time4sleepwww.time4sleep.co.uk
Instructions by time4sleepAnnecy Rattan HFE Wooden Bed Frame
time4sleep

Annecy Rattan HFE Wooden Bed Frame

Annecy Rattan HFE Wooden Bed Frame
Before you start
Before you startCare & MaintenanceGeneral Hints & TipsPartsTools
Steps
1. Attach the Centre Rail Support Legs2. Attach Side Rails and Centre Rail3. Secure All Parts4. Install the Slats5. Final Check

No results

time4sleep
time4sleep / Annecy Rattan HFE Wooden Bed Frame
Annecy Rattan HFE Wooden Bed Frame
time4sleep

Instructions by

time4sleep

Annecy Rattan HFE Wooden Bed Frame

Assembly instructions for Annecy Rattan HFE Wooden Bed Frame by Time4Sleep.

Product Information

Annecy Rattan HFE Wooden Bed Frame

Annecy Rattan HFE Wooden Bed Frame

Our Annecy Rattan bed is a contemporary interpretation of a traditional French style bed.  The natural grain of the oak frame is enhanced with a white washed finish, helping to give the bed a distinctive look.  If you are looking for a bed with character and individual style this maybe  the perfect bed for you.  Manufactured from a combination of solid white oak, oak veneer and engineered timber with a sprung slatted base for extra comfort and support. The underbed clearance on this bed frame is approximately 15.5cm
View product (opens in new tab)
SKU
Annecy46Rattan1, Annecy50Rattan1
Double
Width145 cm
Length200 cm
Head End Height102 cm
Foot End Height50 cm

Before you start

  • Please read this sheet prior to assembly to familiarise yourself with the various stages of construction. 
  • Carefully open the pack supplied and check the contents against the parts and fittings check list. Do not destroy any of the packaging until you are certain that you have all the necessary parts for the assembly.
  • Please ensure that the packaging is disposed of in a safe environmentally friendly way.
  • Caution: There are small components used in the construction of this unit. These loose items should be kept away from young children during assembly, to avoid danger of choking.

Care & Maintenance

In the unlikely event of missing or damaged parts, please contact your retailer.

Please have this guide at hand quoting the part code reference numbers shown when requesting spare or replacement parts.

General Hints & Tips

  • Two person assembly
  • Please retain your assembly instruction and tools provided for future use. Periodically check that all bolts are still tight.

Tools

A - Bolts (M8x45mm)
A - Bolts (M8x45mm)
B - Bolts (M8x80mm)
B - Bolts (M8x80mm)
C - Nuts for M8 bolts
D - Flat washers
D - Flat washers
E - Spring washers
E - Spring washers
F - Bracket
F - Bracket
G - Spanner
G - Spanner

Parts

Parts
1Headboard
2Footboard
3Side Rail - LH
4Side Rail - RH
5Centre Rail
6Centre Rail Support Legs
7Bentwood Slat
8Single Plastic Caps
9Double Plastic Caps

1. Attach the Centre Rail Support Legs

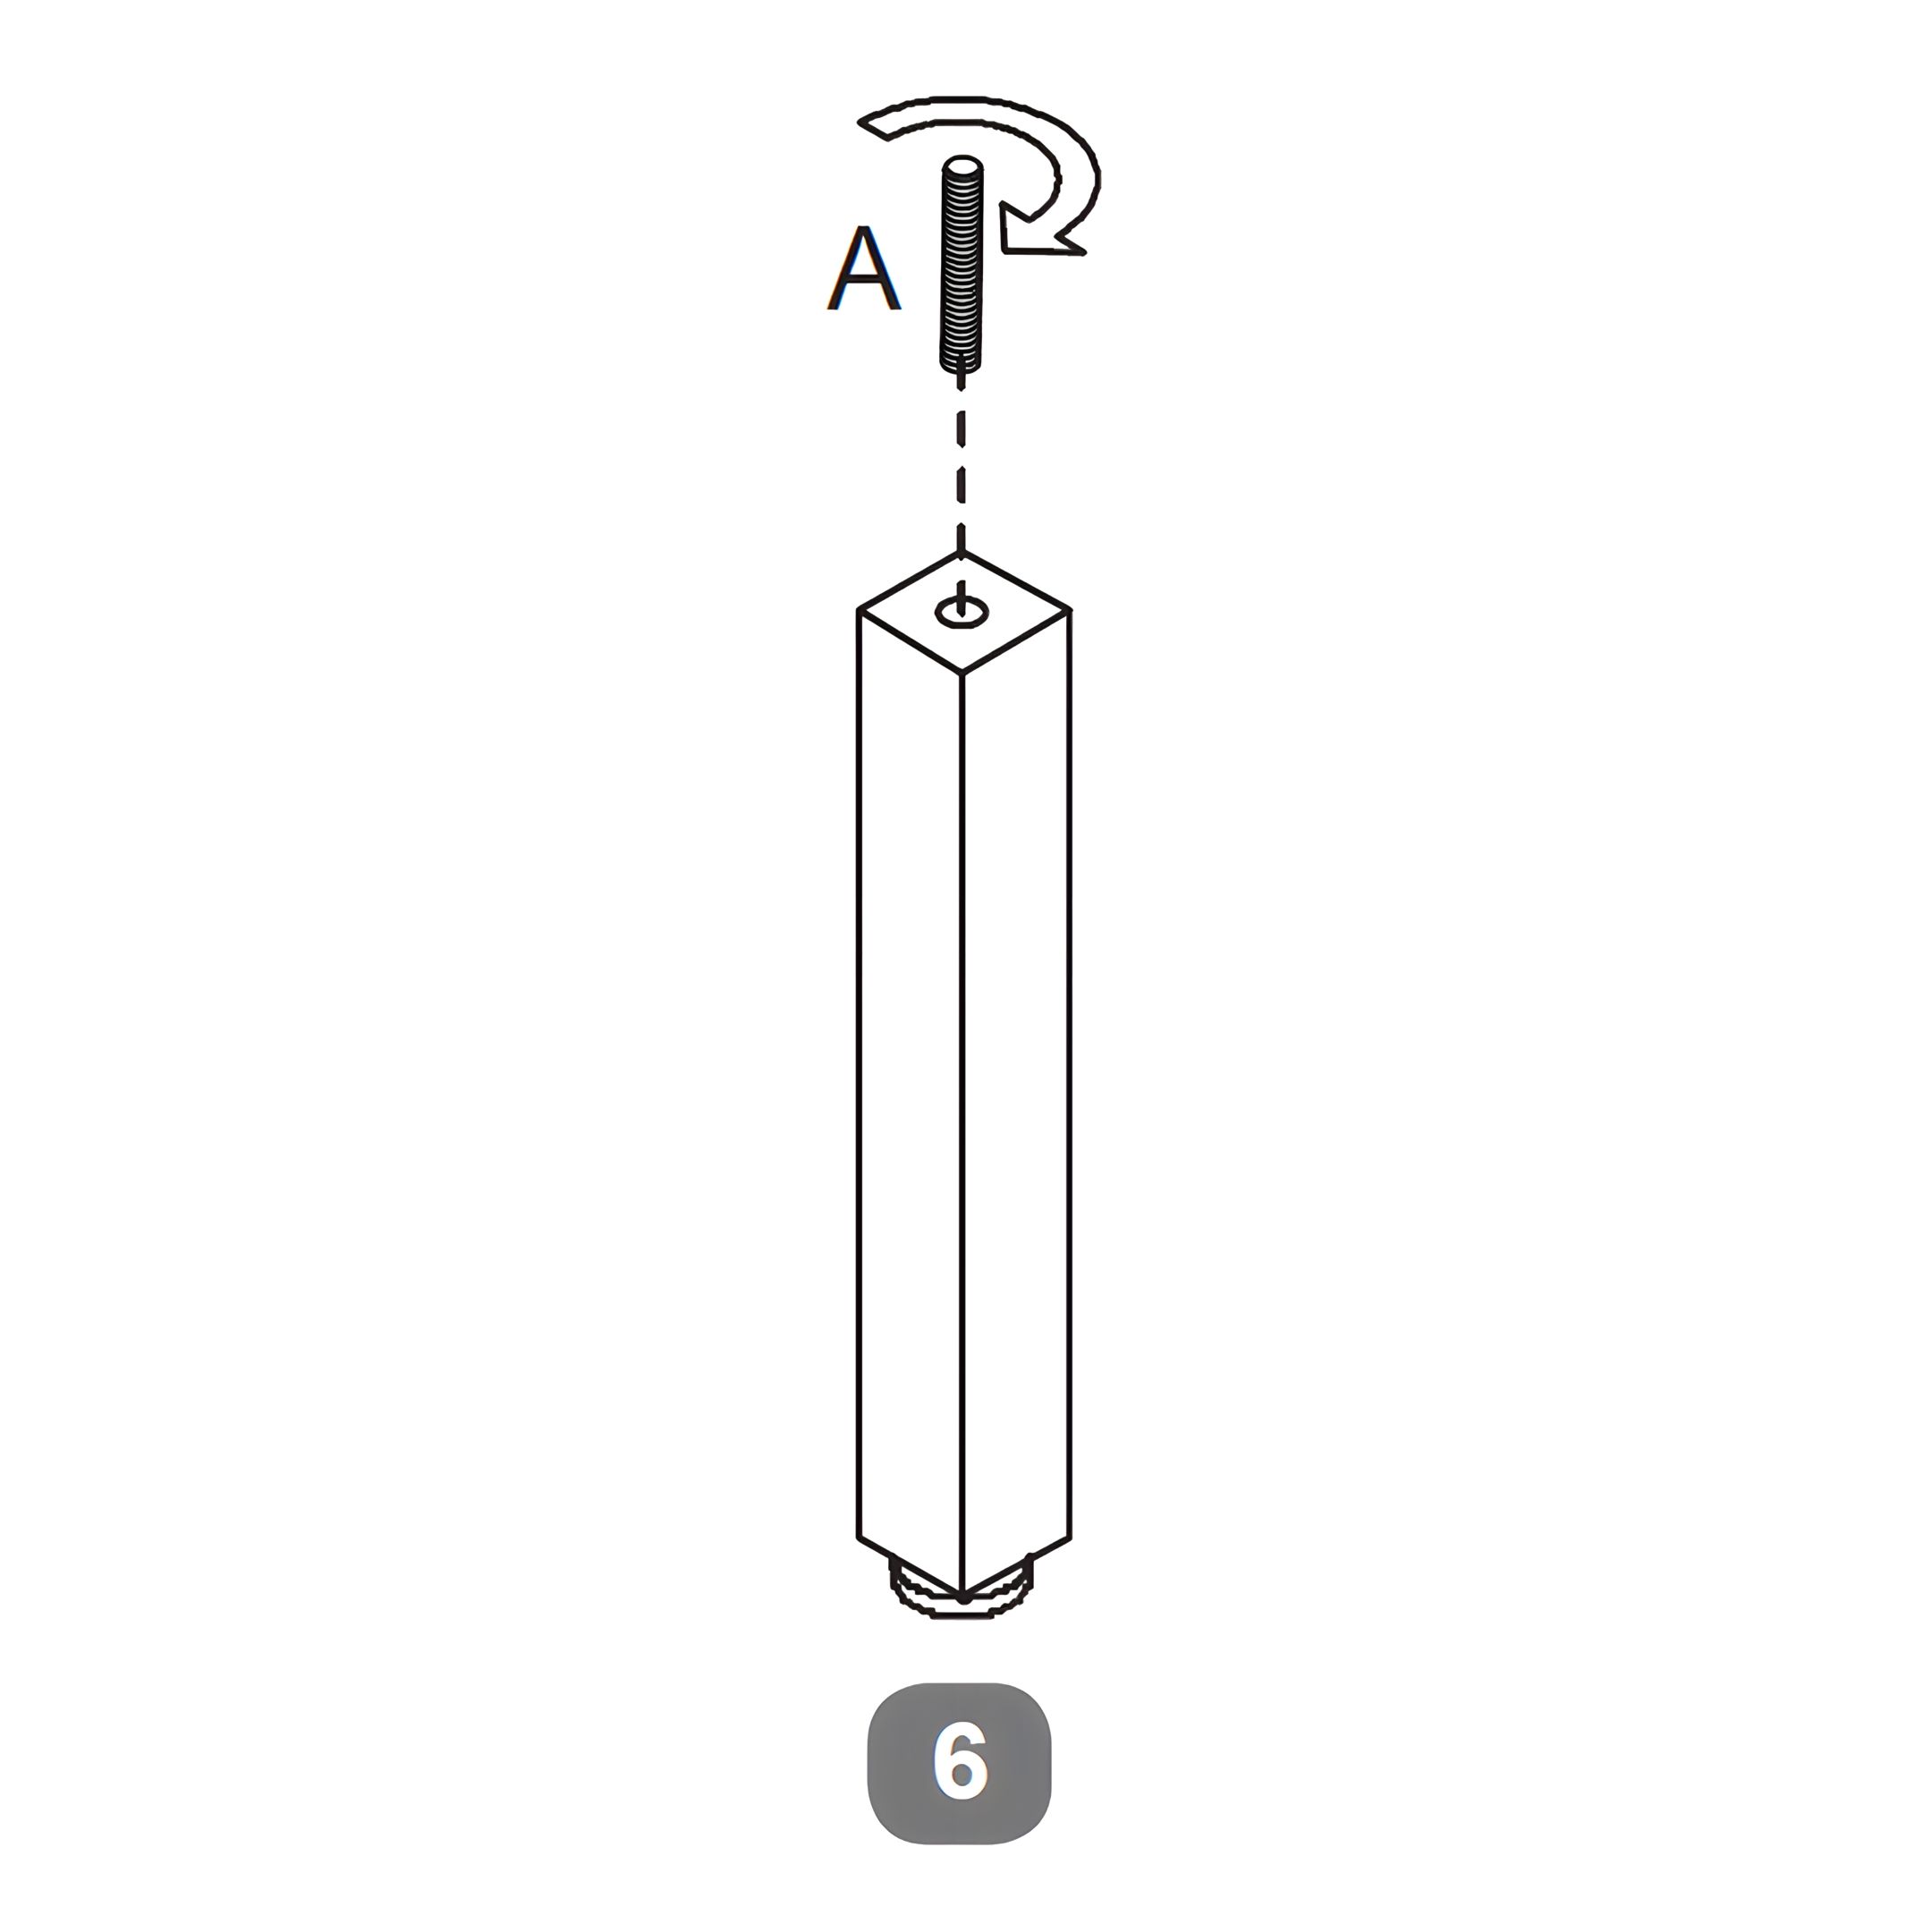
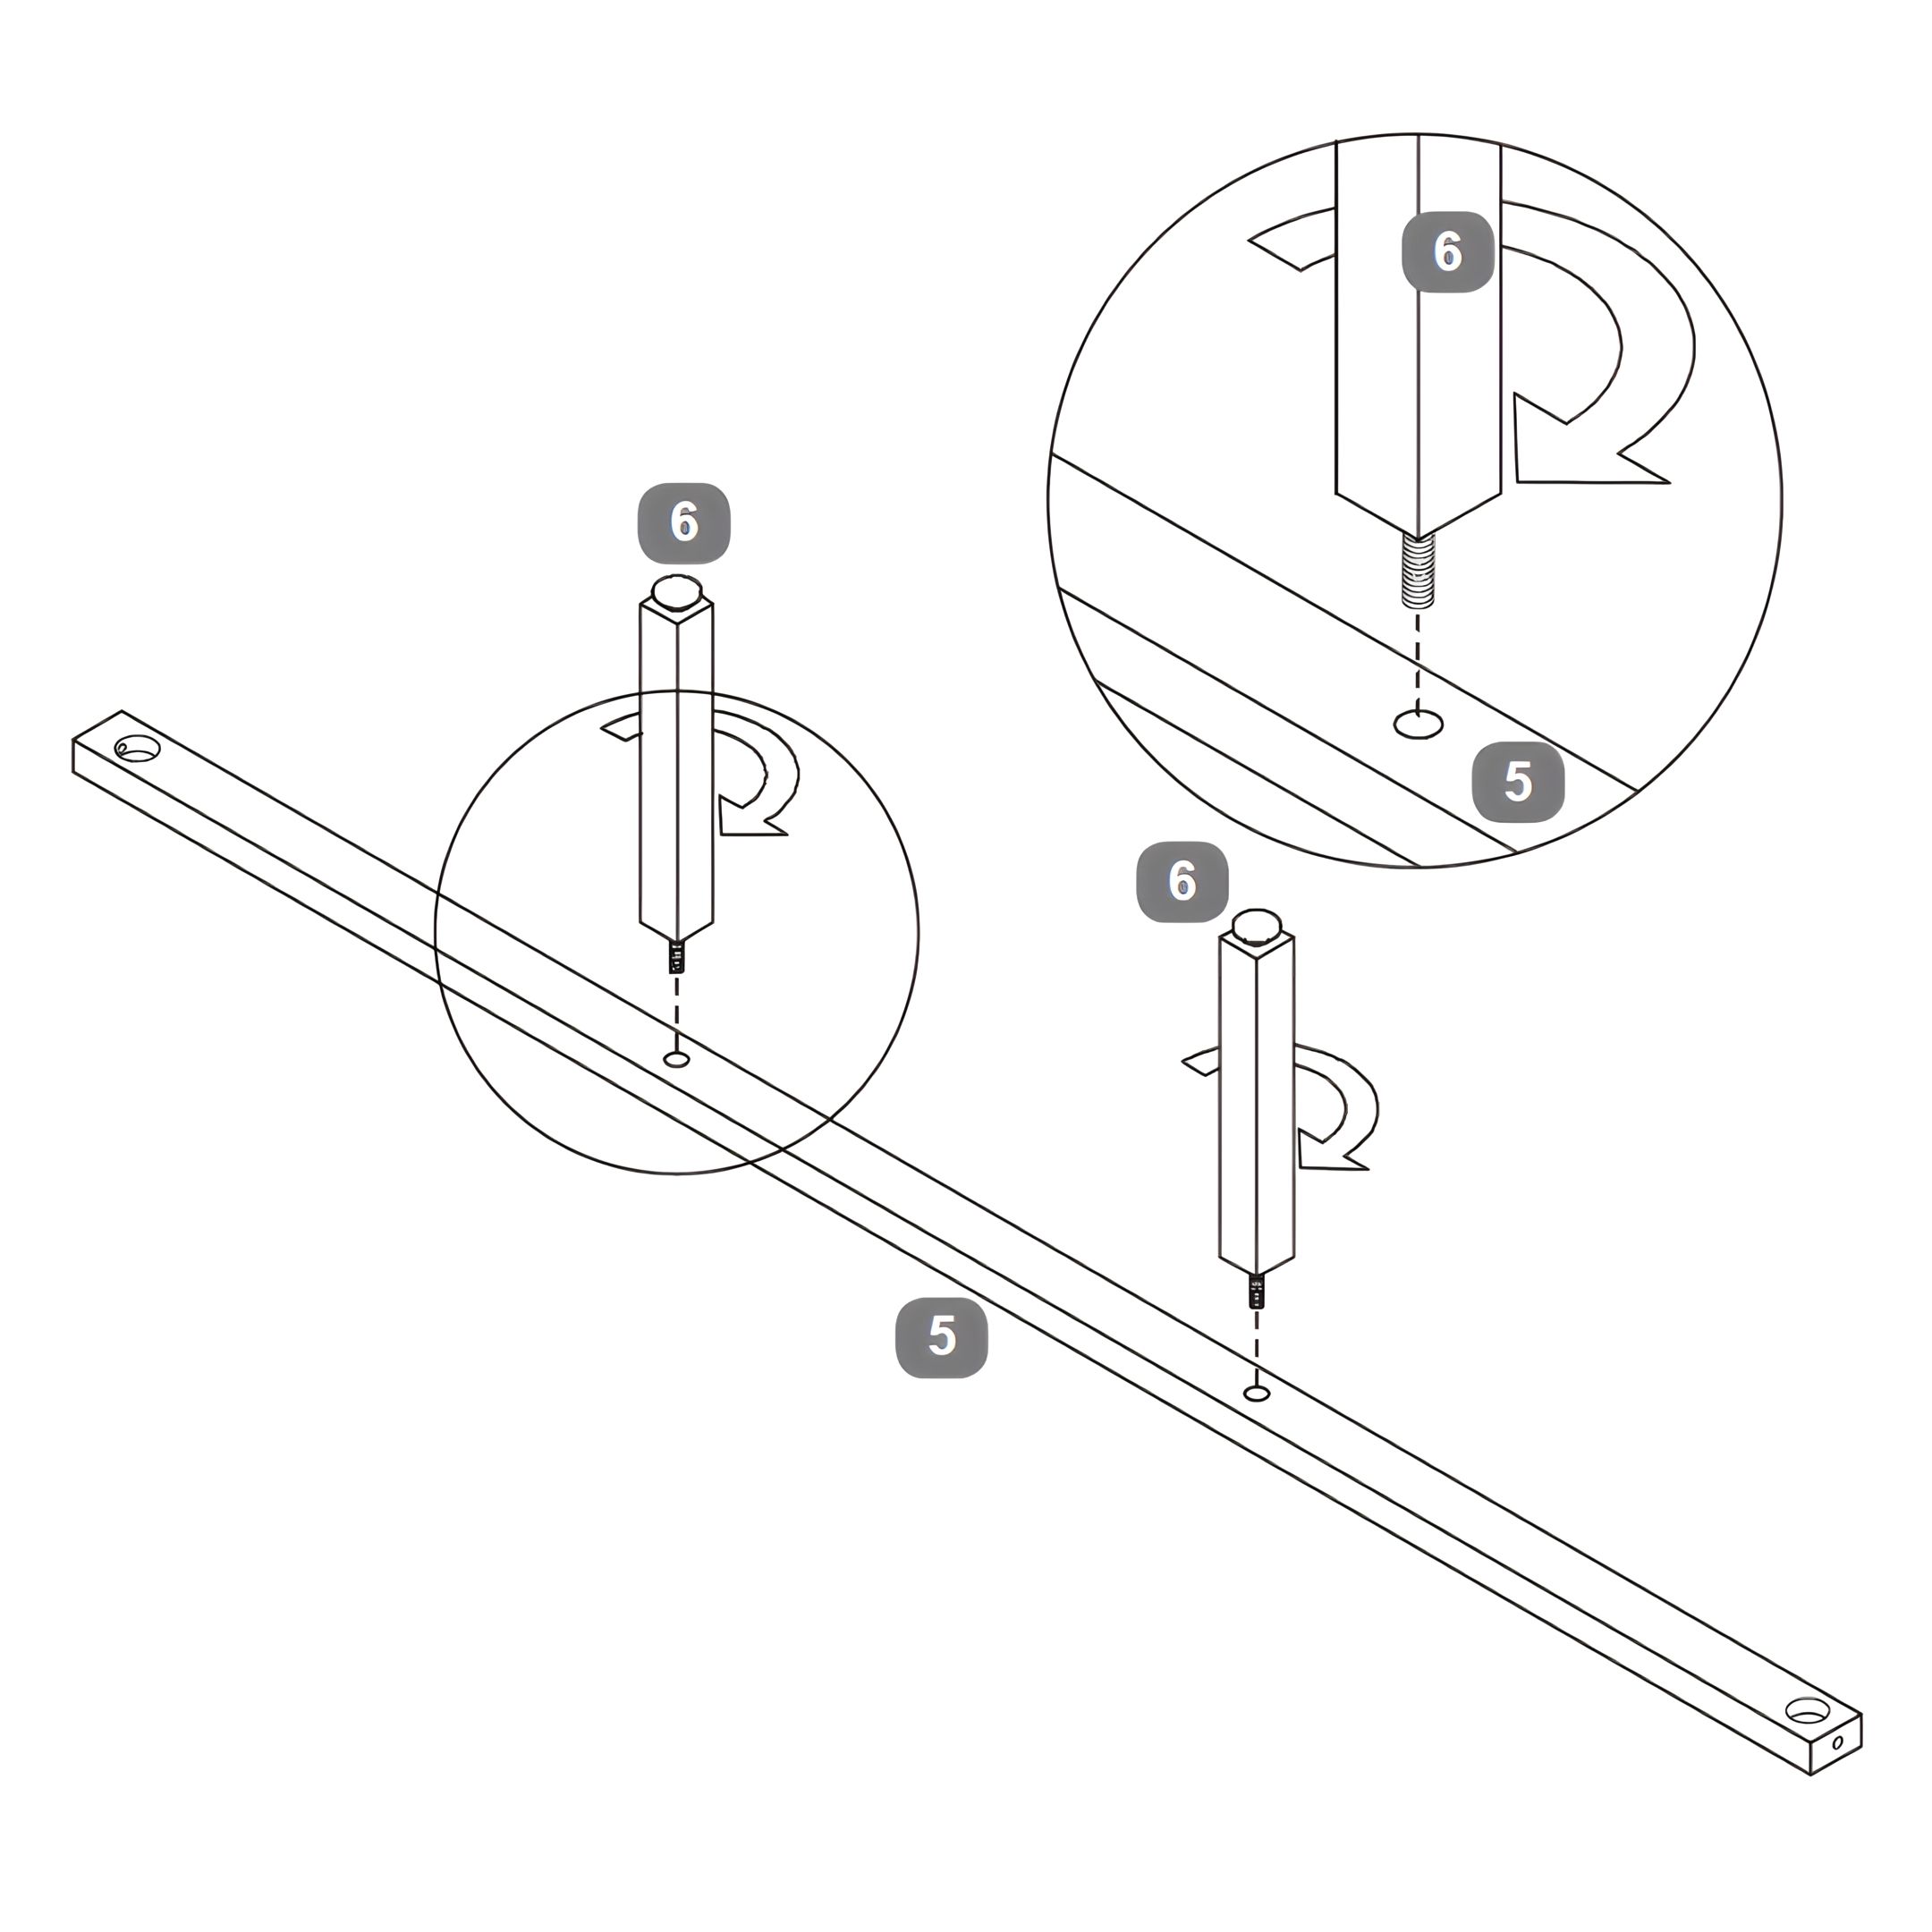
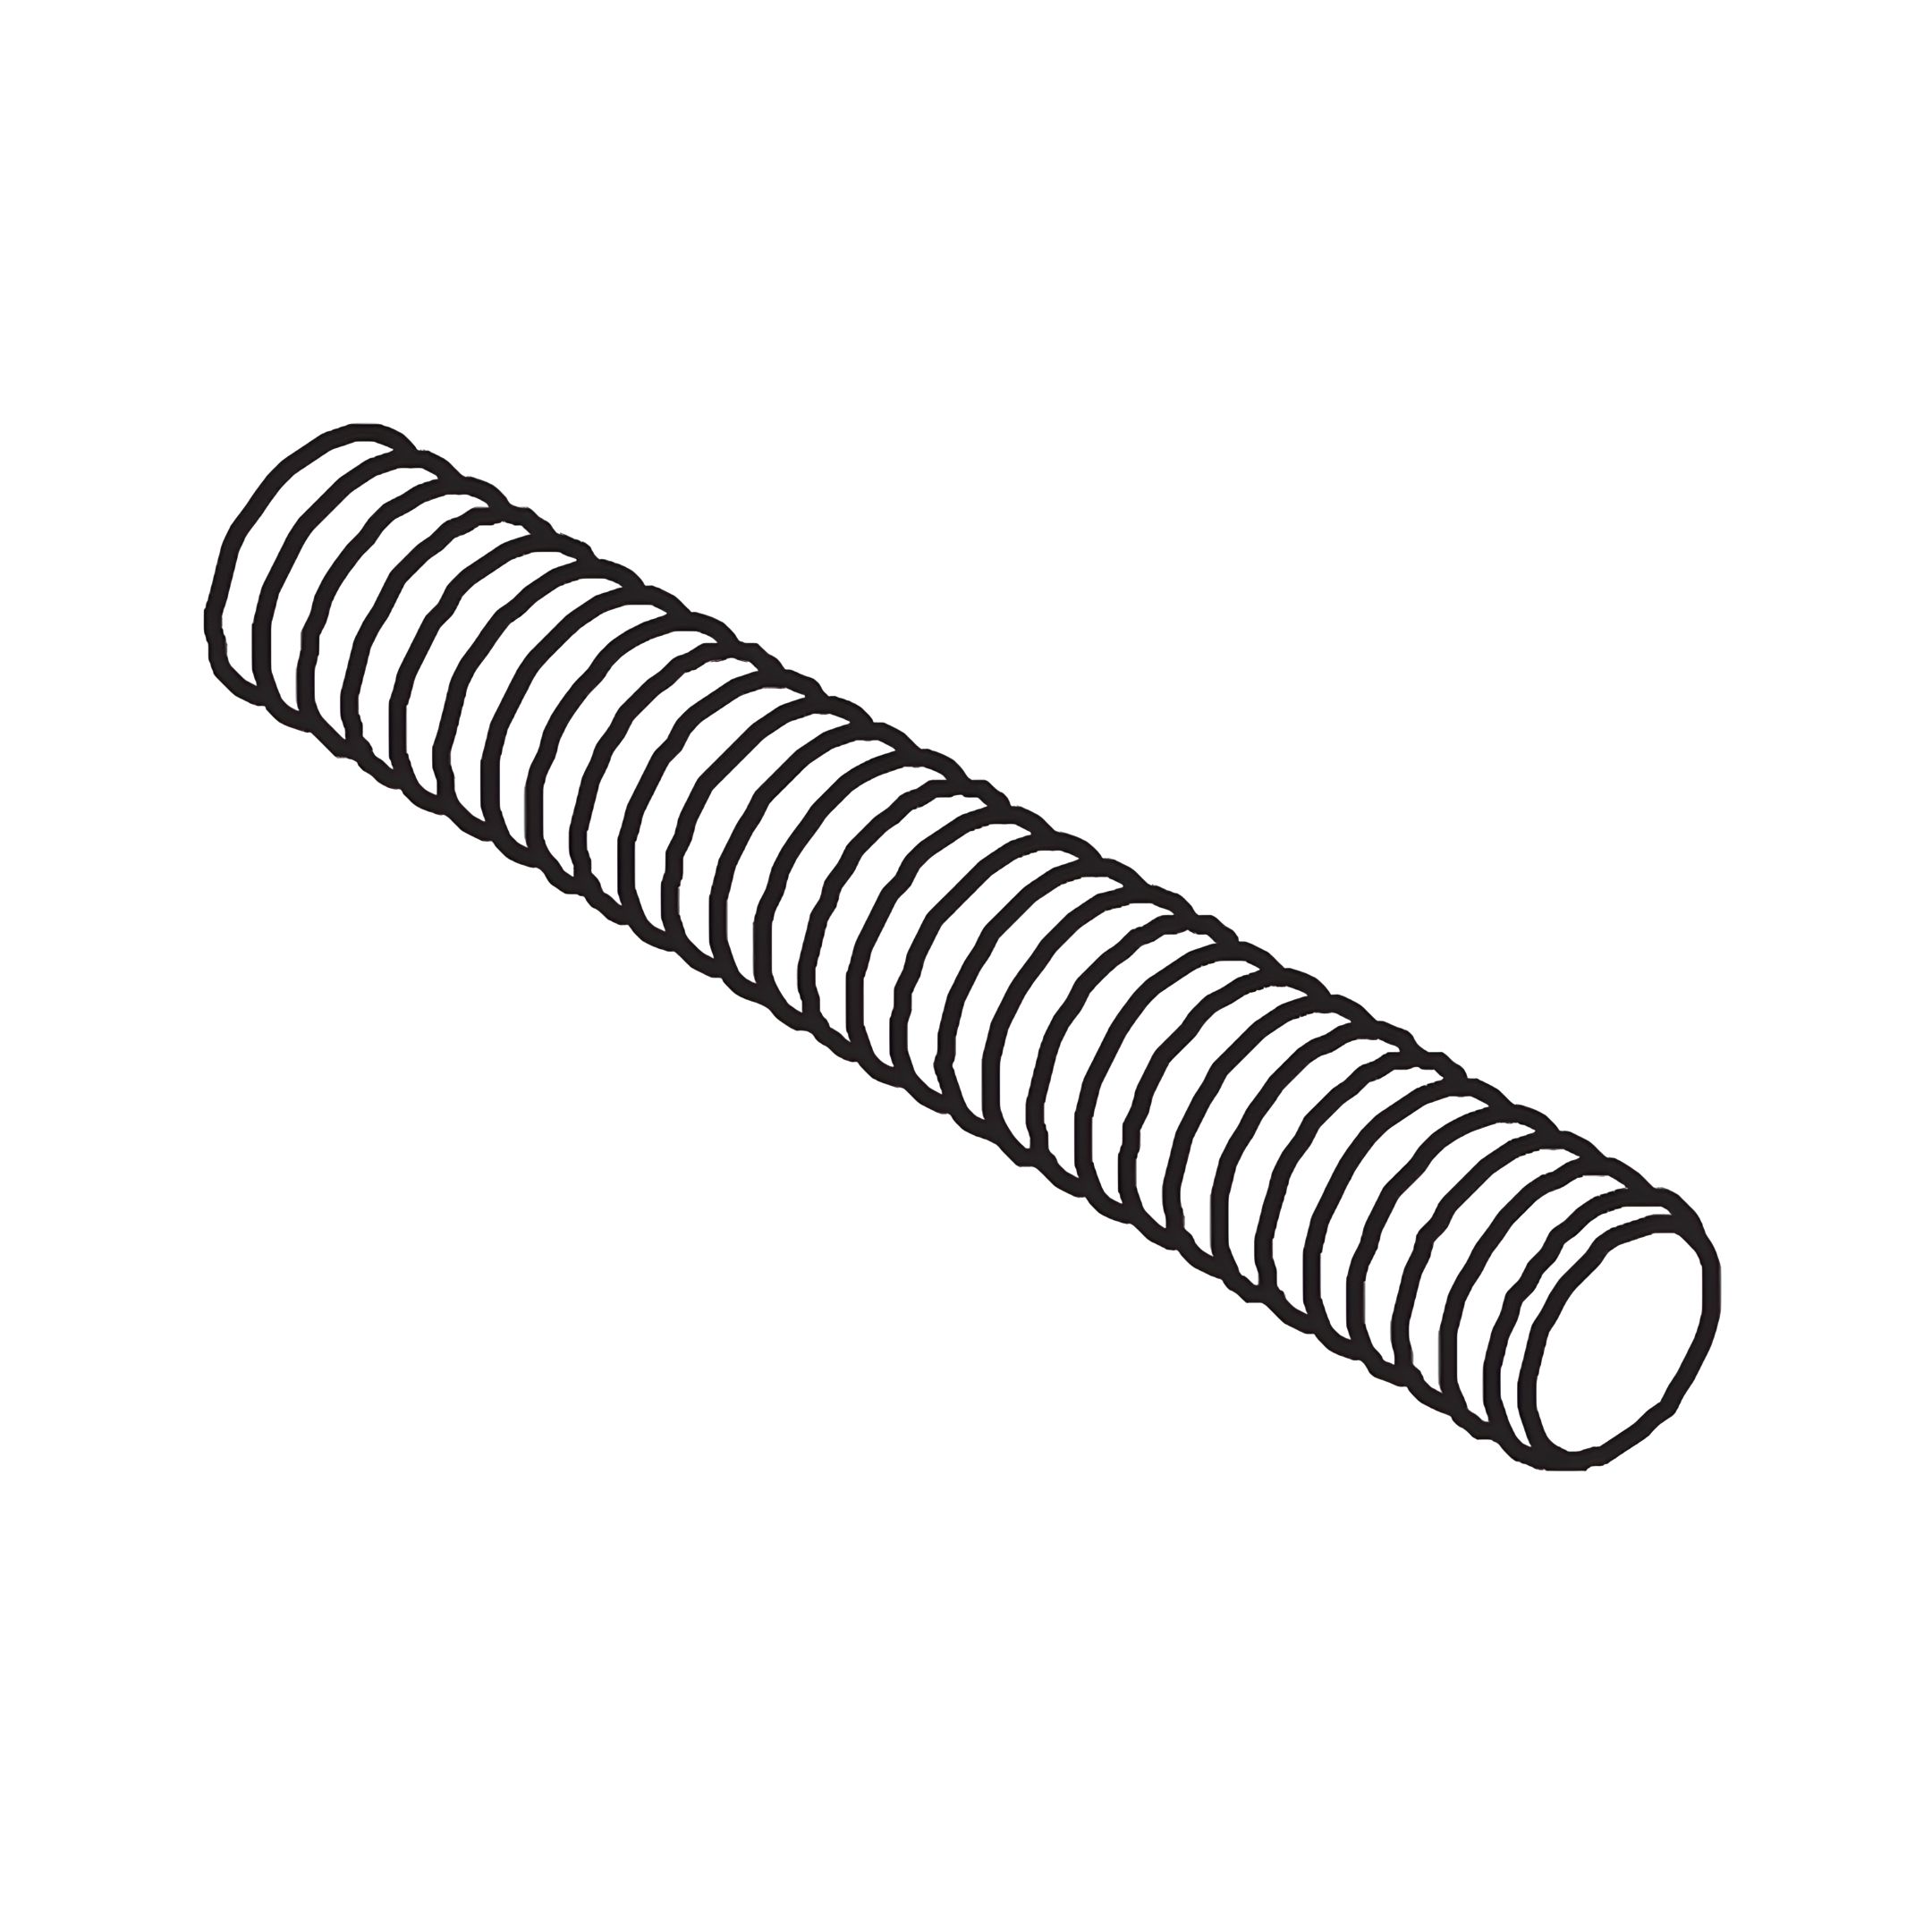
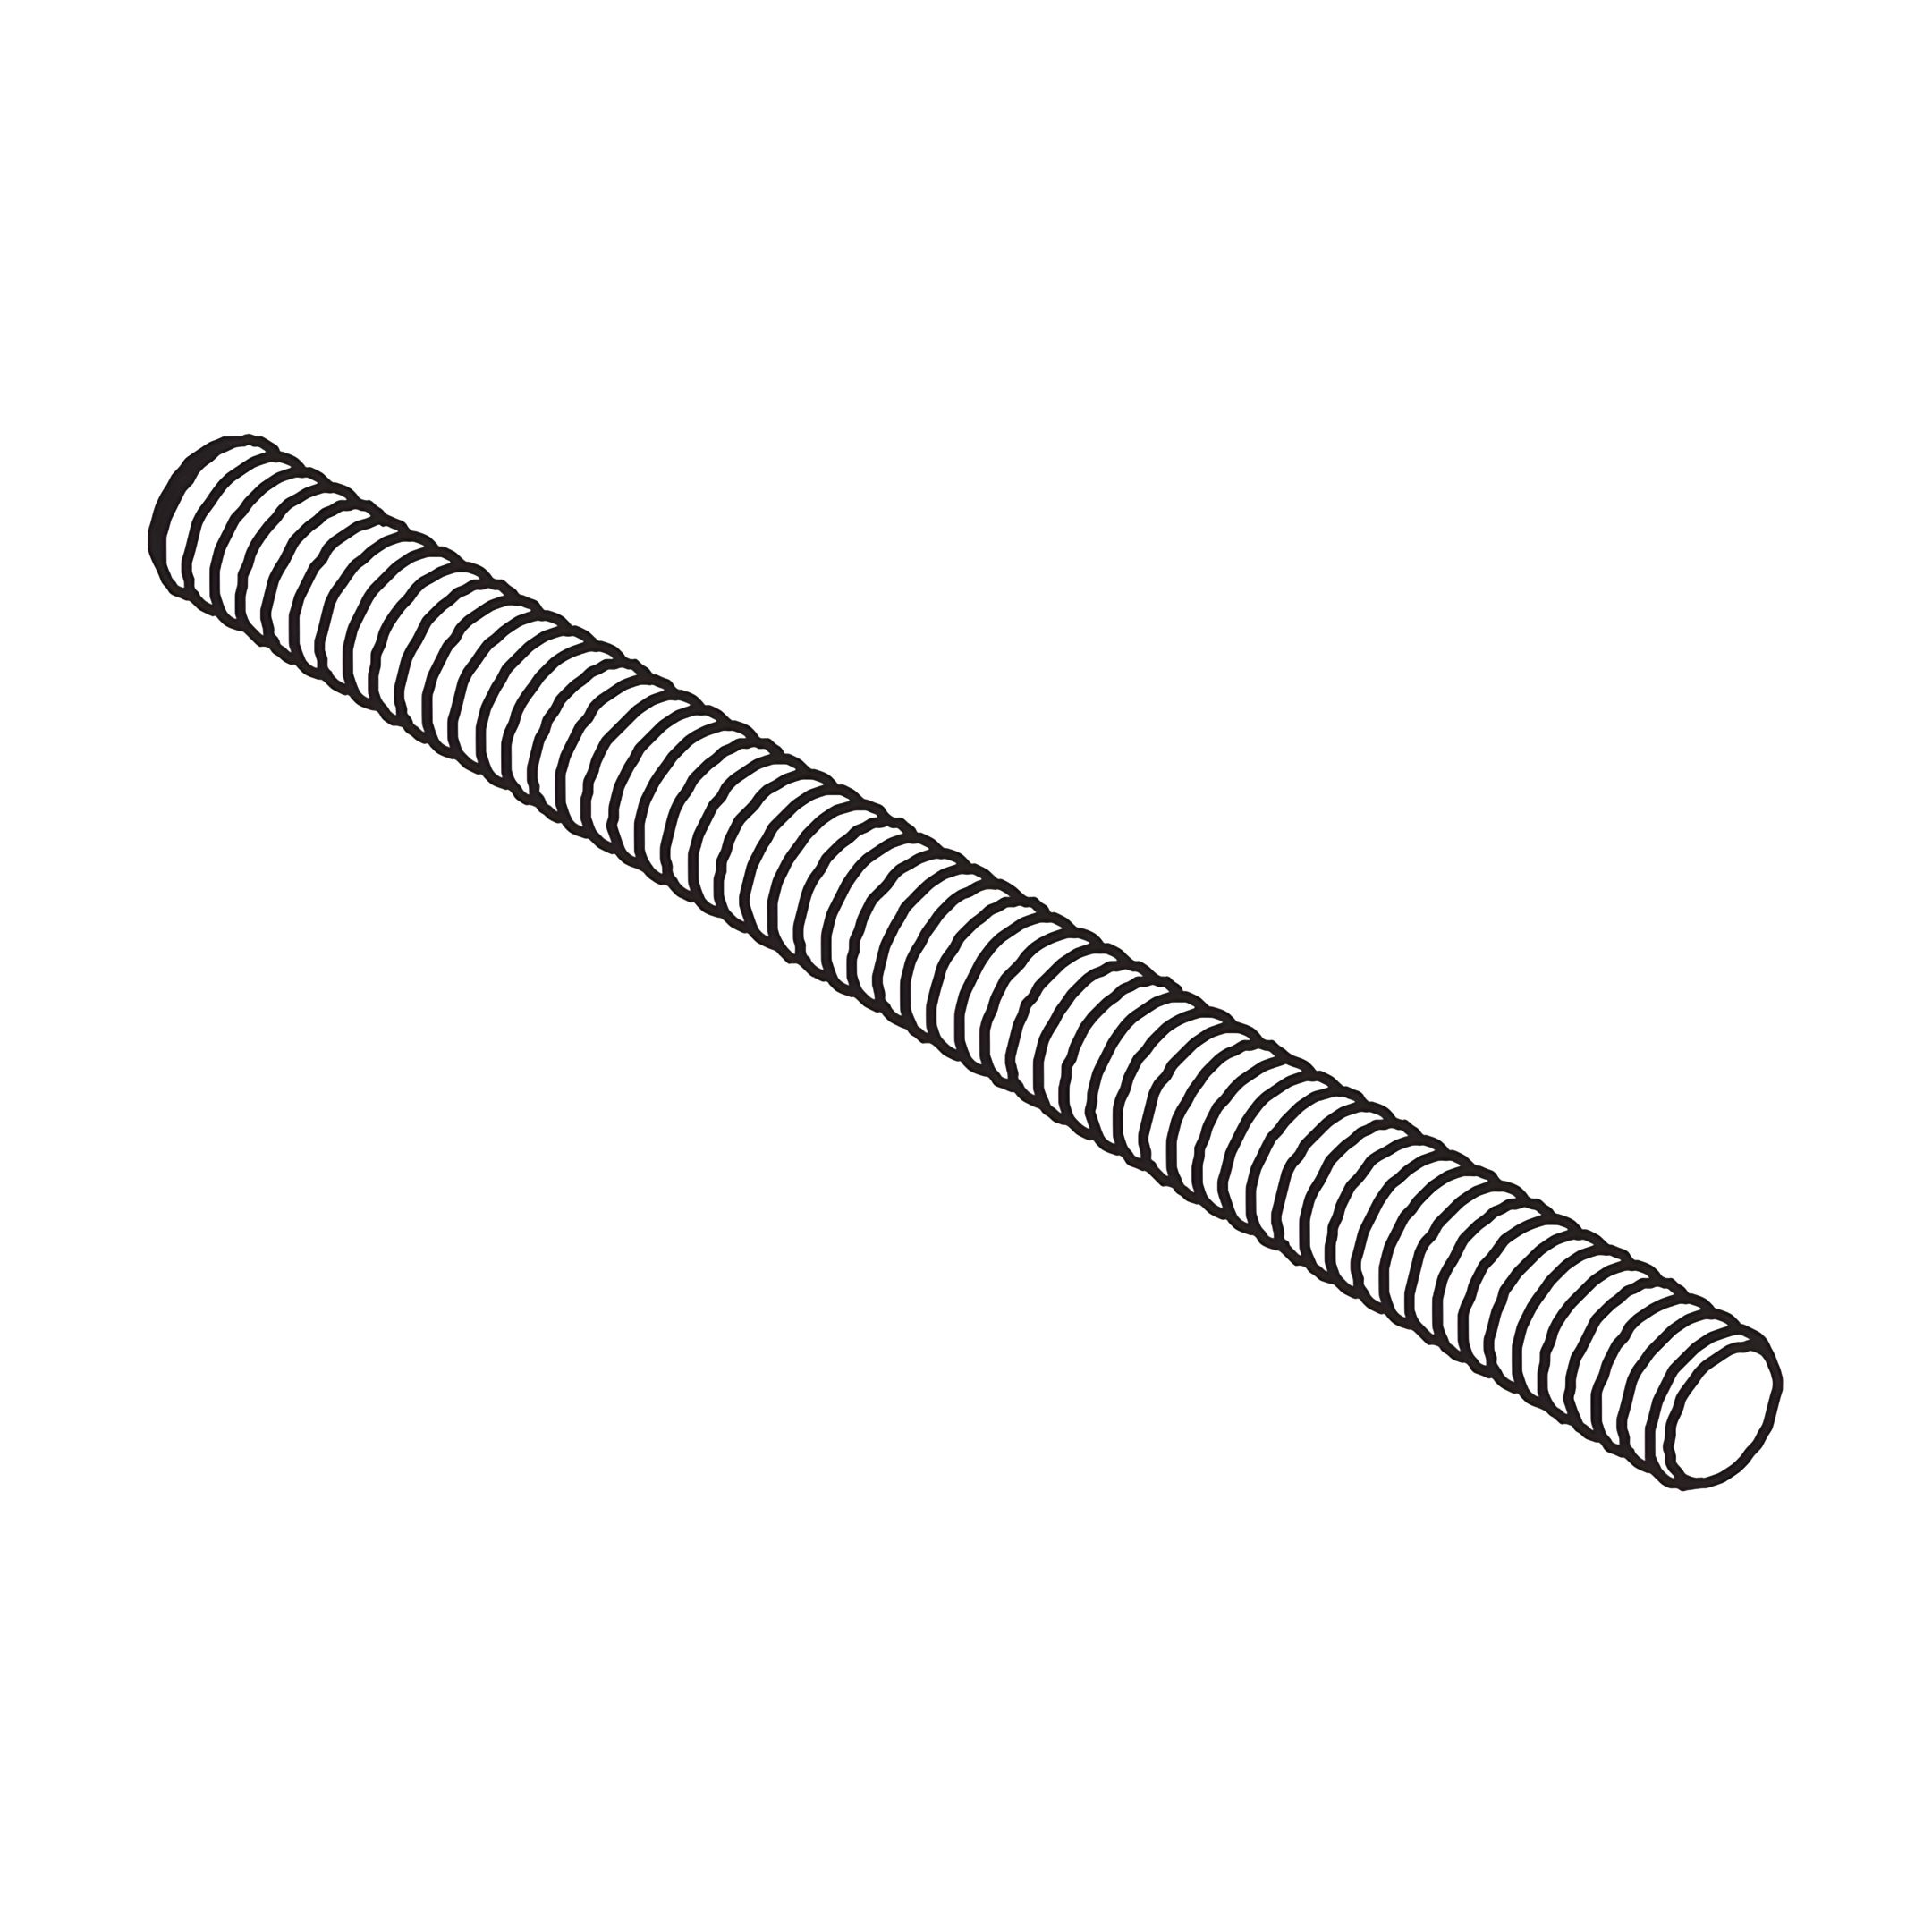
1. Take the Centre Rail Support Legs (6) and the Bolt (A). Insert the Bolt into the top of the Centre Rail Support Leg and rotate it clockwise to secure it in place.
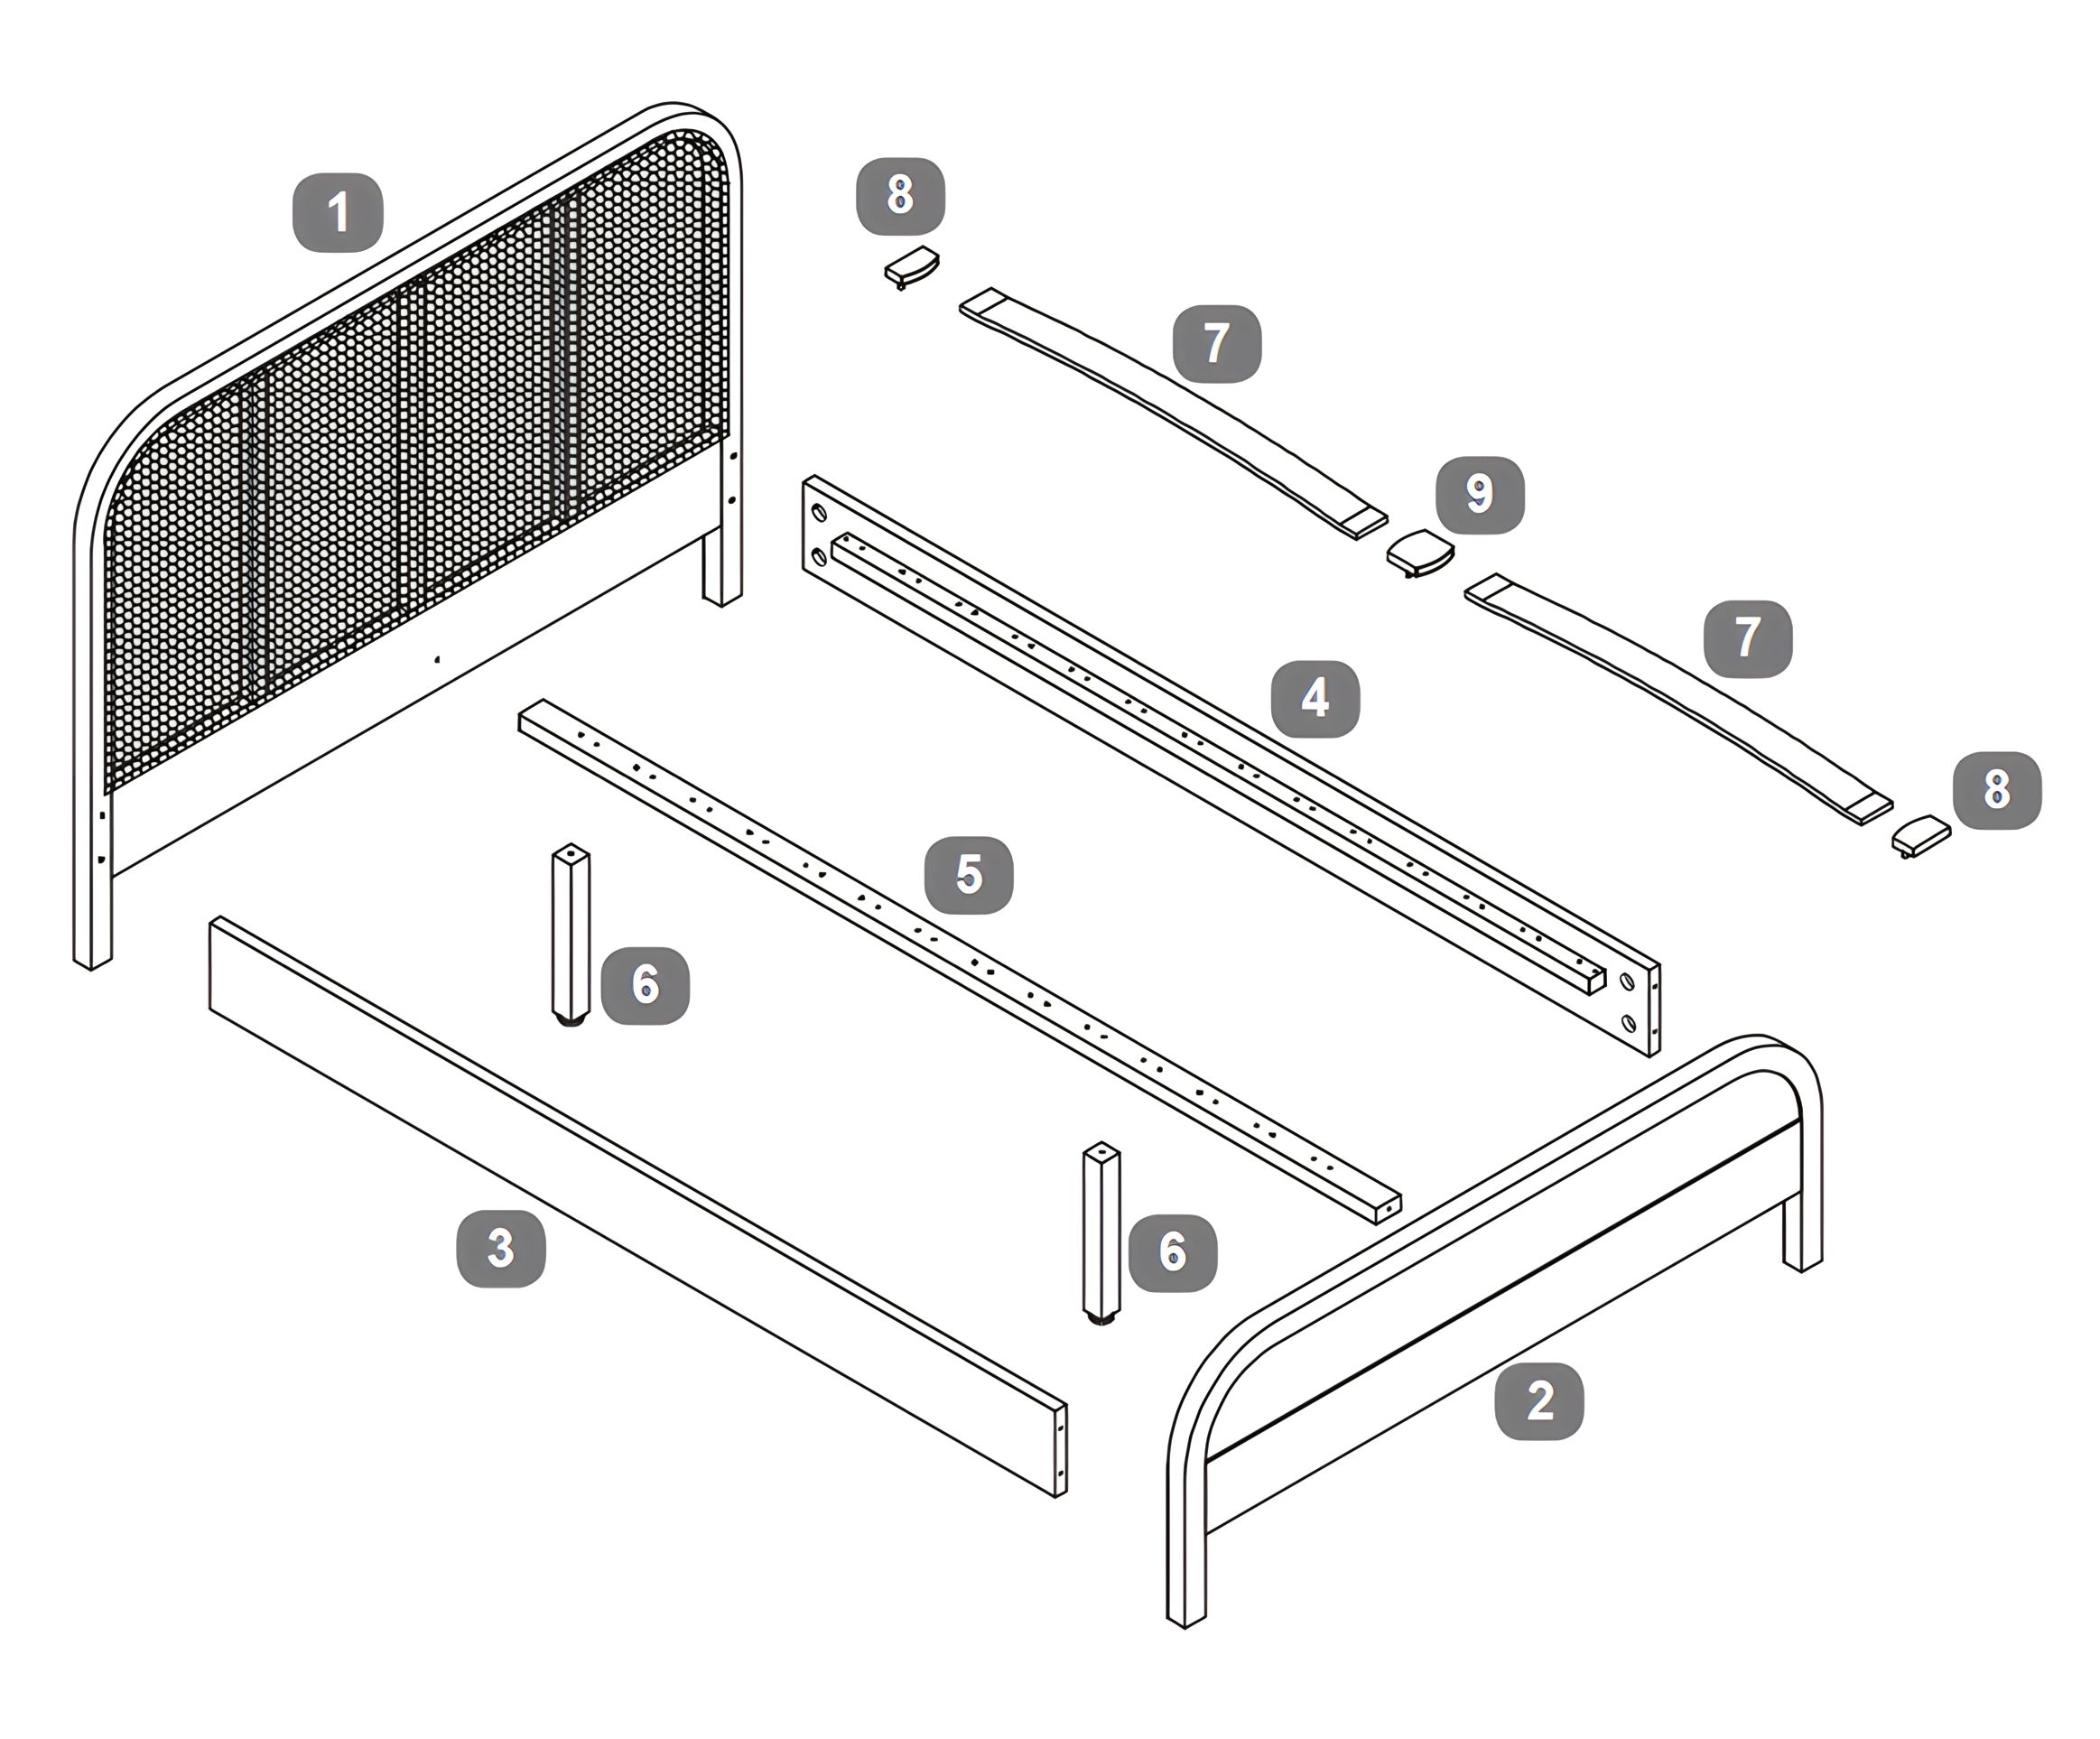
2. Align the Centre Rail Support Leg with the designated hole on the Center Rail (5).
3. Insert the Bolt from the Centre Rail Support Leg into the hole on the Center Rail and rotate it clockwise to tighten.

Repeat the process for all required support legs along the center rail.

2. Attach Side Rails and Centre Rail

1. Take the Headboard (1) and Footboard (2).
2. Insert 2 Bolts (B) per side and 1 Bolt in the center (5 Bolts total) into the designated holes of each and tighten them.
3. Align the Side Rails (3 & 4) and the Centre Rail (5) with the Bolts on the Headboard and Footboard.
4. Insert the Bolts through the holes in the Center Rail and the Side Rails as shown in detail (ii).

3. Secure All Parts

1. After inserting the Bolts (B) in Step 2, secure them in the following order: First, insert a Half-moon Bracket (F), followed by a Flat Washer (D) and a Spring Washer (E). Finally, tighten with a Nut for bolts (C) using the Spanner (G).
2. Ensure all connections are firmly secured but avoid over-tightening to prevent damage.
3. Repeat this process for all connection points.

4. Install the Slats

1. Take the Bentwood Slats (7) and align them over the Side Rails (3 & 4) and Centre Rail (5).
2. Attach a Single Plastic Cap (8) to each end of the slats where they connect to the side rails.
3. For the center of the bed, secure two slats together using a Double Plastic Cap (9) at the Centre Rail (5).
4. Press each slat firmly into place, ensuring they are fully inserted into the caps and evenly spaced.

Number of slats for each size:

  • Double: 28 Bentwood Slats / 28 Single Plastic Caps / 14 Double Plastic Caps.
  • King: 30 Bentwood Slats / 30 Single Plastic Caps / 15 Double Plastic Caps

5. Final Check

  • Verify that all slats are securely fastened and evenly spaced.
  • Check for any loose connections and tighten the screws if necessary.
time4sleep
time4sleep (opens in new tab)Terms (opens in new tab)Privacy (opens in new tab)