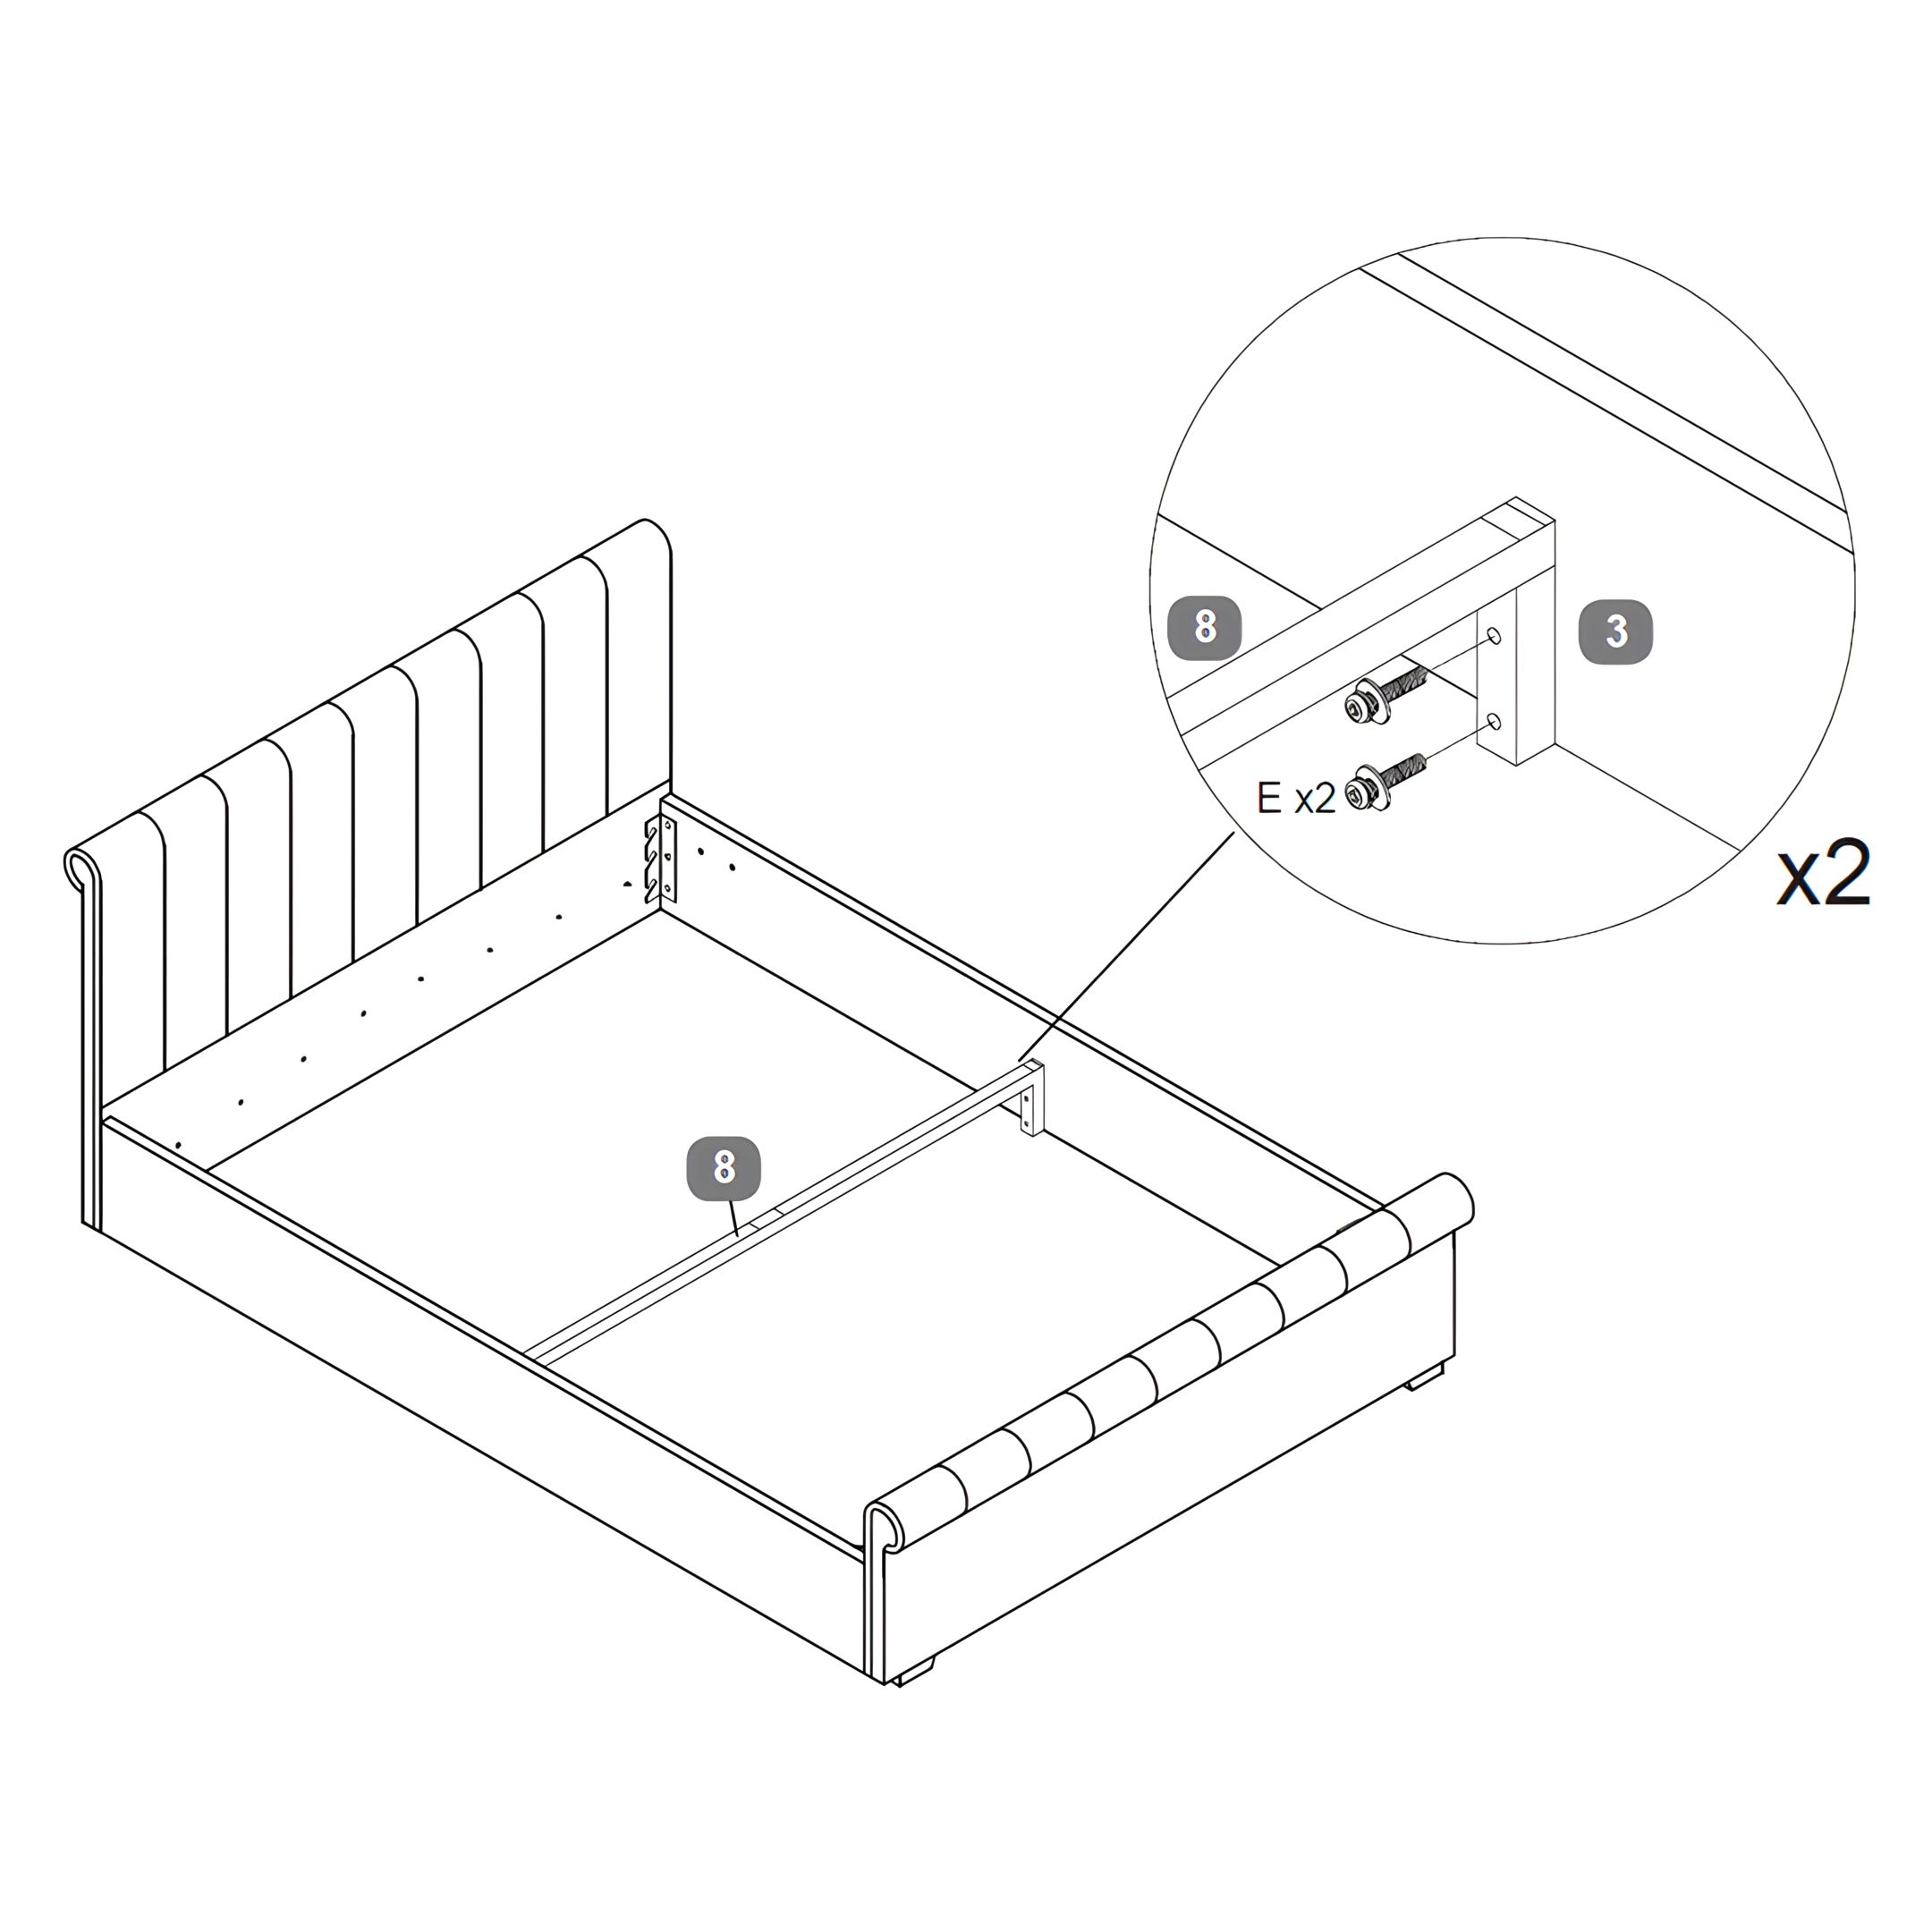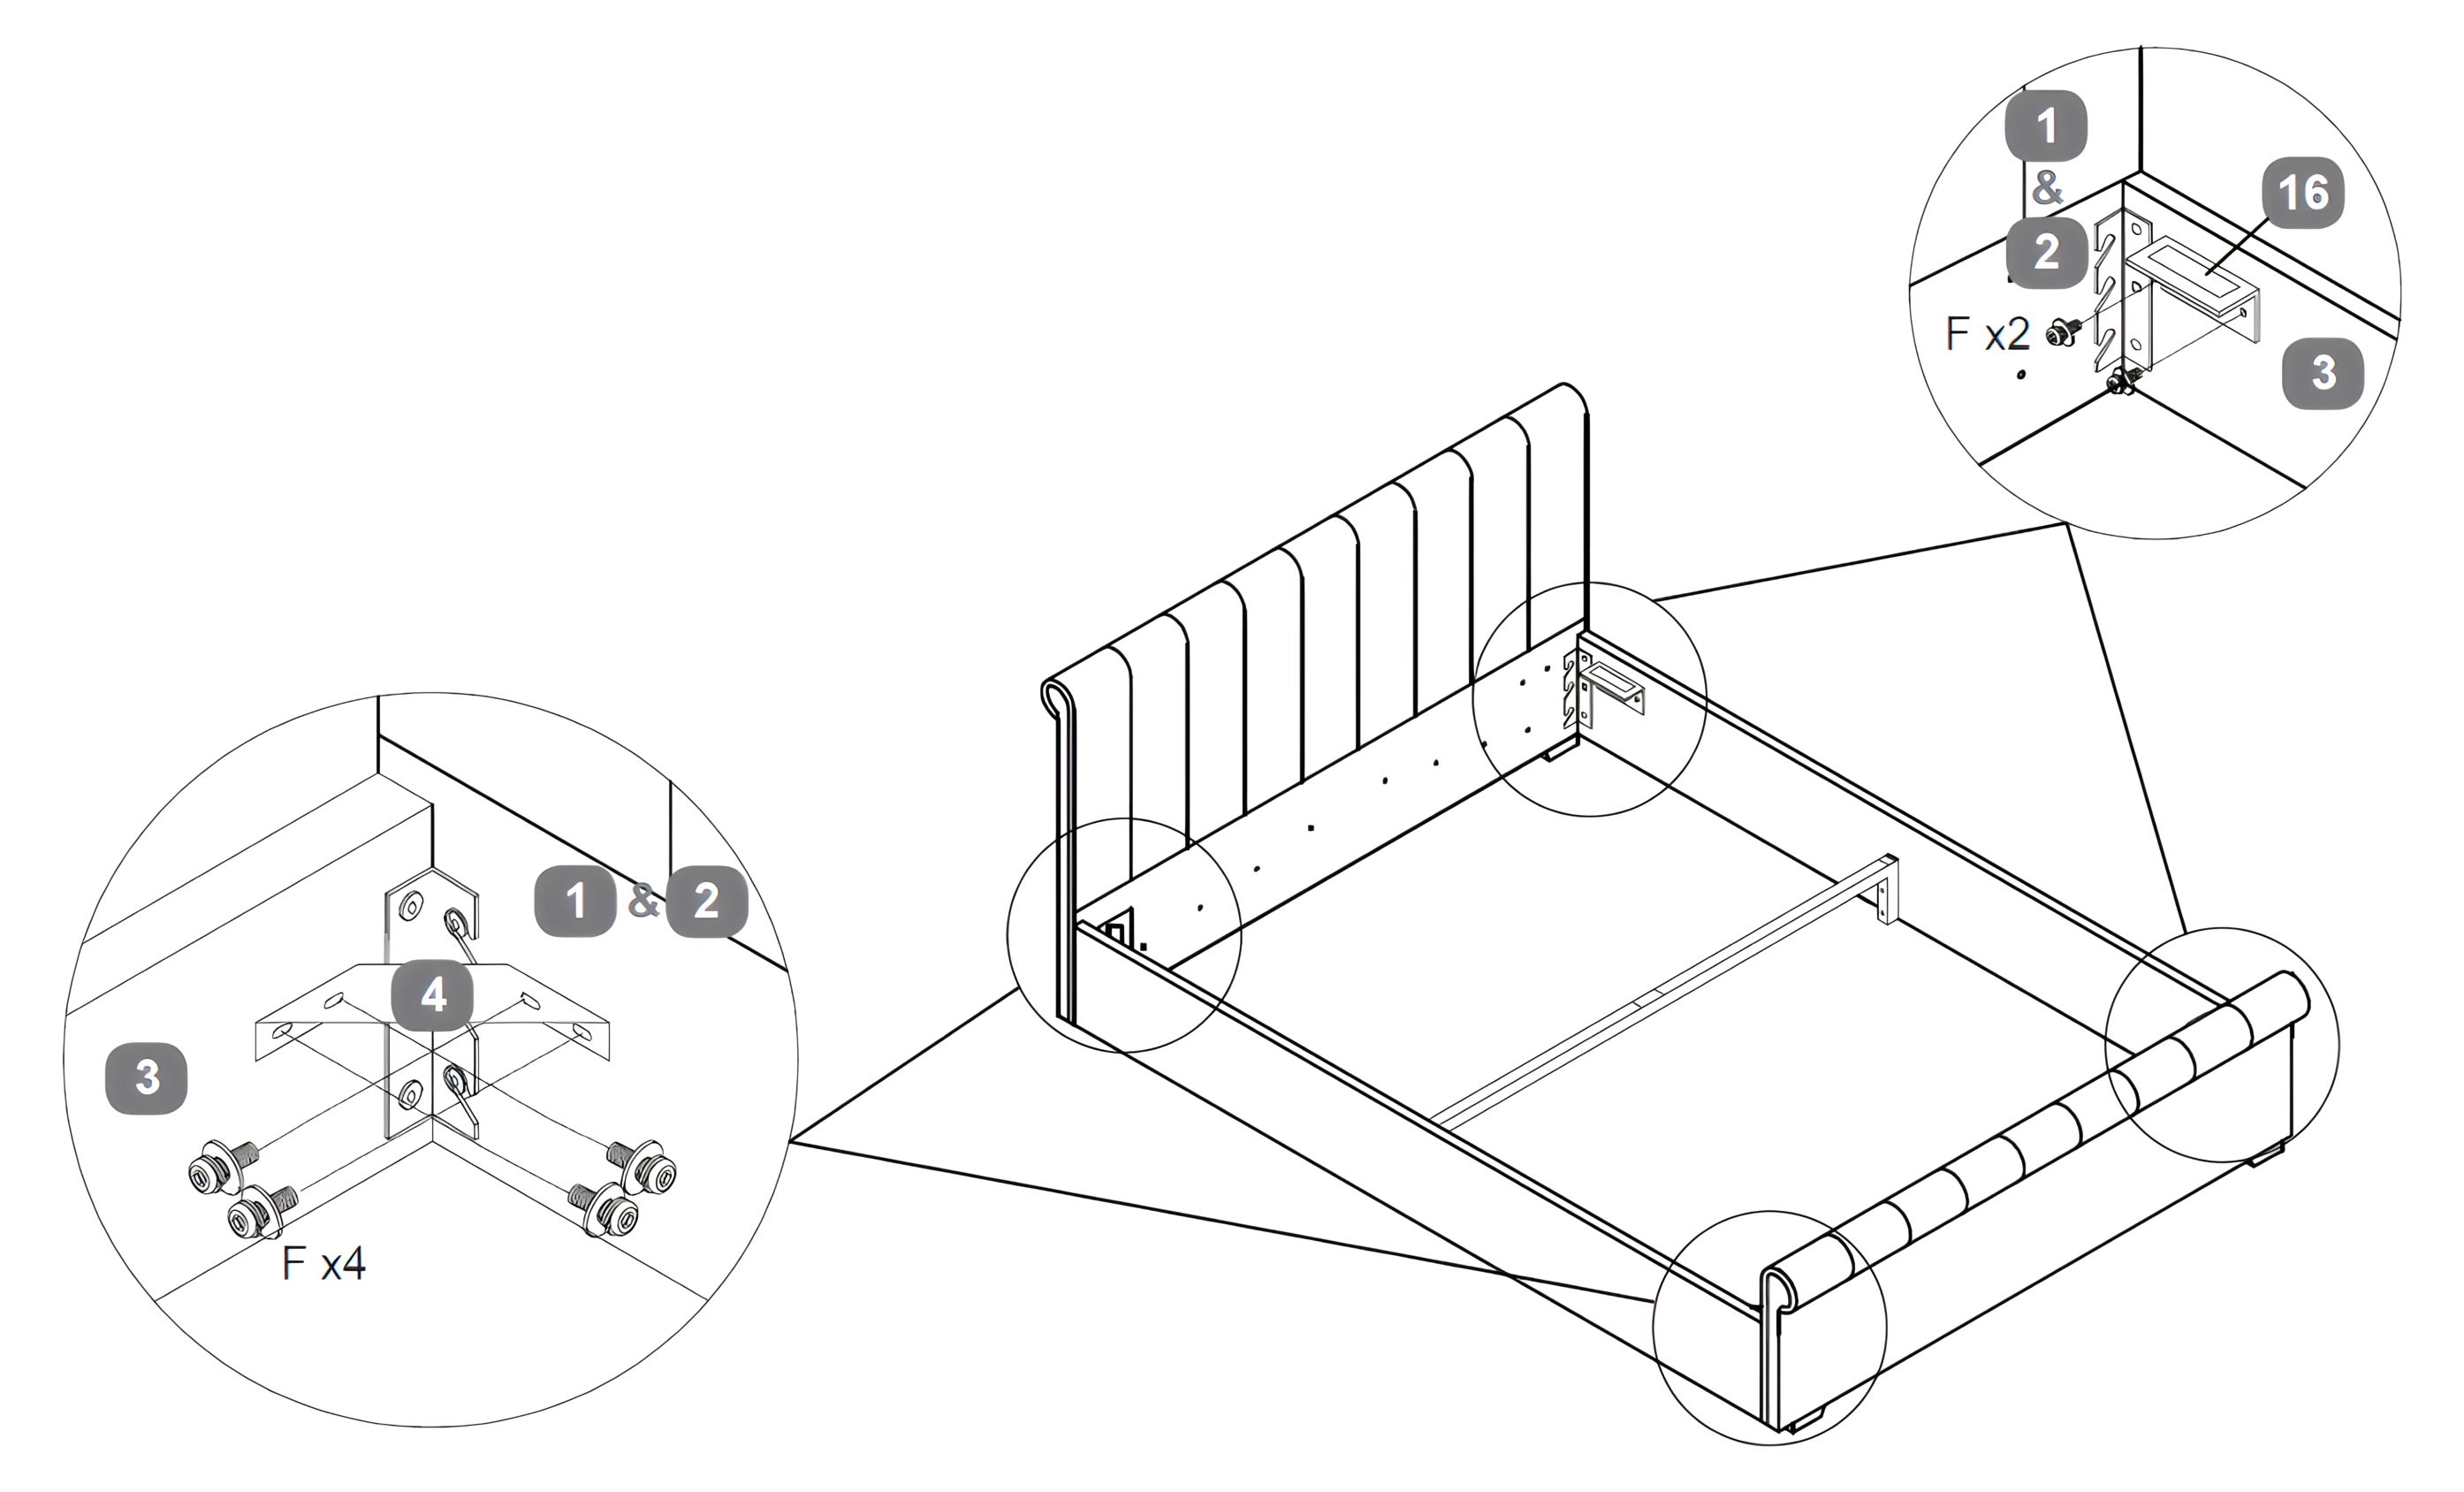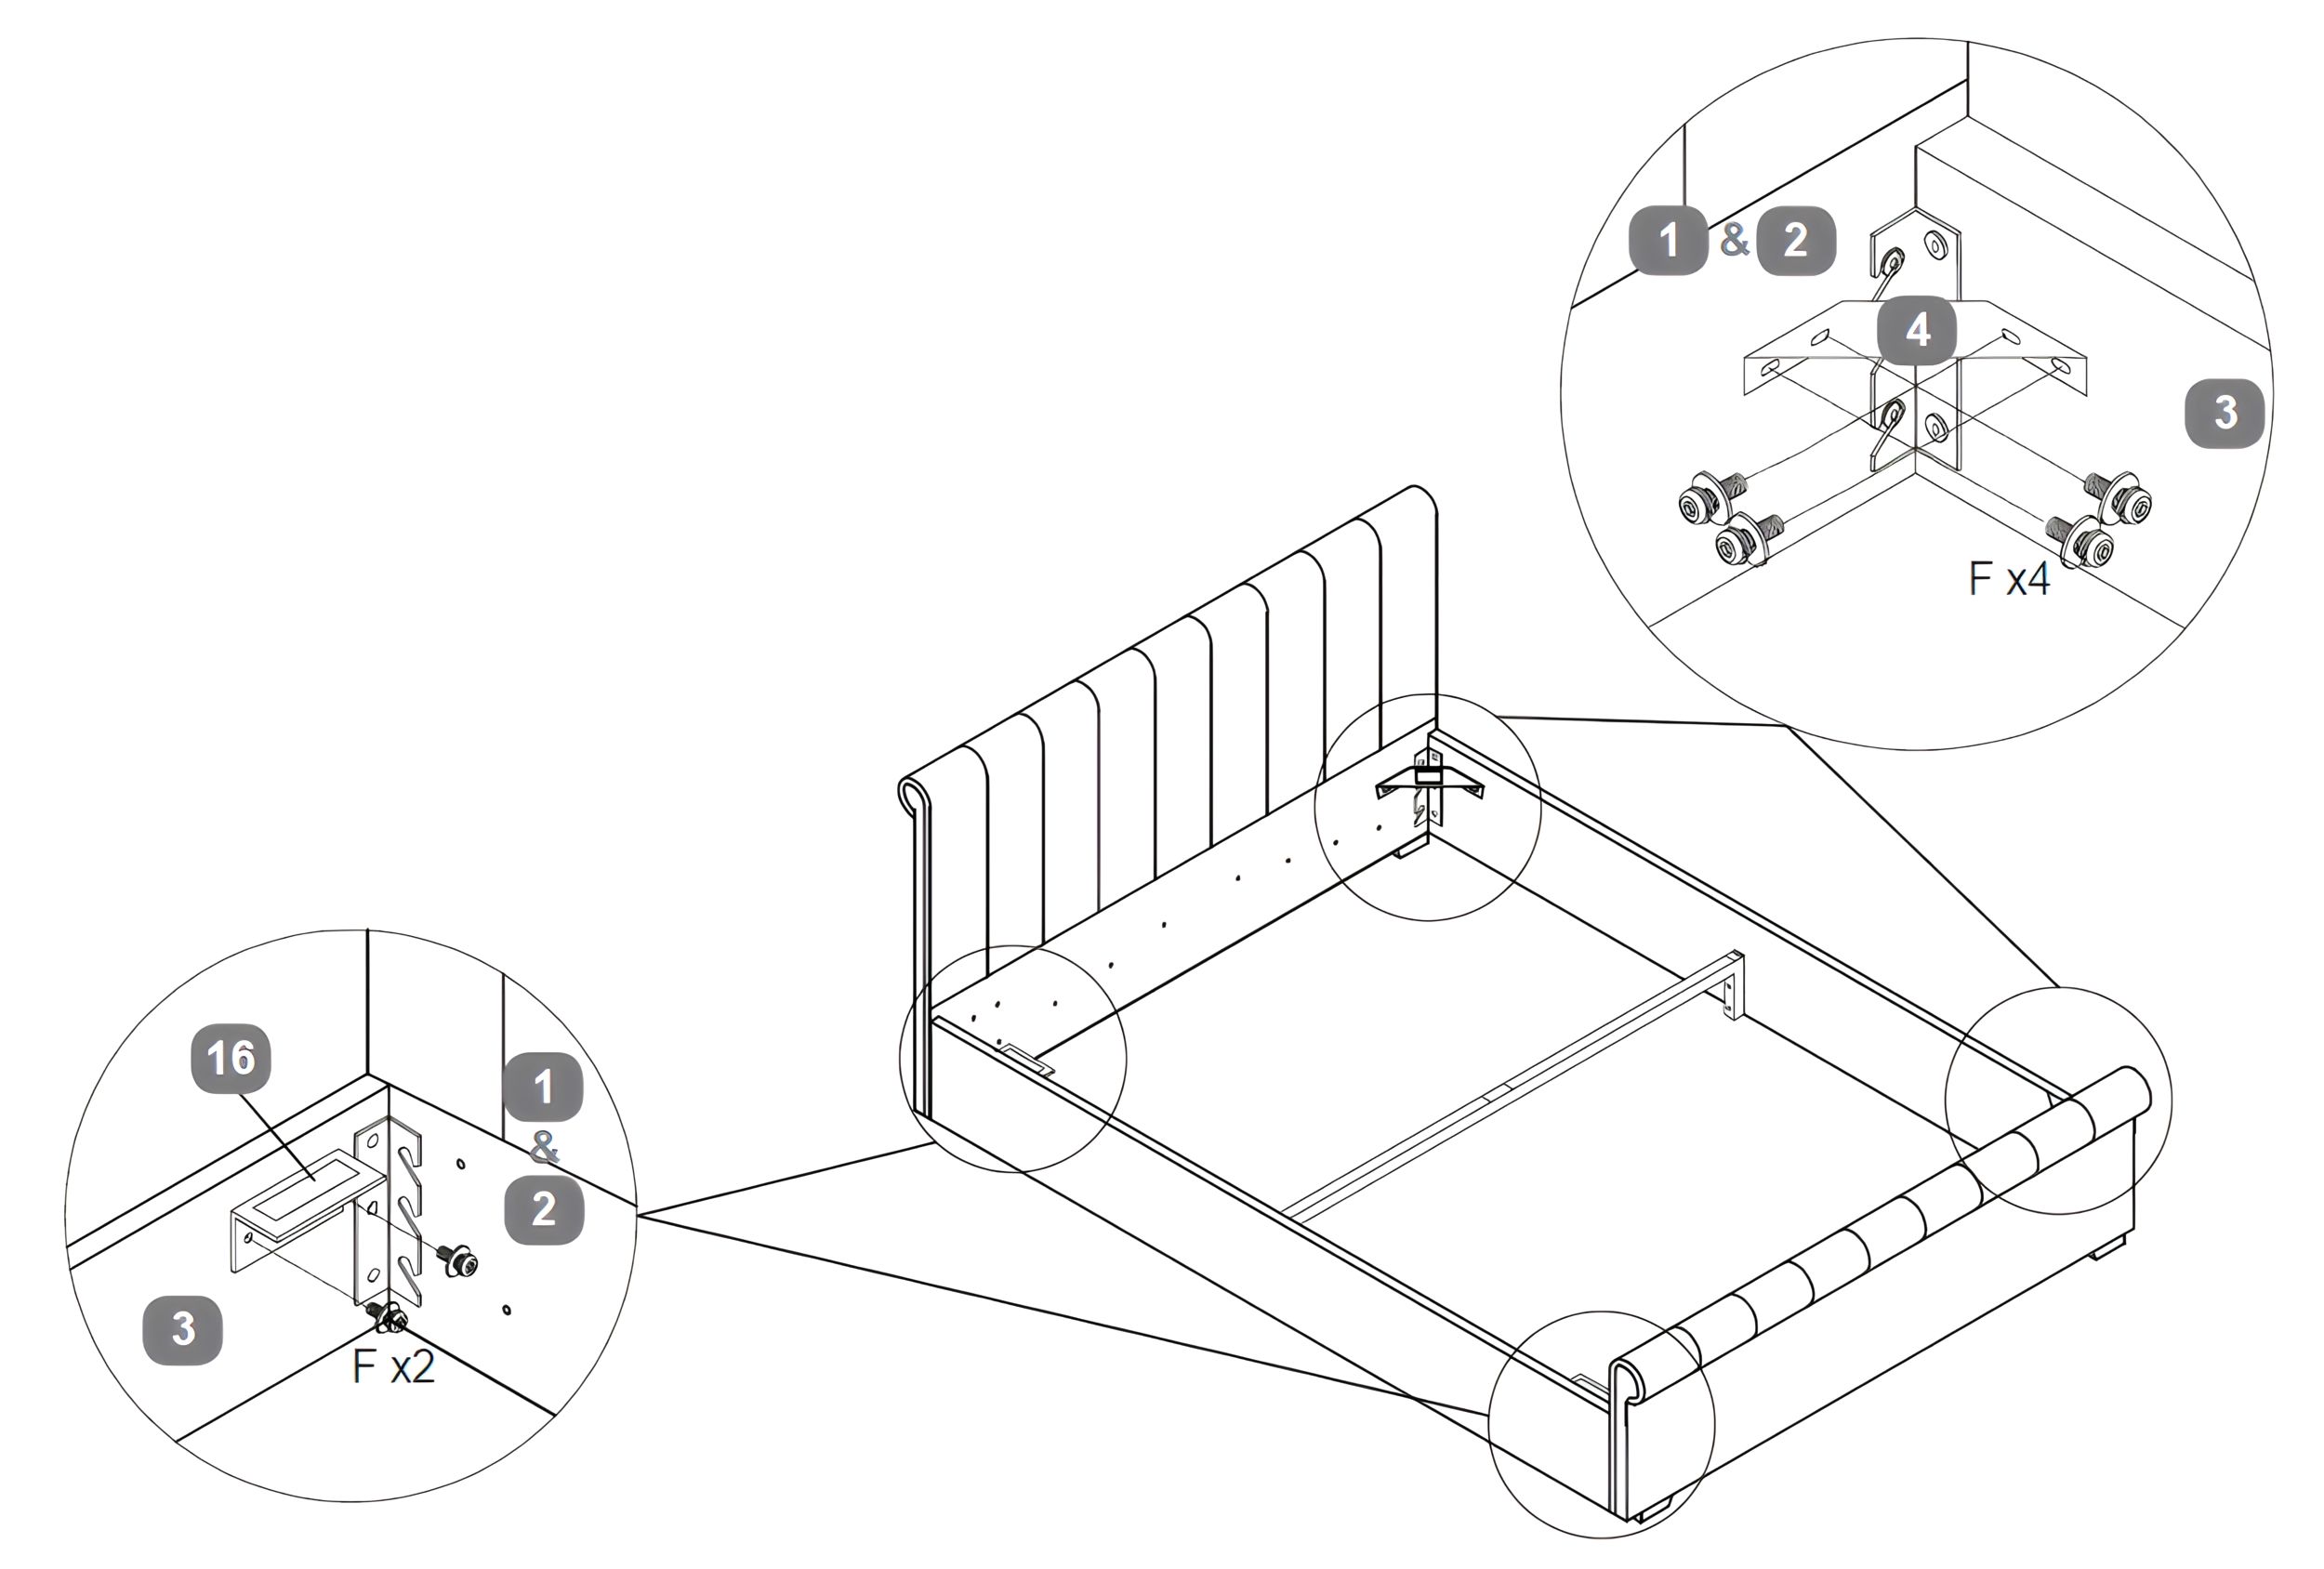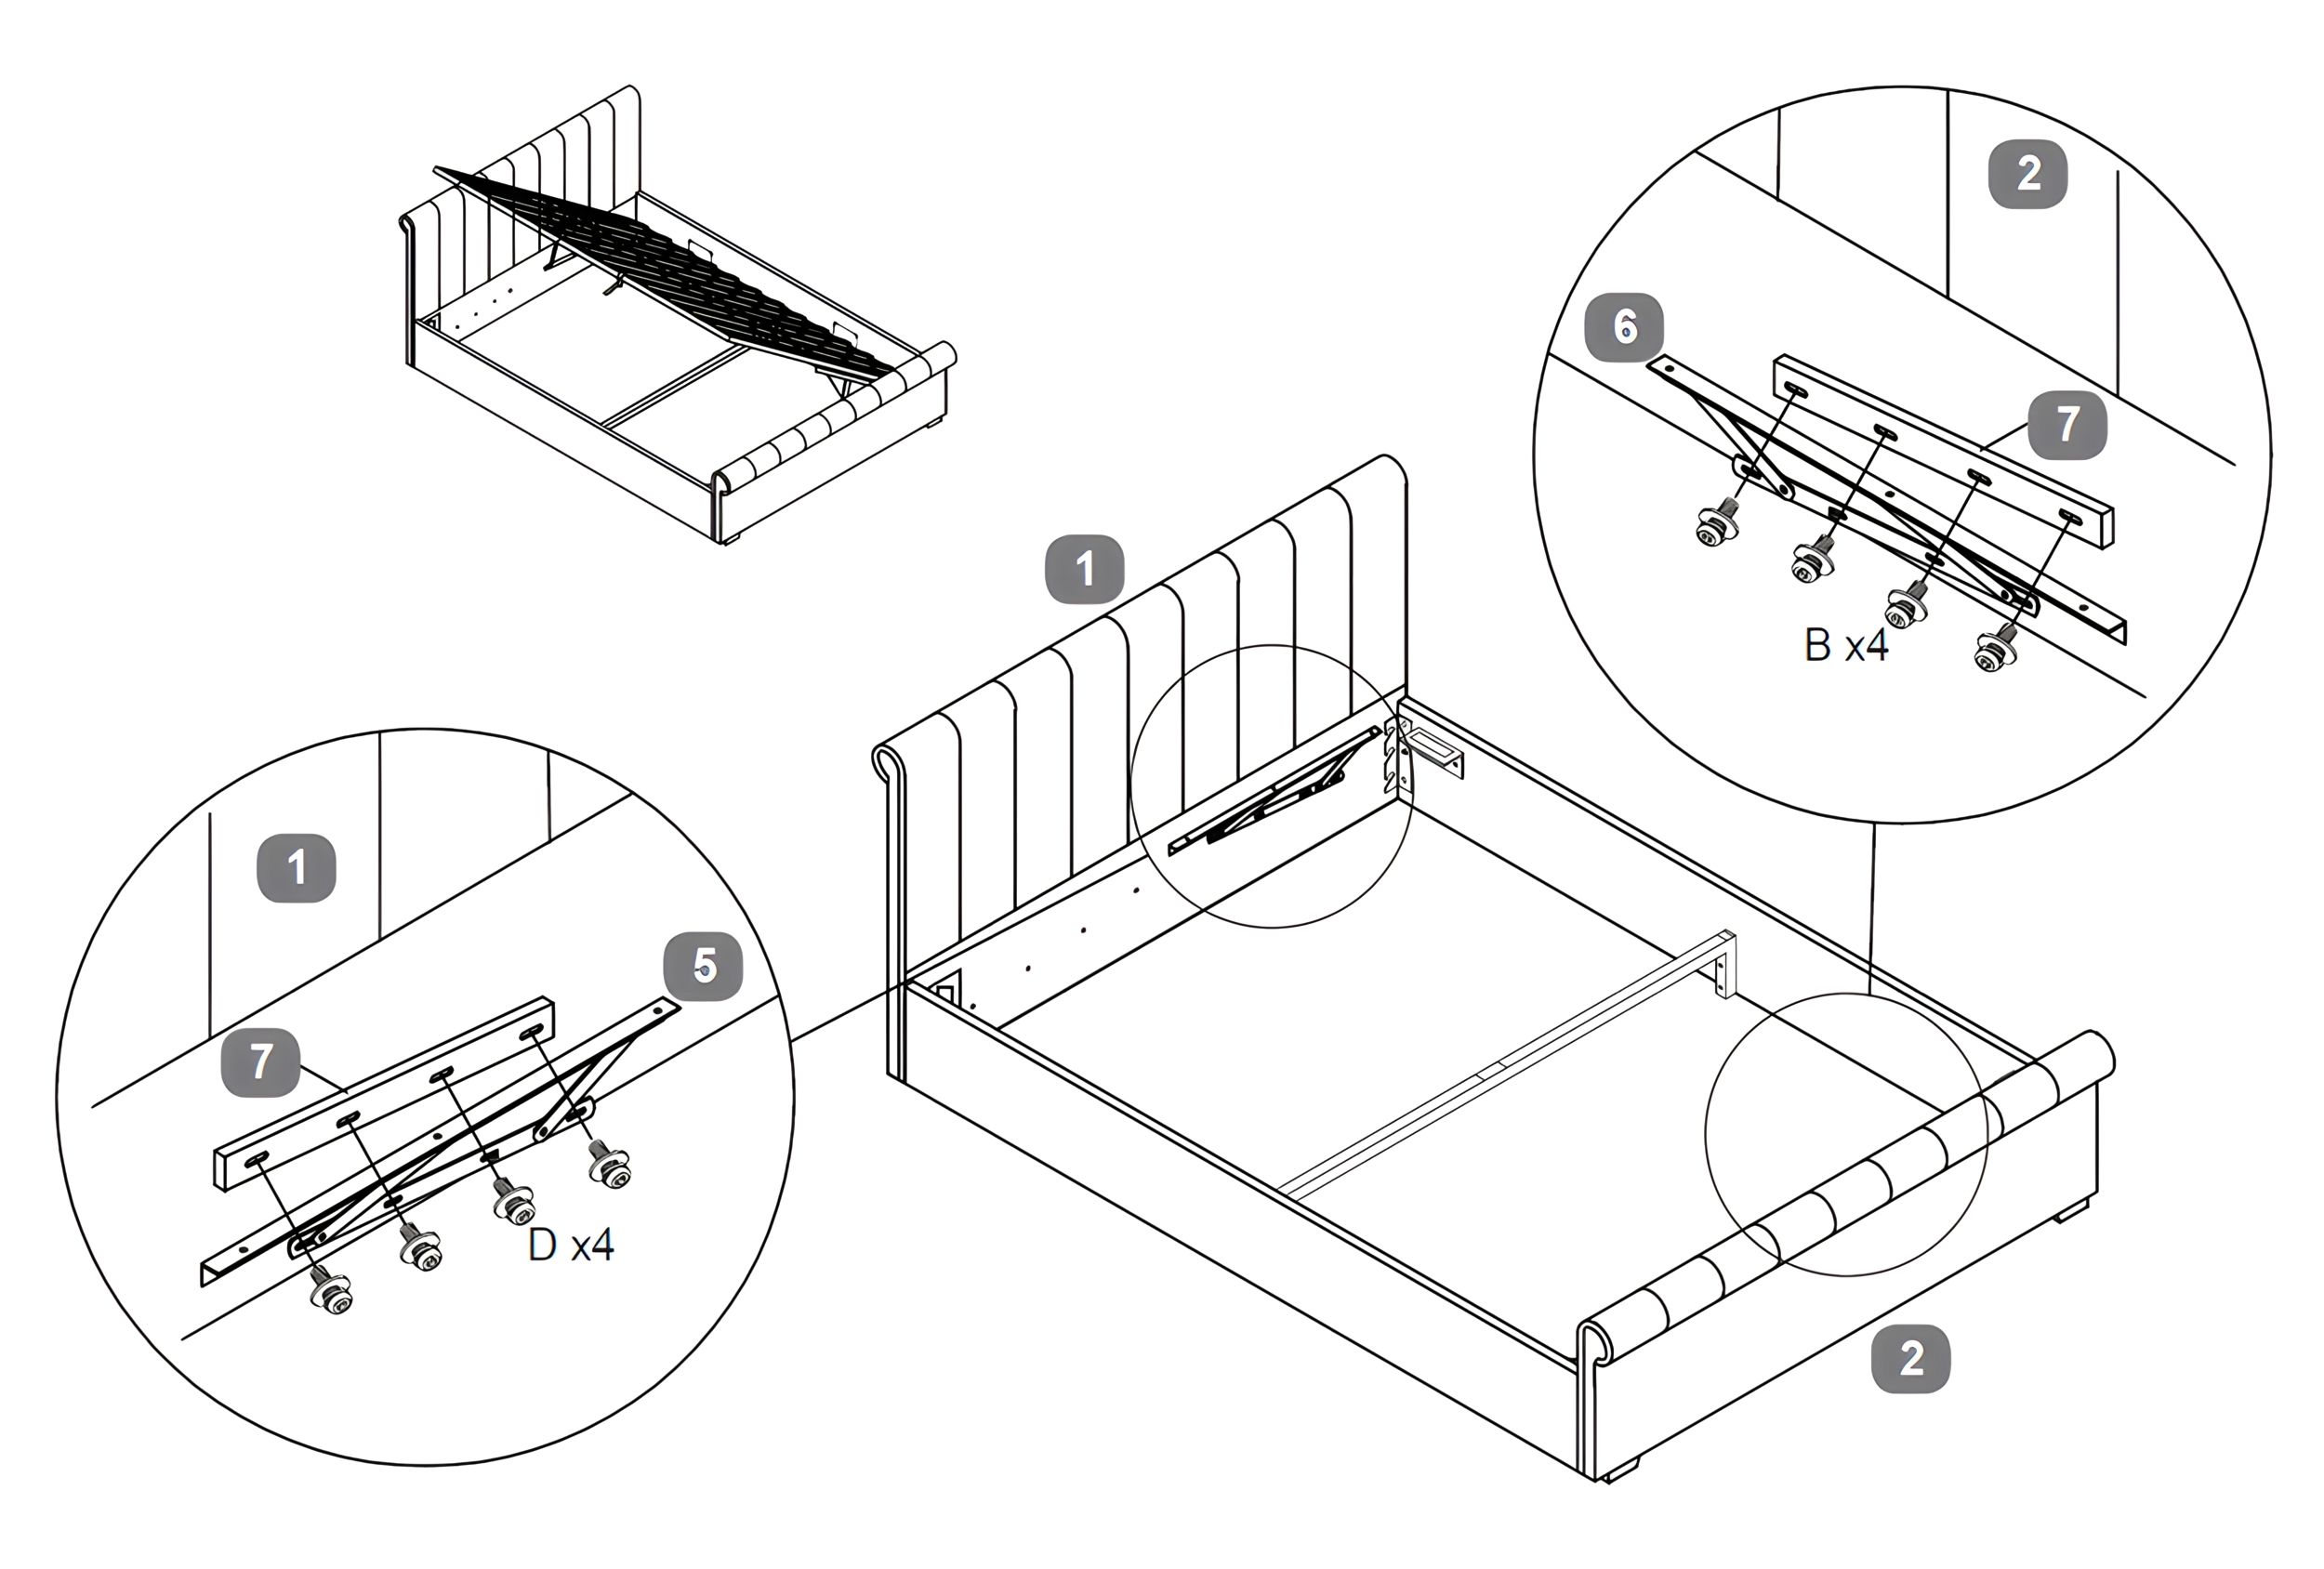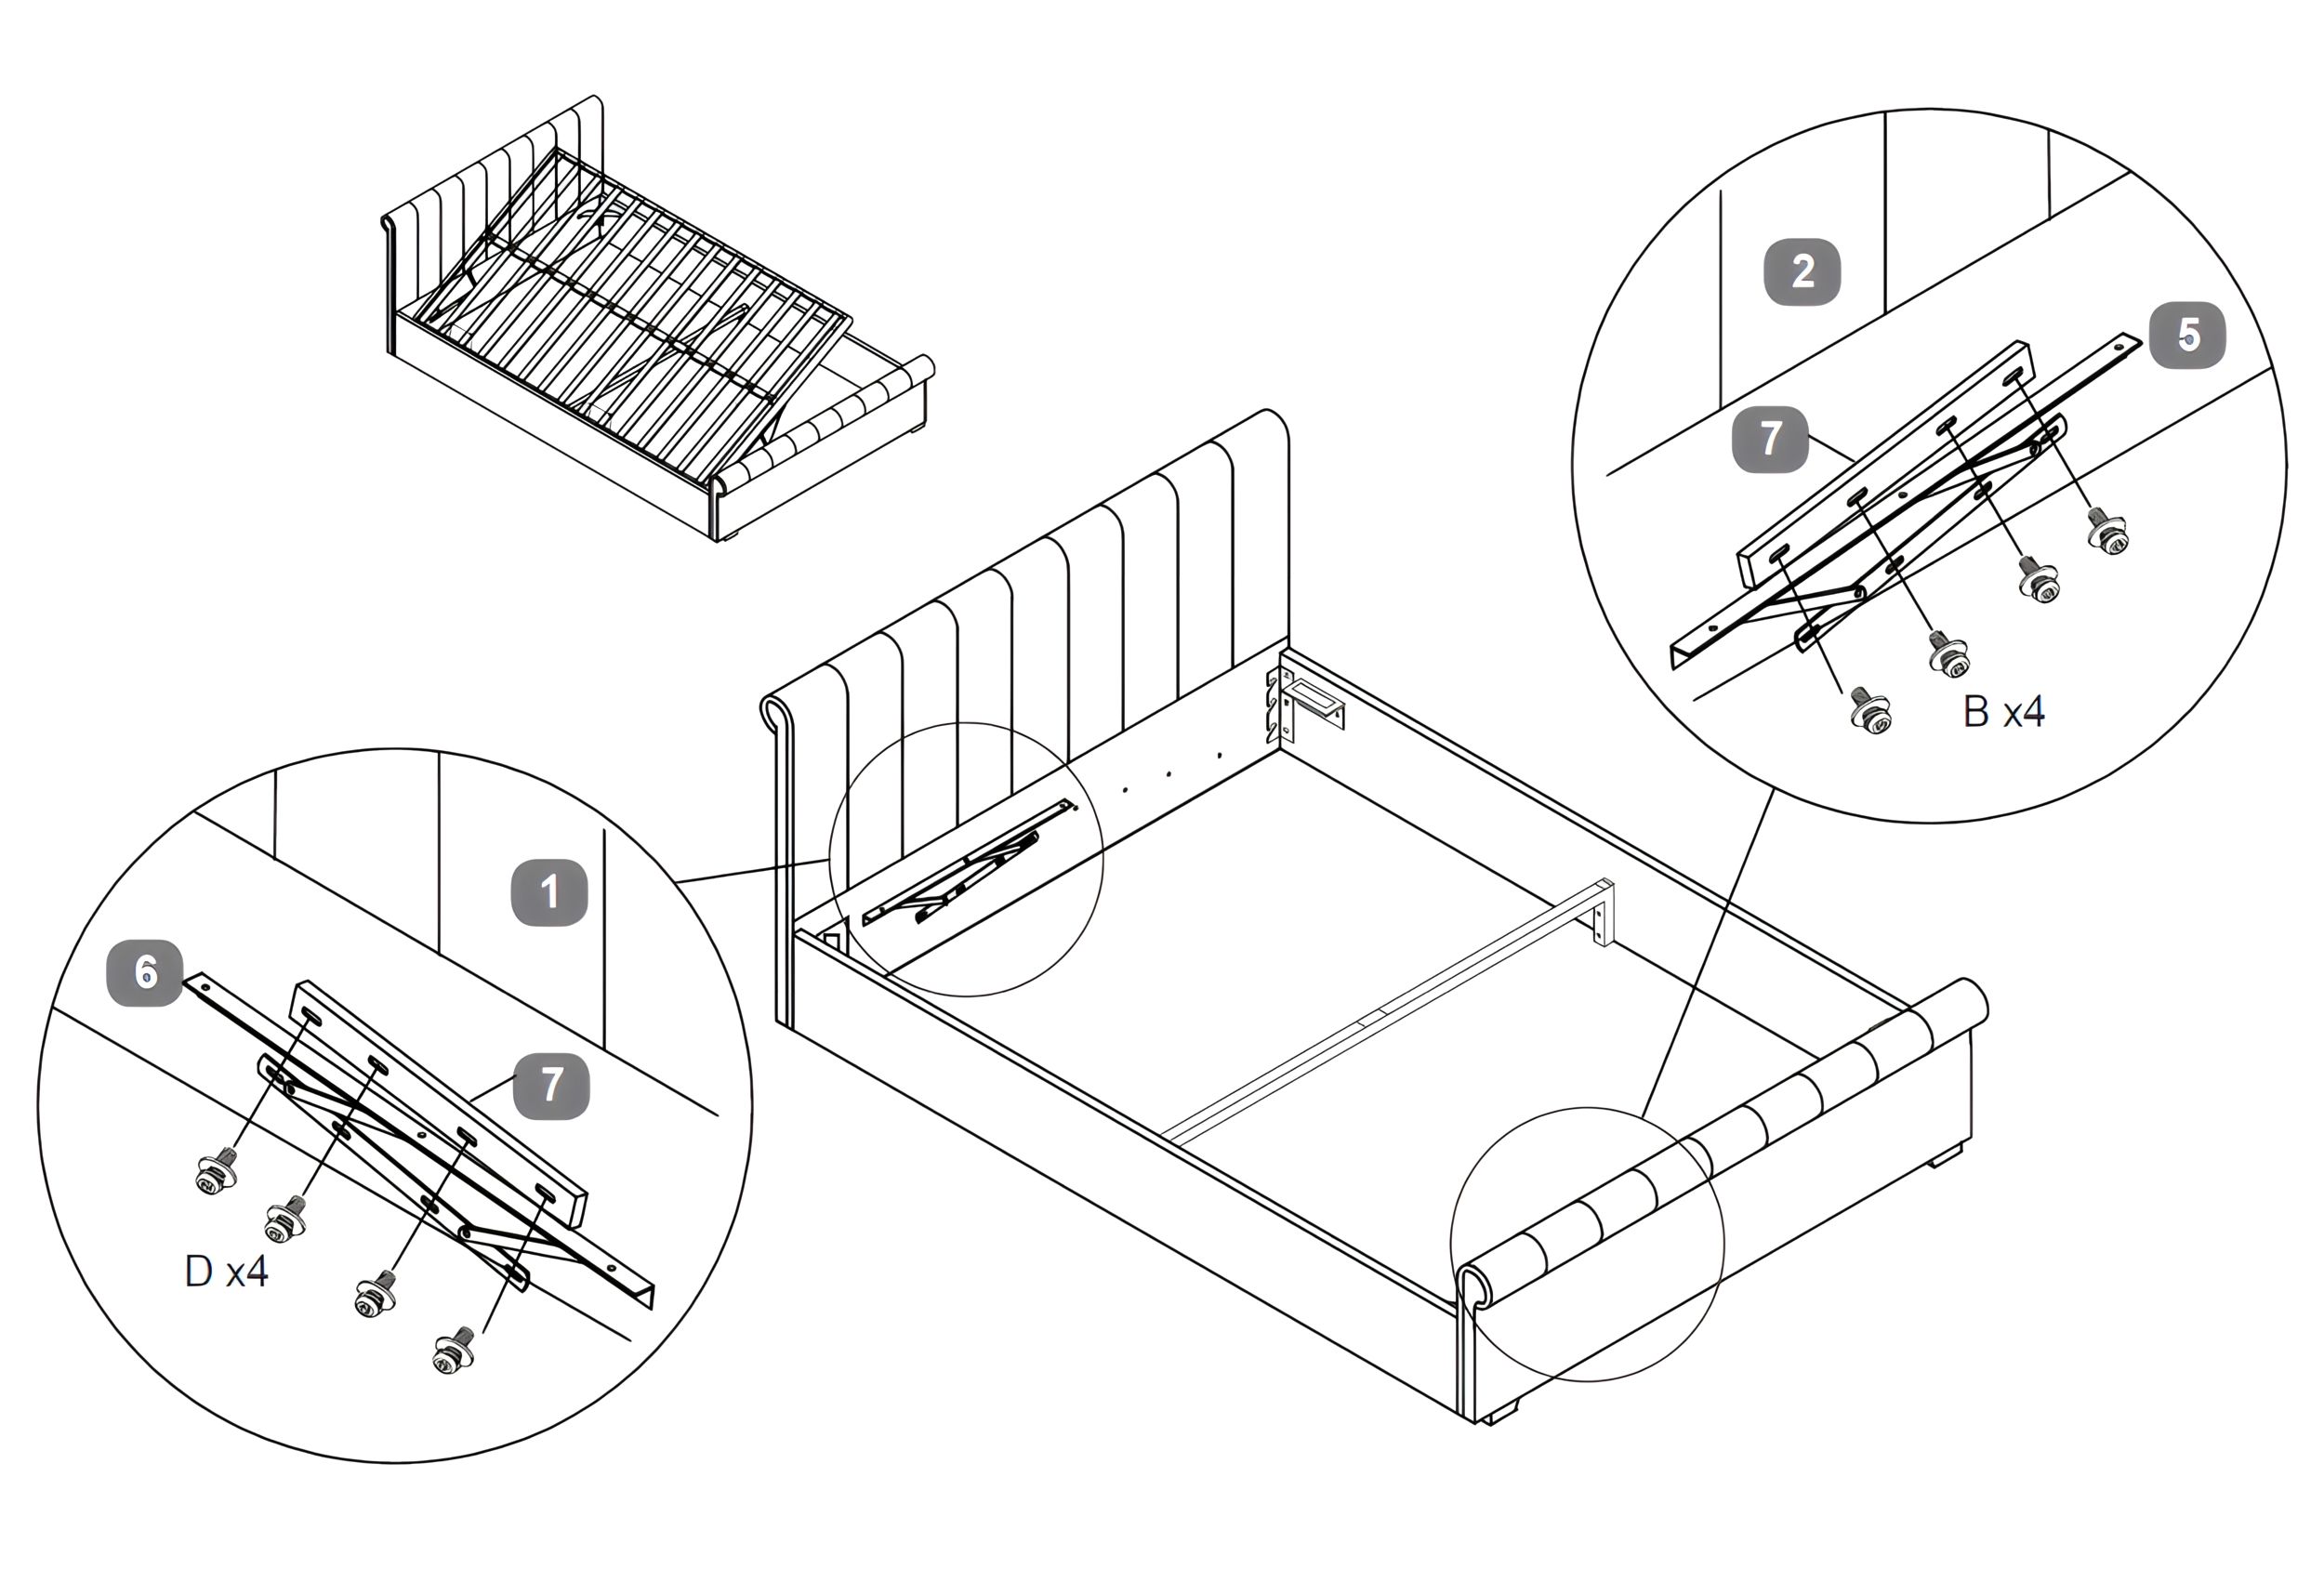
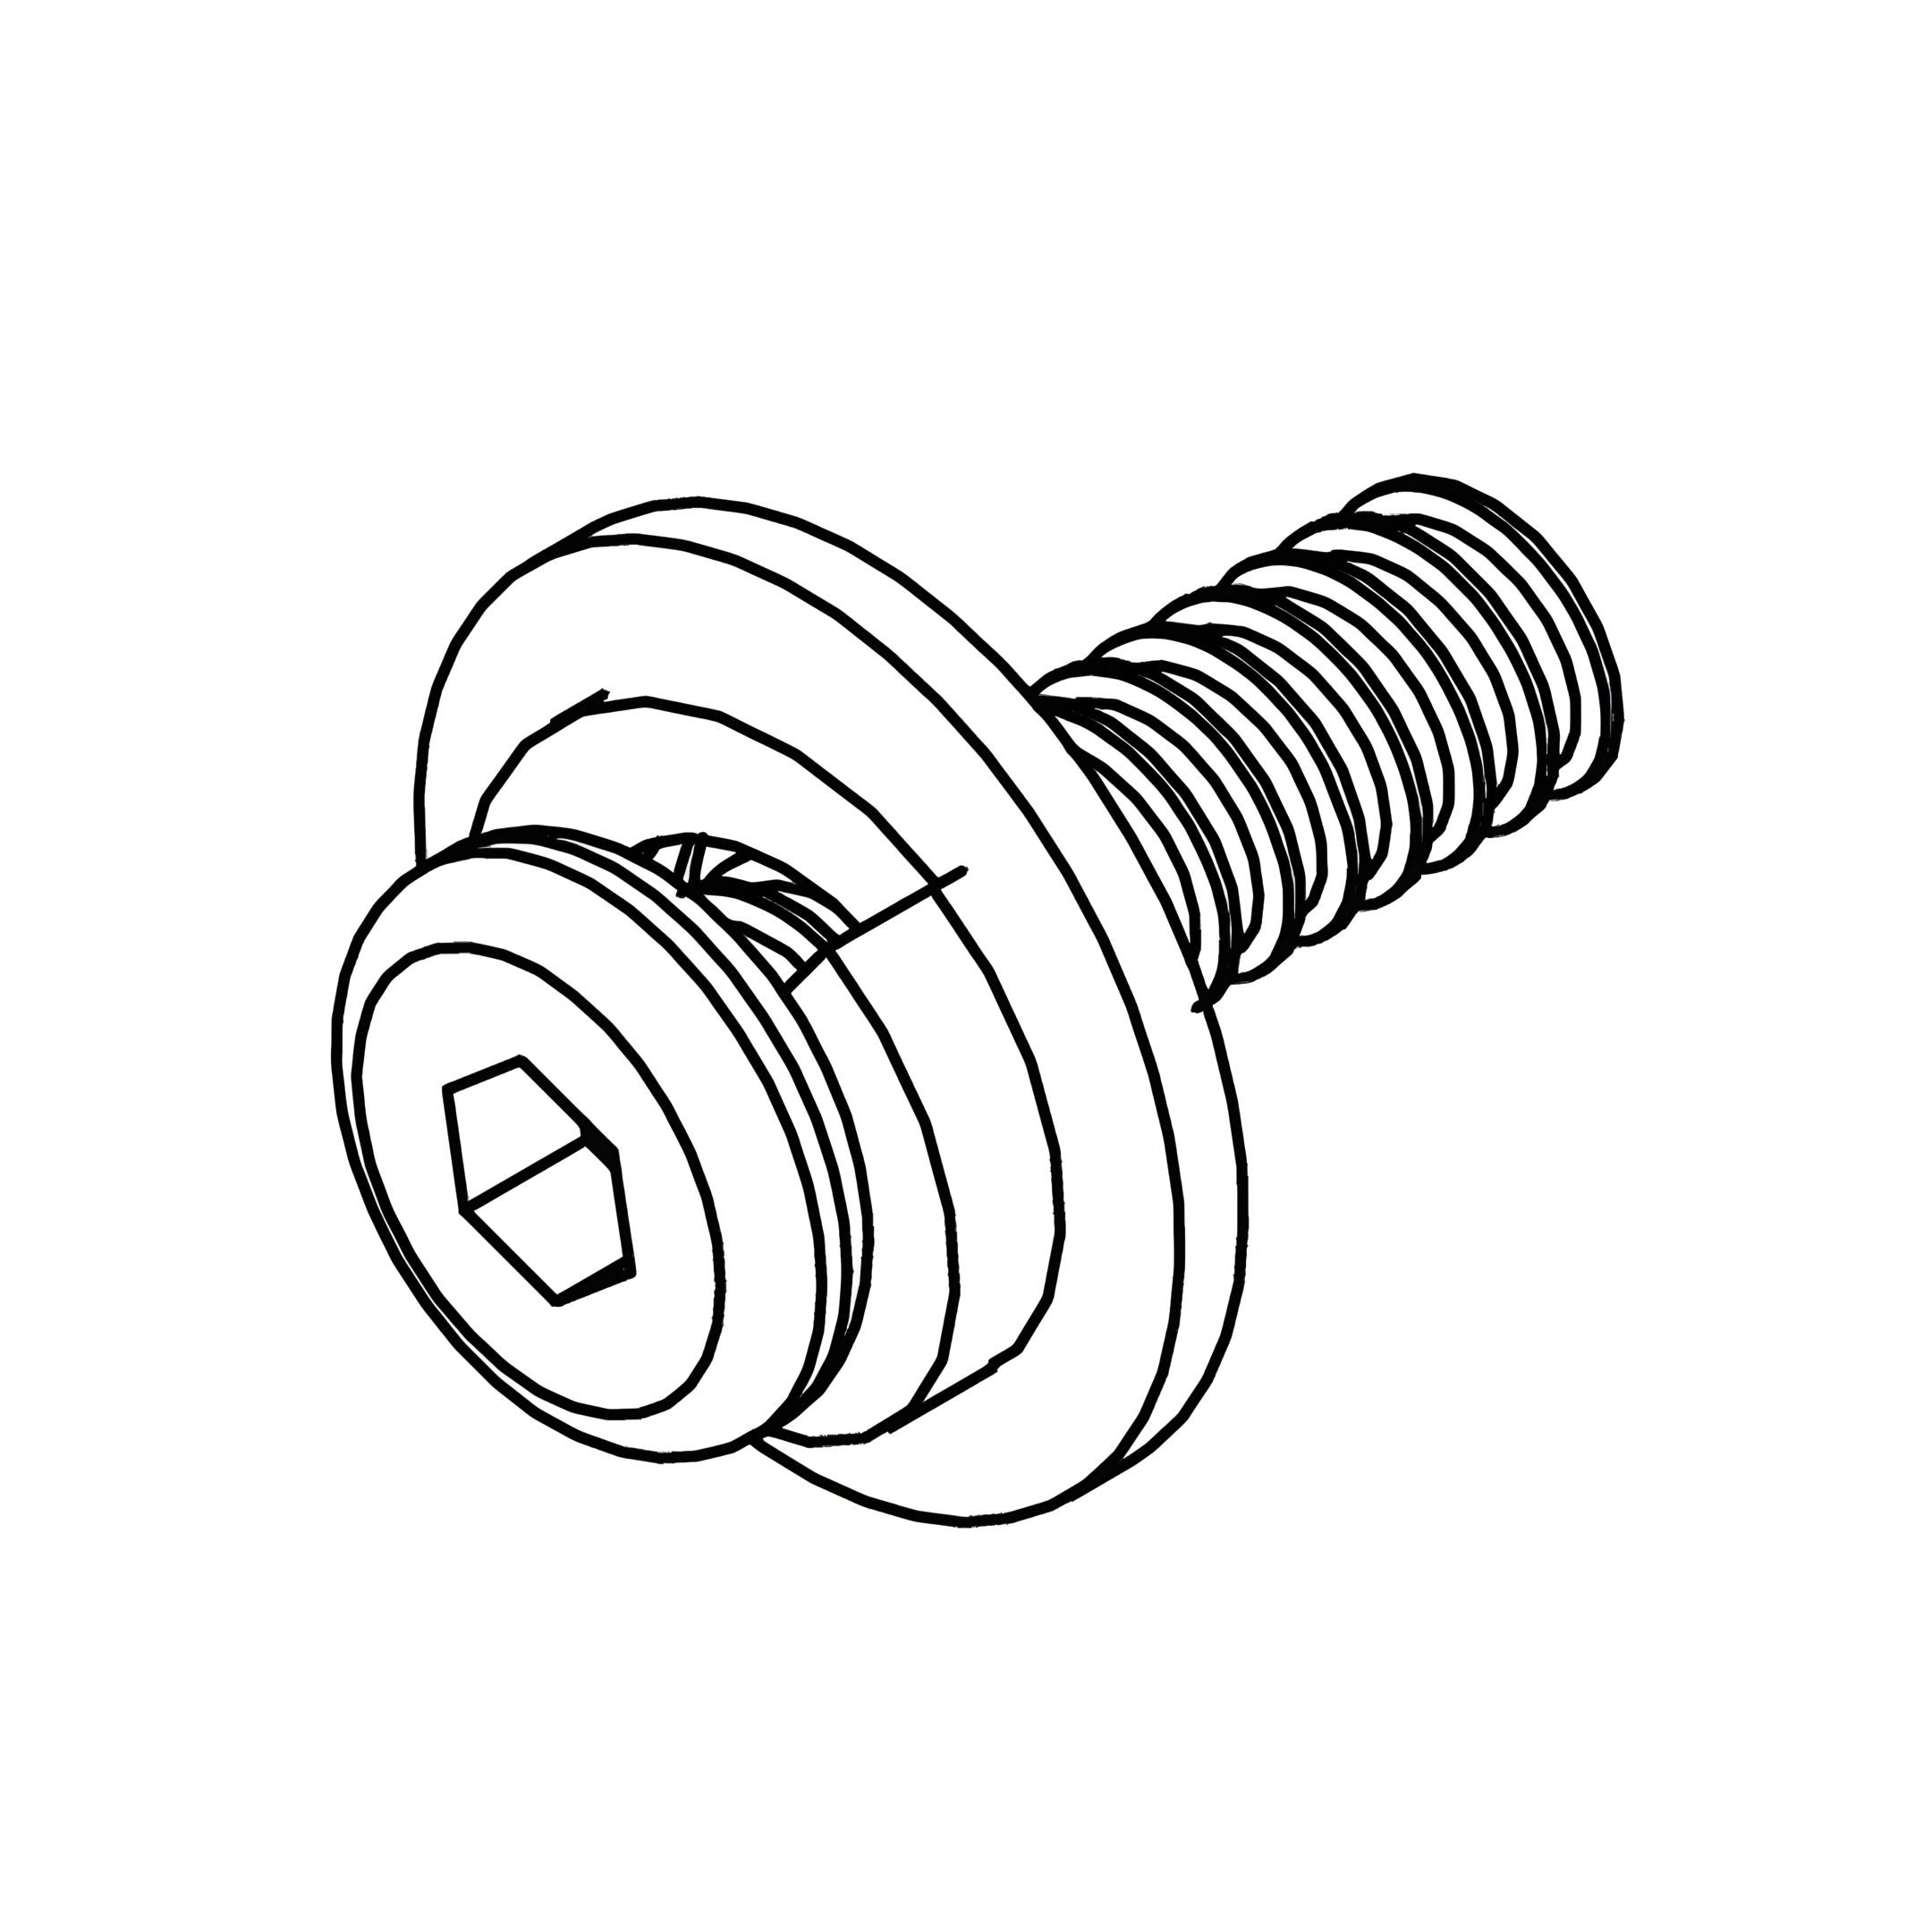


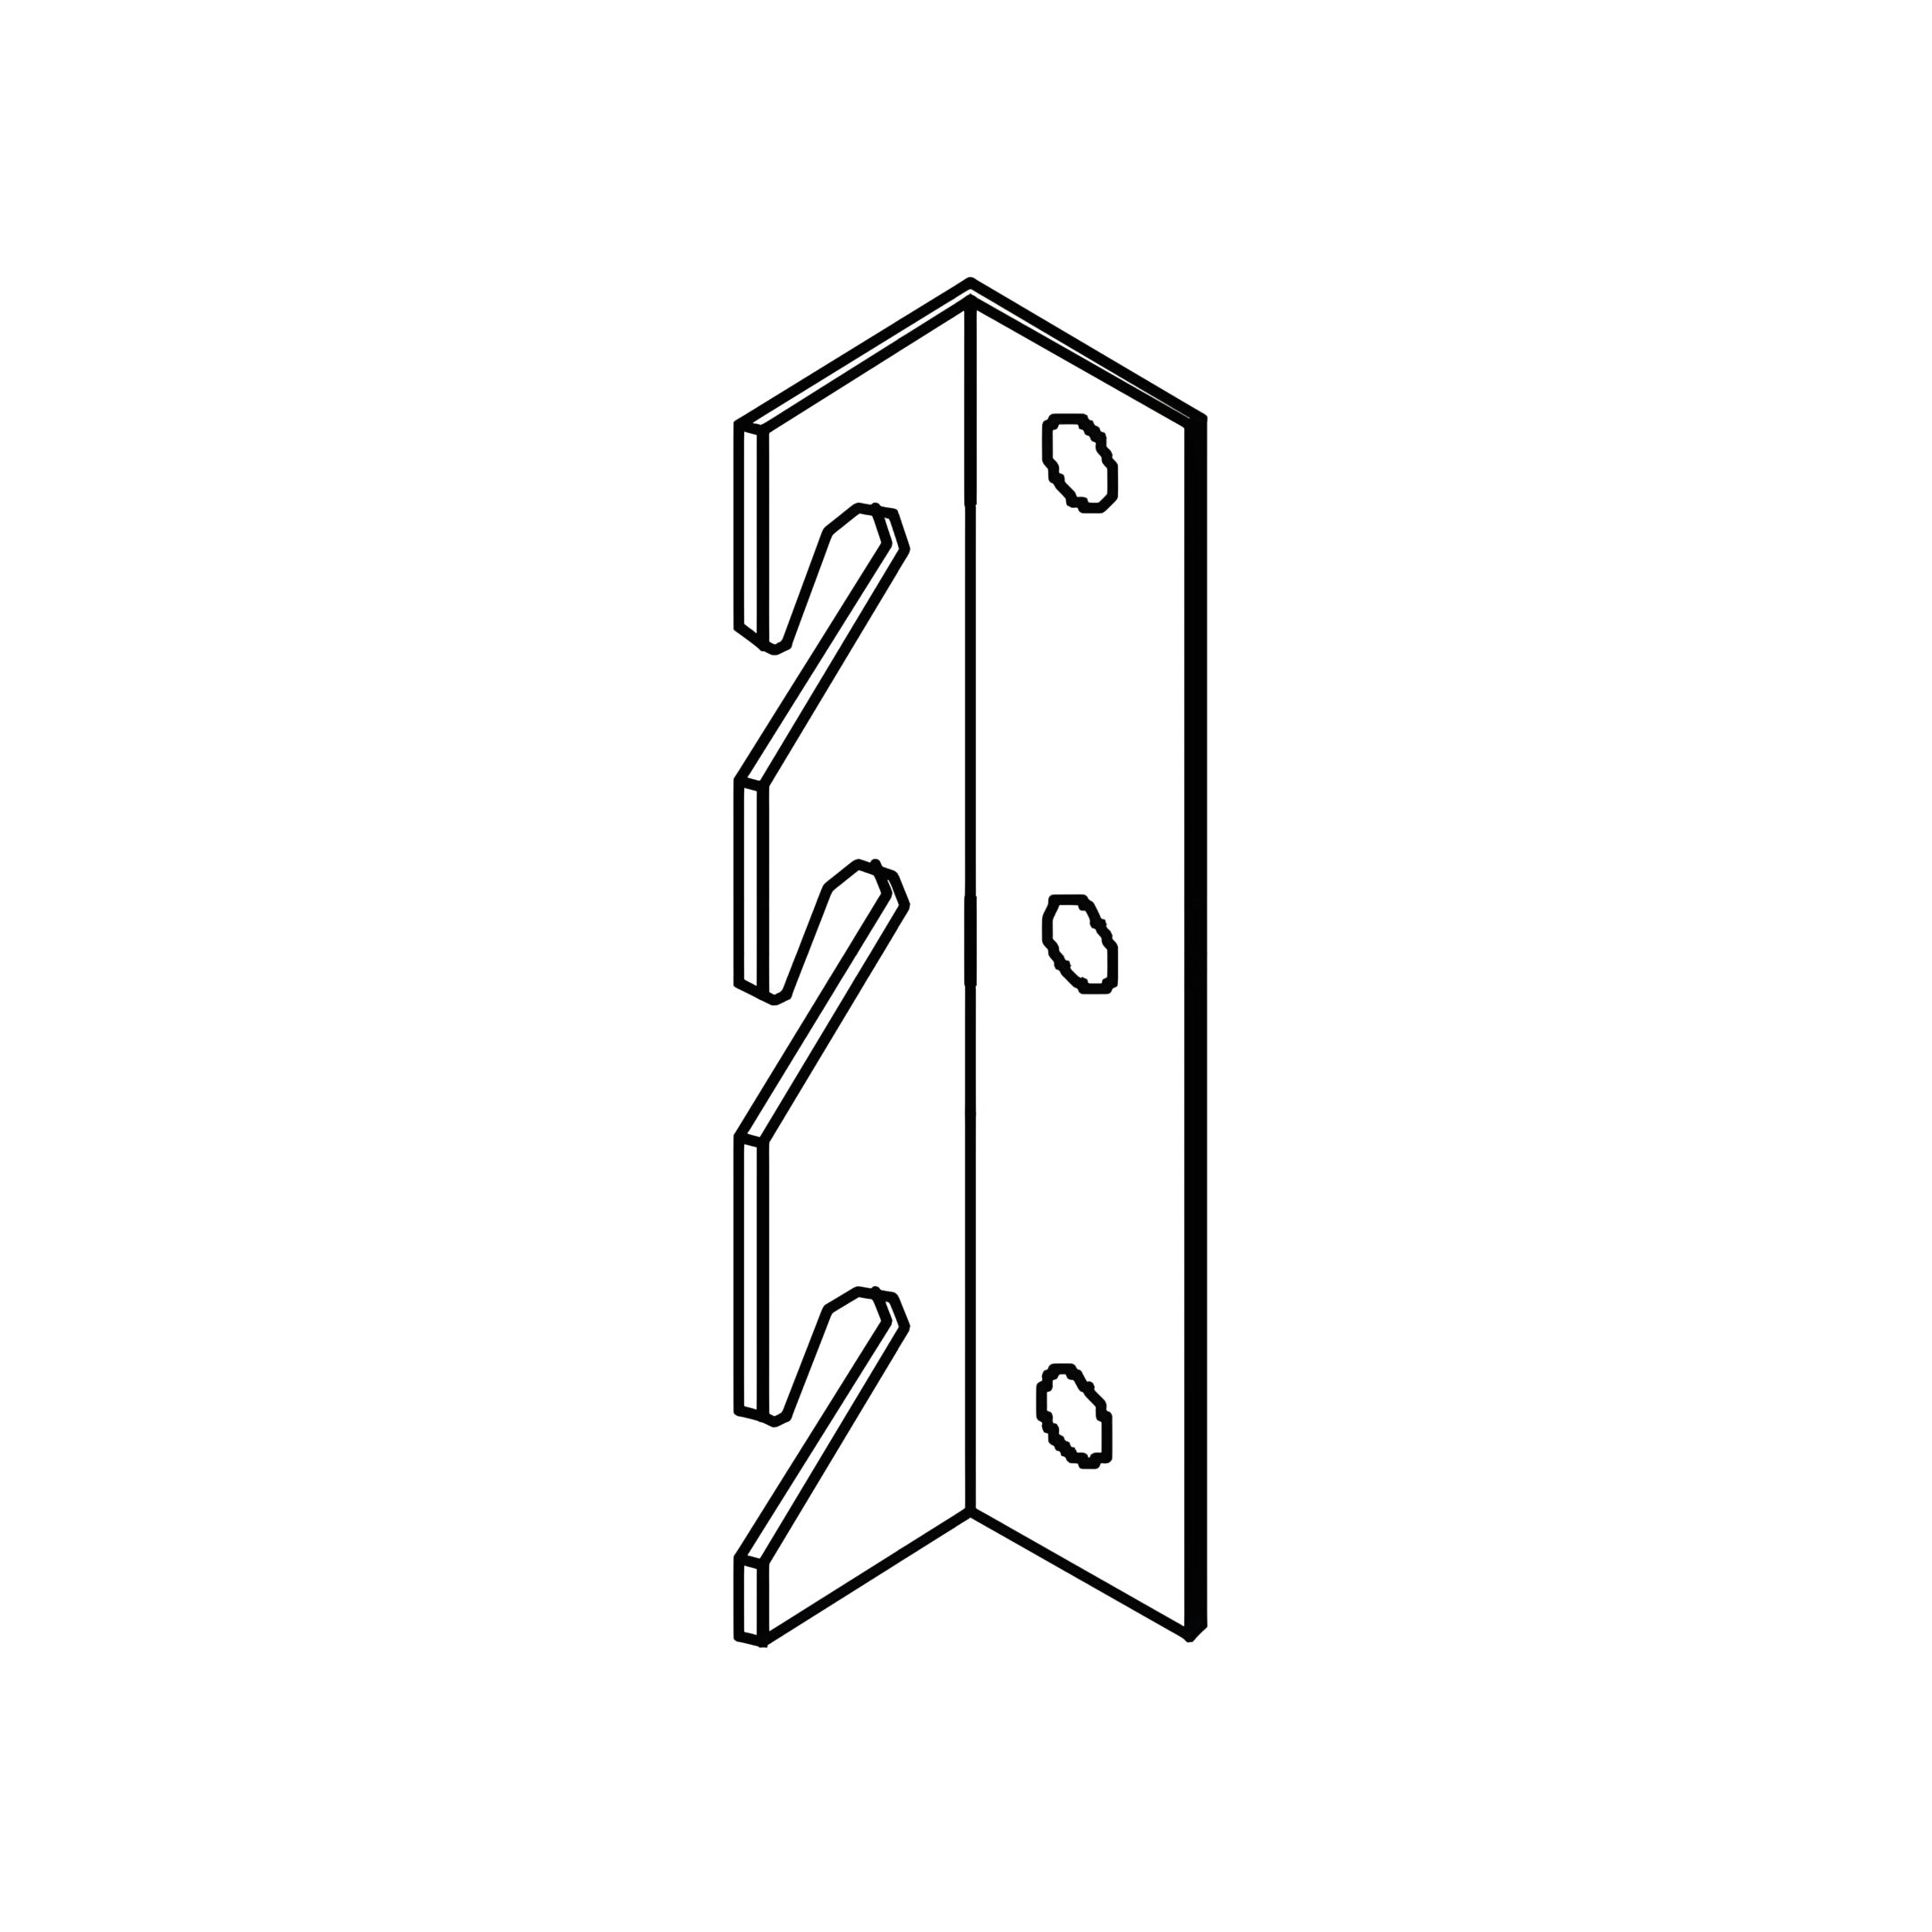
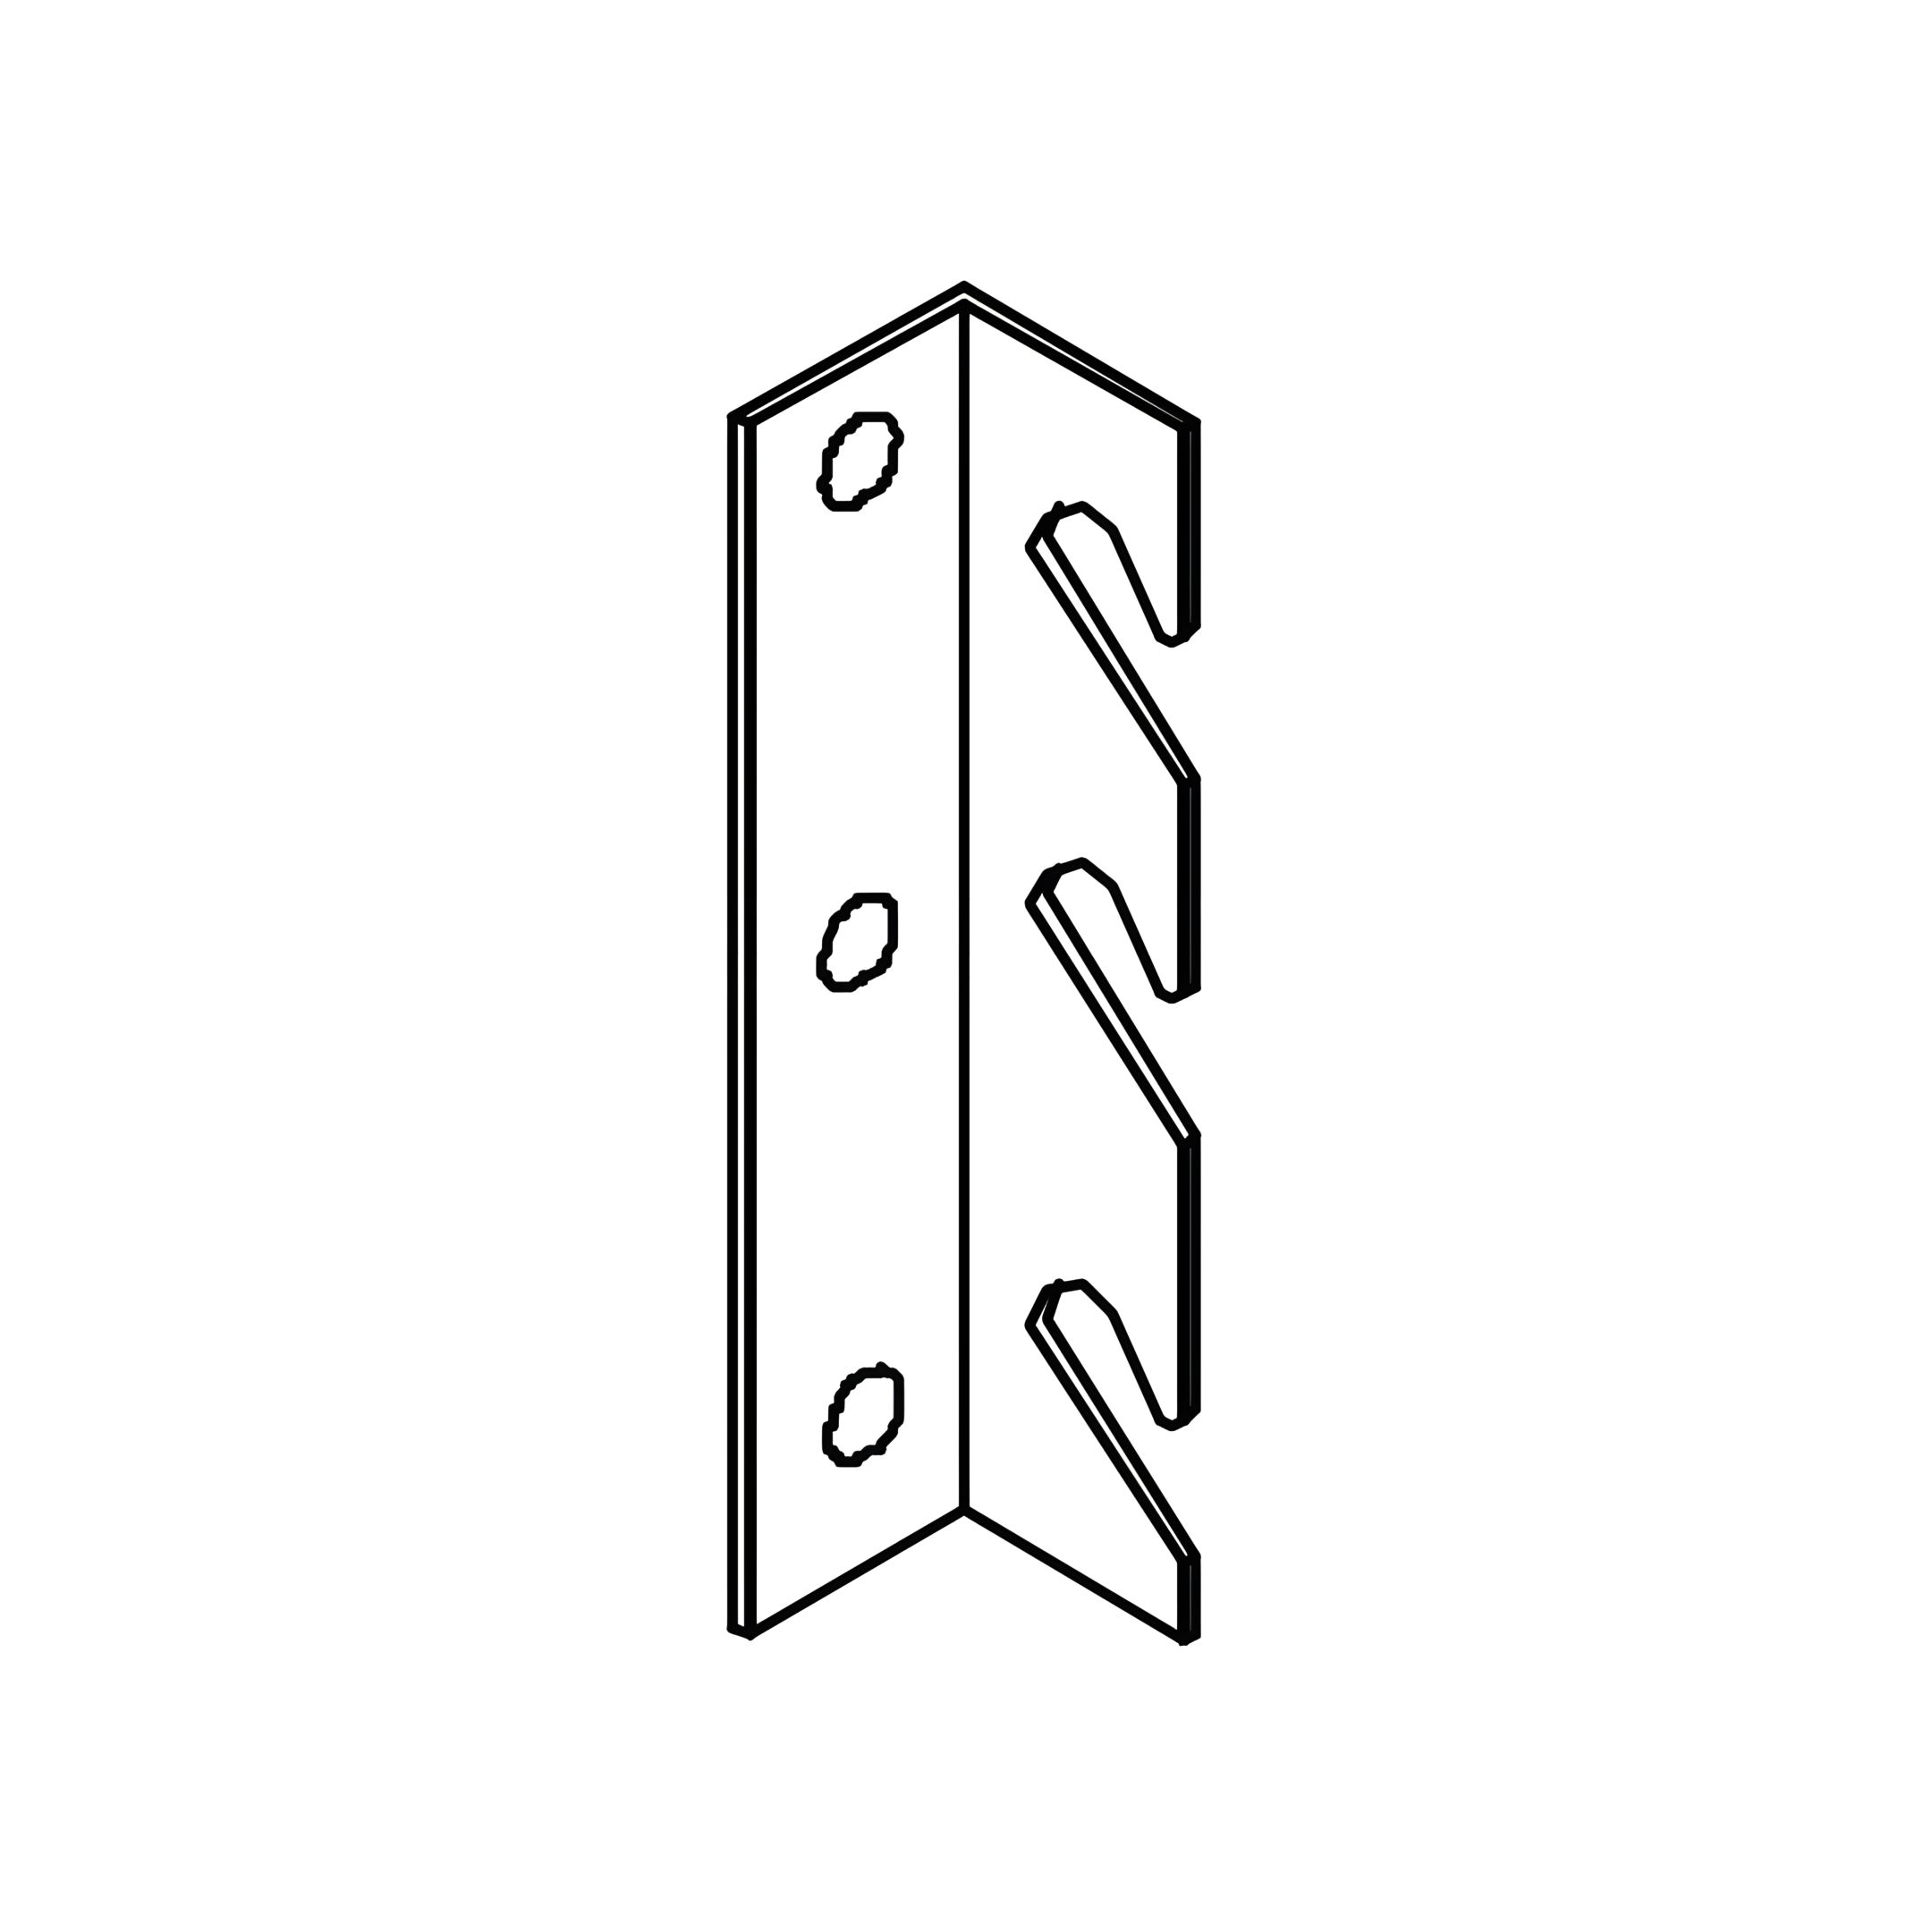
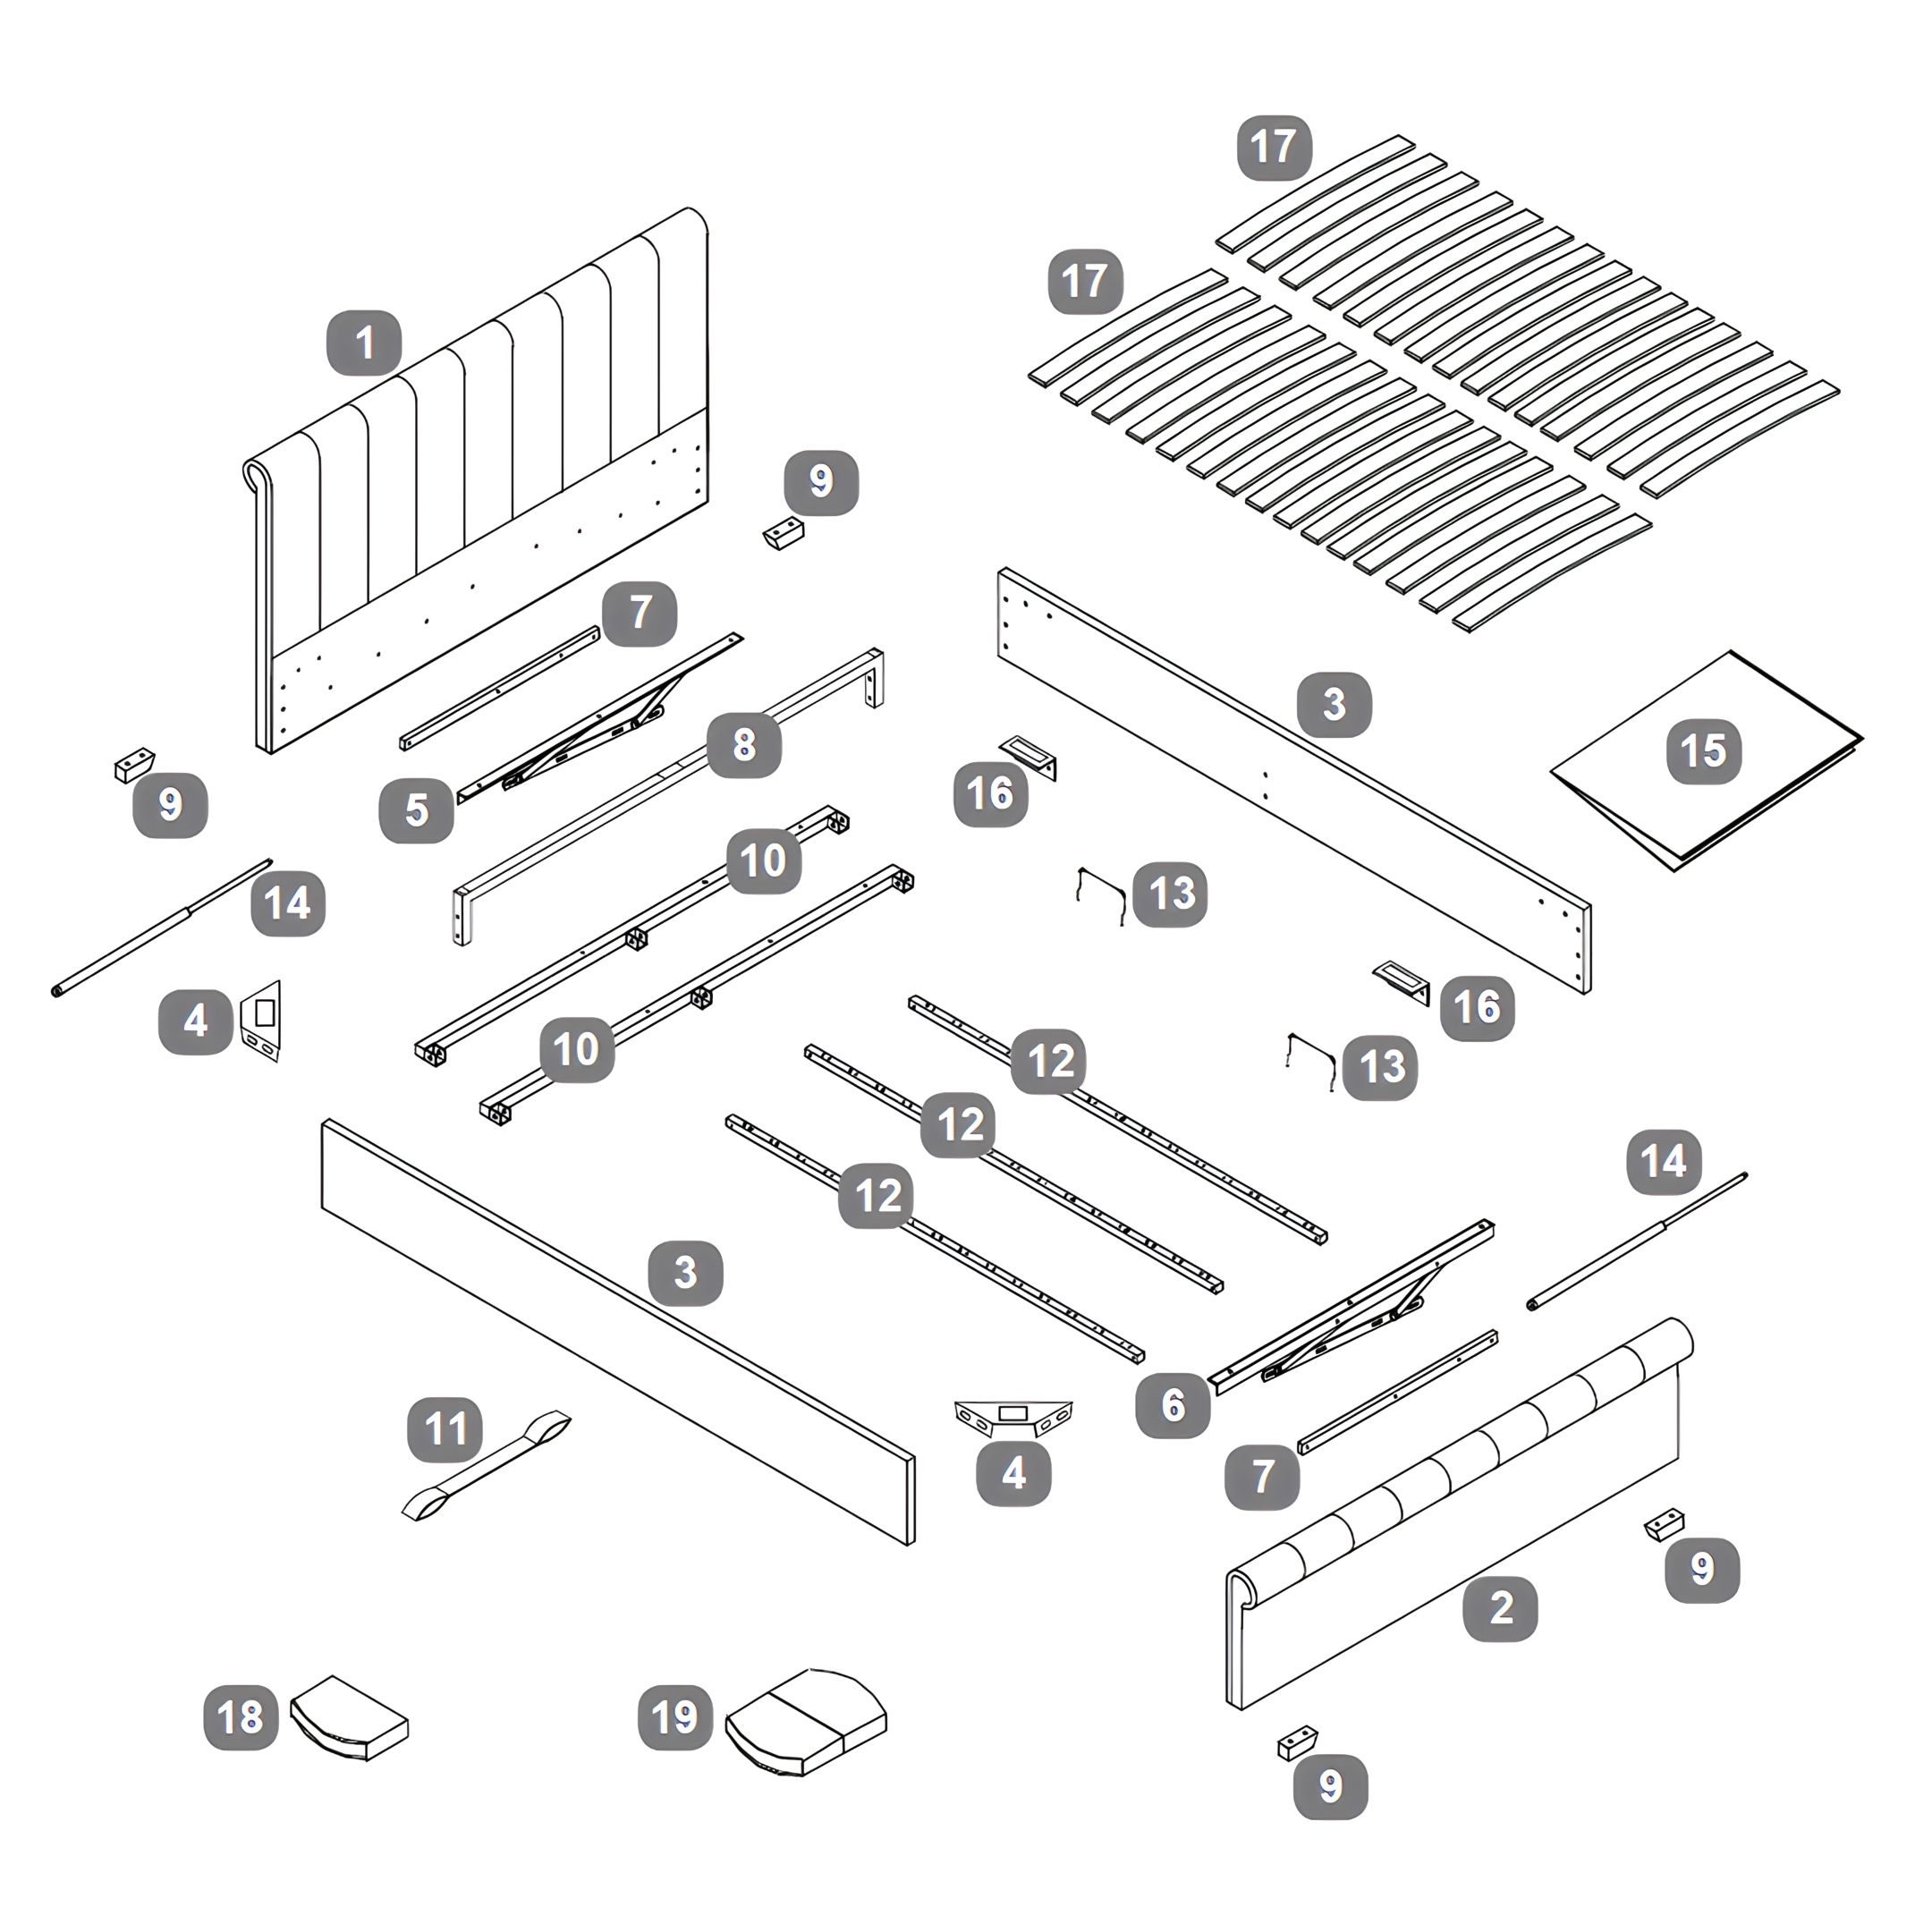
1. Attach Feet to the Headboard and Footboard
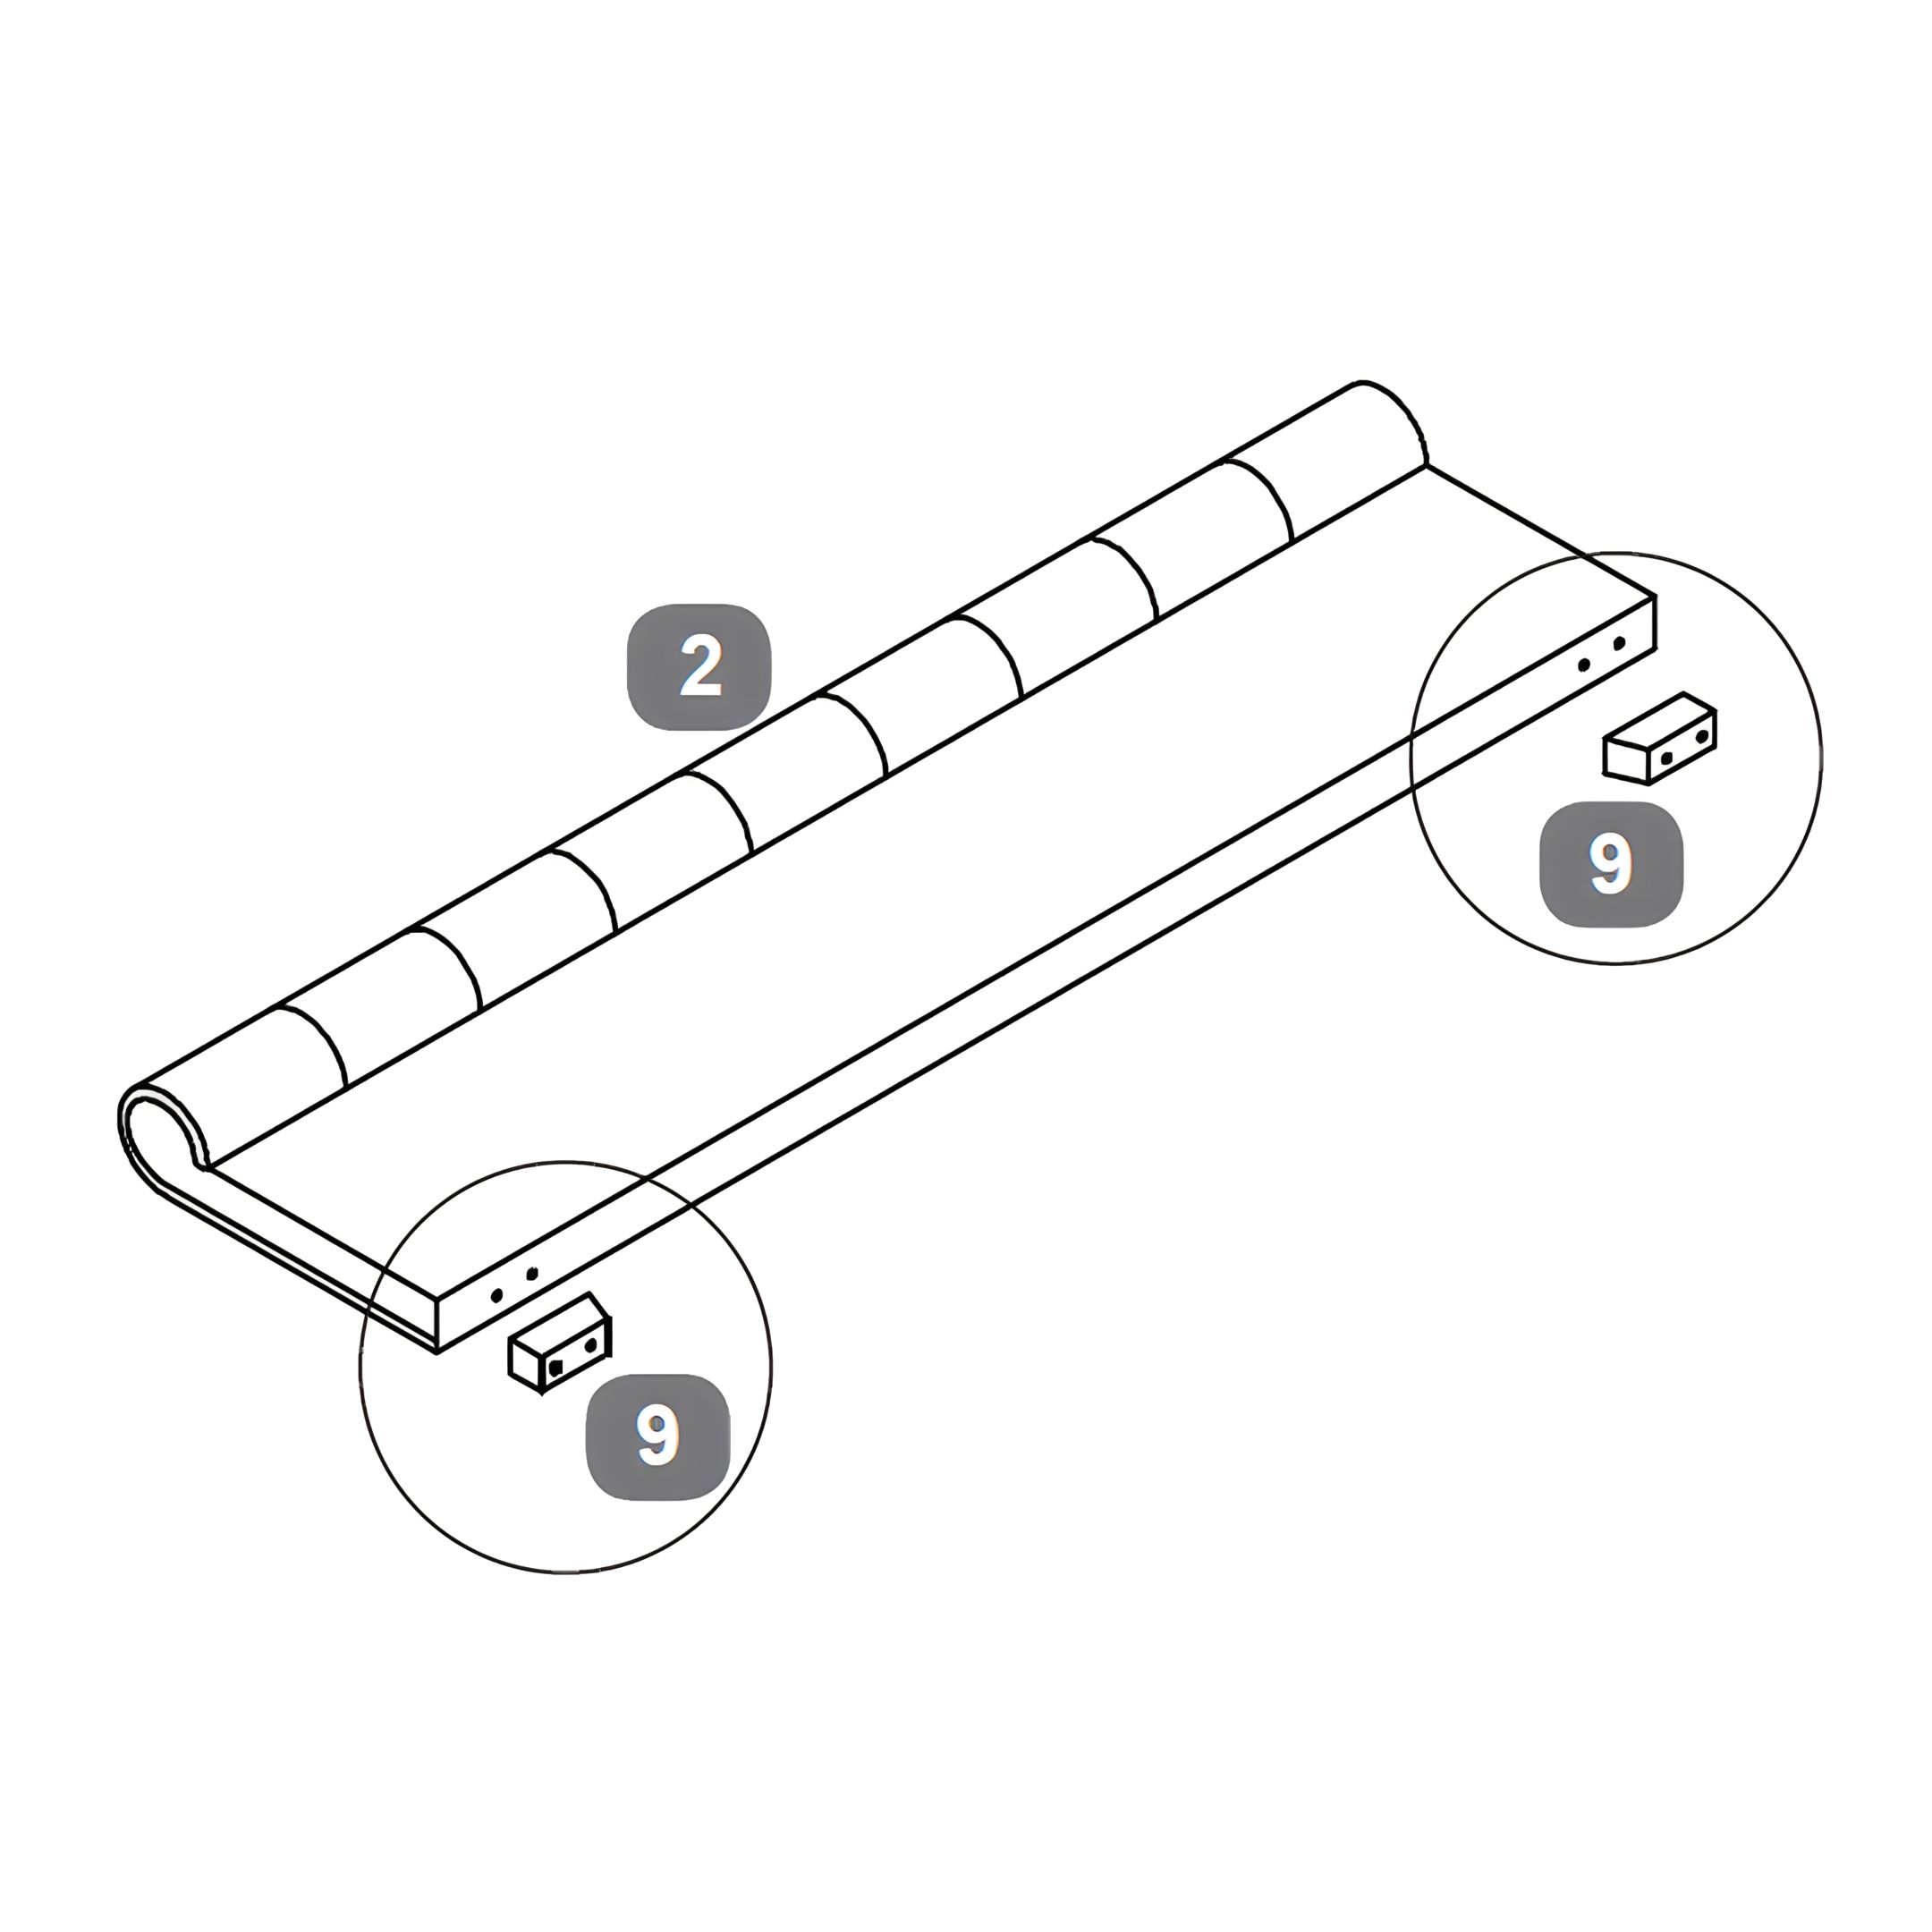
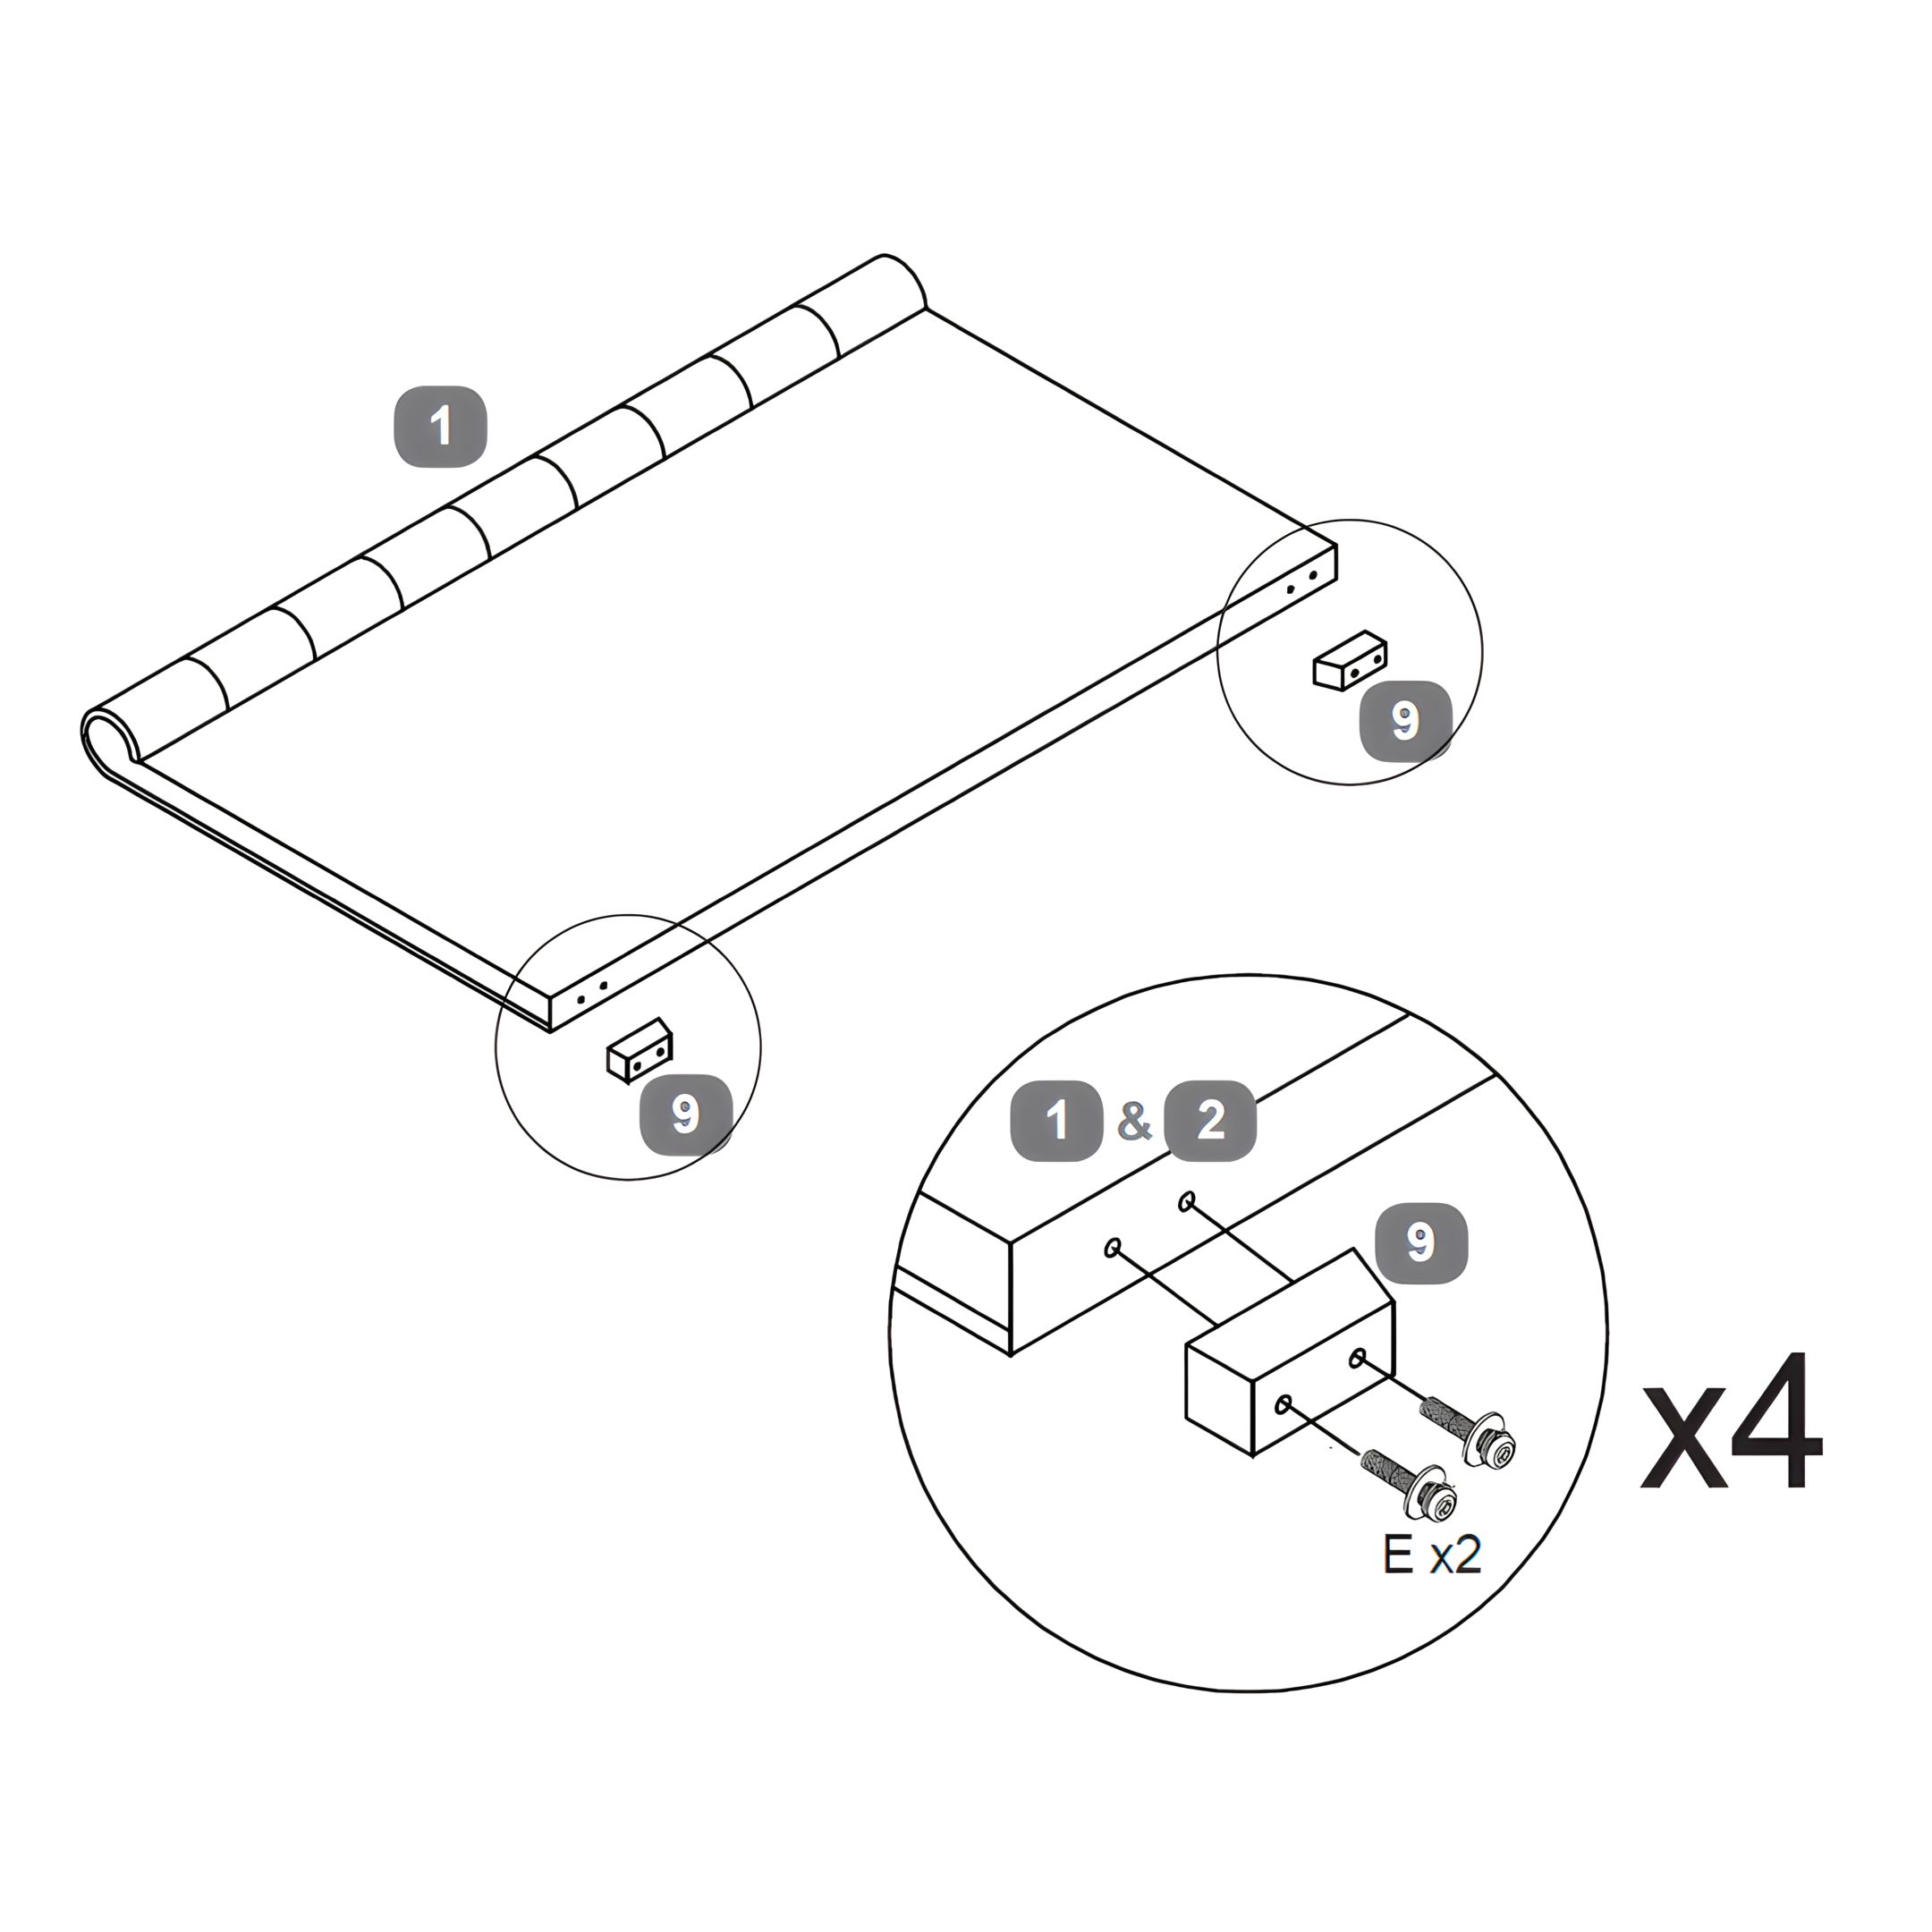
1. Place the Headboard (1) and Footboard (2) on a flat surface.
2. Align the Feet for Head & Footboards (9) with the pre-drilled holes on the bottom of both boards.
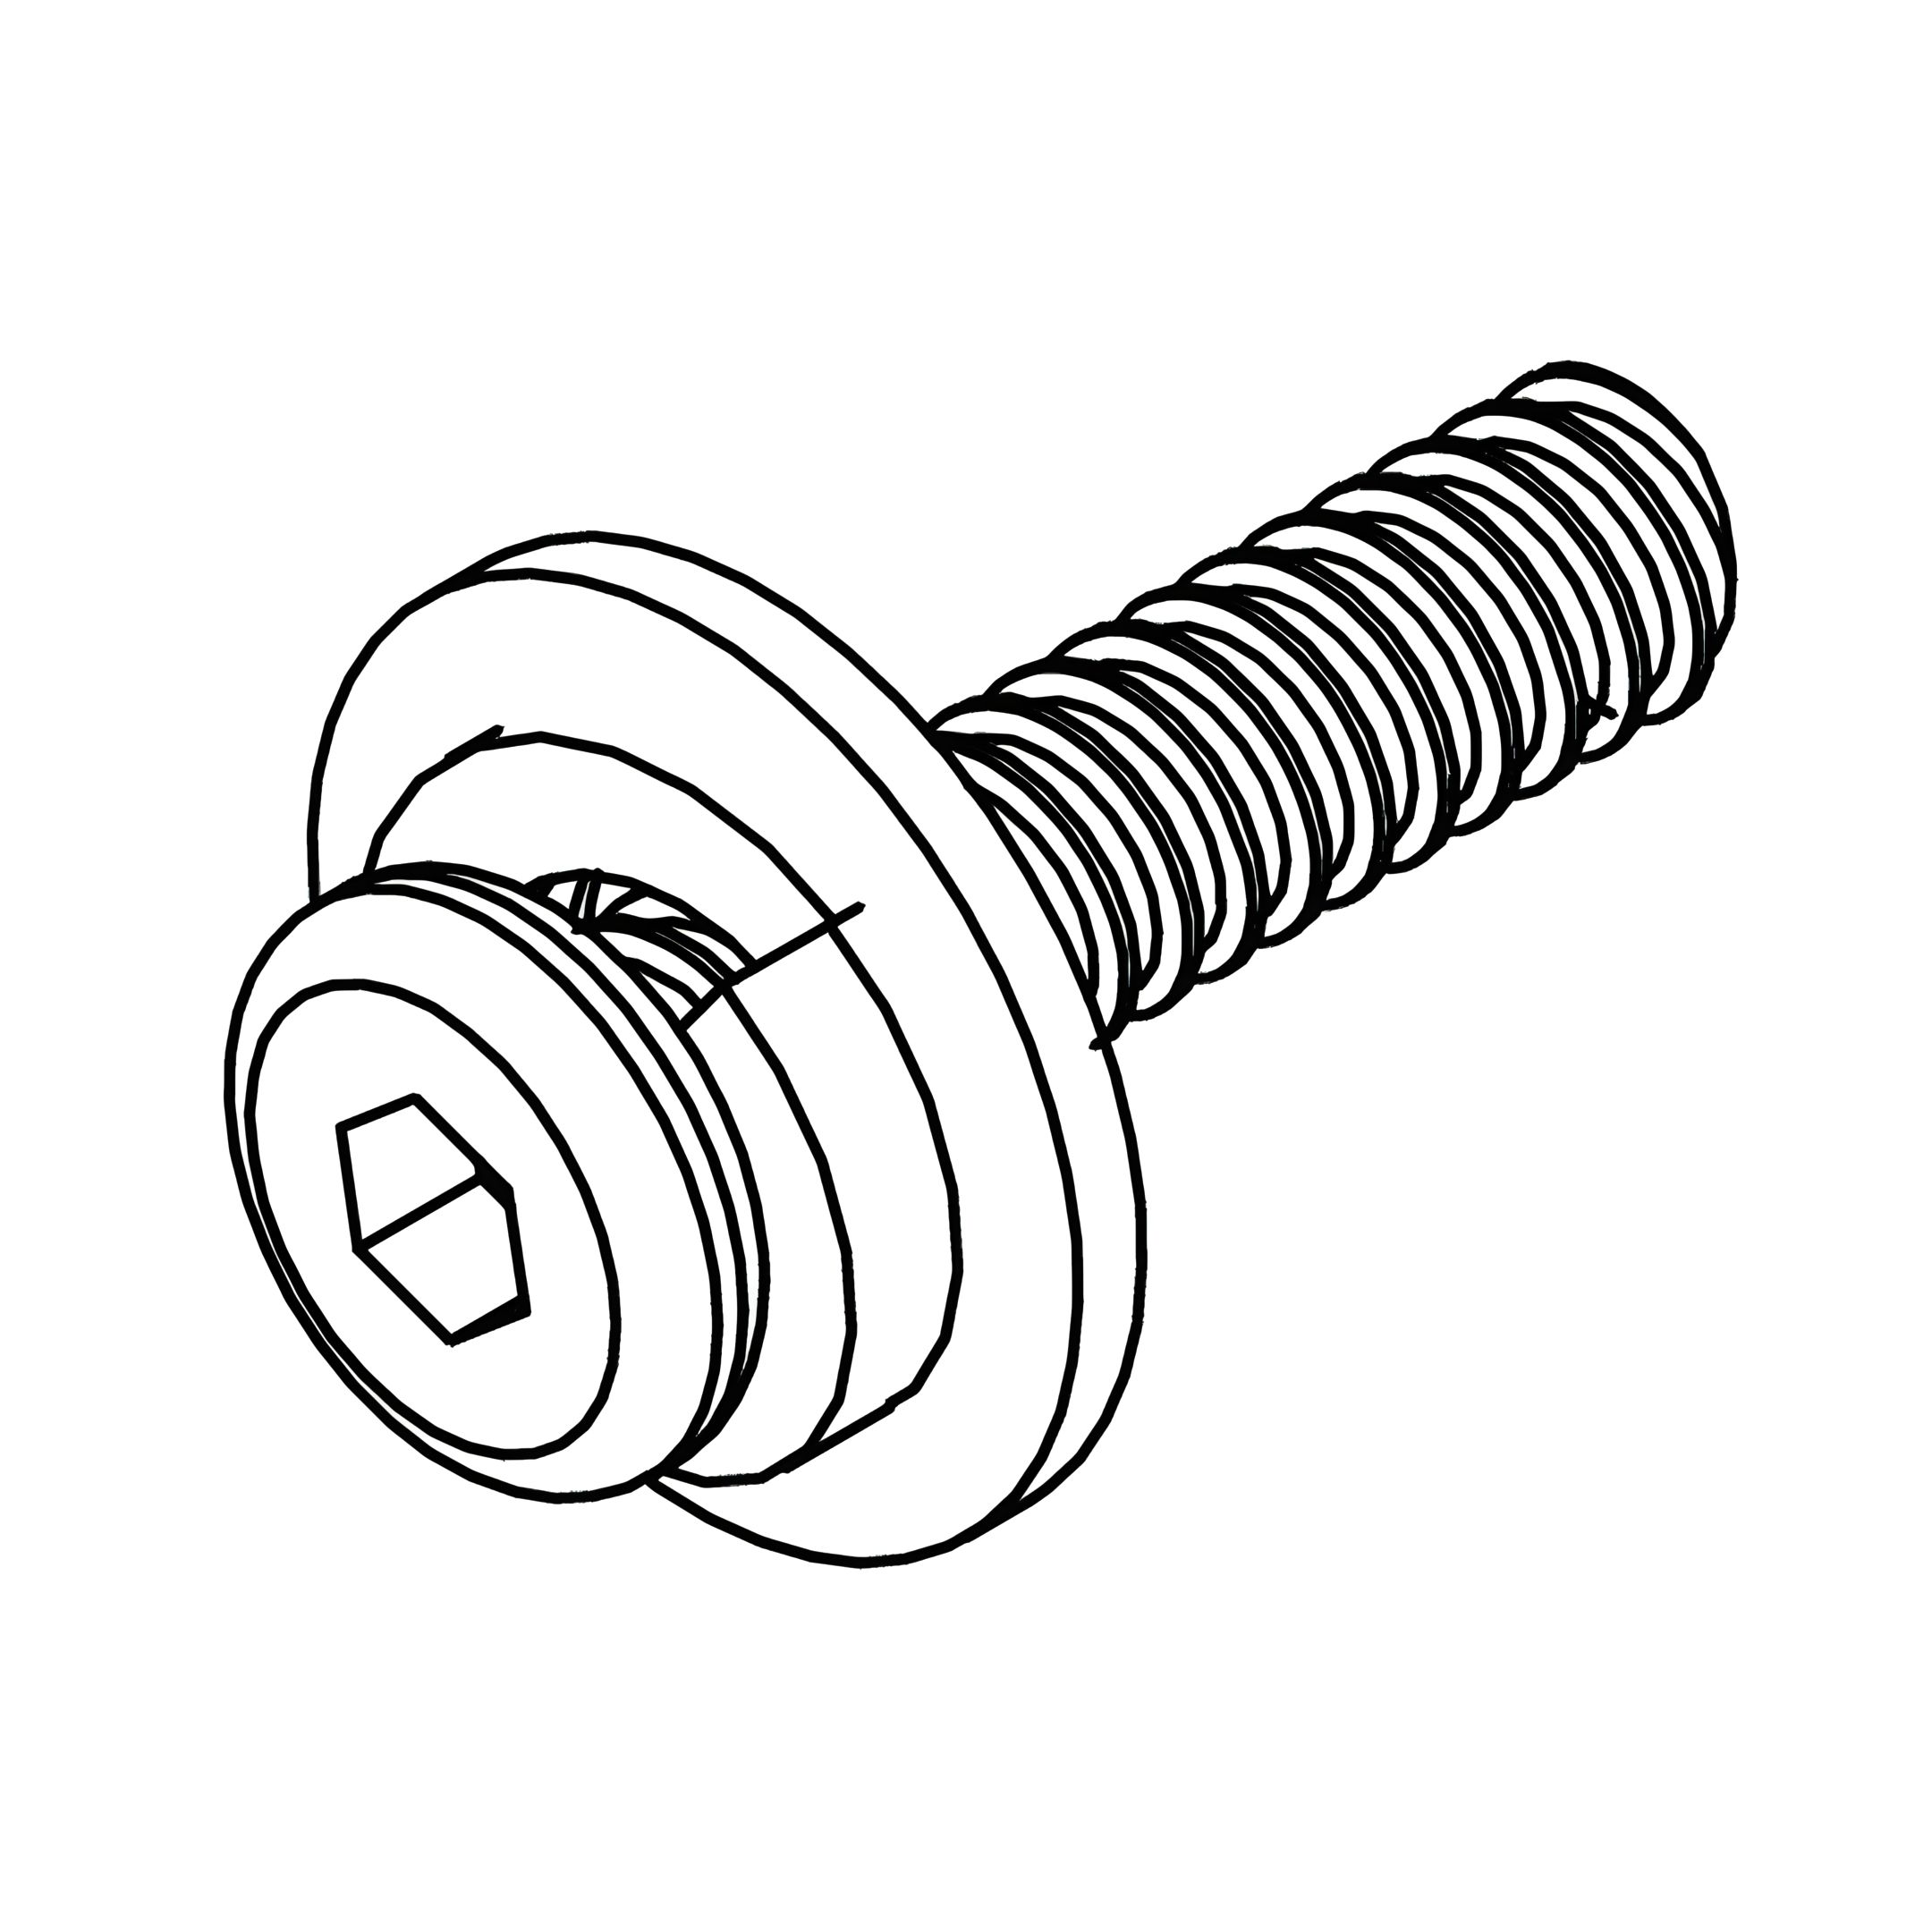
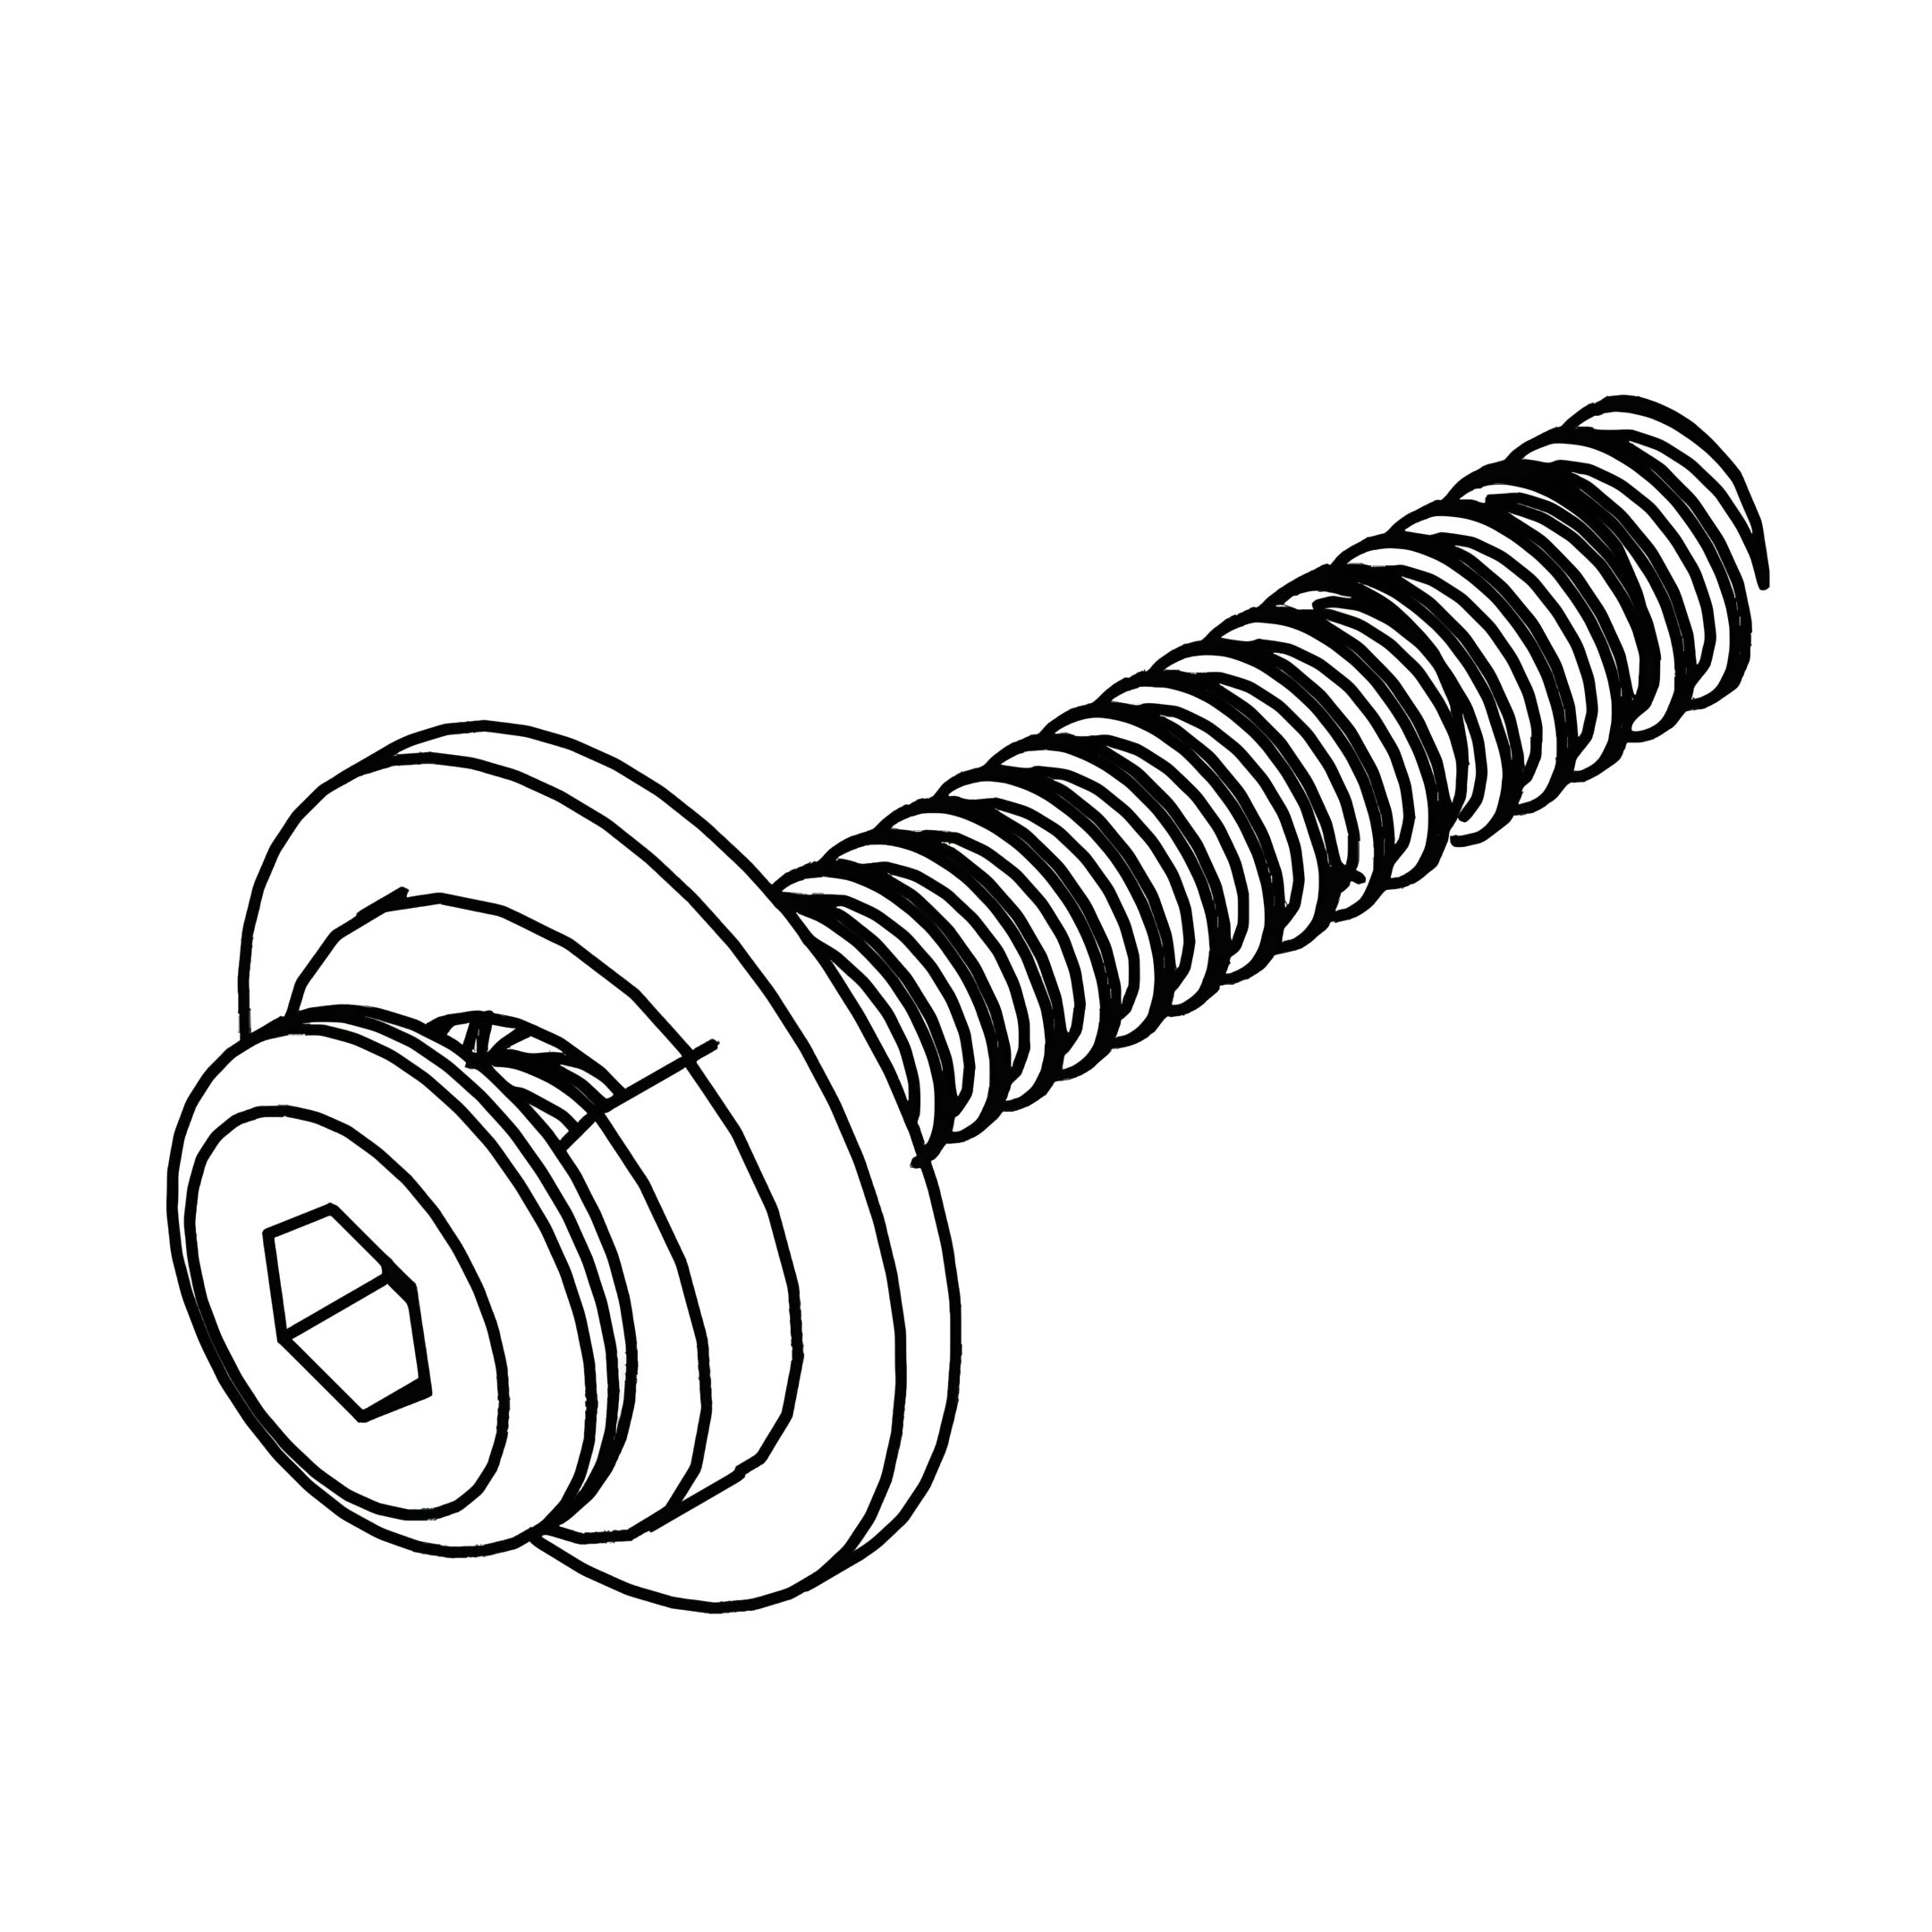
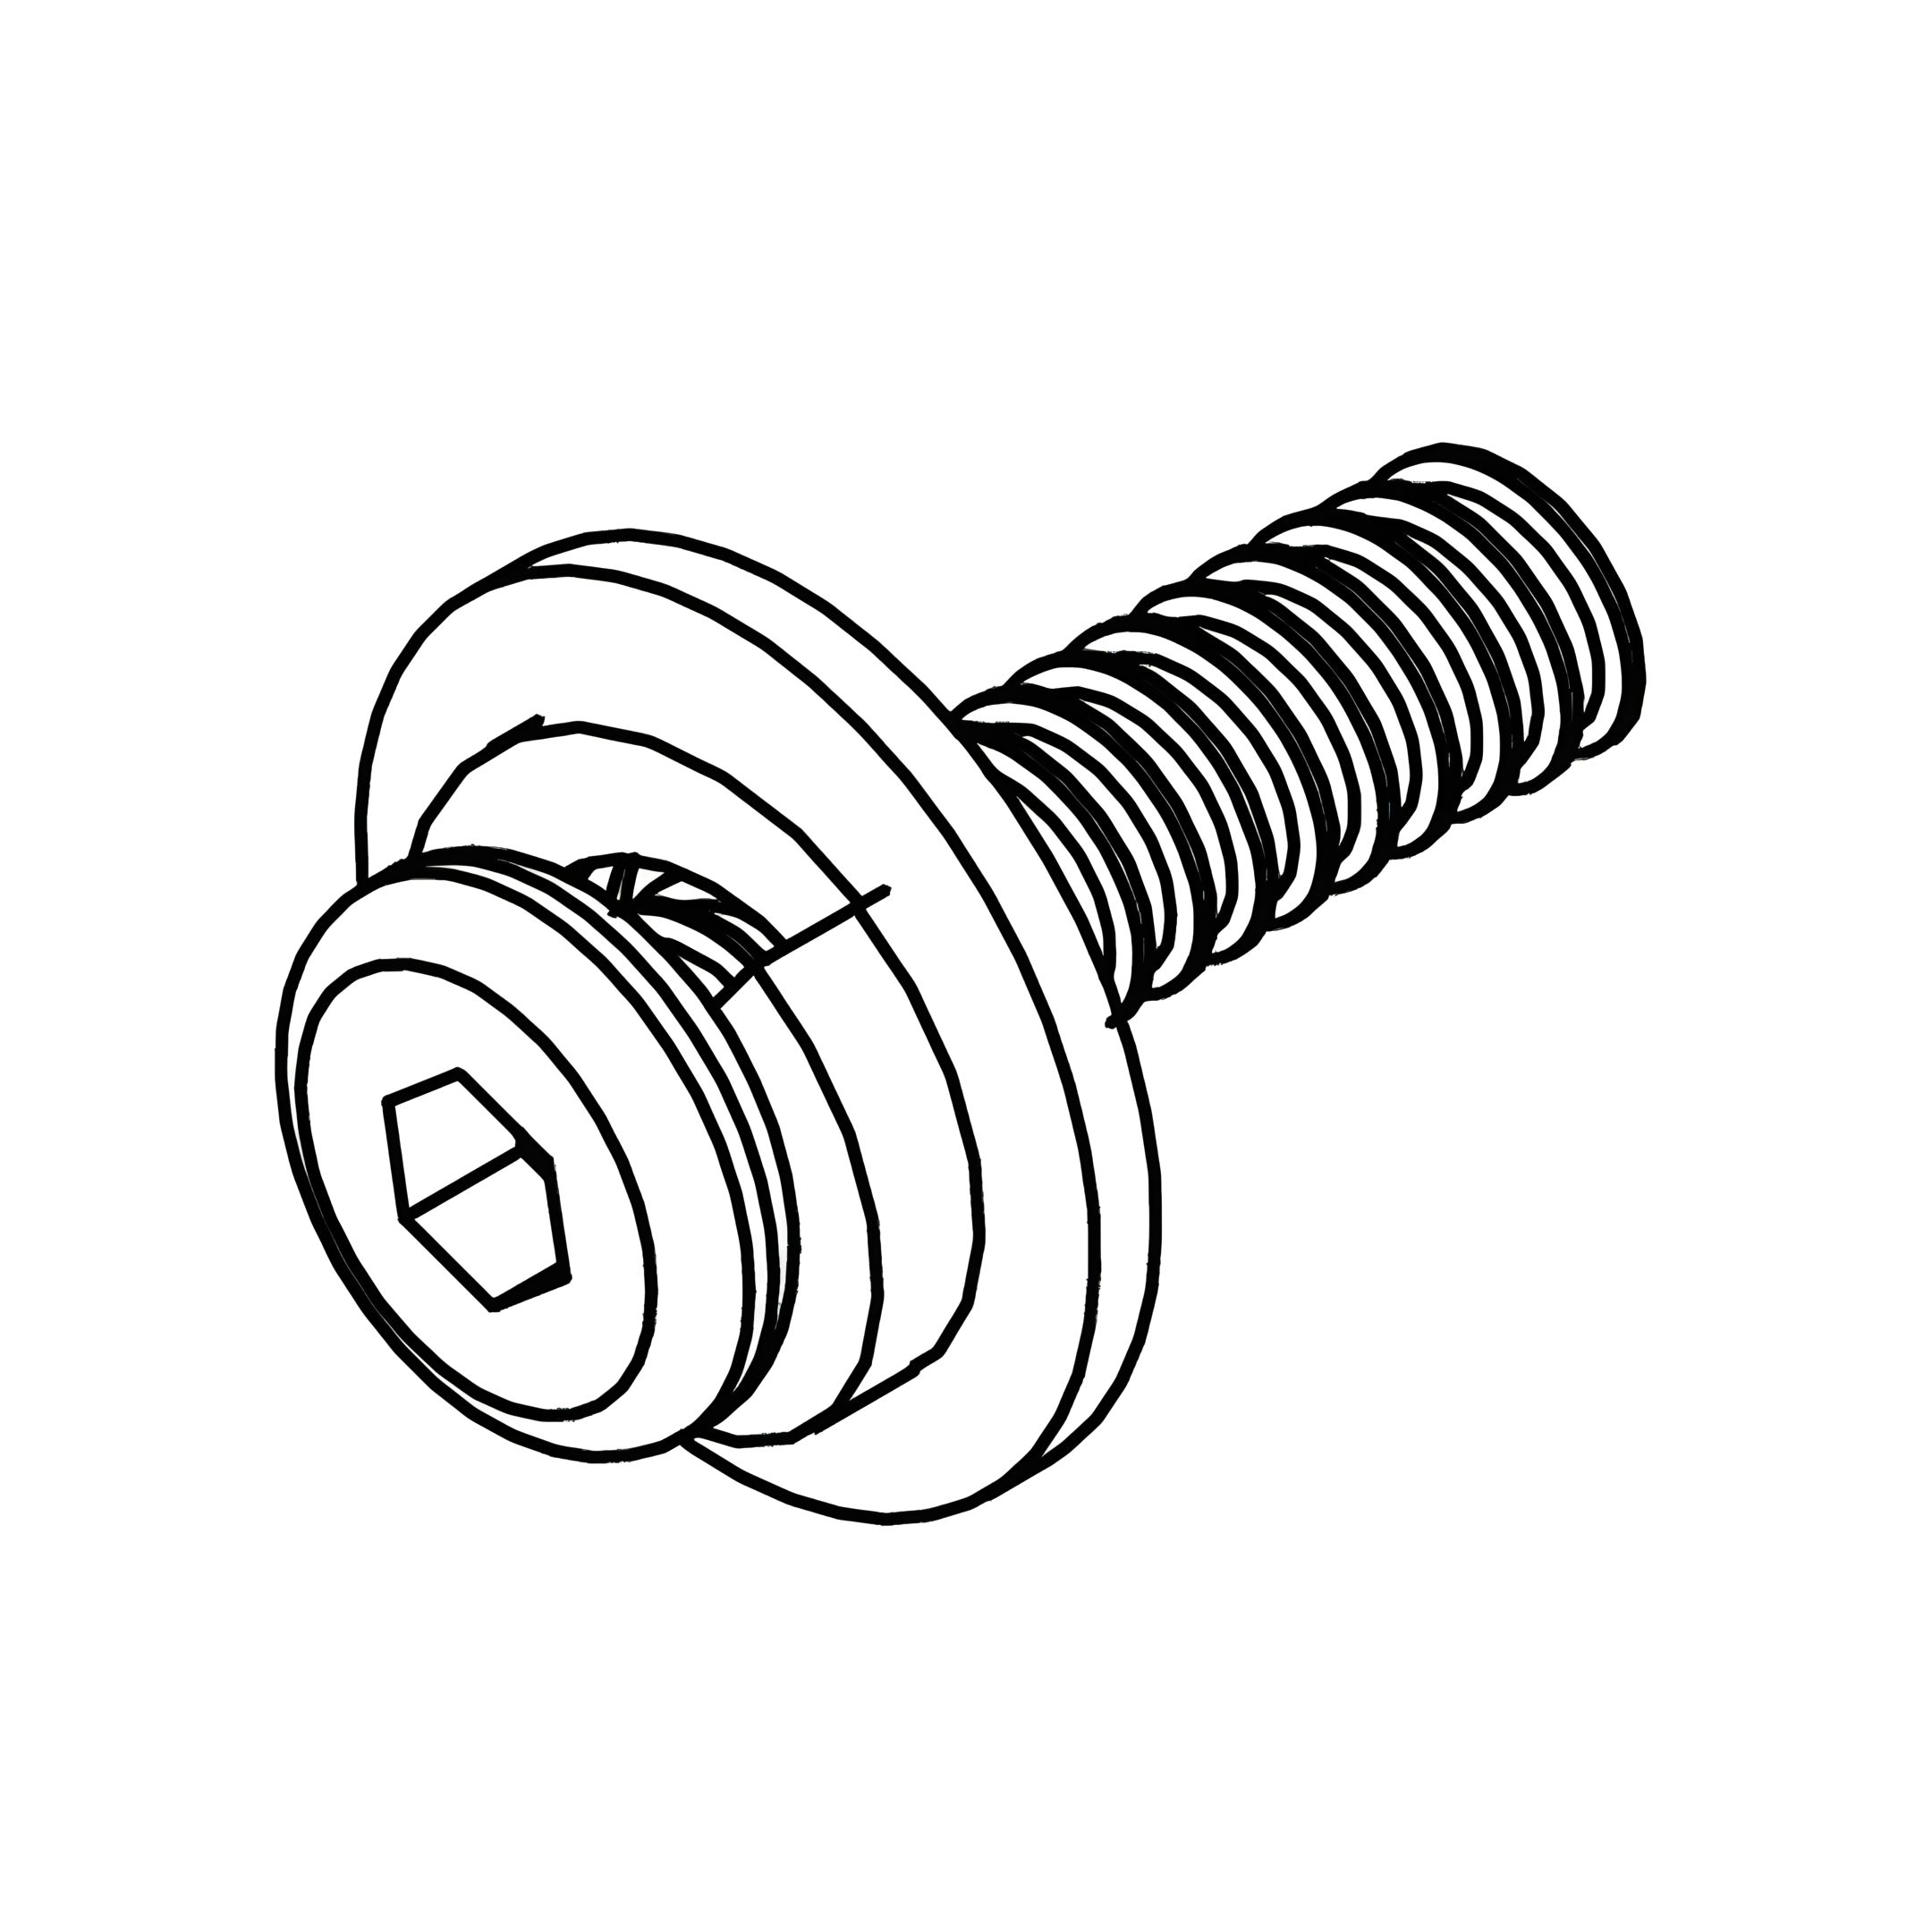
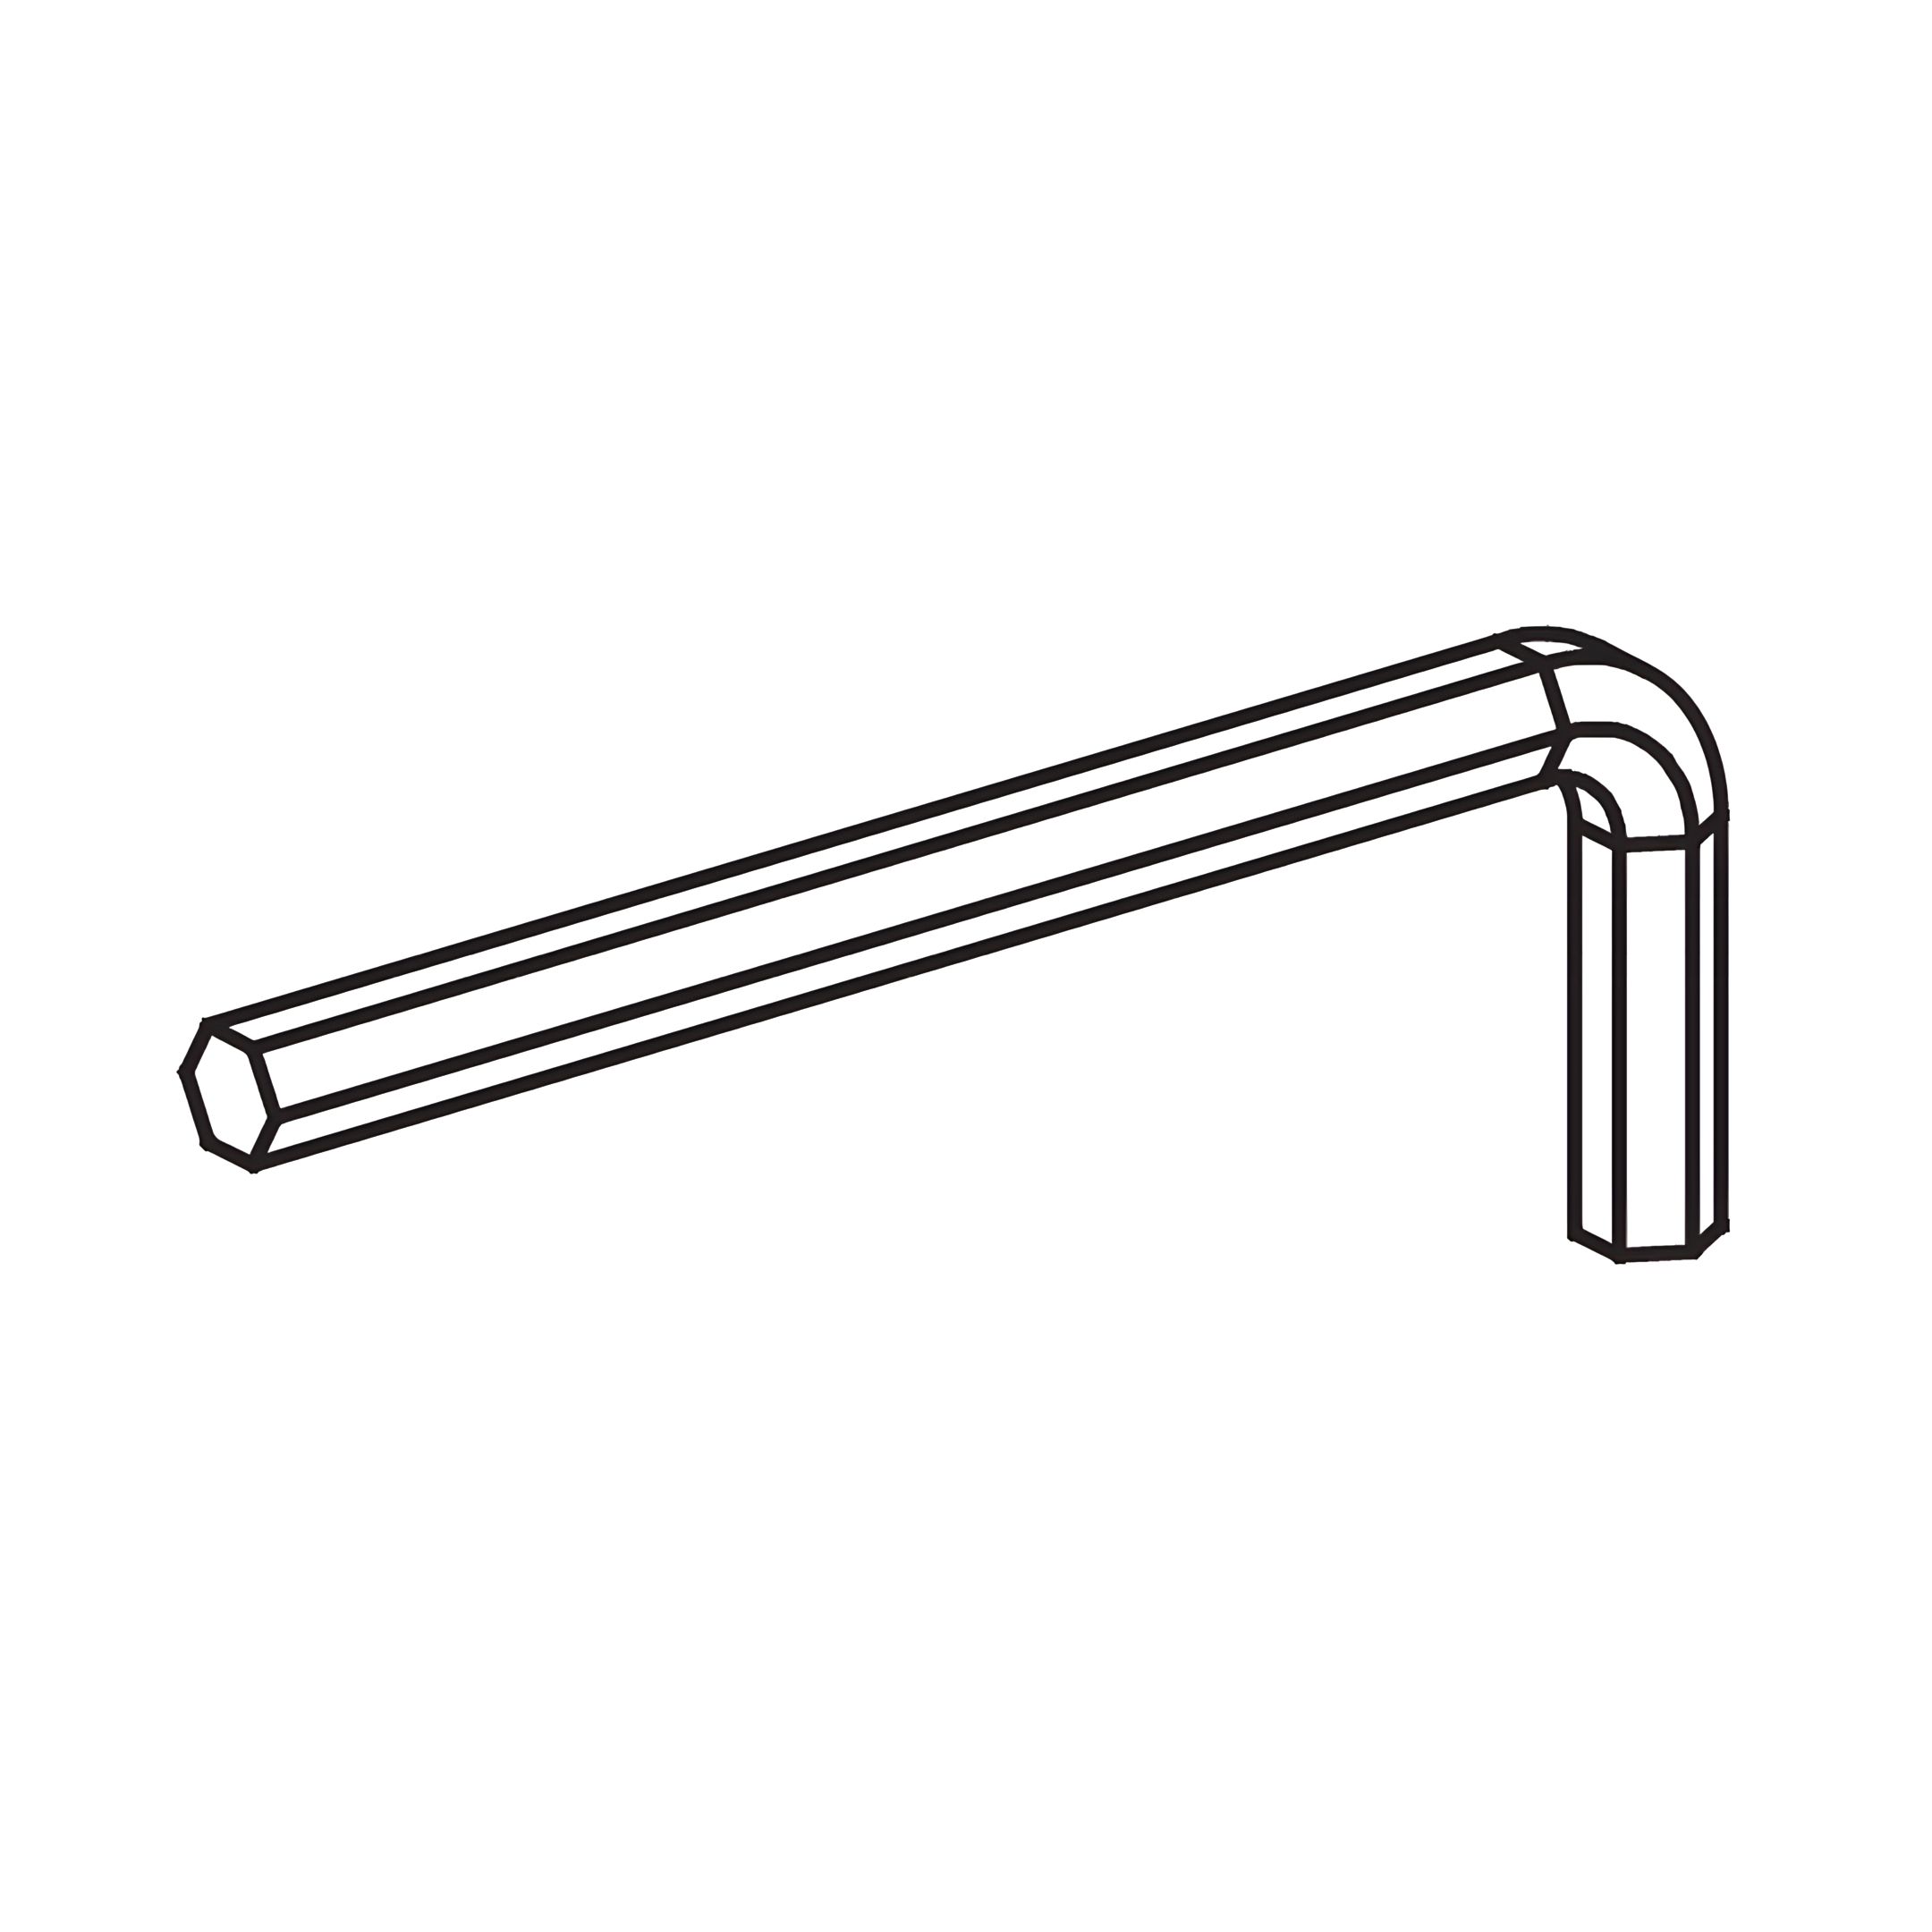
3. Secure each foot using Bolt sets (E) as shown.
4. Repeat this step for all four feet.