1. Prepare the Headboard Legs
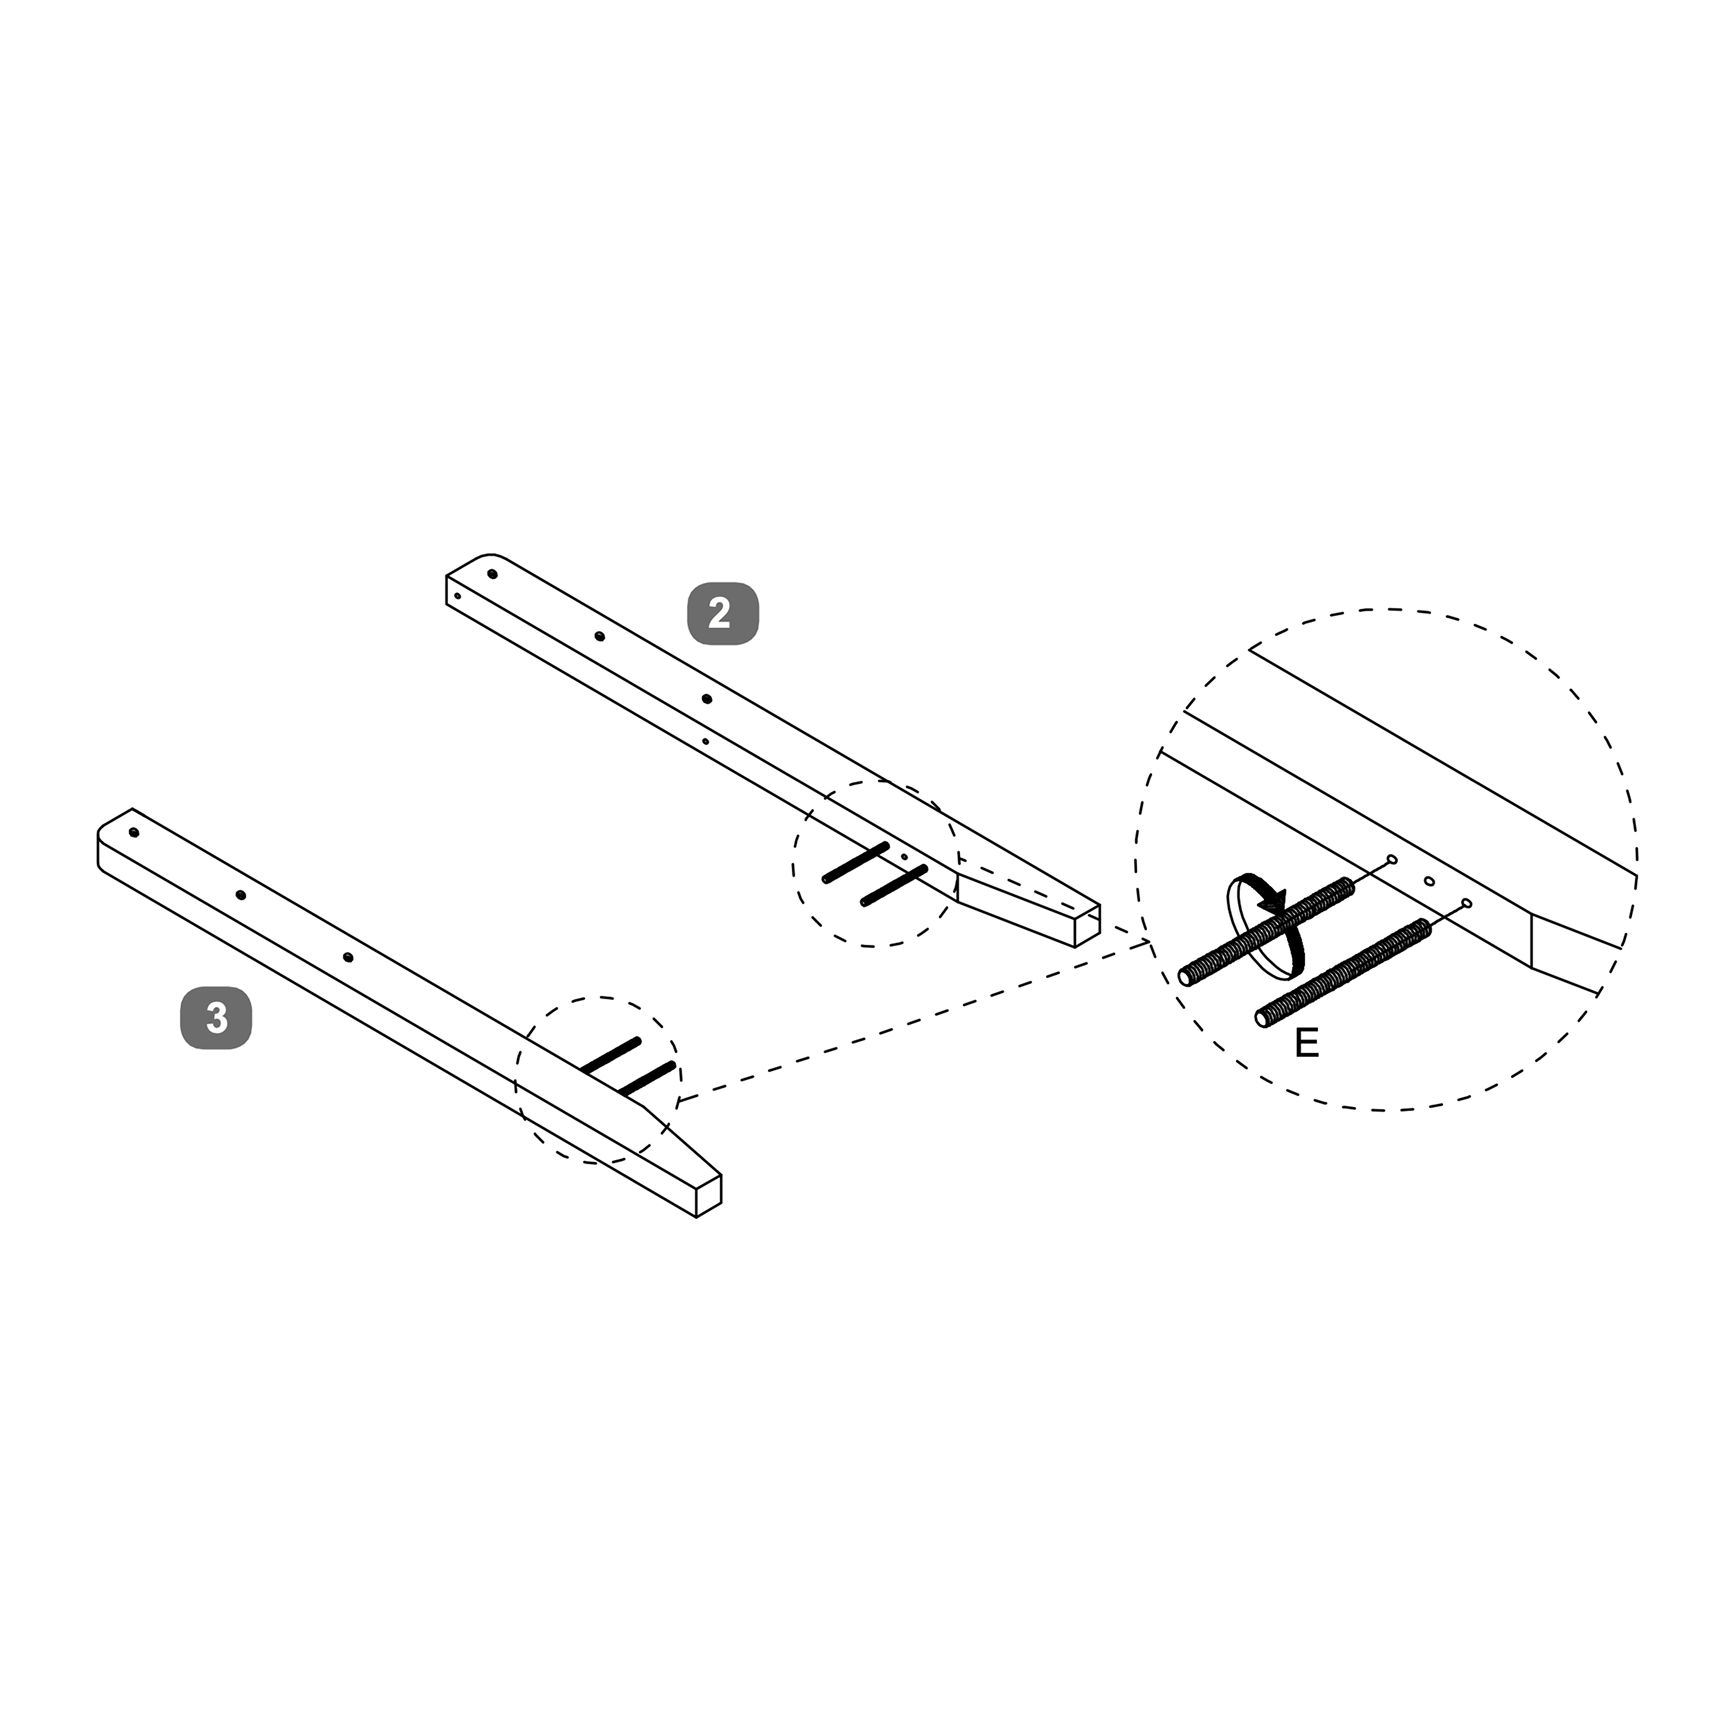
1. Take the Headboard Legs (2 & 3).
2. Insert Threaded Studs (E) into the predrilled holes as shown in the diagram.
3. Ensure the studs are fully tightened and aligned straight for later assembly.
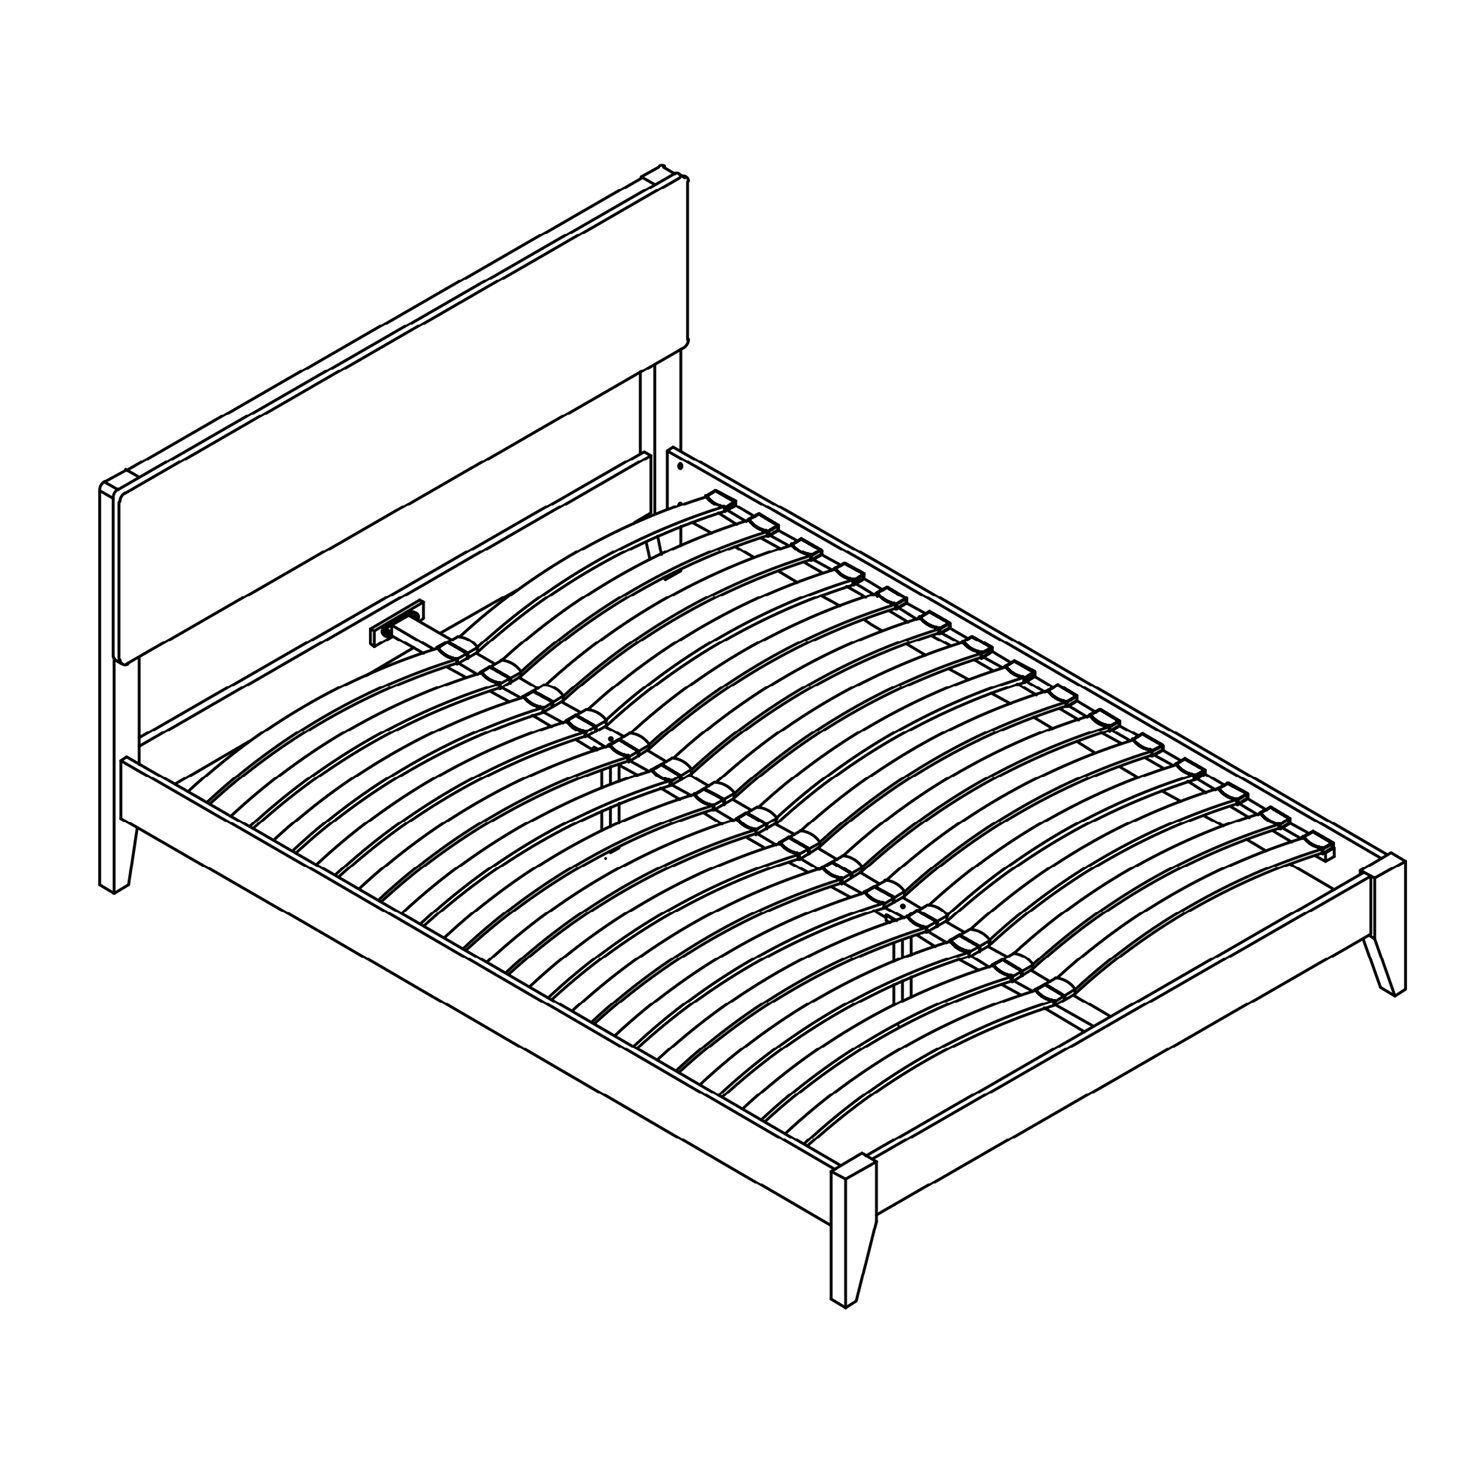 Instructions by time4sleep Ashbourne Wooden Bed FrameAssembly instructions for Ashbourne Wooden Bed Frame by Time4Sleep Product Information Ashbourne Wooden Bed FrameThe Ashbourne Wooden Bed Frame offers a timeless, minimalist design built for strength and durability. Crafted from solid wood and supported by resilient bentwood slats, it provides excellent mattress support and long-lasting stability. Its clean lines and elegant simplicity make it a versatile choice that complements both classic and modern interiors.
Tools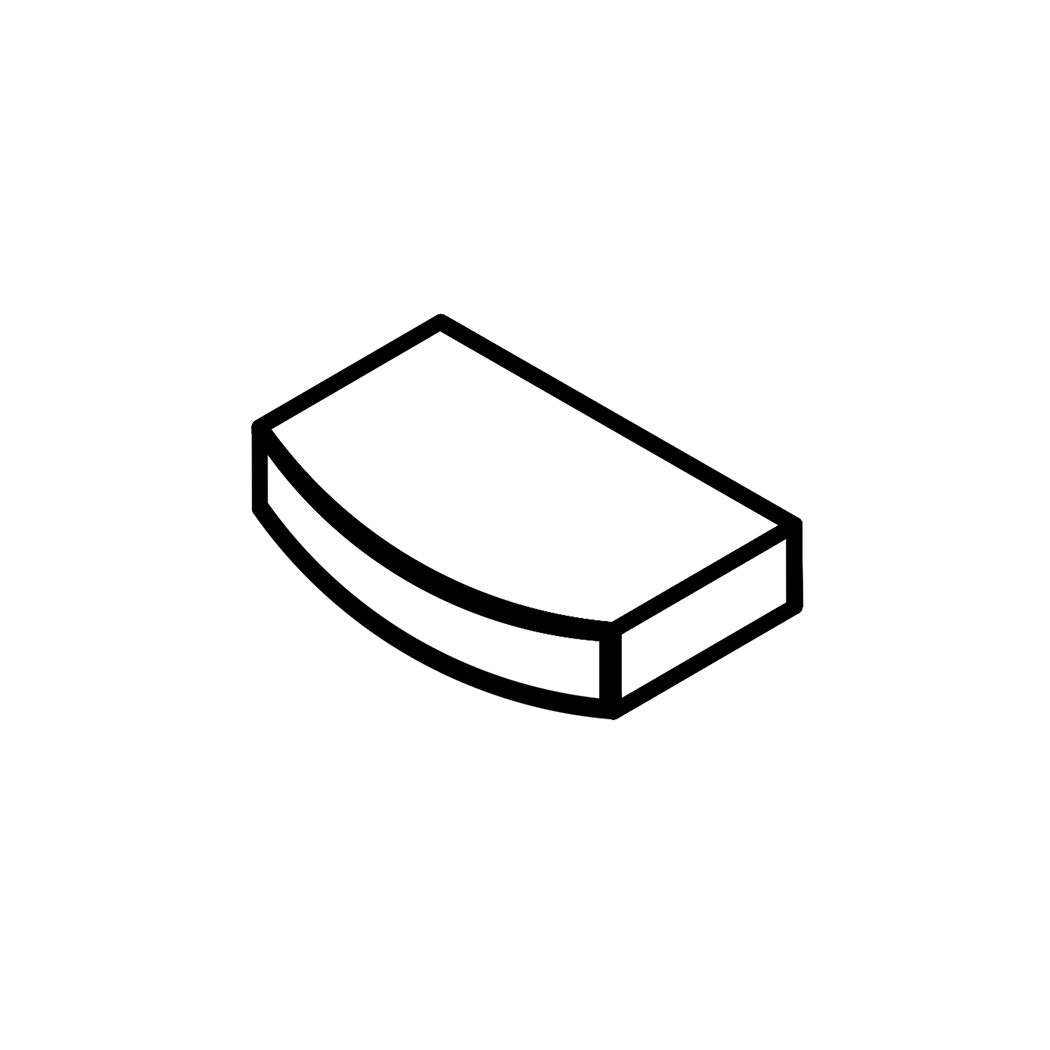 Slat End Cap 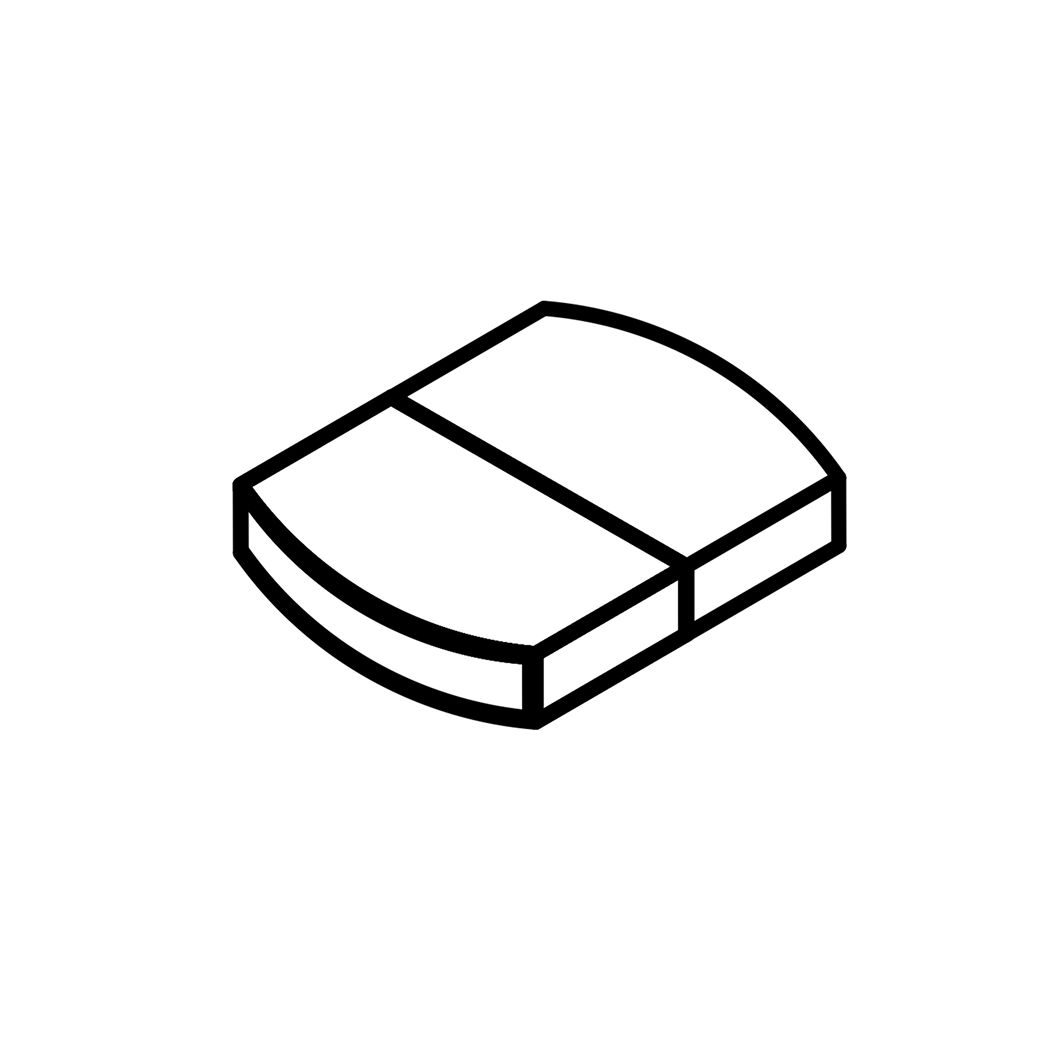 Slat Centre Cap 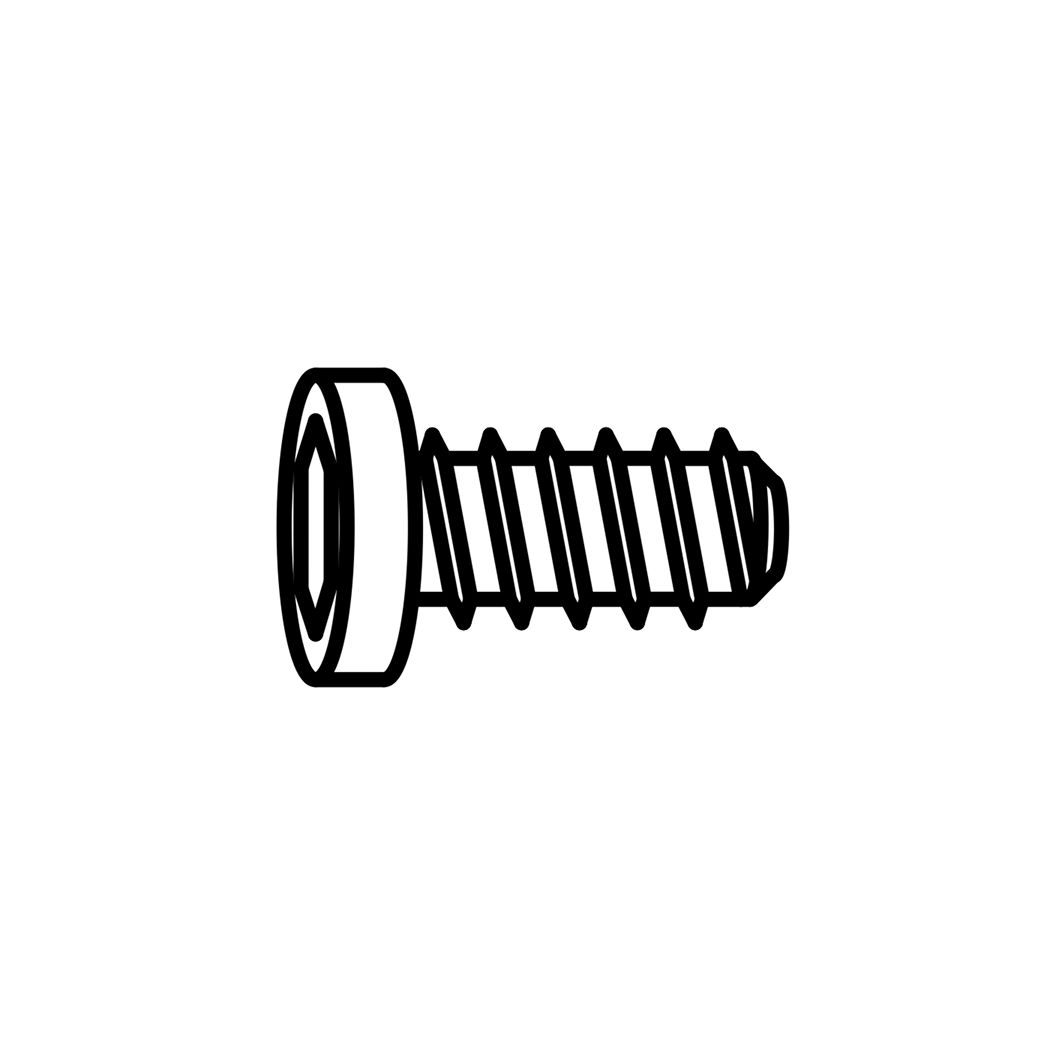 Bolt (M8*18mm)  Bolt (M8*45mm) 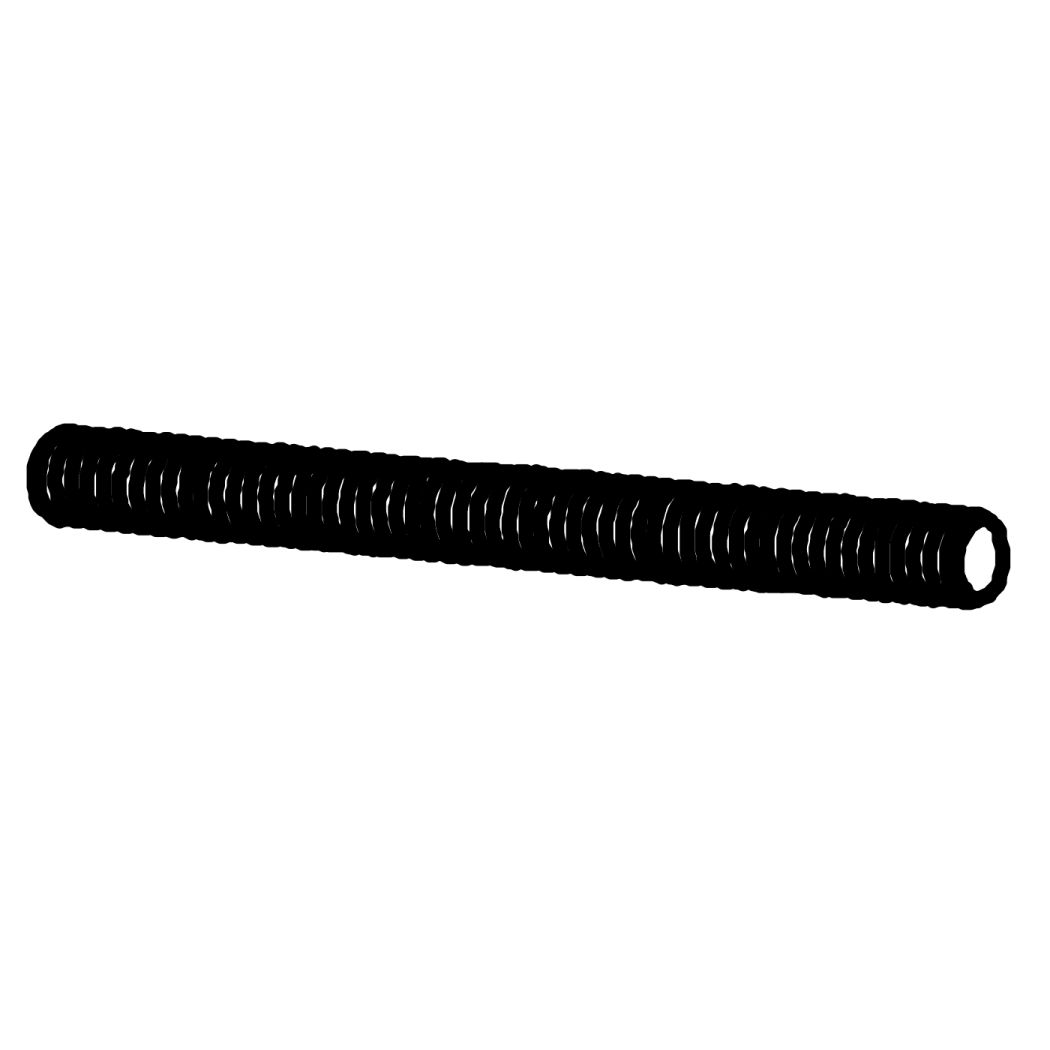 Threaded Stud (M8*75mm) 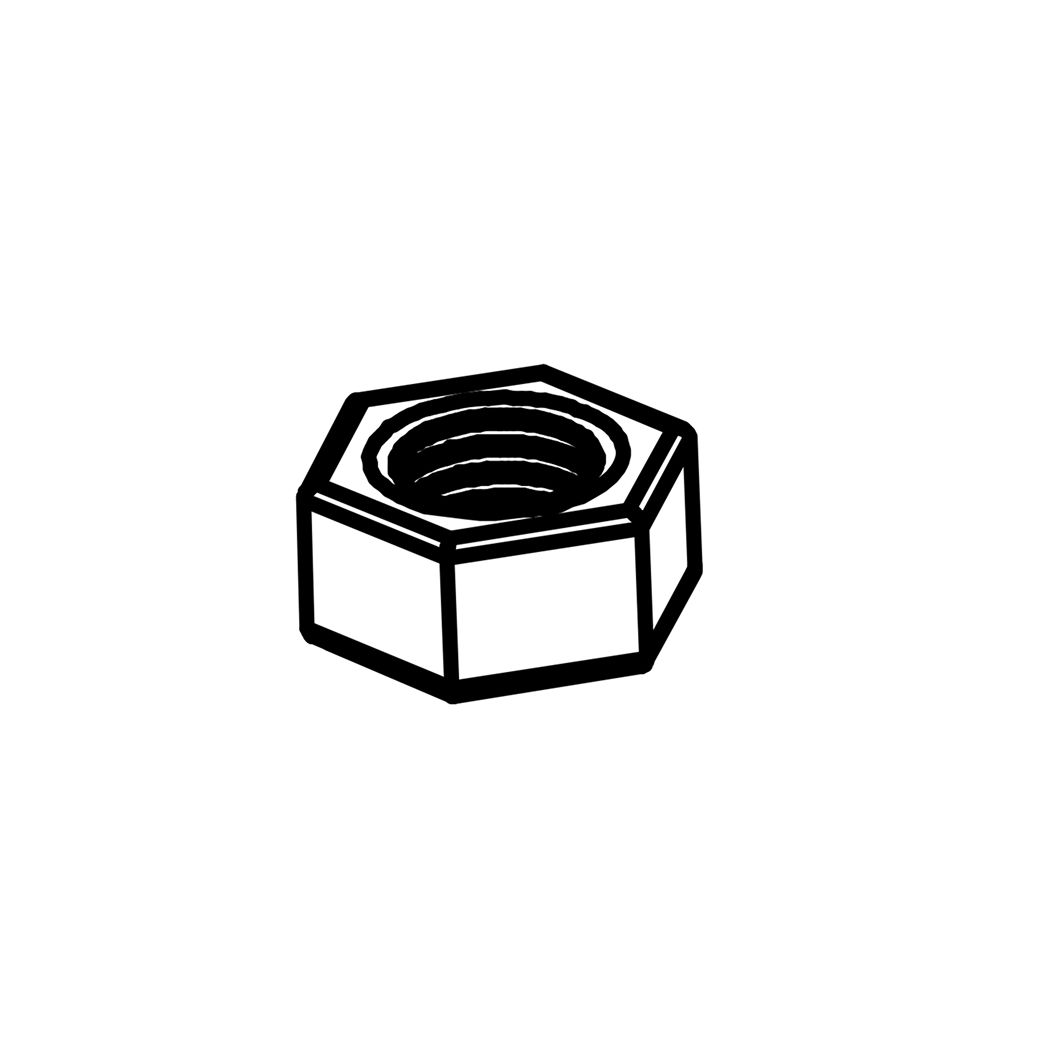 Nut For M8 Bolts 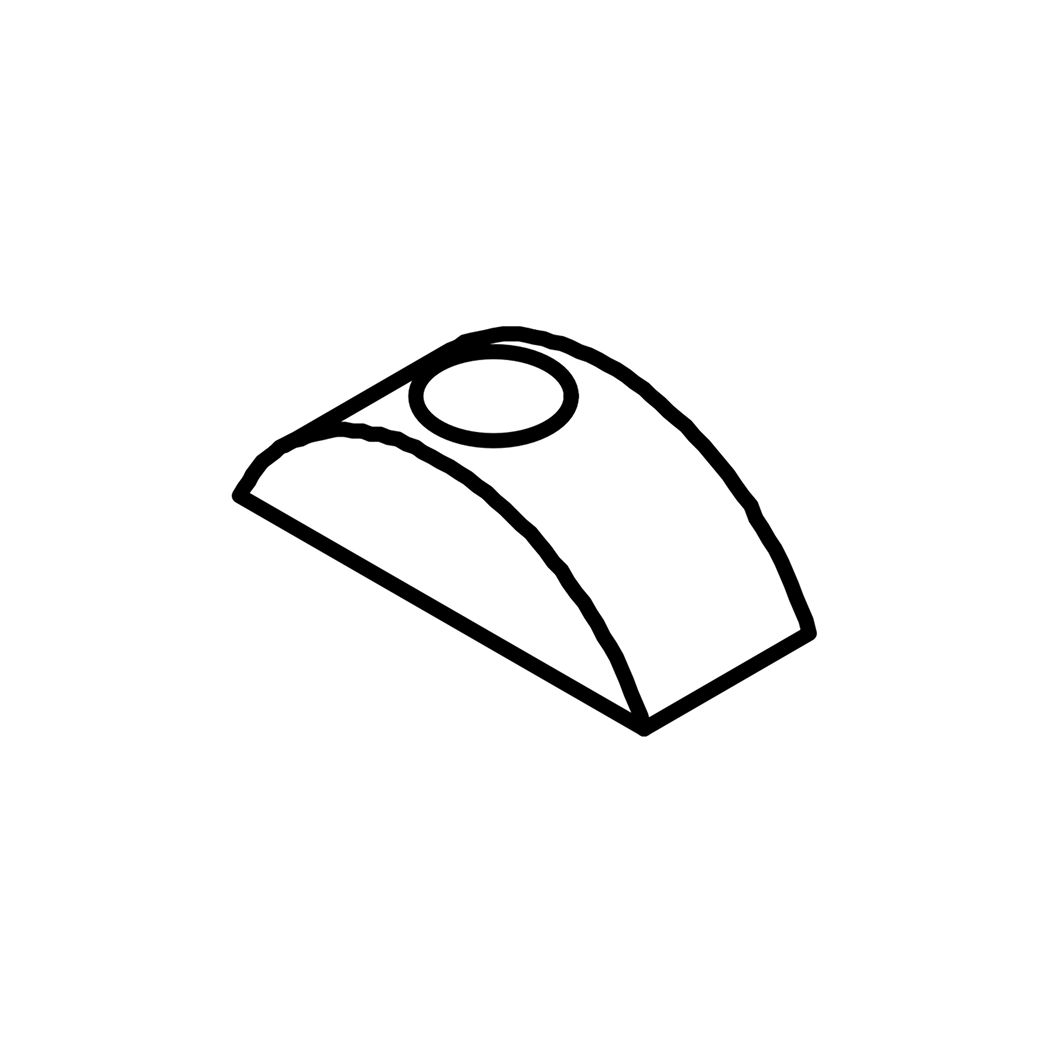 Half Moon bracket (M8)  Large Flat Washer For M8 Bolts  Spring Washer For M8 Bolts  Wood Dowel (Ø8*30mm)  Allen Key For M8 Bolts  Spanner For M8 nuts  Small Flat Washer For M8 Bolts Parts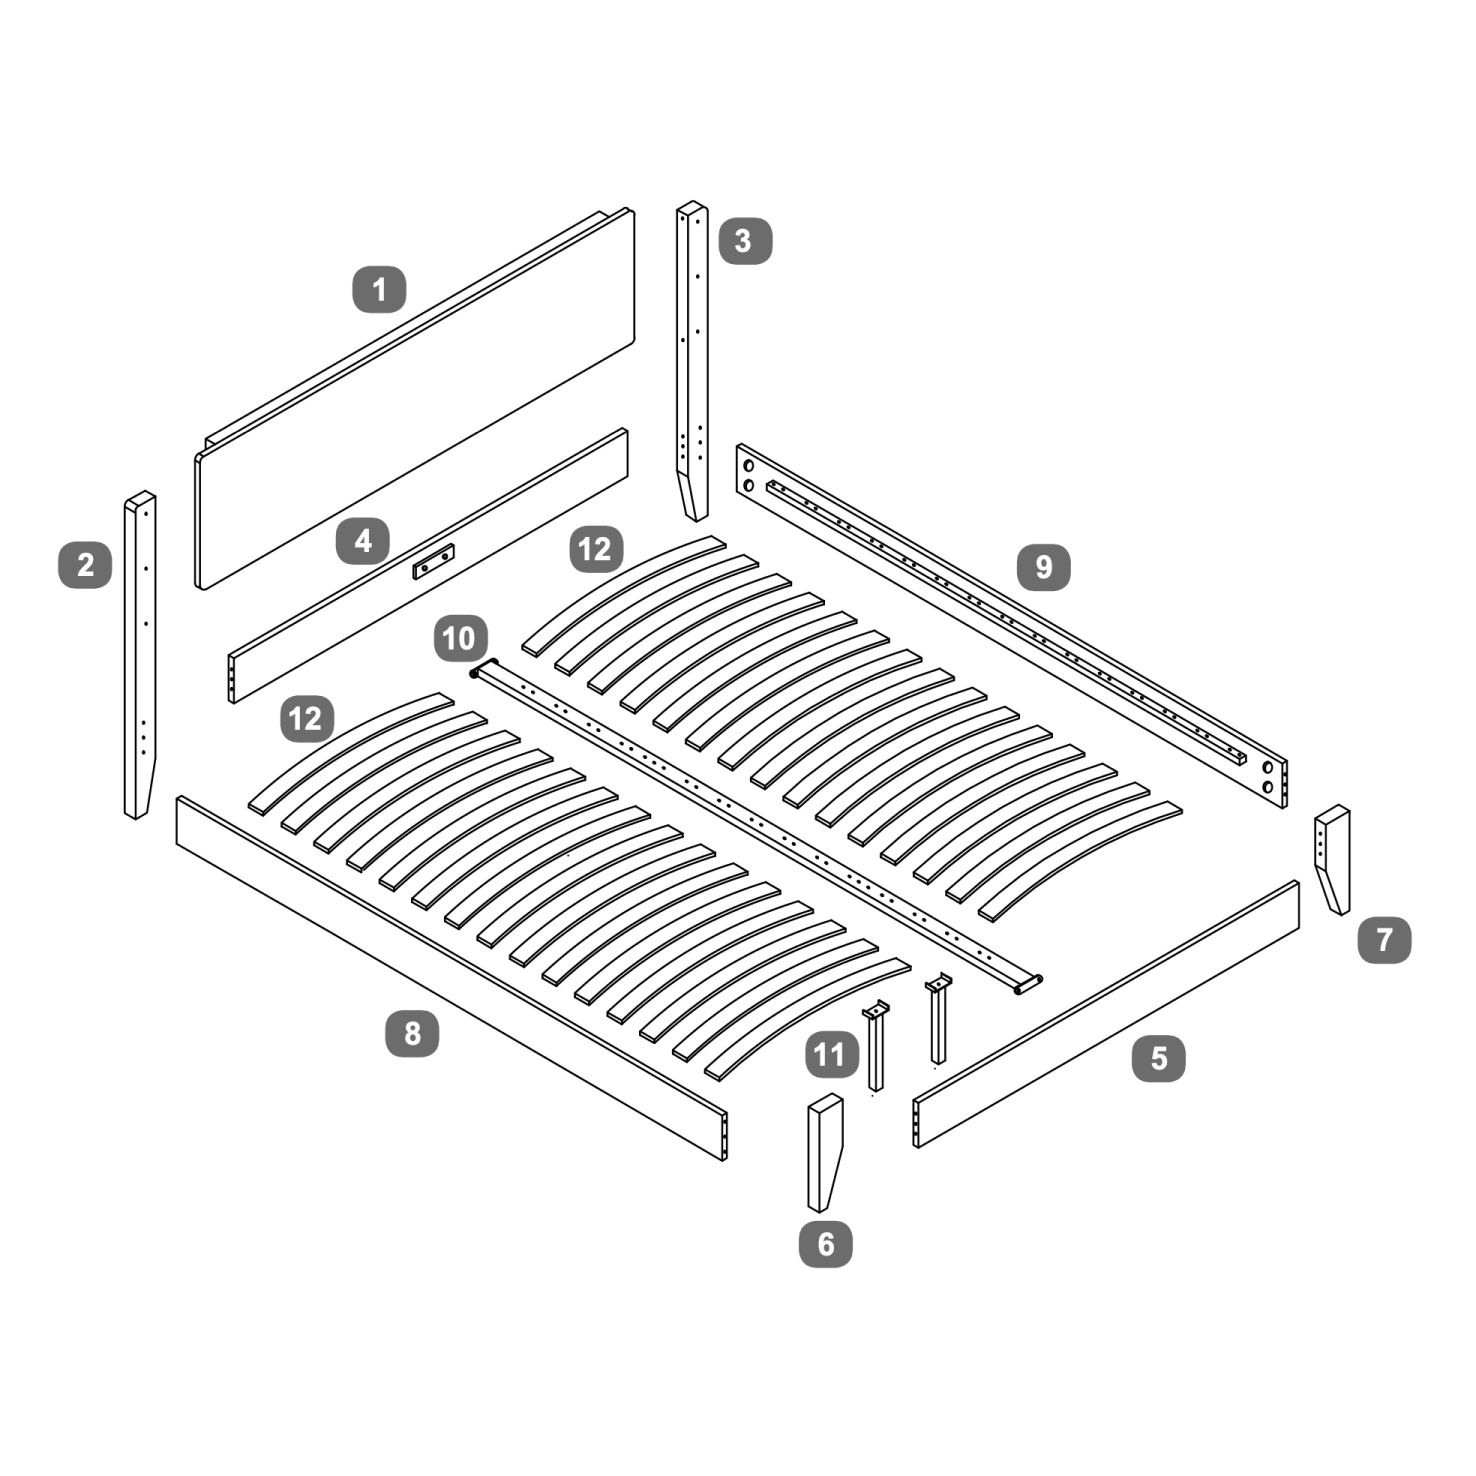 1Headboard Panel 2Headboard Leg - LH 3Headboard Leg - RH 4Headboard Lower Panel 5Footboard Panel 6Footboard Leg - LH 7Footboard Leg - RH 8Side Rail - LH Side 9Side Rail - RH Side 10Centre Support Rail 11Legs For Support Rail 12Bentwood Slats 1. Prepare the Headboard Legs1. Take the Headboard Legs (2 & 3). 2. Prepare the Headboard Panel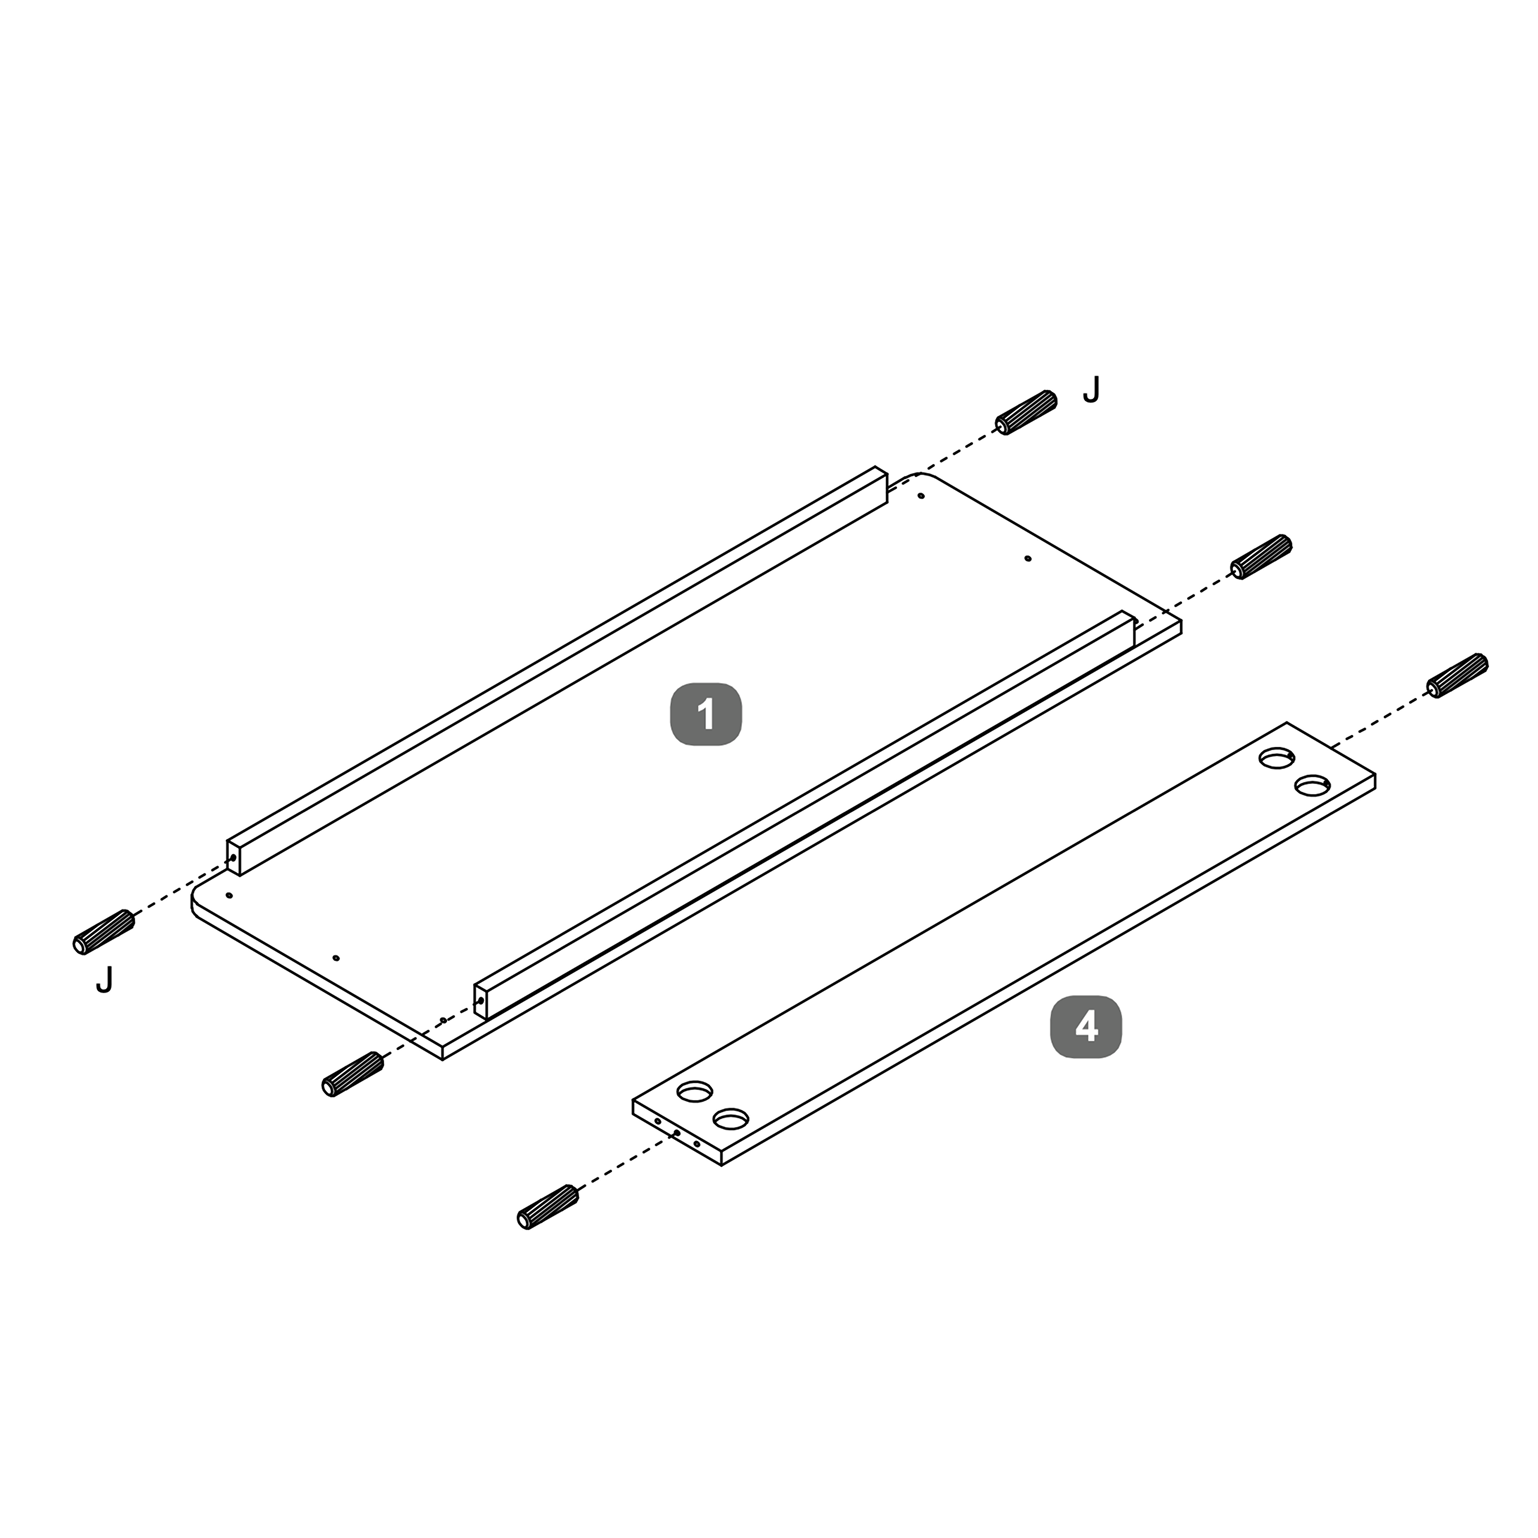 1. Take the Headboard Panel (1) and the Headboard Lower Panel (4). 3. Attach Left Headboard Leg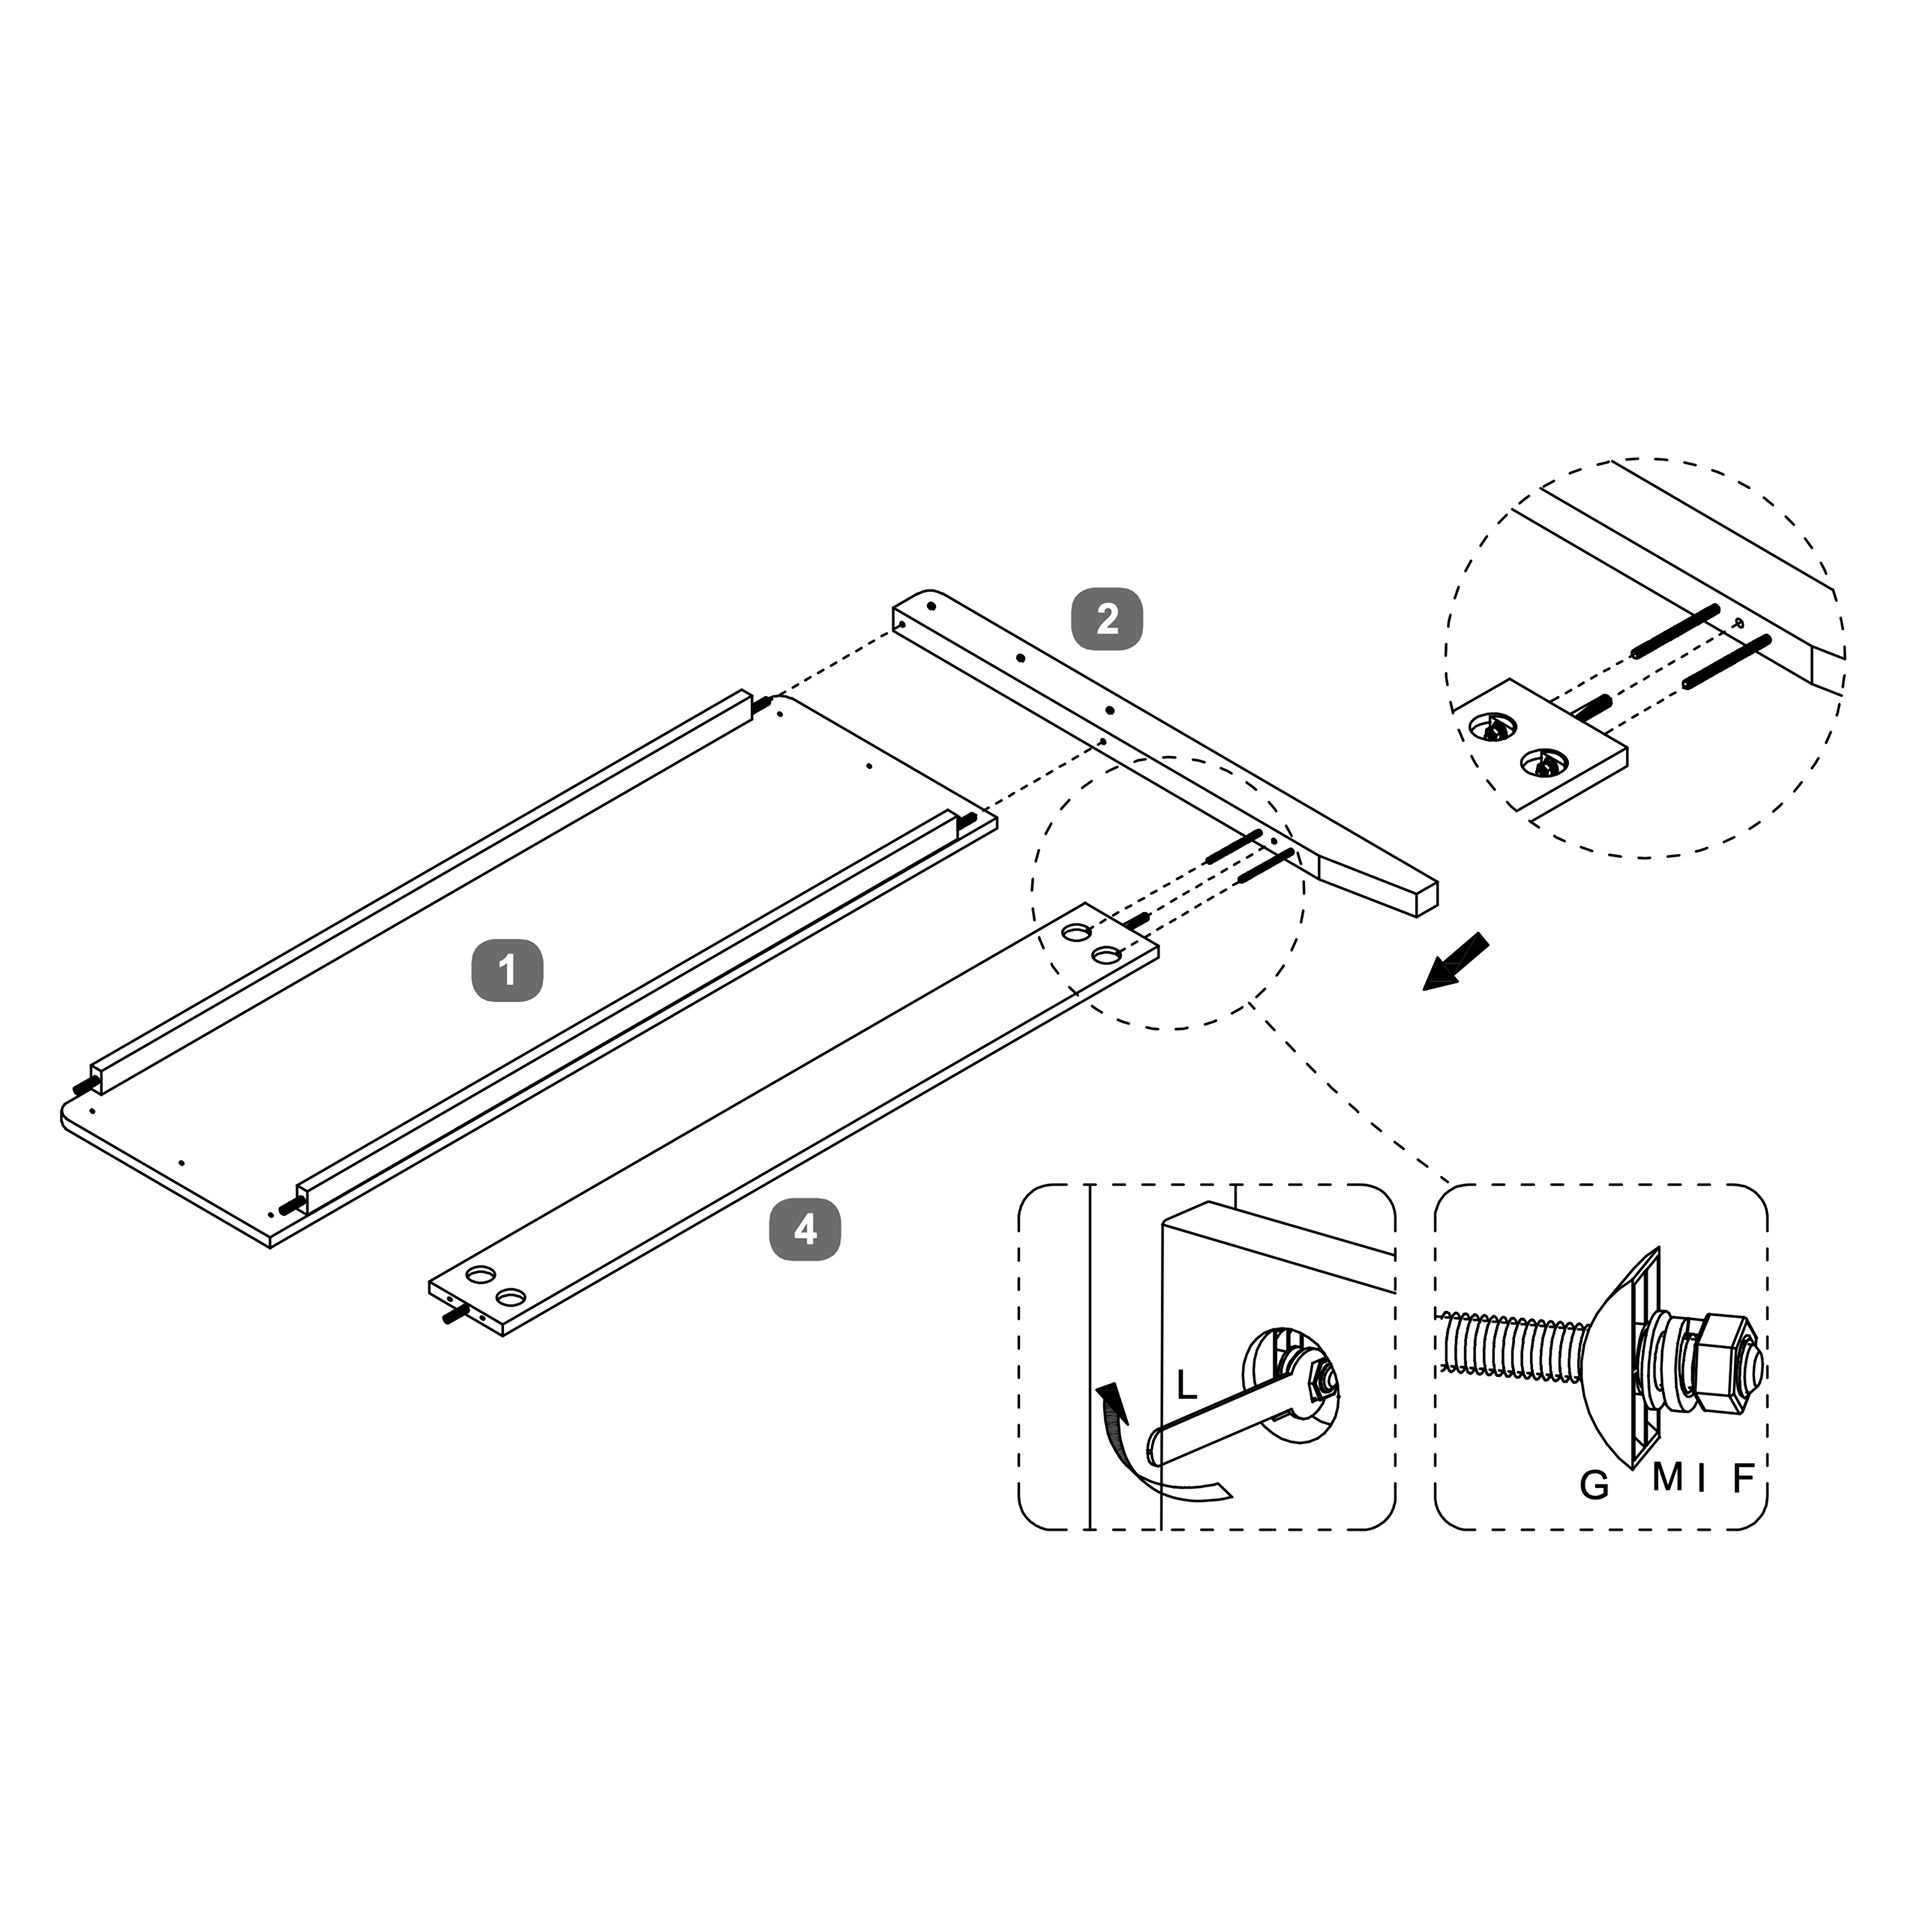 1. Position the Headboard Leg – LH (2) onto the side of the Headboard Panel (1) and Headboard Lower Panel (4). 4. Attach Right Headboard Leg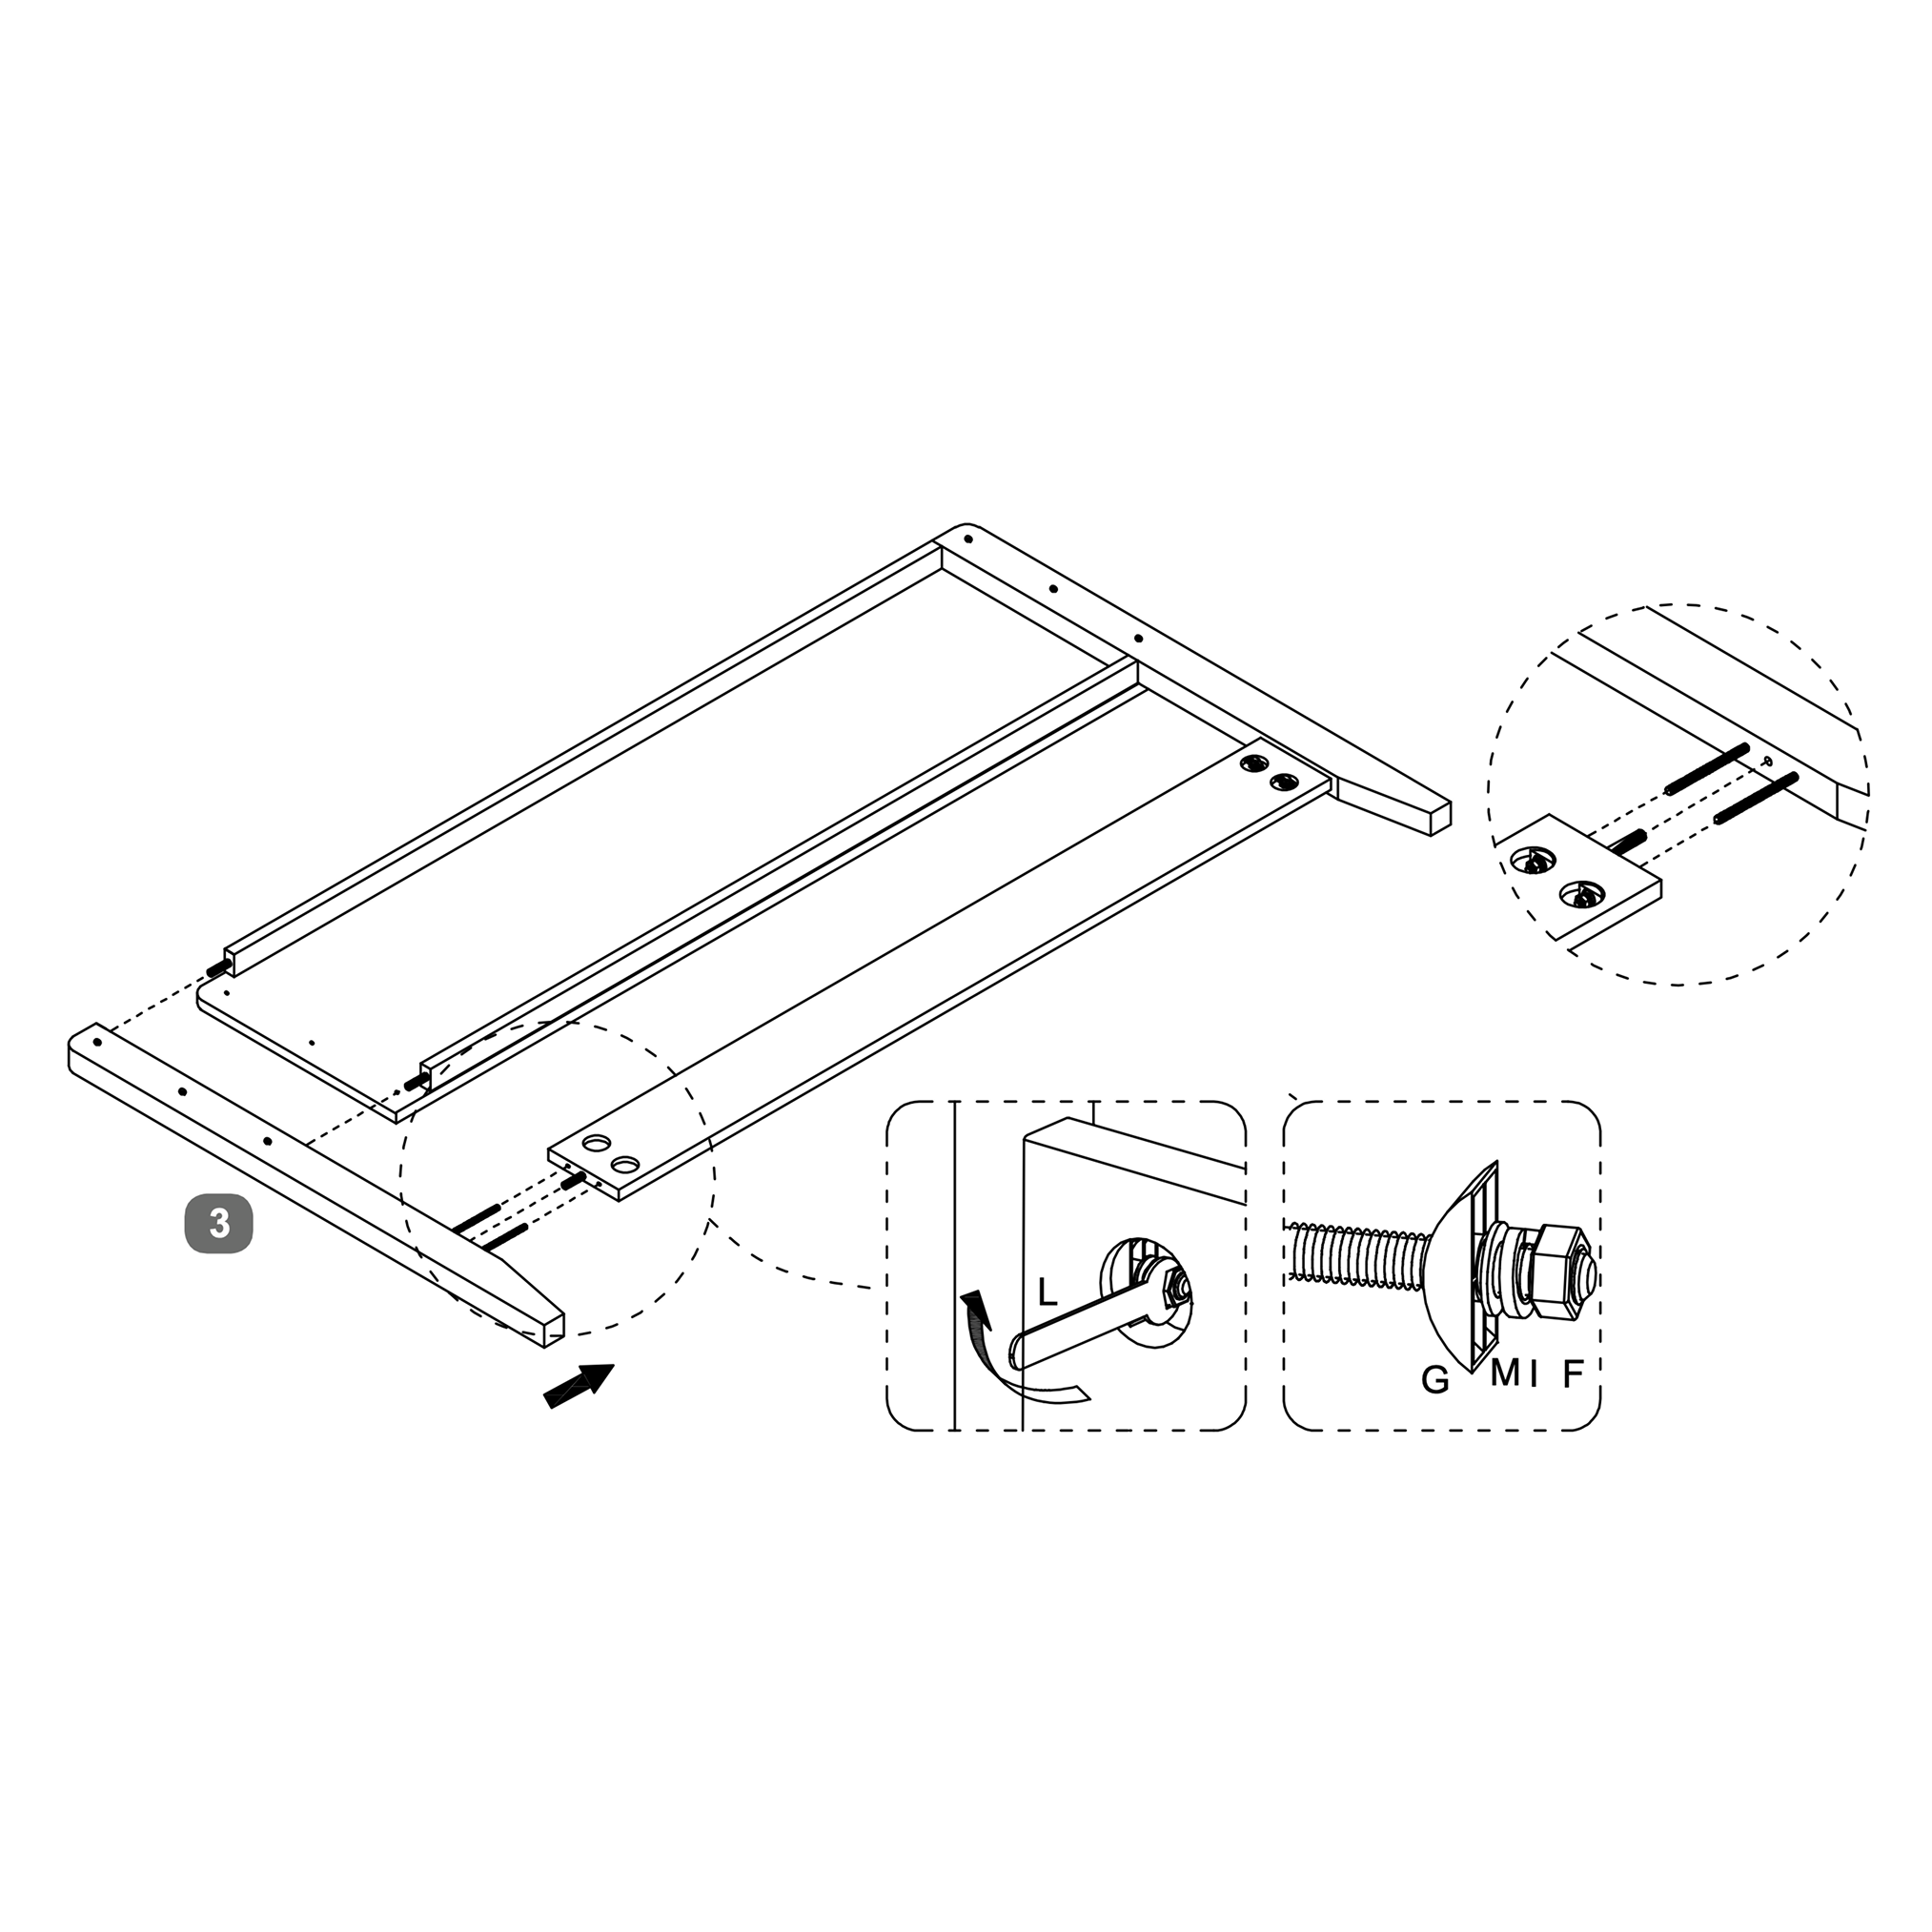 1. Position the Headboard Leg – RH (3) onto the opposite side of the Headboard Panel (1) and Headboard Lower Panel (4). 5. Secure the Headboard Assembly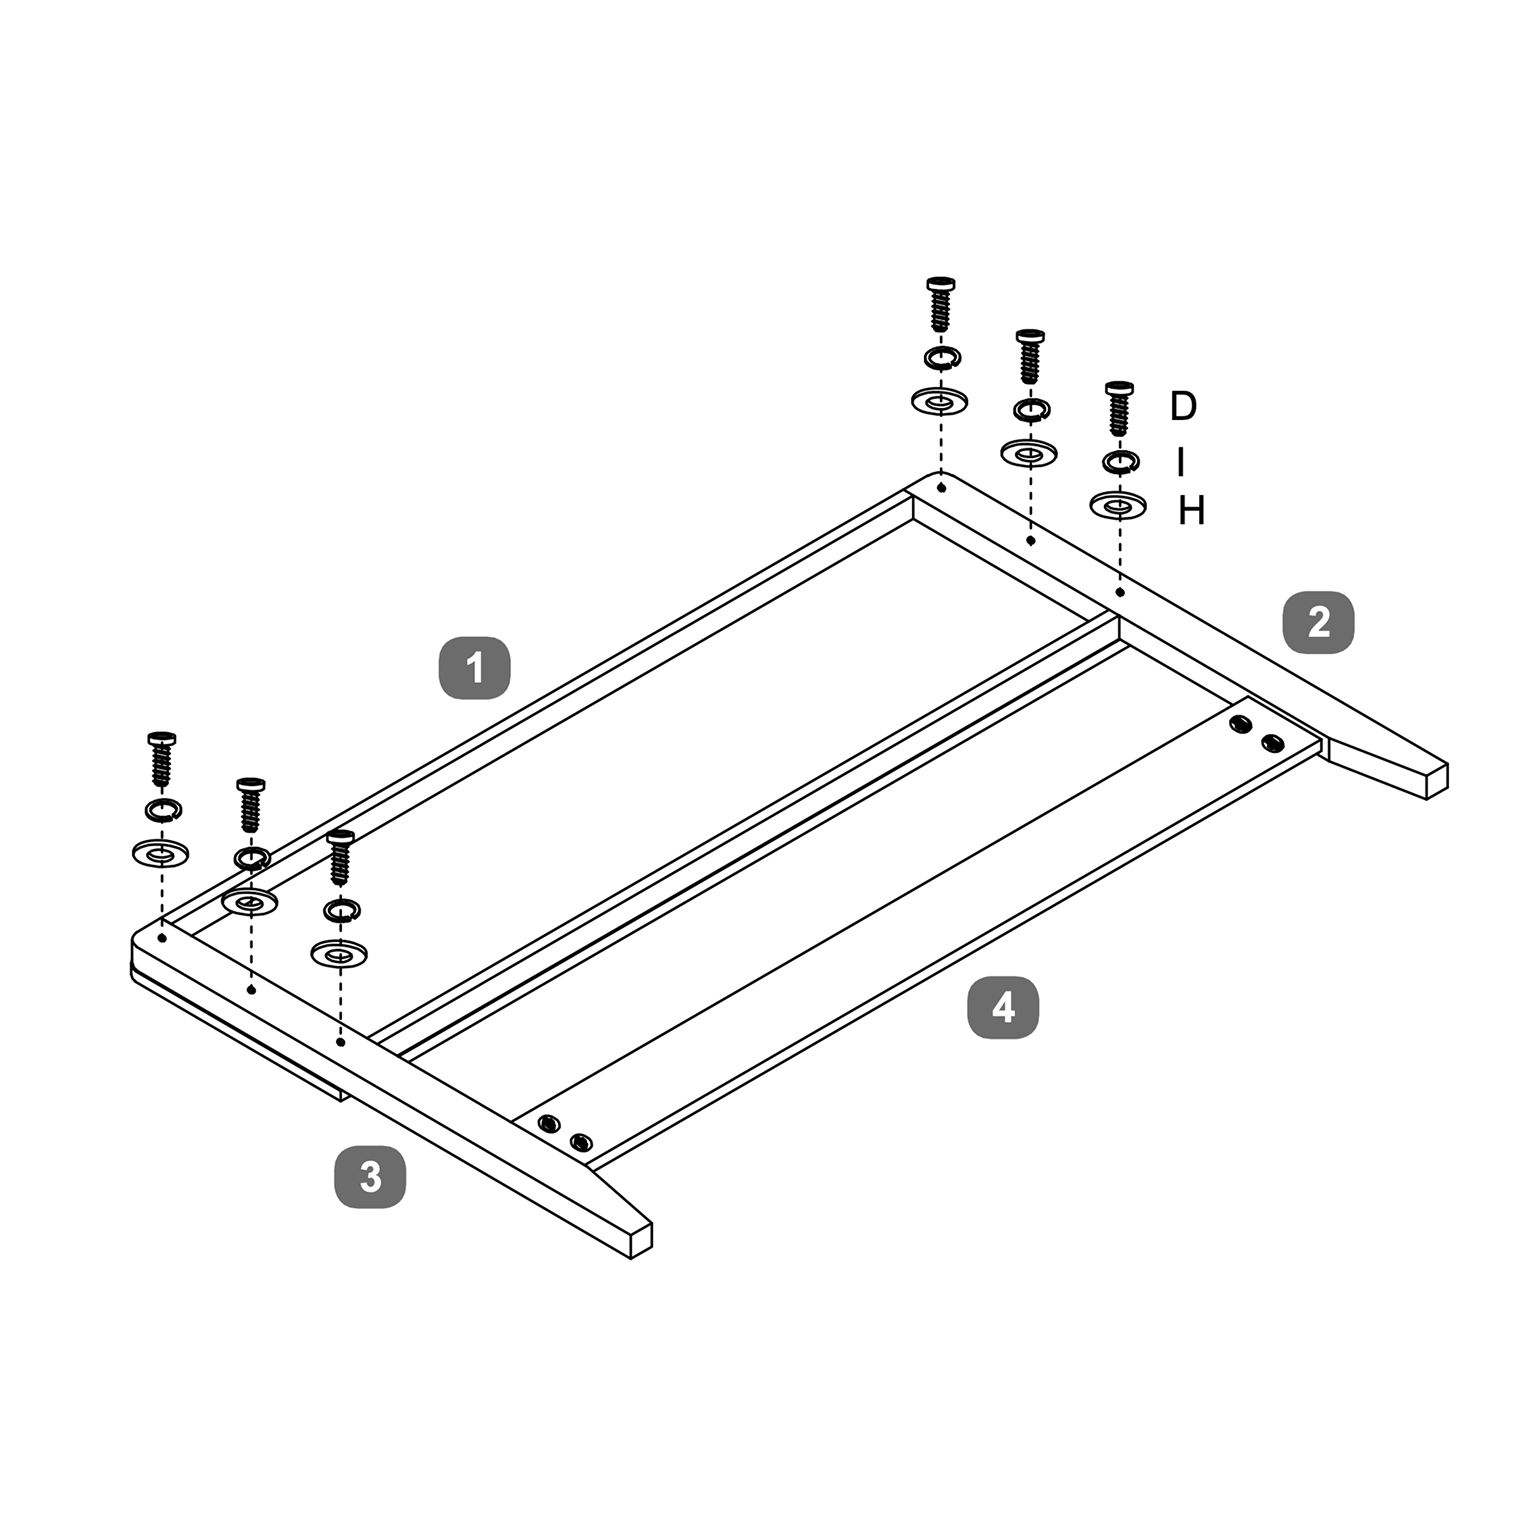 1. With the Headboard Panel (1), Headboard Lower Panel (4), and Legs (2 & 3) assembled, insert Bolts (D) through the predrilled holes at the joints. 6. Prepare Footboard Legs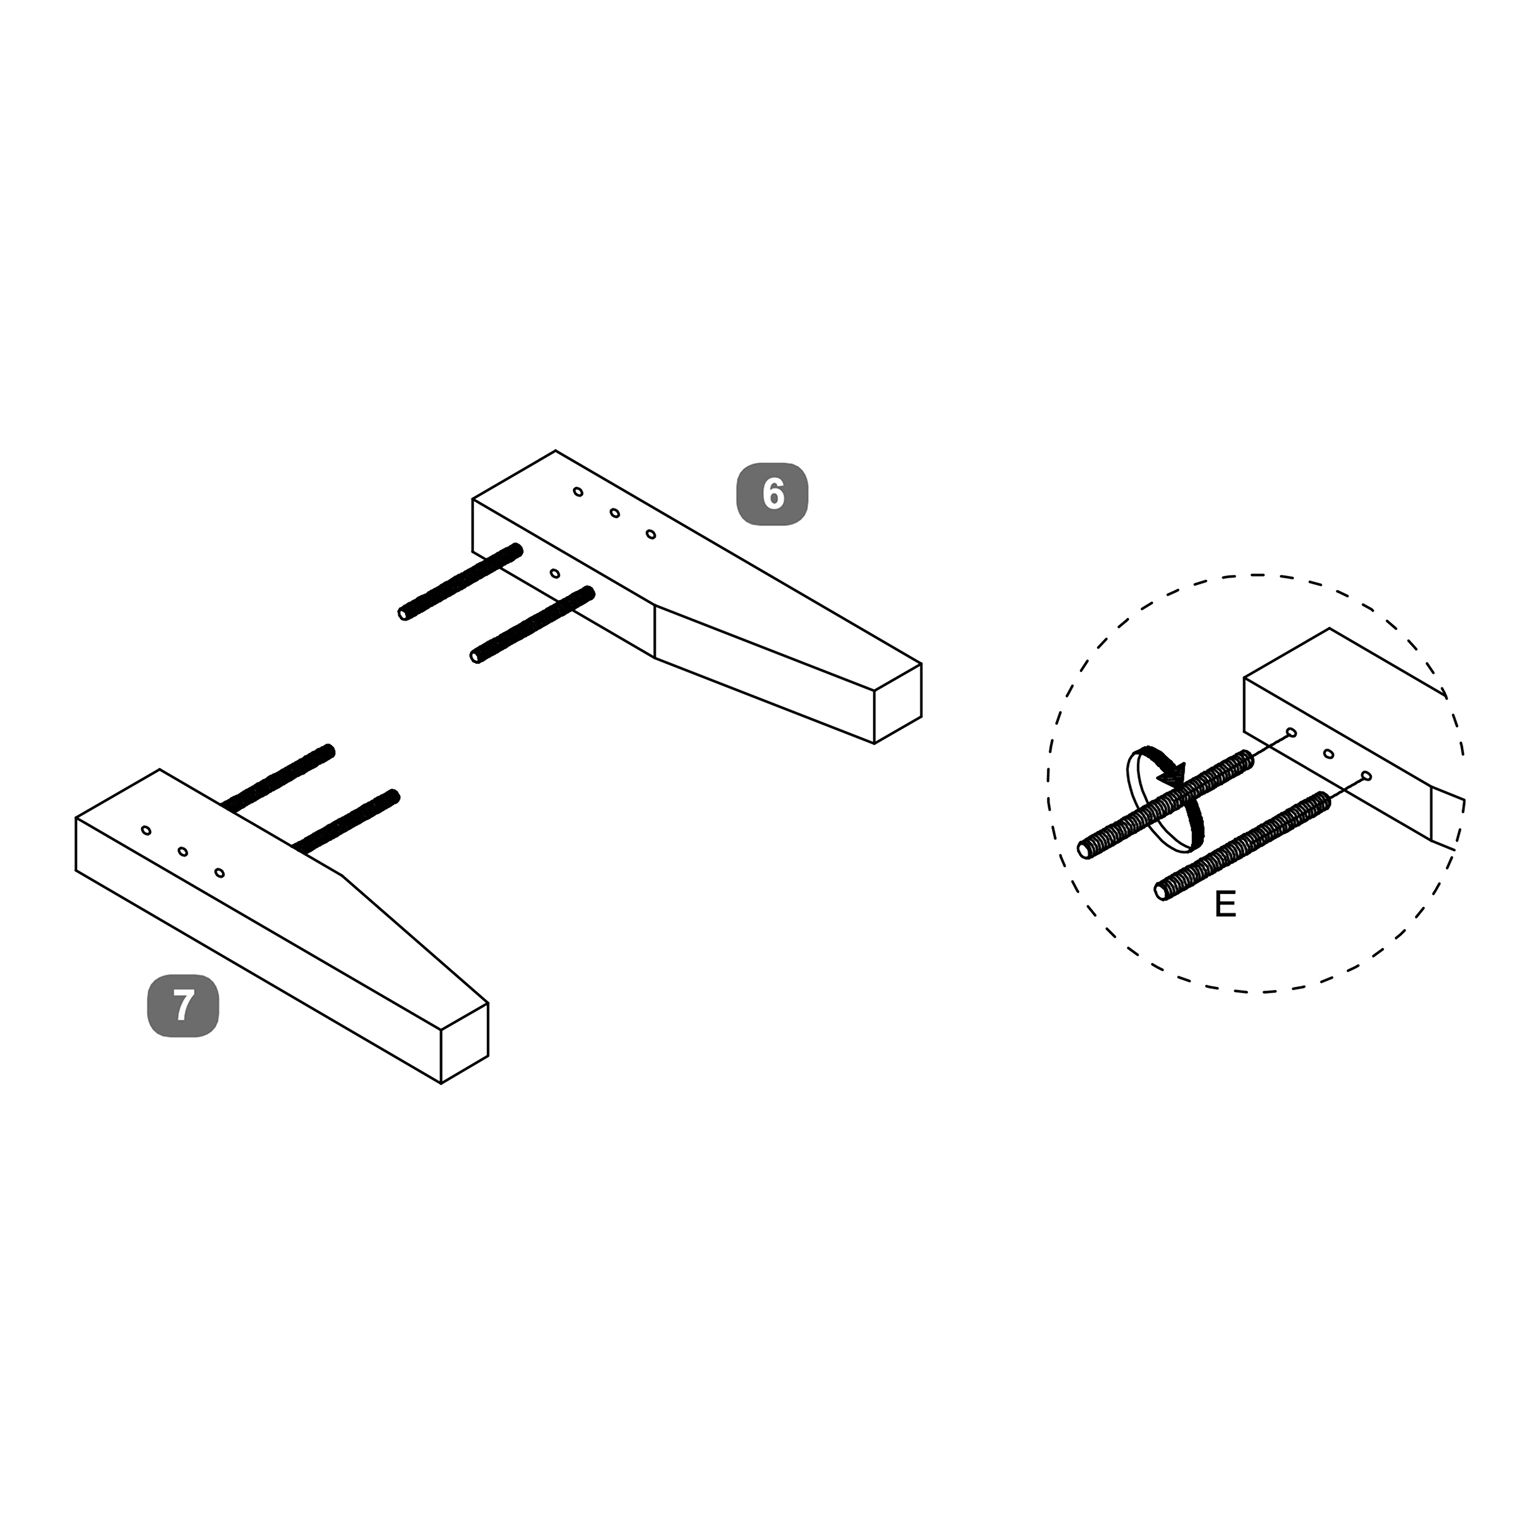 1. Take the Footboard Legs (6 & 7). 7. Prepare the Footboard Panel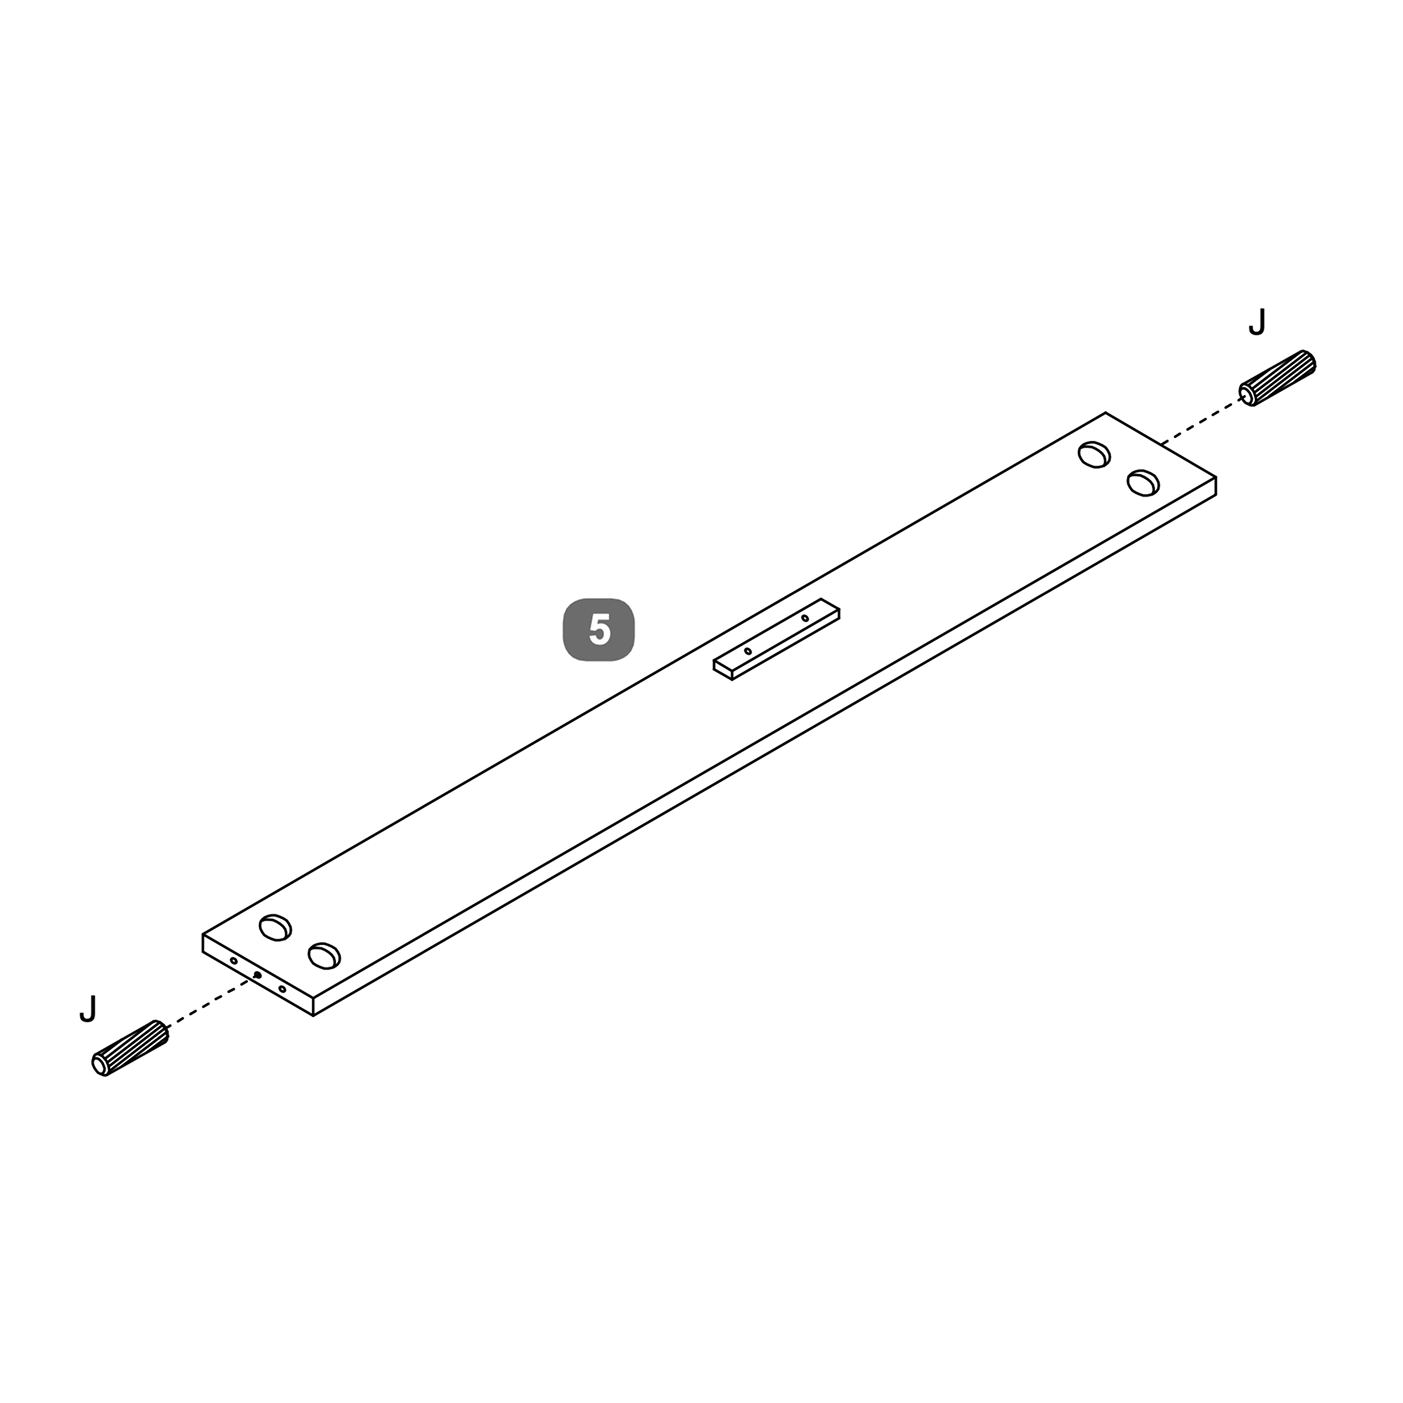 1. Take the Footboard Panel (5). 8. Attach Footboard Legs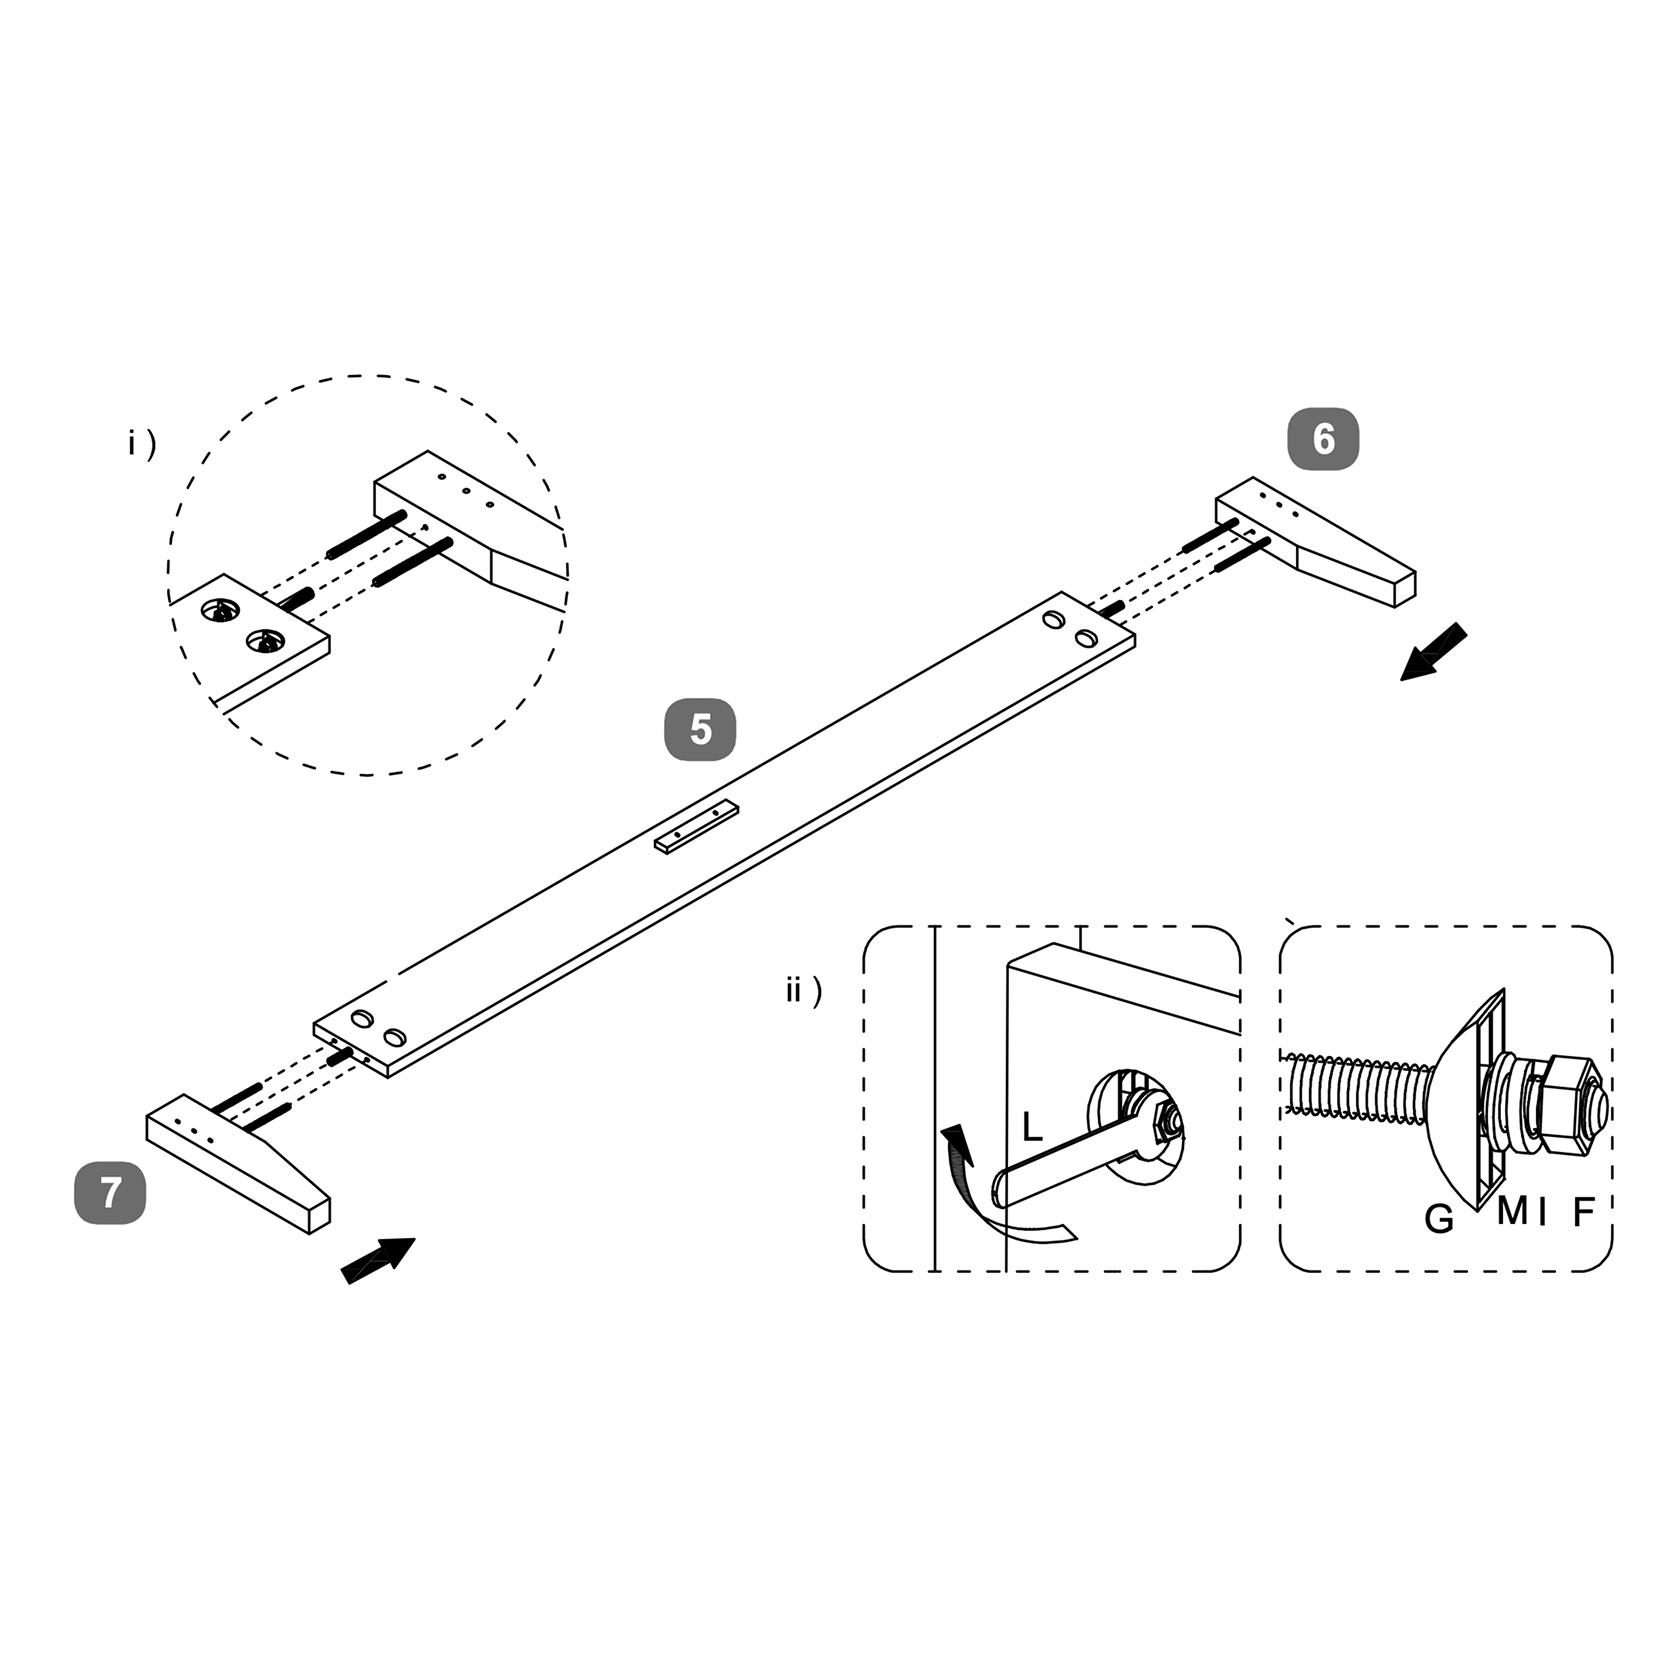 1. Position the Footboard Legs (6 & 7) at each end of the Footboard Panel (5). 9. Prepare Headboard and Footboard 1. Take the completed Headboard Assembly (1, 2, 3, 4) and insert Threaded Studs (E) into the predrilled holes at the bottom of both legs. 10. Attach Side Rails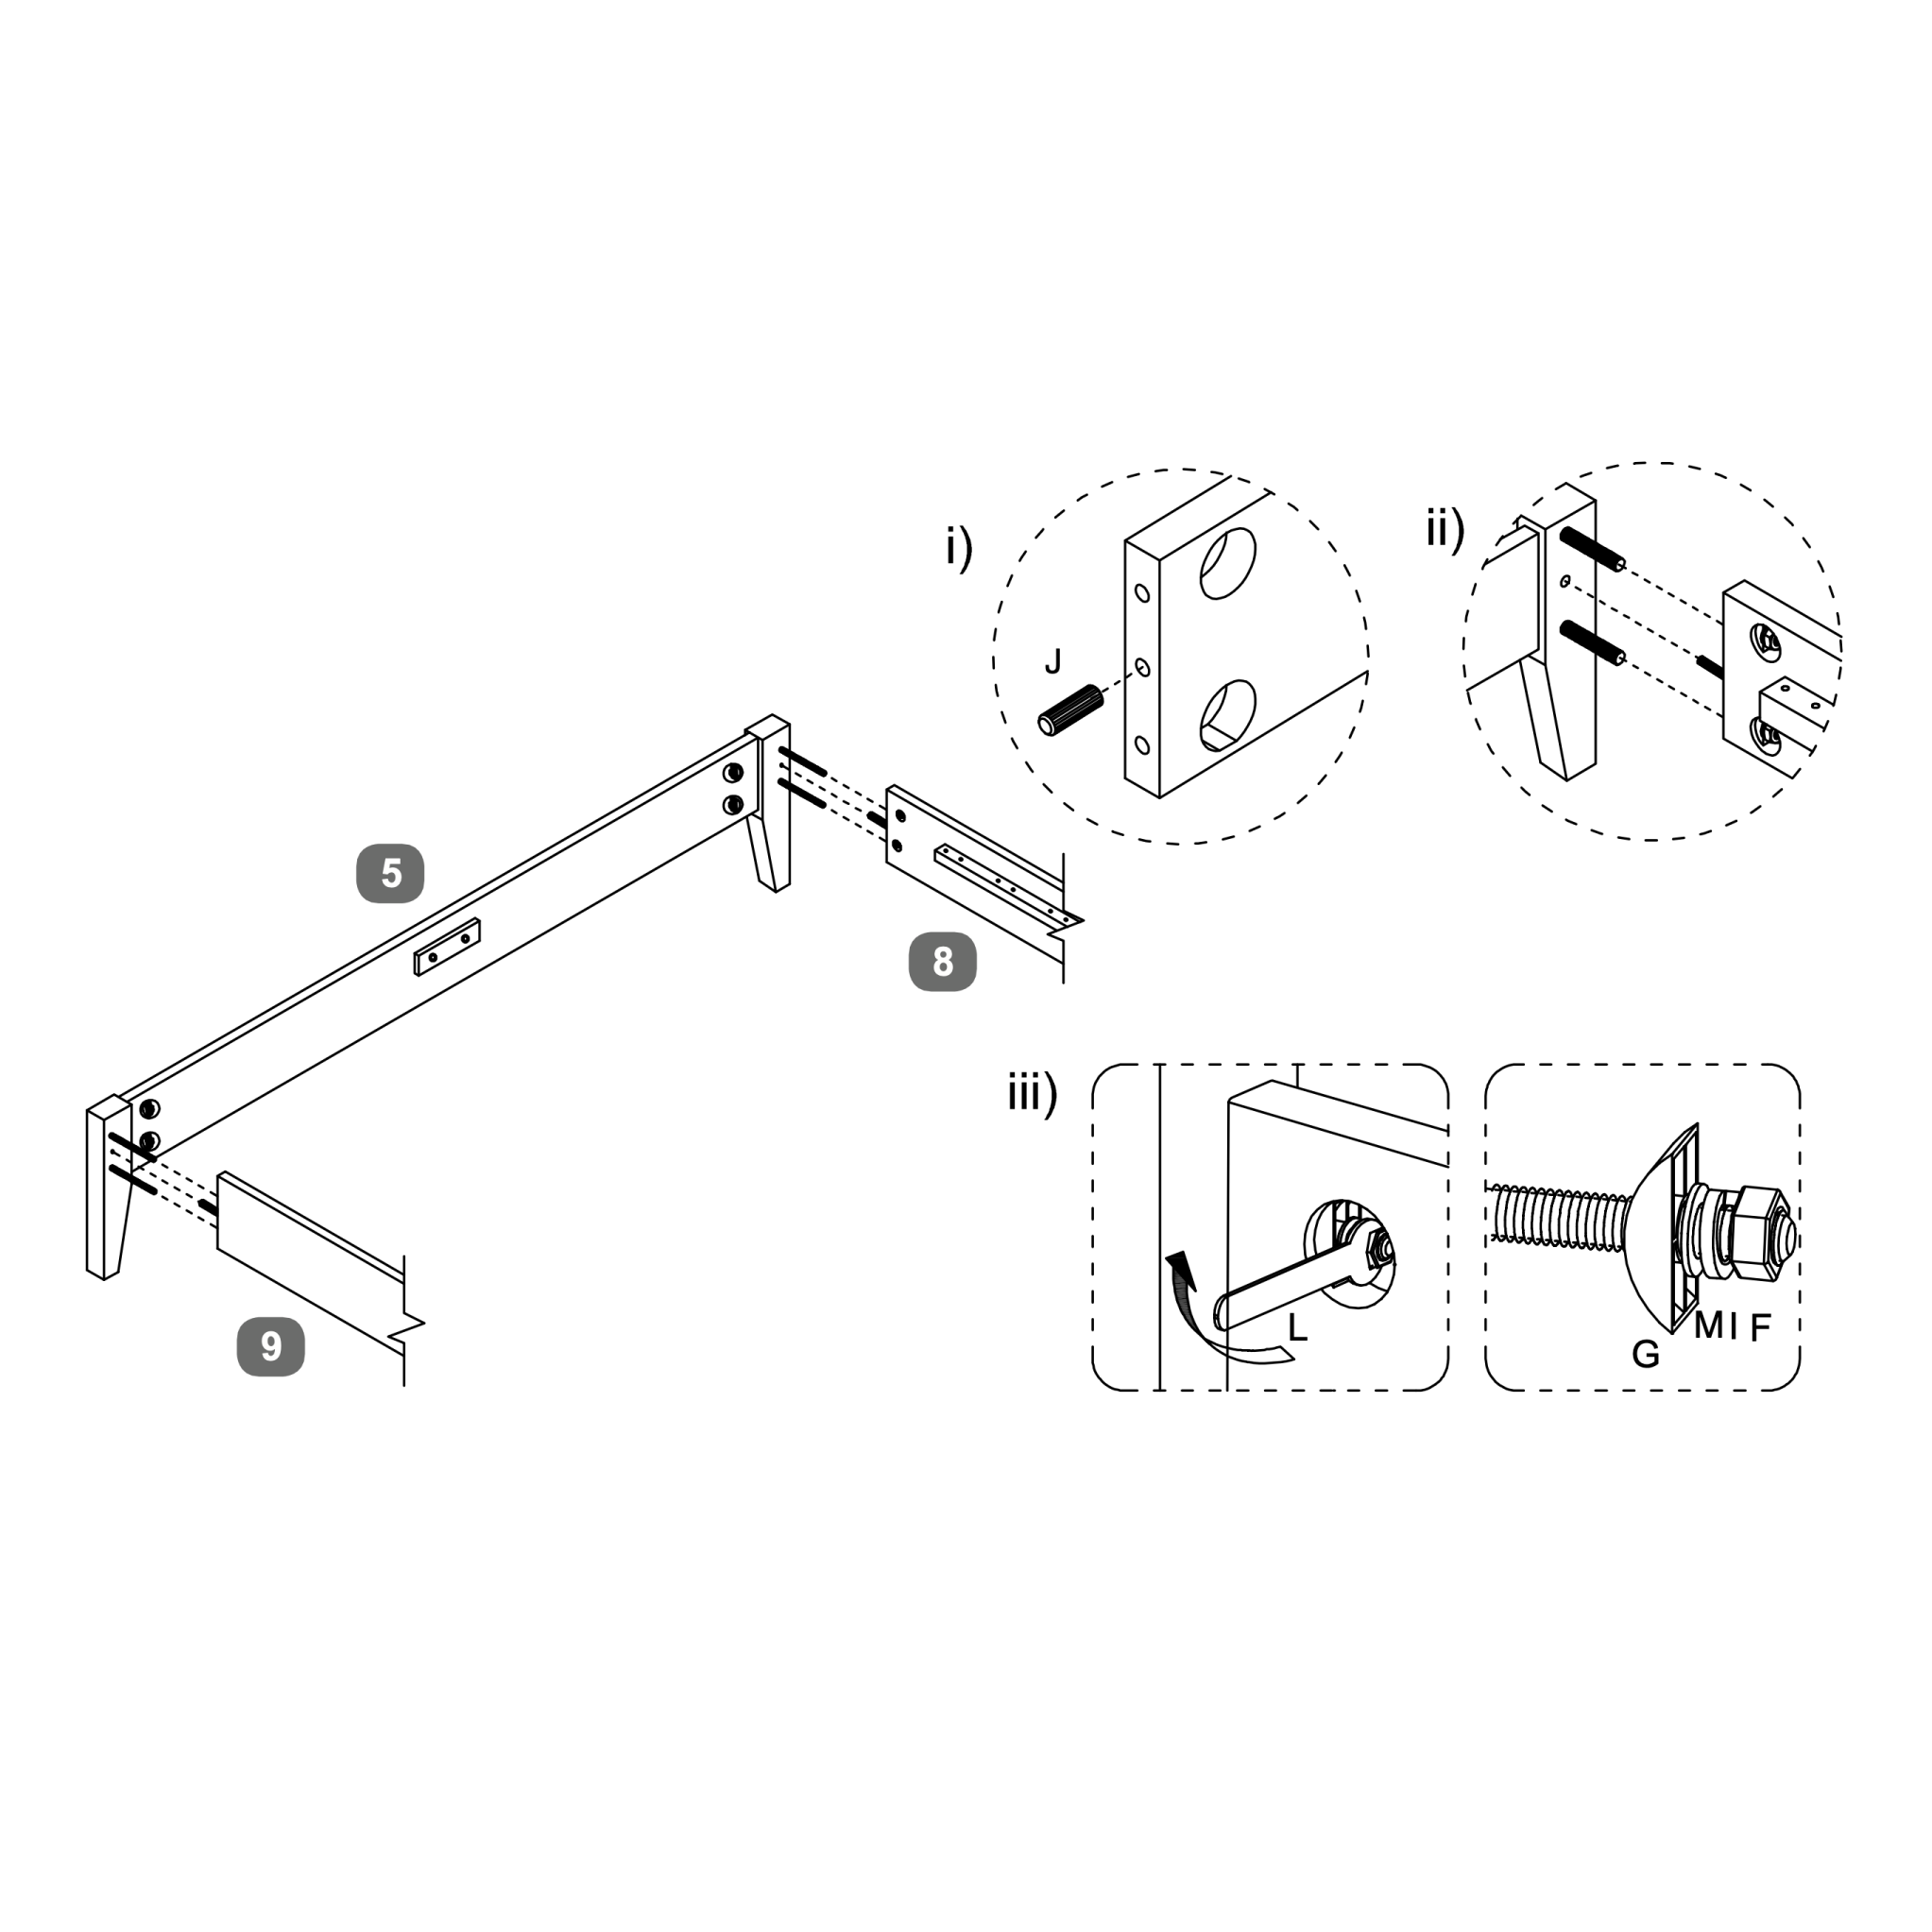 1. Insert Wood Dowels (J) into the Side Rails (8 & 9). 11. Secure the Side Rails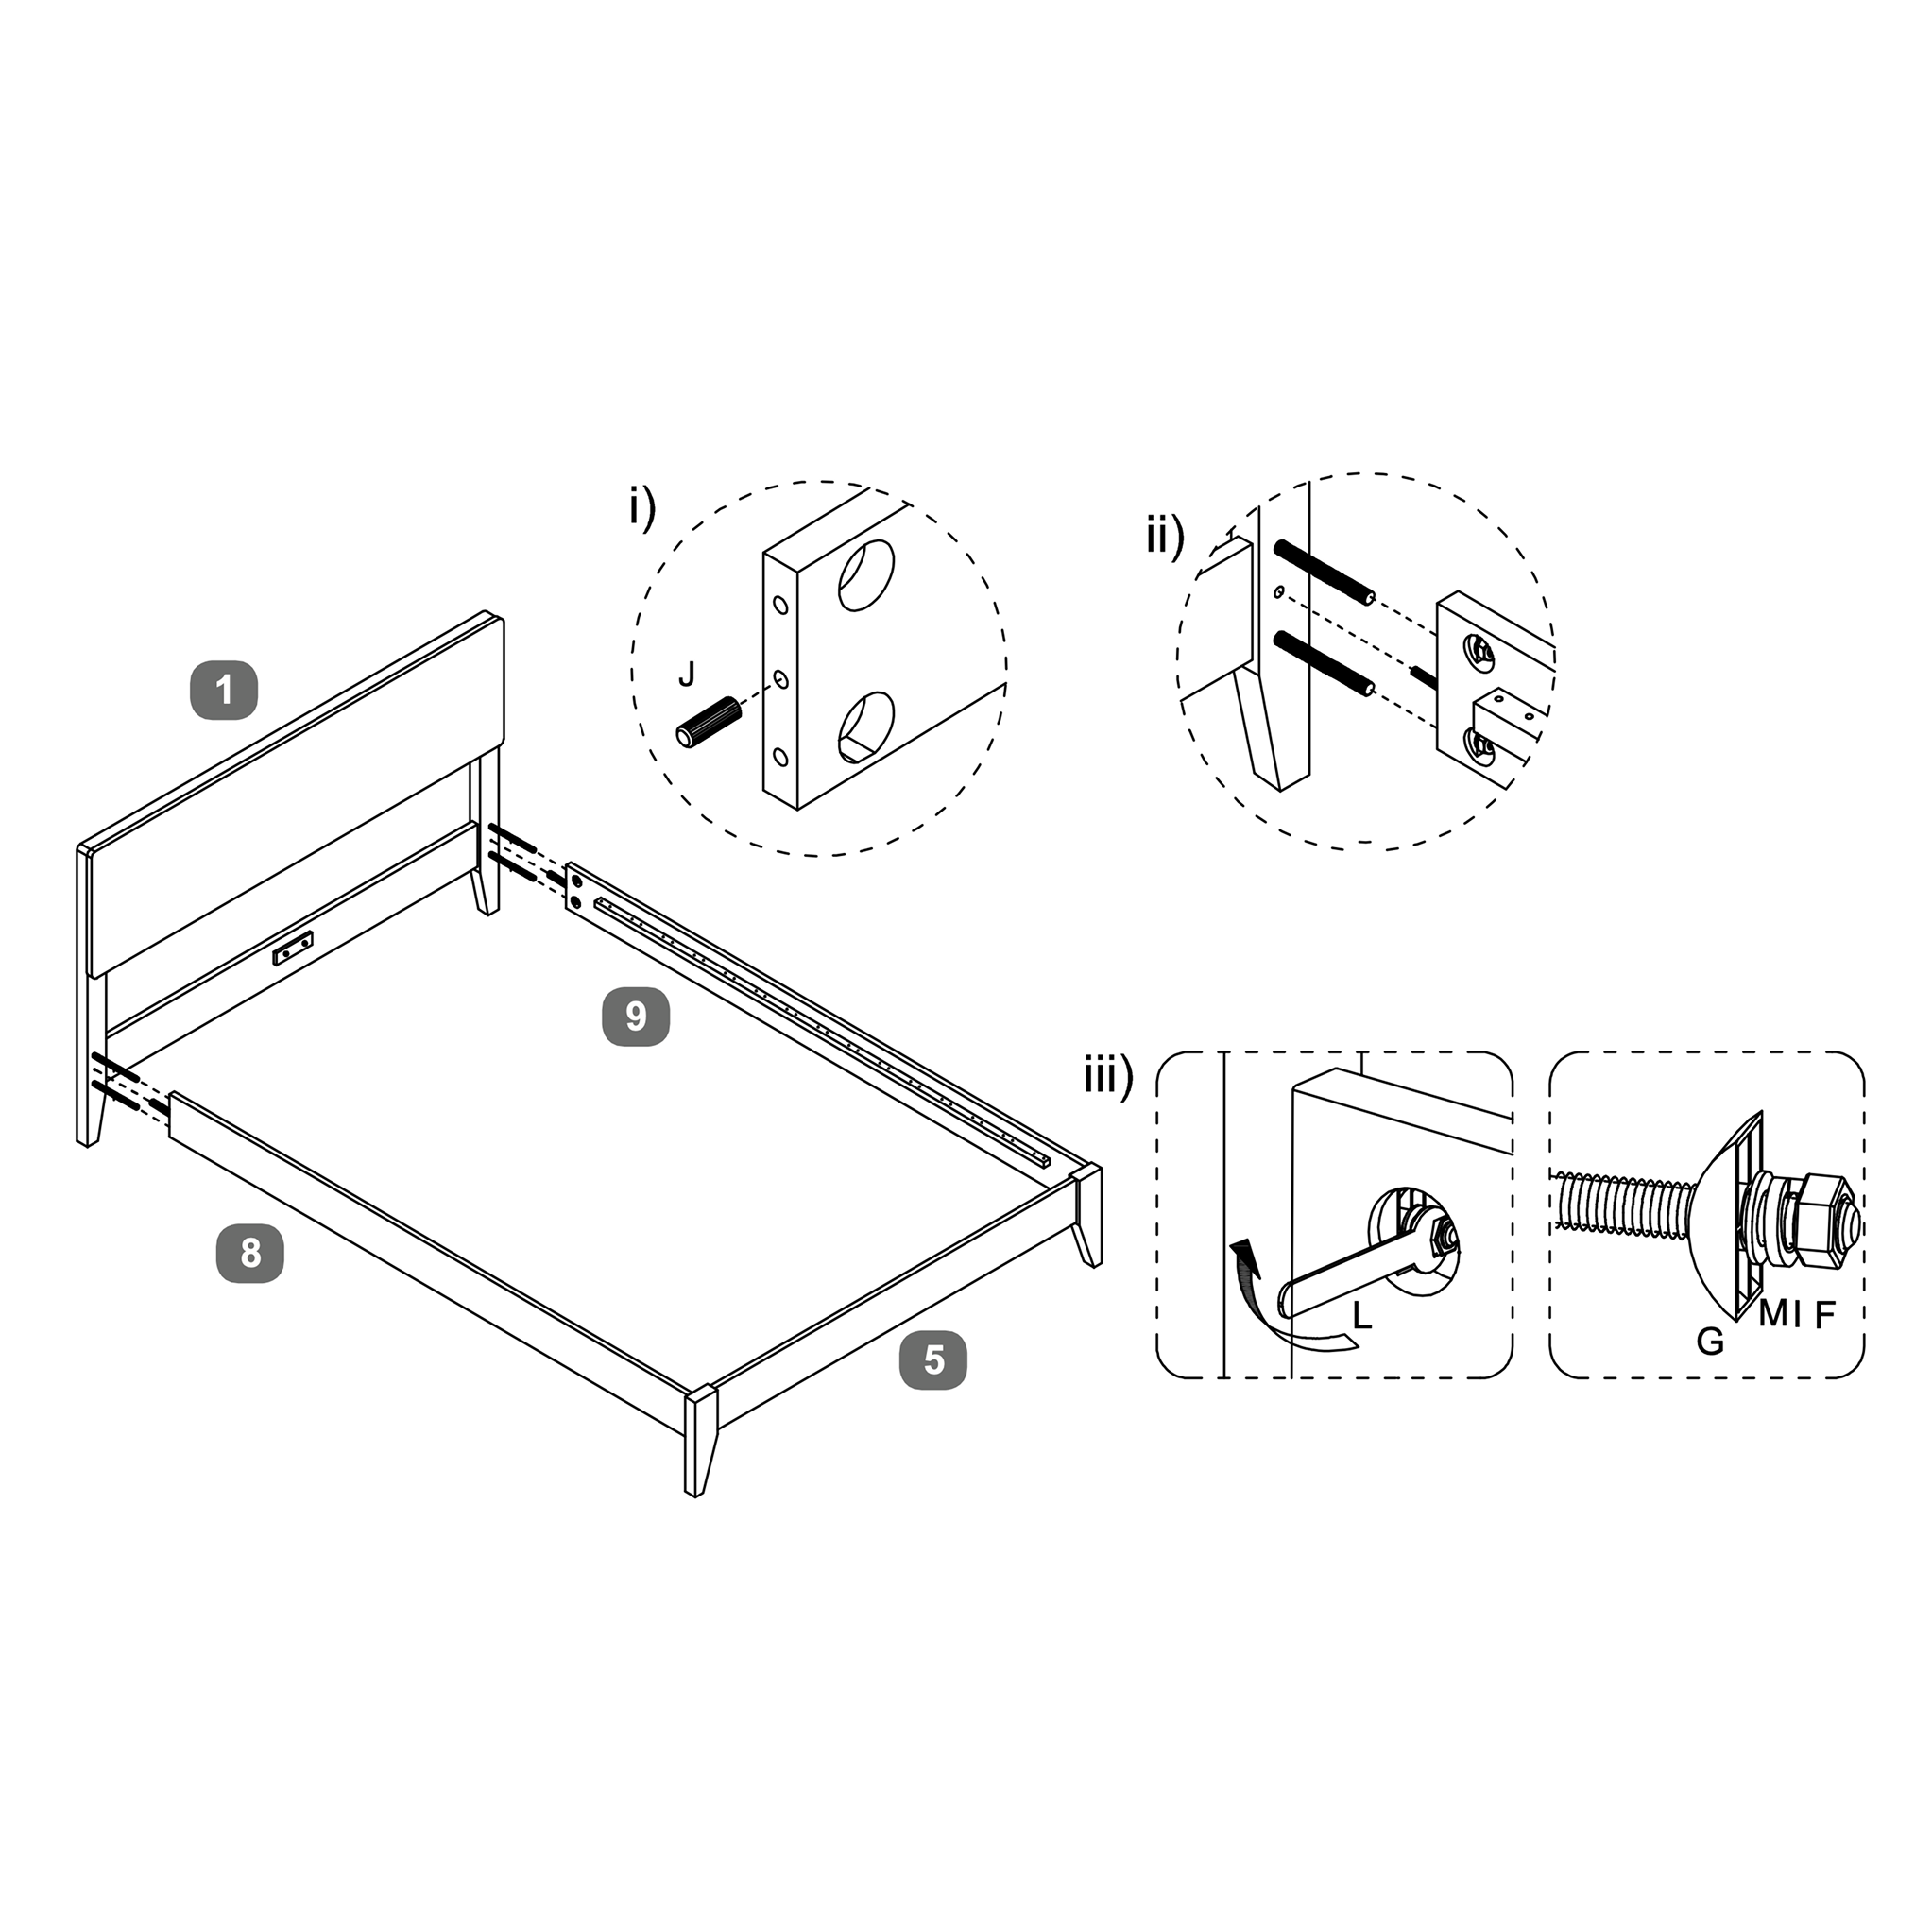 1. Insert Wood Dowels (J) into the remaining holes of the Side Rails (8 & 9). 12. Assemble Centre Support Rail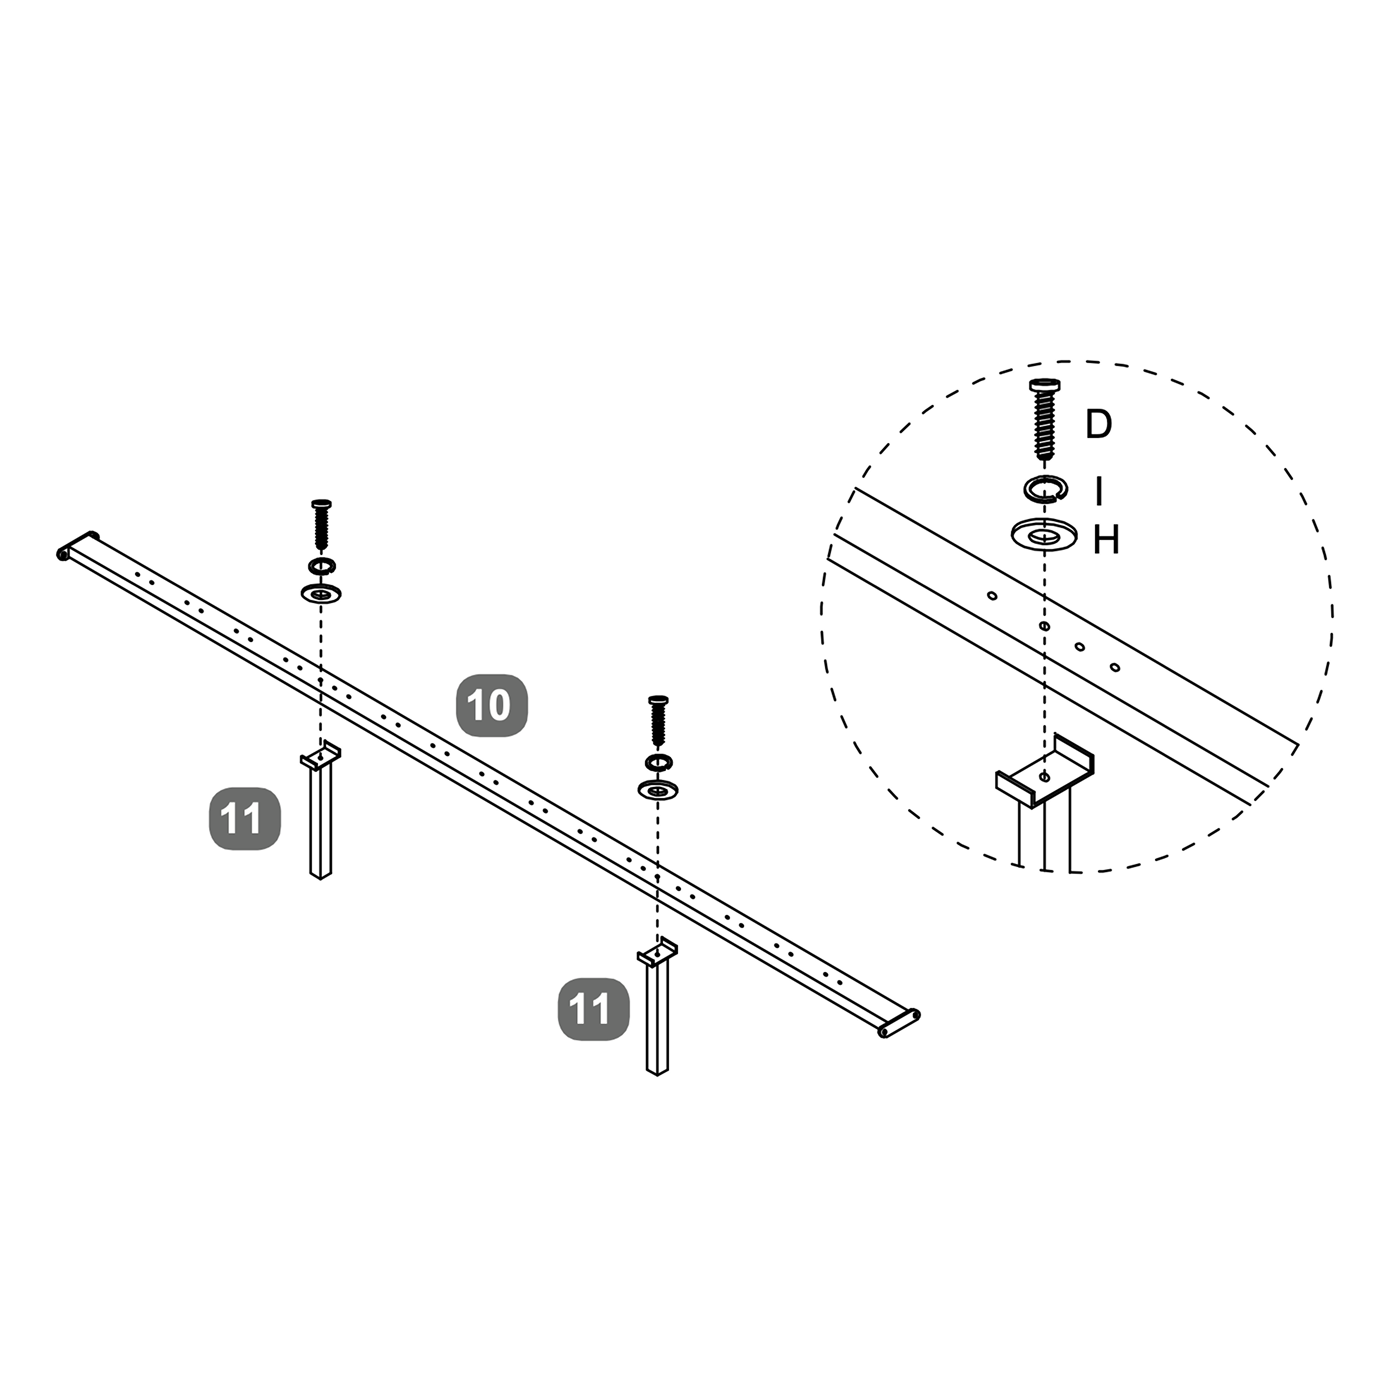 1. Take the Centre Support Rail (10) and position the Support Legs (11) beneath it at the marked points. 13. Install Centre Support Rail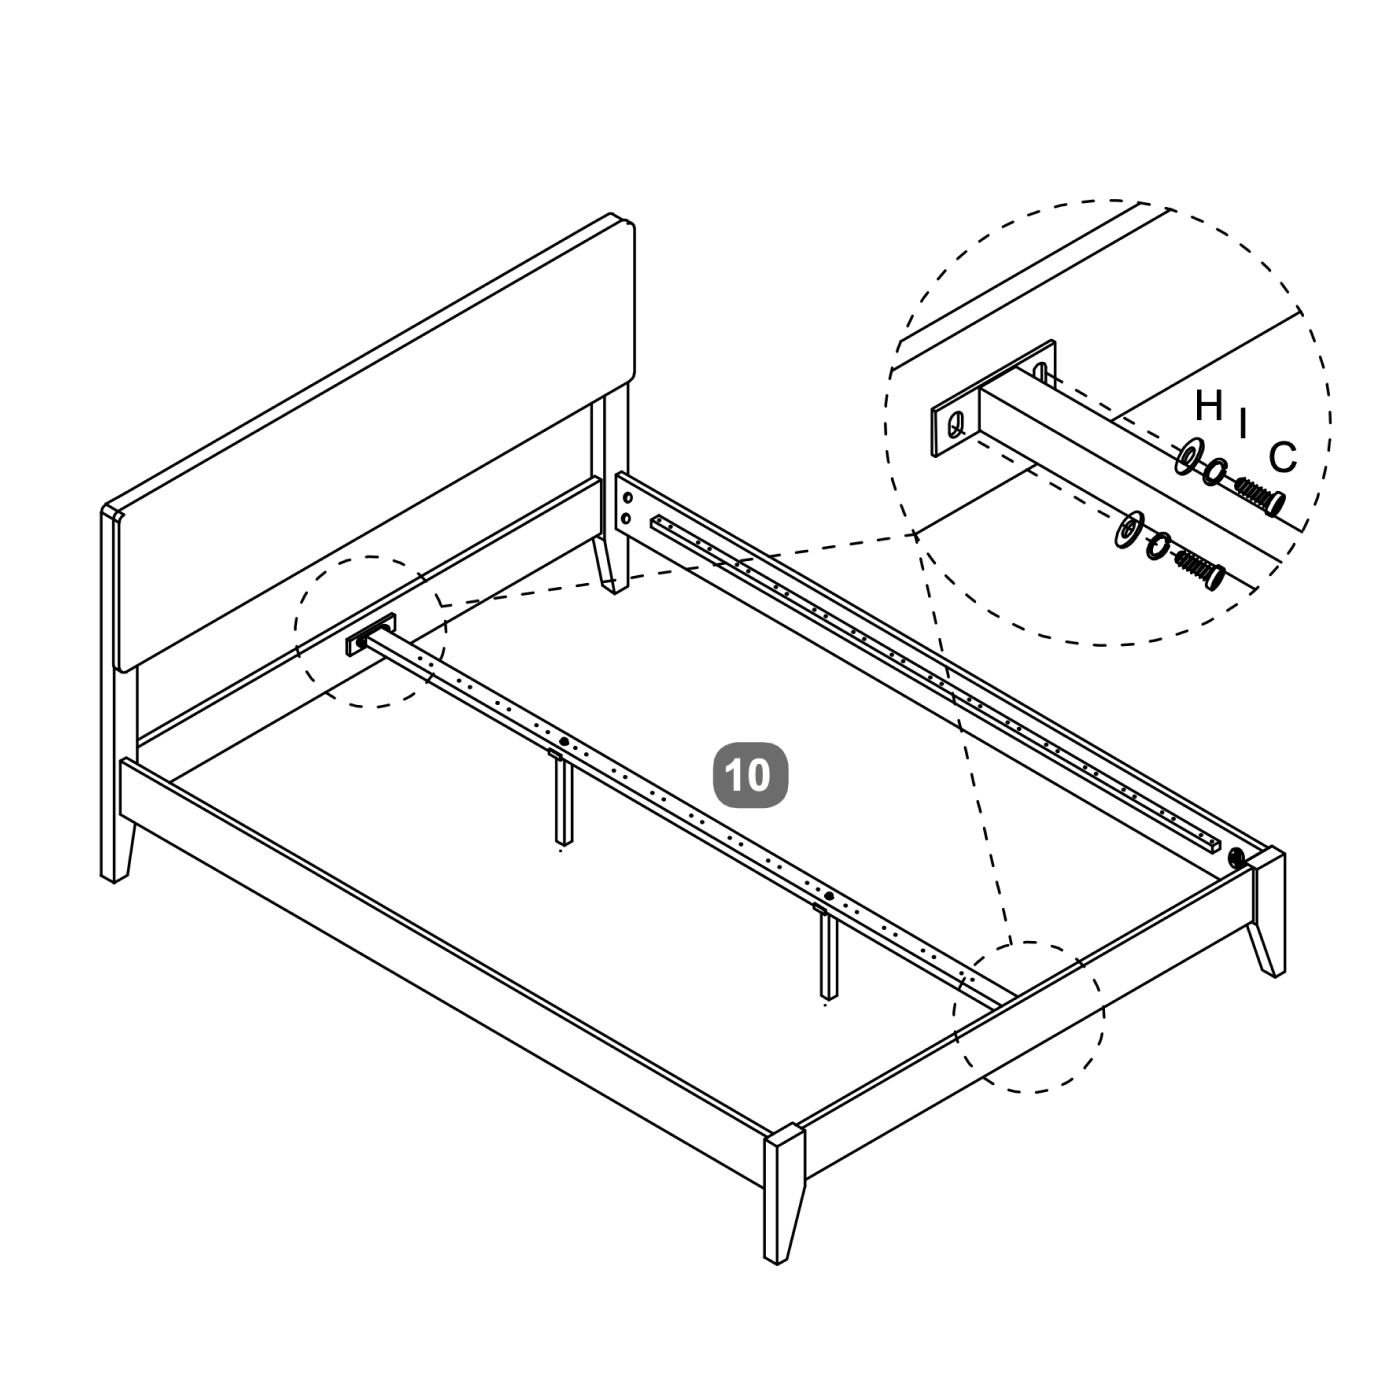  1. Position the assembled Centre Support Rail (10) between the Headboard (1) and Footboard (5). 14. Install Bentwood Slats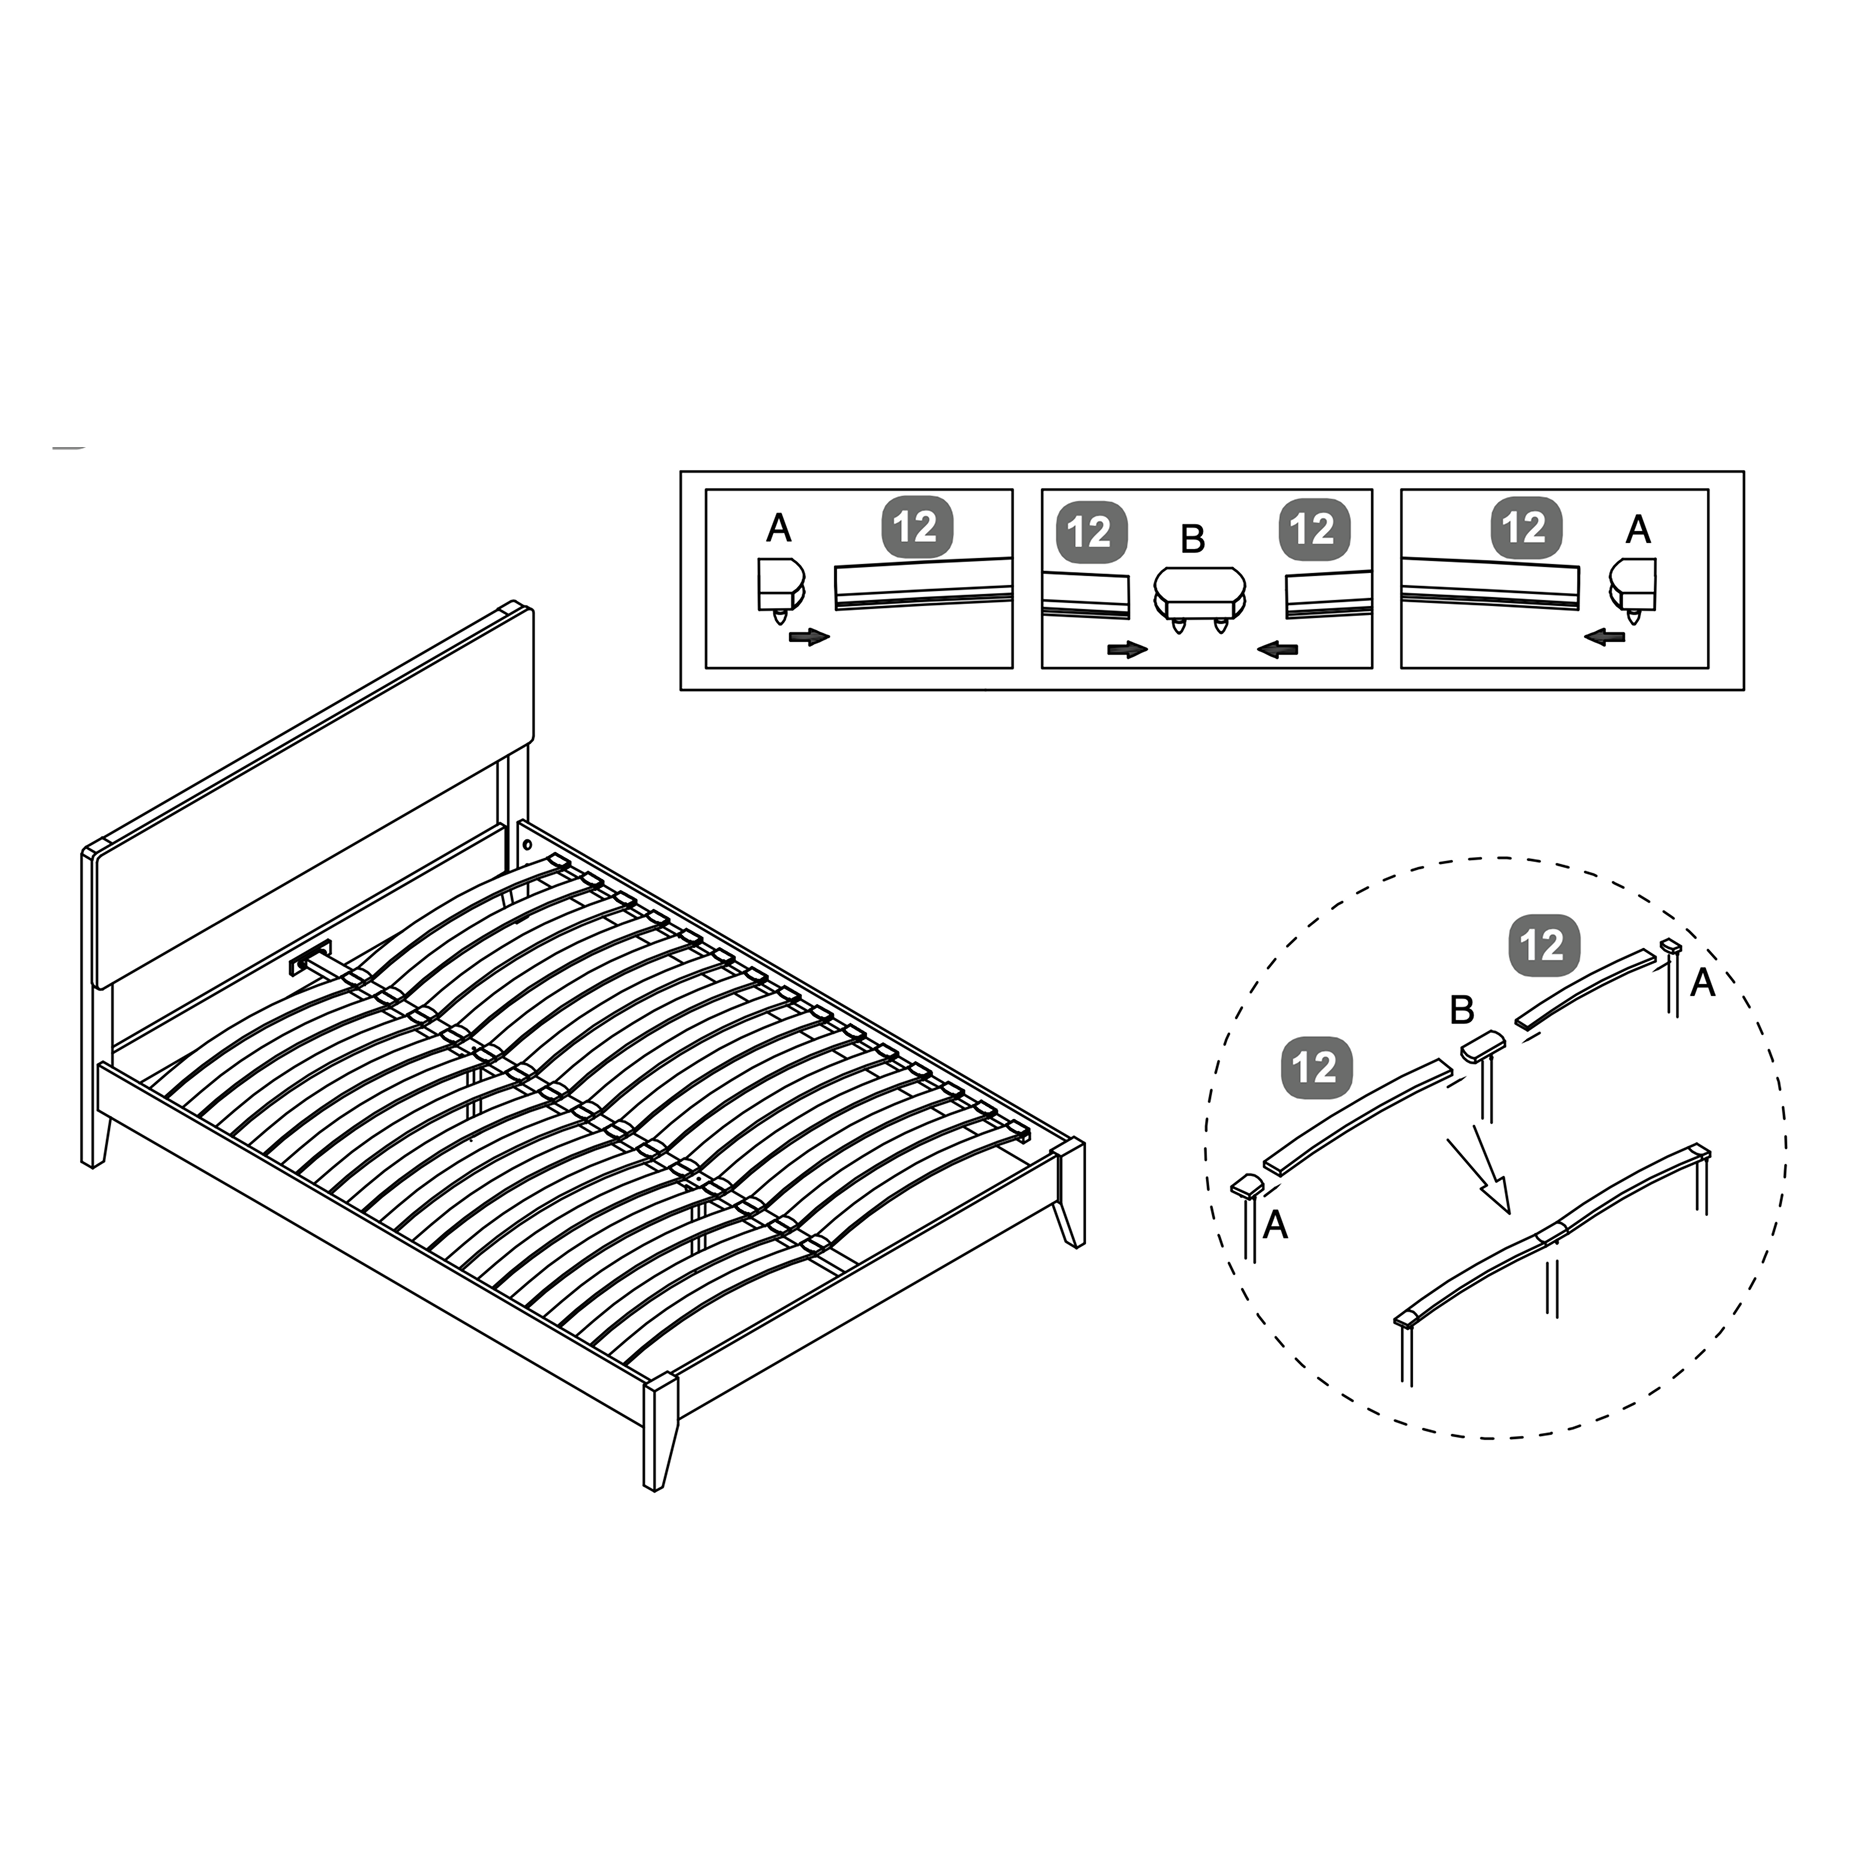 1. Take the Bentwood Slats (12) and insert one Slat End Cap (A) onto each end. |