1. Choose Trundle Side
The trundle unit is reversible and can be installed on the left or right side according to your individual needs and home space.
 Instructions by time4sleep Bexley Natural Oat Upholstered Bed FrameAssembly instructions for Bexley Natural Oat Upholstered Bed Frame by Time4Sleep. Product Information Bexley Natural Oat Upholstered Bed FrameIf you’re looking for a bed with added versatility this bed maybe the perfect bed for you. With space is at a premium in most homes this bed was designed to help. The Bexley bed comes with a pull-out trundle that can either be used to store a standard single mattress (90cm x 190cm 3’0 x 6’3) or simple as additional storage for occasional use items. Upholstered in a luxurious textured weave fabric the Bexley will be a timeless addition to any bedroom.
Please note that the underbed can be assembled left or right of the bed frame. View product (opens in new tab)
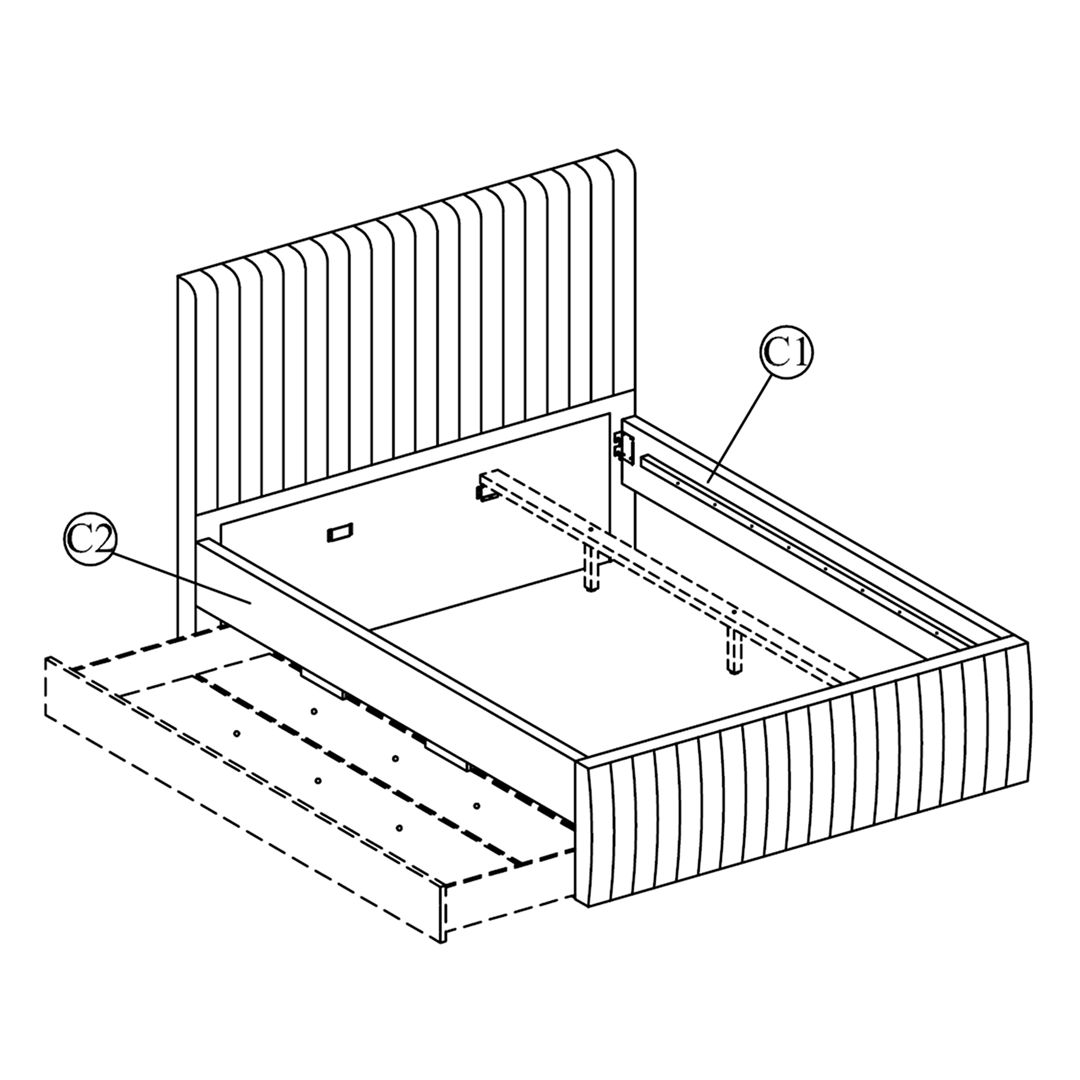
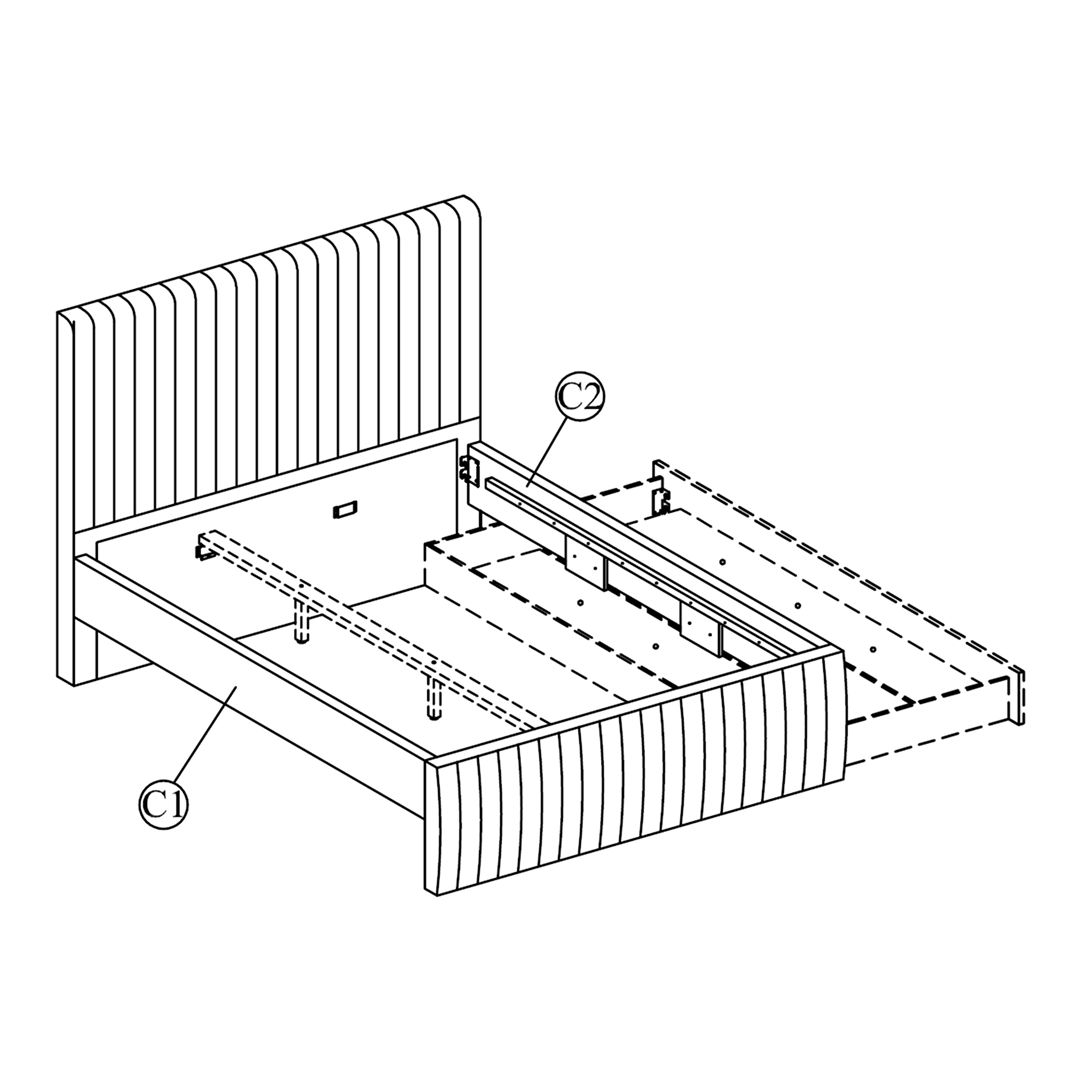
Tools 1 - Allen Key (M5x70mm)  2 - Allen Key (M4x65mm)  3 - JCBC (M6x40mm) 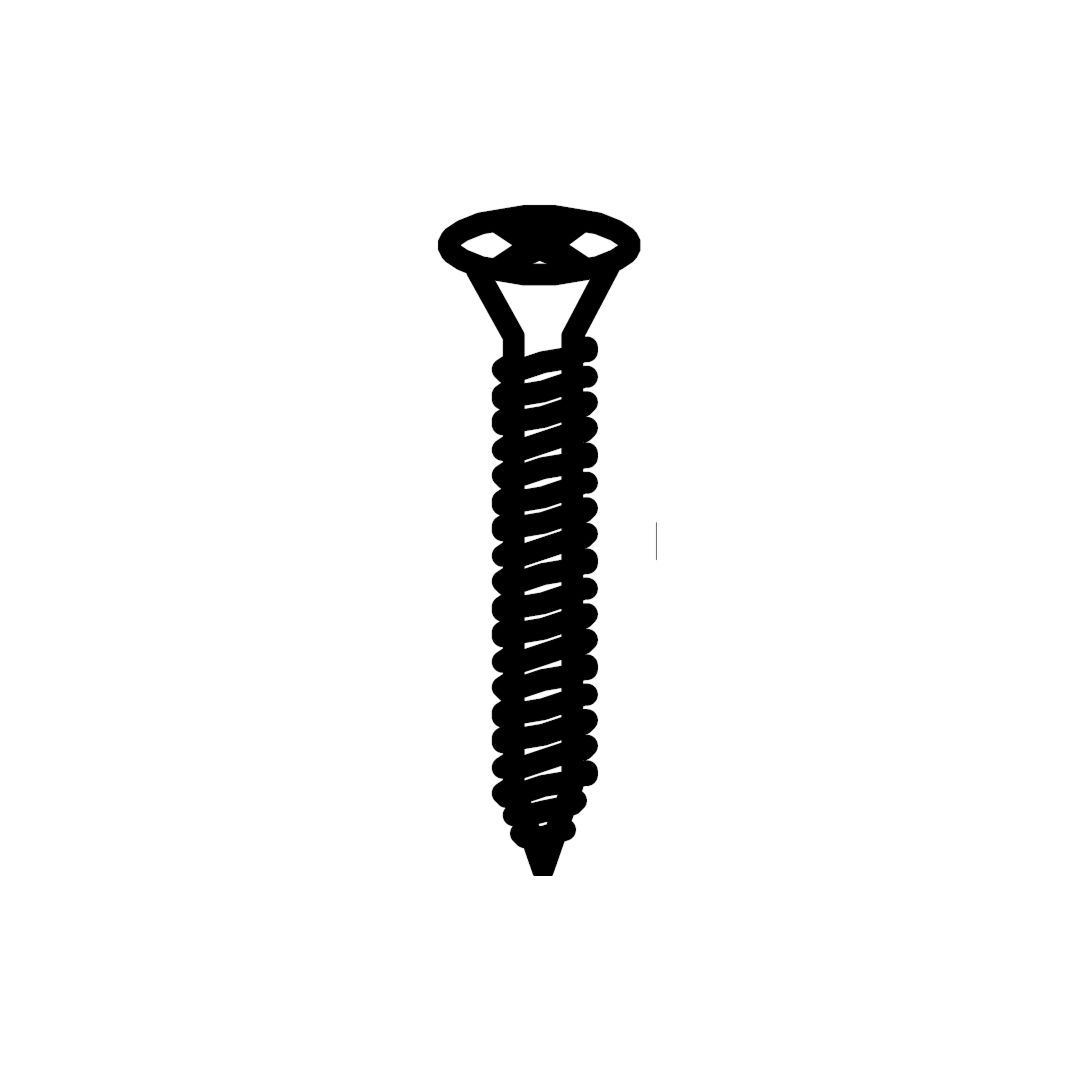 4 - CSK (M4x25mm) 5 - CSK (M4x32mm) 6 - CSK (M4x16mm)  7 - JCBB (M8x20mm)  8 - Roller  9 - Small Adjuster Parts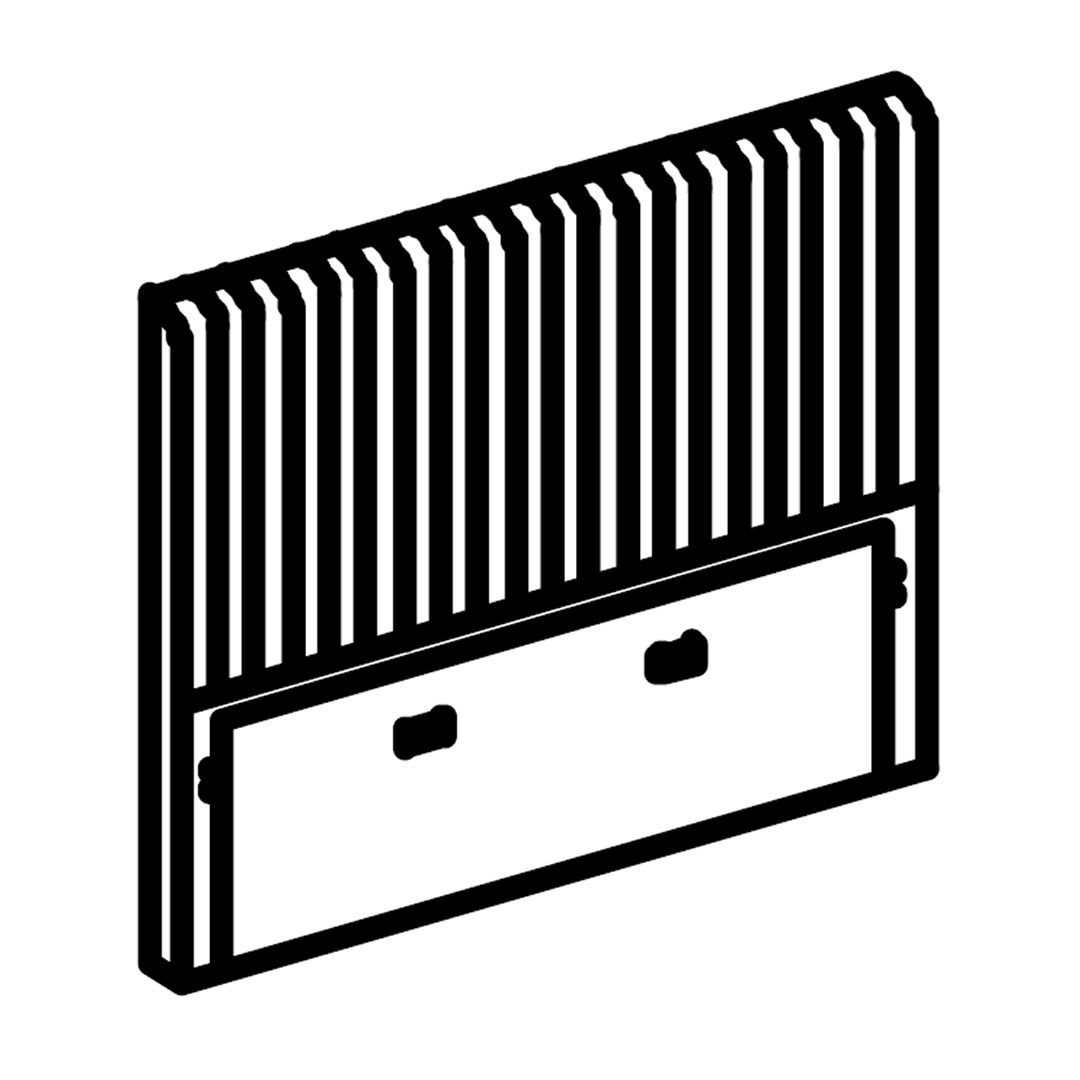 A - Headboard  B - Footboard 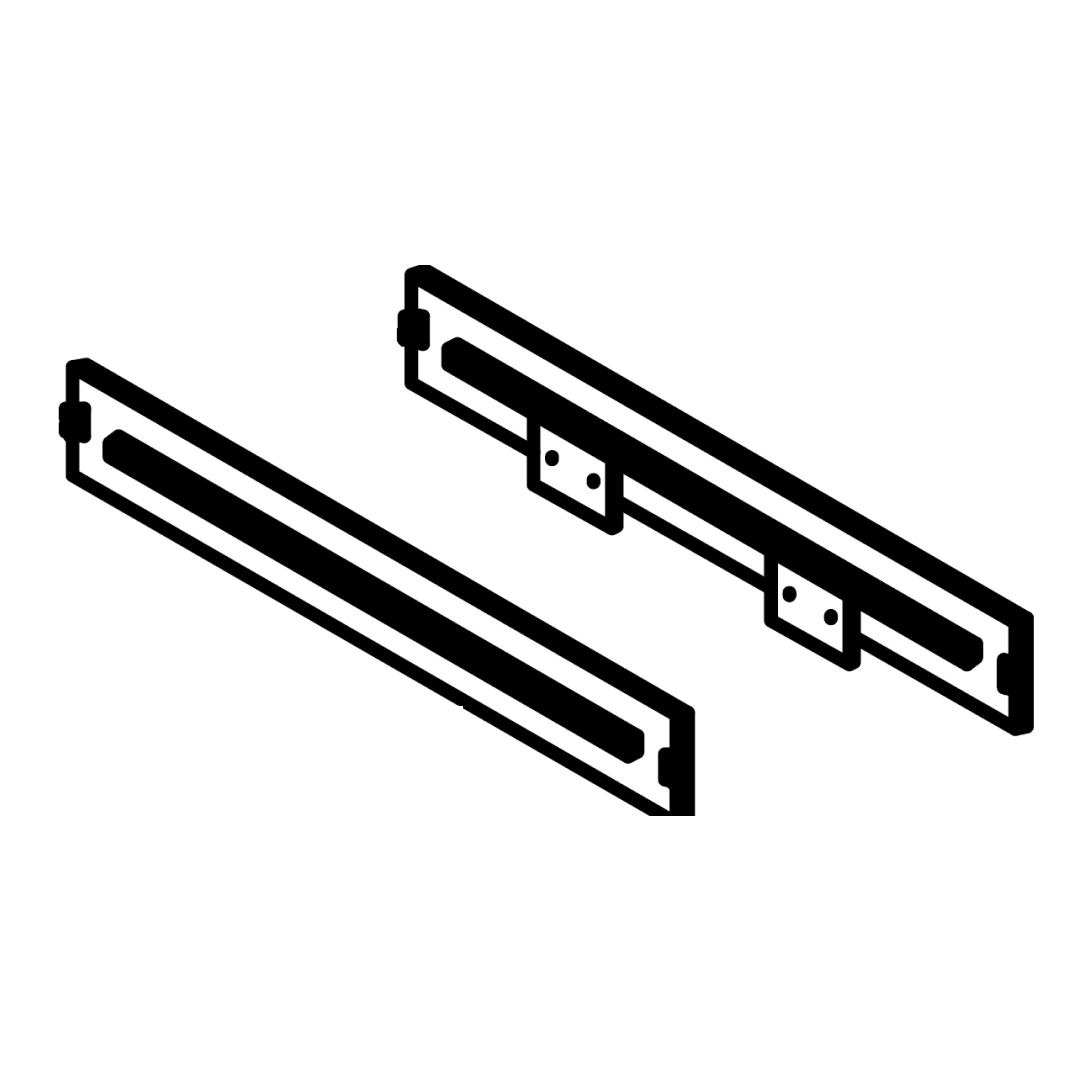 C - Side Rails 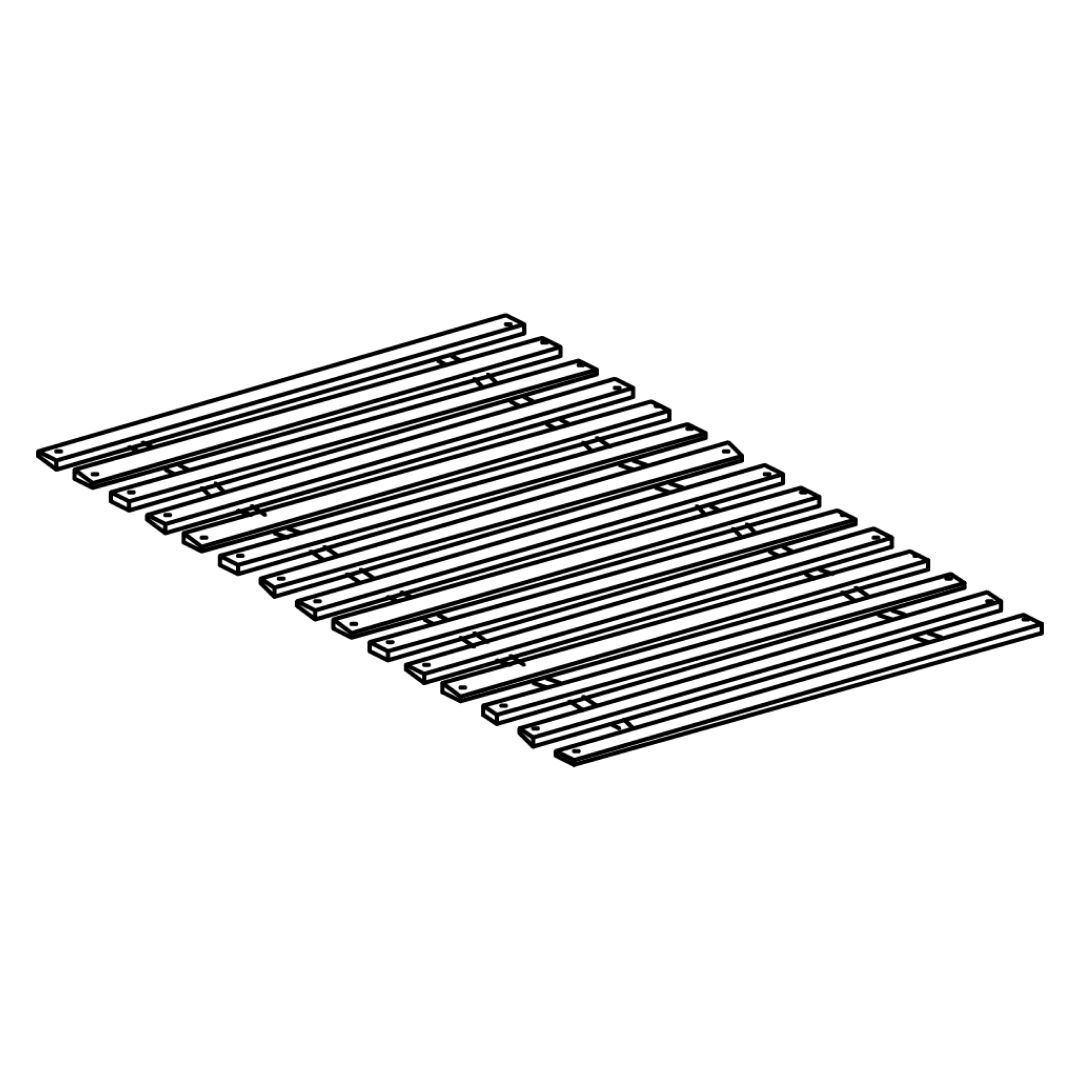 D - Slats 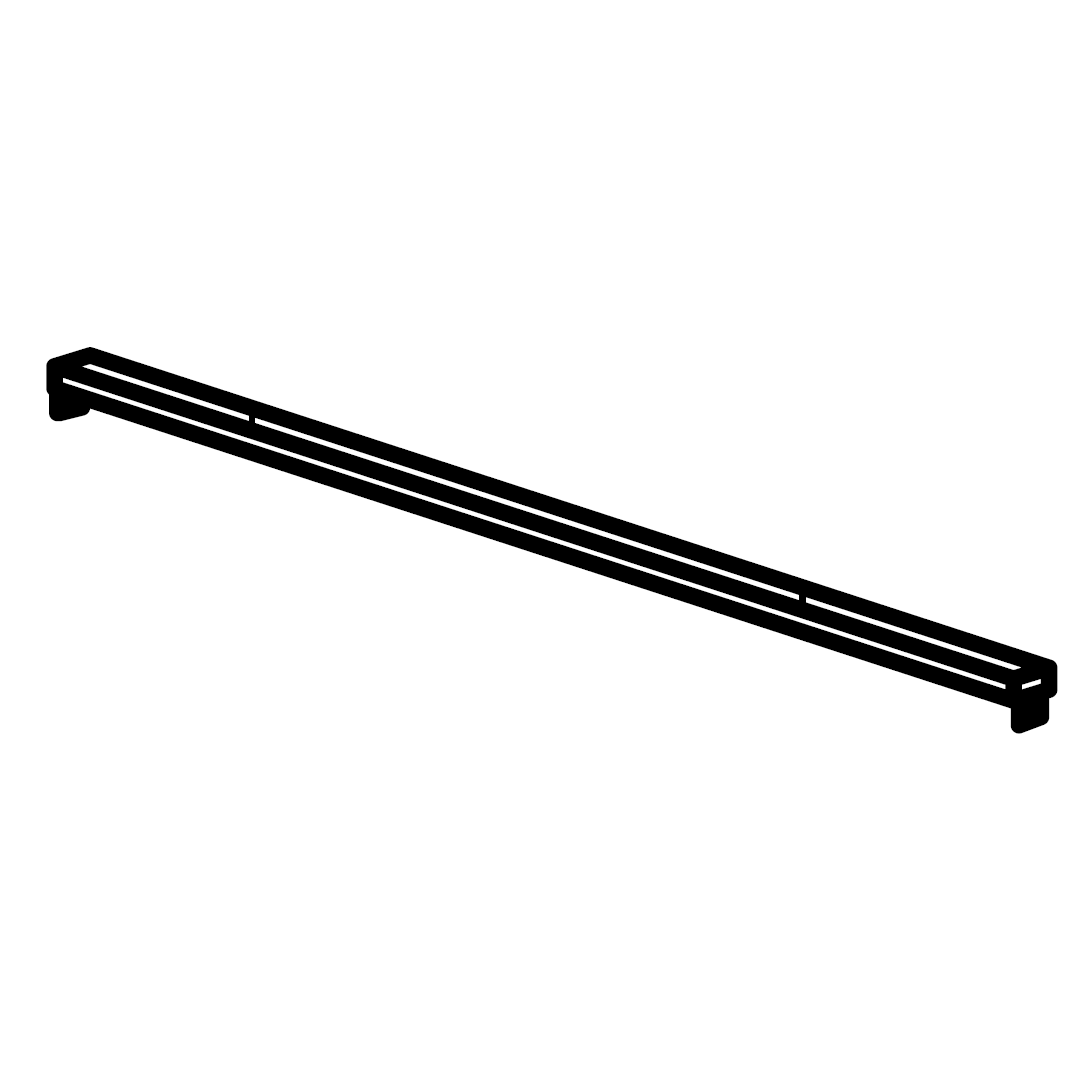 E - Centre Rail  F - Support Leg 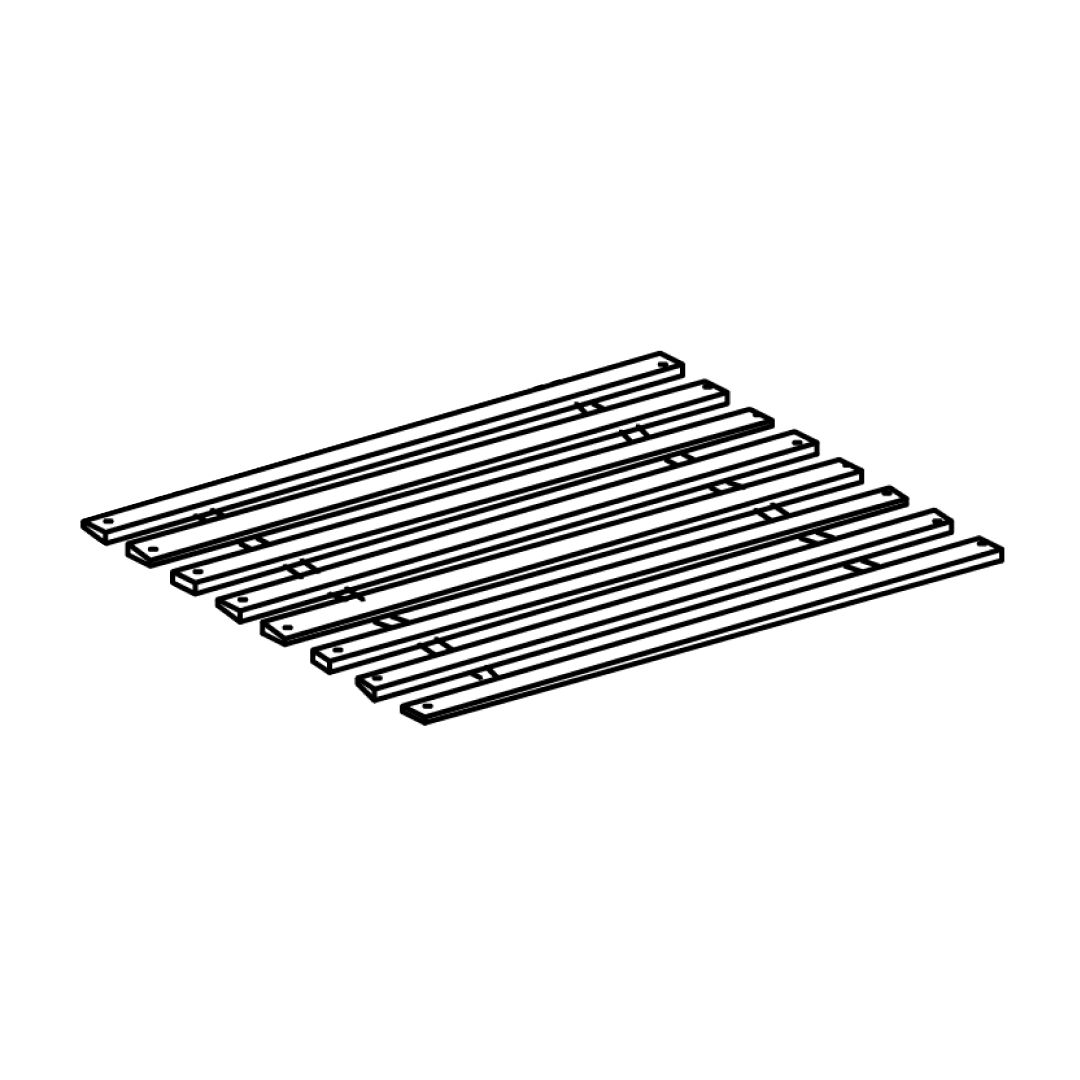 G - Slats for Trundle Bed 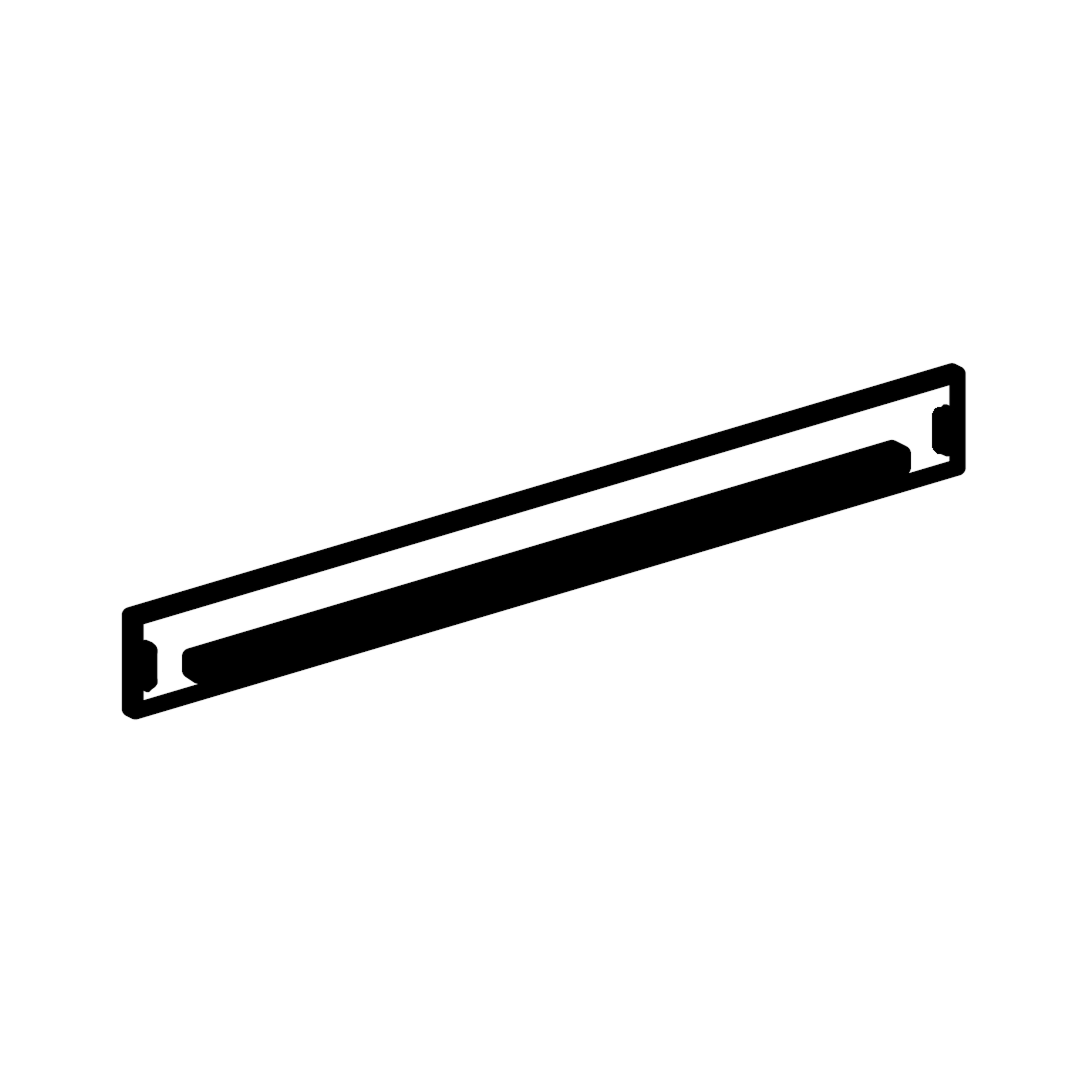 H - Trundle Front Panel I - Trundle Back Panel 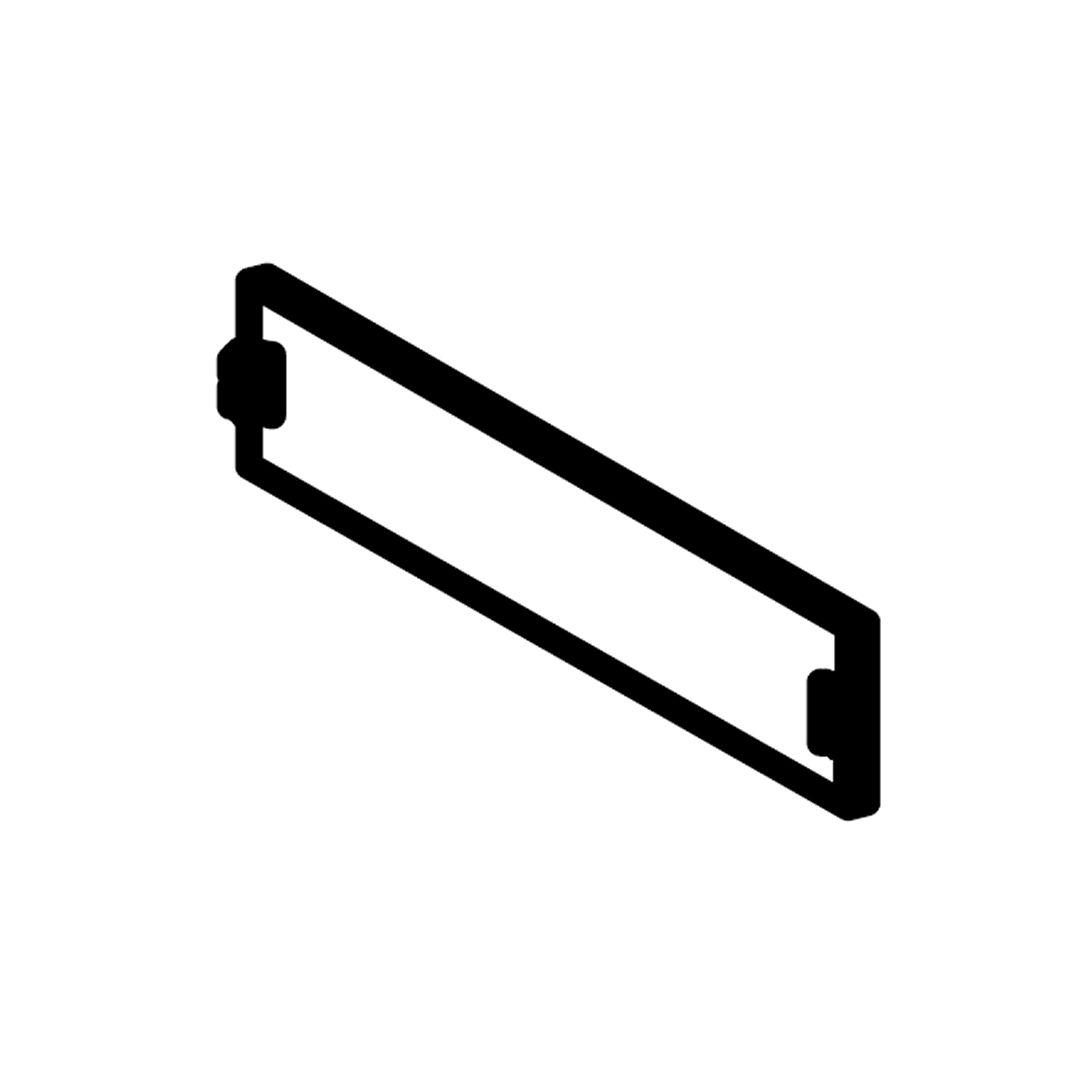 J - Trundle Side Panel 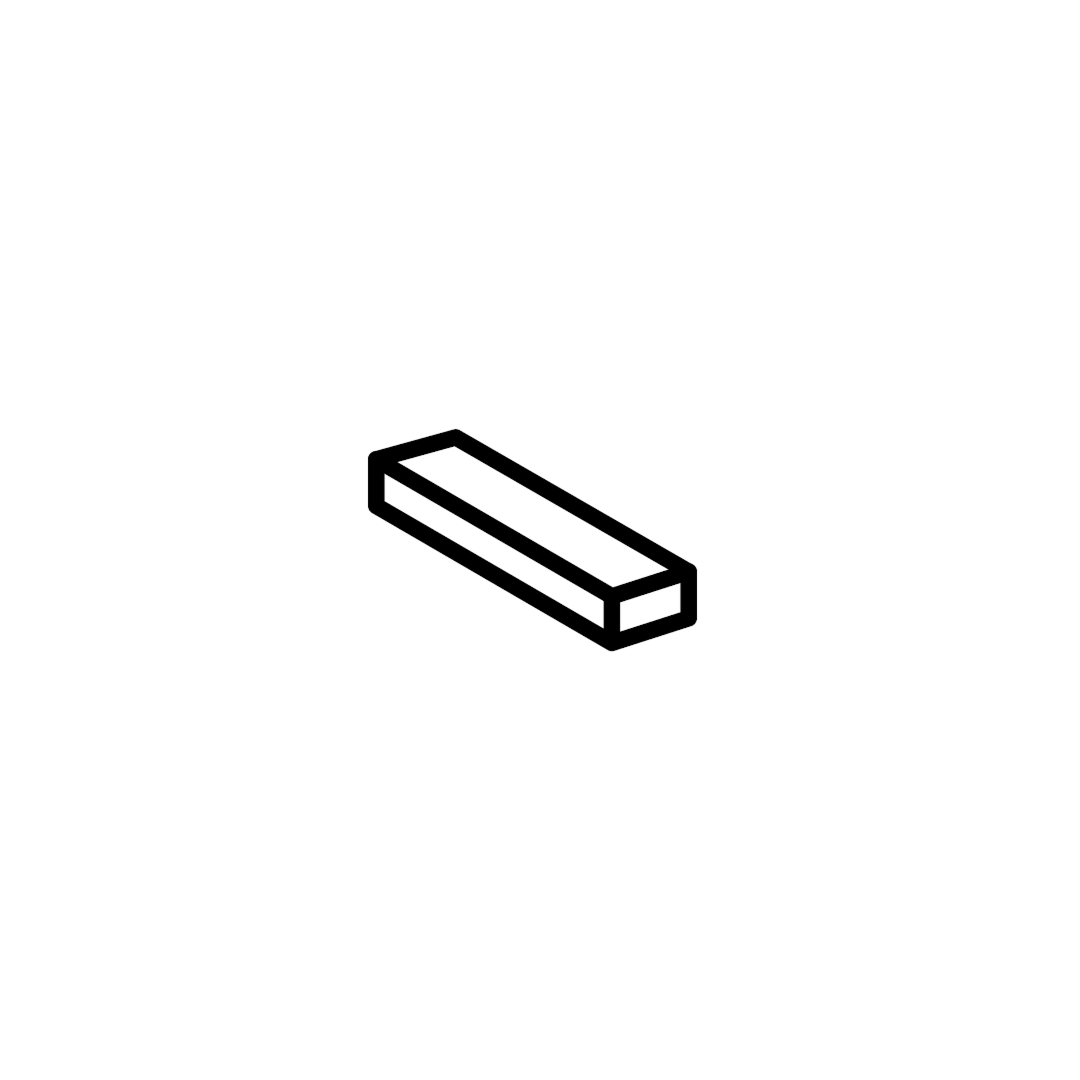 K - Wooden Block 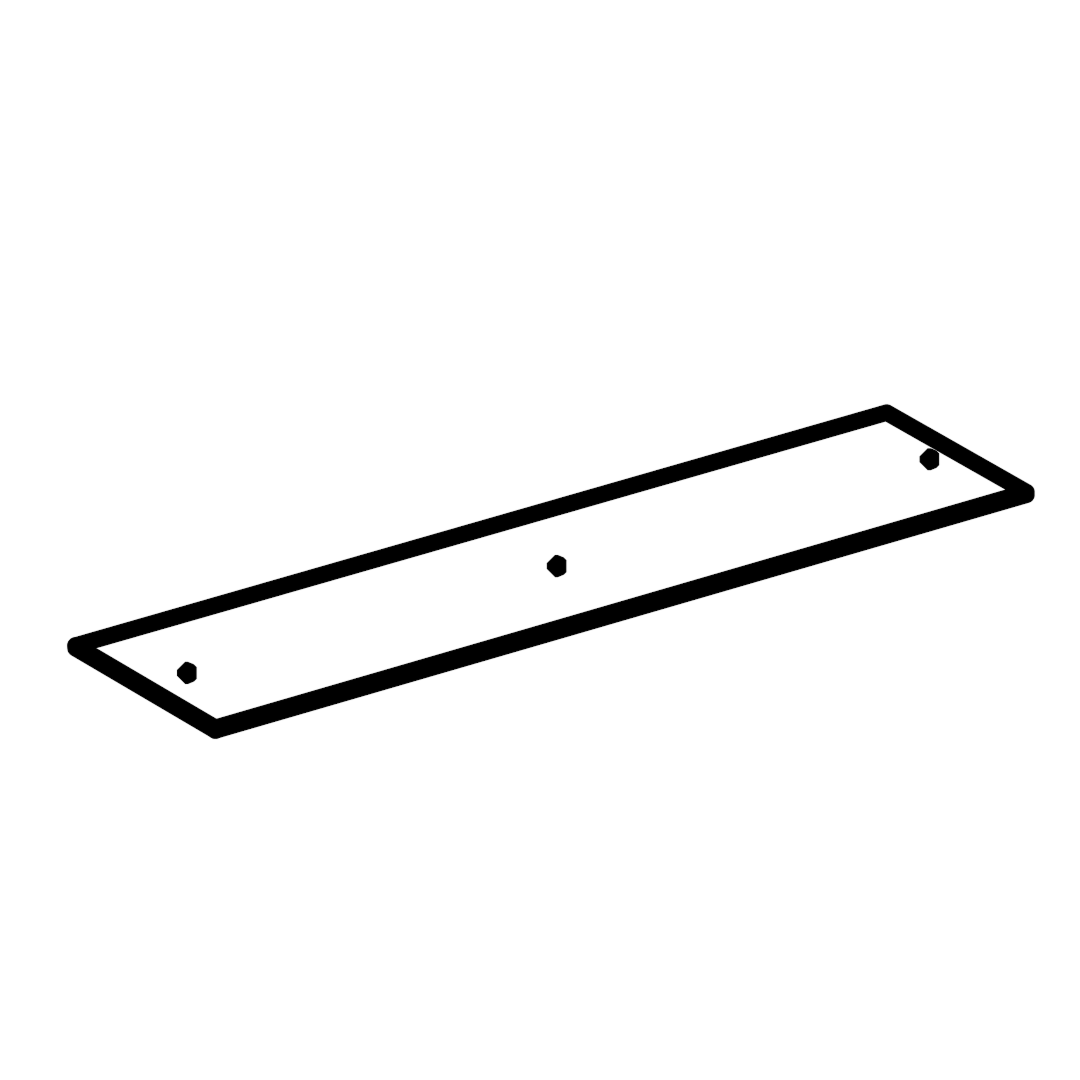 L - MDF Board 1. Choose Trundle SideThe trundle unit is reversible and can be installed on the left or right side according to your individual needs and home space. 2. Attach Side Rails to Headboard and Footboard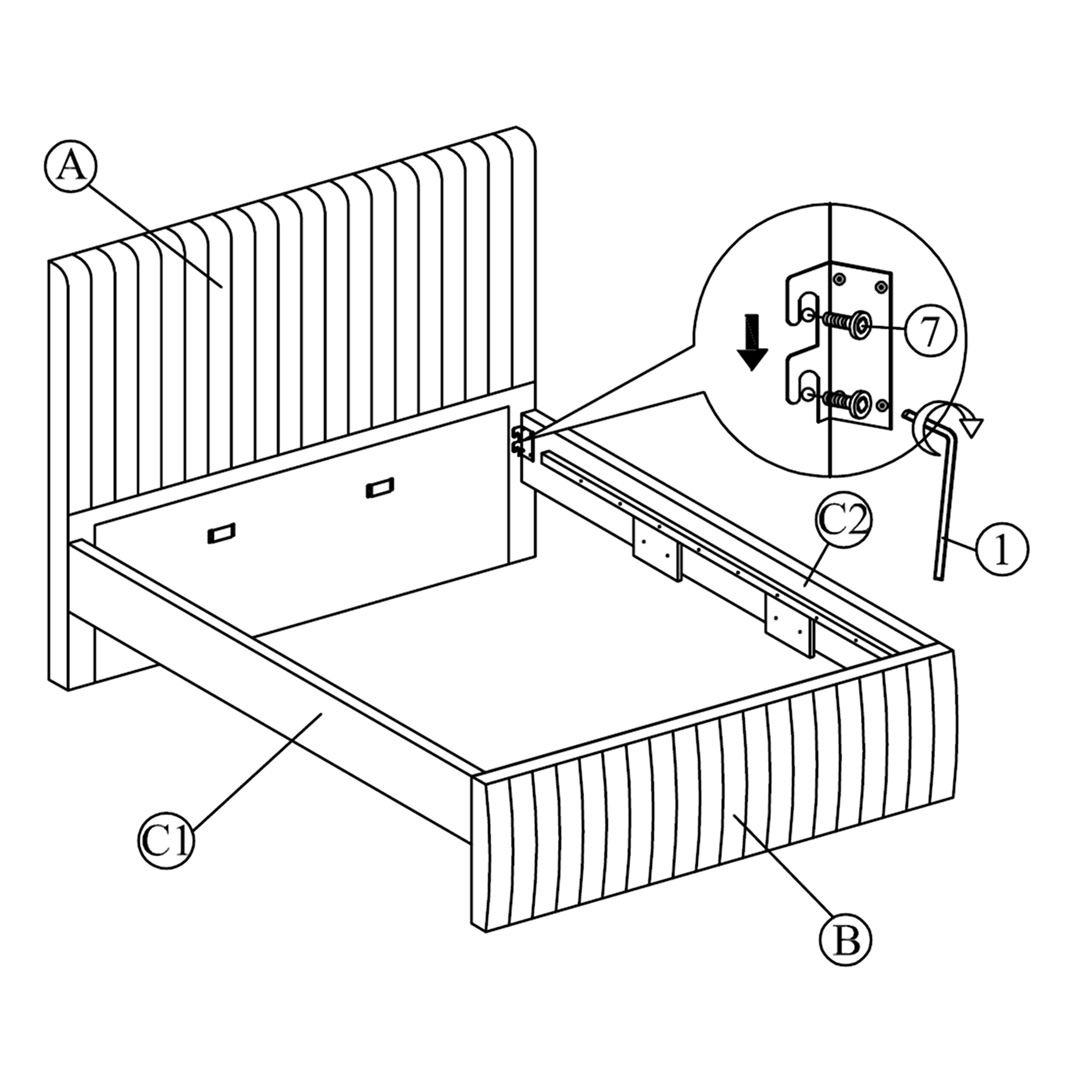 Attach side rail (C) to footboard (B) and headboard (A) by pushing the bracket down to fit it. 3. Attach Support Legs to Center Rail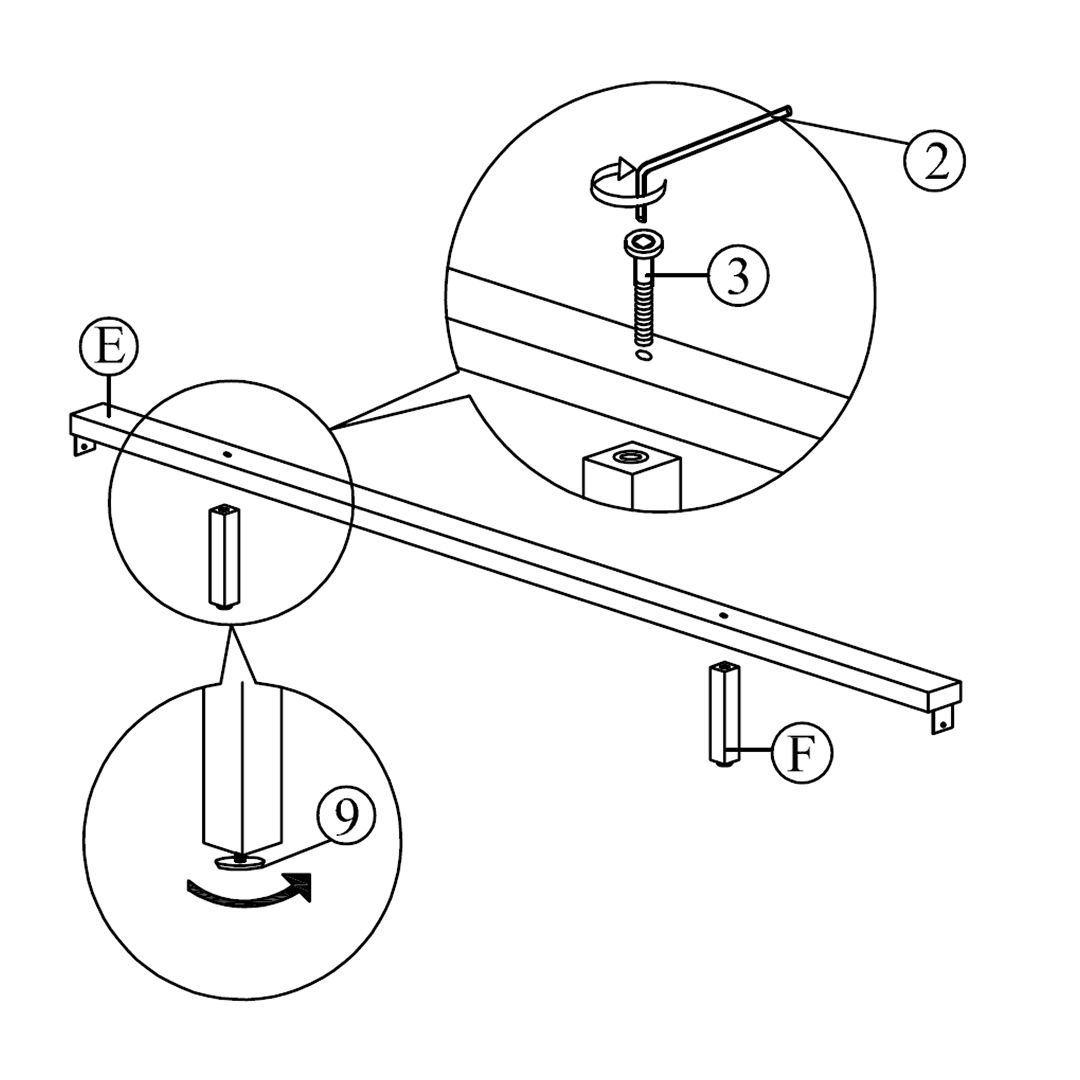 Attach the support legs (F) to the center rail (E) of the bed as shown. 4. Secure Center Rail to Headboard and Footboard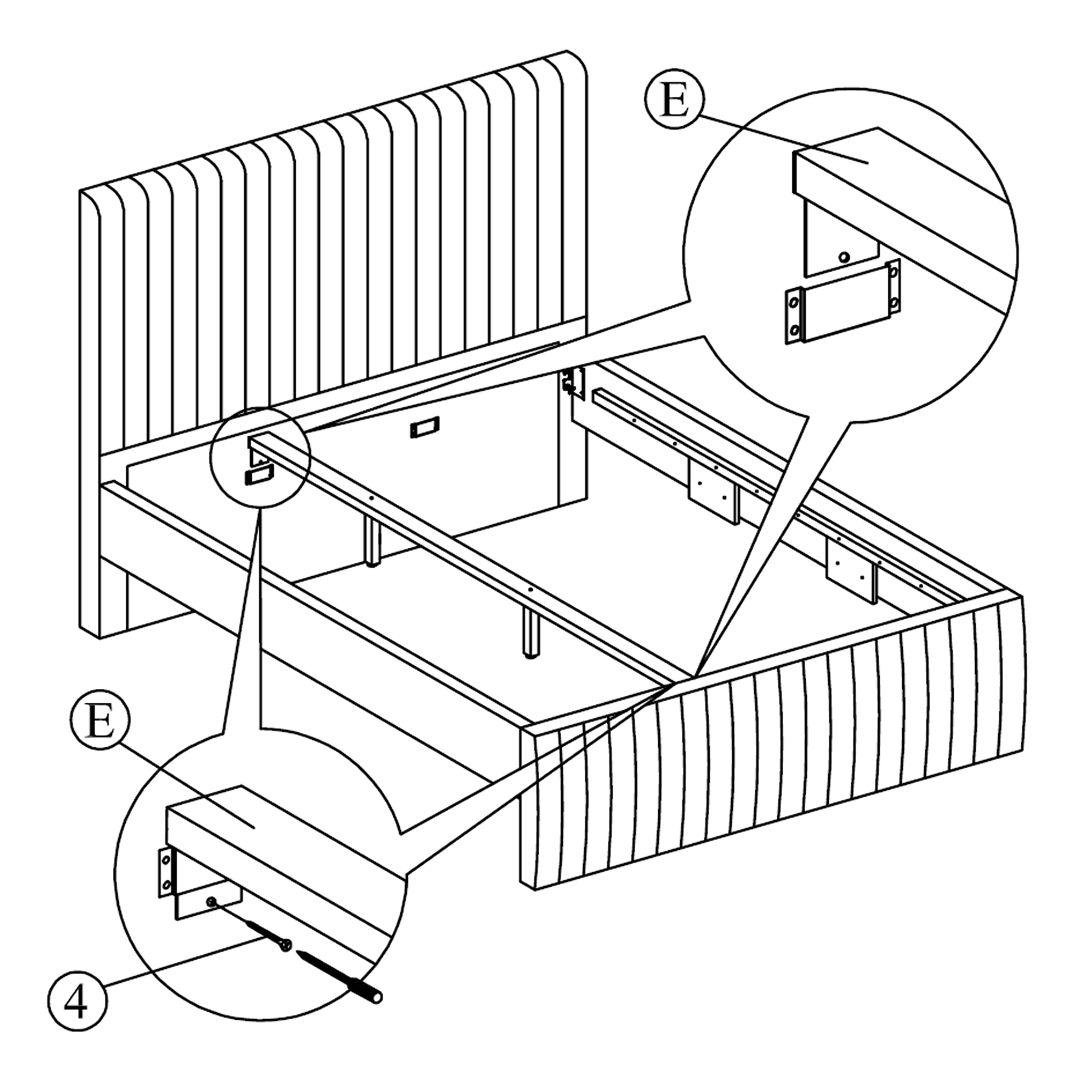 Slide the center rail (E) to the headboard (A) and footboard (B). Tighten screws (4) using screw driver (not included) to the headboard (A) and footboard (B). Attention: Please ensure that (4) screw is being attach as per the A.I shown to avoid base being collapse . 5. Attach Slats to Side Rails and Center Rail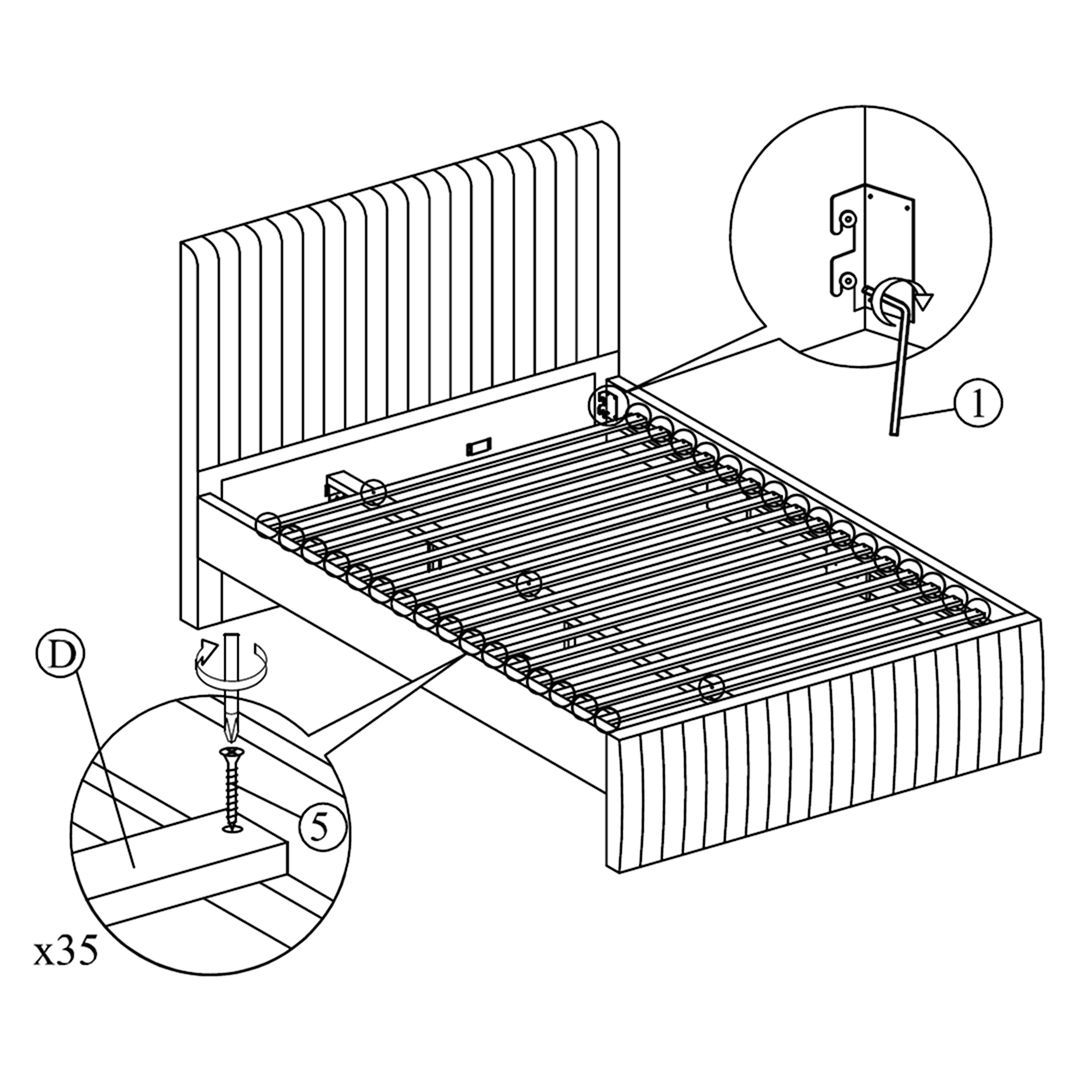 Affix the Slat (D) to the side rail support wood and the center rail (E) . Tighten all the 4 corner . 6. Assemble Trundle Panels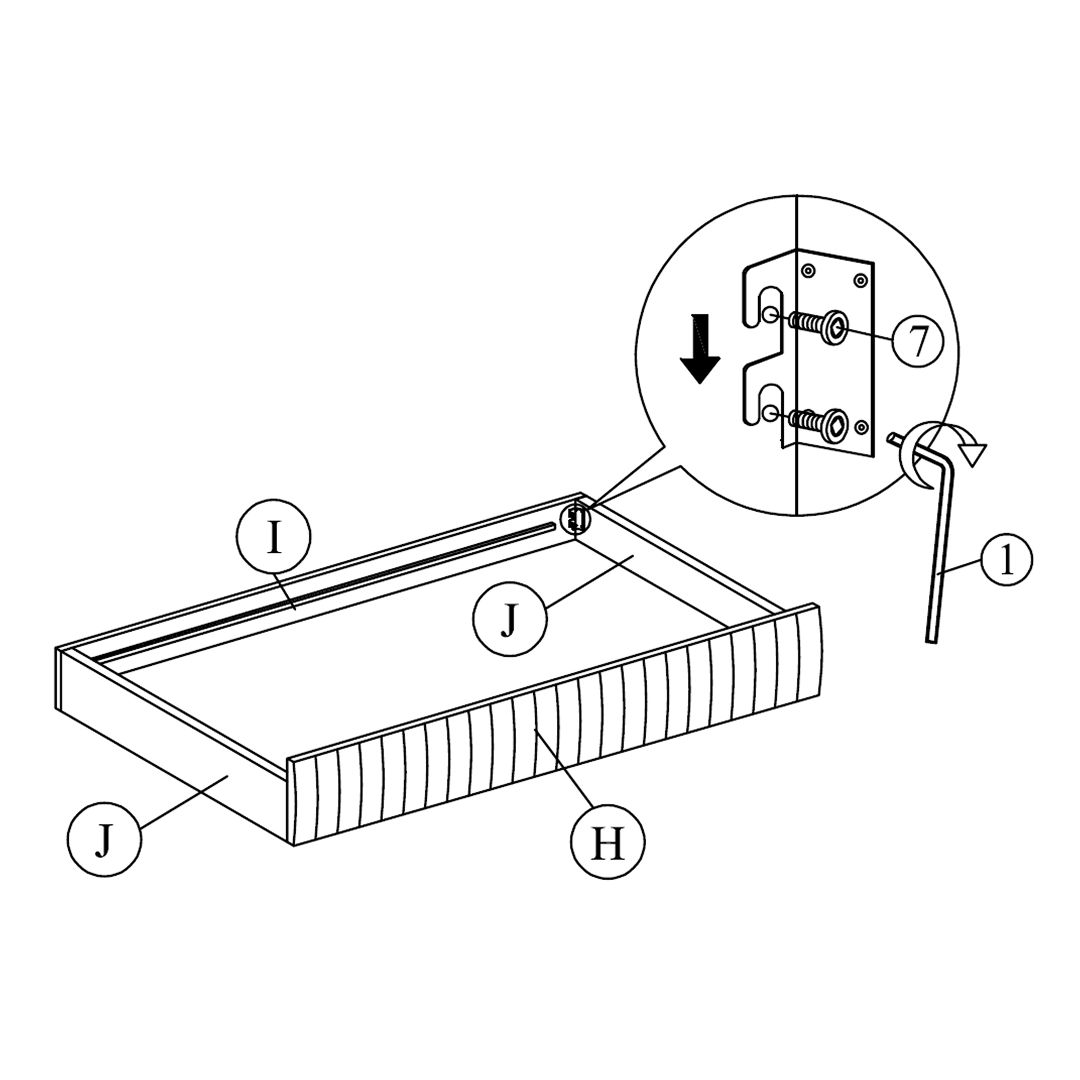 Attach trundle side panel (J) and trundle front panel (H) to trundle back panel (I) by pushing the bracket down to fit it. 7. Attach Rollers to Slat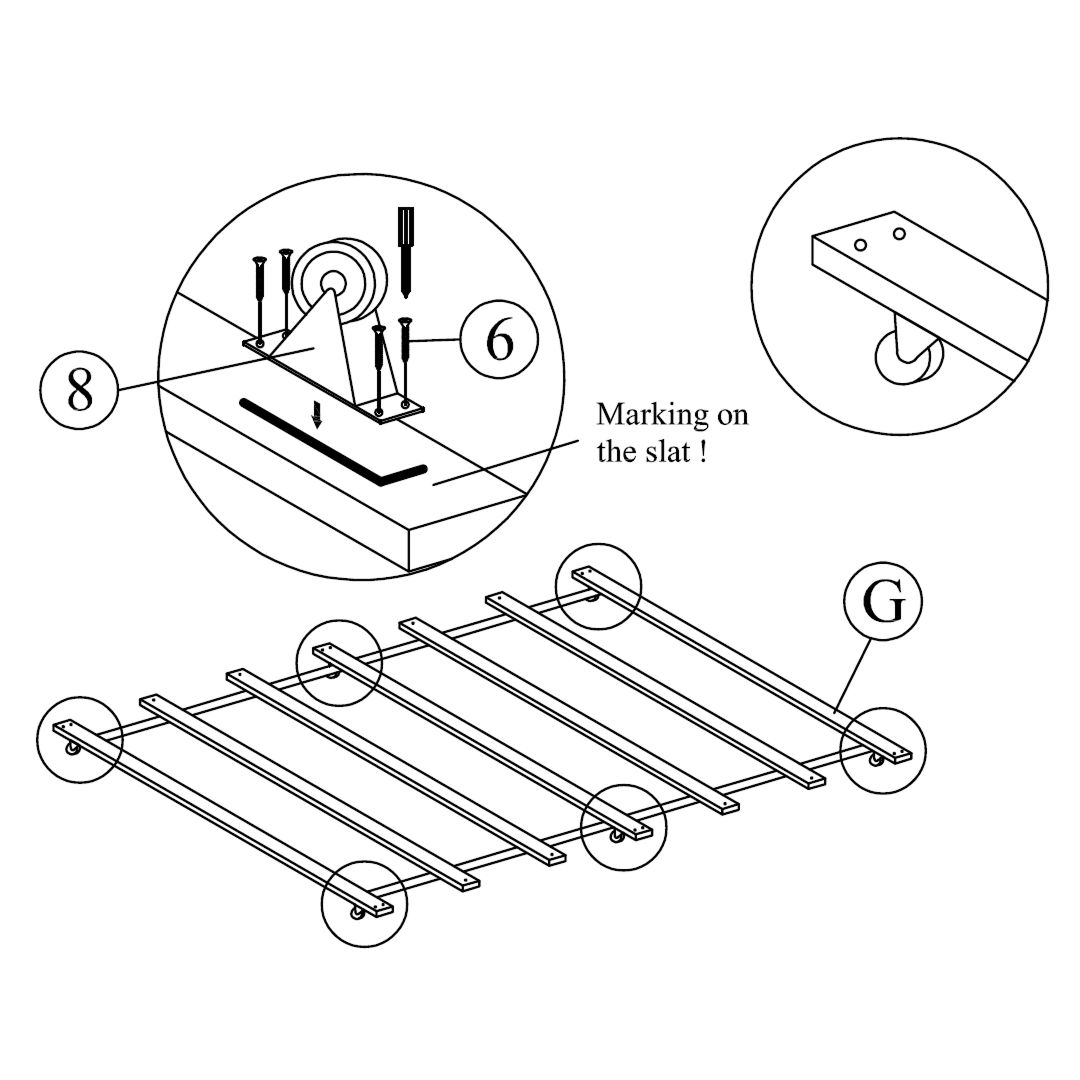 Affix the roller (8) to the slat (G) follow the marking on the slat (G). 8. Secure Trundle Corners and Attach Slat Tighten the 4 Corner with Allen Key (1) . Place the wooden blocks (K) at the corner of the trundle and fix the slat (G) to the trundle at (H) & (I). 9. Secure Panel (L) with CSK Screws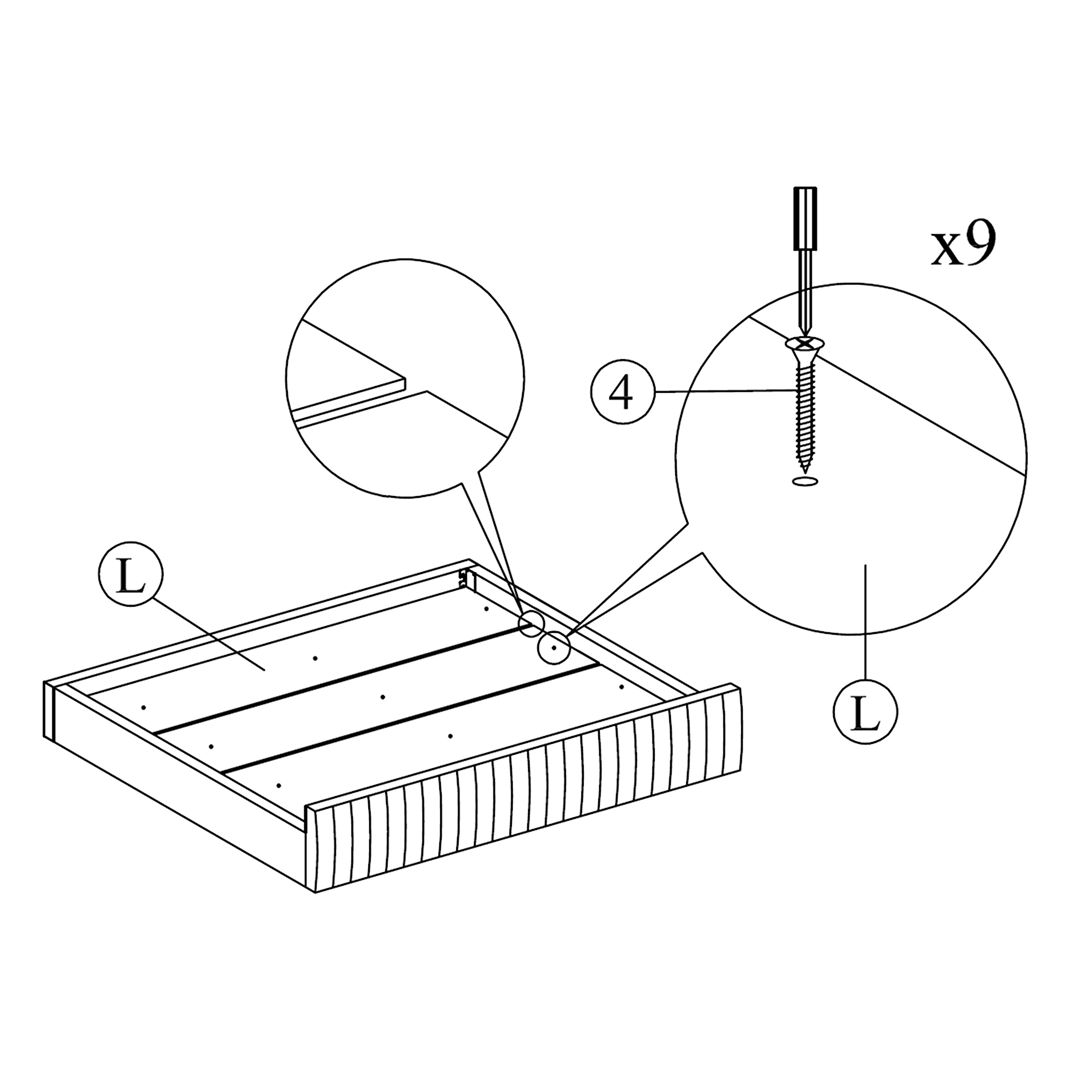 Tighten the panel (L) with CSK screw (4). 10. Complete Assembly
|