time4sleepwww.time4sleep.co.uk
Instructions by time4sleepBordeaux Oak Wooden Sleigh Bed
time4sleep

Bordeaux Oak Wooden Sleigh Bed

Bordeaux Oak Wooden Sleigh BedParts
Steps
1. Attach the Headboard Legs and Bottom Stretcher2. Attach the Headboard Aprons and Cover Bolt Holes3. Attach the Footboard Legs4. Attach the Footboard Aprons and Cover Bolt Holes5. Attach the Side Rails6. Install the Center Support Bar(s)7. Install the Wooden Slats8. Final Check

No results

time4sleep
time4sleep / Bordeaux Oak Wooden Sleigh Bed
Bordeaux Oak Wooden Sleigh Bed
time4sleep

Instructions by

time4sleep

Bordeaux Oak Wooden Sleigh Bed

Assembly instructions for Bordeaux Oak Wooden Sleigh Bed by Time4Sleep.

Product Information

Bordeaux Oak Wooden Sleigh Bed

Bordeaux Oak Wooden Sleigh Bed

The Bordeaux Sleigh bed is a timeless classic manufactured from white American Oak finished in a beautiful aged oak smoked finish. Enjoy the natural beauty of an oak bedframe  which is sure to enhance your bedroom. Gentle cures and subtle styling details make this bed a versatile choice that will work well in any design scheme. The bed comes complete with solid wooden slats and matching bedside cabinets are available to co-ordinate with this bed.
View product (opens in new tab)
SKU
Bord46Oak, Bord50Oak, Bord60Oak
Double
Width144 cm
Length211 cm
Height104 cm
Head End Height104 cm
Foot End Height65 cm

Parts

Headboard panel
A – Headboard panel
Footboard panel
B – Footboard panel
Headboard Wood Leg (L/R)
C – Headboard Wood Leg (L/R)
Footboard Wood Leg (L/R)
D – Footboard Wood Leg (L/R)
Bottom Stretcher
E – Bottom Stretcher (1 Center Bar Slot for Double and King, 2 Center Bar Slots for Super King)
Headboard Apron
F – Headboard Apron
Footboard Apron
G – Footboard Apron
Wood Side Rail
H – Wood Side Rail
Center Bar
I - Center Bar (1 for Double and King, 2 for Super King)
J – Wood Slat
J – Wood Slat
K – Wood Button
K – Wood Button
Bolt
L – Bolt 45 mm
Bolt
M – Bolt 15 mm
screw
N – Chipboard Screw (4 x 30 mm)
screw
O – Chipboard Screw (4 x 15 mm)
P – Bracket
P – Bracket
Q – Allen Key
Q – Allen Key
R – Wood Dowel (10 x 35 mm)

1. Attach the Headboard Legs and Bottom Stretcher

Attach the Headboard Legs and Bottom Stretcher

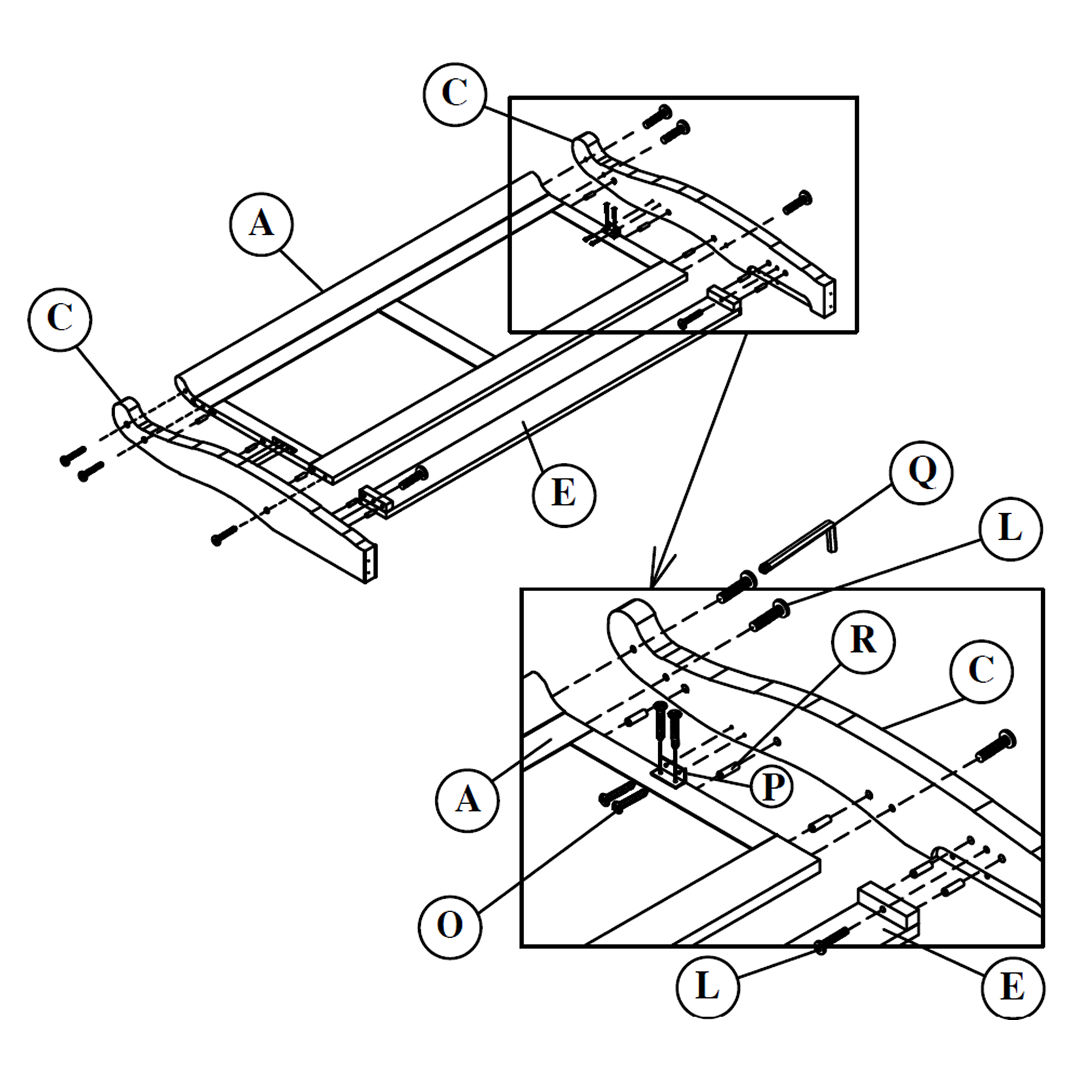
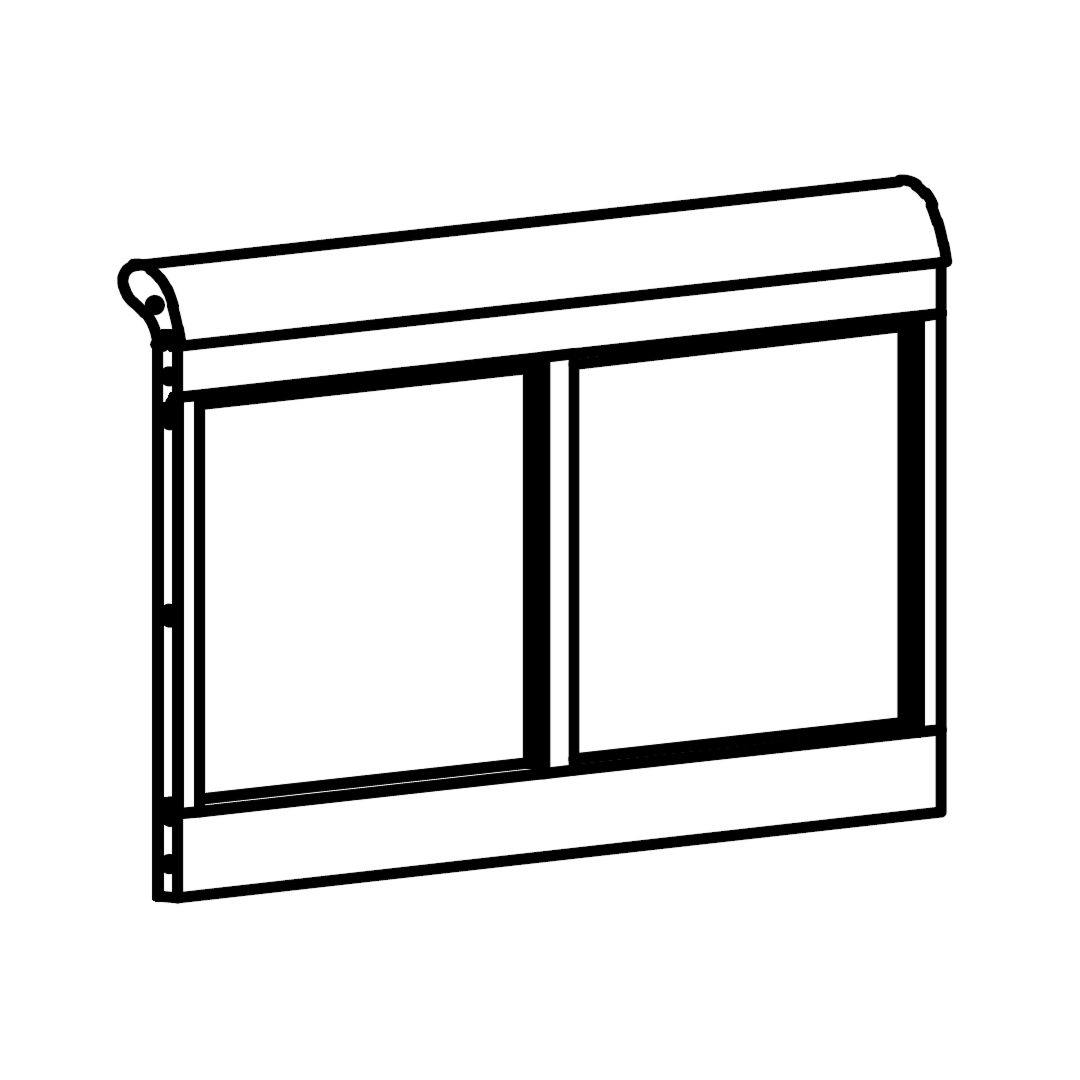
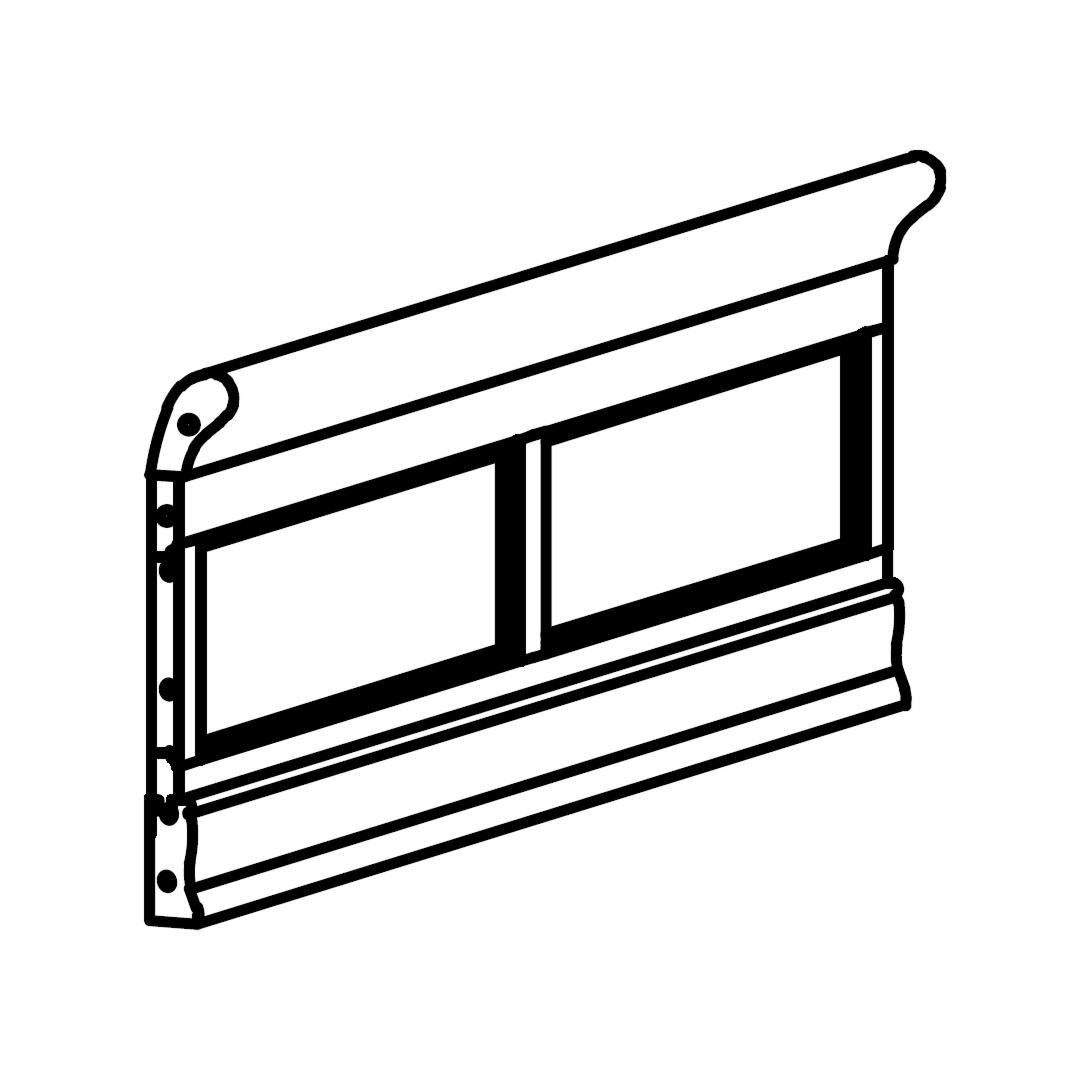
1. Lay the Headboard Panel (A) face down on a soft surface to avoid scratches.
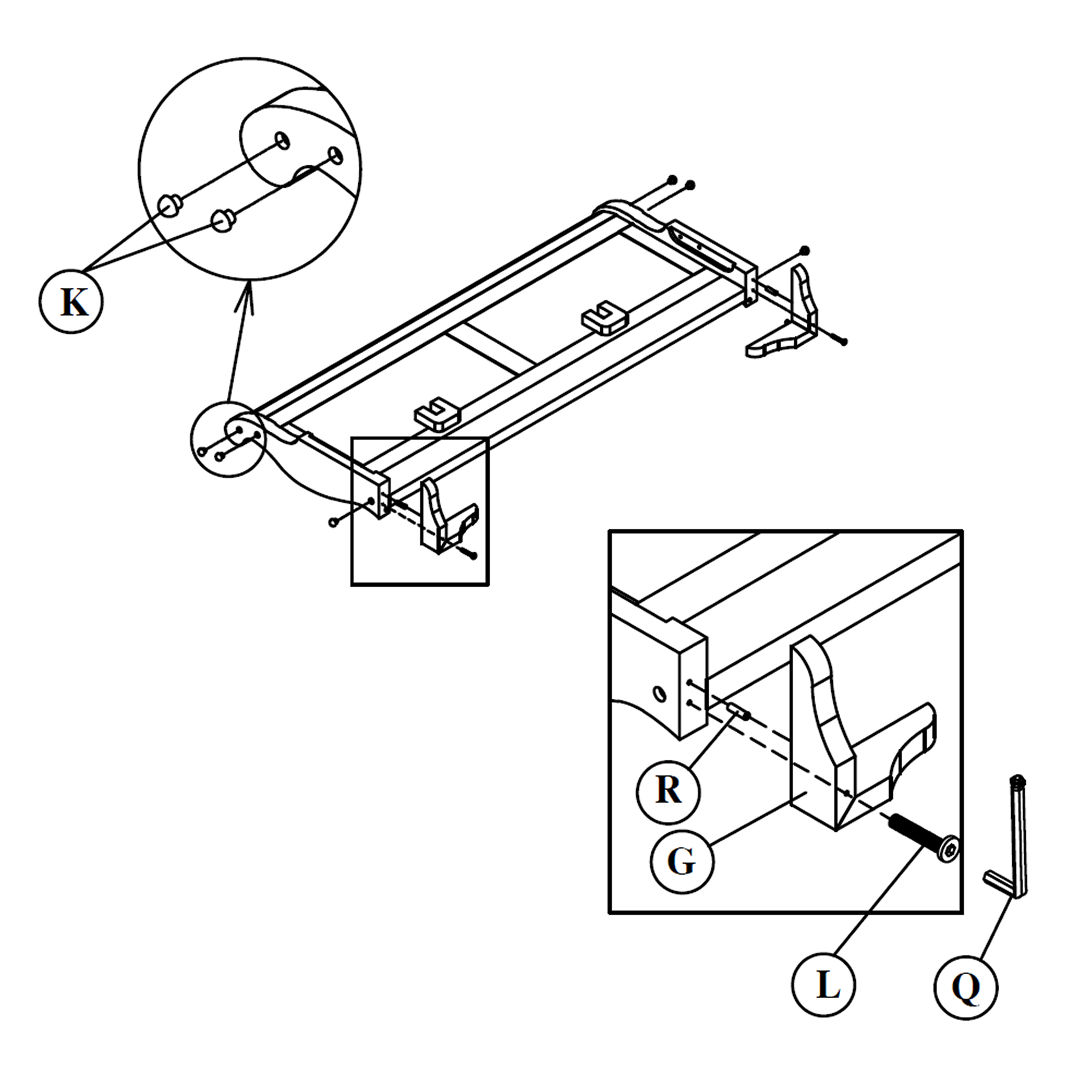
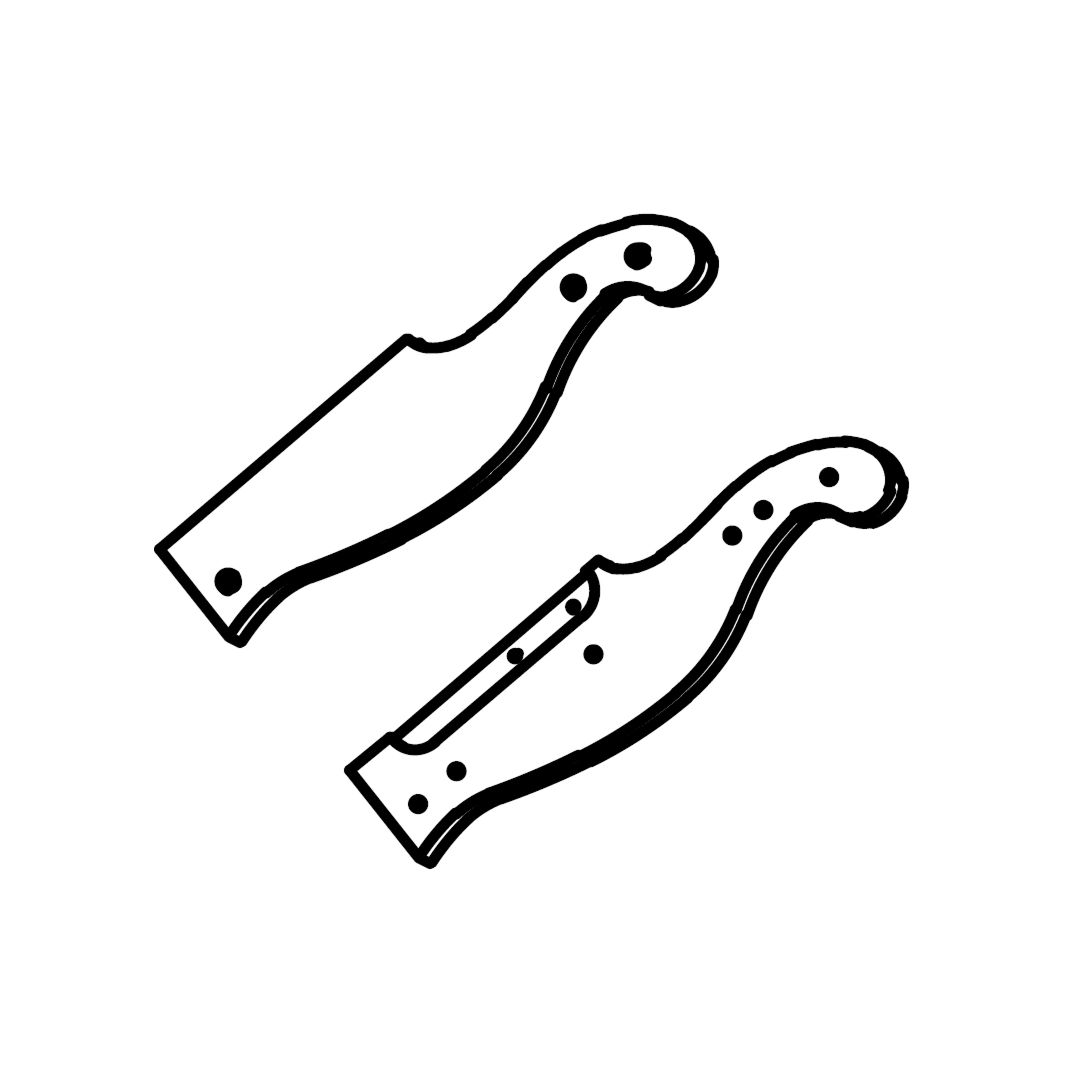
2. Align the Headboard Wood Legs (C) with the bottom edges of the panel. Use Wood Dowels (R) in the pre-drilled holes for extra stability.
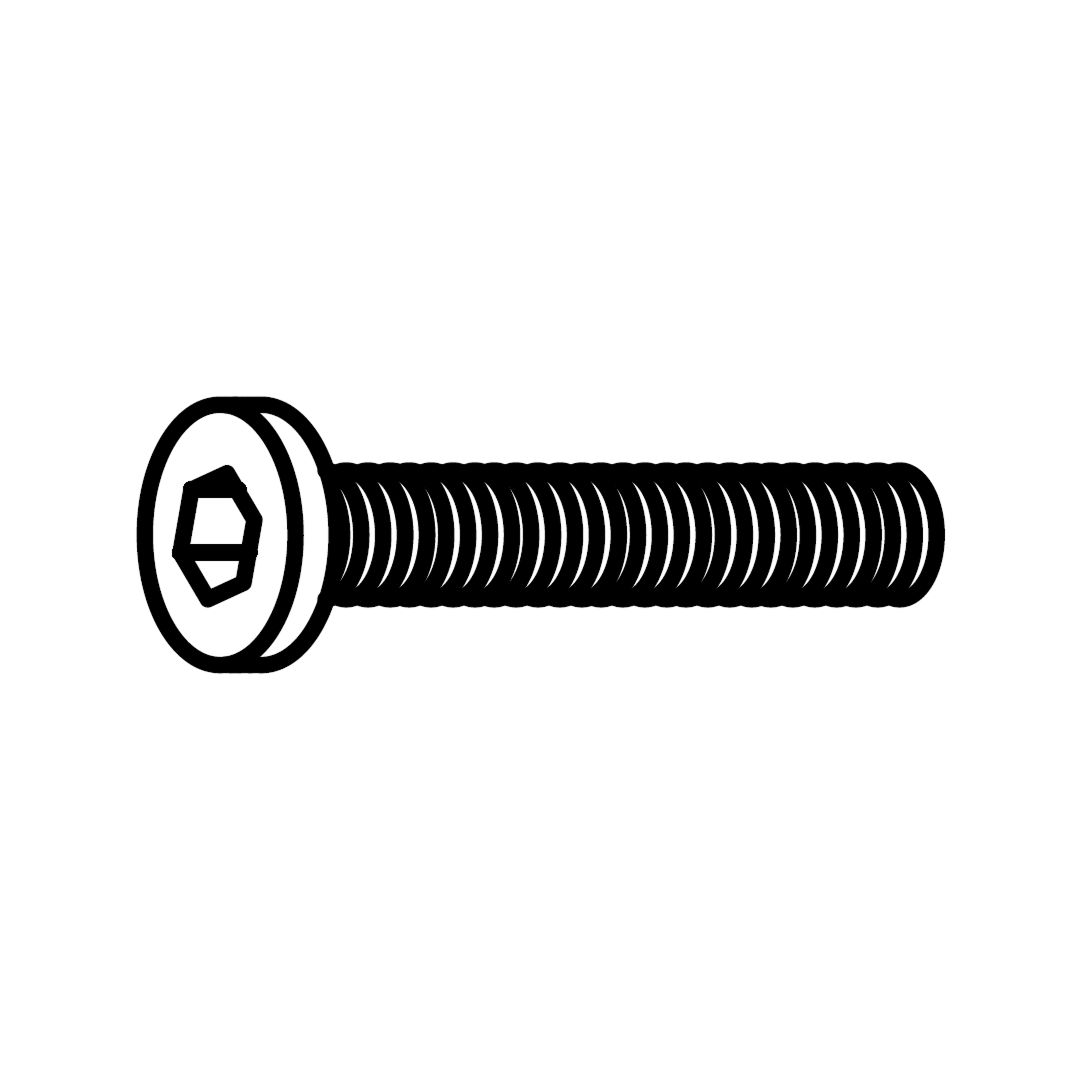
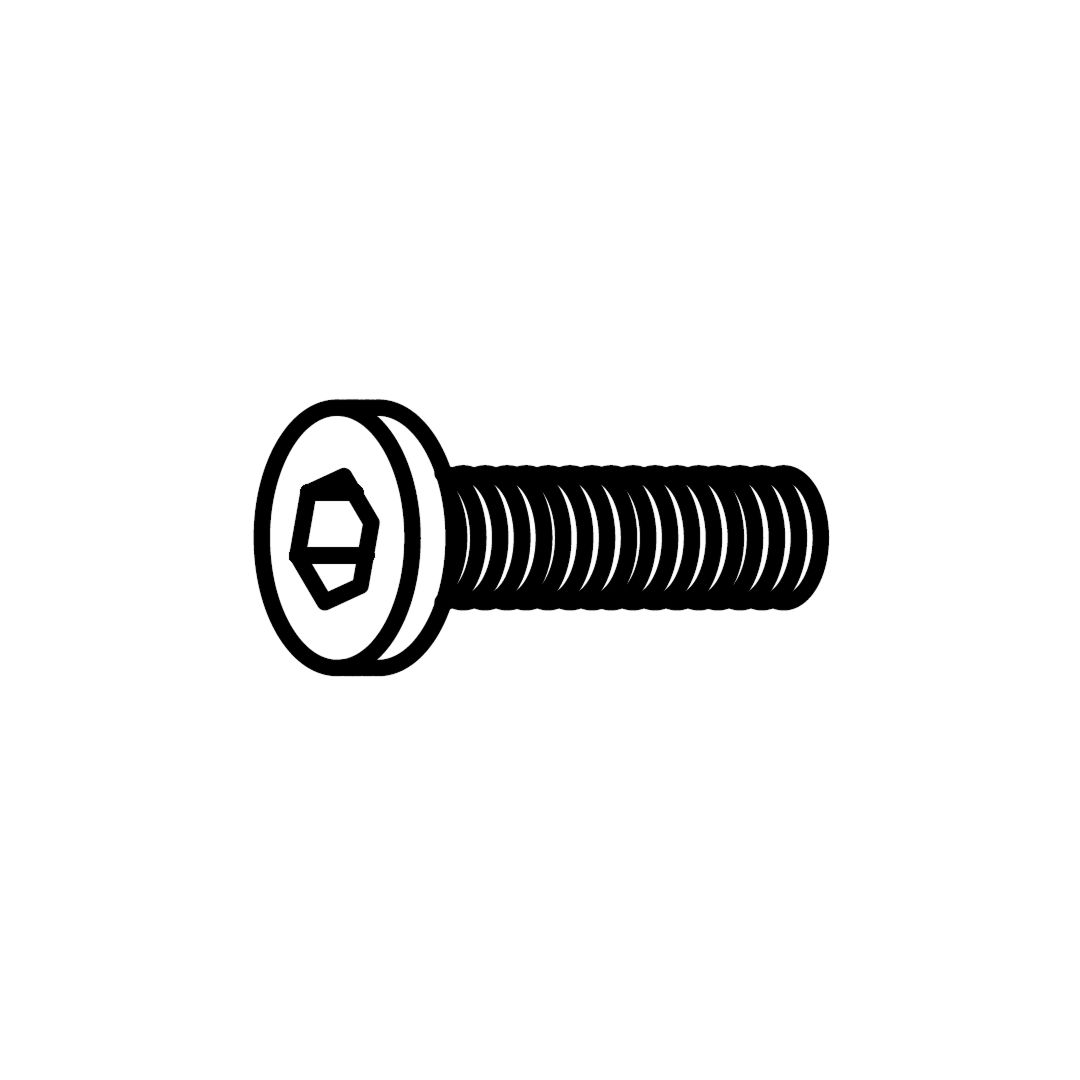
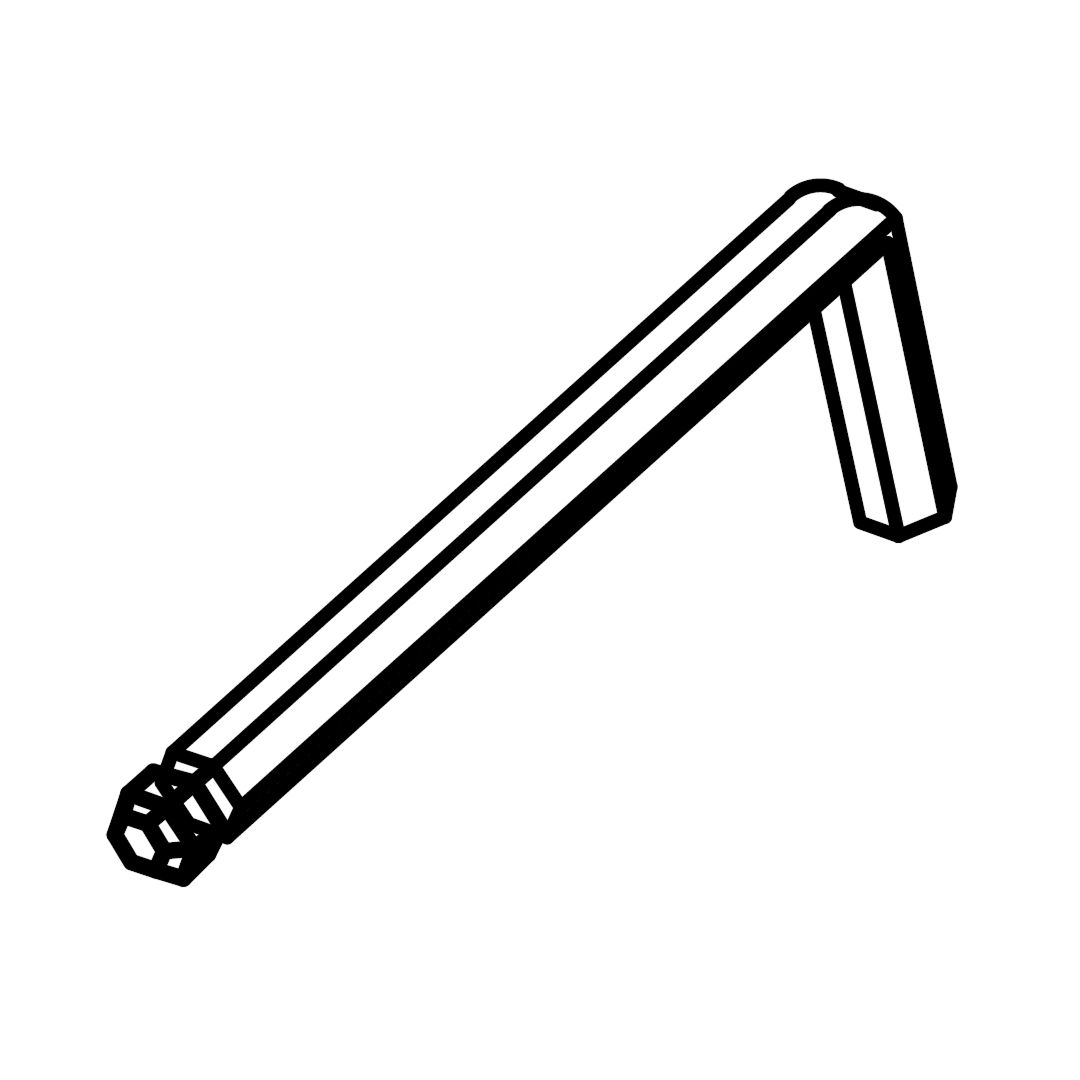
3. Secure each leg using Bolt 45mm (L) and tighten with the Allen Key (Q).
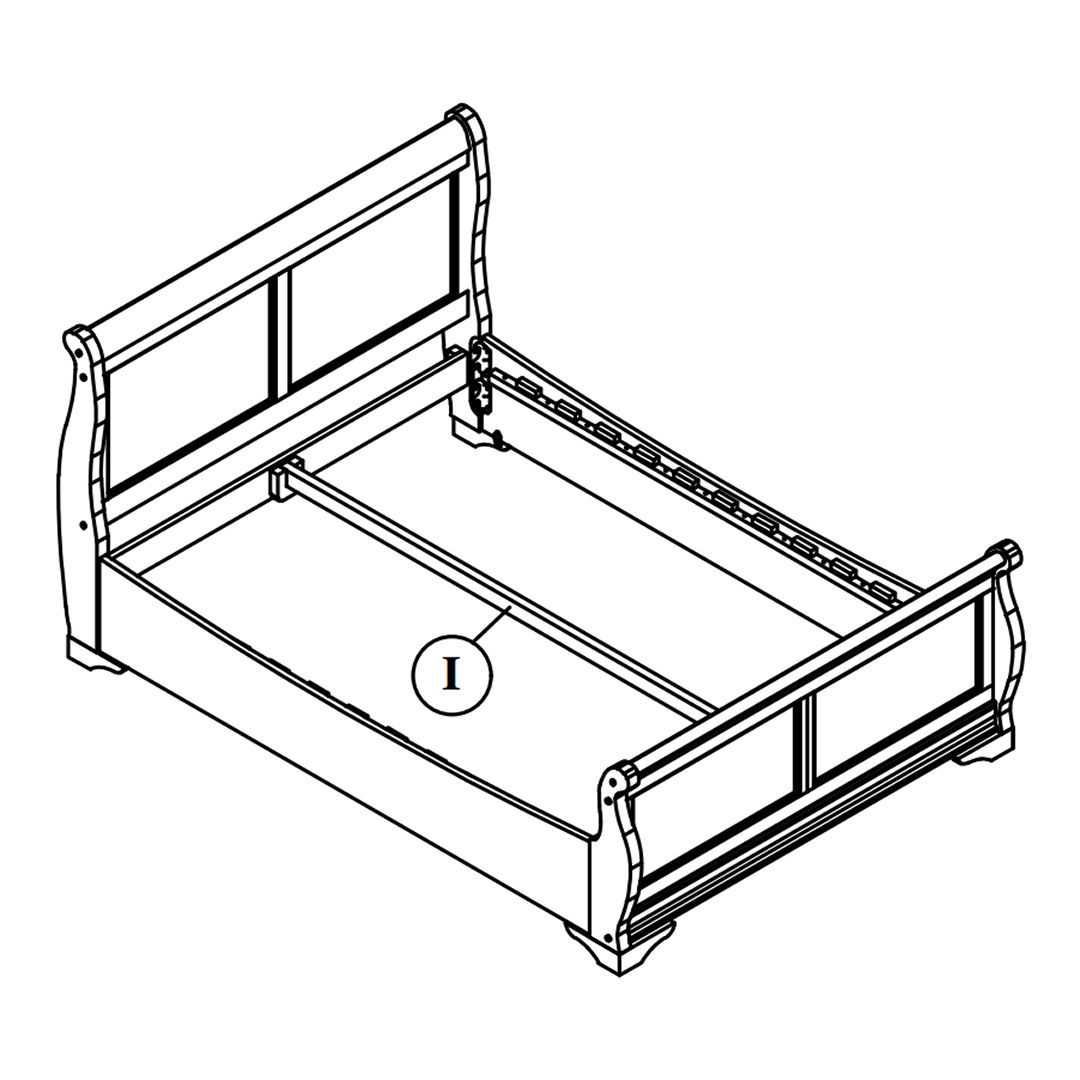
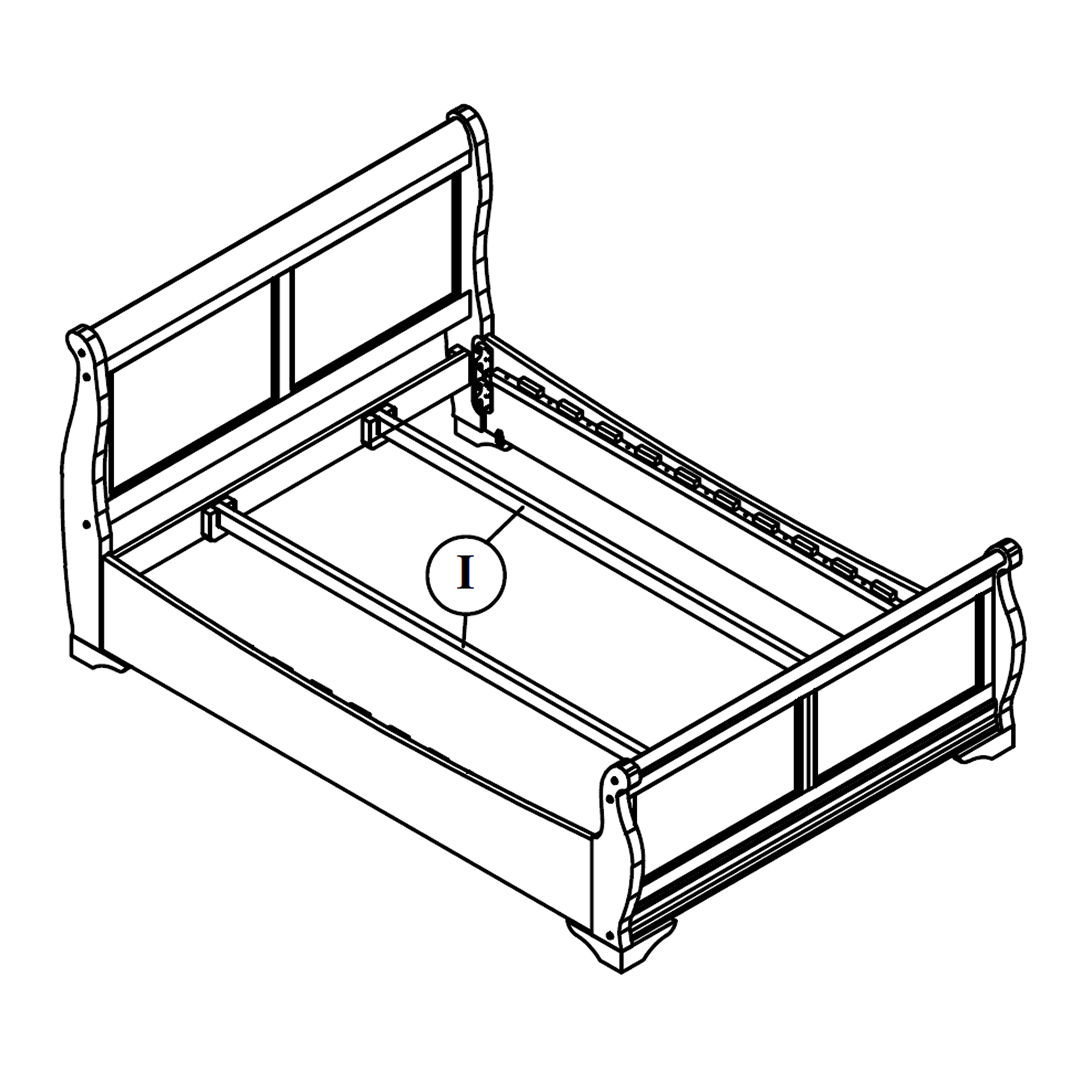
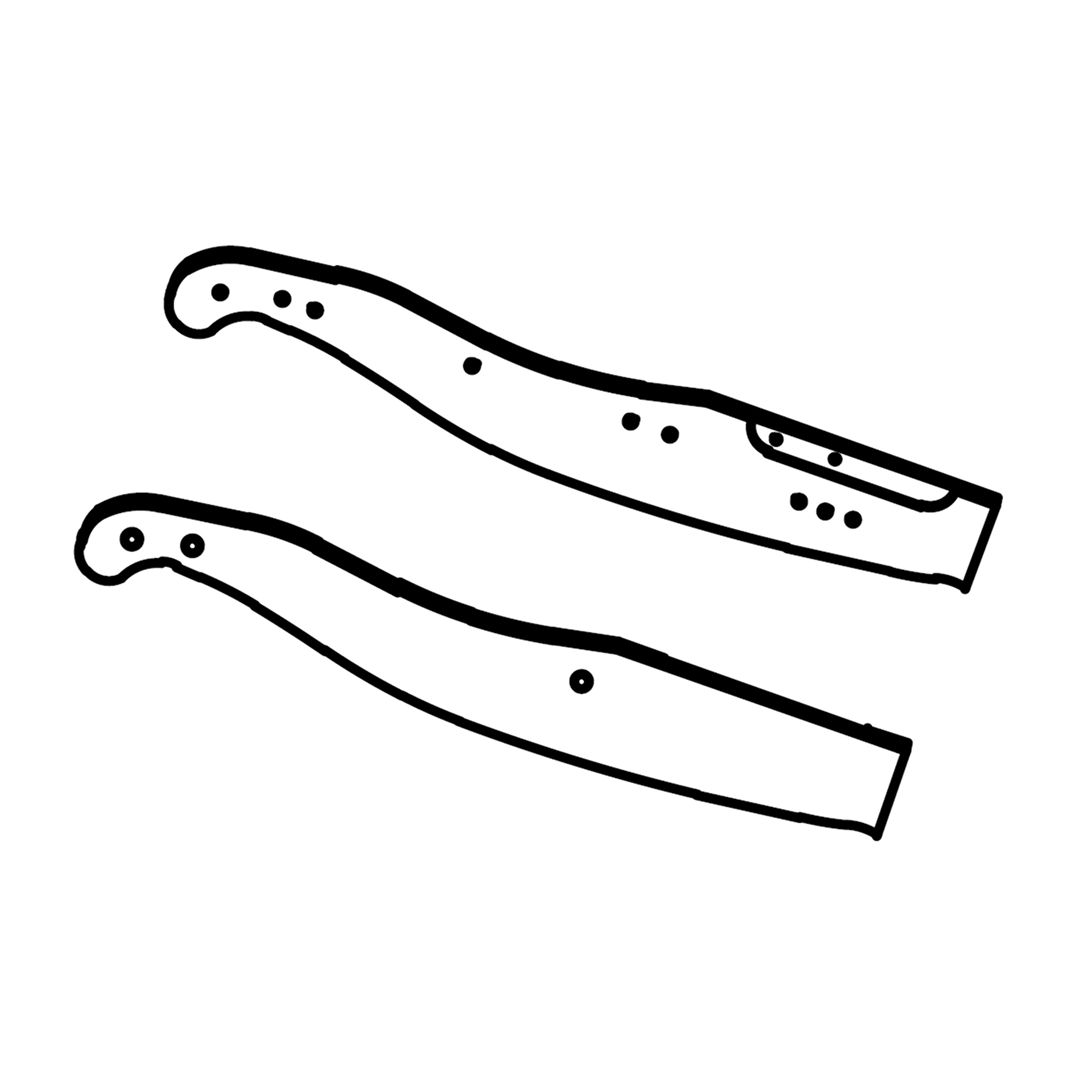
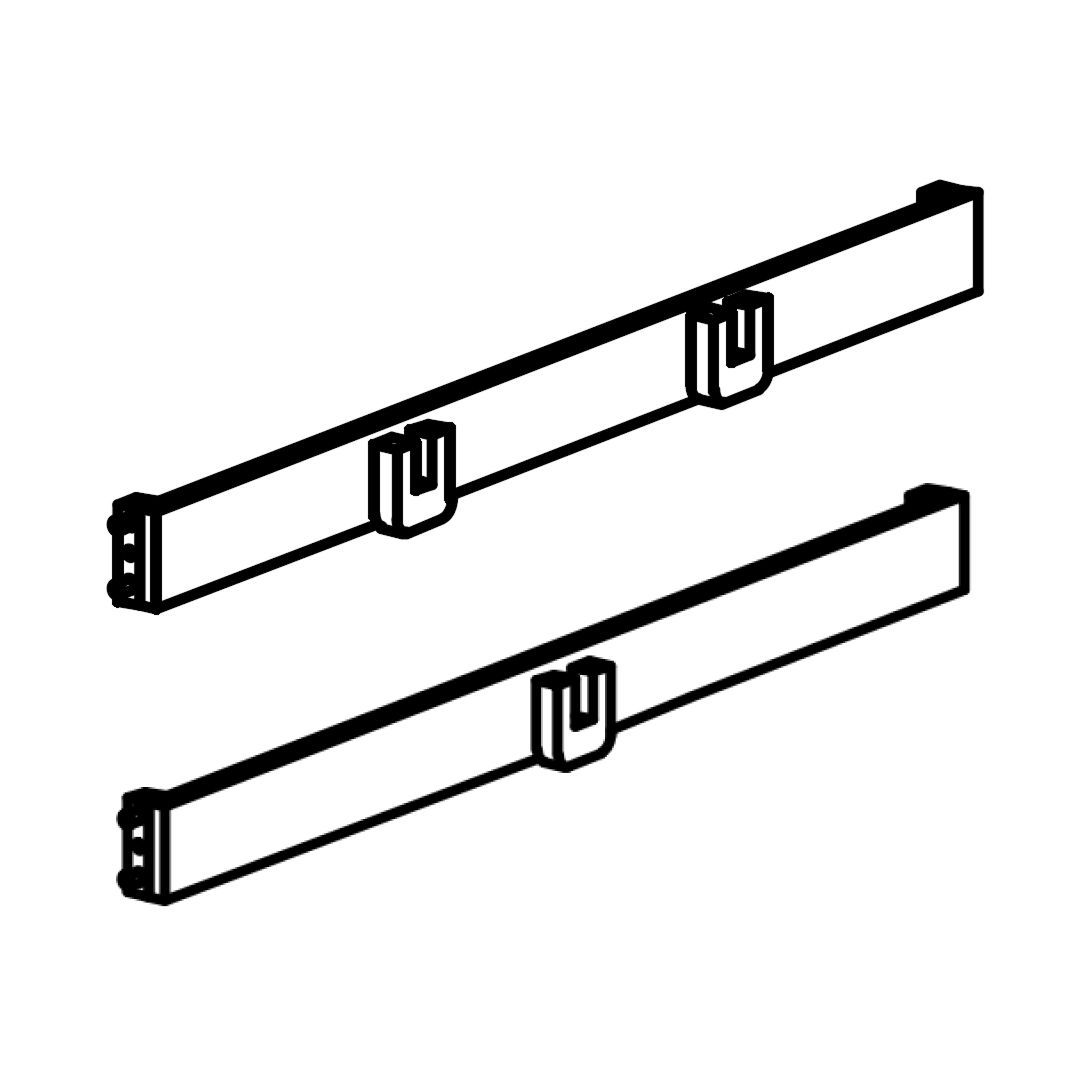
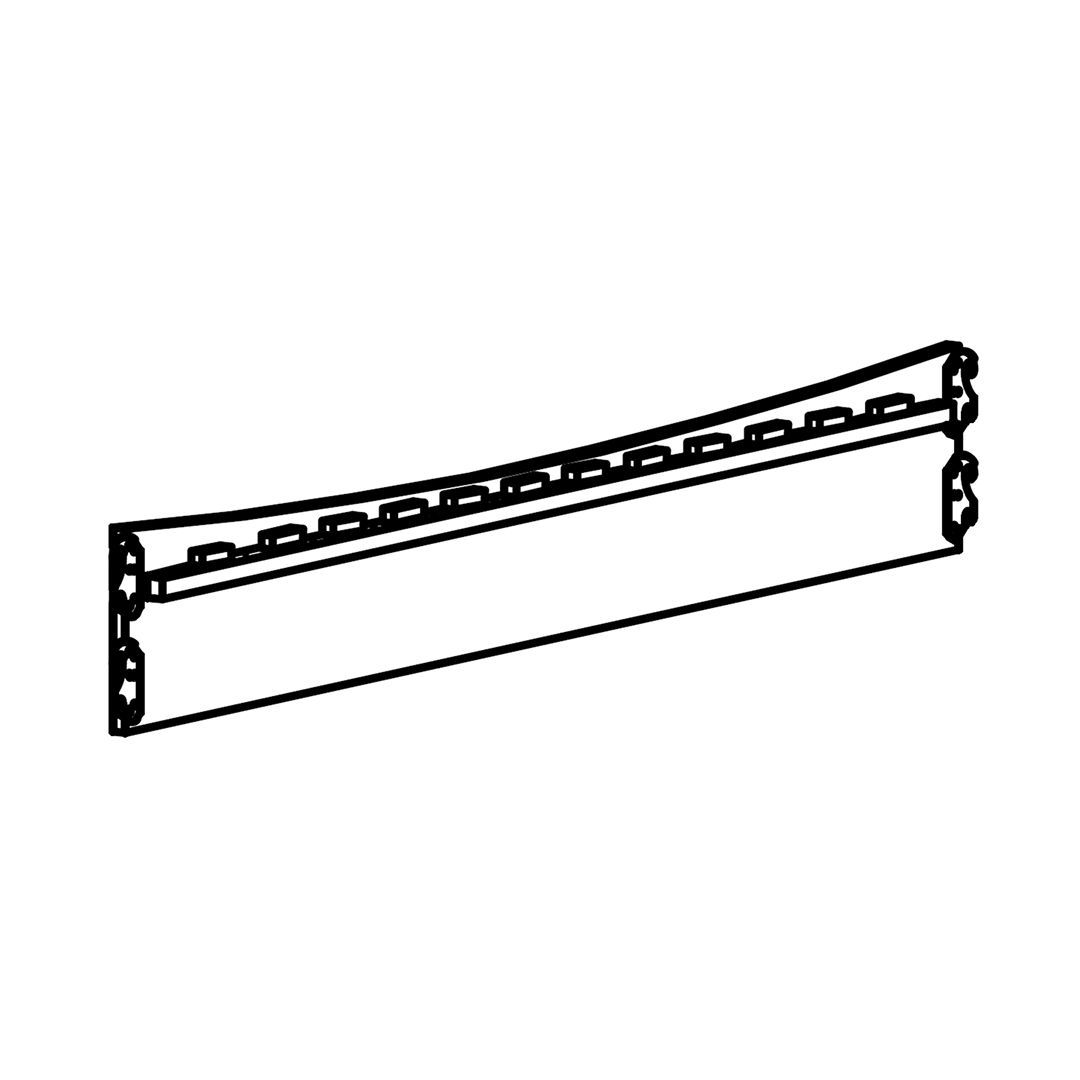
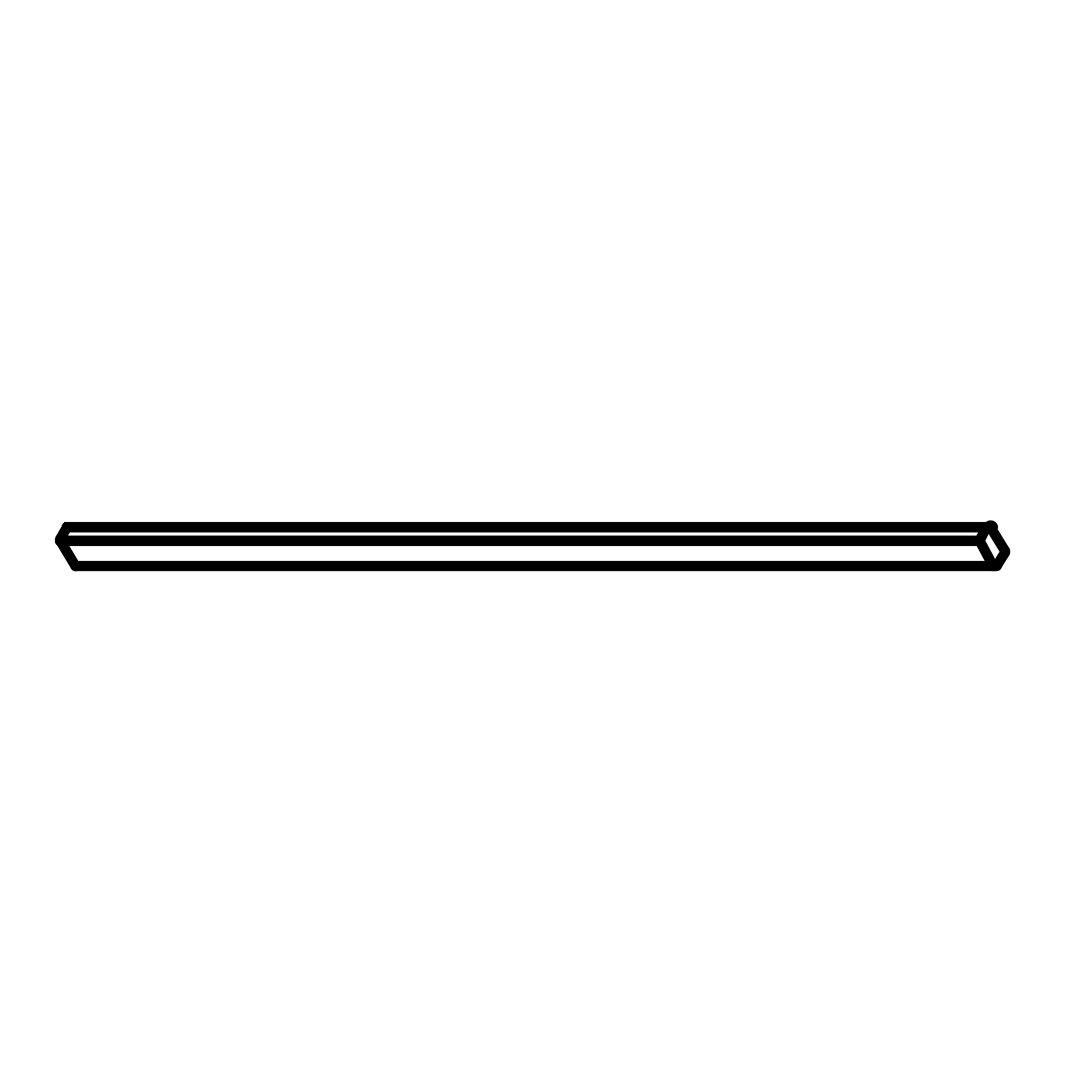
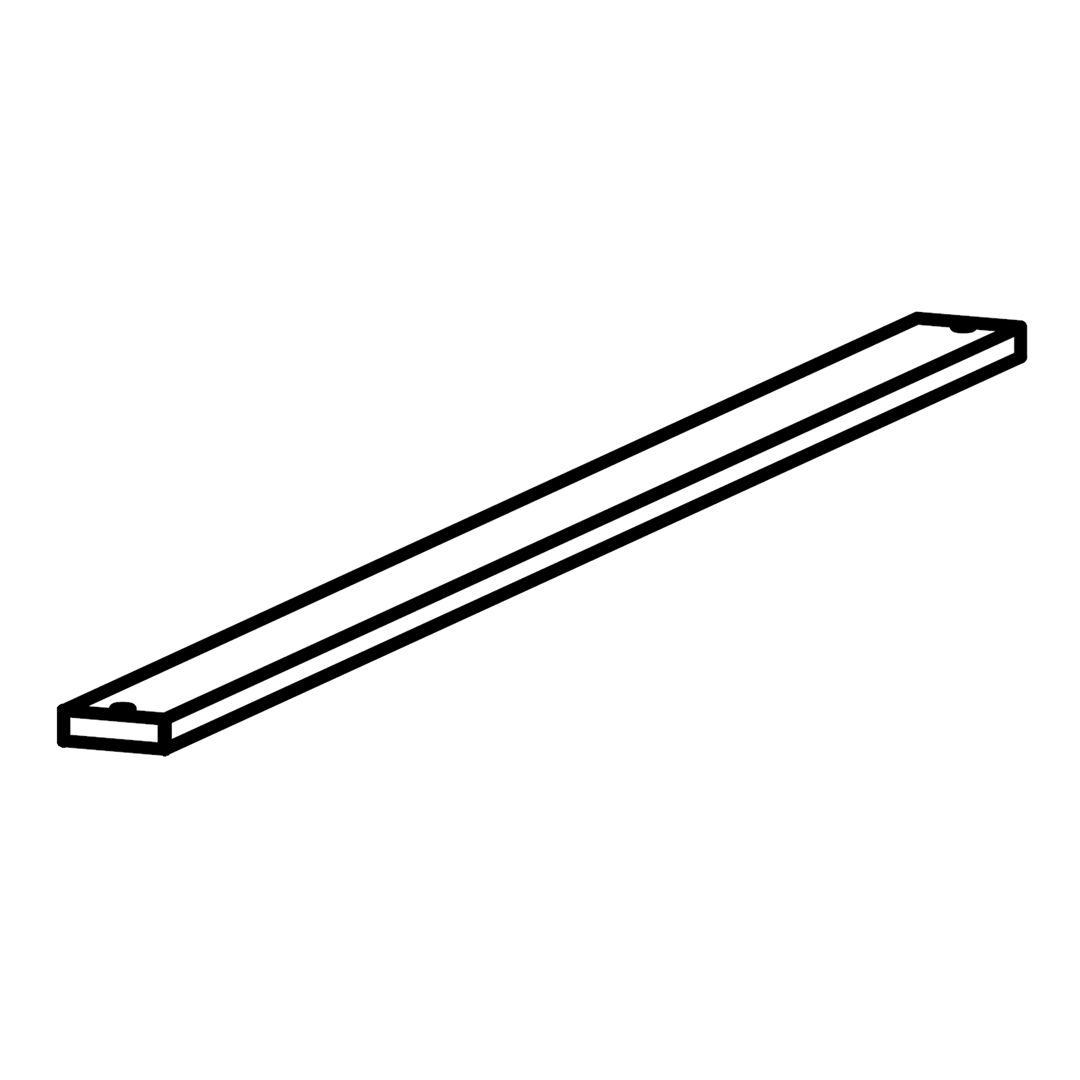
4. Position the Bottom Stretcher (E) between the legs, just below the panel.
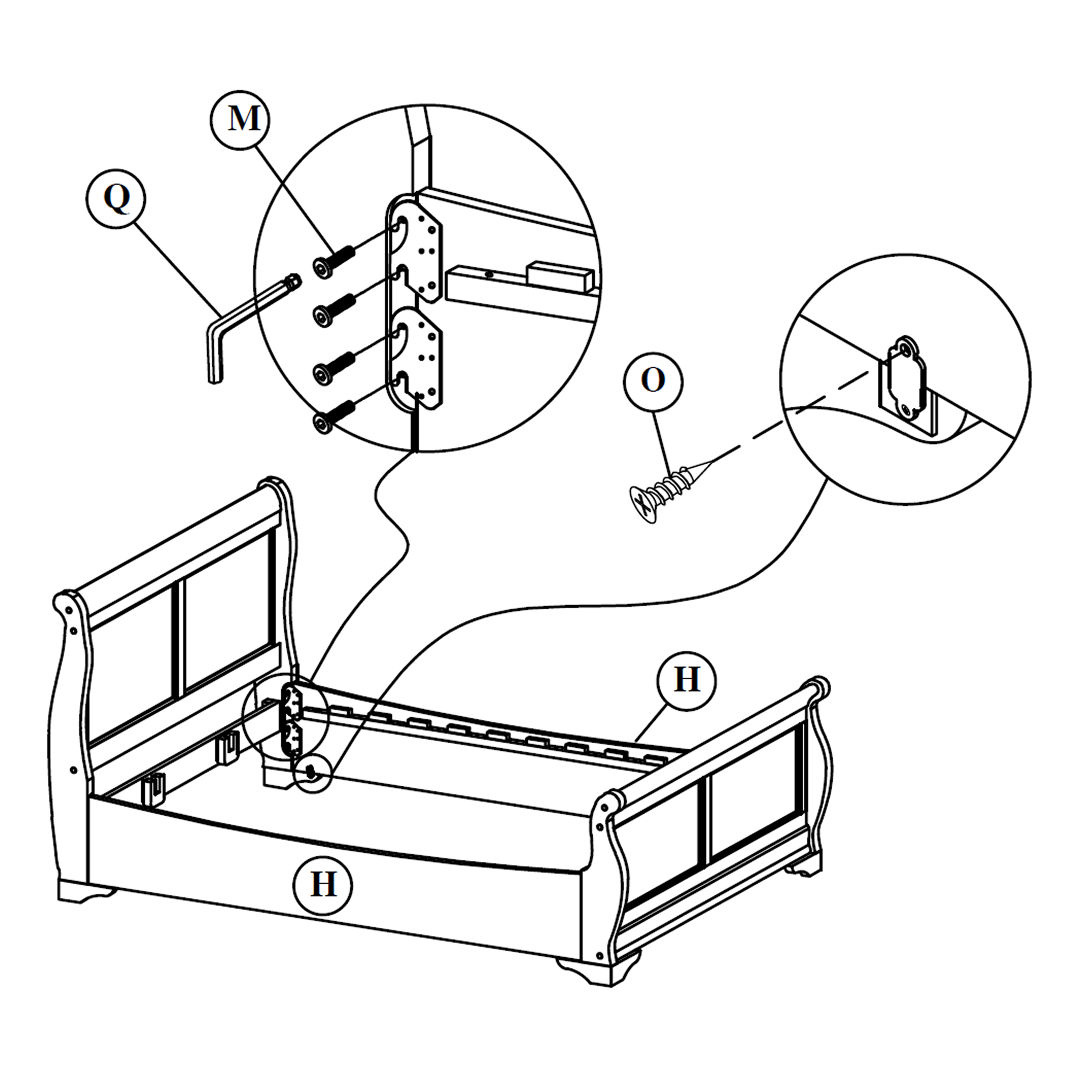
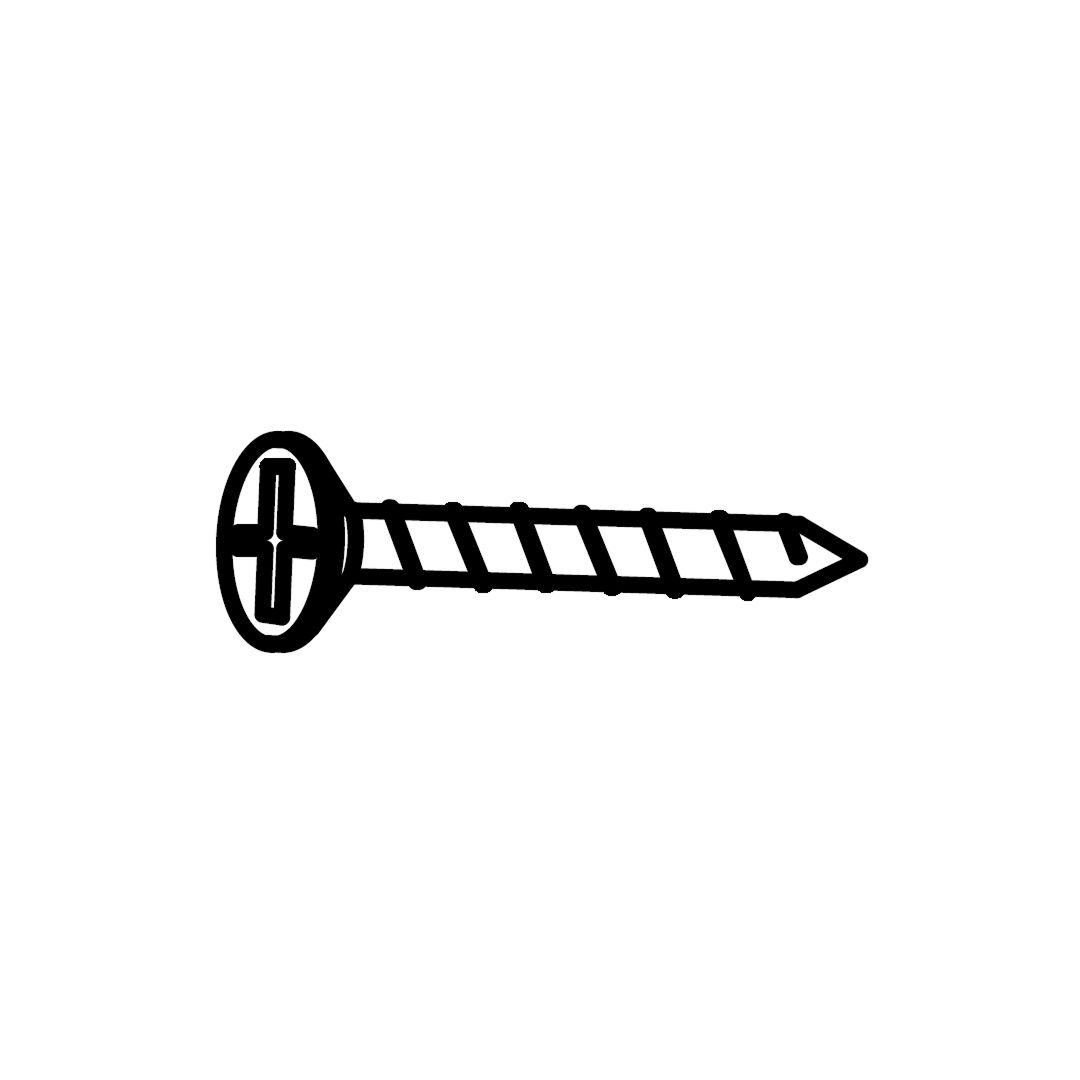
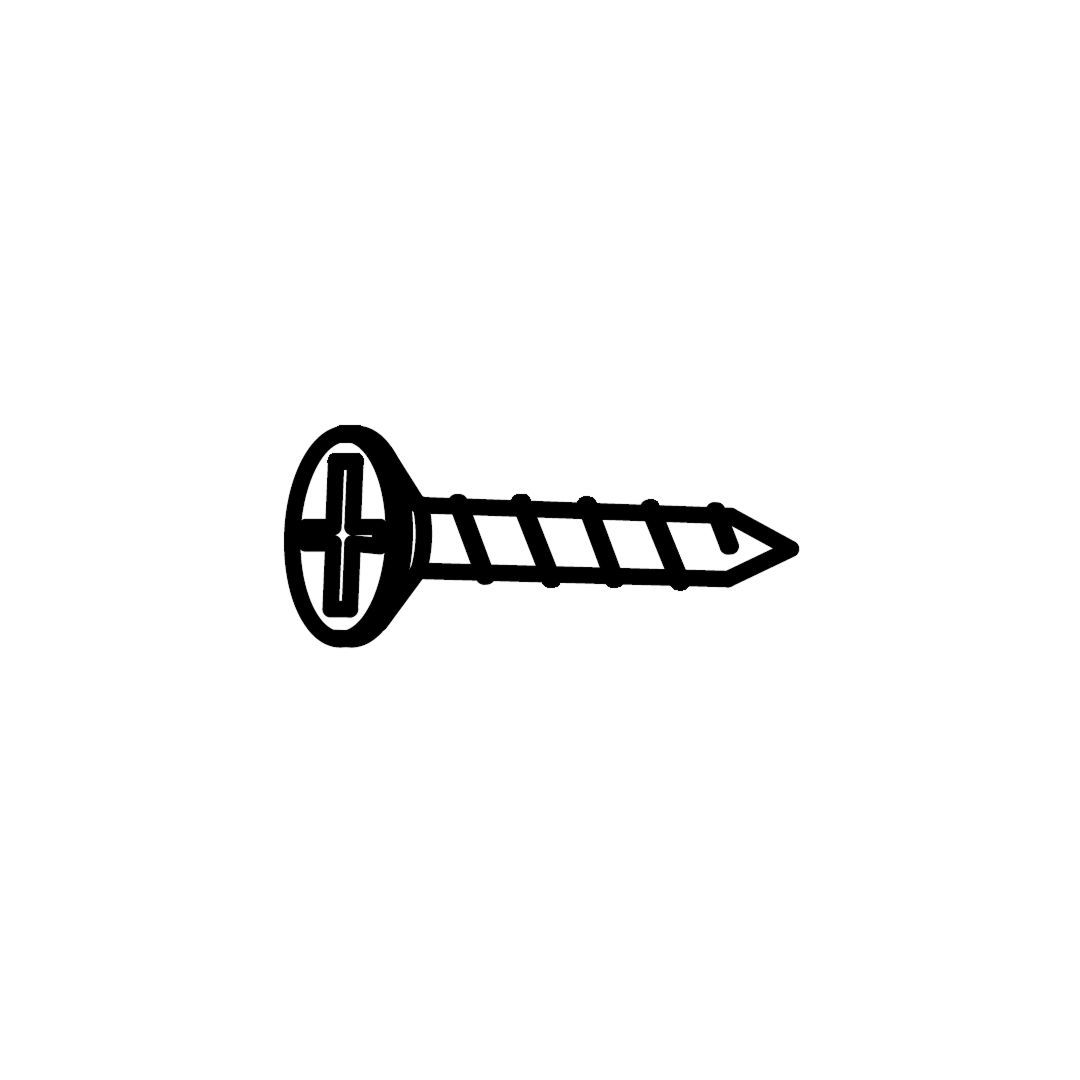
5. Fix it in place using additional Bolt 45mm (L) and Chipboard Screws Ø4x15 mm (O).
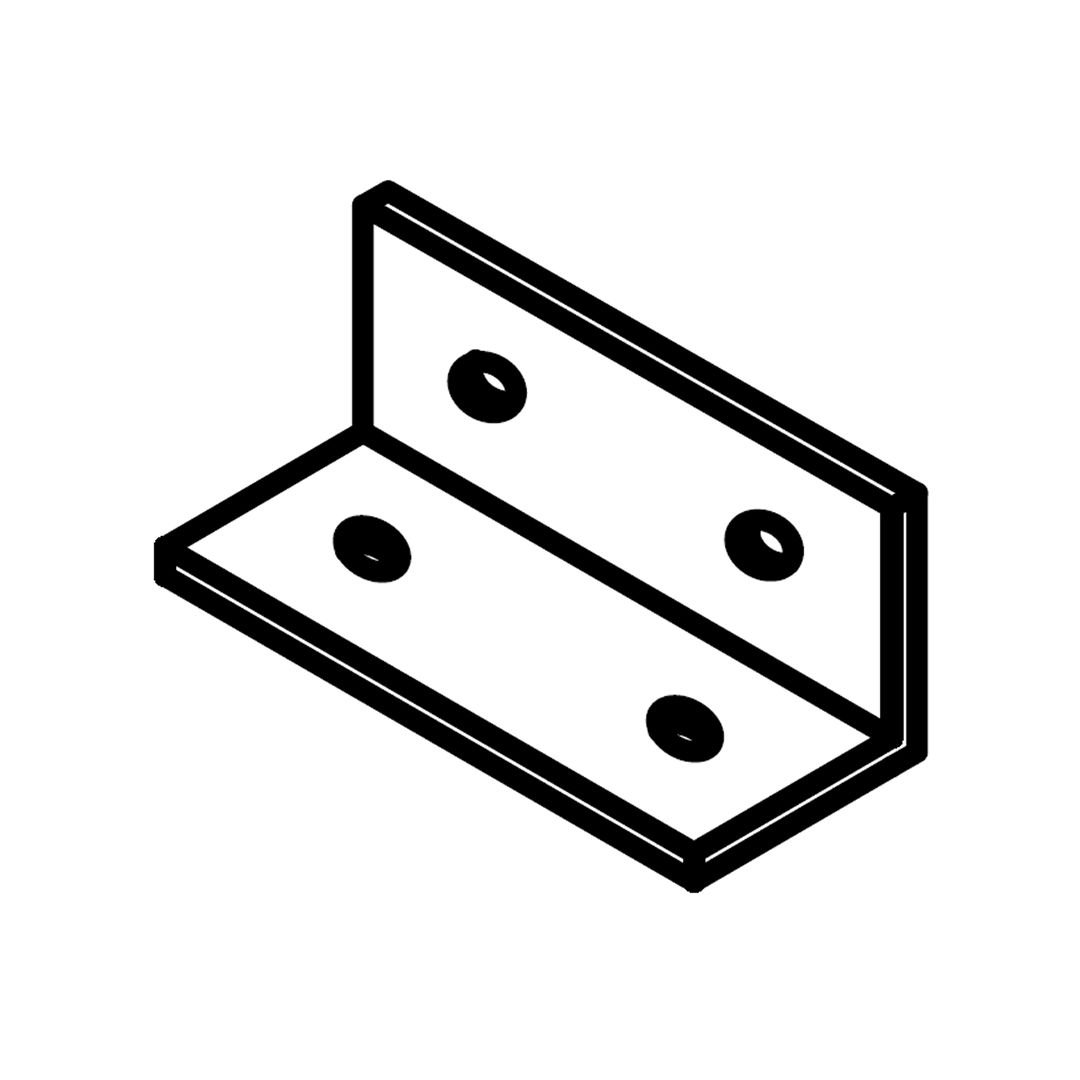
6. Reinforce with a Bracket (P) at the center joint if indicated

2. Attach the Headboard Aprons and Cover Bolt Holes

Attach the Headboard Aprons and Cover Bolt Holes

1. Attach the Headboard Aprons (F) to the side of the Headboard Panel (A).
2. Use Wood Dowels (R) in the alignment holes.
Insert Bolt 45 mm (L) through the apron and into the headboard and tighten using the Allen Key (Q).
3. Repeat on both sides to secure both aprons symmetrically.
4. Insert Wood Buttons (K) into the bolt holes on the headboard legs and aprons for a clean finish.

3. Attach the Footboard Legs

1. Lay the Footboard Panel (B) face down on a protected surface.
2. Position the Footboard Wood Legs (D) on each end of the panel.
3. Insert Wood Dowels (R) into the pre-drilled holes for proper alignment.
4. Use Bolt 45 mm (L) to secure the legs through the designated holes and tighten the bolts with the Allen Key (Q).

4. Attach the Footboard Aprons and Cover Bolt Holes

Attach the Footboard Aprons and Cover Bolt Holes

1. Align the Footboard Aprons (G) with the inside edges of the Footboard Panel (B).
2. Insert Wood Dowels (R) into the pre-drilled holes.
3. Position each apron and secure with Bolt 45 mm (L) and tighten using the Allen Key (Q).
4. Insert Wood Buttons (K) into all visible bolt holes for a clean and finished appearance.

5. Attach the Side Rails

1. Stand the headboard and footboard upright, ensuring they are stable.
2. Align the Wood Side Rails (H) with the pre-installed brackets on both the headboard and footboard.
3. Secure each rail using Bolt 15 mm (M) with the Allen Key (Q).
4. Reinforce the side rail connection by inserting Chipboard Screws (O) through the metal plates located on the inside of the side rails.

6. Install the Center Support Bar(s)

1. Place the Center Bar (I) lengthwise between the side rails.
2. Ensure the bar is properly seated on the center support brackets attached to the side rails.

Number of Center Bar per size:

  • Double and King: 1 Center Bar
  • Super King: 2 Center Bars

7. Install the Wooden Slats

1. Evenly space the Wooden Slats (J) across the frame, resting them on the side rails and center support bar(s).
2. Ensure each slat aligns with the pre-drilled holes on the support rails.
3. Secure each slat using Chipboard Screws (N).
4. Use a screwdriver or drill for faster installation, but avoid overtightening.

8. Final Check

  • Verify that all slats are securely fastened and evenly spaced.
  • Check for any loose connections and tighten the screws if necessary
time4sleep
time4sleep (opens in new tab)Terms (opens in new tab)Privacy (opens in new tab)