1. Back rail and side panels
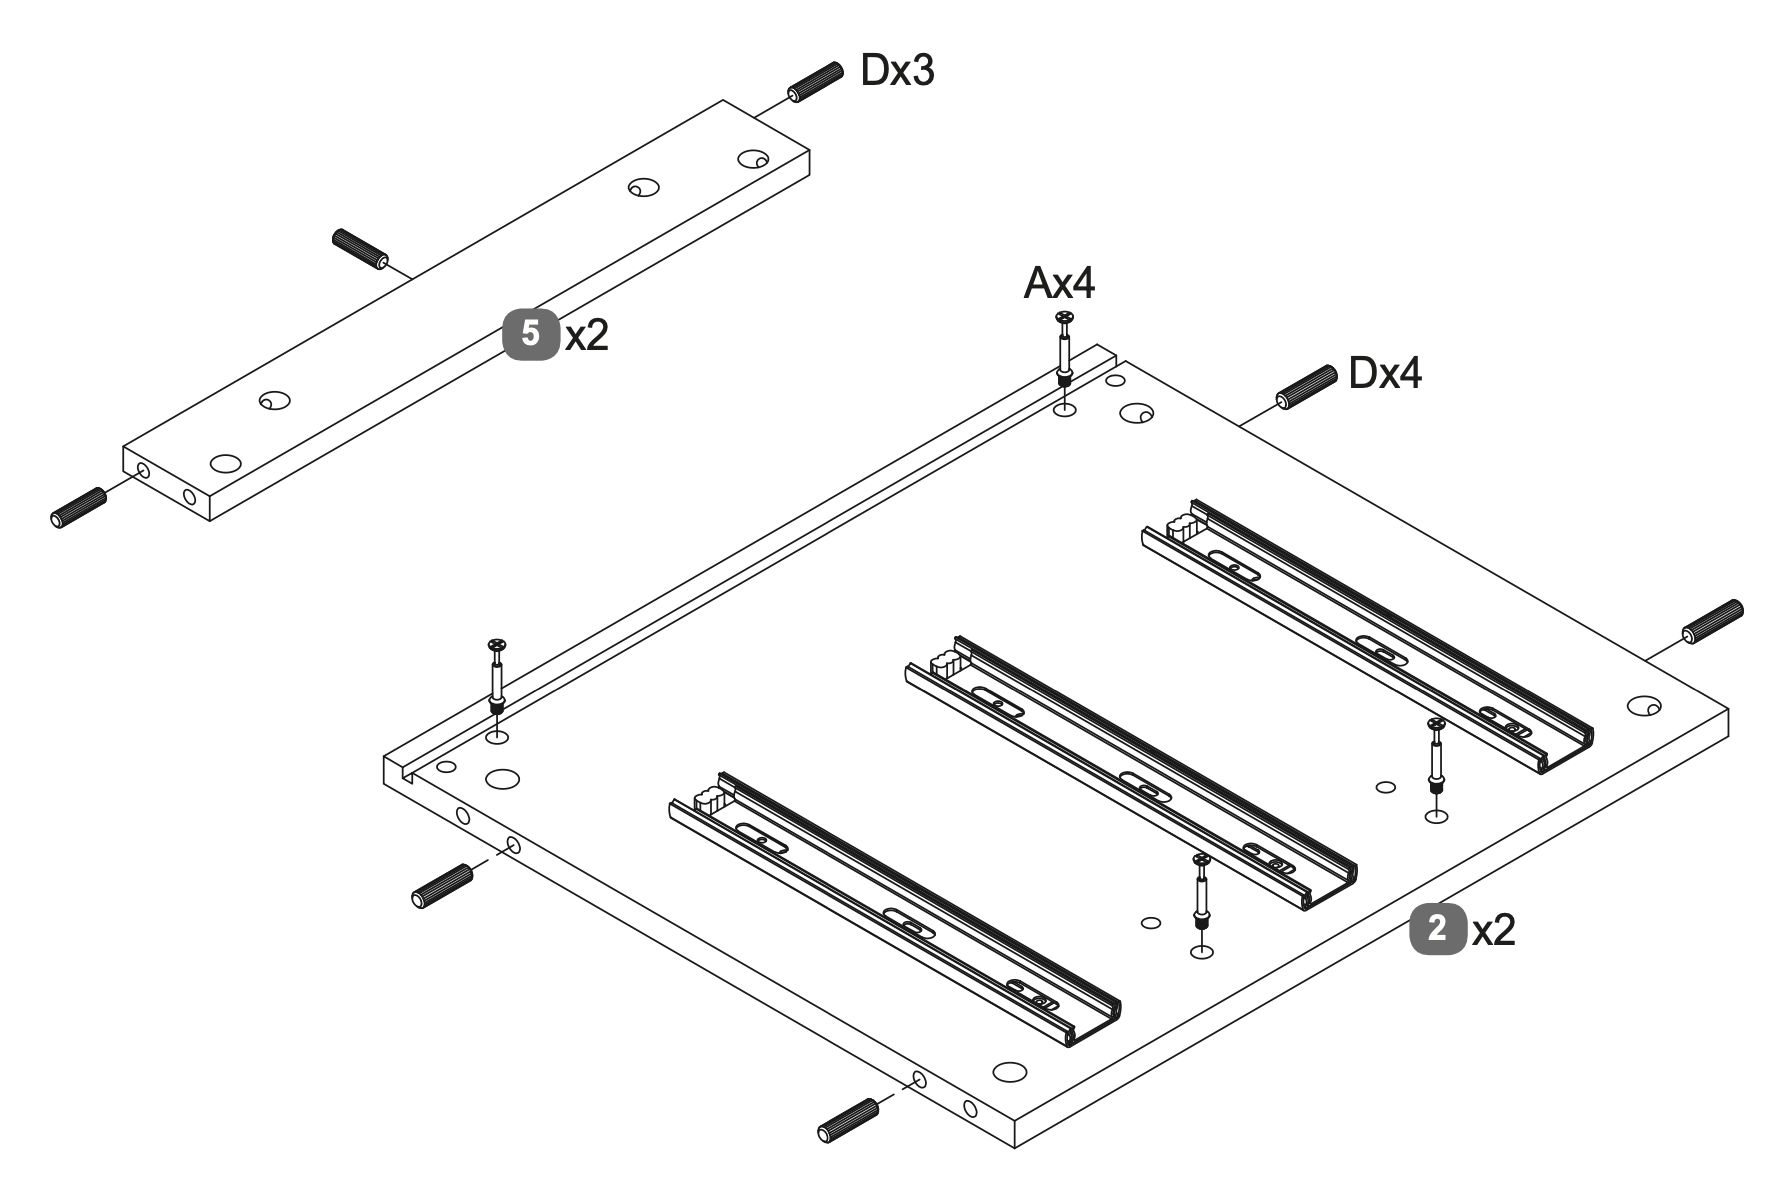
1. Insert dowels (Dx3) into the designated holes on the back rail (5).
2. Insert dowels (Dx4) into the designated holes on the side panels (2).
3. Secure the rails to the side panels using screws (Ax4).
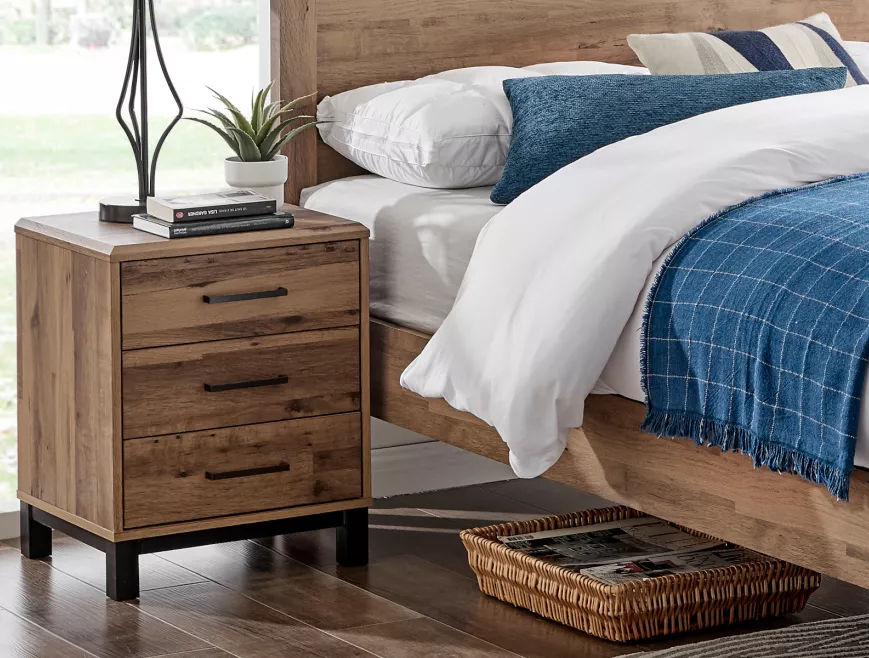 Instructions by time4sleep Brookes 3 Drawer Wooden BedsideAssembly instructions for Brookes 3 Drawer Wooden Bedside by Time4Sleep. Product Information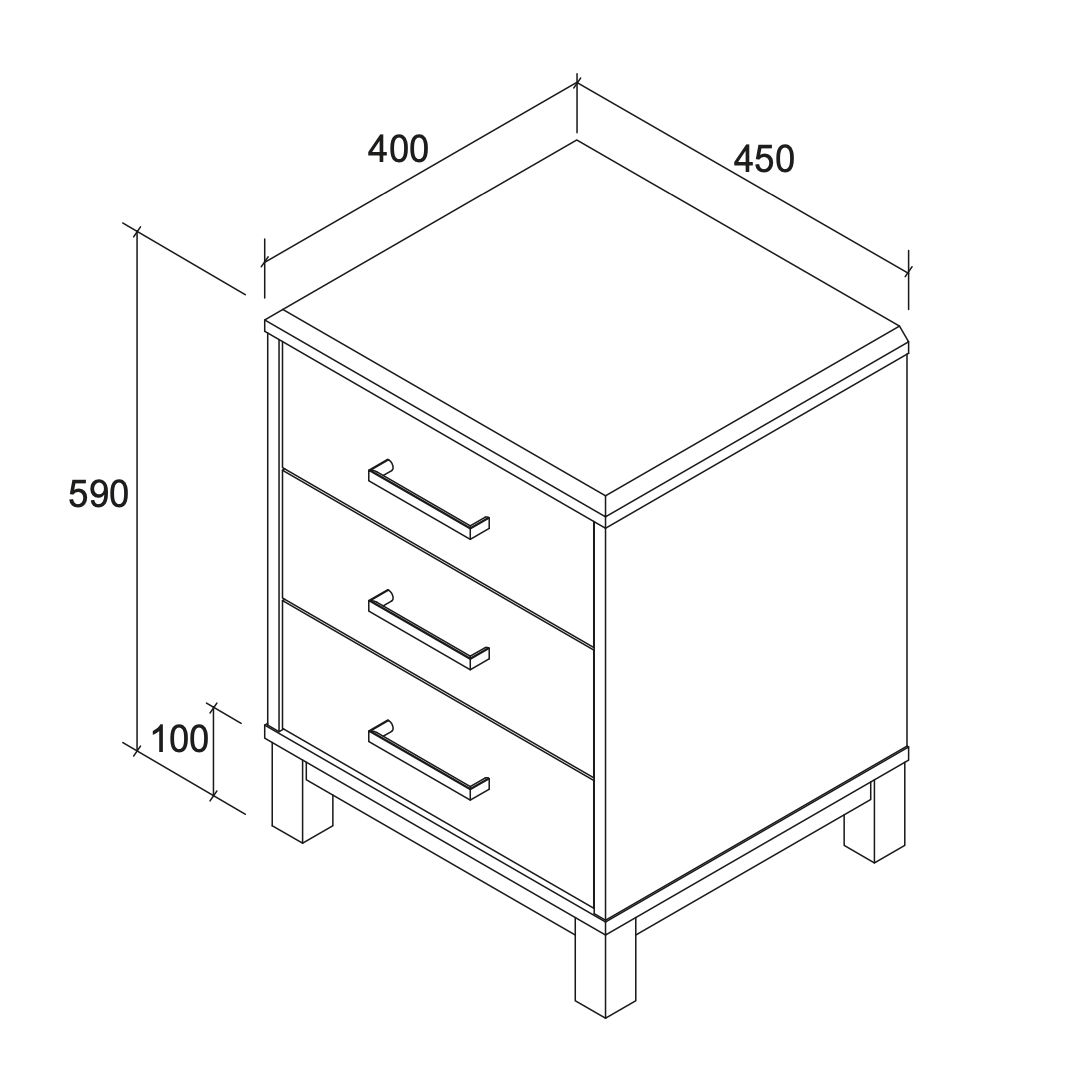 Brookes 3 Drawer Wooden BedsideAdd a rustic feel to your bedroom with our Brookes dark oak 3 drawer bedside table. Perfectly matched with our Brookes Ottoman and static bed frame, this furniture range has been designed with a keen eye for style. The sturdy solid frame hosts plenty of room to store your valuables right next to your bed, and the dark oak adds an industrial feel to compliment a bold interior design. View product (opens in new tab)
Tools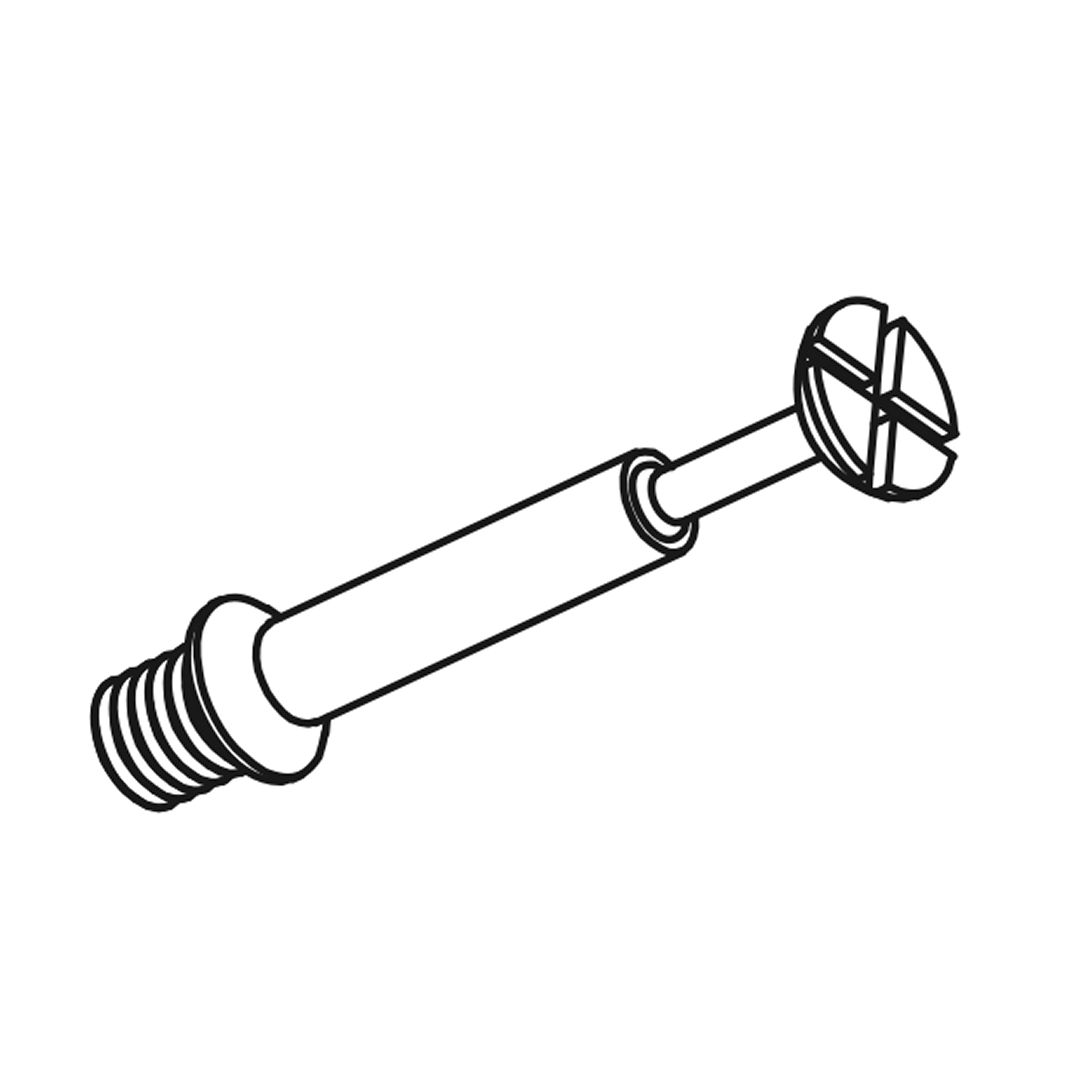 Cam bolt (Ø7x32mm) 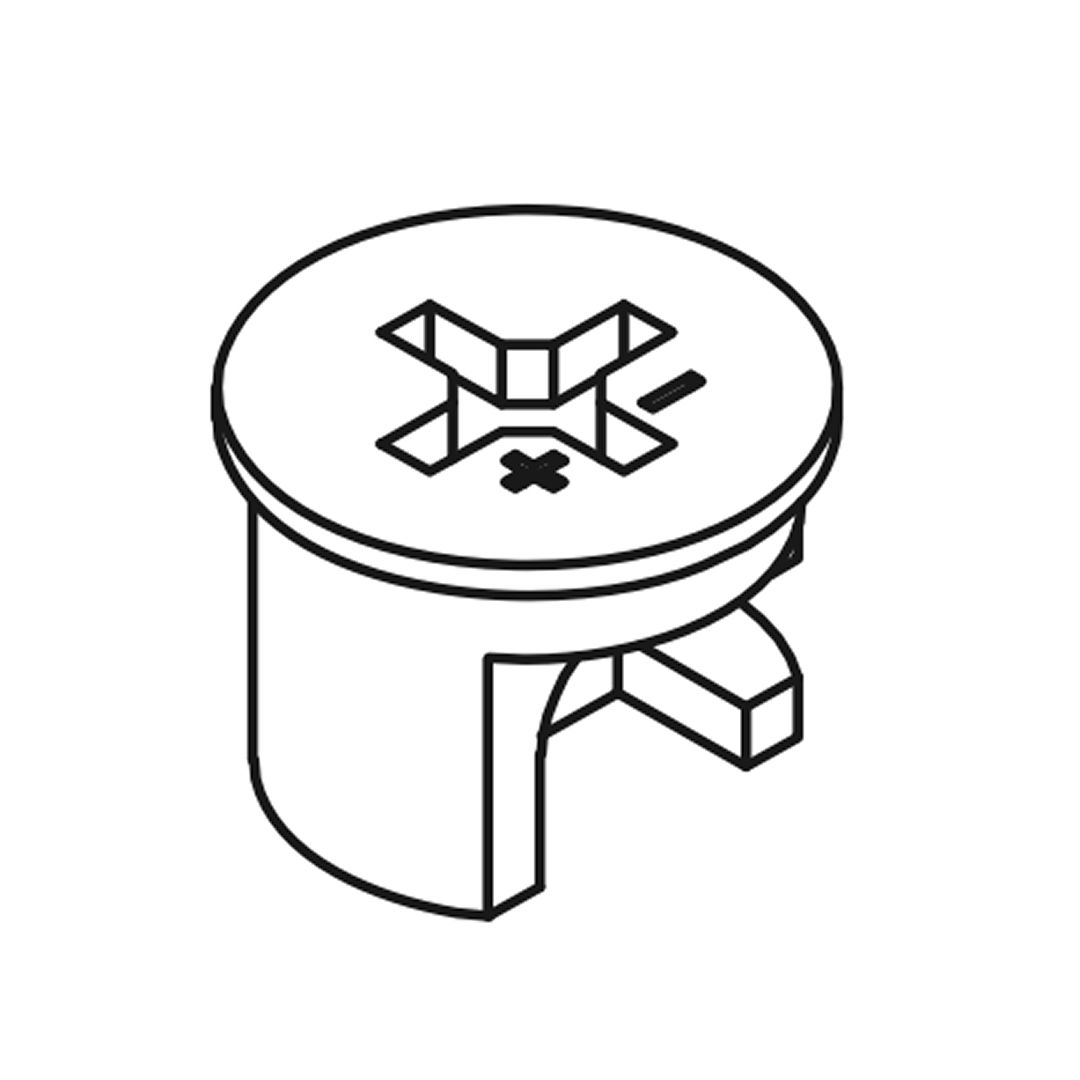 Large cam lock 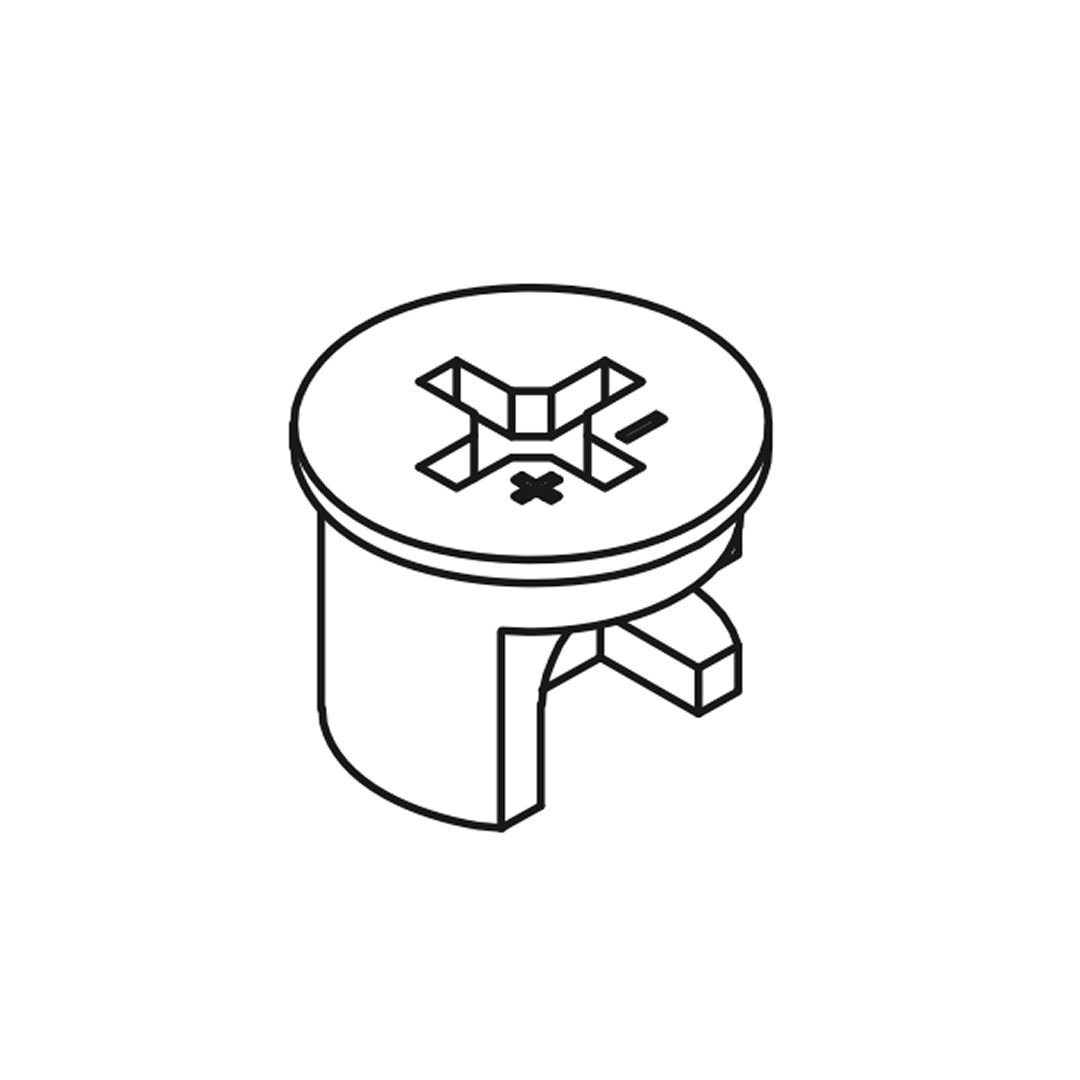 Small cam lock 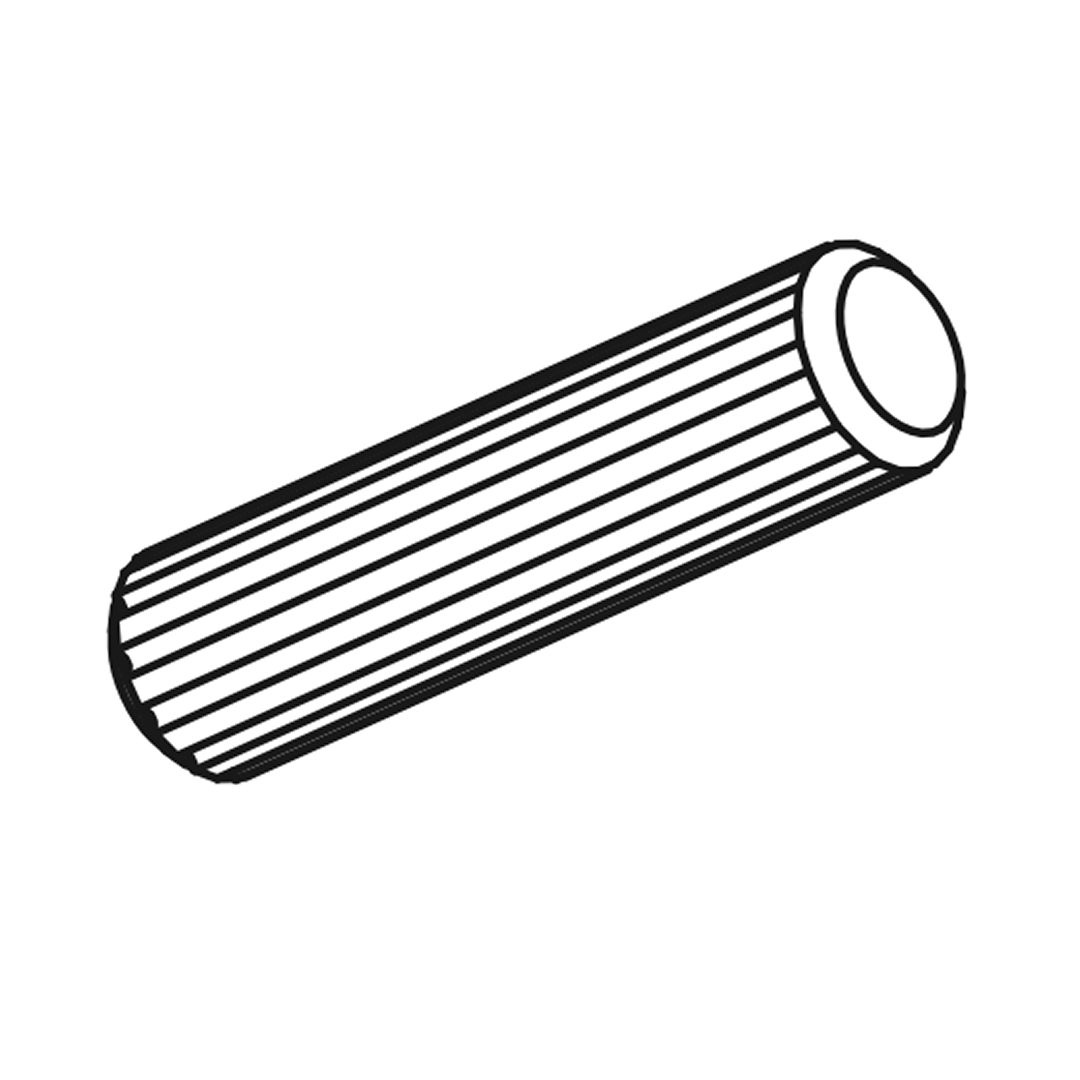 Large dowel (Ø8x30mm) 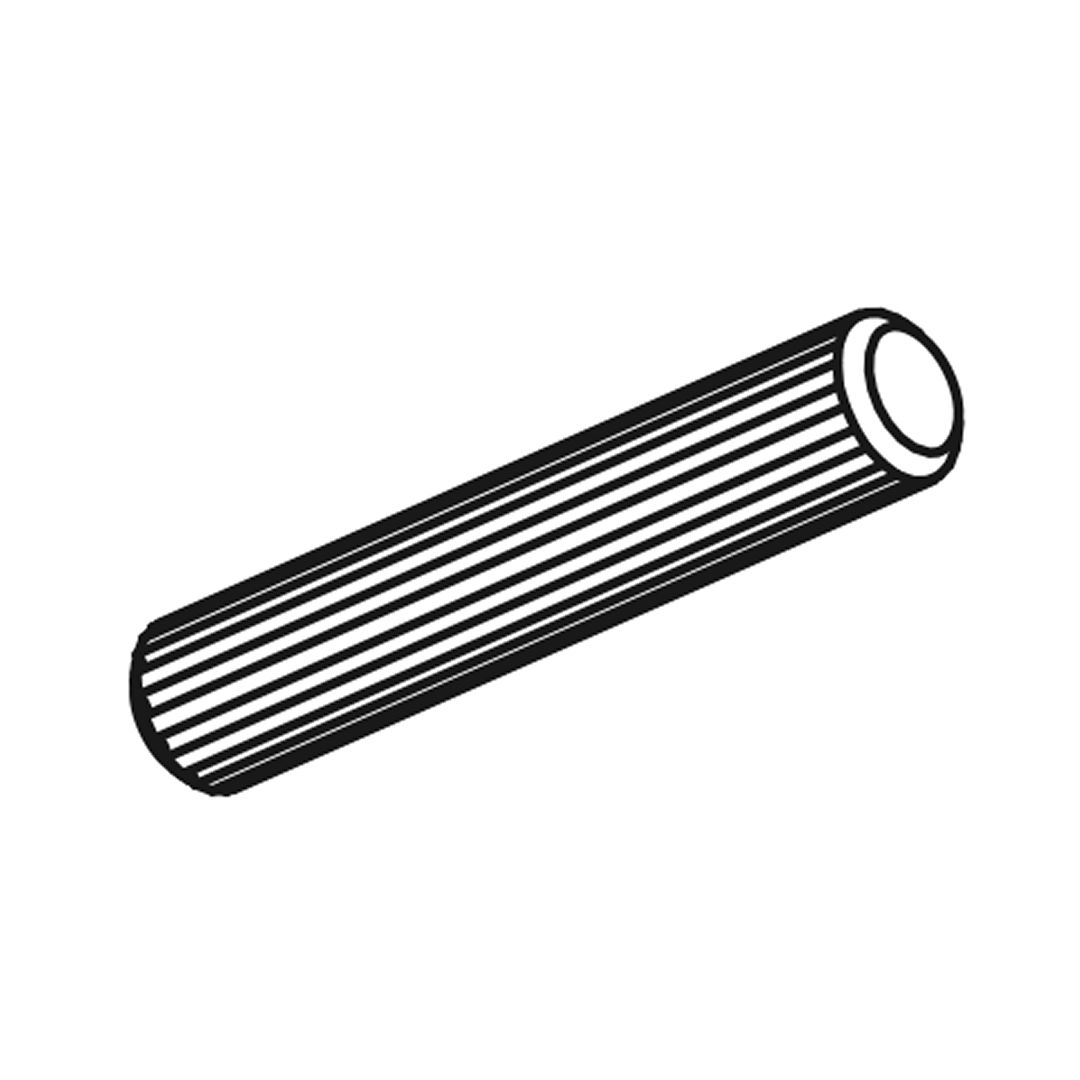 Small dowel (Ø6x30mm) 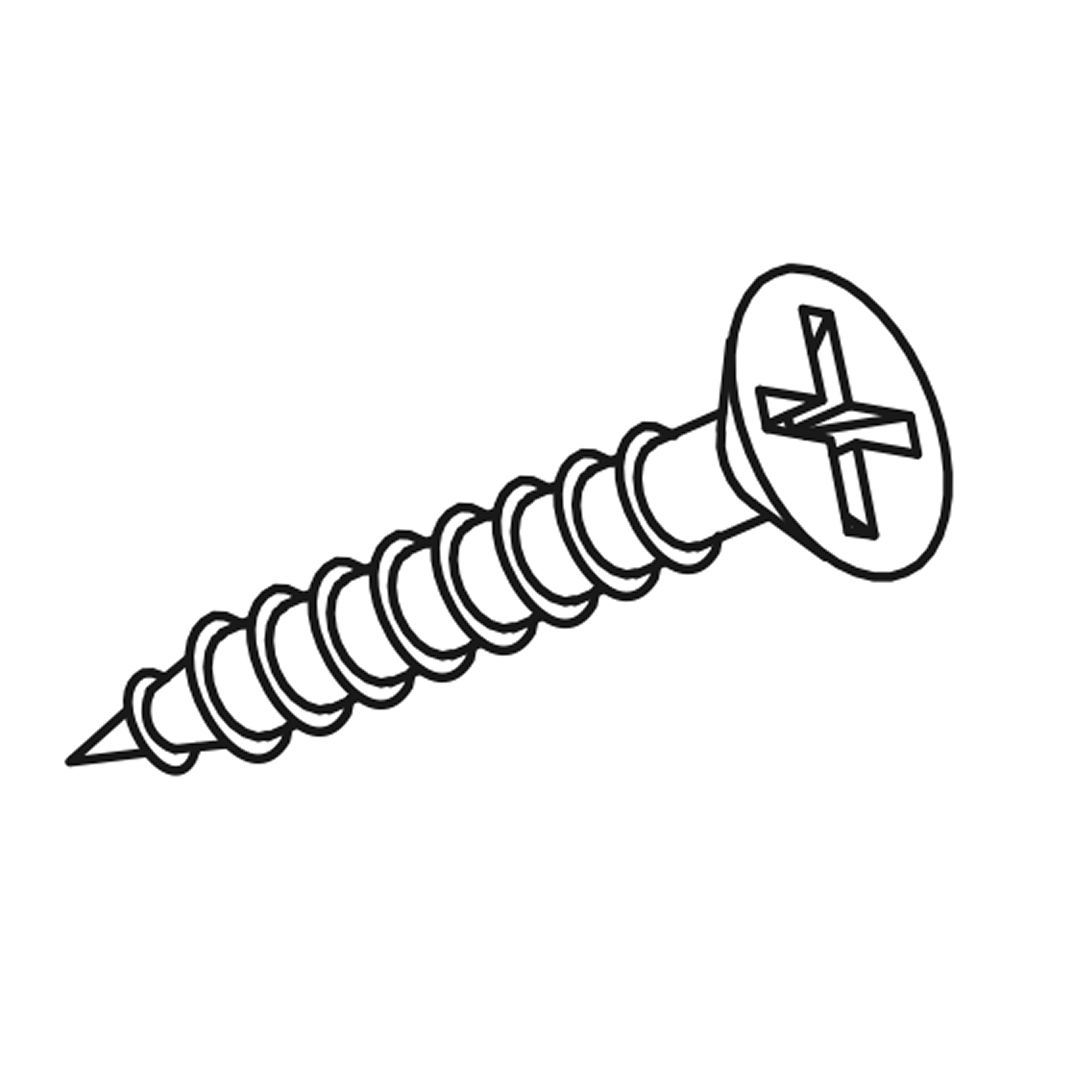 Screws (Ø3x19mm)  Back panel tension fitting 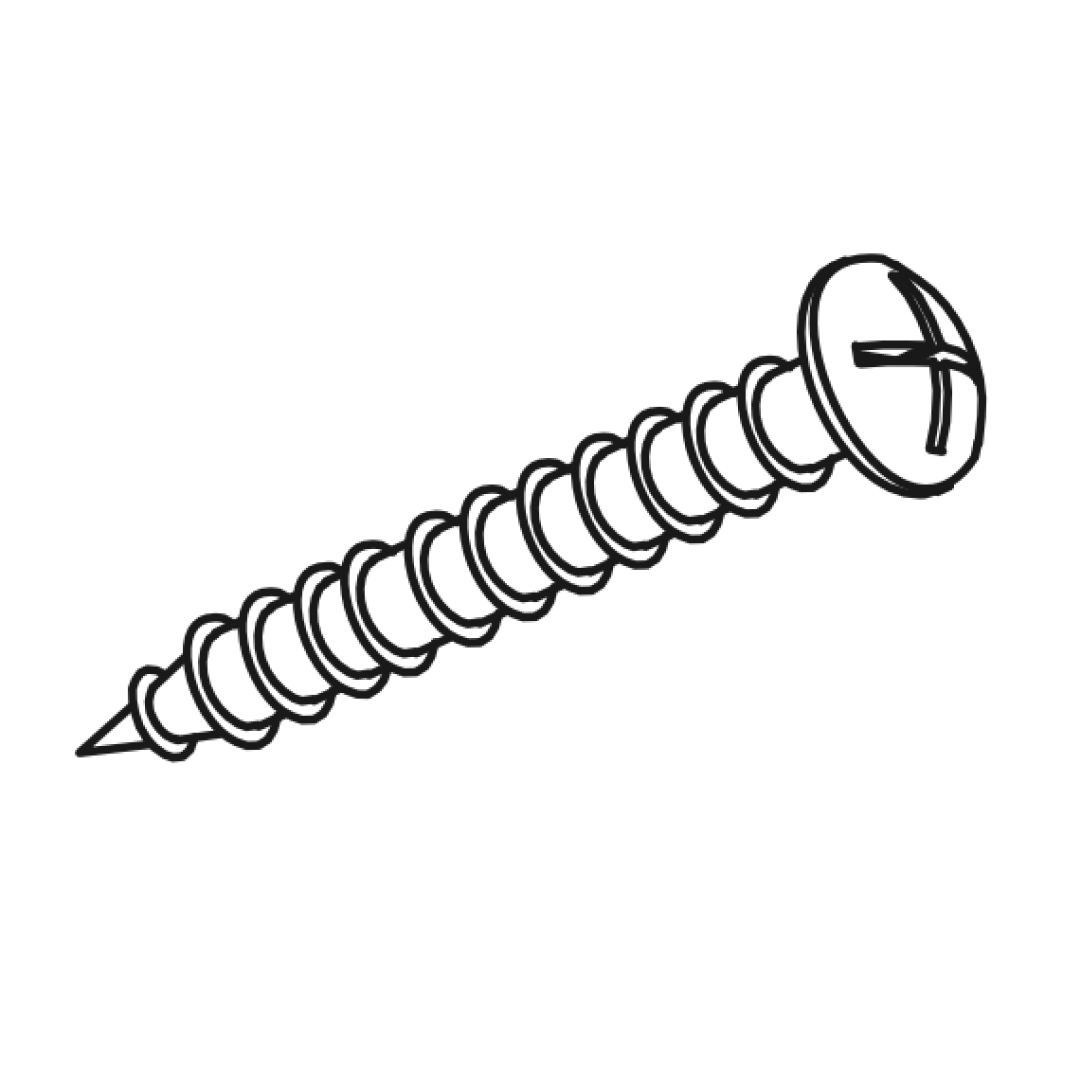 Screws (Ø3x30mm)  Handle (135x25mm) 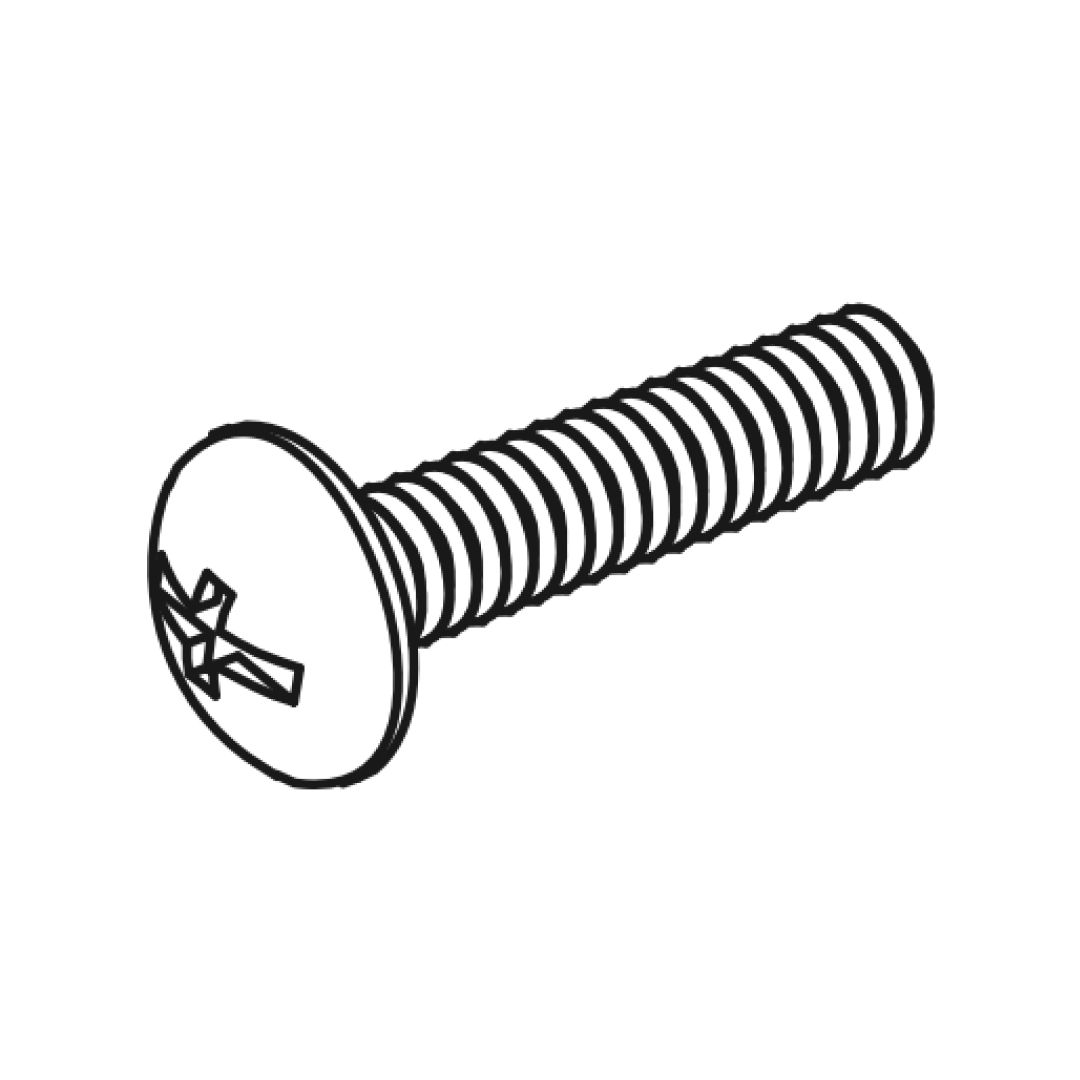 Bolts (M4x22mm) for handle 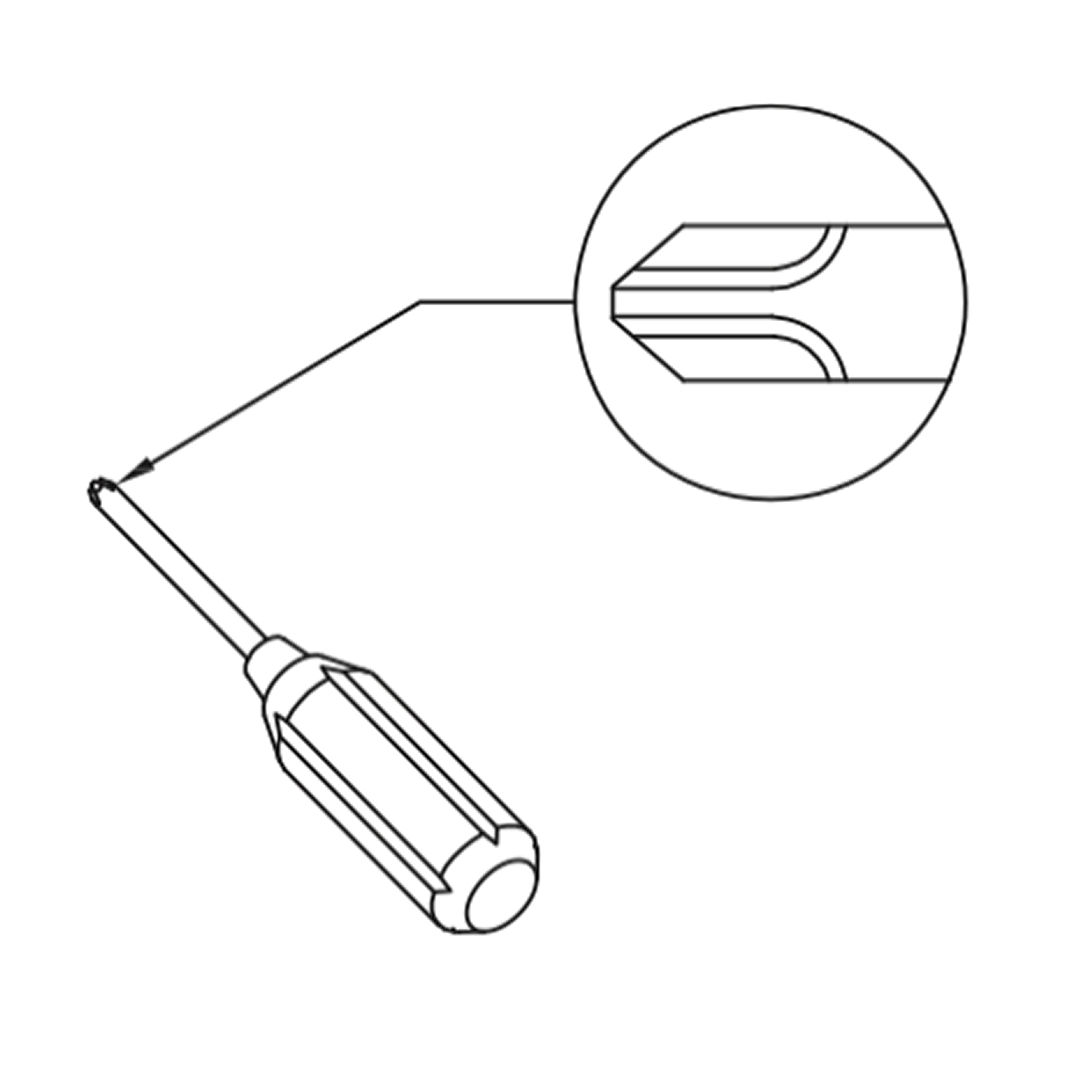 Cross Head Screwdriver Parts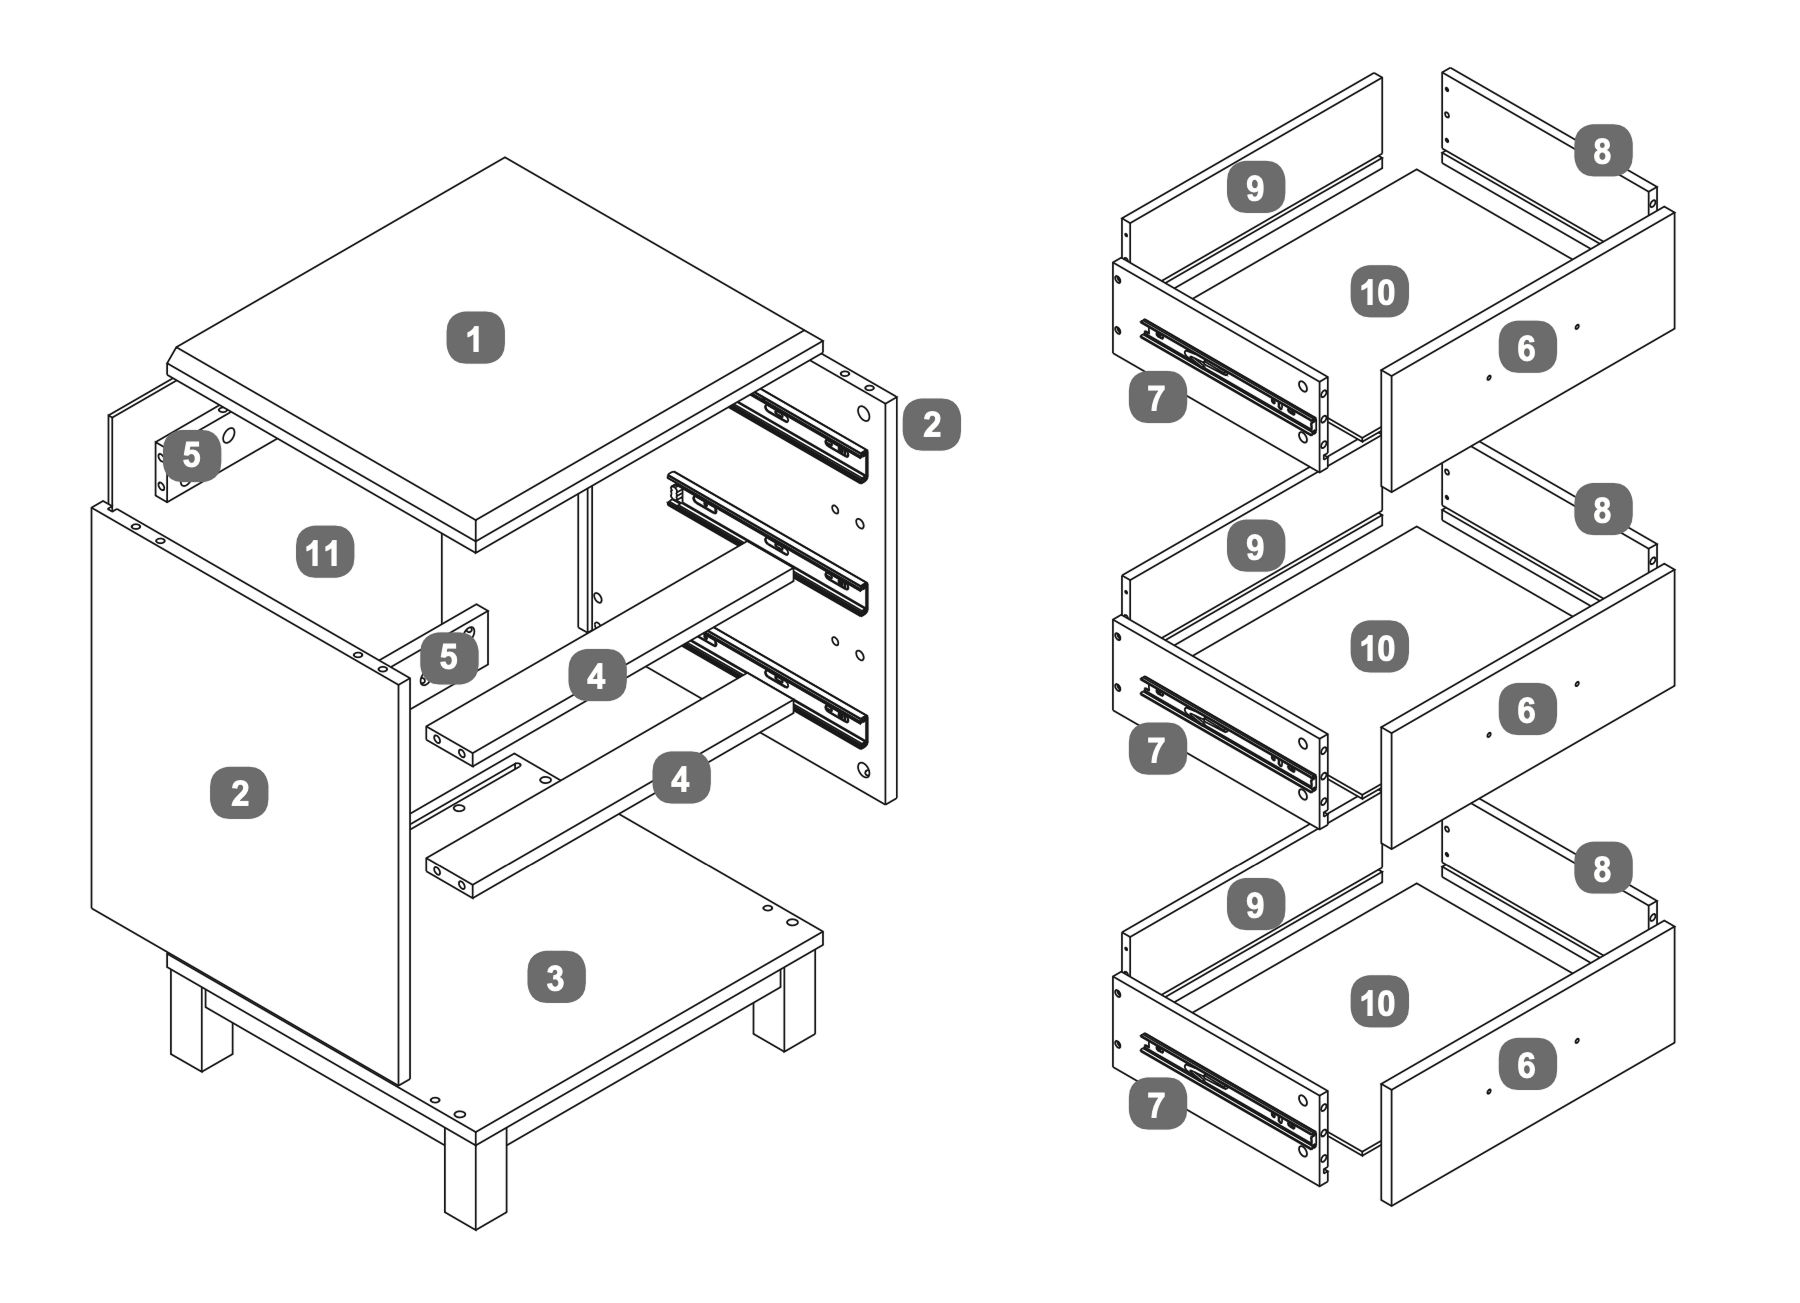 1Top panel 2Side panel 3Base panel 4Front rail 5Back rail 6Drawer front 7Drawer LH side panel 8Drawer RH side panel 9Drawer back panel 10Drawer base 11Cabinet back panel 1. Back rail and side panels1. Insert dowels (Dx3) into the designated holes on the back rail (5). 2. Base panel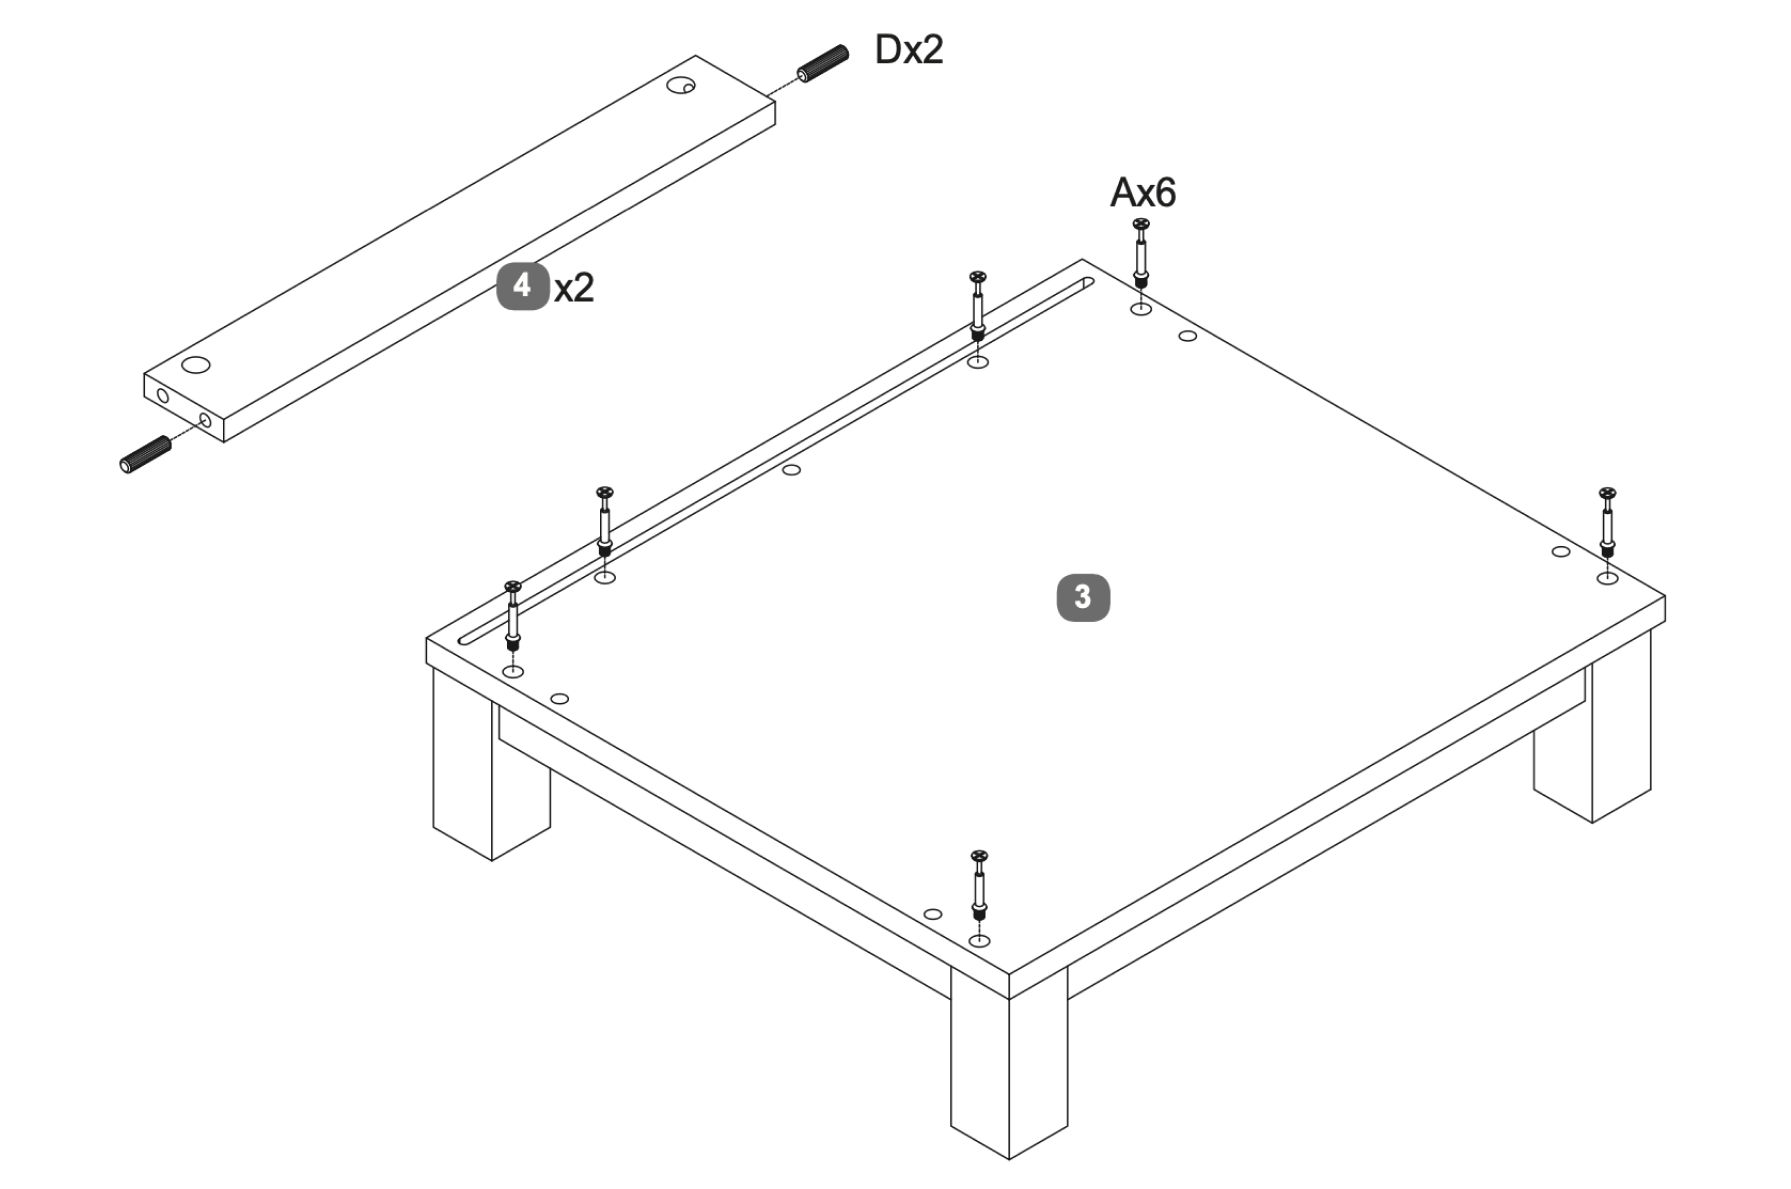 1. Insert two dowels (D) into each of the two rails (part 4). 3. Front and back rails 1. Insert dowels into the designated holes on the side panels. 4. Attach the other side panel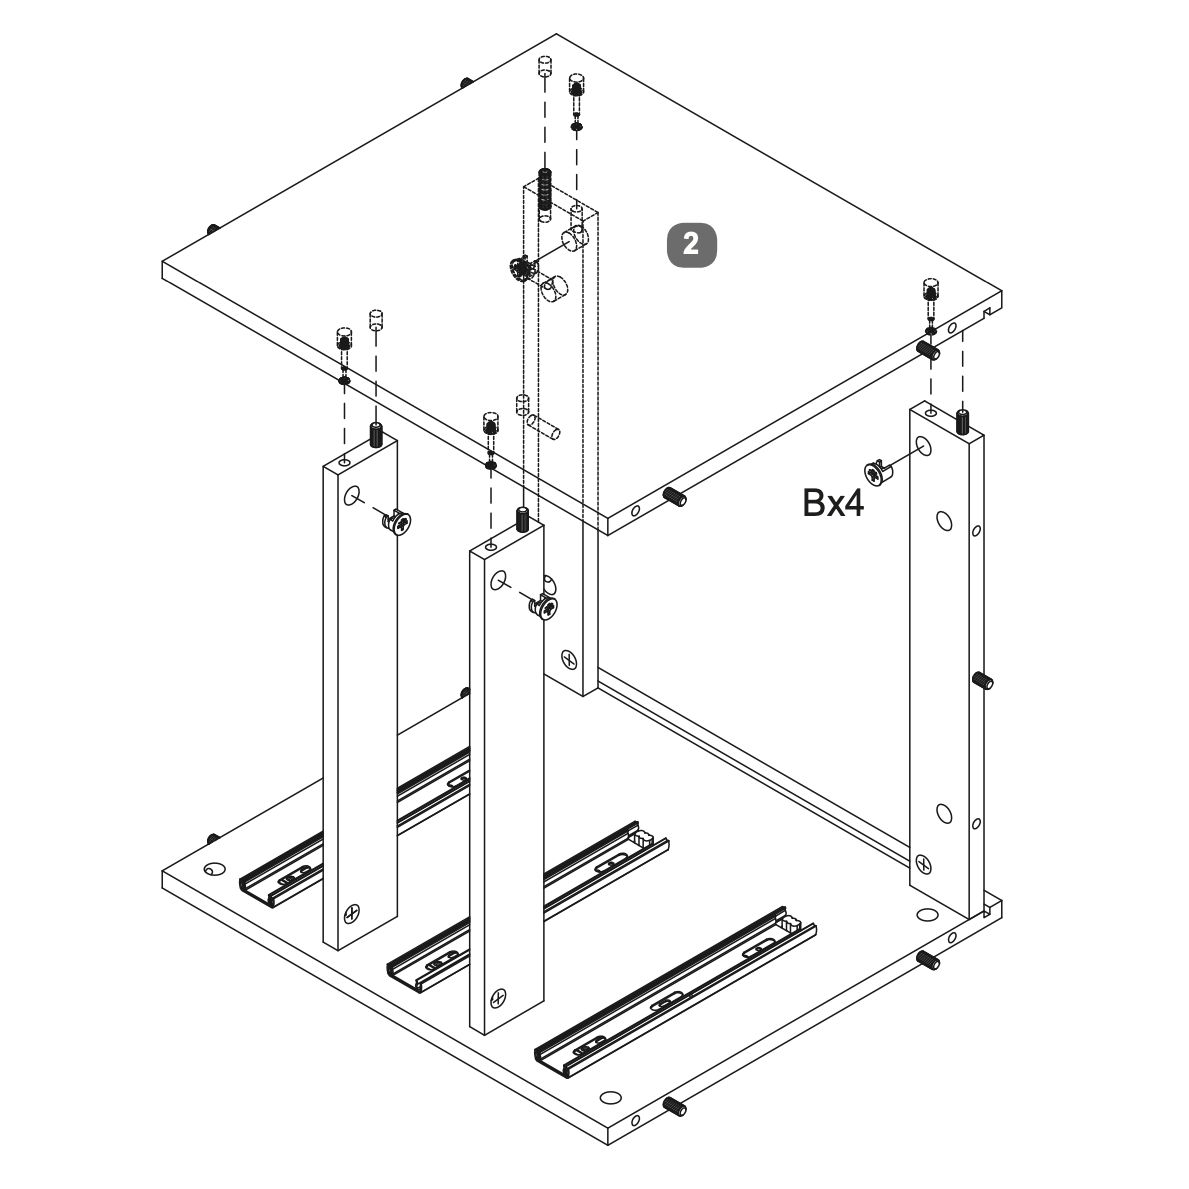 1. Insert dowels into the designated holes on the other side panel. 5. Assemble the Main Structure 1. Insert dowels into the designated holes on the base and side panels as instructed. 6. Cabinet back panel Insert the back panel in the rails. 7. Prepare the top panel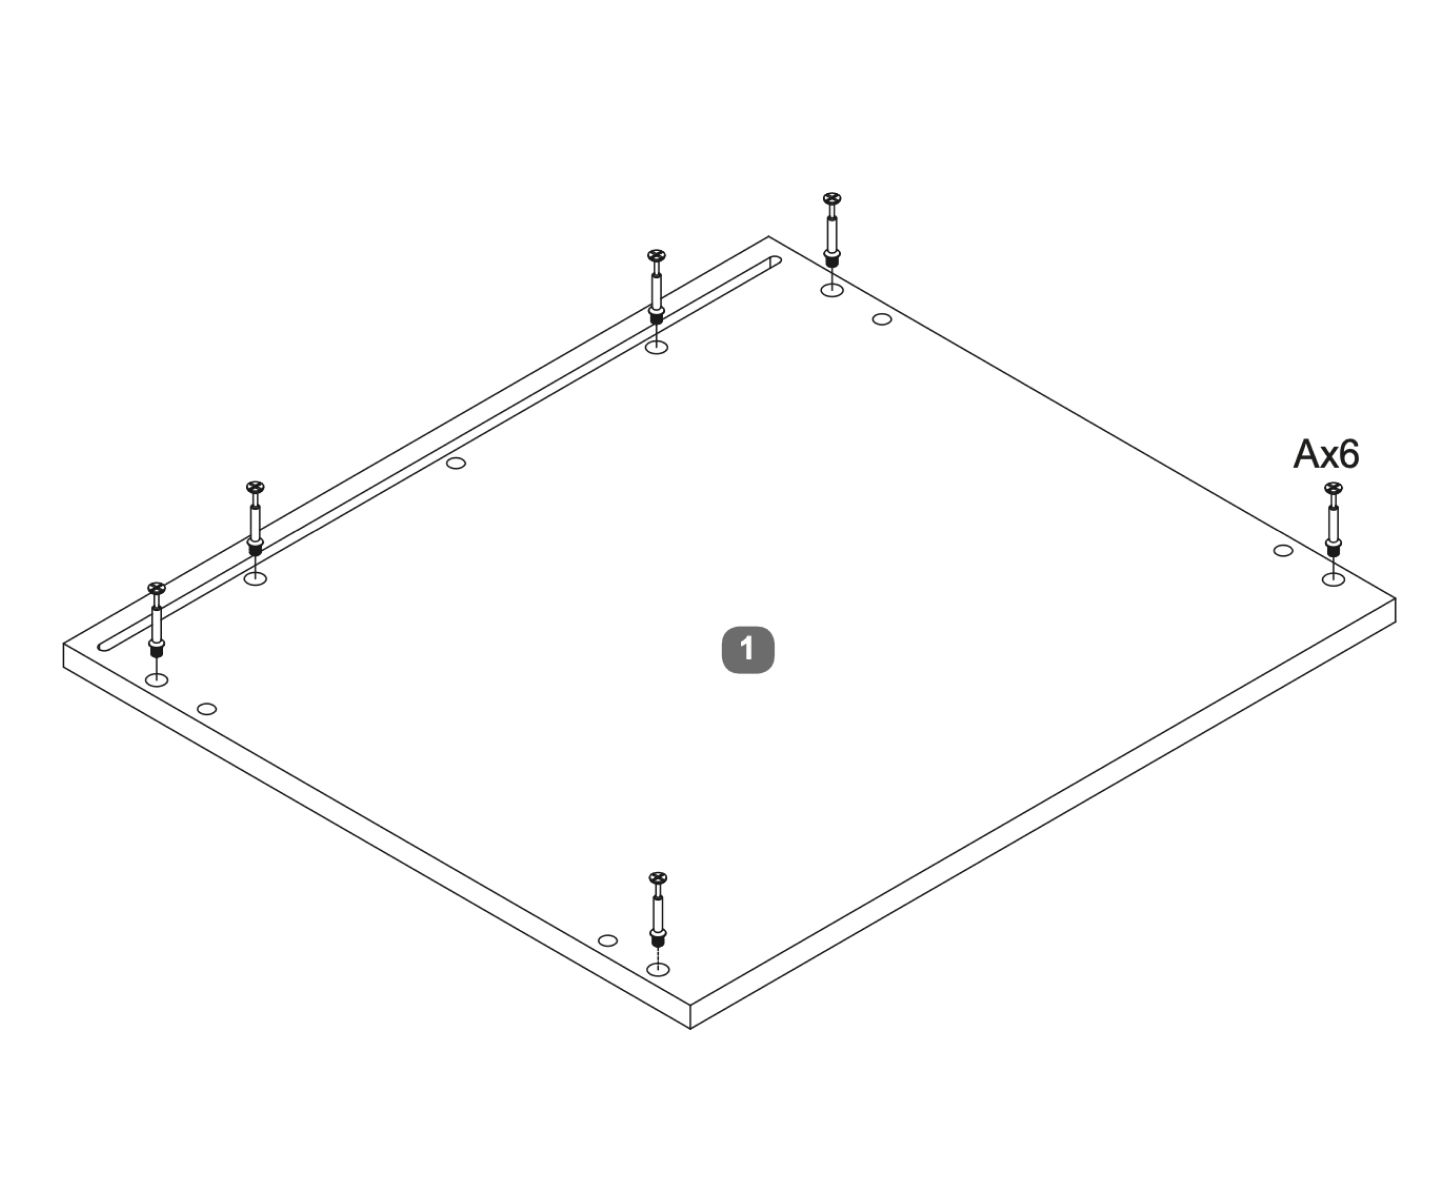 Prepare the top panel by inserting six screws (Ax6) into the designated holes as shown in the diagram. 8. Attach top Panel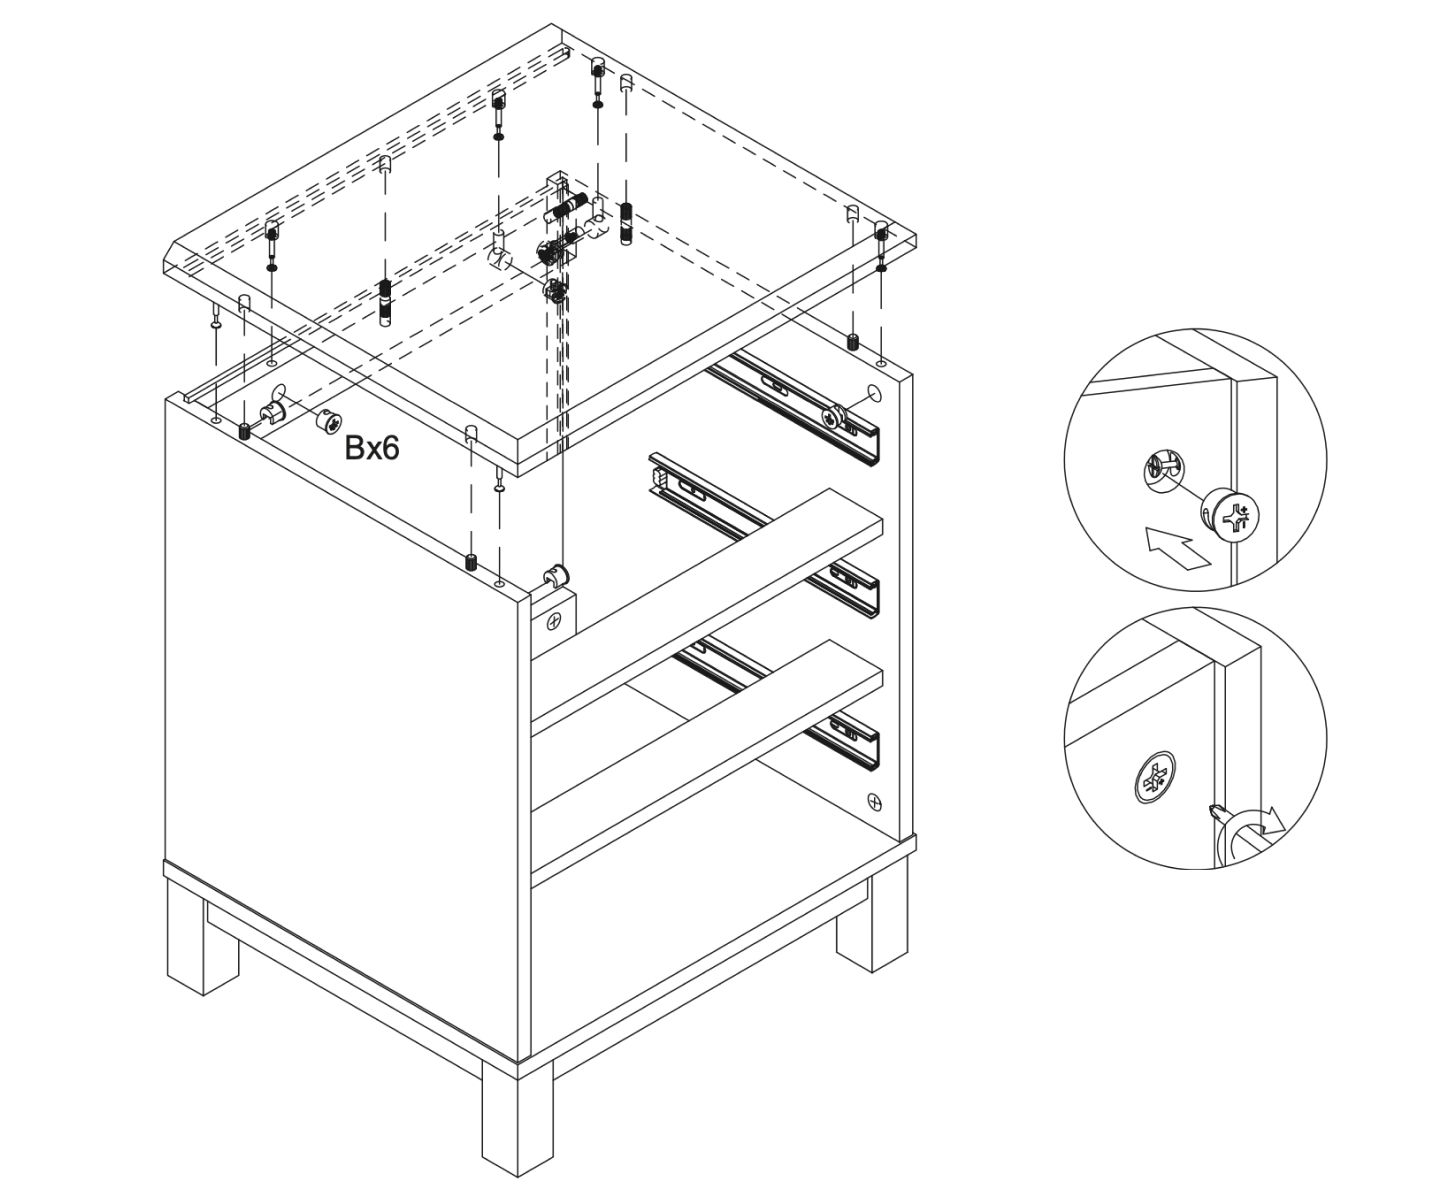 1. Align the side panels with the base and top panel. 9. Drawers Side Panels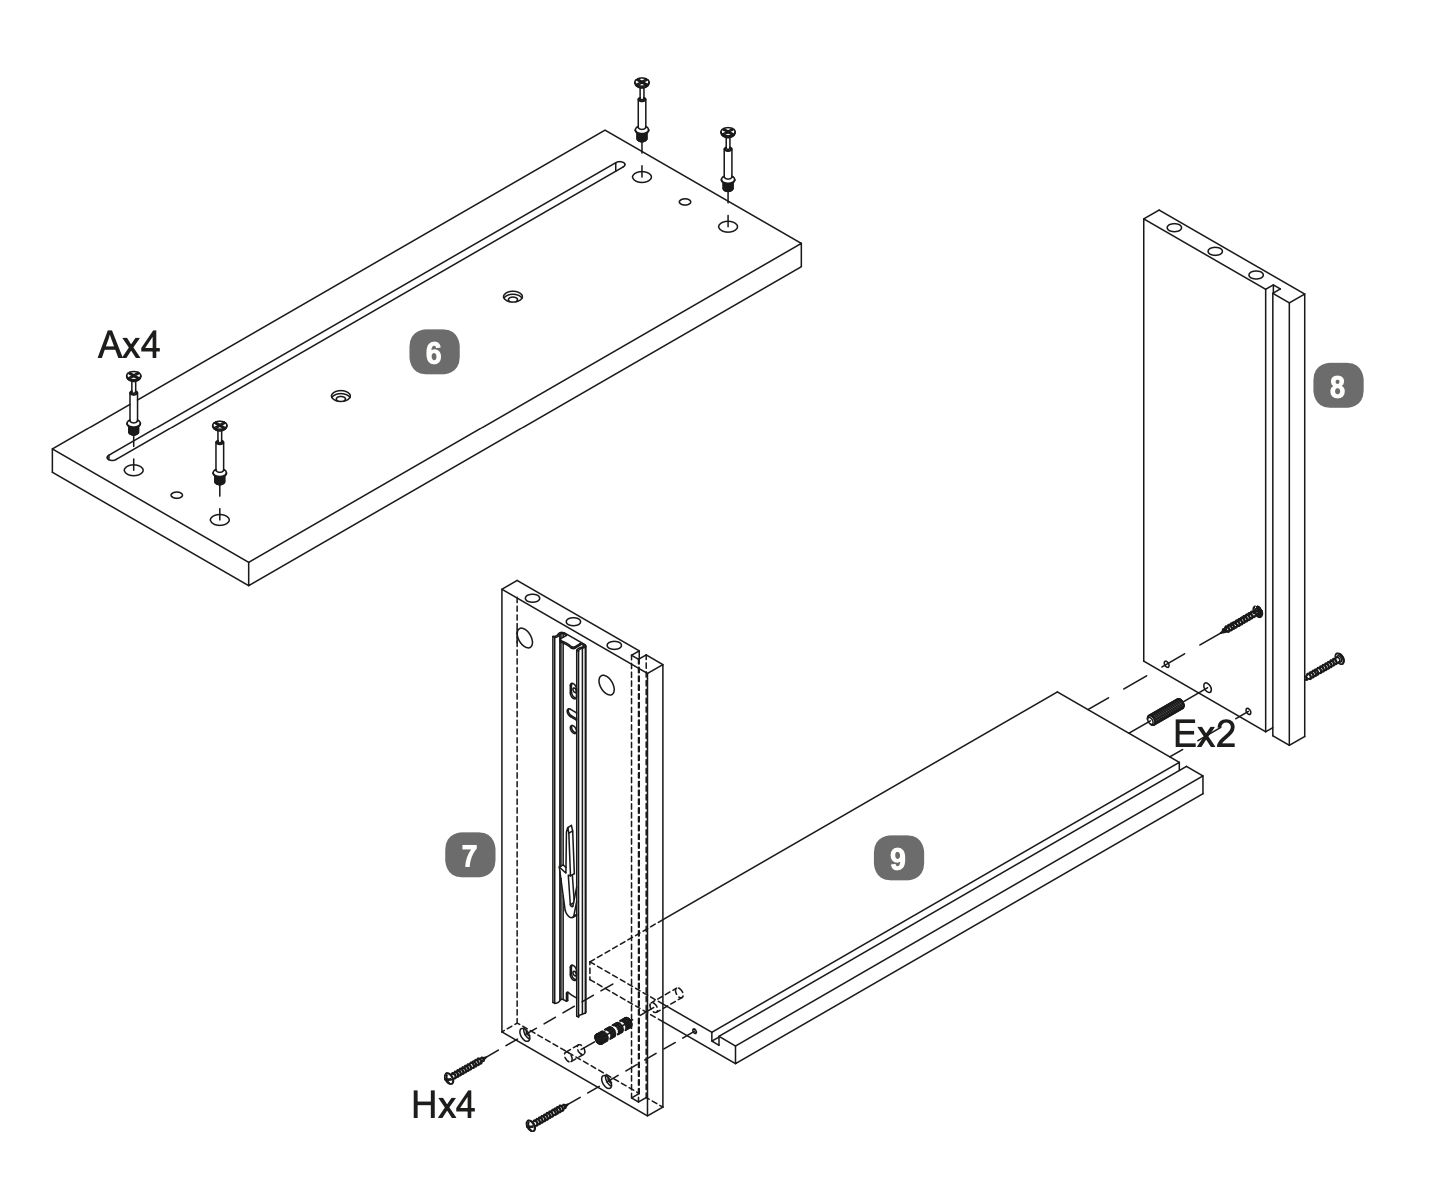 1. Insert screws labeled _Ax4_ into the designated holes on the drawer front (6). 10. Drawers base and front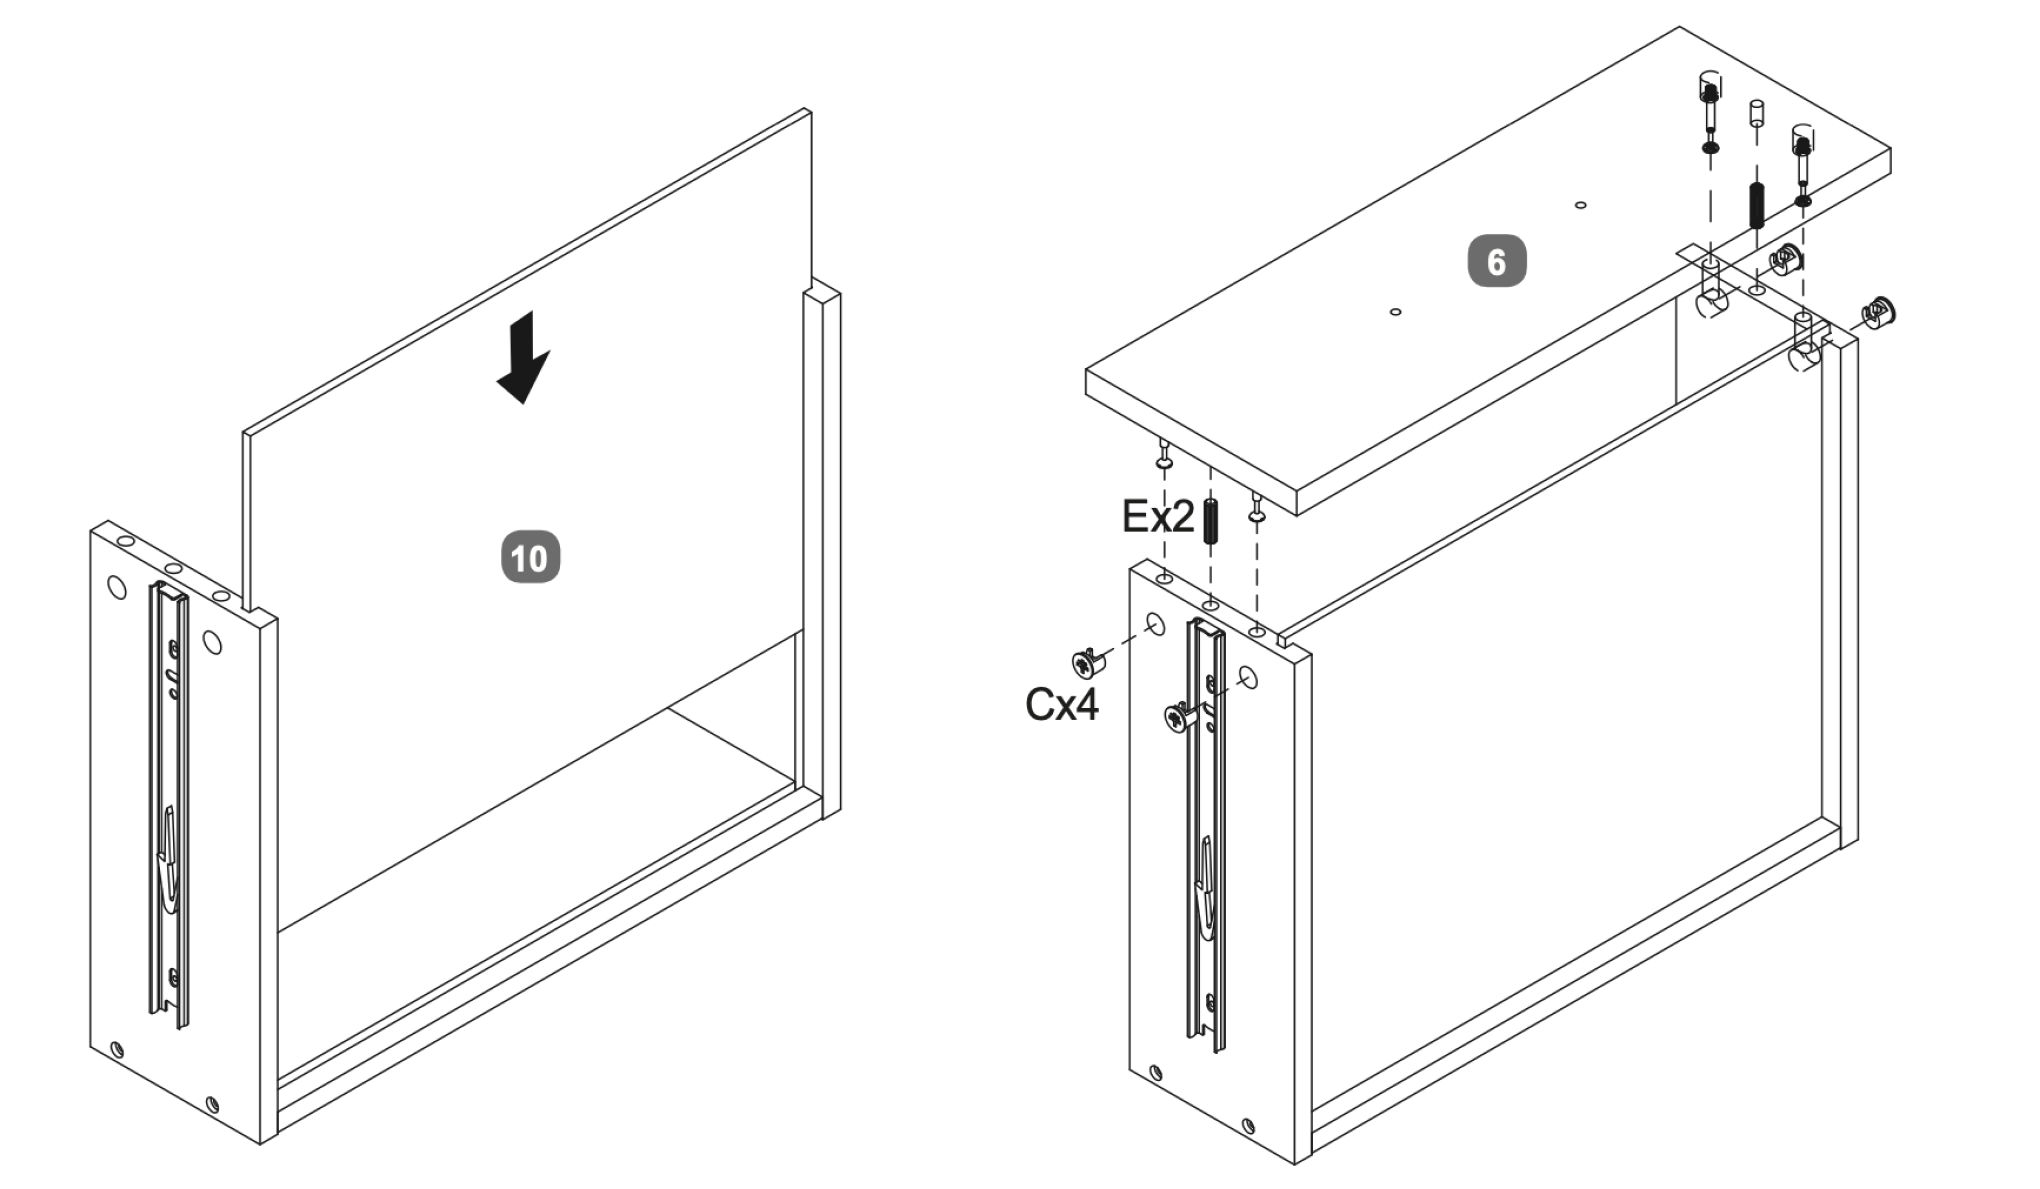 1. Slide the base of the drawers (10) into the grooves of the side panels. 11. Drawer handles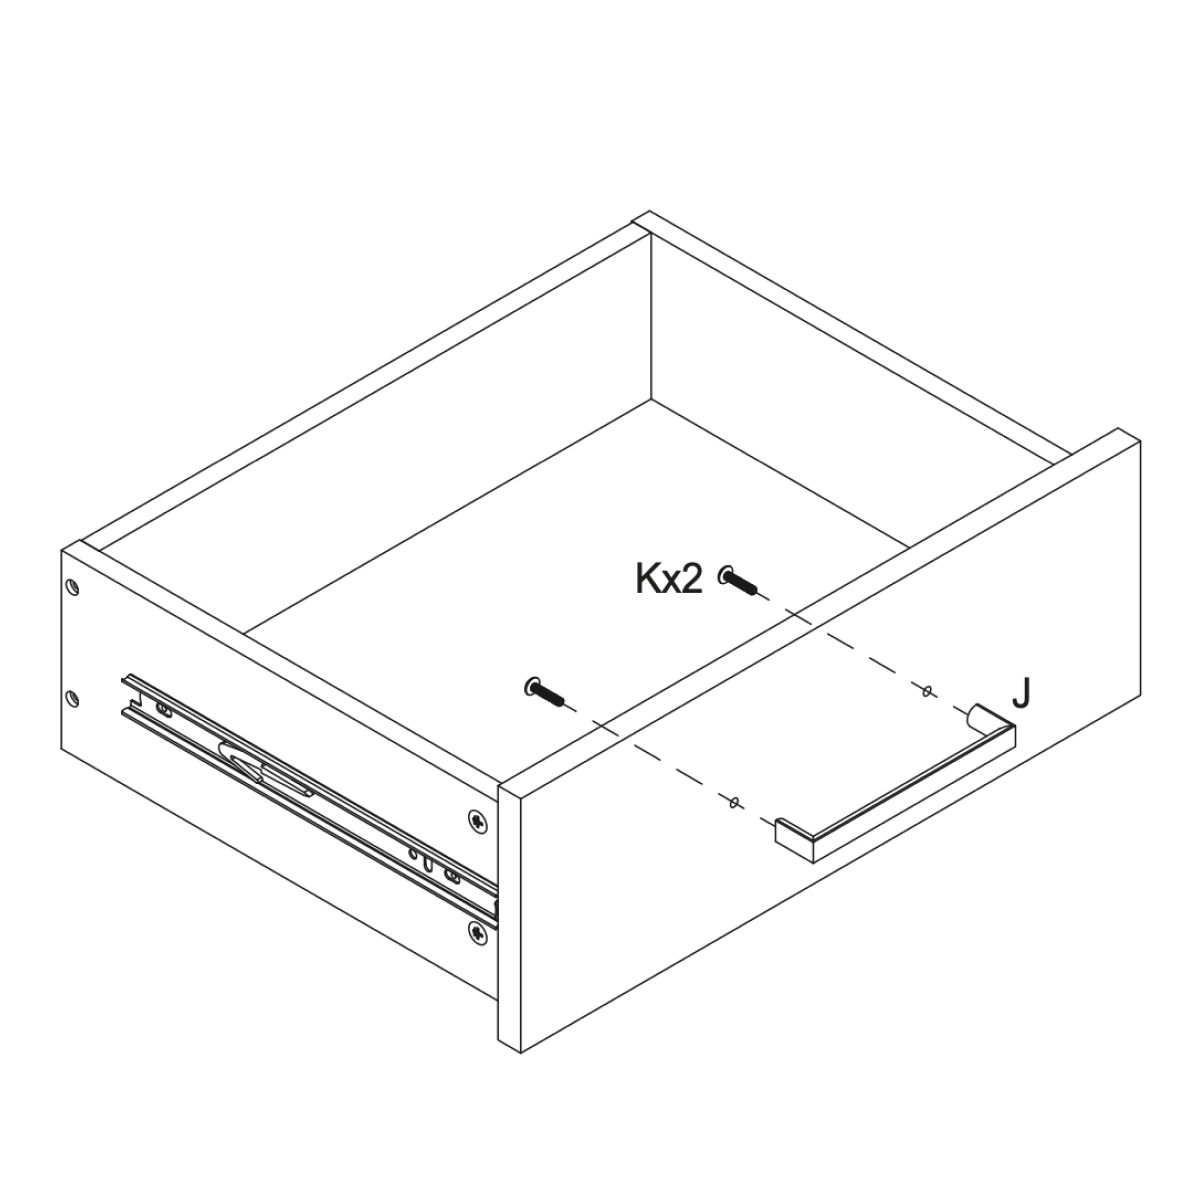 1. Align the handle (J) with the pre-drilled holes on the front panel of the drawer. 12. Secure back panel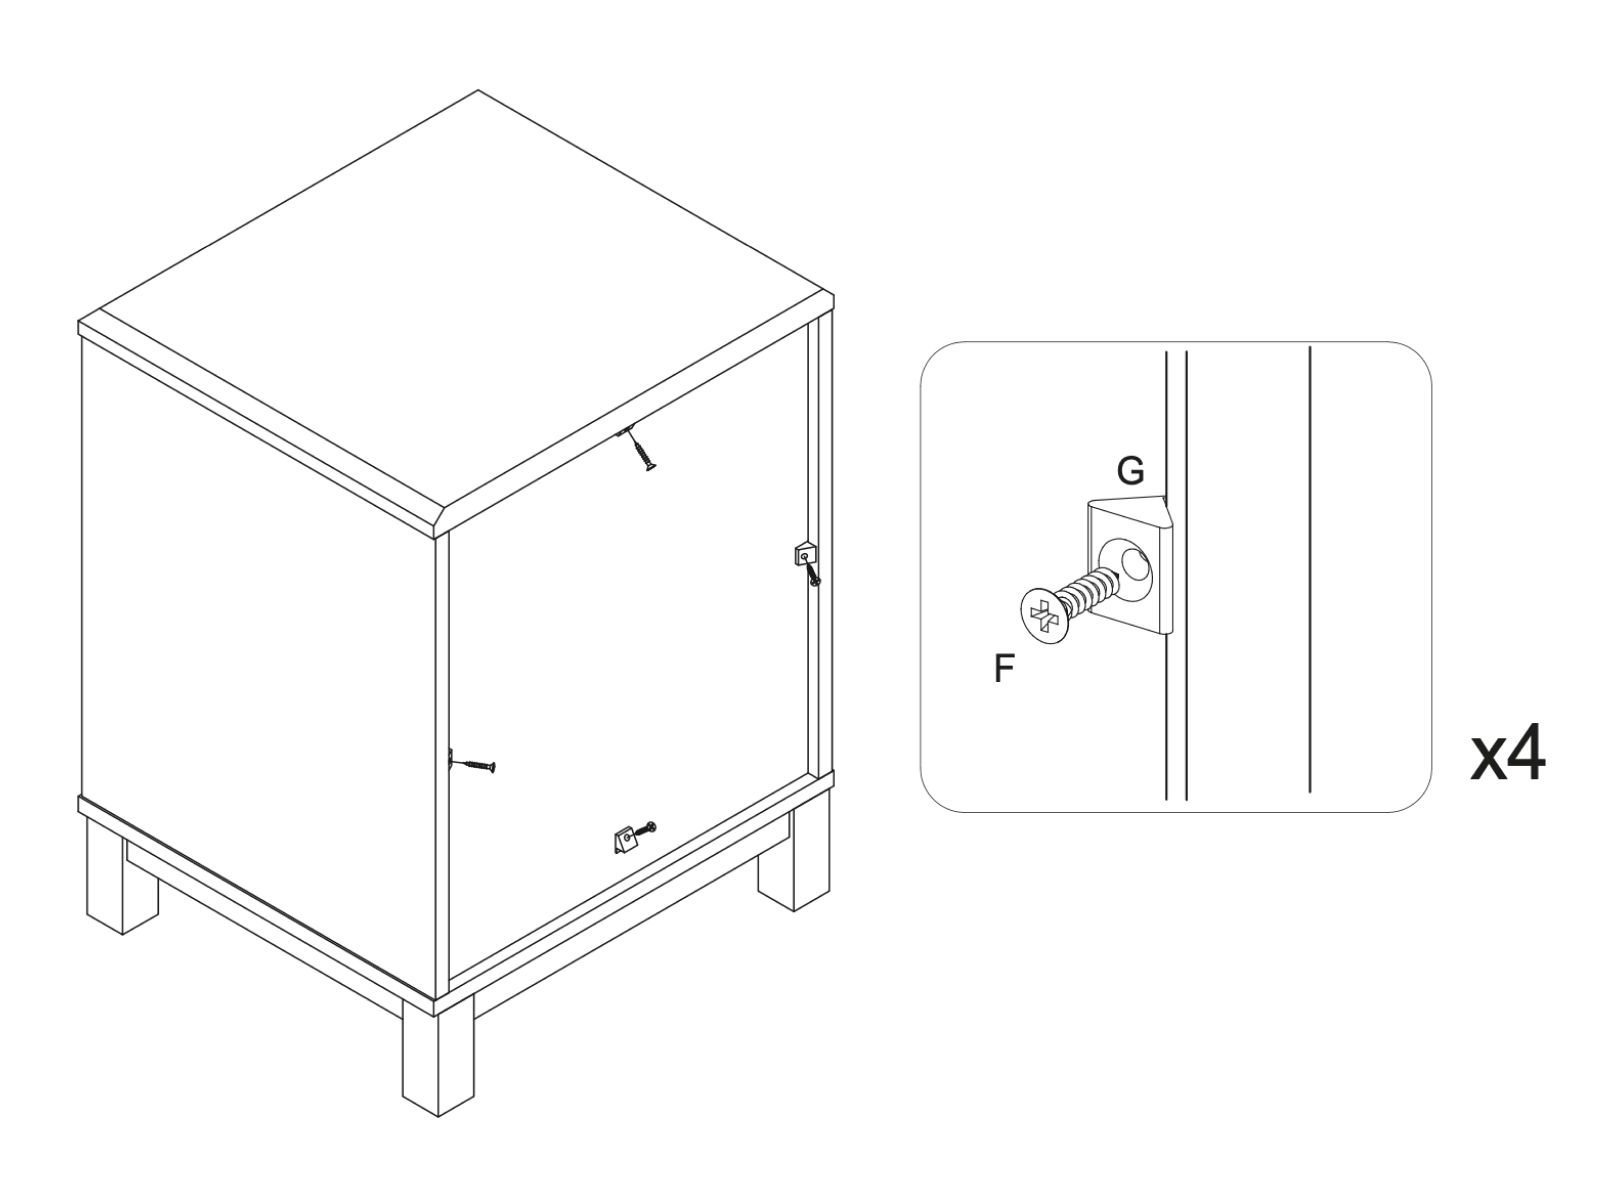 1. Secure the back panel using screws (F) and brackets (G) as shown in the diagram. 13. Add and remove drawers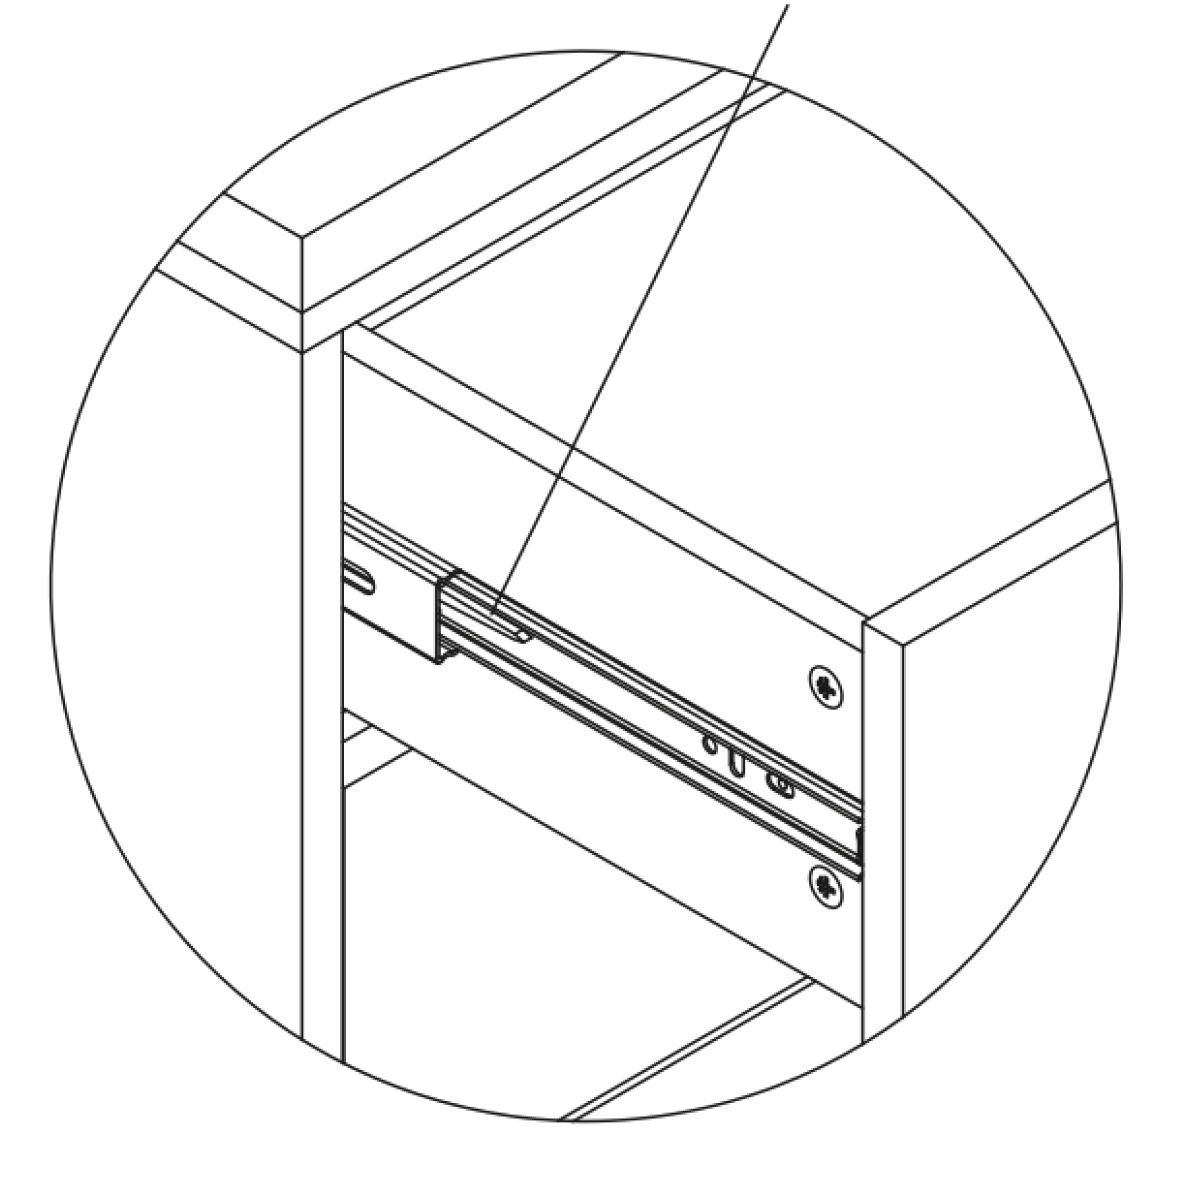 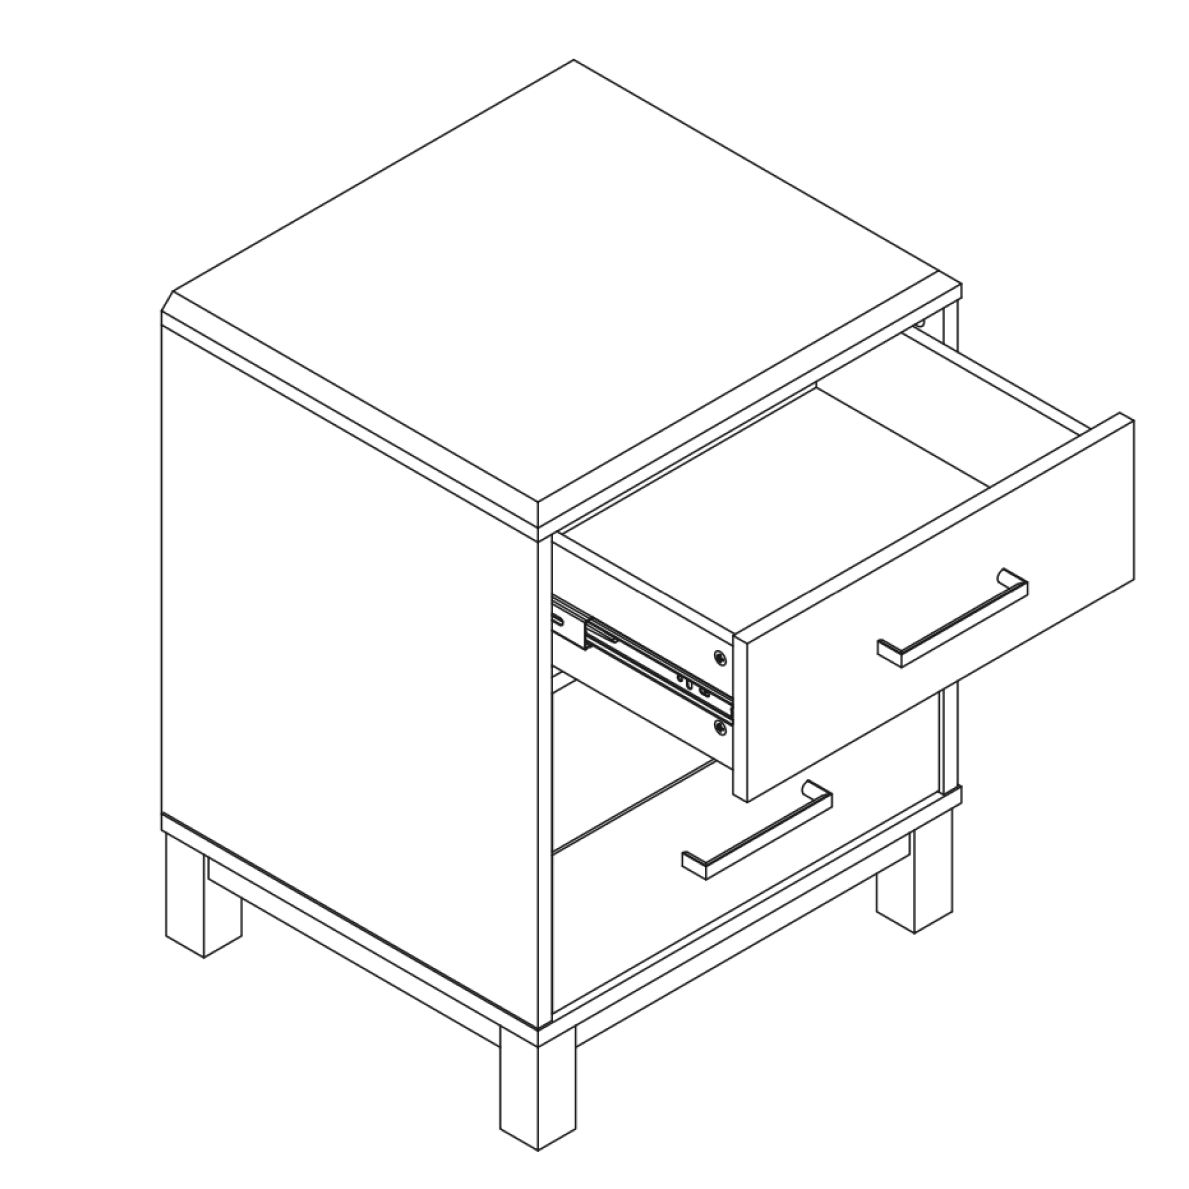 To remove a drawer, press left & right levers down at the same time and slide the whole drawer out of the outer runners |