Assembly instructions for Brookes Wooden Ottoman Storage Bed by Time4Sleep.
Product Information
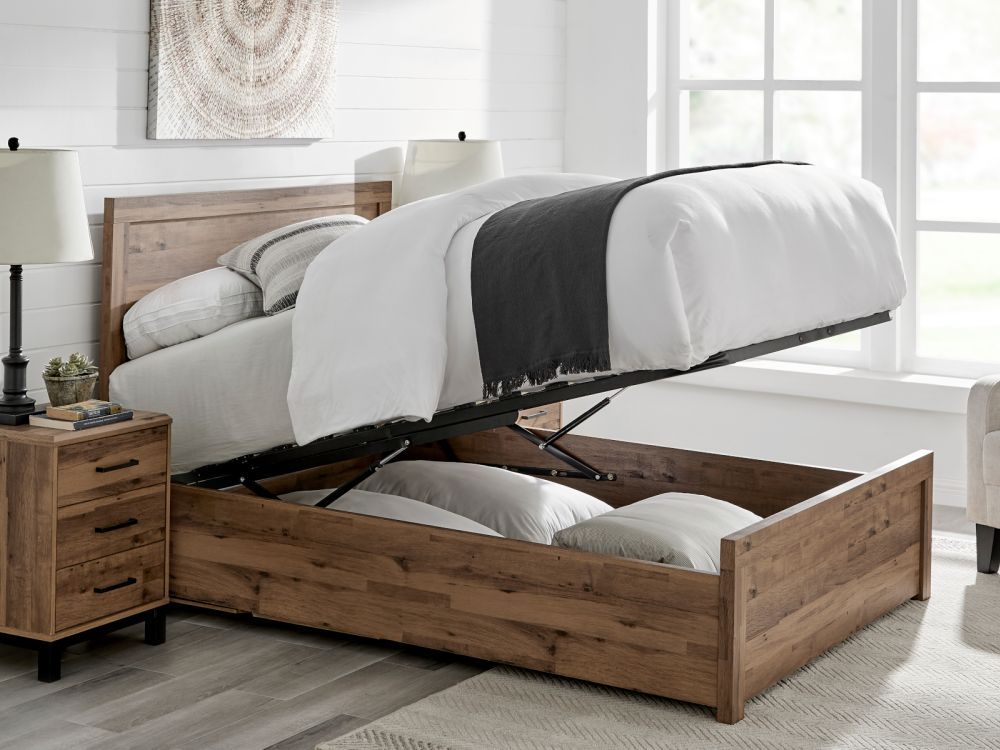
Brookes Wooden Ottoman Storage Bed
Beautifully hand crafted, our Brookes Wooden Ottoman features a sturdy solid headboard design to fit into any aesthetic. The oak finish is a perfect complement to neutral colour schemes and can be matched with our range of oak finish bedside tables for a streamlined matching furniture set.
This stunning oak design bedframe features Ottoman storage, with ample room for pillows, bedding and clothes, helping to keep your room neat and tidy. The Ottoman base features gas lift pistons help to raise and lower the base with ease, while your belongings remain safely tucked away. The Ottoman base is fully boarded, to protect your floor and belongings, perfect for occasional use.
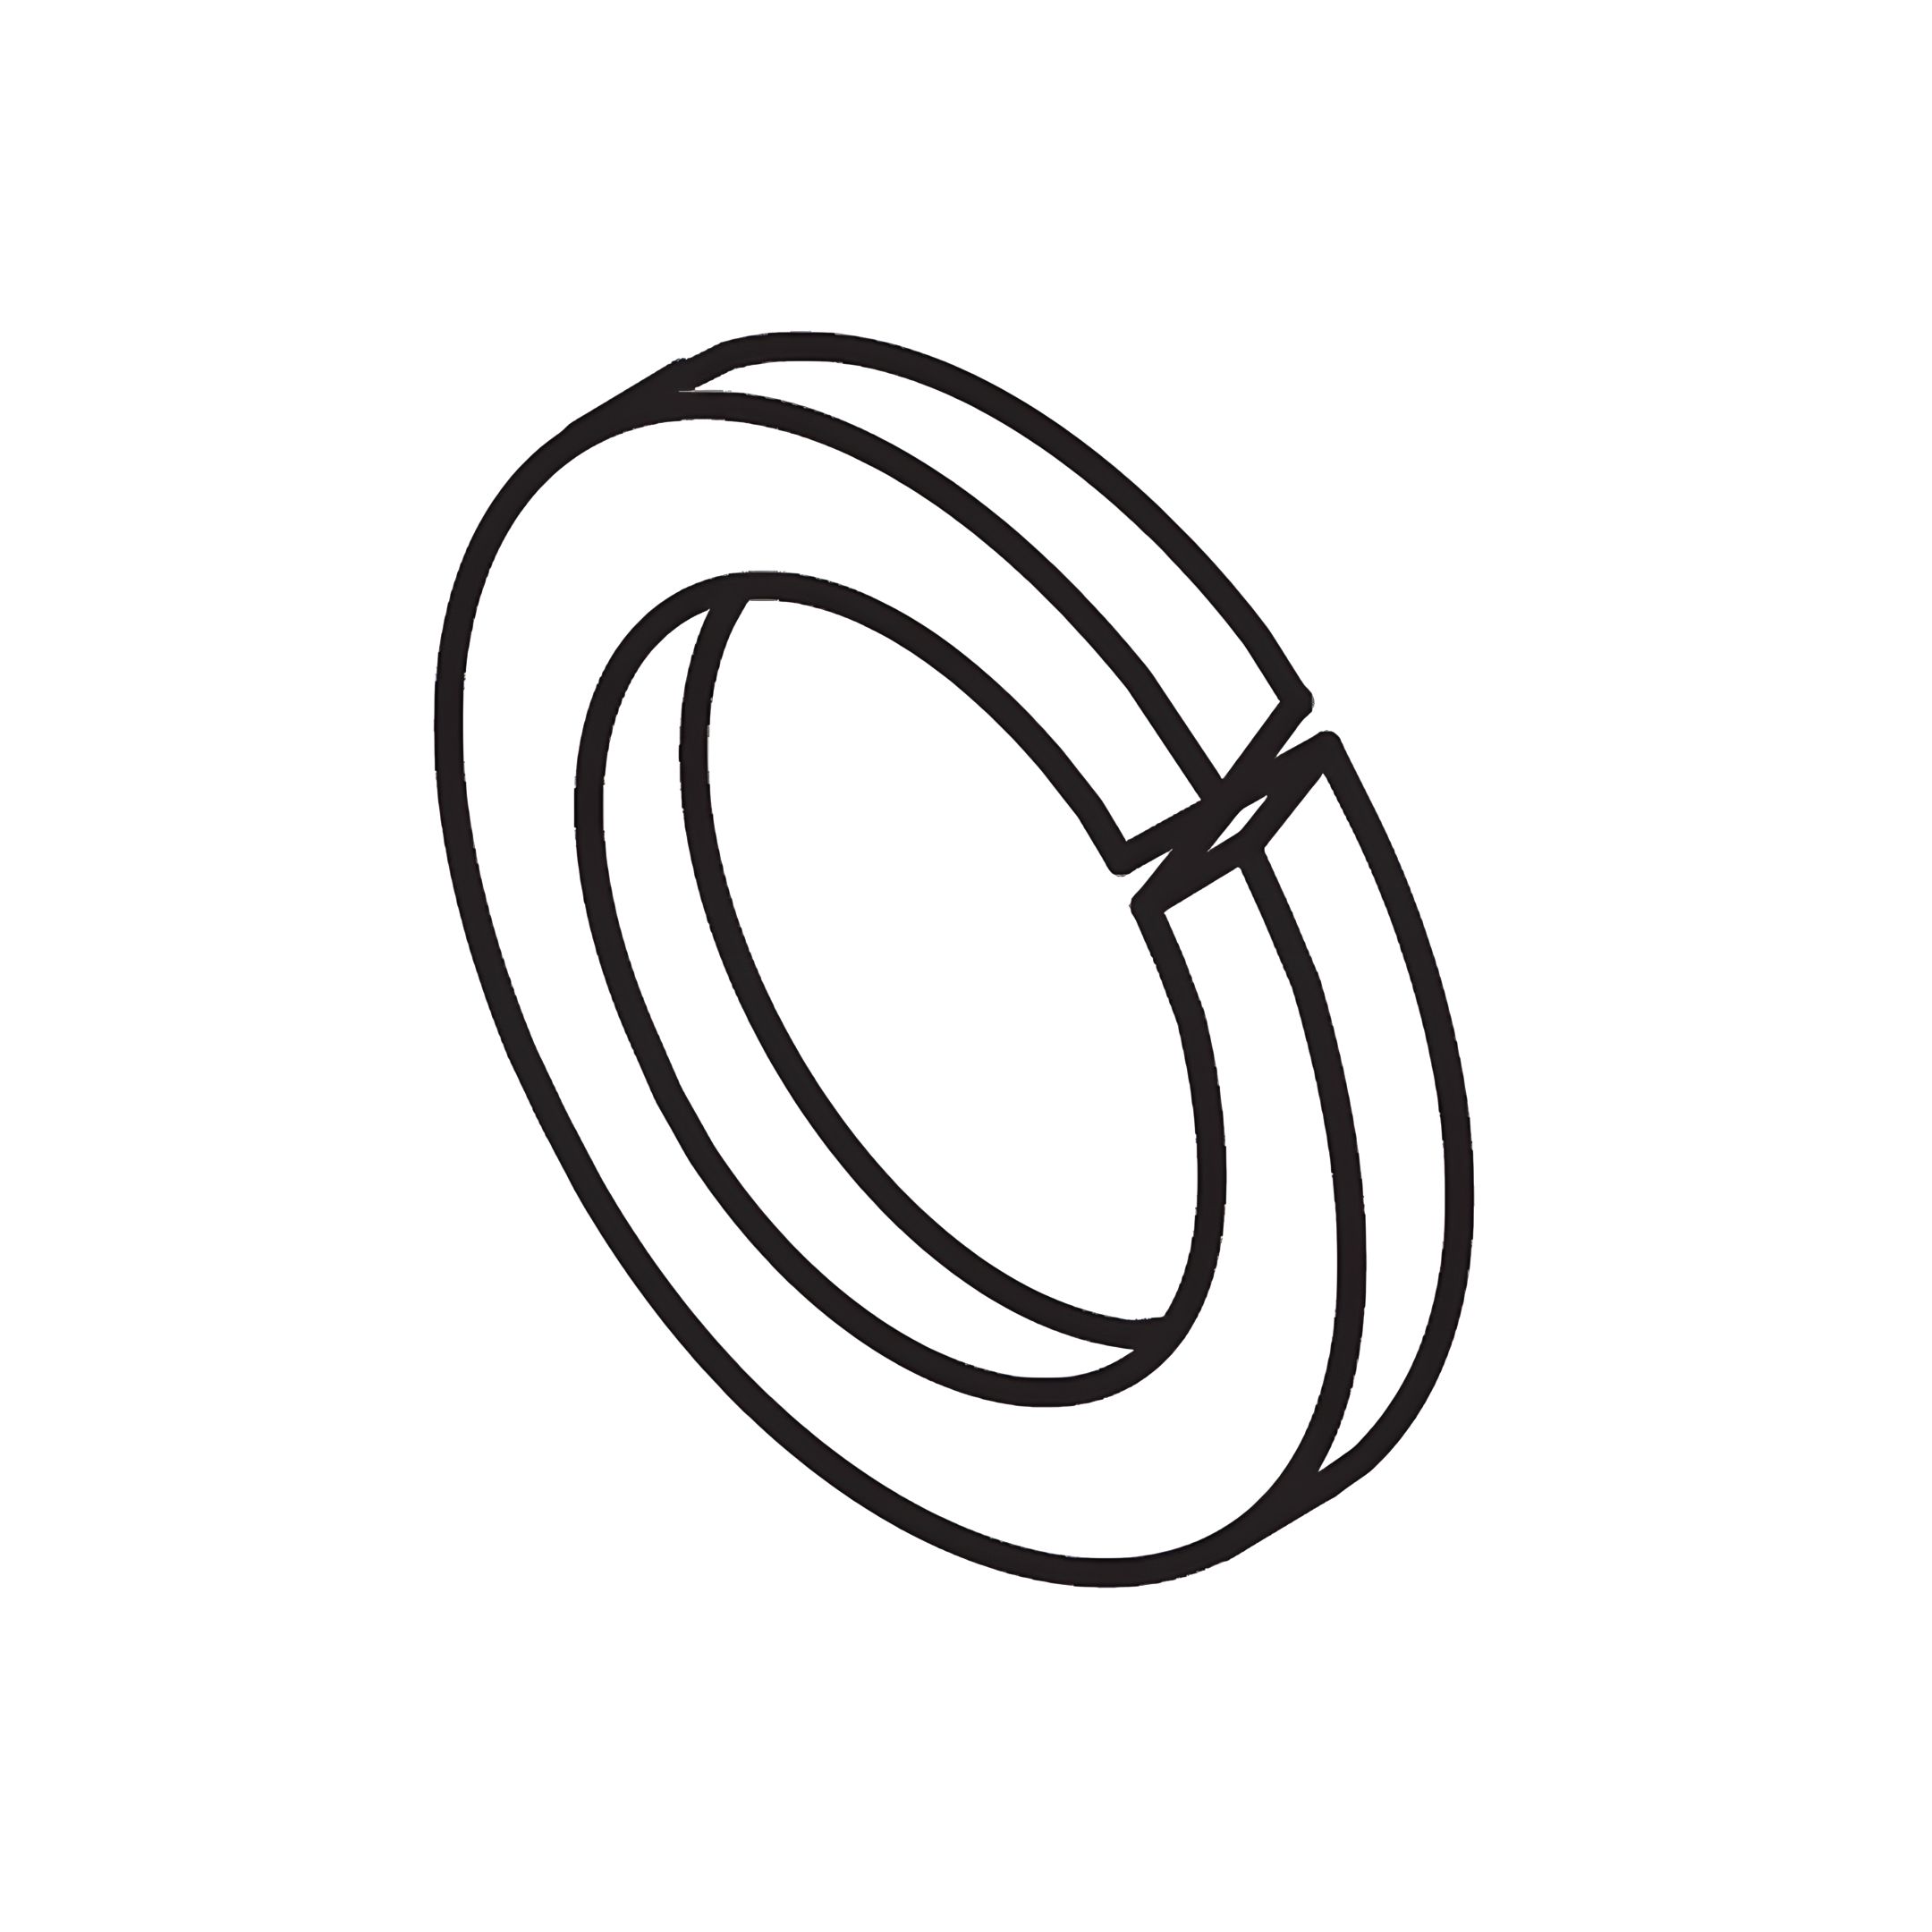
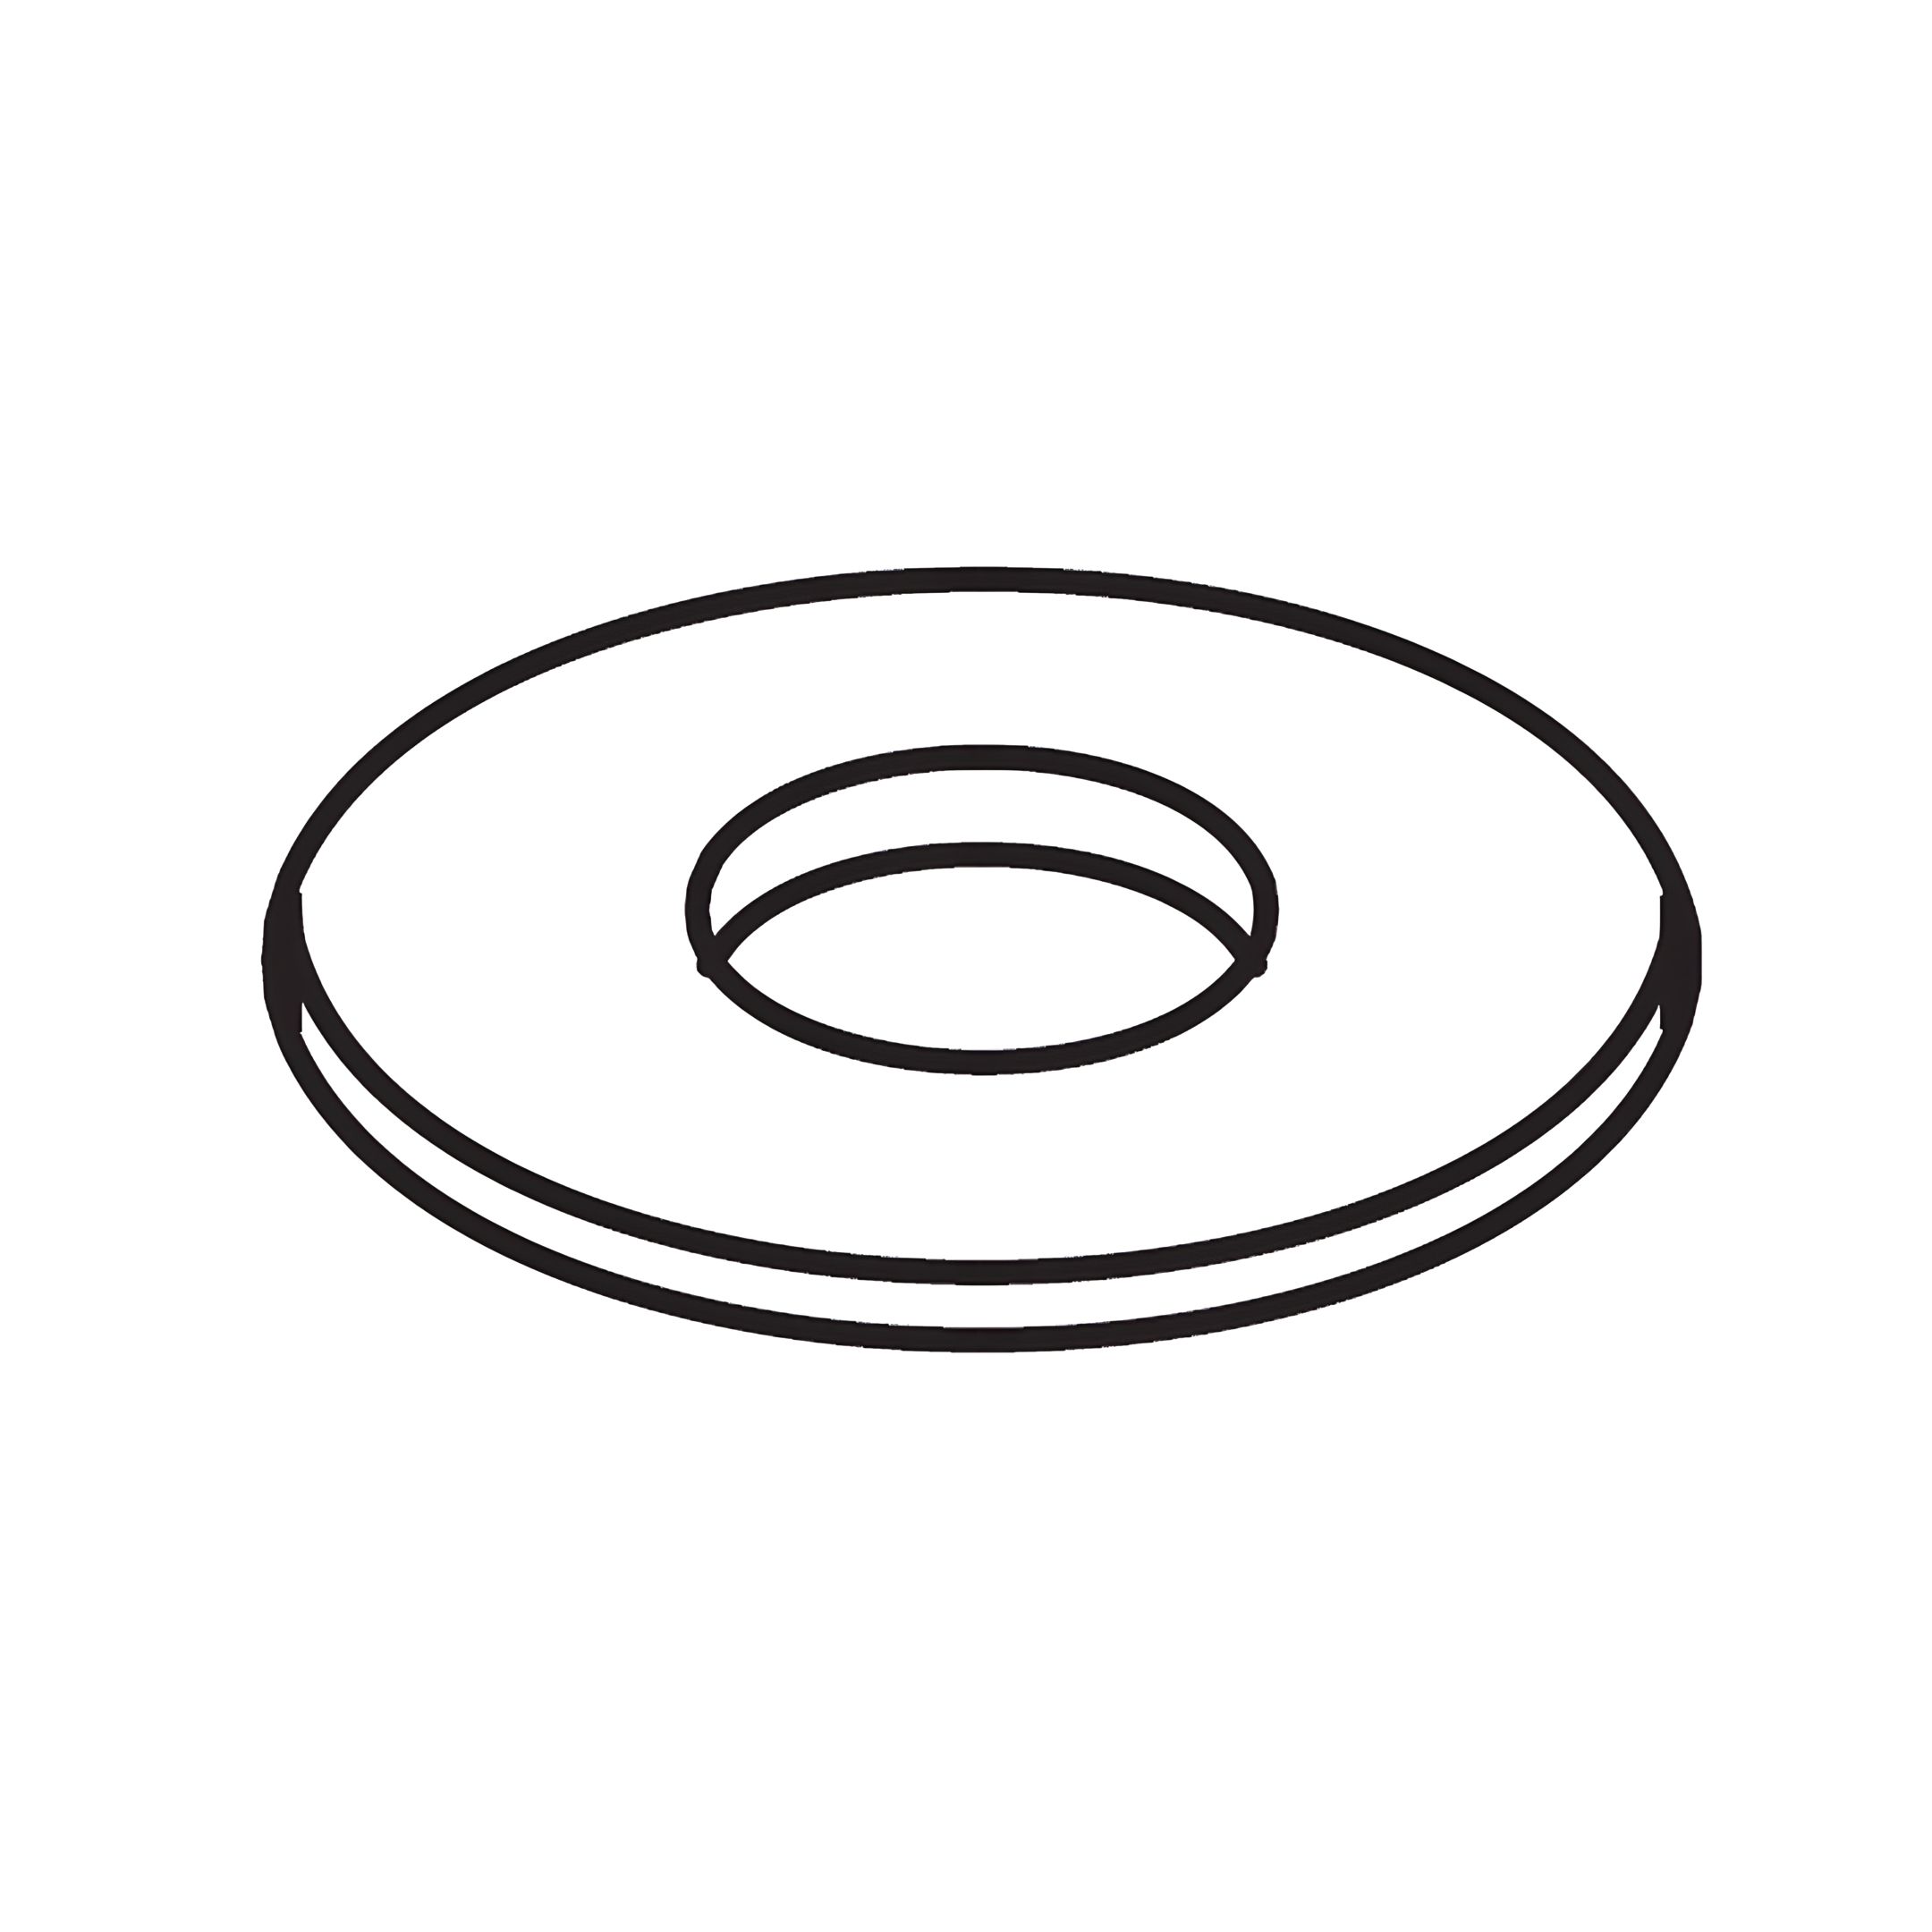
HS - Small flat washer for M8 stud (D) (14mm Diameter)
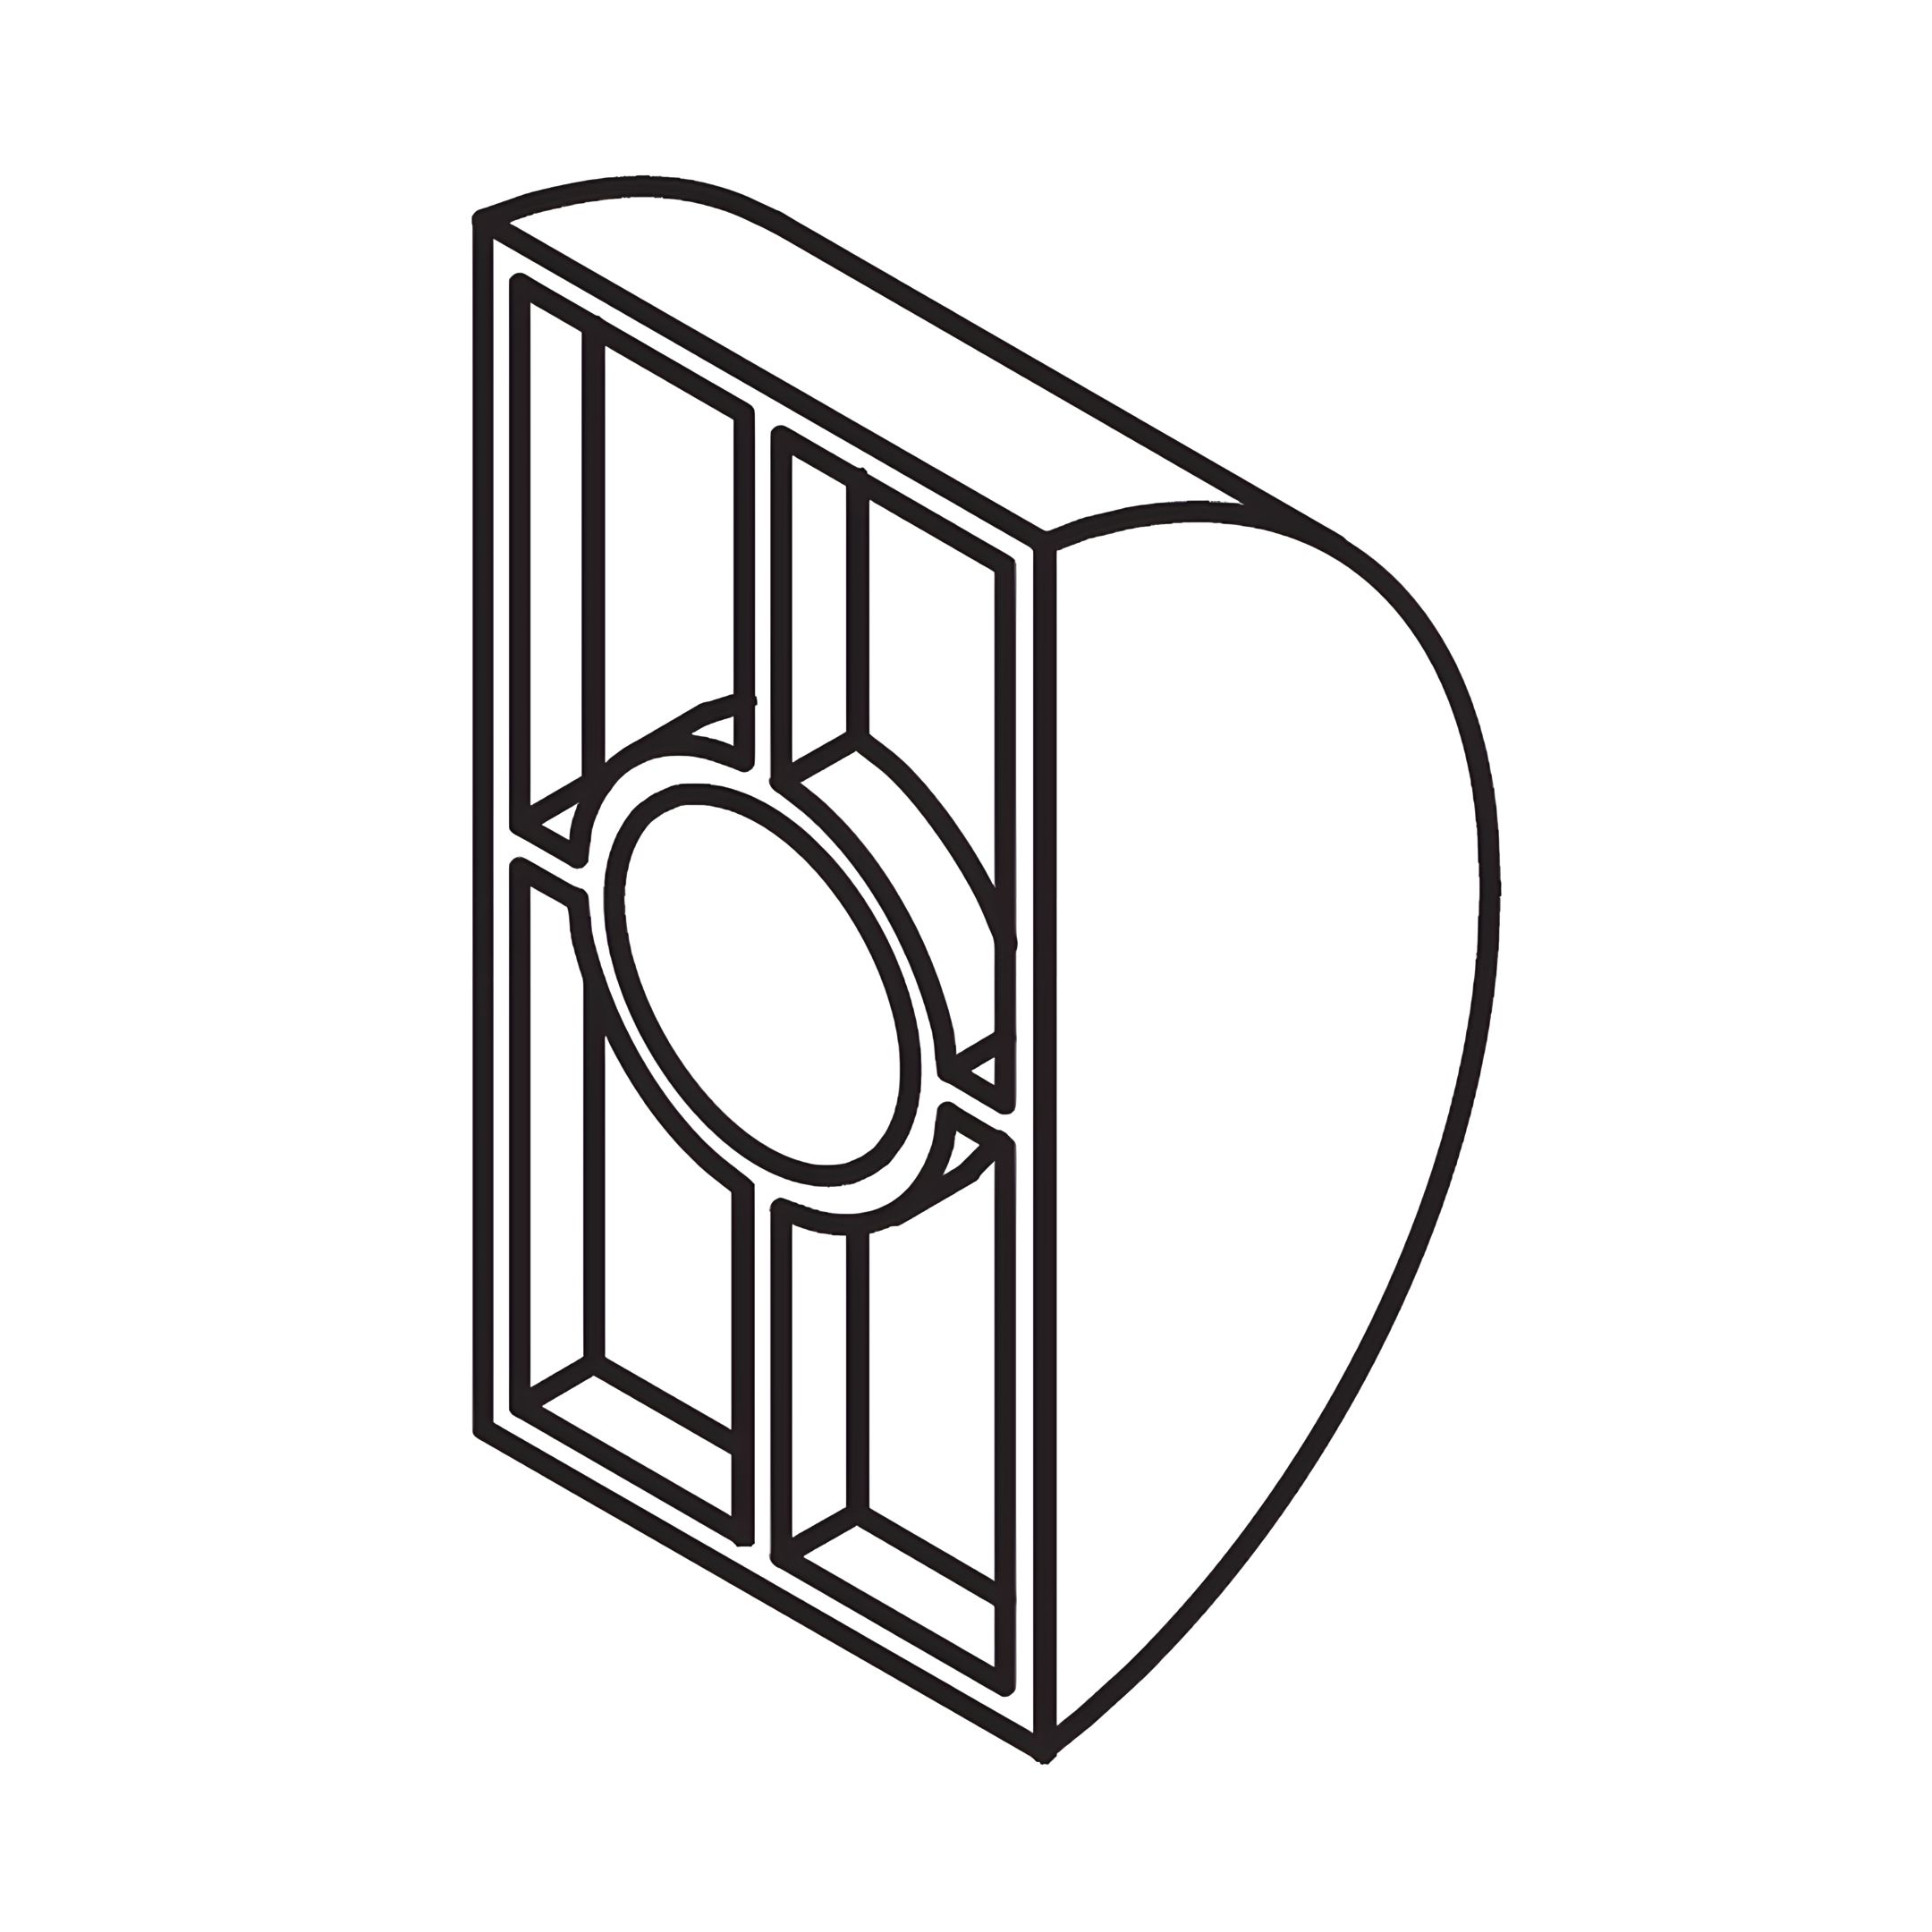
HL - Large flat washer for M8 bolts (19mm Diameter)
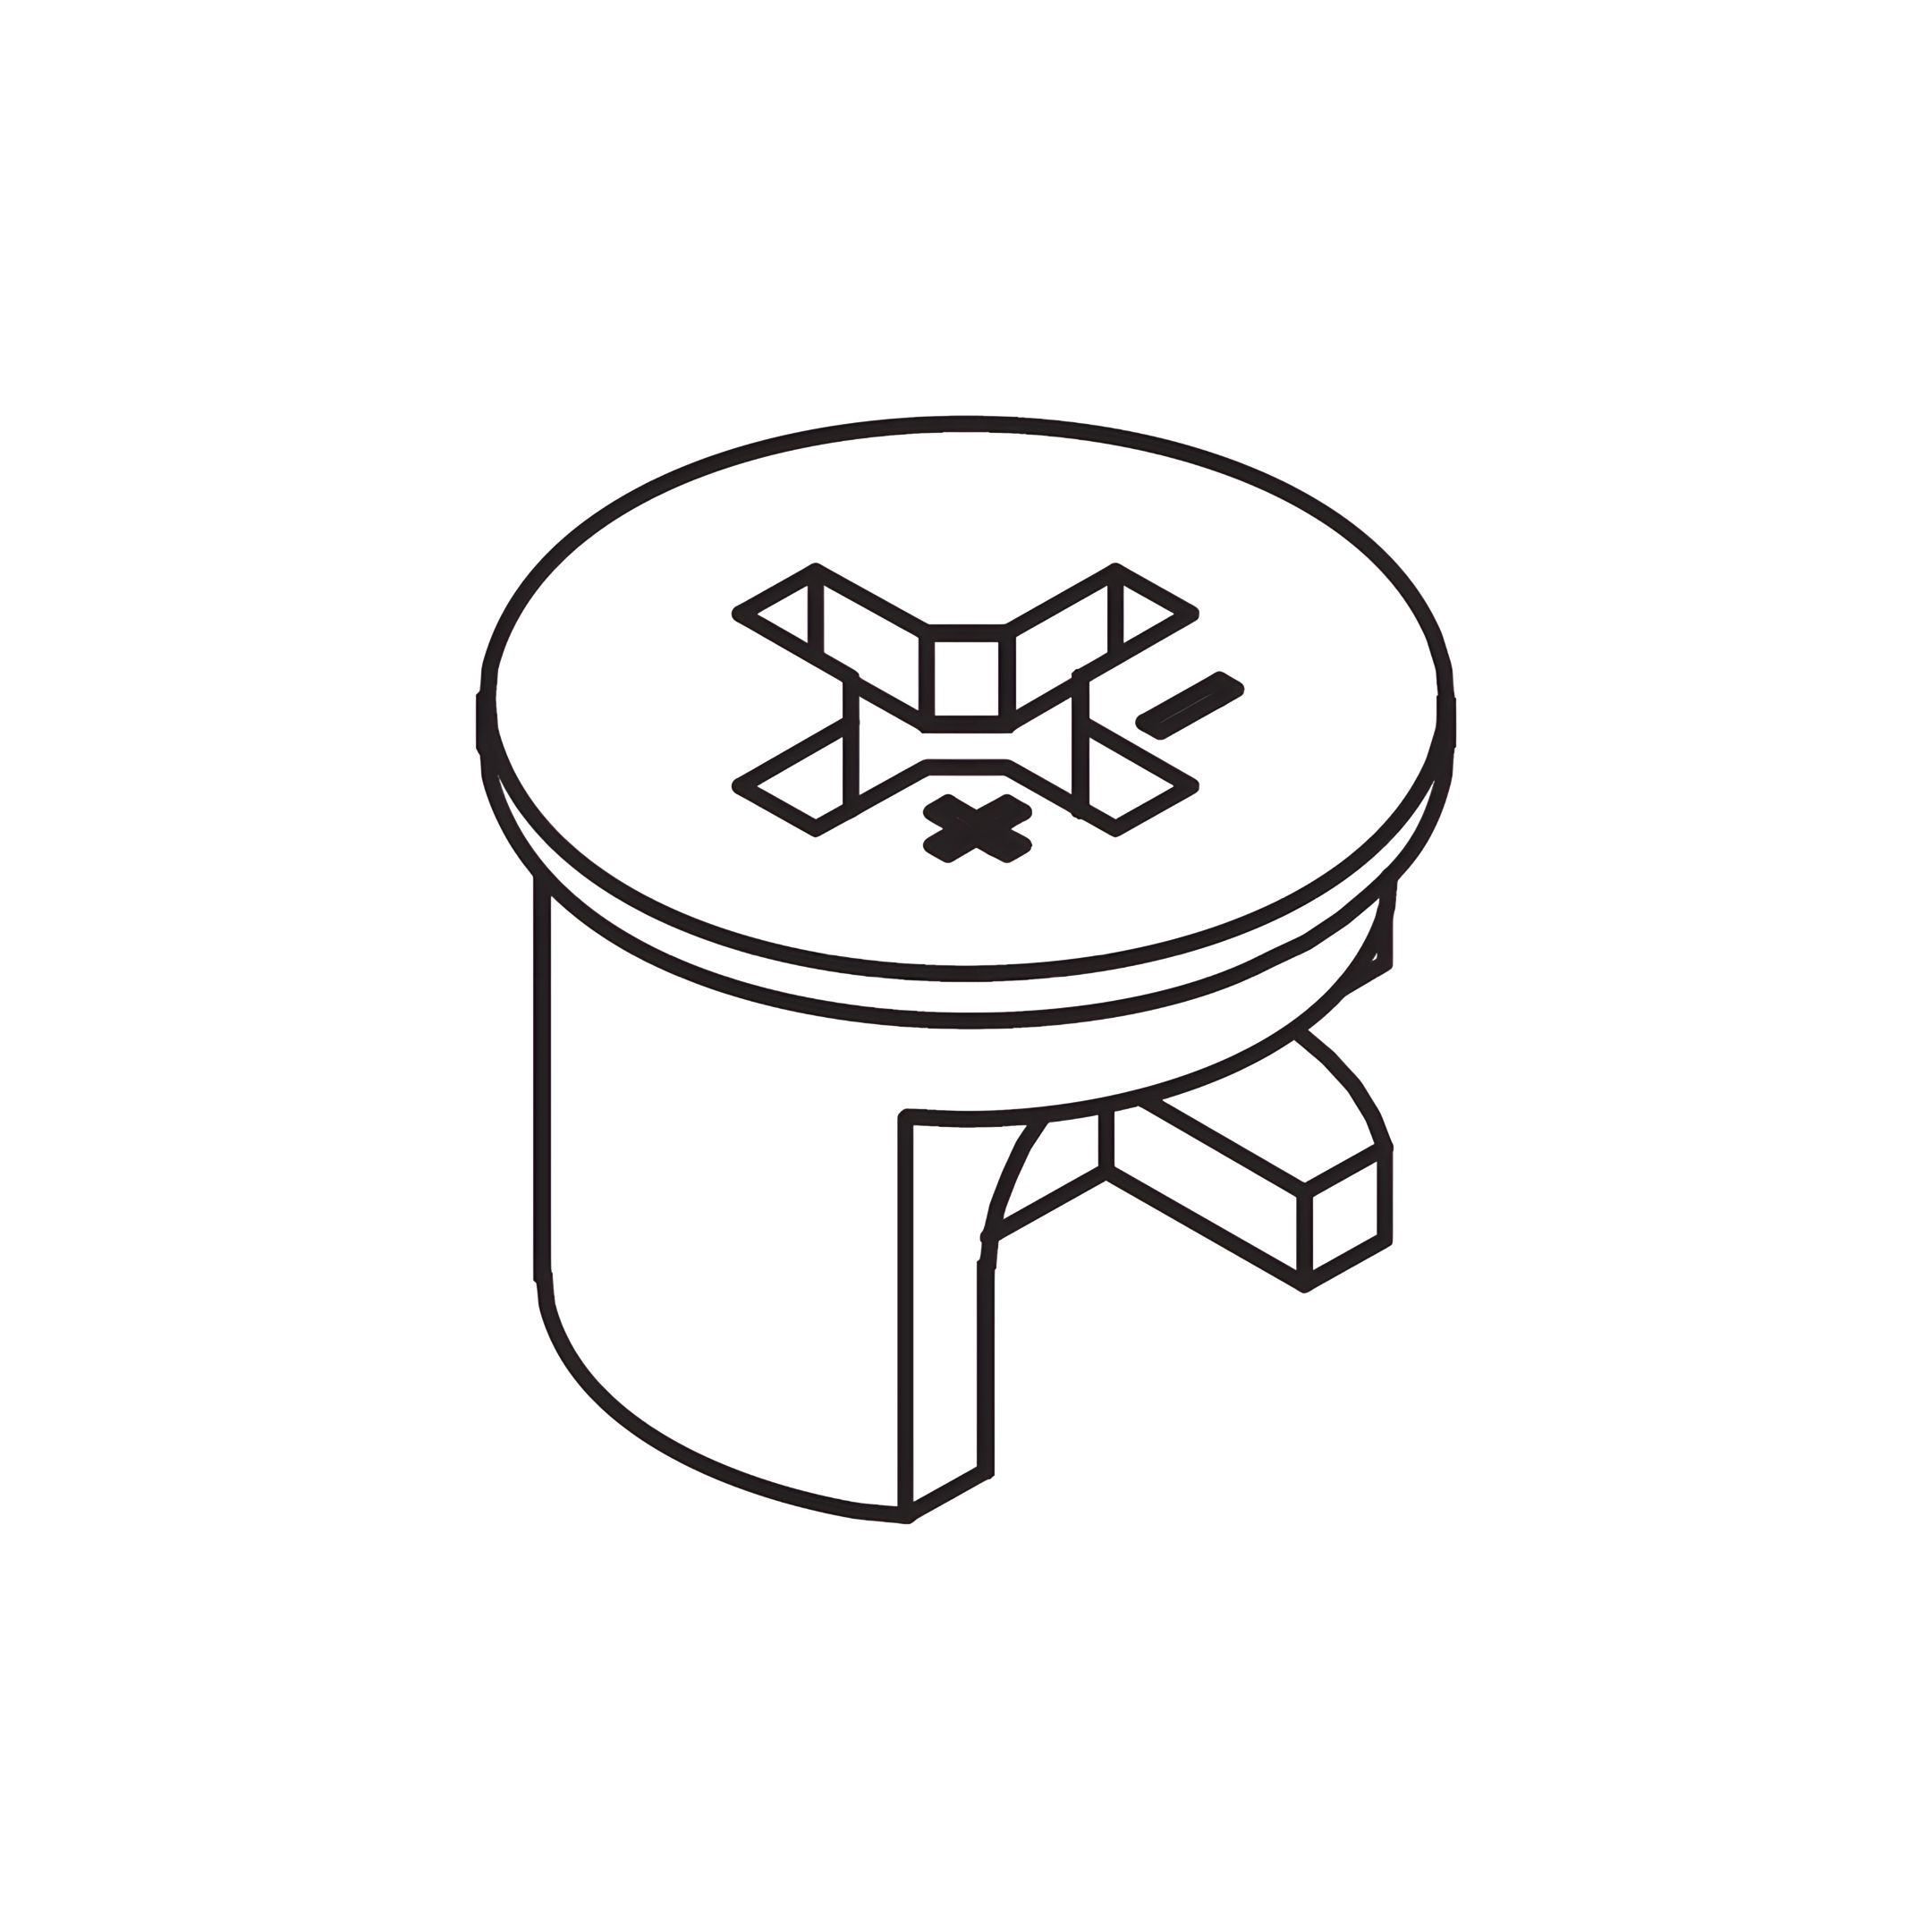
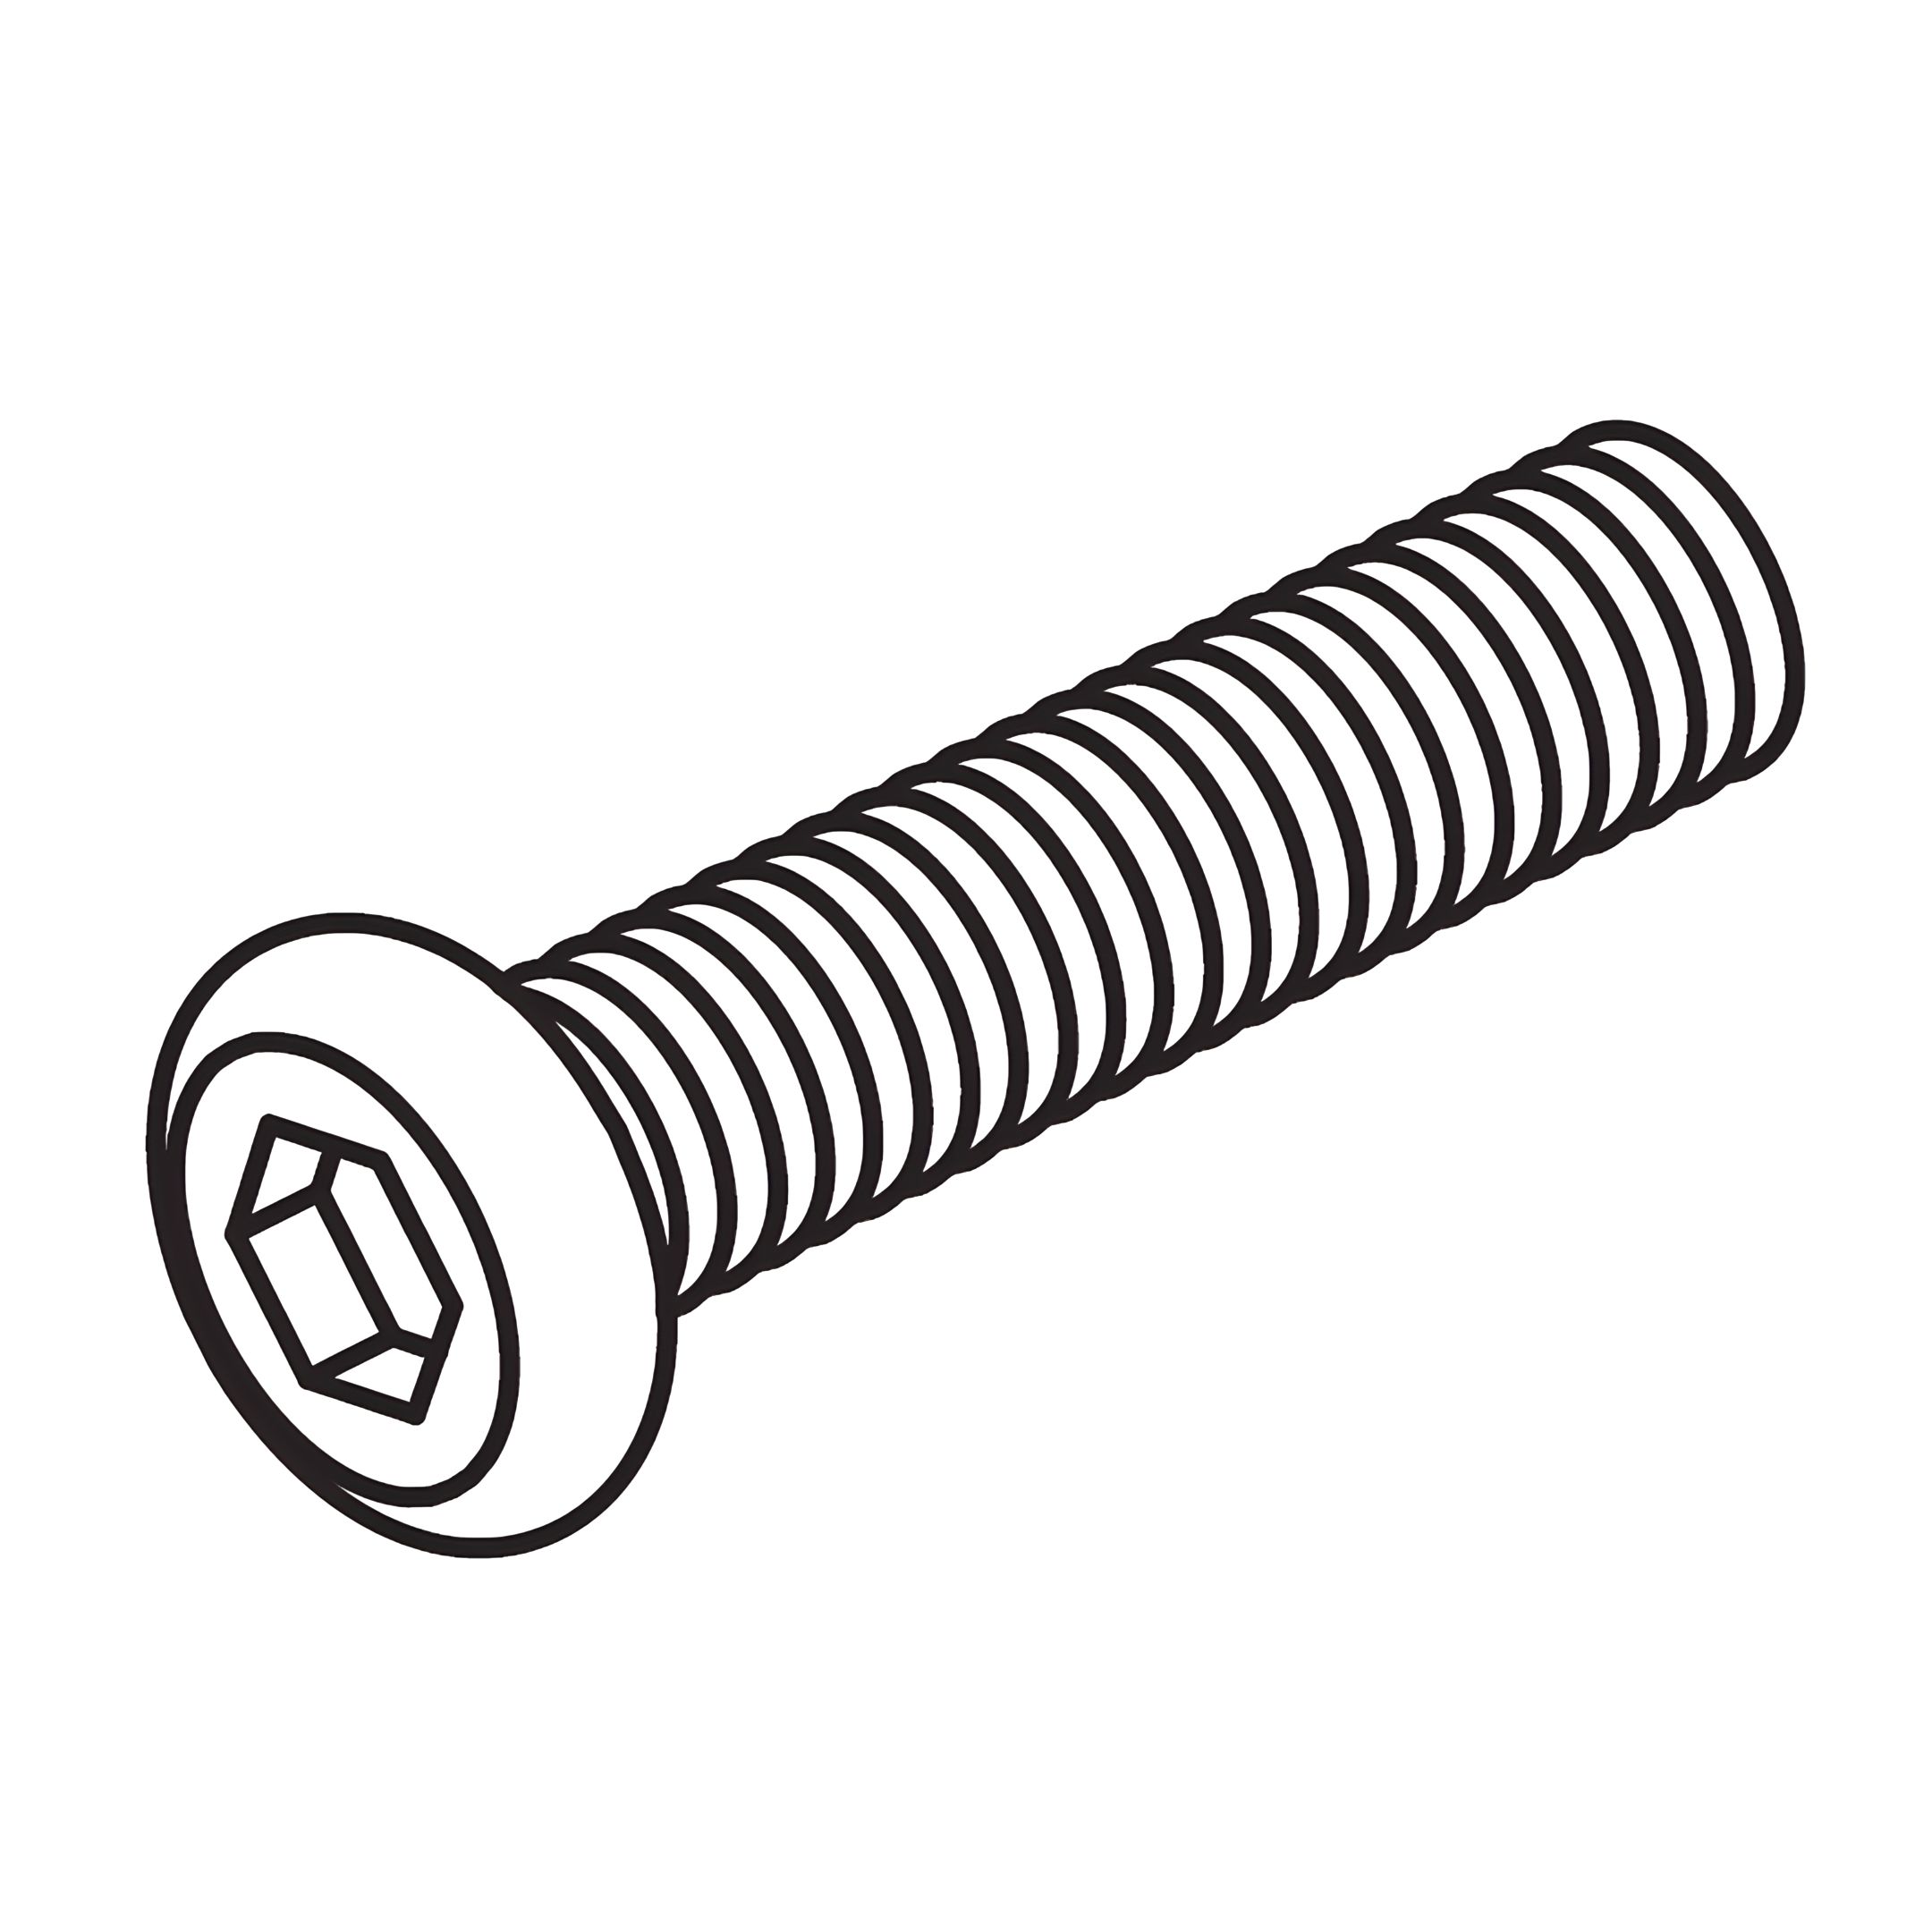
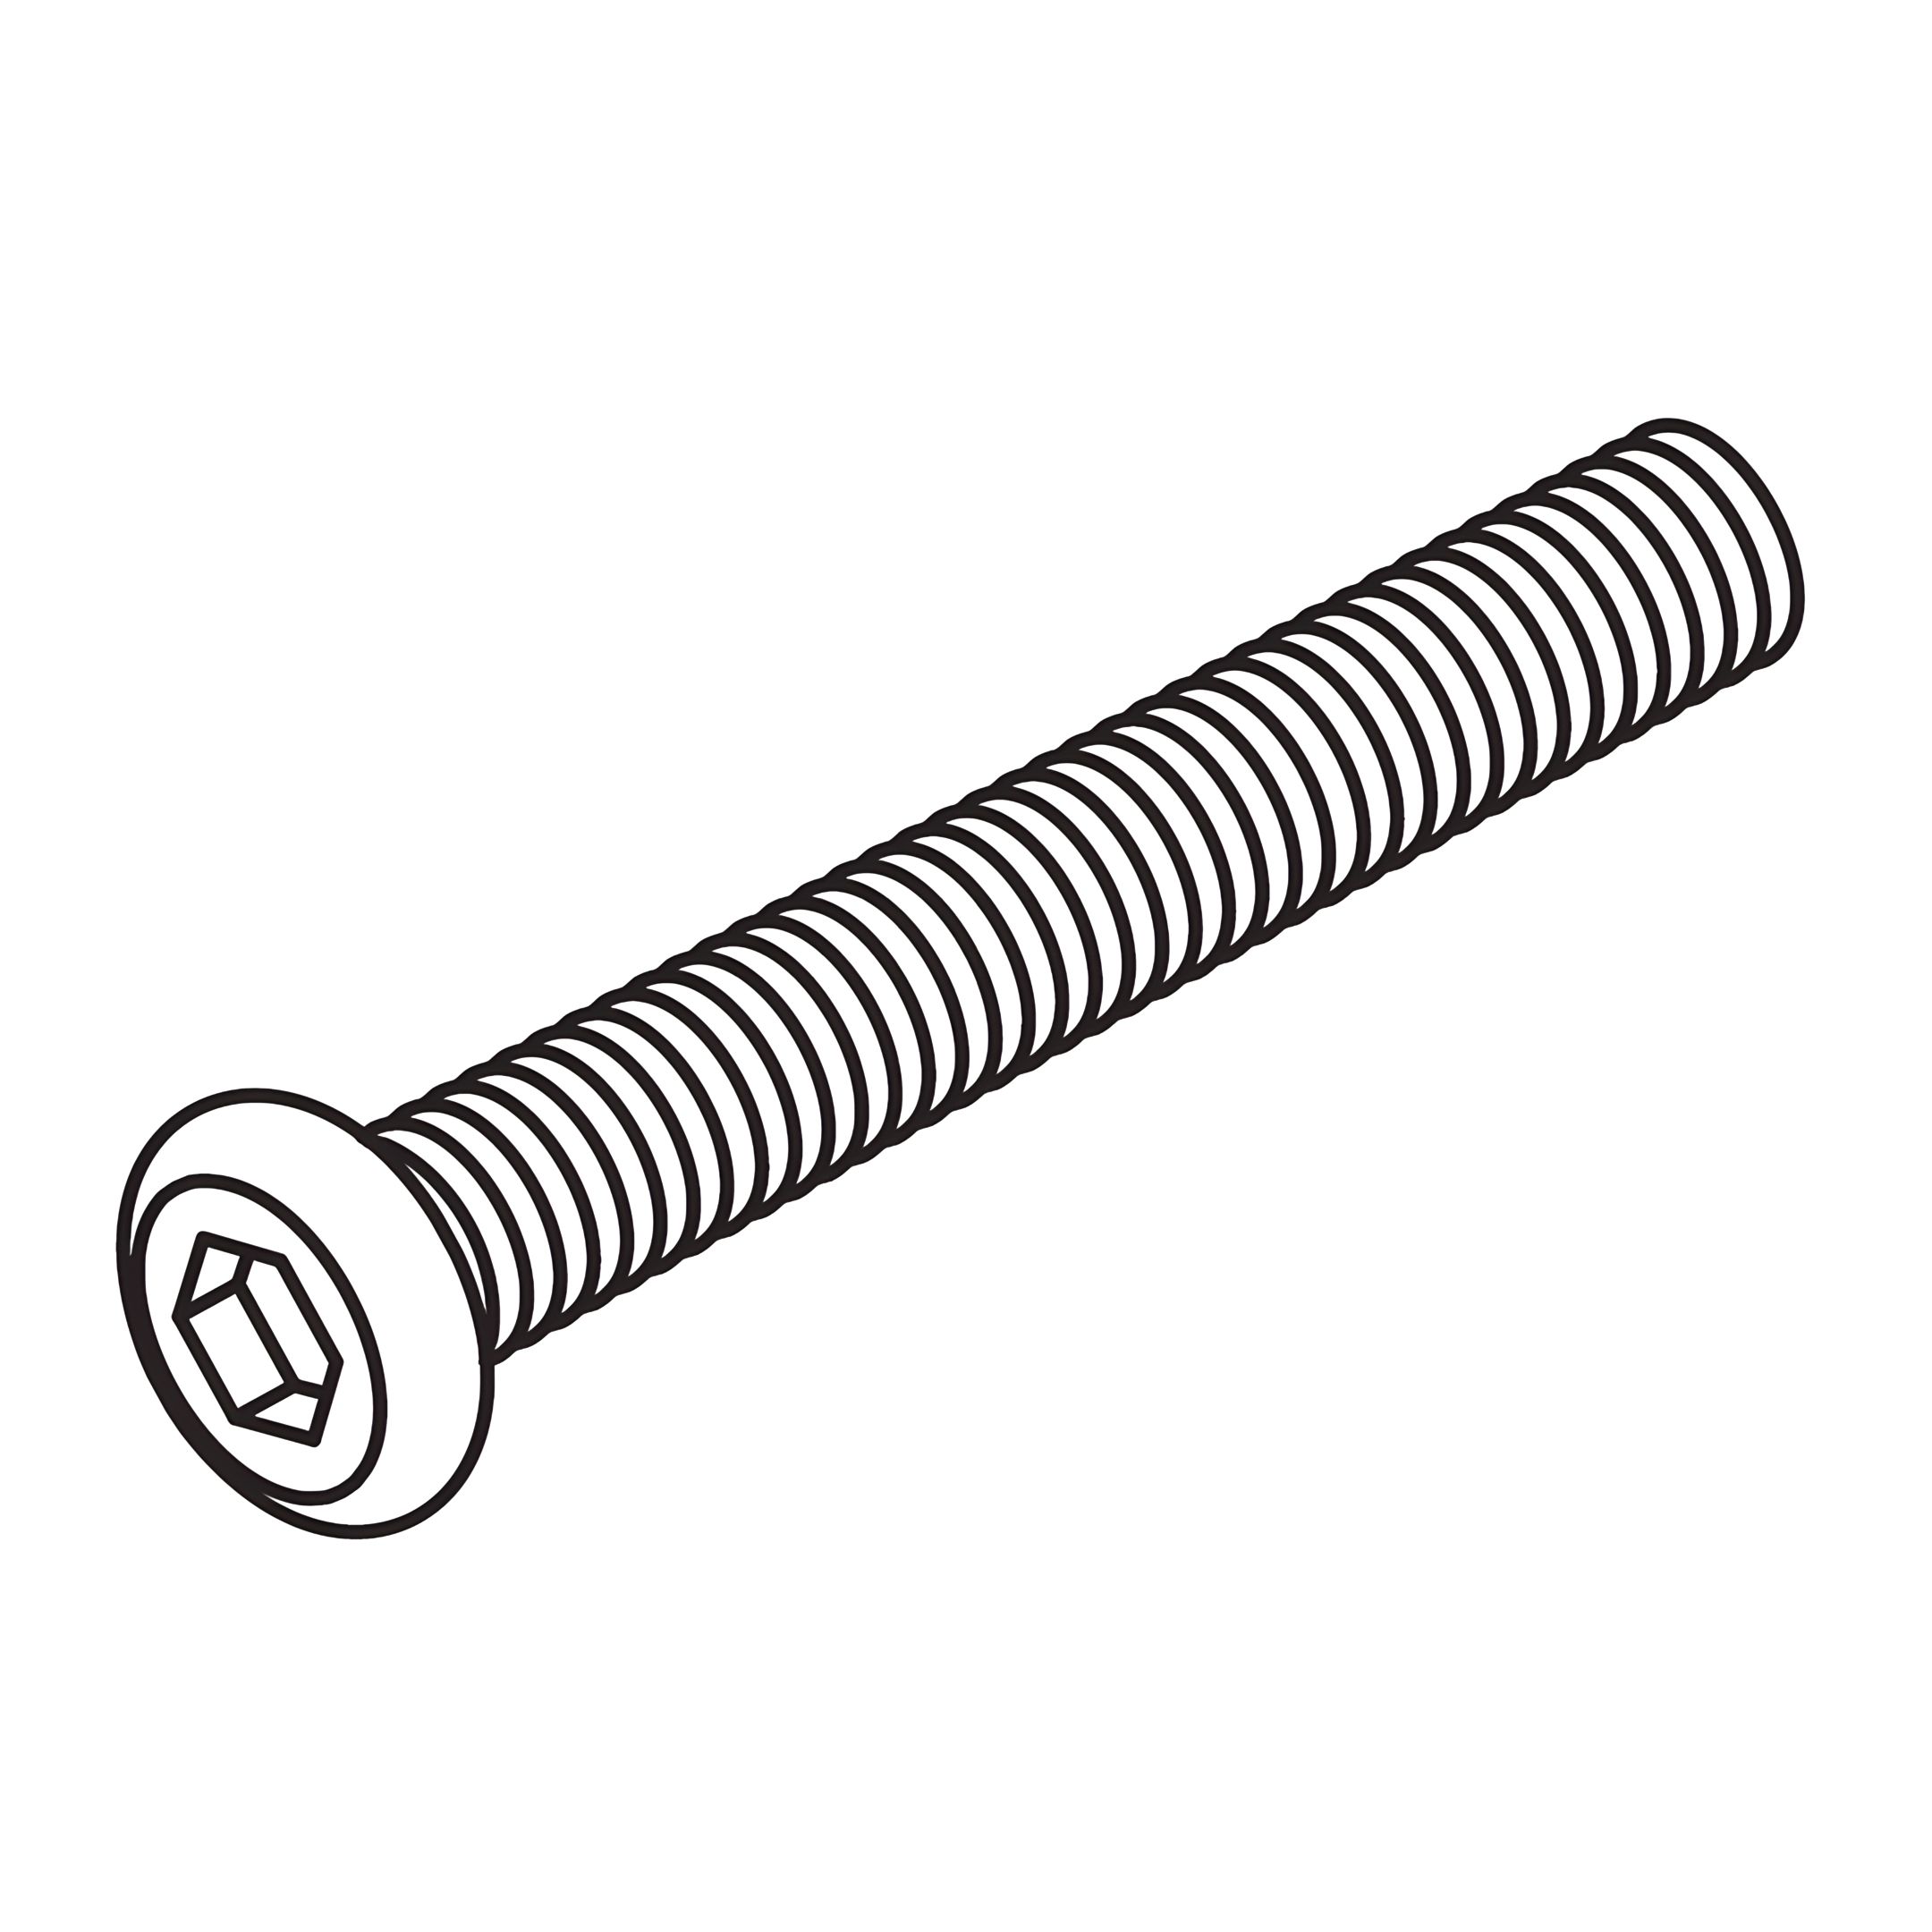
J - Bolt (M8x35mm) for fitting support block (10) to side rails (7&8)
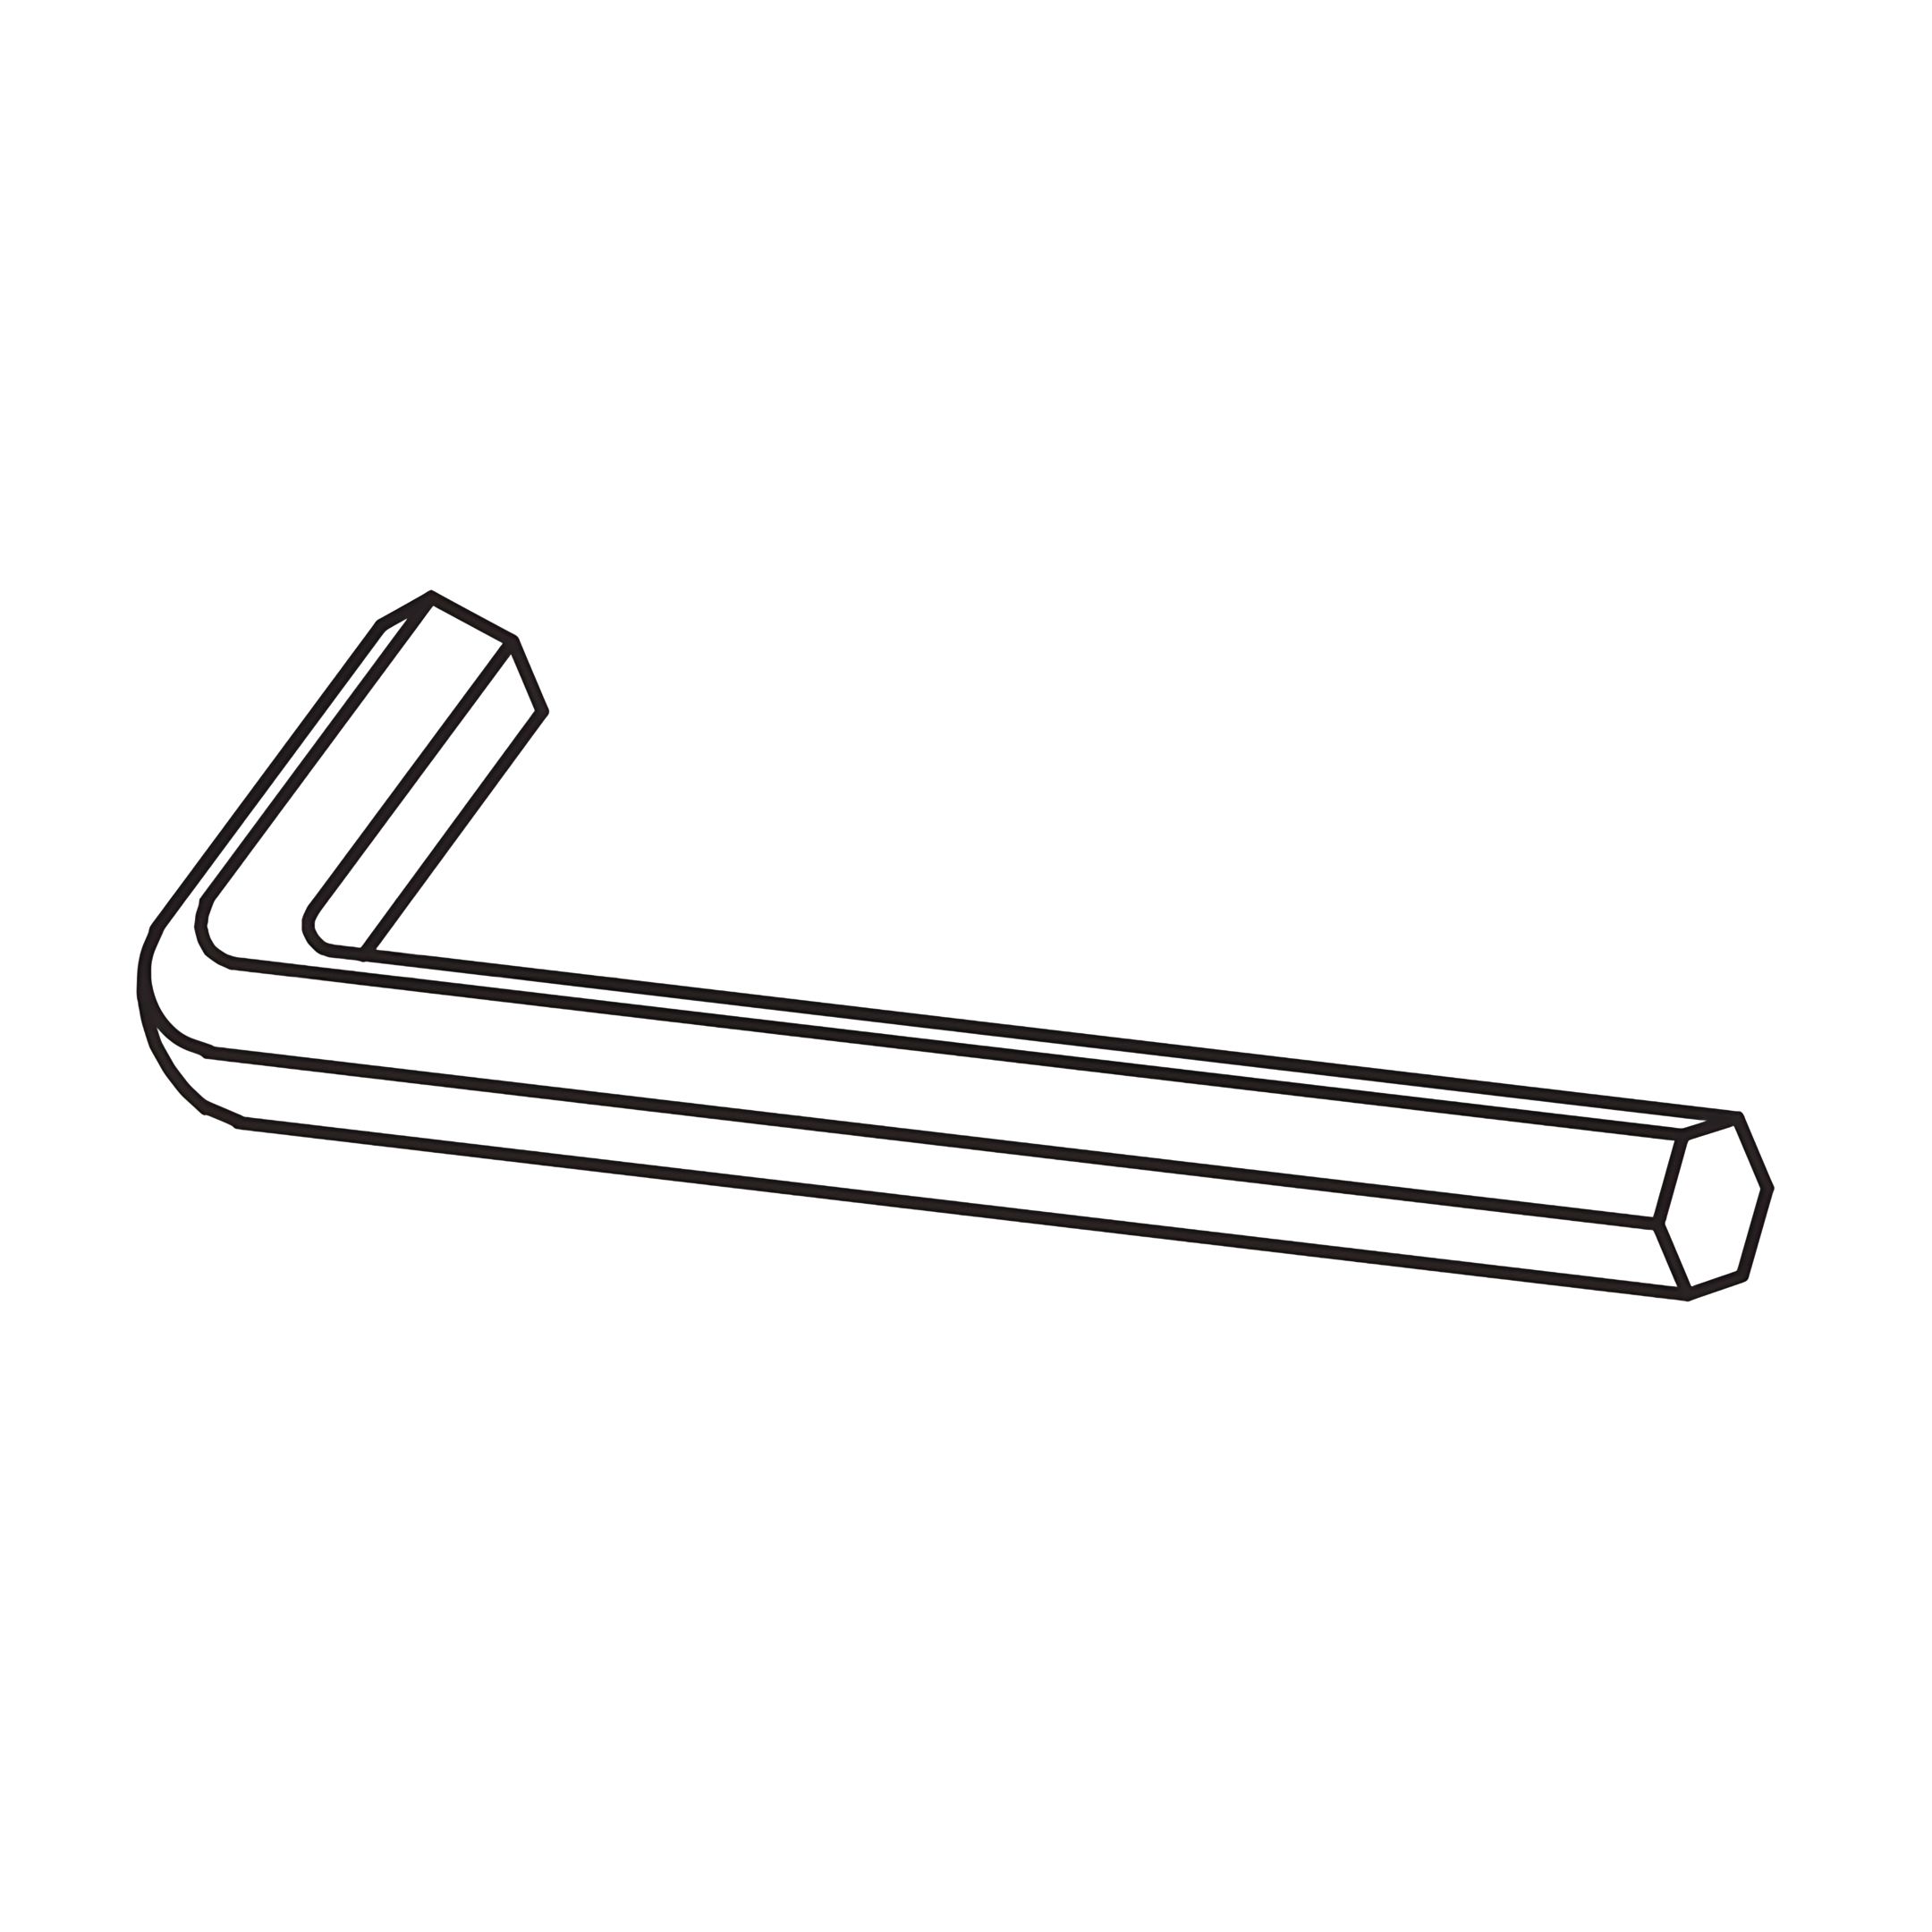
K - Allen Key for M8 bolts
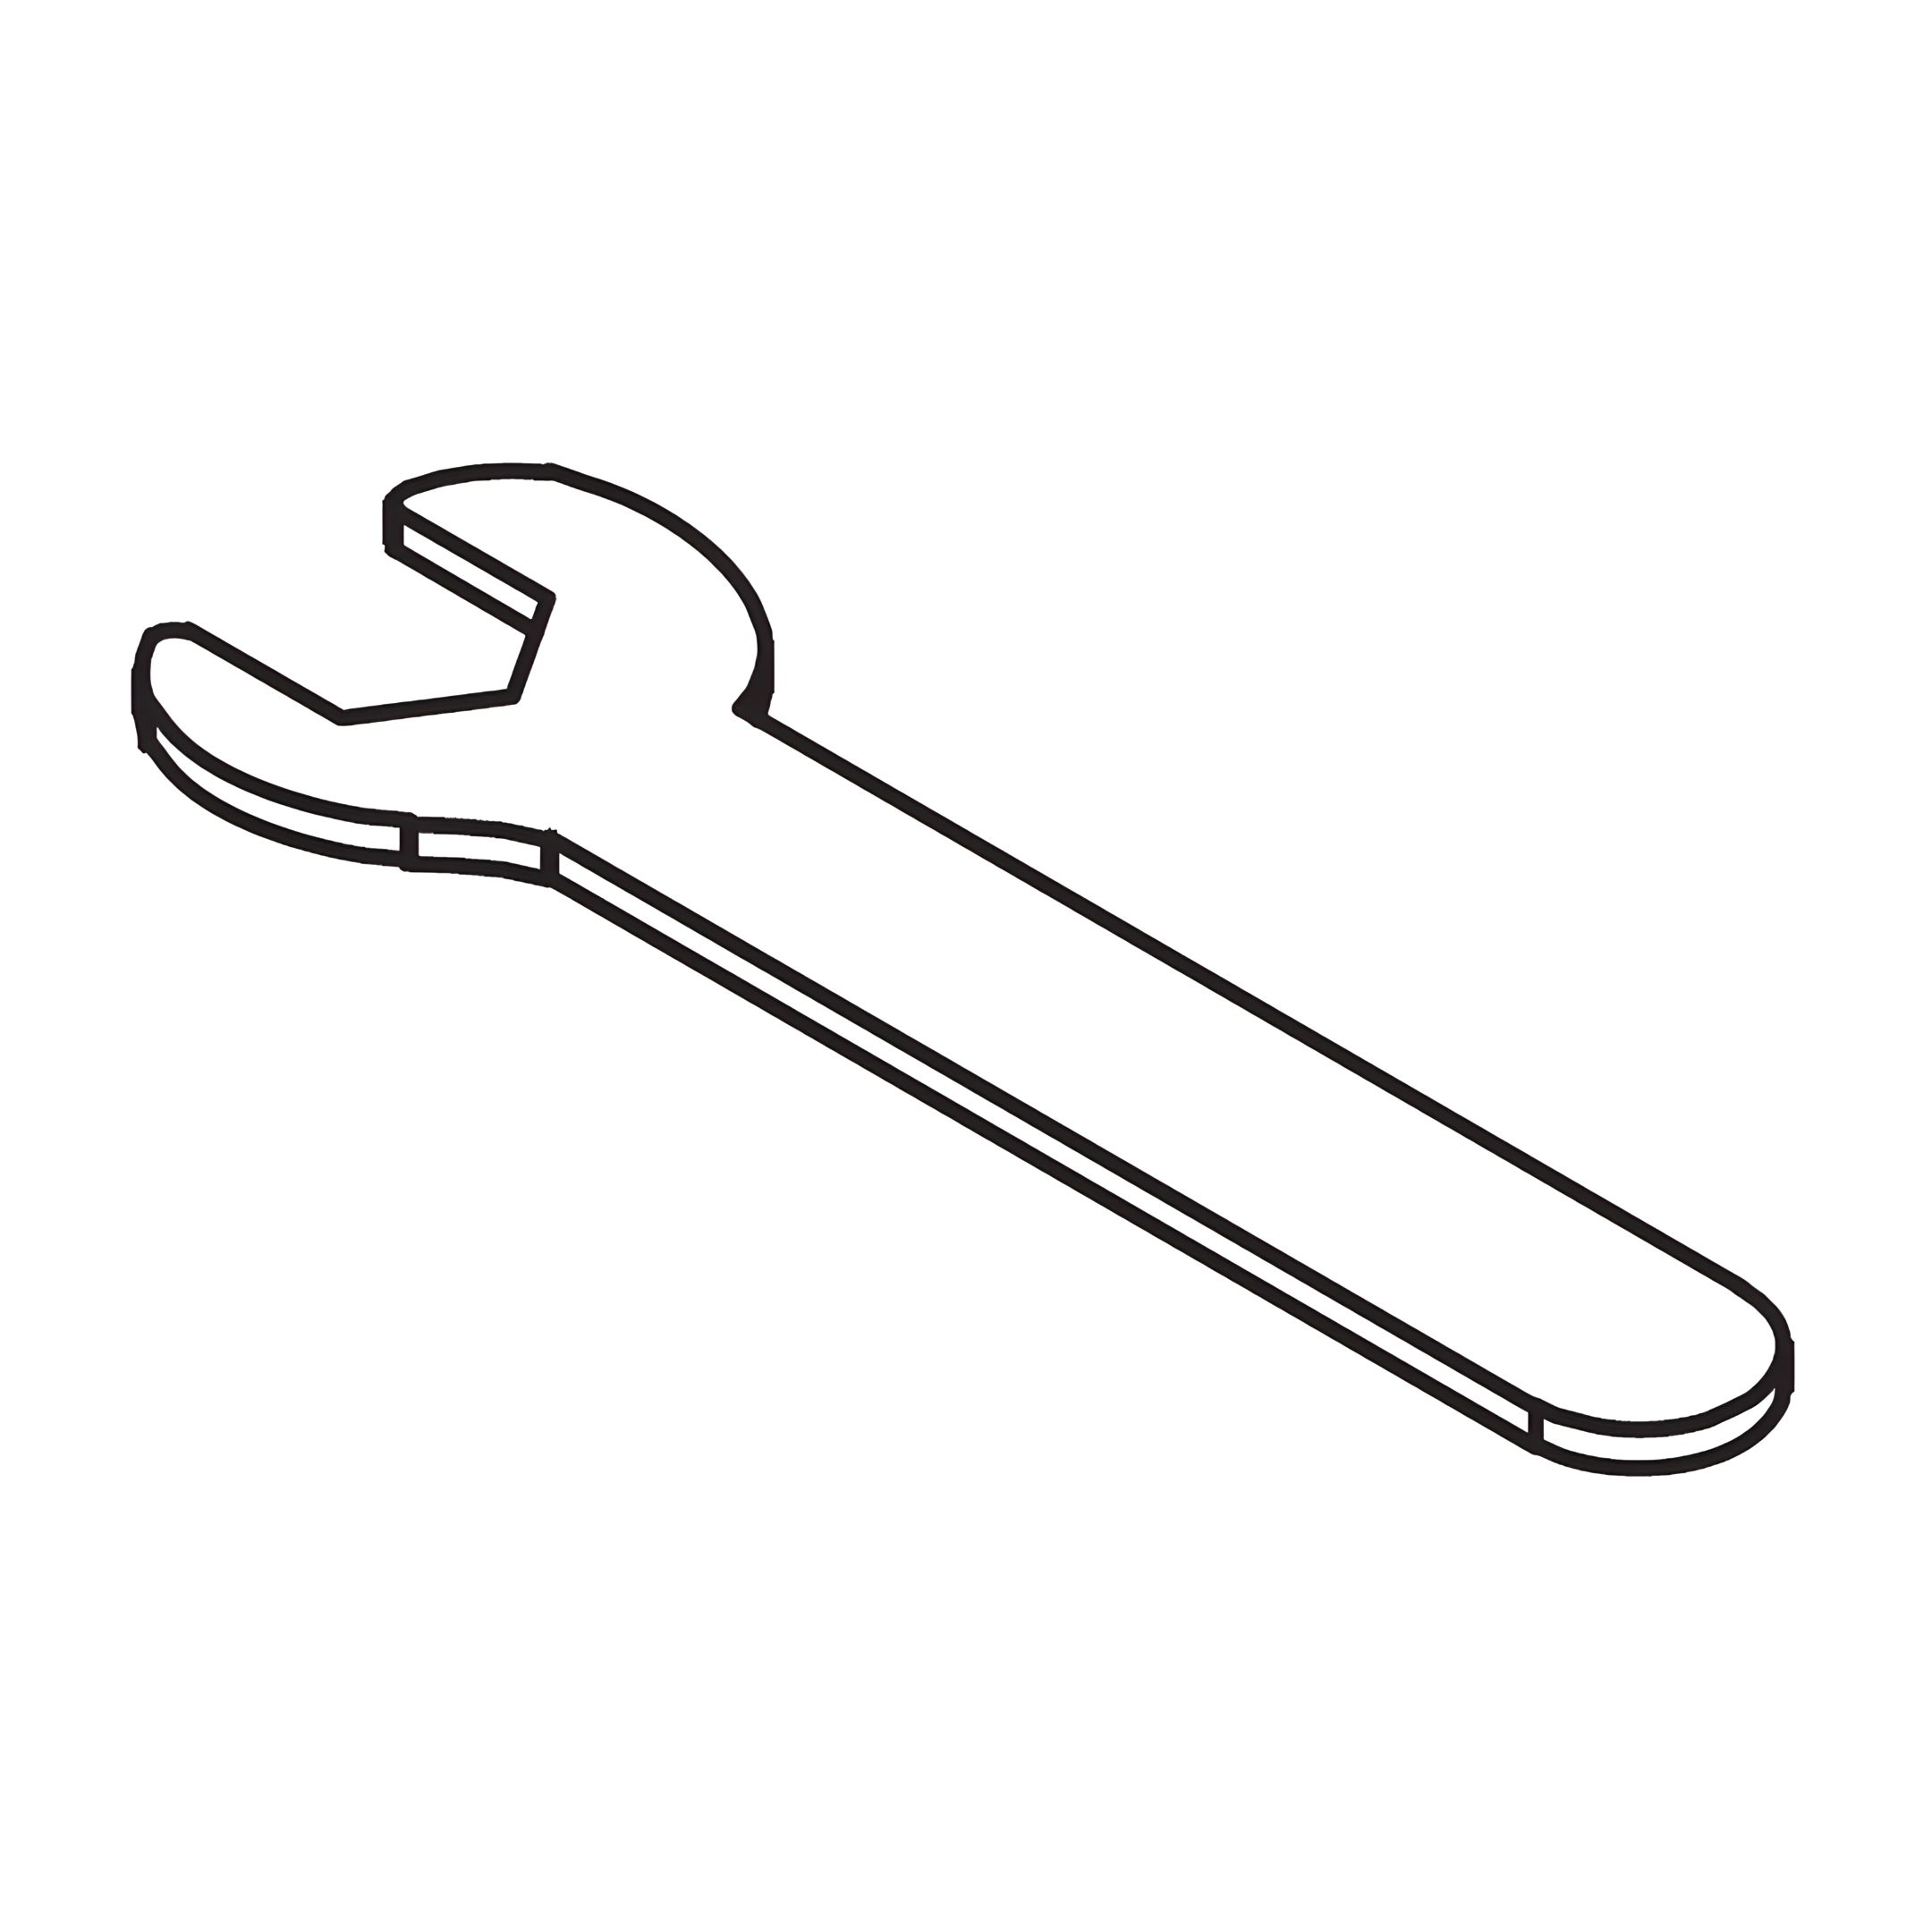
L - Spanner for M8 nut
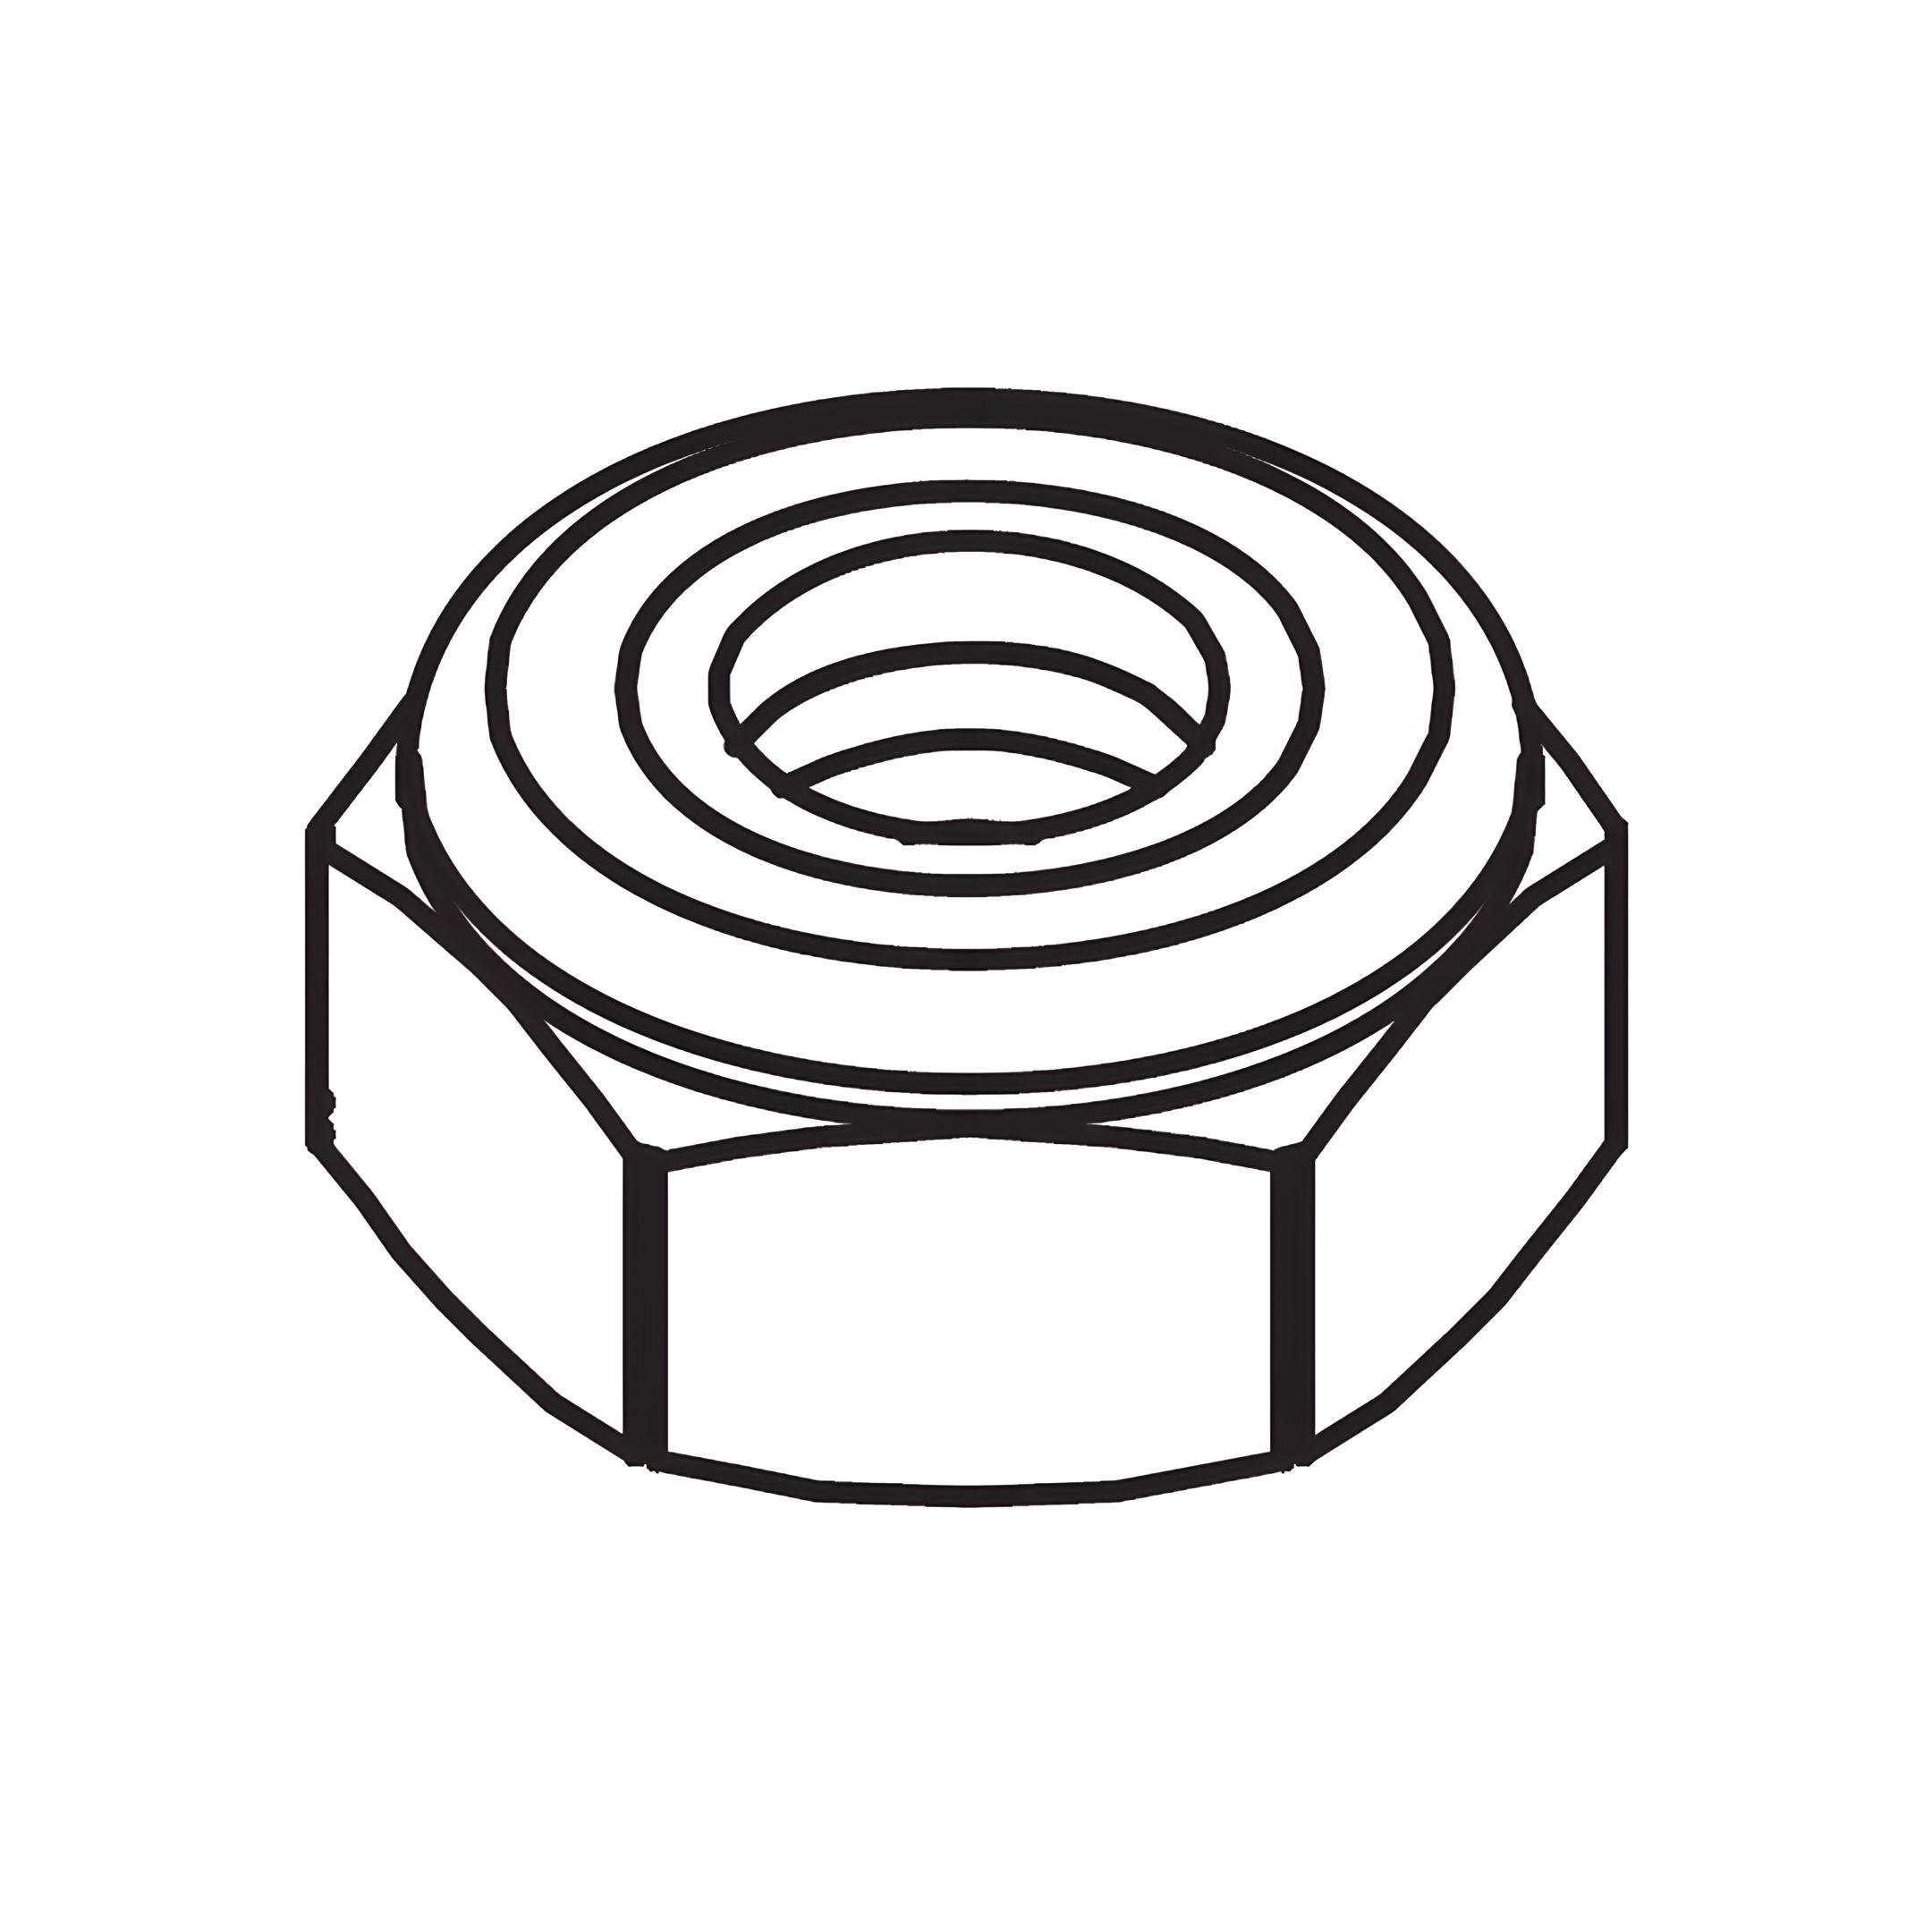
M - Flanged M8 lock-nuts for gas-lift piston
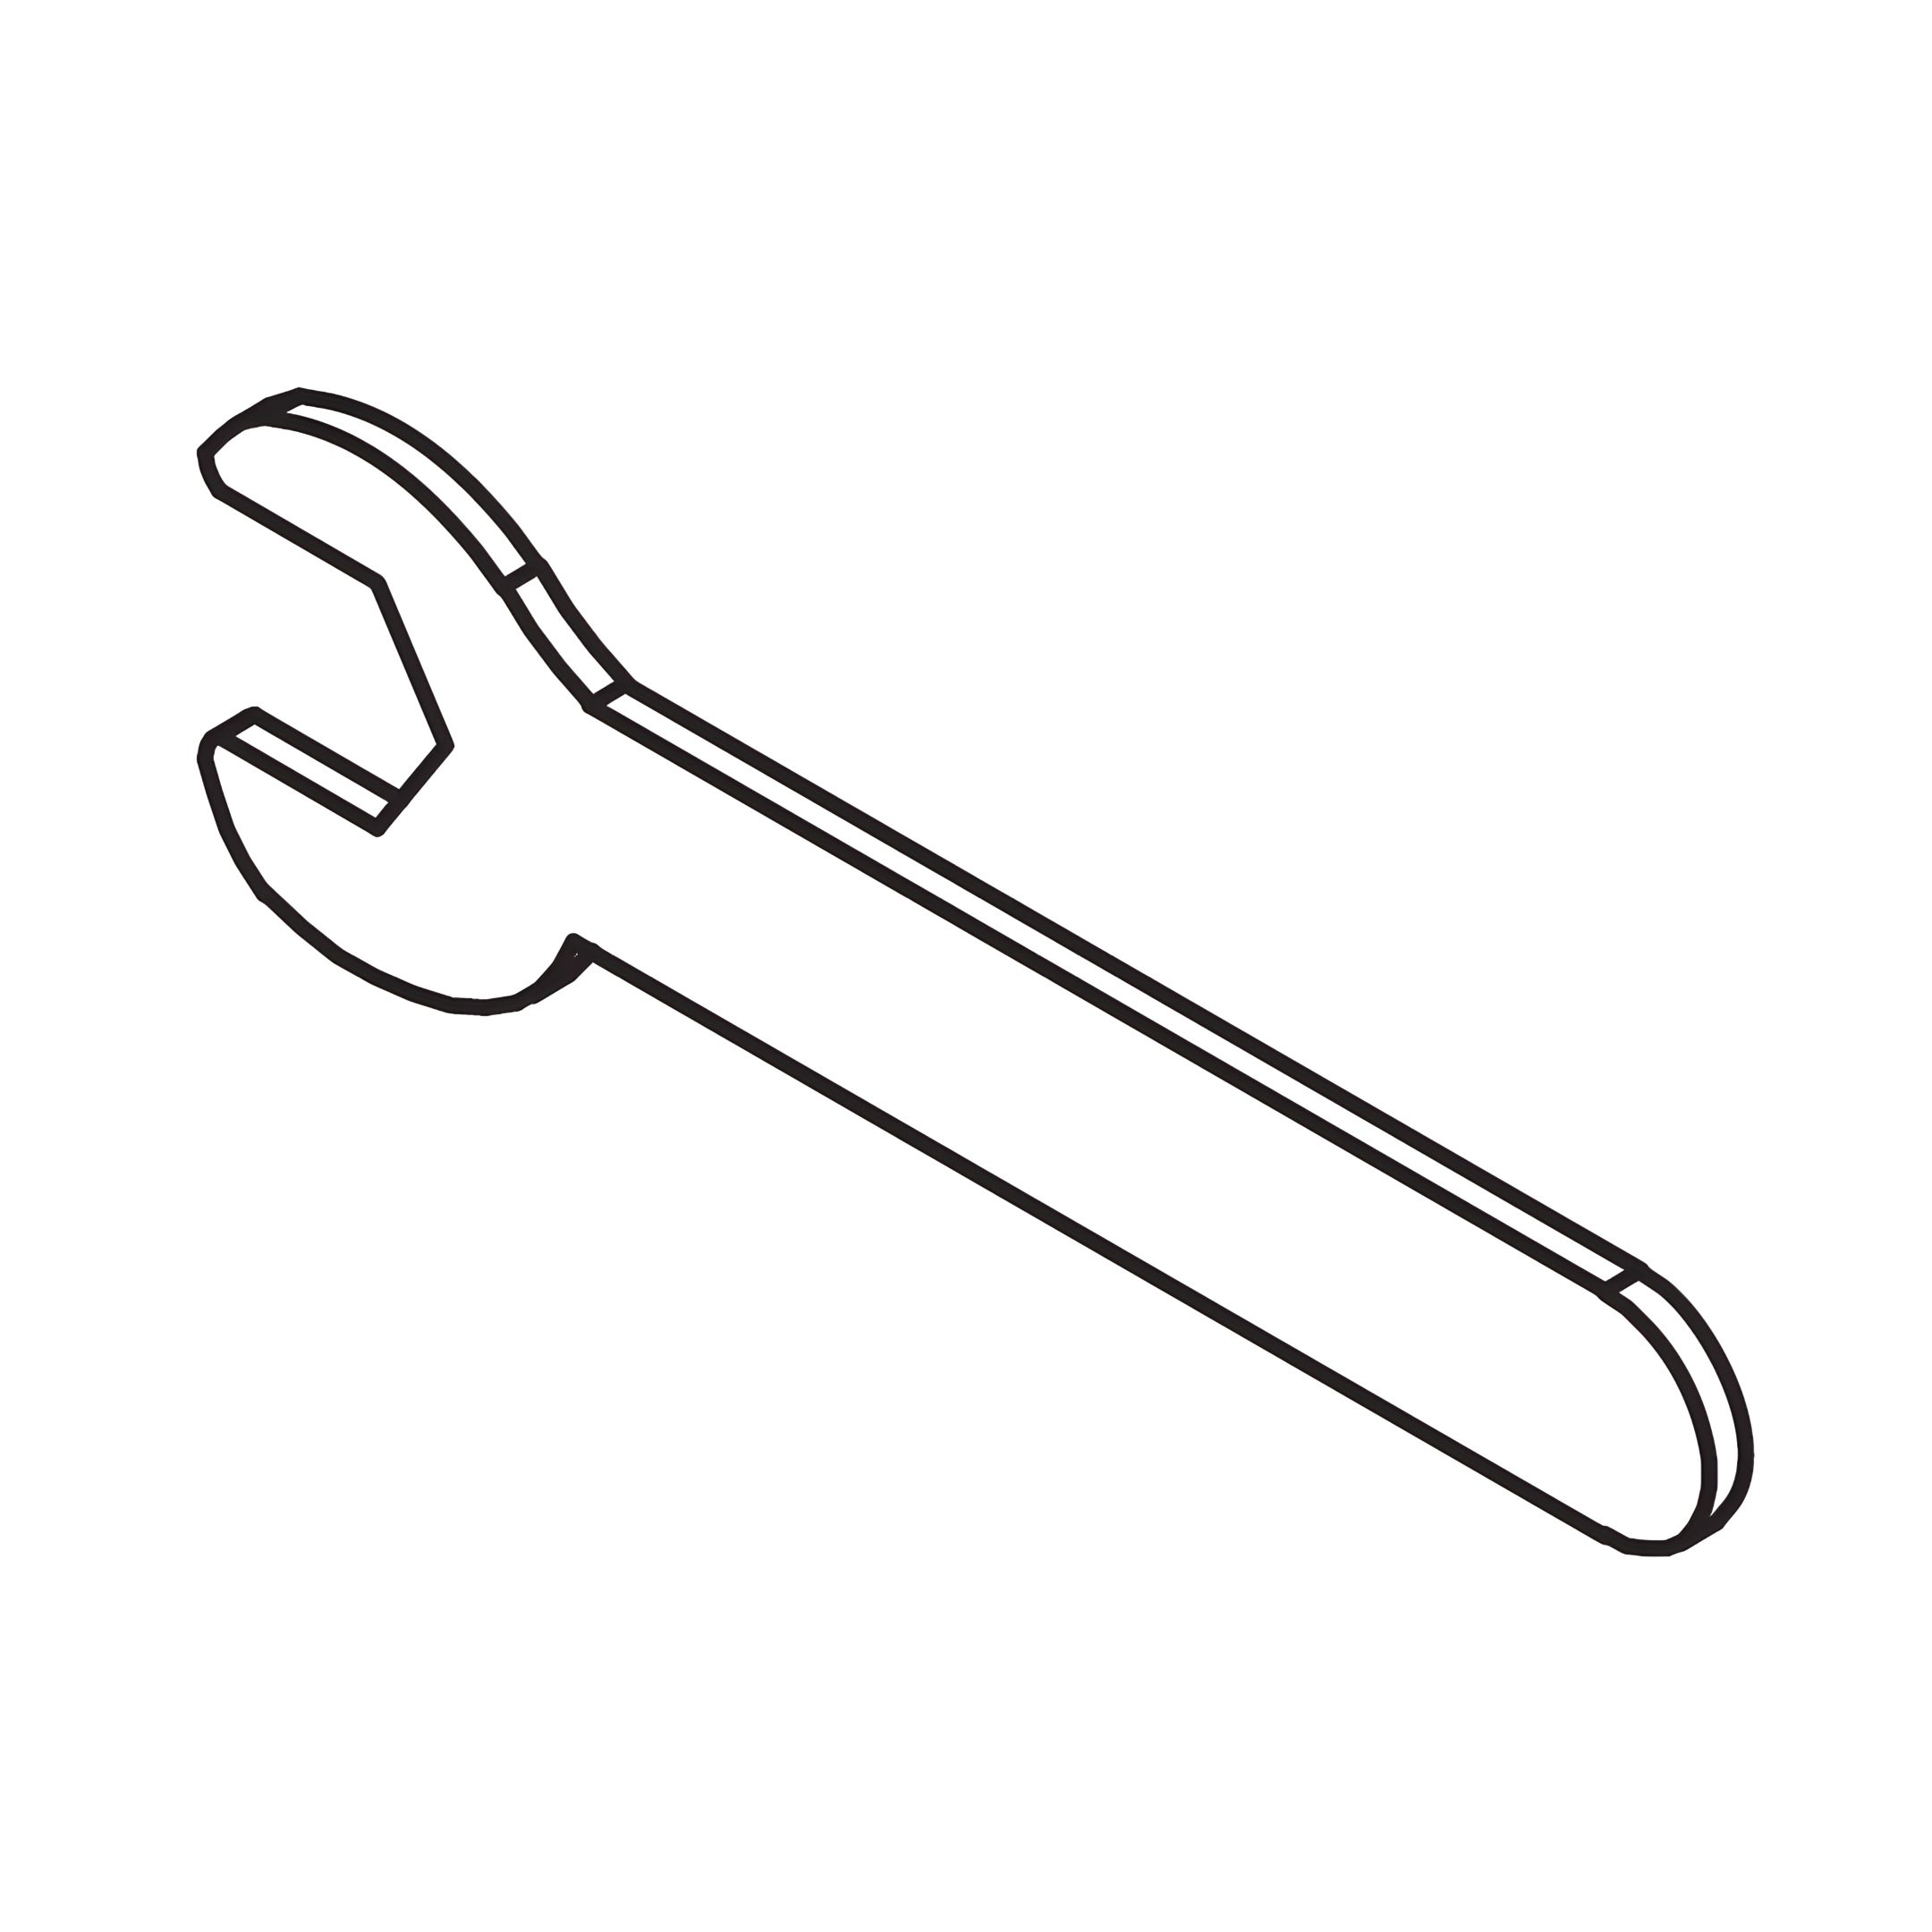
N - Spanner for flanged M8 lock-nuts
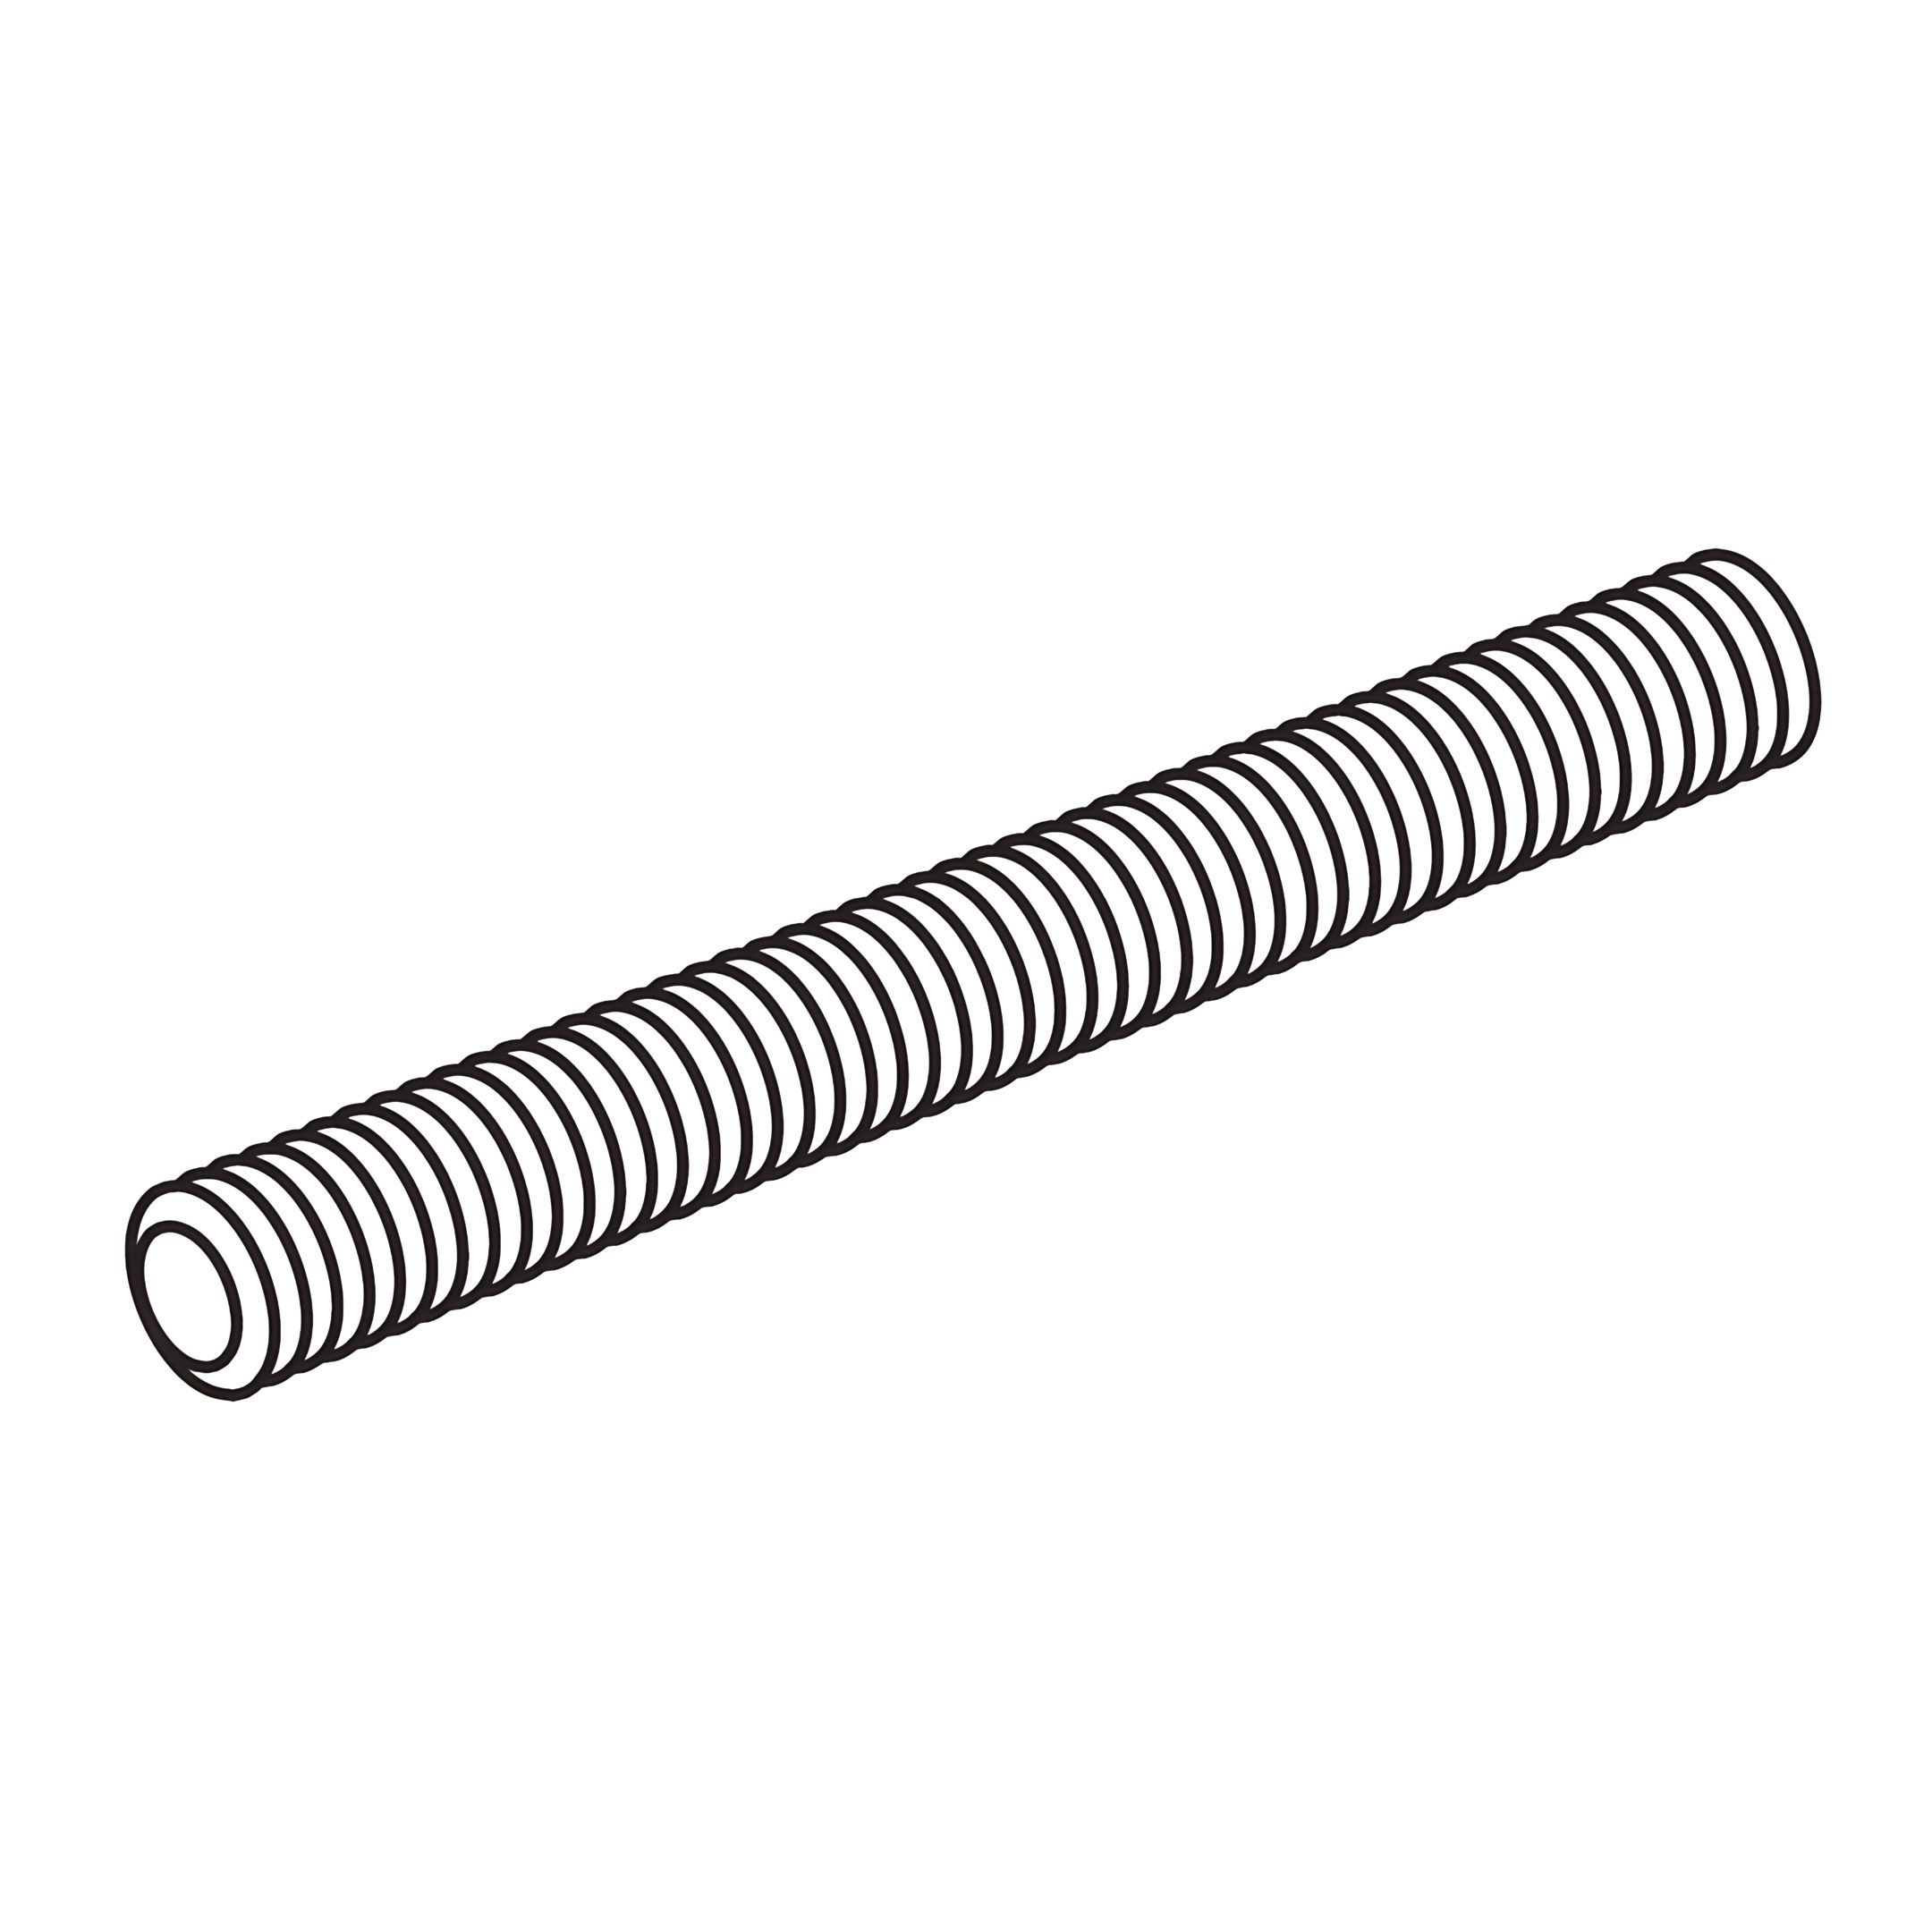
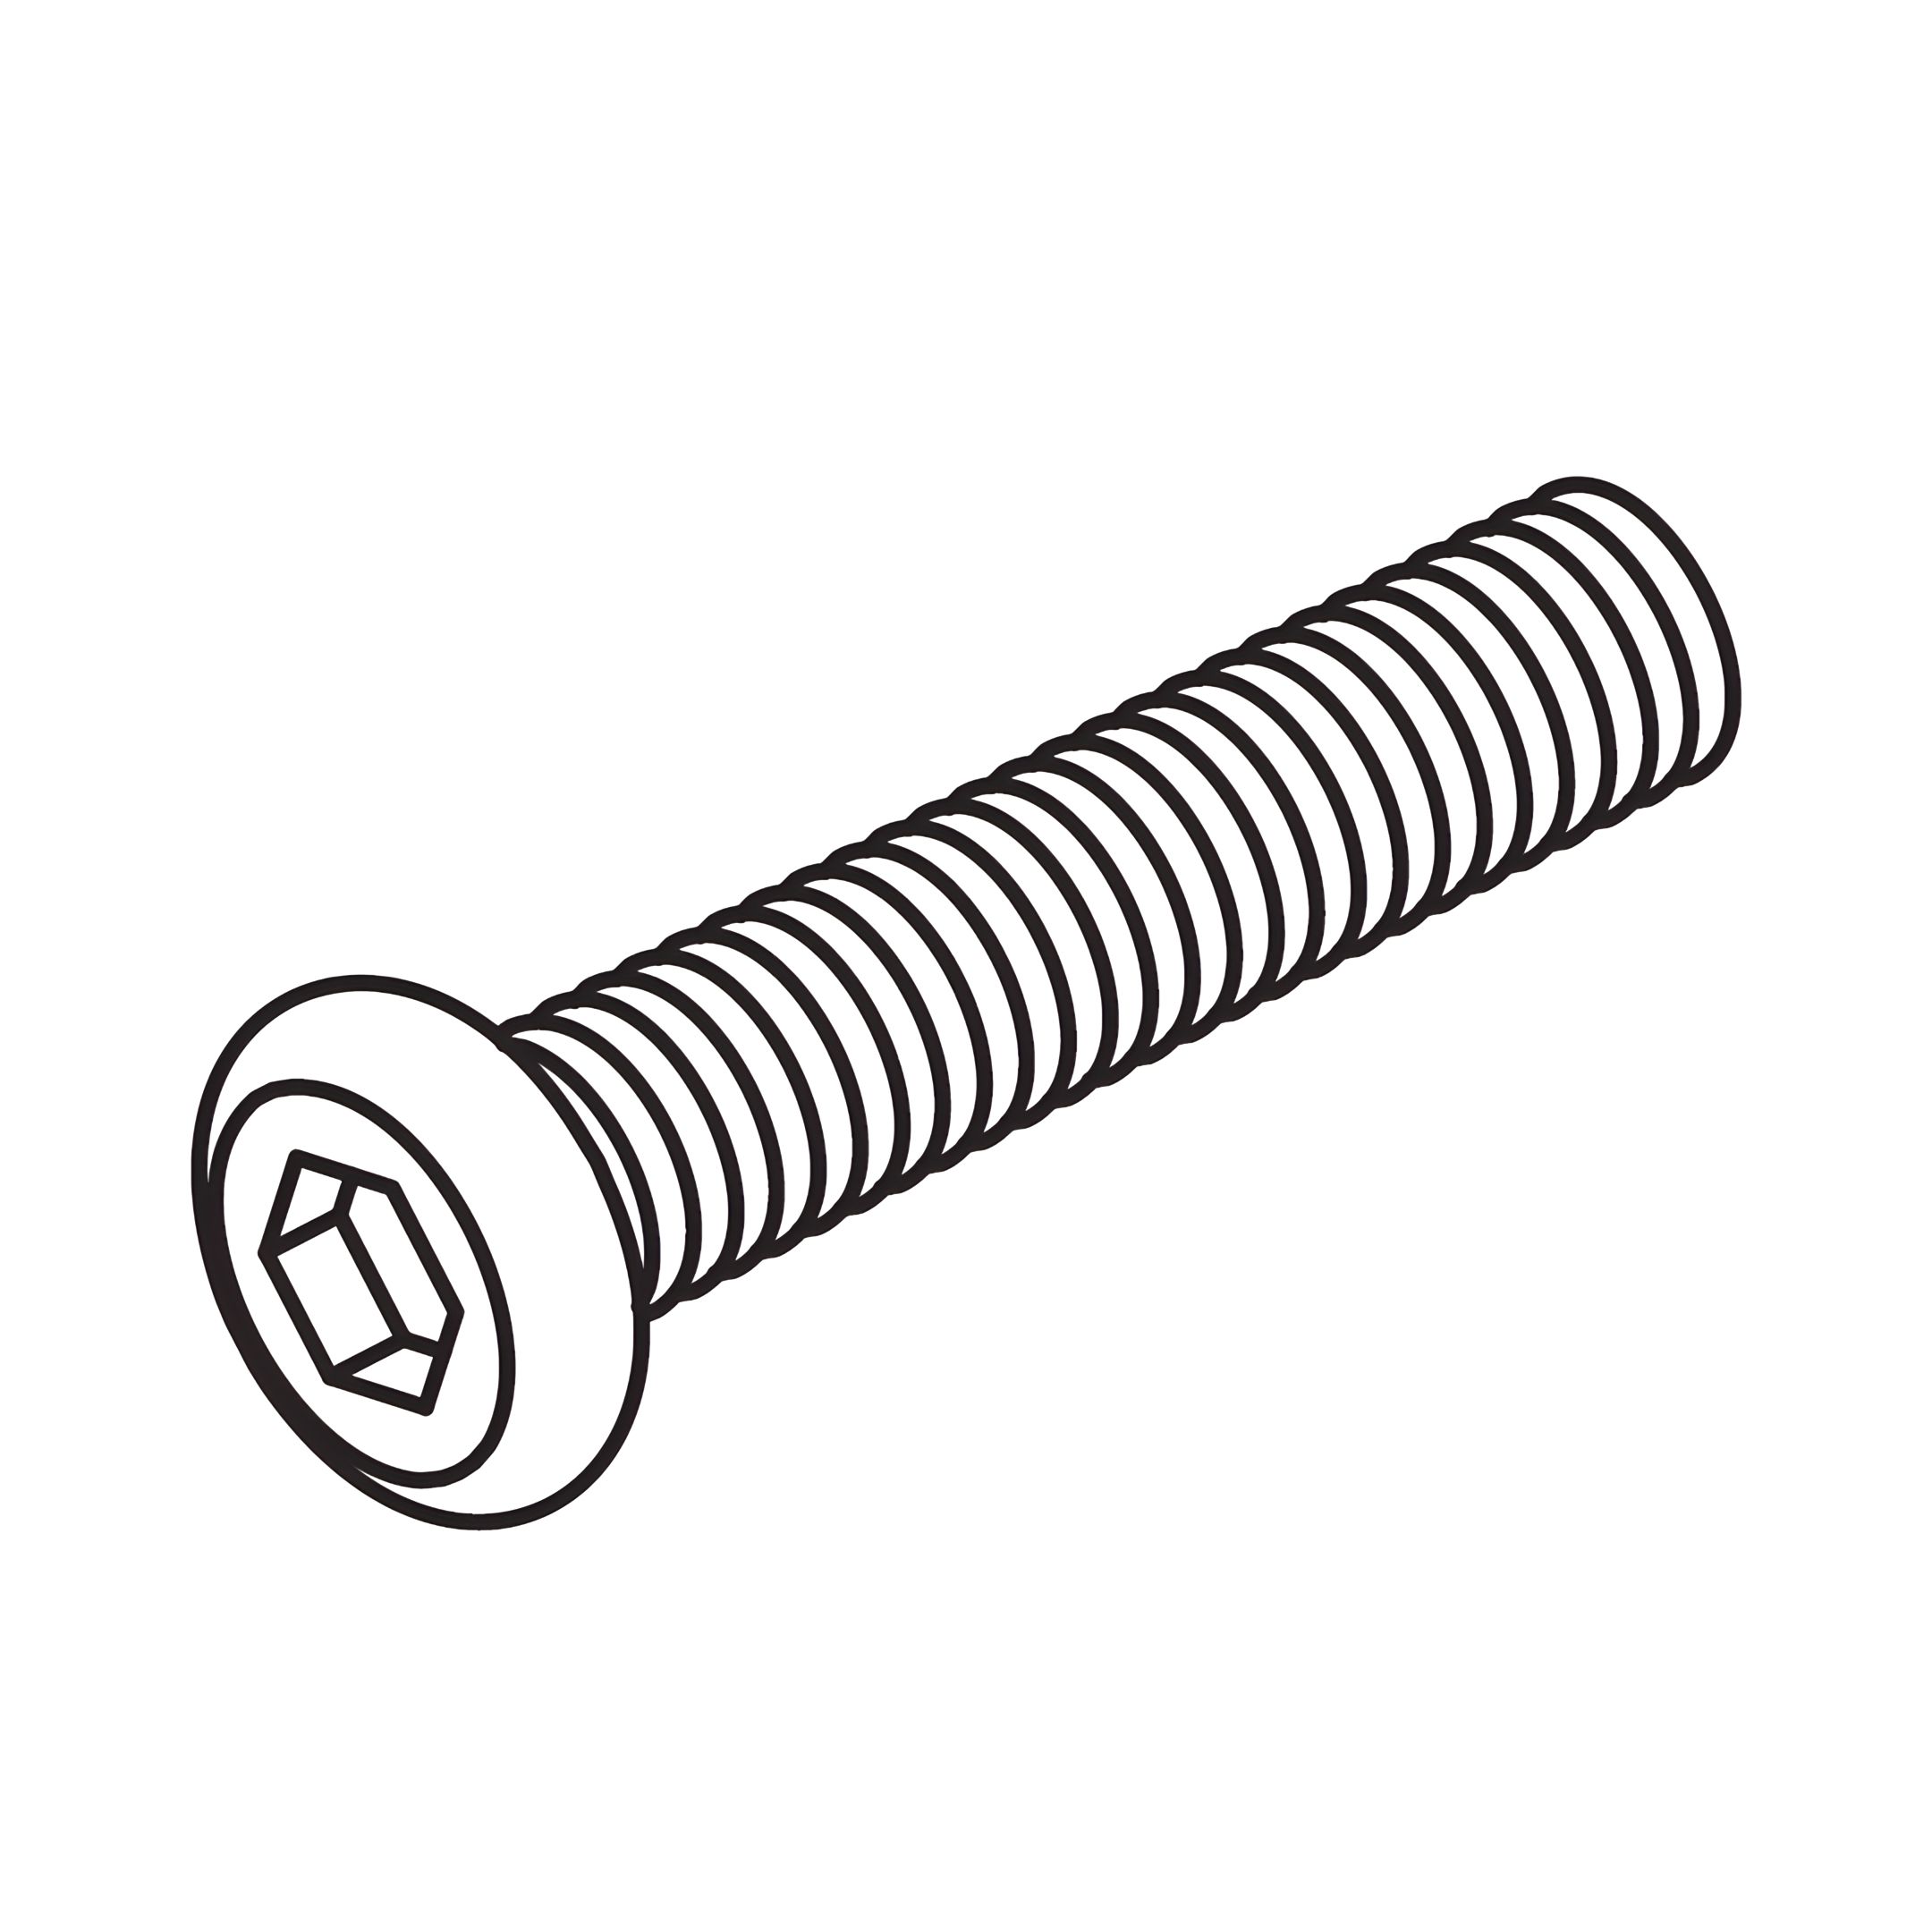
Bolts (M8x35mm) for fitting lift mechanism (15 & 16)
Q - Plastic spacer for lift mechanism (15 & 16)
R - Bolts (M8x76mm) for connect both metal slat frame (11&12)
S - Bolt (M8x50mm) for fitting metal slat frame to lift mechanism (15 & 16)
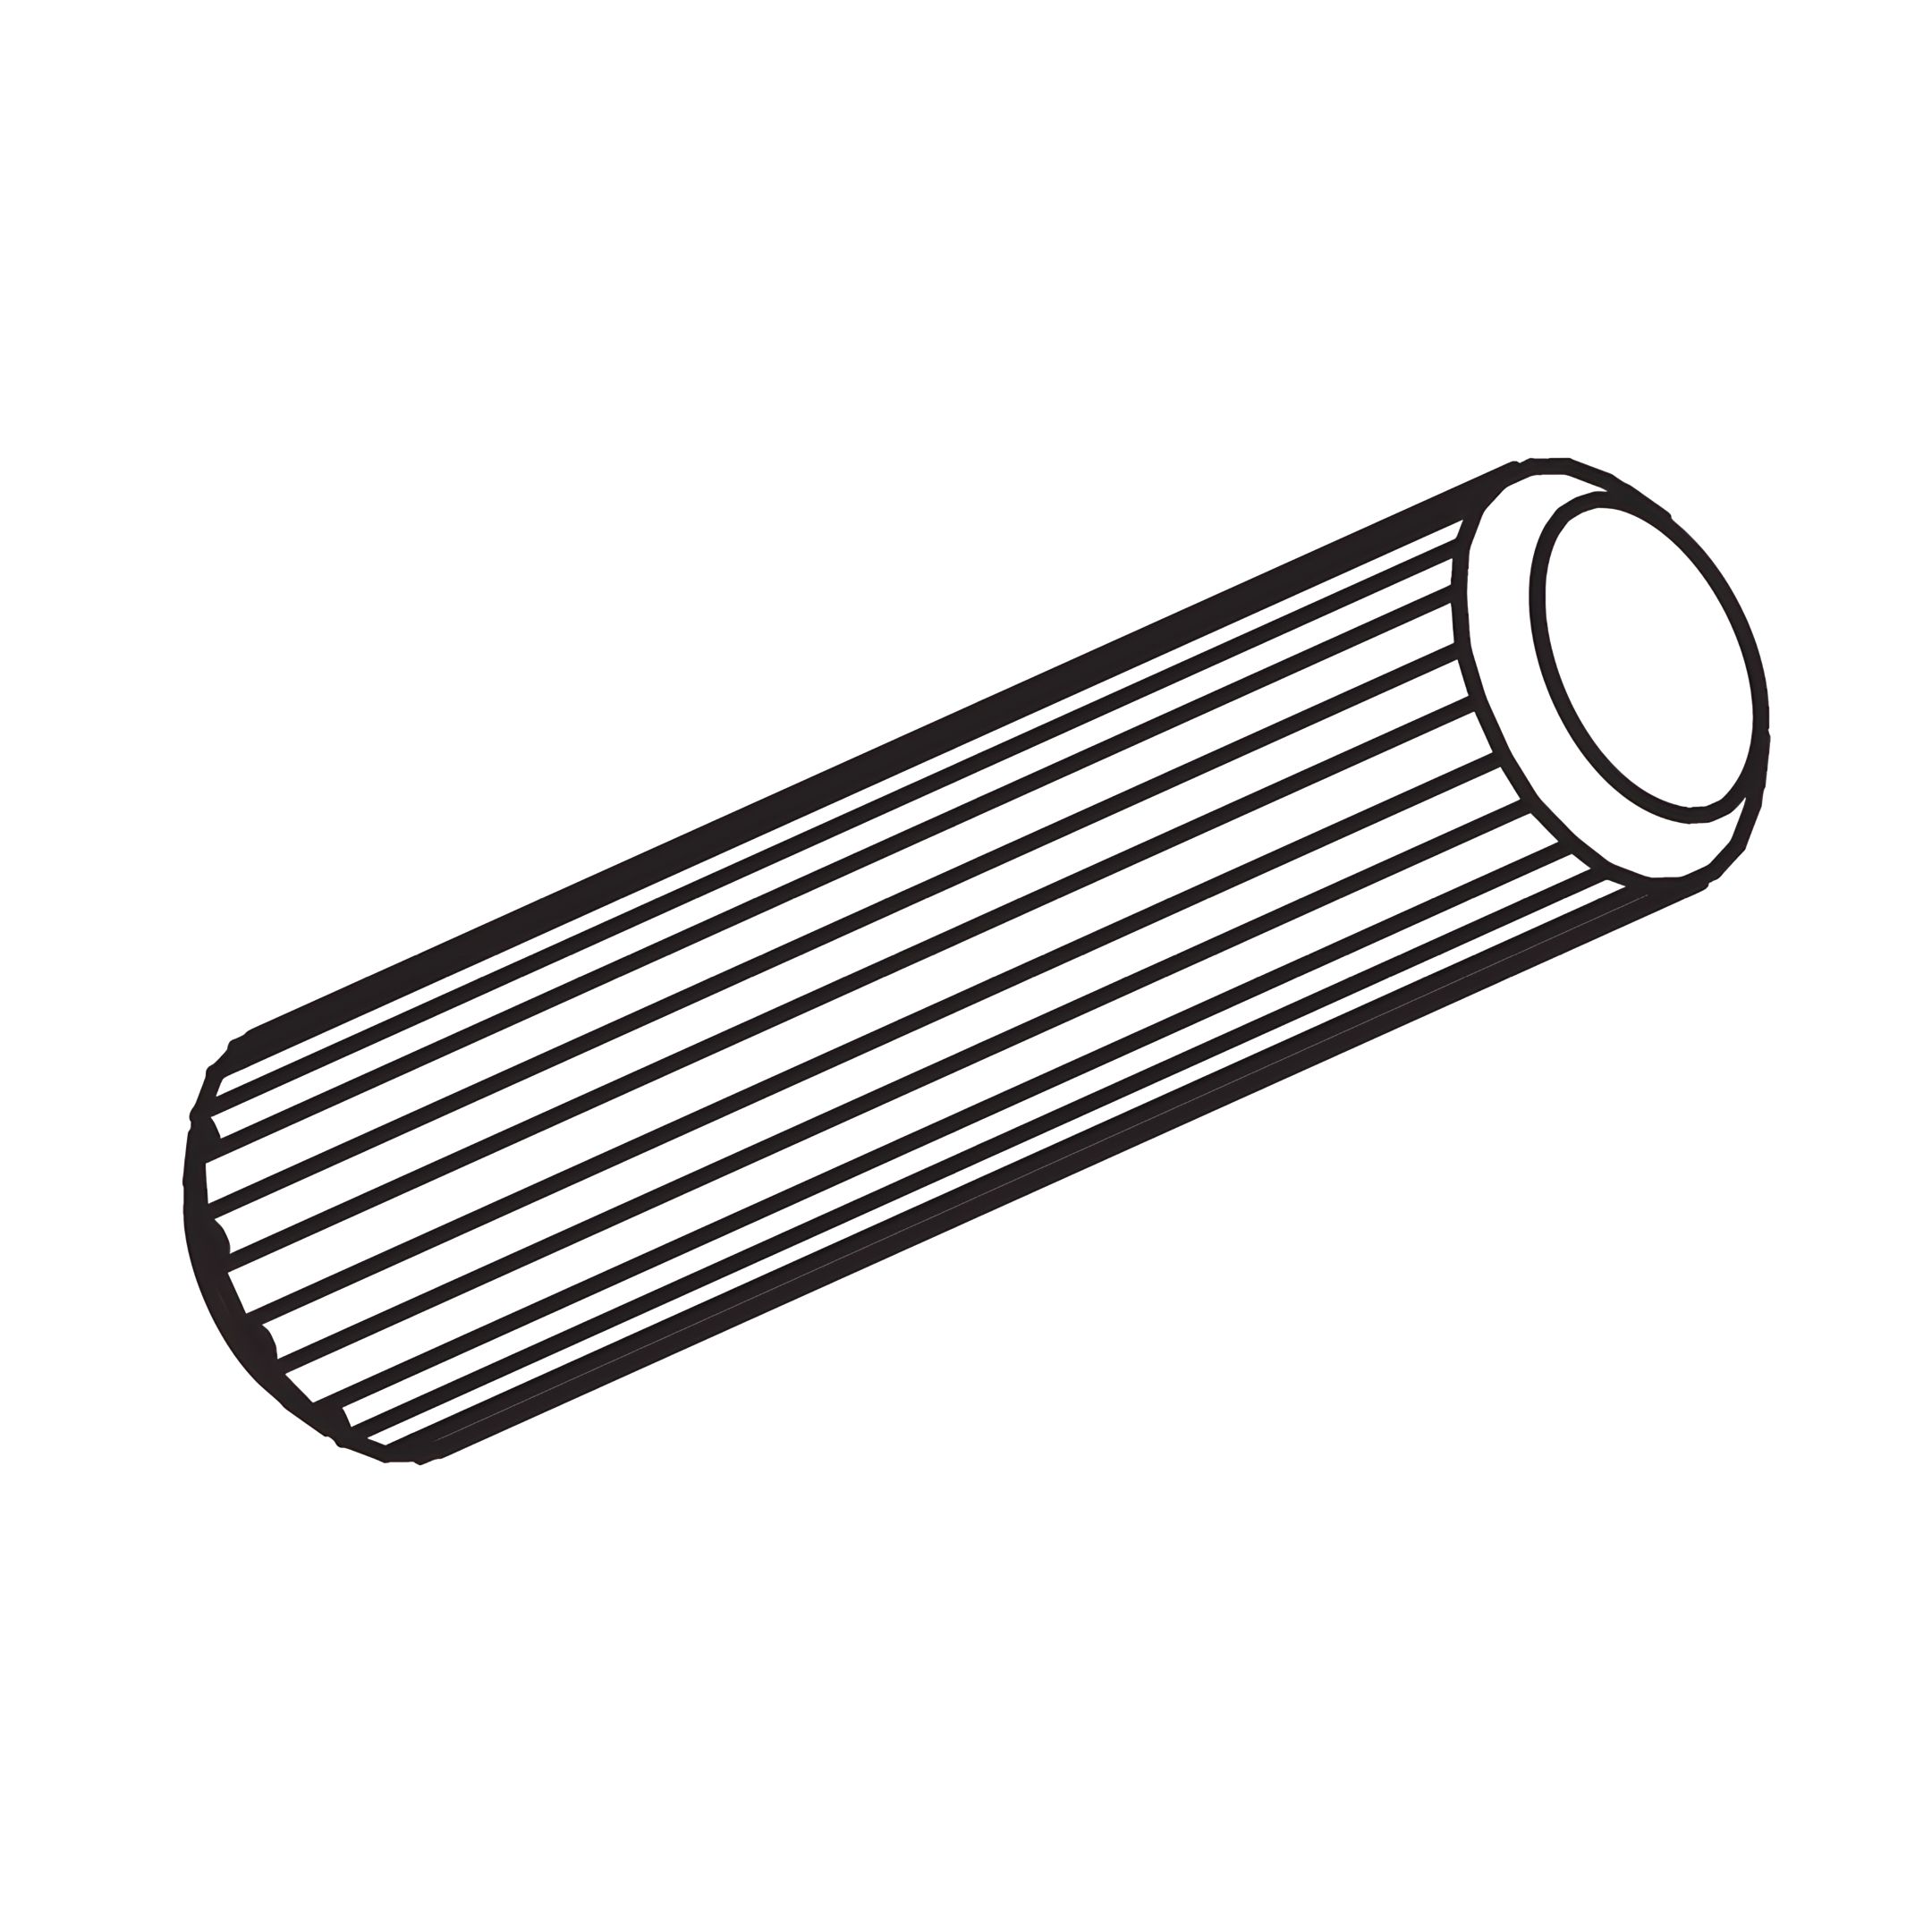
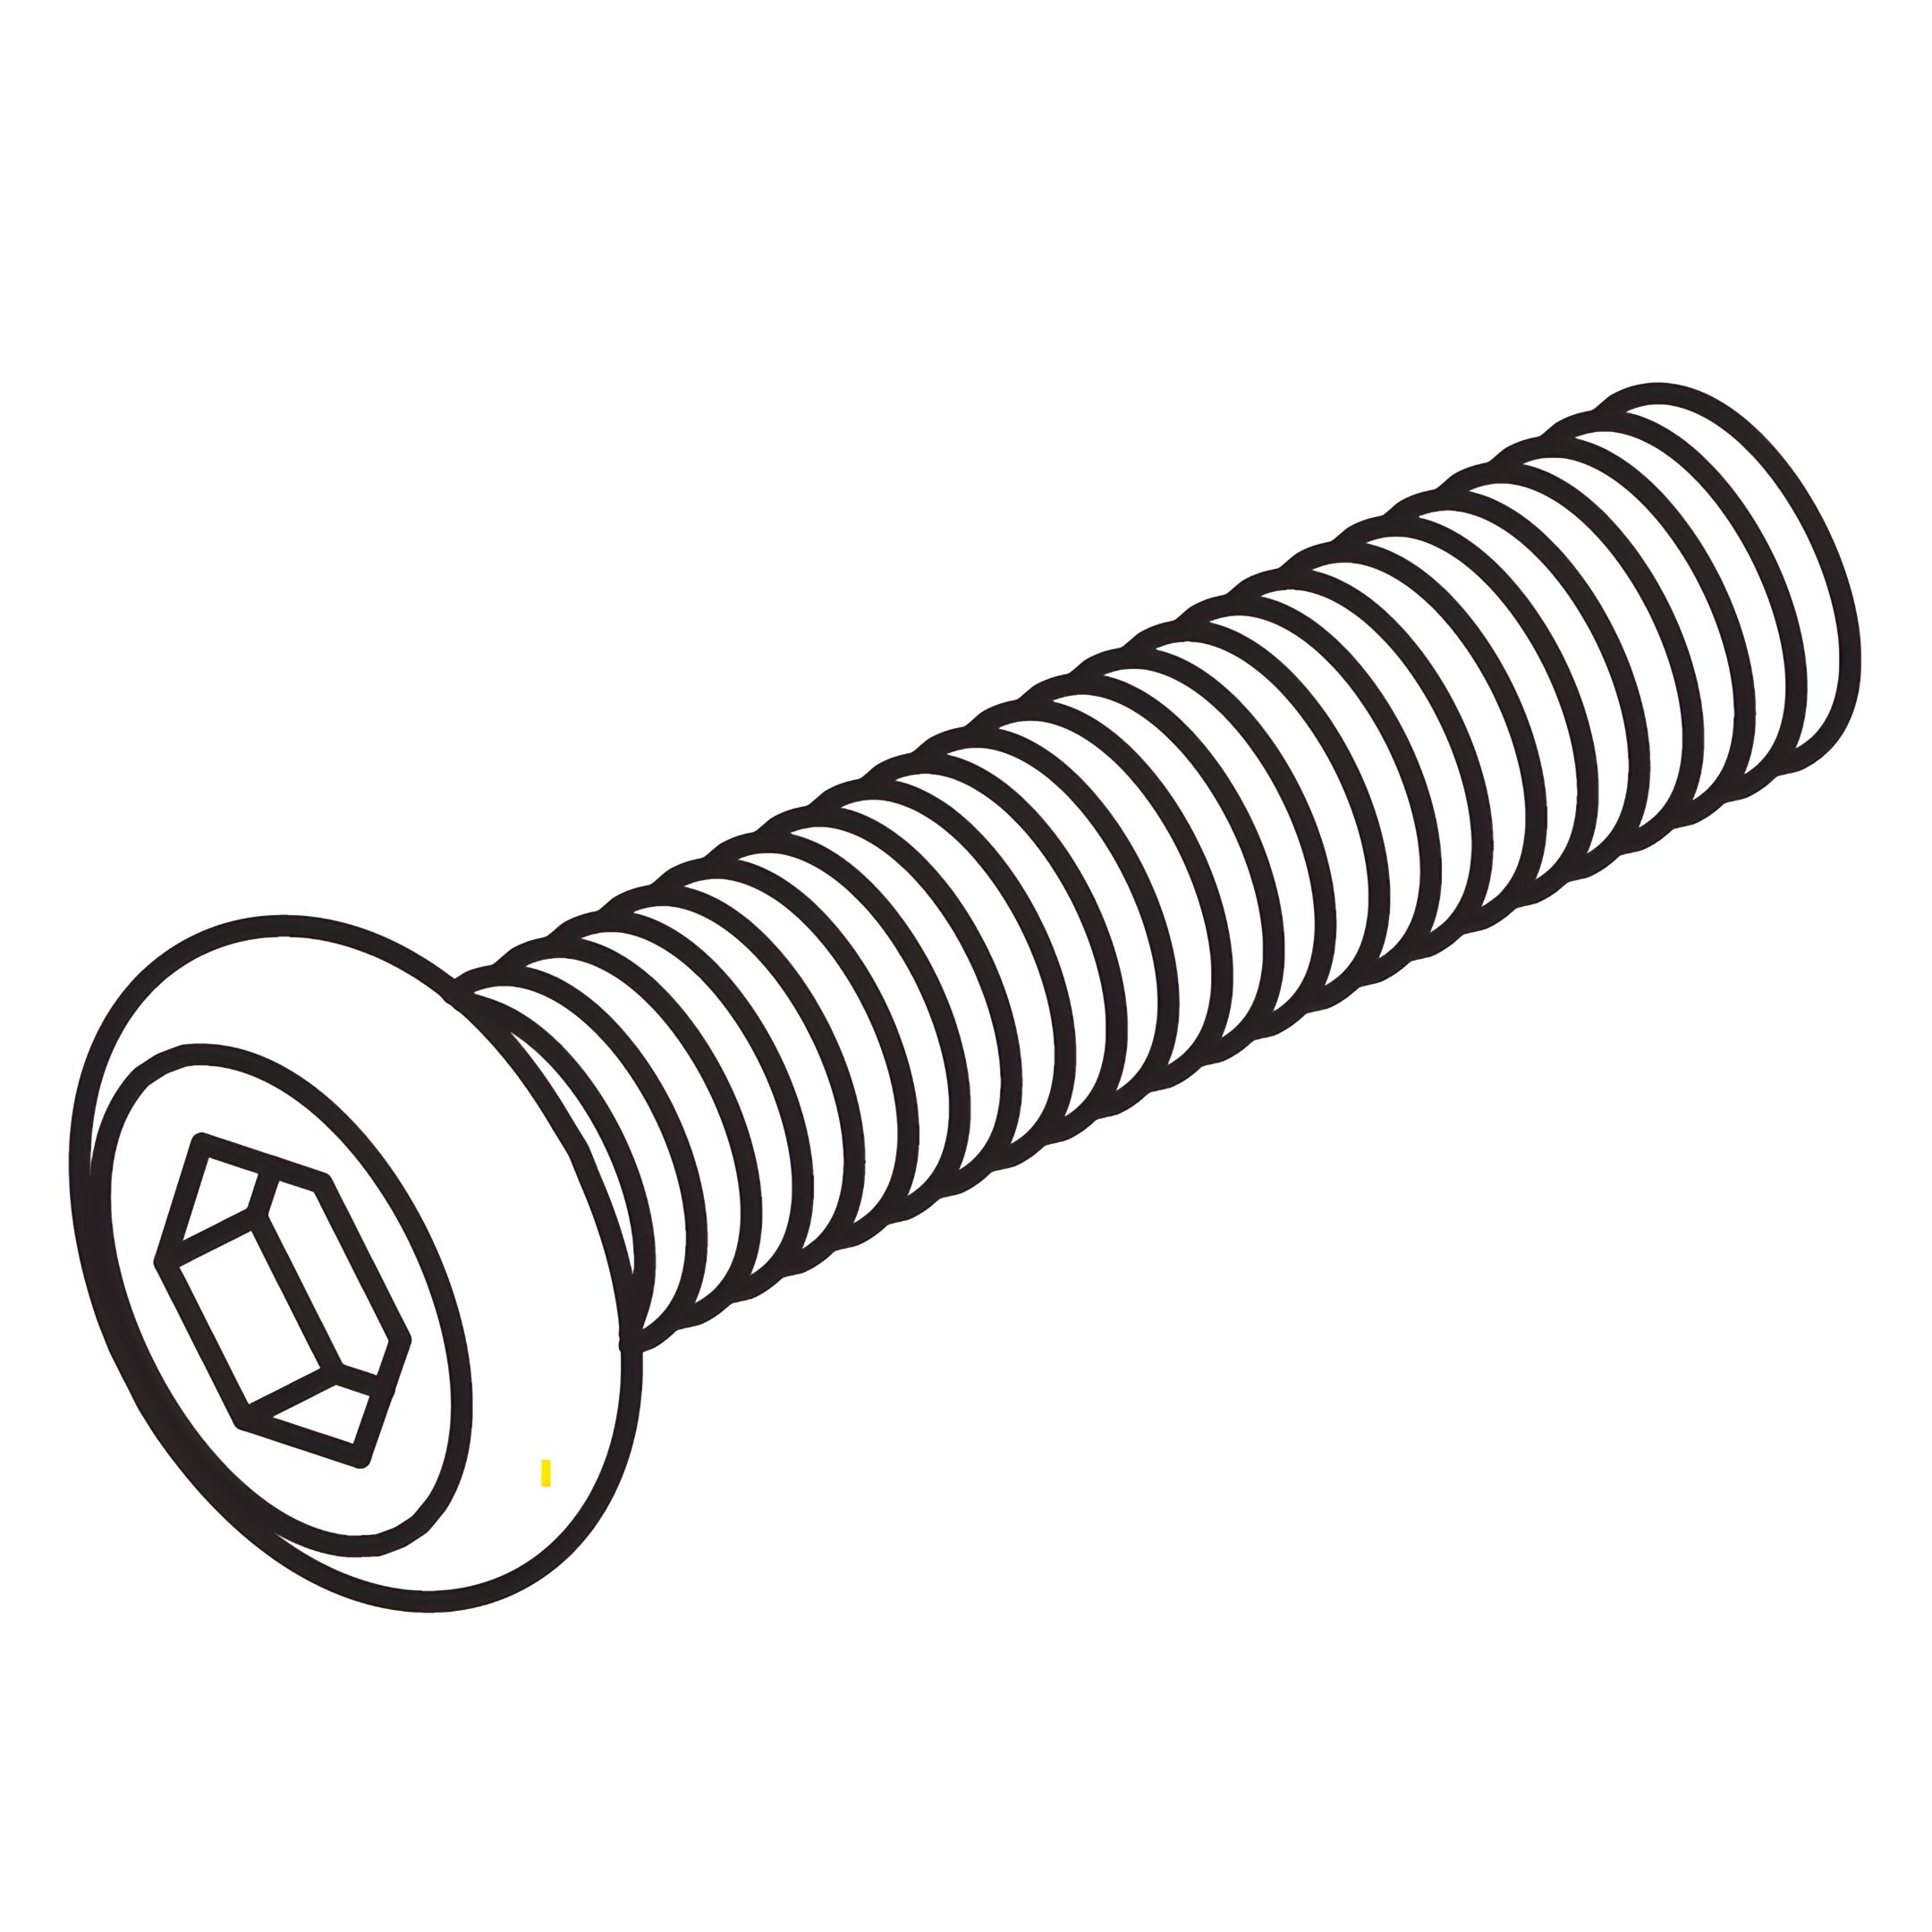
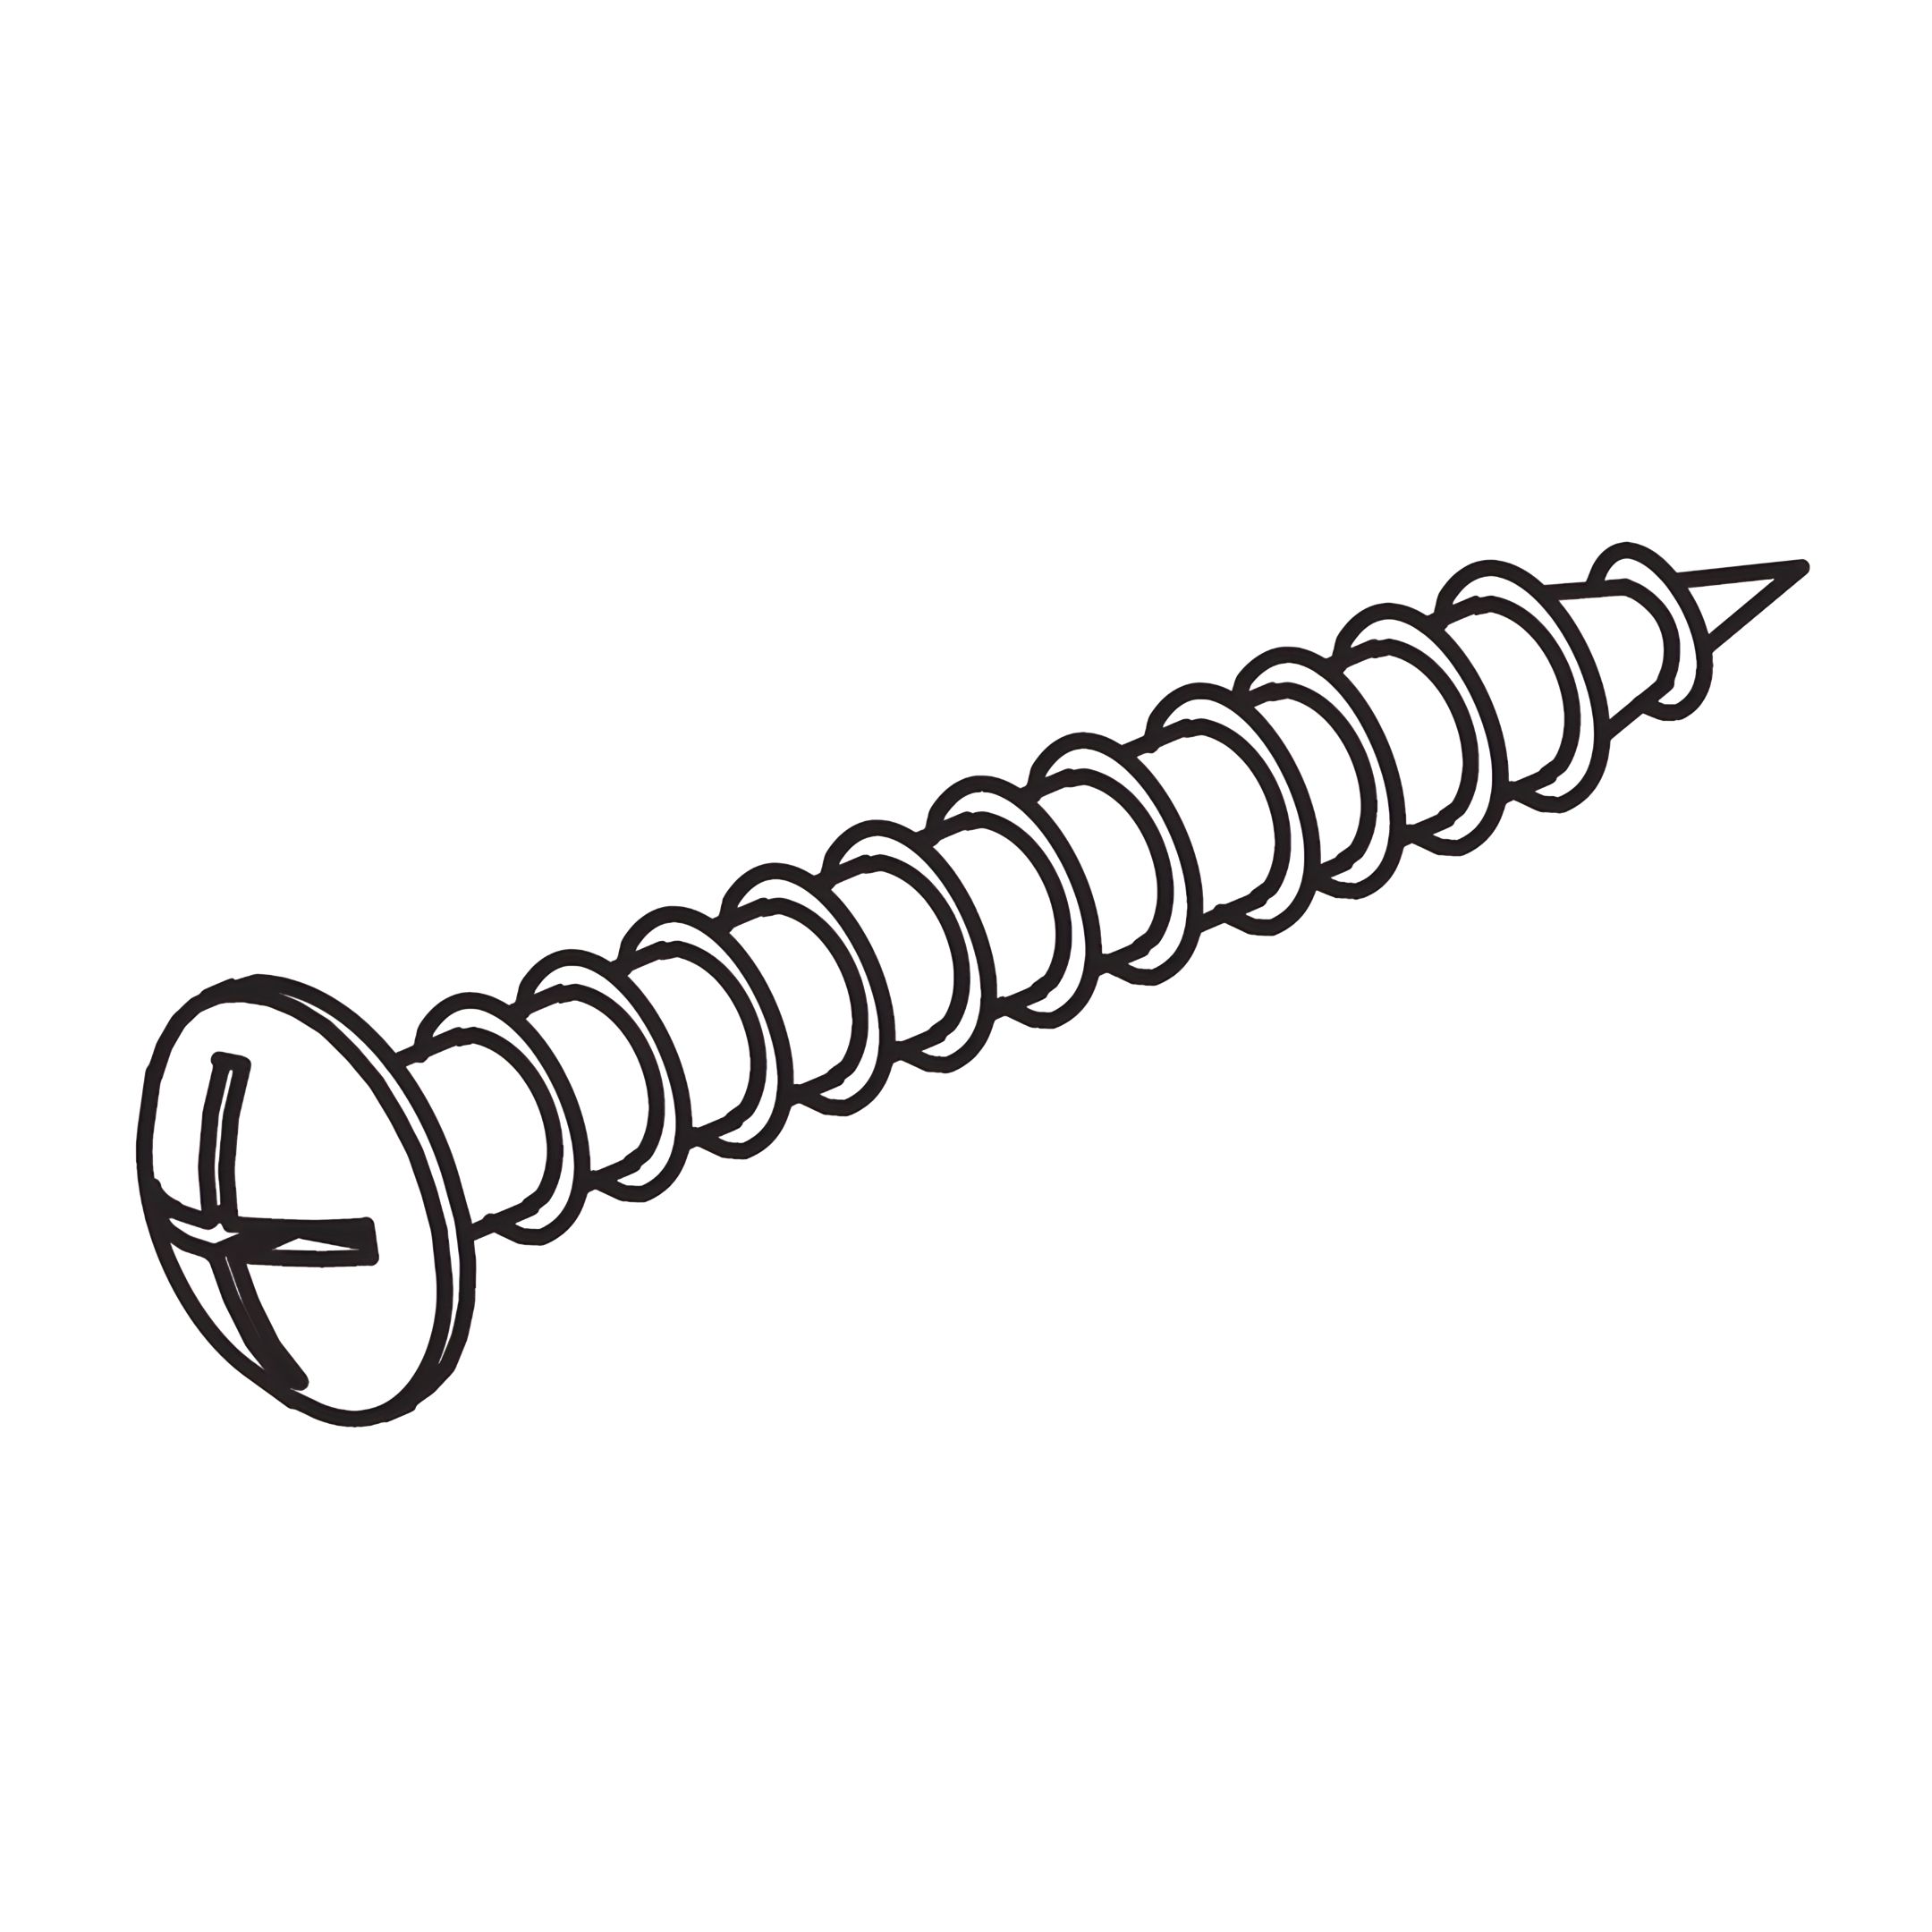
T - Screw (Ø8x28mm)
U - Plastic Feet
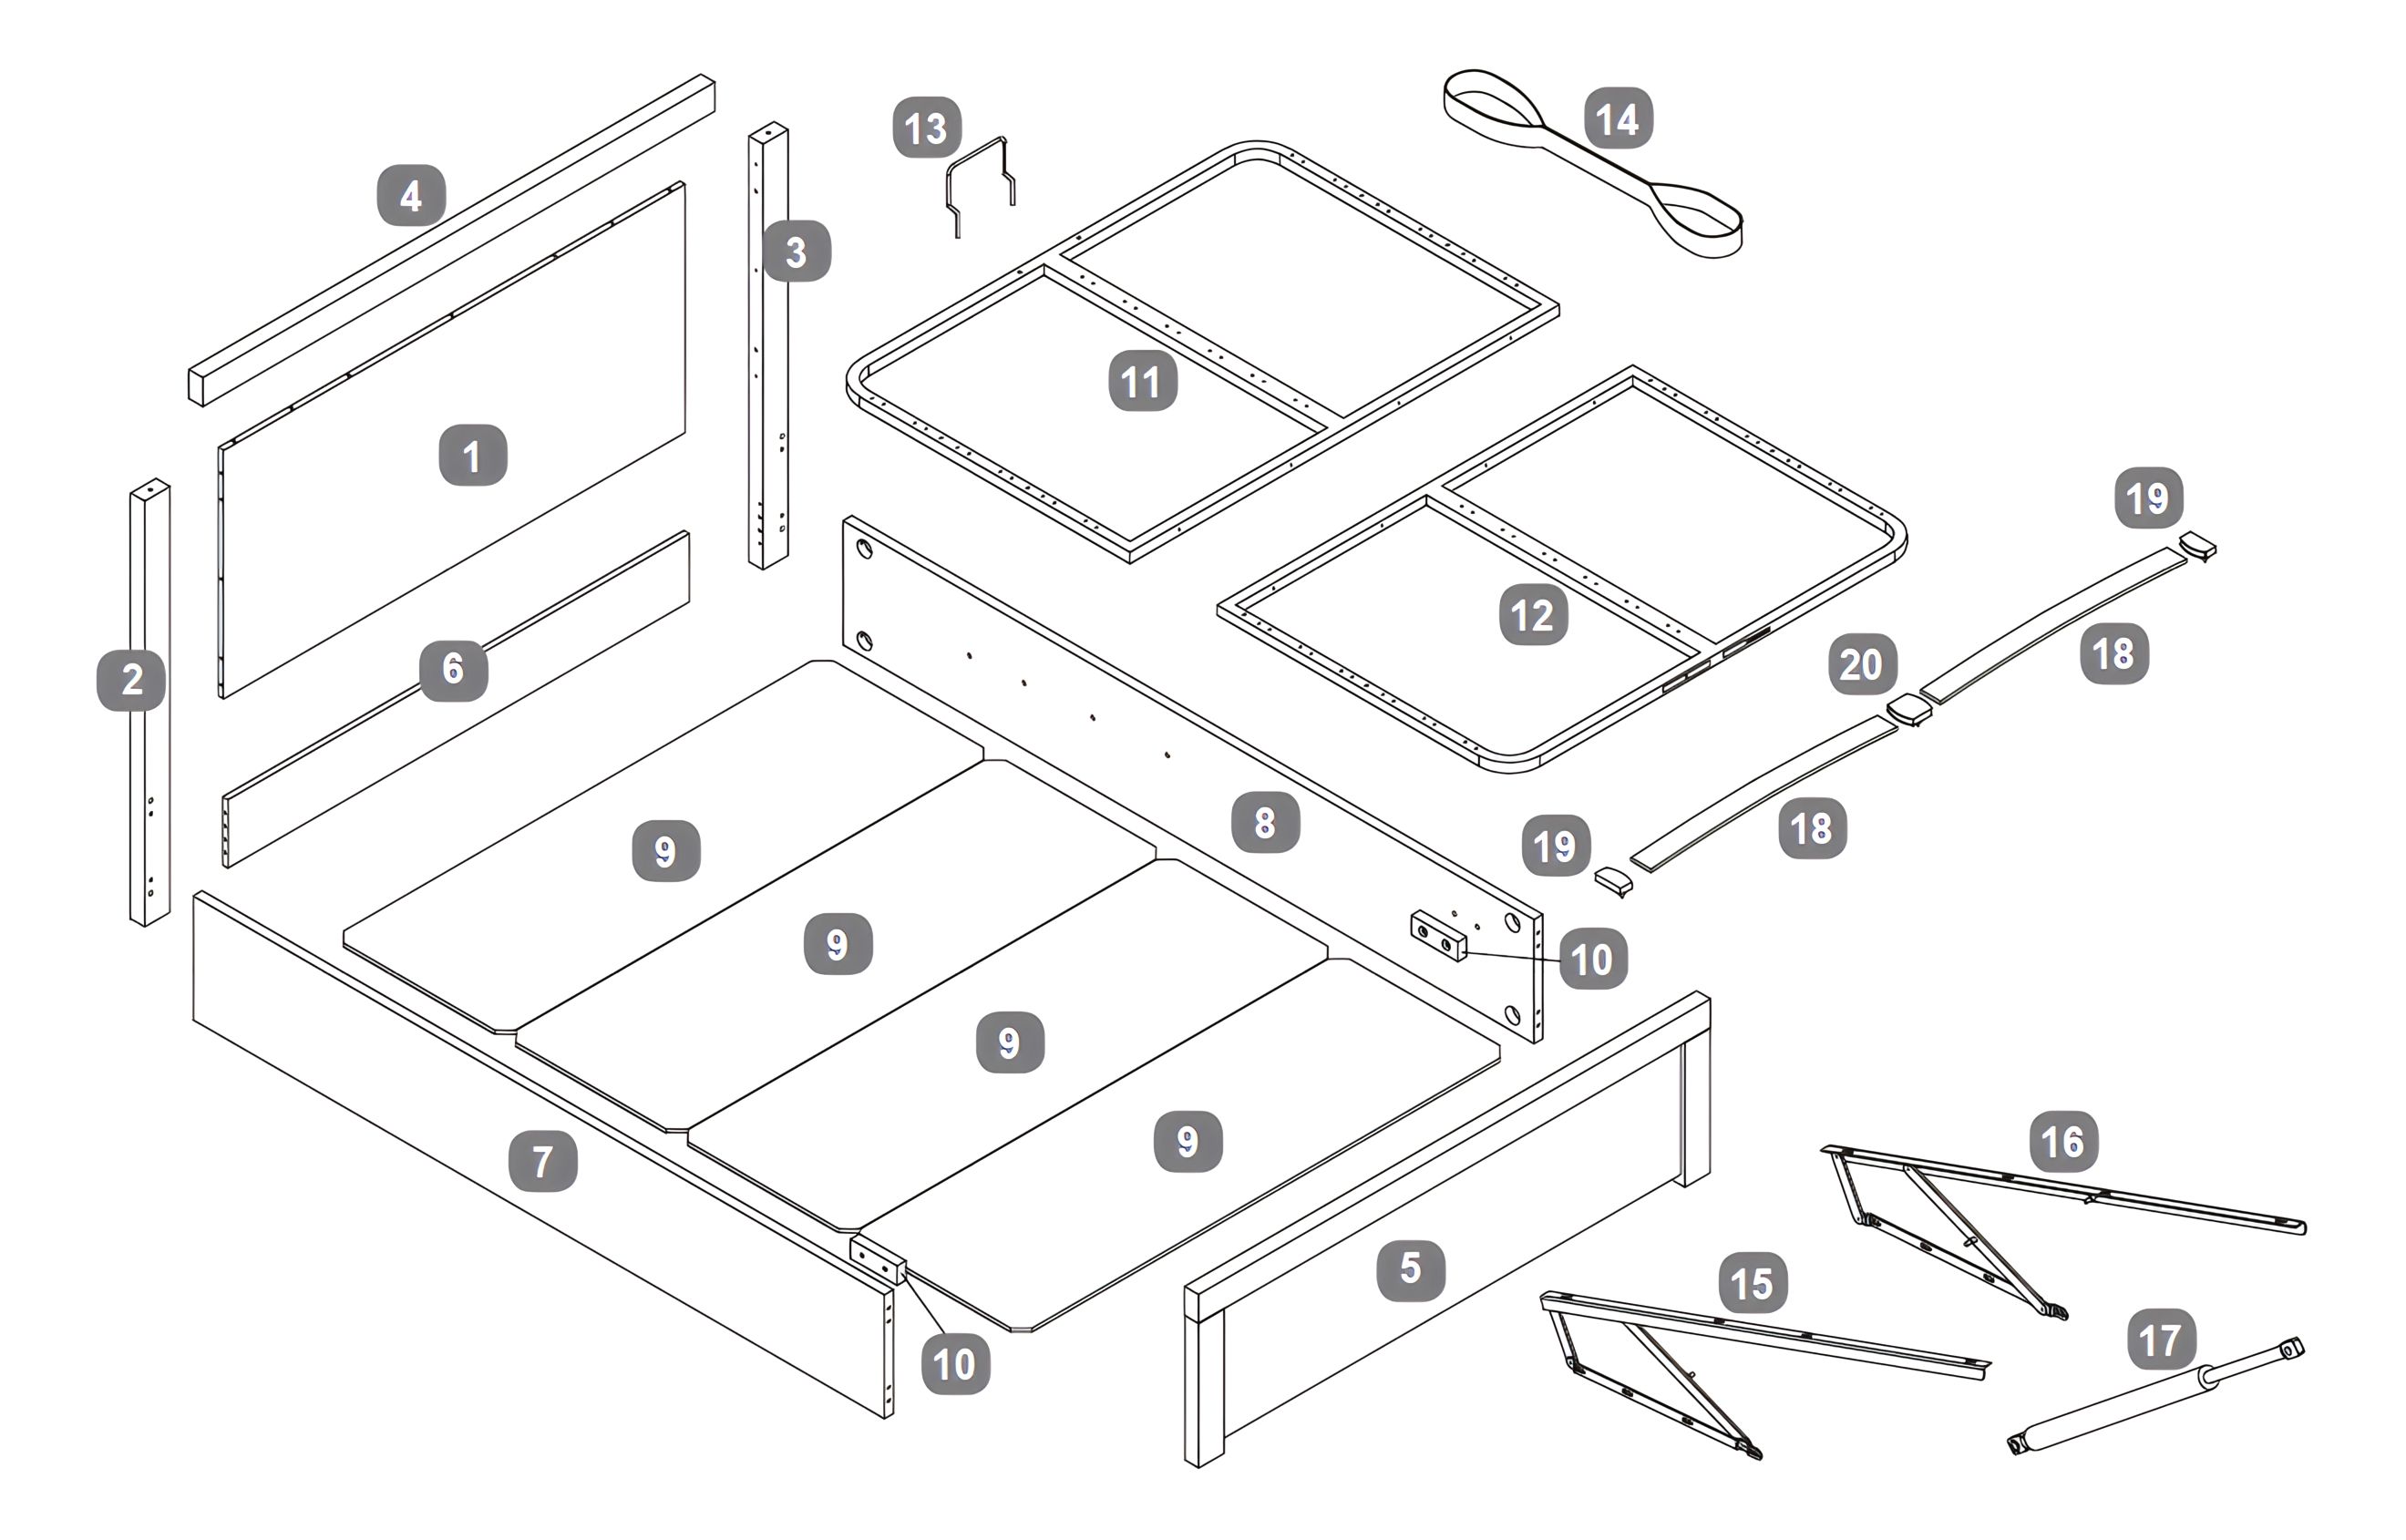
Parts
1Inner panel for headboard
2LH headboard leg
3RH headboard leg
4Top rail for headboard
5Footboard
6Bottom rail for headboard
7Side rail - LH
8Side rail - RH
9Base boards
10Support blocks
11Metal slat frame - Headend
12Metal slat frame - Footend
13Mattress Stopper
14Fabric handle
15Lift mechanism - LH
16Lift mechanism - RH
17Gas lift pistons
18Bentwood slats
19Single plastic caps
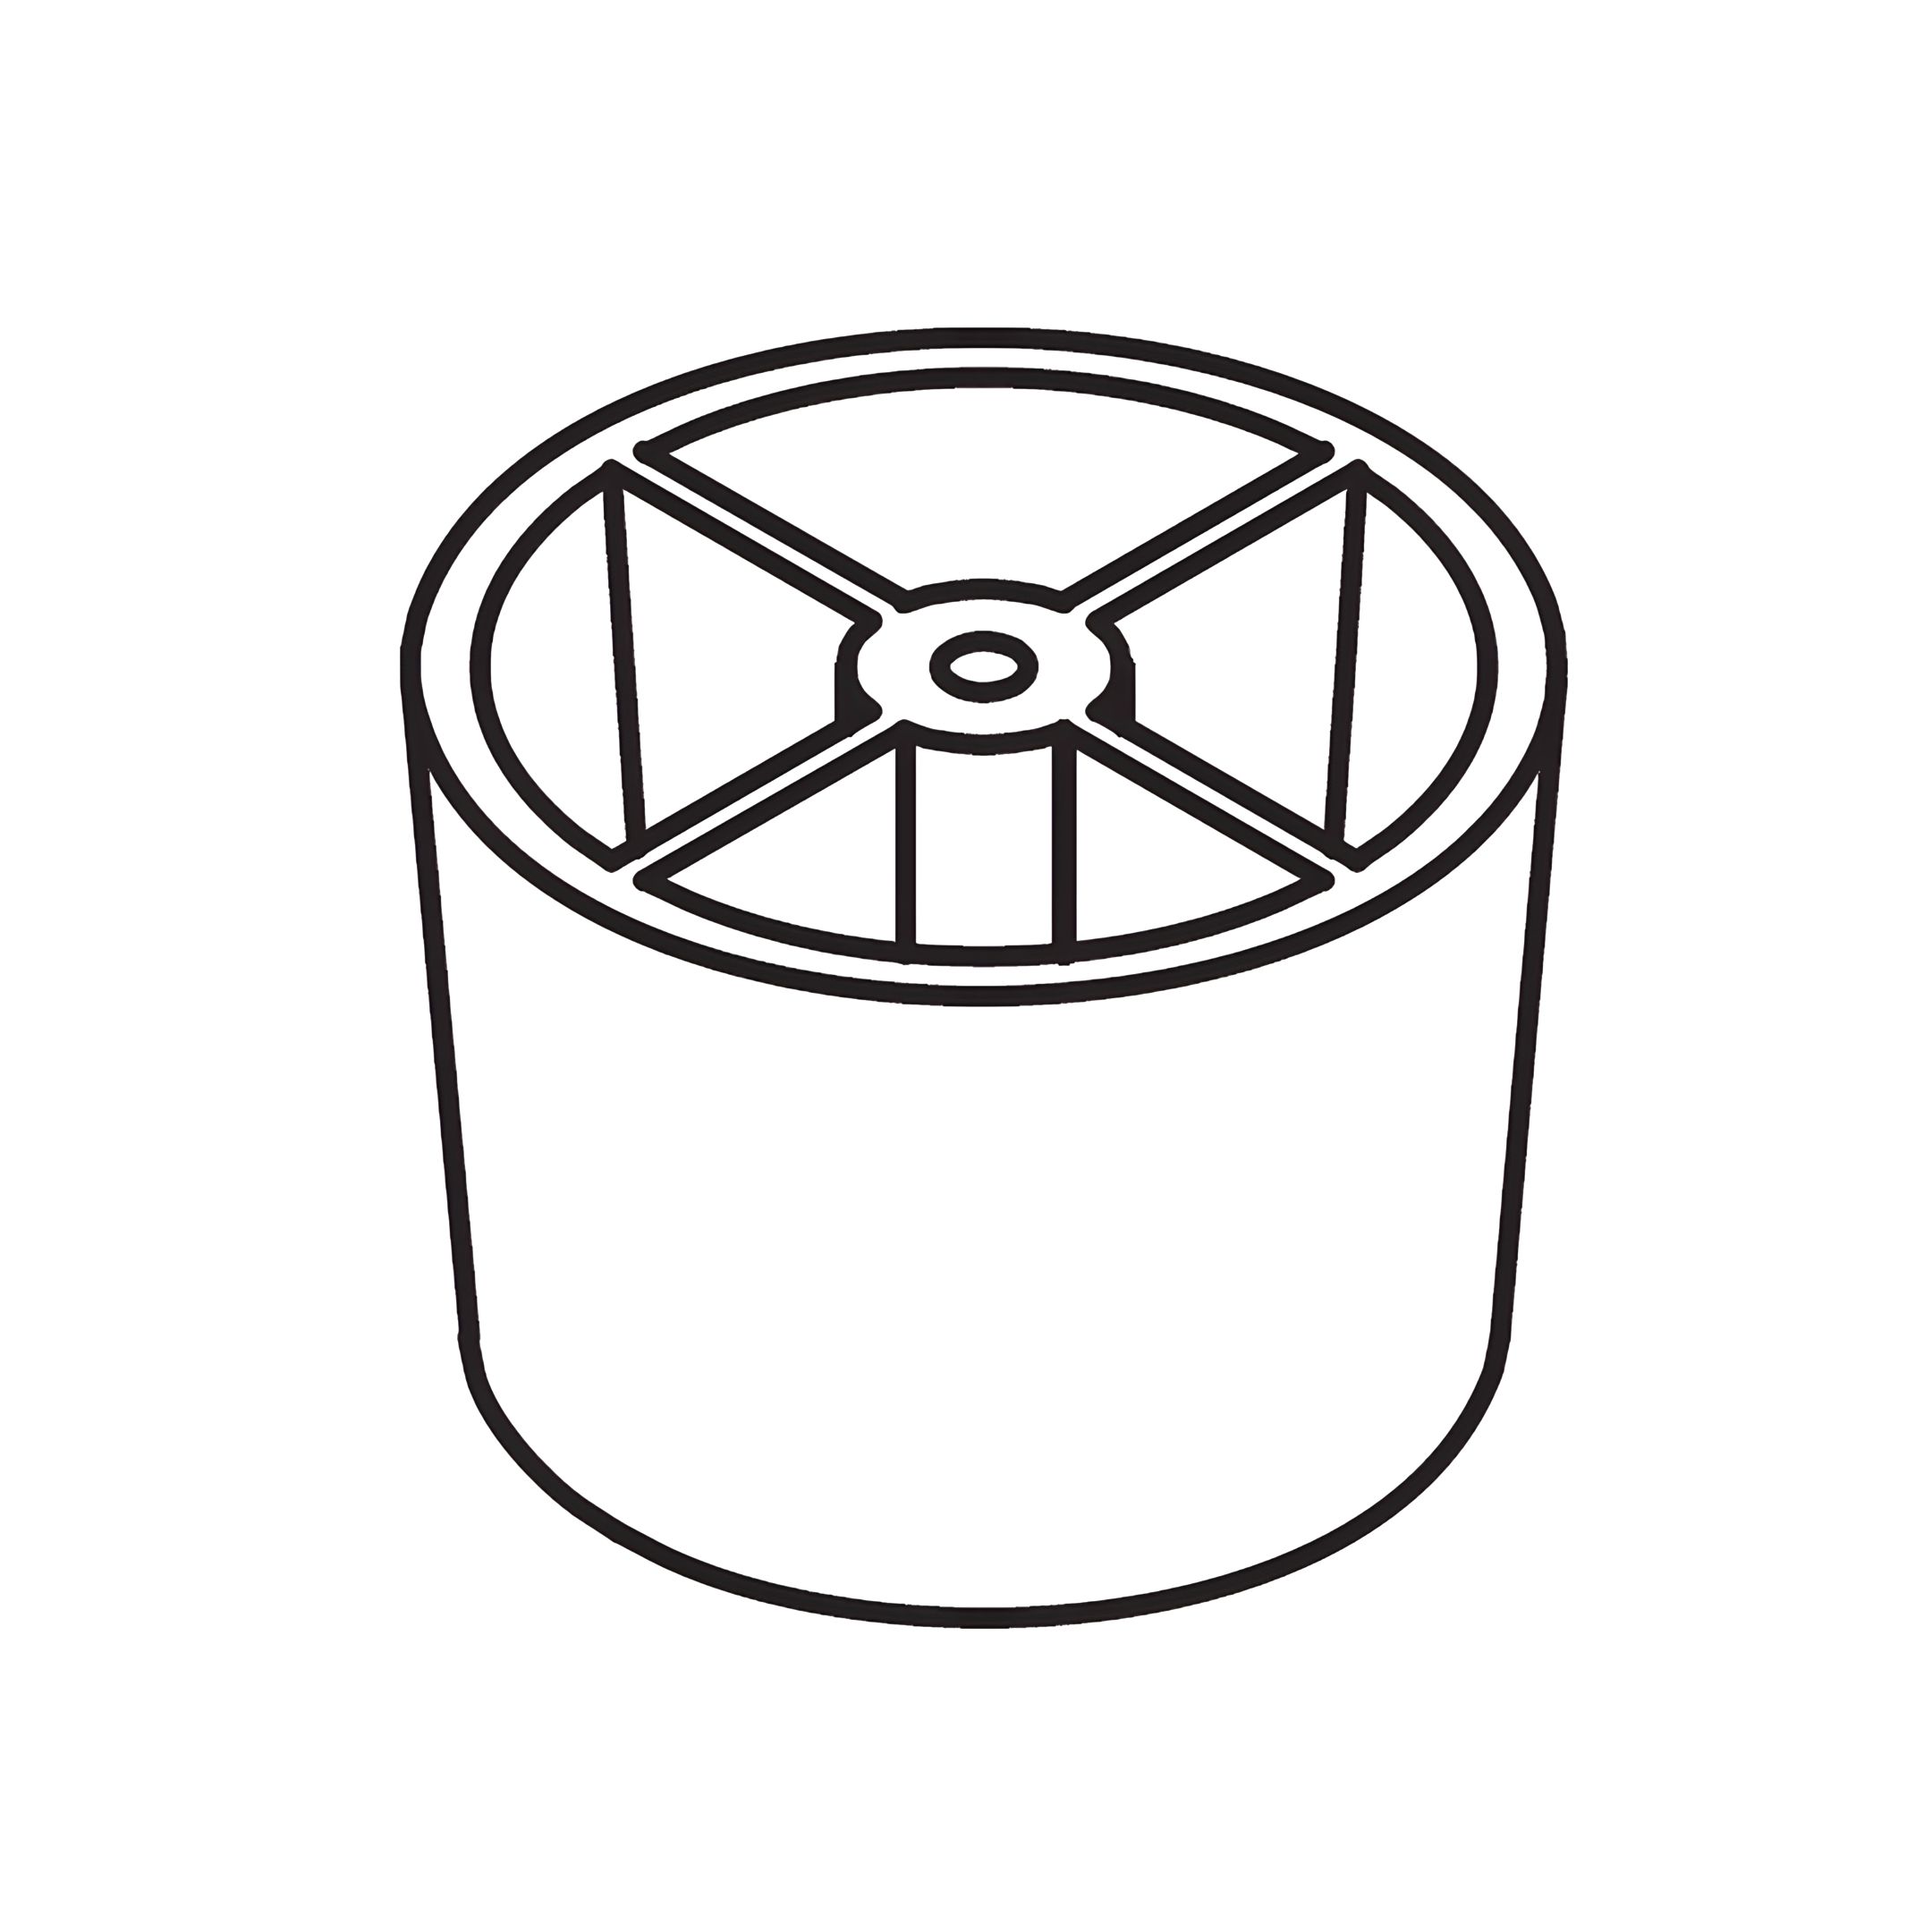
20Double plastic caps
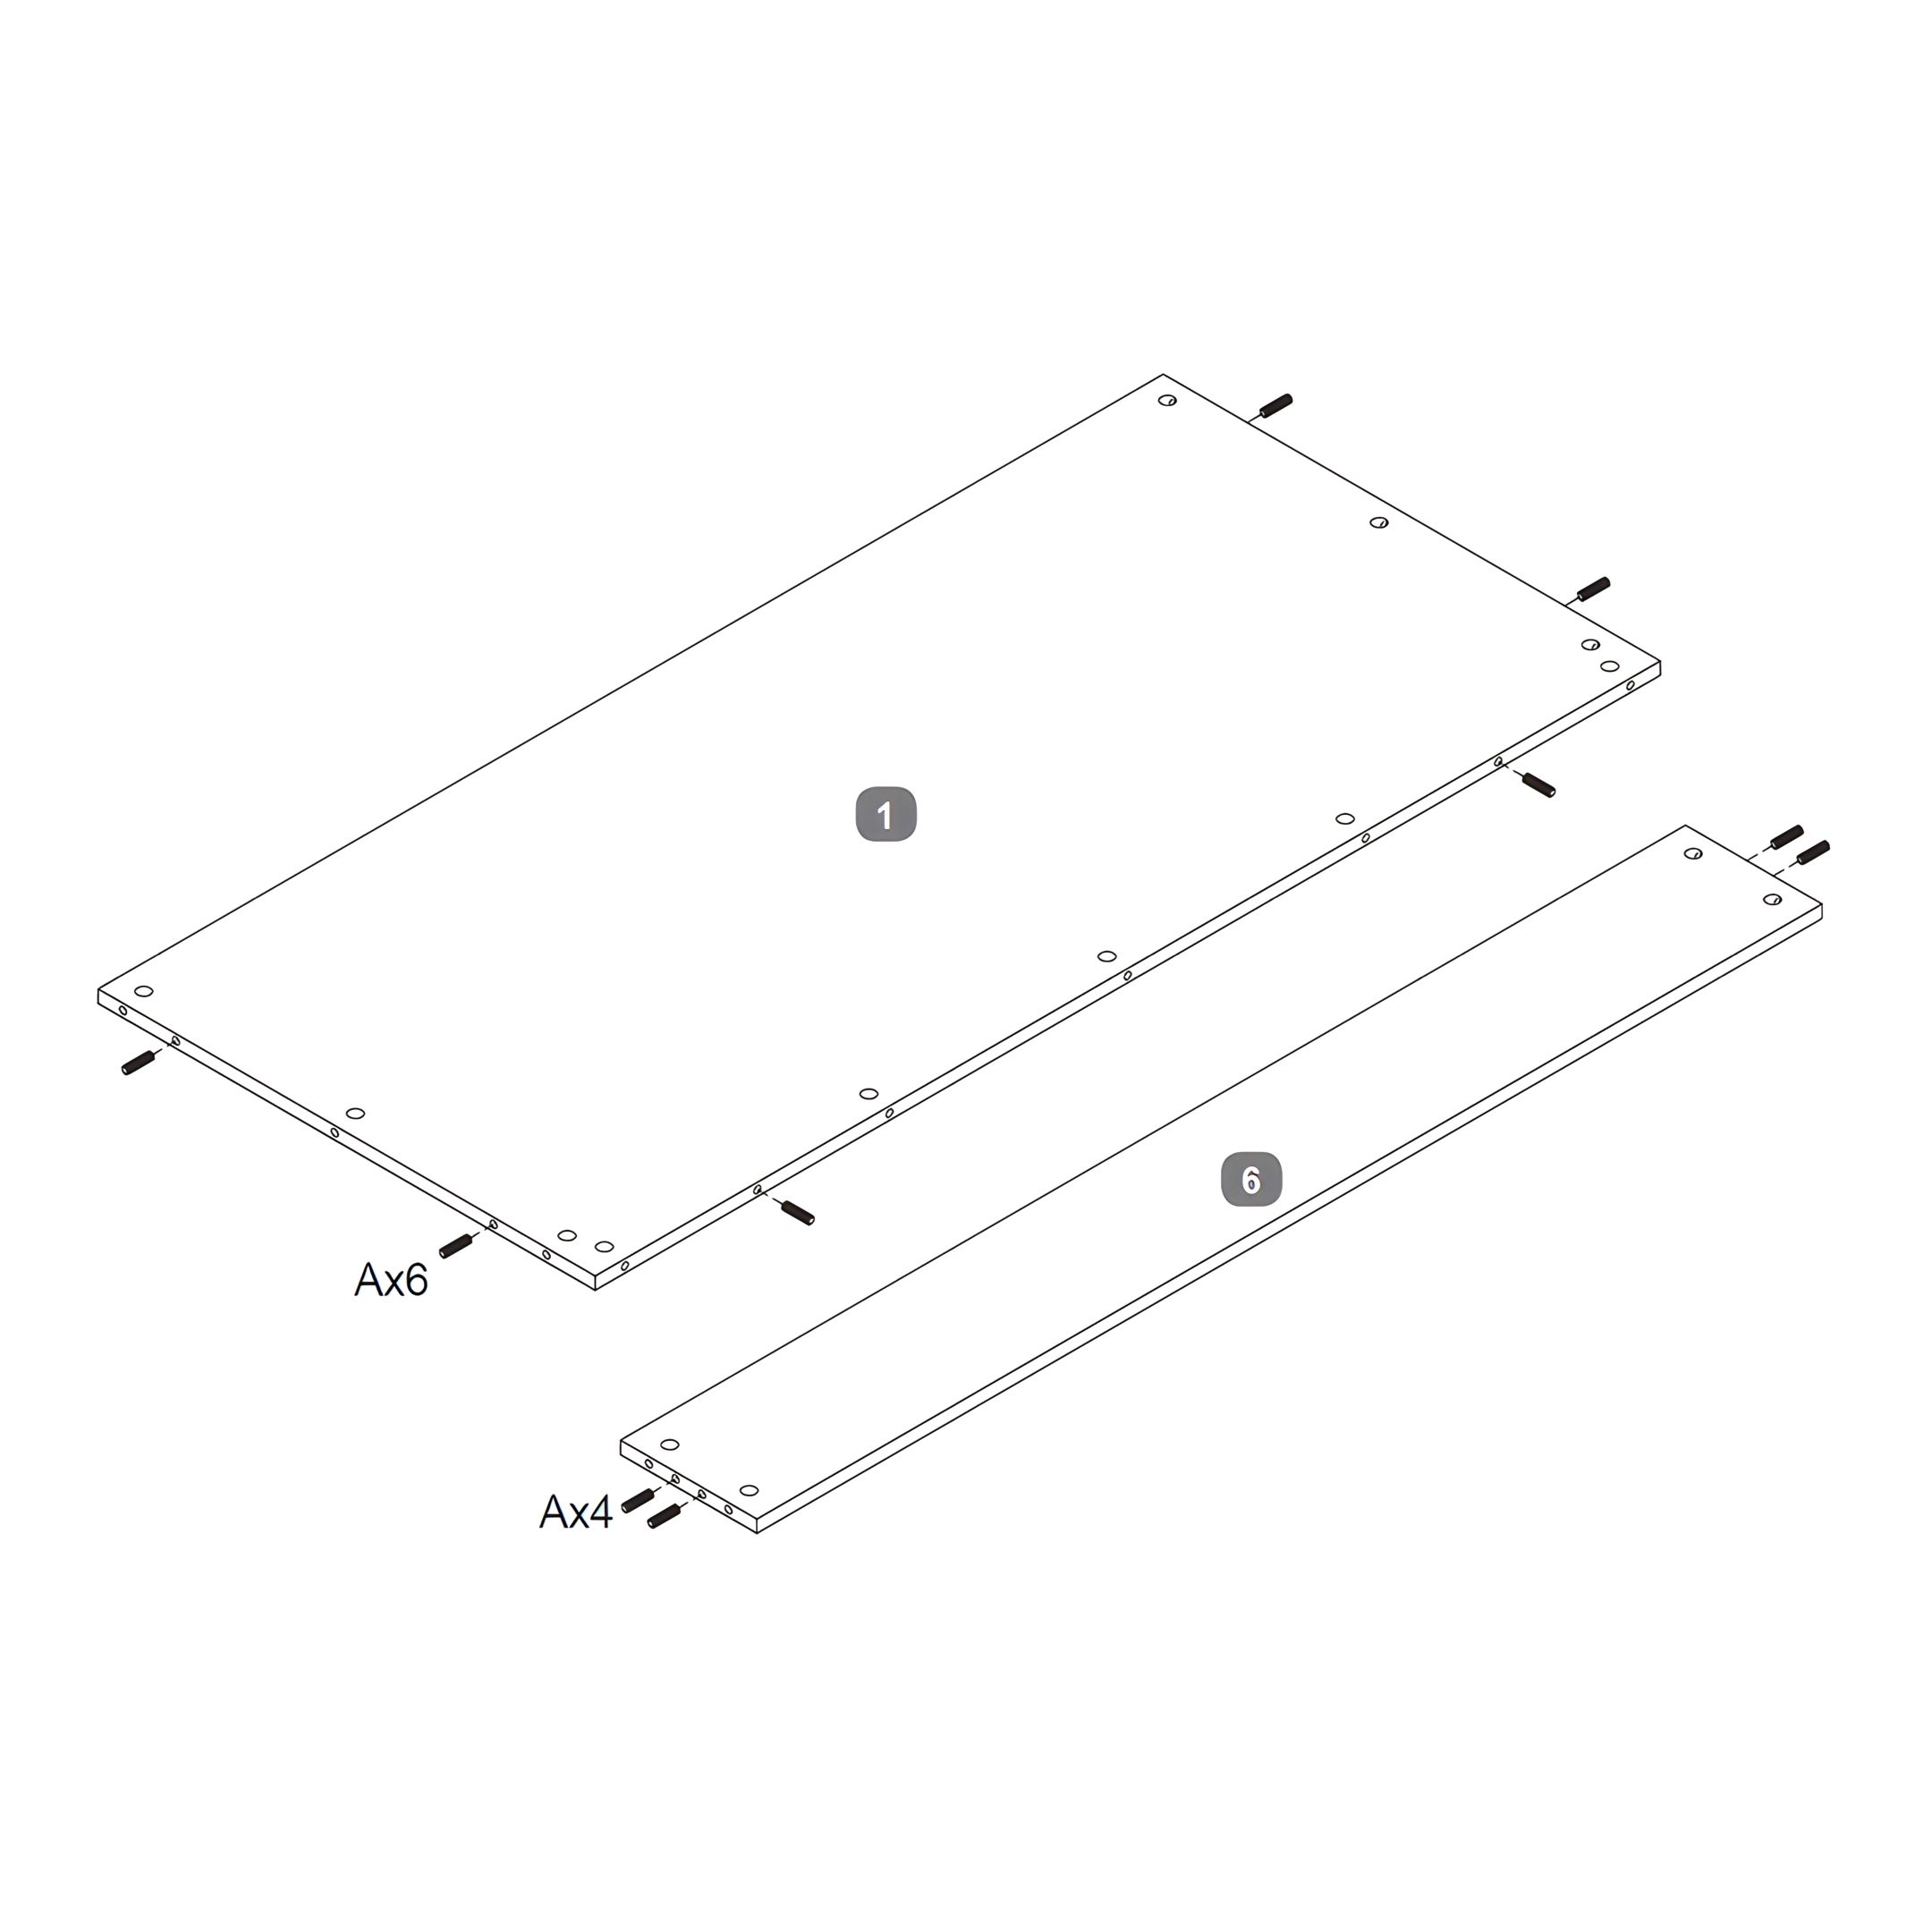
1. Preparing the Headboard Assembly
1. Identify the Inner Panel for the Headboard (1) and the Bottom Rail for the Headboard (6). 2. Refer to the provided image to locate the pre-drilled holes on these components. 3. Insert ten Dowels (C) into the pre-drilled holes, ensuring each dowel is fully seated and aligned correctly for a secure fit.
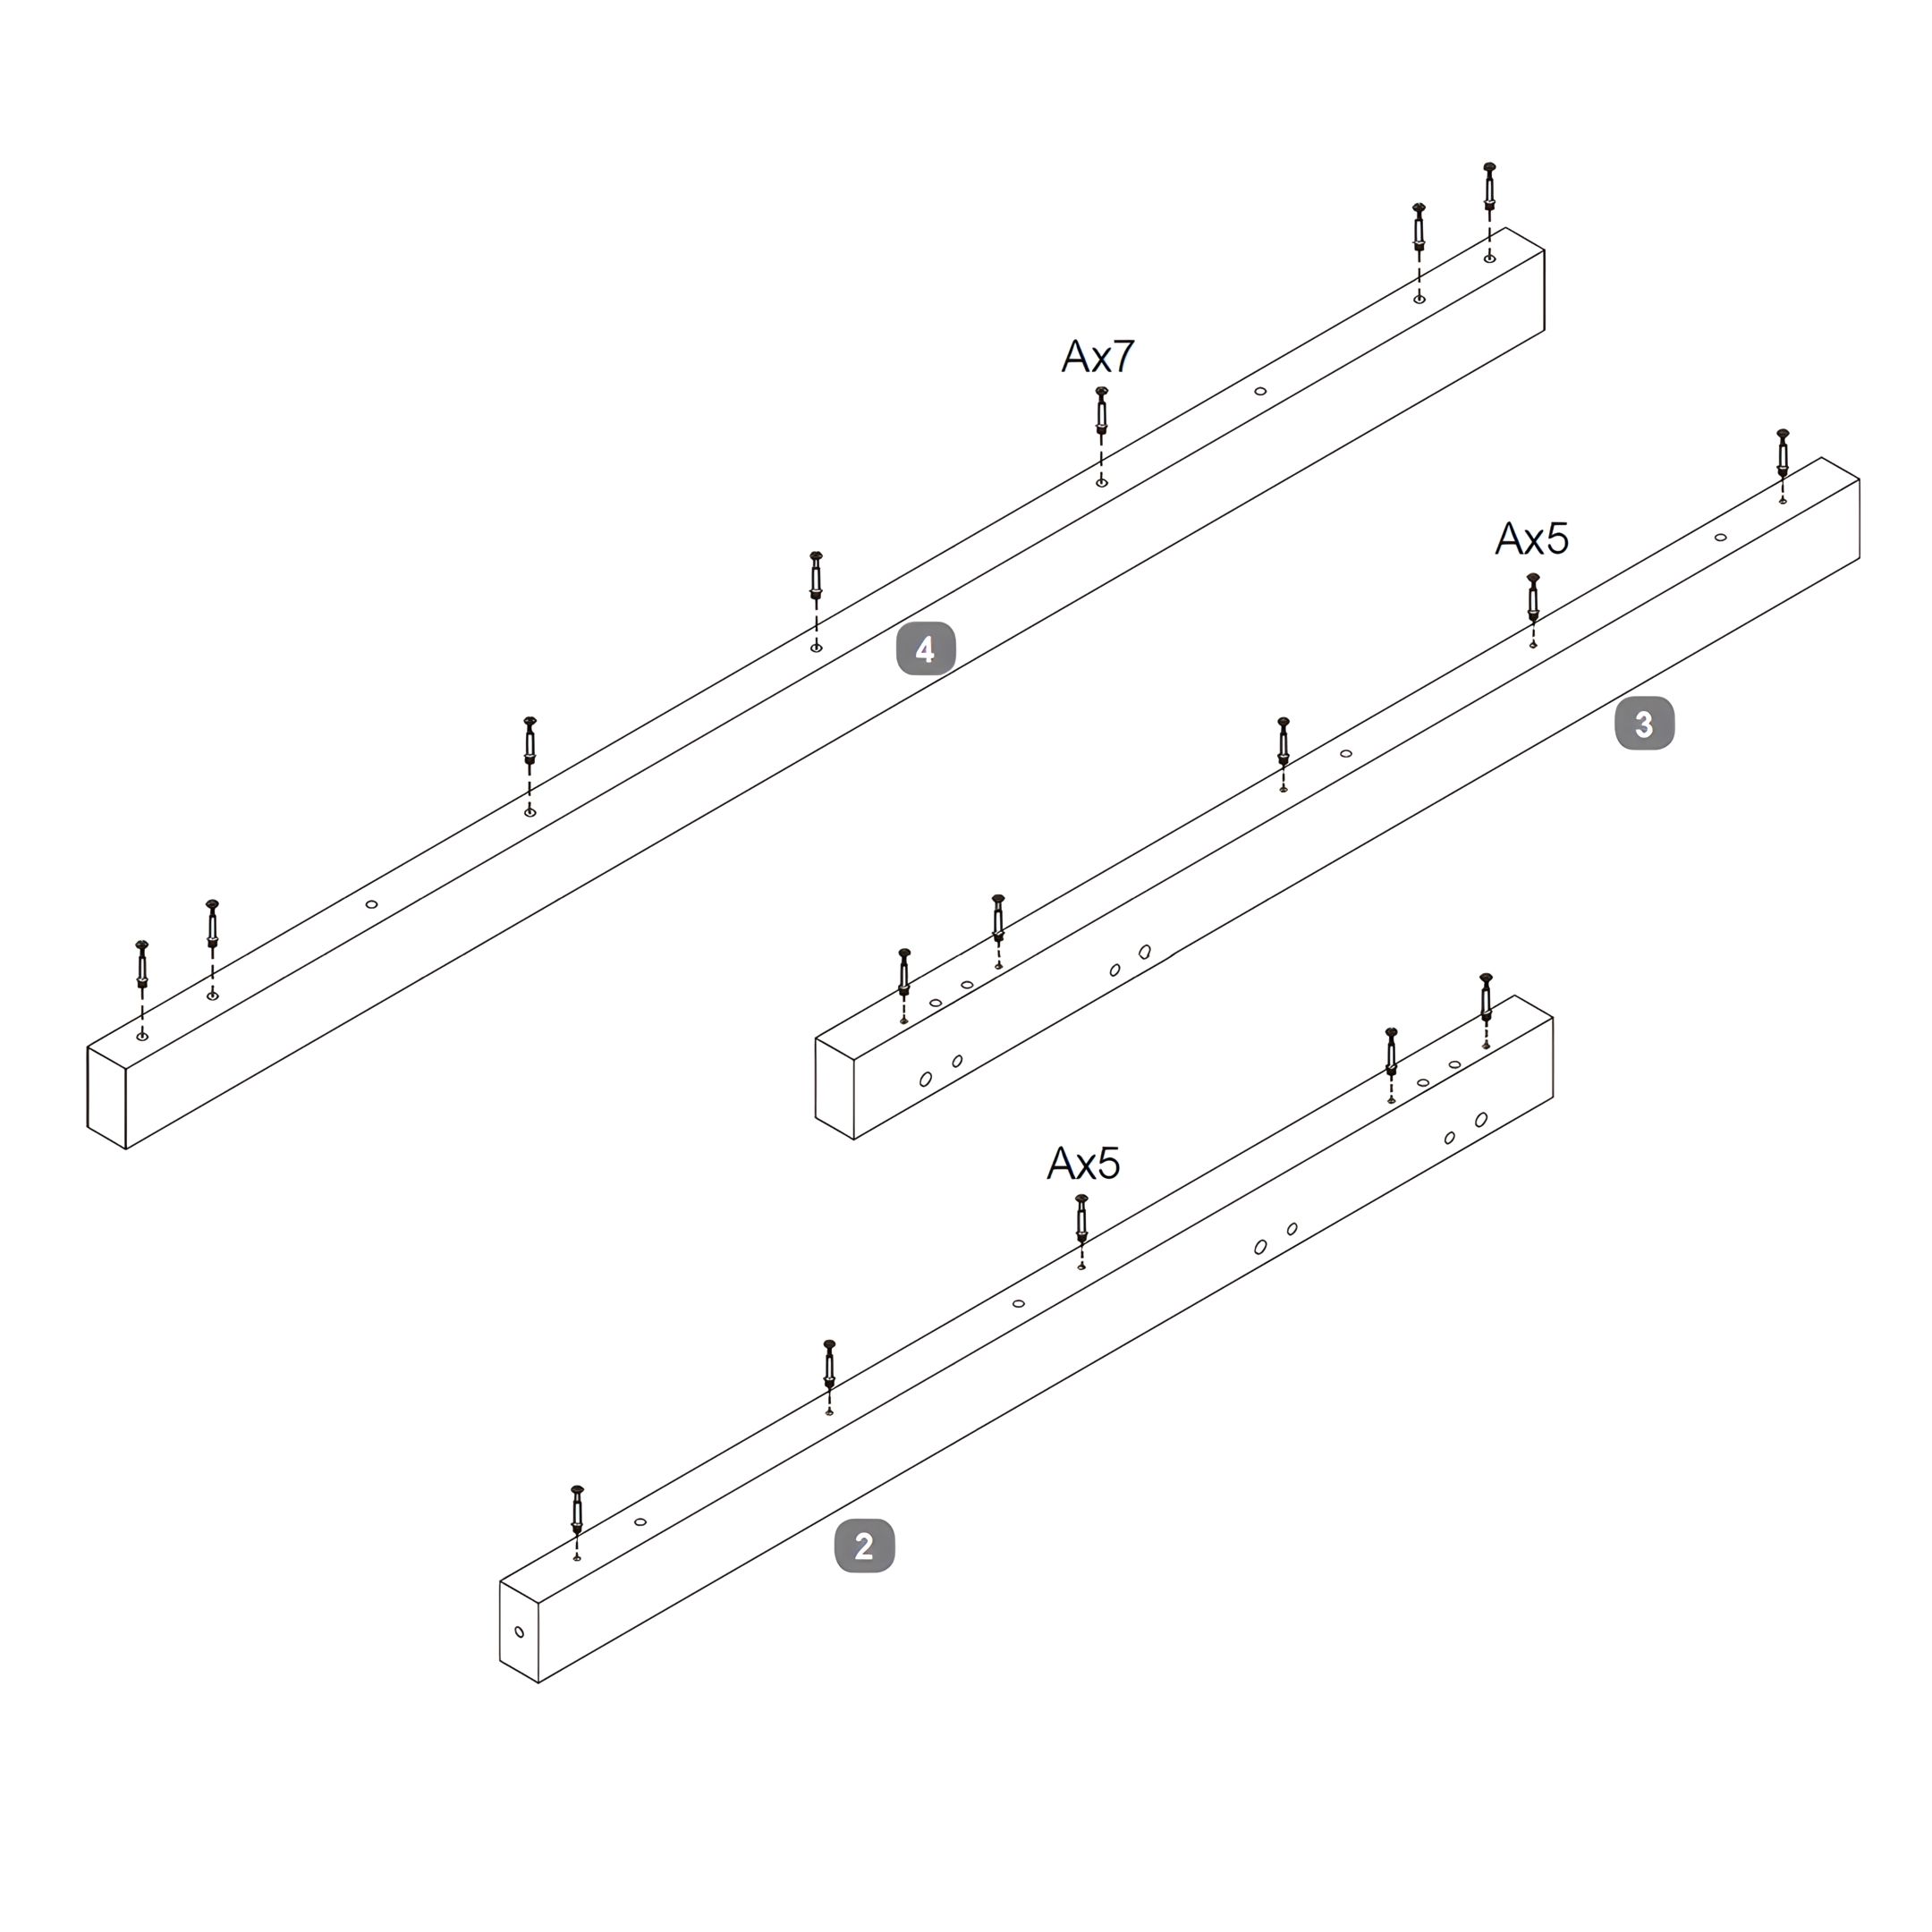
2. Assembling the Headboard Structure
1. Identify the Headboard Legs (2 & 3) and the Top Rail for Headboard (4). 2. For the Headboard Legs (2 & 3), use 5 Cam Bolts (A). Align the screws with the pre-drilled holes and tighten them using a Philips Head Screwdriver. 3. For the Top Rail for Headboard (4), use 7 Cam Bolts (A). Align the screws with the pre-drilled holes and tighten them using a Philips head screwdriver.
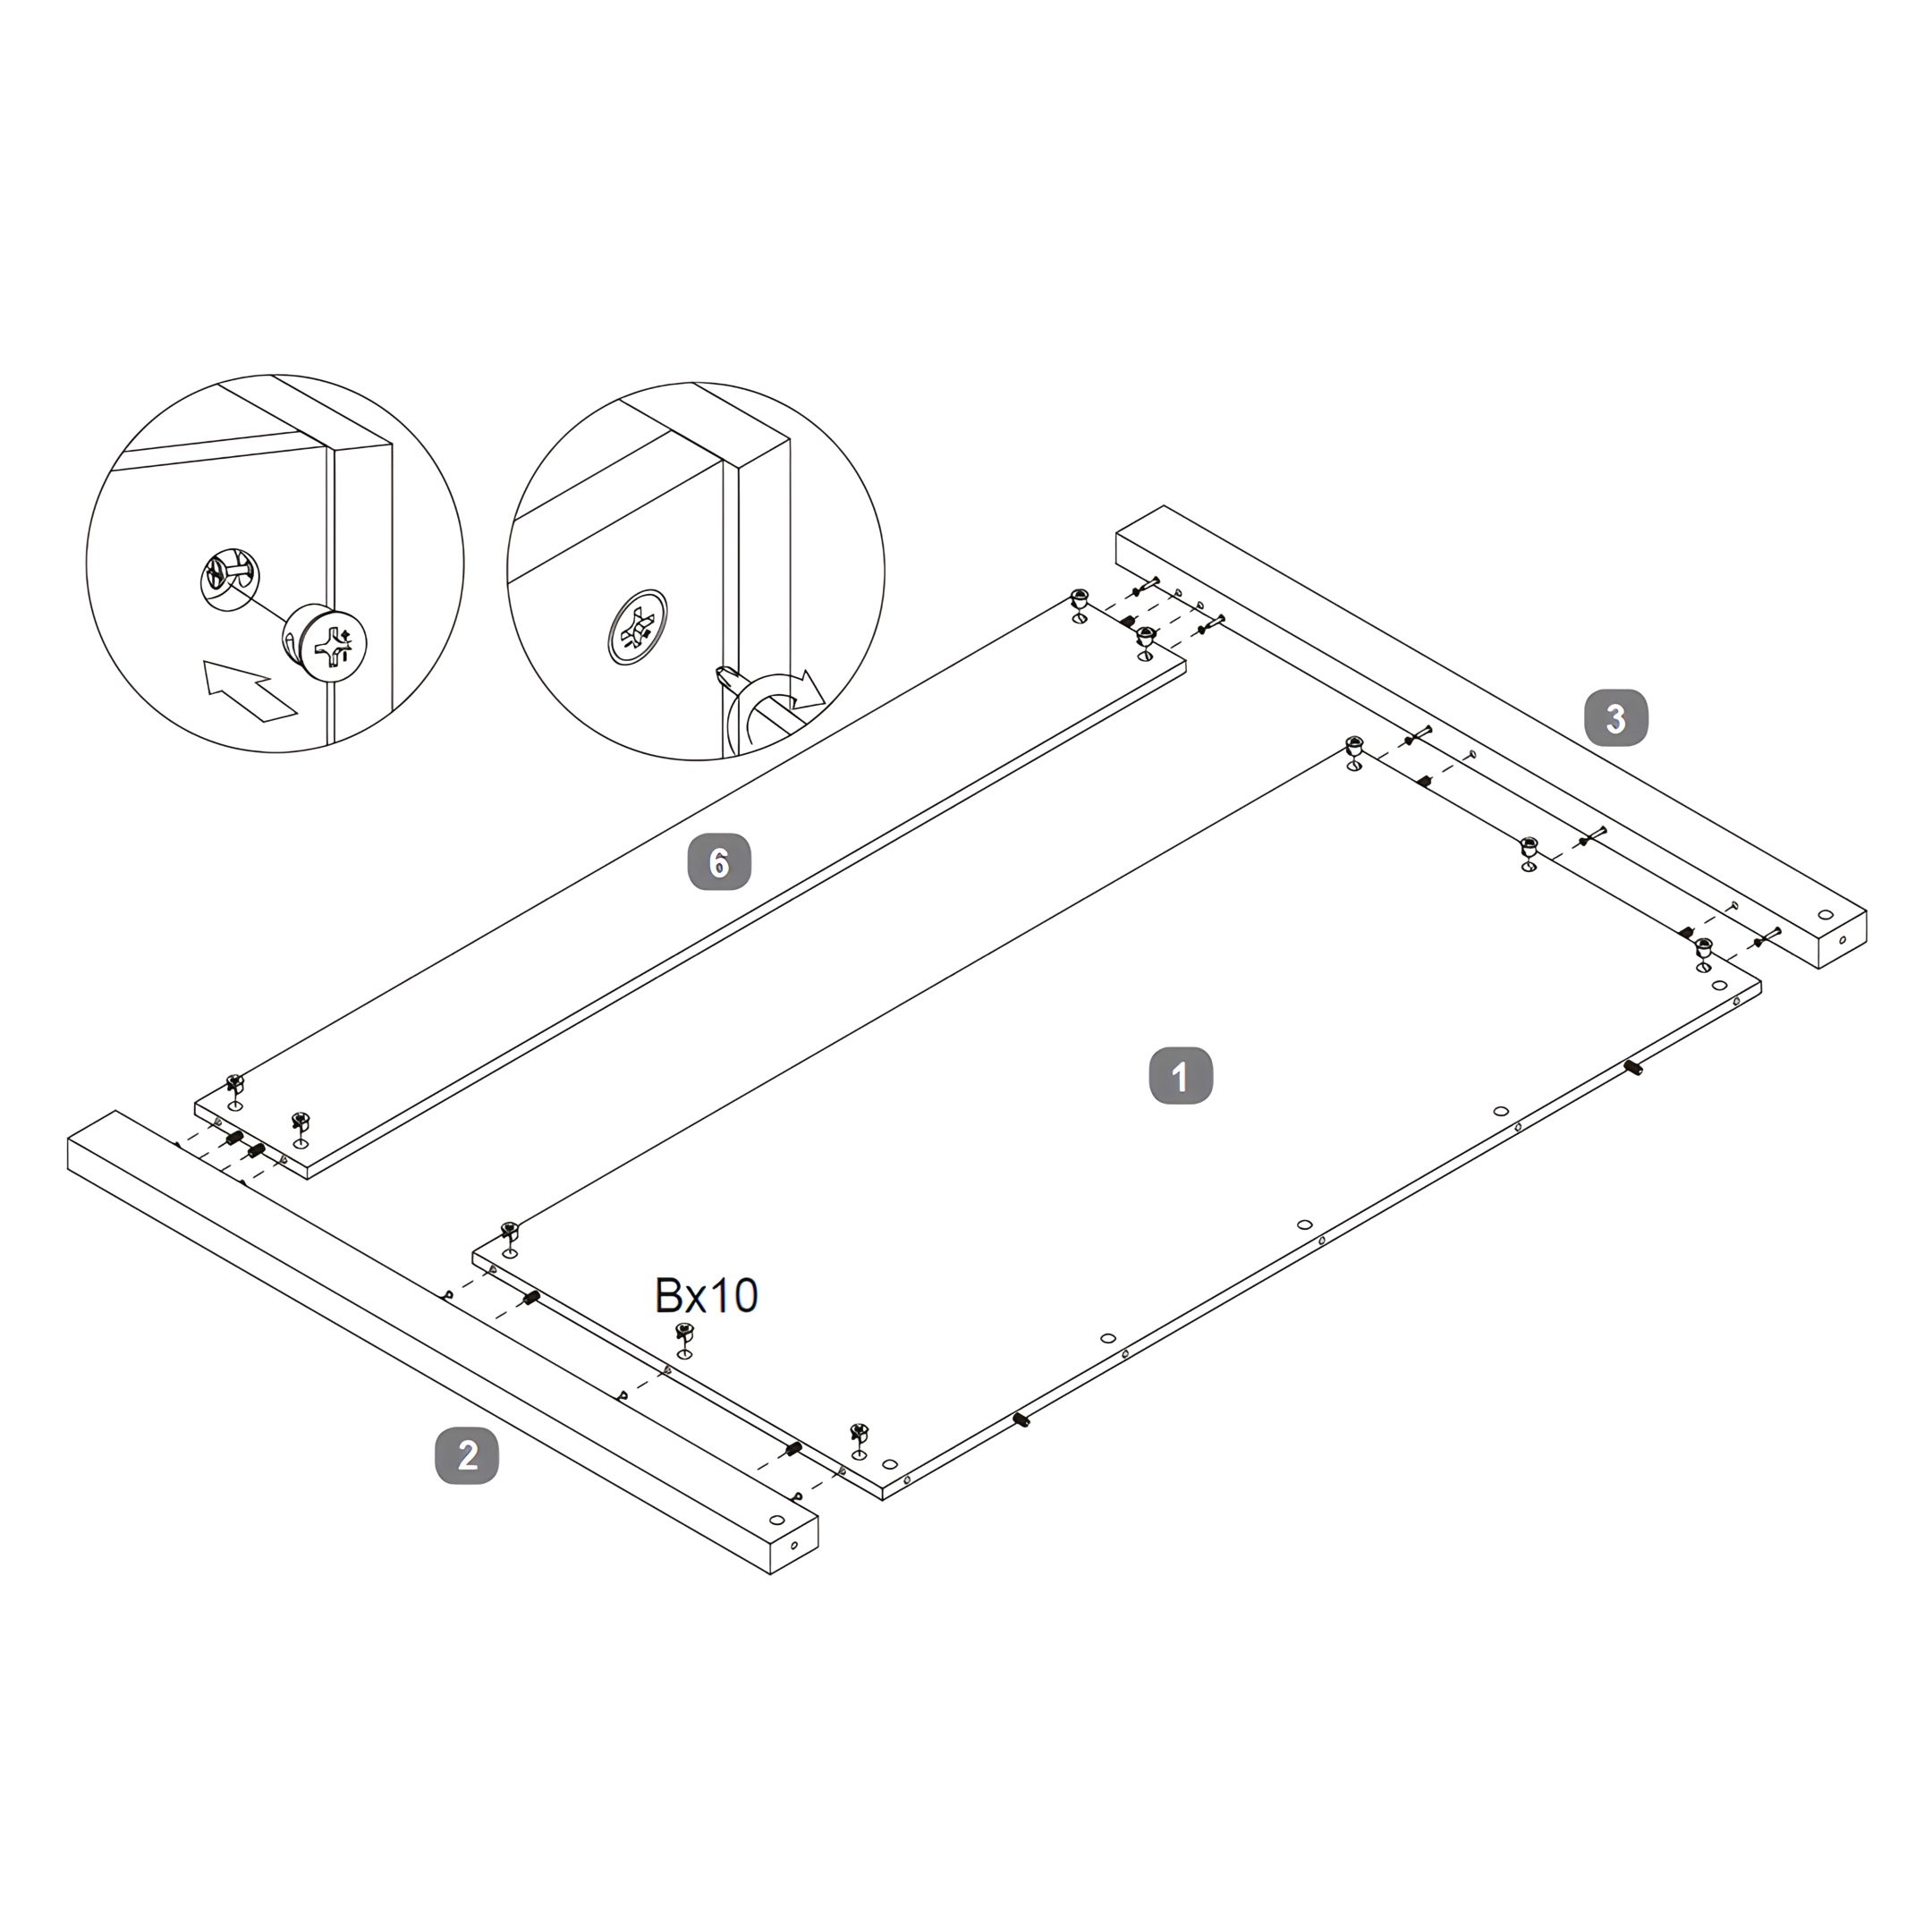
3. Securing the Headboard Frame
1. Align the Headboard Legs (2 & 3) with the Dowels and the Cam Bolts installed in the Inner Panel (1) and the Bottom Rail for the Headboard (6). Ensure the alignment is precise to facilitate smooth insertion. 2. Attach 10 Cam Locks (A) at the marked points to firmly secure the Headboard Legs to the Bottom Rail and the Inner Panel. Rotate each Cam Lock using a screwdriver to lock it in place, ensuring a tight fit.
Ensure all connections are tightened properly but do not over-tighten, as this might strip the threads or damage the material.
4. Installing the Top Rail of the Headboard
1. Align the Top Rail of the Headboard with upper edges of the Headboard Legs and the Inner Panel. 2. Fasten the Top Rail to the Headboard Legs and Inner Panel by inserting and tightening seven Cam Locks (B) through the pre-drilled holes. Use a screwdriver to turn each Cam Lock until it is firmly secured.
5. Preparing the Headboard and Footboard Panels
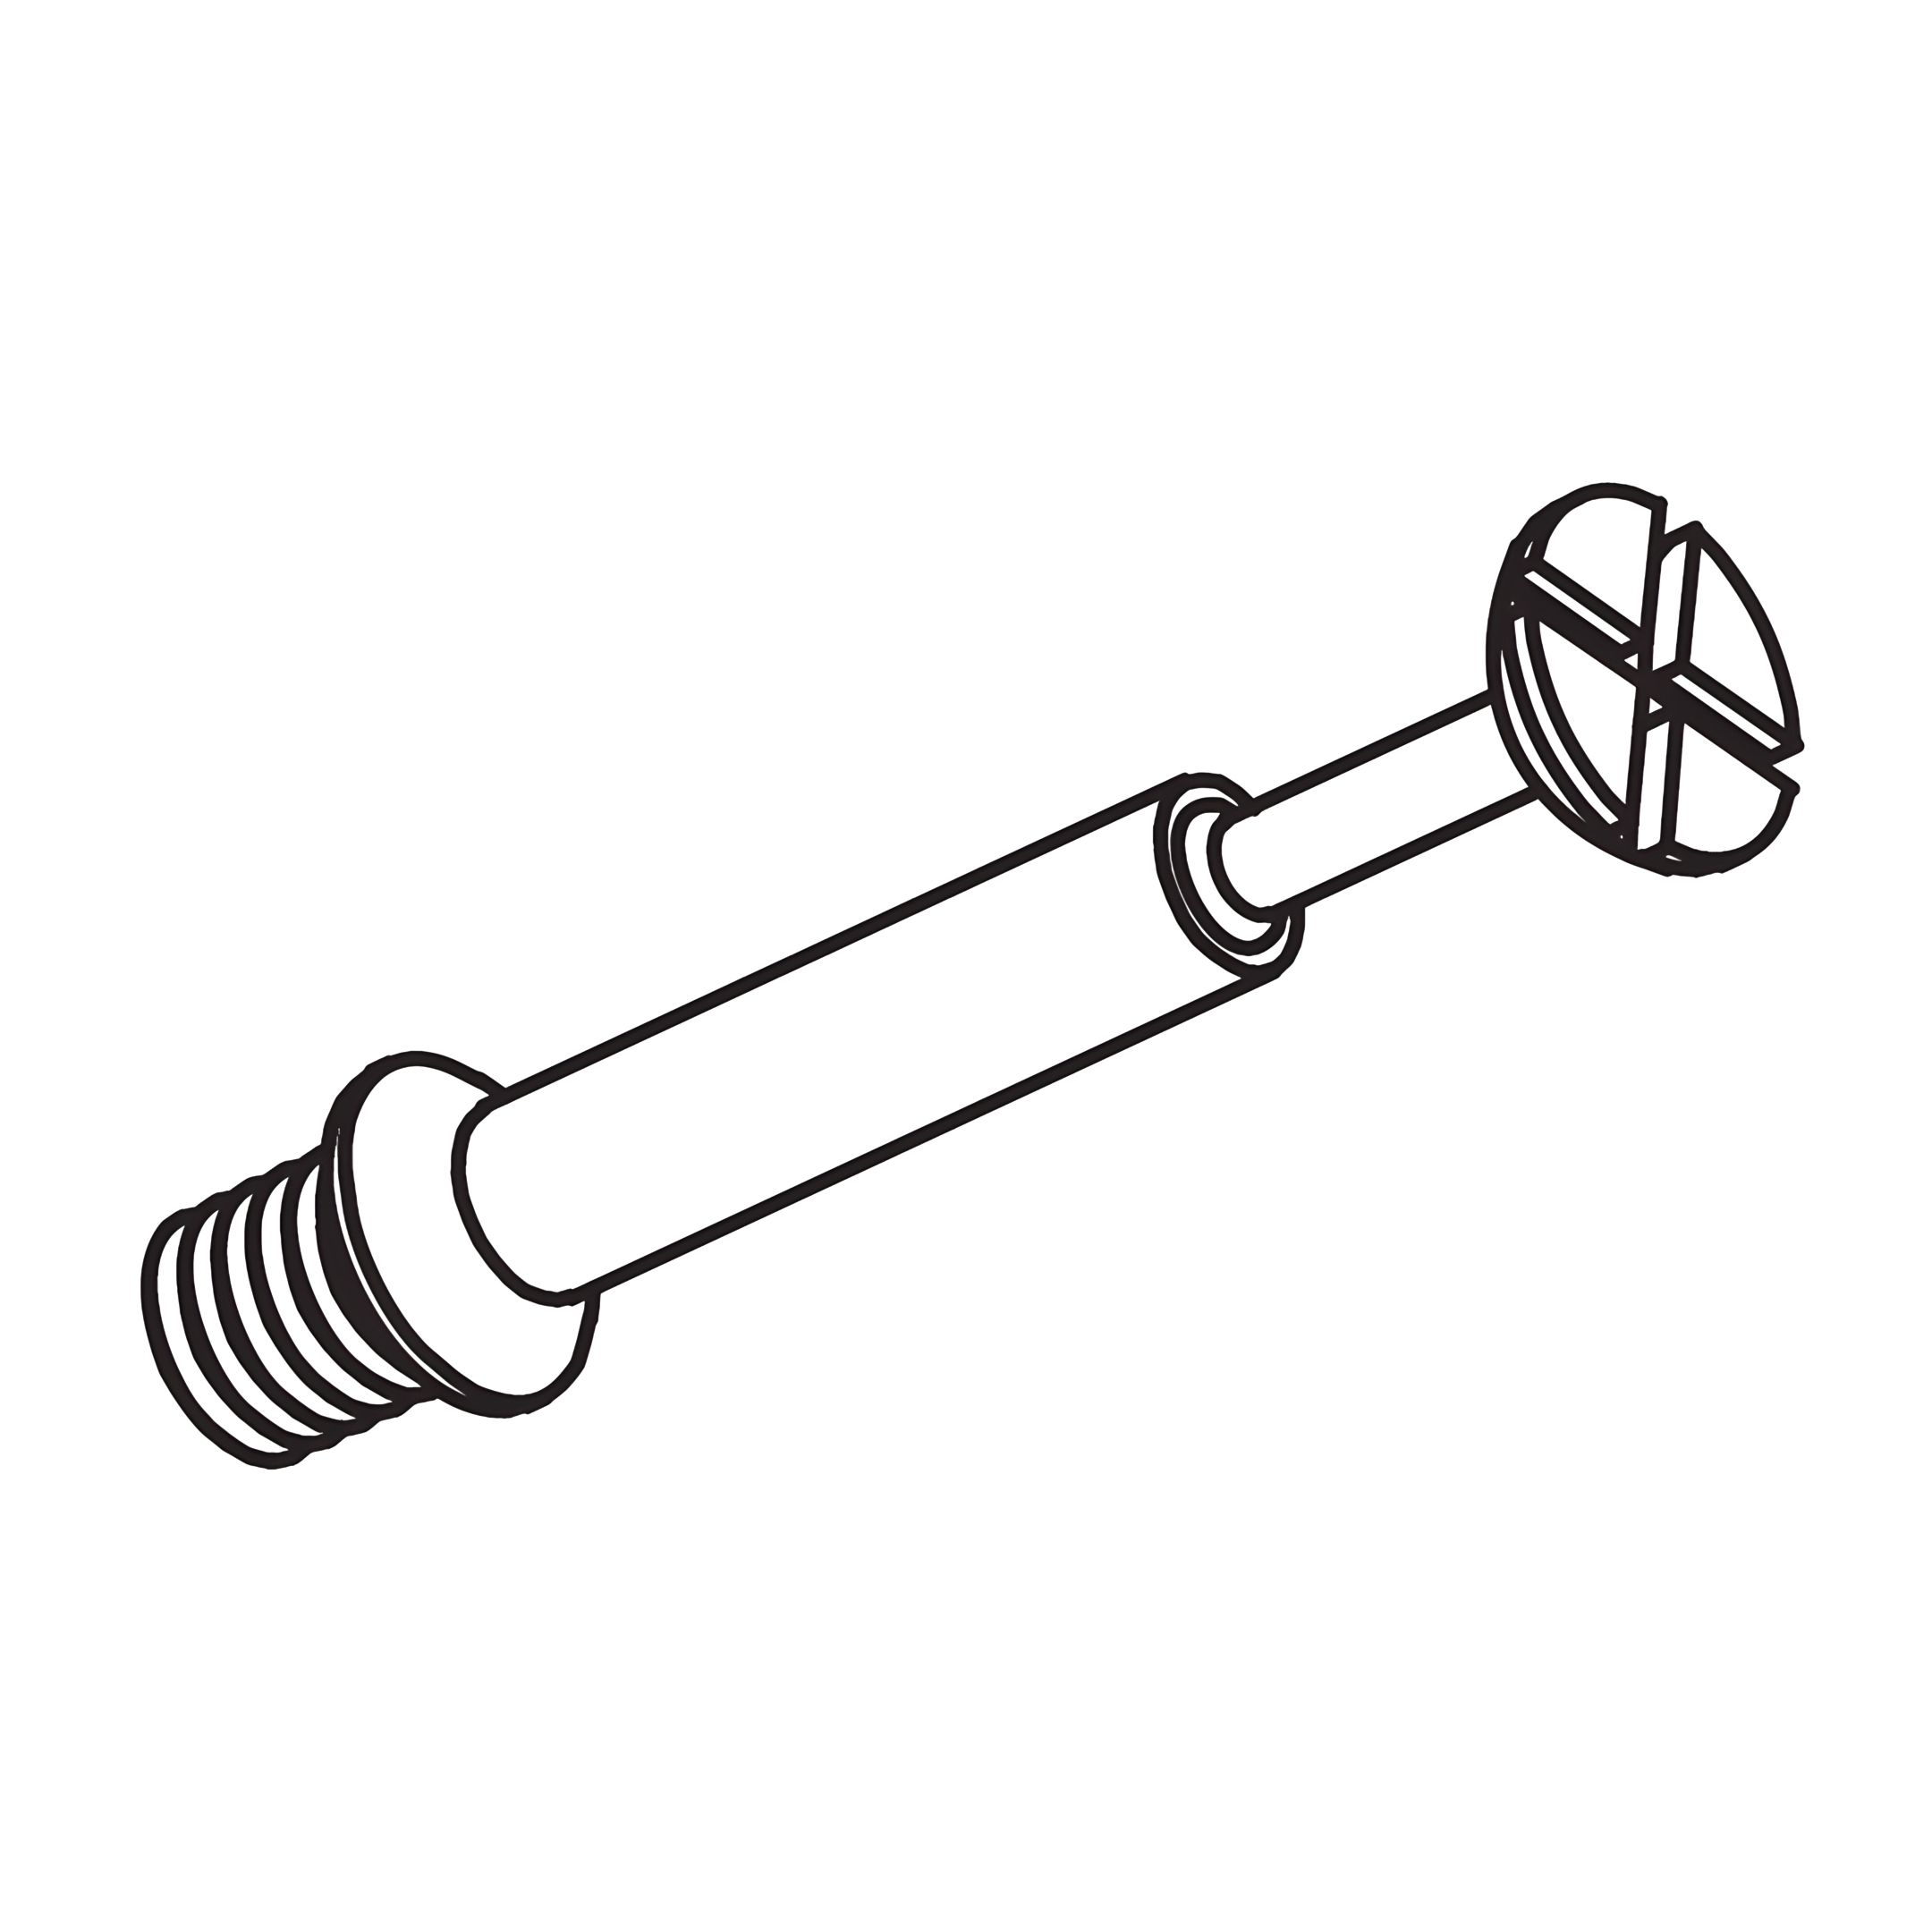
1. Identify the Headboard Panel (1) and the Footboard (5). 2. Insert four Threaded Studs (D) into the pre-drilled holes on each panel. 3. Ensure the dowels are securely placed to provide stability during assembly.
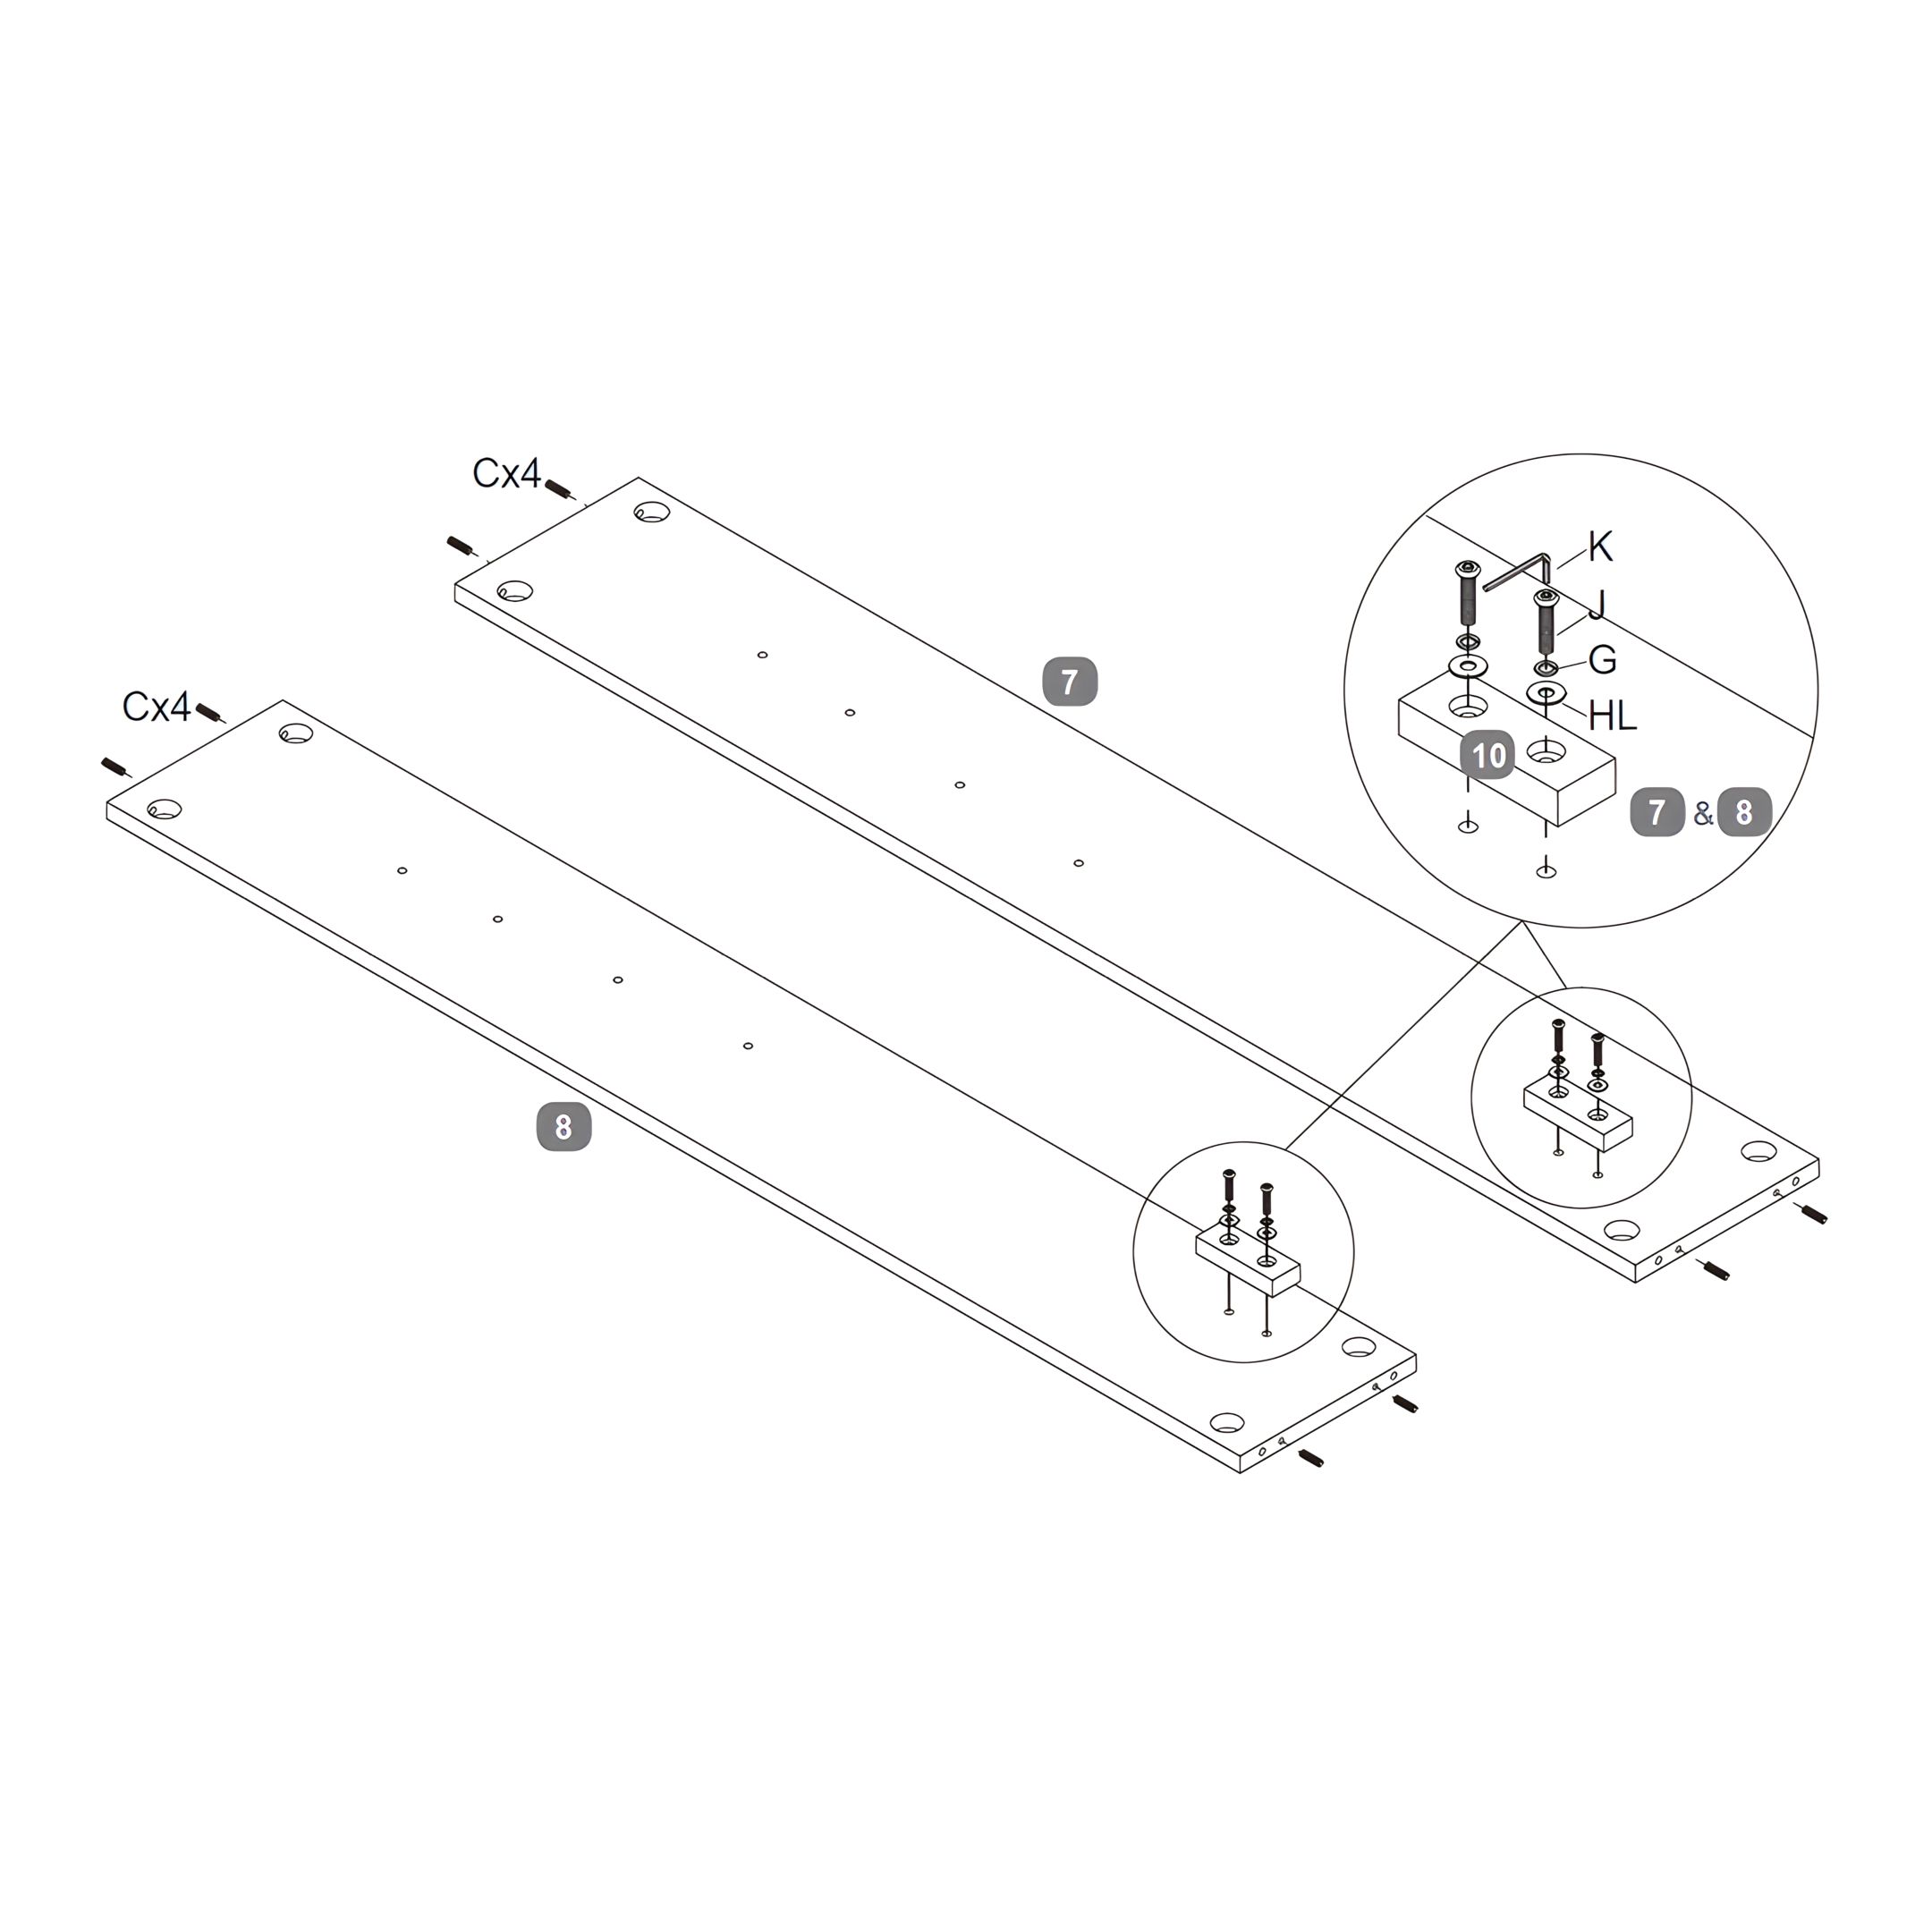
6. Assembling Support Blocks
1. Identify the Left-Hand Side Rail (7), Right-Hand Side Rail (8), and the Support Blocks (10). 2. Insert eight Dowels (C) into the pre-drilled holes located on the side edges of both Side Rails. 3. Align the Support Blocks (10) with the corresponding pre-drilled holes on the Side Rails. Secure them using Bolts (J), Spring Washers (G), and Large Flat Washers (HL). Tighten the assembly with the Allen Key (K) to ensure a firm hold.
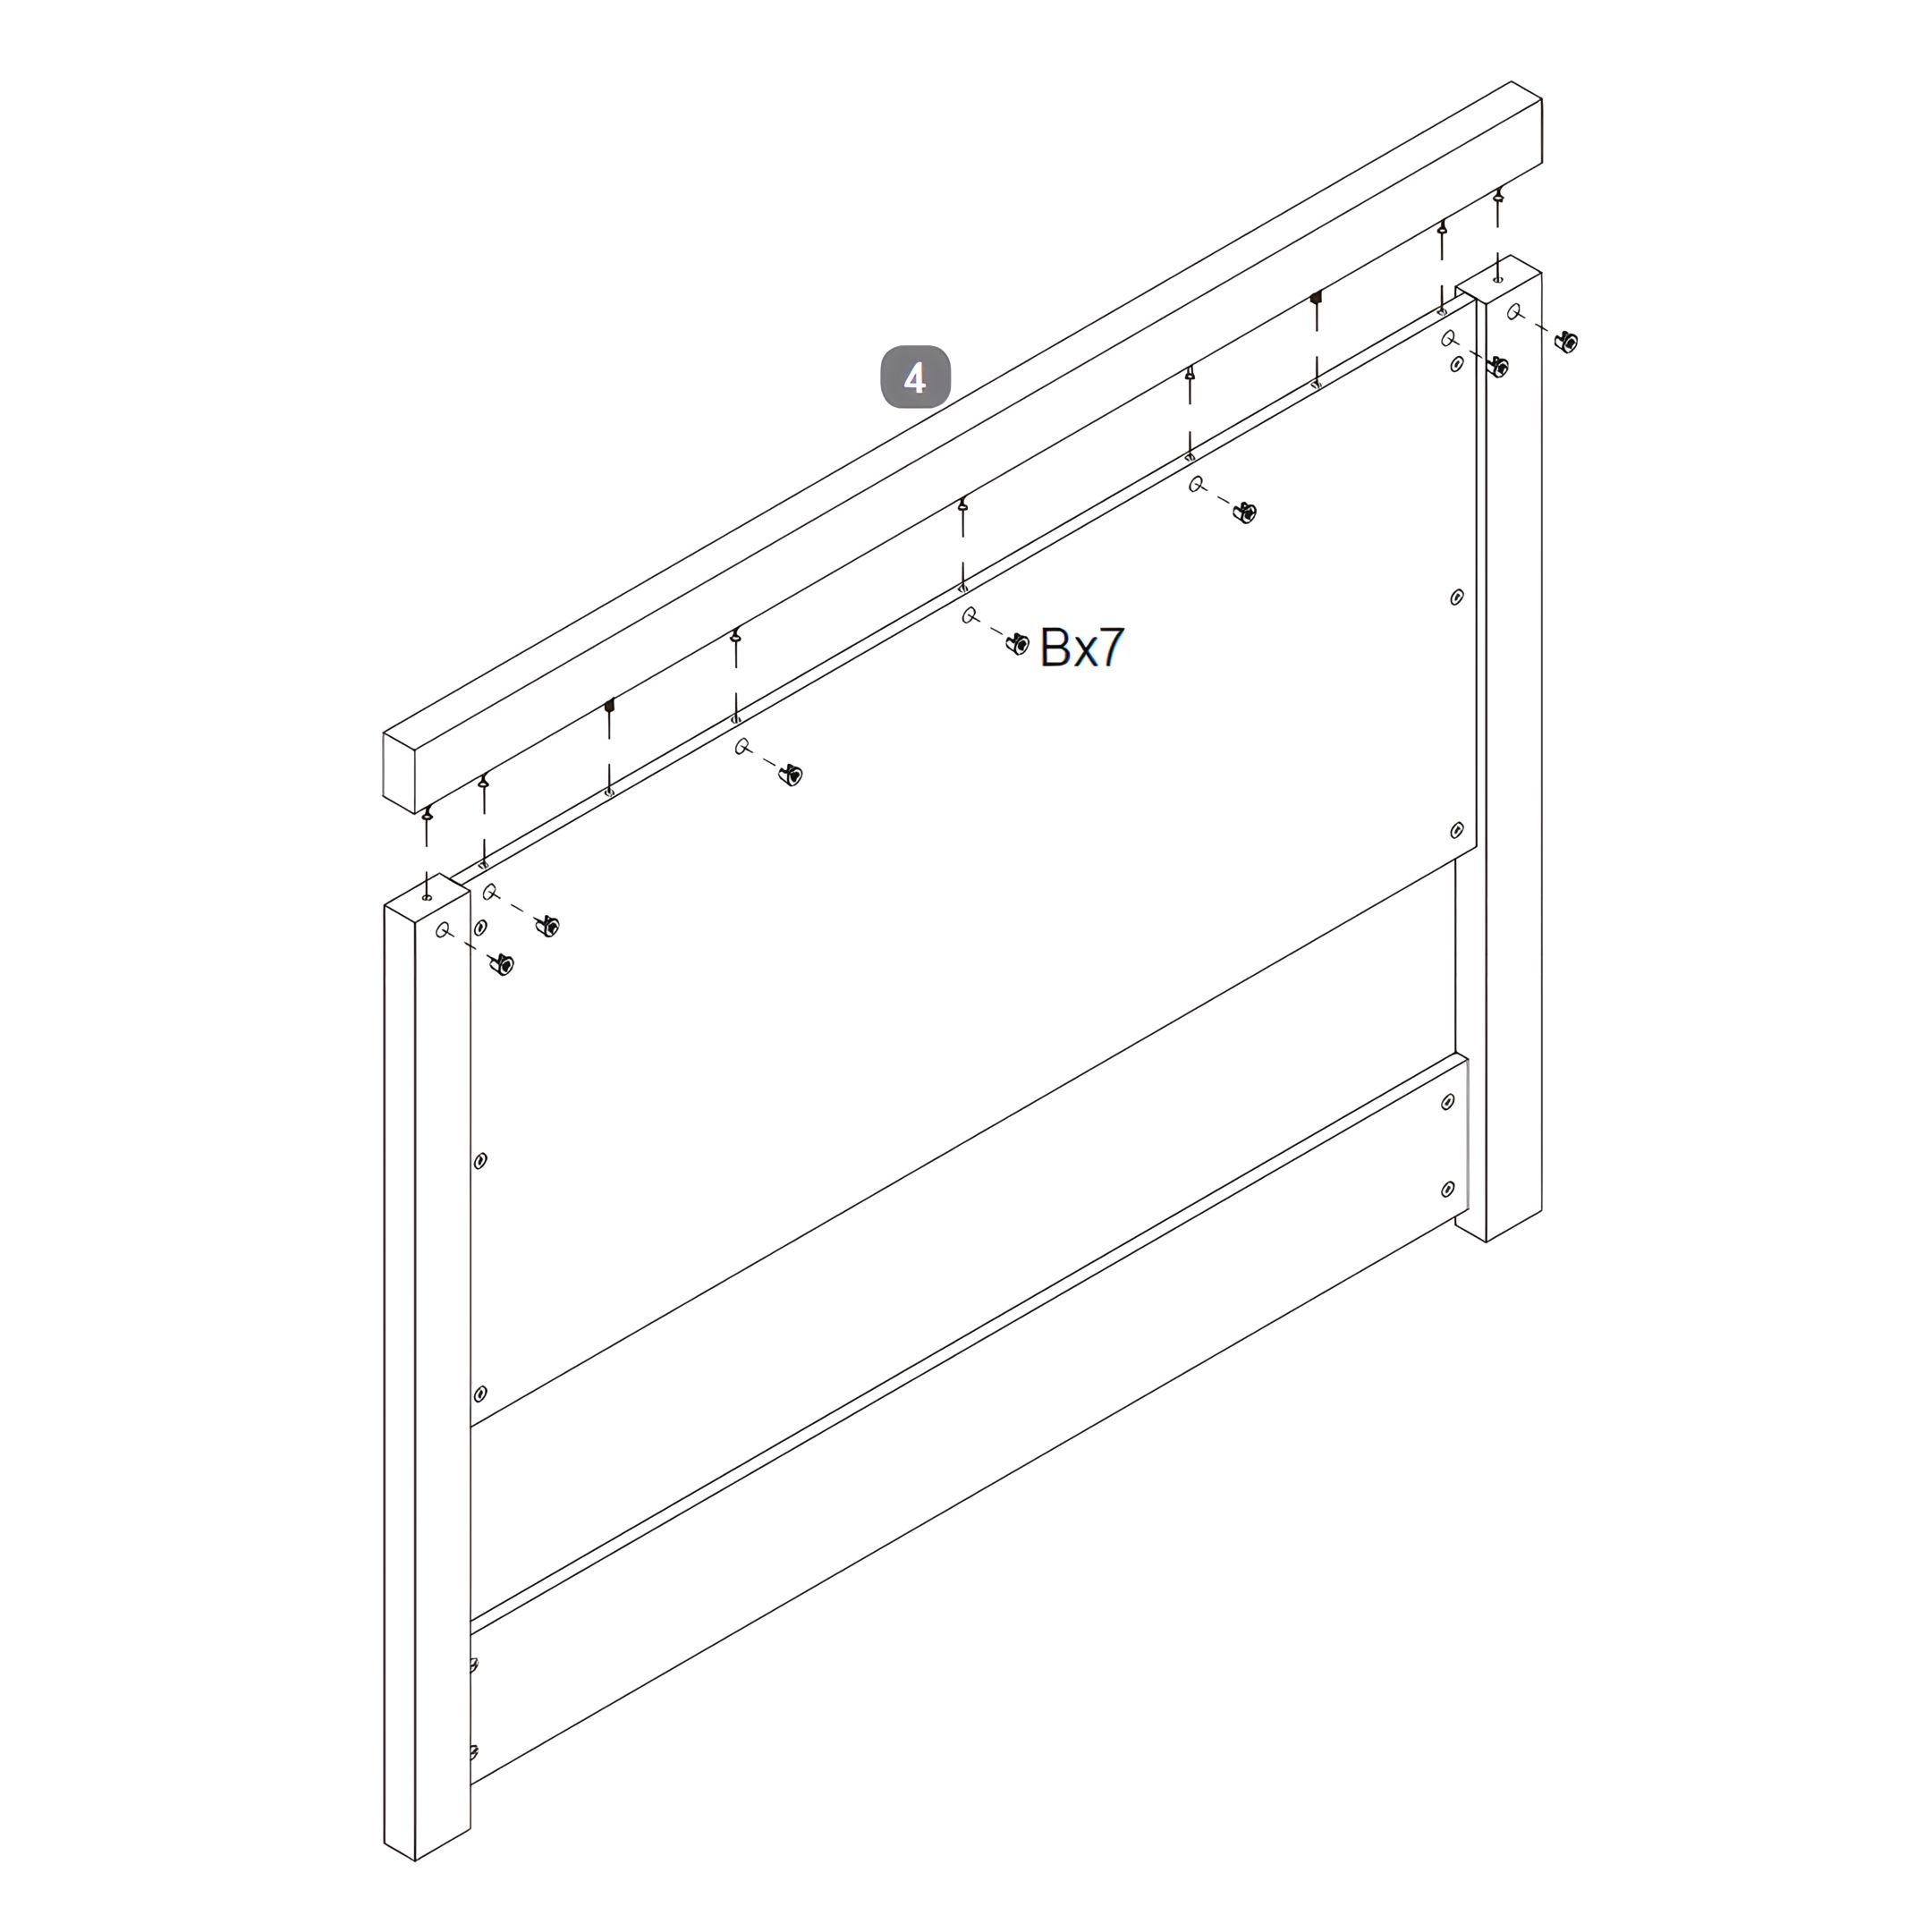
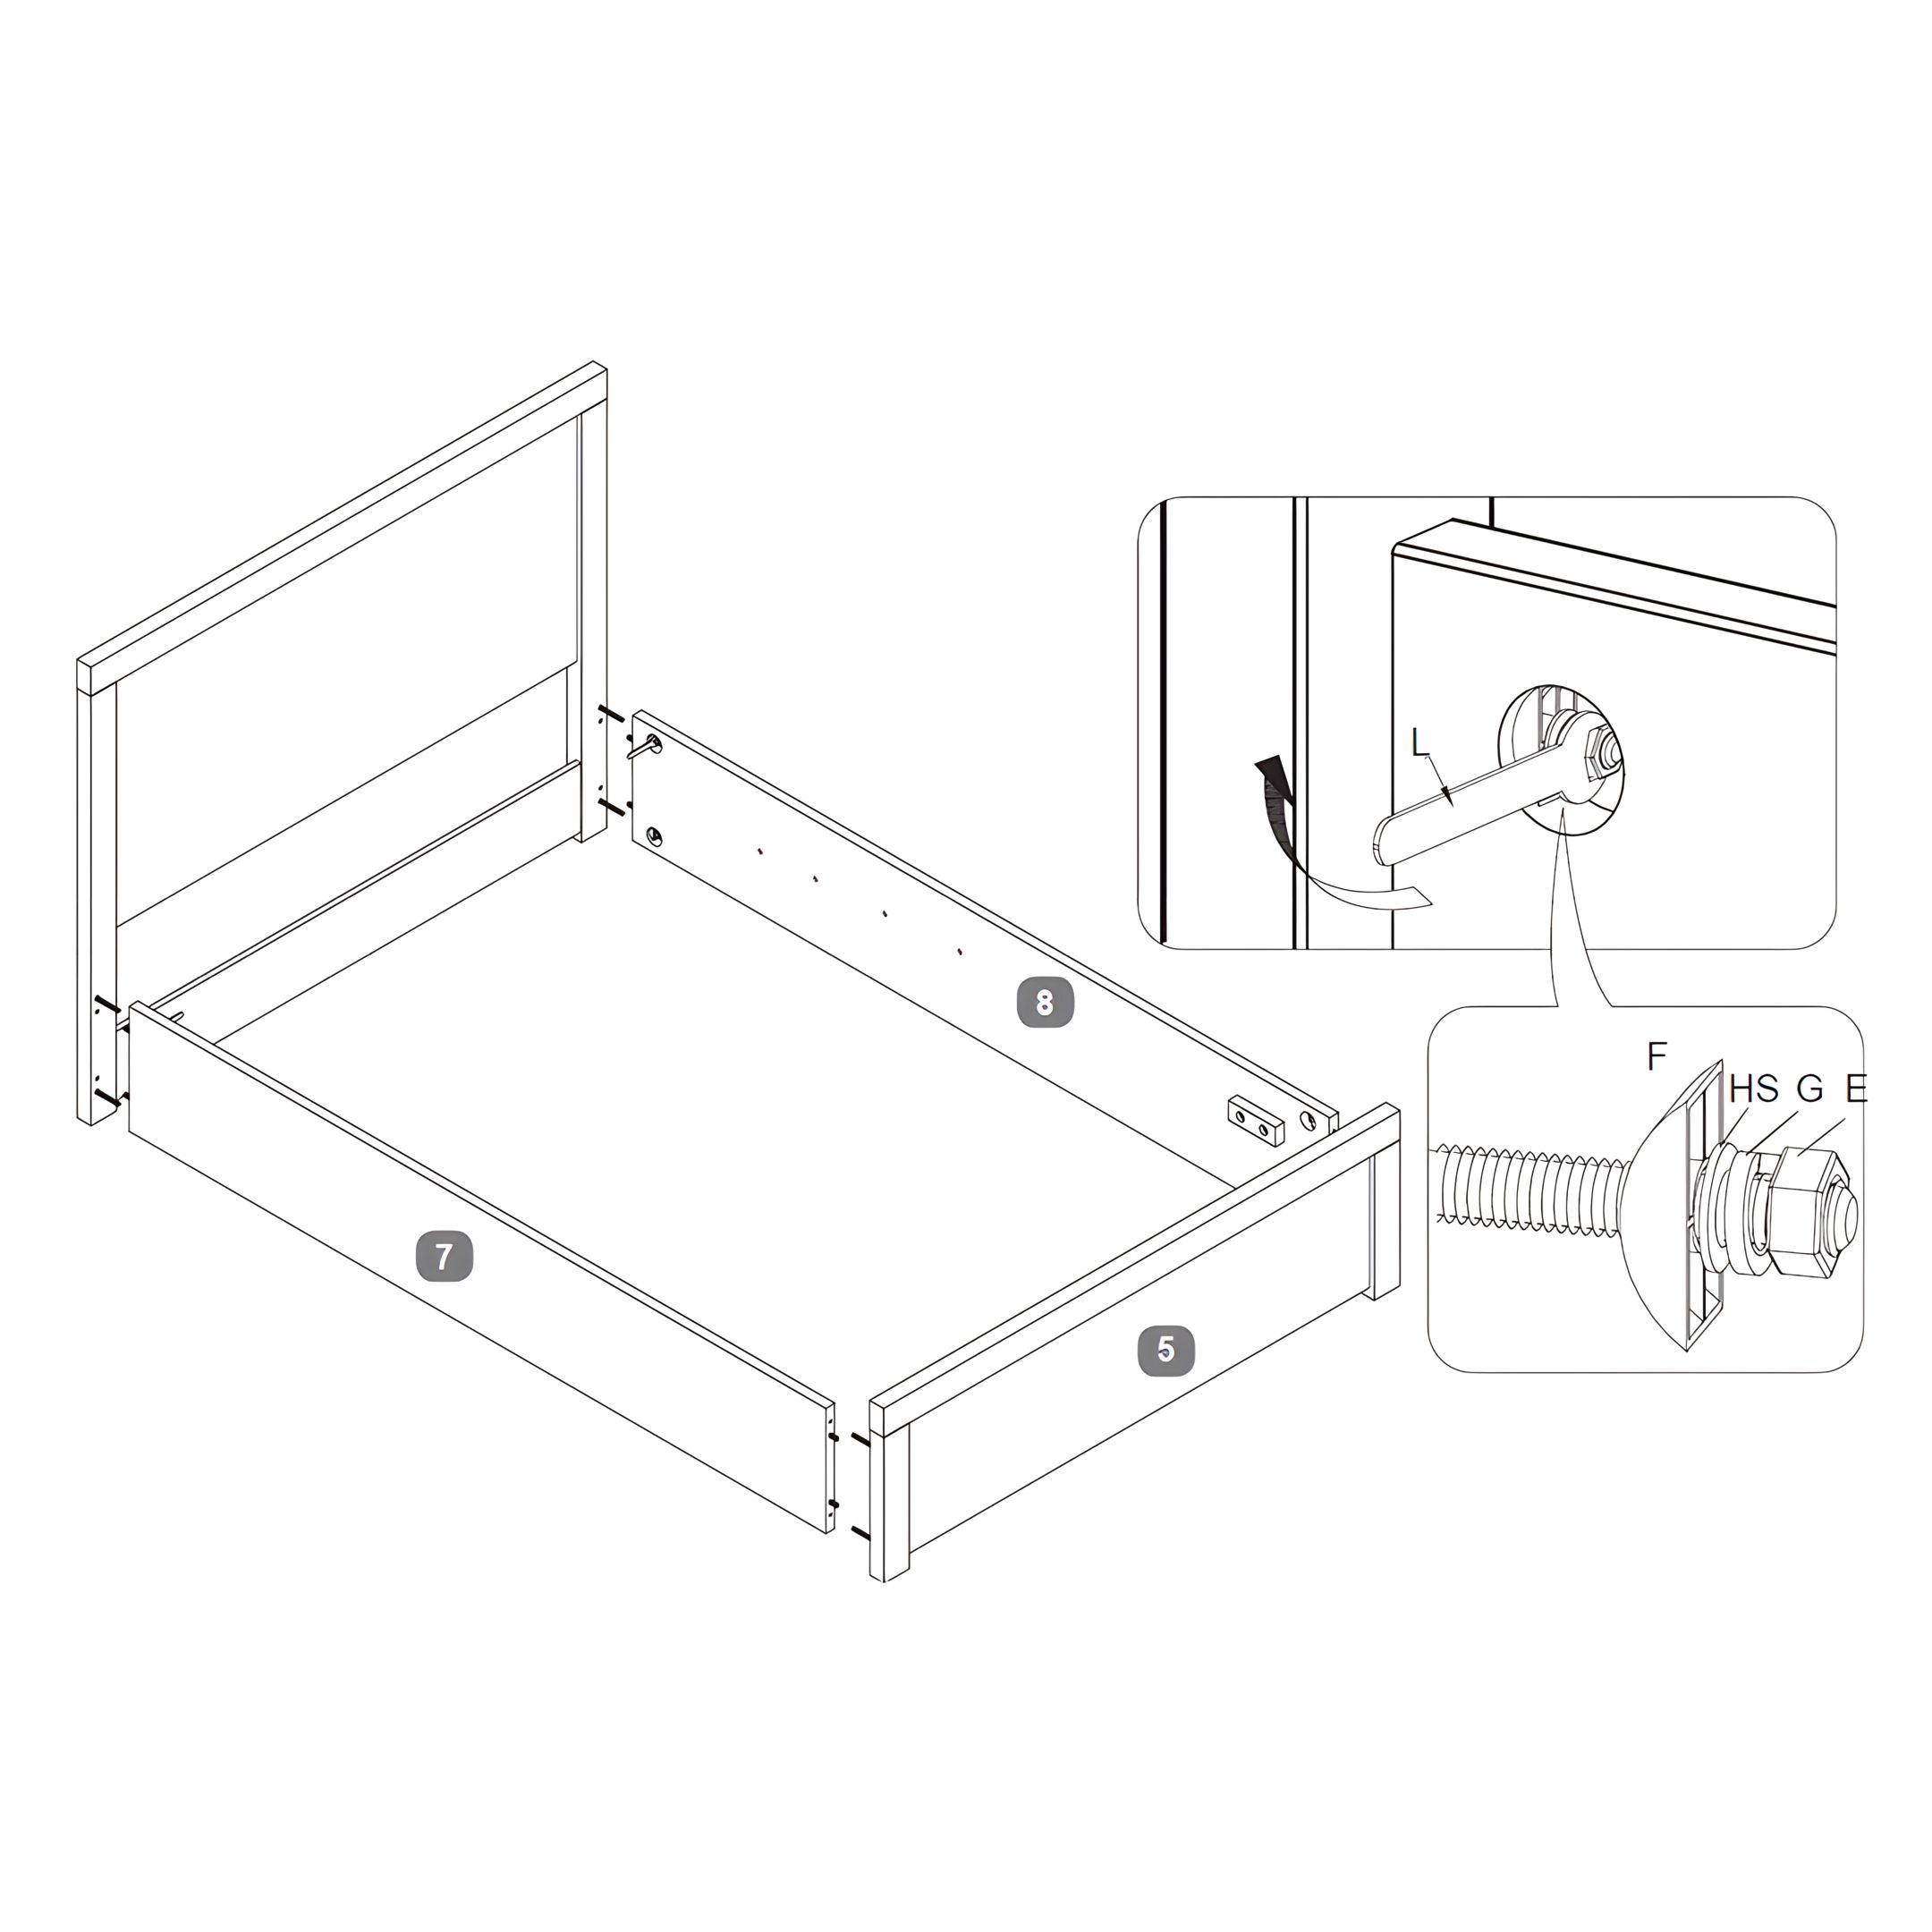
7. Attaching the Side Rails to the Headboard and Footboard
1. Position the headboard panel upright. 2. Align the Side Rails (7 & 8) with the Headboard, making sure that the Dowels and Threaded Studs fit with the corresponding pre-drilled holes. 3. Attach the Side Rails to the Headboard using the provided bolts and washers. 4. First insert a Half-moon Bracket (F), followed by a Small Flat Washer (HS), a Spring Washer (G) and tighten with the Nut for bolts (E) using a Spanner (L). 5. Repeat the process for the Footboard (5).
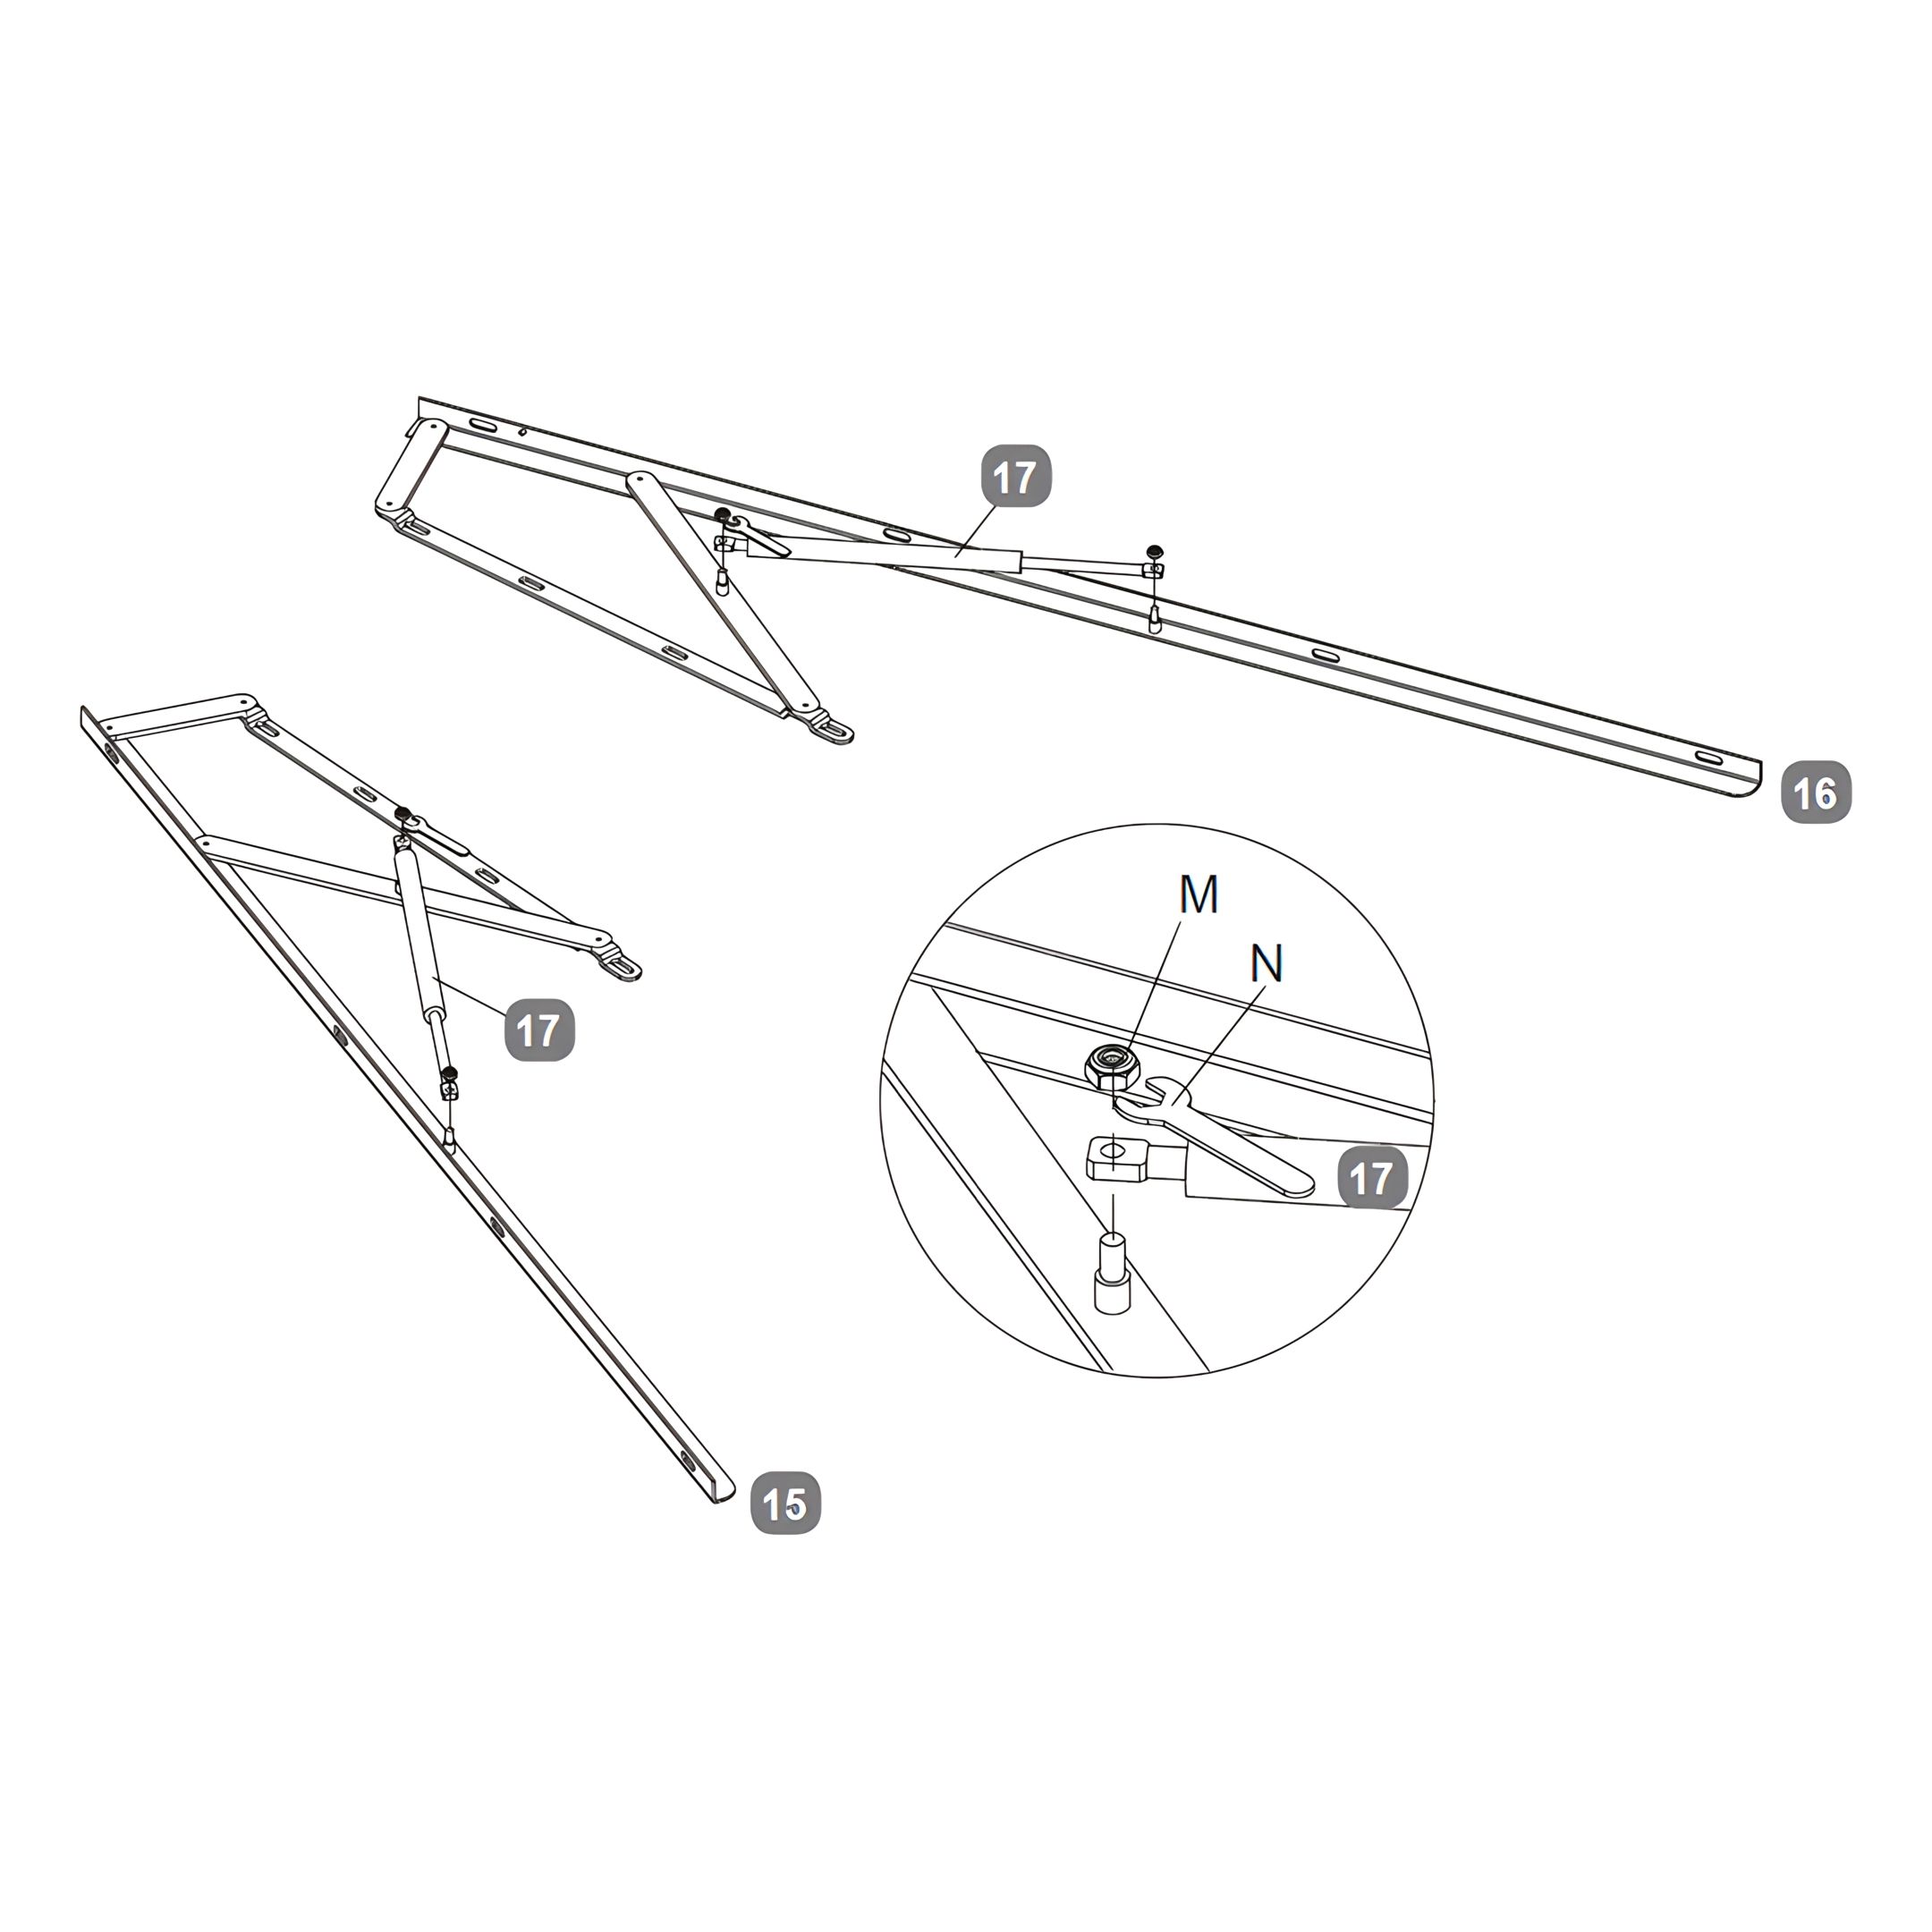
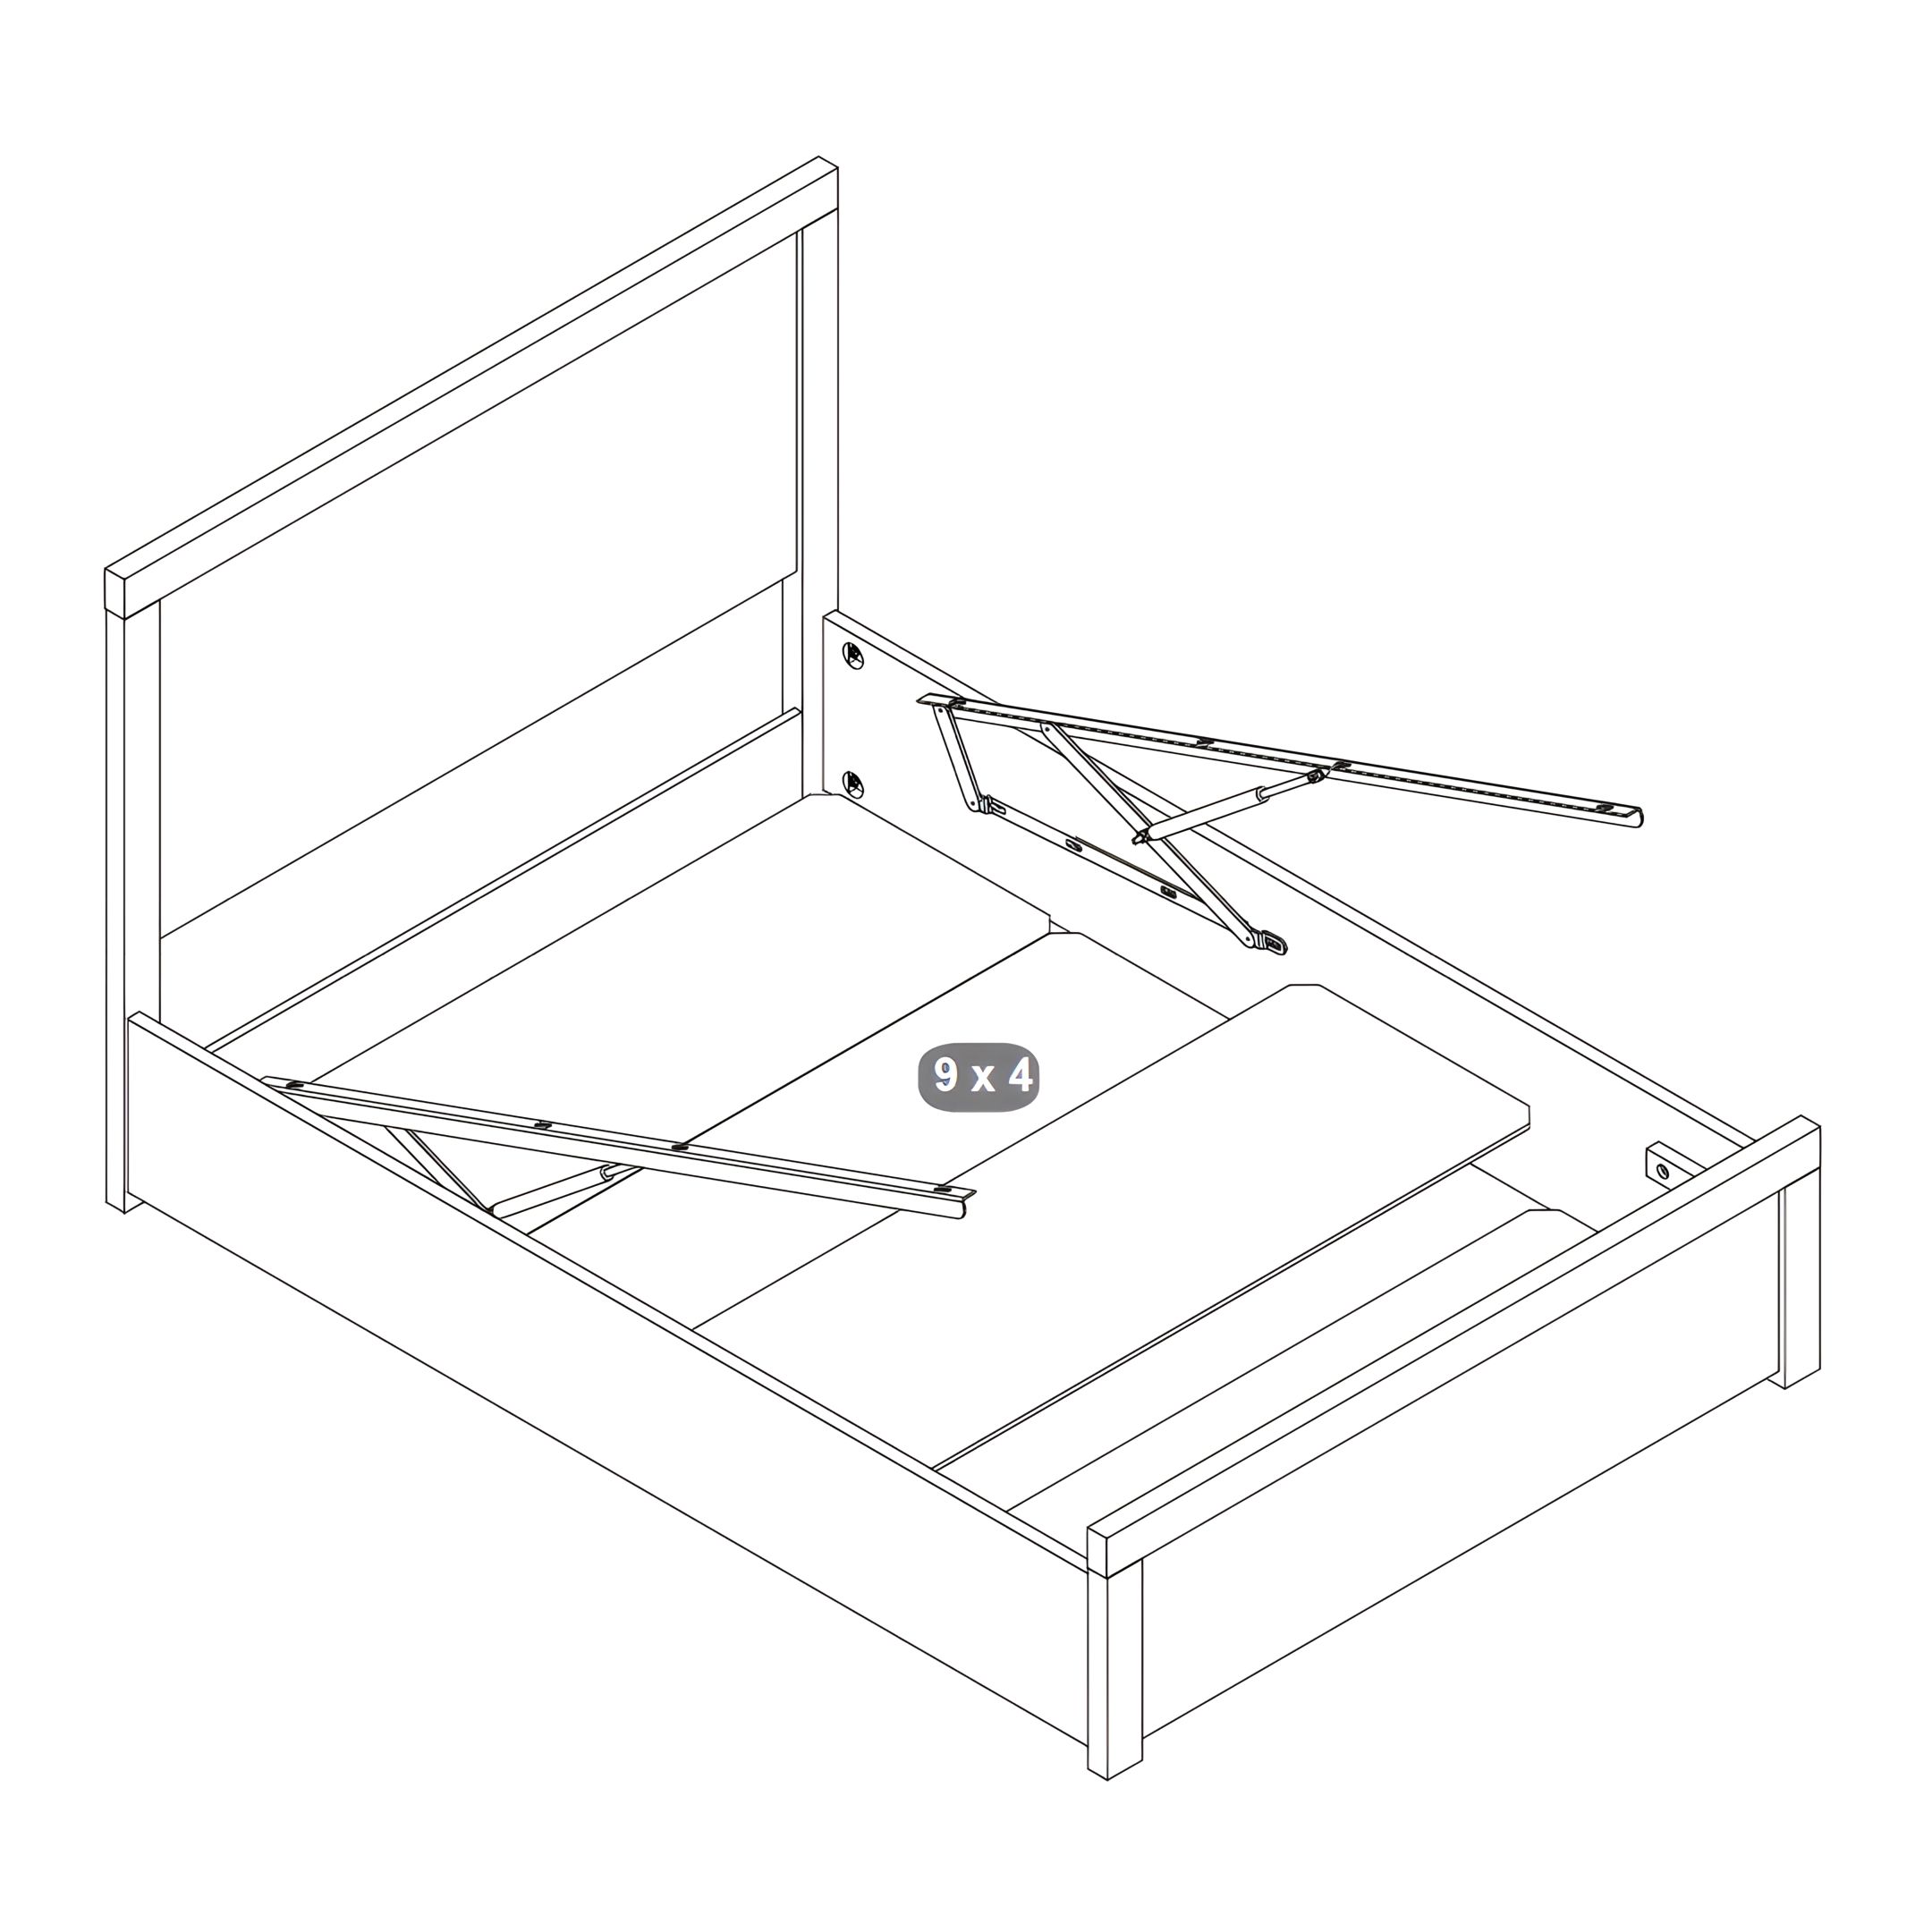
8. Installing the Lift Mechanisms and Gas Lift Pistons
1. Identify the Left-Hand Lift Mechanism (15) and the Right-Hand Lift Mechanism (16). 2. For both the Left-Hand and Right-Hand Lift Mechanisms, locate the attachment points for the Gas Lift Pistons (17). 3. Fasten each Gas Lift Piston (17) to the Lift Mechanisms using Flanged M8 Lock-Nuts (M). 4. Tighten the Lock-Nuts with a Spanner for Flanged M8 Lock-Nuts (N), ensuring a secure fit without over-tightening.
Note: The installation of the Gas Lift Pistons is a critical step for ensuring the smooth operation of the bed's lift feature. Ensure all connections are secure and that the pistons have the necessary range of motion for effective performance.
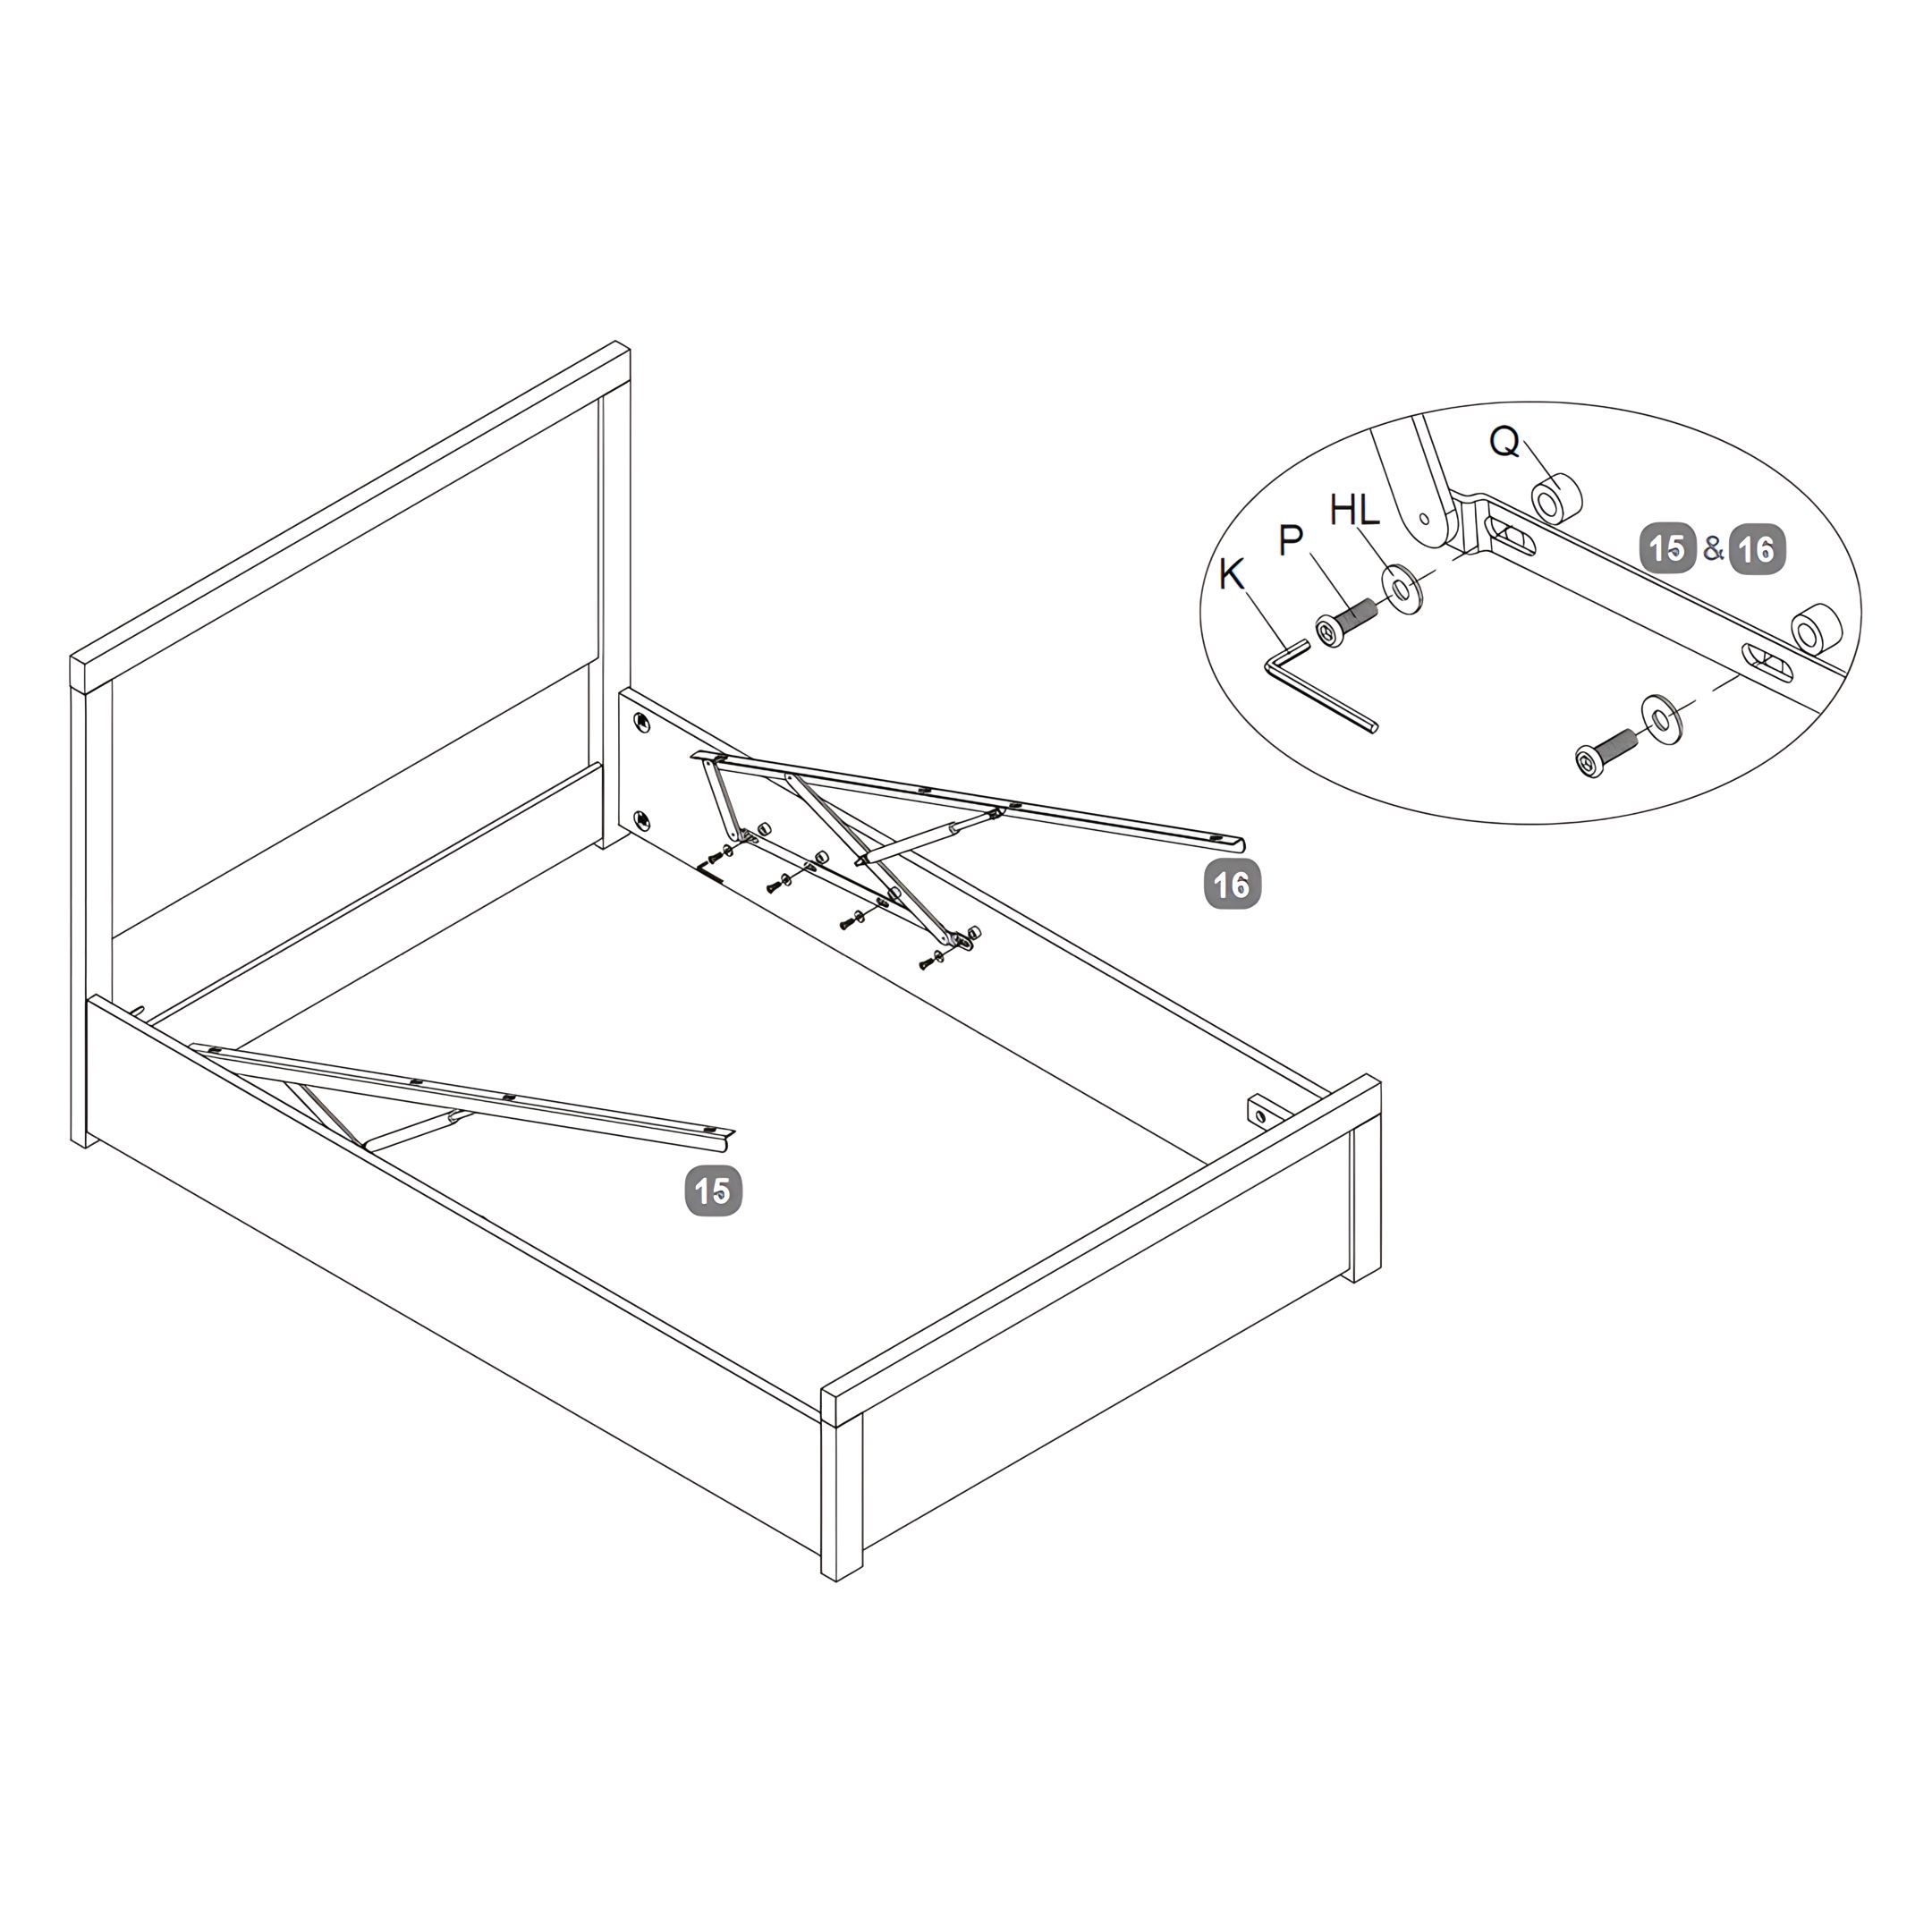
9. Installing the Lift Mechanisms
1. Assemble the Hardware, gather 8 Bolts (P), 8 Large Flat Washers (HL), and 8 Plastic Spacers (Q), four for each side. 2. Place Plastic Spacers (Q) against the side attachment points on the Side Rail. 3. Align the Lift Mechanisms (15 & 16) over the spacers and place a Large Flat Washer (HL) on each mechanism, then insert Bolts (P - M8x35mm) through the assembly. 4. Tighten the bolts with the Allen Key (K), ensuring each component is firmly fixed but allows for movement.
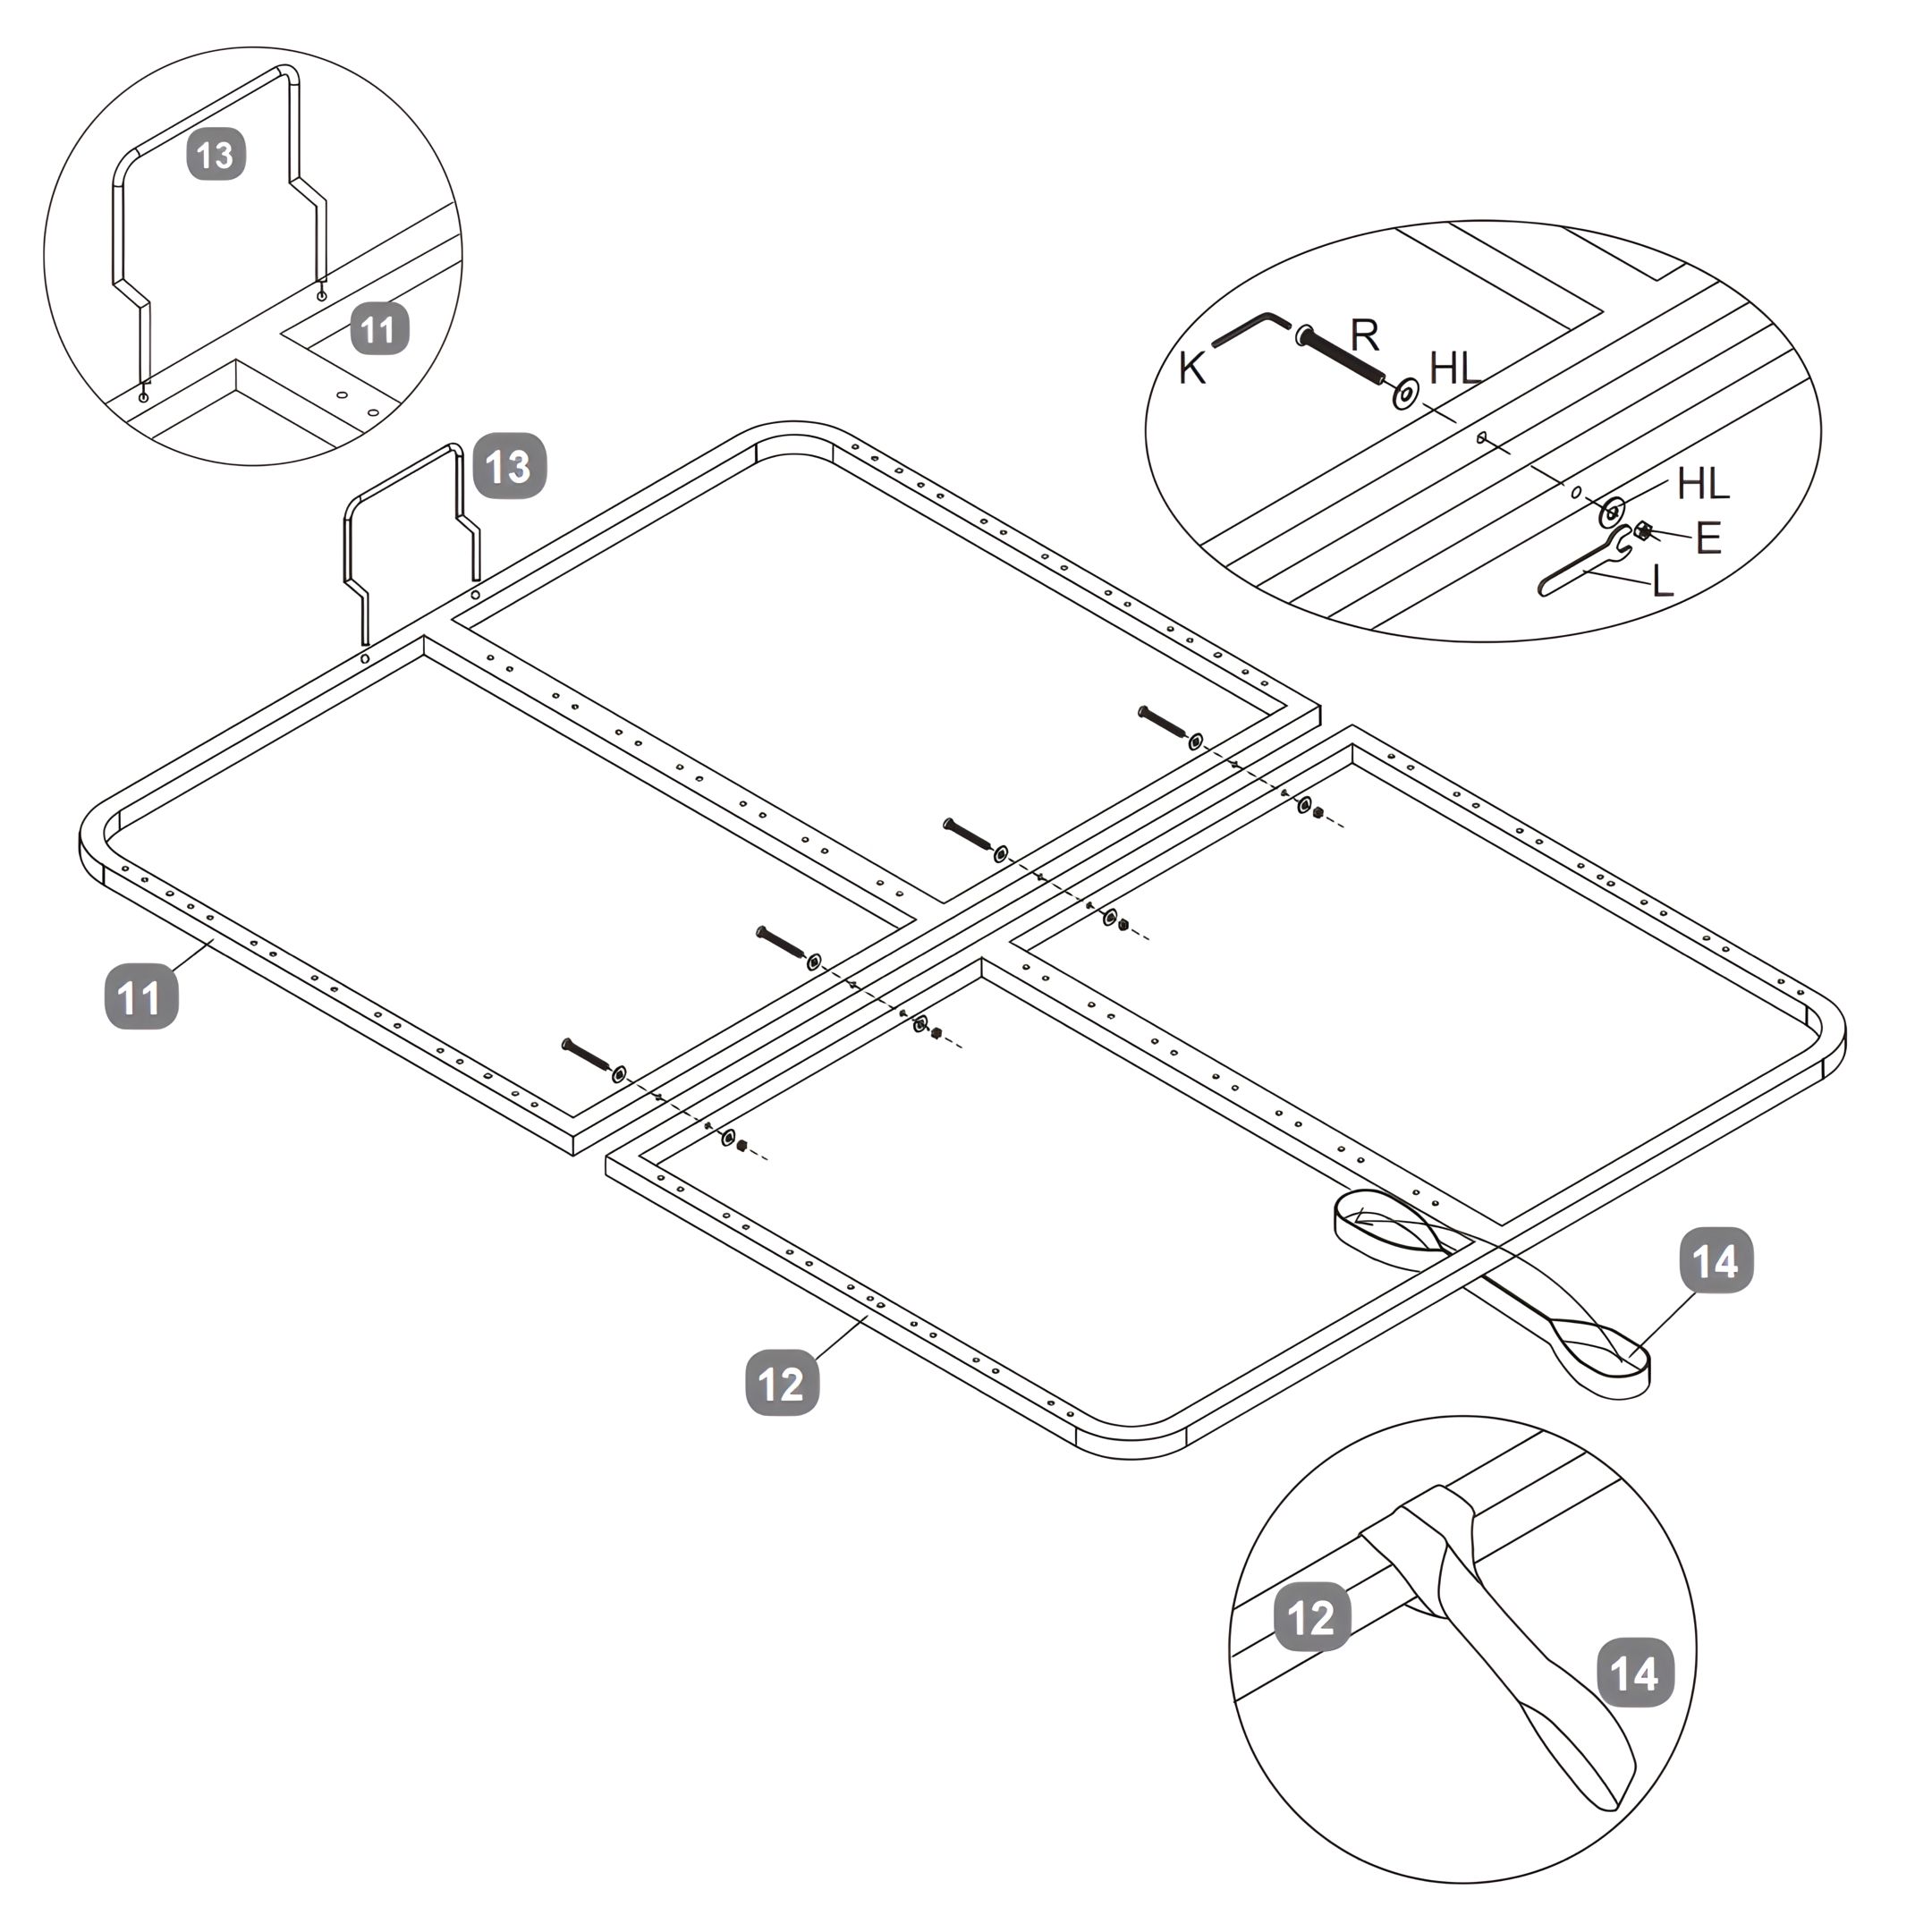
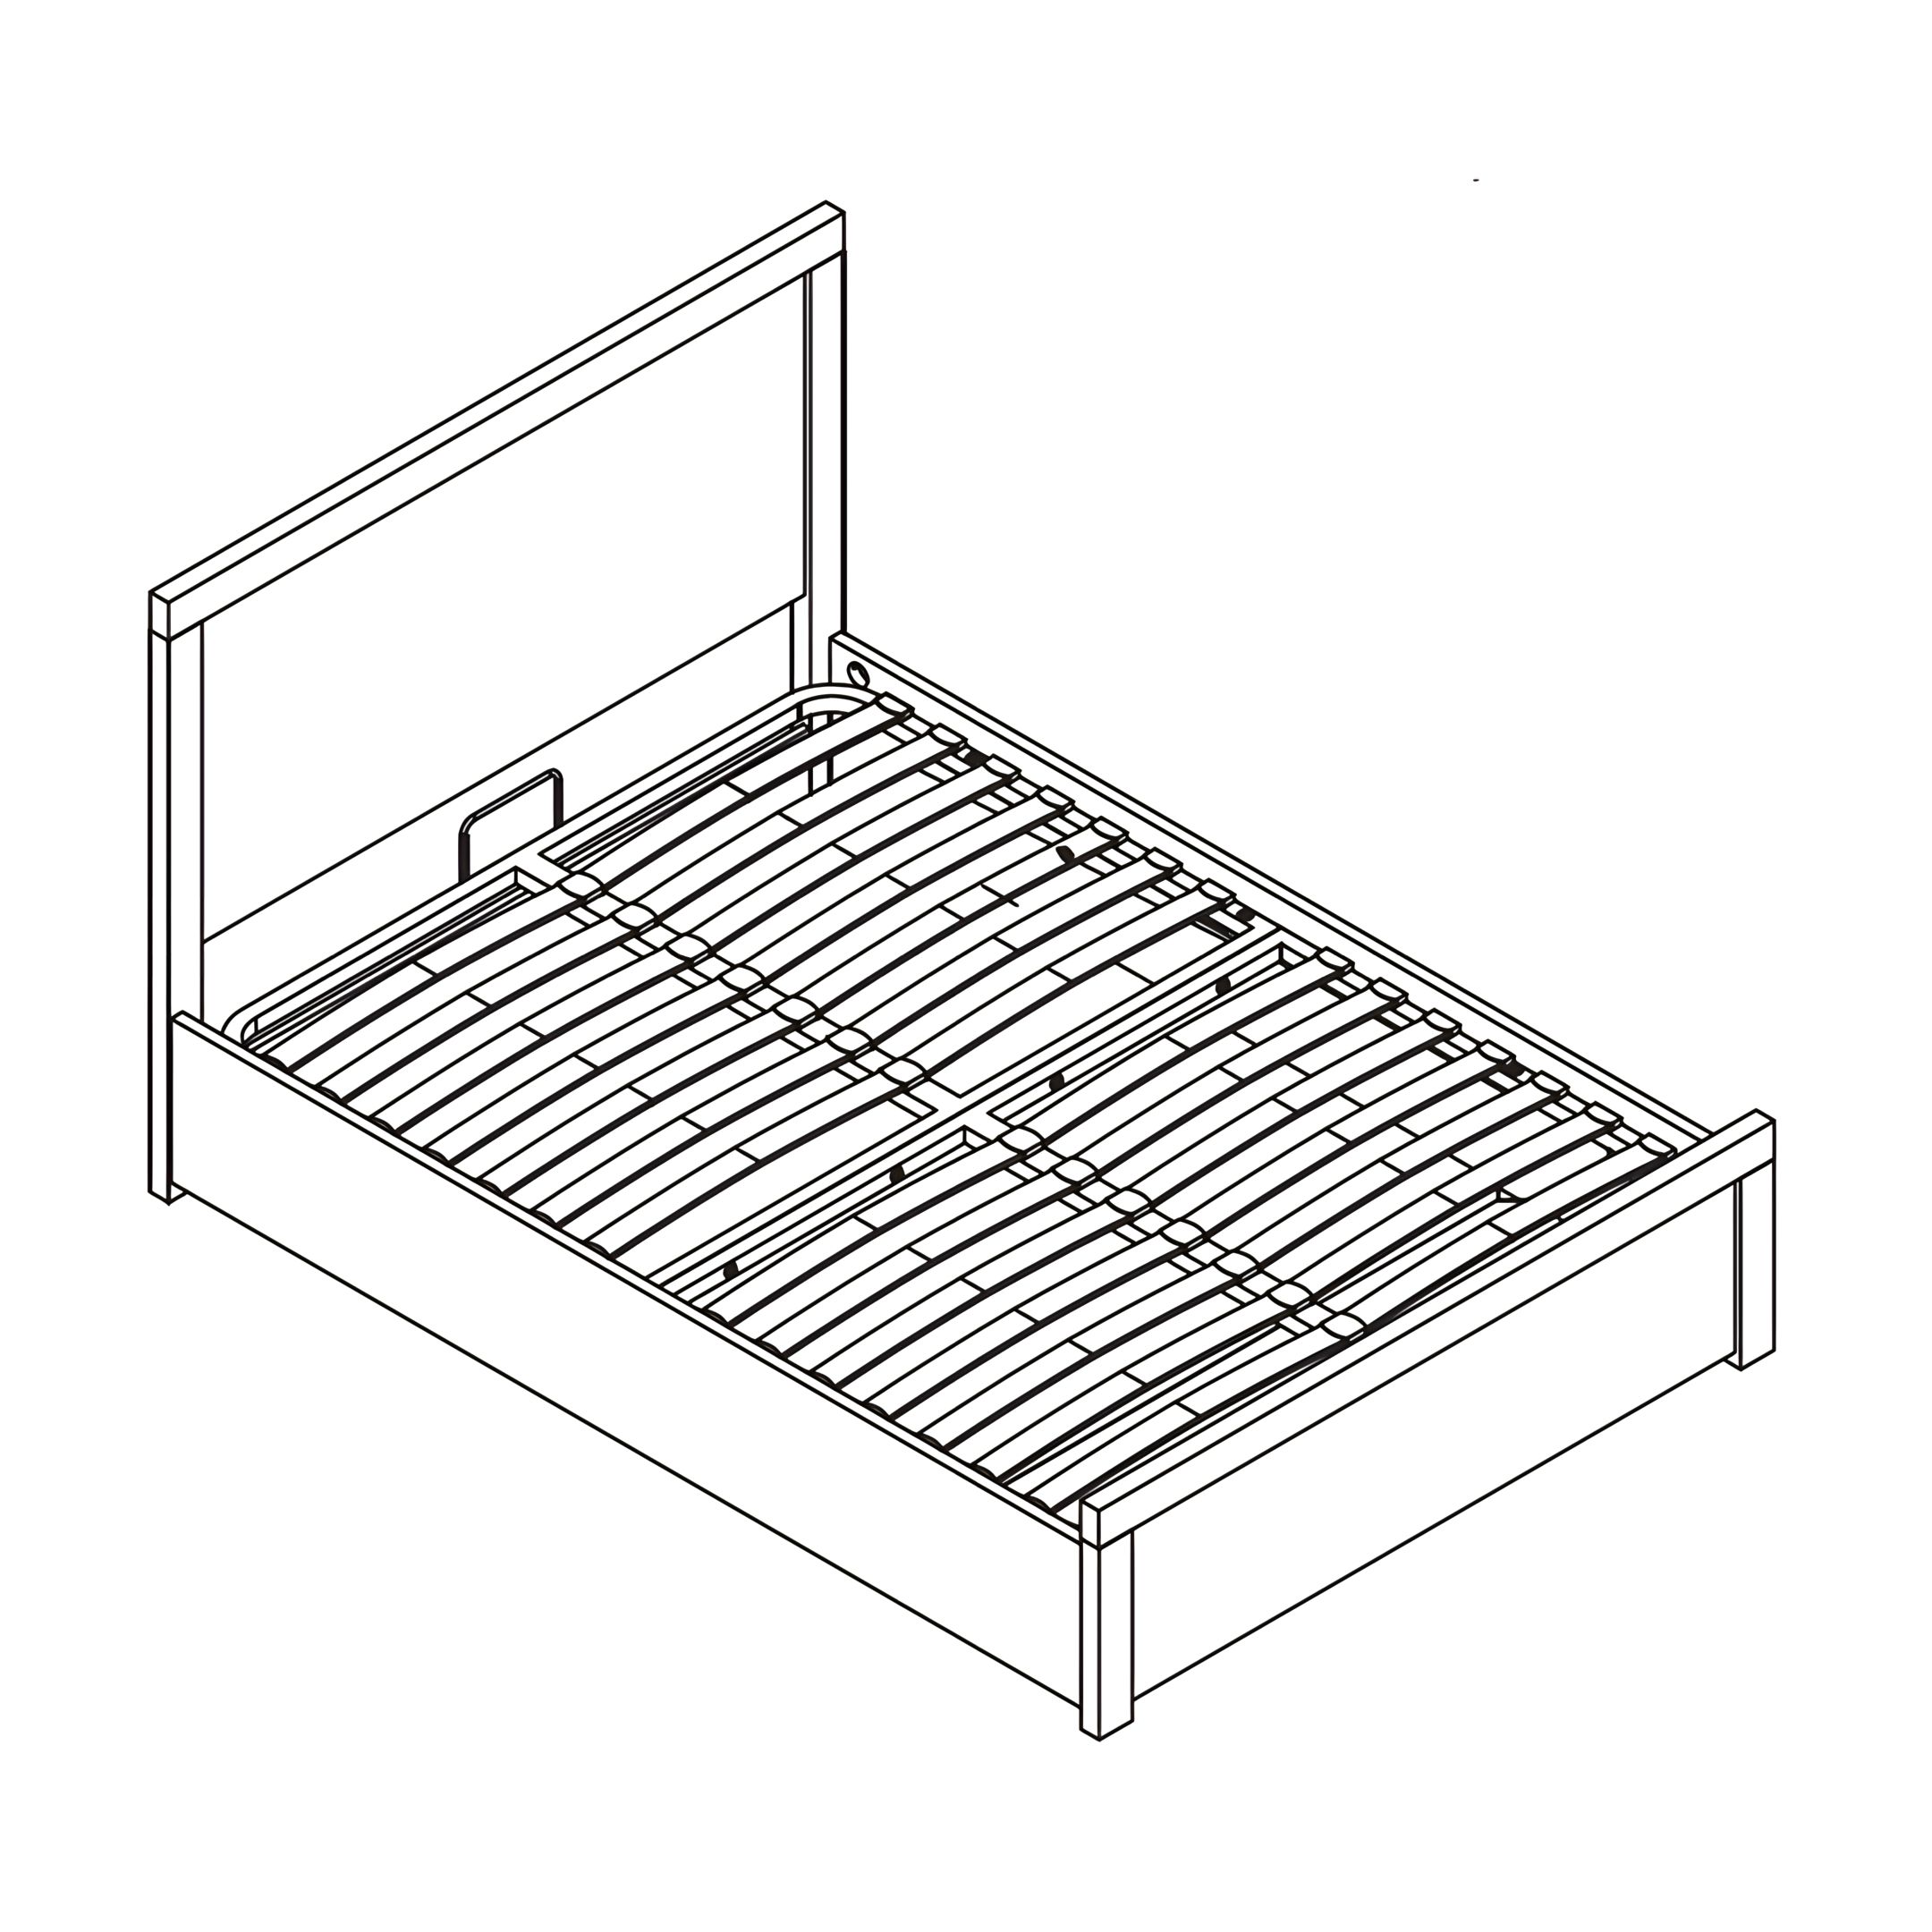
10. Assembling the Metal Slat Frames
1. Identify the Metal Slat Frame - Headend (11) and Footend (12), and align them as indicated in the diagram. 2. Insert Bolts (R) through the aligned frames, adding a Washer (HL) on each side of the bolt. On the opposite side, add another Washer (HL) and a Nut (E). Tighten each assembly using a Spanner (L). 3. Repeat this for all four pre-drilled holes. 4. Attach the Fabric Handle (14) to the designated area on component 12 as shown in the close-up diagram. Ensure the Fabric Handle (14) is securely fastened and easily accessible for operating the ottoman lift mechanism. 5. Attach the Mattress Stopper (13) at the top of the Metal Slat Frame - Headend to prevent the mattress from shifting when the bed is lifted or lowered. Ensure it is securely in place to provide stability and safety during use
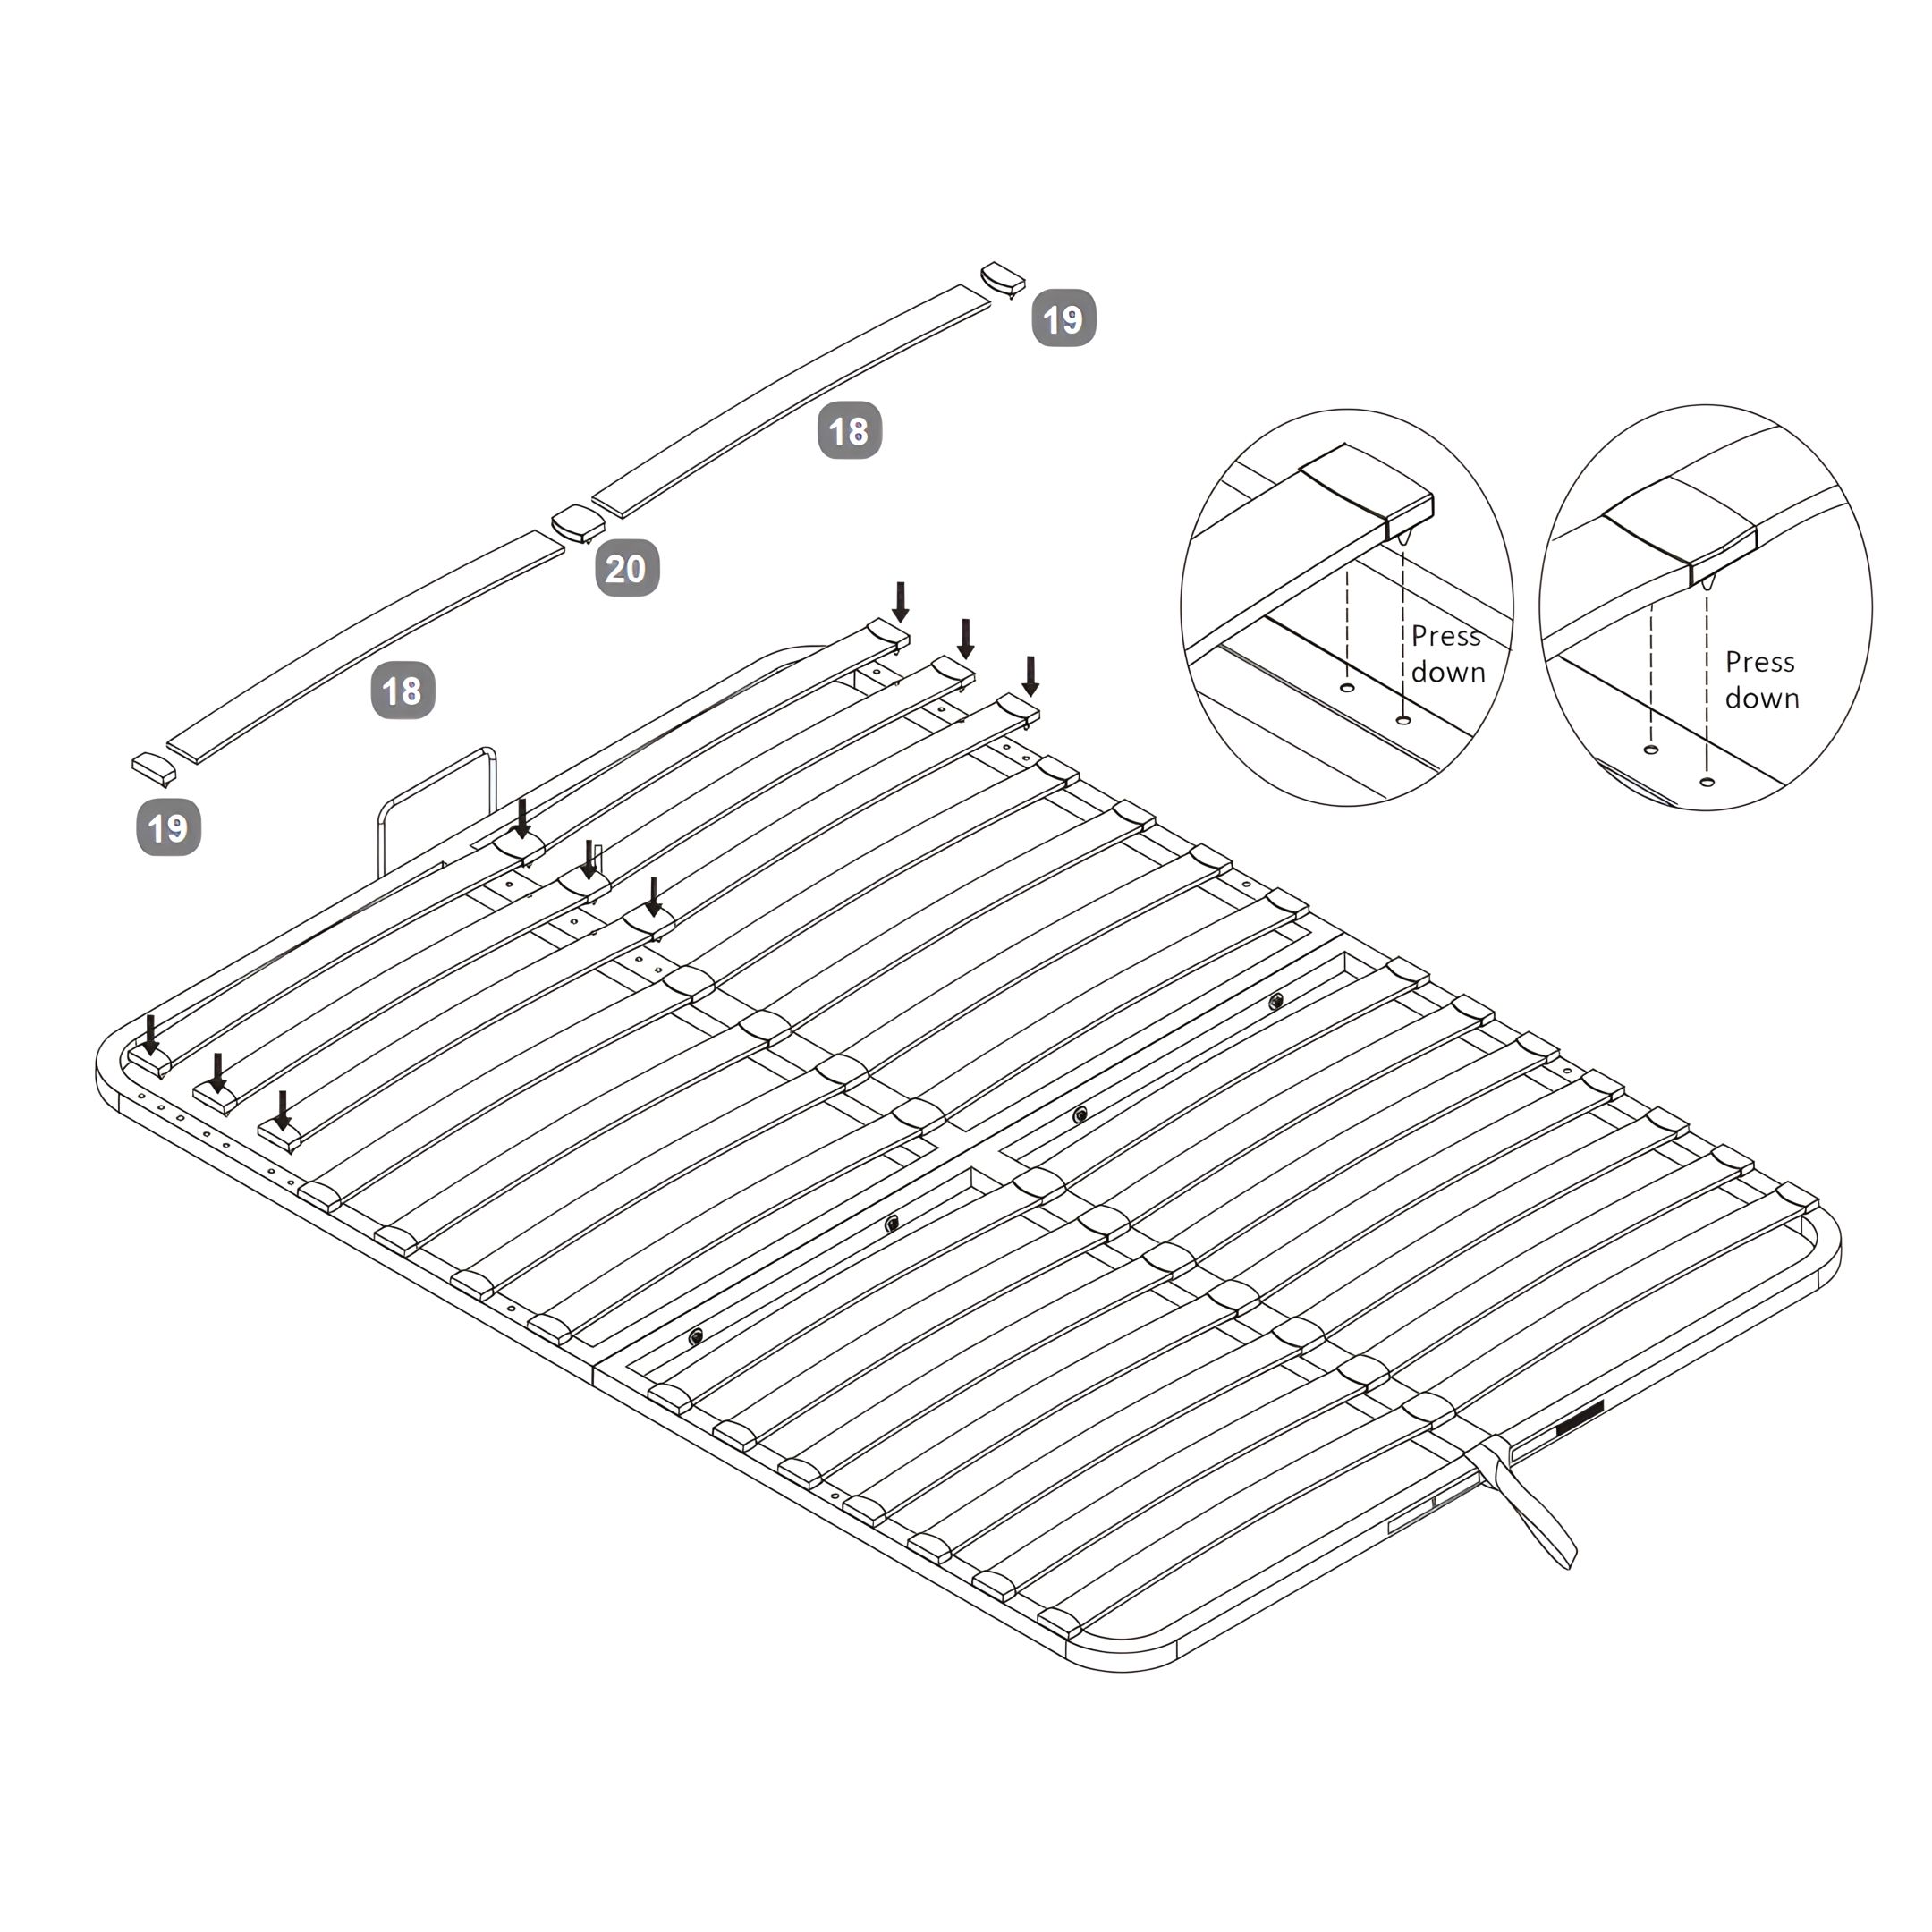
11. Installing Slats and Plastic Caps
1. Lay out the Bentwood Slats (18) across the bed frame, spacing them evenly. 2. Secure each end of the slats using Single Plastic Caps (19) by snapping them into the designated holes on the frame. 3. Press down a Double Plastic Cap (20) at each middle connection point where slats meet, ensuring stability and a secure fit, as demonstrated in the close-up diagrams. 4. Test the setup by pressing gently on the slats to check for any movement or looseness, adjusting as needed.
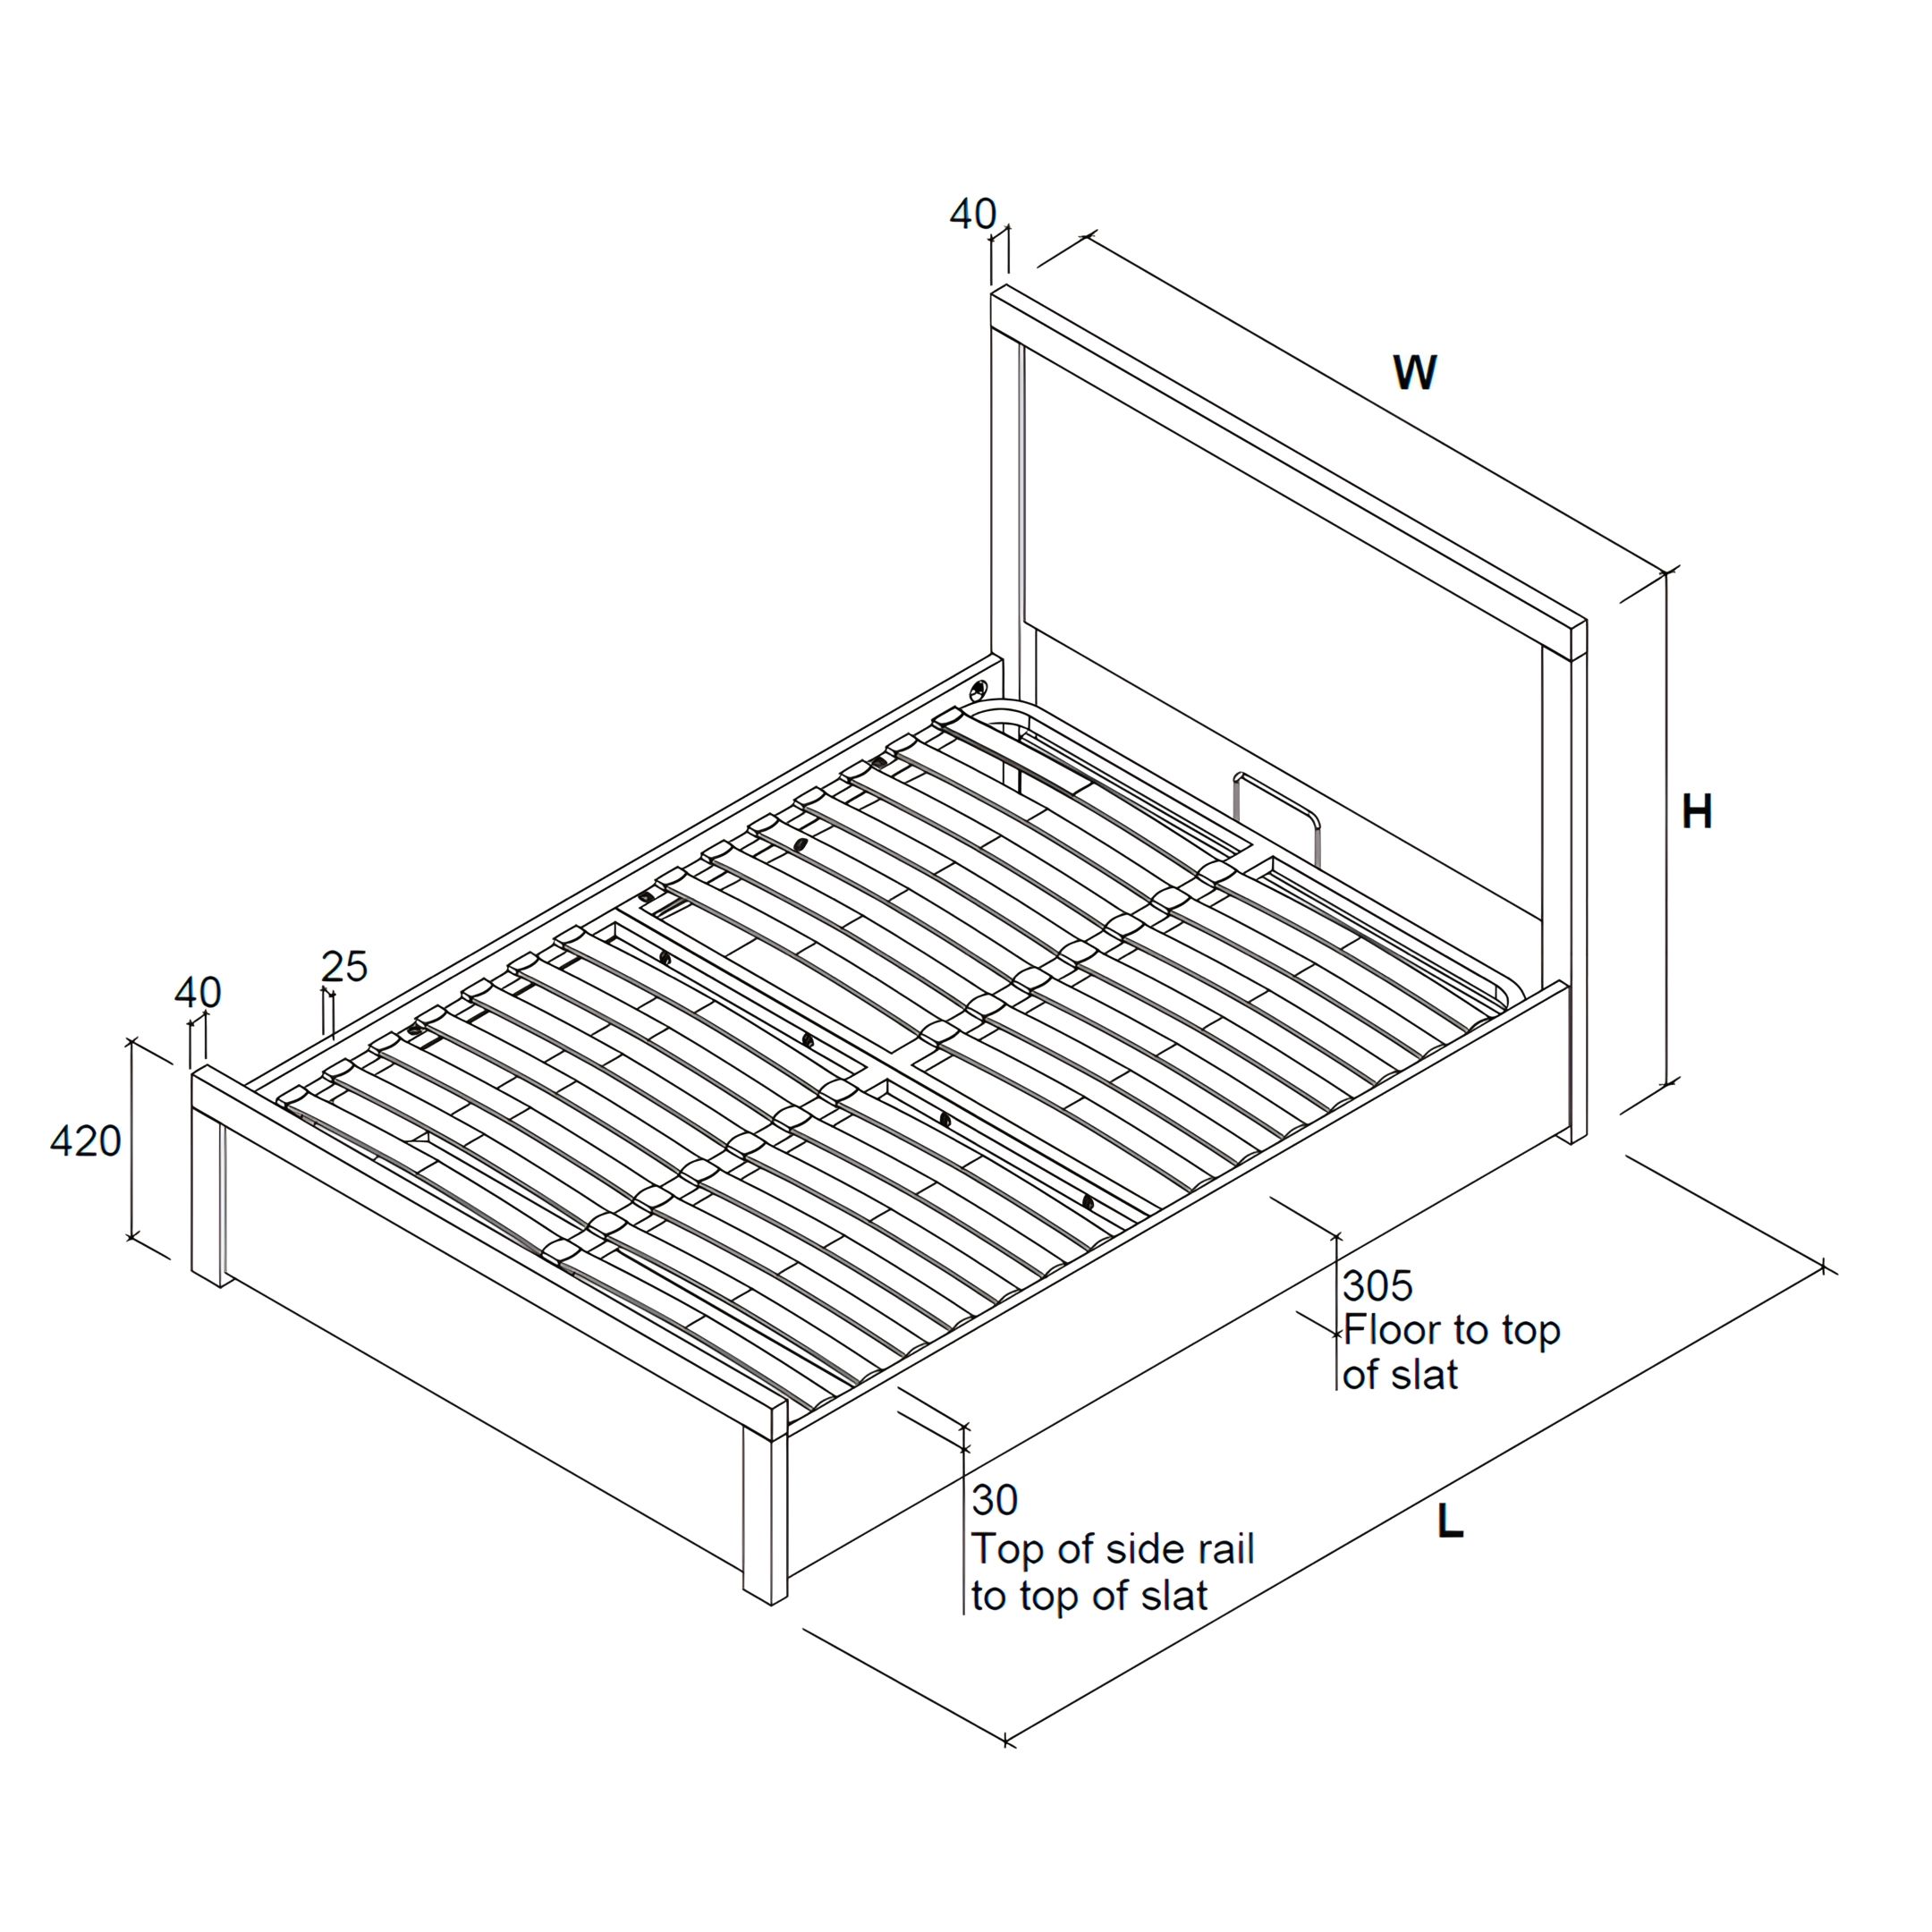
Note: Use 24 slats for a double bed and 28 slats for a king bed.
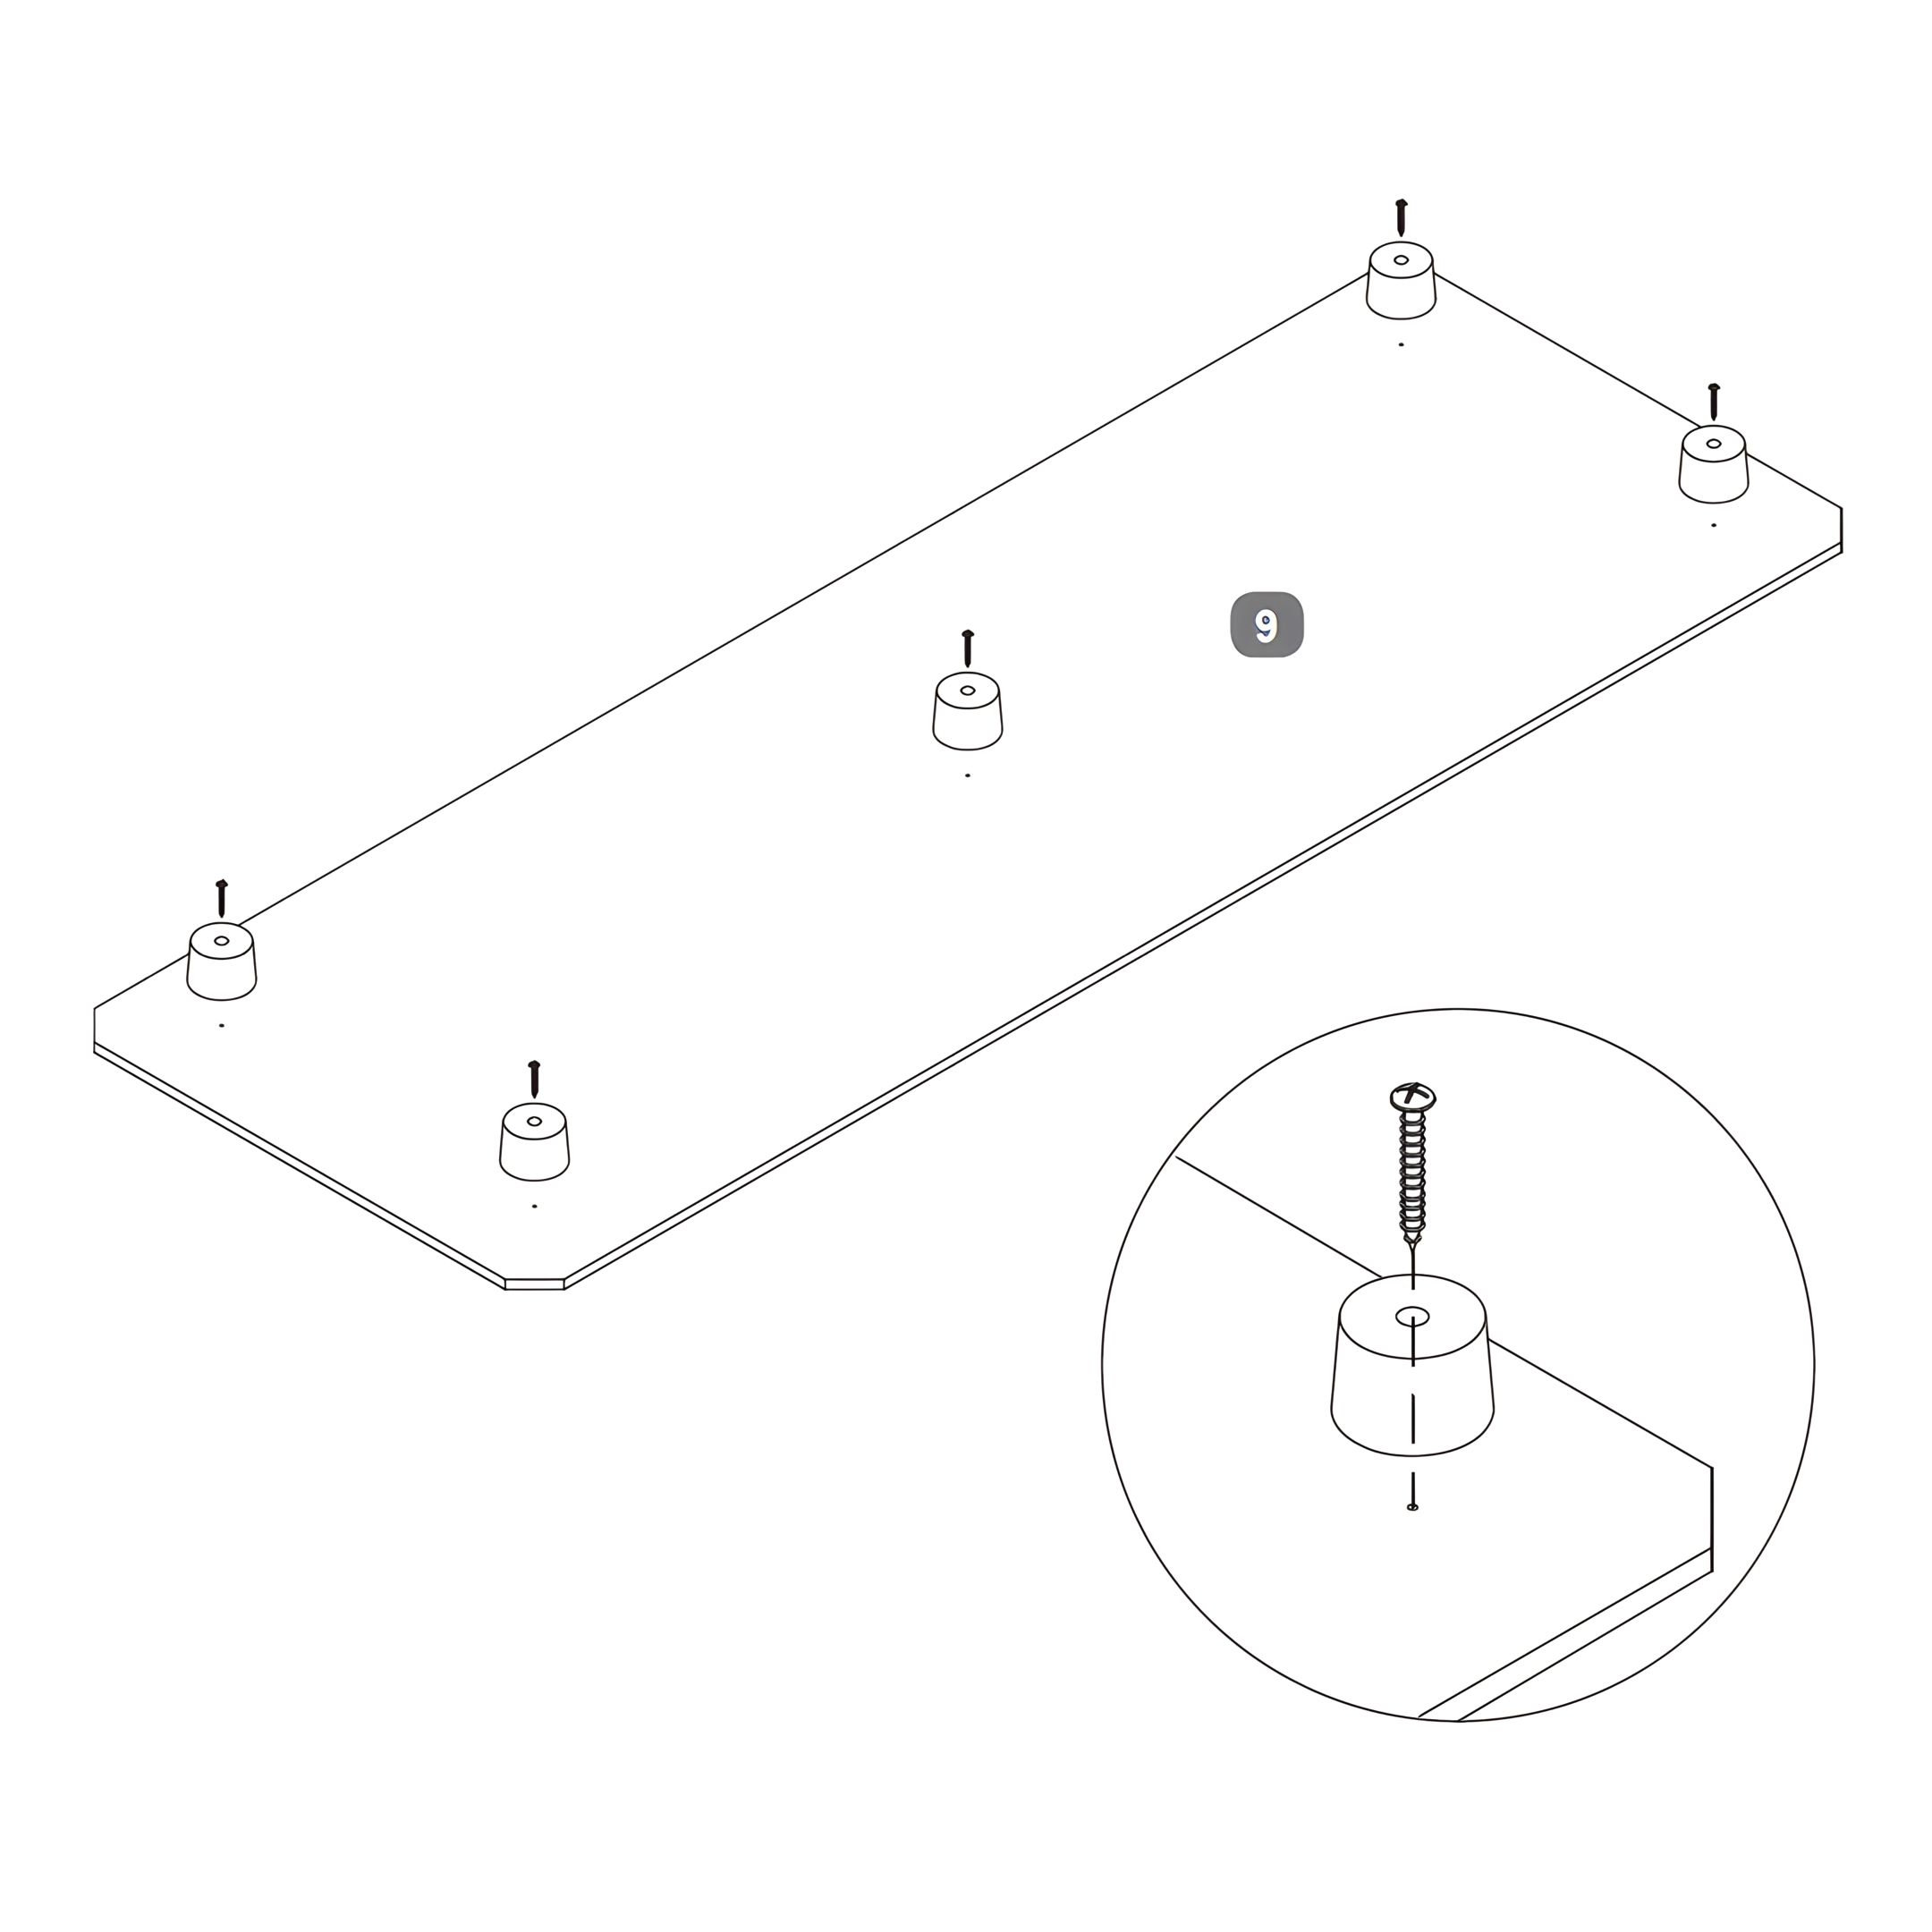
12. Attaching Feet to Base Boards
1. Position the Base Board (9) on a flat surface. 2. Locate the pre-marked spots on each corner and center of the Base Board where the Plastic Feet (U) will be attached. 3. Use Screws (T) to secure each foot in place, tightening them until the foot is firmly attached to the Base Board. Ensure not to overtighten to prevent damage. 4. Repeat this process for all four of the Base Boards
13. Installing the Base Boards
Position the four Base Boards (9) at the bottom of the bed frame. Align each board within the frame's edges, ensuring they are evenly spaced.
14. Attaching the Metal Frame to the Lift Mechanisms
1. Align the metal frame with the lift mechanisms on both sides of the bed. 2. Insert Bolts (S) through the frame into the lift mechanisms, placing a Washer (HL) on each side of the bolt and on each bolt to ensure even pressure distribution. 3. Secure the assembly with Nuts (E) on the opposite side. 4. Tighten each bolt firmly using an Allen Key (K) and a Spanner (L). Ensure the frame is securely attached to the mechanisms, allowing for proper operation of the lift feature.
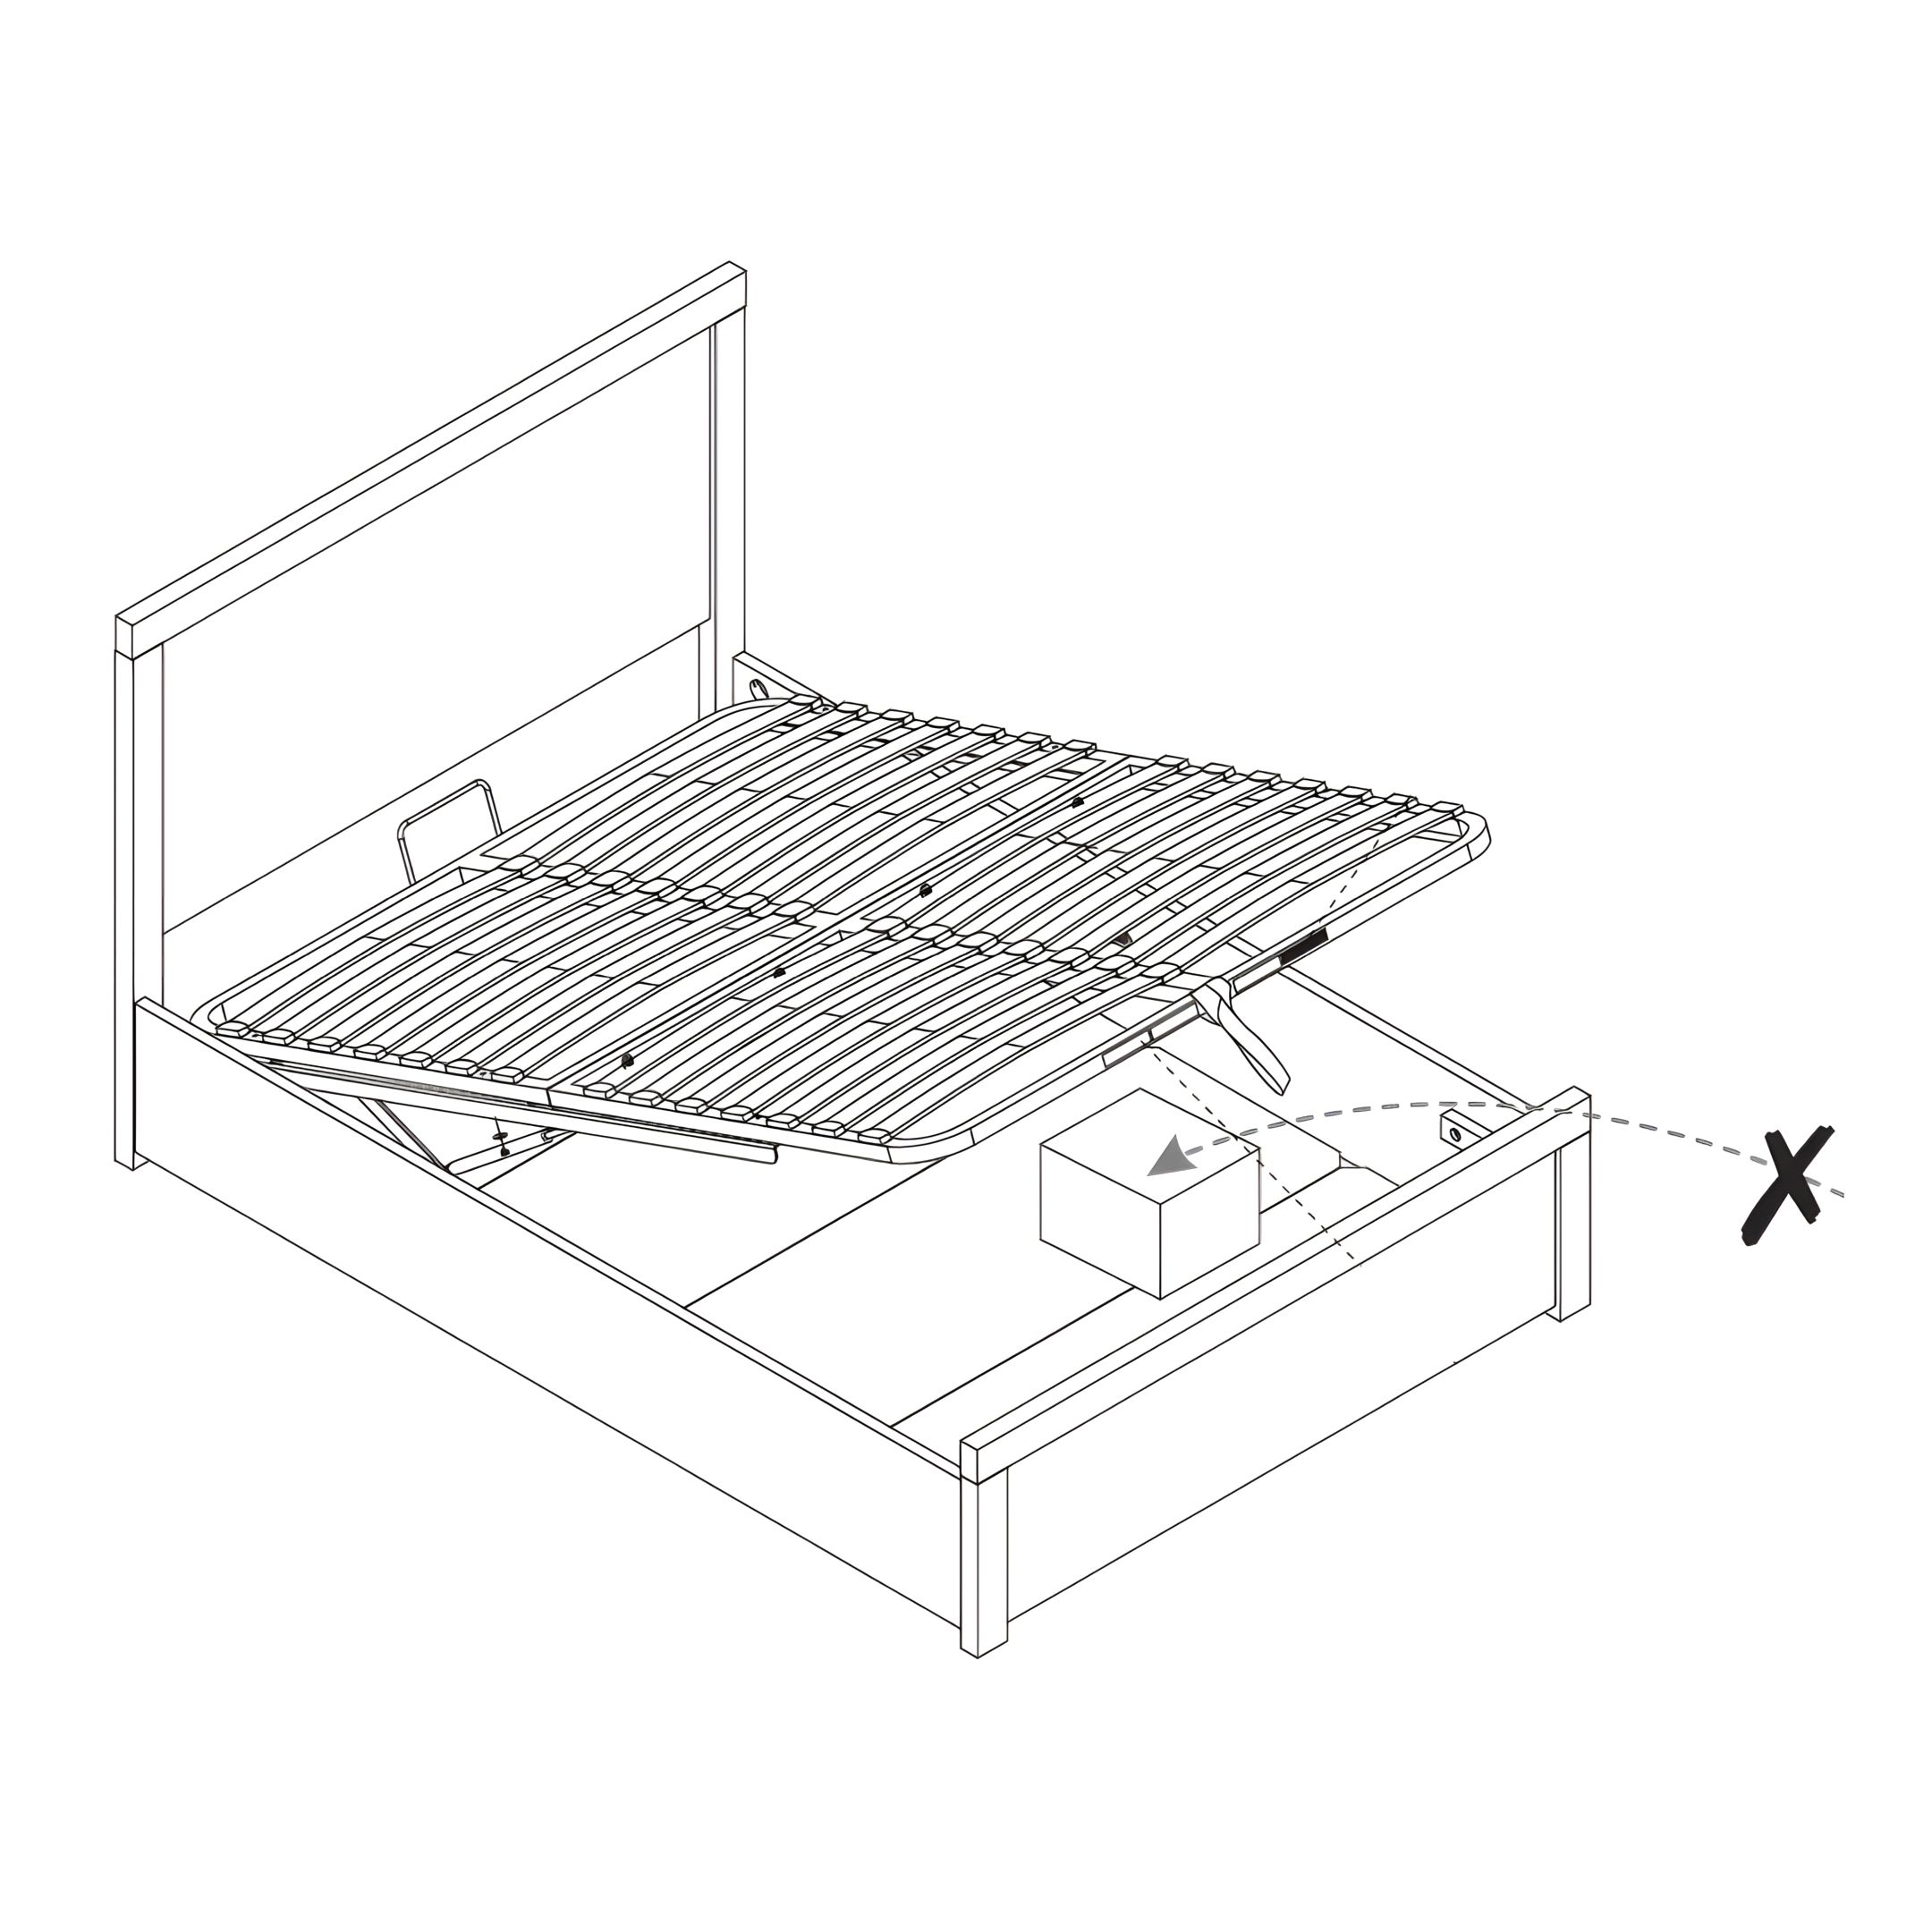
15. Safety Guidelines for Operating and Using the Ottoman Bed
Only use the handle to lift & lower the bed frame to avoid trapping fingers.
To avoid accidents, to access the storage area the ottoman frame must be fully opened and then fully closed afterwards.
Be careful what you store under the bed - the top of an item, like a suitcase or a box, must not touch the slats or they may be damaged. Maximum storage height is 25cm.
Safety warnings:
Please do not allow children or pets inside the storage area.
Please be careful when lifting. Only lift with mattress on top. To be operated by adults only
16. Final Check
Verify that all slats are securely fastened and evenly spaced.
Check for any loose connections and tighten the screws if necessary.