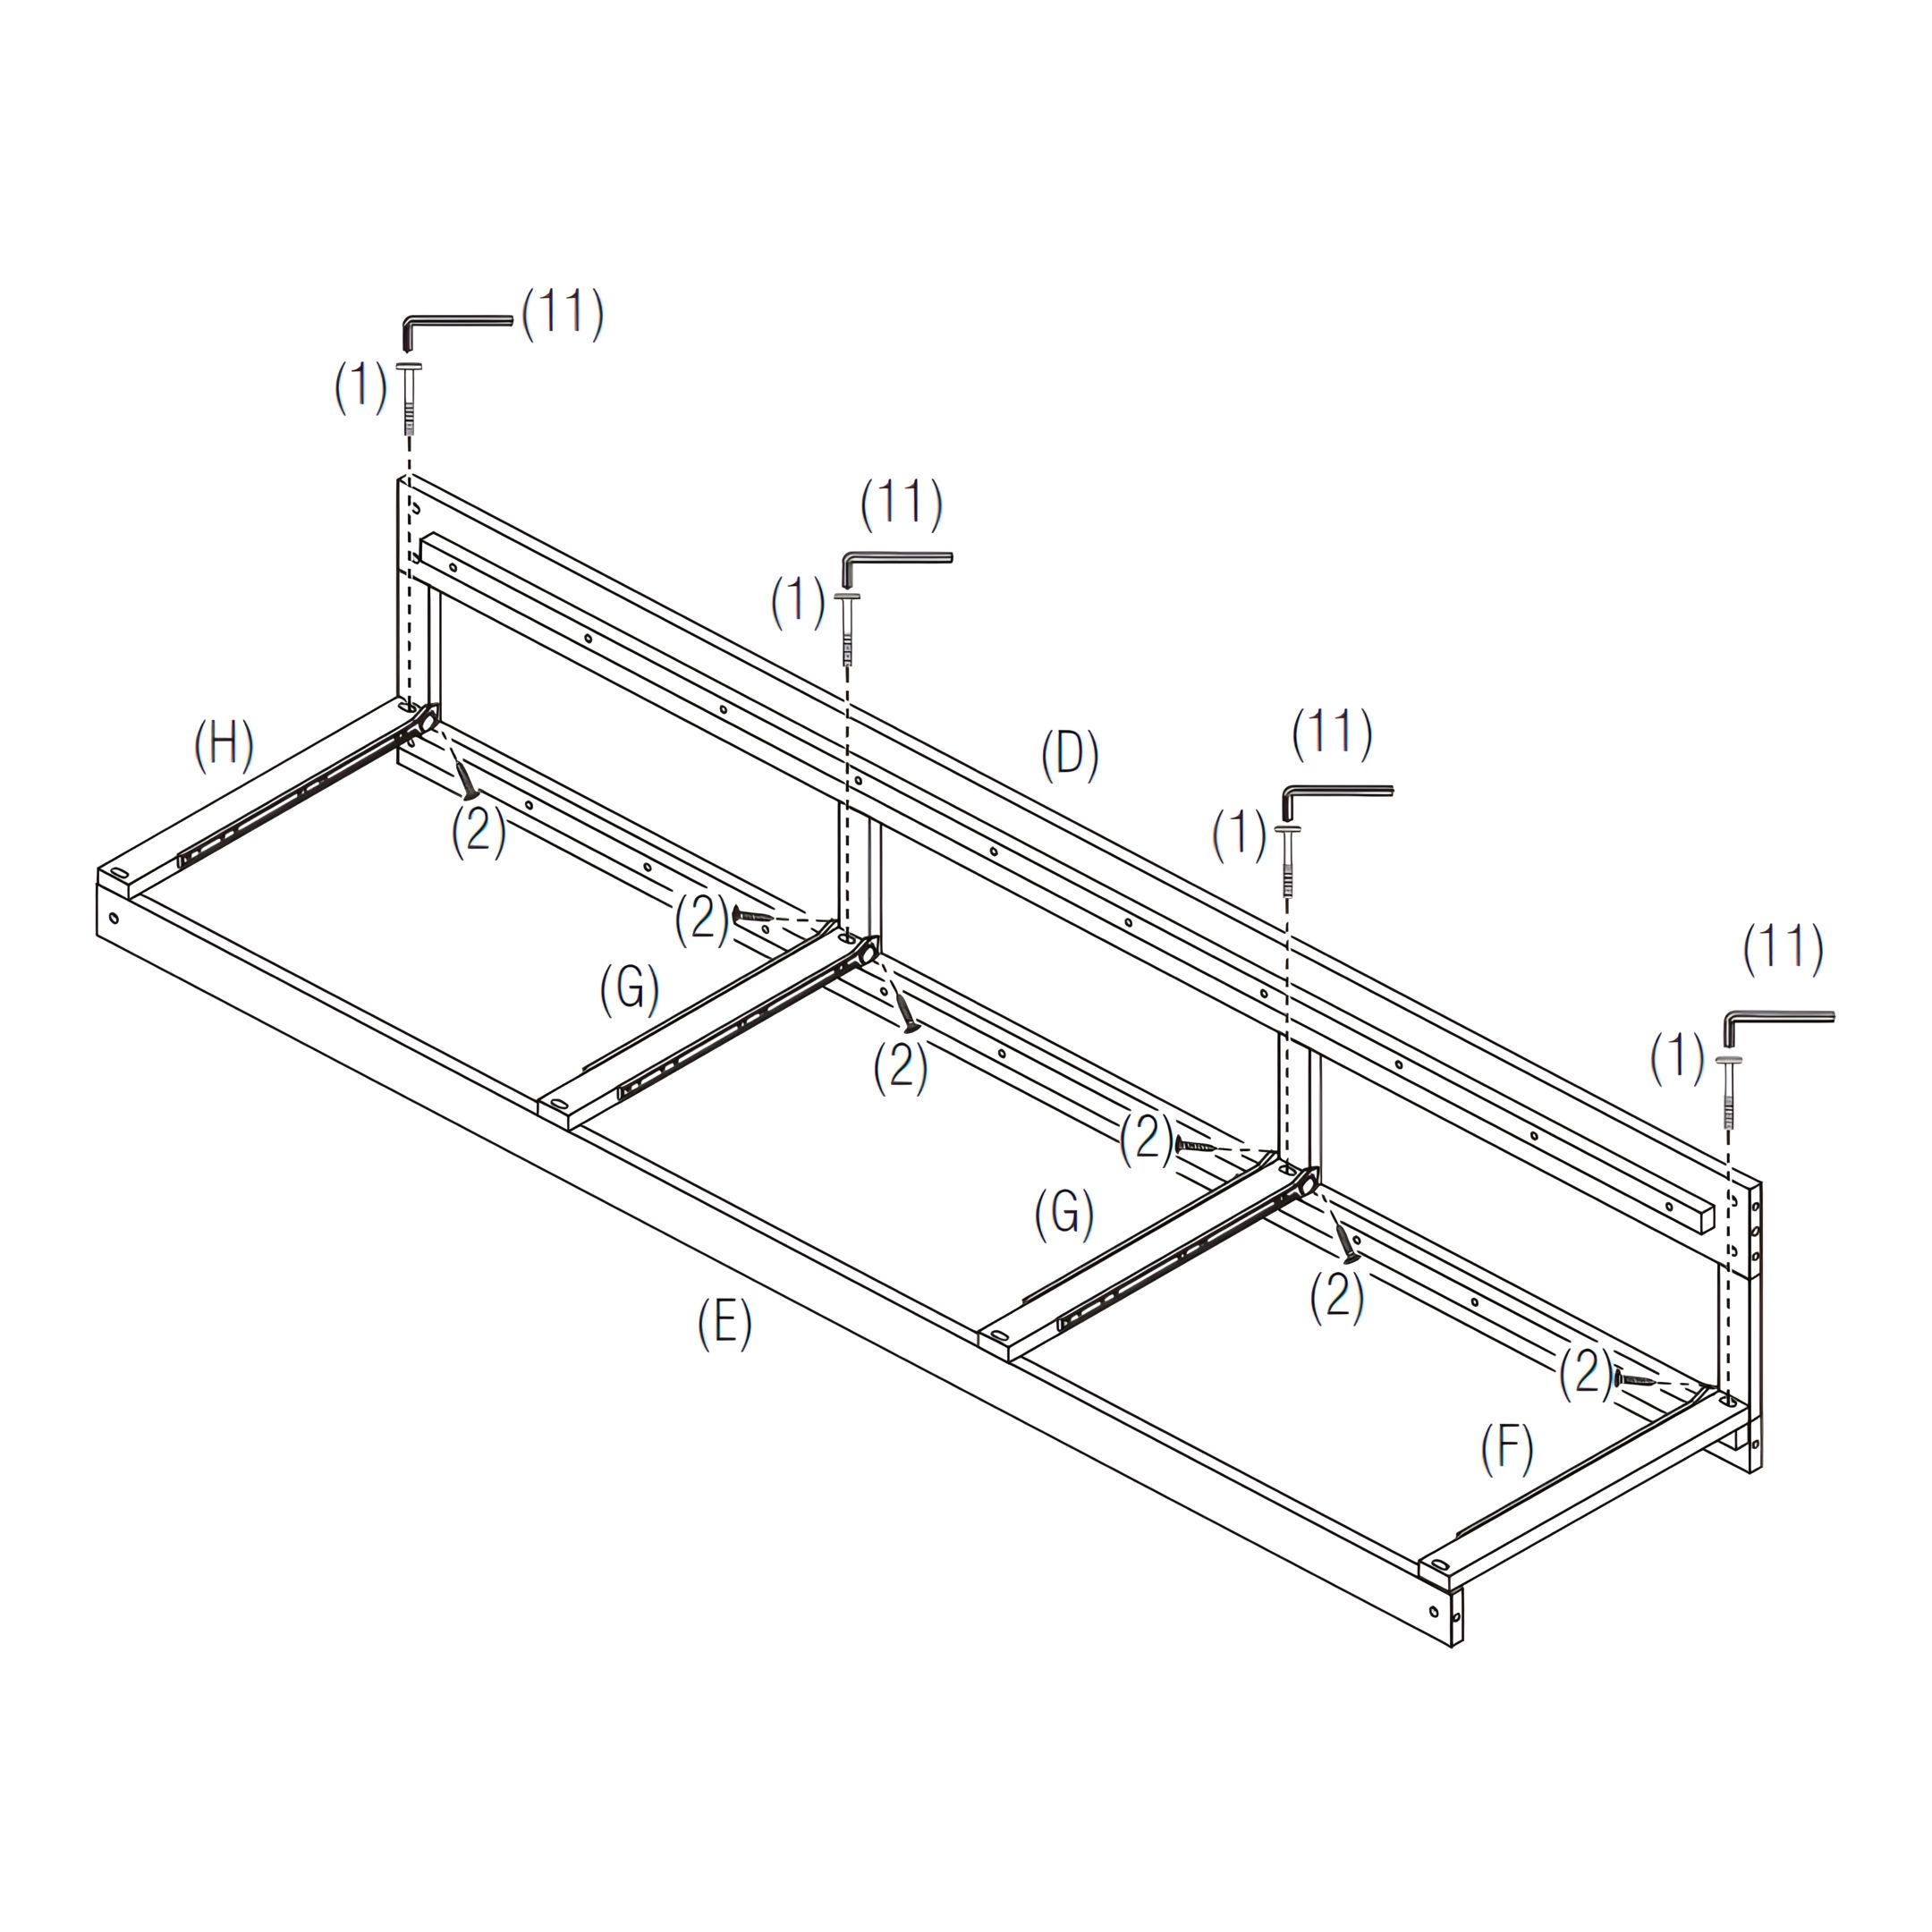


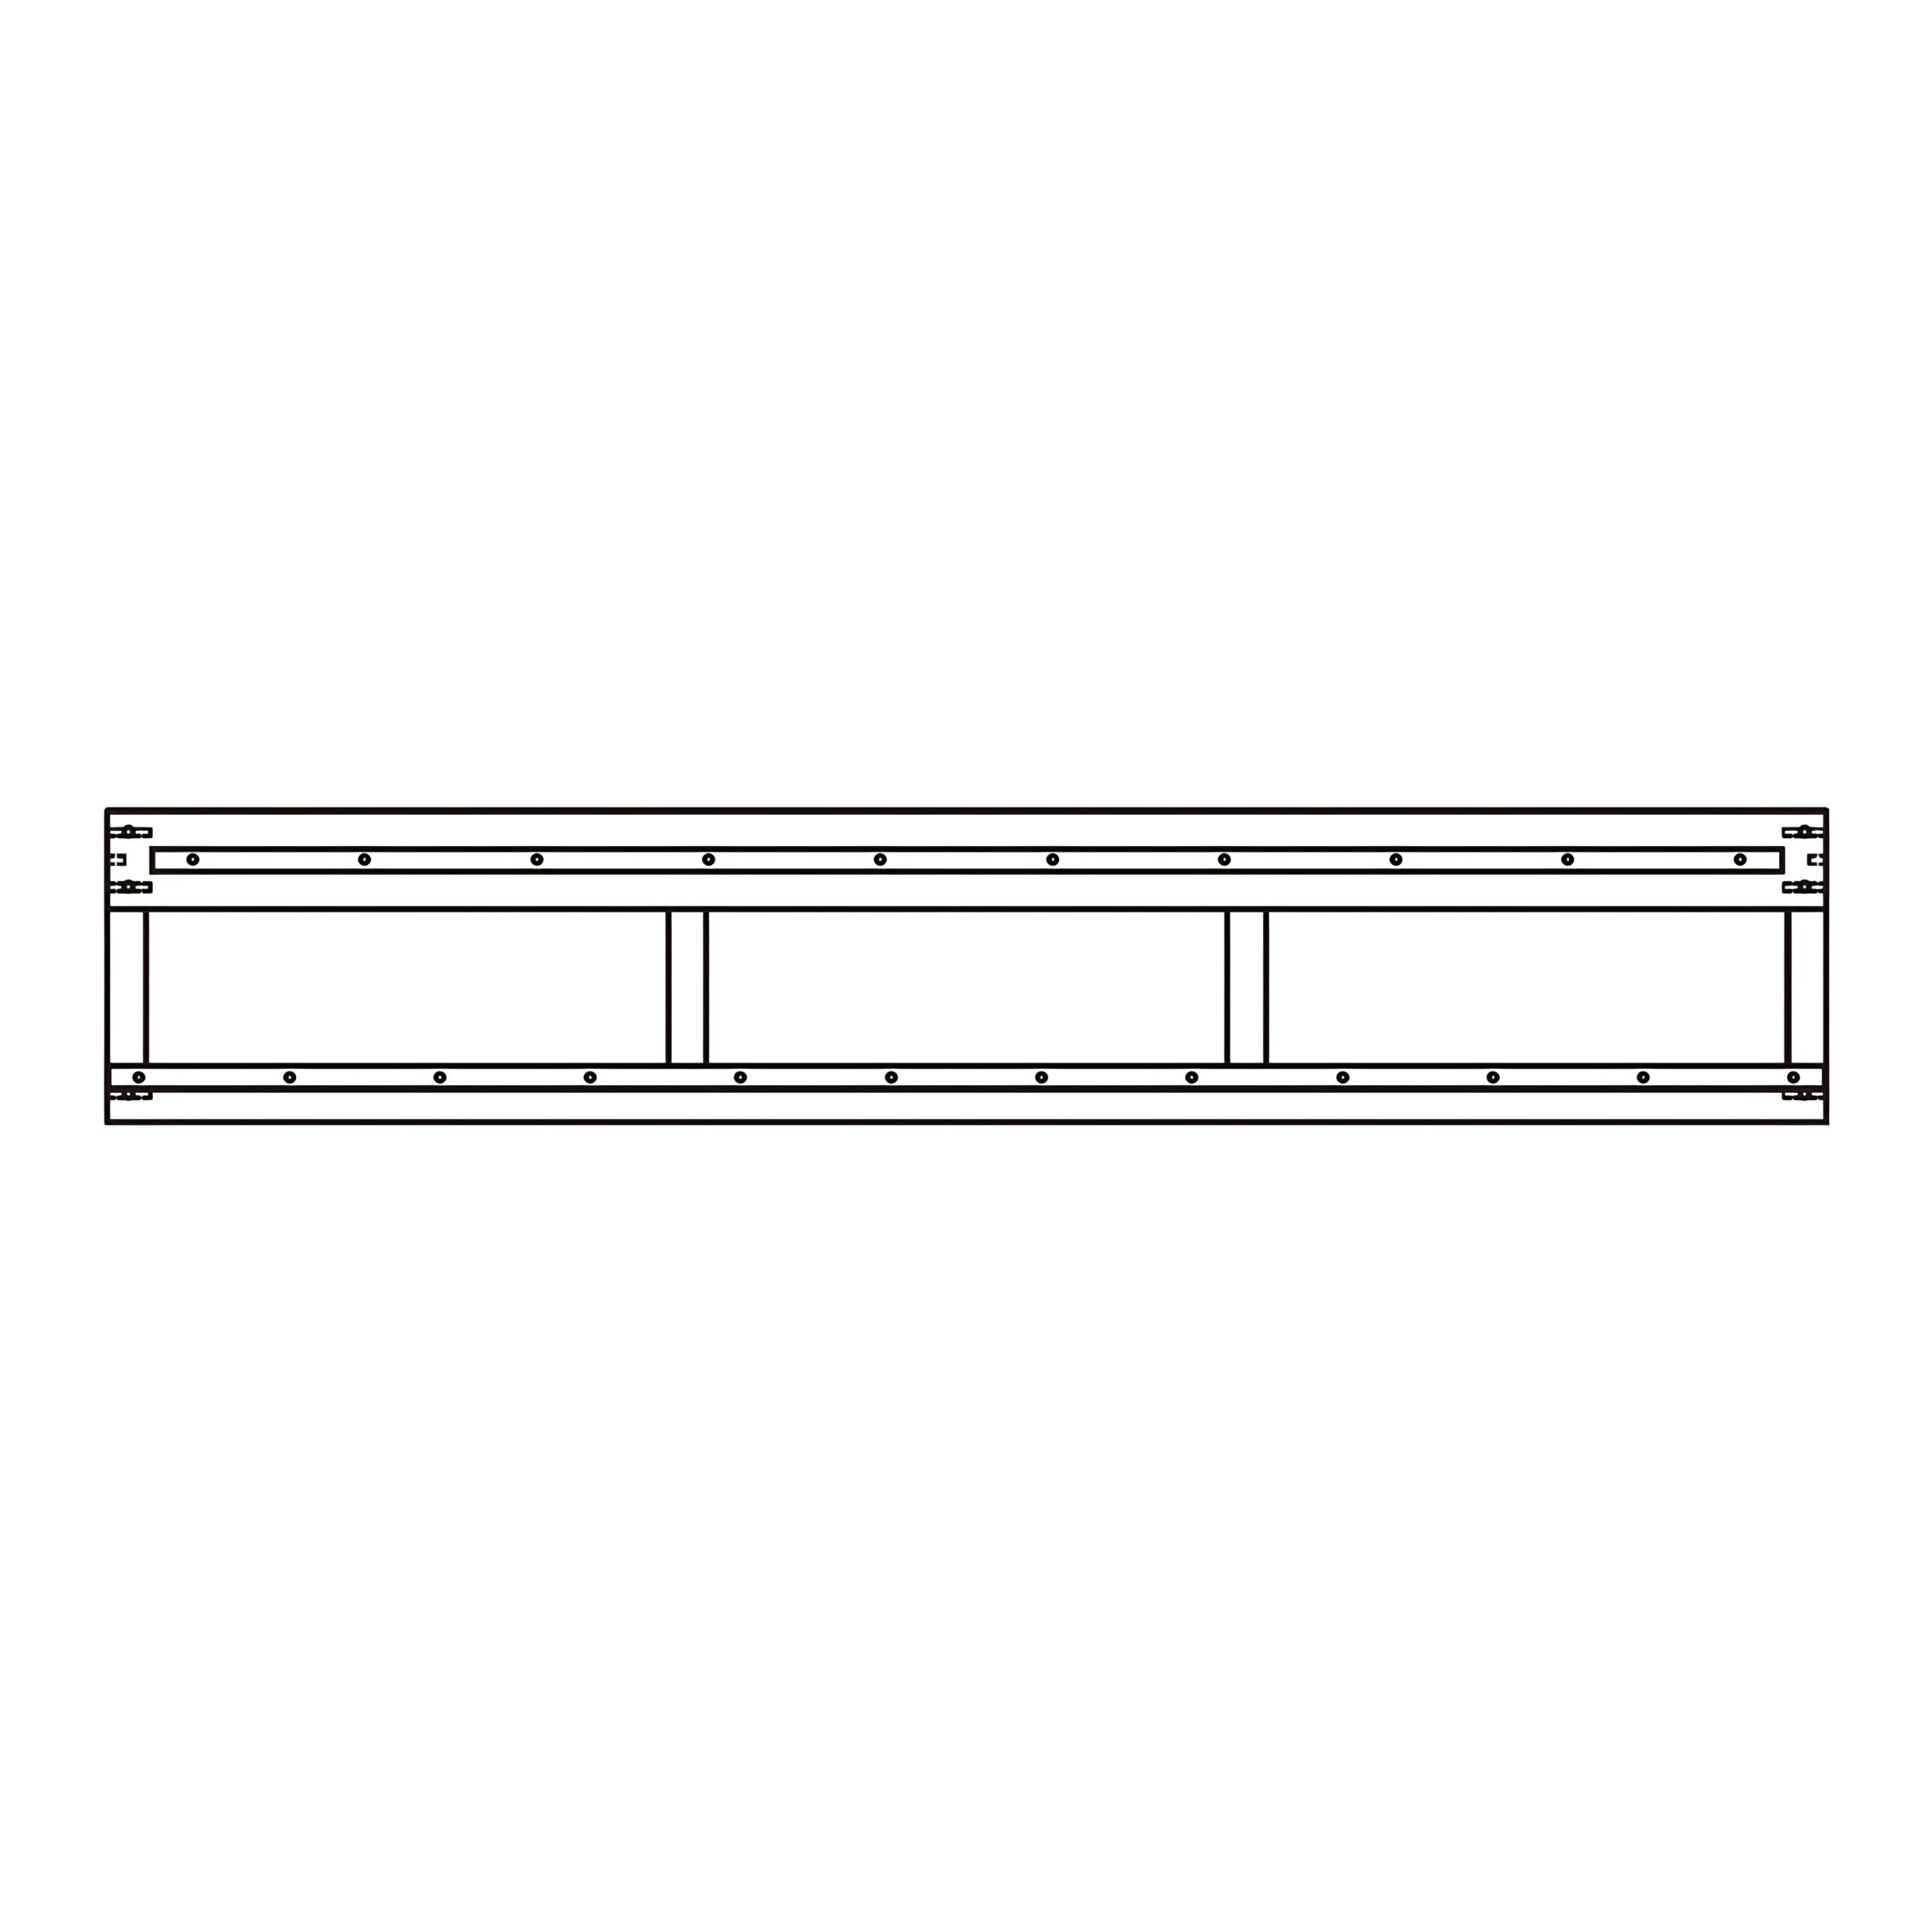


1. Attach Bottom Supports to the Center Support
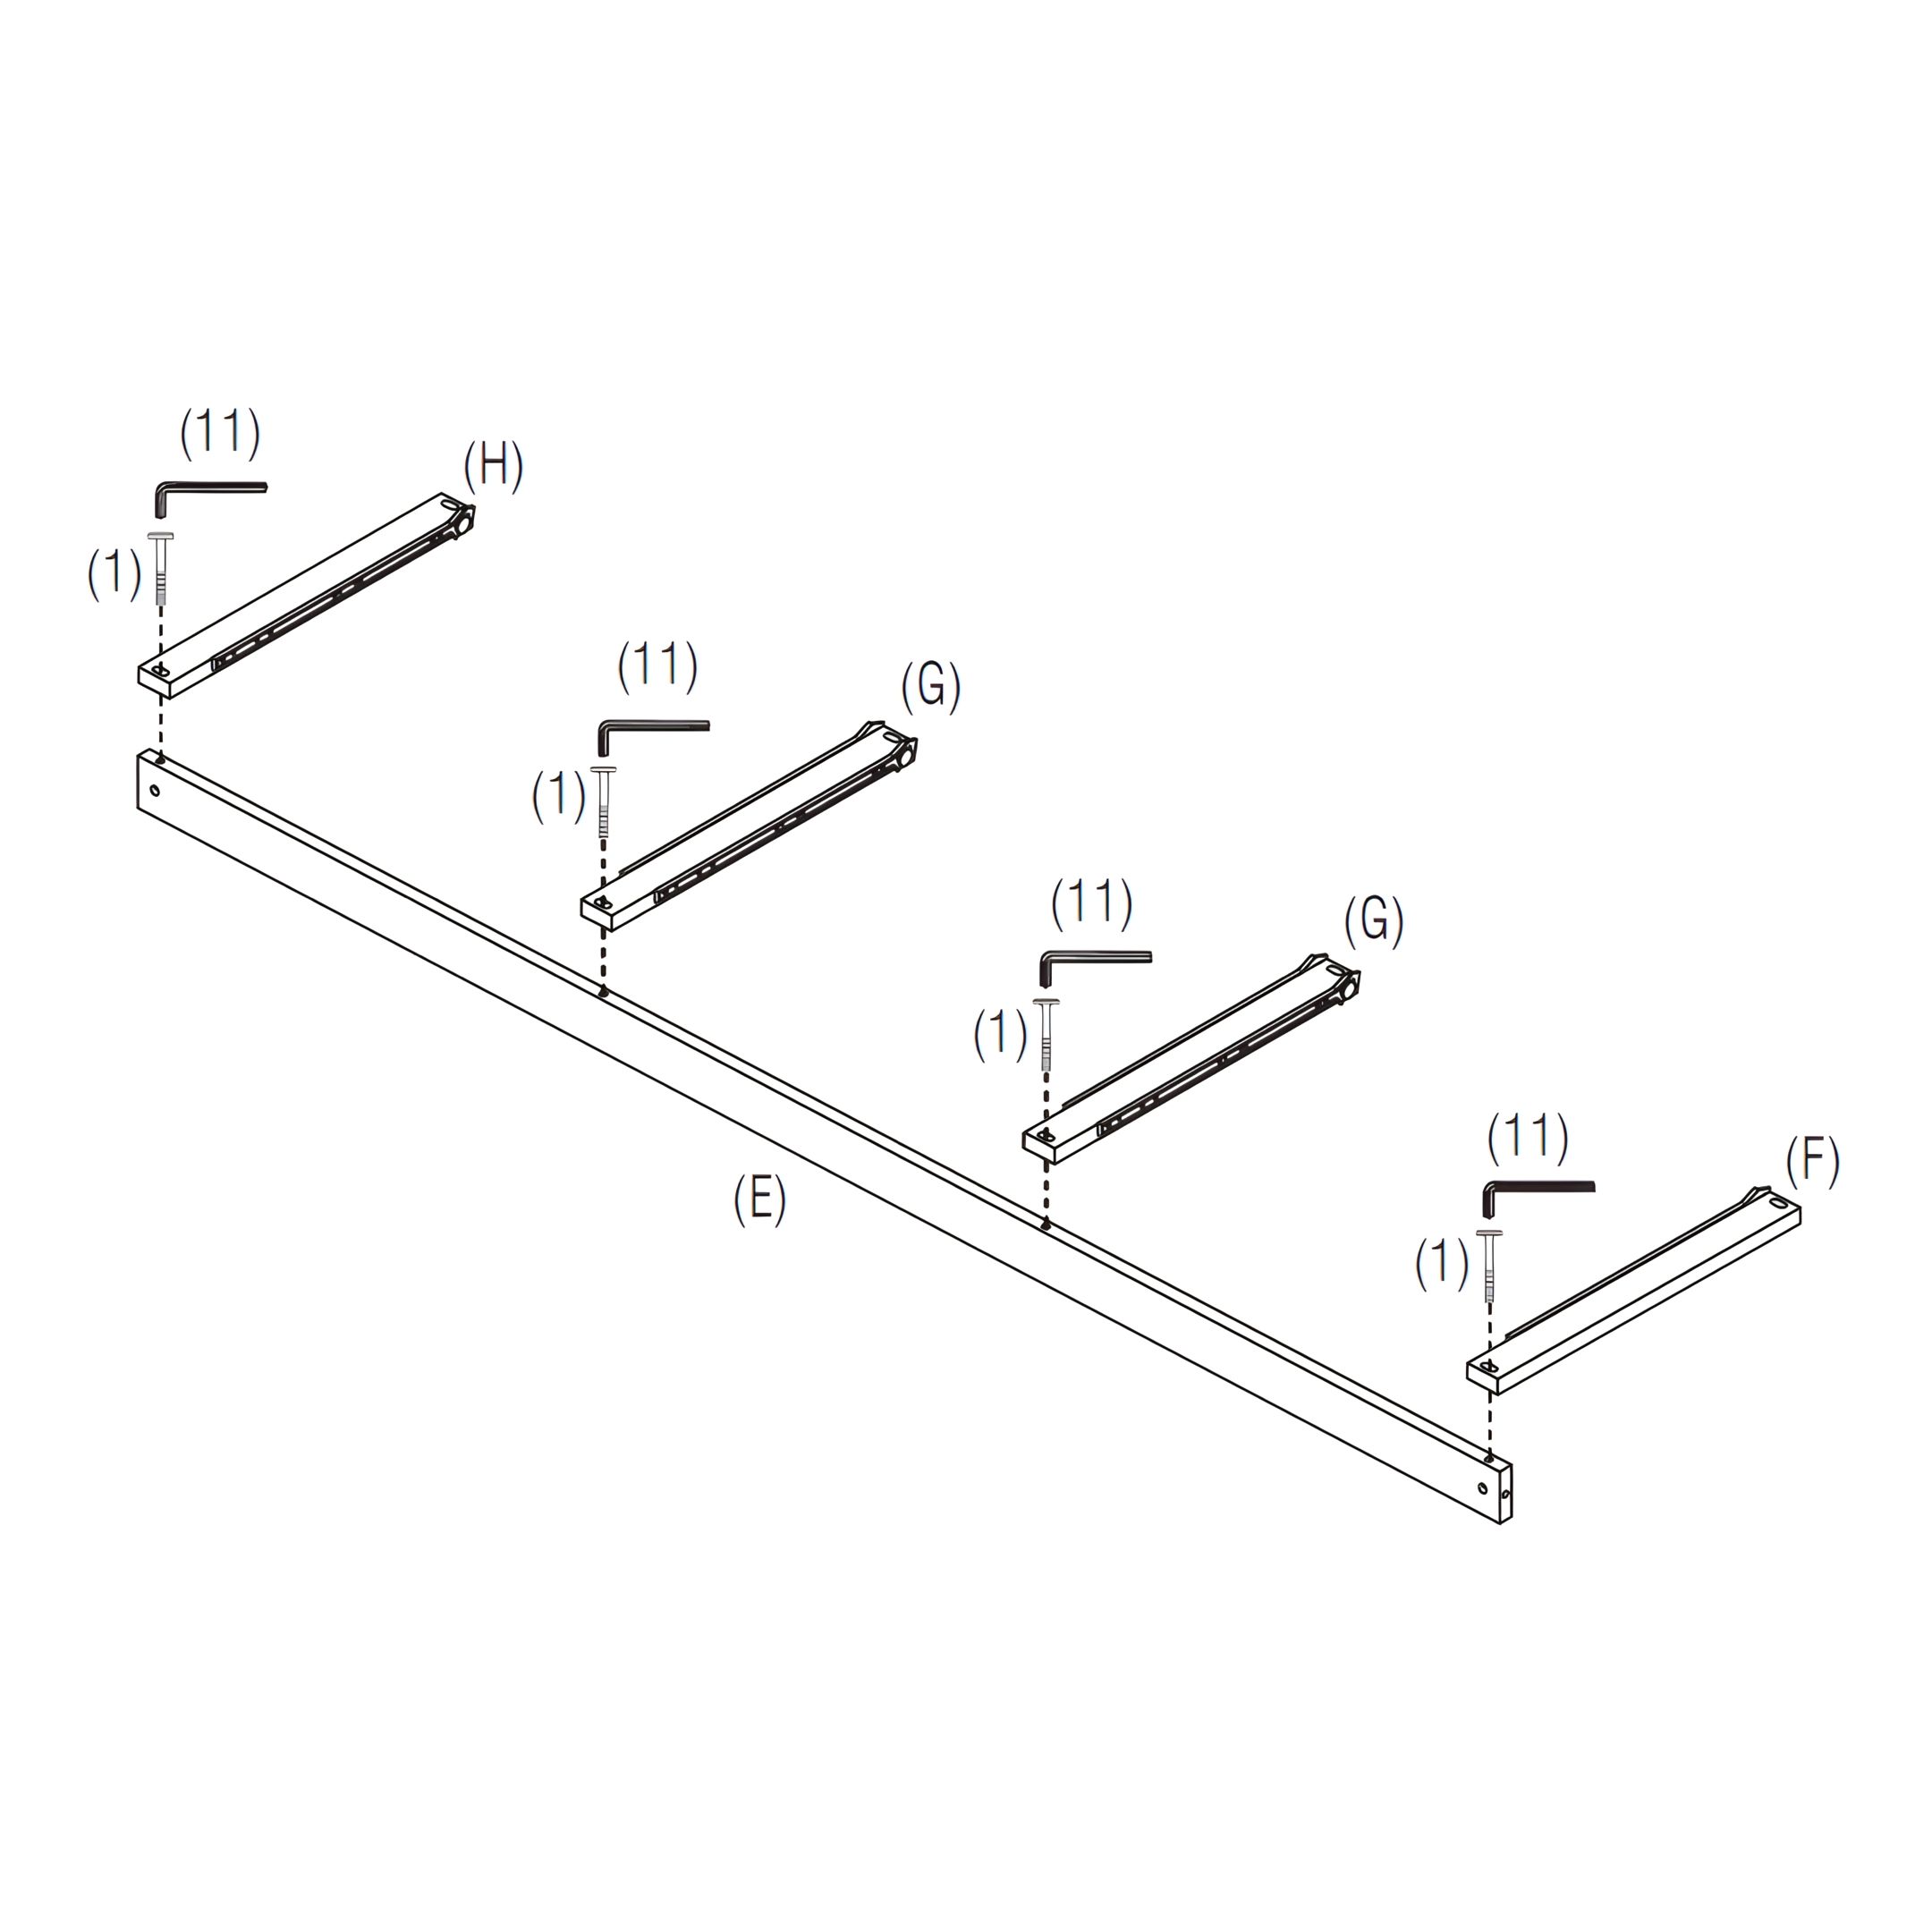
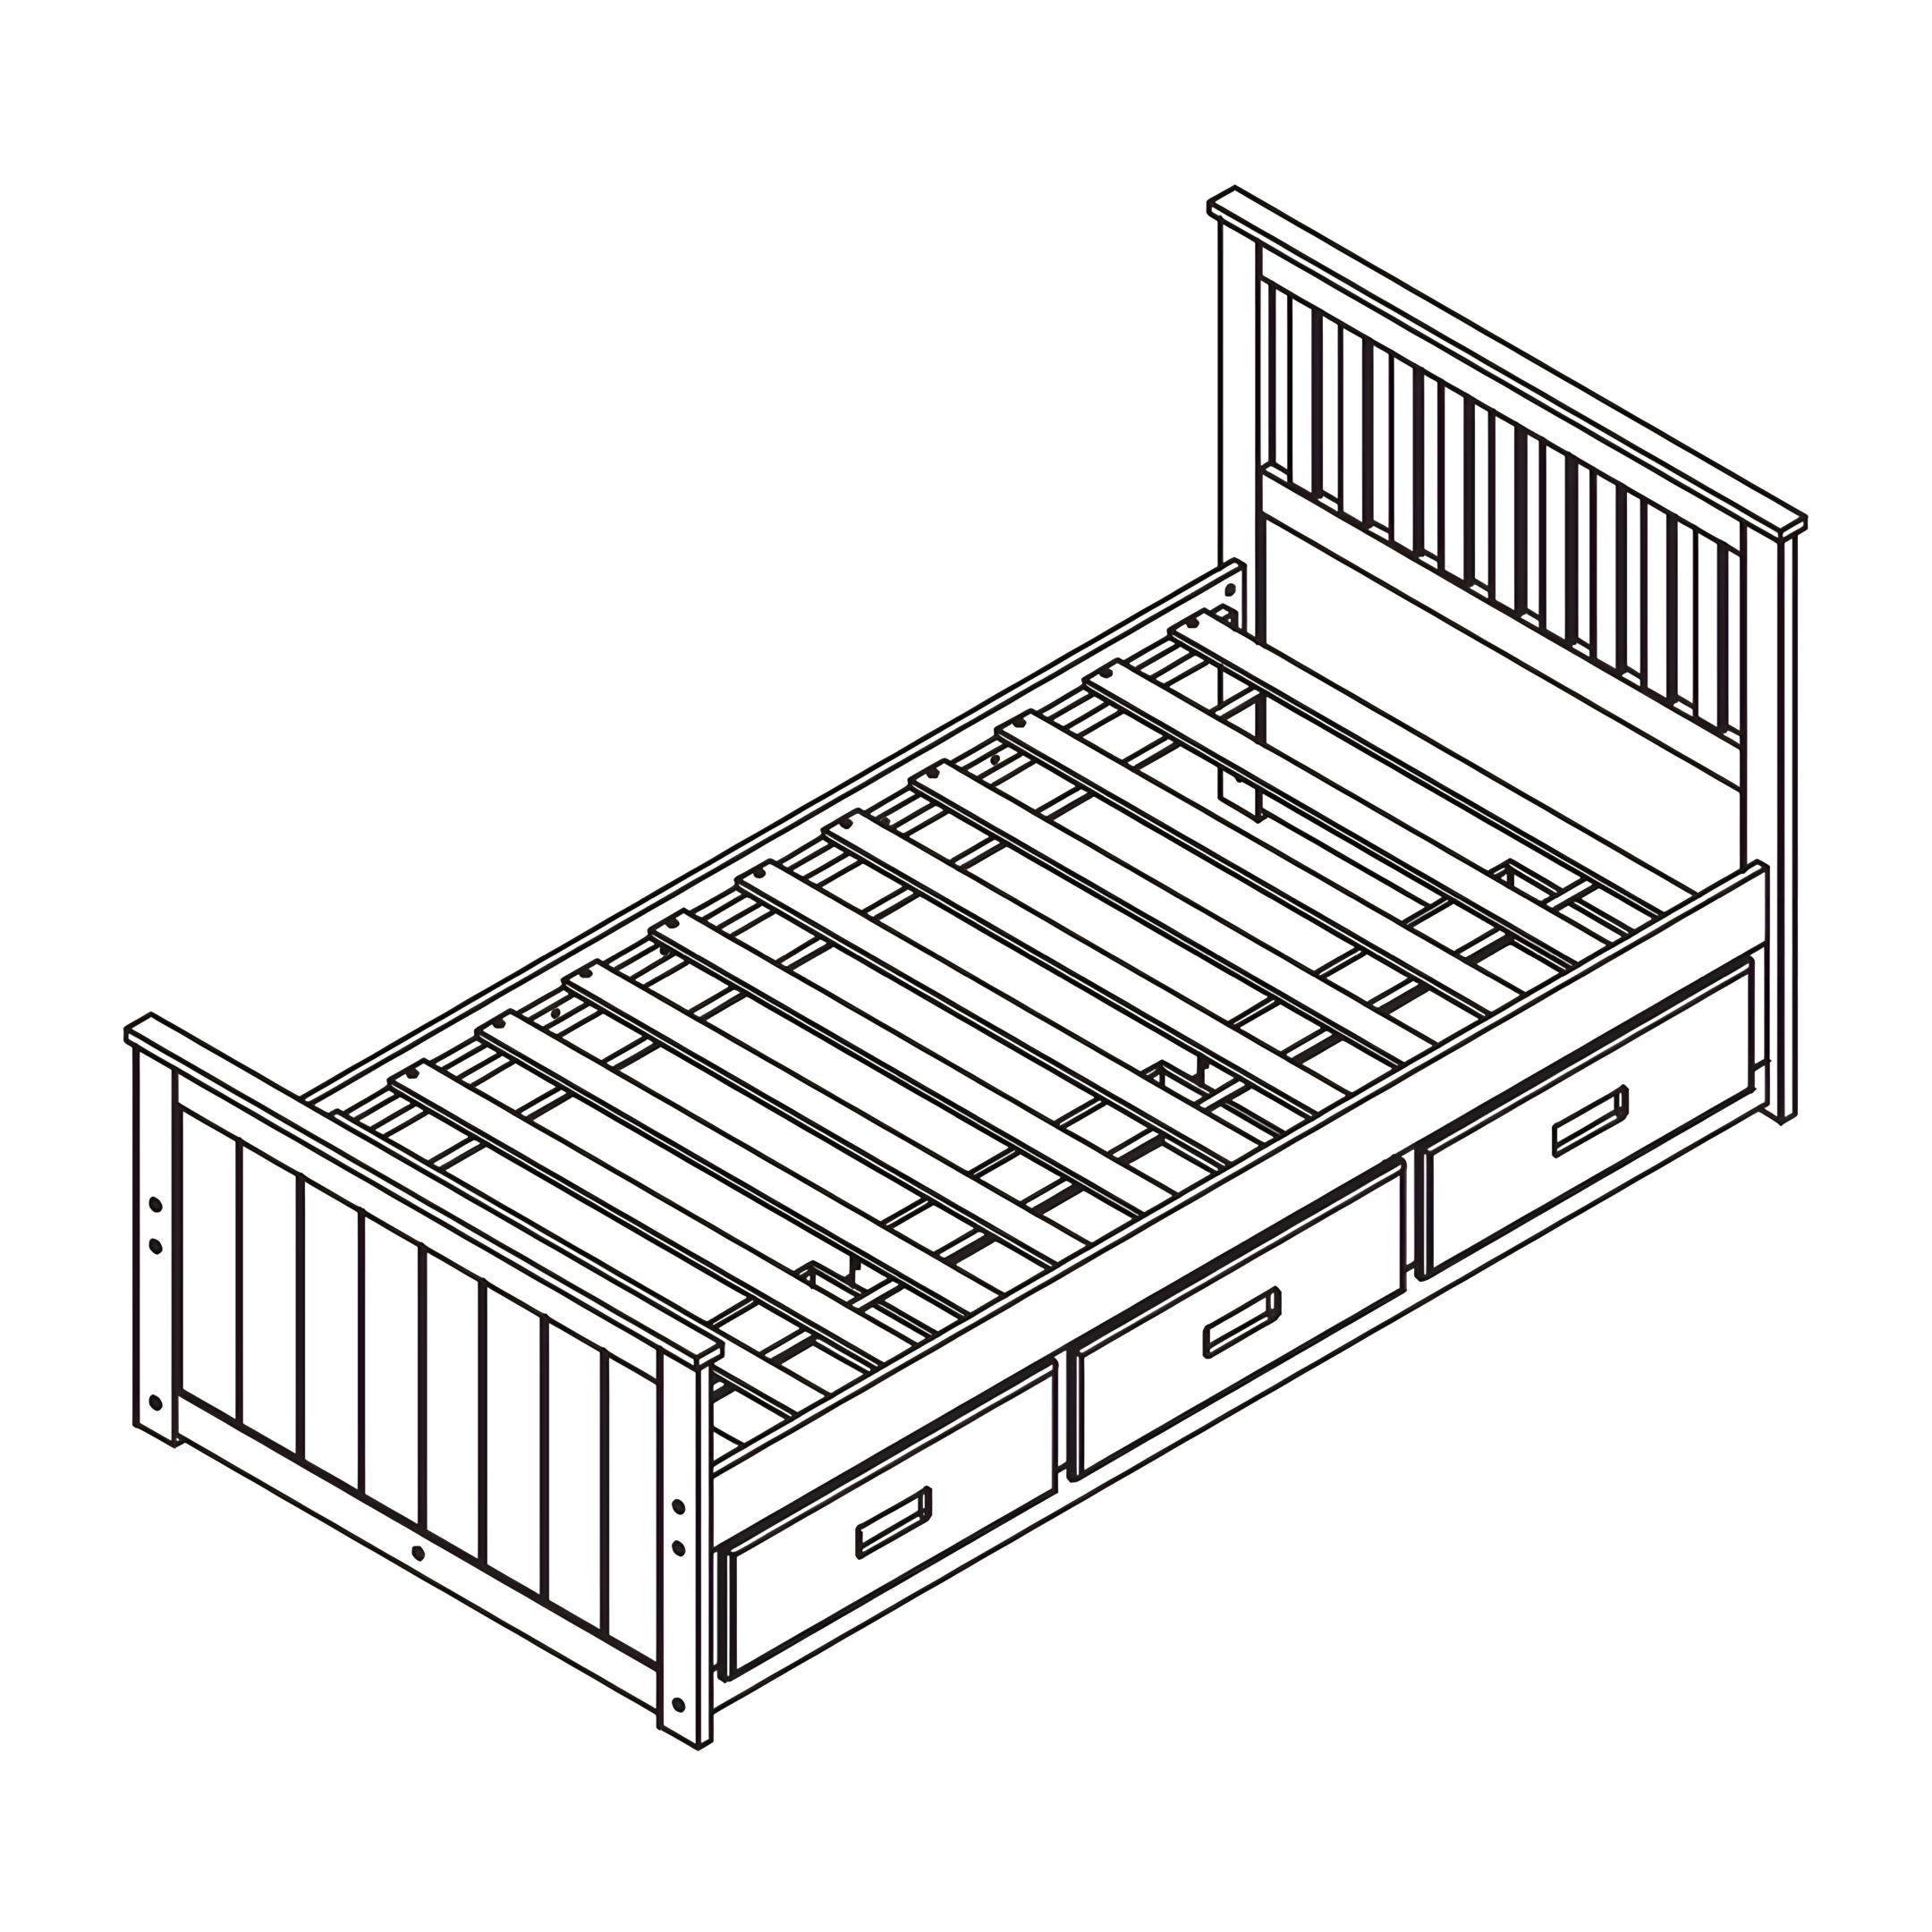
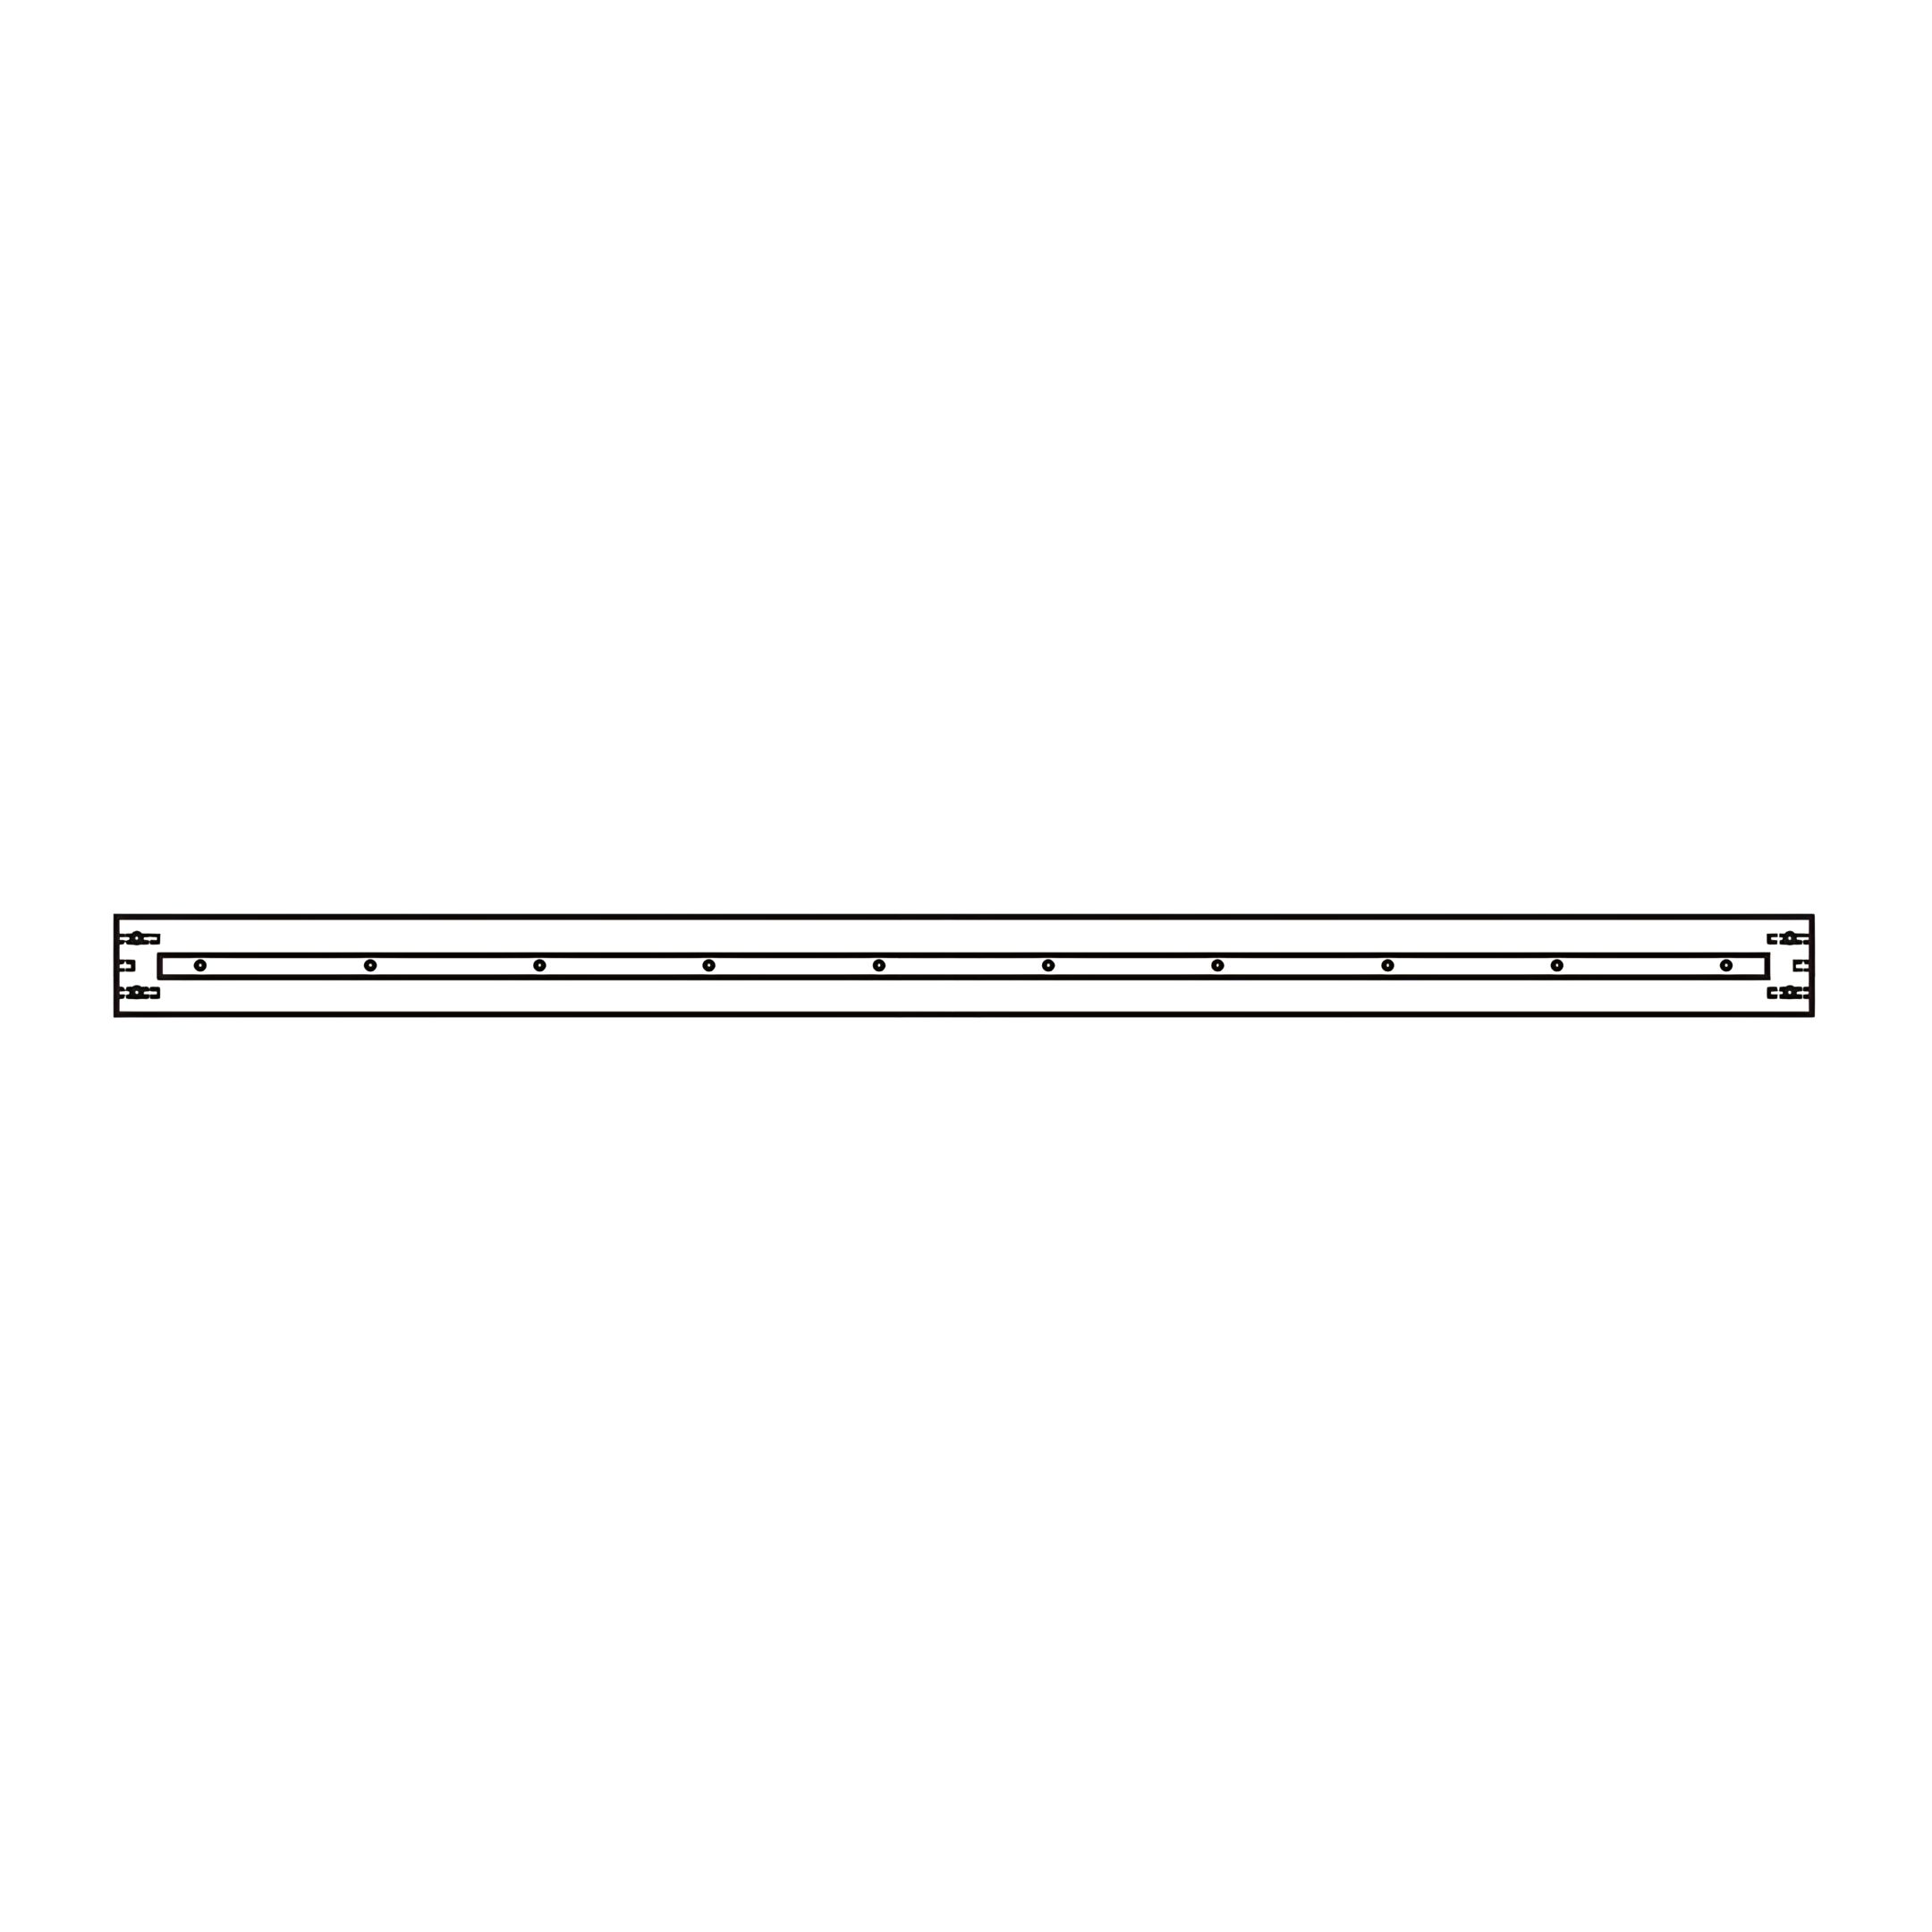
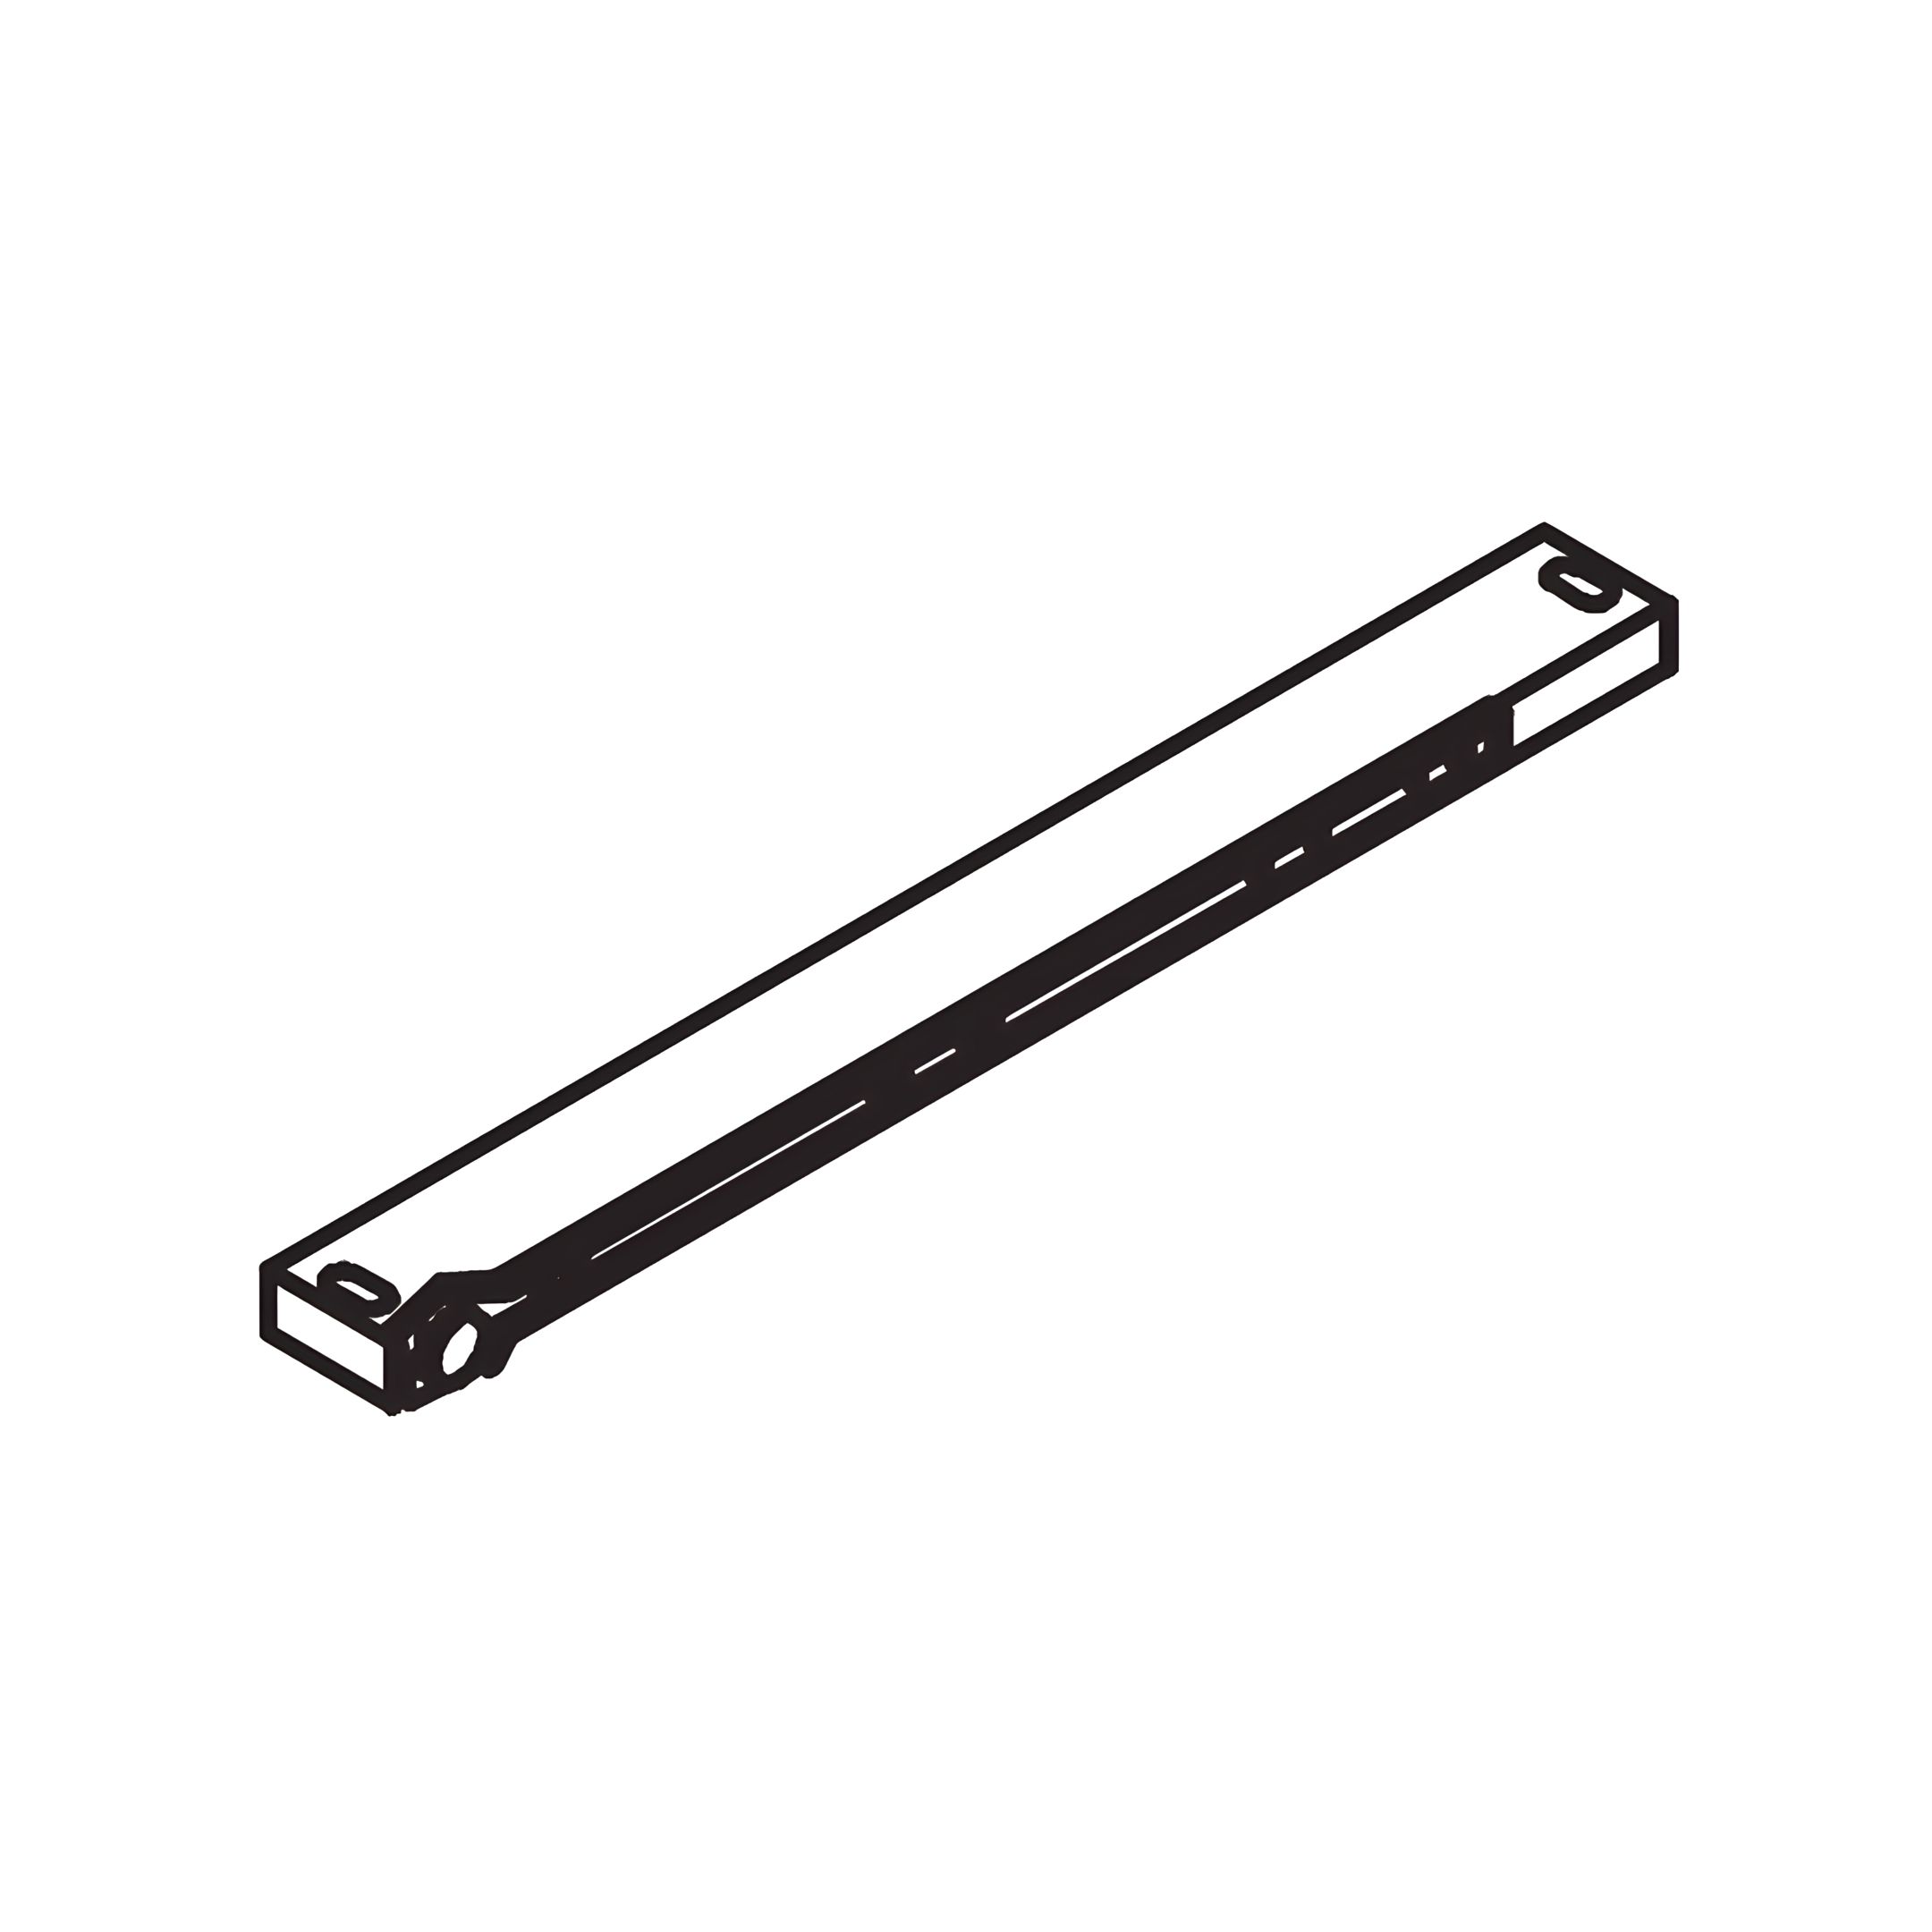
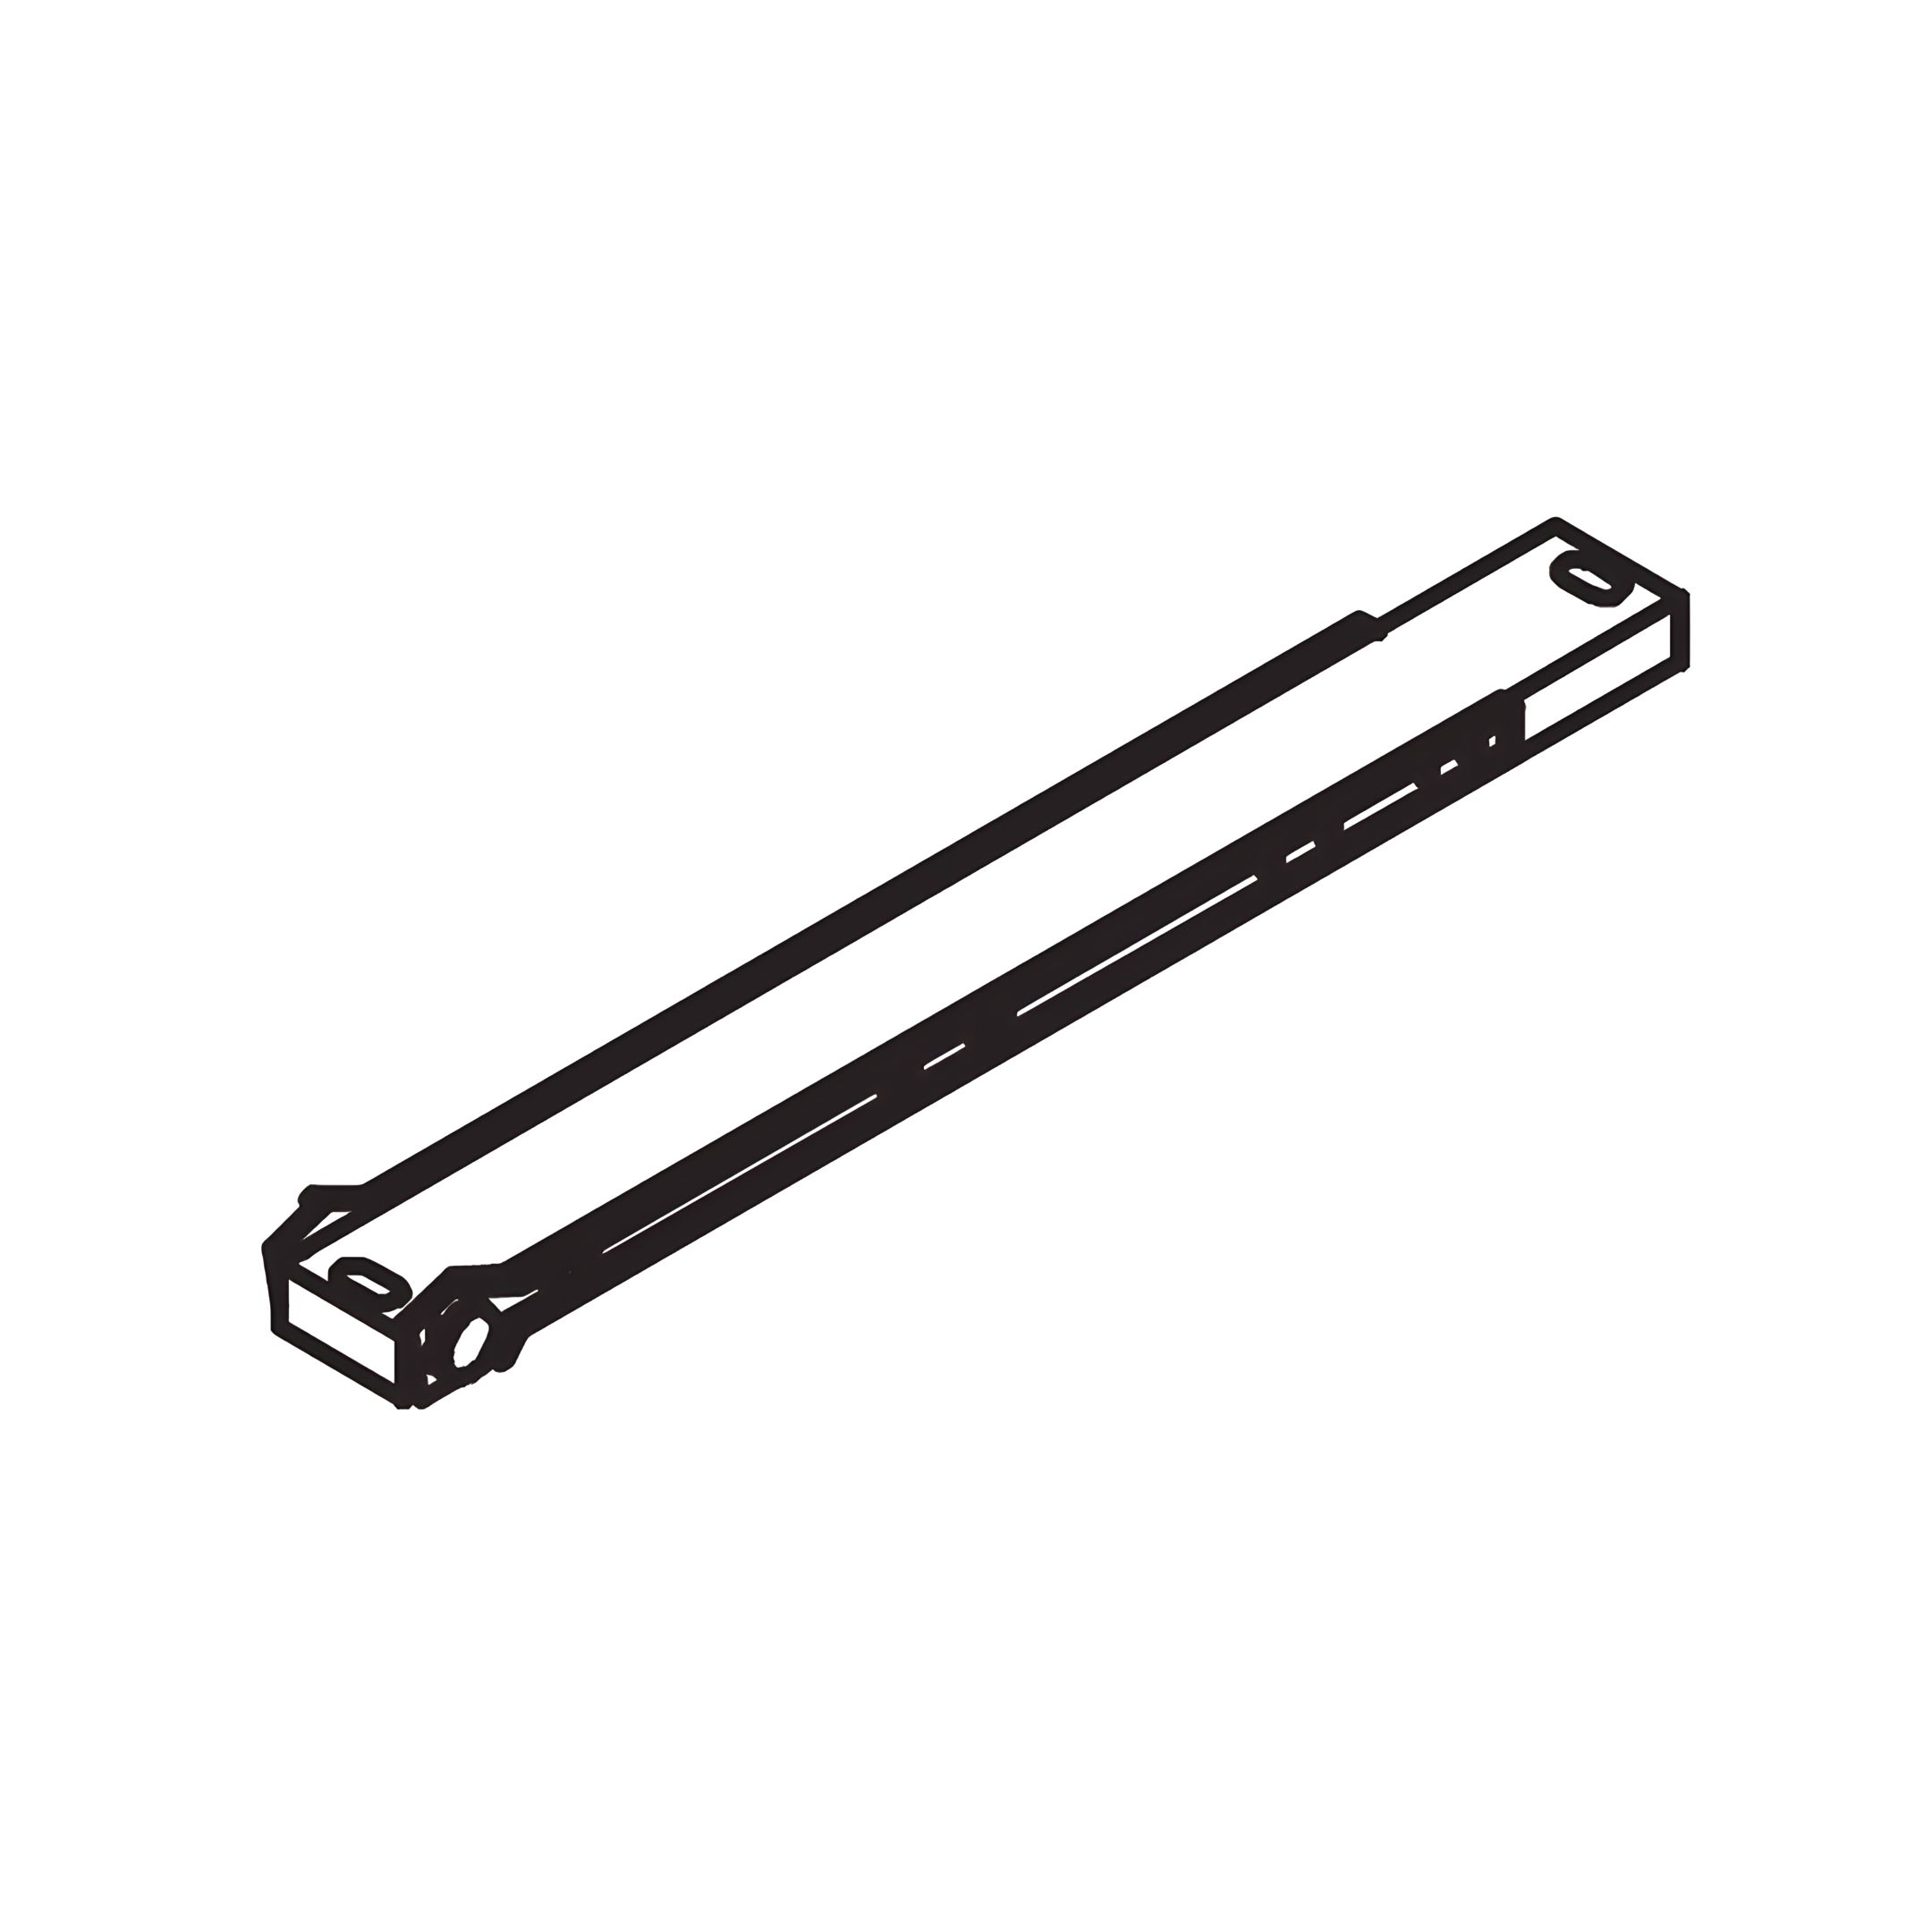
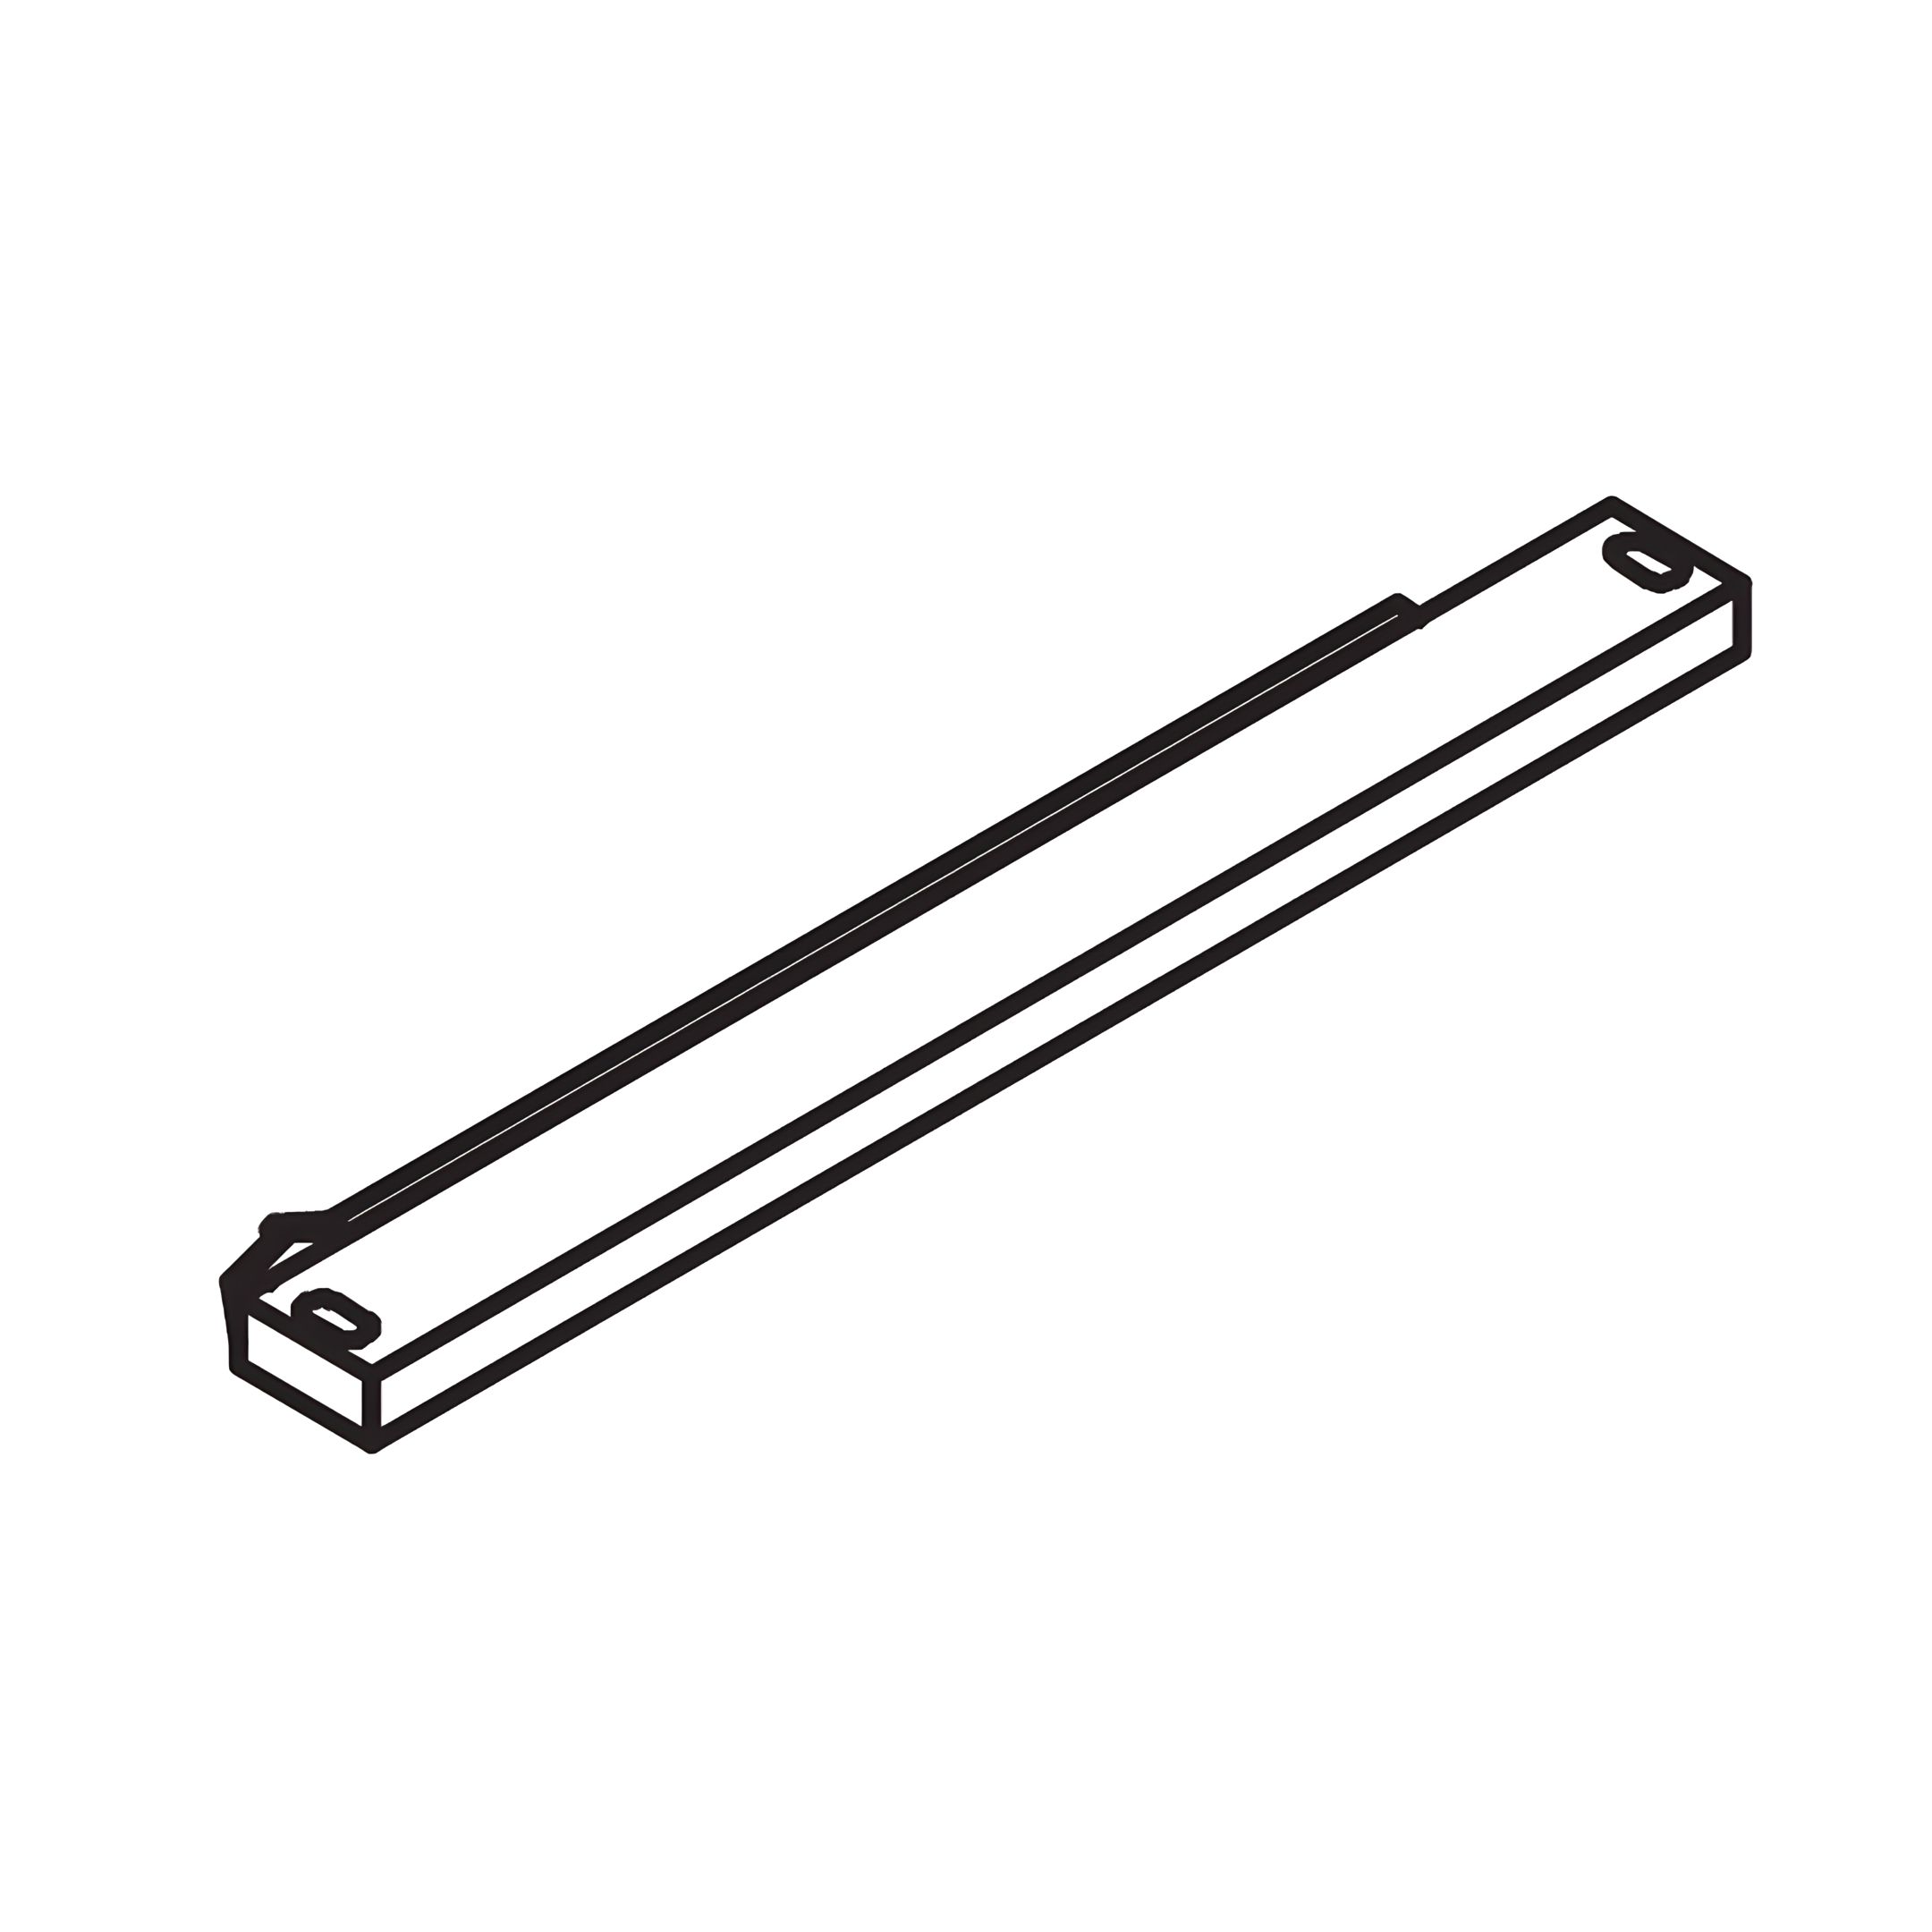
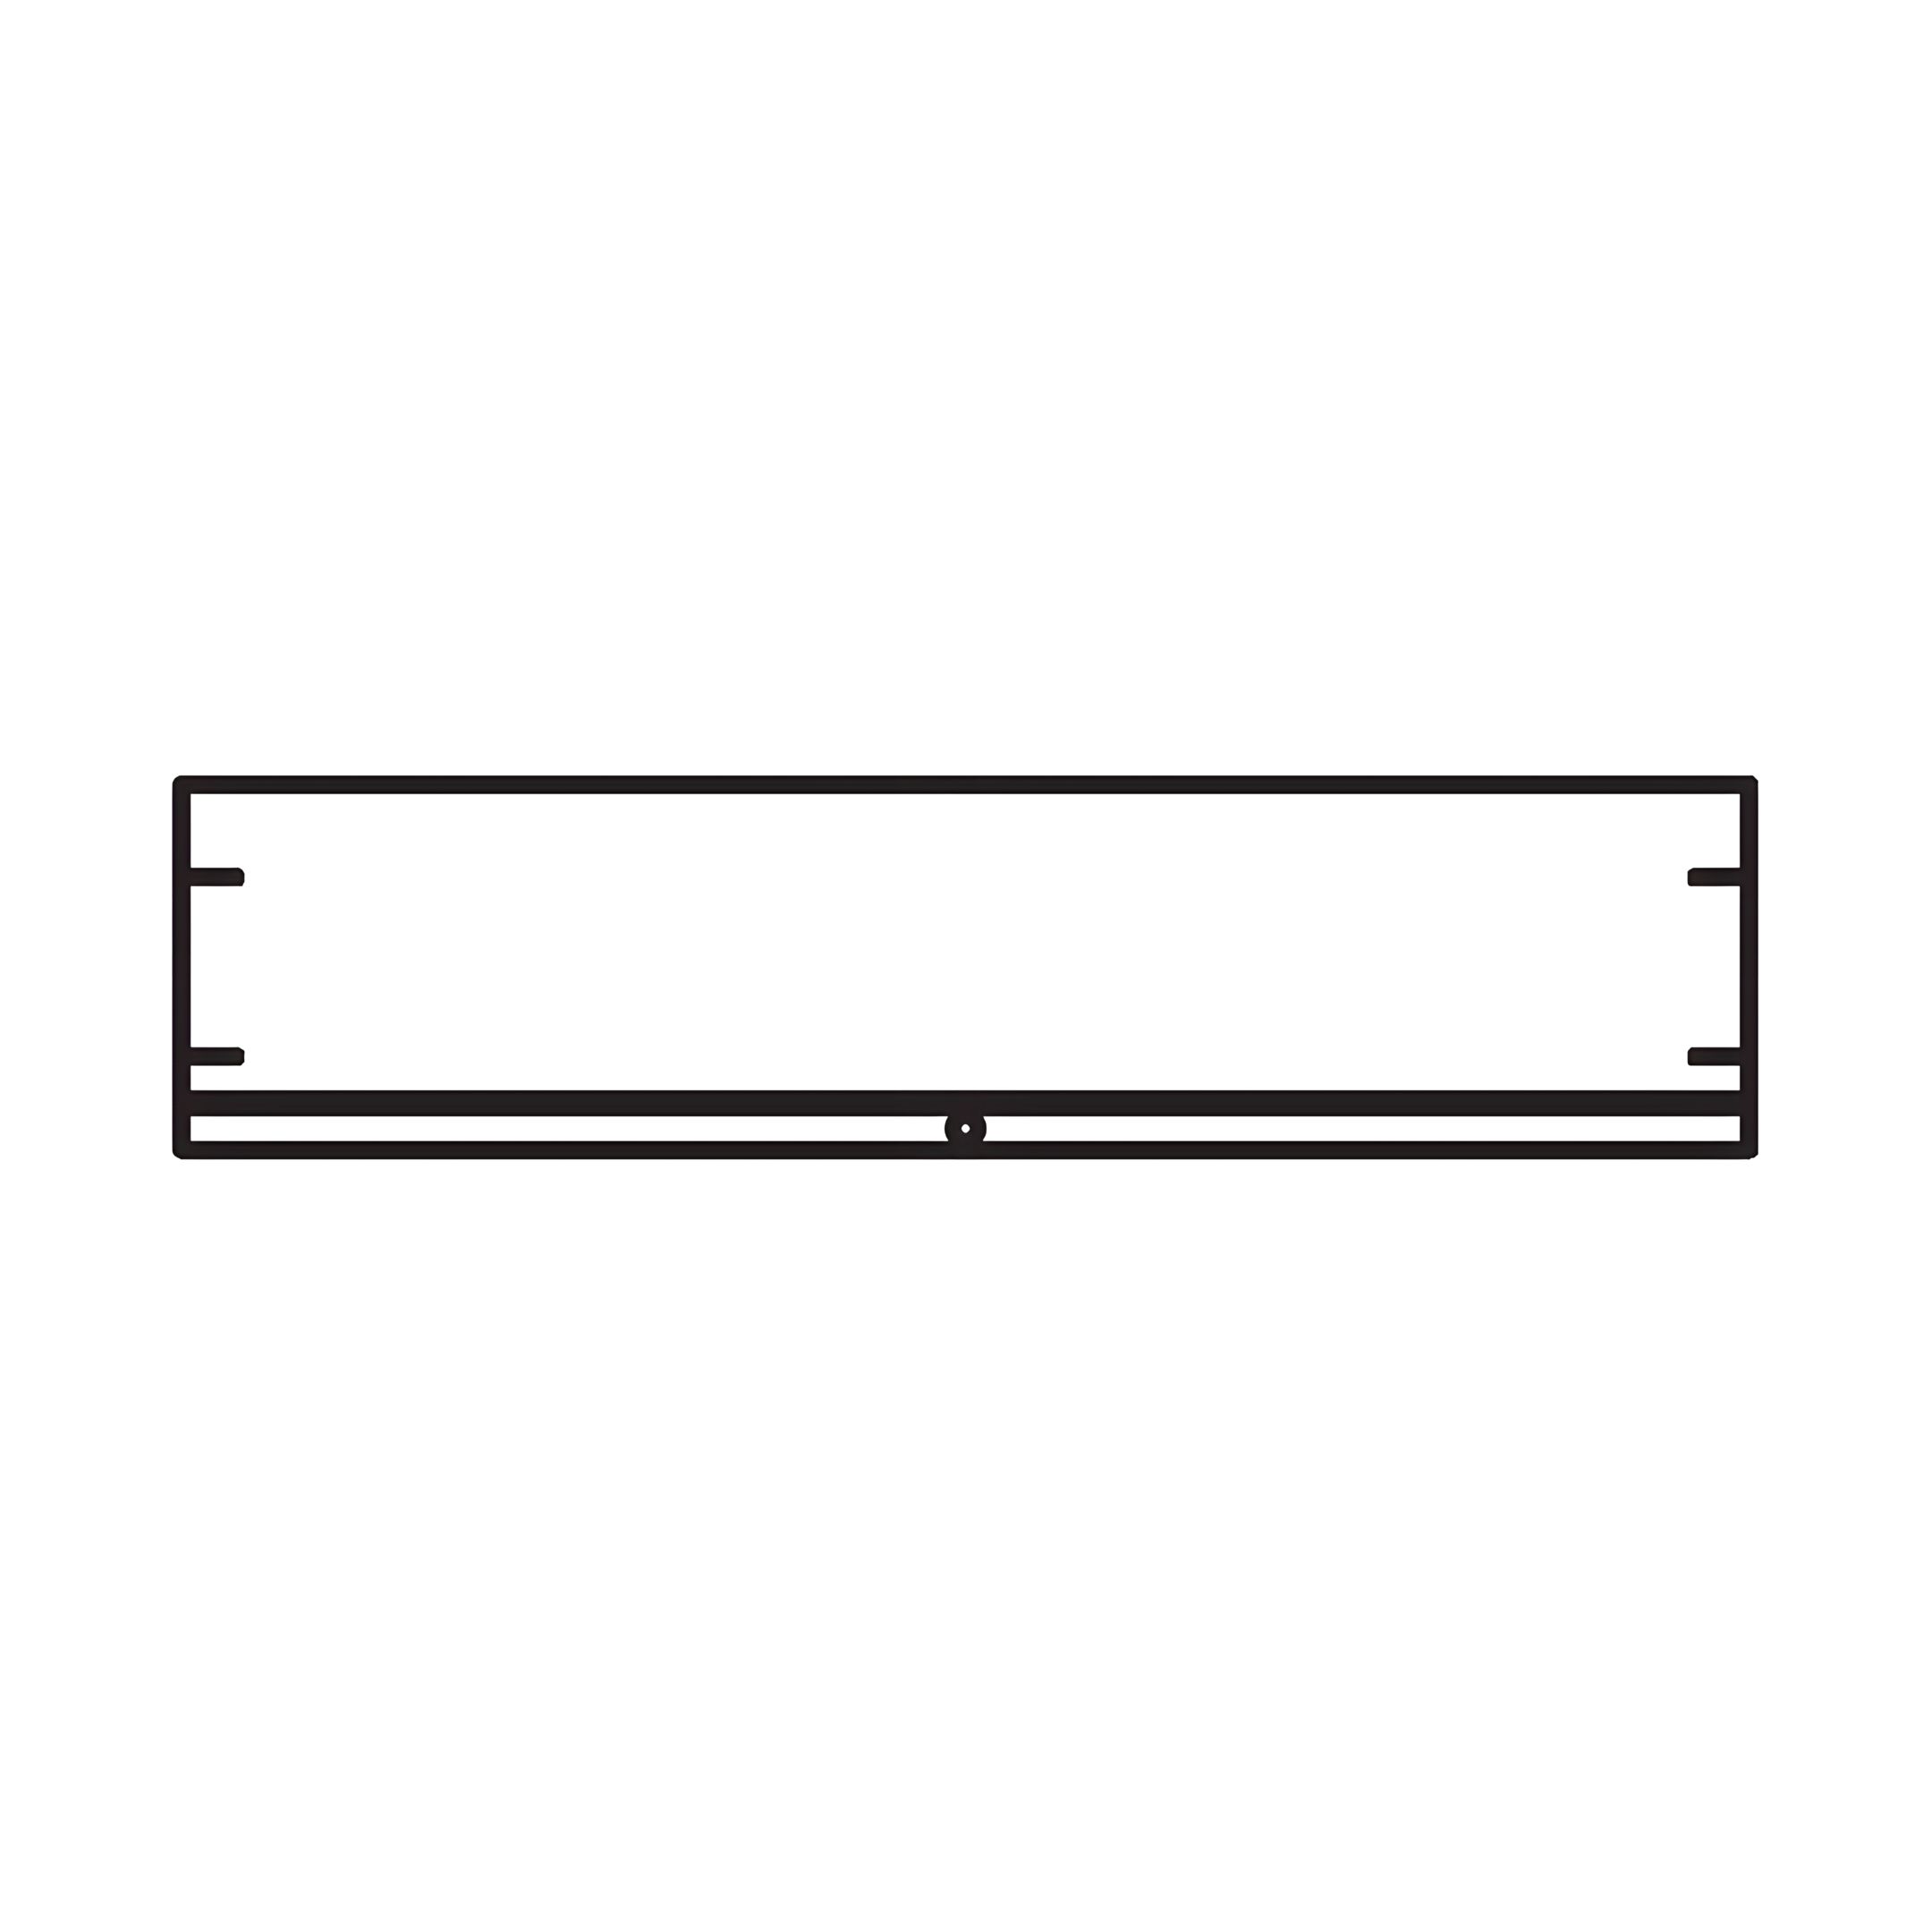
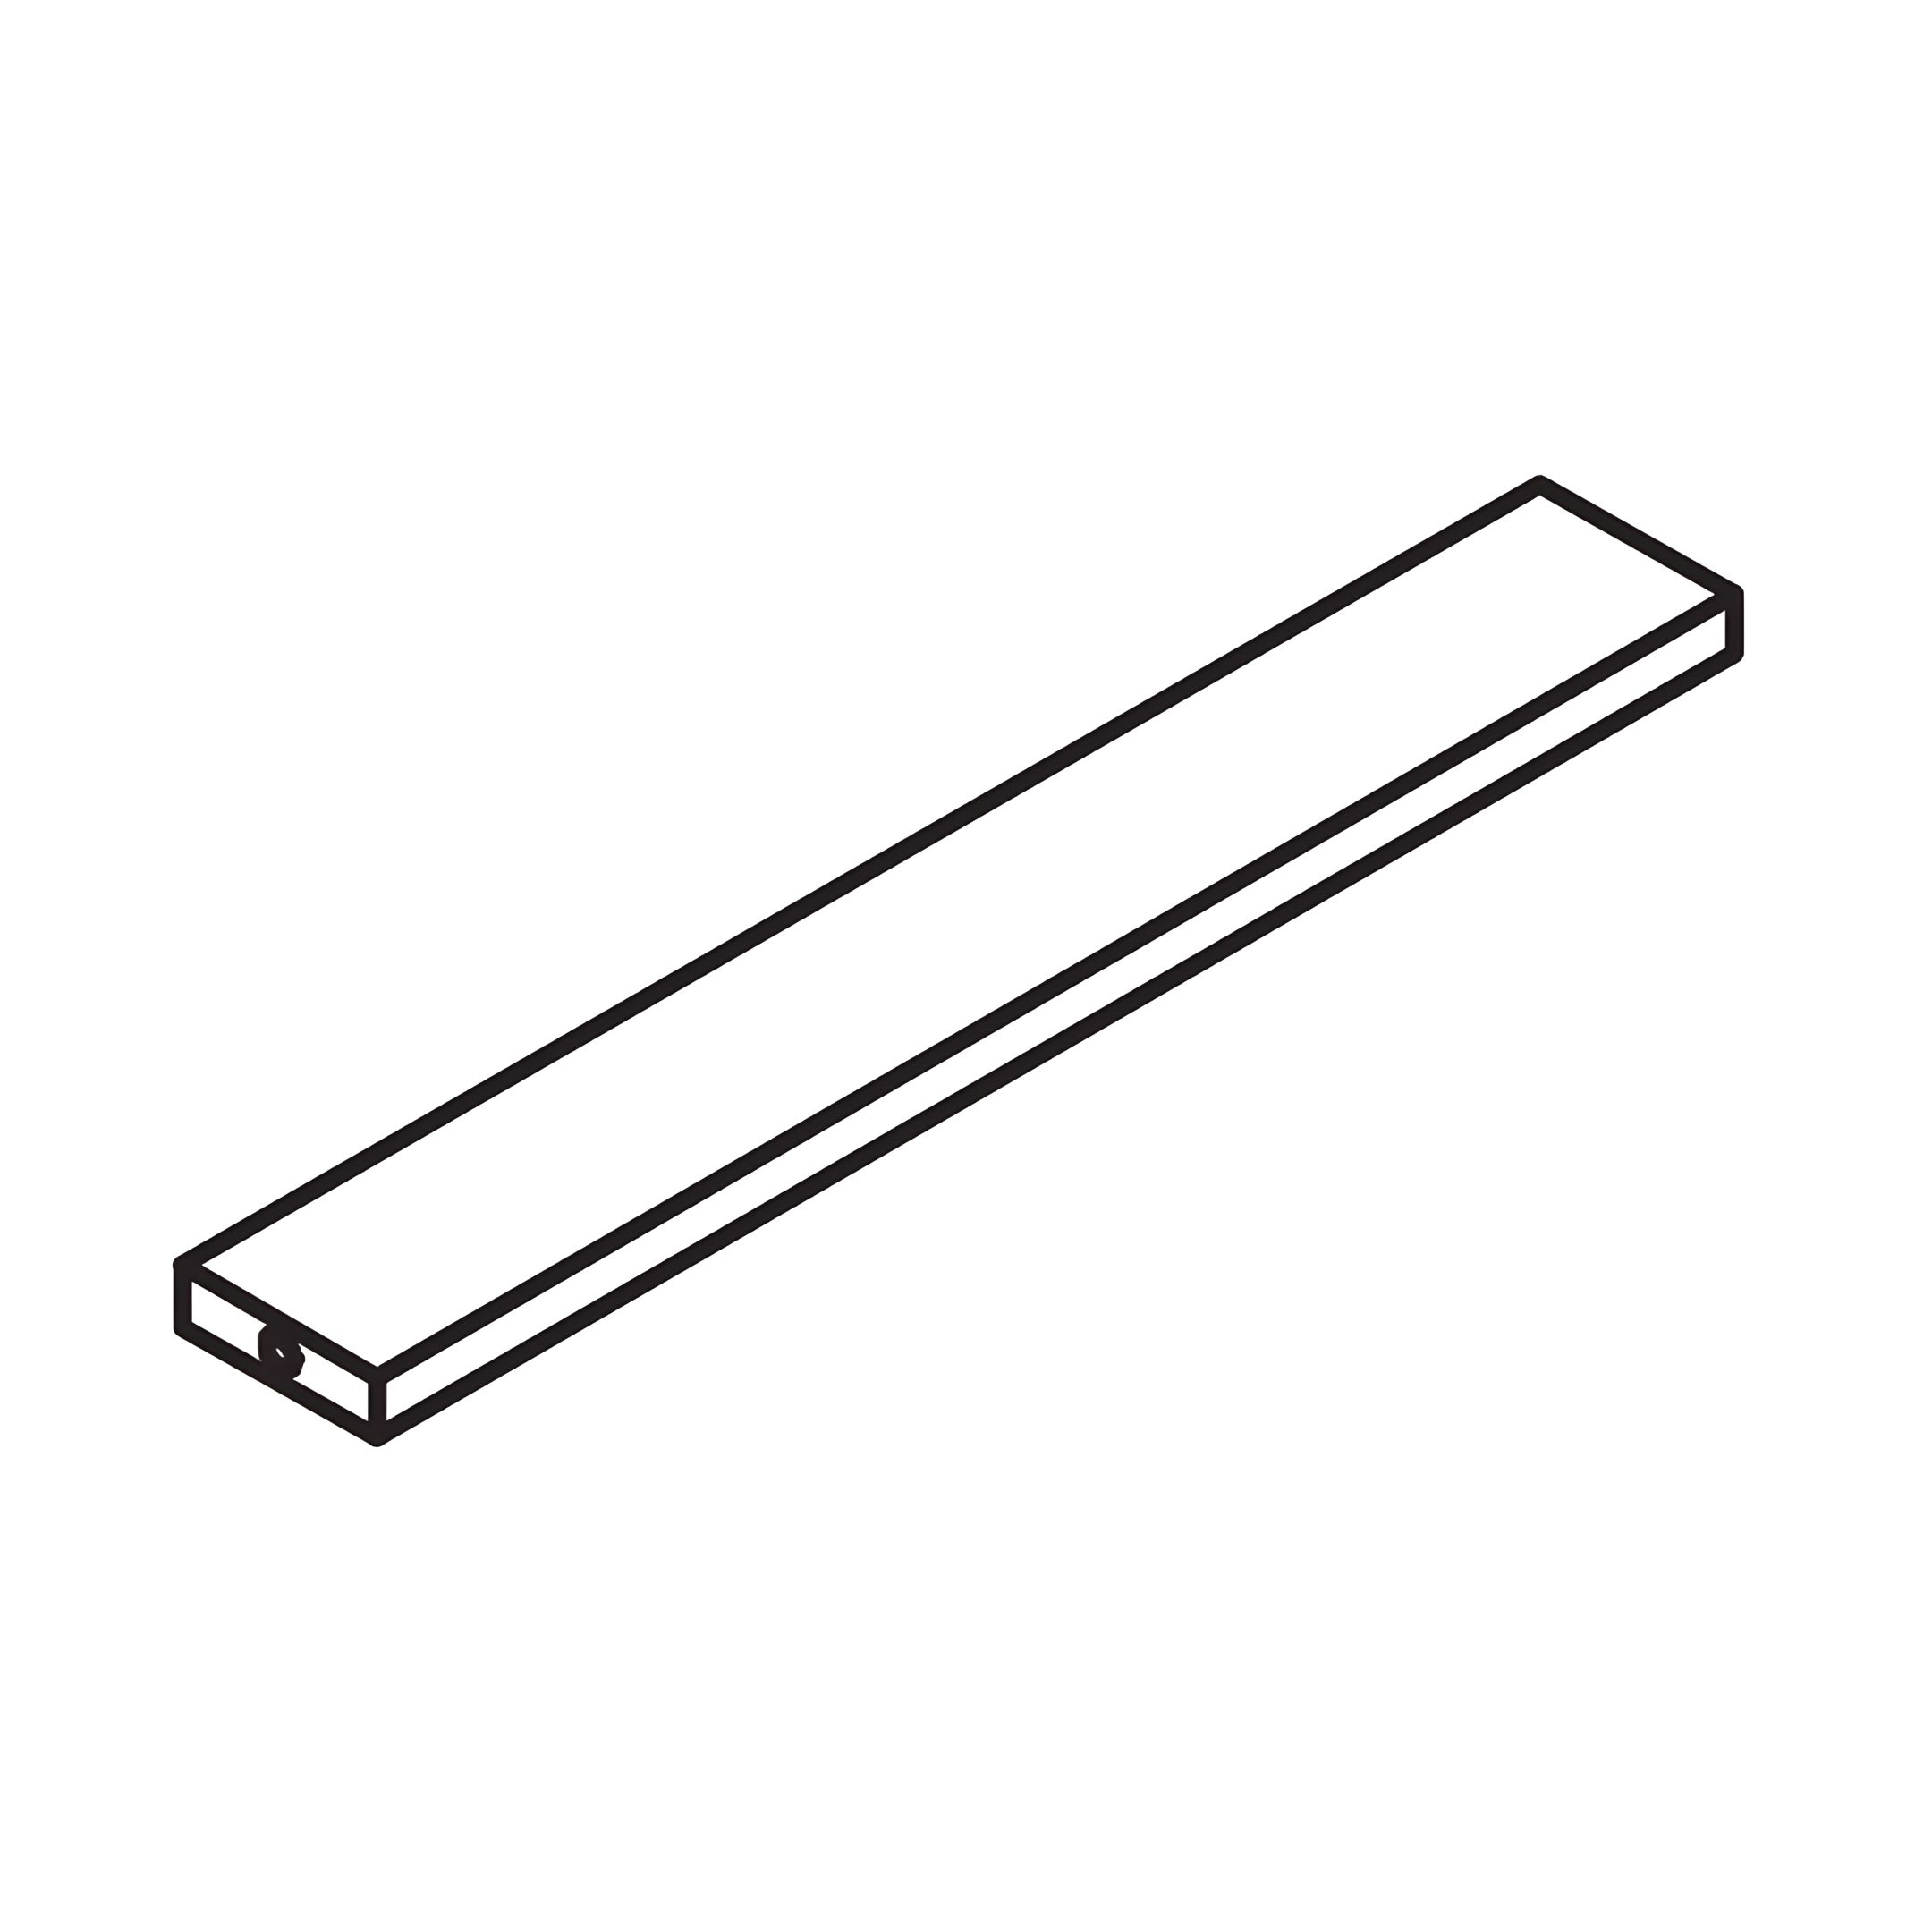
1. Position the Center Support (E) on a flat surface.
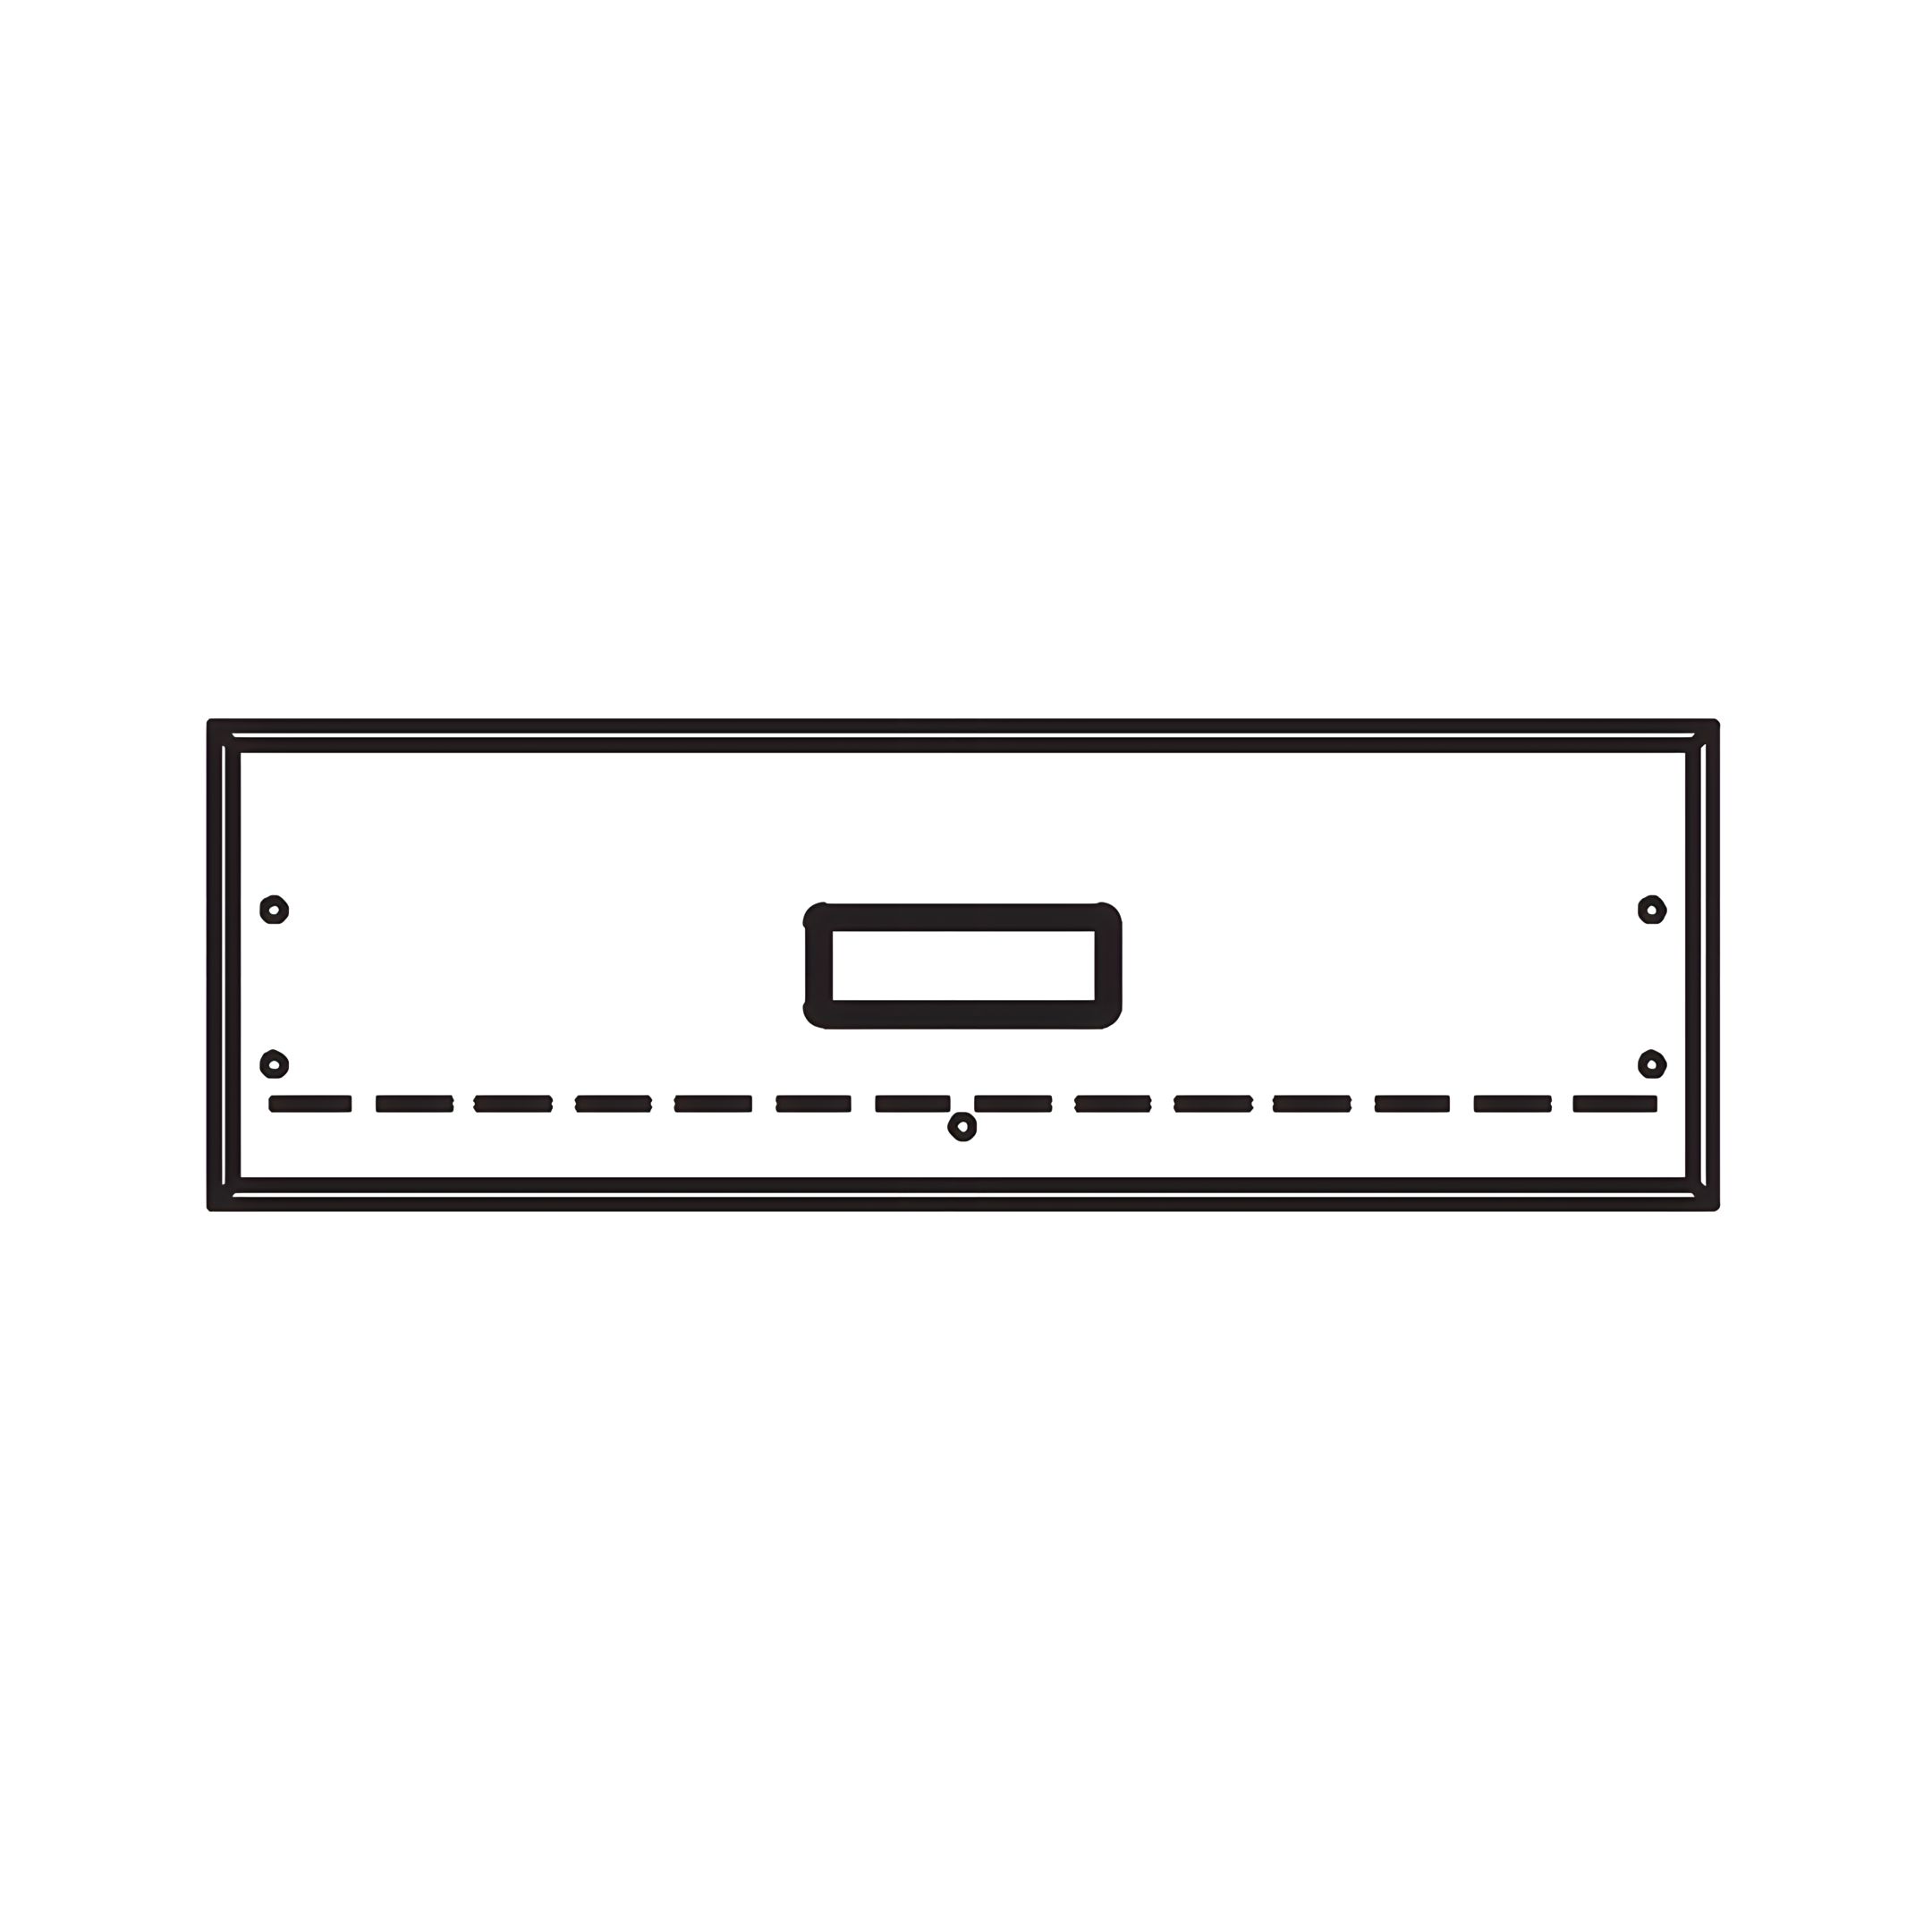
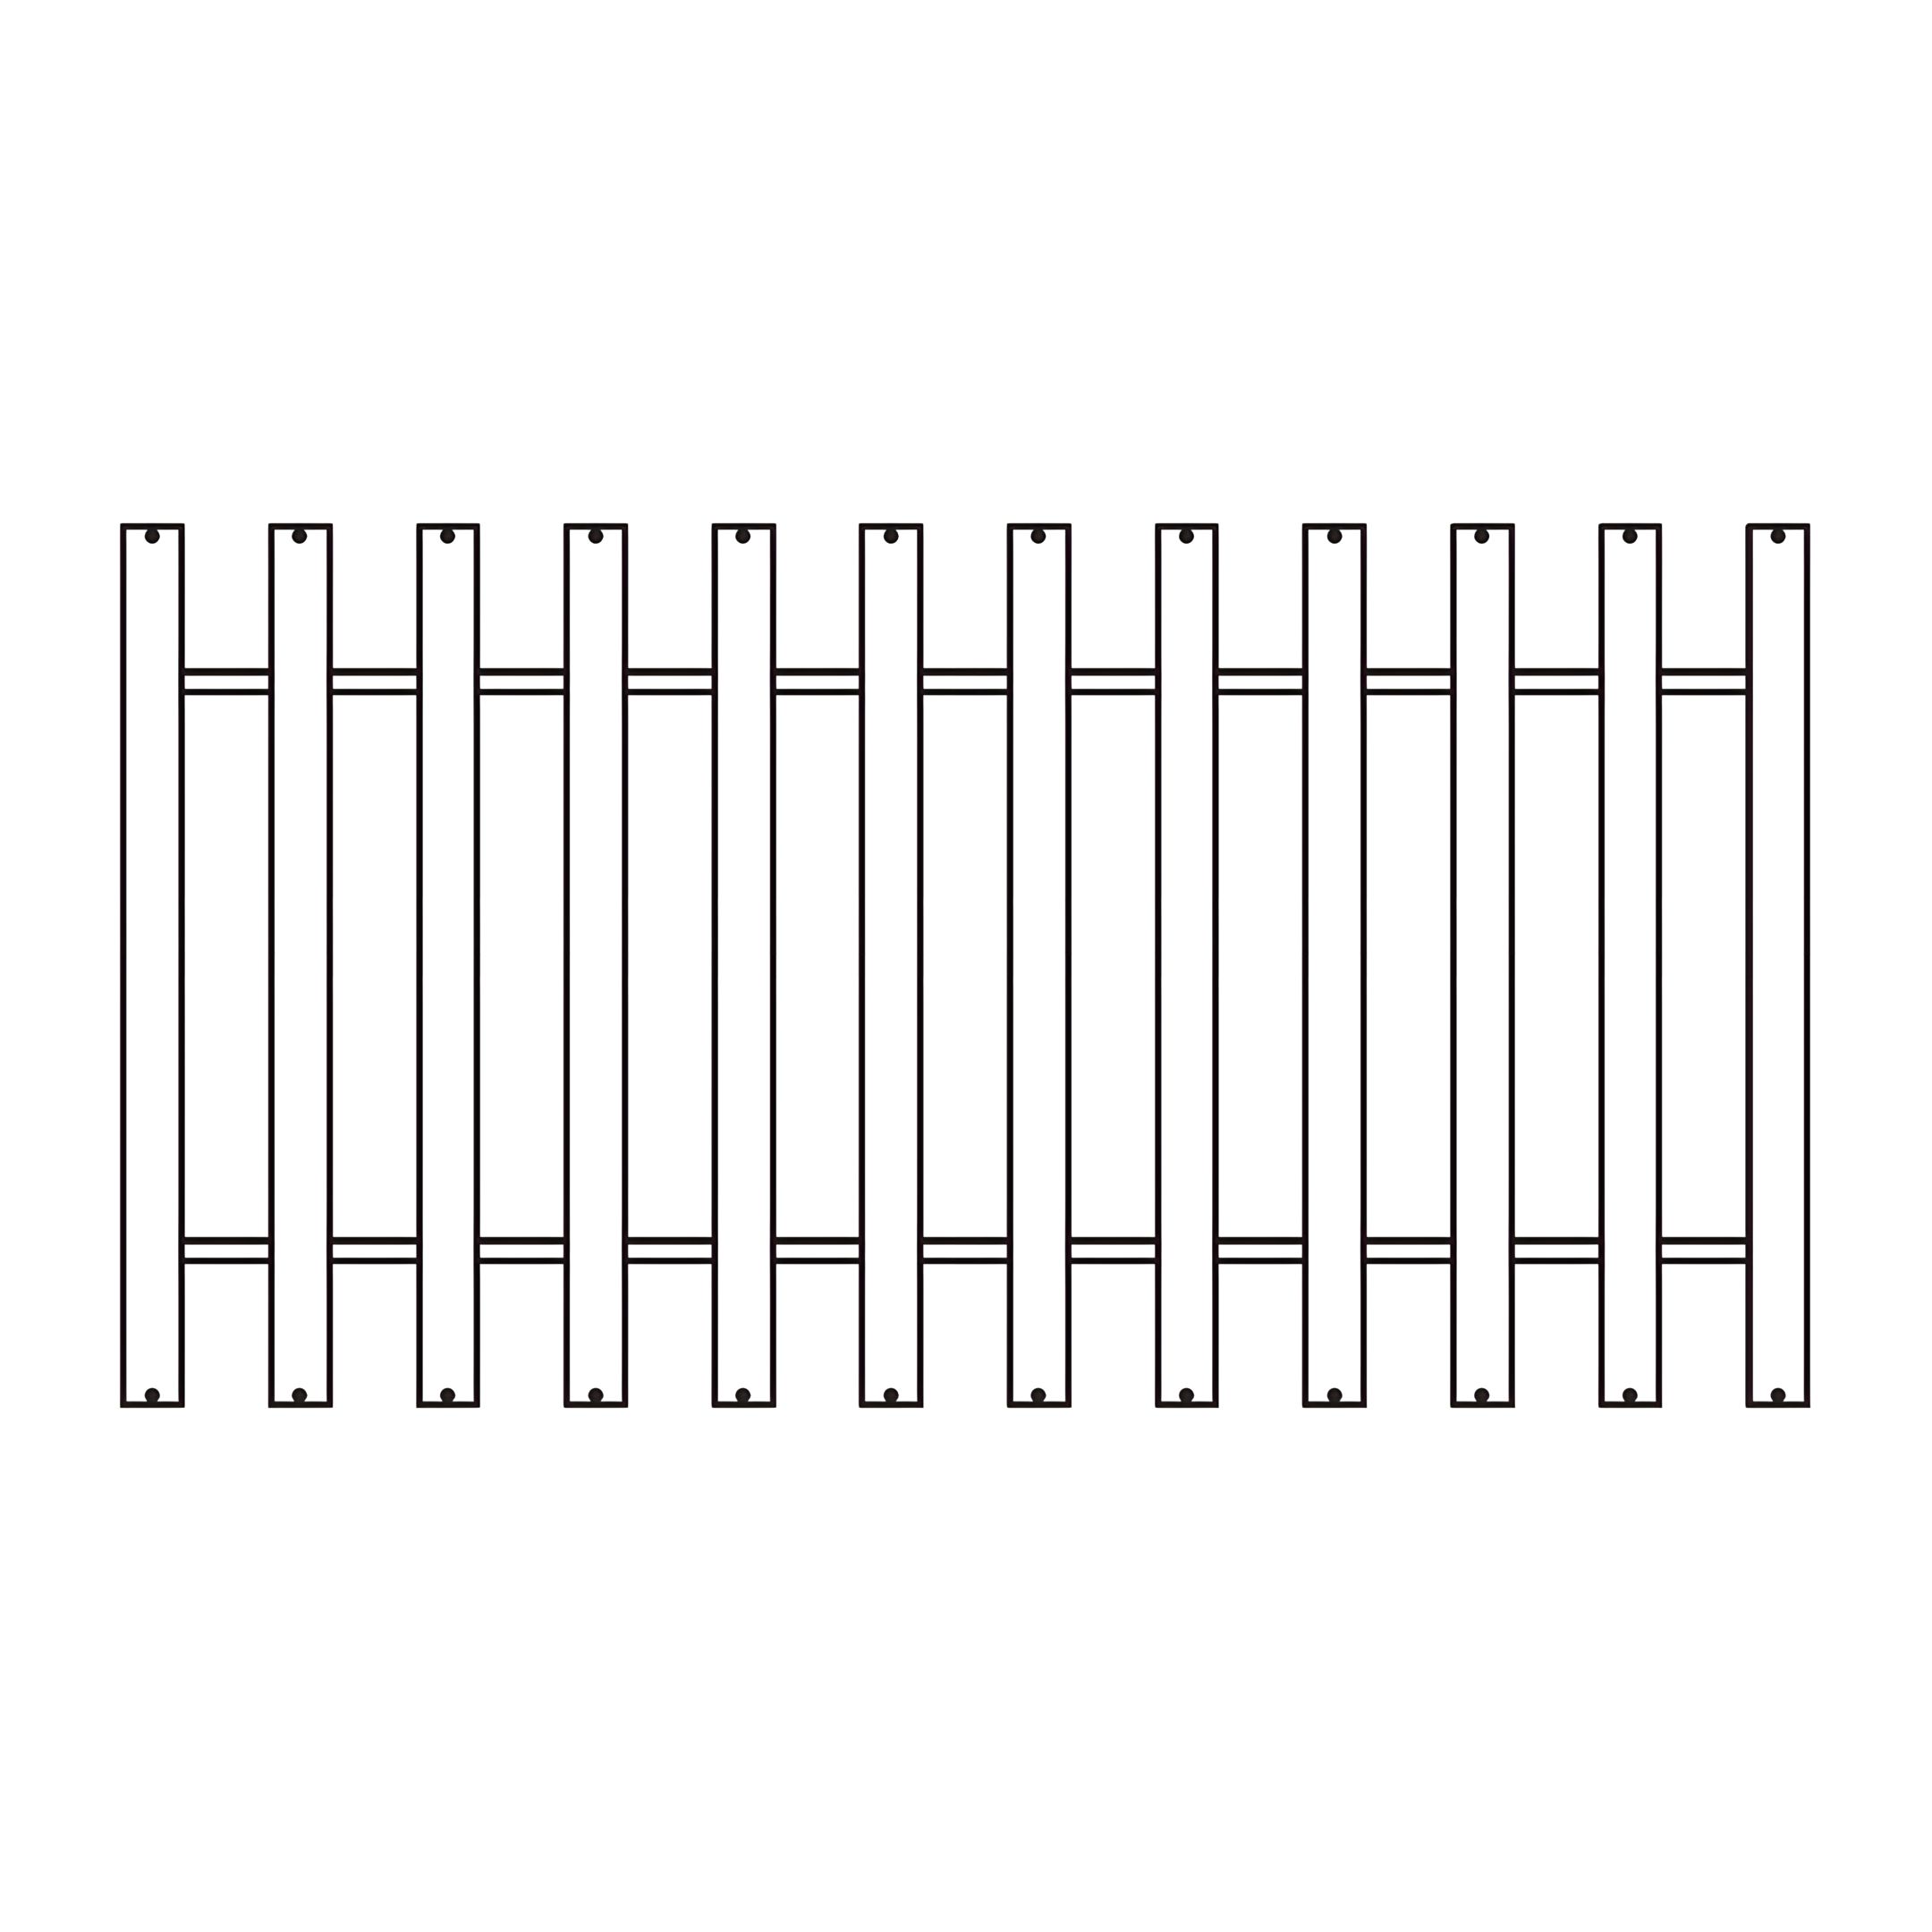
2. Align the Bottom Supports (F, G, and H) with the pre-drilled holes on Center Support (E): F should be placed at one end, G should be positioned in the middle and H should be placed at the opposite end.
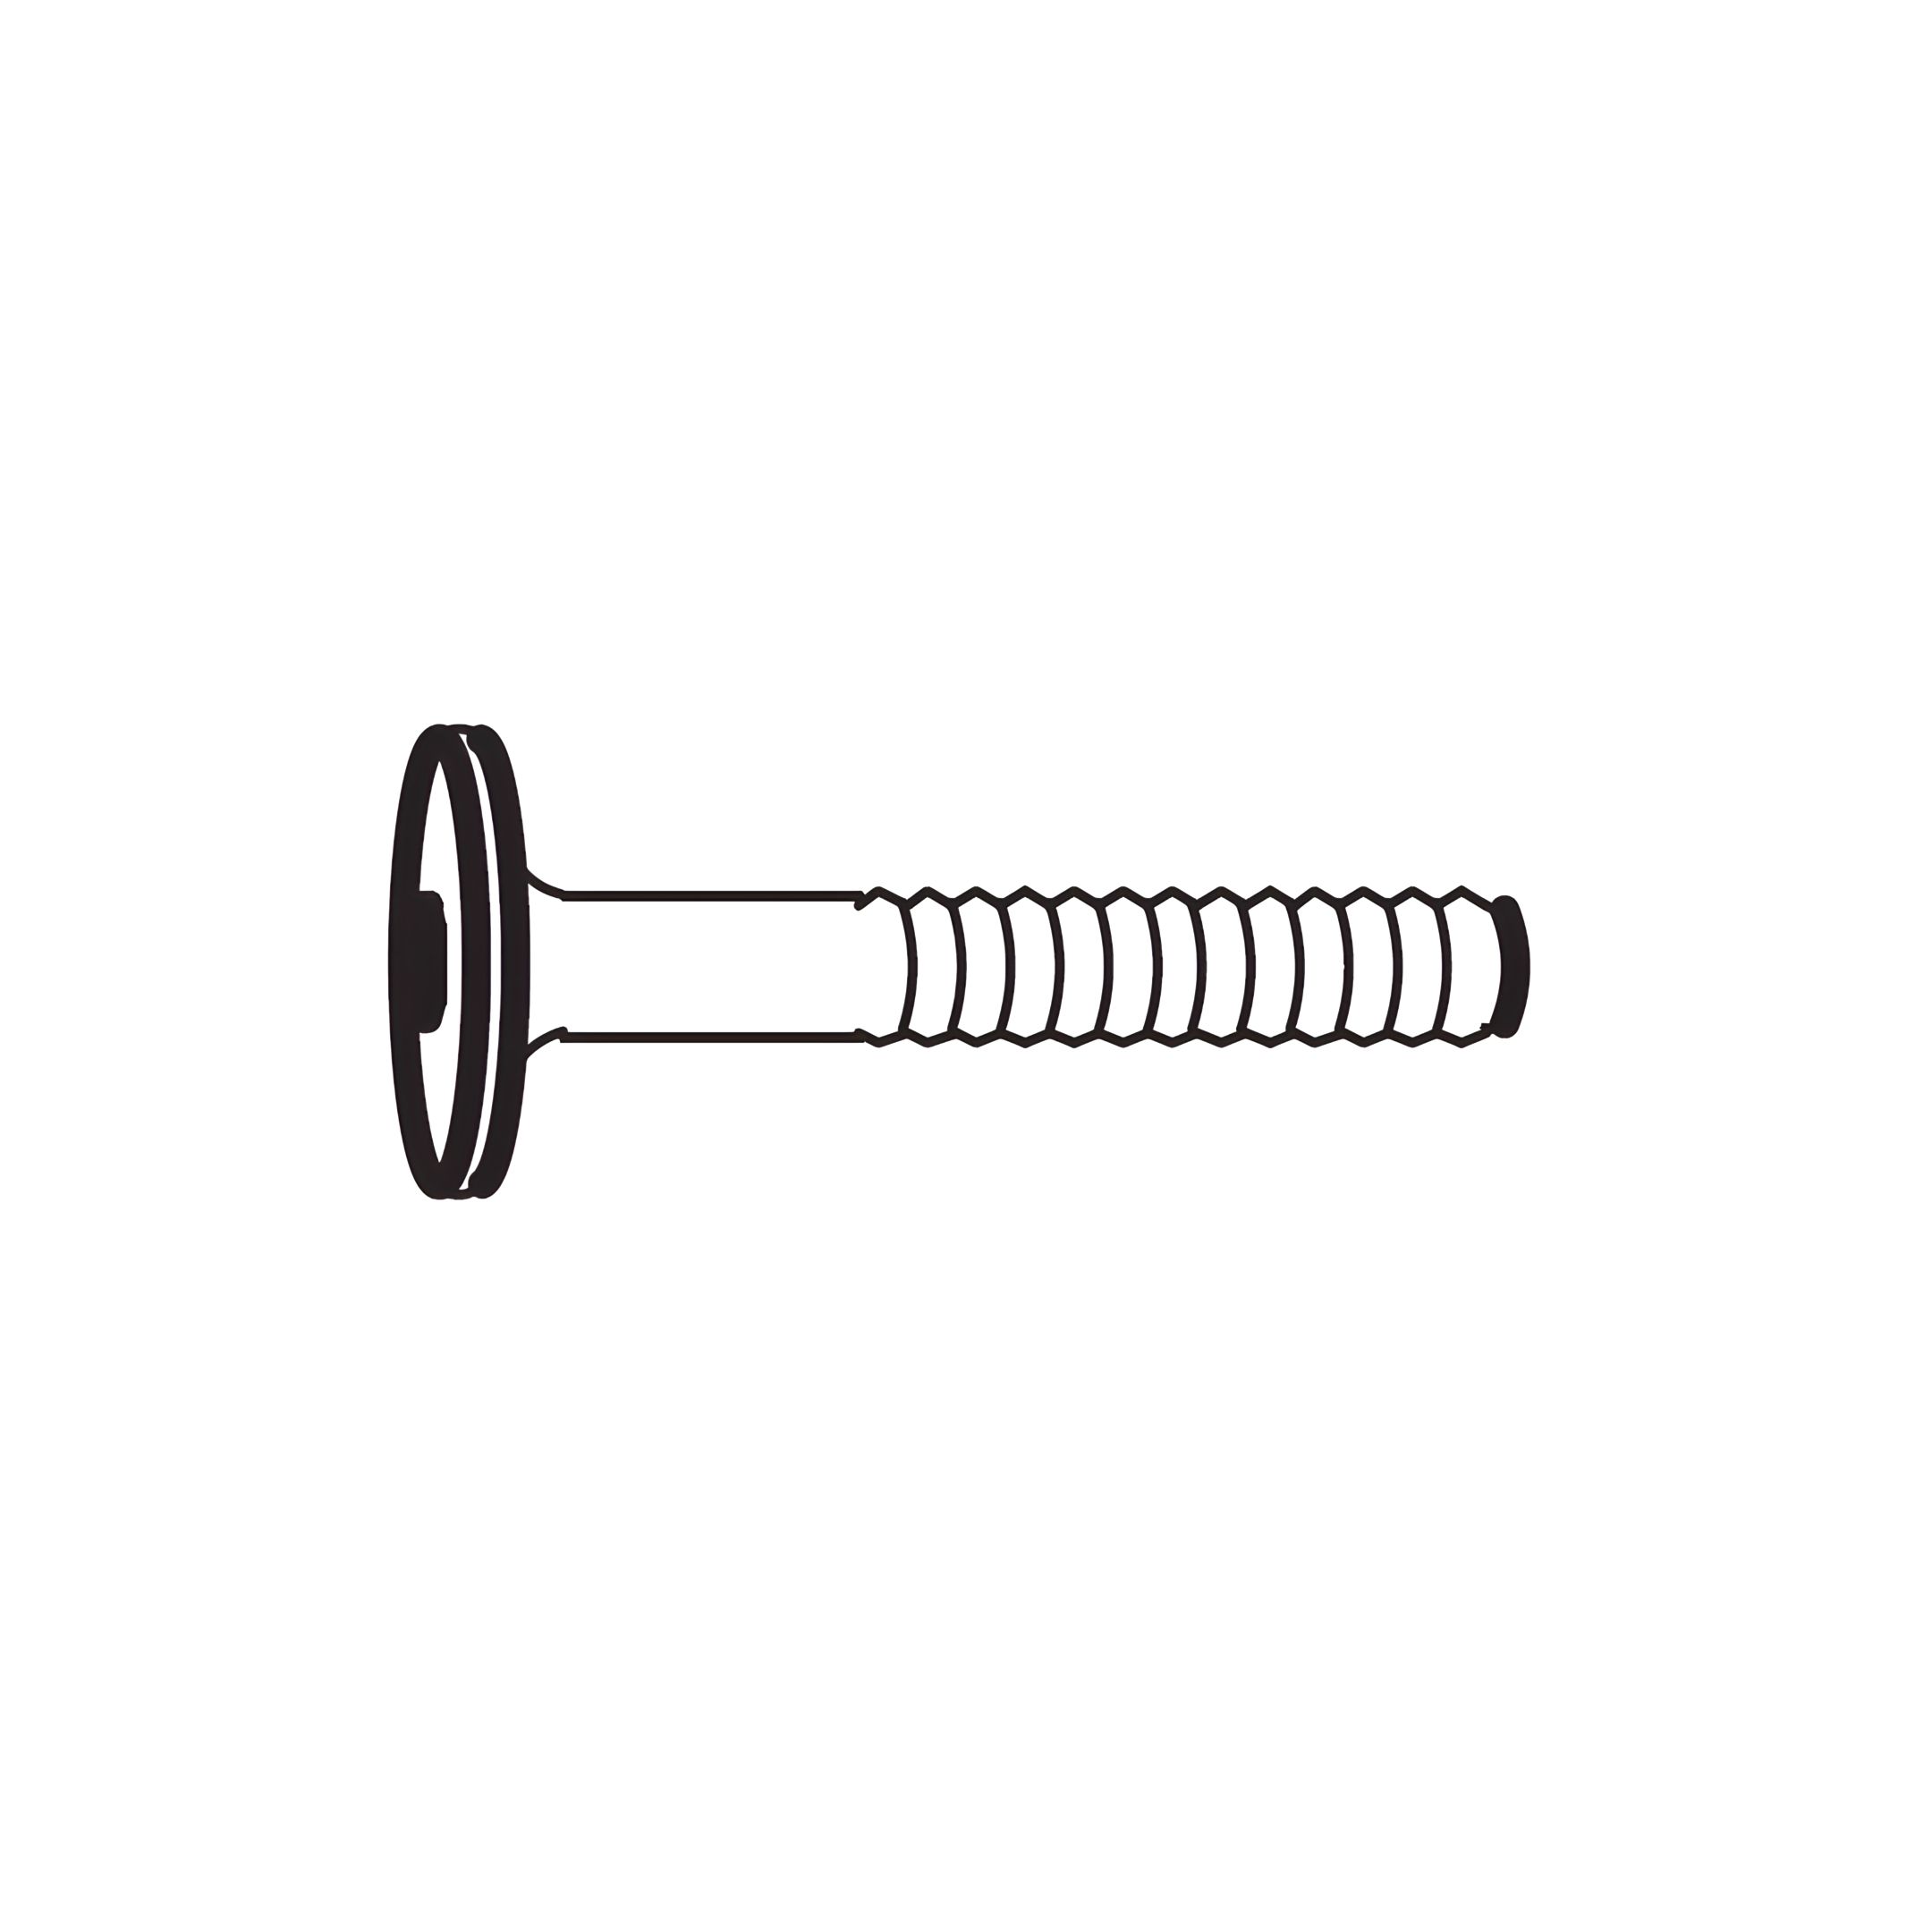
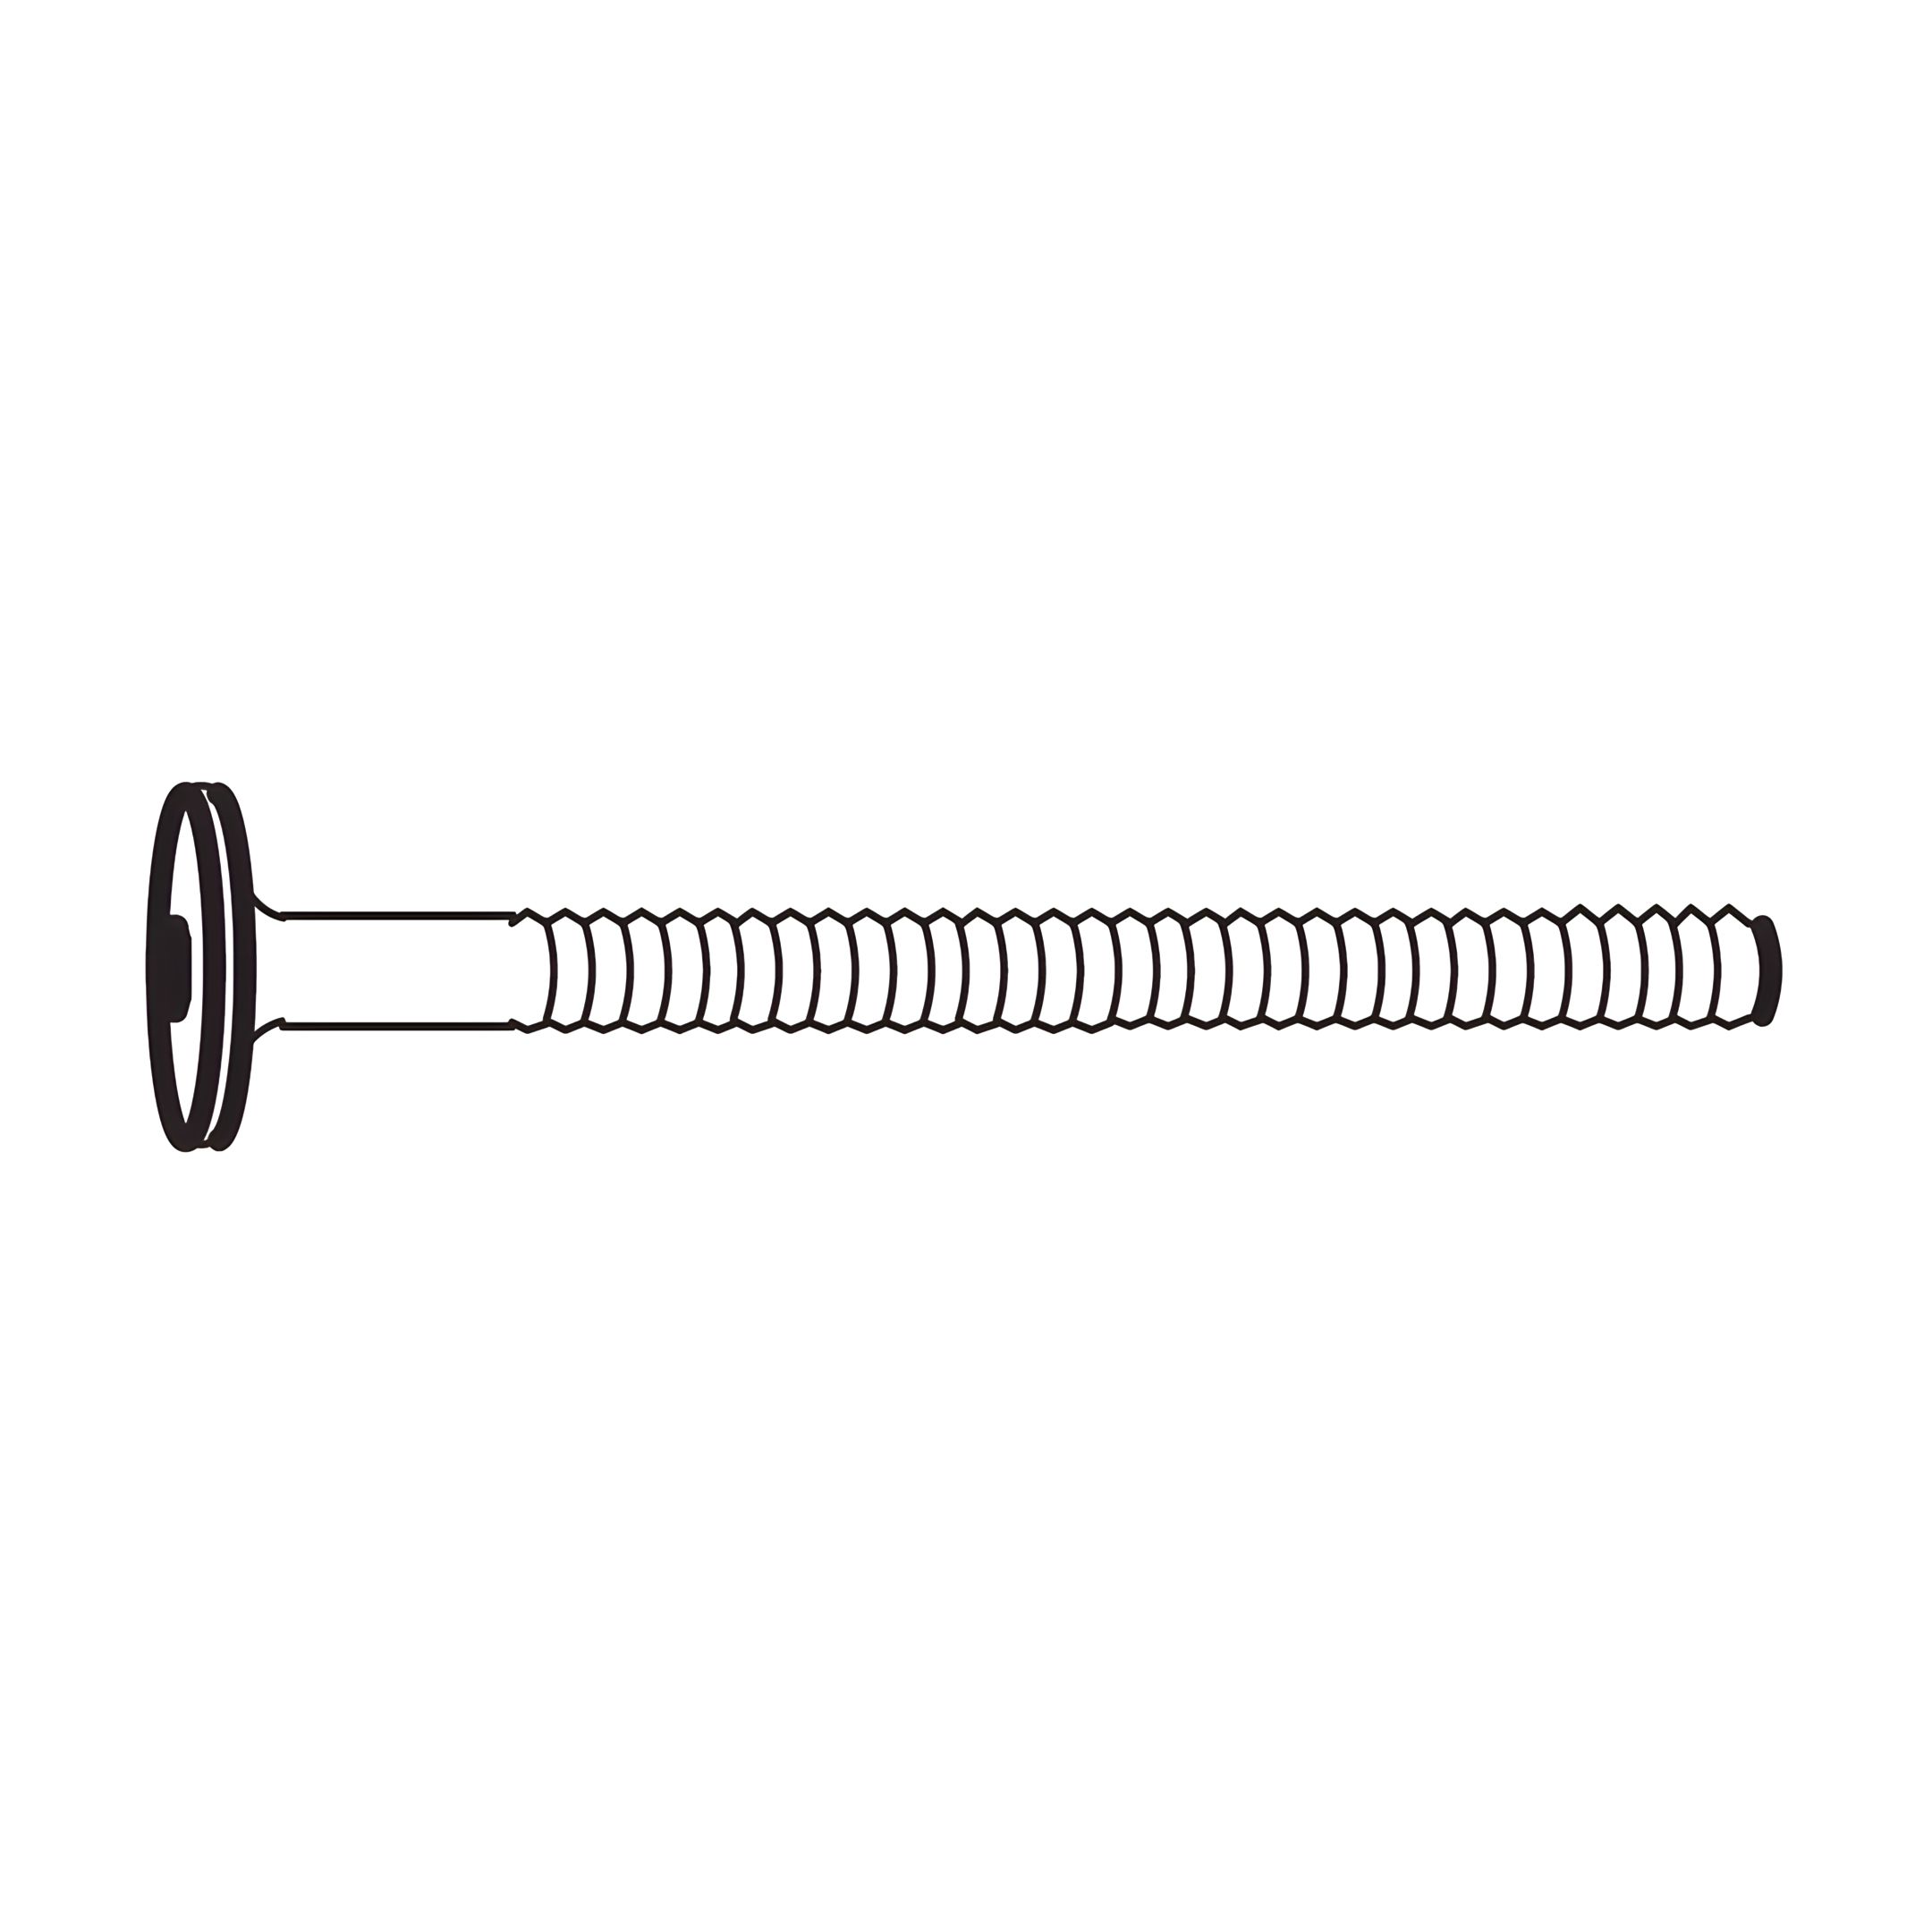
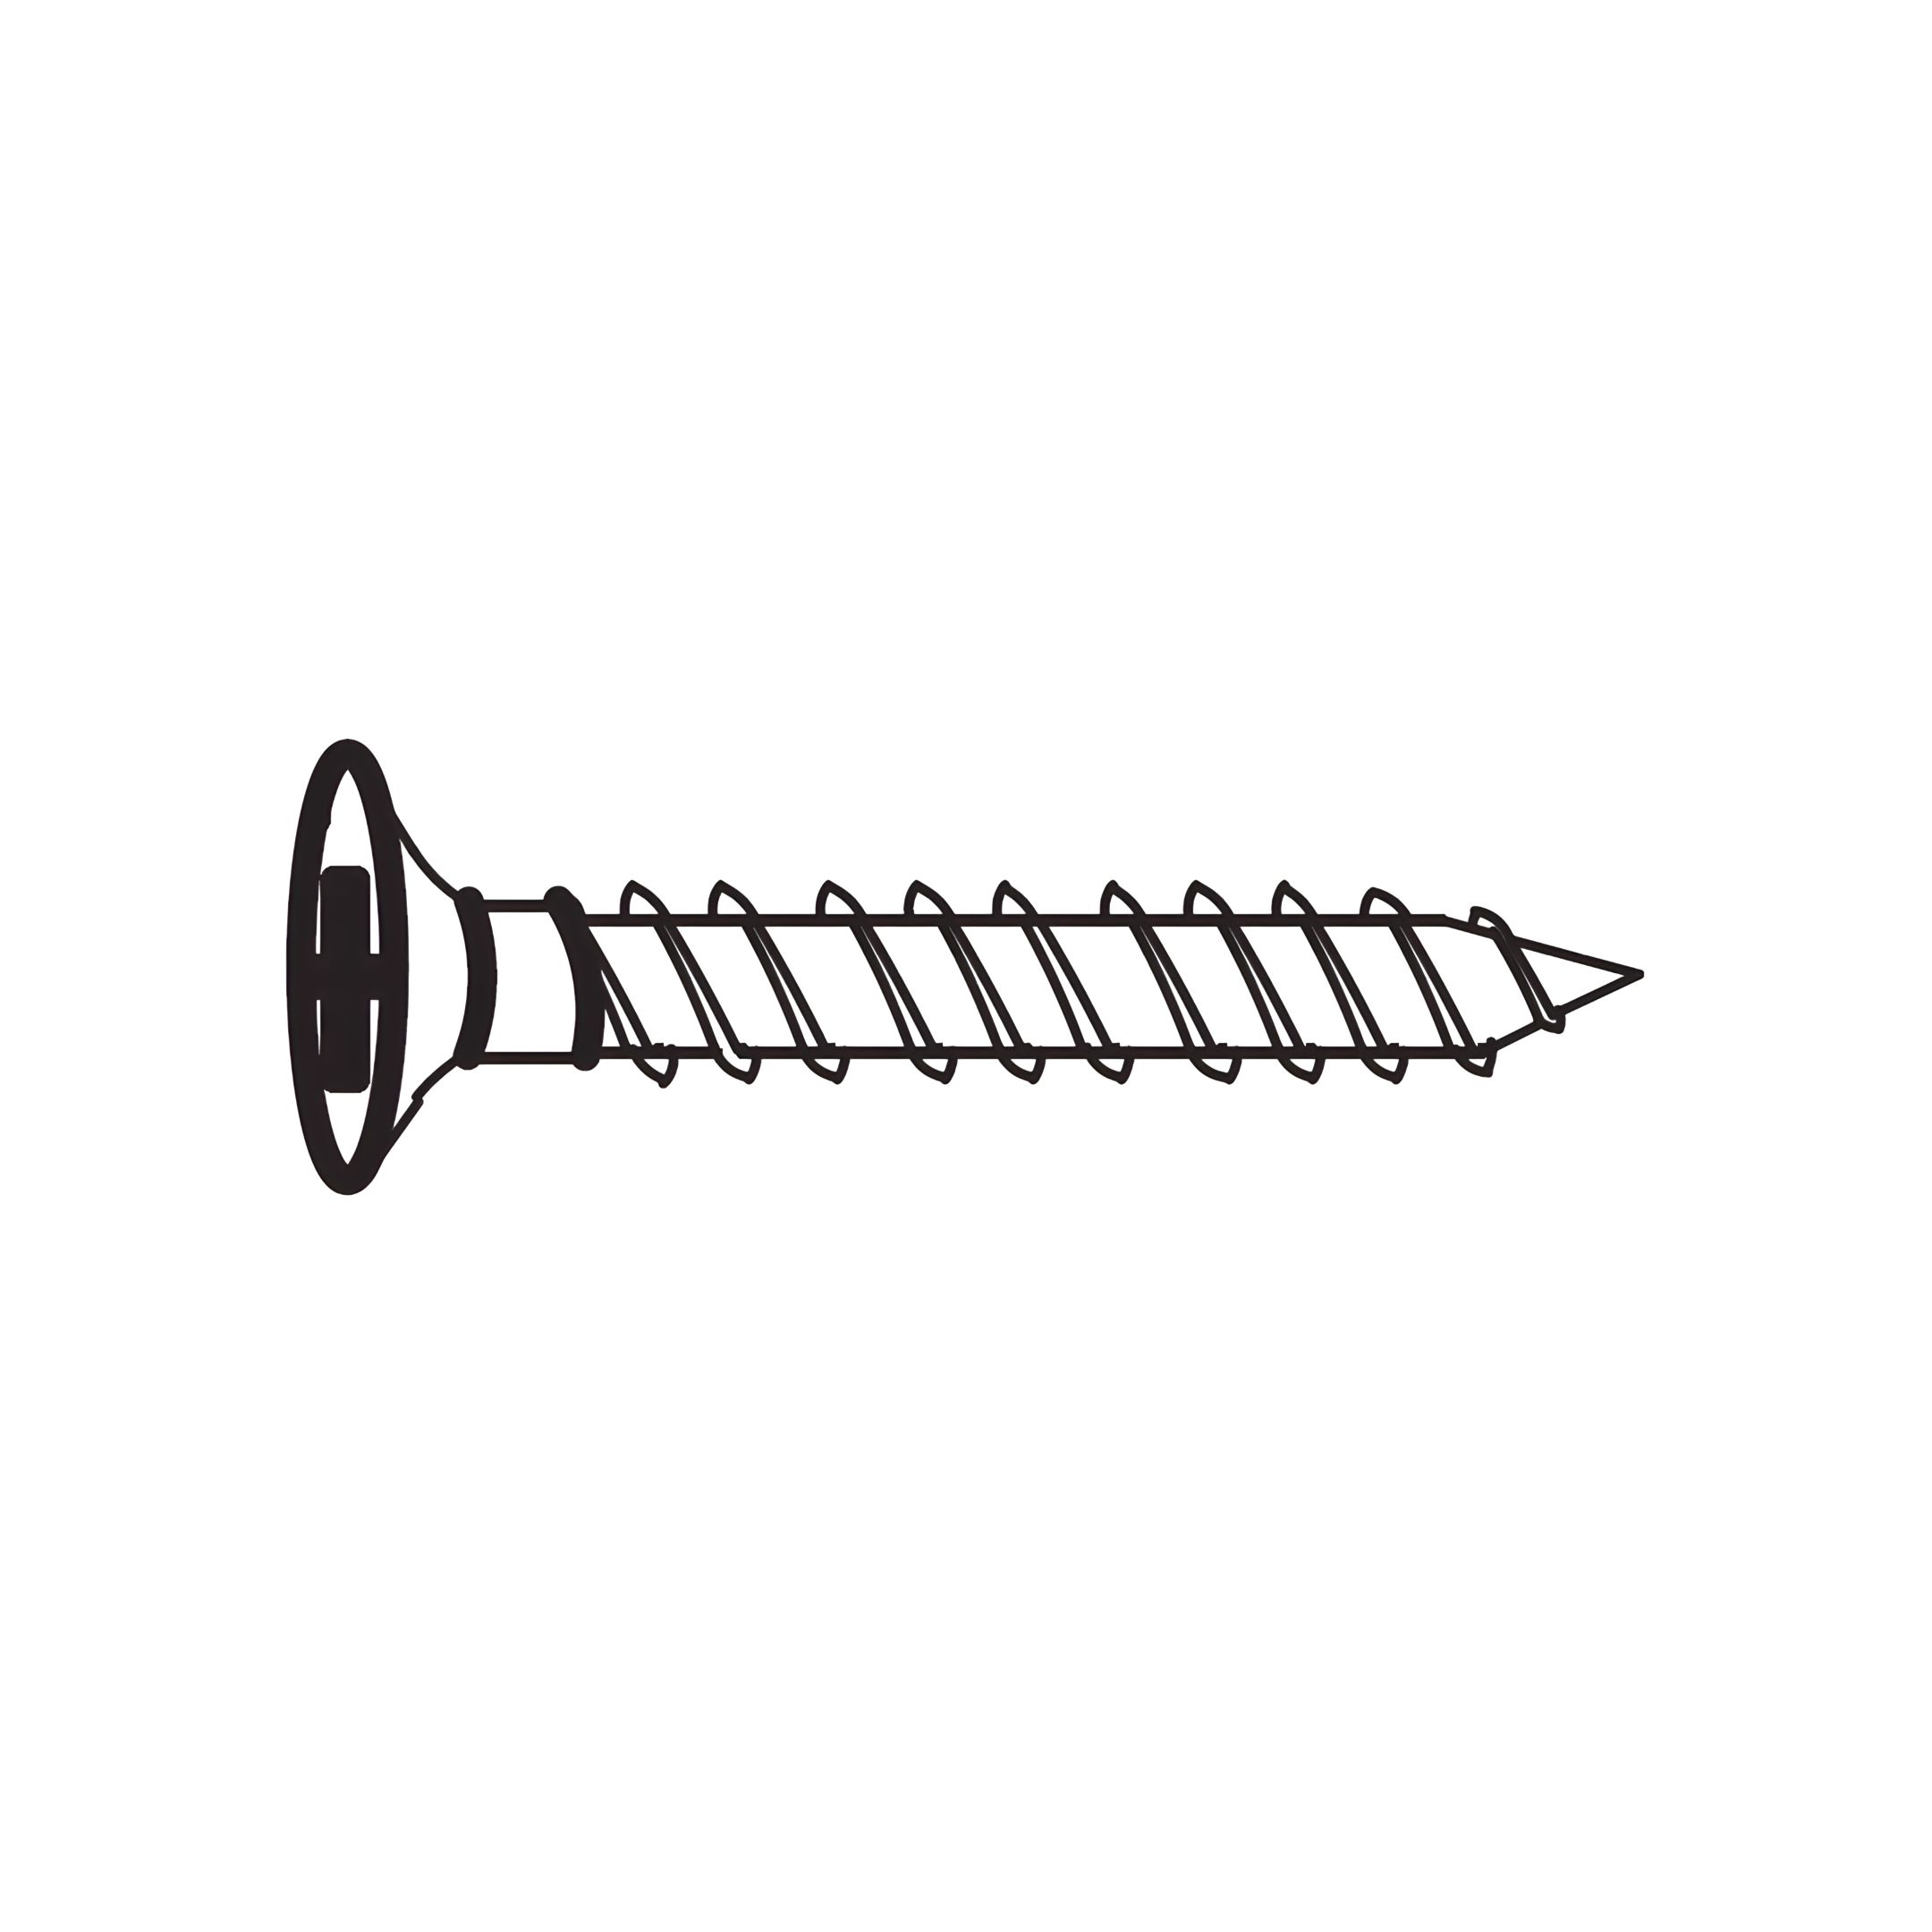
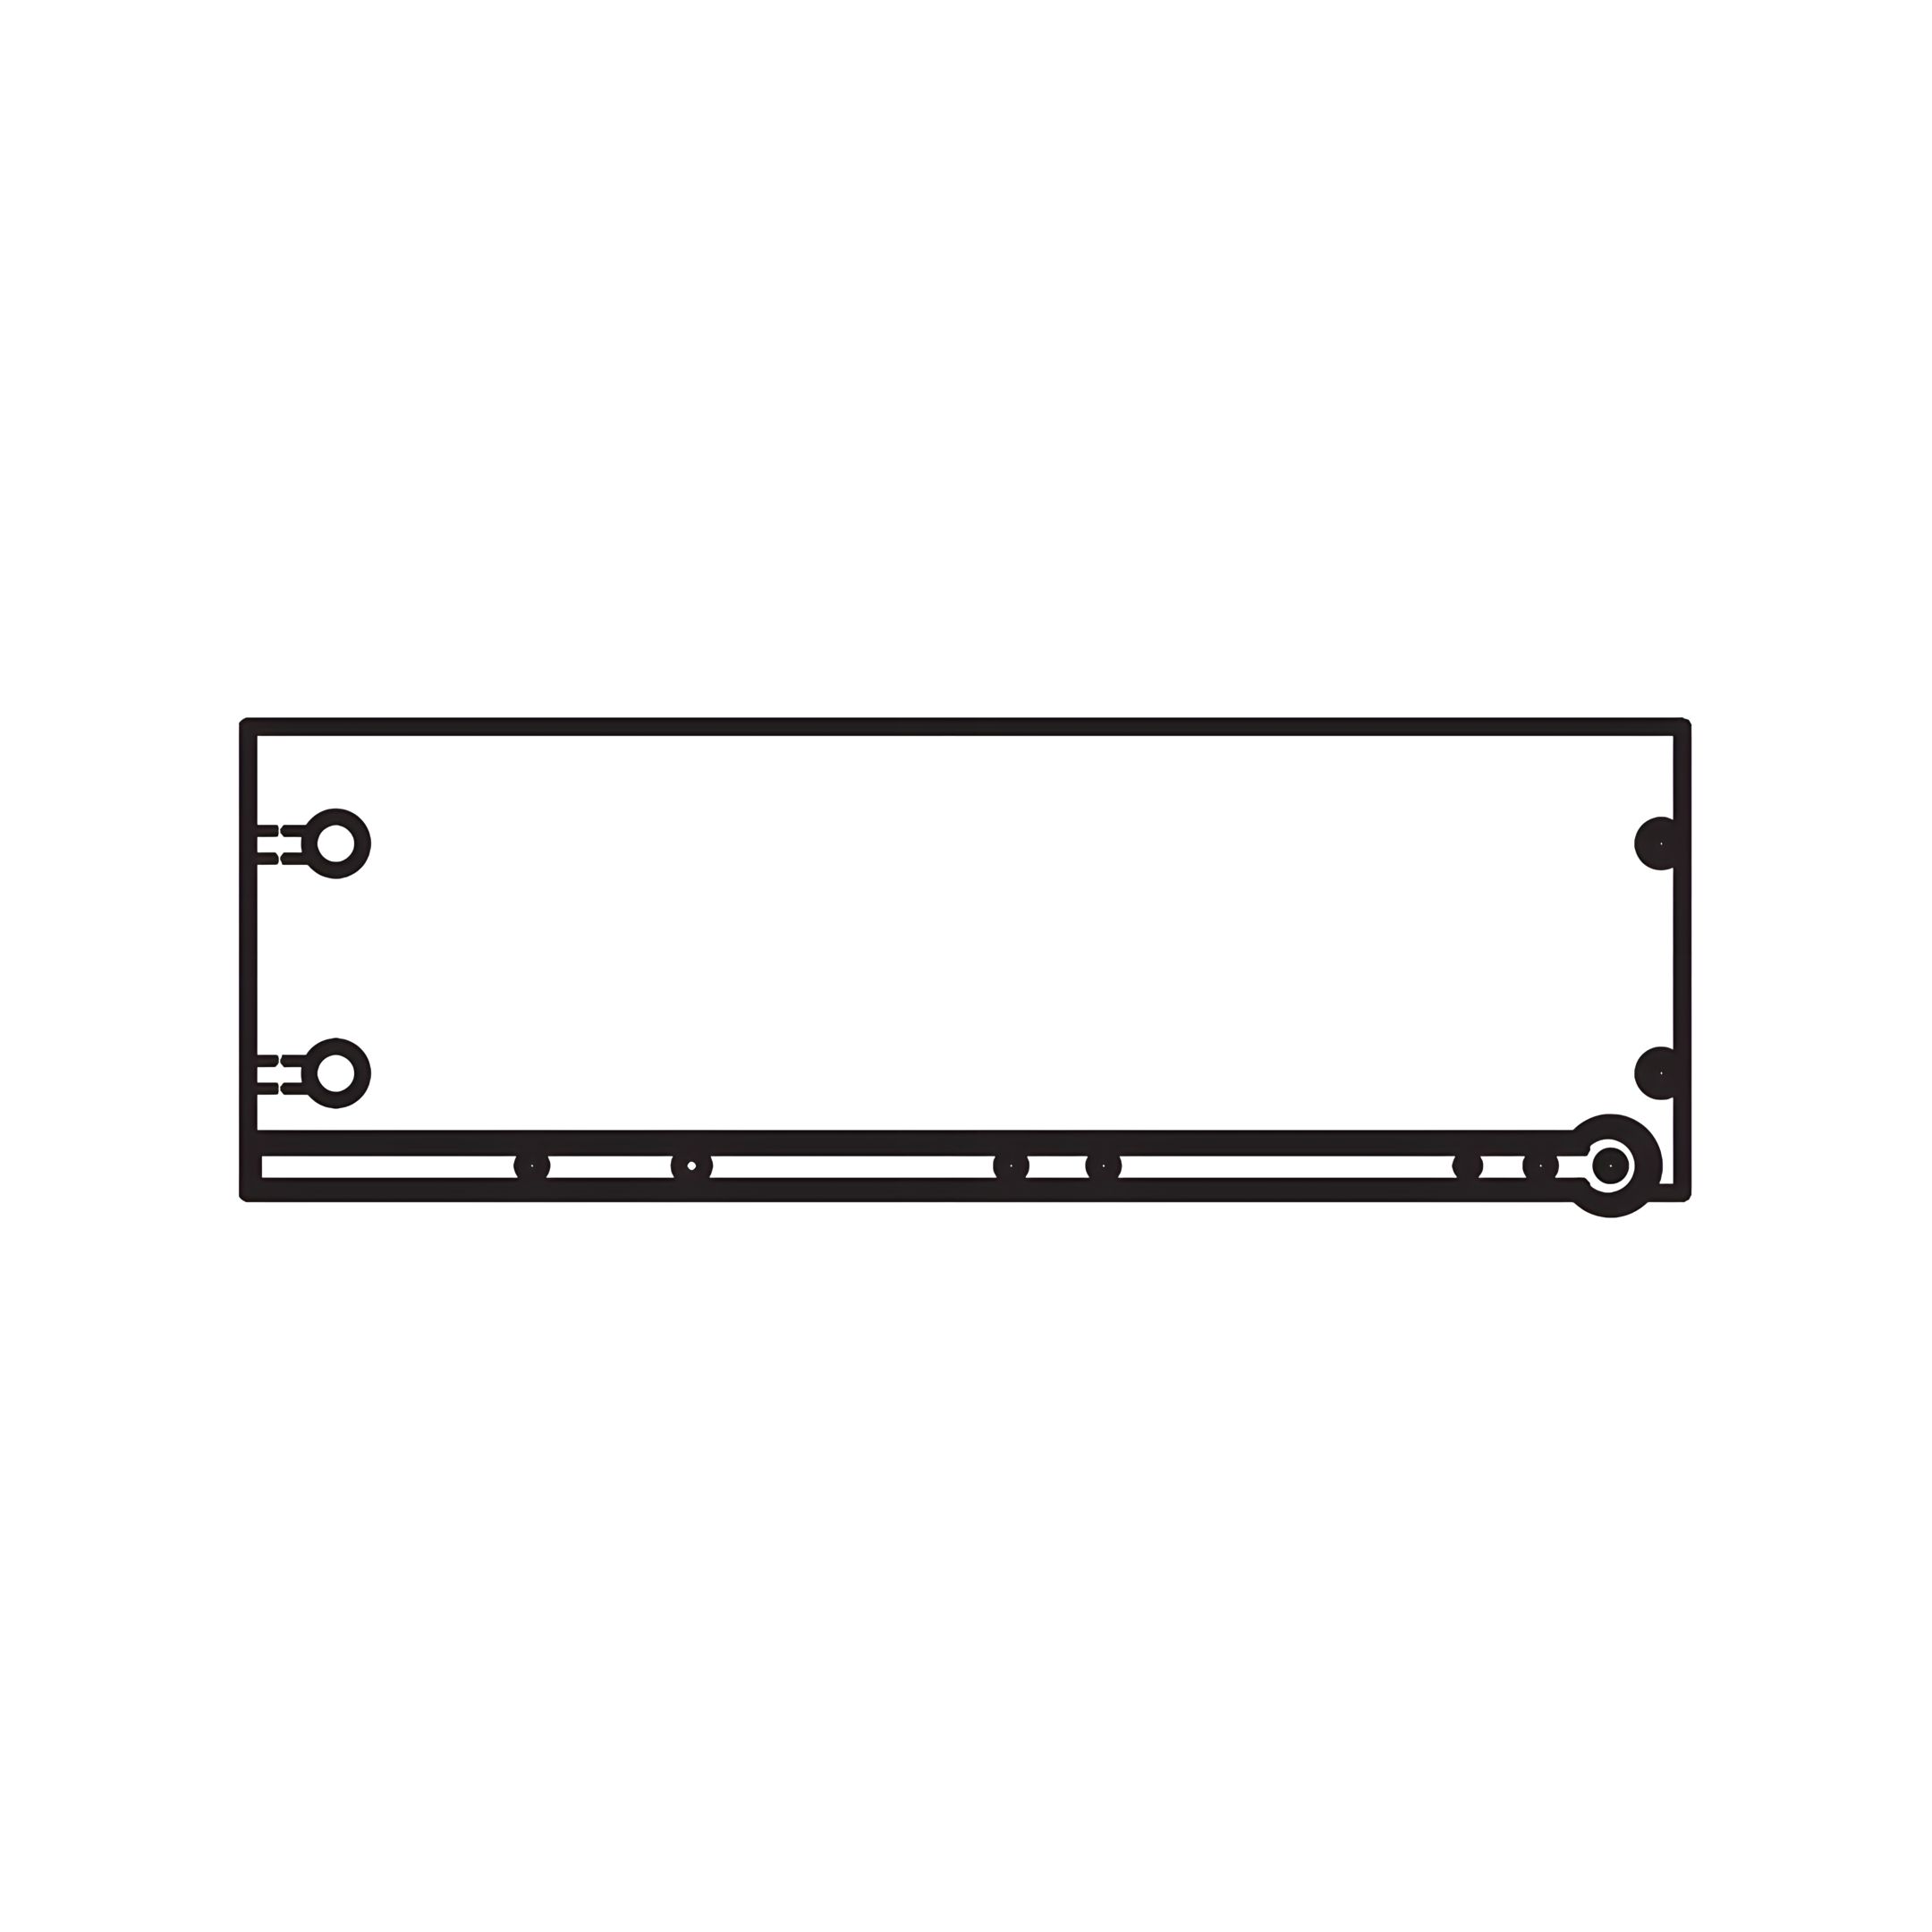
3. Insert JCBC Screws (1) through the holes in the bottom supports and into the center support.
4. Secure each screw using the M4 Allen Key (11) and tighten firmly.