Assembly instructions for Charleston Solo Bed Frame by Time4Sleep.
Product Information
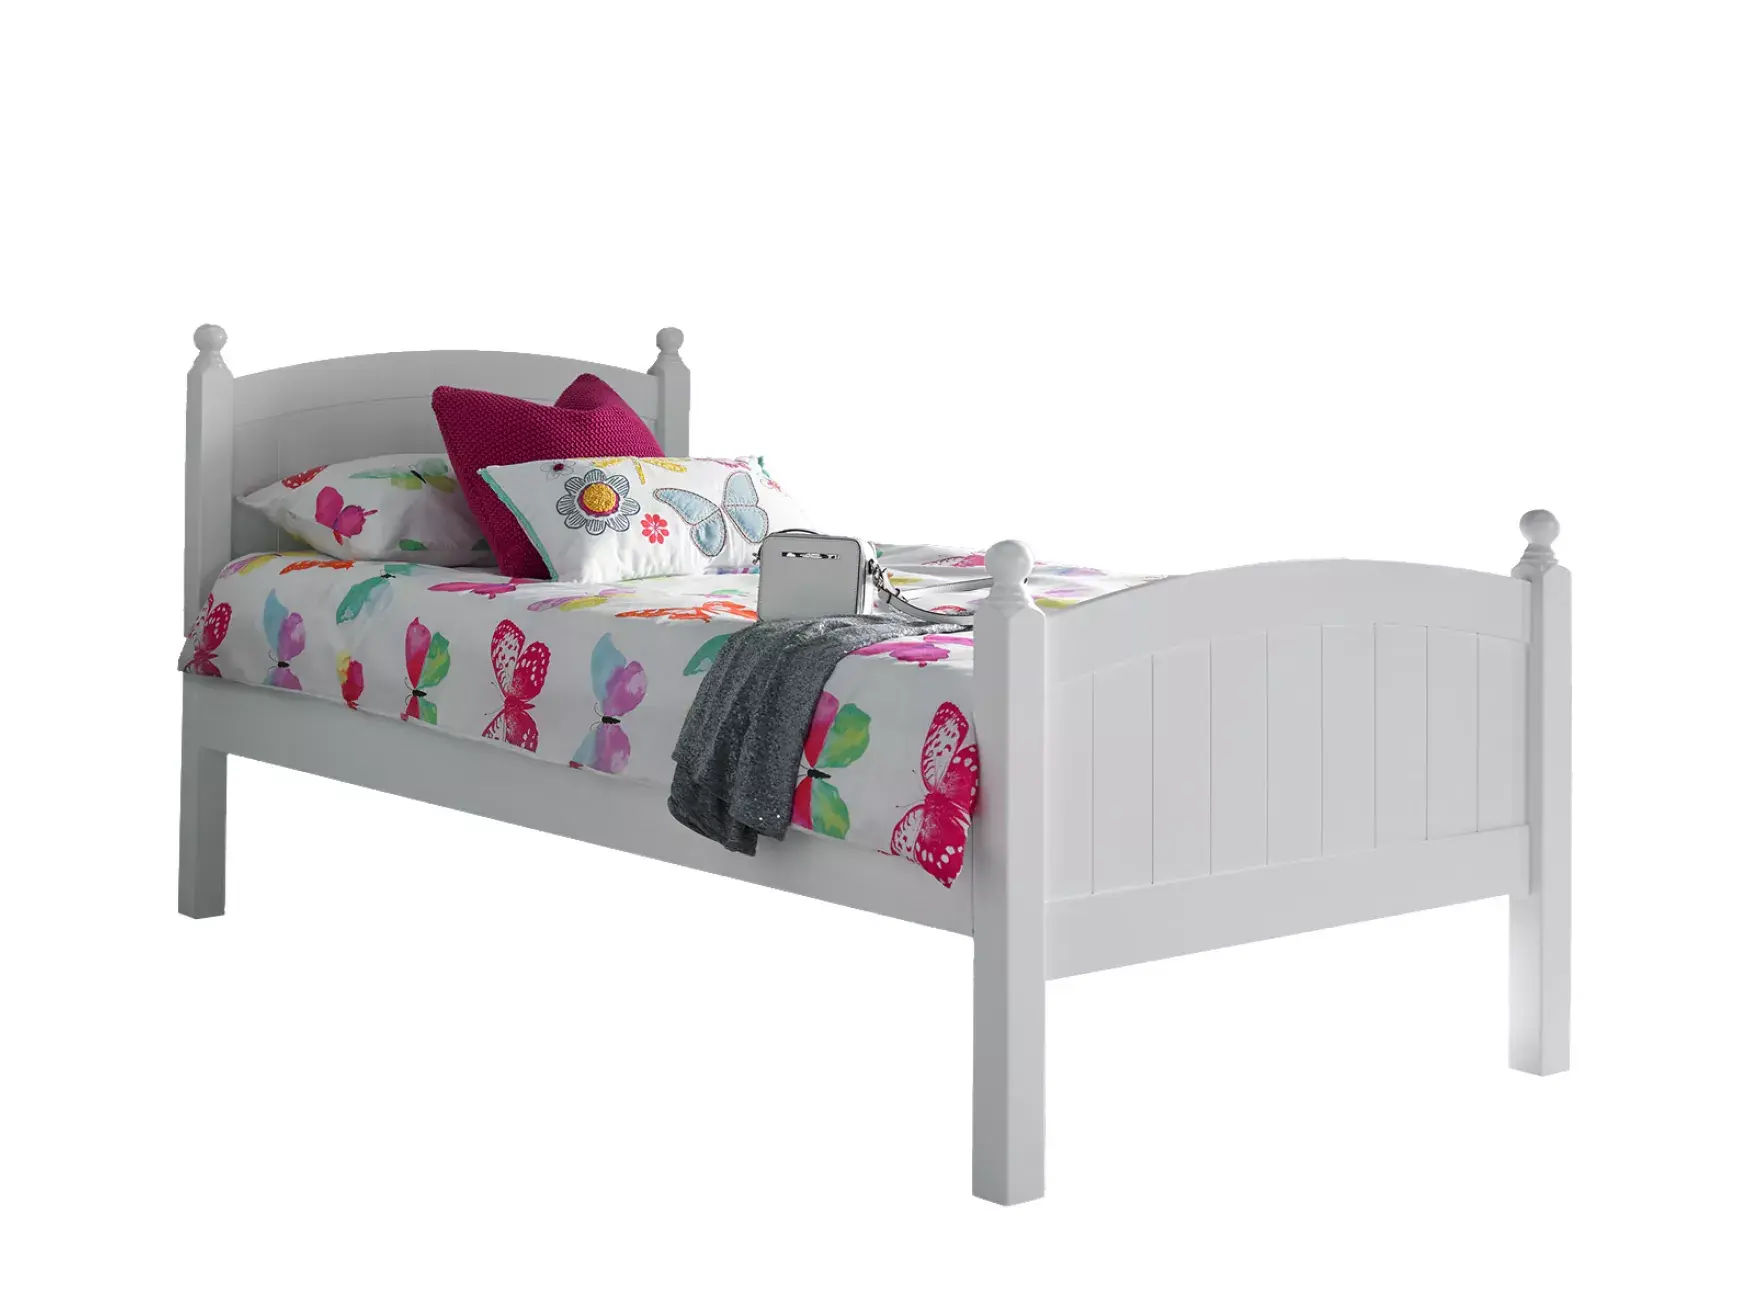
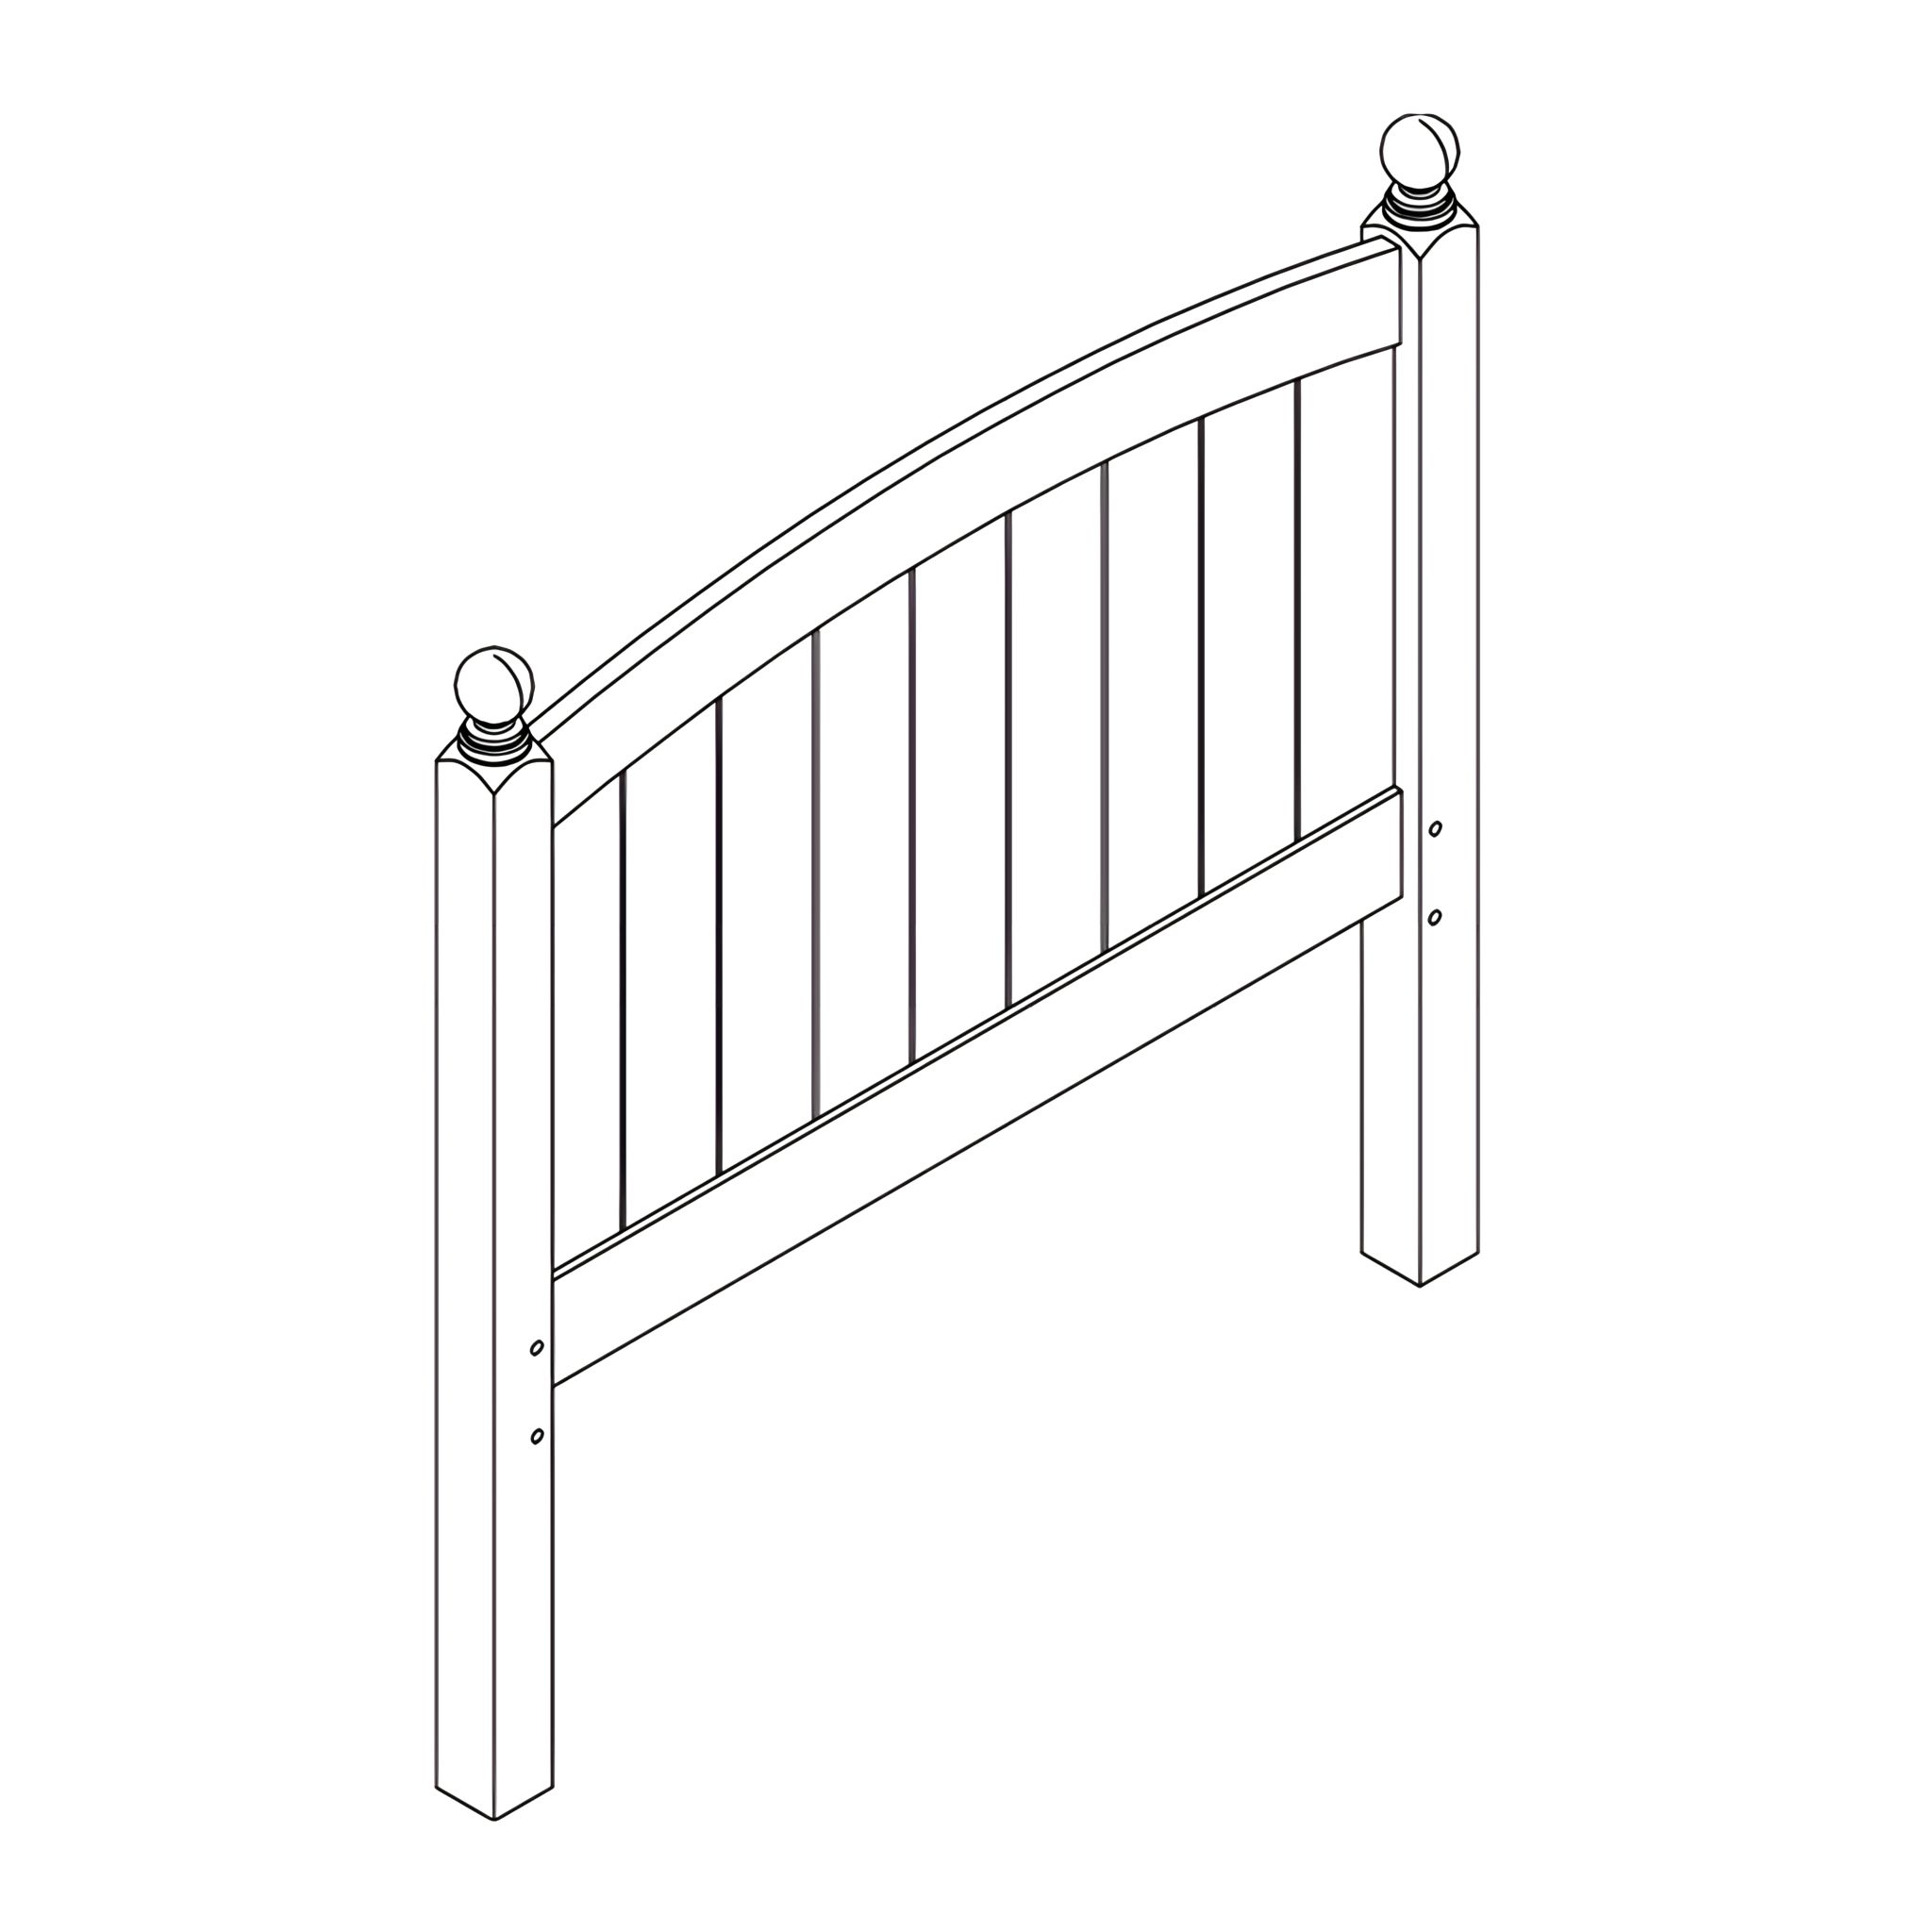
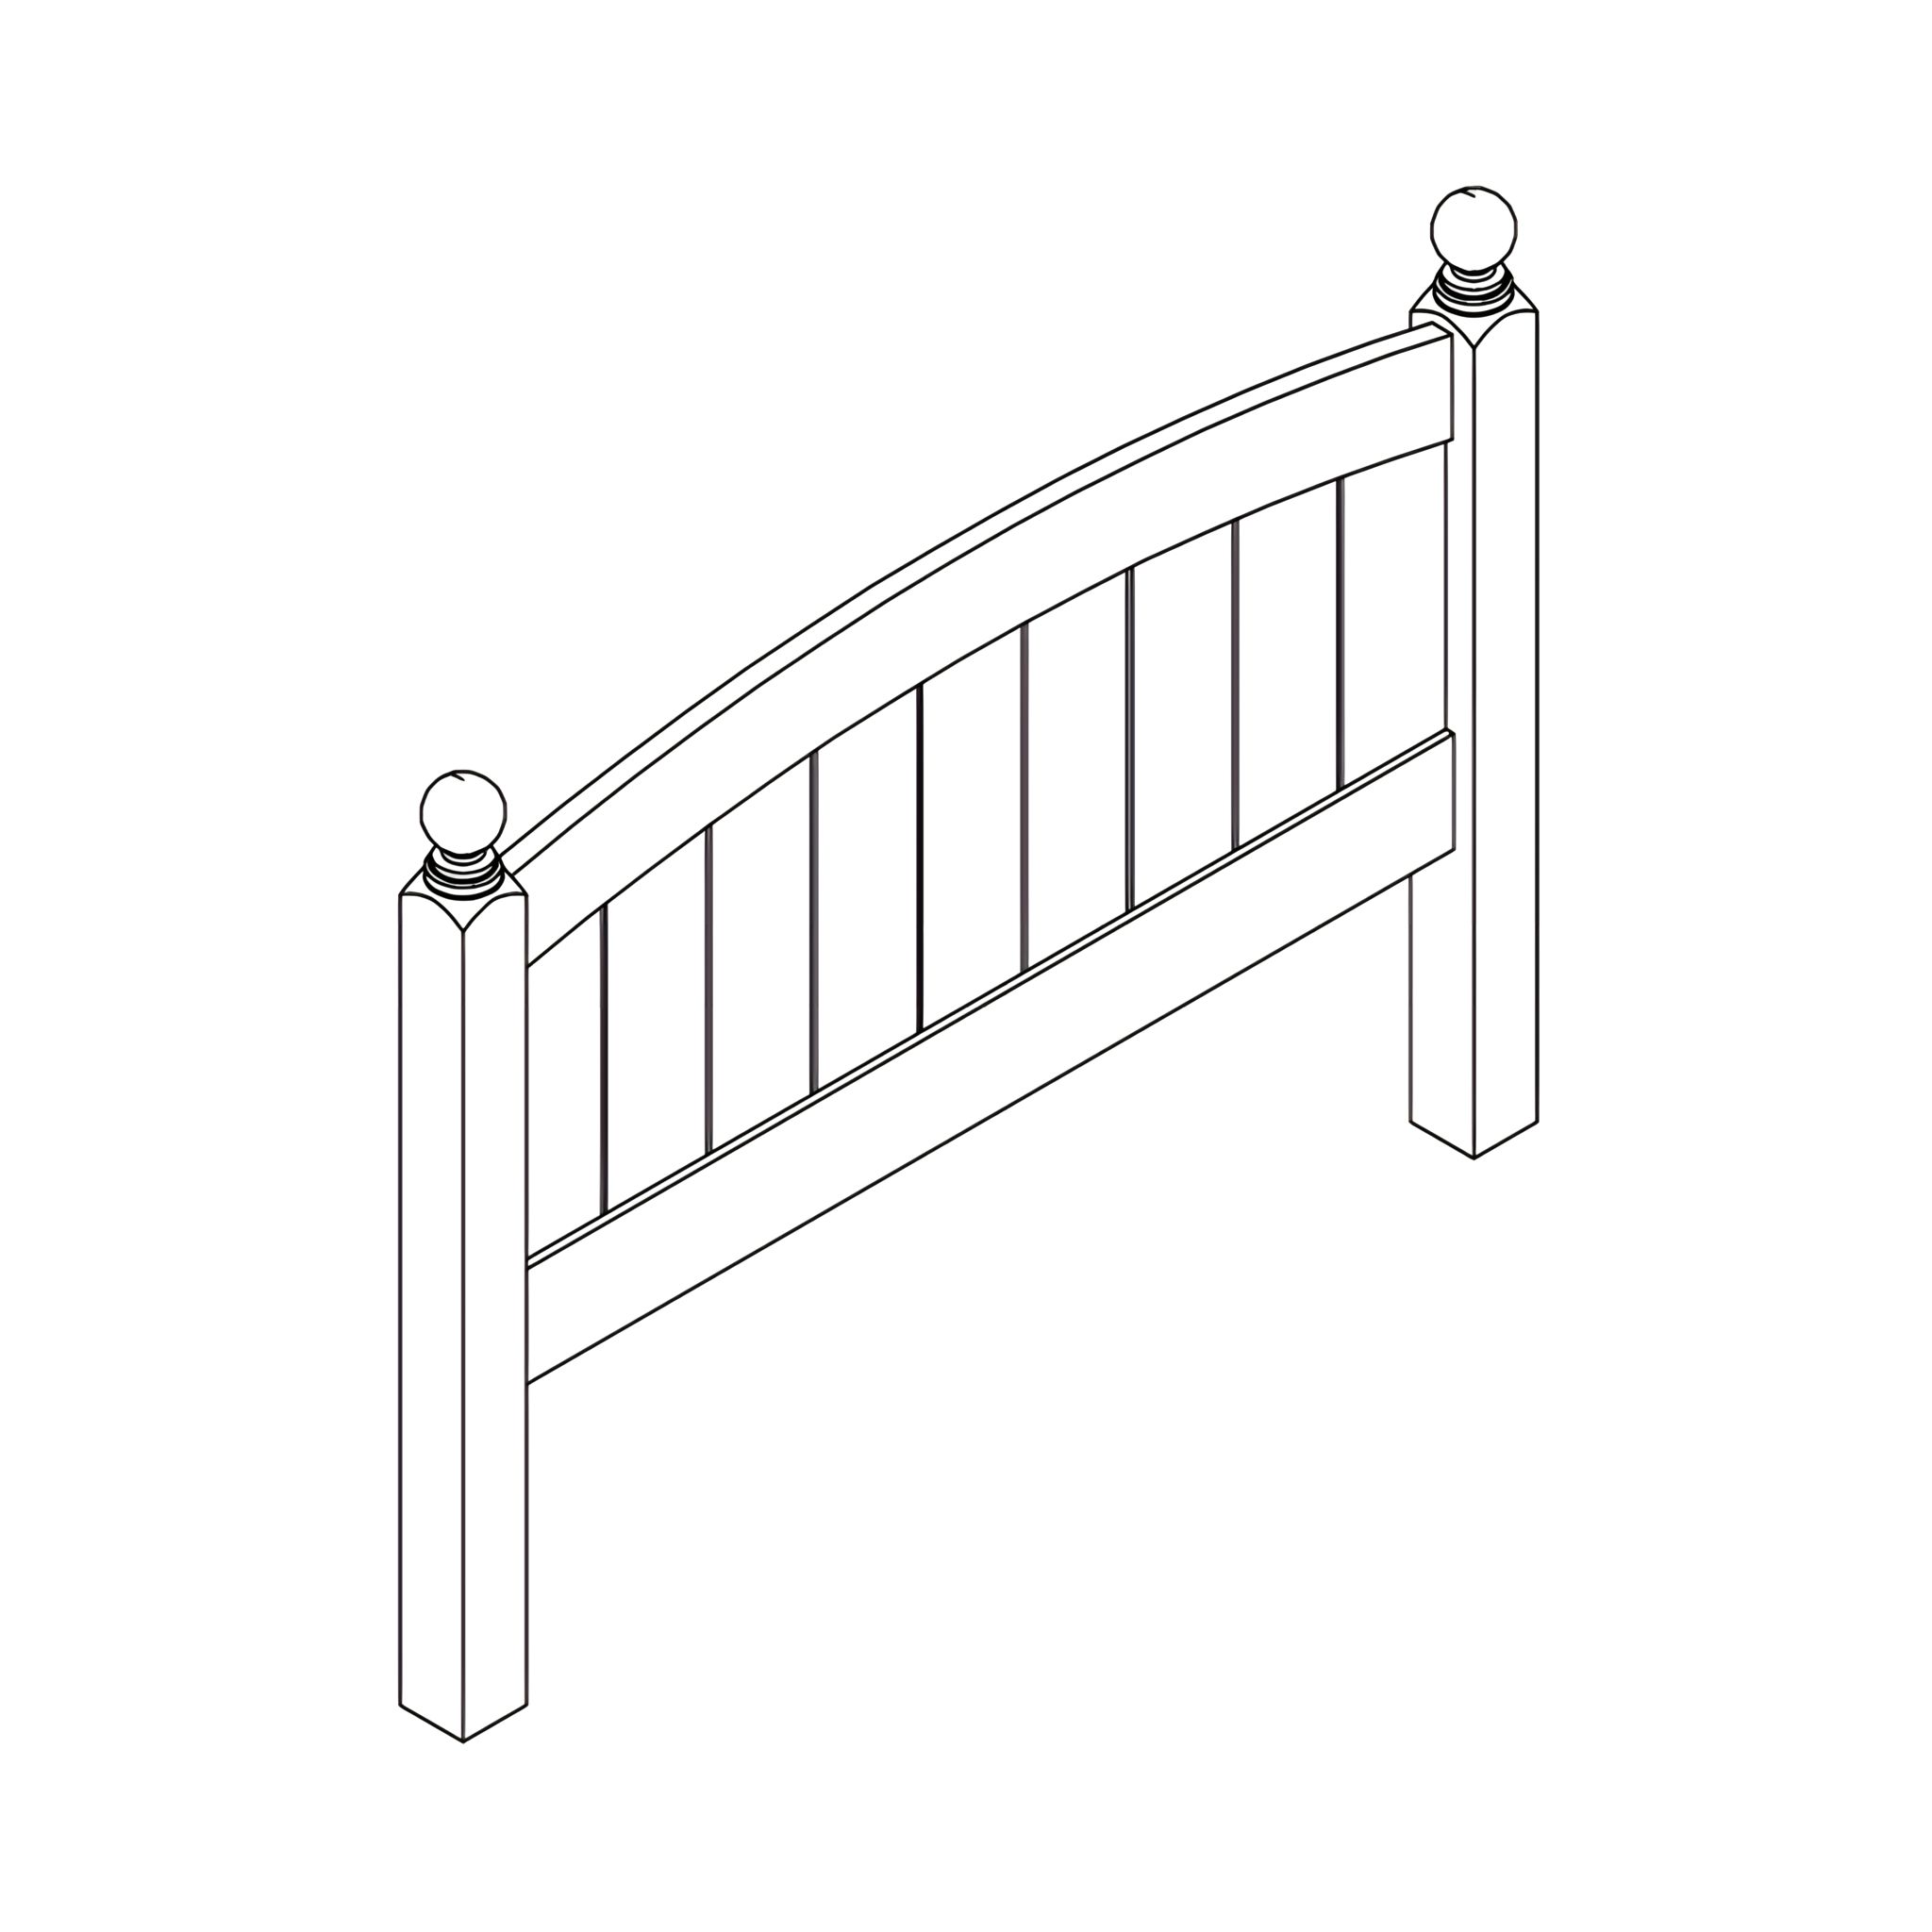
Charleston Solo White Bed Frame
The Charleston is sure to be a spectacular focal point in your child's bedroom. With elegantly turned bed posts and subtle styling details this bed combines classic good looks with practicality. The Charleston is manufactured from solid rubber wood, which is valued for its dense grain, durability, minimal shrinkage, and acceptance of different finishes.
Although the rubber tree is primarily grown to source rubber, the left over wood is praised as an "environmentally friendly" product, as it makes use of trees that have been cut down at the end of their latex-producing cycle.
The frame is finished in a contemporary white painted finish and comes complete with solid wooden slats for added durability.
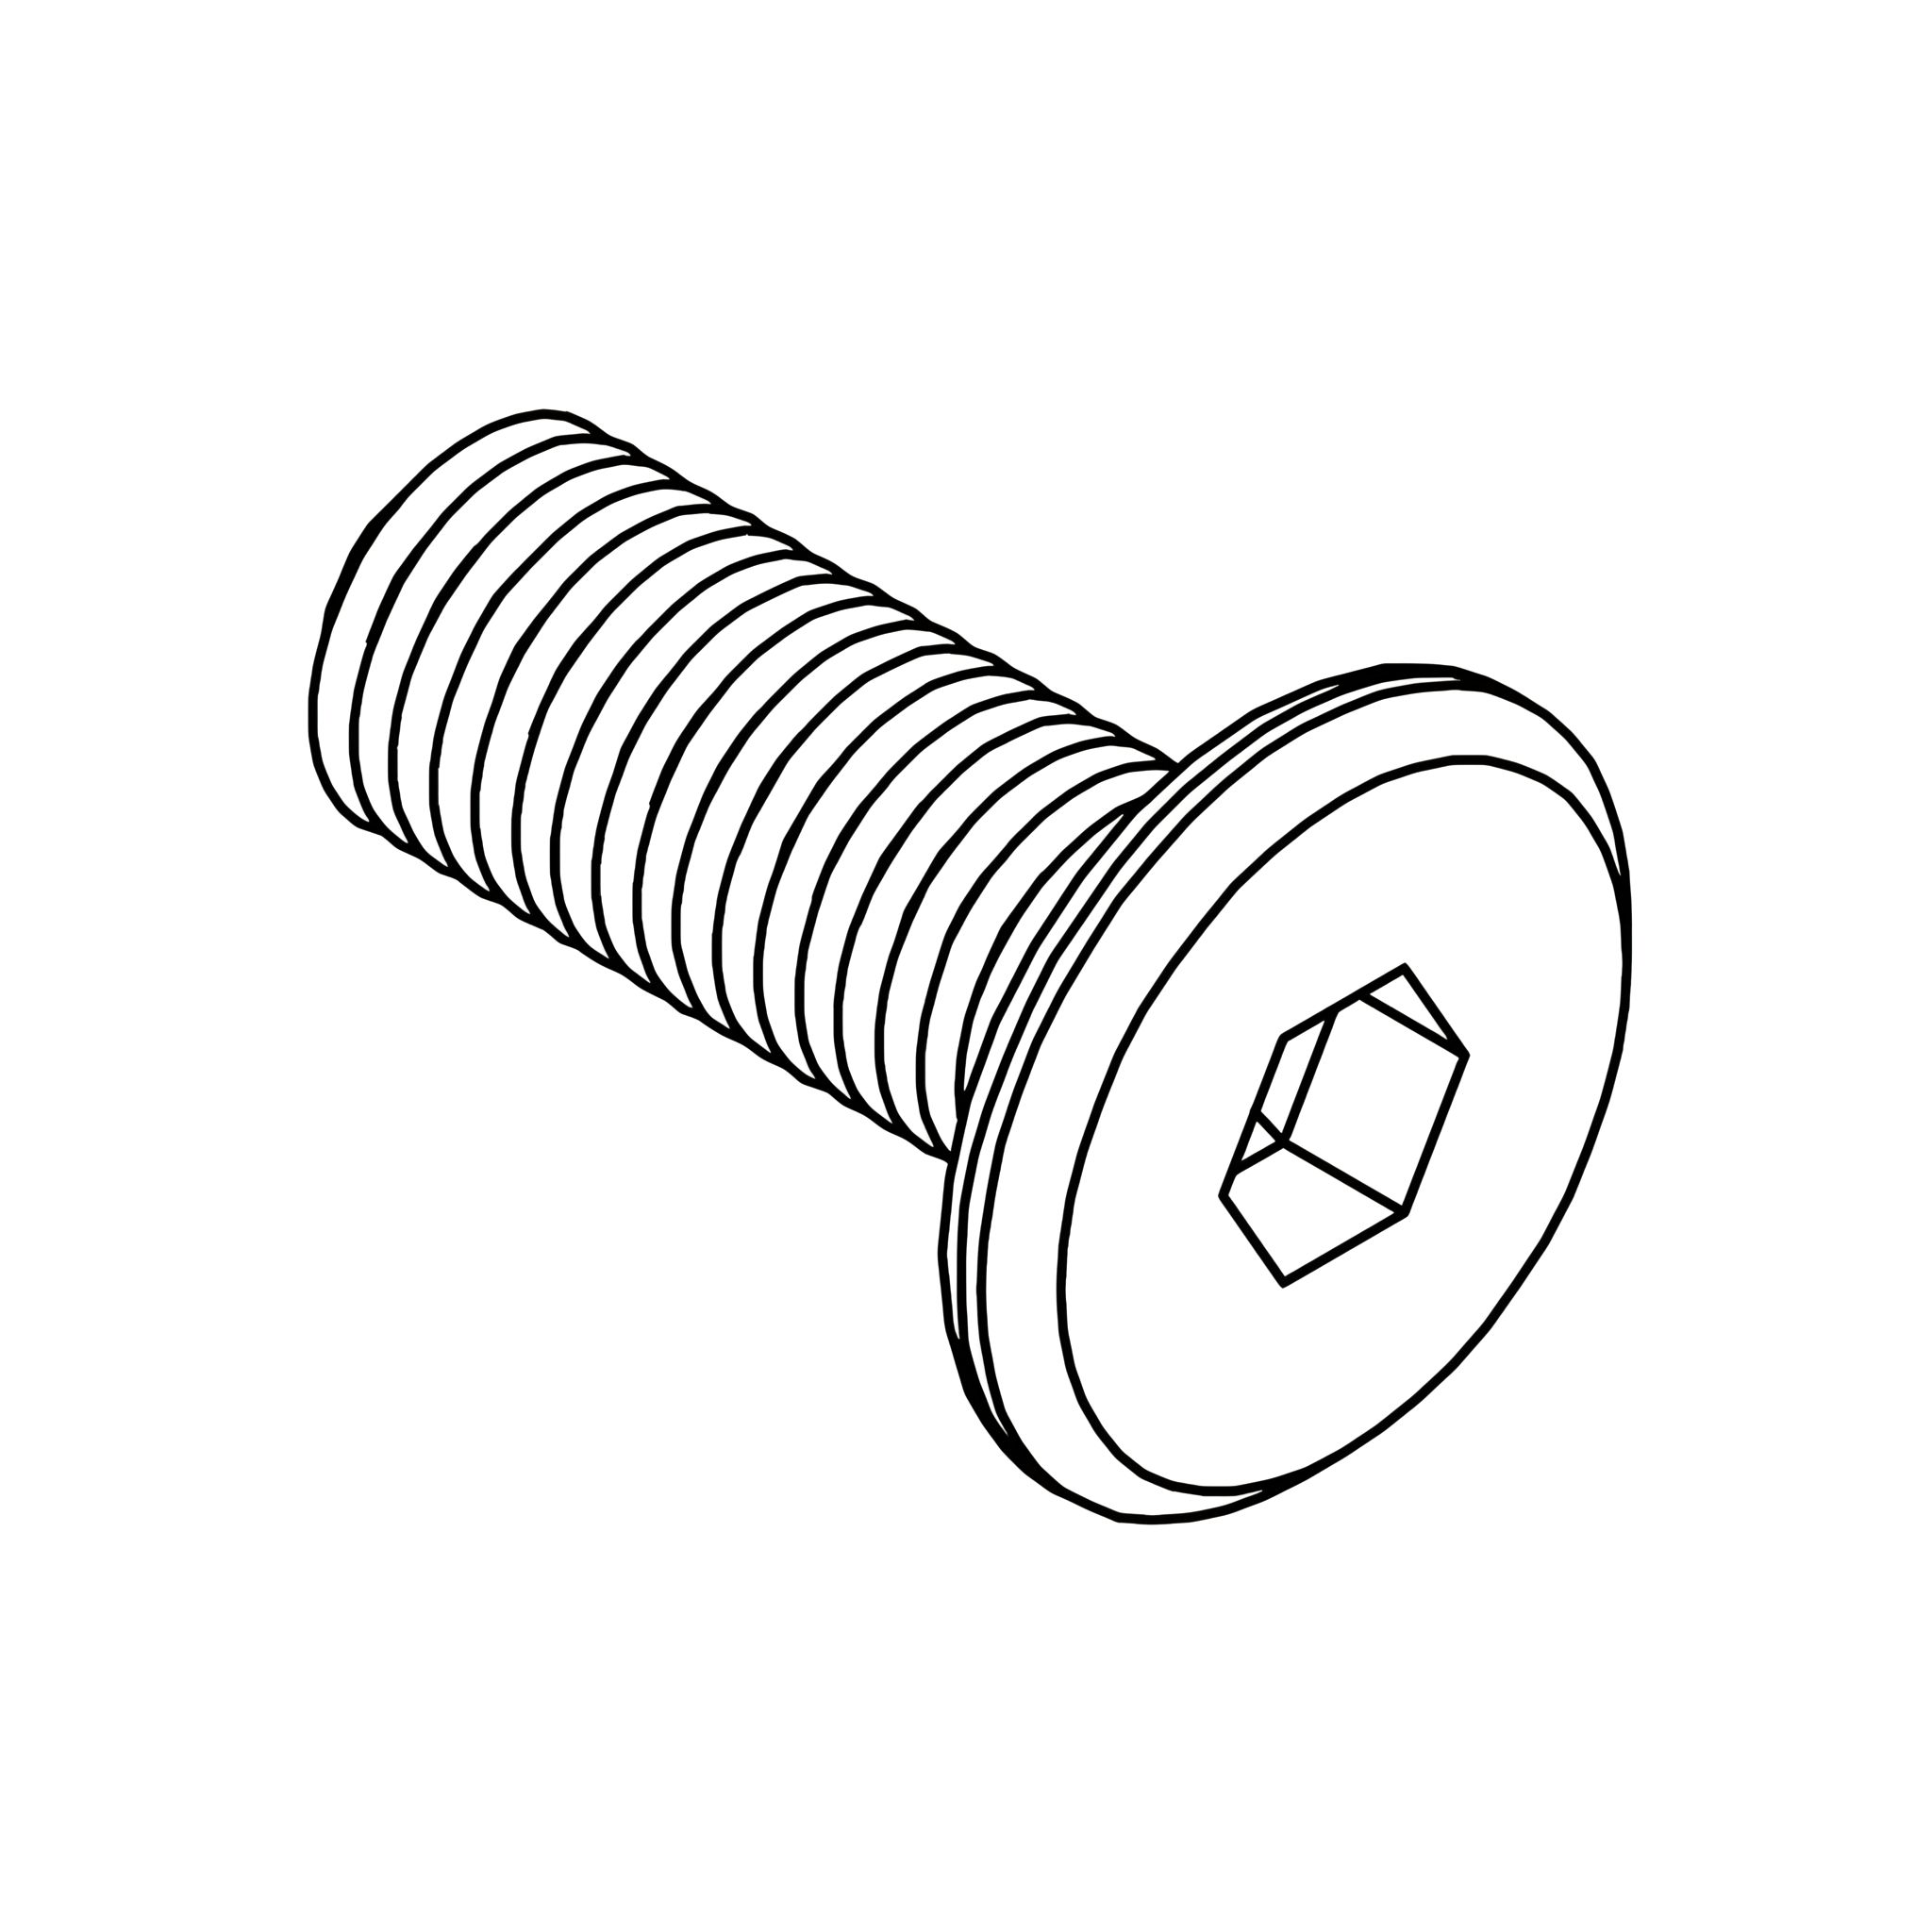
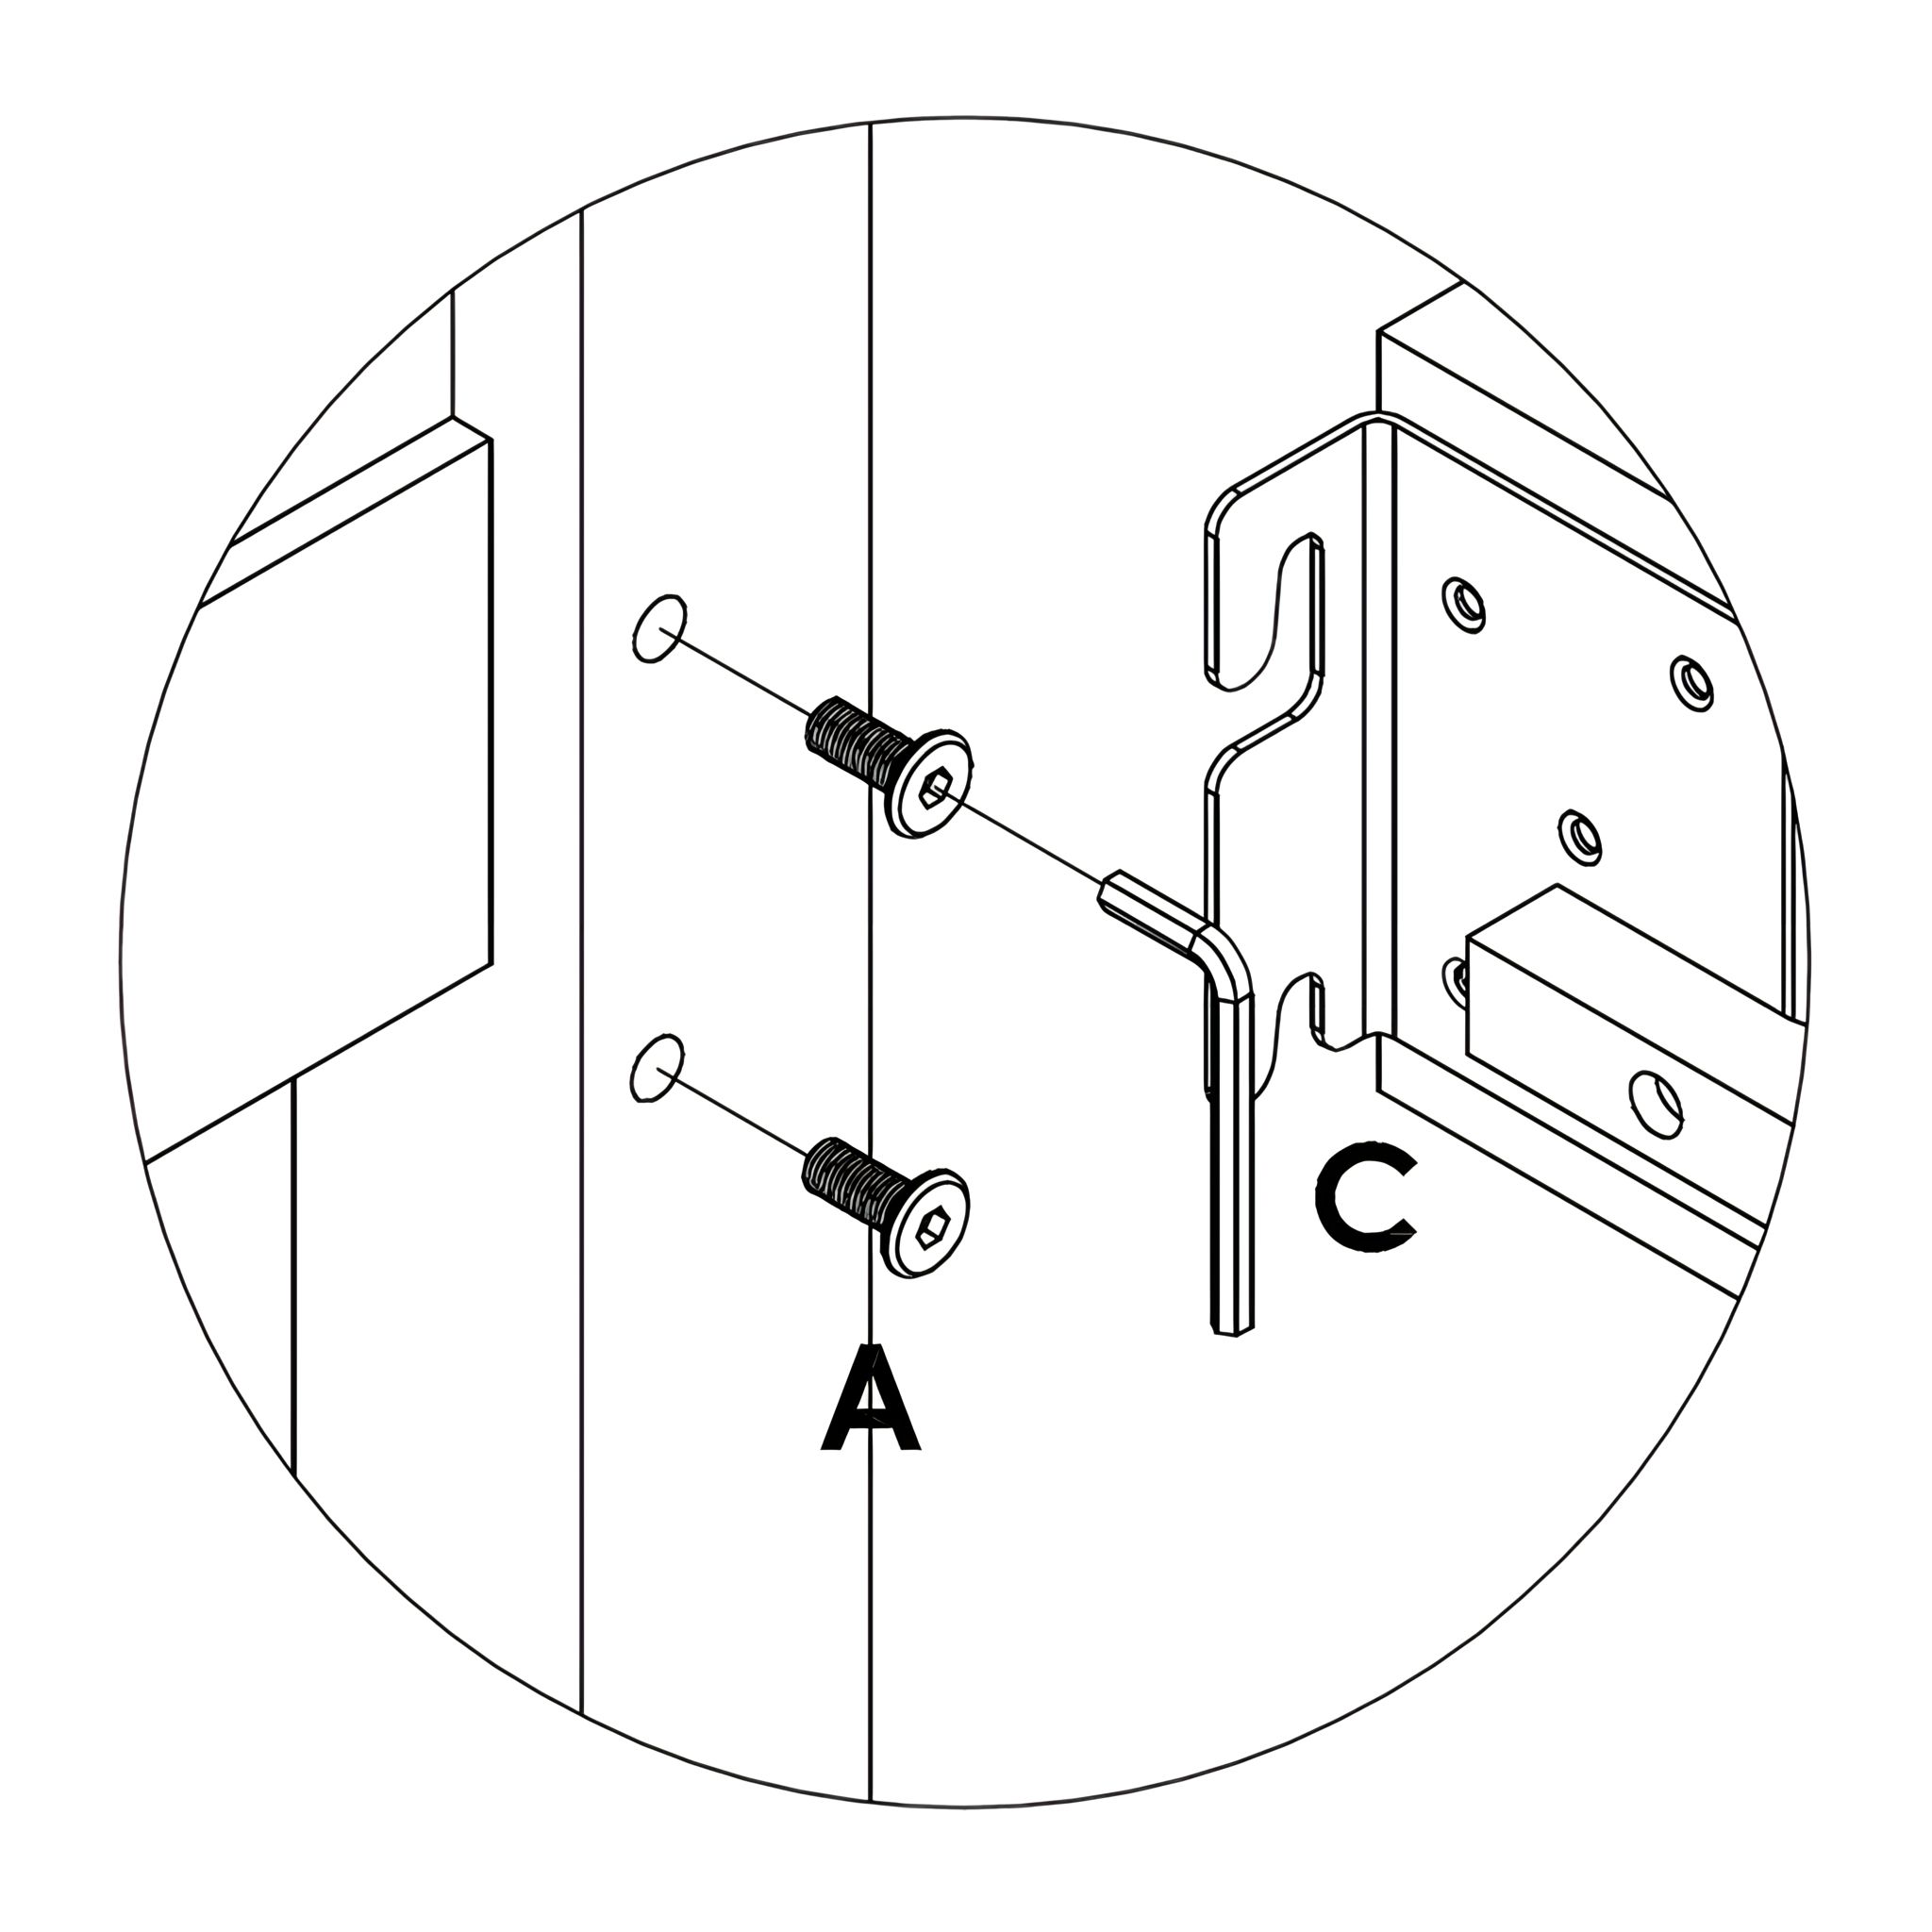
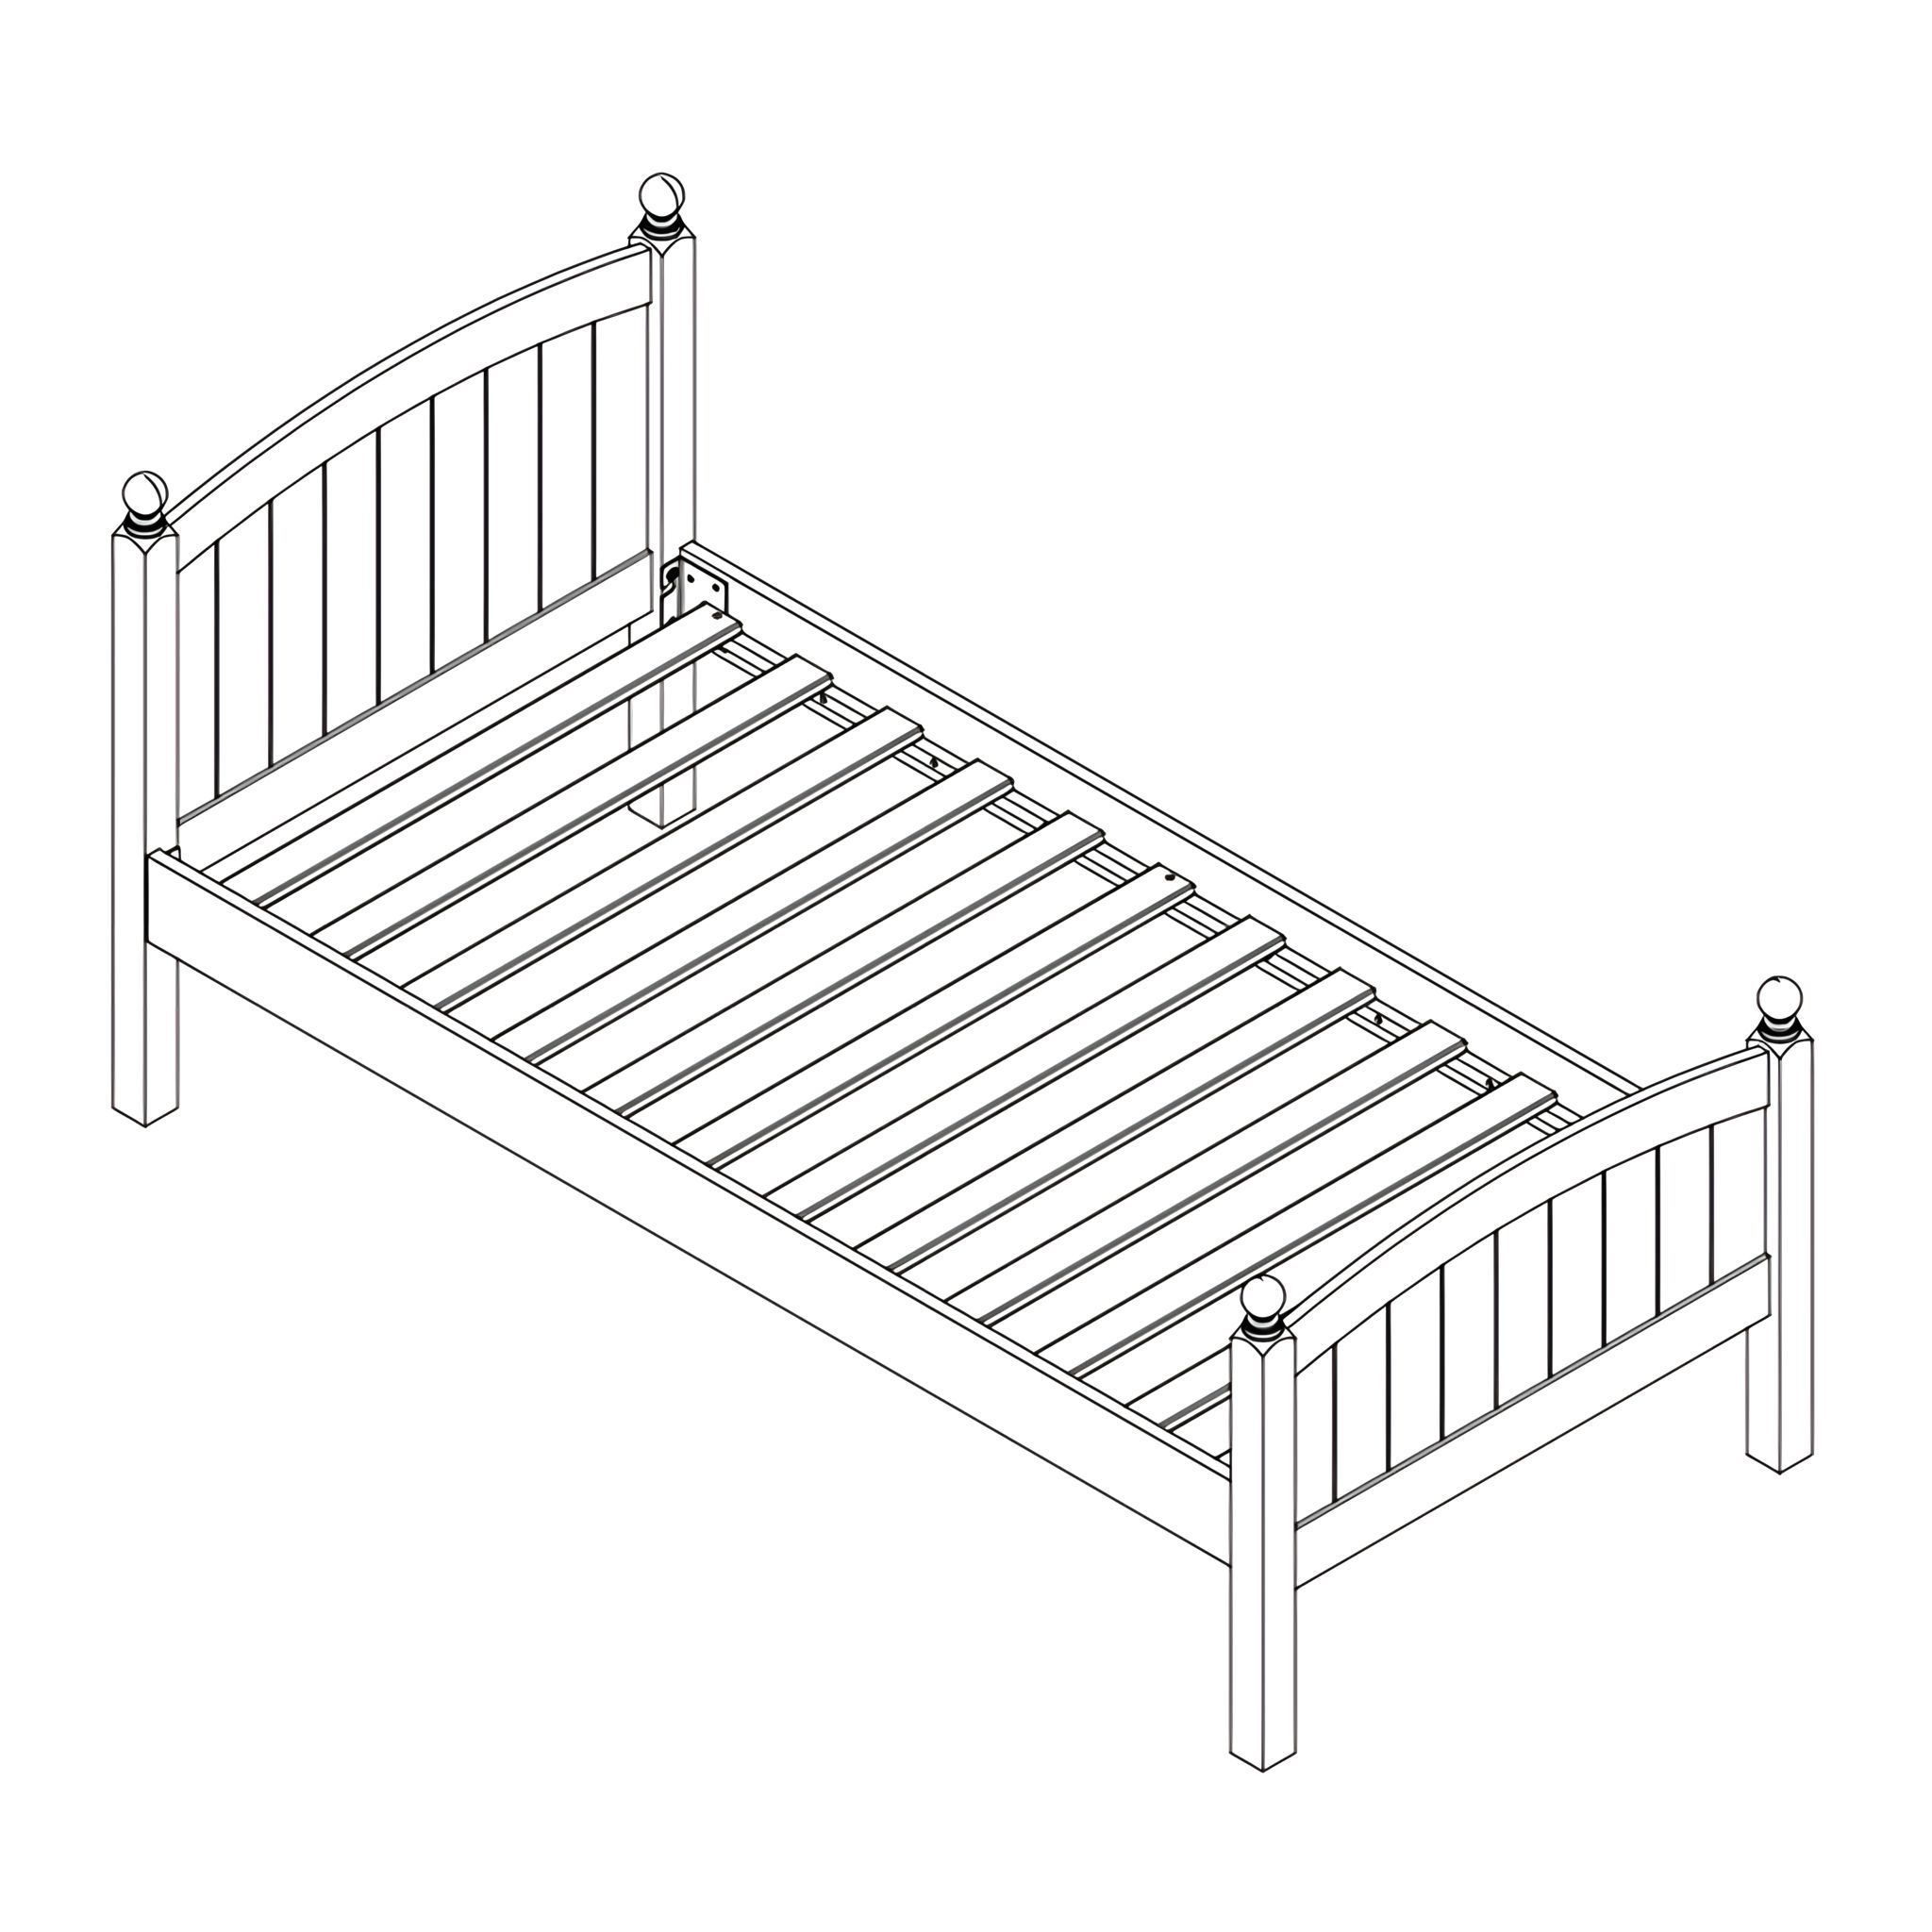
1. Insert JCBB Bolts (A) into the designated holes on the Headboard and Footboard, but DO NOT fully tighten them yet. 2. Align the Side Rails with the bolts and slot them into place. 3. Once the rails are properly positioned, use the Allen Key (C) to fully tighten the bolts.
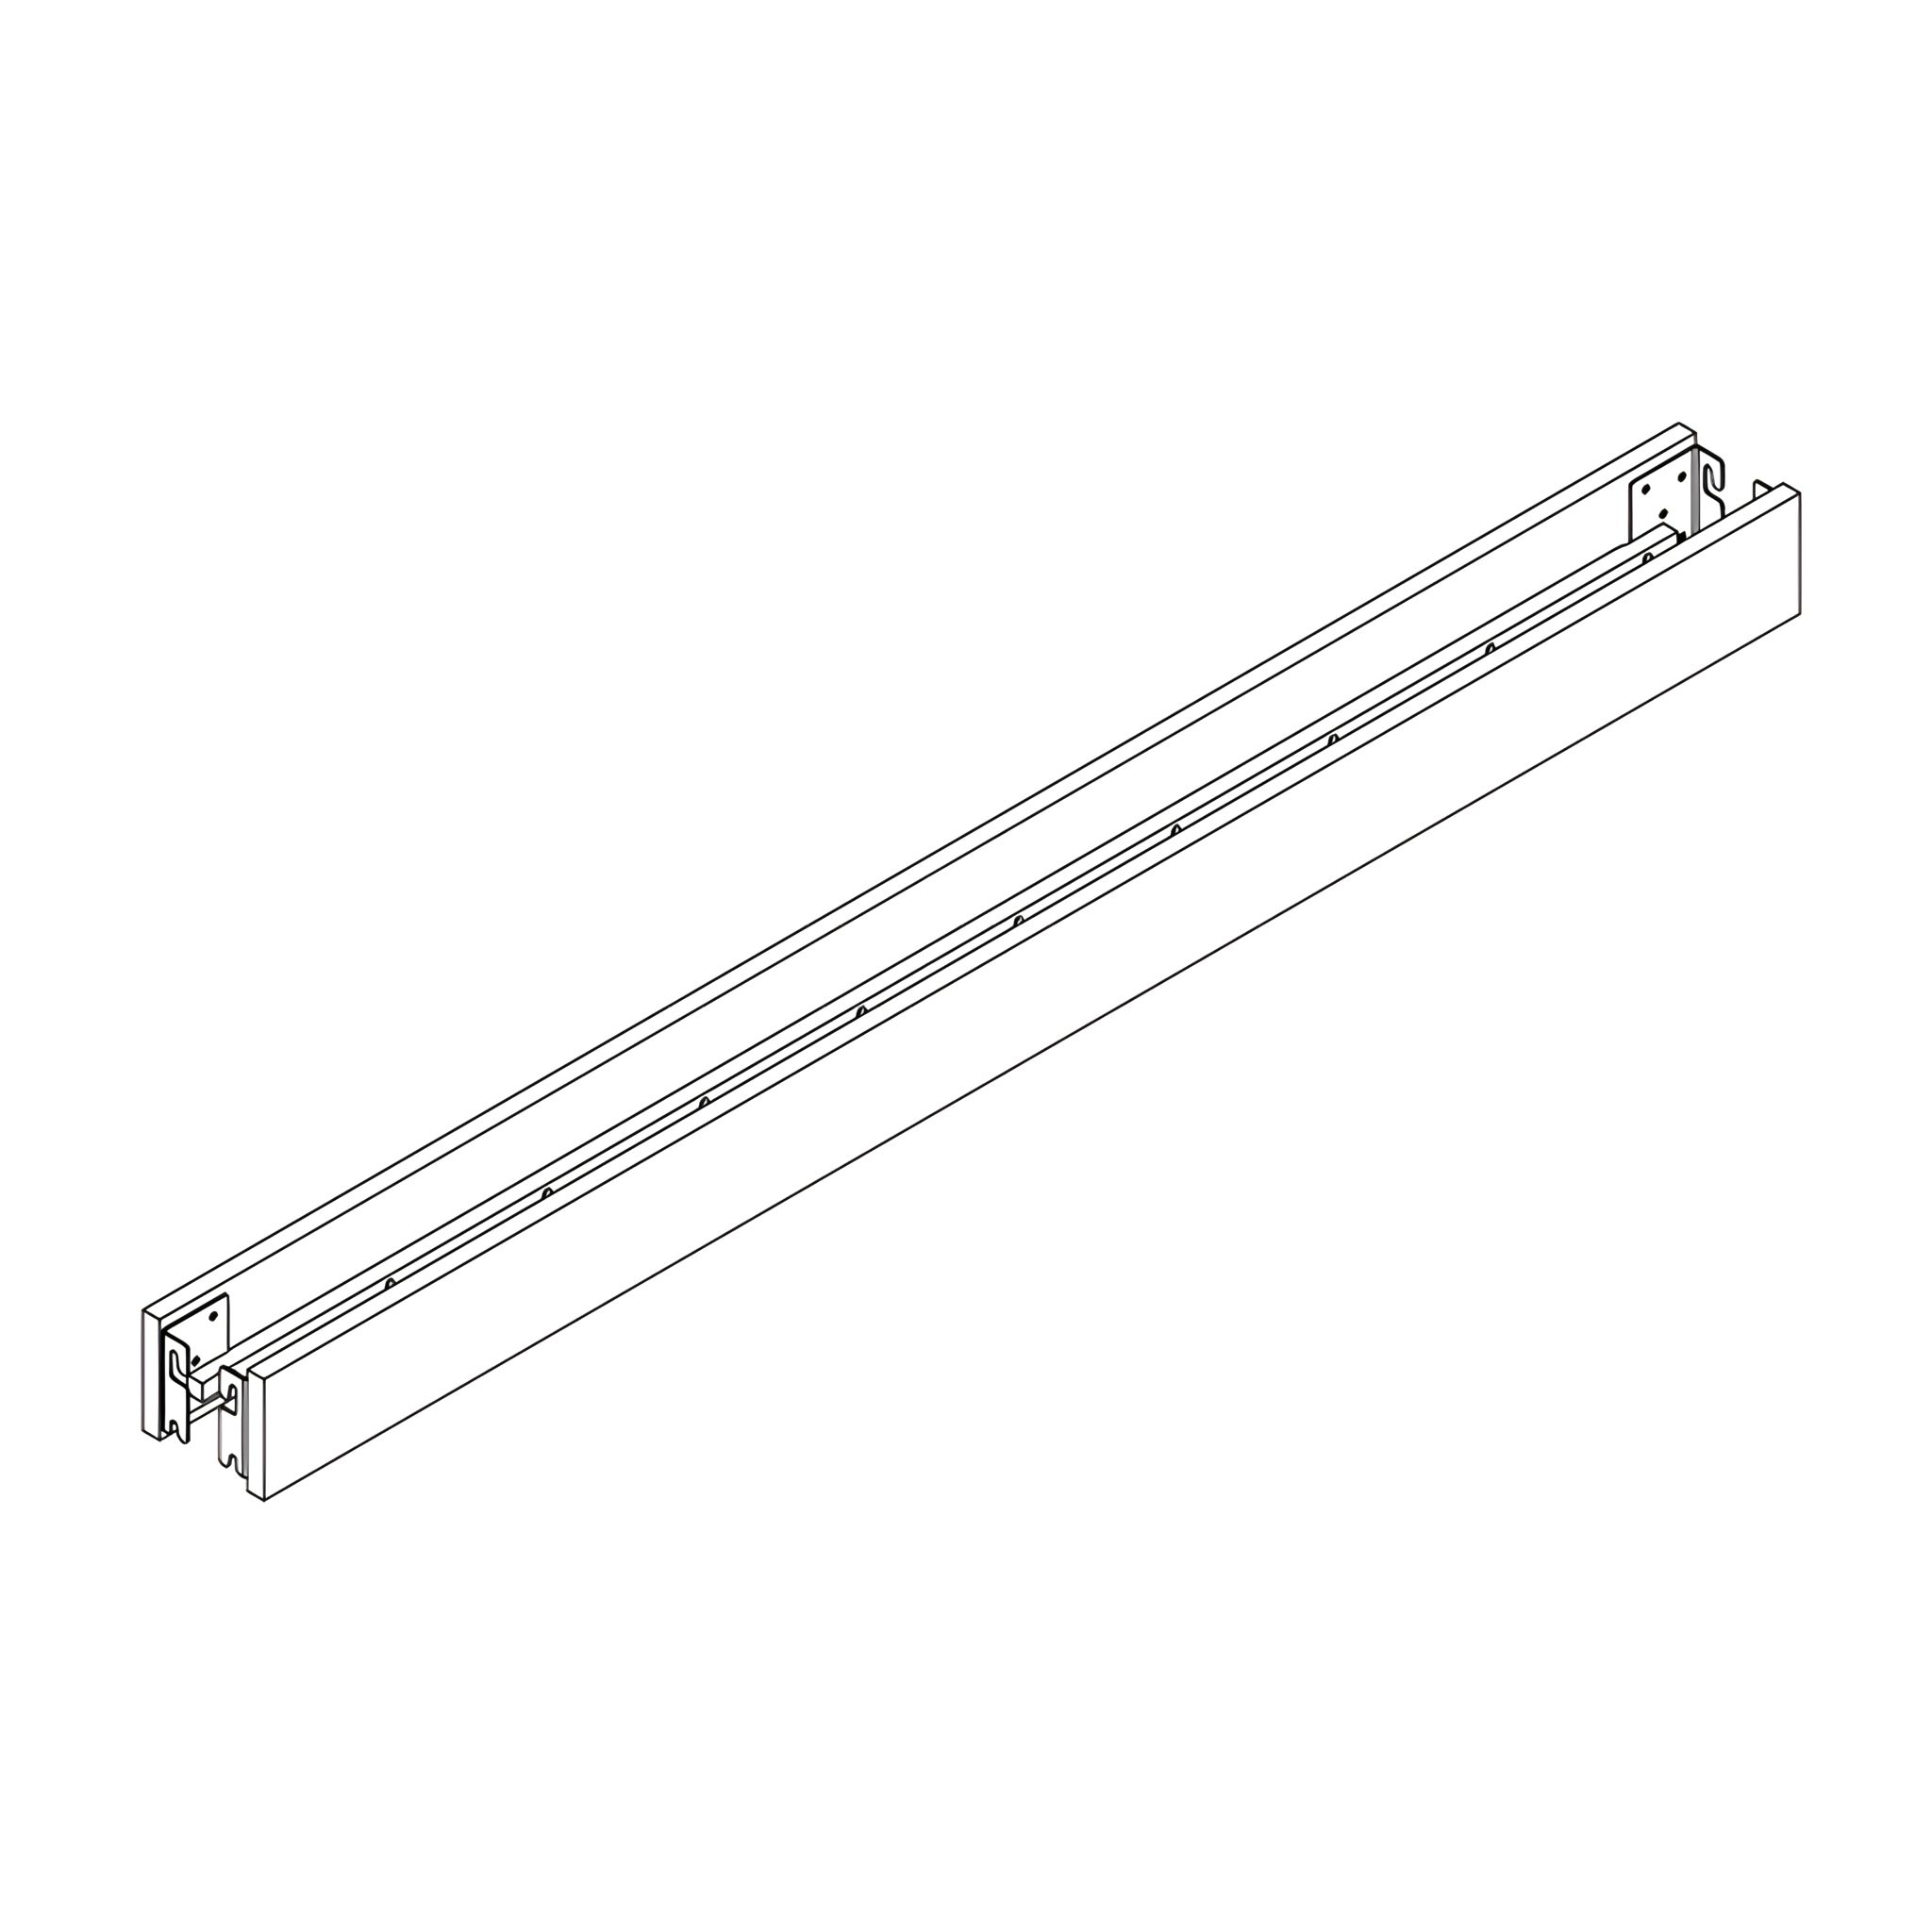
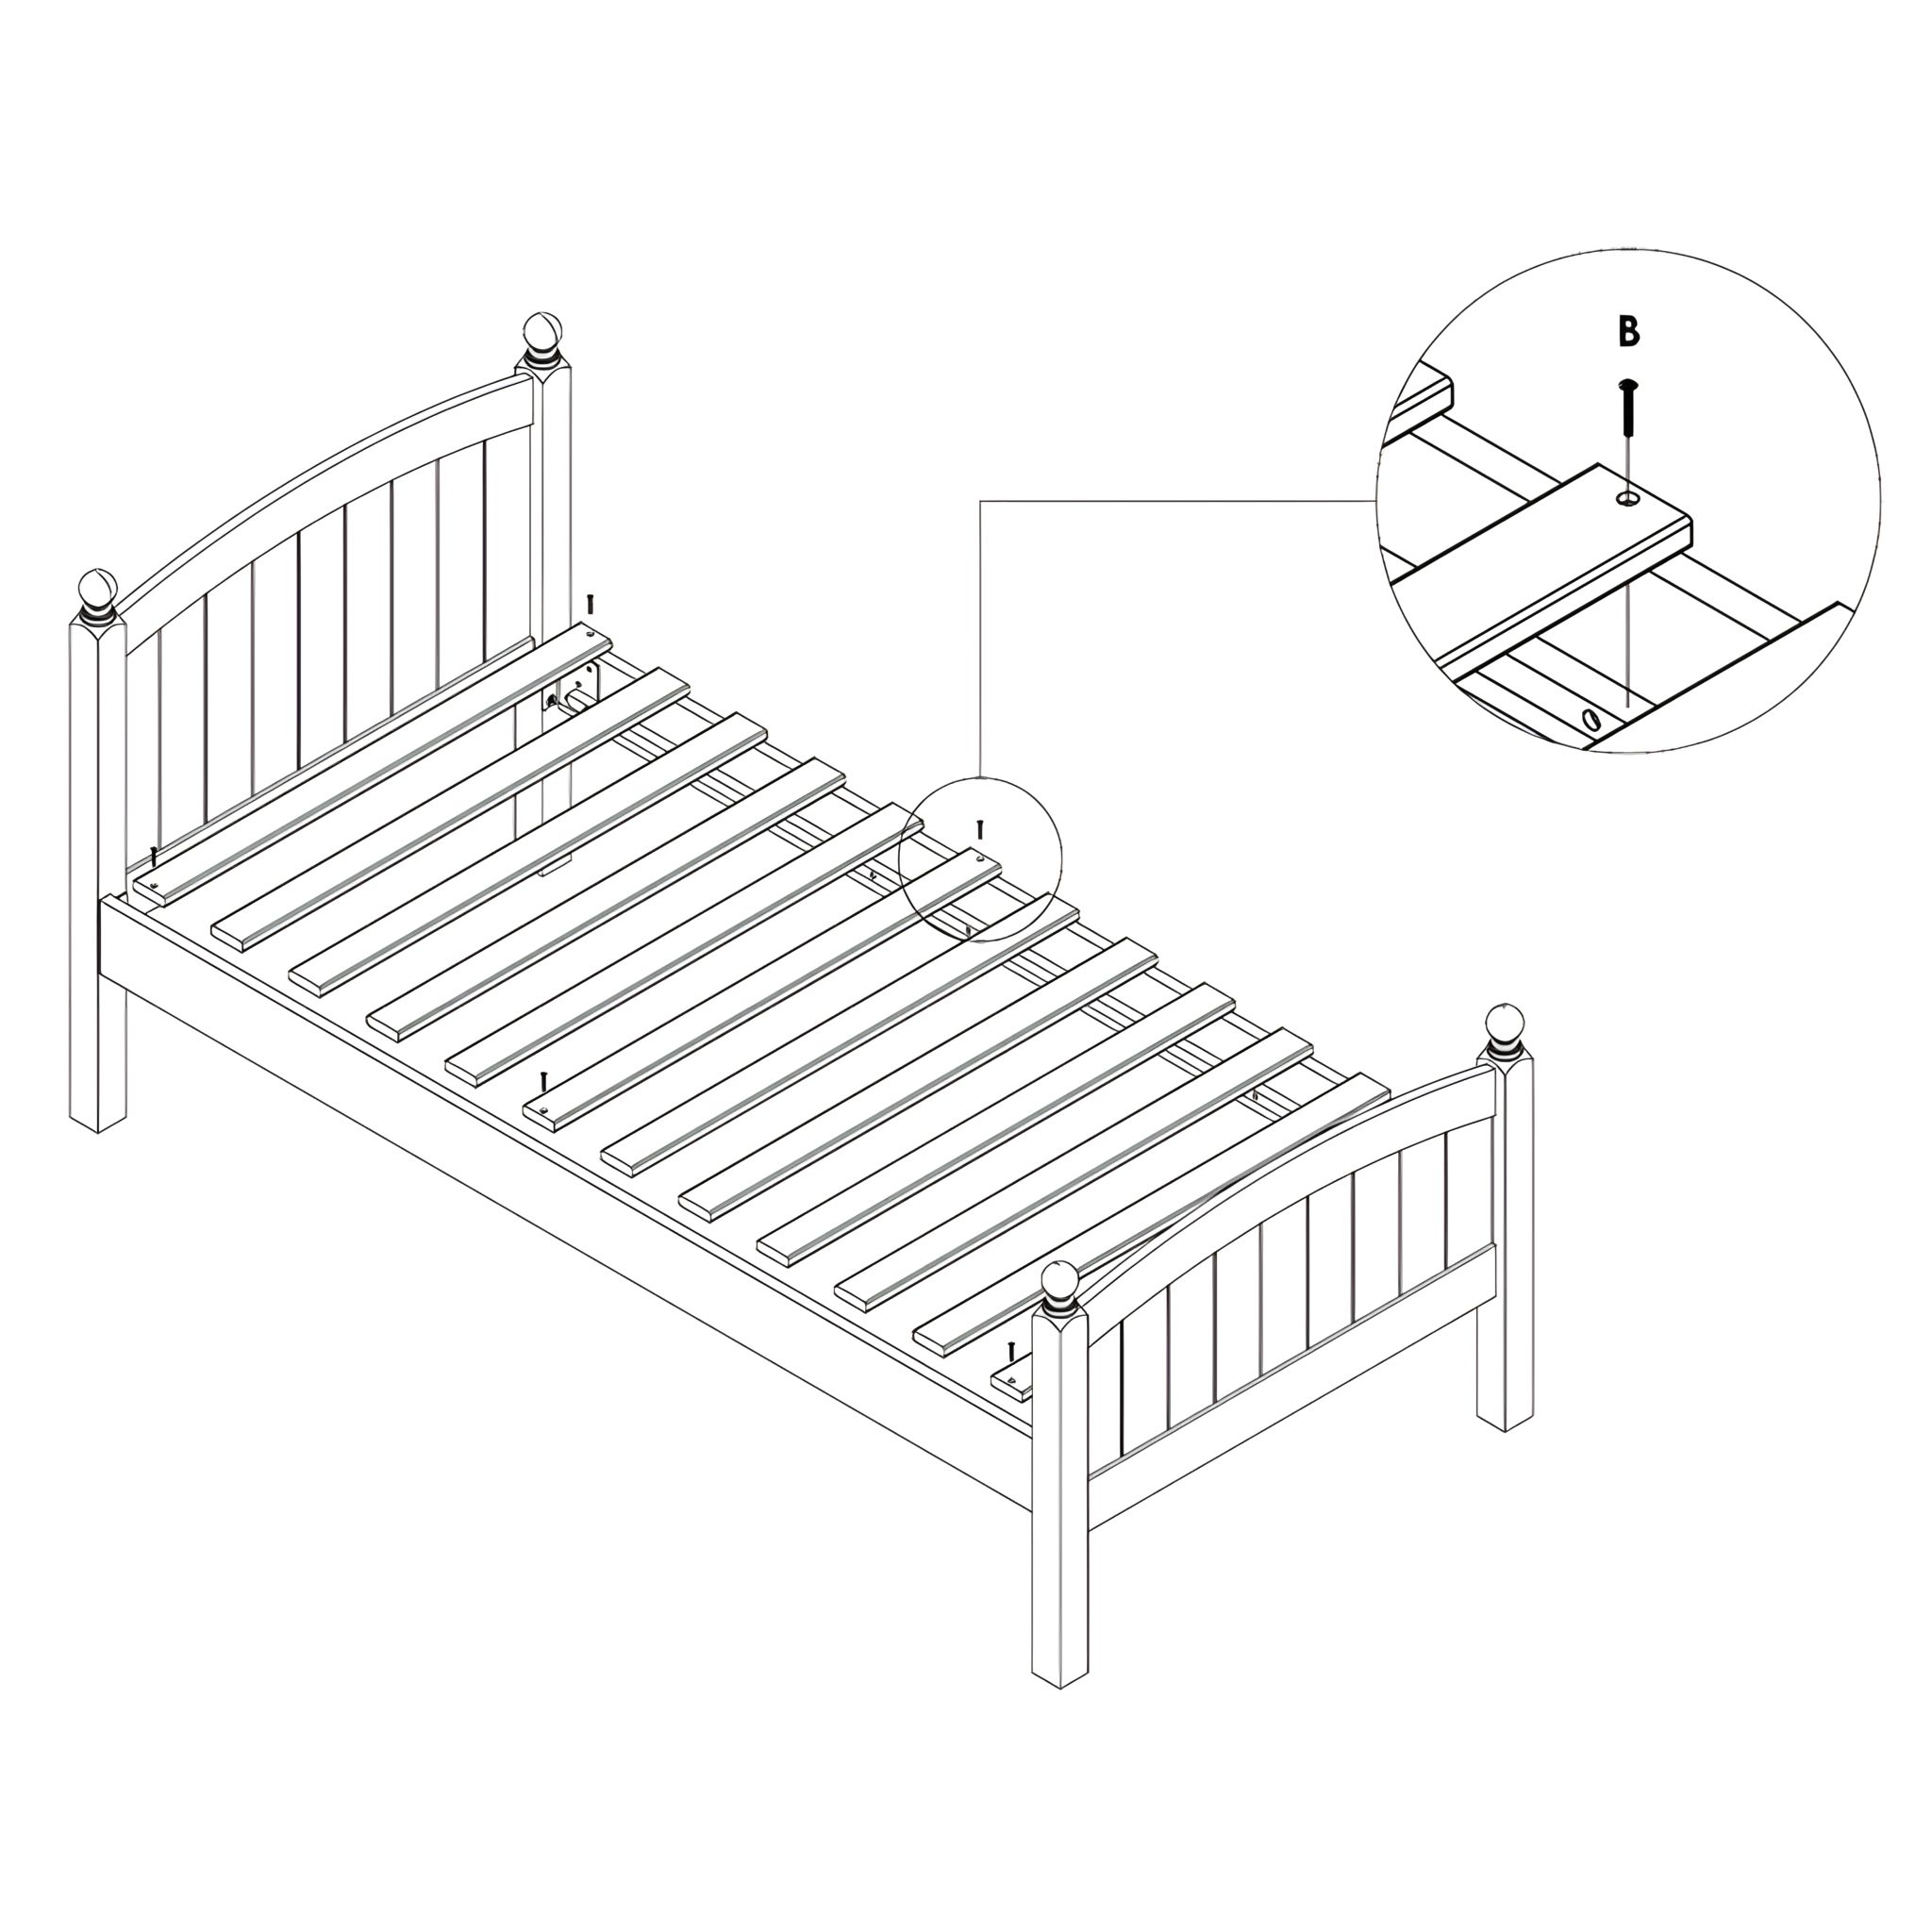
2. Attach Wooden Slats
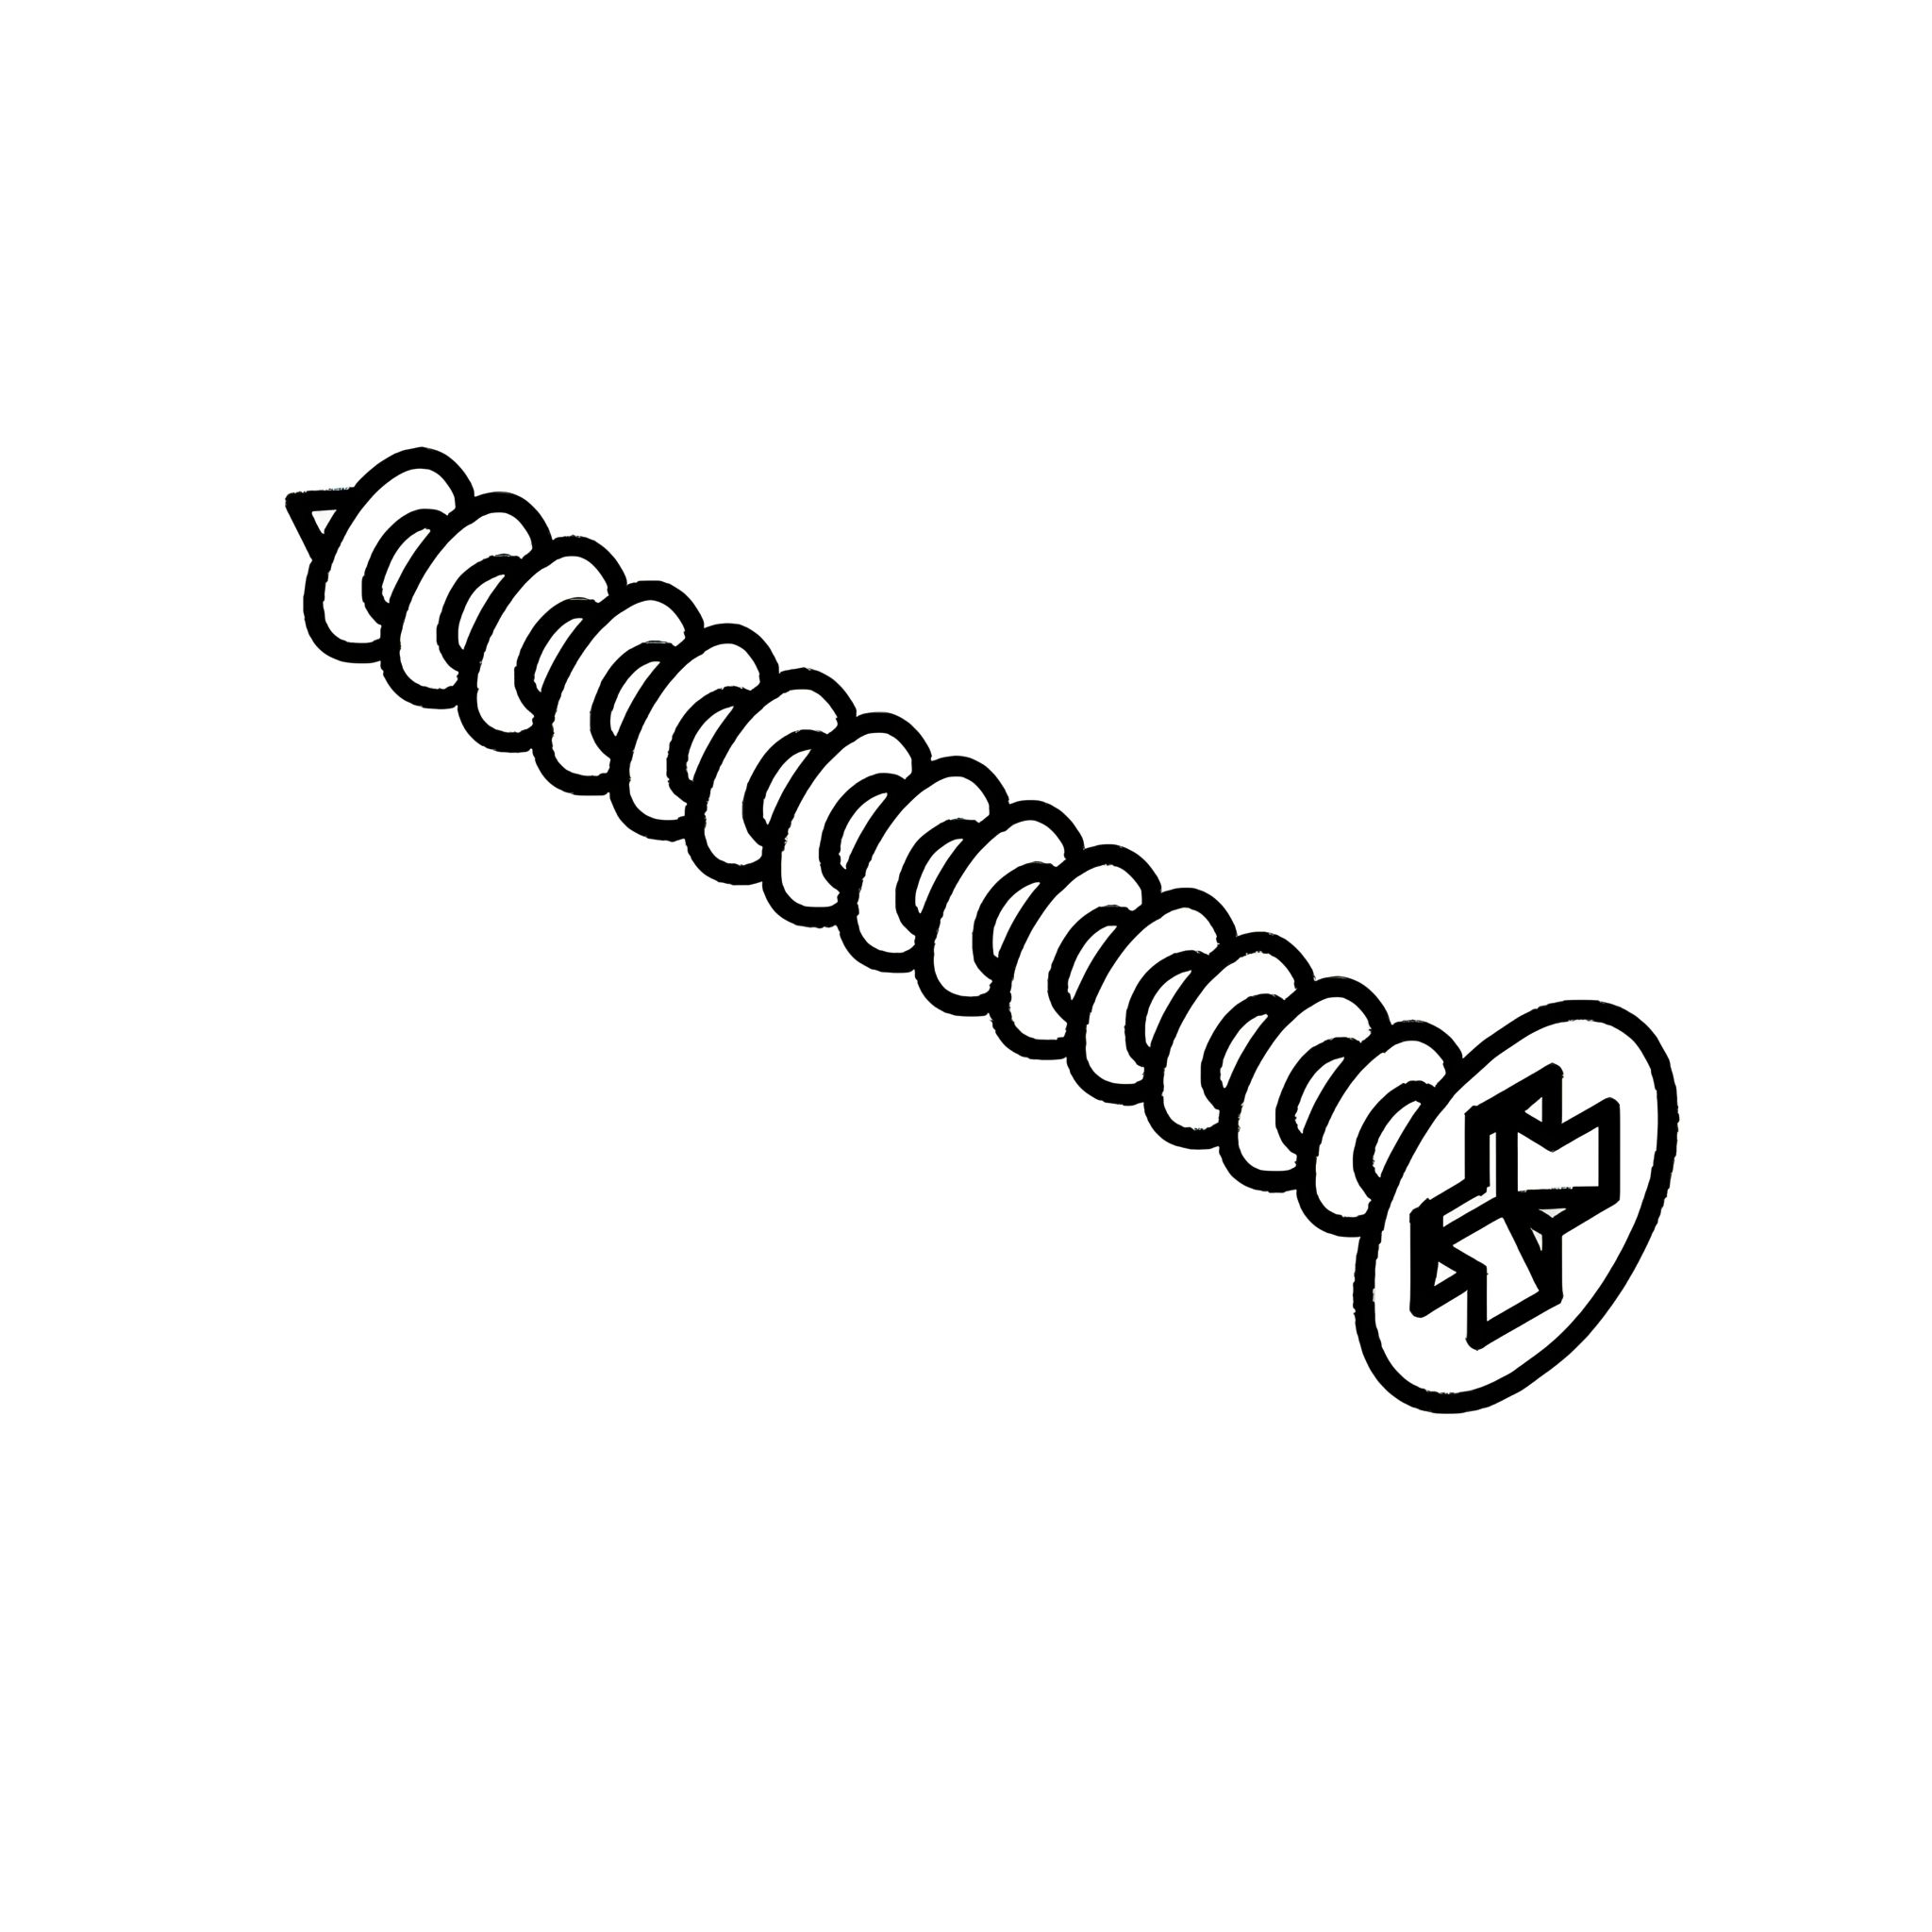
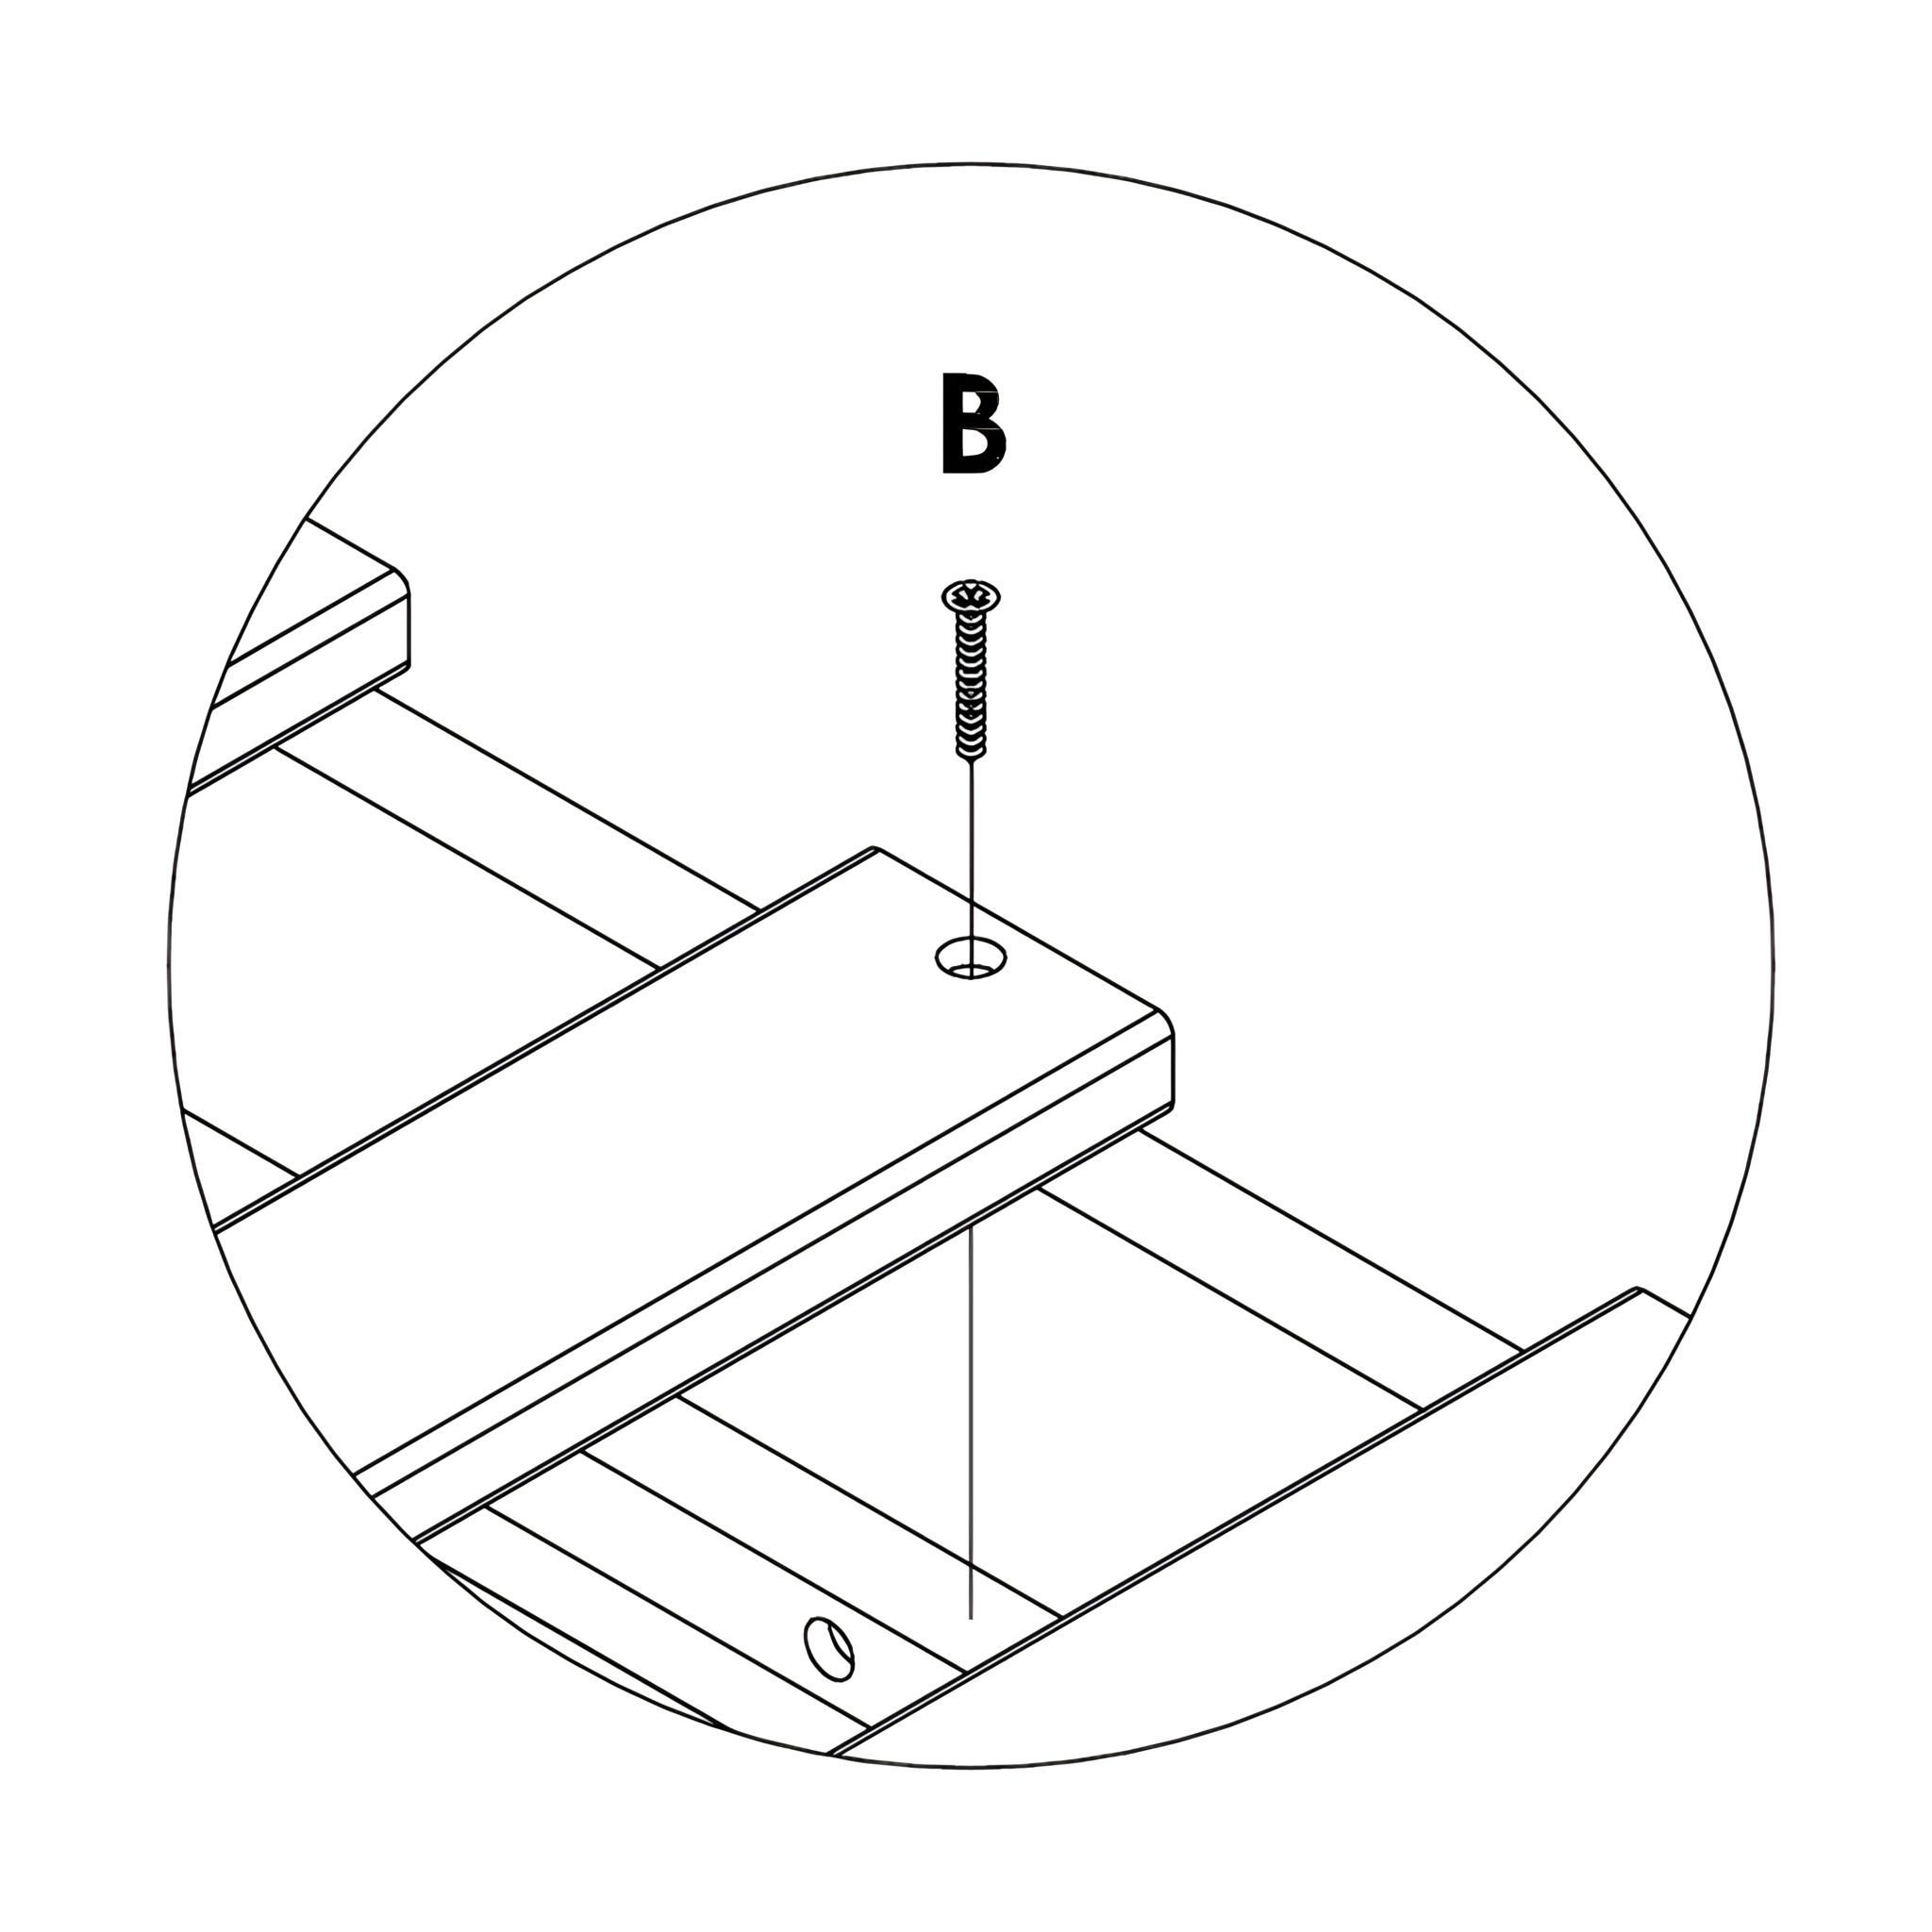
1. Lay out the Wooden Slats evenly across the bed frame, ensuring they align with the Side Rails. 2. Using the CSK C/B Screws (B), fasten the six slats with pre-drilled holes to the side rails. 3. Use a Crosshead Screwdriver to tighten the screws, making sure the slats are firmly attached.
3. Final Check
1. Verify that all slats are securely fastened and evenly spaced. 2. Check for any loose connections and tighten the screws if necessary.