1. Attach Bottom Headboard Legs
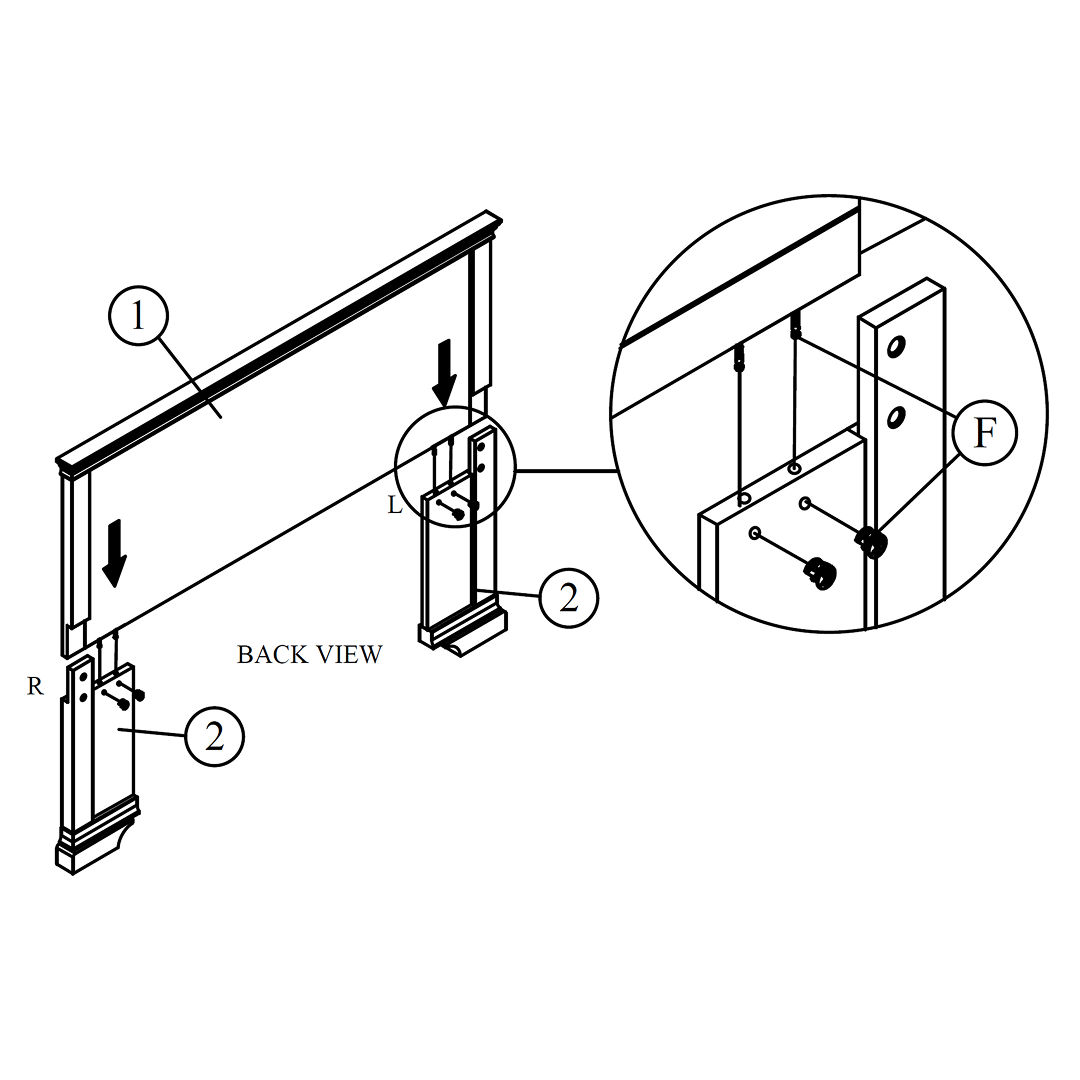
Fix head bottom leg left & right to the head board top with minifix 'F' as shown .
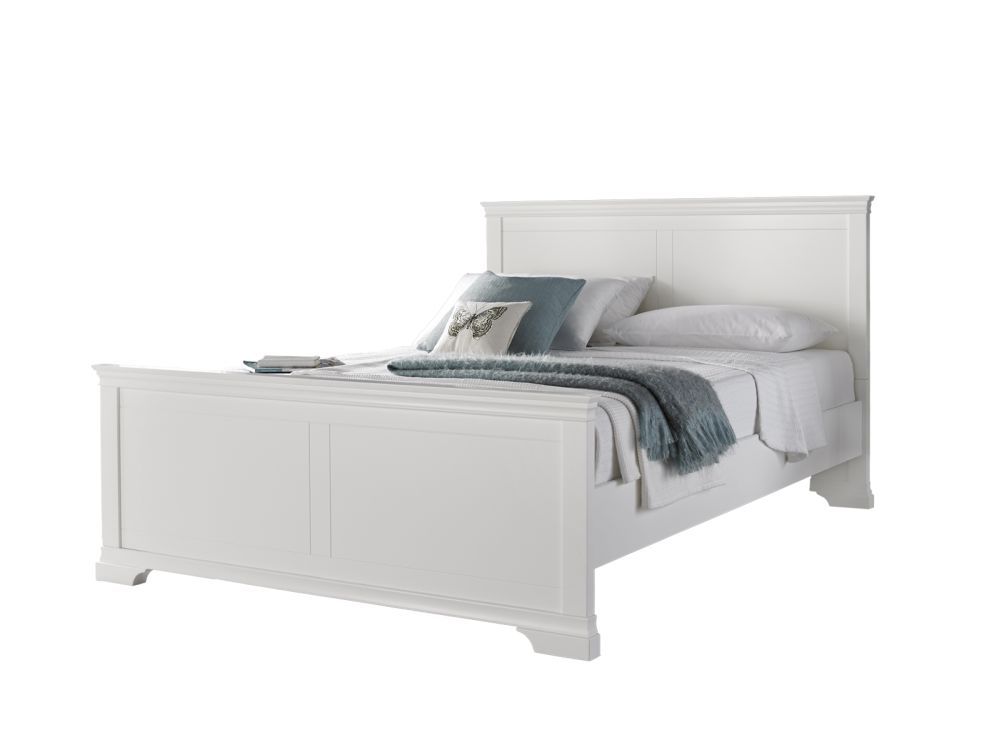 Instructions by time4sleep Chateaux Wooden Bed FrameAssembly instructions for Chateaux Wooden Bed Frame by Time4Sleep Product Information Chateaux Wooden Bed FrameInspired by classic French Farmhouse style design the Chateaux bed finished in White (opens in new tab), [Black]() and Natural Oak (opens in new tab) is a versatile design that will work equally well in a traditional or contemporary design.
The bed has a sprung slatted base for extra comfort and support.
One of the best value beds on the market today, this bed represents outstanding value at these special introductory prices.
The underbed clearance on this bed frame is 19cm approx.
View product (opens in new tab)
Tools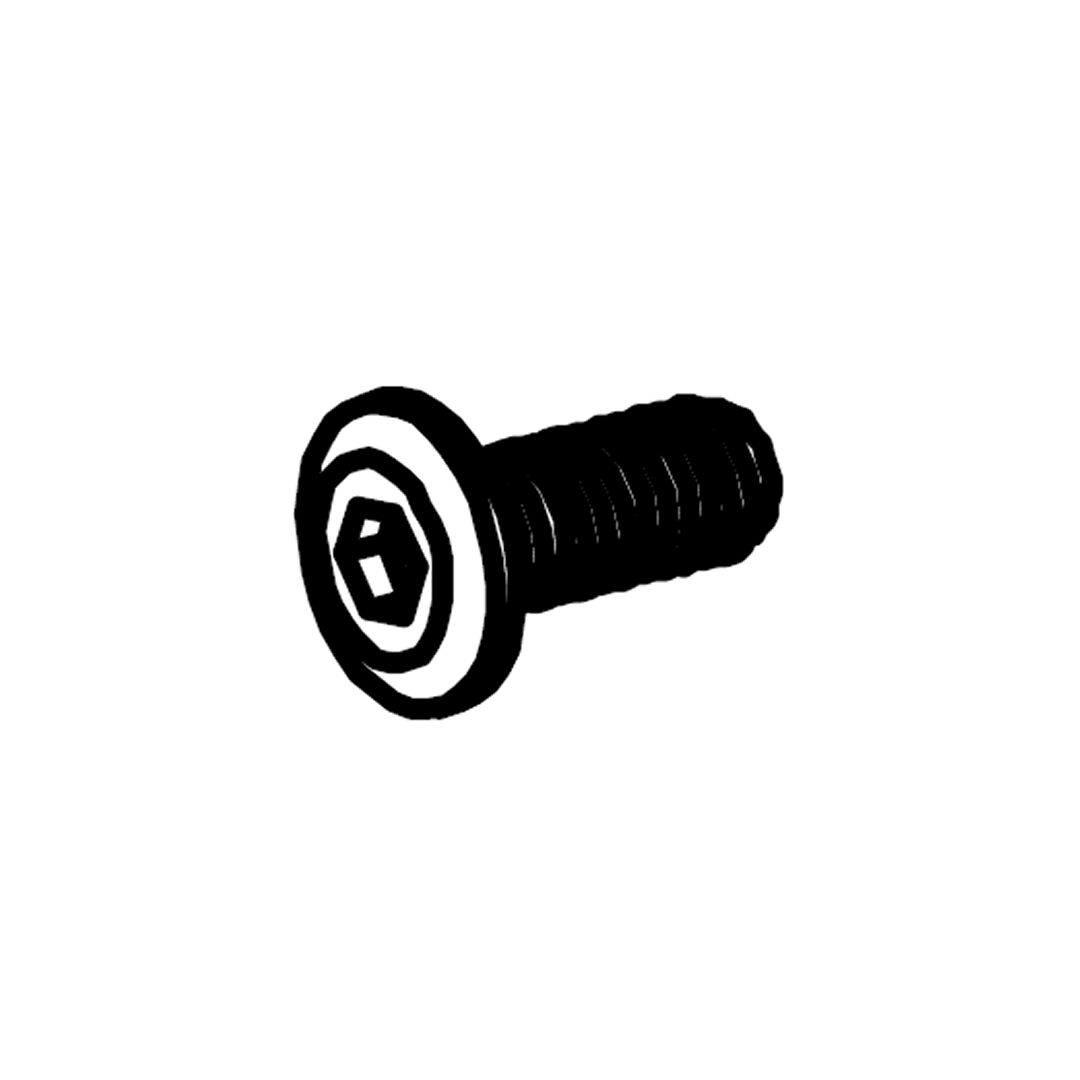 JCBB Bolt (M8 x 25mm) 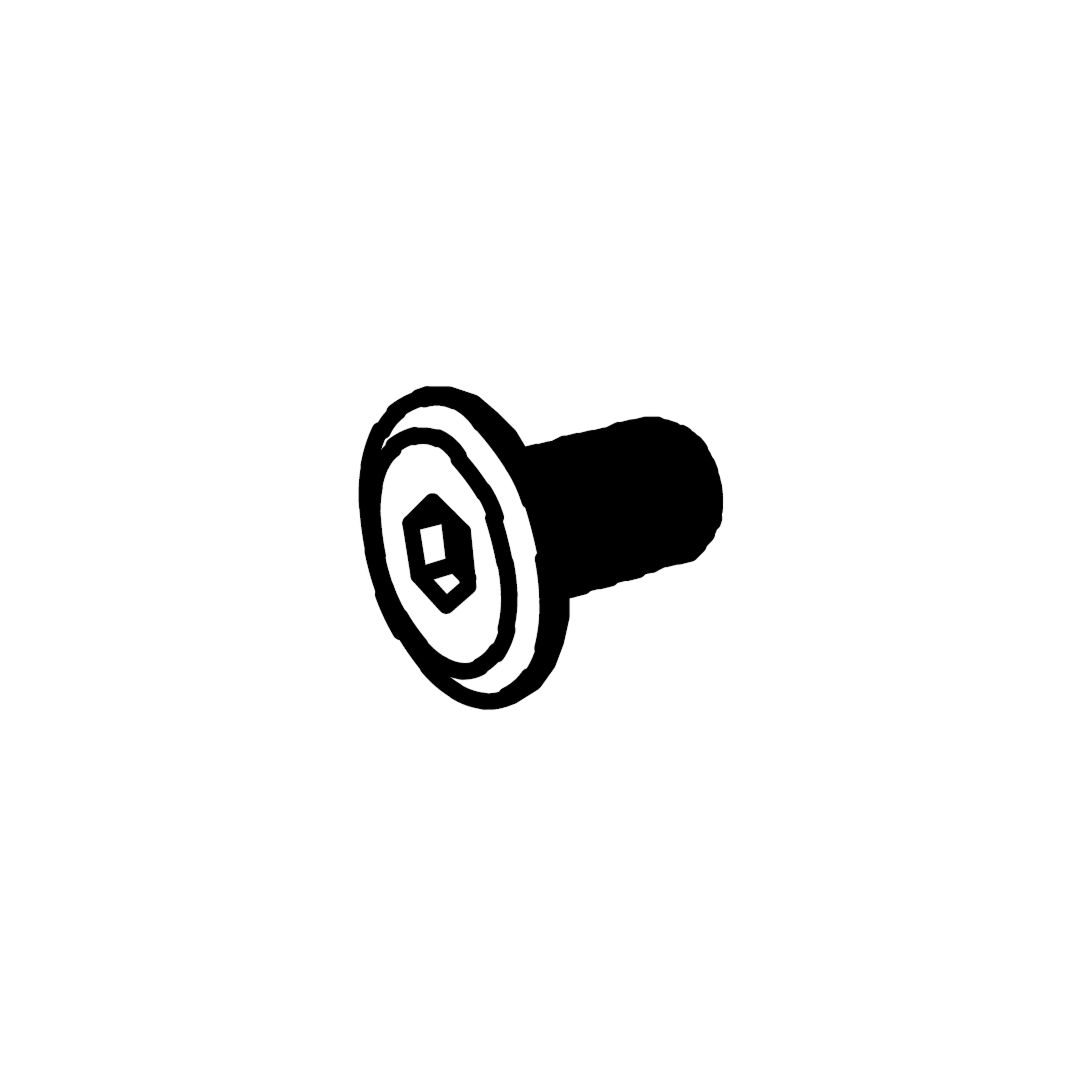 B - JCBB Bolt (M6 x 15mm) 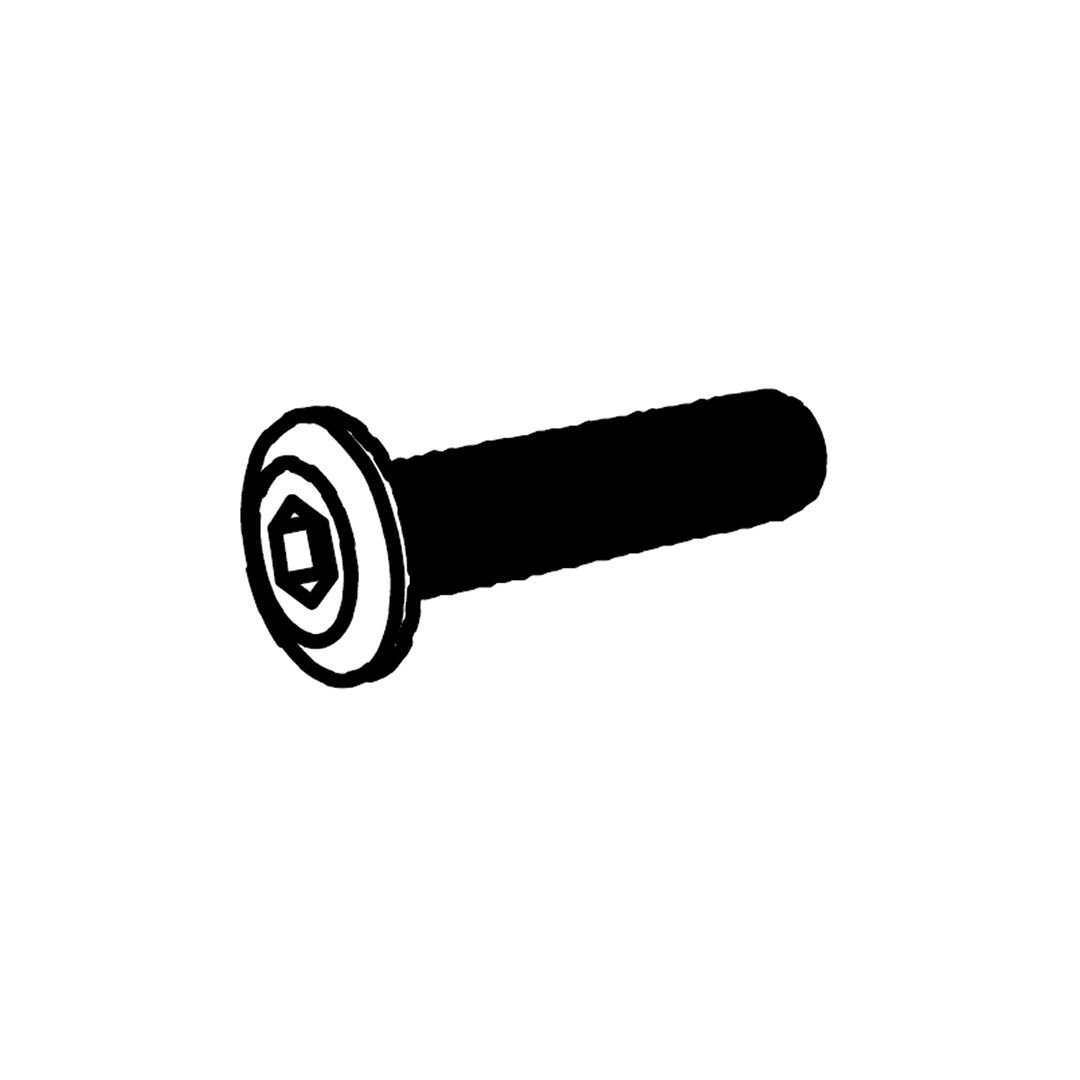 C - JCBB Bolt (M6 x 30mm) D - JCBB Bolt (M8 x 30mm)  E - JCBB Bolt (M8 x 40mm)(Assembled) 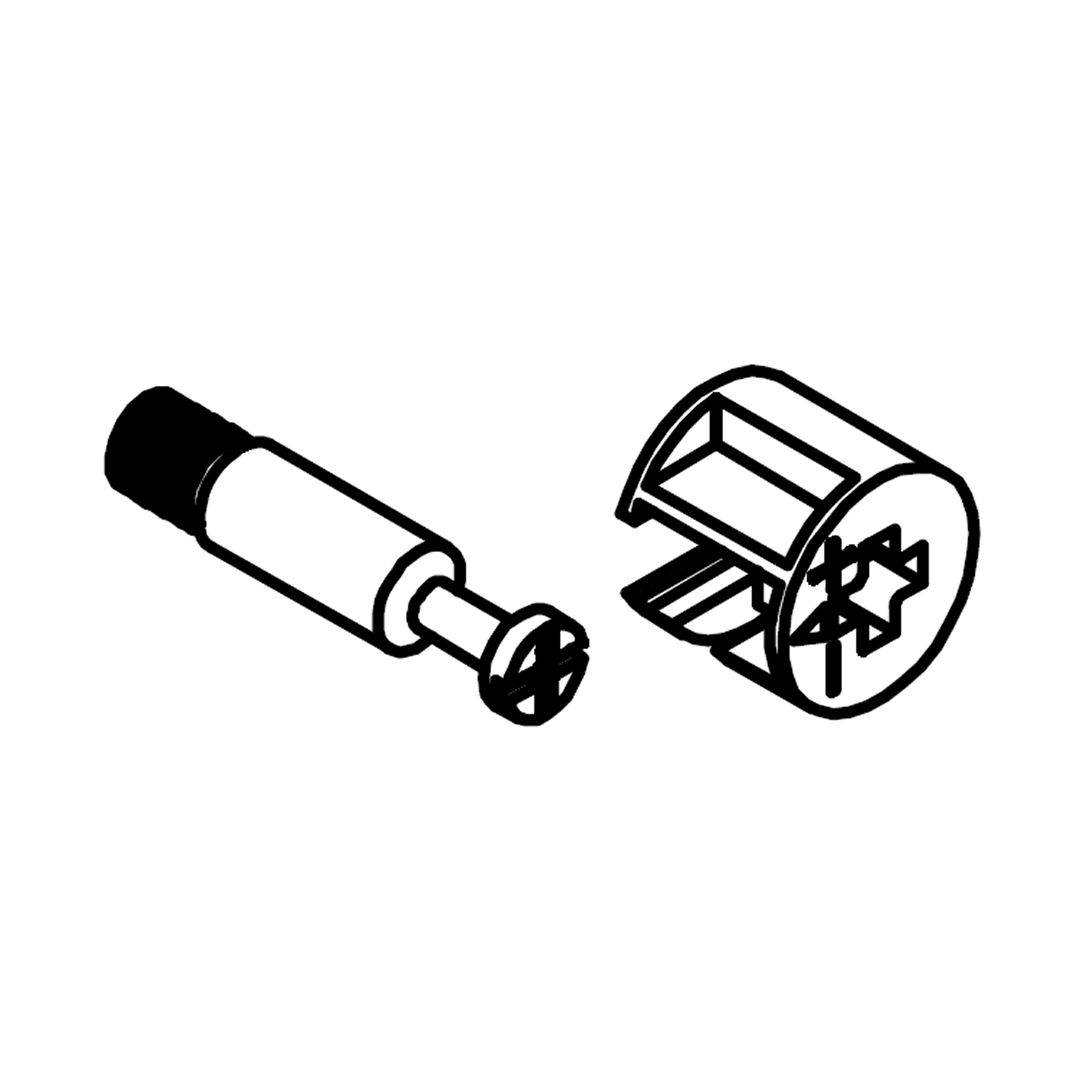 F - Minifix  G - Double End Plastic Cap Wooden Slats (12 for Double, 14 for King) 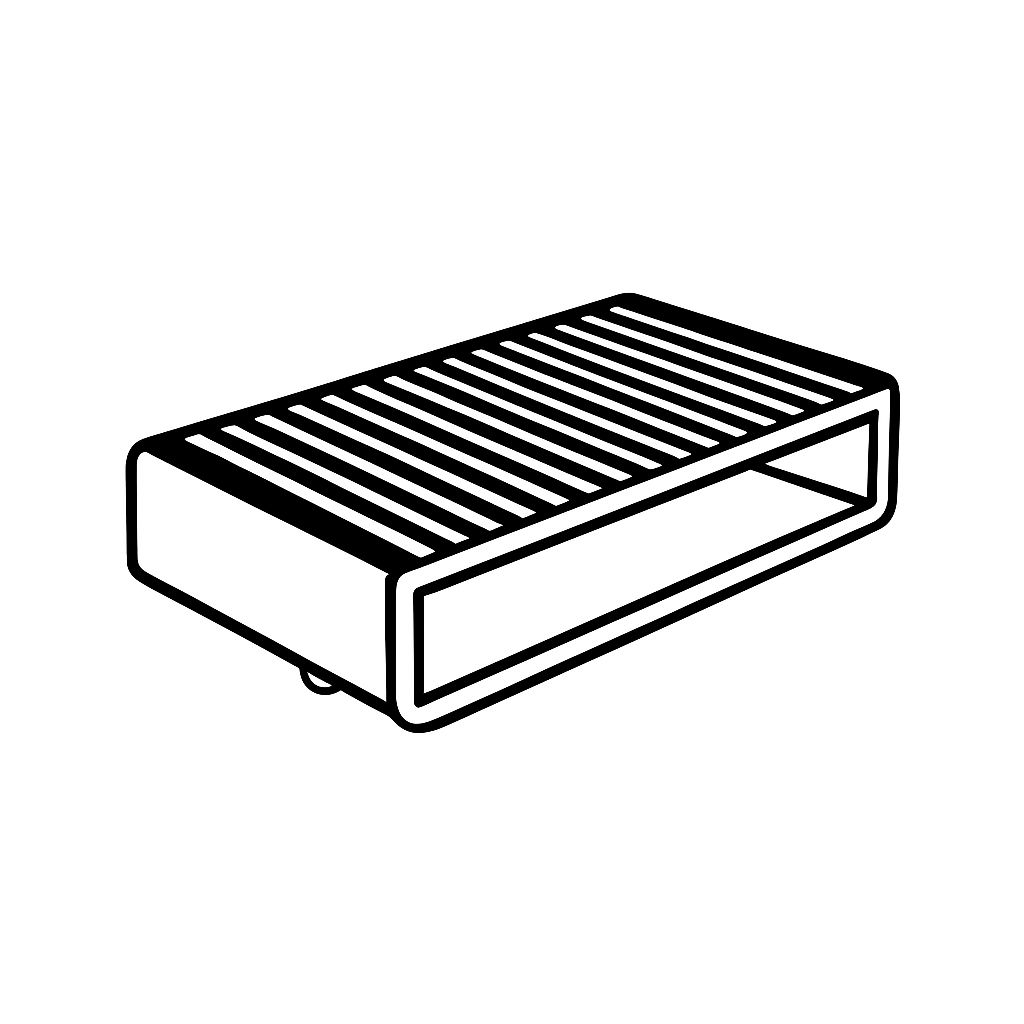 H - Single End Plastic Cap (24 for Double, 28 for King)  I - M4 Allen key J - M5 Allen key Parts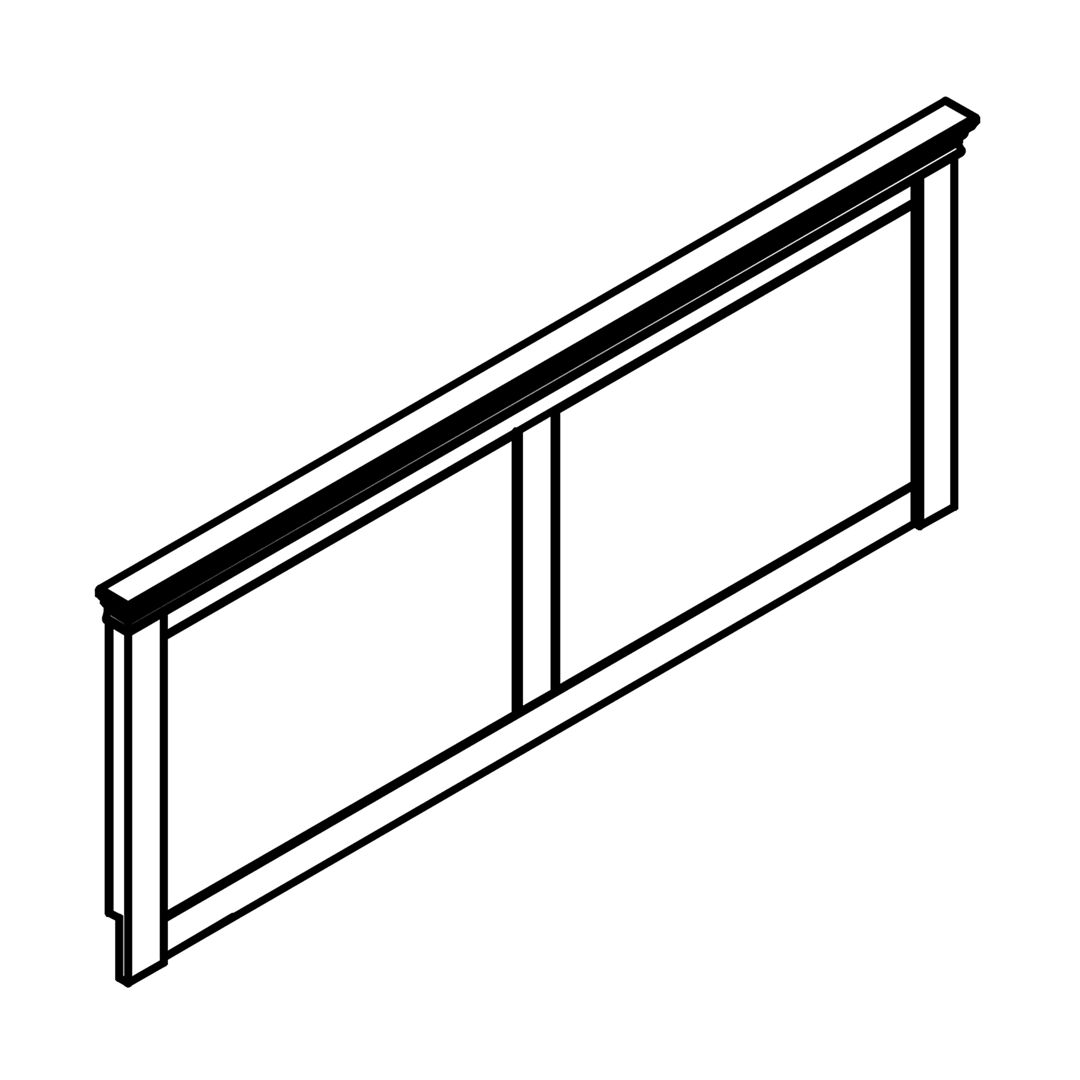 1 - Headboard 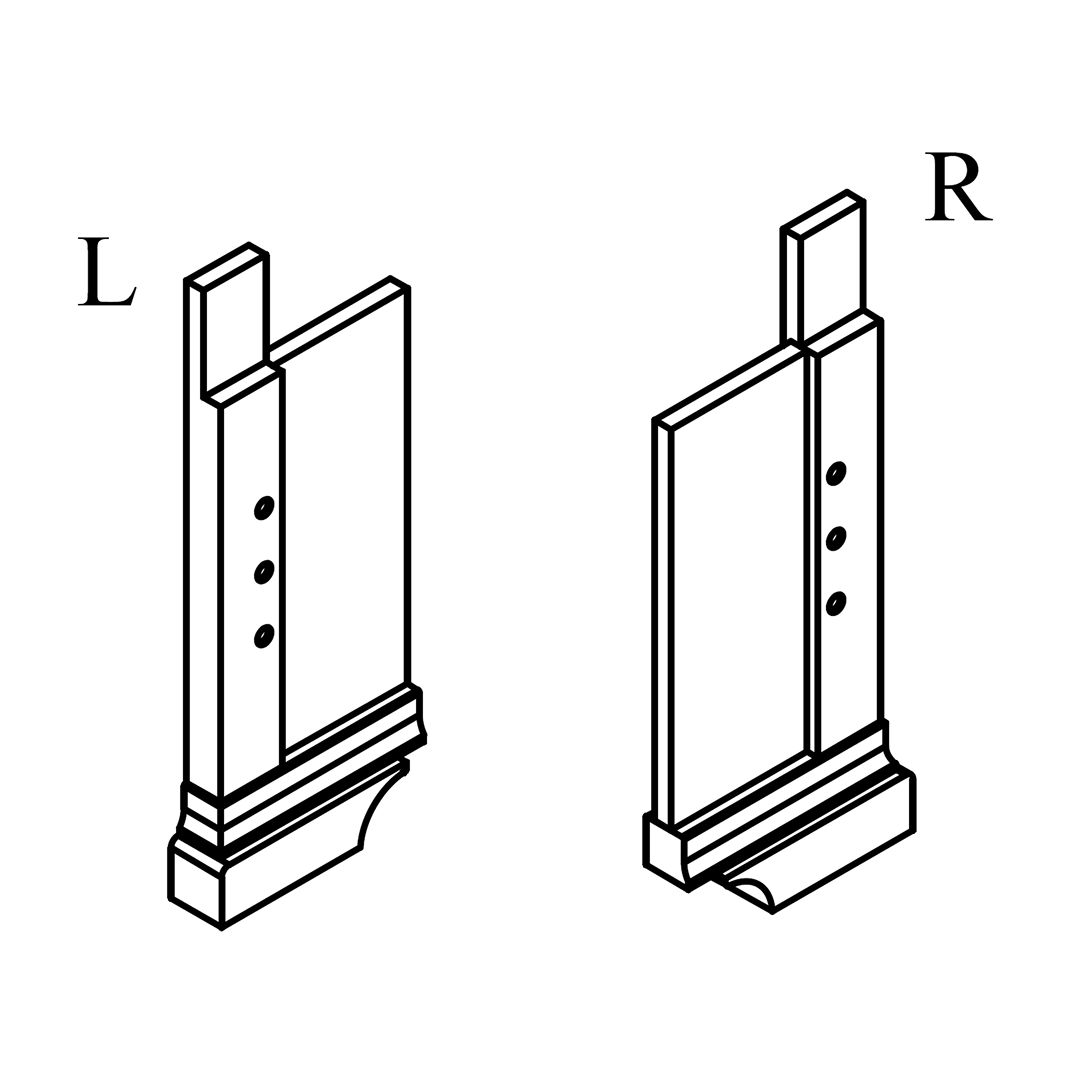 2 - Headboard Leg (L/R)  3 - Footboard  4 - Side Rail 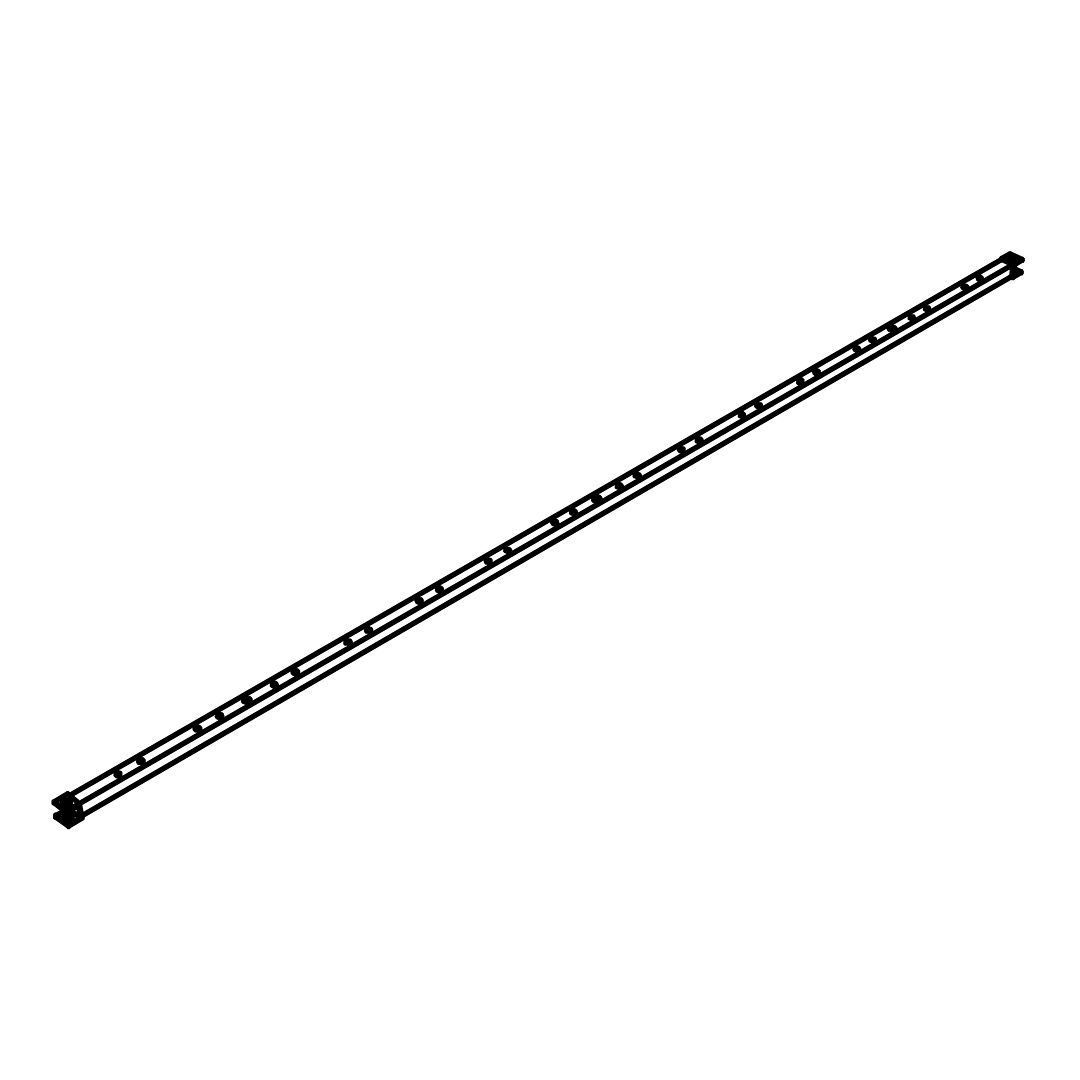 5 - Center Rail 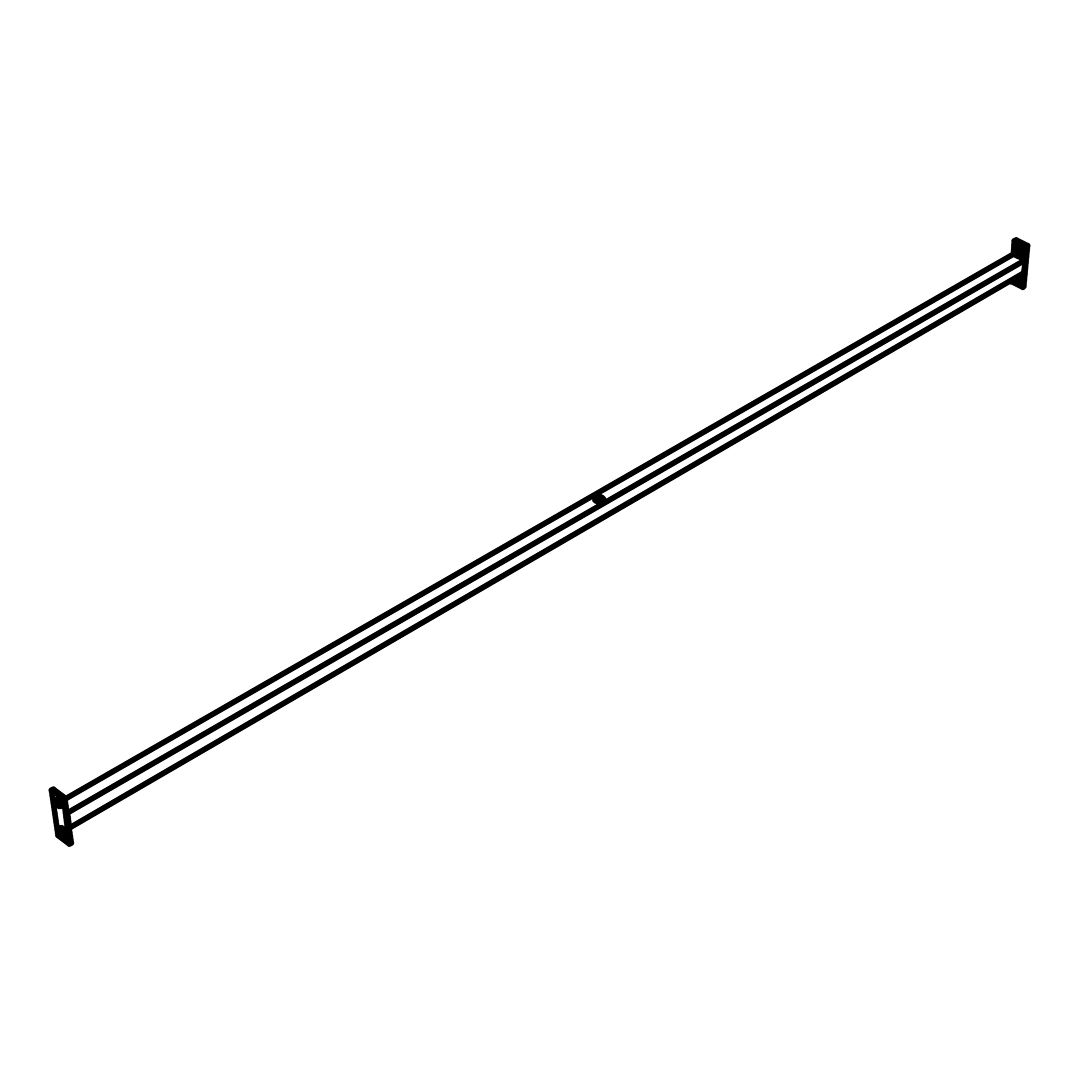 6 - Cross Bar 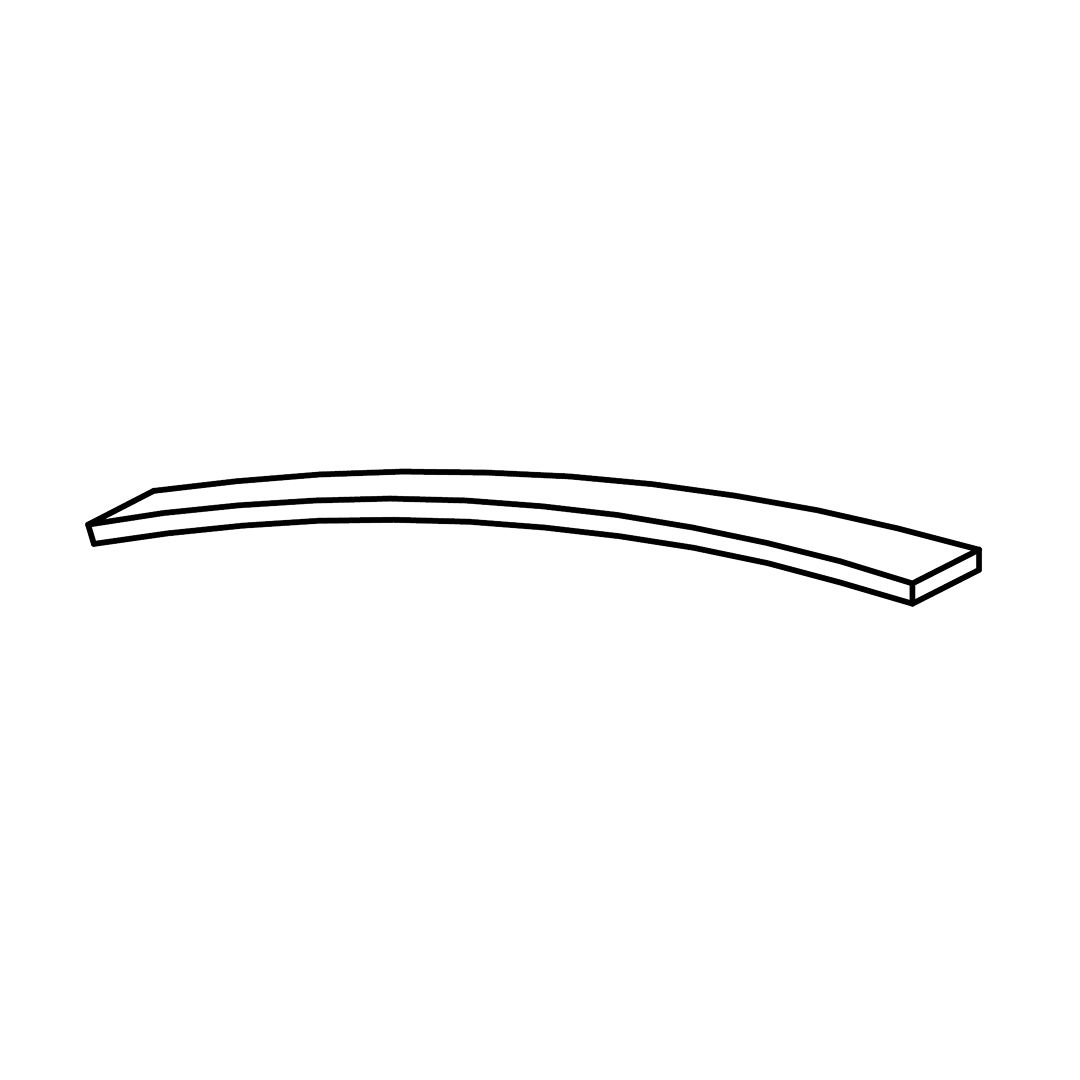 7 - Wooden Slat (24 for Double, 28 for King) 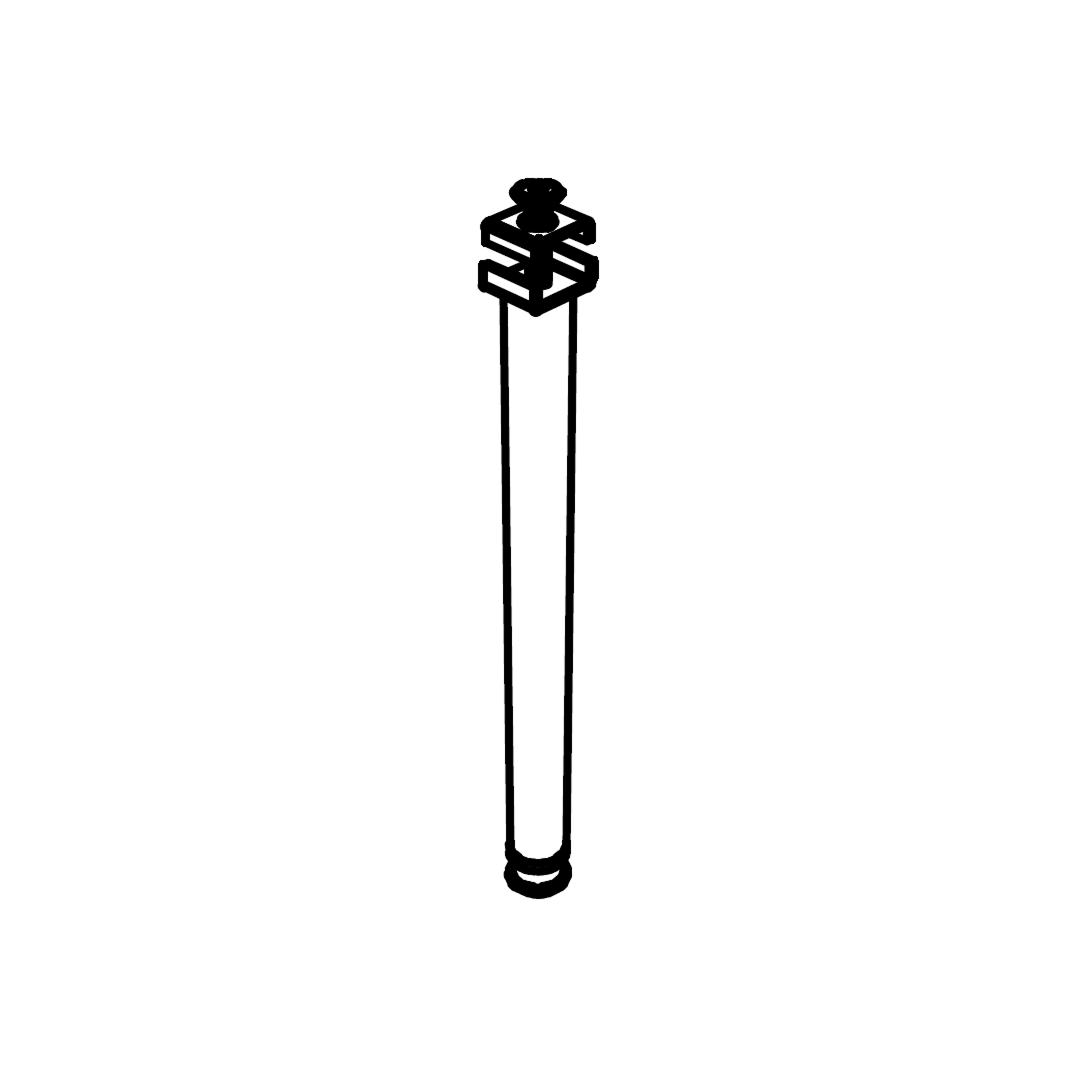 8 - Support Leg 1. Attach Bottom Headboard LegsFix head bottom leg left & right to the head board top with minifix 'F' as shown . 2. Secure Headboard and Legs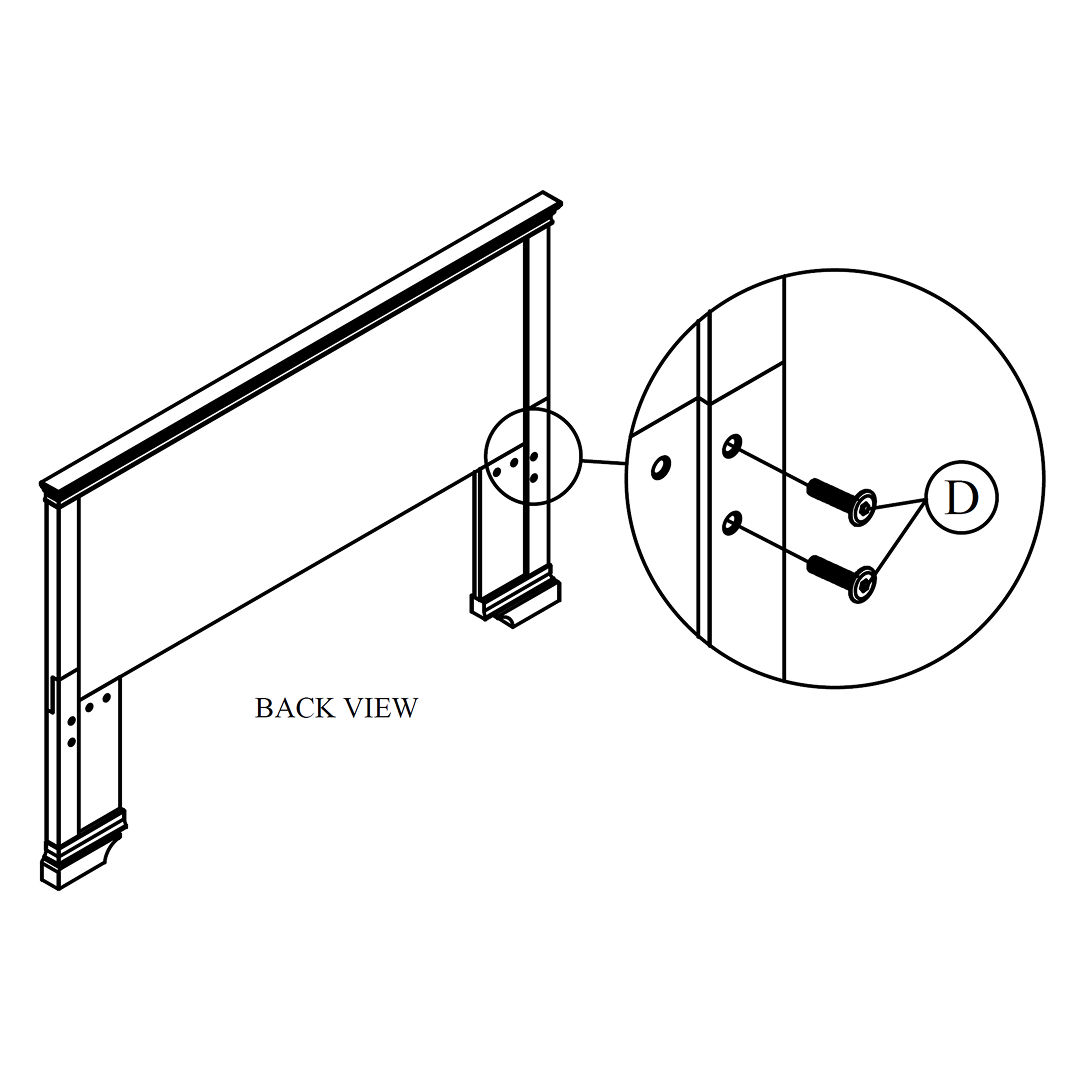 Fix bolts 'D' to the headboard top and head bottom leg as shown. 3. Attach Side Rails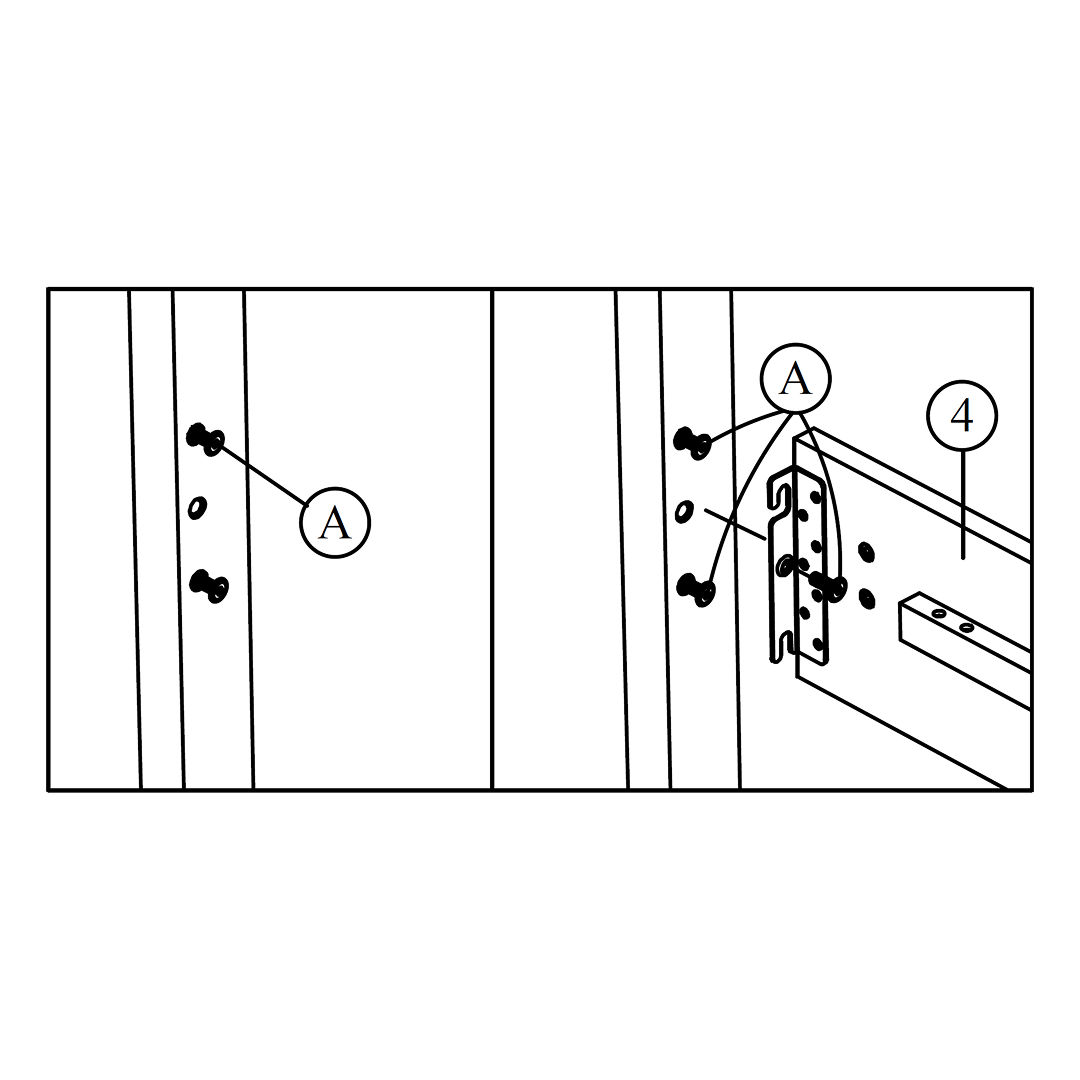 Fix bolts 'A' (upper & lower bolts) into position on wood leg as show. After that hook the side rail to the bolt and fix center bolts 'A' as shown. Important note: Do not tighten the bolts yet! 4. Attach Cross Bar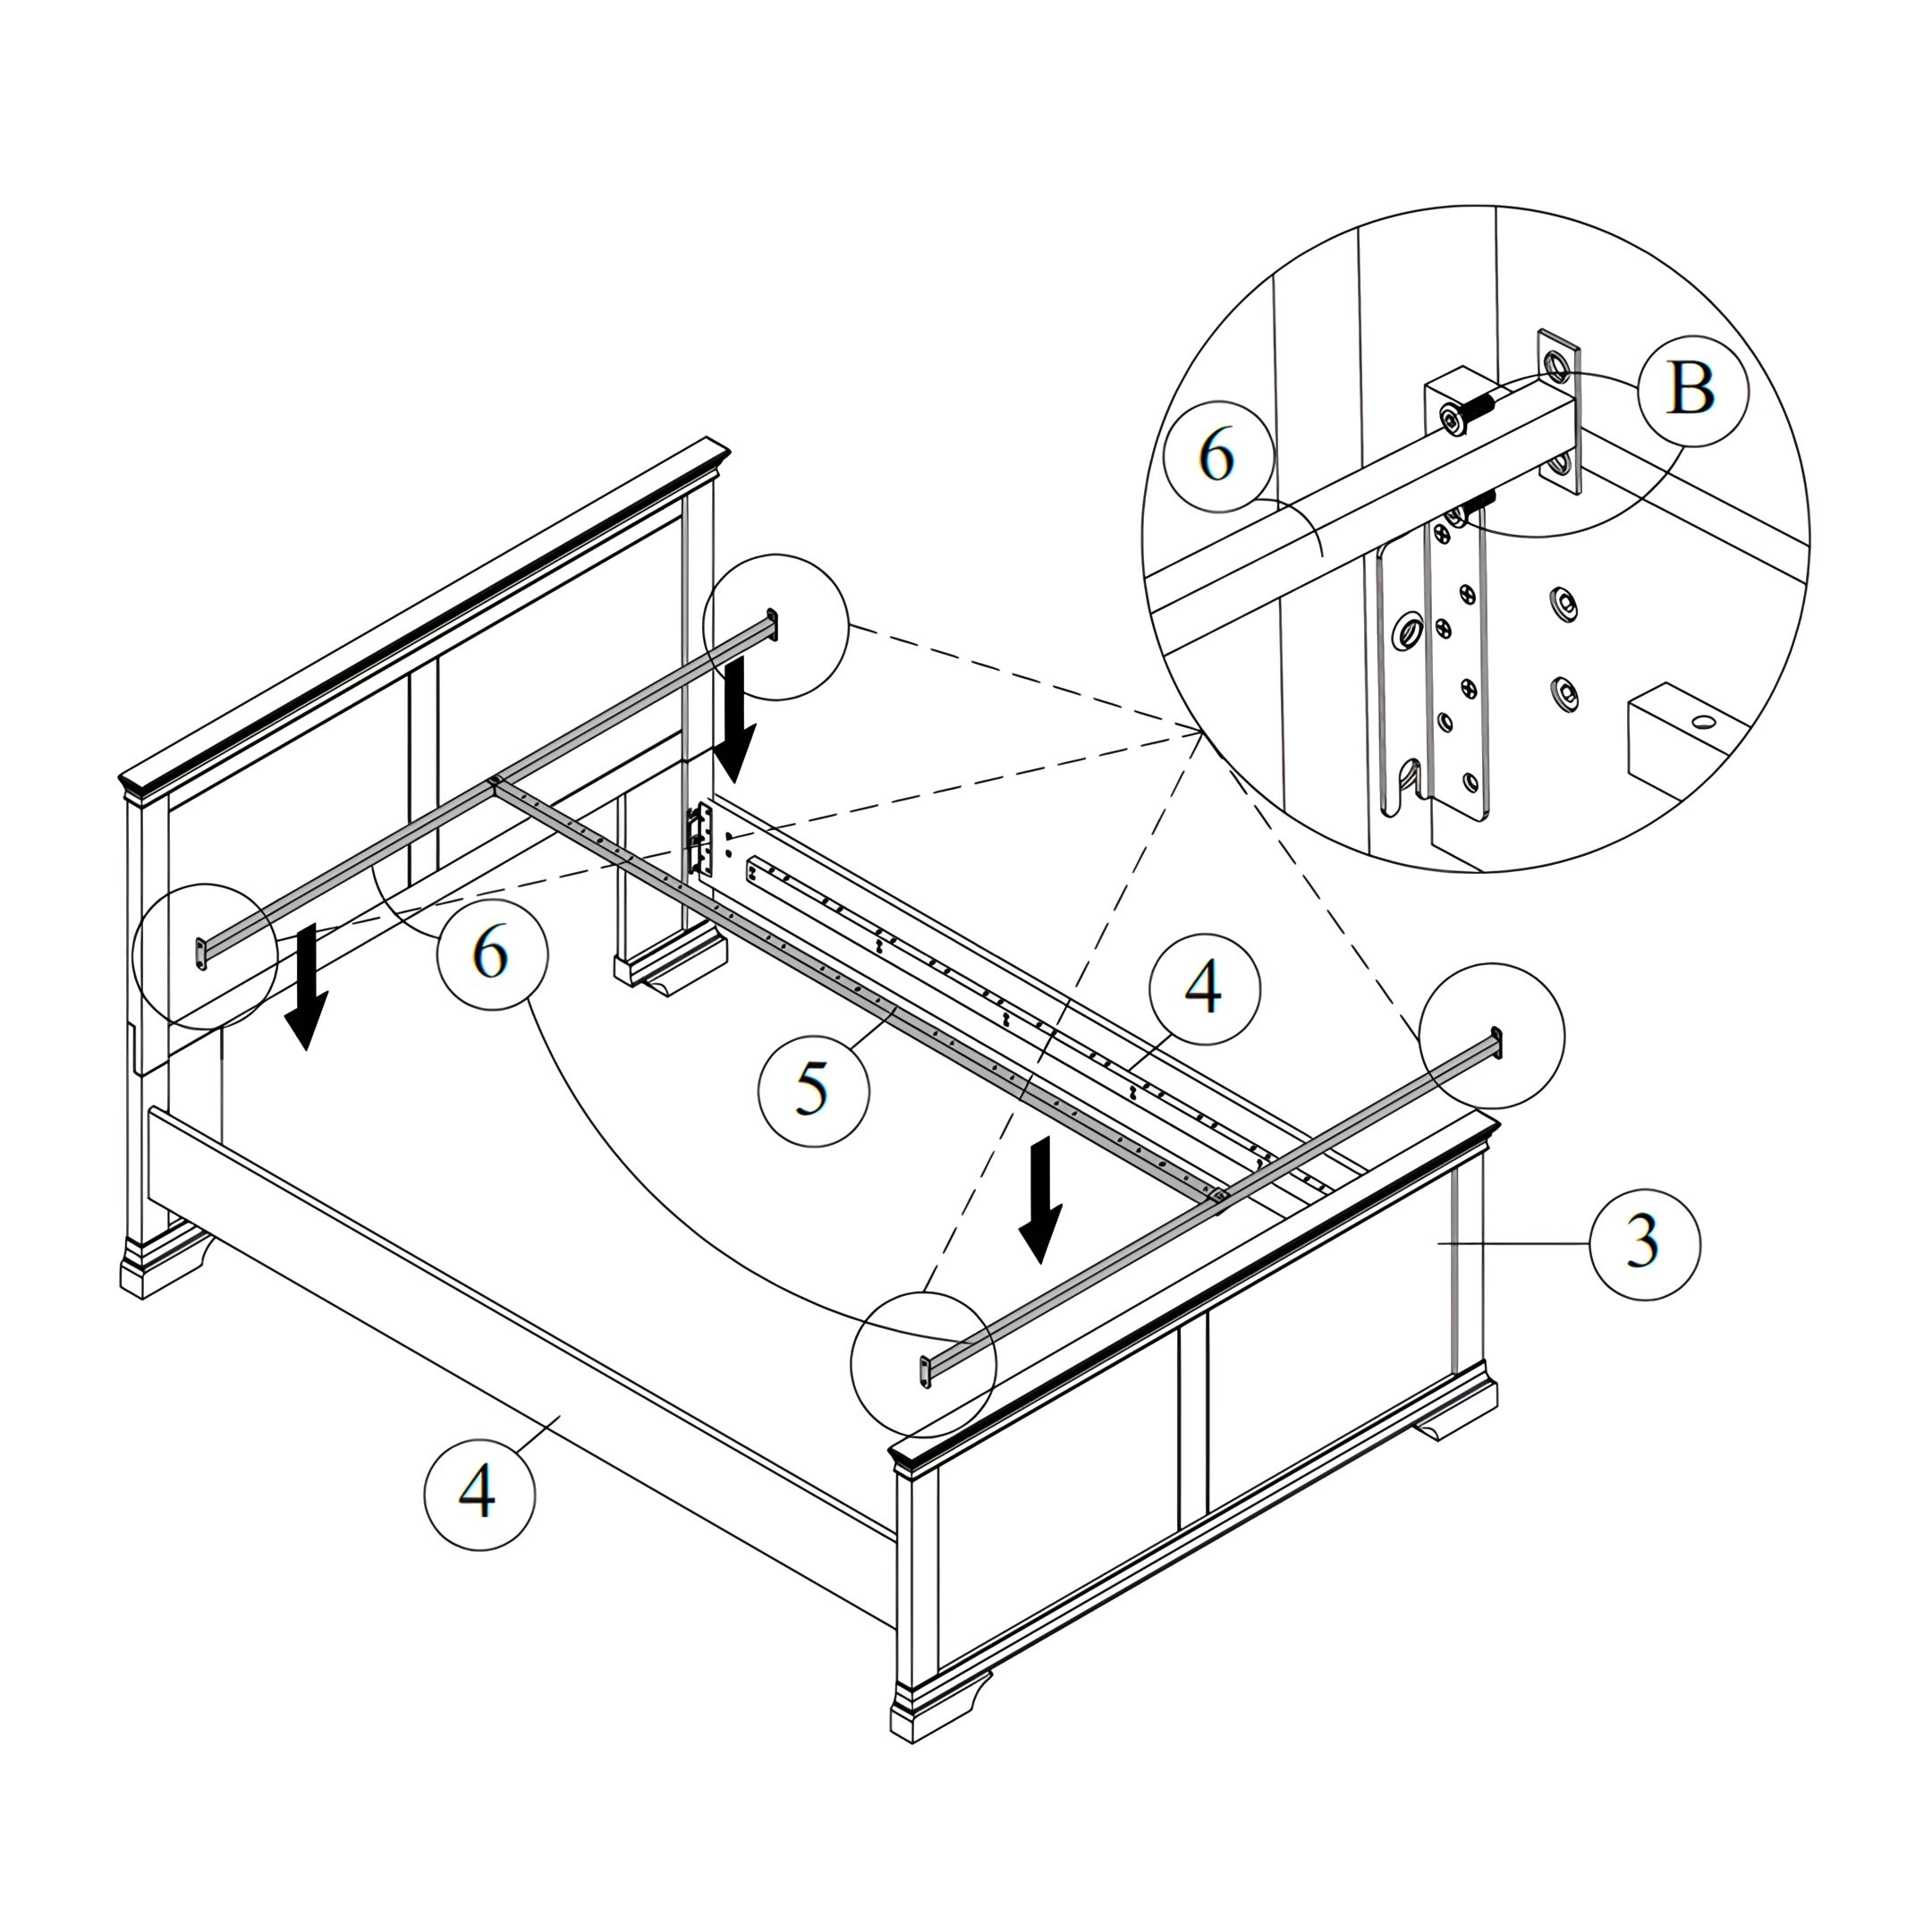 Fix cross bar '6' to the side rail with bolts 'B' as shown. 5. Attach Center Bar Fix center bar '5' to cross bar '6' with bolts 'C' as shown. 6. Attach Bed Supports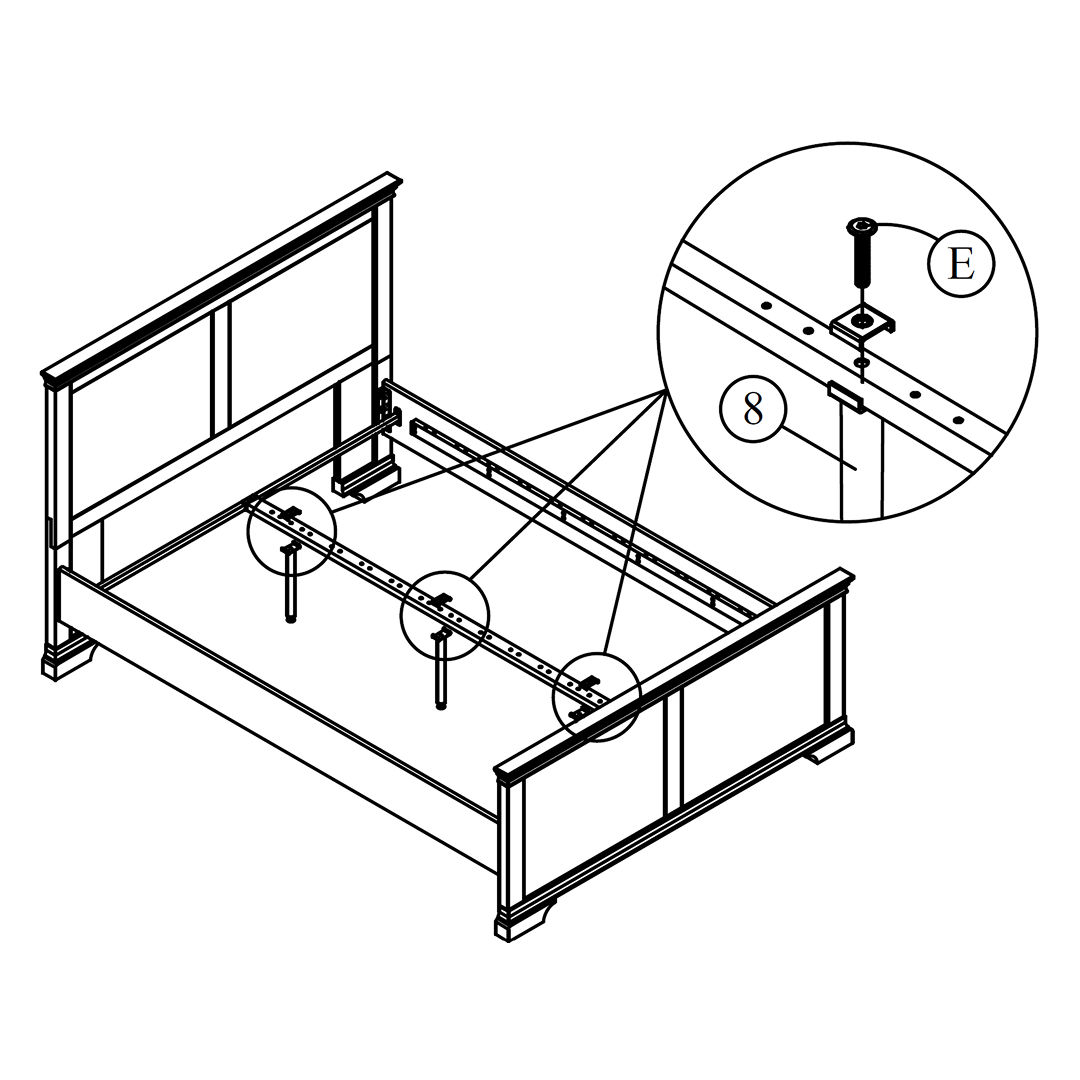 Fix bed support legs as shown and tighten all bolts. 7. Attach the Slats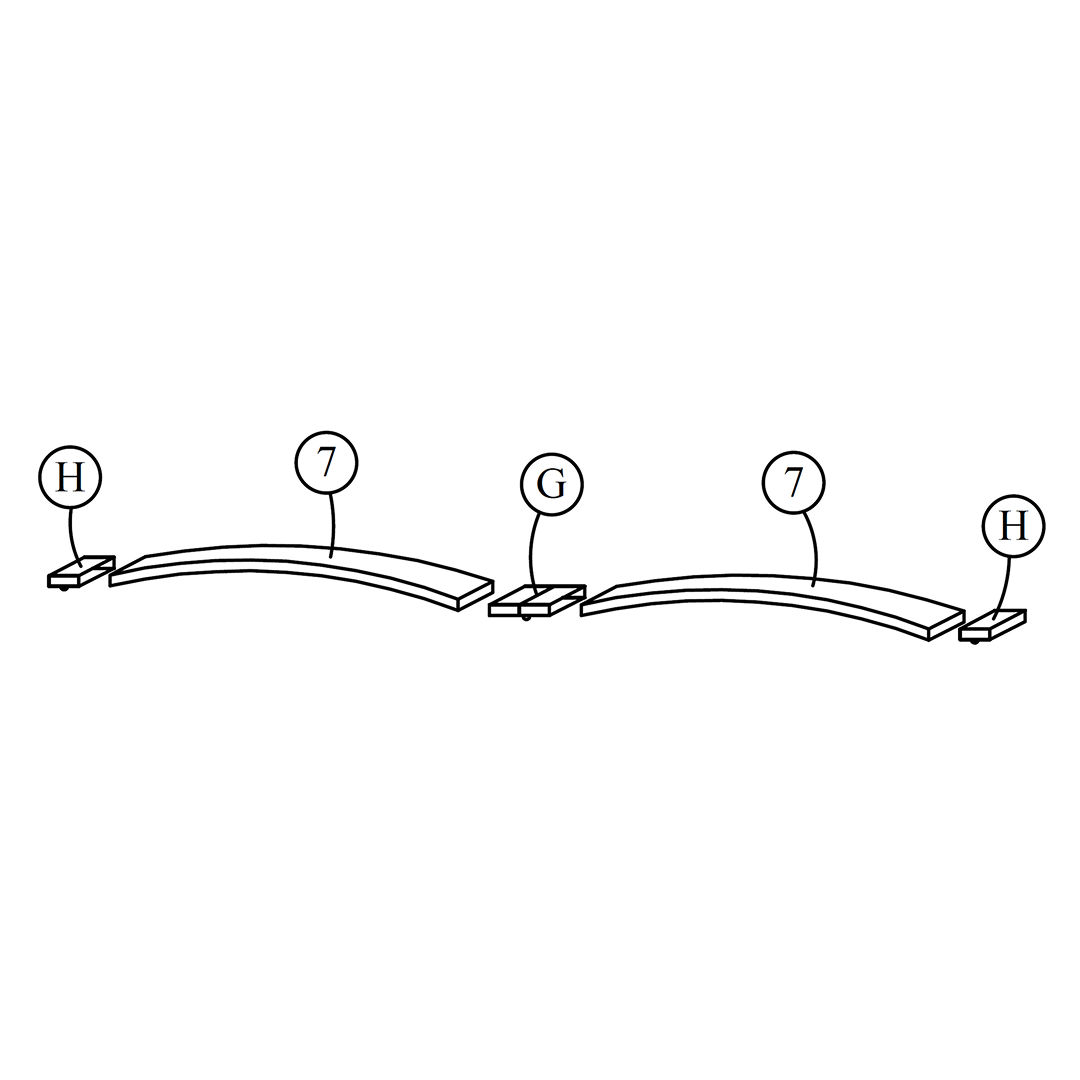 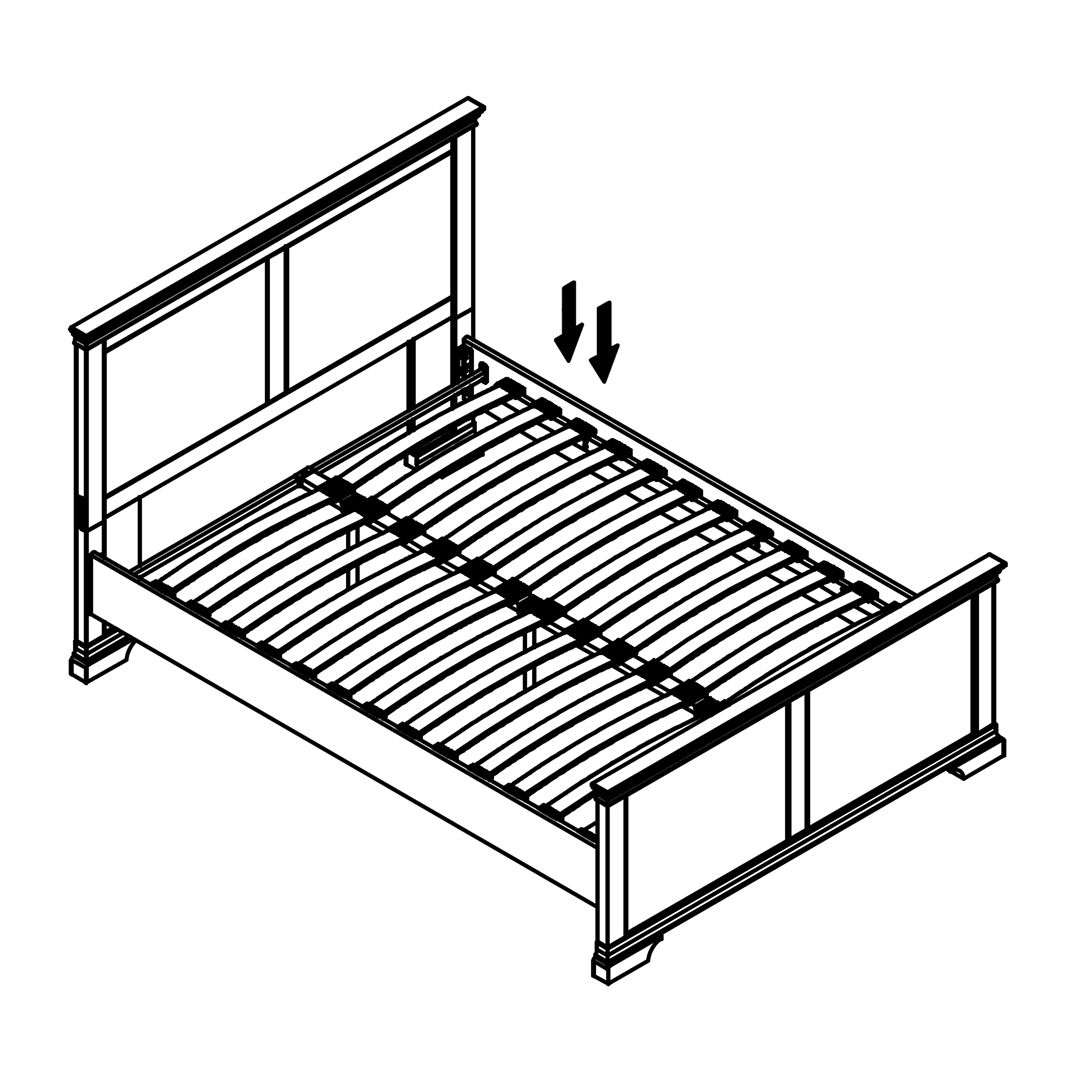 Each wood slat must be inserted with a single end plastic cap and a double end plastic cap as shown on the picture. Once both wood slats have been inserted with the plastic caps, fix it on the wood side rails and center bar by pressing it accordingly to the default holes. Ensure the plastic cap's pin is aimed to the hole. At last make sure all screws and bolts are tighten. |