Assembly instructions for Chicago Wooden Ottoman Storage Bed by Time4Sleep
Product Information
Chicago Wooden Ottoman Storage Bed
Introducing our Chicago Ottoman in our industrial rustic oak finish, a versatile and stylish addition to your bedroom that combines functionality and contemporary looks. This bed base offers a sturdy construction, a sprung slatted base, and a fabric-lined floor.
The rustic oak finish brings a touch of character to your bedroom, seamlessly blending with various interior styles. The warm tones and rich texture of the oak lend a sense of sophistication that will work well in either a traditional or contemporary design scheme.
The ottoman design allows you to maximize your bedroom space effectively and provides approximately 4 times more storage than a traditional drawer bed. Lift the top of the bed base to reveal a spacious storage area underneath, providing ample room to store occasional use items. Say goodbye to clutter and create a neat and organized environment in your bedroom.
Designed for comfort and support, the sprung slatted base of this bed base offers excellent mattress support whilst the flexible slats also enhance ventilation and helps to promoting air circulation to keep your mattress fresh and hygienic. To enhance durability and protect your belongings, the floor of the ottoman storage area is lined with fabric. This lining adds an extra layer of protection and prevents your stored items from coming into contact with the floor.
Please note the bed is photographed with our Chicago bed side which can be purchased separately.
The Chicago has a storage depth of approximately 20.5cm.
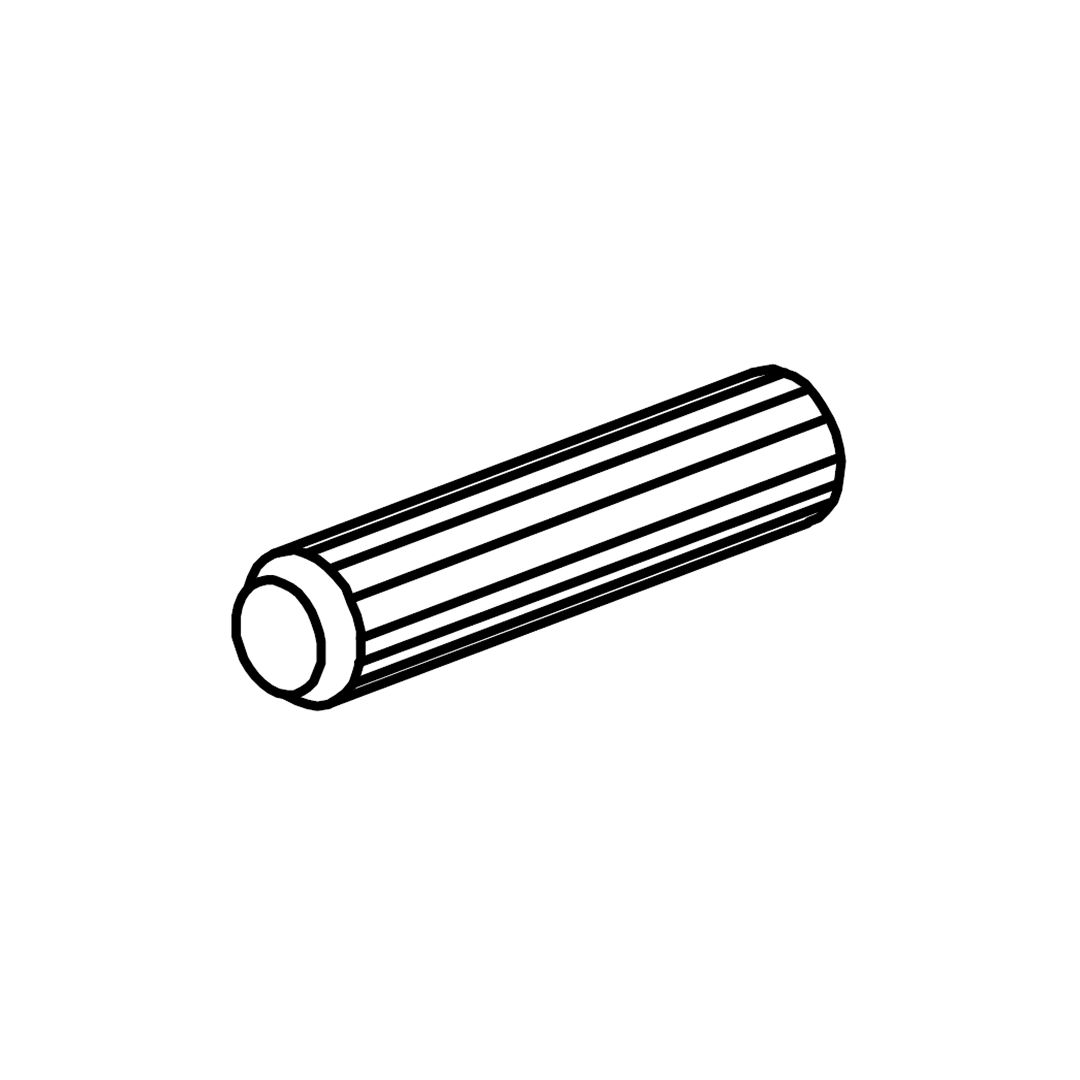
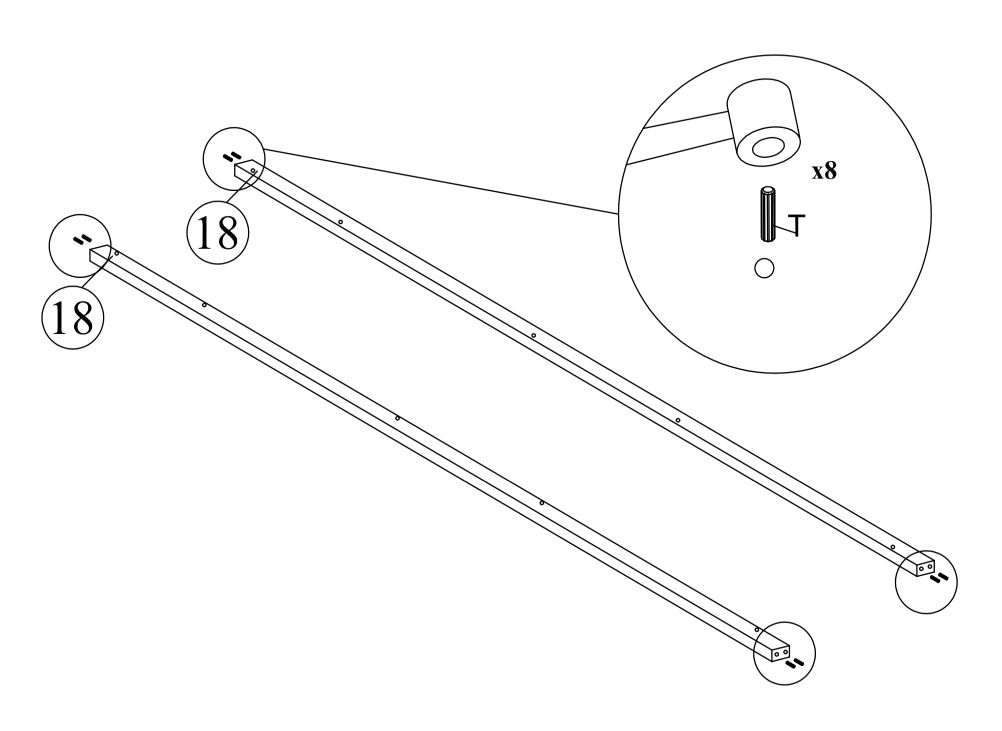
1. Identify the side rails supports. 2. Locate the holes on each end of the side rails. 3. Use the provided hardware, specifically the pins shown in the close-up, to secure the ends of the side rails. You will need 8 pins in total. 4. Ensure each pin is inserted correctly into the designated holes to secure the side rails firmly.
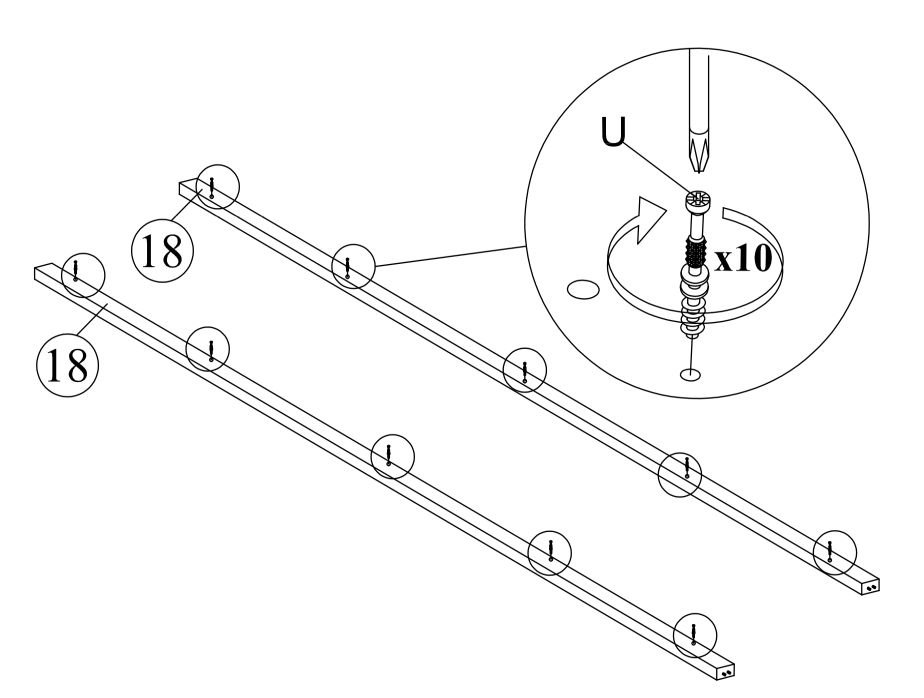
2. Side Rails Support Bolts
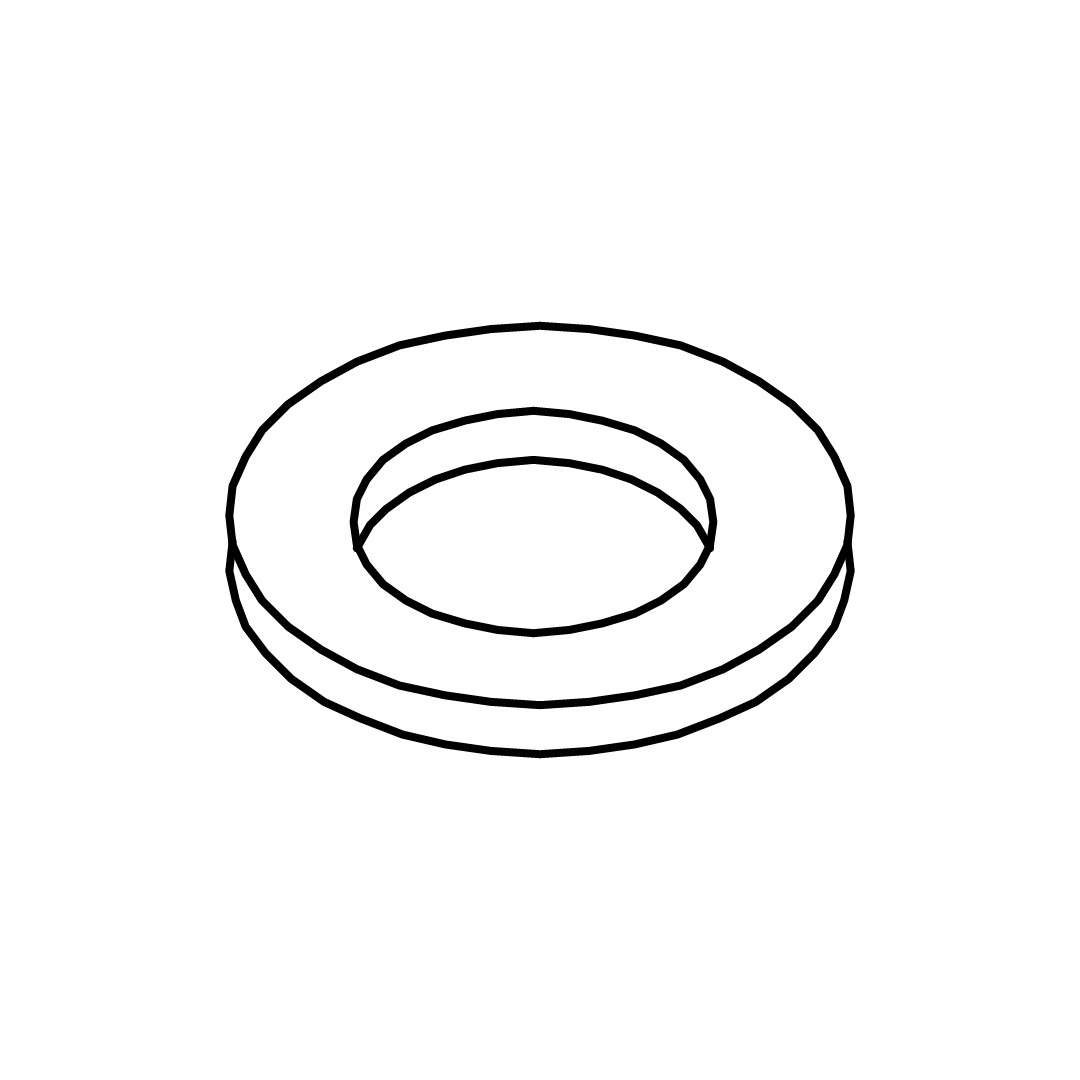
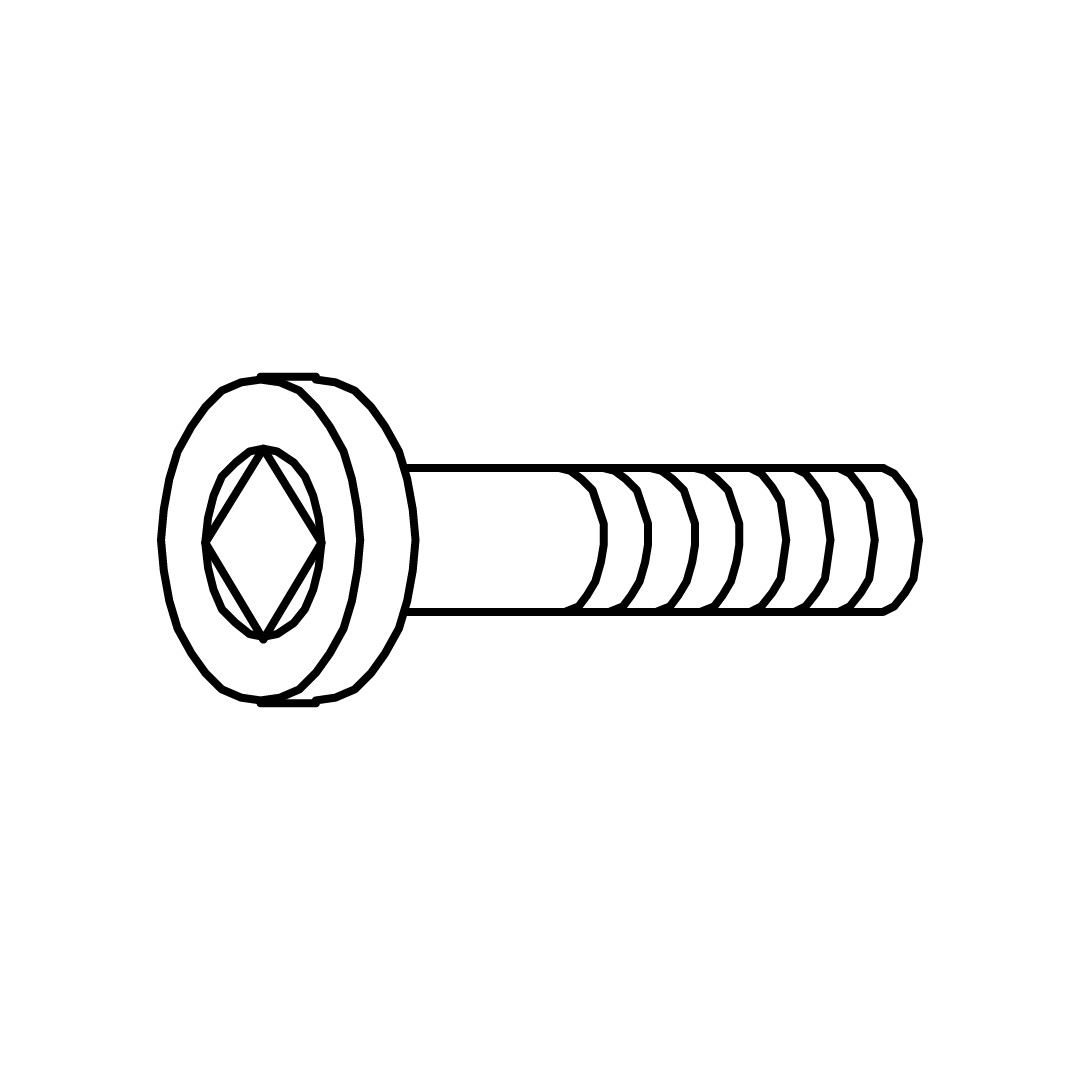
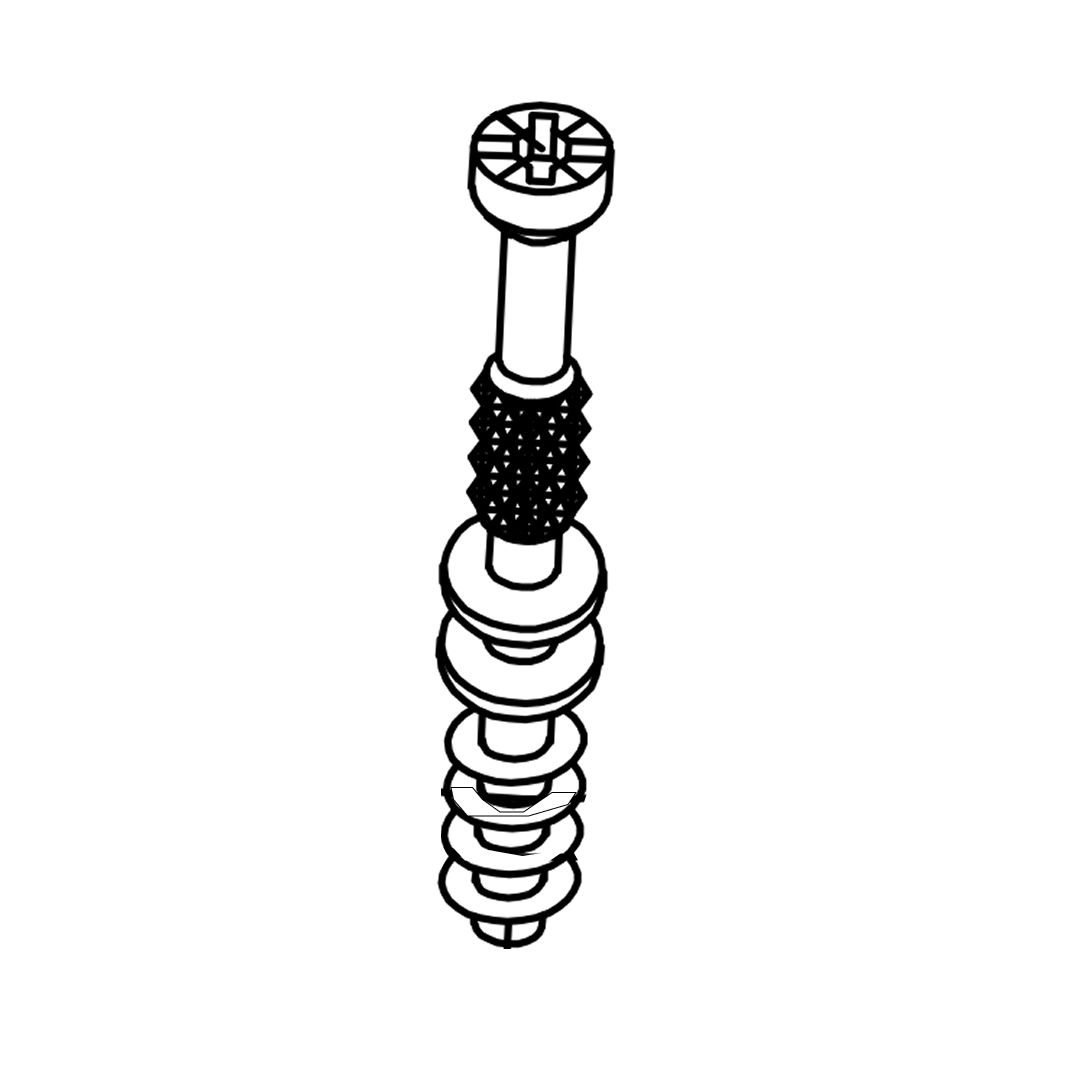
1. Using a screwdriver, insert and tighten the minifix bolts (U) into the designated holes on the side rails. 2. Ensure each side rail has 10 bolts securely fastened.
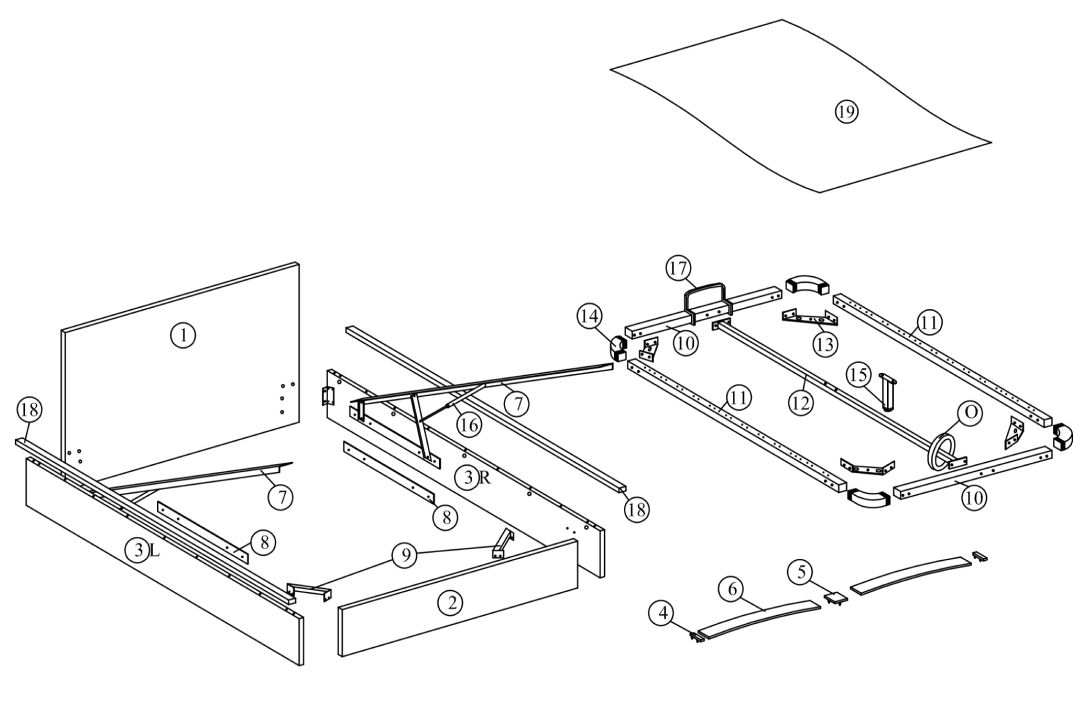
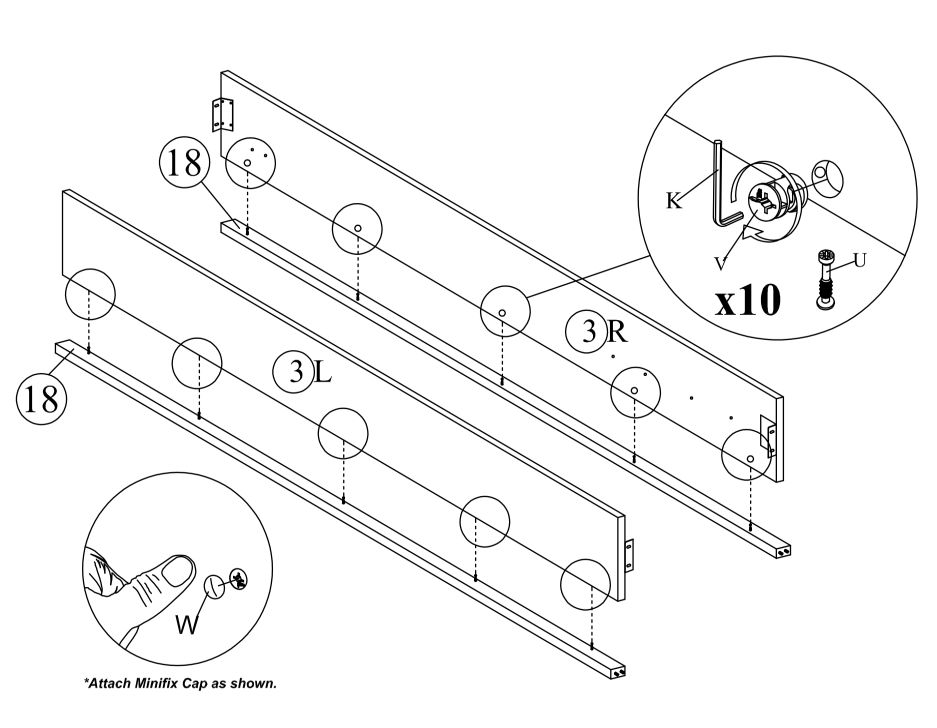
3. Side Rails
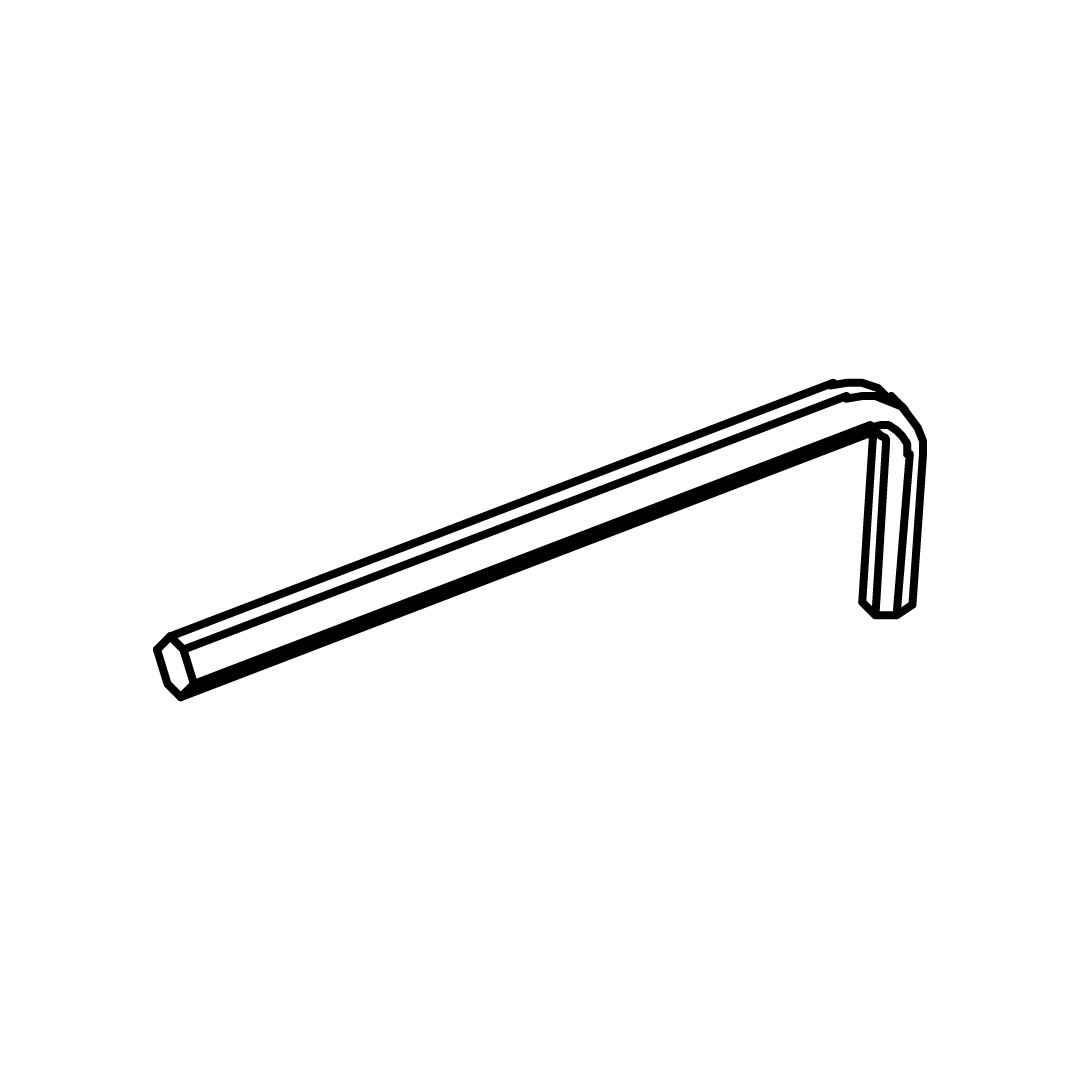
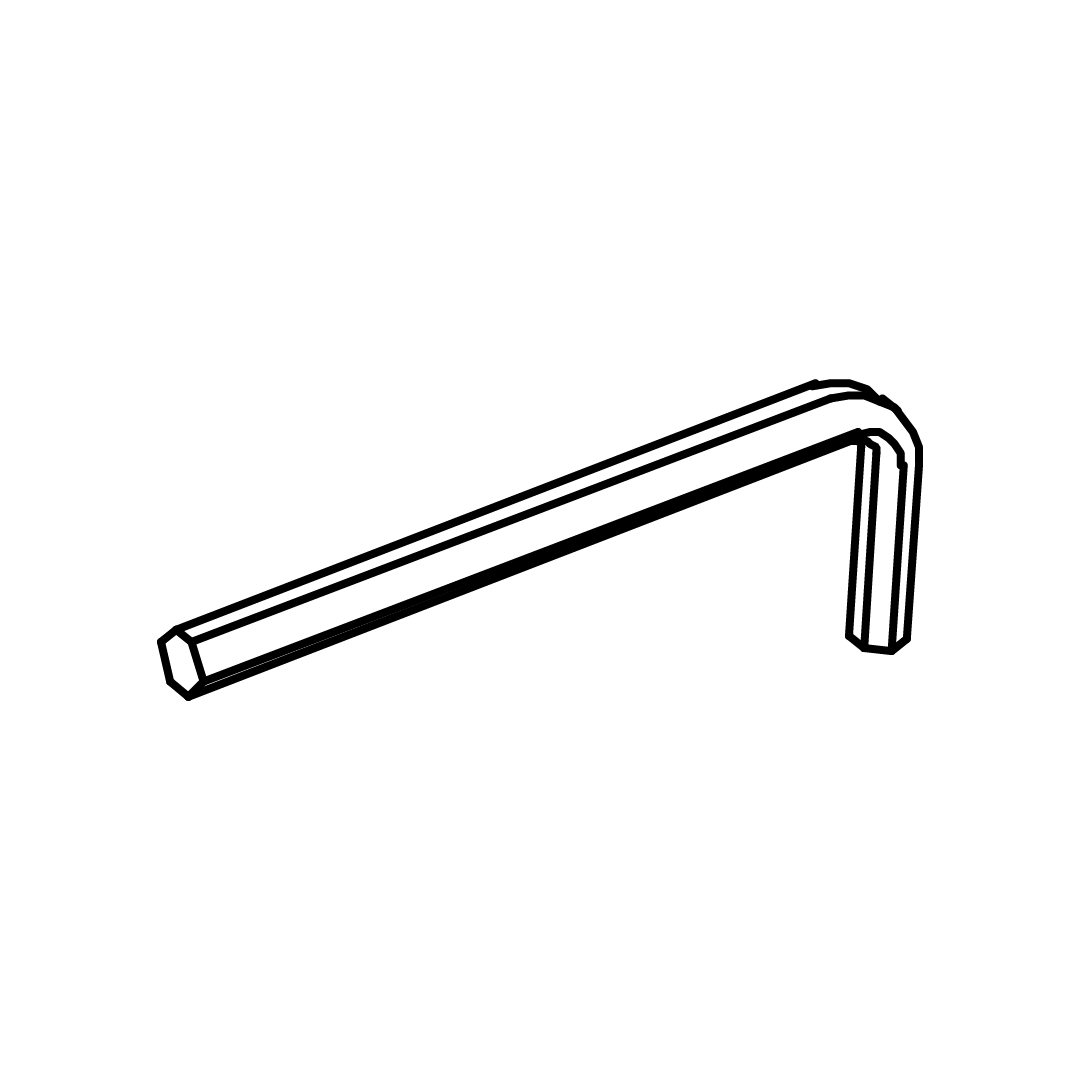
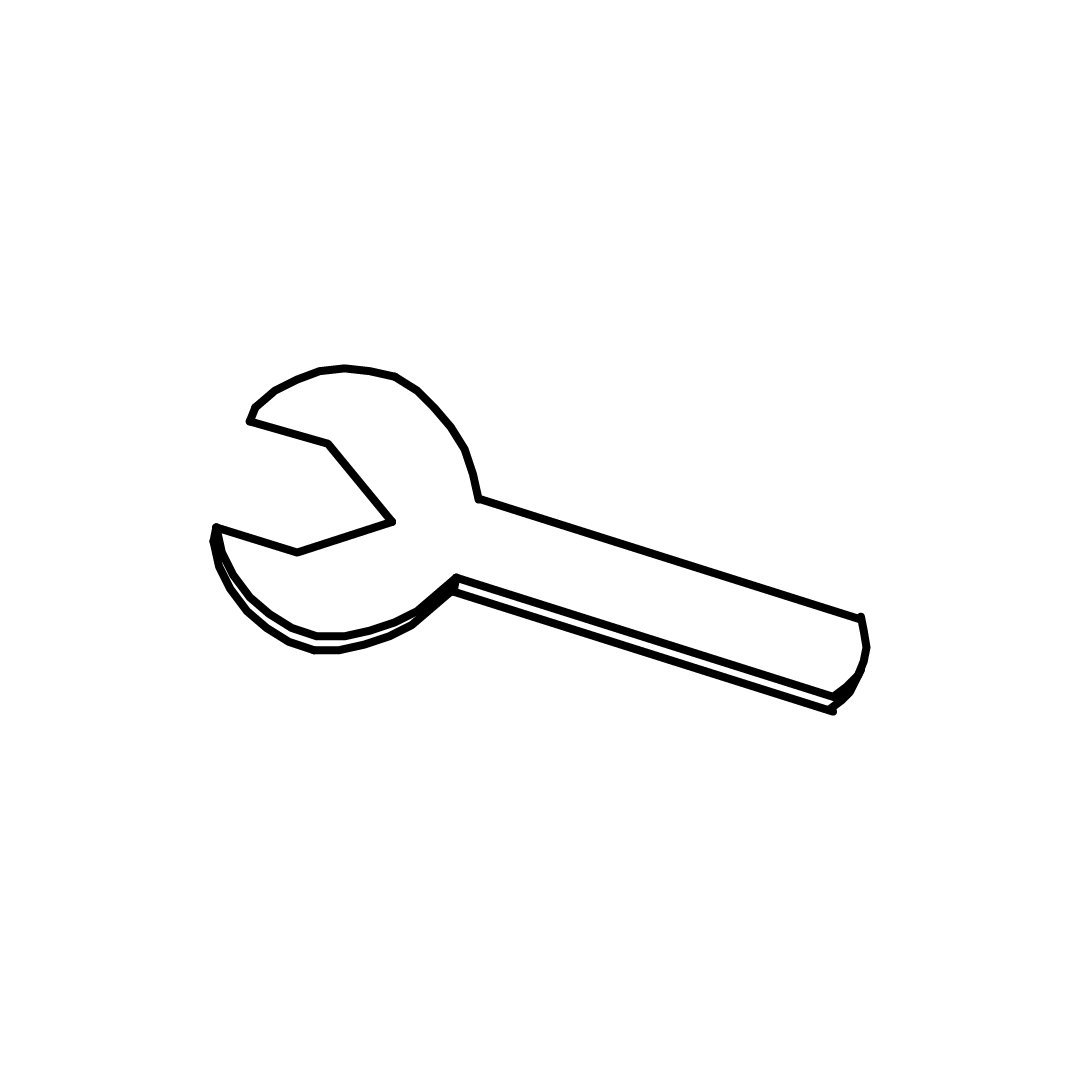
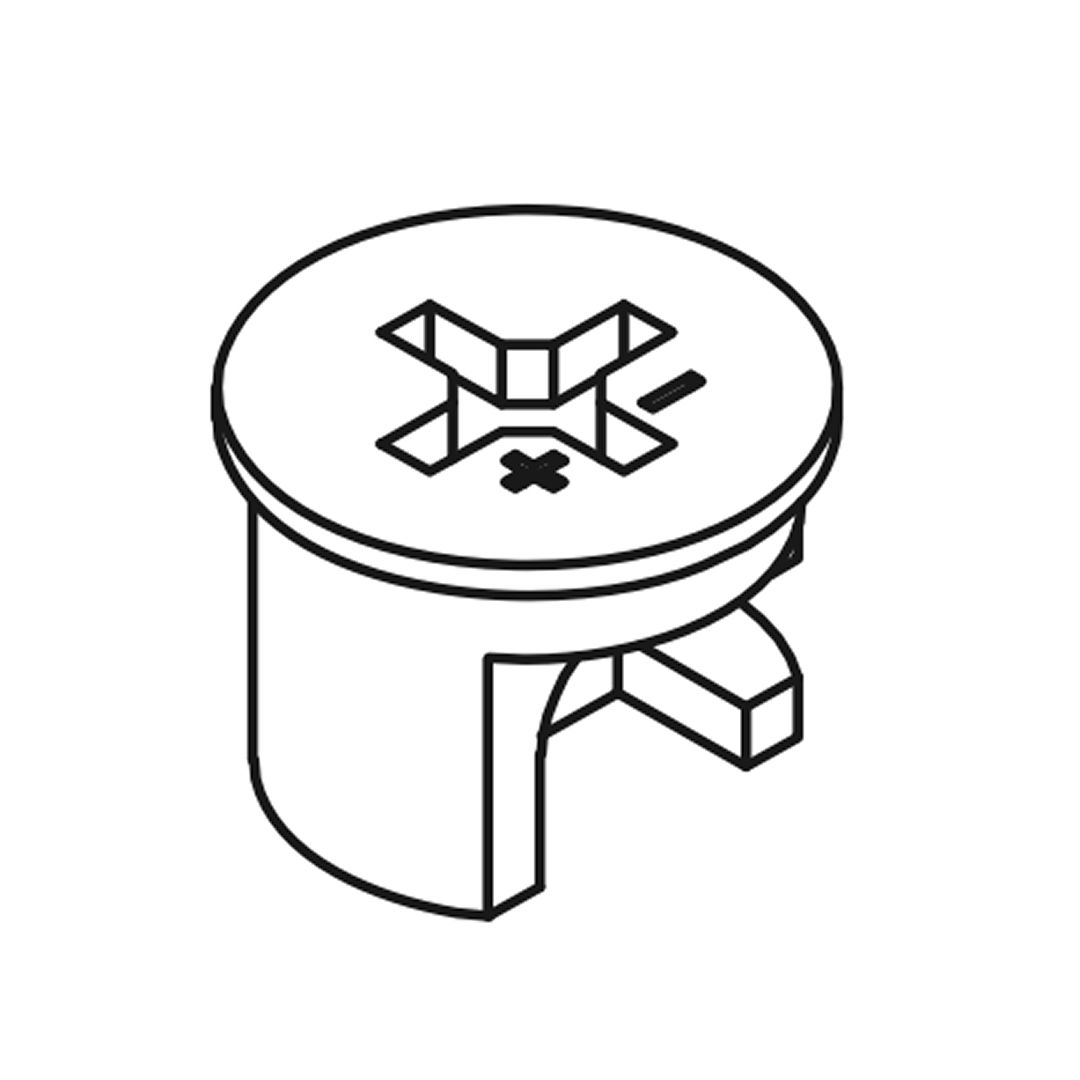
1. Identify the left (3L) and right (3R) side rails. 2. Align the side rails with the corresponding holes for the minifix bolts (U). 3. Insert the minifix bolts (U) into the designated holes on the side rails. 4. Use the provided Allen key (K) to tighten the minifix bolts by turning them clockwise. 5. Attach the minifix caps (W) as shown to cover the bolt heads for a finished look. 6. Ensure all connections are secure and the side rails are properly aligned.
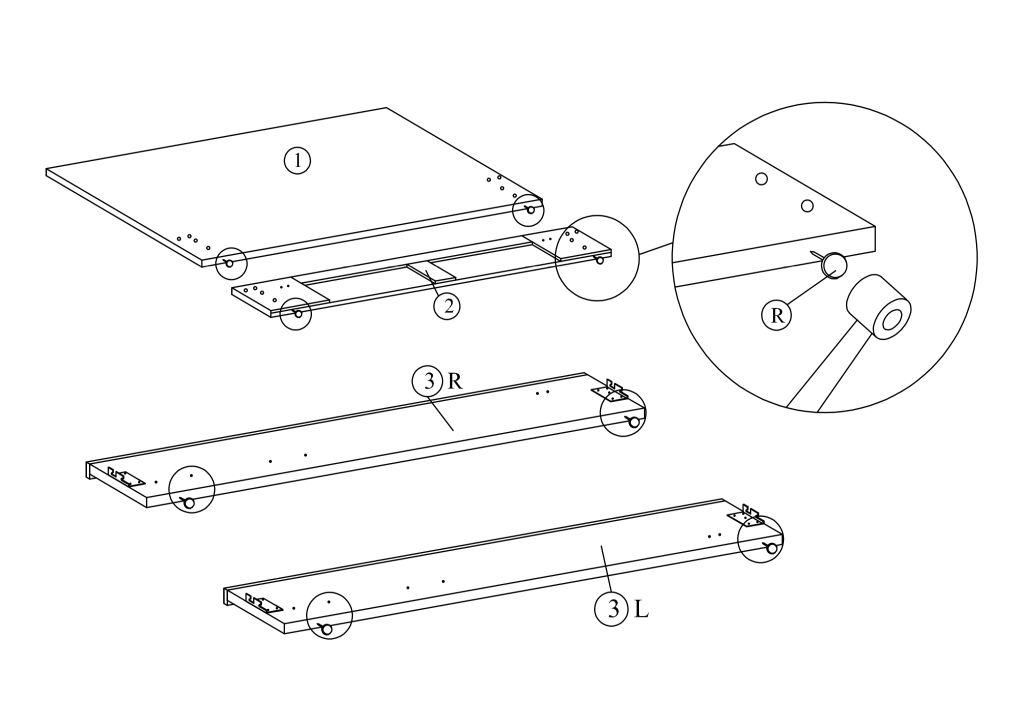
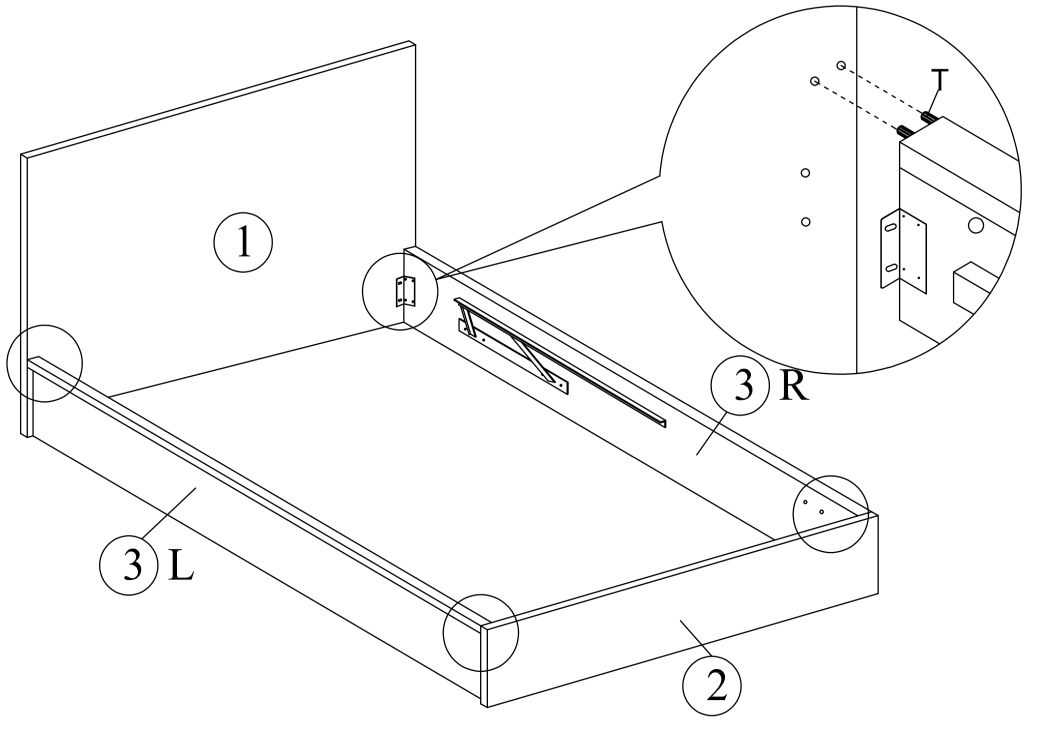
4. Headboard
1. Identify the headboard panel (1) and the support frame (2). 2. Secure the support frame (2) to the headboard (1) using the provided screws. 3. Locate the right (3R) and left (3L) side rails. Note the orientation marked on each rail. 4. Attach the side rails to the headboard using the designated connectors.
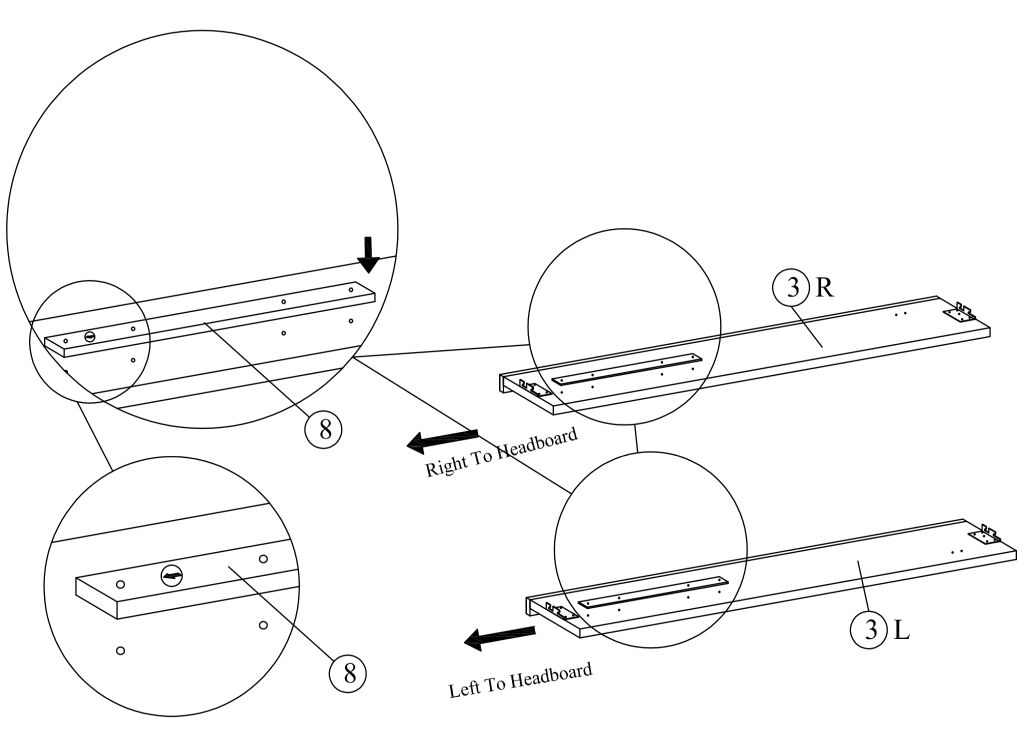
5. Side Bars Aligment
1. Identify the right and left side rails, labeled as 3R and 3L respectively. 2. Position the right side rail (3R) so that it aligns with the headboard on the right side. 3. Position the left side rail (3L) so that it aligns with the headboard on the left side.
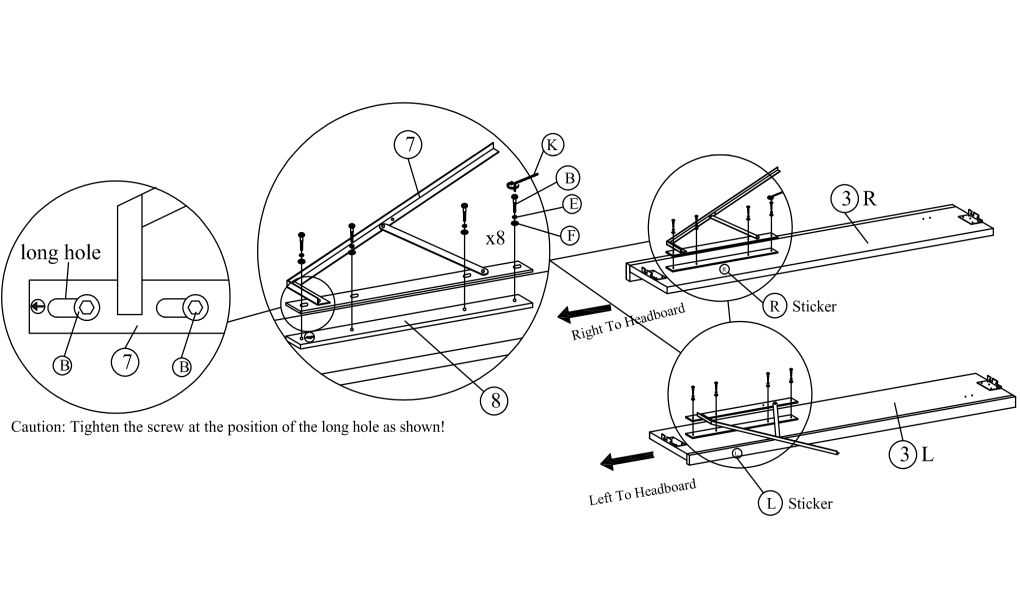
Important: Base bracket (8) must be attached before attaching the pump mounting bracket (7).
6. Pump Mounting Brackets
1. Identify the side rails labeled 3R (right) and 3L (left) 2. Position the side rails so that they are oriented towards the headboard, as indicated by the arrows. 3. Locate the long holes on the side rails. Insert the screws labeled B through these holes and the washers (E and F). 4. Attach the pump mounting brackets (7) and the bracket base (8) to the side rails using the allen key (K)
7. Attach the Side Rails
1. Secure the headboard (1) to the side rails (3L and 3R) using the provided screws and brackets. 2. Attach the footboard (2) to the side rails (3L and 3R).
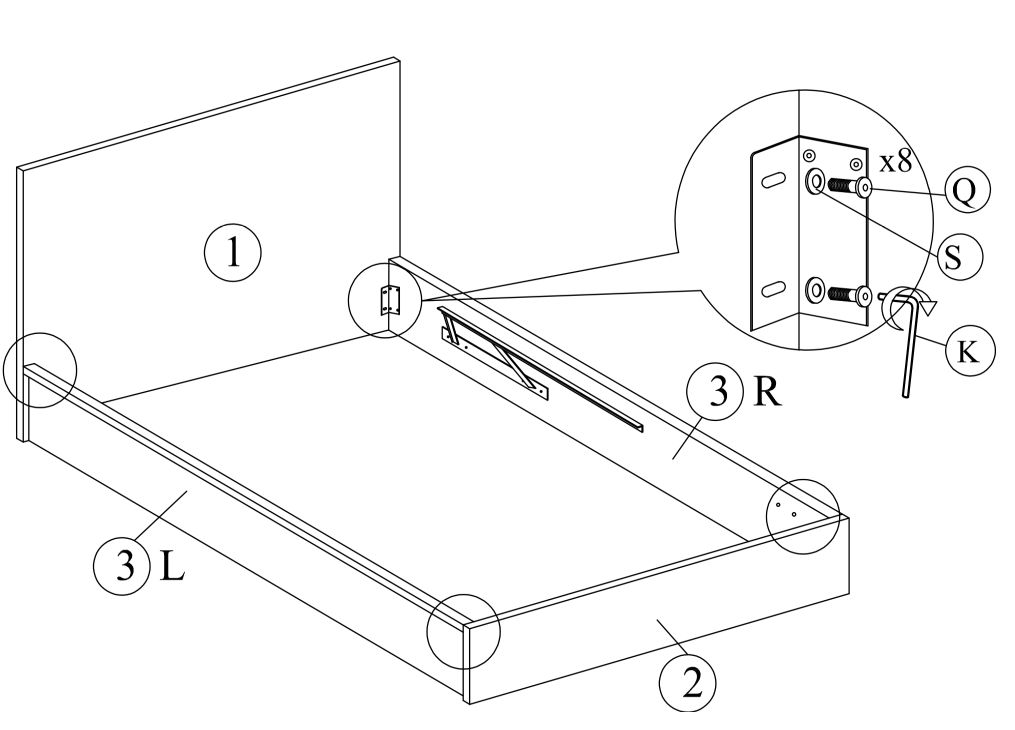
8. Securing Side Rails
1. Secure the left side rail (3L) and right side rail (3R) to the headboard (1) and footboard (2) using the provided brackets. 2. Use screws (Q) and washers (S) to fasten the brackets securely. 3. Tighten the screws with the Allen key (K) to ensure stability.
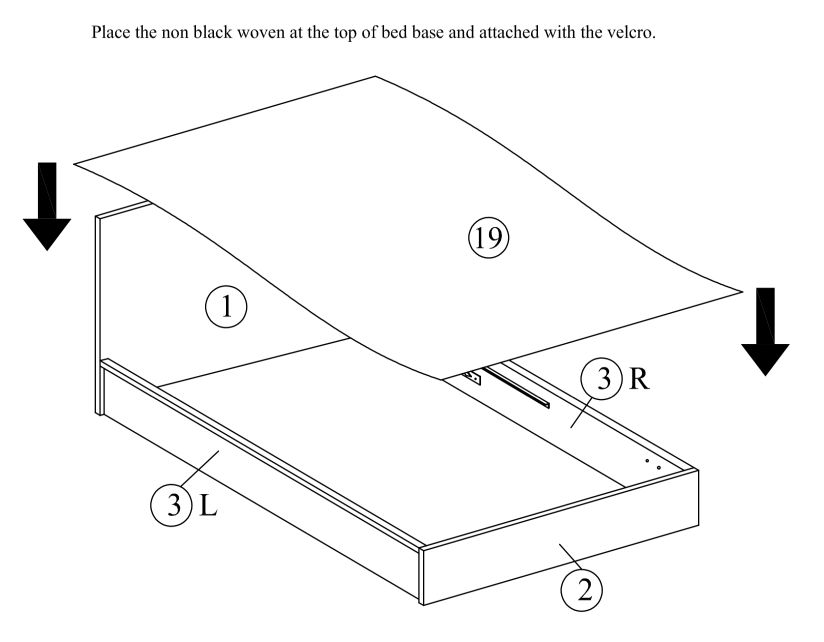
9. Black Woven
1. Identify the non-black woven fabric piece labeled as 19. 2. Position the fabric at the top of the bed base, ensuring it covers the entire area. 3. Secure the fabric by attaching it with the Velcro strips provided on the bed base.
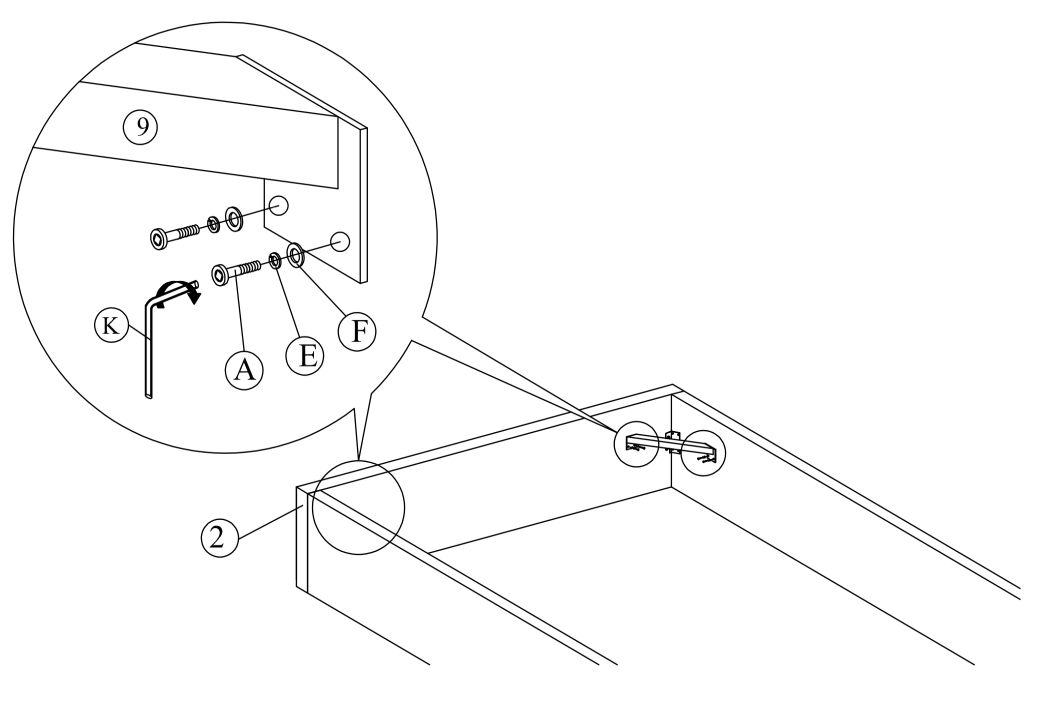
10. Angle Brackets
1. Align the angle brackets (9) with the footboard (2). 2. Place washers (E and F) onto the screws 3. Insert screws (A) through the pre-drilled holes in the brackets and into the frames. 4. Use the provided Allen key (K) to tighten the screws securely.
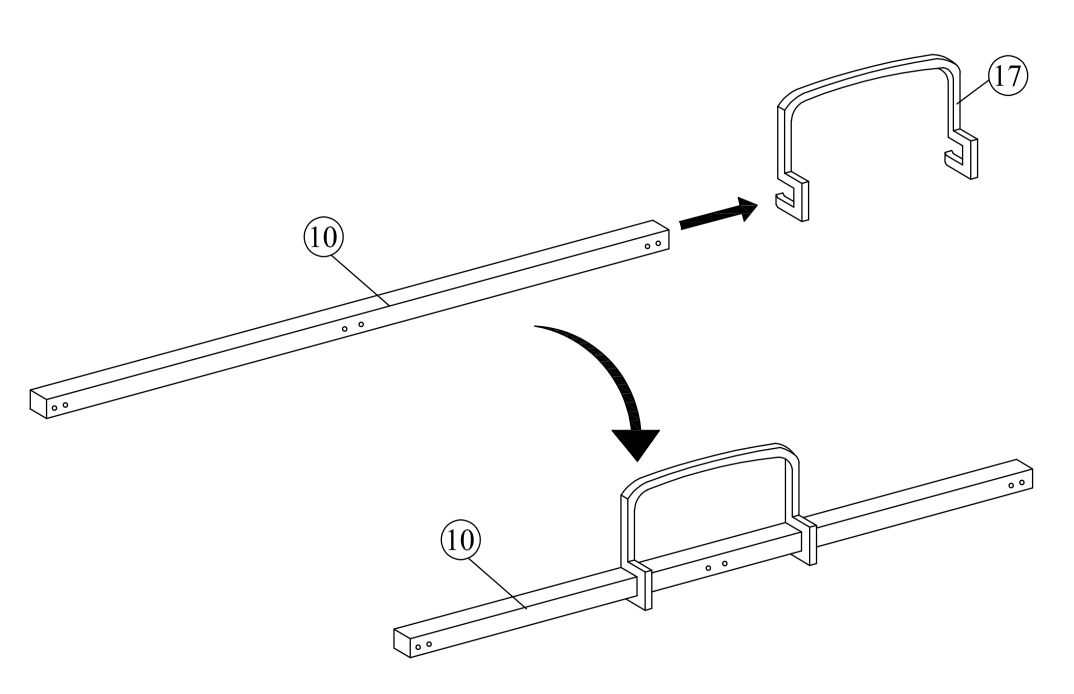
11. Main Frame Stopper
Slide the stopper (17) onto the main frame (10) until it is securely positioned.
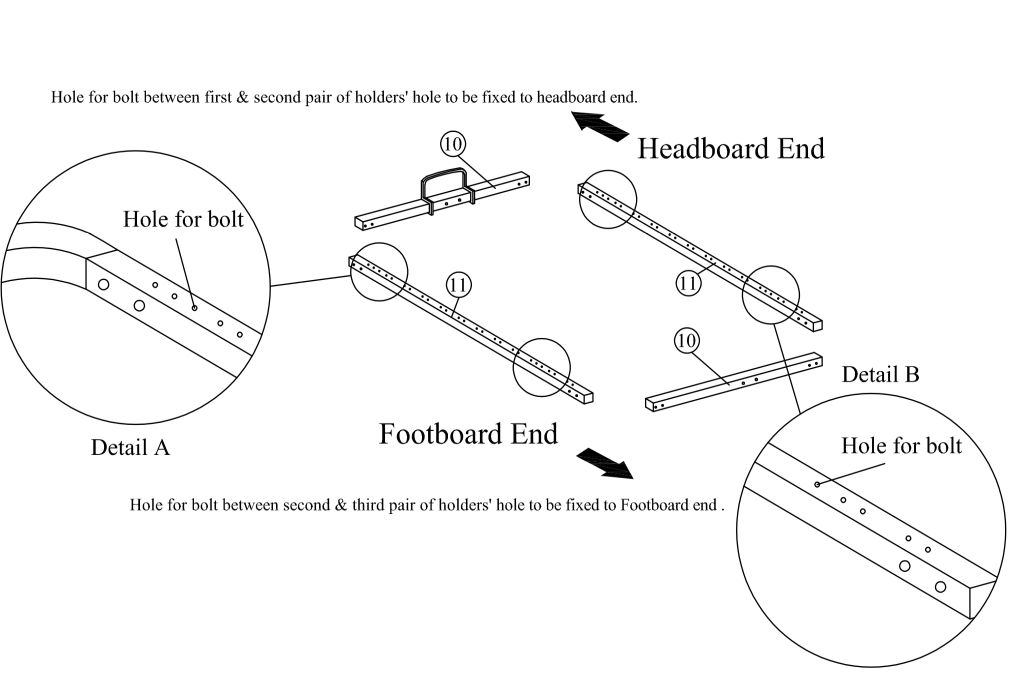
12. Main Frame Aligment
1. Locate the main frame parts (10 and 11) 2. Align the holes on the side rails with the corresponding holes on the headboard and footboard. Refer to _Detail A_ and _Detail B_ for the correct positioning of the bolt holes. 3. For the headboard end, use the hole between the first and second pair of holders' holes to secure the side rail. 4. For the footboard end, use the hole between the second and third pair of holders' holes to secure the side rail.
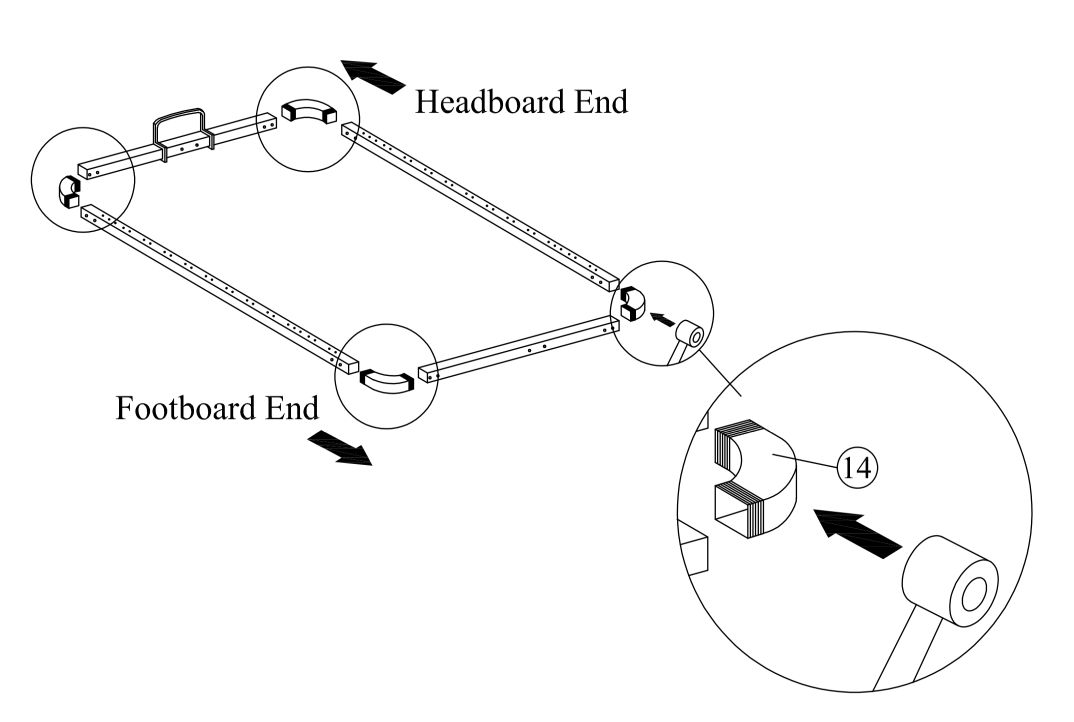
13. Rubber Corner Connectors
Attach the rubber corner connectors (14) to the frame parts as shown in the diagram.
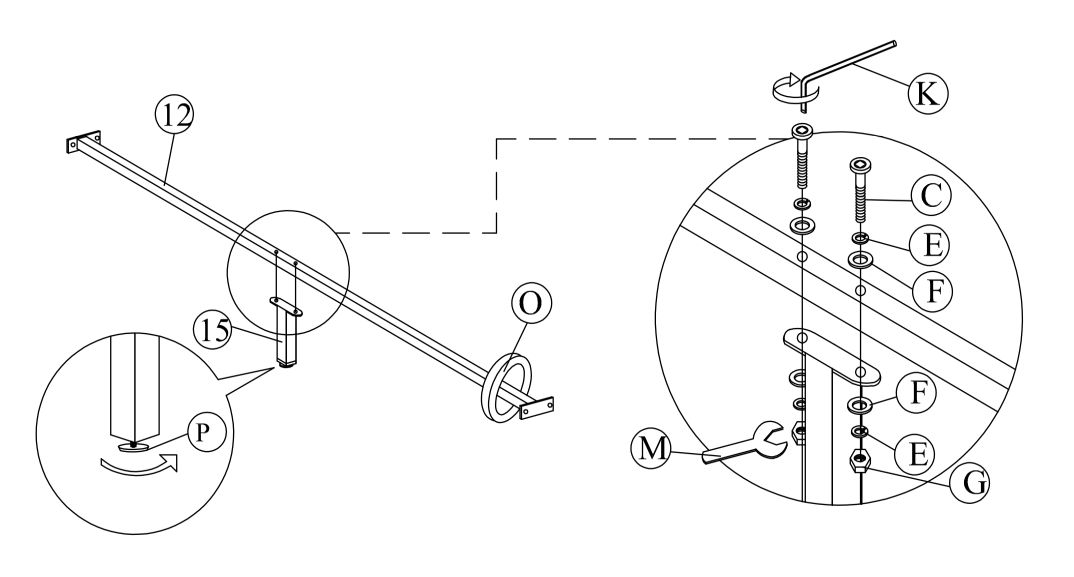
14. Support Leg
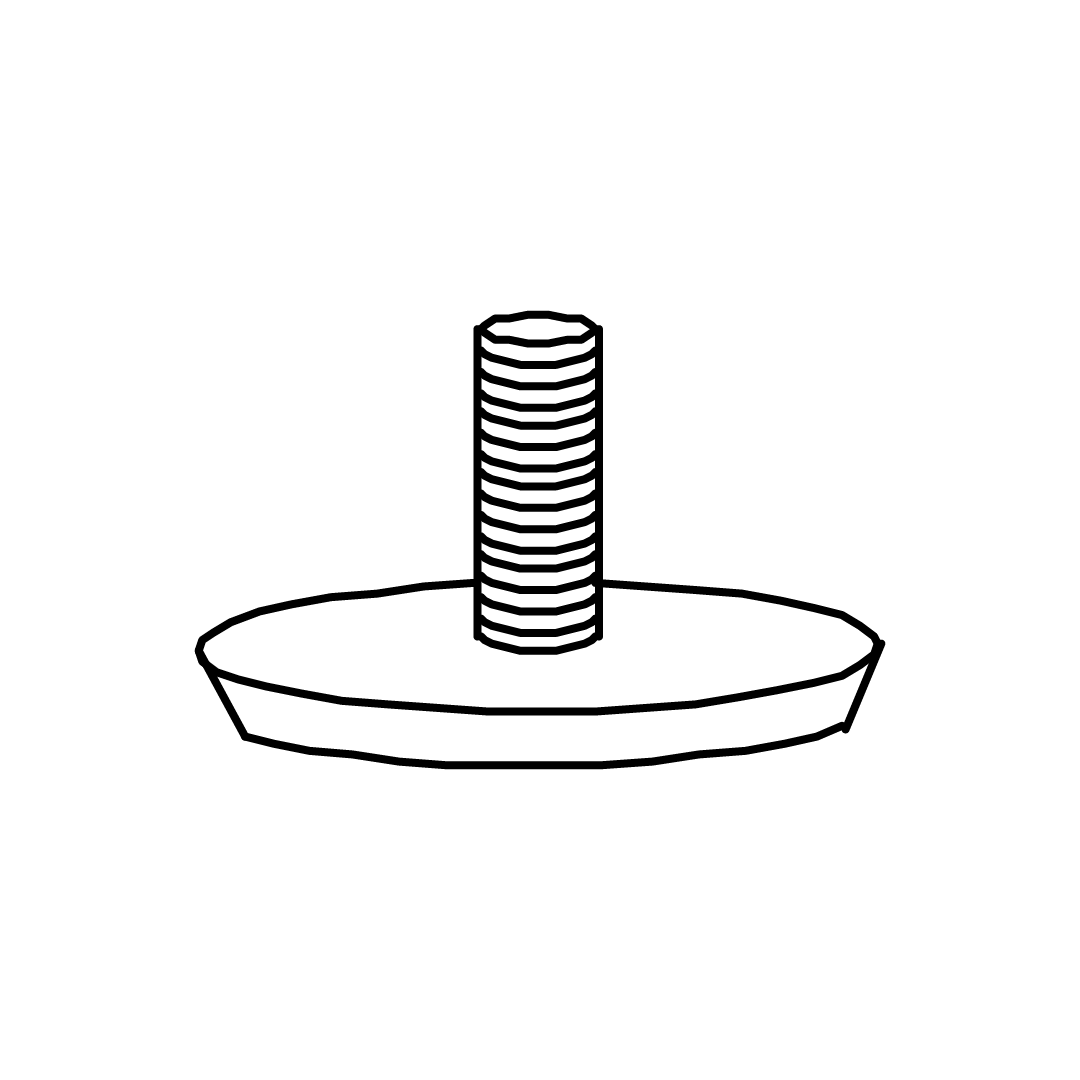
1. Position the crossbar (12) as shown in the diagram. 2. Align the support leg (15) with the crossbar and secure it by rotating the leg clockwise (P) until tight. 3. Attach the support leg to the crossbar using the following components in order:
Insert bolt (C) through the crossbar and frame.
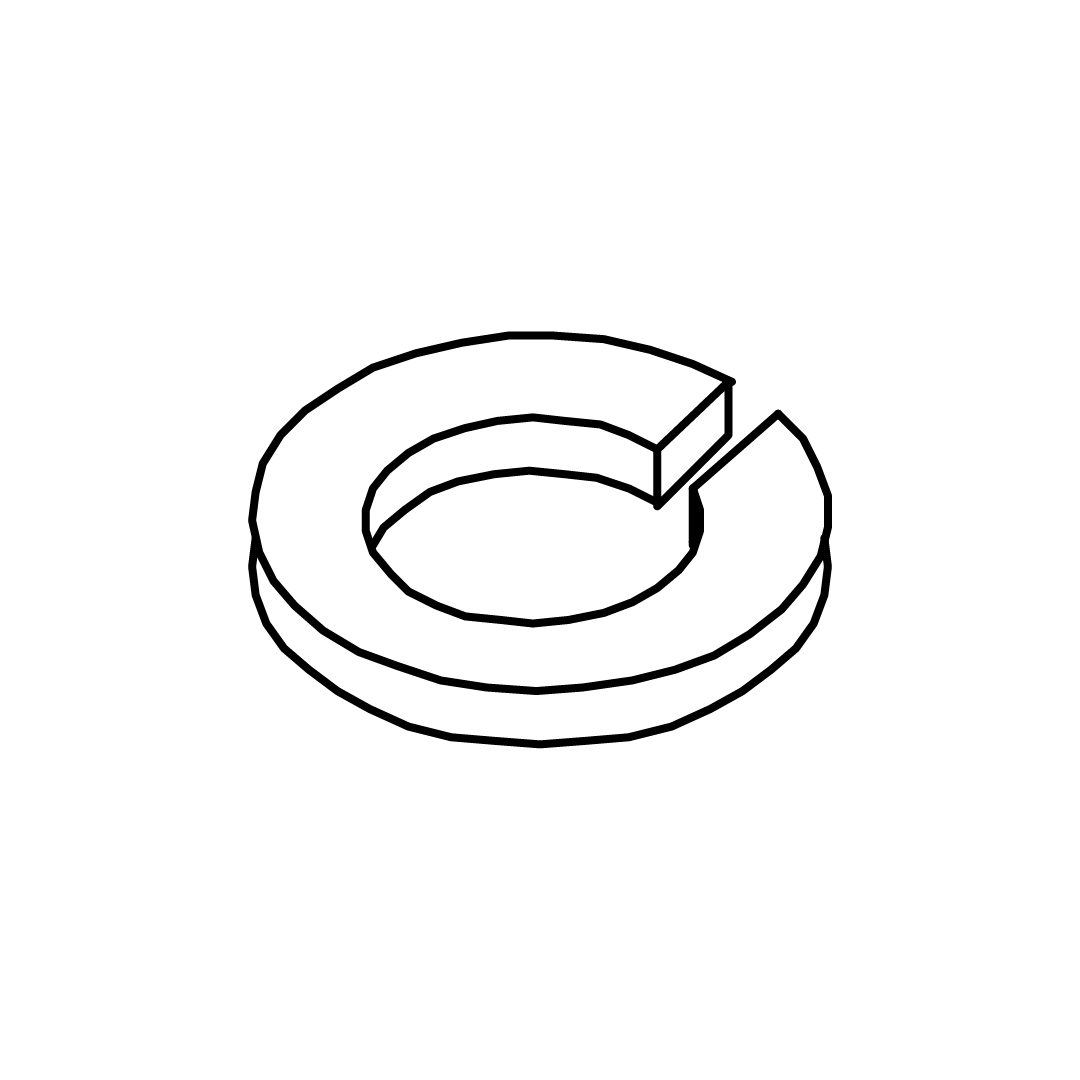
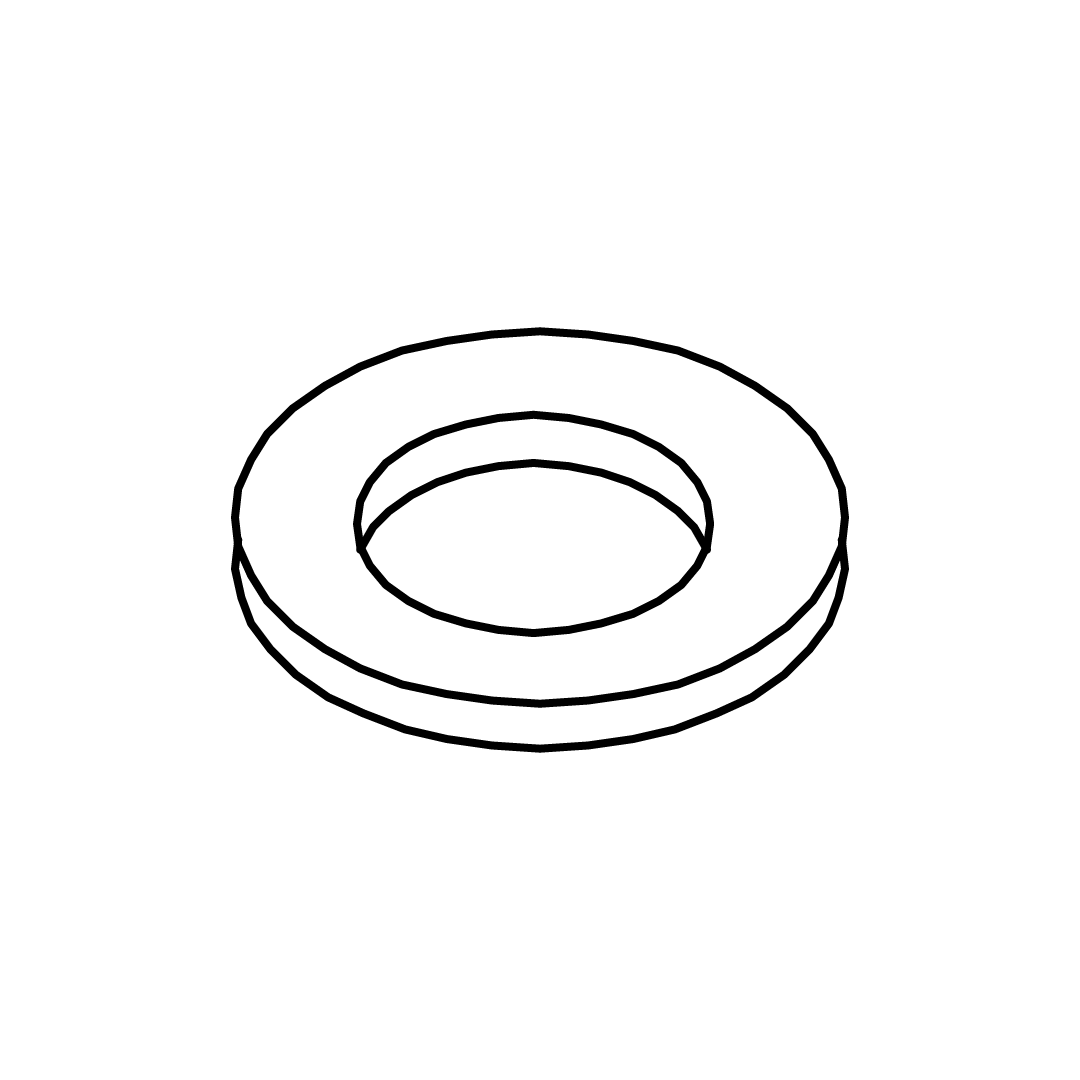
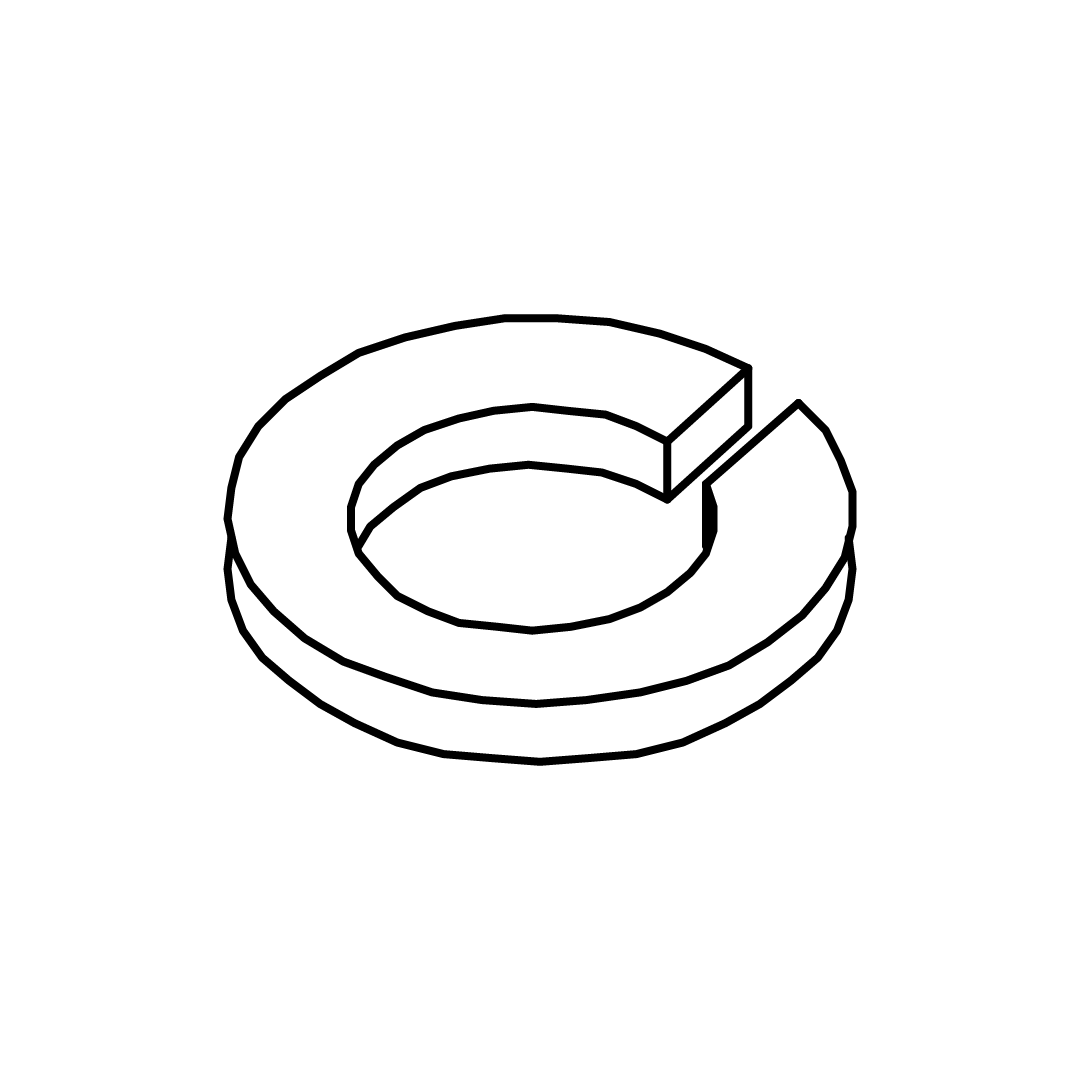
Add washer (E) and spring washer (F) onto the bolt.
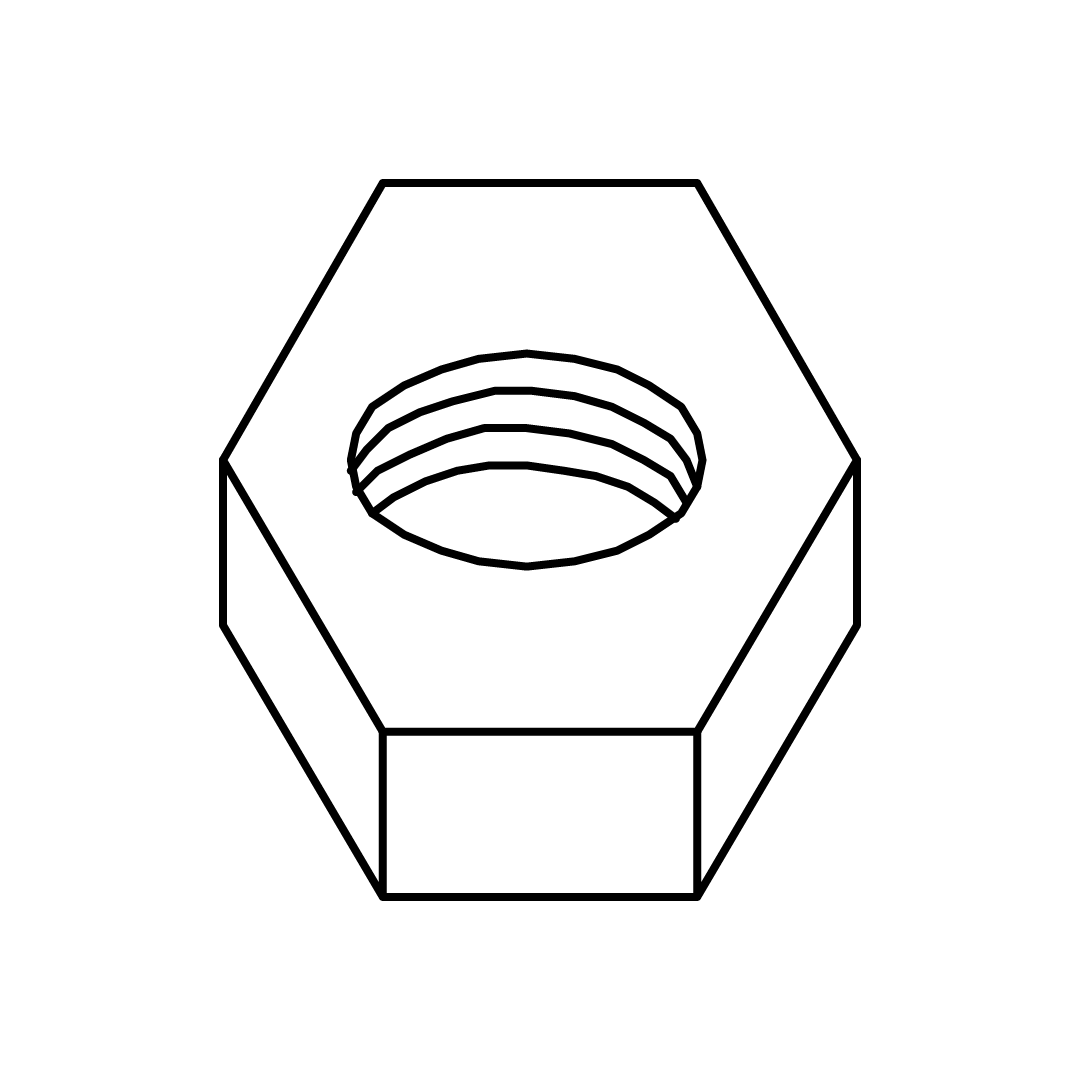
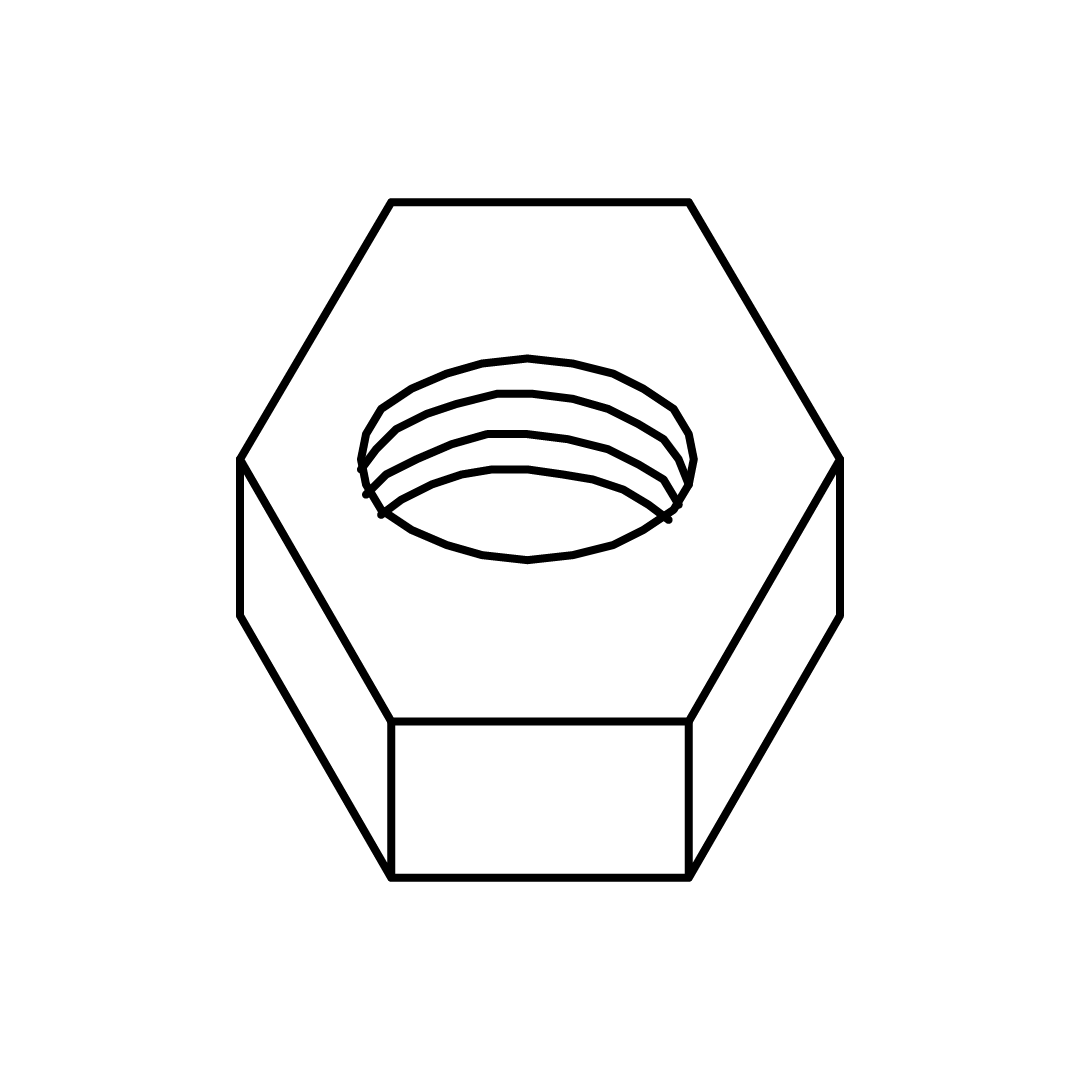
Secure with nut (G) using the spanner (M).
Use the Allen key (K) to tighten all bolts securely.
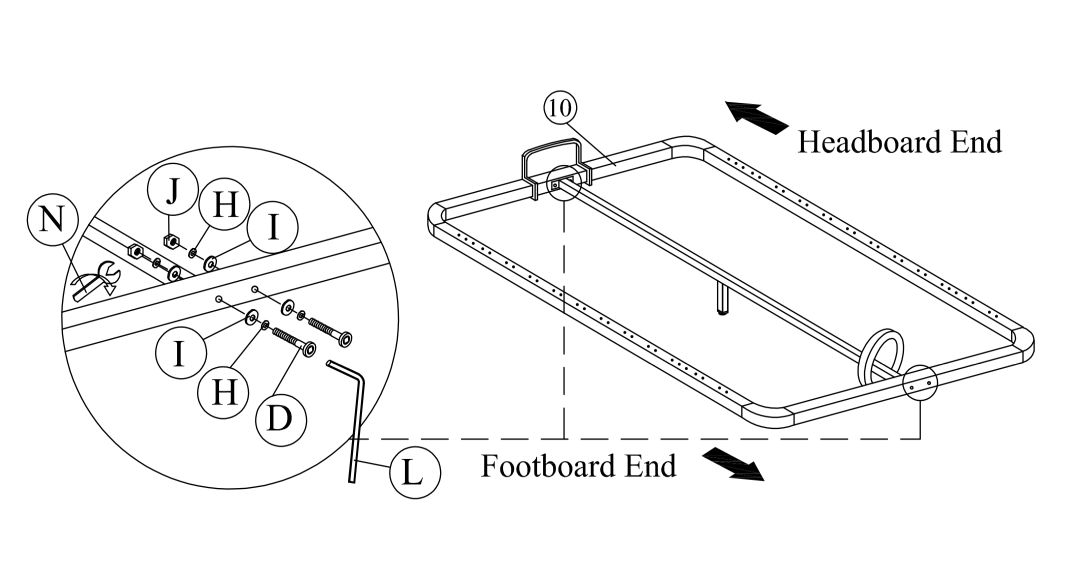
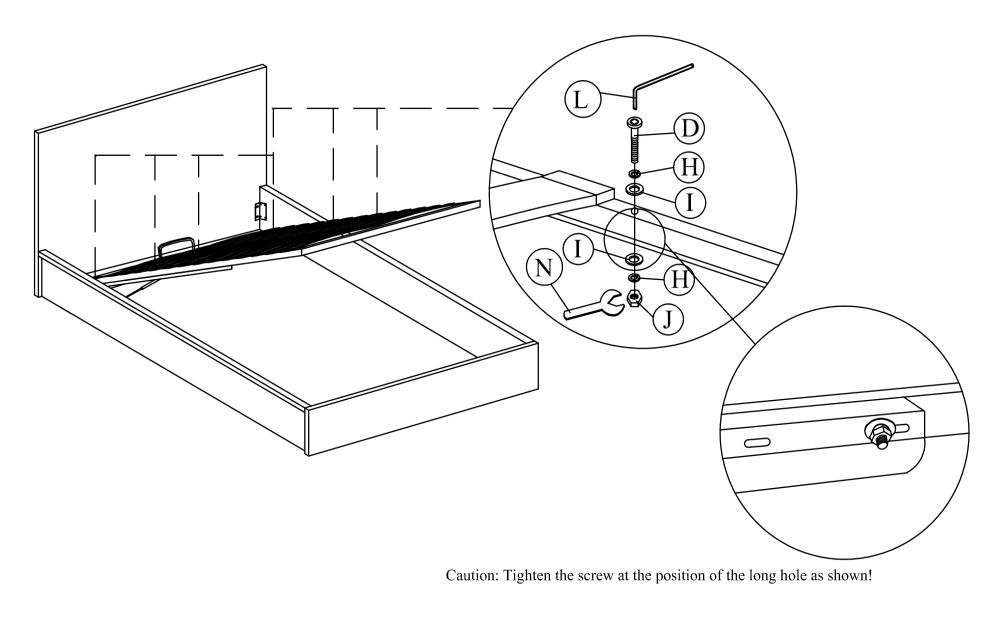
15. Metal Corner Brackets
1. Align the metal corner brackets with the main frame, ensuring the correct orientation. 2. Use the provided hardware to secure the side rails:
Insert bolt D through the aligned holes.
Place washer H and nut J onto the bolt.
Tighten using the Allen key L and spanner N.
Repeat the process for all connection points along the side rails.
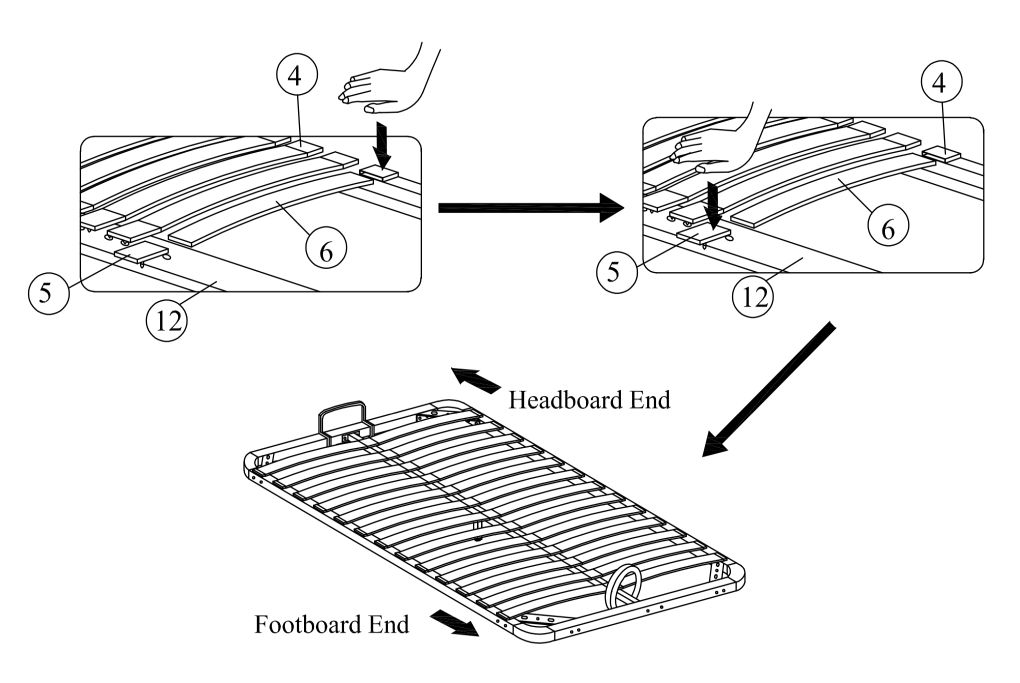
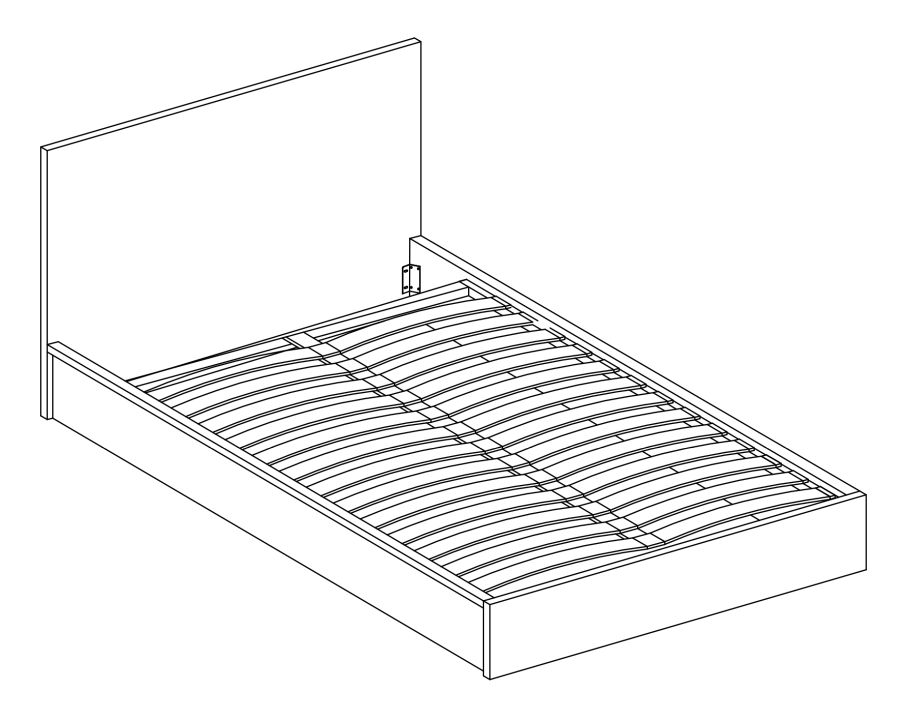
16. Slats
1. Begin by inserting the slats (6) into the designated slots on the frame. Ensure each slat is securely positioned. 2. Press down firmly on end holder (4) to ensure they are locked into place. This will prevent any movement during use. 3. Verify that all slats are evenly spaced and properly aligned between the headboard and footboard ends.
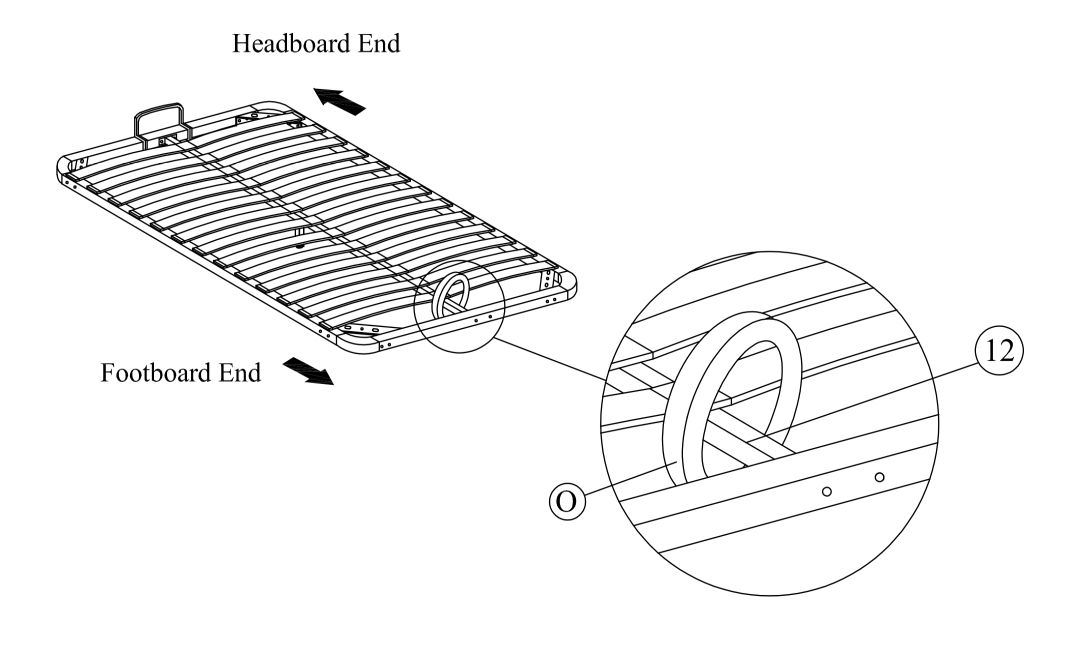
17. Frame Lifter
Ensure the frame lifter (12) is positioned correctly between the headboard and footboard ends.
18. Gast Springs
1. Align the Gas Springs (16), position the gas springs at the designated attachment points on the bed frame. 2. Attach each gas spring using the provided bolts and tighten them with the M6 Spanner (M). 3. Ensure both gas springs are securely fixed and aligned correctly for smooth operation.
Important: Do not overtighten the bolts to allow proper movement of the gas springs.
19. Secure Gas Spring
1. Align the gas springs with the designated mounting points on the bed frame. 2. Secure with hardware, use JCBB M8 X 50 screws (D), M8 Spring Washers (H), M8 Flat Washers (I), and M8 Hex Nuts (J). Tighten using the M5 Allen Key (L) and M8 Spanner (N). 3. Ensure the gas springs are securely attached and can move smoothly to support the lifting mechanism.
20. Final checks
Ensure all components are securely fastened before using the bed.
Follow safety guidelines when operating the ottoman storage feature.