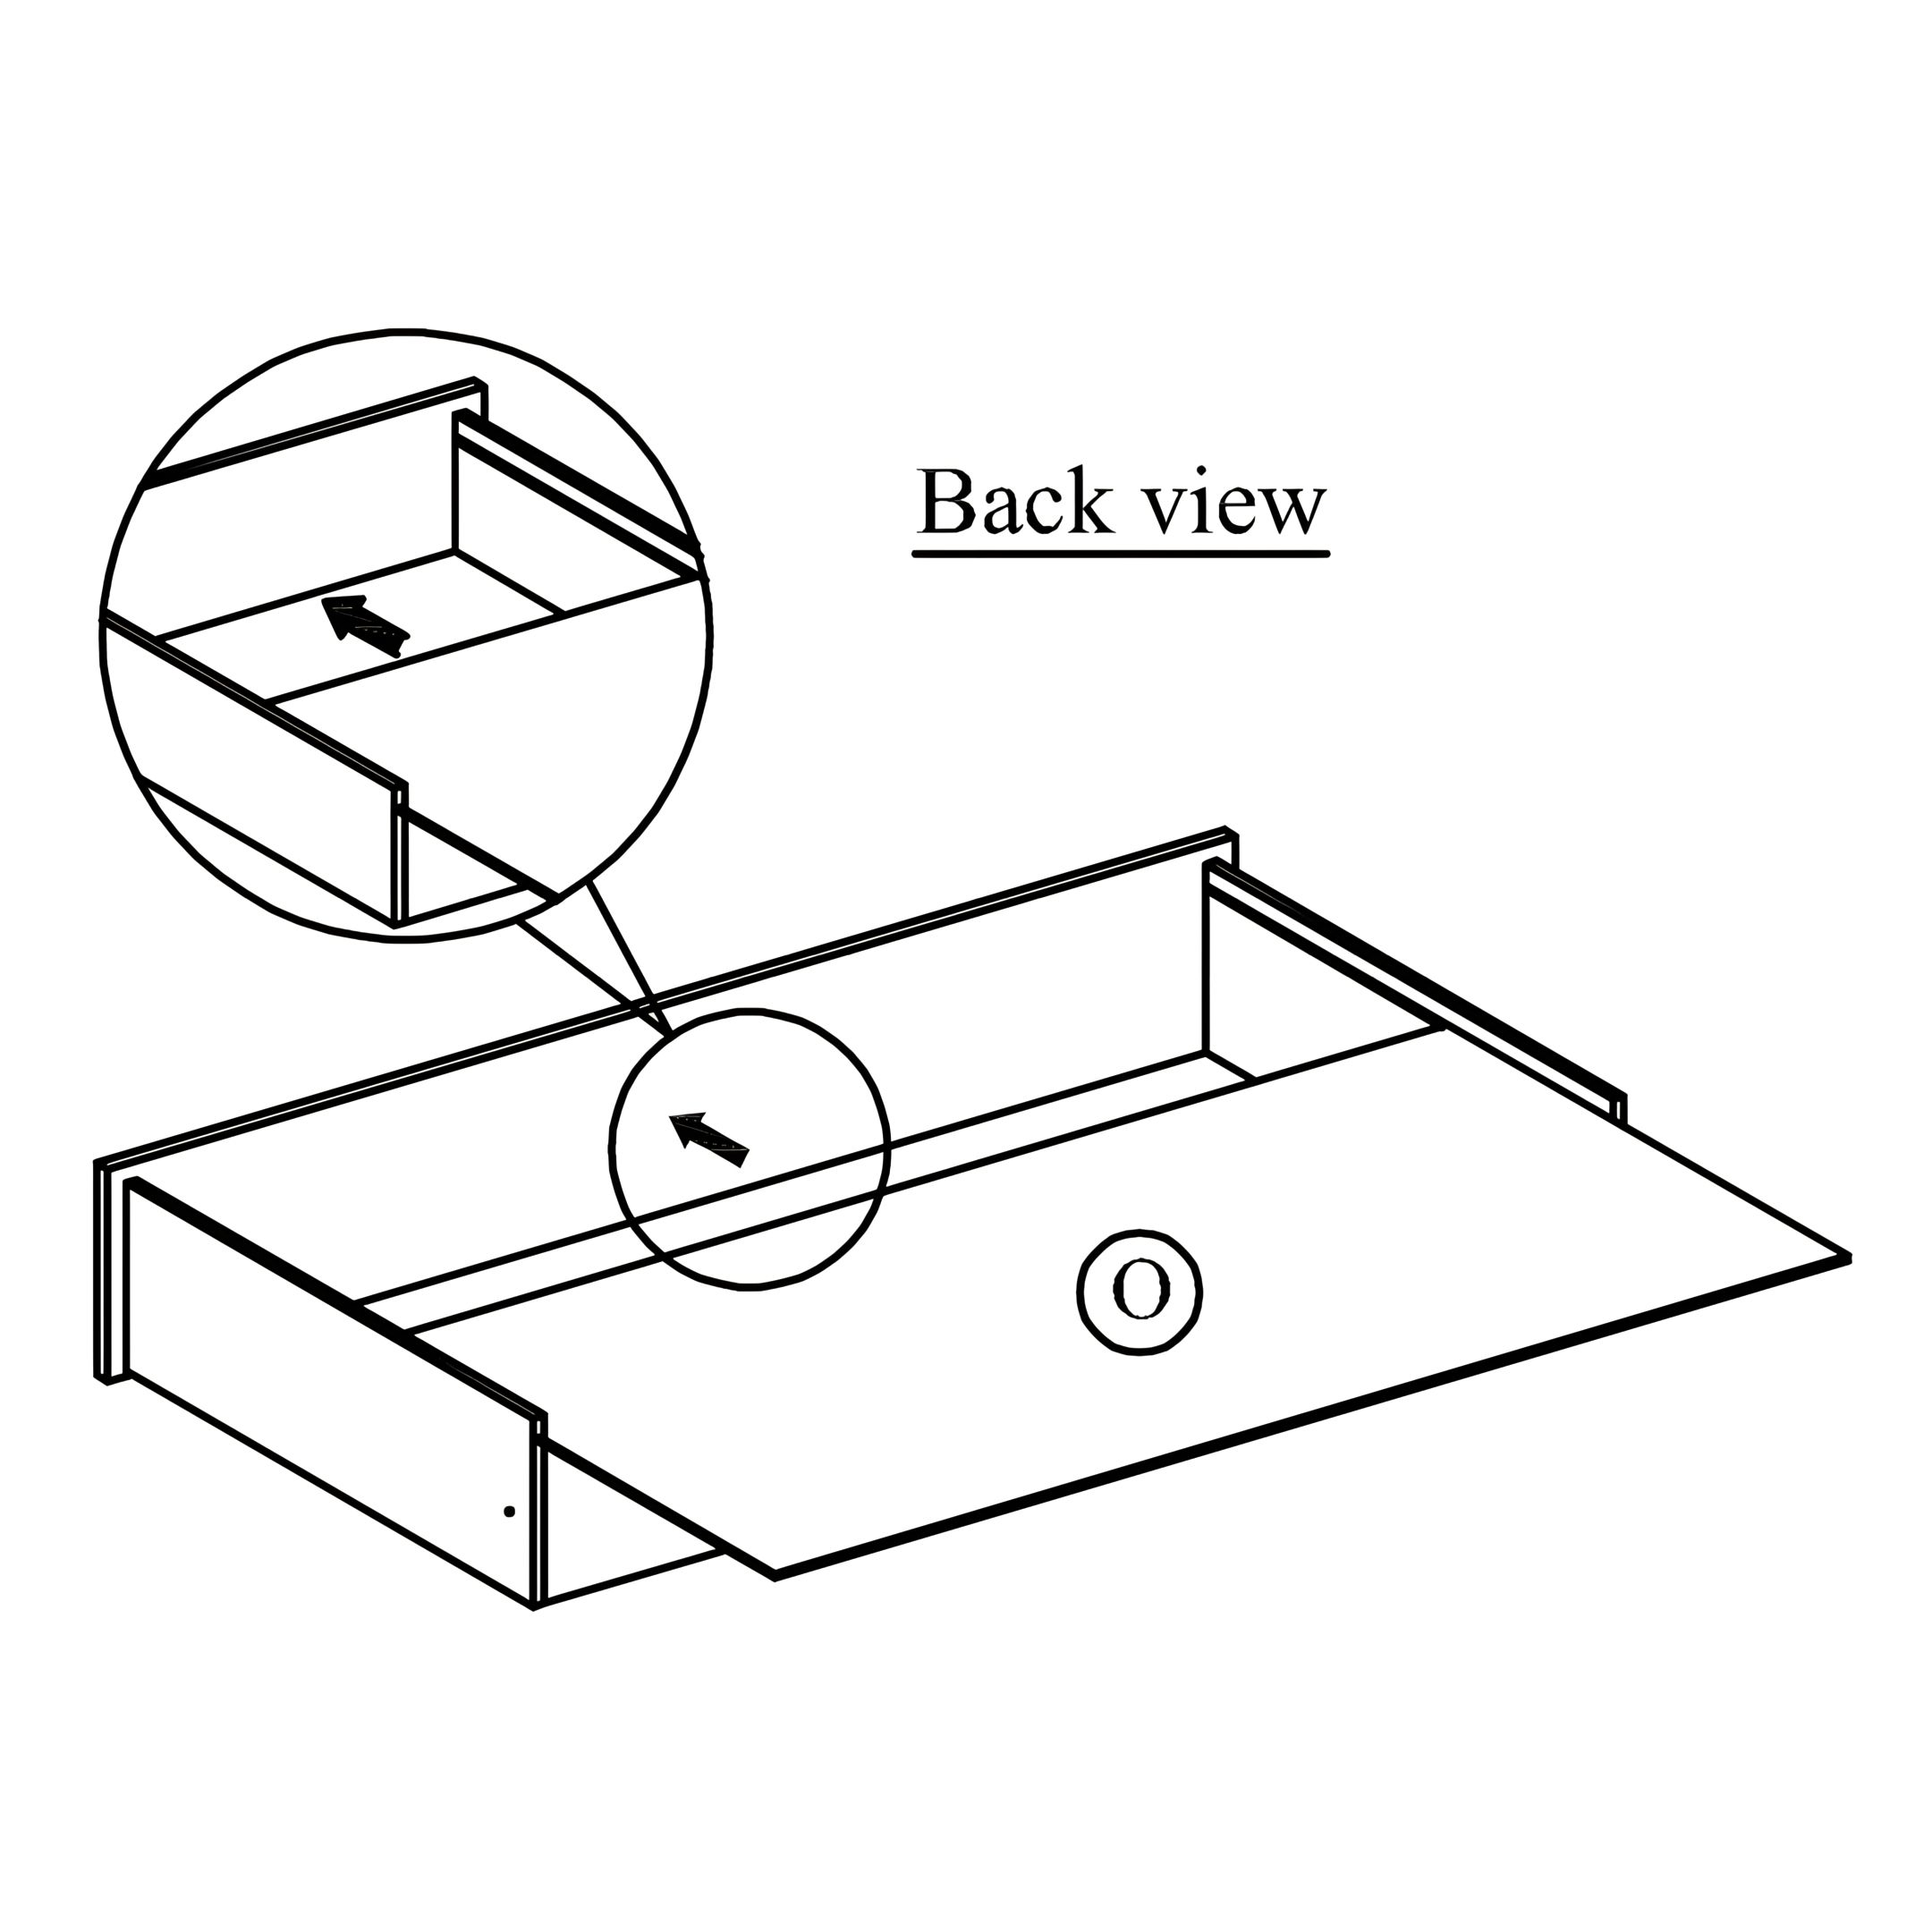
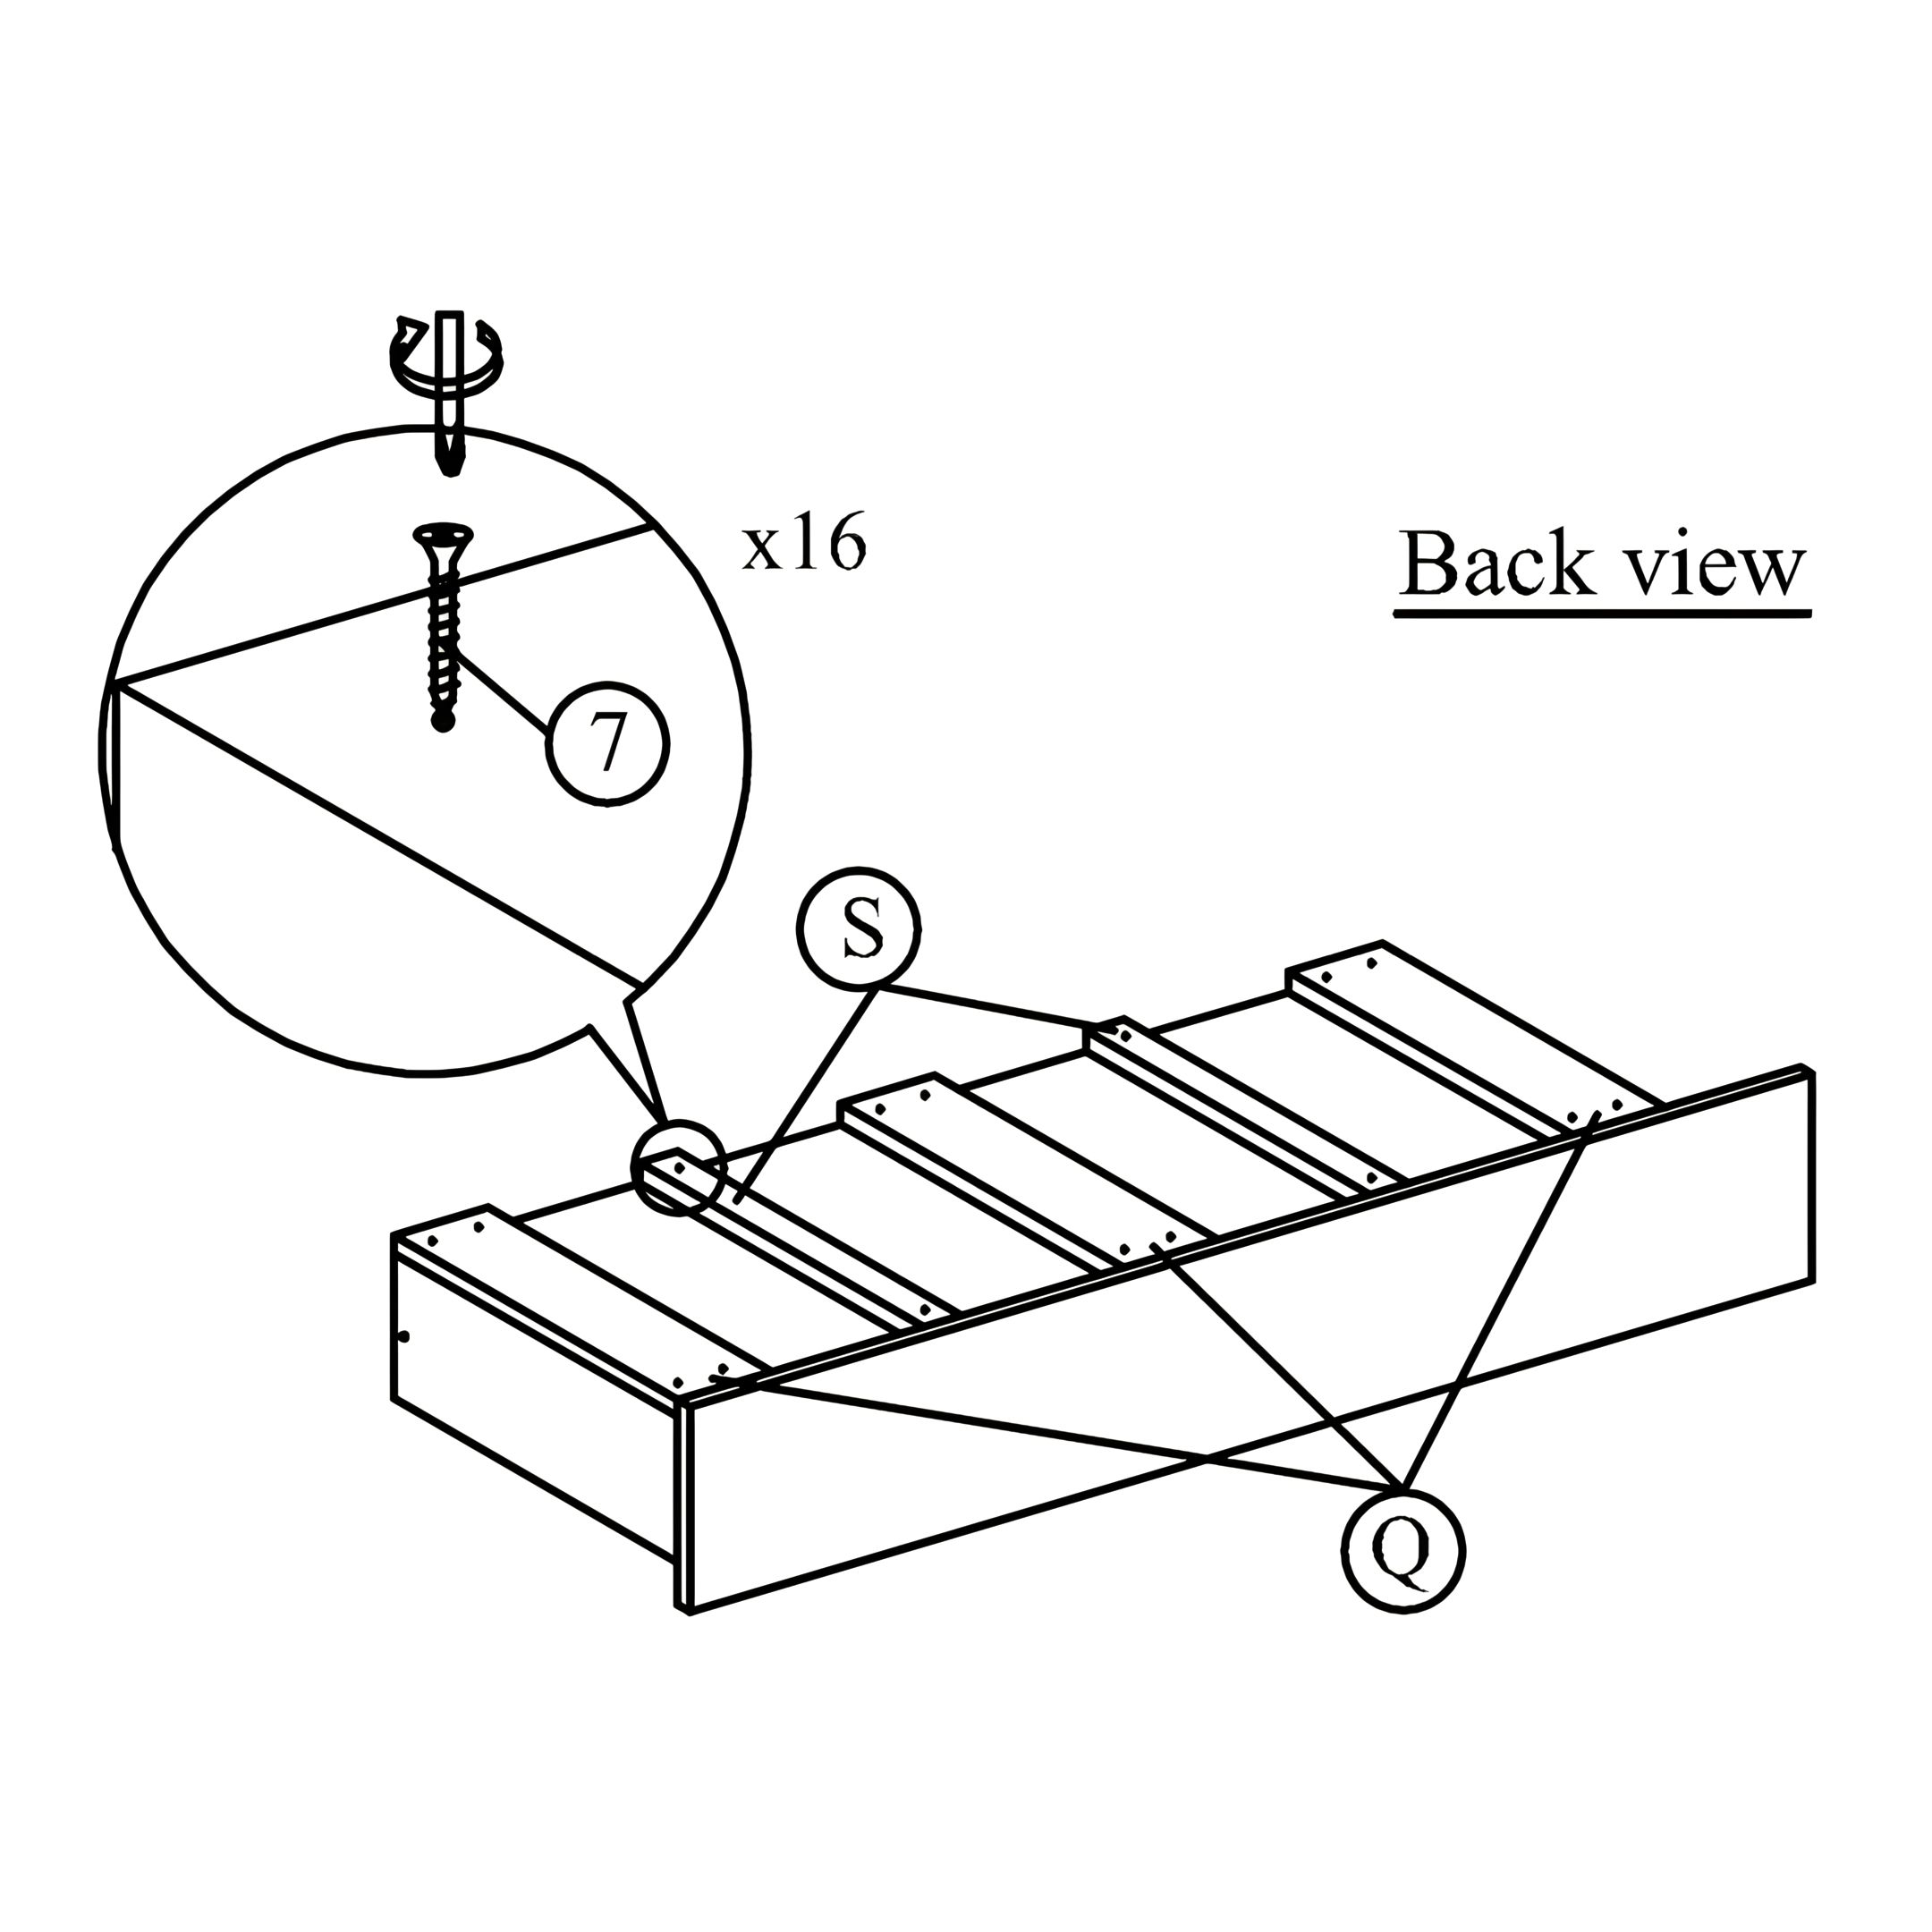
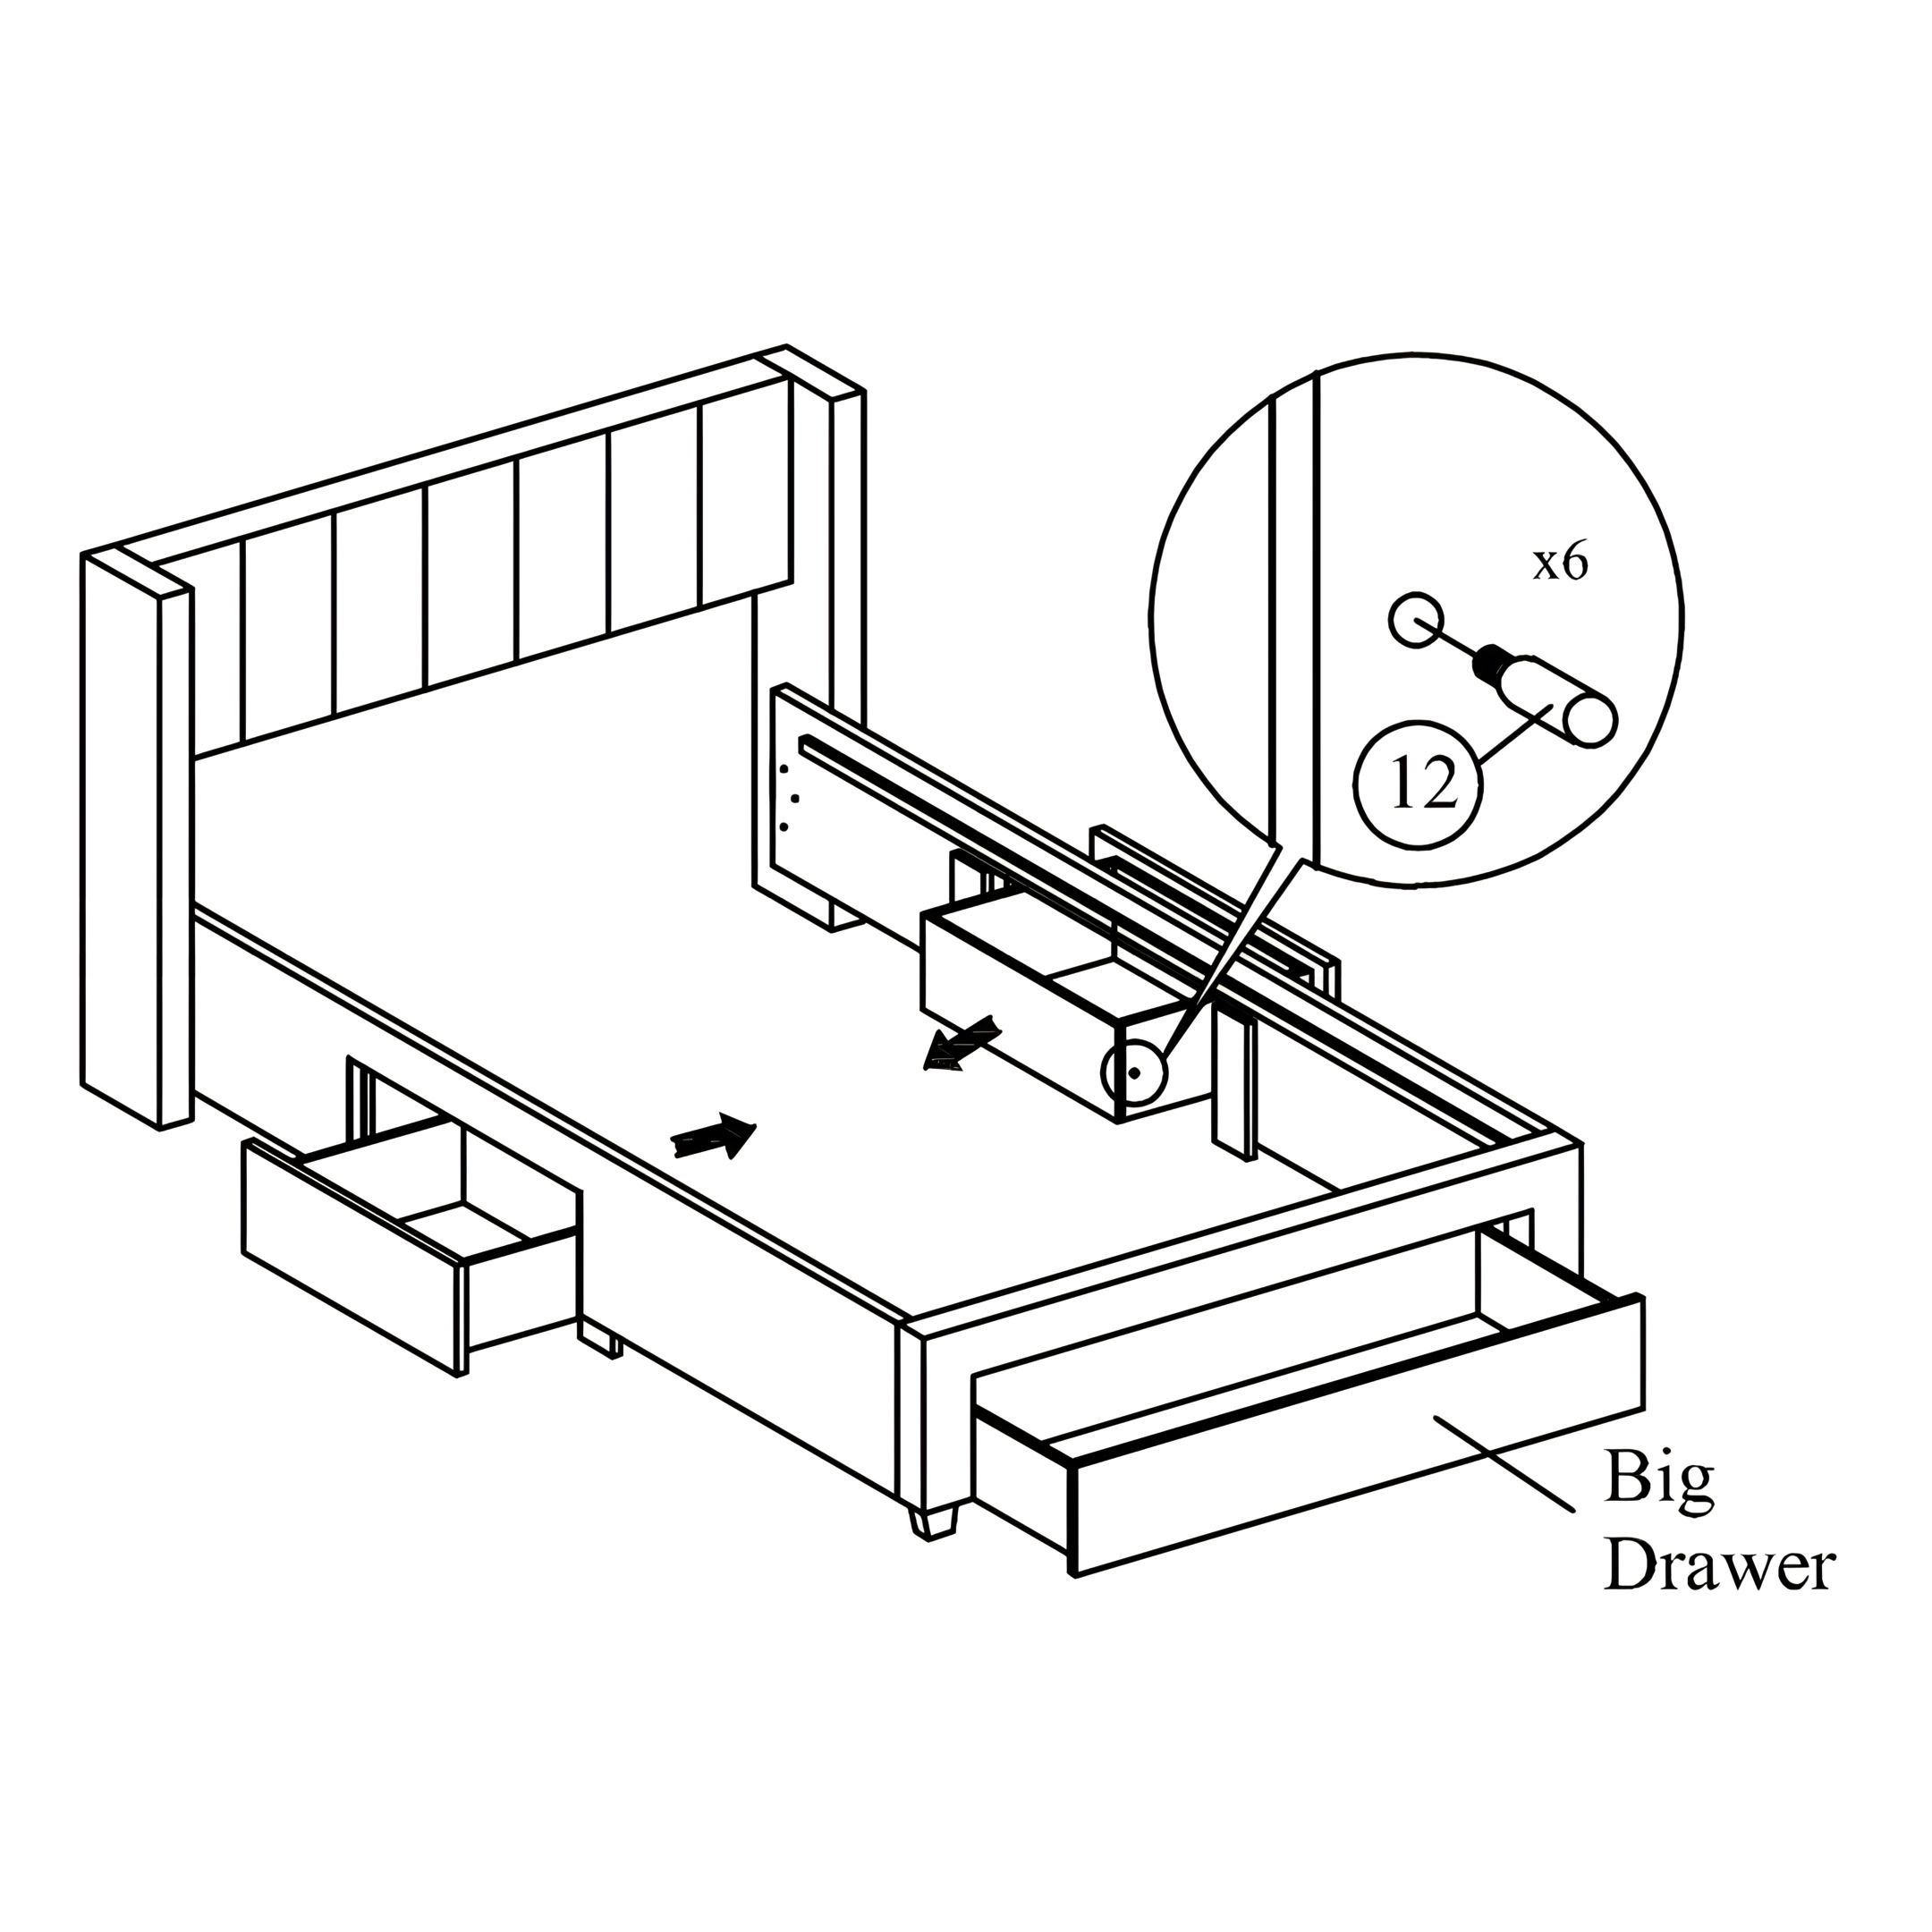
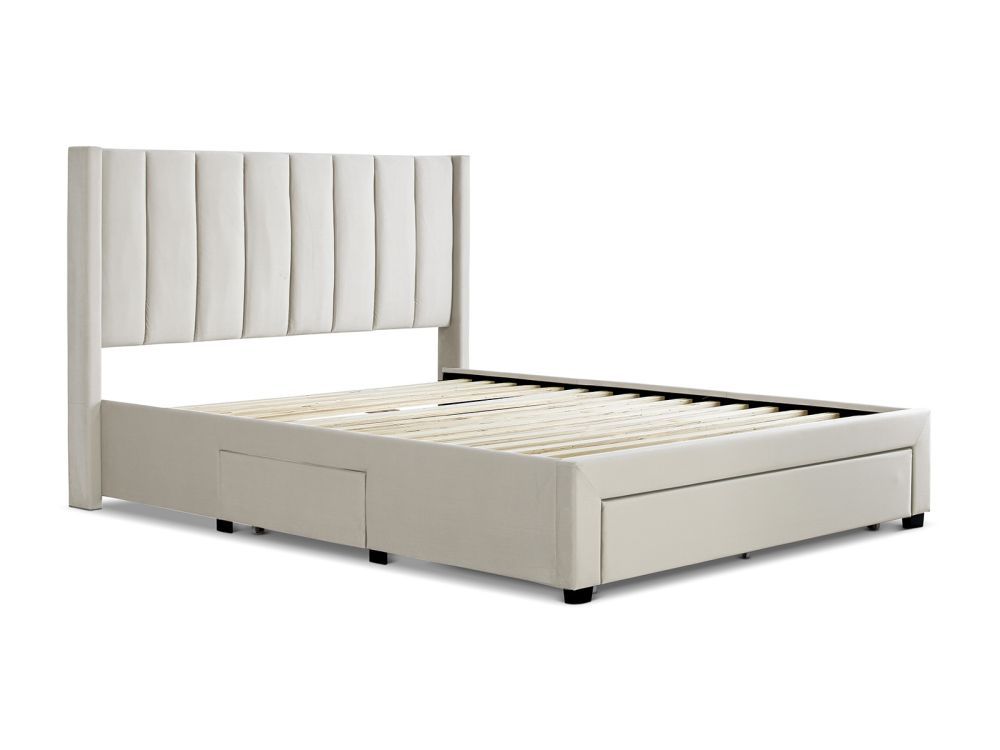
time4sleepwww.time4sleep.co.uk
Instructions by time4sleepElegance Upholstered Drawer Bed Frame
time4sleep

Elegance Upholstered Drawer Bed Frame

Elegance Upholstered Drawer Bed Frame
Before you start
Adjusting Centre Legs ProperlyPreventing Floor DamagePartsTools
Steps
1. Assemble Drawers2. Add Bottom Panel to Drawers3. Finish Drawers4. Attach Rollers5. Take Out Parts6. Attach the Side Wings7. Attach the Legs8. Prepare the Side Rails9. Attach Side Rails and Footboard10. Insert Drawers11. Install Center Rail and Slats

No results

time4sleep
time4sleep / Elegance Upholstered Drawer Bed Frame
Elegance Upholstered Drawer Bed Frame
time4sleep

Instructions by

time4sleep

Elegance Upholstered Drawer Bed Frame

Assembly instructions for Elegance Upholstered Drawer Bed Frame by Time4Sleep

Product Information

Elegance Upholstered Drawer Bed Frame

Elegance Upholstered Drawer Bed Frame

If you’re looking for practicality and style look no further than our Elegance bed frame. The clean vertical stitched winged headboard will work well in traditional or more contemporary design scheme. Upholstered in a plush velvet fabric this bed will help create a luxurious look with out the designer price tag. The bed comes with a wooden slatted base and features practical spacious drawers with one large drawer to the foot and smaller drawers on each side.
View product (opens in new tab)
SKU
Ele46Beige, Ele50Beige, Ele46Champ, Ele50Champ
Double
Width154 cm
Length208.5 cm
Height109 cm
Foot End Height35.5 cm

Adjusting Centre Legs Properly

Please note that the recommended process for adjusting centre legs when assembling your bed.

  • Before placing the mattress on the base, ensure that the support legs are not quite touching the floor.
  • When the bed is in use, the support legs will sit firmly on the solid surface.
  • Ensure that the legs are vertical to maintain proper support

Preventing Floor Damage

  • Laminate/Wooden Flooring Precaution: Due to the nature of these surfaces, we recommend placing a small piece of non-slip material under the legs. This allows the adjusters to function correctly.
  • Lifting the Bed: When moving the bed, always lift it into the new position.
  • Never drag the bed, as this can misalign the legs, weakening the centre rail's support.
  • Adhering to the recommended process should ensure that your bed gives you years of trouble free service.

Tools

1 - JCBC (M6 x 60mm)
2 - JCBC (M6 x 50mm)
3 - Allen Key (100 mm)
4 - Allen Key (70 mm)
5 - CSK Screw (16 mm)
6 - CSK Screw (28 mm)
7 - CSK Screw (32 mm)
8 - CSK Screw (50 mm)
9 - JCBB (M8 x 20mm)
10 - Small Adjuster
10 - Small Adjuster
11 - Wood Dowel (25 mm)
12 - Metal Stopper
12 - Metal Stopper
13 - Roller
13 - Roller
14 - Spring Washers
14 - Spring Washers
15 - Flat Washers
15 - Flat Washers

Parts

A - Headboard
A - Headboard
B - Footboard
B - Footboard
C - Side Rail
C - Side Rail
D - Side Wing
D - Side Wing
E - Footboard Side Legs (80 x 35 x 50(H))
F - Centre Rail
F - Centre Rail
G - Slats
G - Slats
H - Support Legs
H - Support Legs
I - Side Rail Support Legs
J - Footboard Front Panel
K - Side Rail Front Panel
L - Left Side Panel
L - Left Side Panel
R - Right Side Panel
M - Footboard Back Panel
N - Side Rail Back Panel
O - Footboard Bottom Panel
P - Side Rail Bottom Panel
Q - Bottom Panel Big Support Wood
S - Bottom Panel Small Support Wood

1. Assemble Drawers

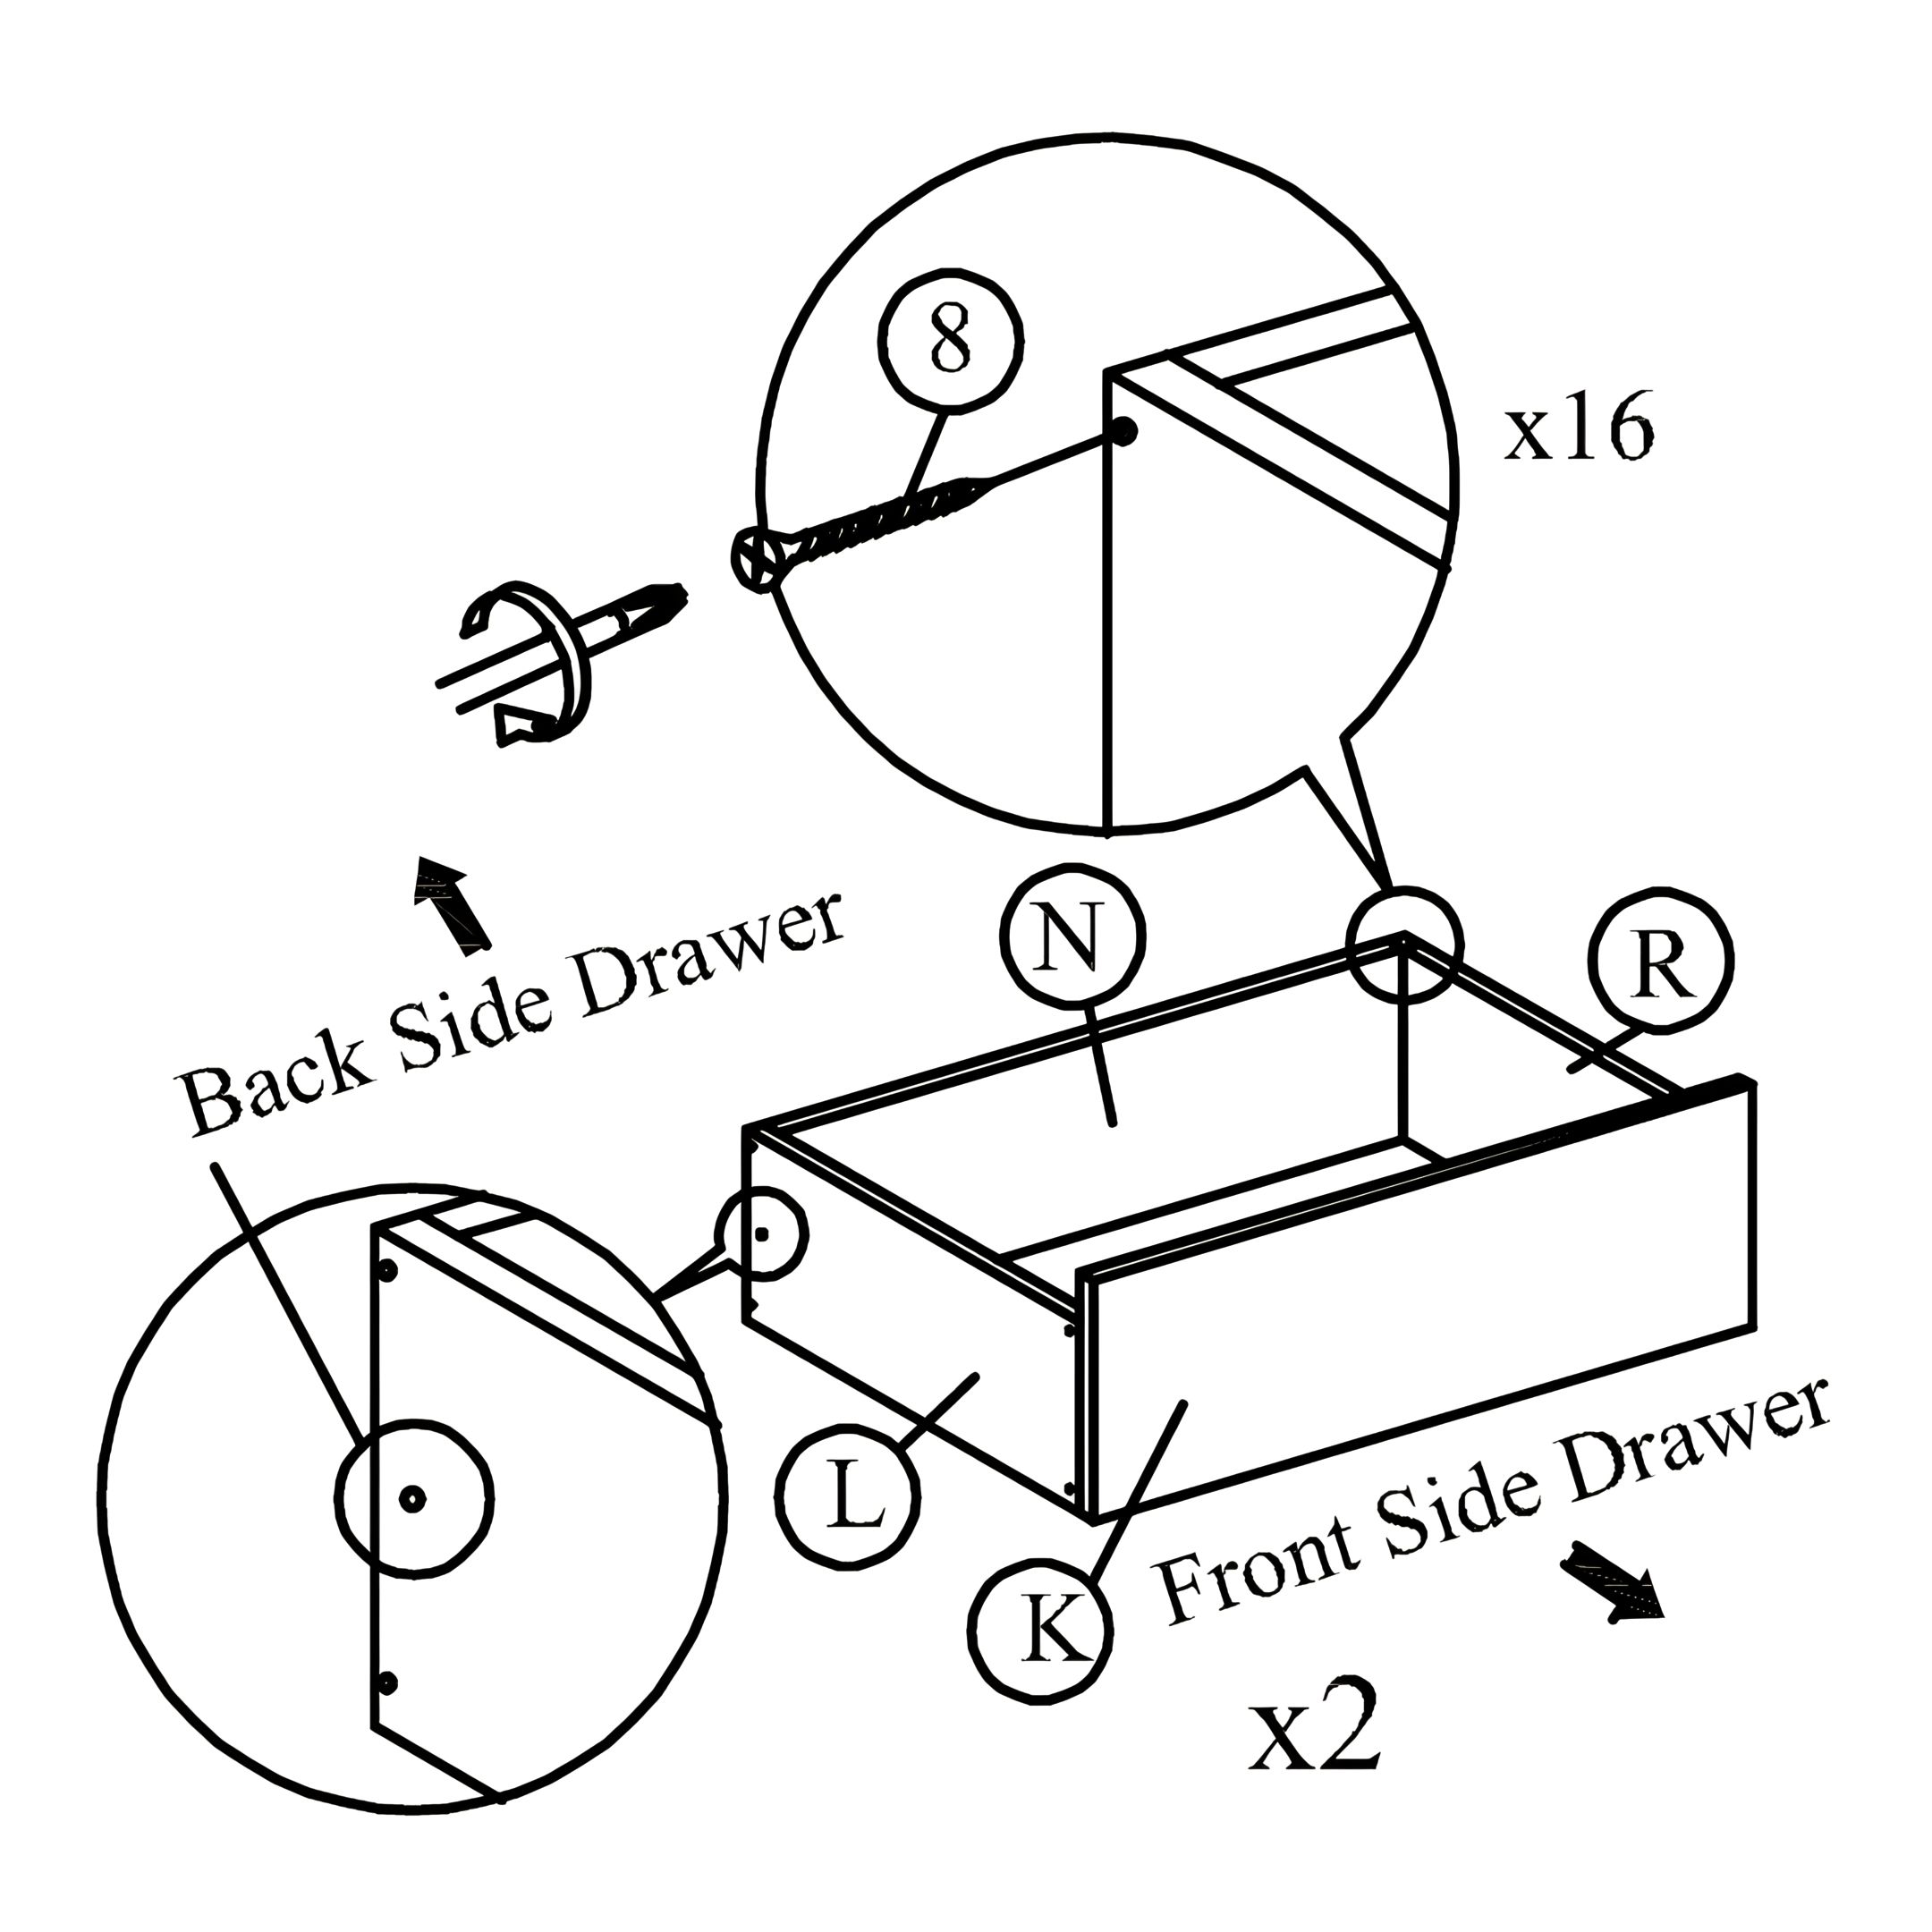
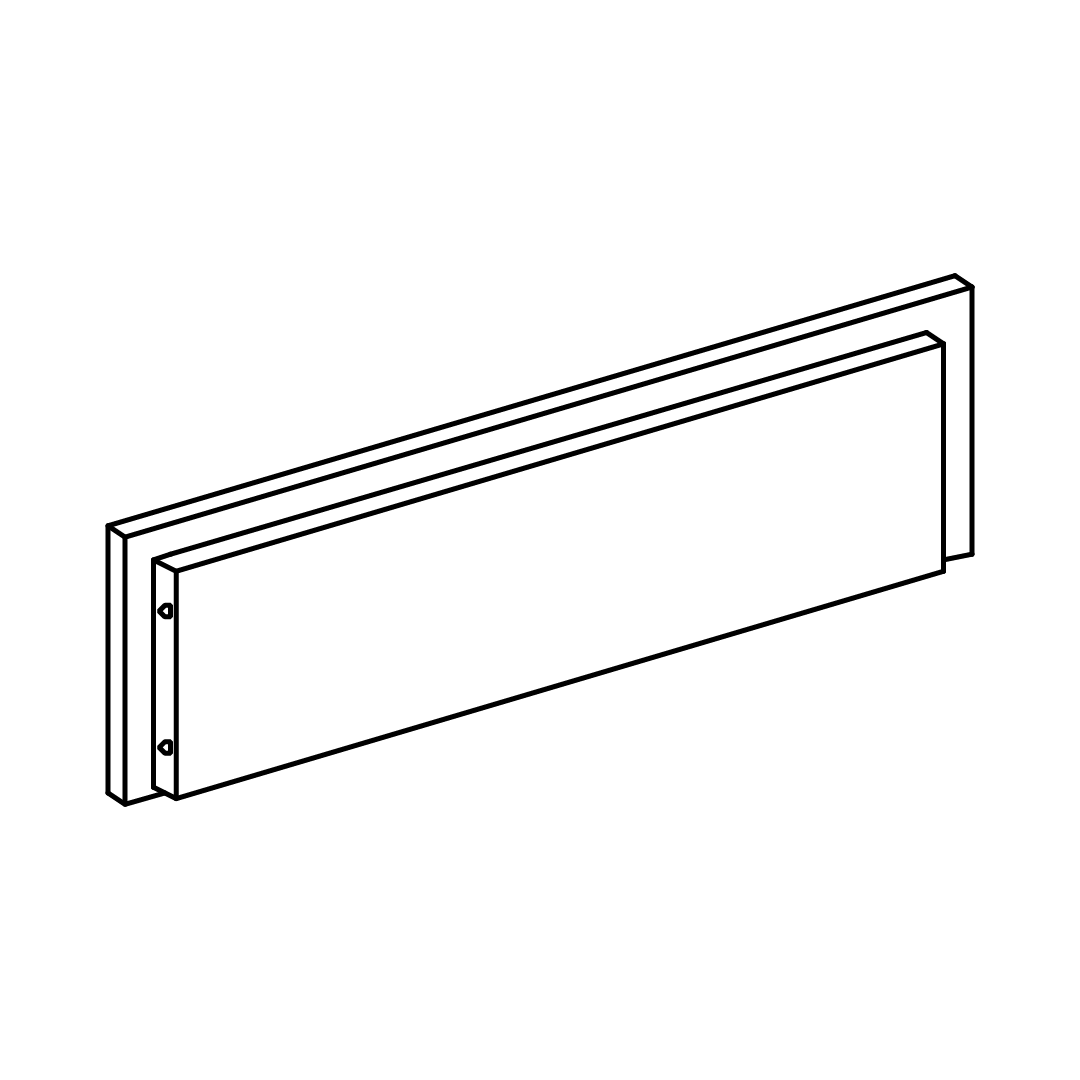
Side Drawers Assembly: 

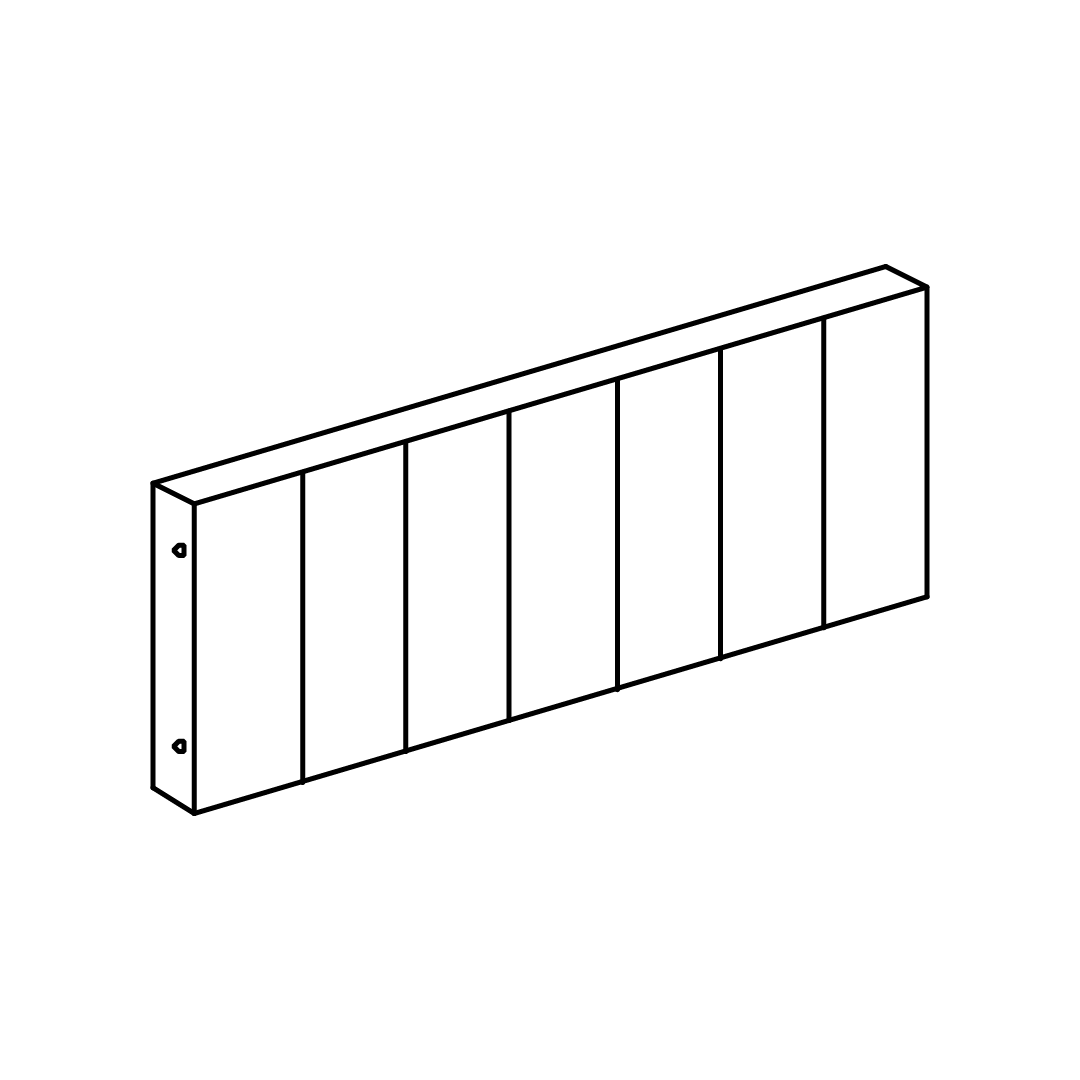
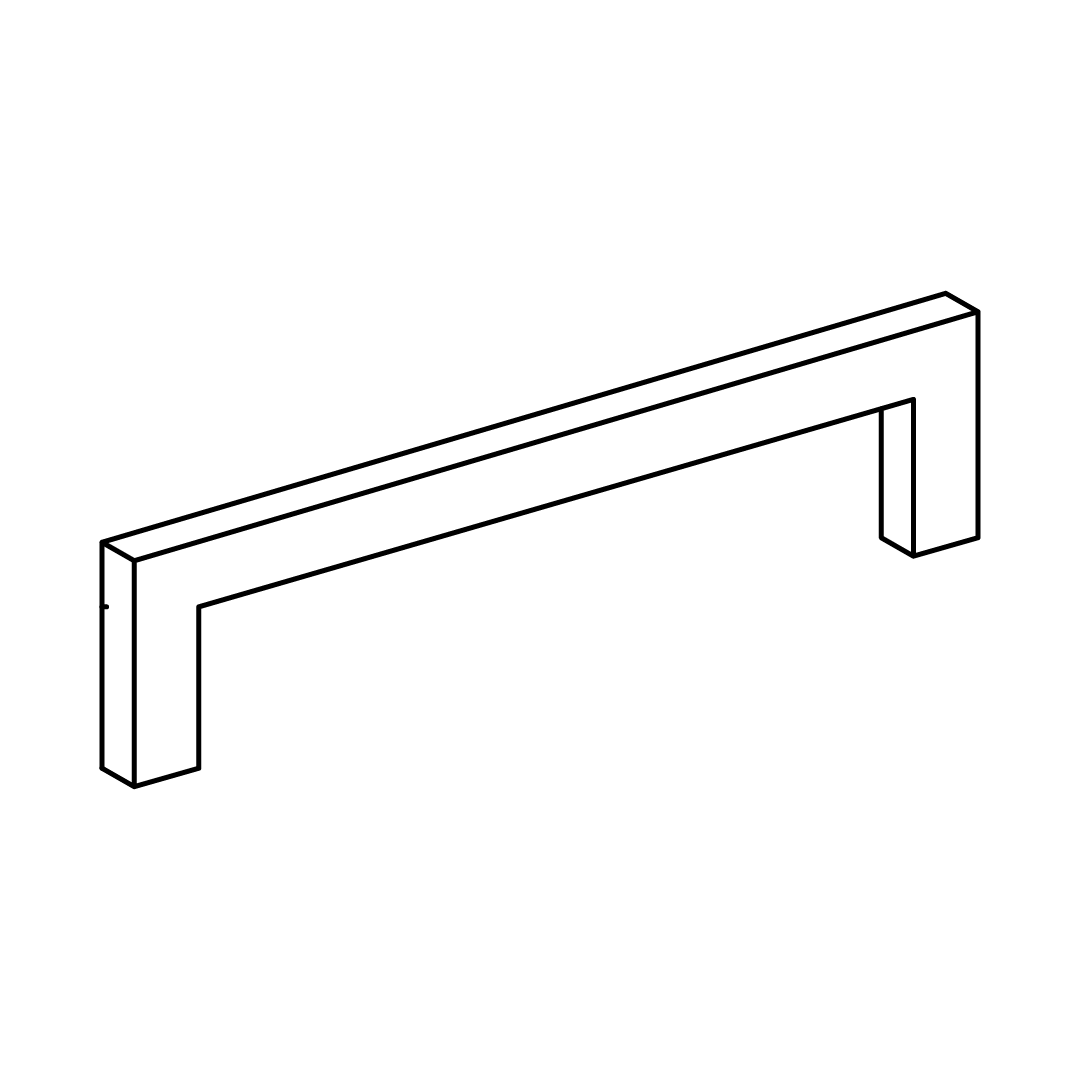
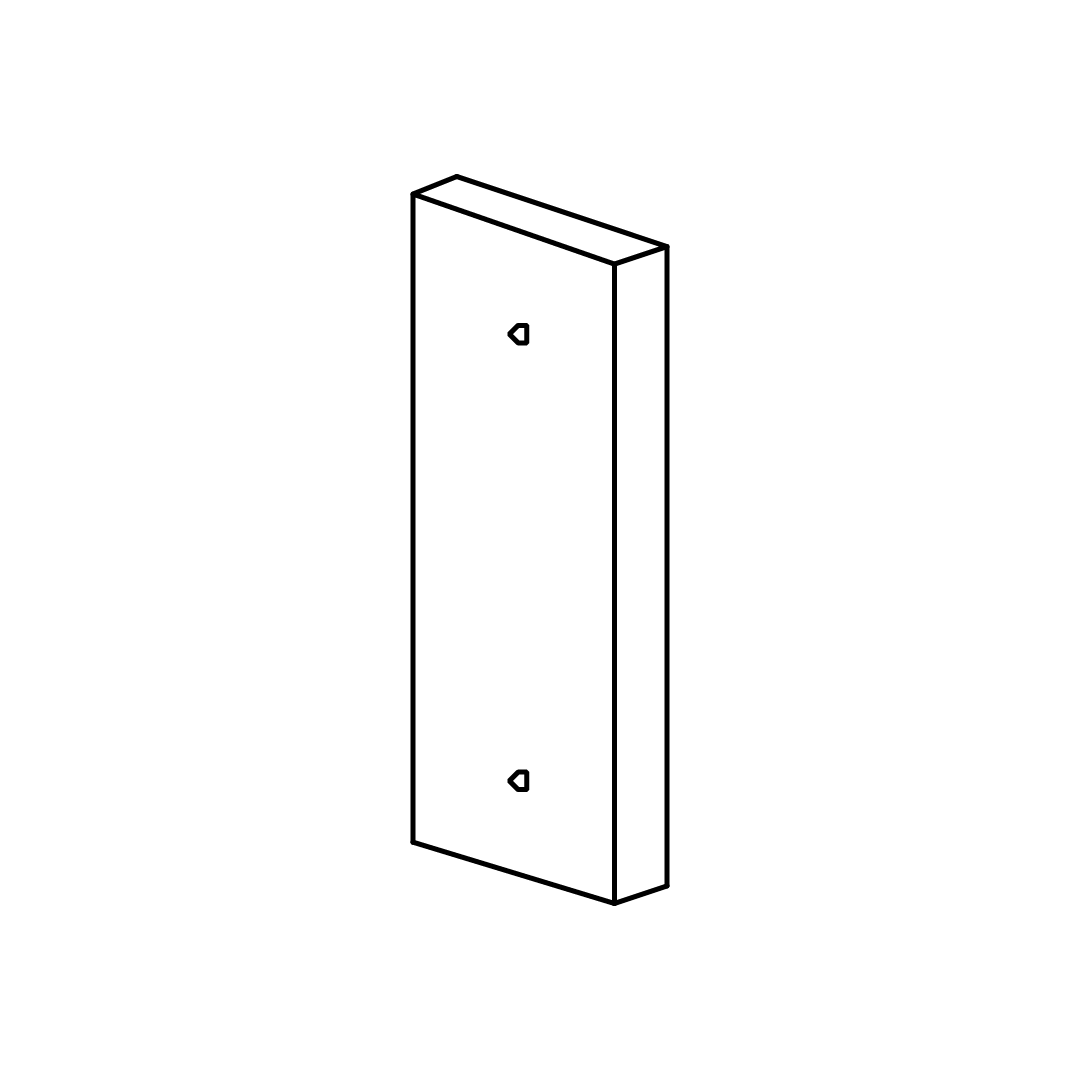
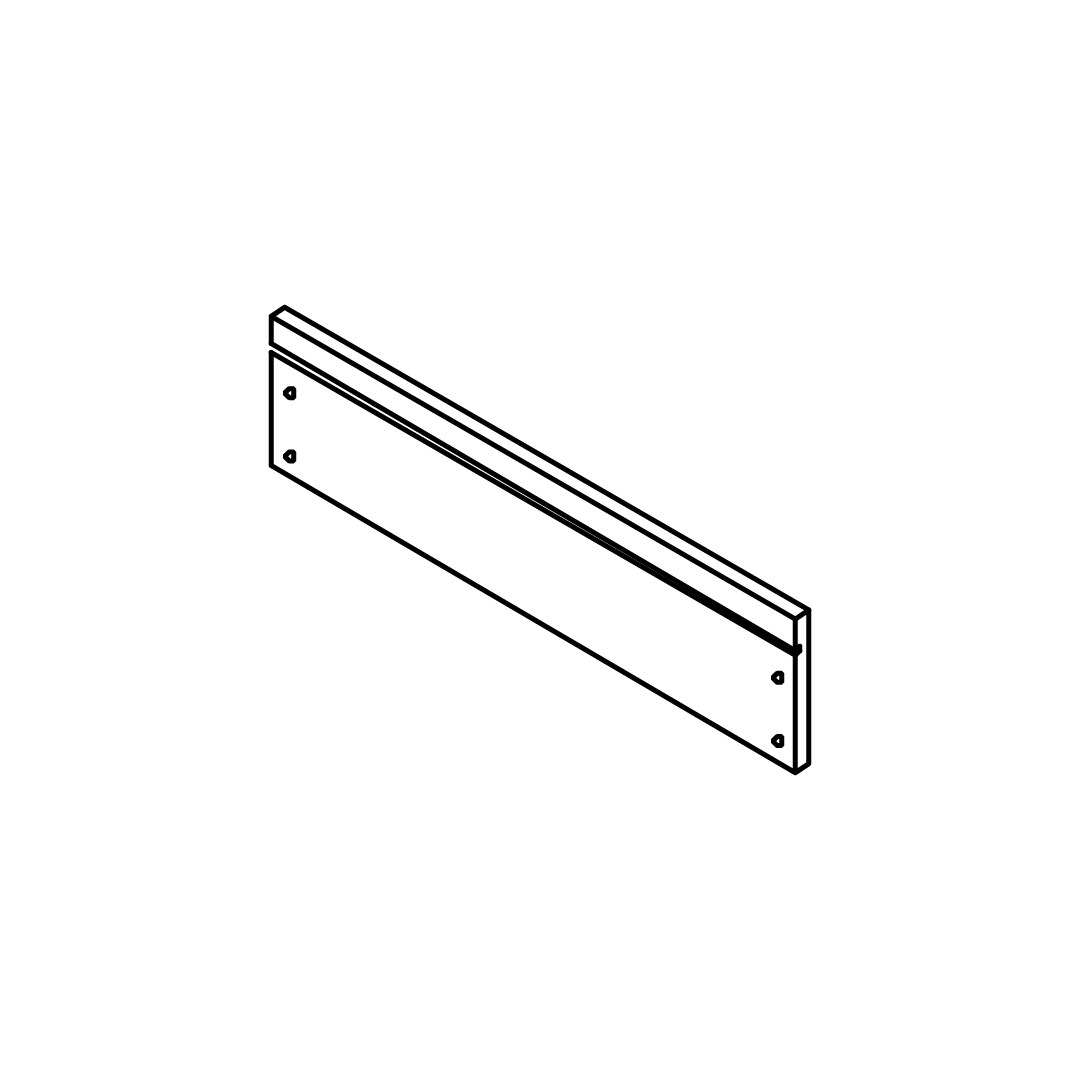
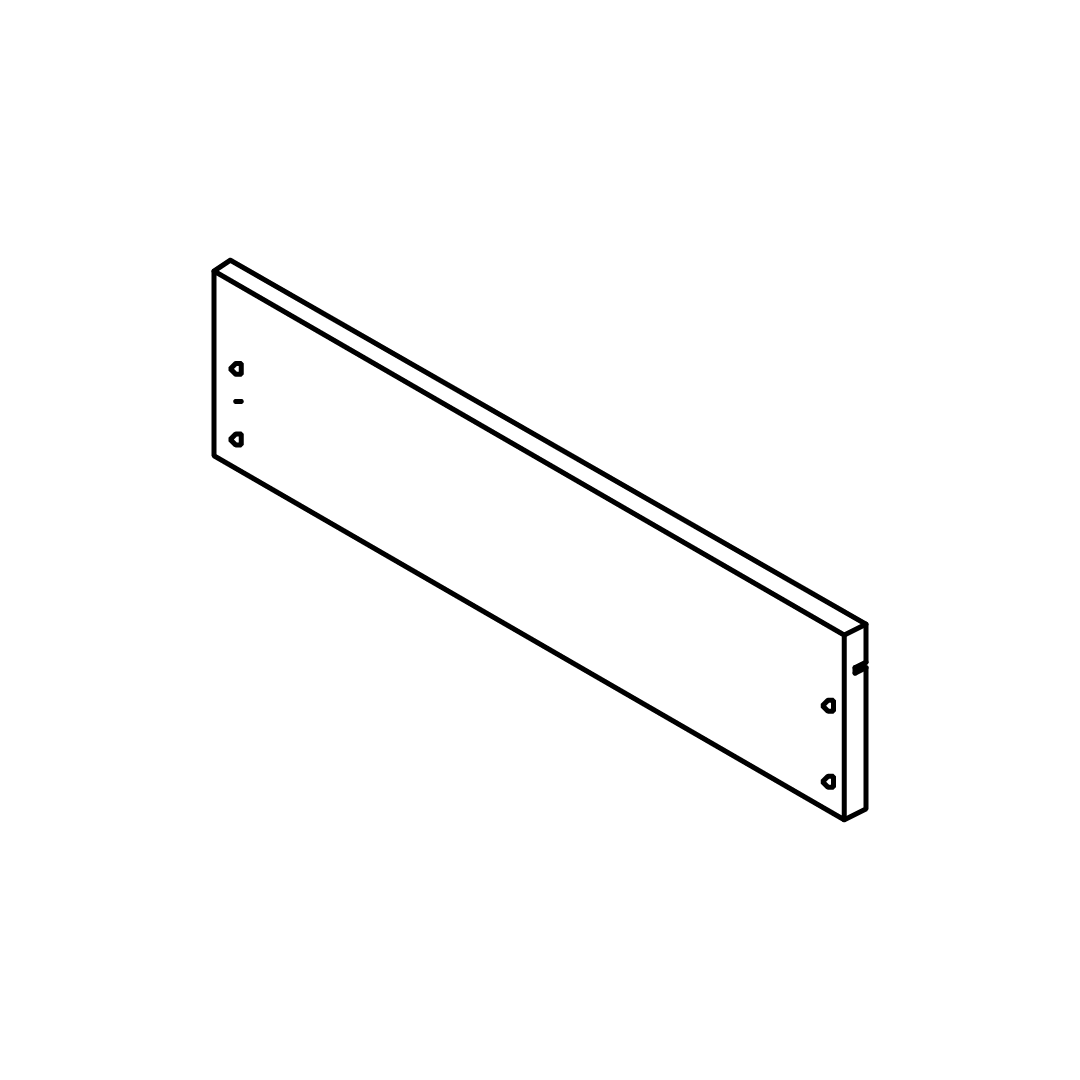
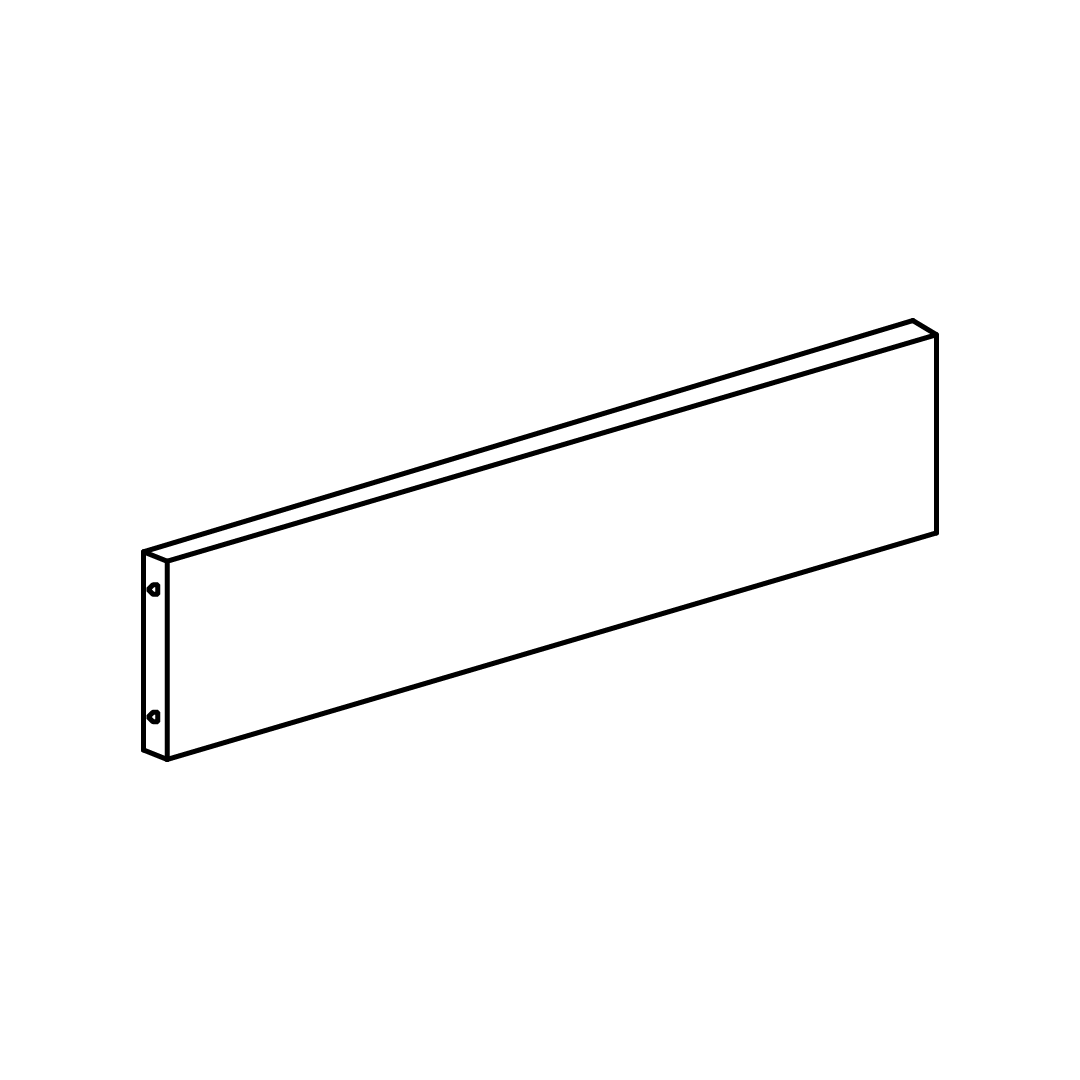
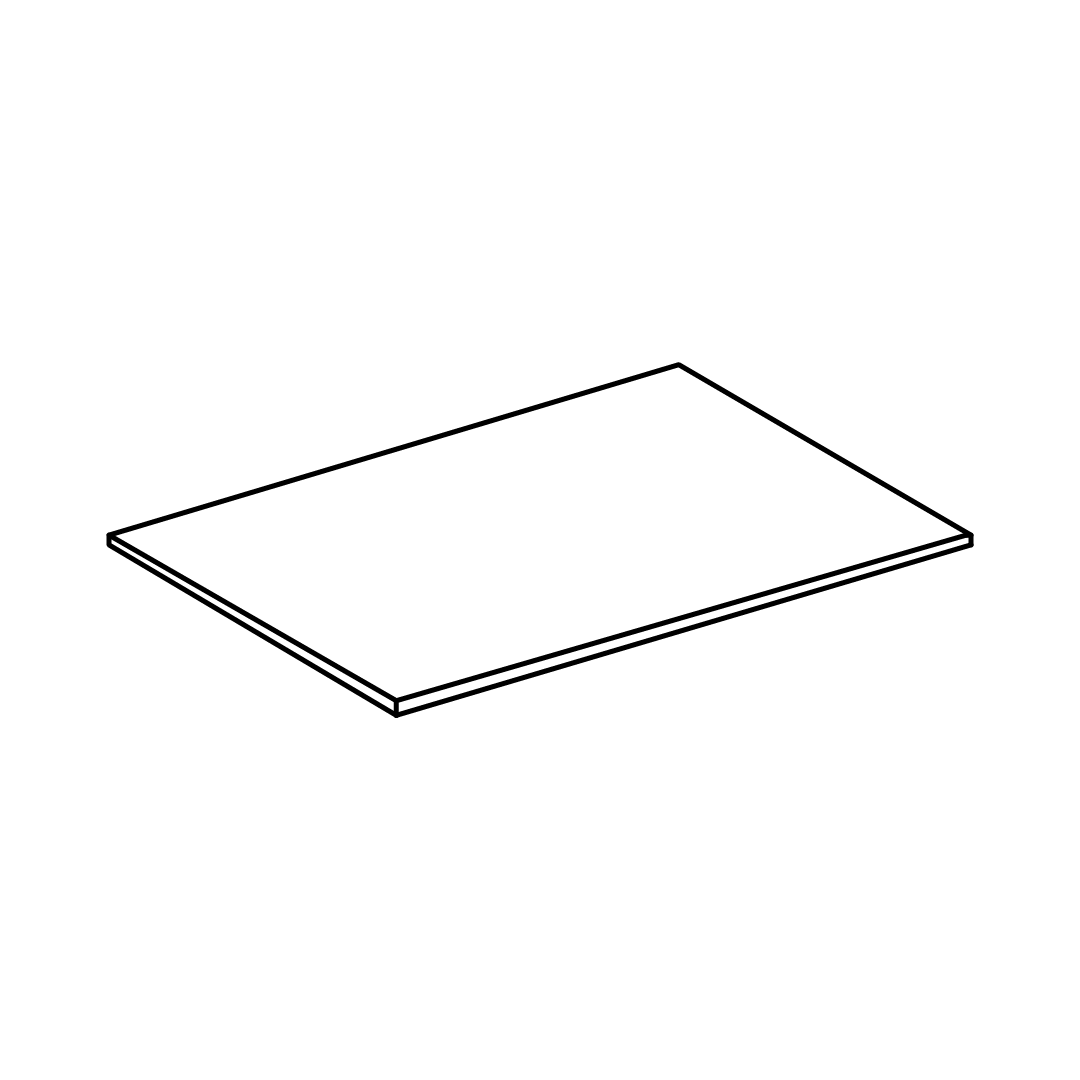
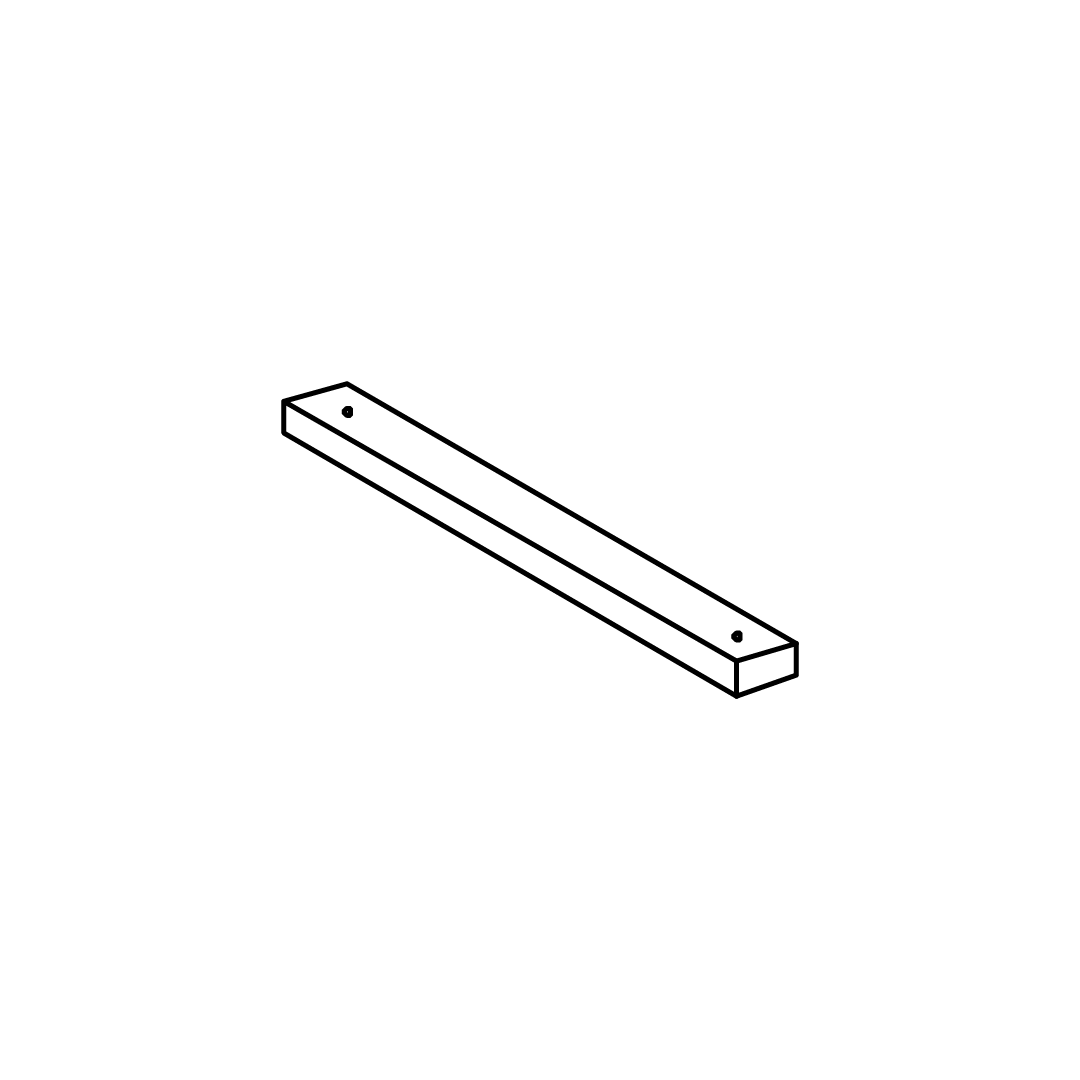
Identify the components: side rail front panel (K), side rail back Ppanel (N), and both side panels (L and R).

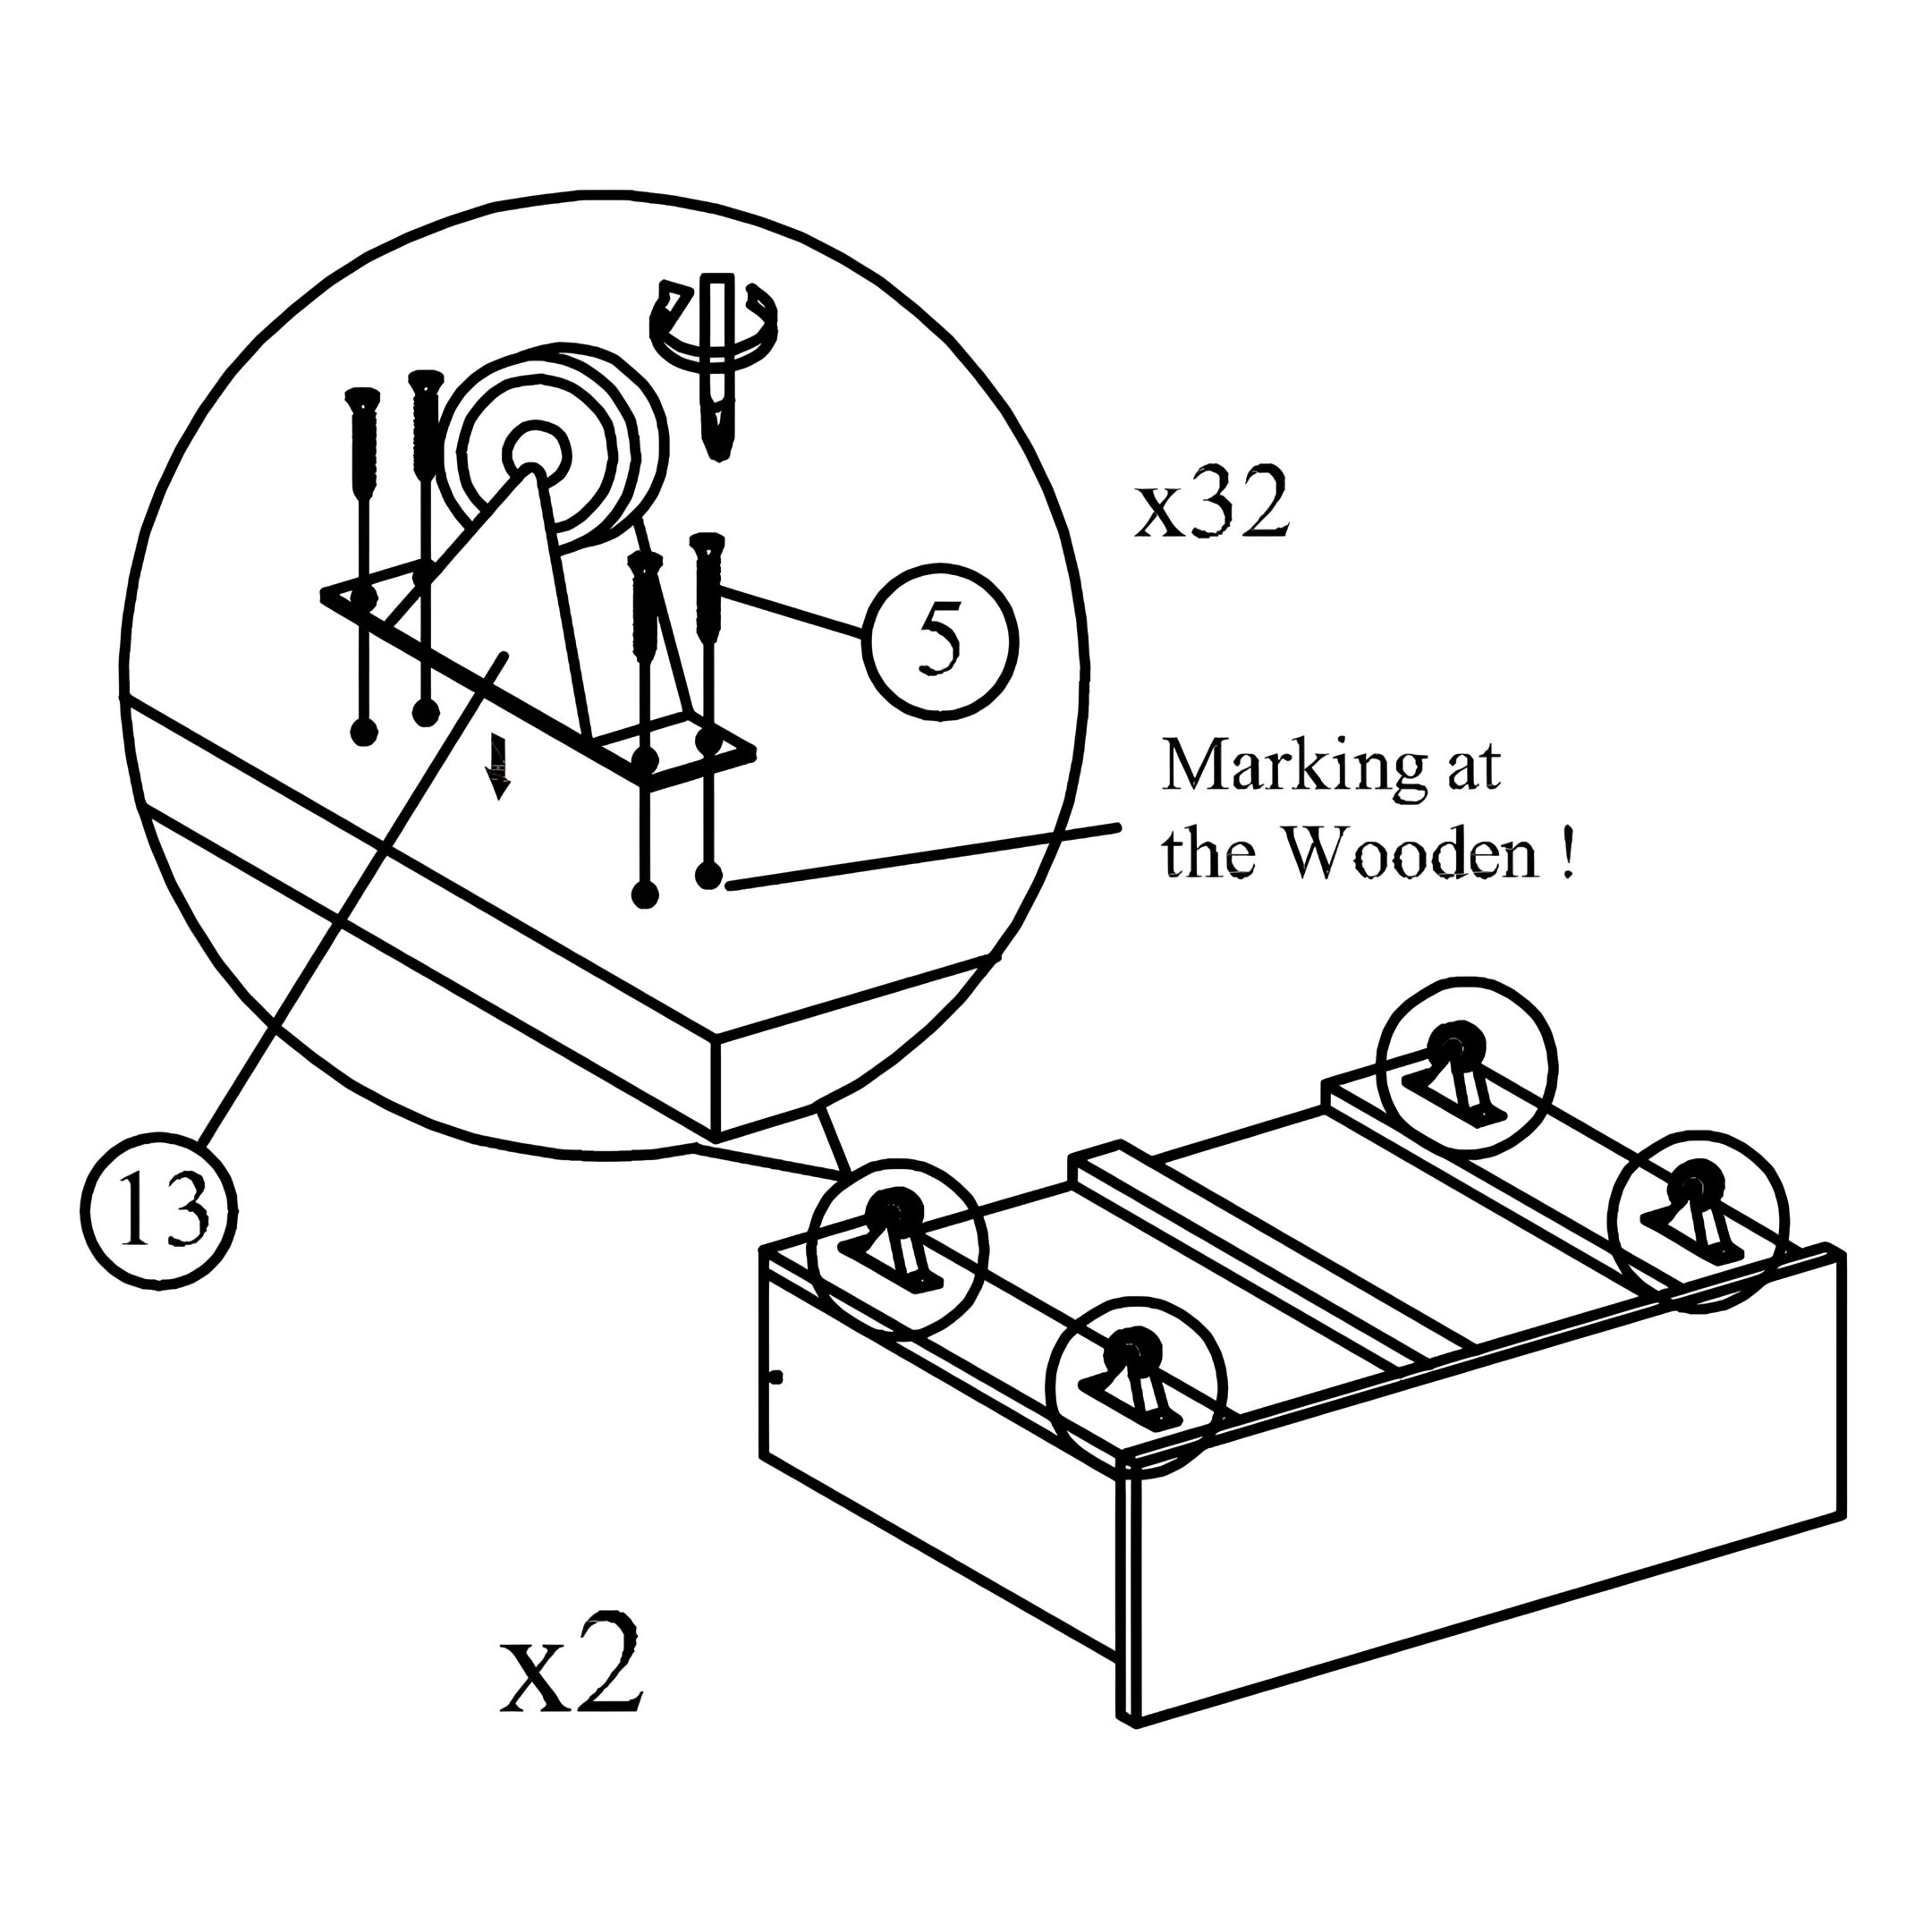
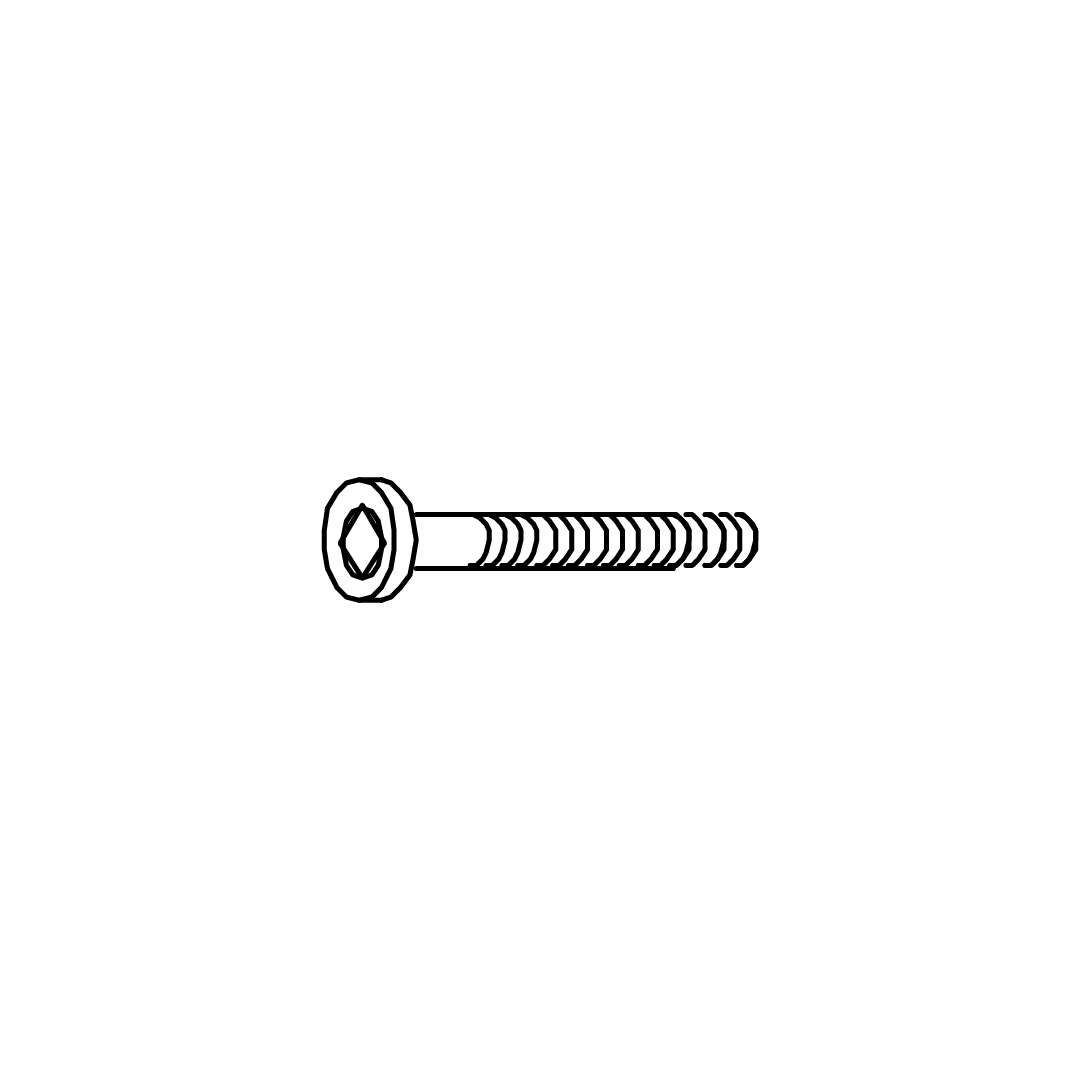
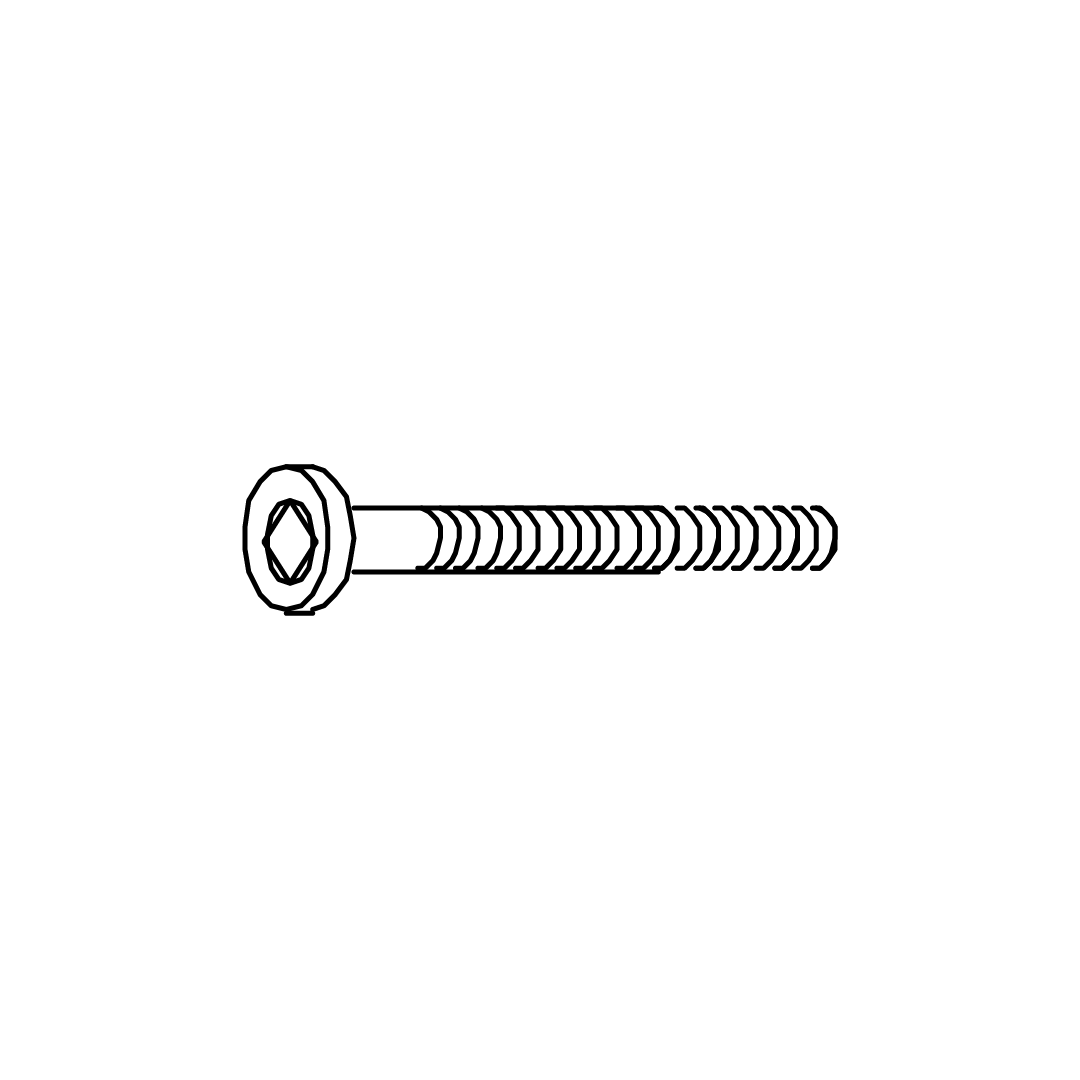
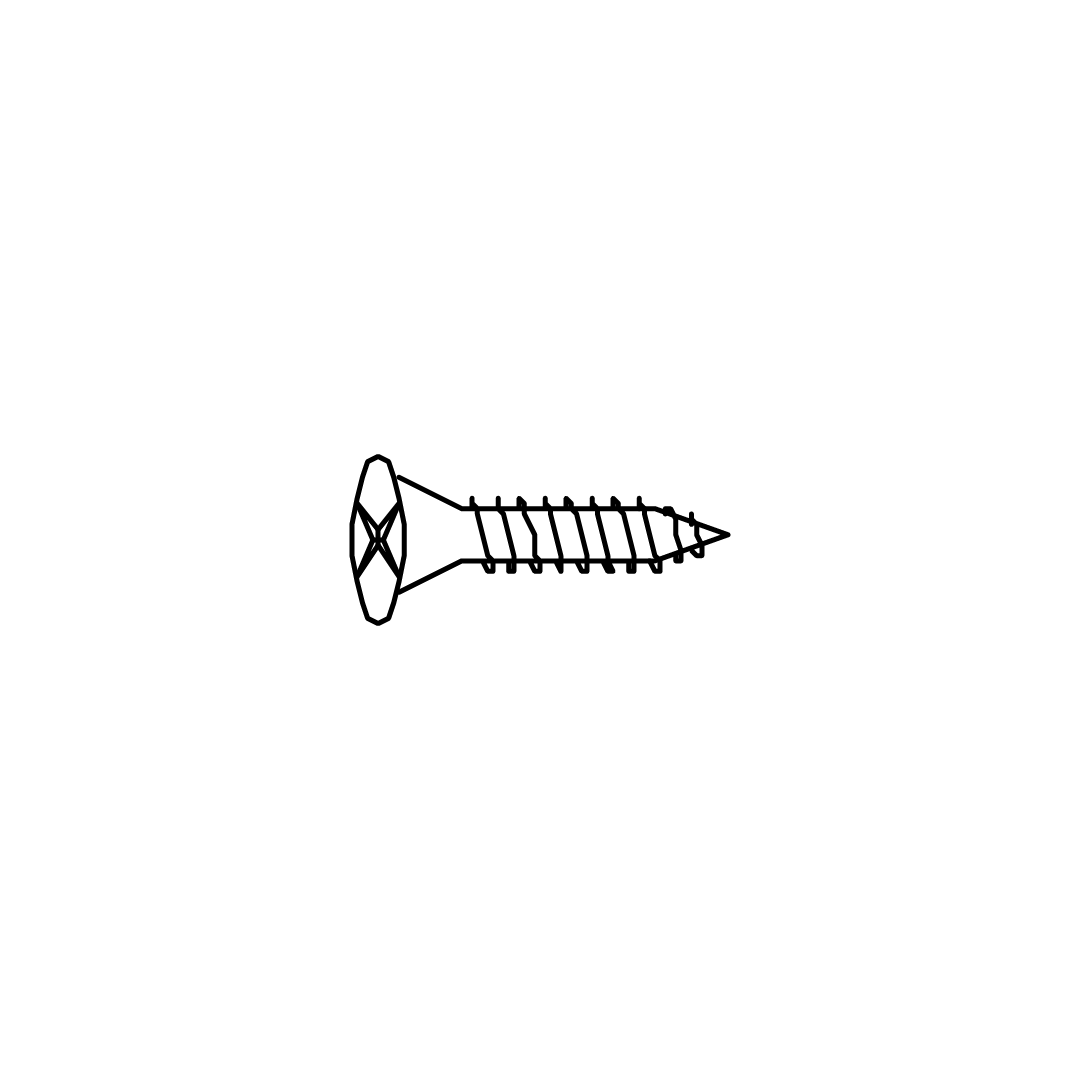
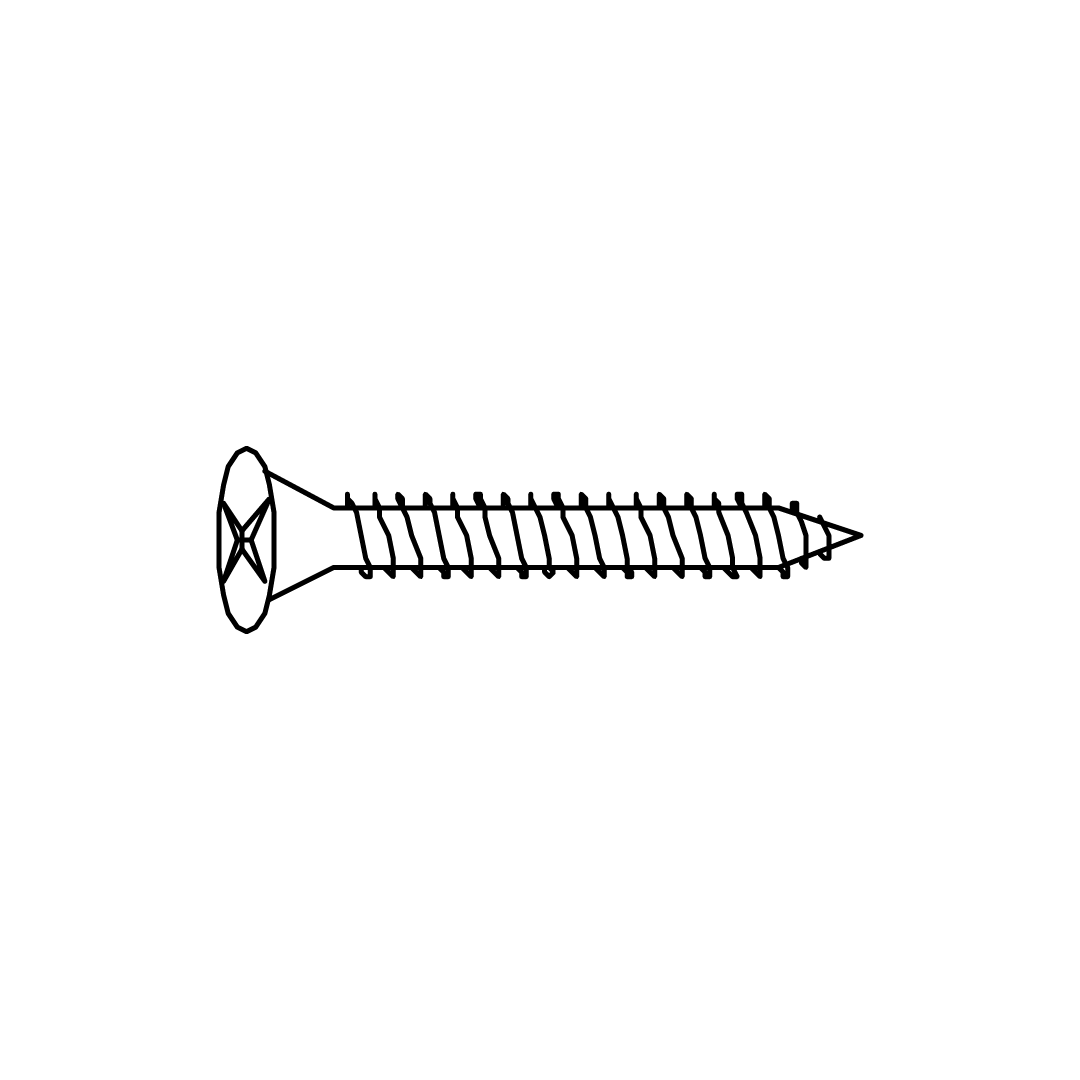
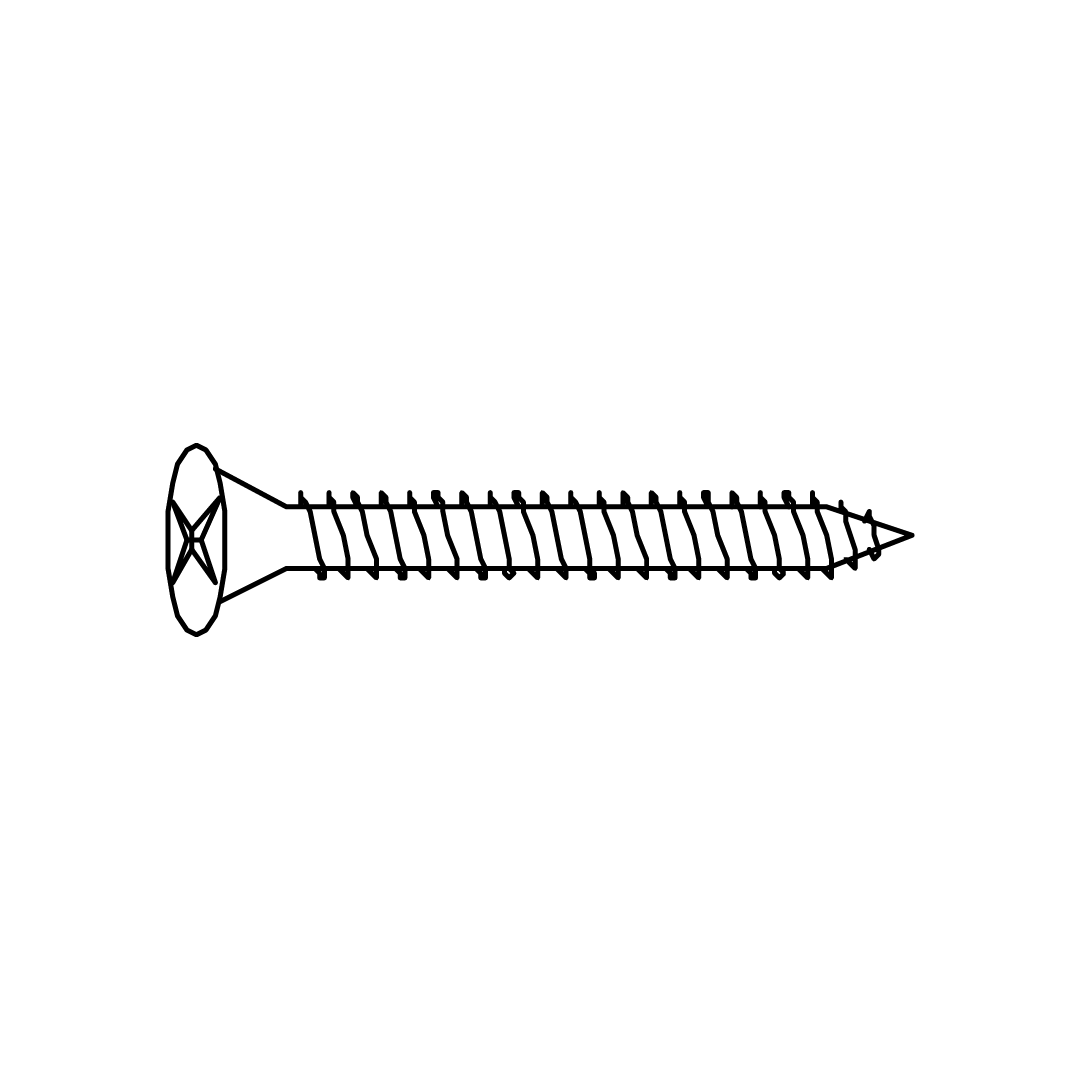
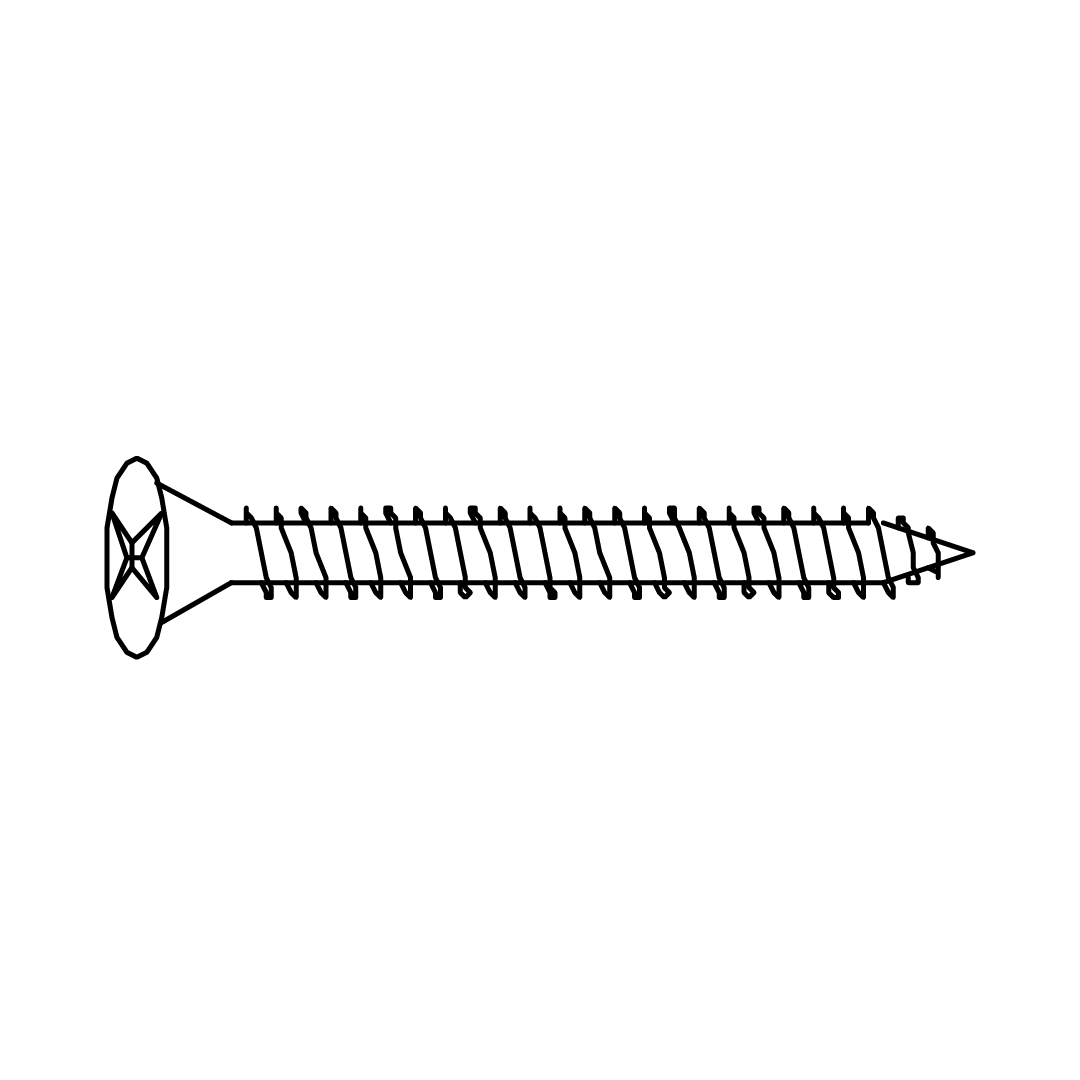
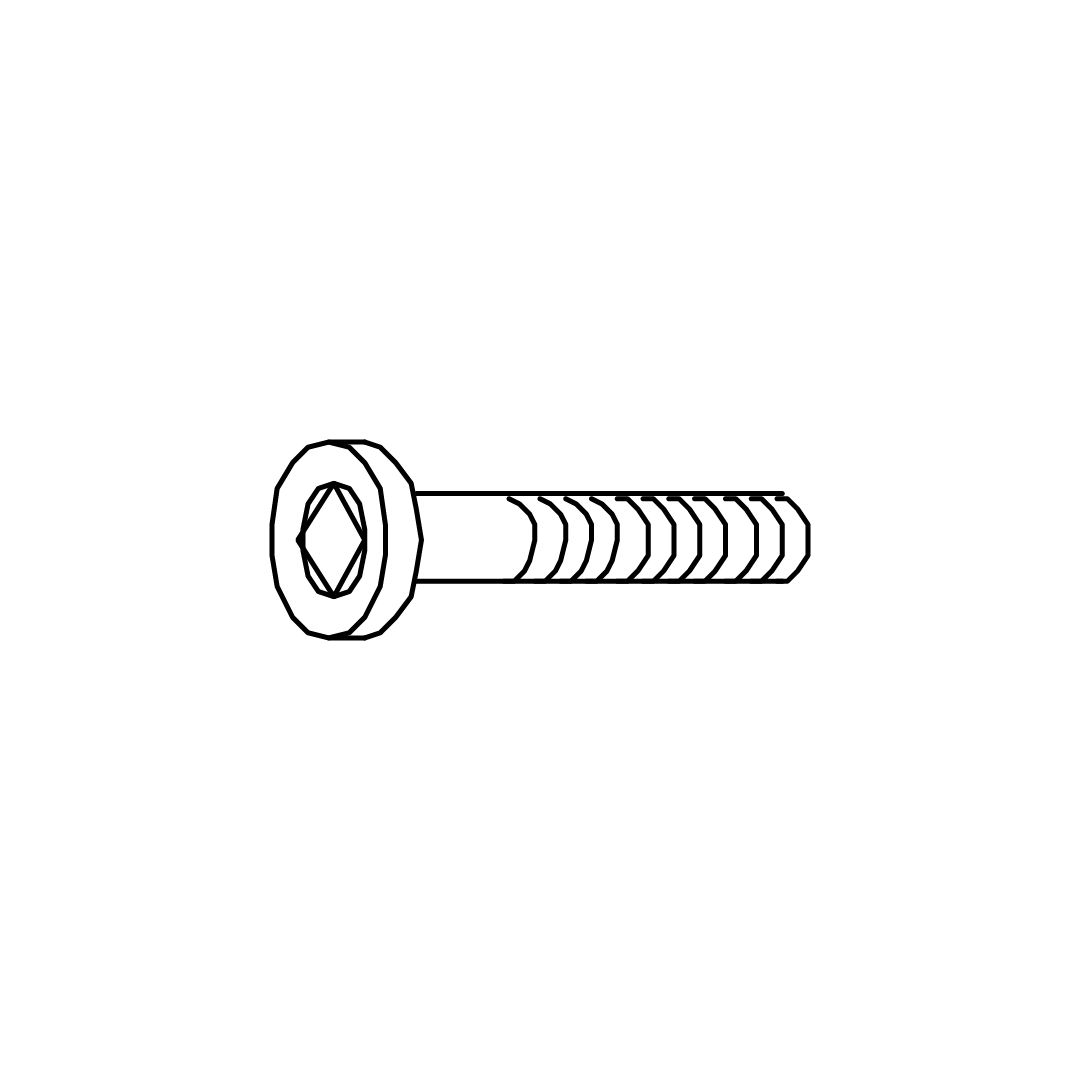
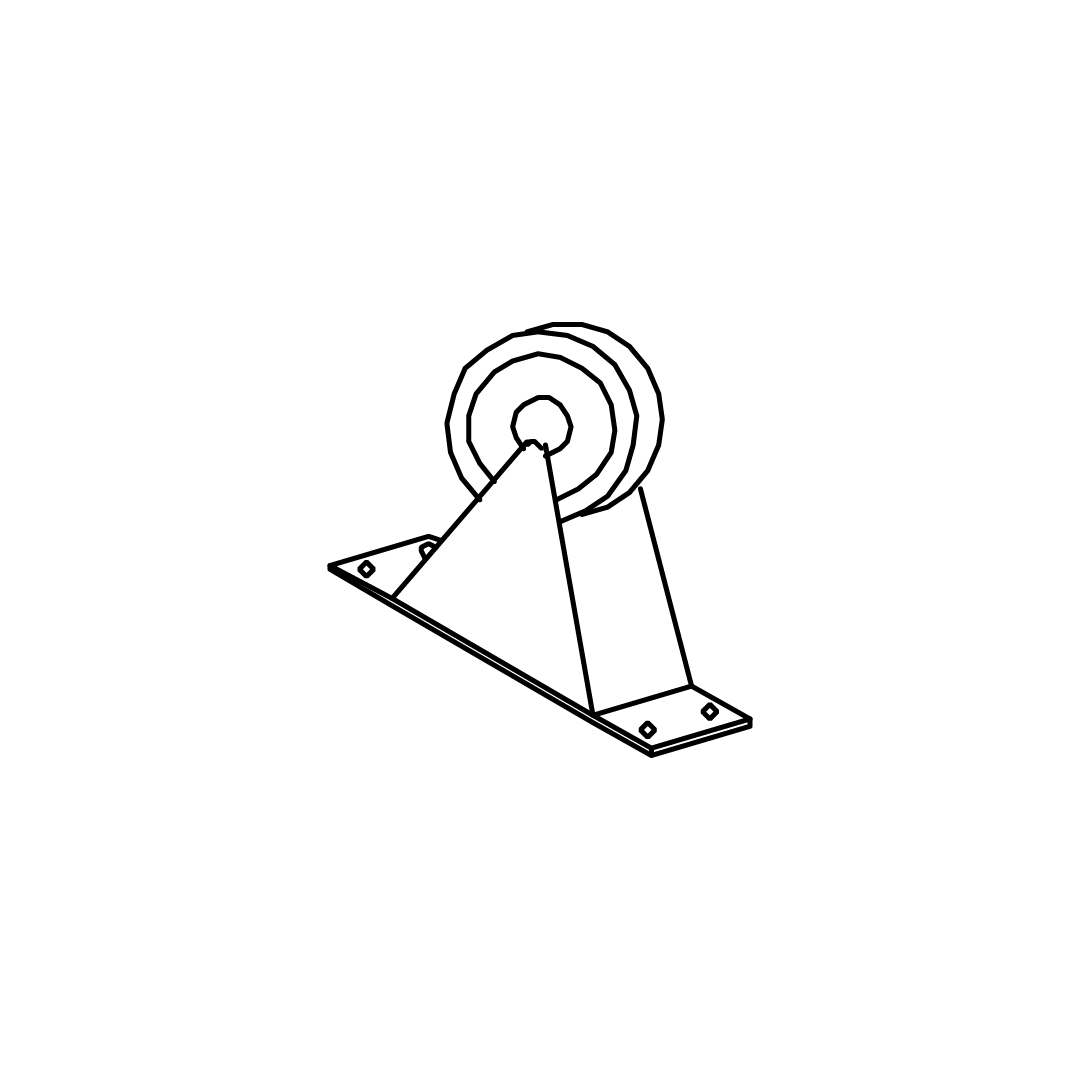
Use screws (8) to attach the side panels (L and R) to the front (K) and back (N) panels of the drawer.

Ensure the screws are securely fastened to provide stability to the drawer structure.

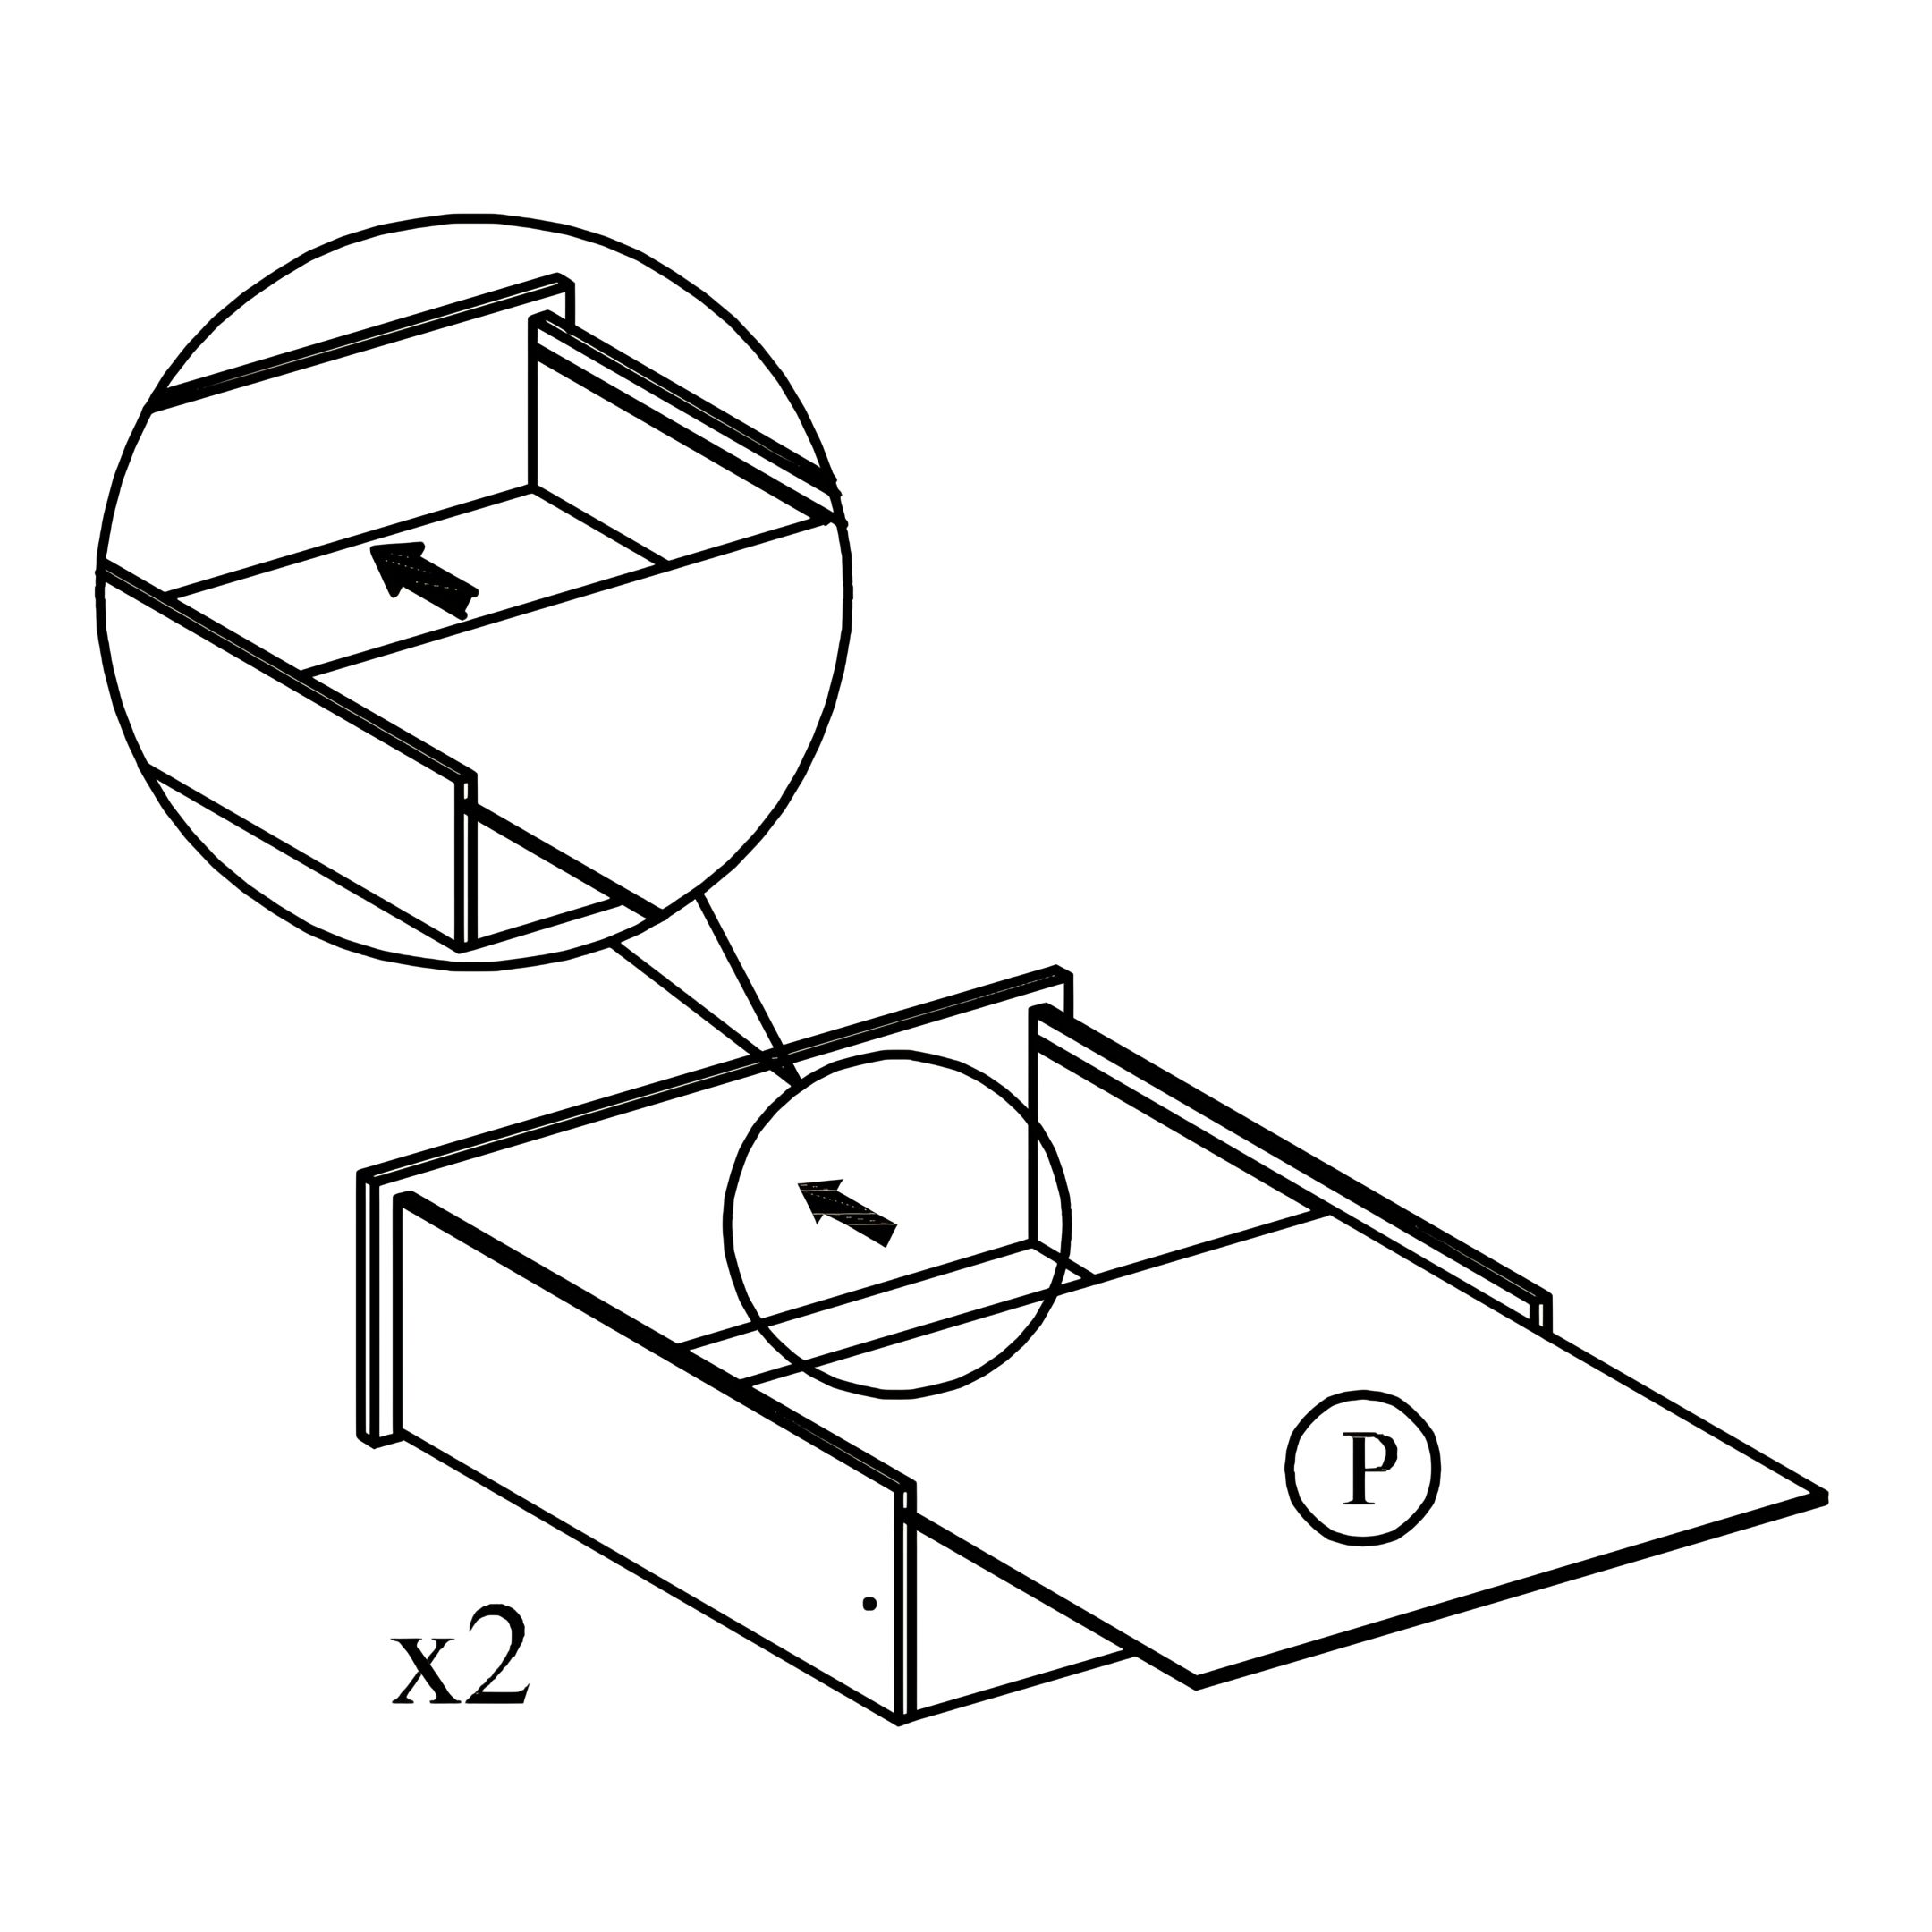
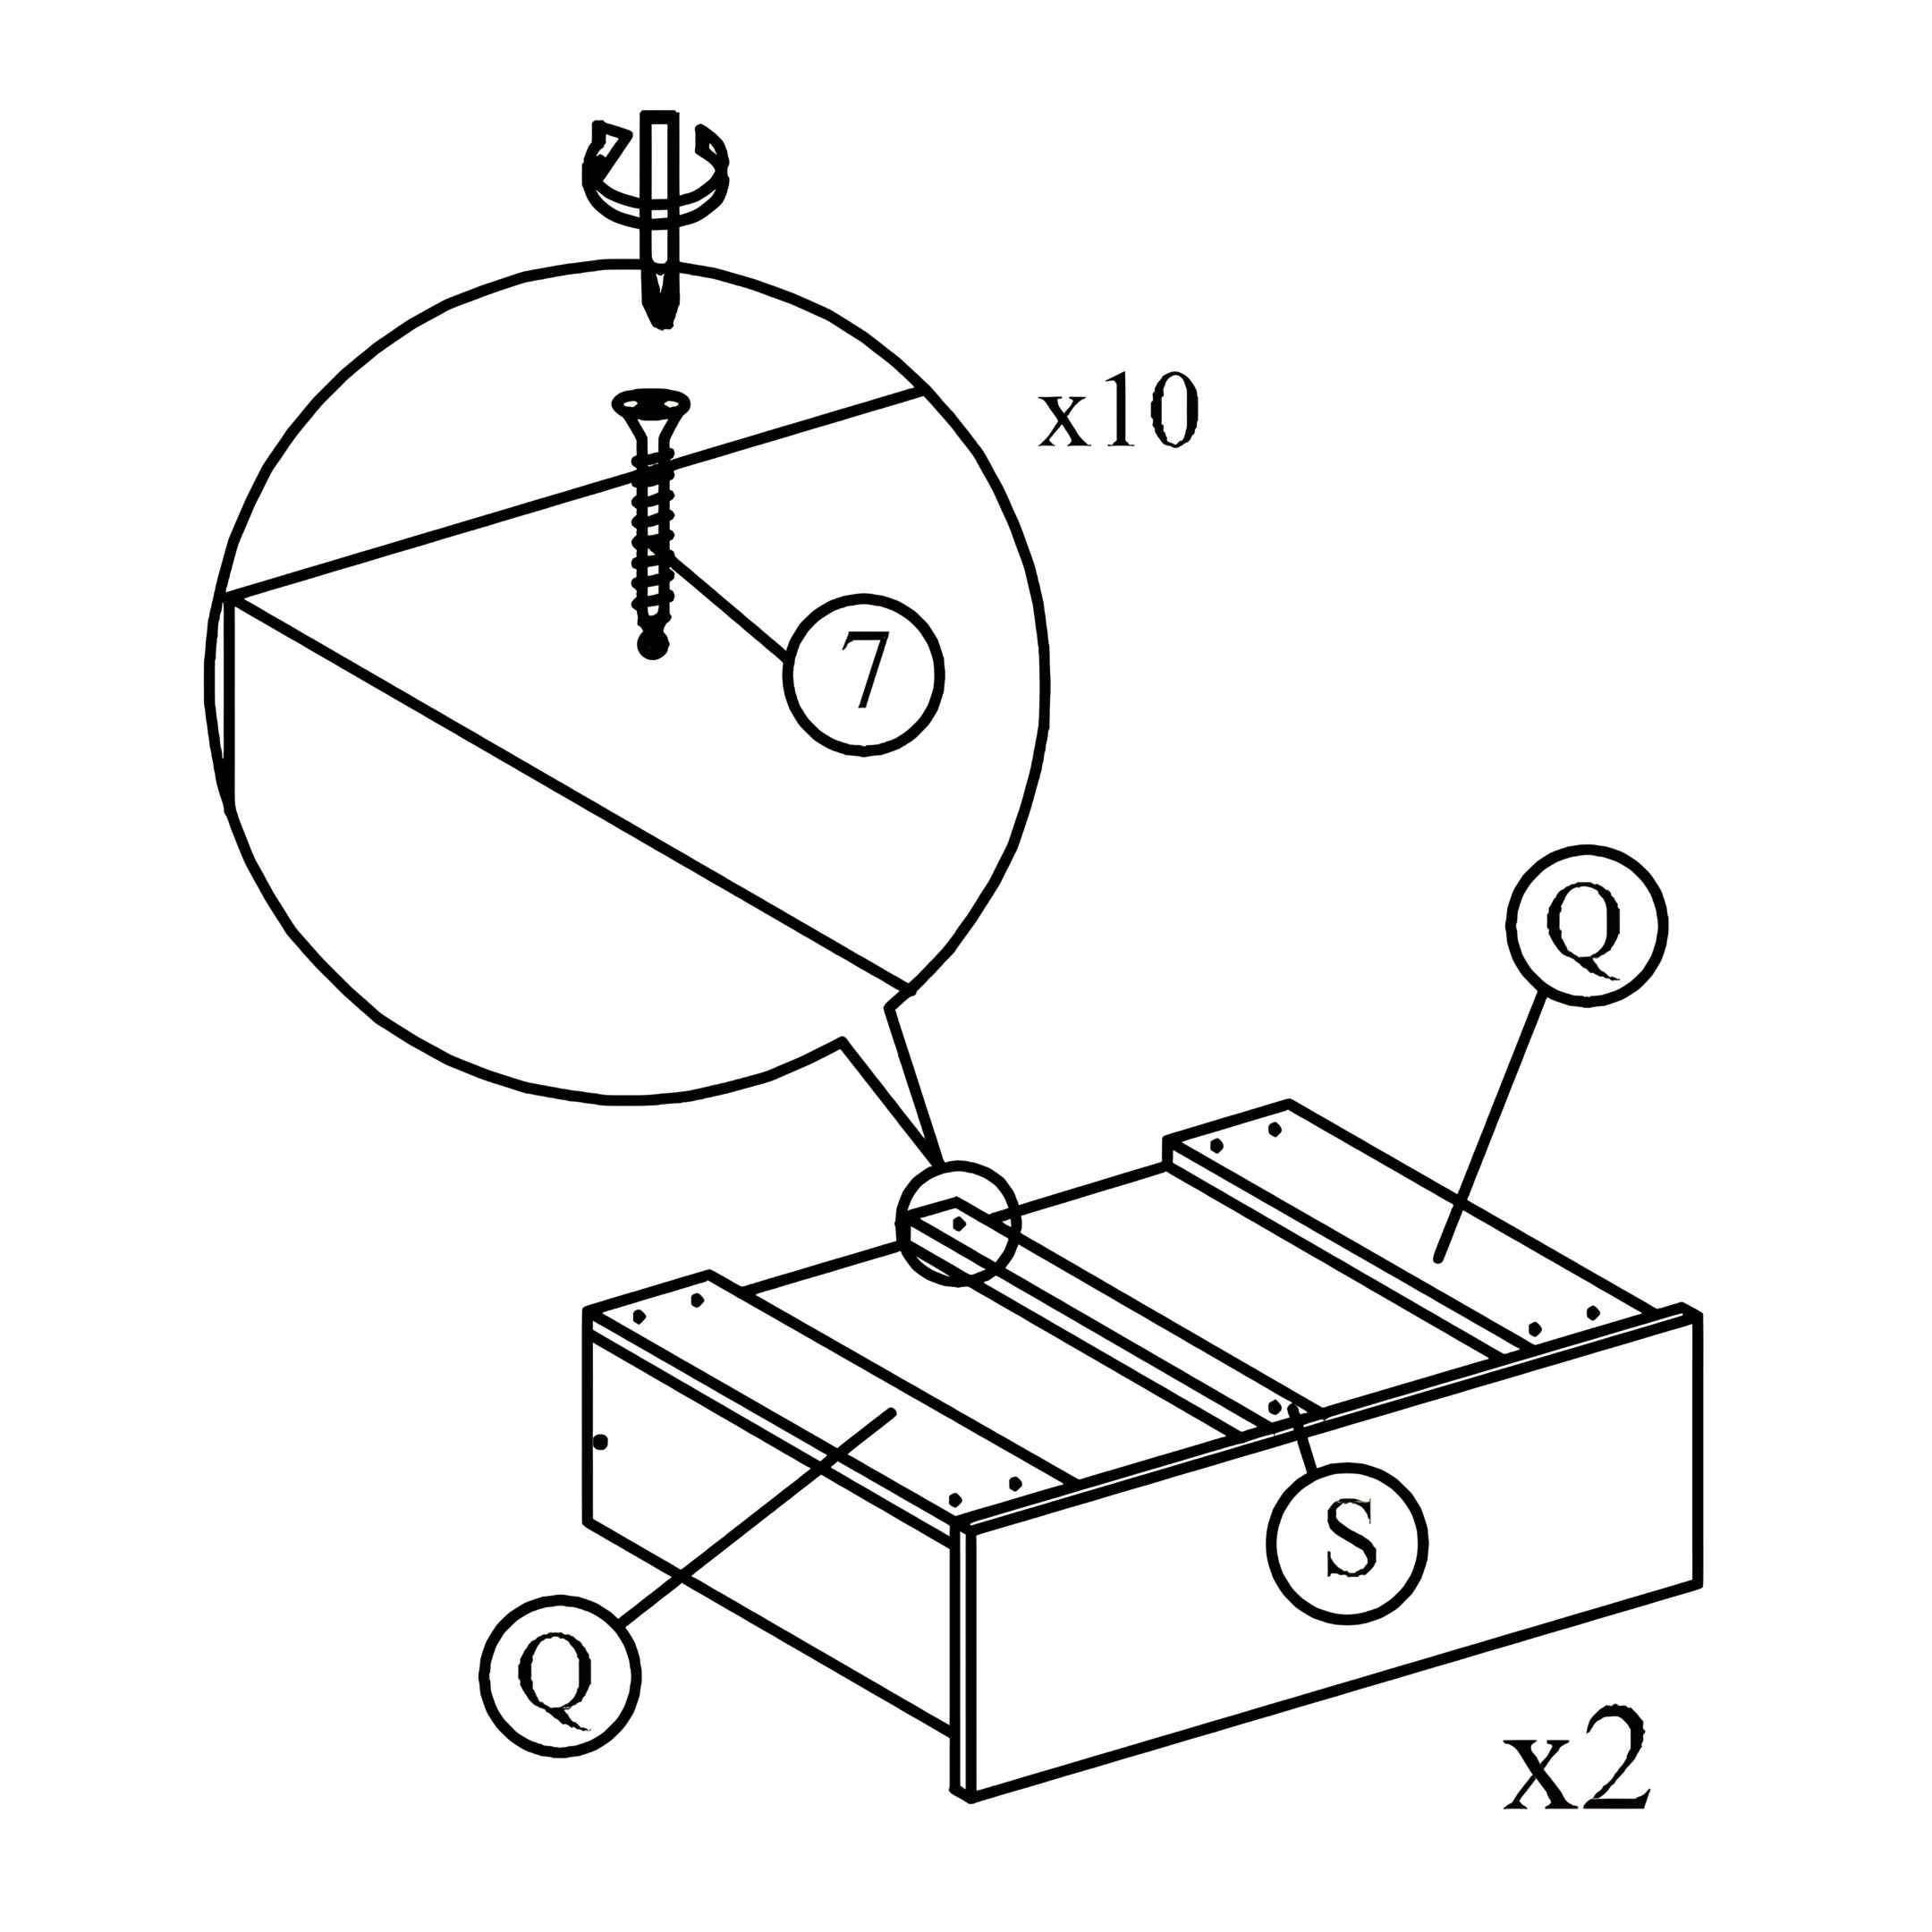
Repeat these steps for the second drawer.

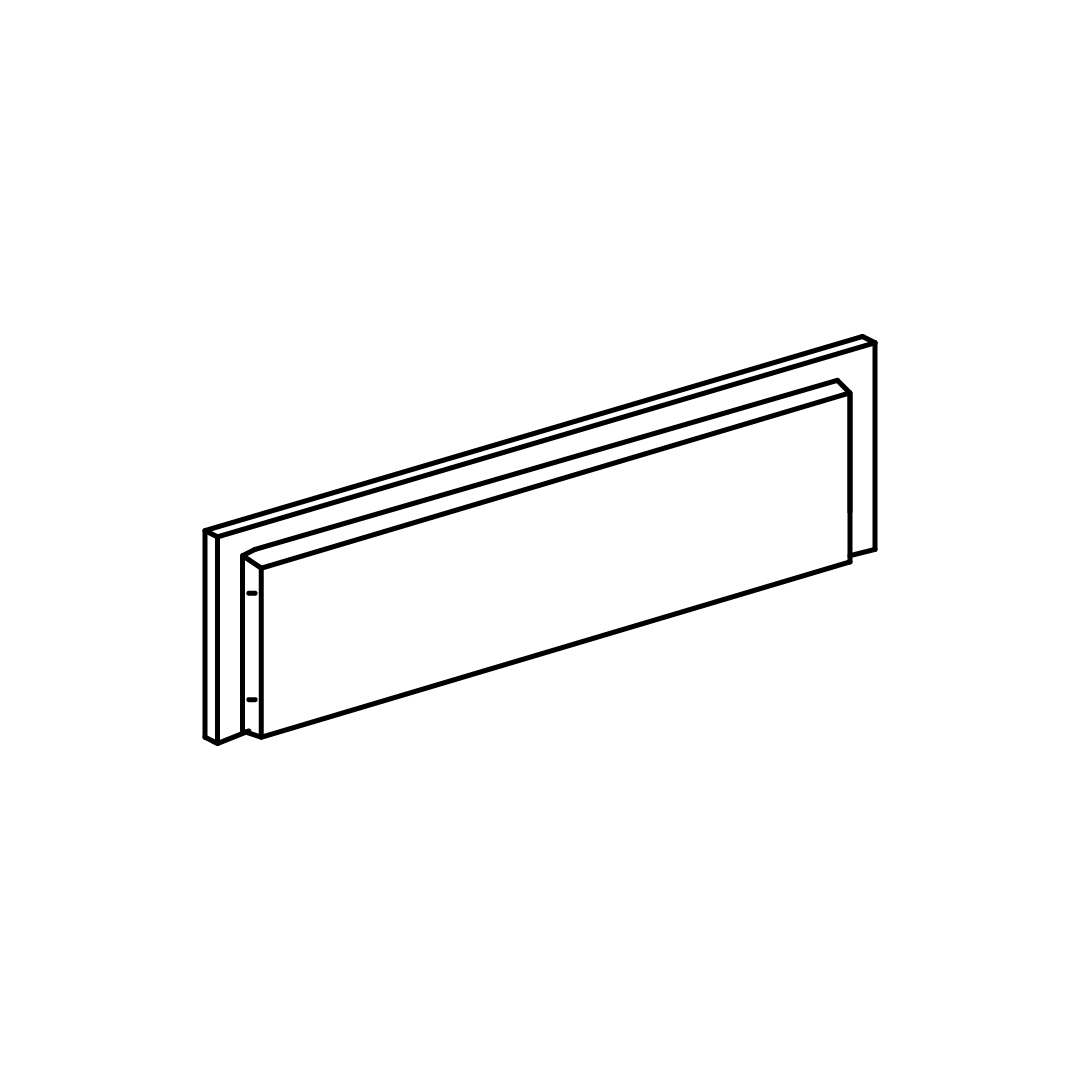
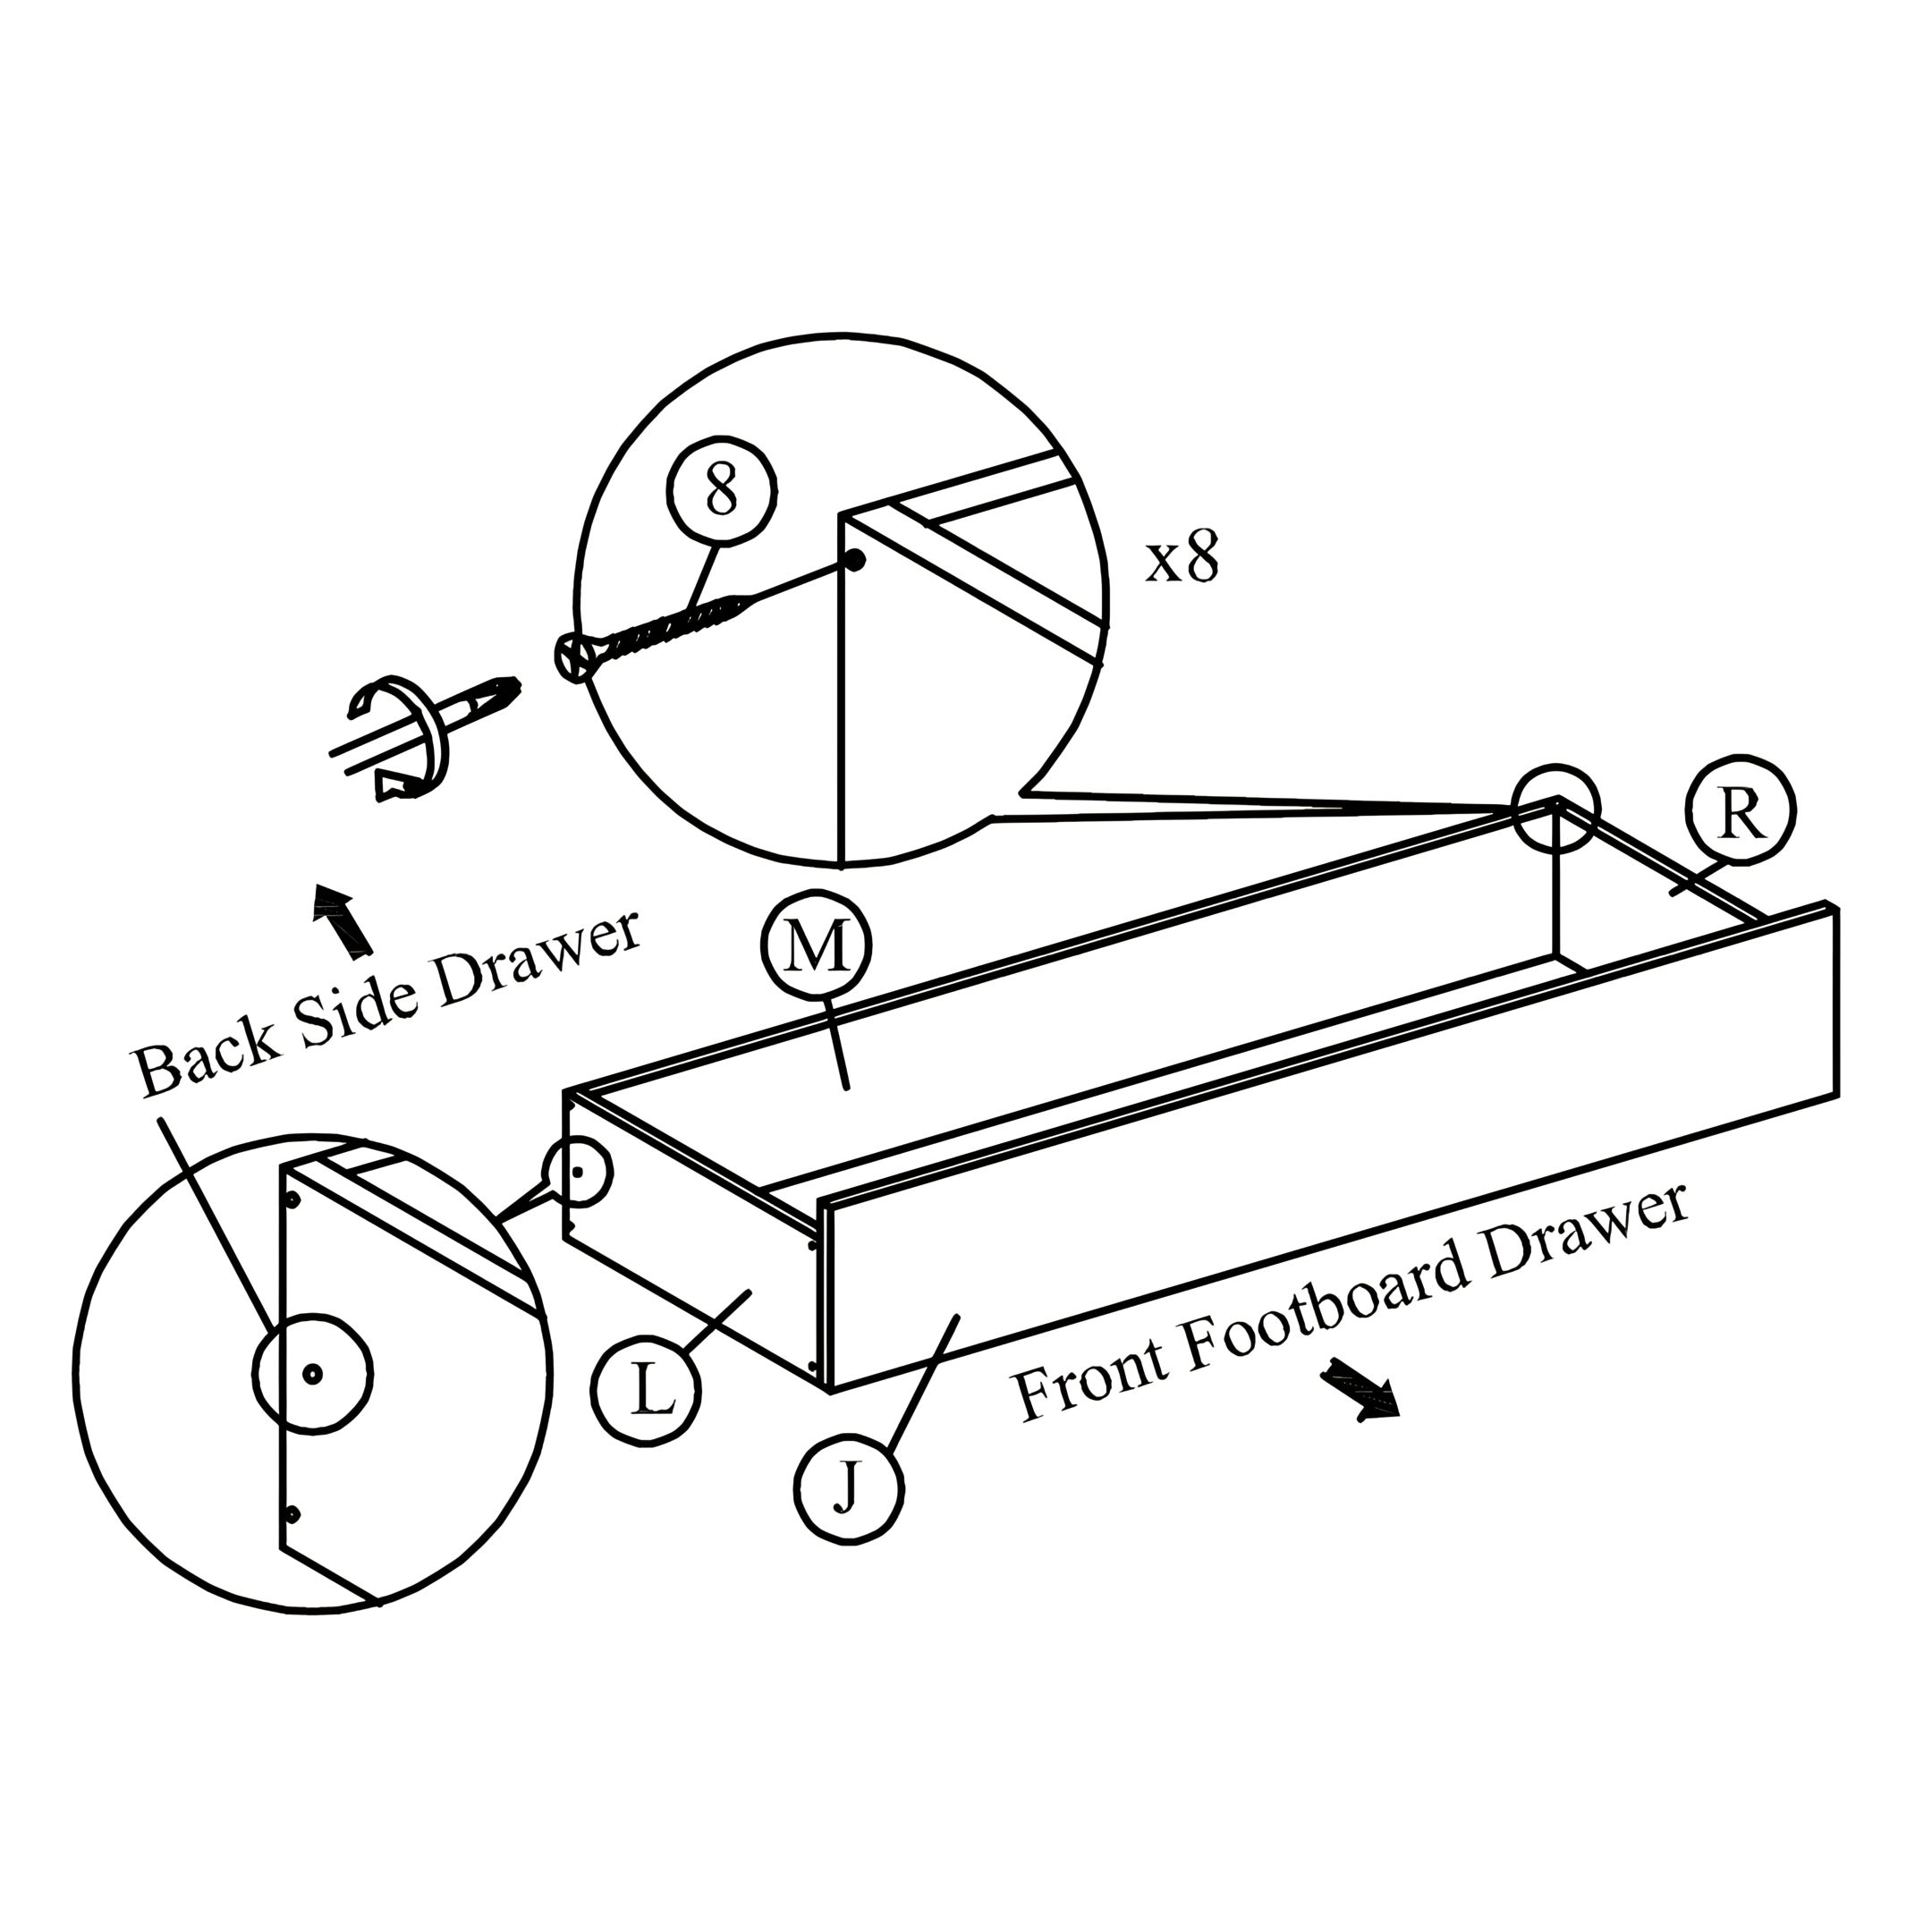
Footboard Drawer Assembly: 

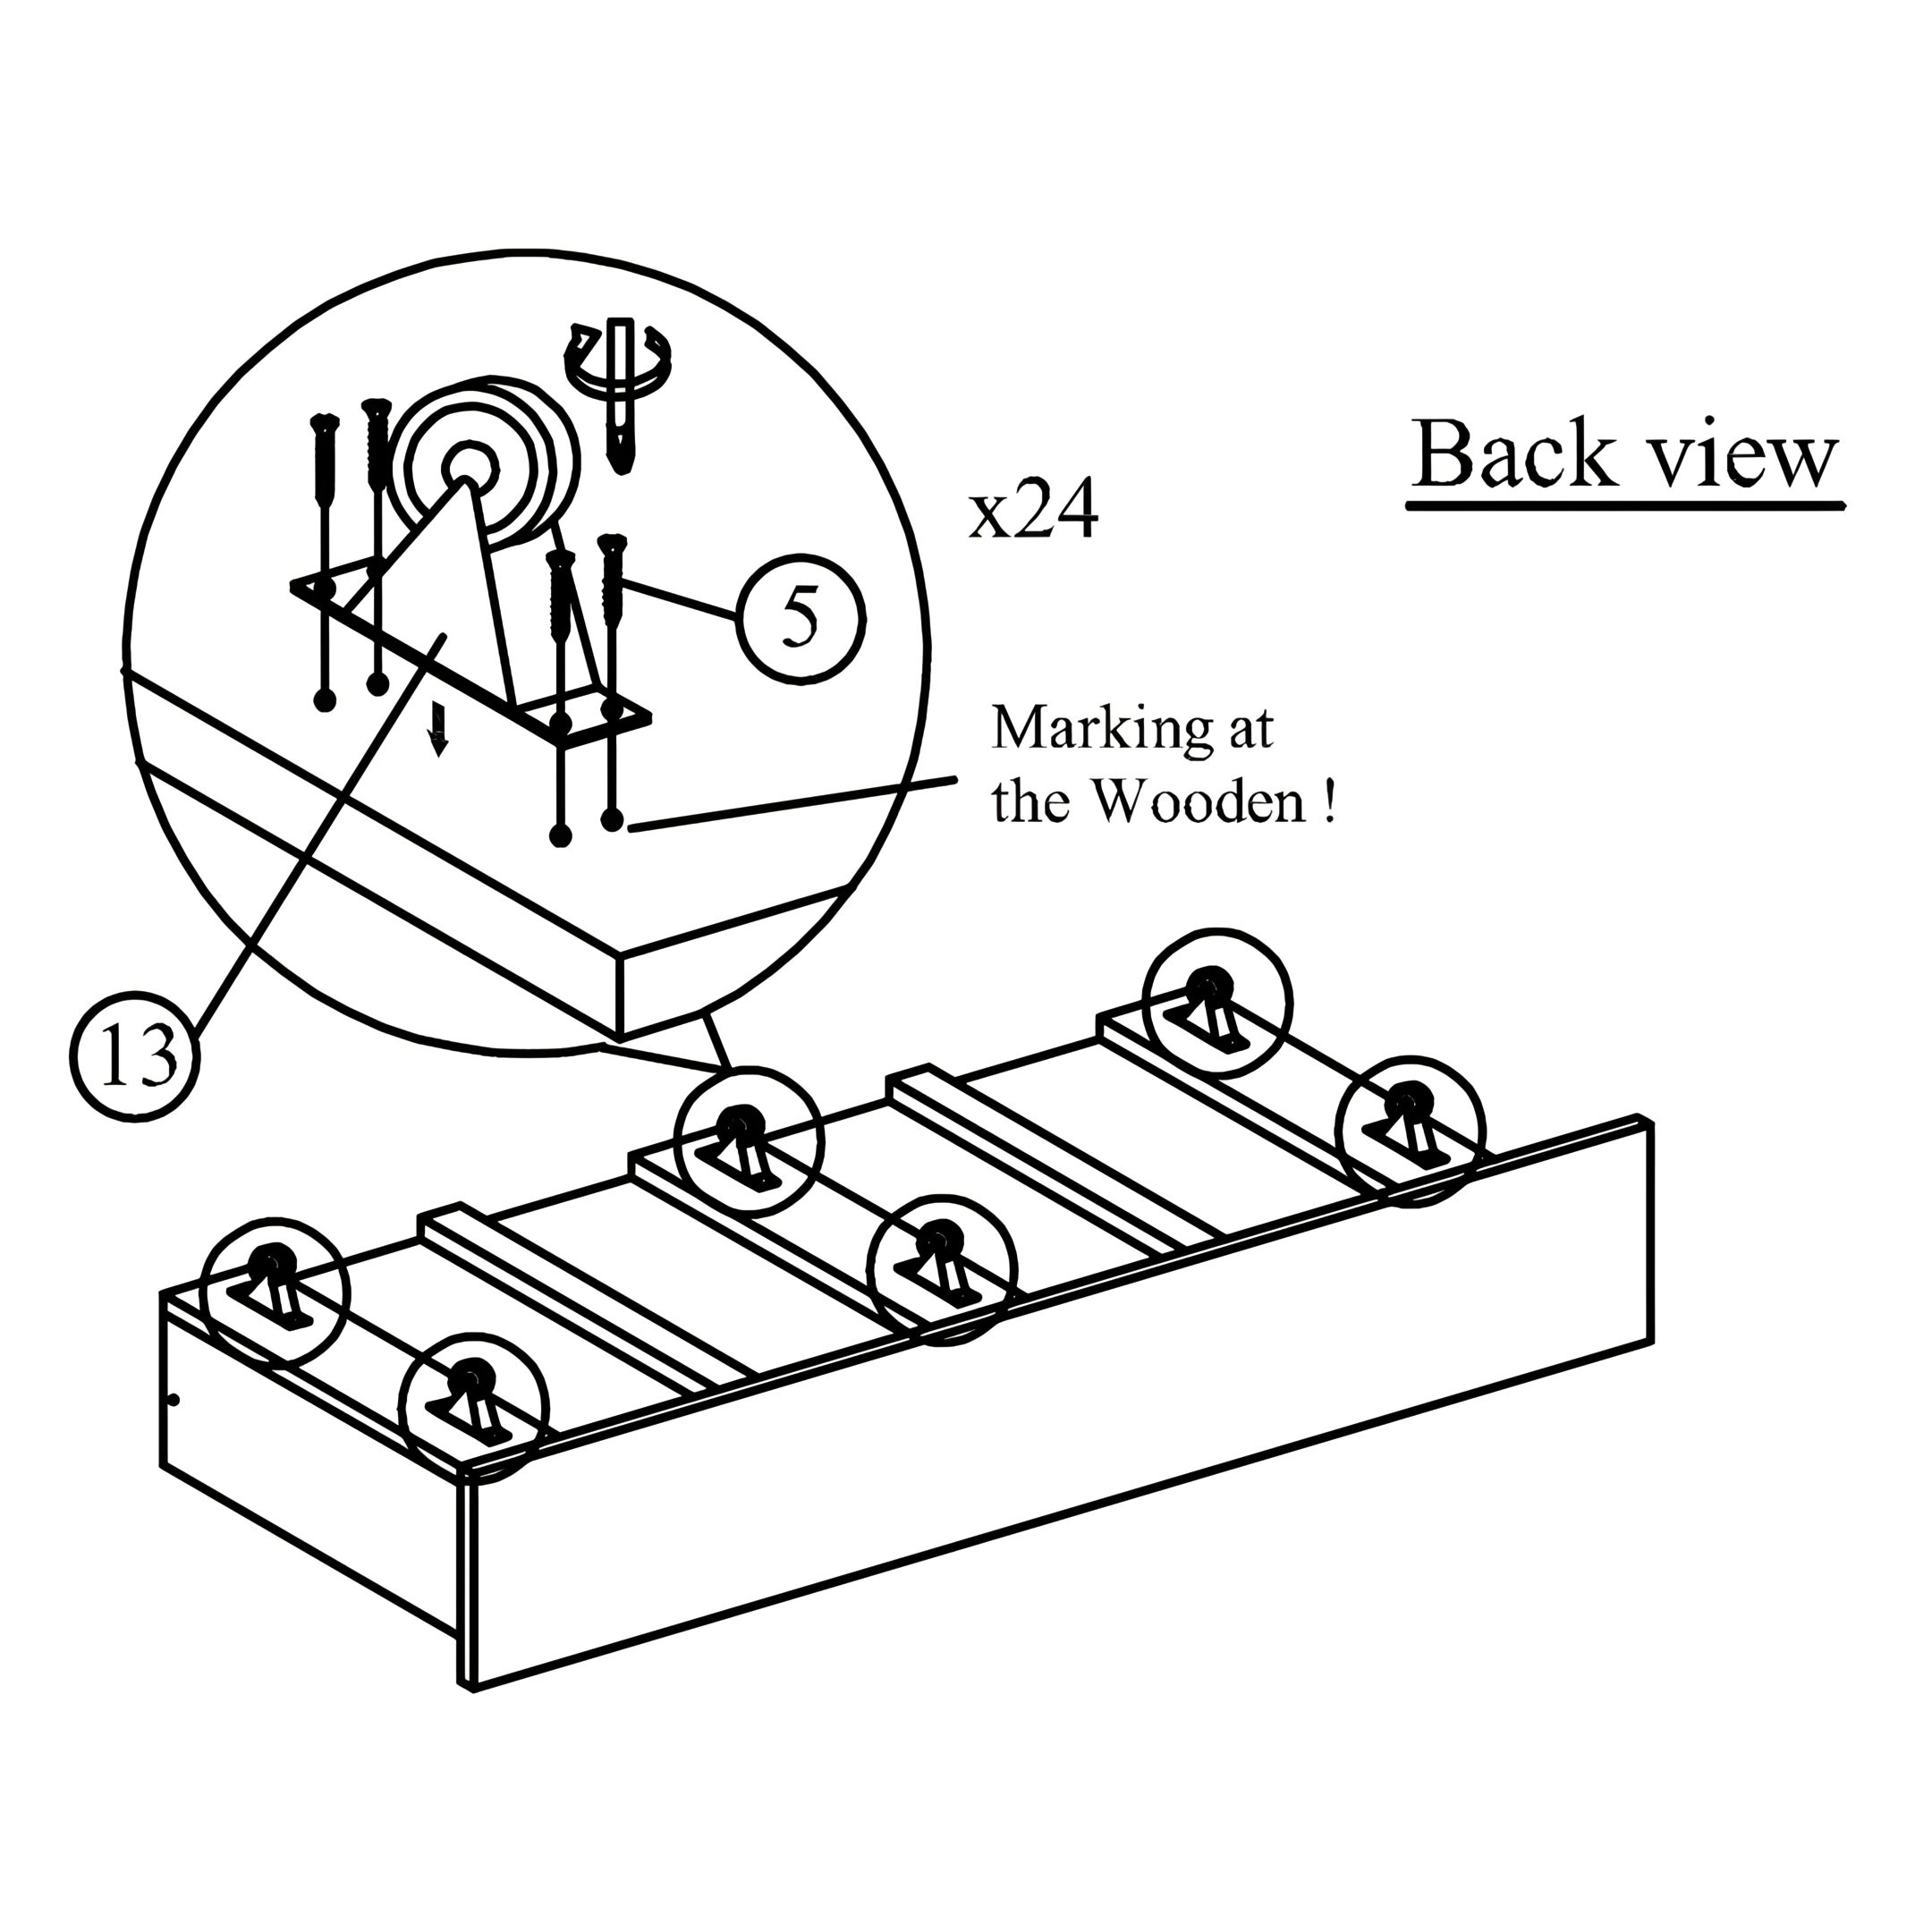
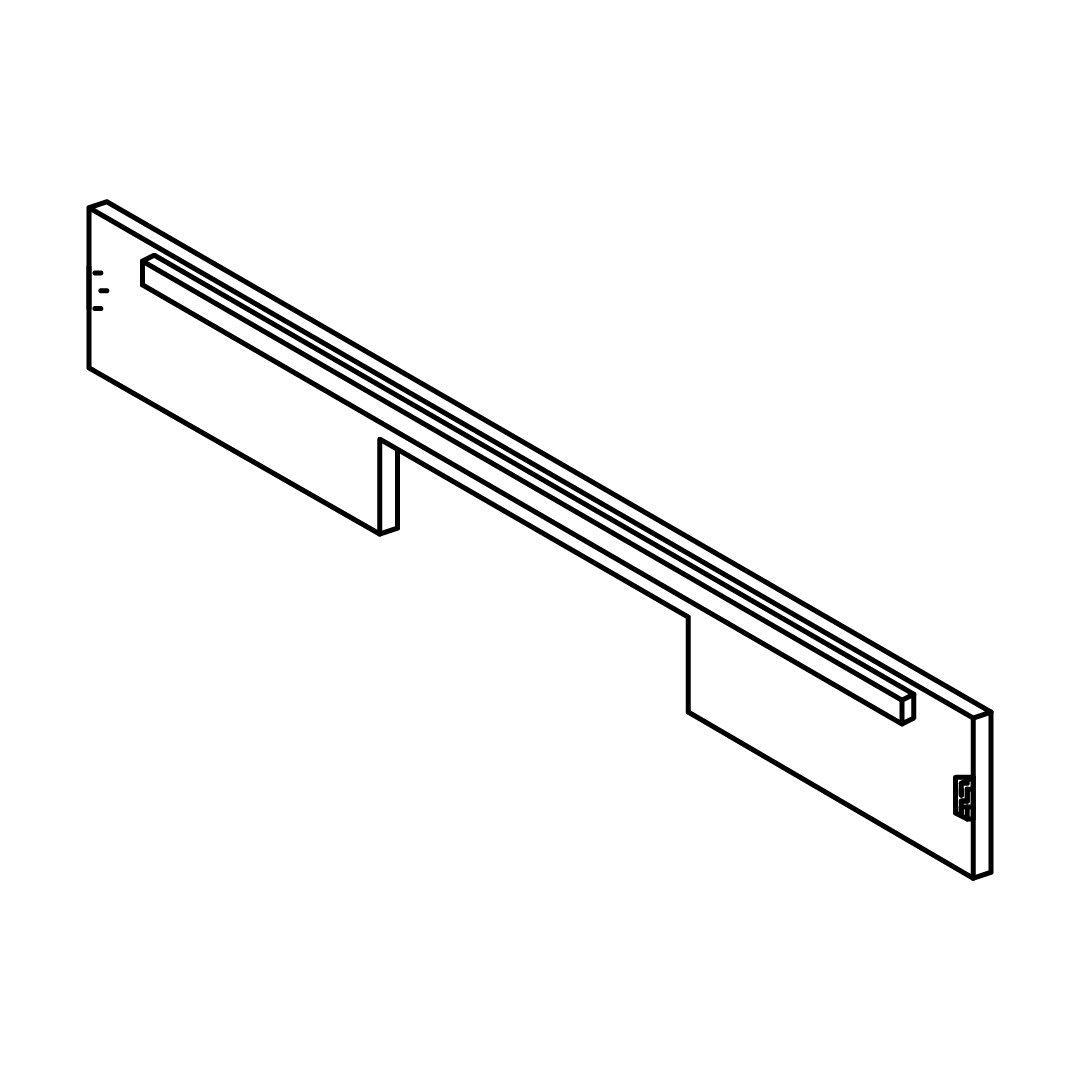
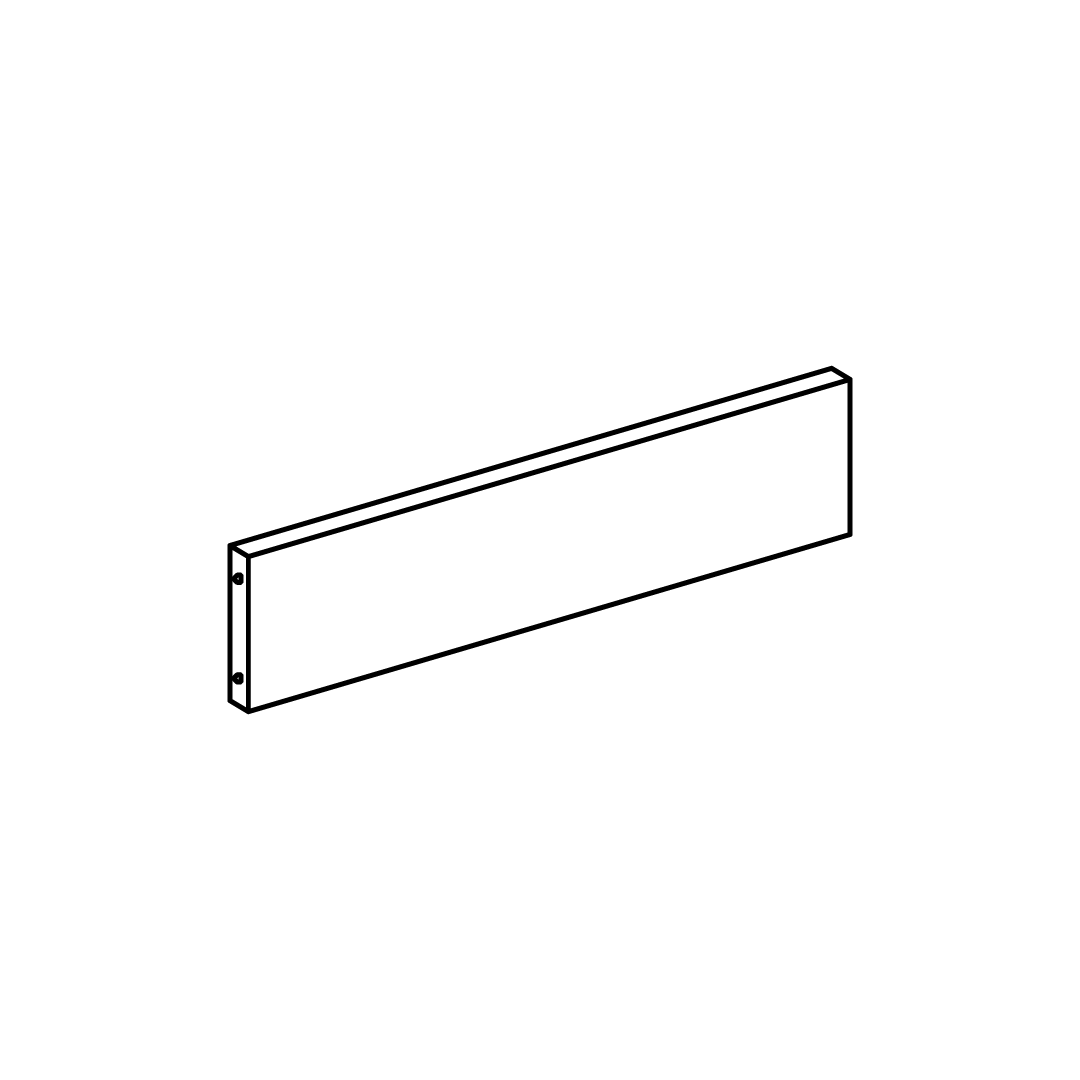
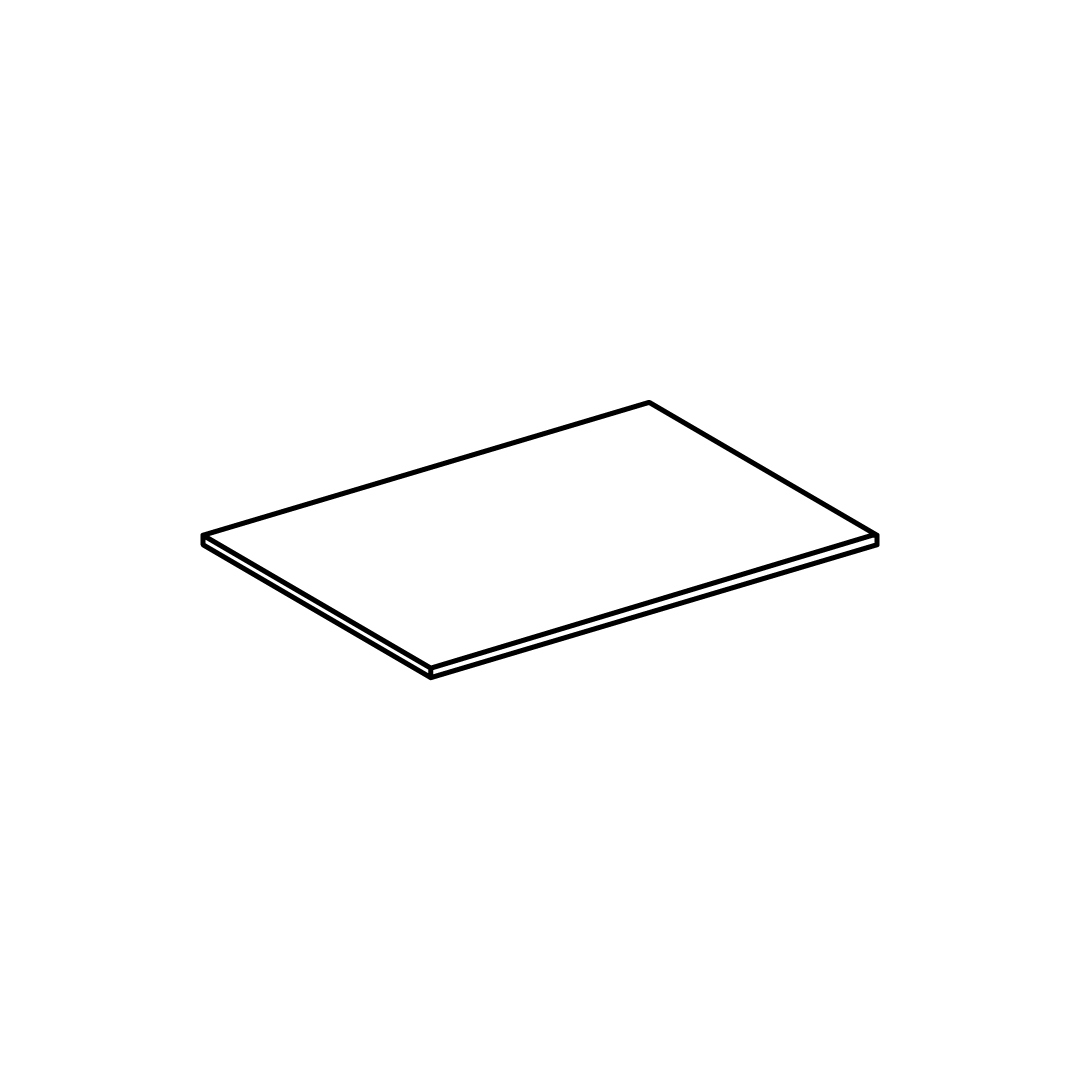
Identify the components: footboard front panel (J), footboard back panel (M), and side panels (L and R).

Use screws (8) to attach the side panels (L and R) to the front (J) and back (M) panels of the drawer.

Ensure the screws are securely fastened to provide stability to the drawer structure.

2. Add Bottom Panel to Drawers

Slide the footboard bottom panels (O and P) to the set up drawer.

3. Finish Drawers

Tighten the bottom panel supports (Q and S) on both drawers.

Use screws (7) and tighten with screw driver (not included).

4. Attach Rollers

Tighten the rollers (13) with screws (5) using a screw driver (not included).

5. Take Out Parts

Open the back fabric cover of the headboard and take out the parts. 

Zip the black non-woven fabric after.

6. Attach the Side Wings

Tighten the side wings (D) to headboard (A) as shown.

7. Attach the Legs

Tighten the legs (E) to the footboard (G) as shown.

8. Prepare the Side Rails

Attach wood dowel (11) to side rail (C). 

Tighten the side rail support (I) to the side rail (C) with screws (6) using screw driver (not included).

9. Attach Side Rails and Footboard

Align the pre-drilled holes on the side rails (C) and the headboard and attach them as shown in the image.

Attach side rails (C) to the footboard (B) by pushing the bracket down to fit it.

10. Insert Drawers

Insert all the drawers on their place

Add the metal stoppers (12) to the back of the drawers to avoid them being pulled too far.

11. Install Center Rail and Slats

Tighten the footboard corners.

Slide the center rail (F) to the footboard (B).

Attach the small adjuster (10) to the support legs (H).

Affix the slats (G) to the side rail support wood and the center rail (D).

Attch the legs to the center rail (F) and the slats (G) as shown.

ATTENTION: Please keep the adjuster around 5 to 8 mm distant away from the floor.

time4sleep
time4sleep (opens in new tab)Terms (opens in new tab)Privacy (opens in new tab)