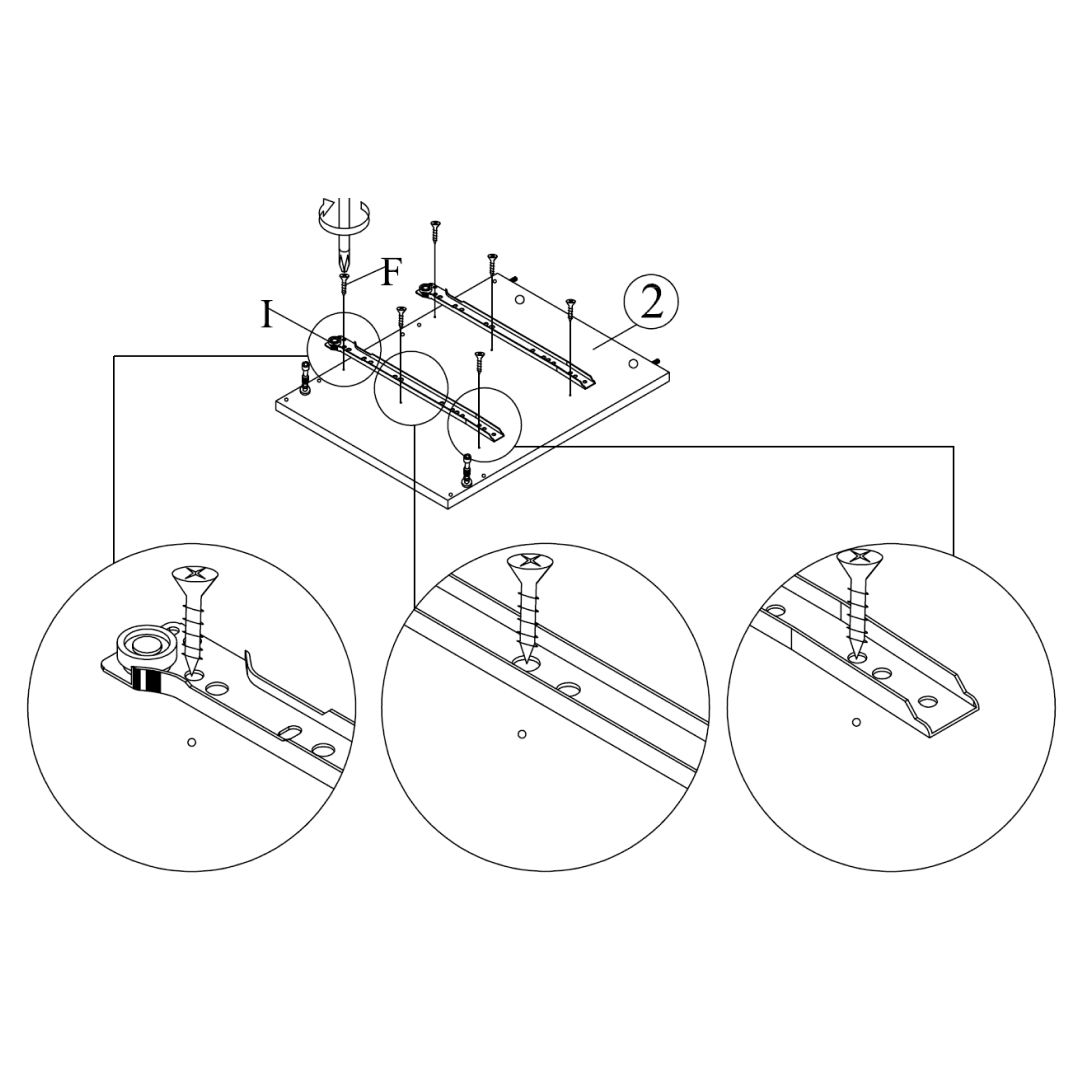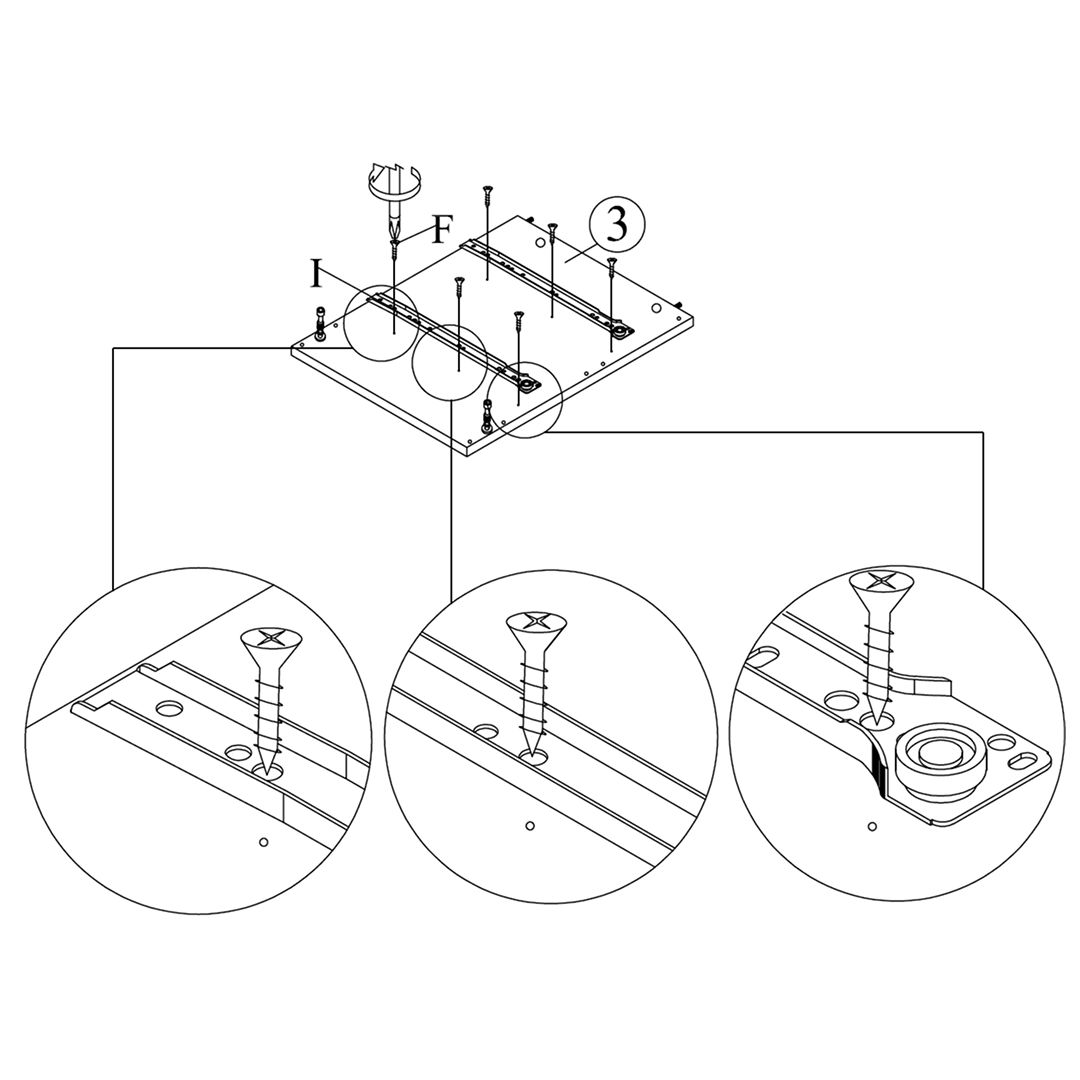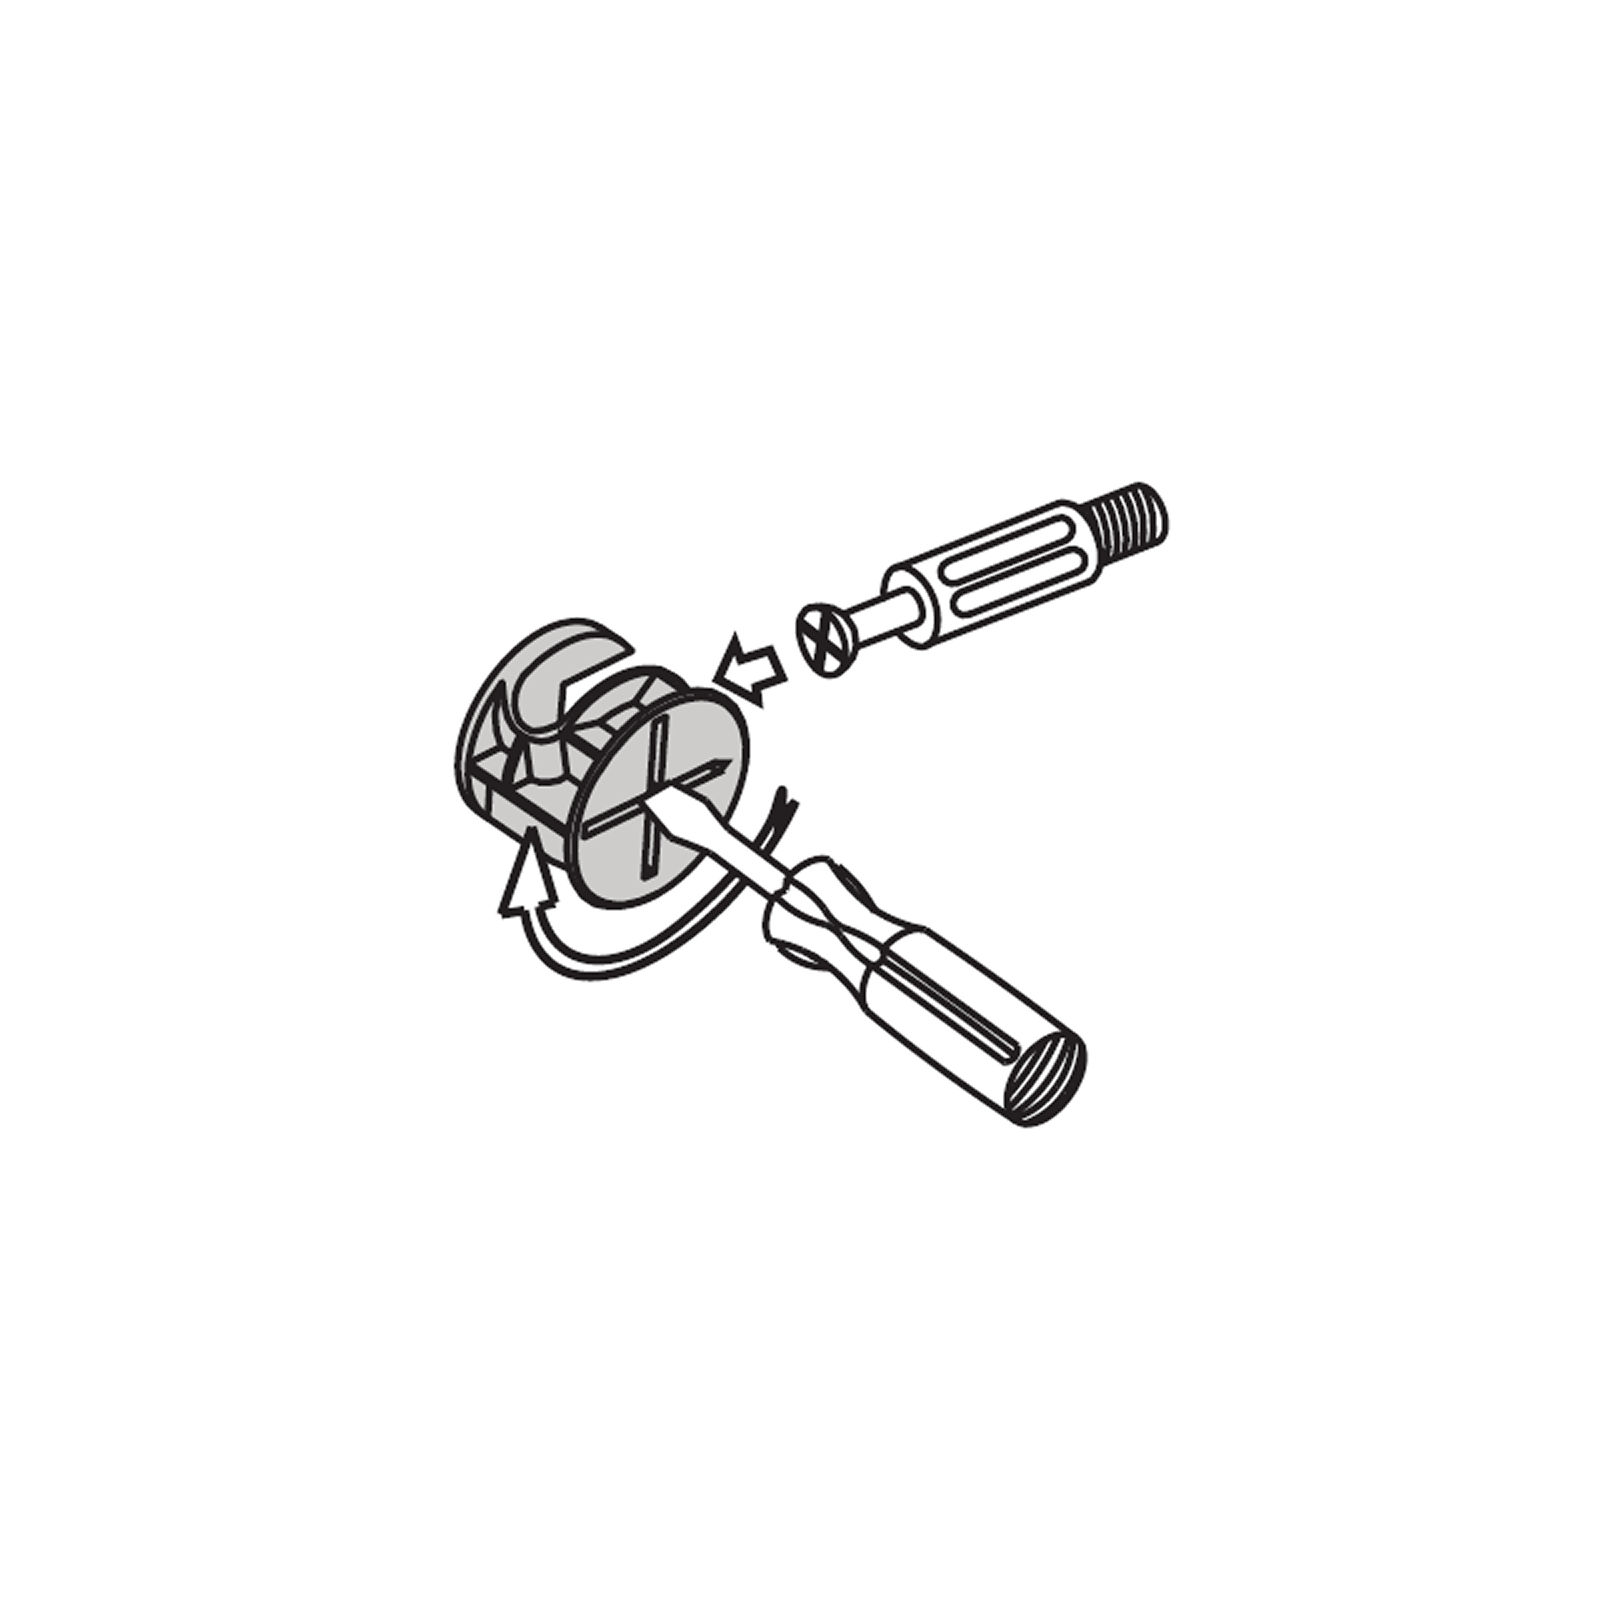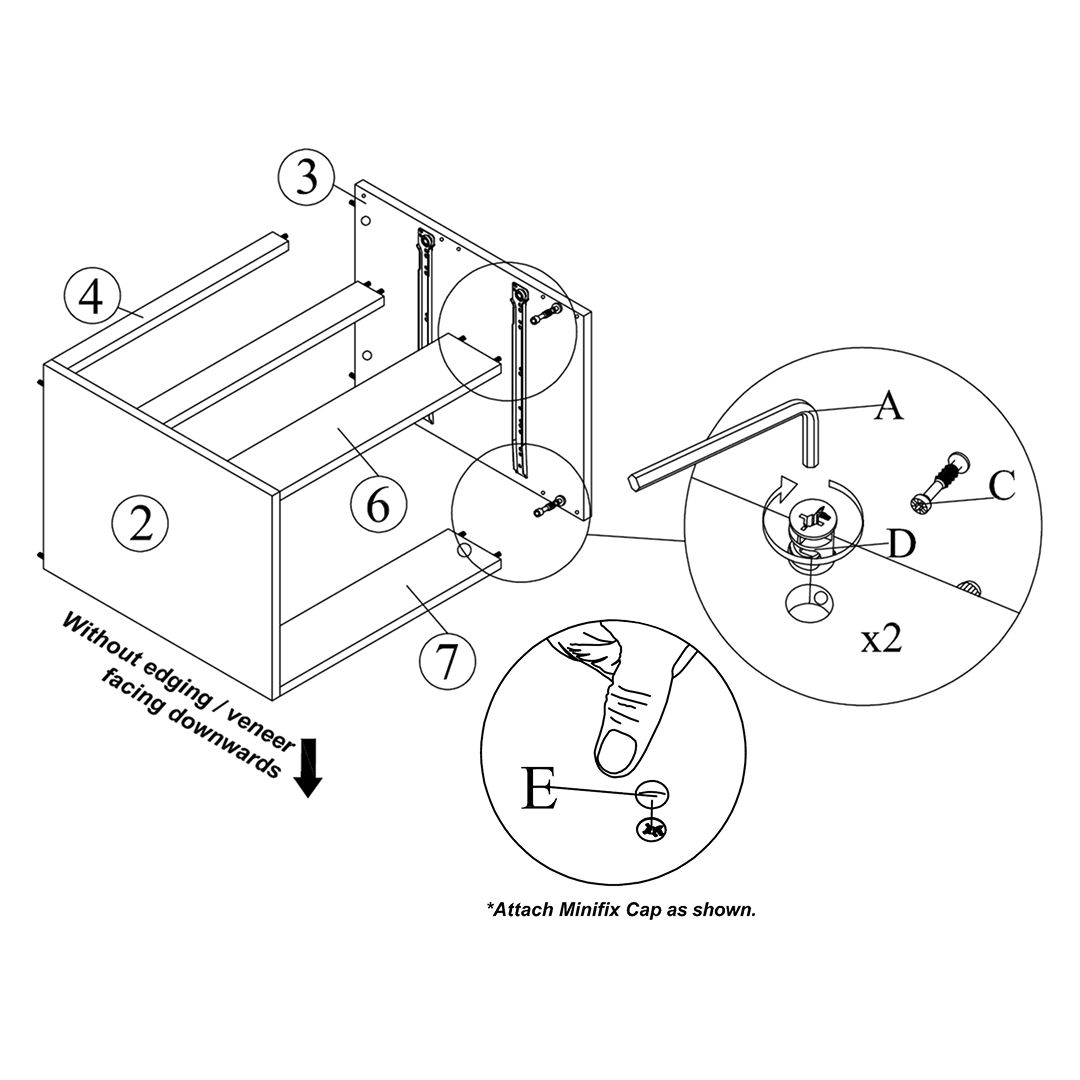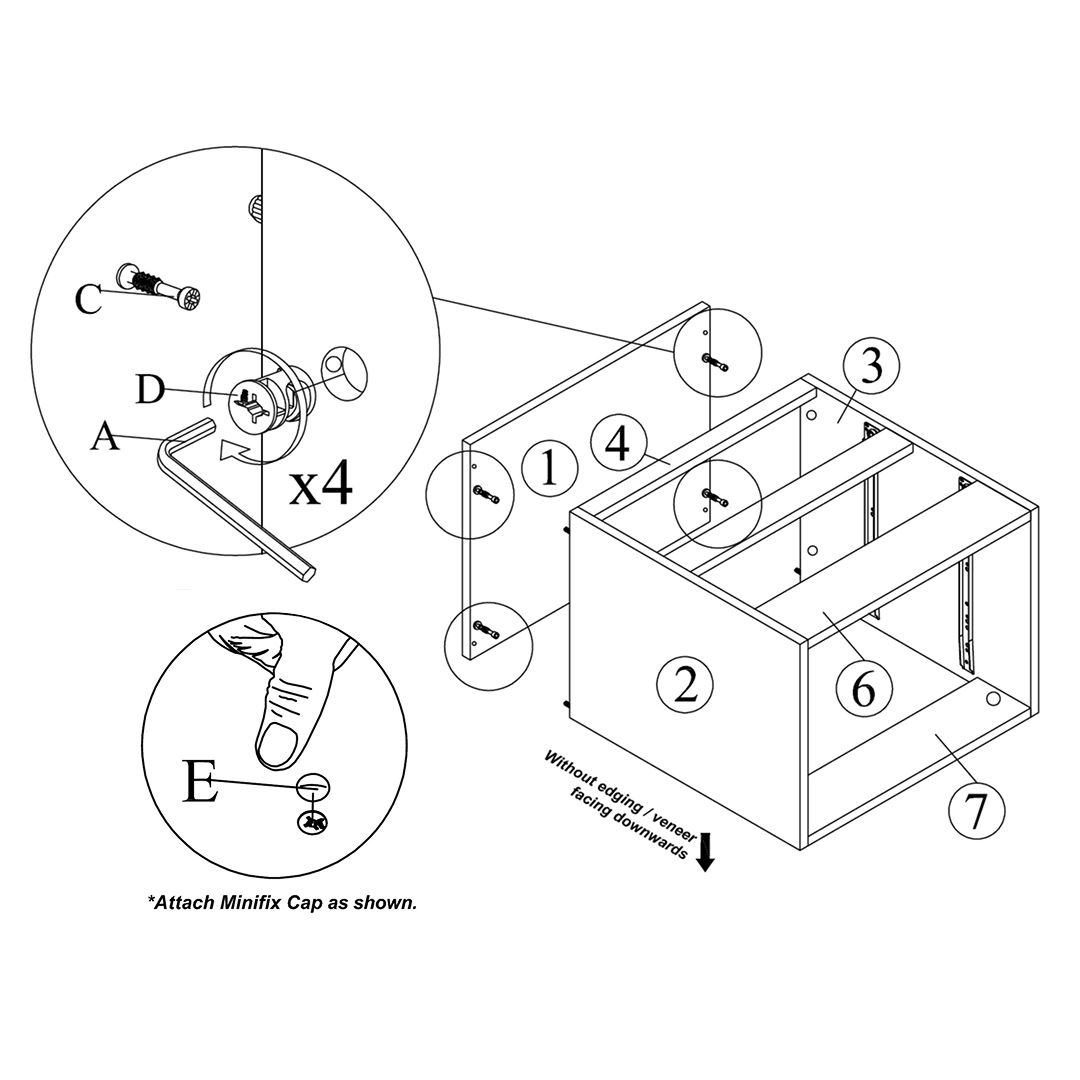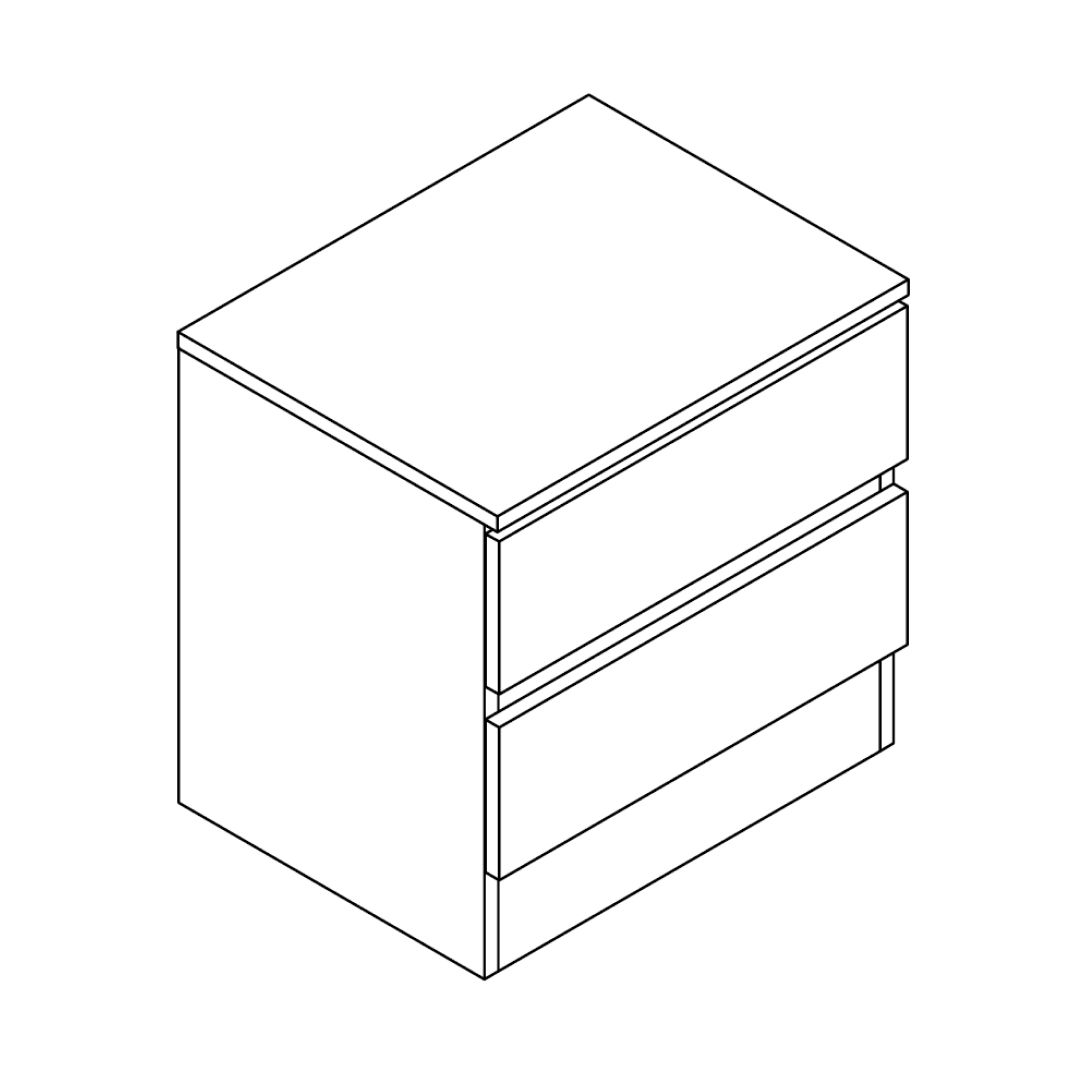
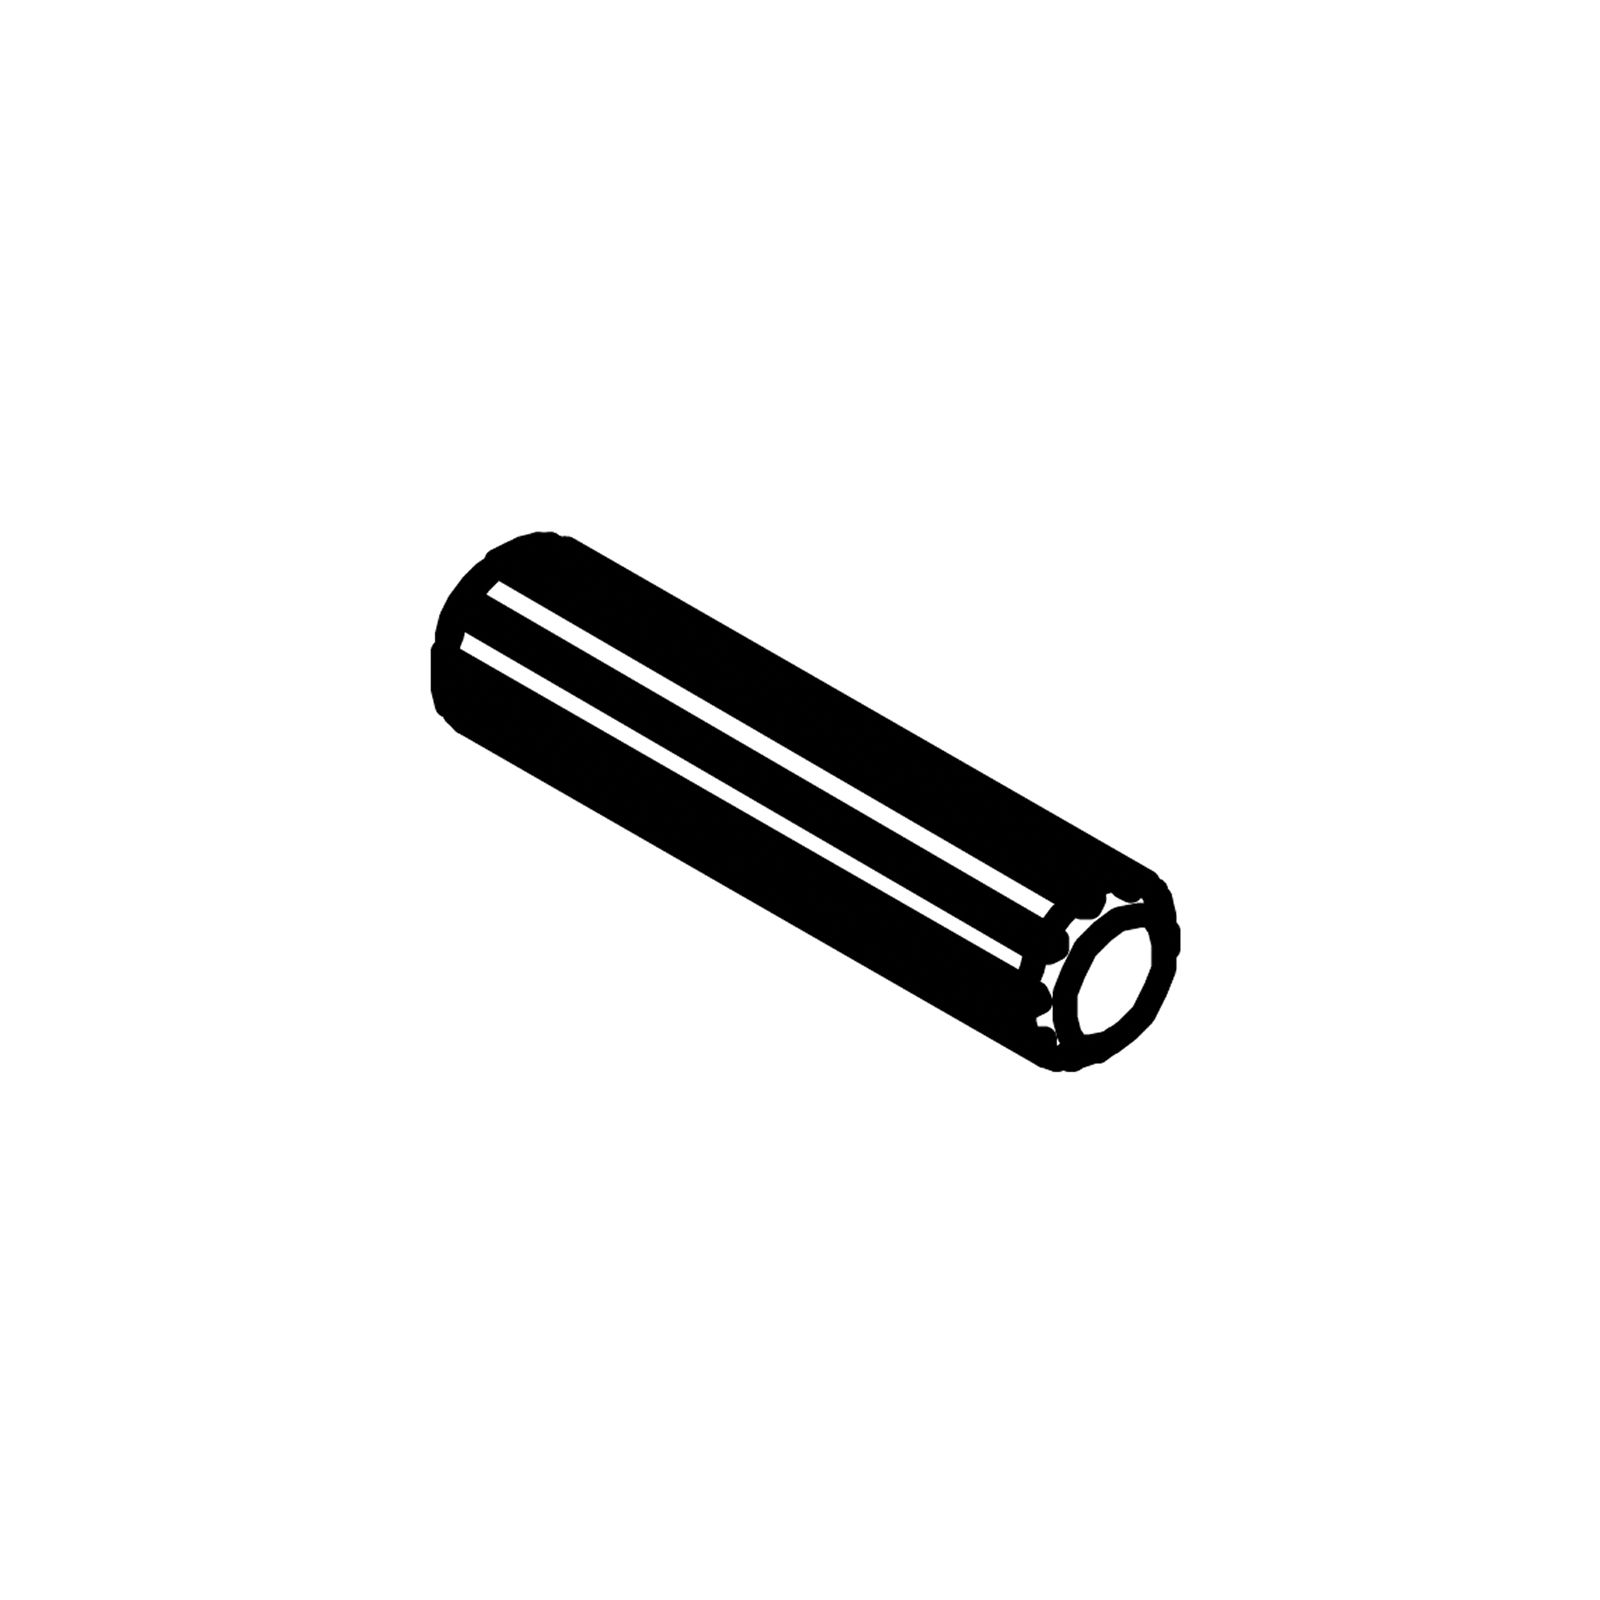


1. Insert Dowels into All Panels
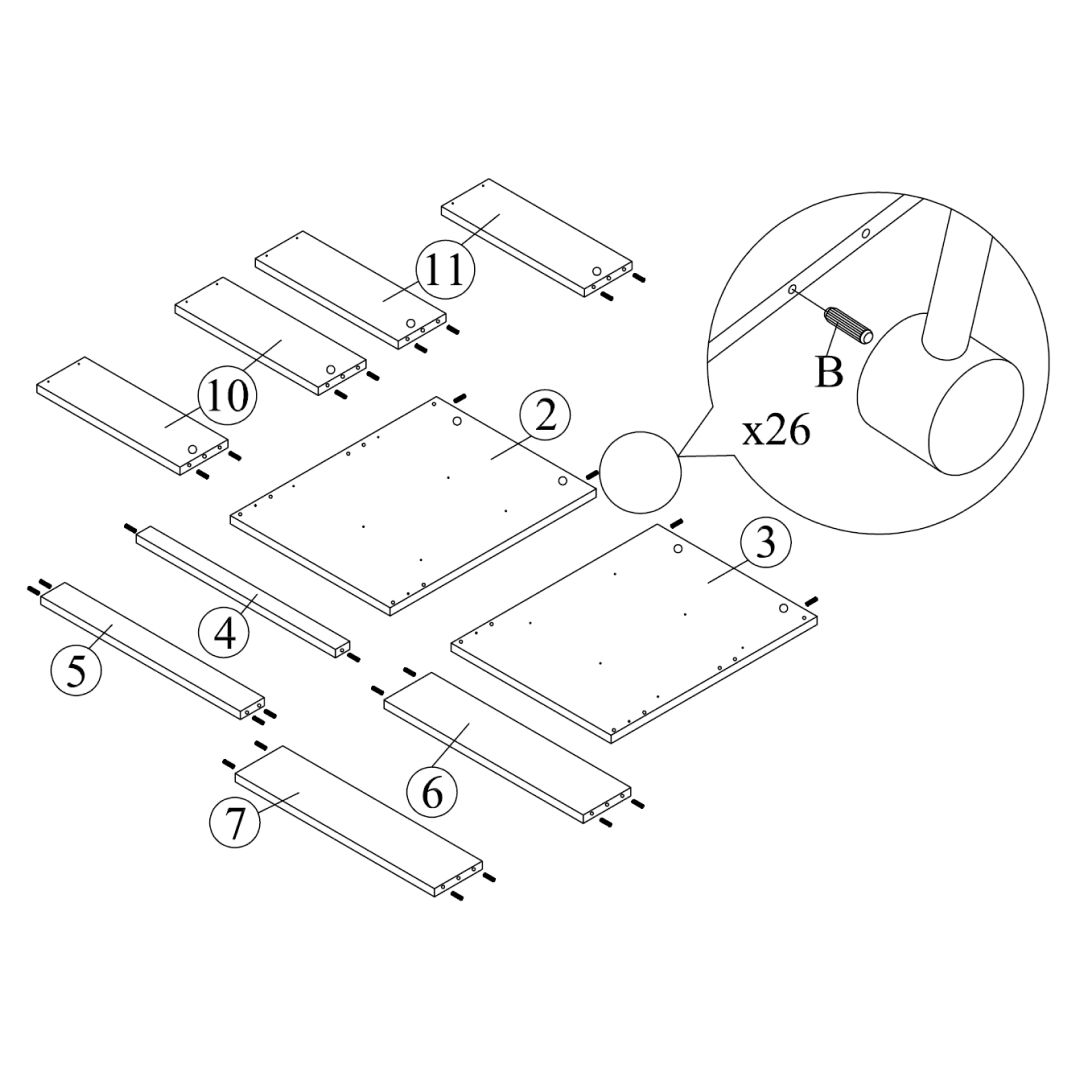
Insert wooden dowels (B) into all pre-drilled holes on the following panels:
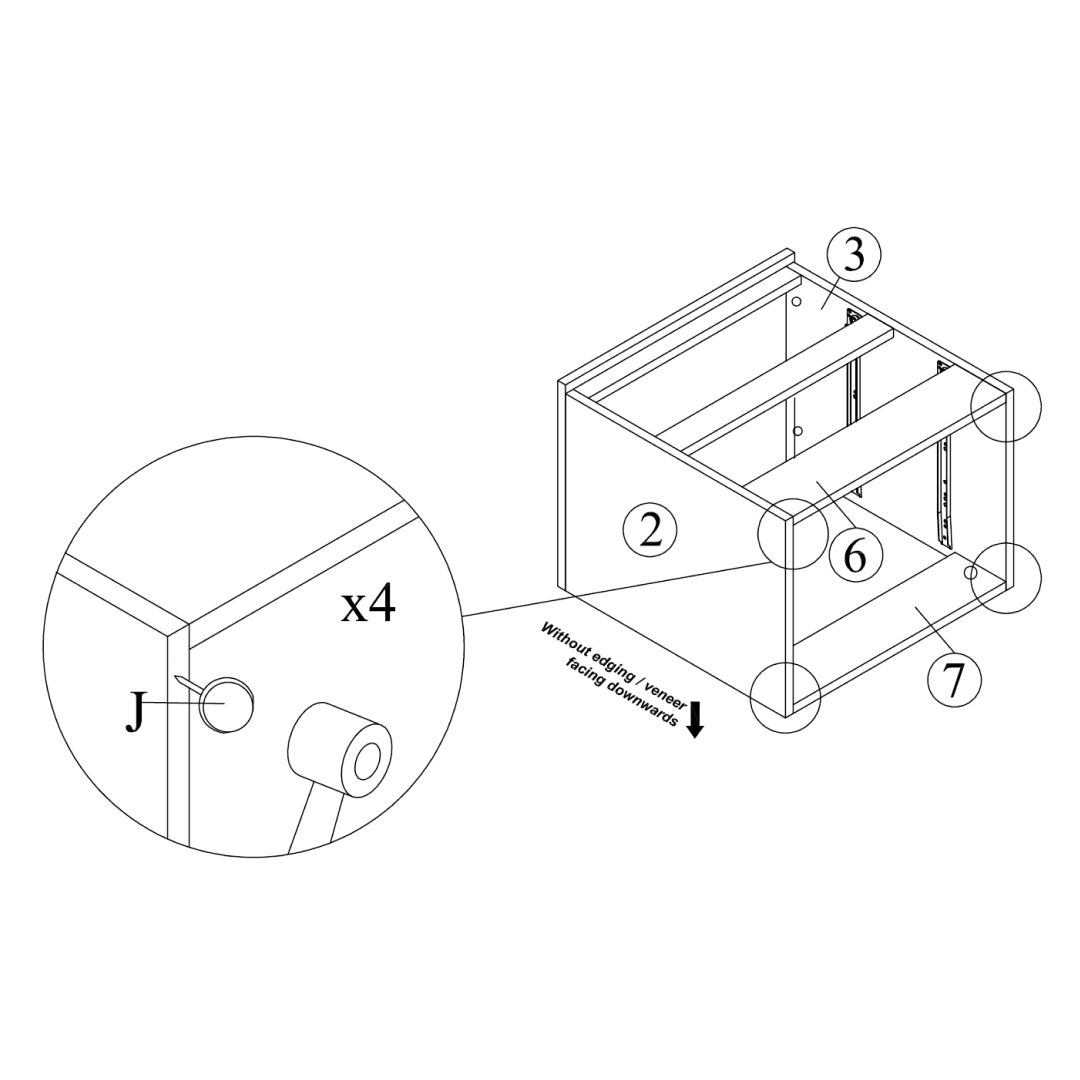
- Left Side Panel (2)
- Right Side Panel (3)
- Top Support Bar (4)
- Drawer Support Bar (5)
- Front Leg Panel (6)
- Back Leg Panel (7)
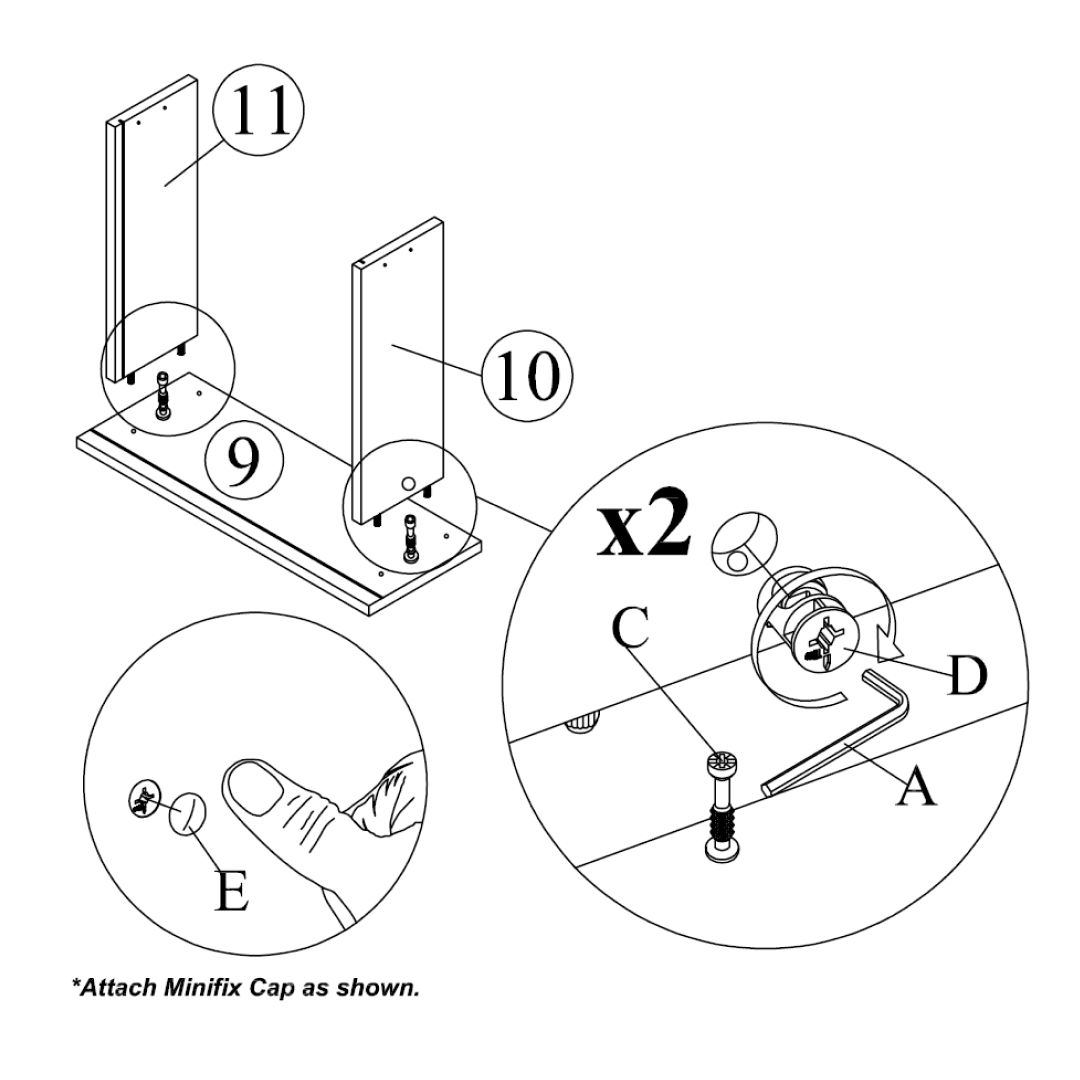
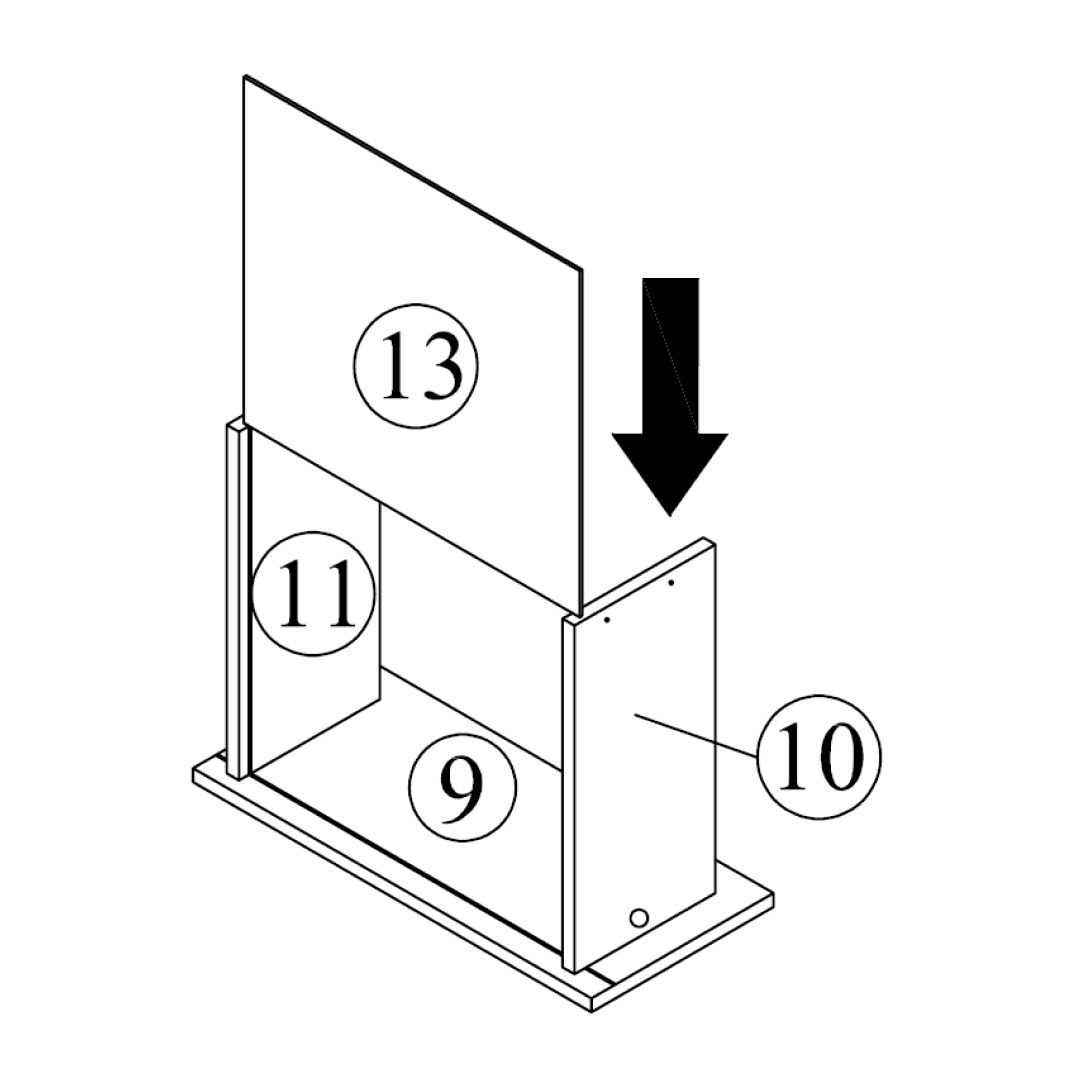
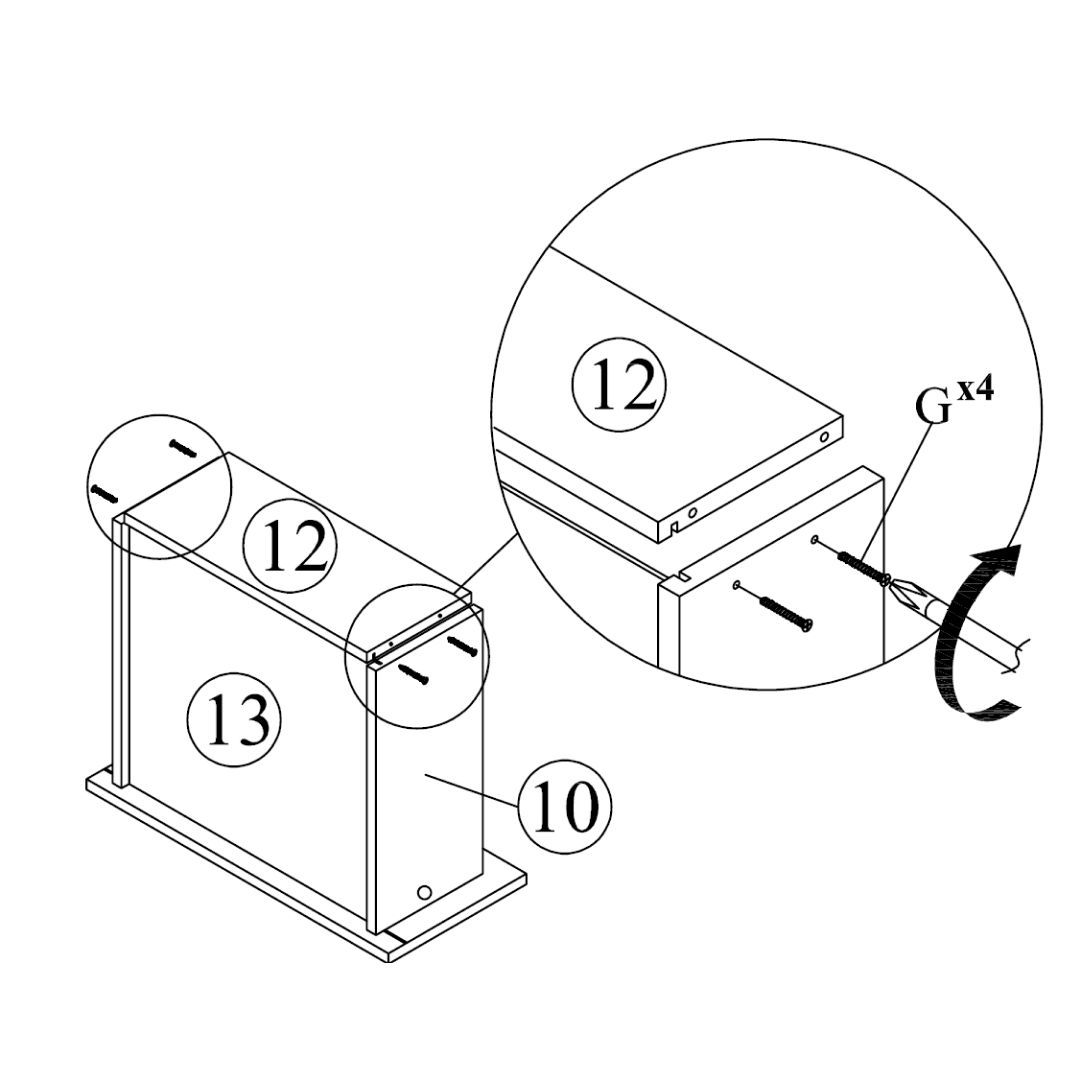
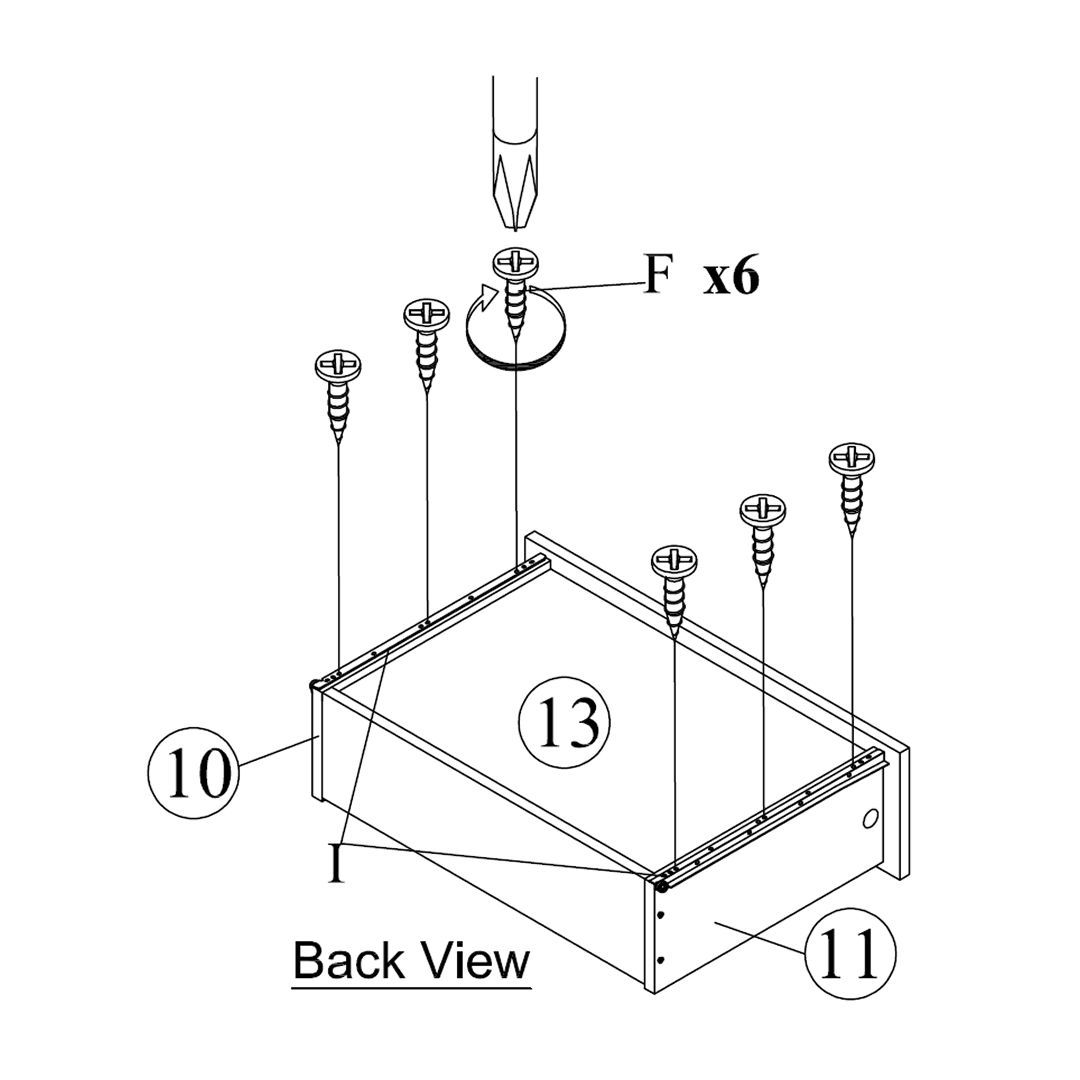
- Drawer Side Panels – Left (10) and Right (11)
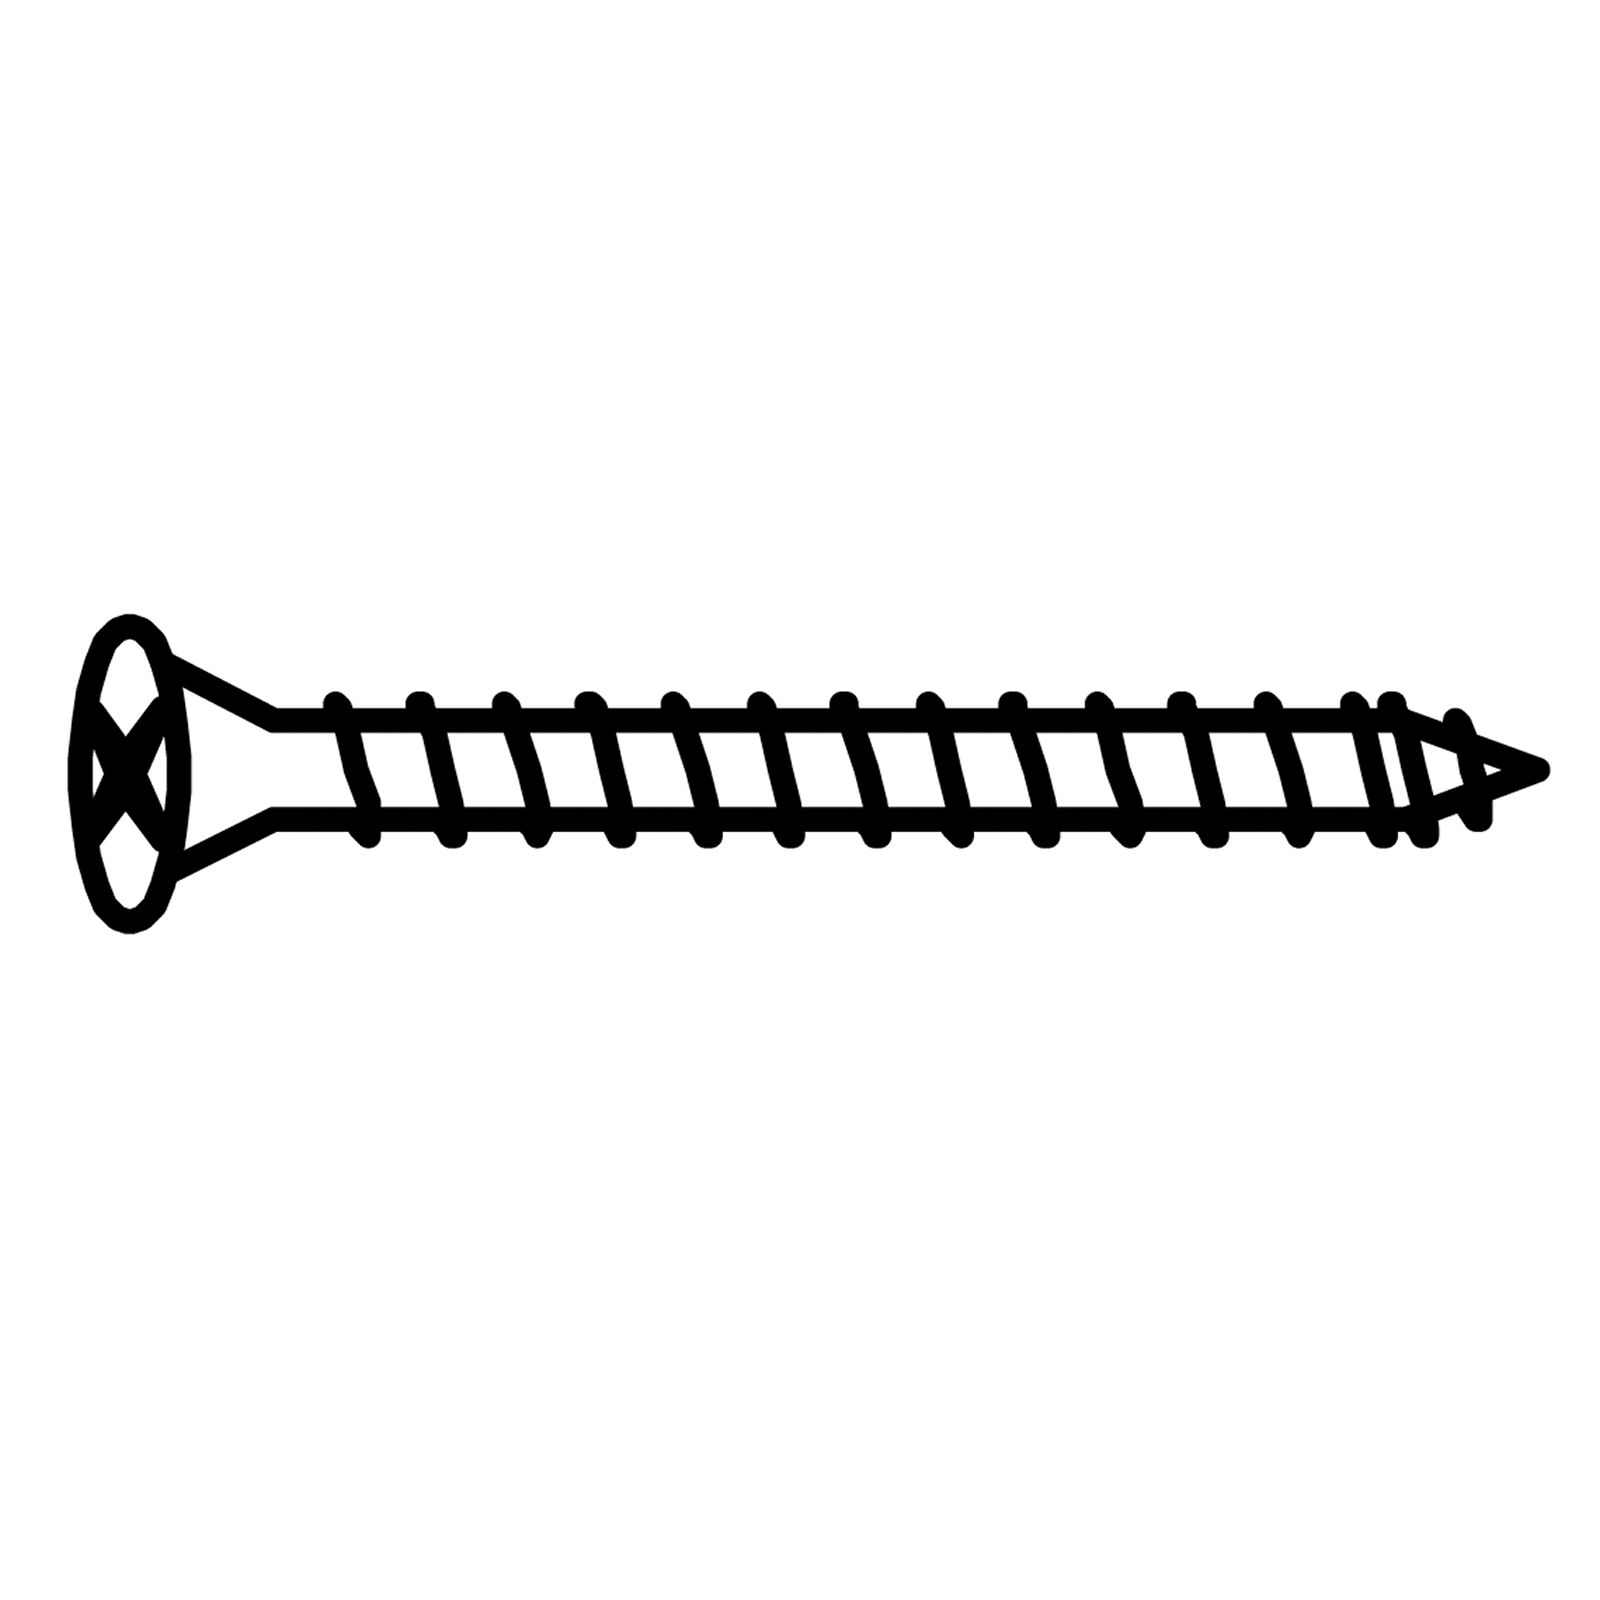
Use a rubber mallet to gently tap the dowels into place for a secure fit.