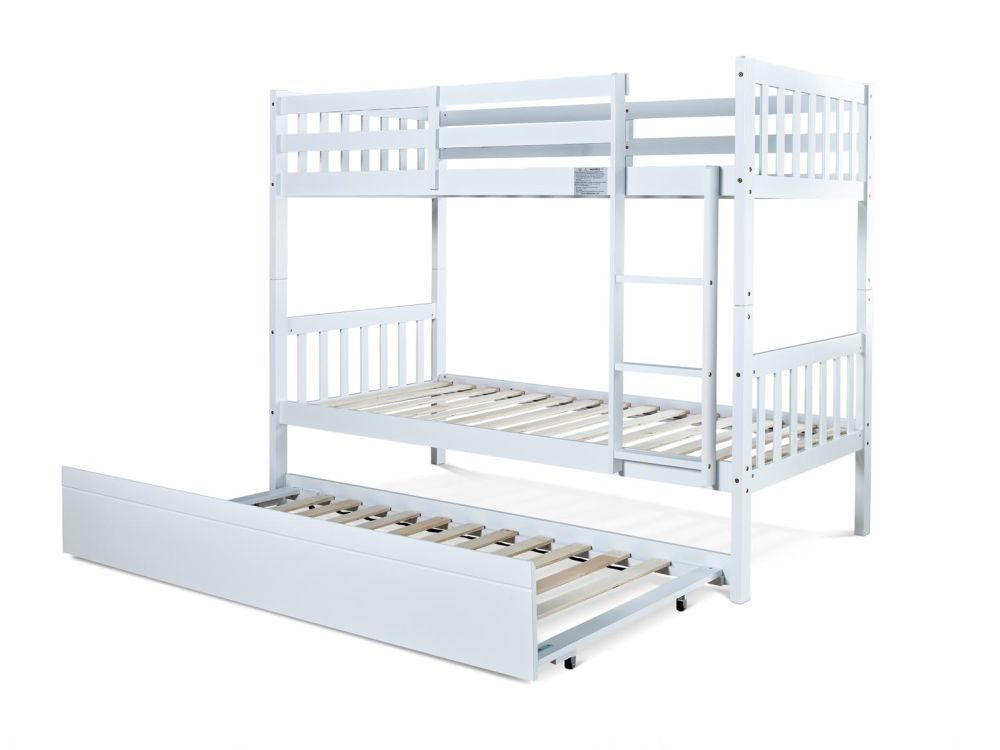
Essentials White Single Wooden Bunk Bed Frame With Trundle
Assembly instructions for Essentials White Single Wooden Bunk Bed Frame With Trundle by Time4Sleep.
Product Information
Essentials White Single Wooden Bunk Bed Frame With Trundle
Triple the functionality in your child's room with the Essentials White Bunk Bed with Trundle! This space-saving design offers two sleeping areas stacked neatly on top of each other, with an additional pull-out trundle underneath. This creates a versatile sleep solution, perfect for siblings sharing a room, sleepovers, or even creating a guest bed. The clean white finish offers a bright and comforting feel, complementing any décor. Constructed from rubberwood for sturdiness and safety, the Essentials Bunk Bed with Trundle includes guard rails for the top bunk, a sturdy ladder for easy access, and a smooth-rolling trundle with wheels for effortless use. This practical bed maximises space and provides ultimate flexibility for your growing child's needs. Please note that for safety reasons the maximum recommended mattress height for the upper bunk bed is 15cm. The pull out trundle bed can accommodate a mattress with a maximum height of 15 cm.
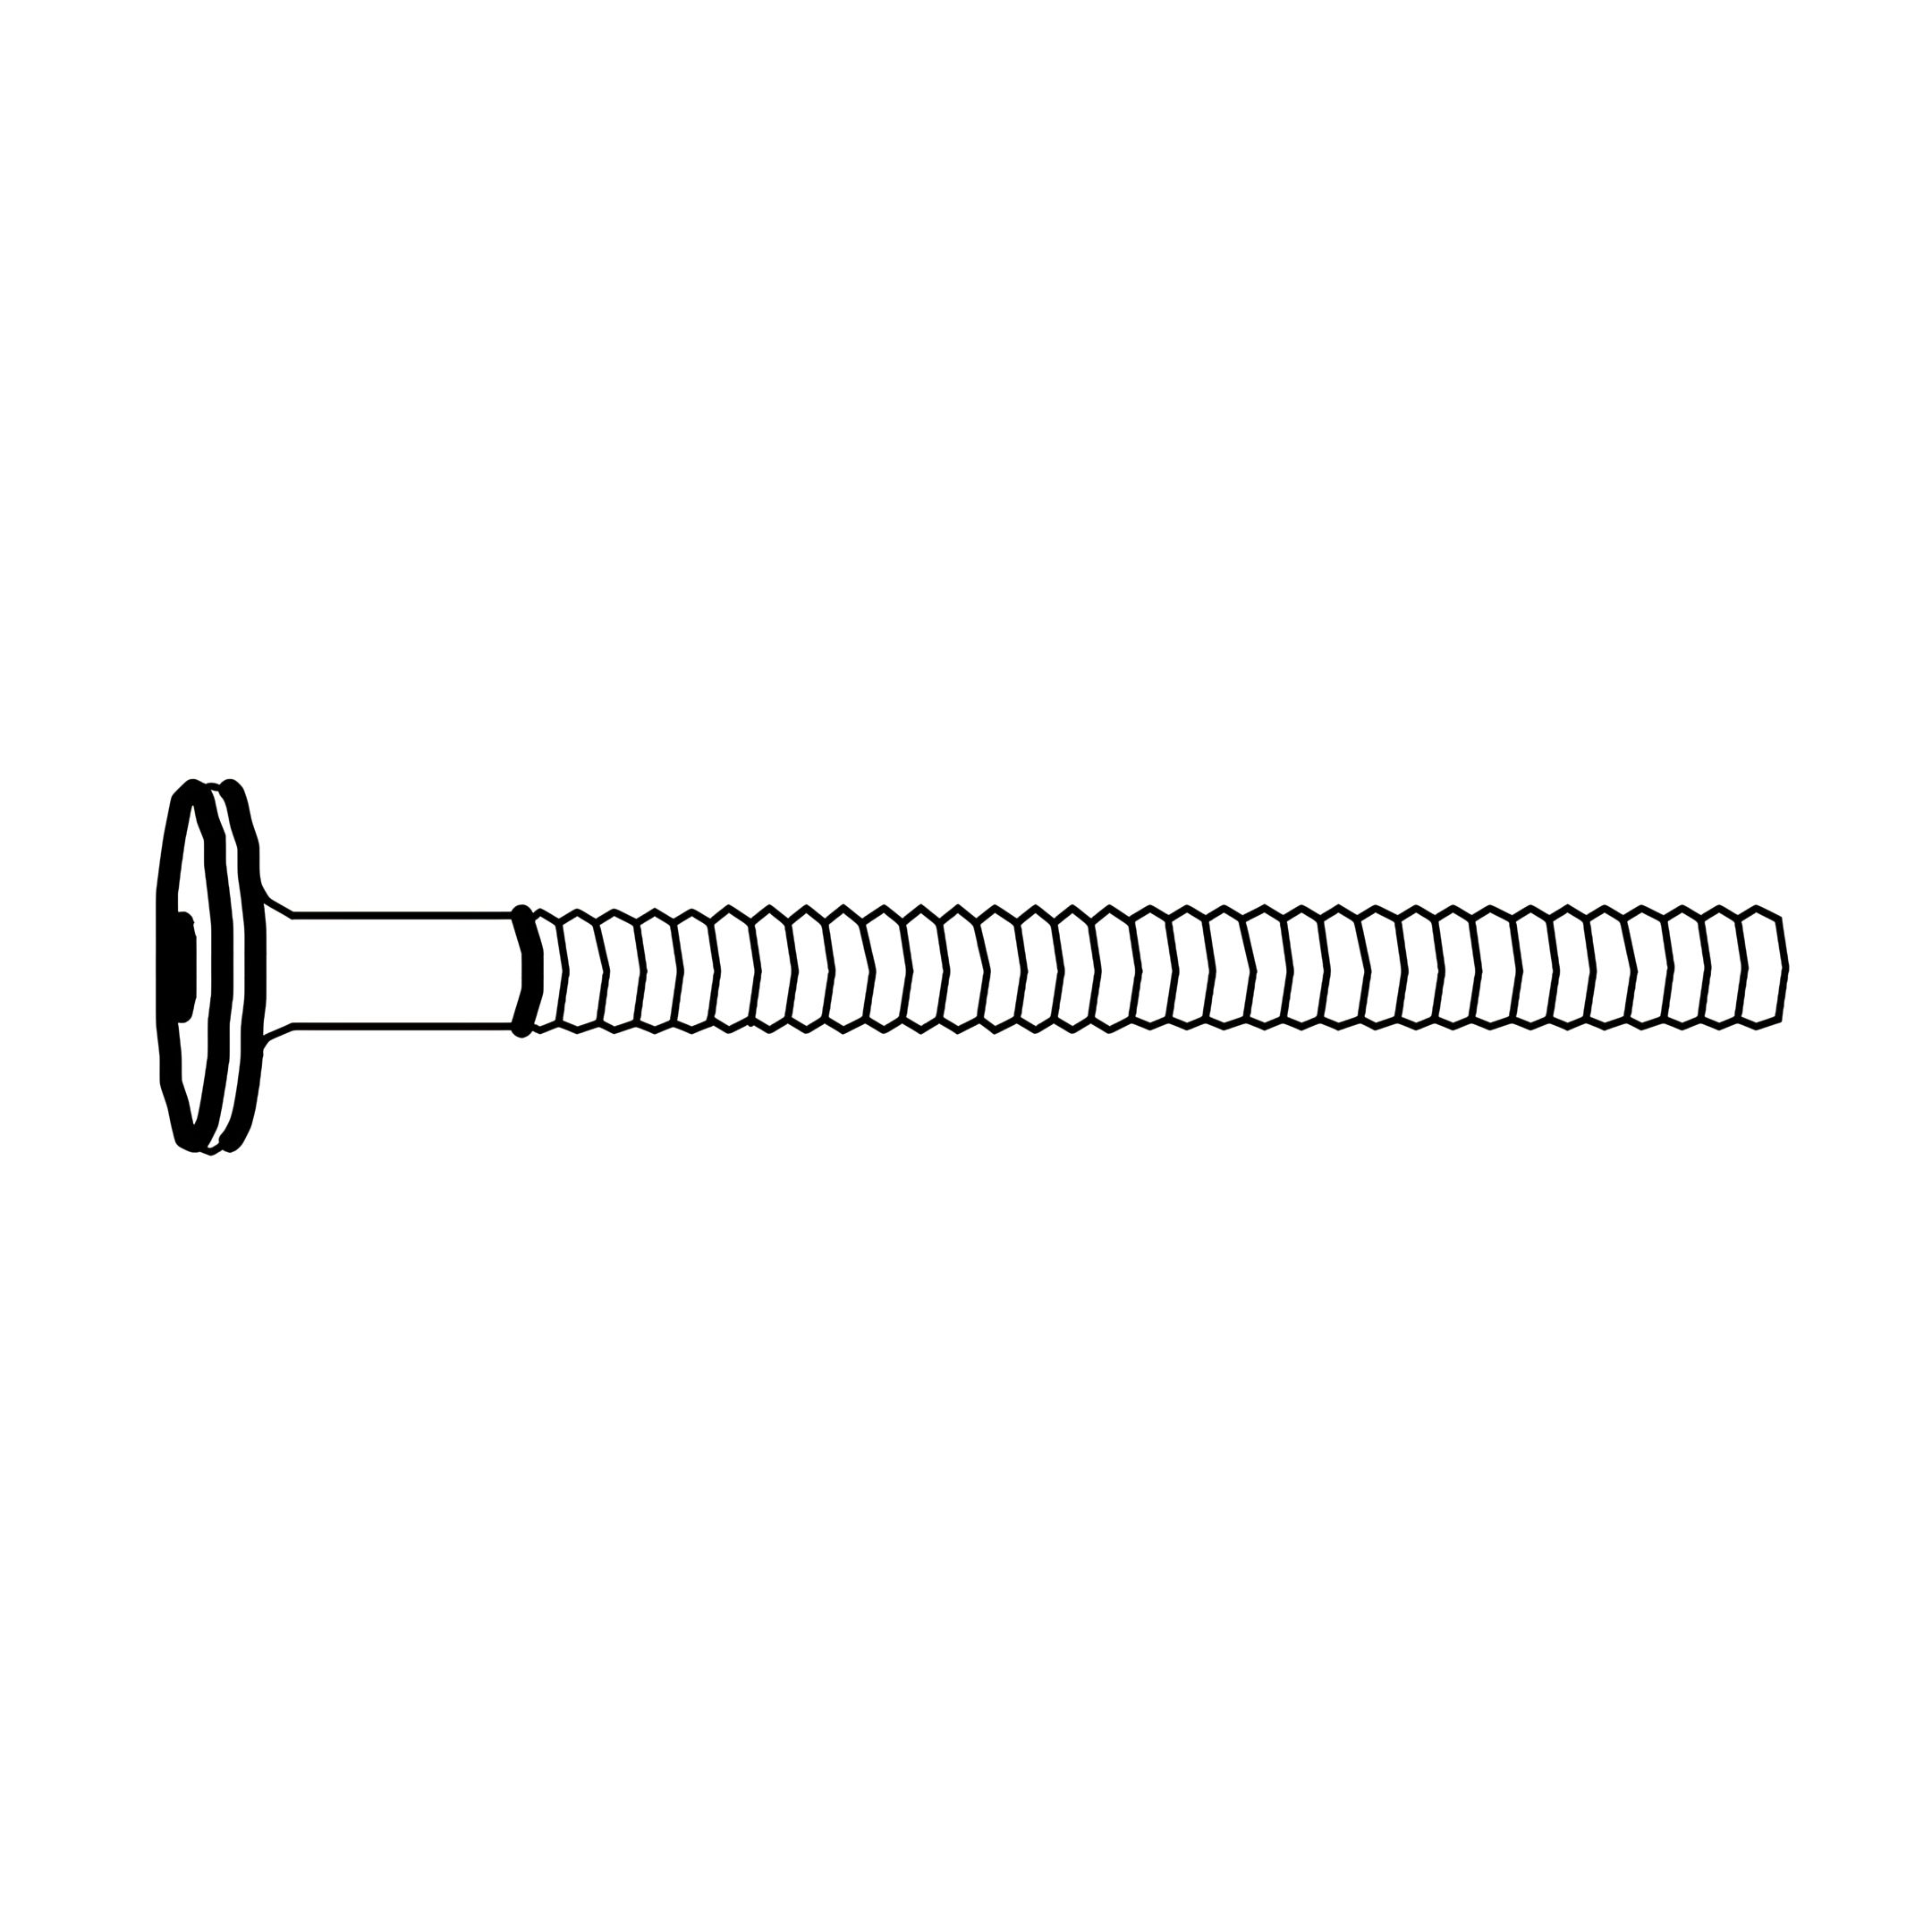
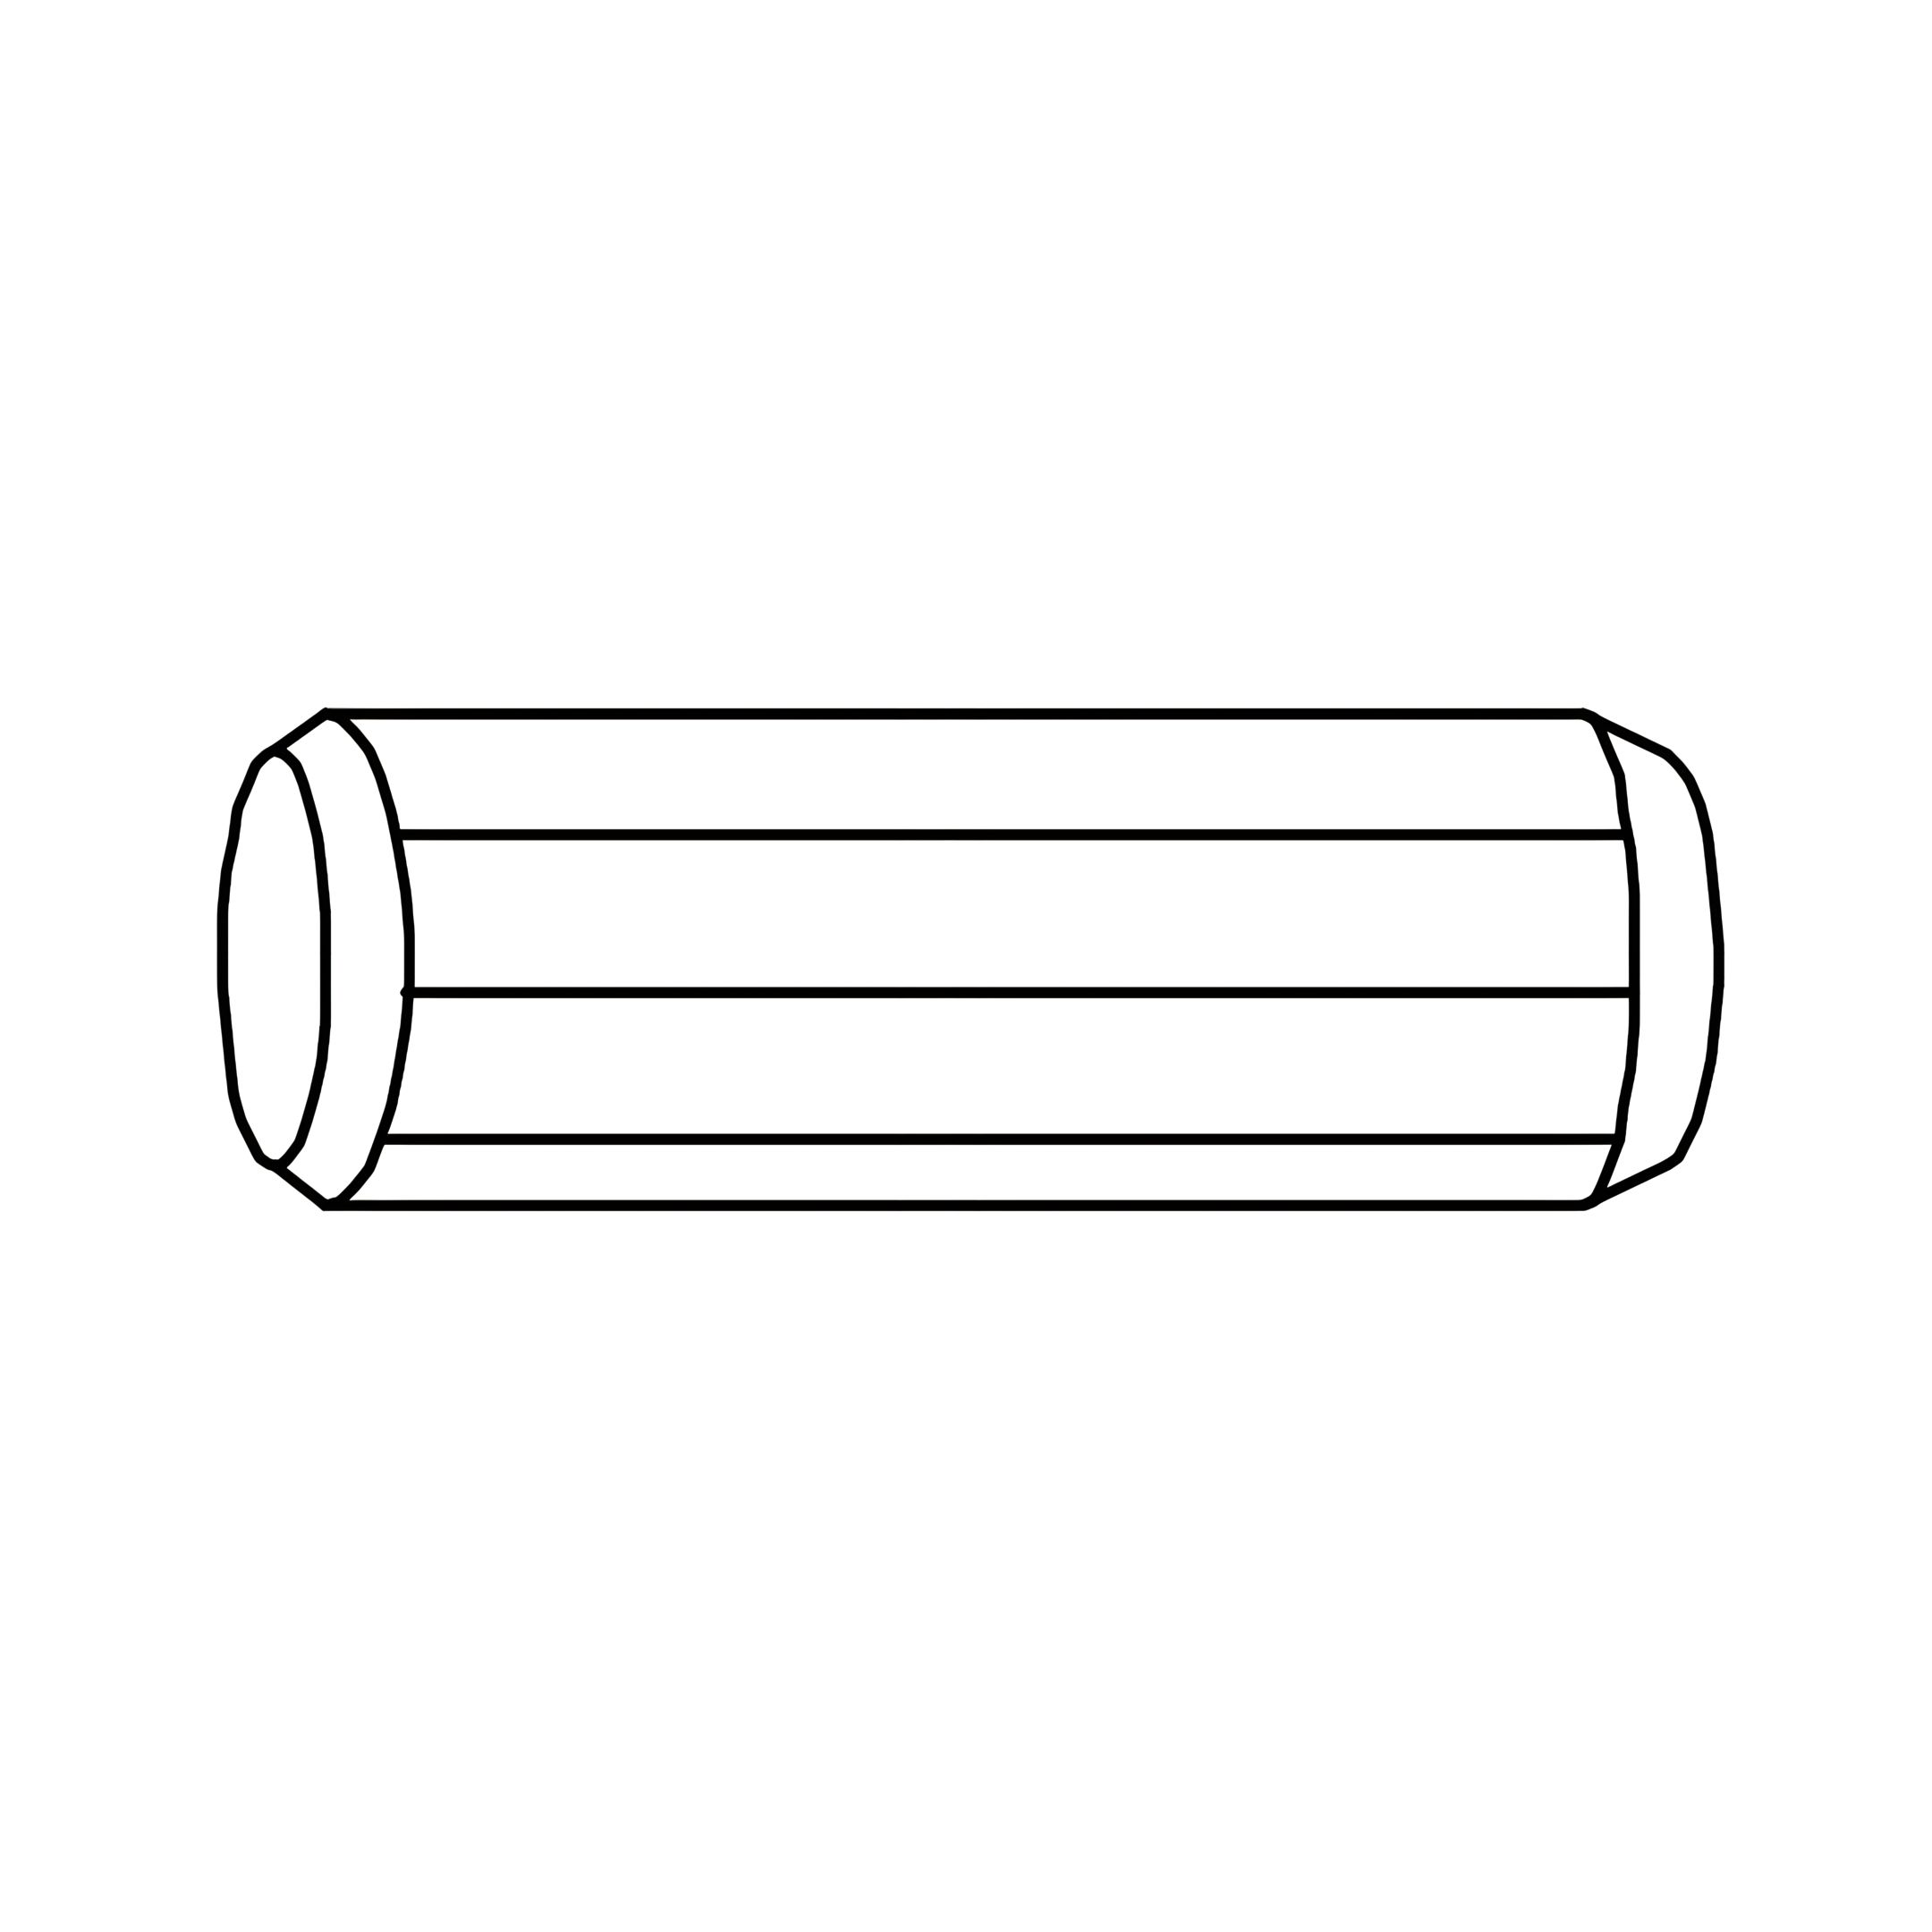
1. Insert (3) Wooden Dowels into the ends of (C) Headboard/Footboard Panels. 2. Align the panels with (A) Upper Posts. 3. Insert (2) Barrel Nuts into the posts. 4. Secure with (1) JCBC Bolts and use (12) Allen Key to tighten.
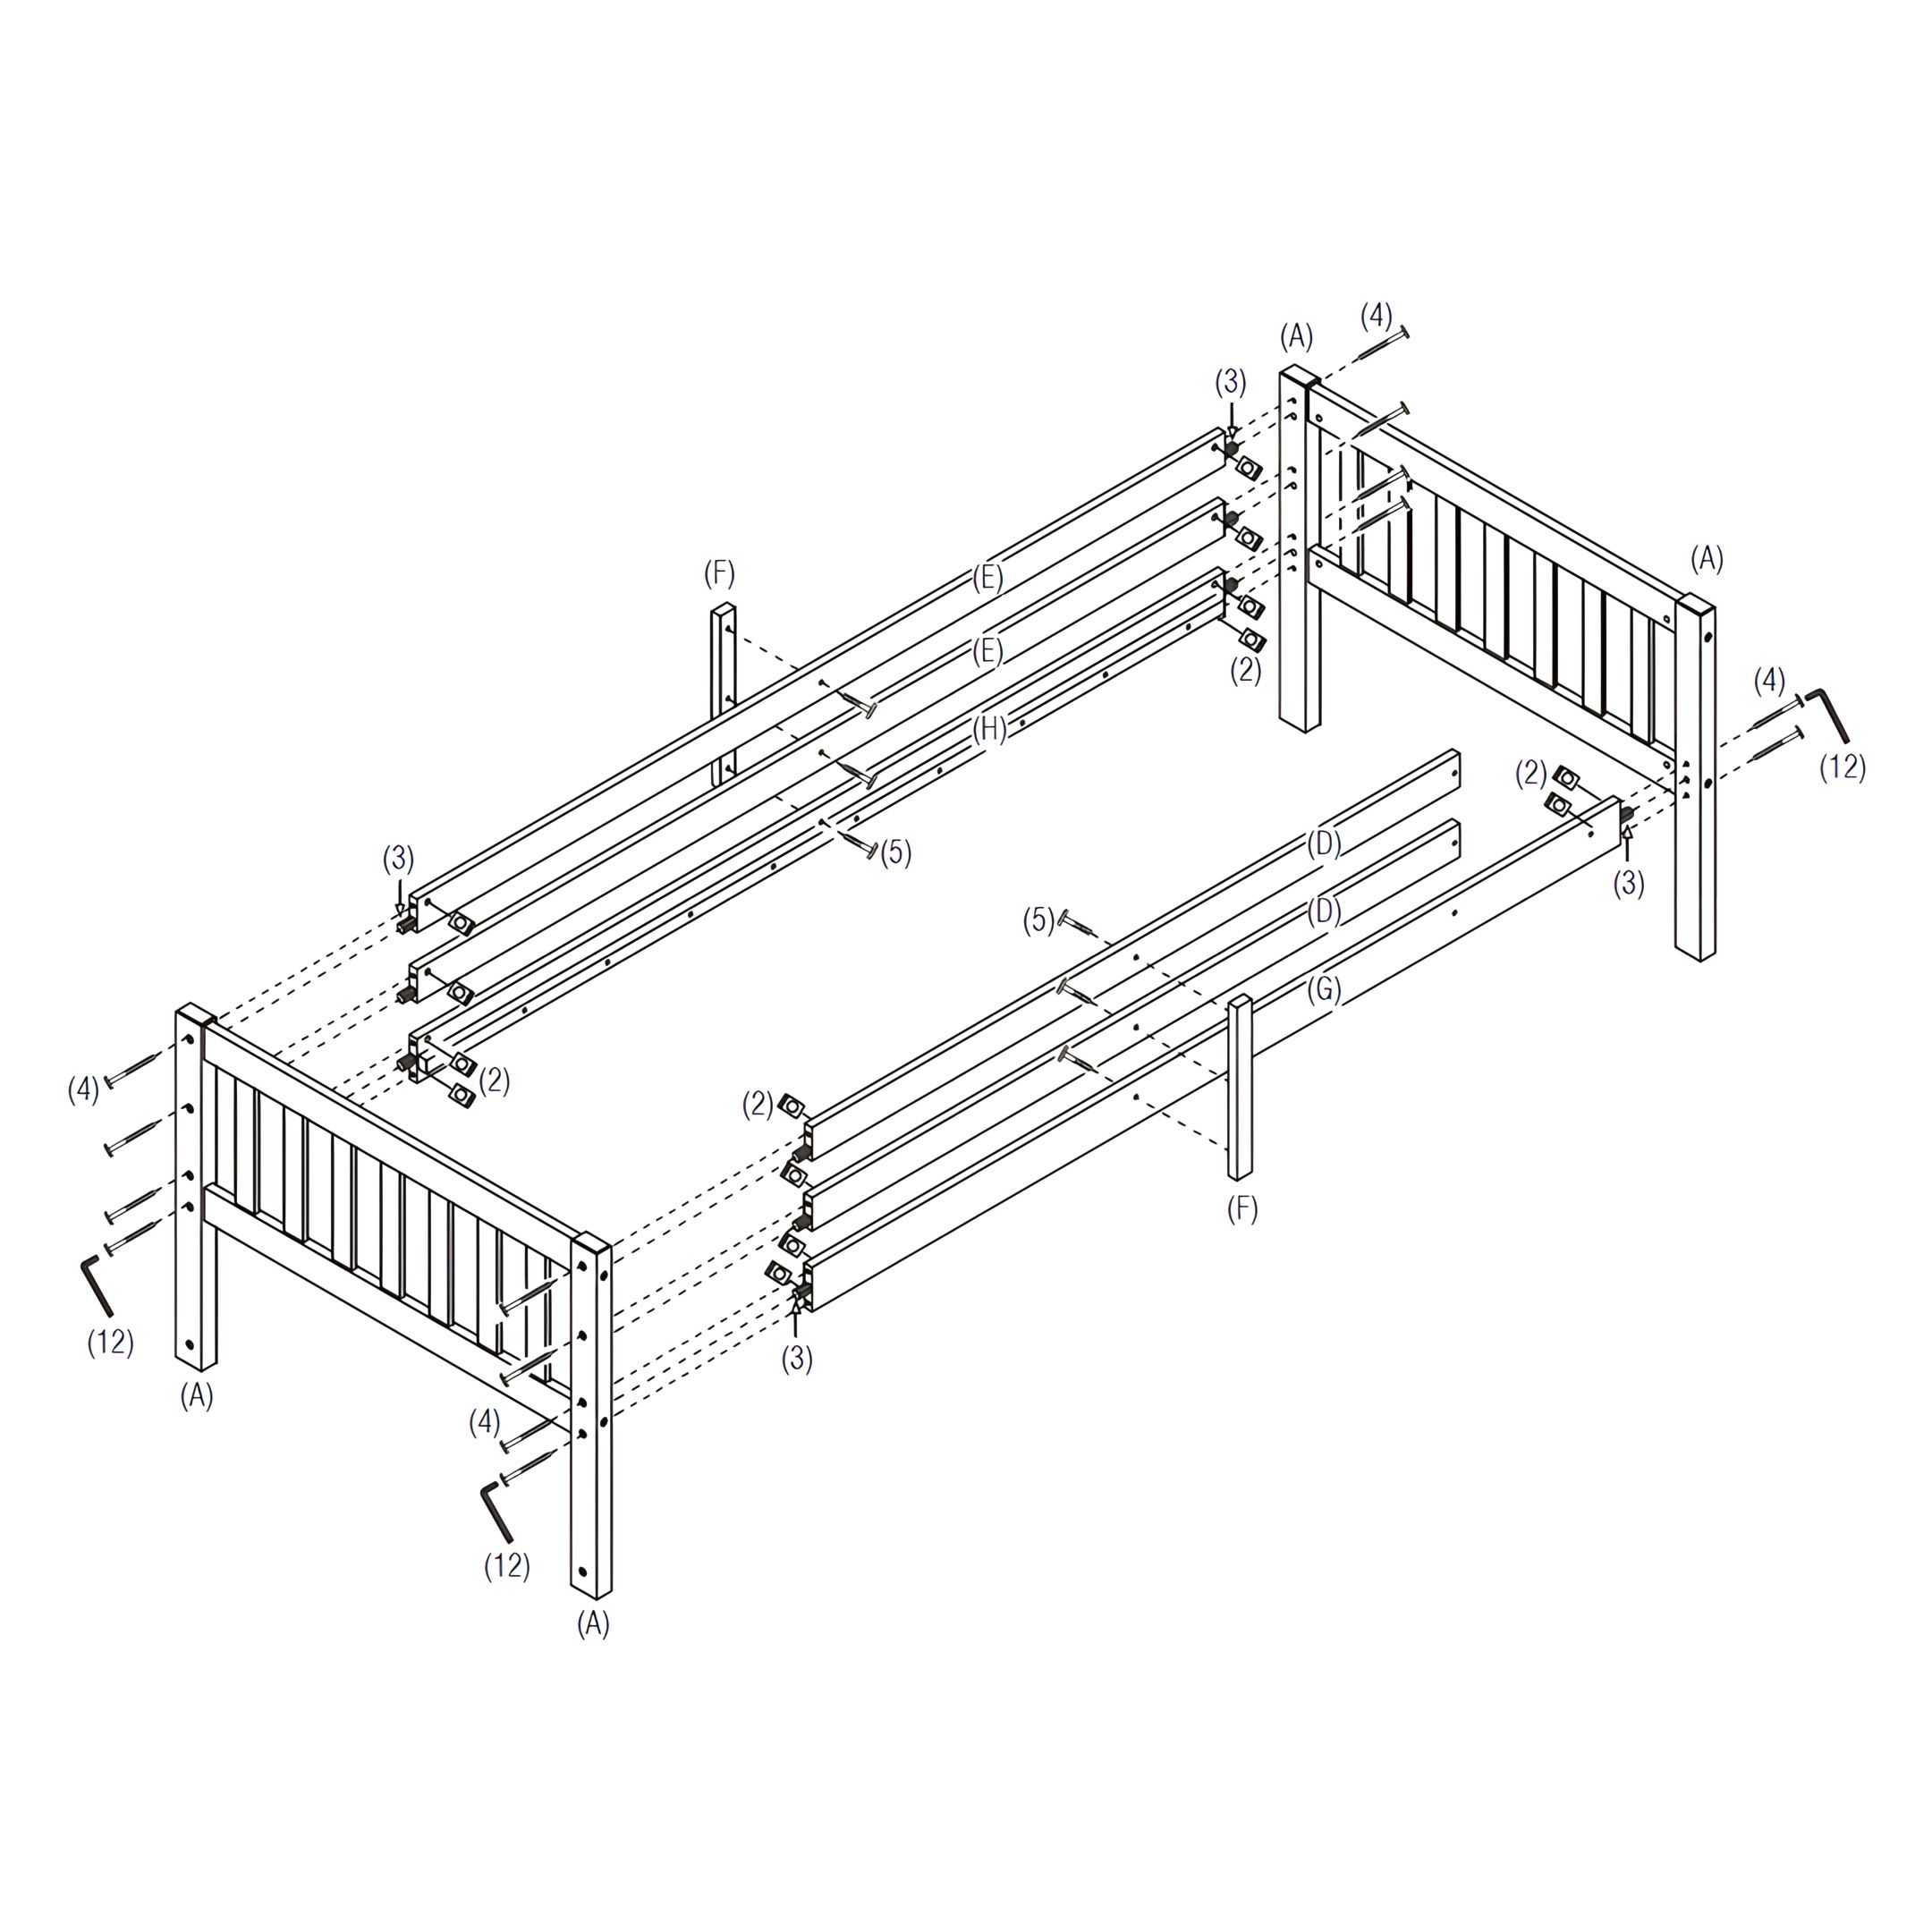
2. Assemble the Upper Bunk
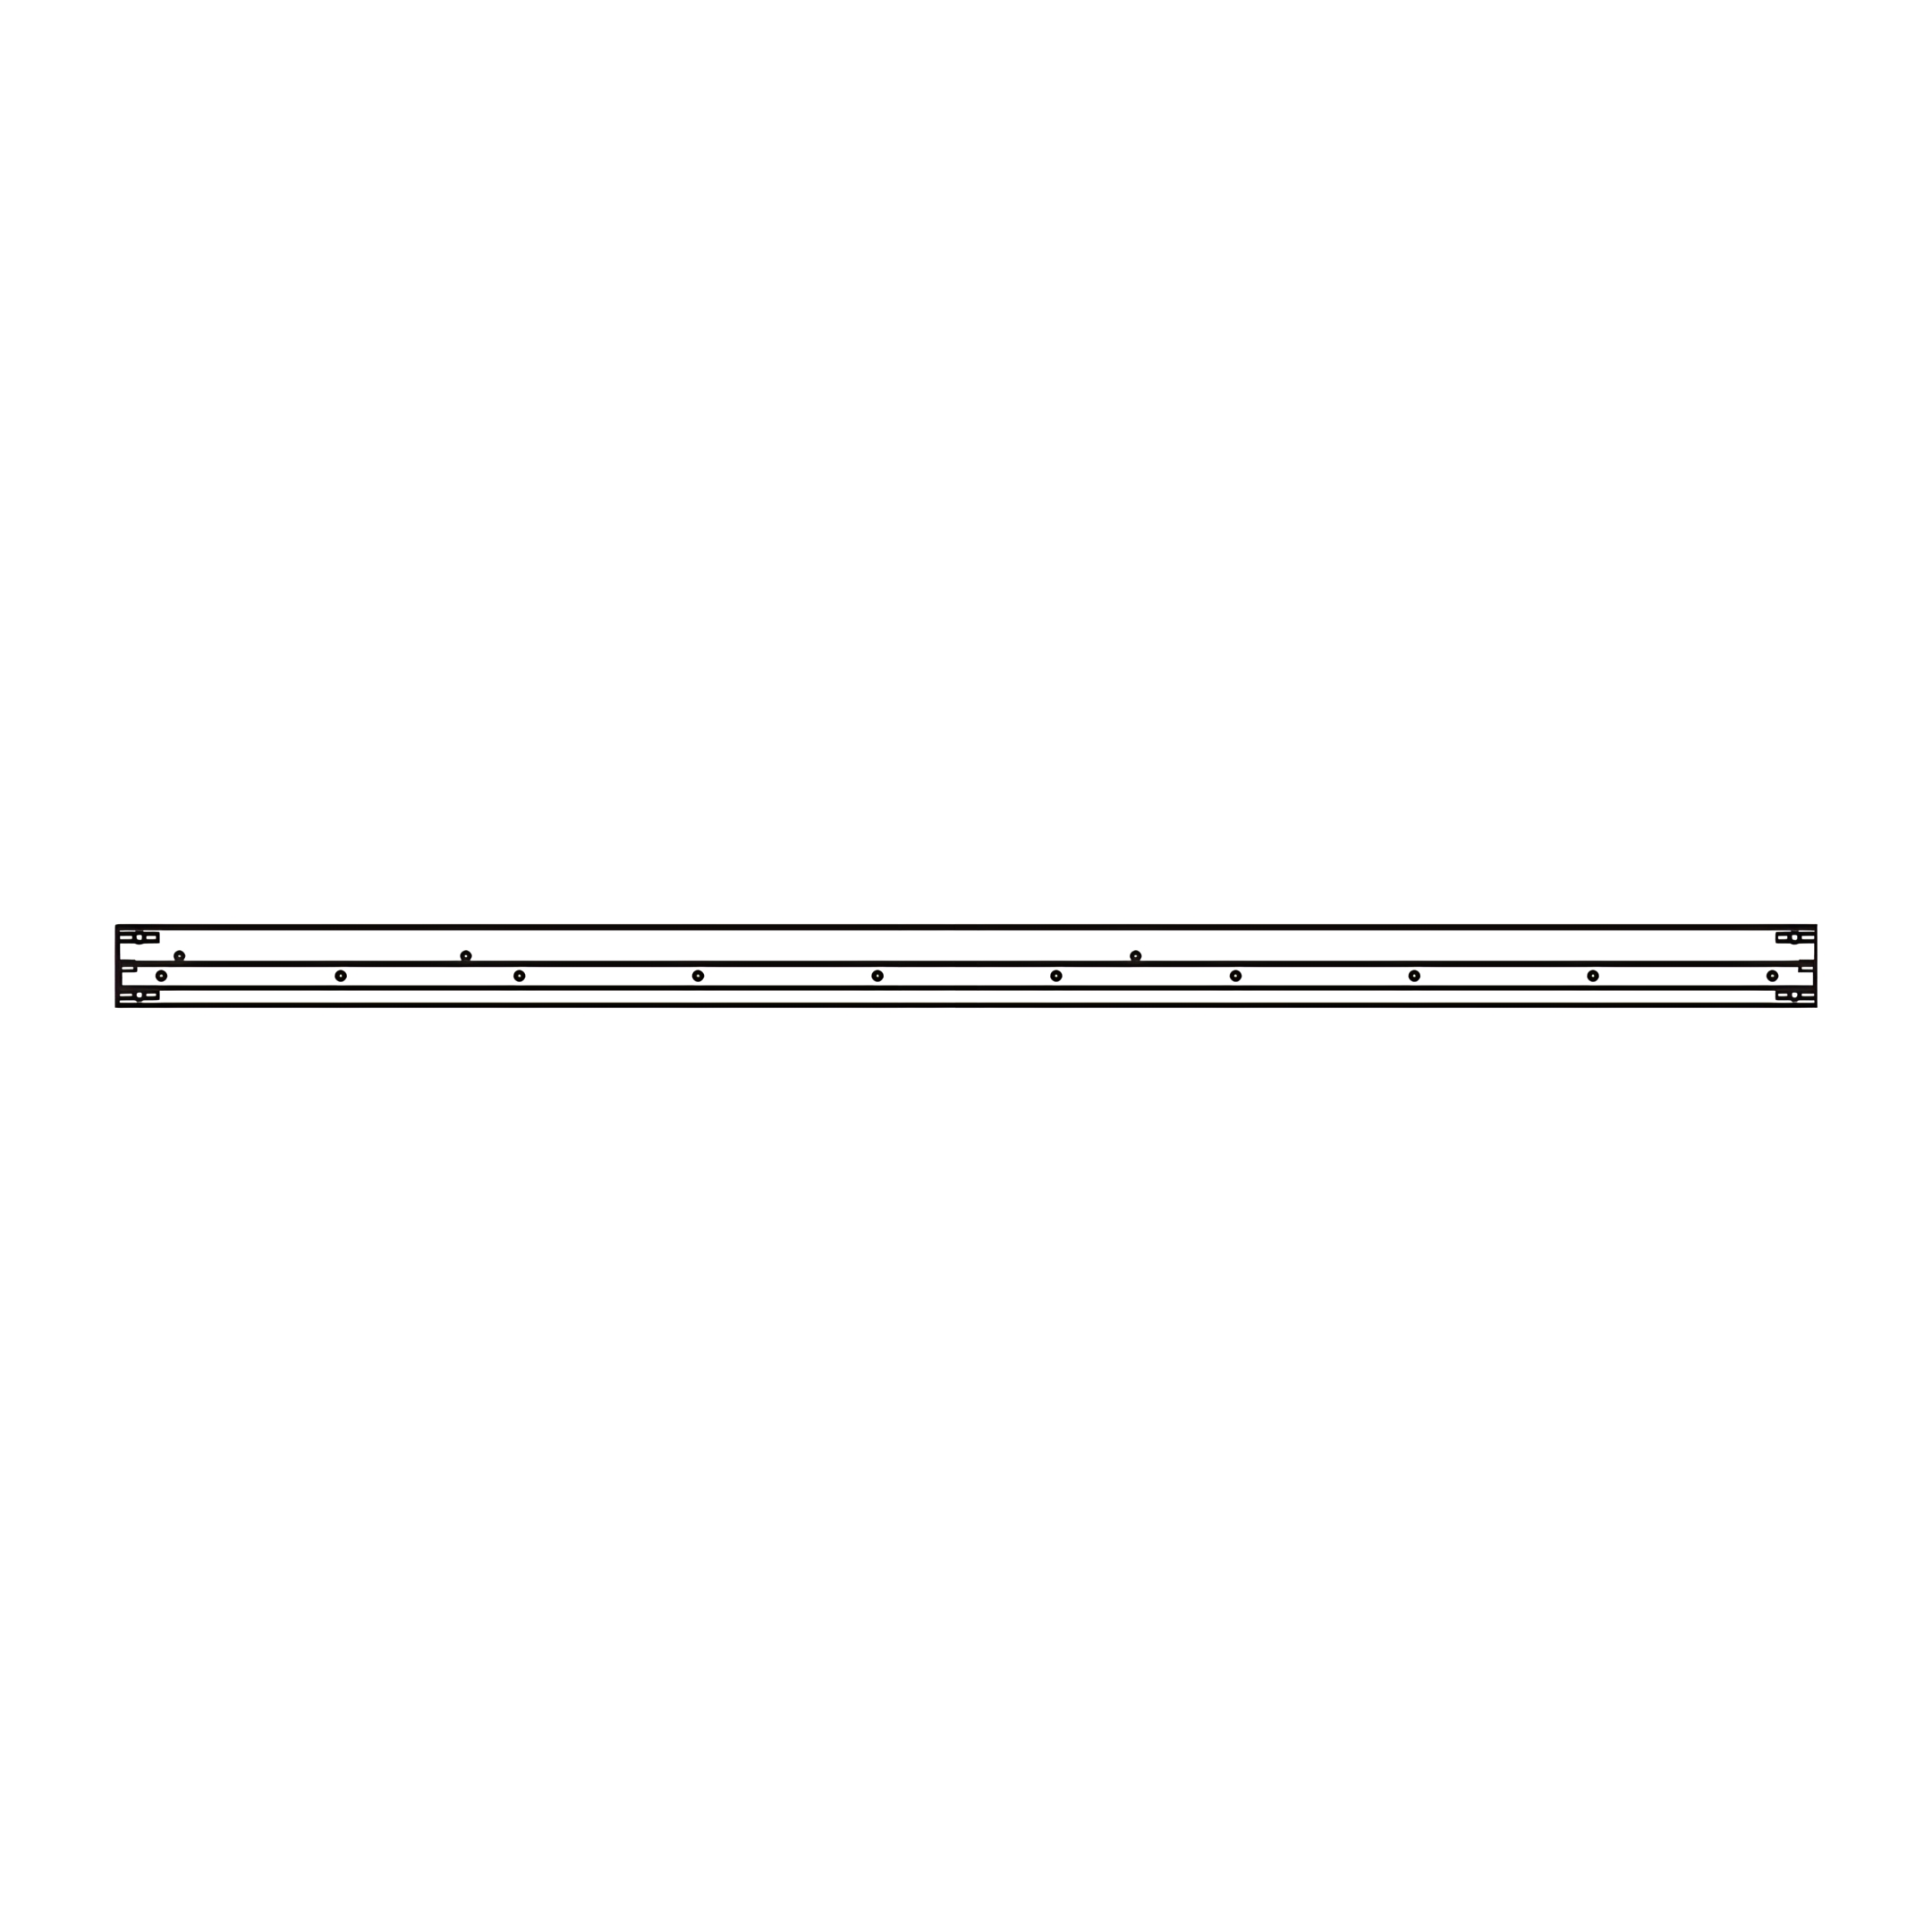
1. Position the assembled Upper Bunk End Frames (A) upright. 2. Insert (3) Wooden Dowels into the ends of (G) Upper Side Rail (Front), (H) Upper Side Rail (Back), (D) Front Upper Guardrail, and (E) Back Upper Guardrail. 3. Attach all pieces to the Upper Bunk End Frames (A) as shown in the image. 4. Insert (2) Barrel Nuts, and secure using (4) JCBC Bolts on each side of every piece. 5. Position (F) Guardrail Spindle at the center of the front and the back guardrail and secure it in place with (5) JCBC Bolts. 6. Use (12) Allen Key to tighten all bolts securely.
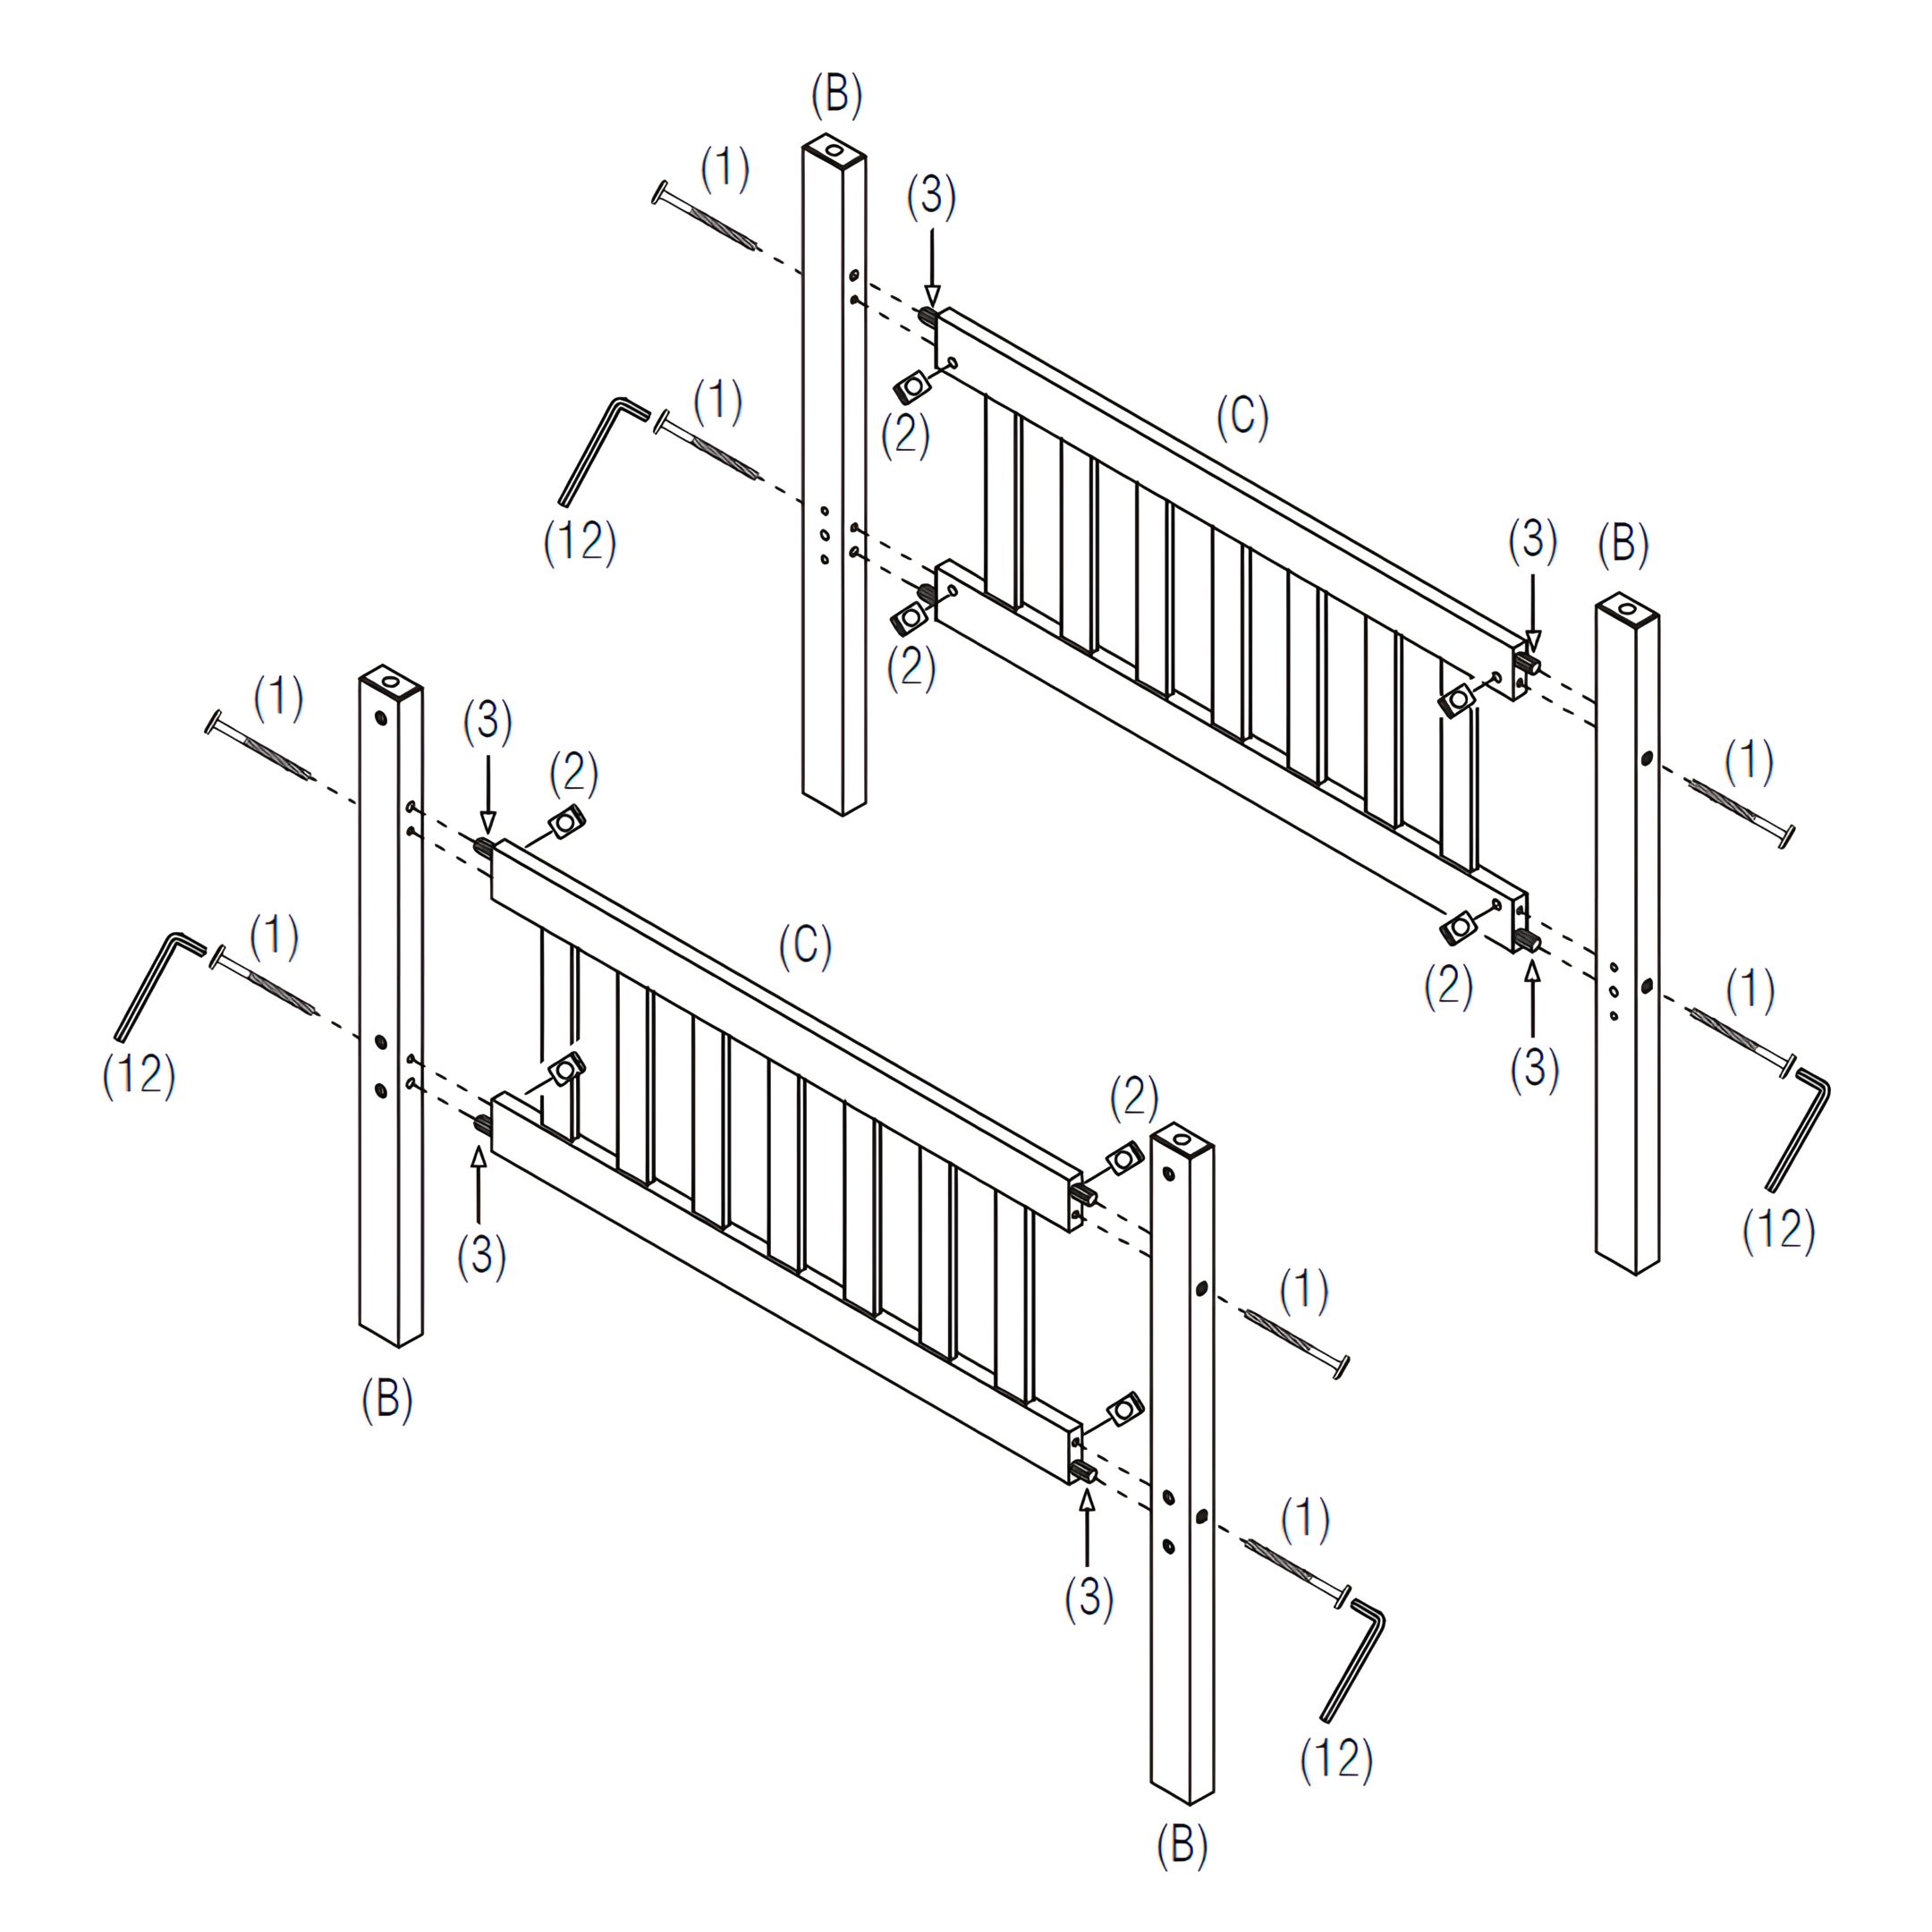
3. Assemble the Lower Bunk End Frames
1. Insert (3) Wooden Dowels into the ends of (C) Headboard/Footboard Panels. 2. Align the panels with (B) Lower Posts. 3. Insert (2) Barrel Nuts into the posts. 4. Secure with (1) JCBC (M6 x 100mm) Bolts and use (12) Allen Key to tighten.
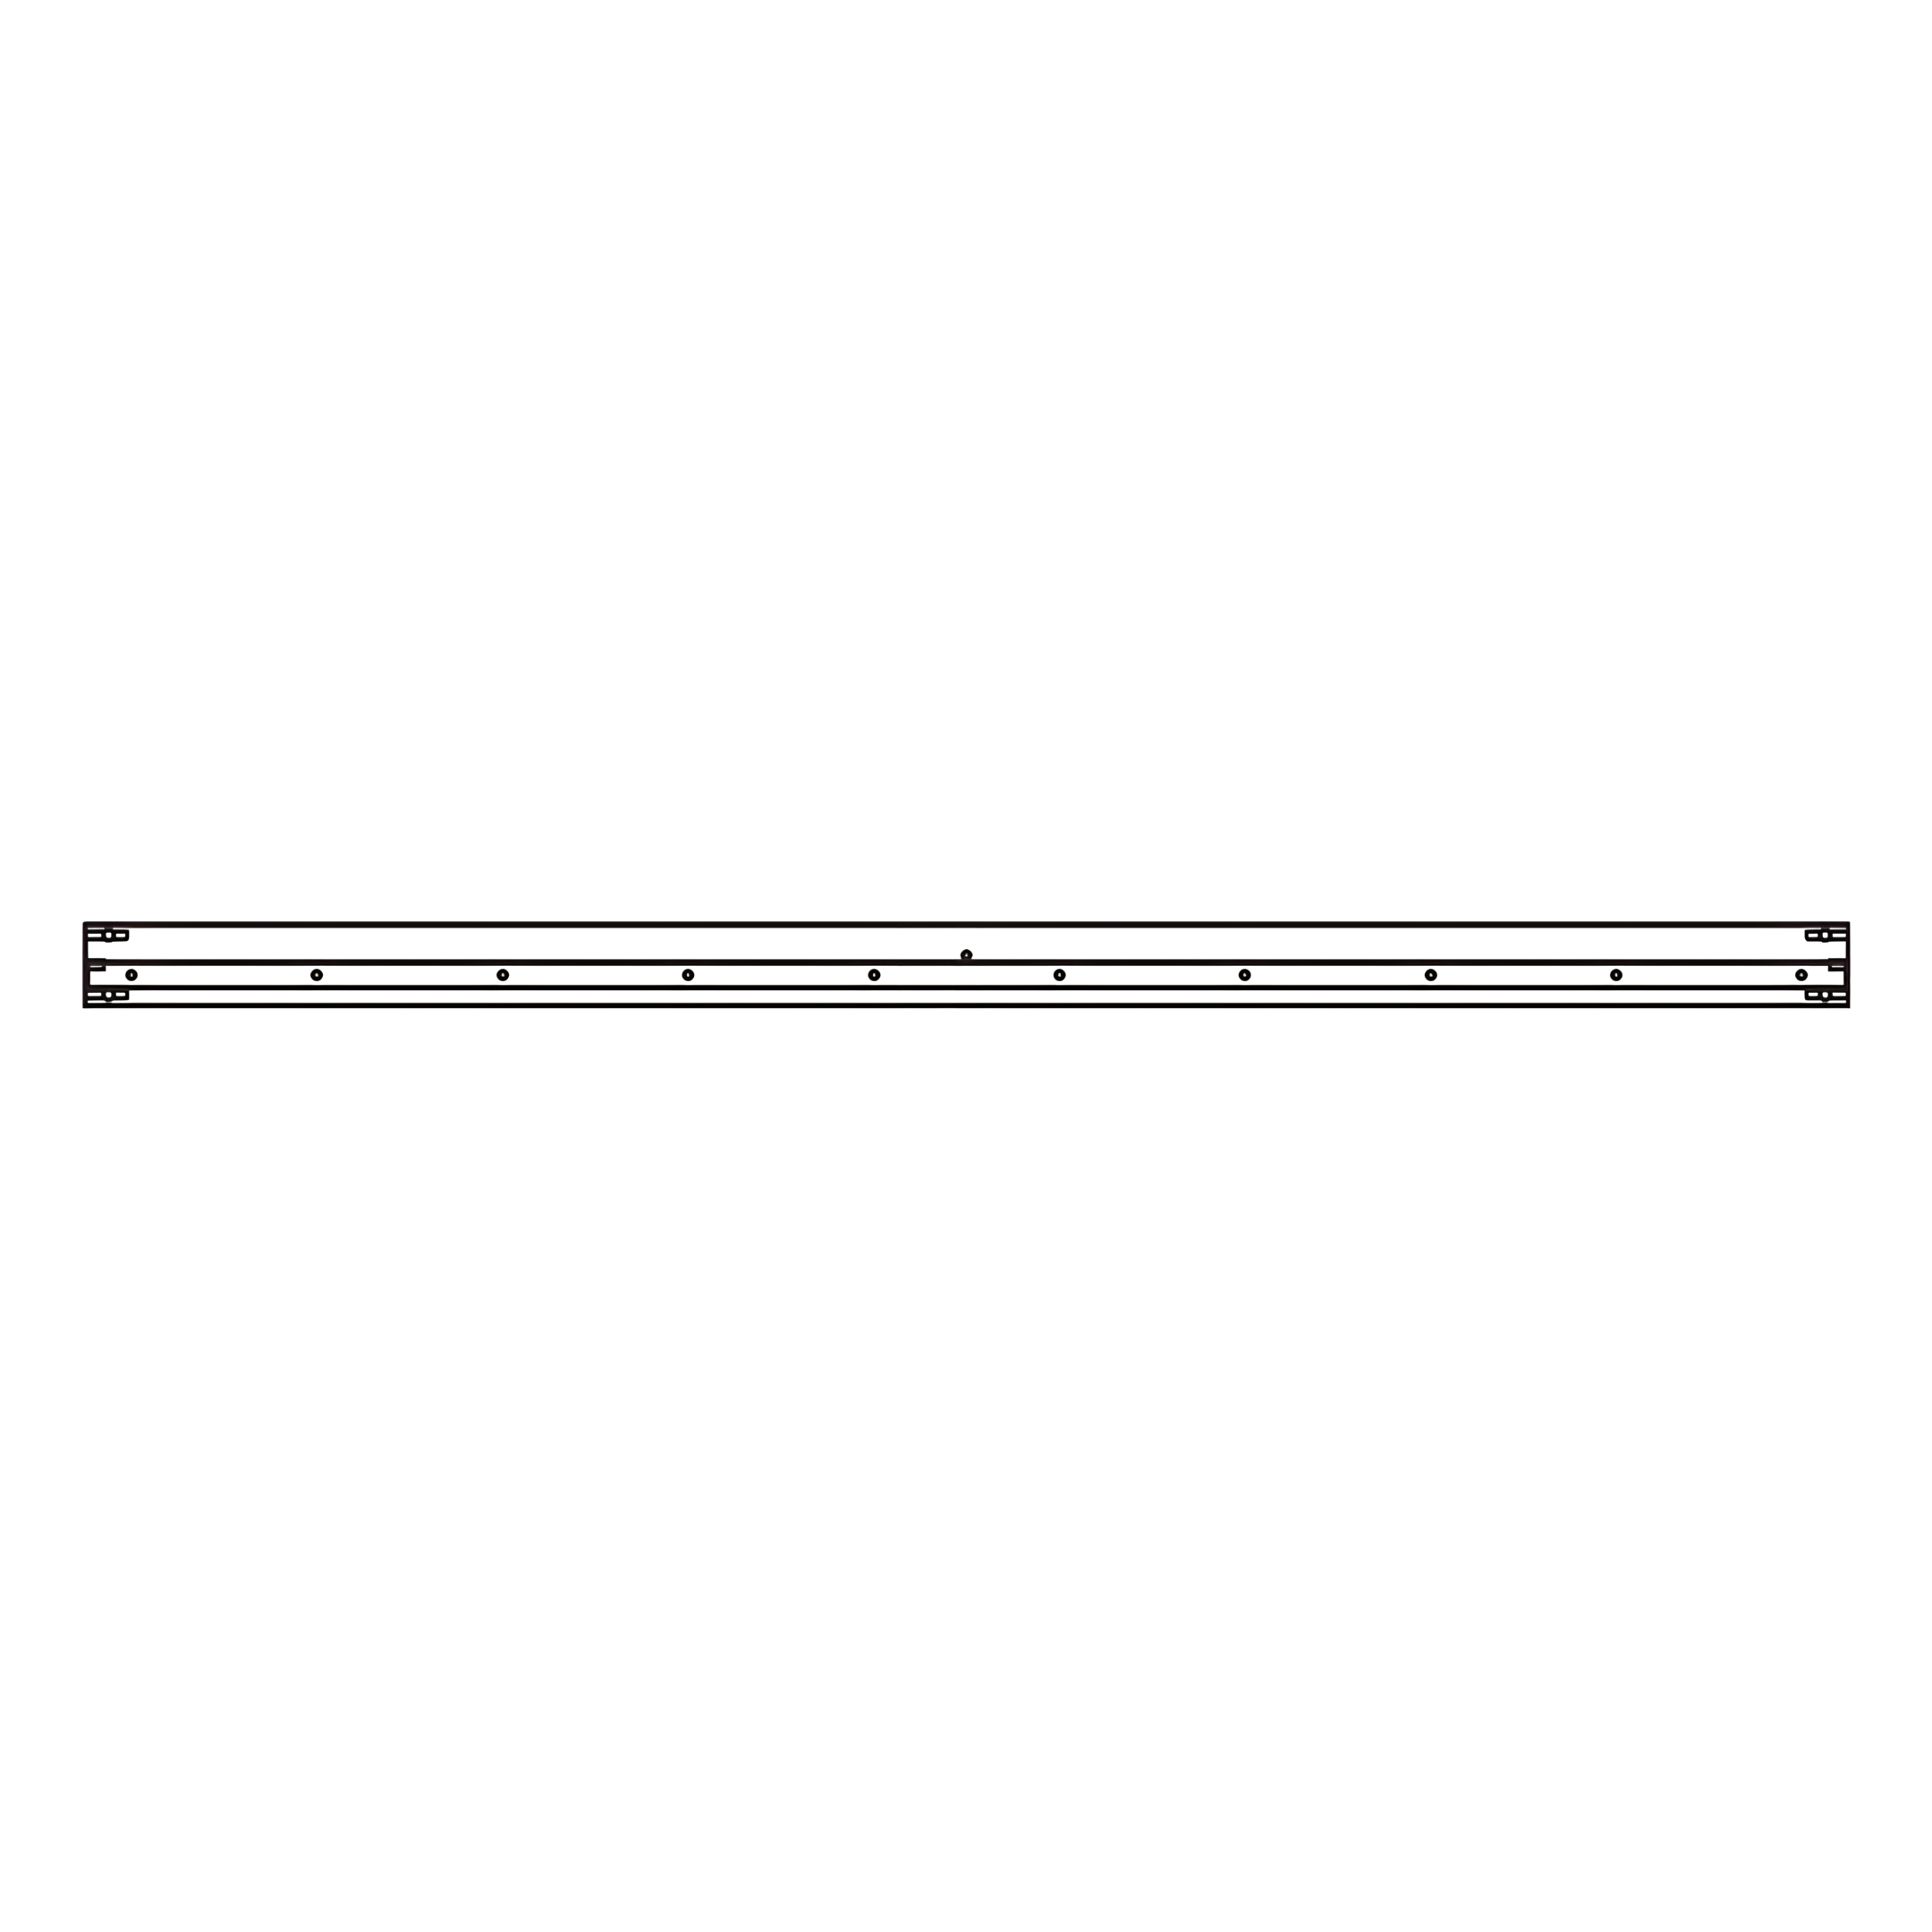
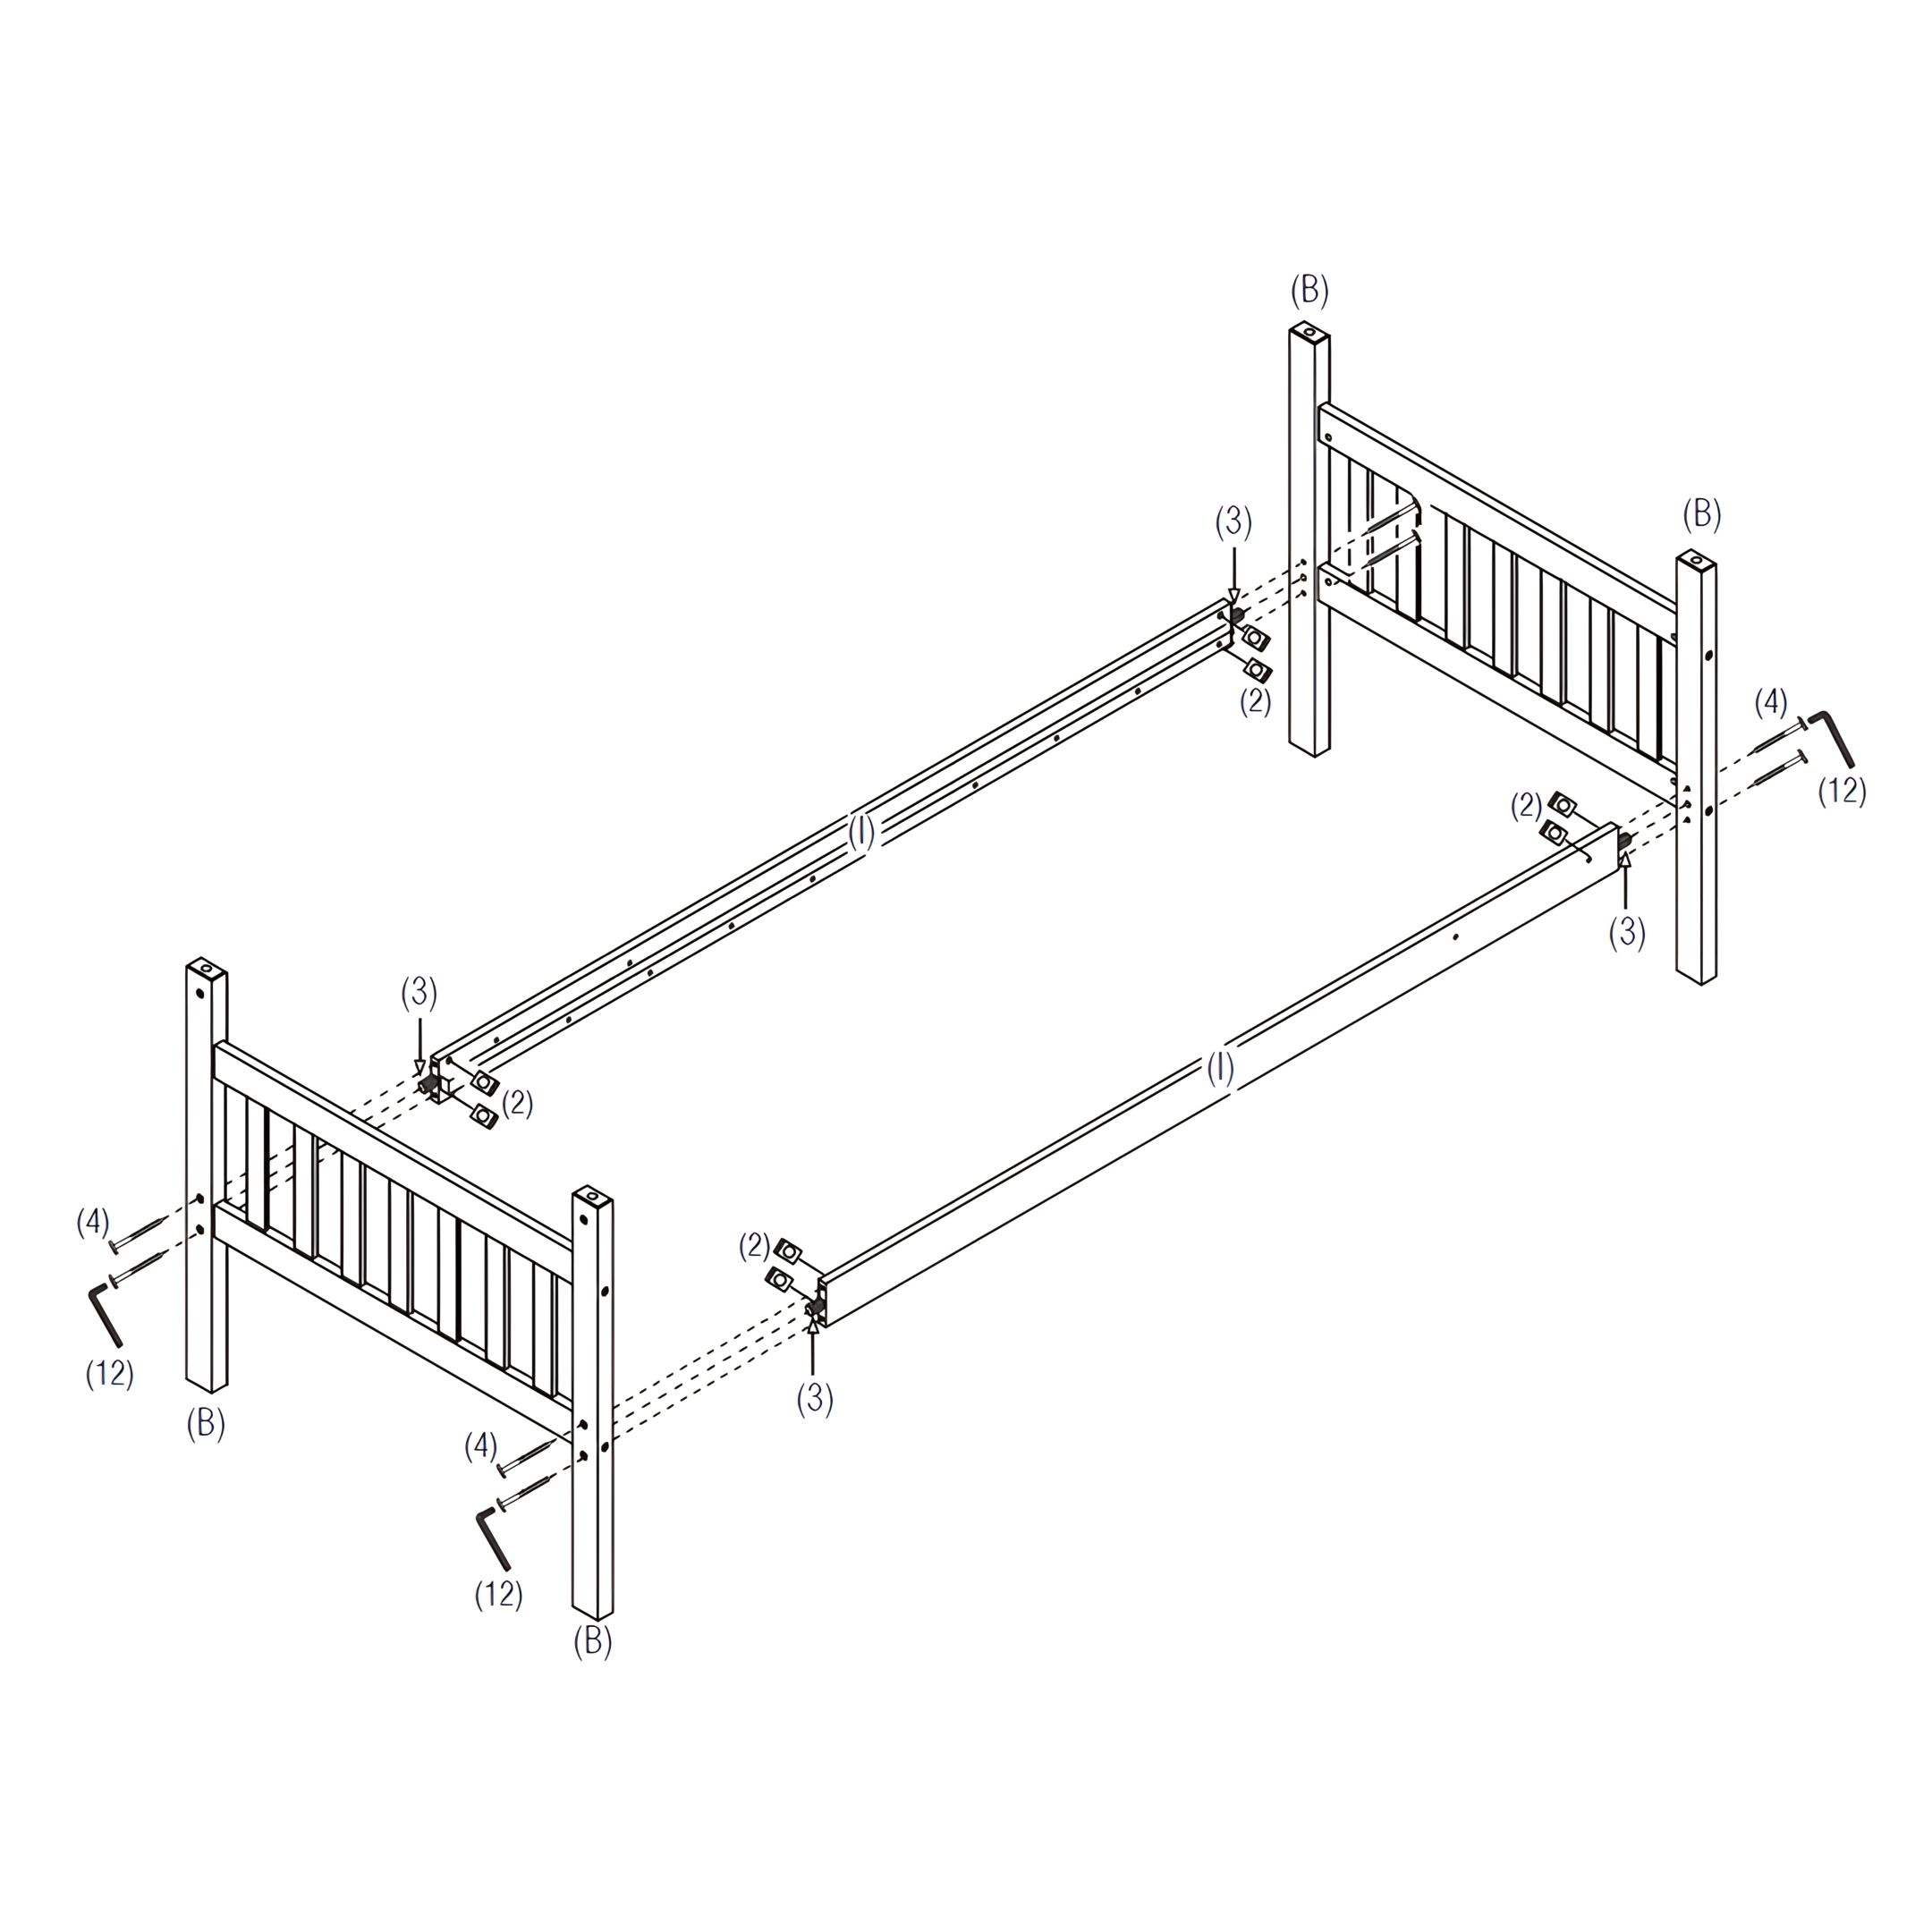
4. Assemble the Lower Bunk
1. Insert (3) Wooden Dowels into the ends of (I) Lower Side Rails (Front & Back). 2. Align the side rails with the (B) Lower Posts and insert (2) Barrel Nuts into each post. 3. Secure the side rails using (4) JCBC Bolts on each side. 4. Use (12) Allen Key to tighten all bolts securely.
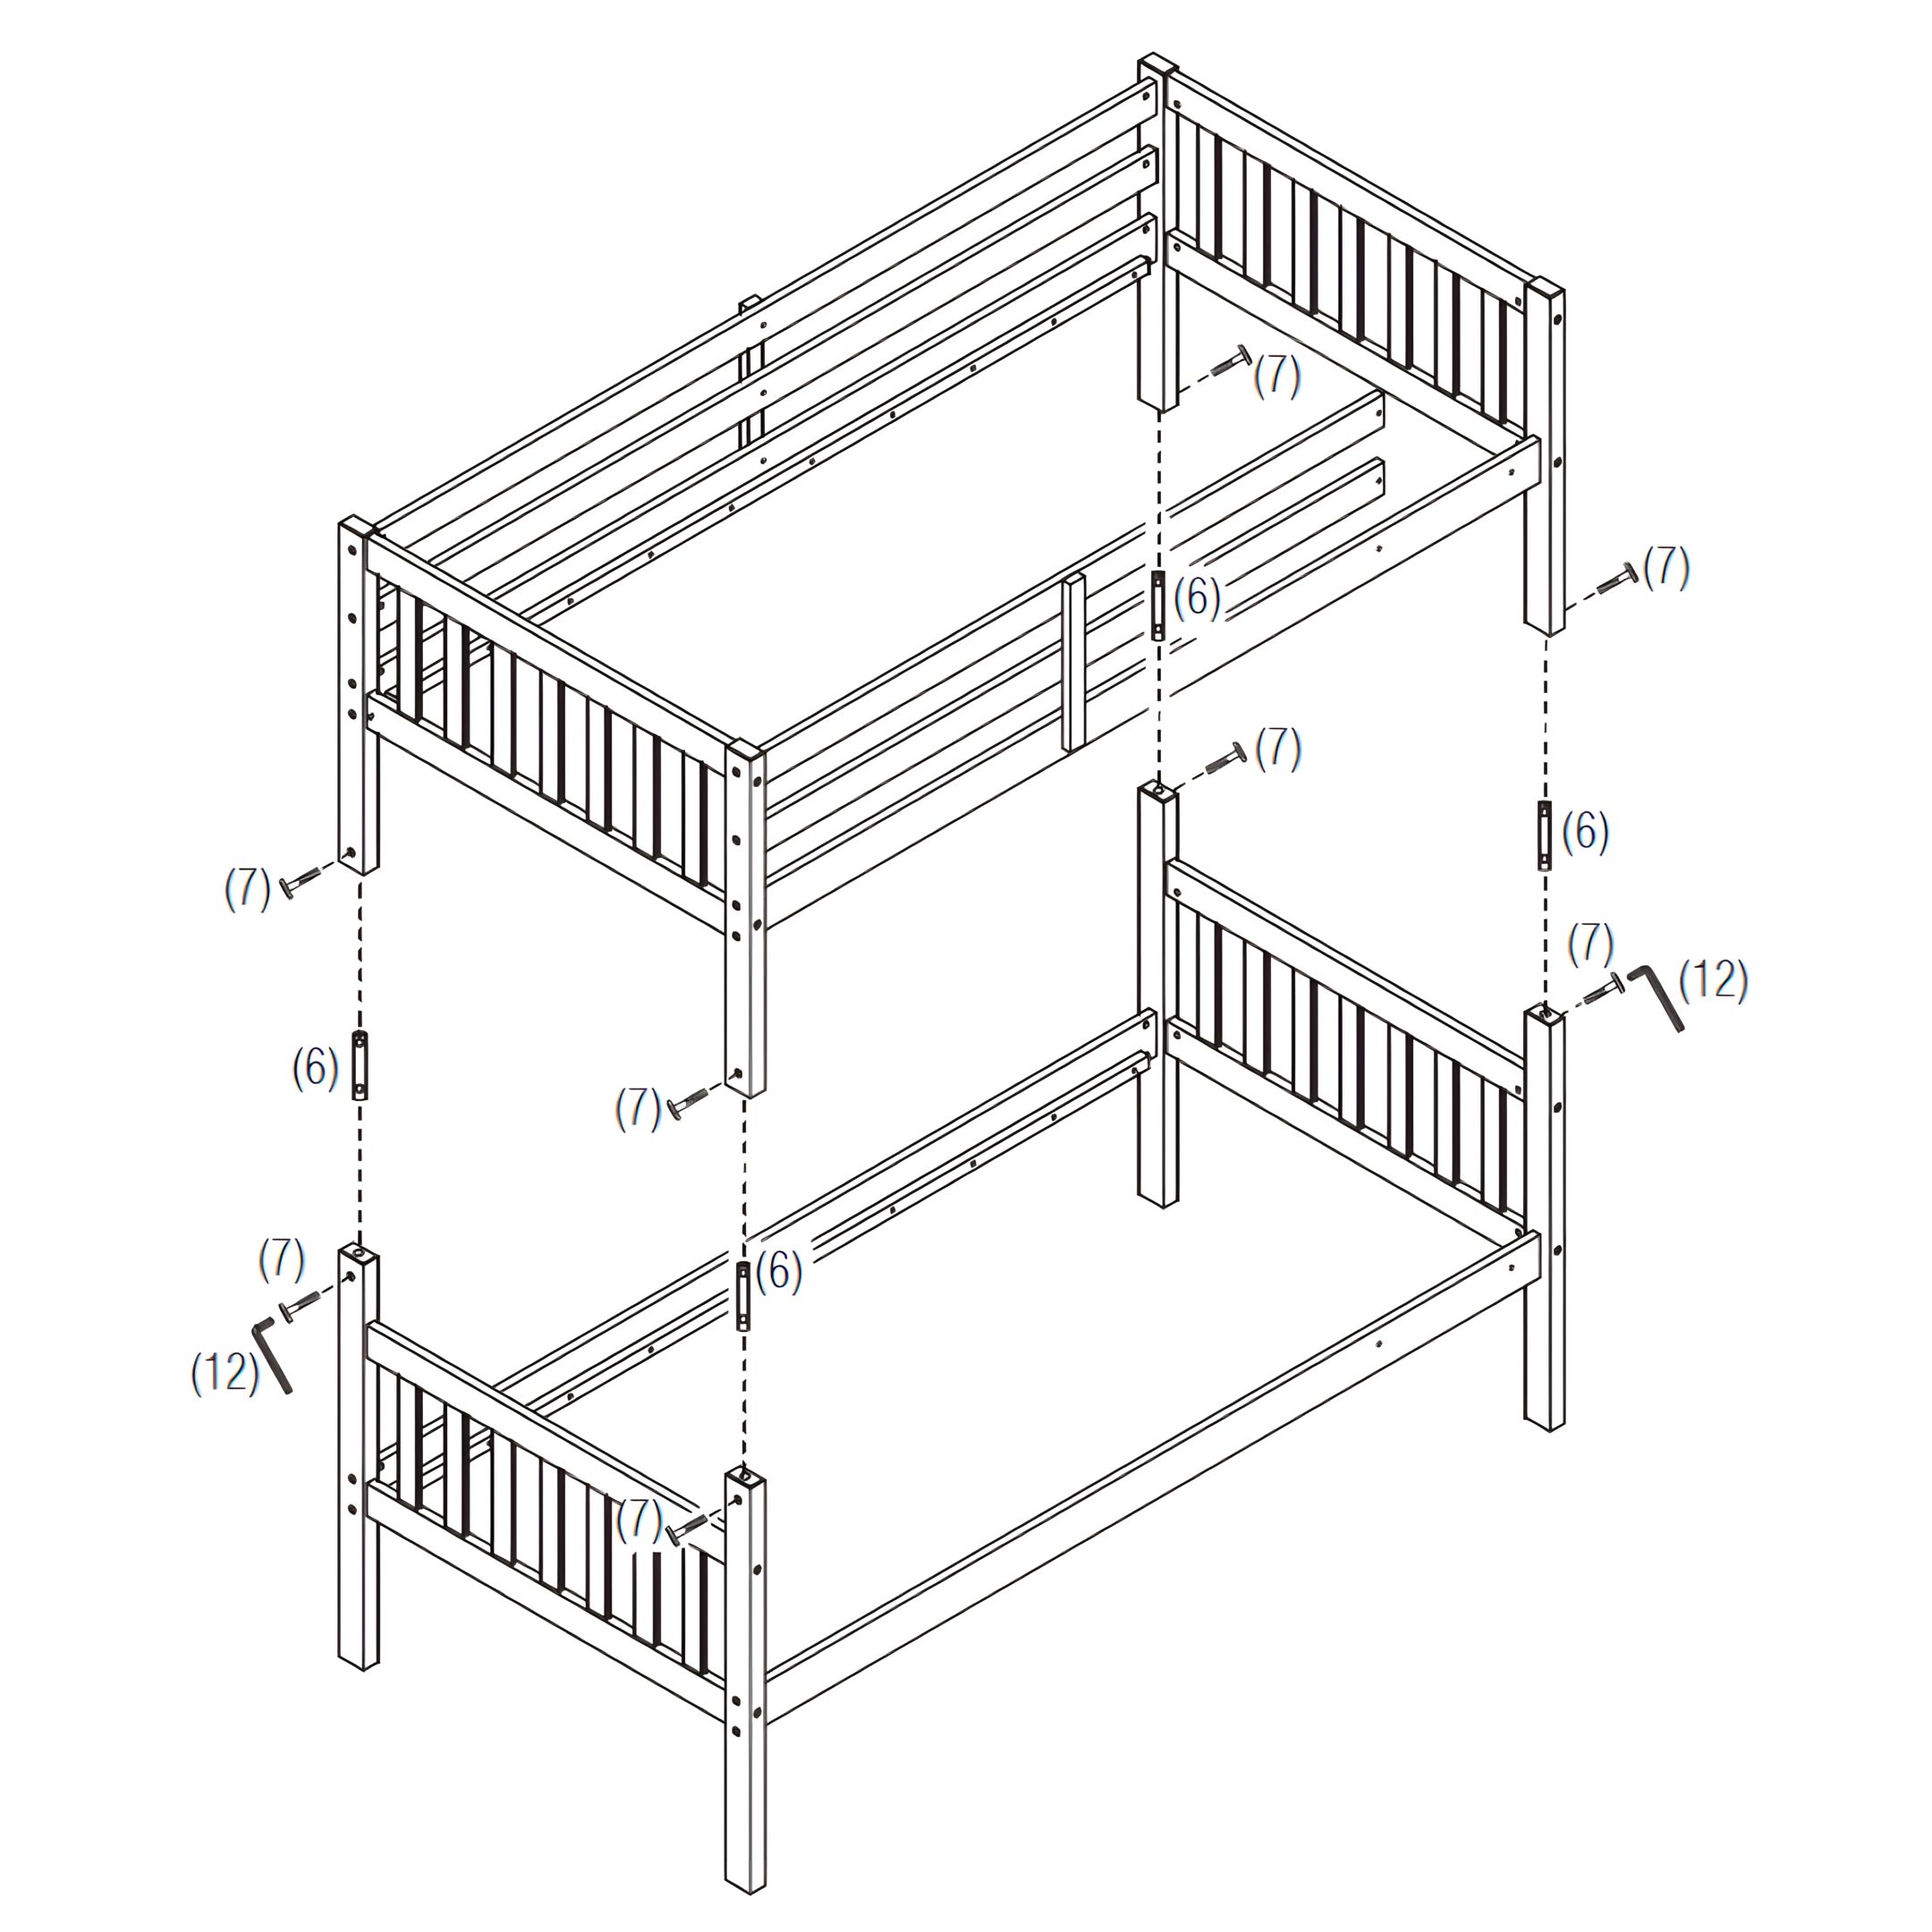
5. Join the Upper & Lower Bunk
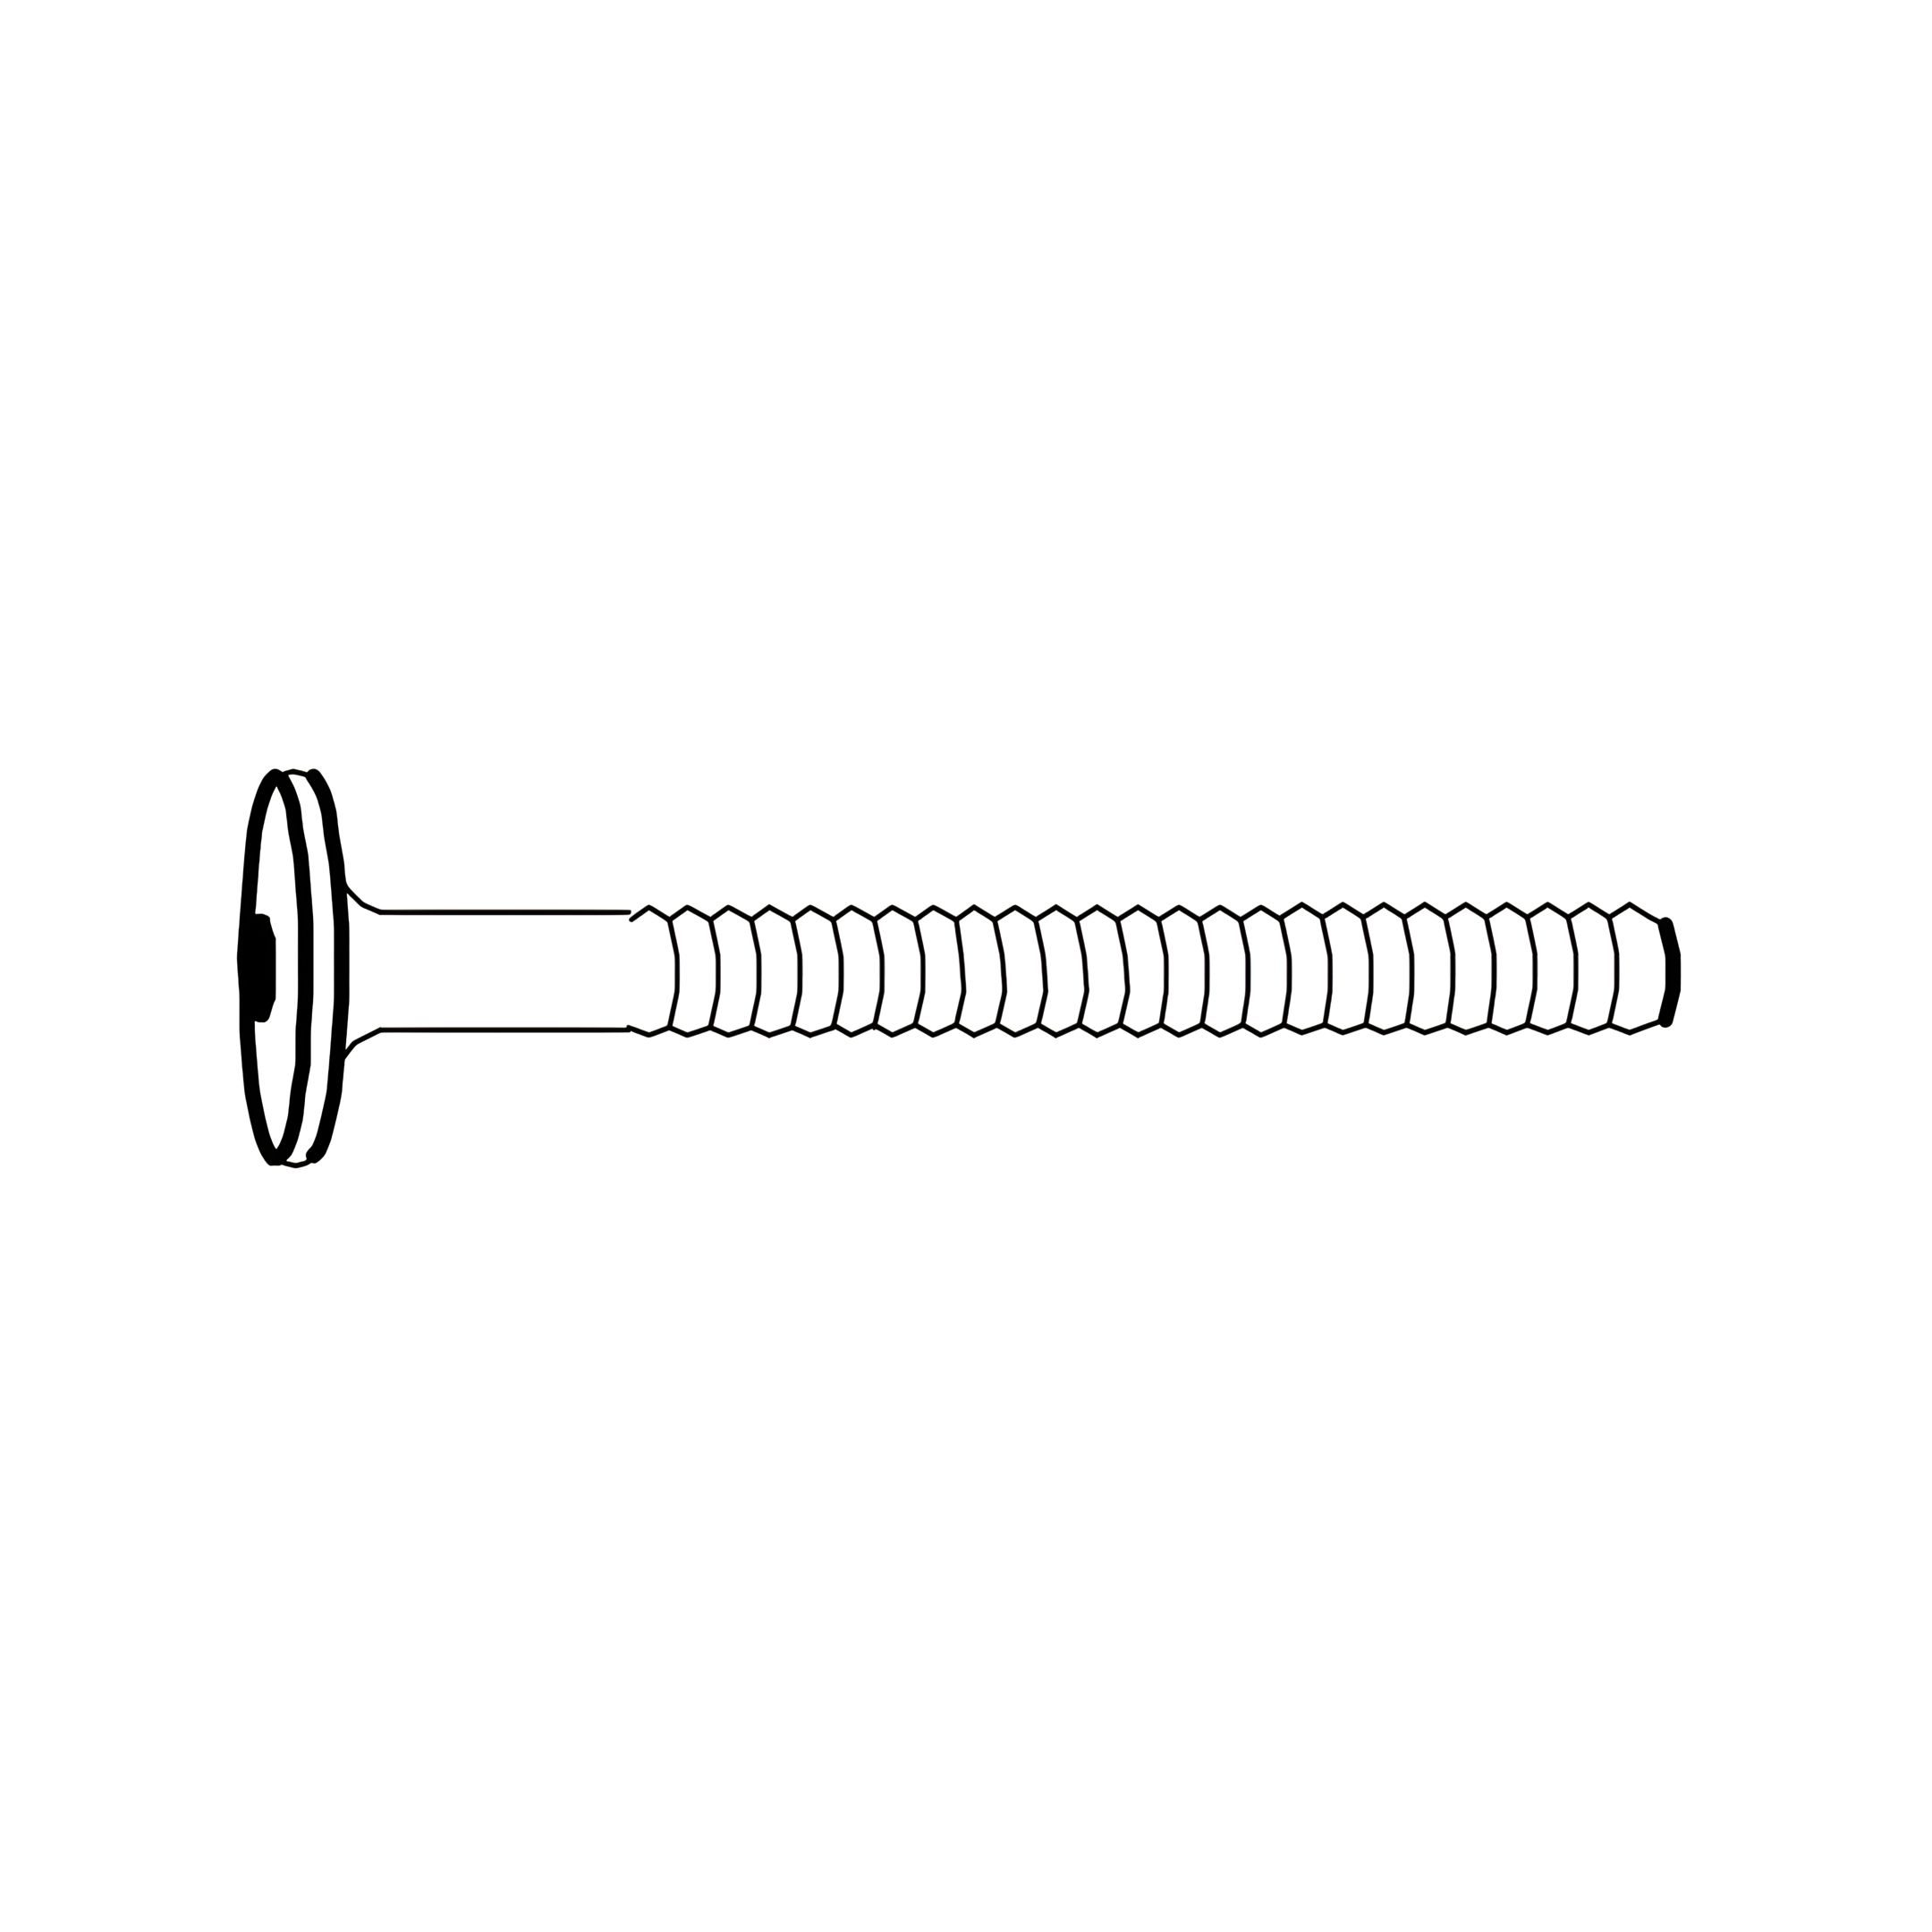
1. Insert (6) Metal Pins into the top of each (B) Lower Post. 2. Carefully lift the Upper Bunk Frame and align it with the Lower Bunk Frame, ensuring the metal pins fit securely into the (A) Upper Posts. 3. Secure the connection using (7) JCBC (M6 x 25mm) Bolts at each post. 4. Use (12) Allen Key to tighten all bolts securely.
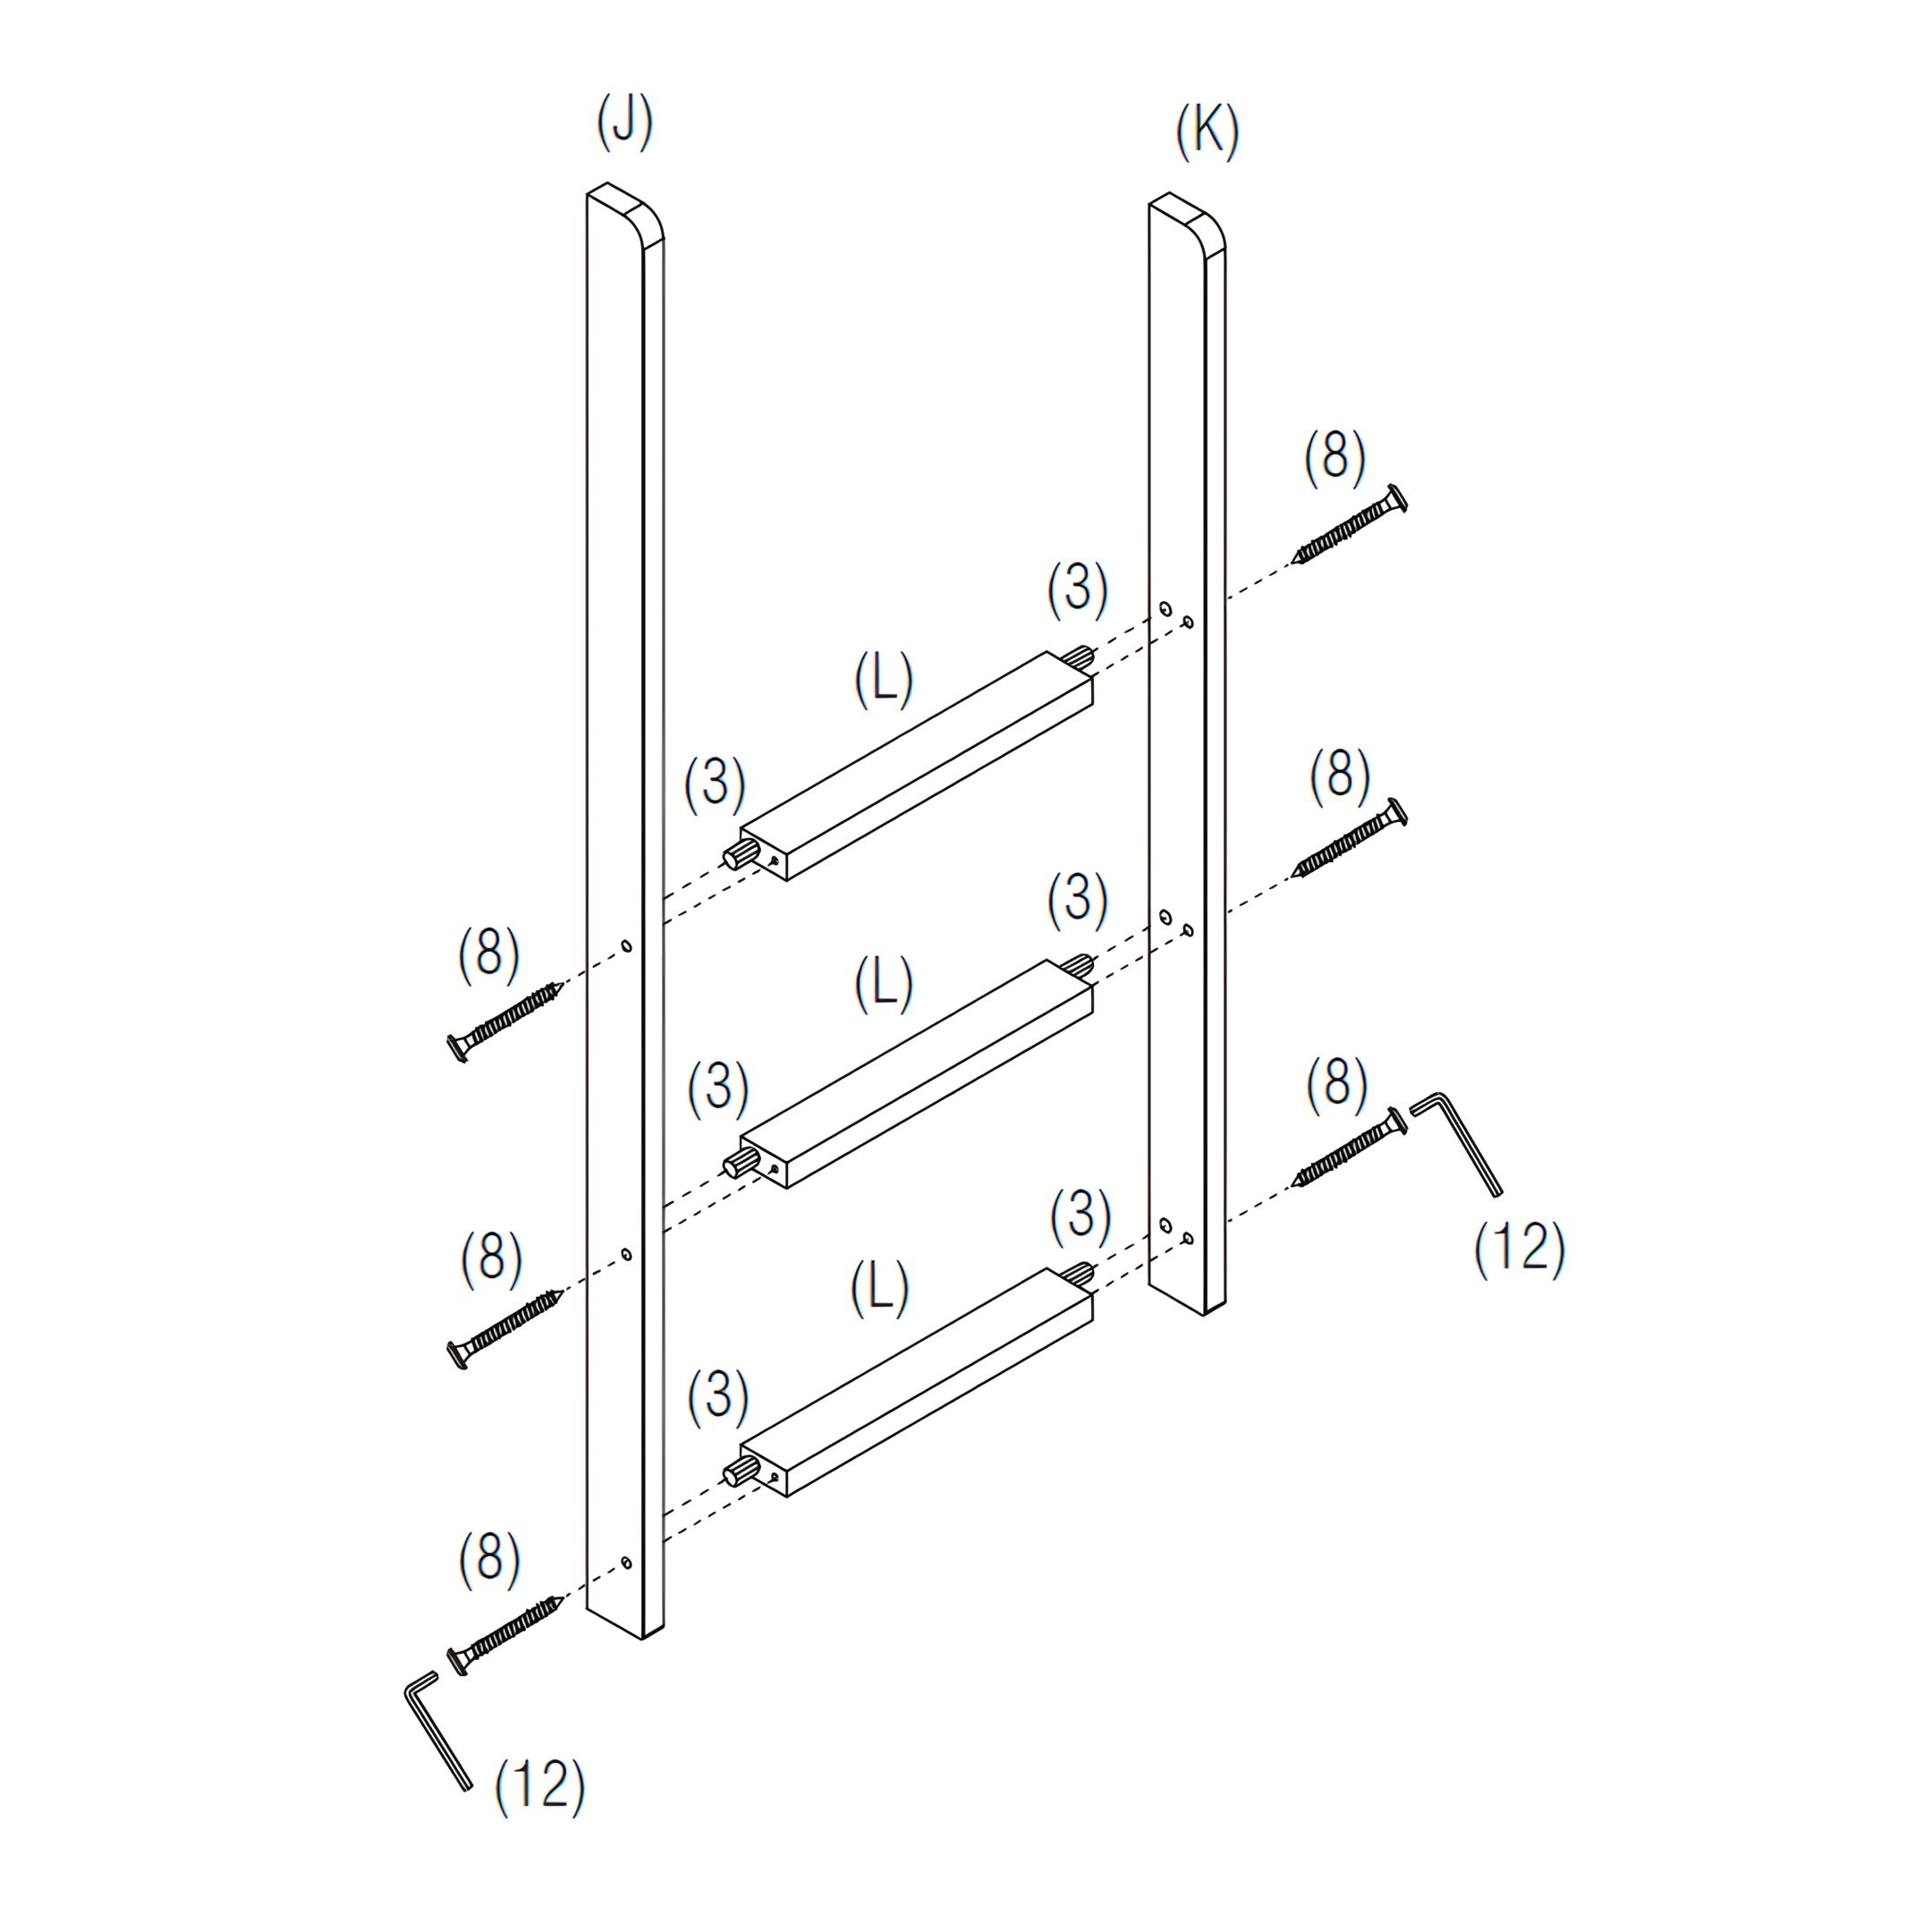
6. Assemble the Ladder
1. Insert (3) Wooden Dowels into both ends of each (L) Ladder Step. 2. Align the ladder steps with (J) Ladder Rail (Long) and (K) Ladder Rail (Short). 3. Secure each step using (8) JCBC-W Screws. 4. Use (12) Allen Key to tighten all bolts securely
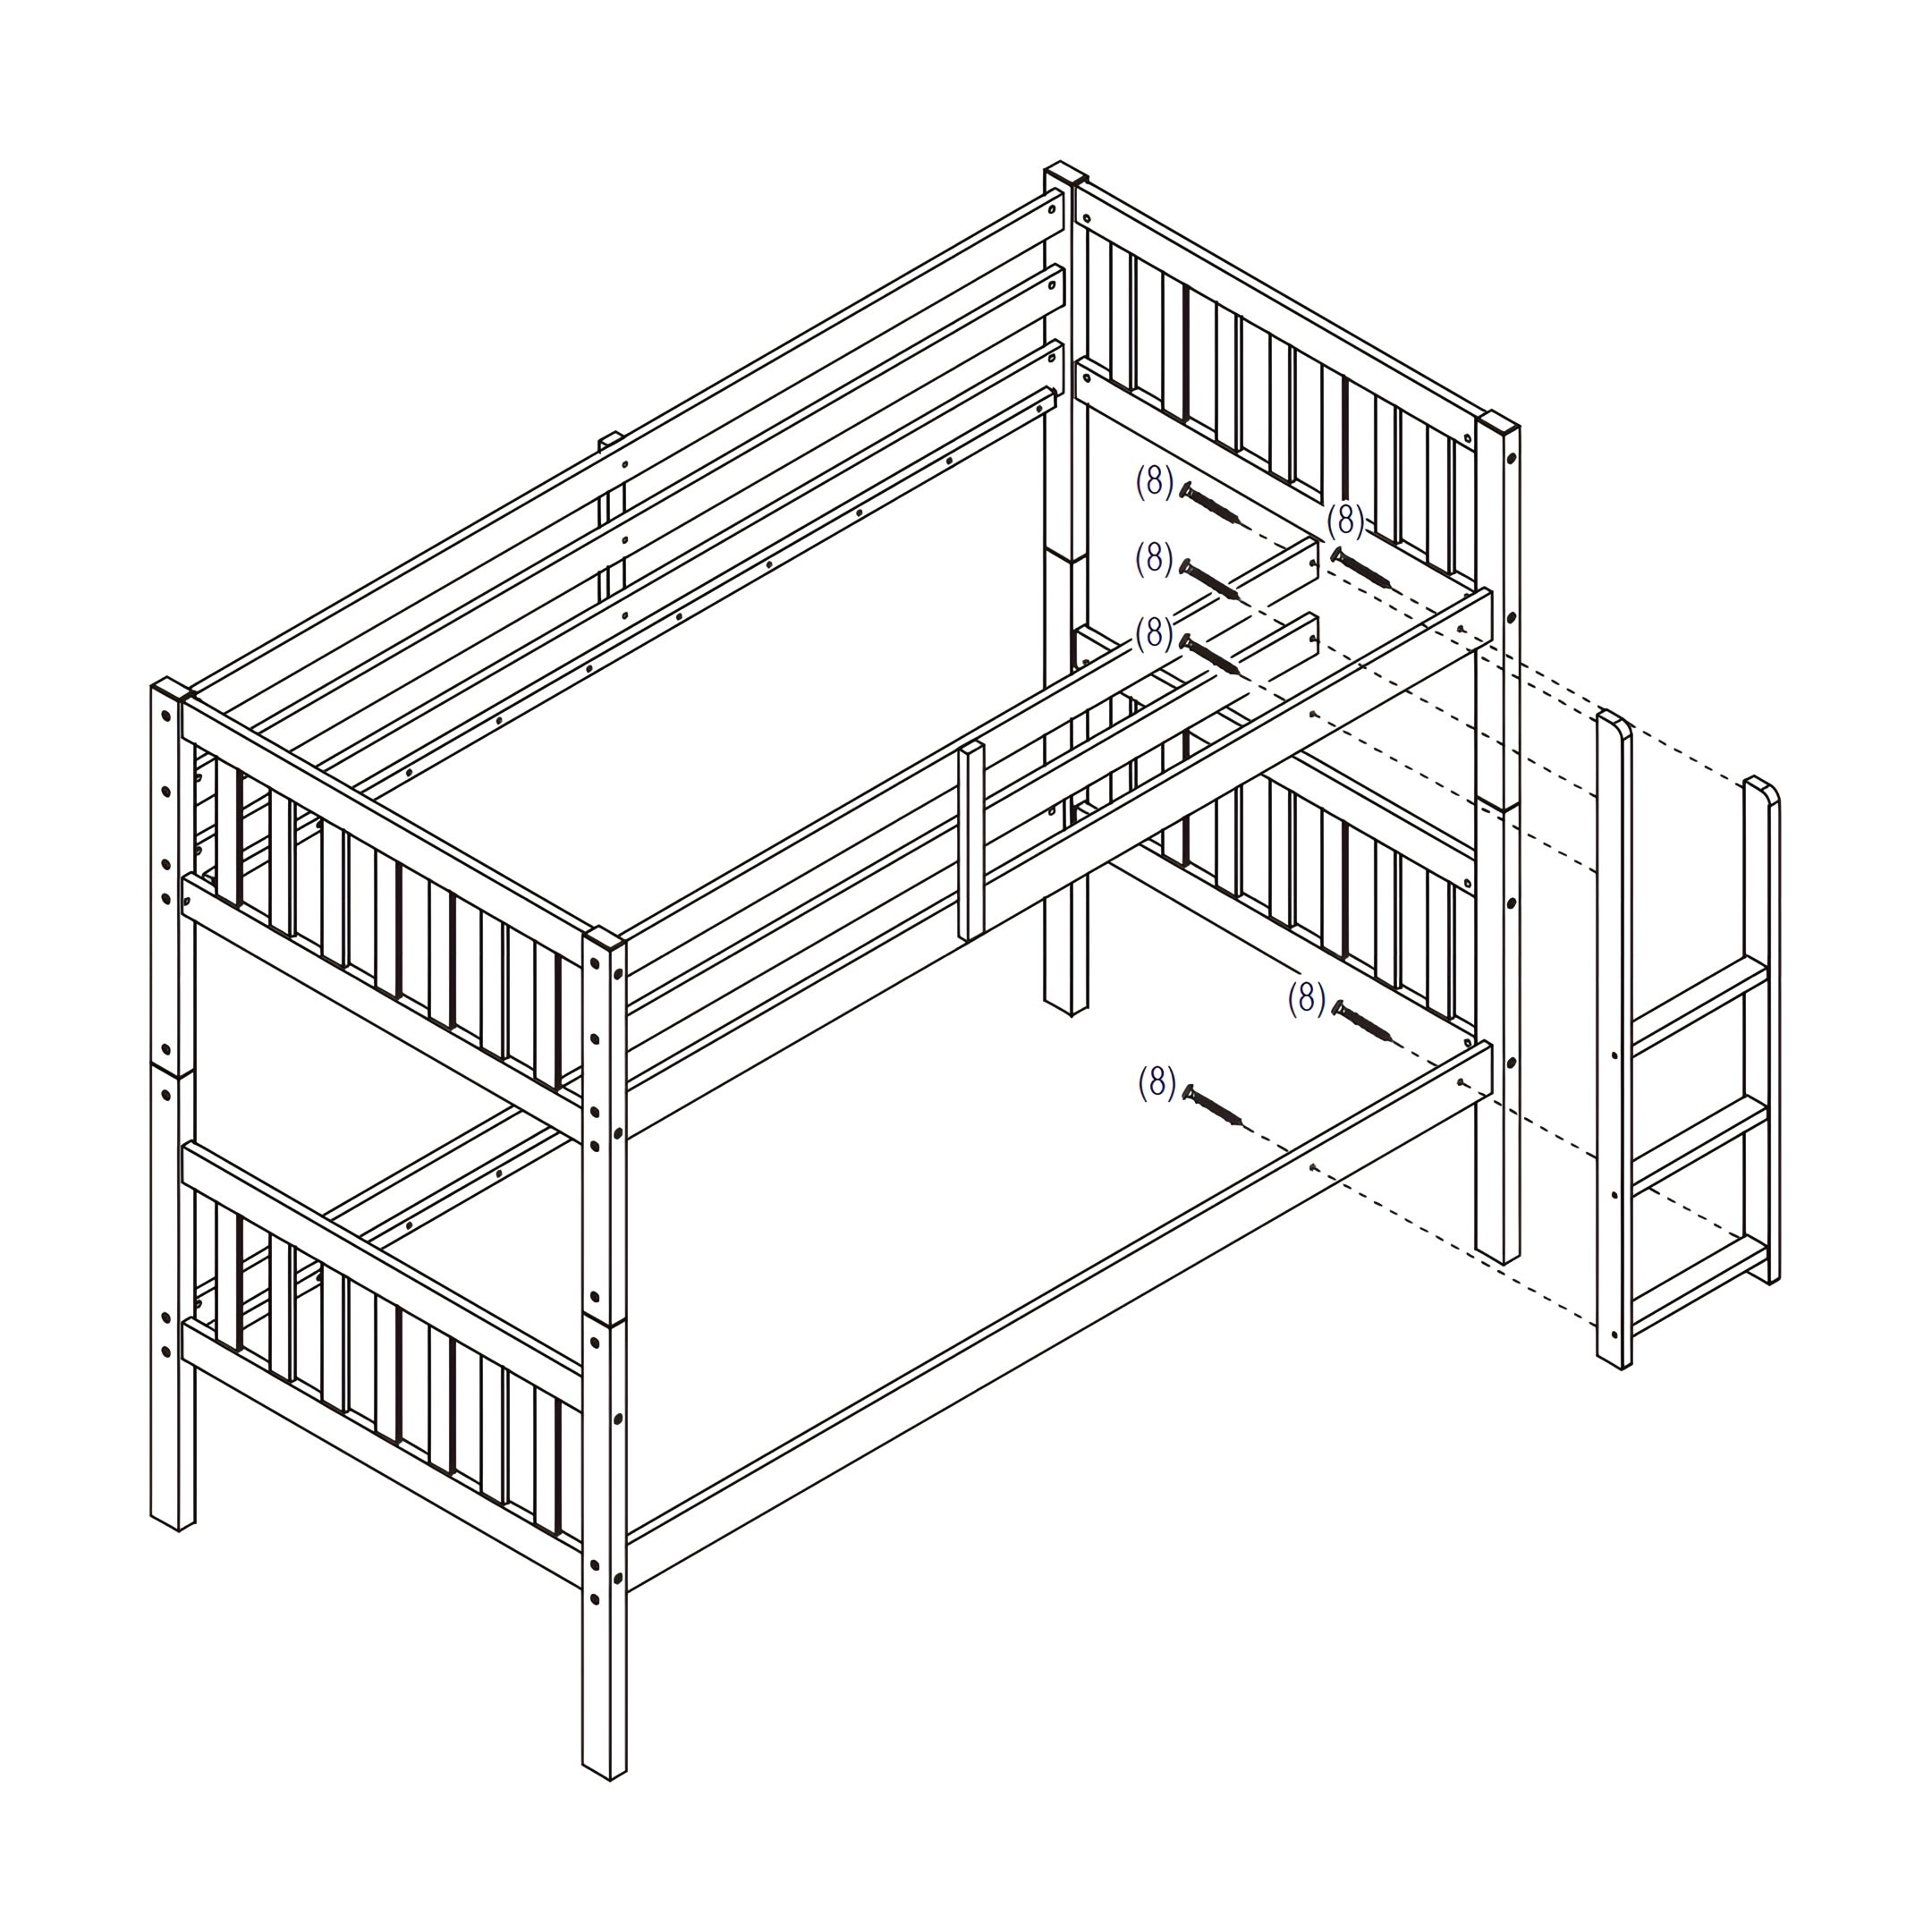
7. Attach the Ladder to Upper & Lower Bunk
1. Position the assembled Ladder against the bunk bed frame, ensuring it aligns with the designated attachment points. 2. Secure the ladder to the Upper Side Rail (G) and Lower Side Rail (I) using (8) JCBC-W Screws. 3. Use the screwdriver to tighten all bolts securely.
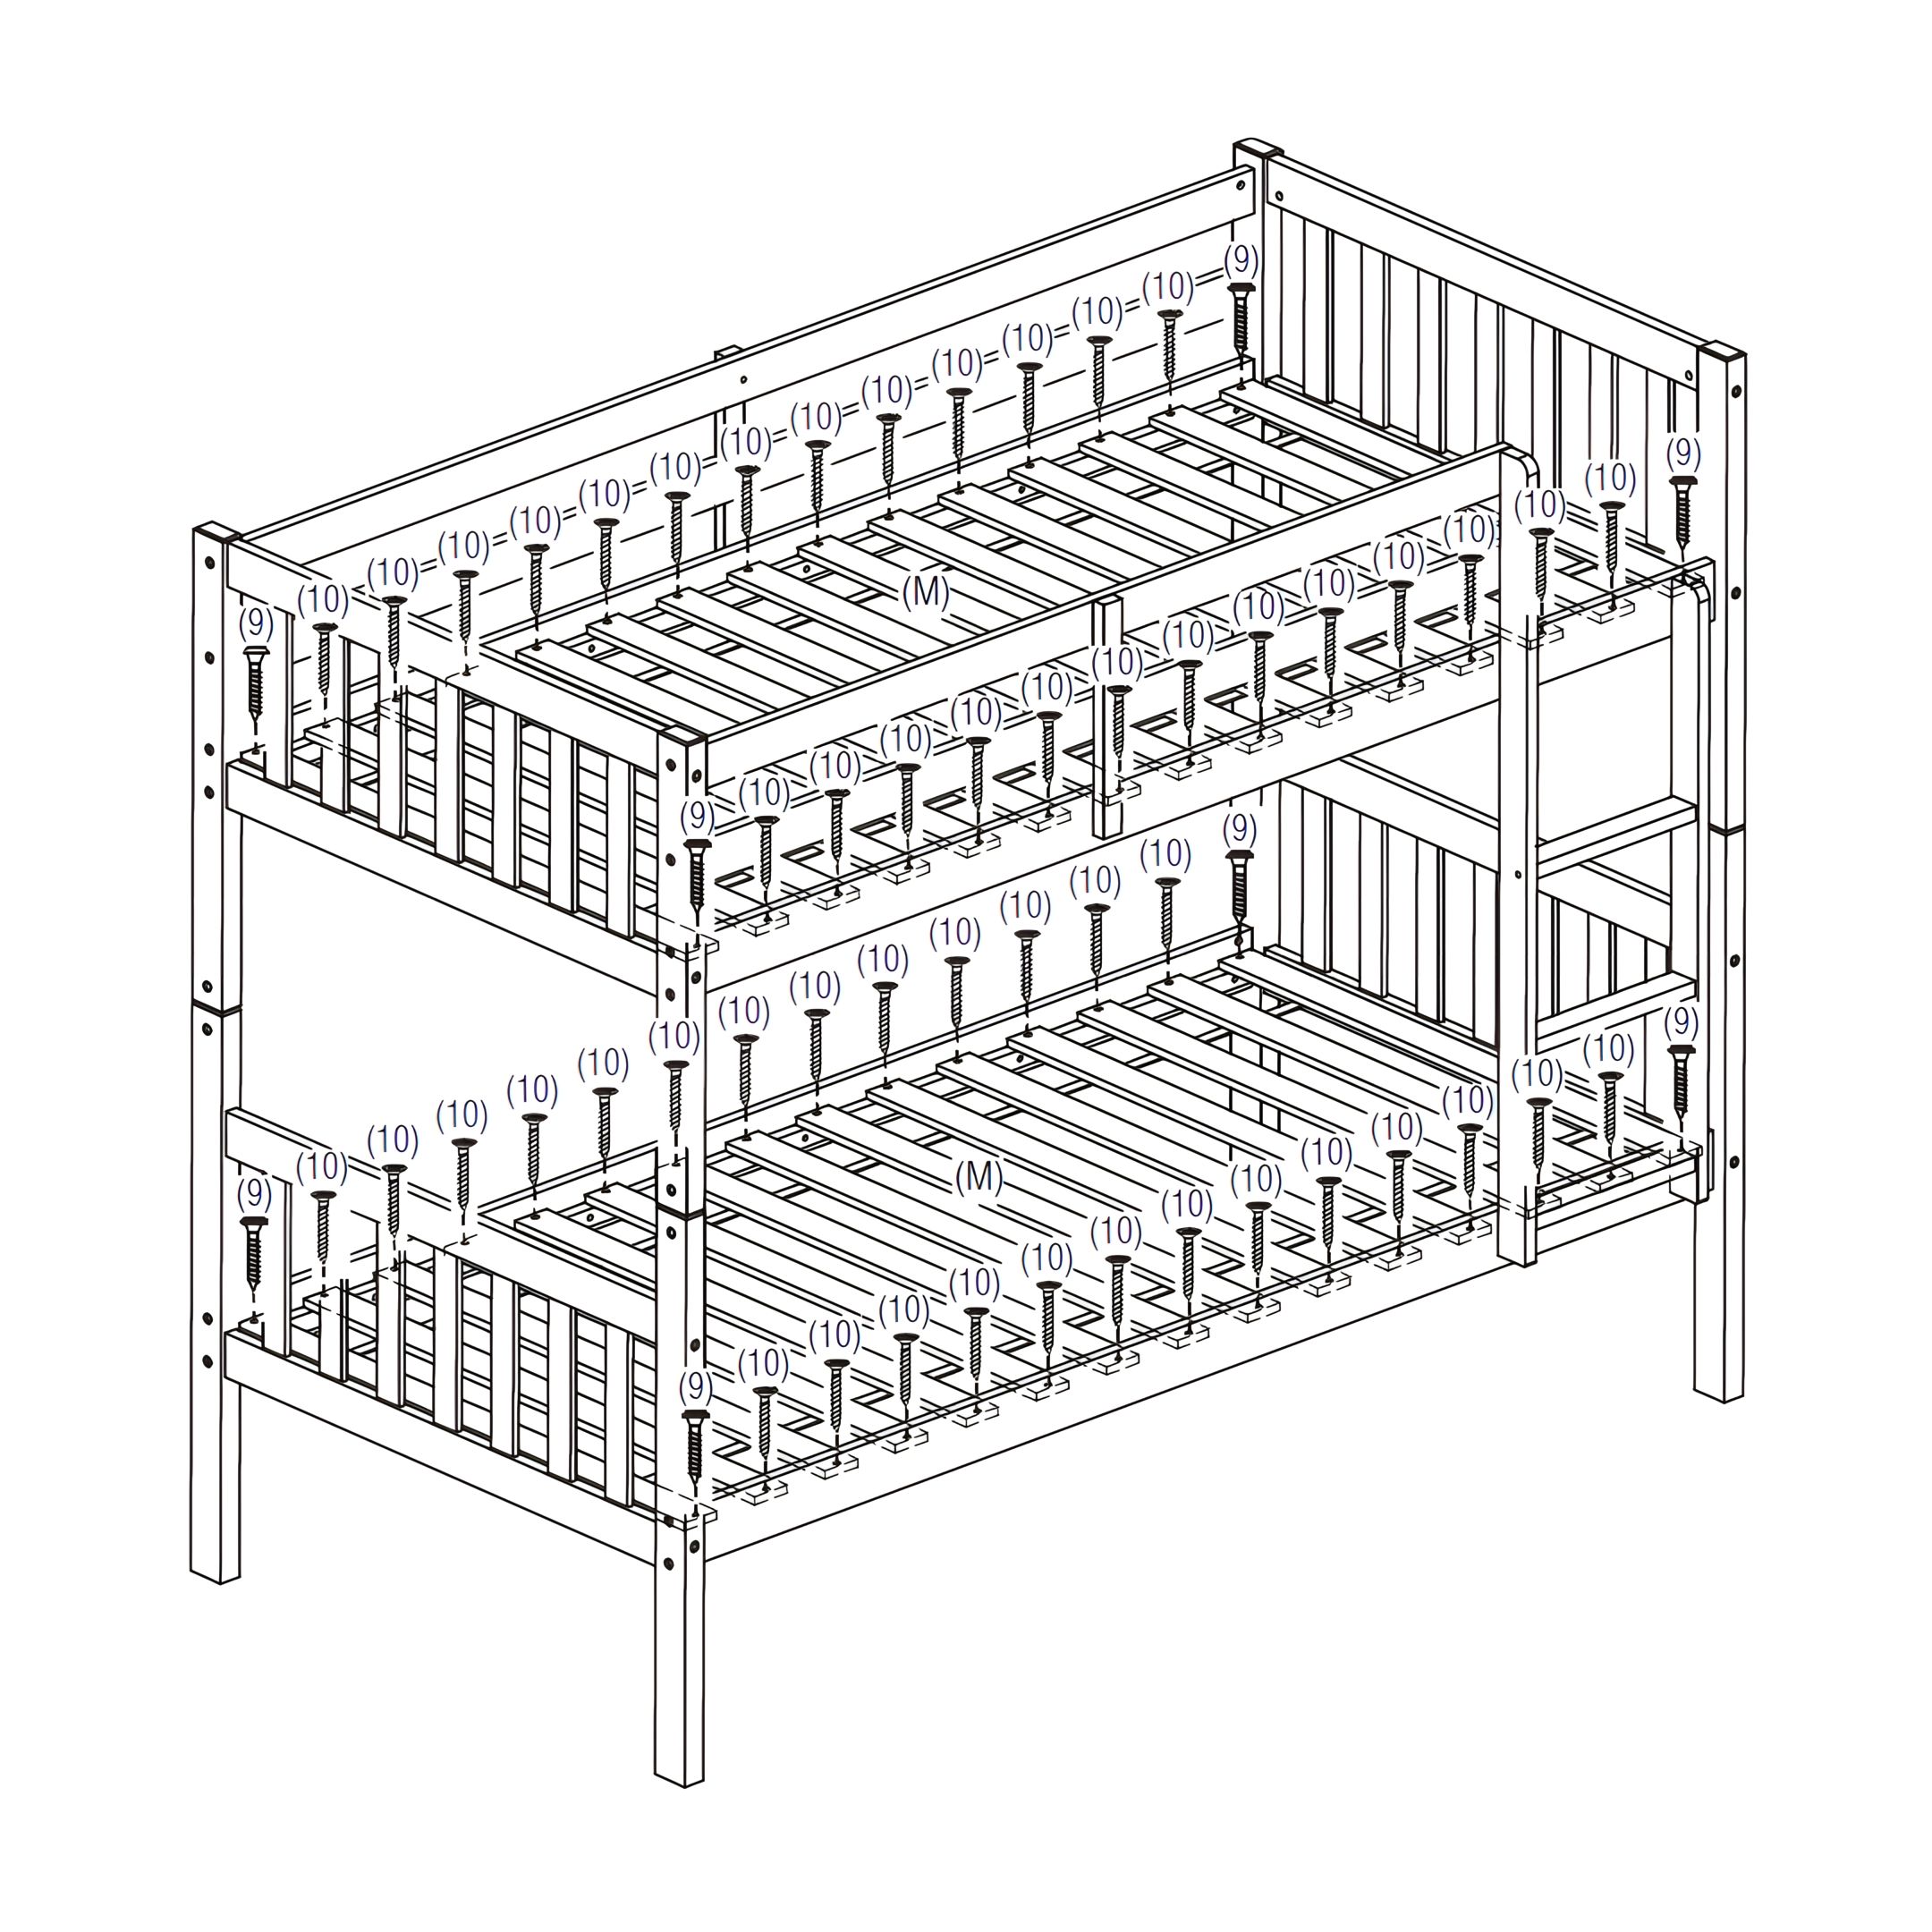
8. Assemble the Slats to the Upper & Lower Bunk
1. Position the (M) Set of Slats evenly across the upper and lower bunk frames. 2. Secure each slat using (9) JCBC-W Screws on the corner and (10) CSK Screws on the rest. 3. Ensure all slats are firmly attached before use. 4. Use a screwdriver to tighten all bolts securely.
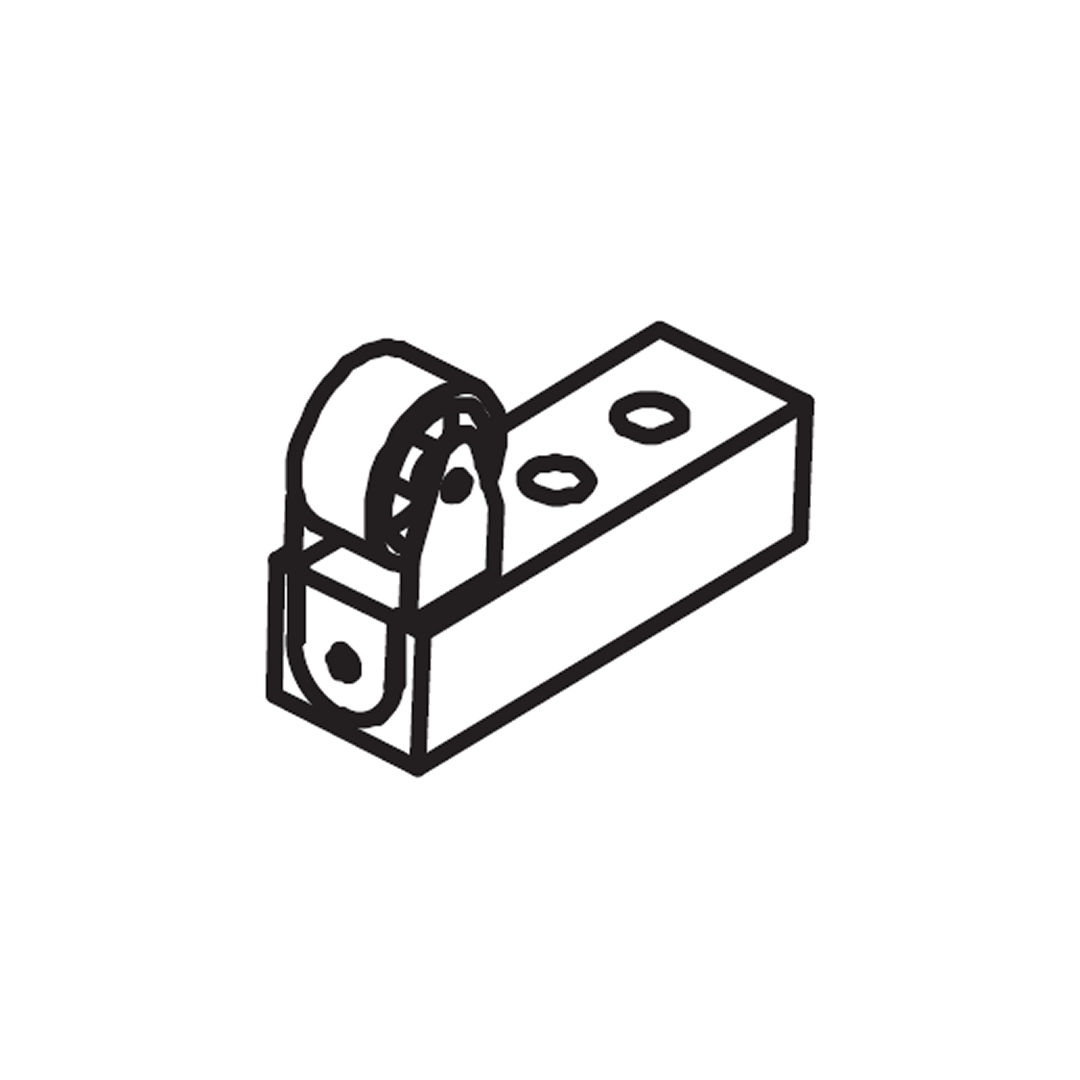
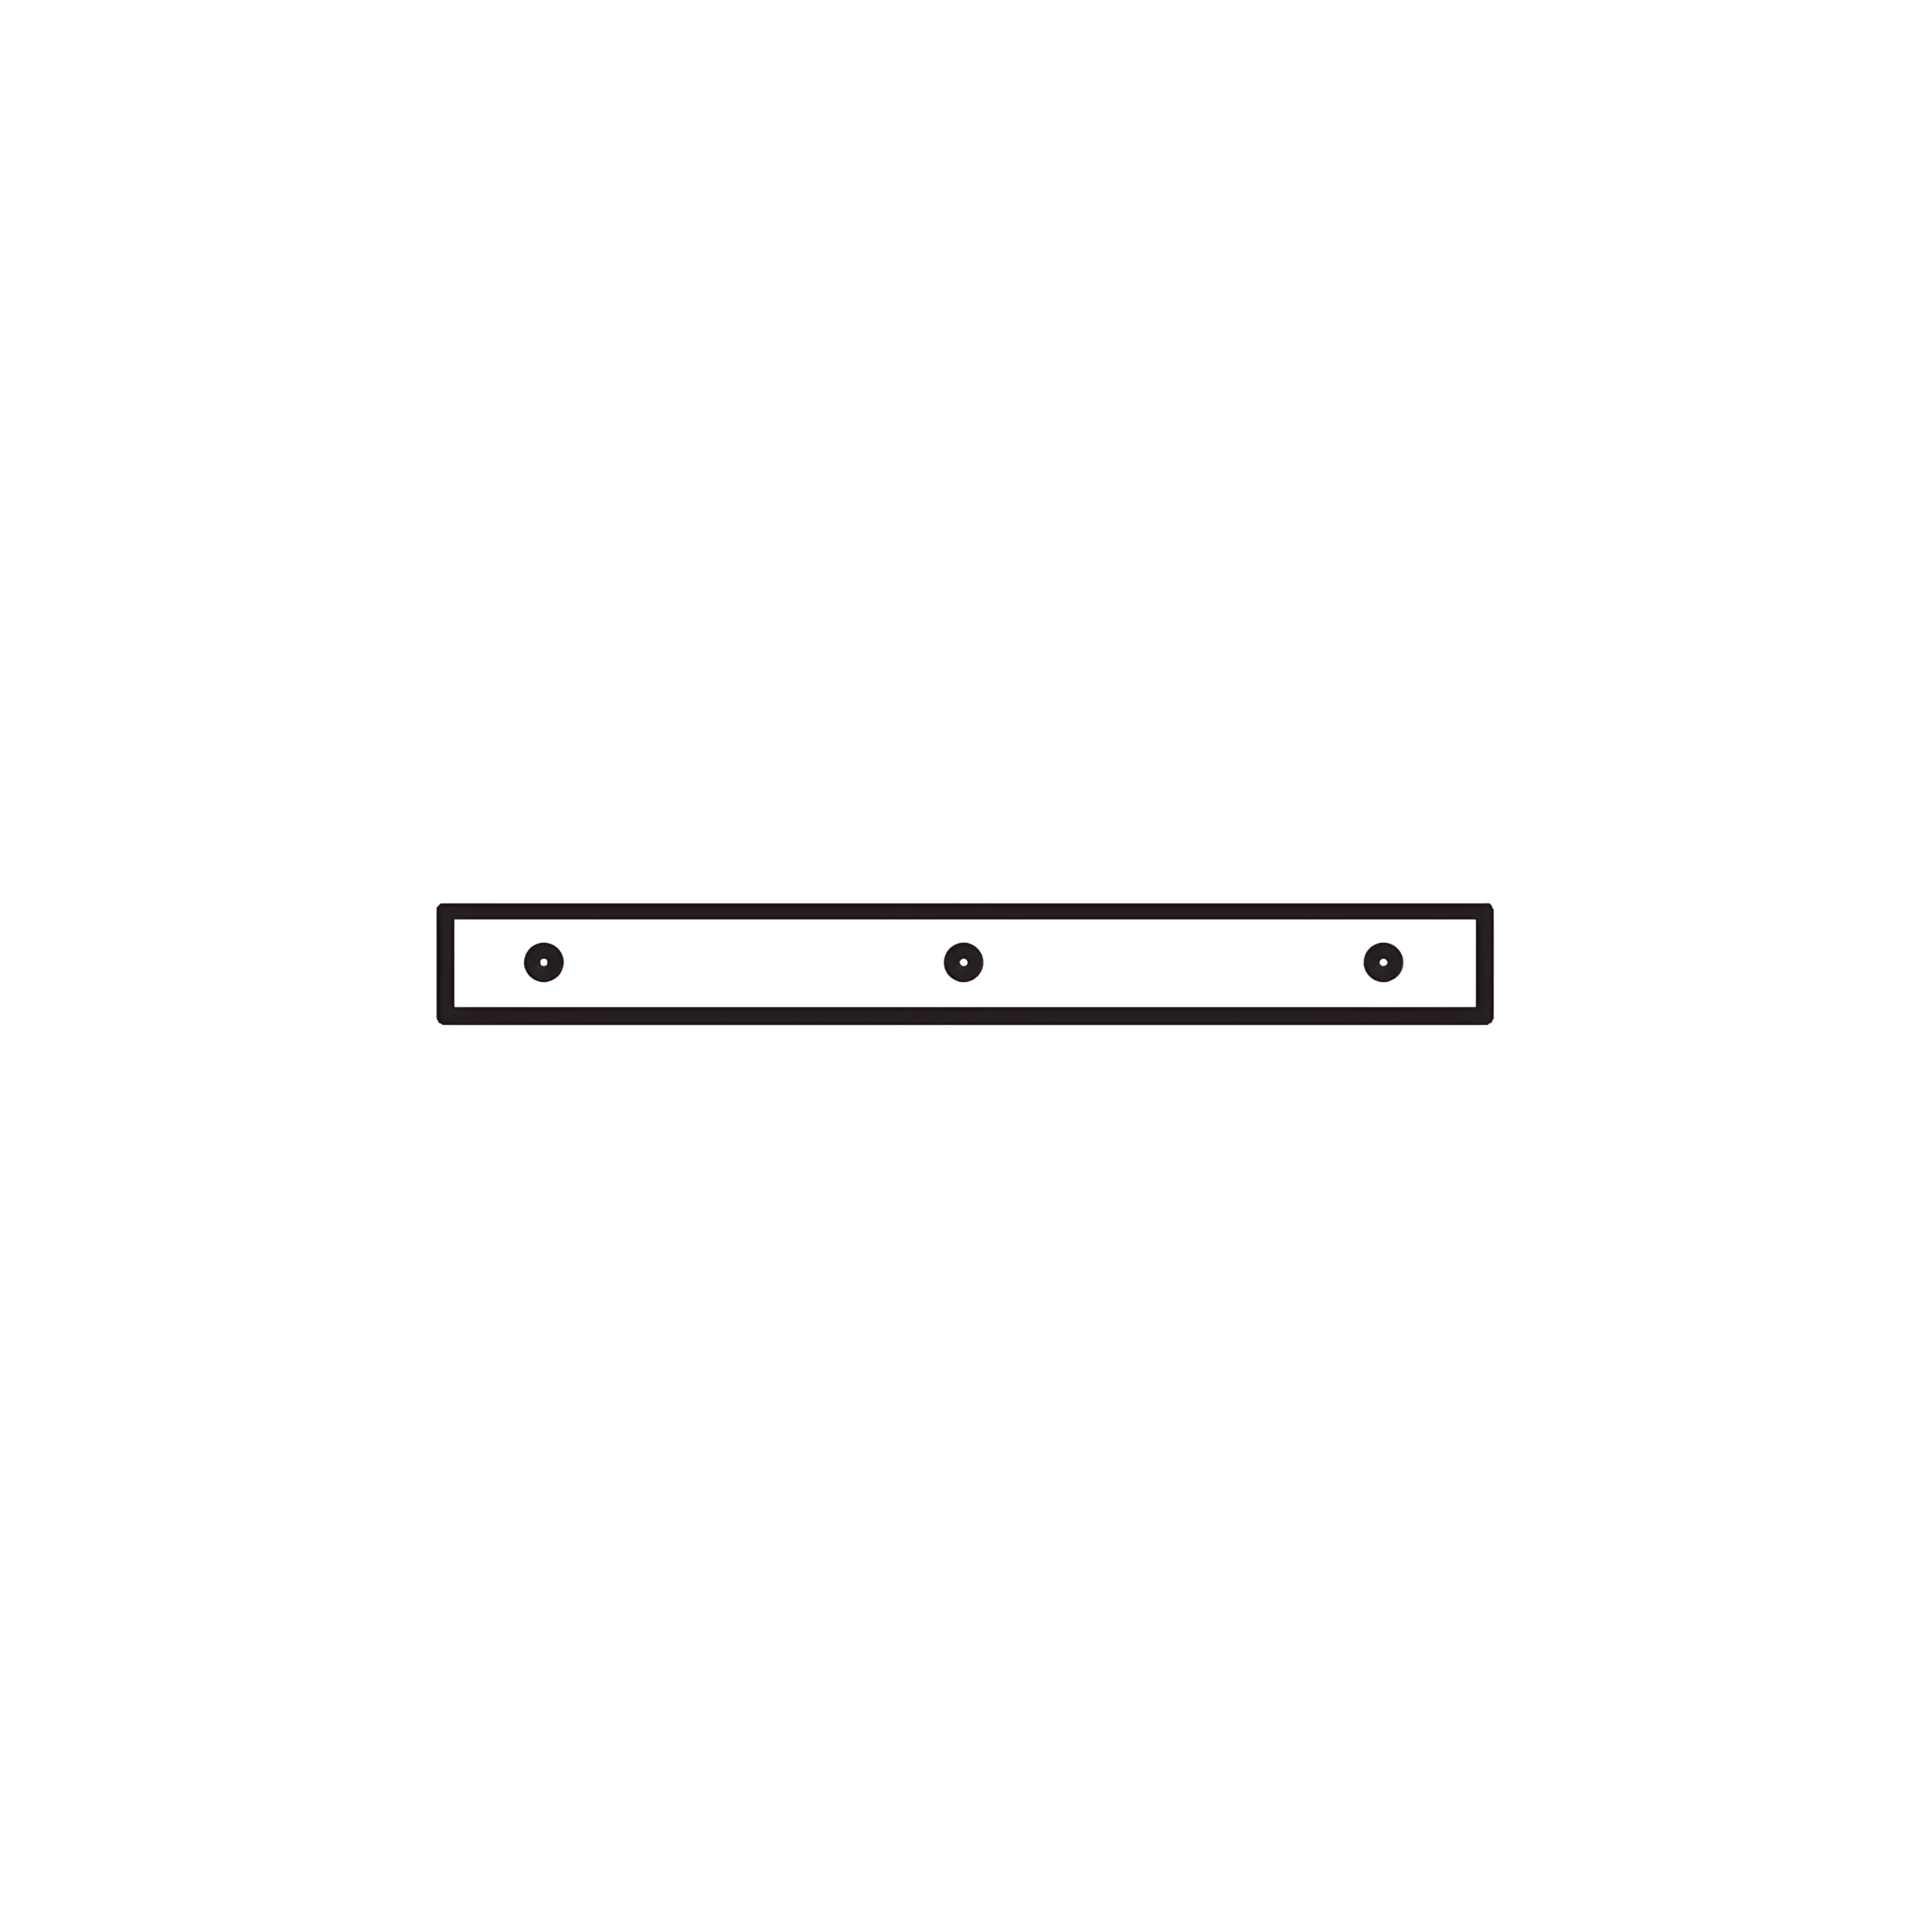
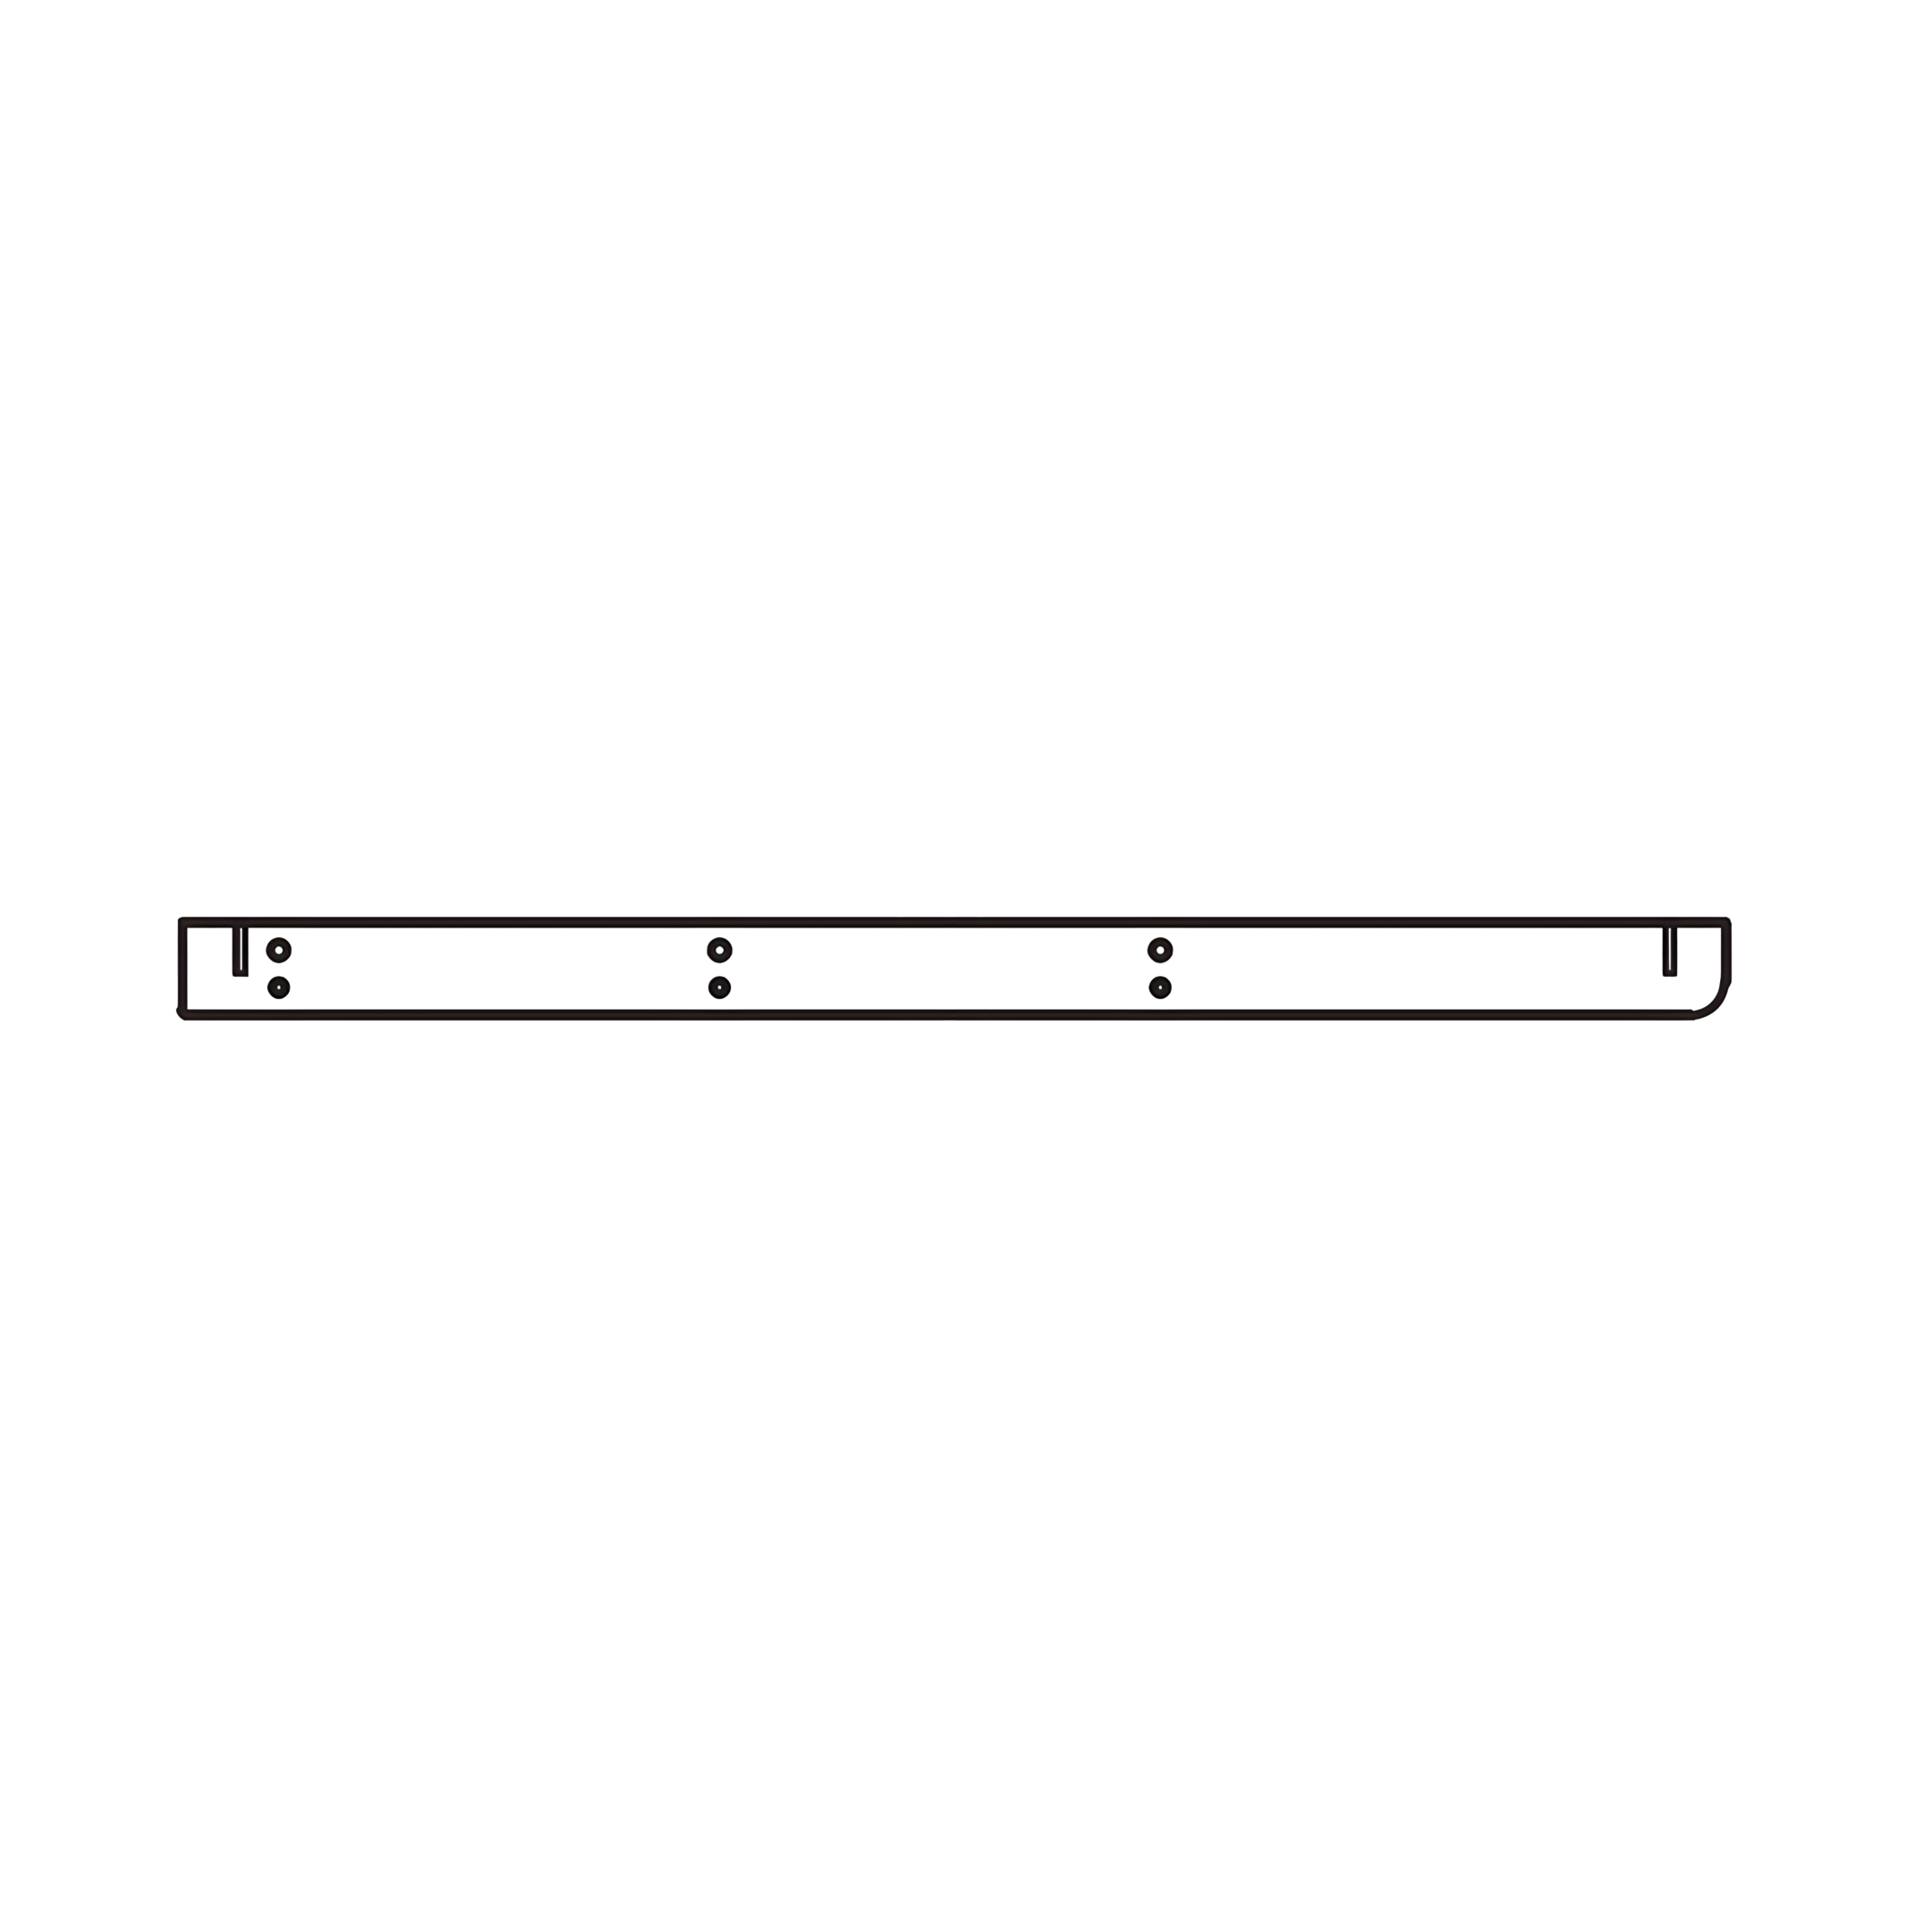
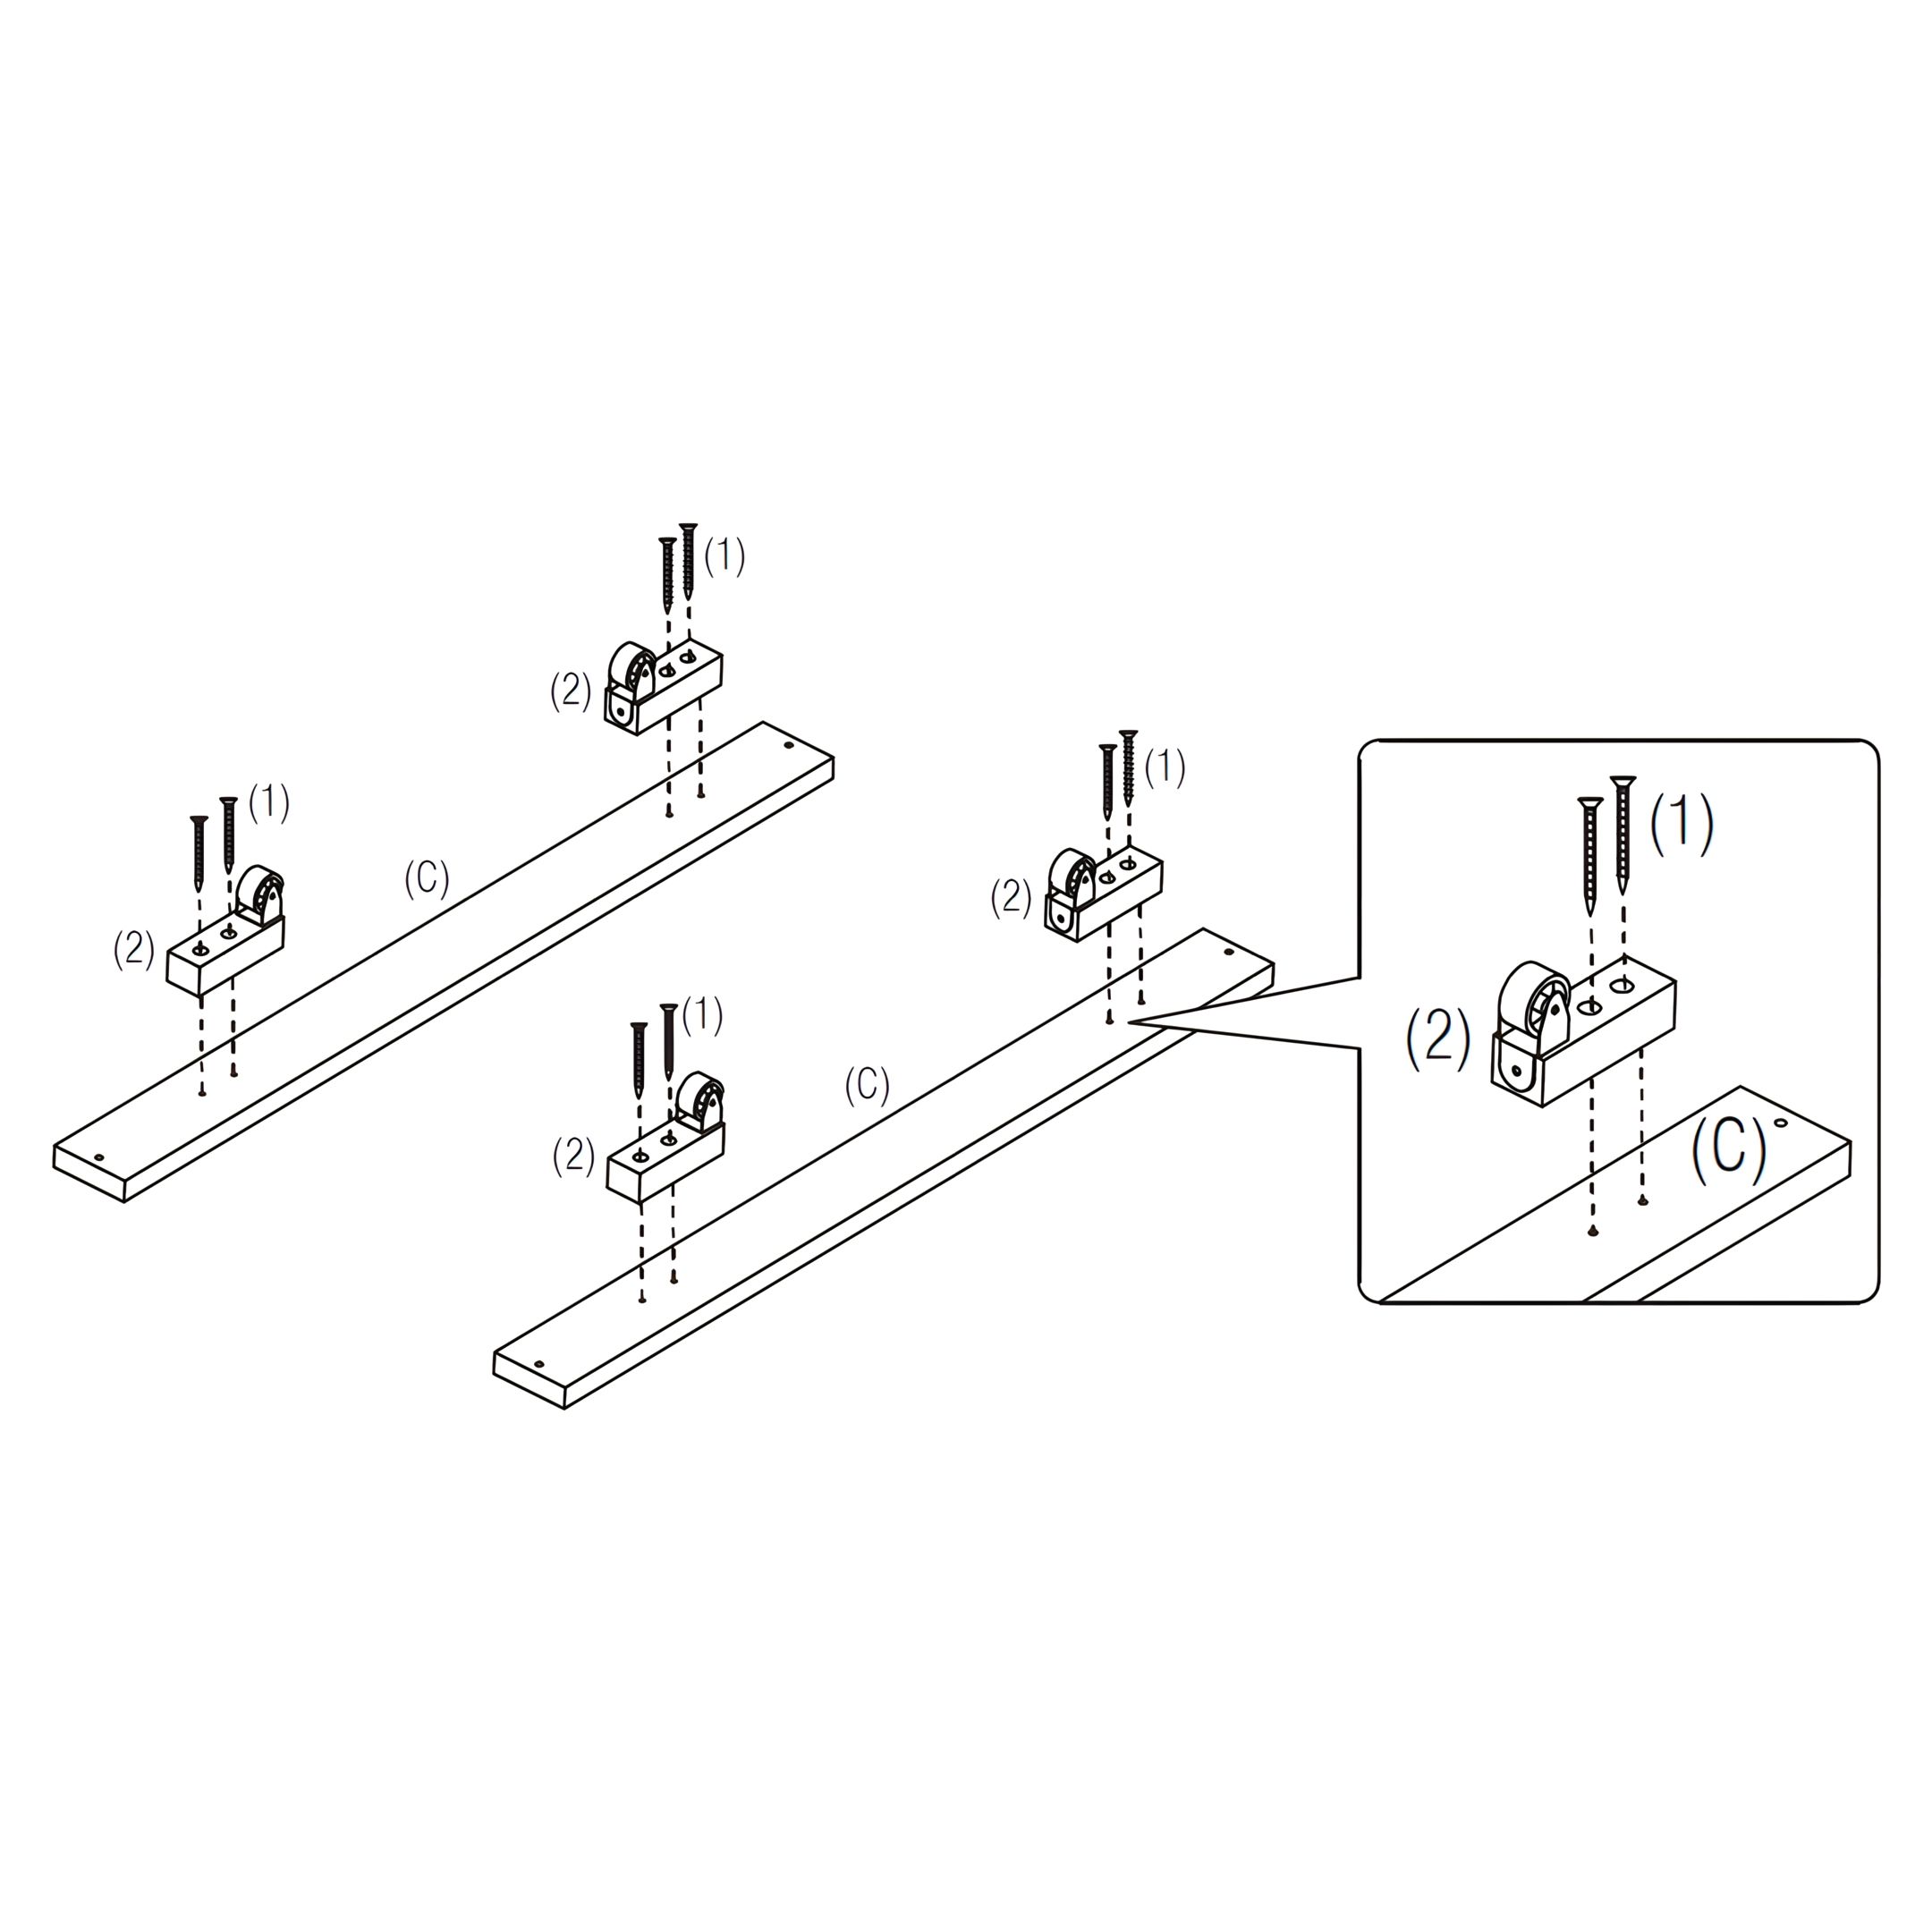
9. Attach the Casters for the Trundle Bed
Start assembling the trundle bed:
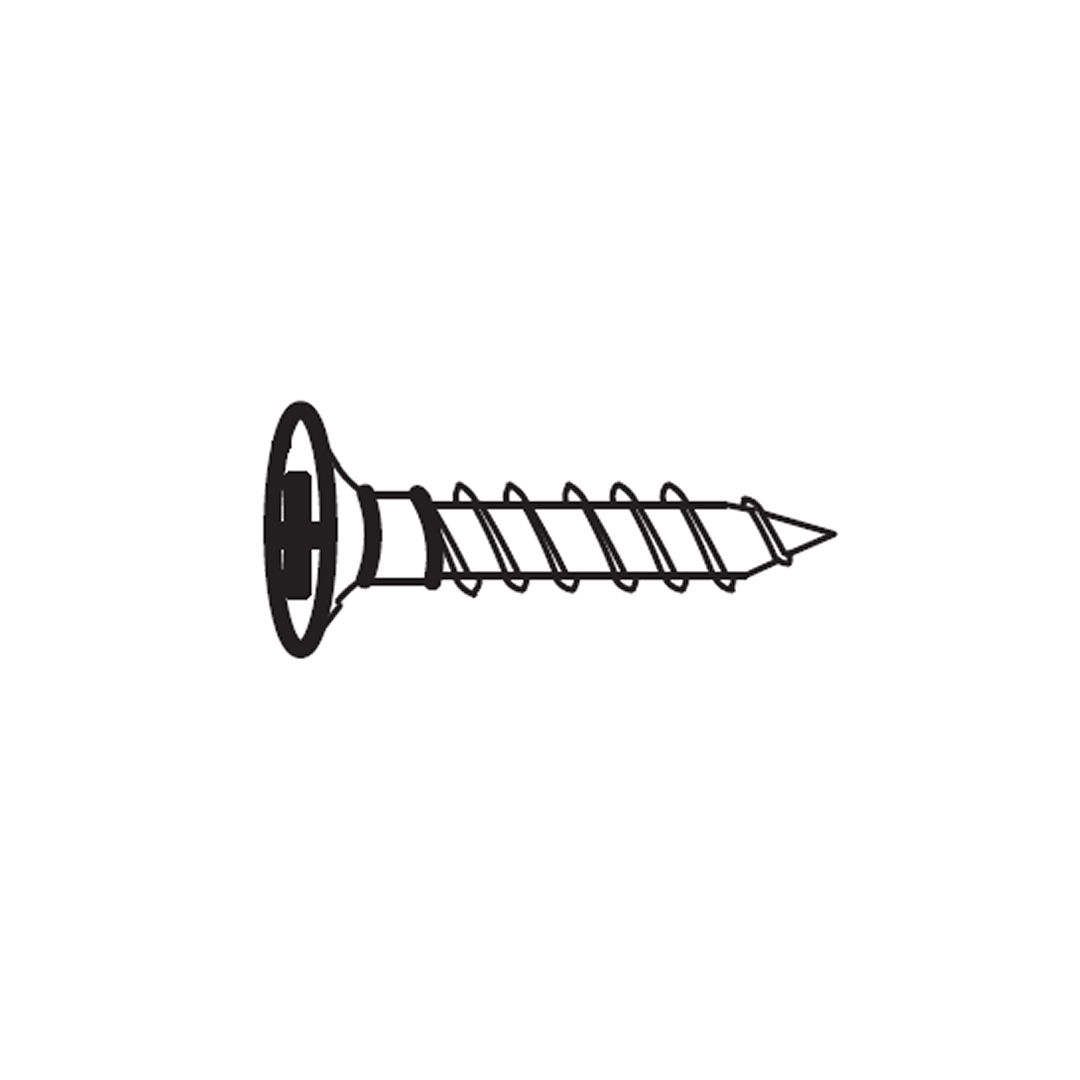
1. Position (2) Casters on each (C) End Slat as shown. 2. Secure each caster using (1) CSK Screws (M4 x 25mm). 3. Ensure all screws are tightened securely.
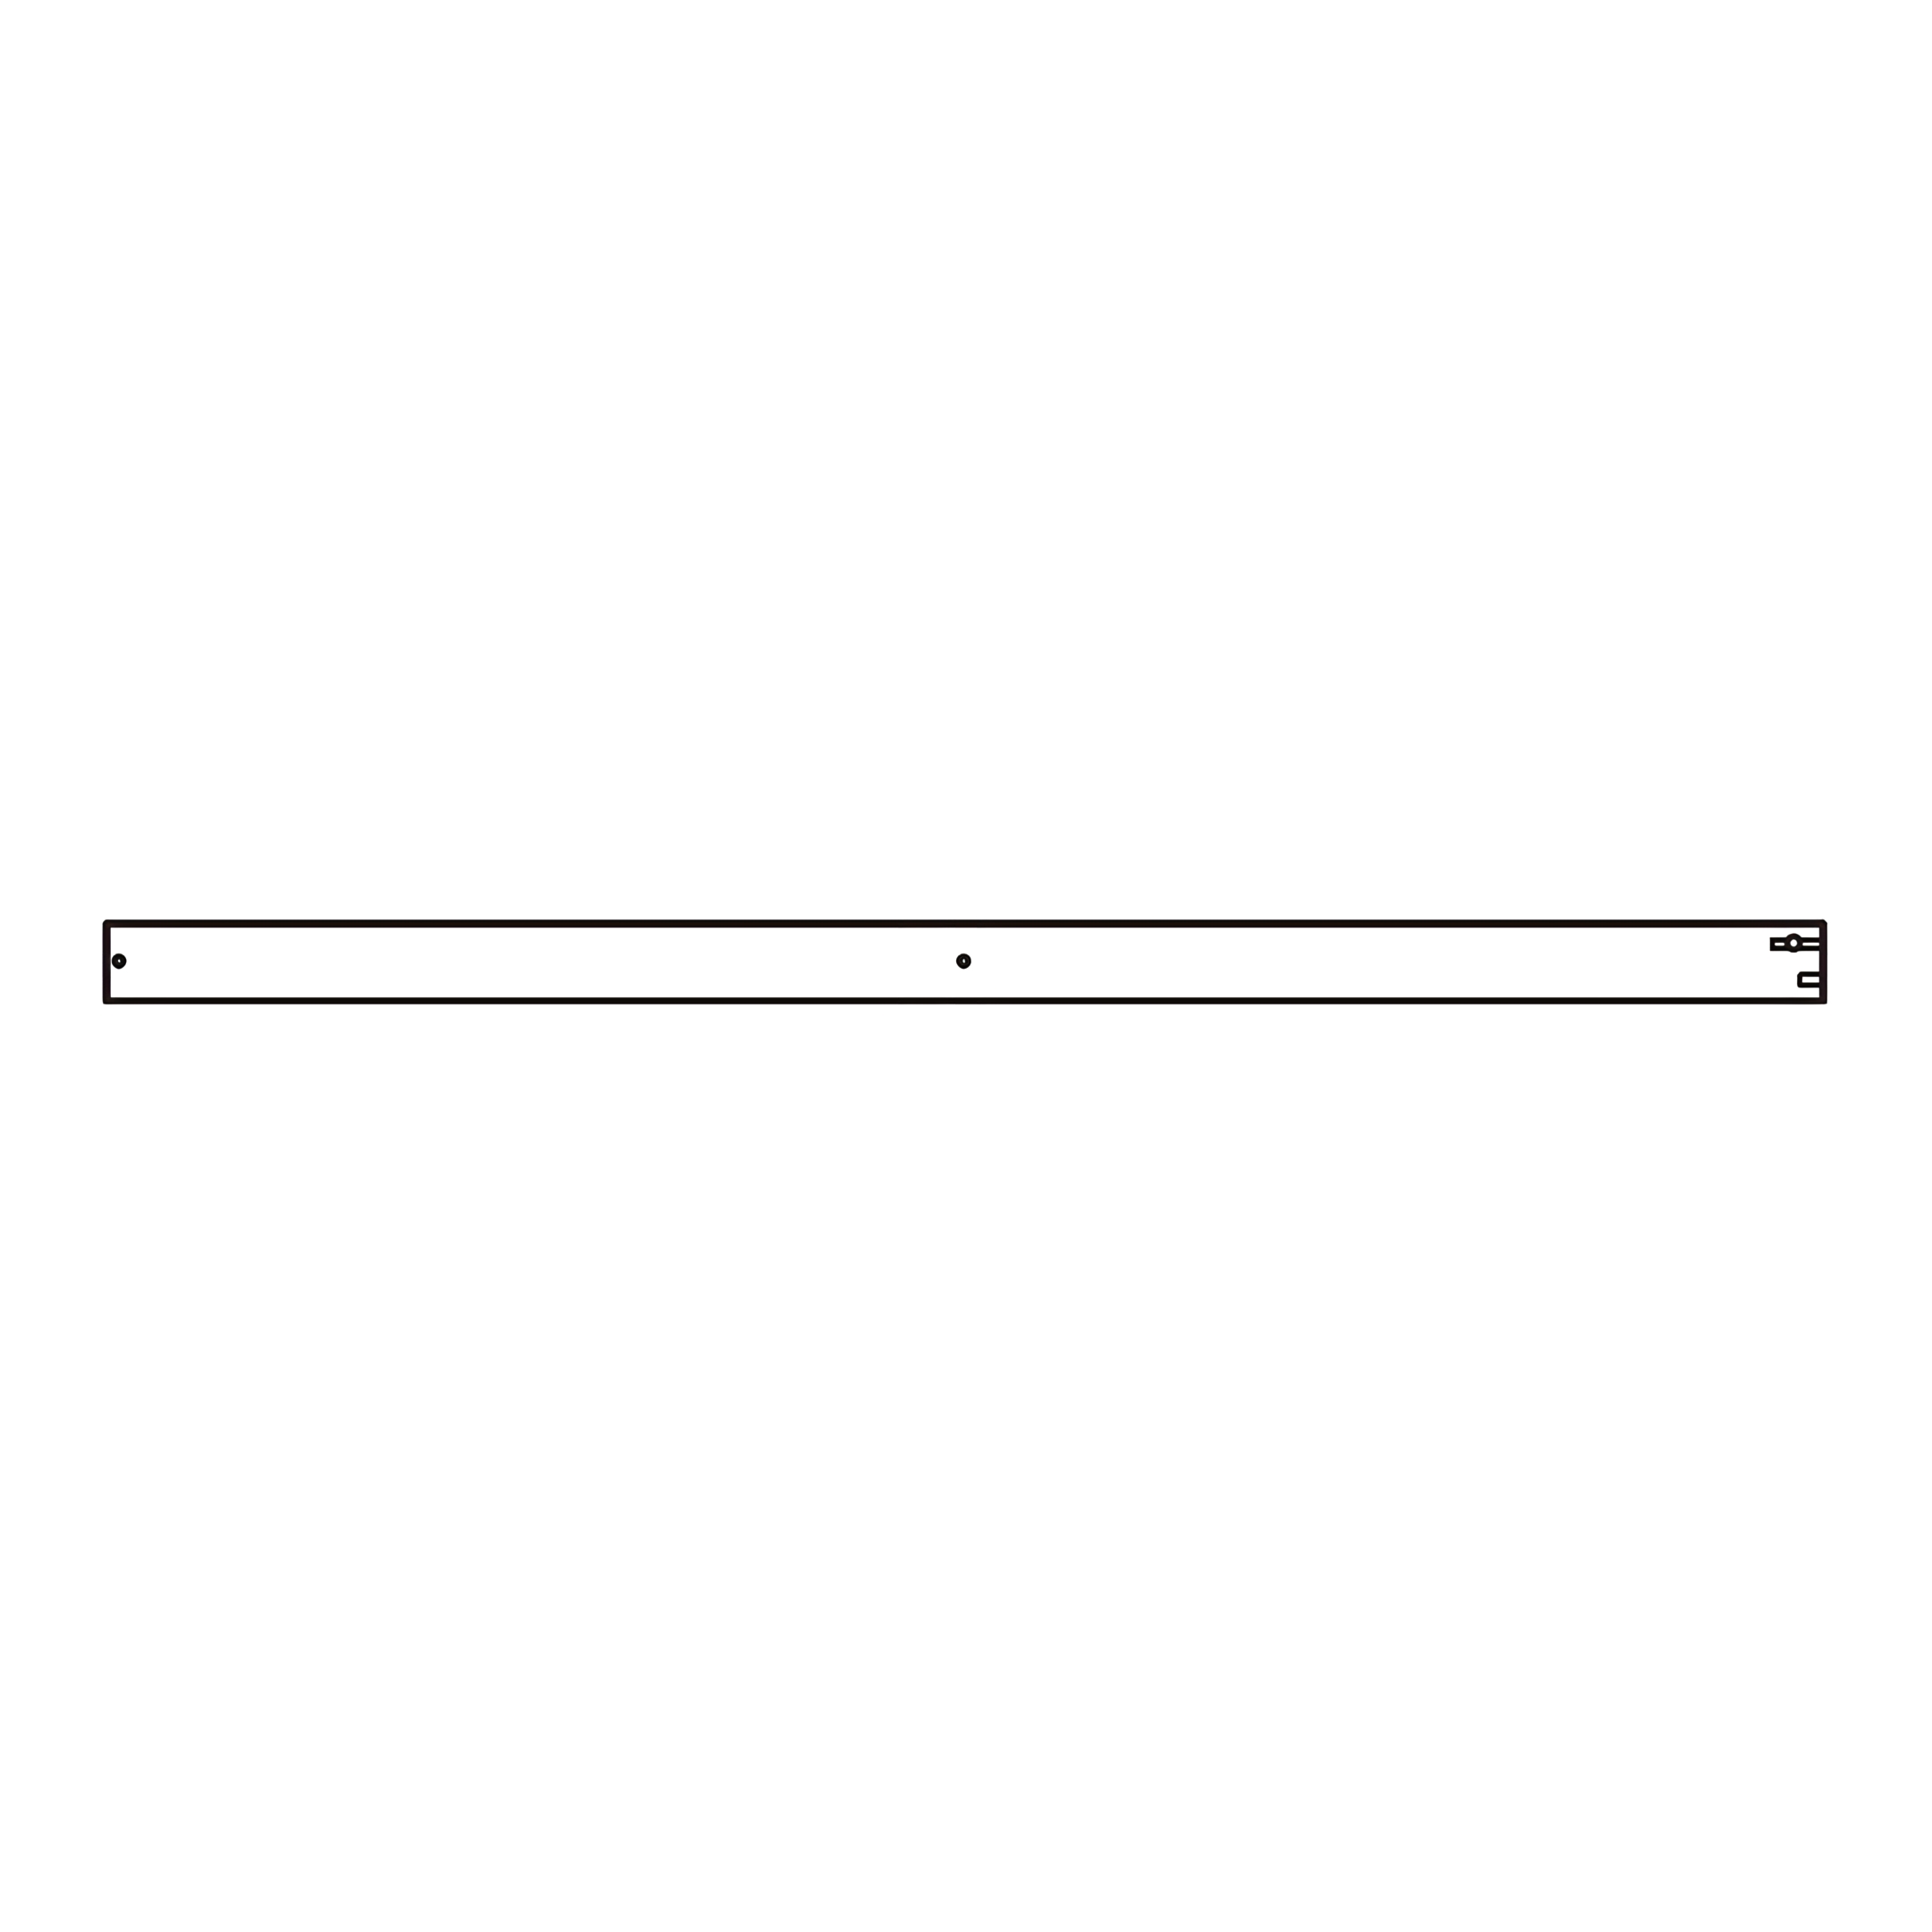
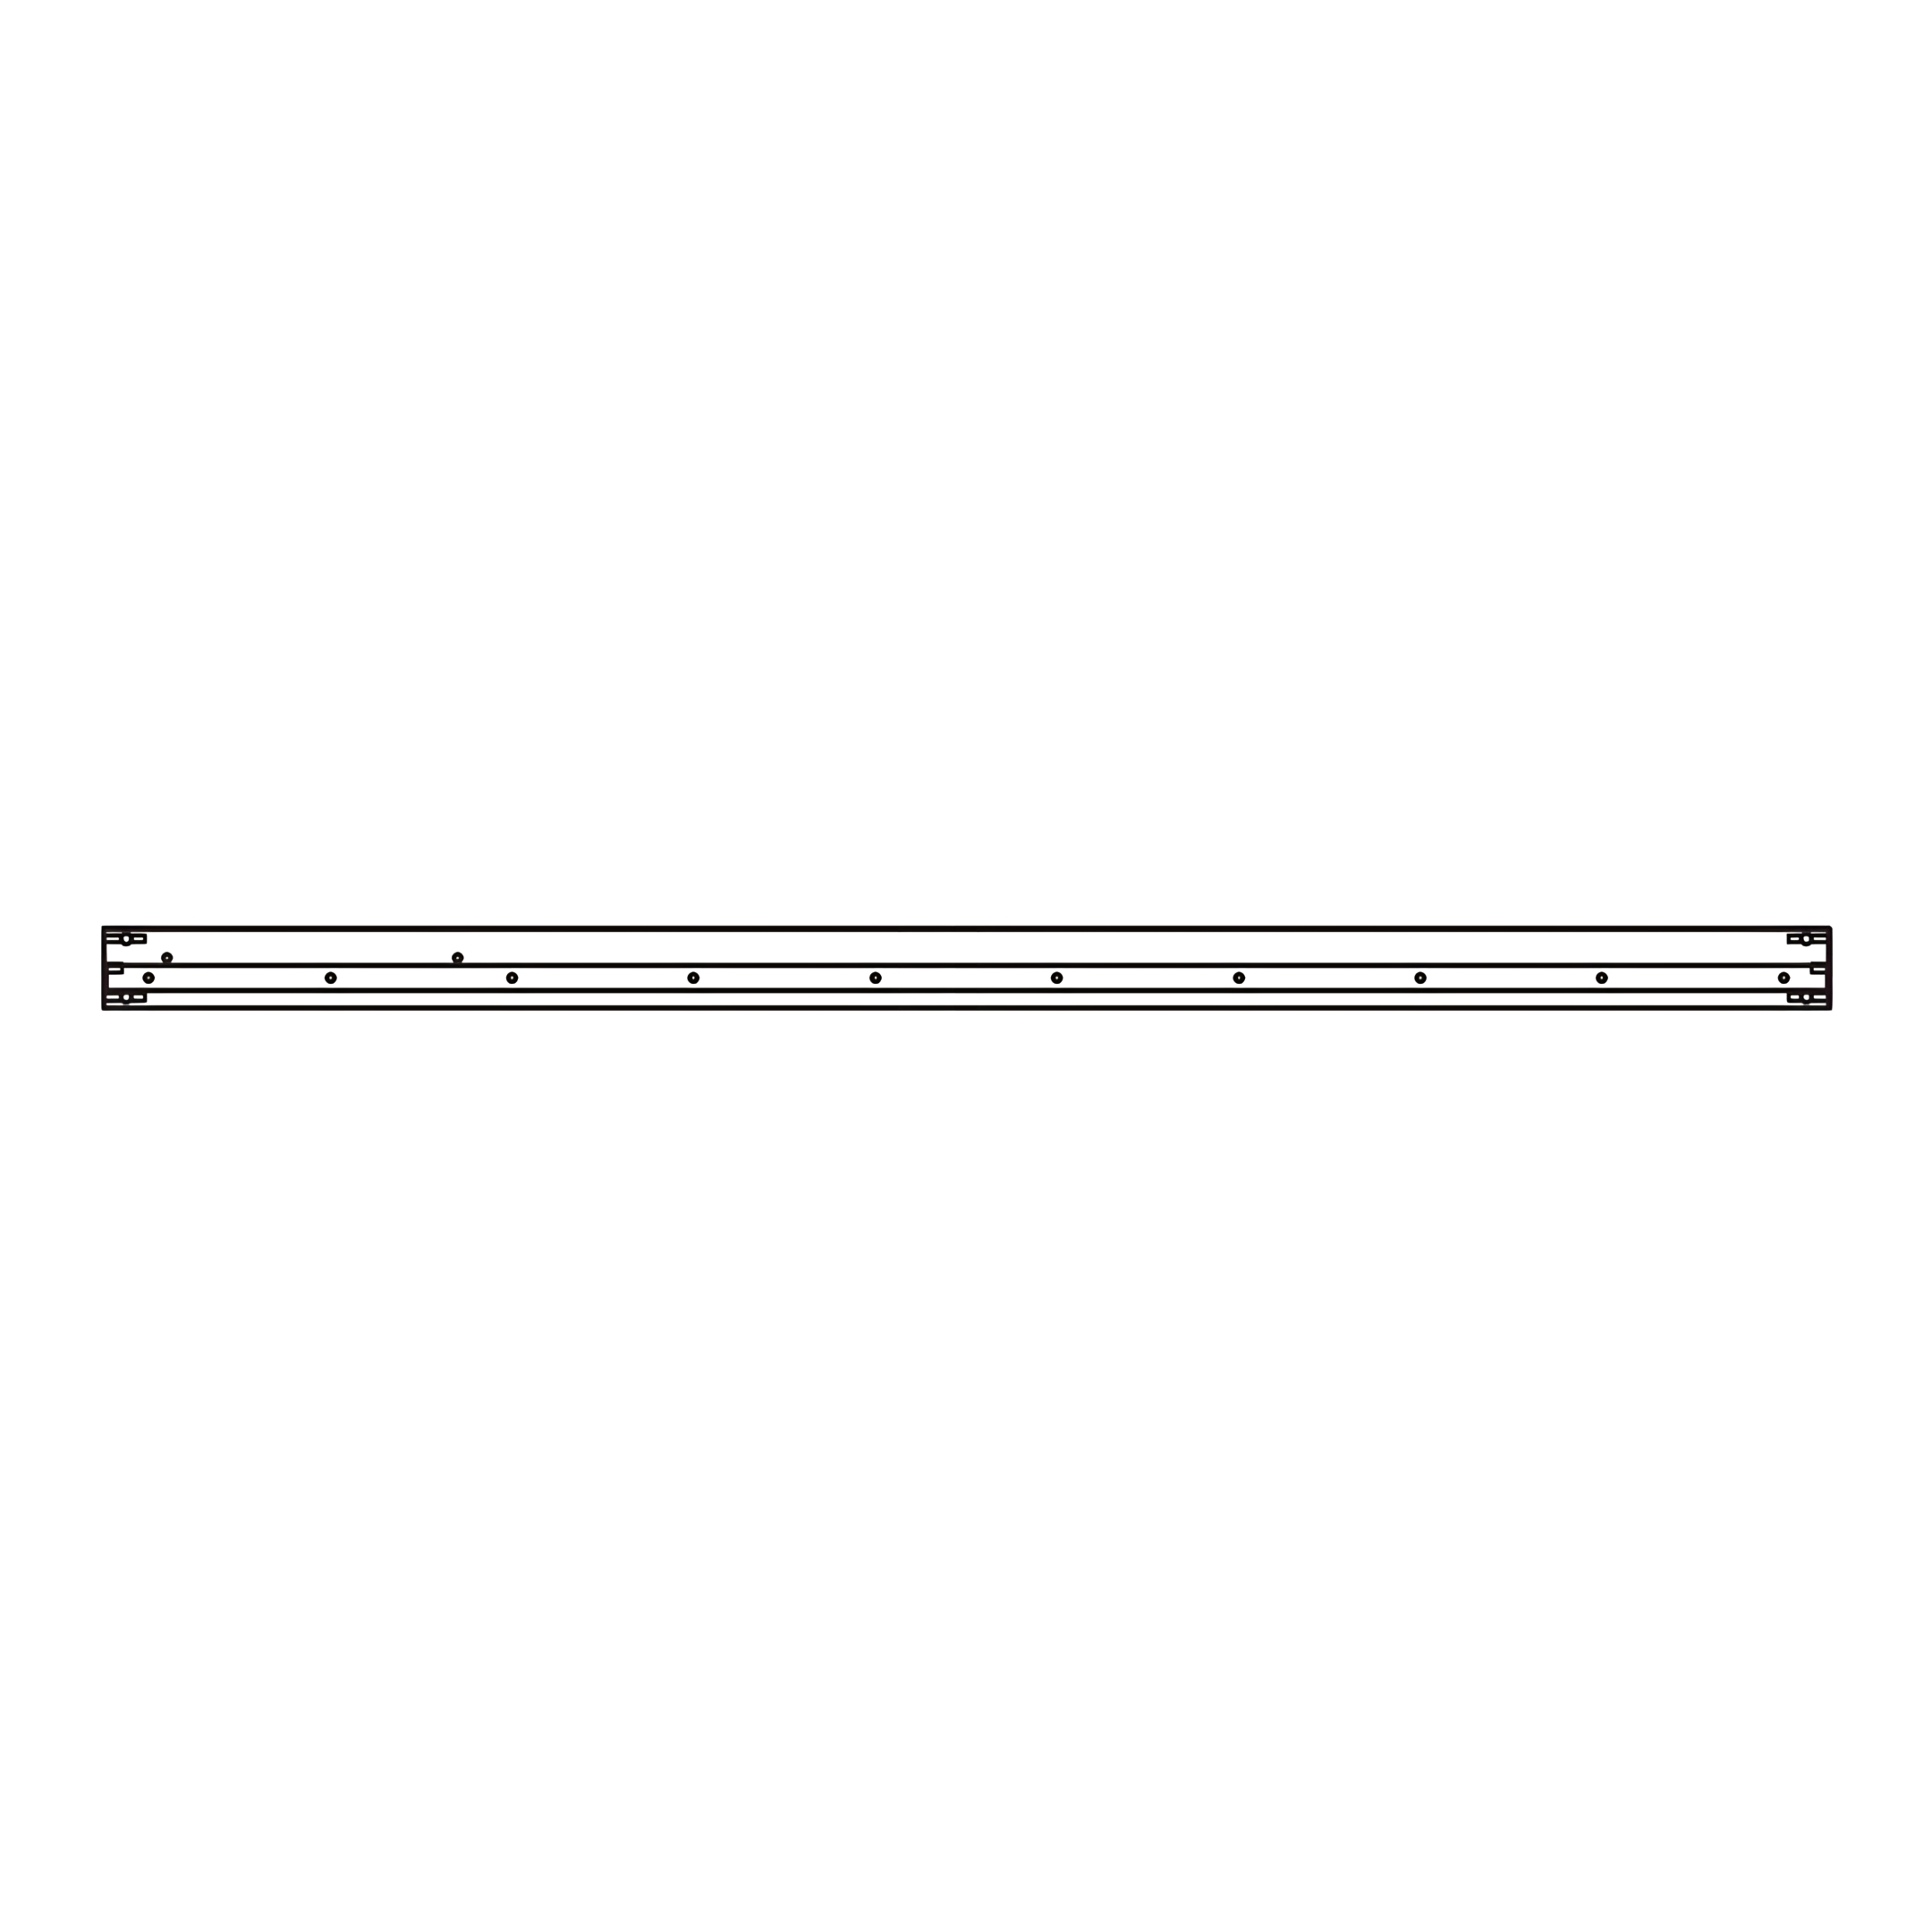
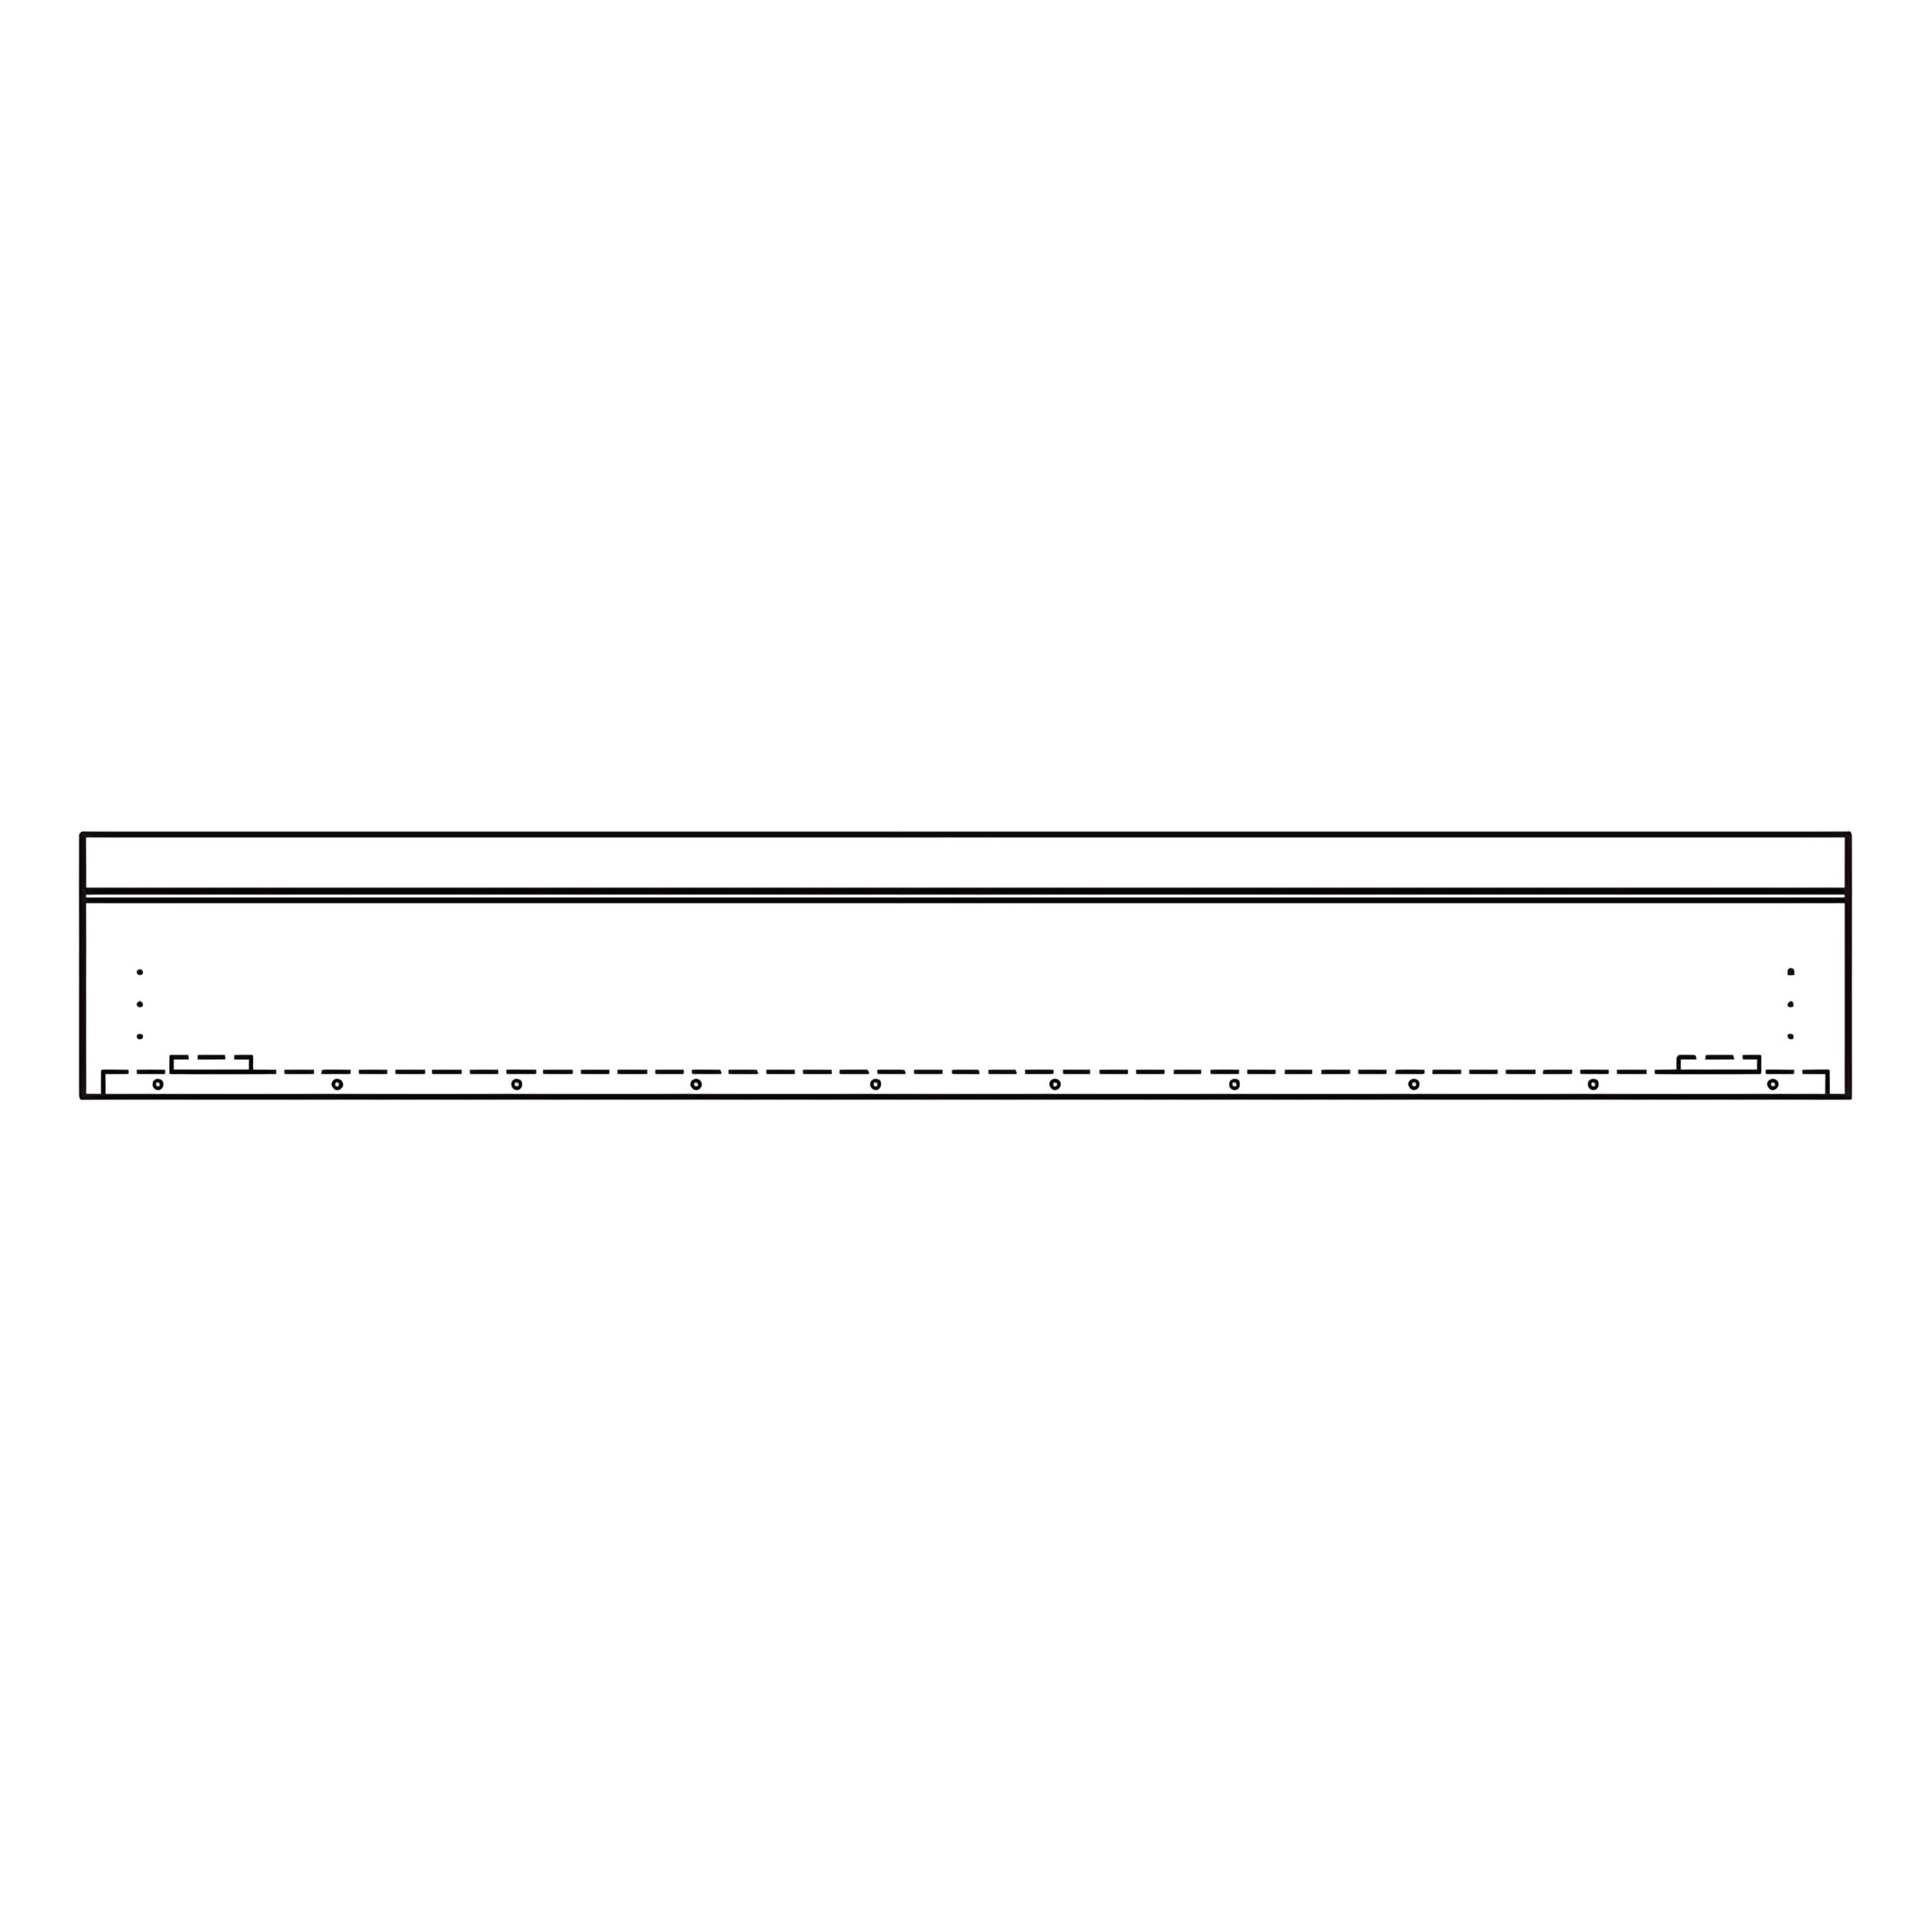
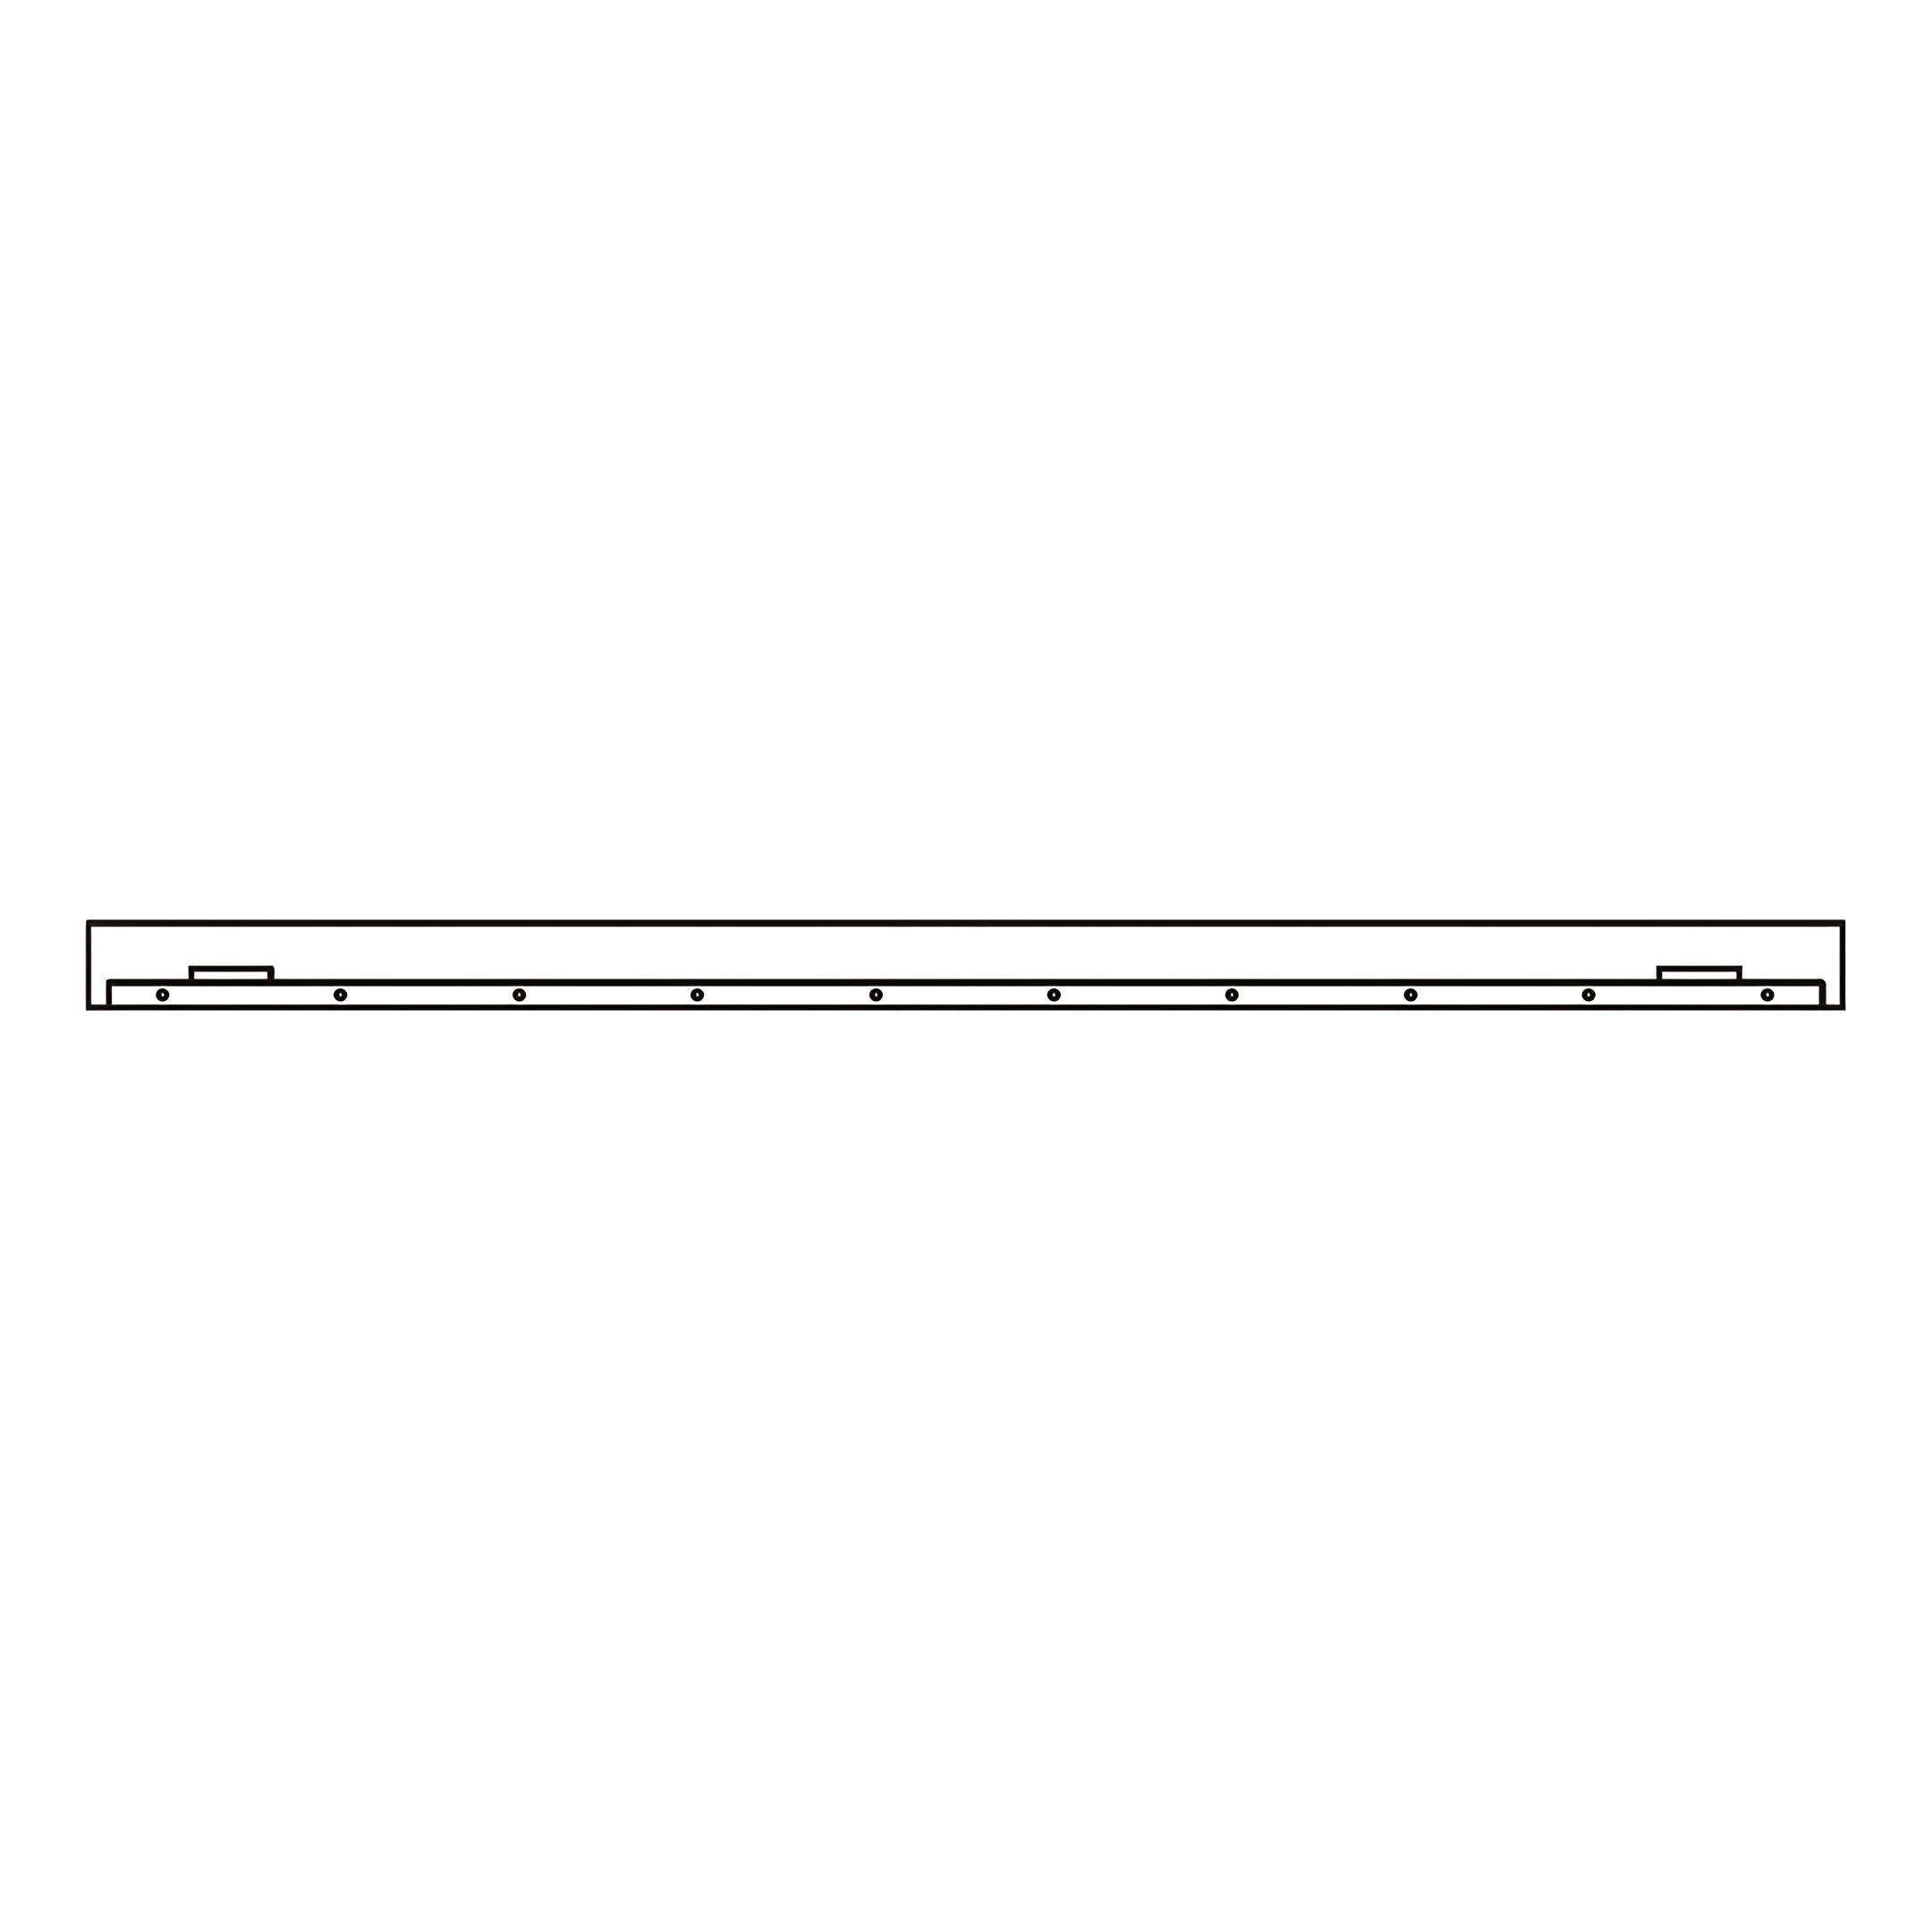
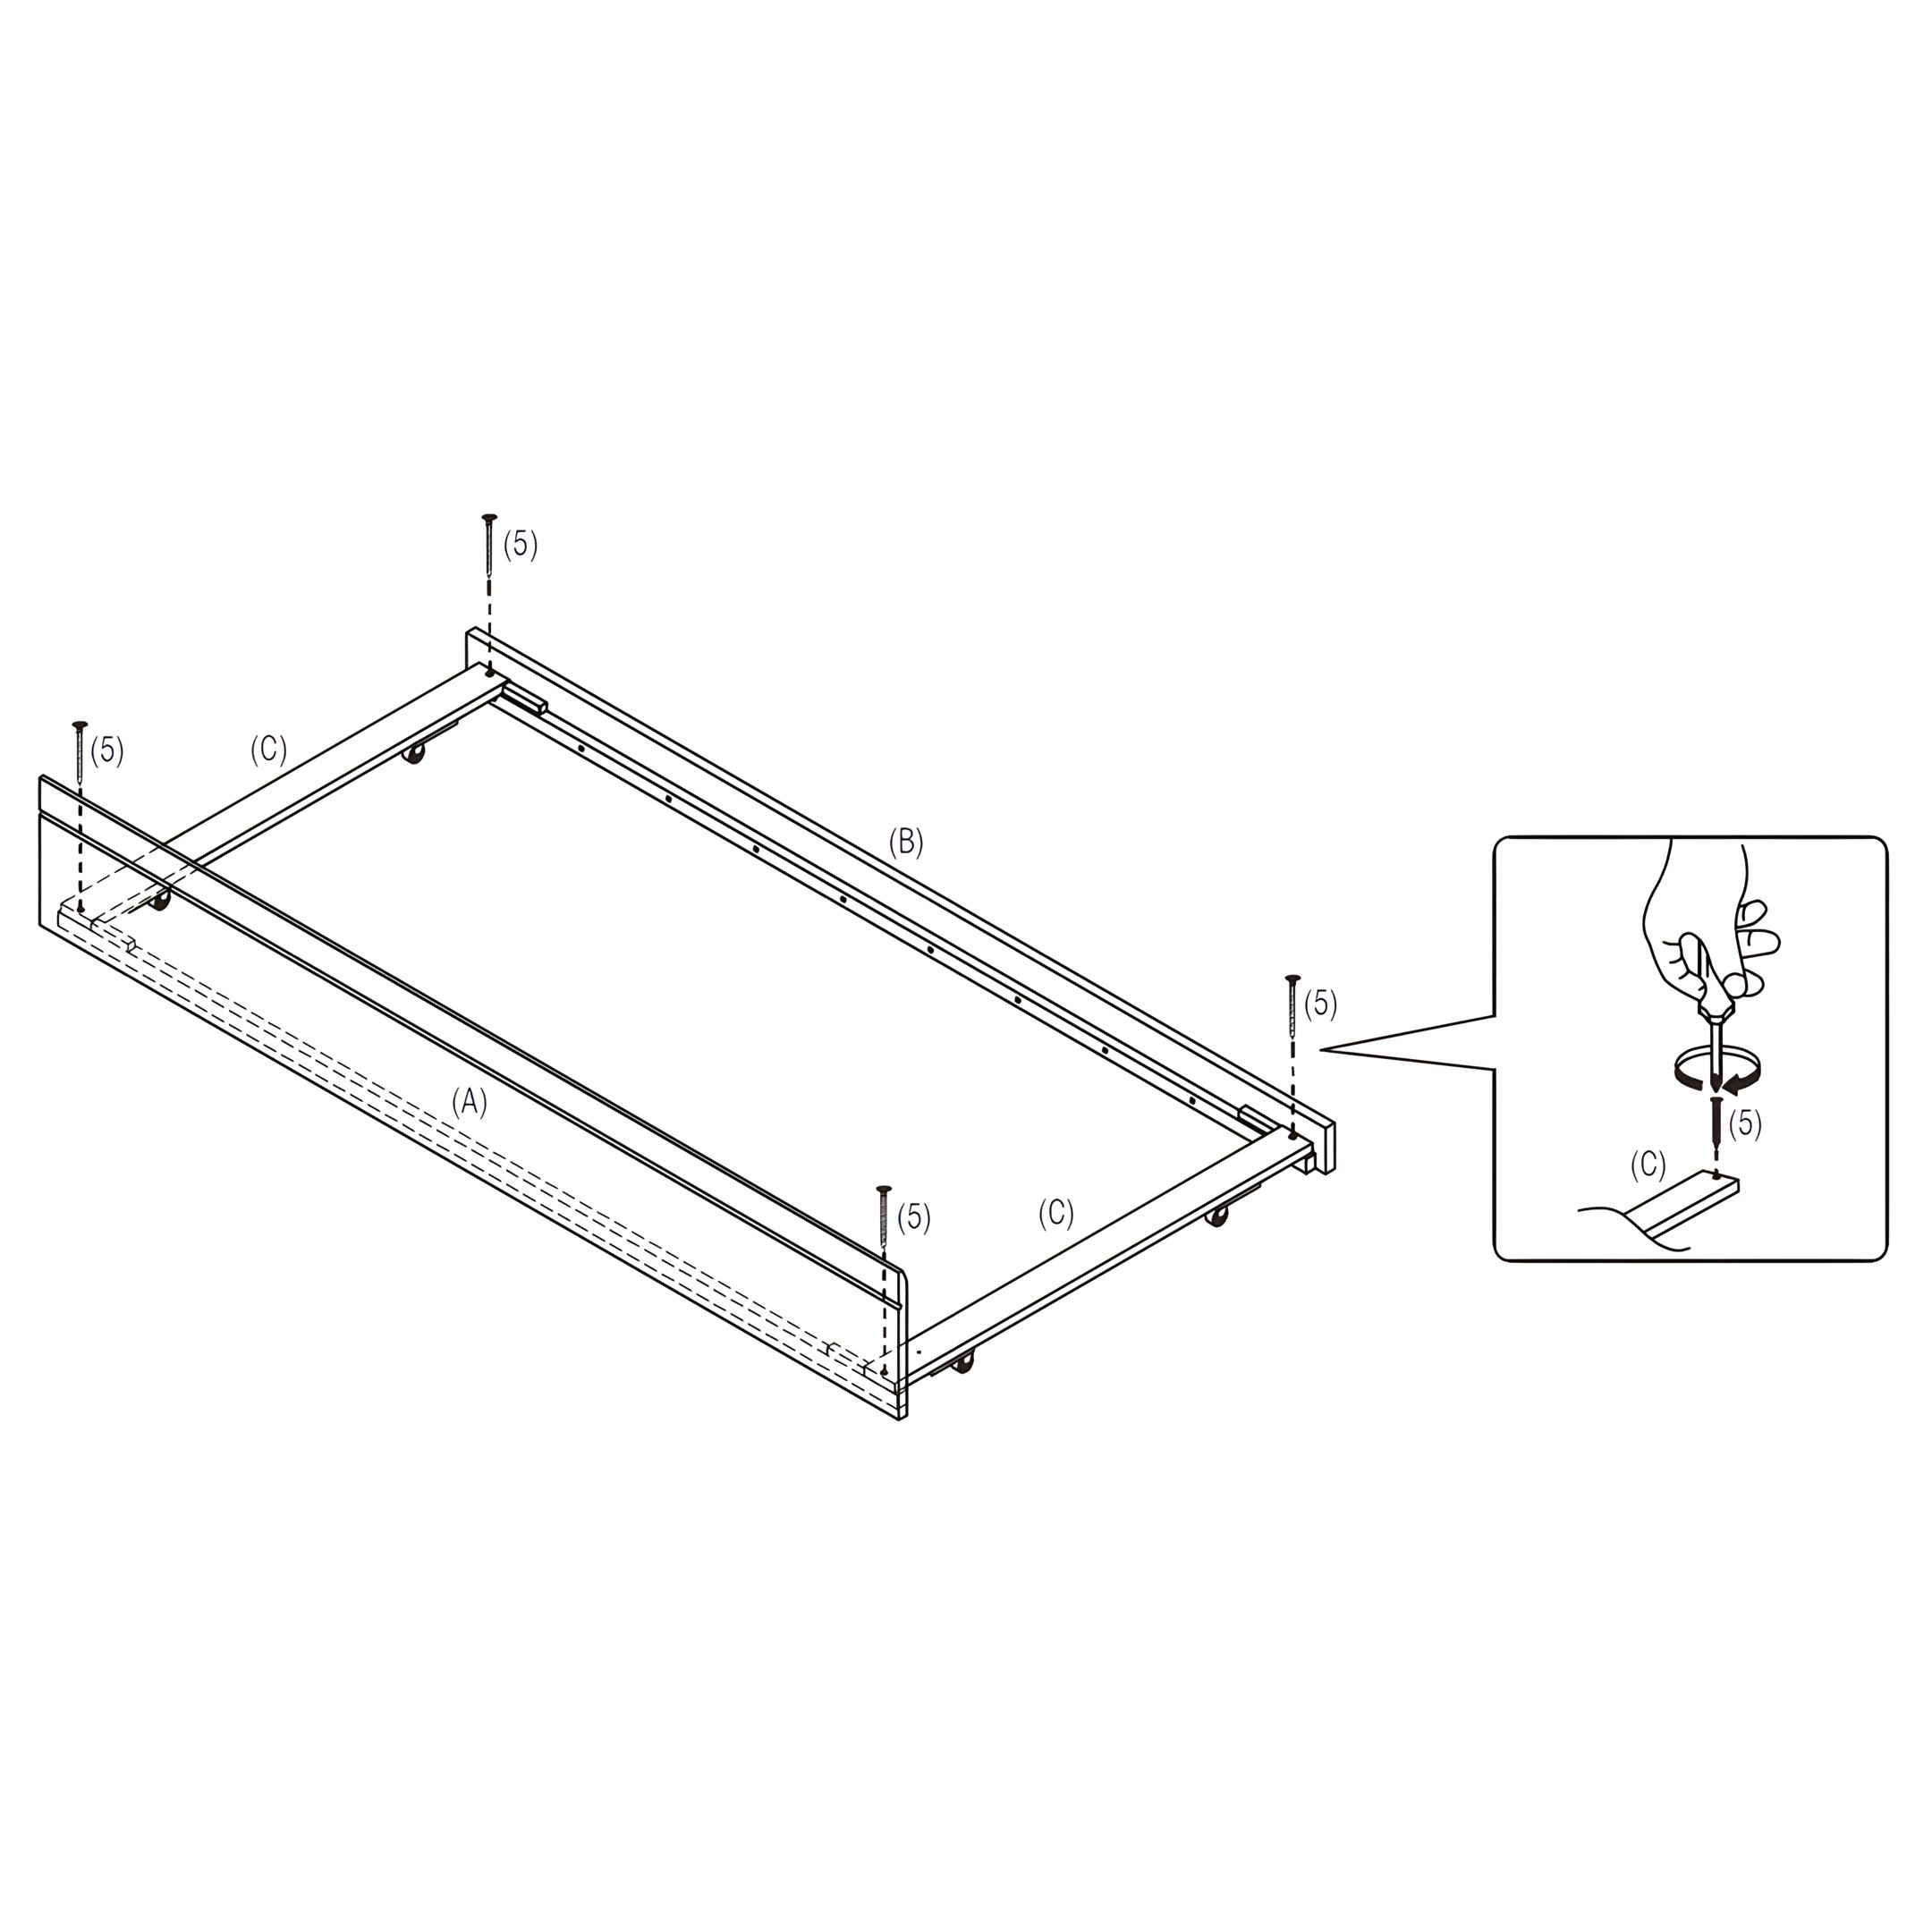
10. Attach the End Slats to the Front and Back Panels
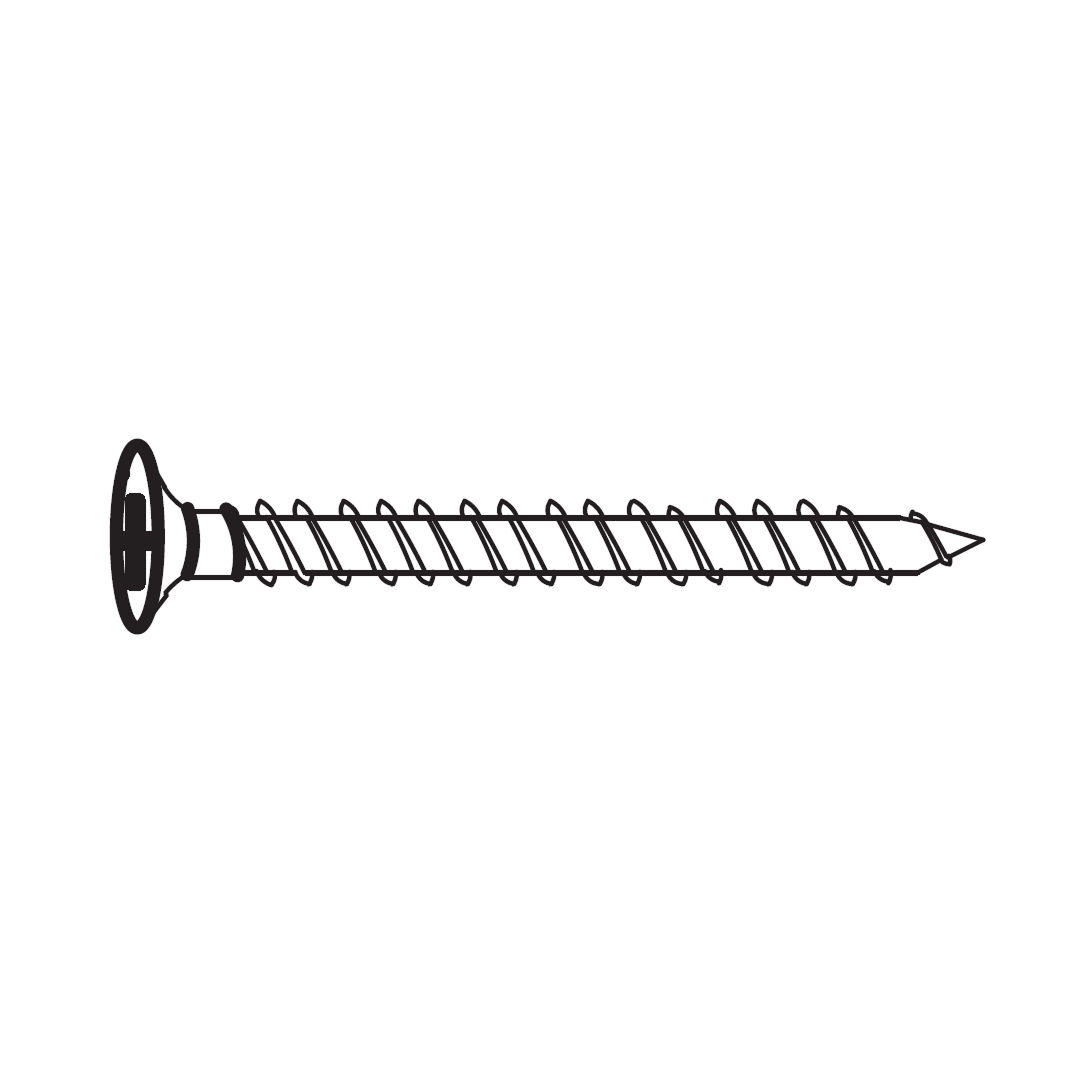
1. Align (C) End Slats with the (A) Front Panel and (B) Back Panel. 2. Secure each end slat using (5) CSK Screws (M4 x 38mm). 3. Ensure all screws are tightened securely.
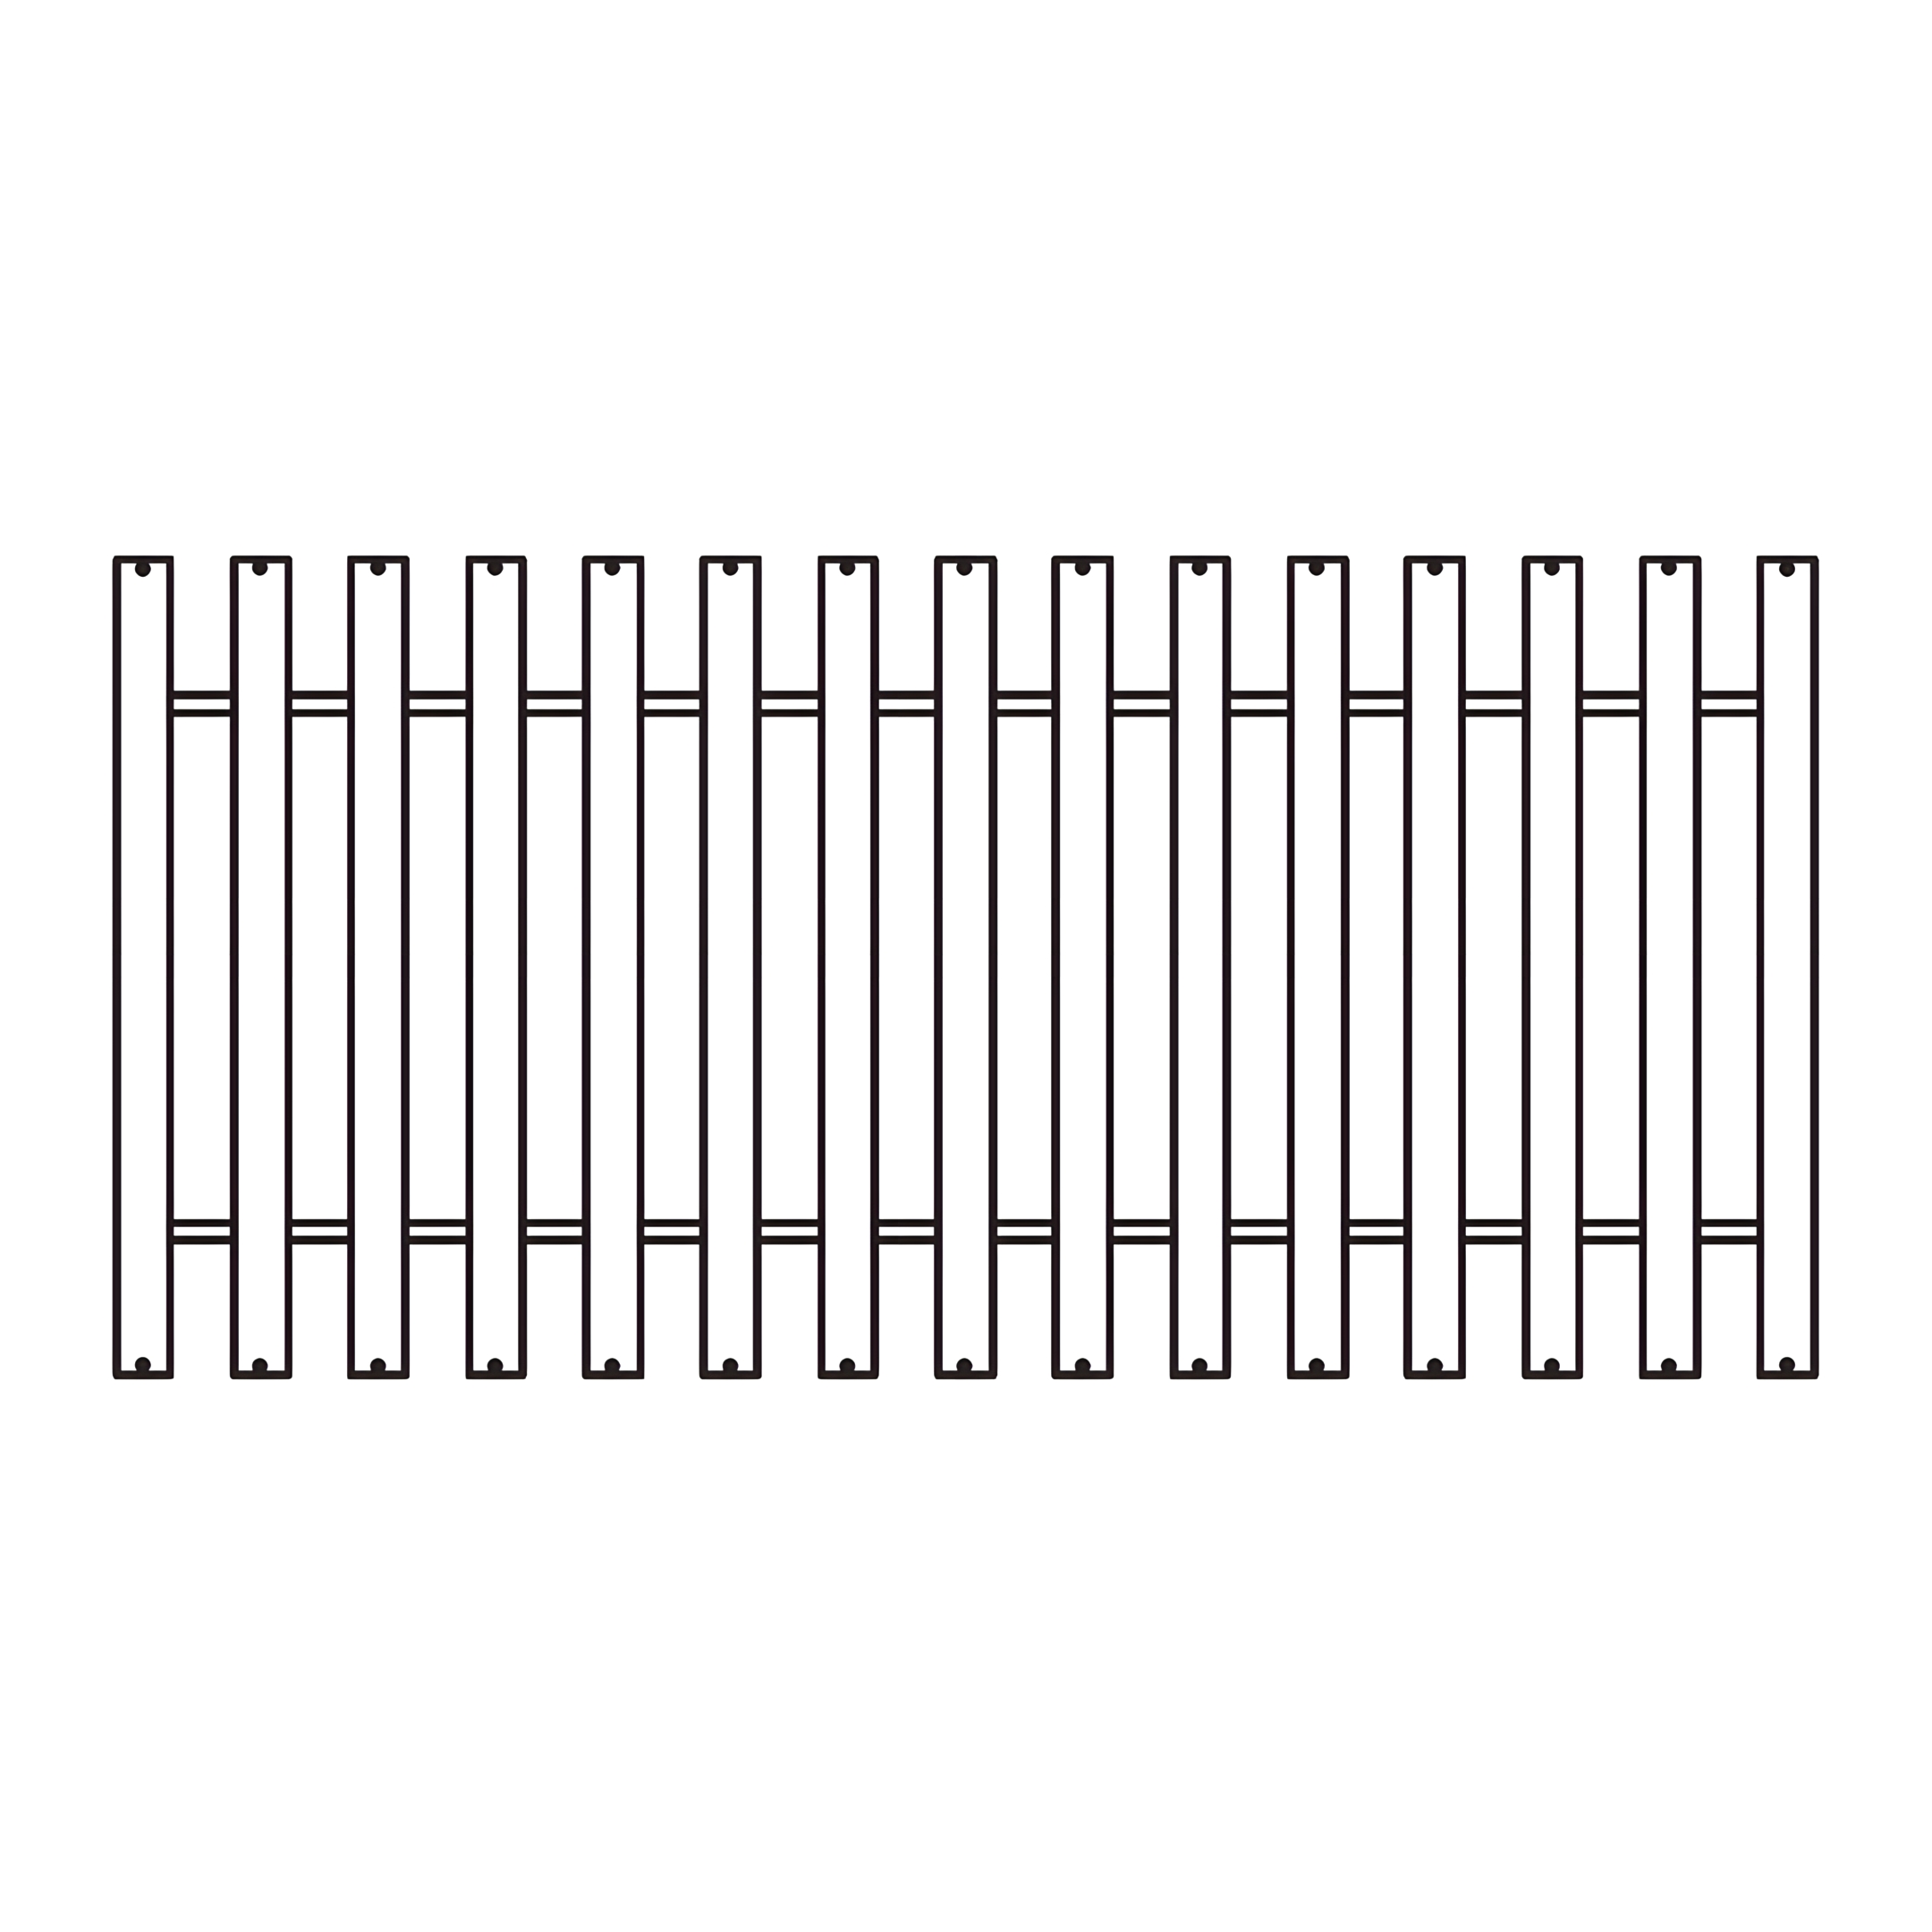
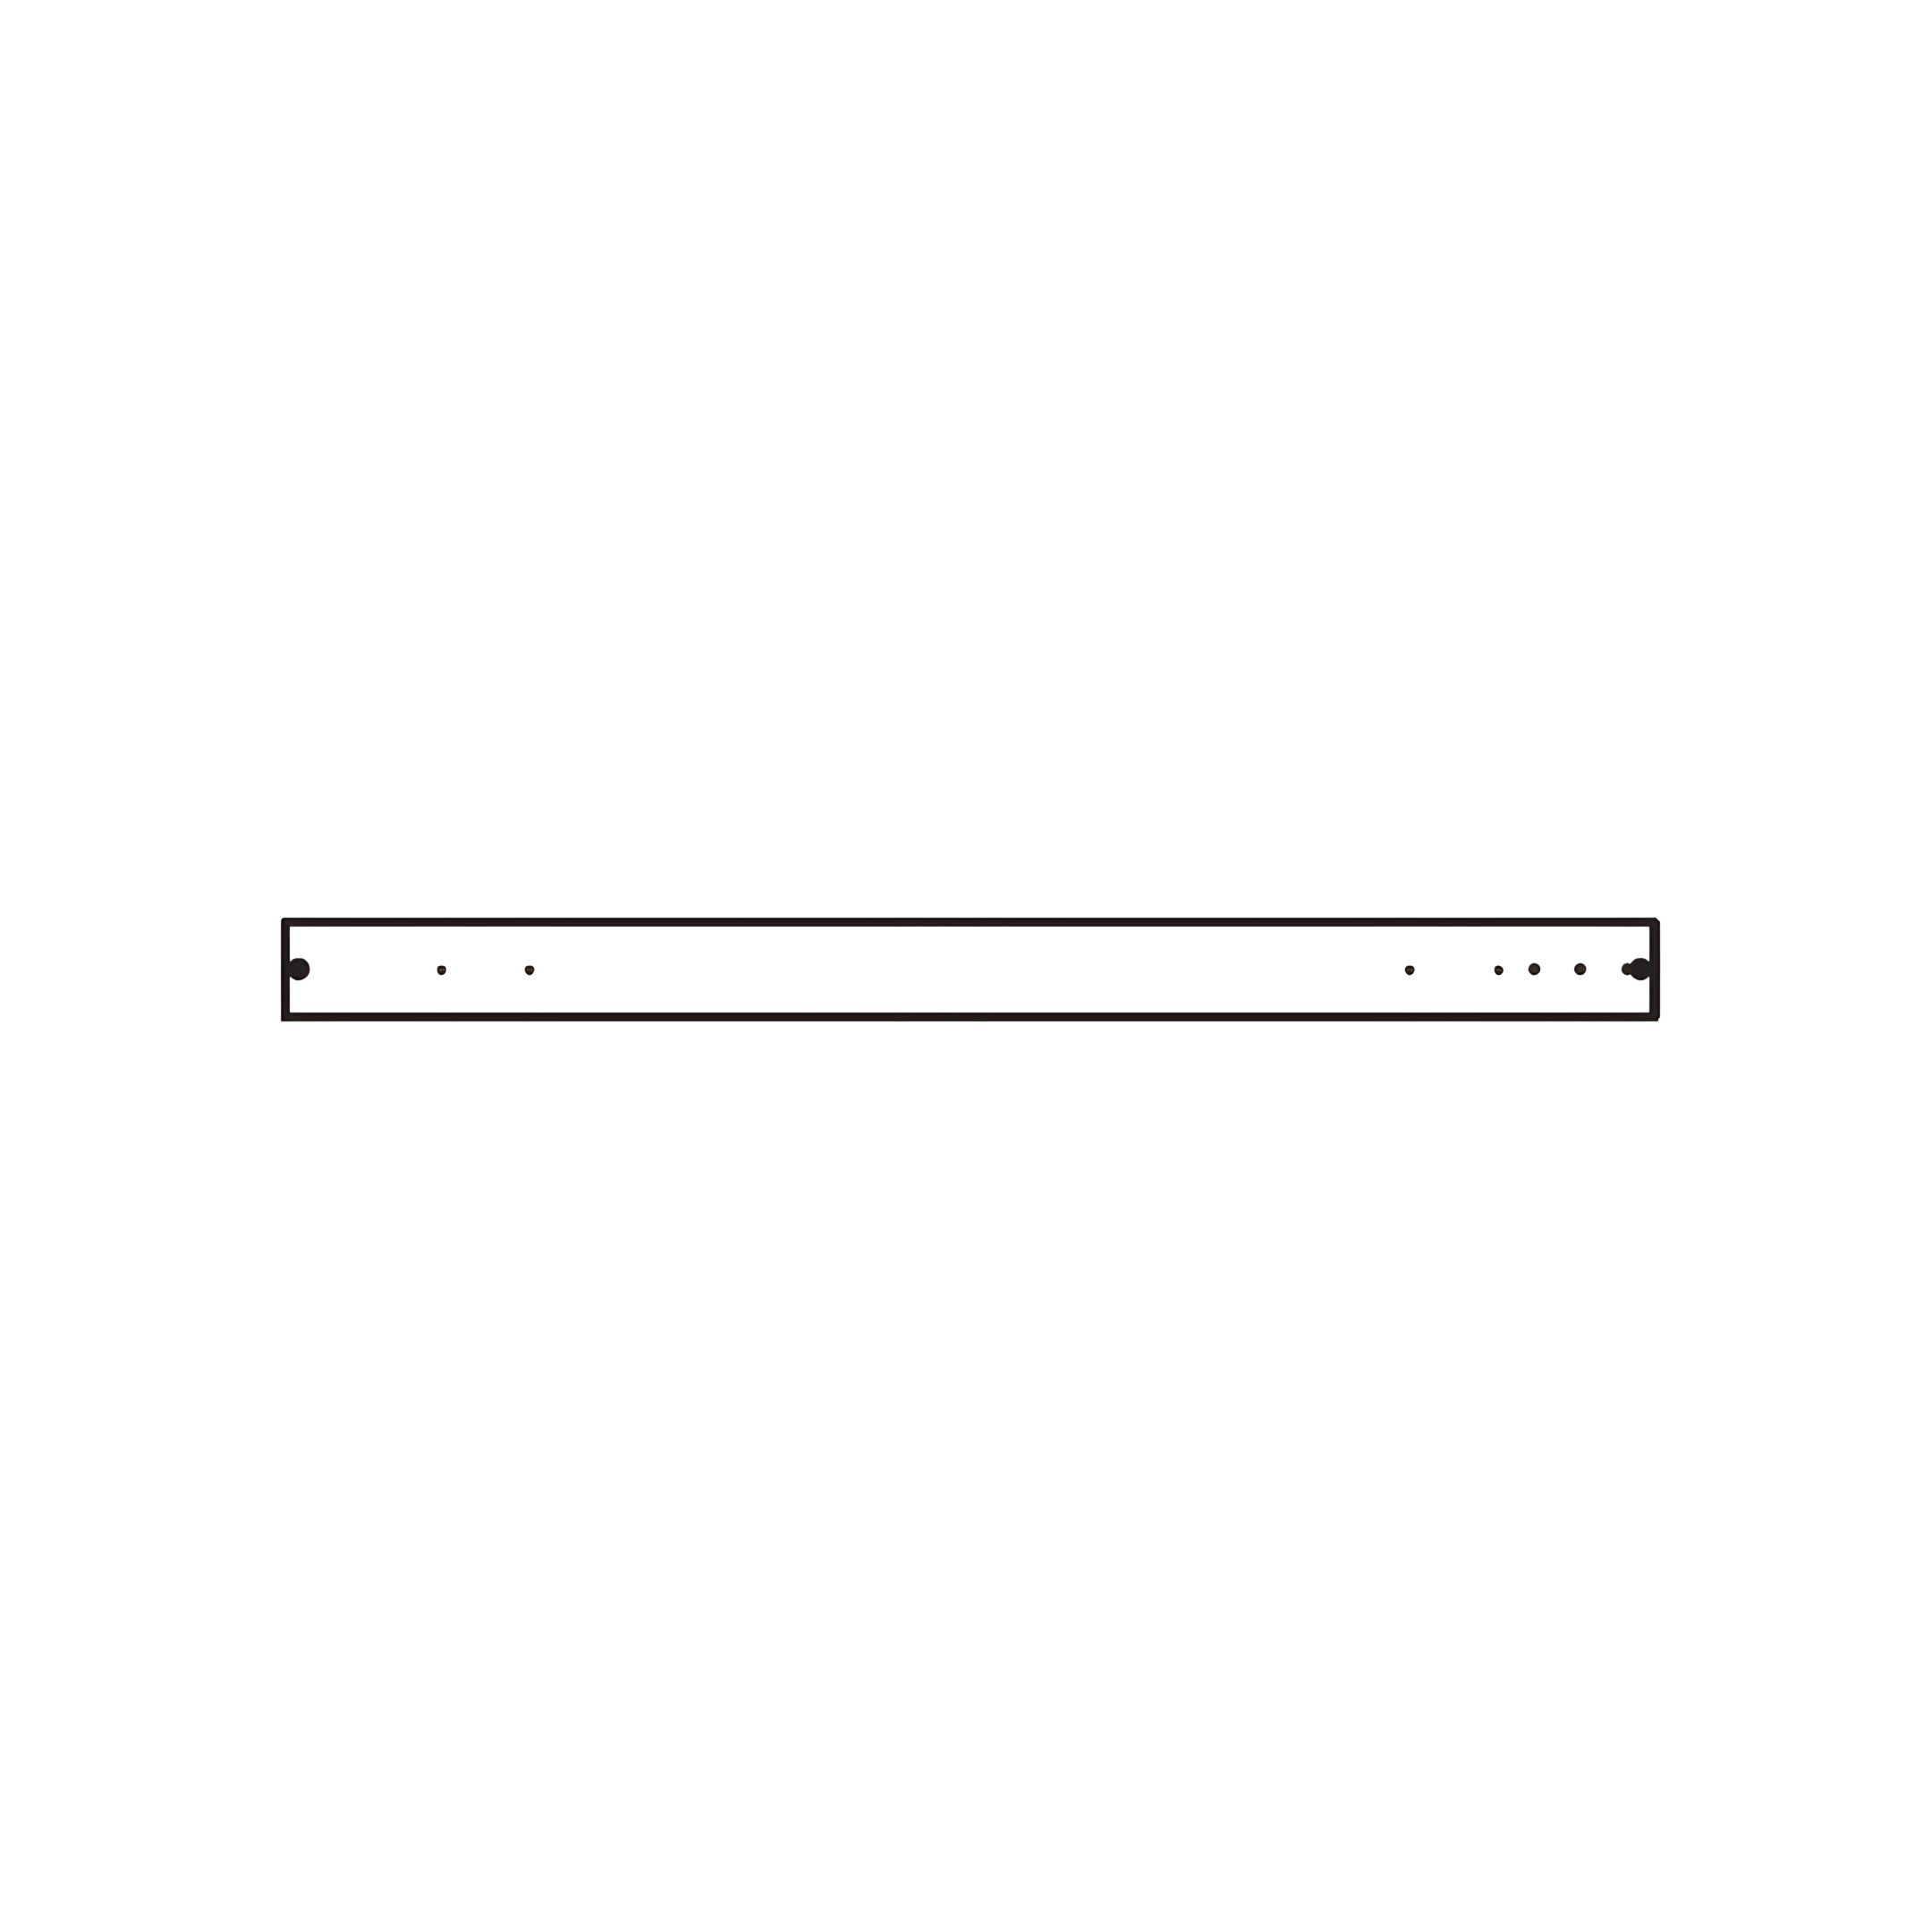
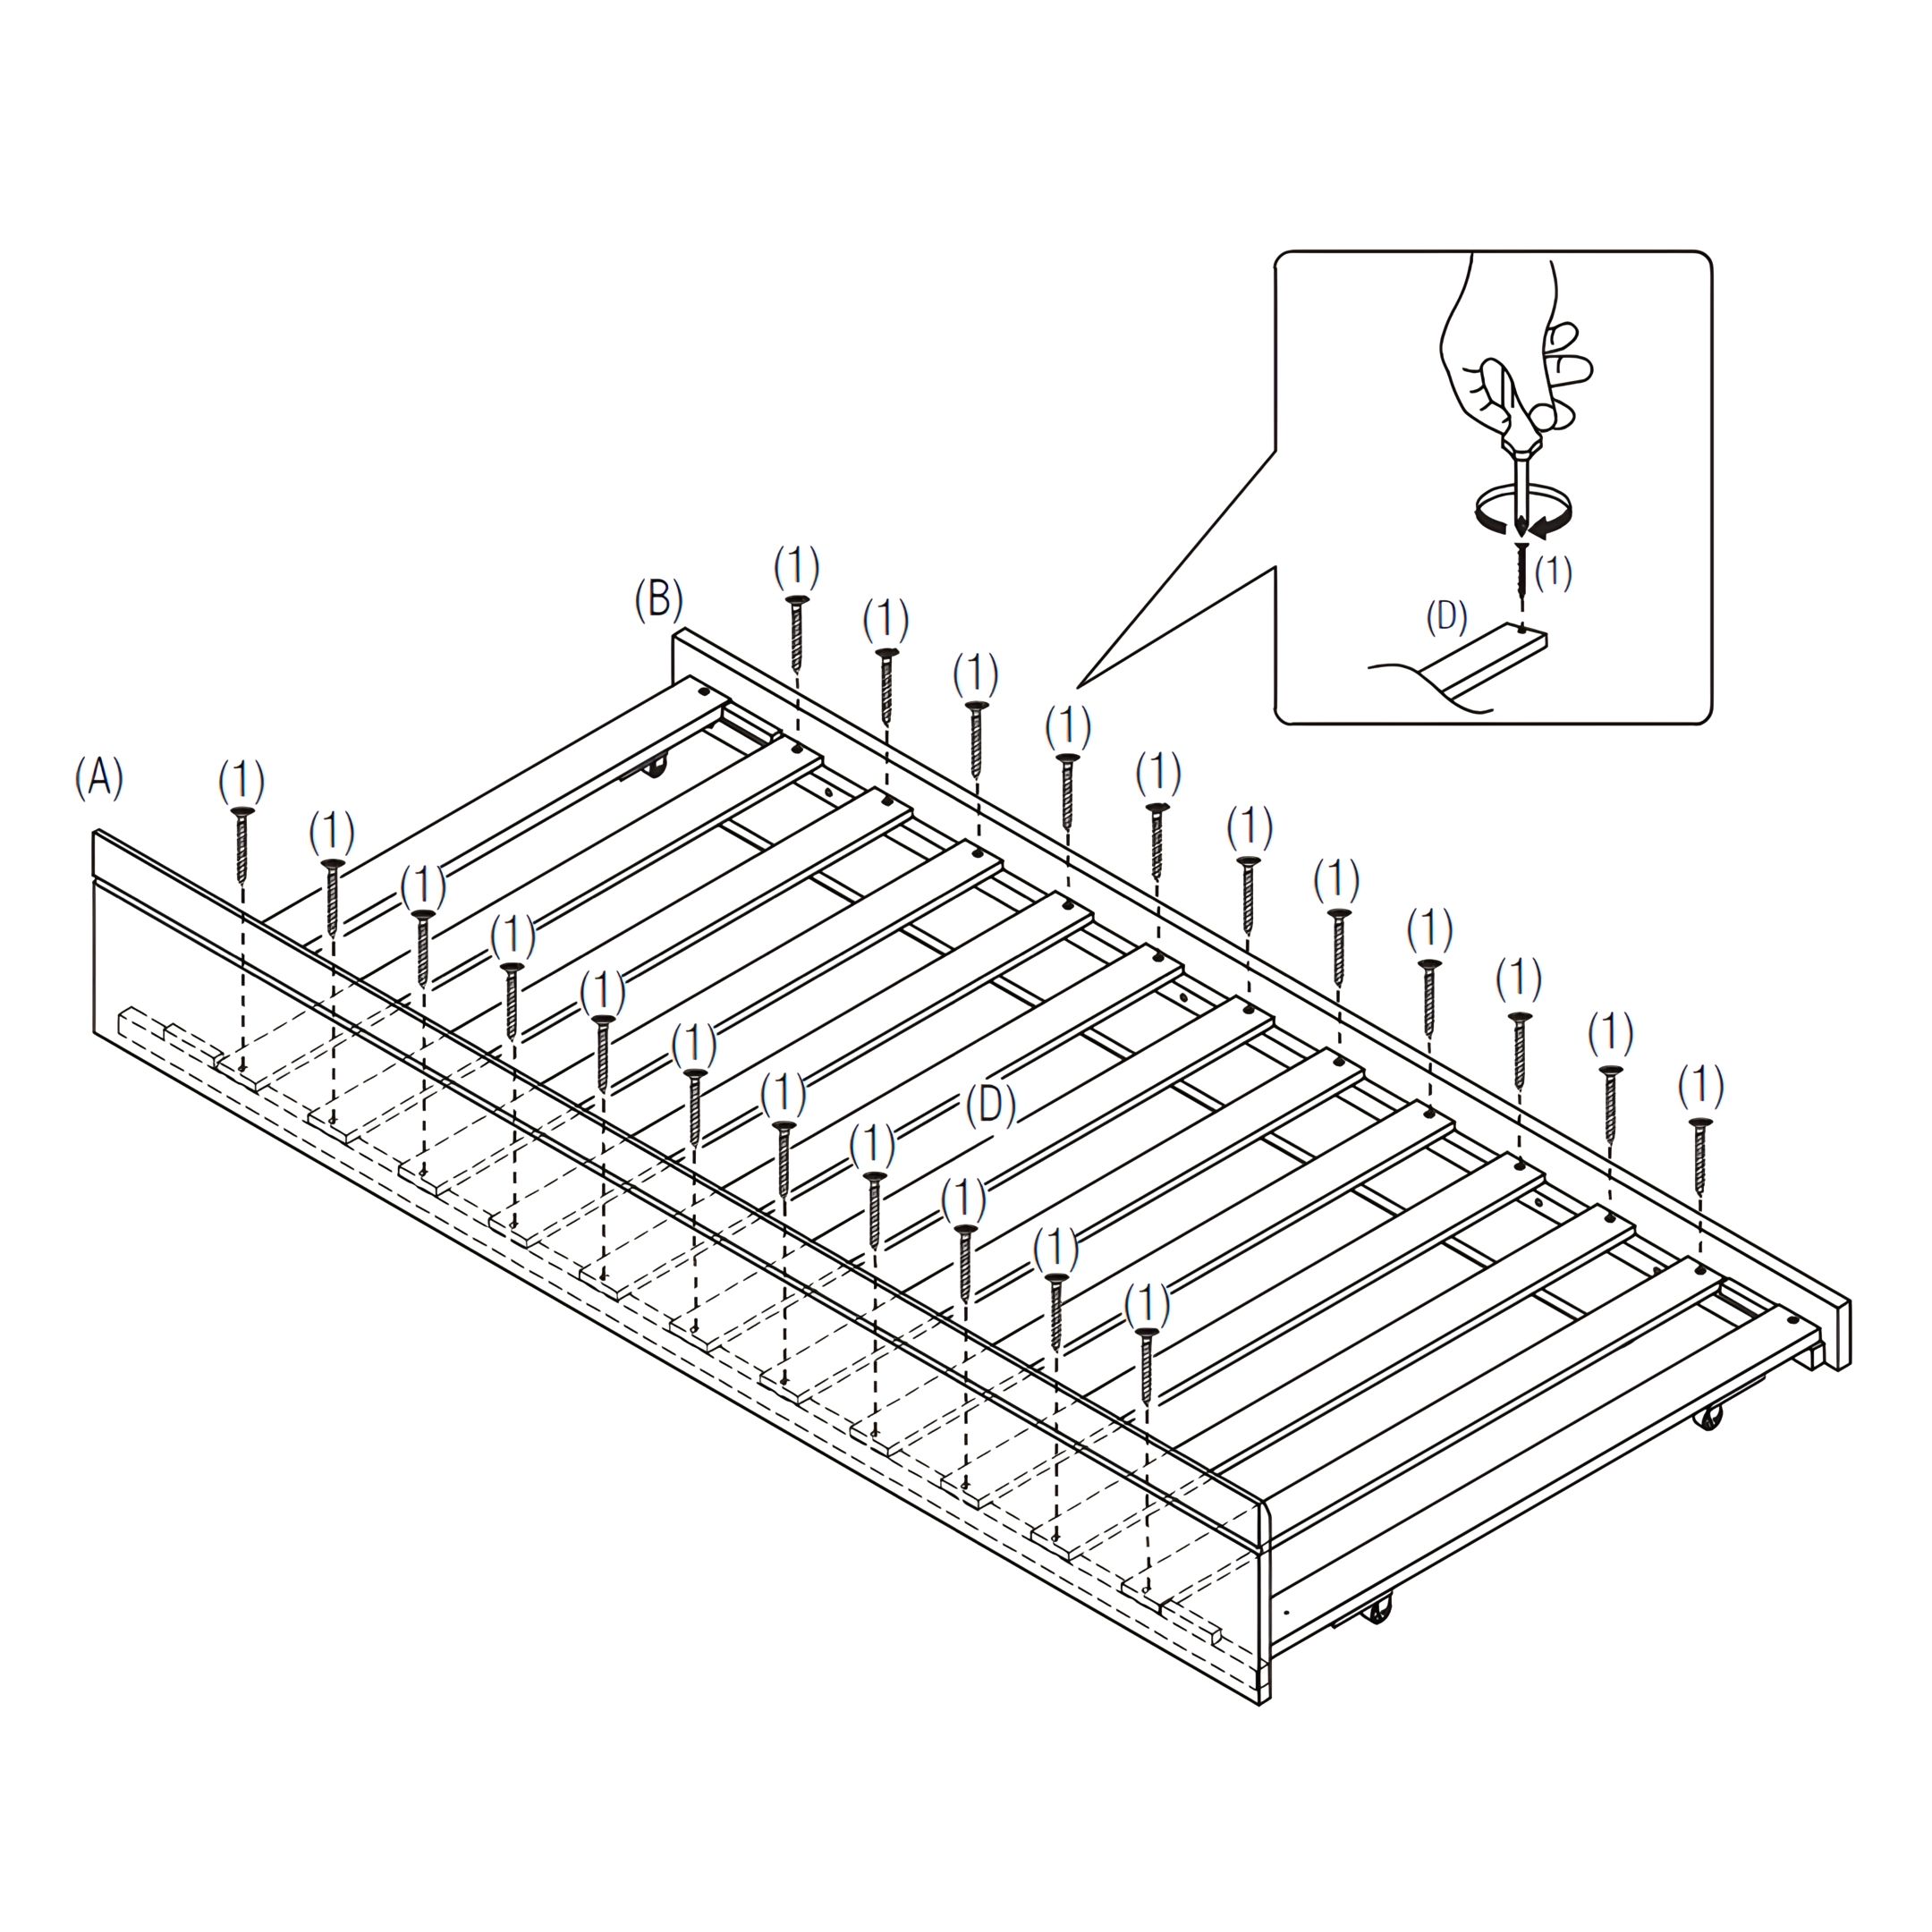
11. Attach the Set of Slats
1. Position the (D) Set of Slats evenly across the trundle frame. 2. Secure each slat using (1) CSK Screws. 3. Ensure all screws are tightened securely.
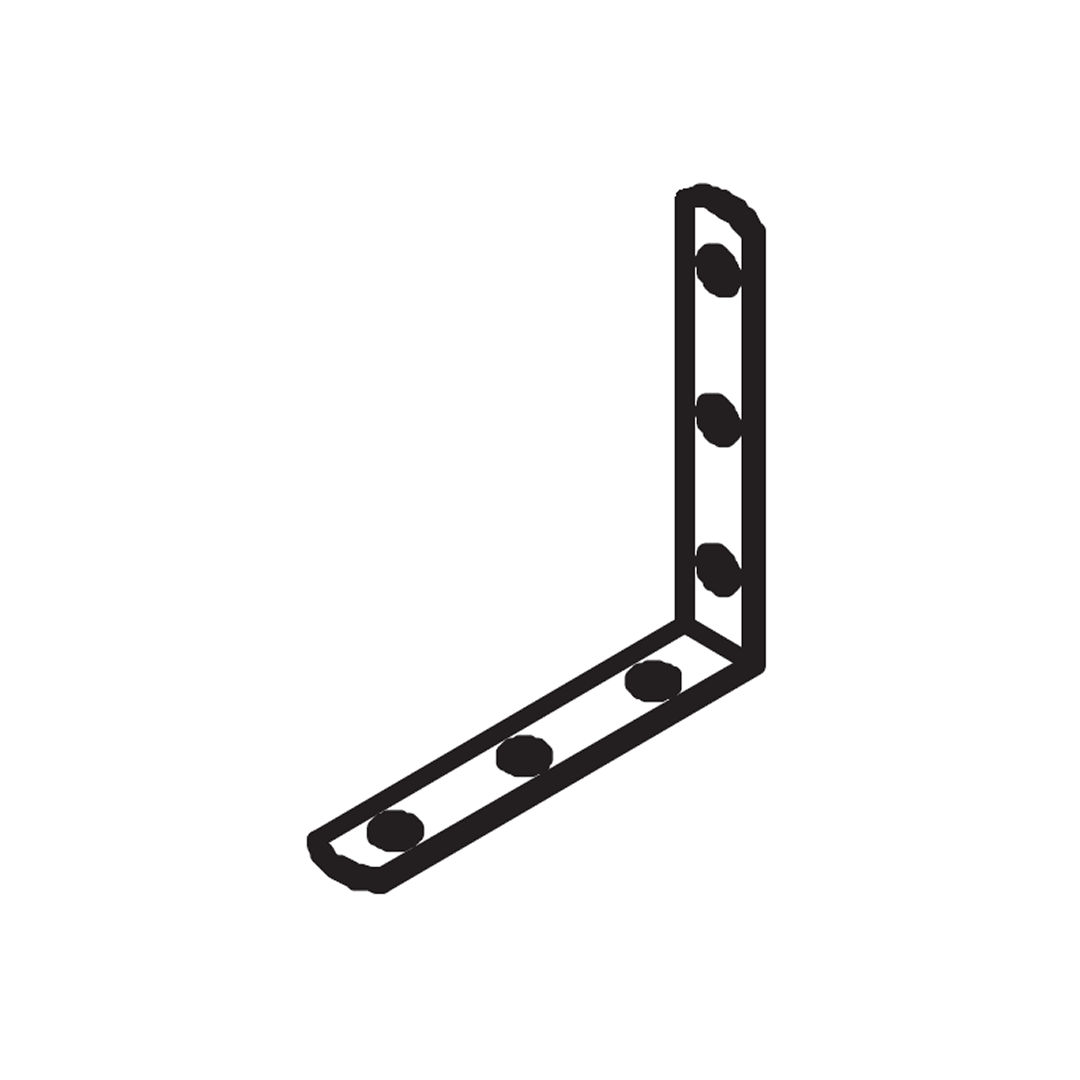
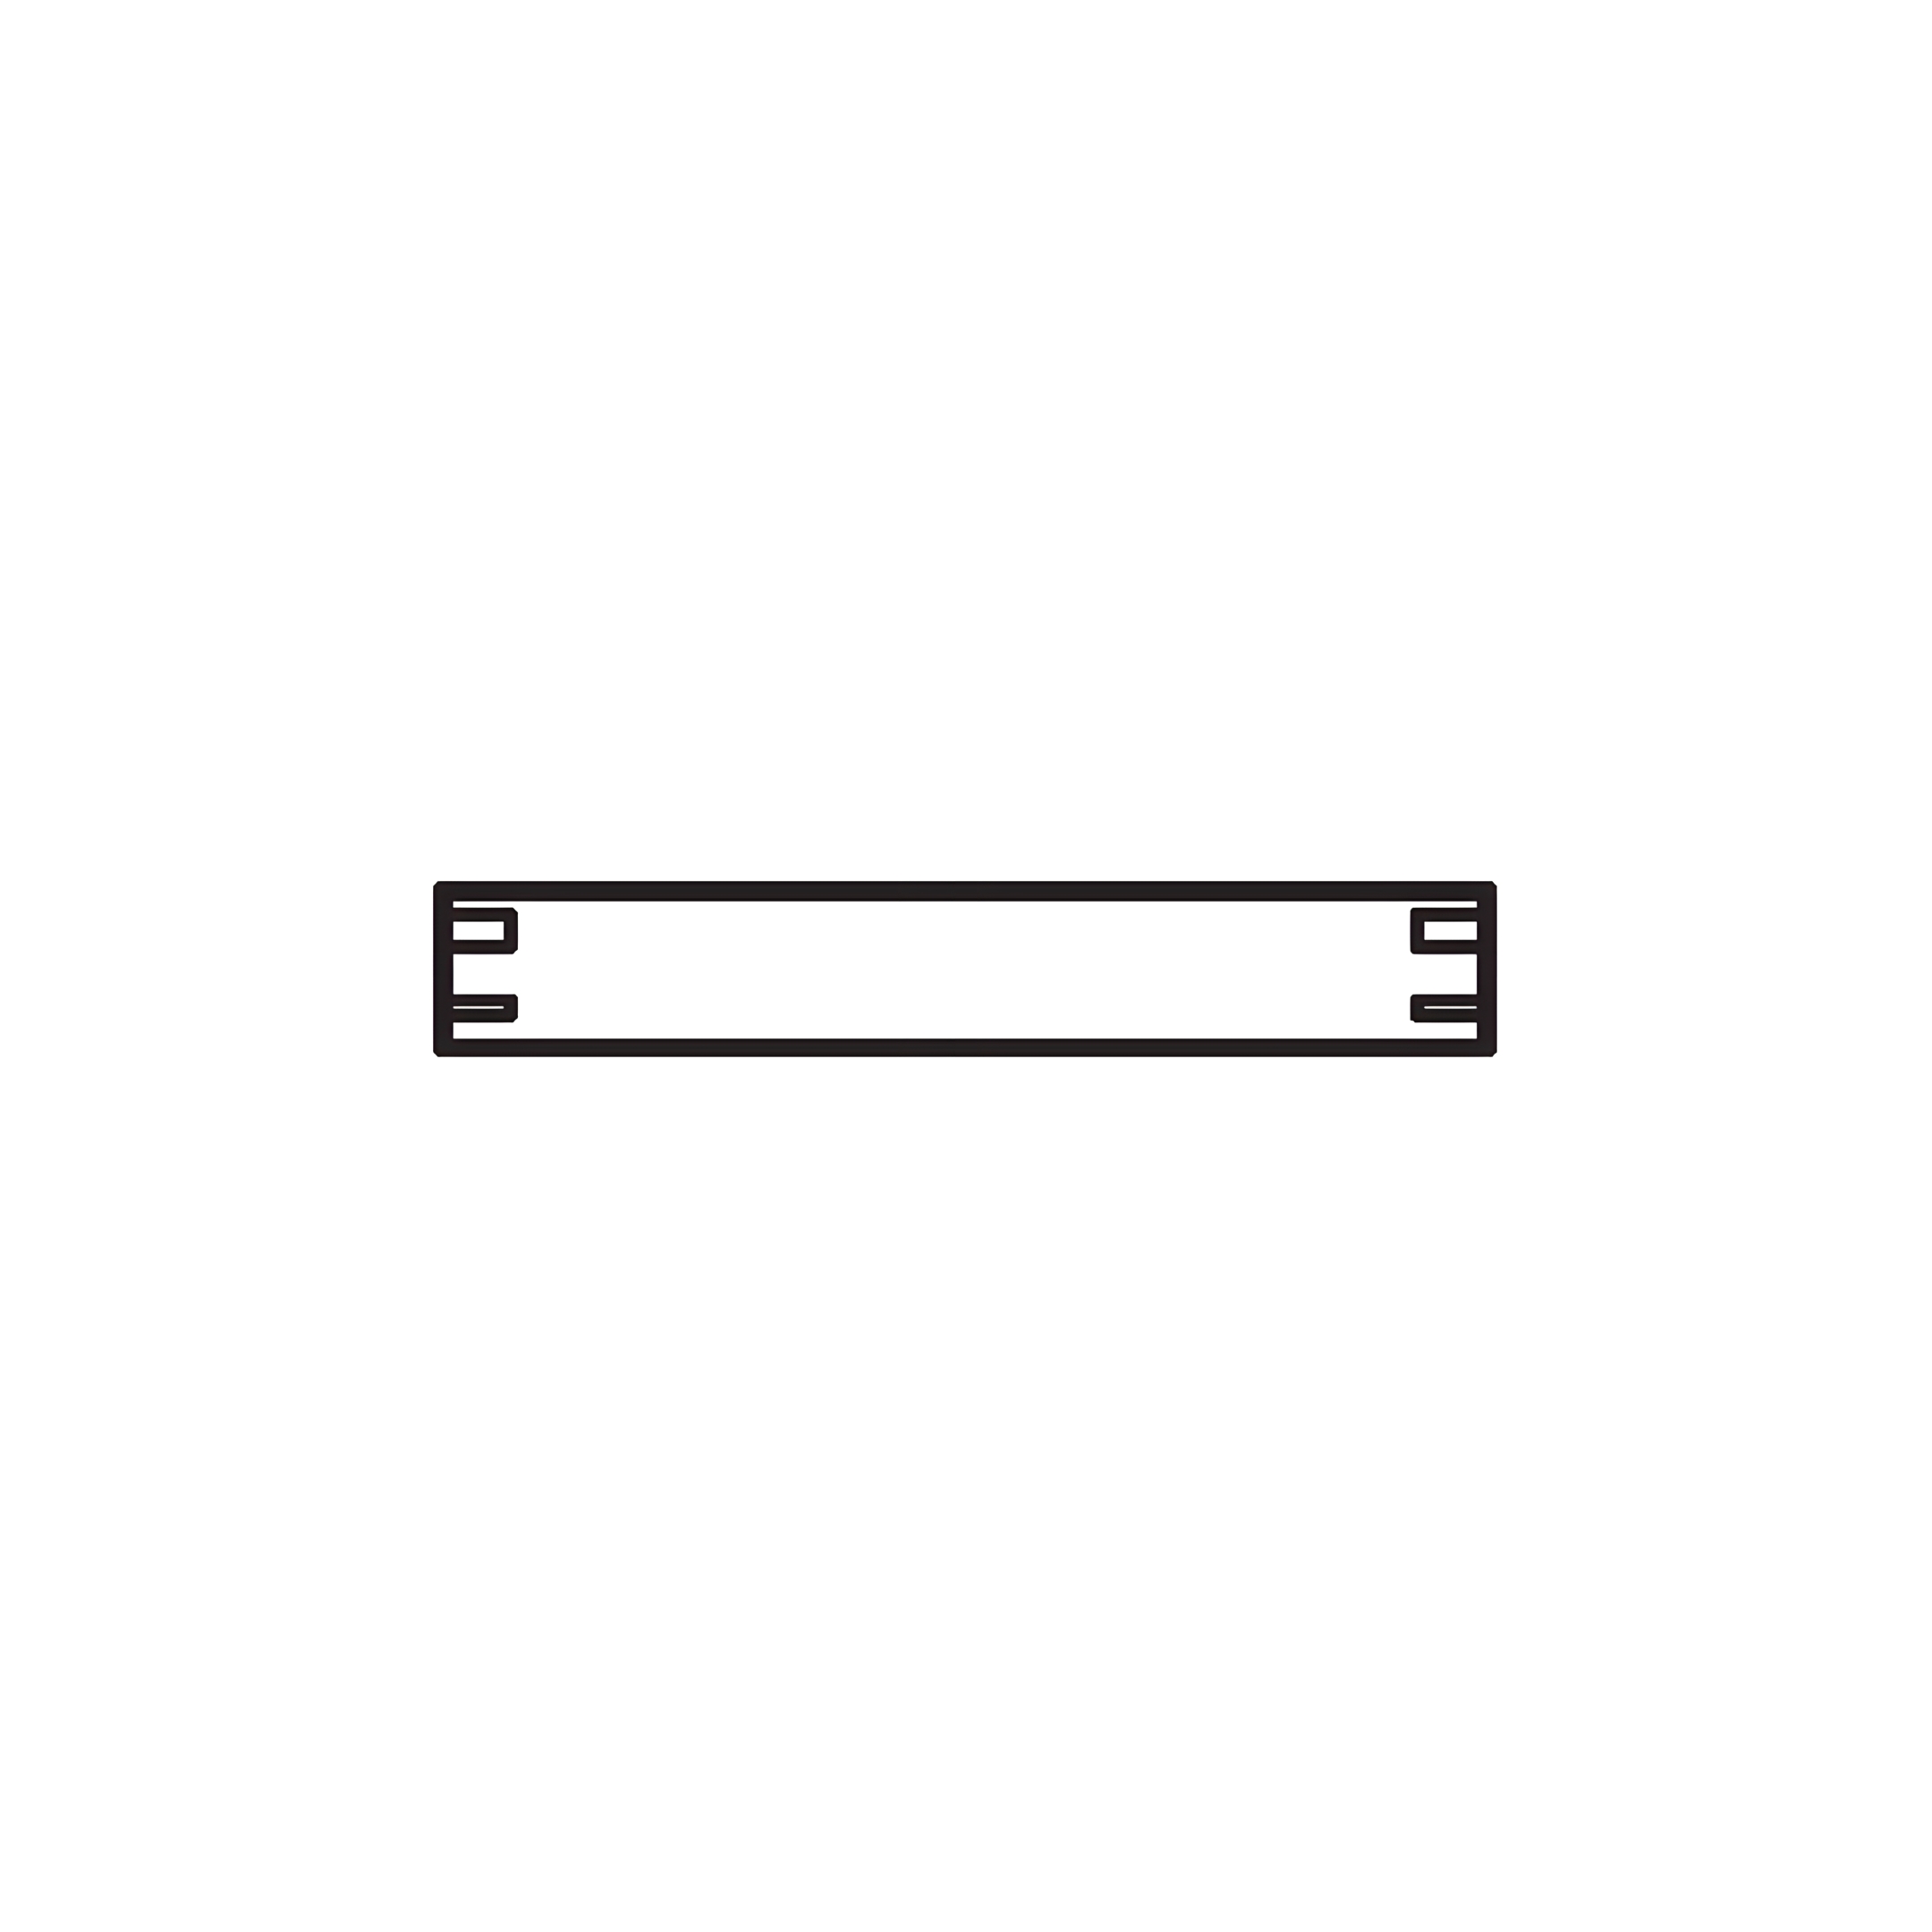
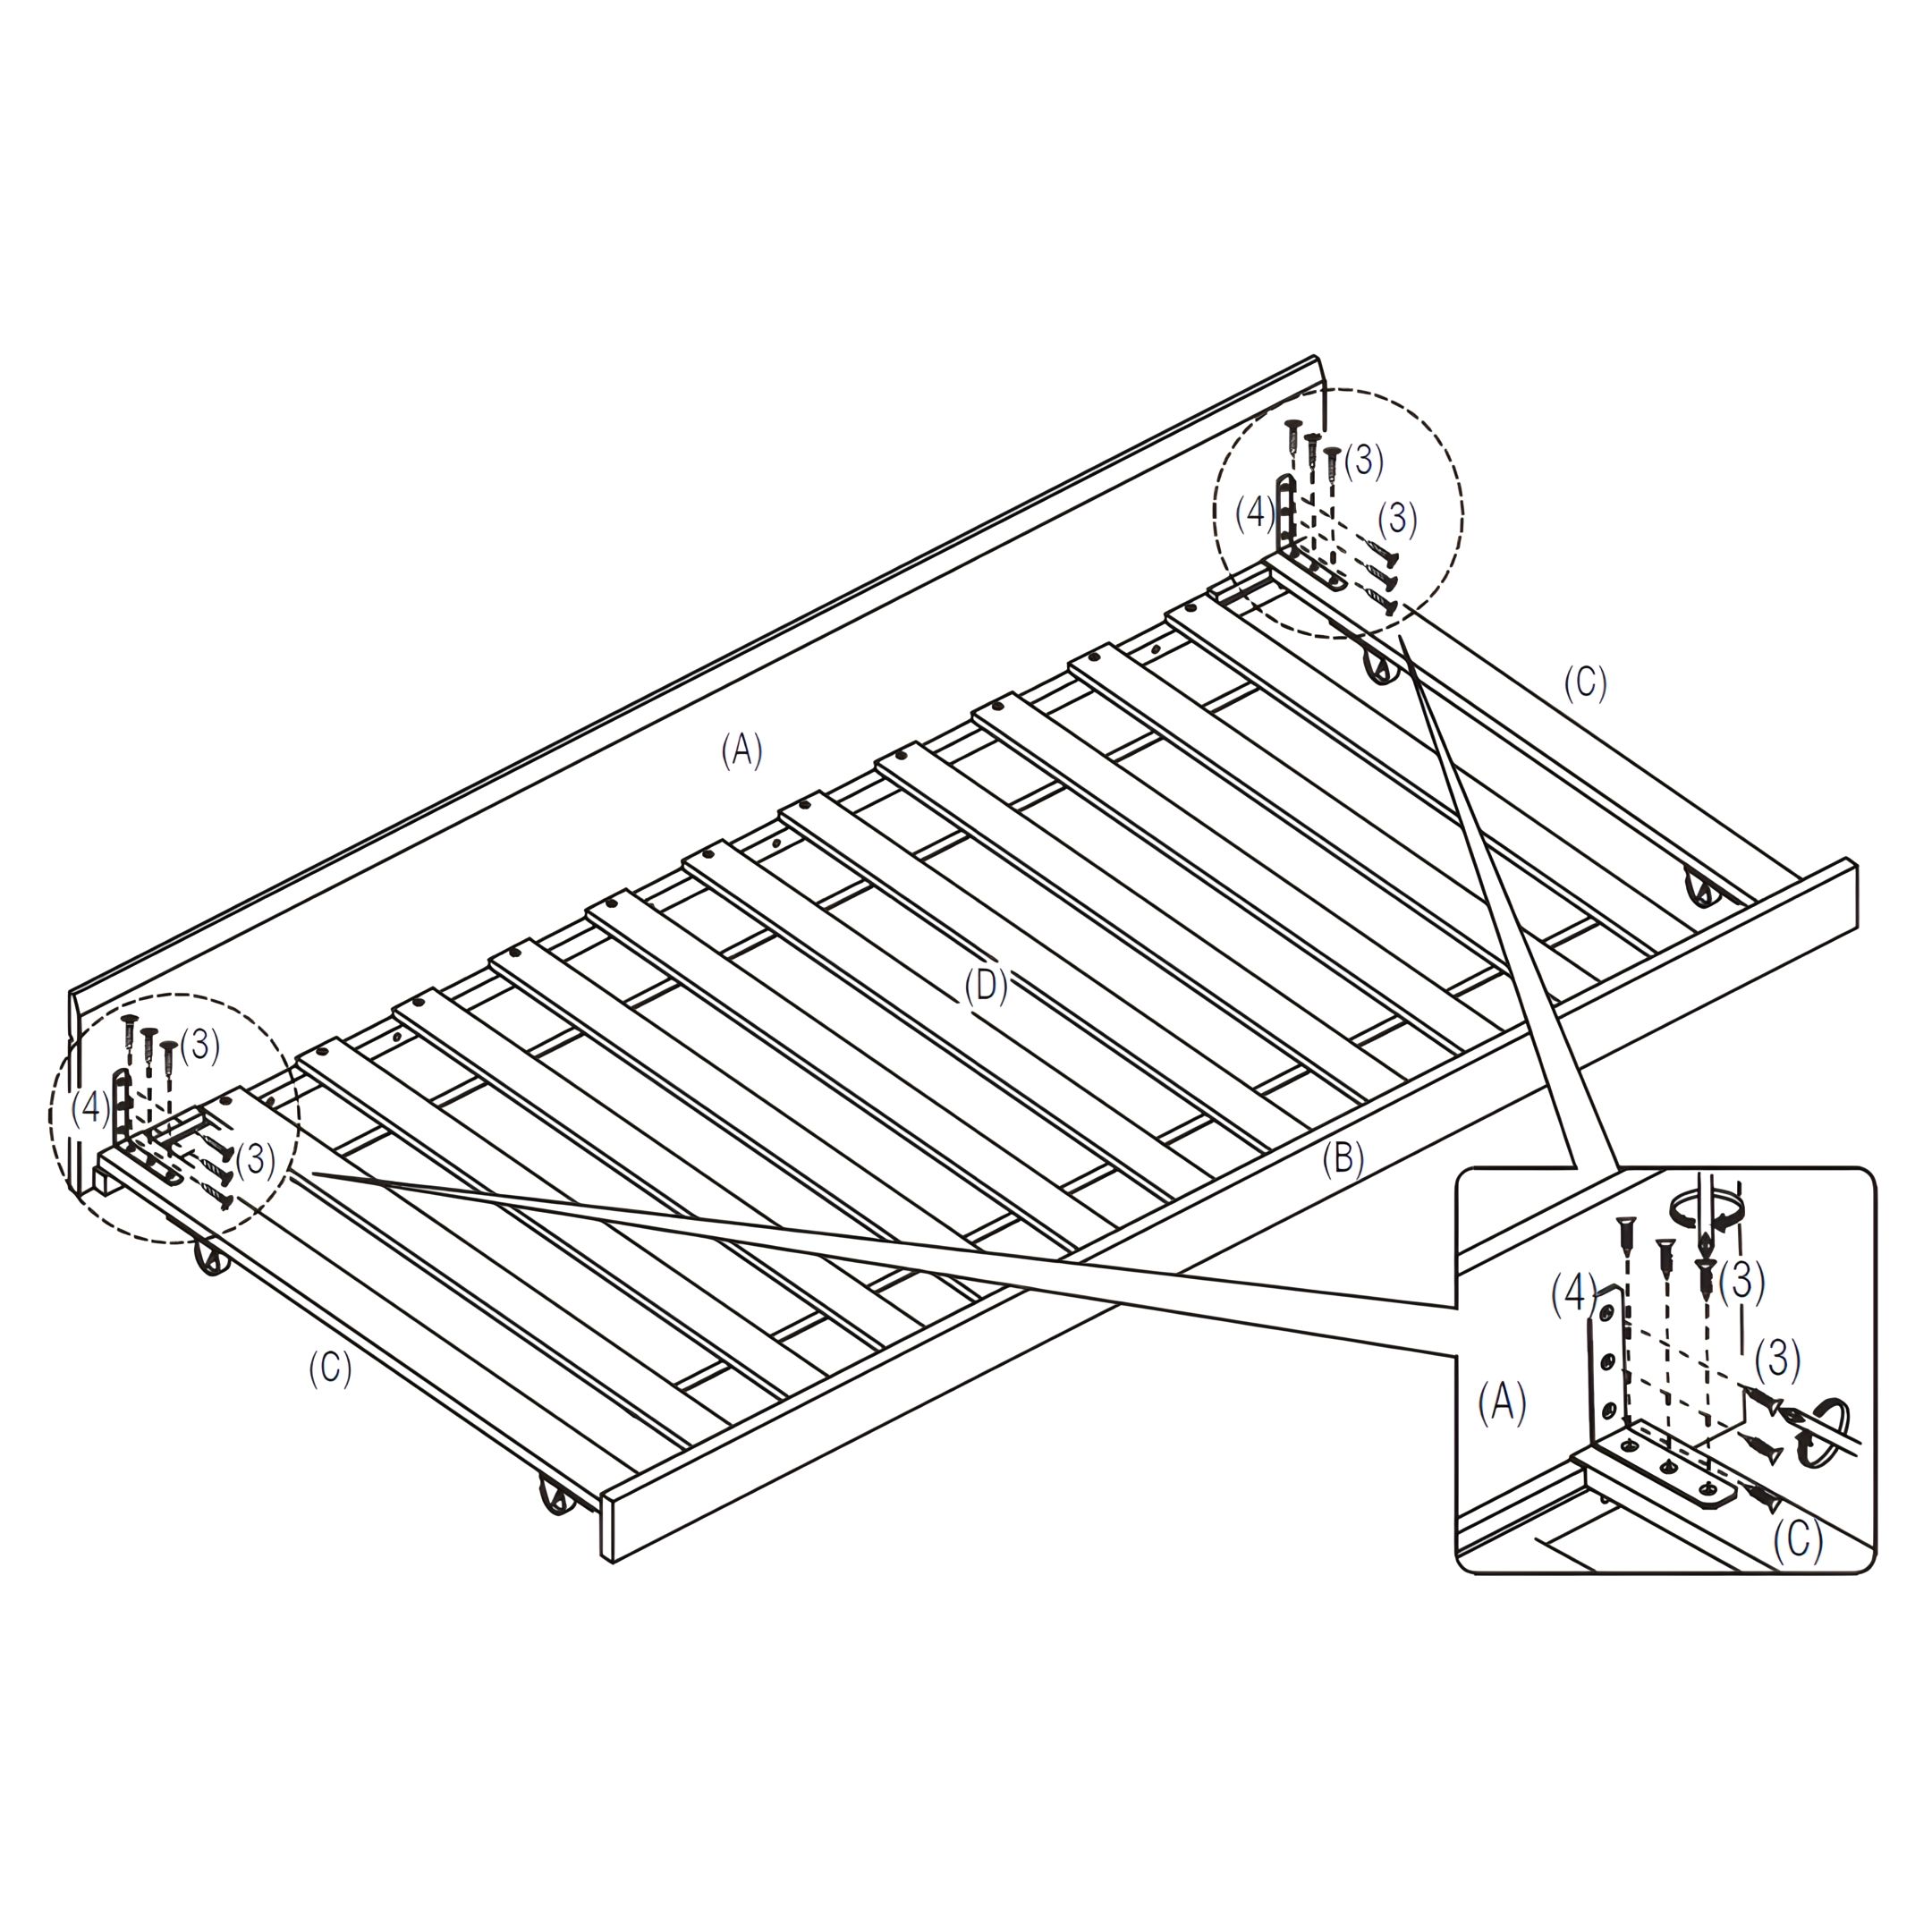
12. Attach the L-Bracket
1. Position (4) L-Brackets at the inner corners where the (A) Front Panel, (B) Back Panel, and (C) End Slats meet. 2. Secure each L-Bracket using (3) CSK Screws (M3.5 x 16mm). 3. Ensure all screws are tightened securely for stability.
13. Finish and Final Check
Slot the entire Trundle Bed under previously assembled Bunk Bed.
Verify that all slats are securely fastened and evenly spaced.
Check for any loose connections and tighten the screws if necessary.