time4sleepwww.time4sleep.co.uk
Instructions by time4sleepEssentials White Single Wooden Bunk Bed Frame
time4sleep

Essentials White Single Wooden Bunk Bed Frame

Essentials White Single Wooden Bunk Bed Frame
Before you start
Safety AdviceImportantWarningsGeneral Hints & TipsPartsTools
Steps
1. Assemble the Upper Bunk End Frames2. Assemble the Upper Bunk3. Assemble the Lower Bunk End Frames4. Assemble the Lower Bunk5. Join the Upper & Lower Bunk6. Assemble the Ladder7. Attach the Ladder to Upper & Lower Bunk8. Assemble the Slats to the Upper & Lower Bunk9. Optional Use of Bunk Bed as Separate Twin Beds

No results

time4sleep
time4sleep / Essentials White Single Wooden Bunk Bed Frame
Essentials White Single Wooden Bunk Bed Frame
time4sleep

Instructions by

time4sleep

Essentials White Single Wooden Bunk Bed Frame

Assembly instructions for Essentials White Single Wooden Bunk Bed Frame by Time4Sleep.

Product Information

Essentials White Single Wooden Bunk Bed Frame

Essentials White Single Wooden Bunk Bed Frame

Maximise your child's bedroom space with the Essentials White Bunk Bed! This classic design features two sleeping areas stacked neatly on top of each other, freeing up floor space for play, study, or storage. The clean white finish offers a bright and comforting feel, complementing any décor. Constructed from rubberwood for sturdiness and safety, the Essentials Bunk Bed includes guard rails for the top bunk and a sturdy ladder for easy access. This practical bed is perfect for siblings sharing a room or for sleepovers with friends. Please note that for safety reasons the maximum recommended mattress height for this bed is 15cm.
View product (opens in new tab)
SKU
Ess30WhiteBunk
Single
Width99.6 cm
Length197 cm
Height155.3 cm

Safety Advice

  • Please take the time to carefully read through the whole of these instructions before you commence. 
  • Keep these instructions for future reference. 
  • Unpack, inspect and check off all of the contents. 
  • Please dispose of all packaging safely. 
  • Small component parts could choke a child if swallowed. 
  • We strongly recommend that you keep children well away from the work area. 
  • It would be sensible to lay a sheet or blanket on the floor where you intend to work to avoid scratching this product and to protect your floor. 
  • This product is heavy. Take extreme care when lifting to avoid personal injury or damage to the product. 
  • Assemble the product as close to its intended final position in the room as possible. 
  • Please check the contents of boxes before attempting to assemble this product. A full checklist of parts and fittings is given in page 2 of this instruction leaflet.

Handy hint: If you keep the hardware in a bowl during assembly you will be less likely to lose them.

Important

Read carefully - Retain for future reference

Warnings:

  • High beds and the upper bed of bunks beds are not suitable for children under six years due to the risk of injury from falls 
  • Bunk beds and high beds can present a serious risk of injury from strangulation if not used correctly. 
  • Never attach or hang items to any part of the bed that are not designed to be used with the bed, for example, but not limited to, ropes, strings, cords, hooks, belts and bags. 
  • Children can become trapped between the bed and the wall, a roof pitch, the ceiling, adjoining pieces of furniture (e.g. cupboards) and the like. To avoid risk of serious injury, the distance between the top safety barrier and the adjoining structure shall not exceed 75mm or shall be more than 230mm.
  • Do not use the bunk bed/high bed if any structural part is broken or missing and always follow the manufacturer’s instructions. 
  • The largest size of mattress recommended for safe use is 190cm x 90cm with maximum thickness of (6 inch). 
  • Frequent ventilation of the room is necessary to ensure that humidity is kept low and to prevent mould forming in and around the bed. 
  • We strongly recommend regular checks on all assembly fastenings to ensure they are properly tightened.

This bunk complies with BS EN 747-1:2012+A1:2015

Warnings

To help prevent serious or fatal injuries from entrapment or falls:

  • The top of the Mattress shall be at least 160mm below the upper edge of the safety barriers.The maximum thickness of the mattress shall be 6".
  • Only use mattress that is 1900mm (75") long and 900mm (35") wide on upper a shall be at least 160mm (6-1/4) below the edge of the safety barriers.
  • Follow written instructions with this bed.

Strangulation Hazard

  • Never attach or hang item to any part of the bunk bed that are not designed for use with the bed; for example, but not limited to, hook, belt, and jumpropes.
  • This upper bed is not suitable for children under six years. 
  • EN 747 : 2012 + A1 : 2015 
  • Made in Malaysia 
  • Importer by Mattressman Ltd.

General Hints & Tips

  • Two person assembly
  • One hour needed for assembly

Tools

1 - JCBC (M6 x 100mm)
2 - Barrel Nut (M6 x 15mm)
3 - Wooden Dowel (M10 x 30mm)
4 - JCBC (M6 x 80mm)
5 - JCBC (M6 x 30mm)
6 - Metal Pin (M10 x 100mm)
7 - JCBC (M6 x 25mm)
8 - JCBC-W (M6 x 50mm)
9 - JCBC-W (M6 x 30mm)
10 - CSK (M4 x 25mm)
11 -  Wooden Button 11.5mm
11 - Wooden Button 11.5mm
12 - M4 Allen Key

Parts

A - Upper Post (Shorter)
B - Lower Post (Longer)
C - Headboard and Footboard Panel
D - Front Upper Guardrail
E - Back Upper Guardrail
F - Guardrail Spindle
G -Upper Side Rail (Front)
H - Upper Side Rail (Back)
I - Lower Side Rail (Front & Back)
J - Ladder Rail (Long)
K - Ladder Rail (Short)
L - Ladder Steps
L - Ladder Steps
M - Set of Slats
M - Set of Slats

1. Assemble the Upper Bunk End Frames

1. Insert (3) Wooden Dowels into the ends of (C) Headboard/Footboard Panels.
2. Align the panels with (A) Upper Posts.
3. Insert (2) Barrel Nuts into the posts.
4. Secure with (1) JCBC Bolts and use (12) Allen Key to tighten.

2. Assemble the Upper Bunk

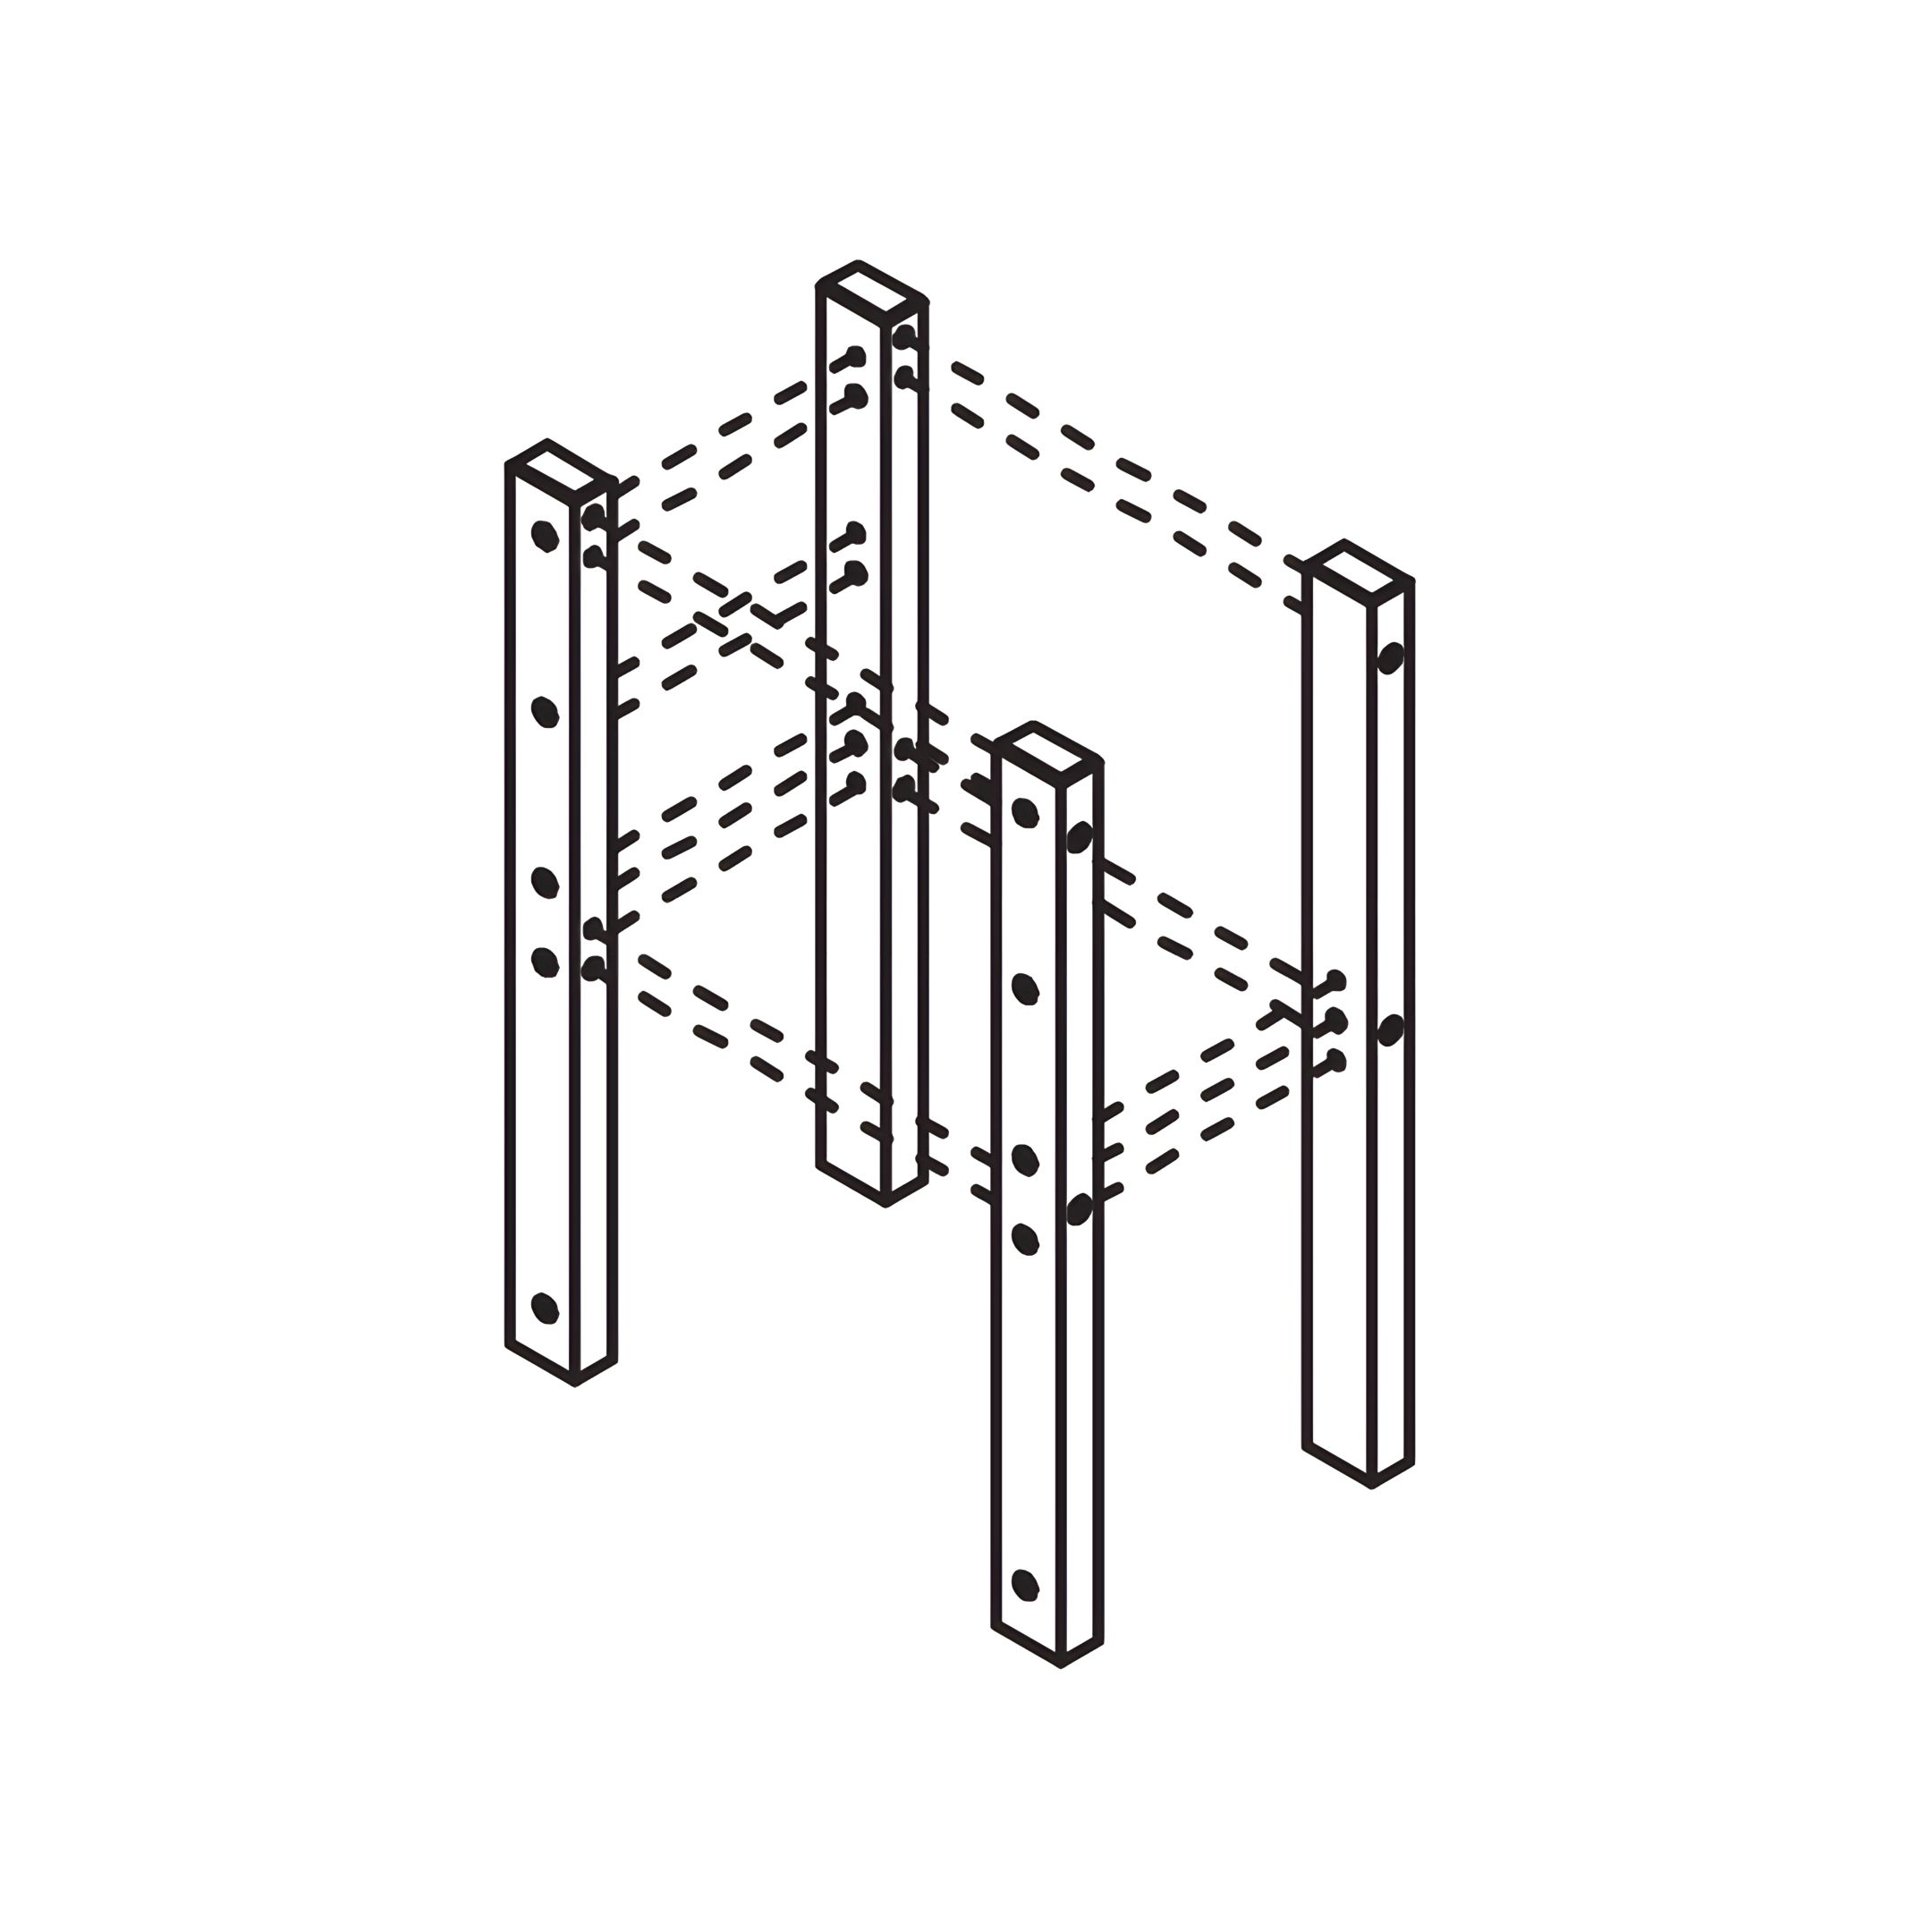
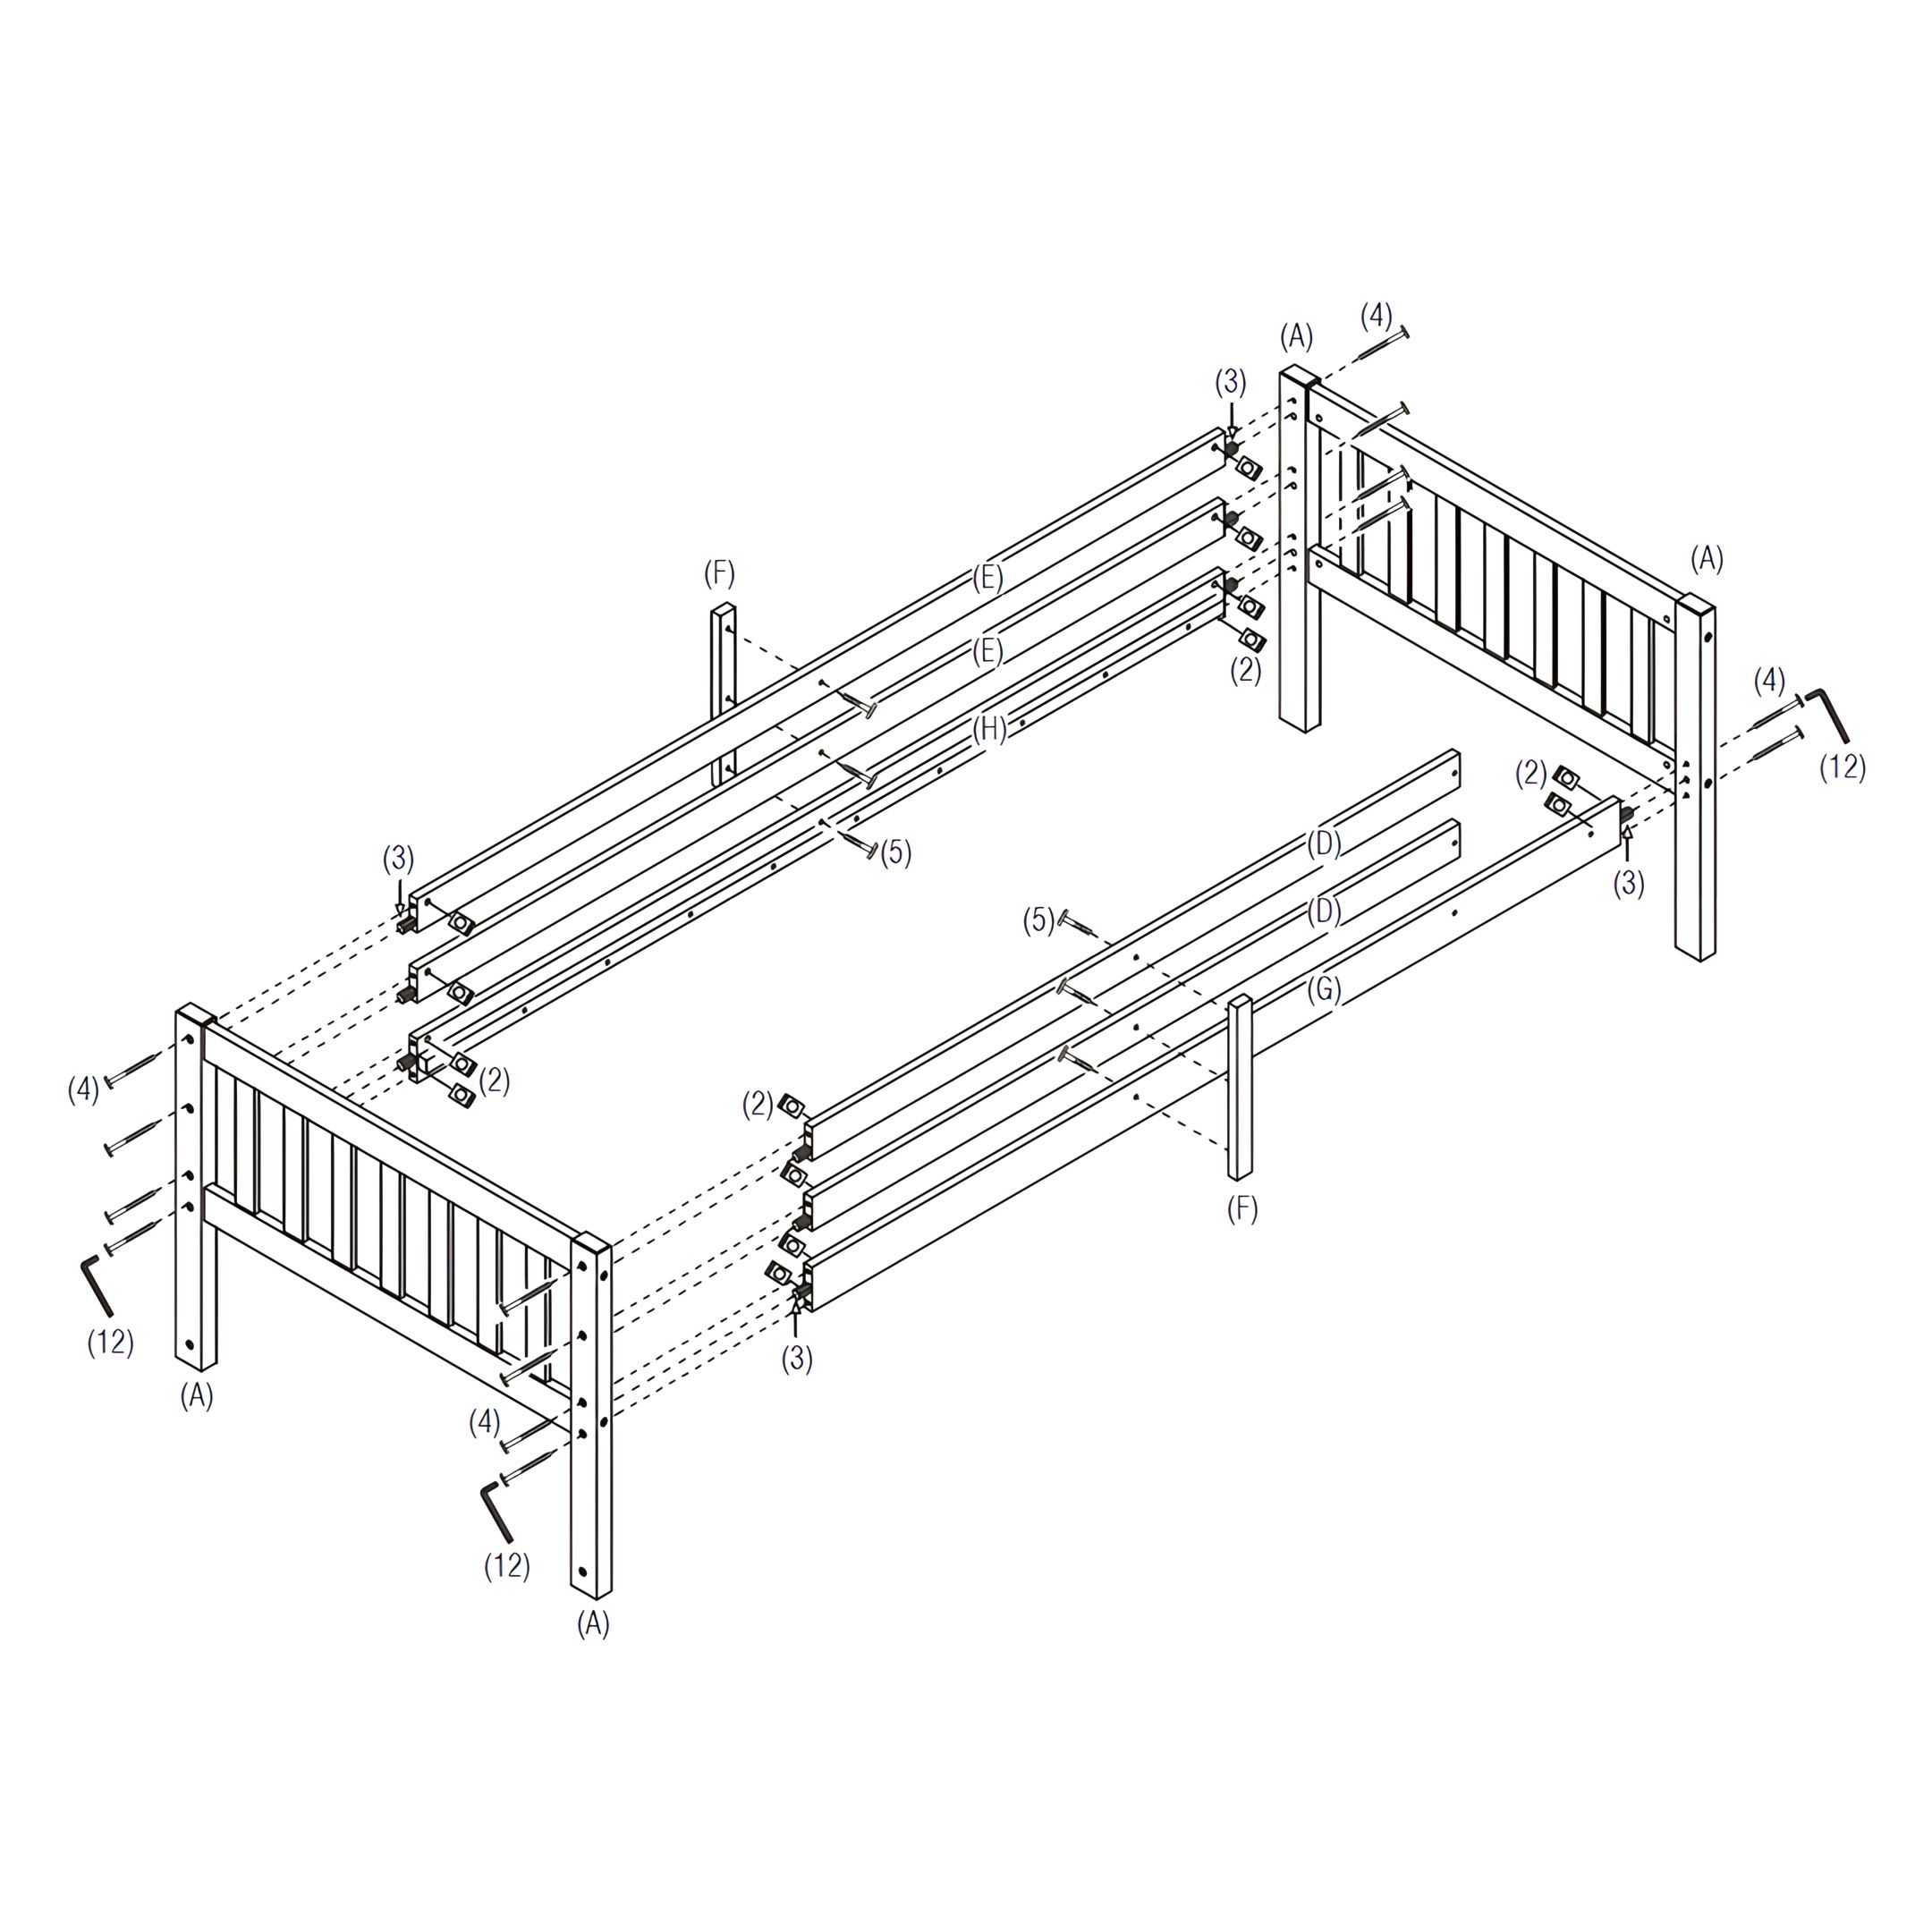
1. Position the assembled Upper Bunk End Frames (A) upright.
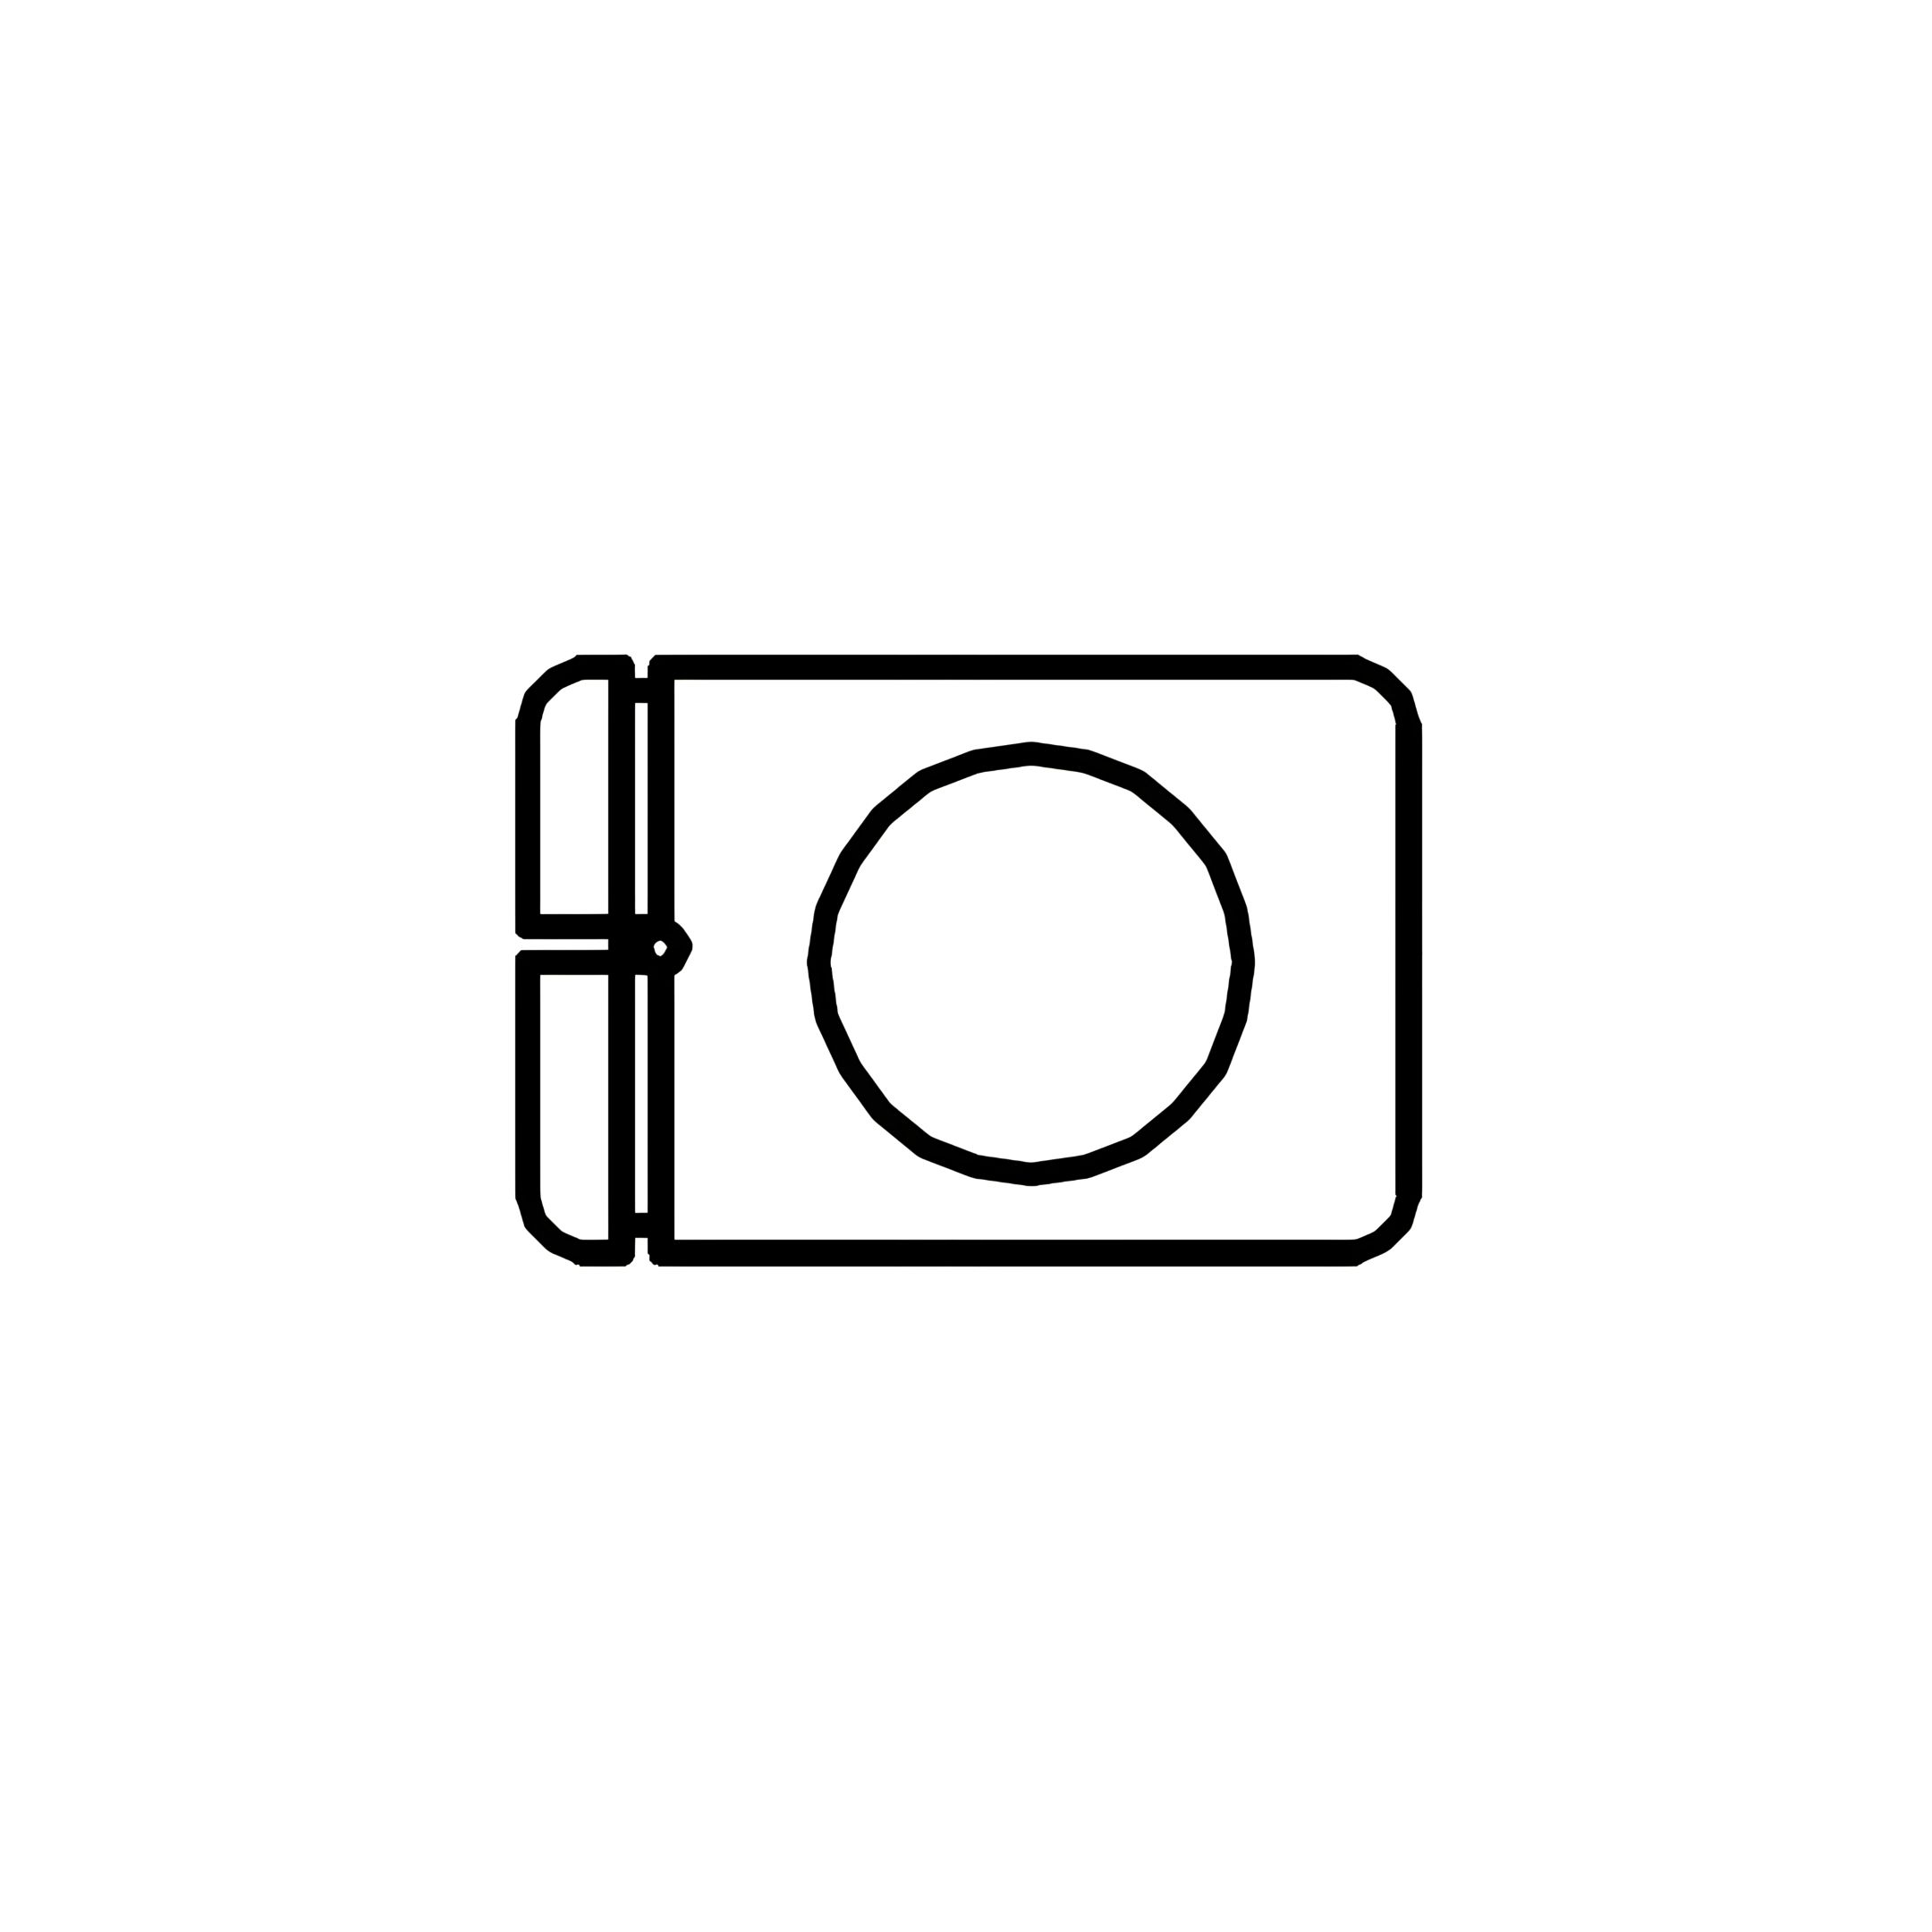
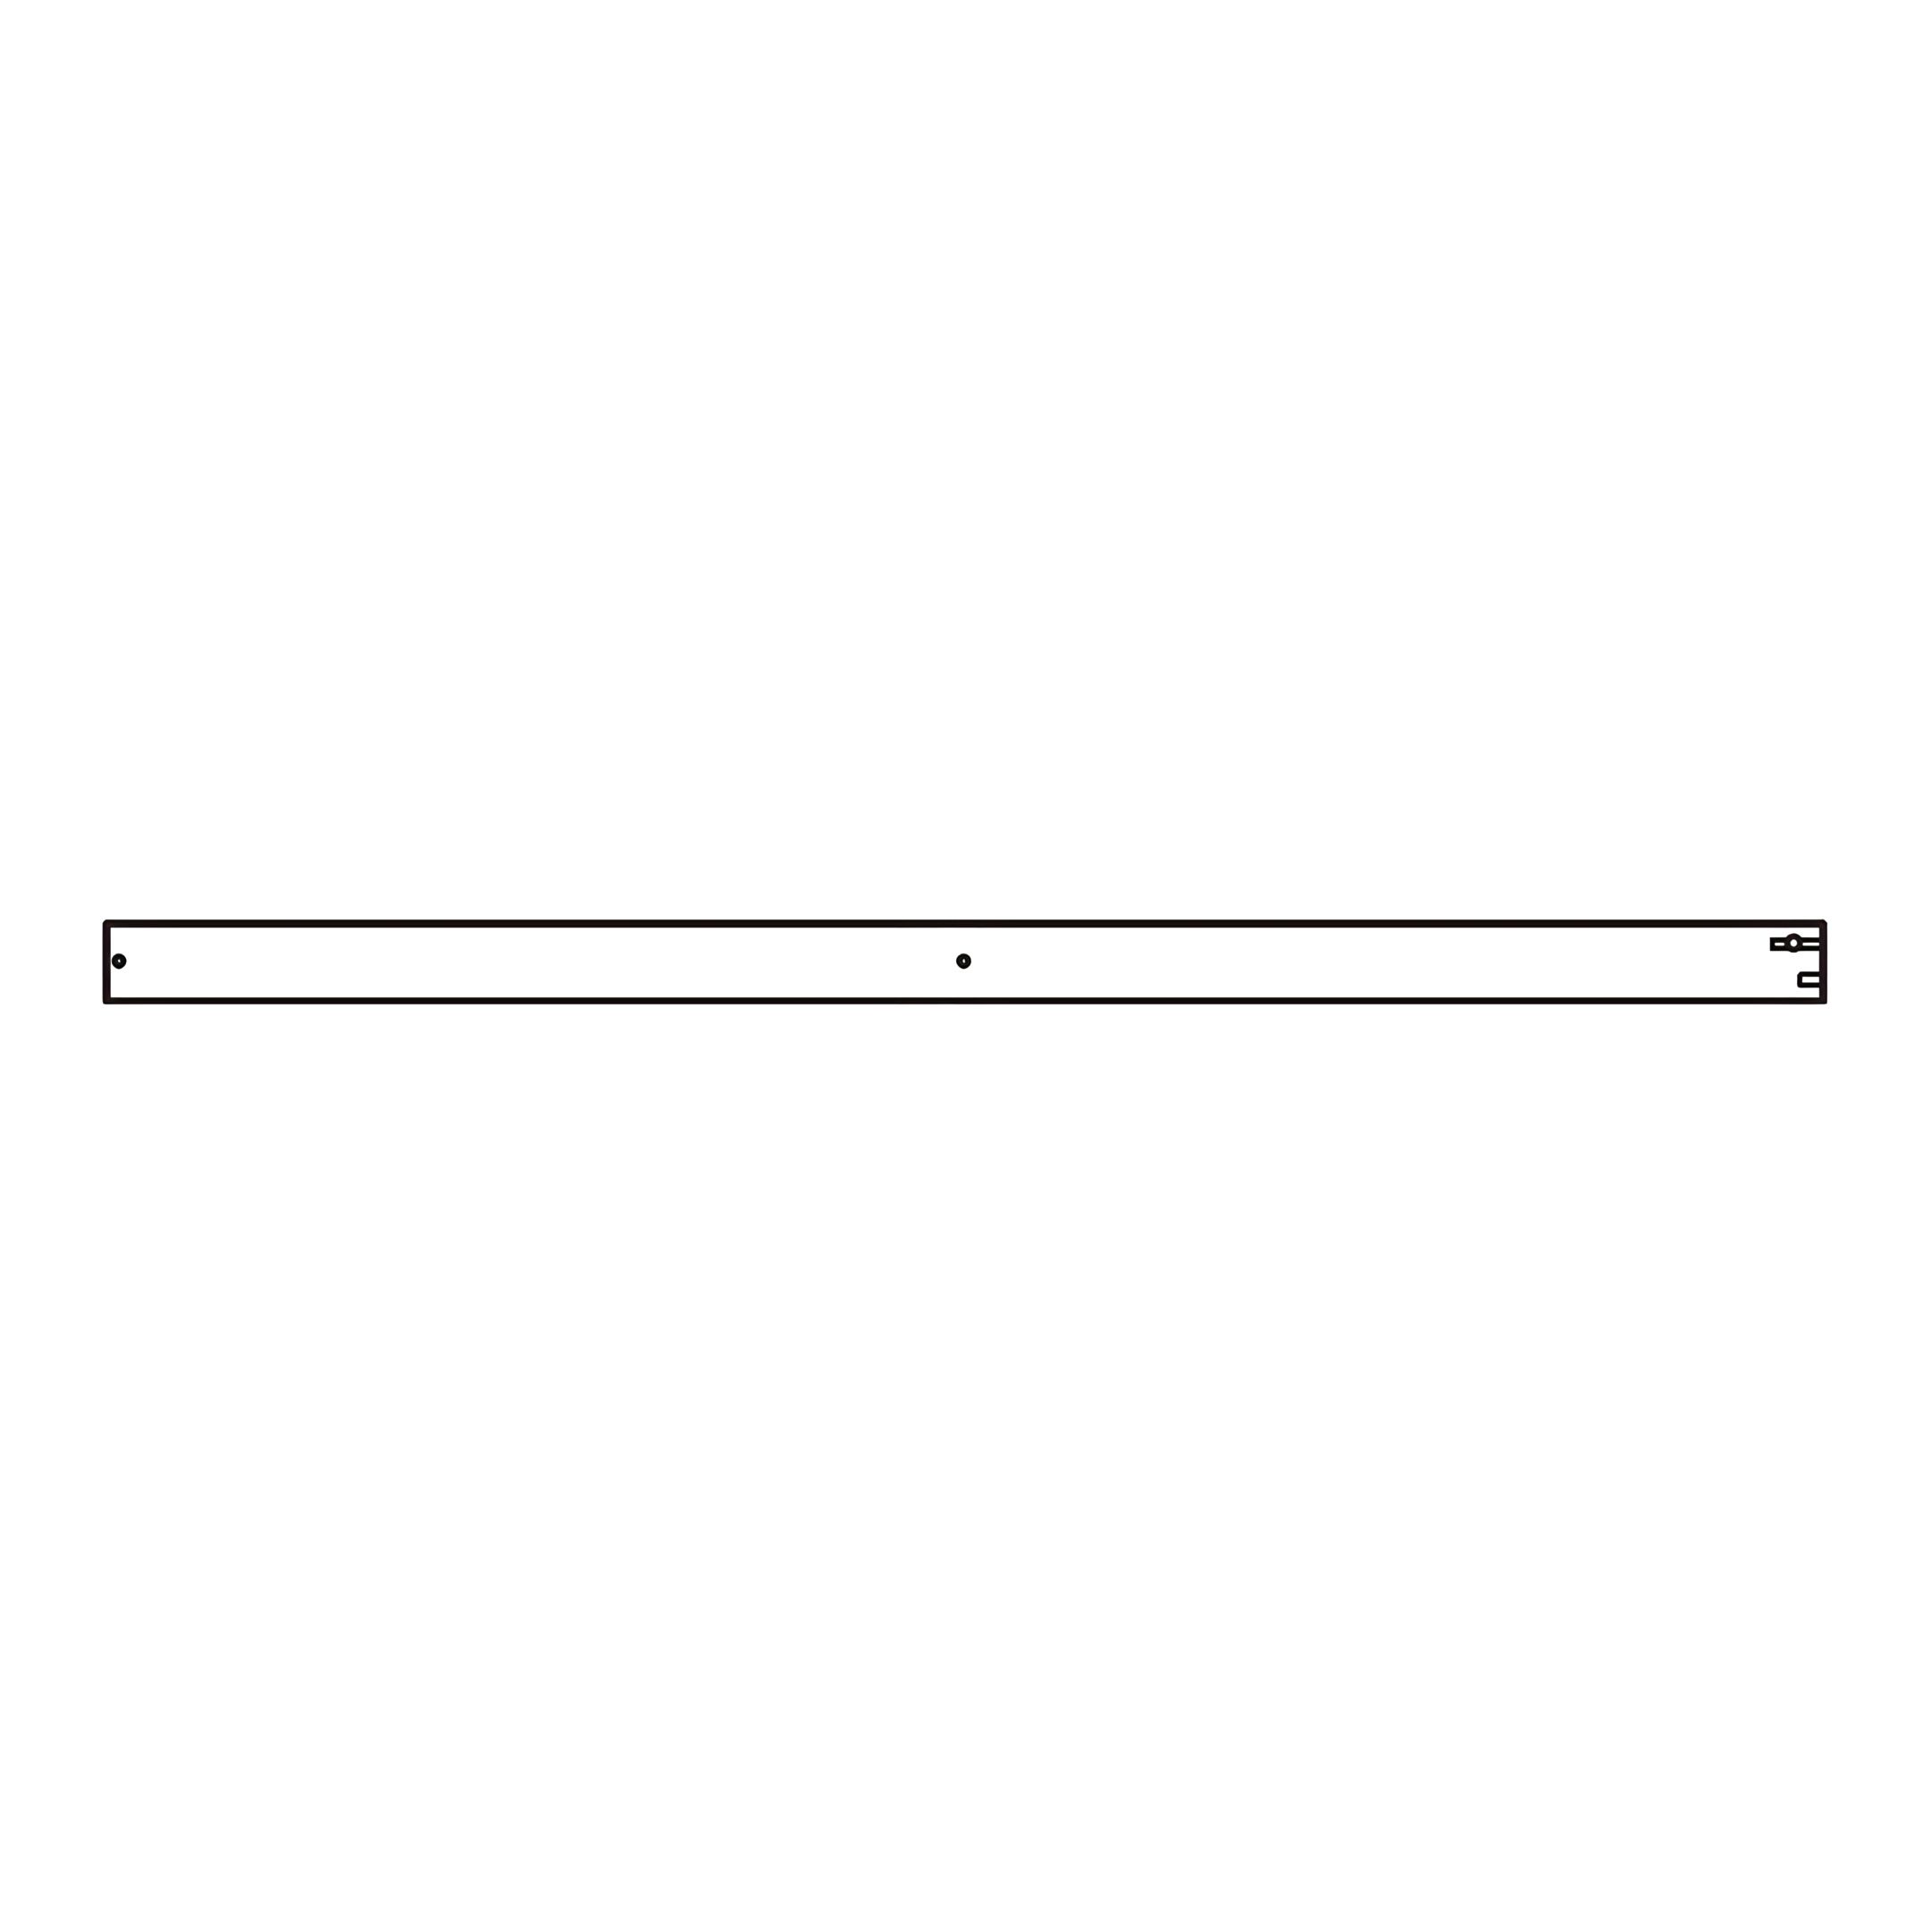
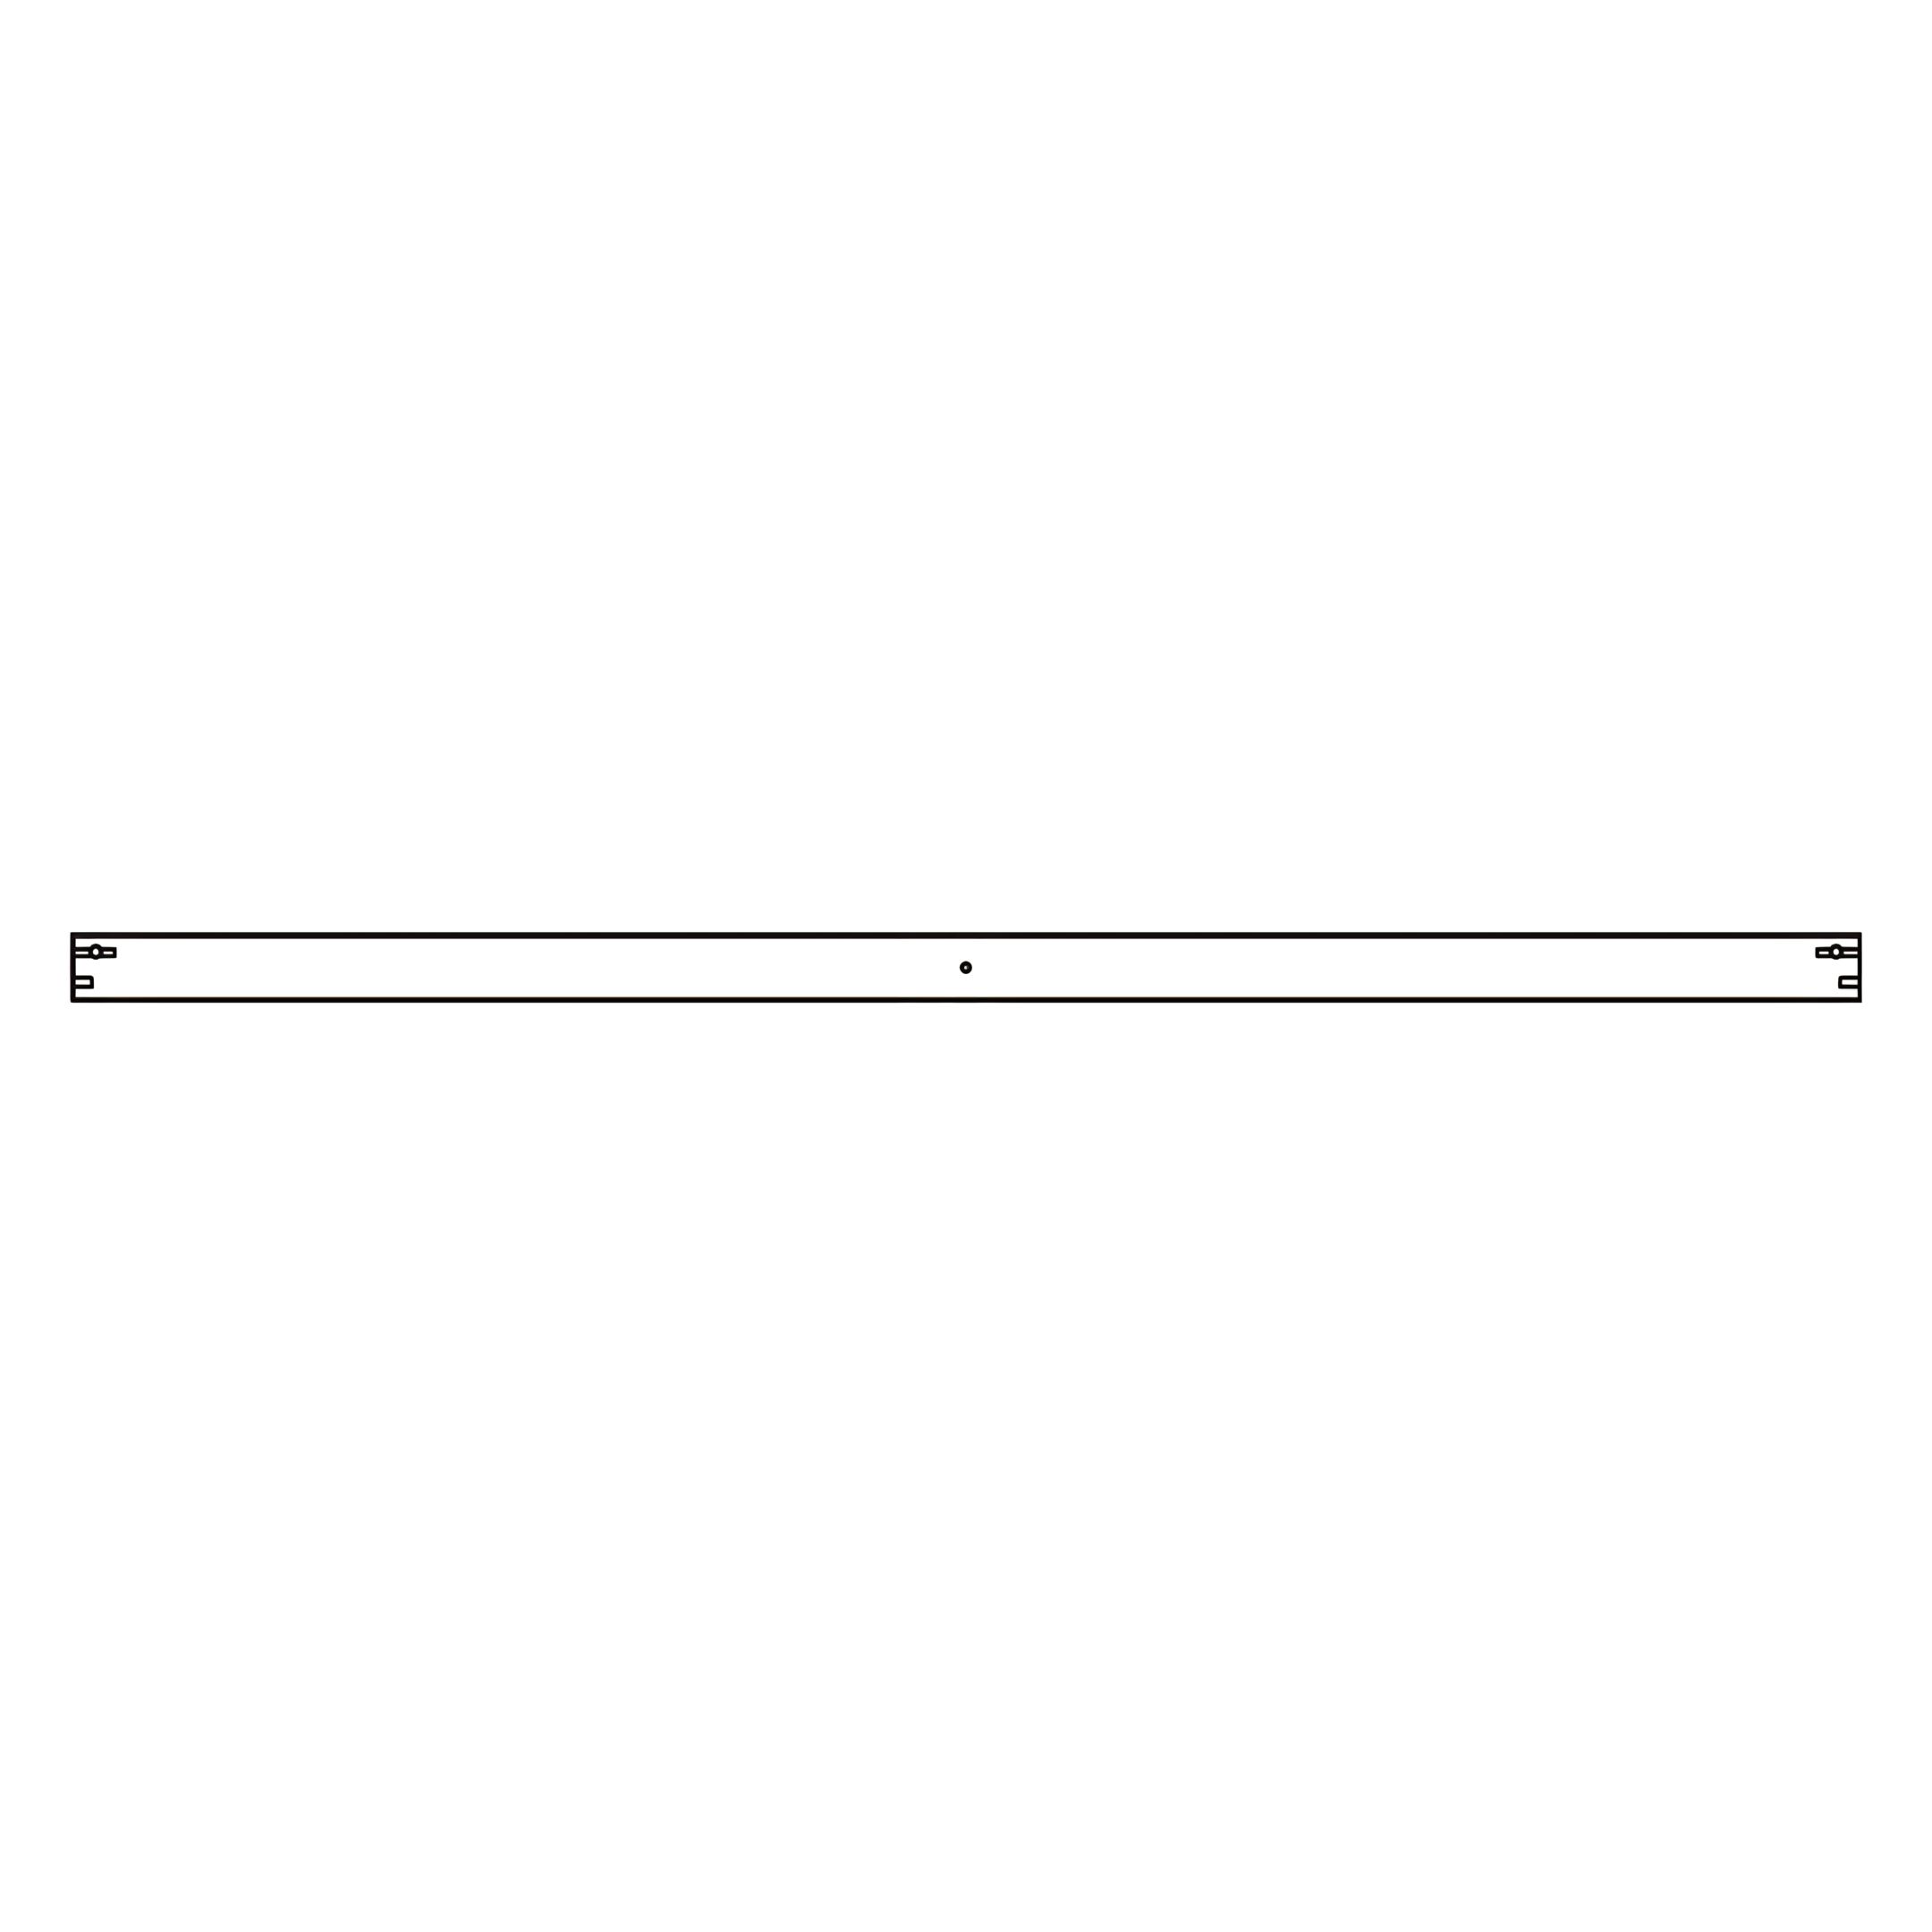
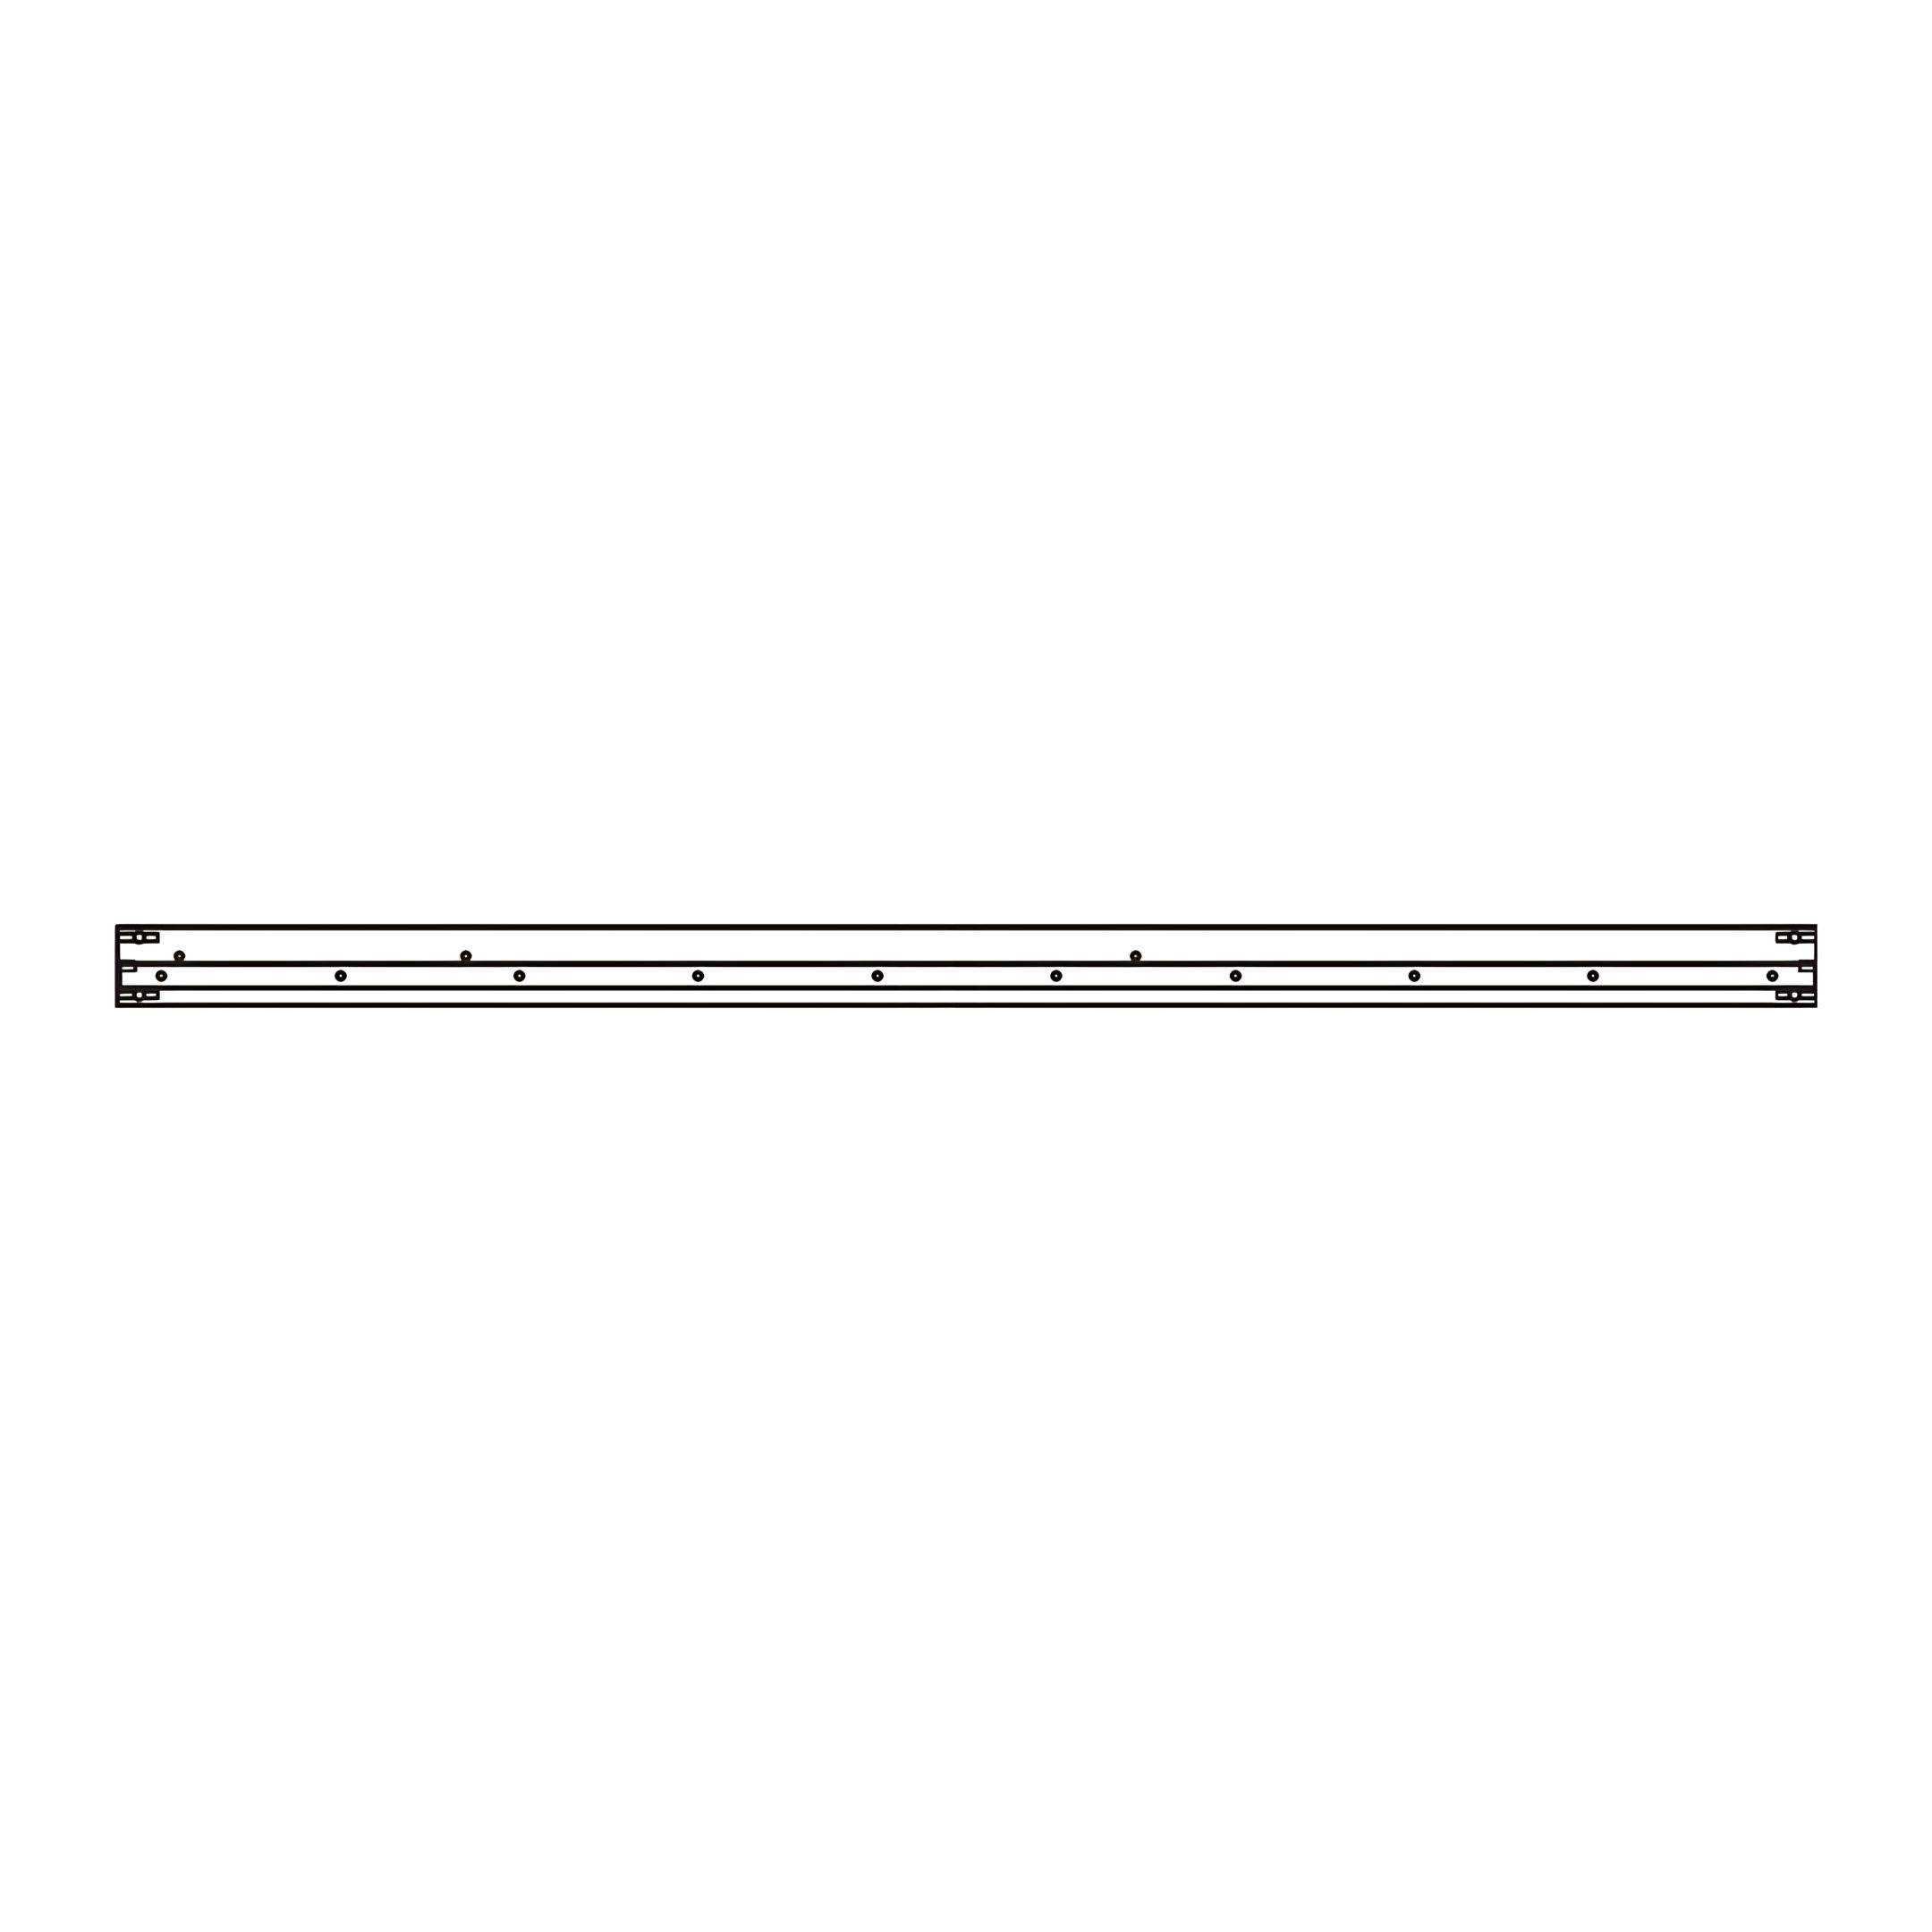
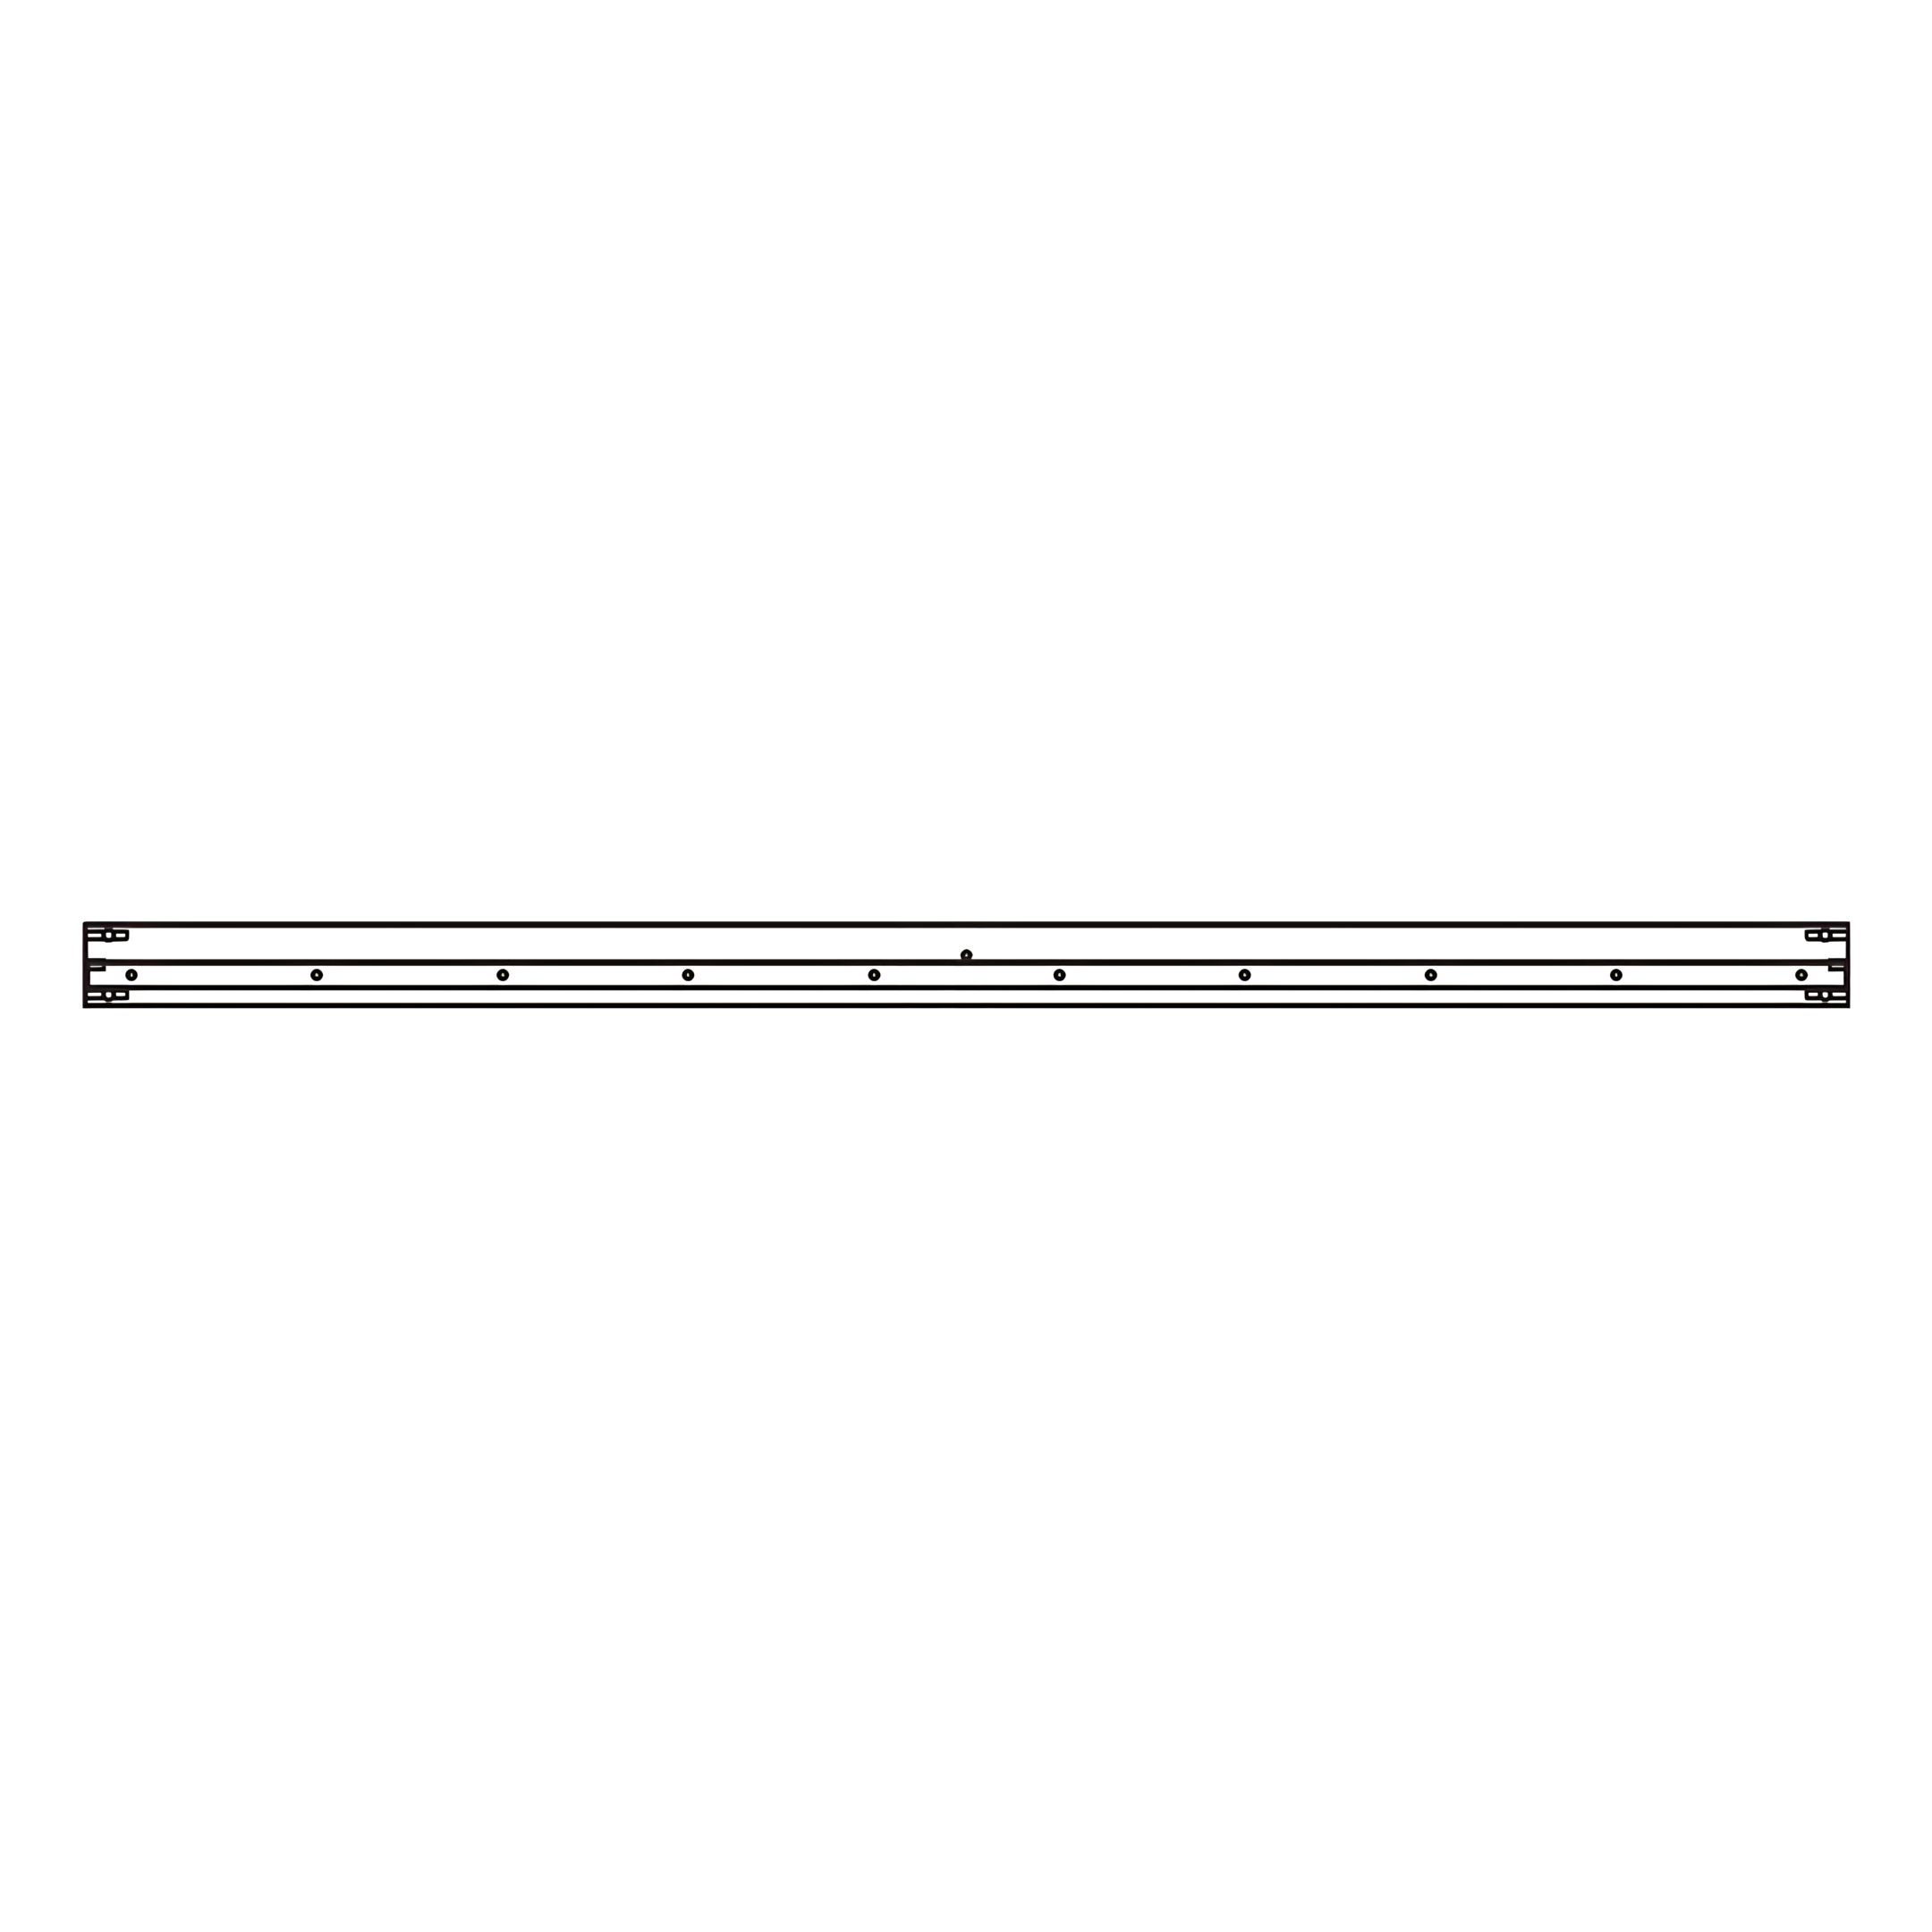
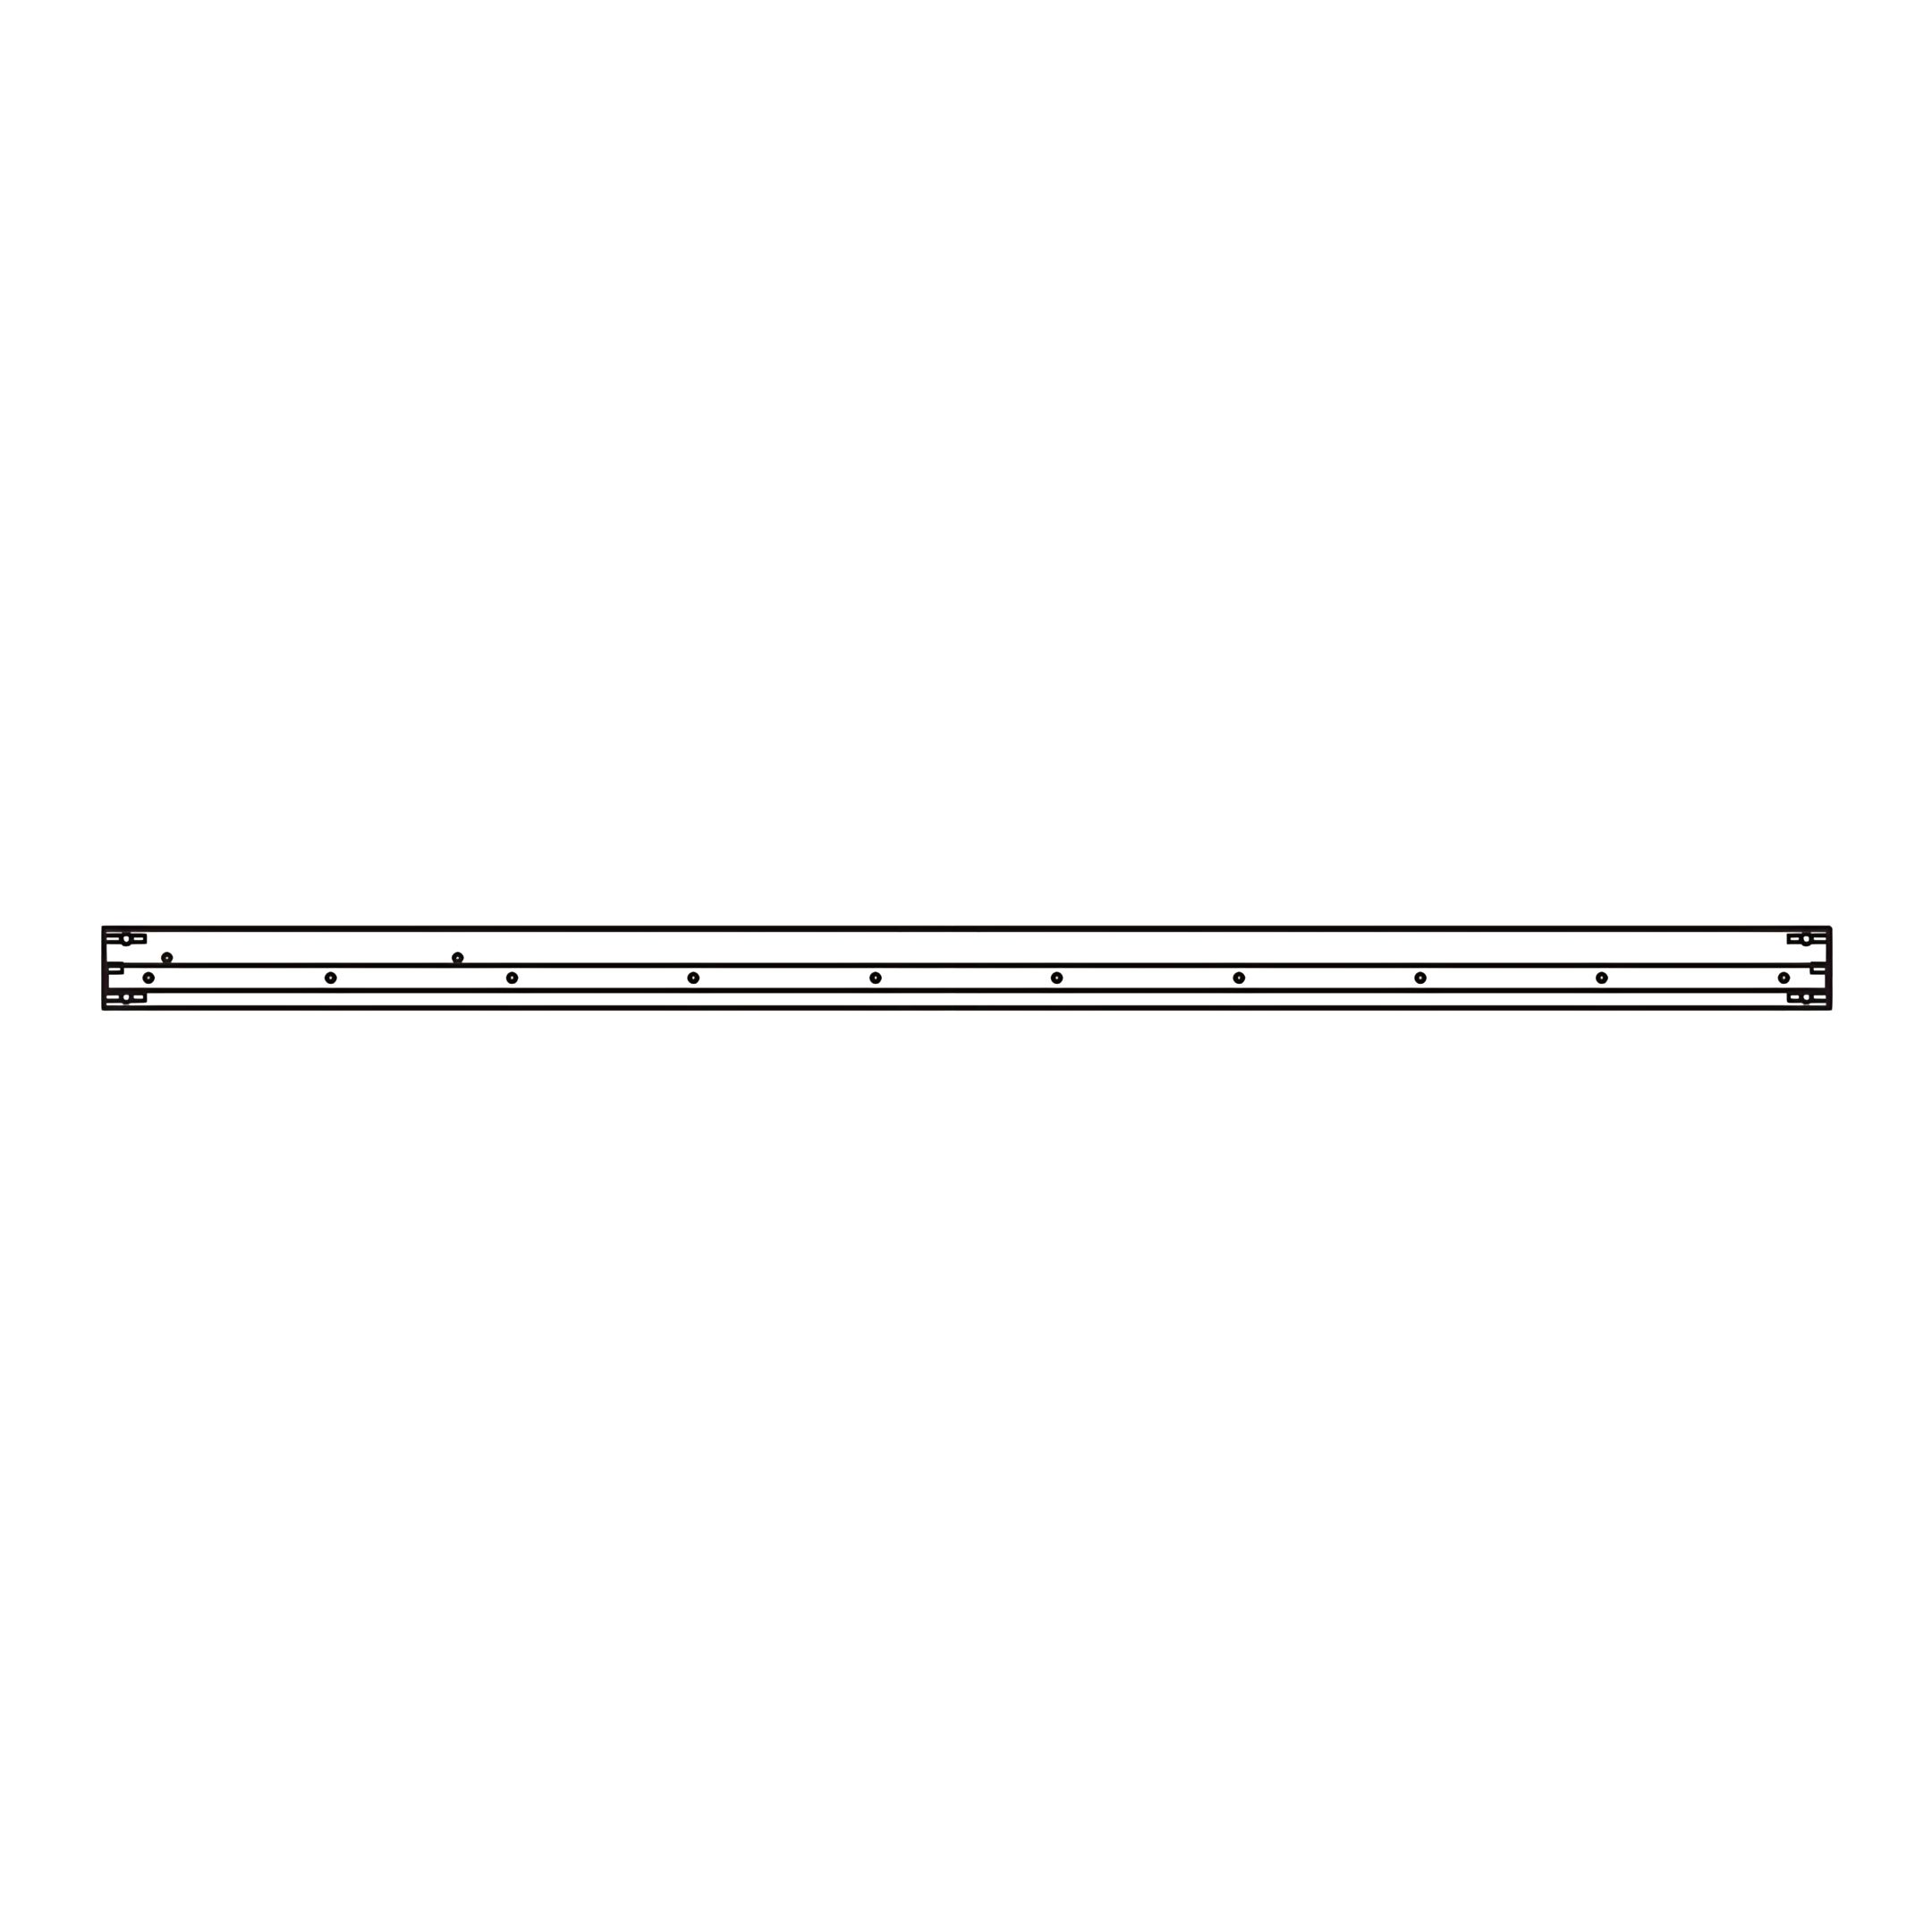
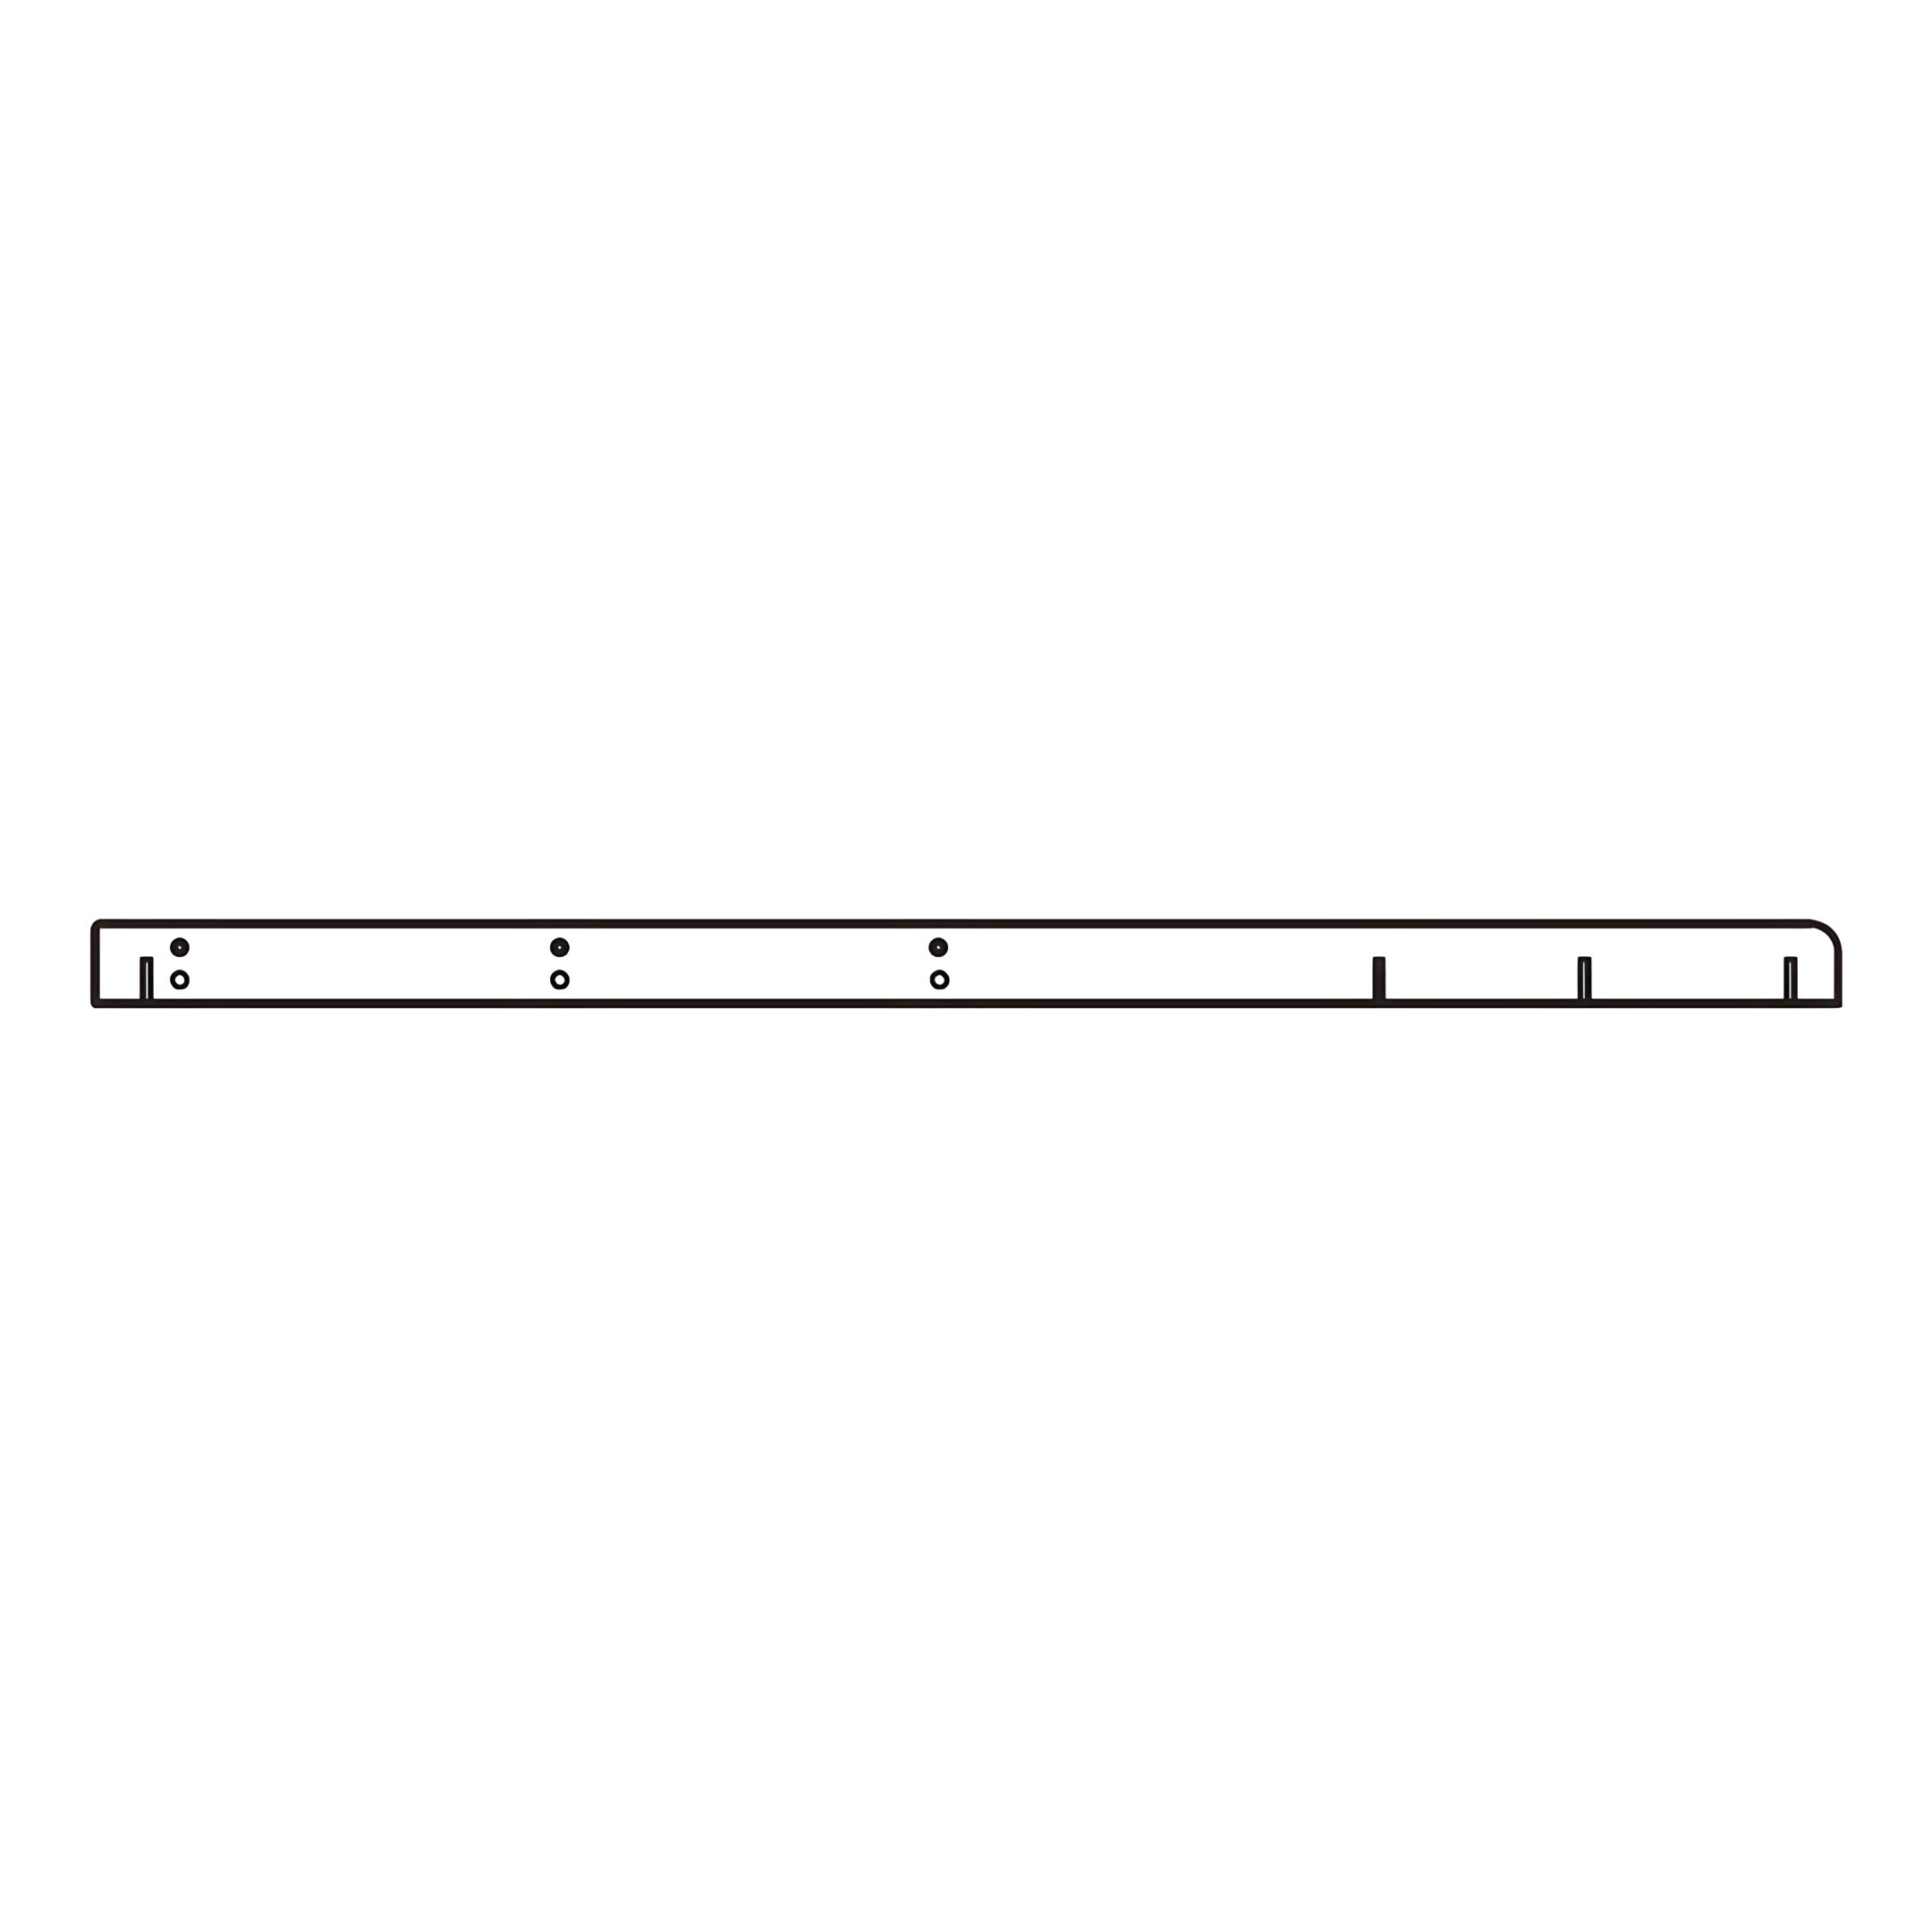
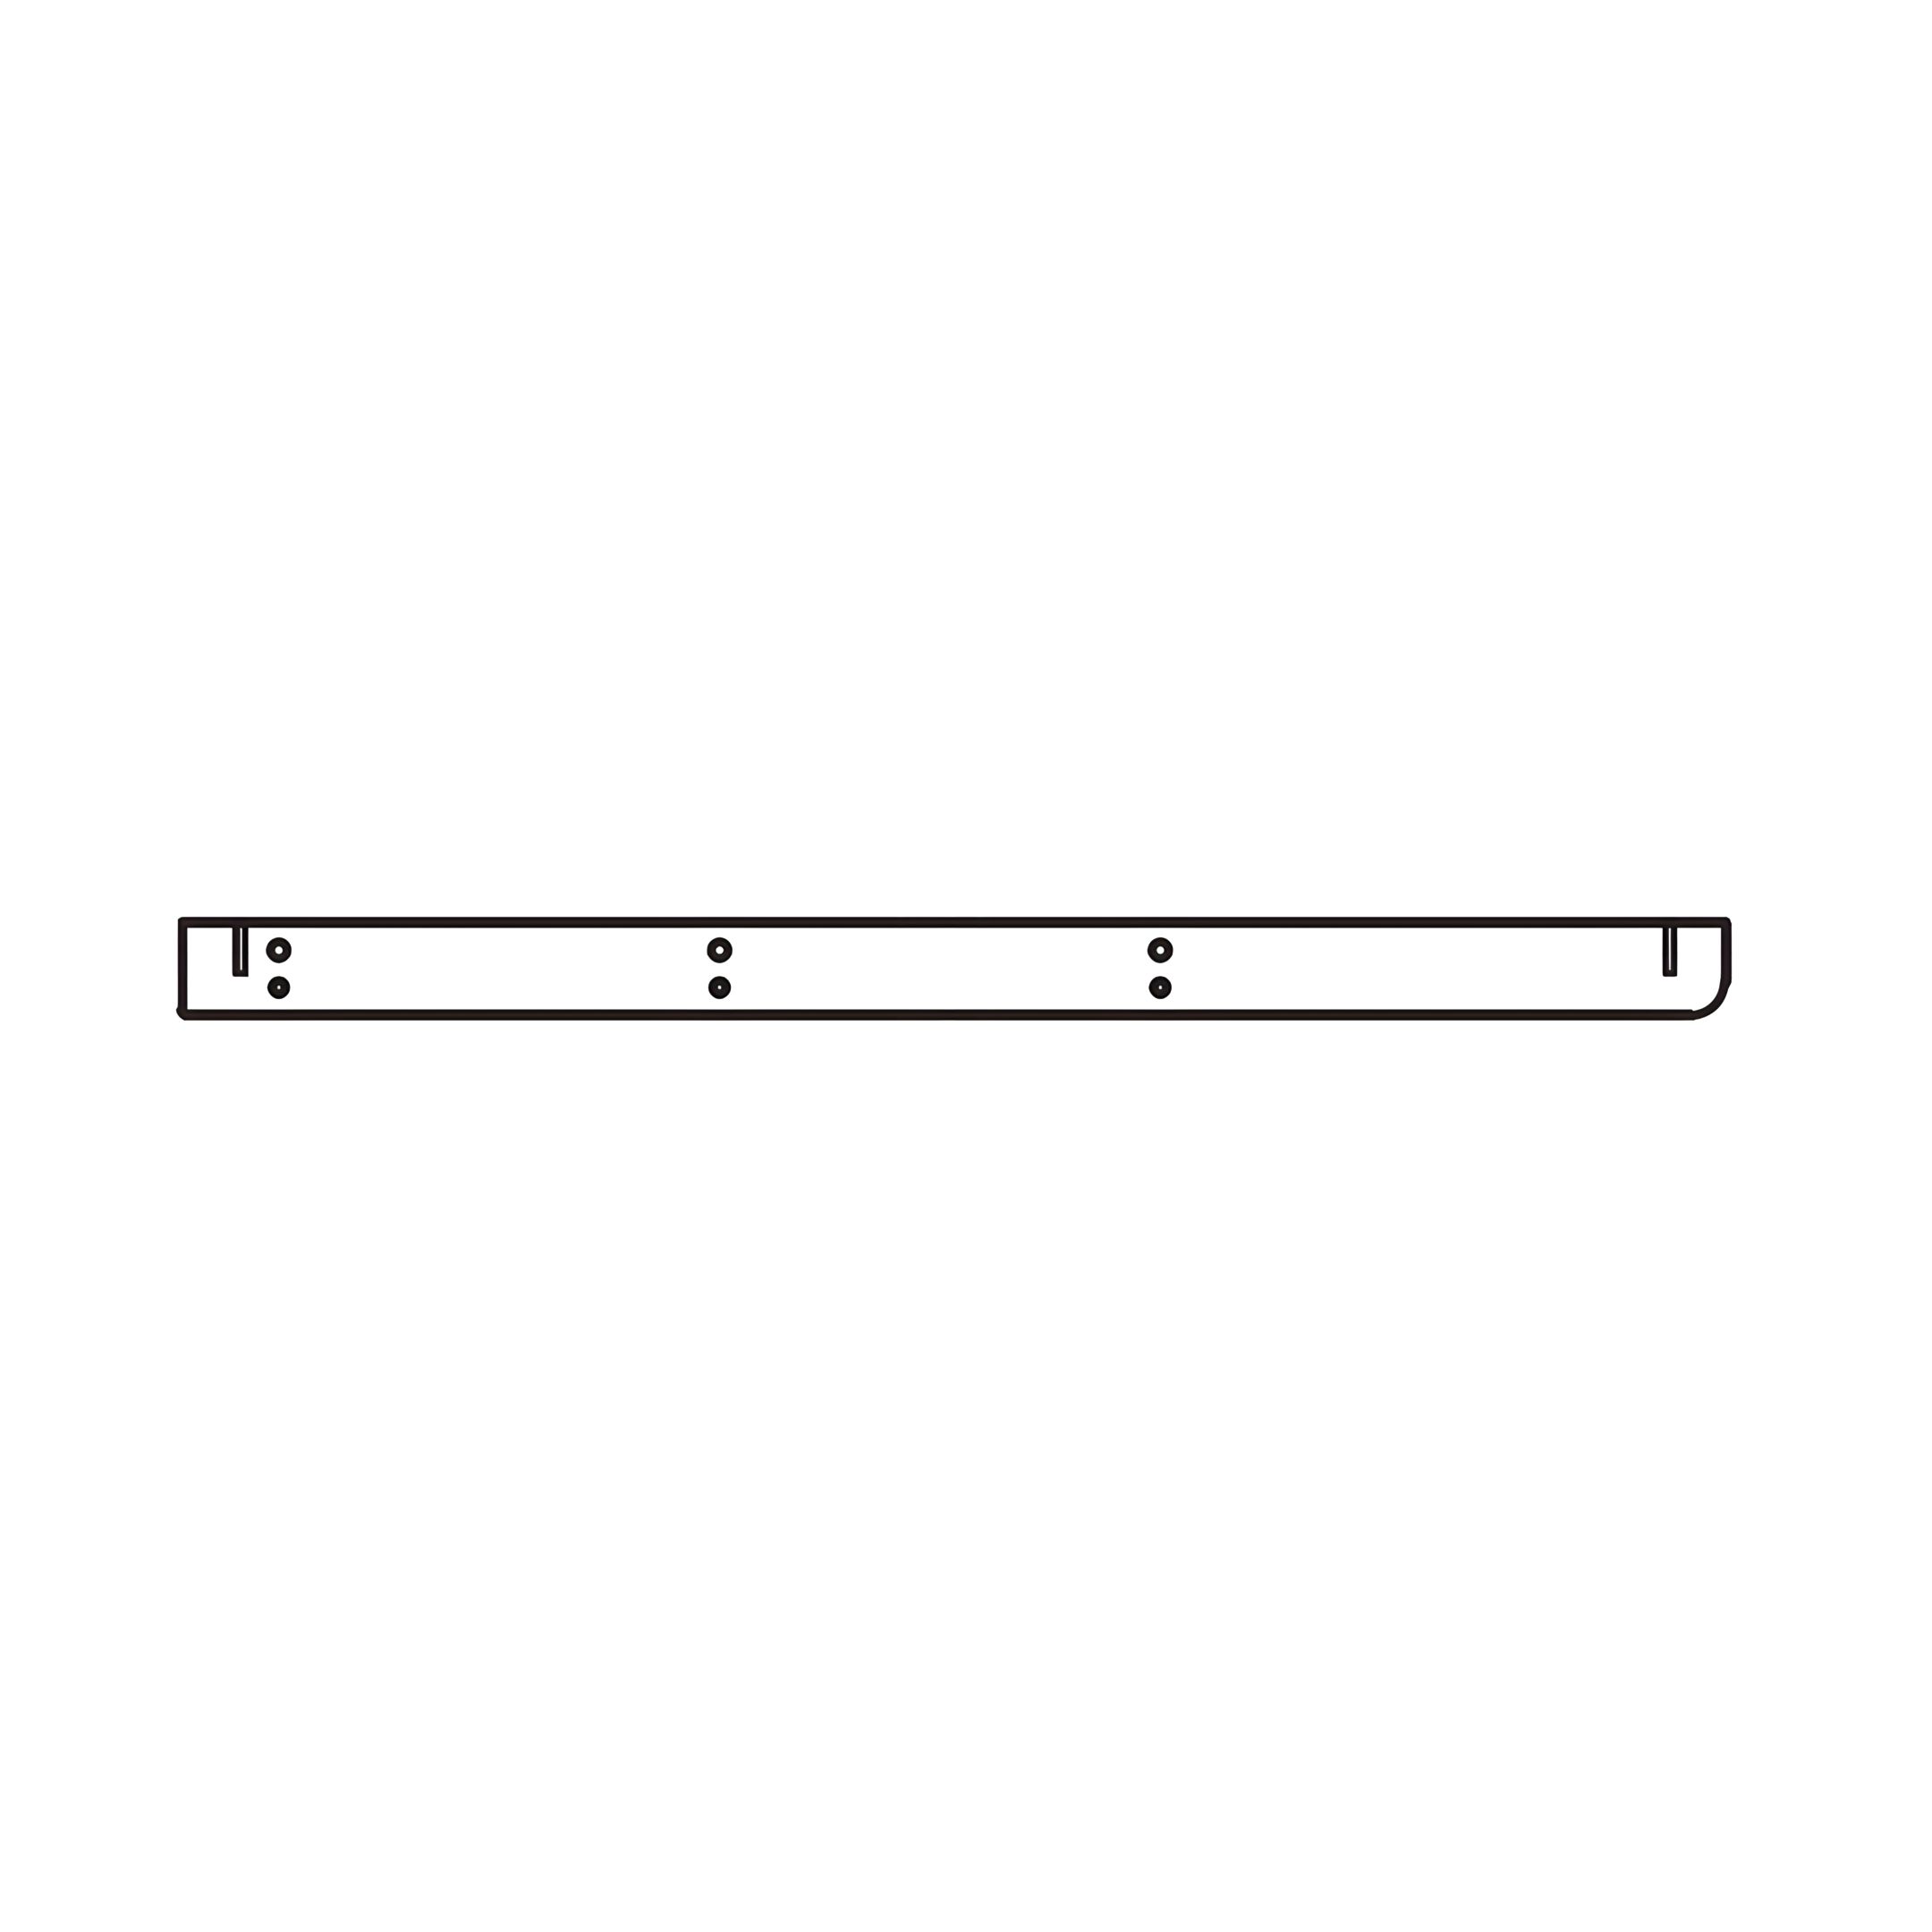
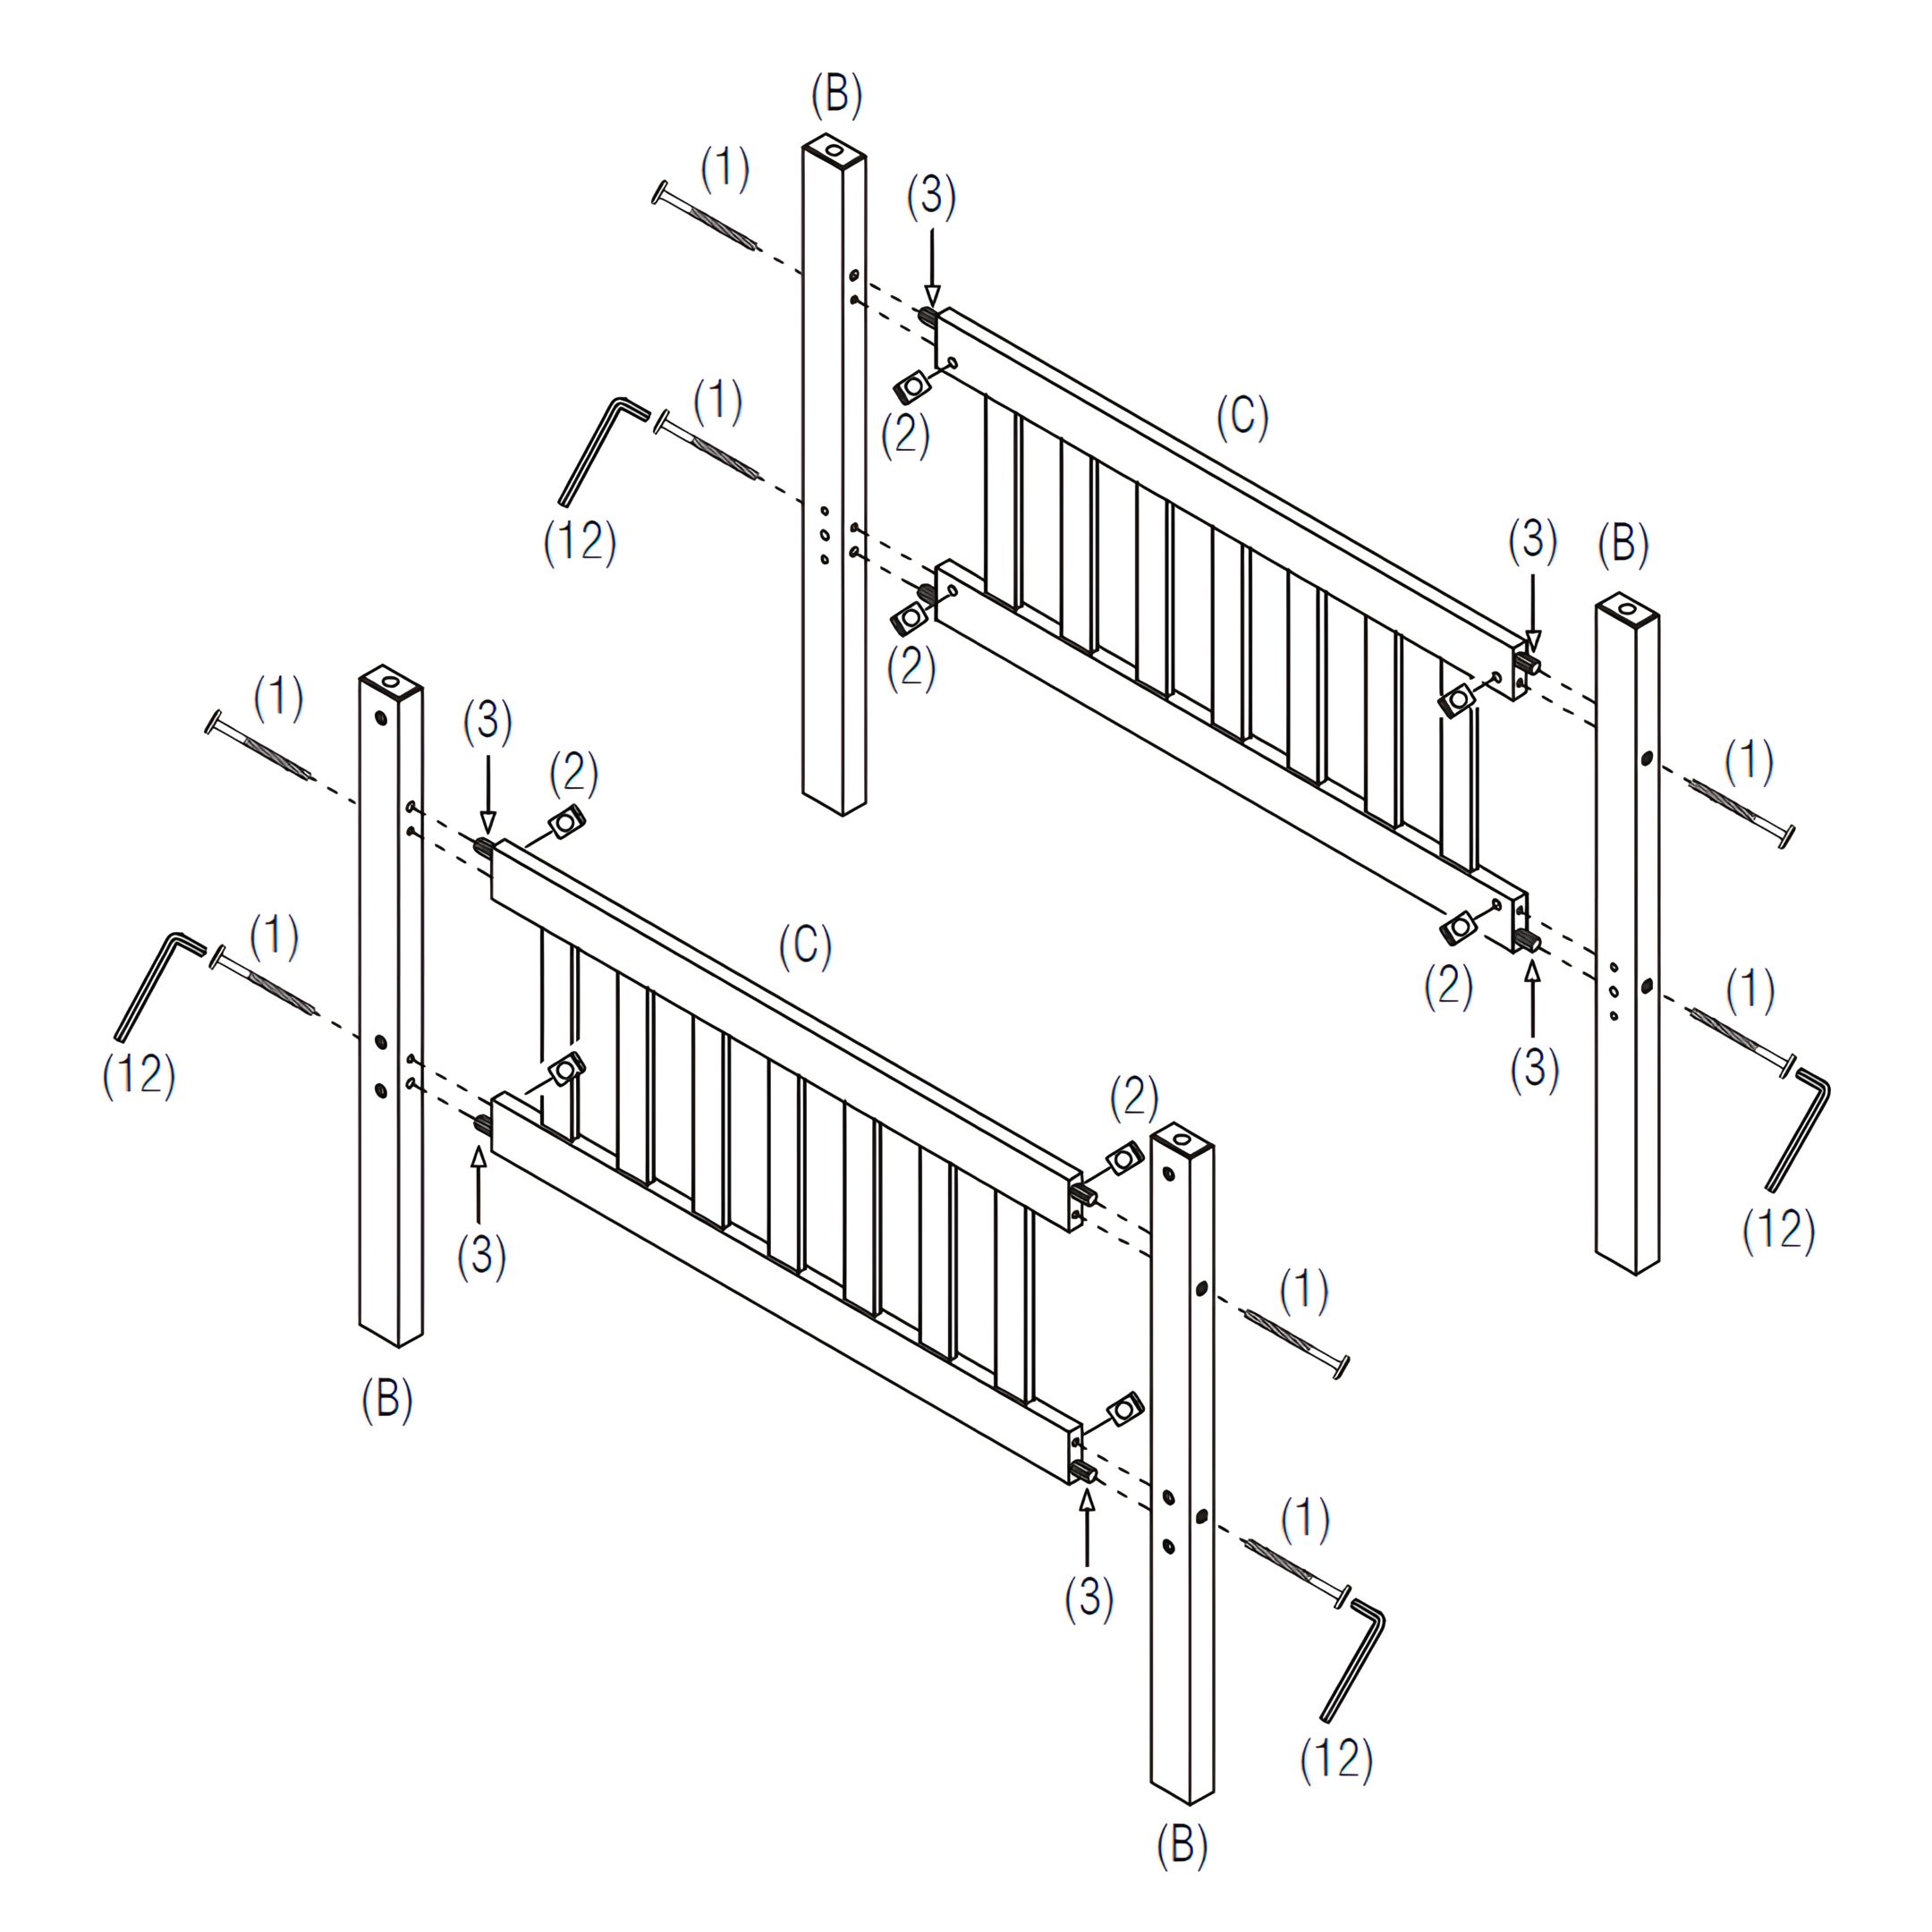
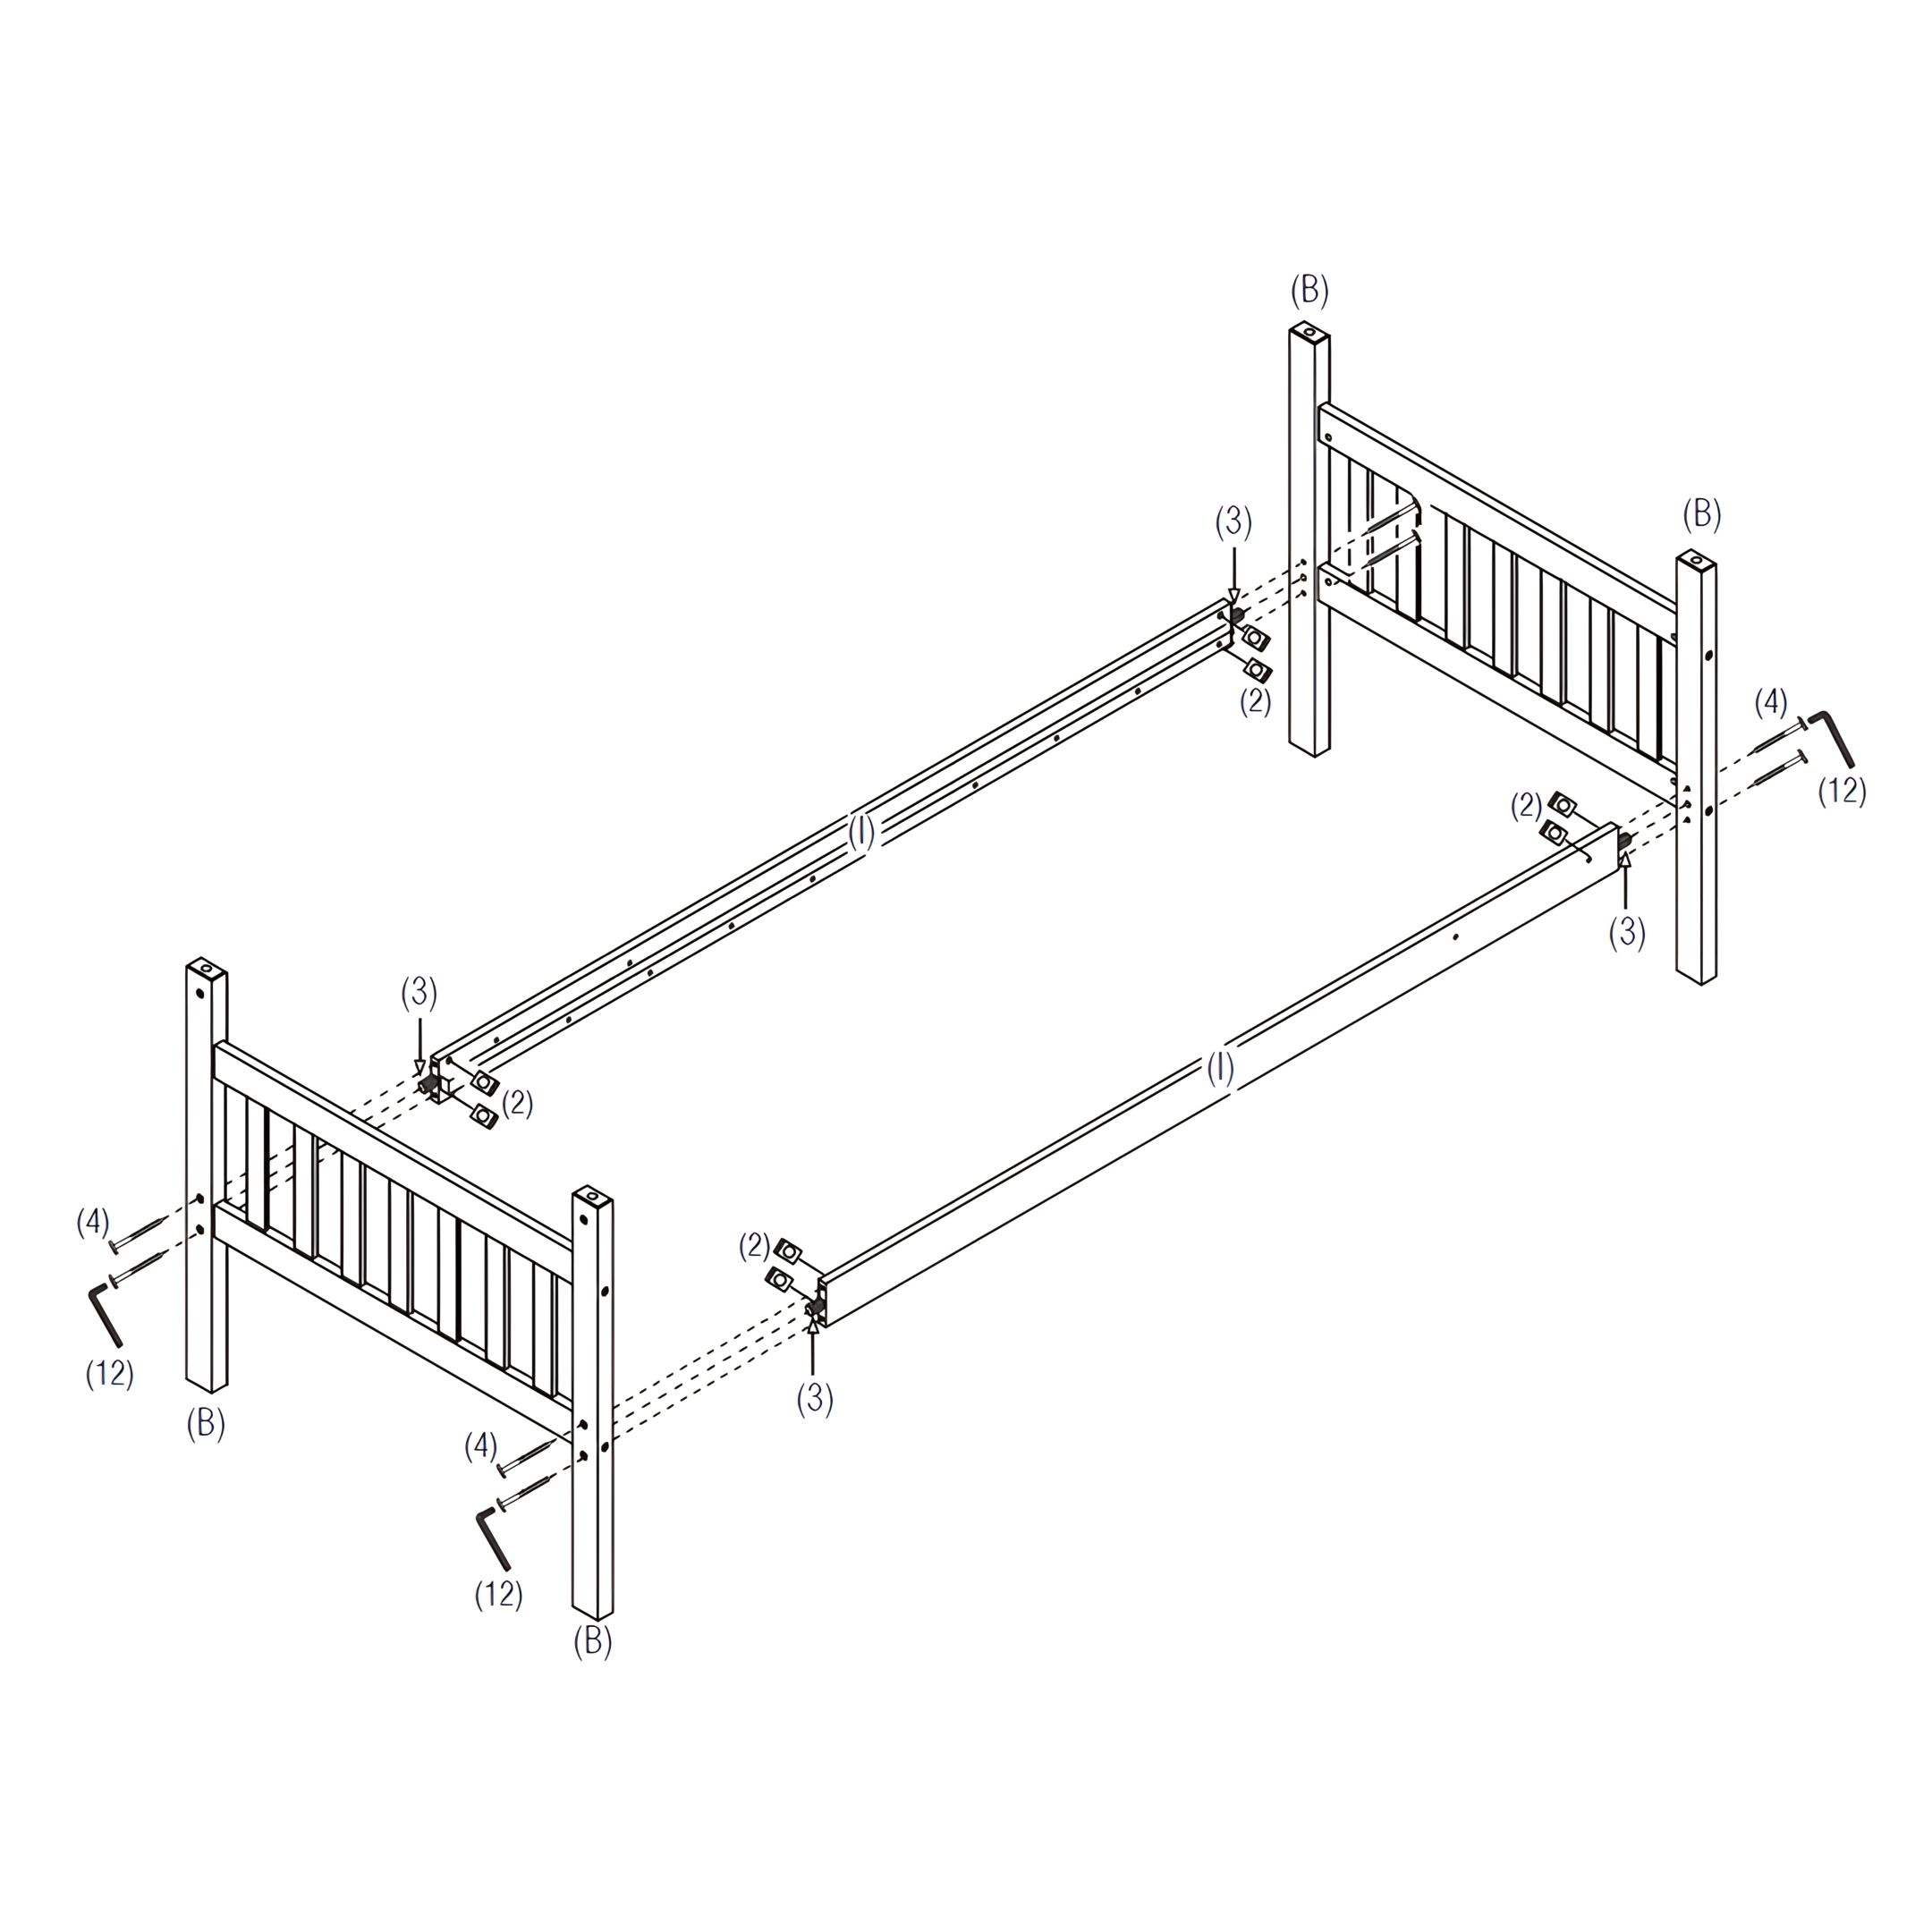
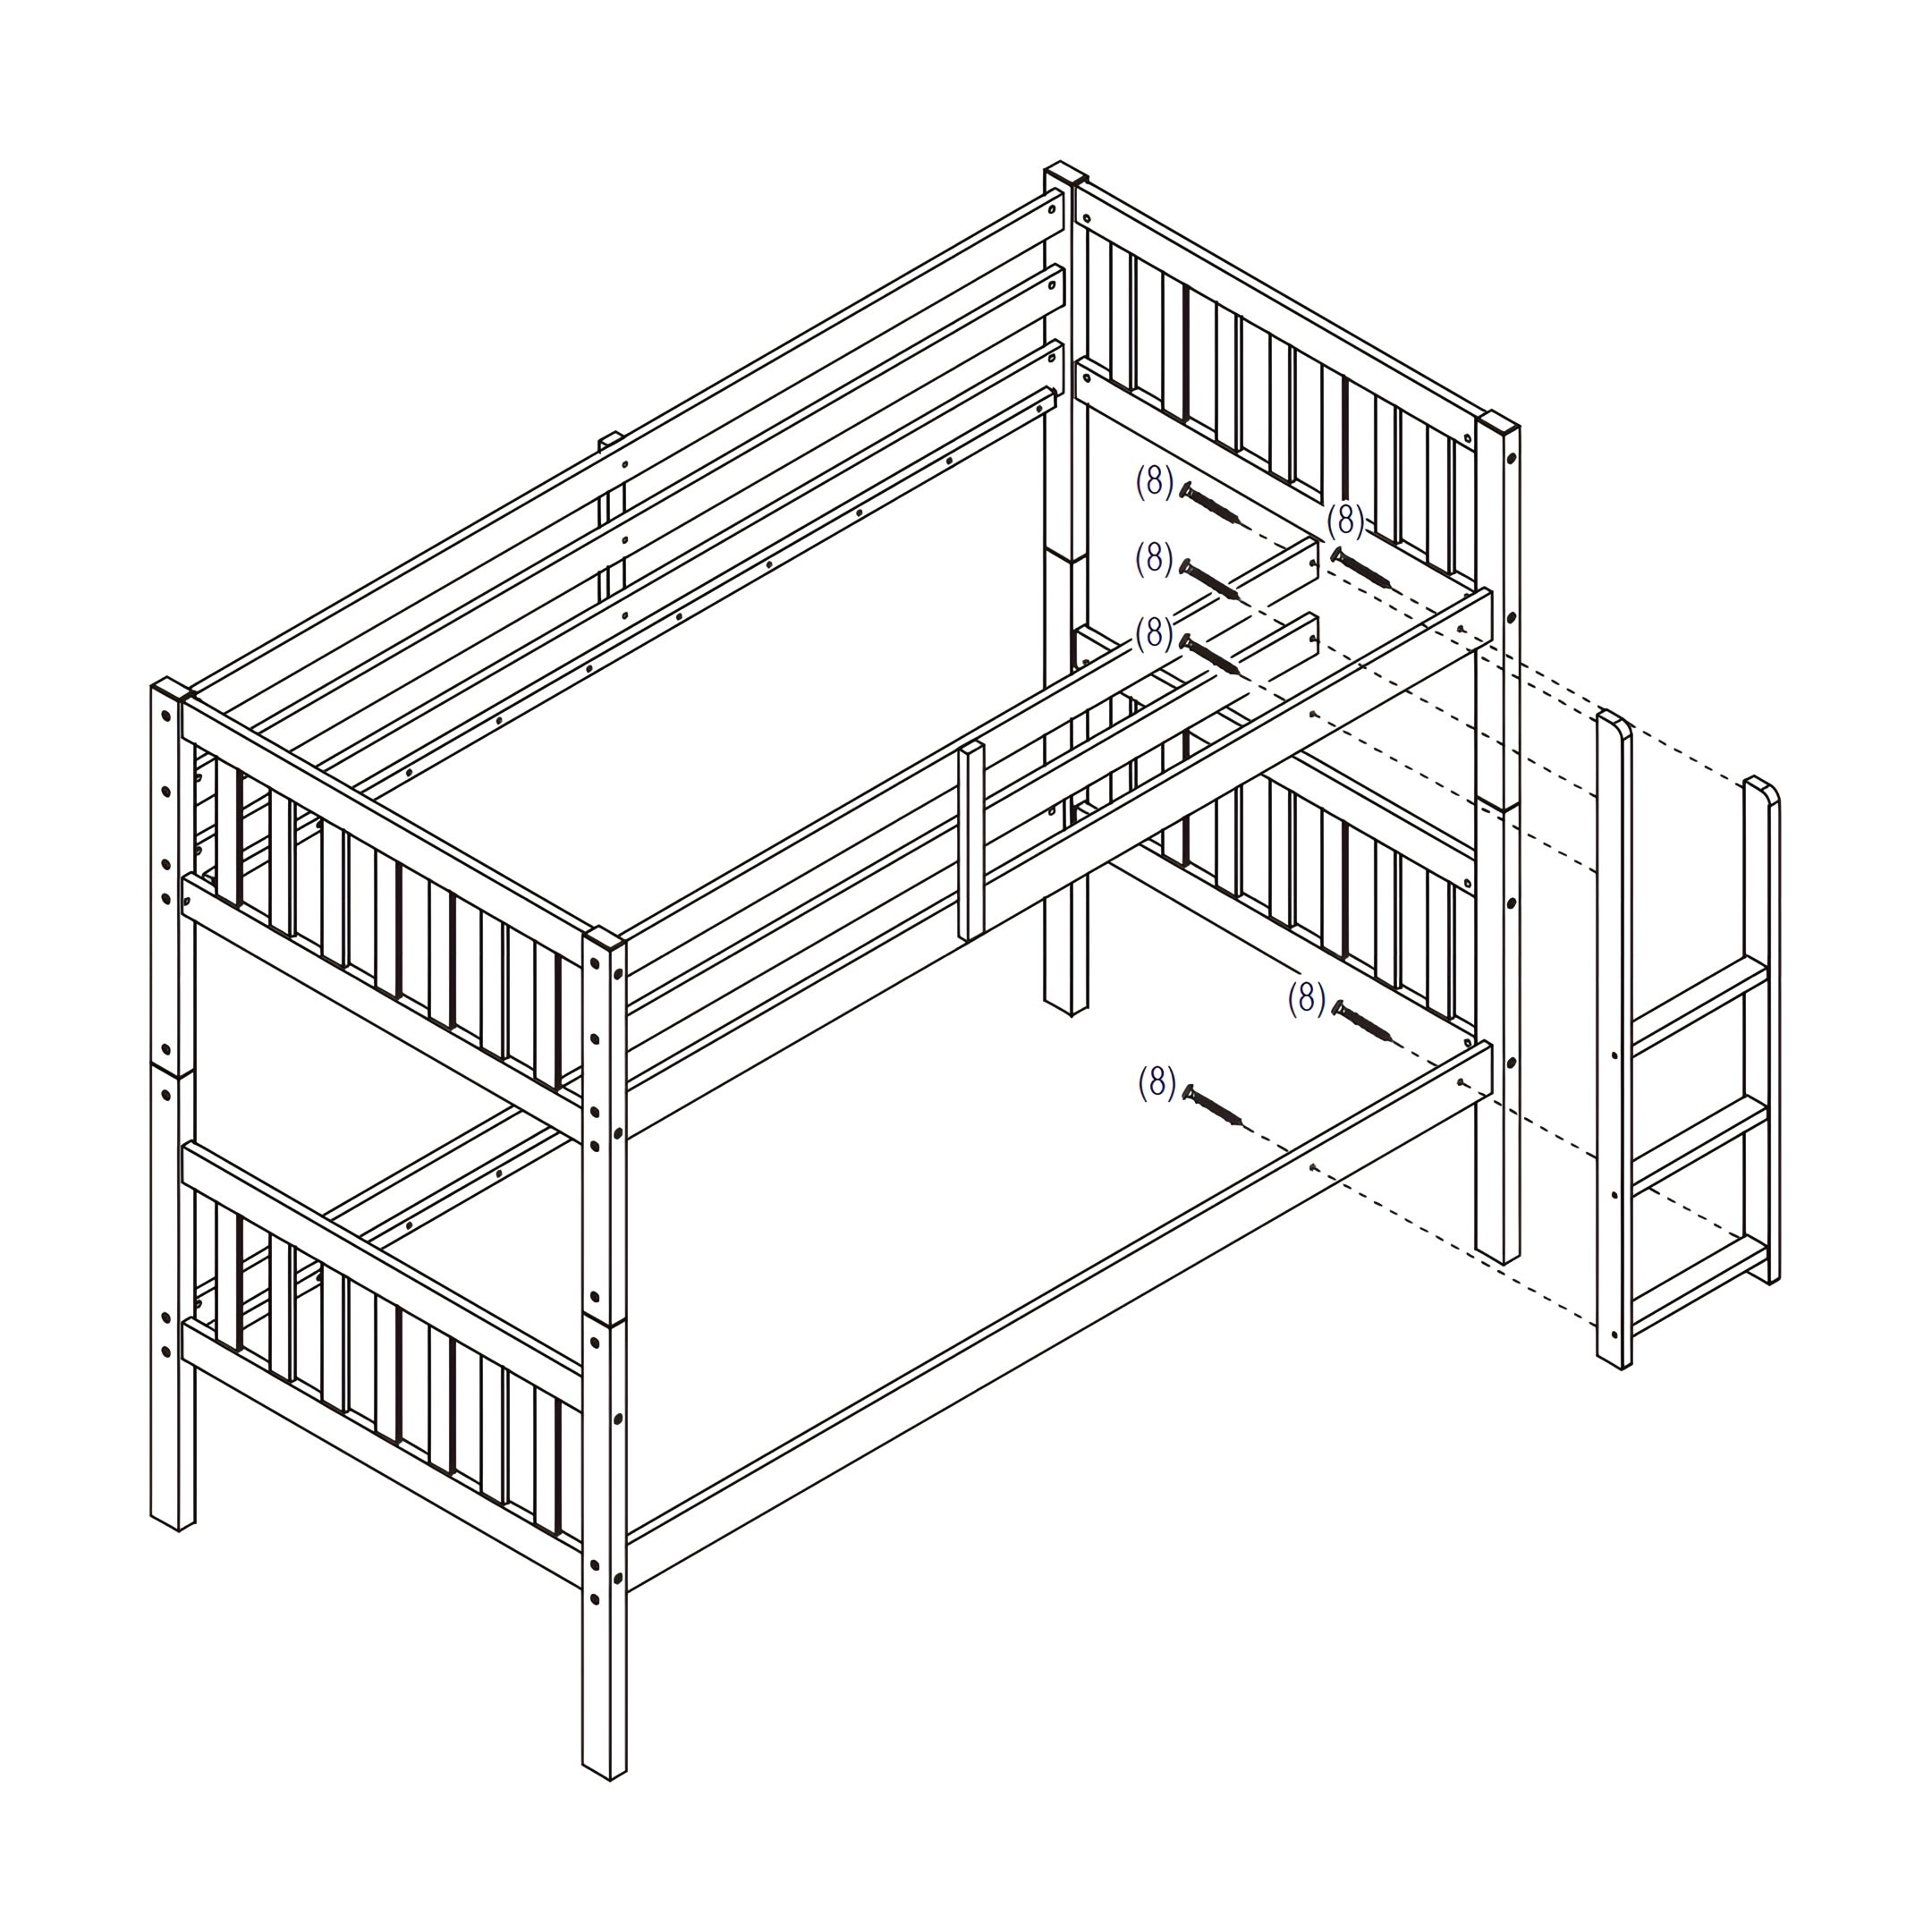
2. Insert (3) Wooden Dowels into the ends of (G) Upper Side Rail (Front), (H) Upper Side Rail (Back), (D) Front Upper Guardrail, and (E) Back Upper Guardrail.
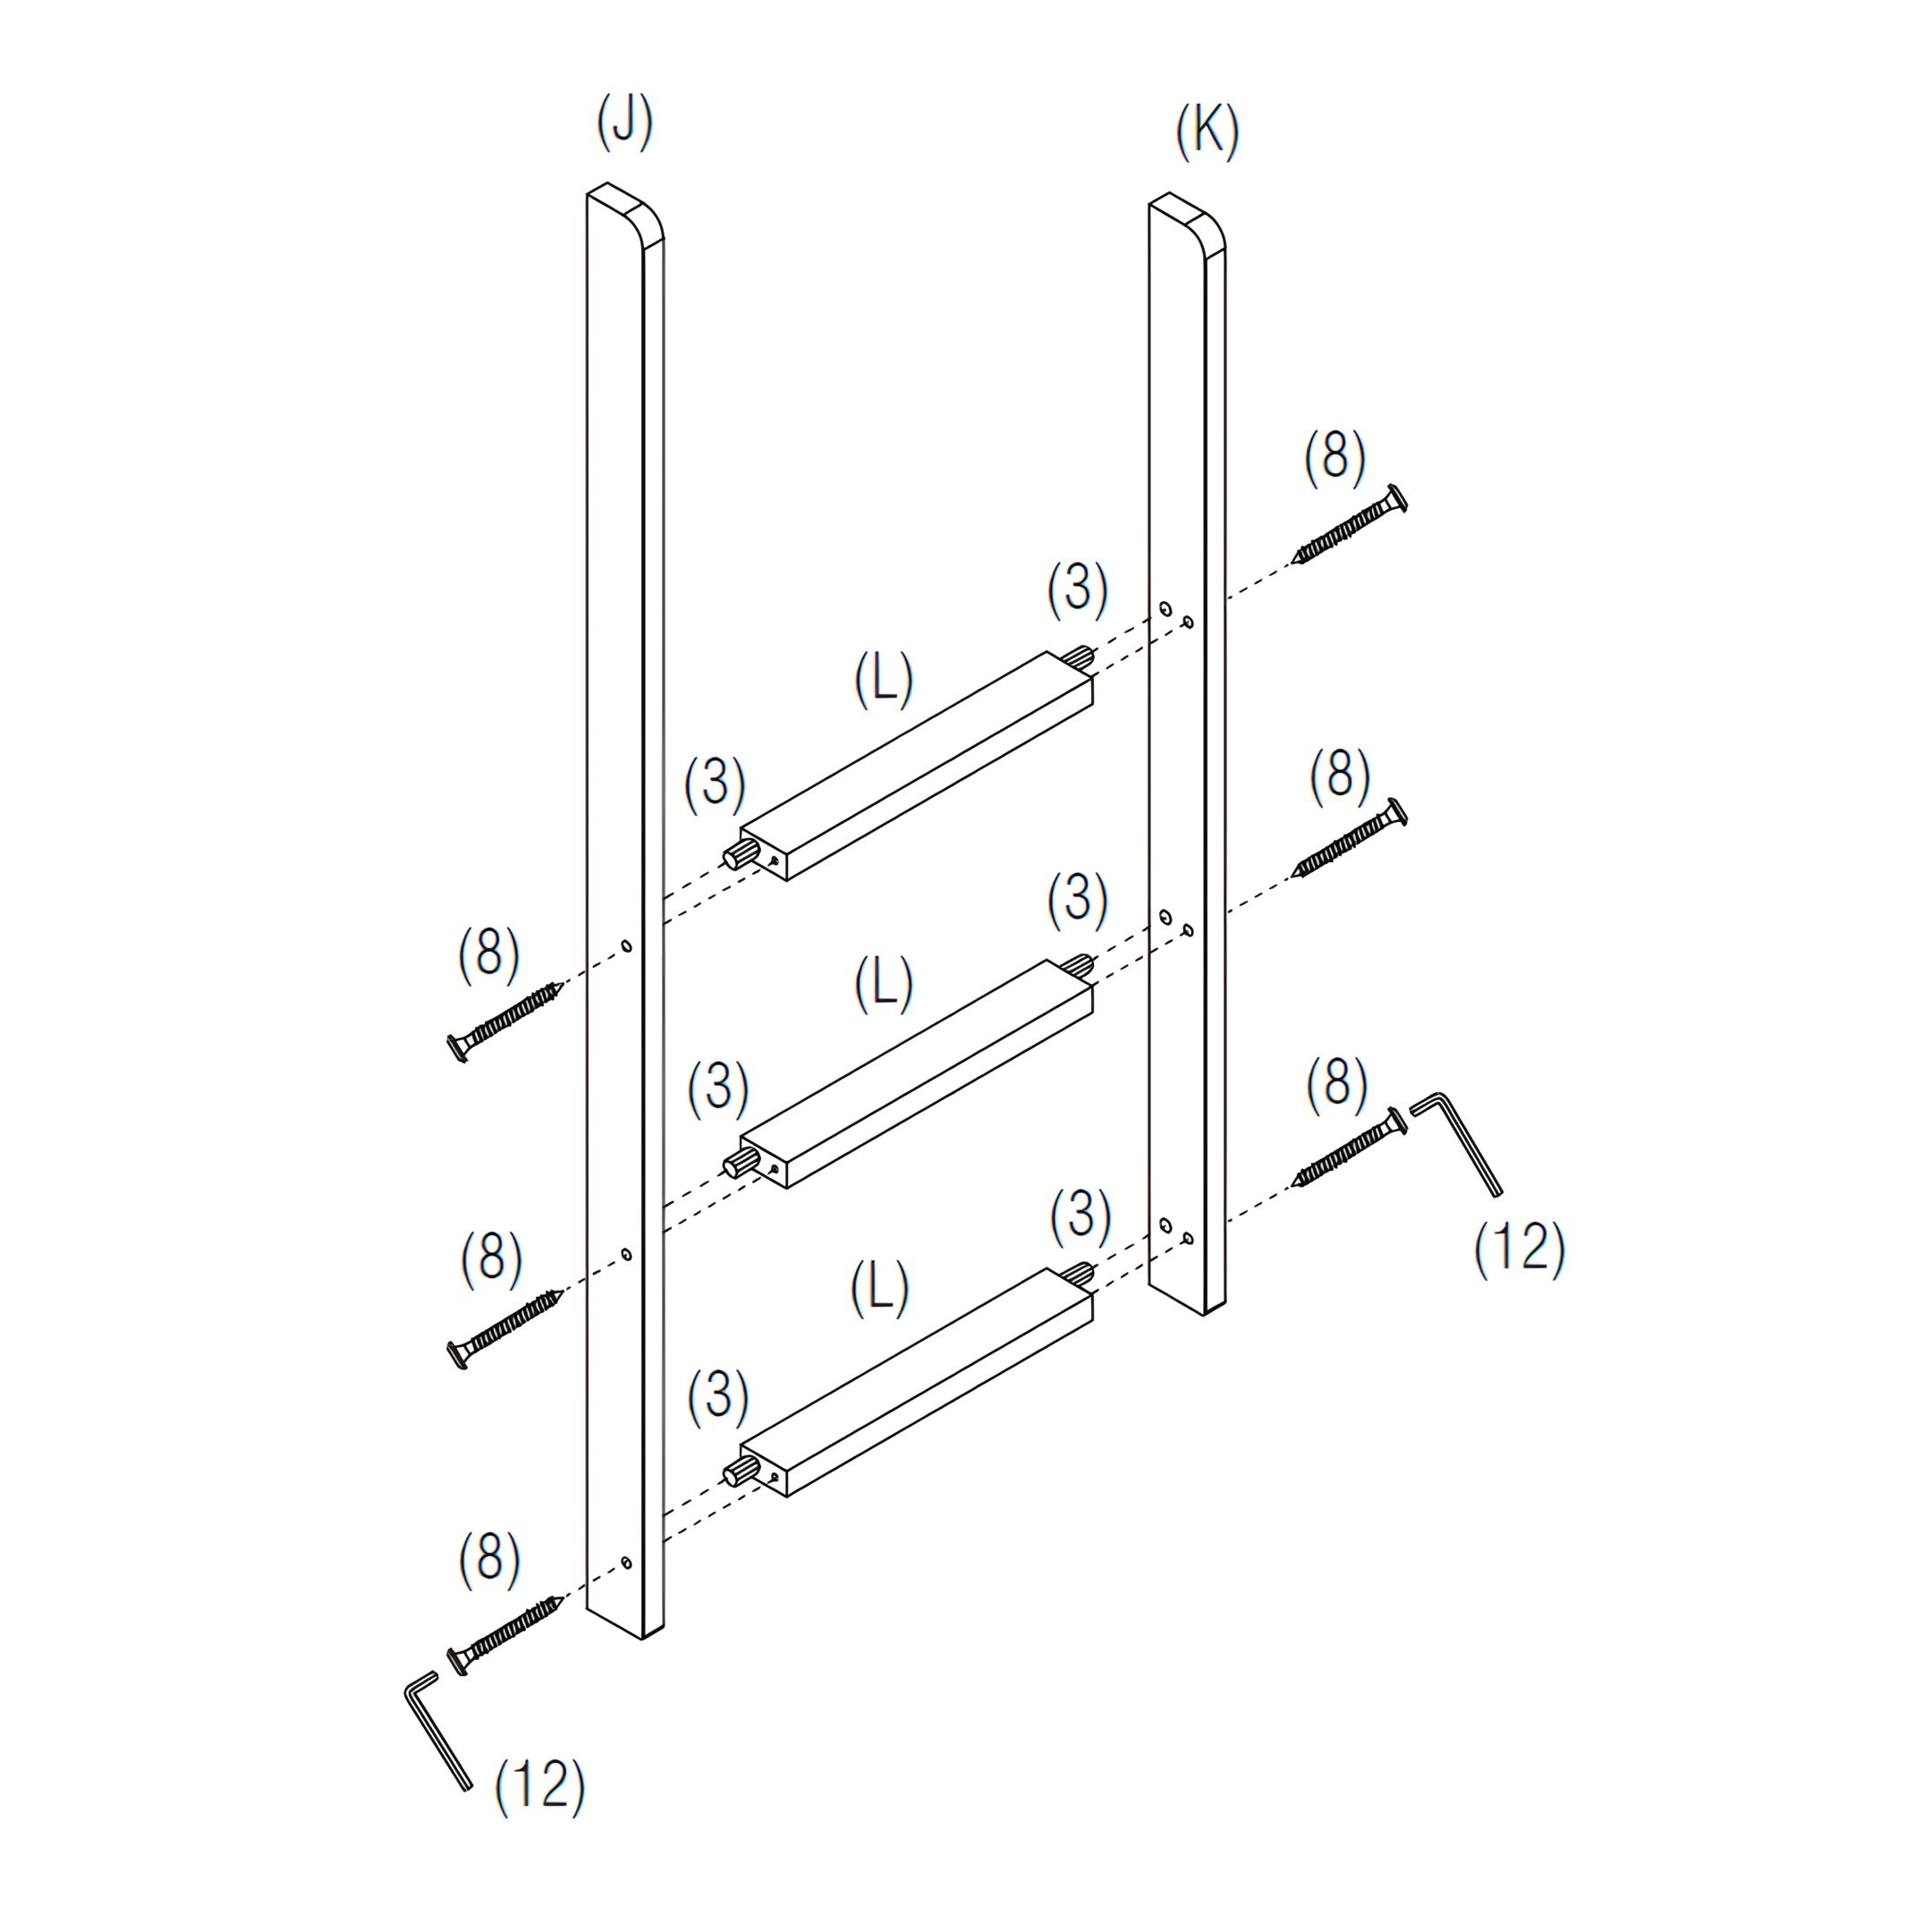
3. Attach all pieces to the Upper Bunk End Frames (A) as shown in the image.
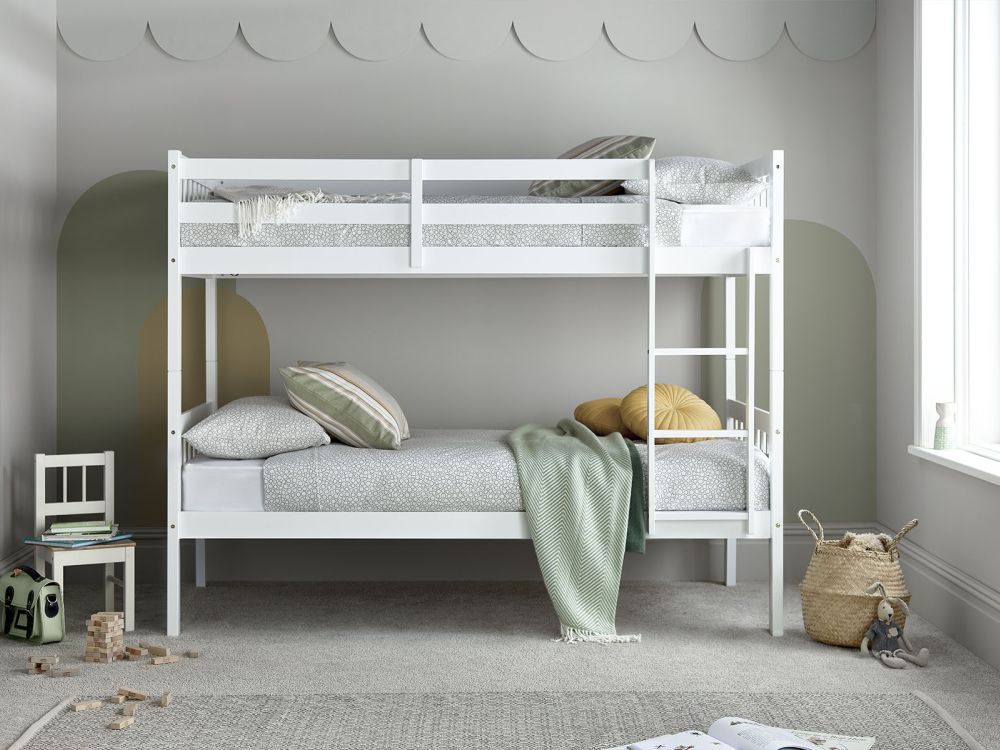
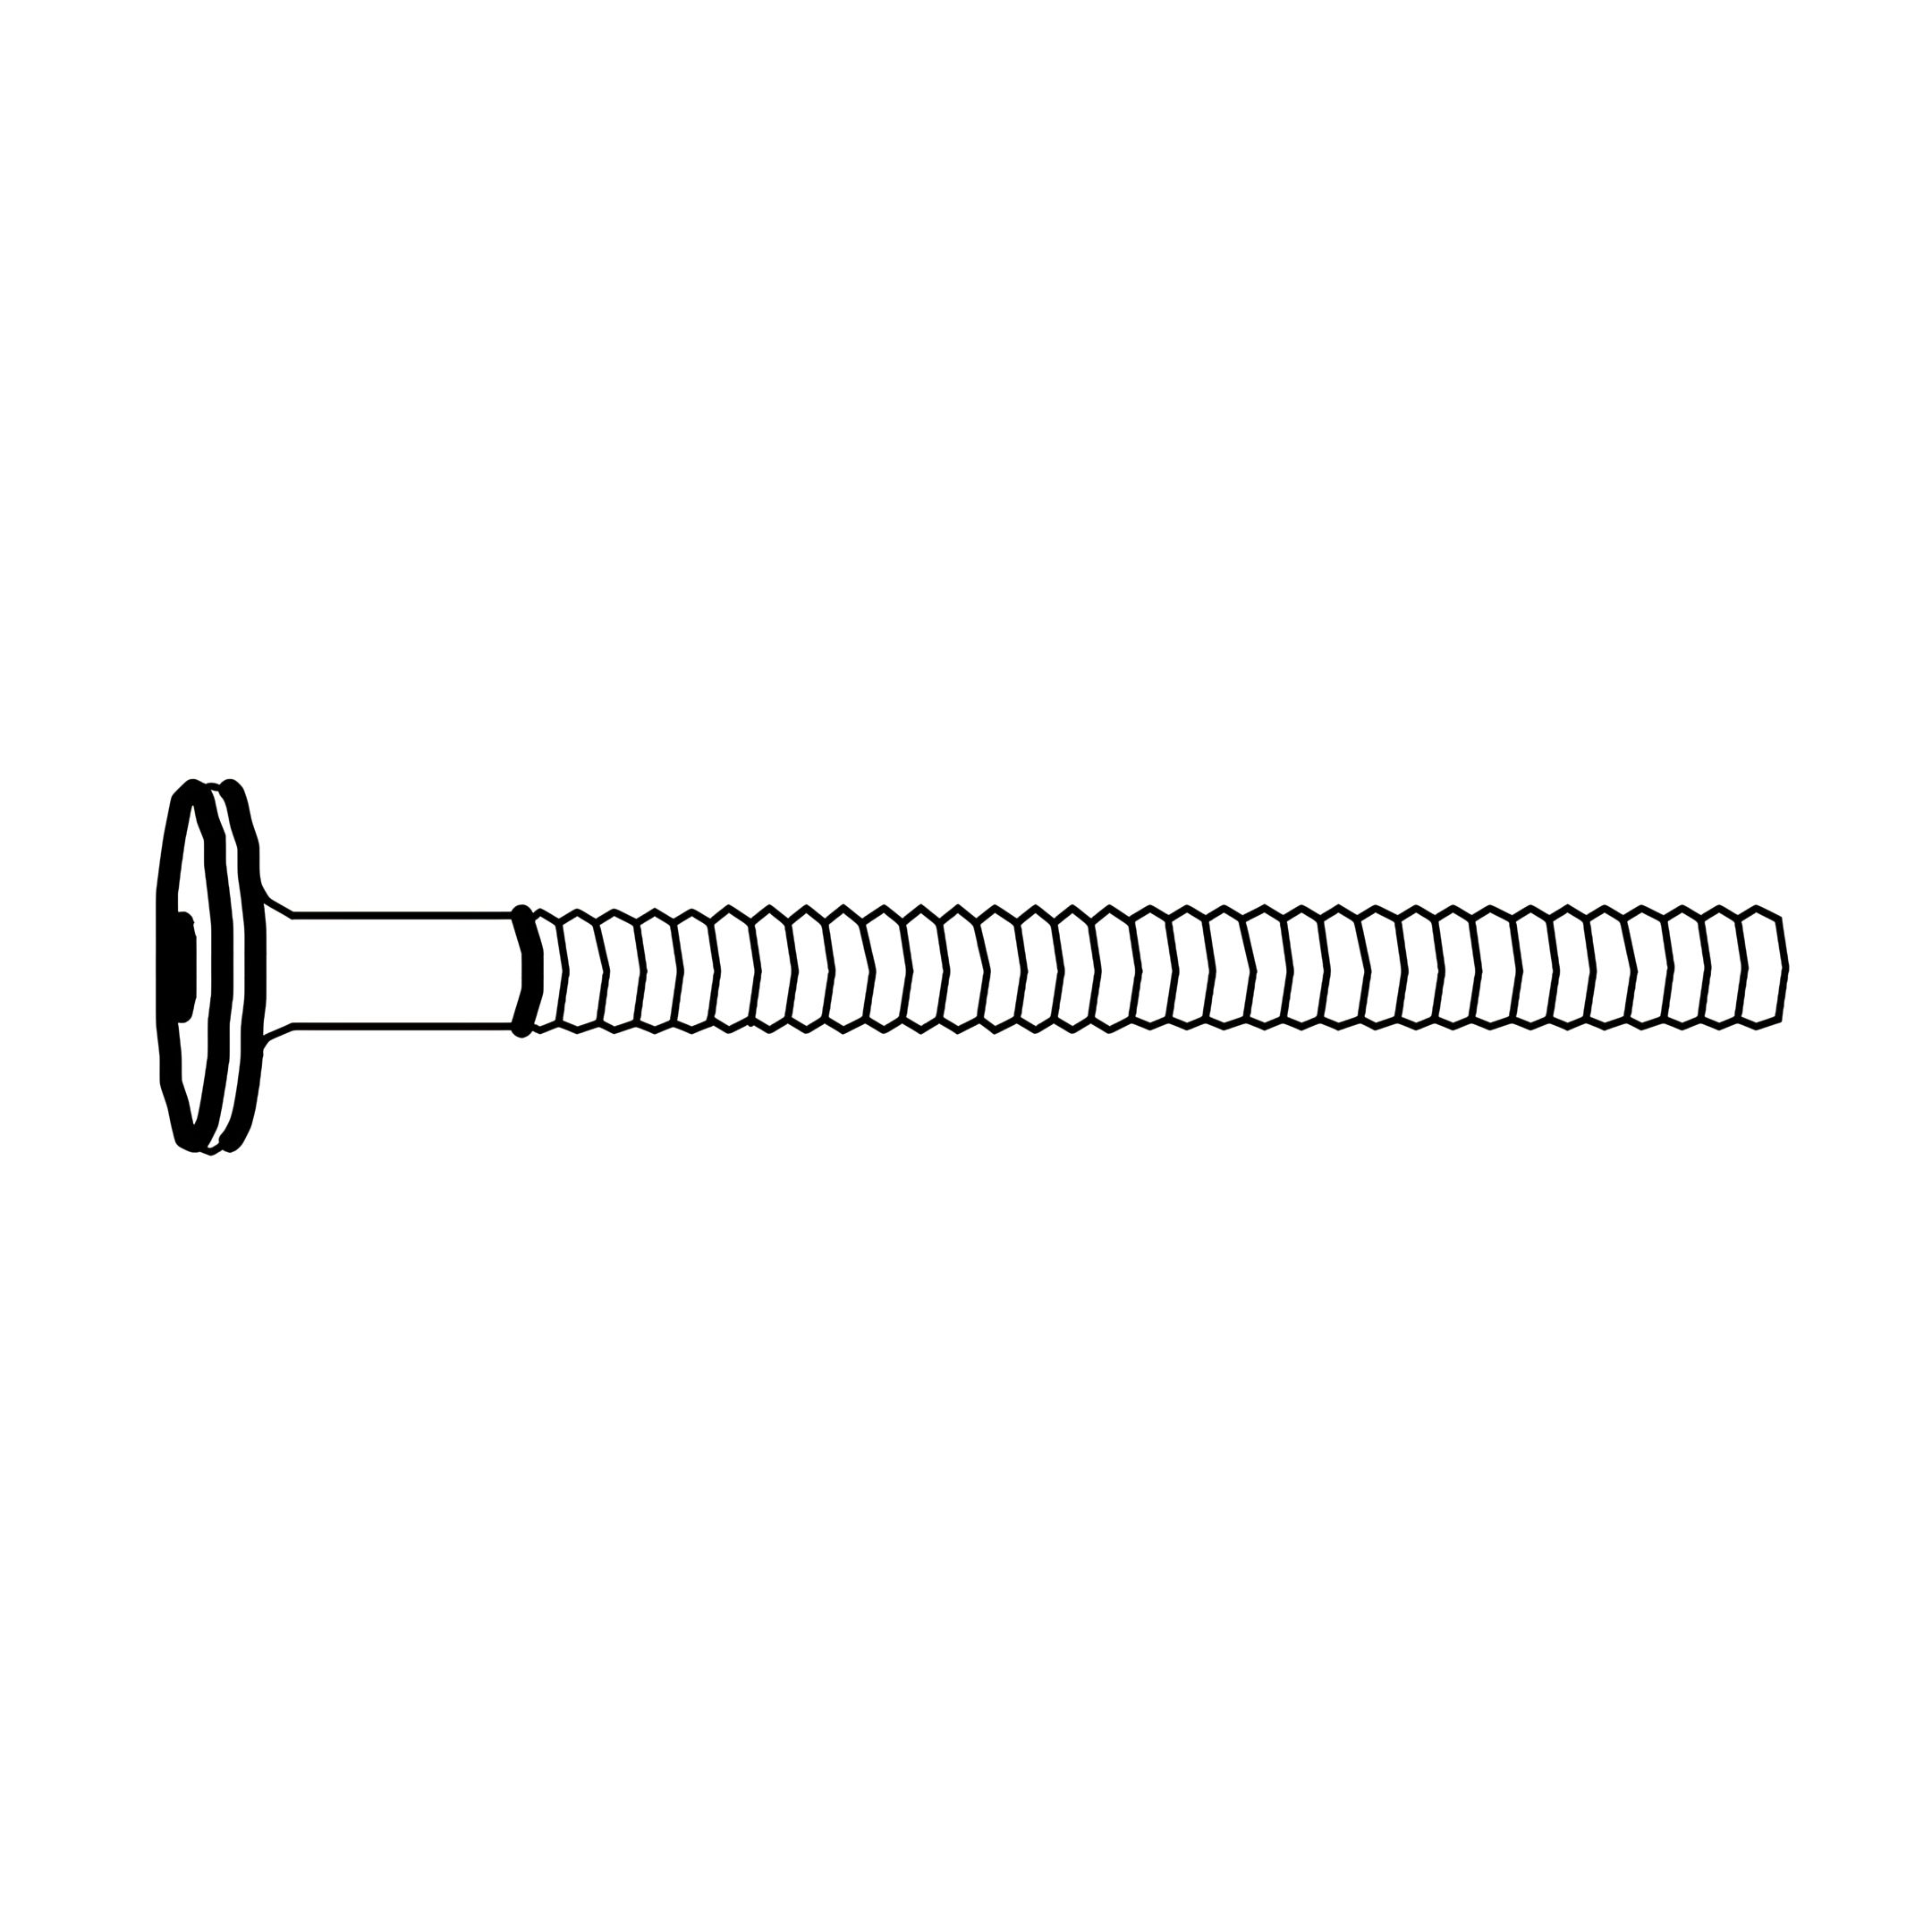
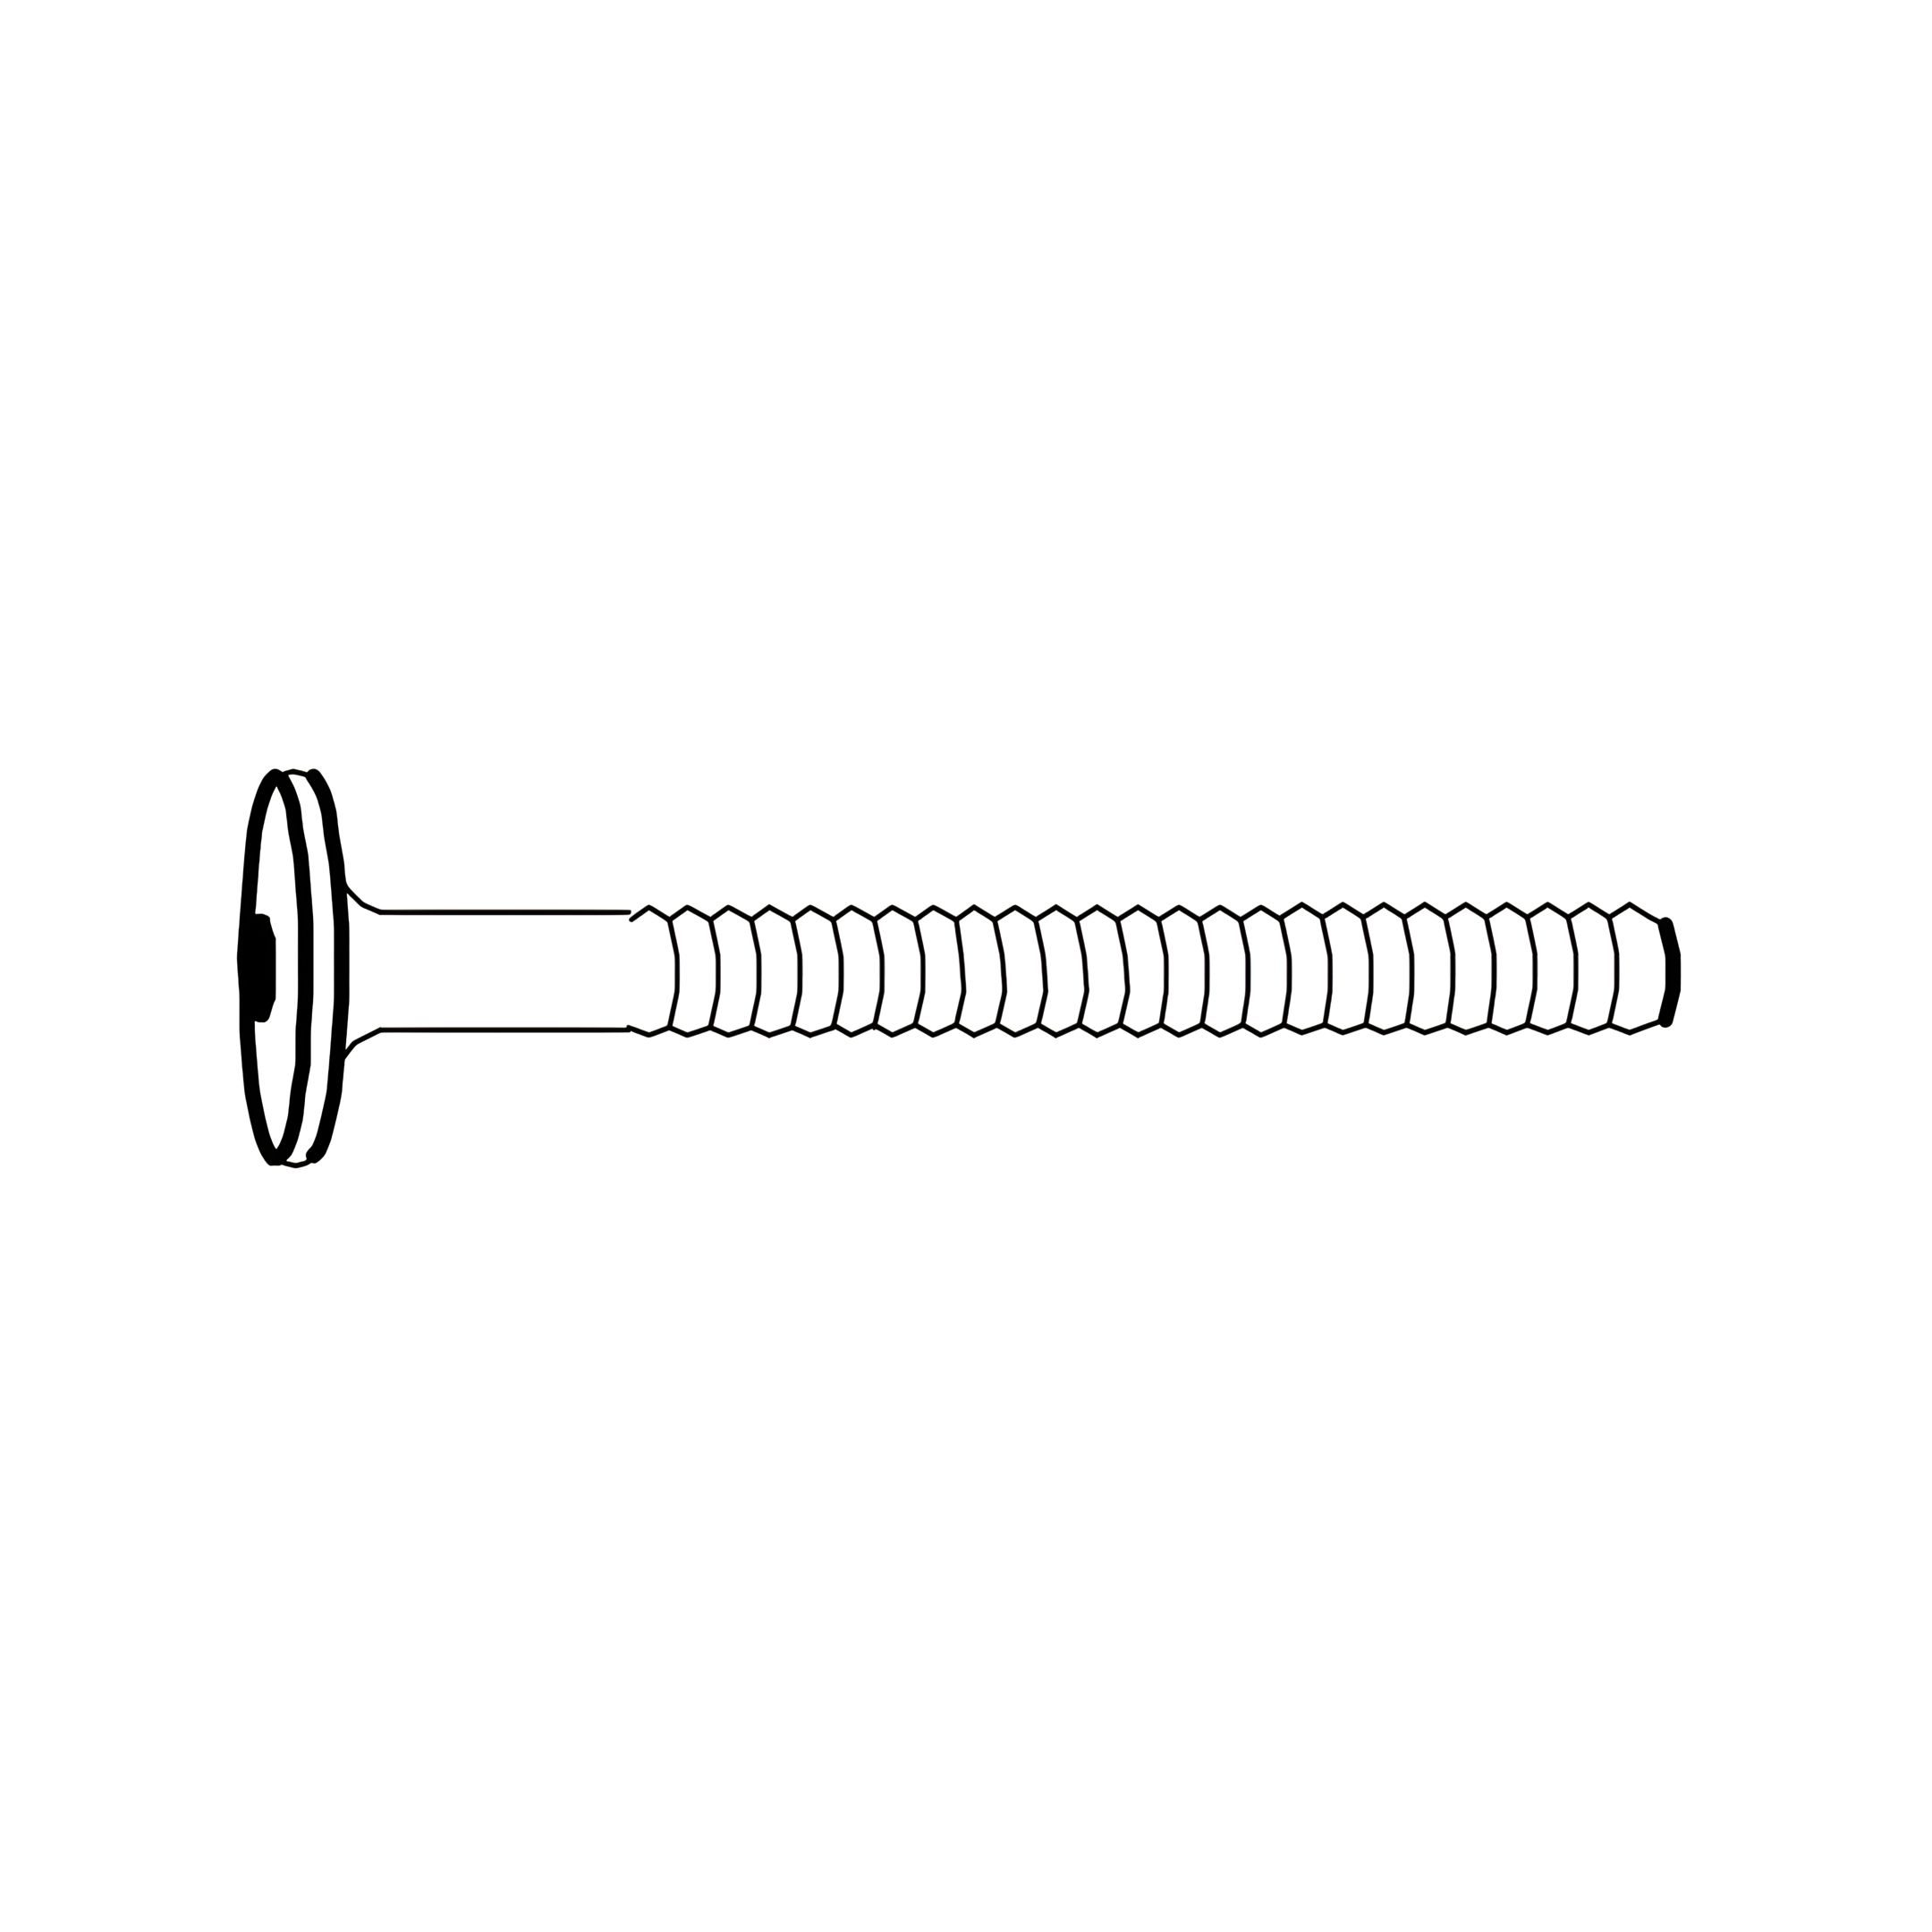
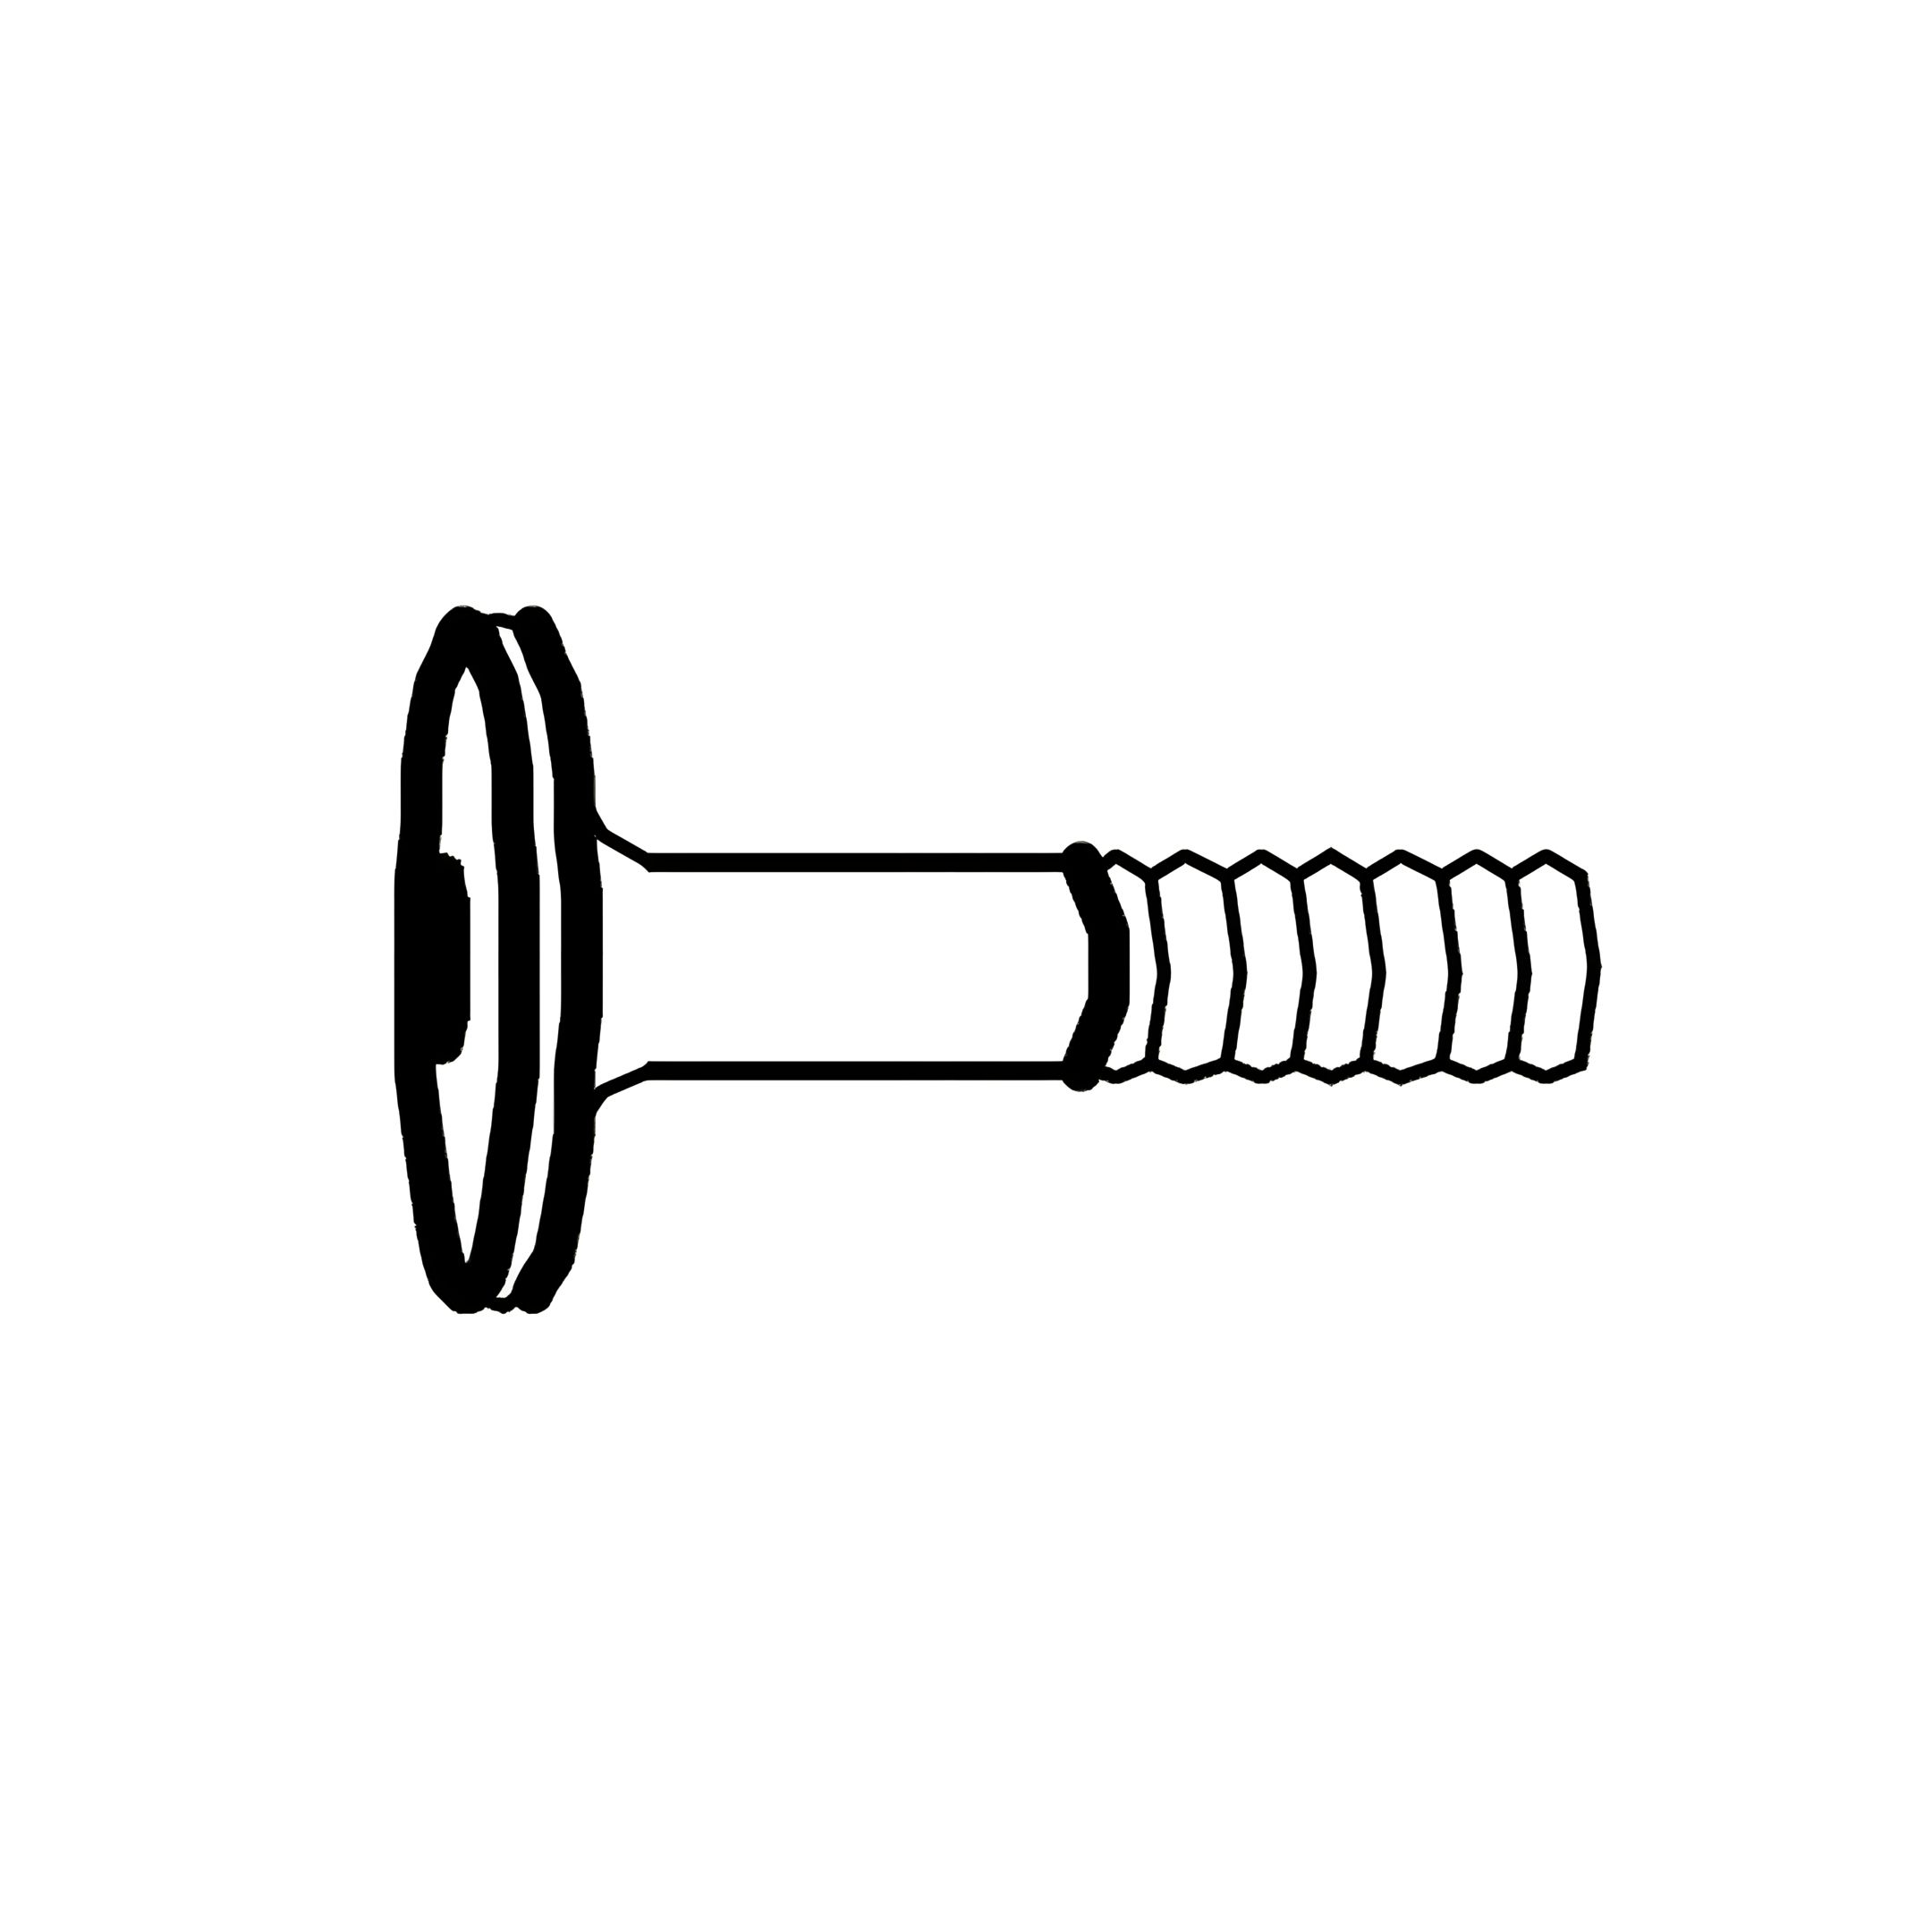
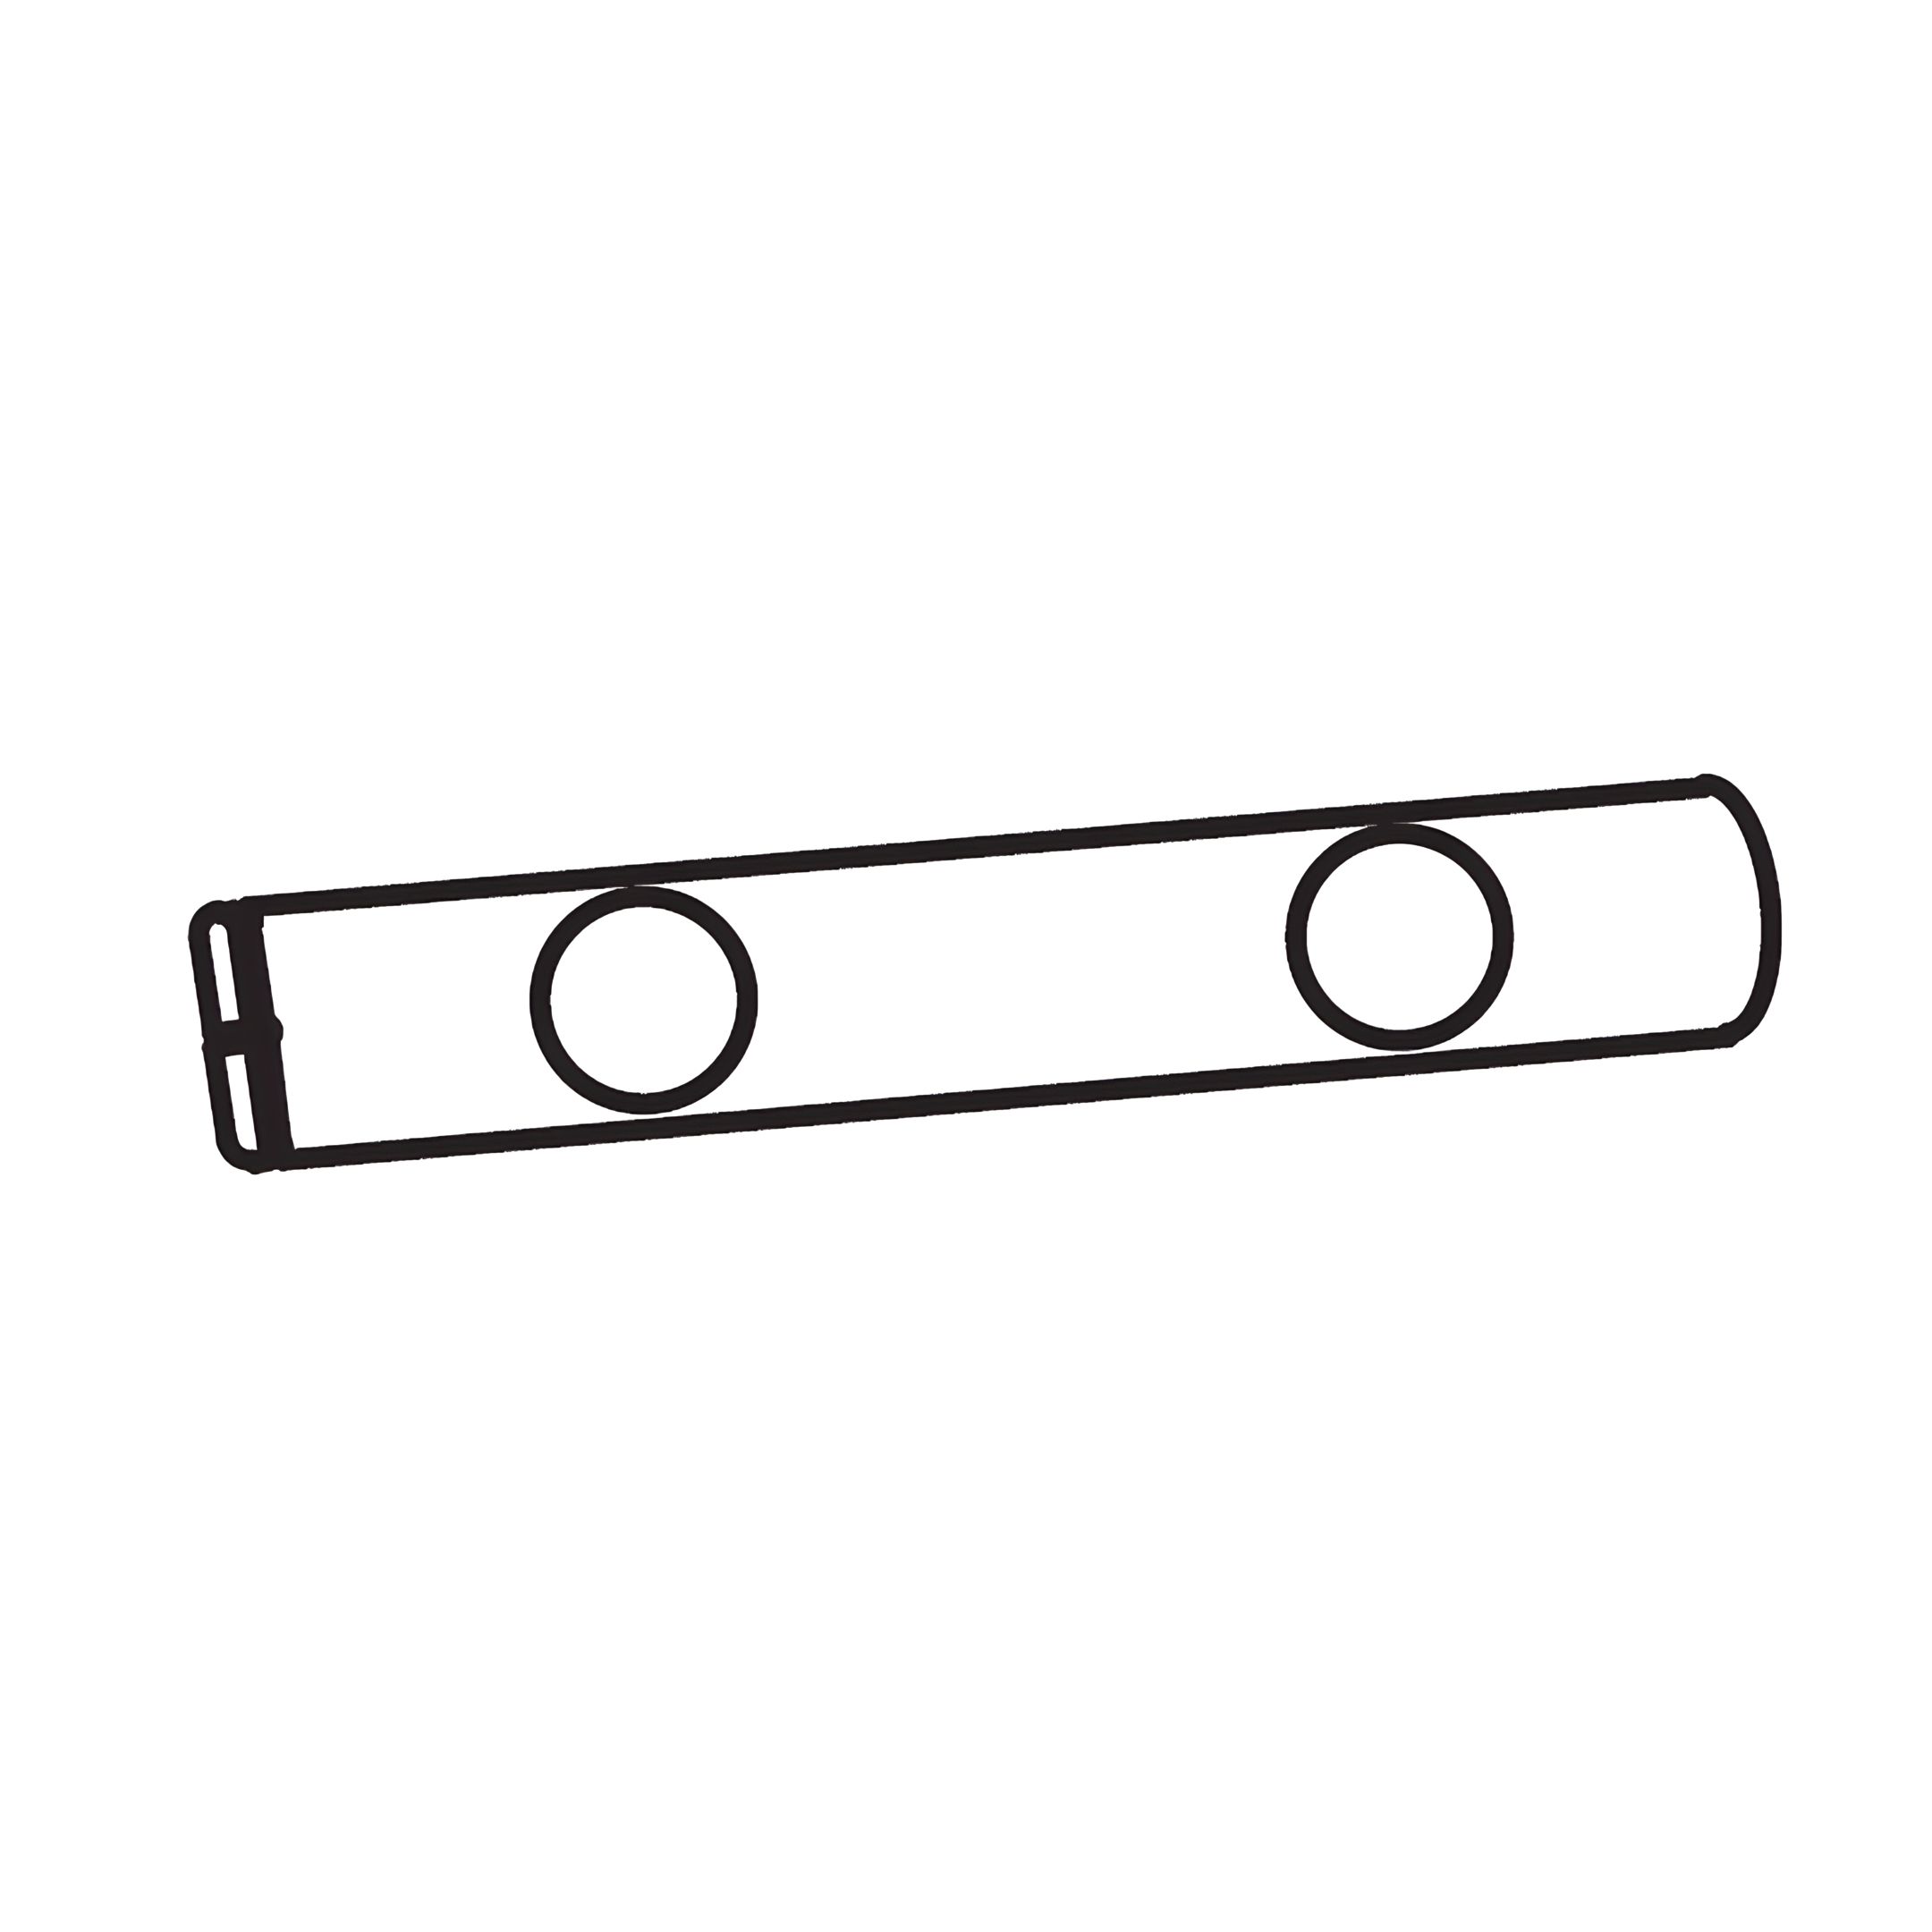
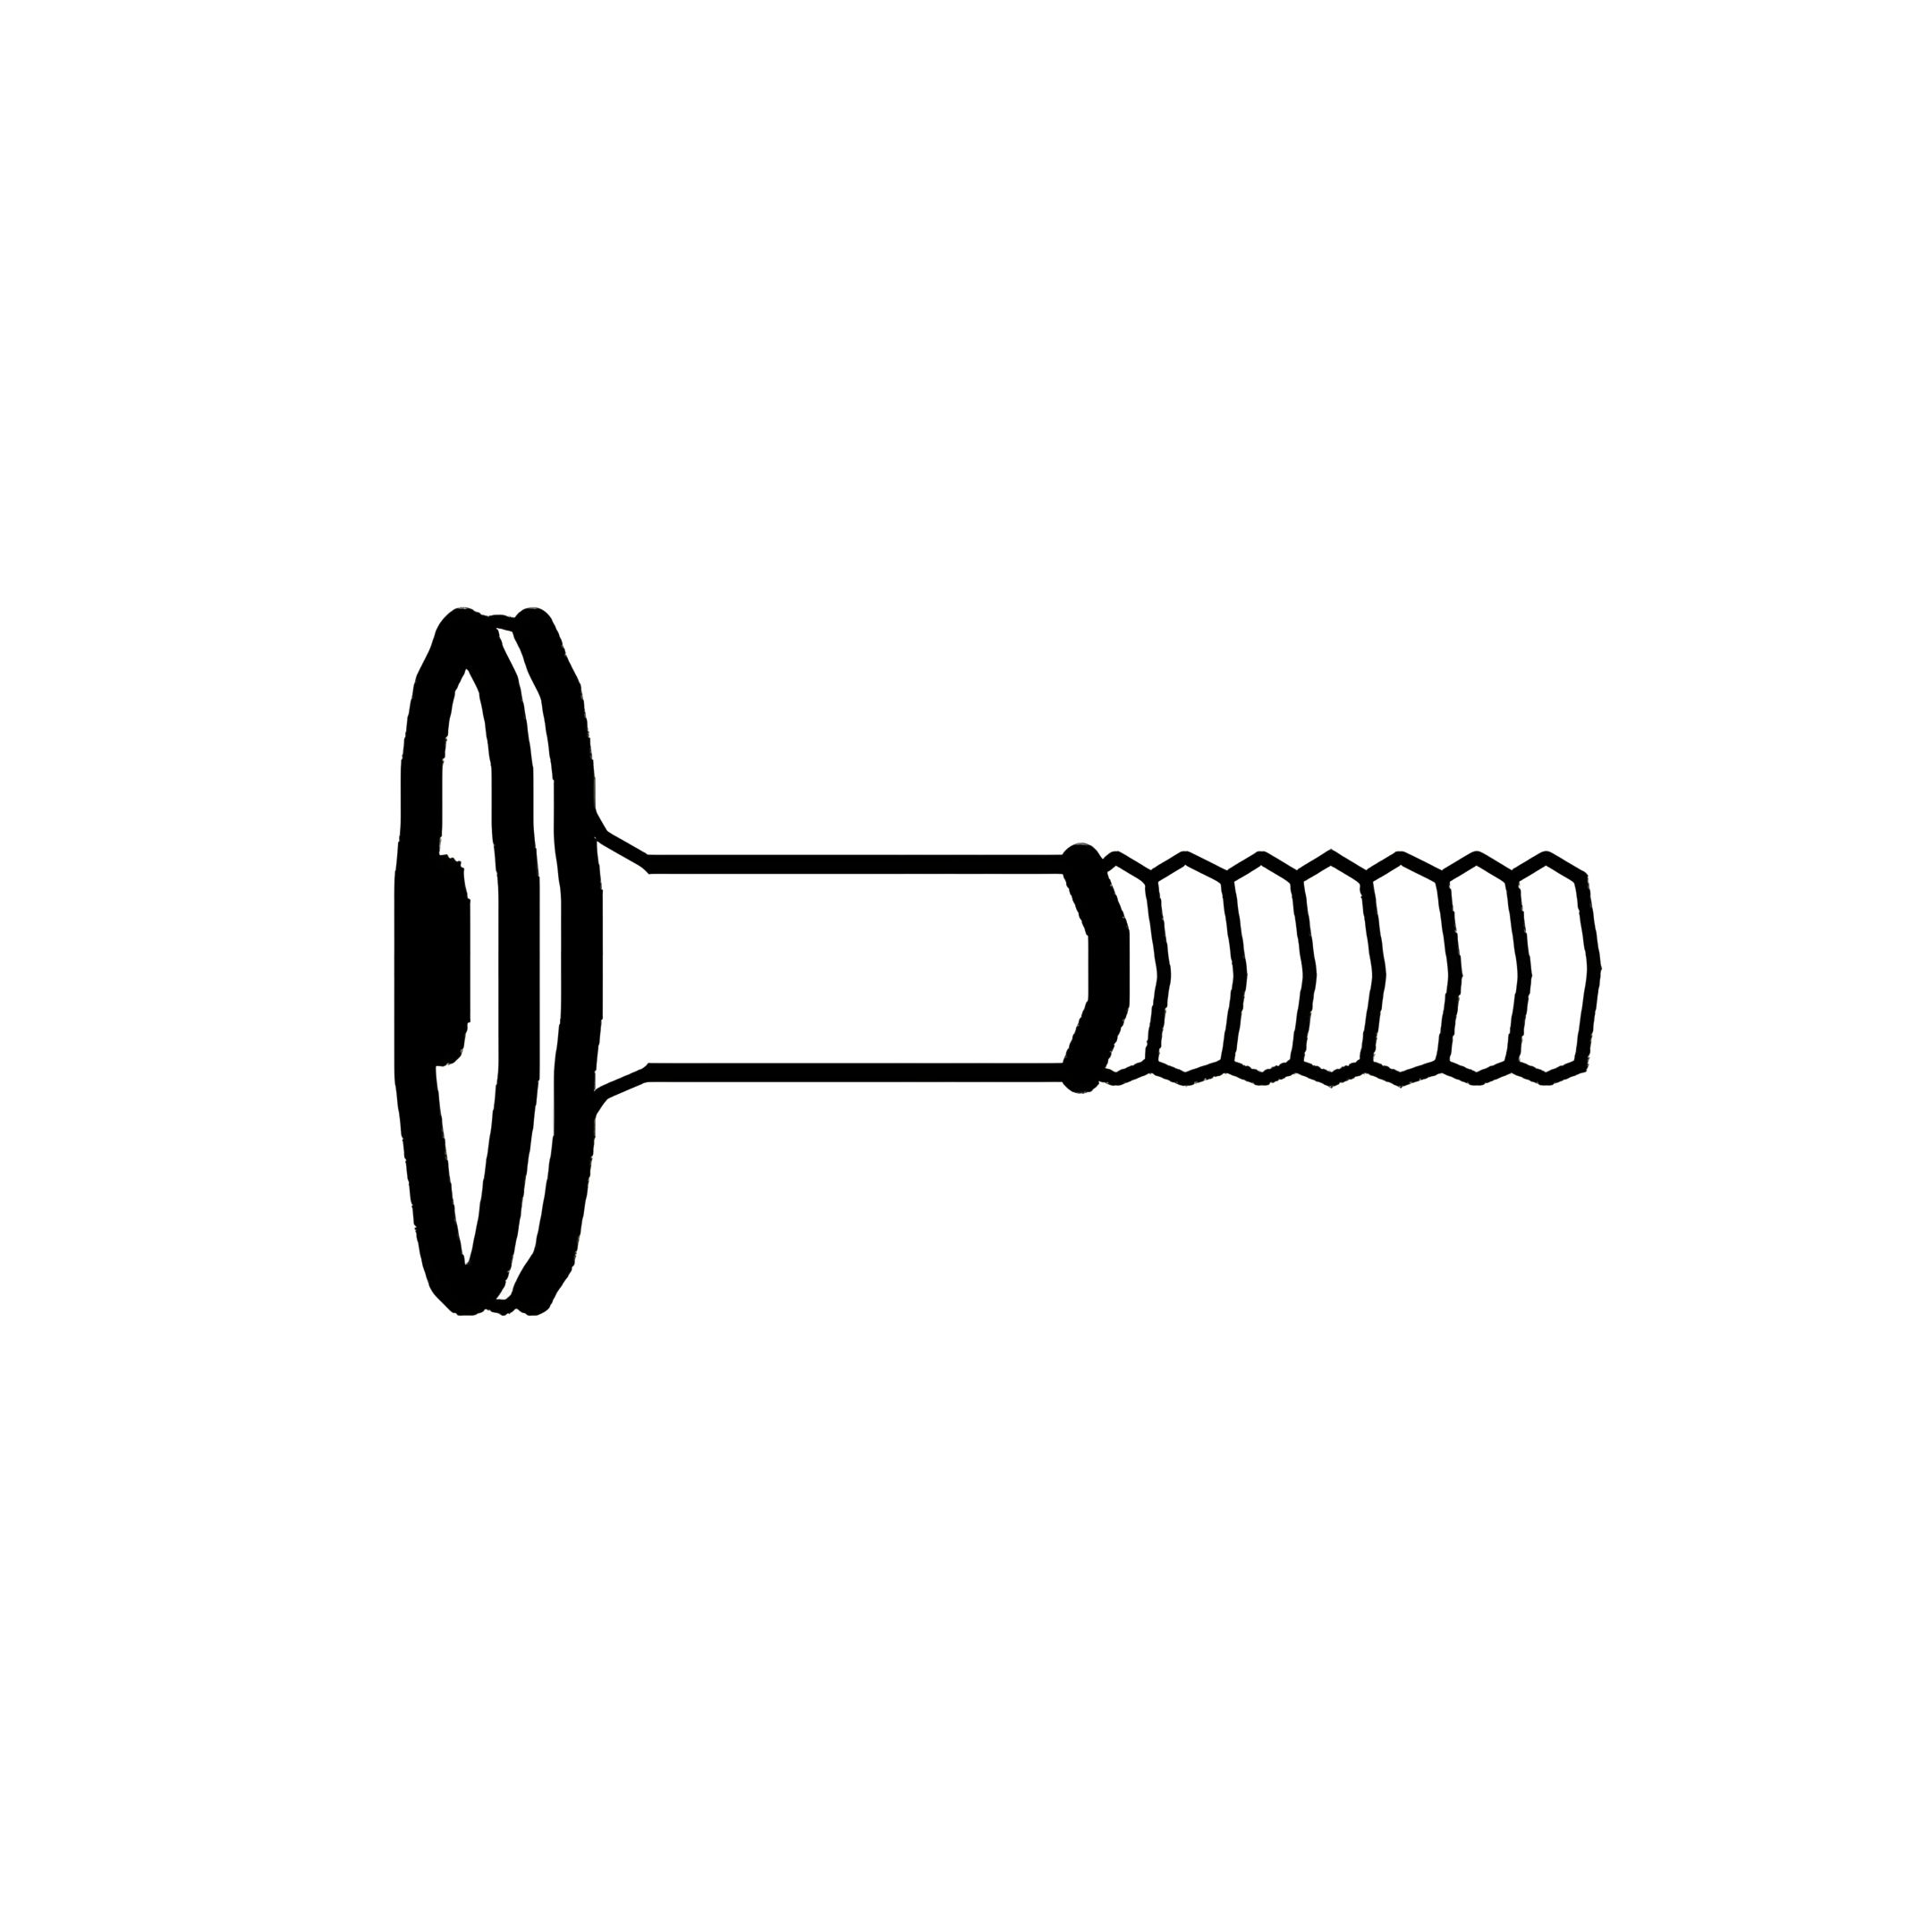
4. Insert (2) Barrel Nuts, and secure using (4) JCBC Bolts on each side of every piece.
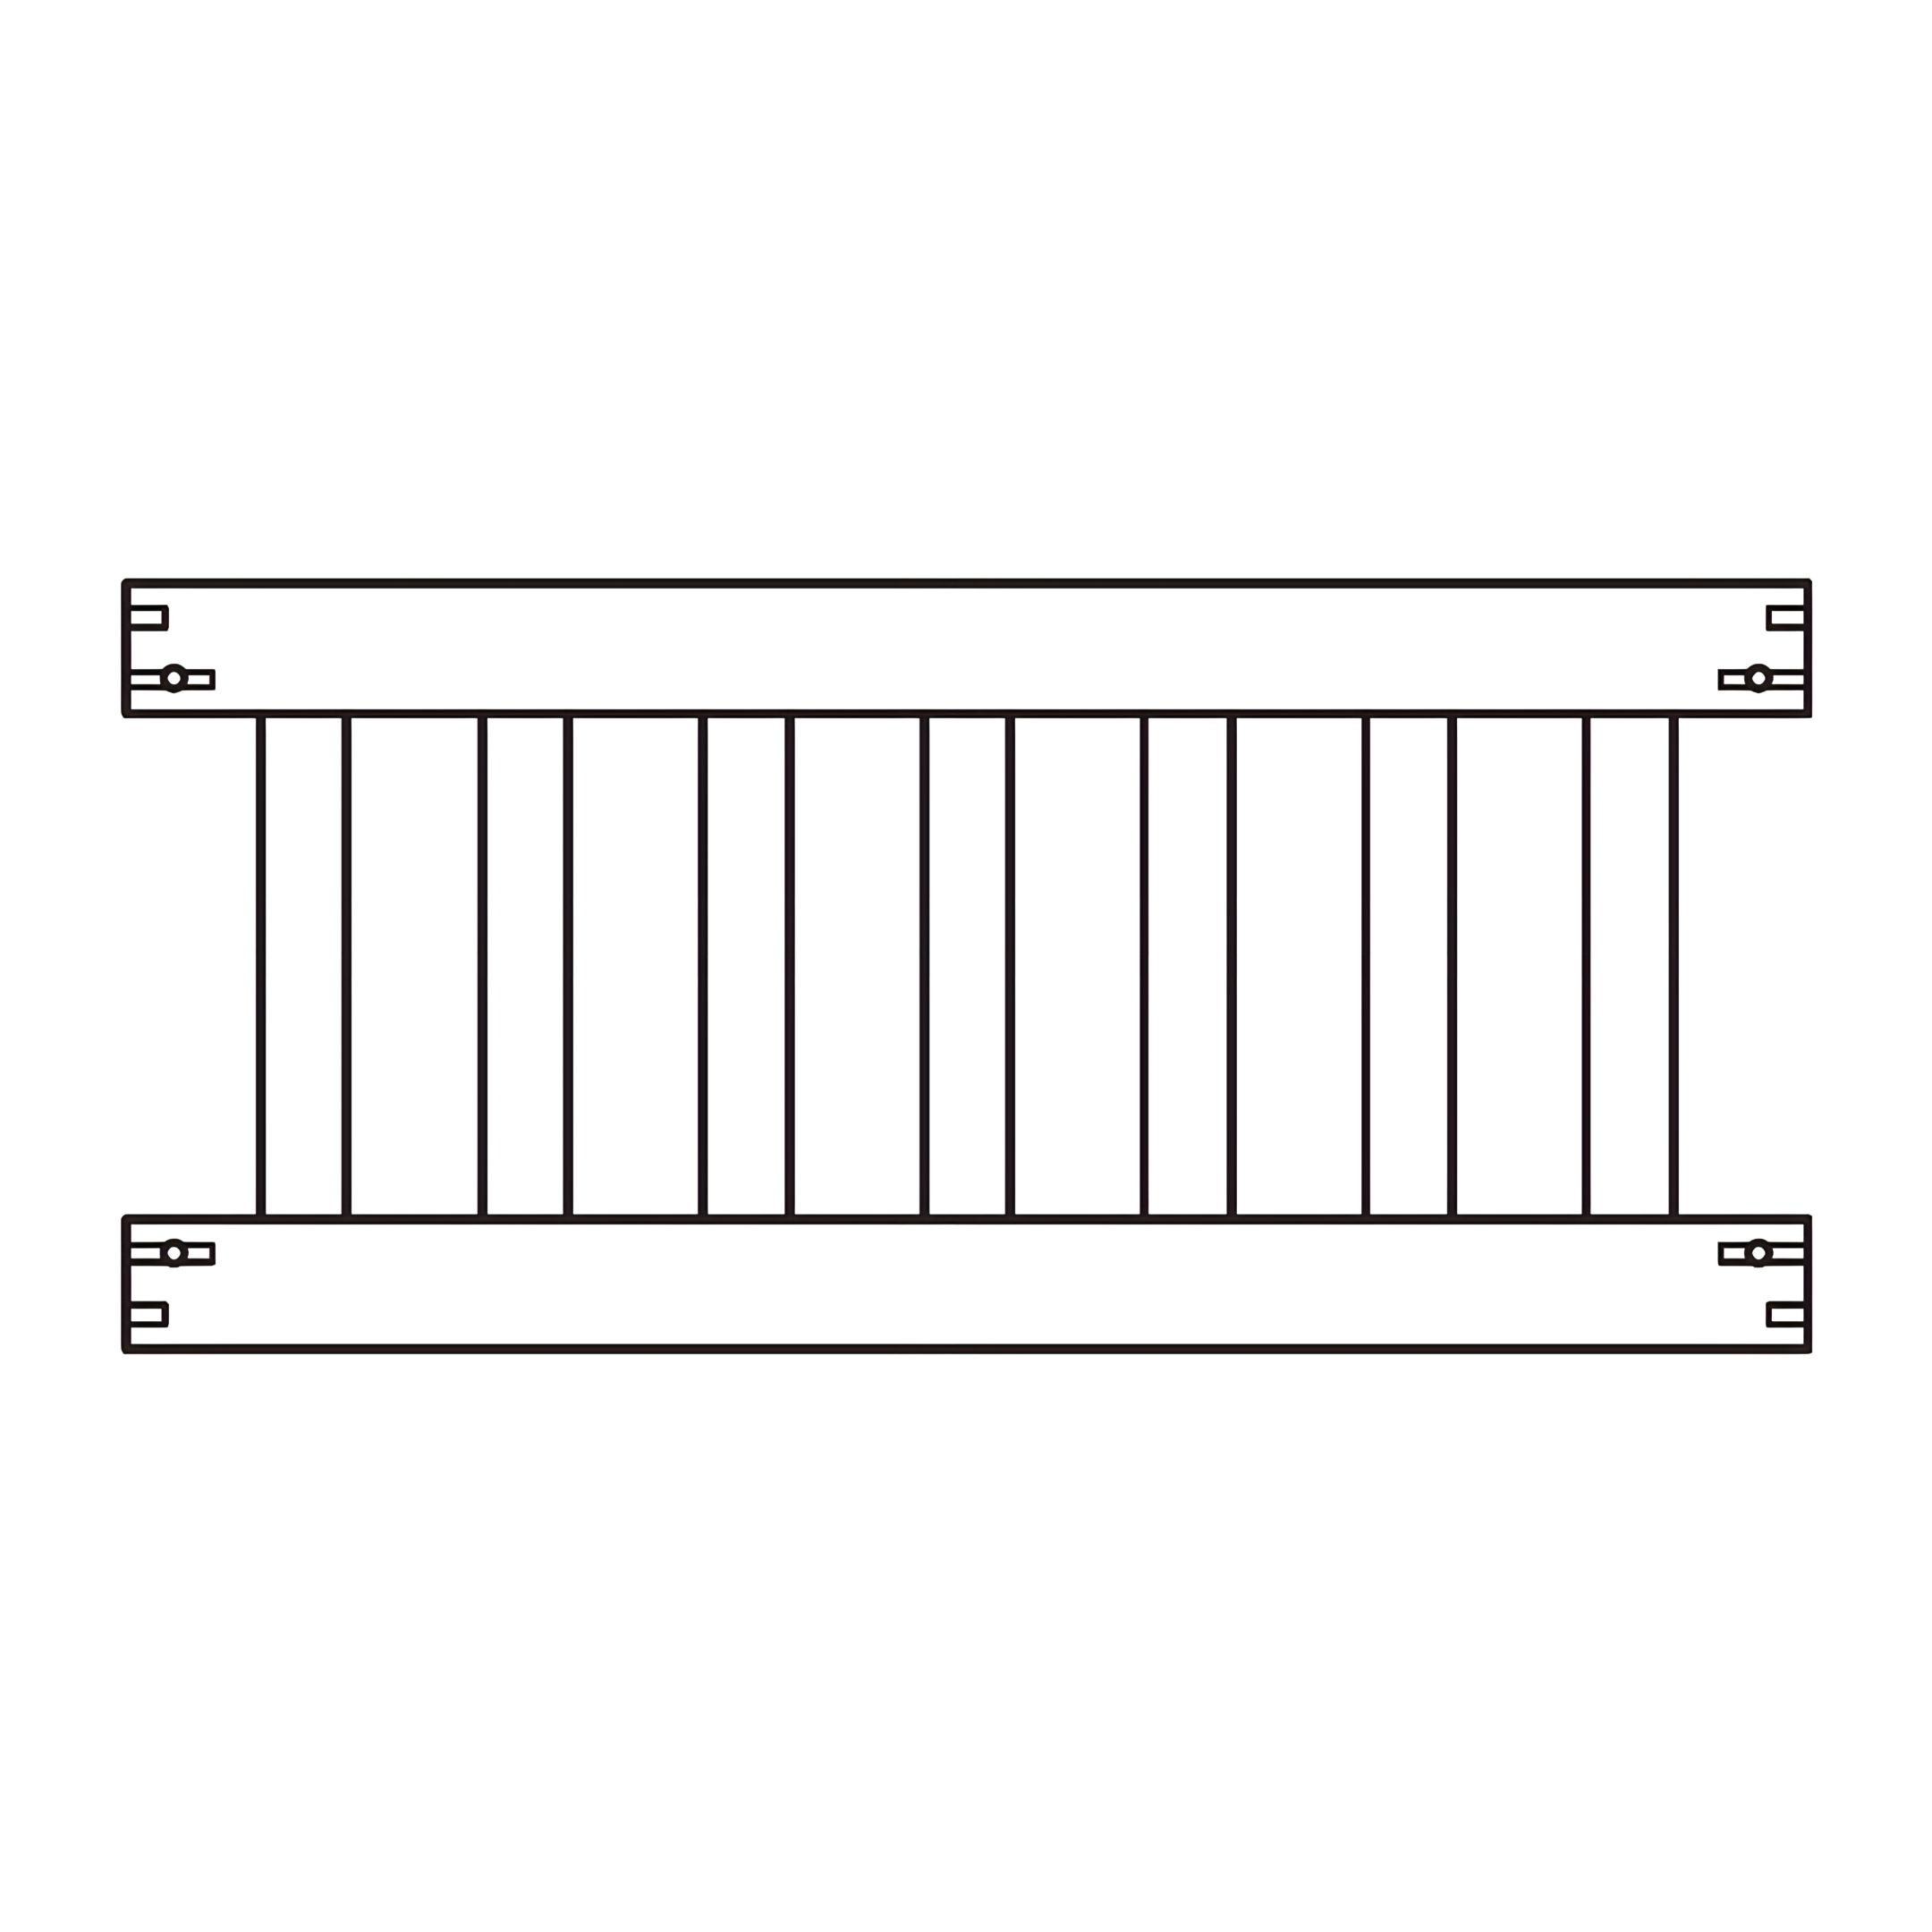
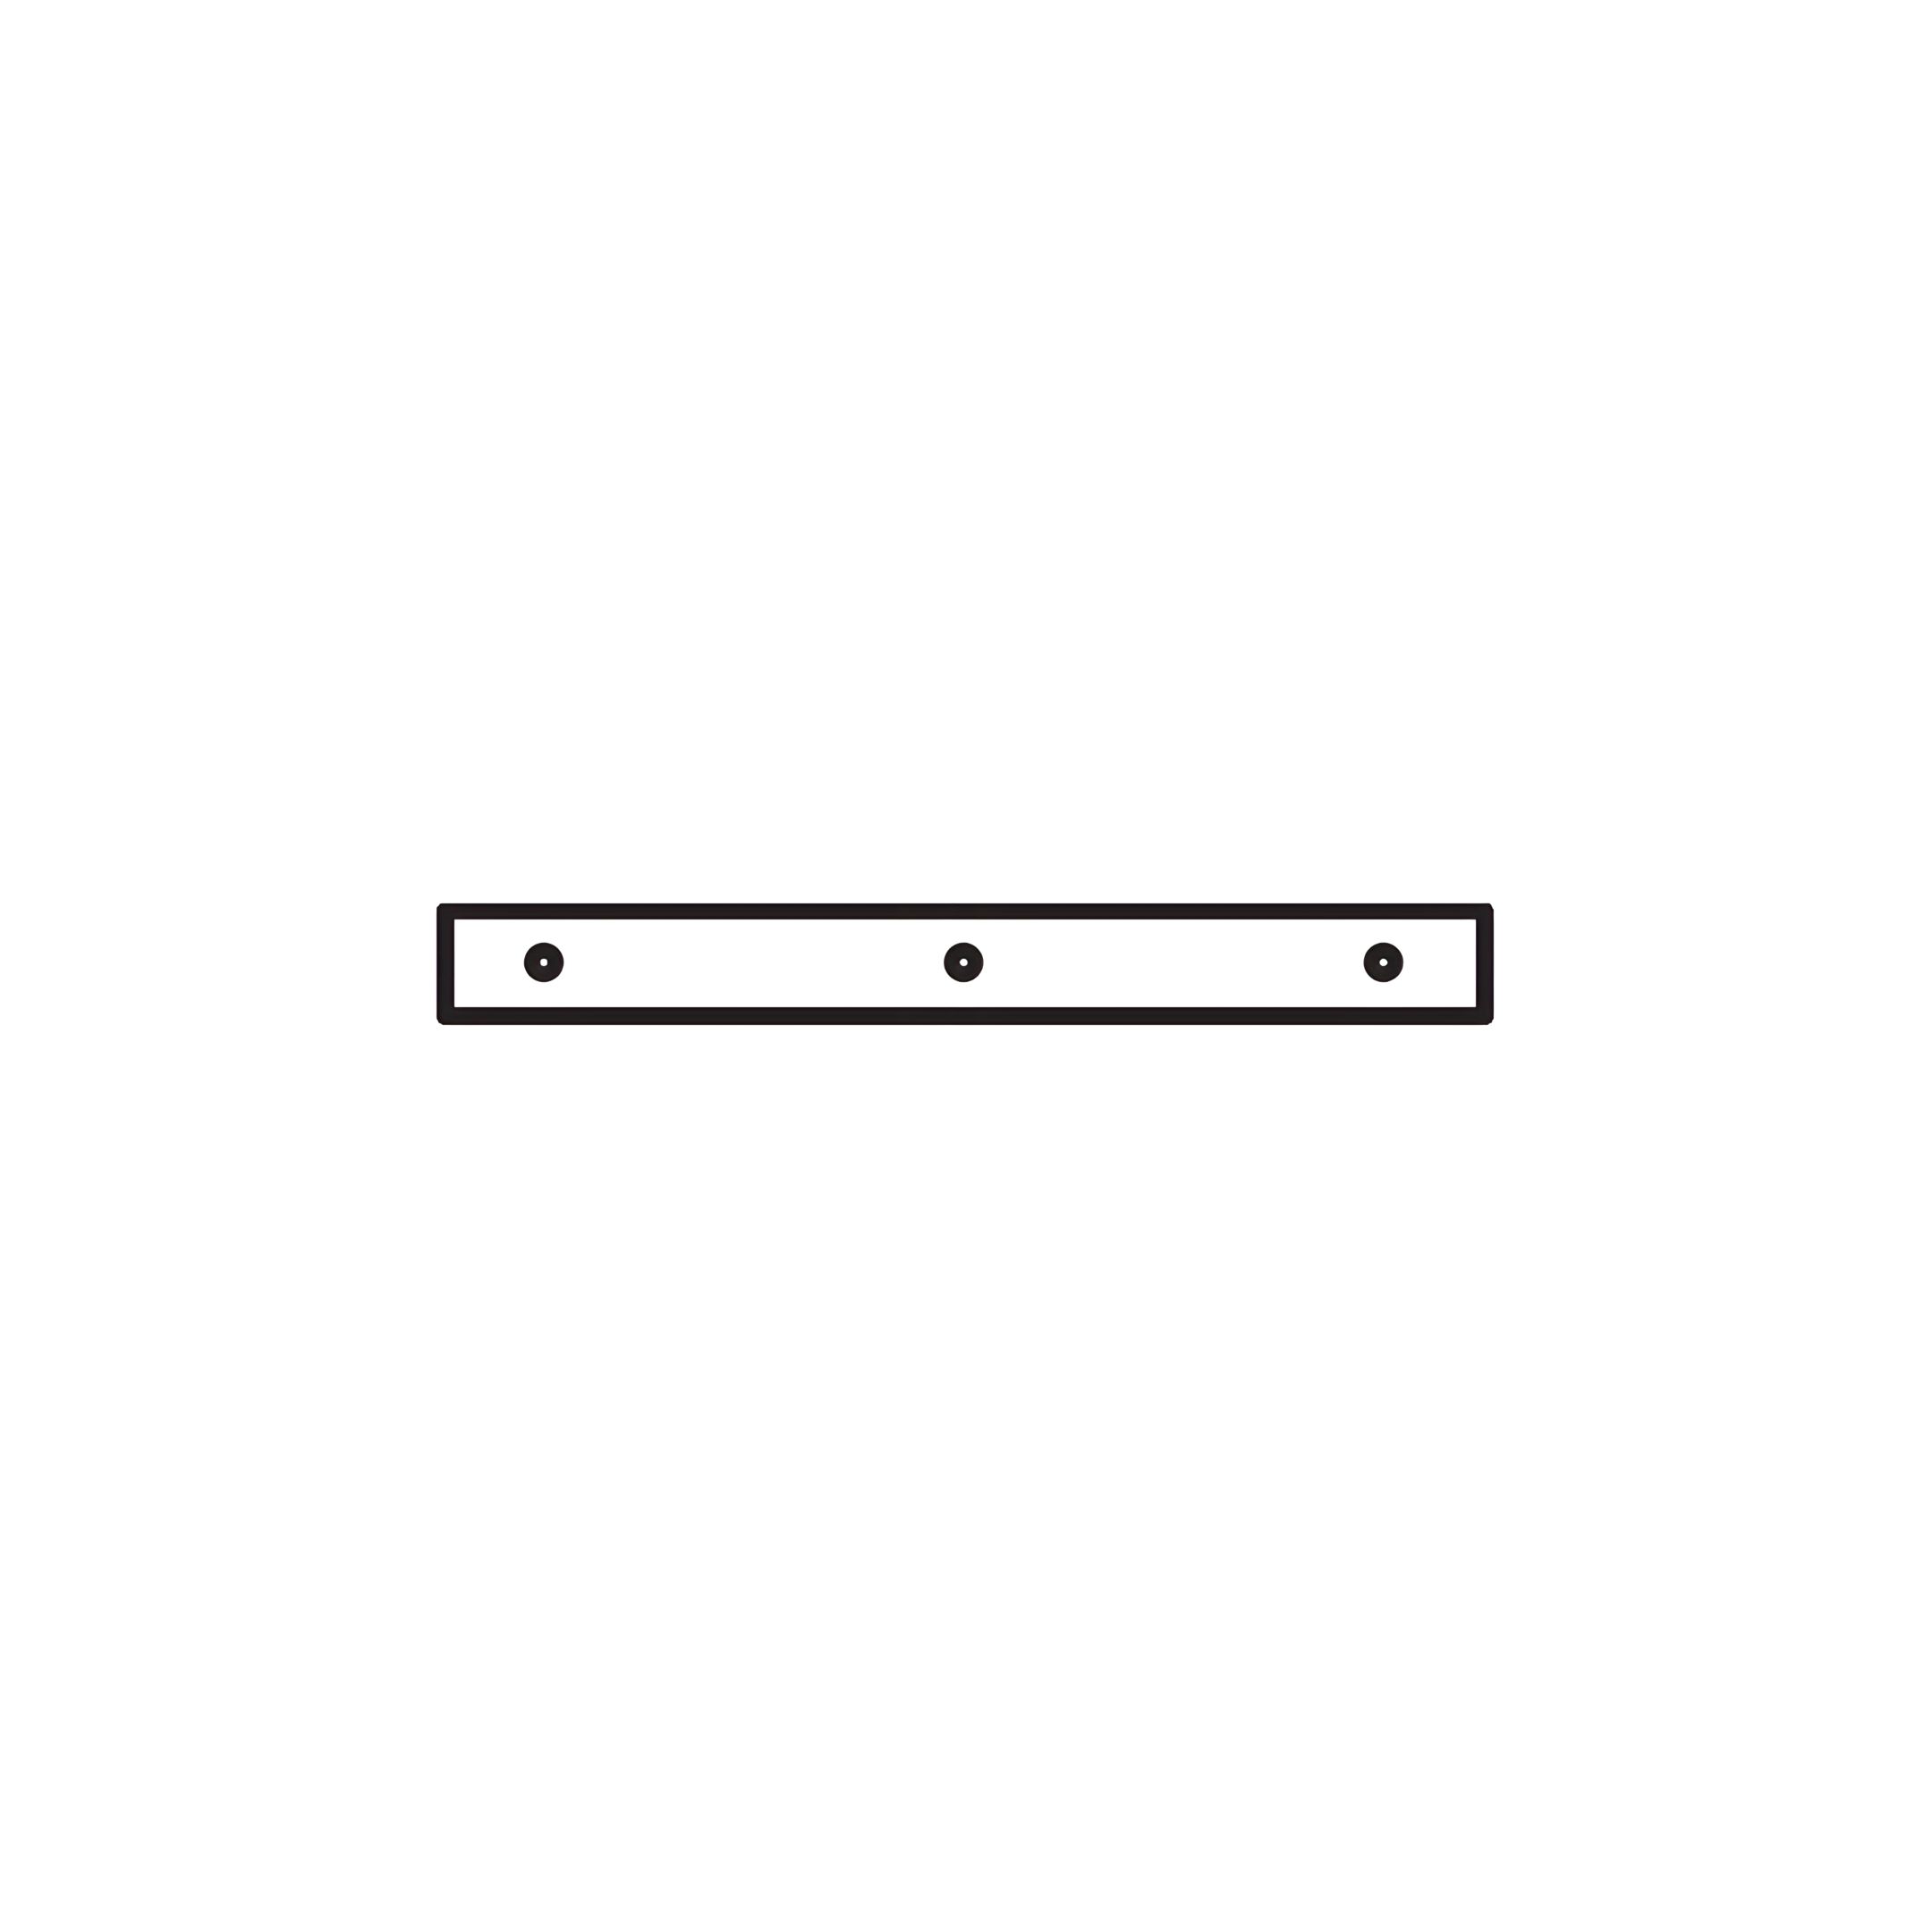
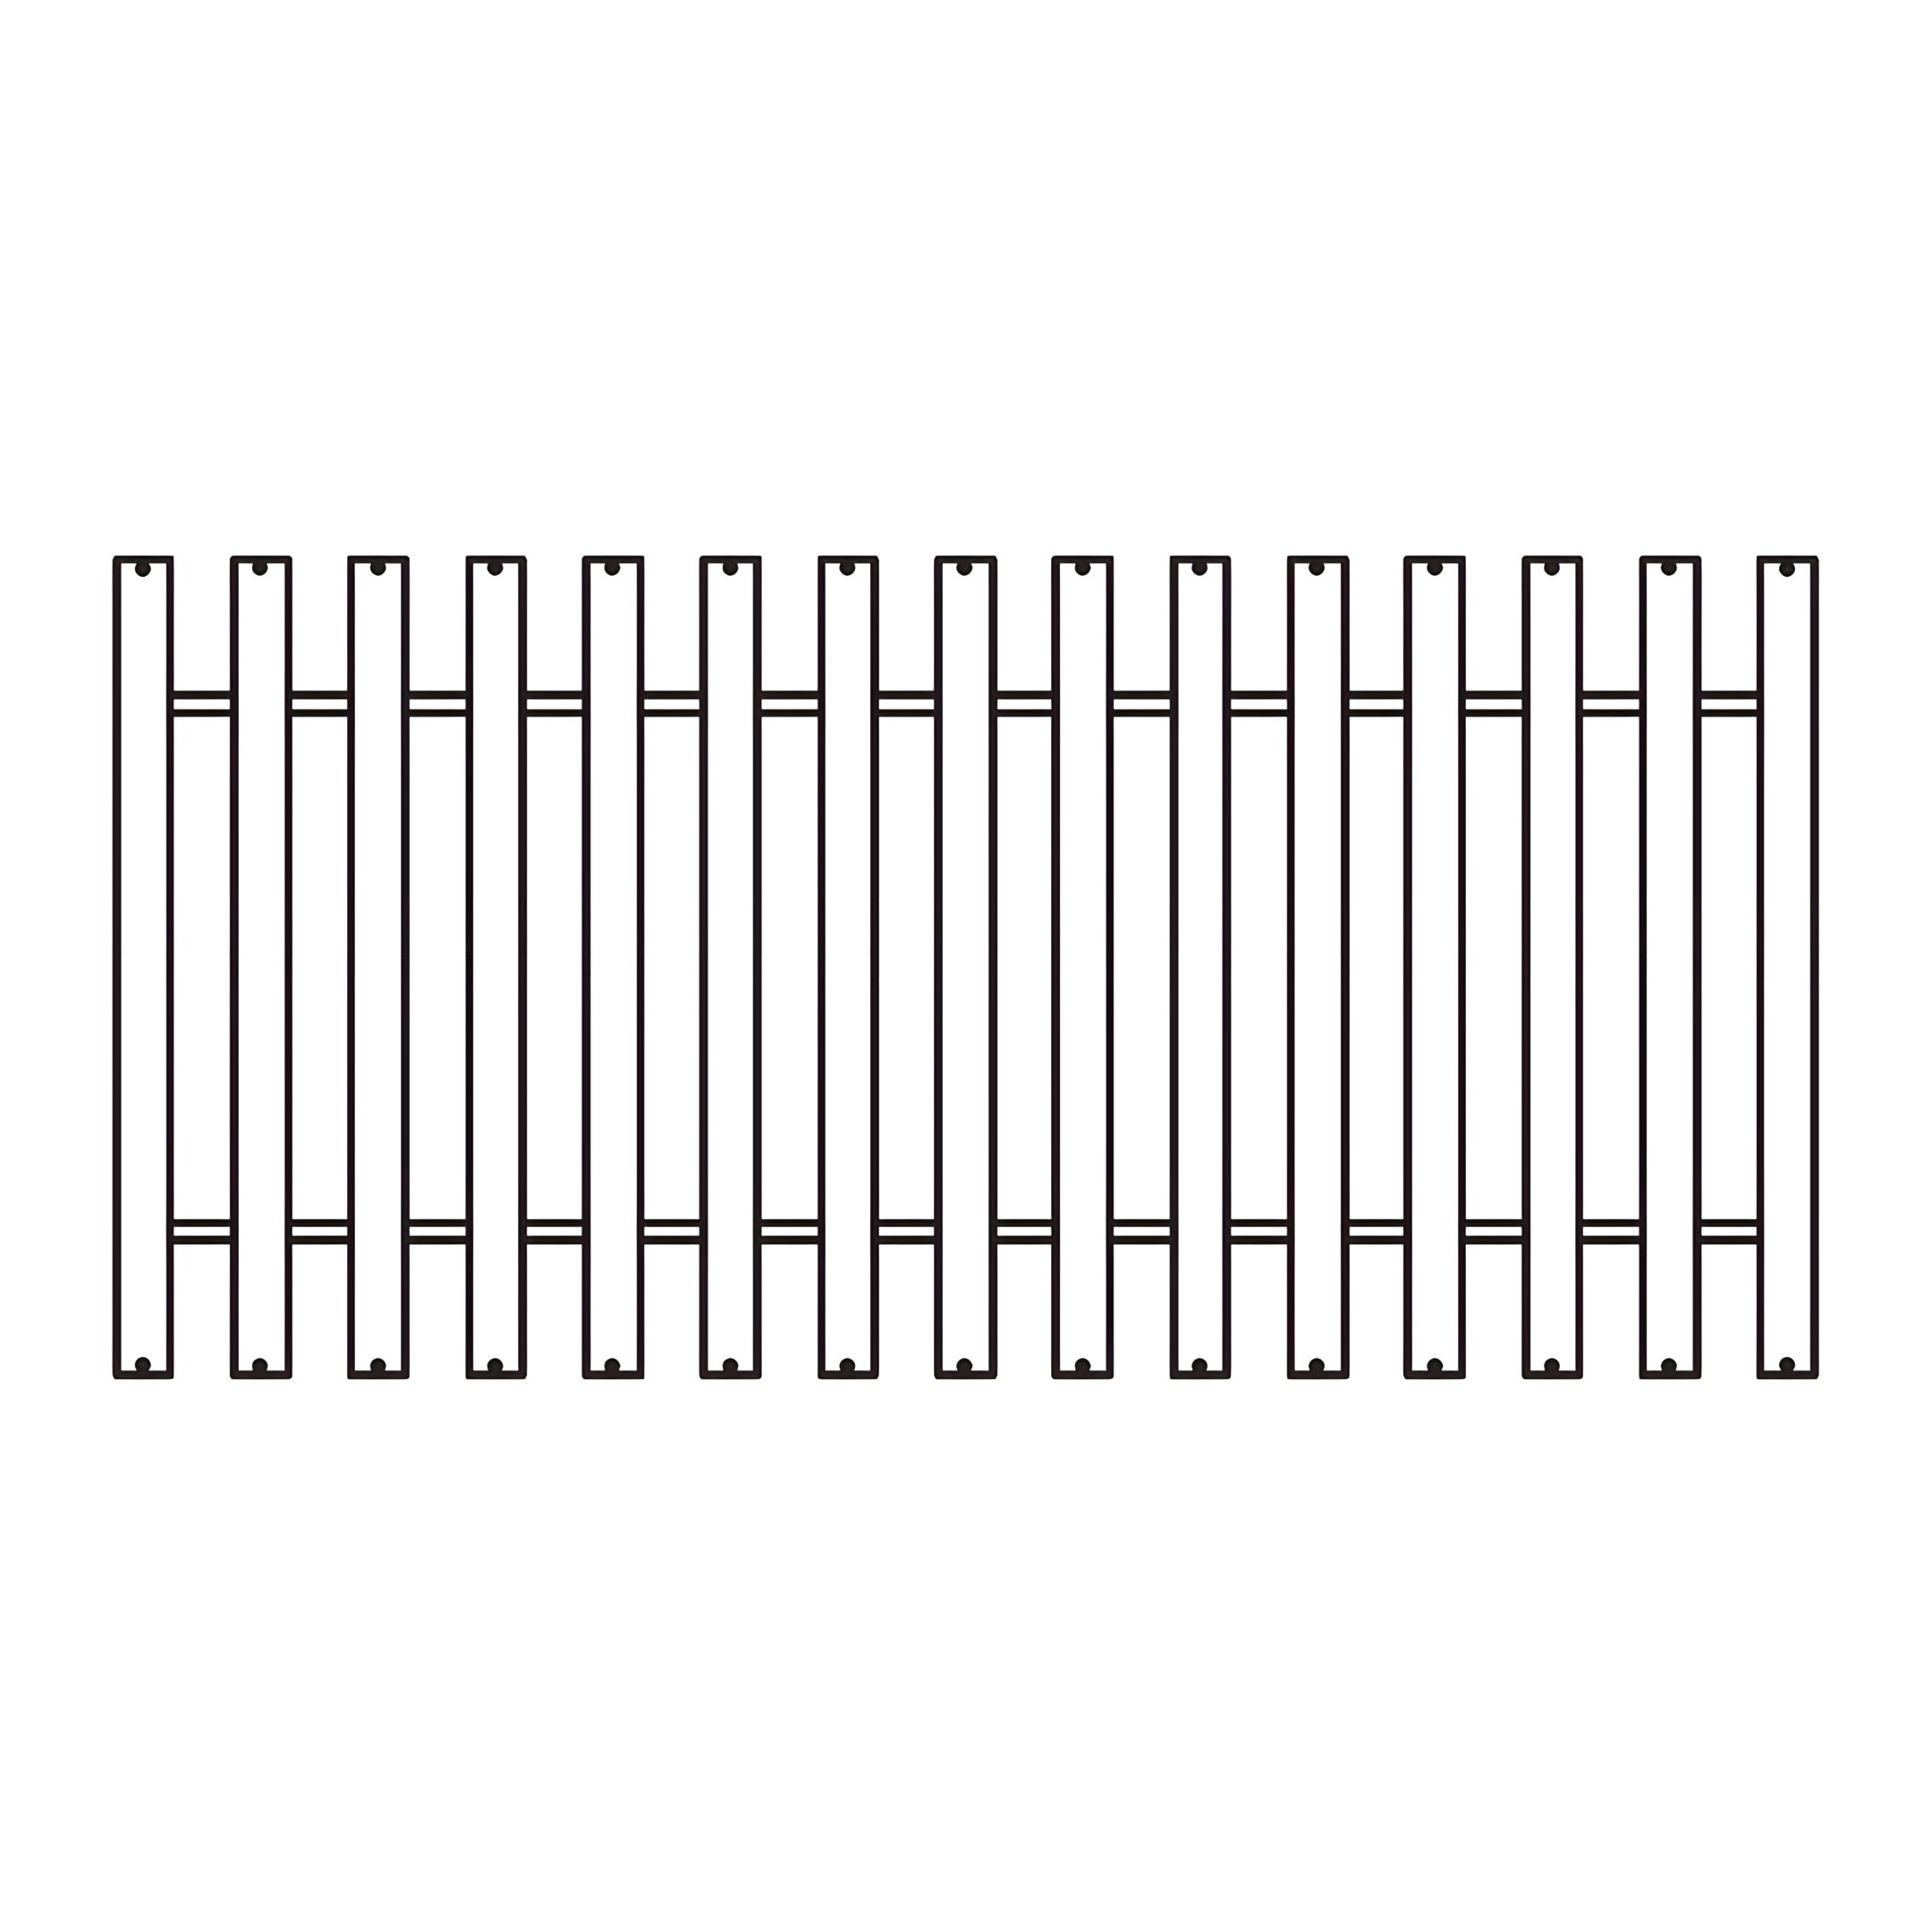
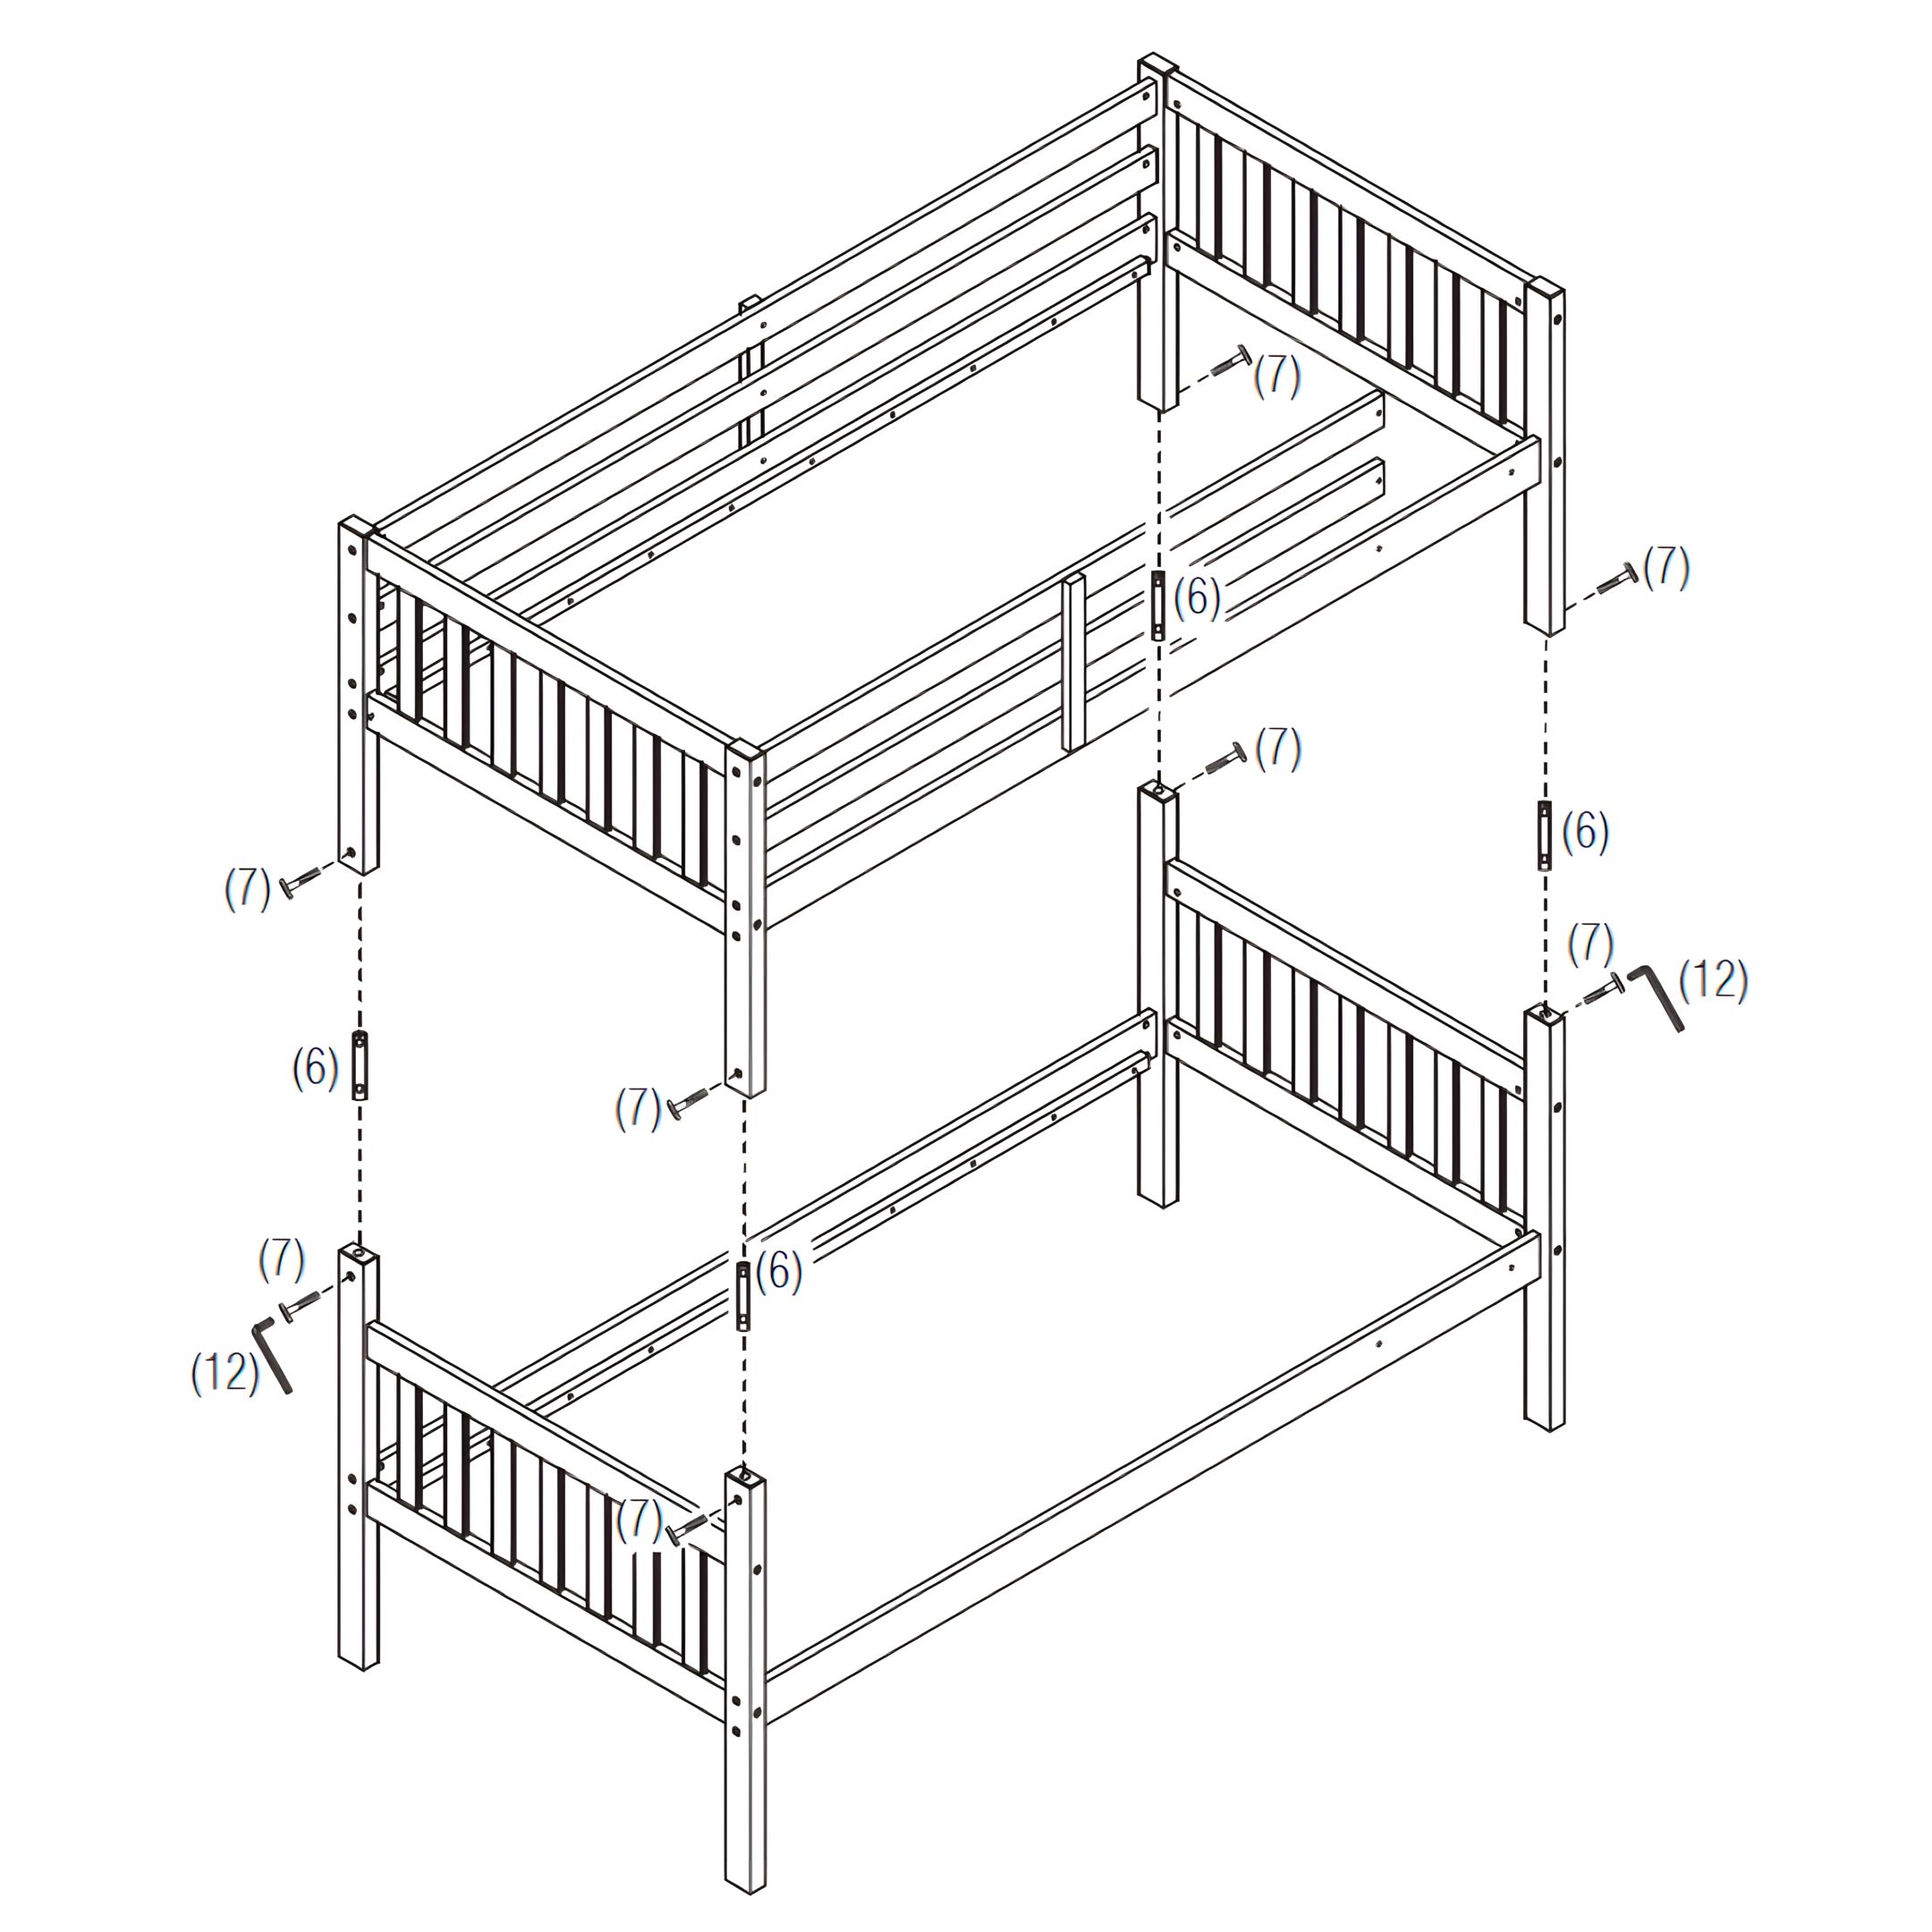
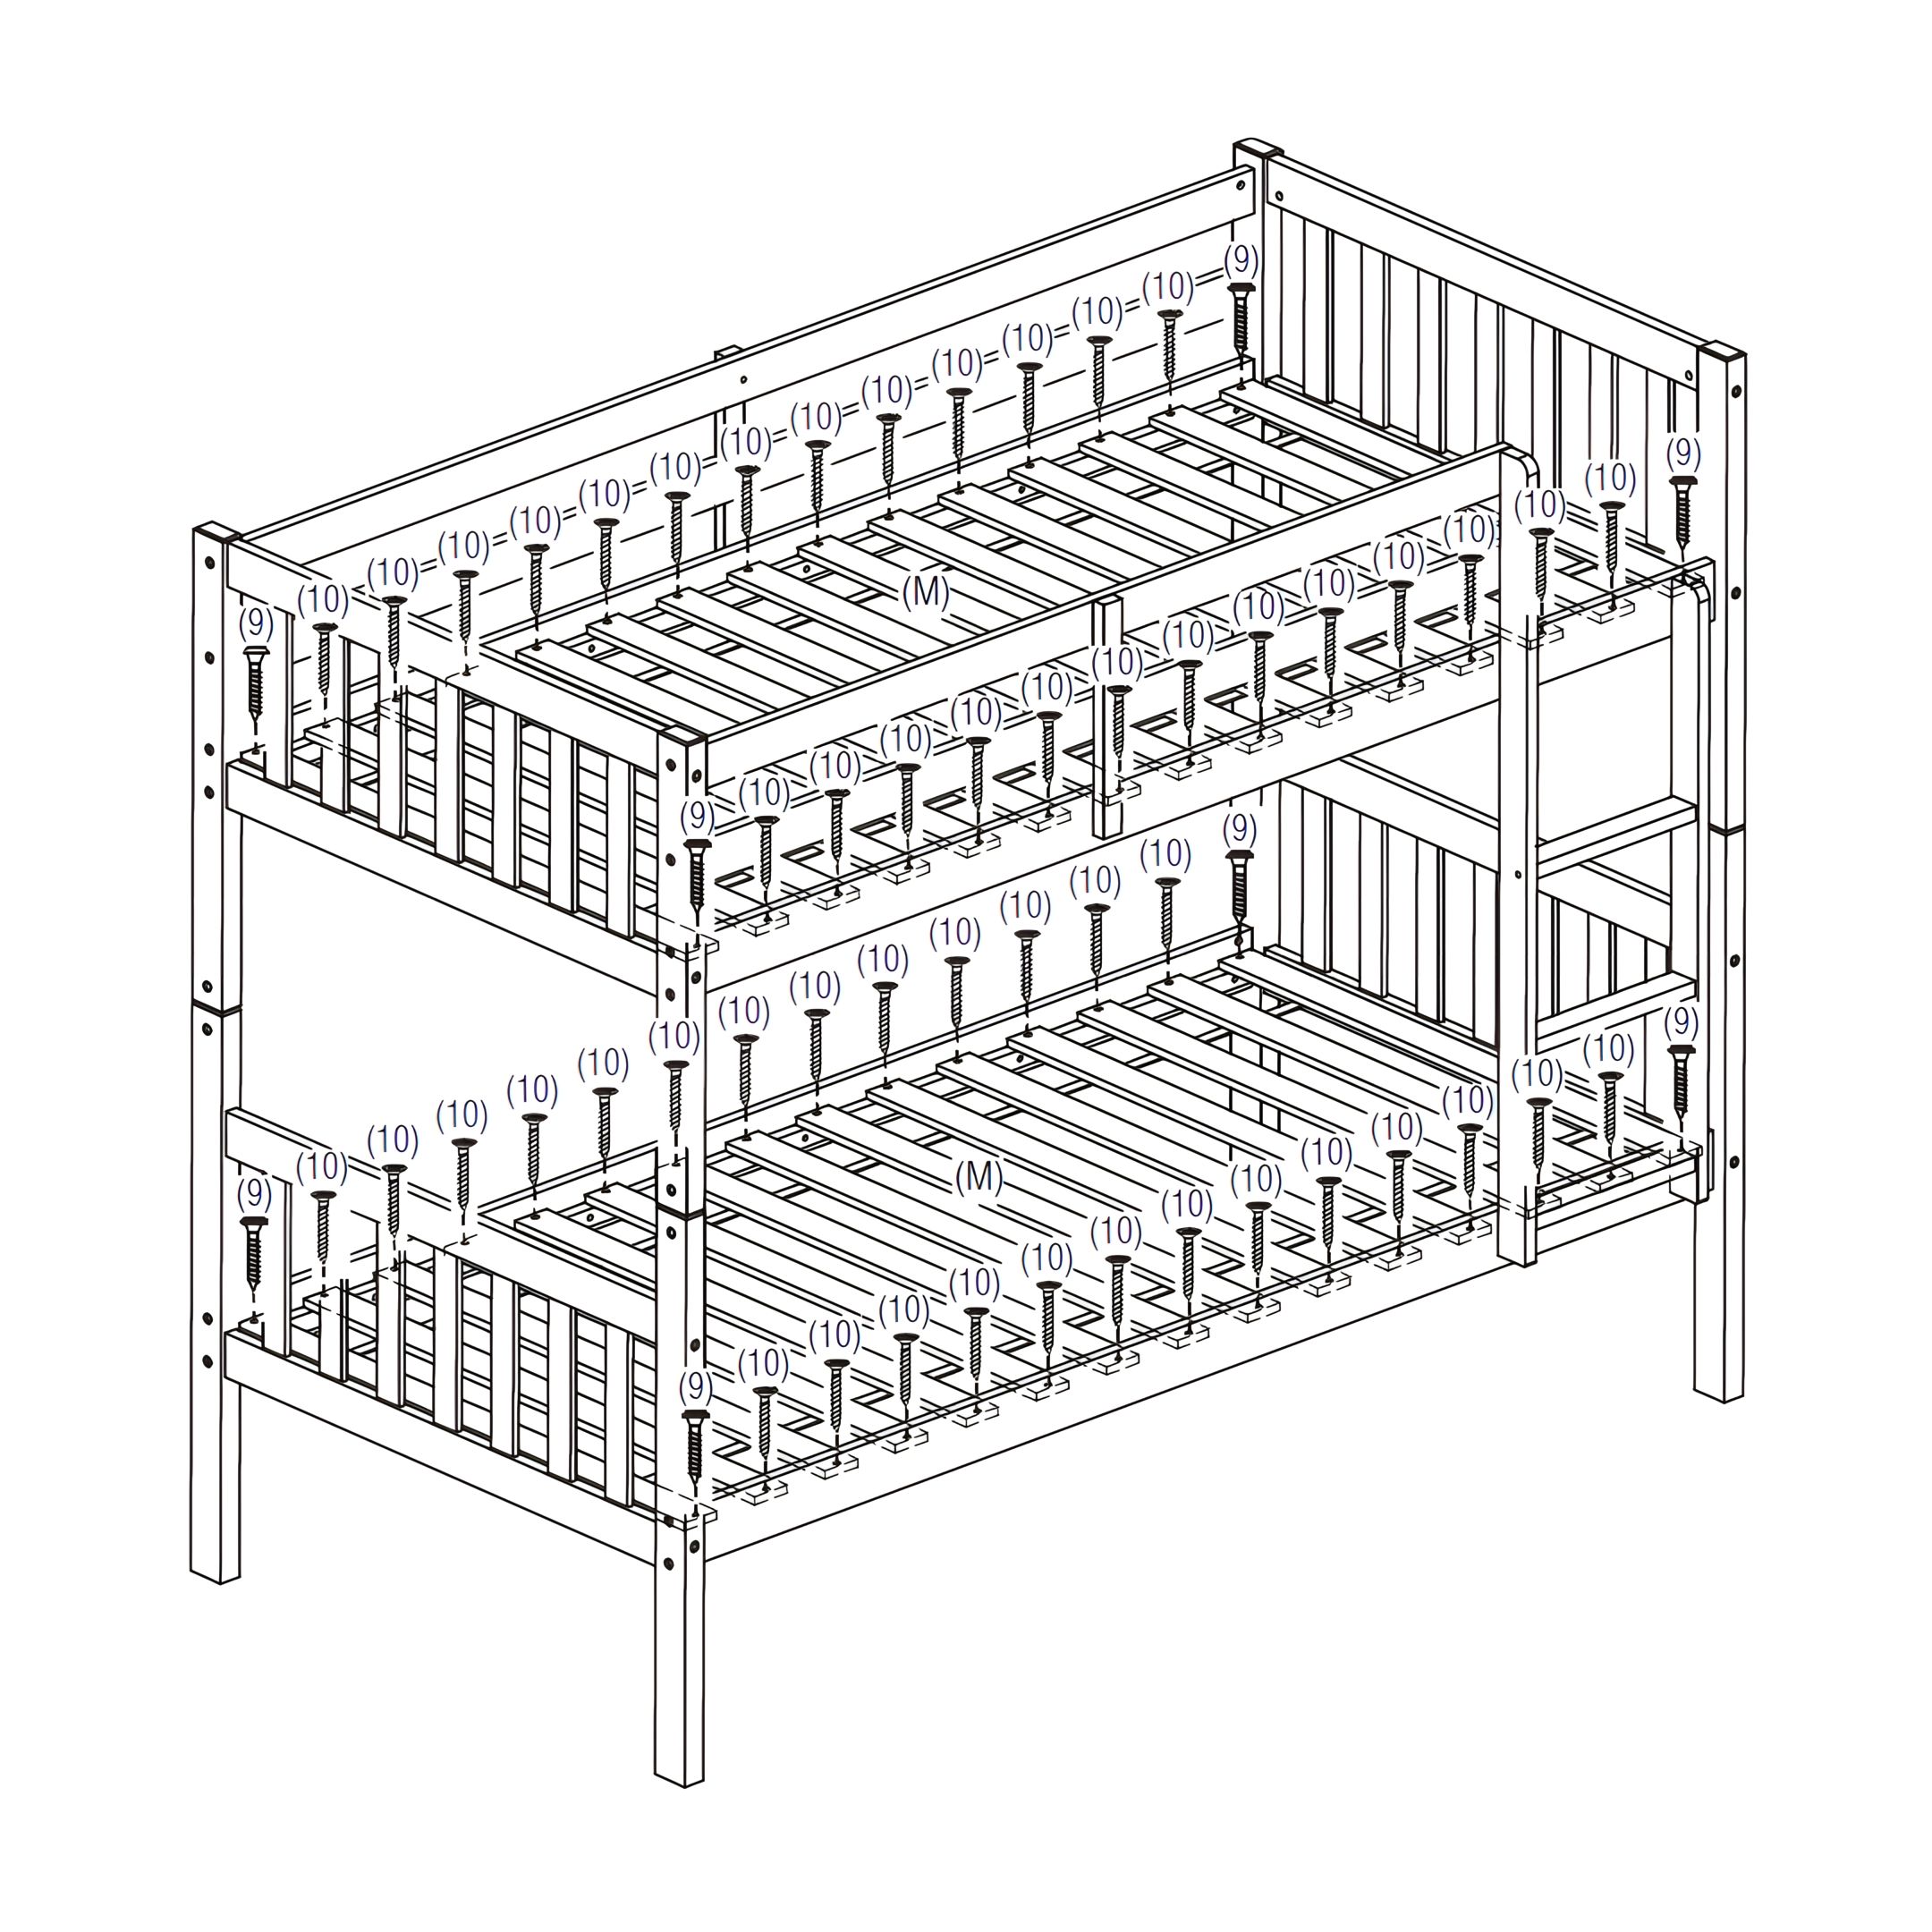
5. Position (F) Guardrail Spindle at the center of the front and the back guardrail and secure it in place with (5) JCBC Bolts.
6. Use (12) Allen Key to tighten all bolts securely.

3. Assemble the Lower Bunk End Frames

1. Insert (3) Wooden Dowels into the ends of (C) Headboard/Footboard Panels.
2. Align the panels with (B) Lower Posts.
3. Insert (2) Barrel Nuts into the posts.
4. Secure with (1) JCBC (M6 x 100mm) Bolts and use (12) Allen Key to tighten.

4. Assemble the Lower Bunk

1. Insert (3) Wooden Dowels into the ends of (I) Lower Side Rails (Front & Back).
2. Align the side rails with the (B) Lower Posts and insert (2) Barrel Nuts into each post.
3. Secure the side rails using (4) JCBC Bolts on each side.
4. Use (12) Allen Key to tighten all bolts securely.

5. Join the Upper & Lower Bunk

1. Insert (6) Metal Pins into the top of each (B) Lower Post.
2. Carefully lift the Upper Bunk Frame and align it with the Lower Bunk Frame, ensuring the metal pins fit securely into the (A) Upper Posts.
3. Secure the connection using (7) JCBC (M6 x 25mm) Bolts at each post.
4. Use (12) Allen Key to tighten all bolts securely.

6. Assemble the Ladder

1. Insert (3) Wooden Dowels into both ends of each (L) Ladder Step.
2. Align the ladder steps with (J) Ladder Rail (Long) and (K) Ladder Rail (Short).
3. Secure each step using (8) JCBC-W Screws.
4. Use (12) Allen Key to tighten all bolts securely

7. Attach the Ladder to Upper & Lower Bunk

1. Position the assembled Ladder against the bunk bed frame, ensuring it aligns with the designated attachment points.
2. Secure the ladder to the Upper Side Rail (G) and Lower Side Rail (I) using (8) JCBC-W Screws.
3. Use the screwdriver to tighten all bolts securely.

8. Assemble the Slats to the Upper & Lower Bunk

1. Position the (M) Set of Slats evenly across the upper and lower bunk frames.
2. Secure each slat using (9) JCBC-W Screws on the corner and (10) CSK Screws on the rest.
3. Ensure all slats are firmly attached before use.
4. Use a screwdriver to tighten all bolts securely.

9. Optional Use of Bunk Bed as Separate Twin Beds

1. Disassemble the Upper Bunk Frame from the Lower Bunk Frame by removing the (6) Metal Pins and (7) JCBC (M6 x 25mm) Bolts.
2. Fit the (11) Wooden Buttons into the holes at the top of the posts for a finished look.

time4sleep
time4sleep (opens in new tab)Terms (opens in new tab)Privacy (opens in new tab)