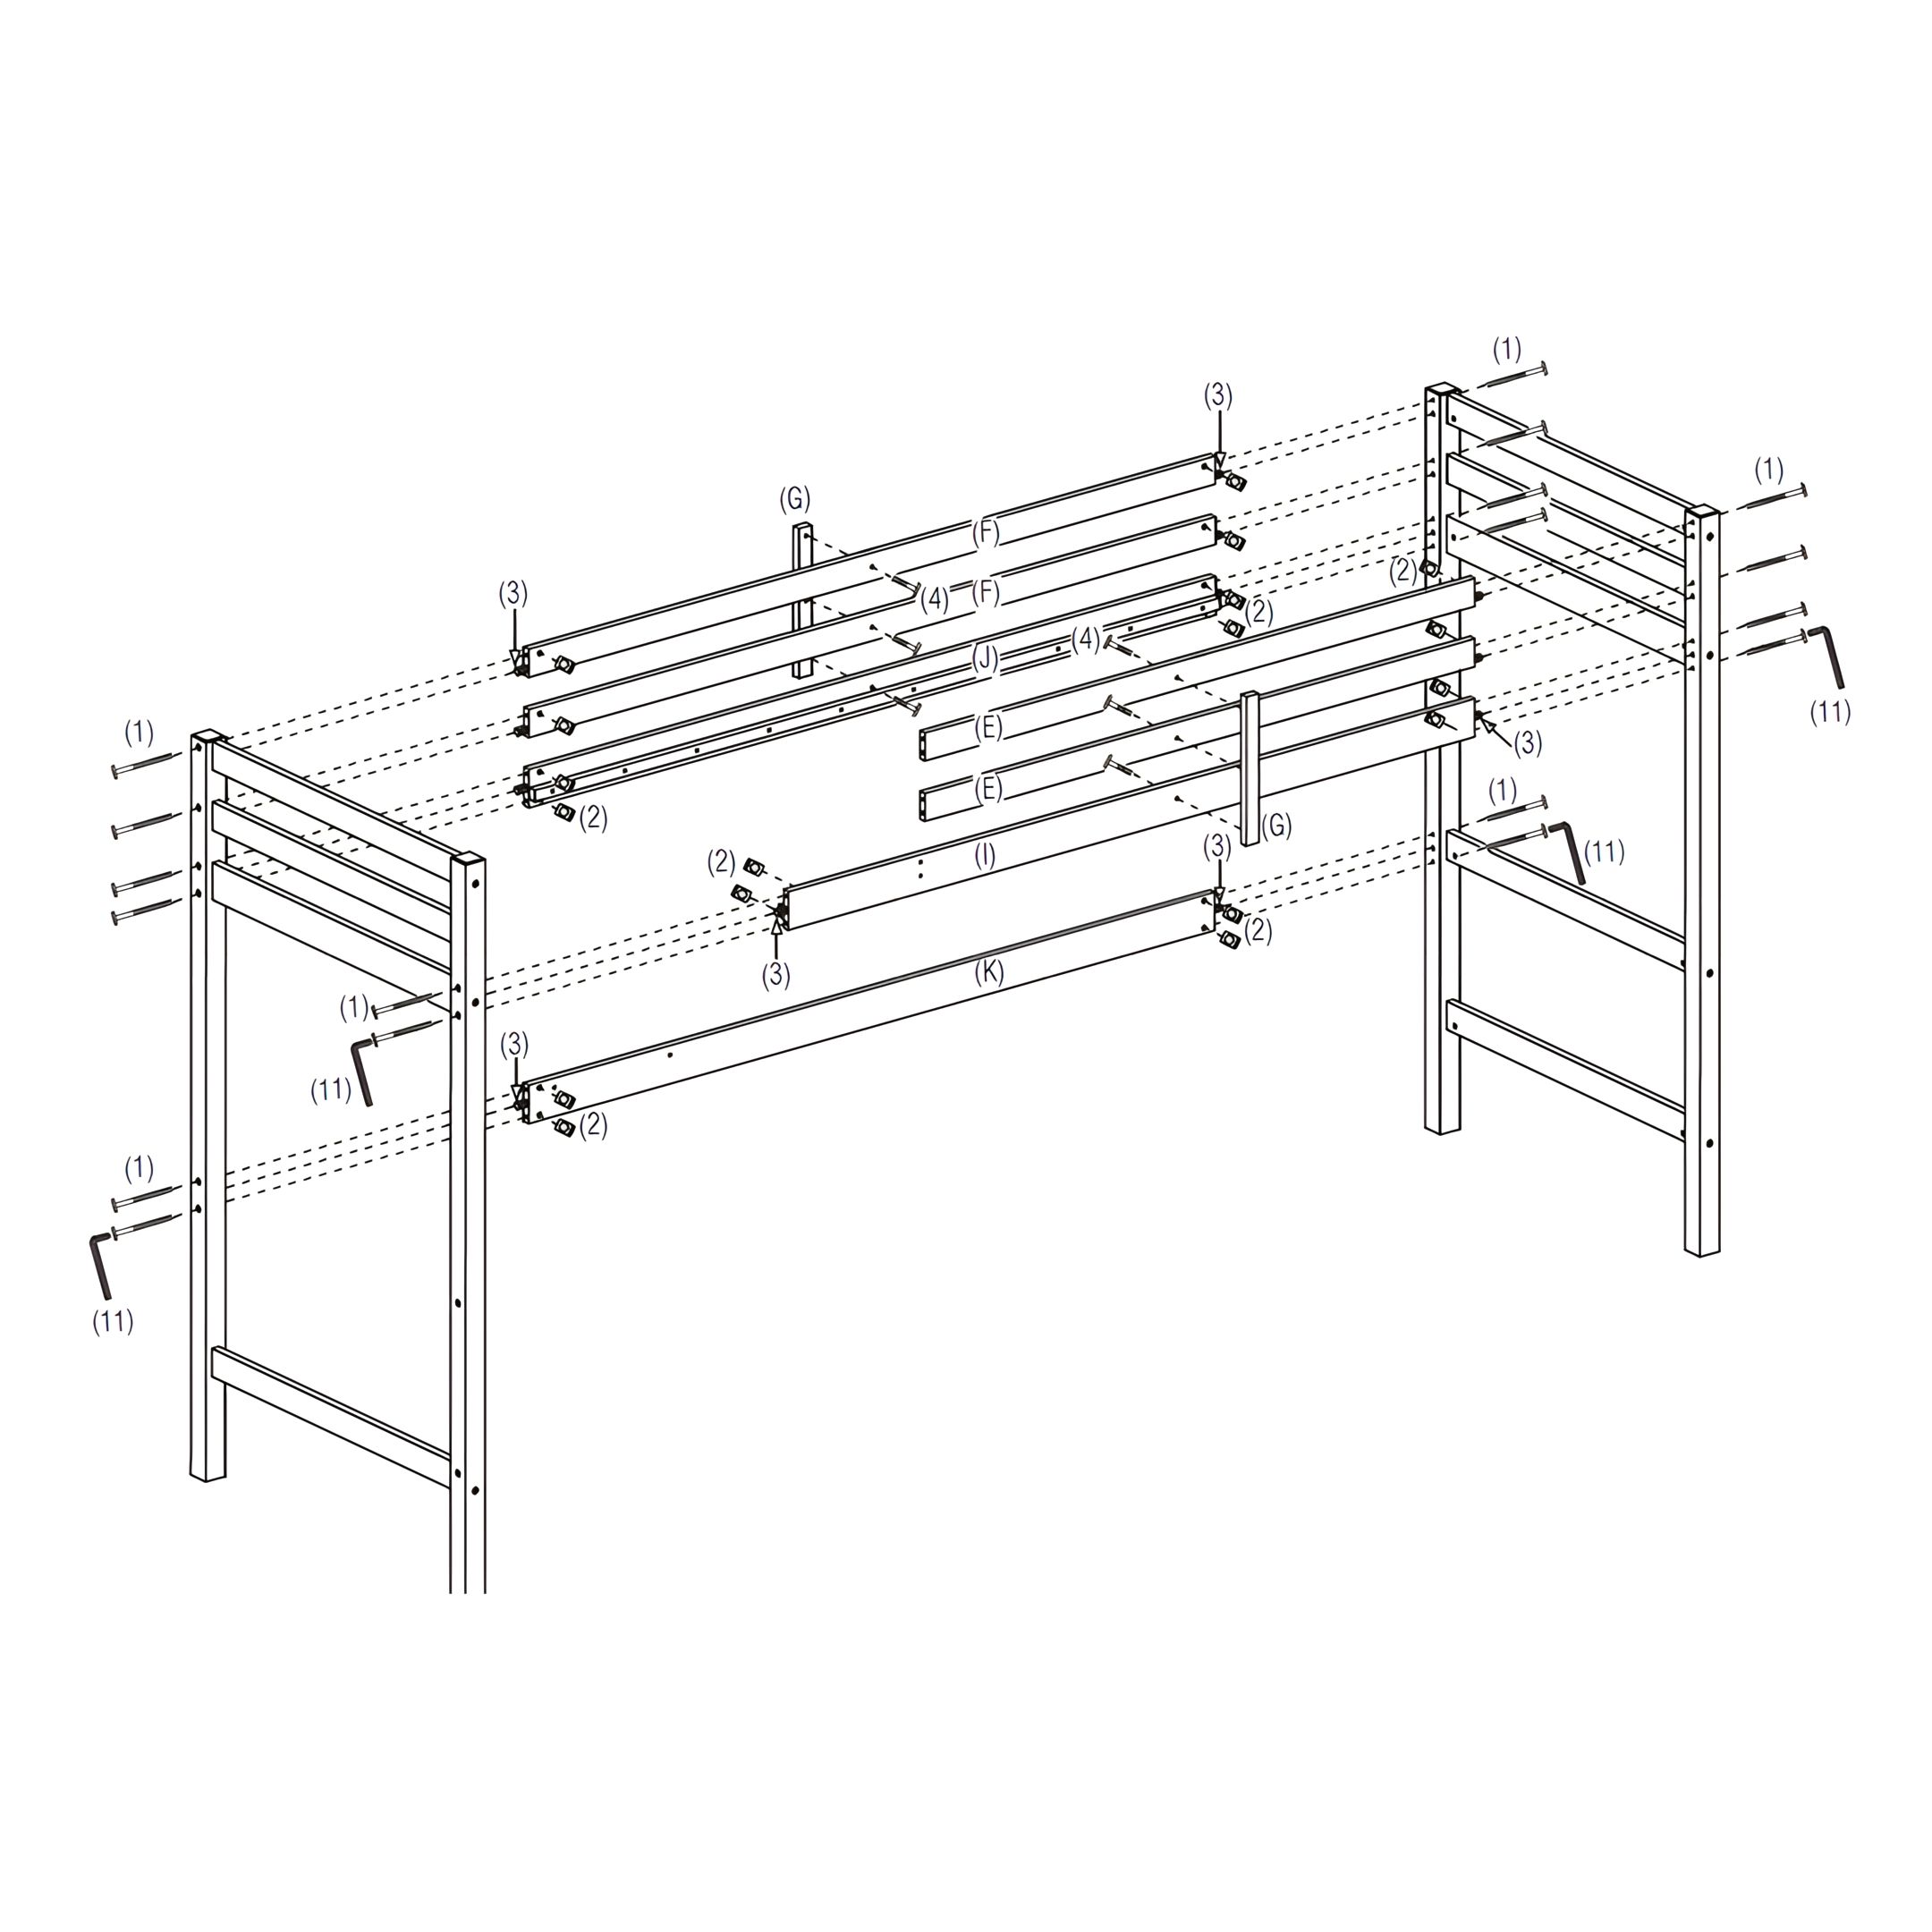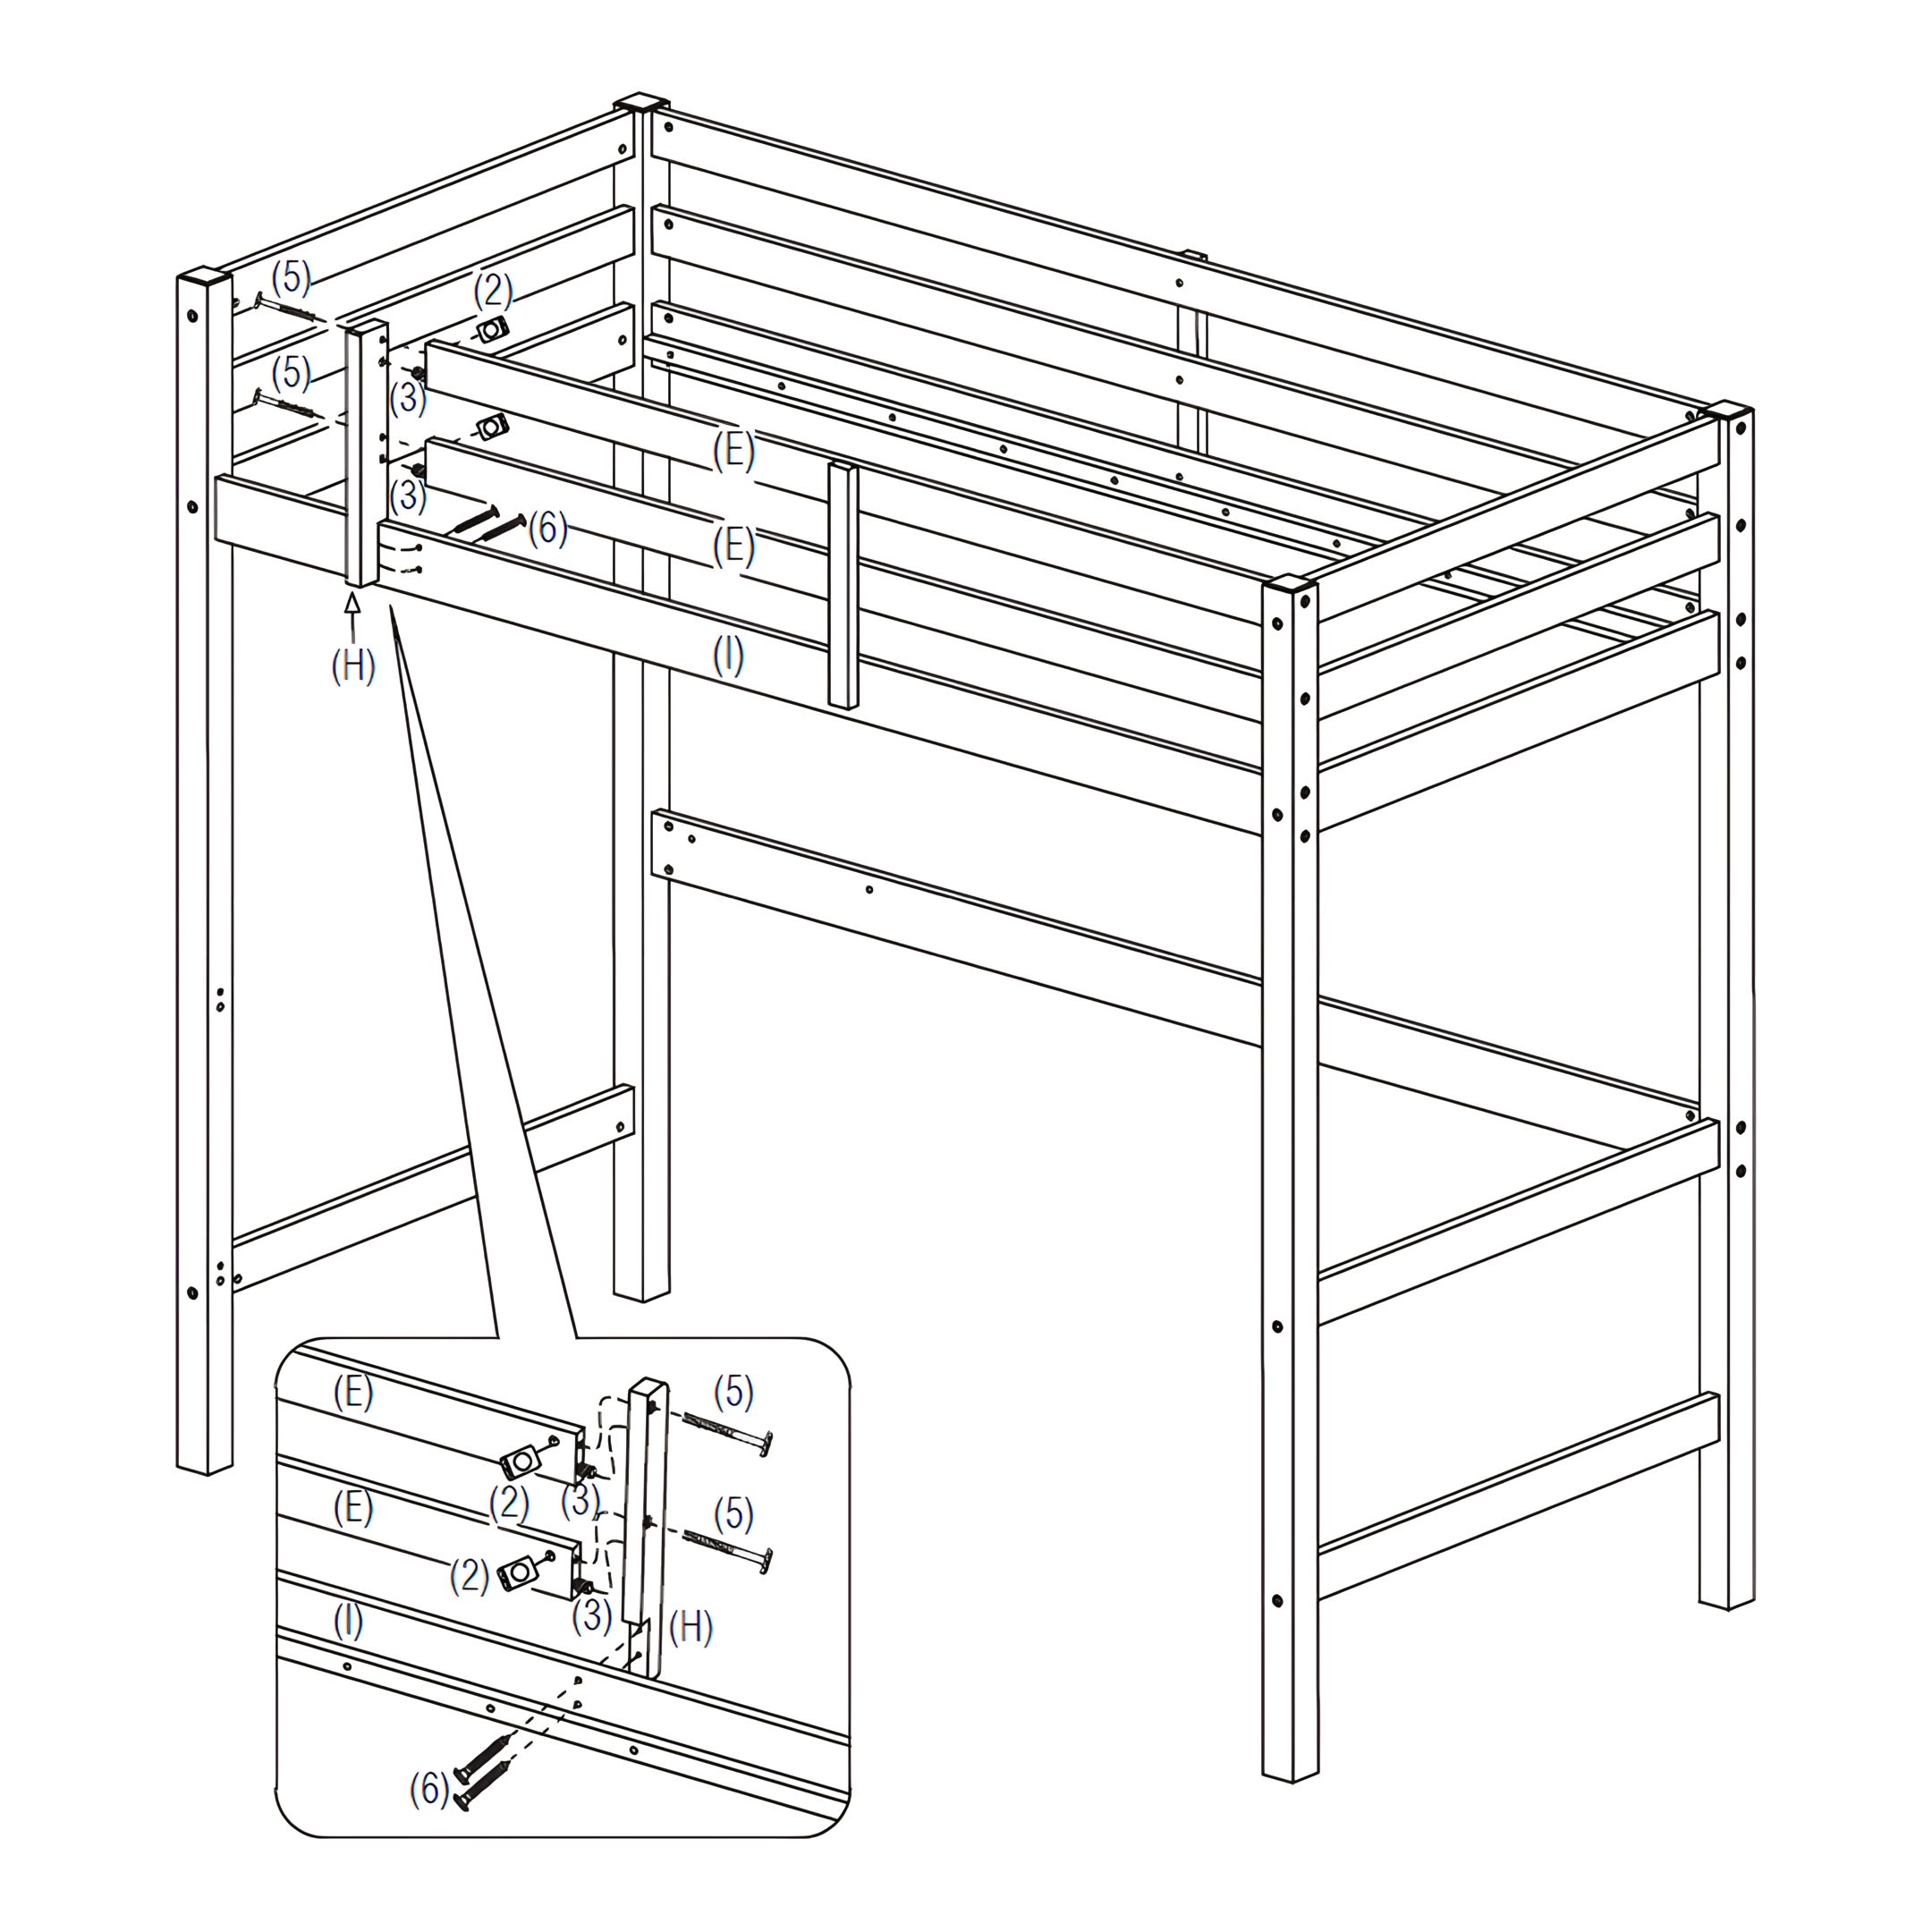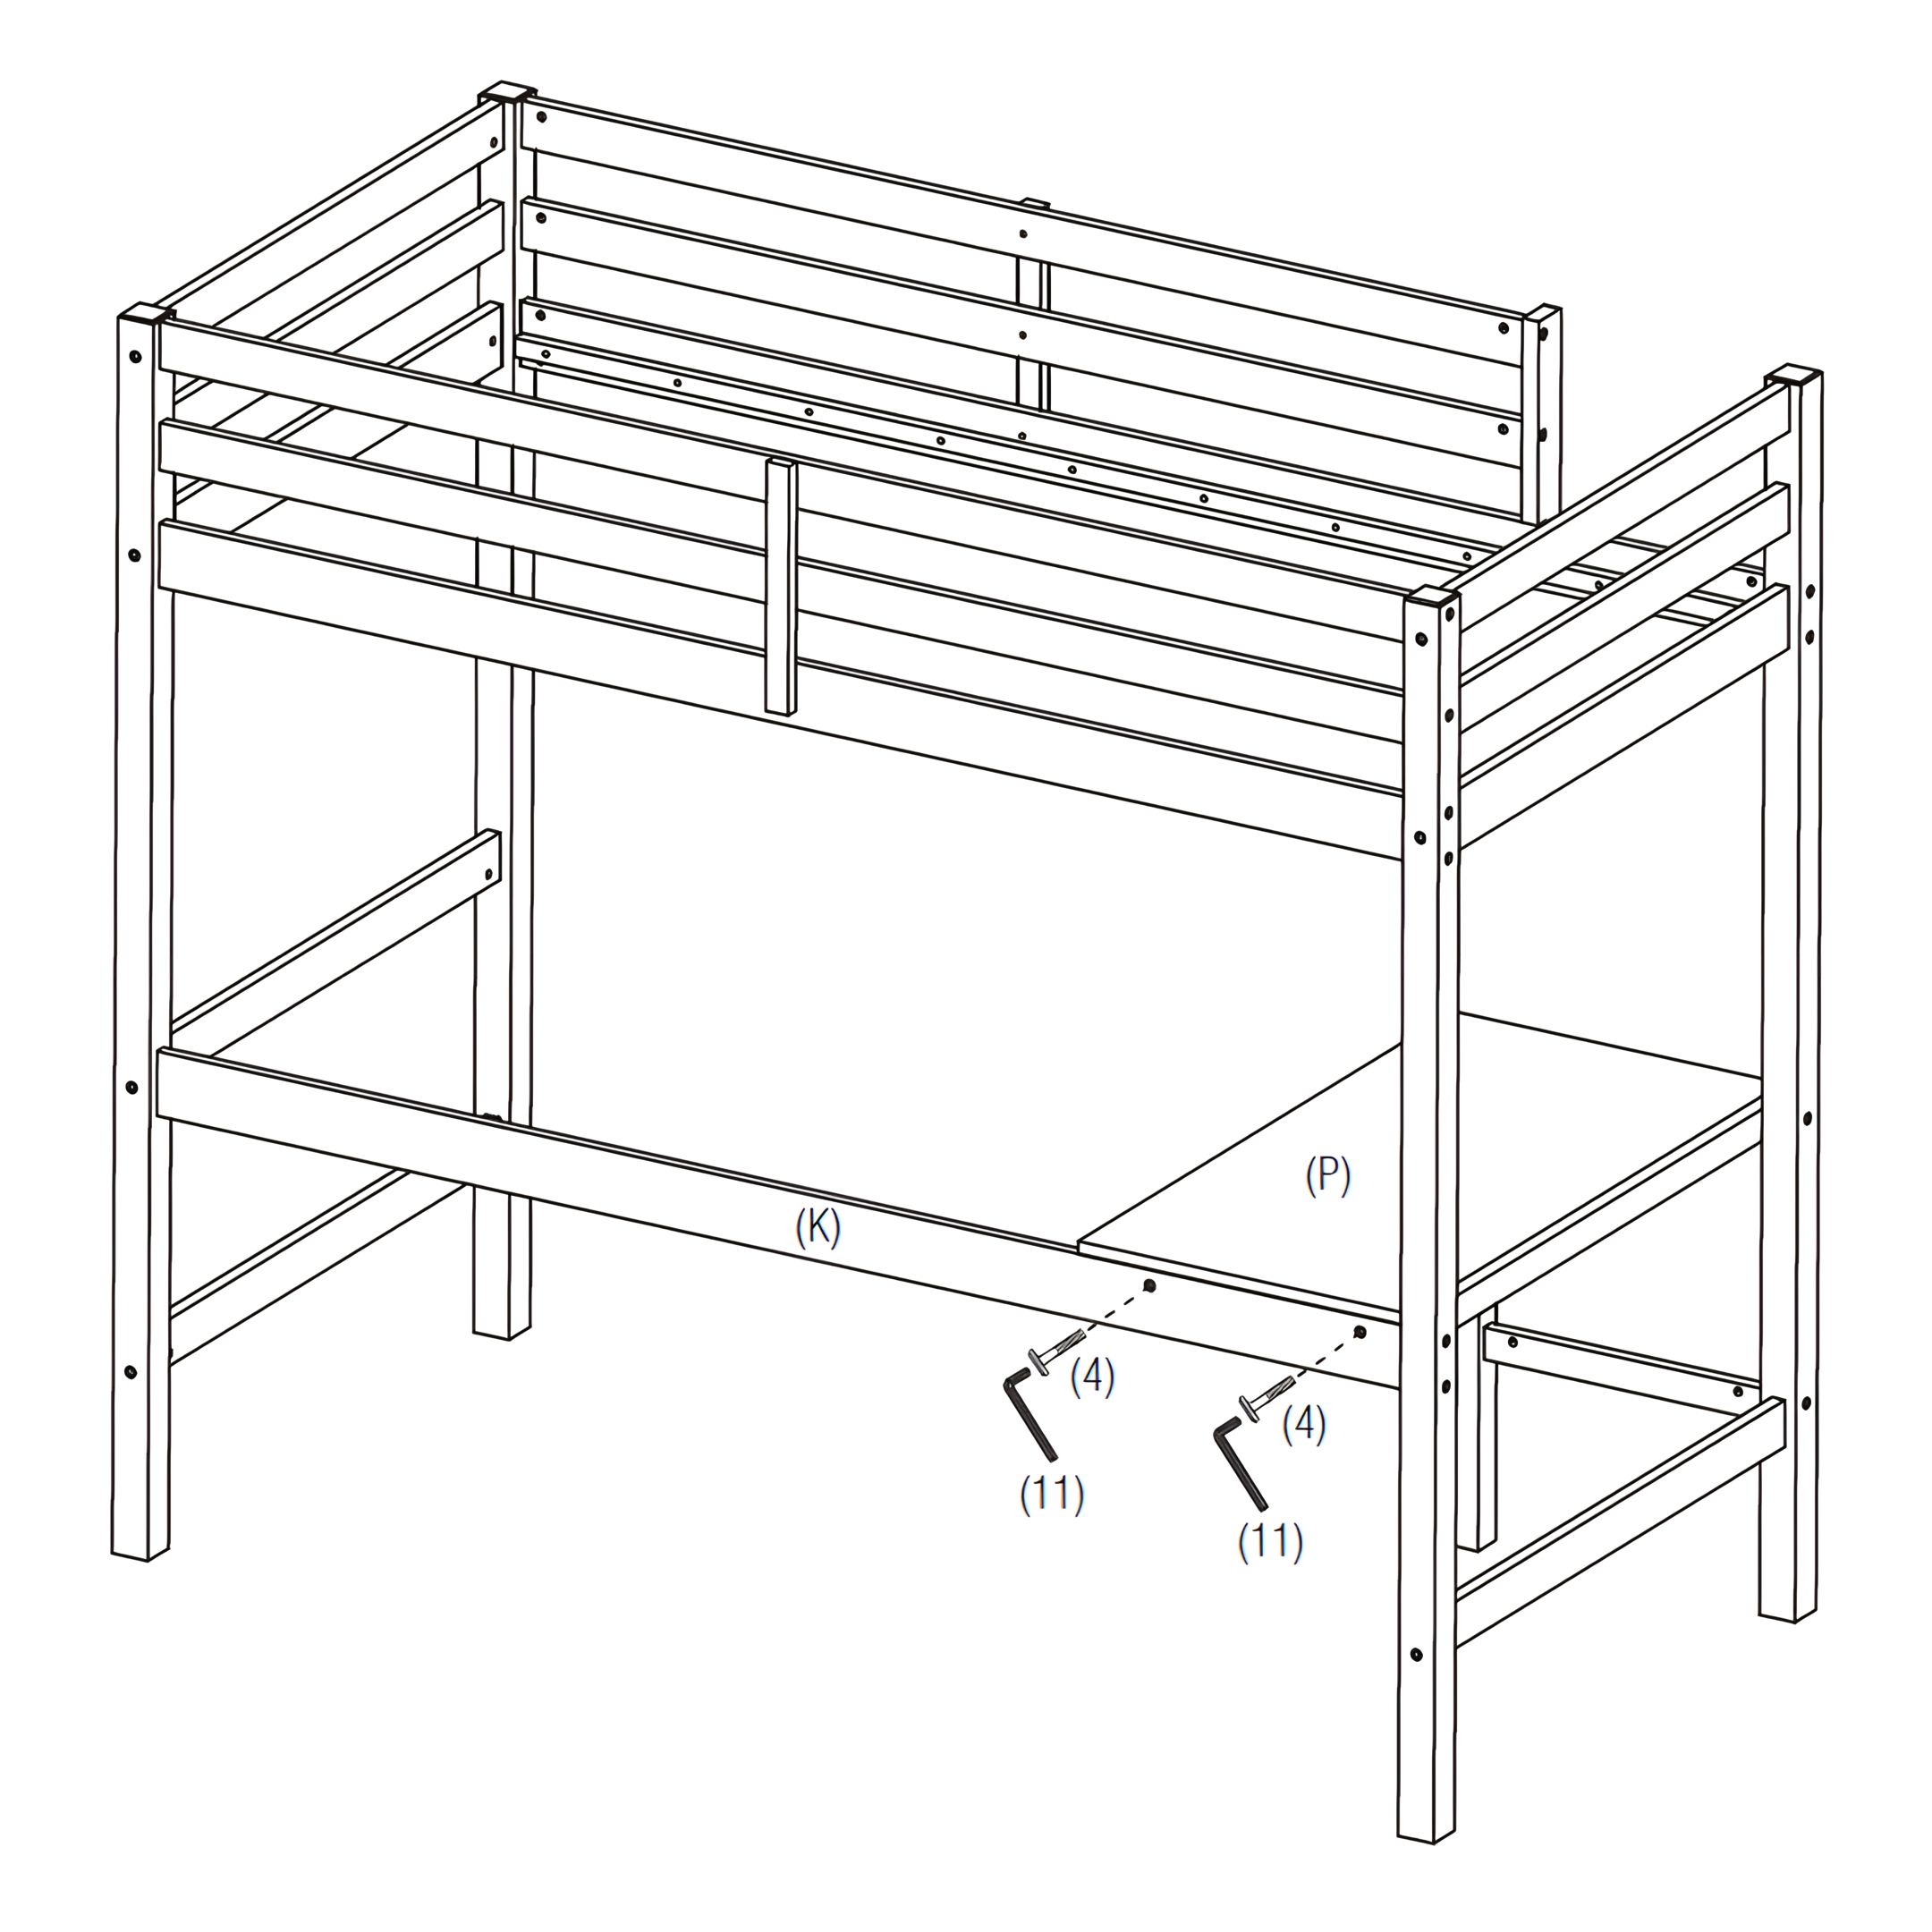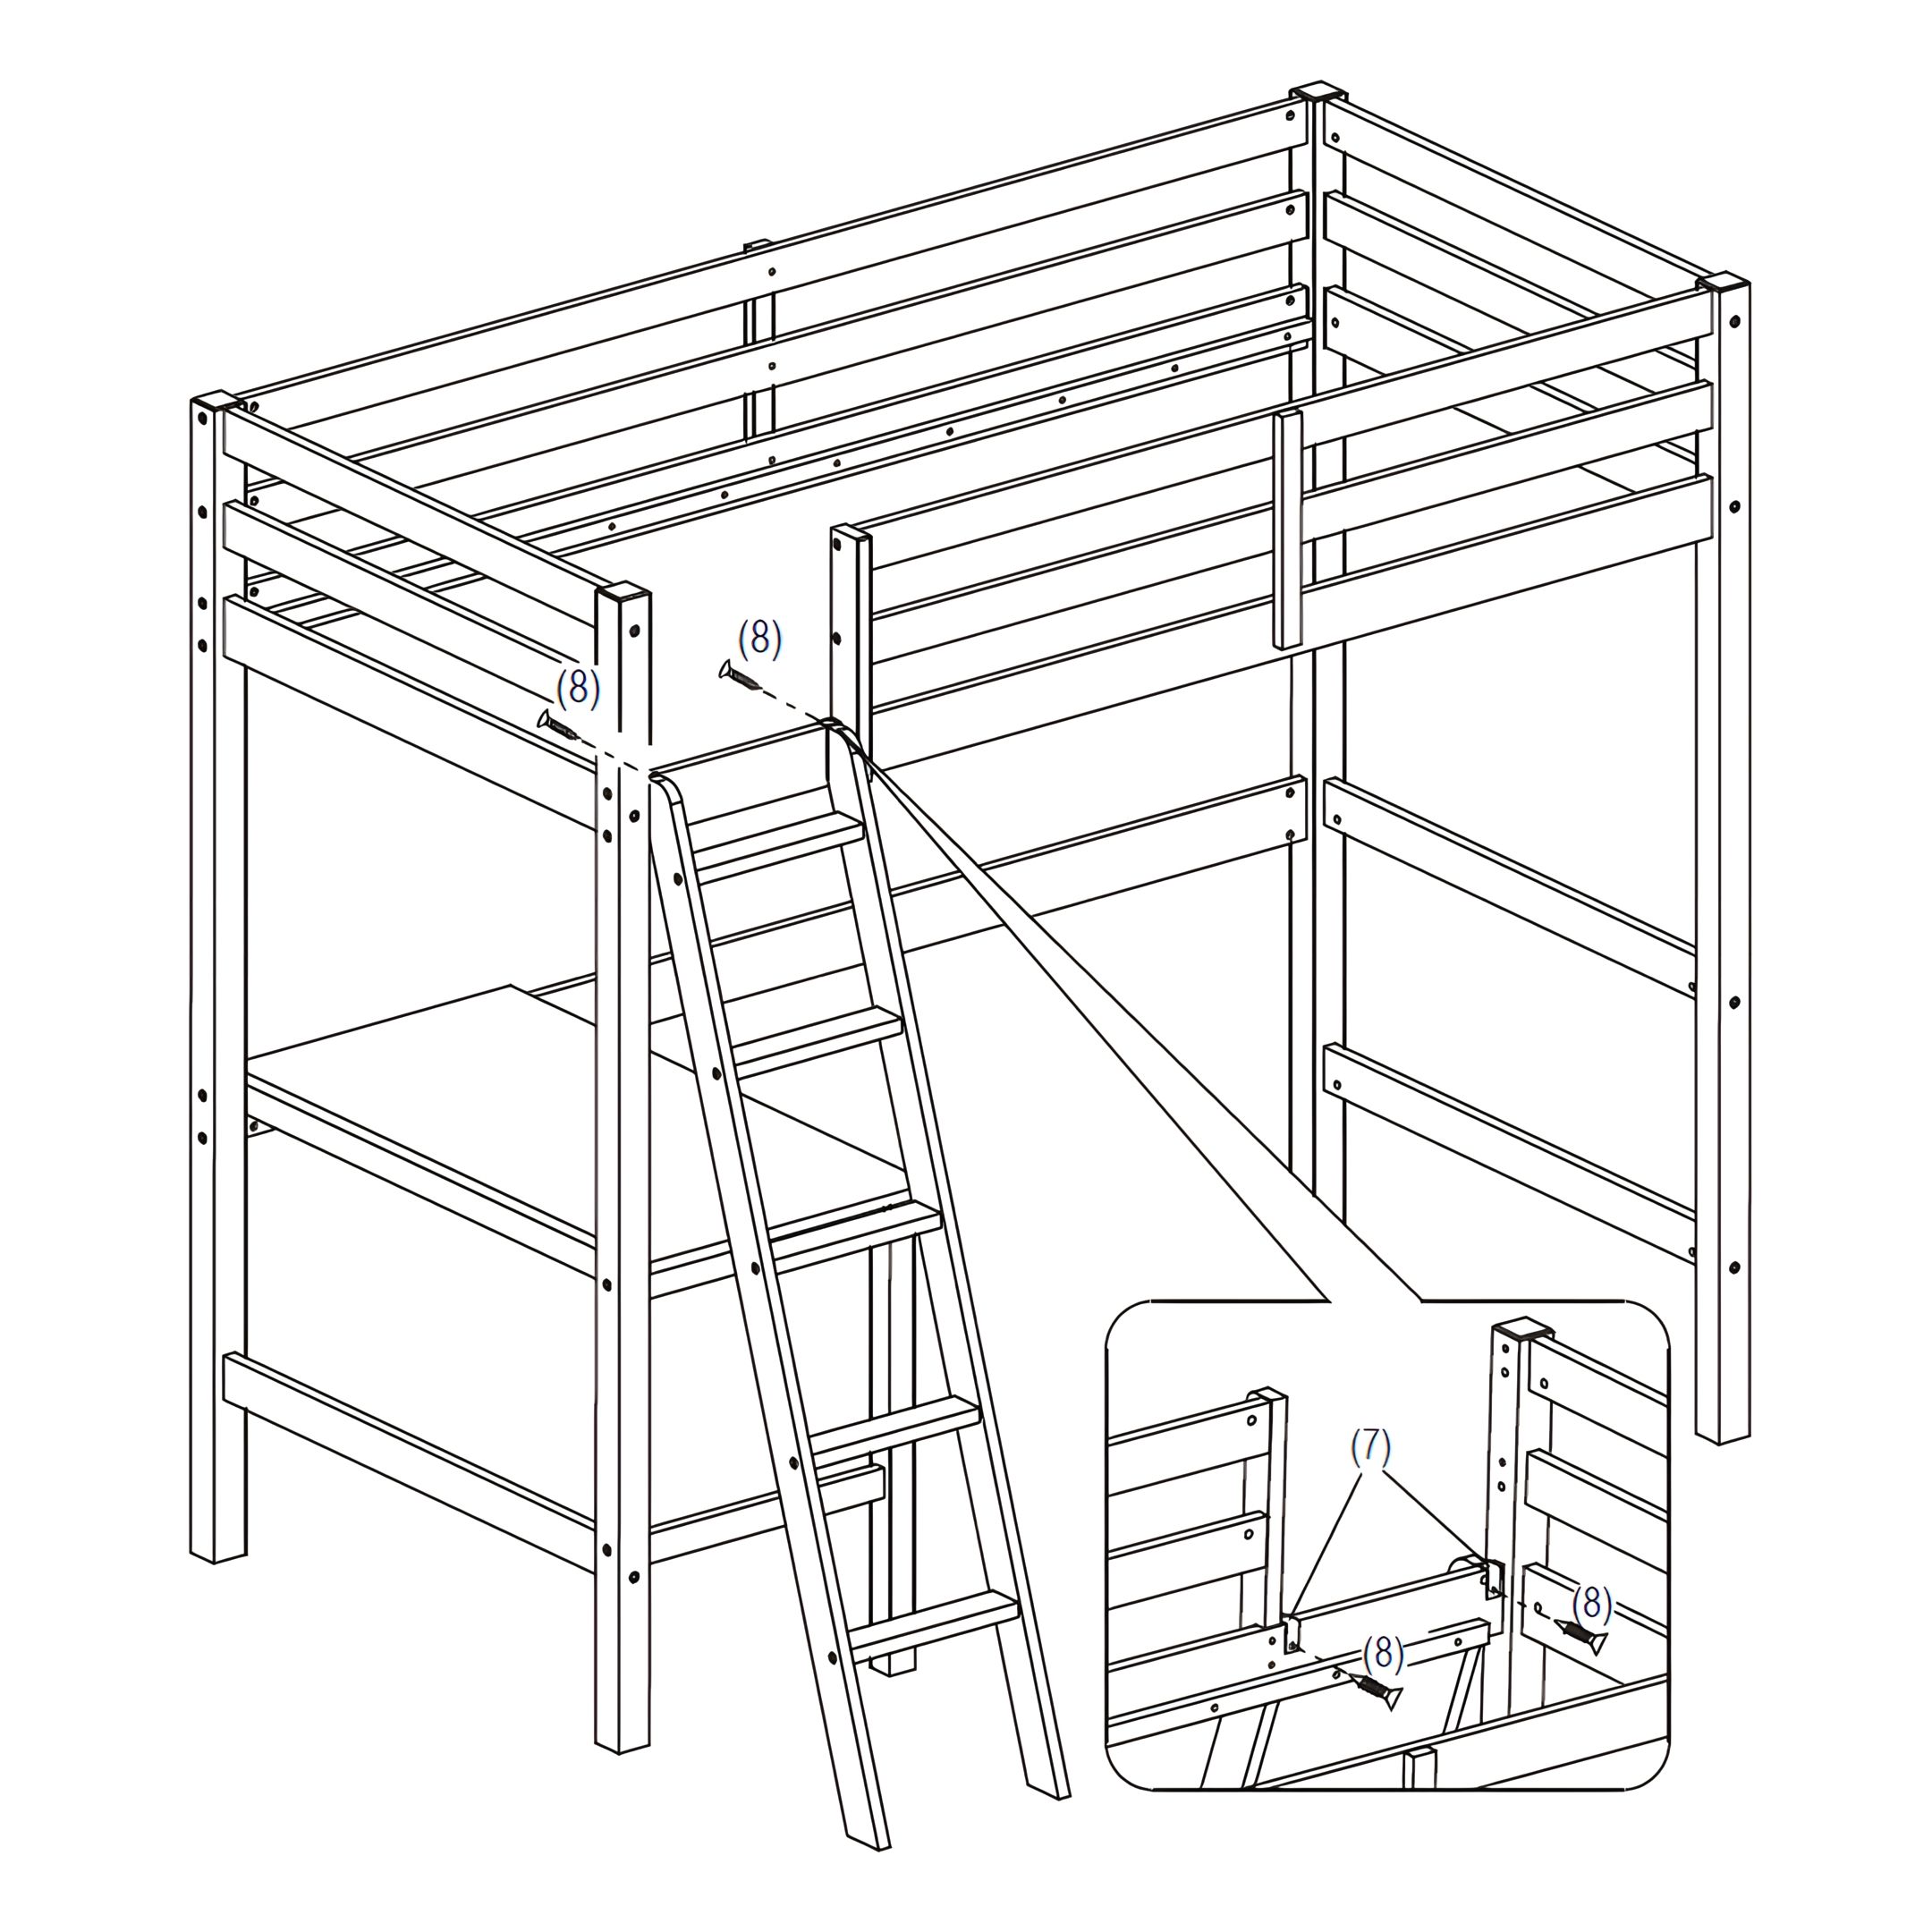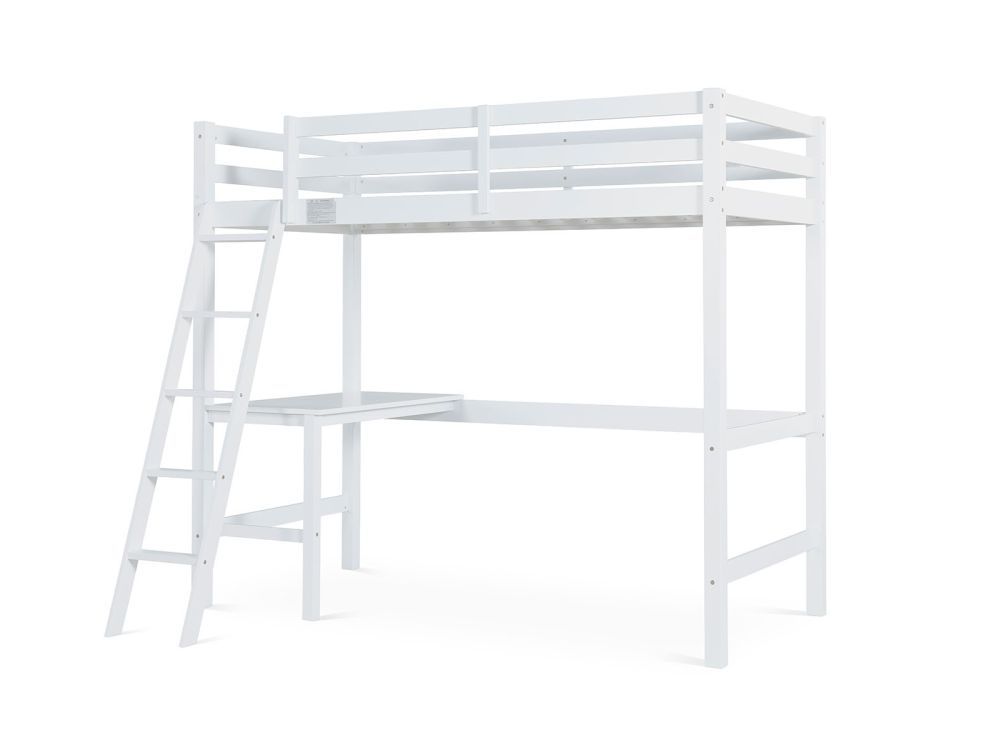


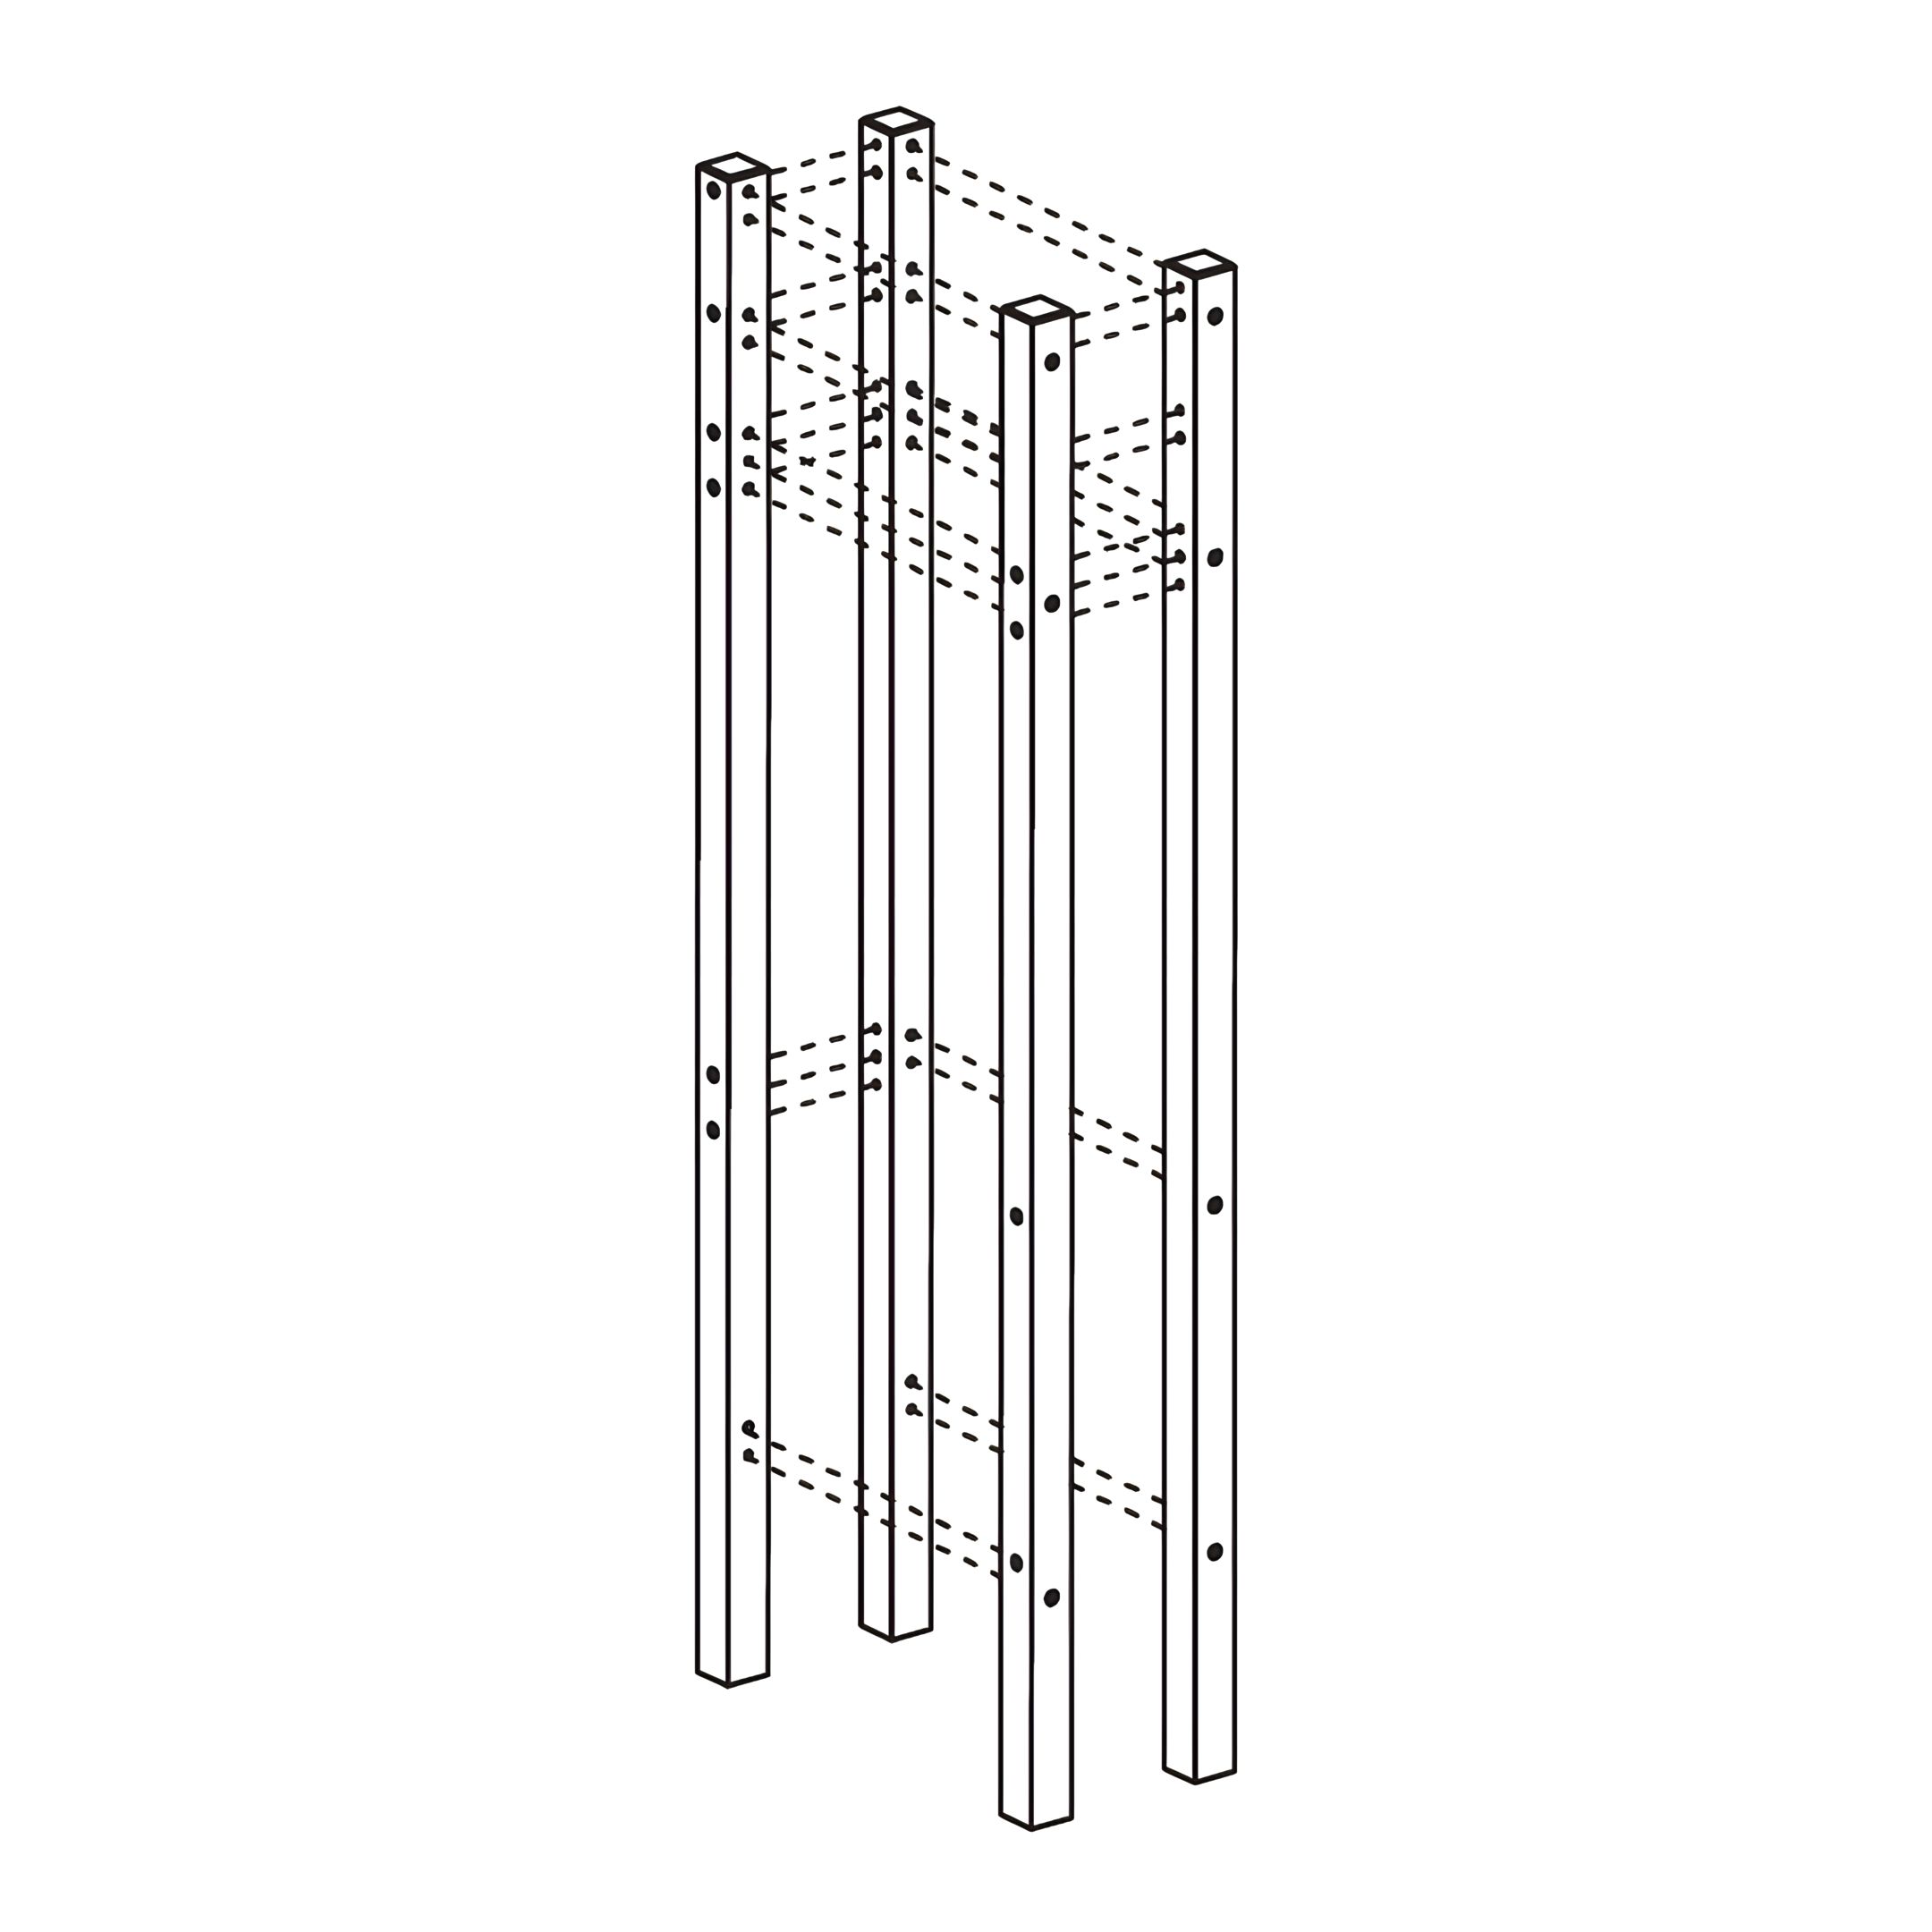

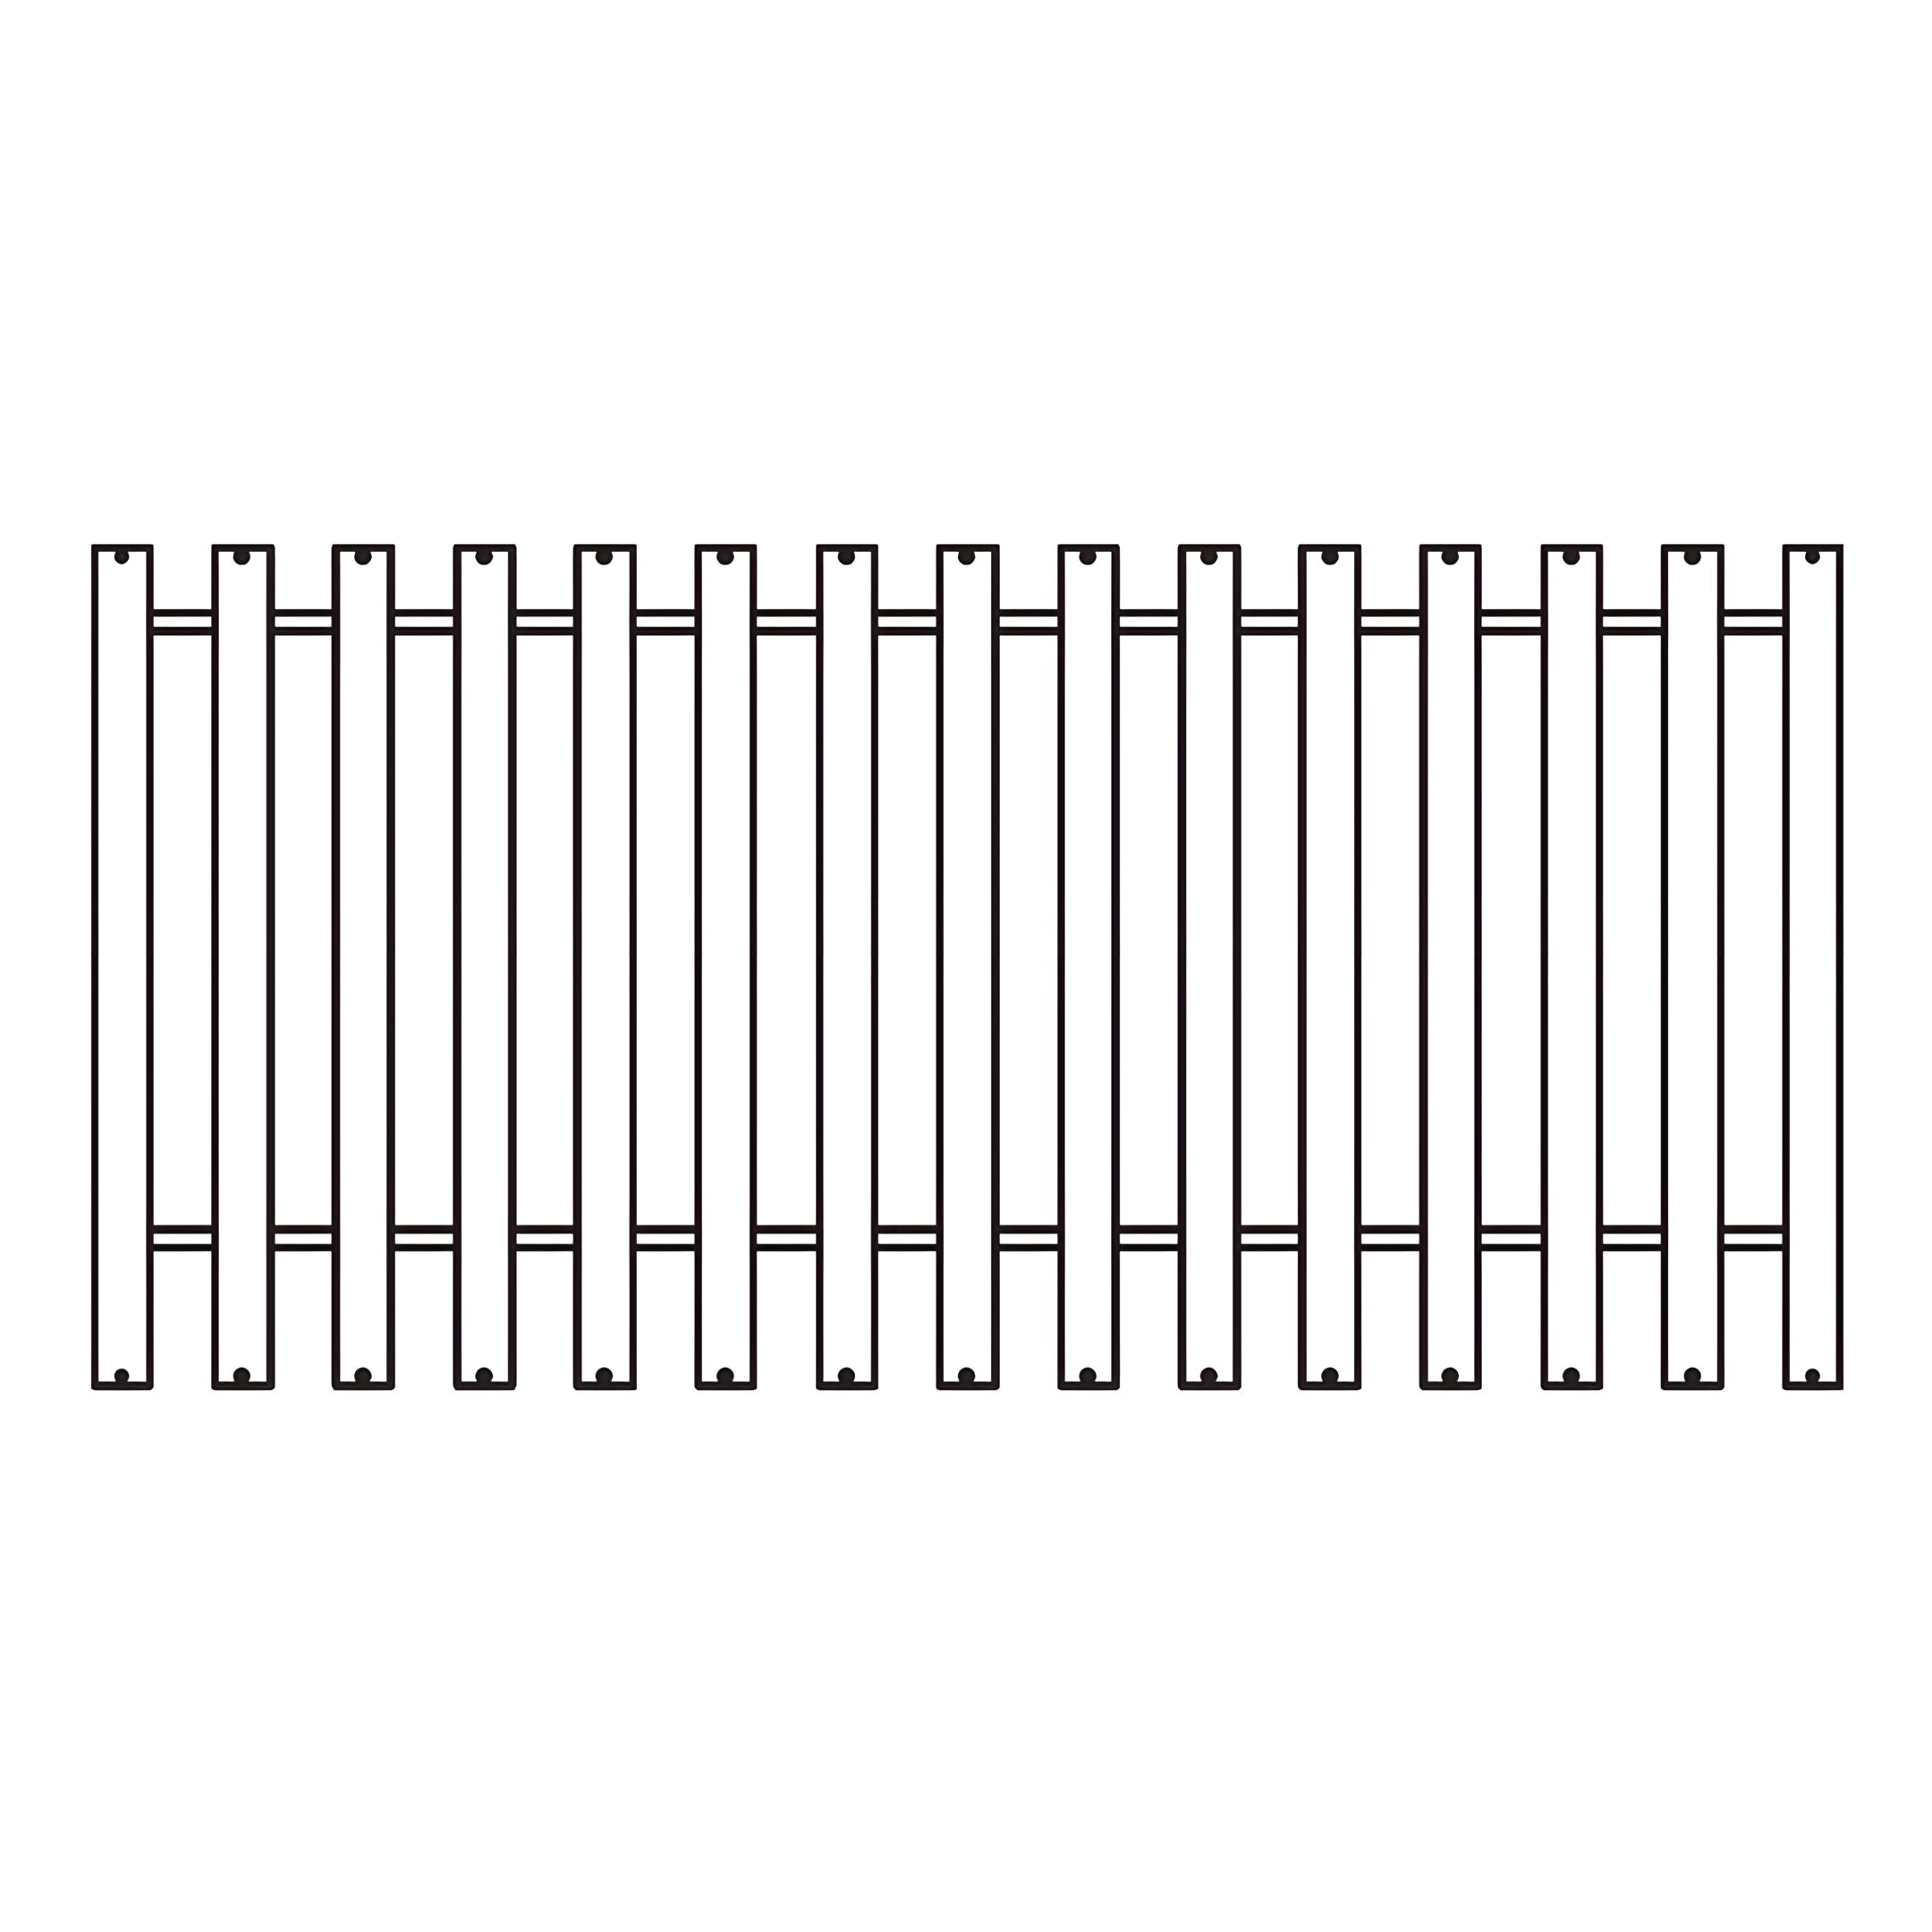
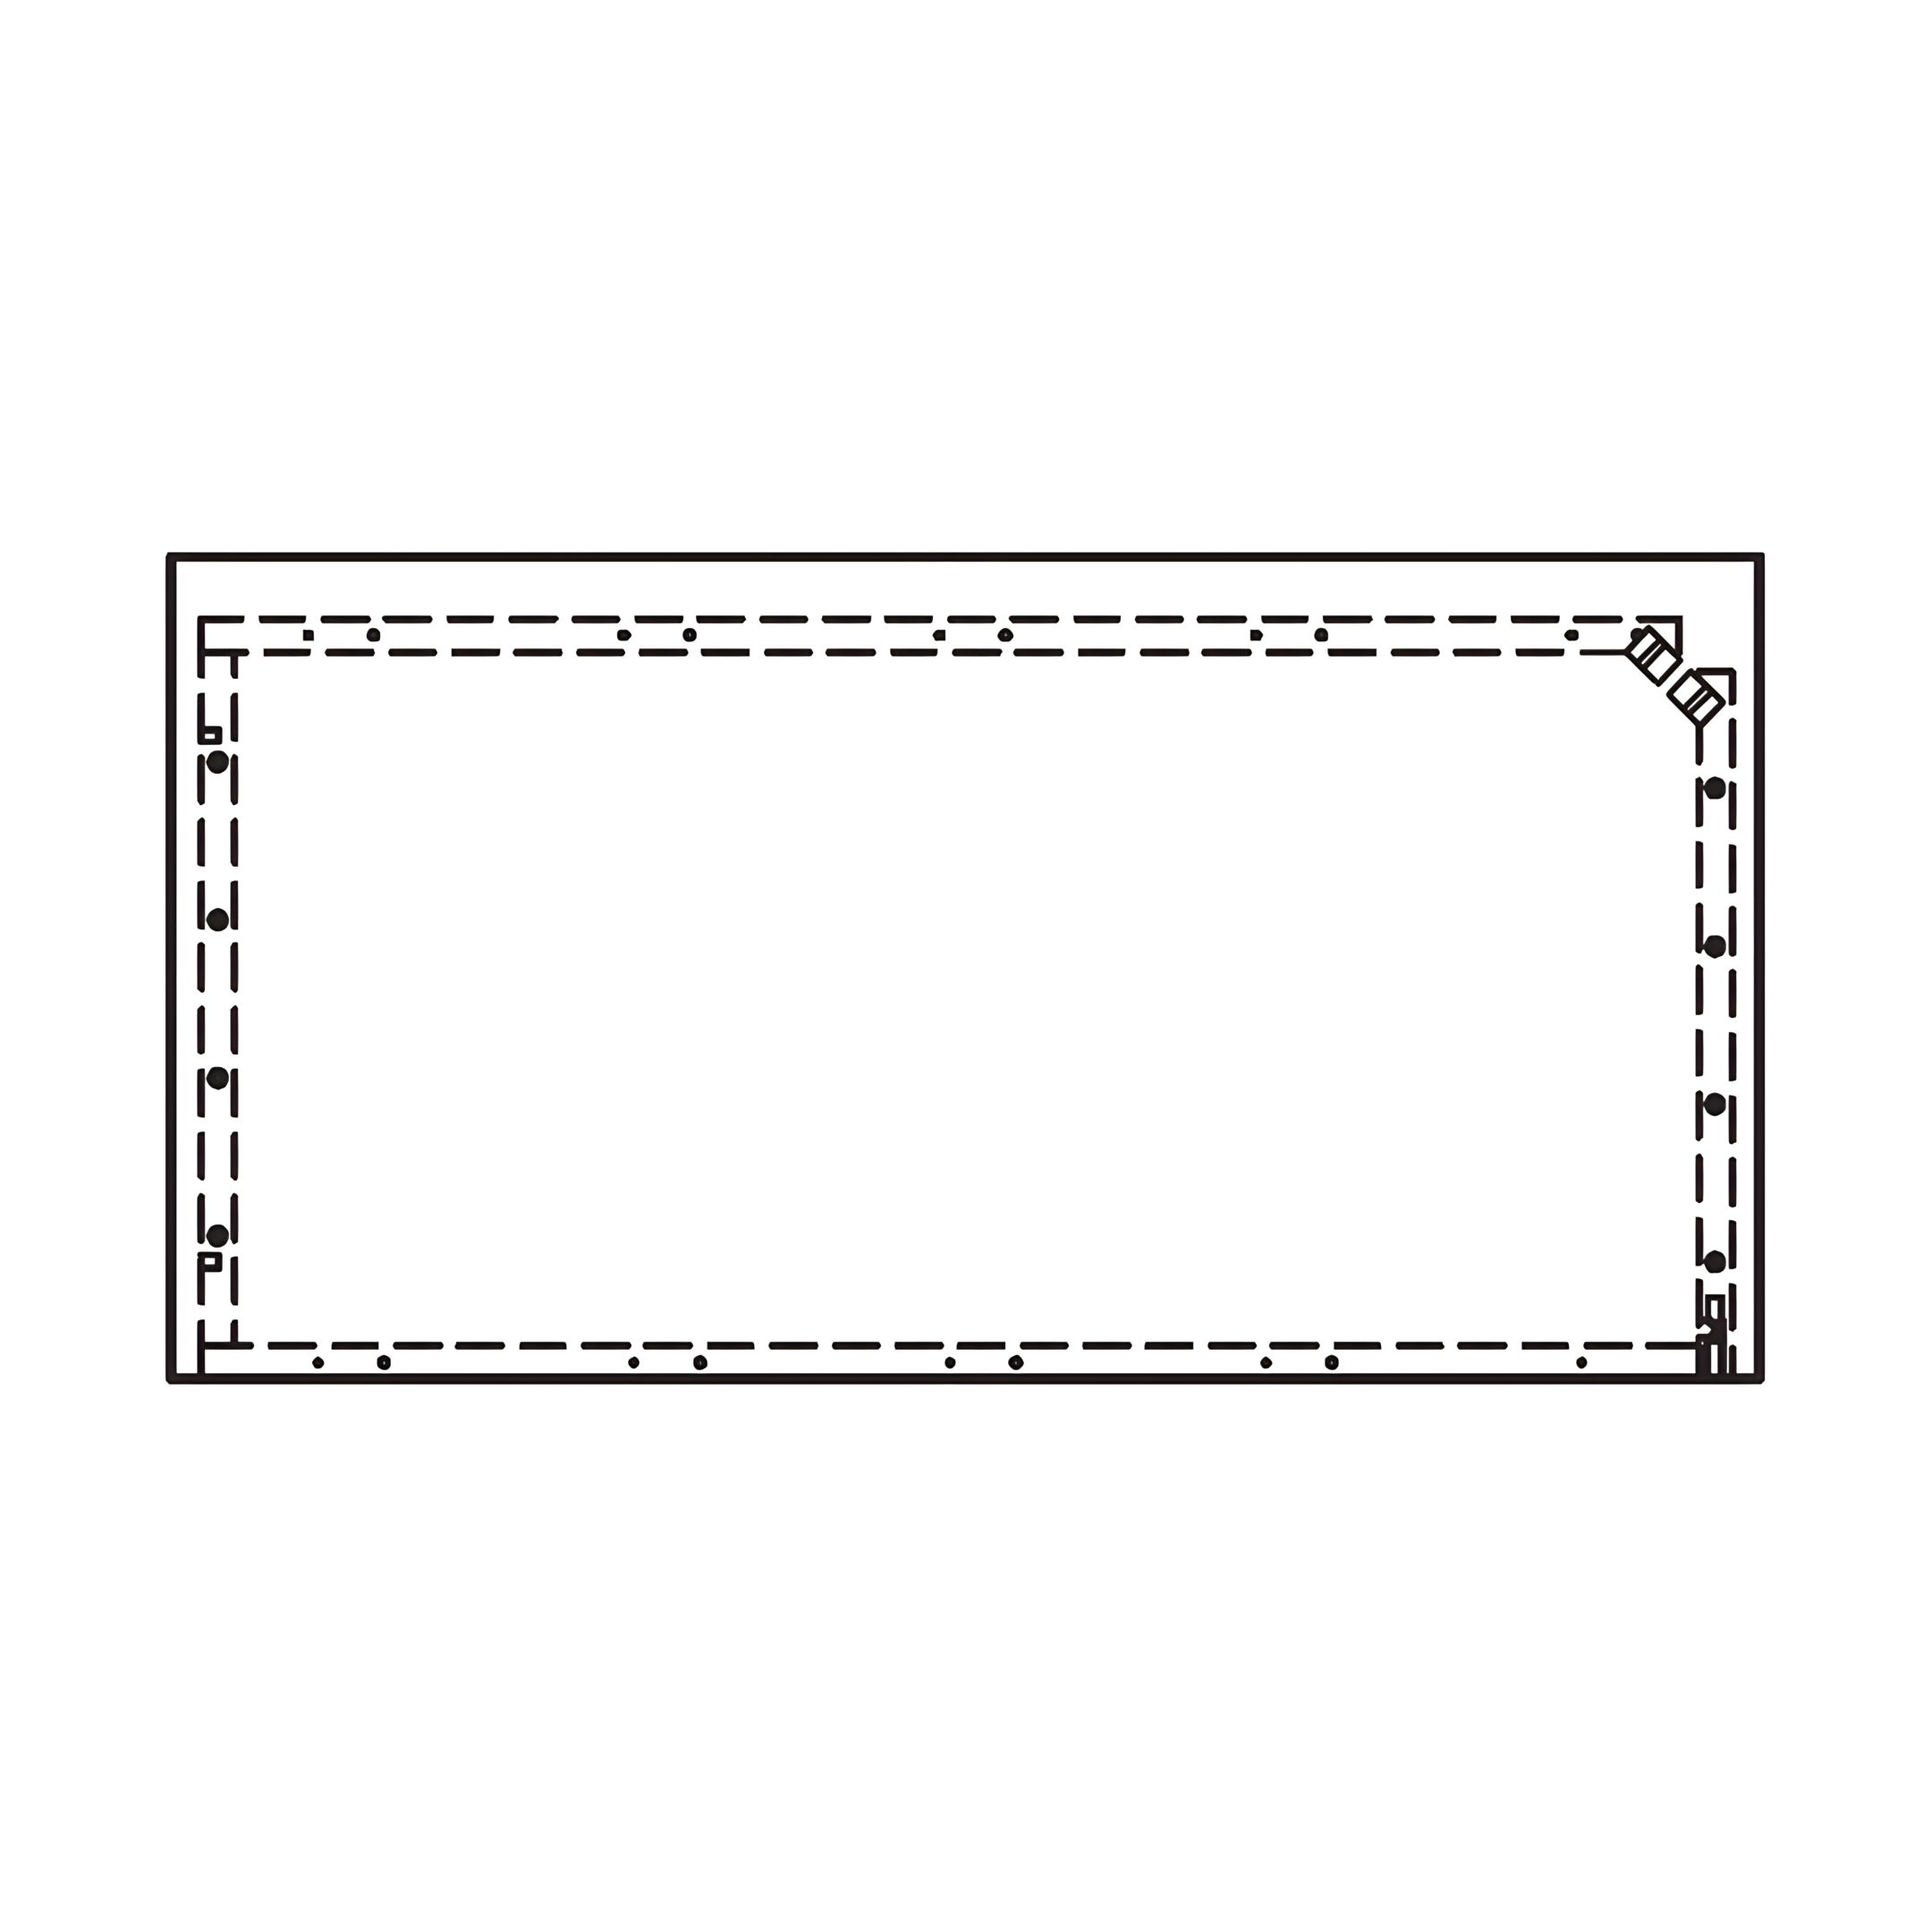

1. Assemble the Bunk End Frames
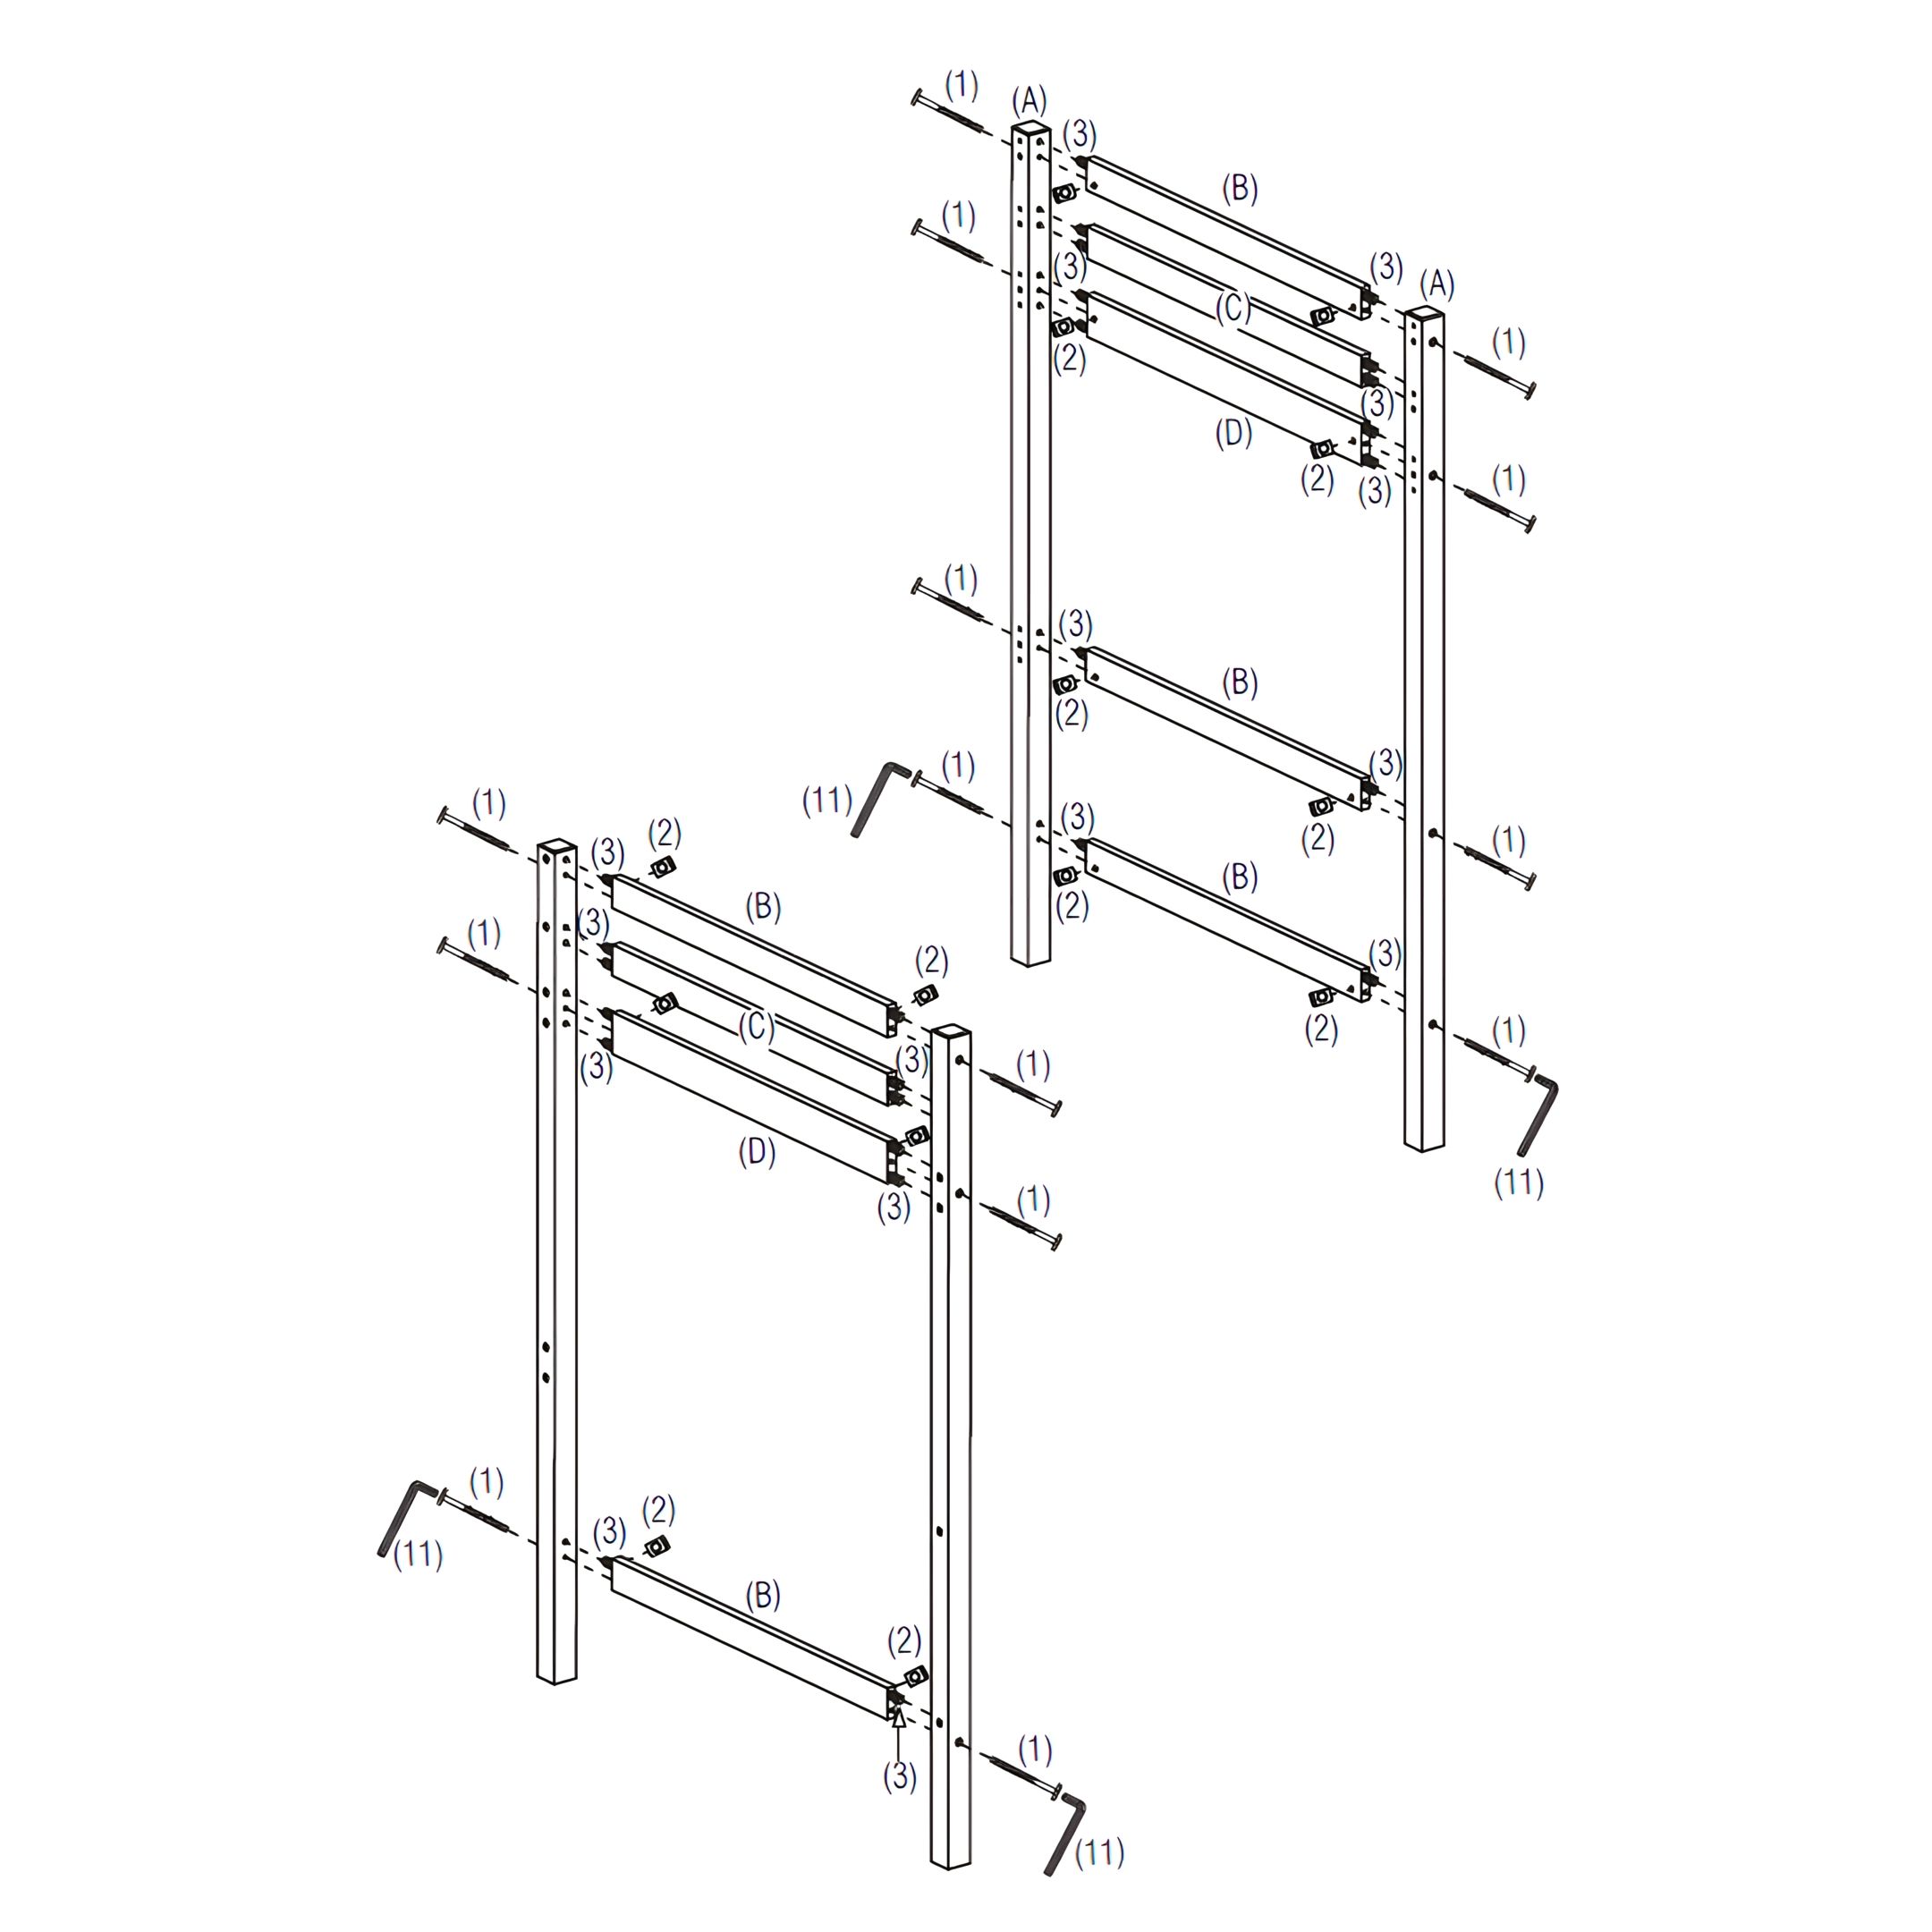
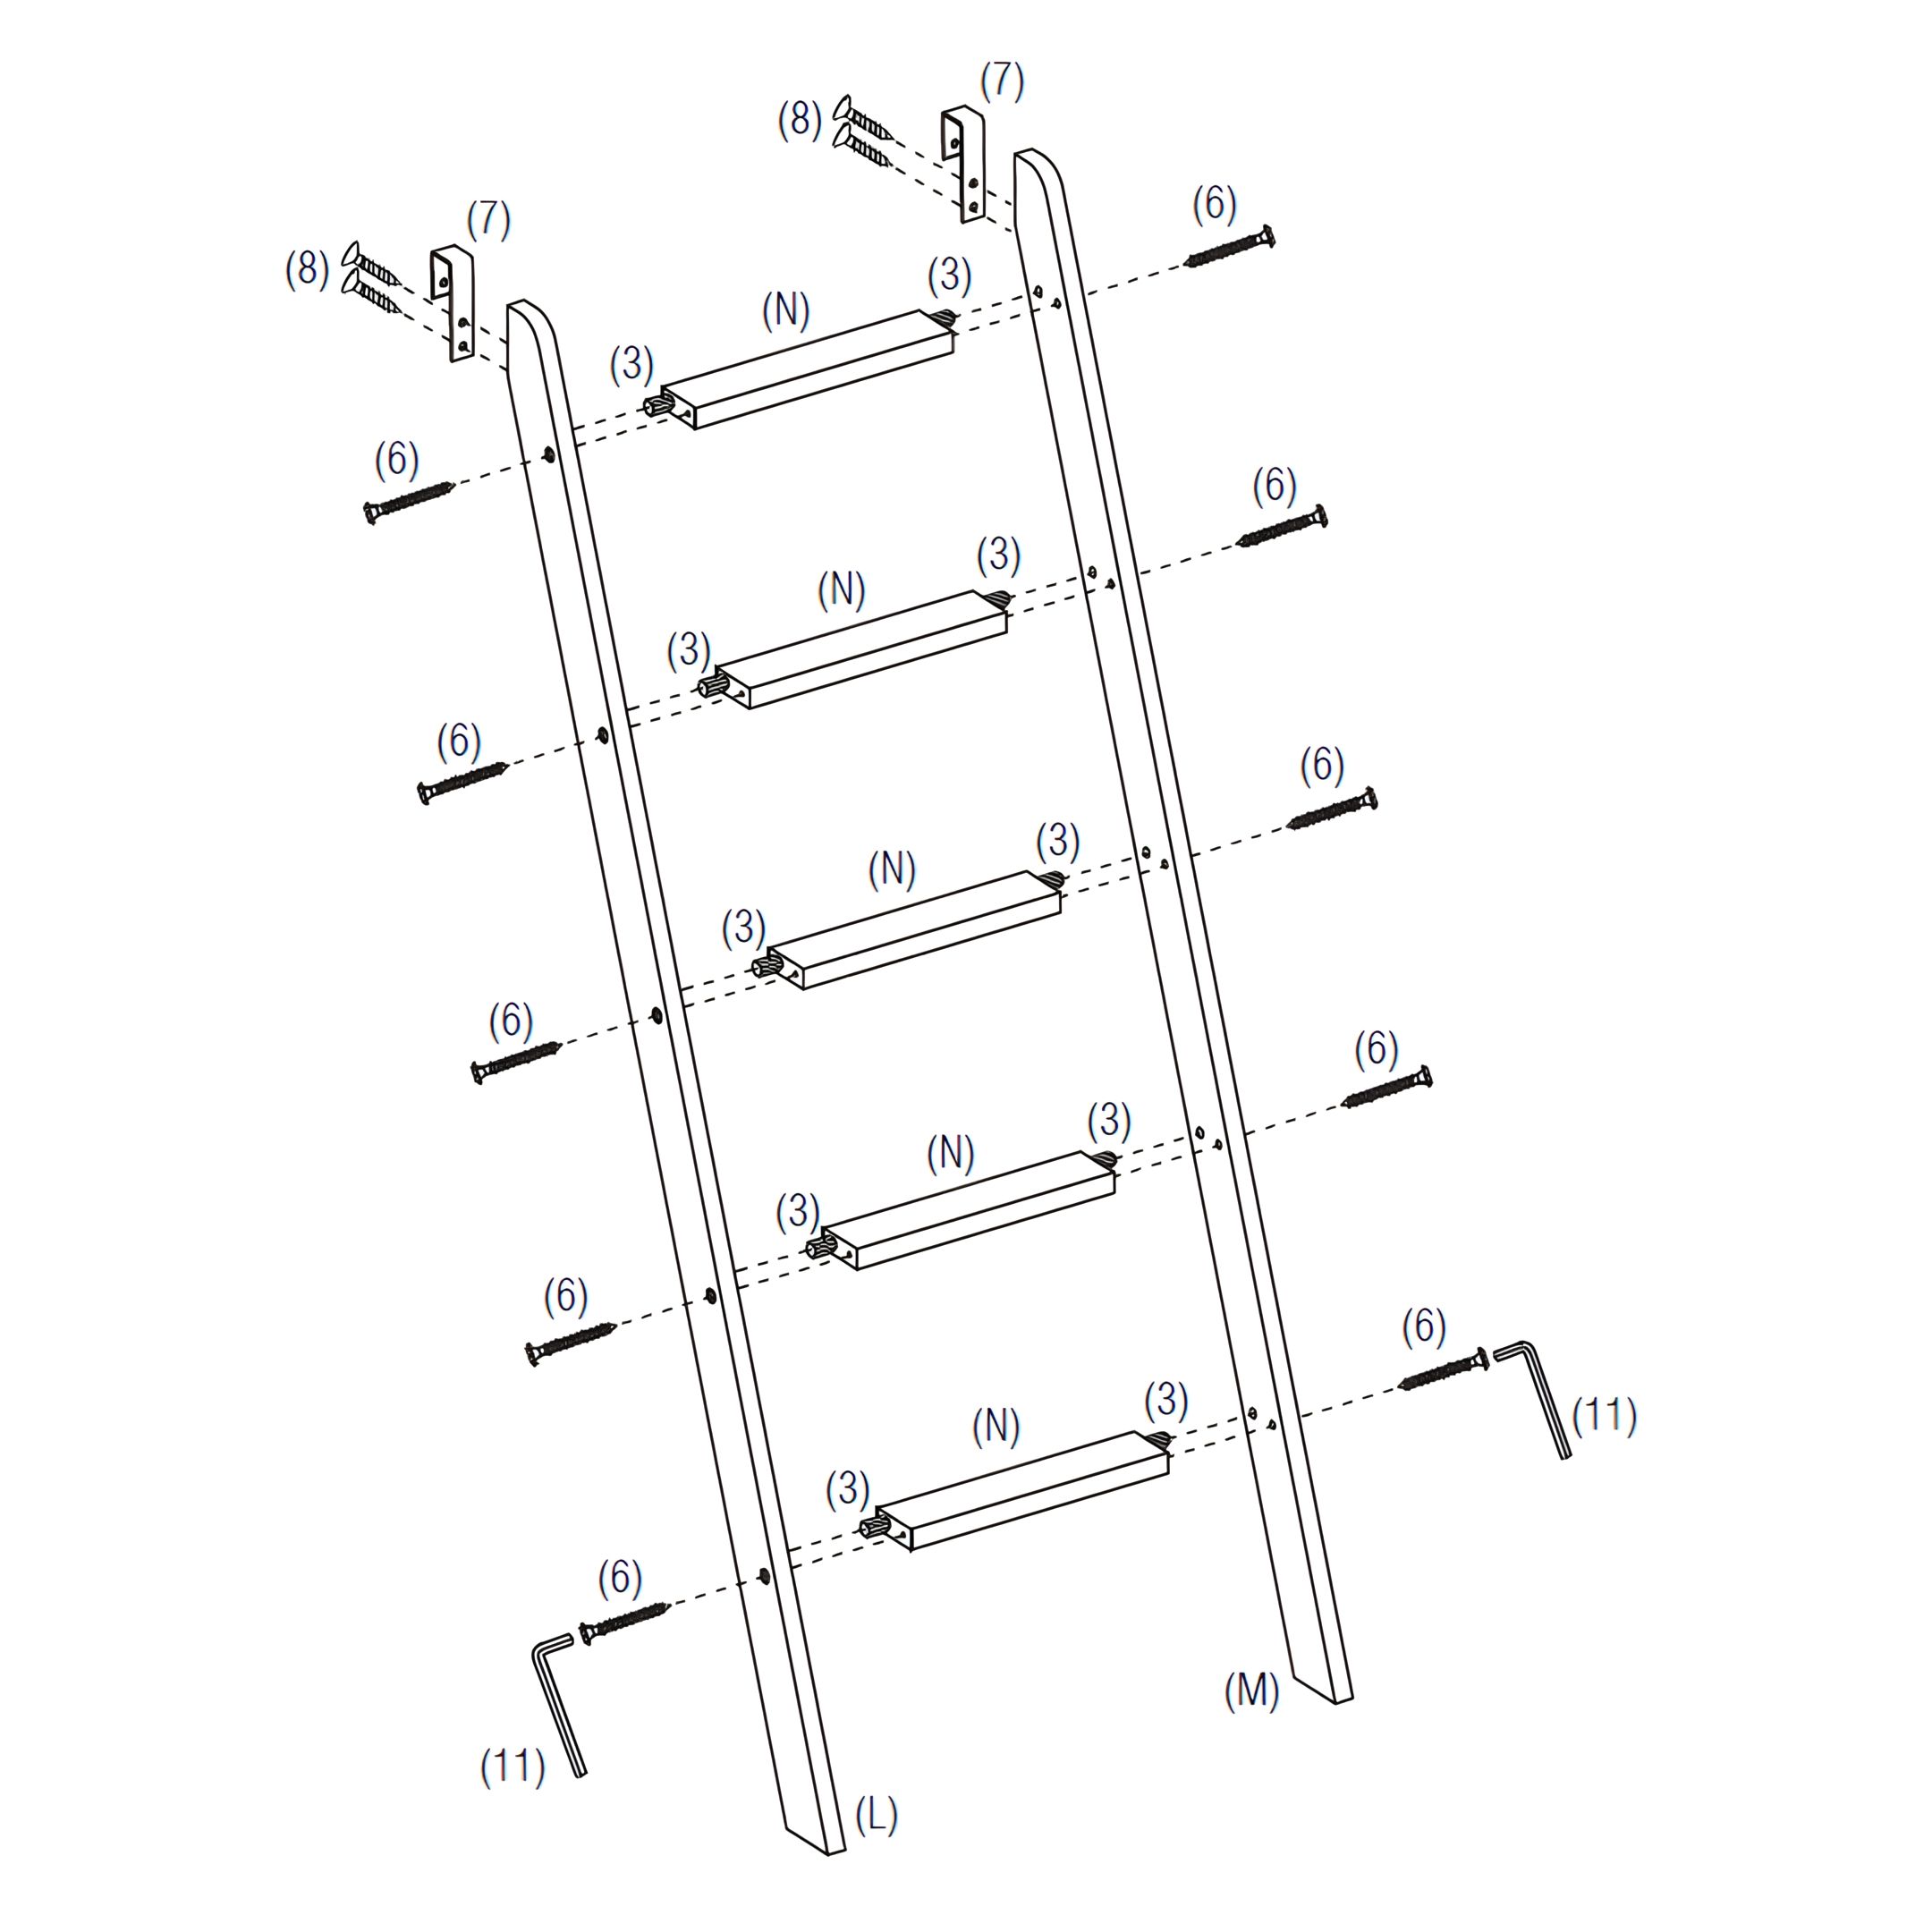
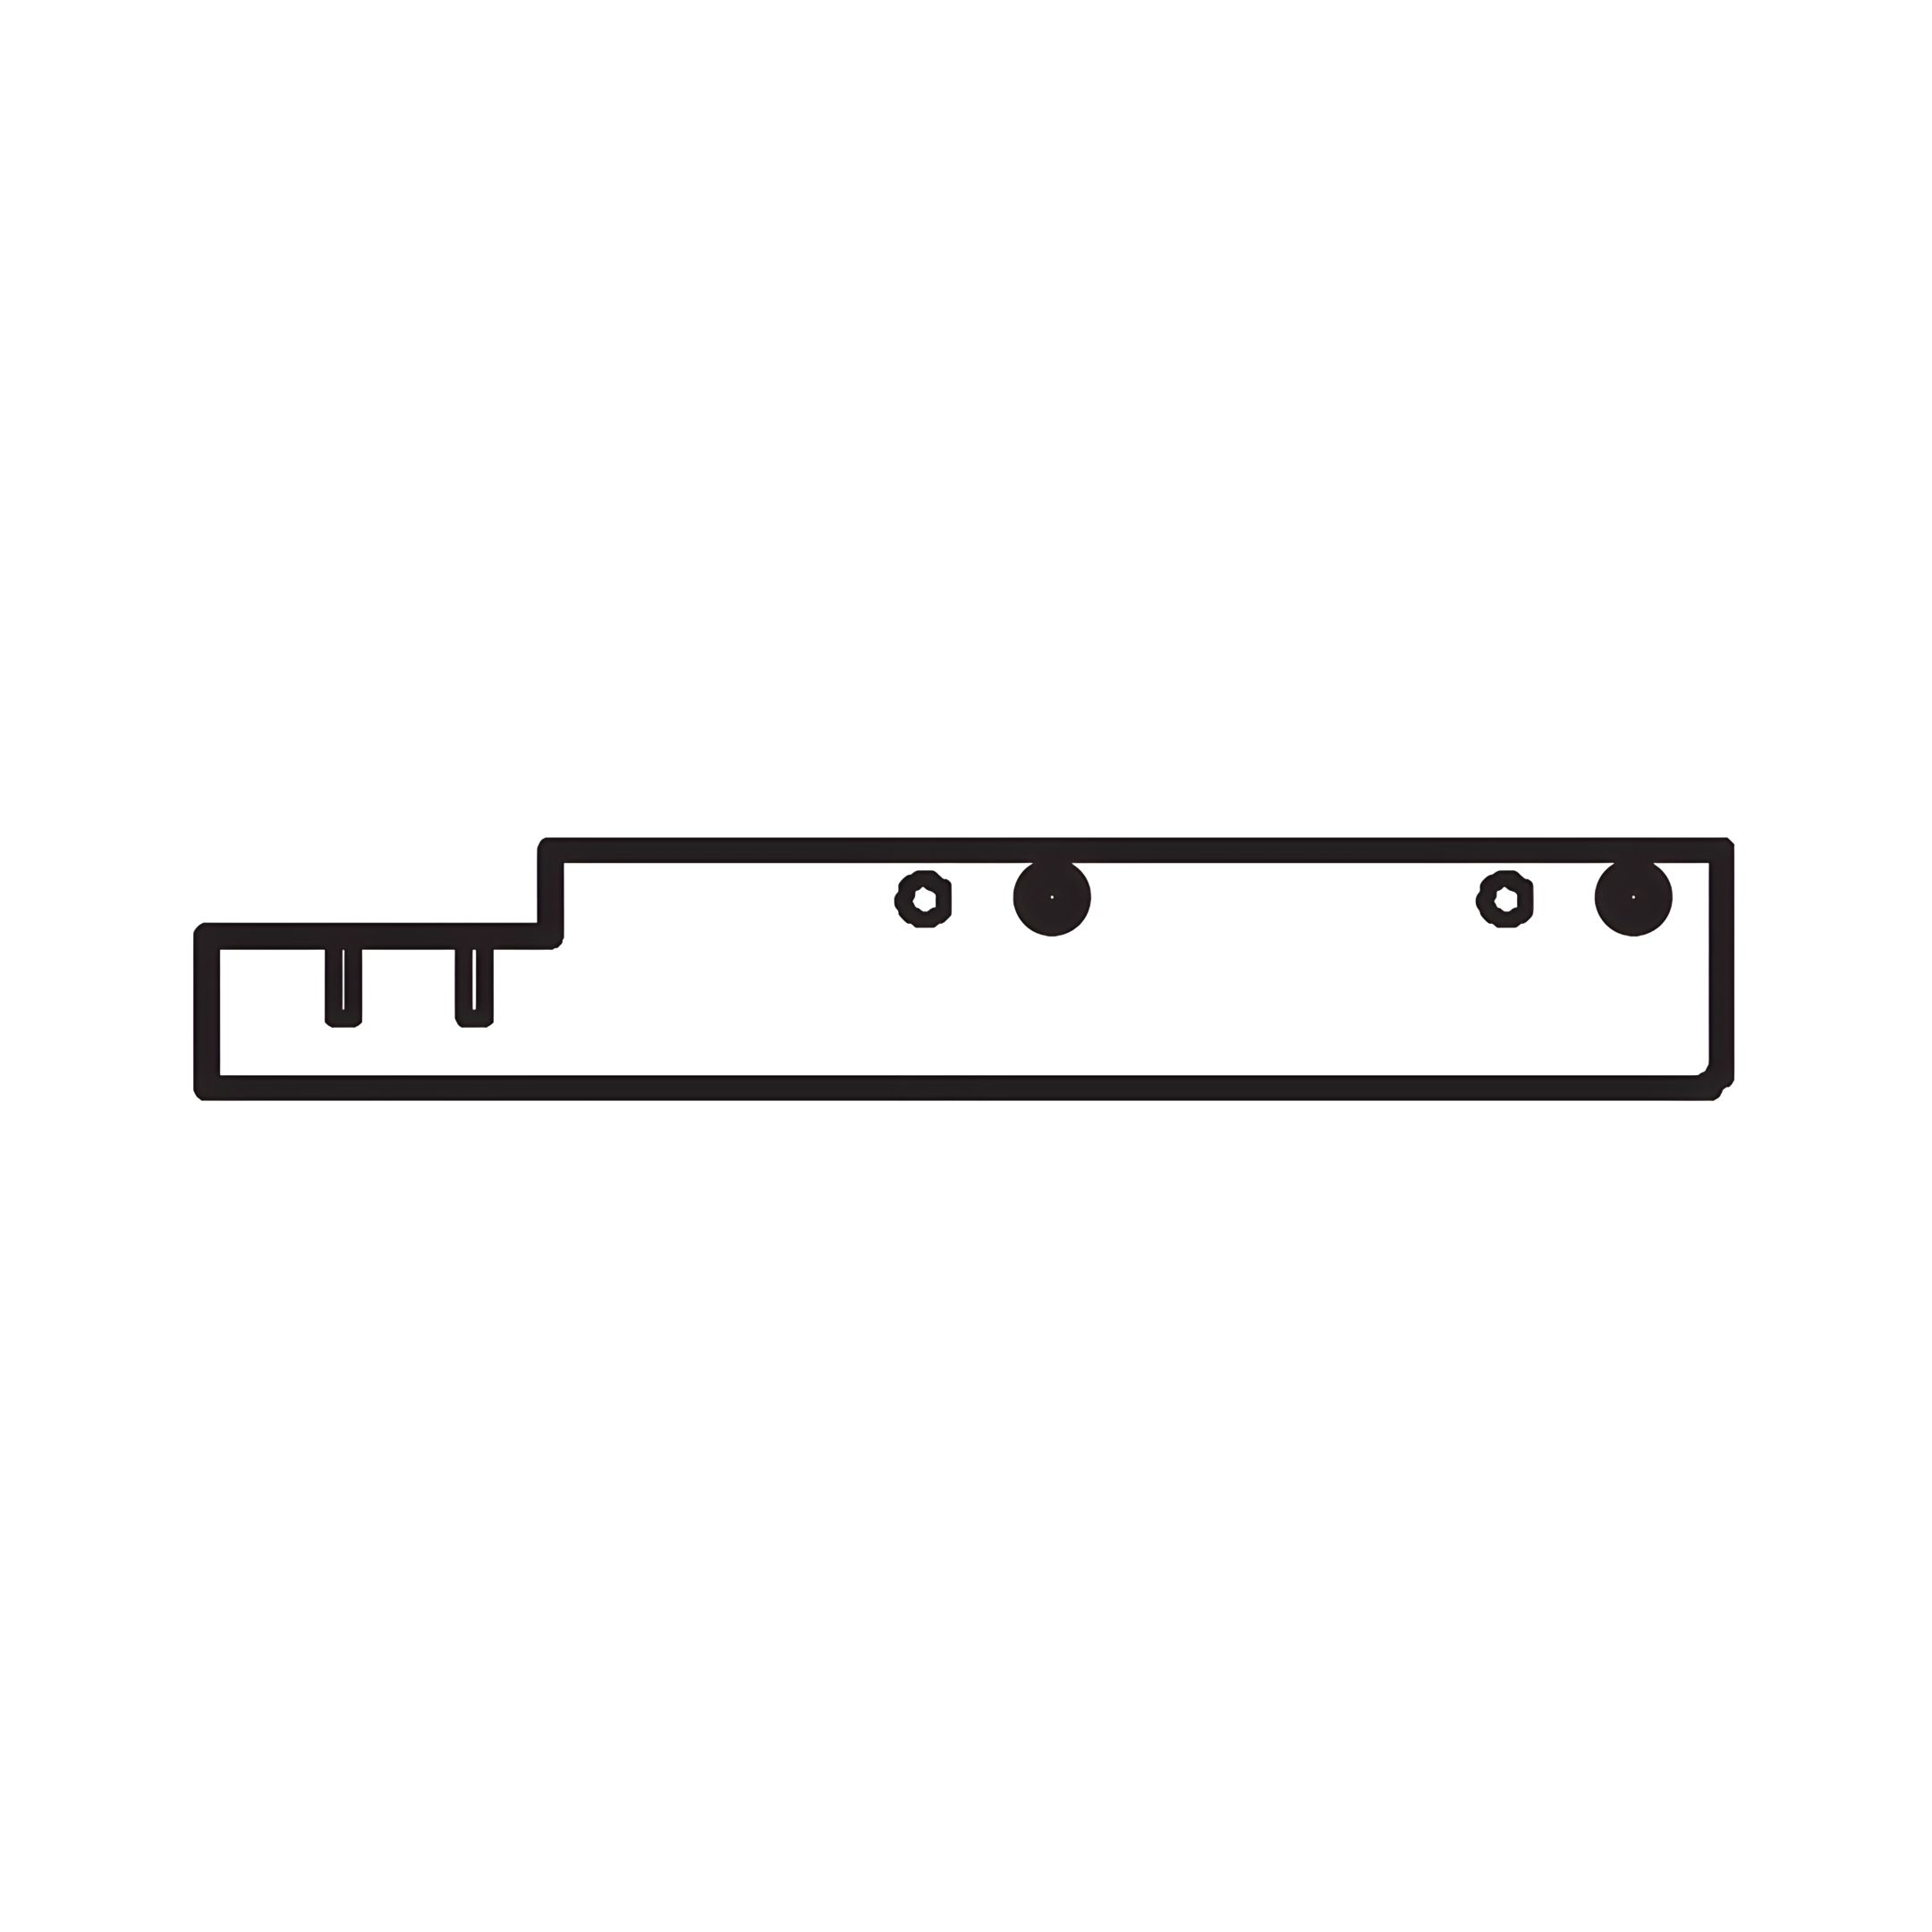
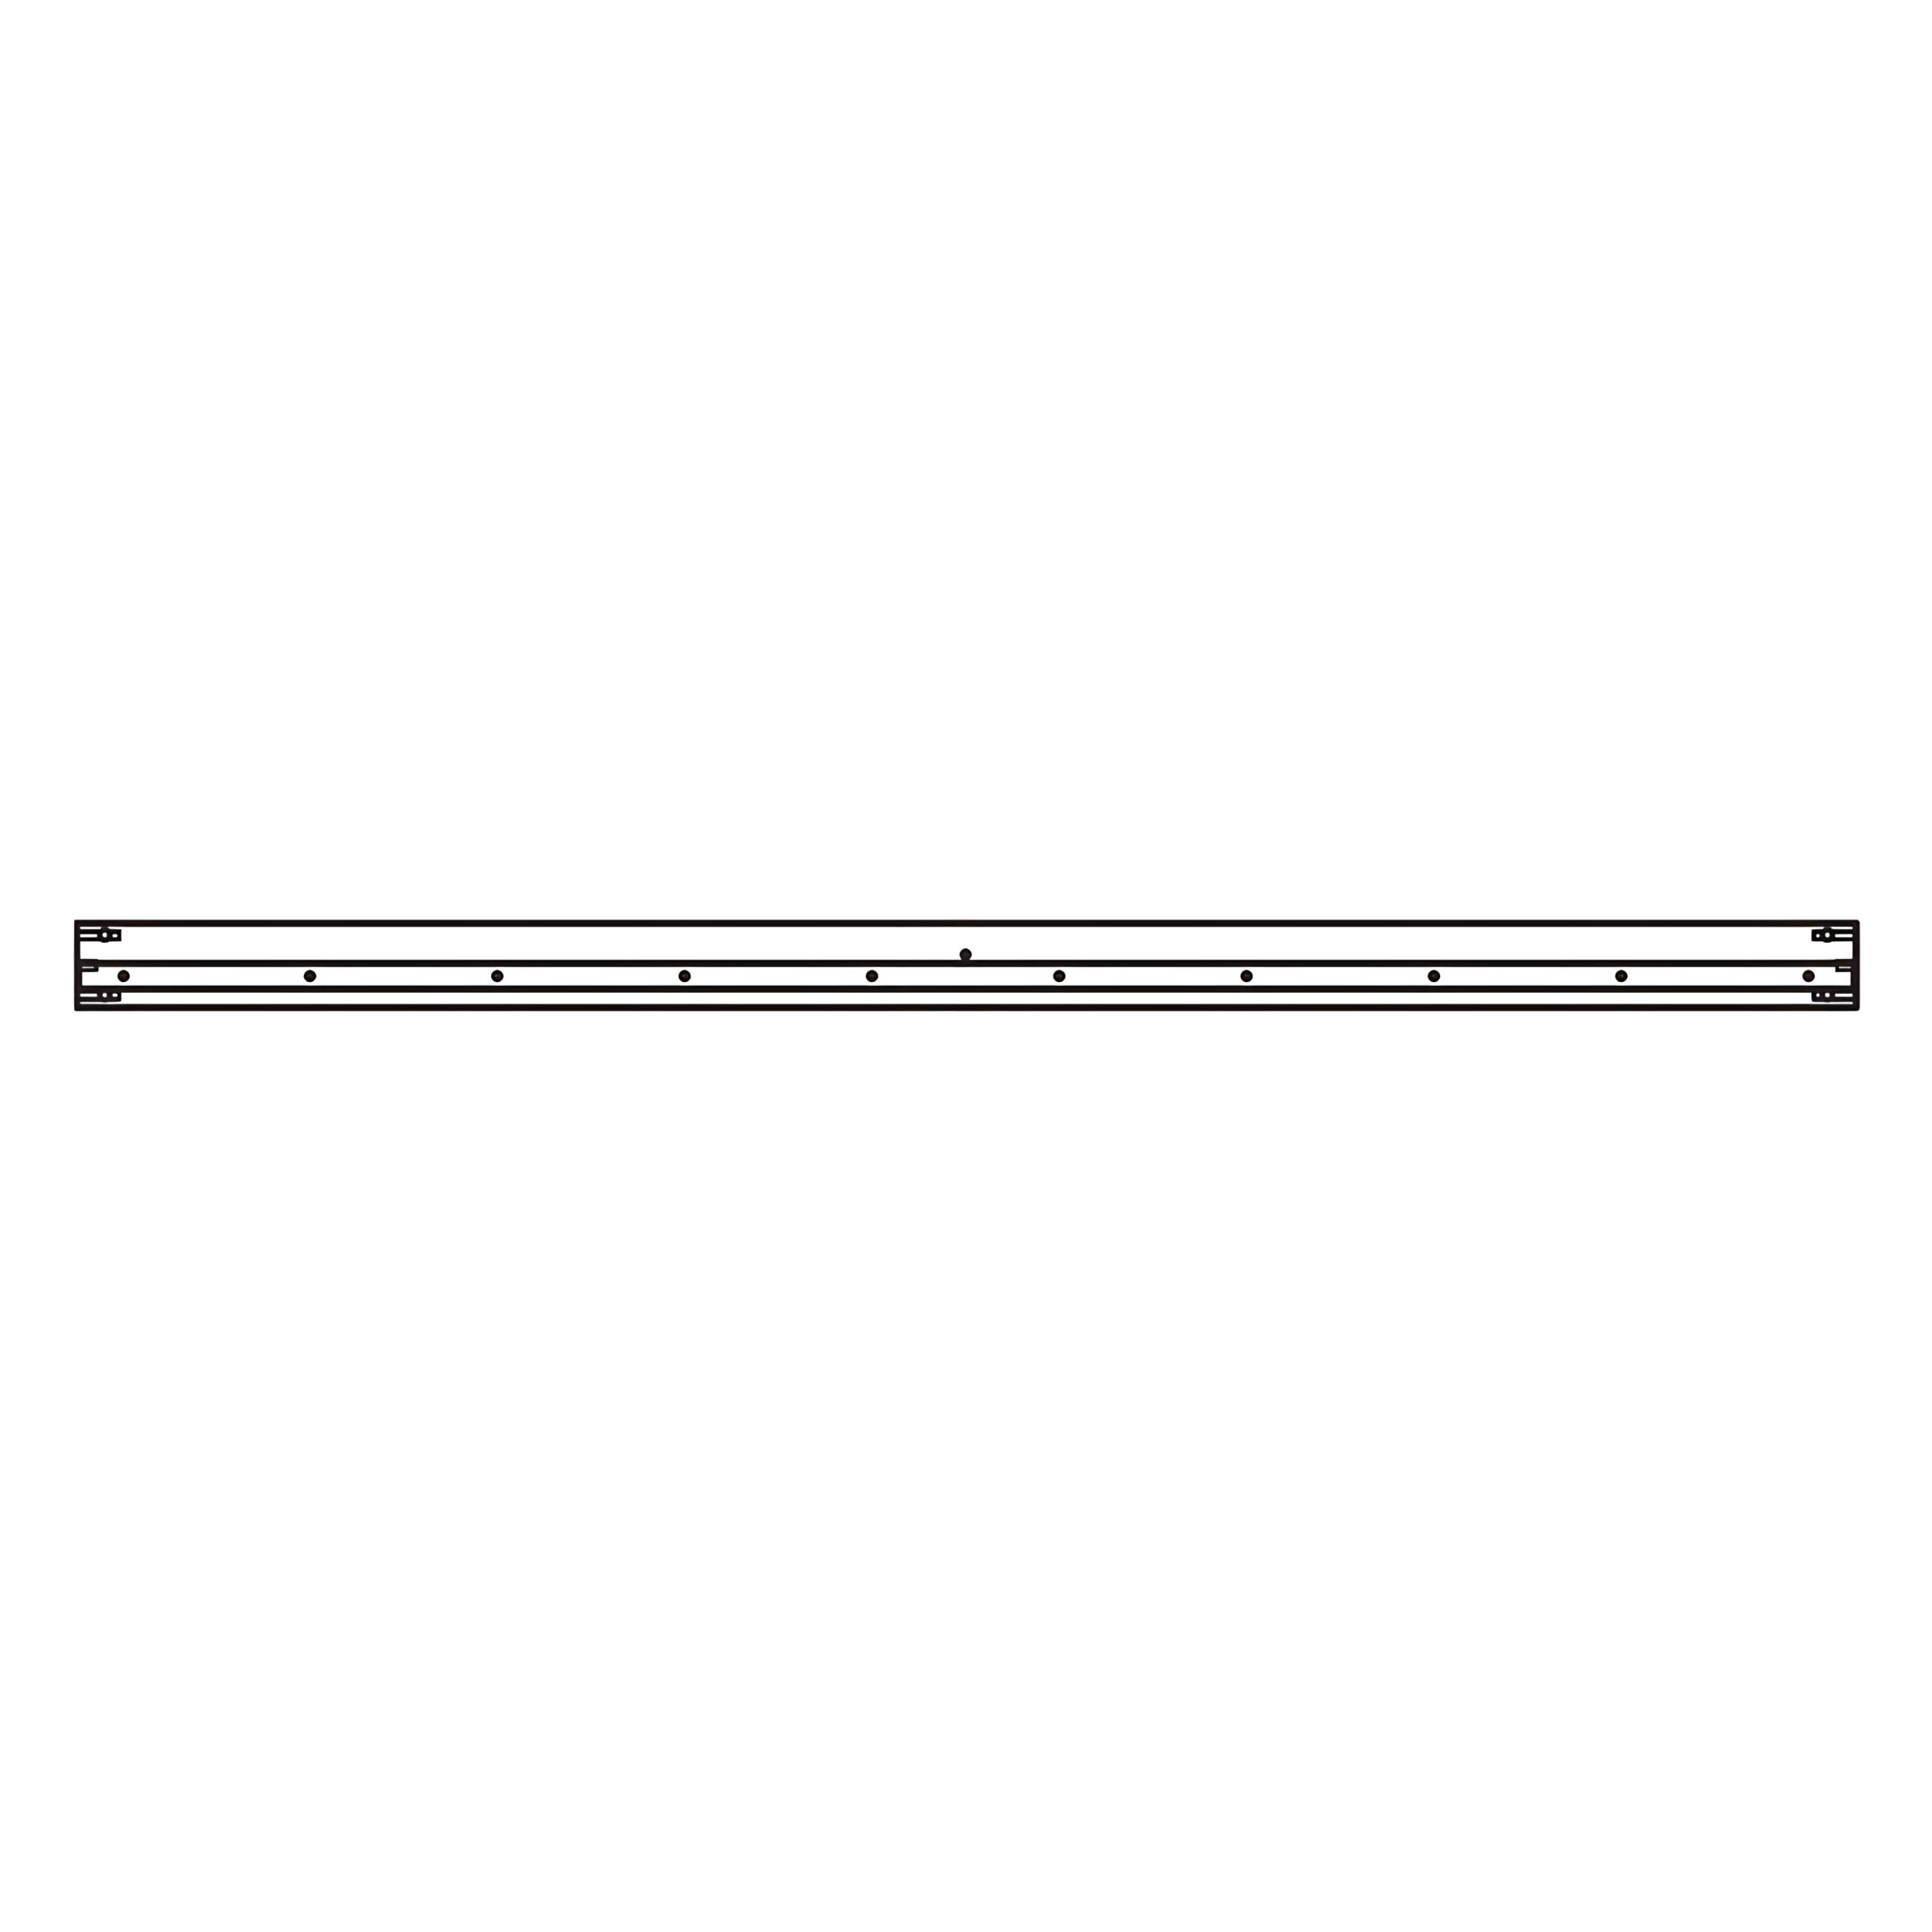
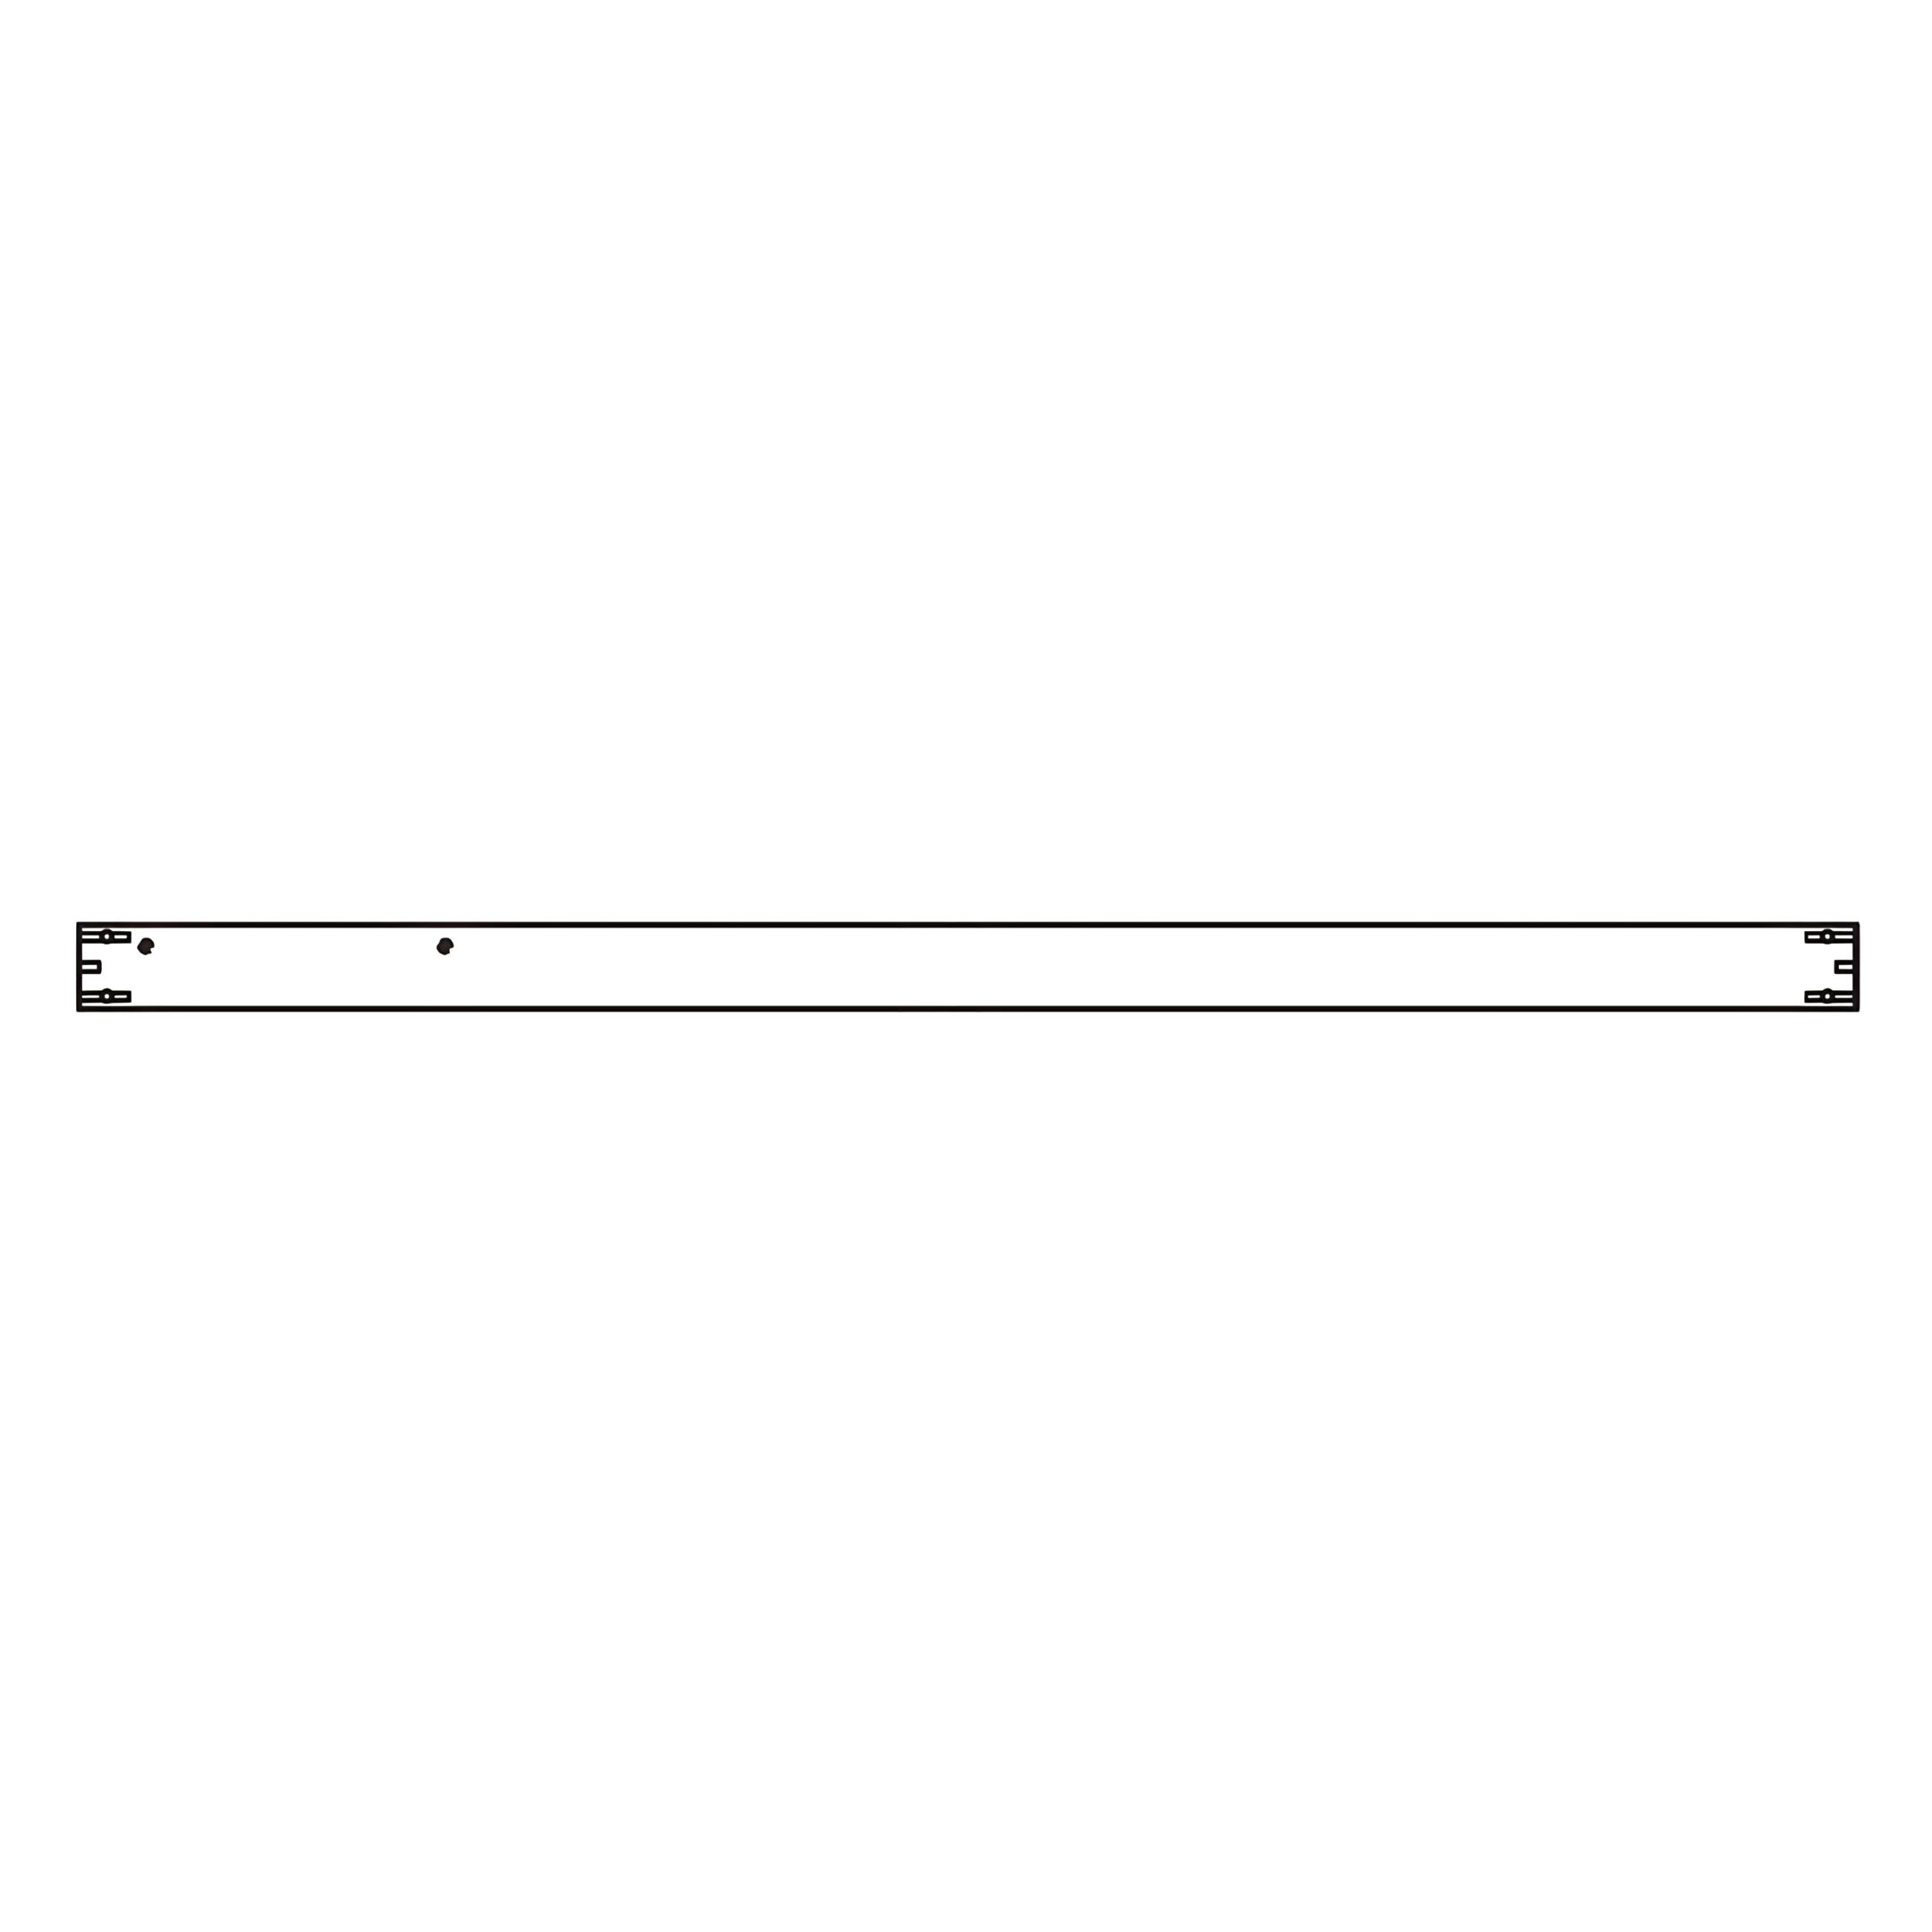
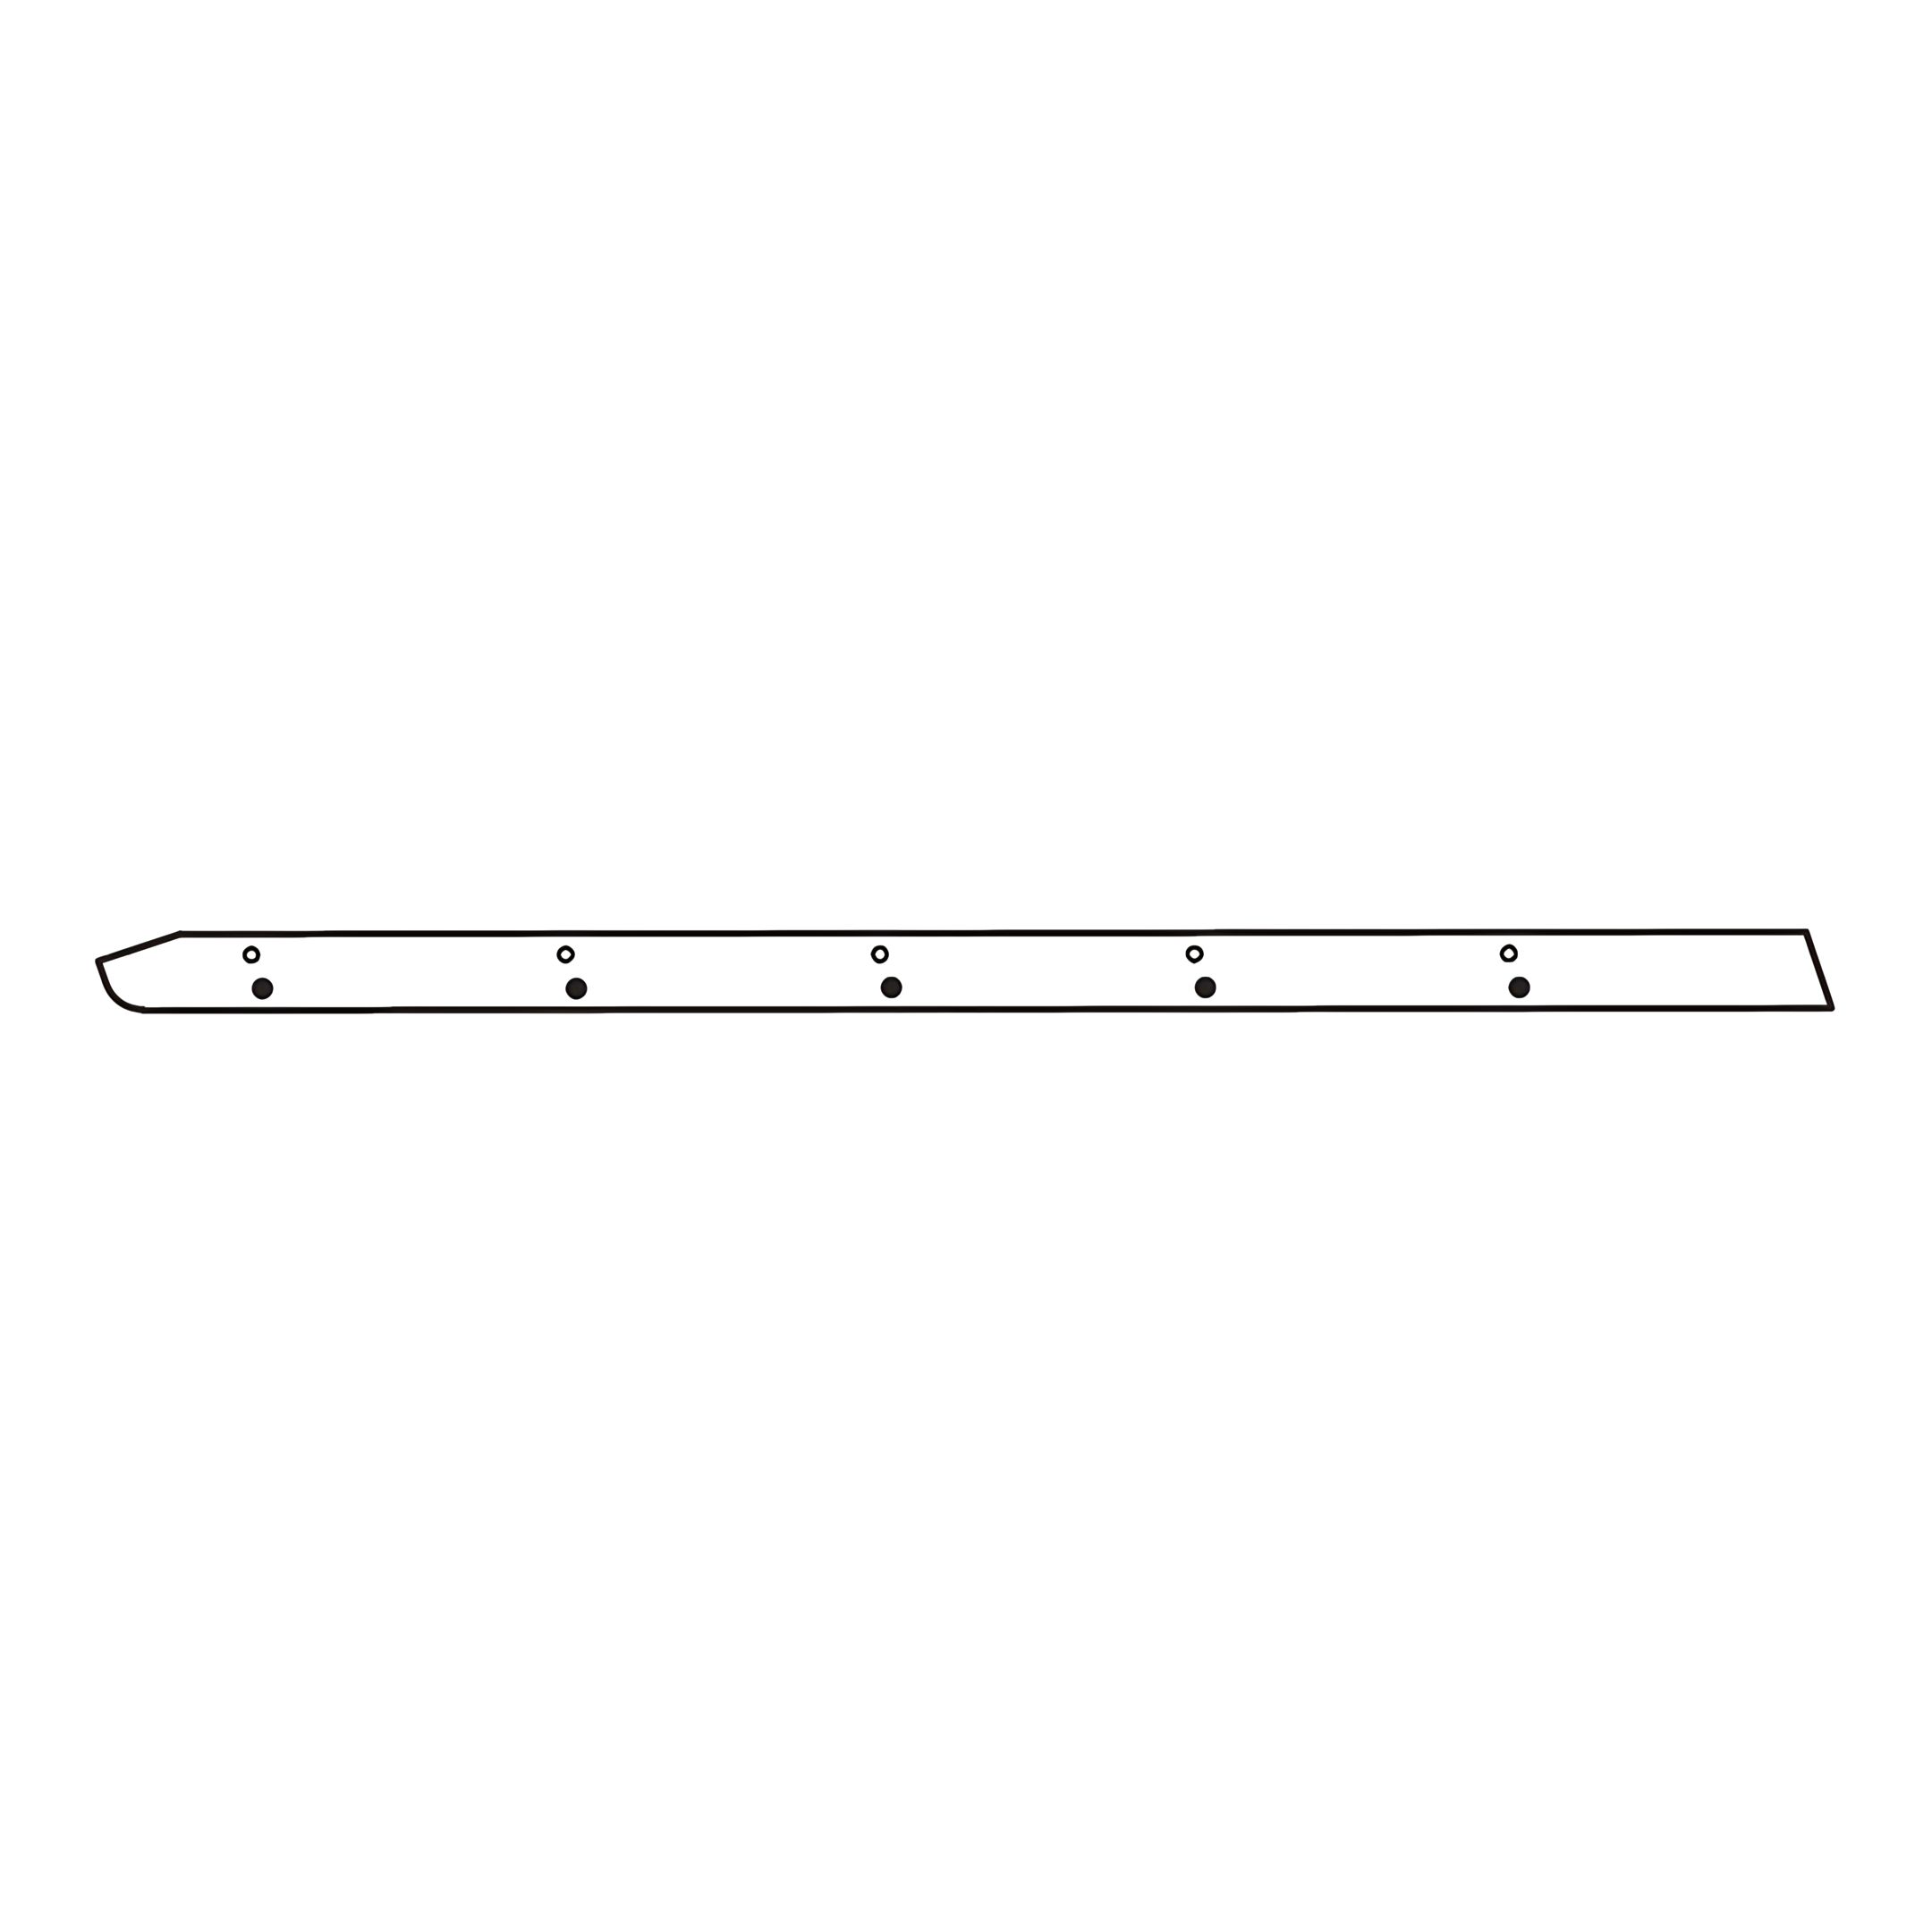
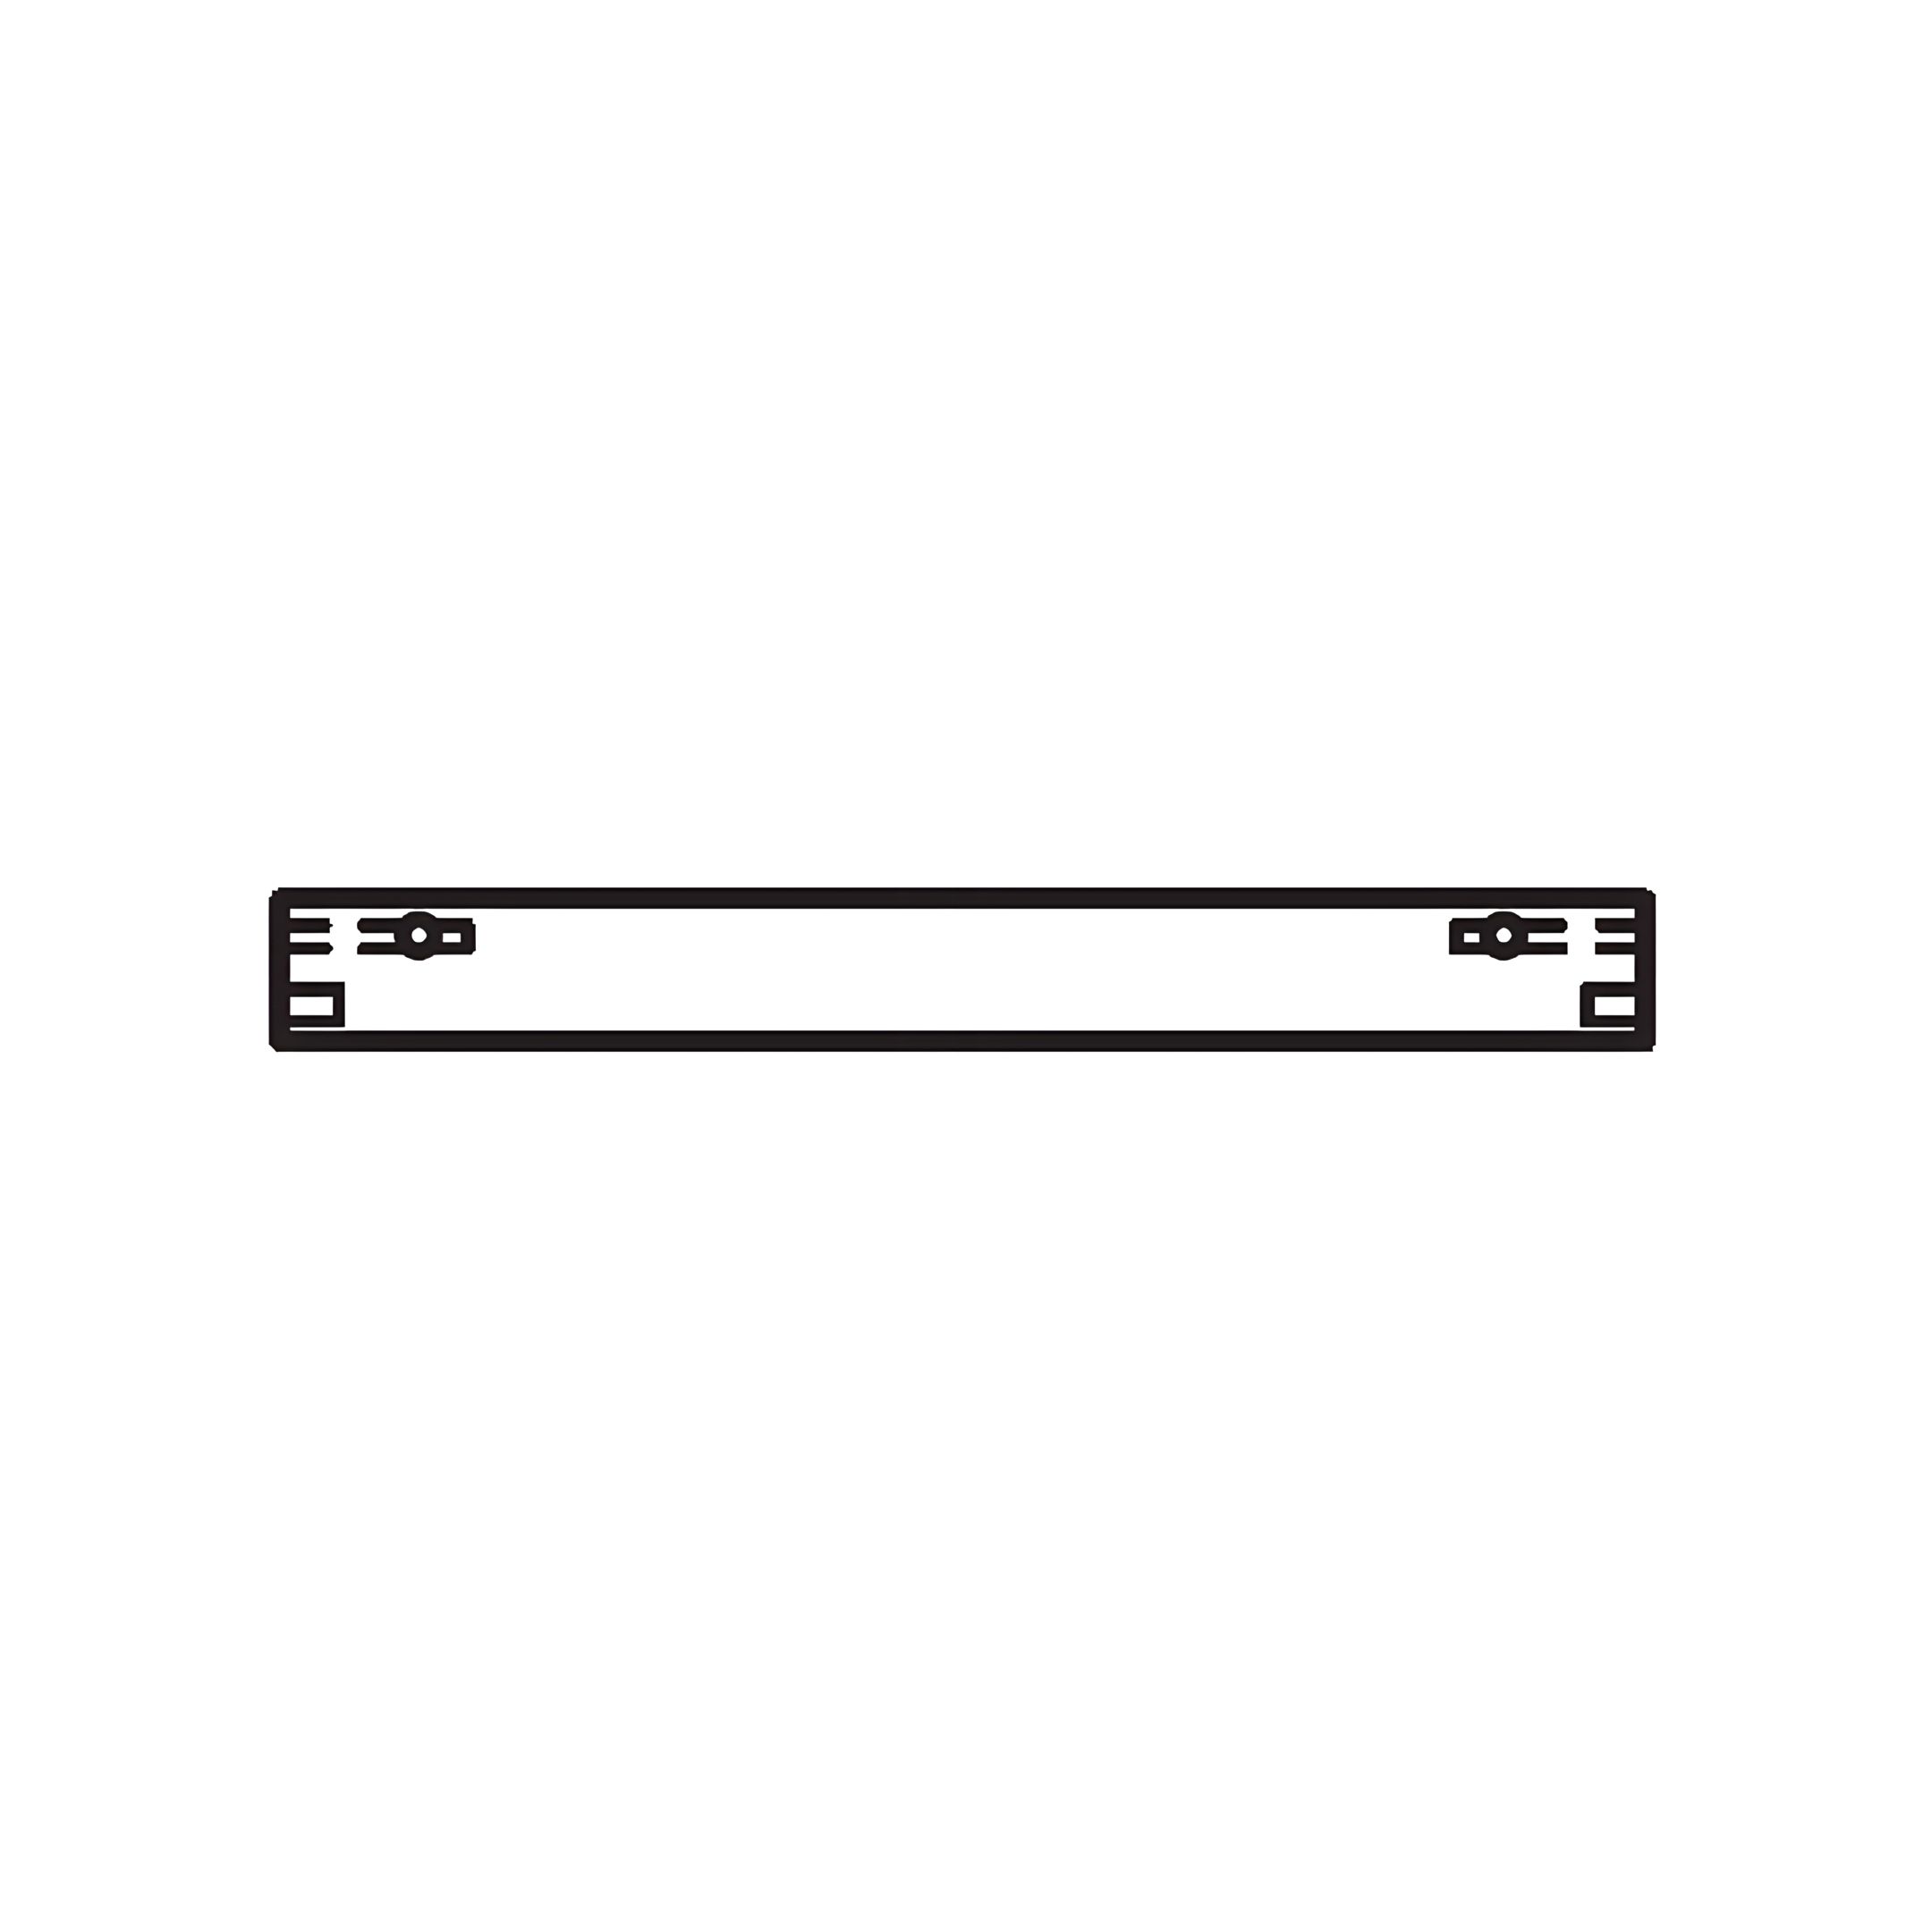
1. Insert Wood Dowels (3) into the pre-drilled holes of Top & Lower Panels (B), Mid Panel (C), and Bottom Panel (D).
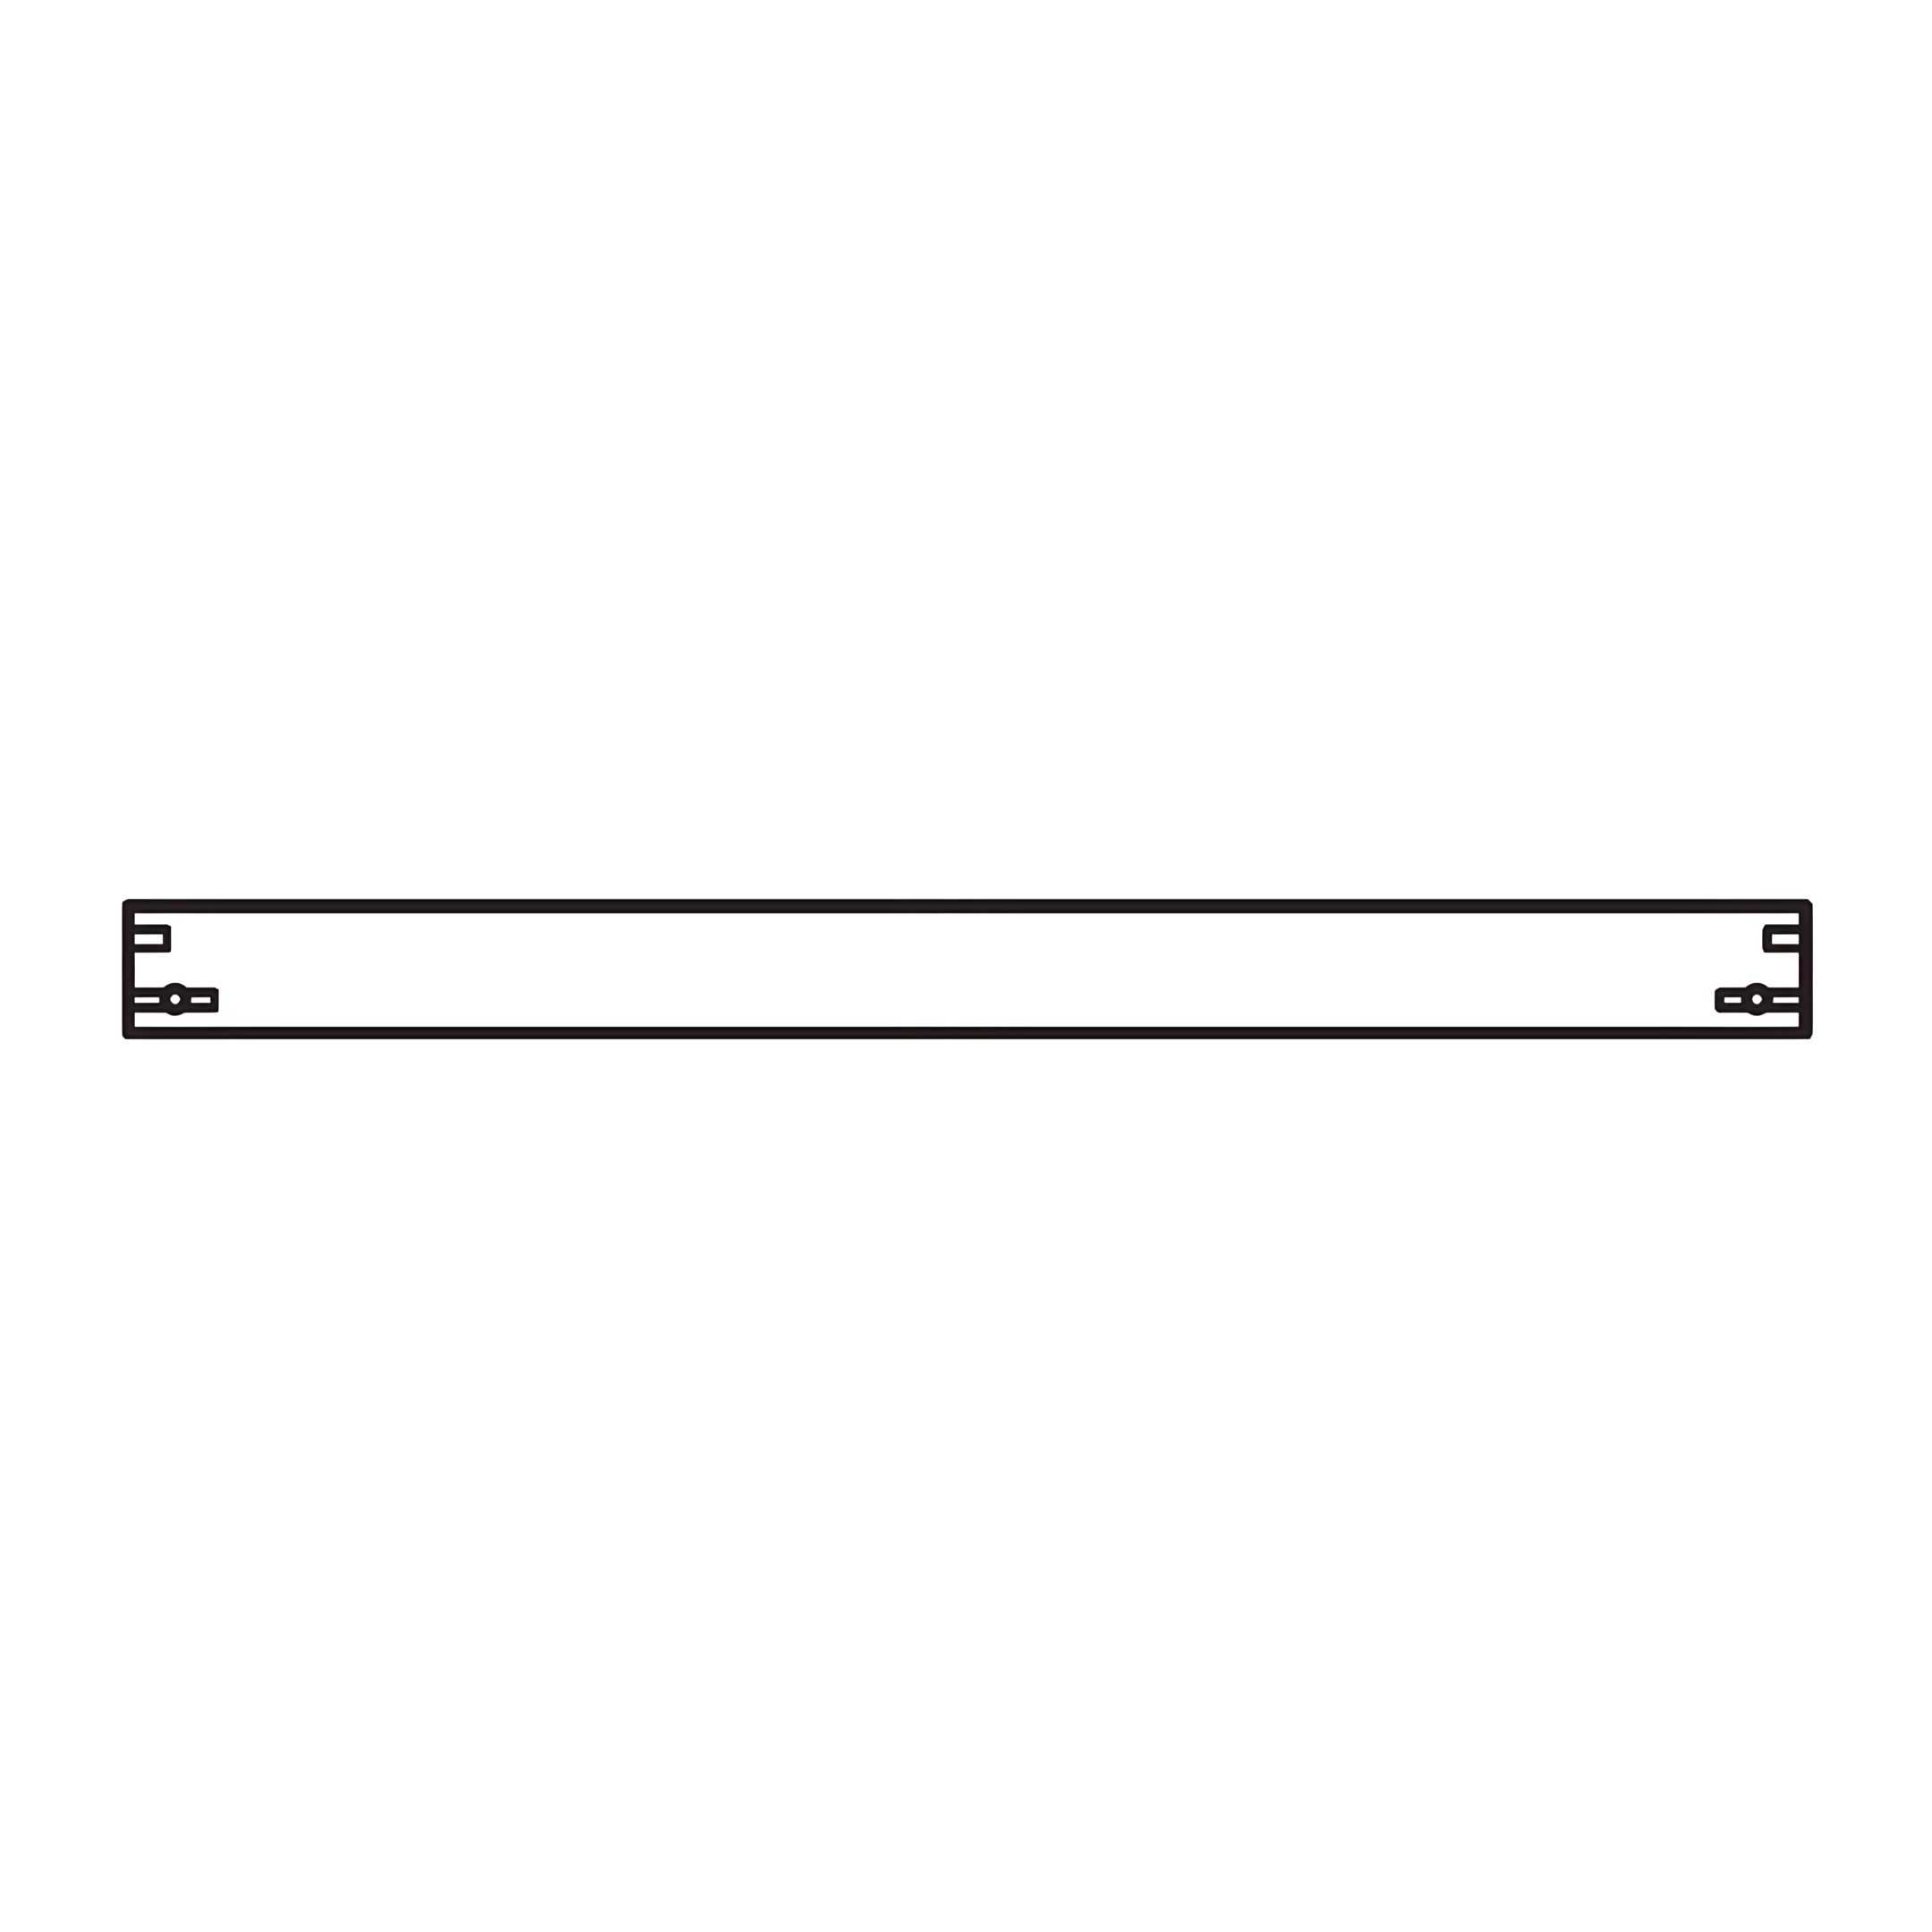
2. Align Panels (B, C, and D) with the Bed Posts (A), ensuring the dowels fit securely into the corresponding holes on the posts.
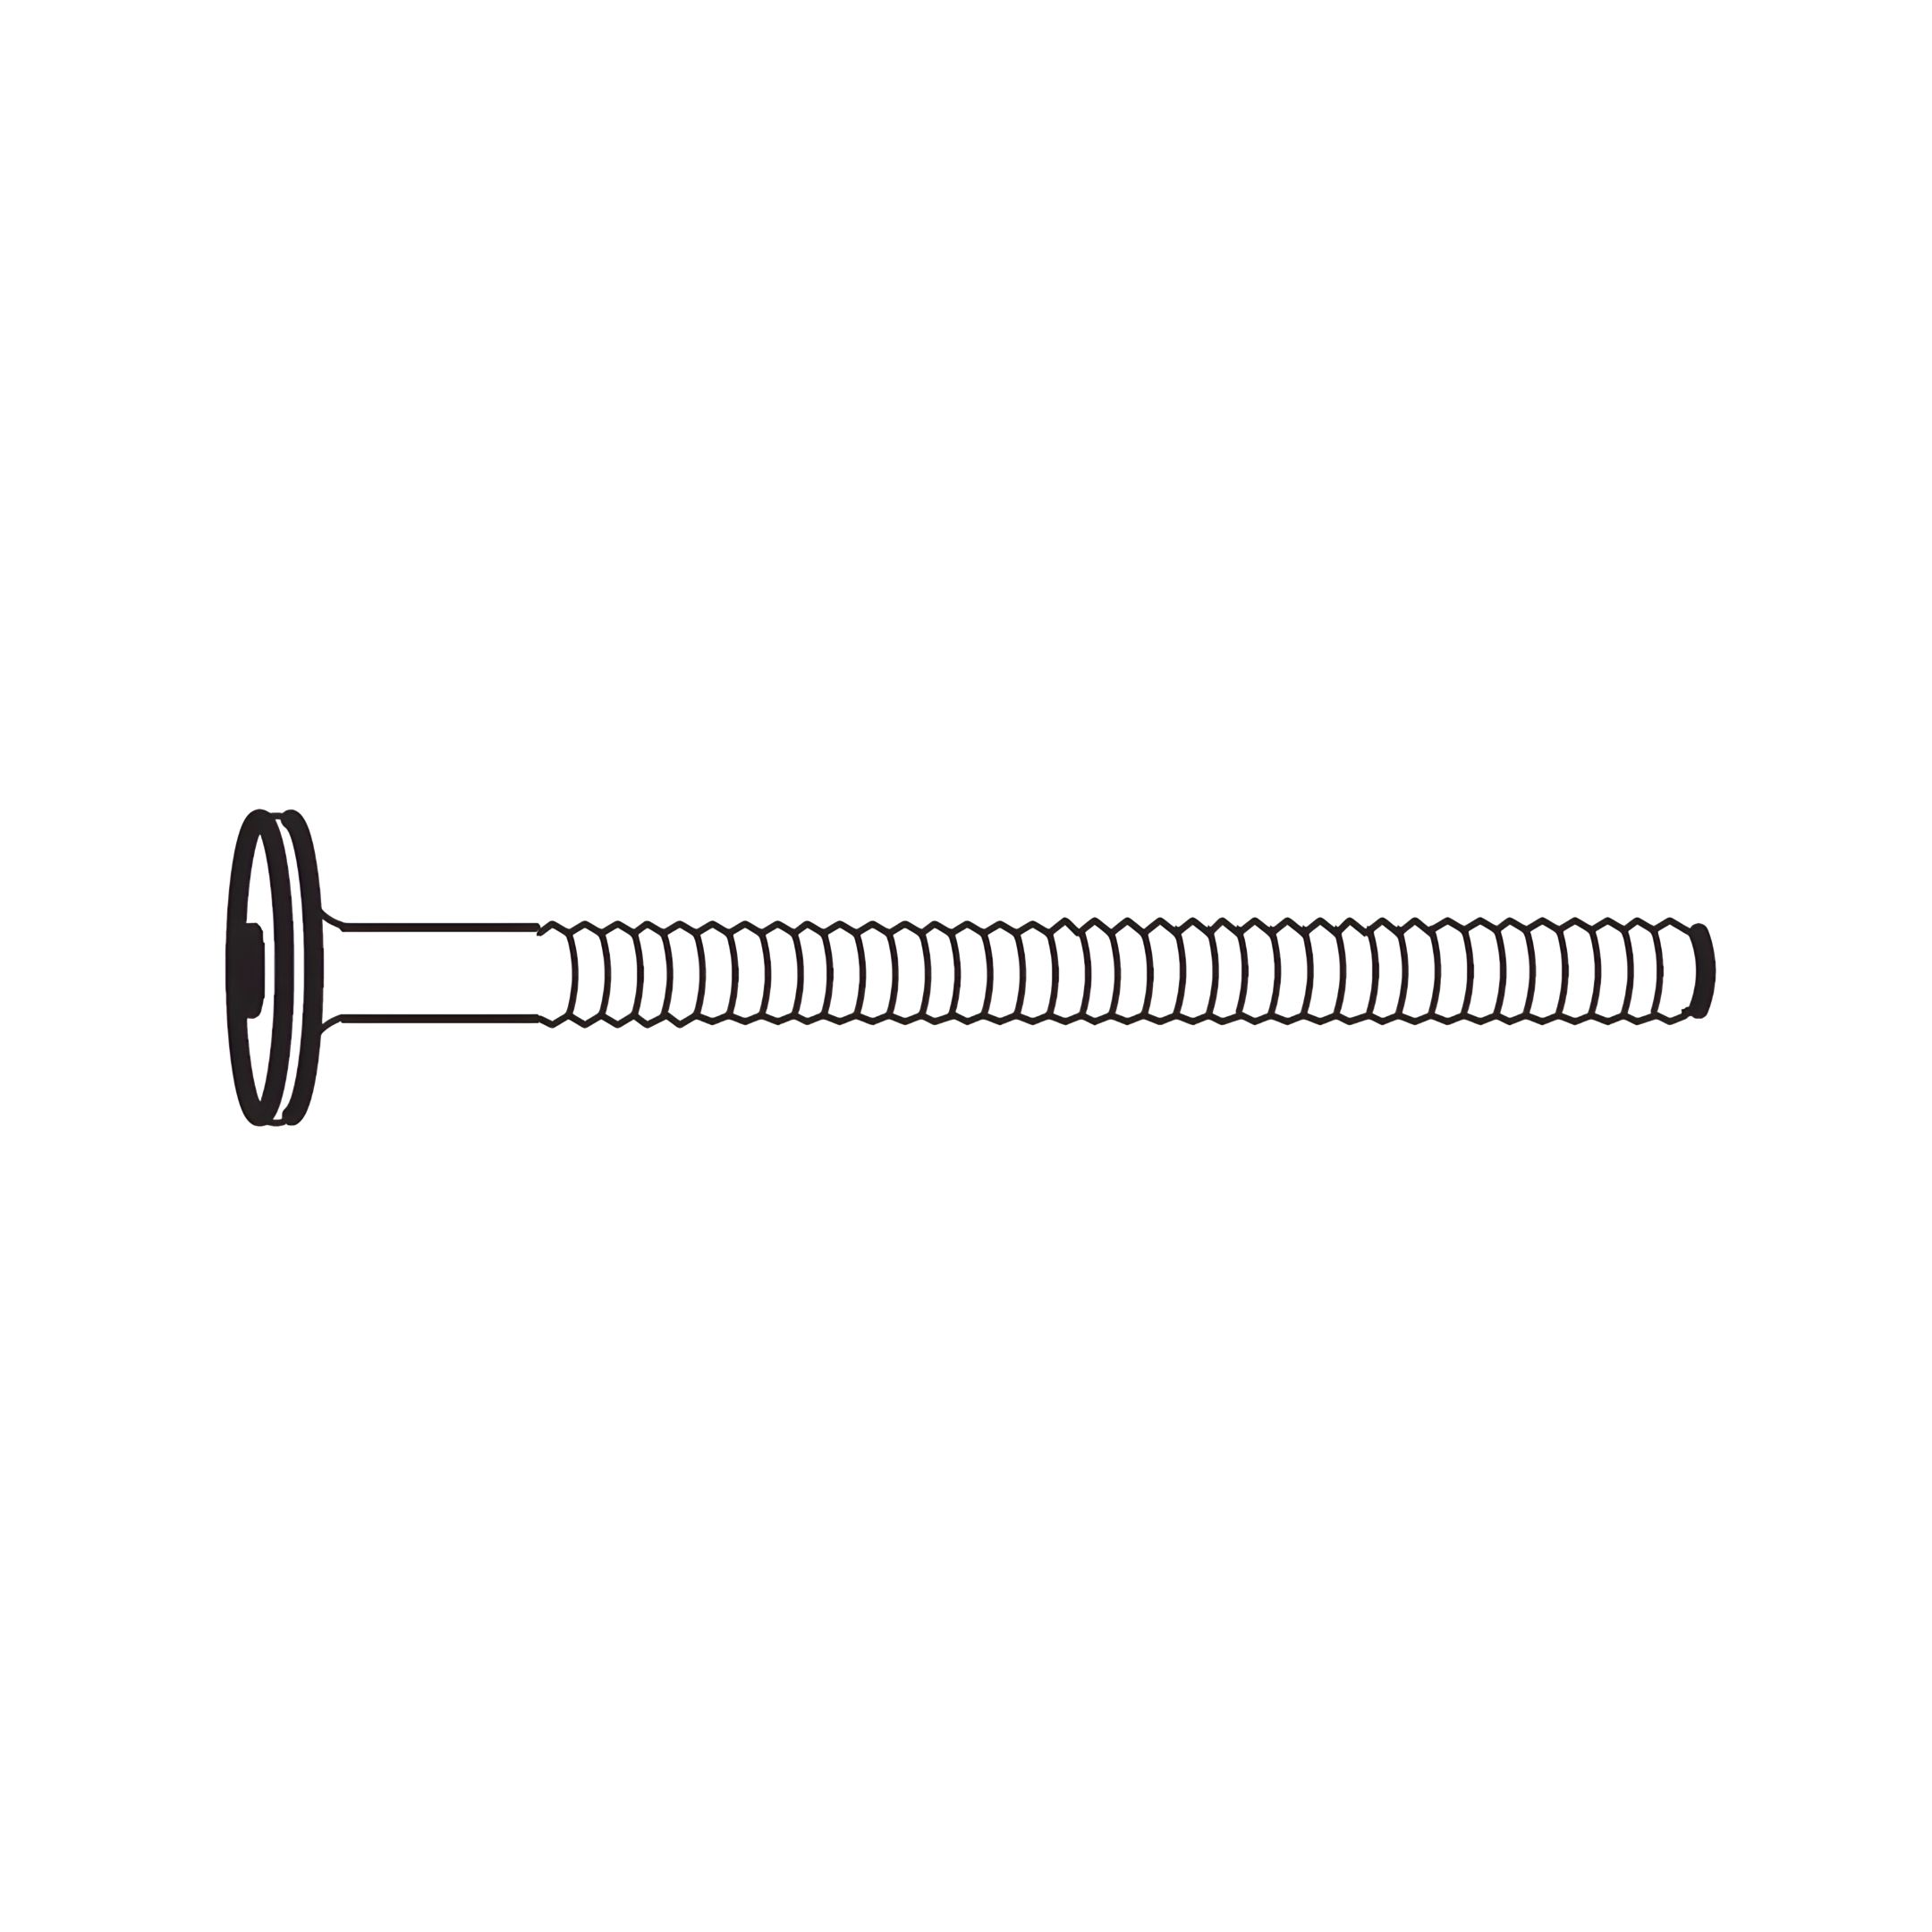
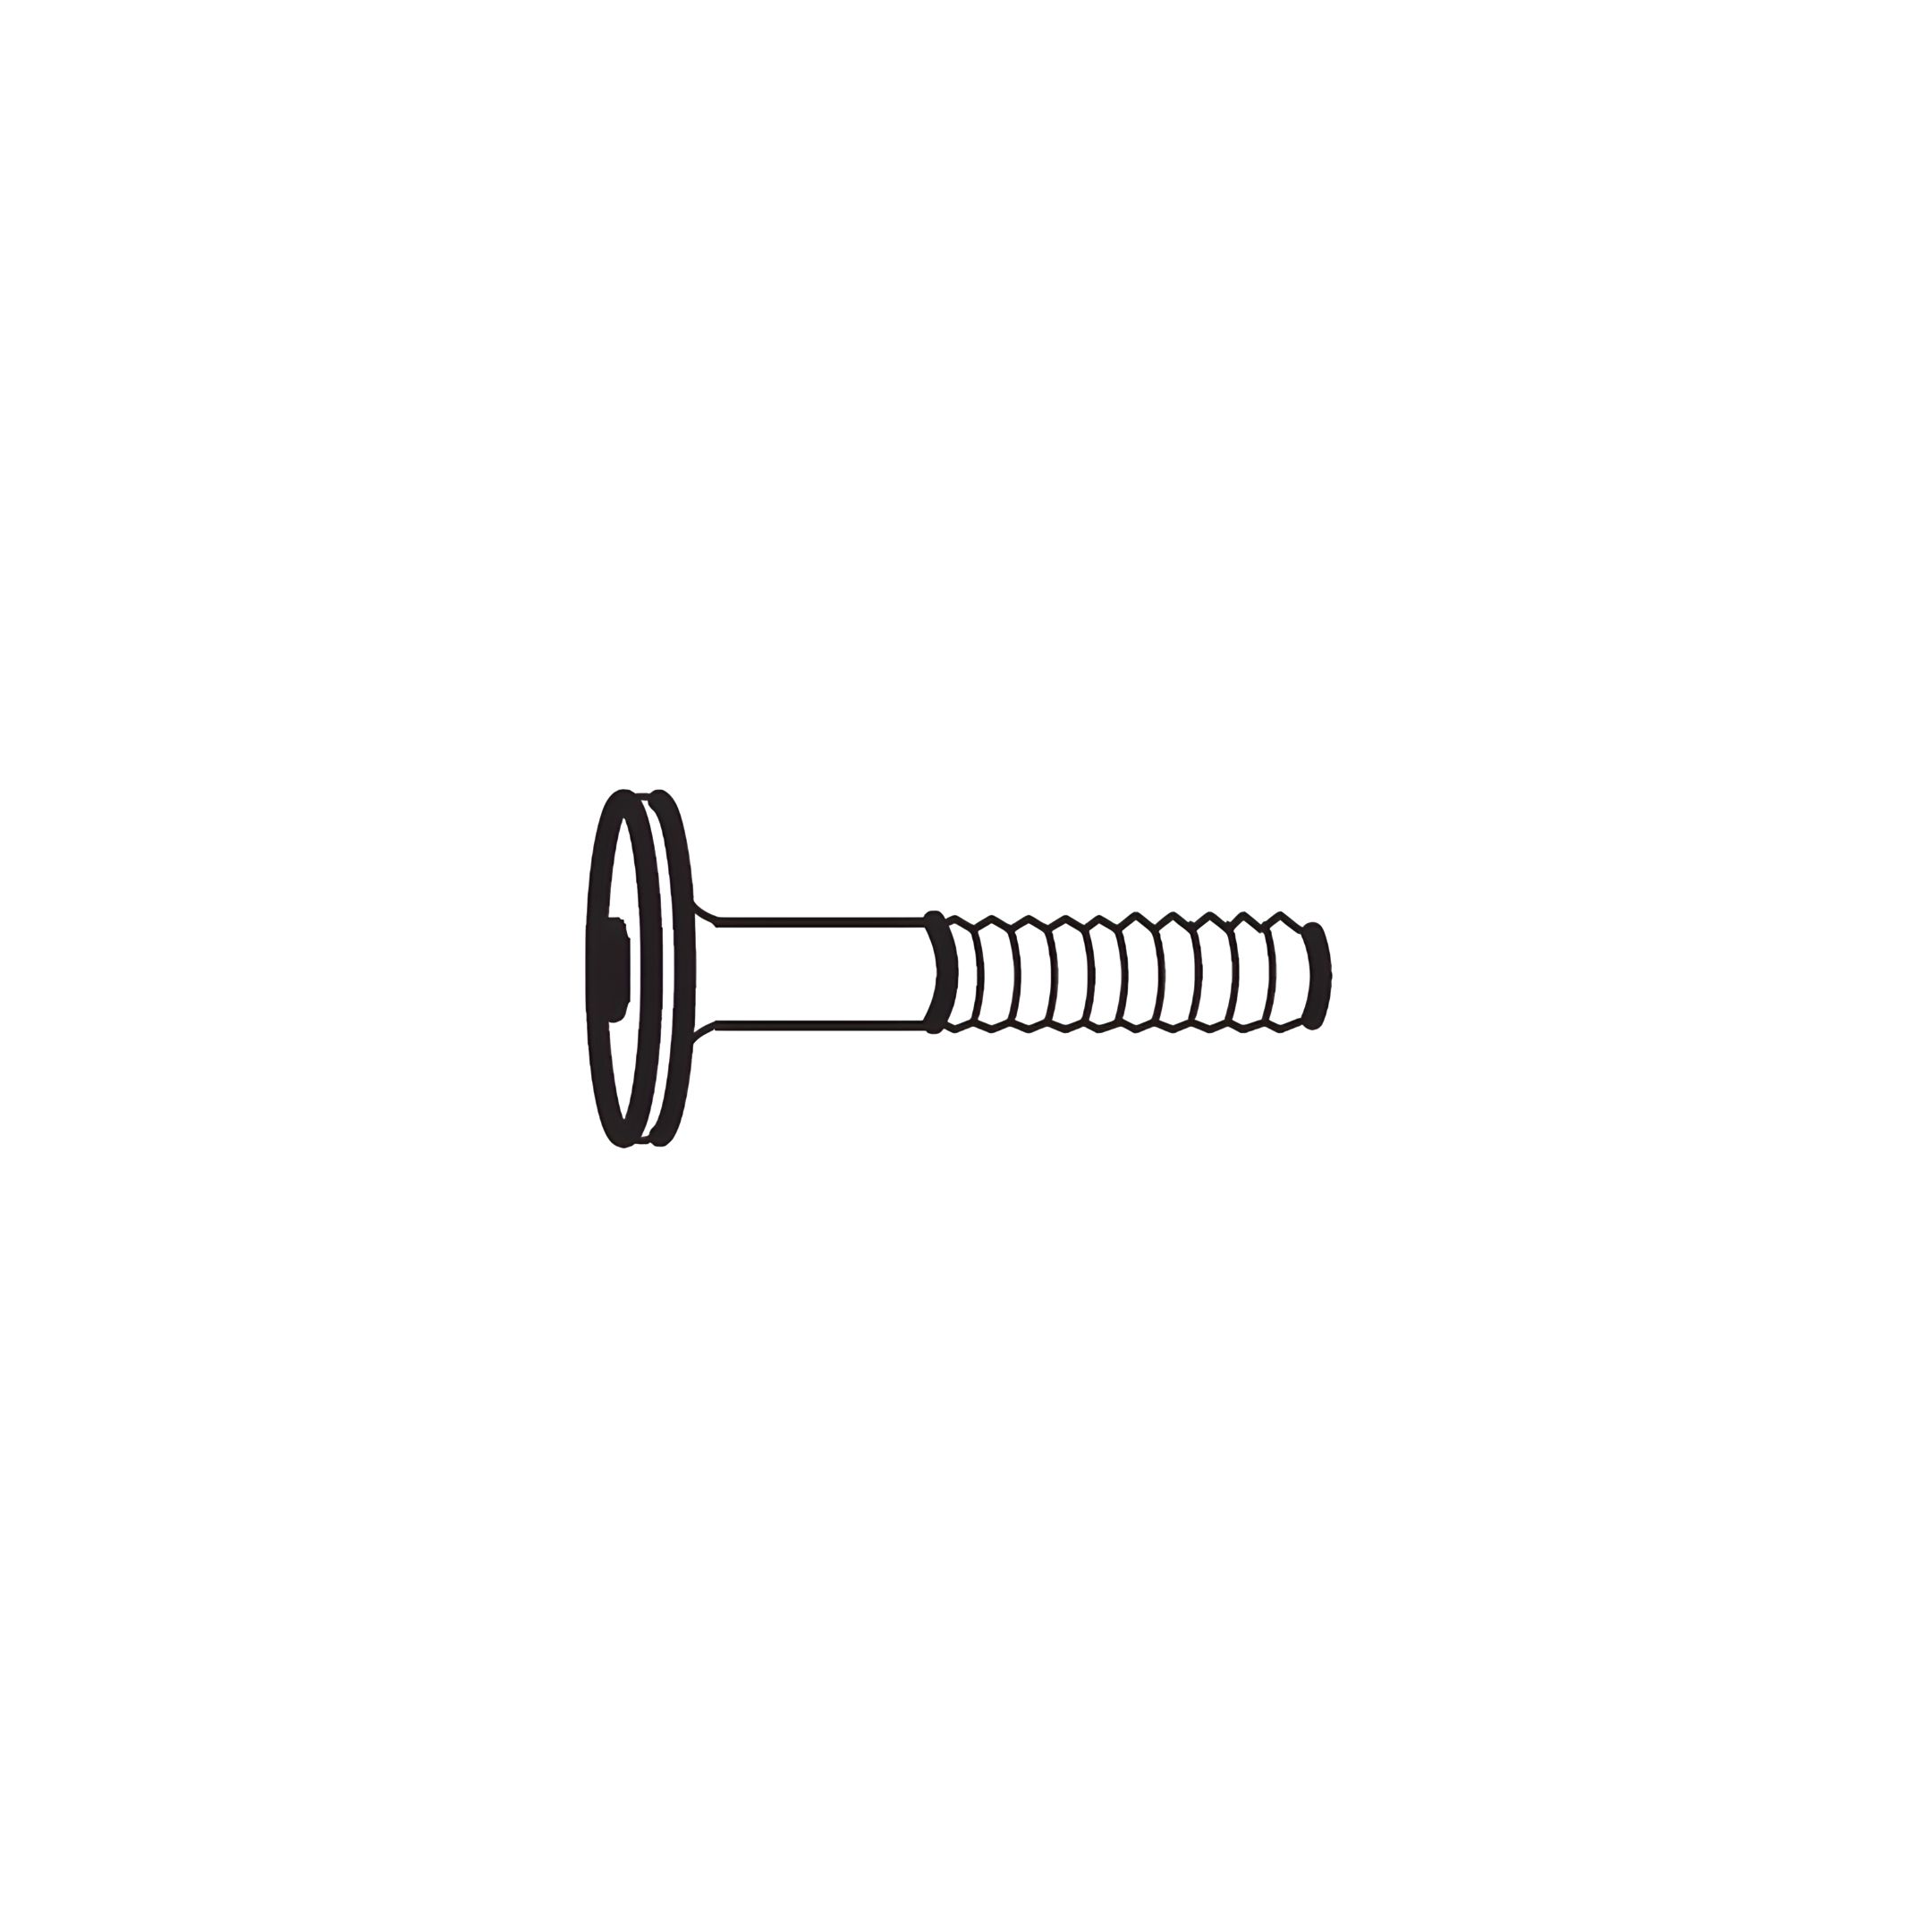
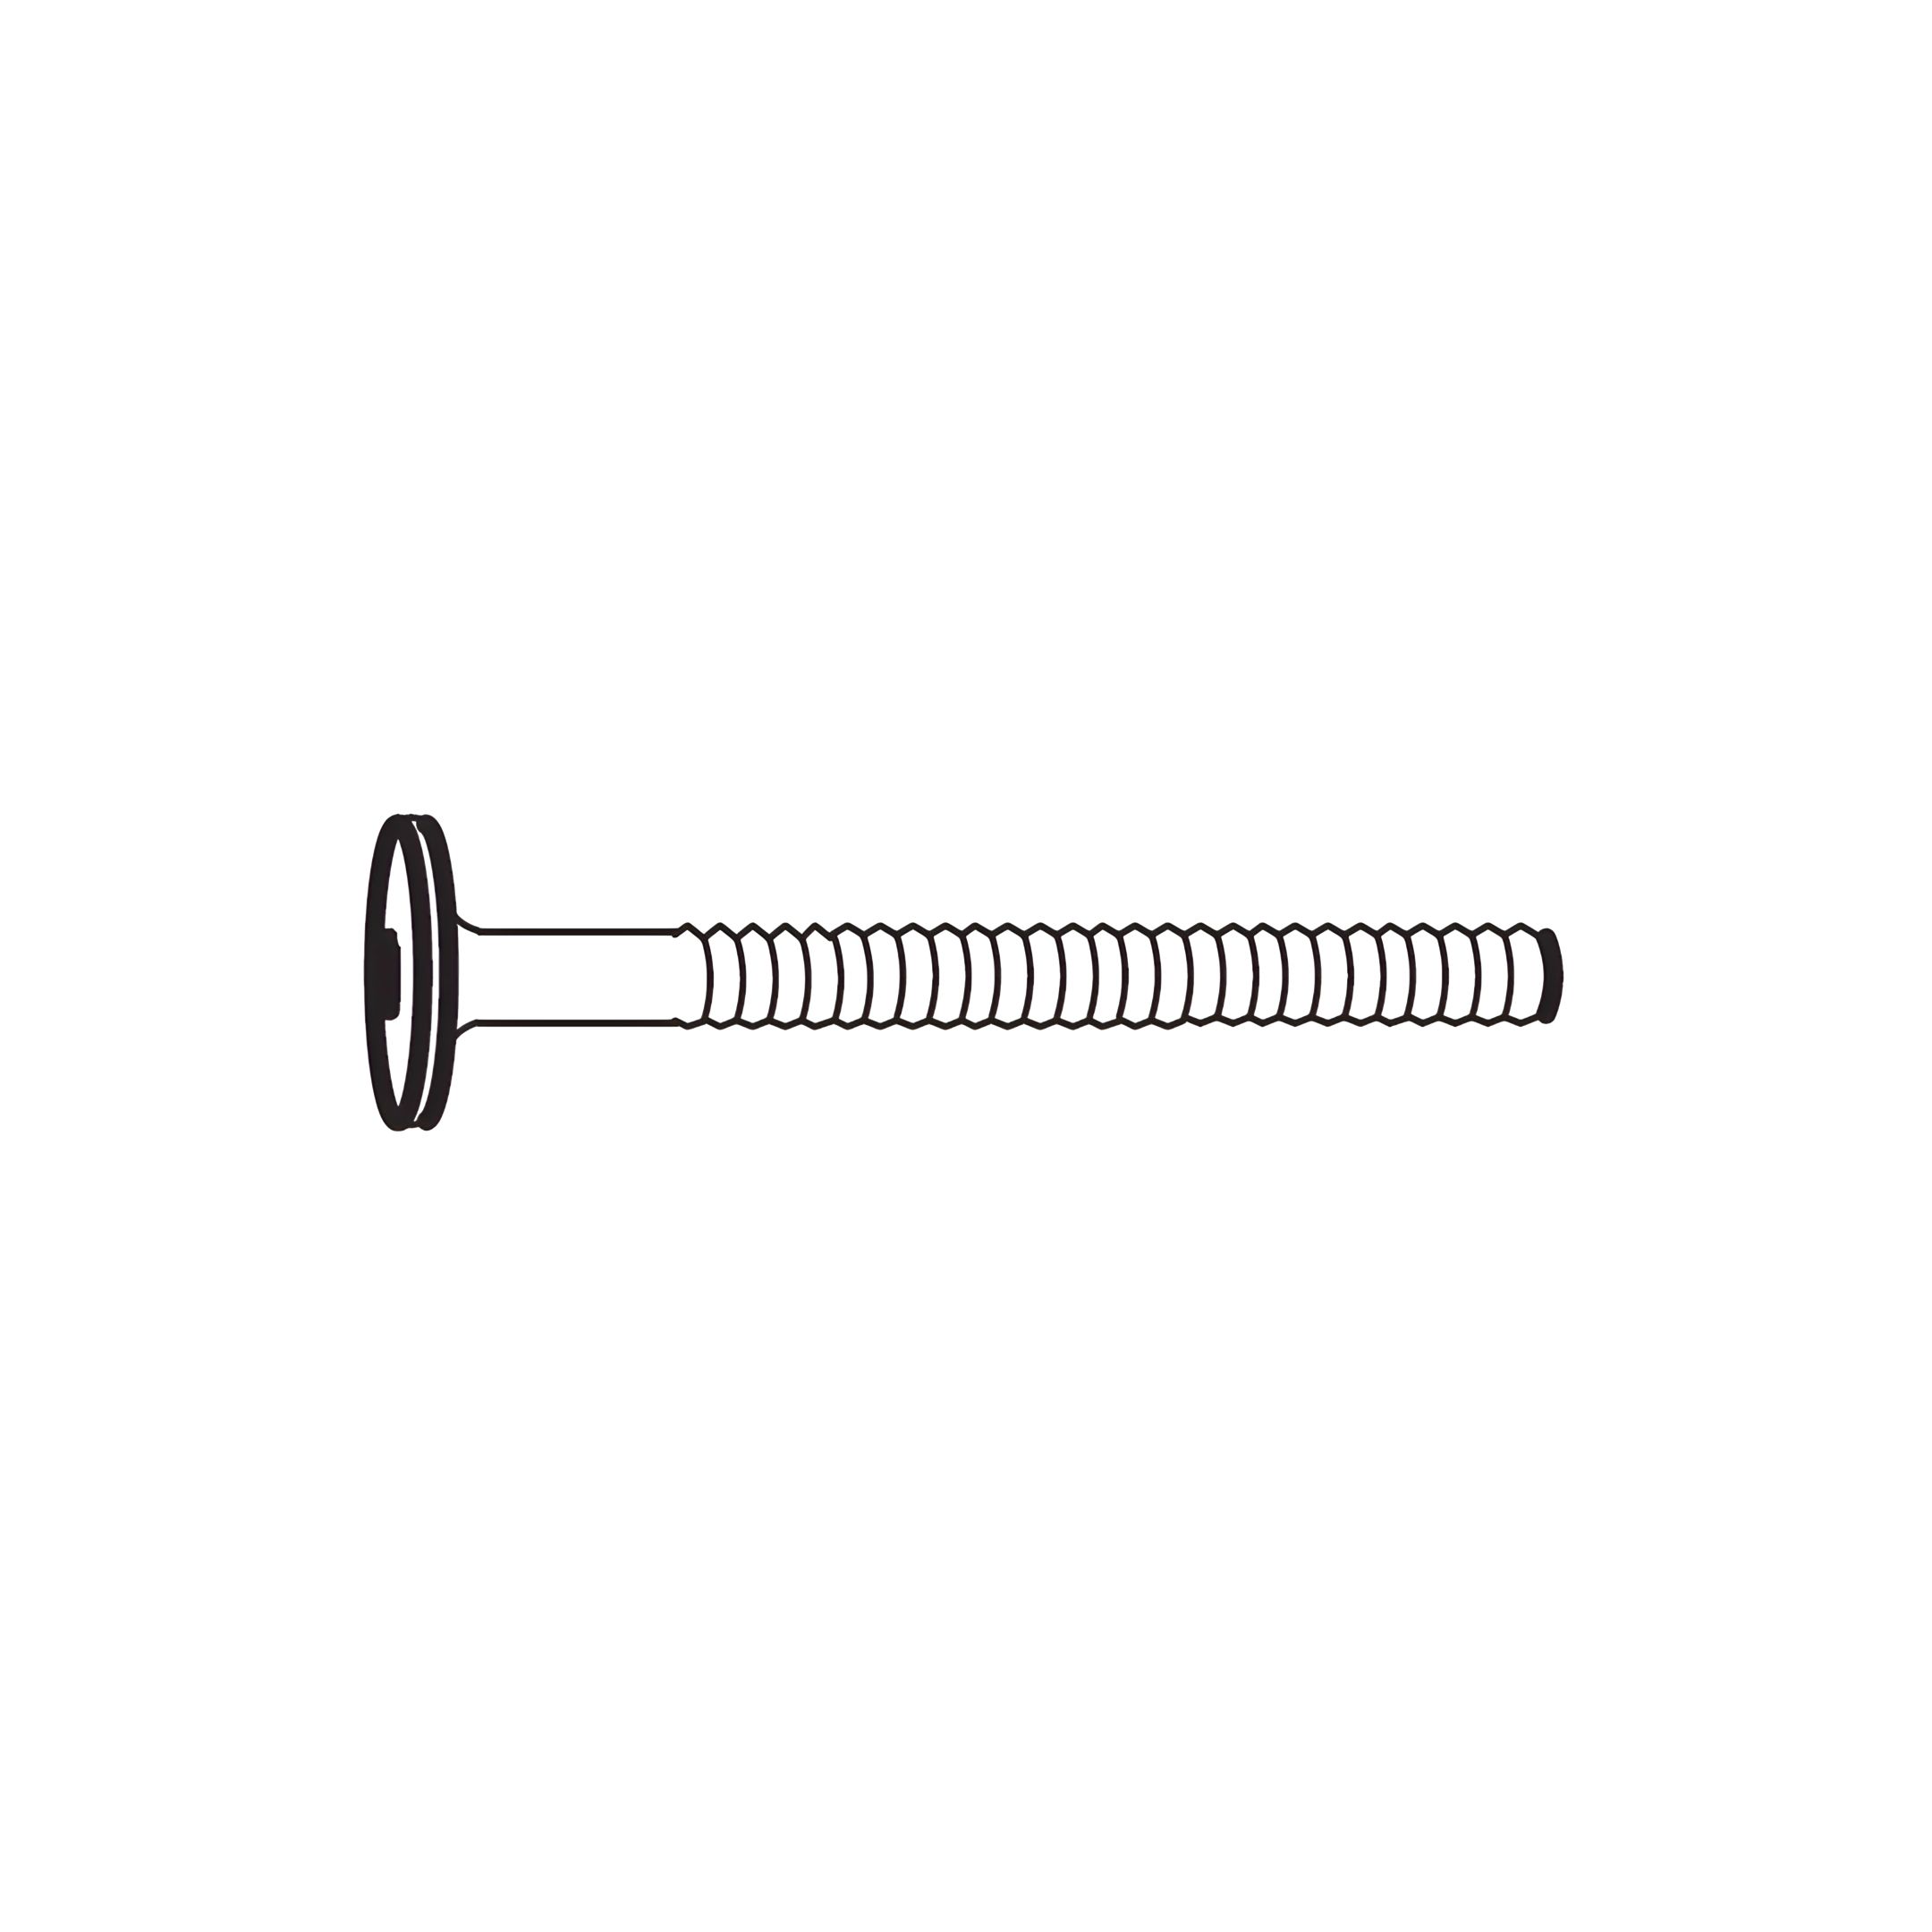
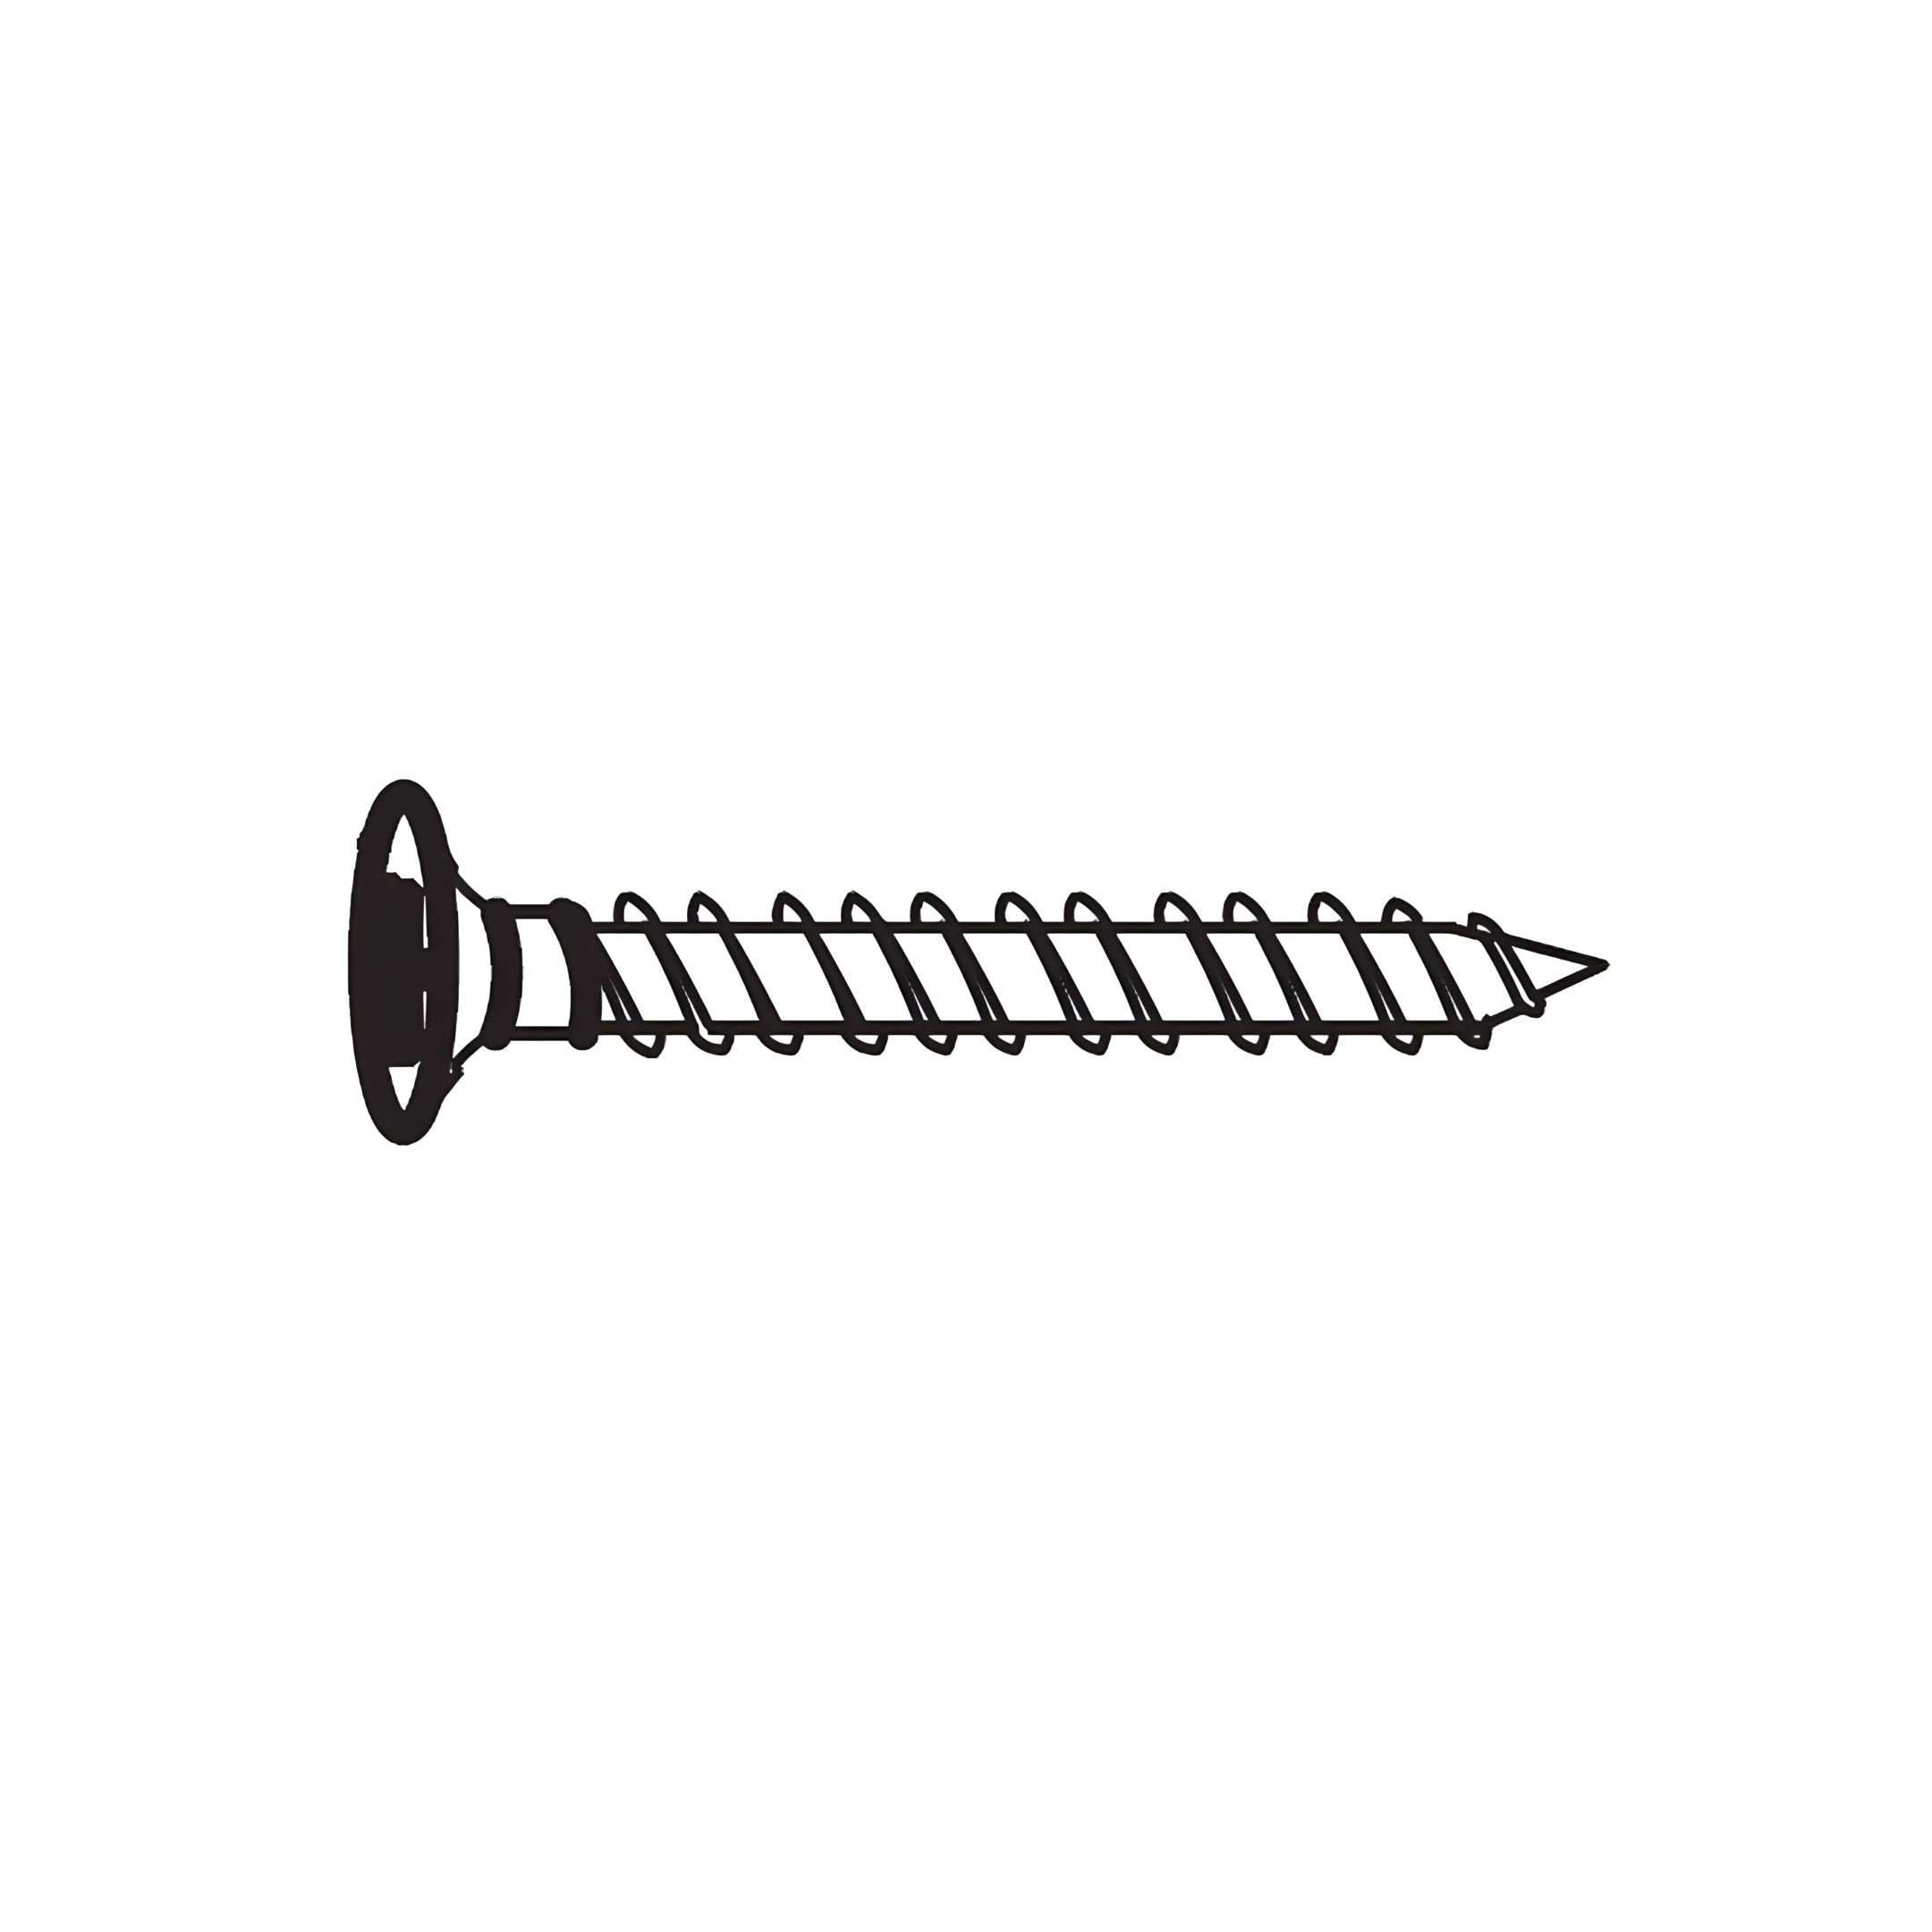
3. Secure each panel using Barrel Nuts (2) and JCBC Bolts (1).
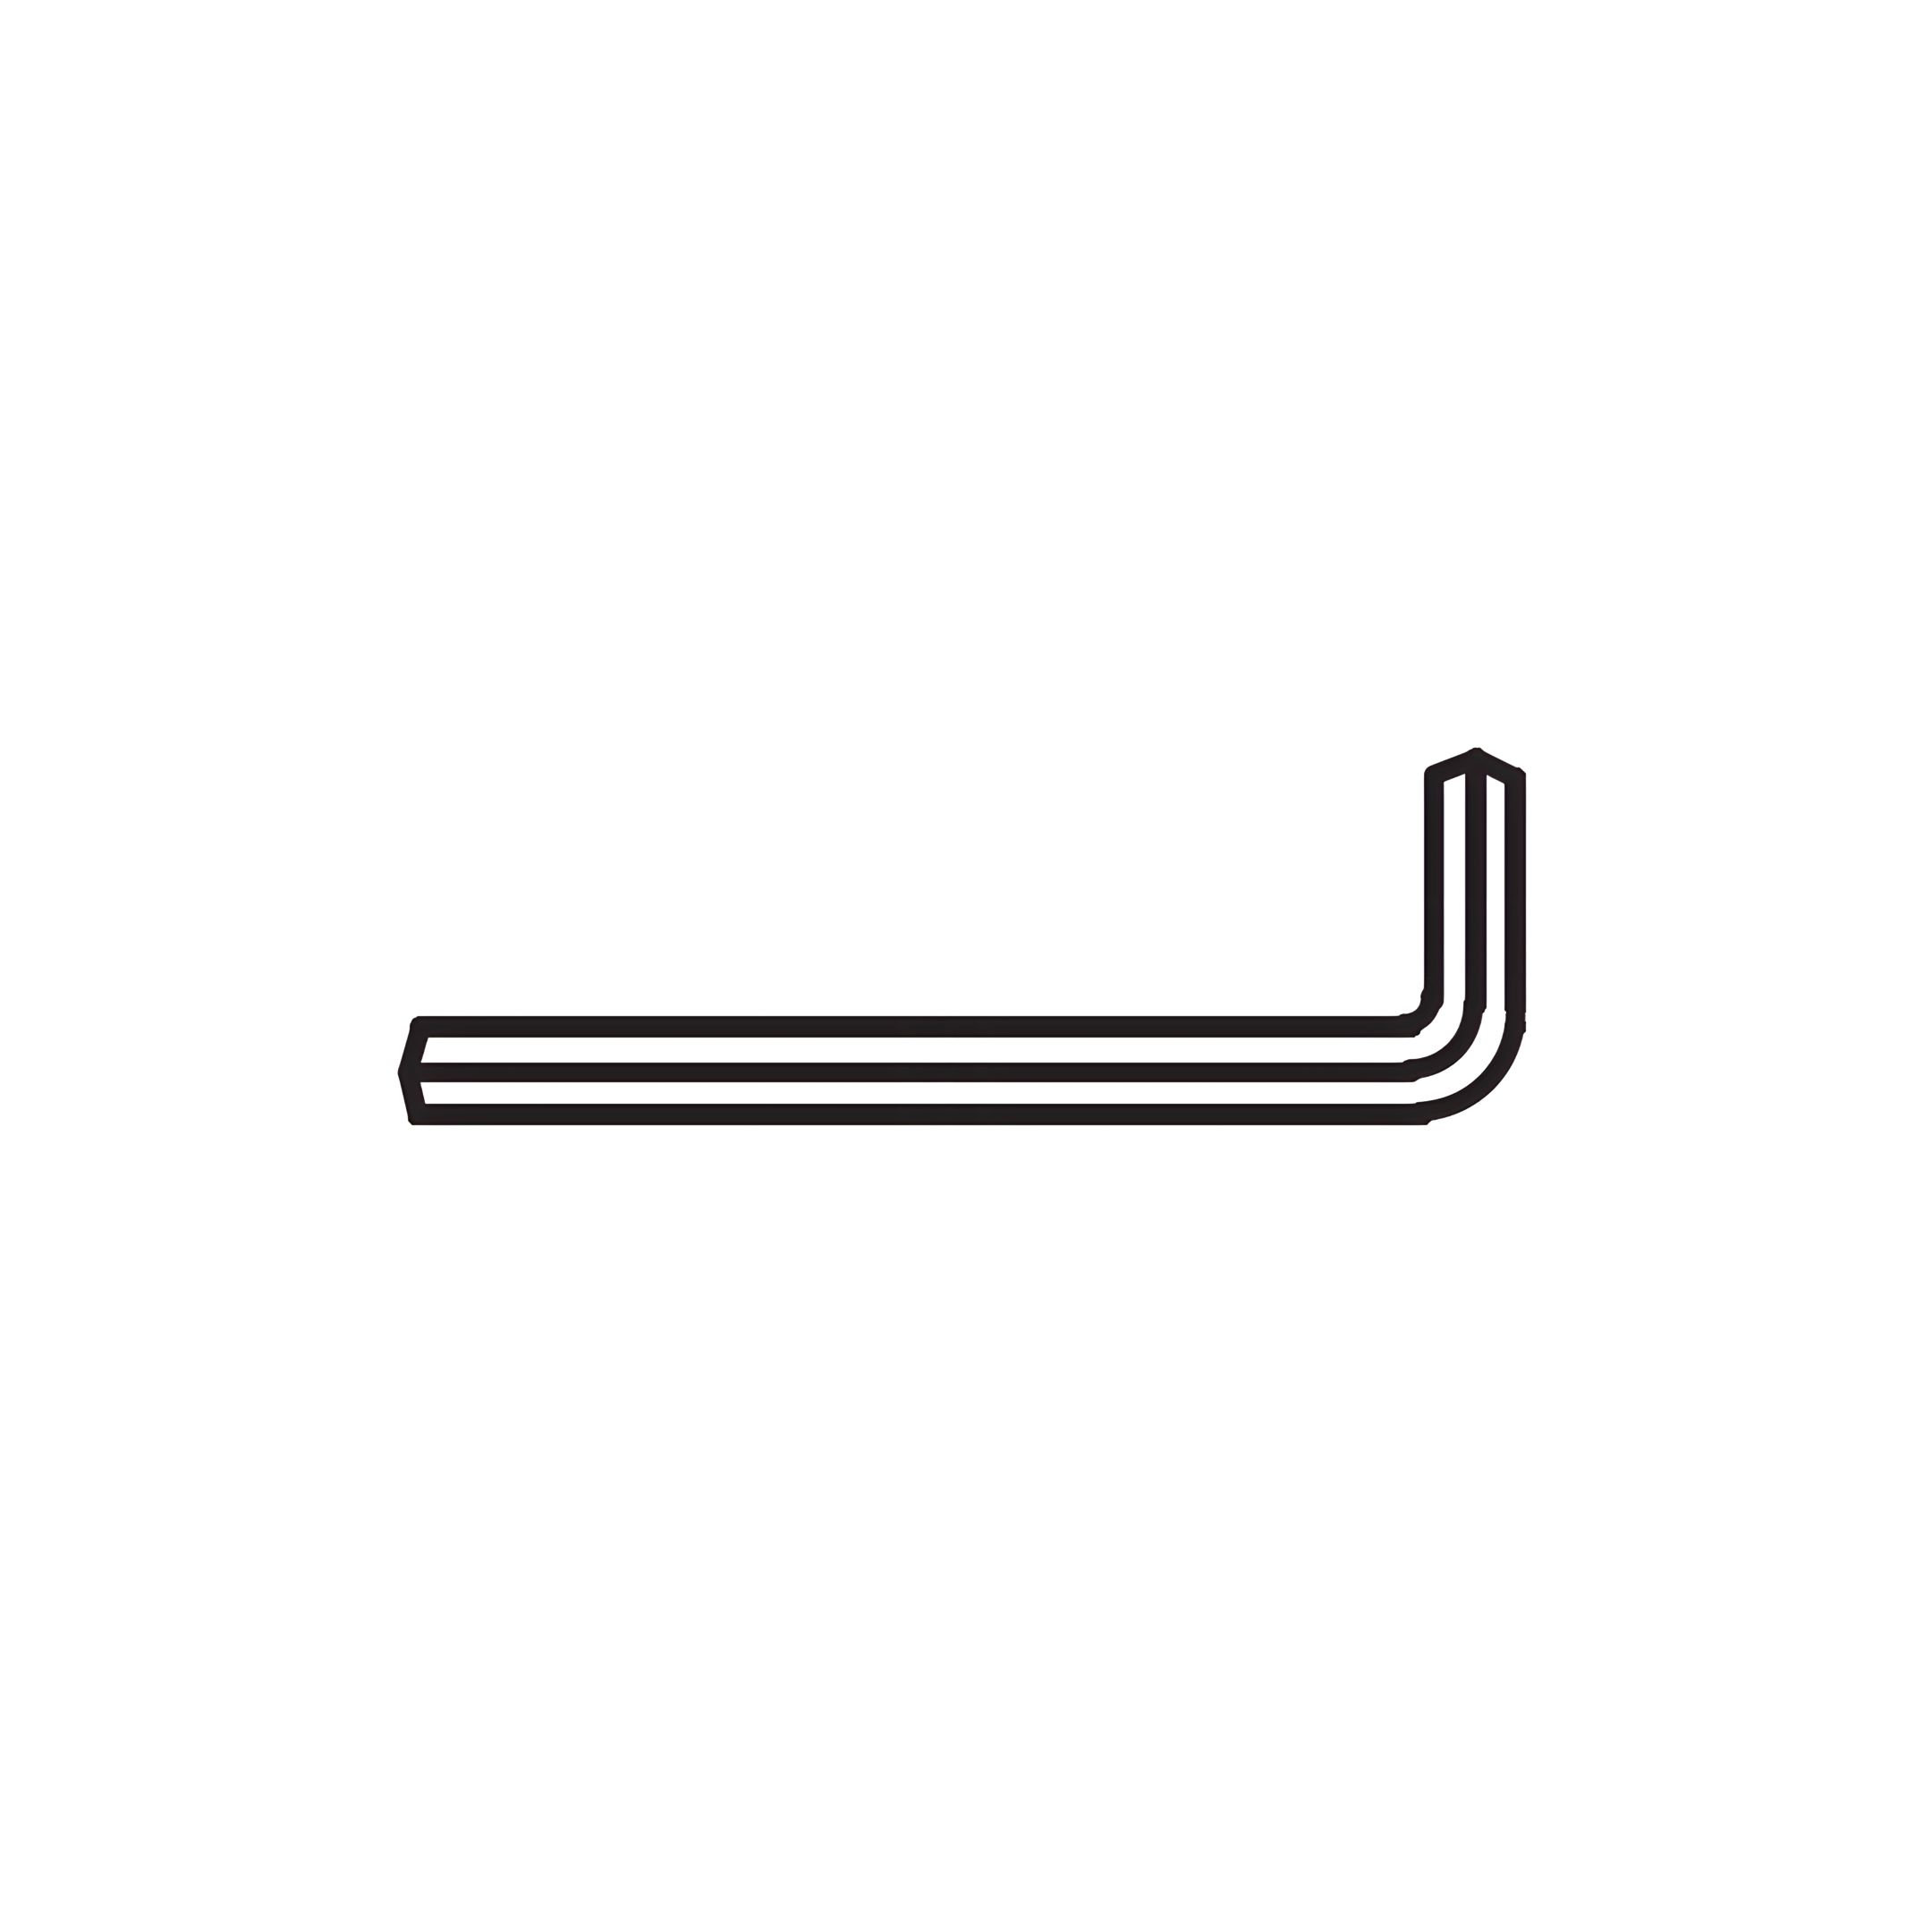
4. Use the M4 Allen Key (11) to tighten the bolts without over-tightening.