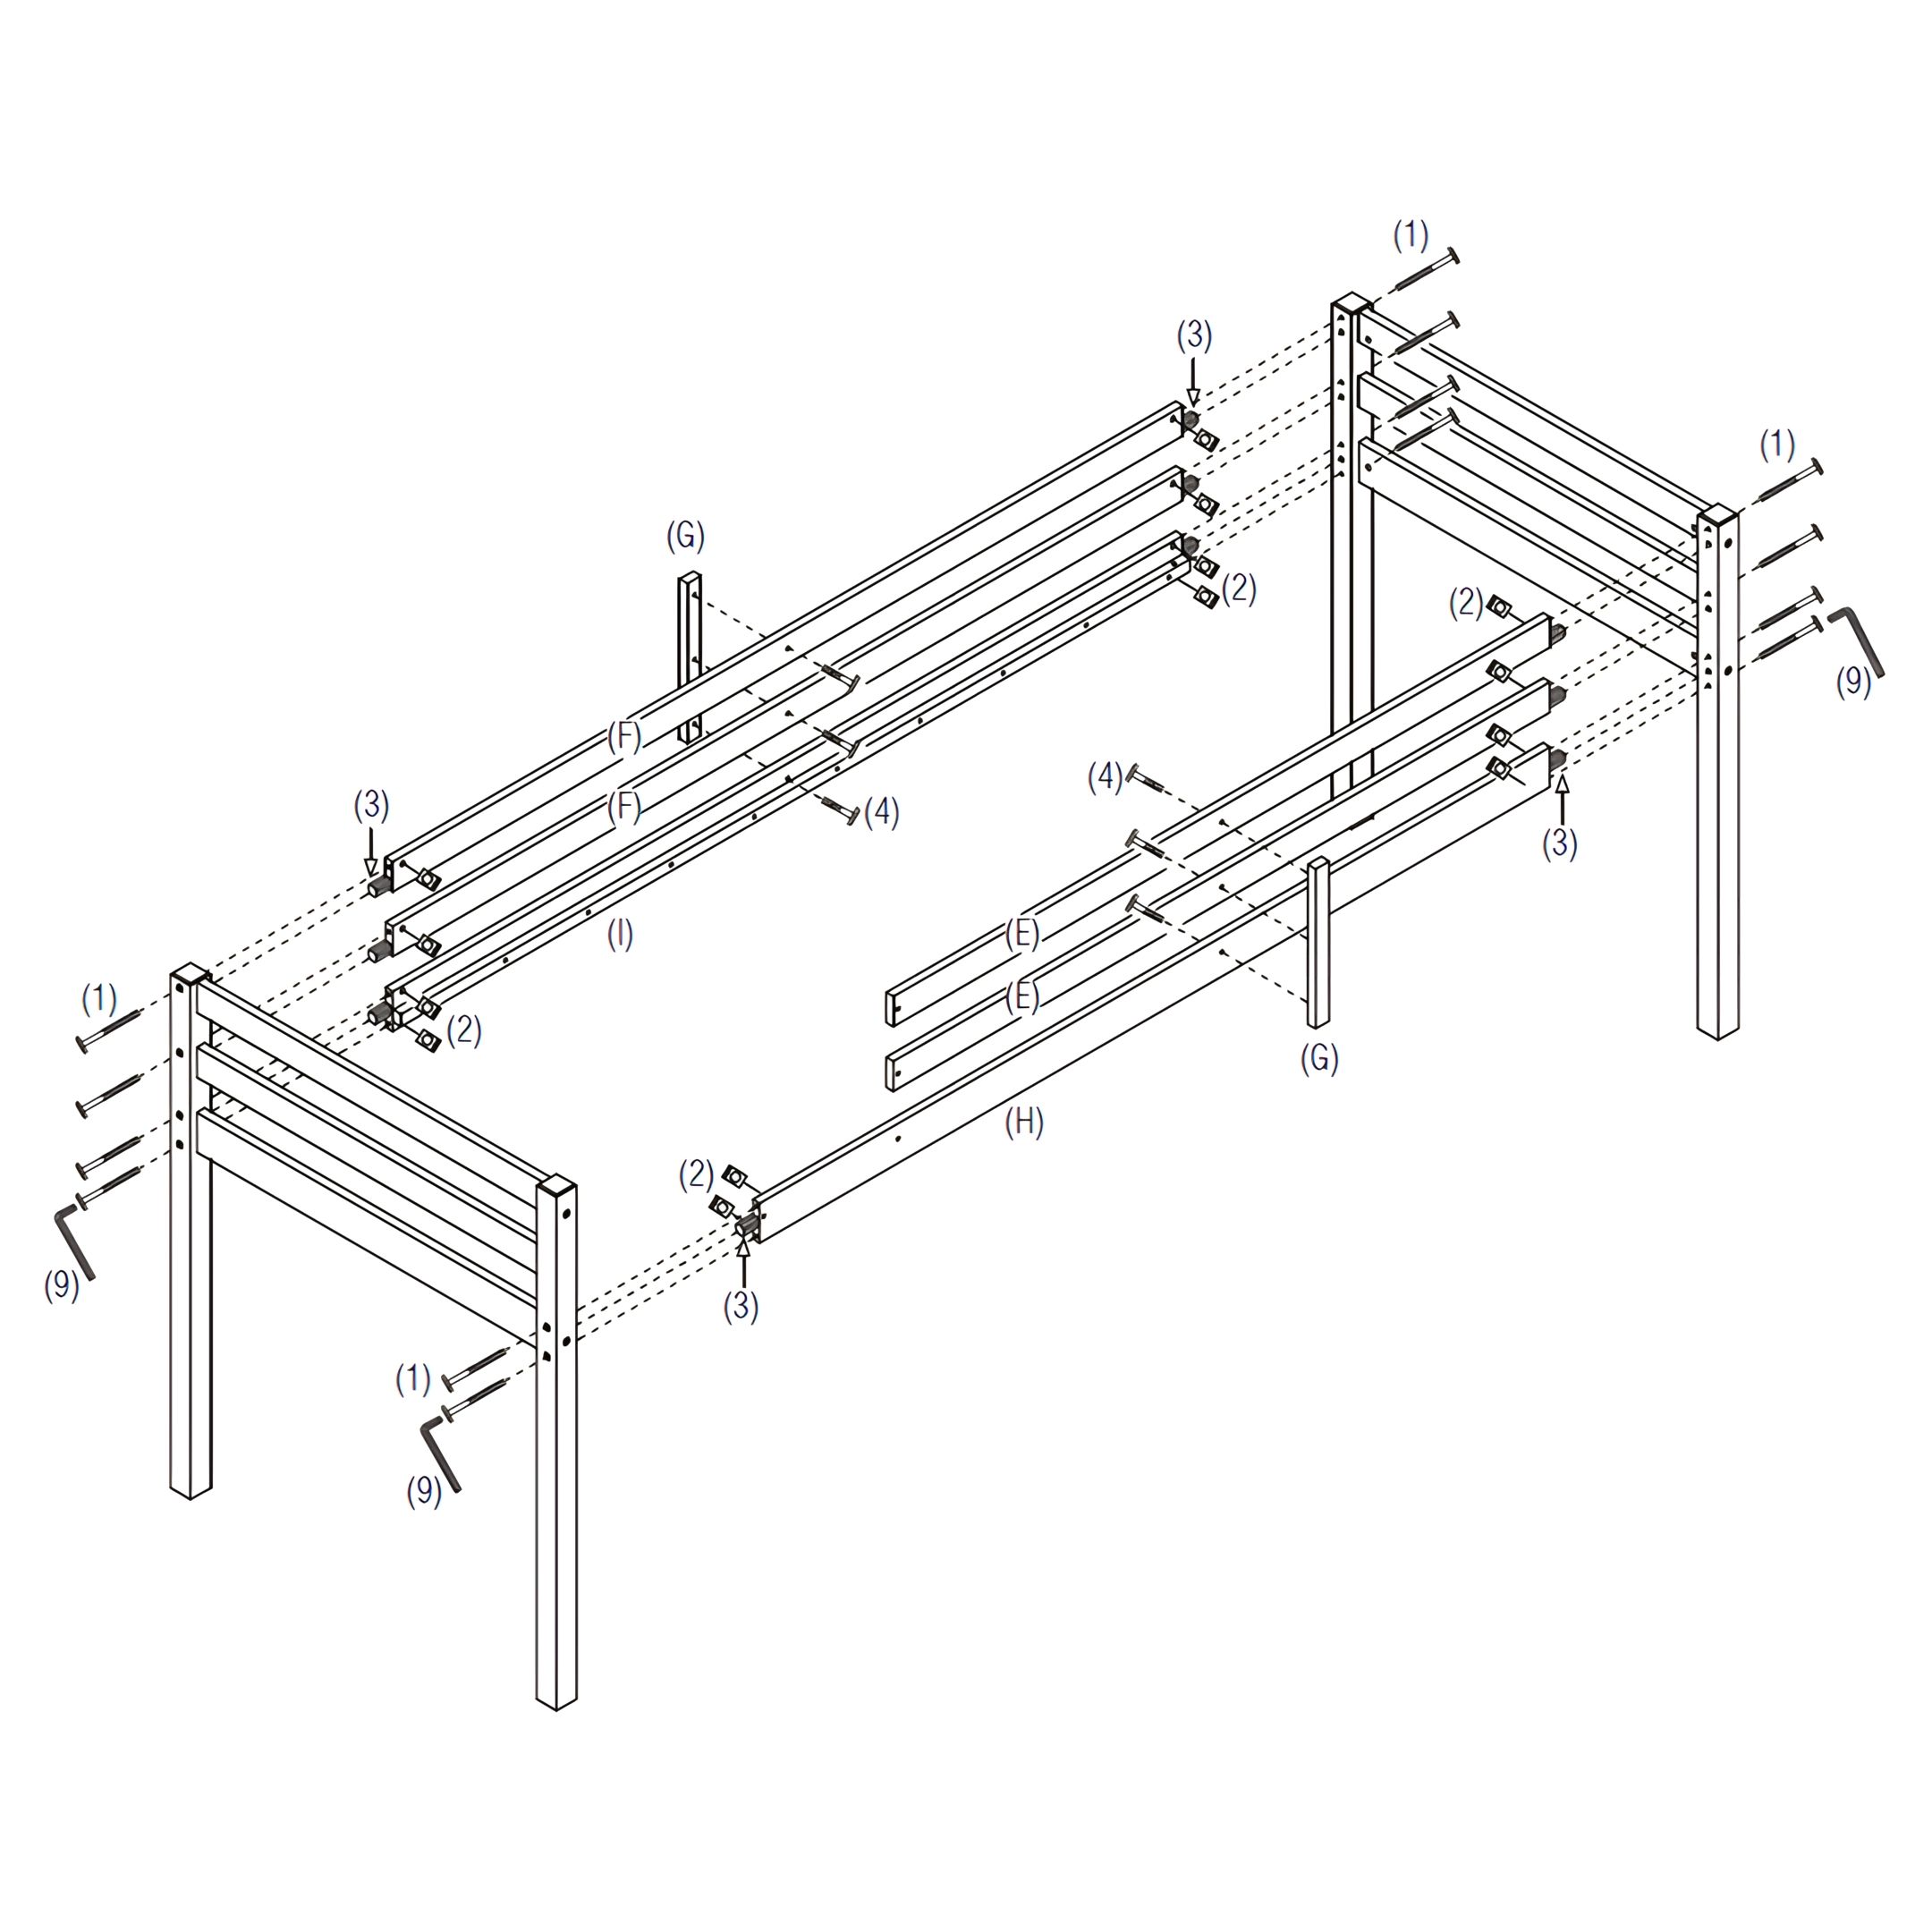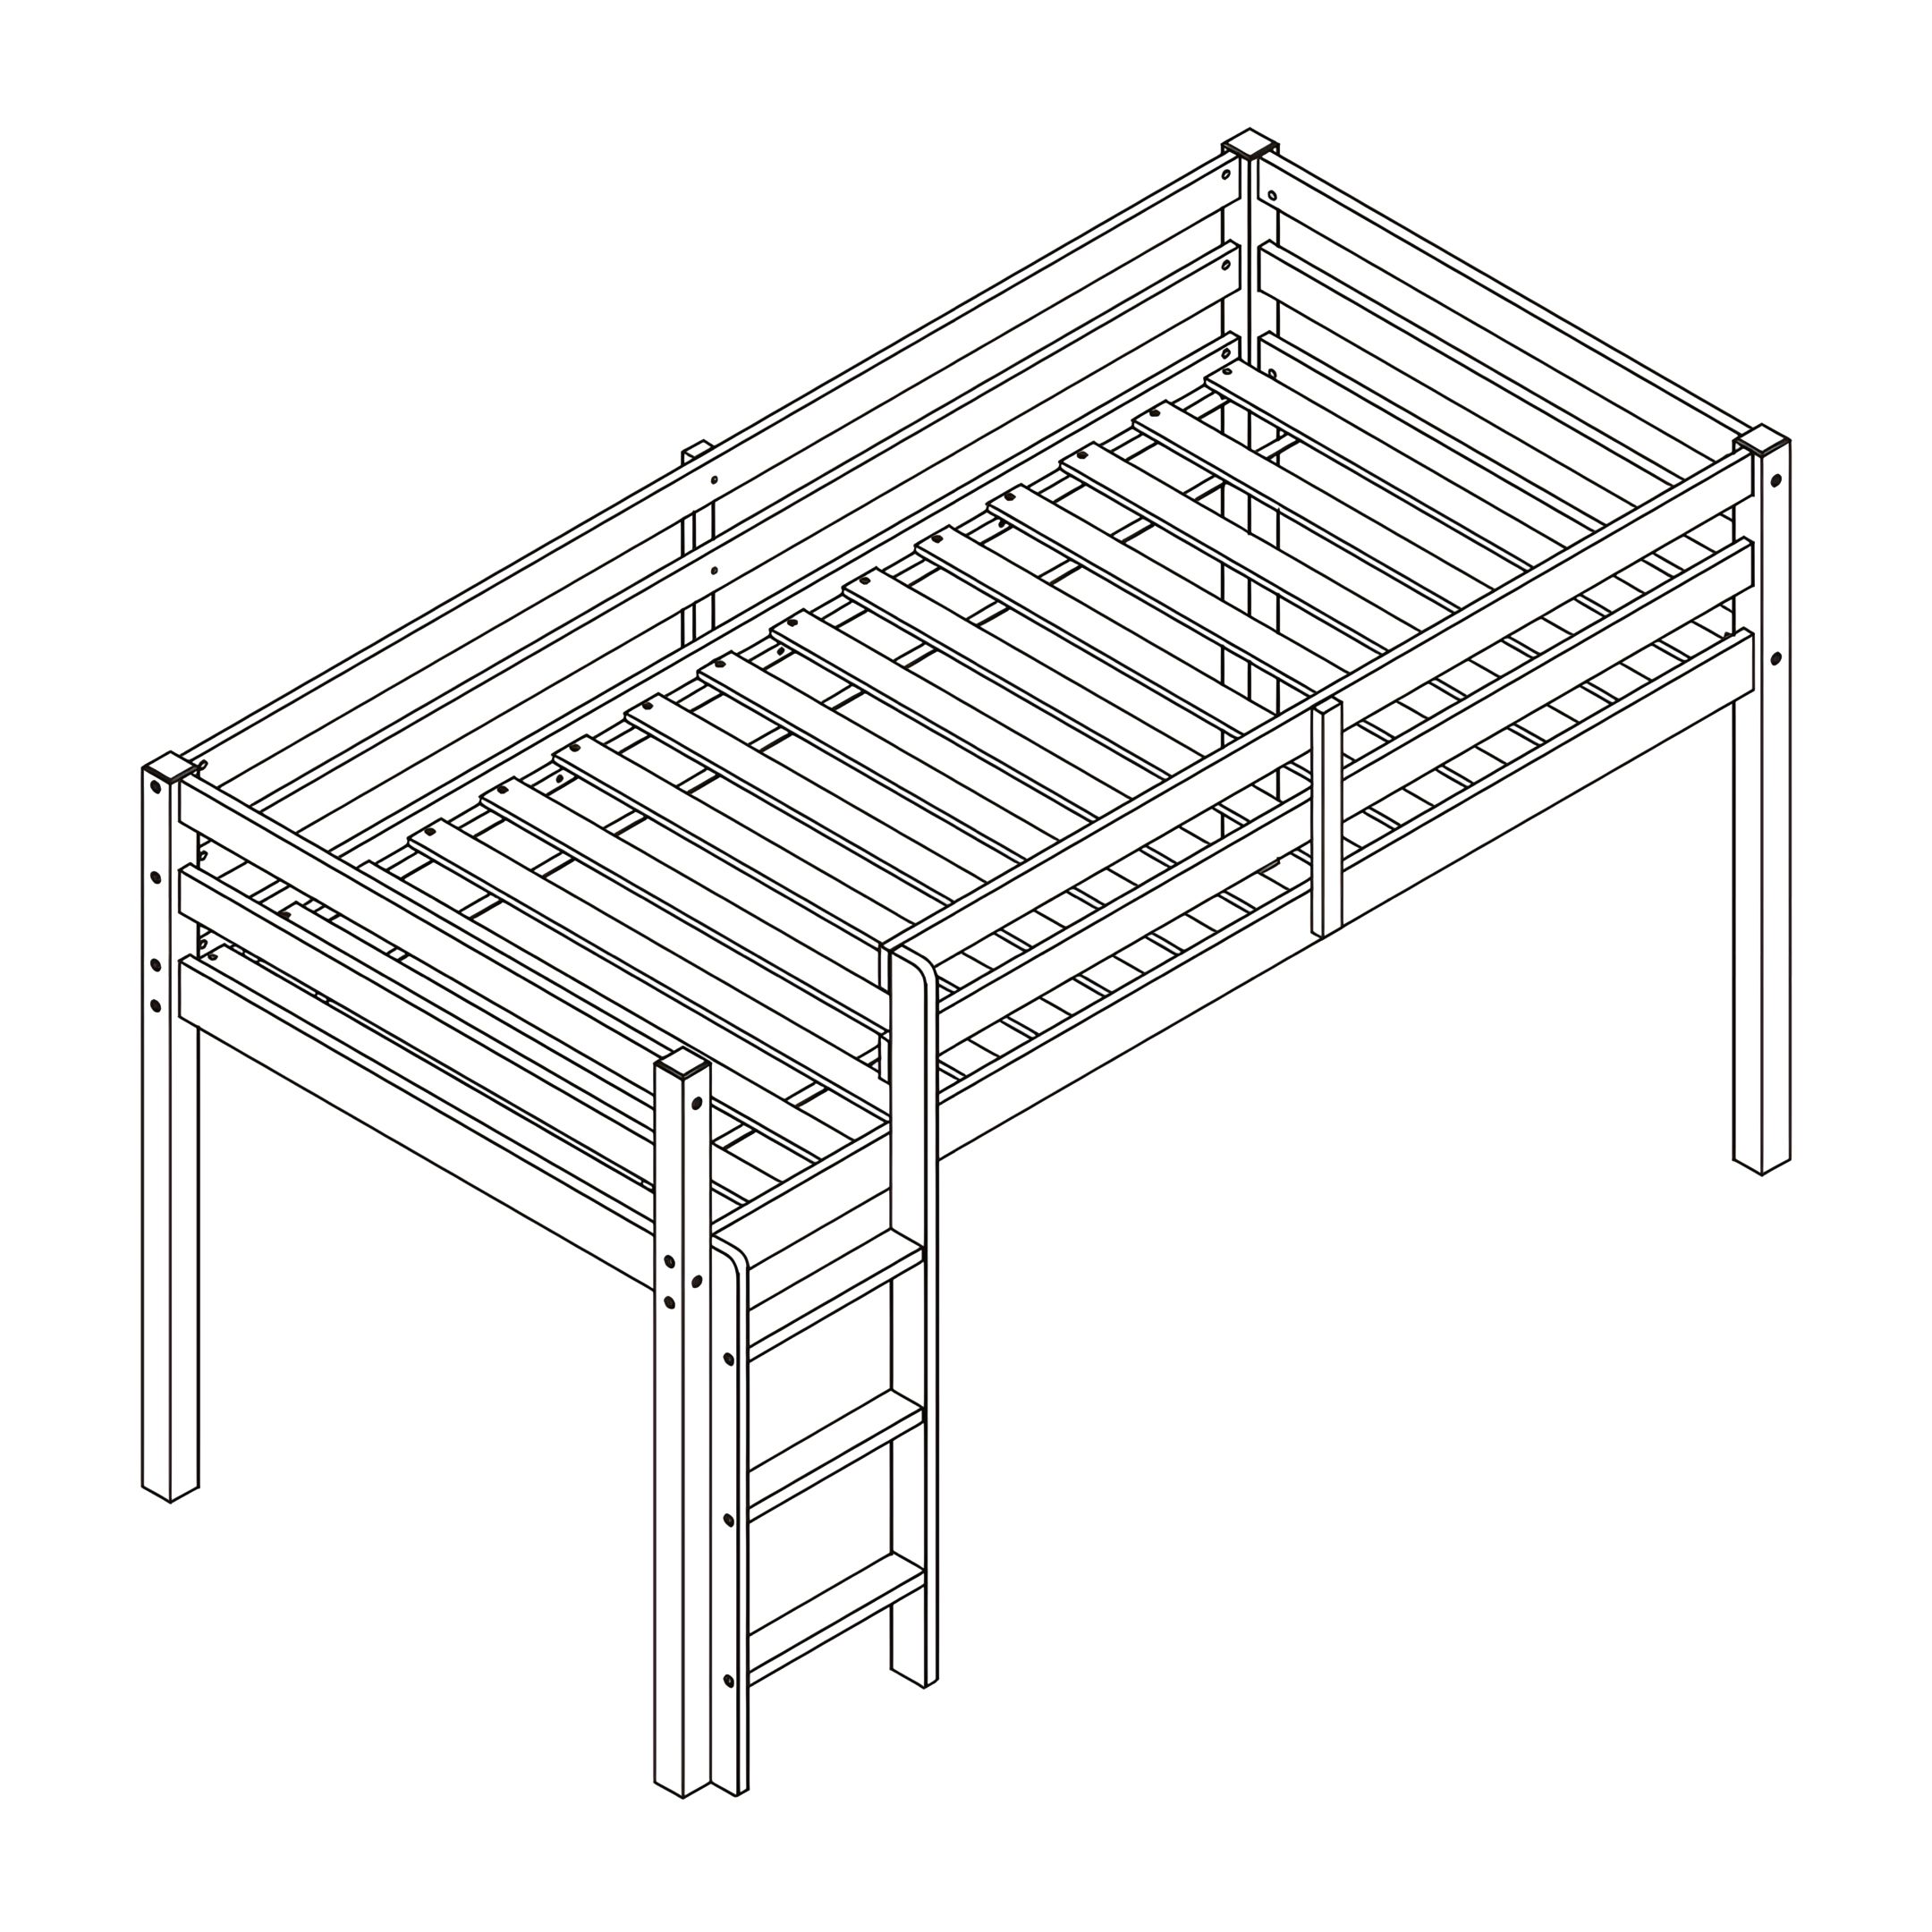


1. Assemble the Bunk End Frames
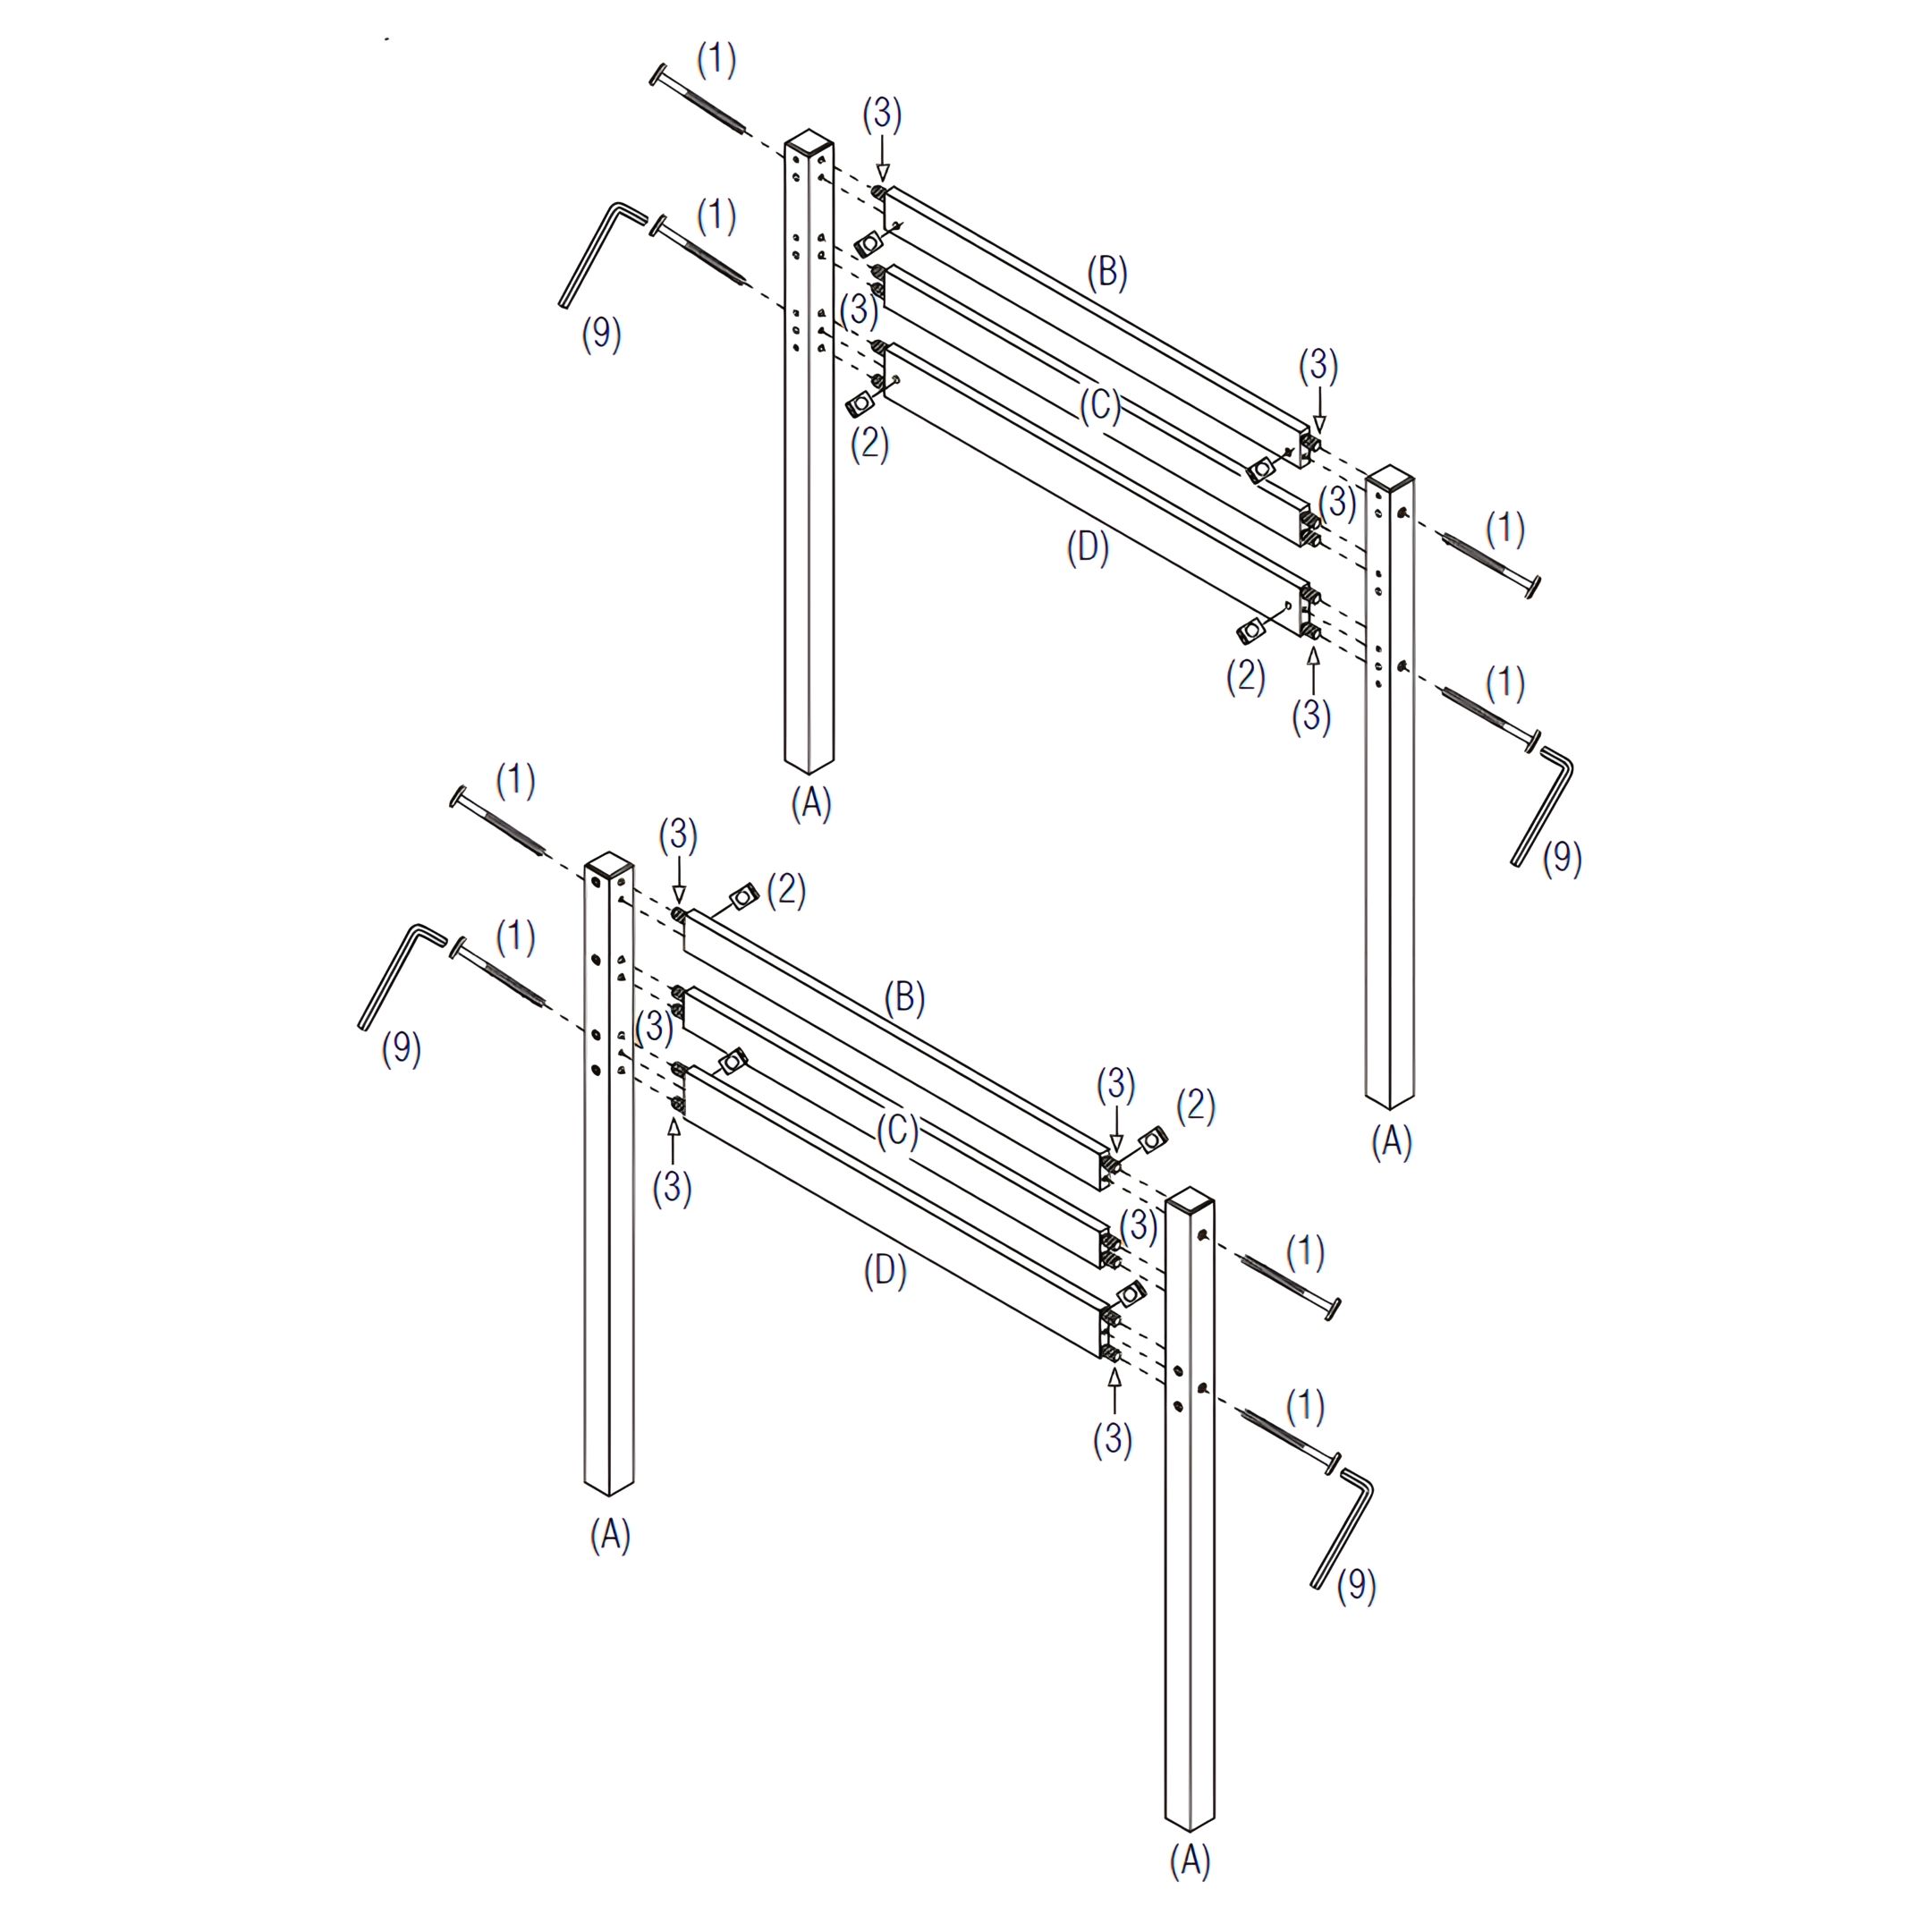
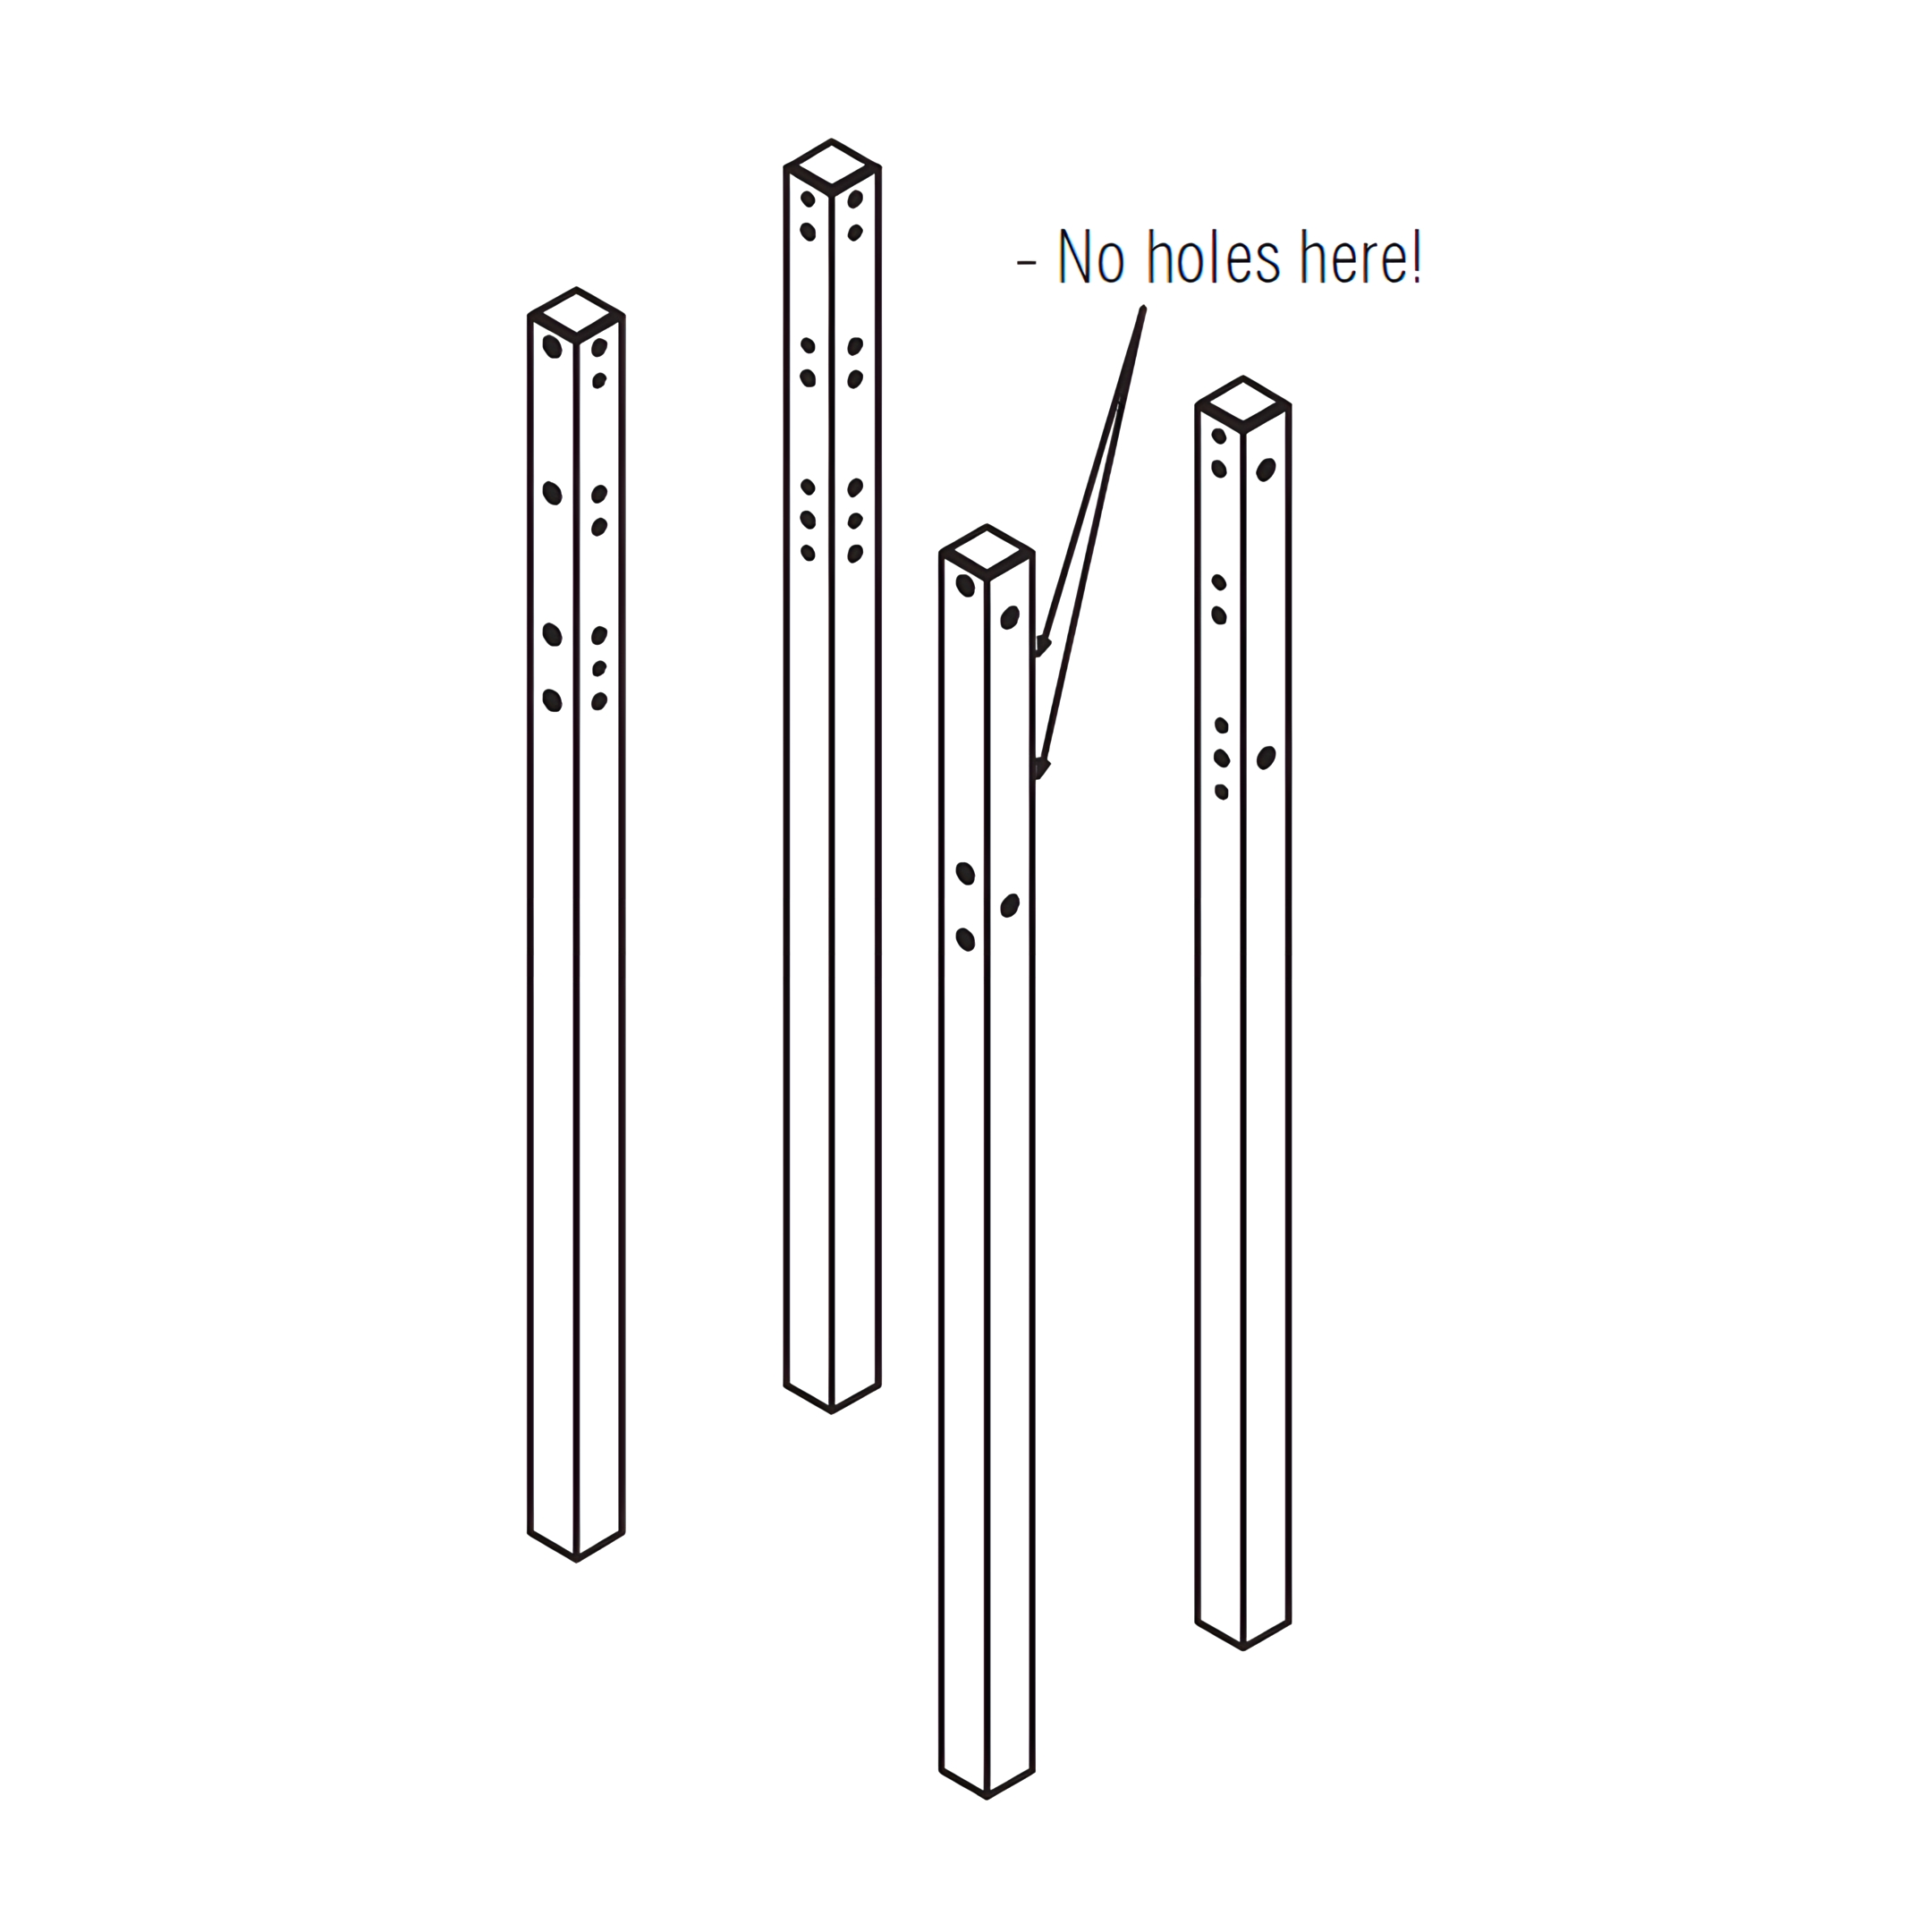
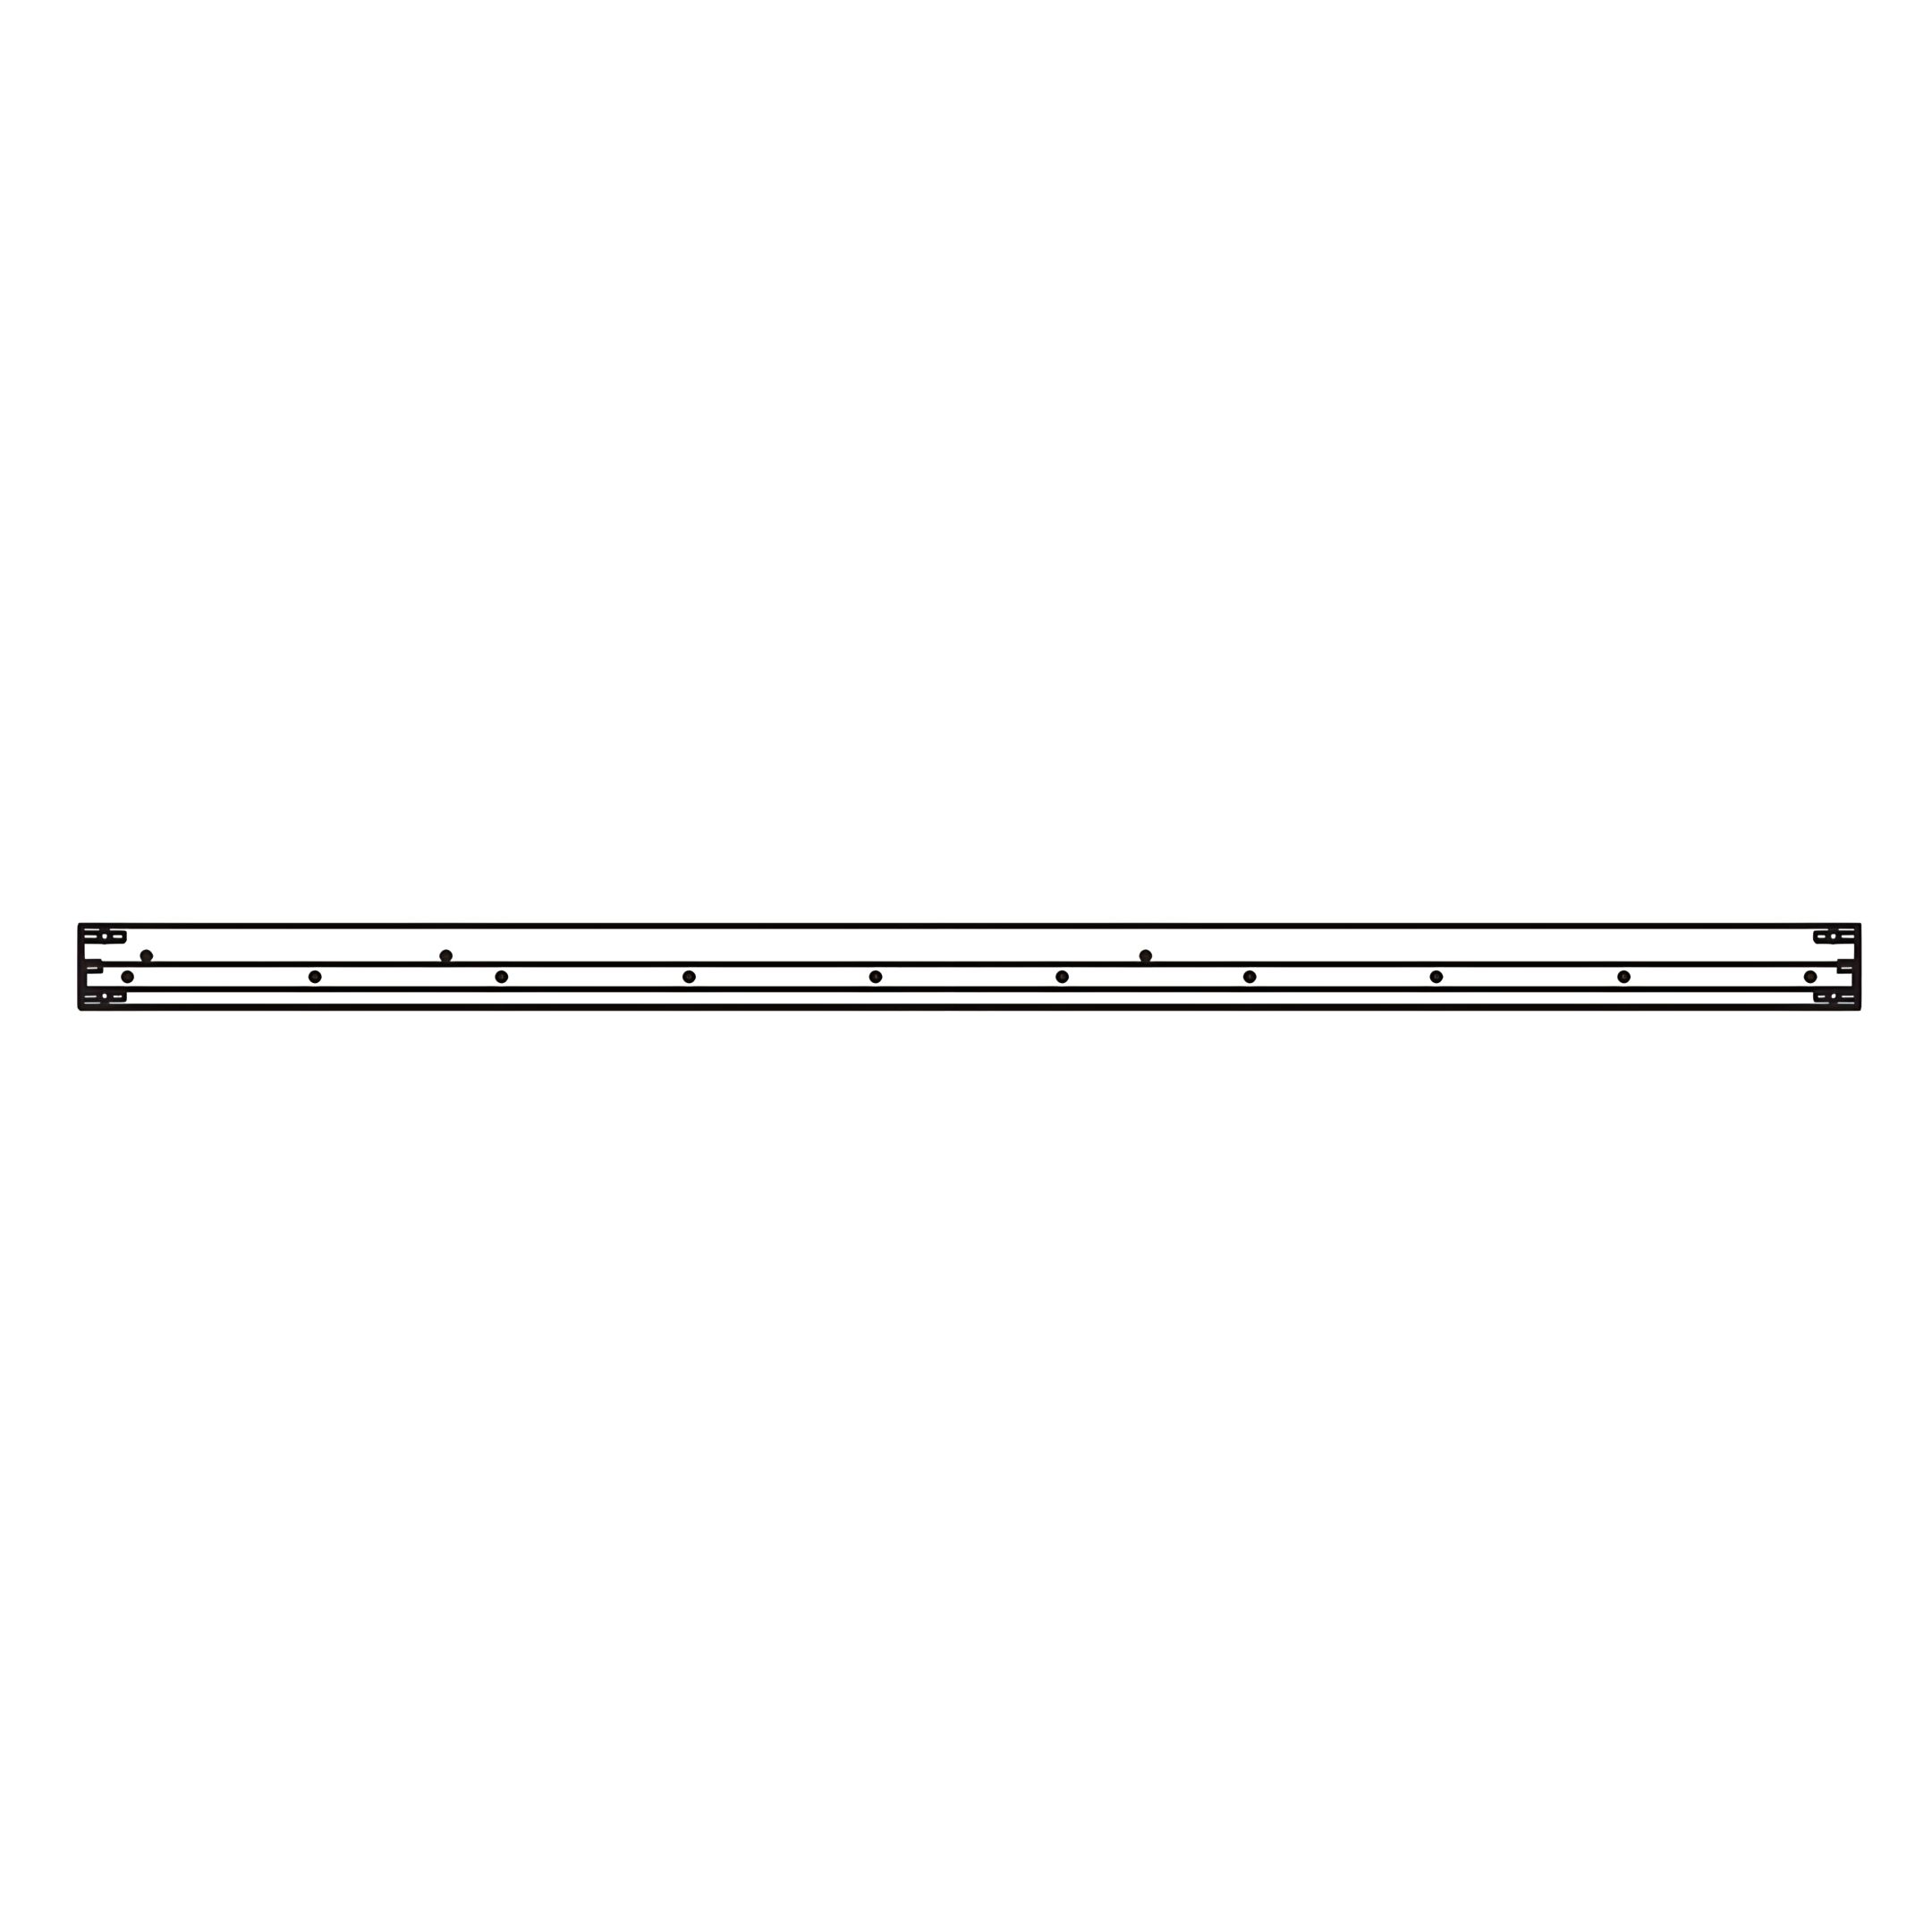
1. Position two Bed Posts (A) vertically as shown in the diagram.
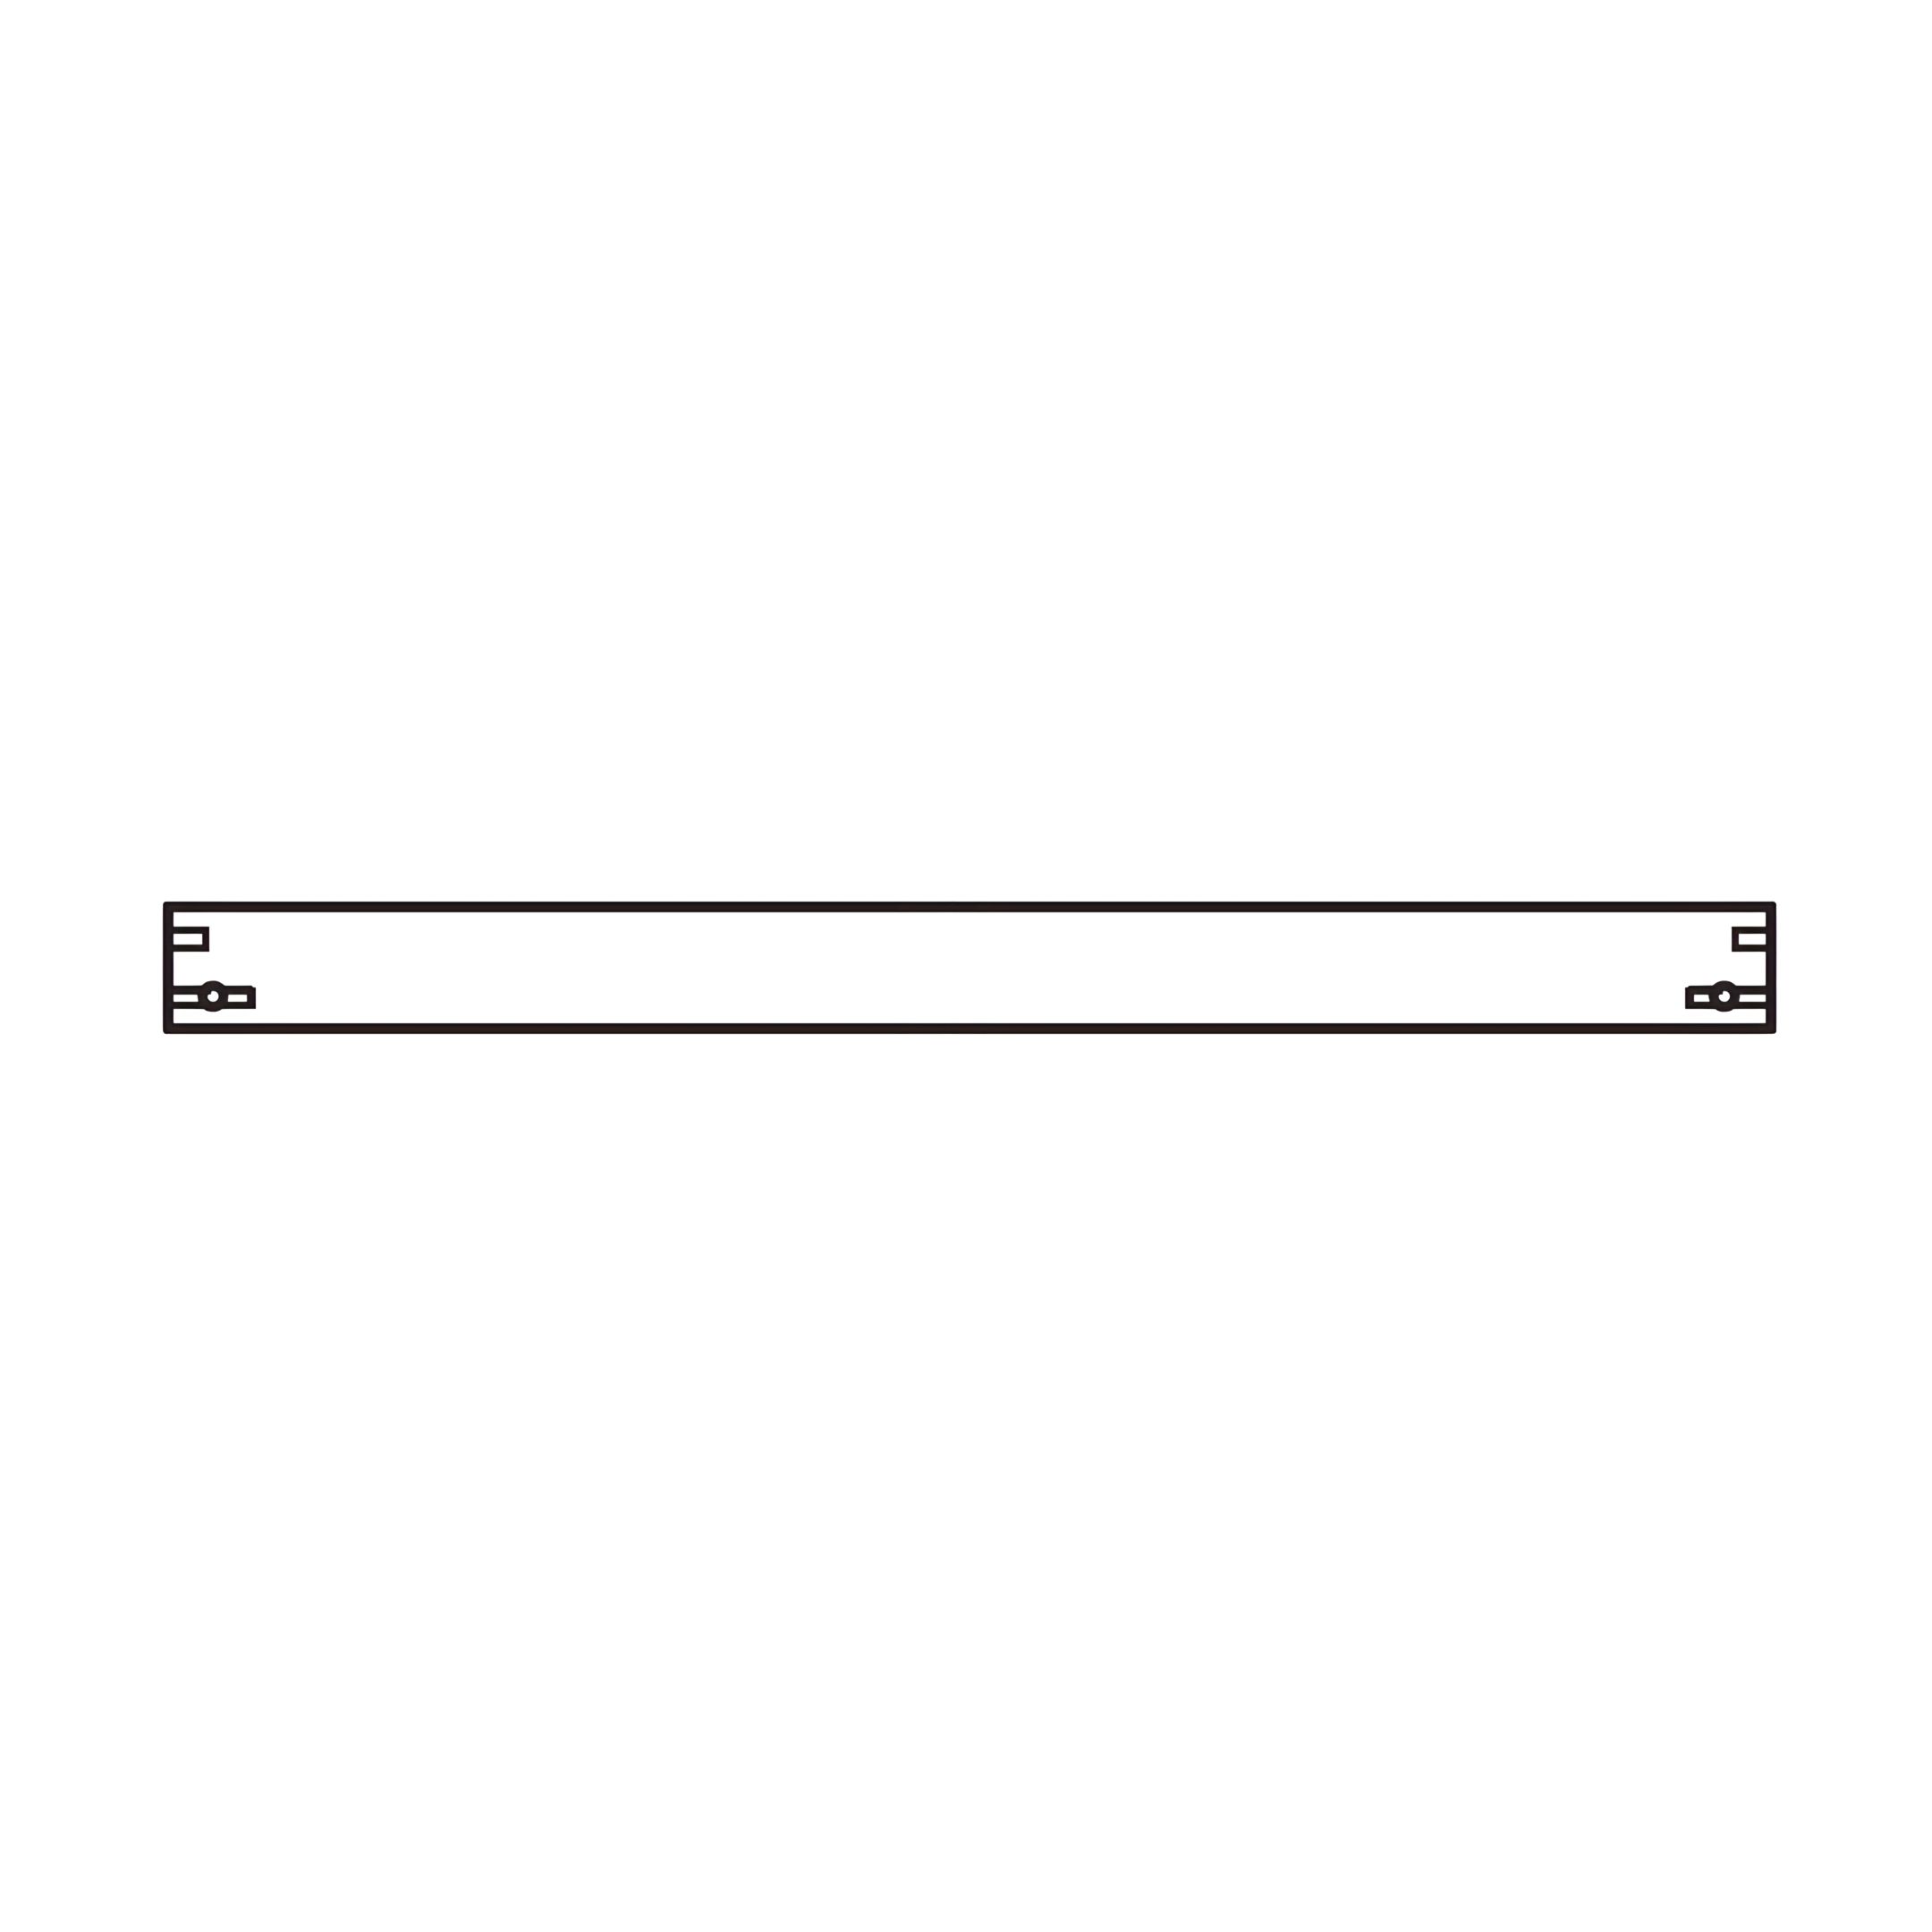
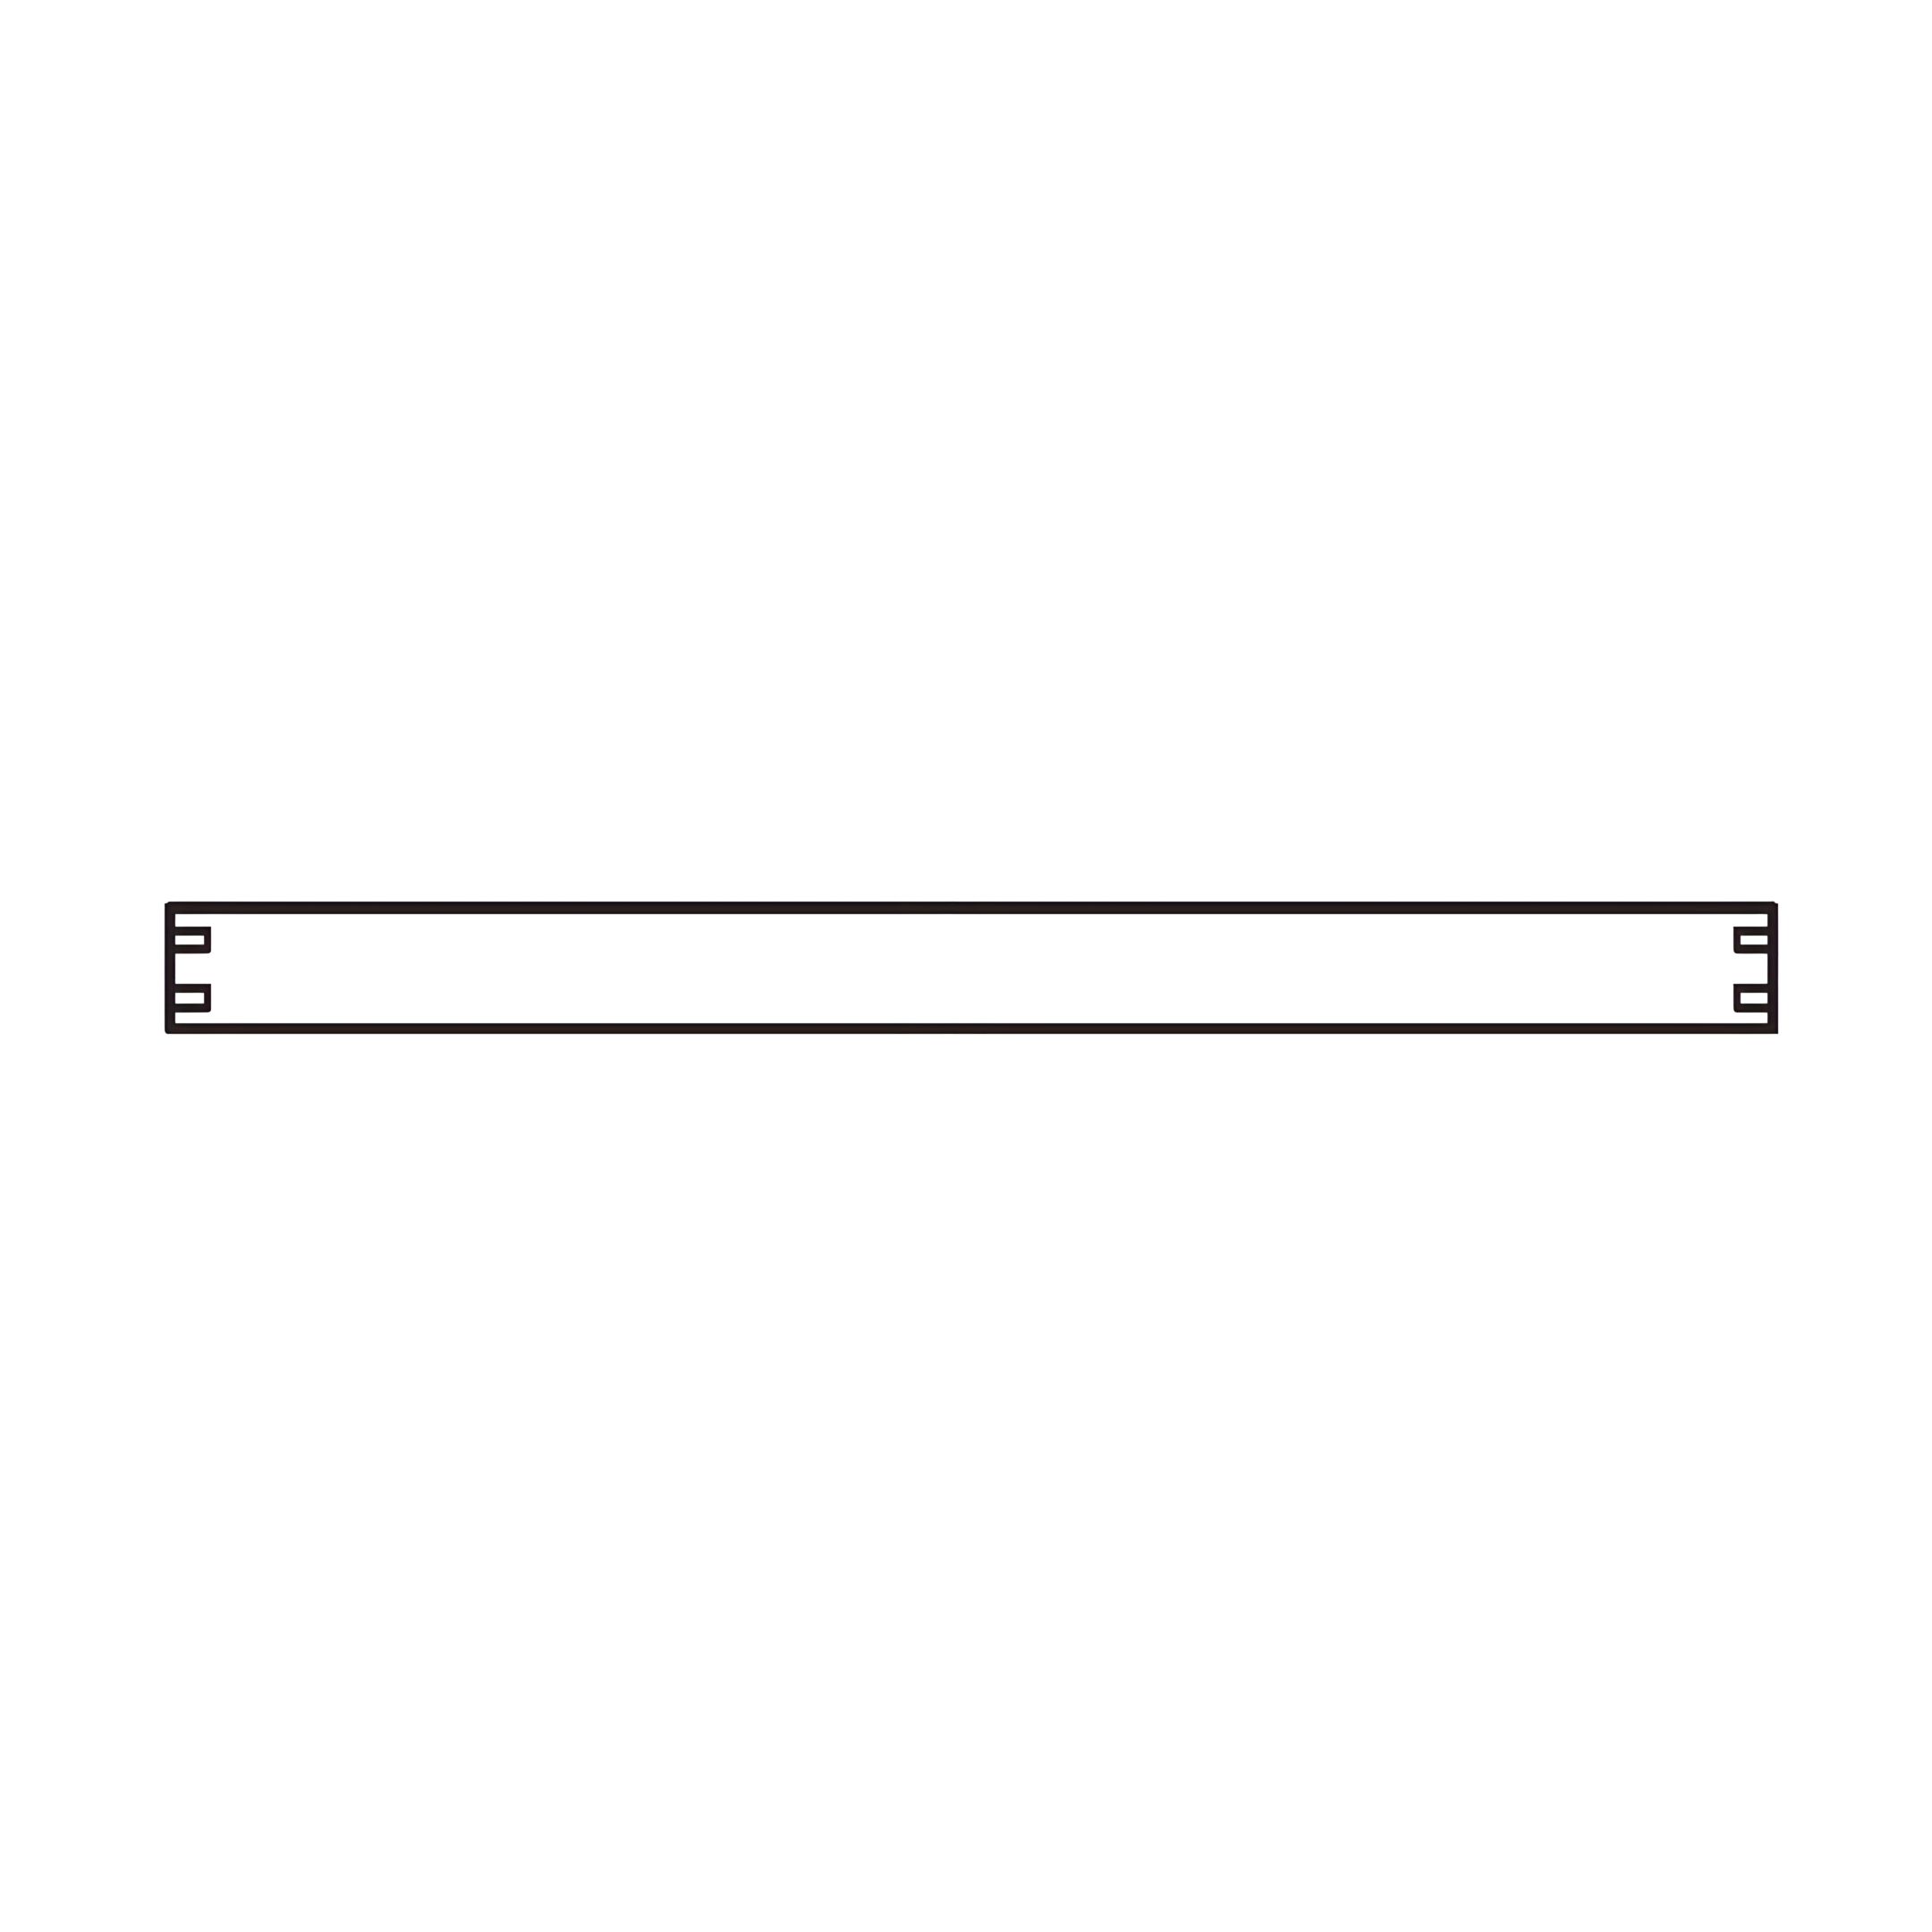
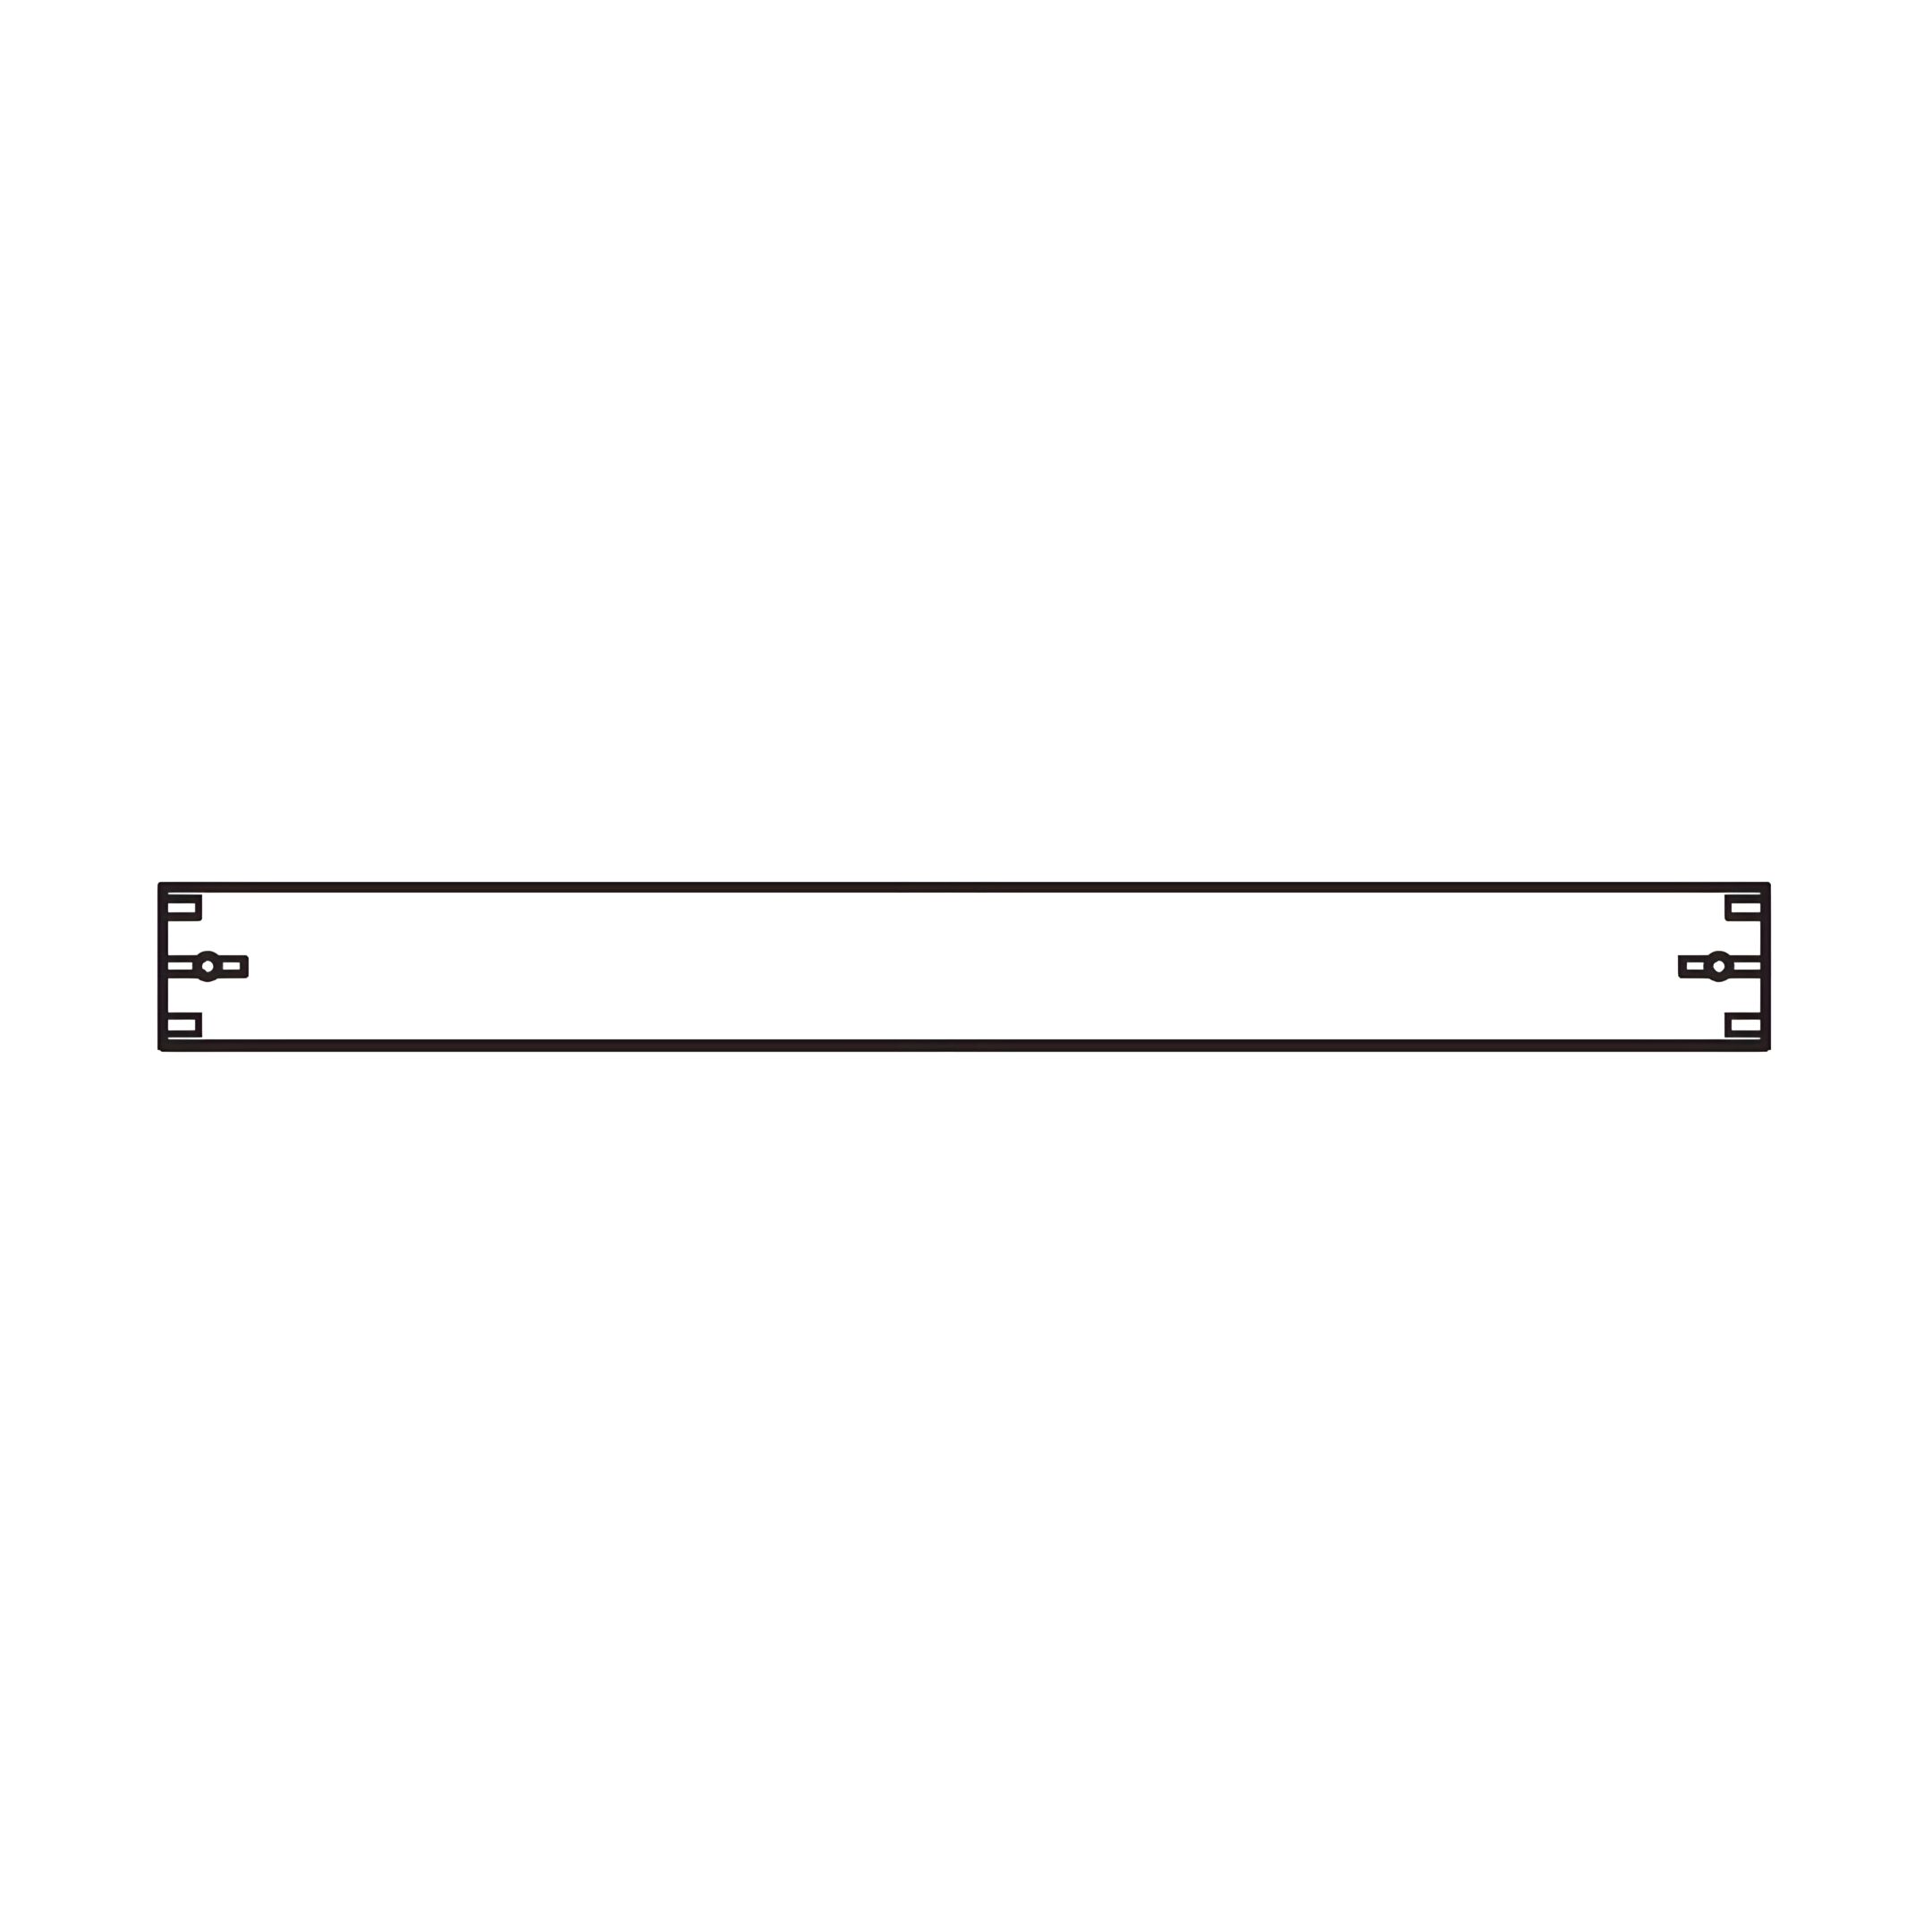
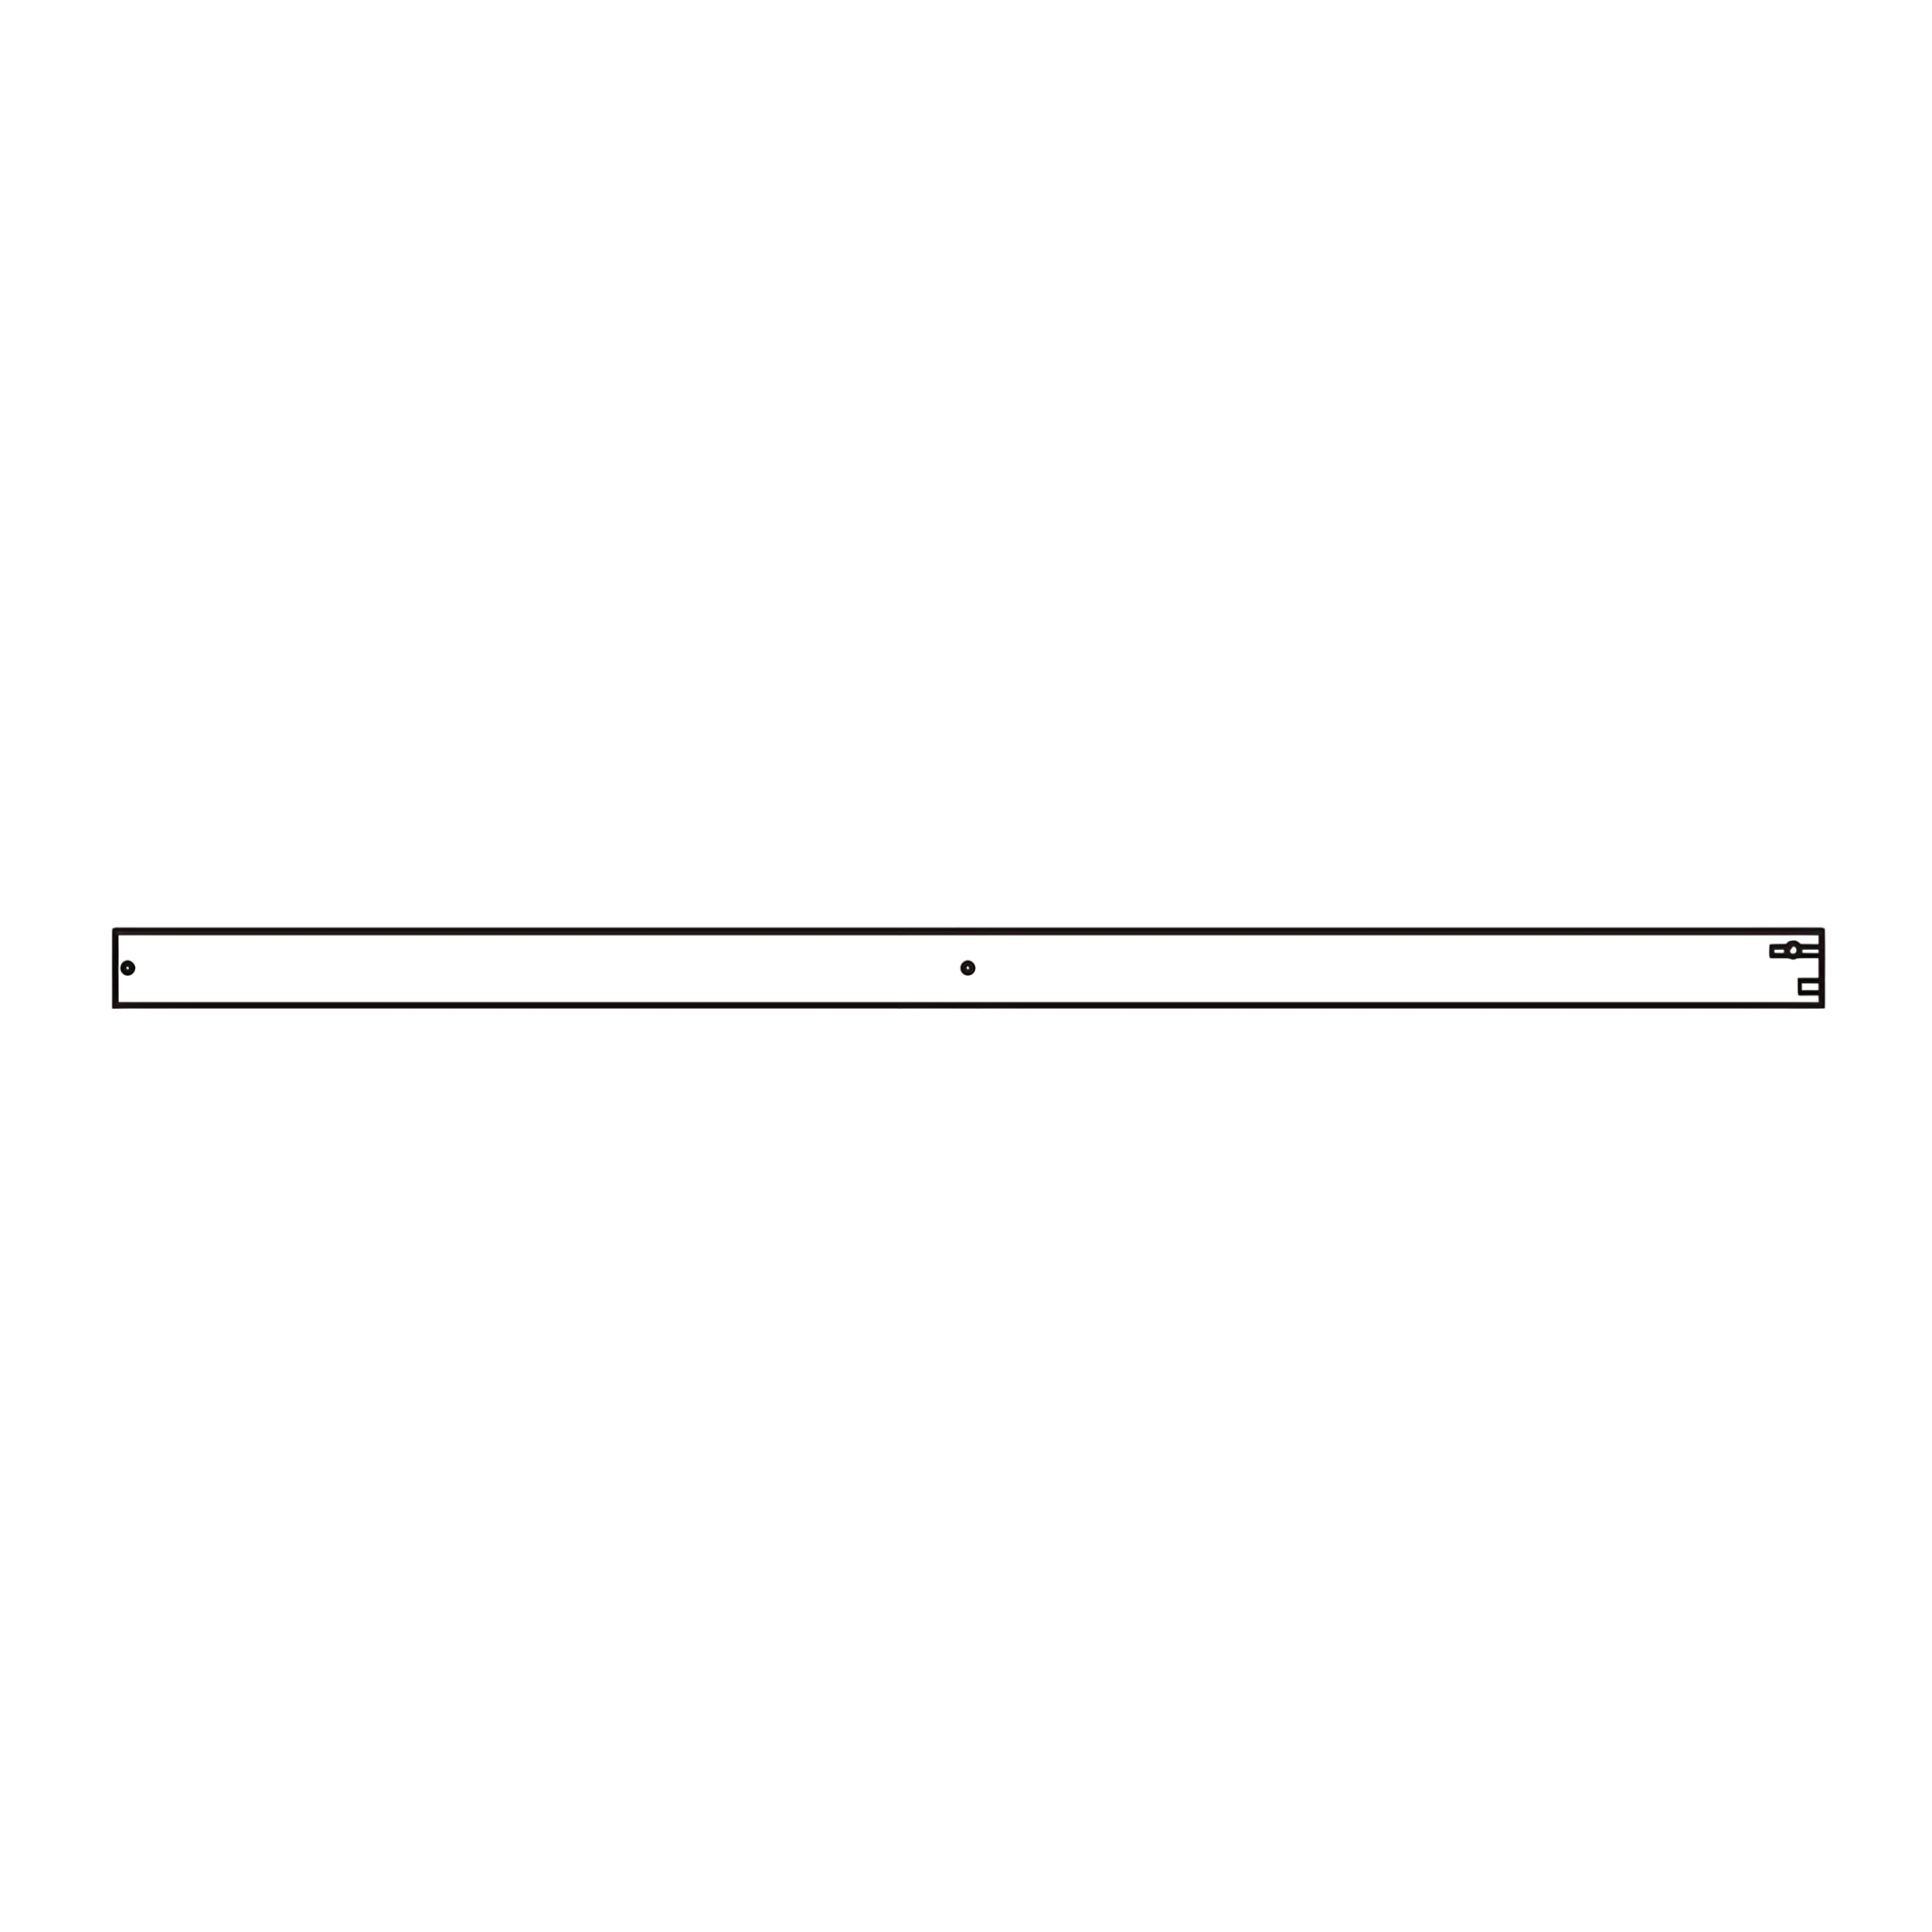
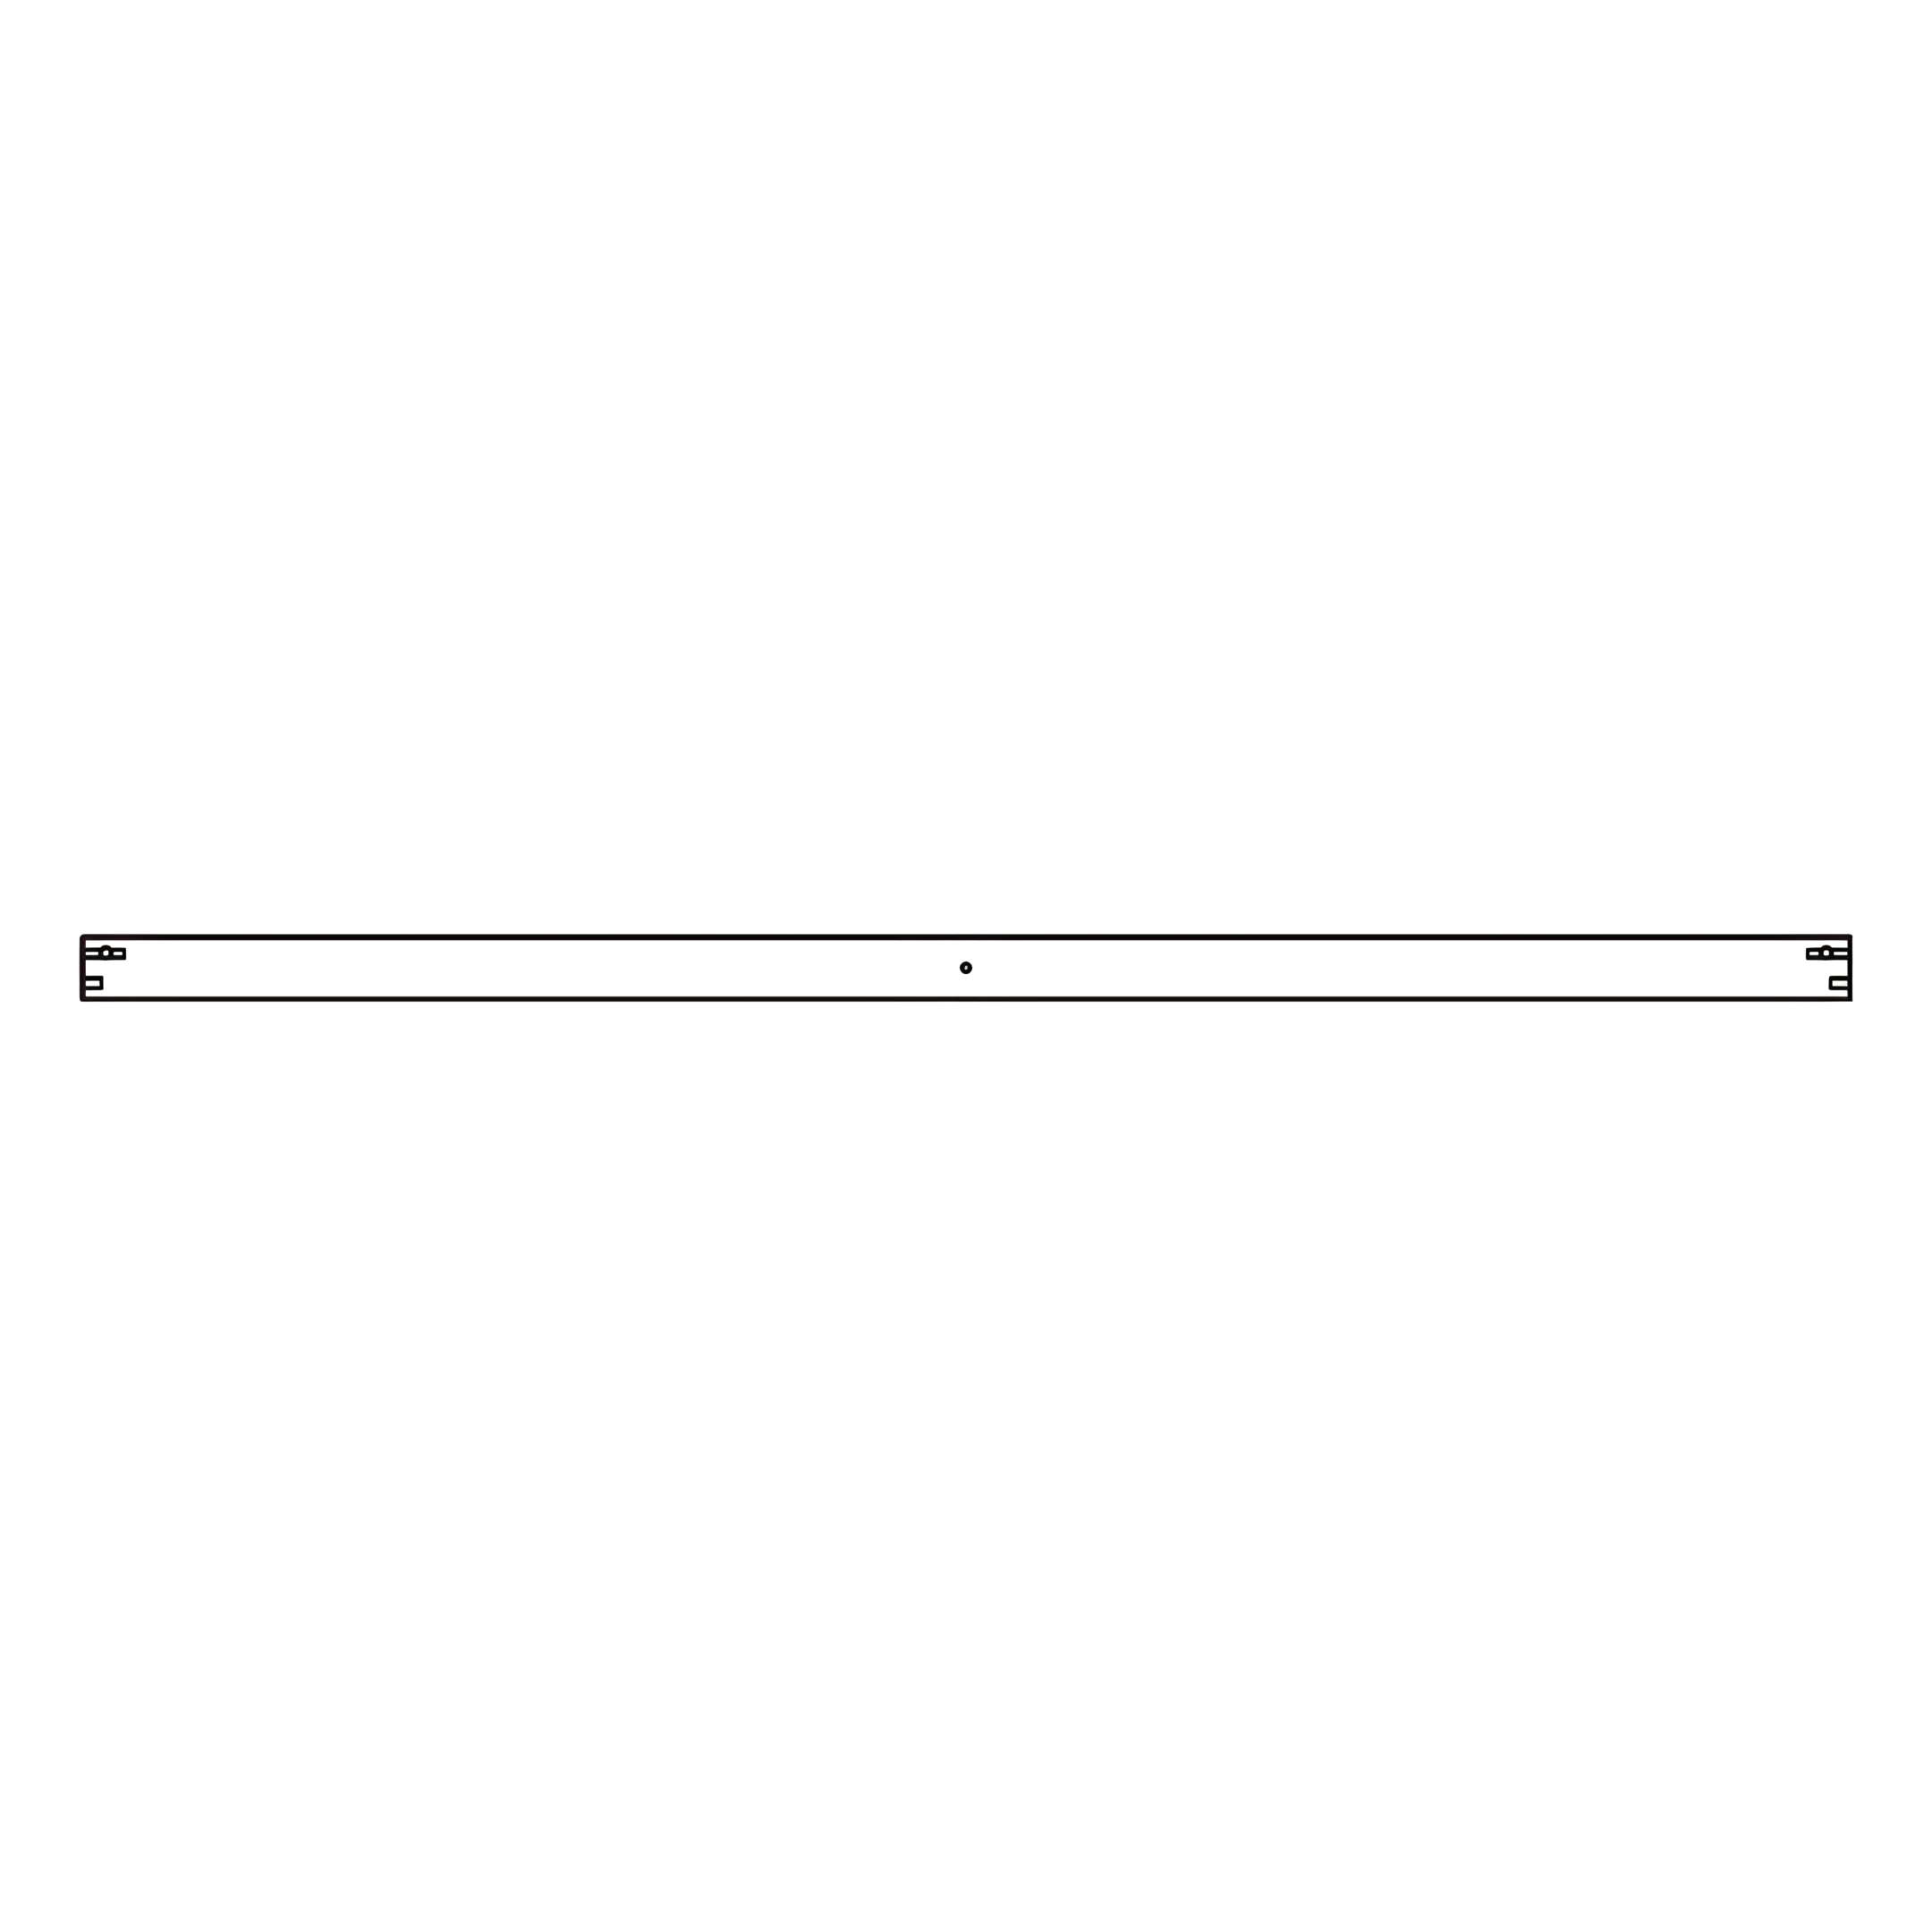
2. Insert Wood Dowels (3) into the pre-drilled holes on the Headboard and Footboard Panels (B, C, D).
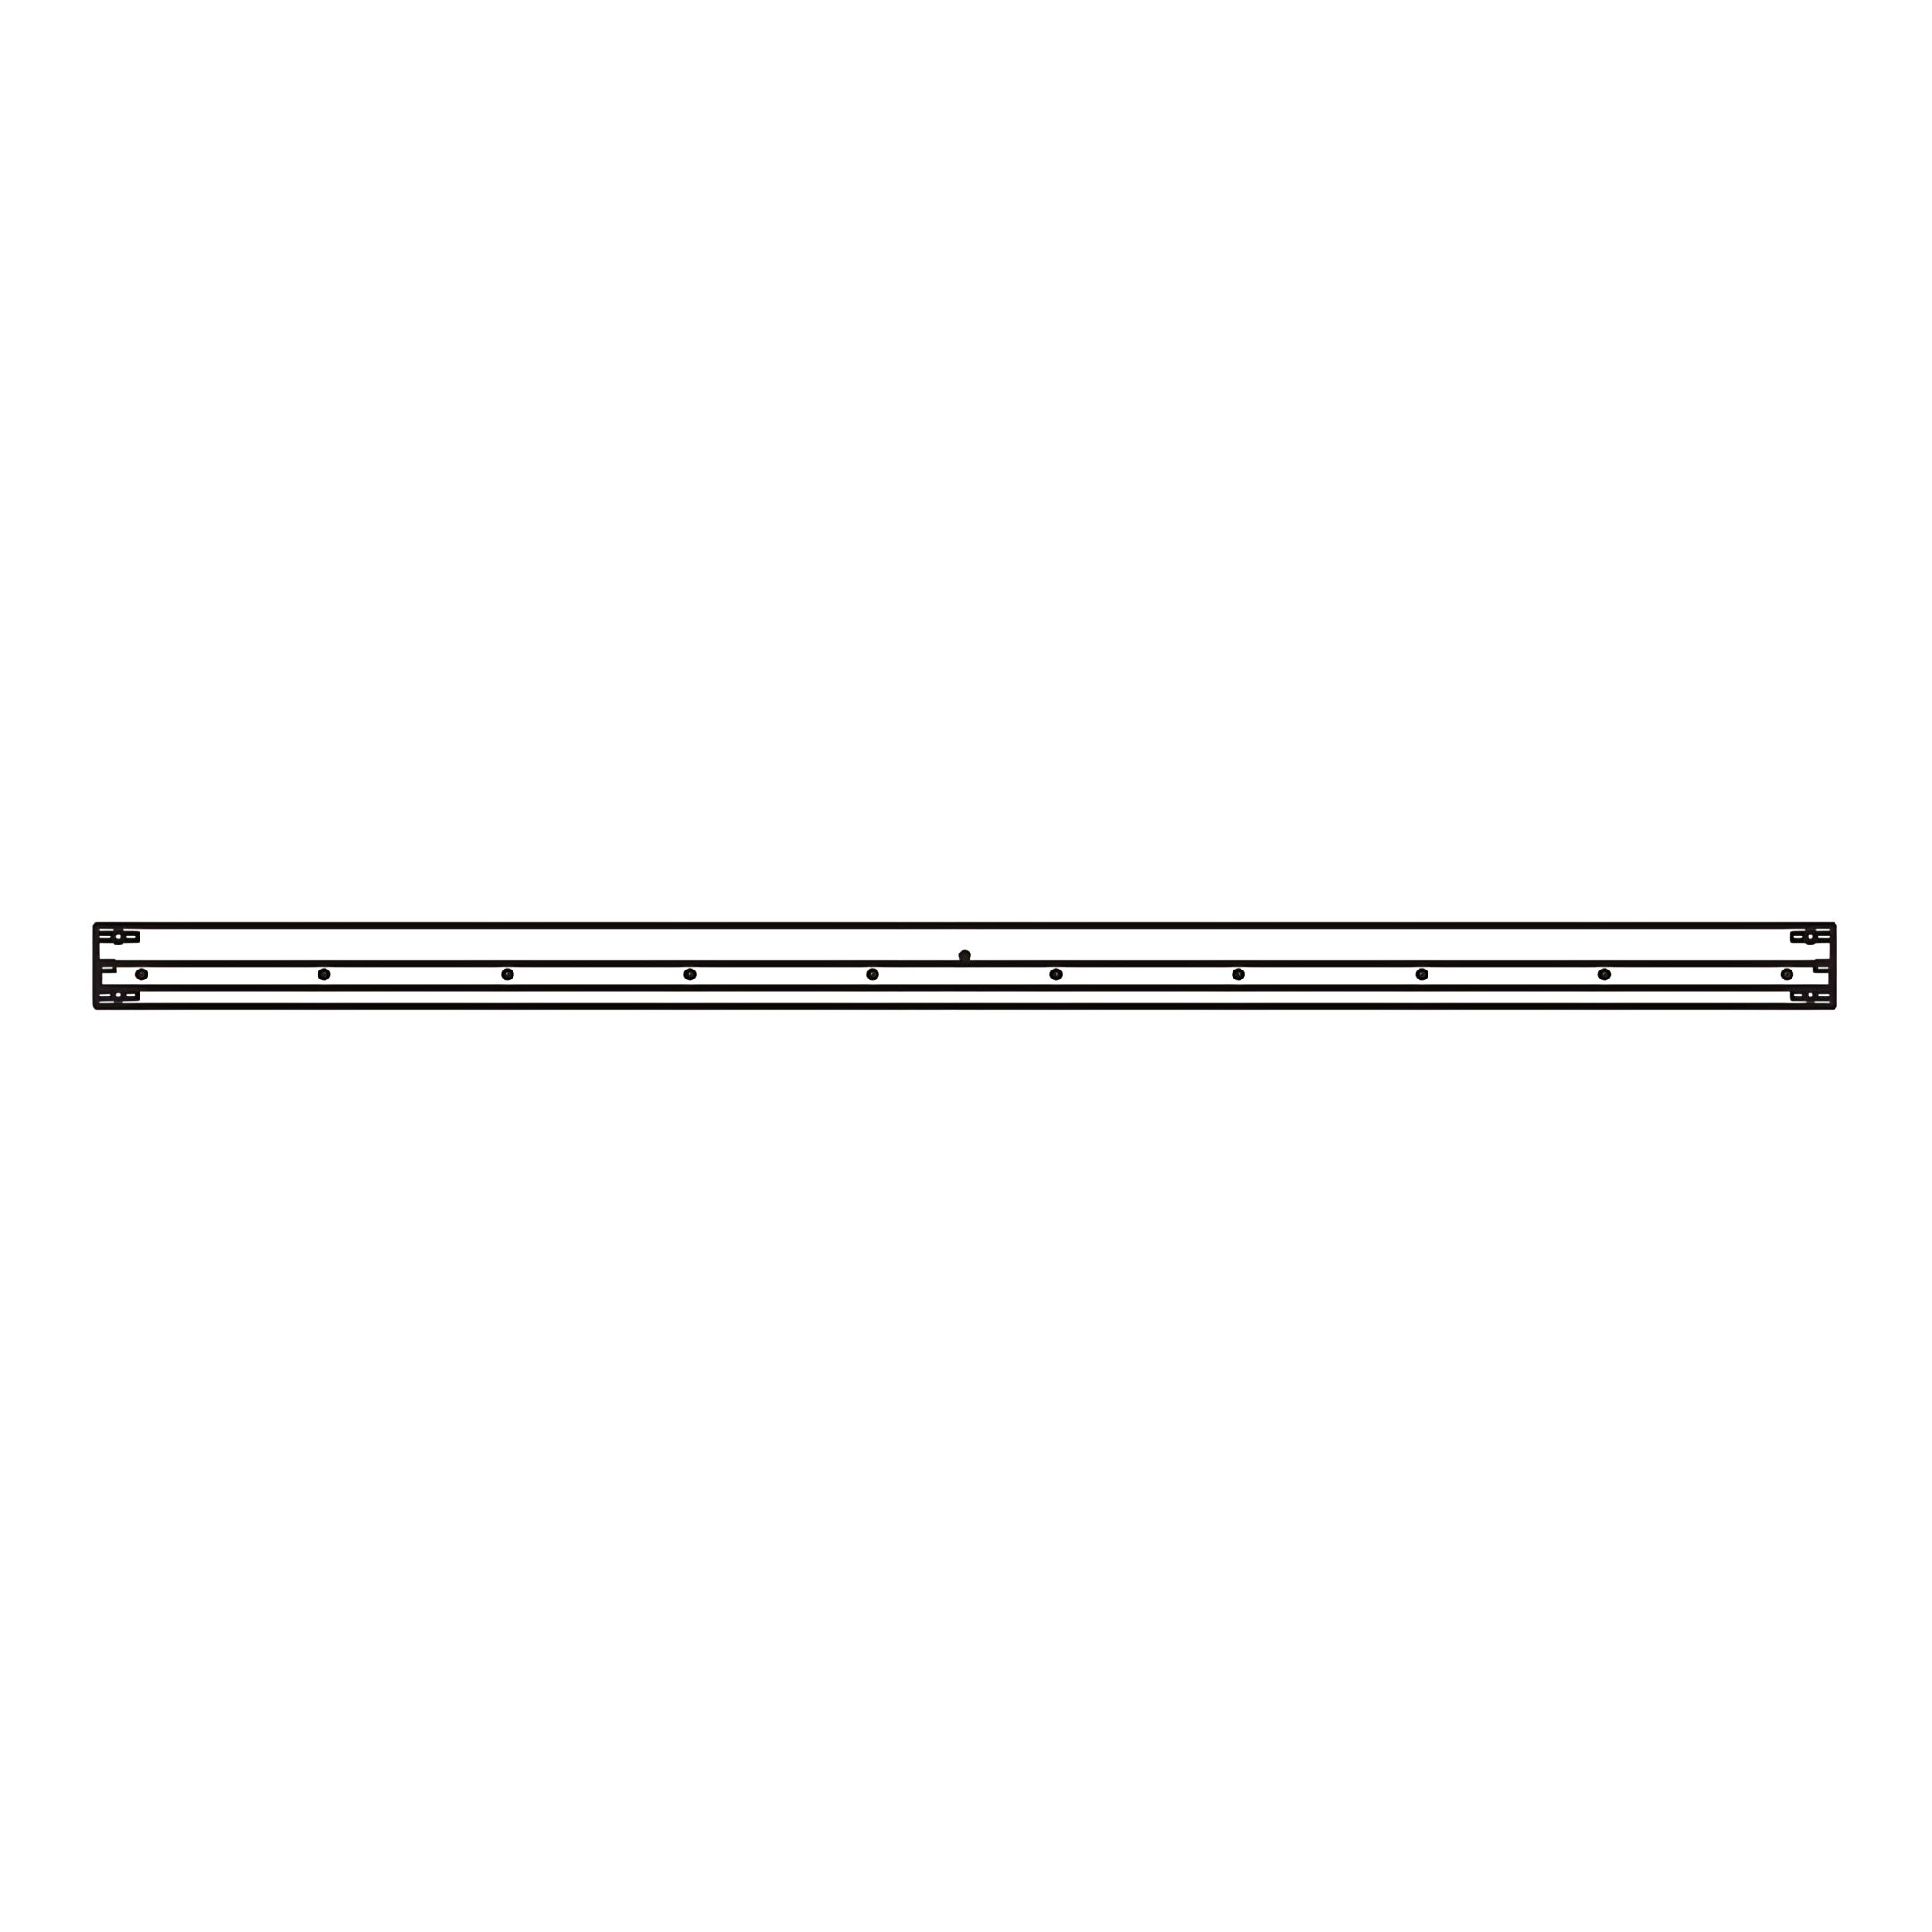
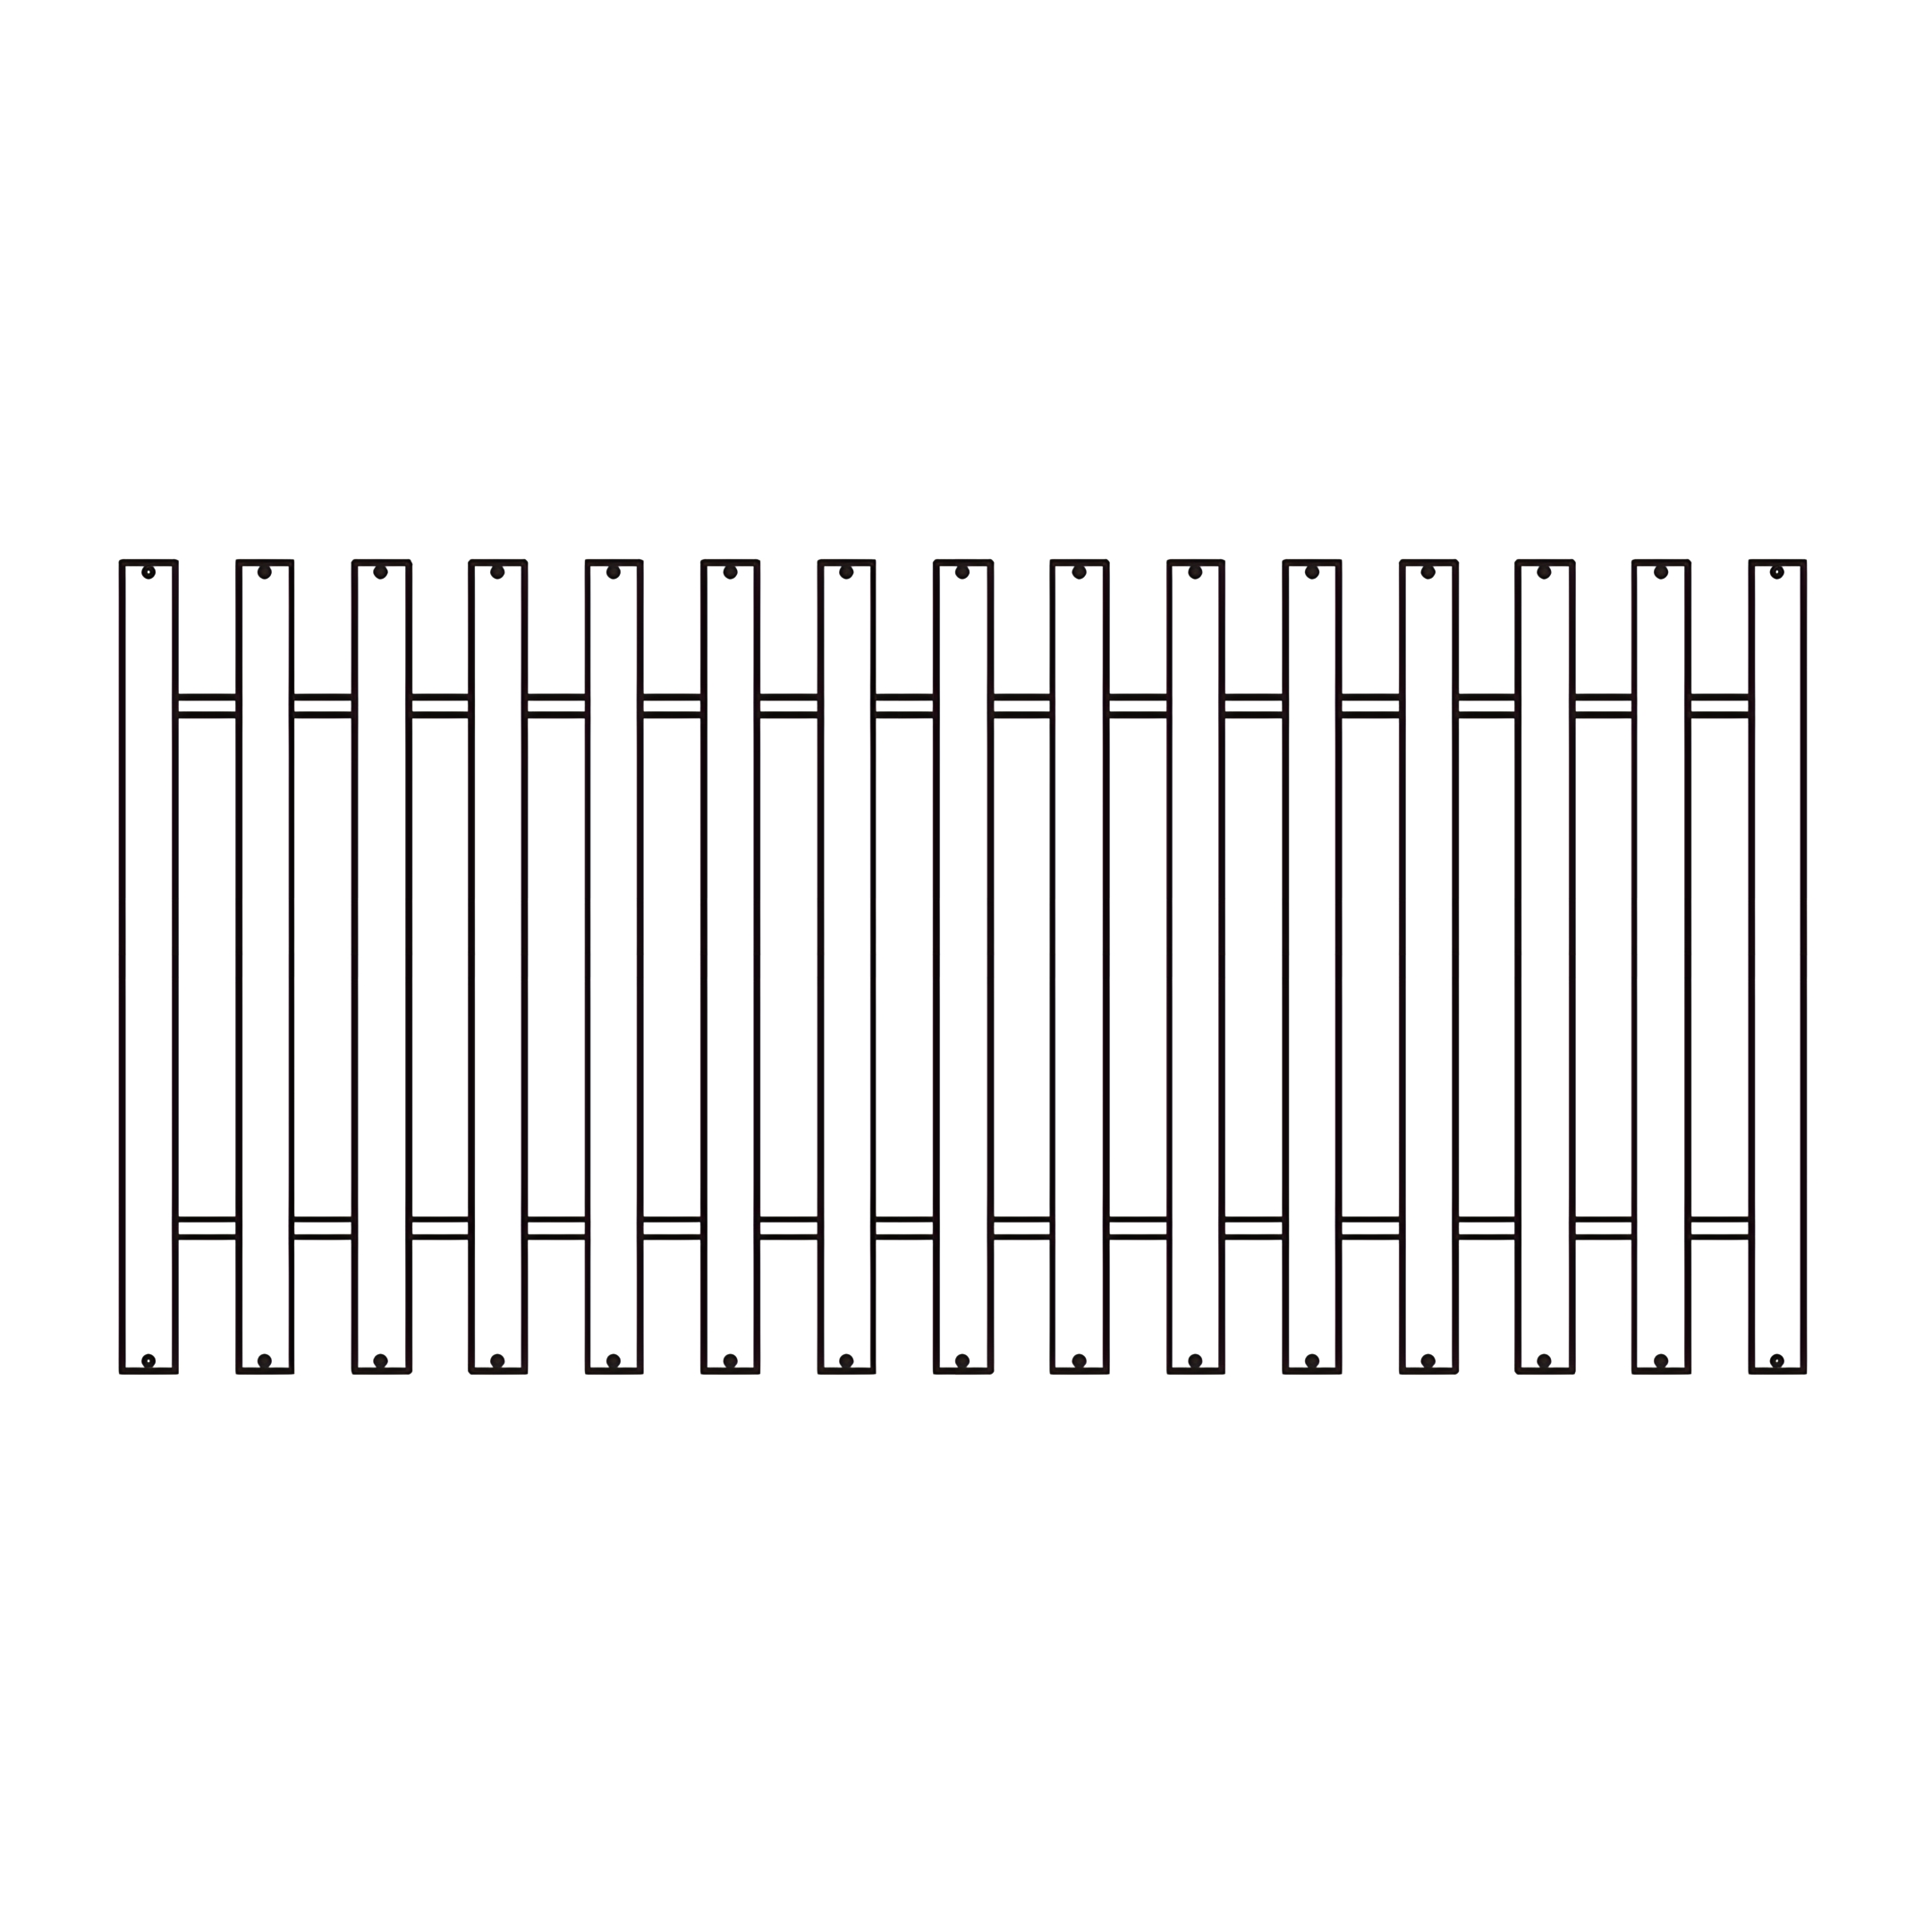
3. Align the panels (B - Top Panel, C - Mid Panel, D - Bottom Panel) between the two Bed Posts (A).
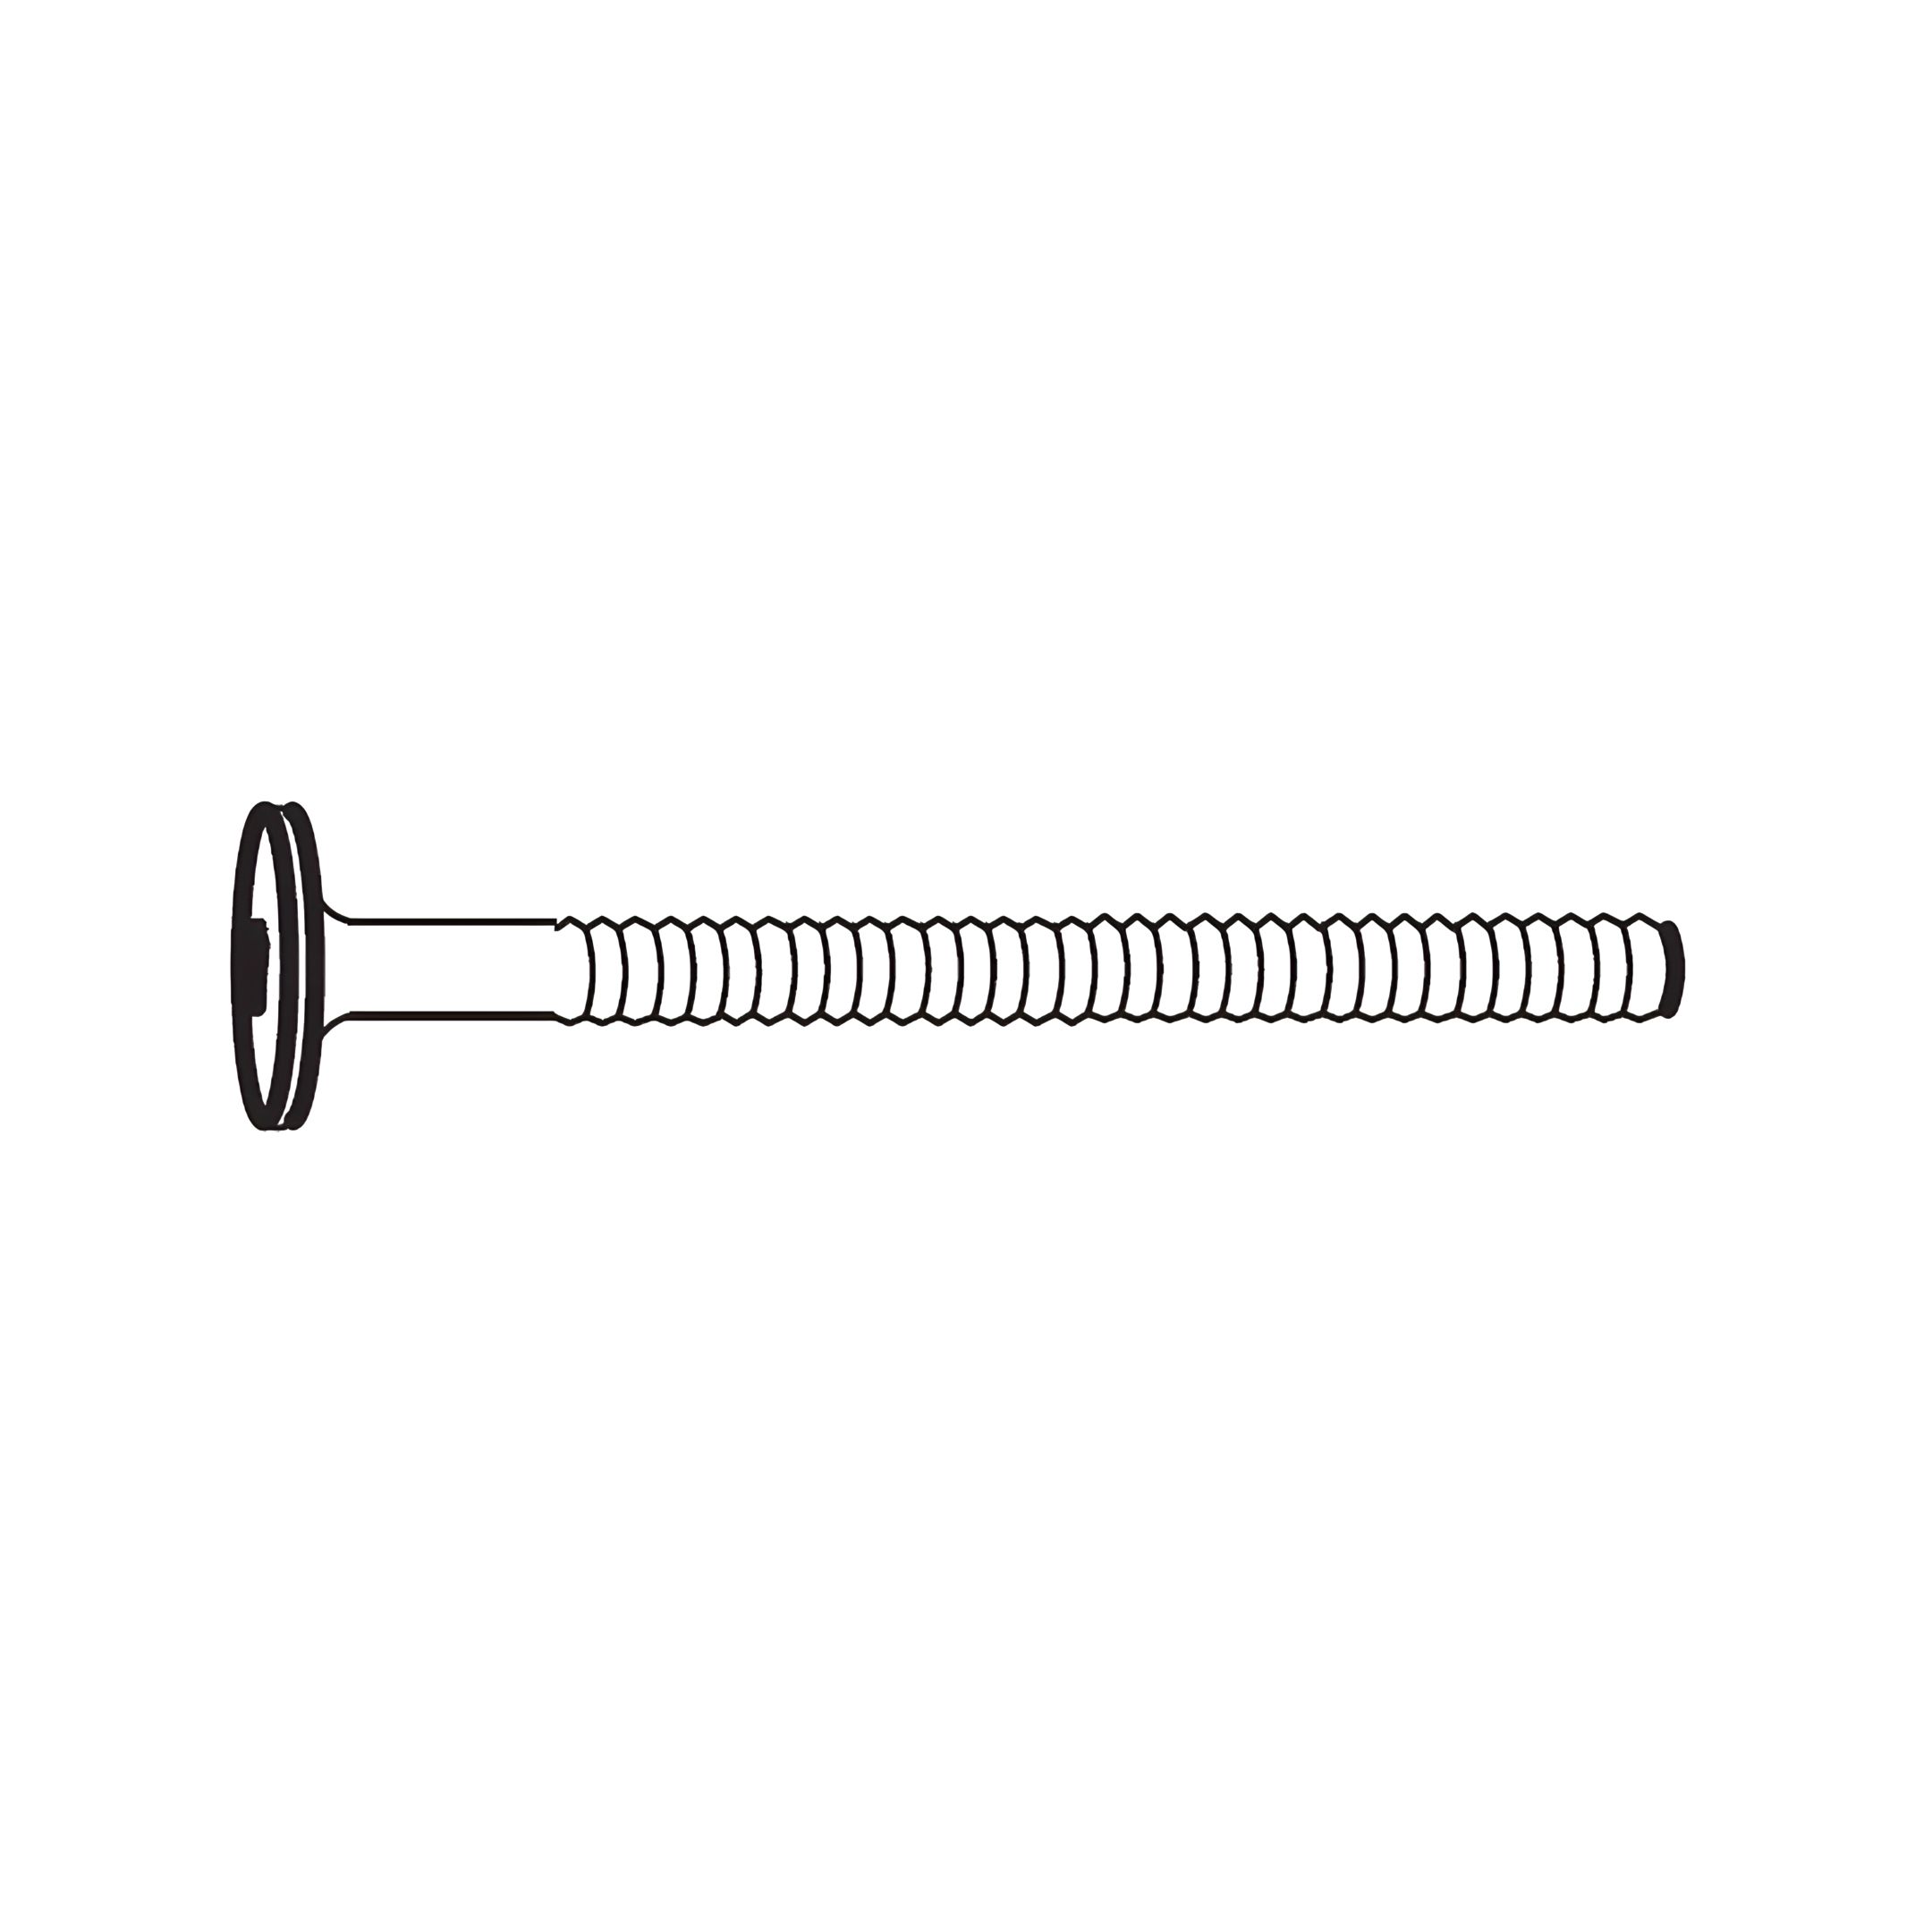
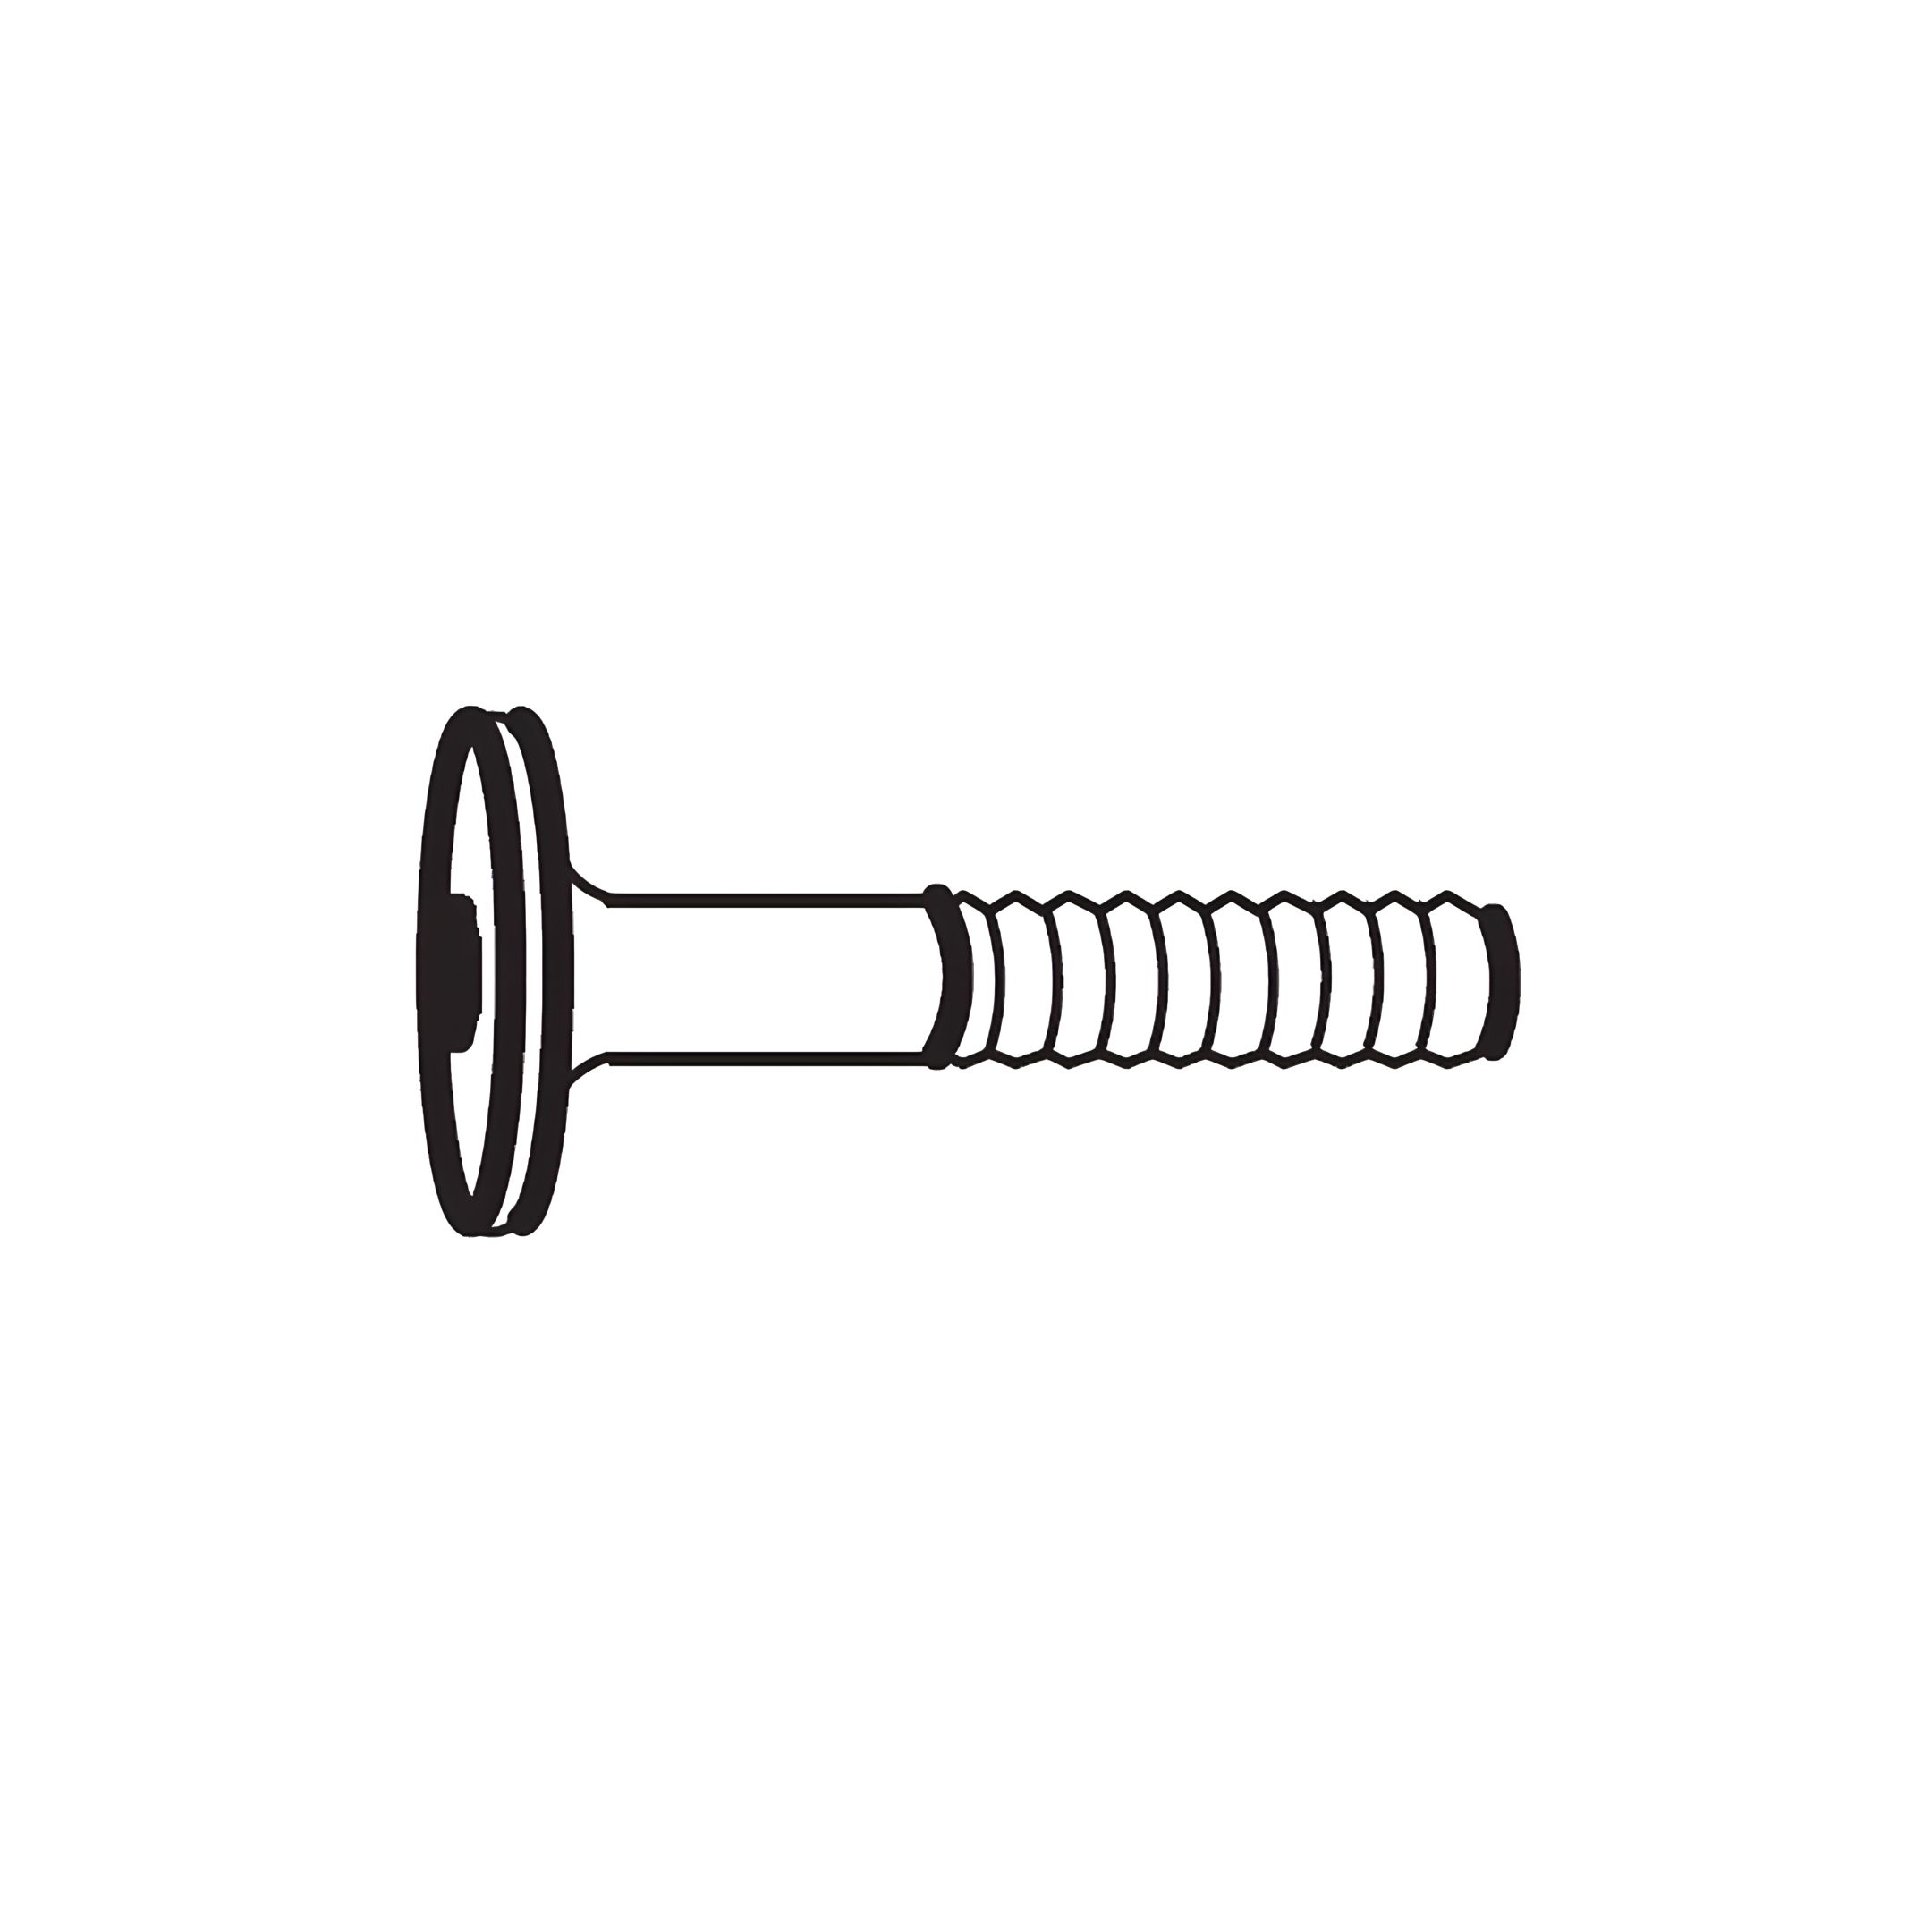
4. Secure the panels by inserting Barrel Nuts (2) into the side holes and fastening them with JCBC Bolts (1).
5. Use the M4 Allen Key (9) to tighten all bolts, ensuring the frame is stable and secure.