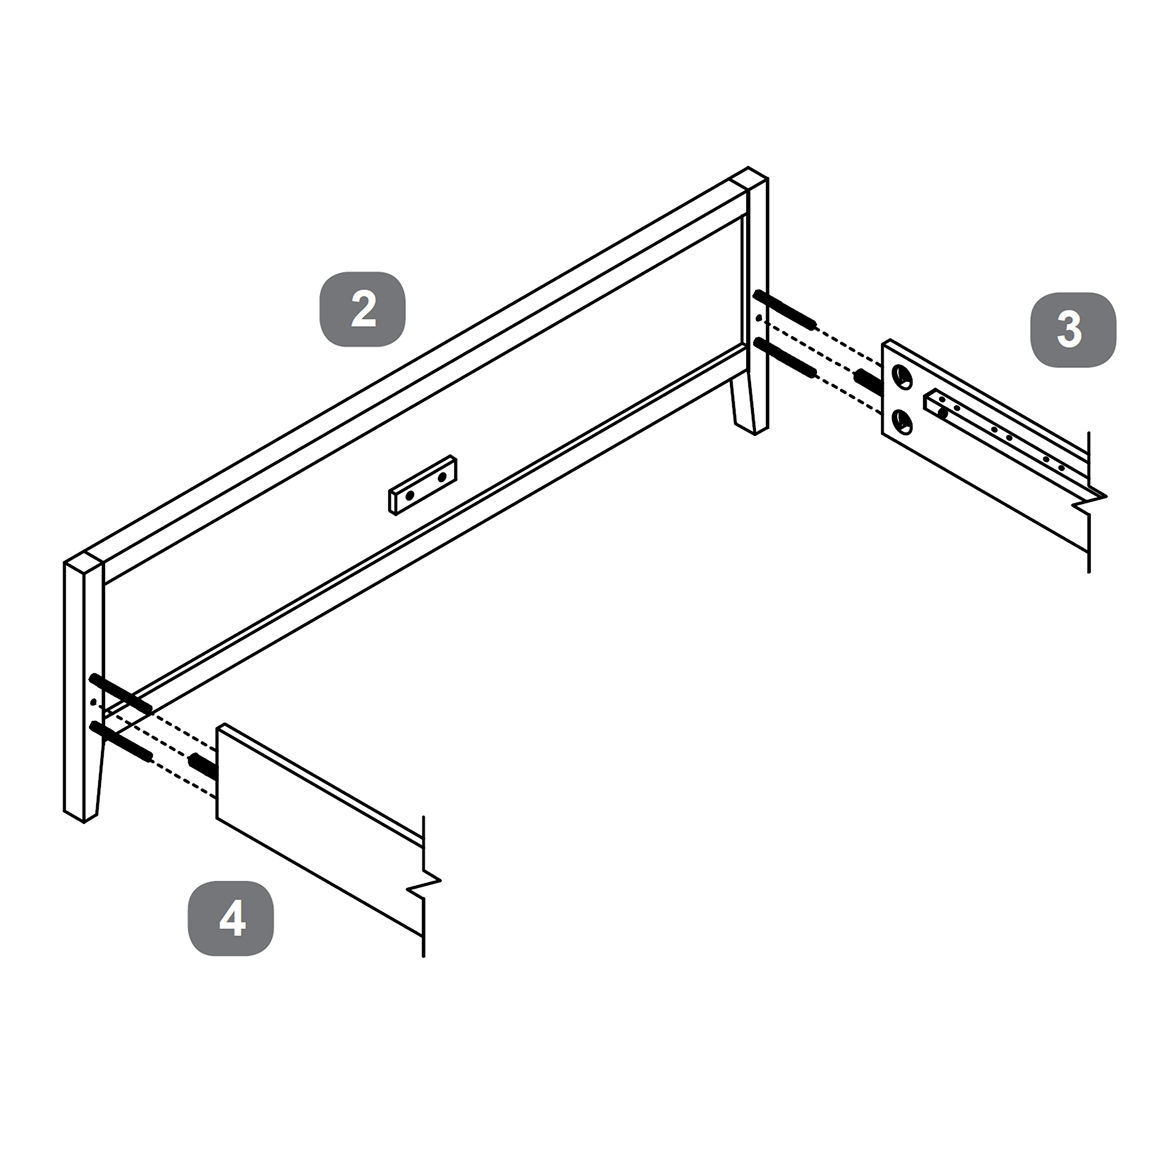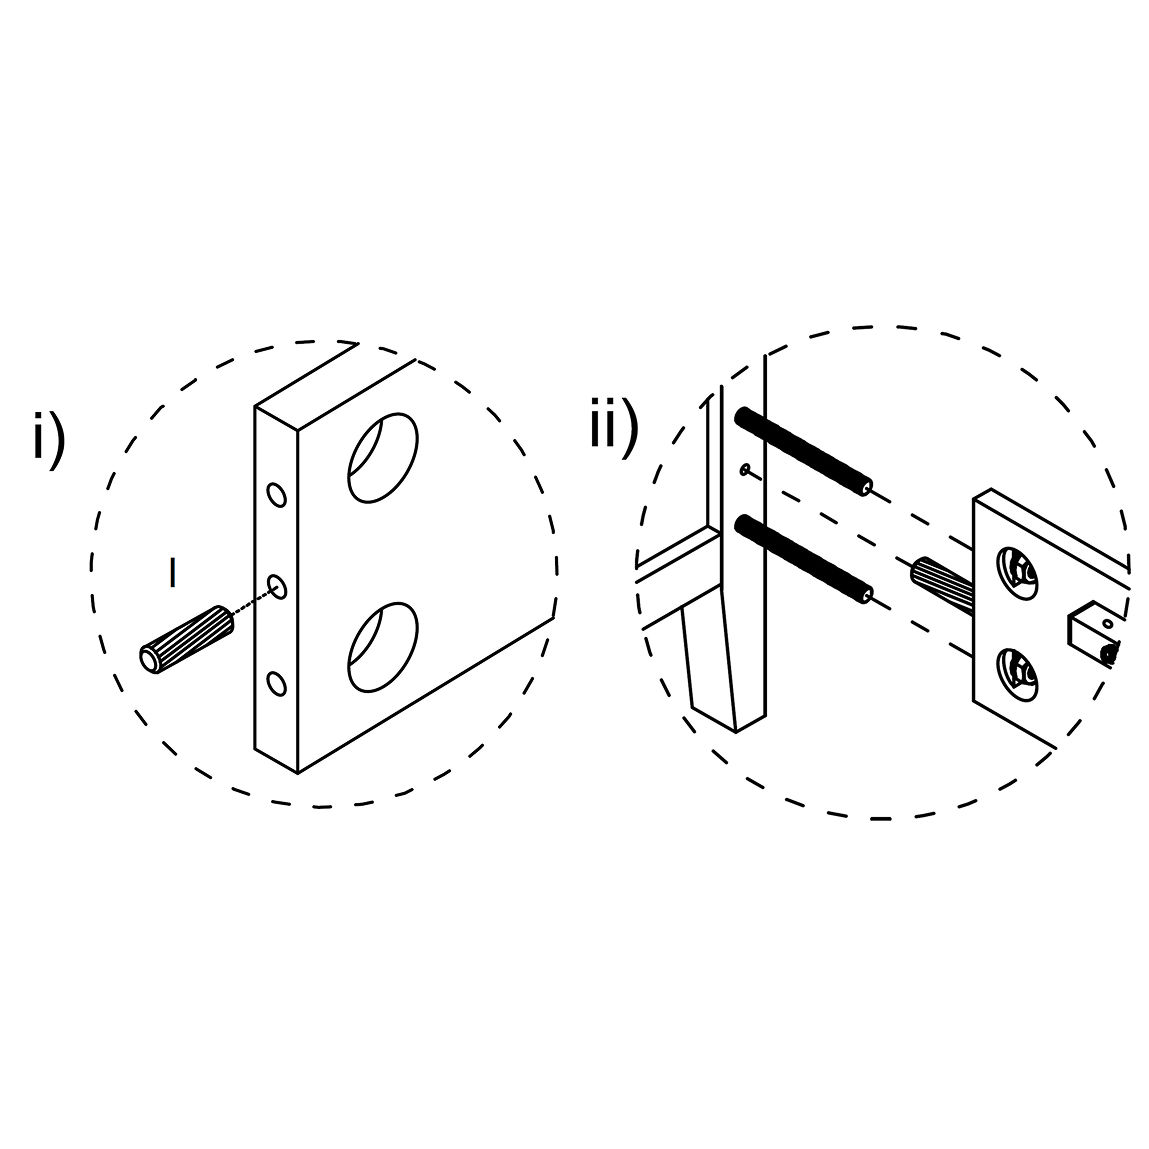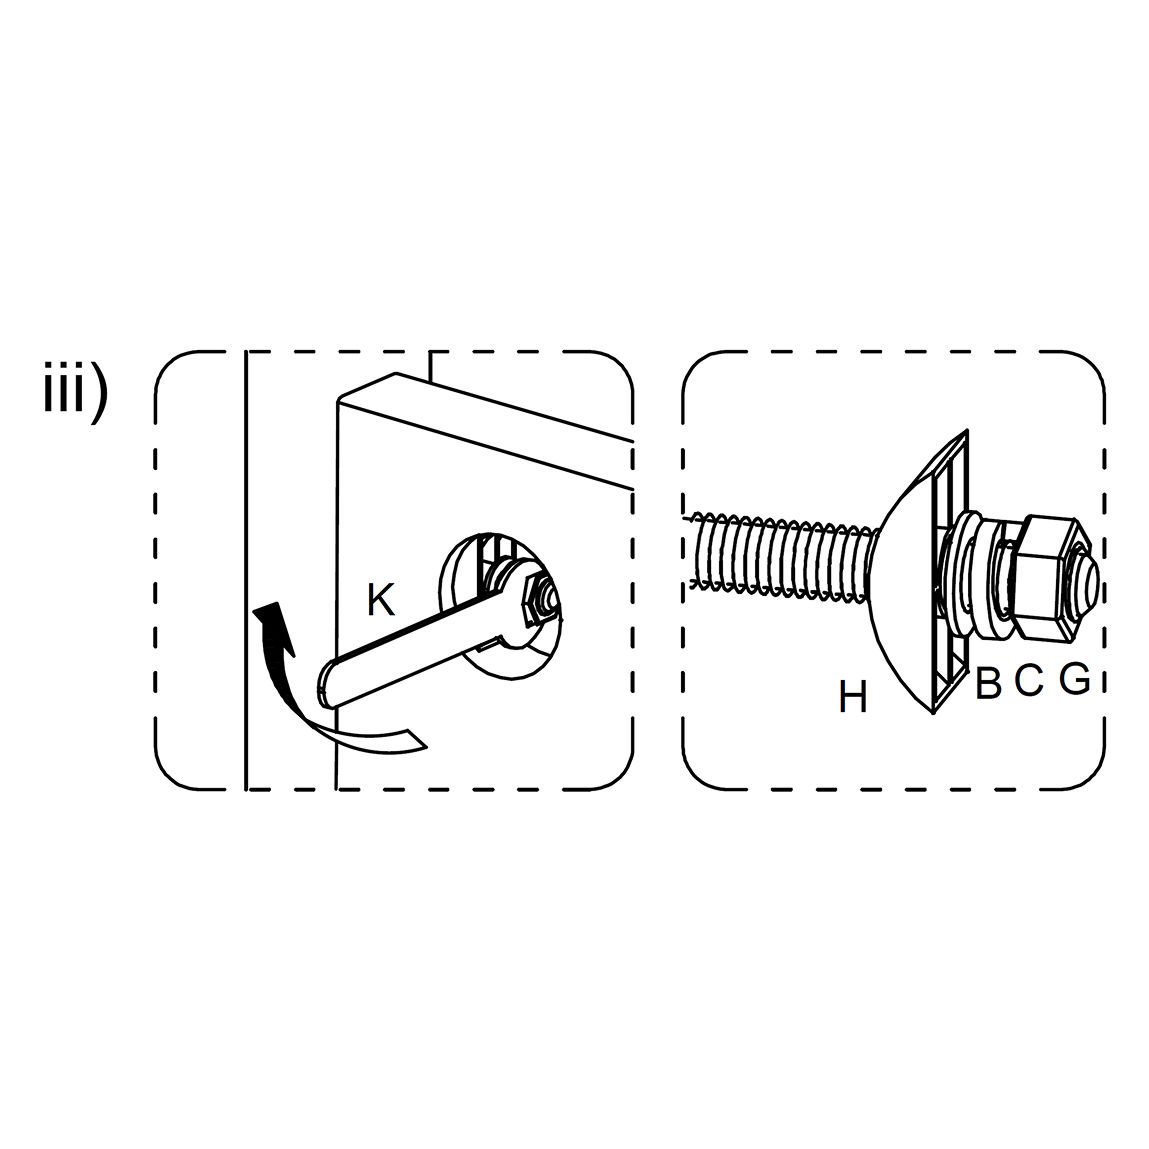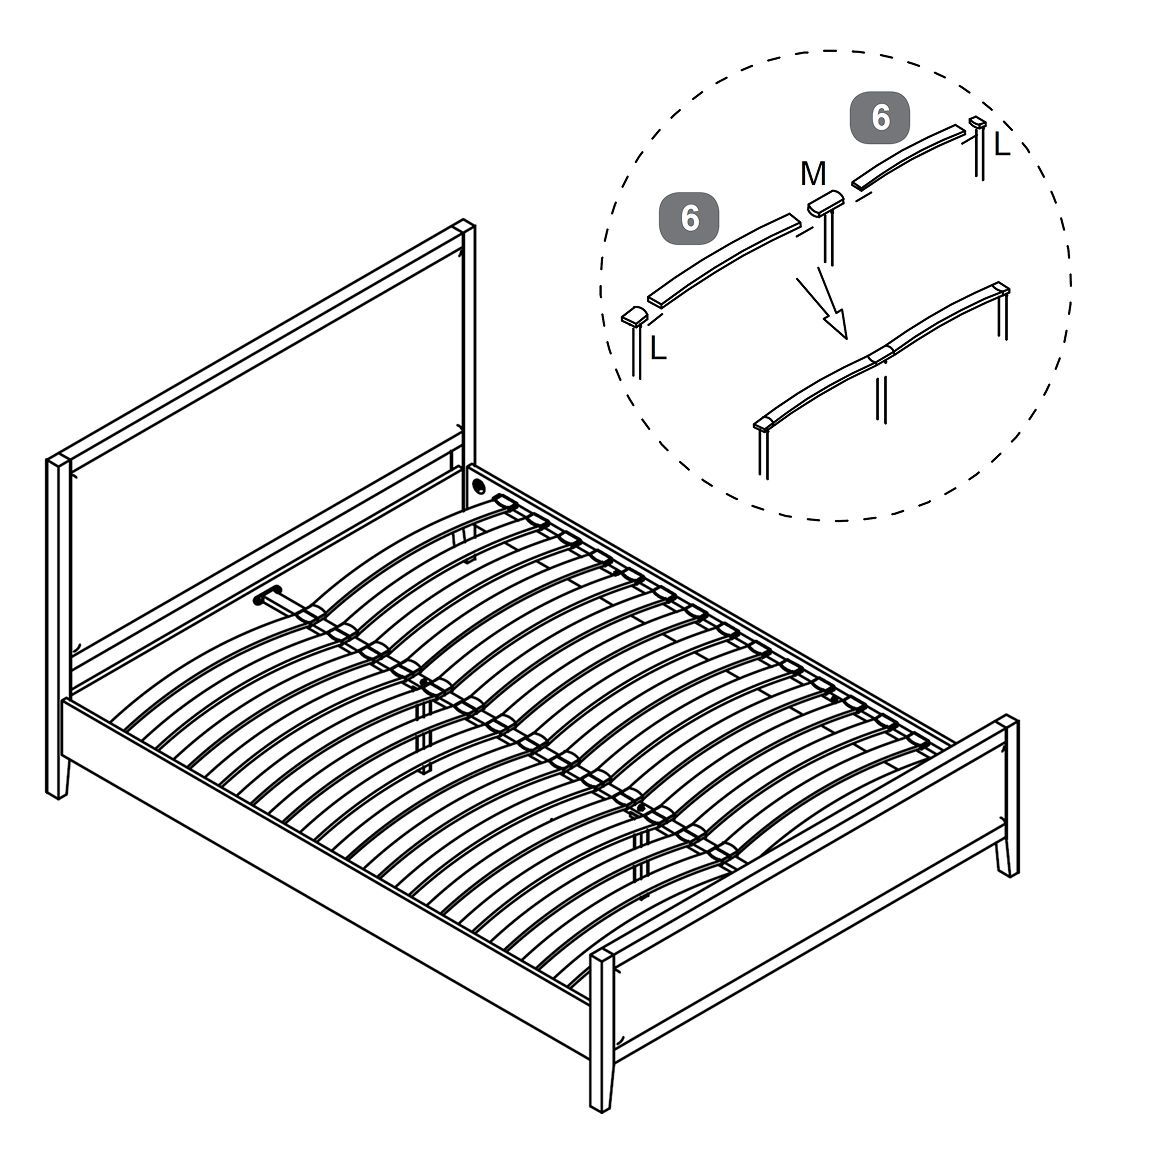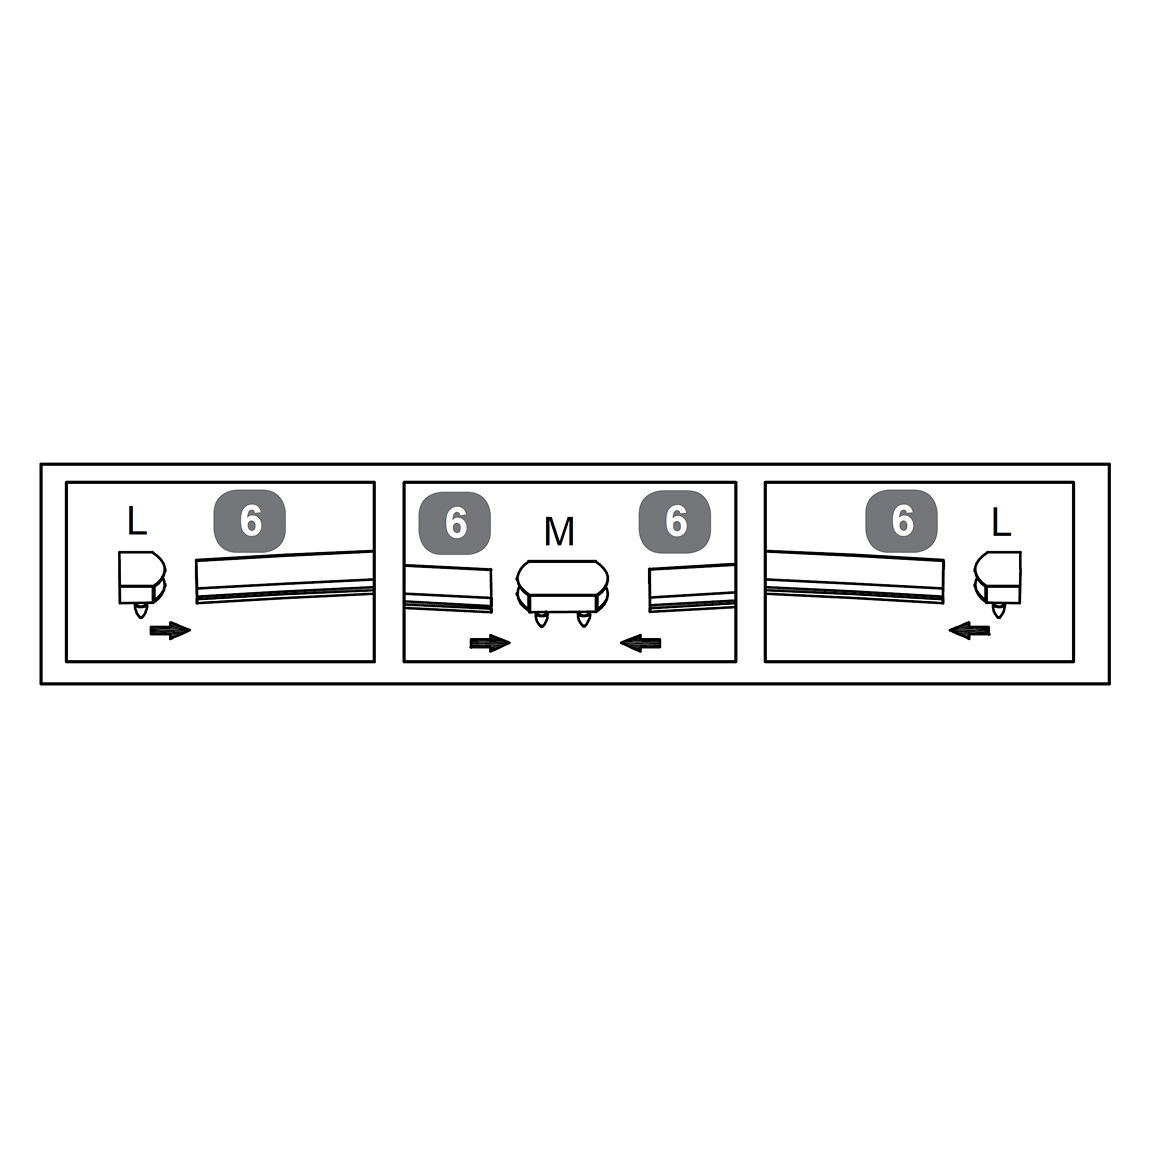


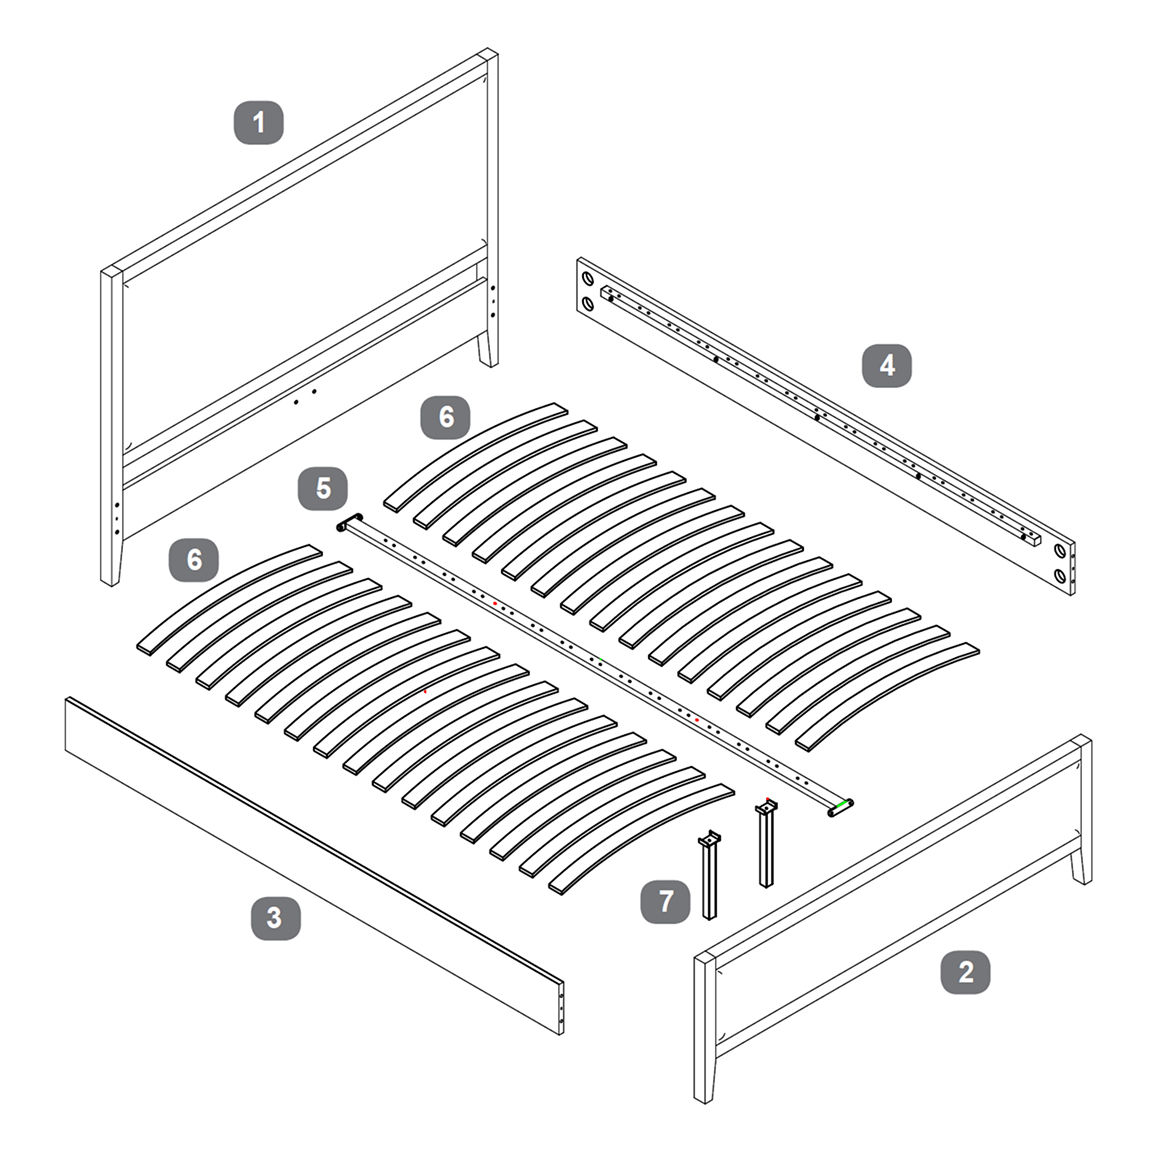
1. Insert the Threaded Studs into the Headboard and Footboard
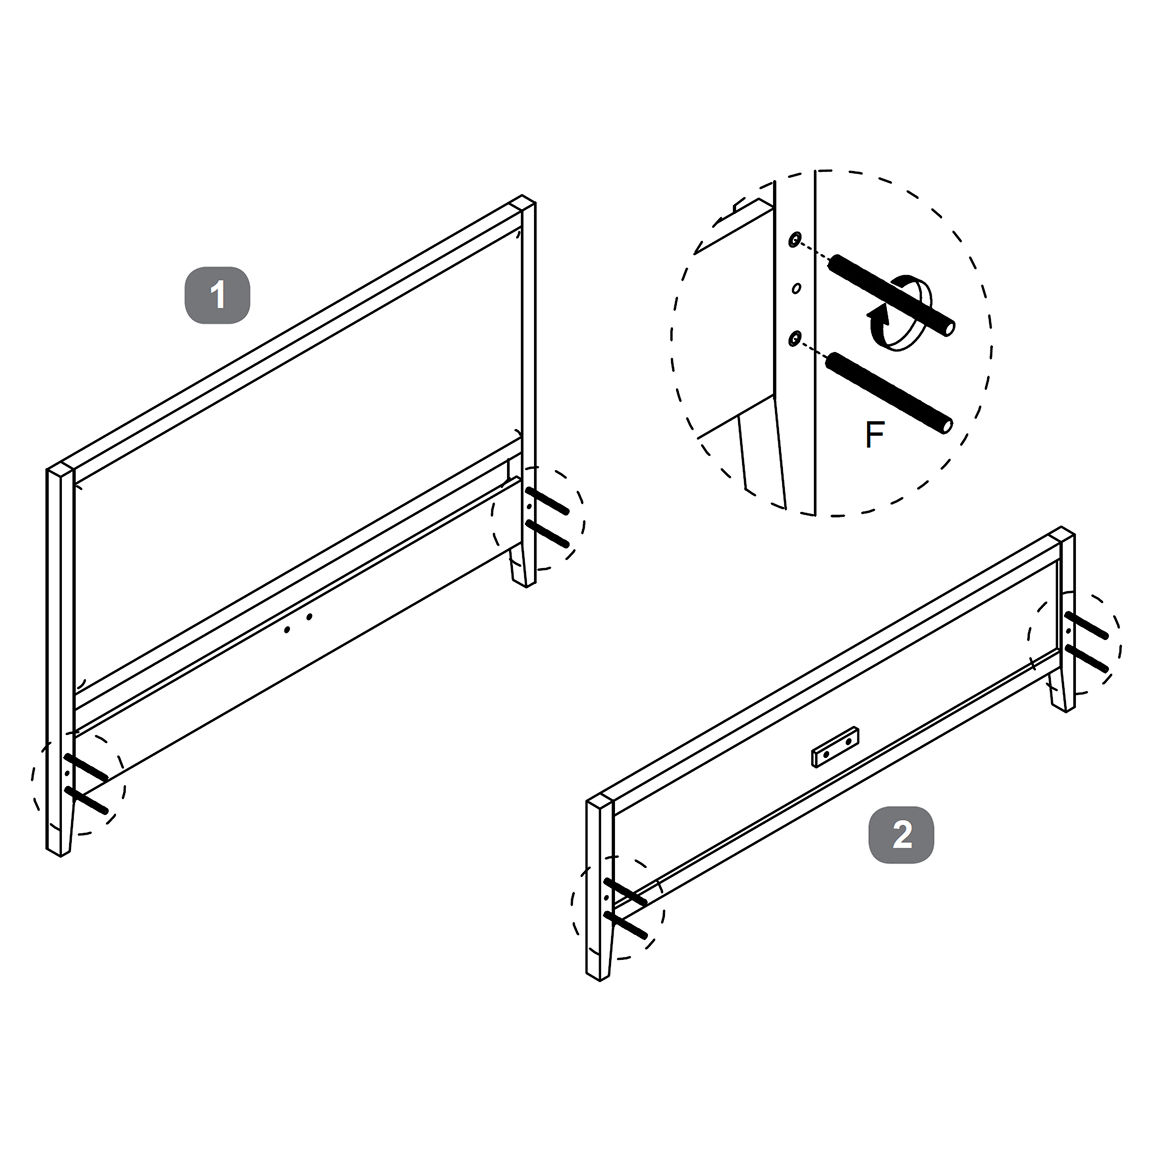
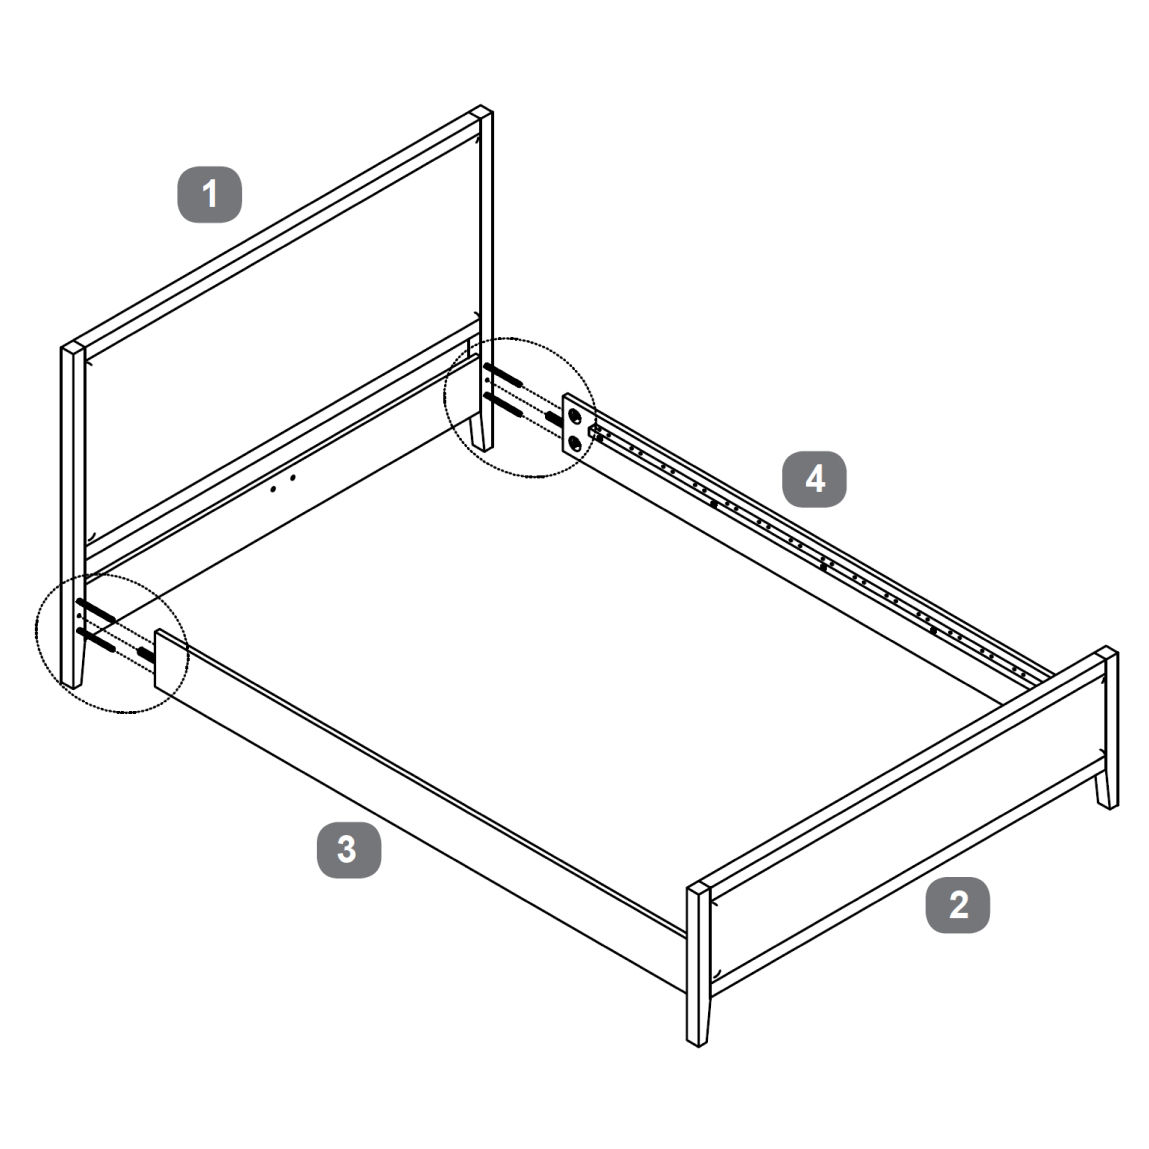
1. Lay the Headboard (1) and Footboard (2) upright.
2. Insert a Threaded Stud (F) into each pre-drilled hole on the inner faces of both panels.
3. Rotate each stud clockwise until fully tightened by hand.
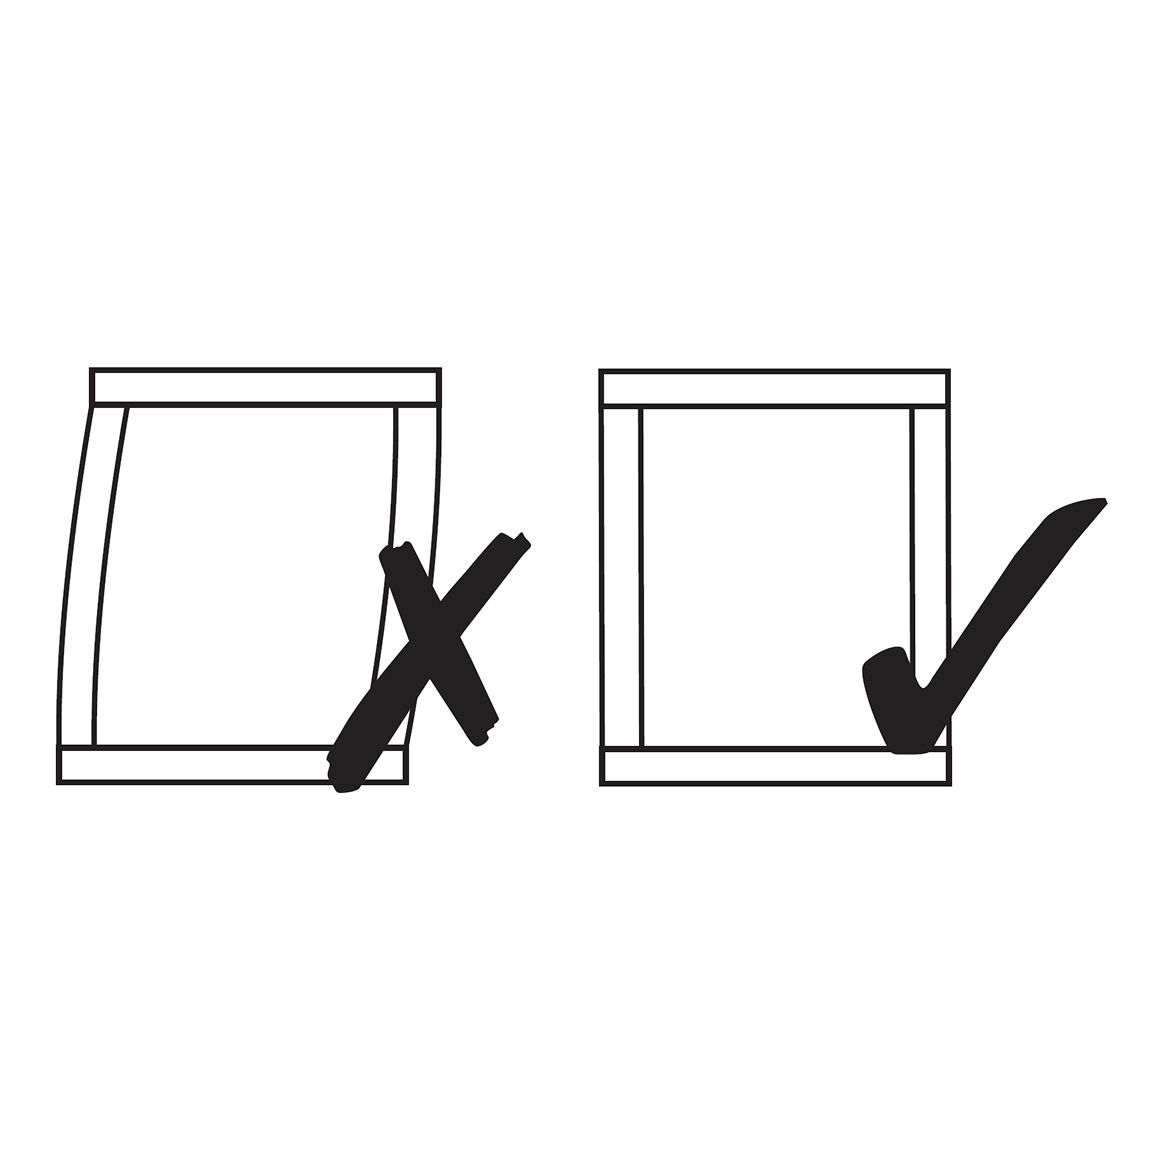
4. Verify that all studs sit straight and securely in place.