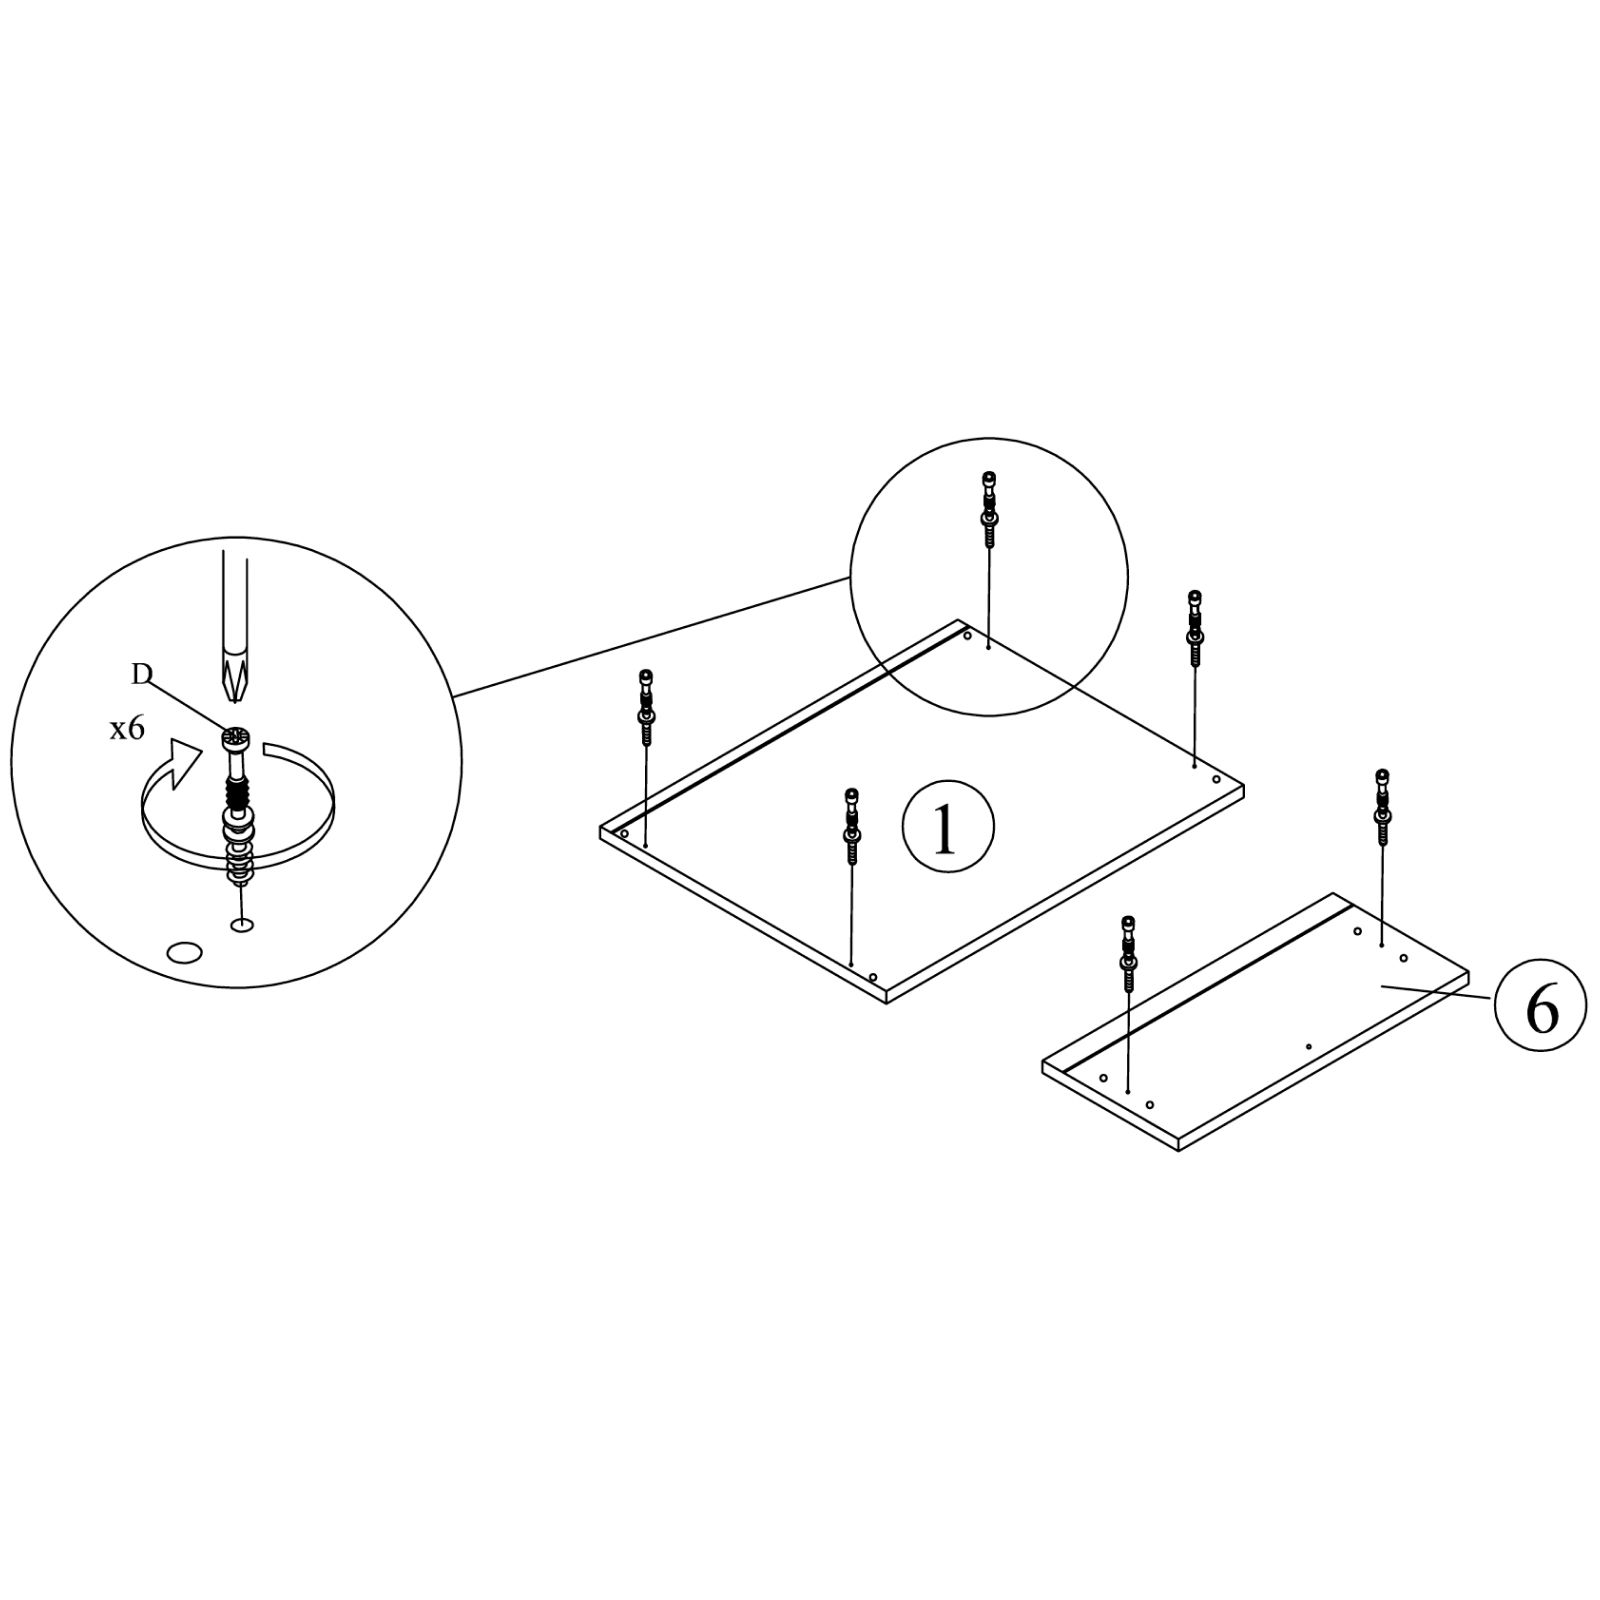
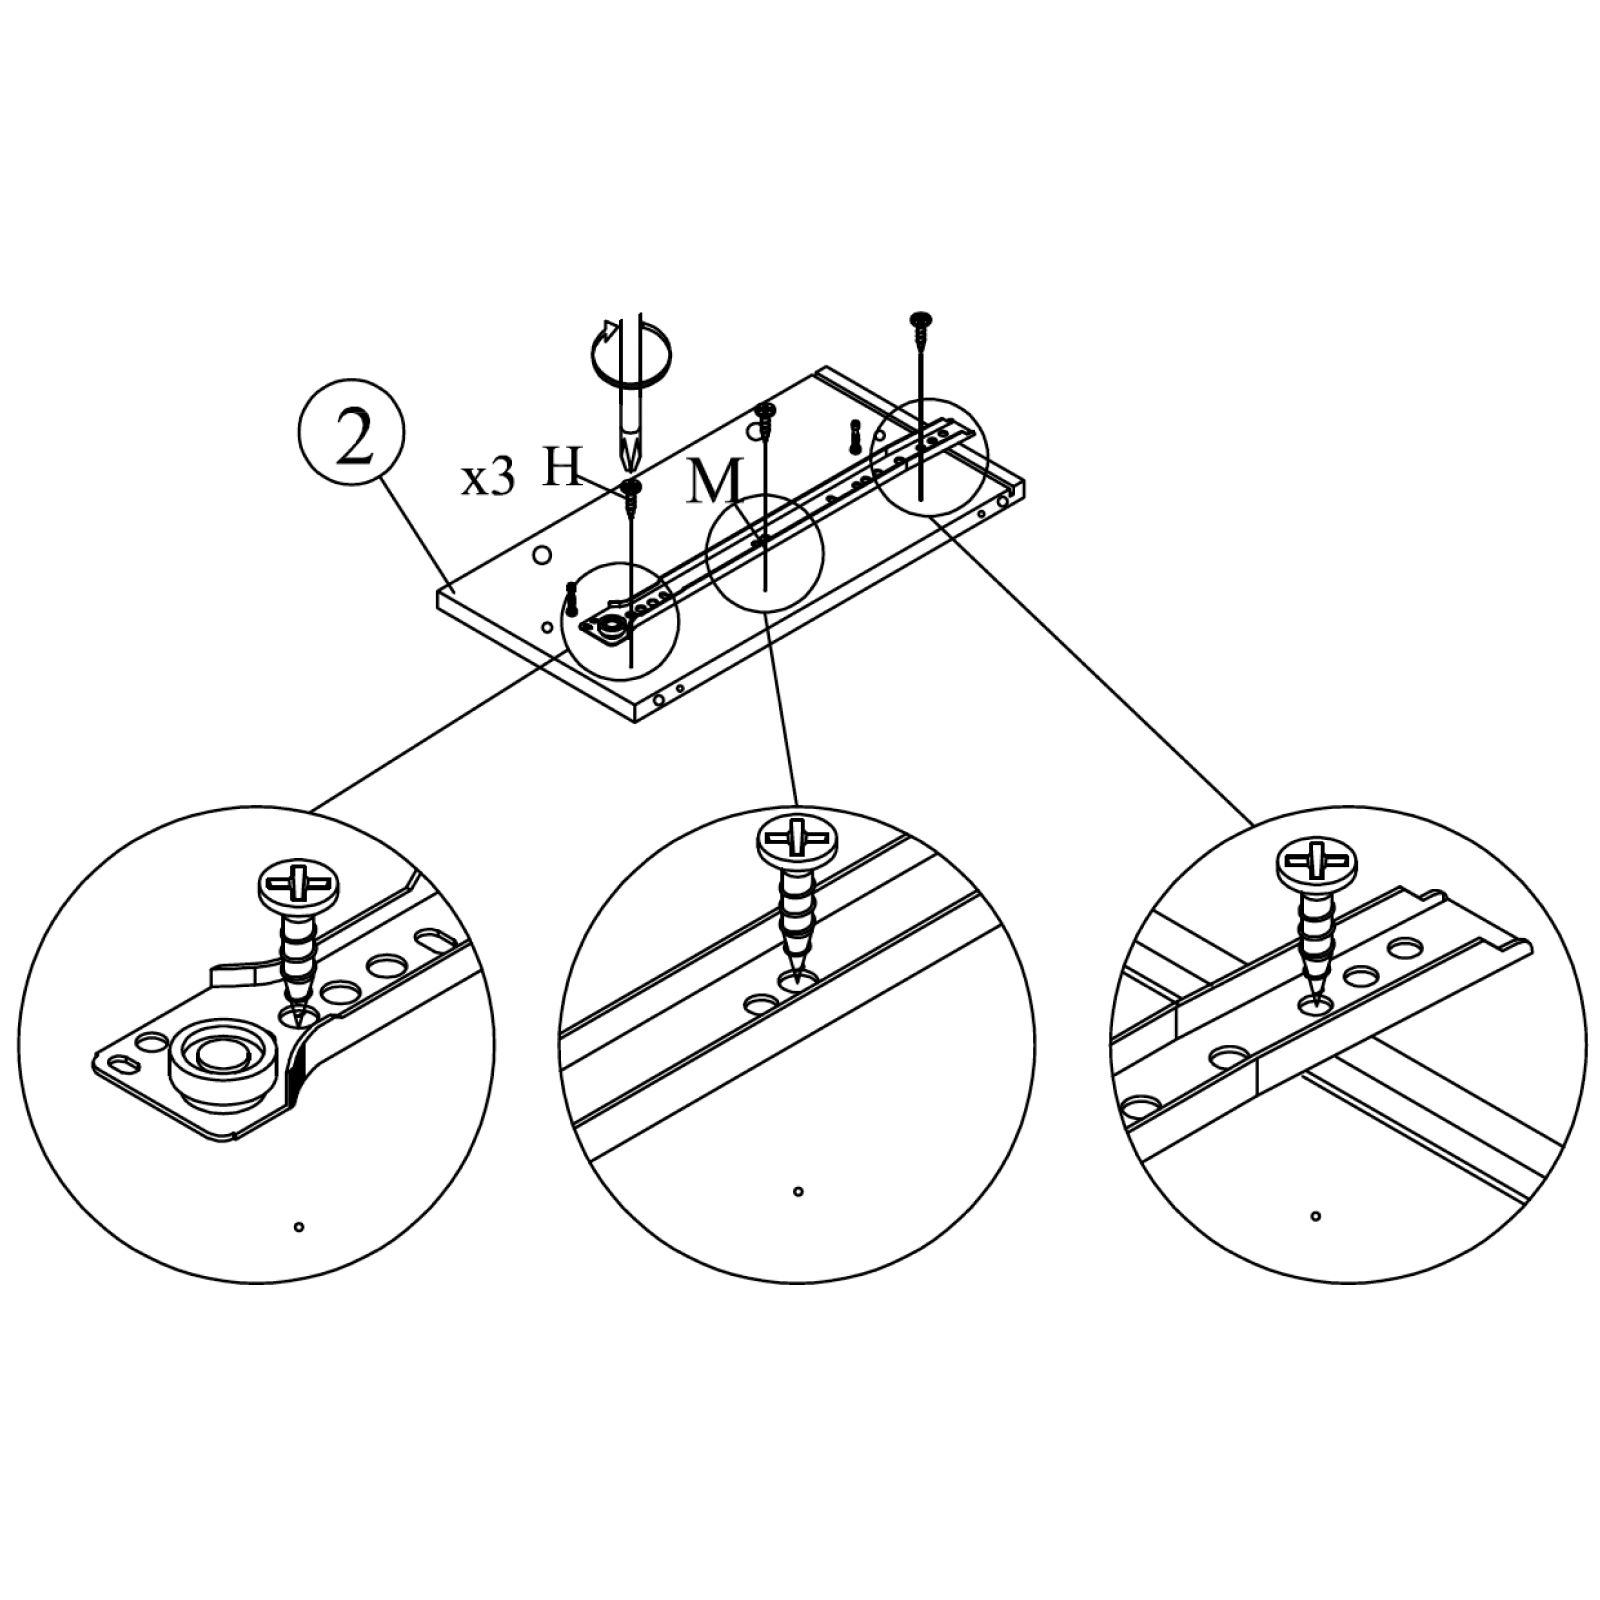
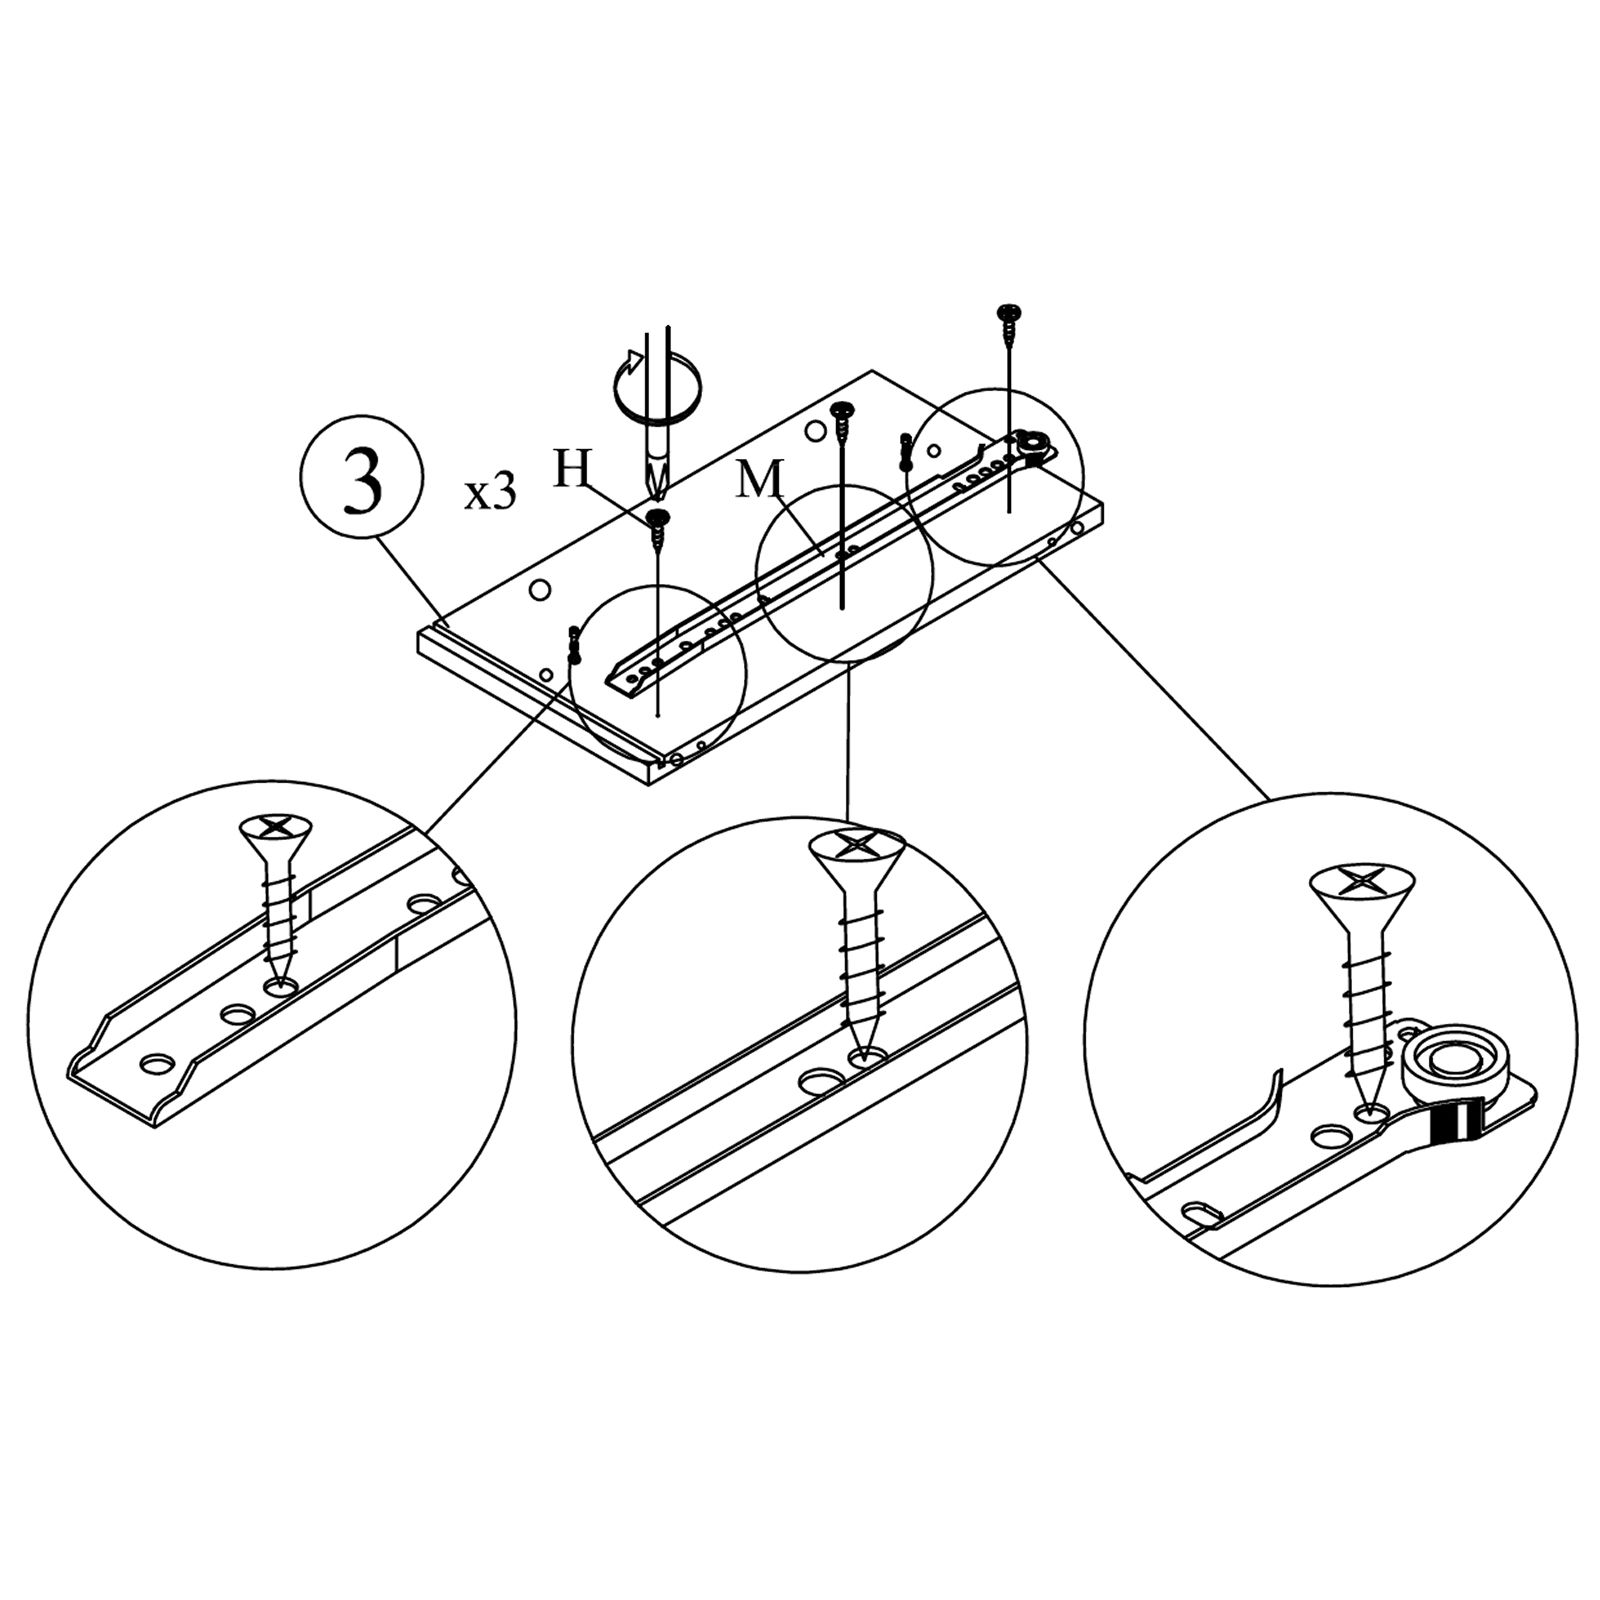
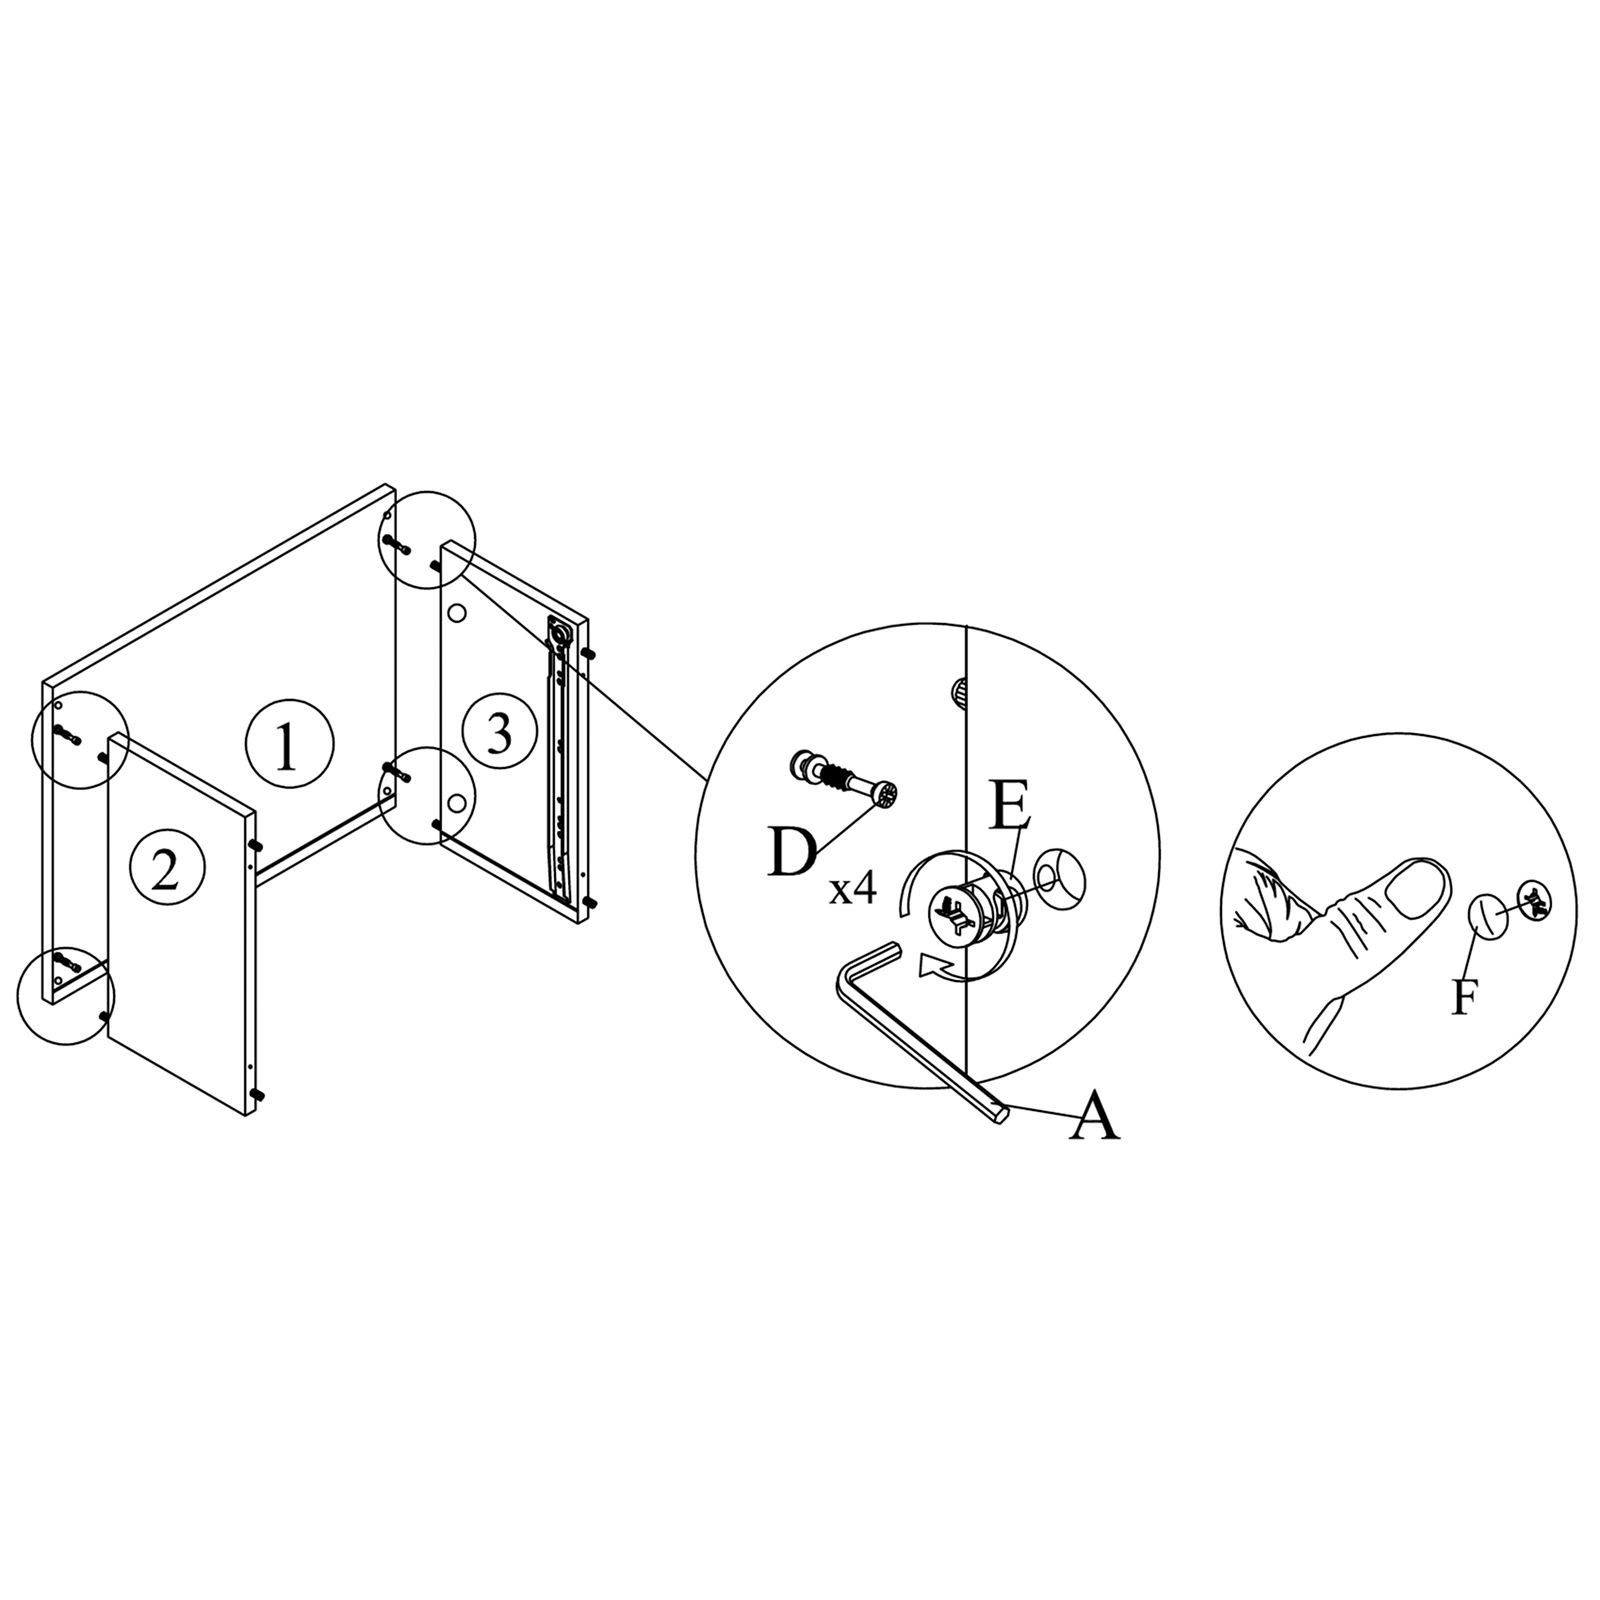
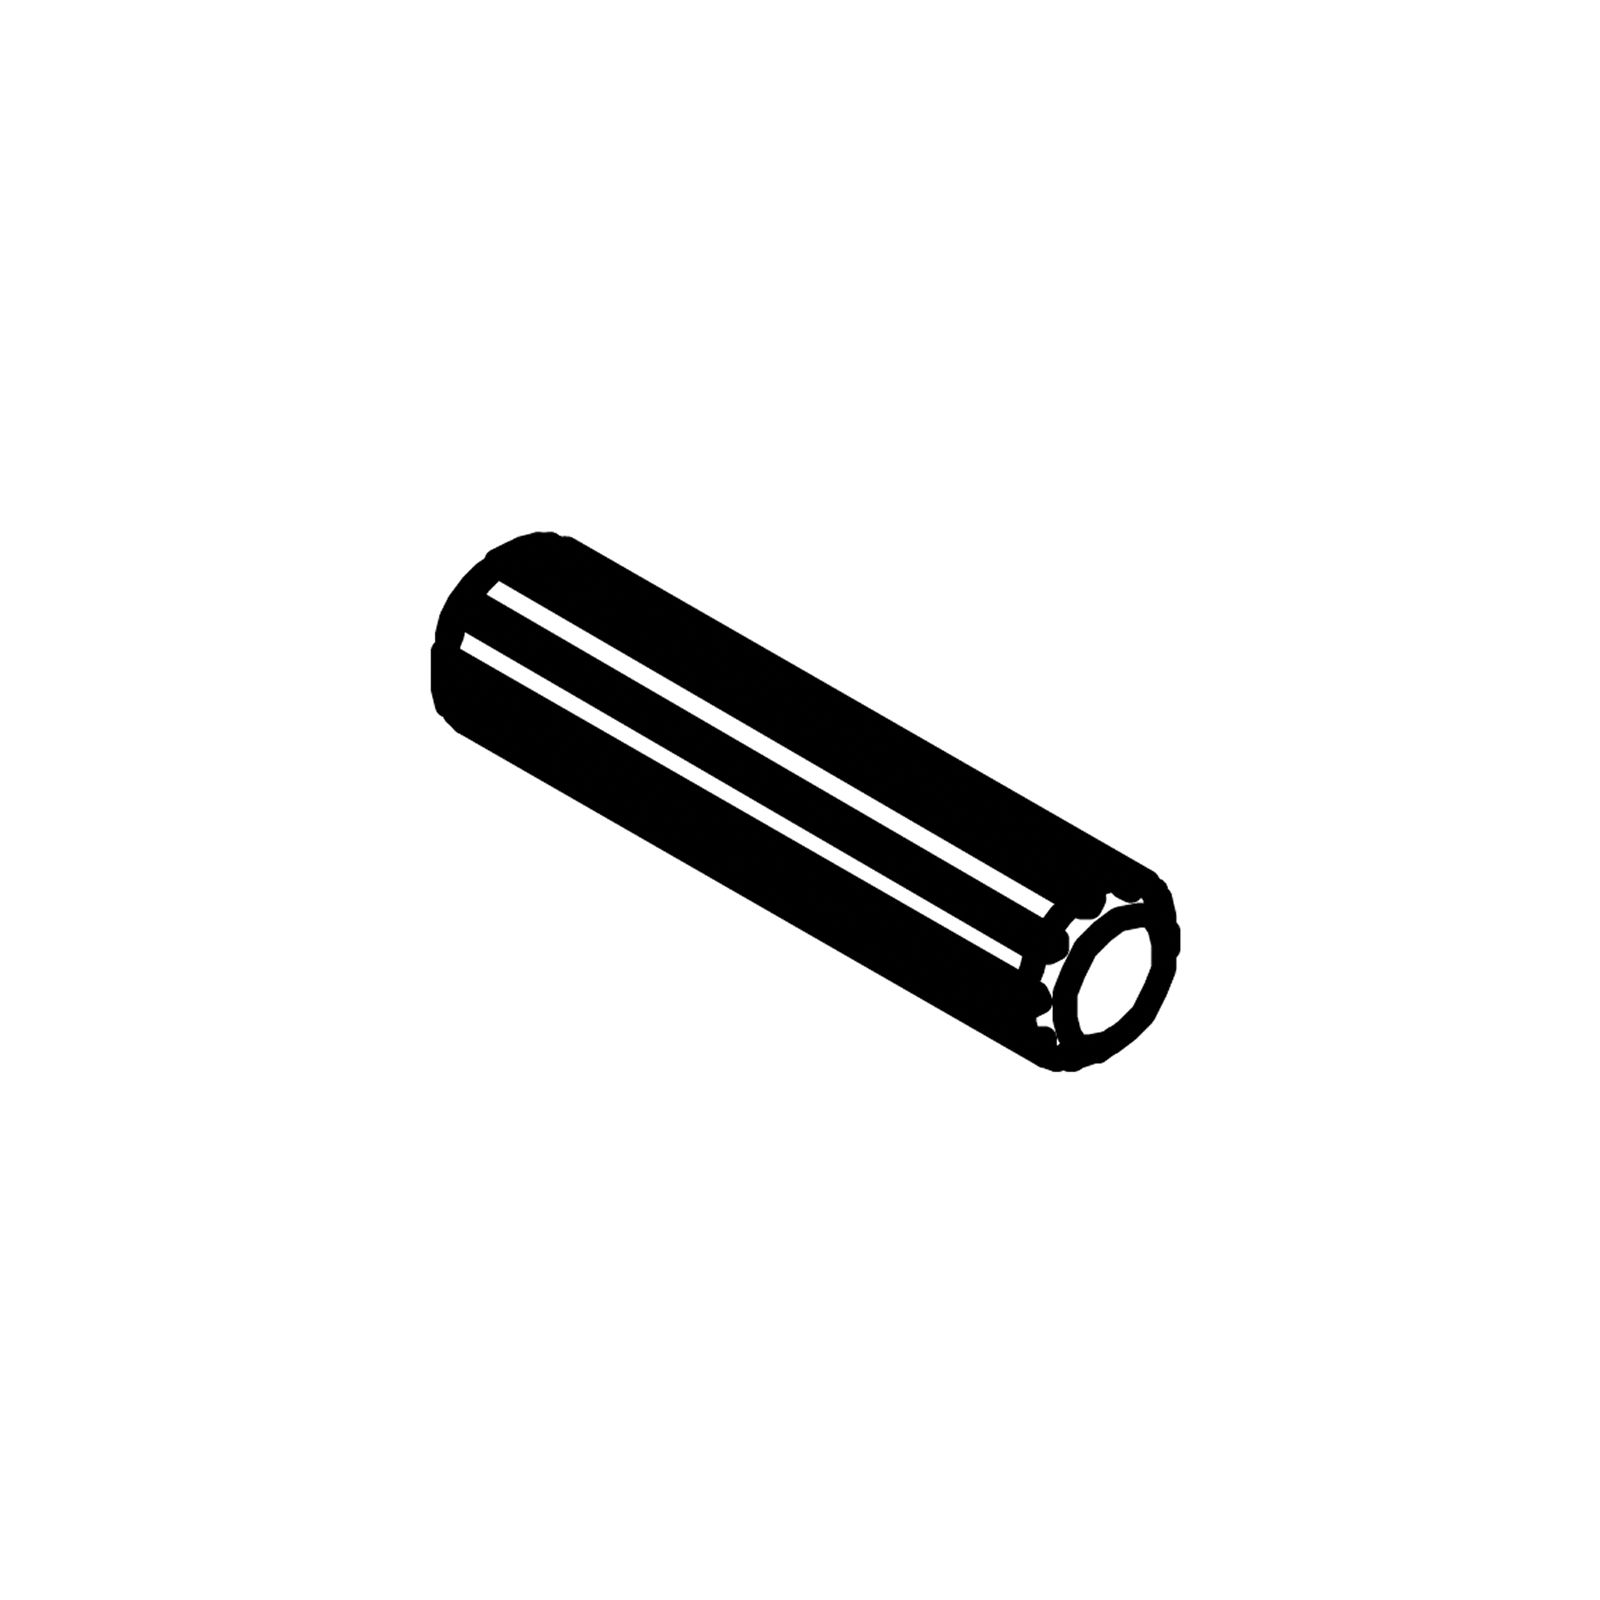
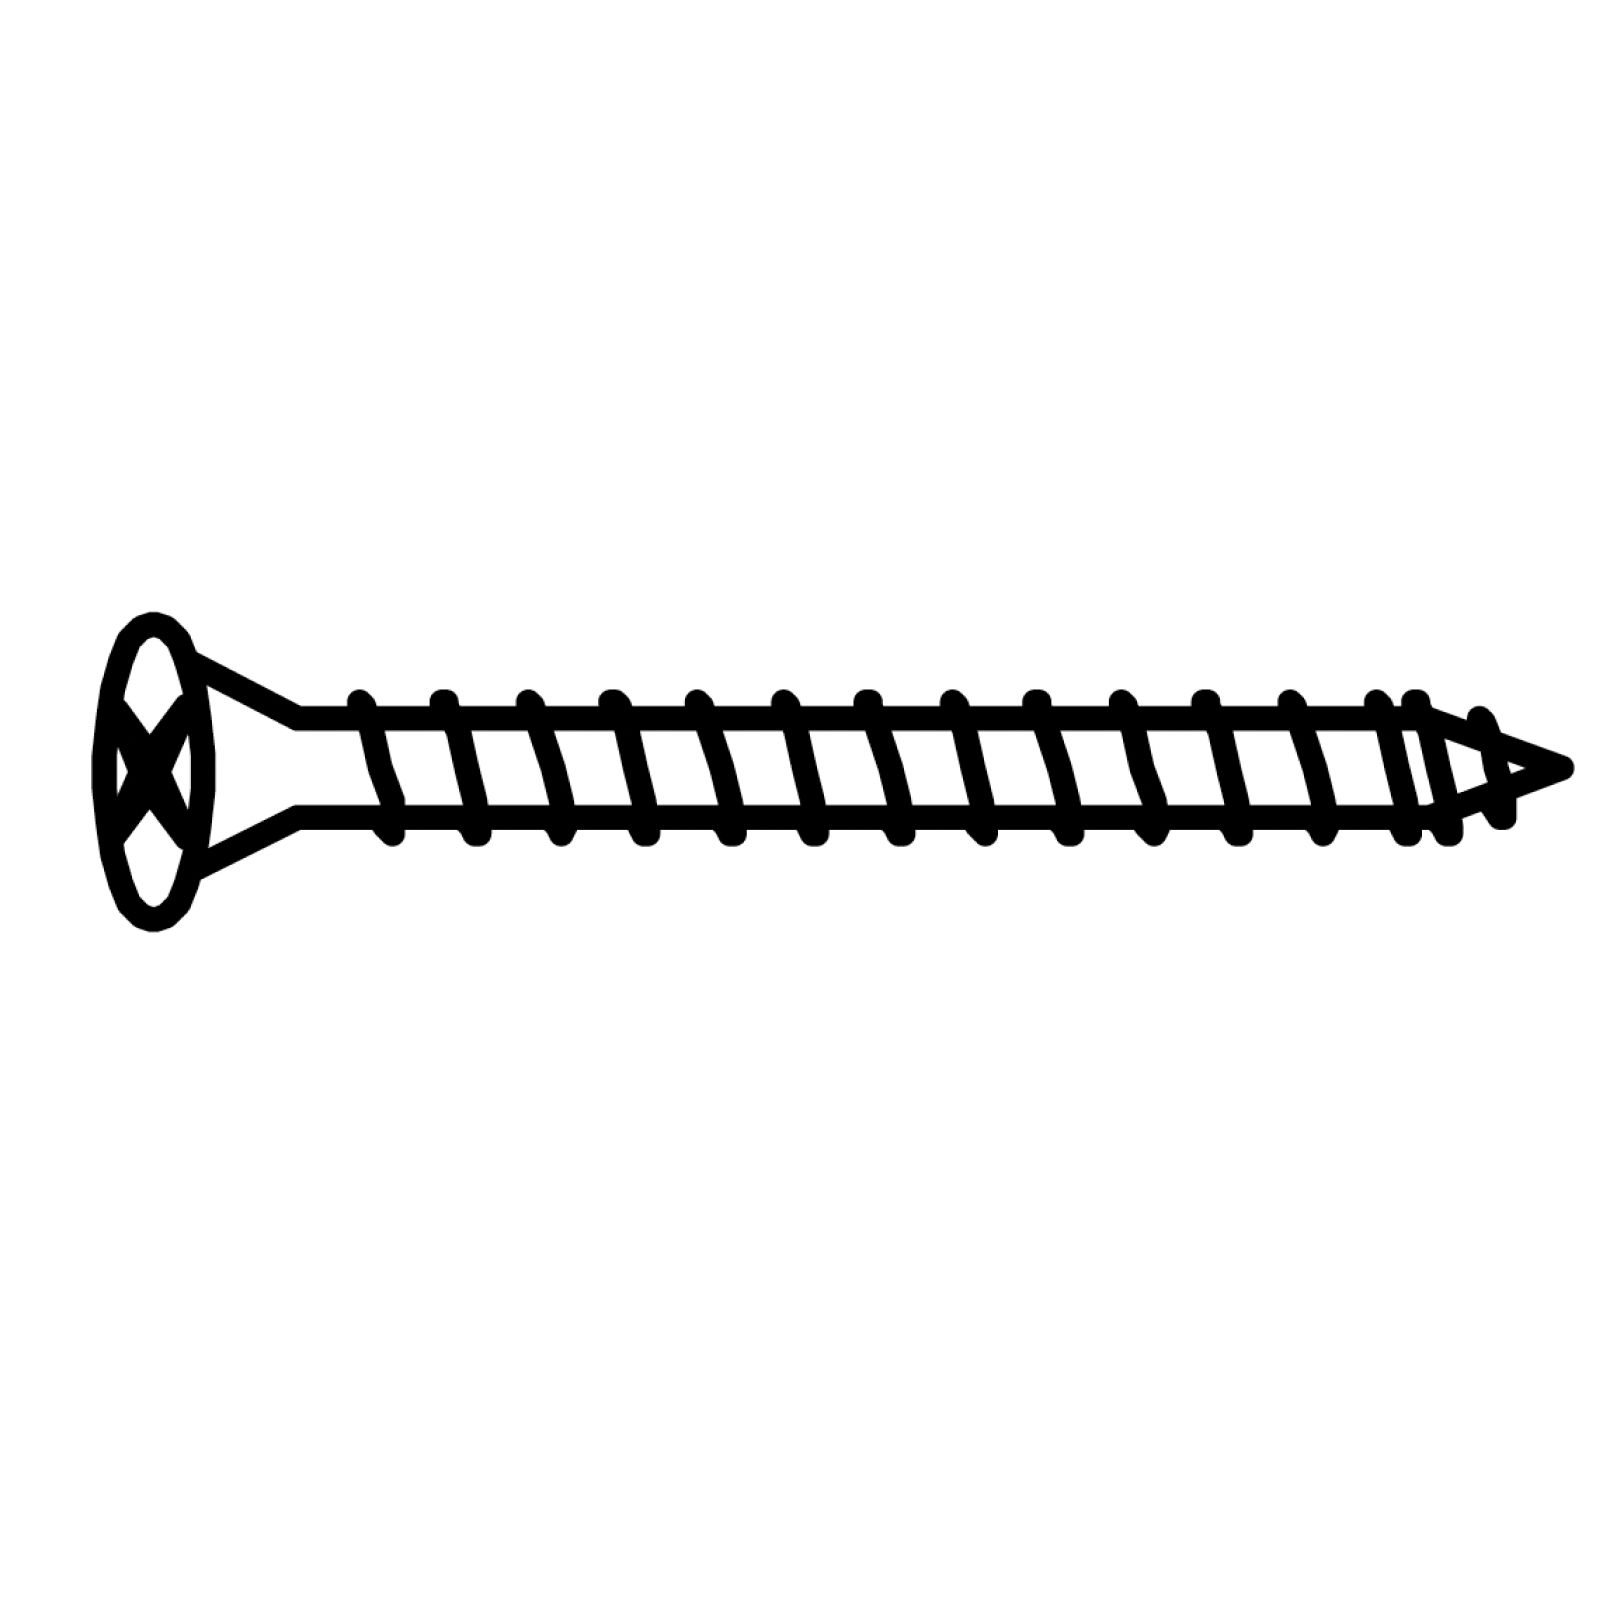
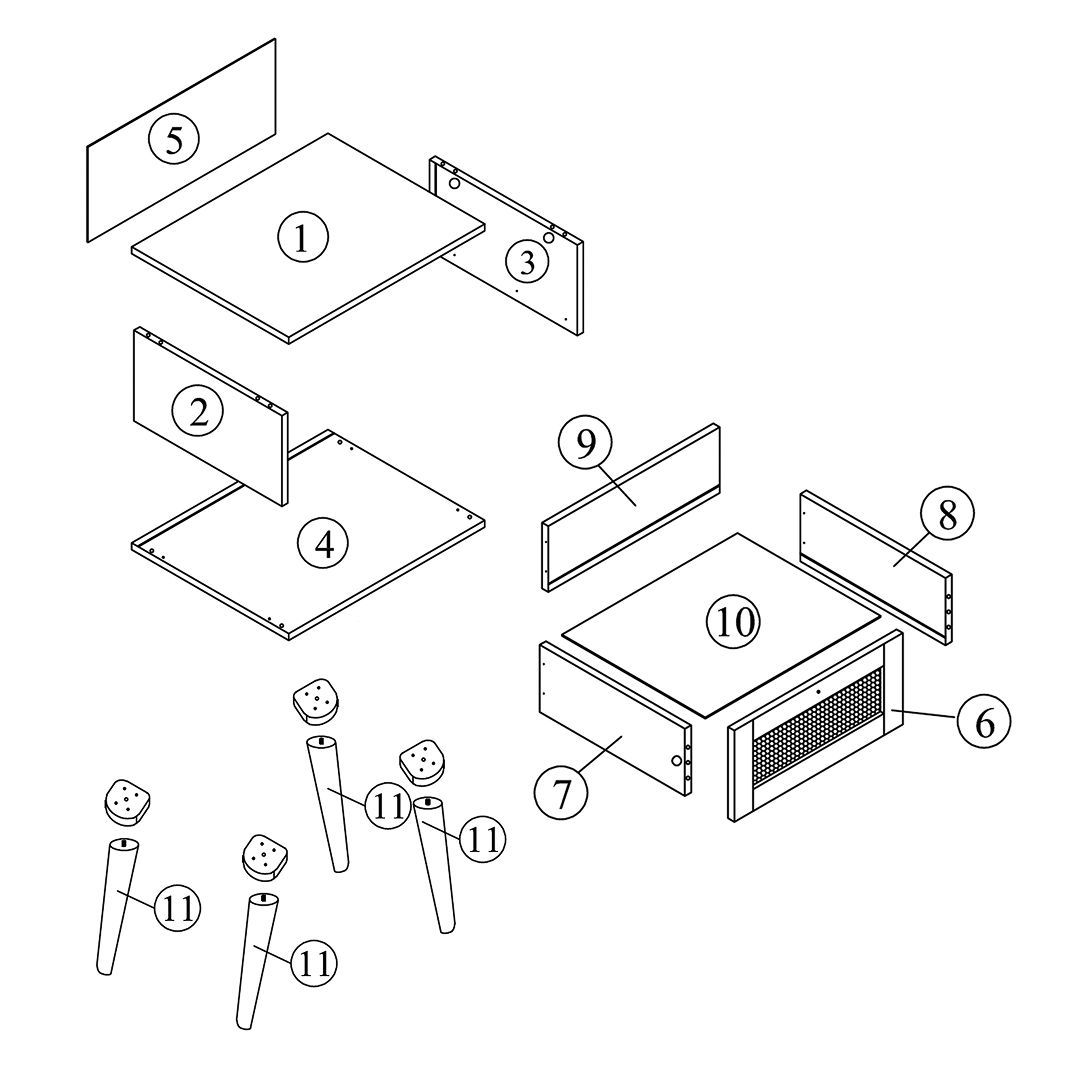
time4sleepwww.time4sleep.co.uk
Instructions by time4sleepFrances Rattan 1 Drawer Bedside
time4sleep

Frances Rattan 1 Drawer Bedside

Frances Rattan 1 Drawer BedsidePartsTools
Steps
1. Insert Dowels2. Insert Mini Fix Bolts3. Attach Drawer Slide to Left Panel4. Attach Drawer Slide to Right Panel5. Assemble the Main Frame6. Insert the Back Panel7. Attach the Bottom Panel8. Attach the Legs9. Reinforce Frame with L Brackets10. Assemble the Drawer Frame11. Complete the Drawer Assembly12. Insert the Drawer13. Final Check

No results

time4sleep
time4sleep / Frances Rattan 1 Drawer Bedside
Frances Rattan 1 Drawer Bedside
time4sleep

Instructions by

time4sleep

Frances Rattan 1 Drawer Bedside

Assembly instructions for Frances Rattan 1 Drawer Bedside by Time4Sleep.

Product Information

Measurements

Frances Rattan 1 Drawer Bedside

Introducing the Frances Rattan White 1 Drawer Bedside, a beautiful rattan style bedside perfect for any room style. This stylish nightstand combines modern functionality with a touch of natural flair. The drawer fronts showcase beautiful woven rattan panels that add warmth and texture that contrasts perfectly with the white frame.
View product (opens in new tab)
SKU
FraRattanWhiteBedside,FraRattanOakBedside
Dimensions
Width50 cm
Length40 cm
Height54 cm

Tools

allen key
A - Allen Key
dowel
B - Dowel
JCBC W Screw M6x40
C - JCBC W Screw M6x40
Mini Fix Bolt
D - Mini Fix Bolt
Mini Fix Housing
E - Mini Fix Housing
mini fix cap
F - Mini Fix Cap
Screw
G - CSK Screw (M4 x 20mm)
Screw
H - CSK Screw (M3.5 x 16mm)
Screw
I - CSK Screw (M4 x 50mm)
handle screw
J - Handle Screw
Mounting Leg
K - Mounting Leg
Handle
L - Handle
14" Drawer Slide Set
M - 14" Drawer Slide Set
L Bracket
N - L Bracket

Parts

Diagram
1Top Panel
2Left Panel
3Right Panel
4Bottom Panel
5Back Panel
6Drawer Front Panel
7Drawer Left Side Panel
8Drawer Right Side Panel
9Drawer Back Panel
10Drawer Bottom Panel
11Legs

1. Insert Dowels

Insert Dowels

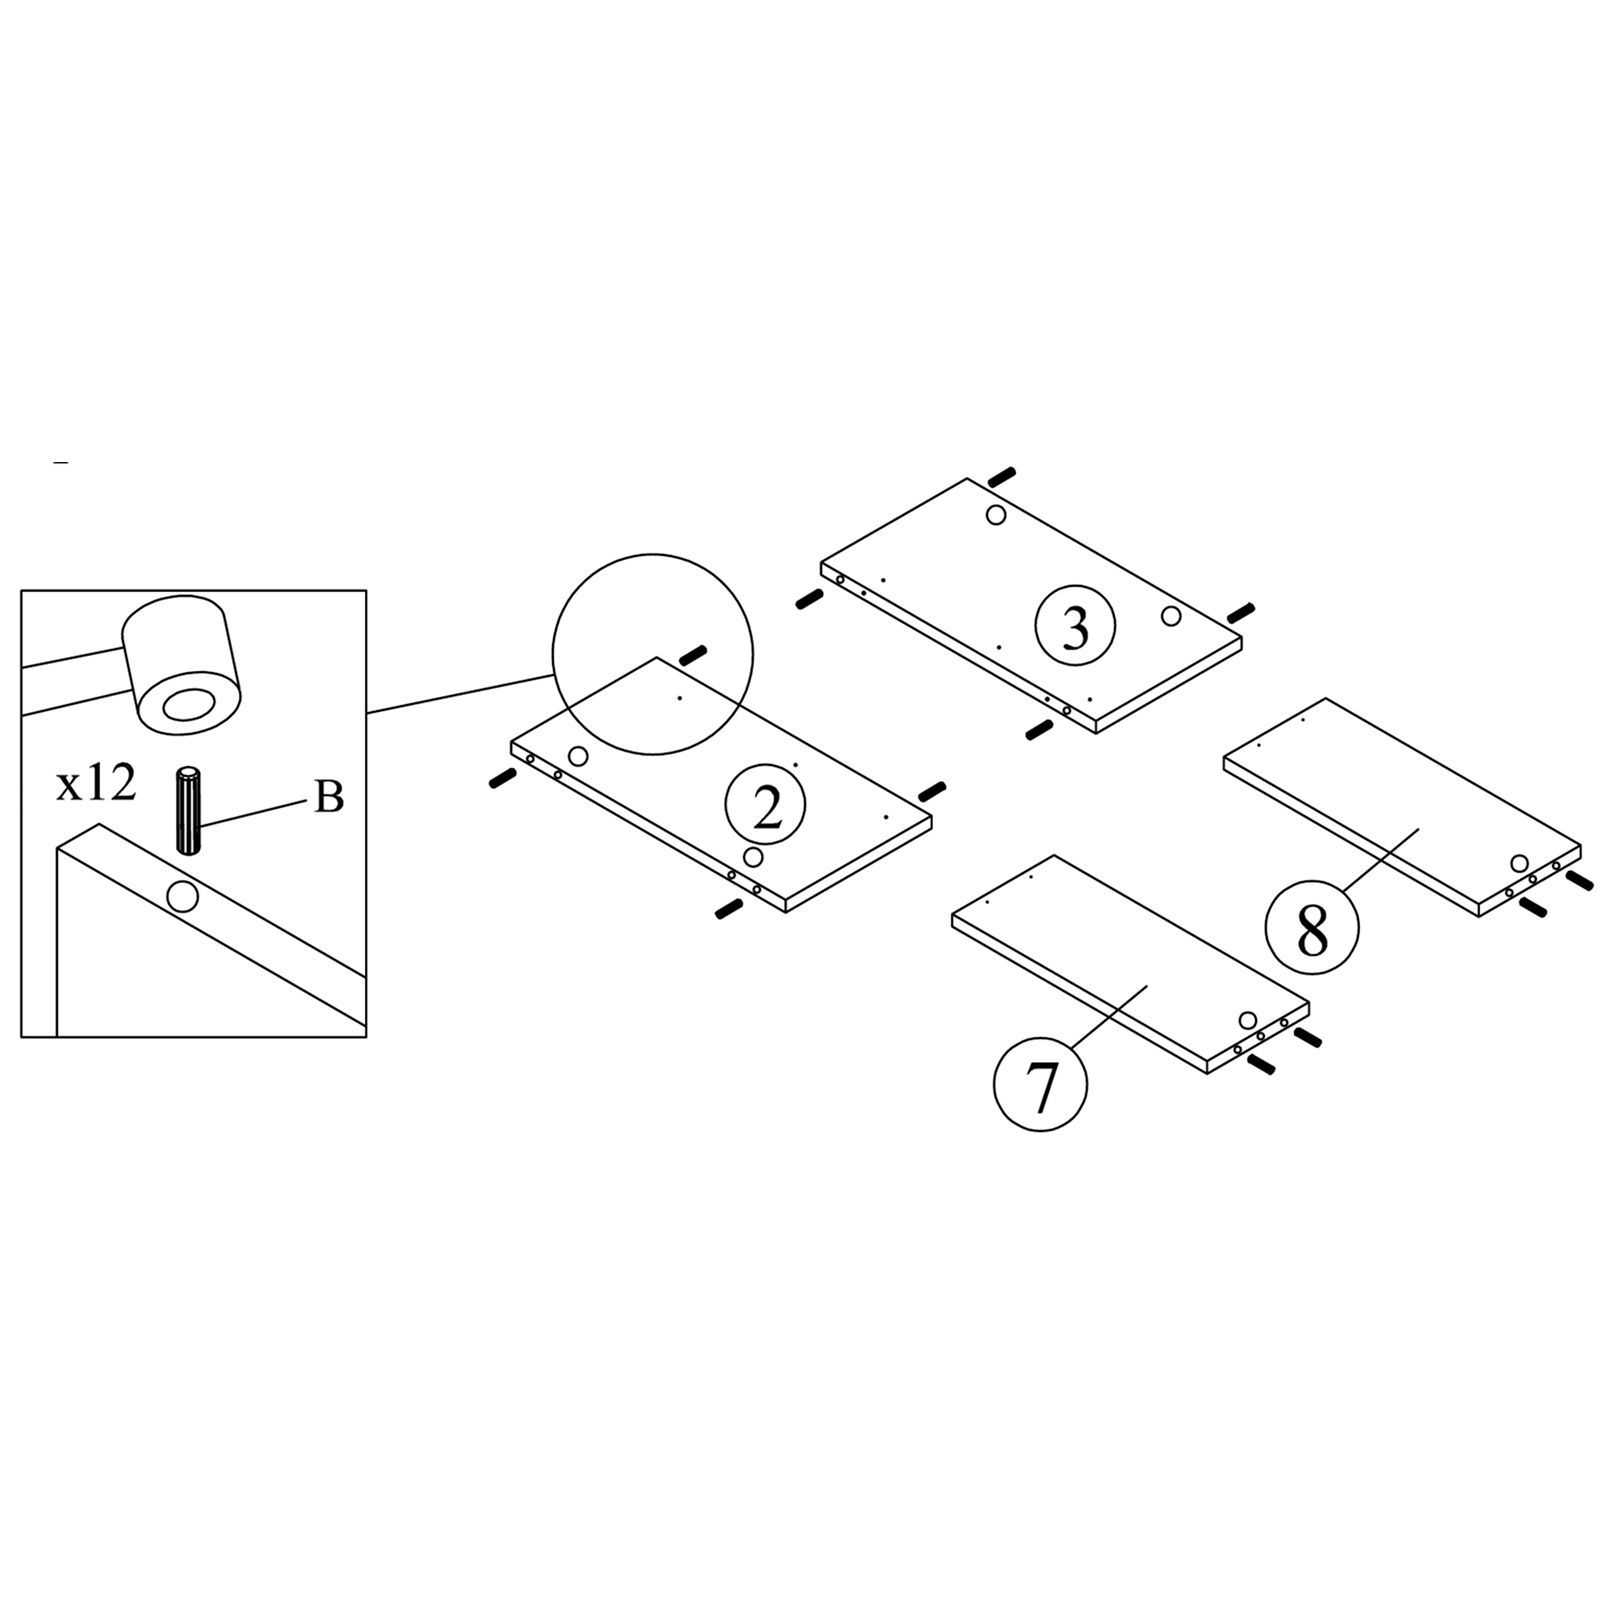
Insert Dowels (B) into the pre-drilled holes on the following panels:

1. Left Panel (2)
2. Right Panel (3)
3. Drawer Left Side Panel (7)
4. Drawer Right Side Panel (8)

Use a rubber mallet if needed to gently tap the dowels until fully inserted and flush with the surface.

2. Insert Mini Fix Bolts

Insert Mini Fix Bolts

Insert Mini Fix Bolts (D) into the pre-drilled holes on:

1. Top Panel (1) – 4 bolts
2. Drawer Front Panel (6) – 2 bolts

Use a Phillips screwdriver to tighten each bolt securely.

3. Attach Drawer Slide to Left Panel

Attach Drawer Slide to Left Panel

1. Place the Left Panel (2) on a flat surface with the interior side facing up.
2. Align the 14" Drawer Slide (M) with the pilot holes.
3. Secure the slide using 3 CSK Screws M3.5x16mm (H) with a Phillips screwdriver.

4. Attach Drawer Slide to Right Panel

Attach Drawer Slide to Right Panel

1. Lay the Right Panel (3) with the interior side facing up.
2. Align the 14" Drawer Slide (M) with the pilot holes.
3. Use 3 CSK Screws M3.5x16mm (H) to fix the slide in place using a Phillips screwdriver.

5. Assemble the Main Frame

Assemble the Main FrameThis is how a mini fix works

1. Attach the Left Panel (2) and Right Panel (3) to the Top Panel (1).
2. Align the Mini Fix Bolts (D) on the top panel with the pre-inserted dowels on the side panels.
3. Insert Mini Fix Housings (E) into the holes on the side panels, then turn with the Allen Key (A) to lock them in place.
4. Snap Mini Fix Caps (F) over the housings for a clean finish.

This is how a mini fix works:
The head of the mini fix housing goes into the open mouth of the mini fix bolt. You then turn the mini fix housing so it tightens over the mini fix bolt.

6. Insert the Back Panel

Insert the Back Panel

1. Slide the Back Panel (5) into the grooves on the inner edges of the Left Panel (2), Right Panel (3), and Top Panel (1).
2. Push it all the way in until it sits flush against the frame.

7. Attach the Bottom Panel

Attach the Bottom Panel

1. Position the Bottom Panel (4) against the bottom edge of the assembled frame.
2. Use 4 JCBC W Screws M6x40 (C) to secure the panel from underneath, tightening each one with the Allen Key (A).

8. Attach the Legs

Attach the Legs

1. Screw the Mounting Legs (K) into the pre-marked corners underneath the Bottom Panel (4).
2. Use 16 CSK Screws M4x20mm (G)—4 per leg—to secure each one with a Phillips screwdriver.
3. Once all mounts are secured, screw in the Legs (11) by hand, rotating clockwise until tight.

9. Reinforce Frame with L Brackets

Reinforce Frame with L Brackets

1. Attach 4 L Brackets (N) to the inner corners of the bedside frame.
2. Use 8 CSK Screws M3.5x16mm (H)—2 per bracket—to secure them with a Phillips screwdriver.

10. Assemble the Drawer Frame

Assemble the Drawer FrameInsert the Back Panel
  • Connect the Left (7) and Right (8) Drawer Side Panels to the Drawer Base (6).
  • Use Mini Fix Bolts (D) and Mini Fix Housings (E), then tighten with the Allen Key (A).
  • Cover with Mini Fix Caps (F).
  • Slide the Drawer Back Panel (10) into place vertically.

11. Complete the Drawer Assembly

Secure the Drawer Back PanelsFix the Bottom PanelInstall the Handle

1. Attach both panels (9) to the drawer sides (7 & 8) using 4x CSK Screws M4x50mm (I).
2. Ensure they’re flush and aligned correctly.
3. Flip the drawer over and secure the Drawer Bottom Panel (10) to the frame with 6x CSK Screws M3.5x16mm (H) through the pre-drilled holes in the rails (M).

Install the Handle (L):

1. Use the Handle Screw (J) to fix the Handle (L) to the Drawer Front.
2. Tighten with a screwdriver through the marked center hole.

12. Insert the Drawer

Insert the Drawer

1. Carefully slide the assembled drawer (6) into the main frame.
2. Align the runners on the drawer with the slides installed inside the unit.
3. Push gently until the drawer clicks into place.

13. Final Check

Final Check Step
  • Ensure all screws and fixings are securely tightened.
  • Confirm that both drawers slide smoothly and align properly.
  • Make sure the bedside unit stands evenly and feels stable.
time4sleep
time4sleep (opens in new tab)Terms (opens in new tab)Privacy (opens in new tab)