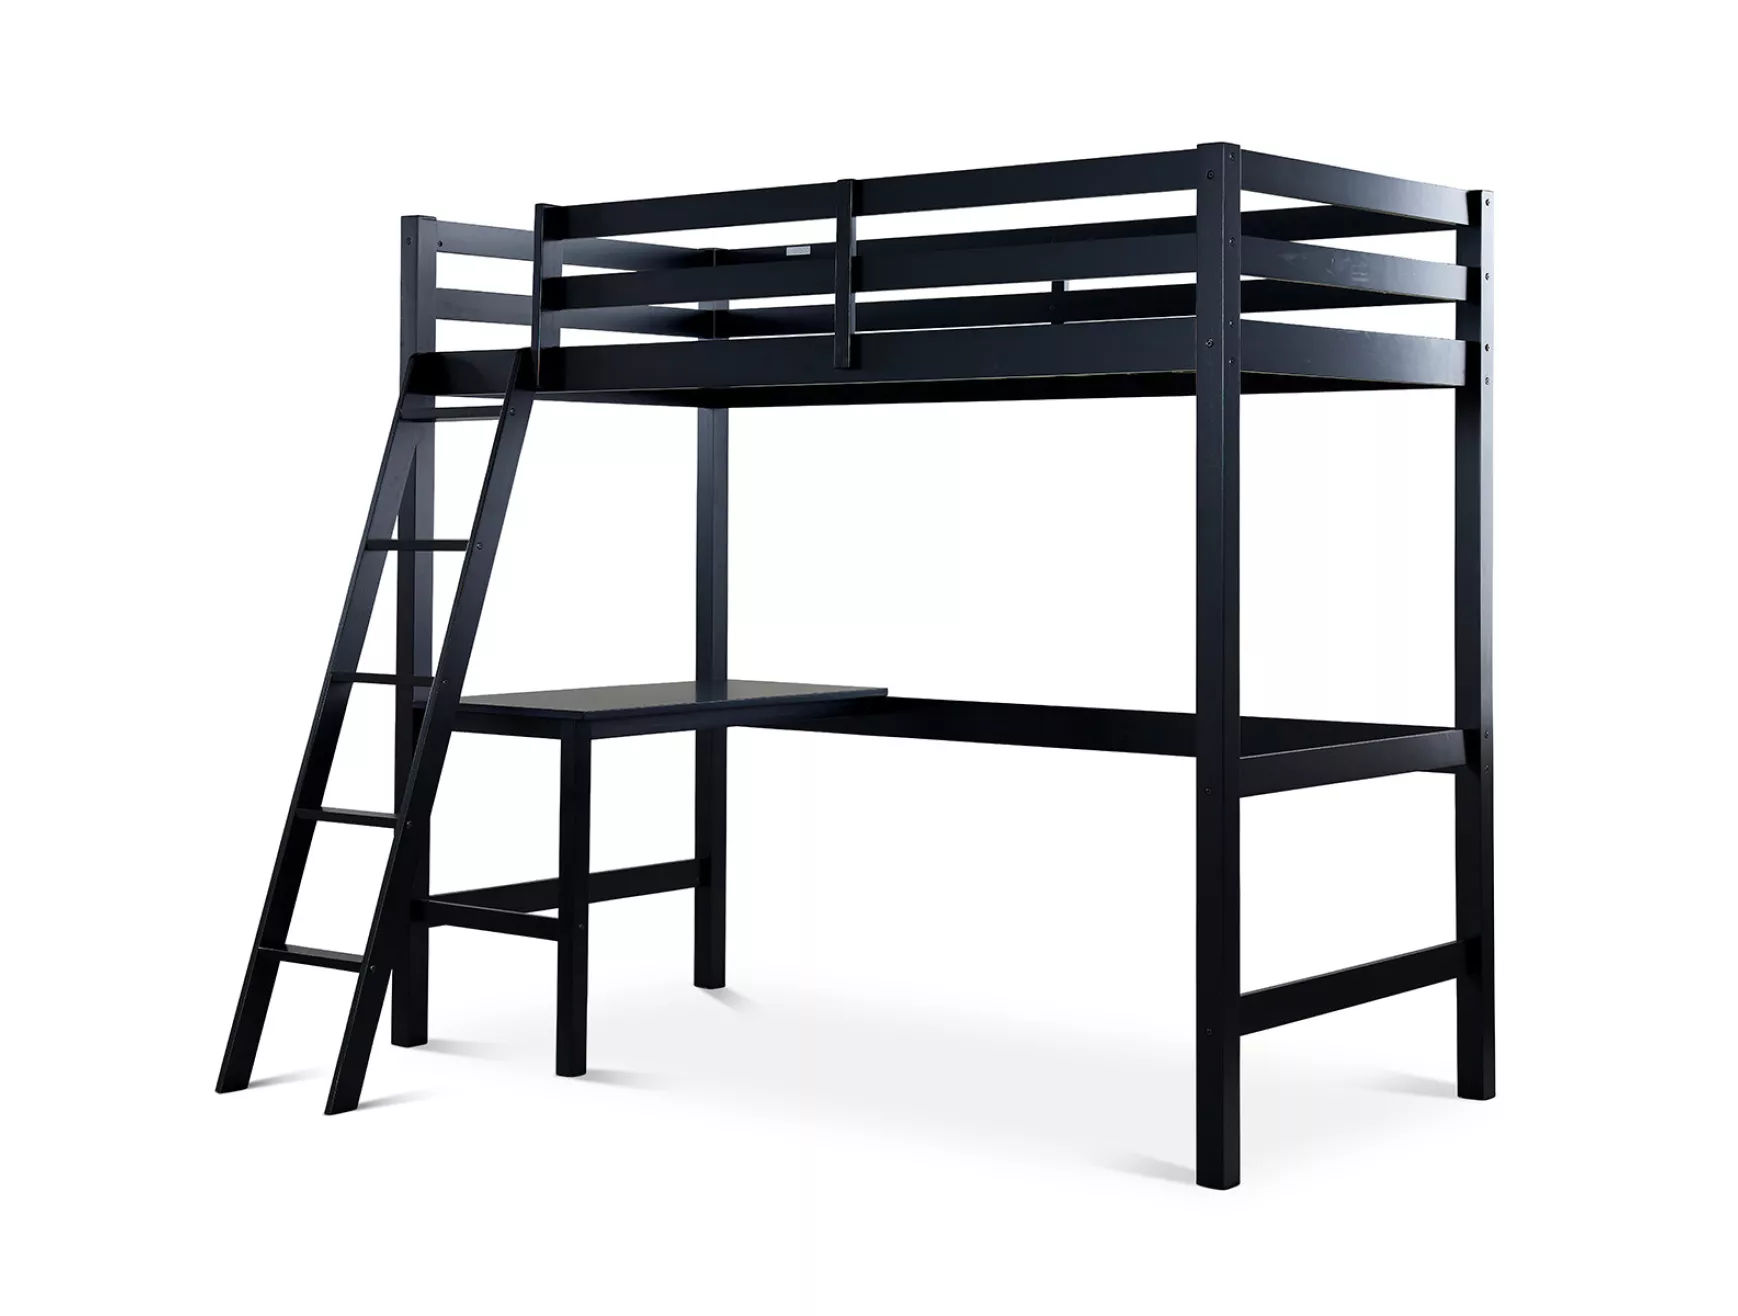
Fusion Black Gaming Single Wooden High Sleeper Bed Frame
Assembly instructions for Fusion Black Gaming Single Wooden High Sleeper Bed Frame by Time4Sleep.
Product Information
Fusion Black Gaming Single Wooden High Sleeper Bed Frame
Power up your child's room with the Fusion Gaming Bed High Sleeper! This space-saving design elevates the sleeping area, creating a dedicated gaming zone underneath. The built-in desk area provides the perfect platform for a gaming setup, complete with space for a monitor, console, and controllers. Alternatively, use comfy cushions and throws to create a cosy reading nook for post-game relaxation. The sleek black finish creates a cool and modern atmosphere, while the sturdy wooden construction ensures the utmost safety and comfort for your child. Complete with high safety rails and a secure ladder, this high sleeper bed maximises your child's bedroom space while providing a cool and elevated sleep zone. Please note that for safety reasons the maximum recommended mattress height for this bed is 15cm.
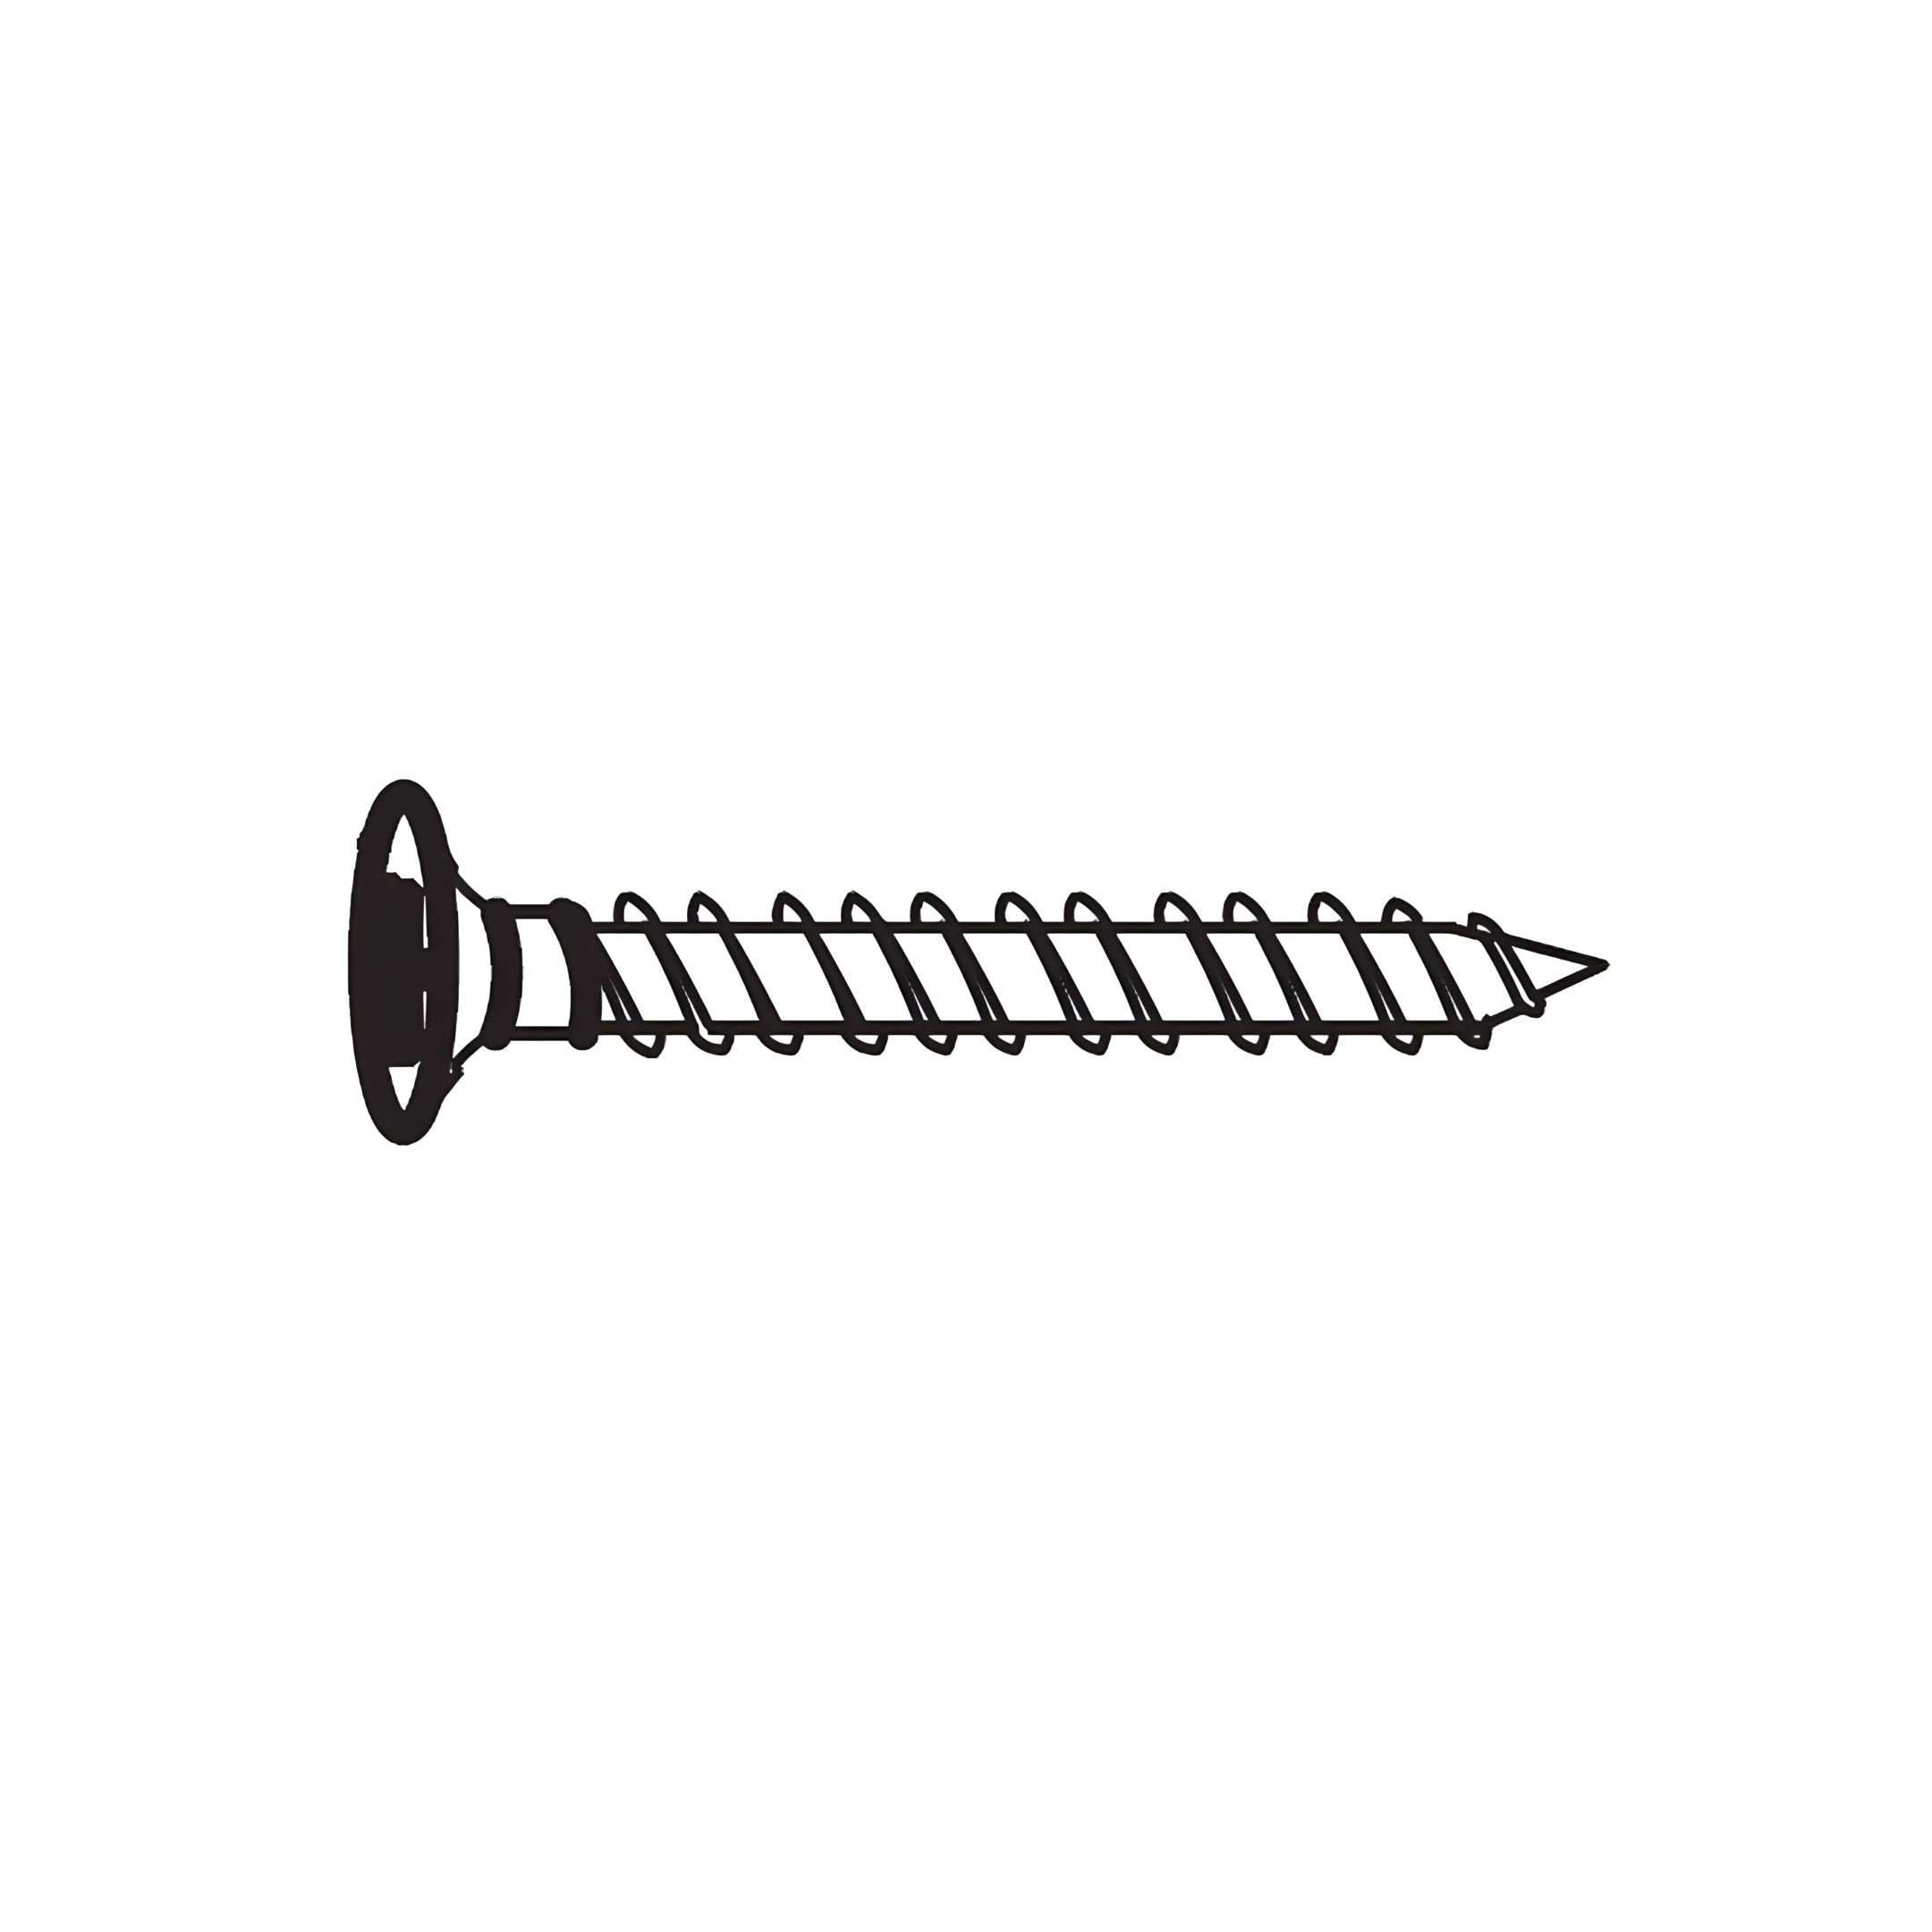
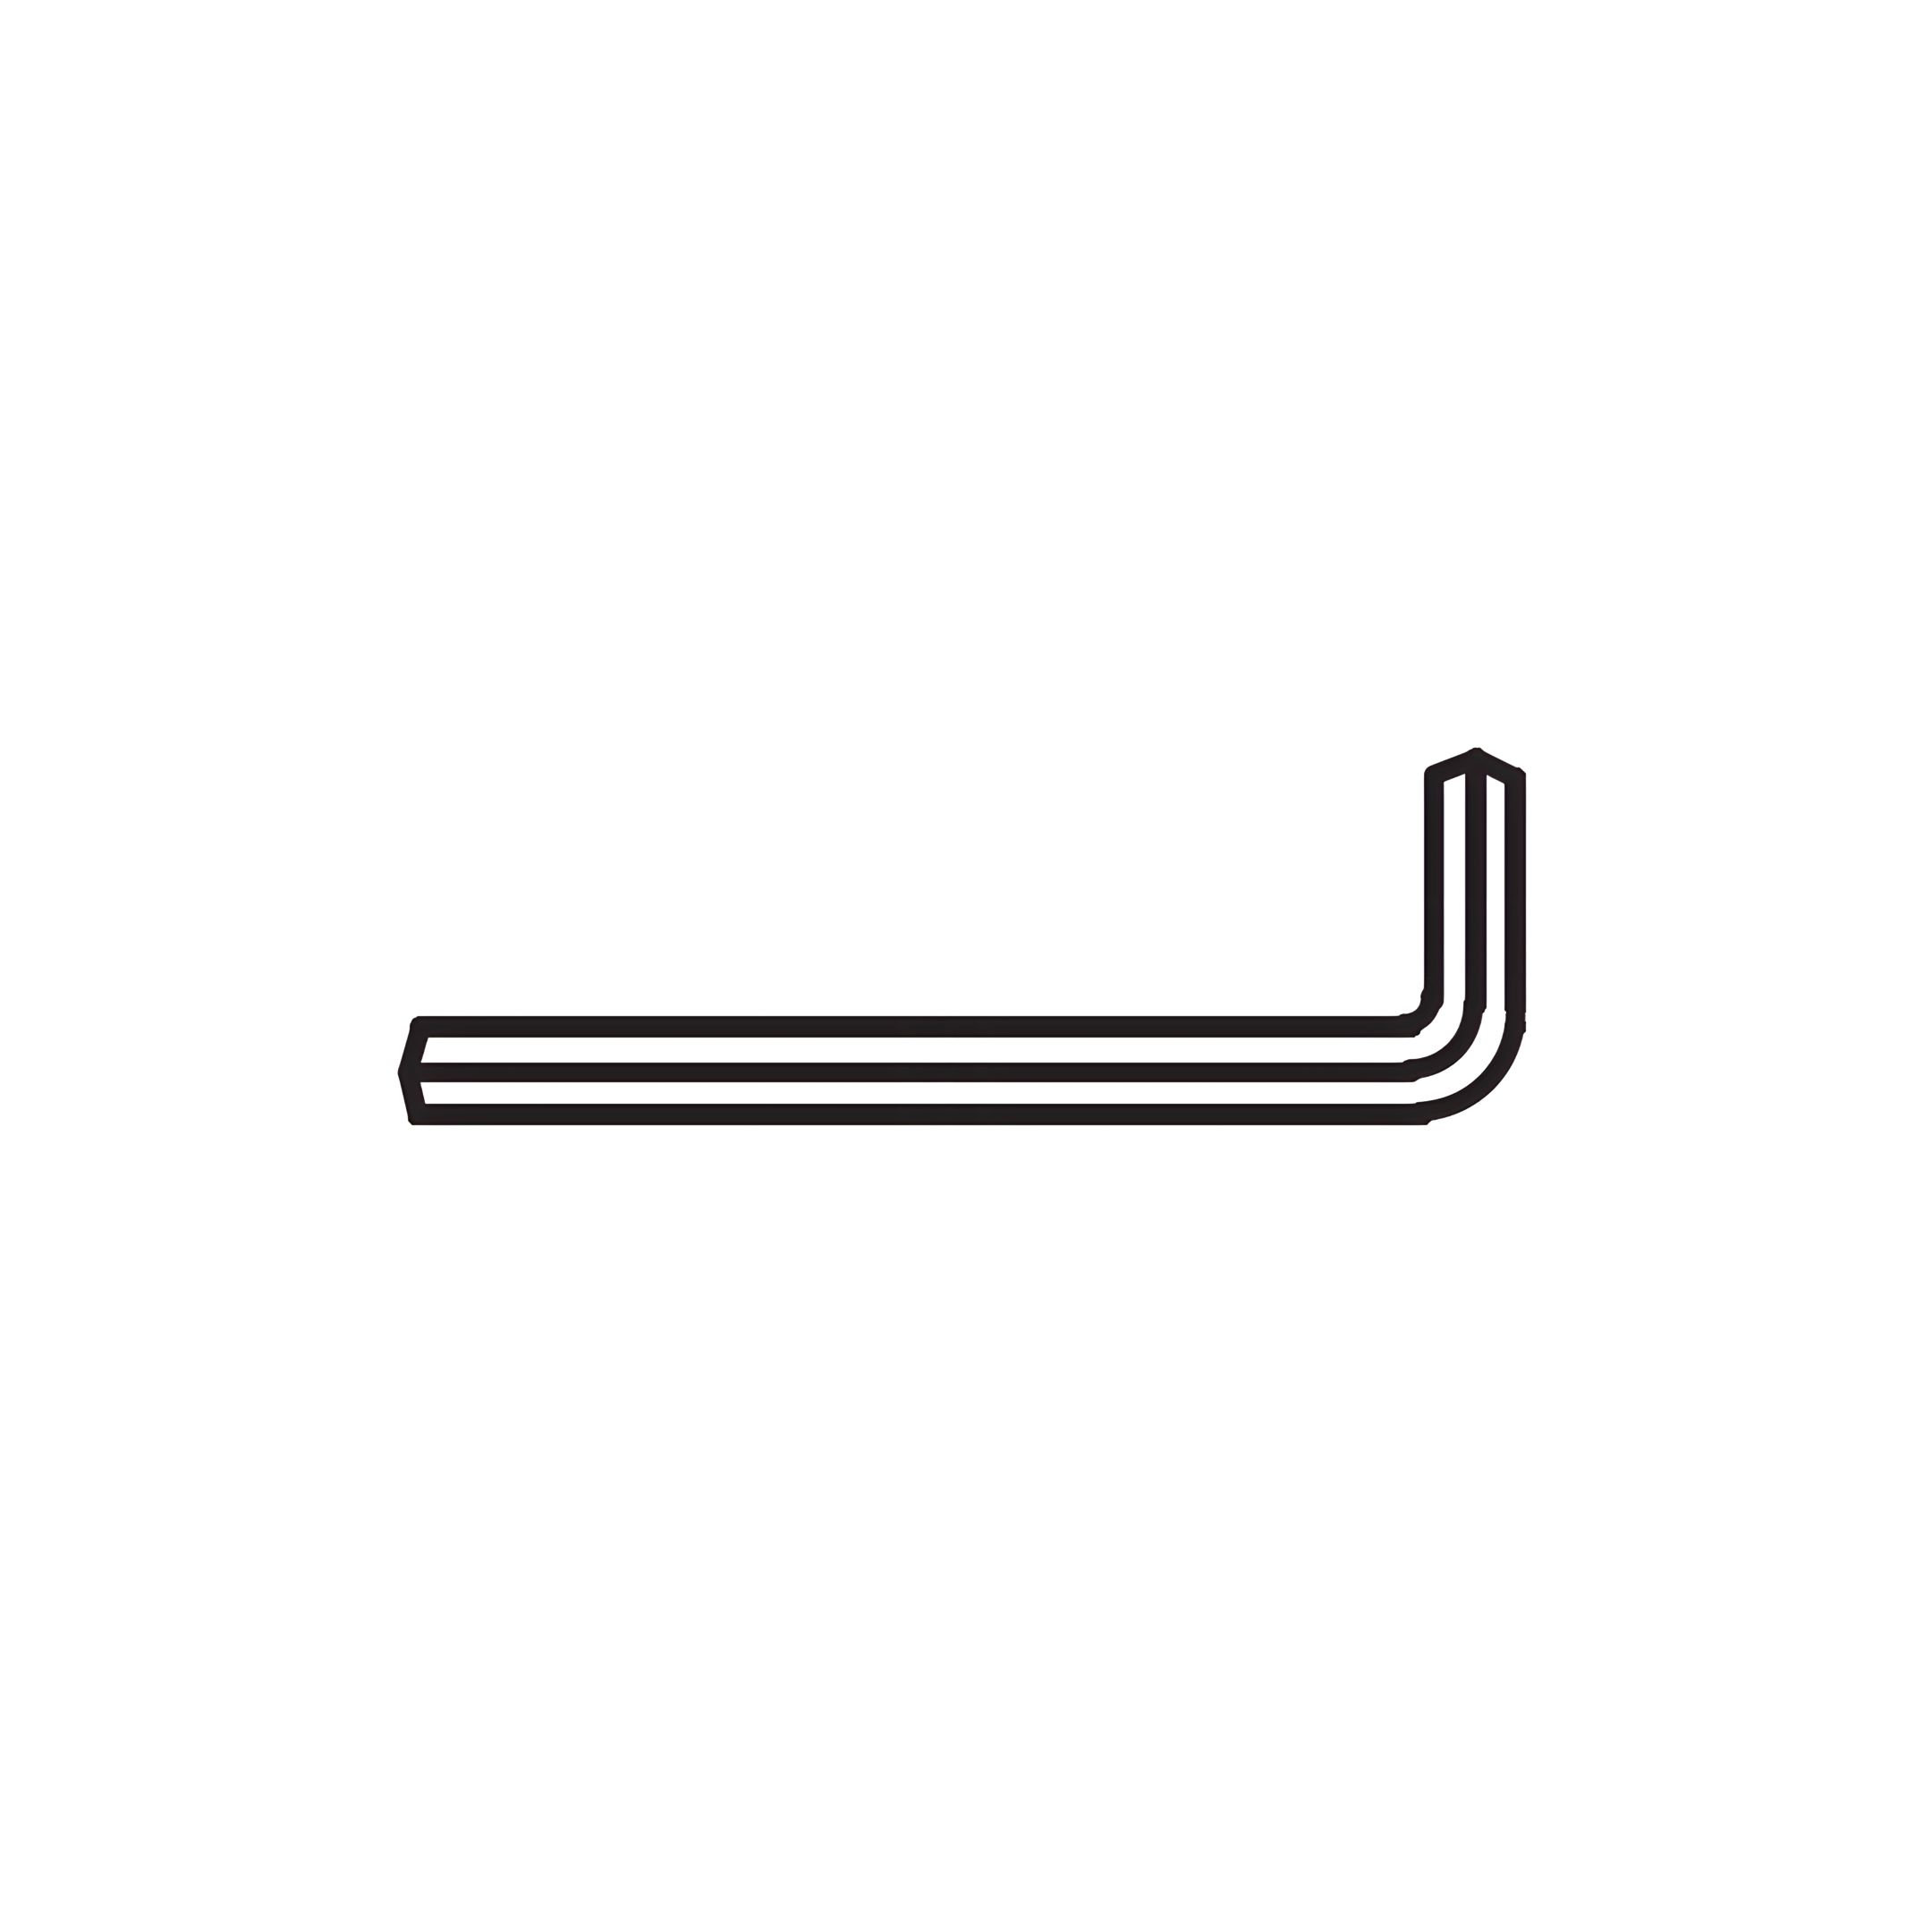
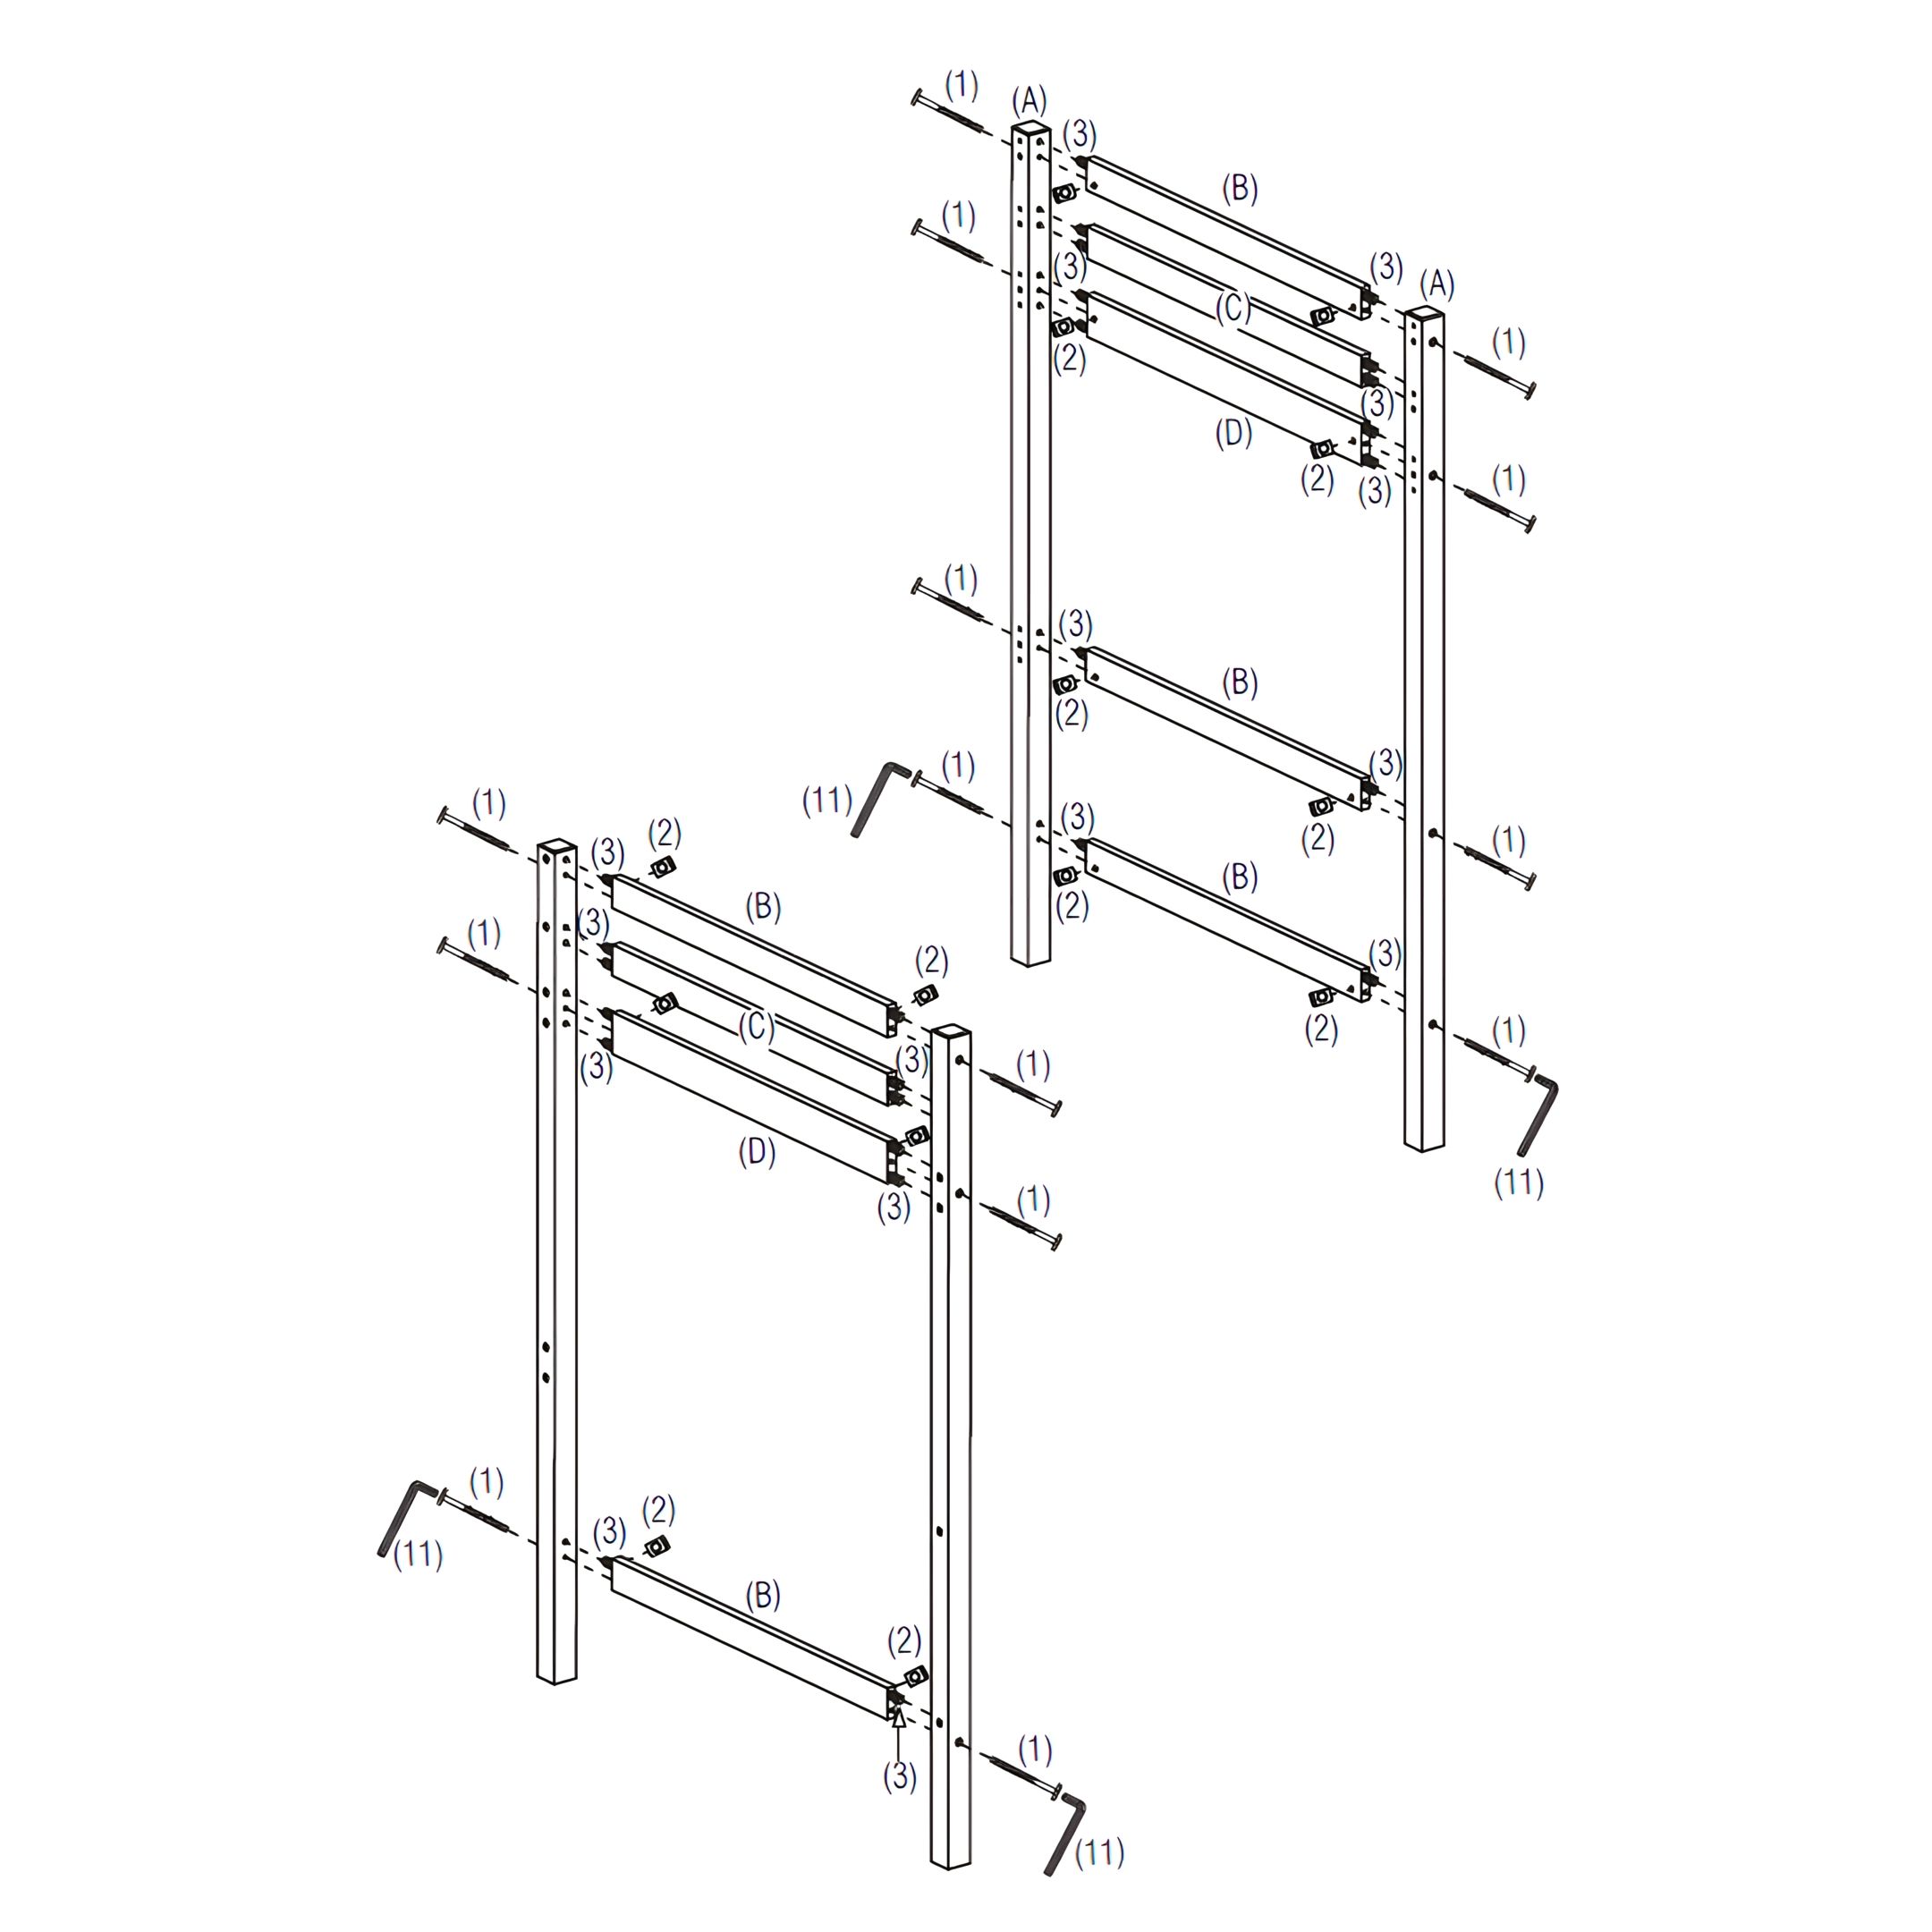
1. Insert Wood Dowels (3) into the pre-drilled holes of Top & Lower Panels (B), Mid Panel (C), and Bottom Panel (D). 2. Align Panels (B, C, and D) with the Bed Posts (A), ensuring the dowels fit securely into the corresponding holes on the posts. 3. Secure each panel using Barrel Nuts (2) and JCBC Bolts (1). 4. Use the M4 Allen Key (11) to tighten the bolts without over-tightening.
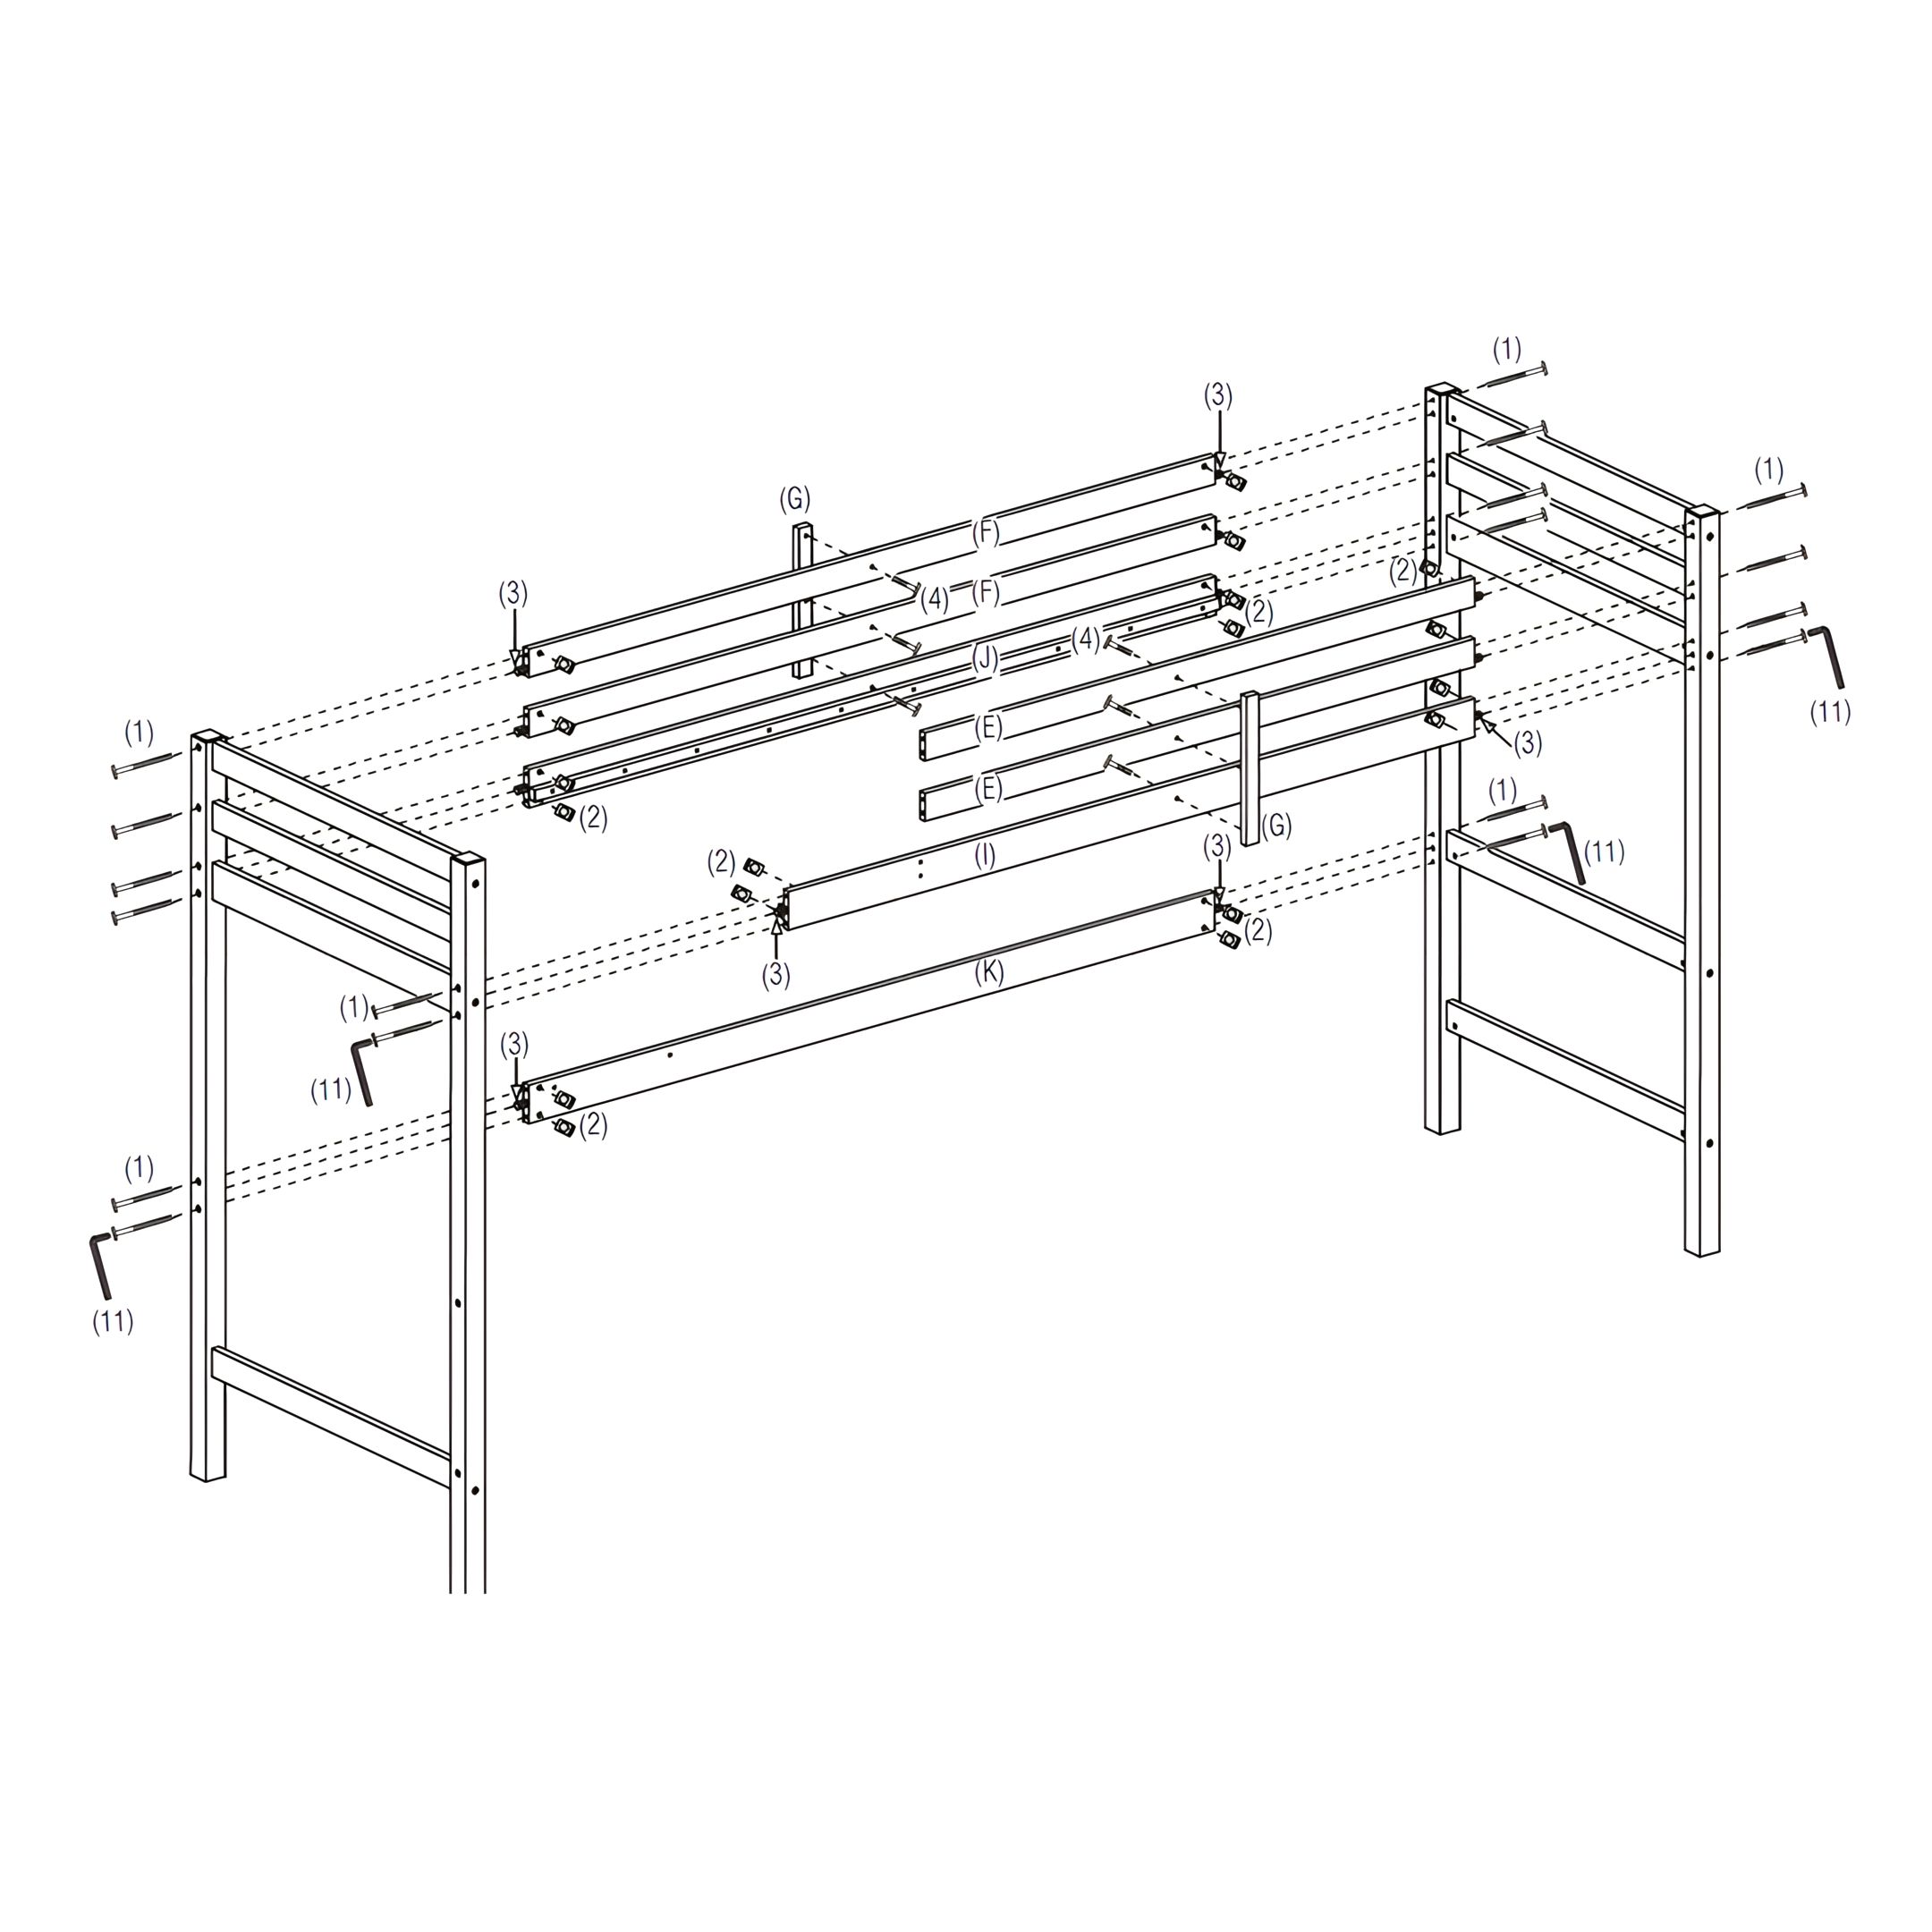
2. Assemble the Upper Structure
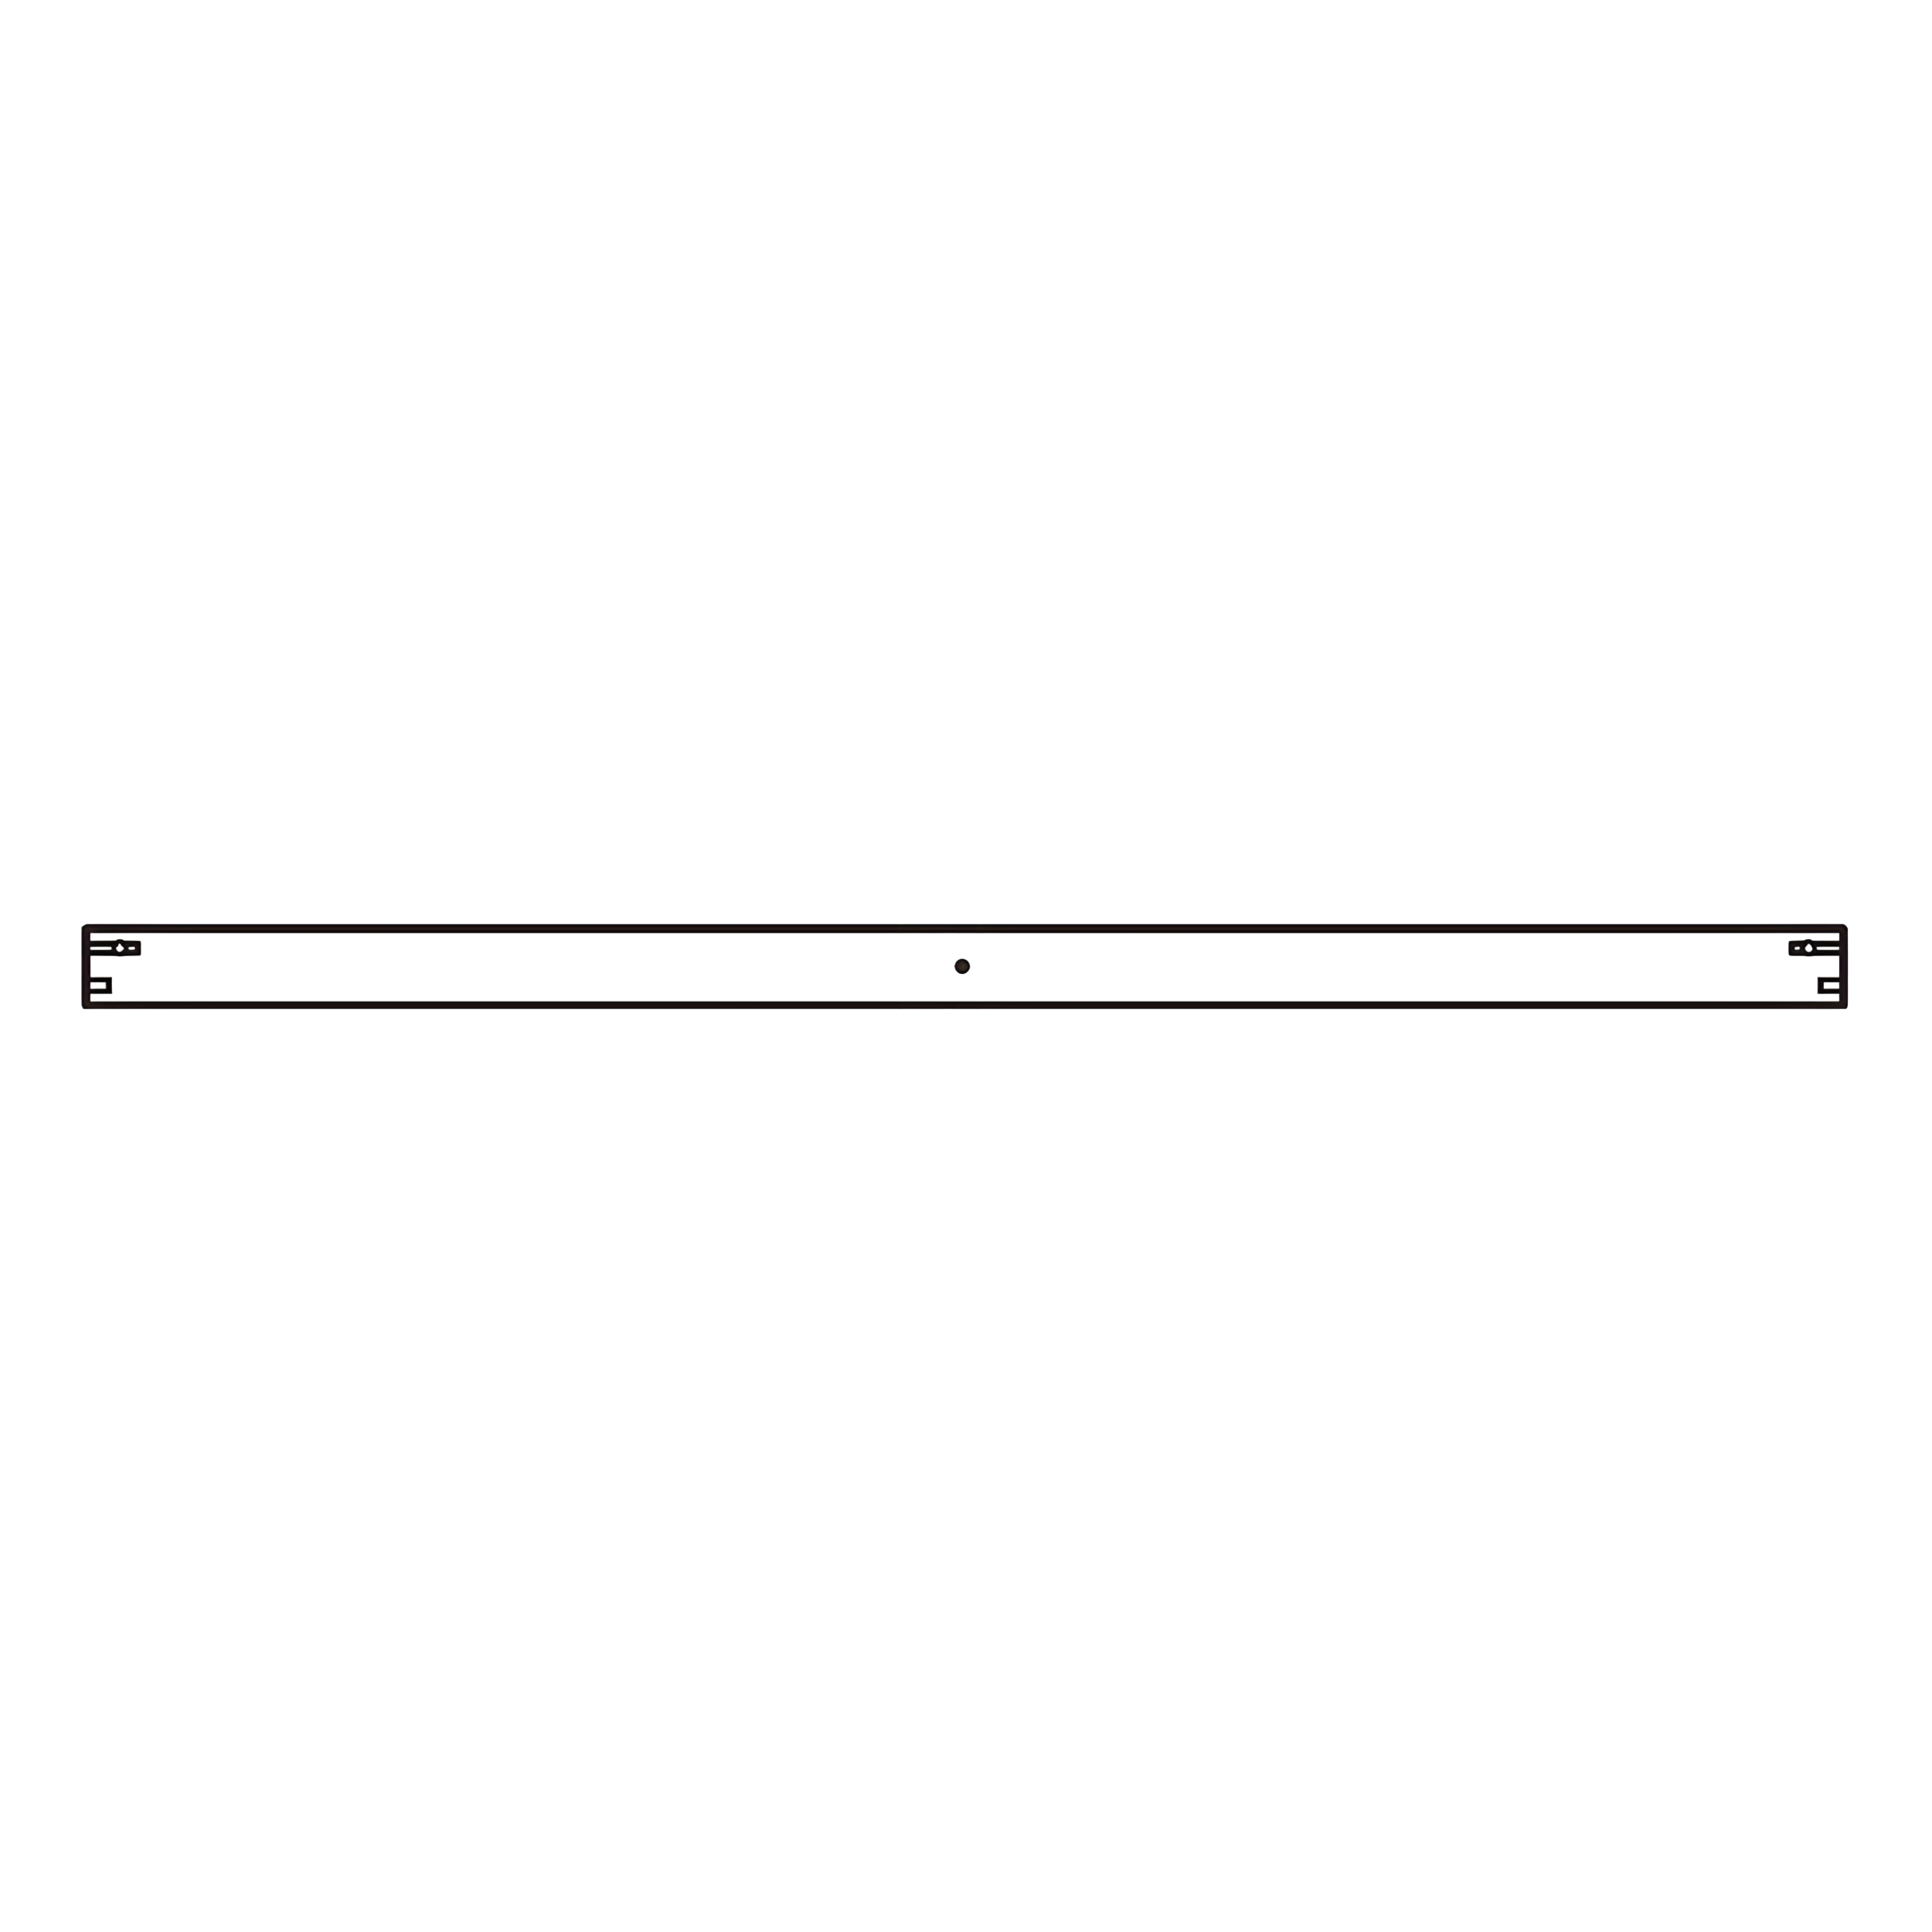
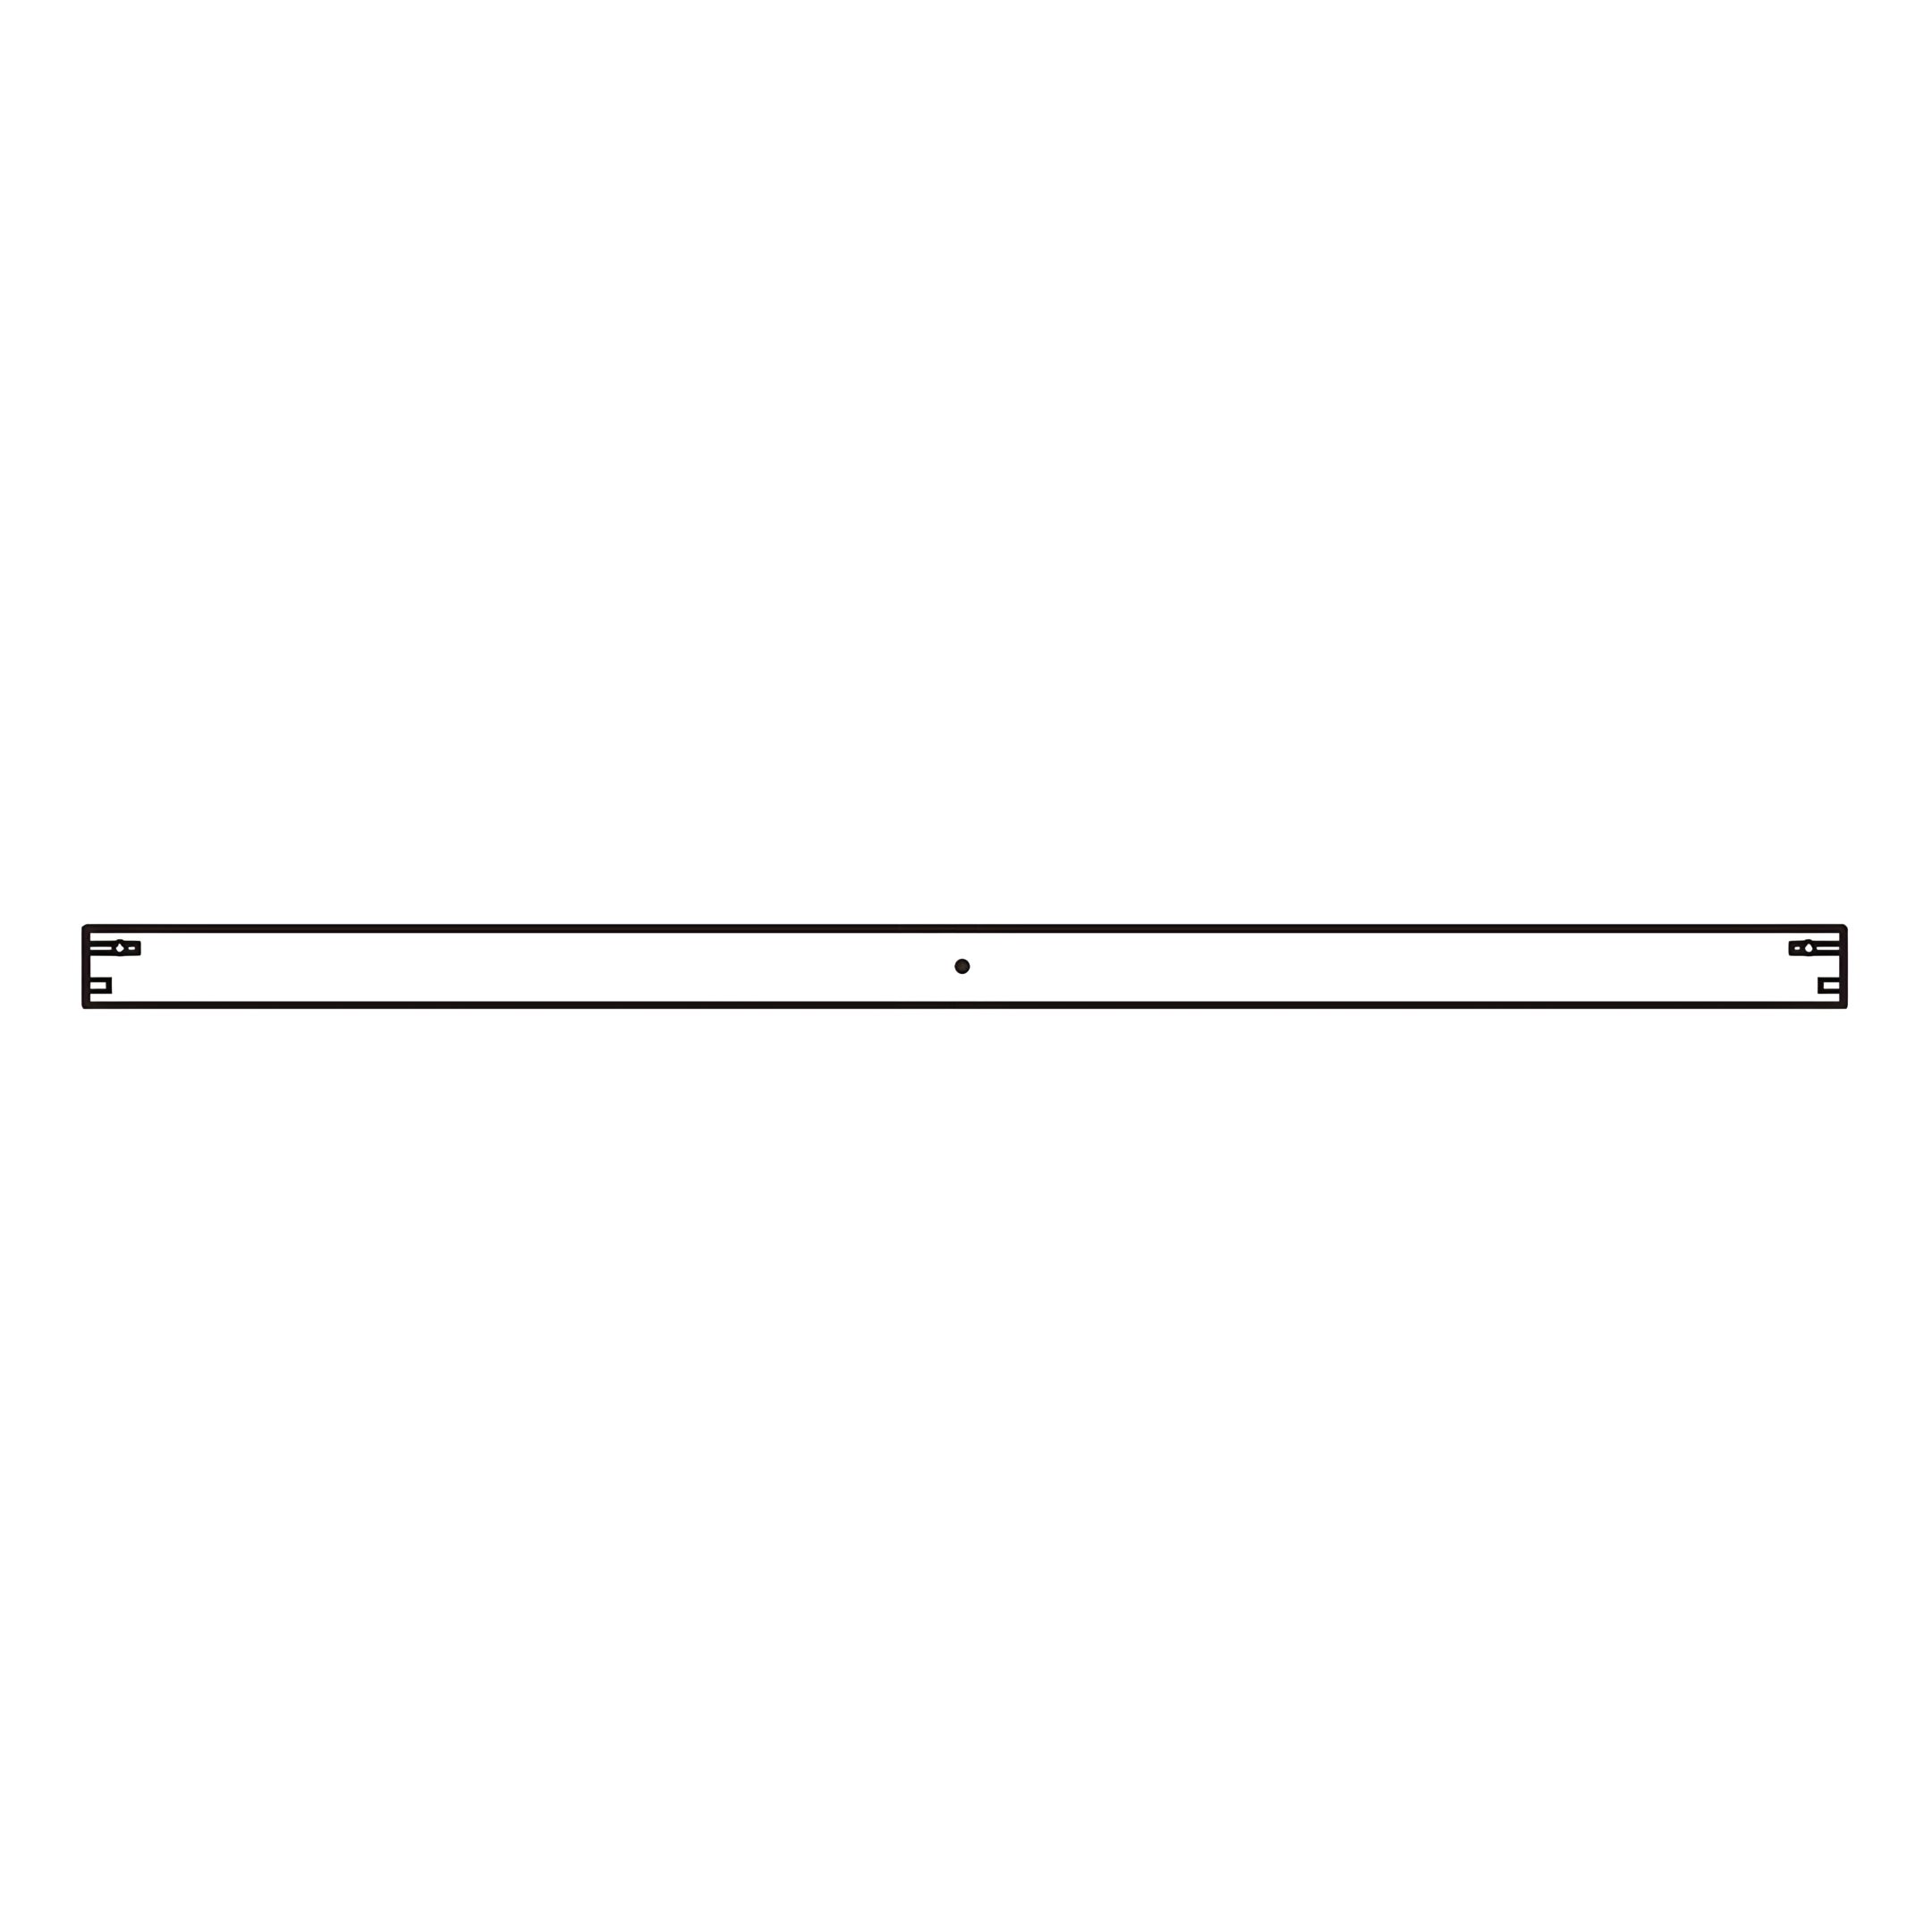
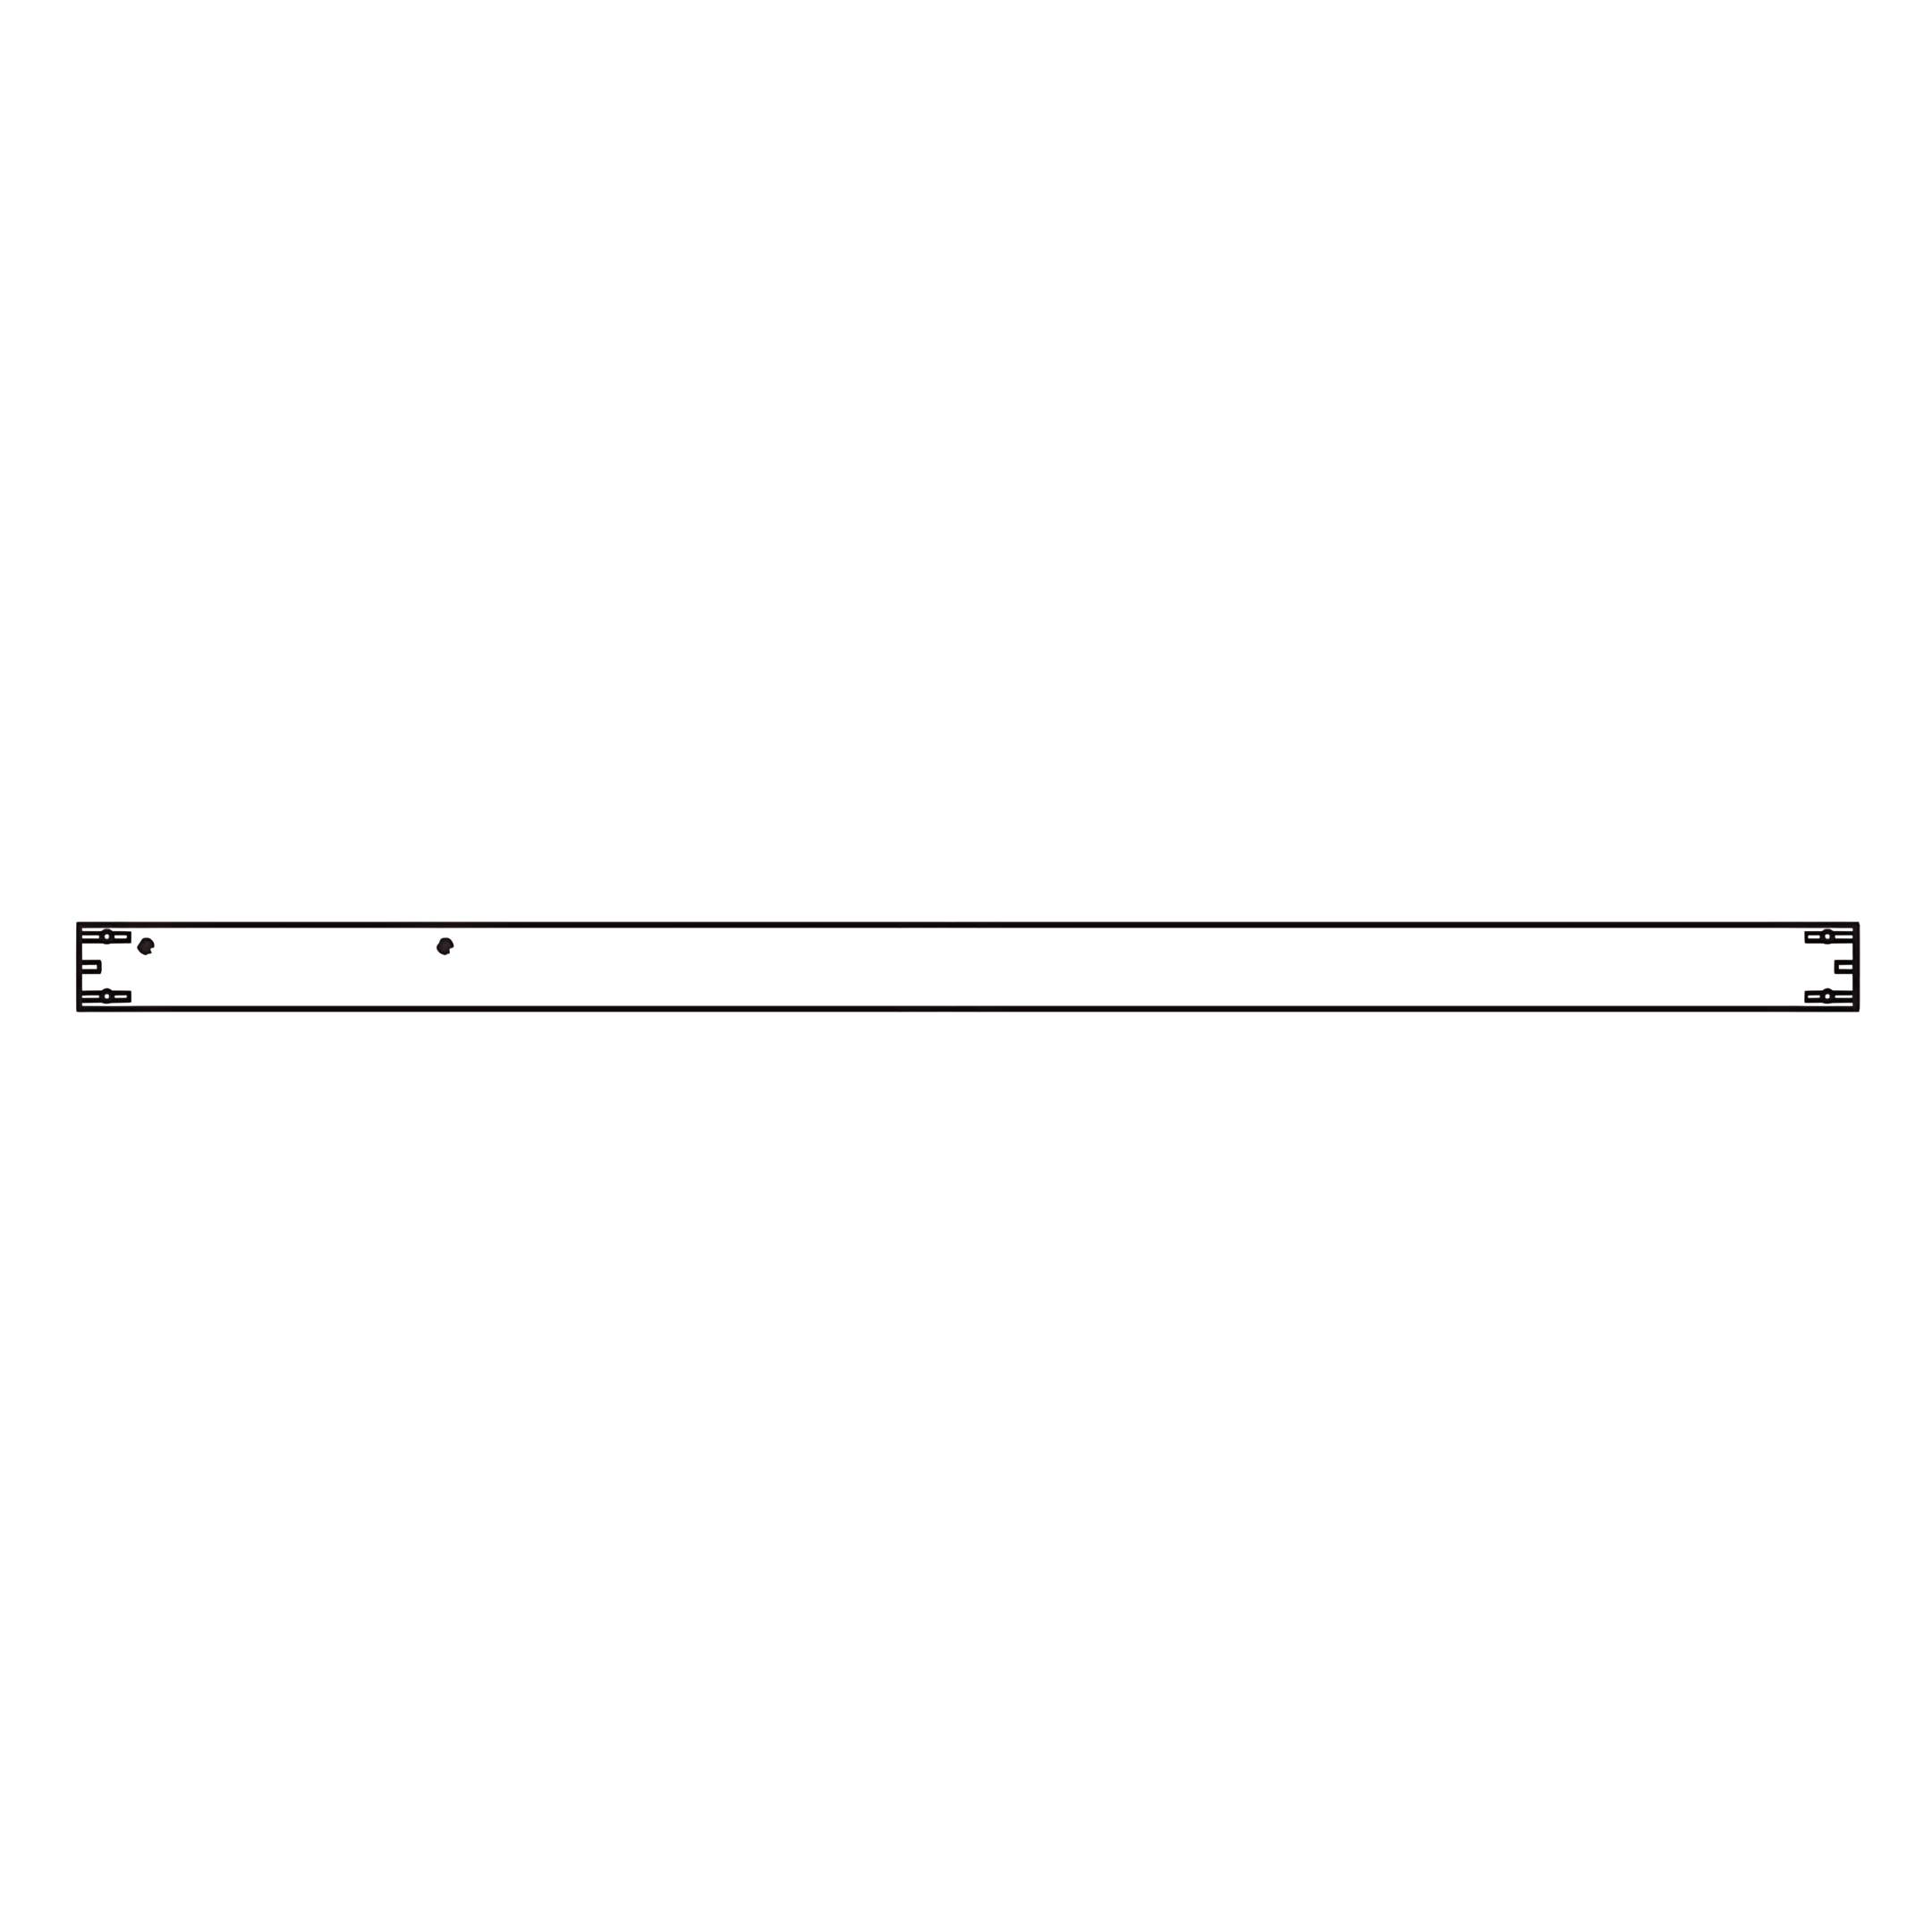
1. Ensure both Bunk End Frames are standing securely and aligned properly. 2. Insert Wood Dowels (3) into the pre-drilled holes of the Front Guardrails (E), Back Guardrails (F), Side Rails (I & J), and Lower Rail (K). 3. Align these components with the Bunk End Frames. 4. Secure them using Barrel Nuts (2) and JCBC Bolts (1). 5. Use the M4 Allen Key (11) to tighten all bolts securely.
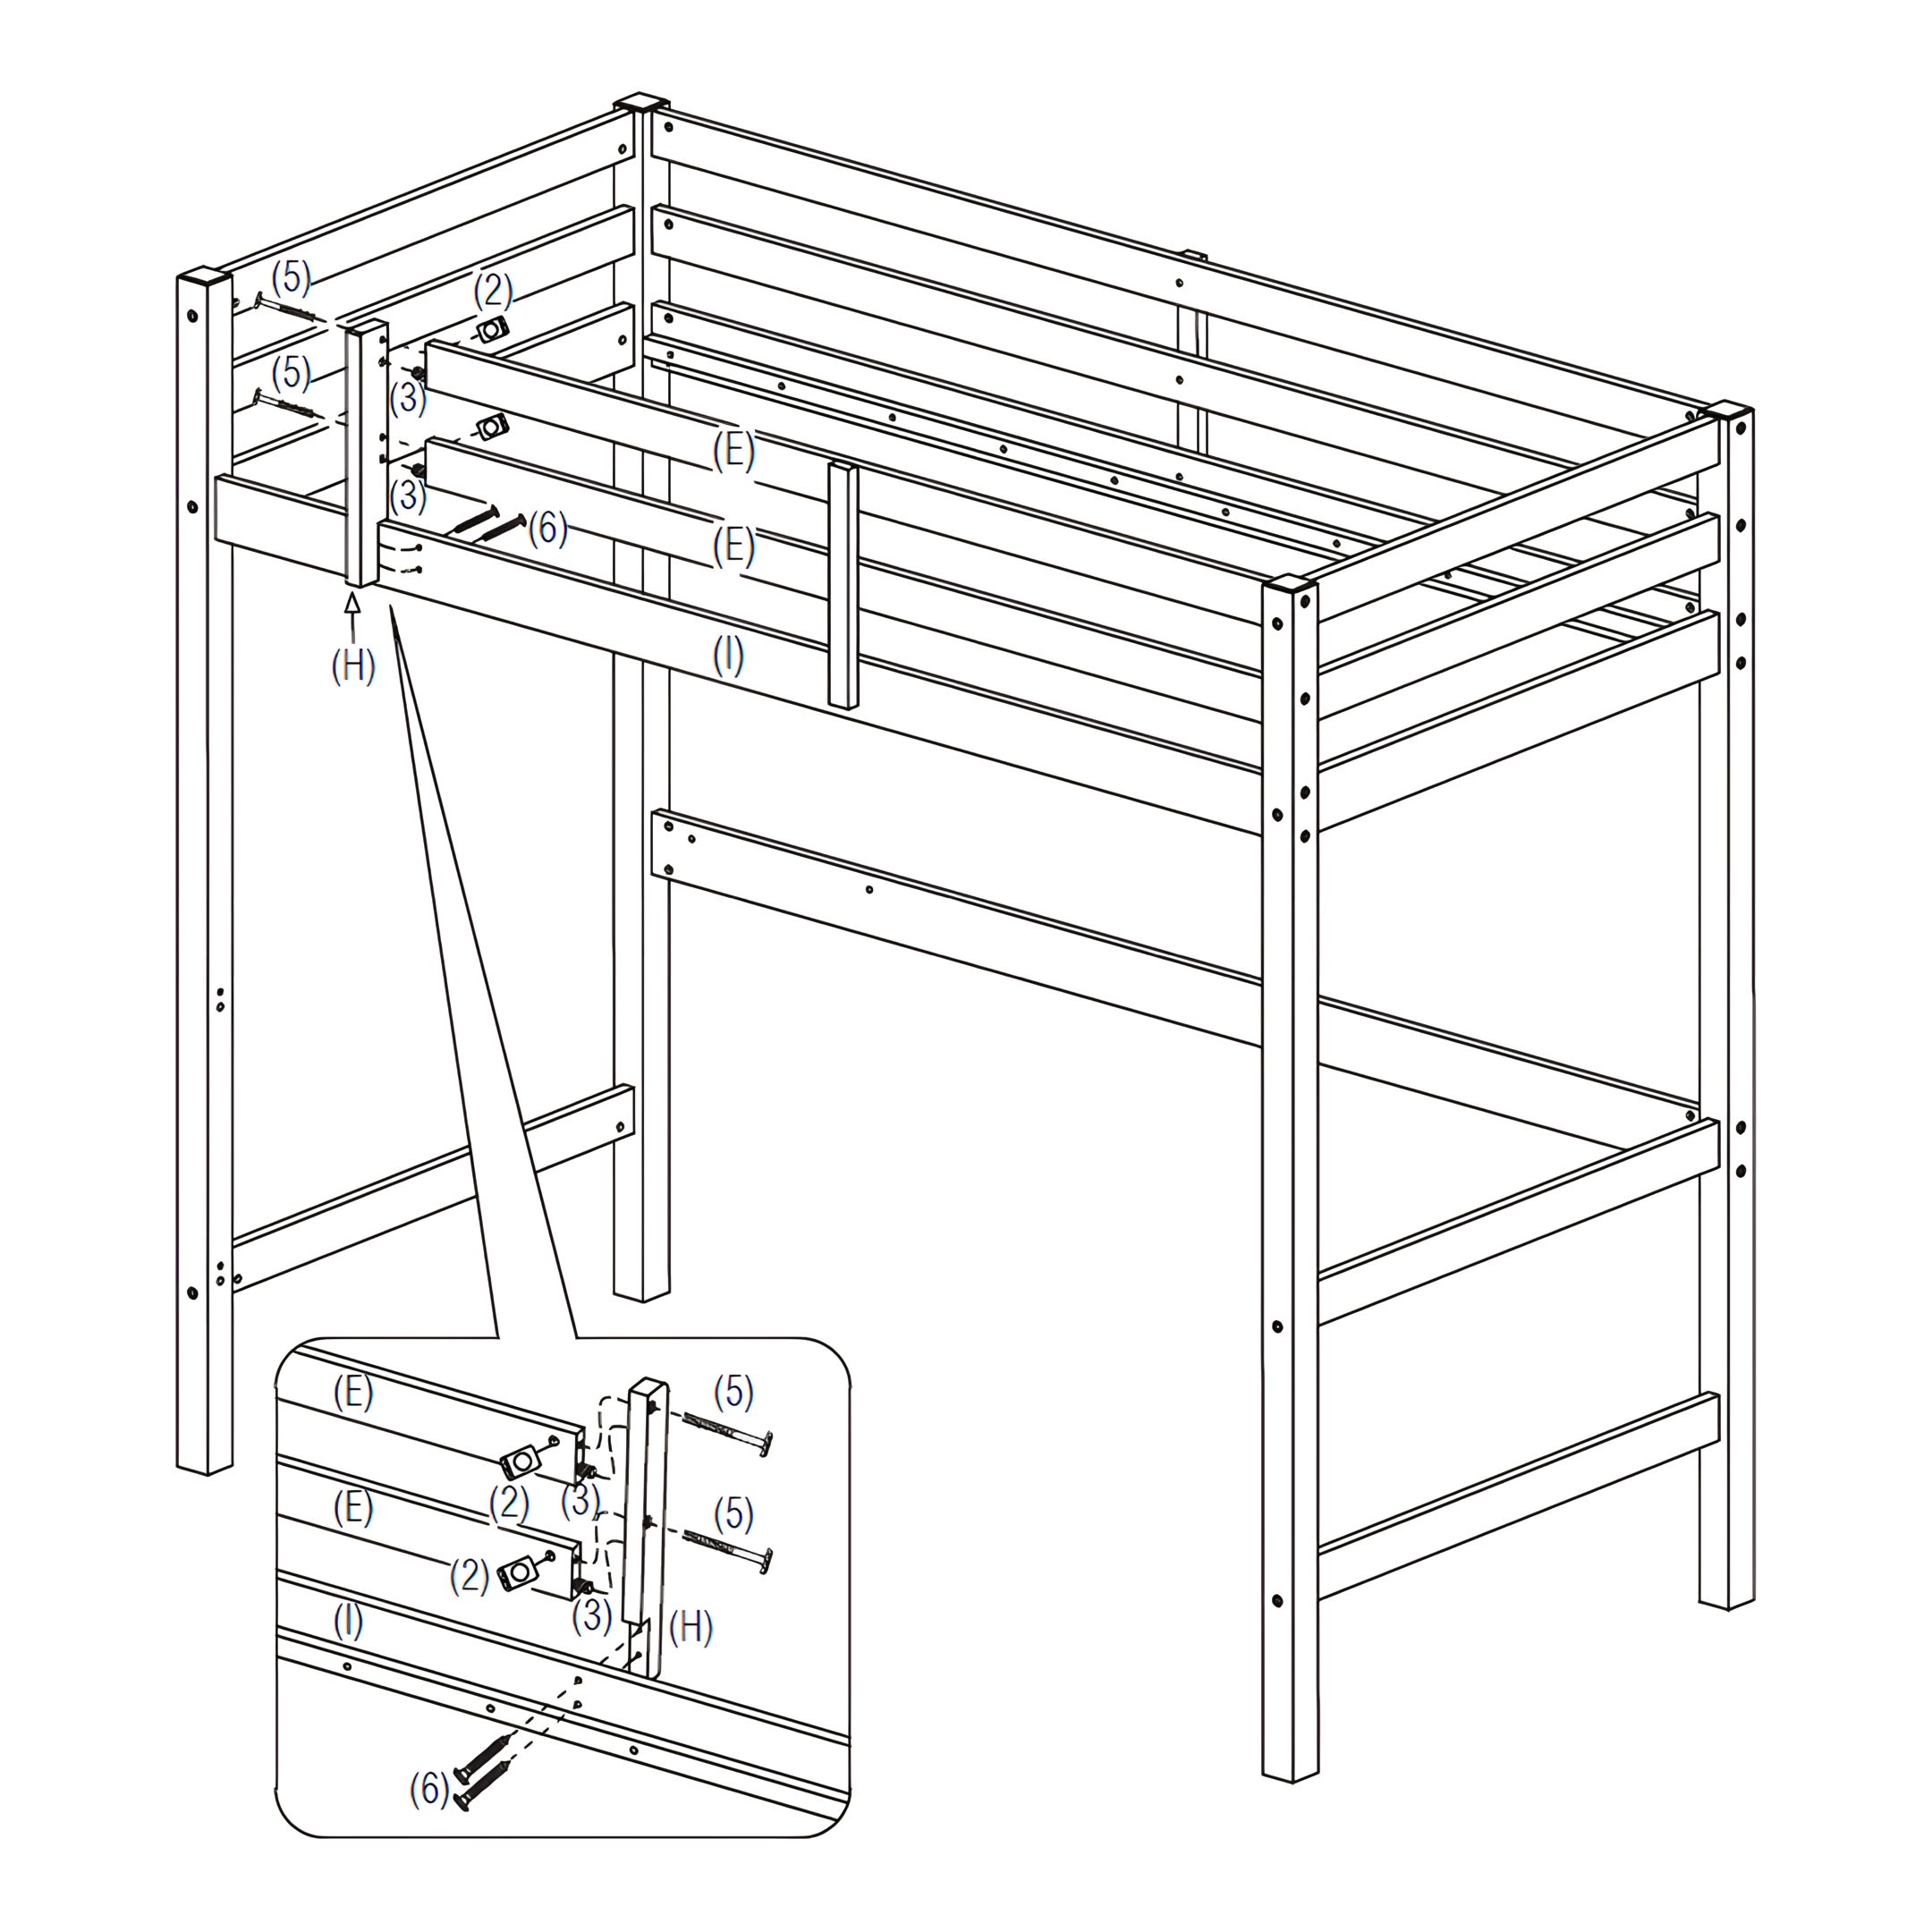
3. Assemble the Guardrail Support
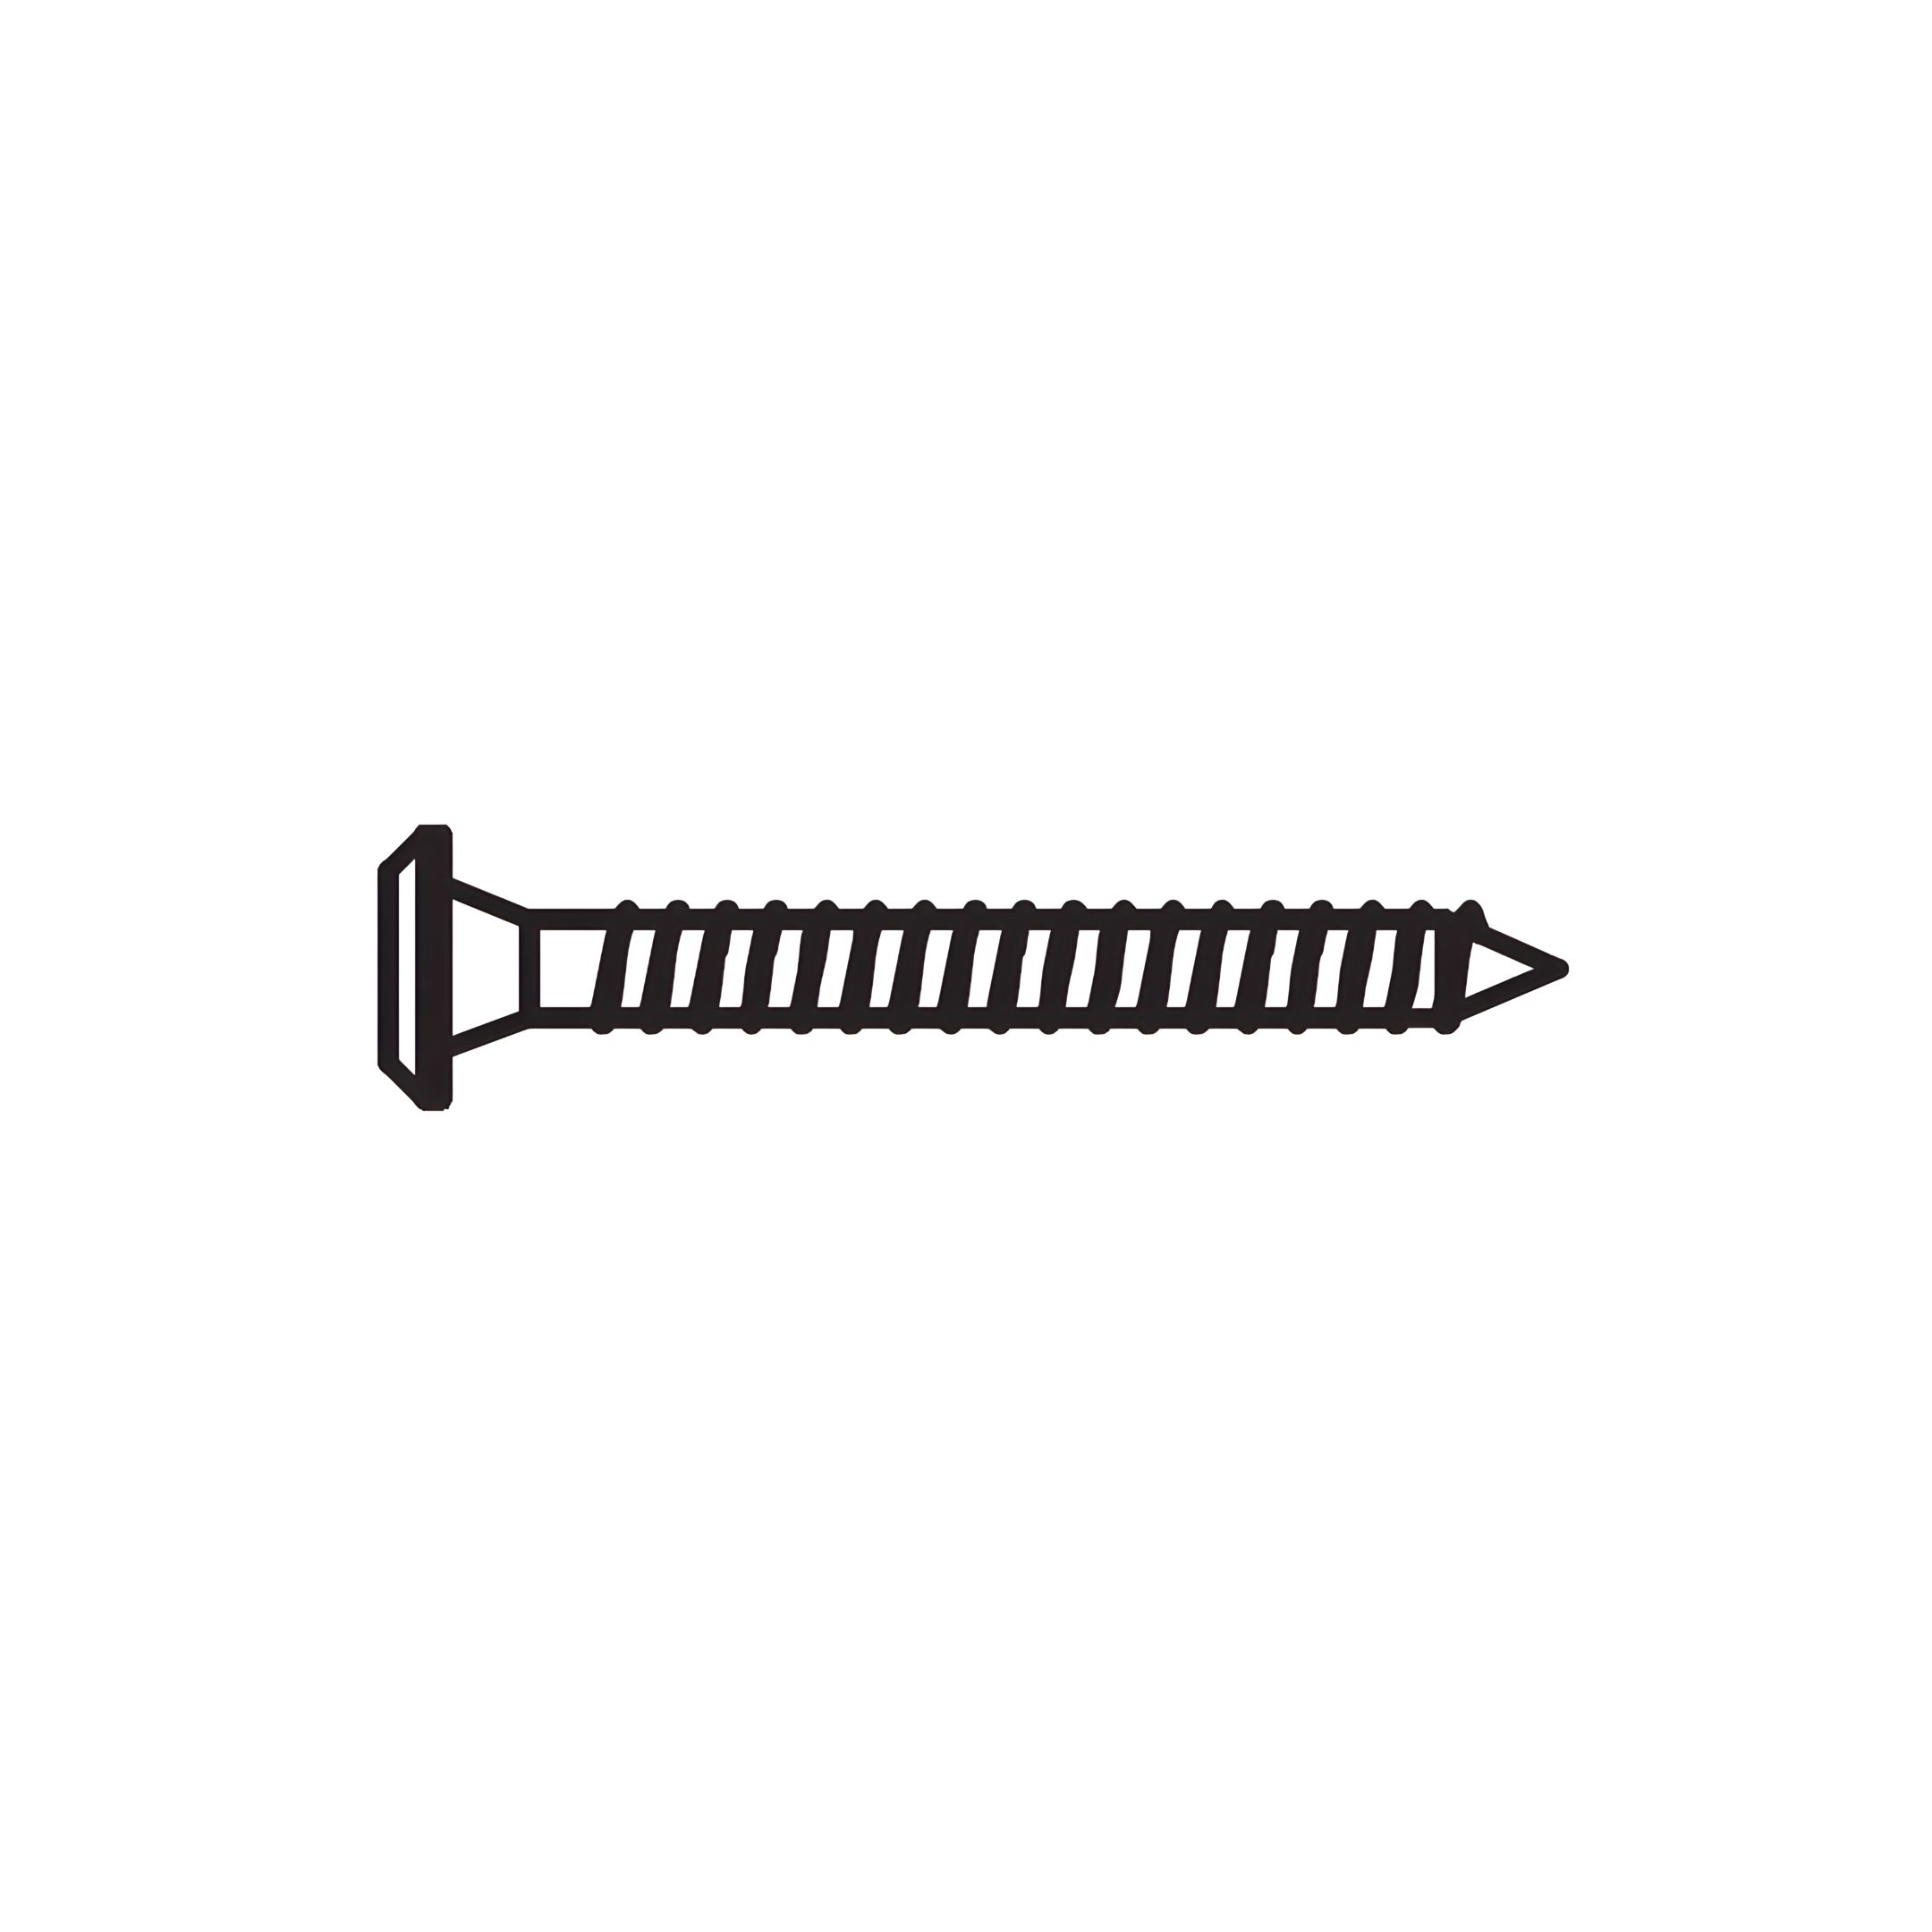
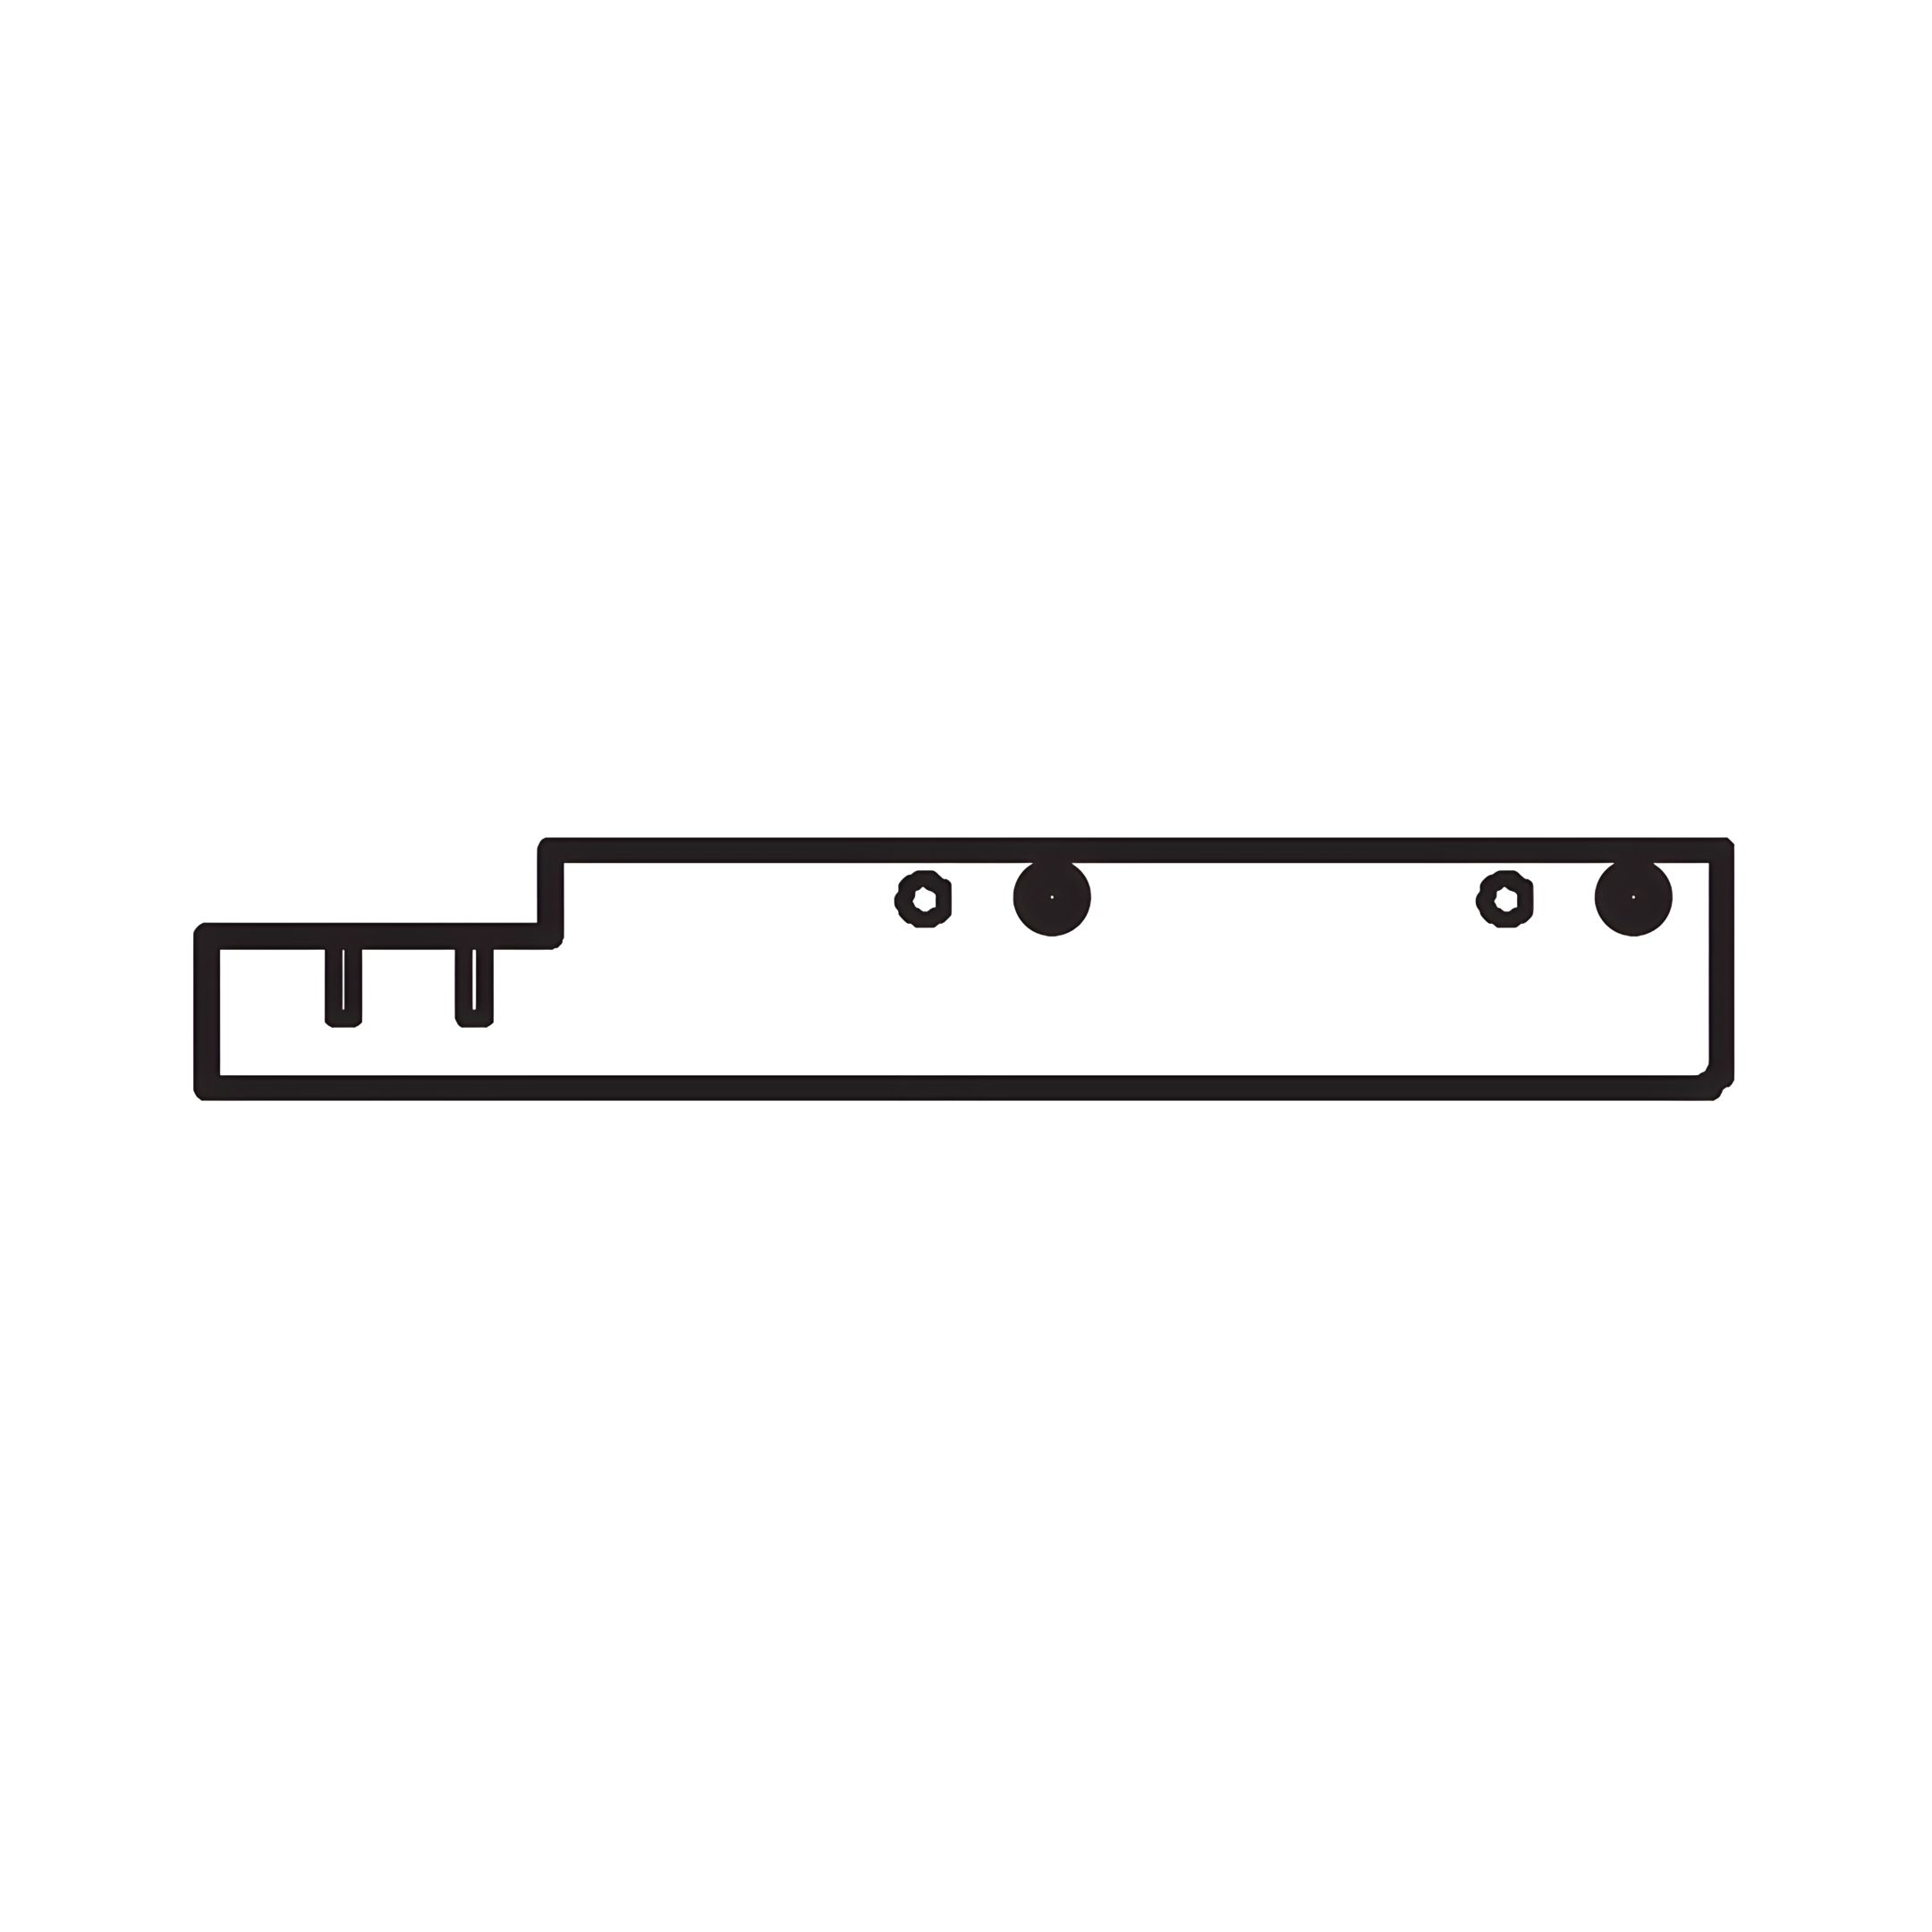
1. Place Wood Dowels (3) into the pre-drilled holes of the Front Guardrails (E). 2. Align the Guardrail Support (H) vertically between the Front Guardrails (E) and the Lower Side Rail (I). 3. Use Barrel Nuts (2) and JCBC Bolts (5) to attach the Guardrail Support (H) to the Front Guardrails (E). 4. Tighten all bolts using the M4 Allen Key (11). 5. Secure the bottom of the Guardrail Support (H) to the Lower Side Rail (I) using a JCBC-W Screw (6).
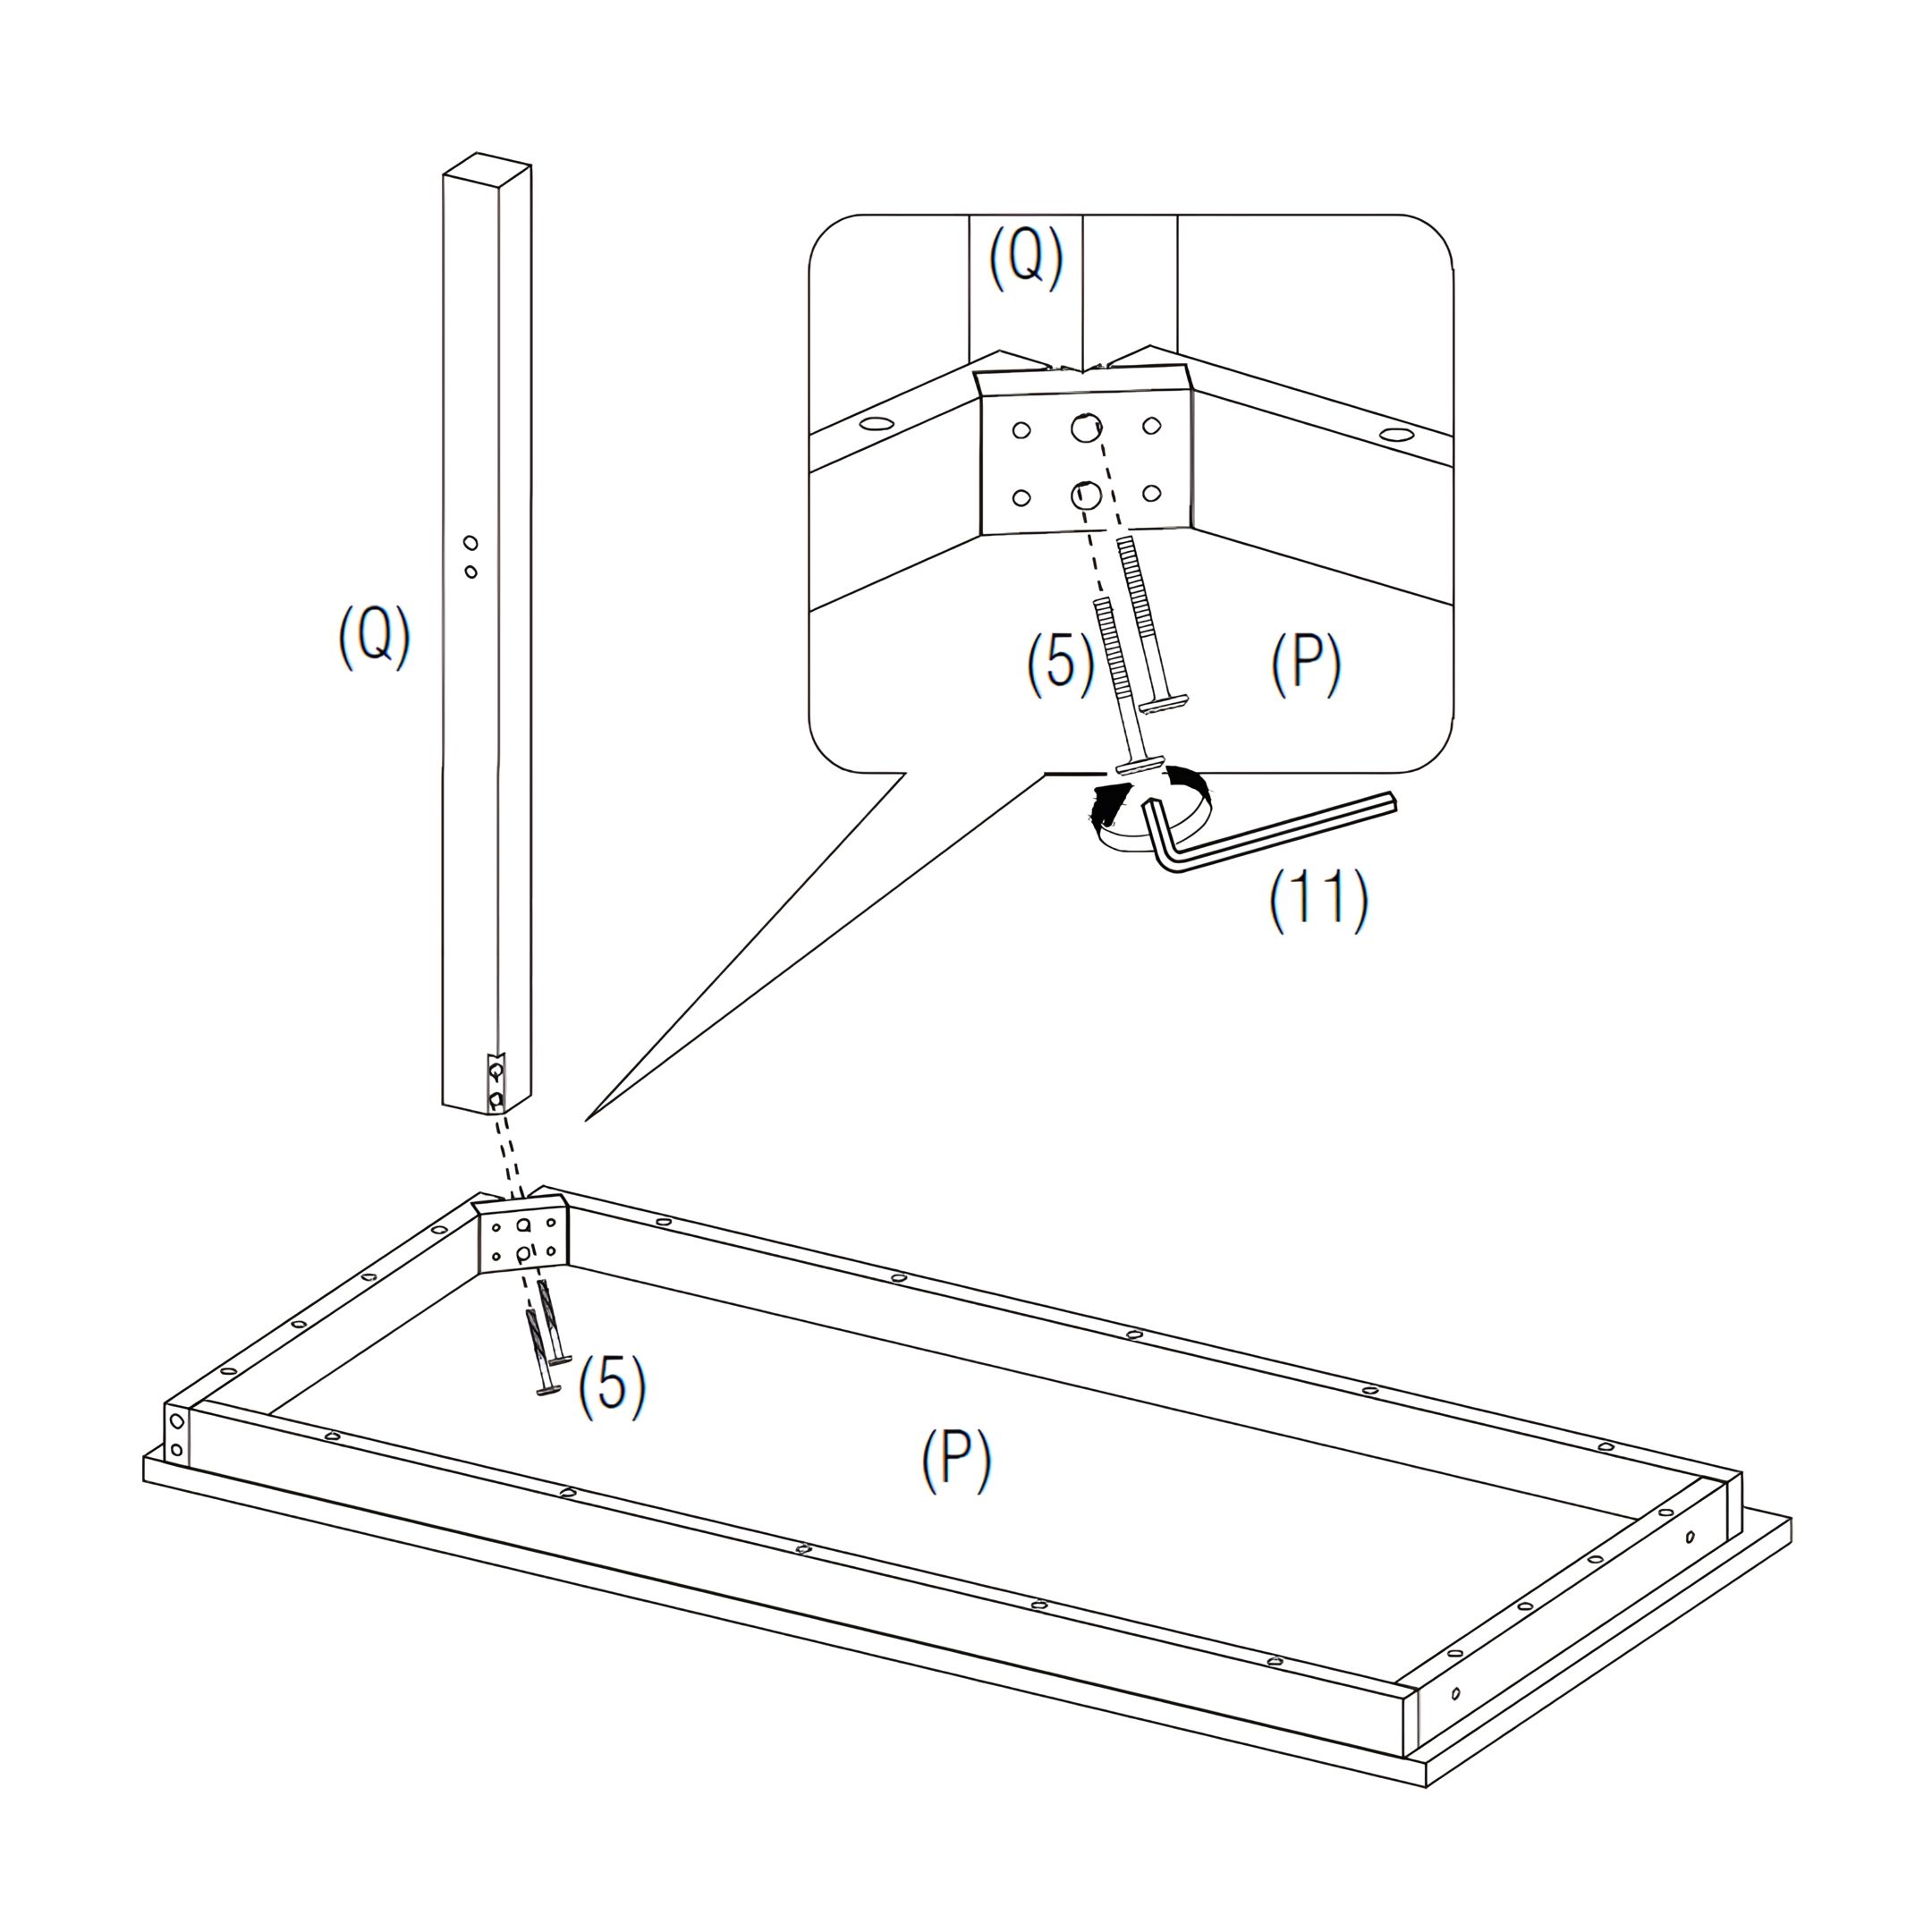
4. Assemble the Study Desk
1. Place the Table Top (P) upside down on a stable surface, ensuring the pre-drilled holes are accessible. 2. Align the Table Leg (Q) with the designated mounting area on the Table Top (P). 3. Insert JCBC Bolts (5) through the pre-drilled holes in the Table Leg (Q) and into the Table Top (P). 4. Use the M4 Allen Key (11) to tighten the bolts securely.
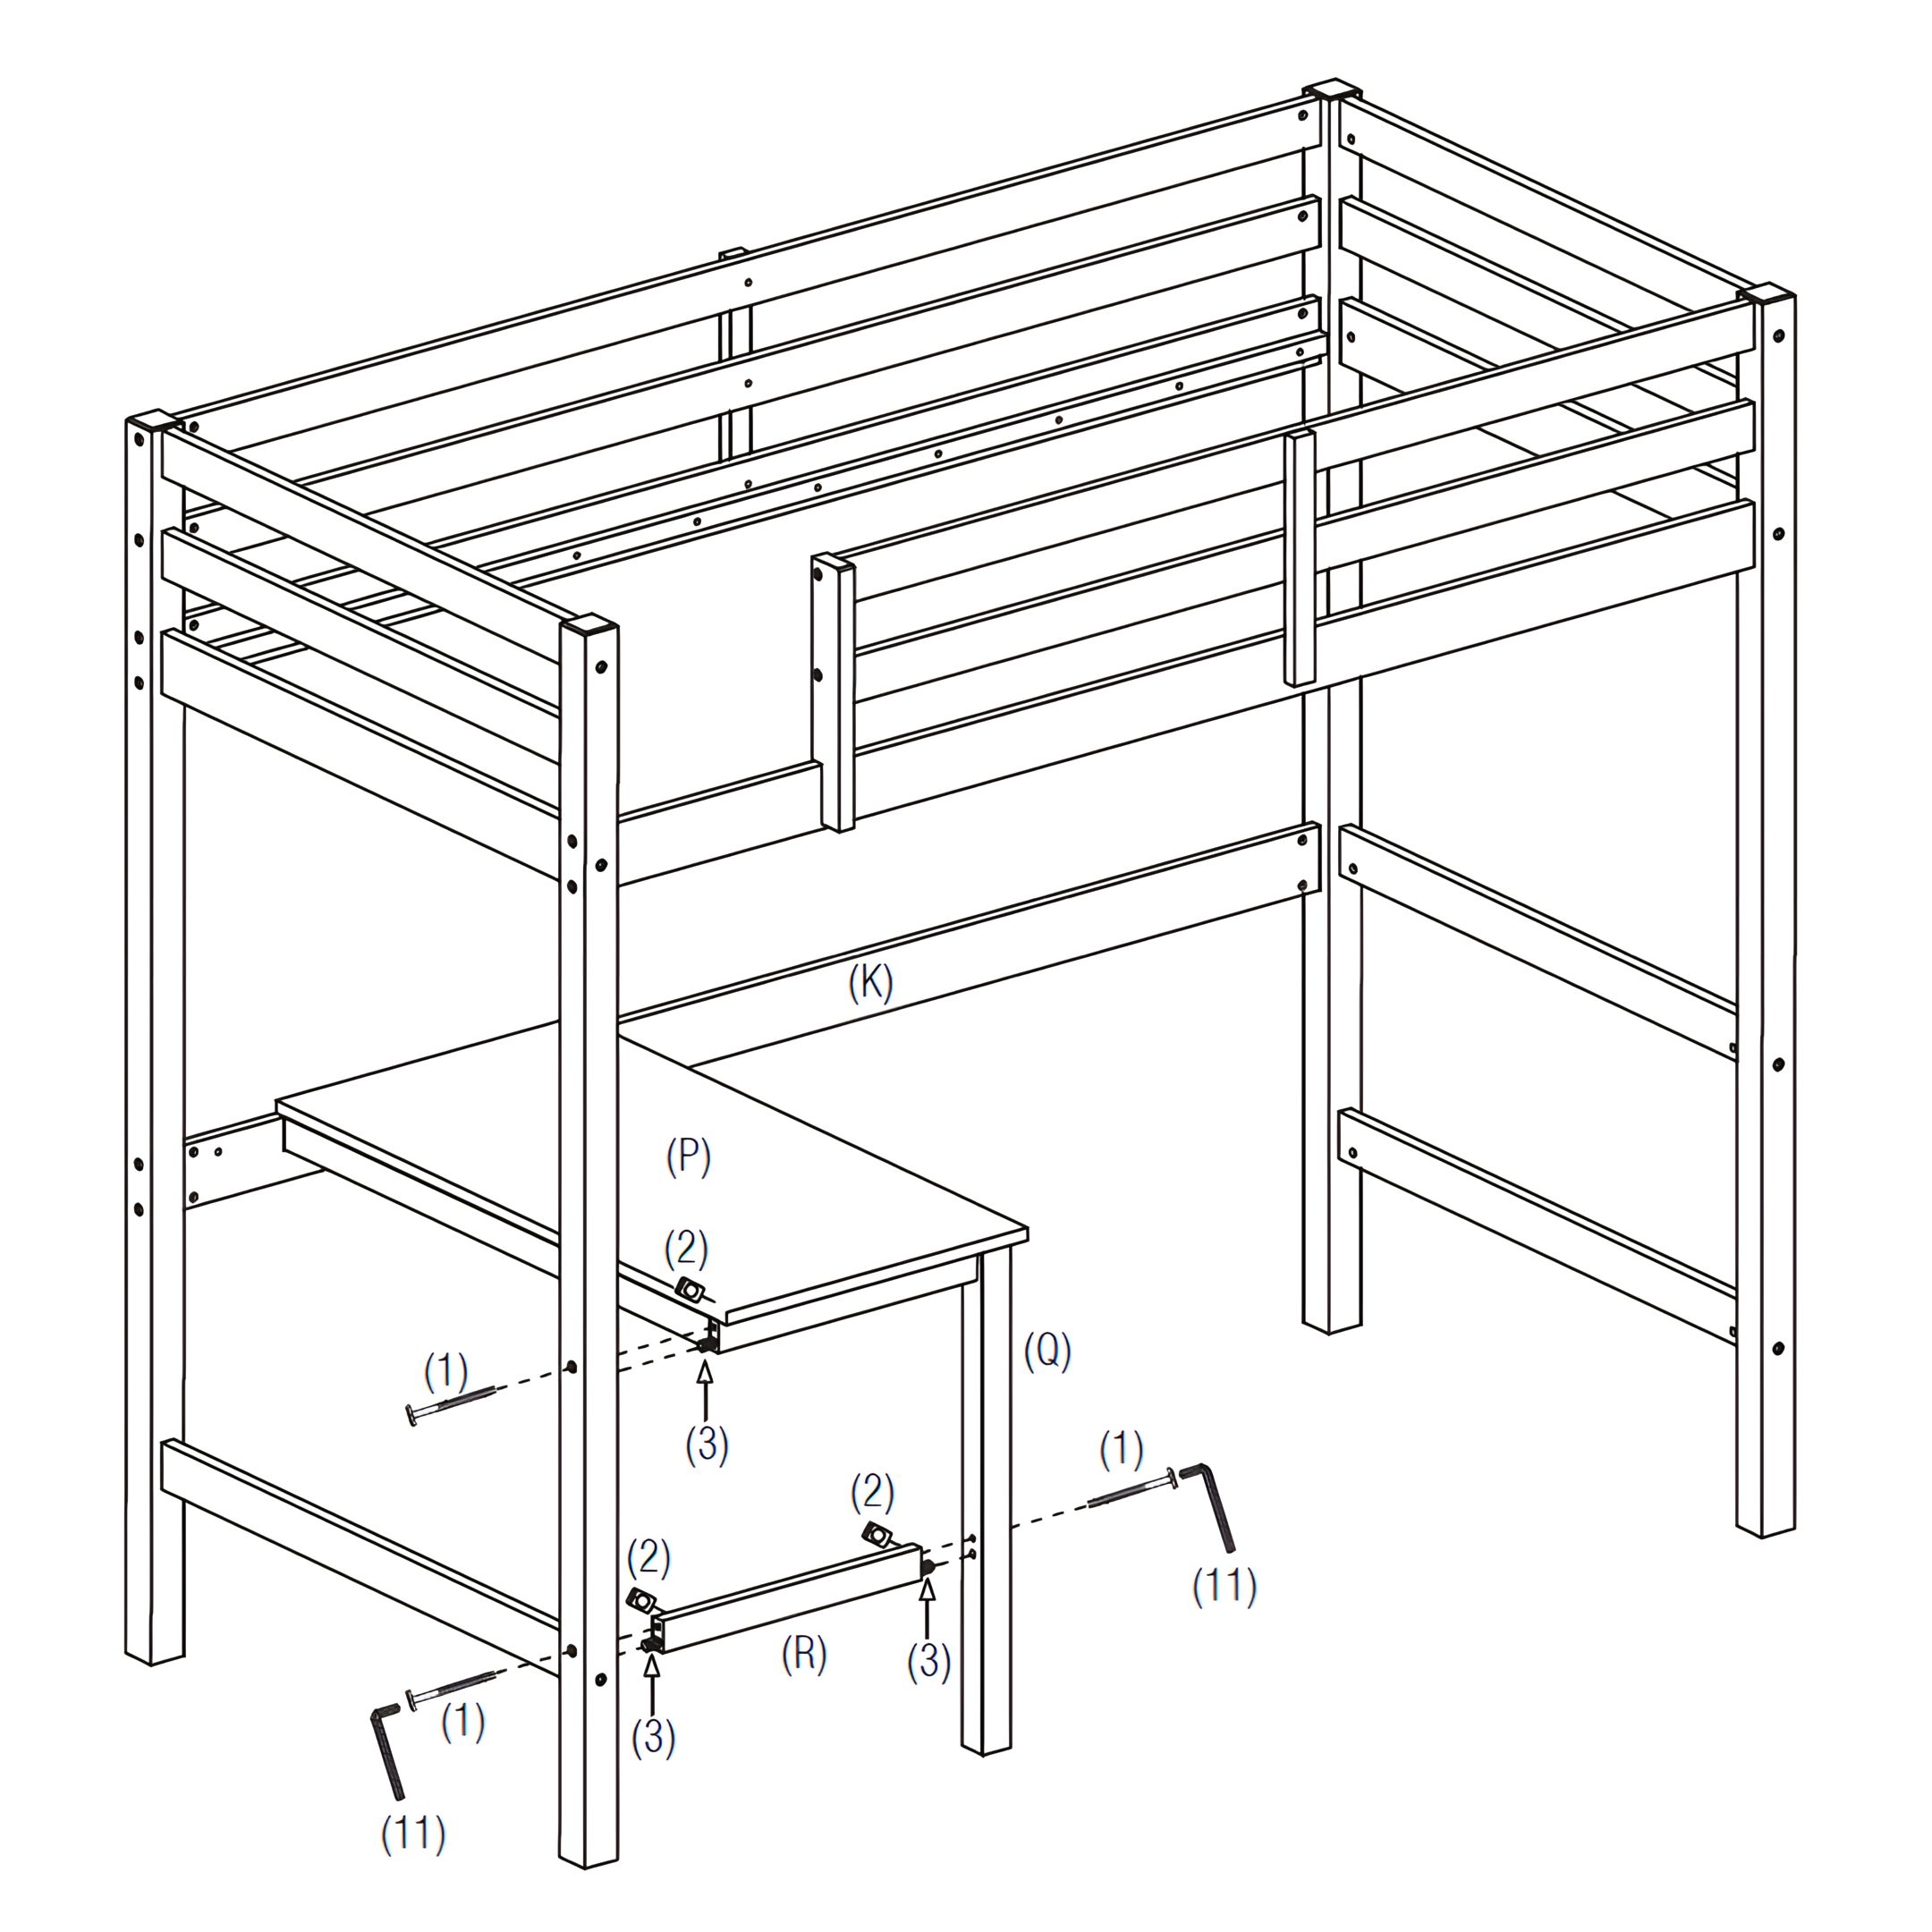
5. Attach the Study Desk to the Bed
1. Insert Wood Dowels (3) into the pre-drilled holes on the top of the Study Desk (P) and the Table Cross Rail (R). 2. Attach the assembled Study Desk (P) with the designated area under the Bed Frame, and the Table Cross Rail (R) between the Bed Frame and the Desk Leg (Q). 3. Secure them in place using Barrel Nuts (2) and JCBC Bolts (1). 4. Use the M4 Allen Key (11) to tighten all bolts securely.
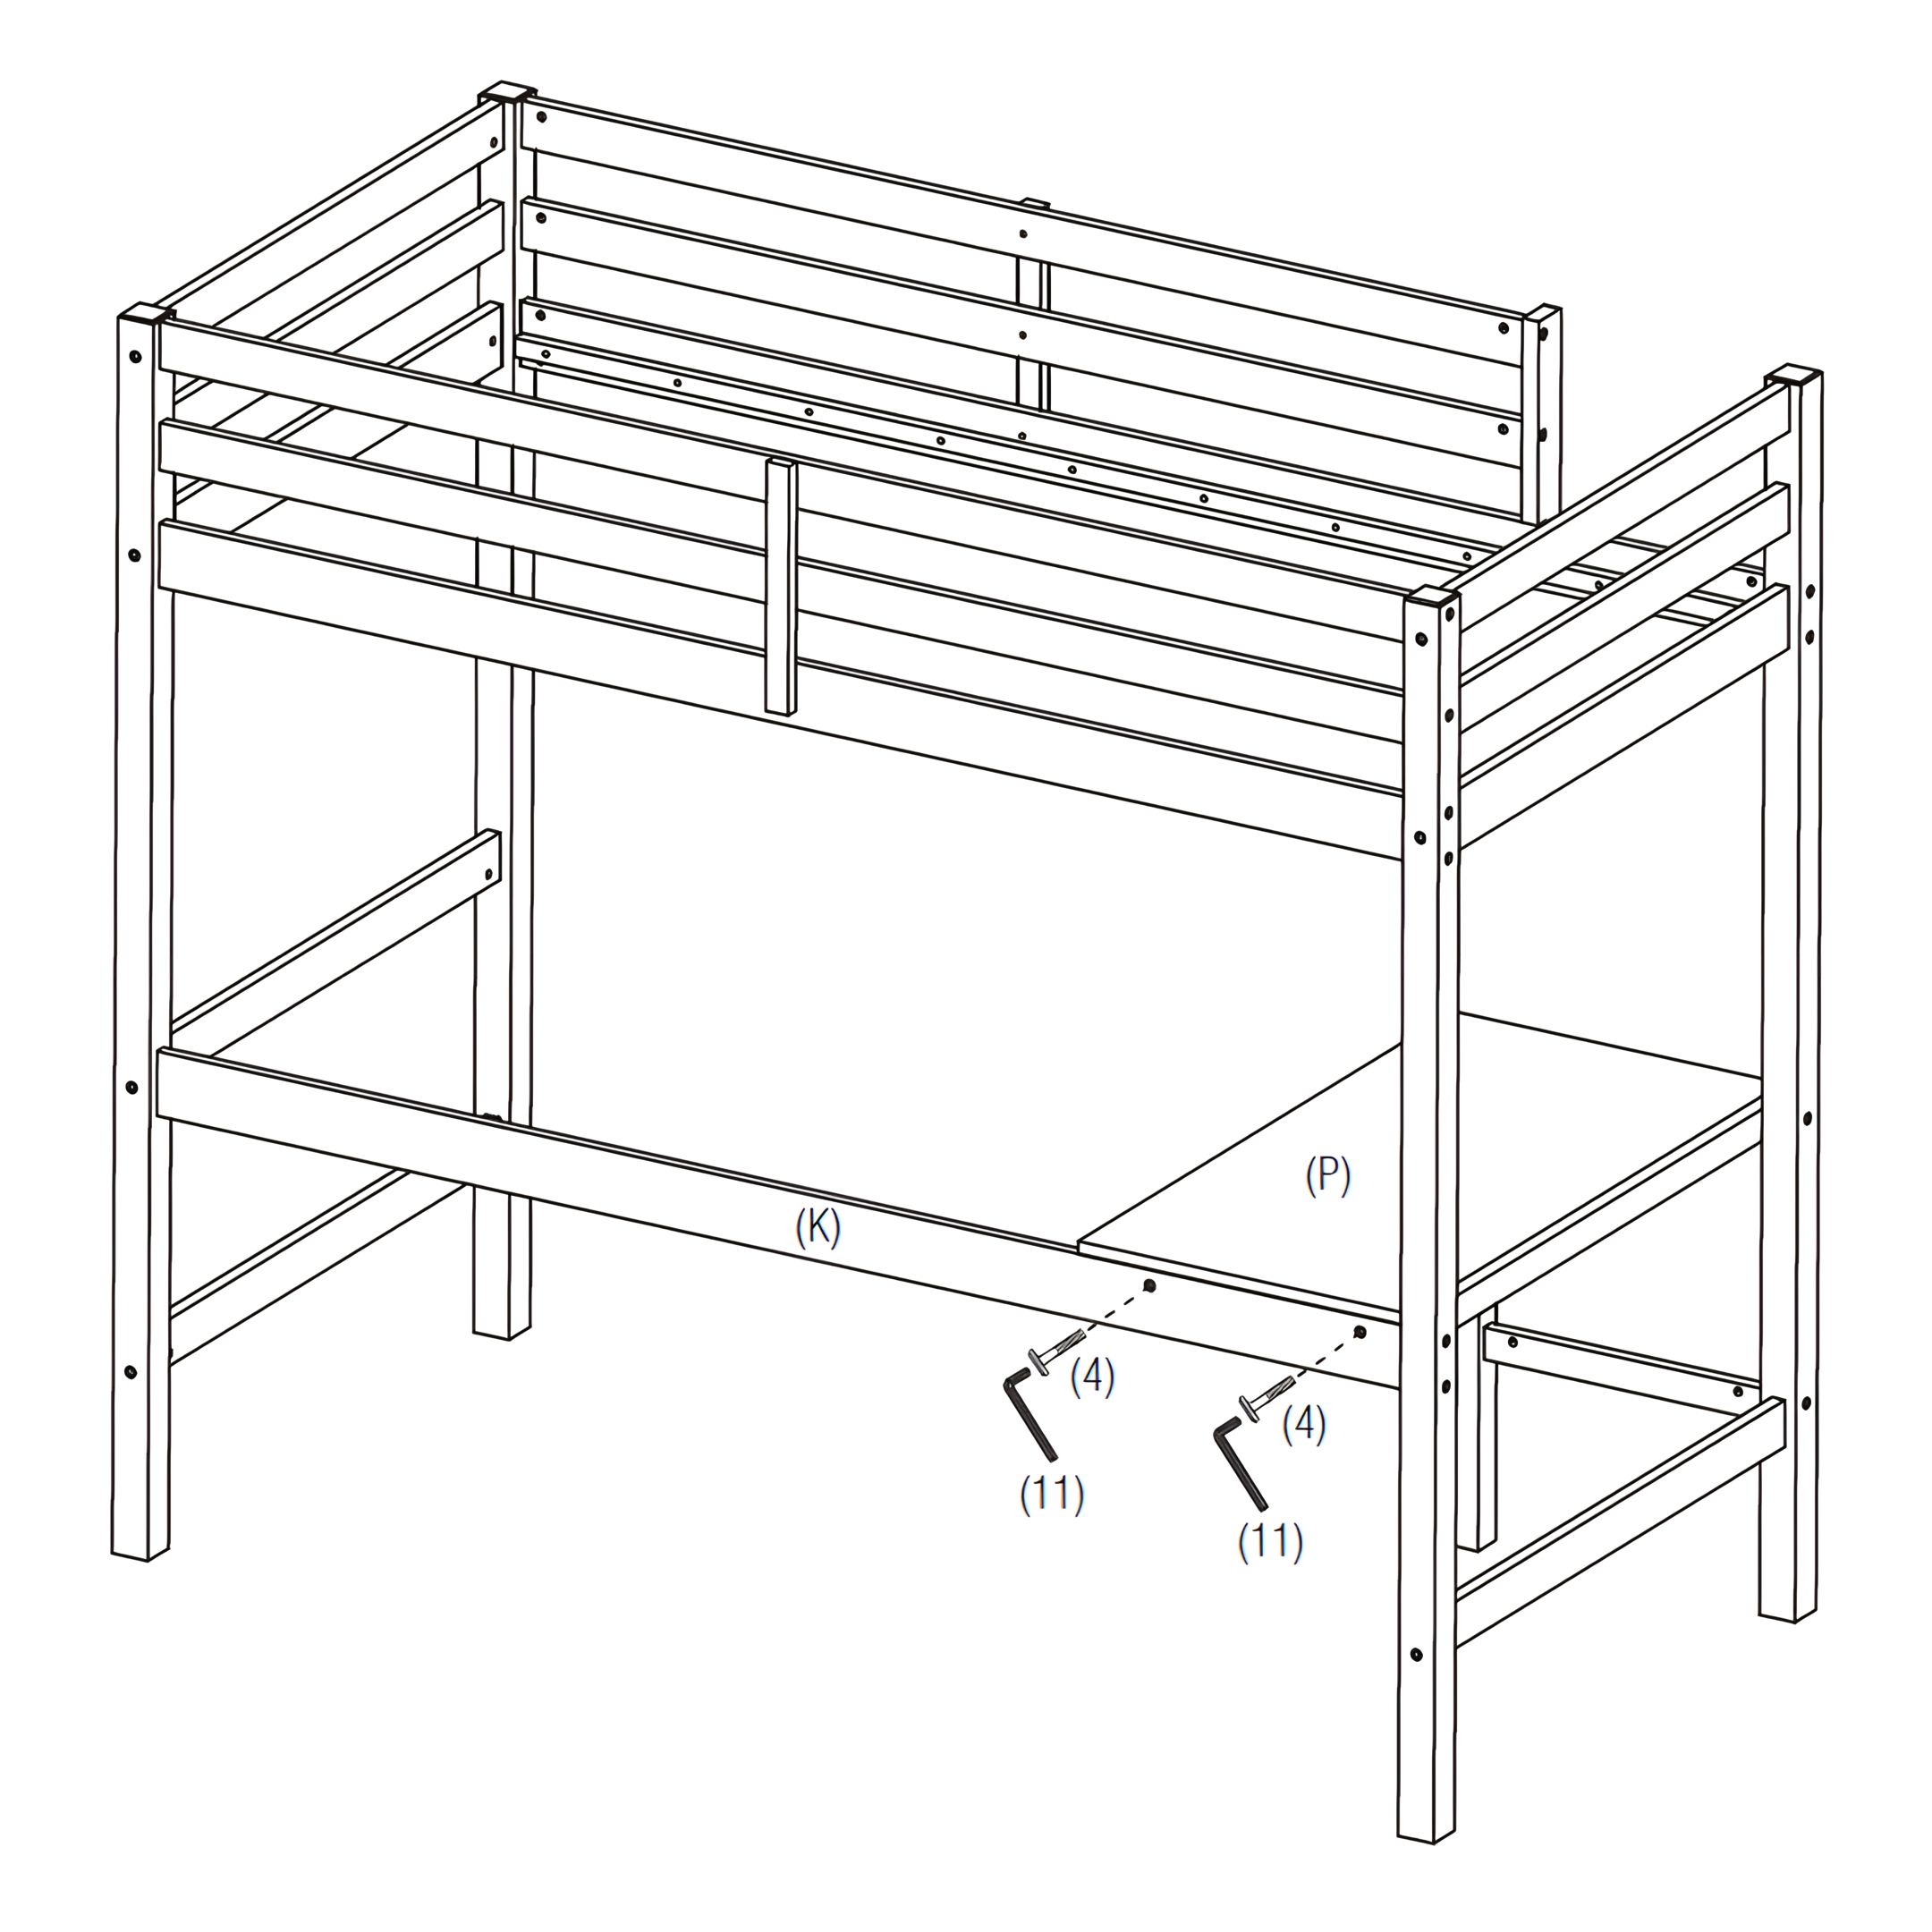
6. Attach the Back of the Study Desk to the Lower Rail
1. Ensure the Study Desk (P) is properly aligned with the Lower Rail (K) at the back of the bed frame. 2. Insert JCBC Bolts (4) into the pre-drilled holes on the Lower Rail (K) and the back of the Study Desk (P). 3. Use the M4 Allen Key (11) to tighten the bolts securely.
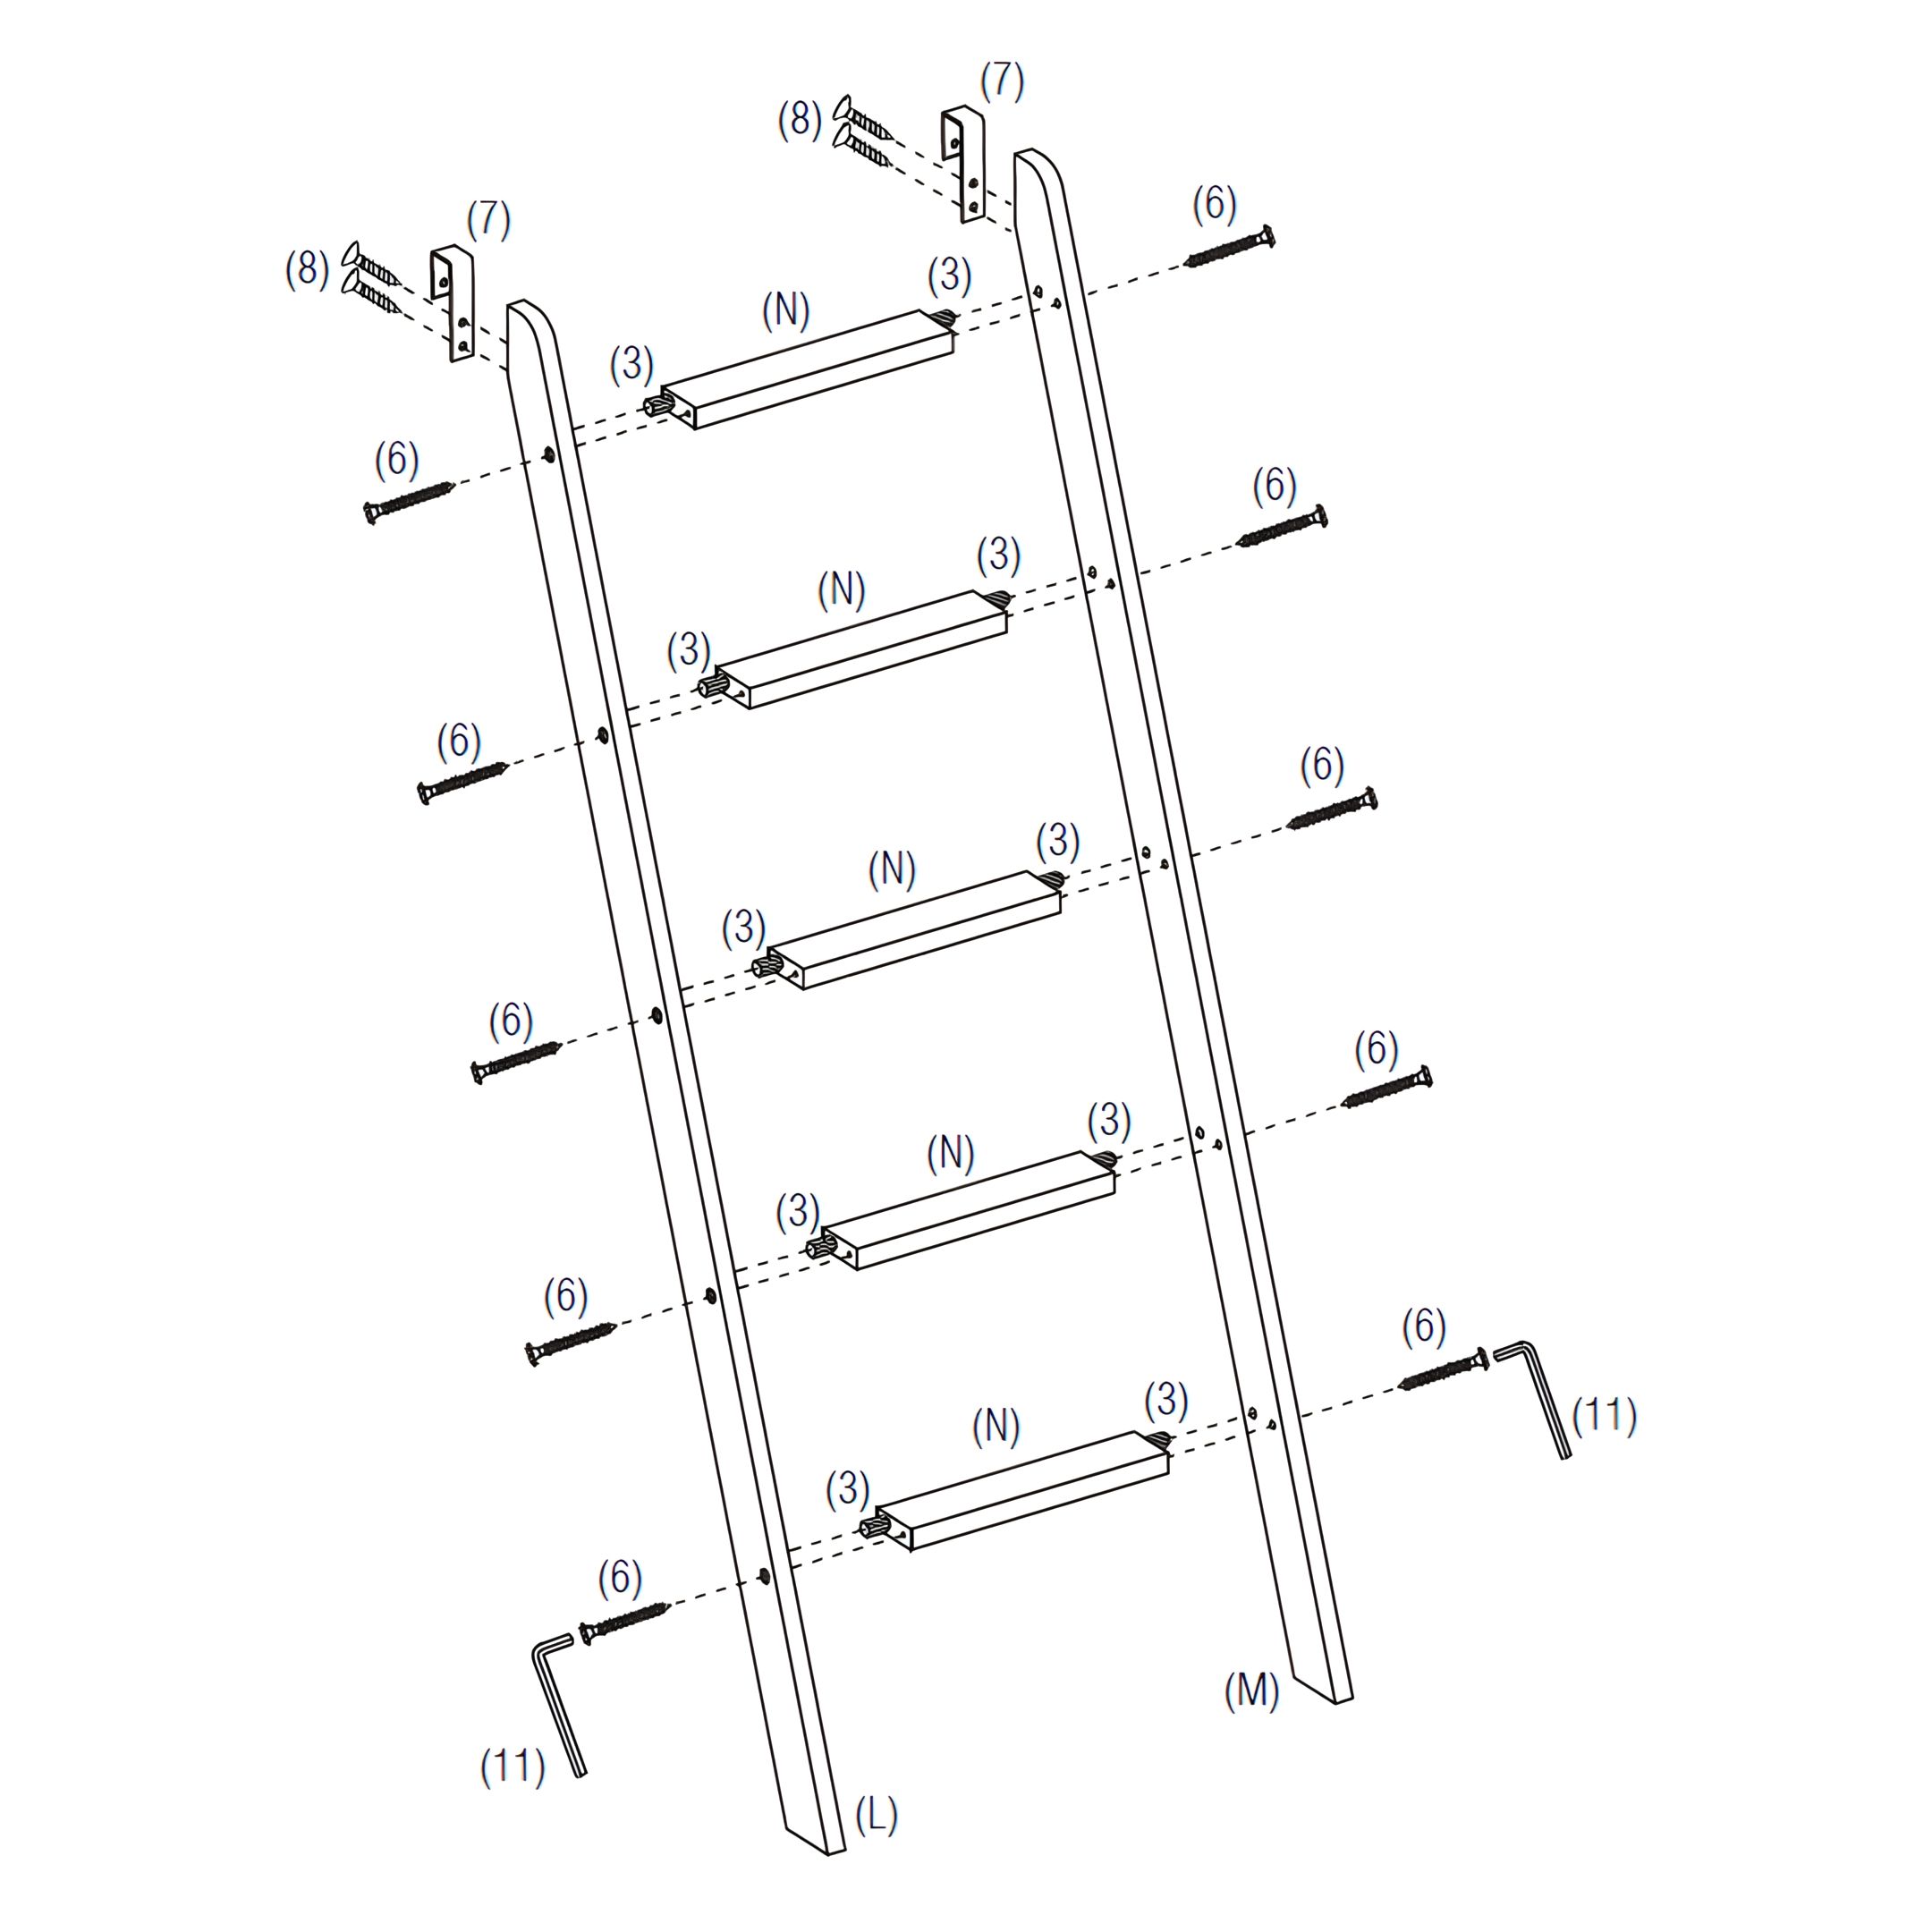
7. Assemble the Ladder
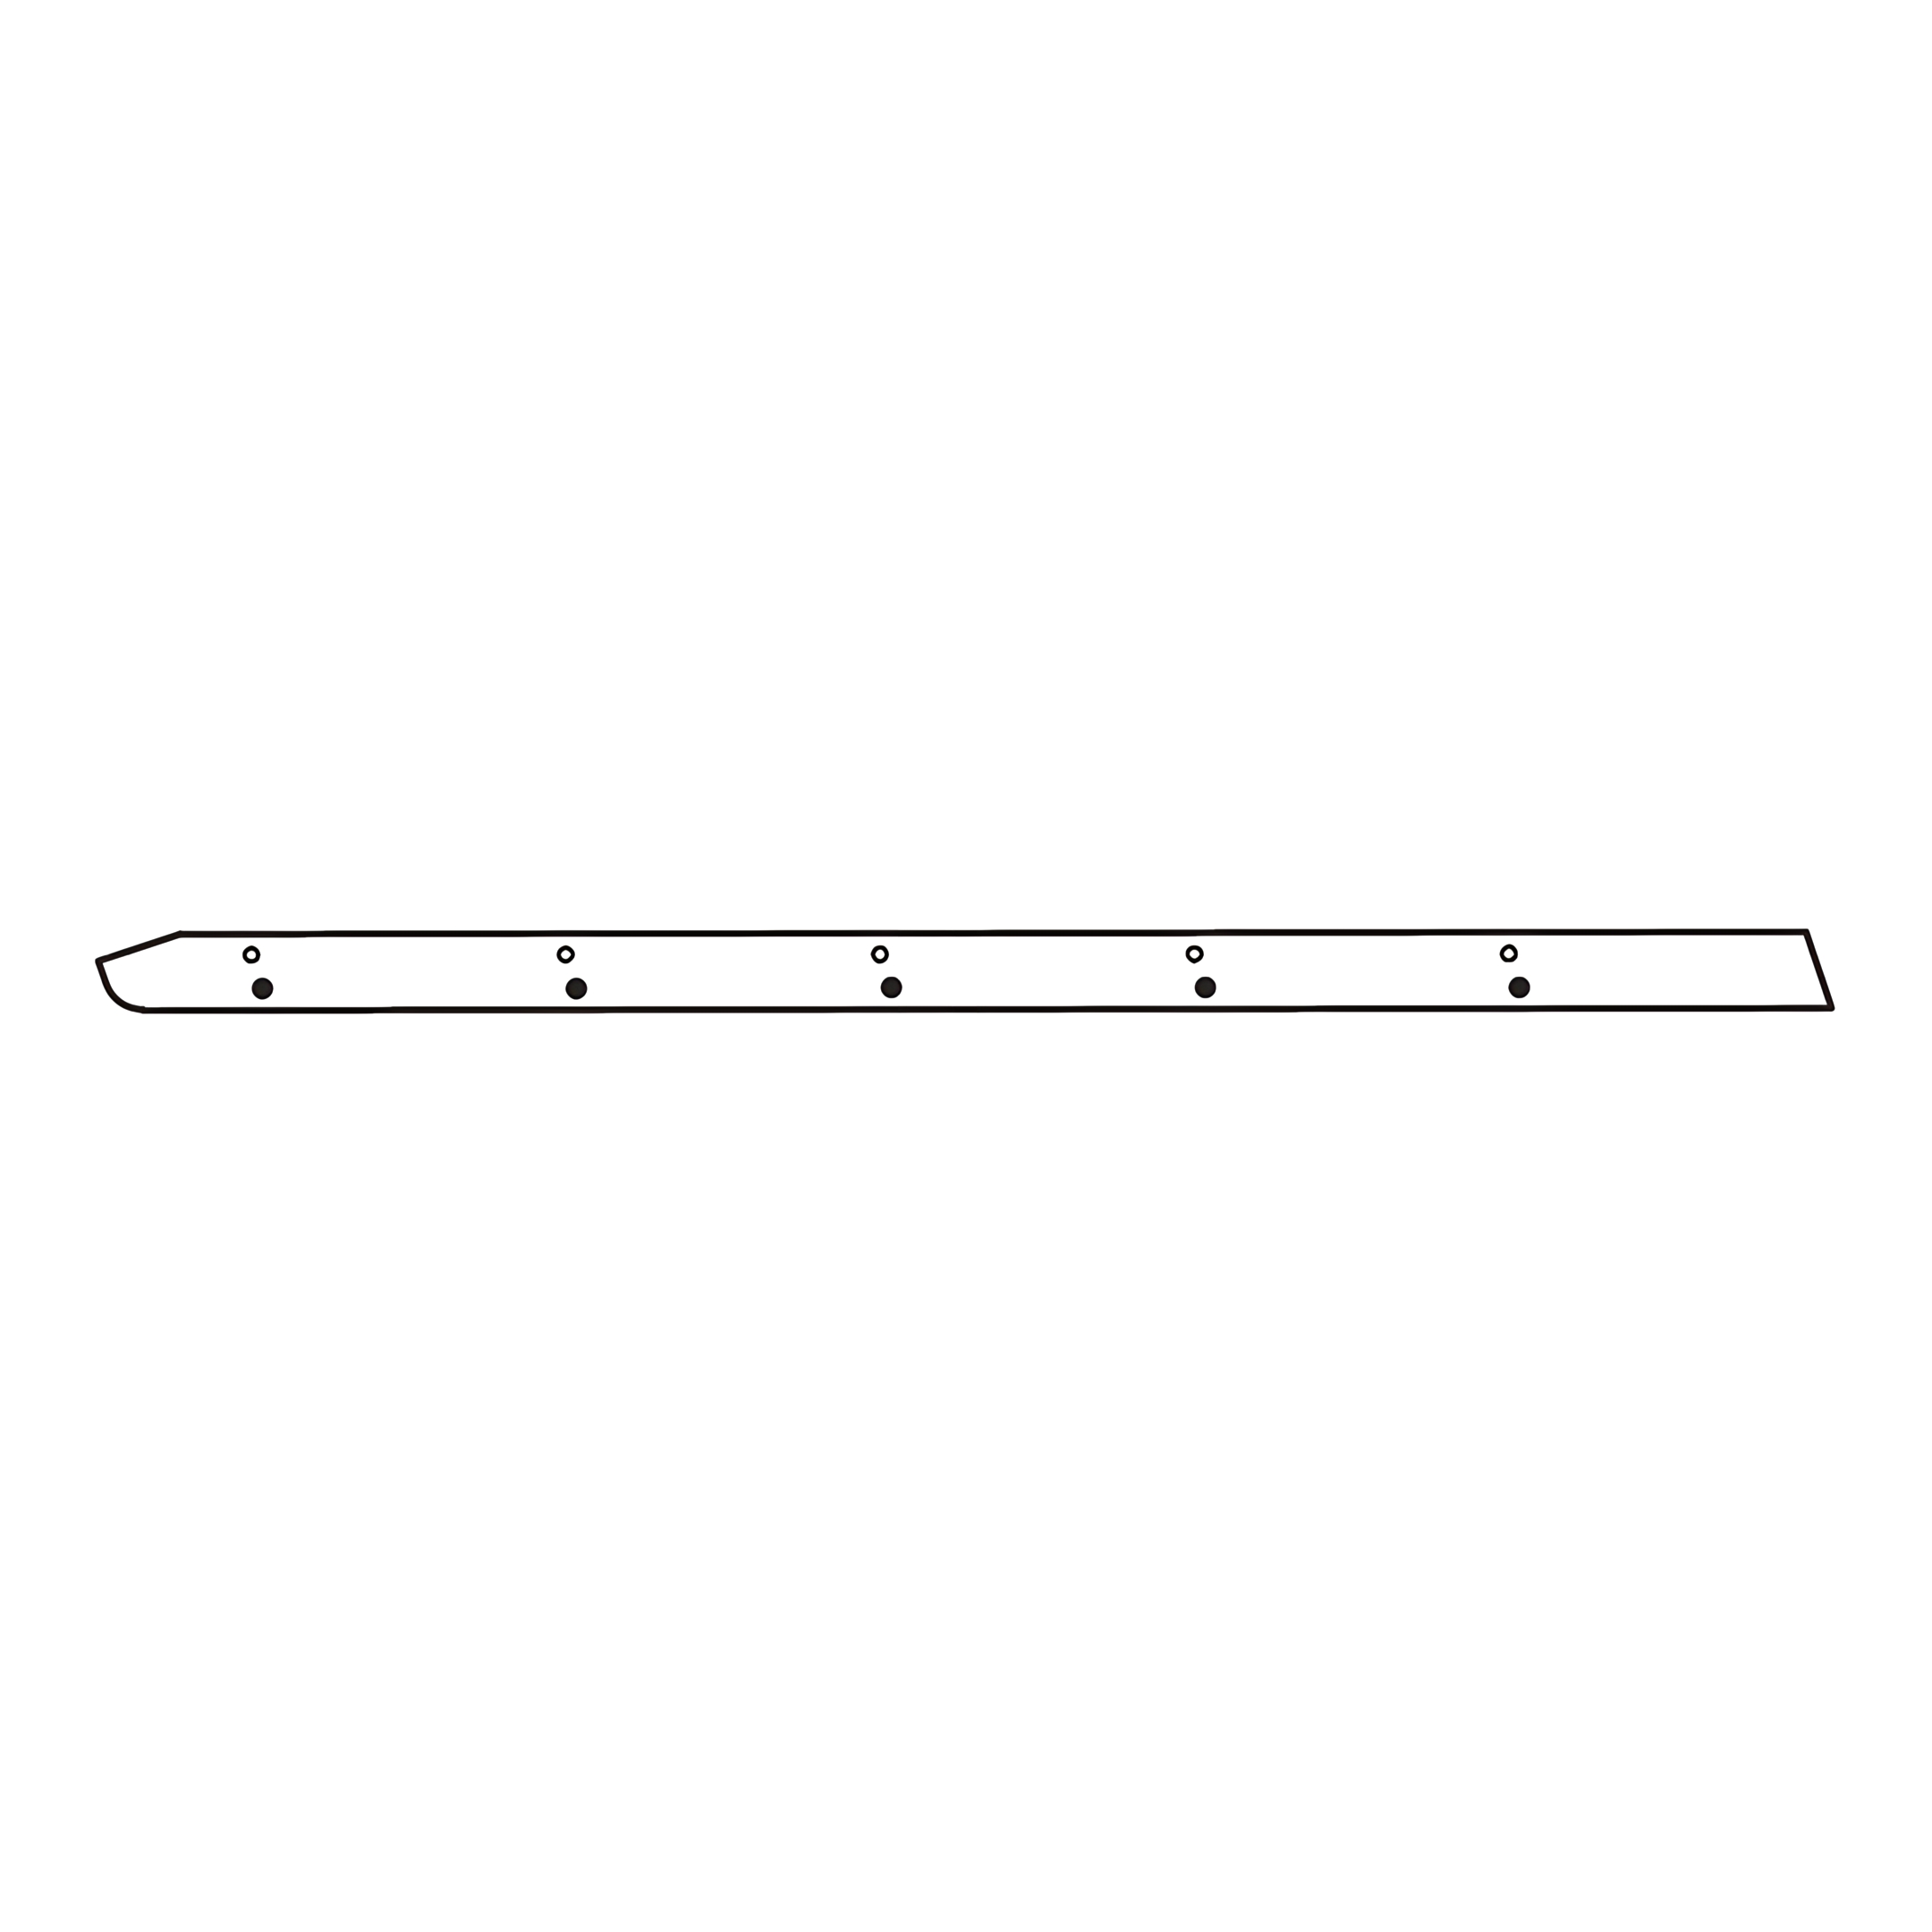
1. Place Wood Dowels (3) into the pre-drilled holes of the Ladder Steps (N). 2. Align each Ladder Step (N) between the Ladder Rails (L & M). 3. Secure them using JCBC-W Screws (6) and tighten with the M4 Allen Key (11).
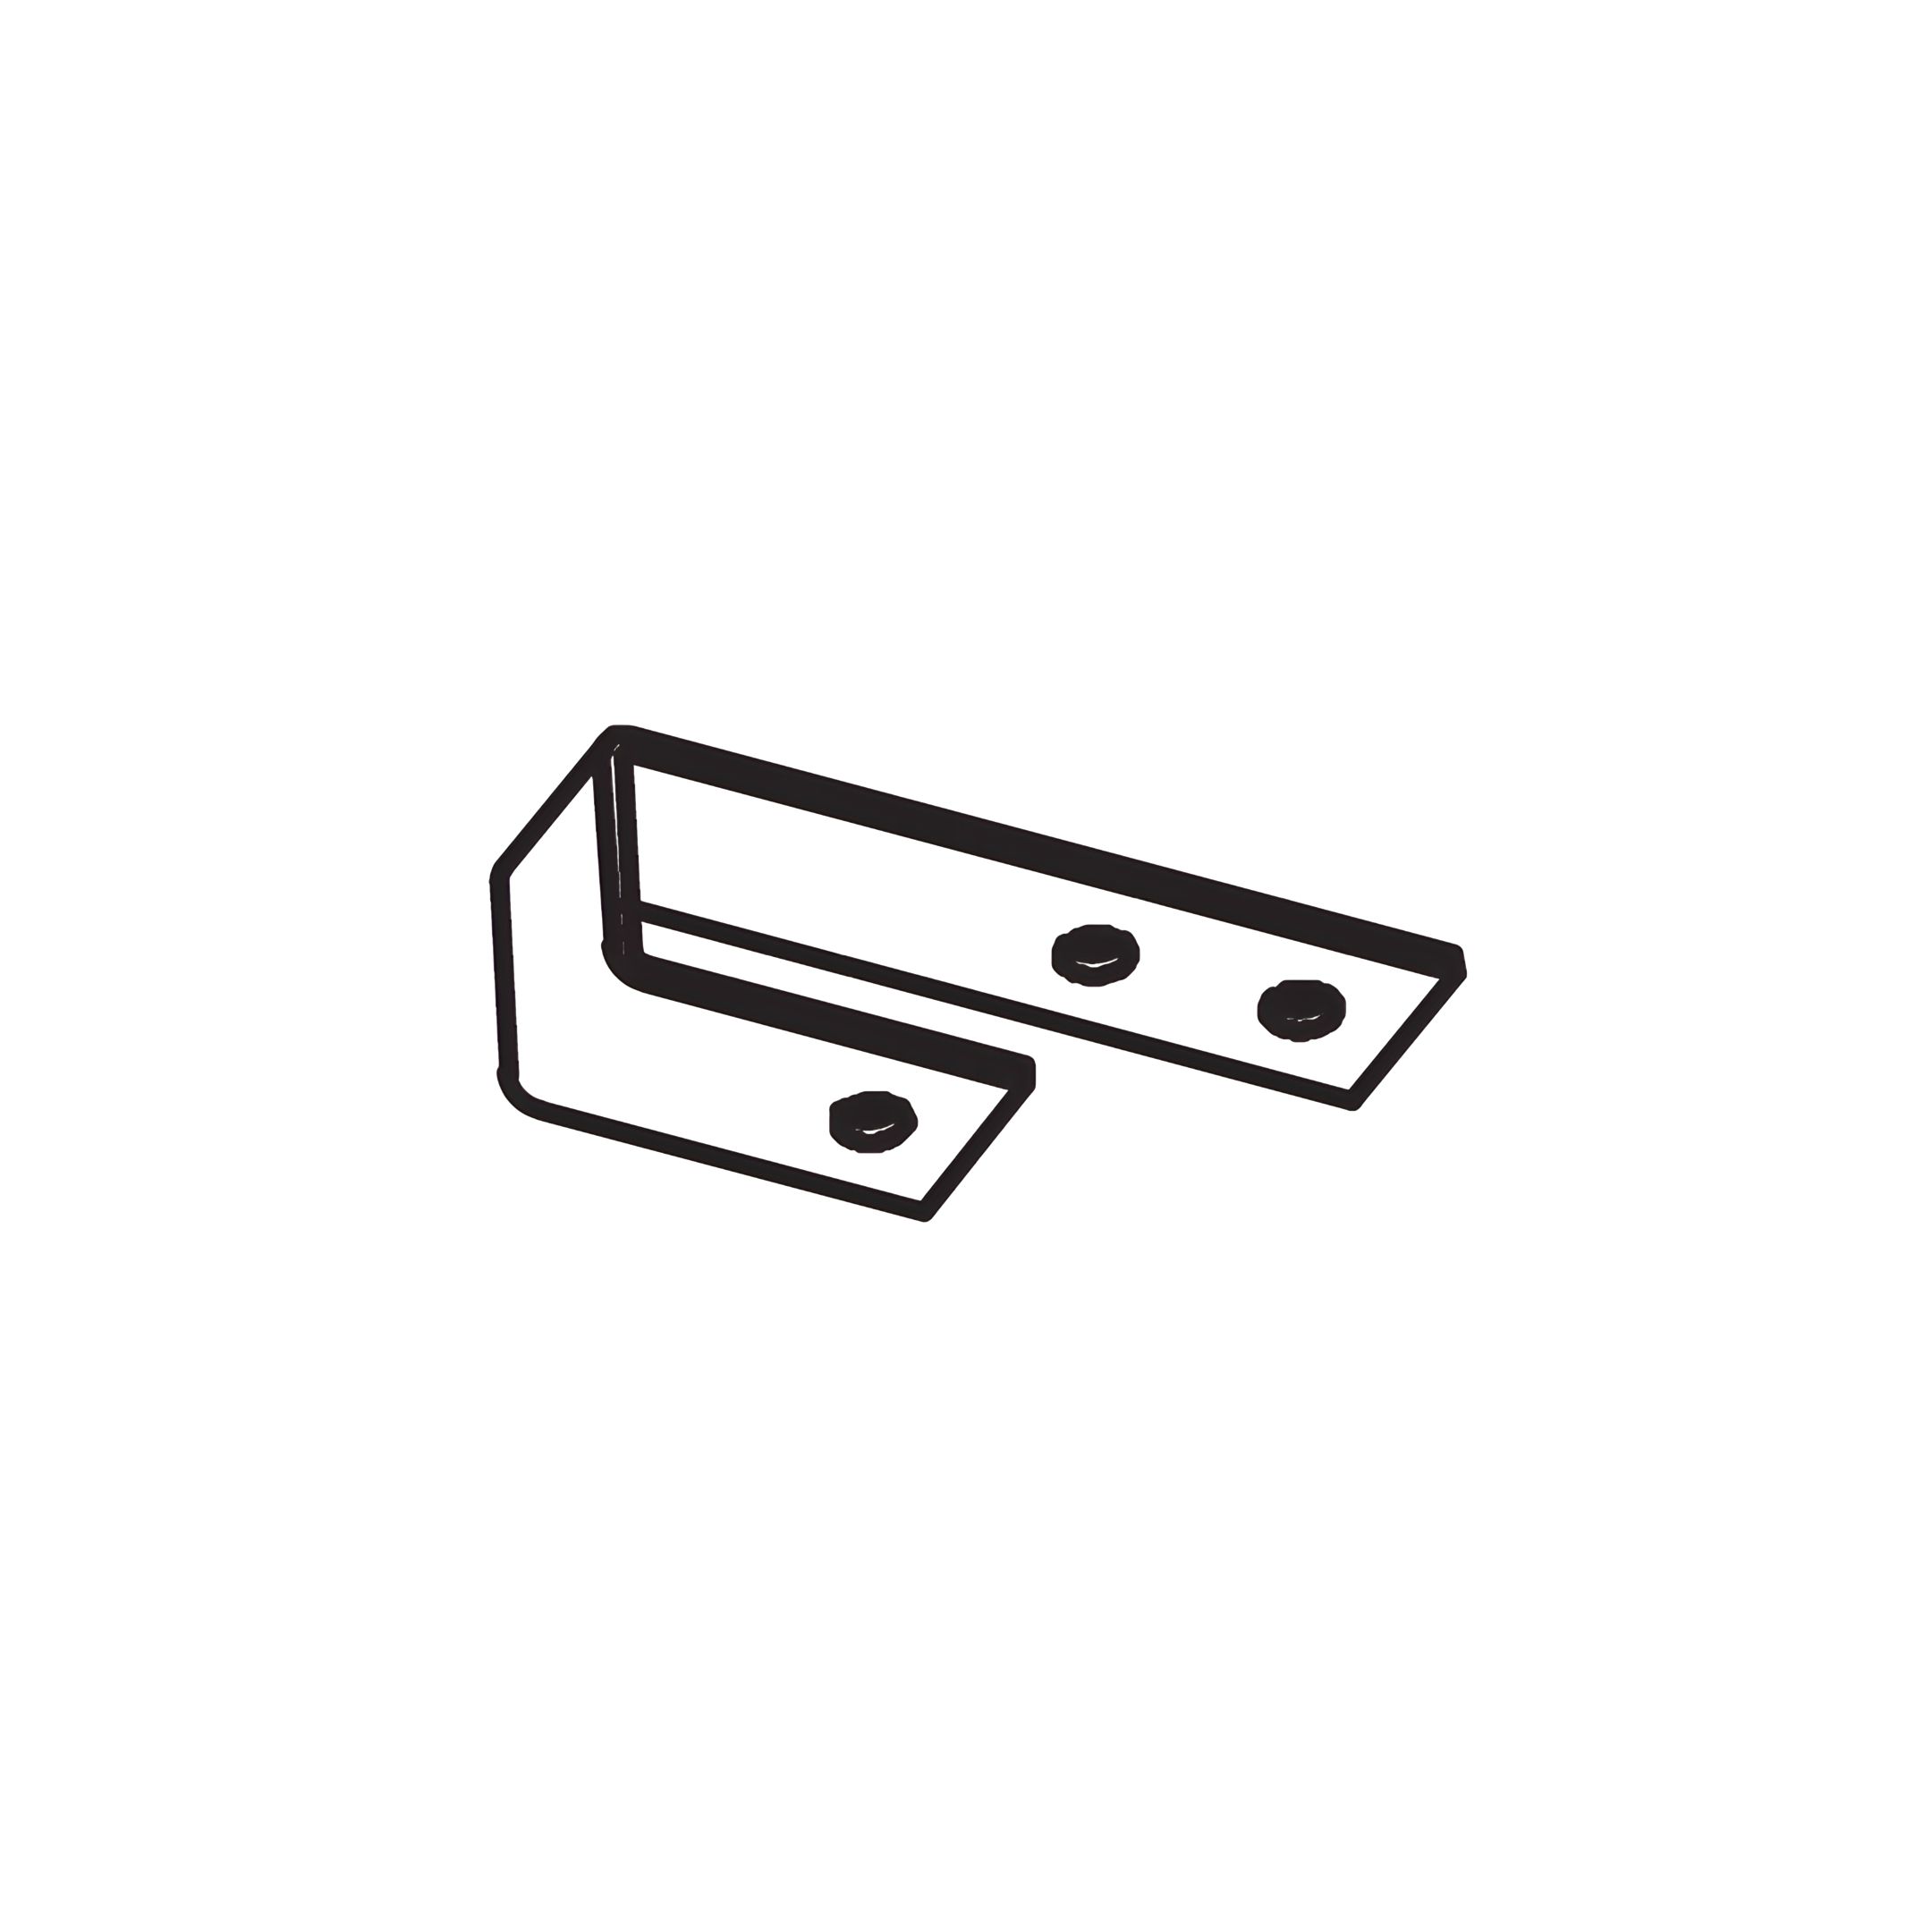
Install the Ladder Hooks
1. Position the Ladder Hooks (7) at the top of each Ladder Rail (L & M). 2. Secure them using CSK Screws (8)
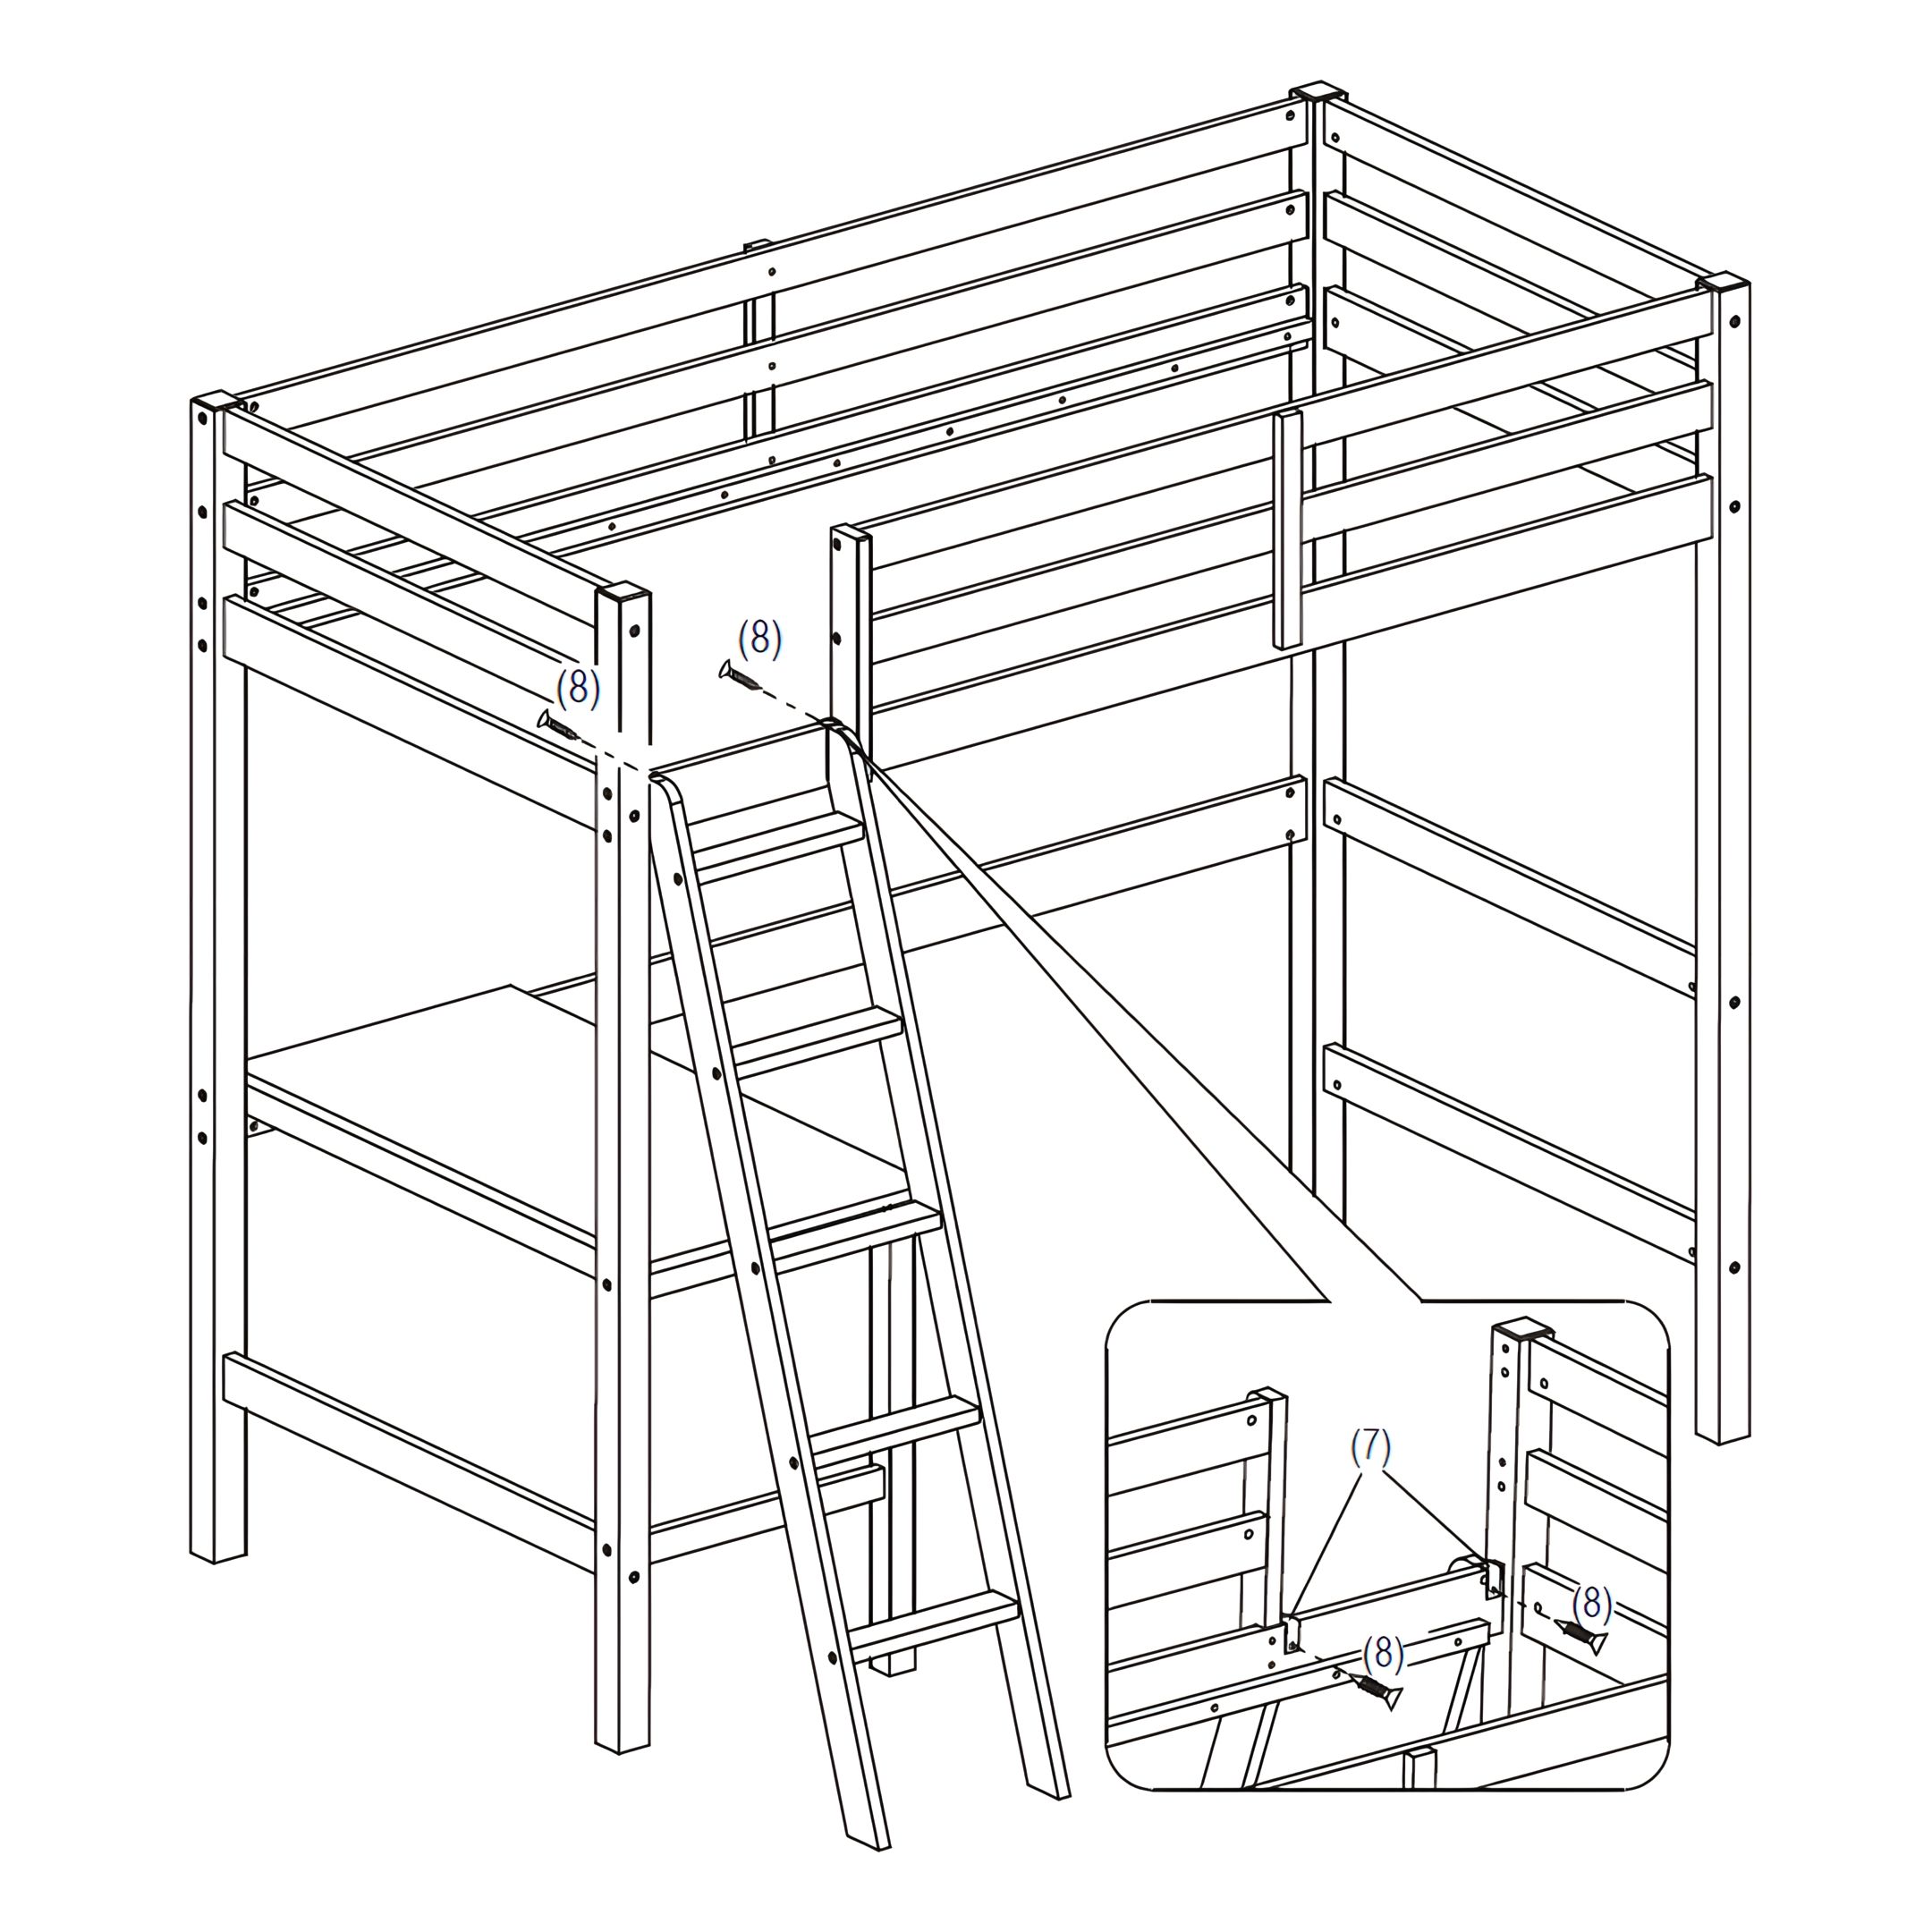
8. Attach the Ladder to the Upper Bunk
1. Align the Ladder with the designated attachment points on the Upper Bunk Frame. 2. Ensure the Ladder Hooks (7) rest securely on the upper guardrail. 3. Use CSK Screws (8) to fasten the Ladder Hooks (7) to the Upper Bunk Frame.
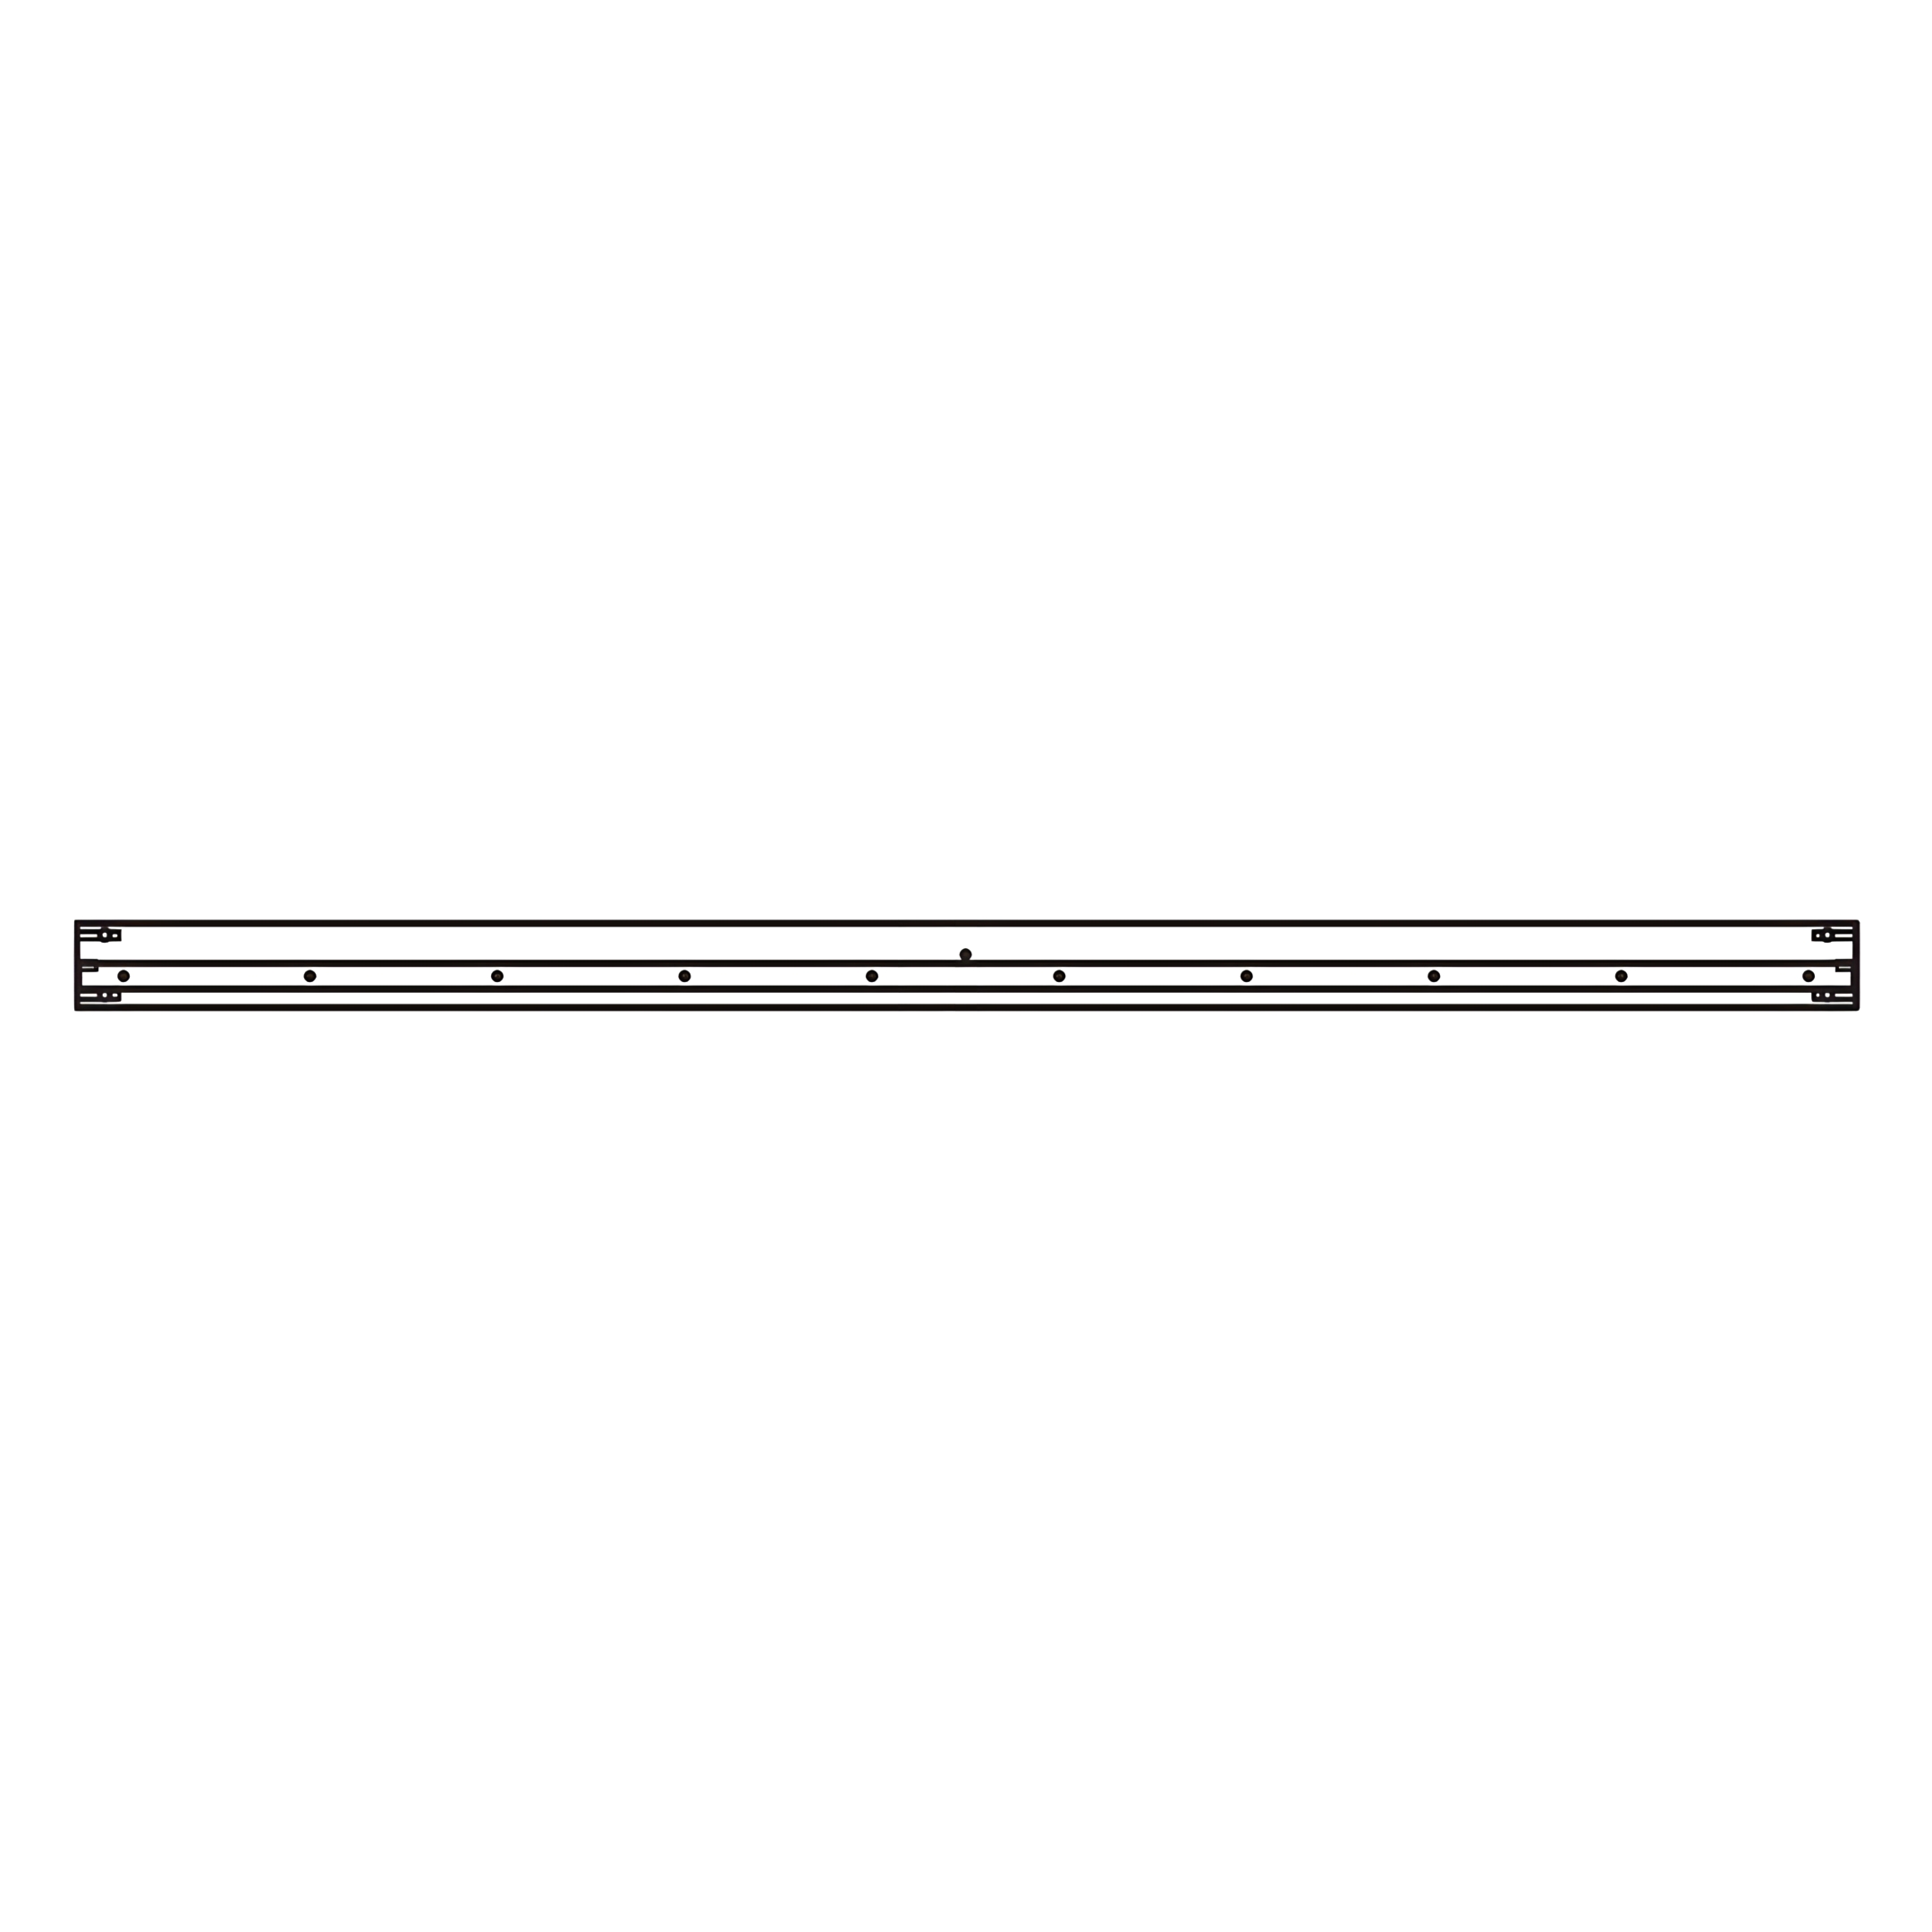
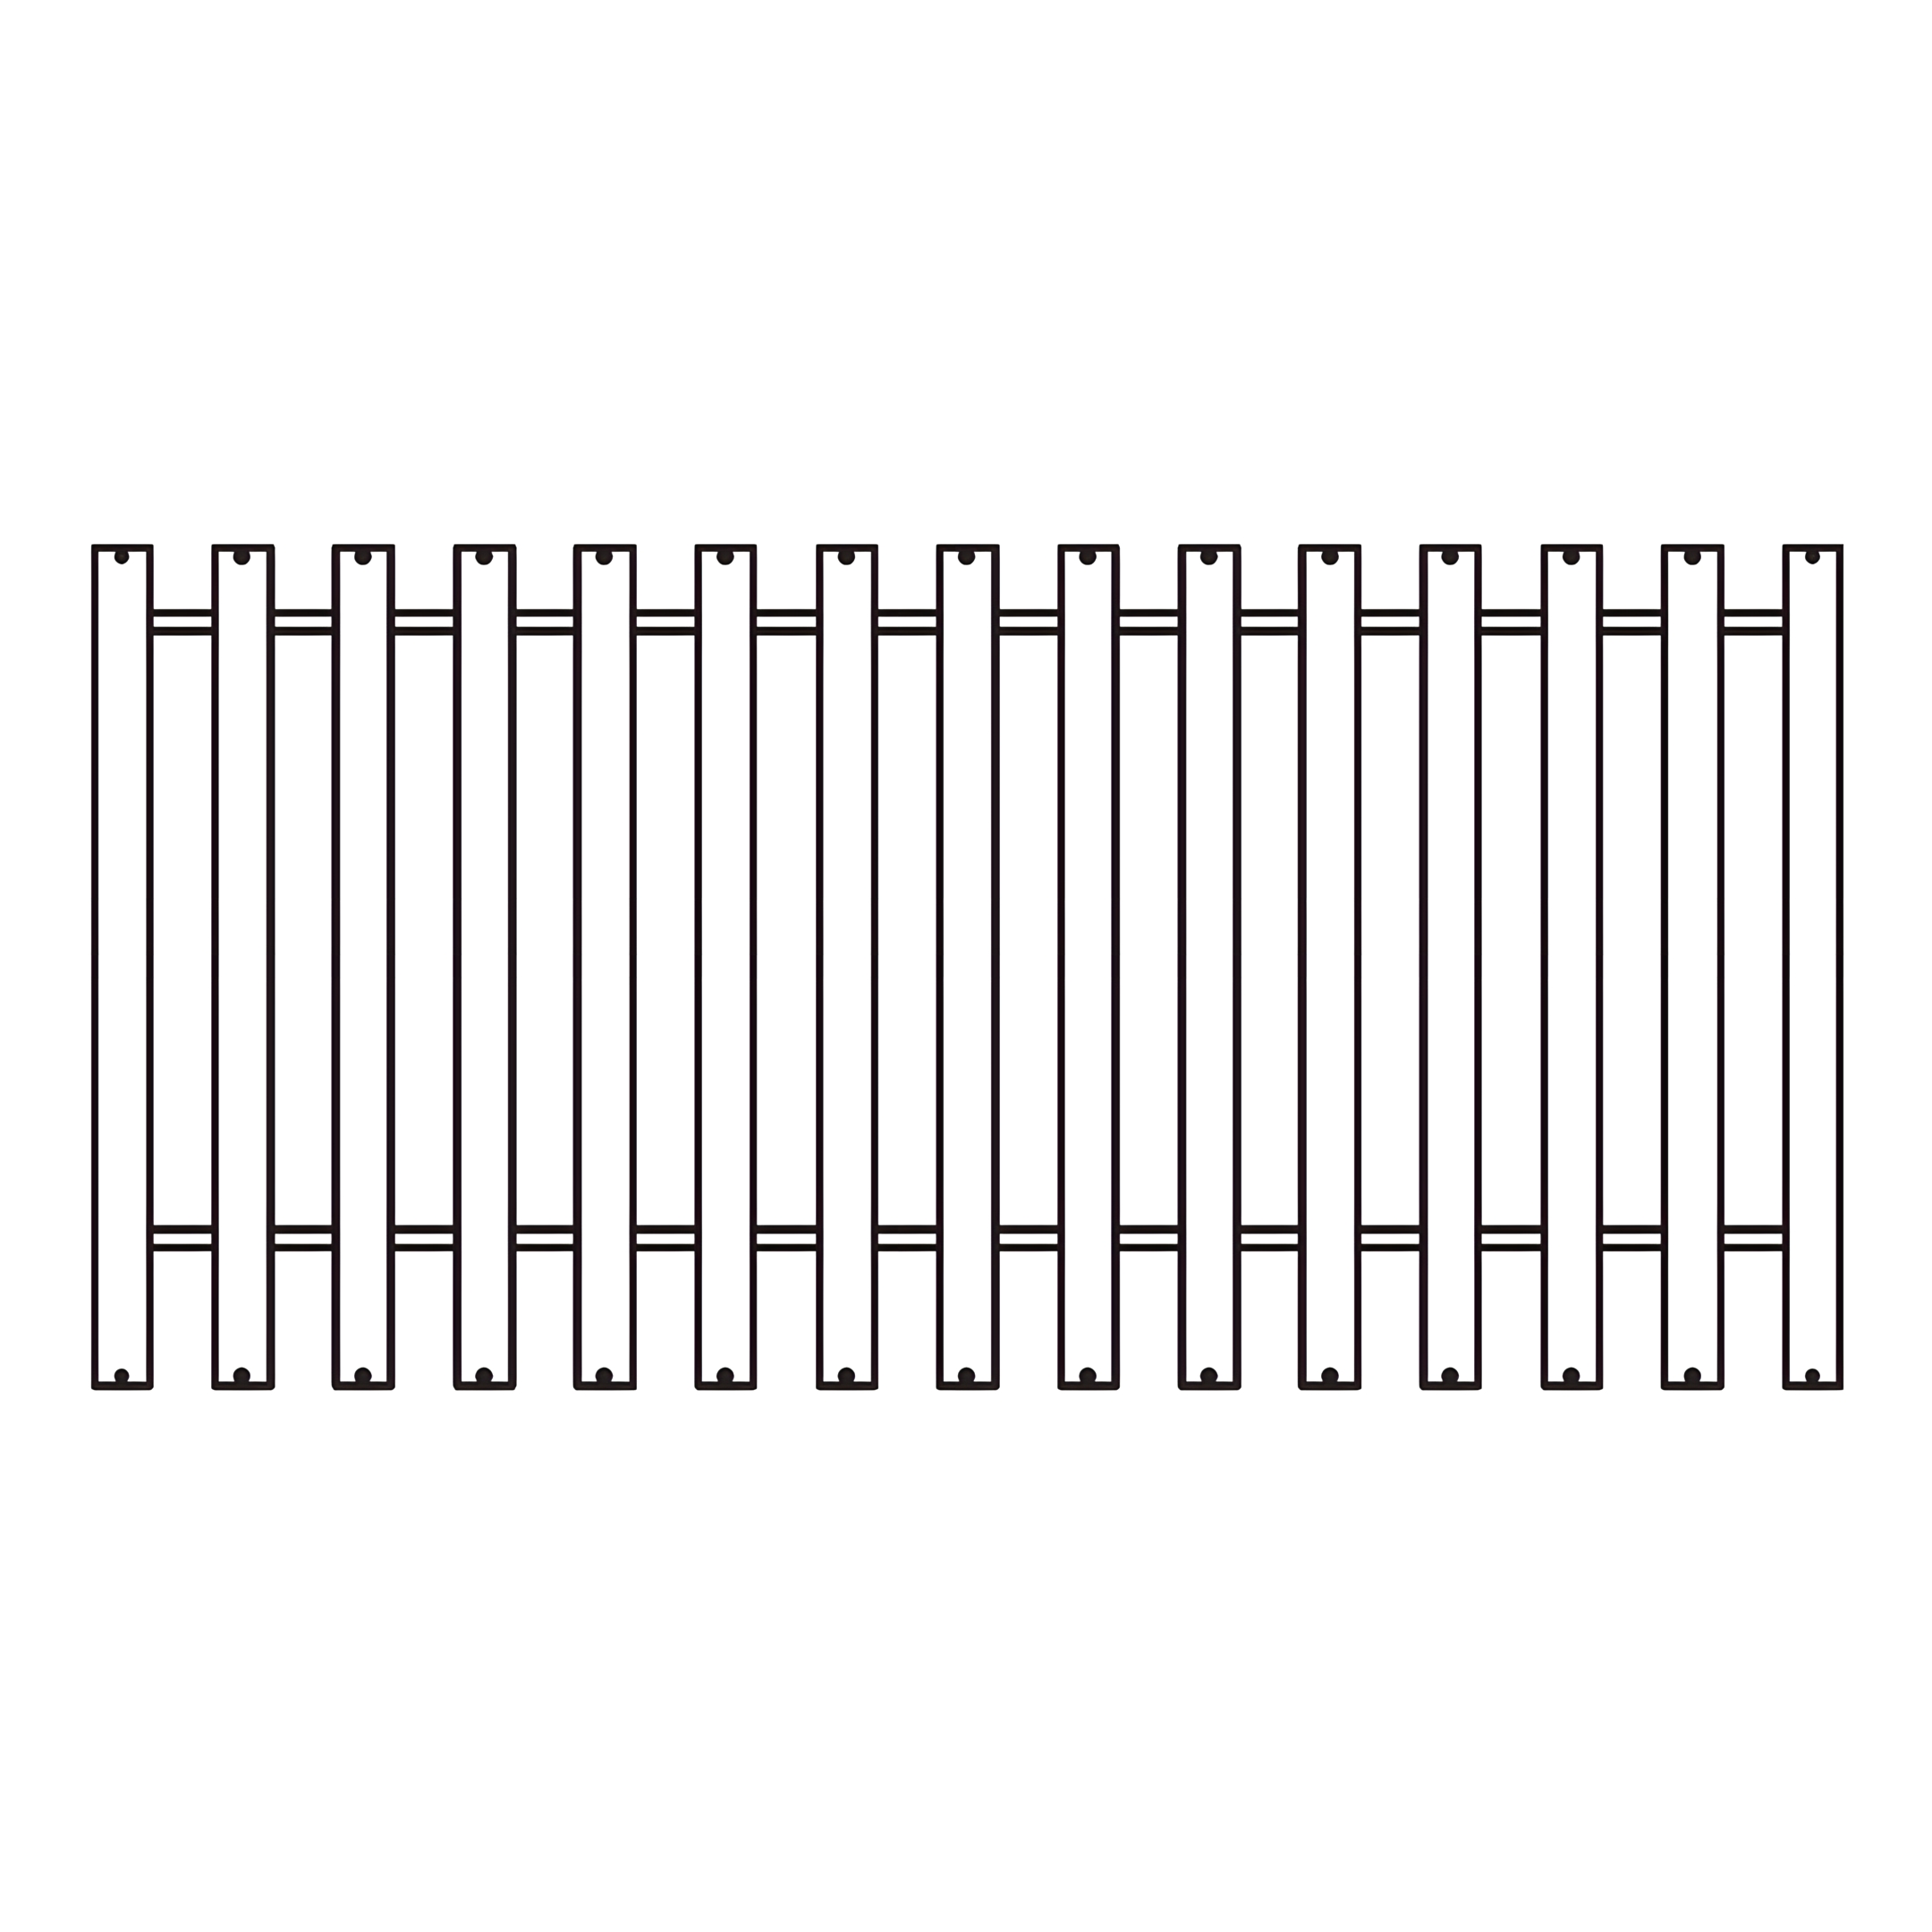
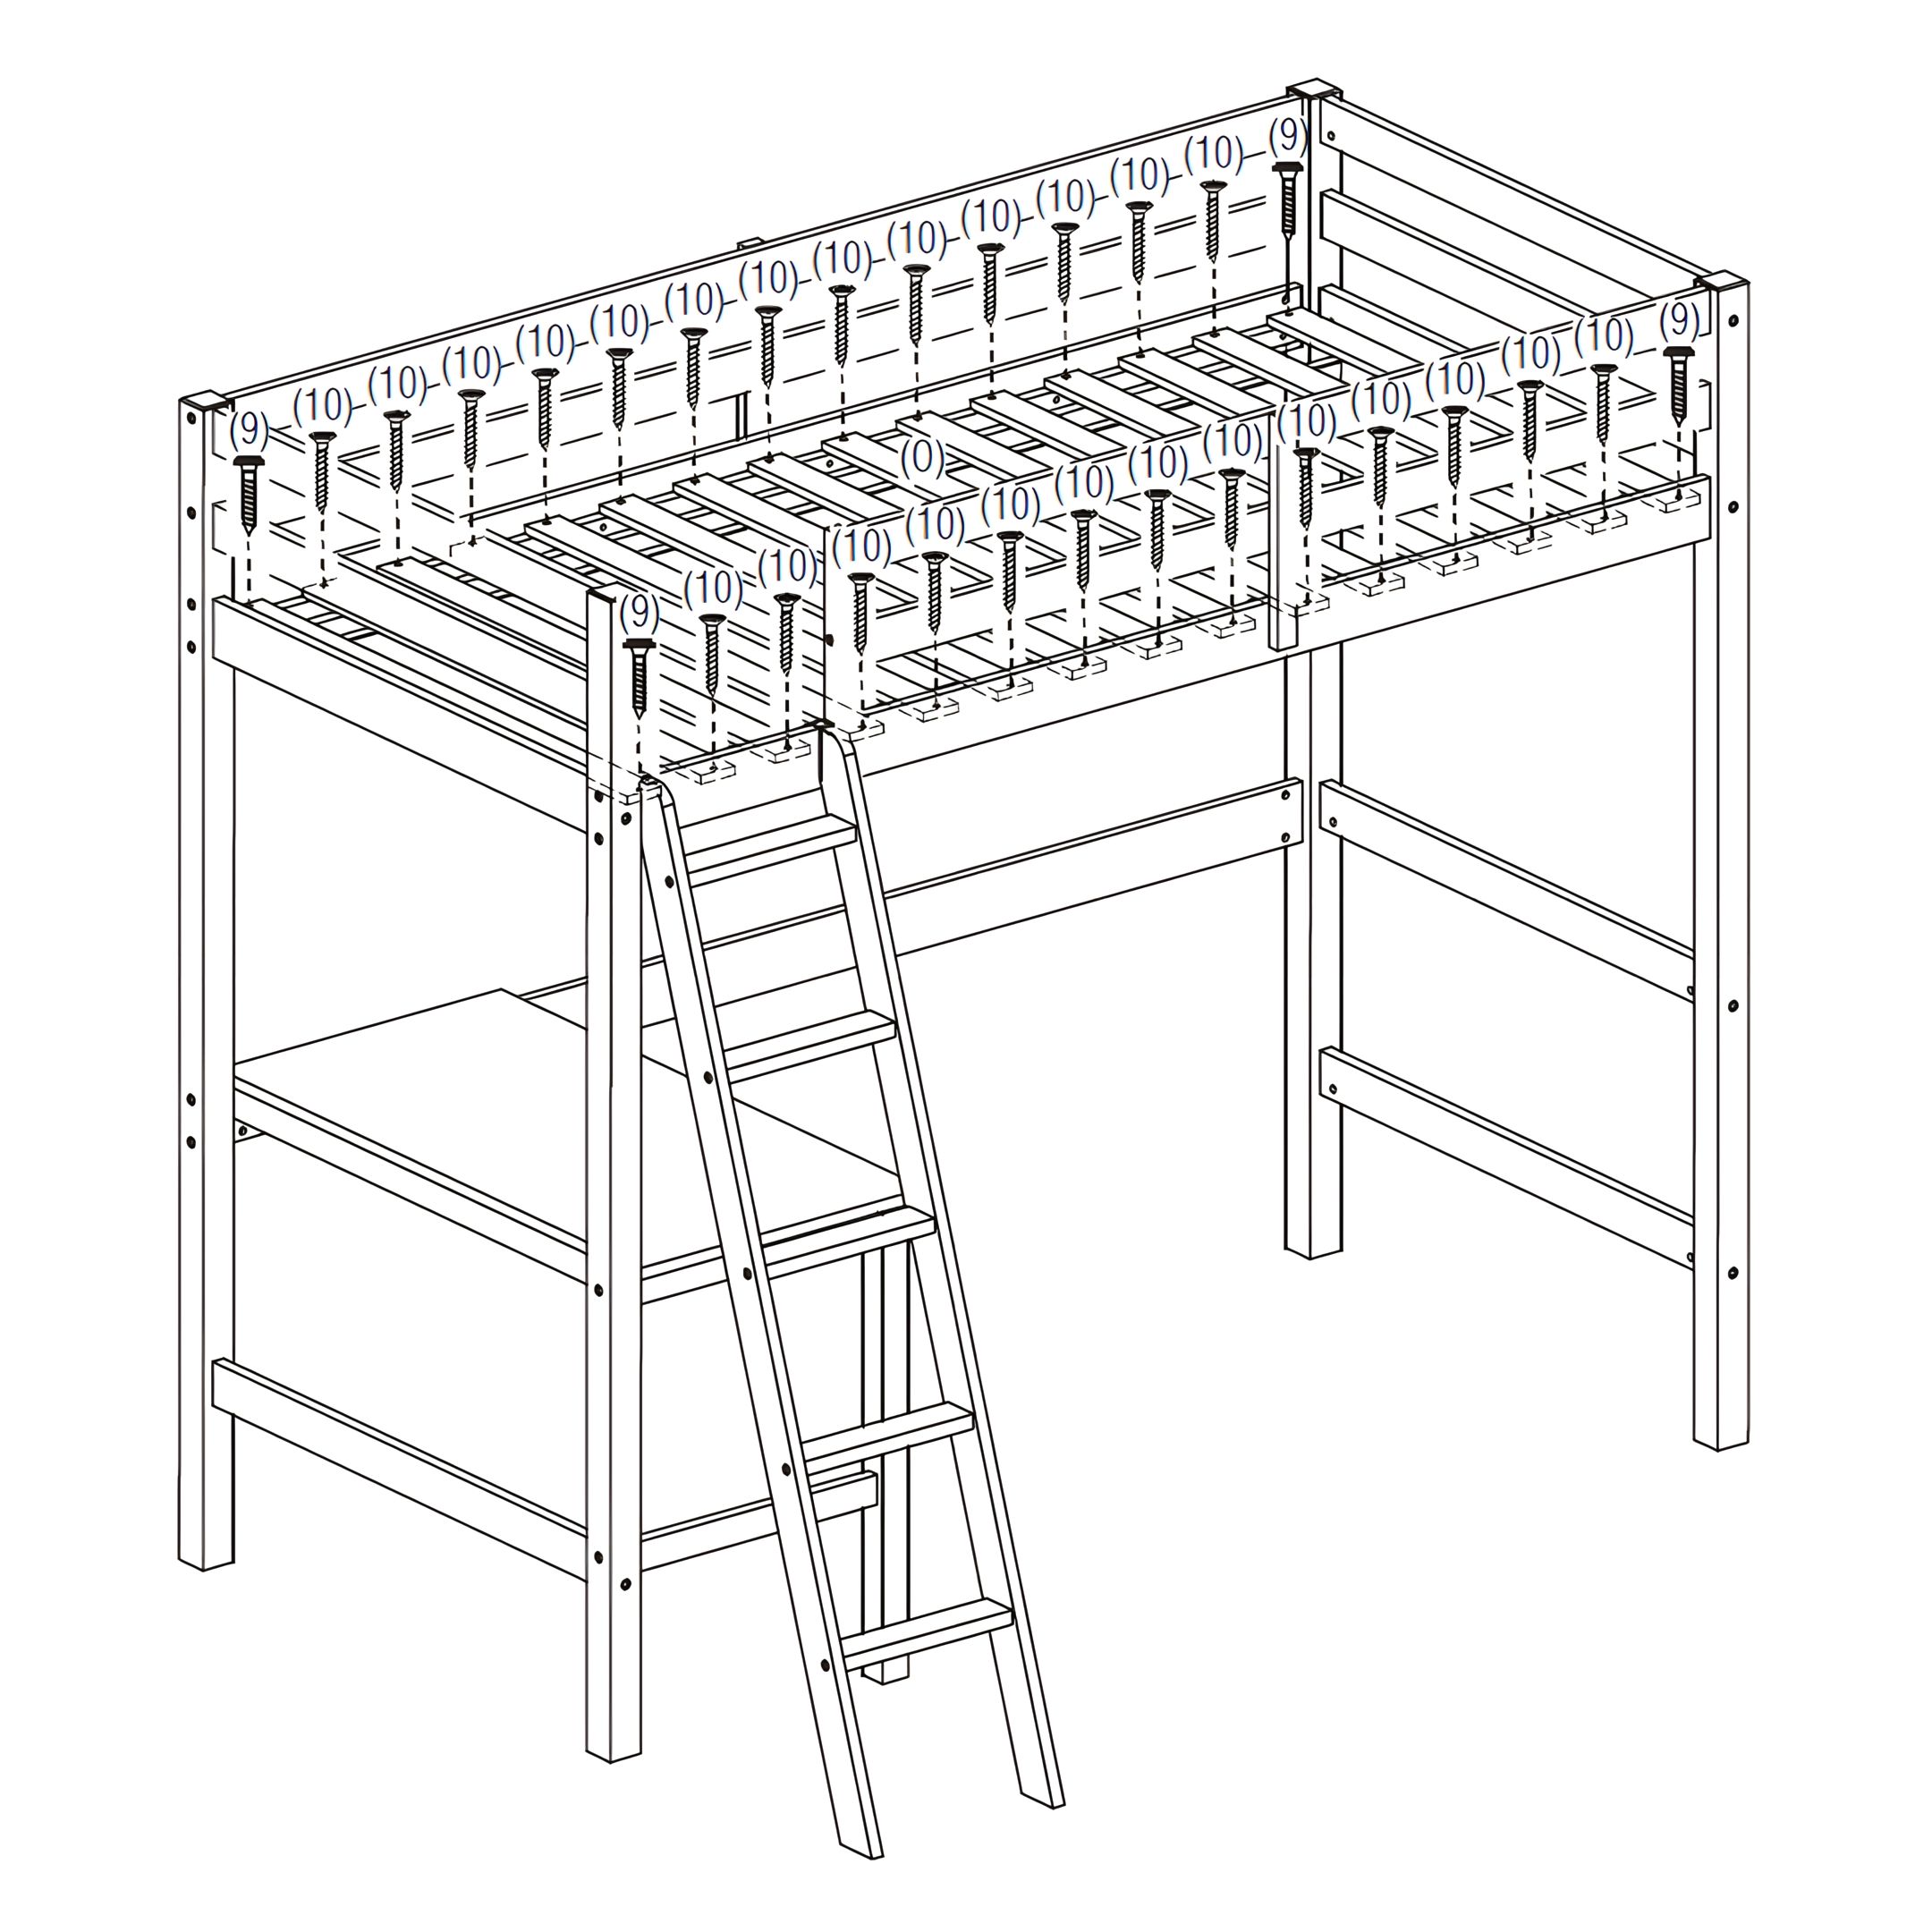
9. Attach the Slats
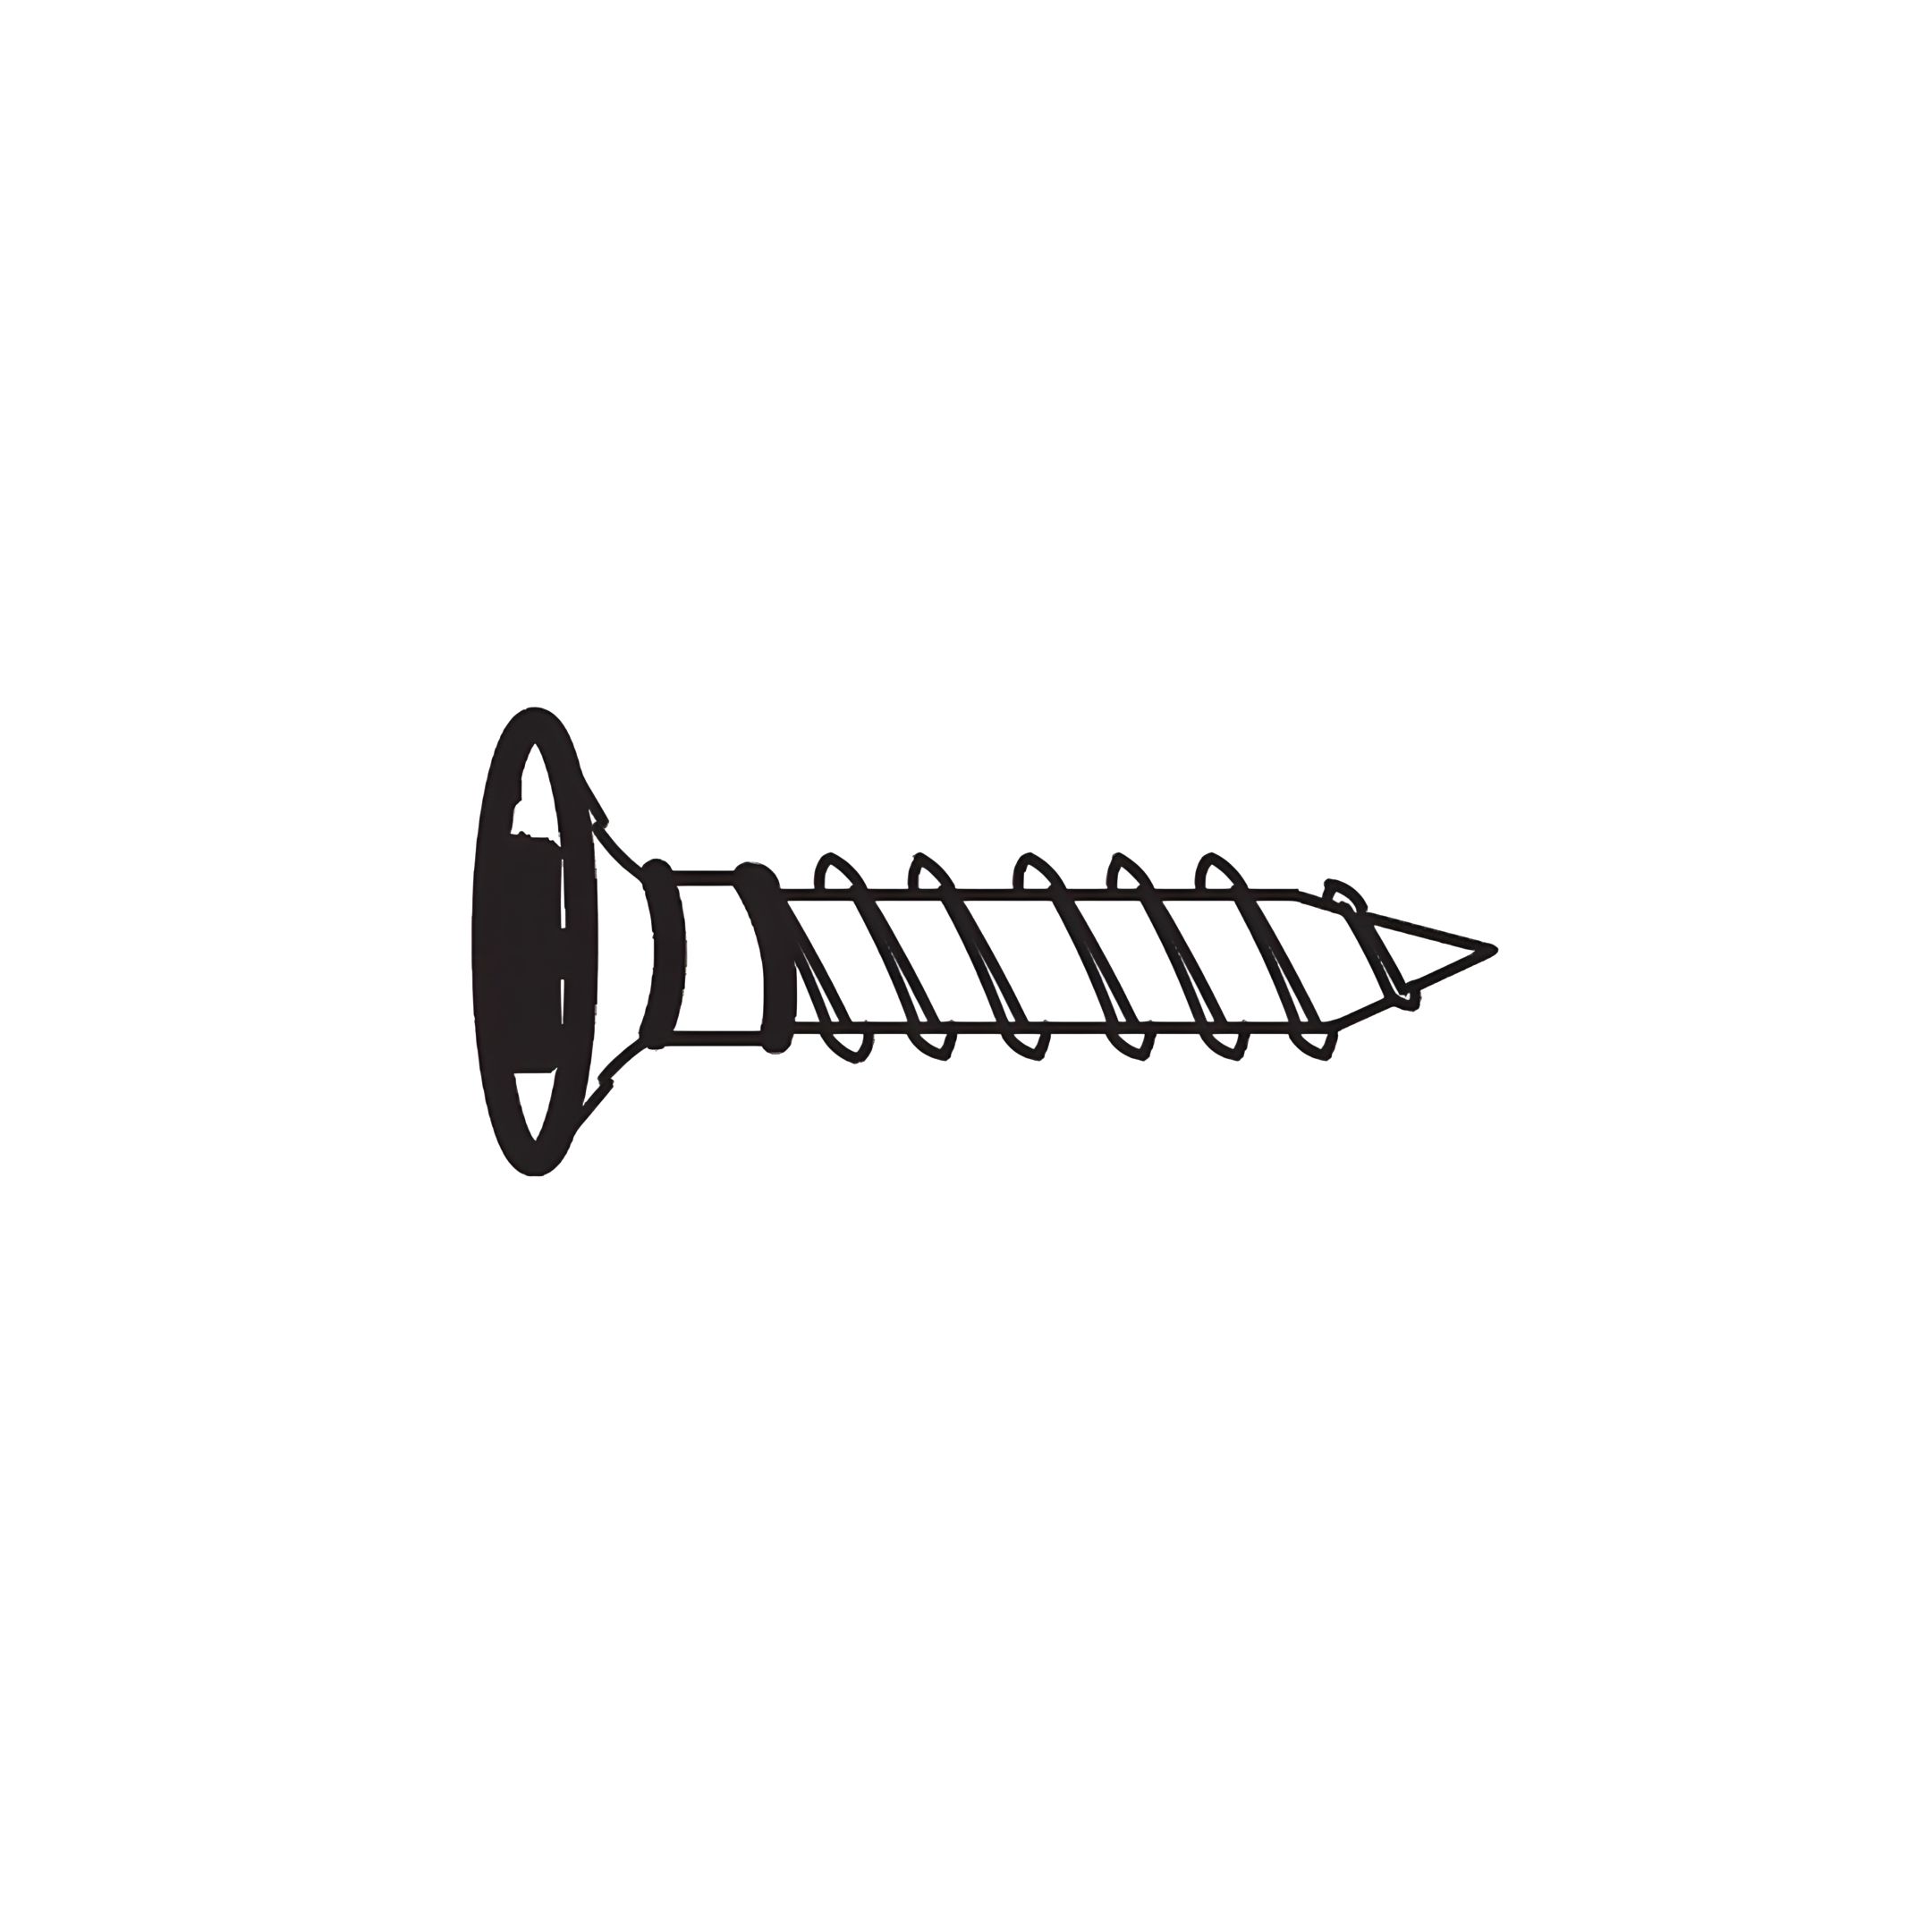
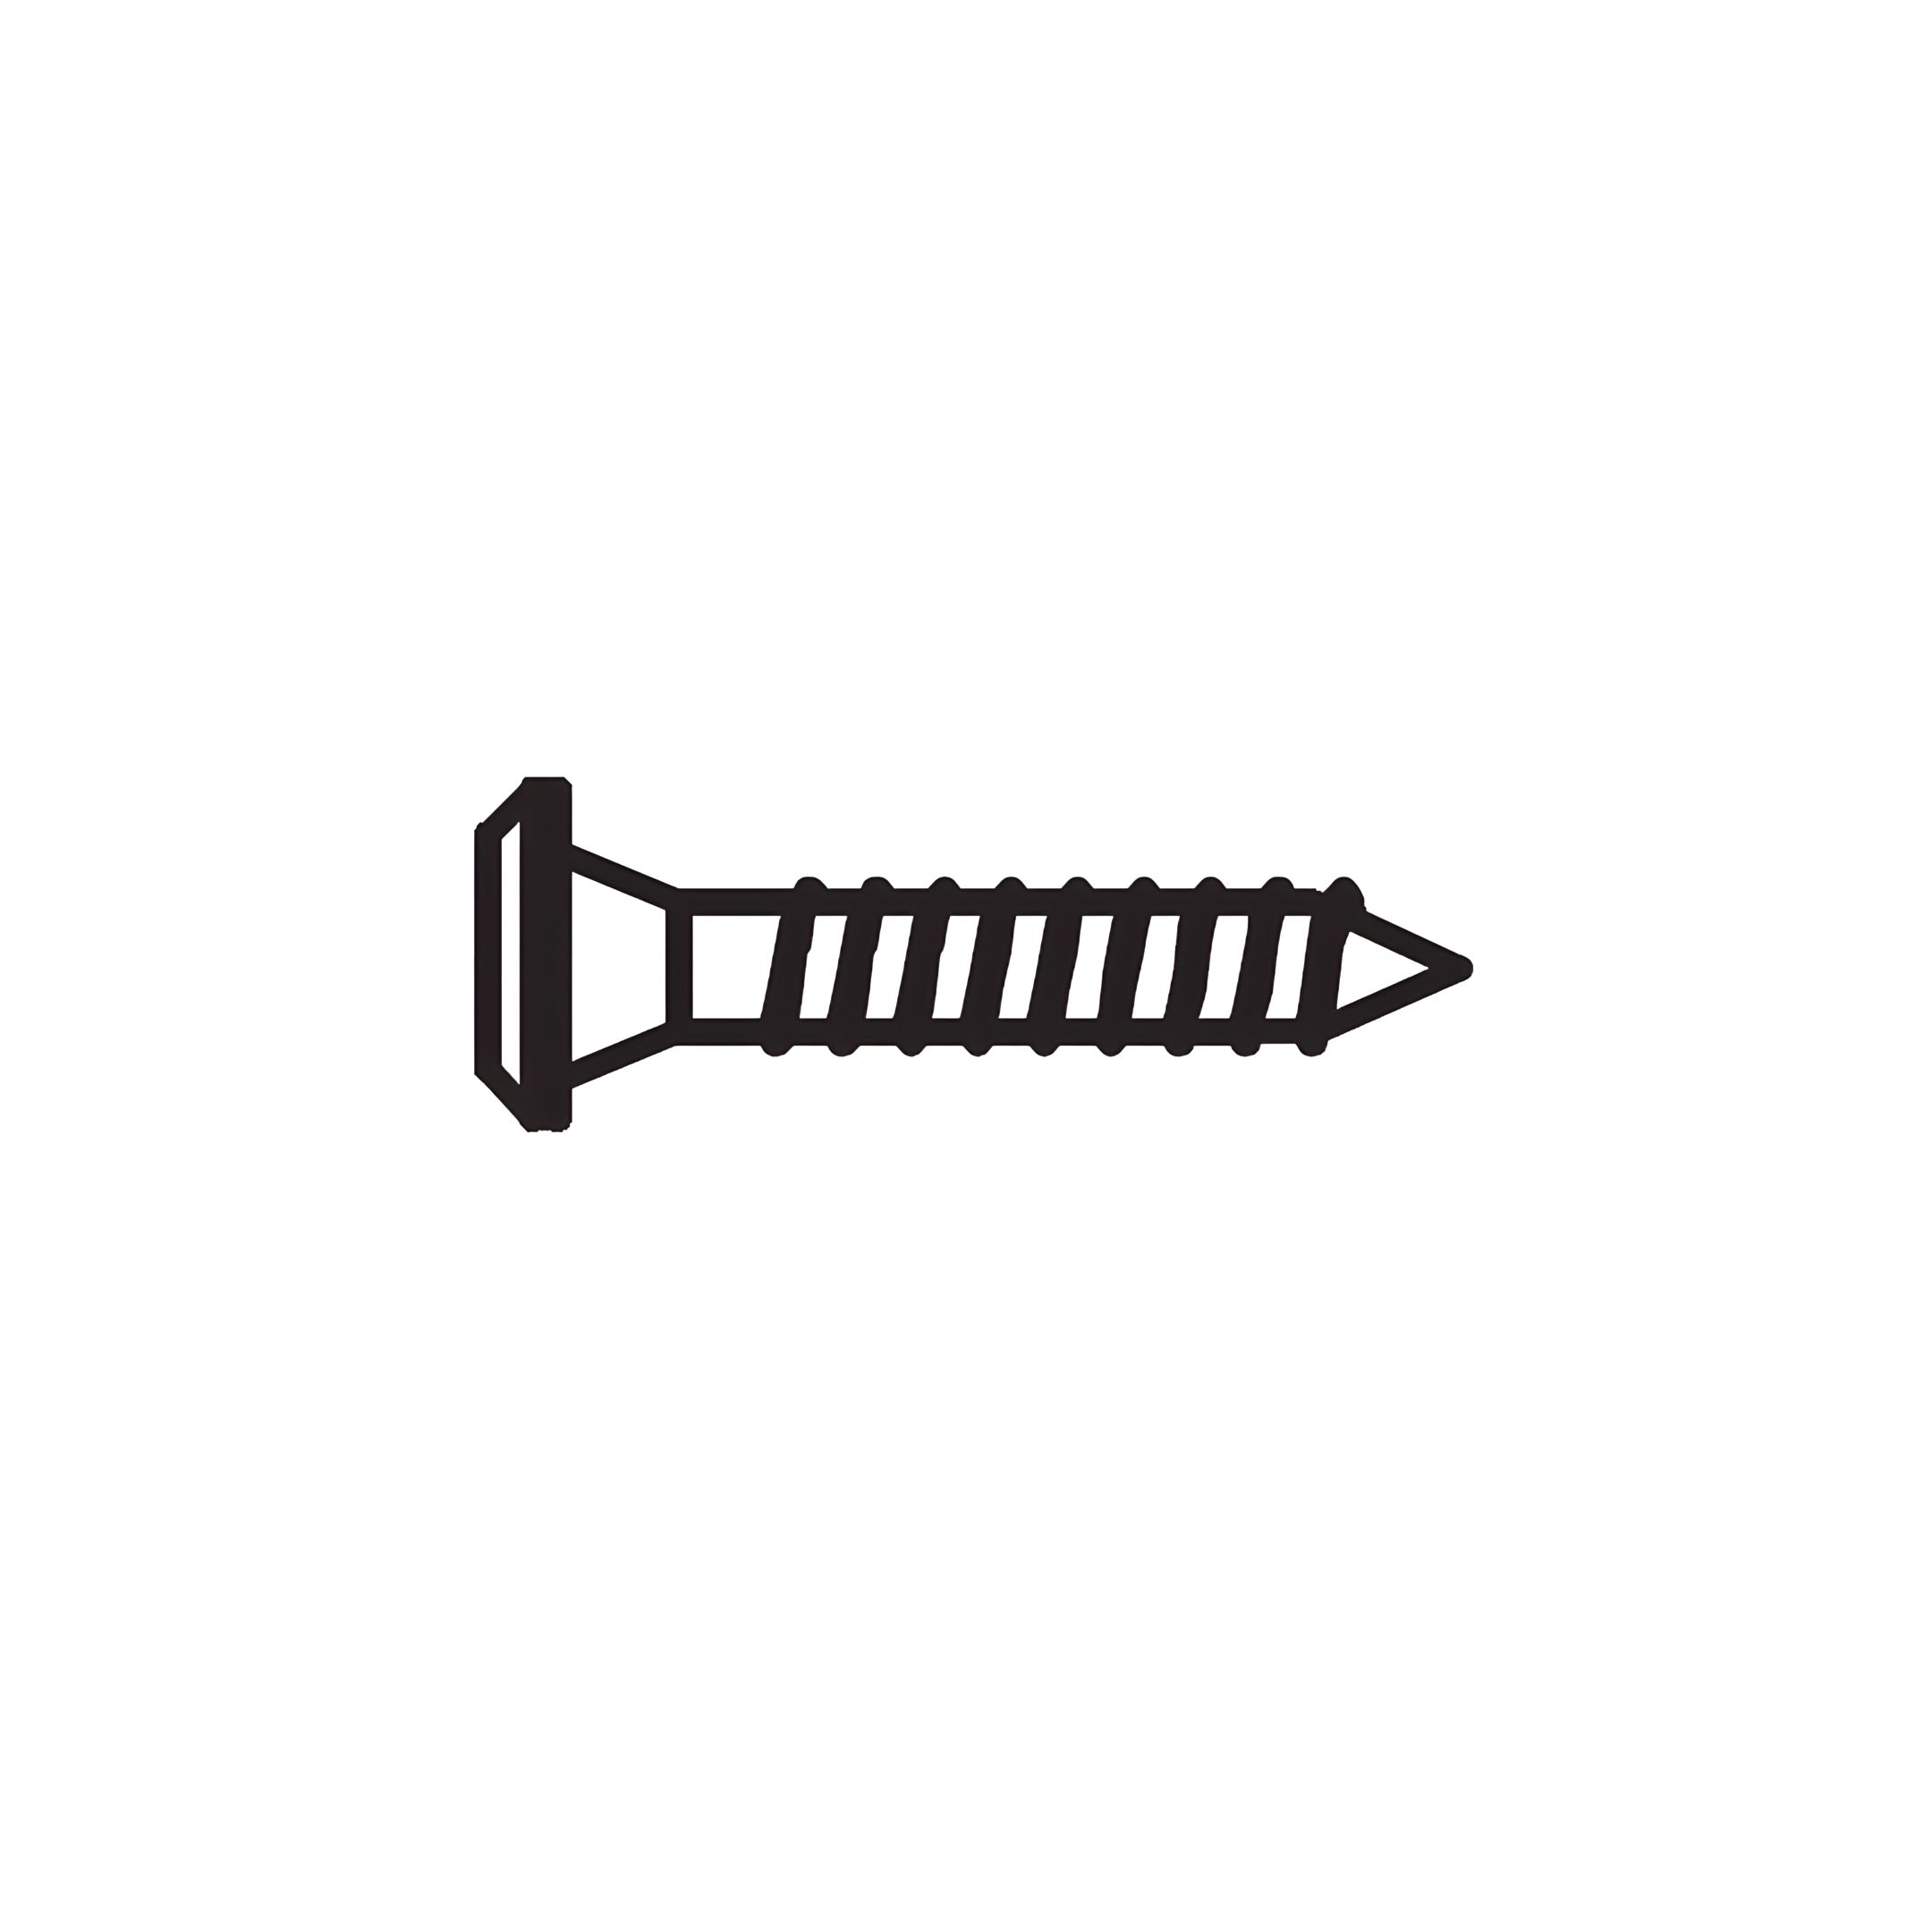
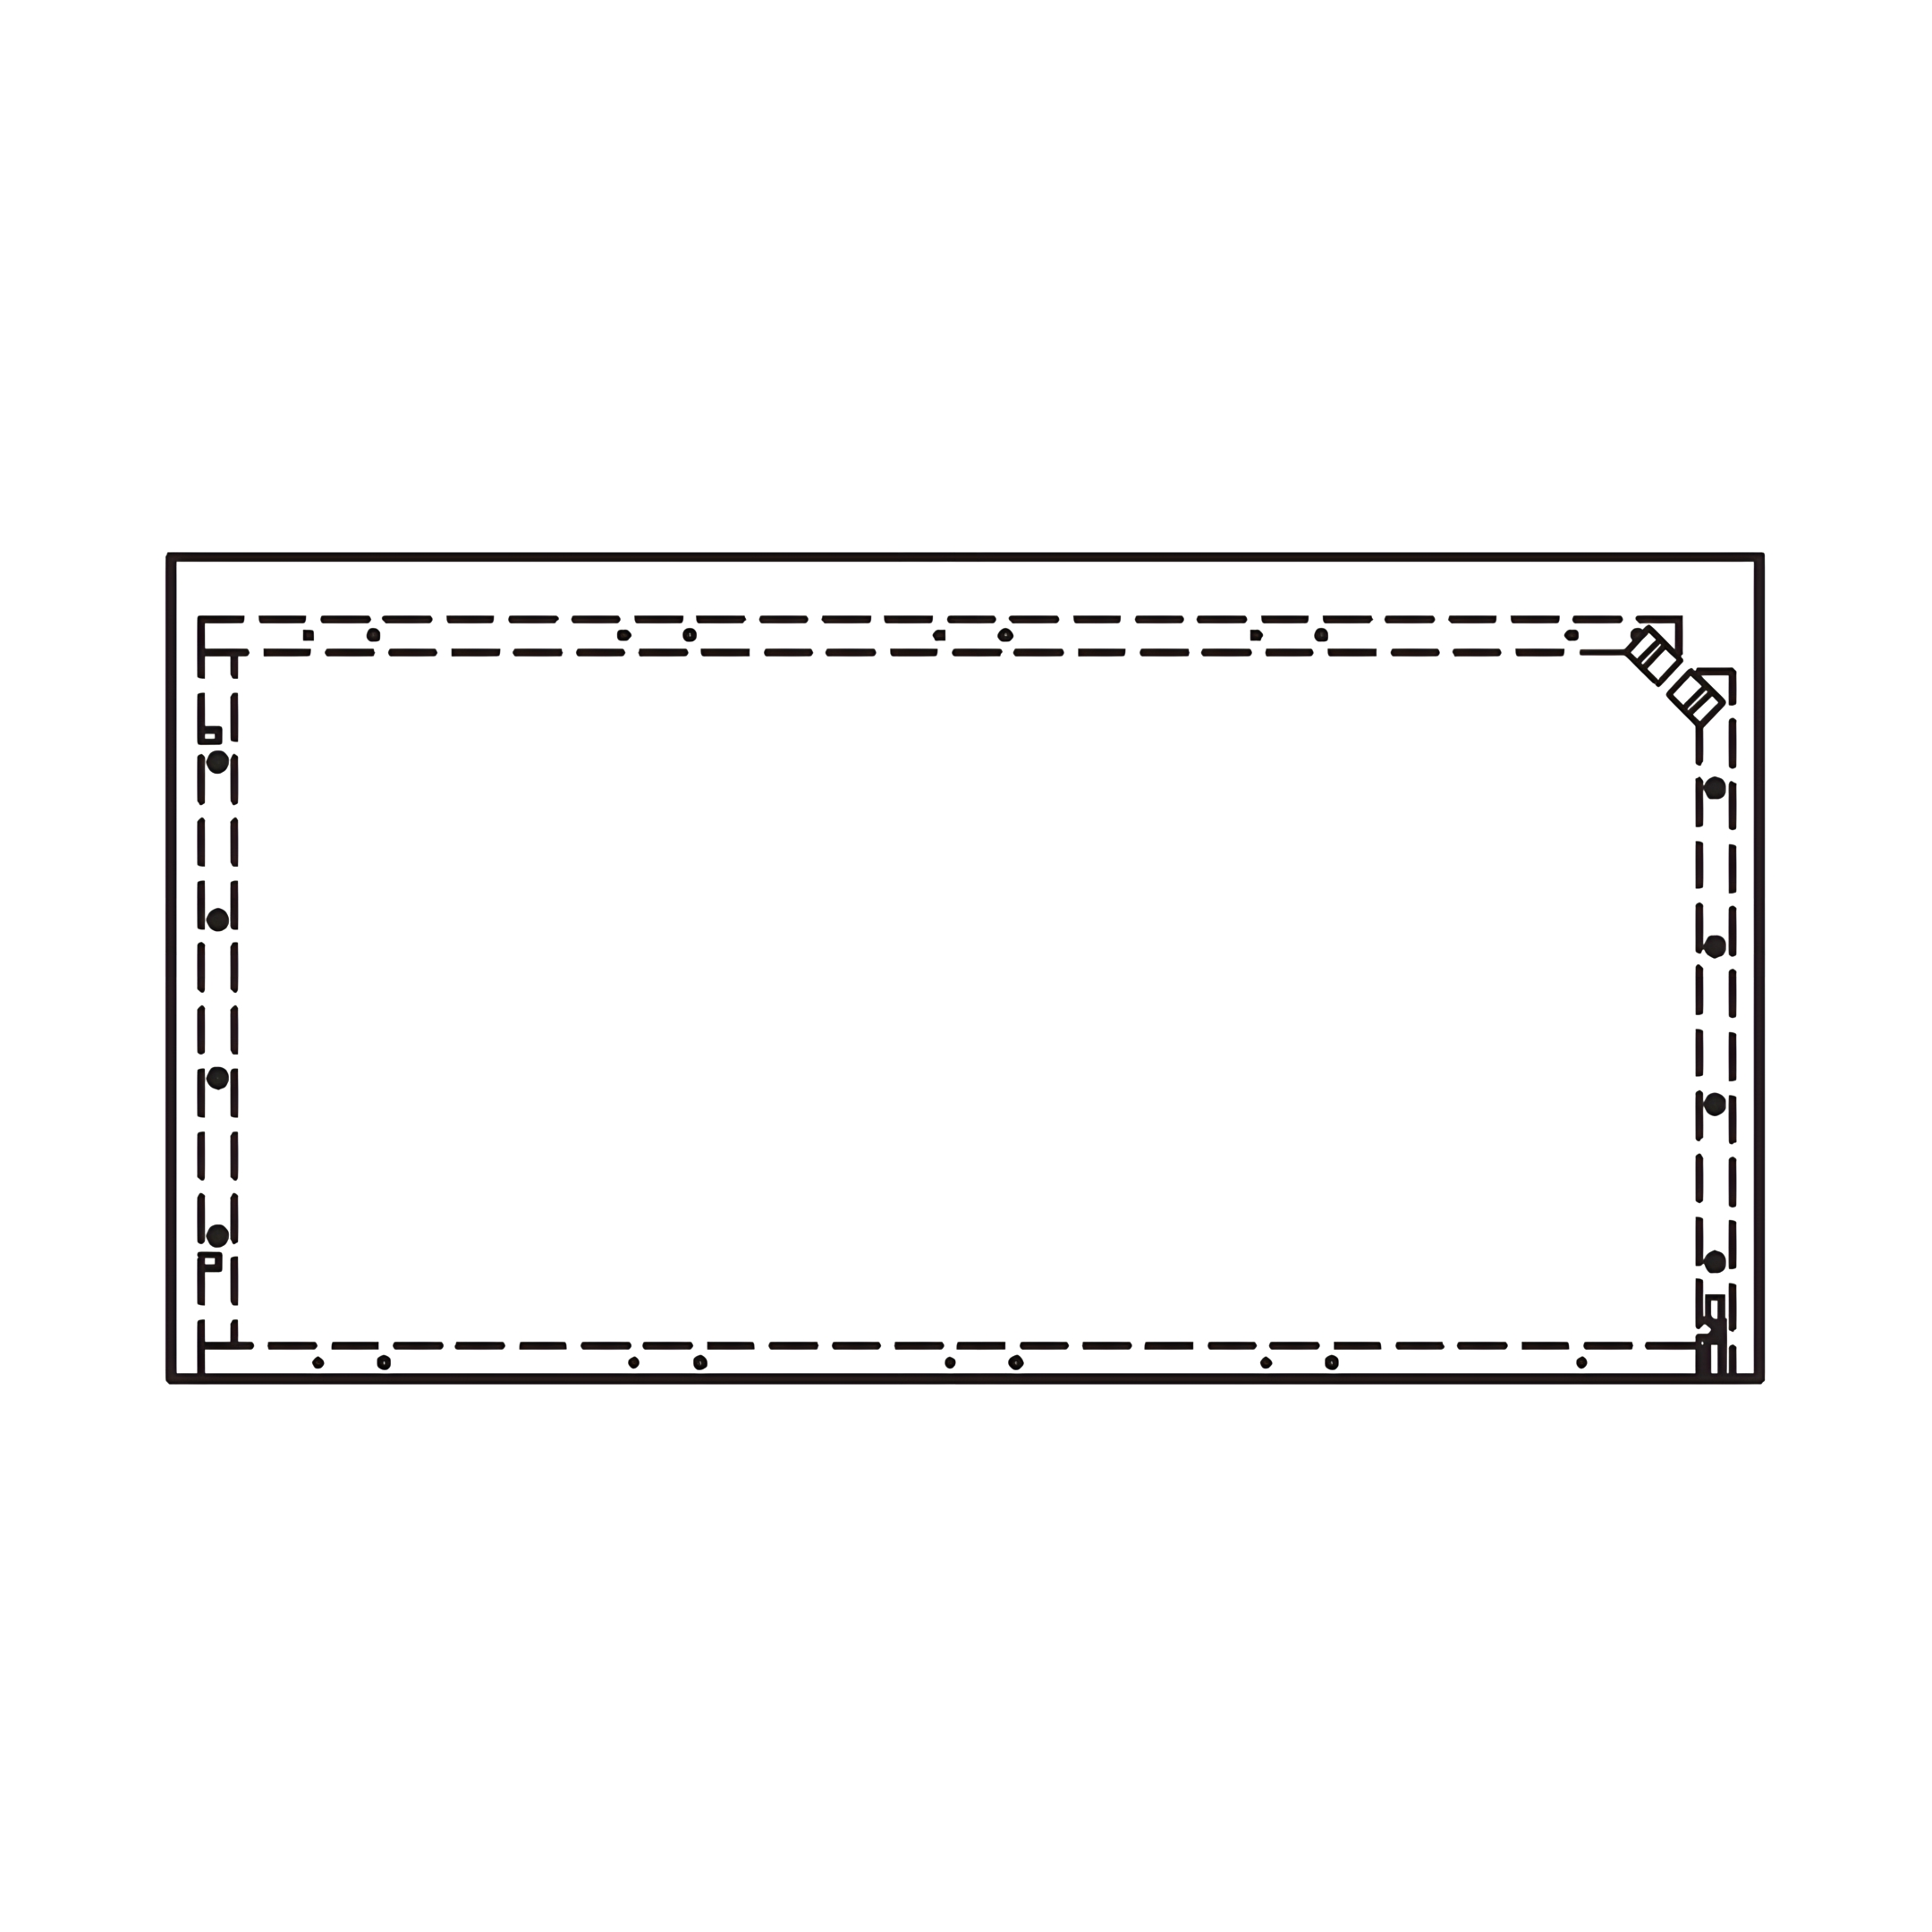
1. Lay out the Set of Slats (O) evenly across the bed frame. Ensure that they are aligned properly with the side rails. 2. Secure the slats on the corner using JCBC-W Bolts (9) as shown on the diagram. 3. Fasten the slats in place with CSK Screws (10) by inserting them through the pre-drilled holes tightening them.
10. Final Check
Verify that all slats are securely fastened and evenly spaced.
Check for any loose connections and tighten the screws if necessary.