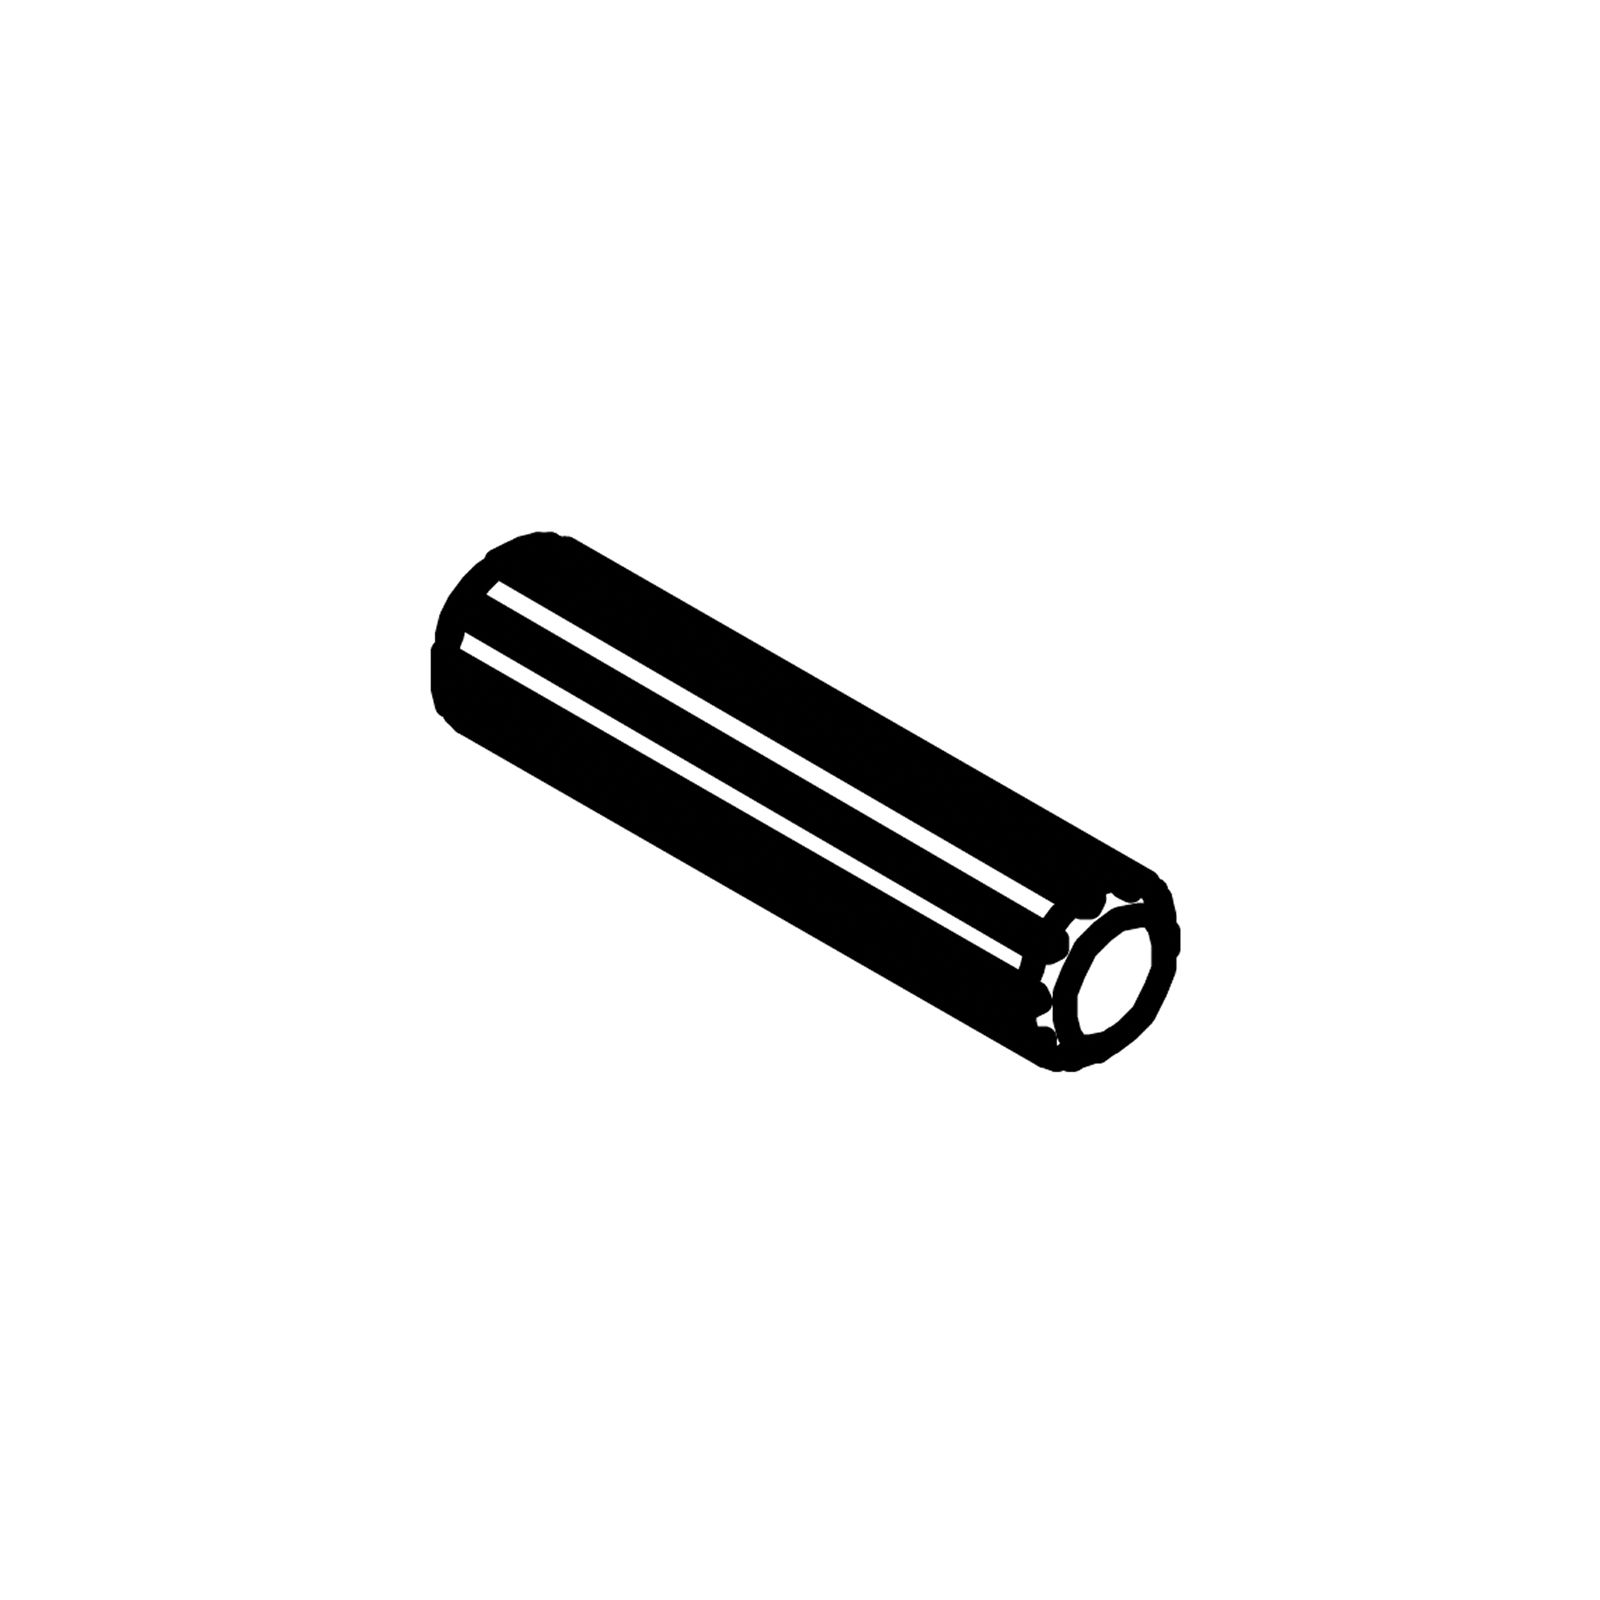


1. Insert Wooden Dowels
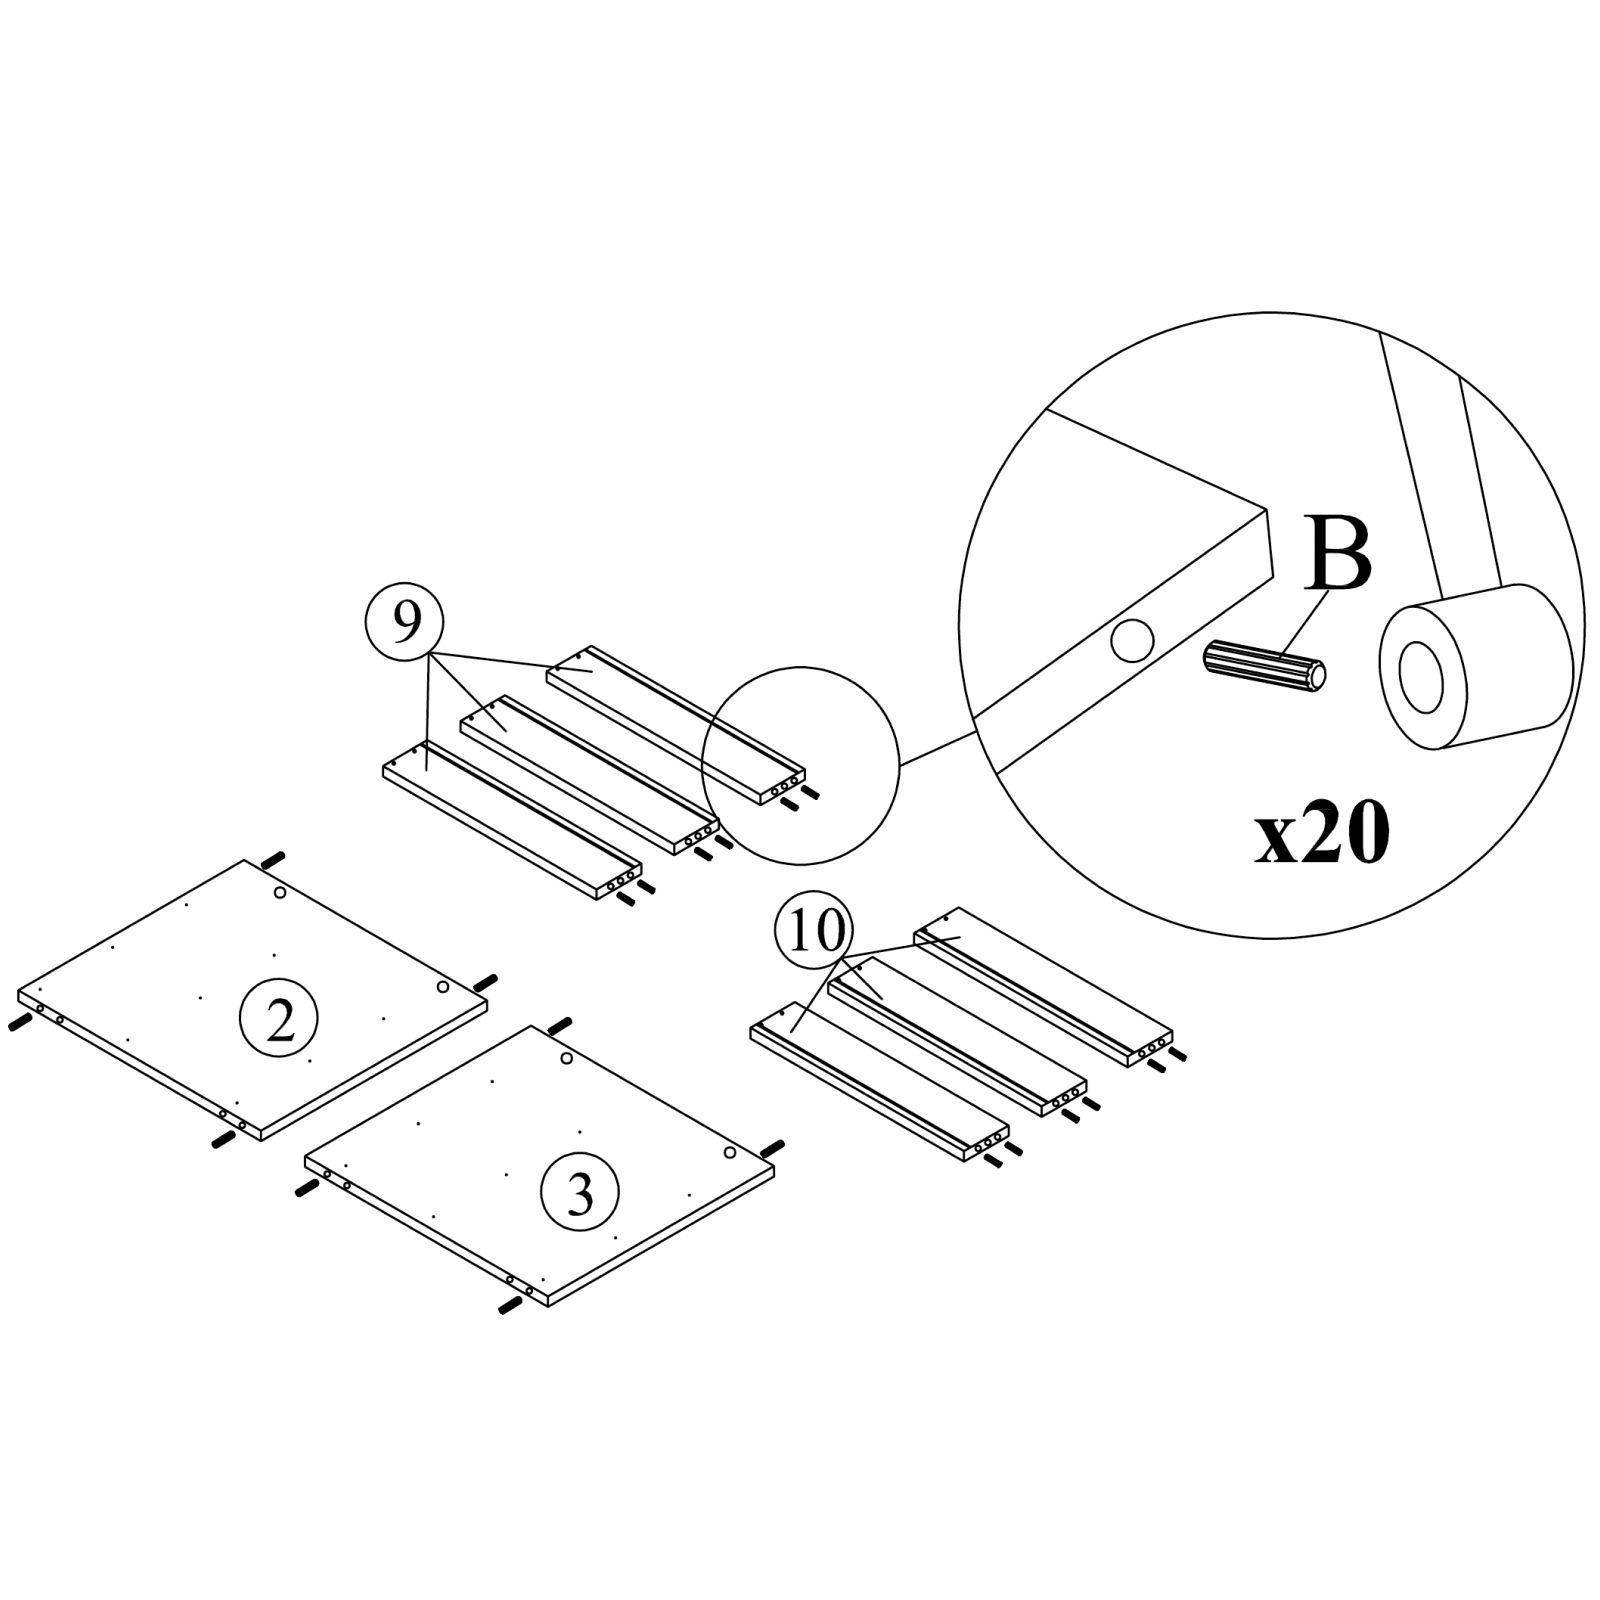
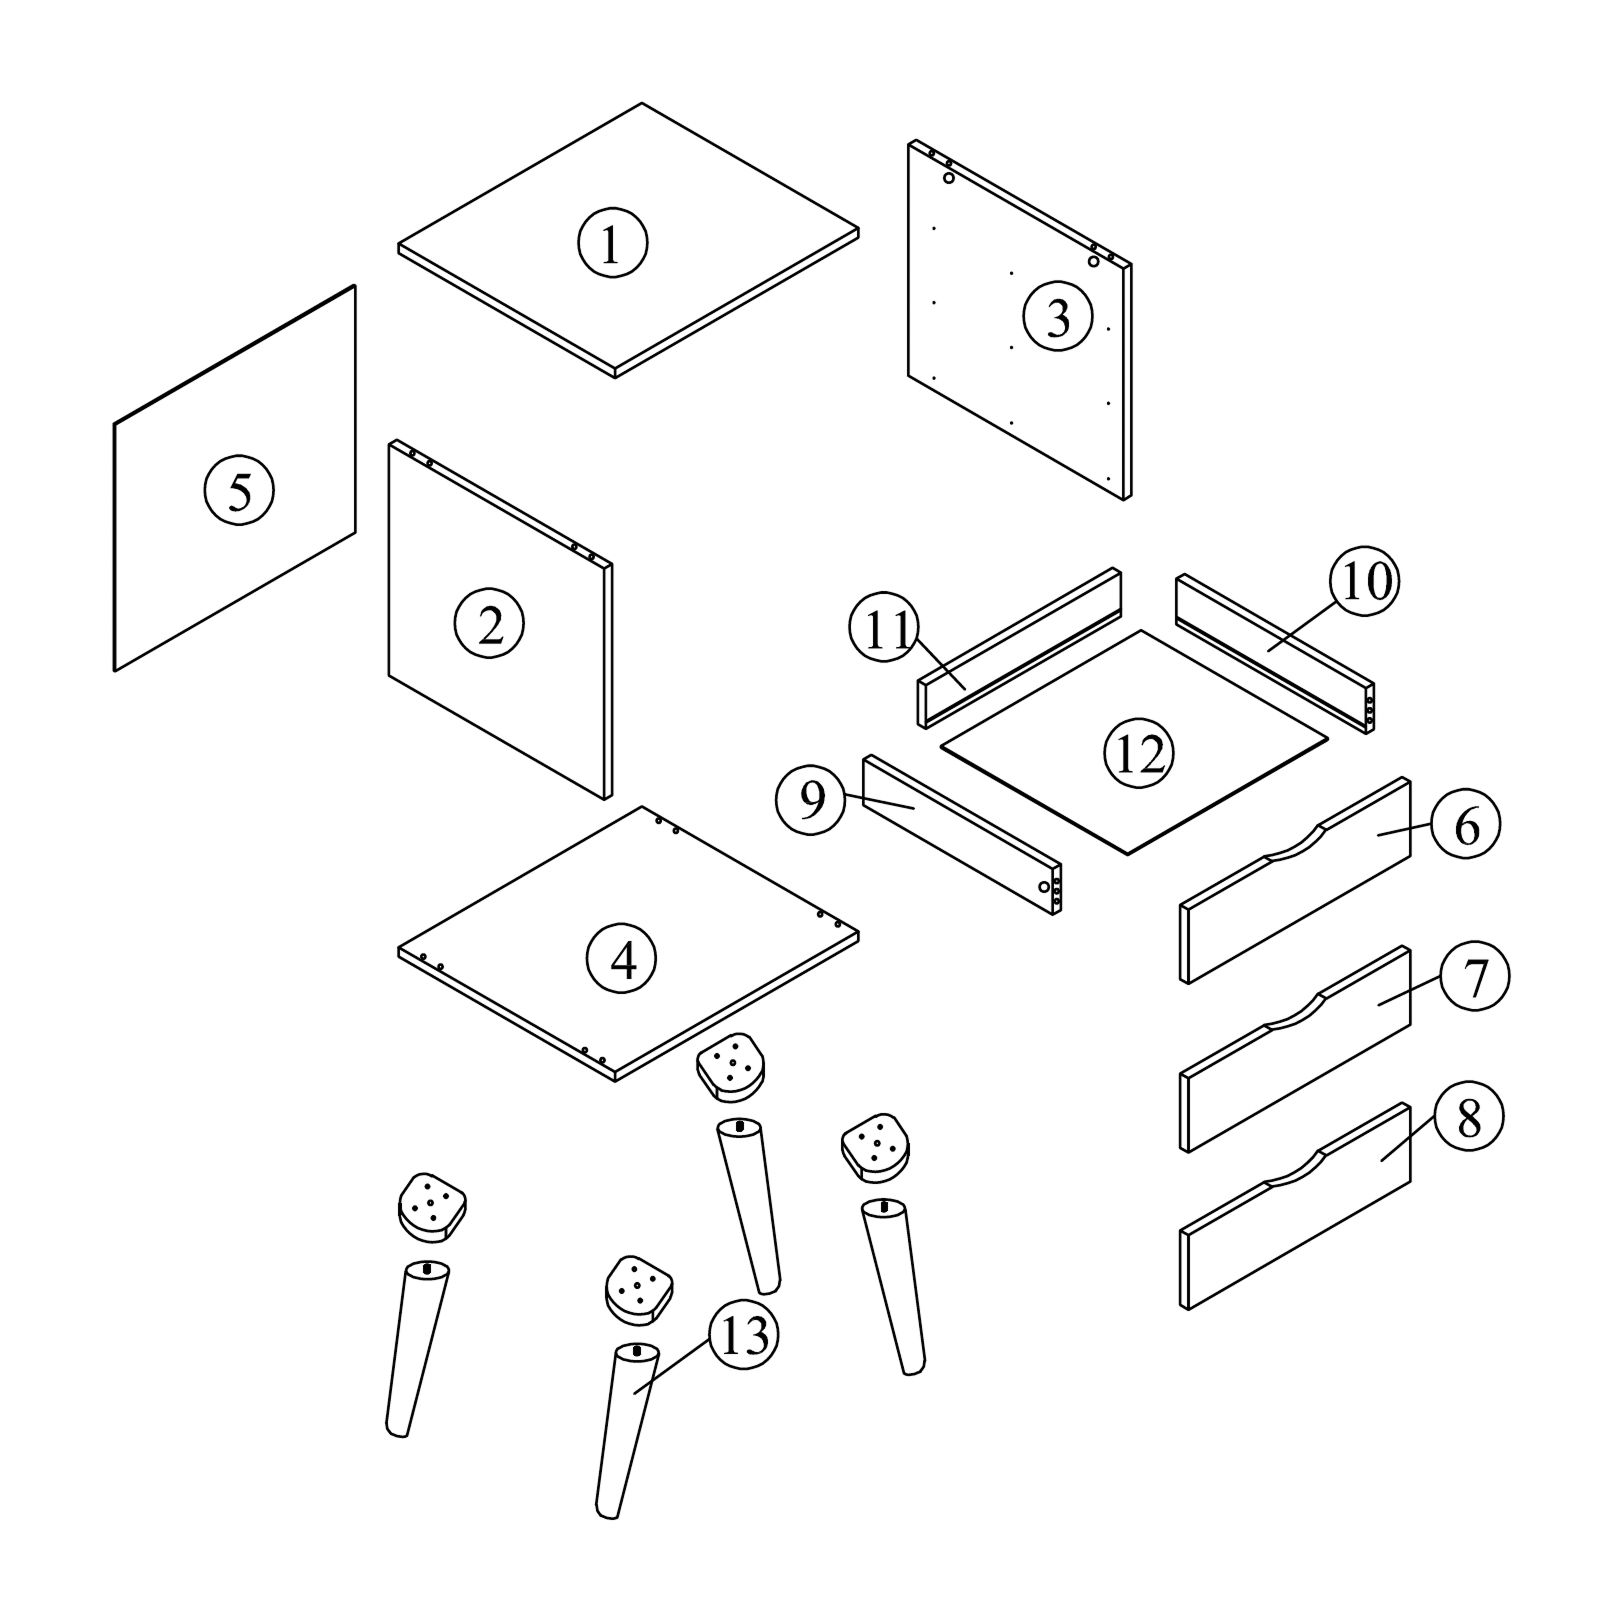
Insert the Plastic Dowels (B) into the pre-drilled holes of the following parts:
- Left Side Panel (2)
- Right Side Panel (3)
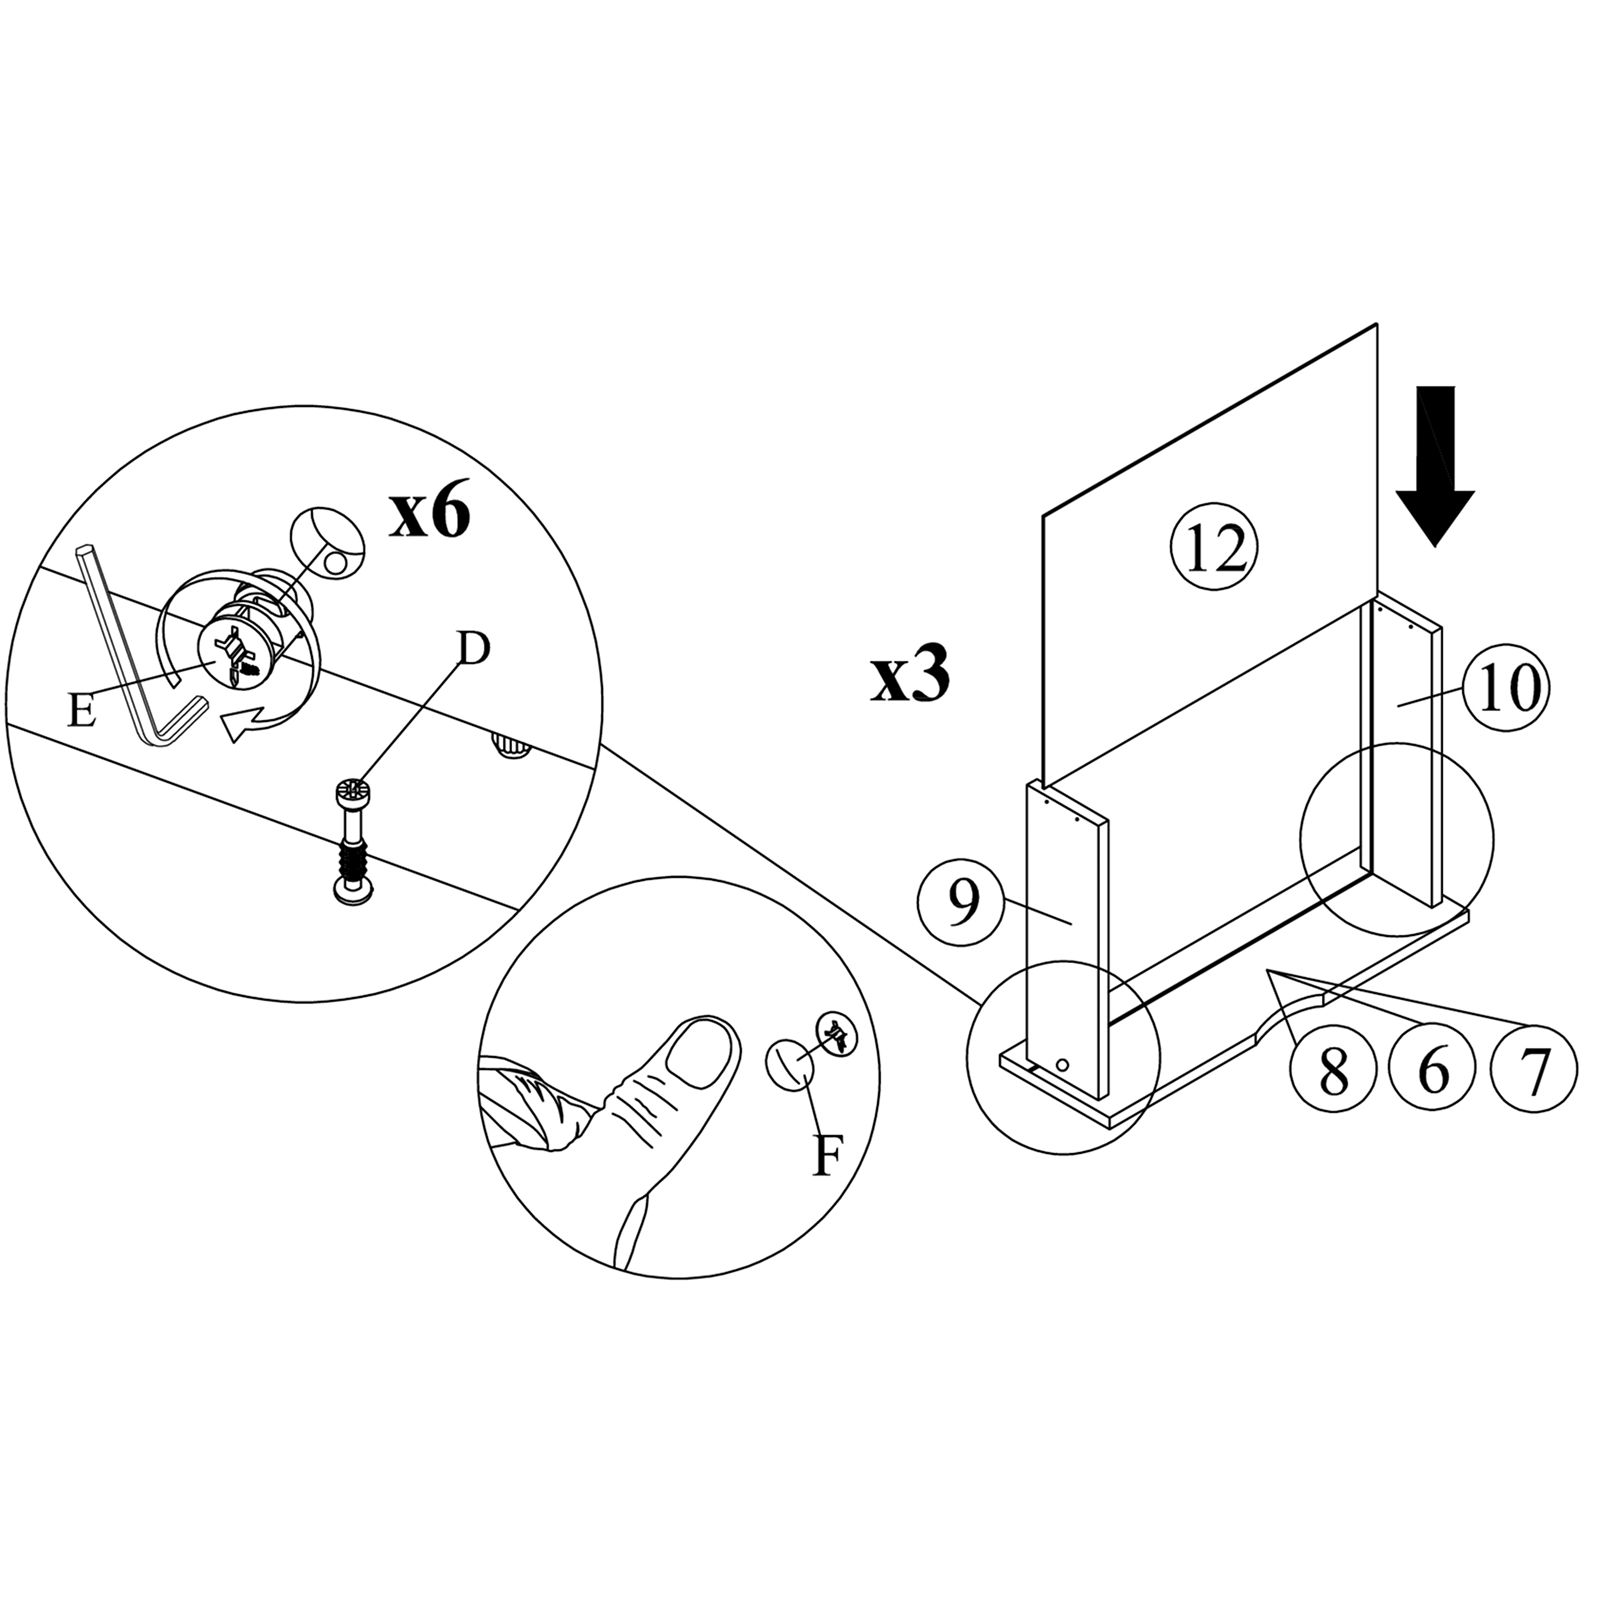
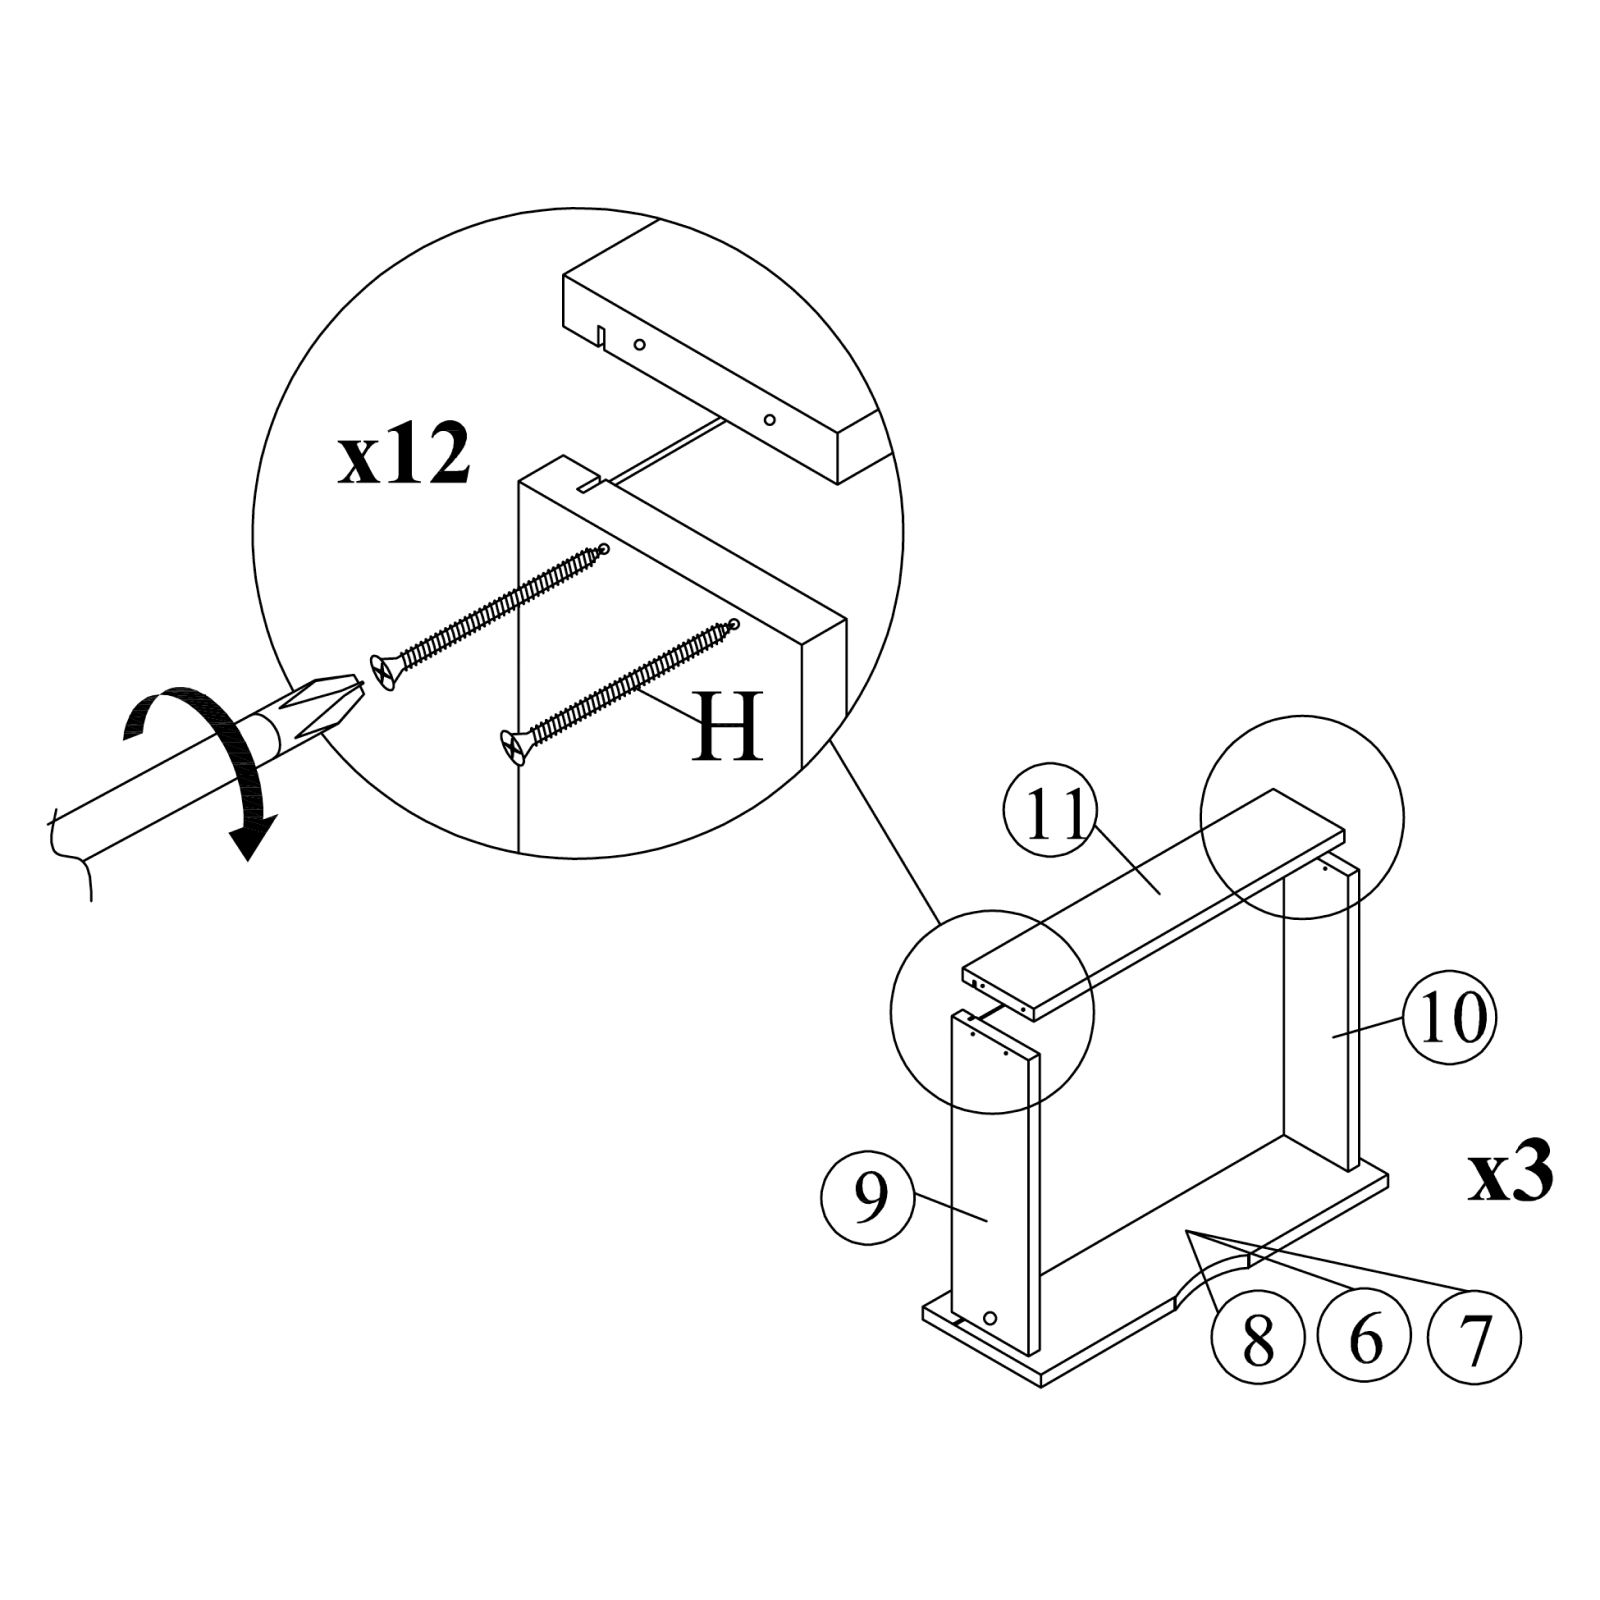
- Drawer Side Panel (L) (9)
- Drawer Side Panel (R) (10)
Ensure the dowels are fully inserted and flush with the surface. A gentle tap with a rubber mallet may help.