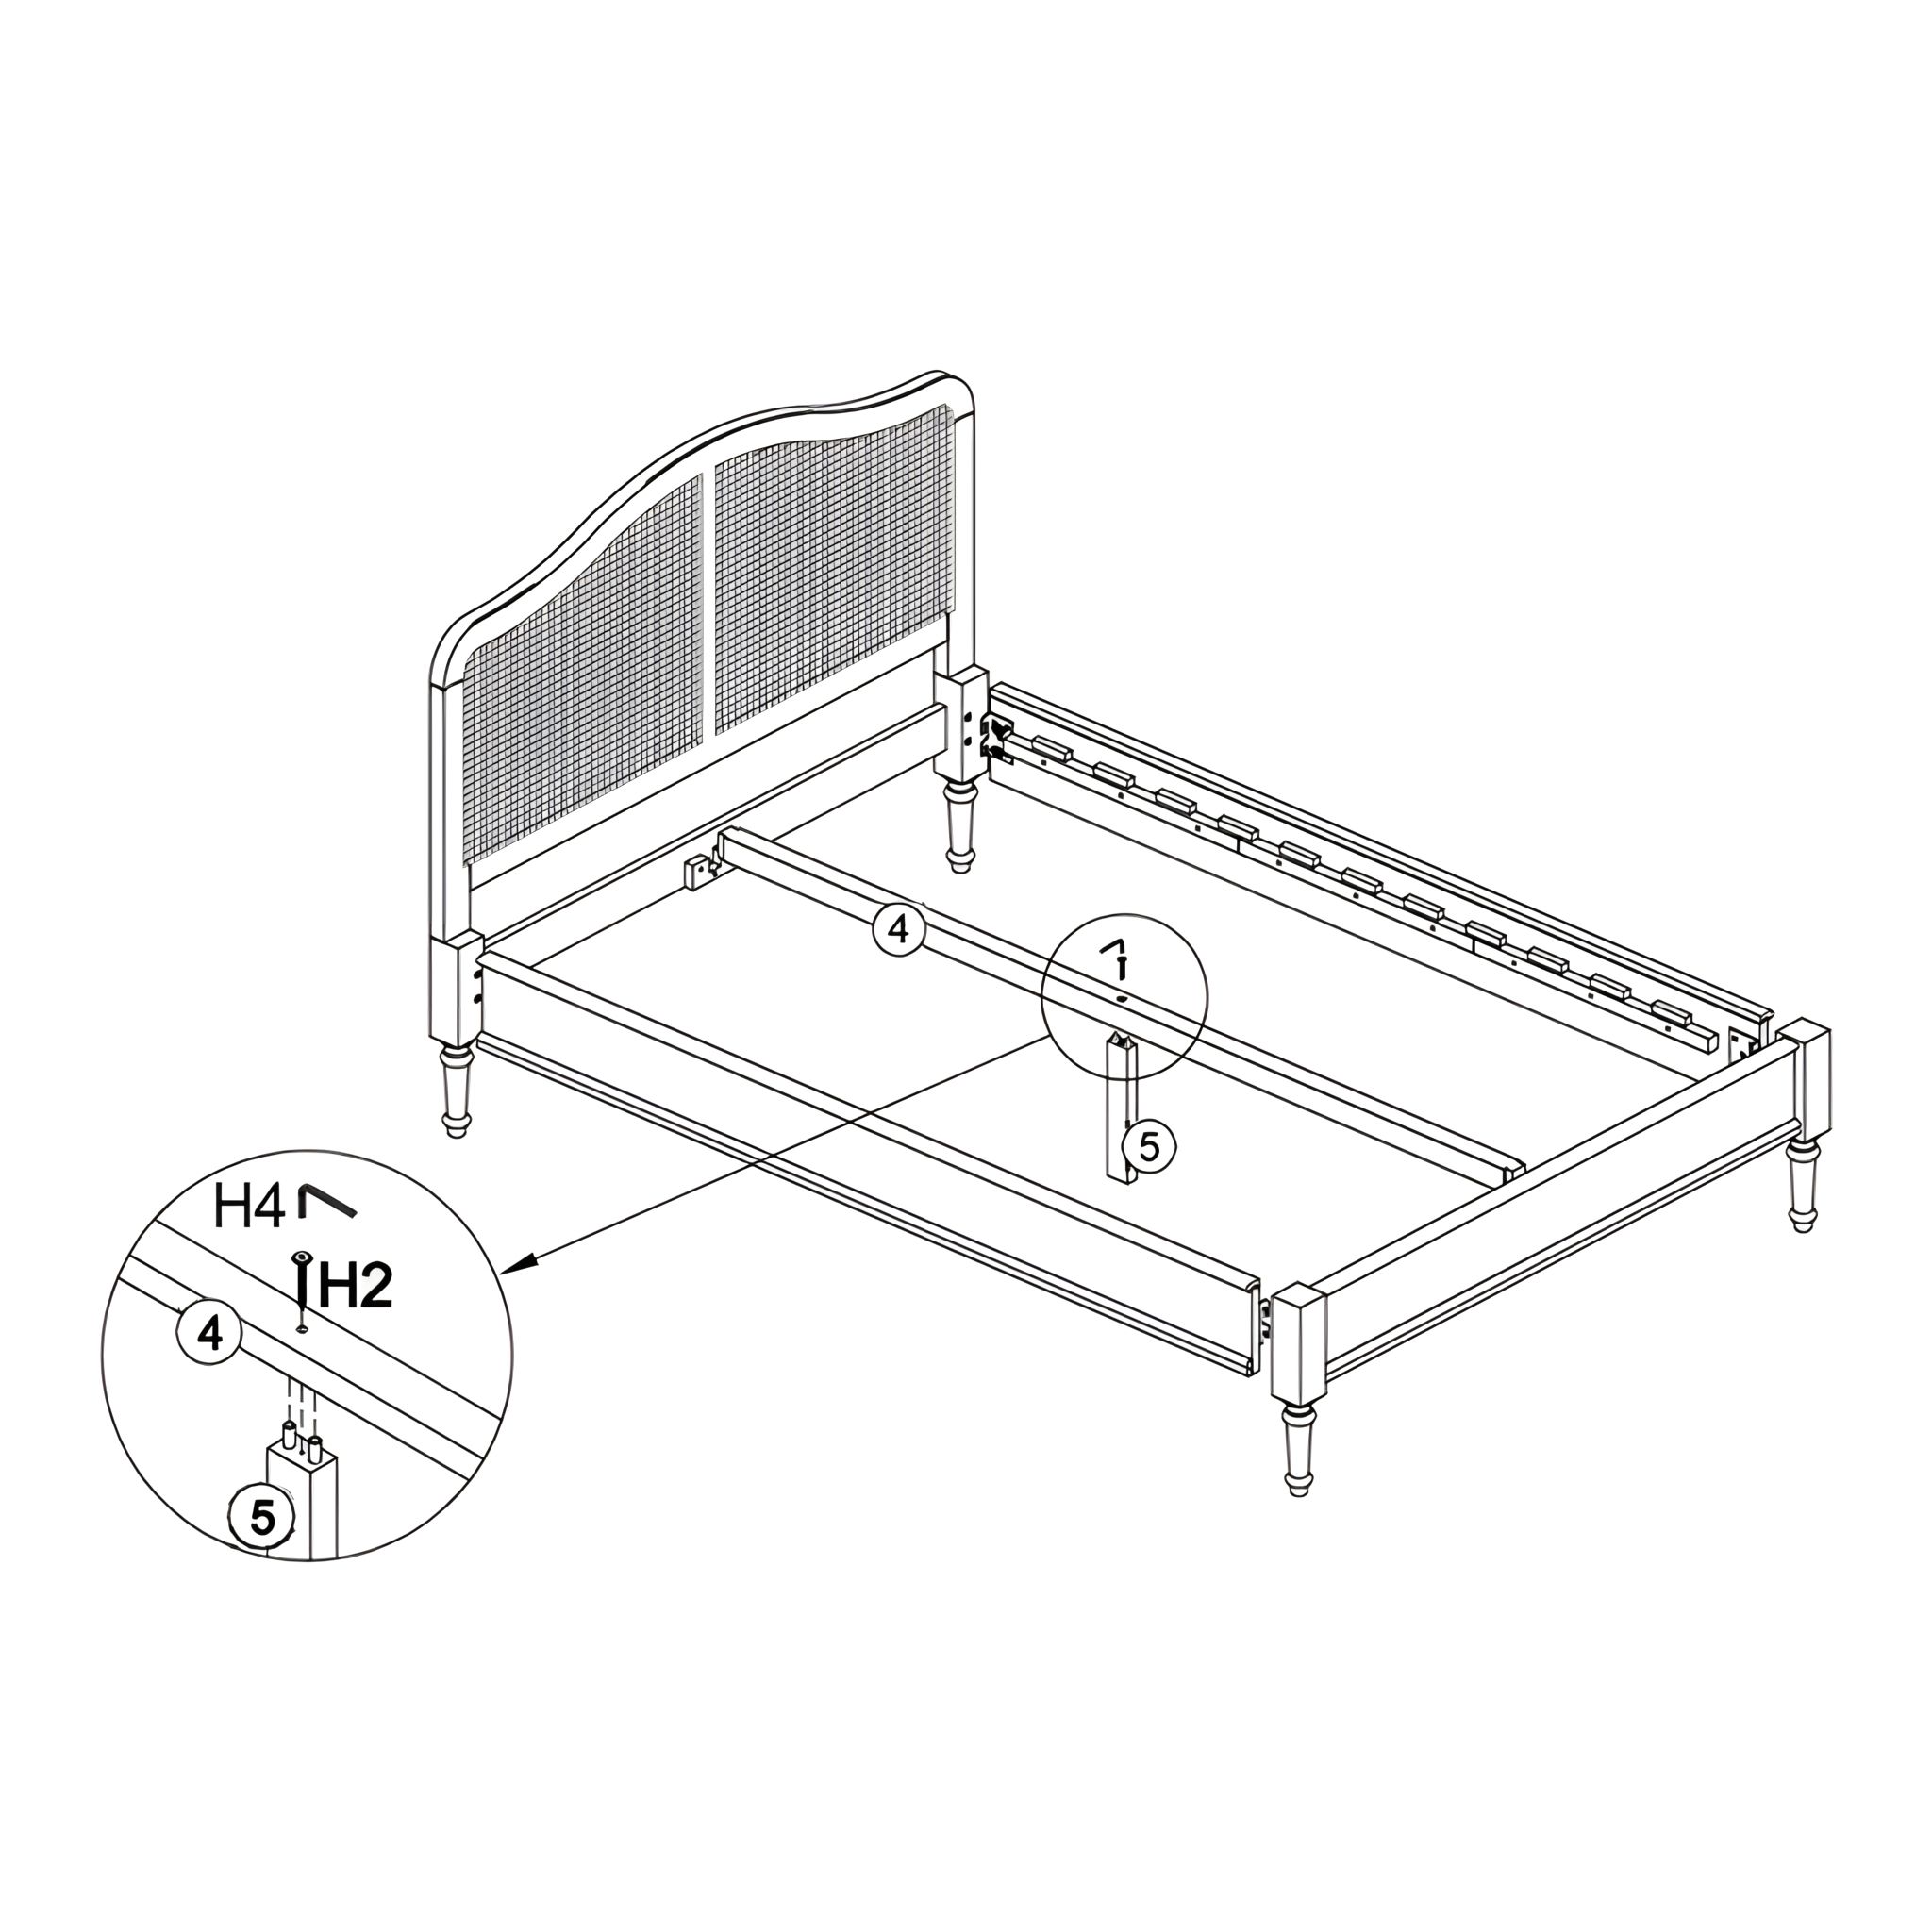
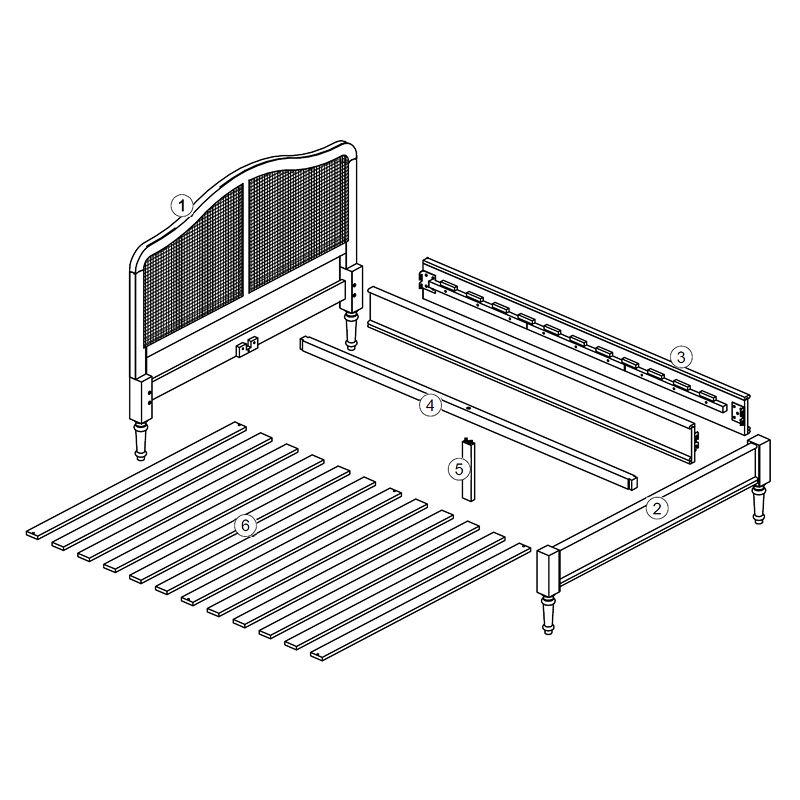
time4sleepwww.time4sleep.co.uk
Instructions by time4sleepLiberty Rattan Wooden Bed Frame
time4sleep

Liberty Rattan Wooden Bed Frame

Liberty Rattan Wooden Bed FrameProduct detailsPartsTools
Steps
1. Side Rails2. Center Support Beam3. Slats4. Final Check

No results

time4sleep
time4sleep / Liberty Rattan Wooden Bed Frame
Image of the Liberty Rattan Wooden Bed Frame
time4sleep

Instructions by

time4sleep

Liberty Rattan Wooden Bed Frame

Assembly instructions for Liberty Rattan Wooden Bed Frame by Time4Sleep

Product Information

Bed Sizes

Liberty Rattan Wooden Bed Frame

The Liberty Rattan bed is lovingly finished in an antique white paint which enables it to easily fit into a wide range of bedroom decors. Complete with a solid slatted wooden base, this frame is sturdy and durable - giving you peace of mind and a good night's sleep.
View product (opens in new tab)
SKU
libertyrattan-1, libertyrattan-2
Double
Width145 cm
Length203 cm
Head End Height116 cm
Foot End Height36 cm
Product details
  • TitleLiberty Rattan Wooden Bed Frame
  • WebsiteView on website (opens in new tab)

Tools

H1 Screws
H1 Screws
H2 Screw
H2 Screw
H3 Screw
H3 Screw
H4 Allen Key
H4 Allen Key
H5 Allen Key
H5 Allen Key

Parts

Parts
1Headboard
2Footboard
3Side Rails
4Center Support Beam
5Center Support Leg
6Slats

1. Side Rails

Attach the Side Rails

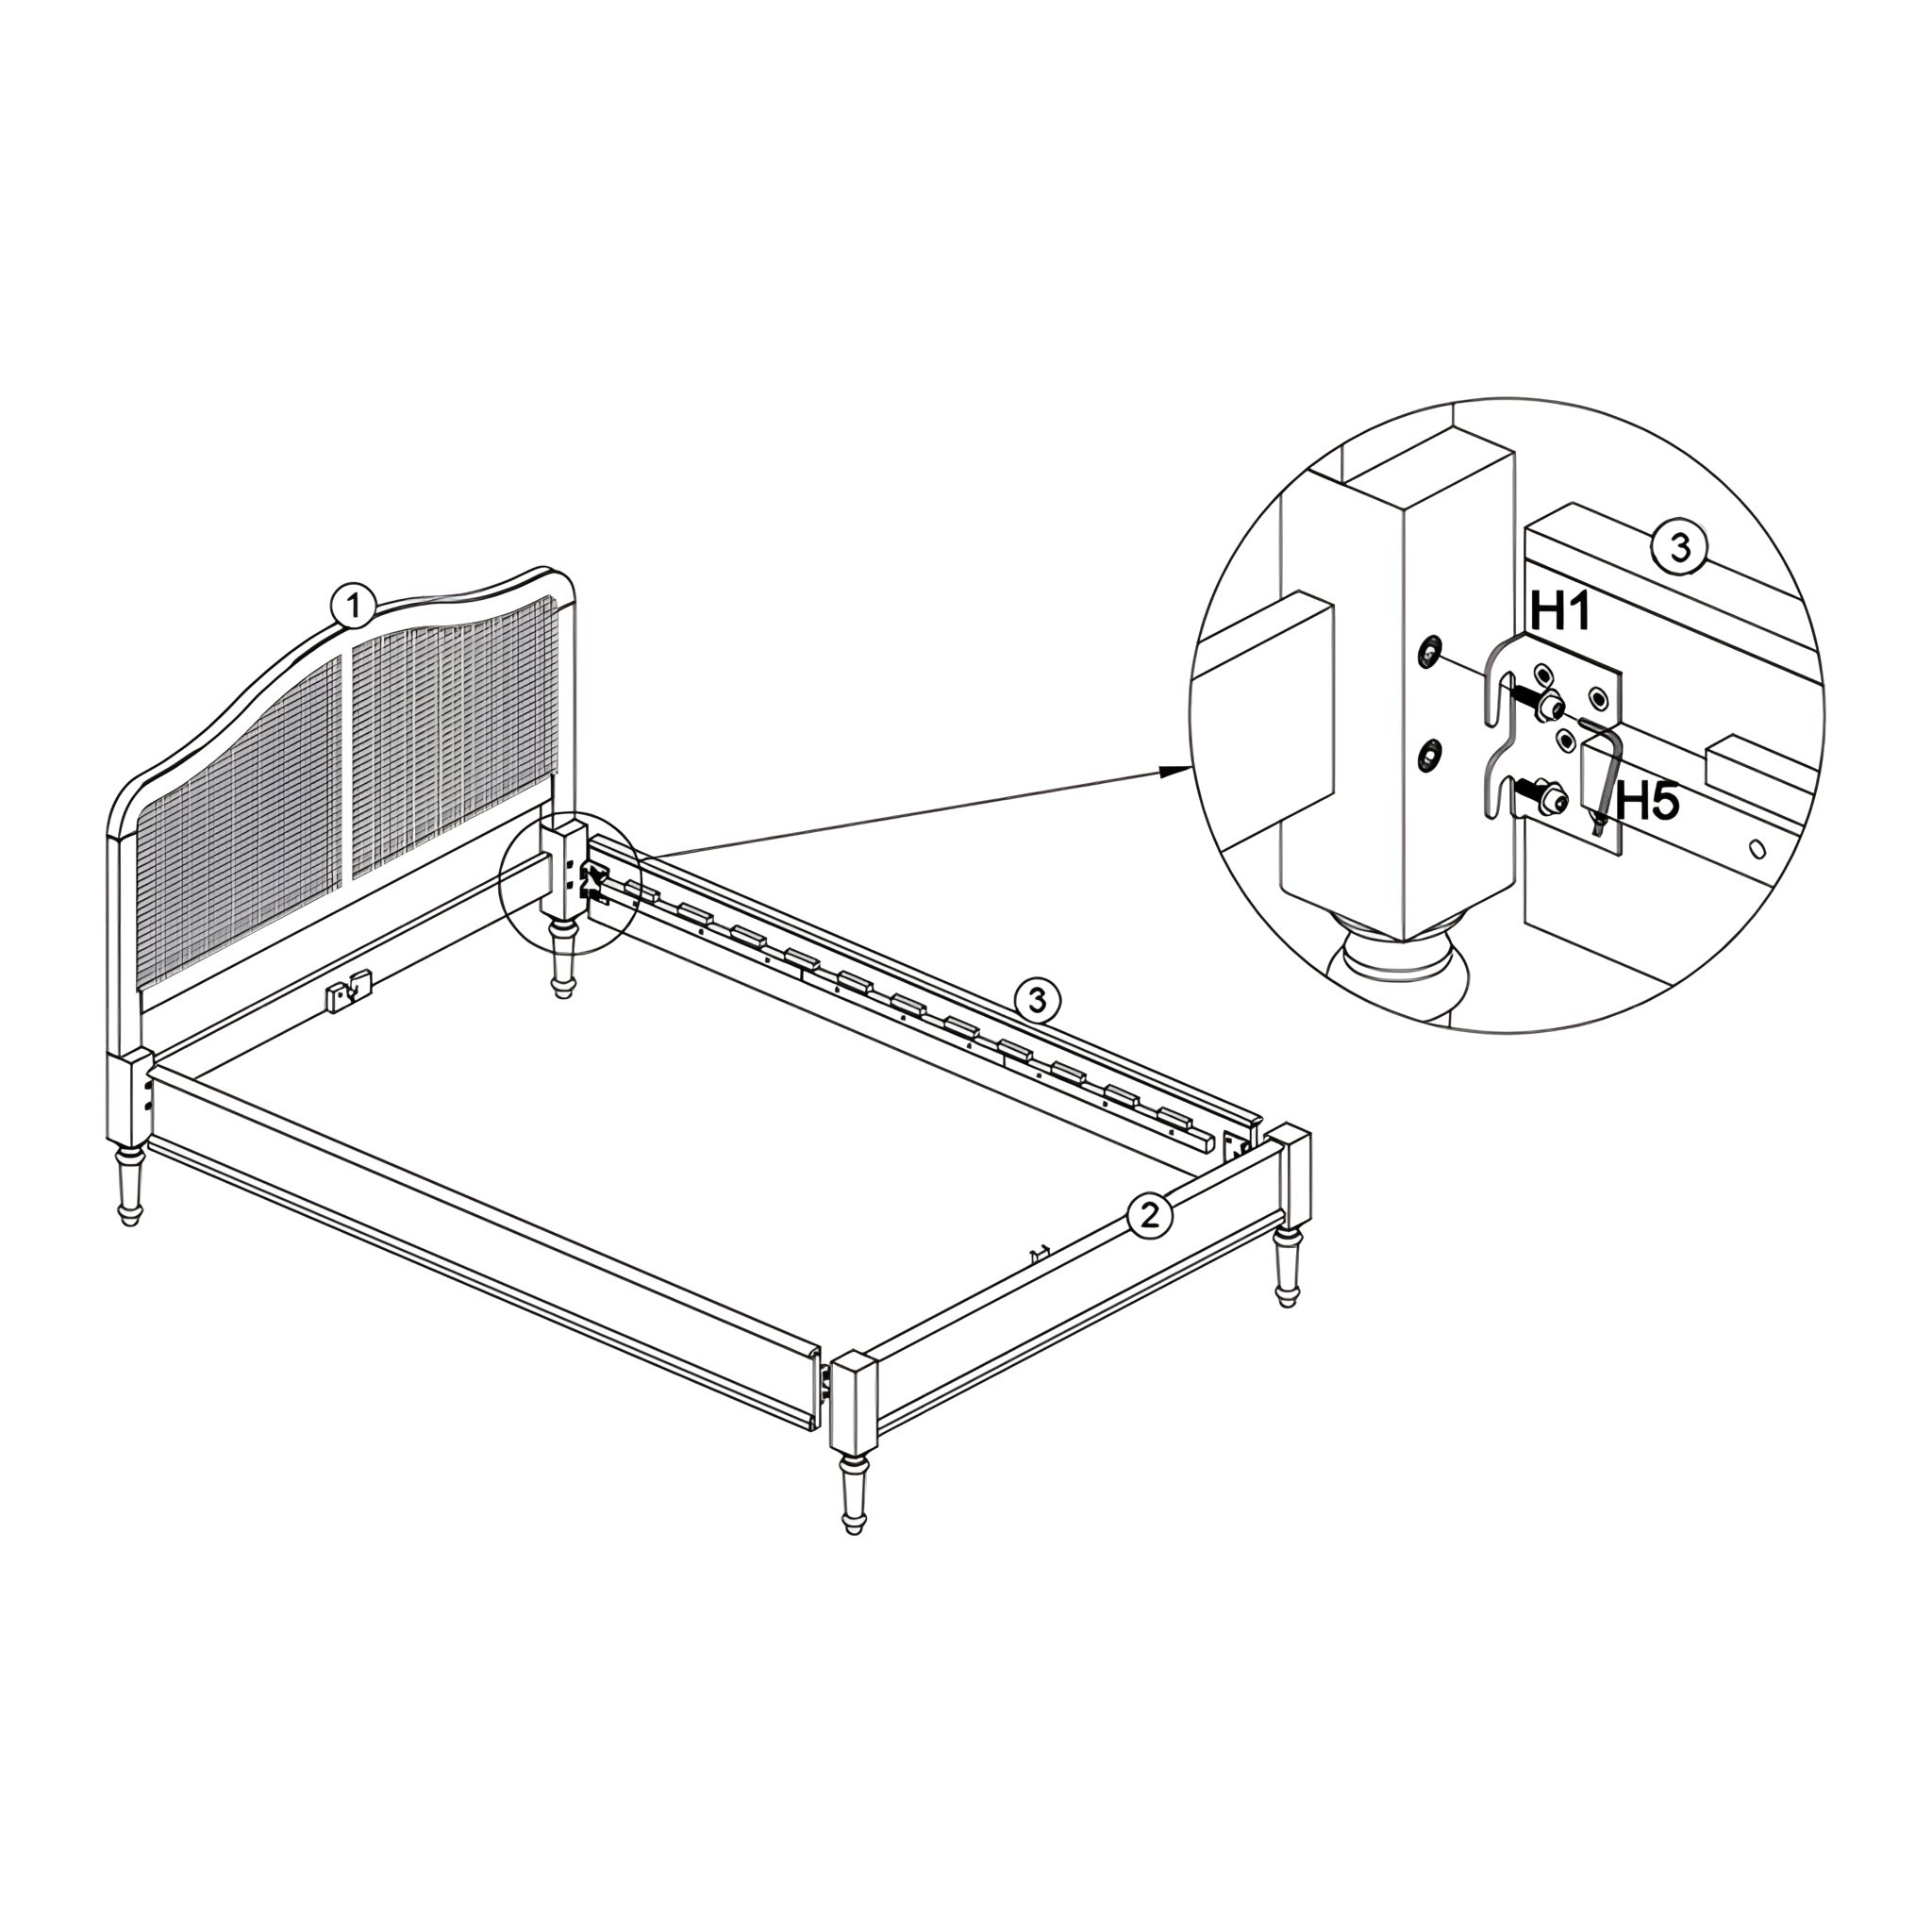
Attach the Side Rails to the Headboard and Footboard

1. Position the side rails (3) between the headboard (1) and footboard (2).
2. Align the brackets on the side rails with the mounting points on the headboard and footboard.
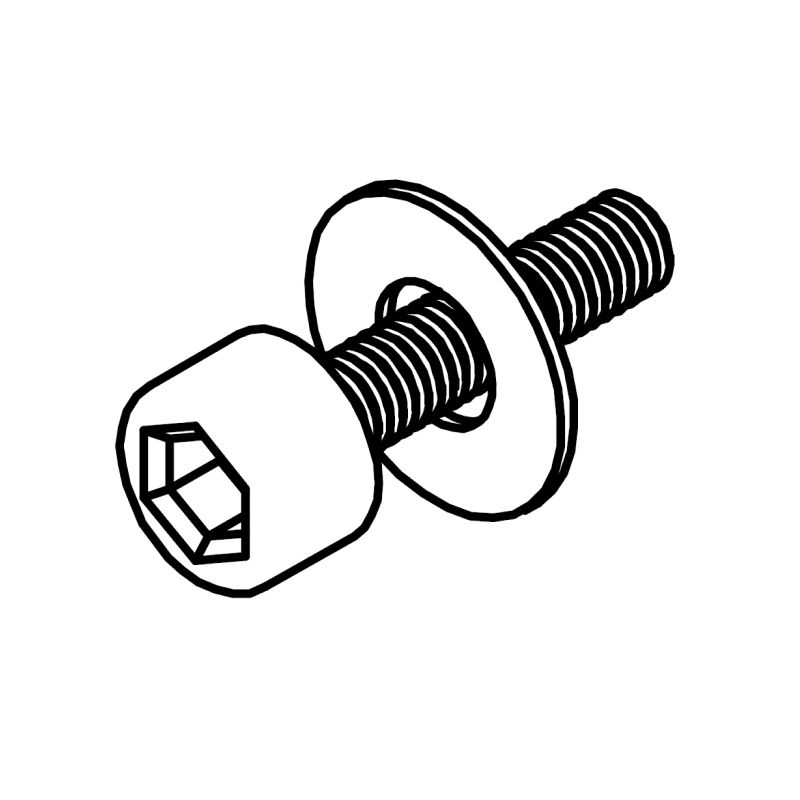
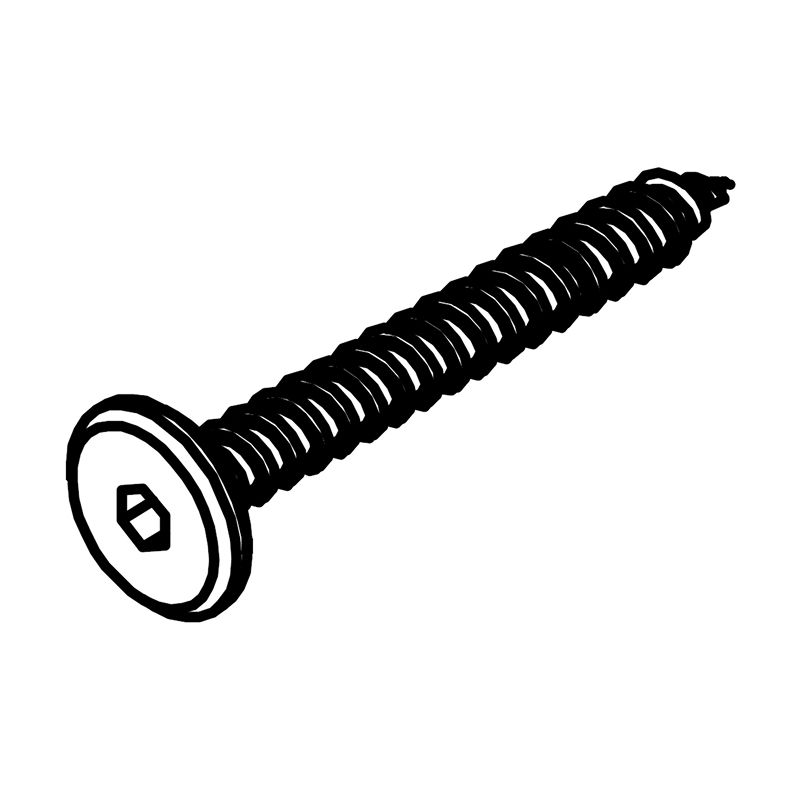
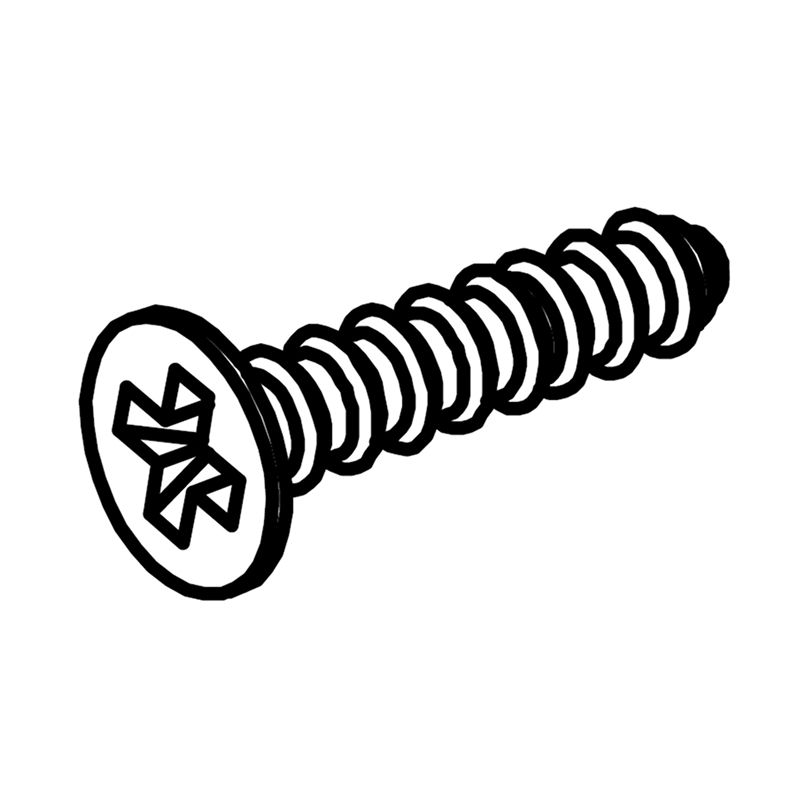
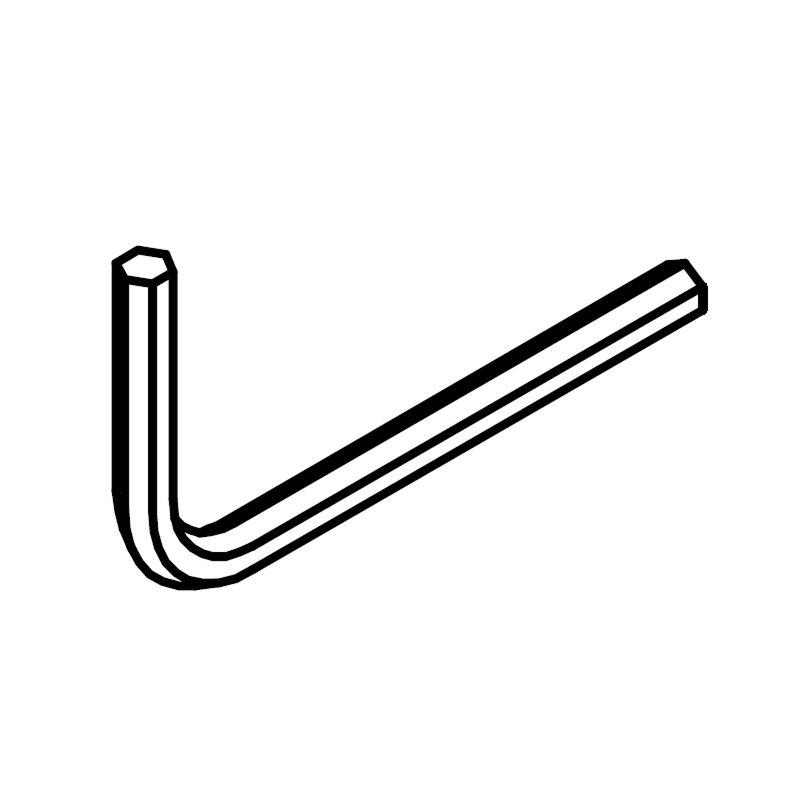
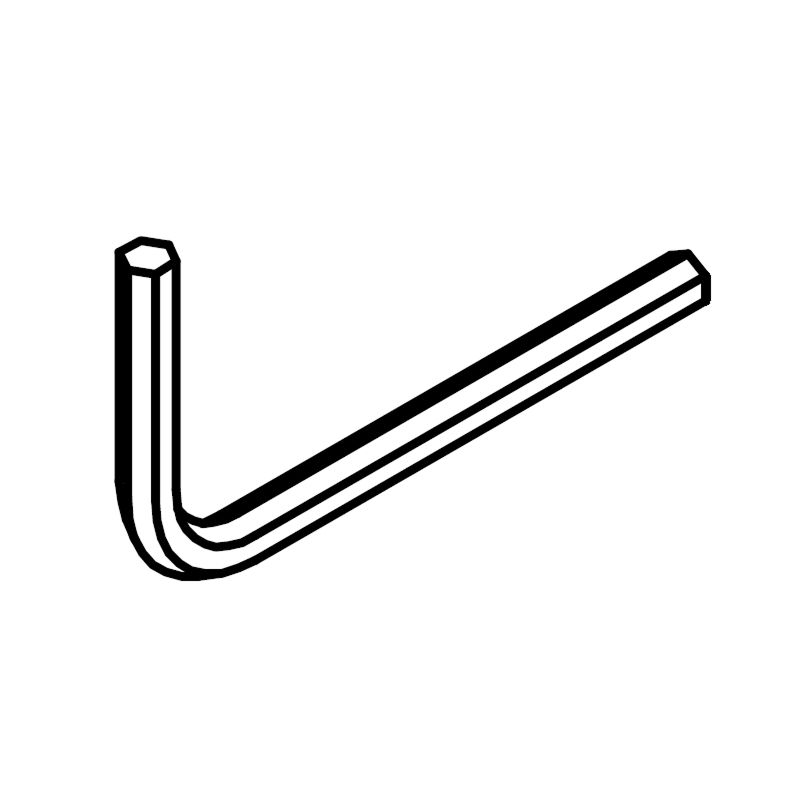
3. Secure the side rails using screws (H1) and tighten them with the Allen key (H5), as shown in the close-up detail.

2. Center Support Beam

Install the Center Support Beam

1. Place the center support beam (4) across the middle section of the bed frame.
2. Attach the center leg (5) to the bottom of the support beam.
3. Secure the center leg (5) using screw (H2) and tighten it with the Allen key (H4) as shown in the close-up detail.

3. Slats

Install the Slats

1. Lay out all the slats (6) evenly across the bed frame, ensuring they are aligned properly with the side rails and center support.
2. Using the H3 screws, fasten the six slats with pre-drilled holes to the side rails.
3. Check that the attached slats provide adequate support and stability for the mattress.

4. Final Check

  • Verify that all slats are securely fastened and evenly spaced.
  • Check for any loose connections and tighten the screws if necessary.
time4sleep
time4sleep (opens in new tab)Terms (opens in new tab)Privacy (opens in new tab)