time4sleepwww.time4sleep.co.uk
Instructions by time4sleepLiv & Lou Compact Single Guest Sleepover UnderBed
time4sleep

Liv & Lou Compact Single Guest Sleepover UnderBed

Liv & Lou Compact Single Guest Sleepover UnderBed
Before you start
Important - Please read these instructions fully before starting assemblyGlue safety - Take care when using glue, please follow the advise belowCare and maintenancePartsTools
Steps
1. Assembling the Frame2. Securing the Central Slats3. Attaching the Remaining Slats4. Final Check

No results

time4sleep
time4sleep / Liv & Lou Compact Single Guest Sleepover UnderBed
Liv & Lou Compact Single Guest Sleepover UnderBed
time4sleep

Instructions by

time4sleep

Liv & Lou Compact Single Guest Sleepover UnderBed

Assembly instructions for Liv & Lou Compact Single Guest Sleepover UnderBed by Time4Sleep.

Product Information

Liv & Lou White Compact Single Guest Sleepover UnderBed

Liv & Lou White Compact Single Guest Sleepover UnderBed

Liv & Lou White Compact Single Sleepover Frame Only. The under bed is designed to stow under the main bed and is a Compact Single size 75cm x 180cm 2'6 x 6'0. The compatible mattress must be a compact single size and should be not exceed 17cm in height. Please note this is the underbed only and does not include the main frame.
View product (opens in new tab)
SKU
sleepoverwhite1
Compact Single
Width80 cm
Length187 cm
Height27 cm

Important - Please read these instructions fully before starting assembly

  • Check you have all the components and tools listed.
  • Remove all fittings from the plastic bags and separate them into their groups.
  • Keep children and animals away from the work area, small parts could choke if swallowed.
  • Make sure you have enough space to lay out the parts before starting.
  • Do not stand or put weight on the product, this could cause damage.
  • Assemble the item as close to its final position (in the same room) as possible.
  • Assemble on a soft level surface to avoid damaging the unit or your floor.
  • Parts of the assembly will be easier with 2 people.
  • We do not recommend the use of power drills/drivers for inserting screws as this could damage the unit. Only use hand screwdrivers.
  • Dispose all packaging carefully and responsibly.

Glue safety - Take care when using glue, please follow the advise below

  • Skin contact: Remove contamination by washing with soap and water. This procedure should also be followed prior to eating and drinking.
  • Eye contact: Rinse immediately with clean water for 15 minutes and seek medical advise.
  • If swallowed: Seek medical advise immediately.

Care and maintenance

  • Only clean using a damp cloth and mild detergent, do not use bleach or abrasive cleaners
  • From time to time check that there are no loose screws on this unit.
  • This product should not be discarded with household waste. Take to your local authority waste disposal center.

Tools

A - JCBC BOLT (M6 X 35MM)
B - JCBC W SCREW (M7 X 32MM)
C - CSK C/B SCREW (M4 X 32MM)
D - Allen Key (M4 X 60MM)
Crosshead Screw Driver

Parts

Front Panel
Front Panel
Rear Panel
Rear Panel
Side Panel
Side Panel
Wooden Slat
Wooden Slat

1. Assembling the Frame

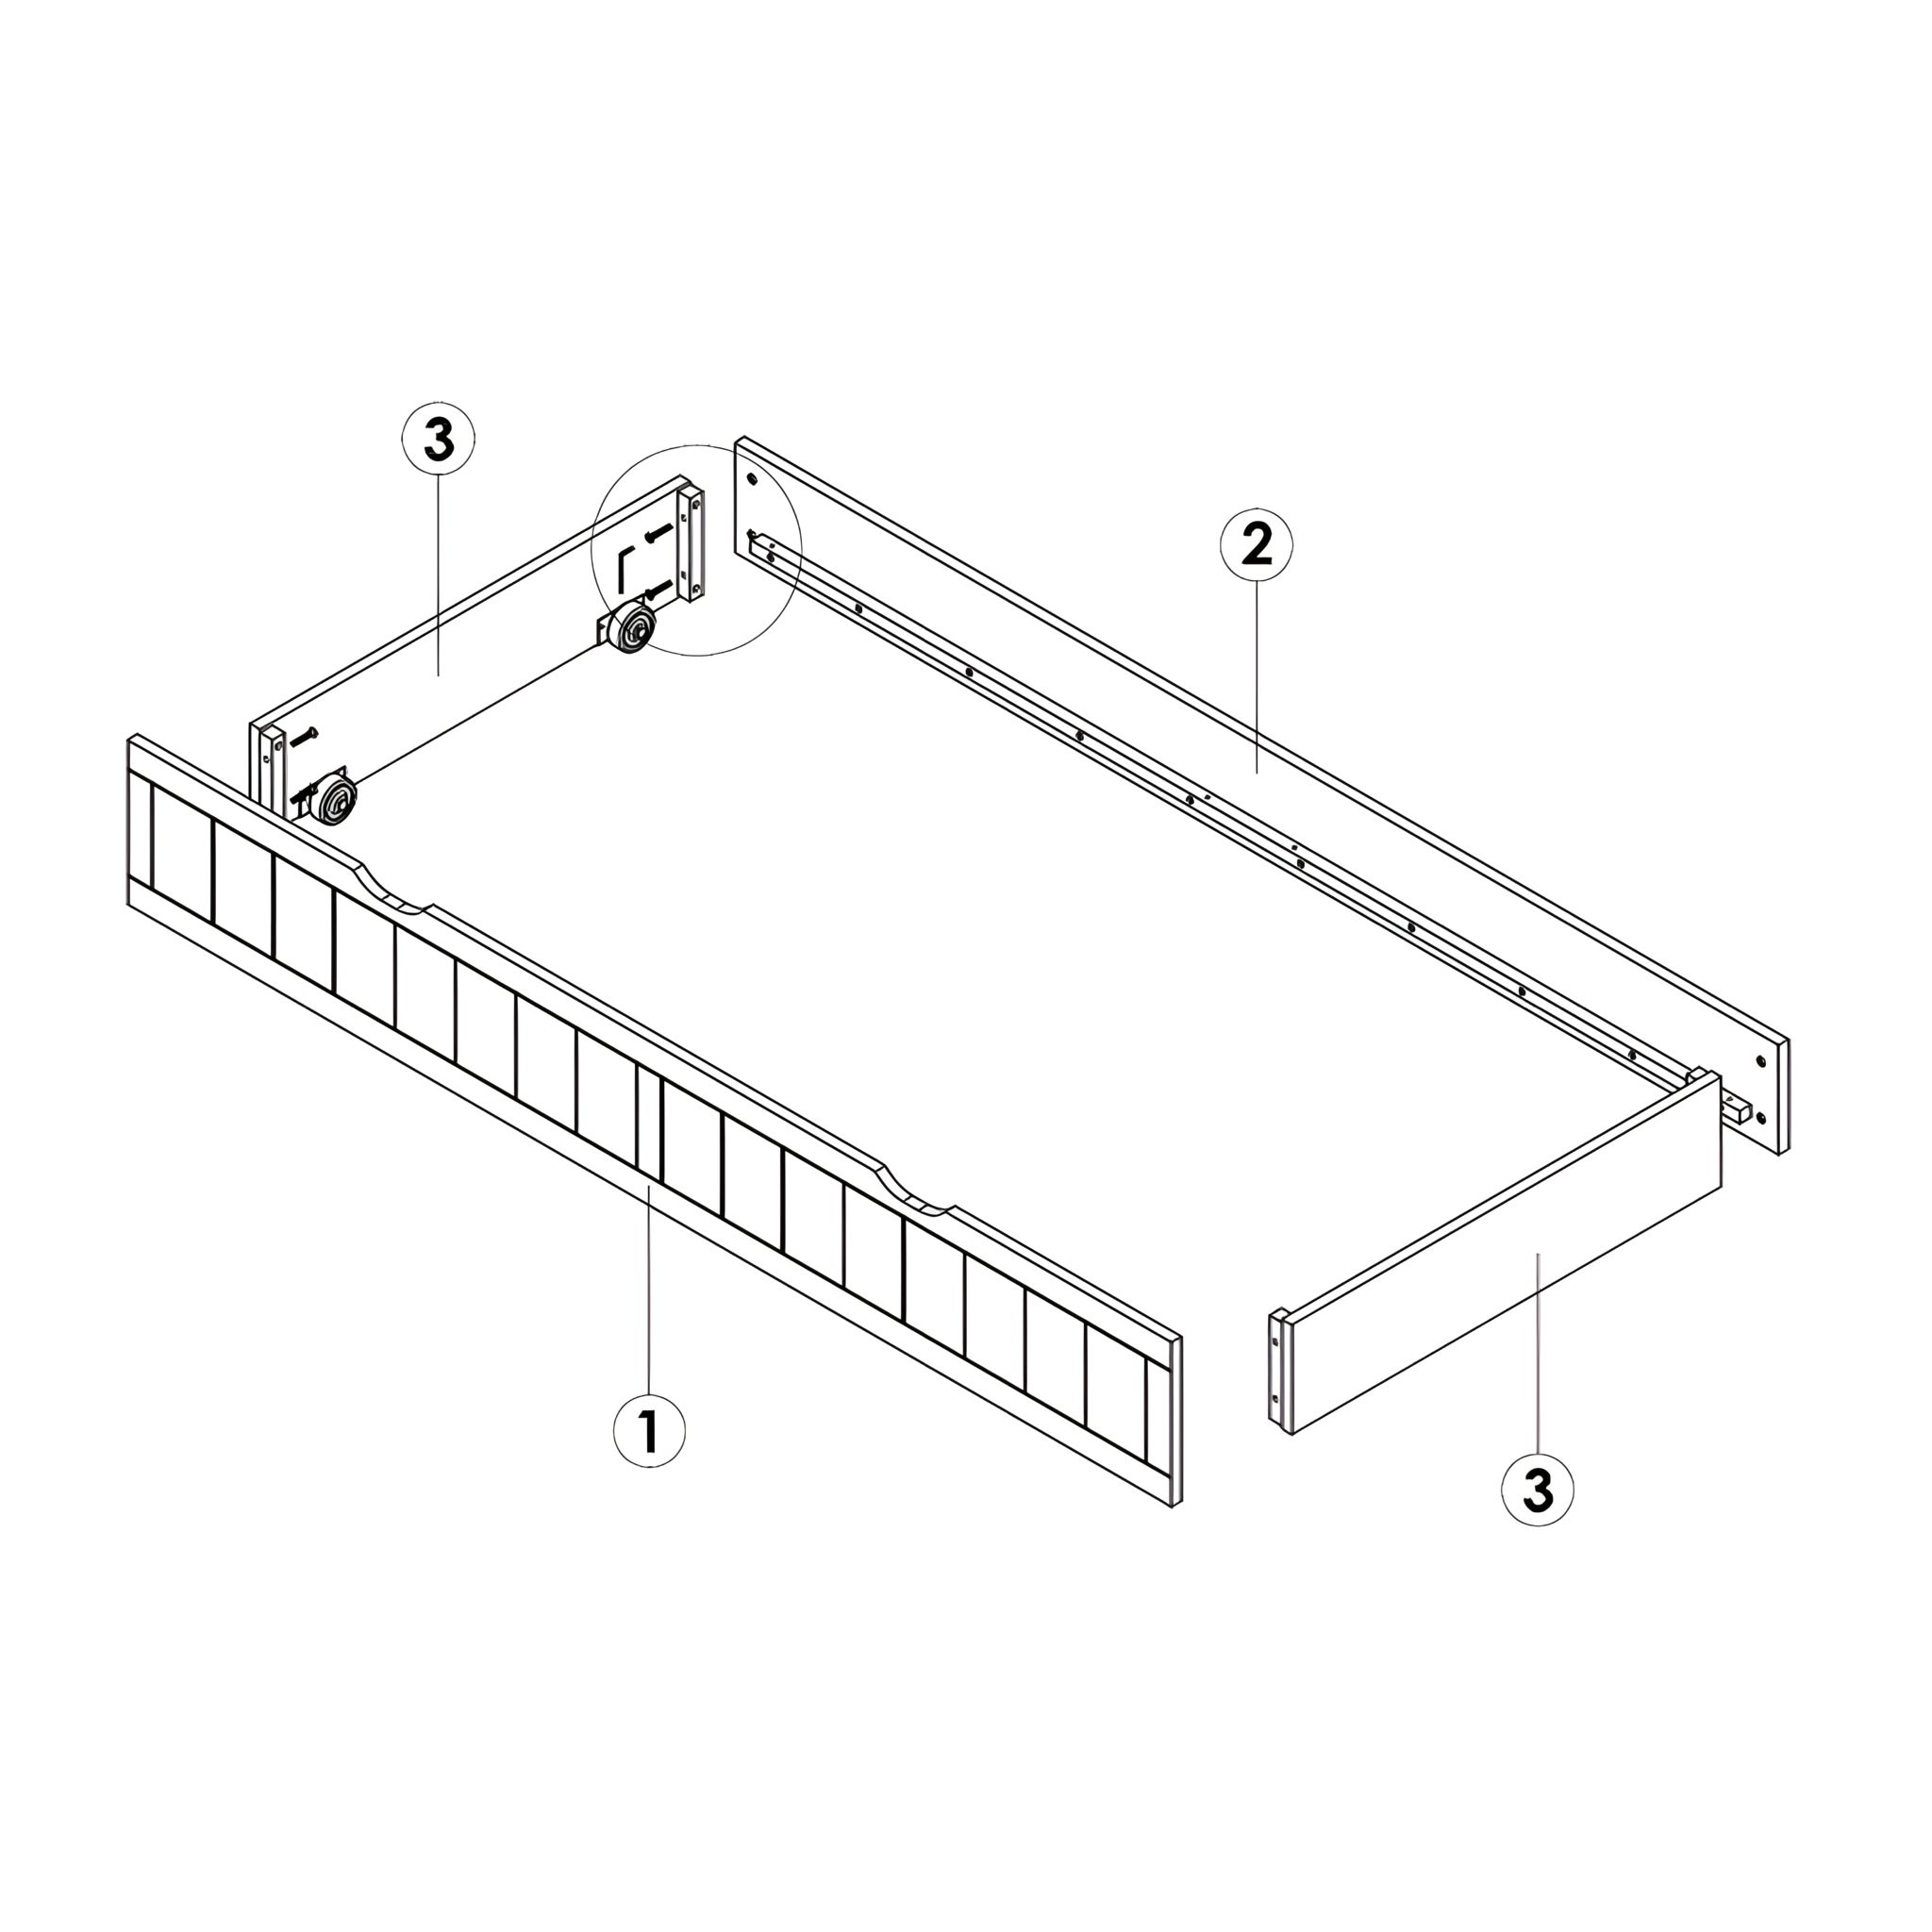
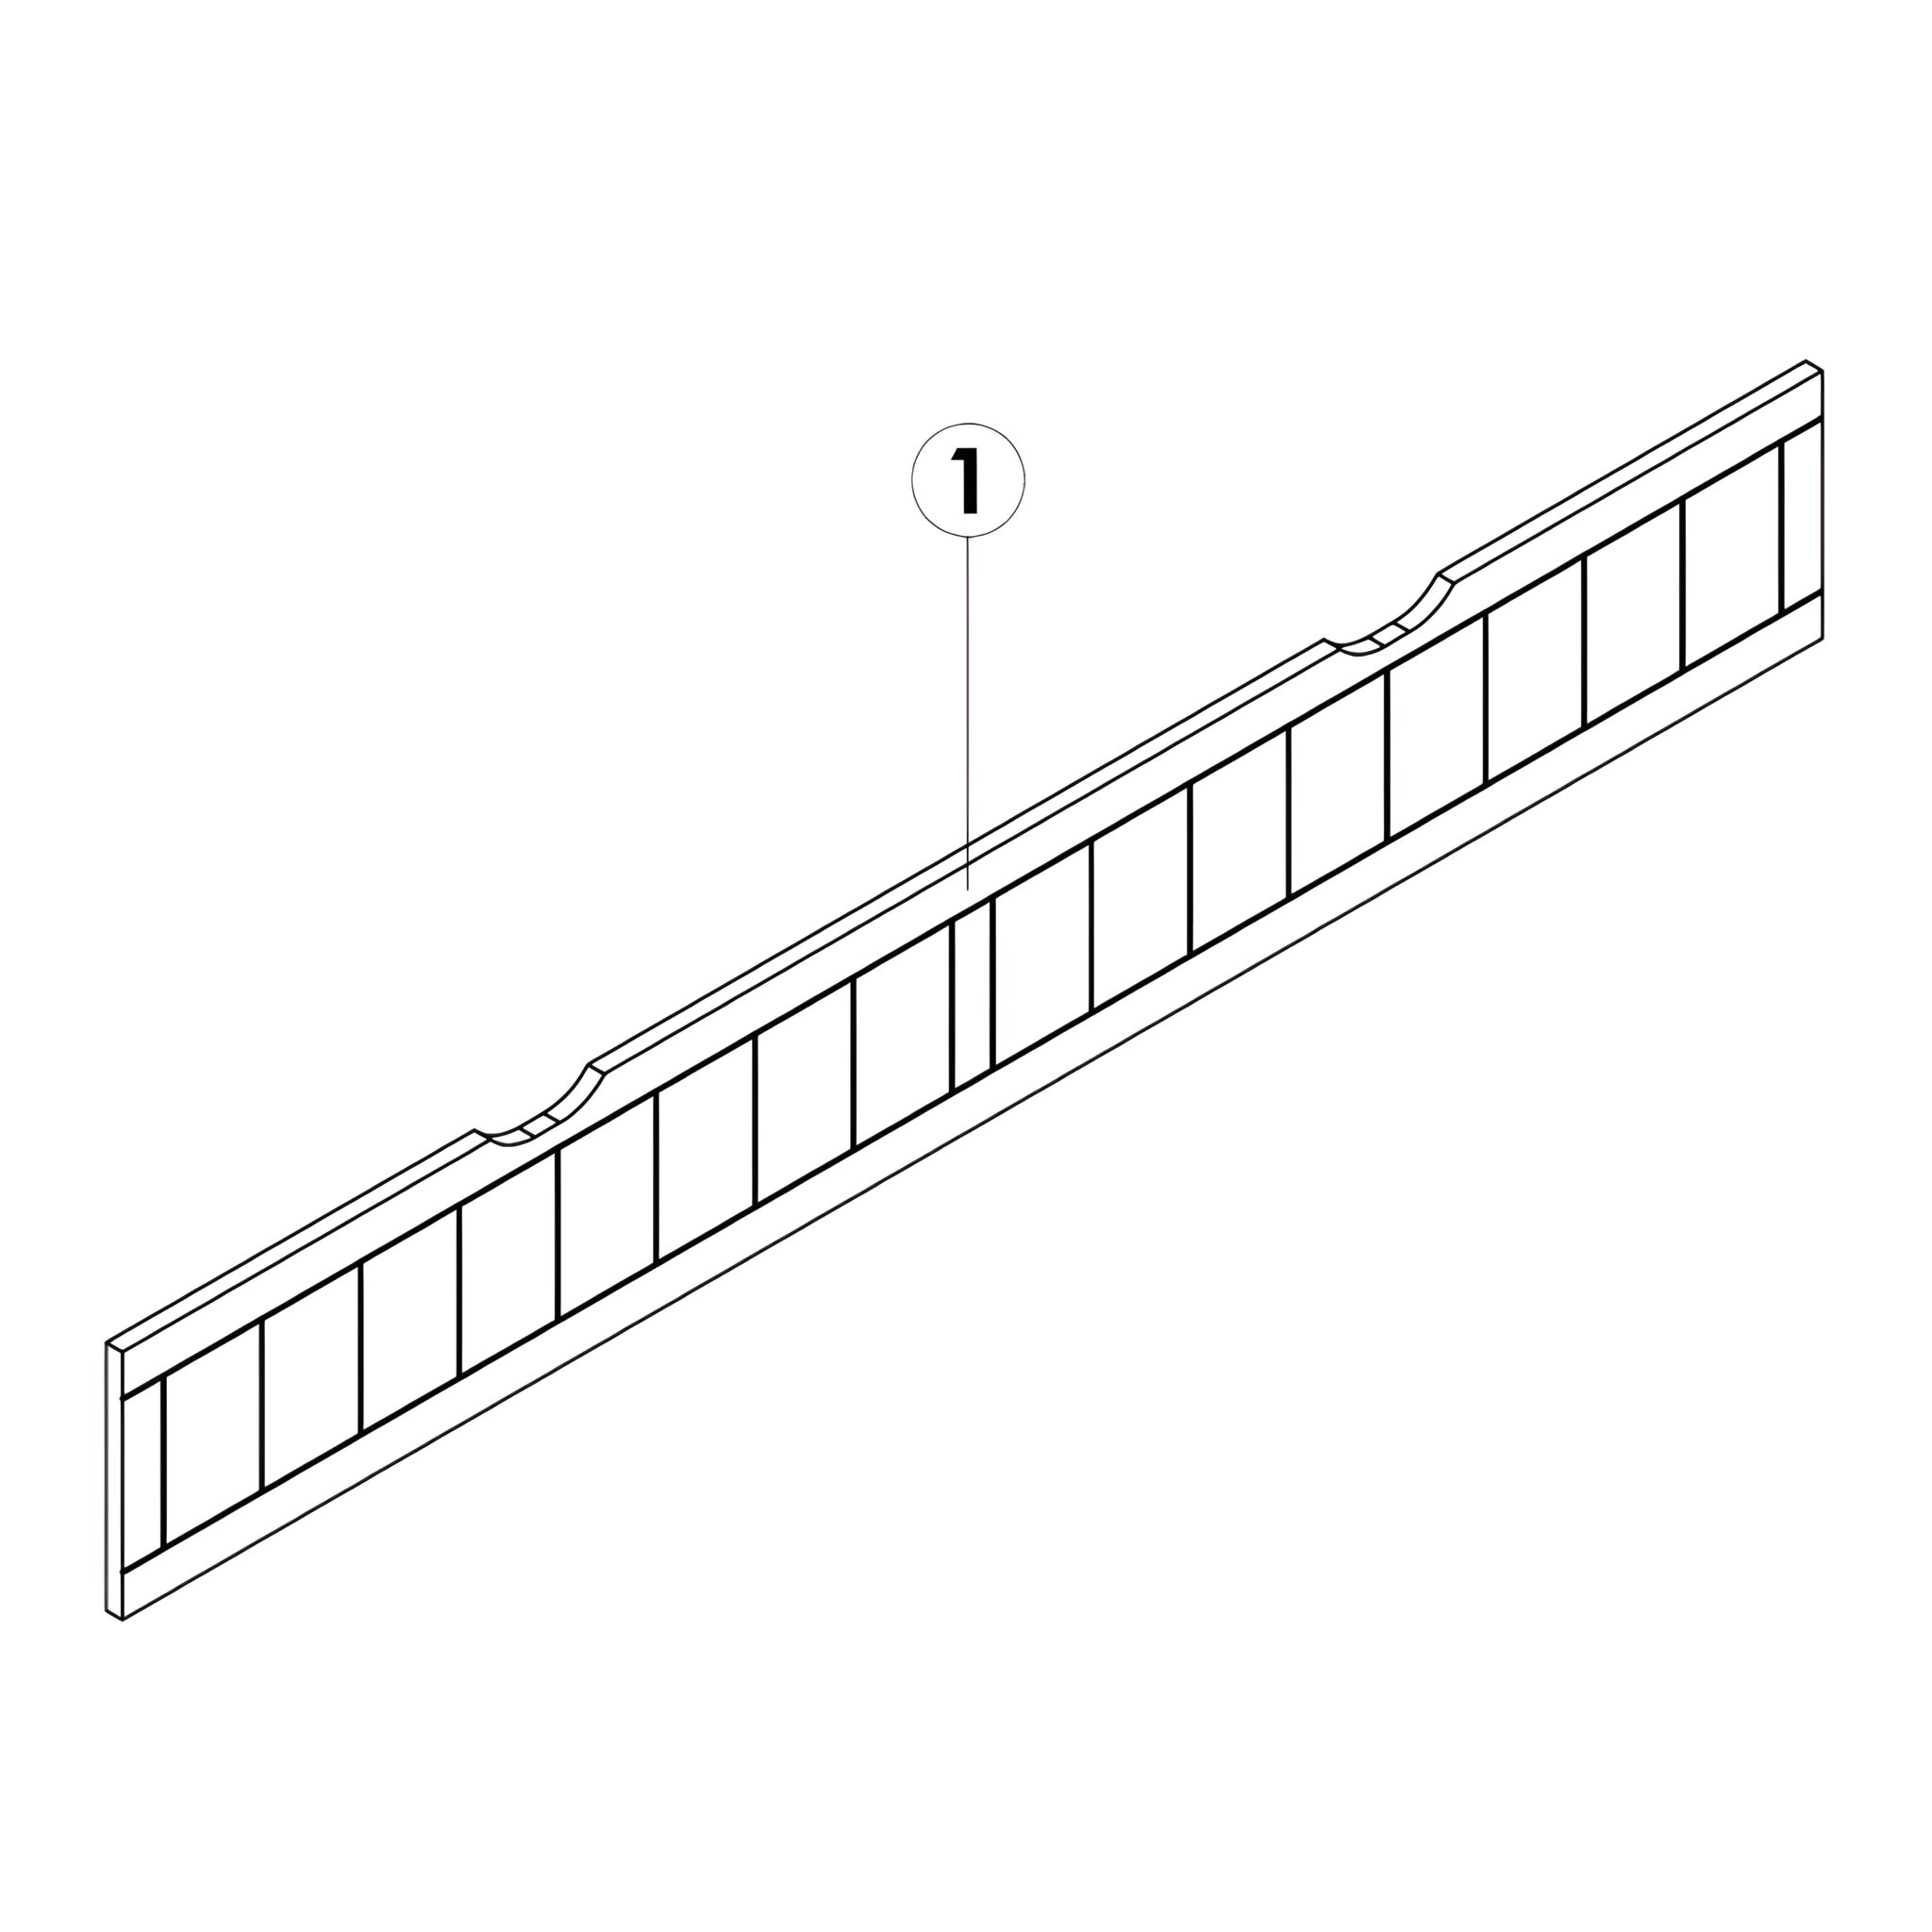
1. Lay out side panels
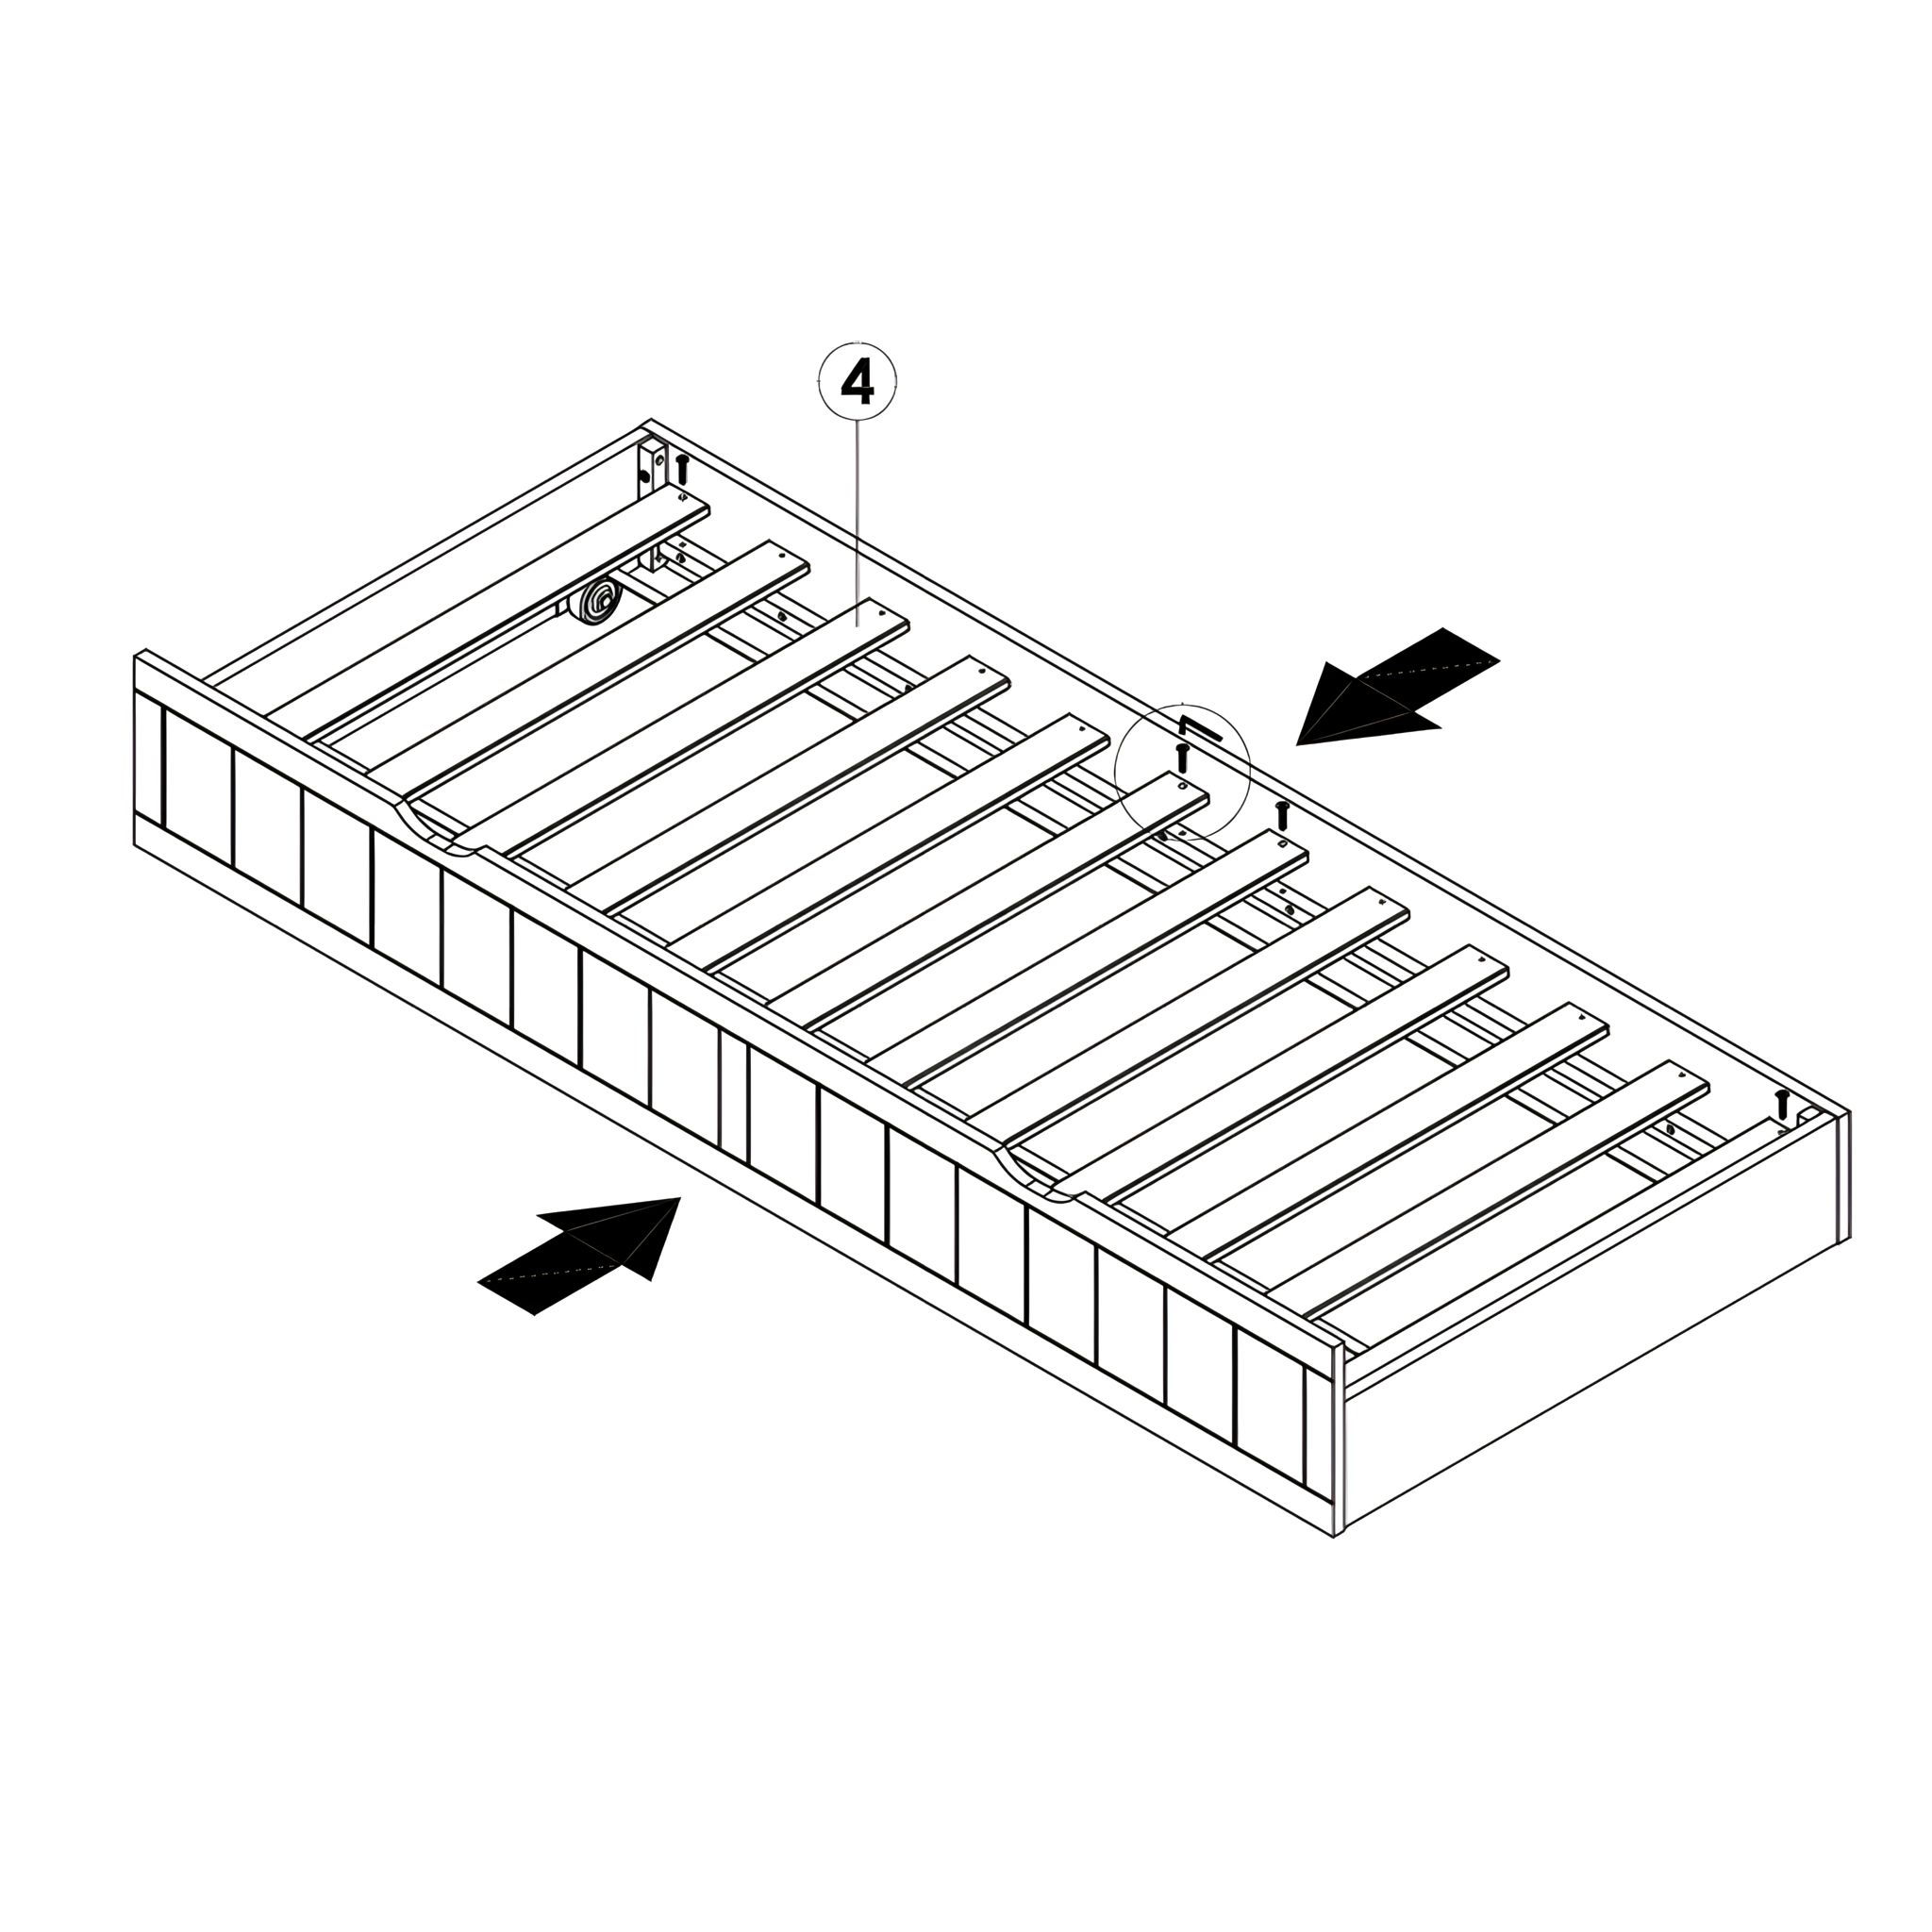
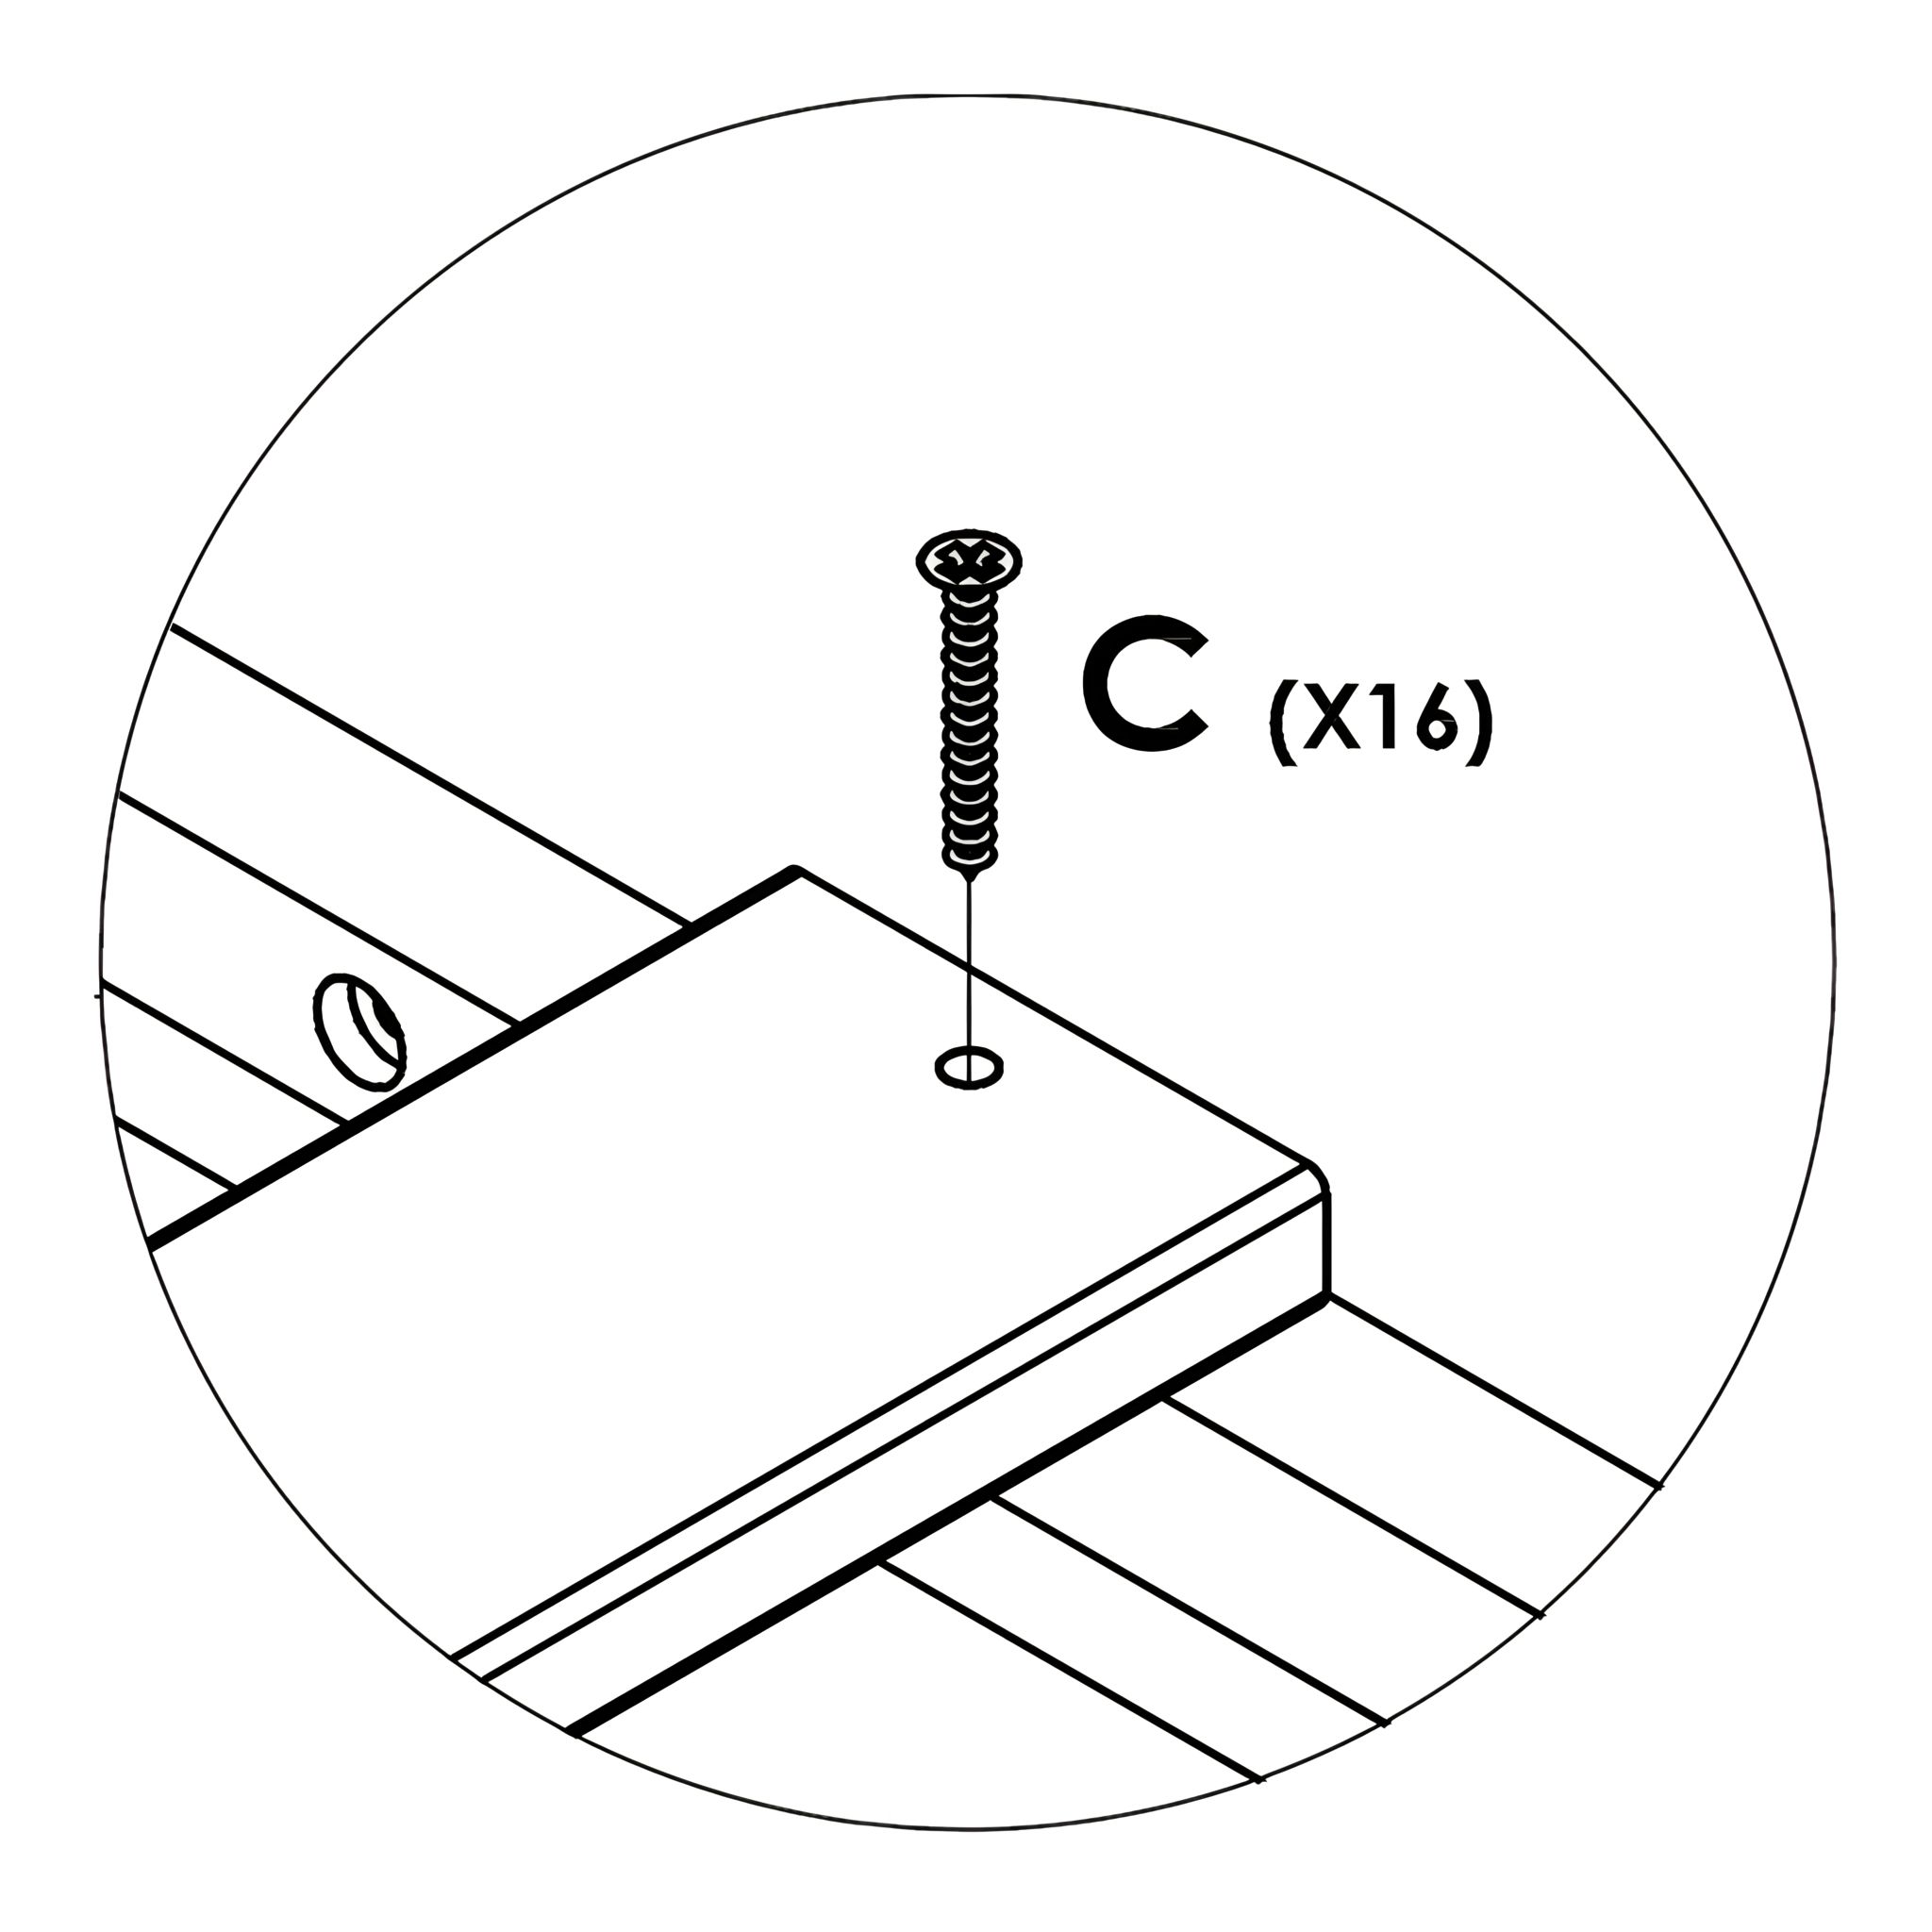
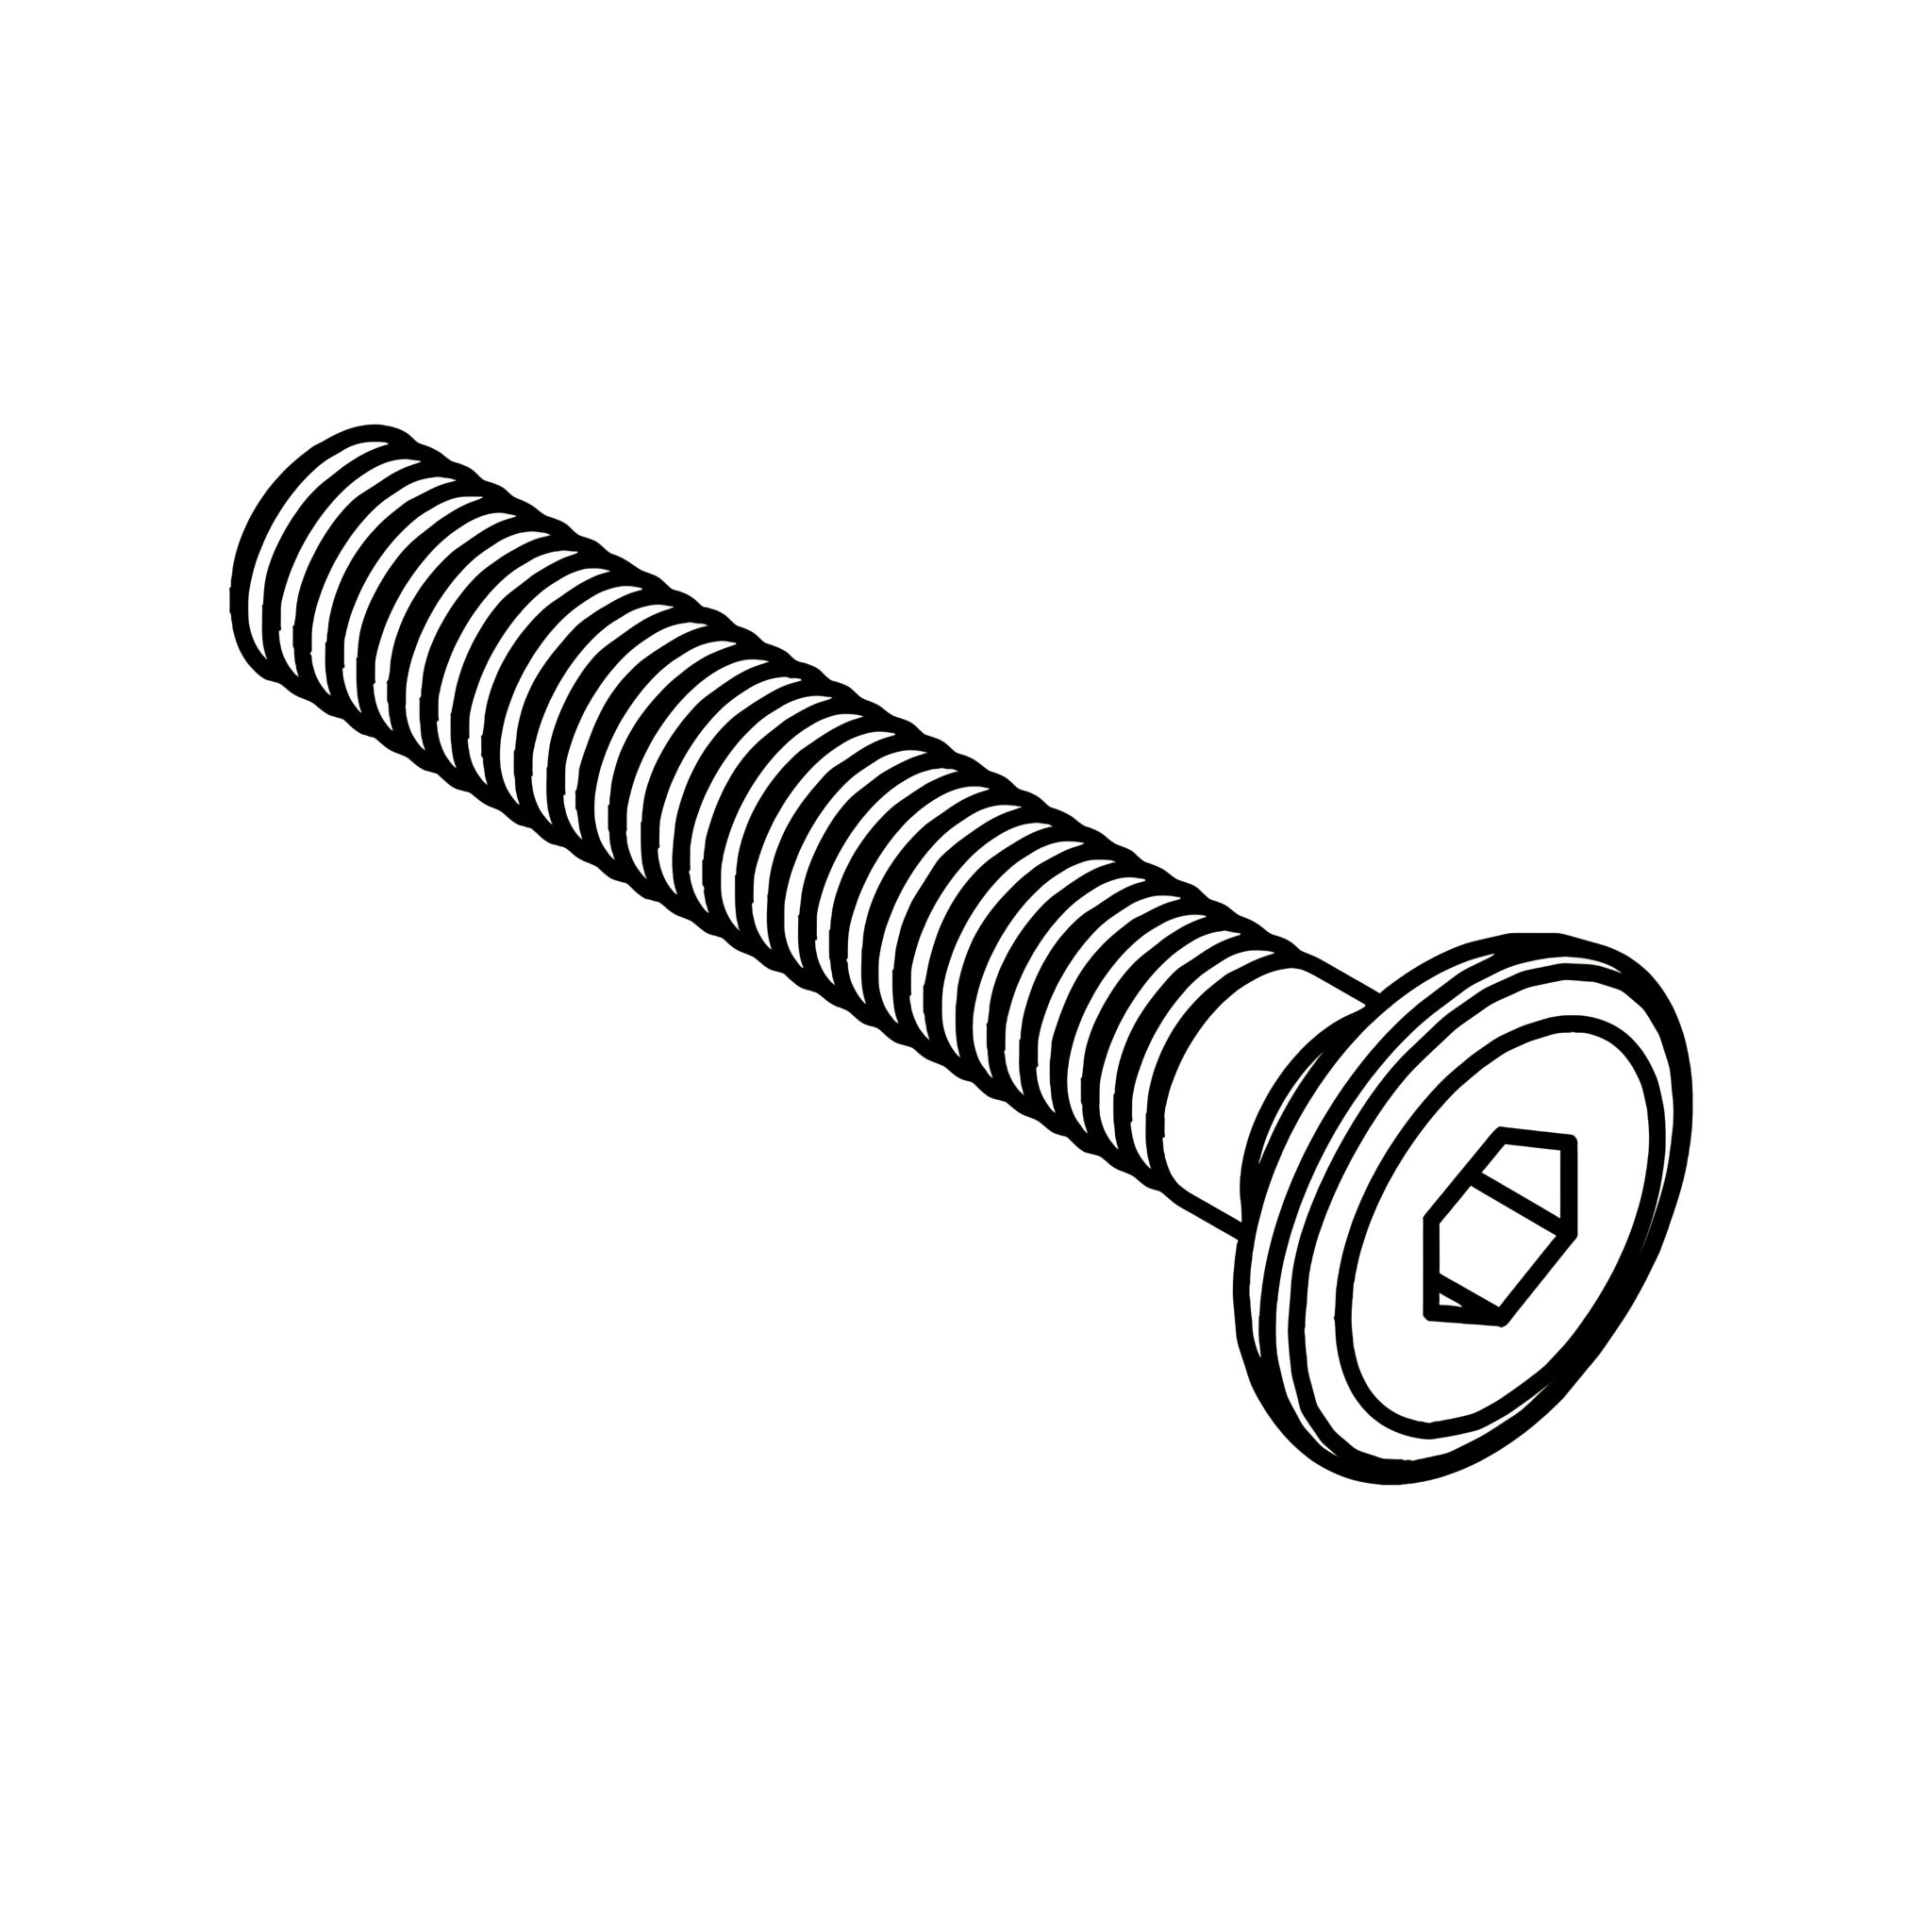
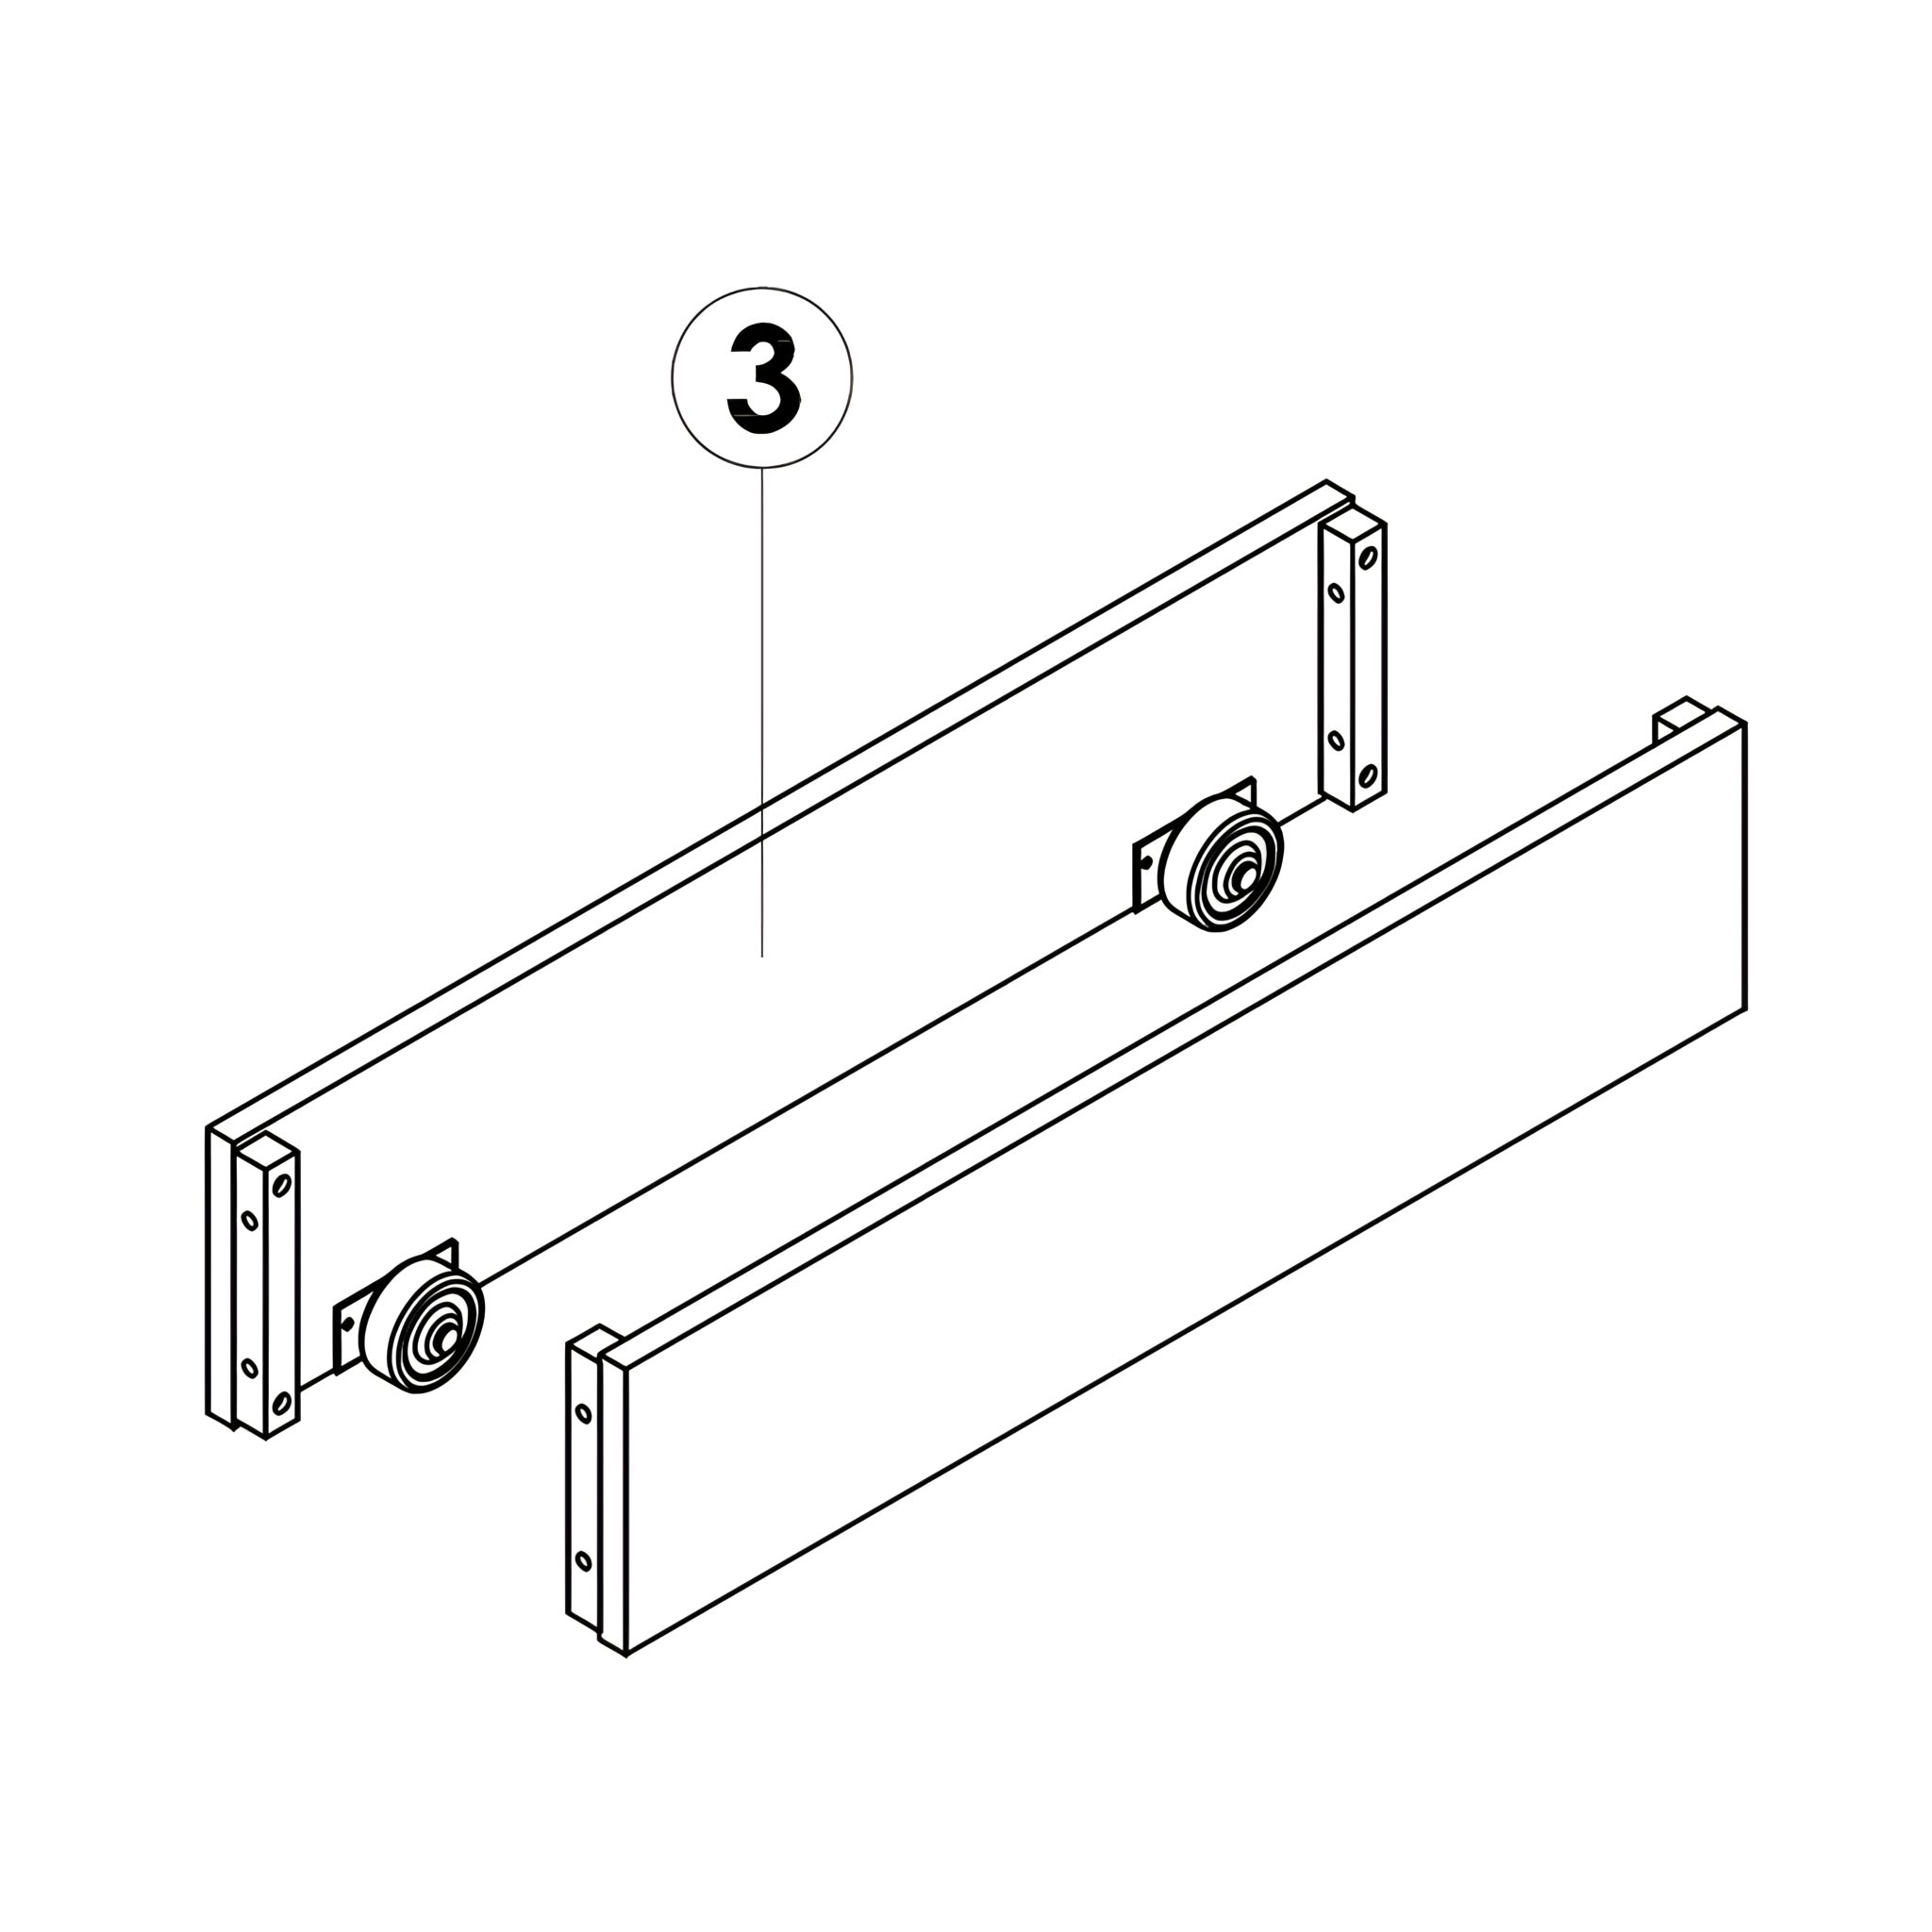
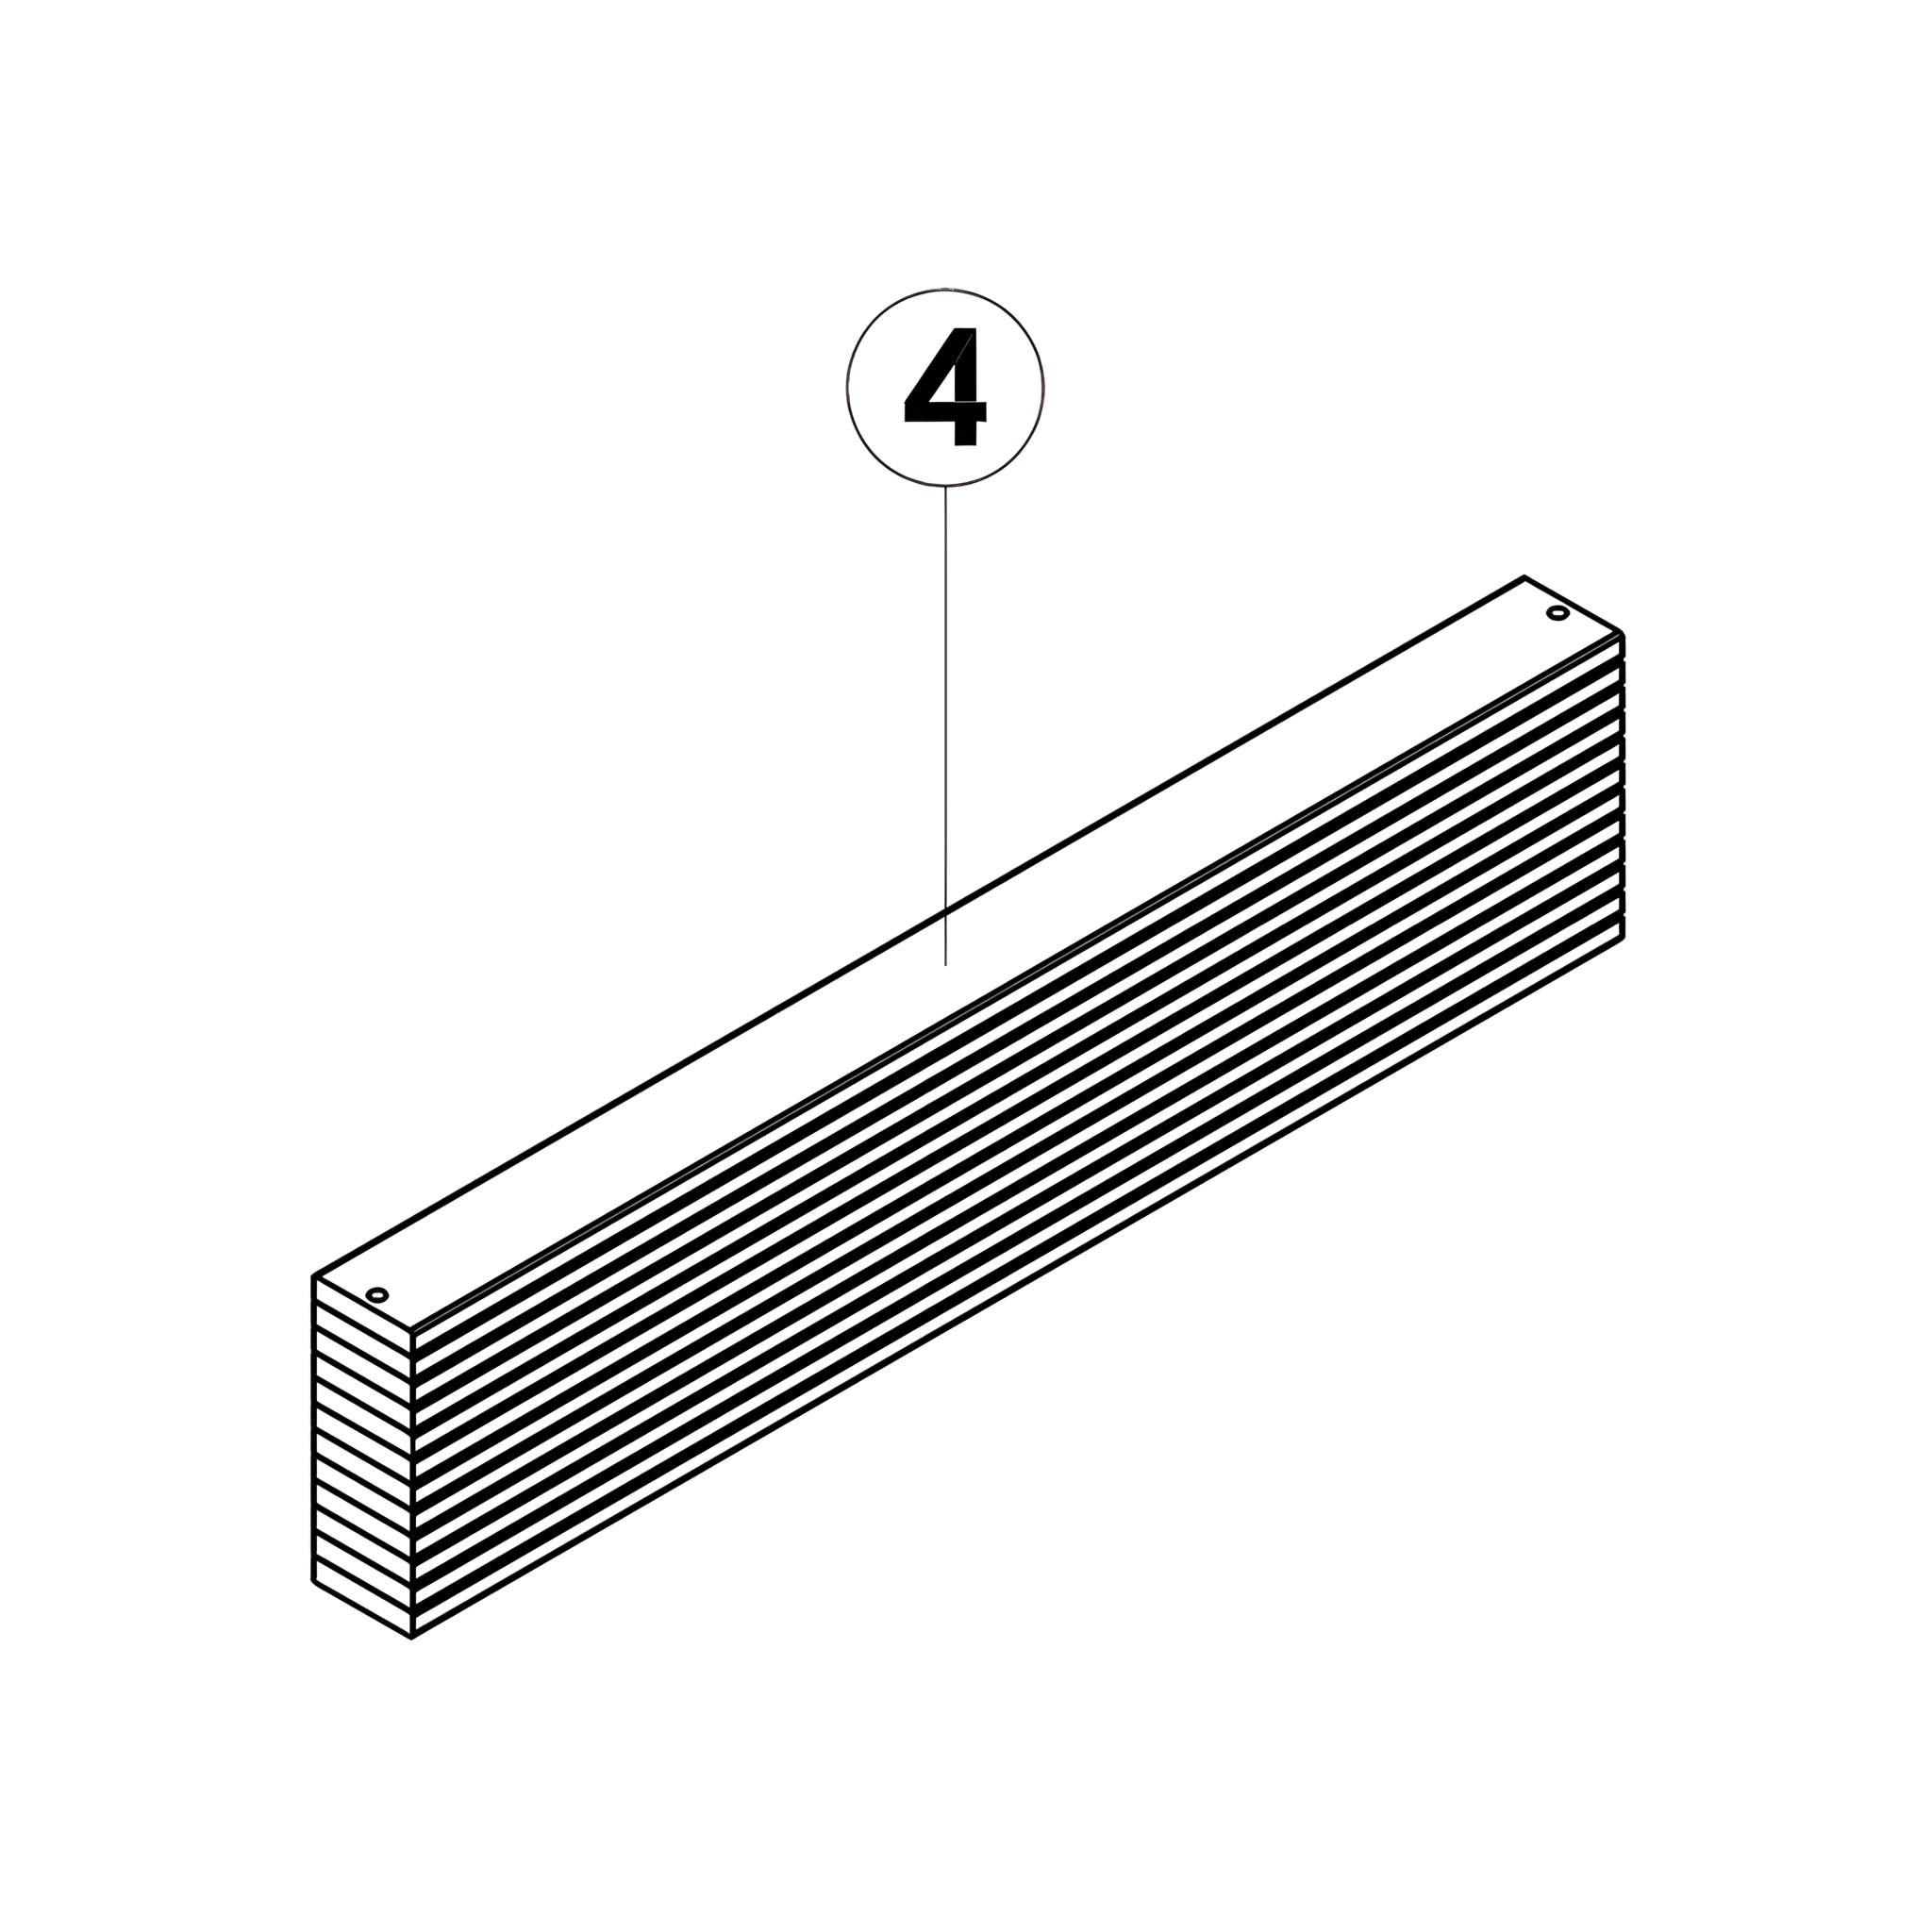
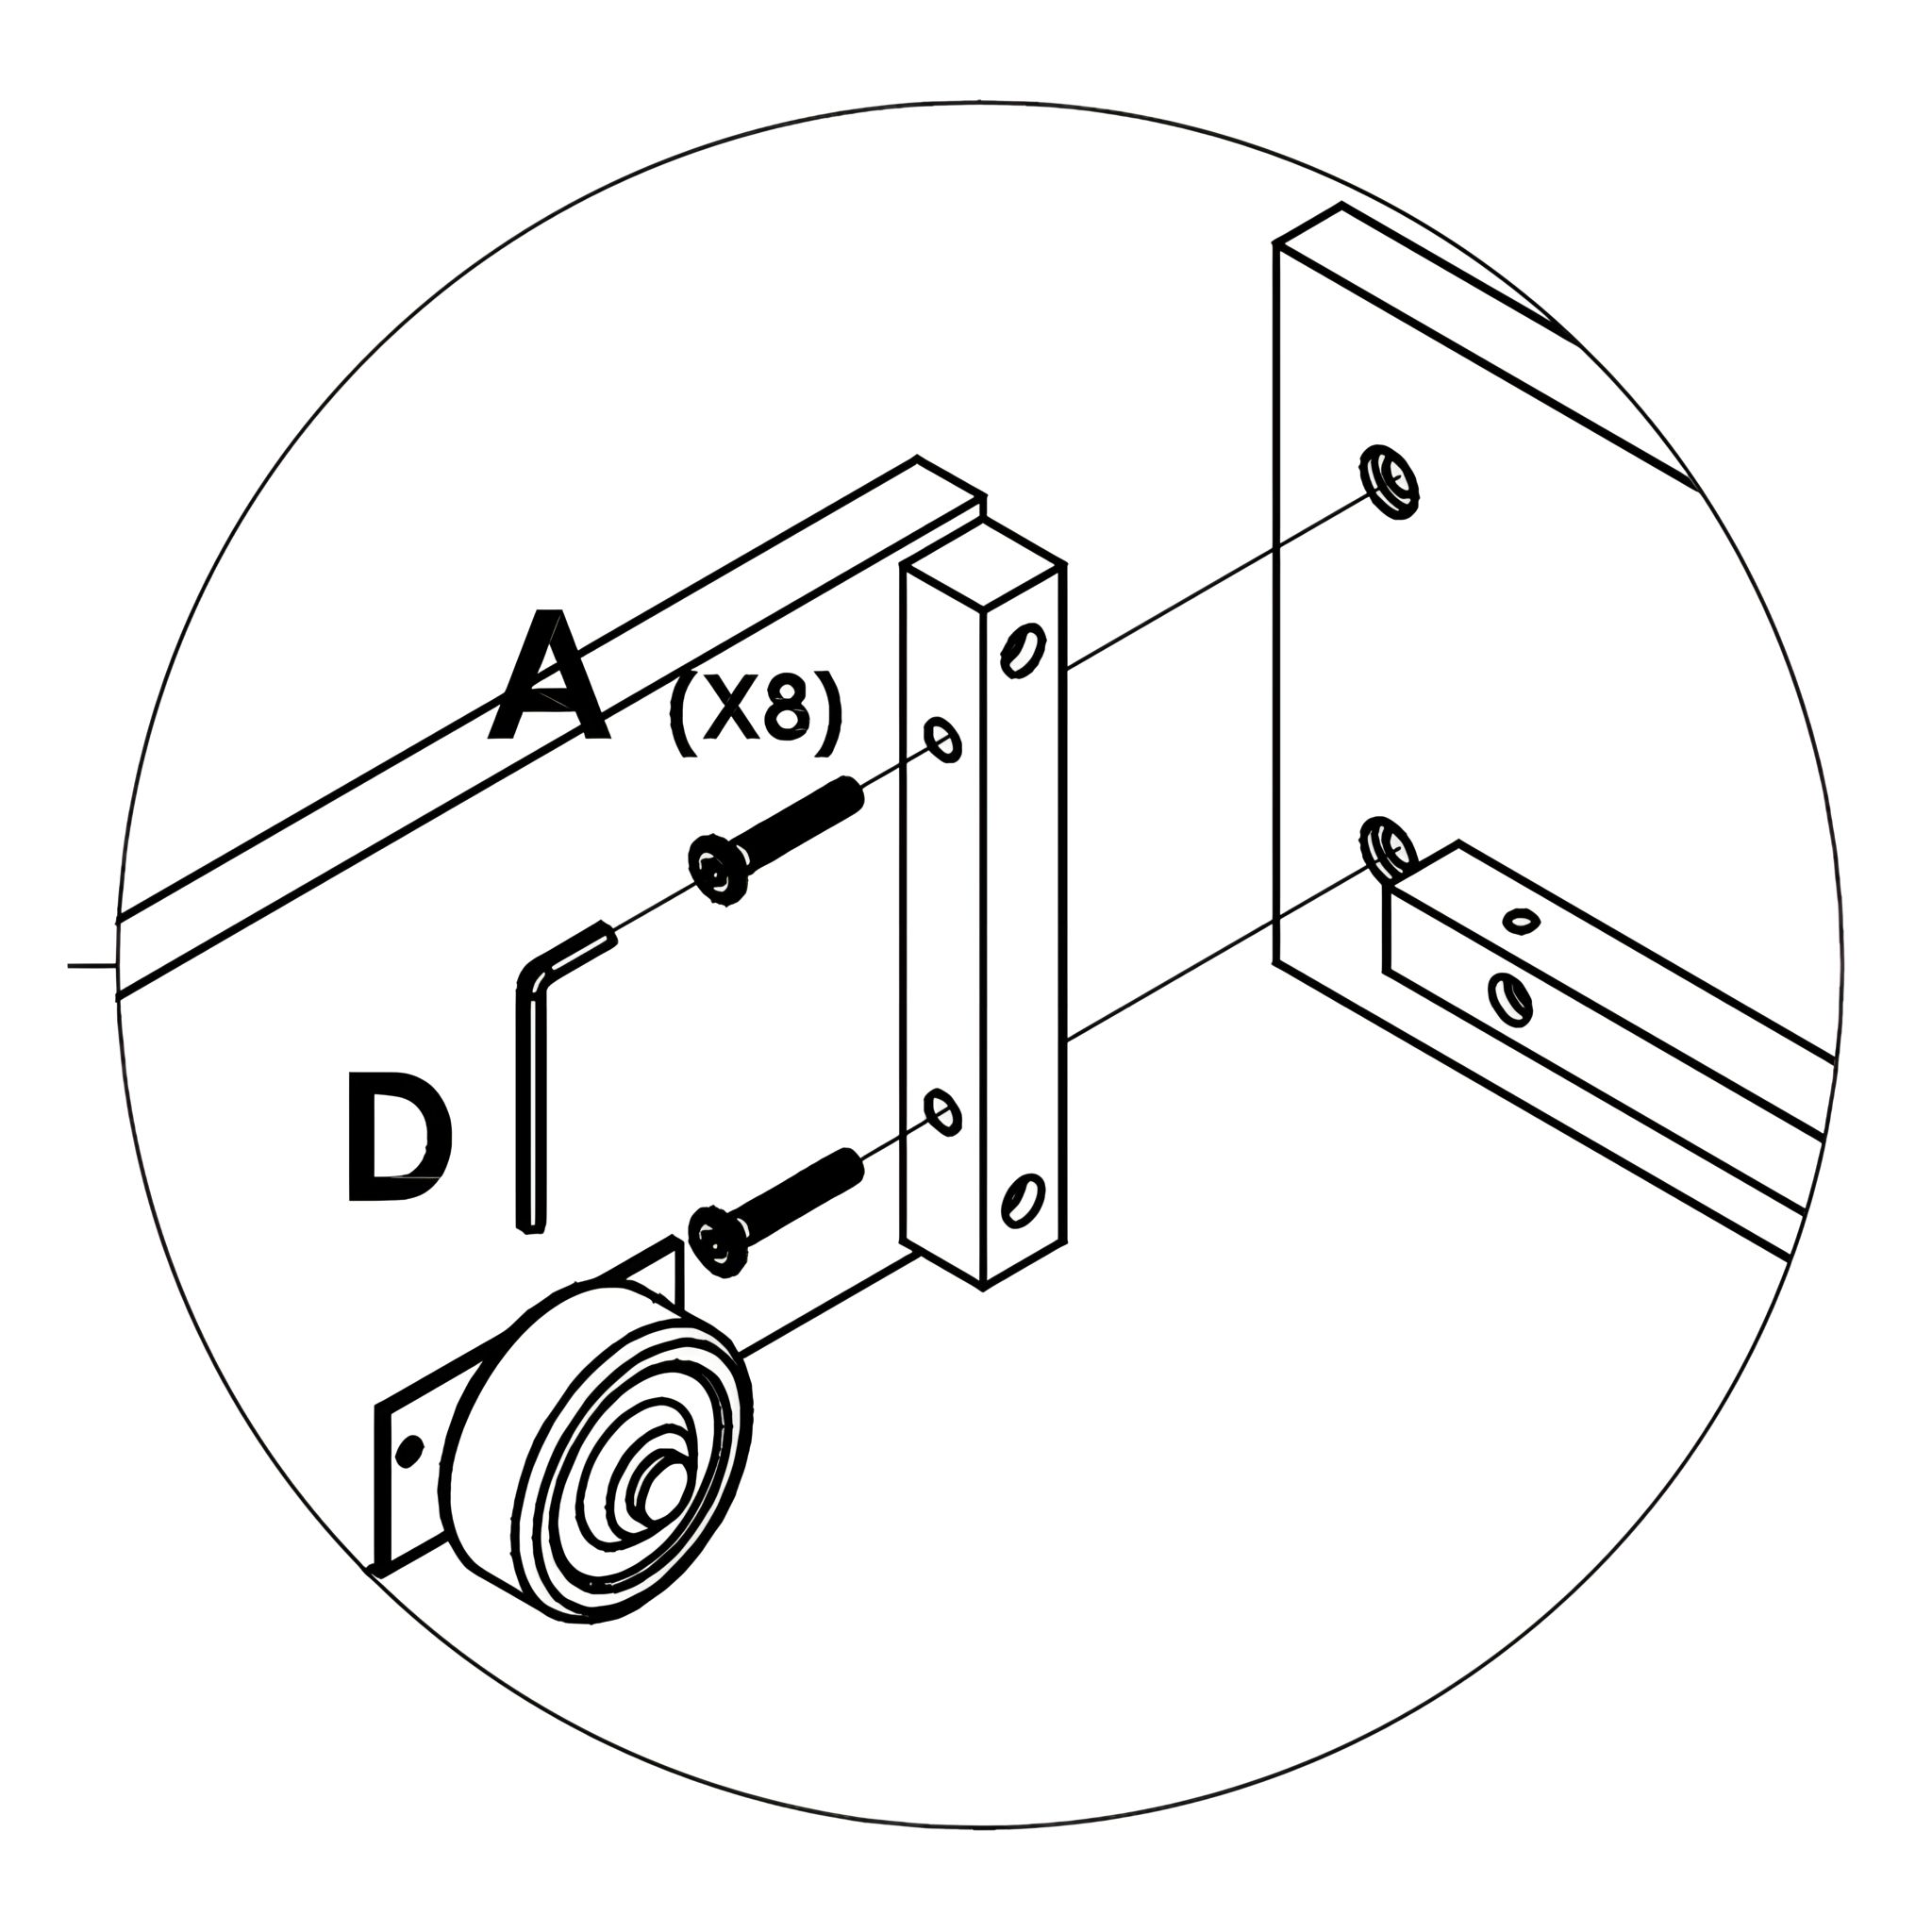
2. Use the JCBC Bolts (M6 X 35MM) to connect the Front and Rear Panels to the Side Panels. Insert bolts into the pre-drilled holes.
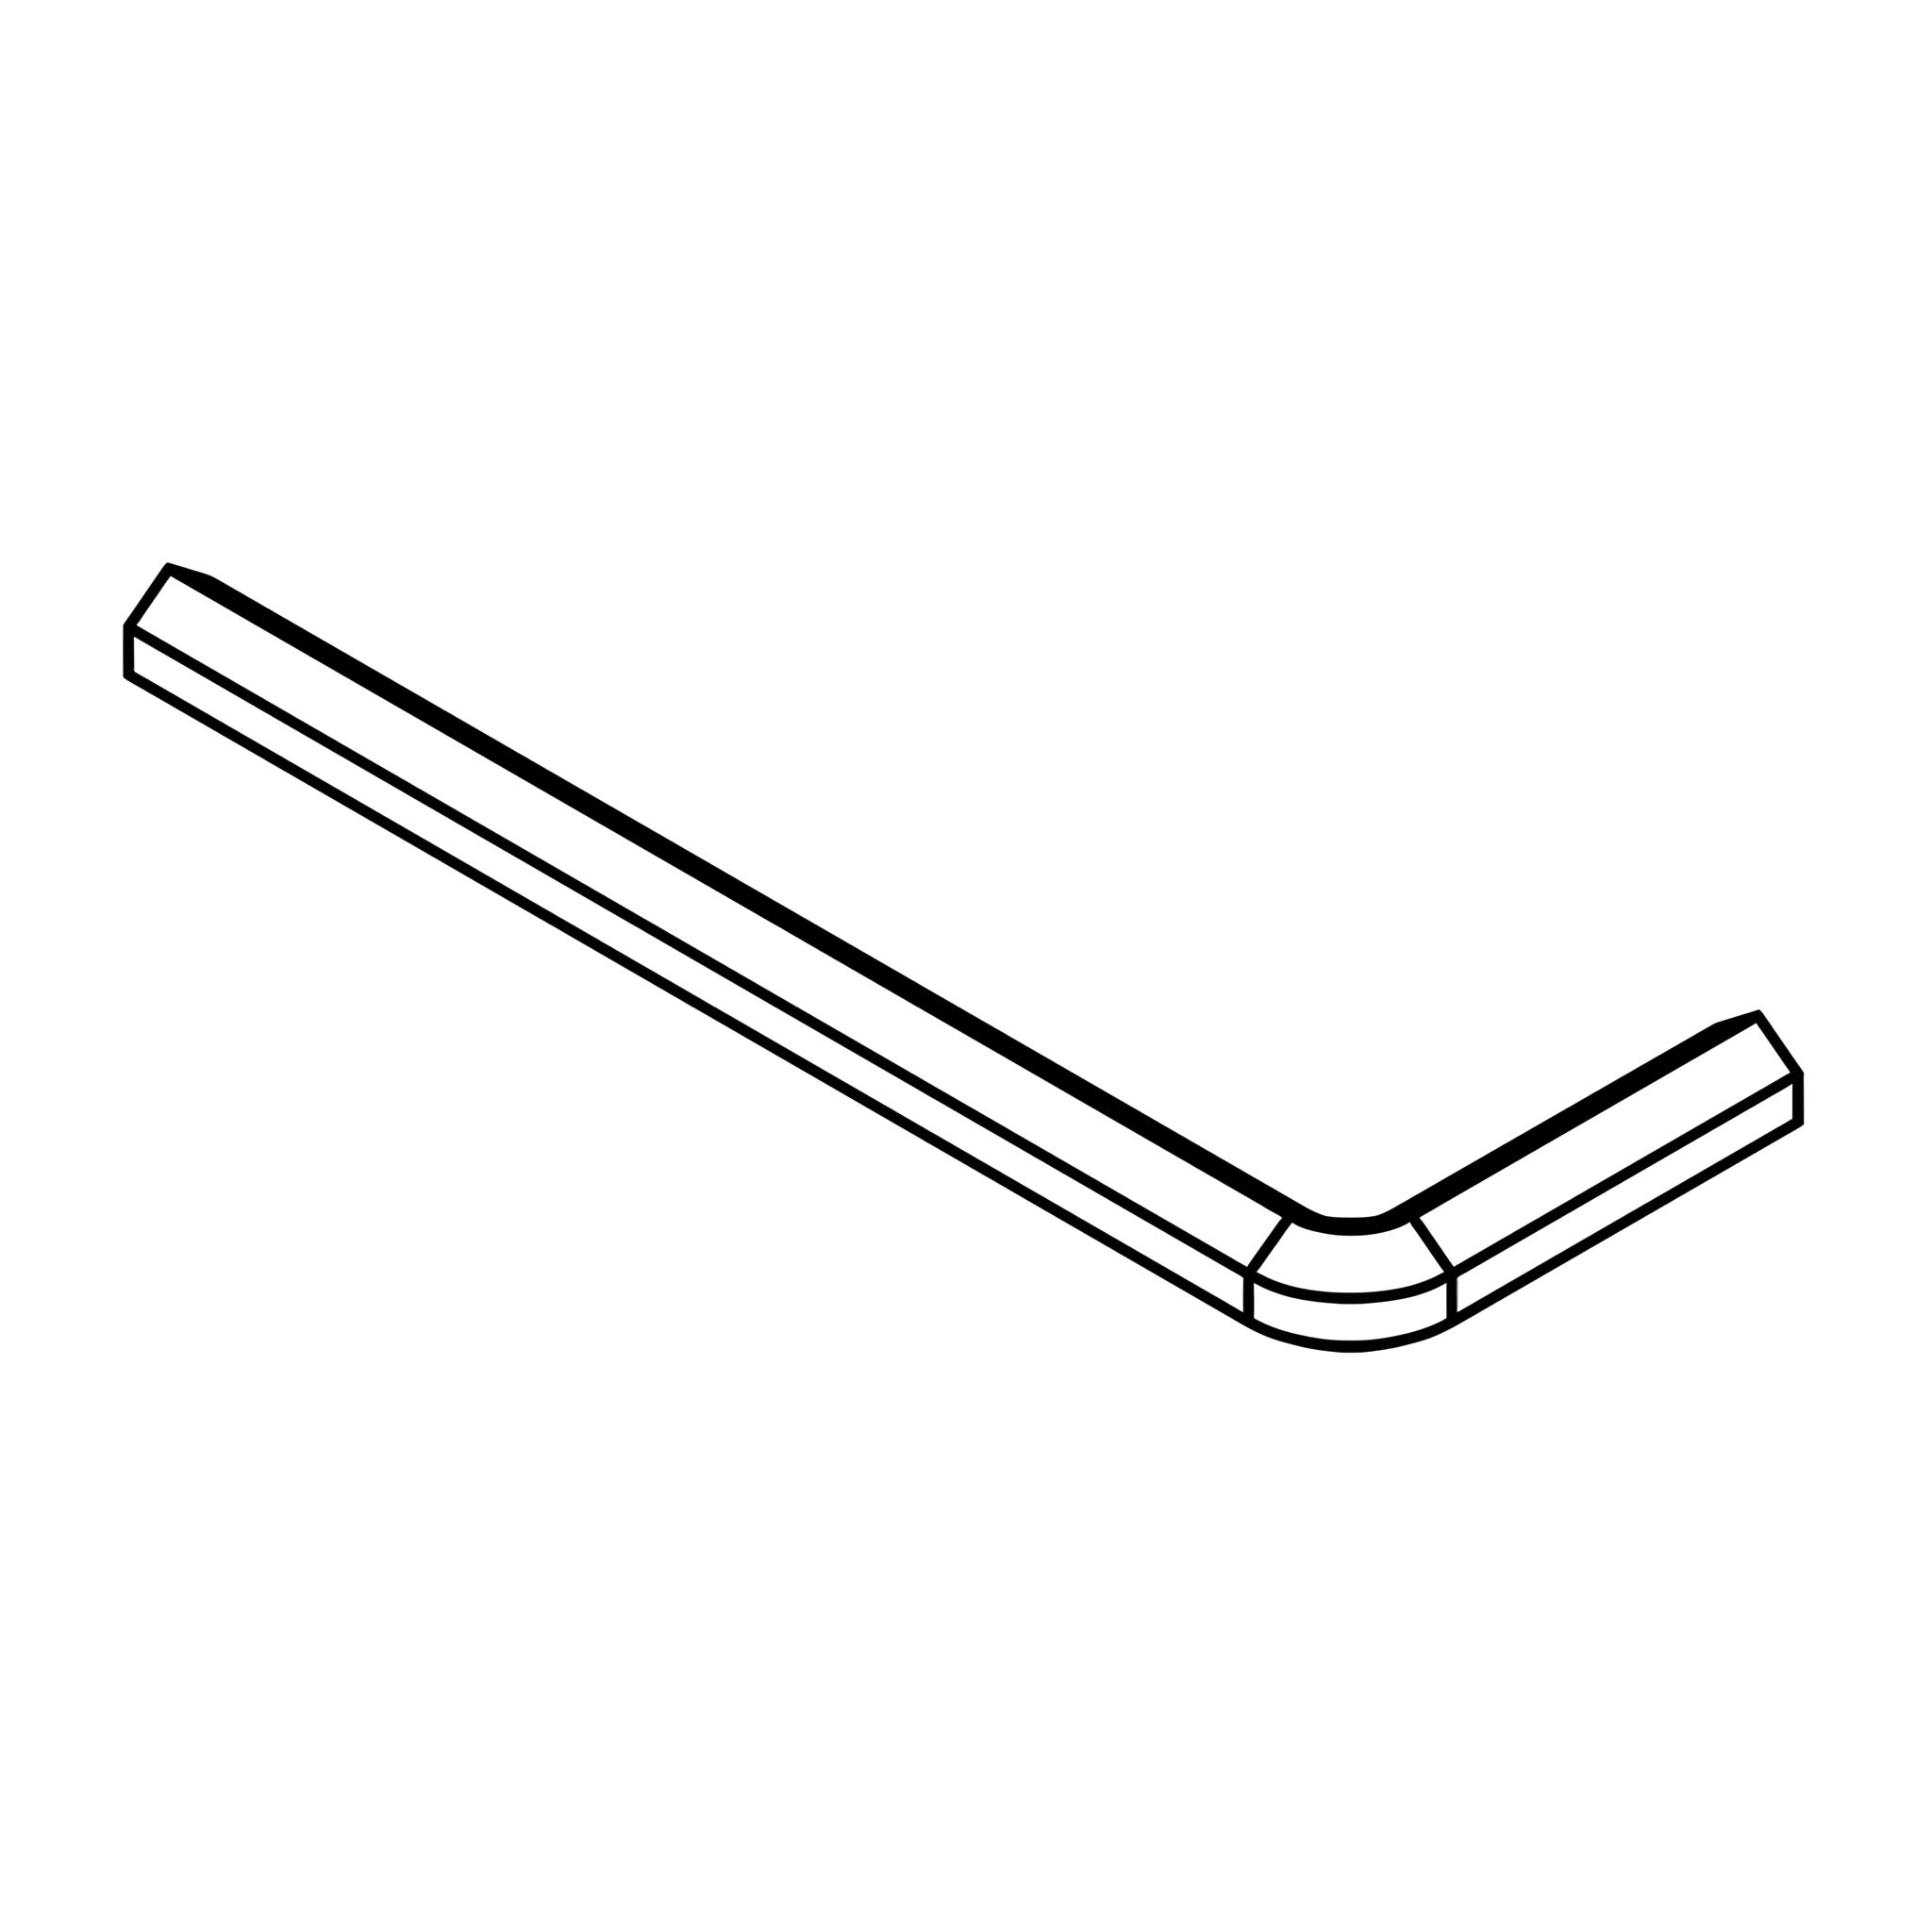
3. Secure all bolts tightly with the Allen Key to ensure the frame is stable.

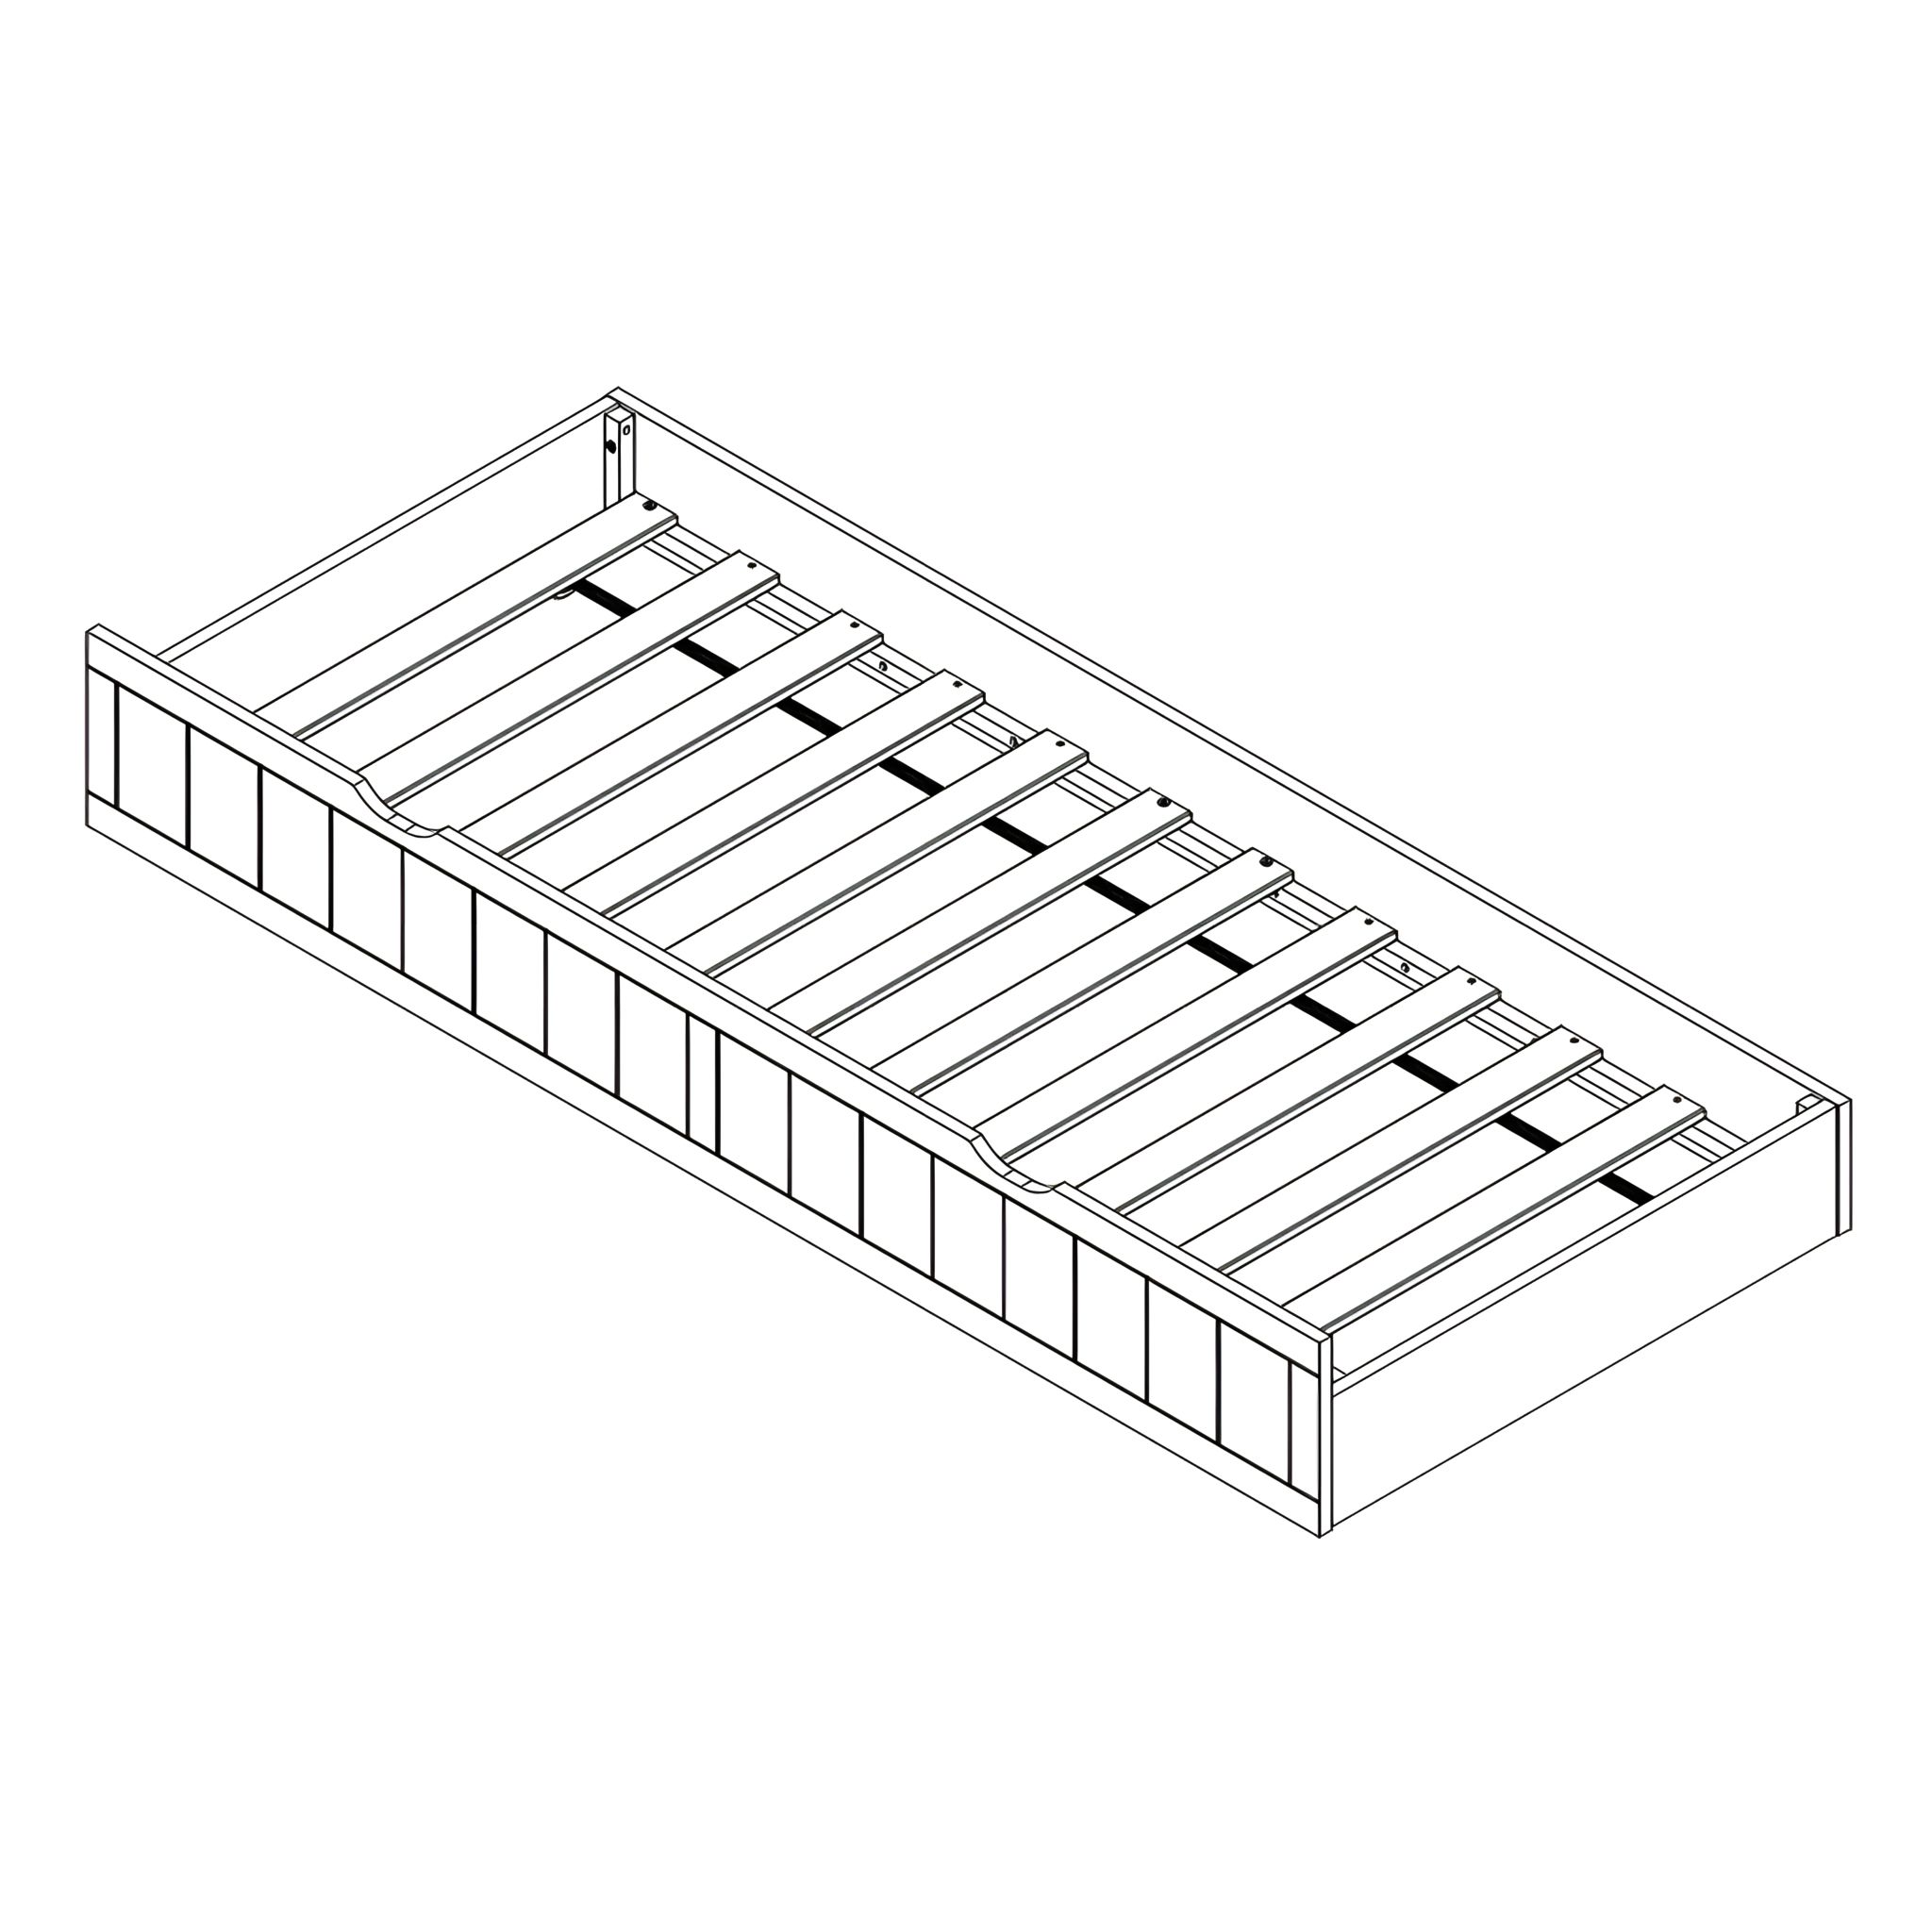
Check Stability: Give the frame a shake to ensure there's no wobble, adjusting if necessary.

2. Securing the Central Slats

1. Locate the two central wooden slats that will be secured first.
2. Using the JCBC W Screws (B), attach the center slats at their ends. Use the Allen Key (D) to drive the screws through the pre-drilled holes on the slats into the frame.

3. Attaching the Remaining Slats

1. Use the CSK C/B Screws (C) to attach the rest of the slats at both ends. Ensure each slat is aligned straight before securing.
2. Use the Crosshead Screw Driver to firmly tighten all screws, making sure each slat is securely fastened to withstand weight and use.

4. Final Check

  • Verify that all slats are securely fastened and evenly spaced.
  • Check for any loose connections and tighten the screws if necessary.
time4sleep
time4sleep (opens in new tab)Terms (opens in new tab)Privacy (opens in new tab)