1. Install Hanging Rail
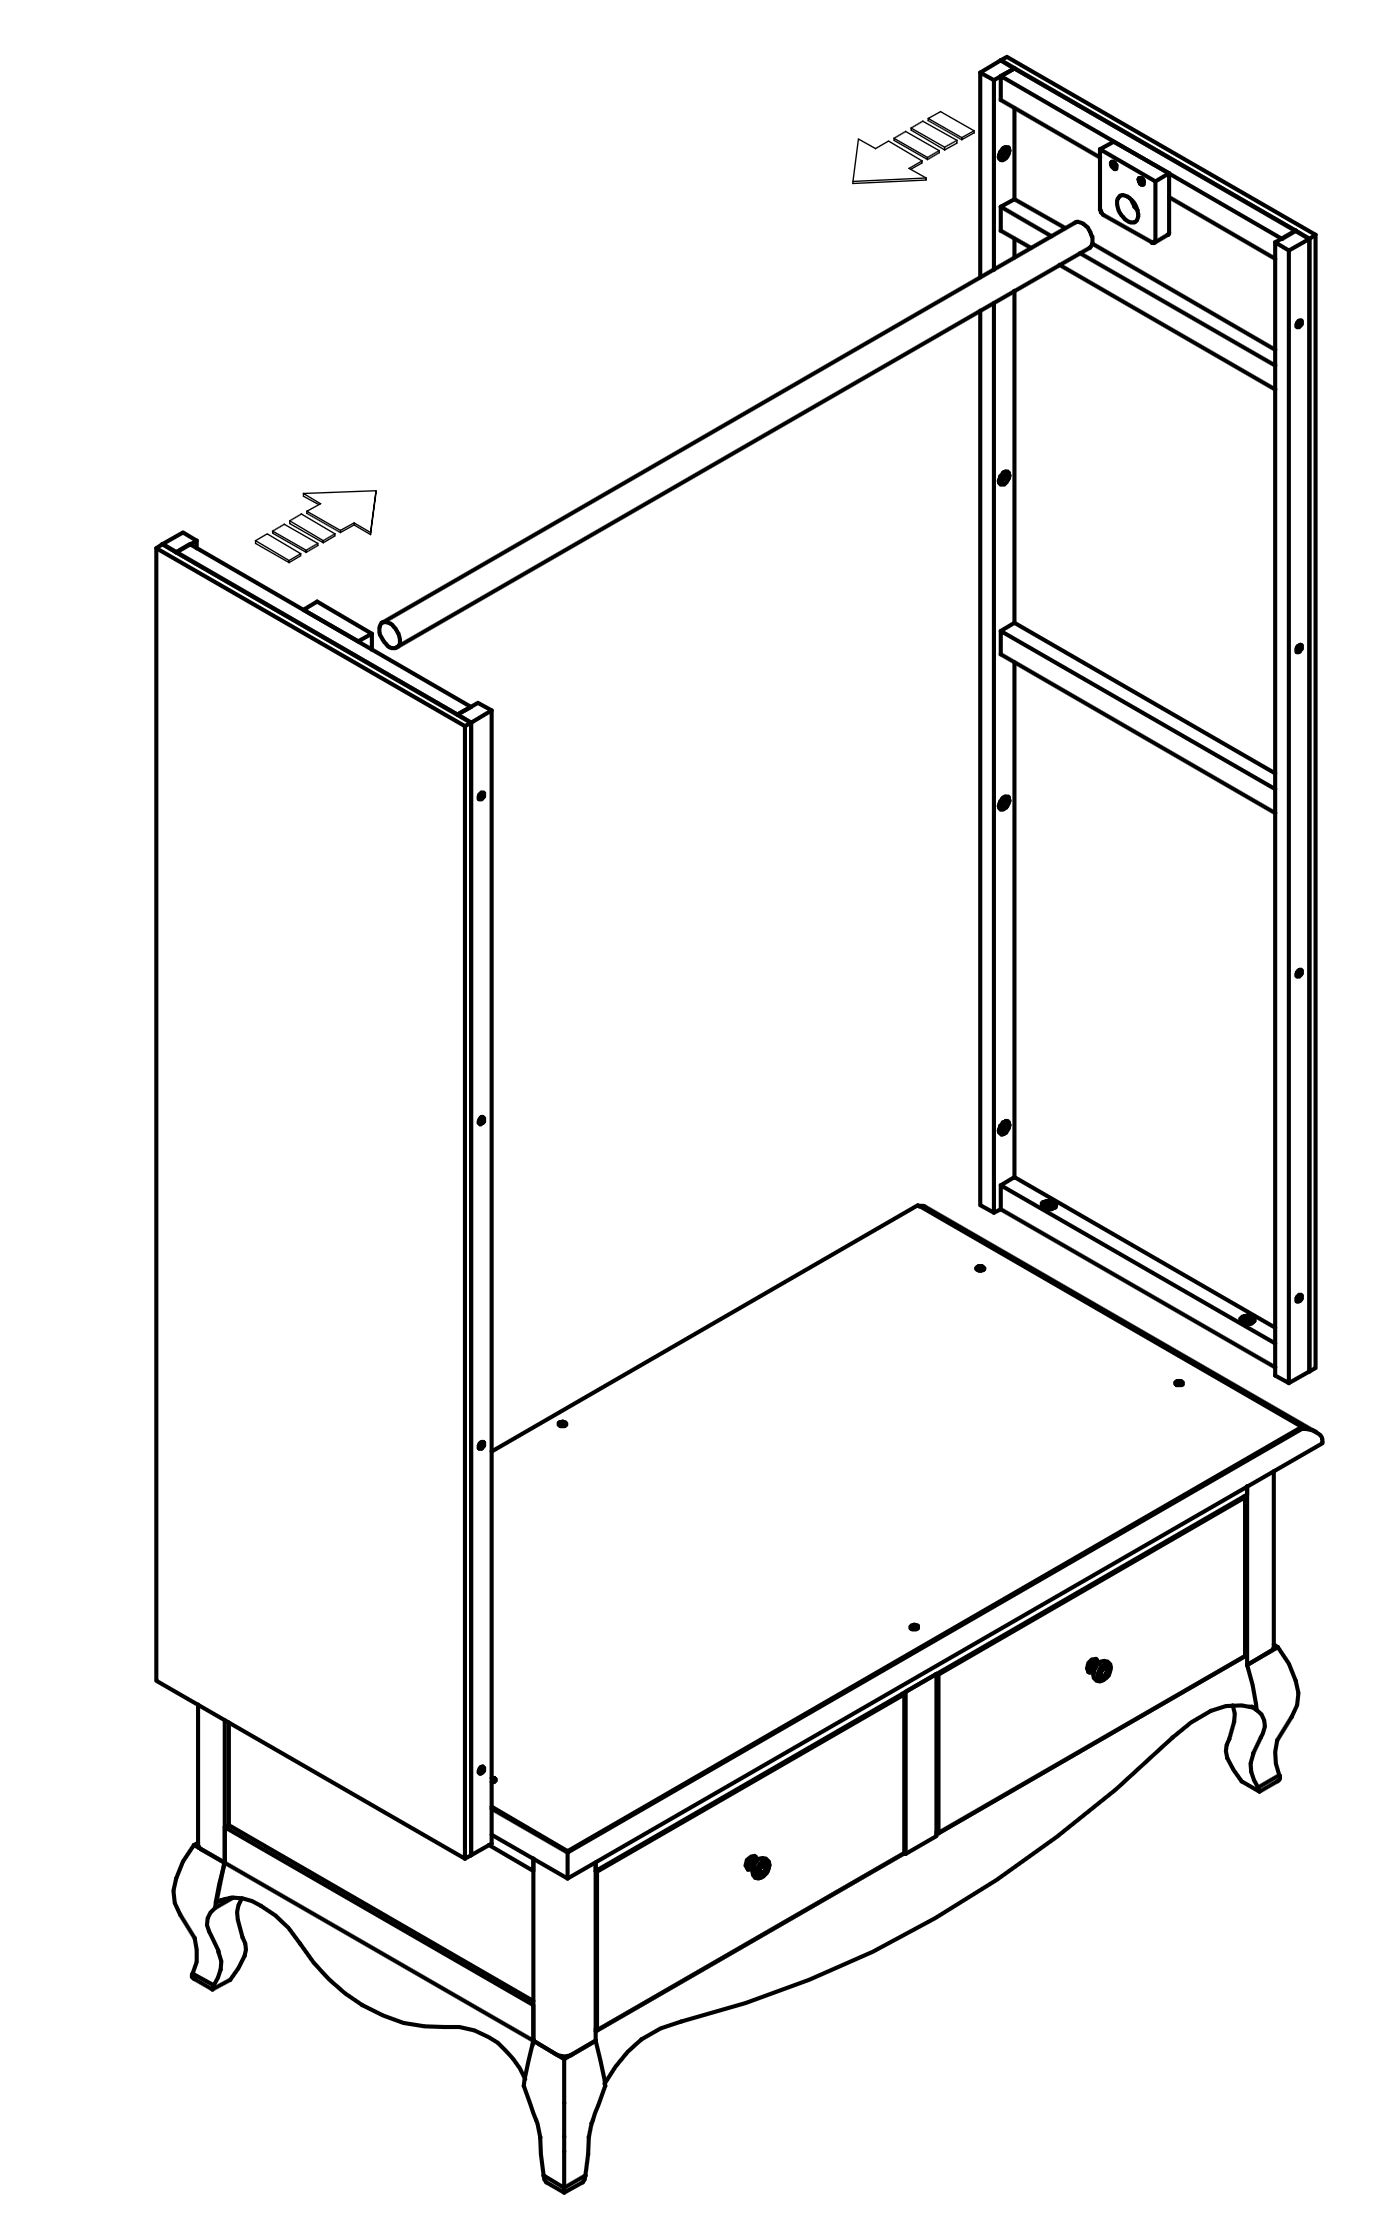
- Insert the clothes rail (F) into the designated slots on the sides (B) of the wardrobe.
- Ensure it is securely positioned to provide stable hanging space.
 Instructions by time4sleep Loire Weathered Oak WardrobeAssembly instructions for the Loire Wardrobe. Product Information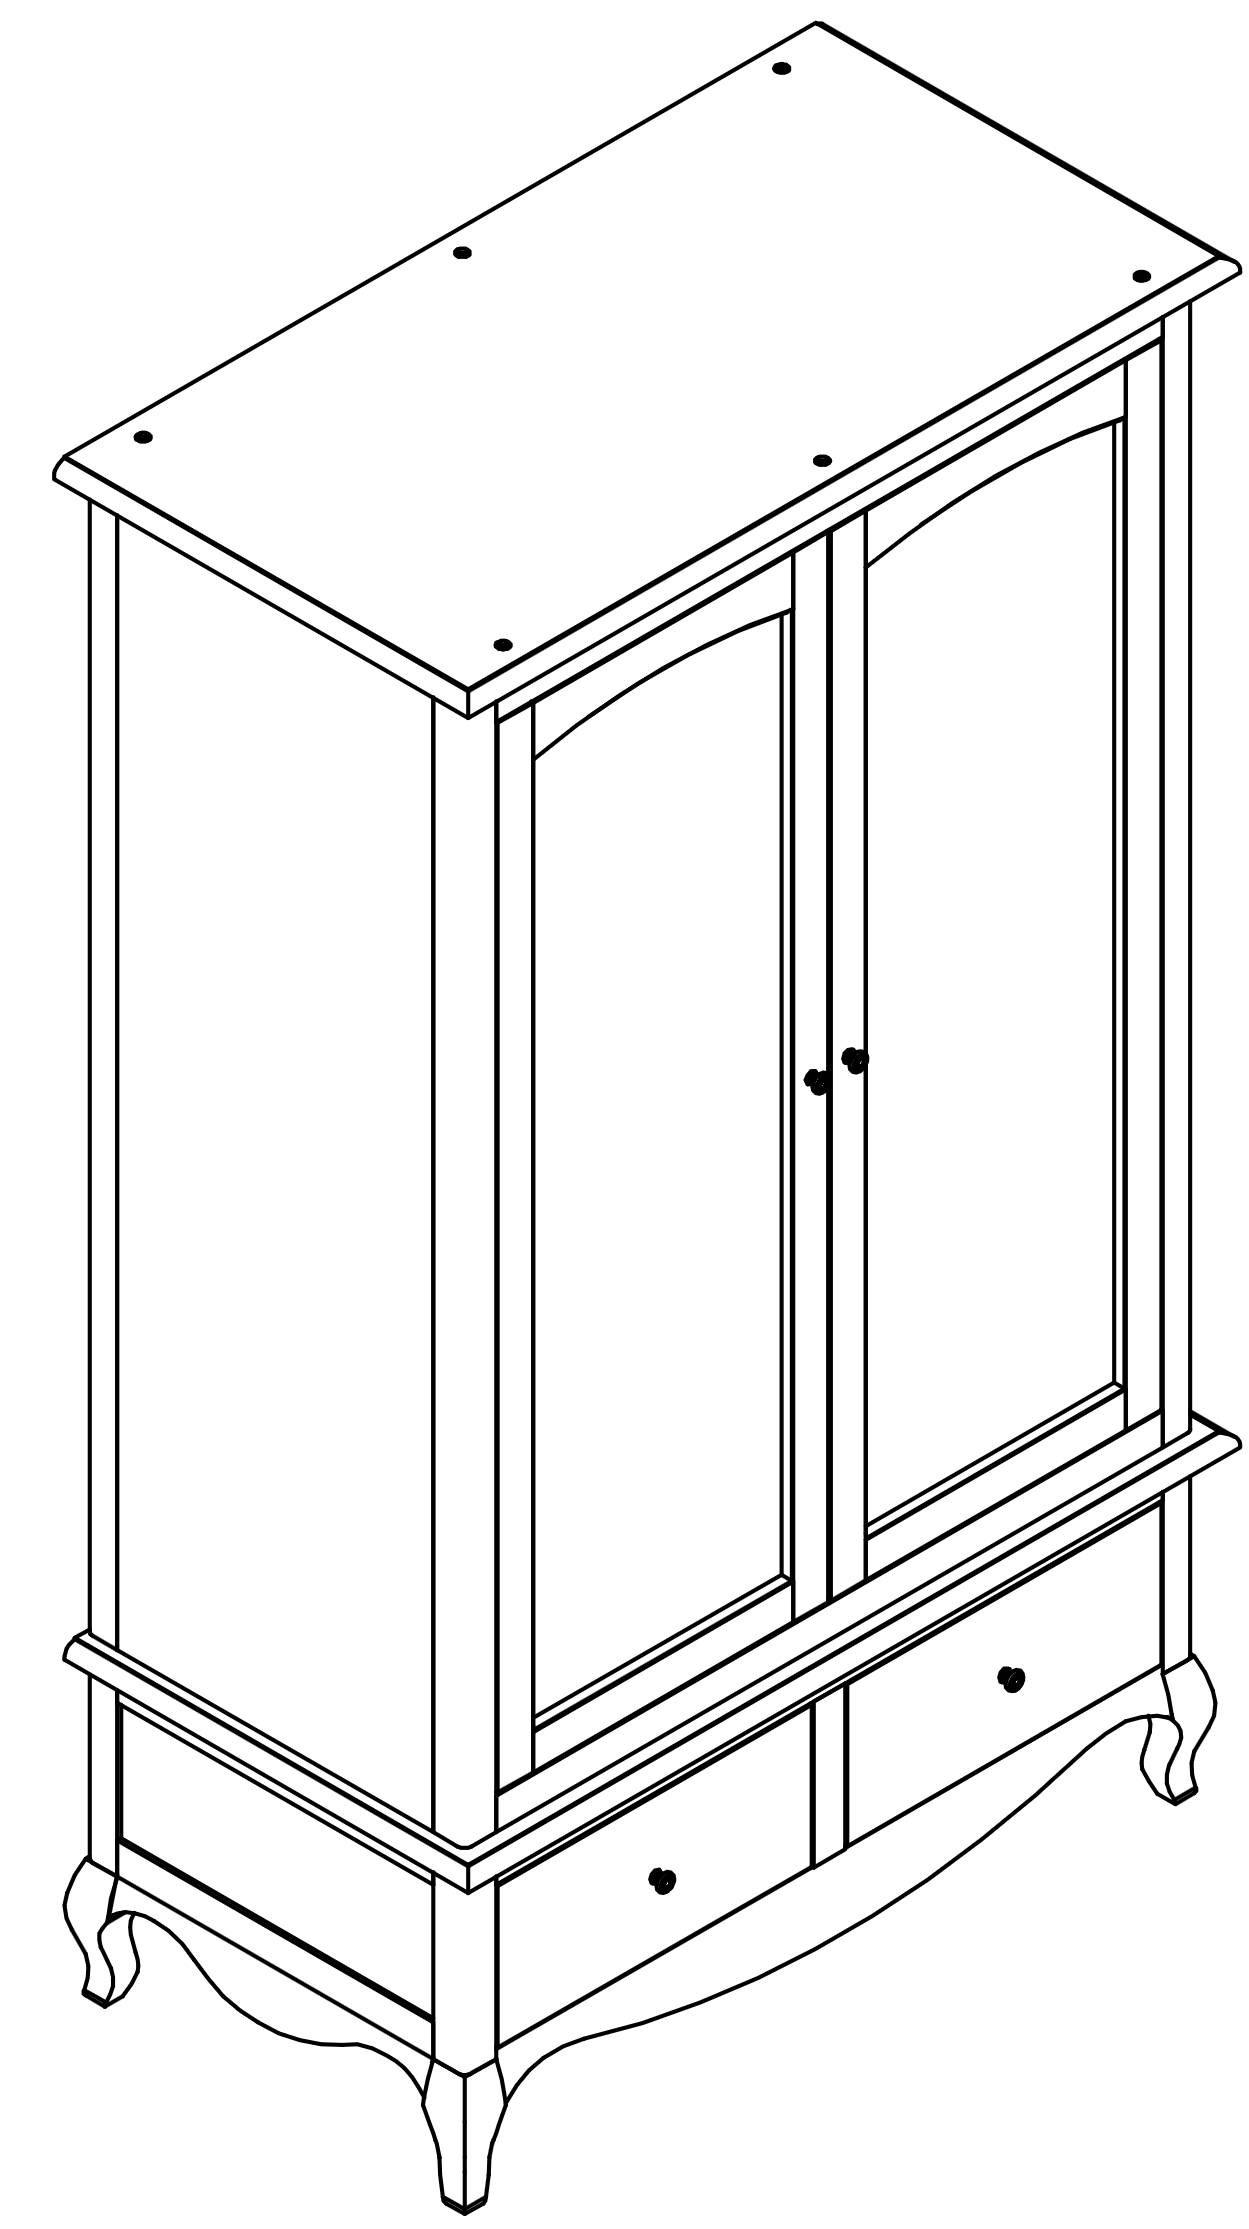 Loire Weathered Oak WardrobeThe Loire French style weathered oak range is some of the finest quality furniture you will find, with its traditional and ornate styling alongside curved plinths and great cornice work. This wardrobe, with it's double width hanging space and two roomy drawers, perfectly complements our Loire and Amelia furniture ranges which can be found in the related furniture section.
View product (opens in new tab) Tools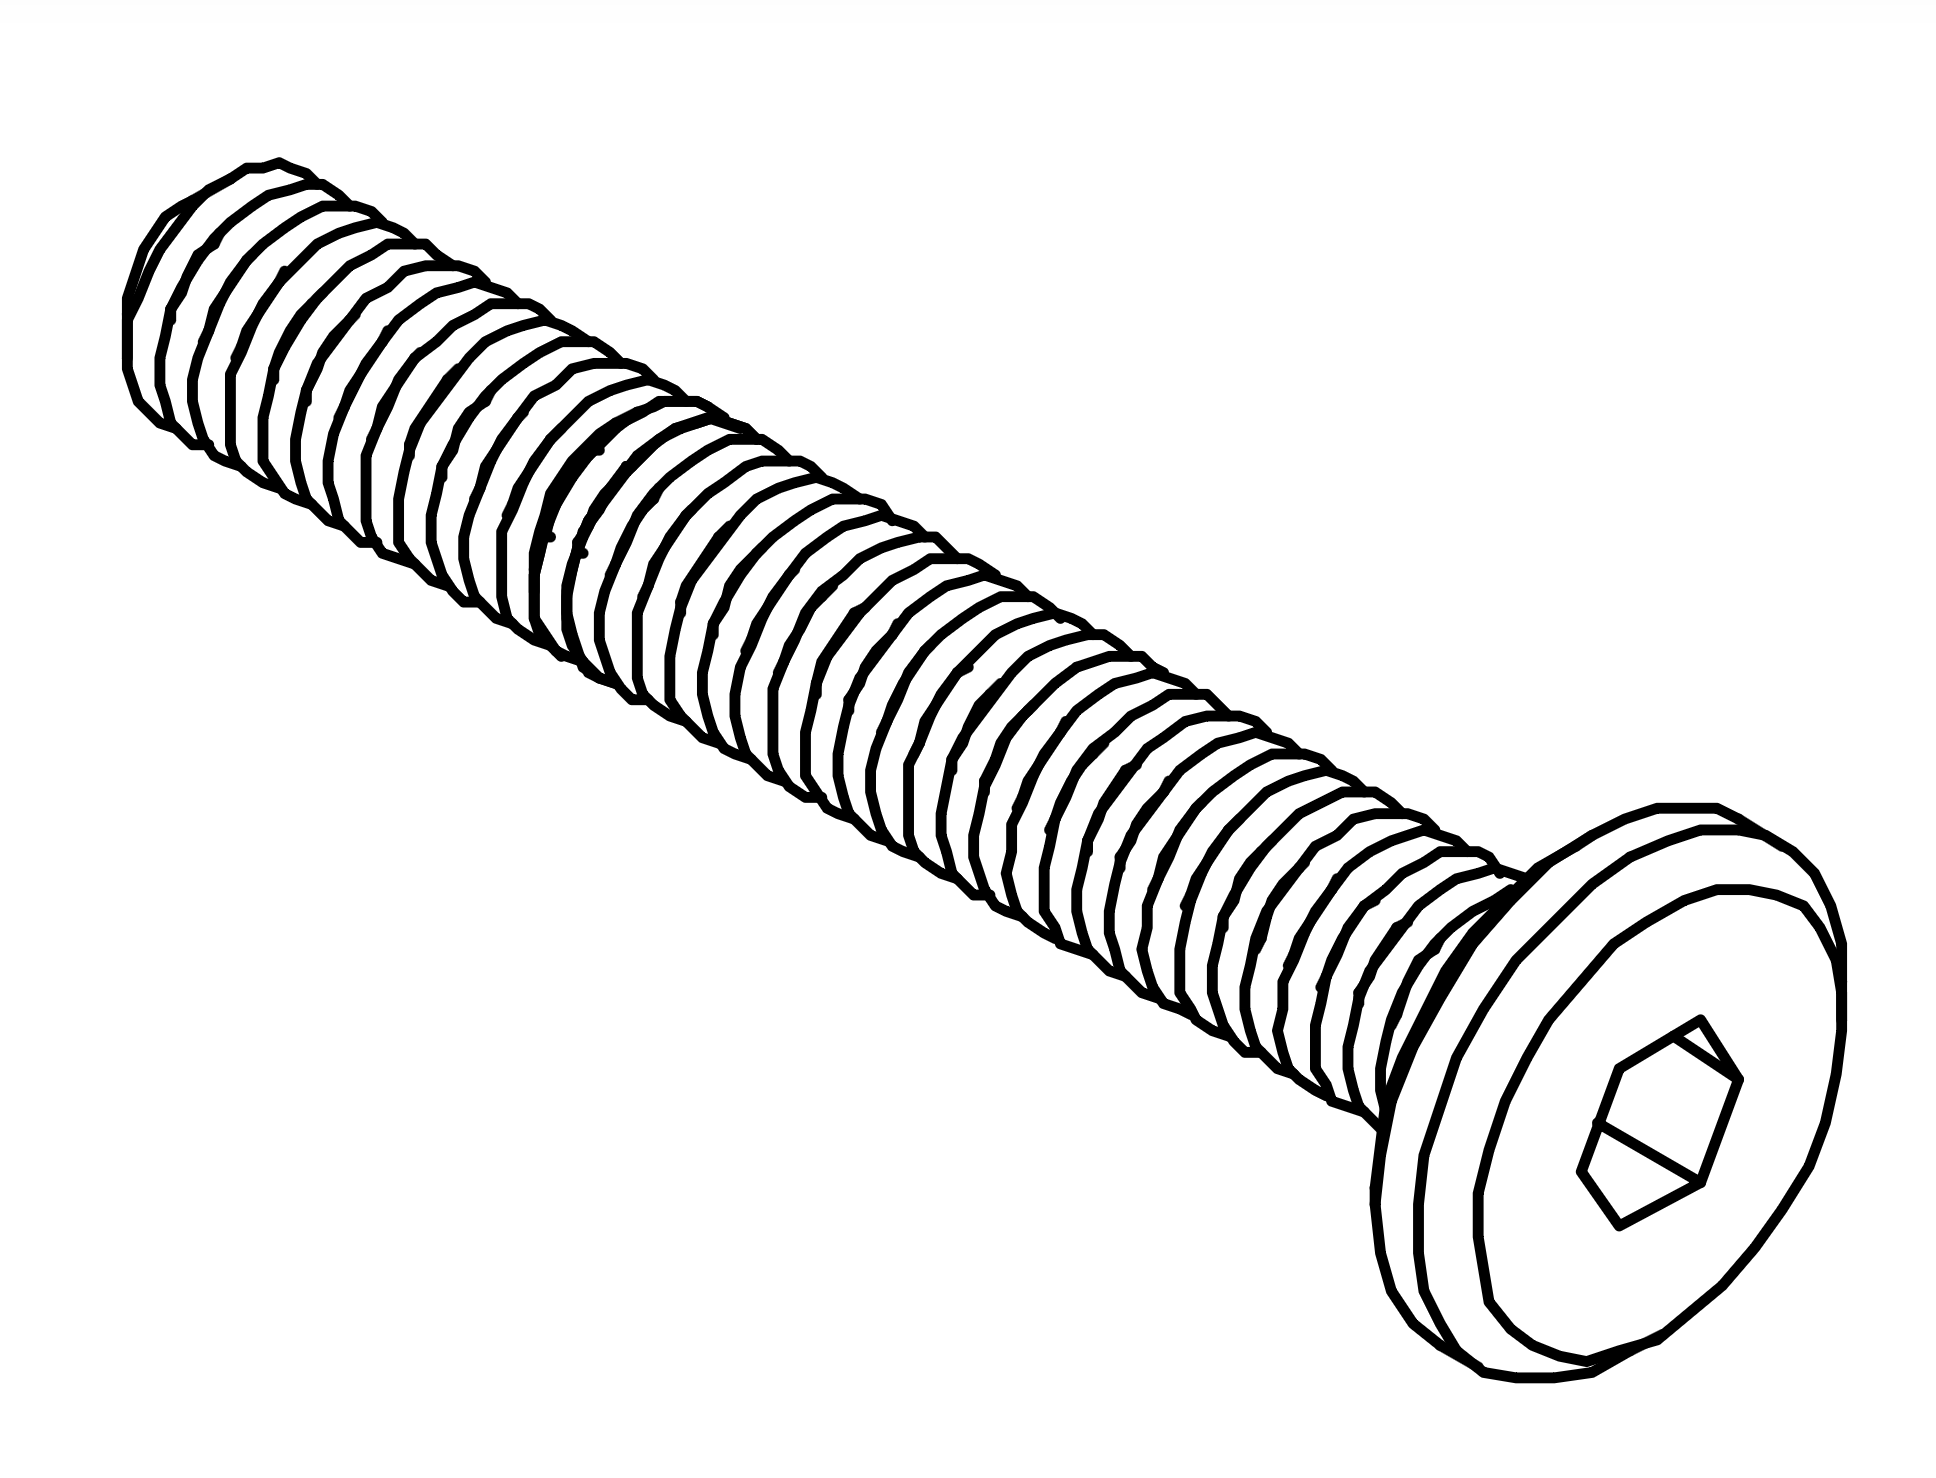 H1 - Bolt 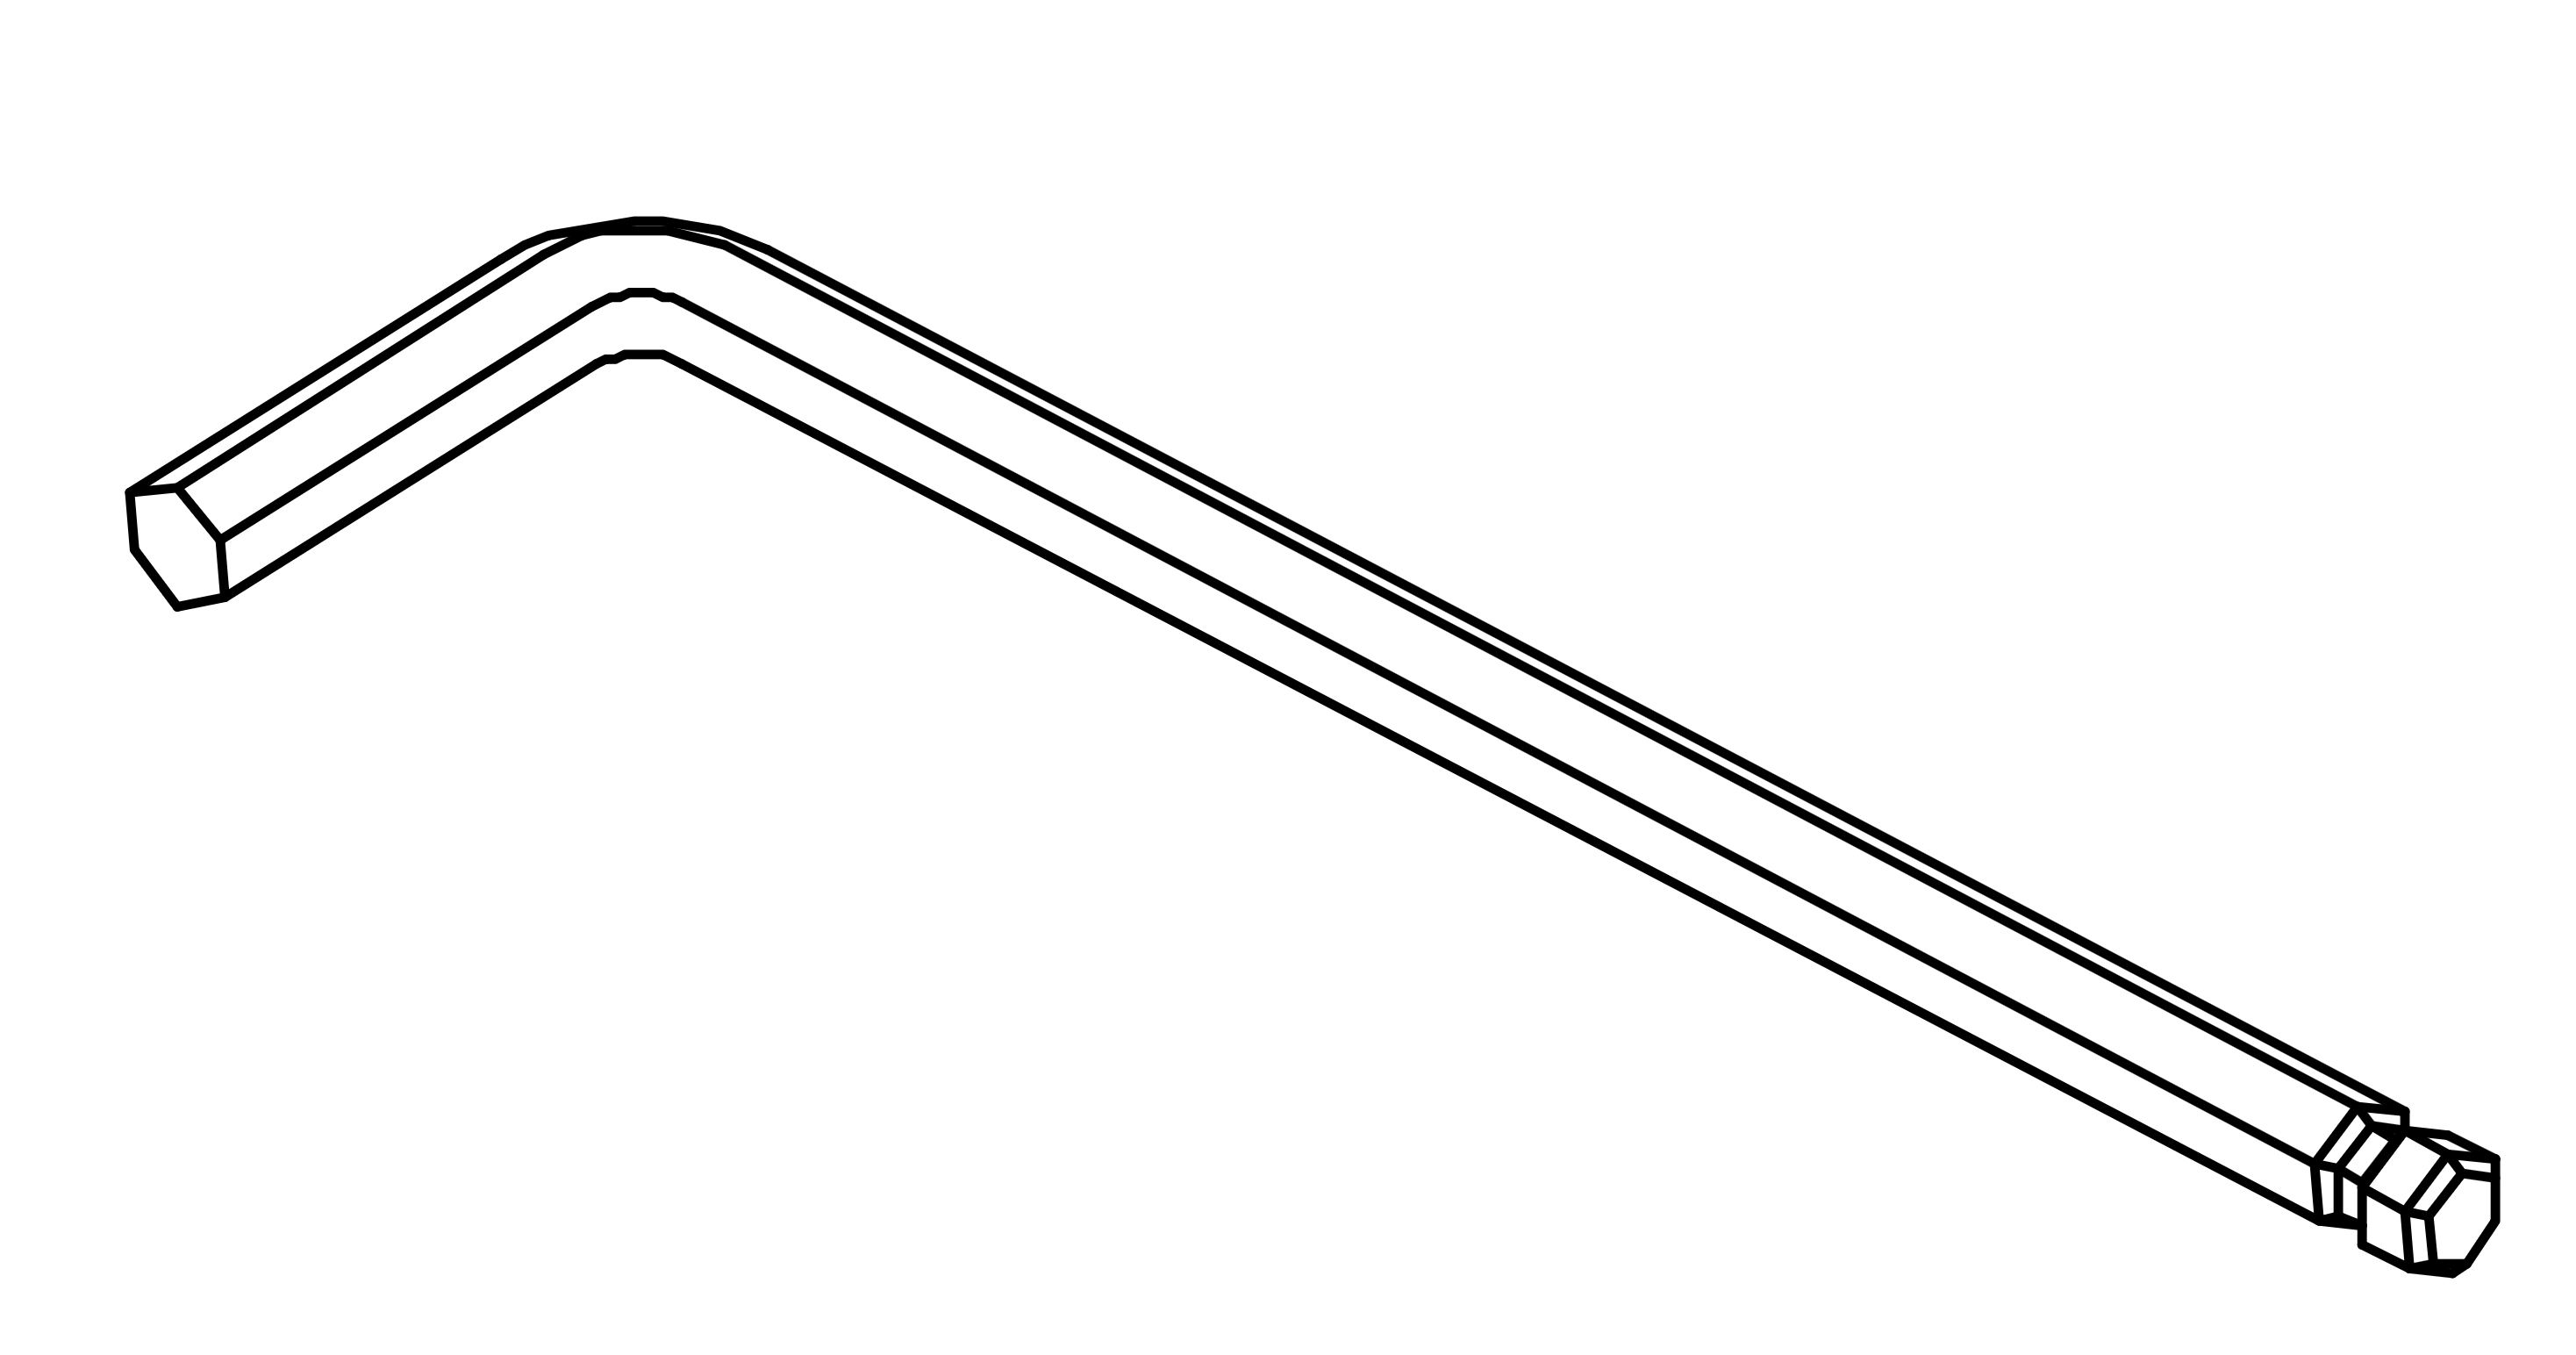 H2 - Allen Key Parts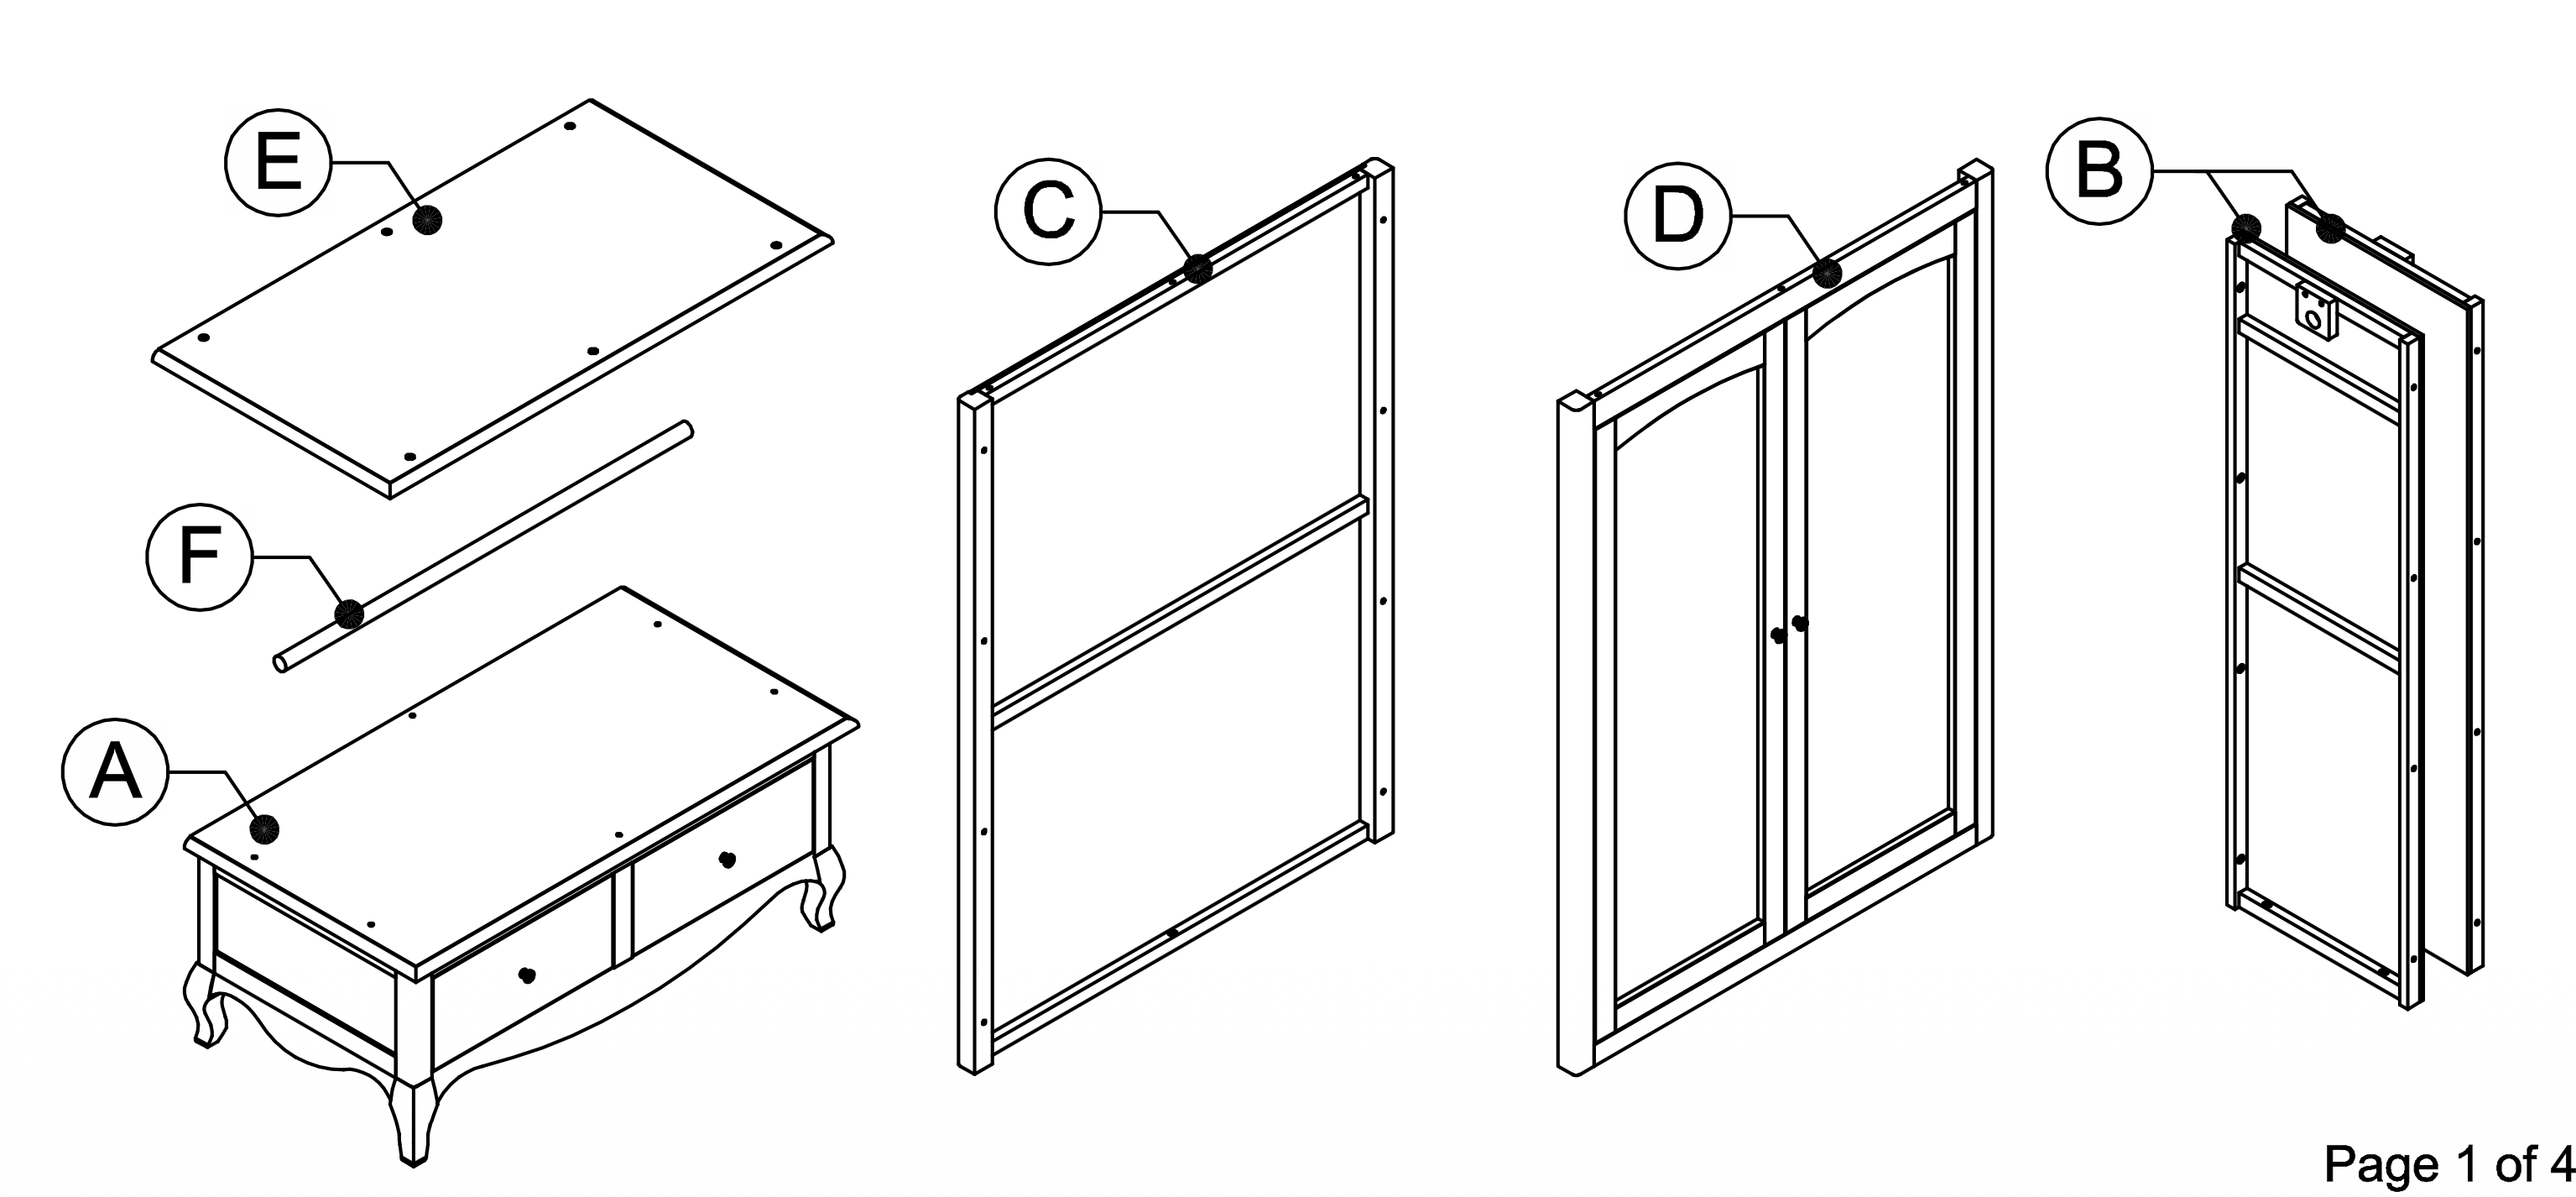 1A - Base with drawers 2B - Sides 3C - Back 4D - Doors 5E - Top 6F - Clothes Rail 1. Install Hanging Rail
2. Secure Side Panels to Base 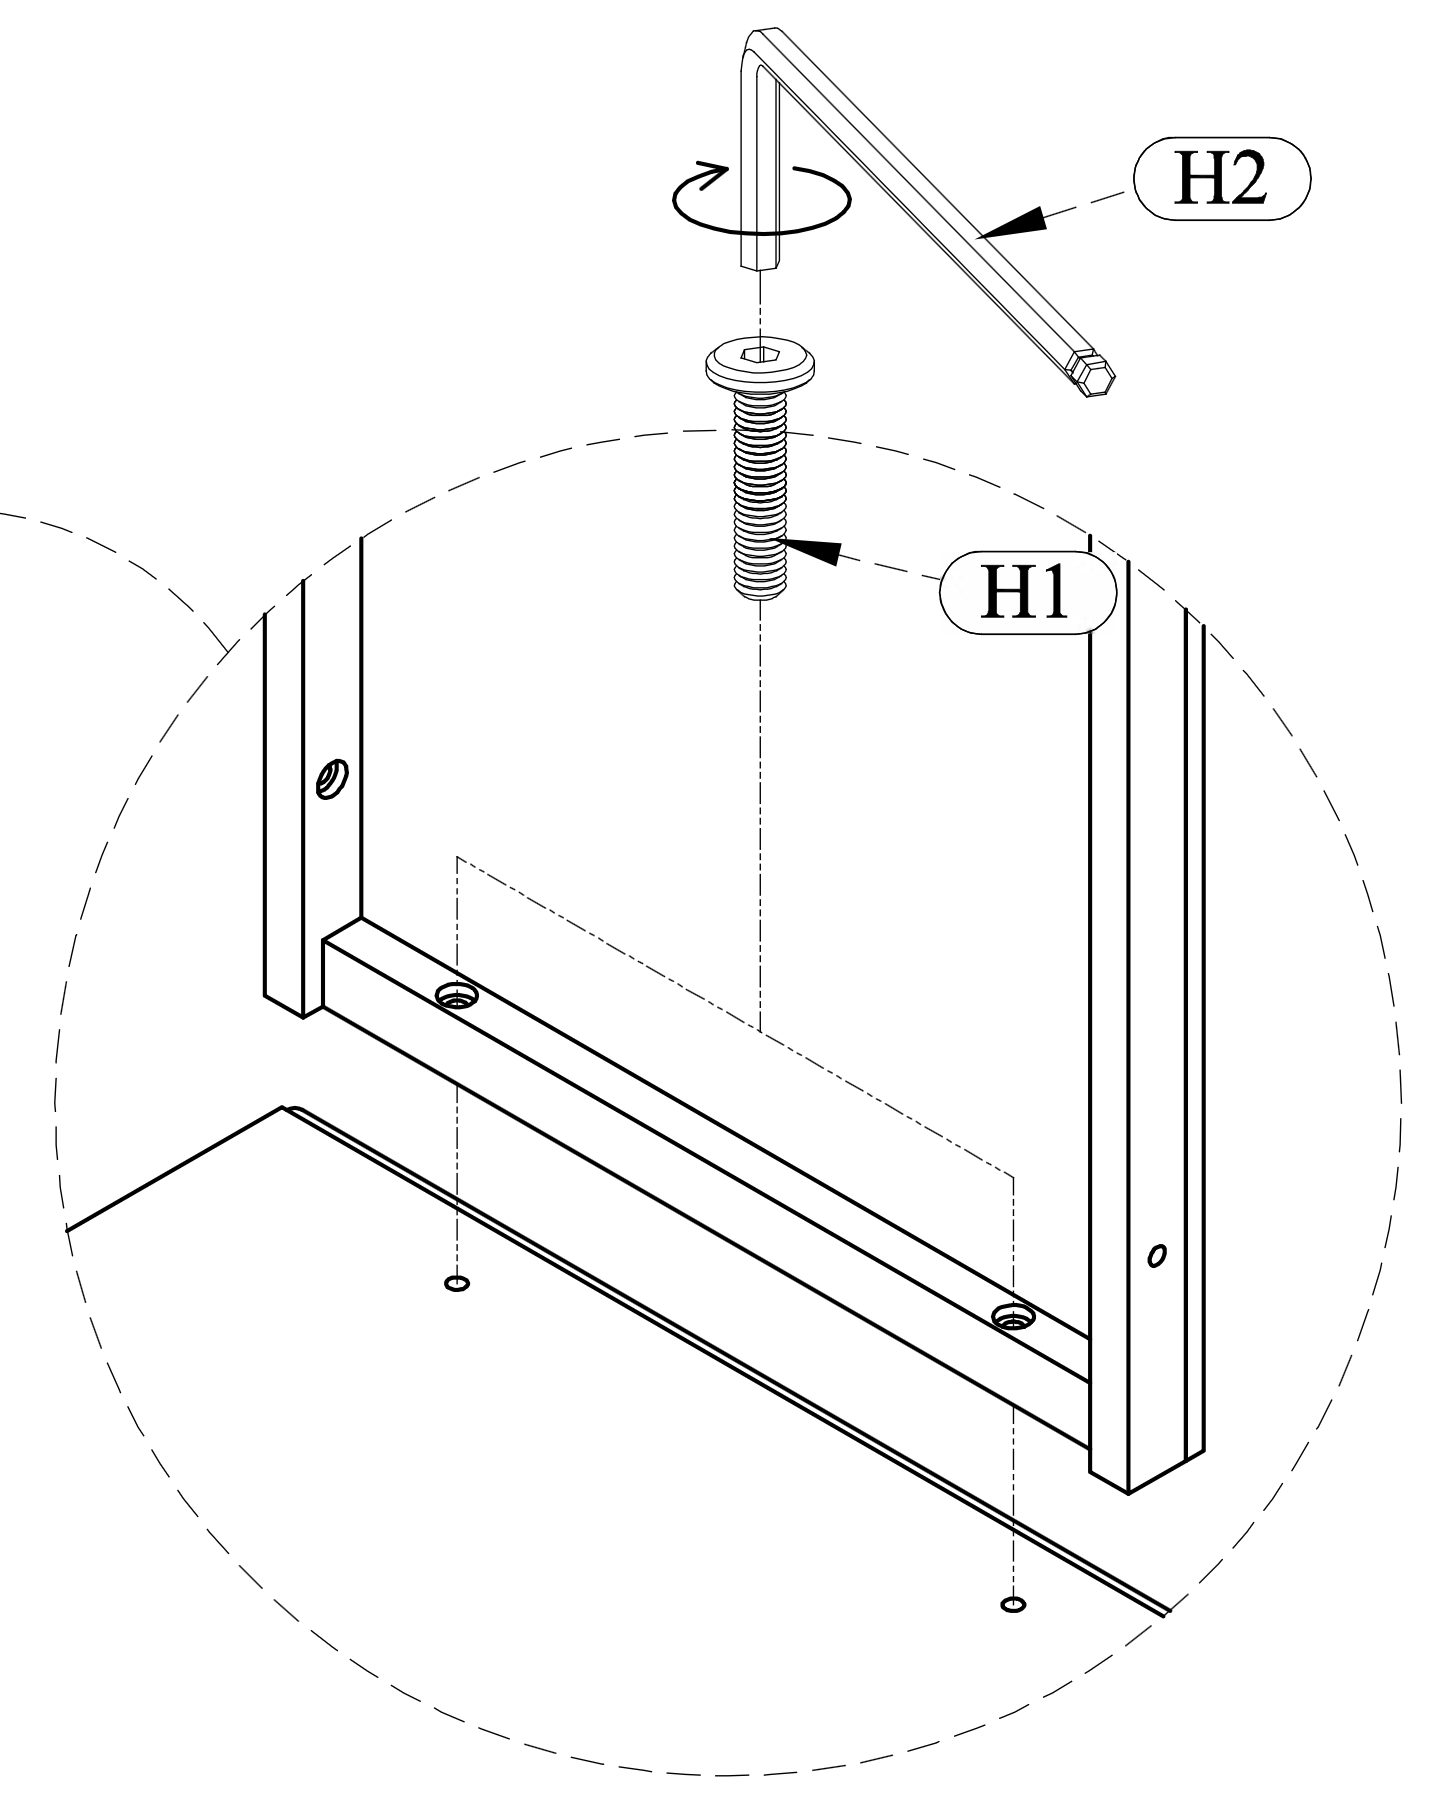
3. Secure Back panel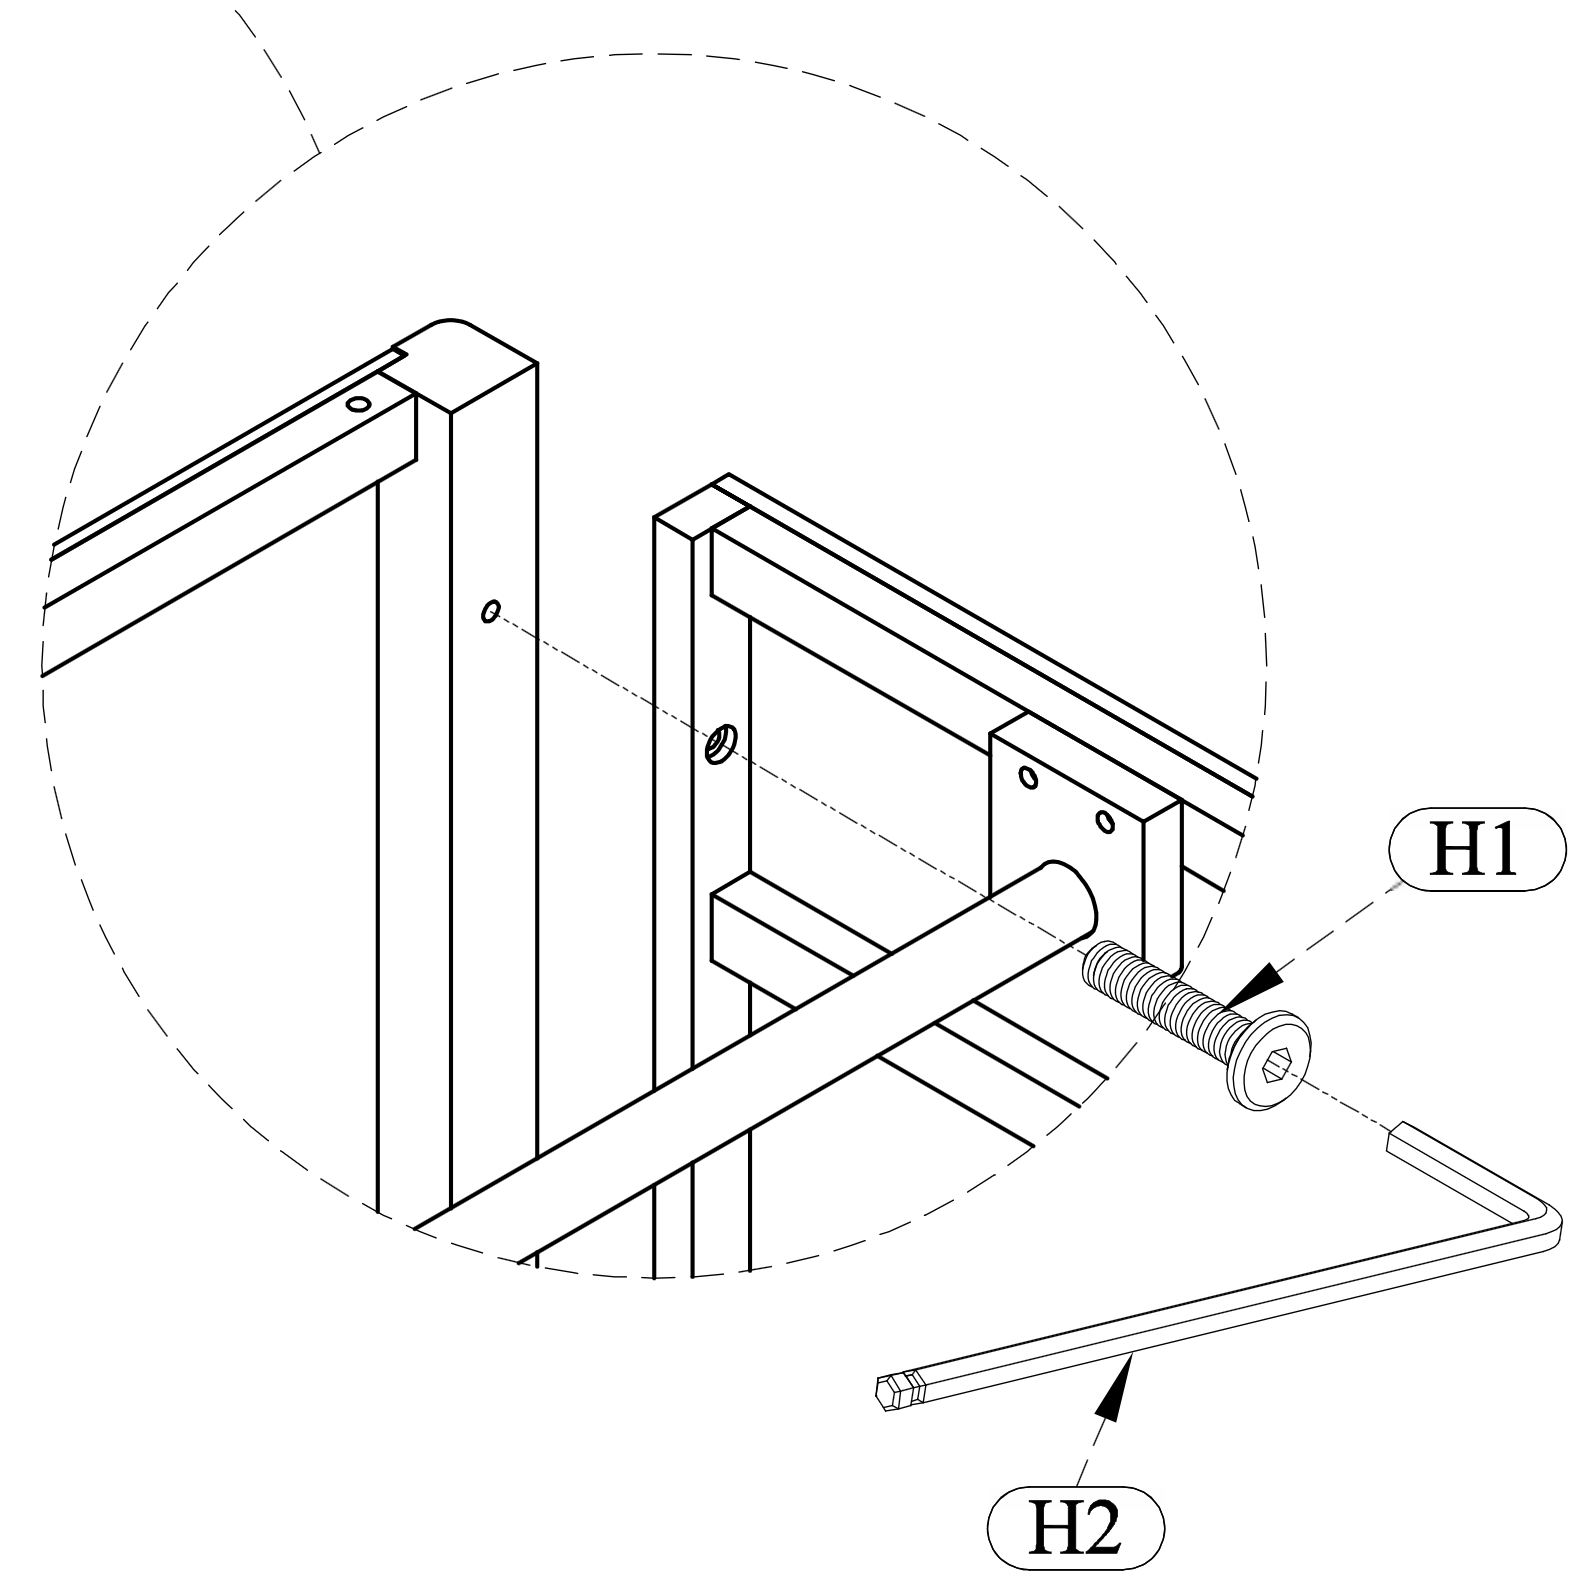 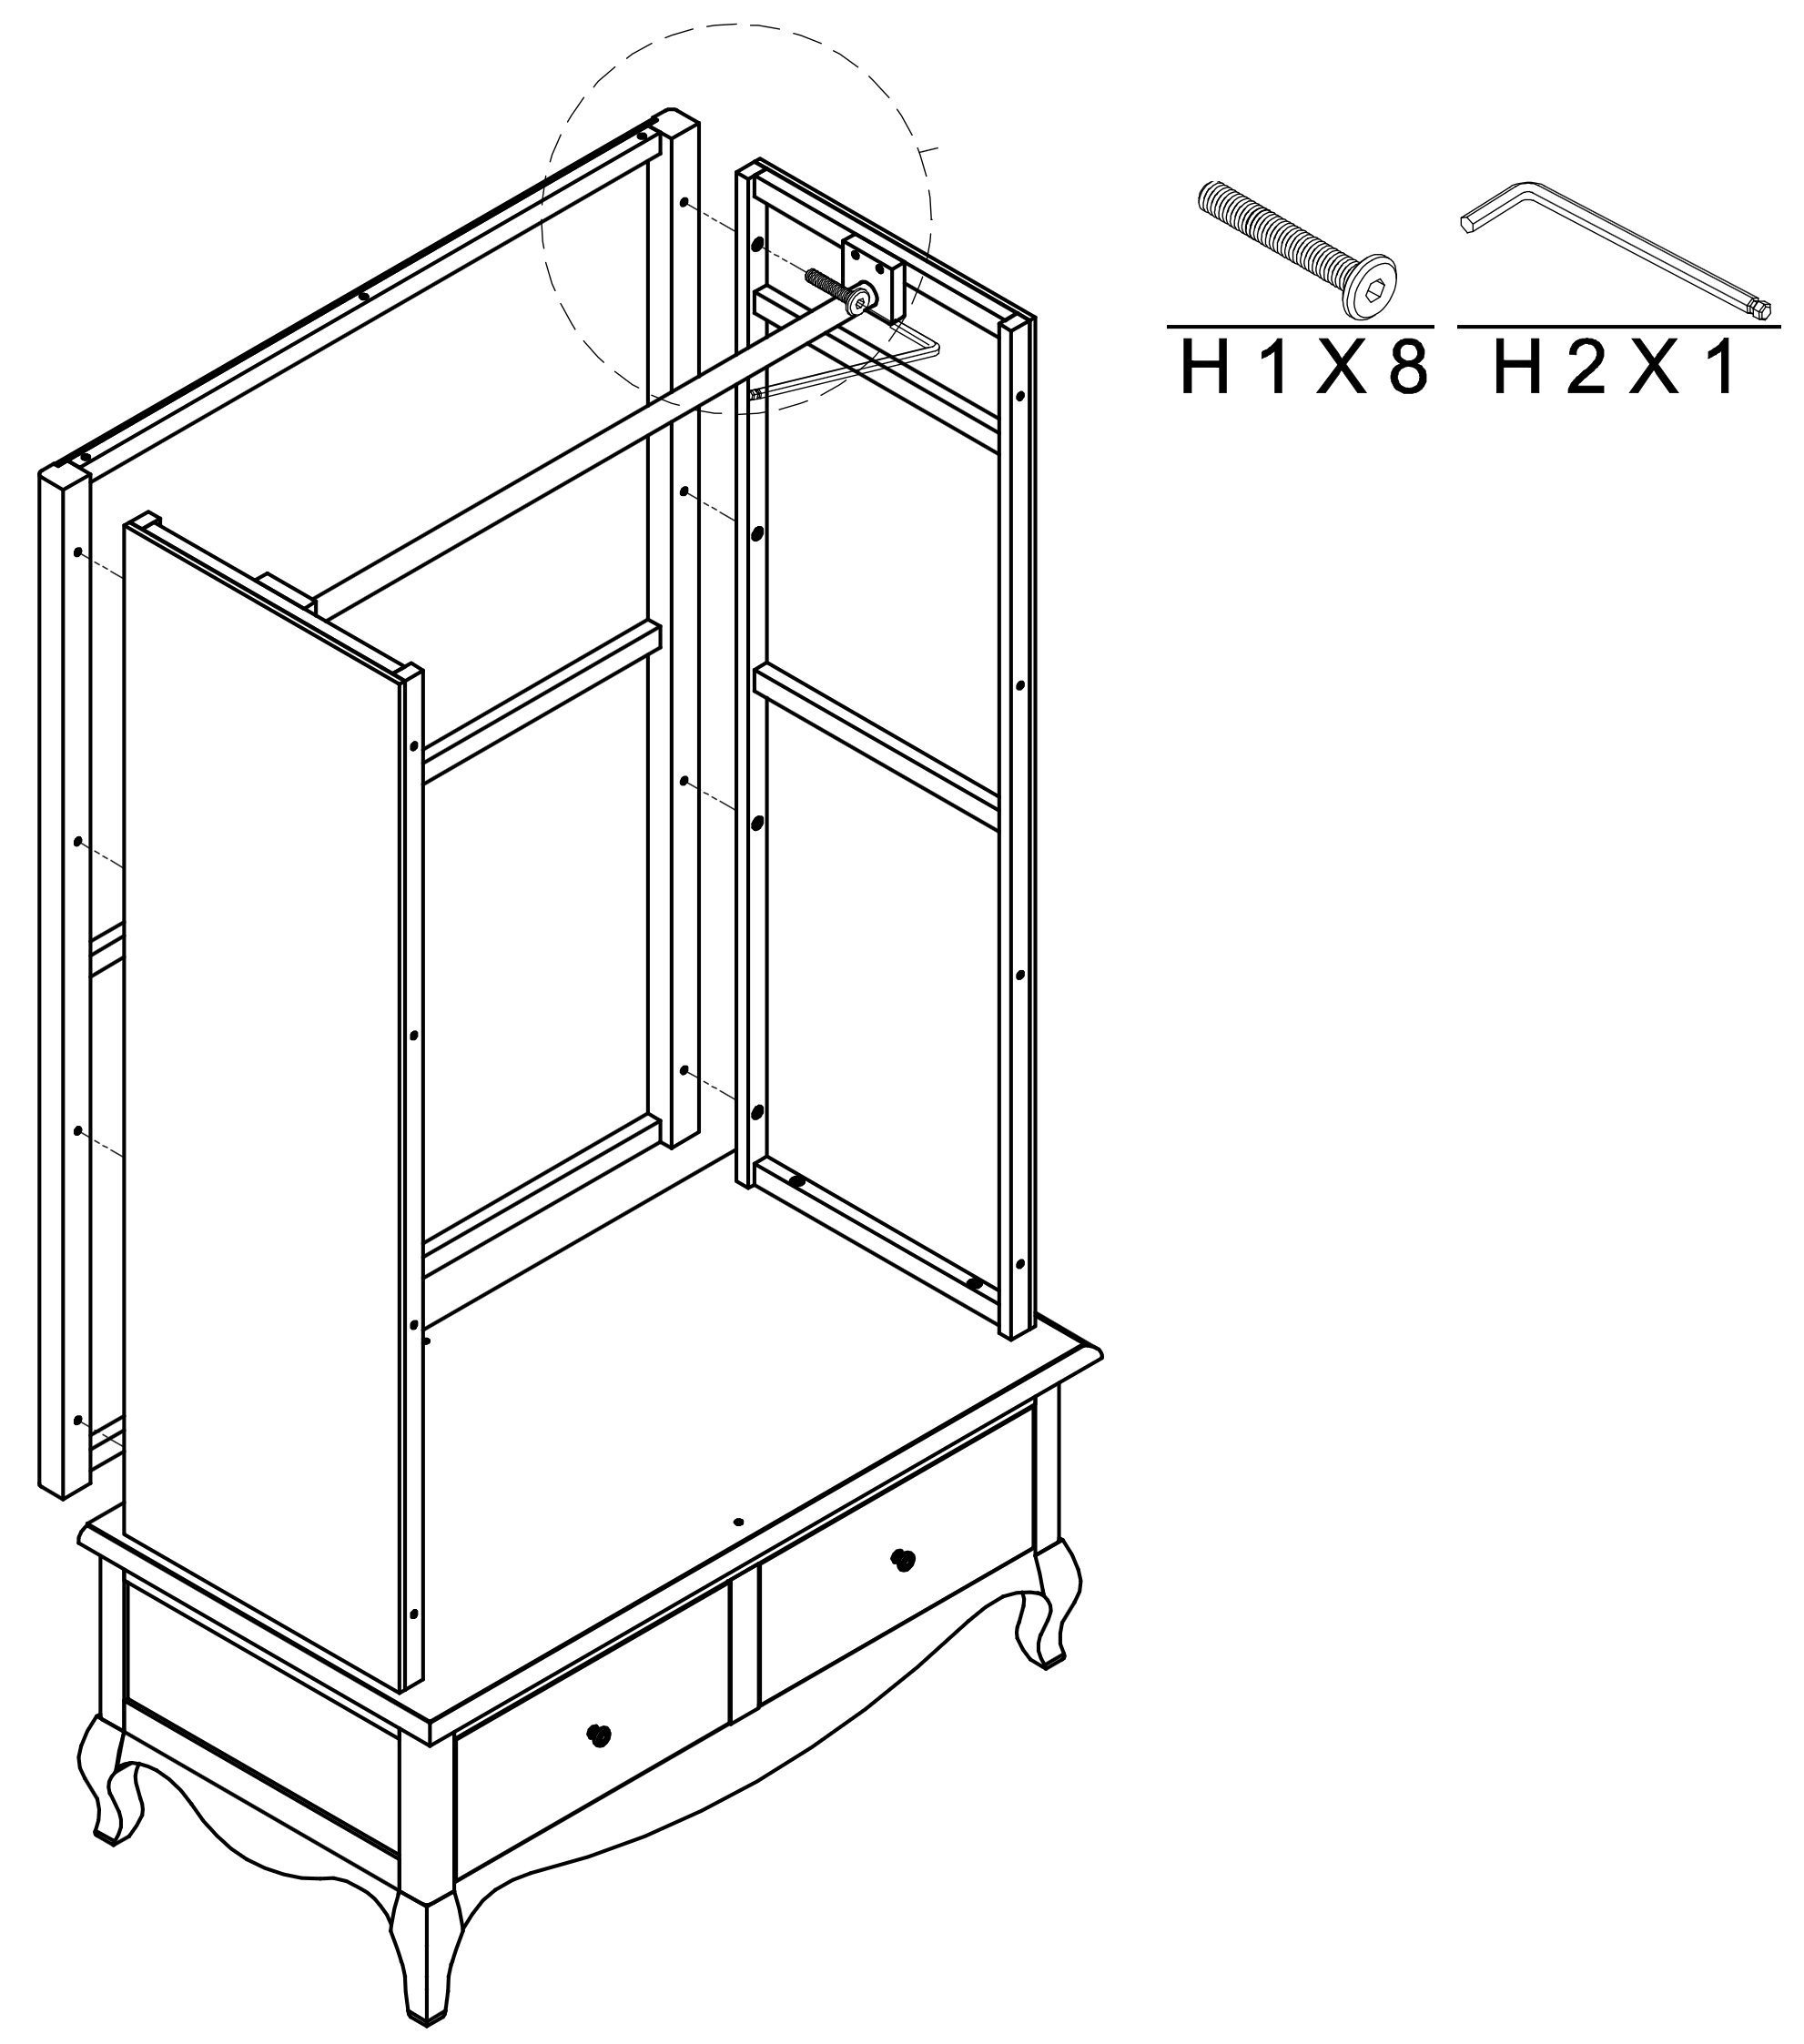
4. Door Attachment Process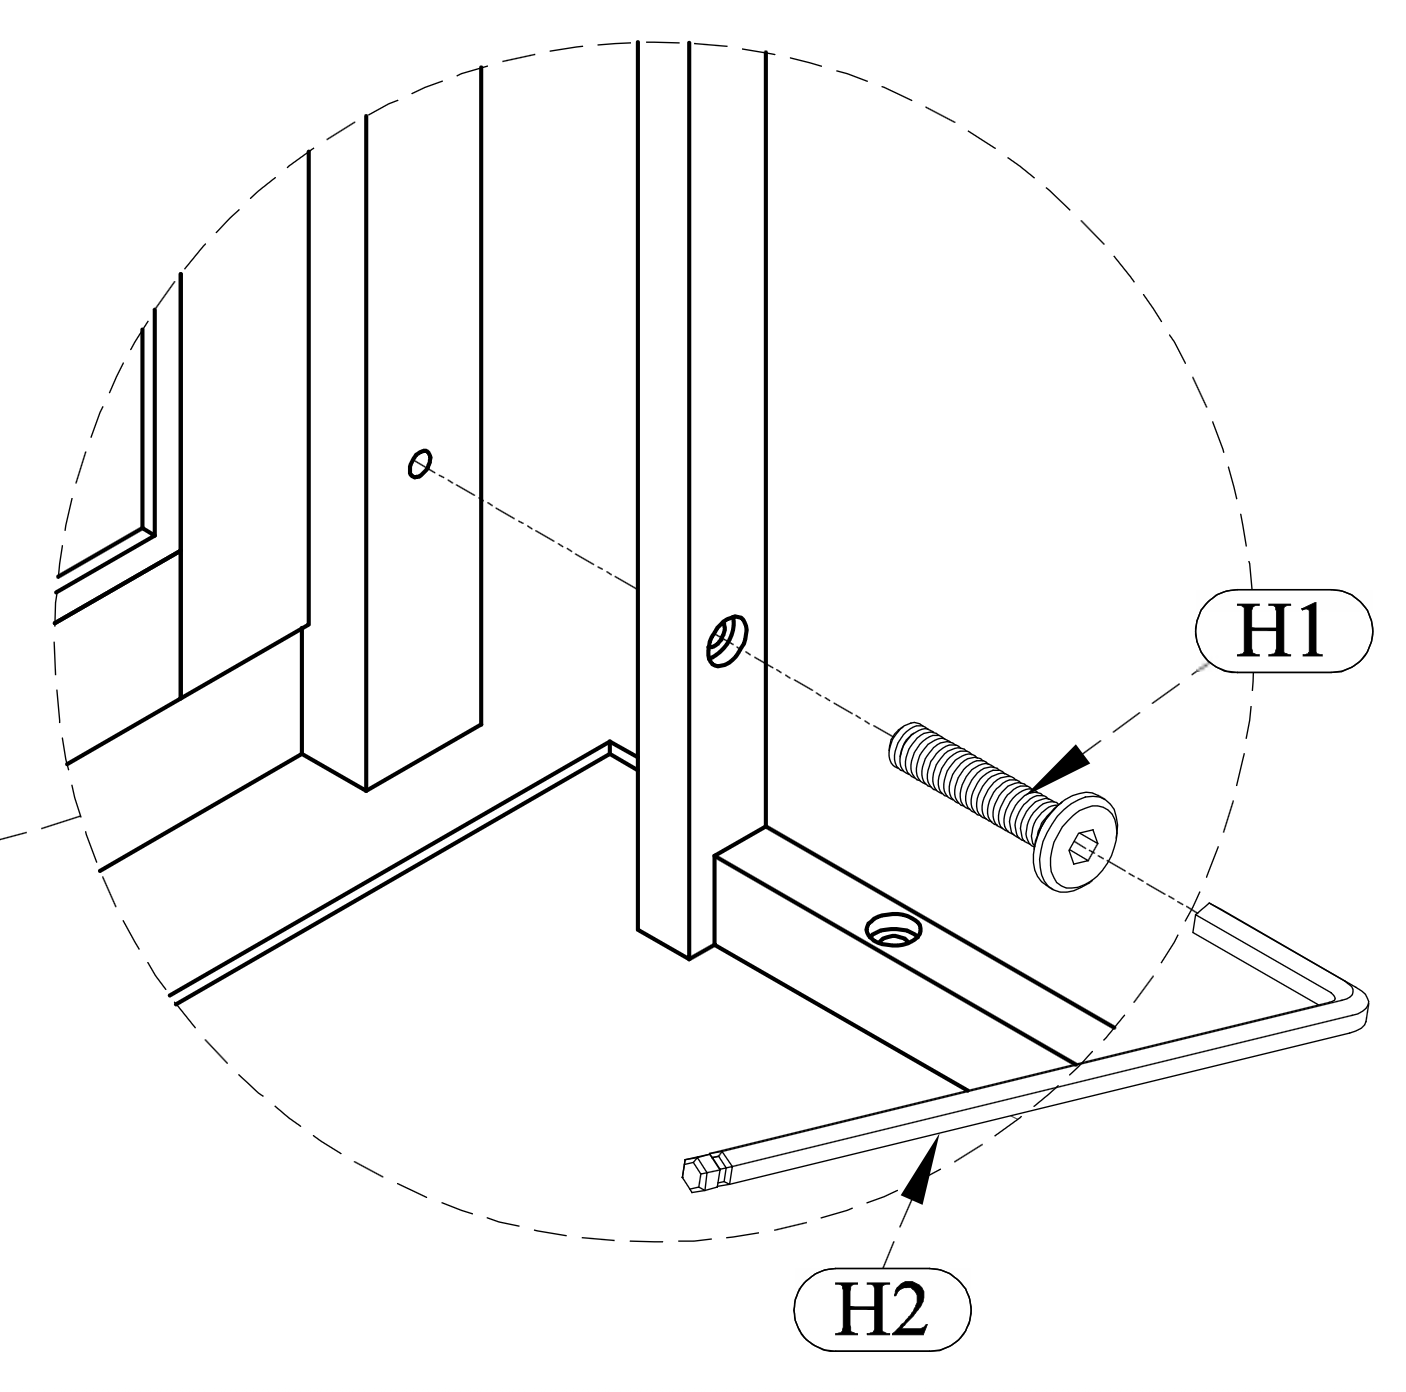 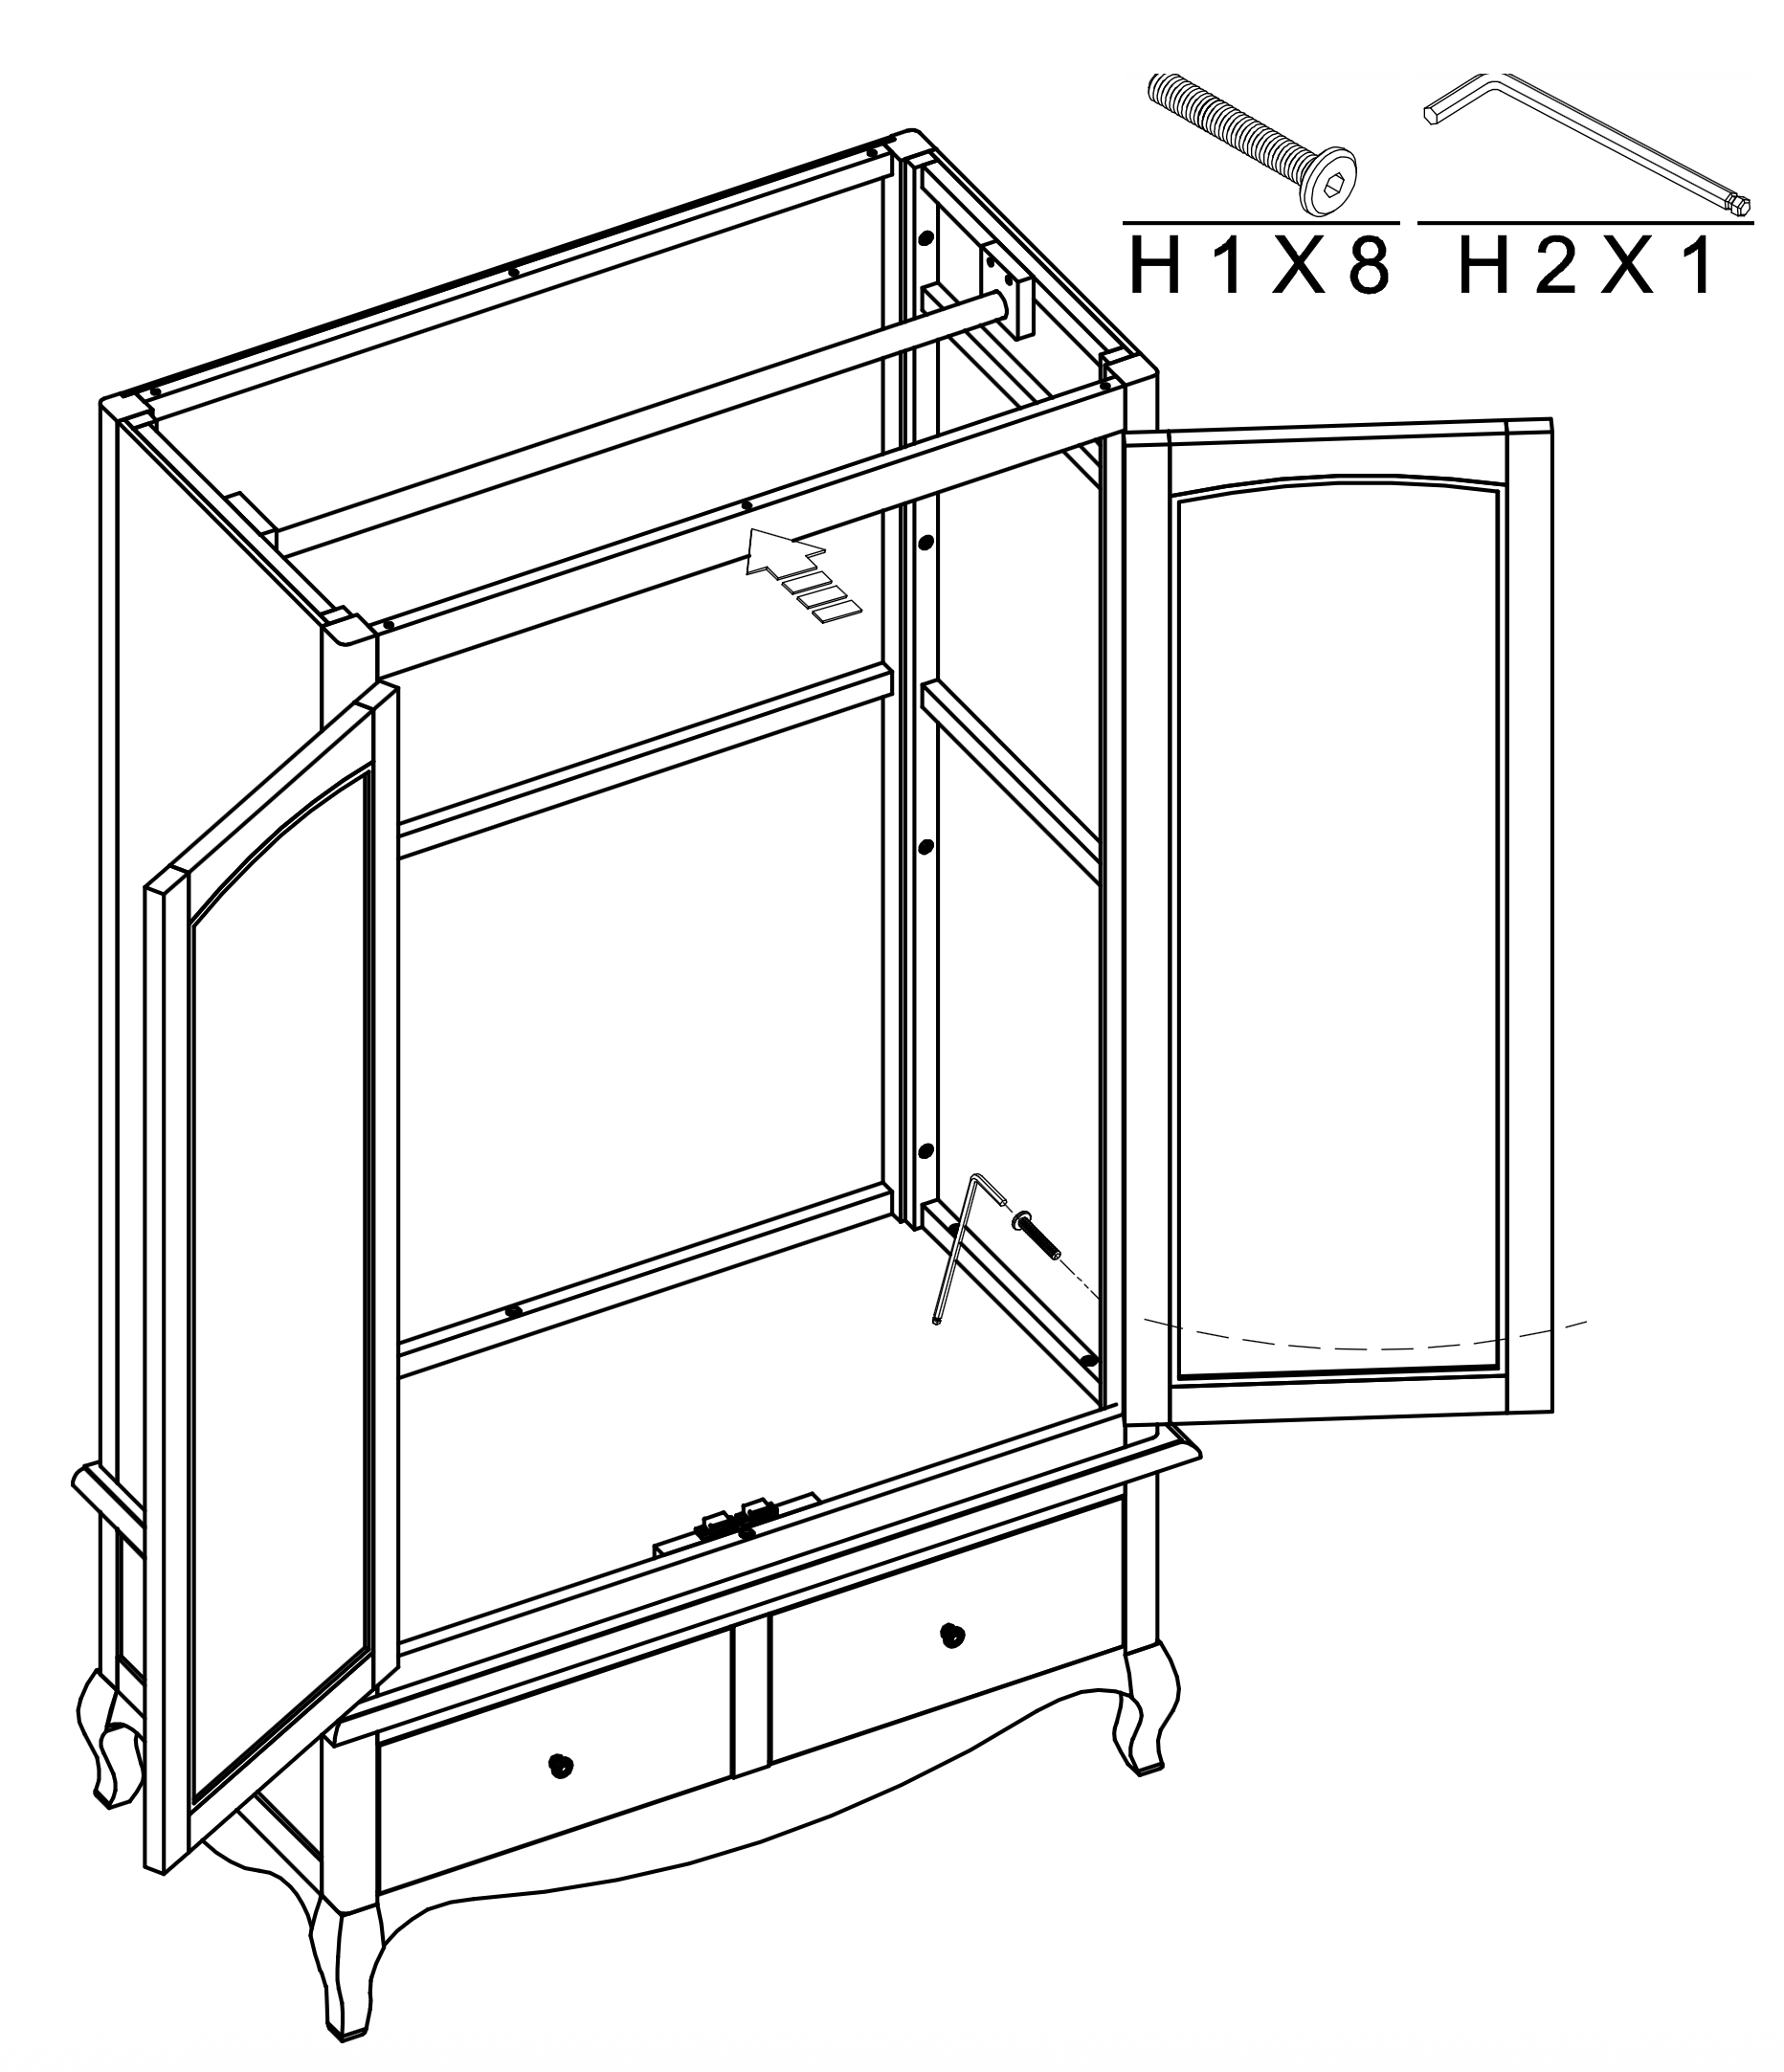
5. Securing All Internal Parts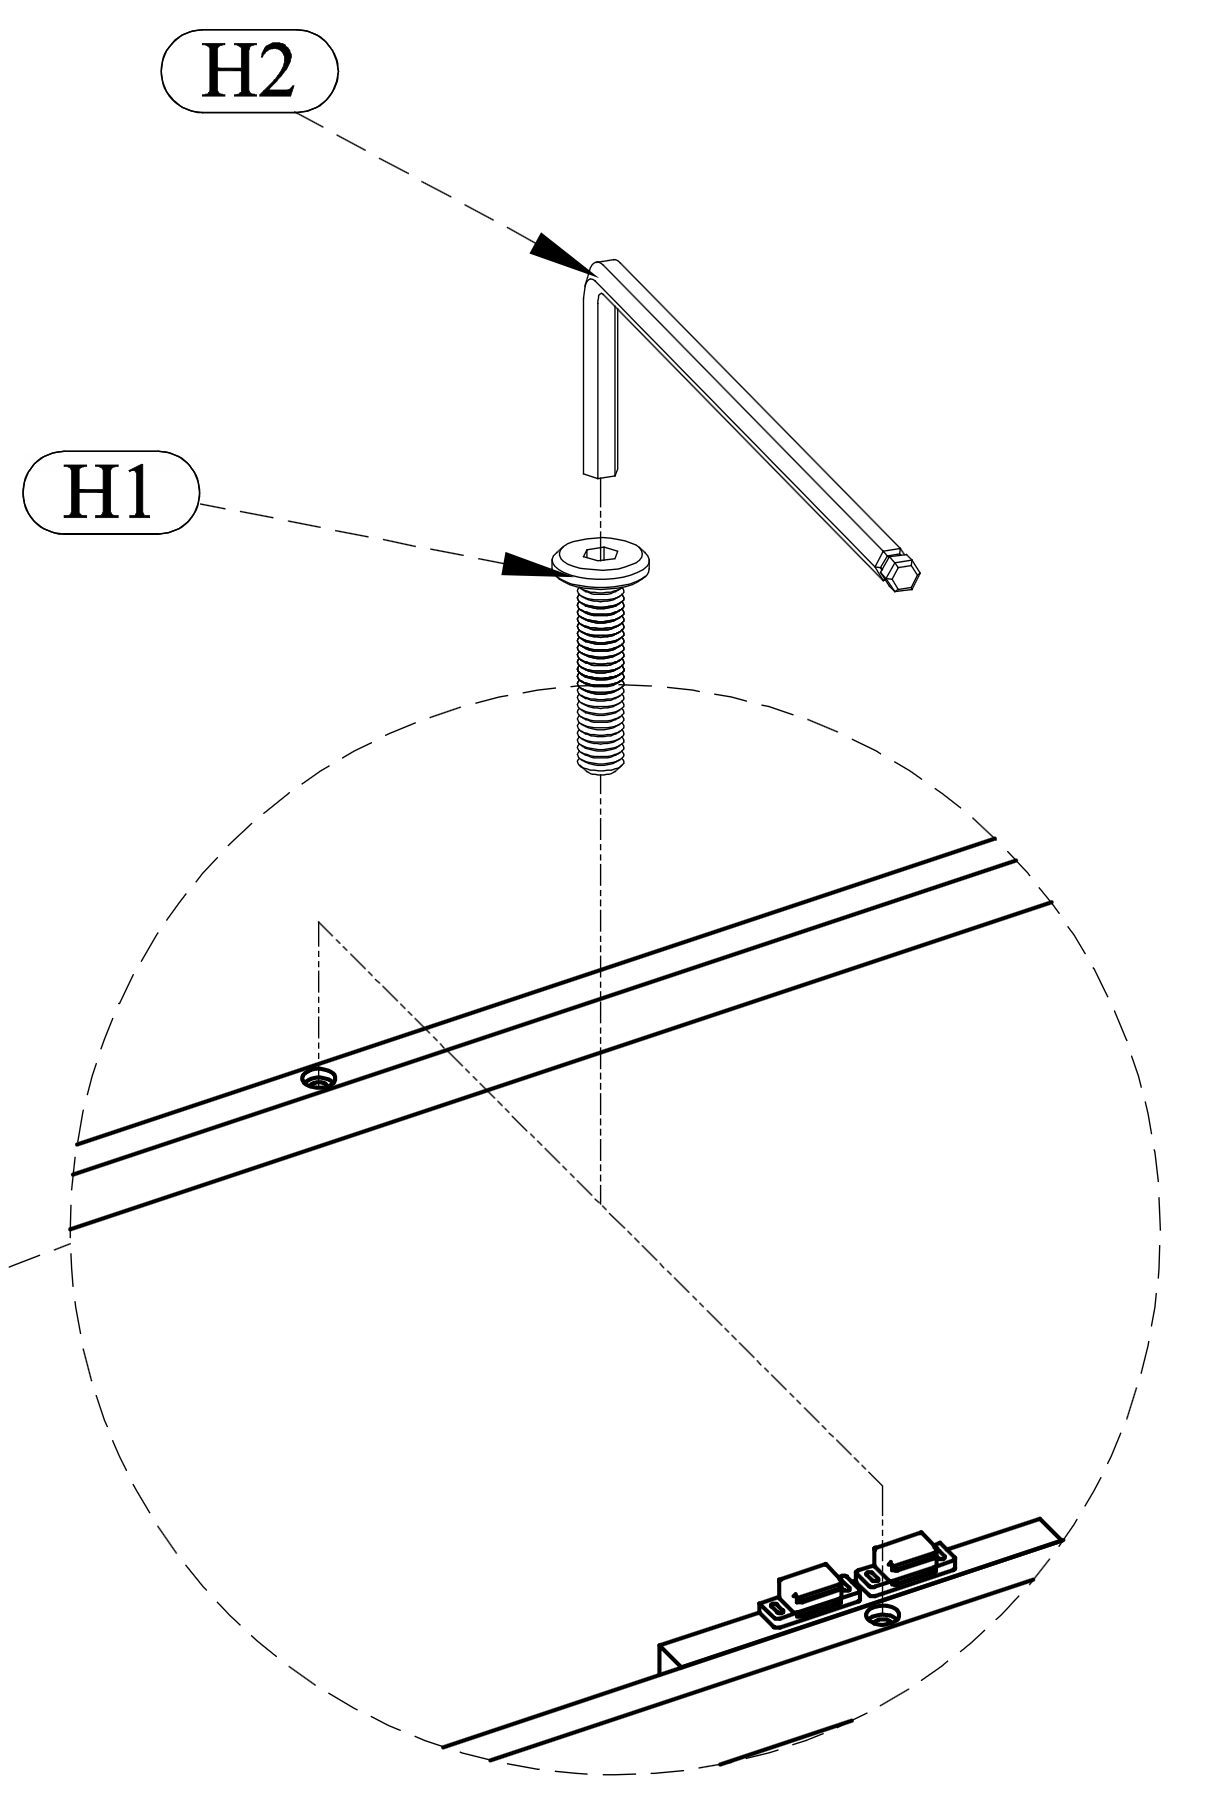 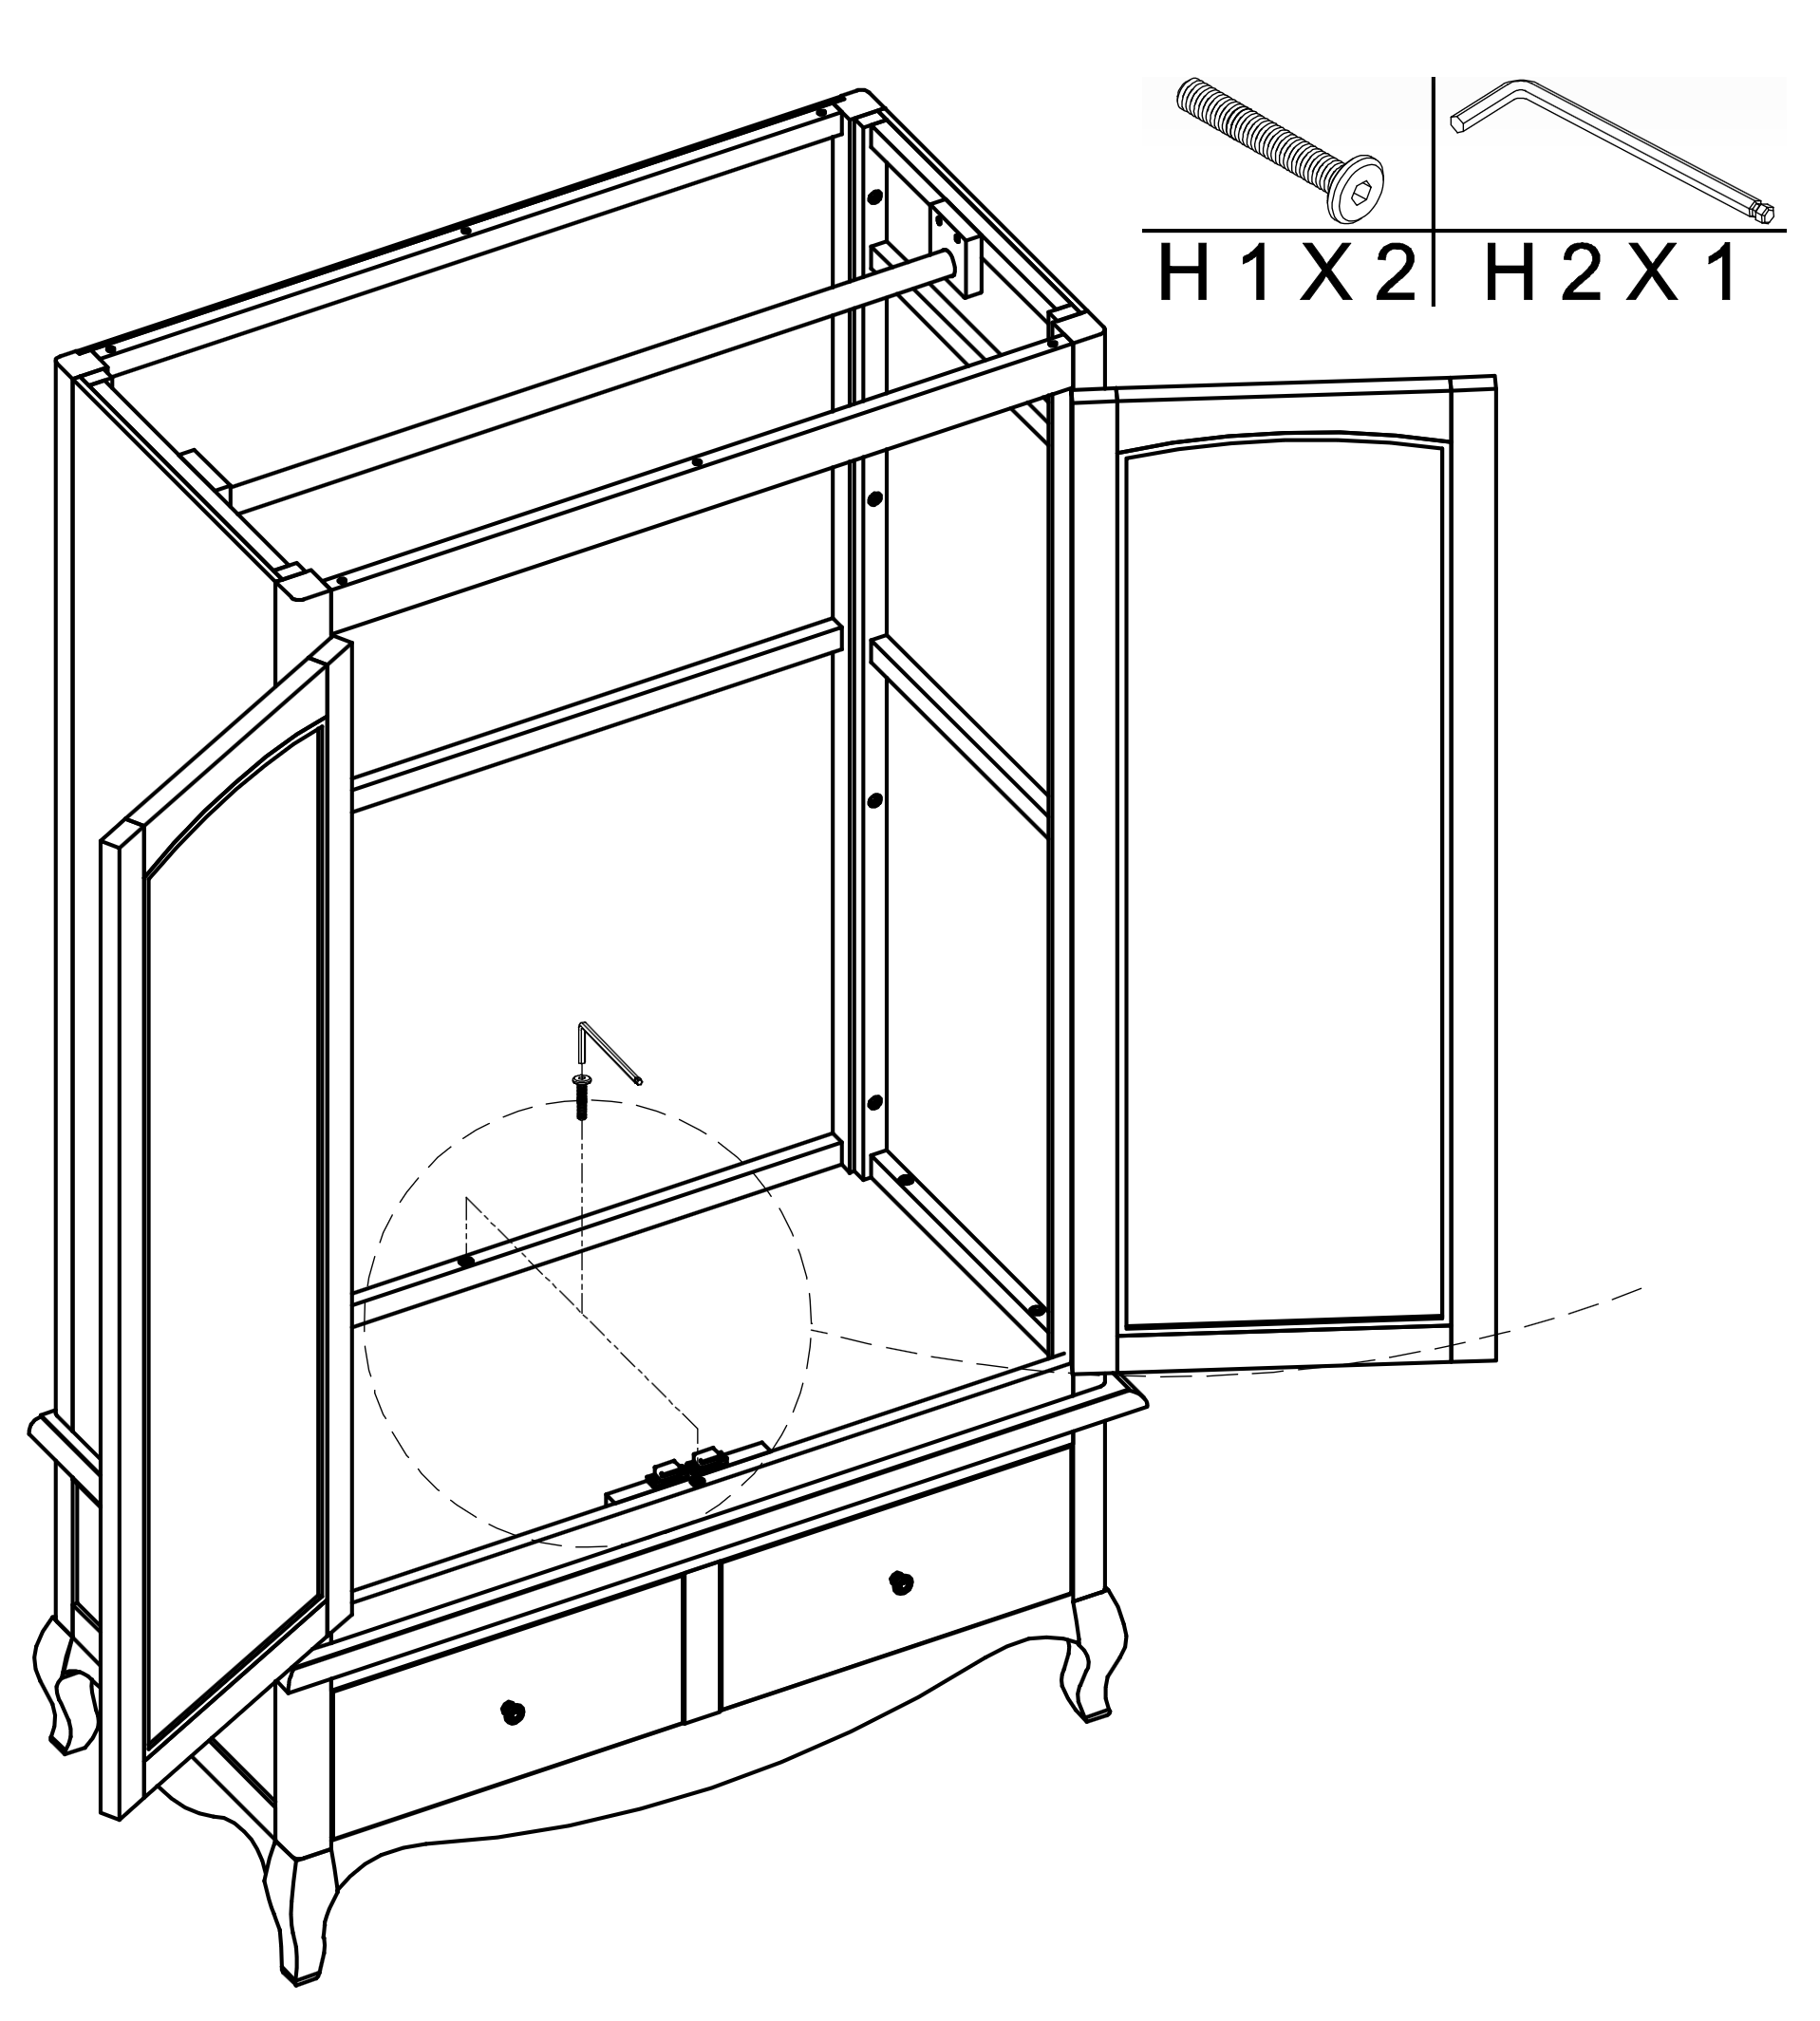
6. Top Panel Installation 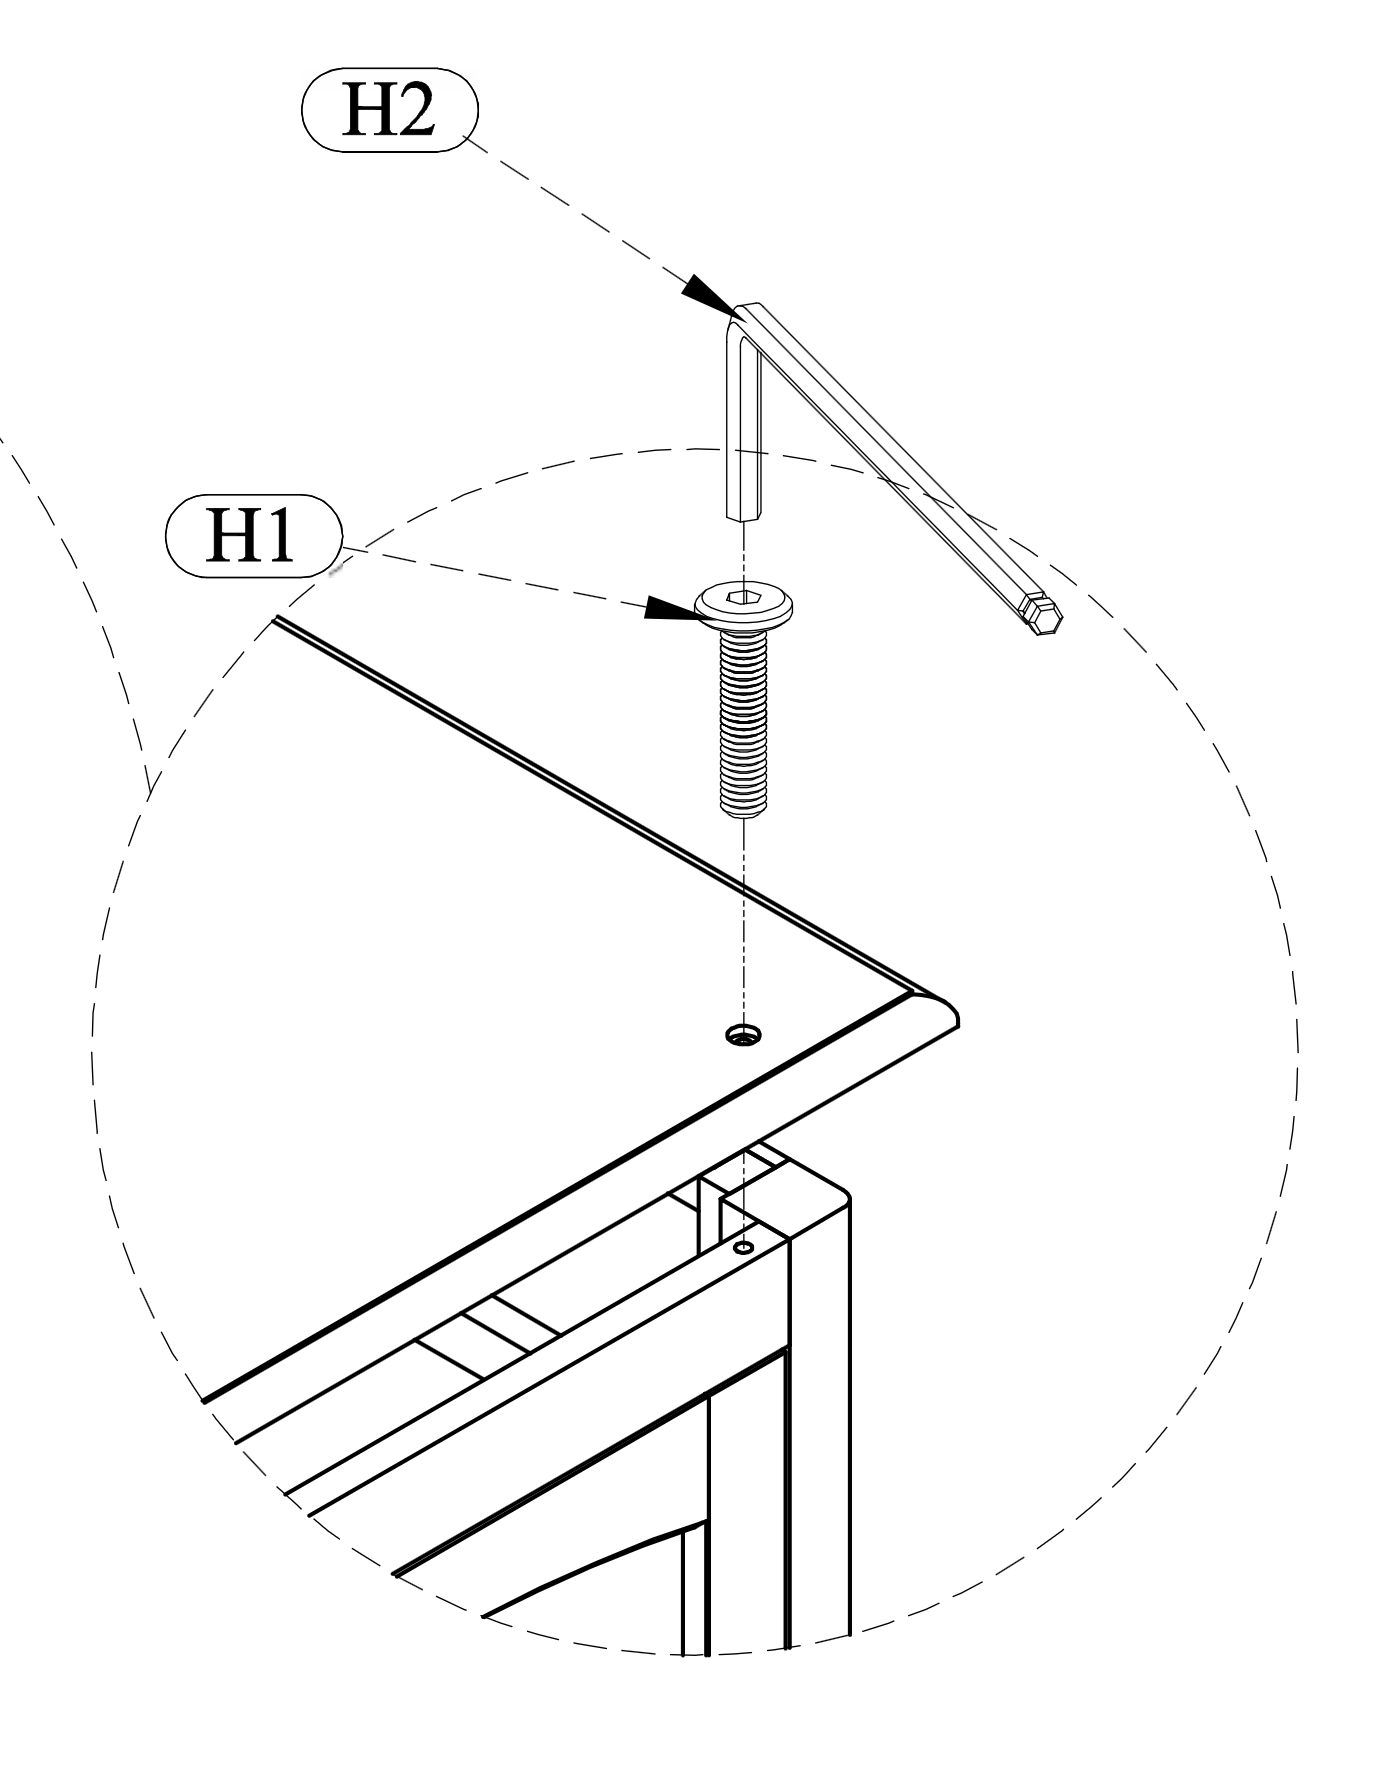
|