1. Attach Hook Brackets
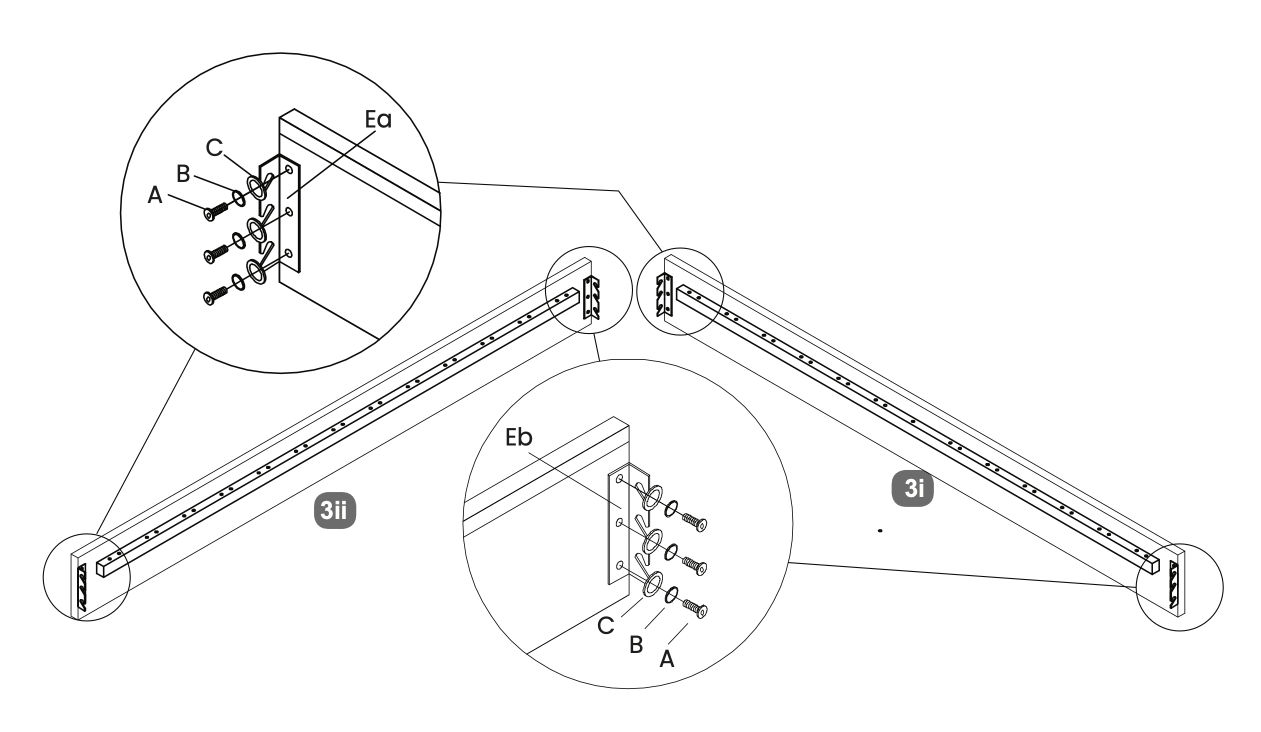
1. Position the hook brackets (Ea and Eb) as shown in the diagram.
2. Use screws labeled A, B, and C to attach the hook brackets to the side panels.
3. Ensure the screws are tightened securely to maintain stability.
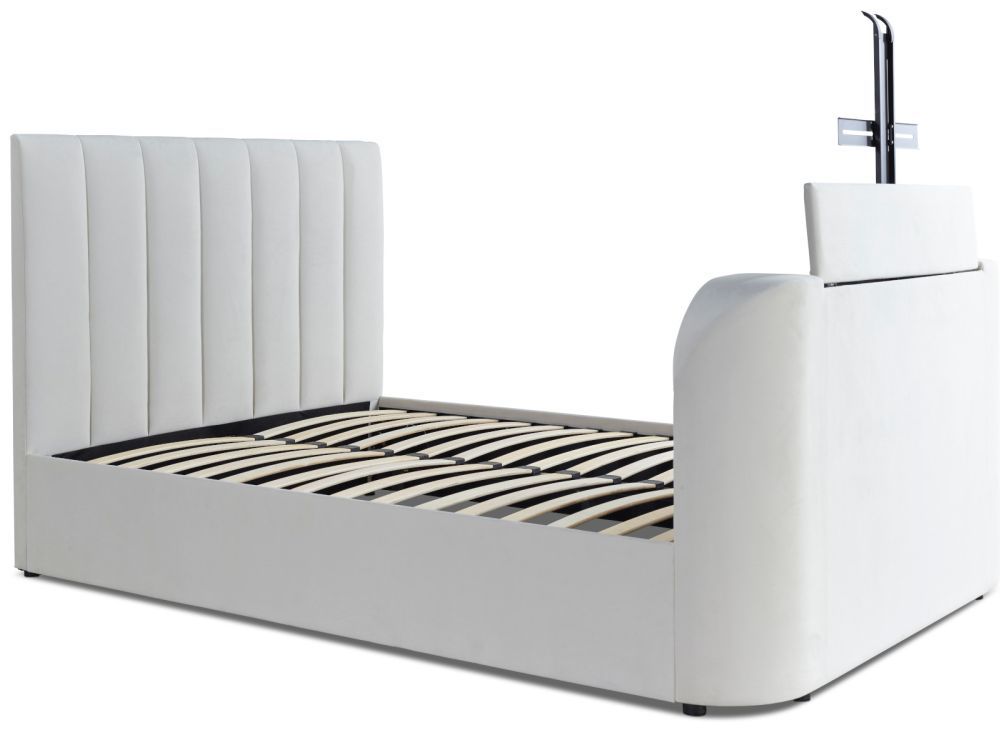 Instructions by time4sleep Lucille Upholstered TV Bed FrameAssembly instructions for Lucille Upholstered TV Bed Frame by Time4Sleep. Product Information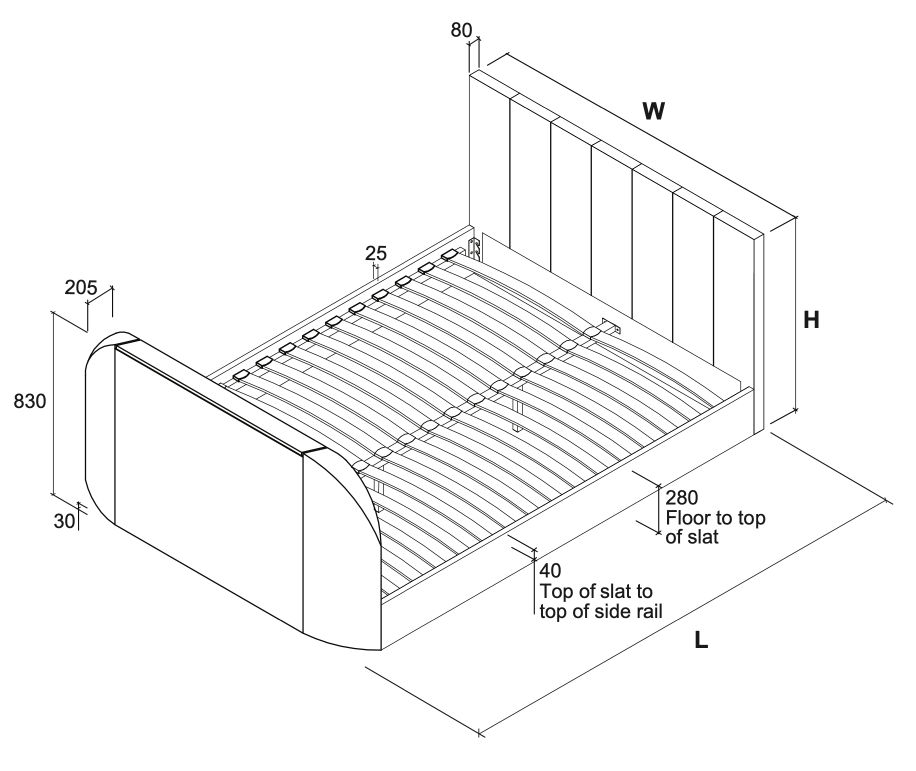 Lucille Upholstered TV Bed FrameIntroducing our natural velvet TV bed with remote control TV lift and sprung slatted base - the ultimate in luxury and convenience. This bed is crafted with high-quality materials and features a sumptuous natural velvet finish that adds a touch of glamour to any bedroom.
The TV lift feature is operated by a remote control, making it easy to adjust the viewing angle and position of your TV from the comfort of your bed. The lift mechanism is quiet and smooth, ensuring that you can enjoy your favorite shows or movies without any distractions.
As a guide this model will accommodate an LED flat screen TV upto 42". View product (opens in new tab)
Overall Dimensions (LWH mm)
Internal Dimensions (LW mm)
Distance Between Slats (mm)
Slat Dimension (mm)
Maximum TV Dims (WHD mm) 975 x 575 x 85 Tools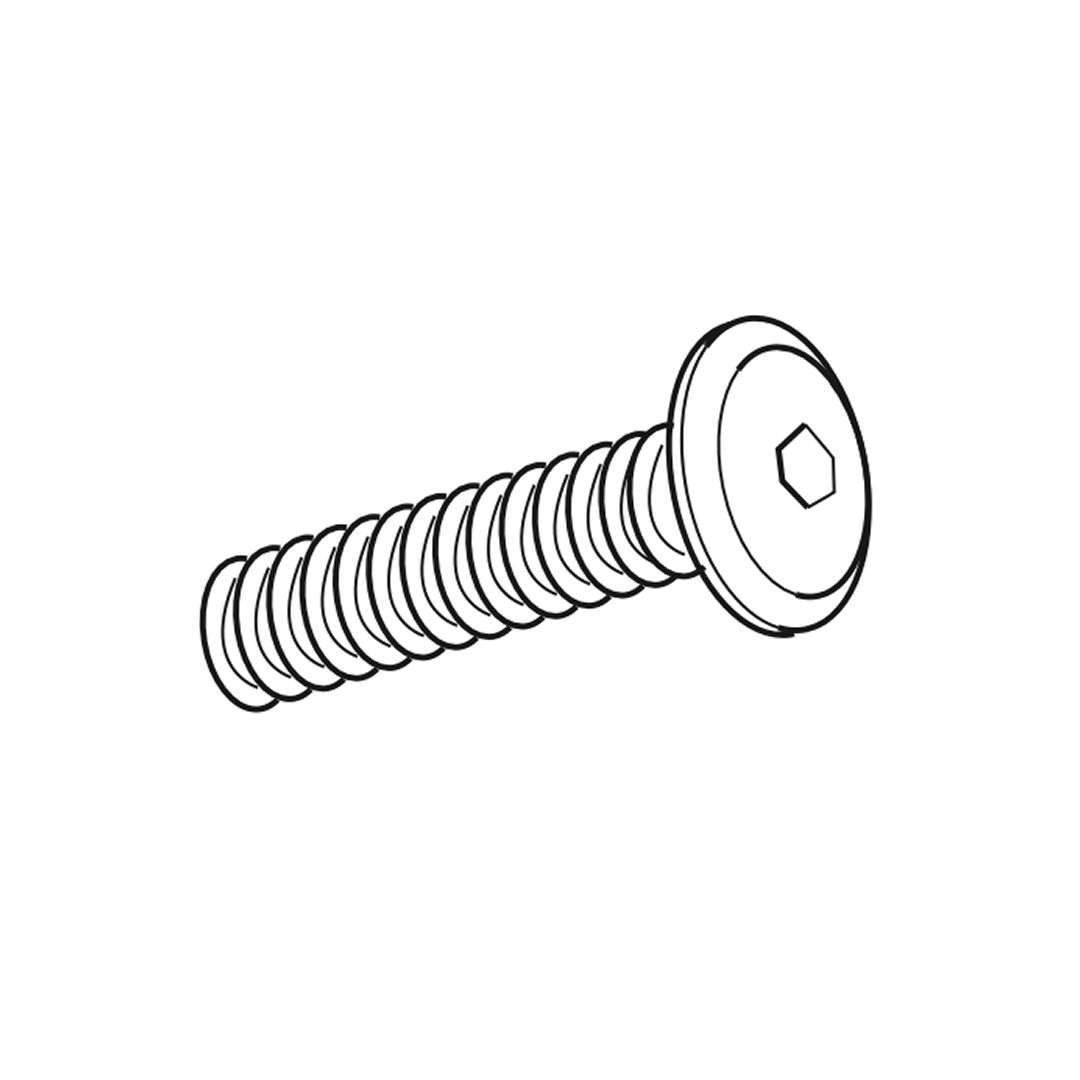 A - Bolts (M8x25mm)  B - Spring washers for M8 bolts  C - Flat washers for M8 bolts 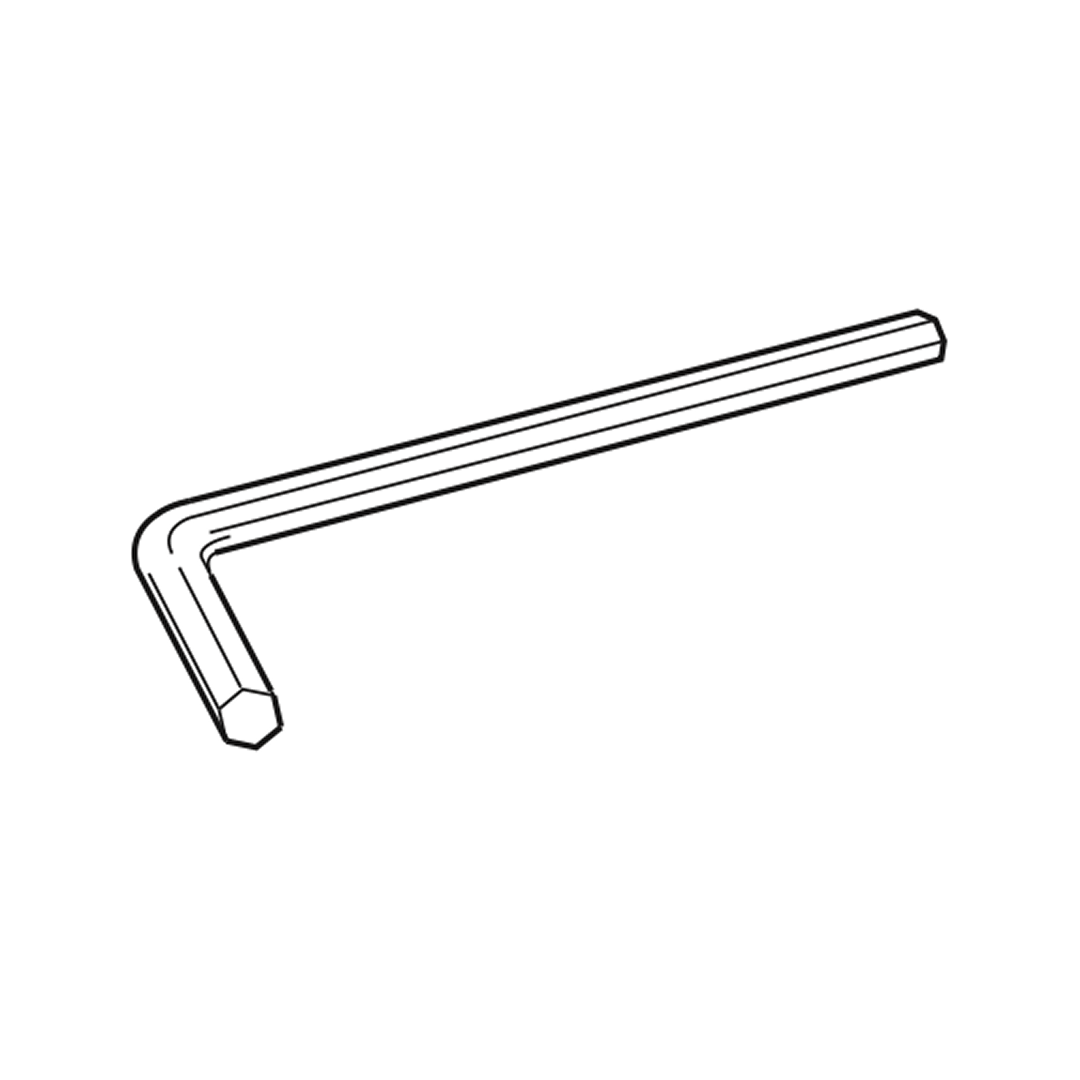 D - Allen key for M8 bolts 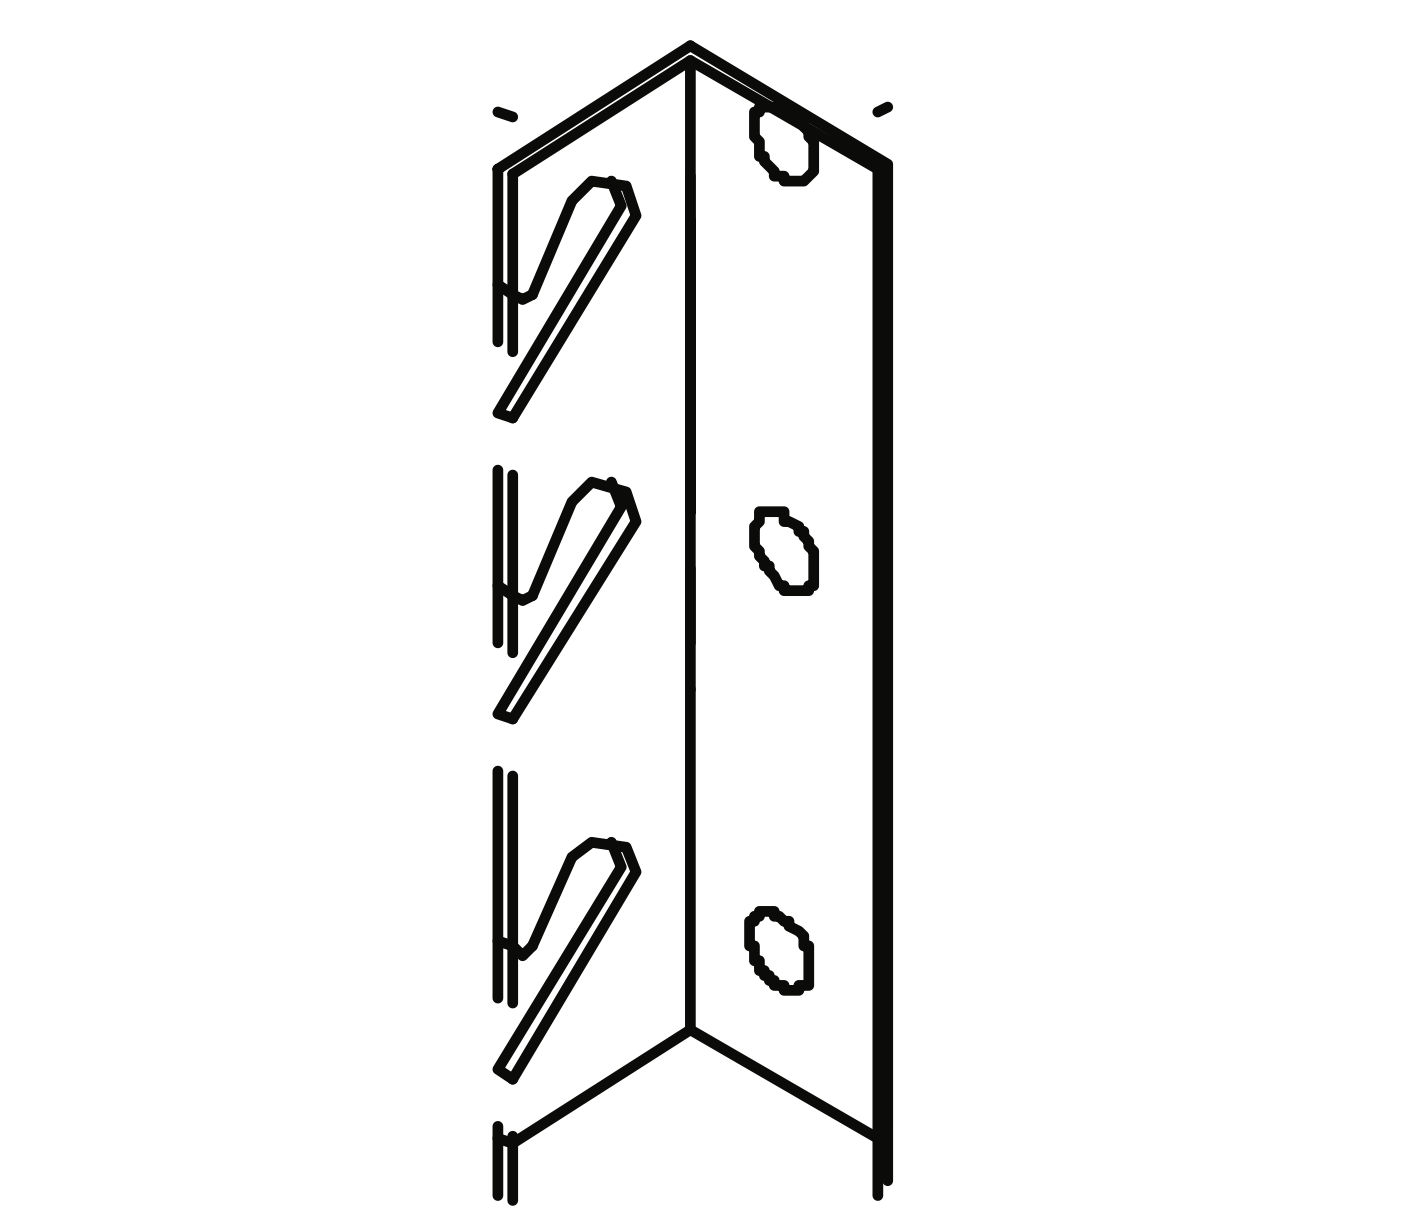 Ea - Hook Bracket  Eb - Hook Bracket 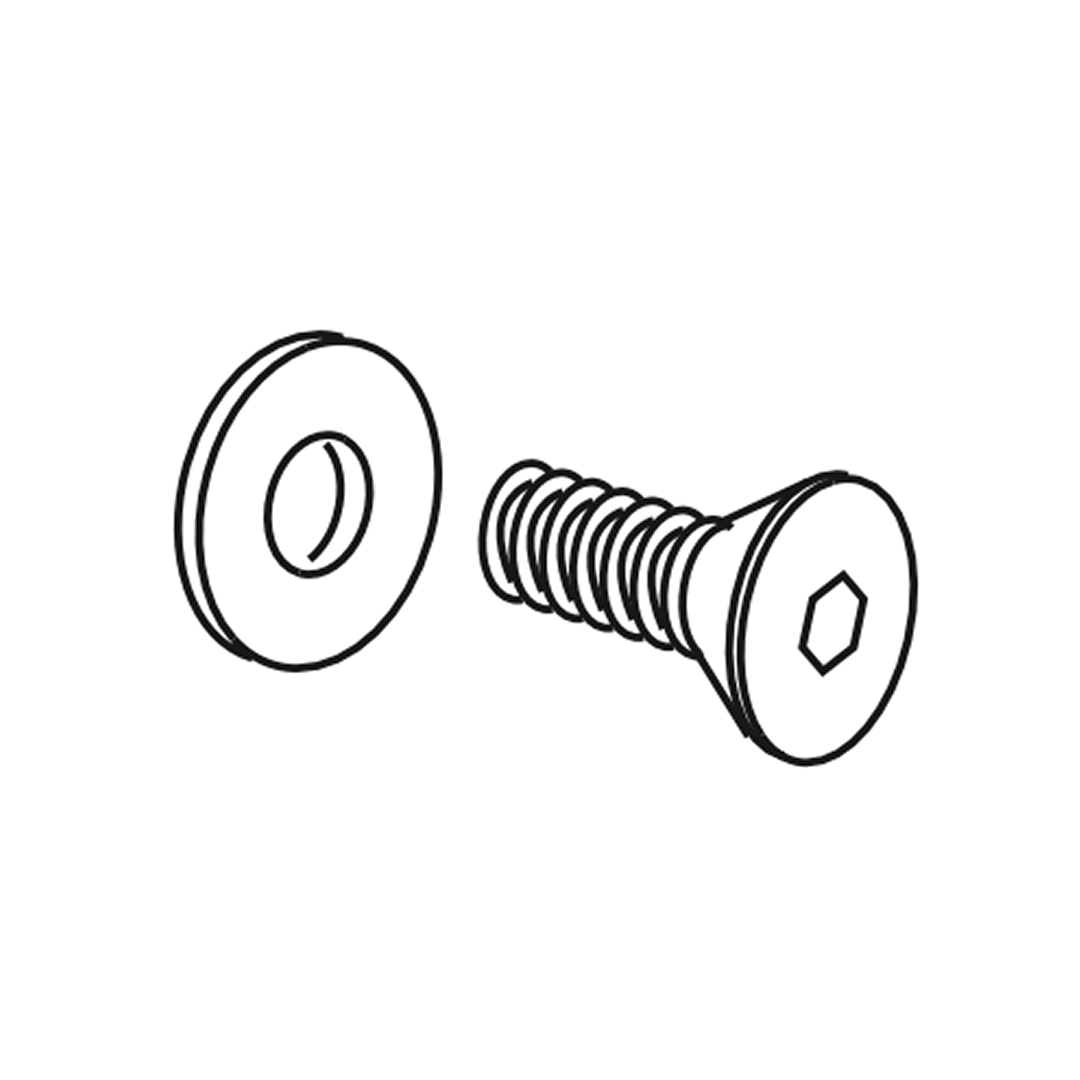 Counter-sunk screw (M4 x 12mm)  Counter-sunk screw (M6 x 12 mm) 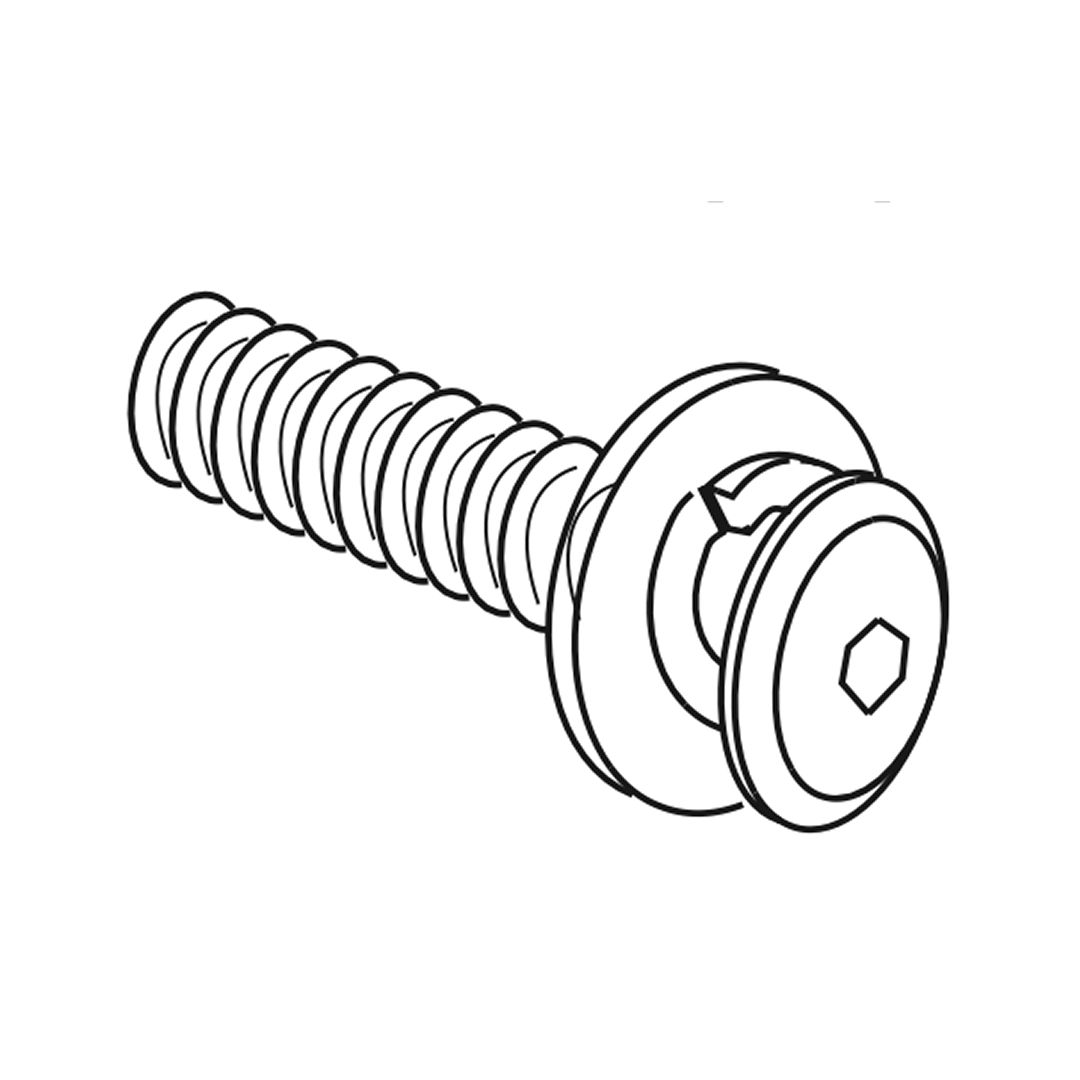 Bolt set (M8 x 25mm) Allen key (2.5mm) 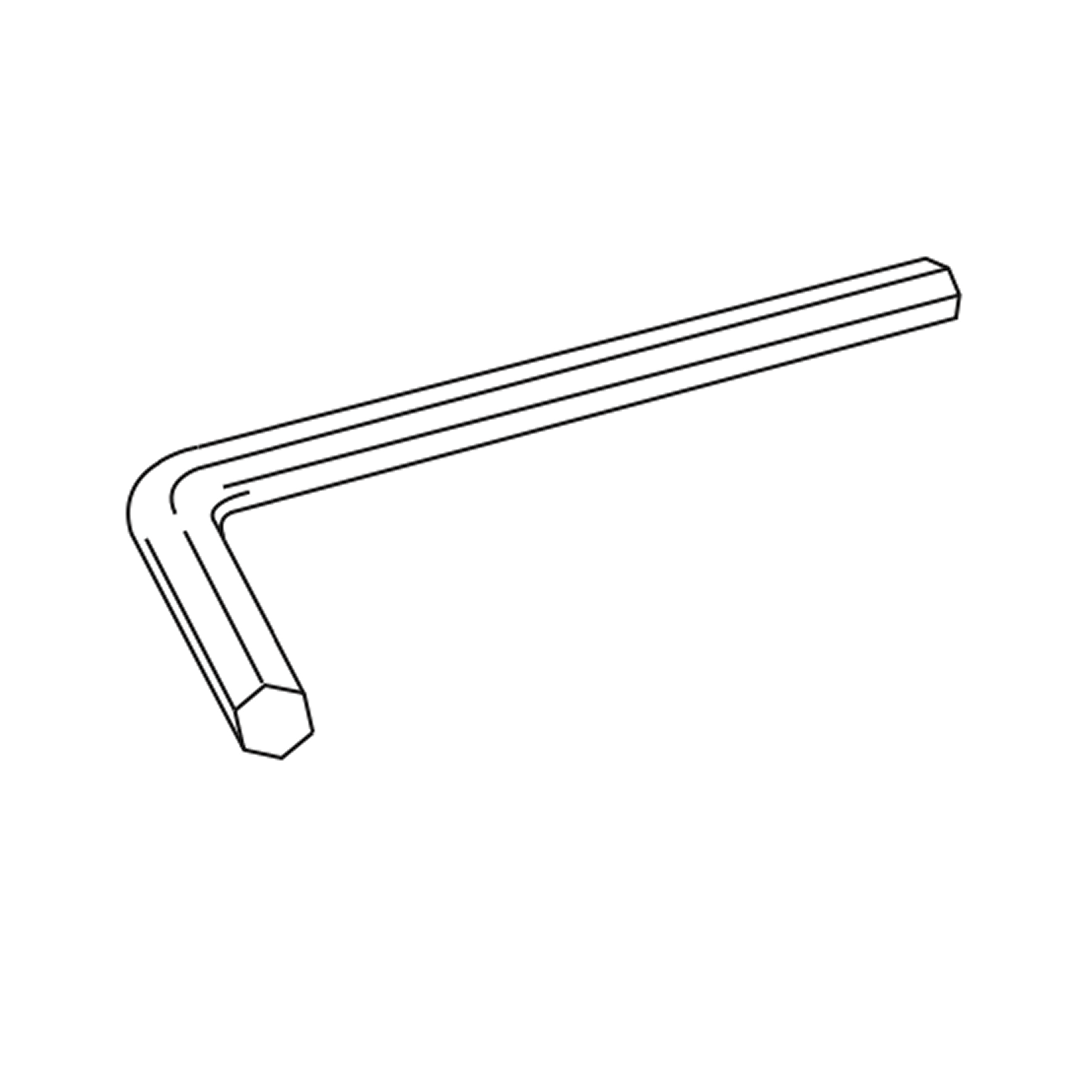 Allen key (4mm) 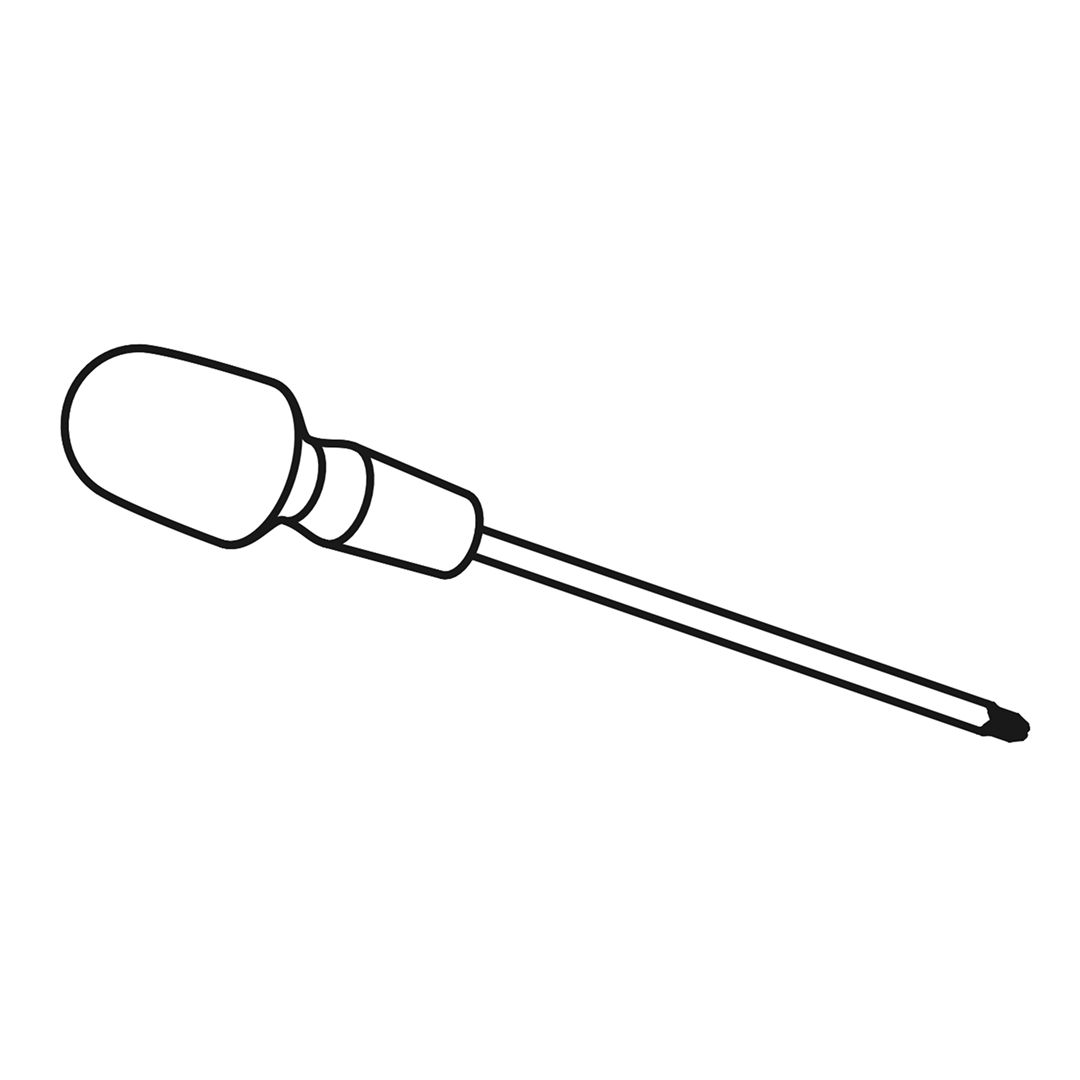 Cross-head Screwdriver 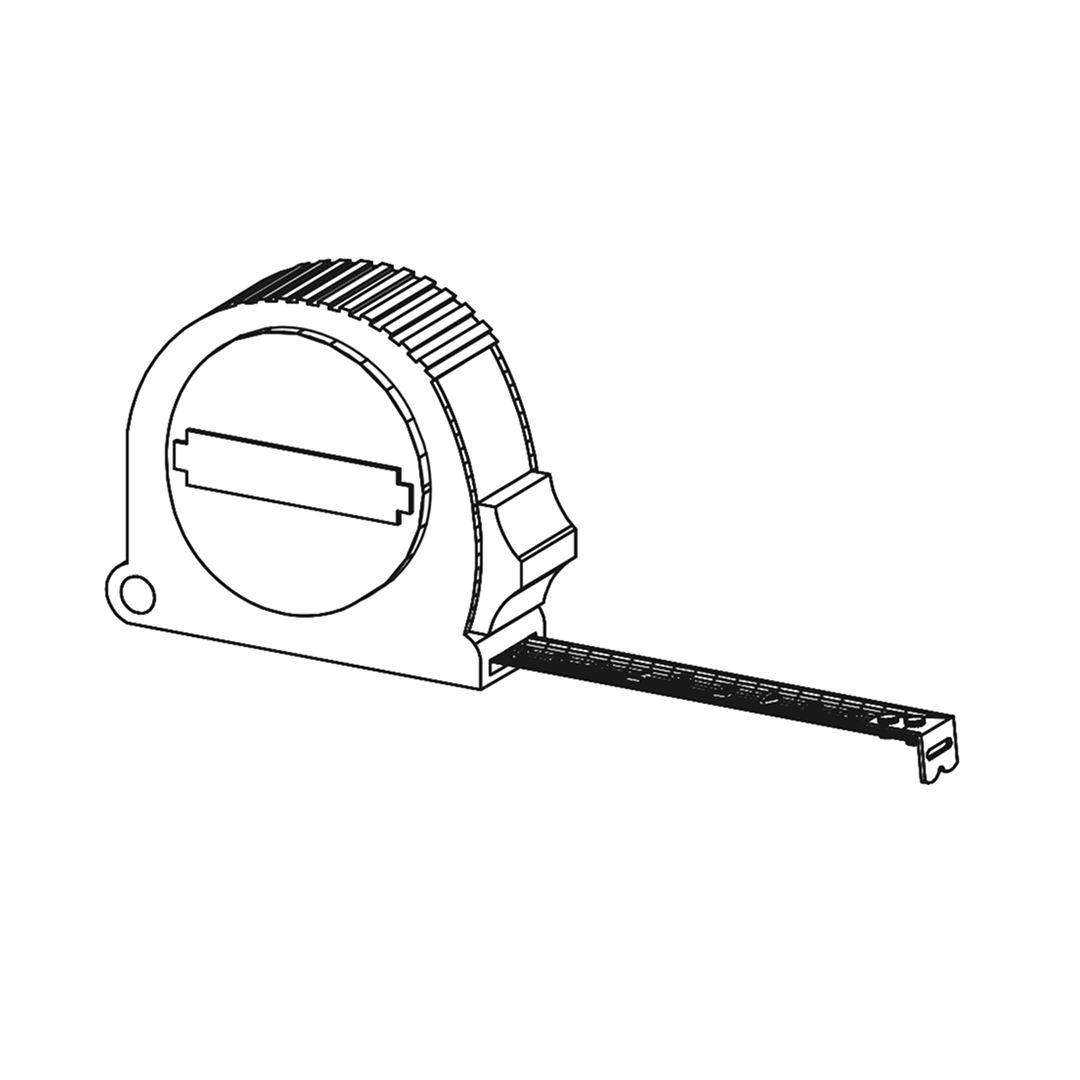 Tape Measure Parts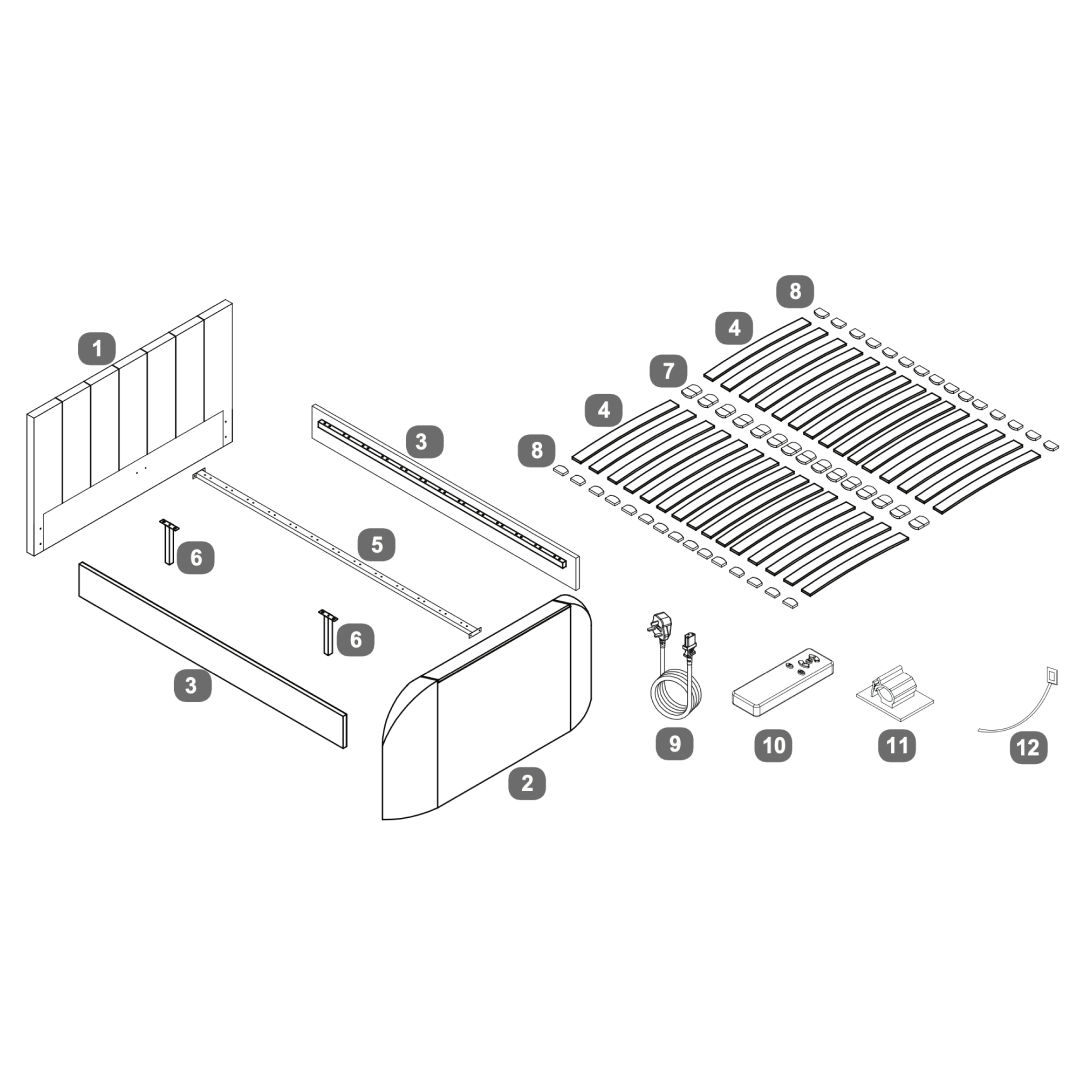 1Headboard 2Footboard 3Side Rails 4Wooden Slats 5Centre Support Bar 6Legs for Centre Support 7Double Slat Caps 8Single Slat Caps 9Mains Power Lead - 3mt 10Remote Control for TV Lift 11Cable Clips 12Cable Ties 1. Attach Hook Brackets1. Position the hook brackets (Ea and Eb) as shown in the diagram. 2. Securing the Bed Frame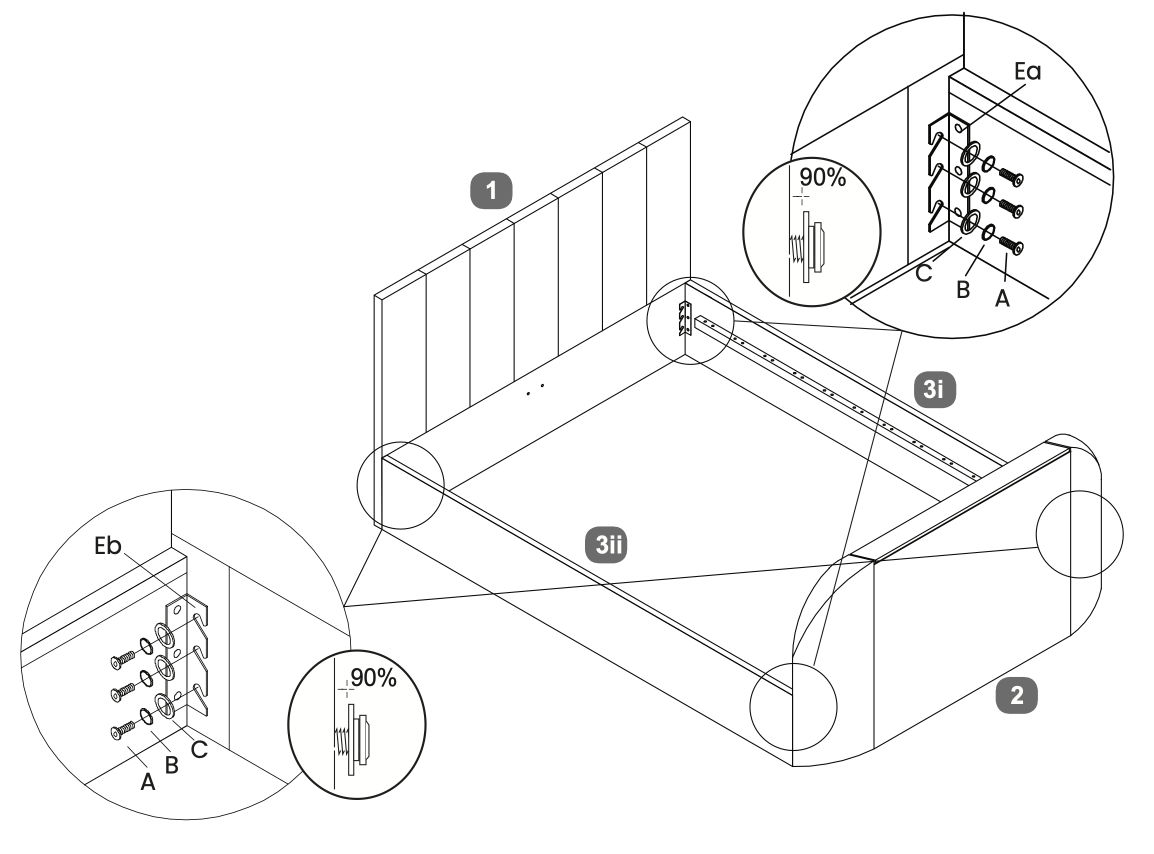 1. Align the side panels with the headboard and footboard. 3. Centre Support Bar 1. Secure the centre support bar to the headboard and footboard using screws labeled A, B, and C. 4. TV Lift Power Cable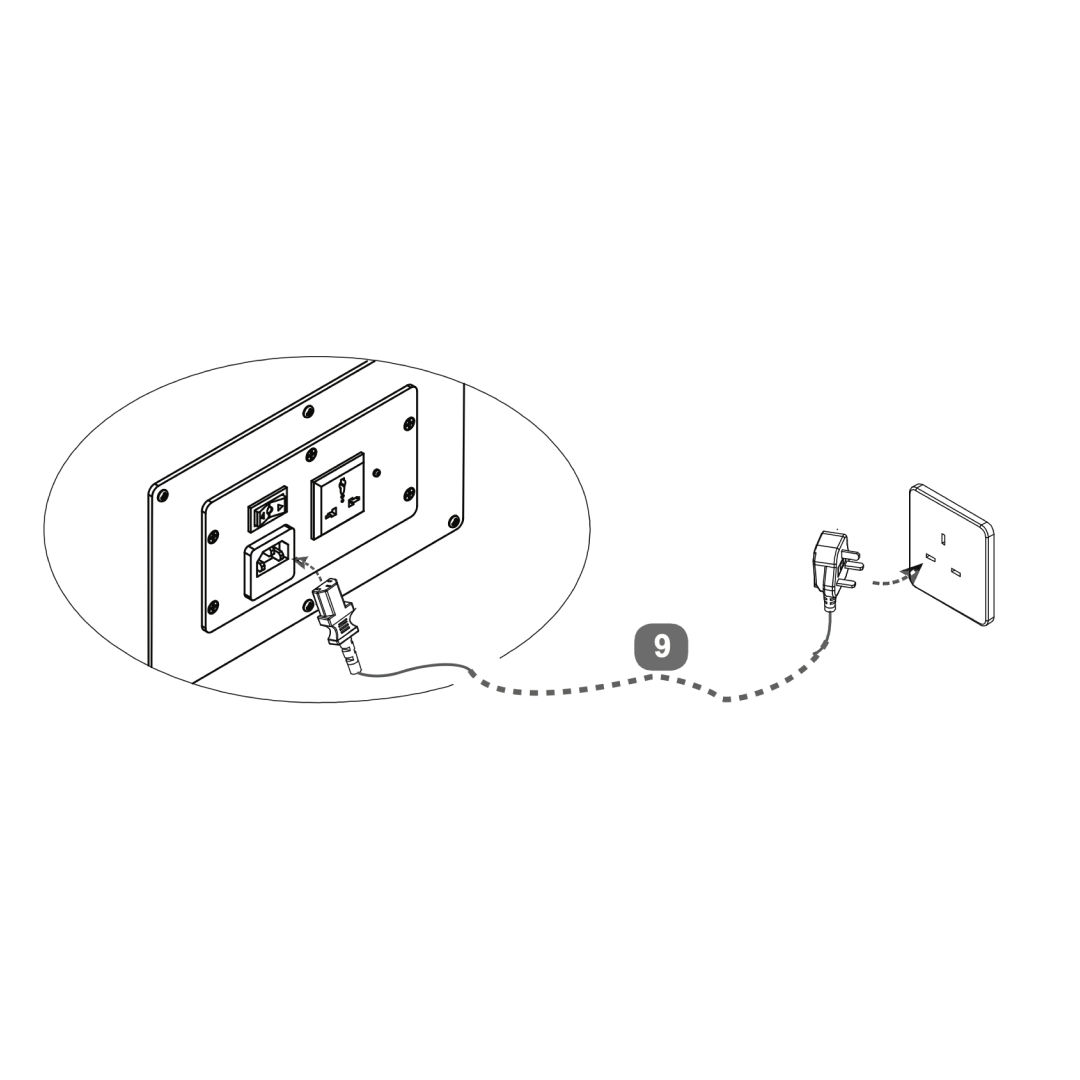 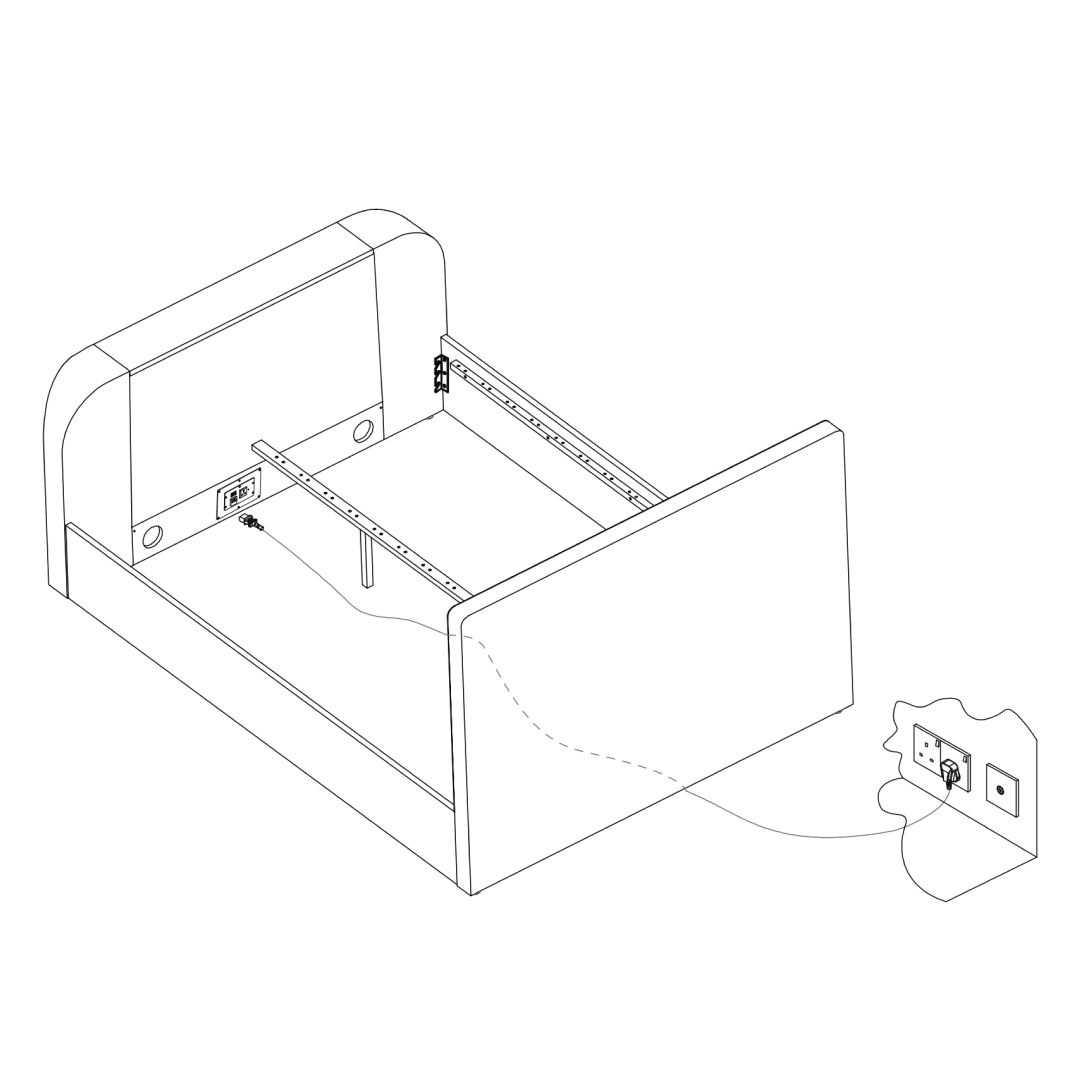 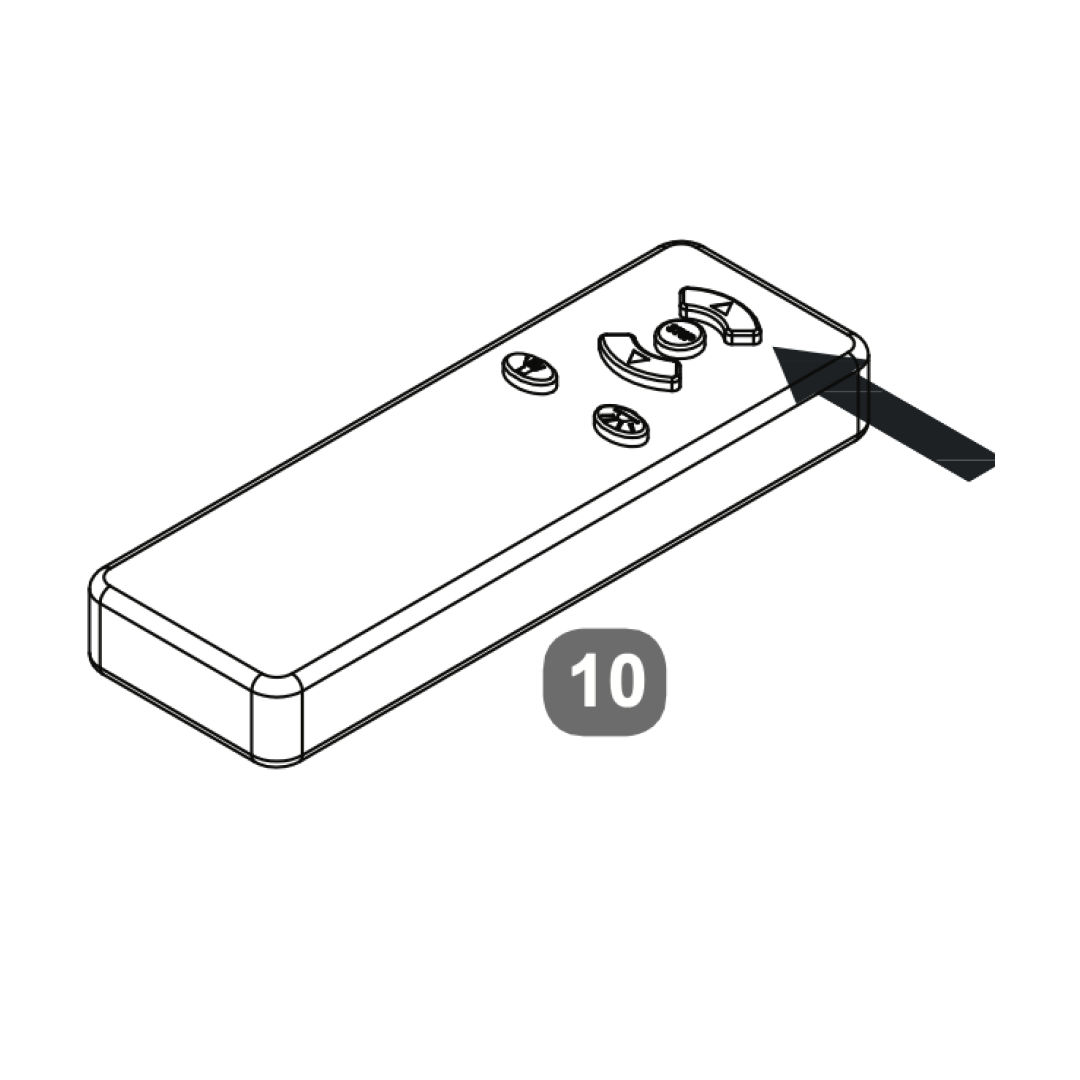 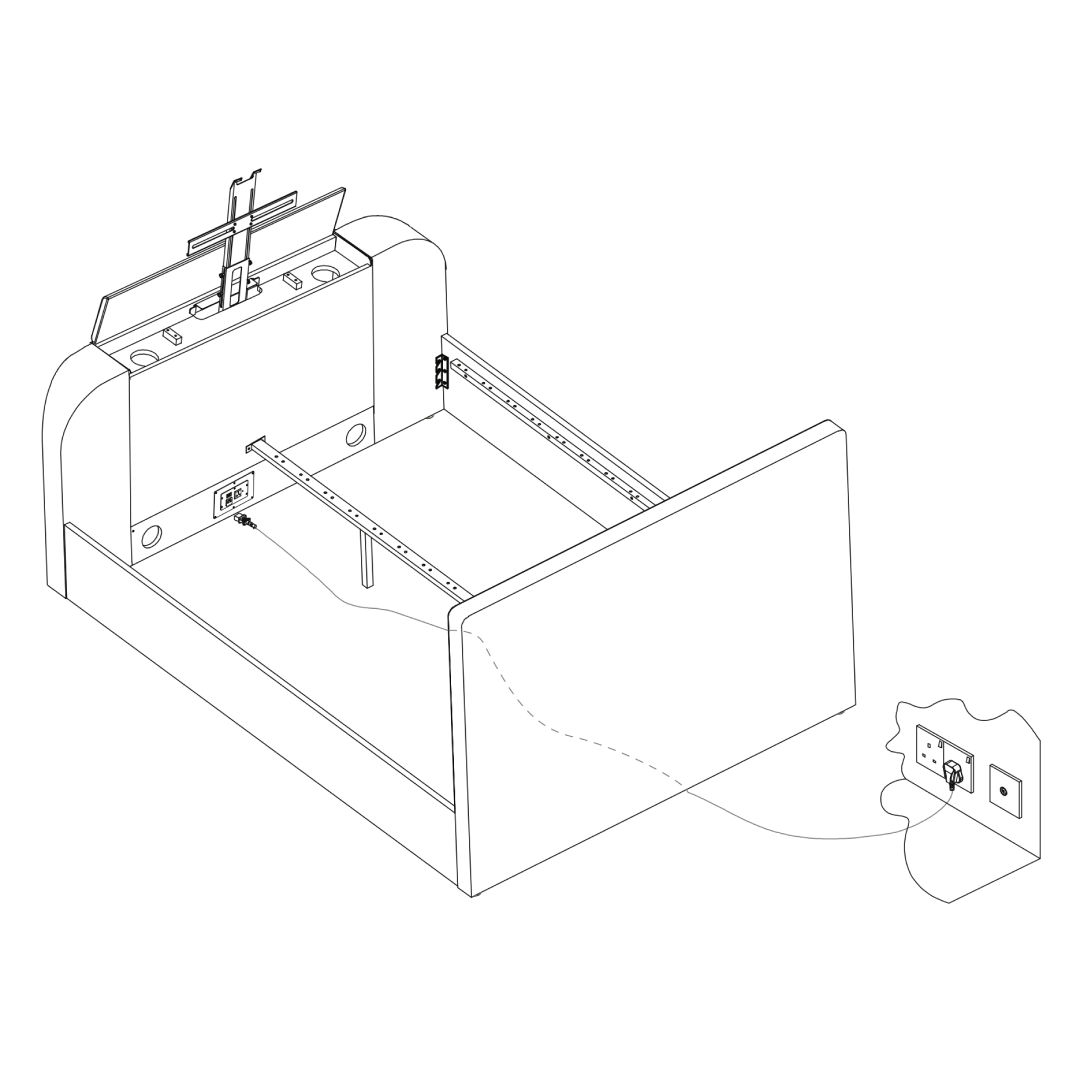 1. Attach the power cable to the TV lift mechanism at the headboard. 5. Media Cables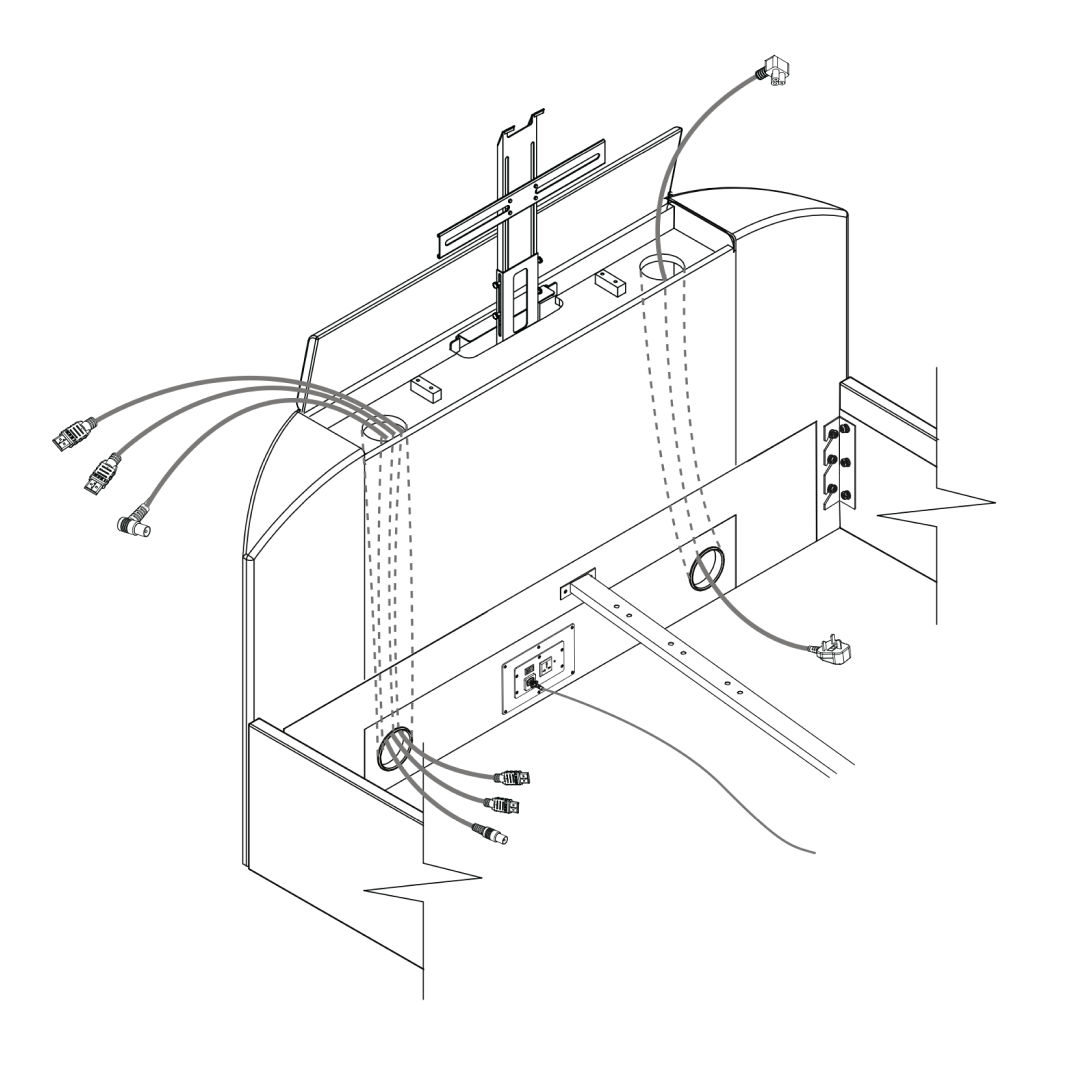
6. TV Mechanism Assembly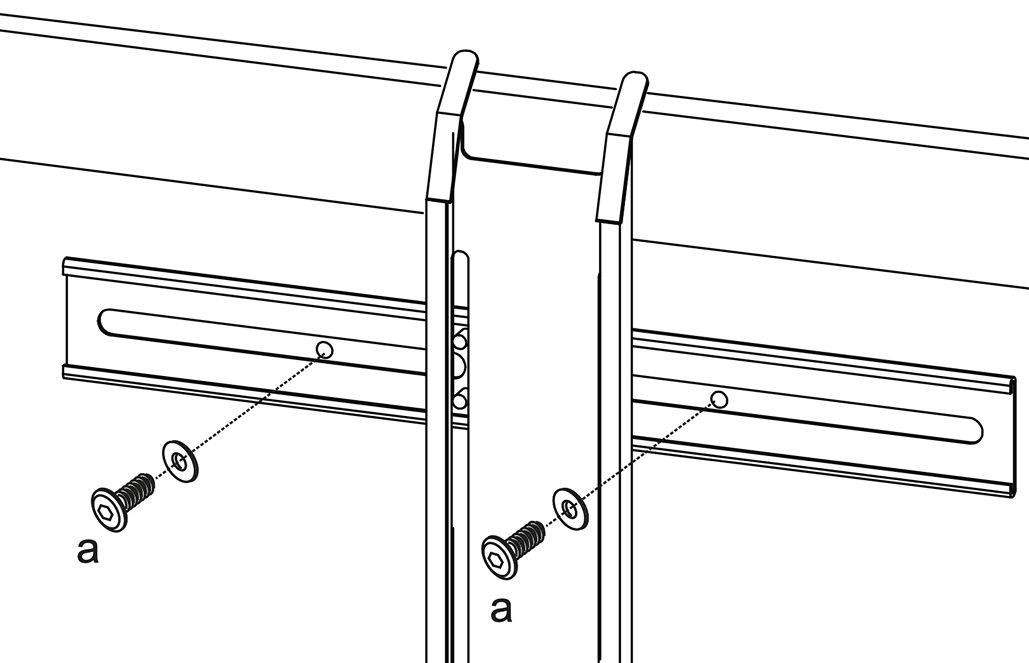 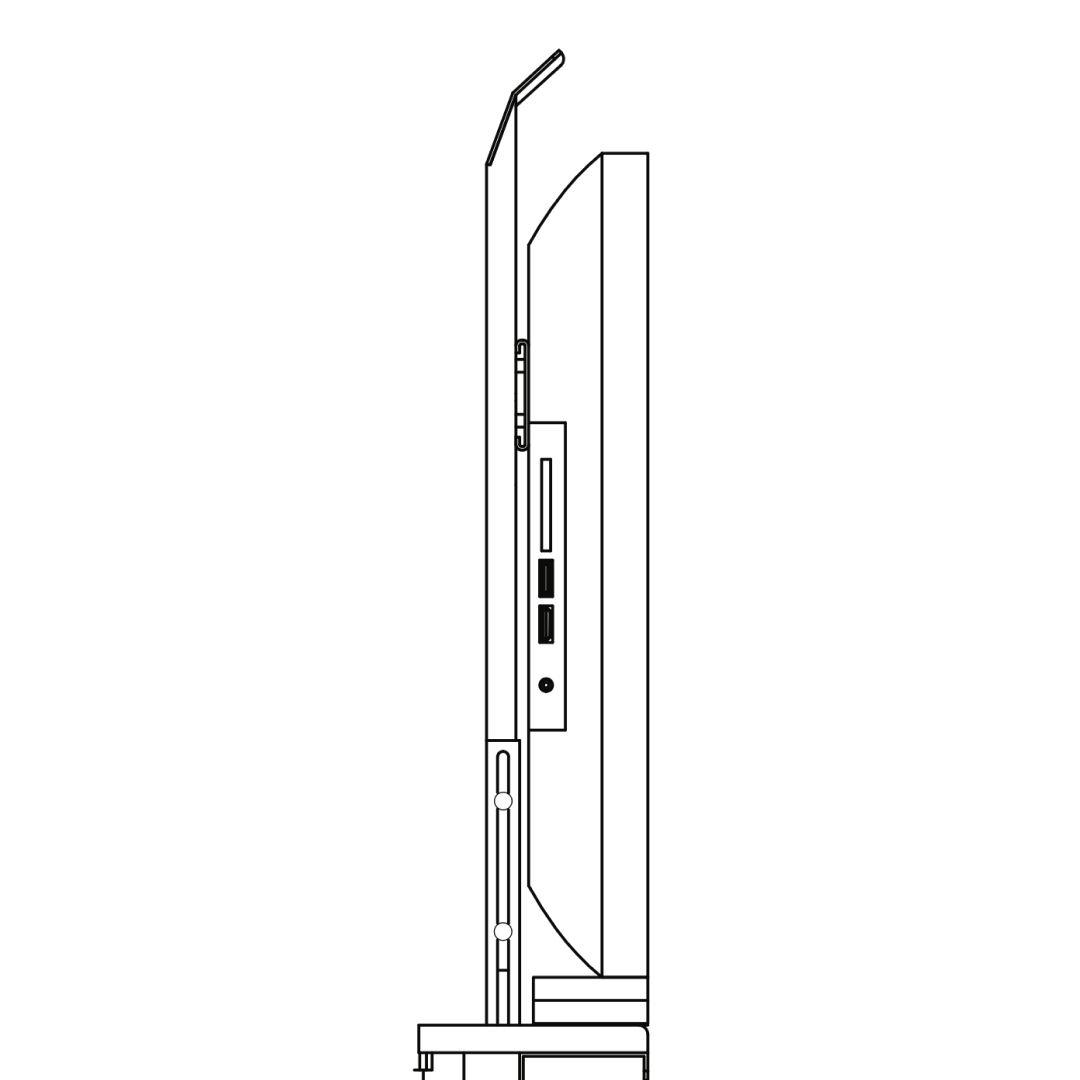 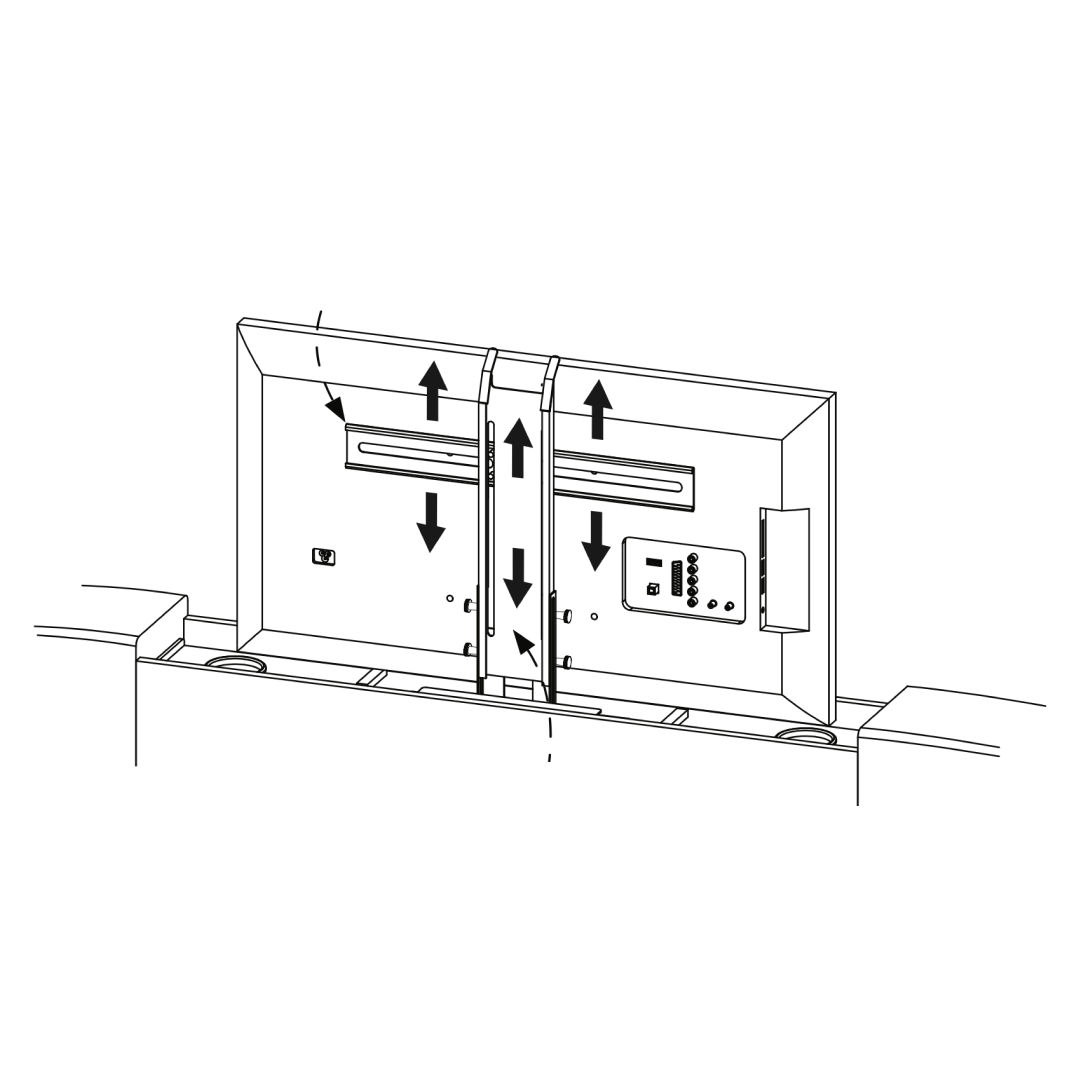 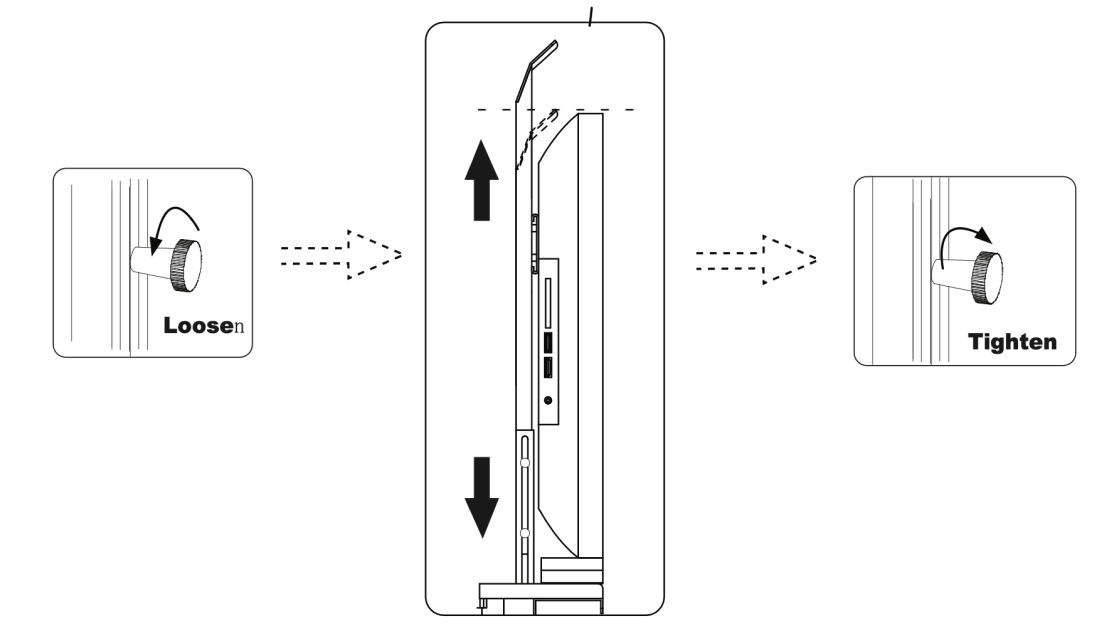 1. Secure metal brackets to the lift mechanism with screws (a). 7. TV Cables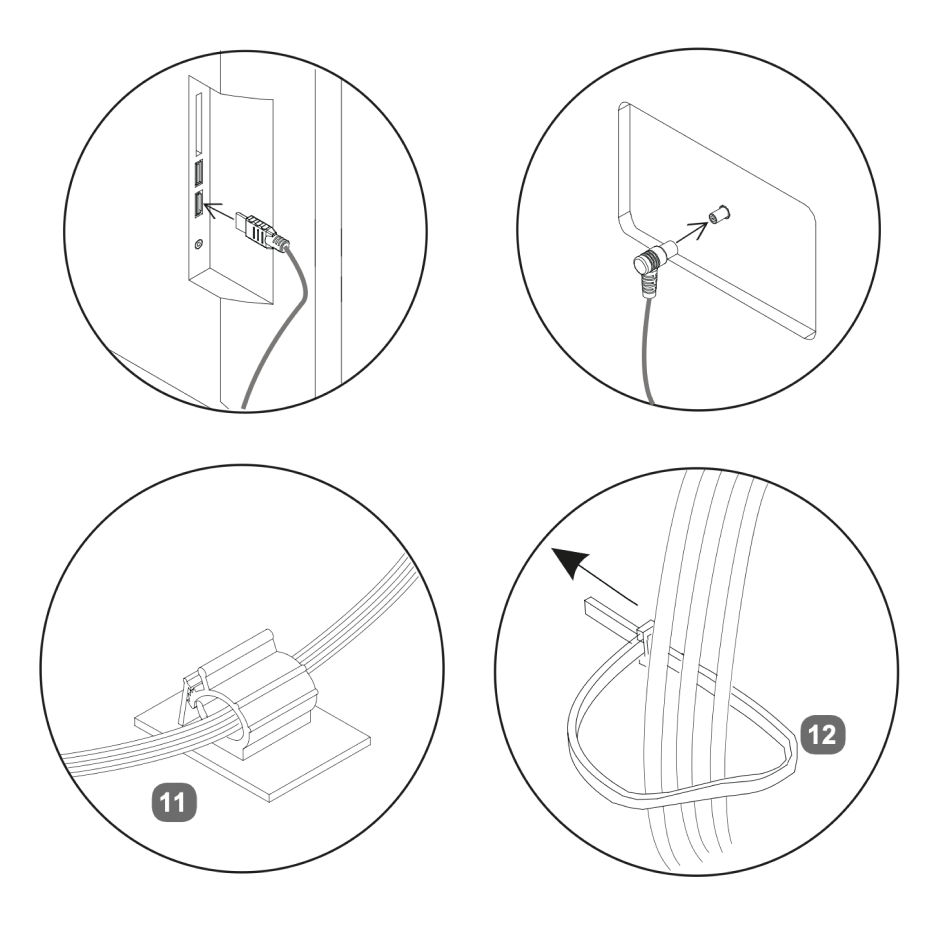 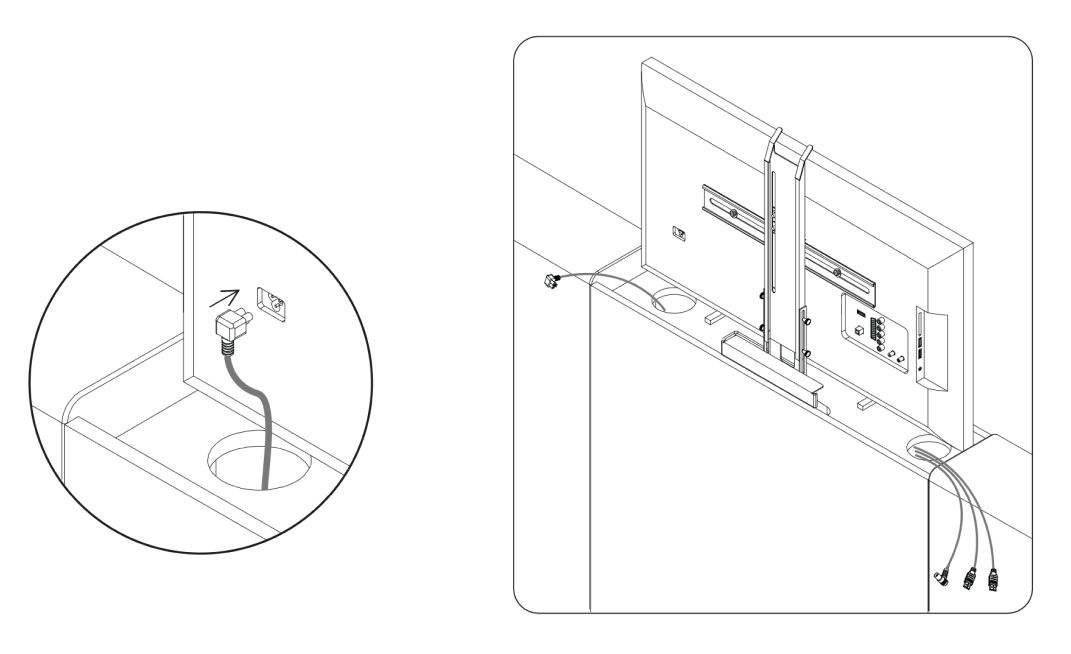
TV power lead supplied with your own TV. 8. Power & Remote Setup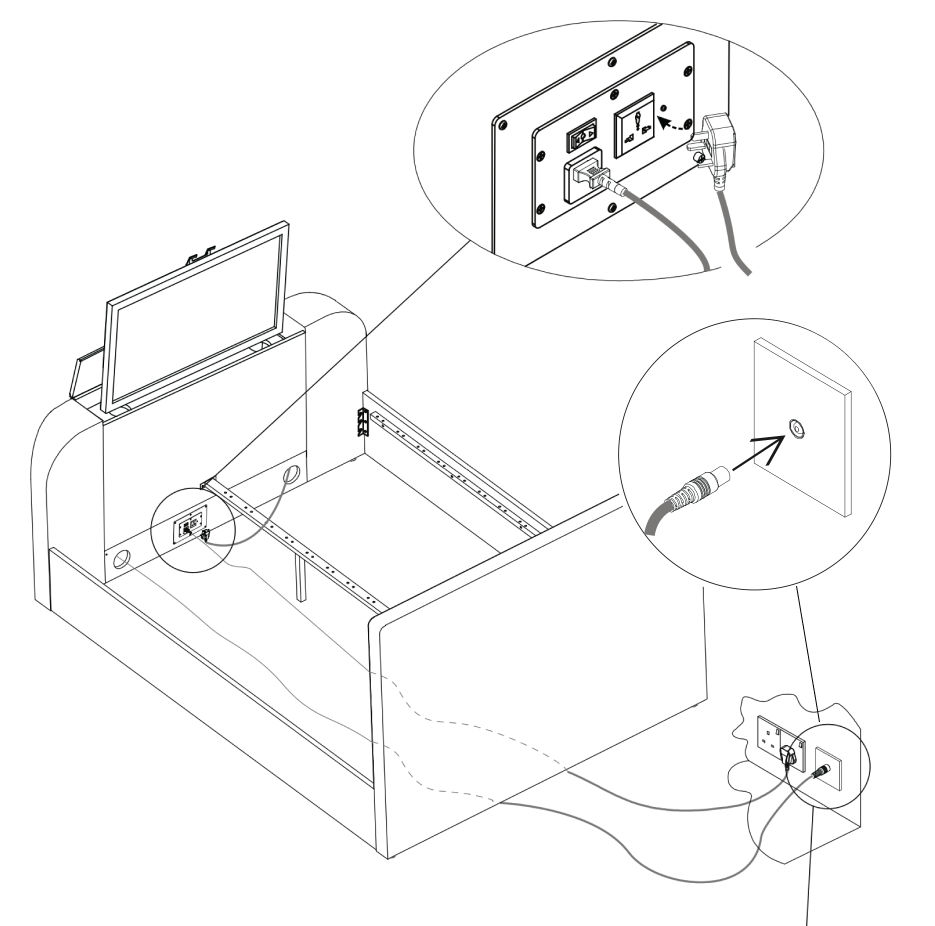 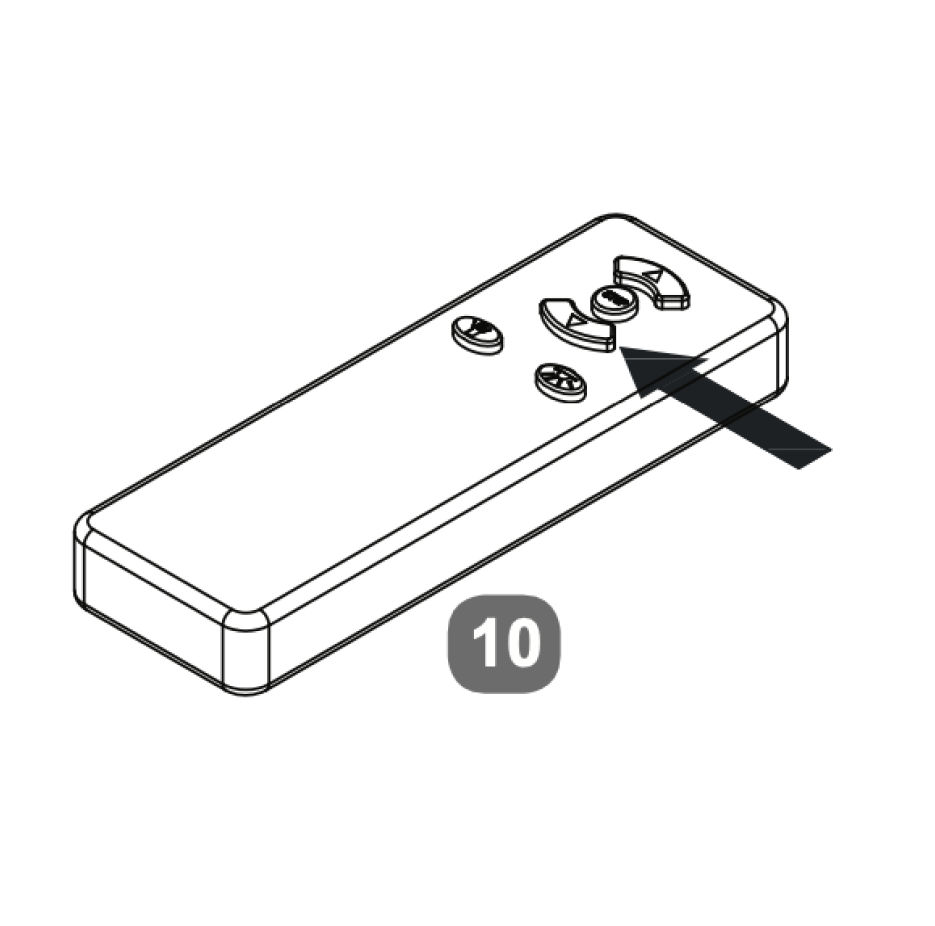
9. Fit the Slats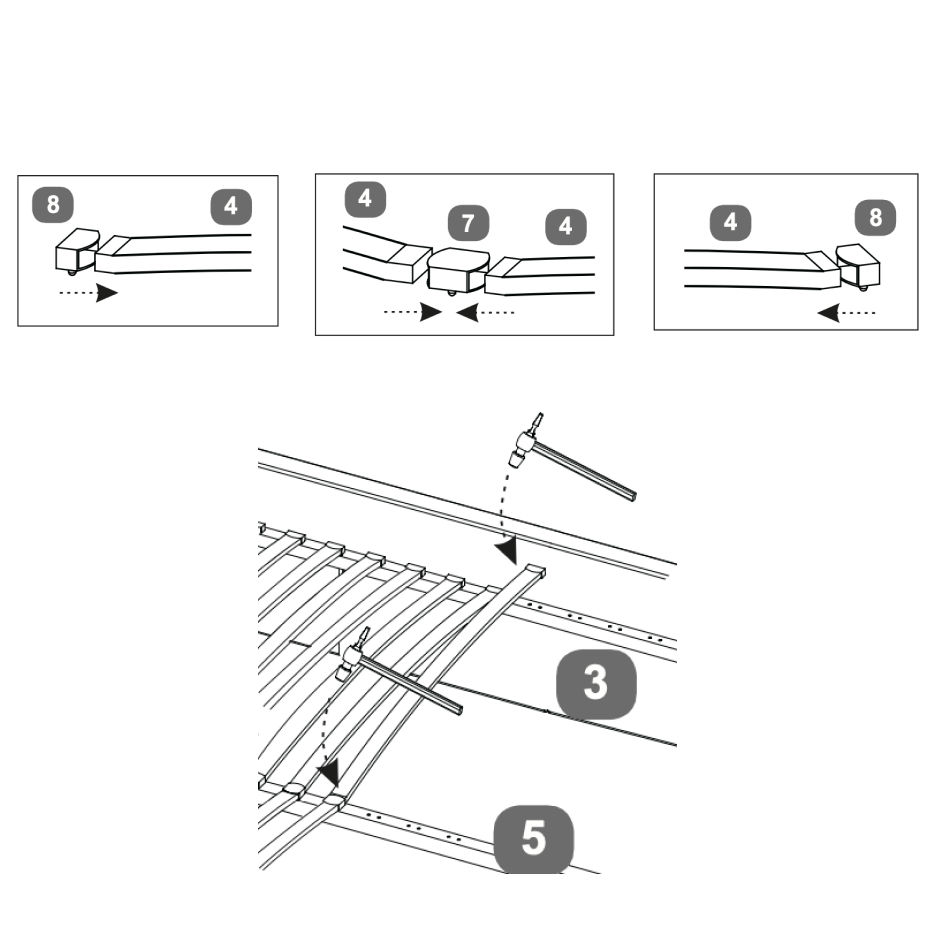 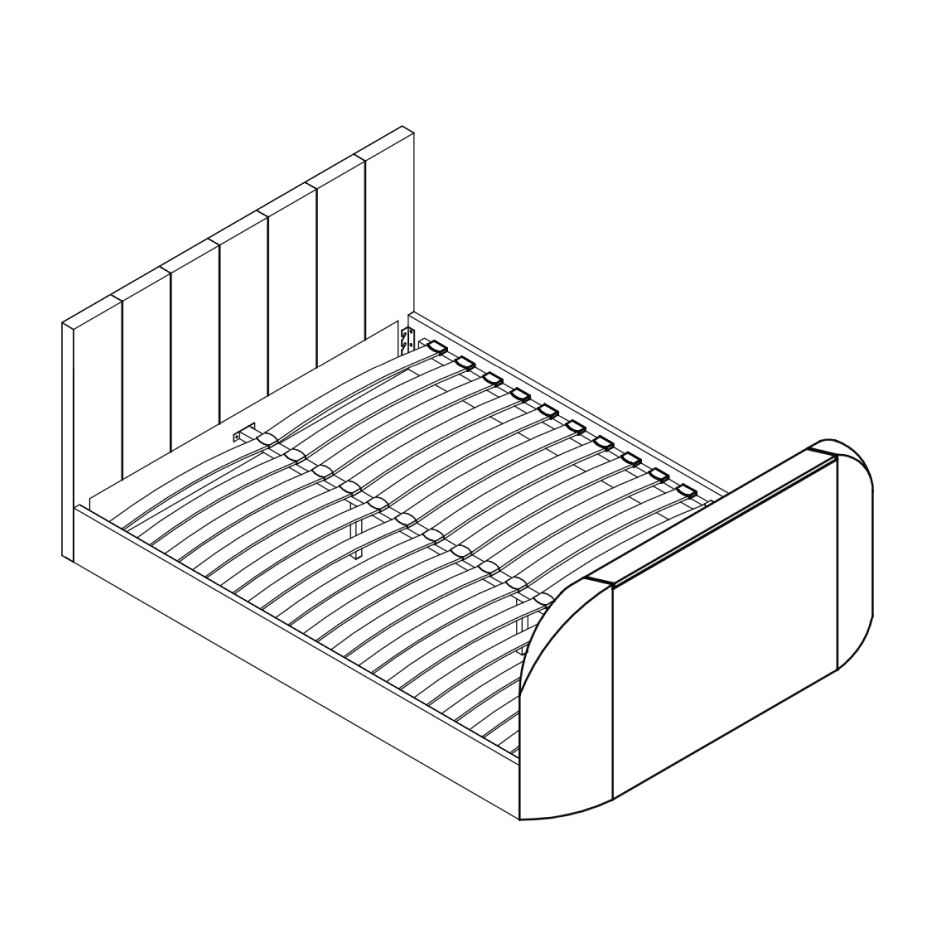 On either Double, King or Super King slat frames - fit the slats to the frame as follows: 1. Slide slats (4) into the double plastic caps (7). 10. TV Remote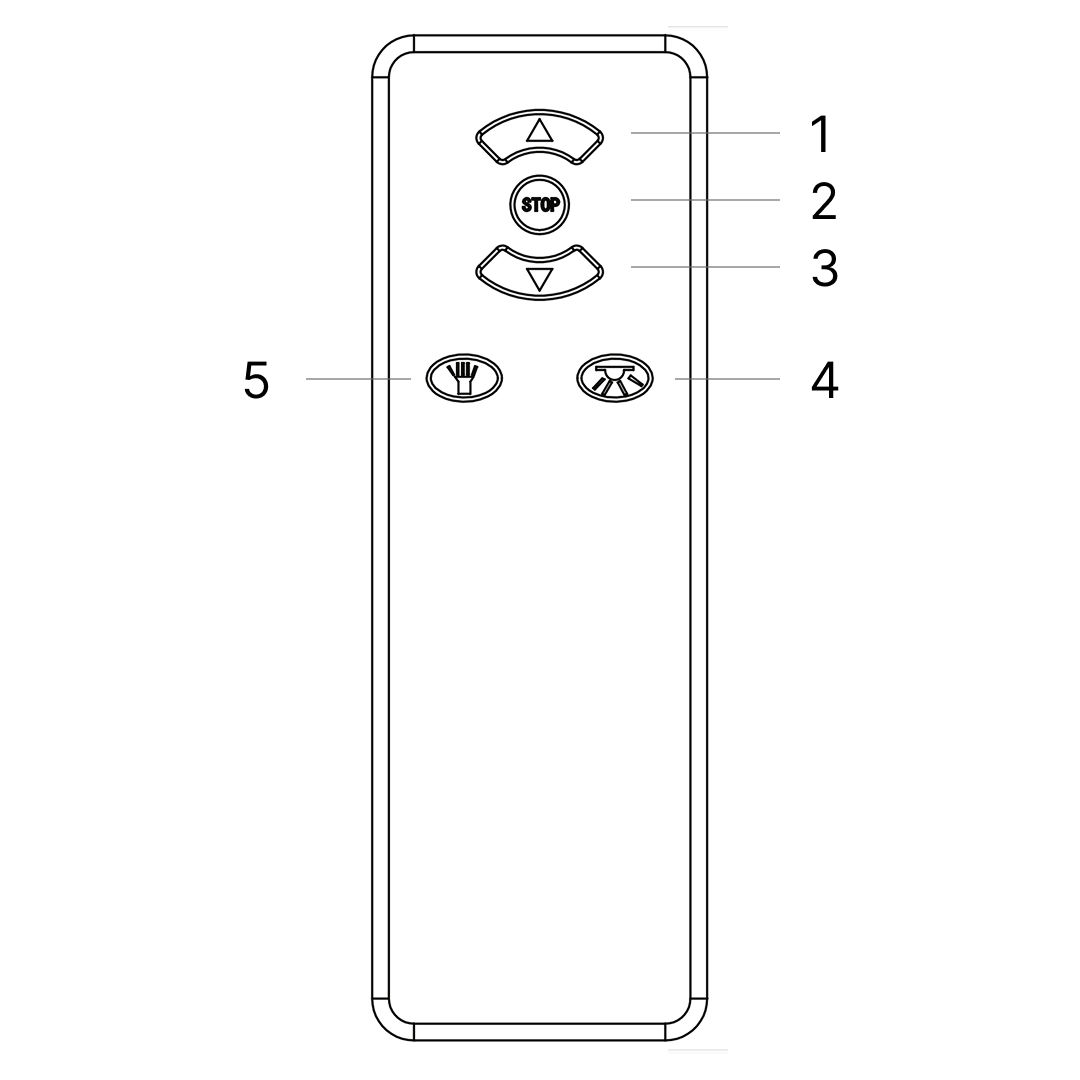 1. Press once and TV will rise to it's upper working position. Power to the TV will be connected automatically Code Matching (pairing): occasionally pairing is lost, perhaps due to atmospheric conditions, To re-pair - press and hold the code matching button whilst connecting the power by plugging the mains cable into the control box of the TV lift on the base of the footboard. Regularly check the batteries and if necessary re-place them - x3 pcs AAA size. |