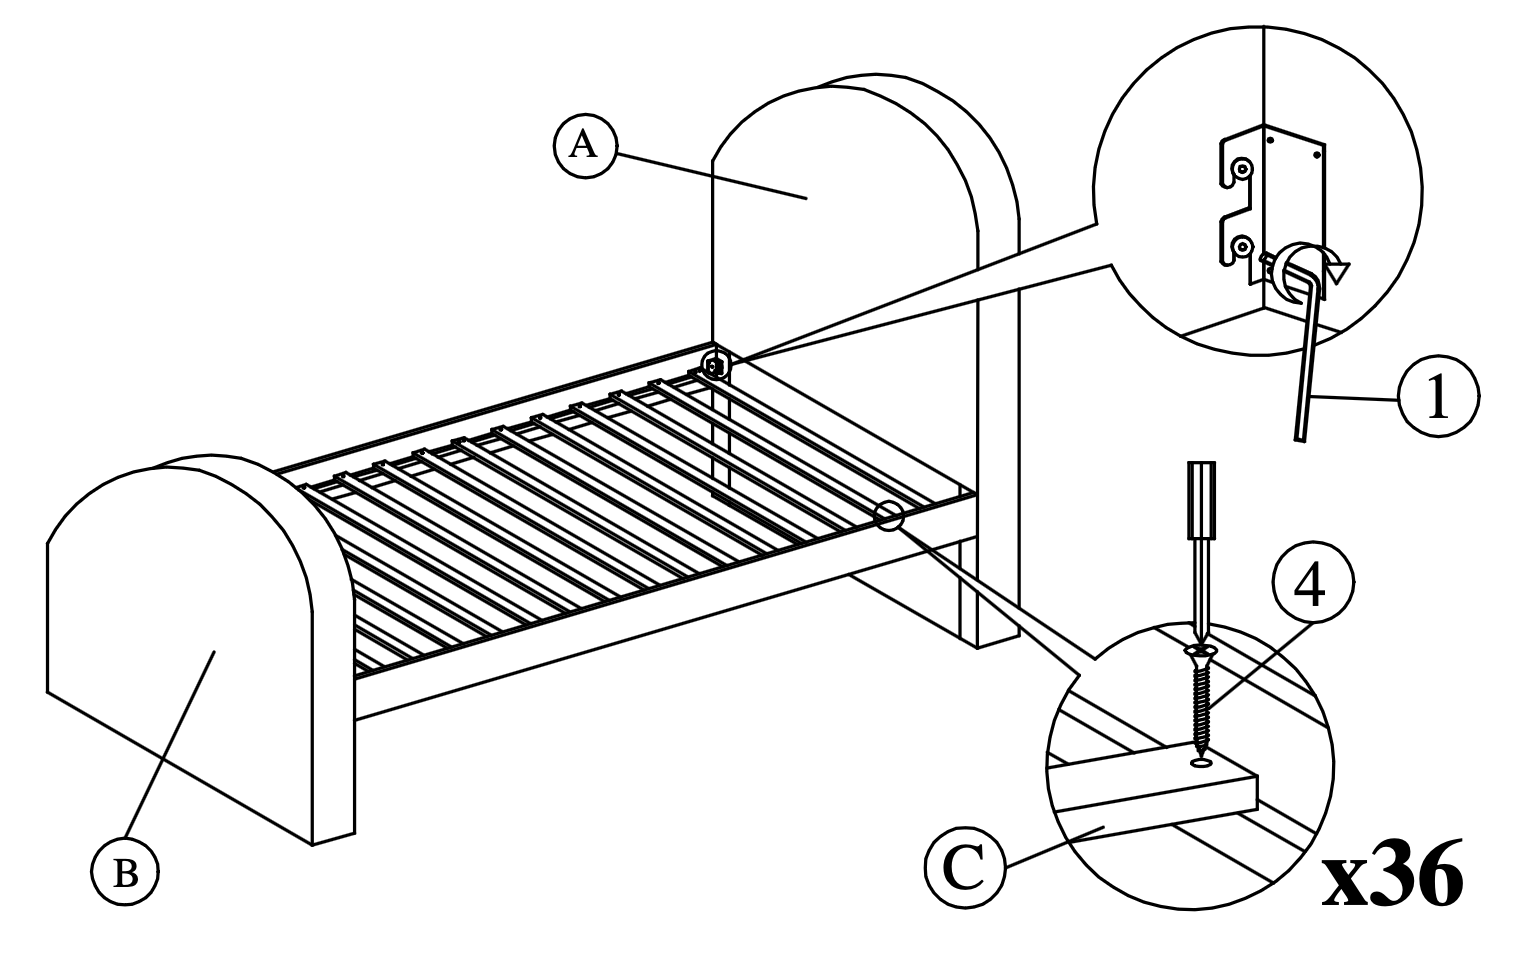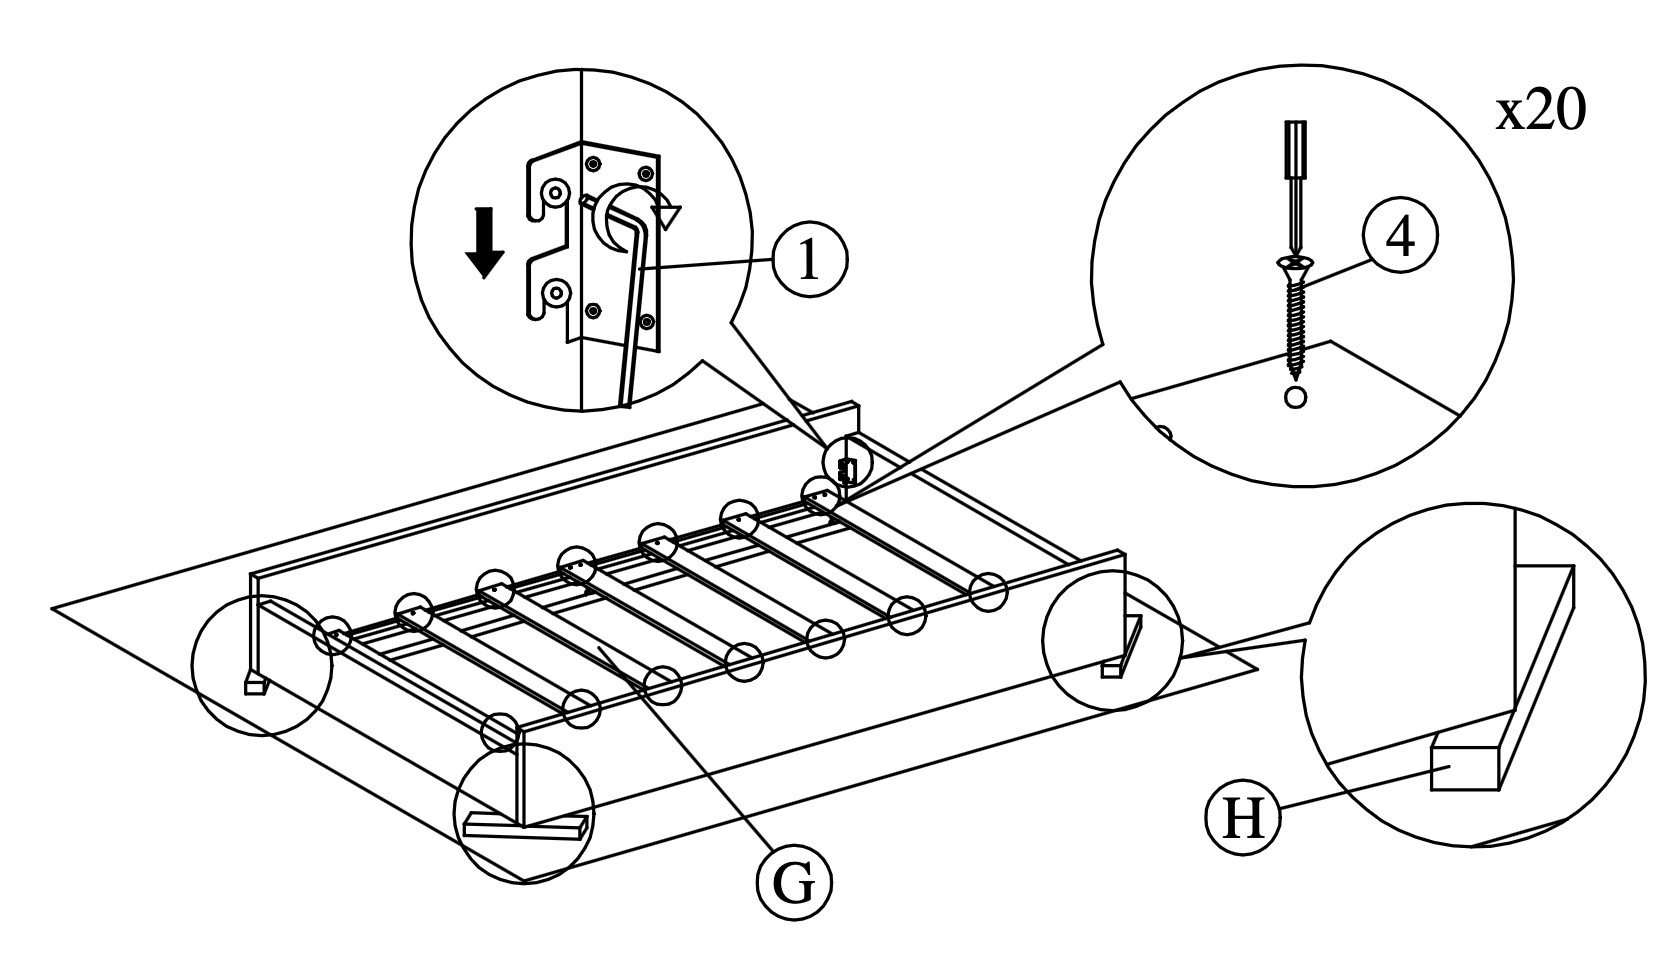
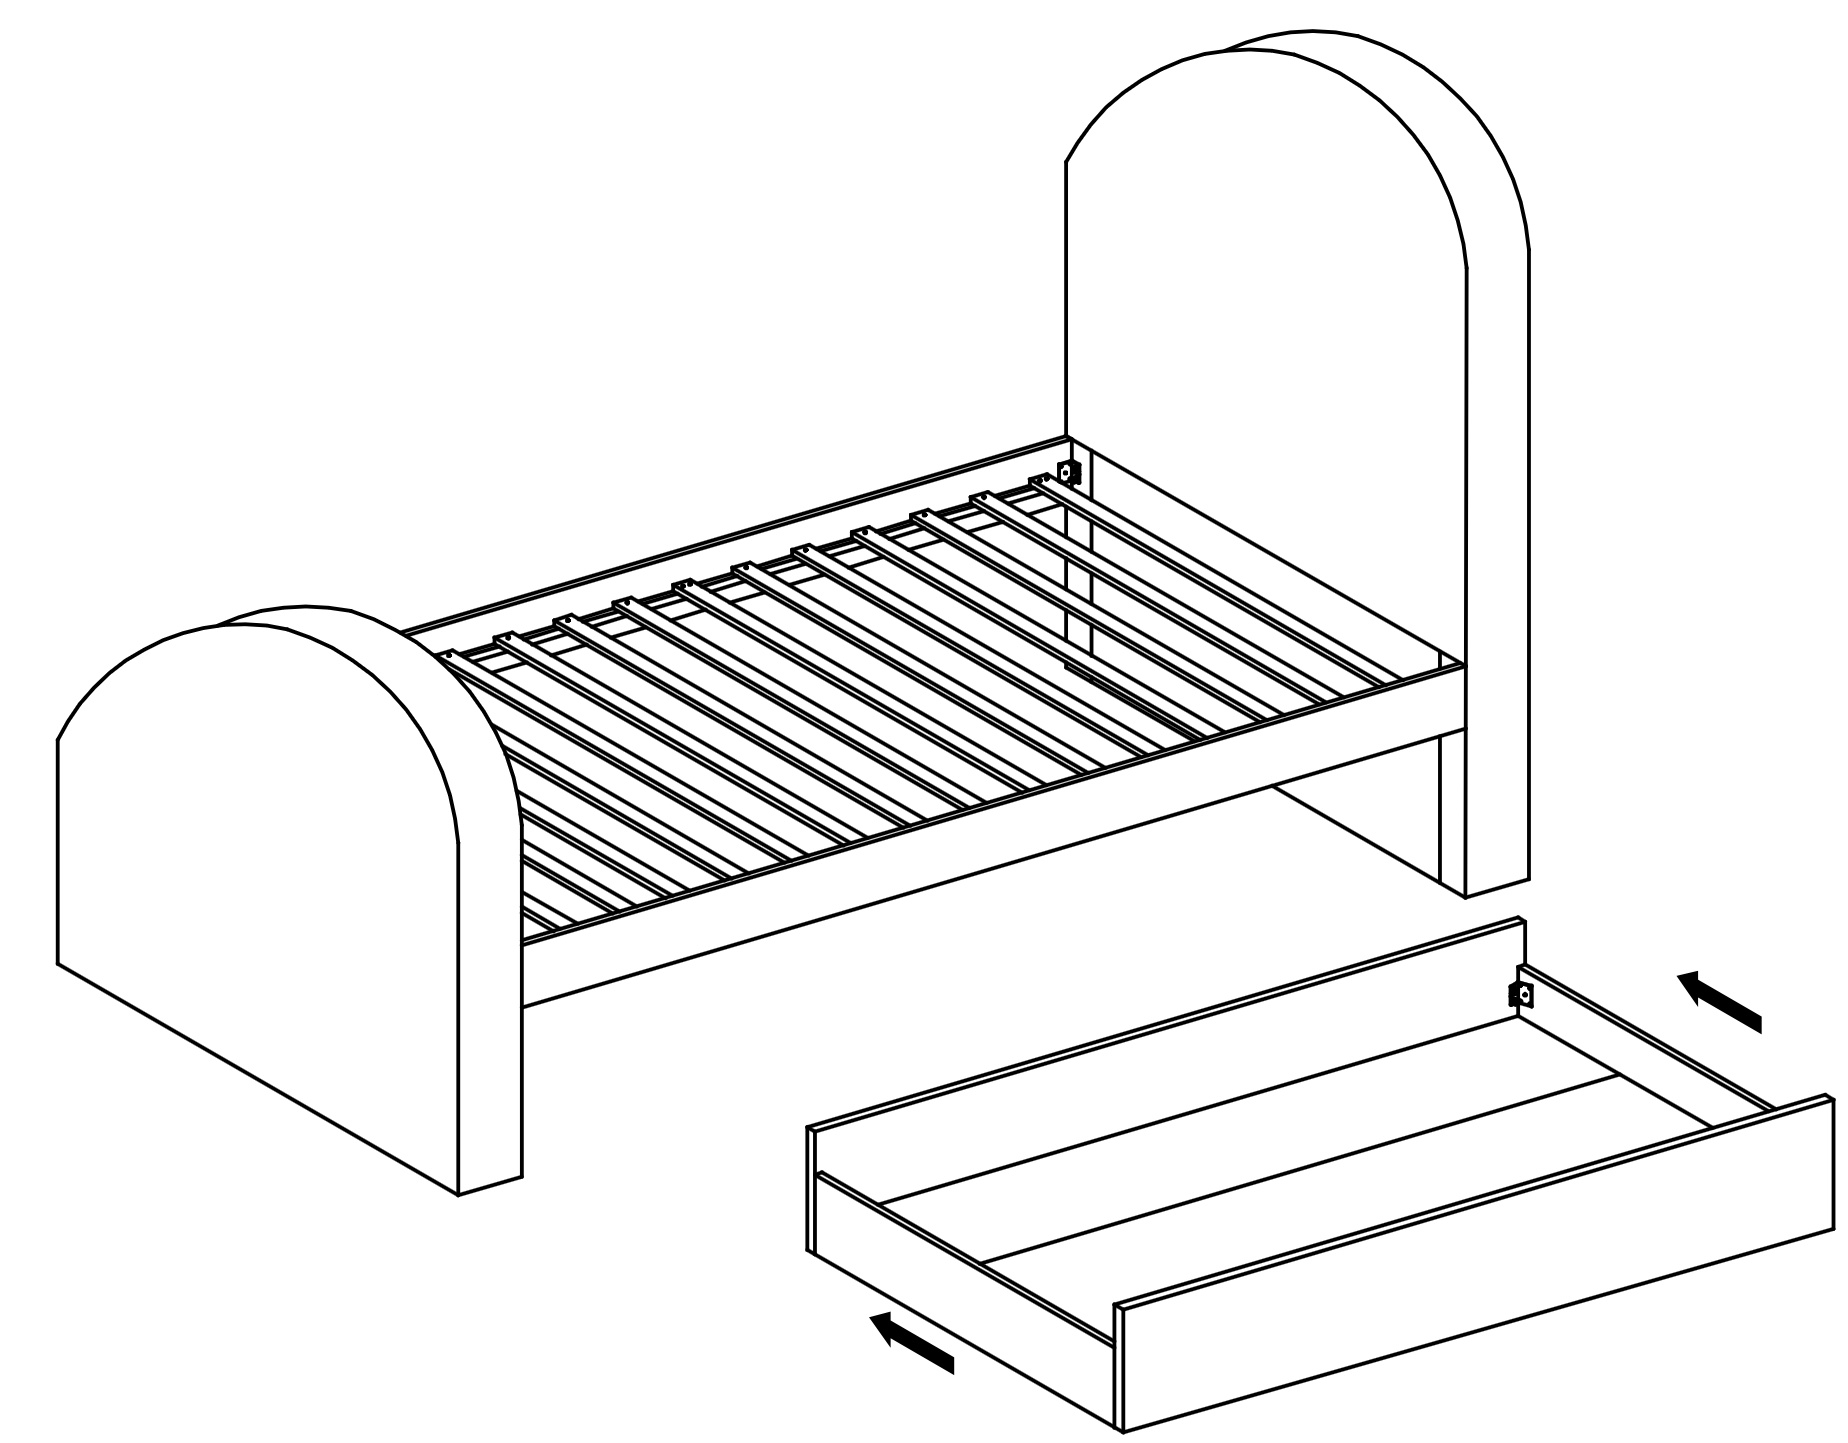


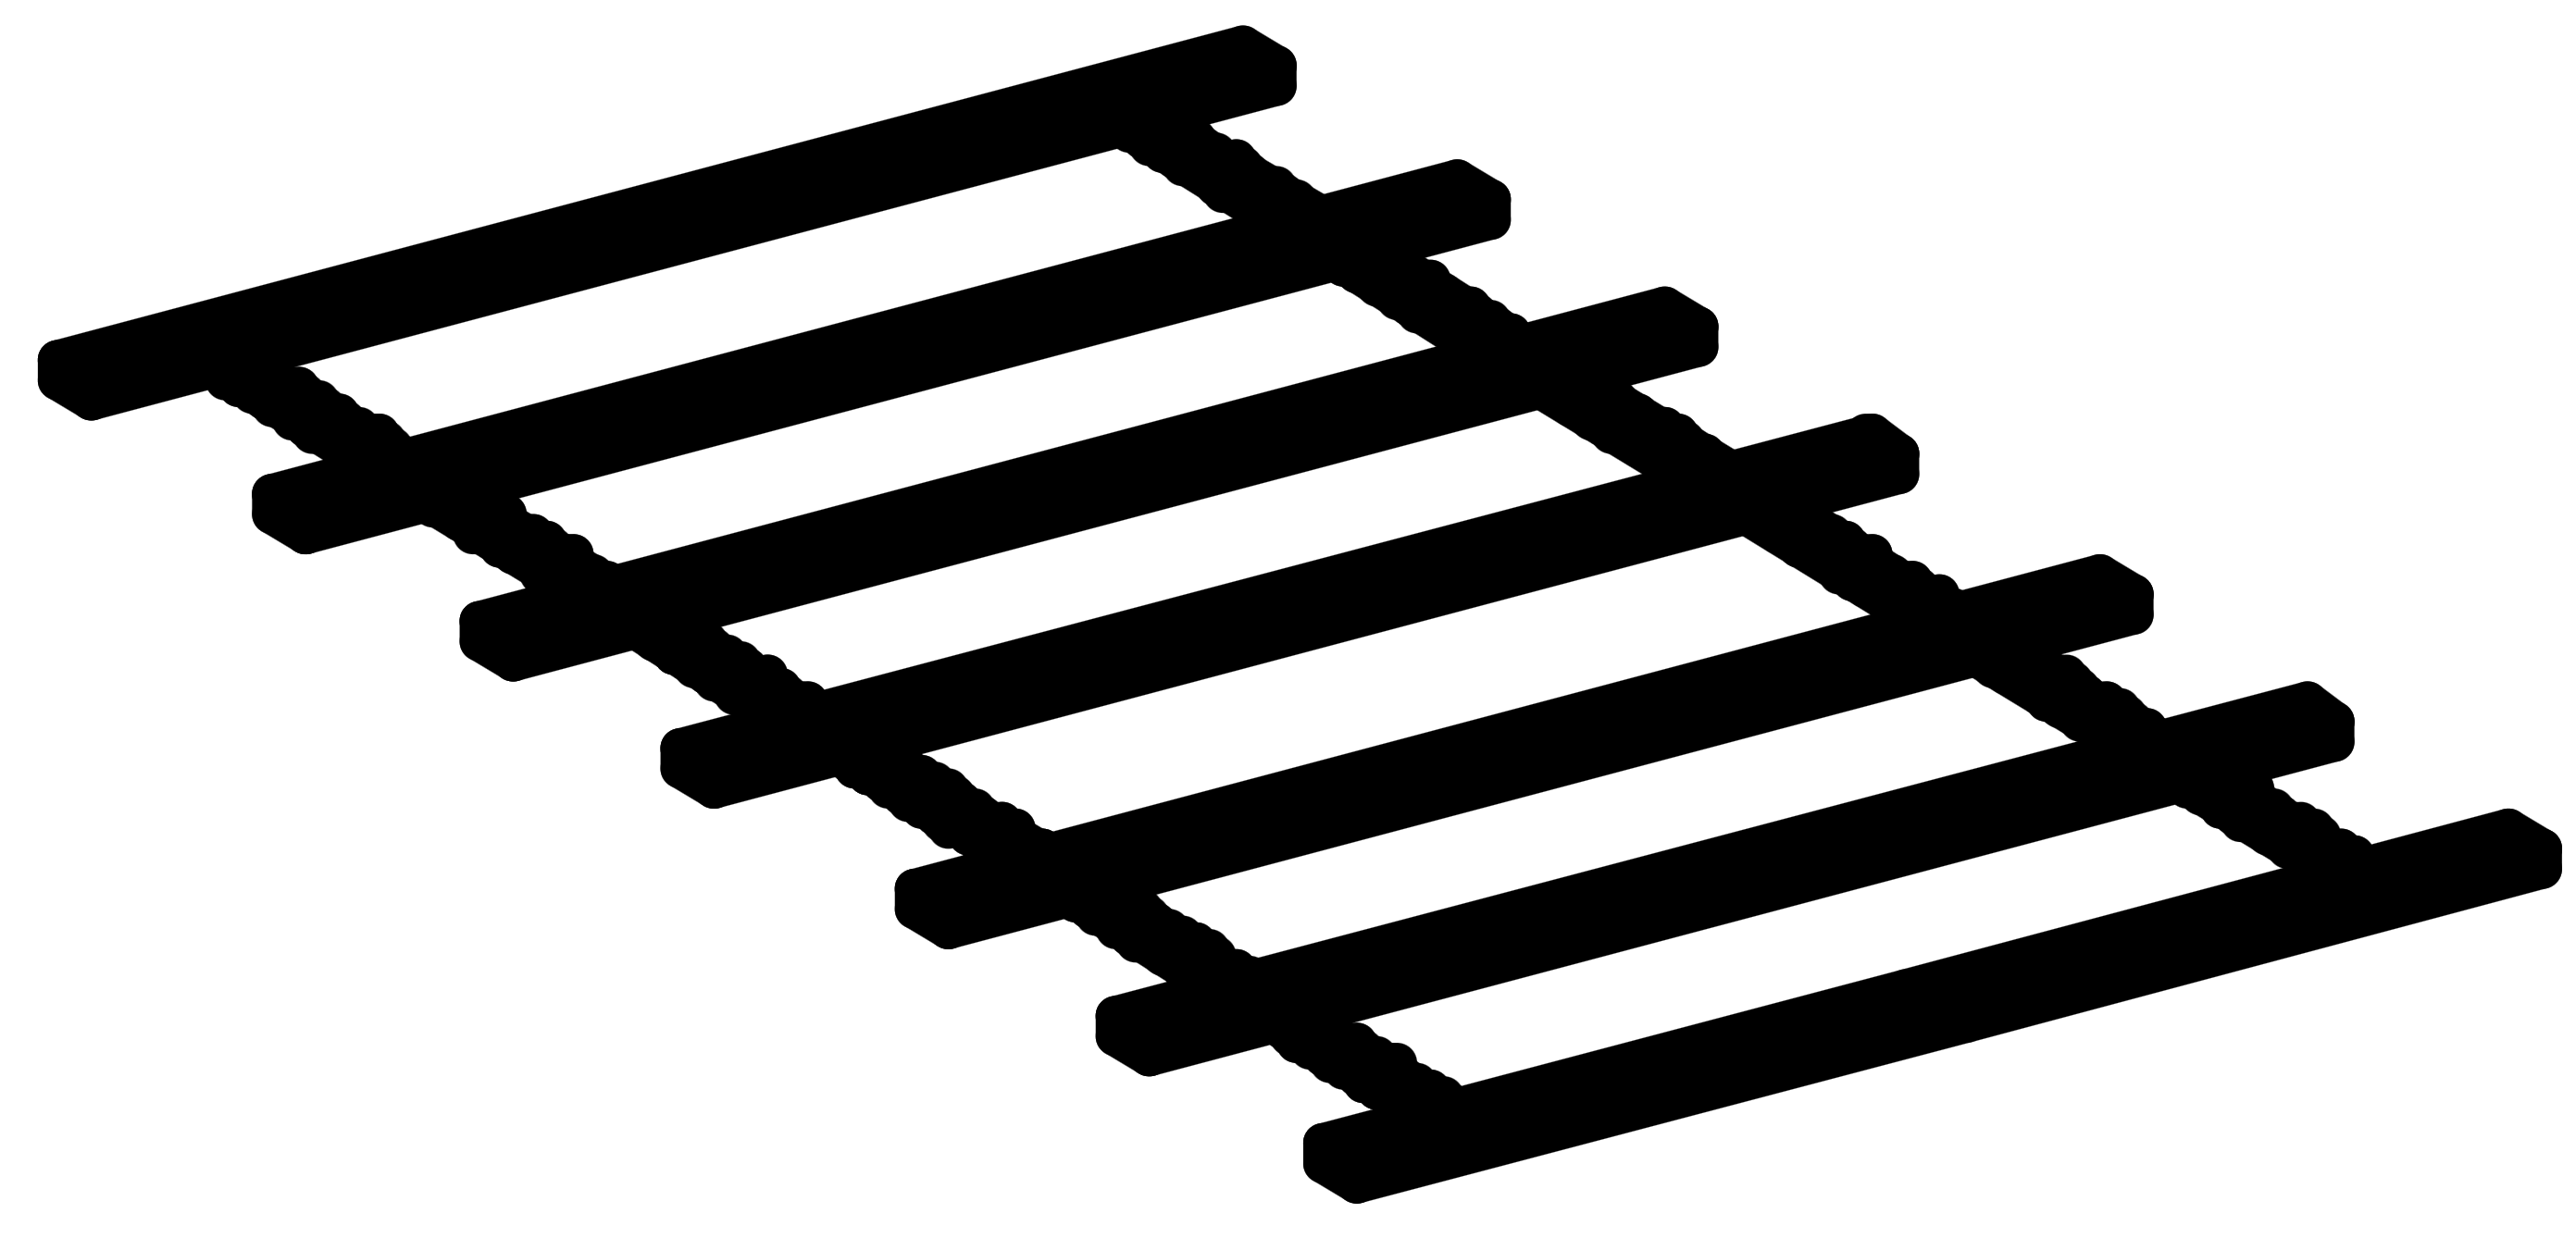

1. Frame Assembly and Stabilization
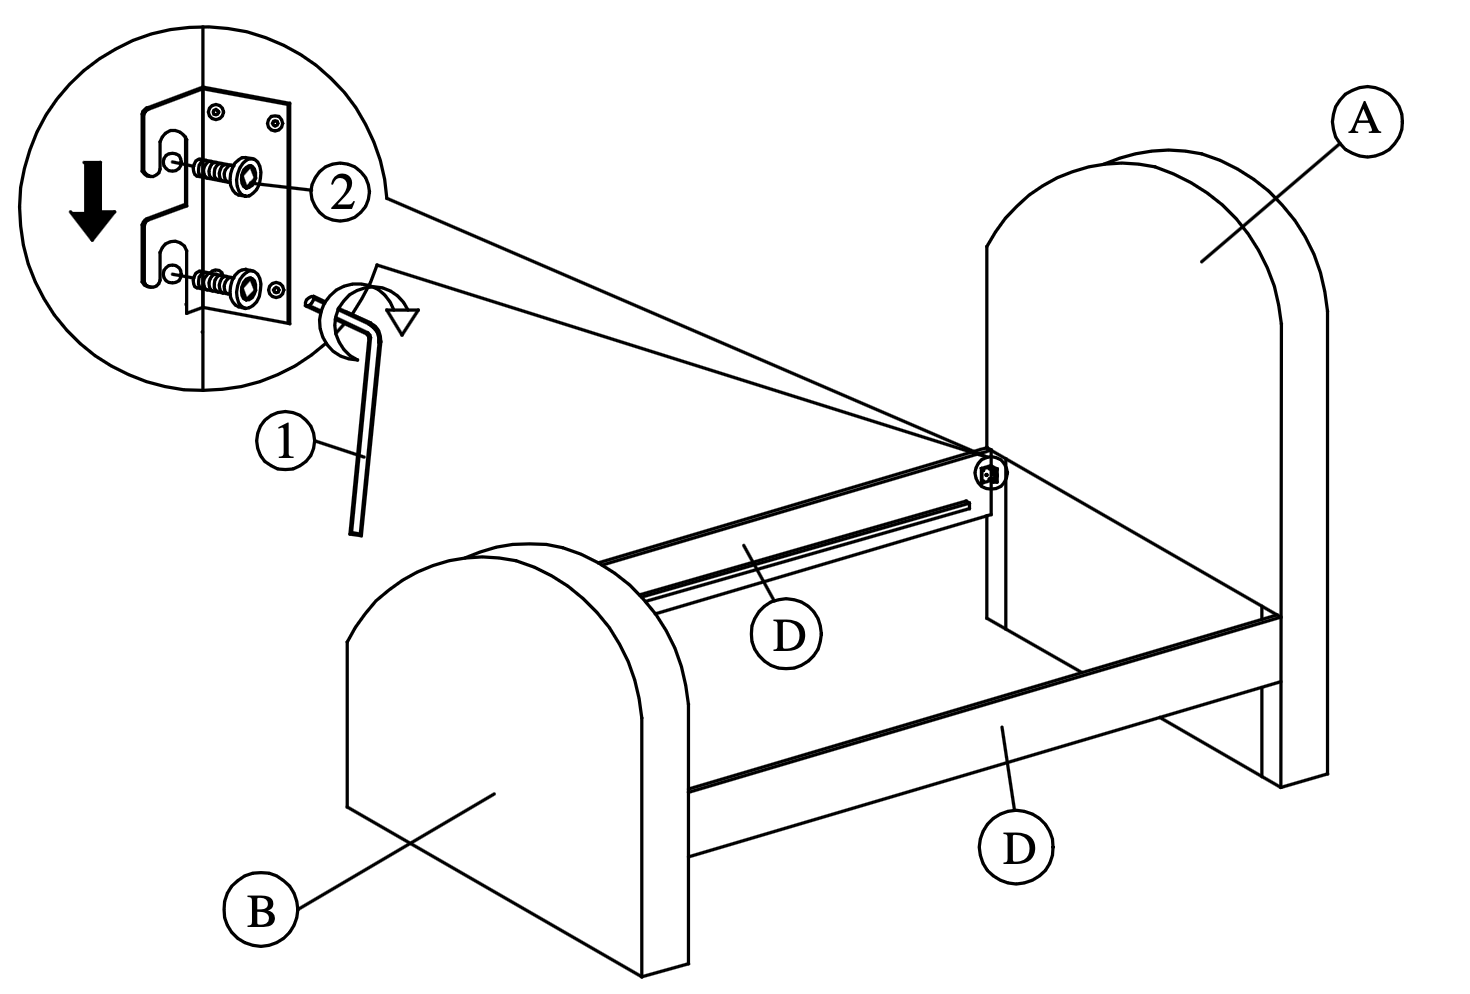
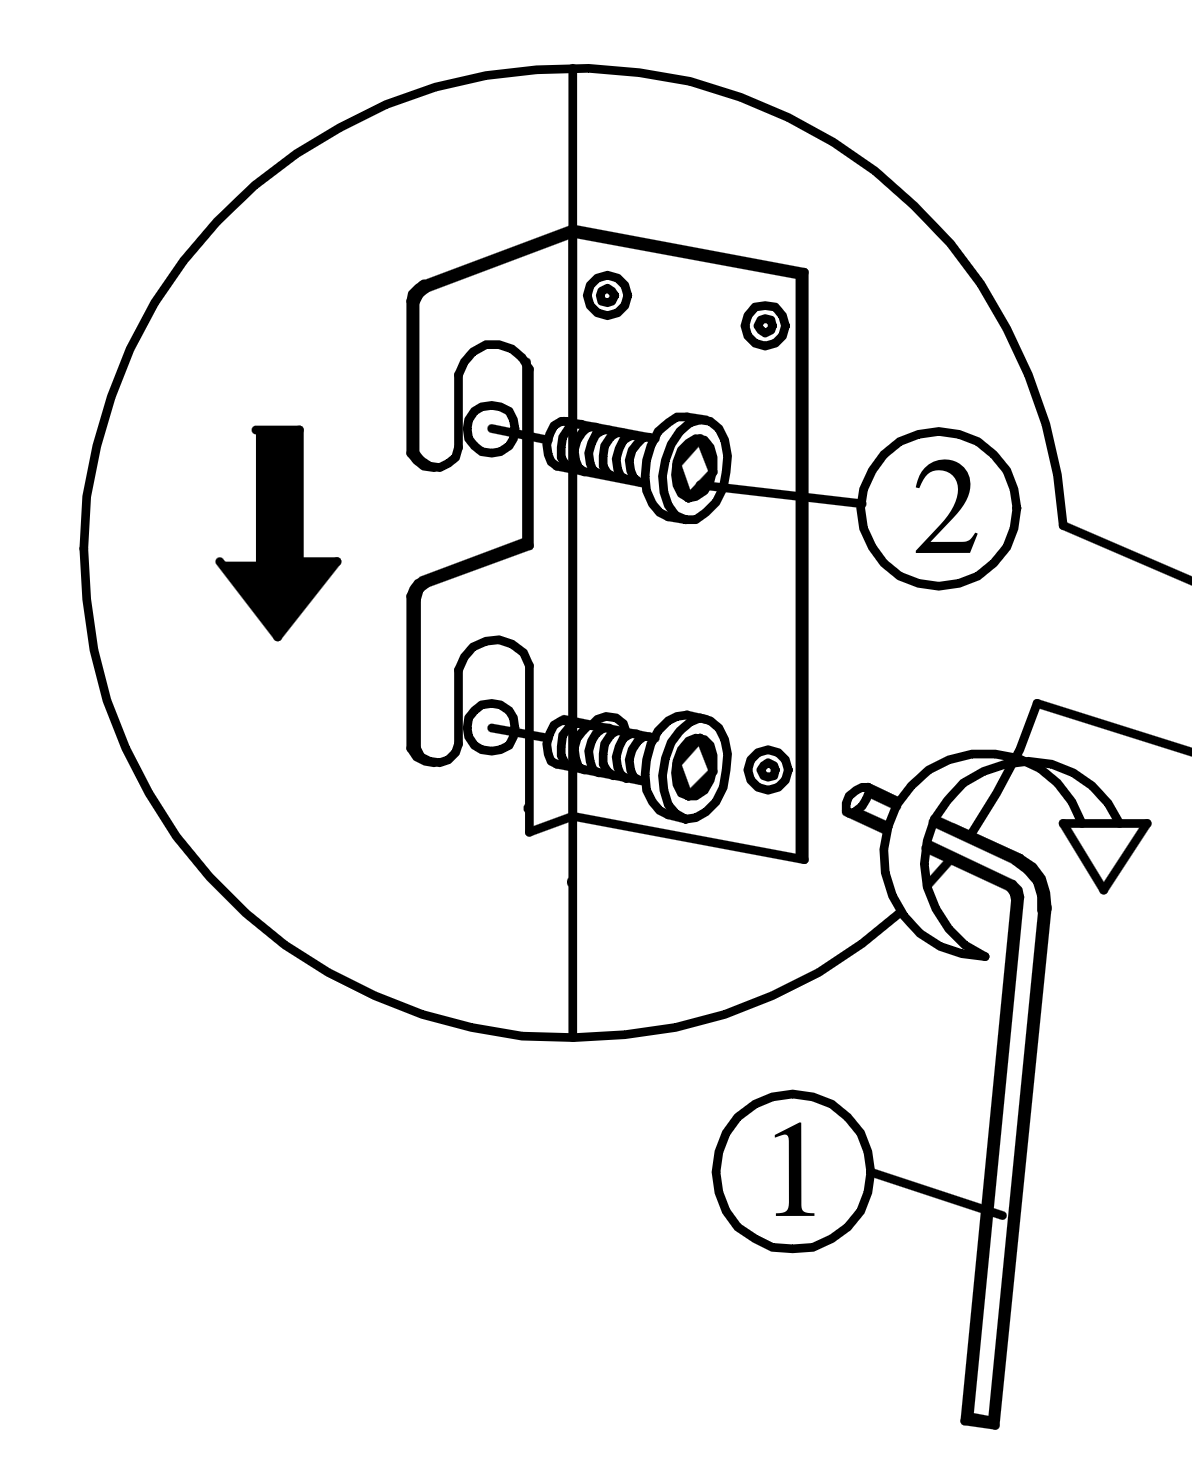
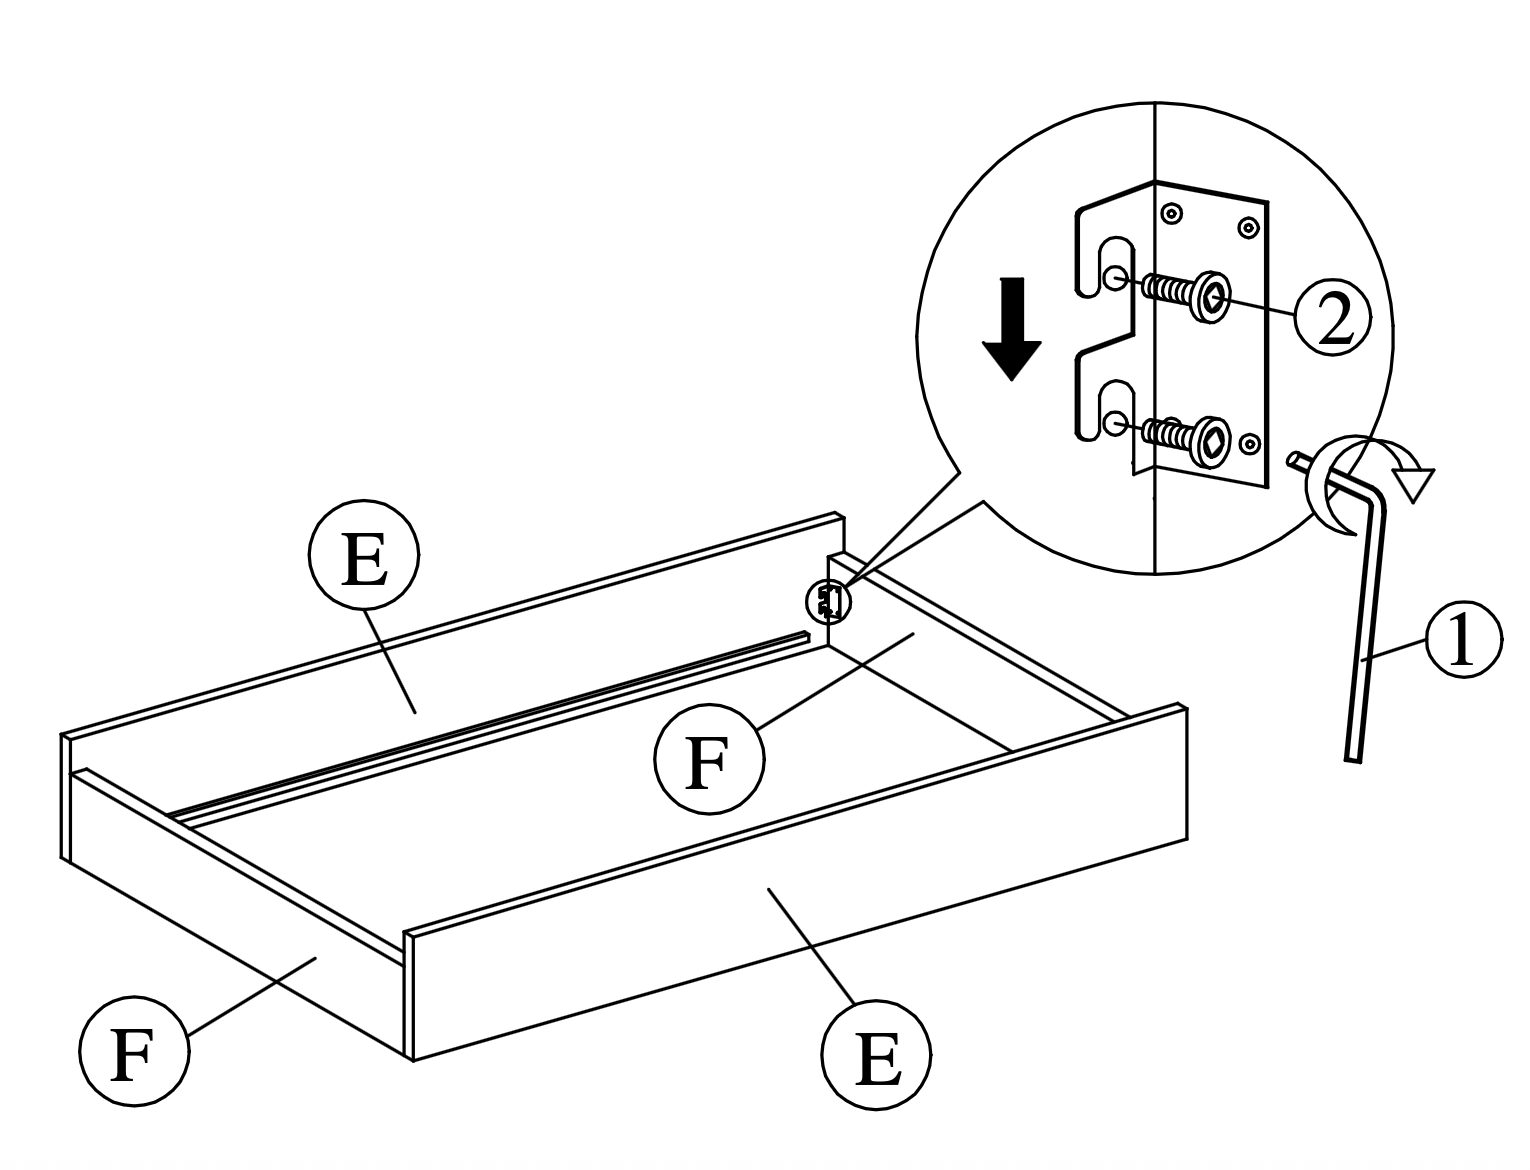
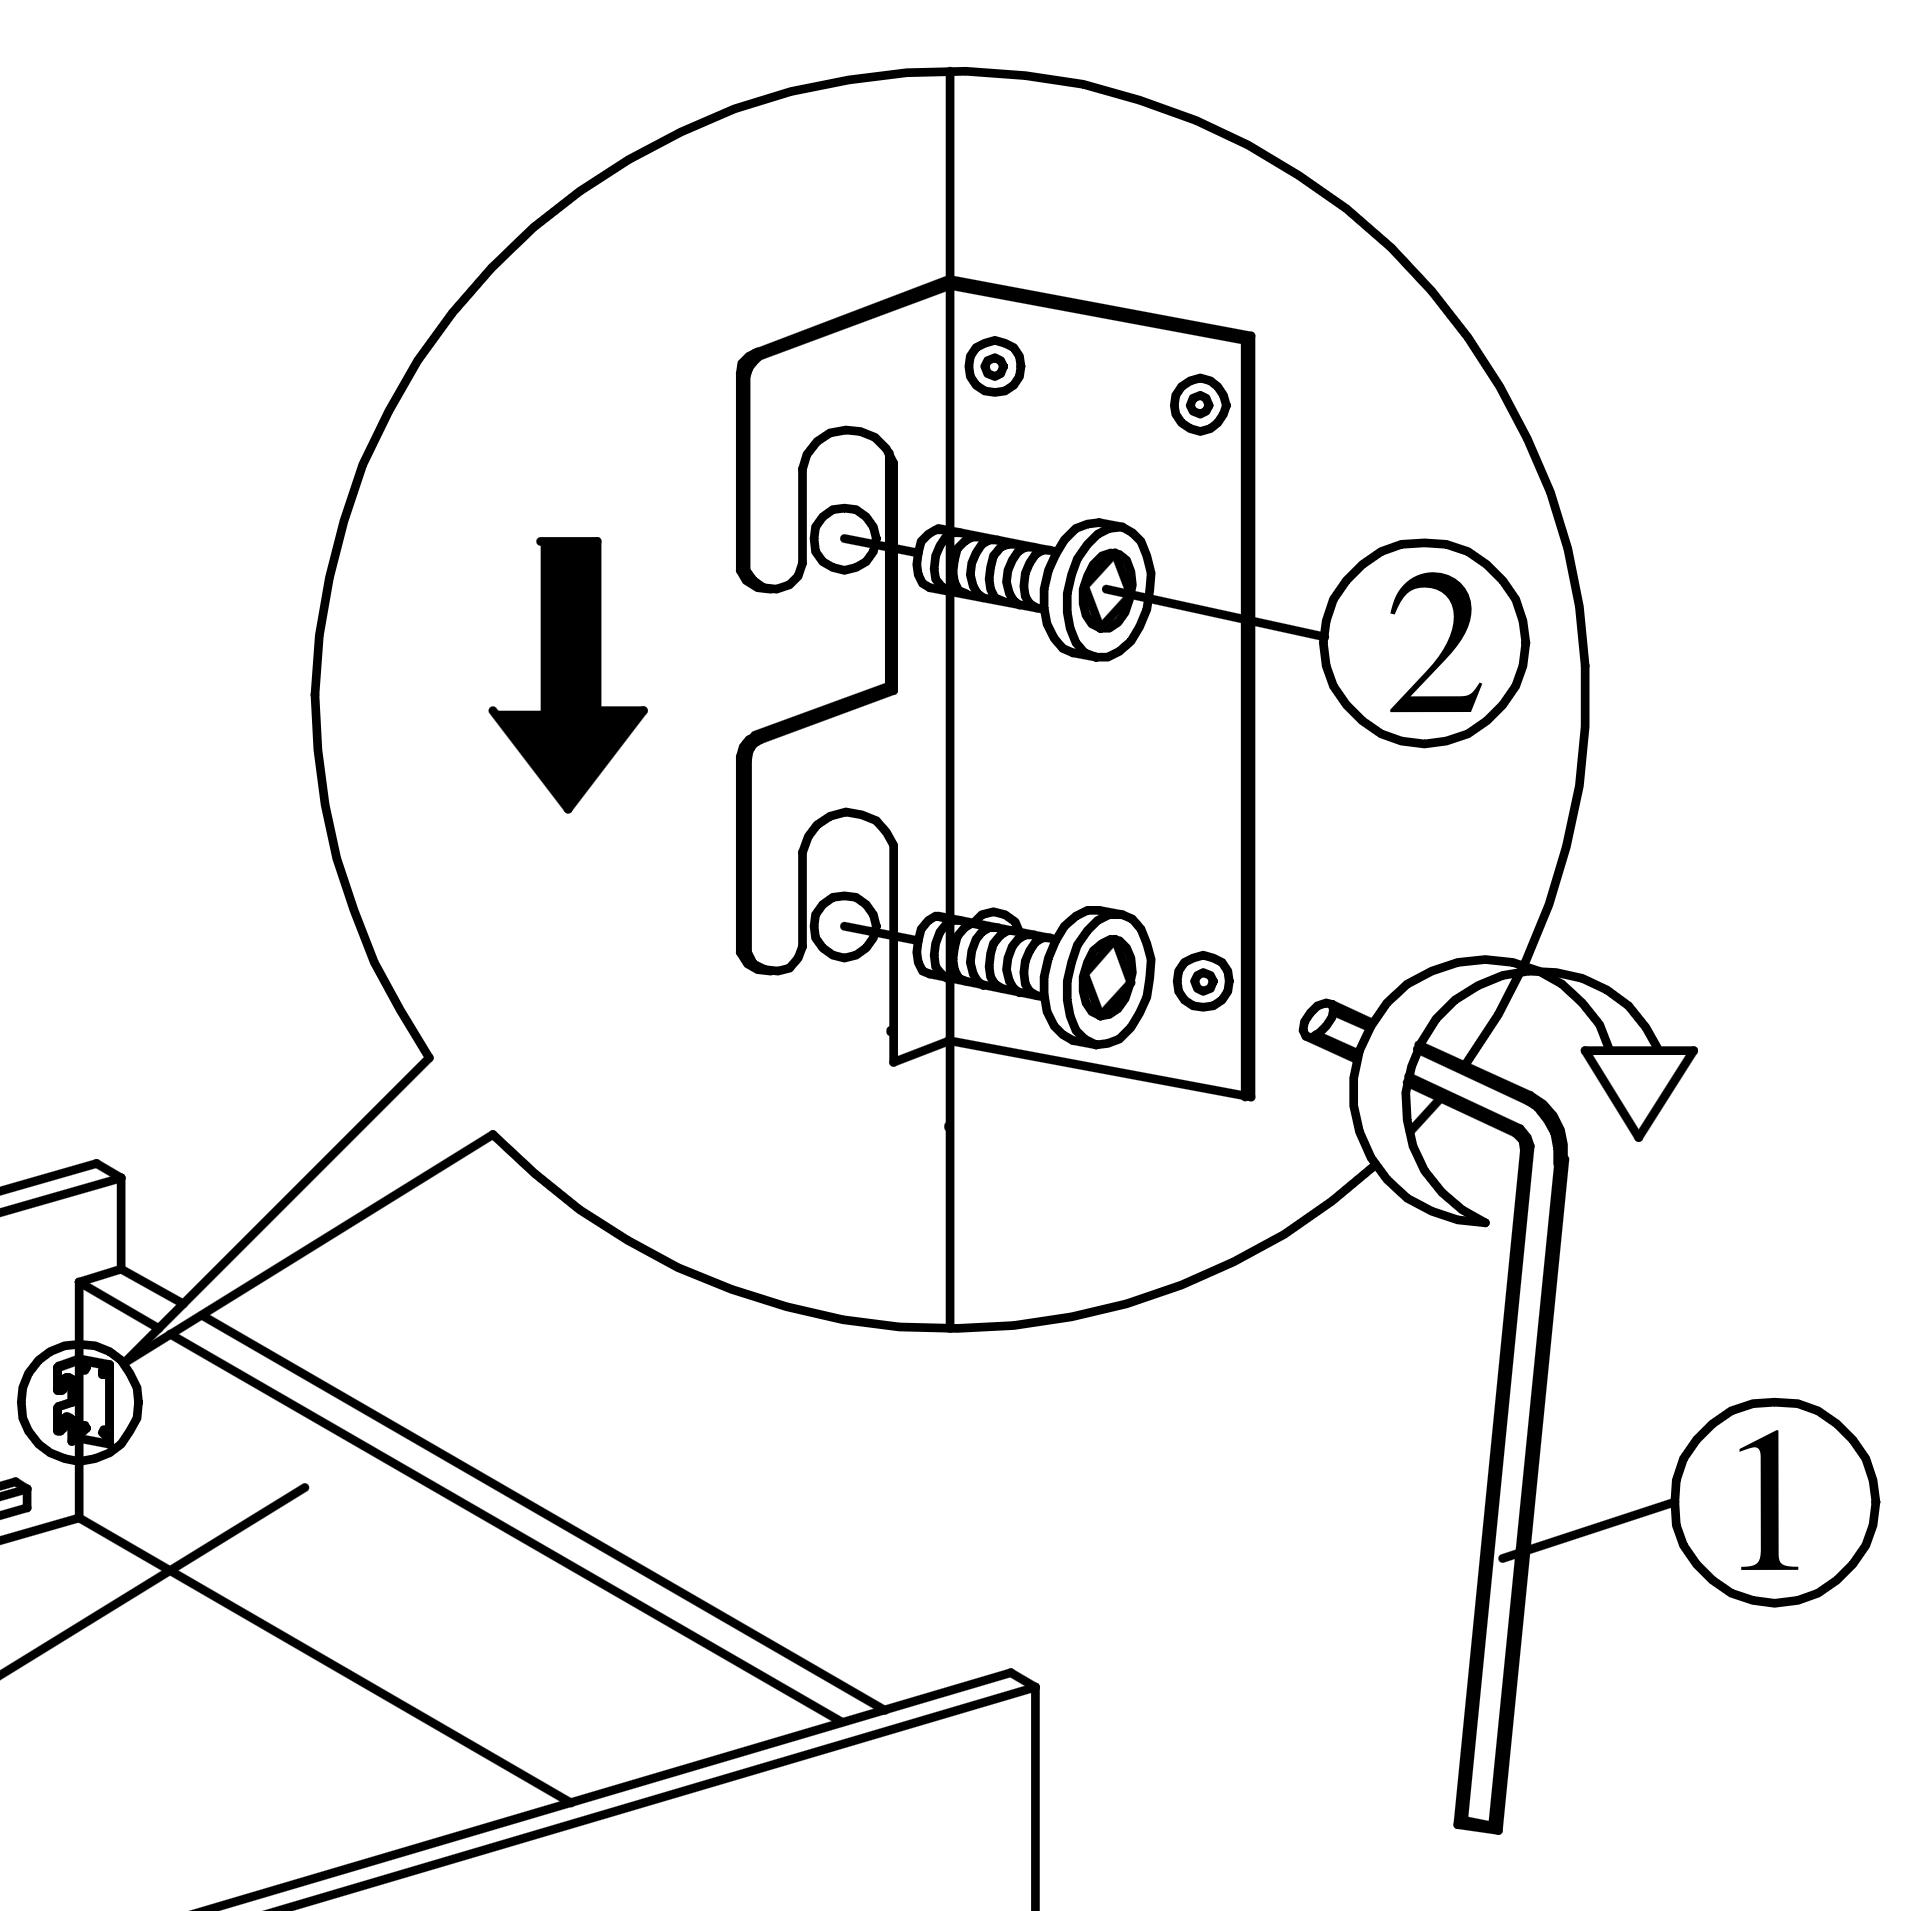
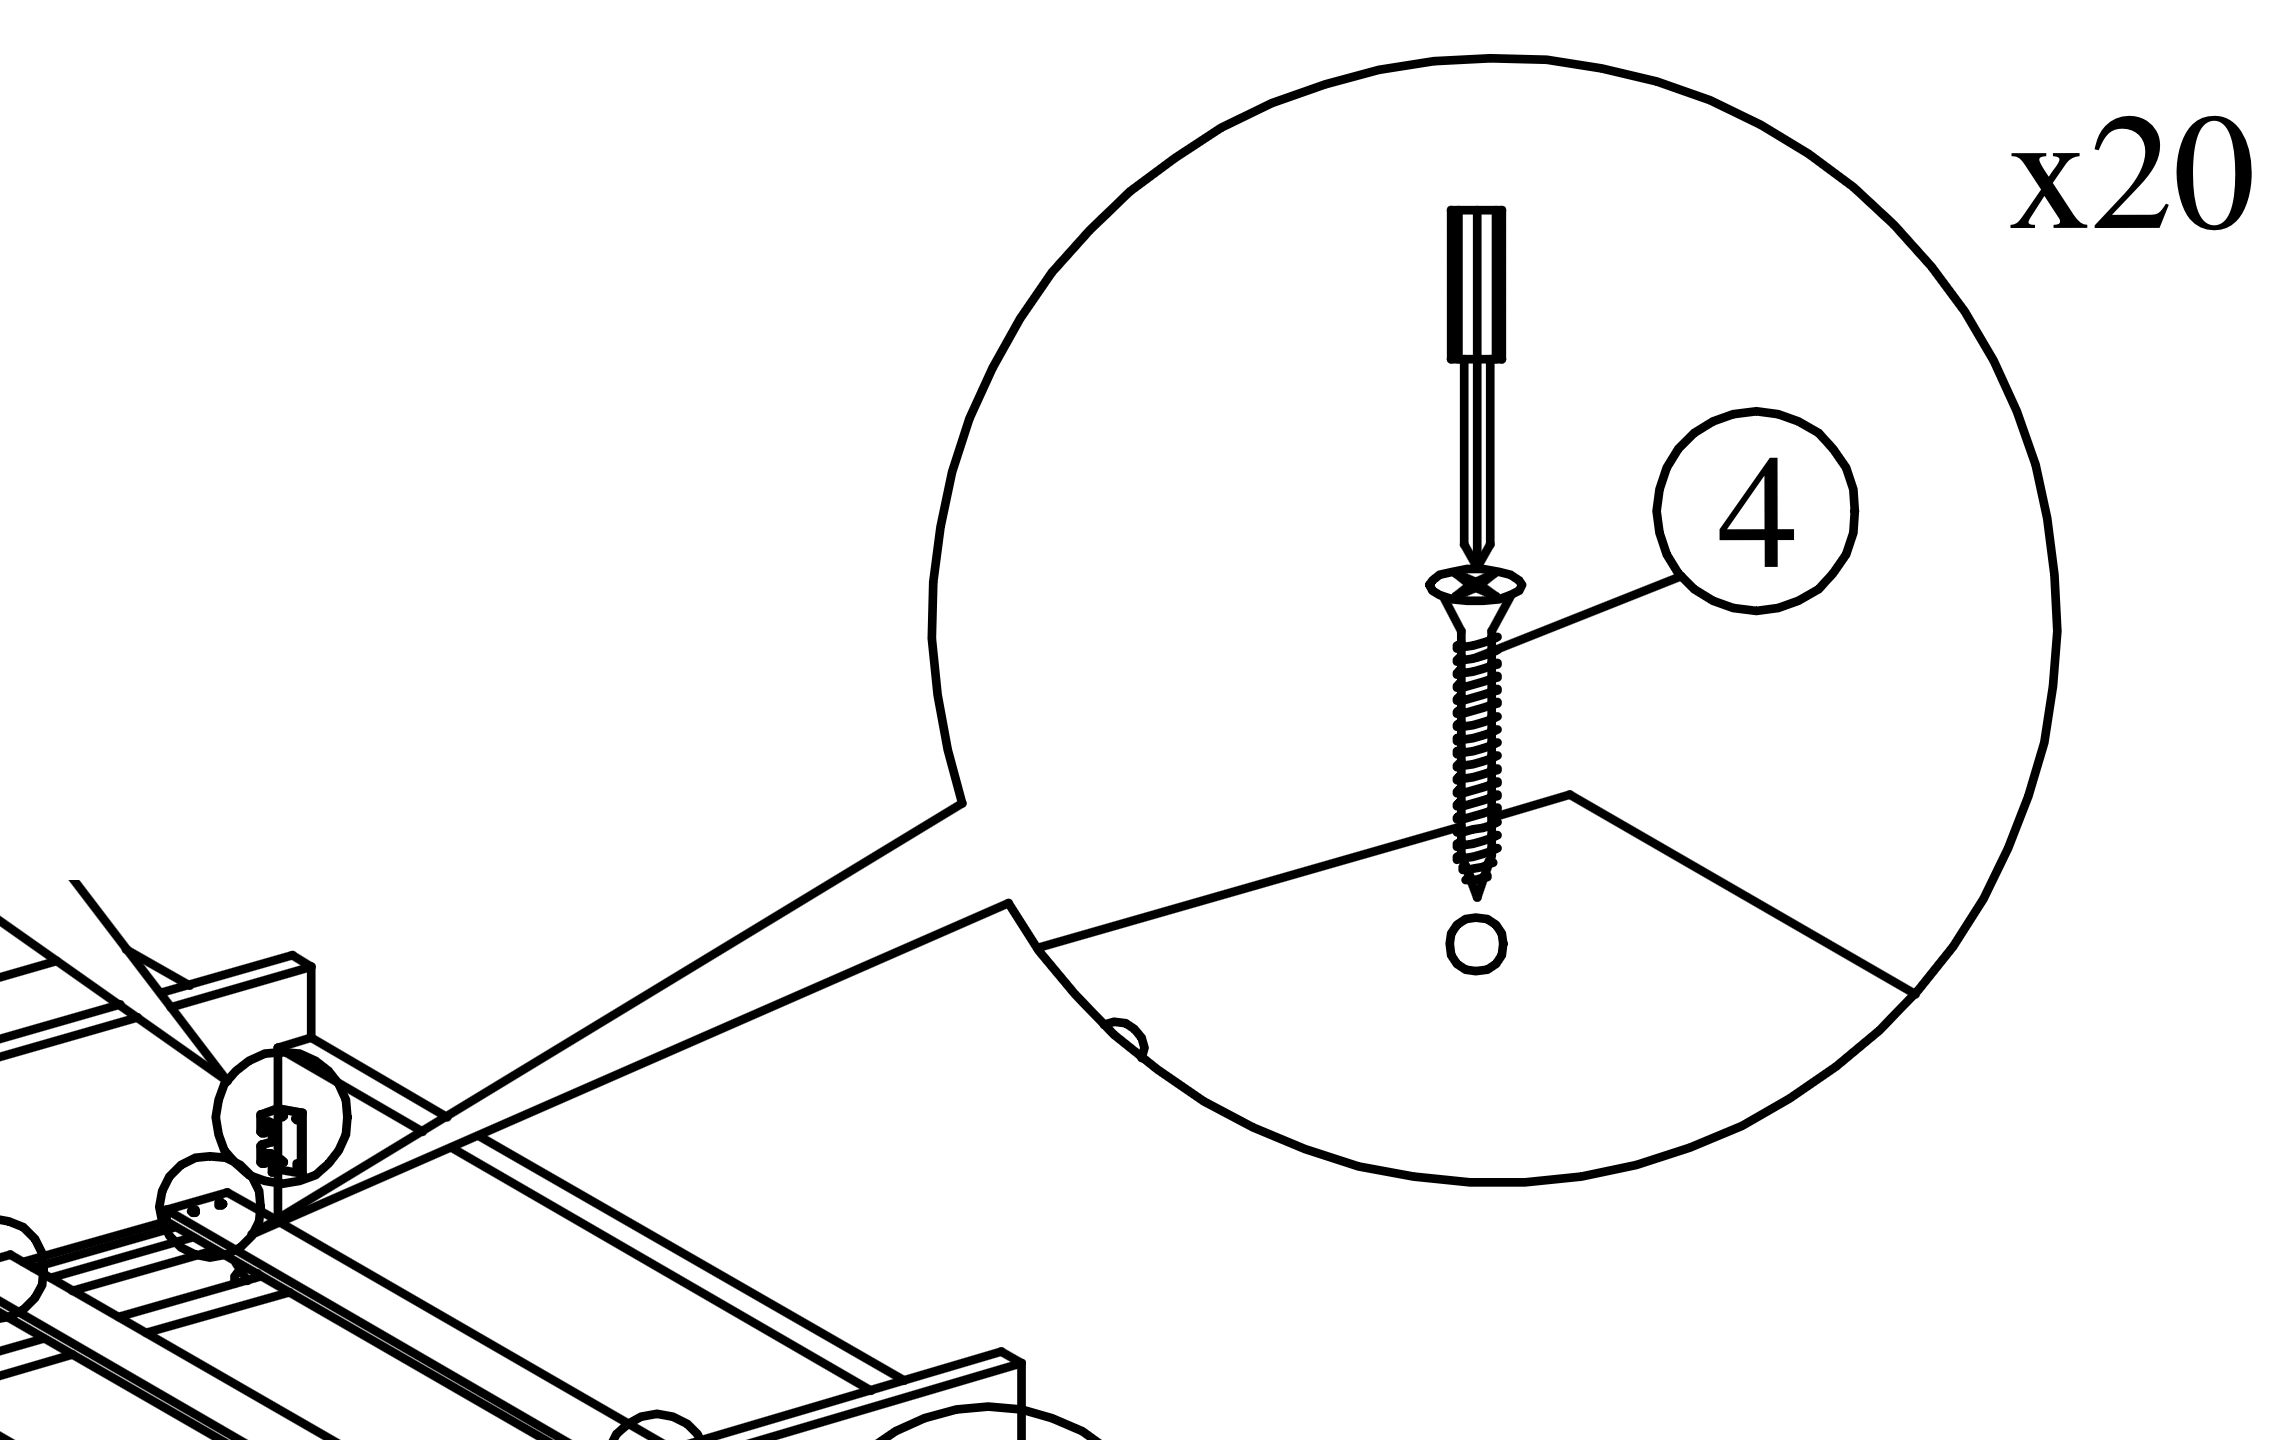
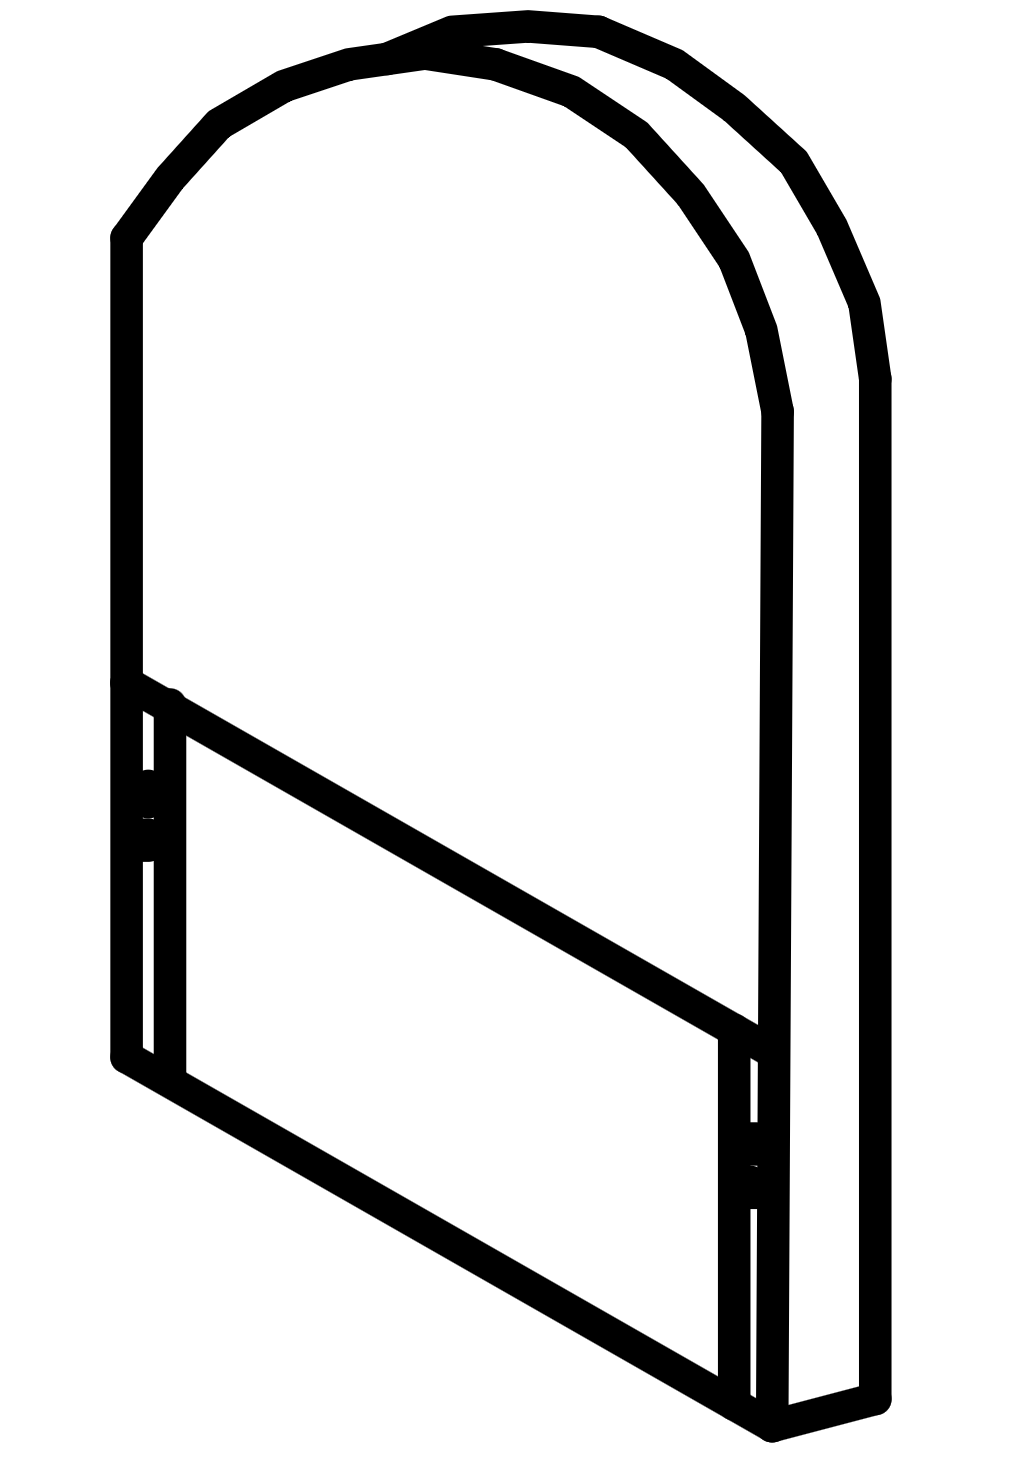
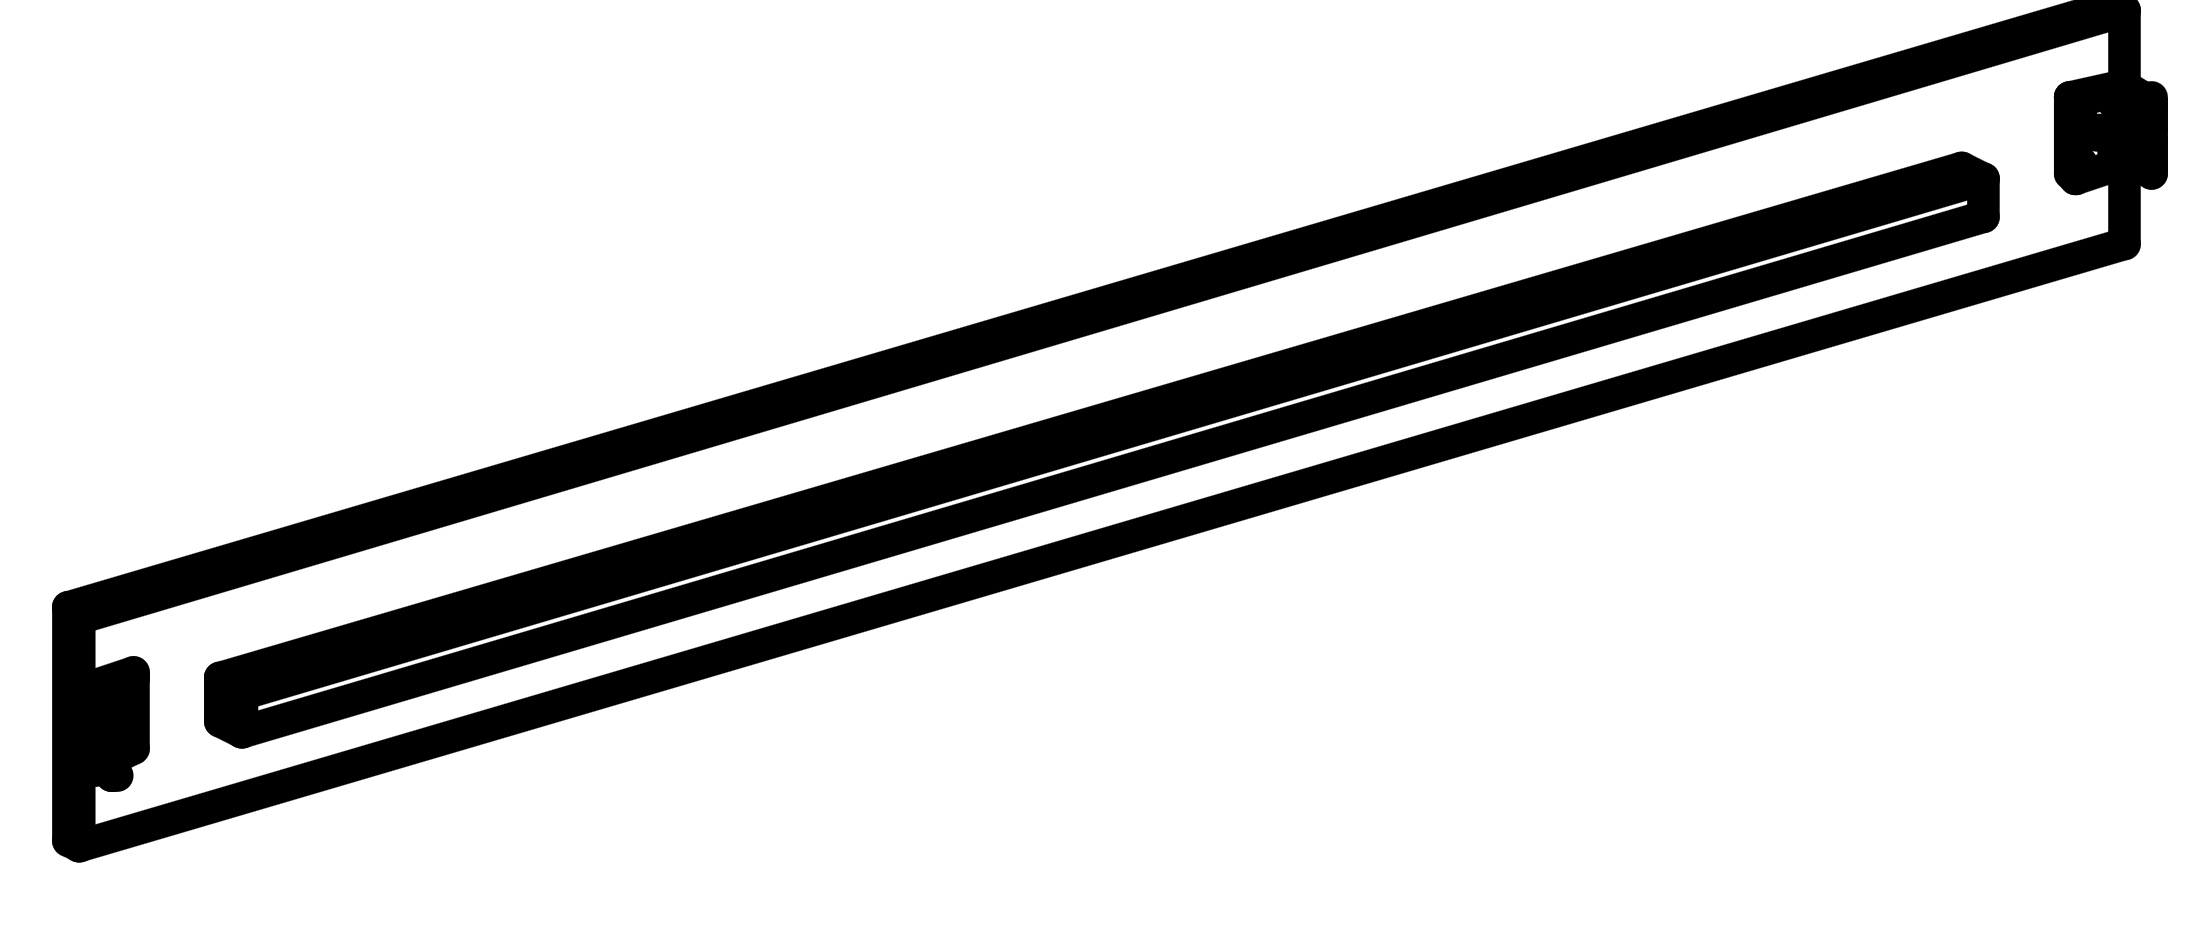
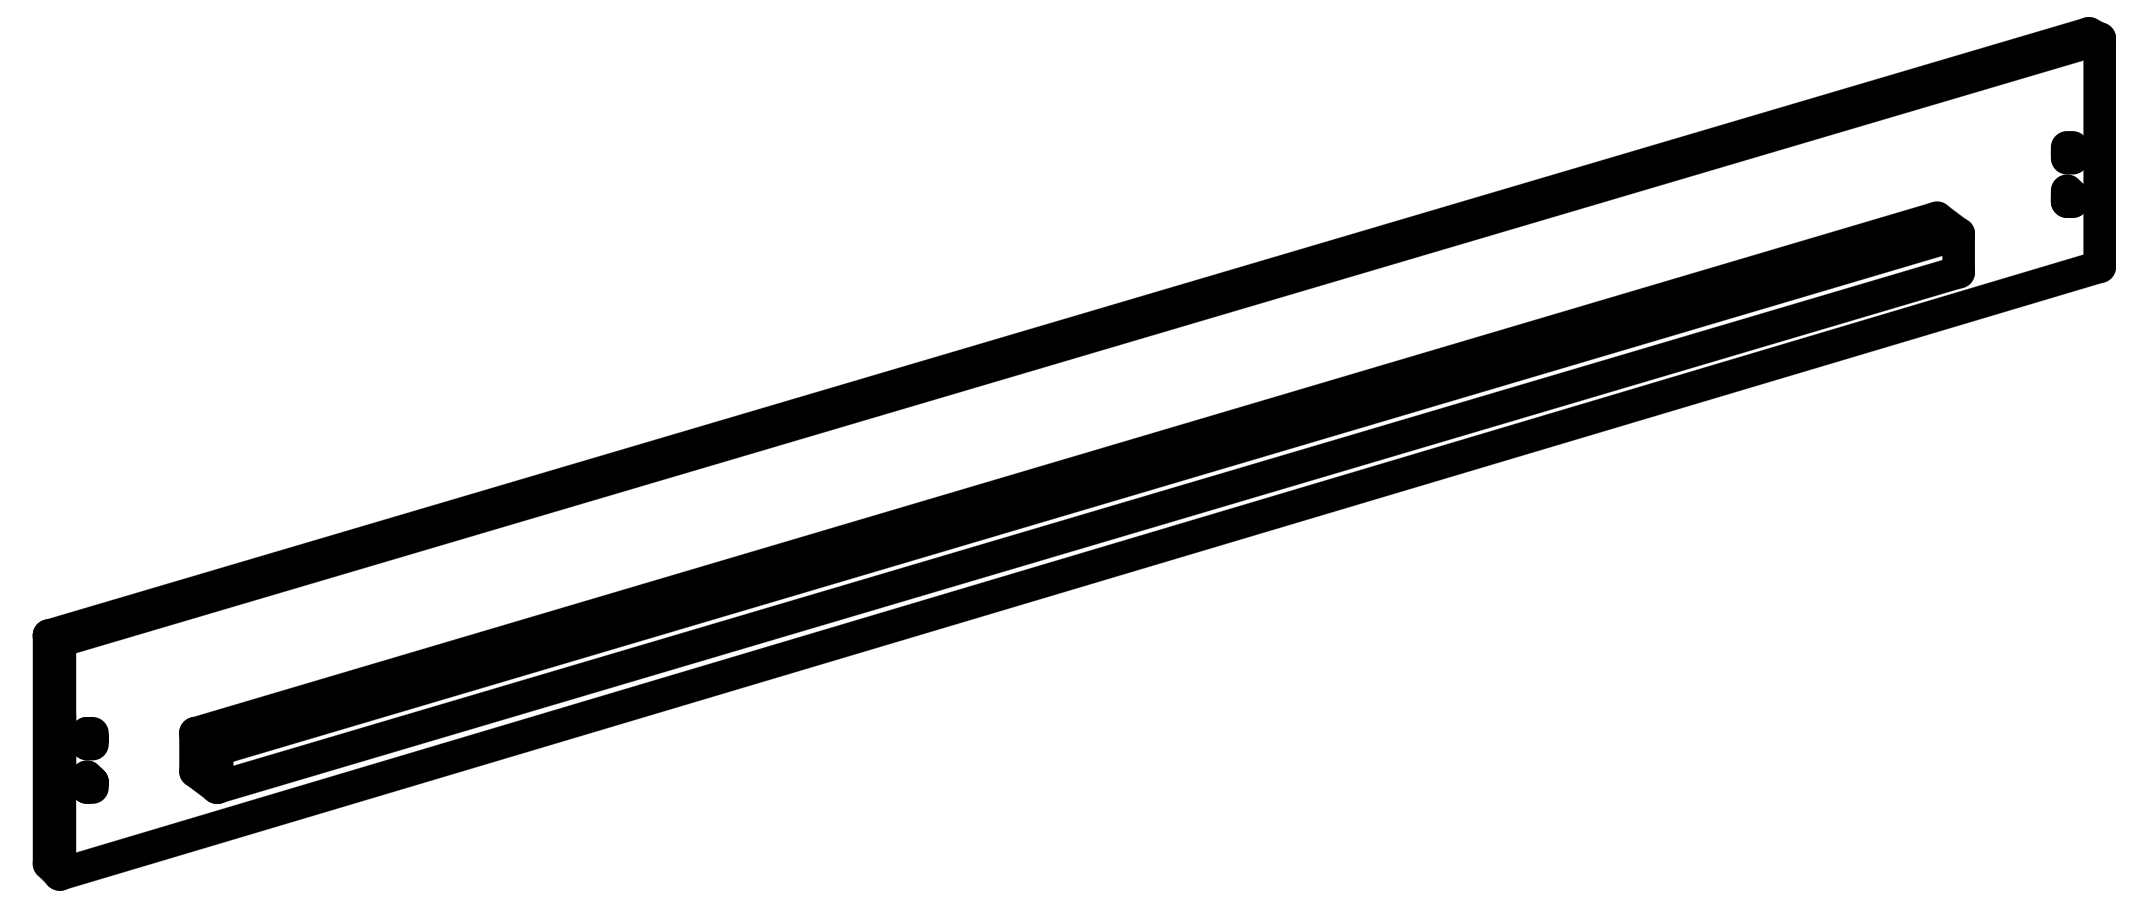
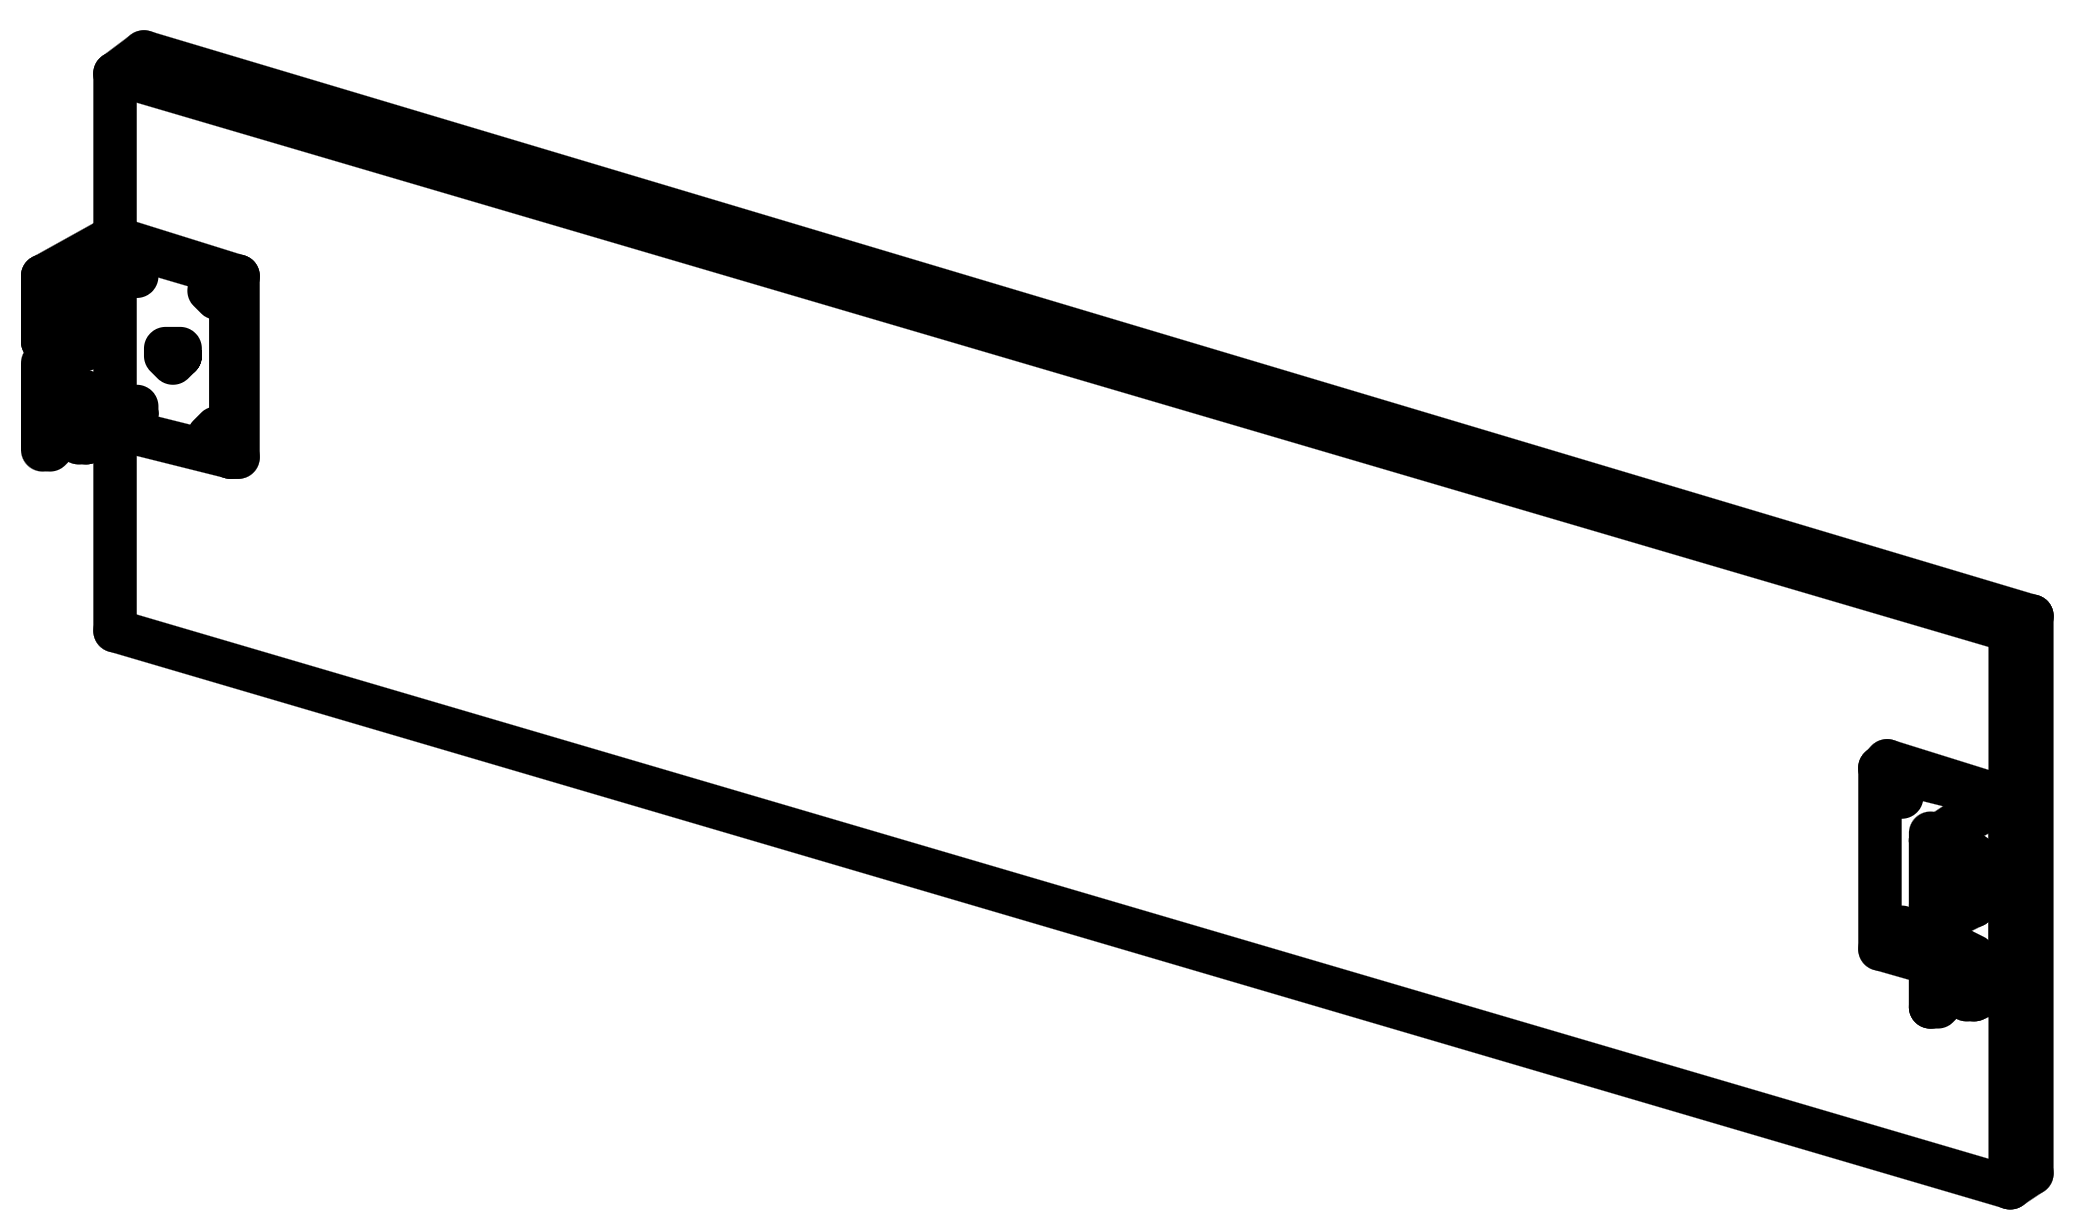
- Attach the headboard (A) and footboard (B) to the side rails (D) using the M8x20mm bolts (2).
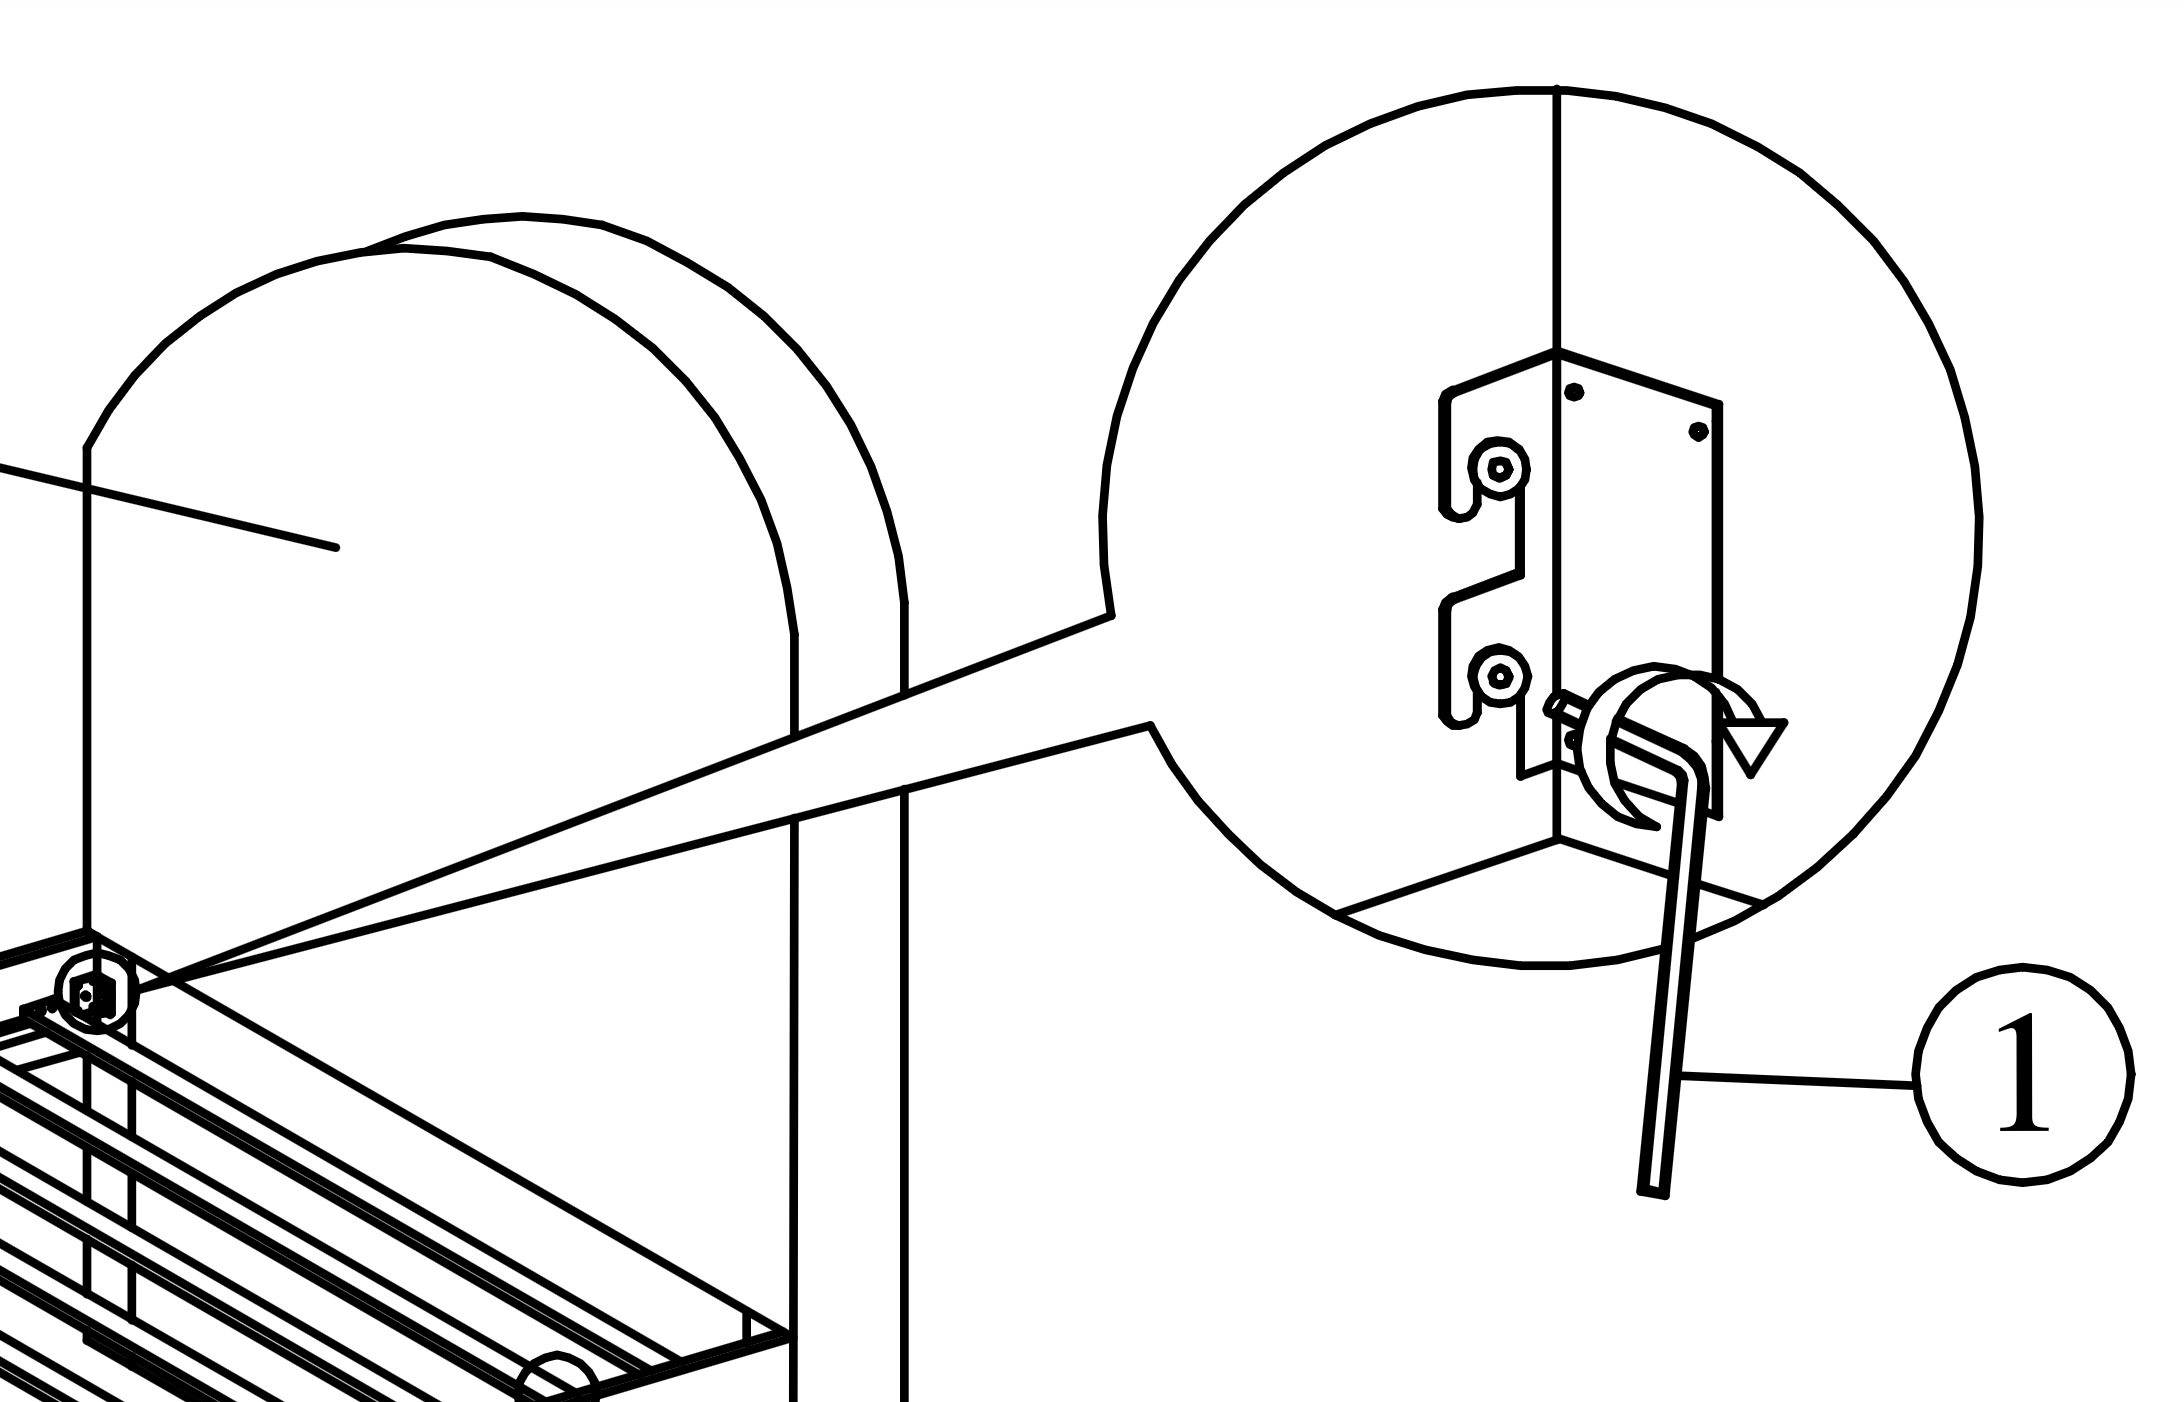
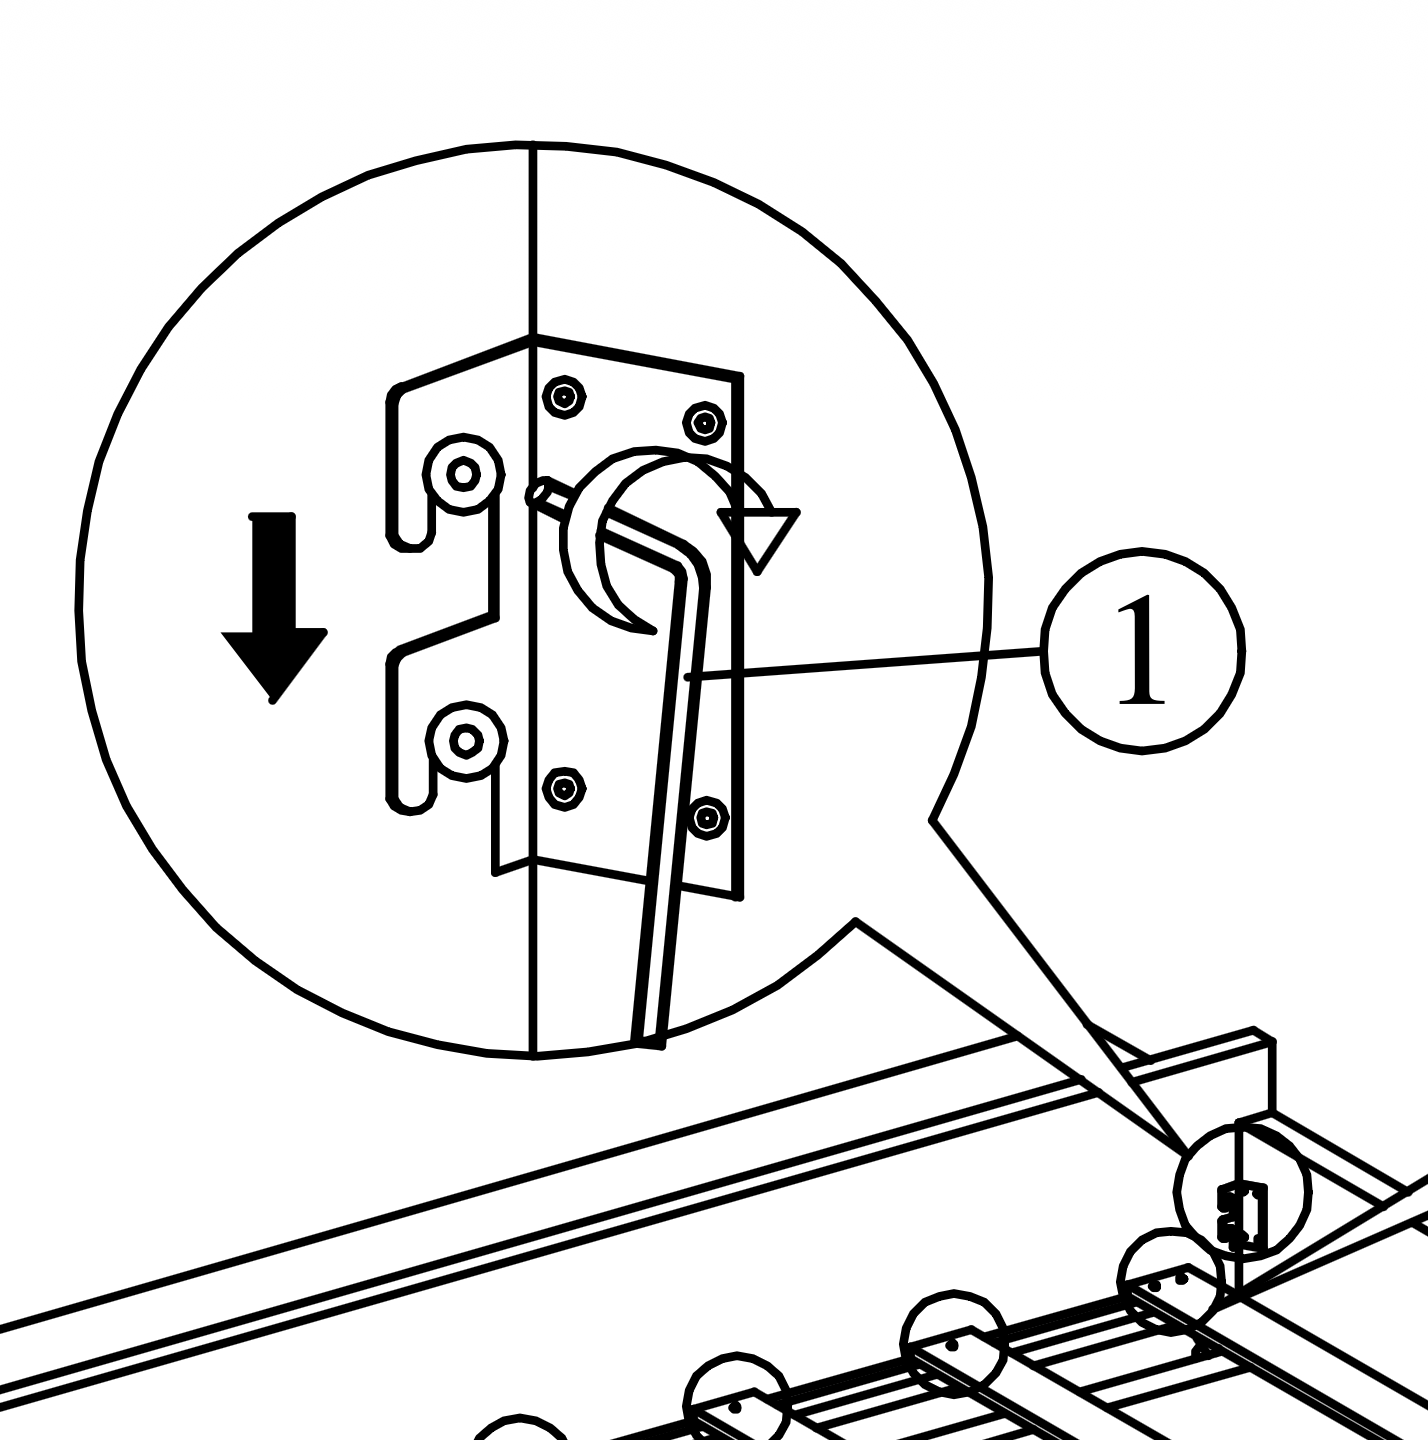
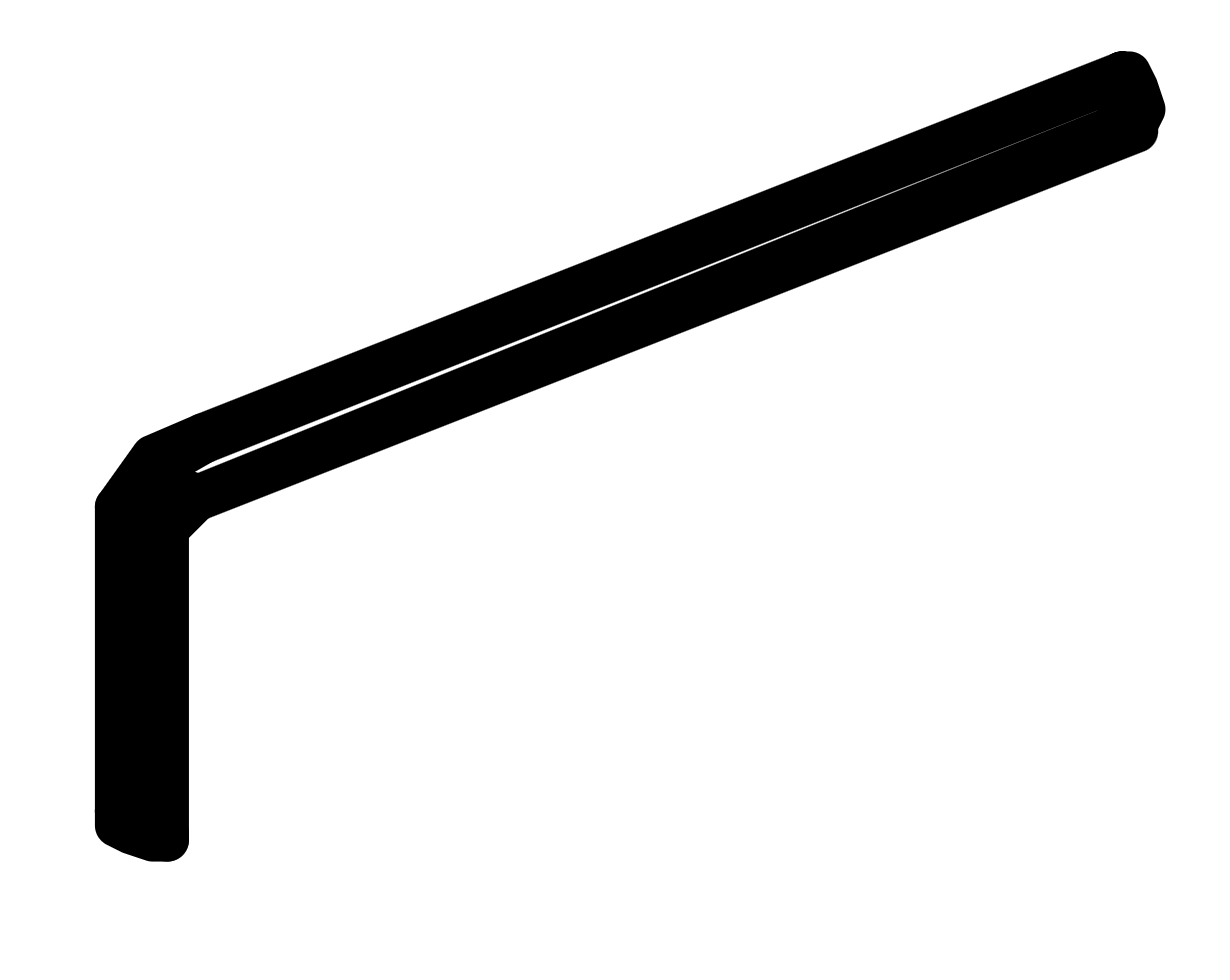
- Push the bolts down onto the bracket and ensure these are tightened slightly using the Allen Key (1) but not fully tightened.