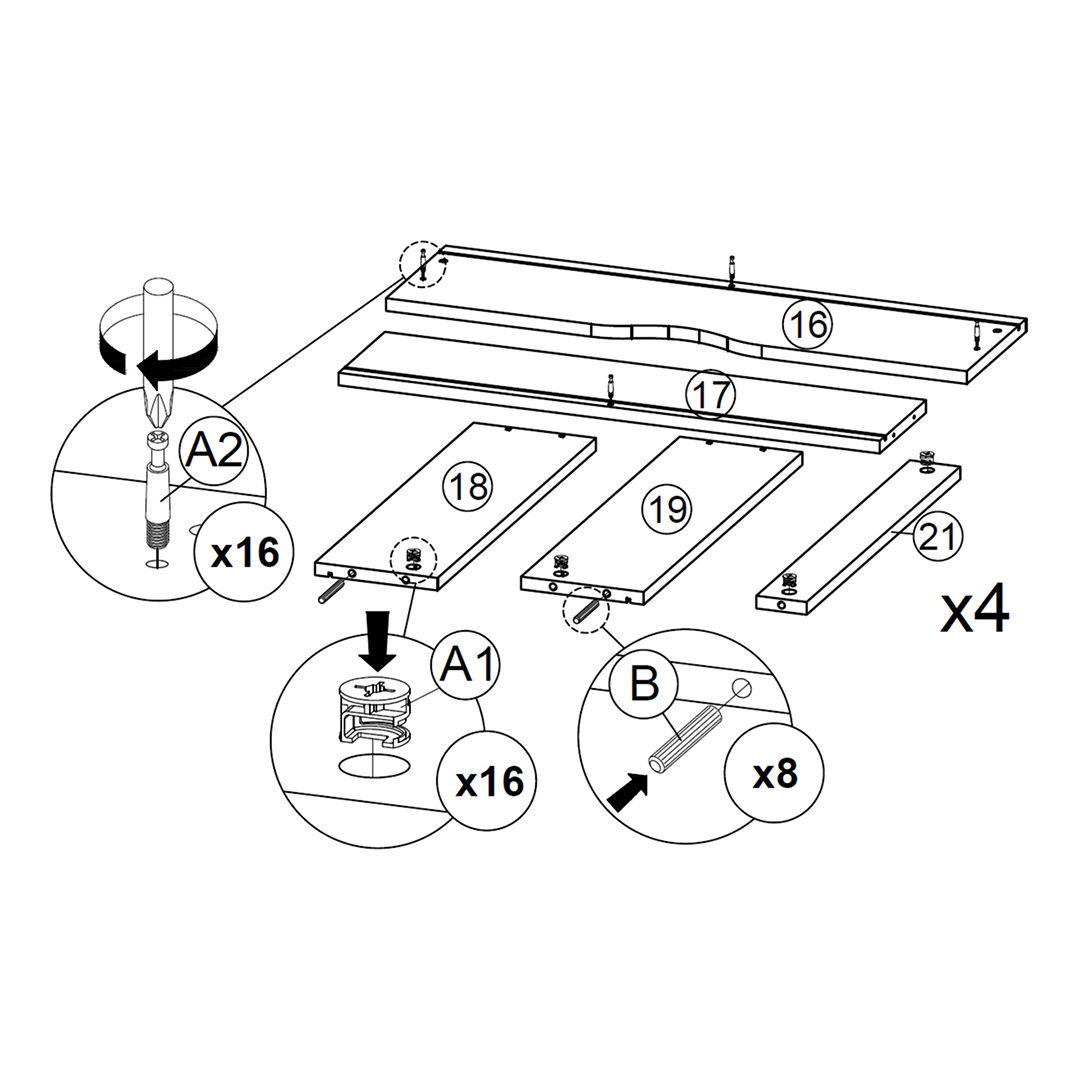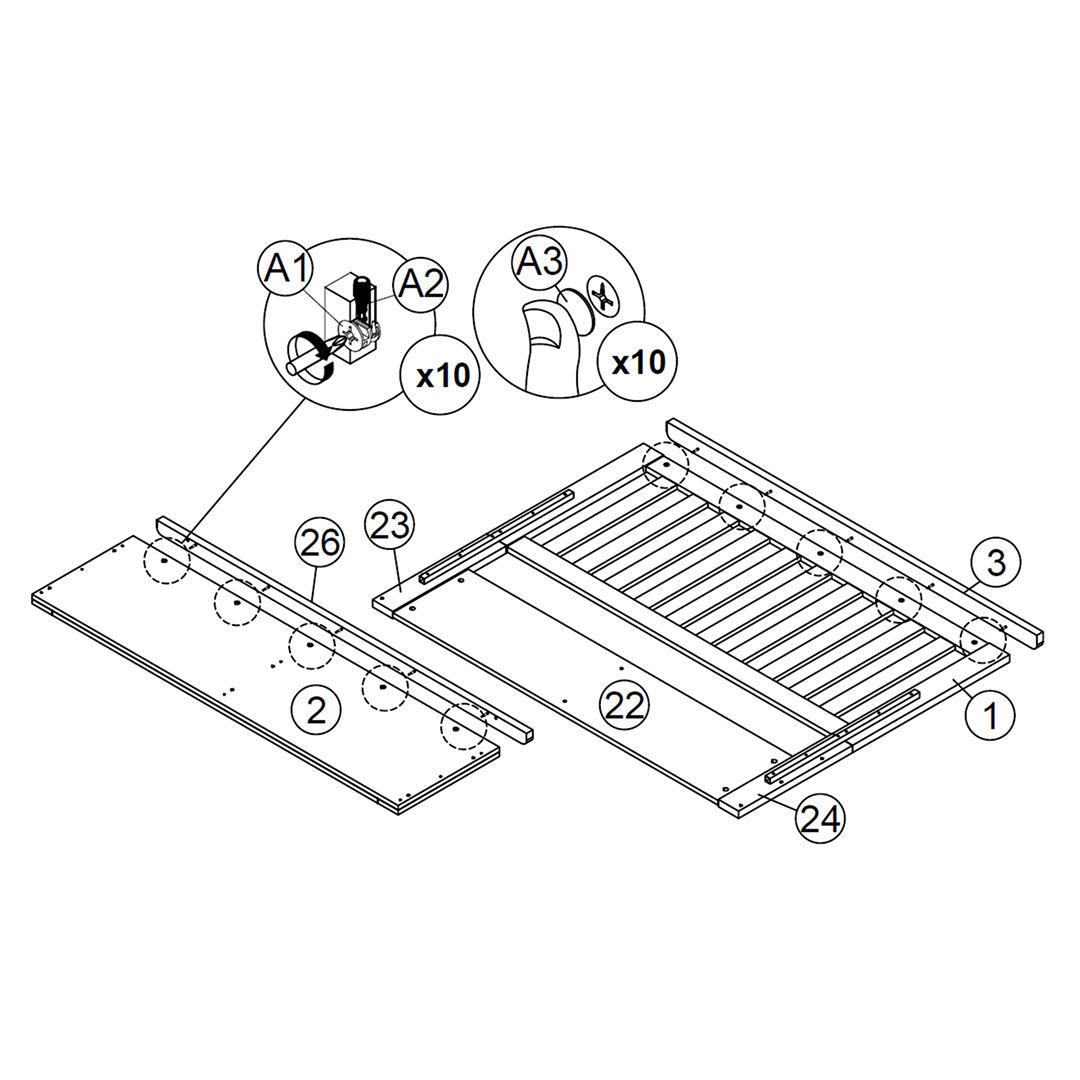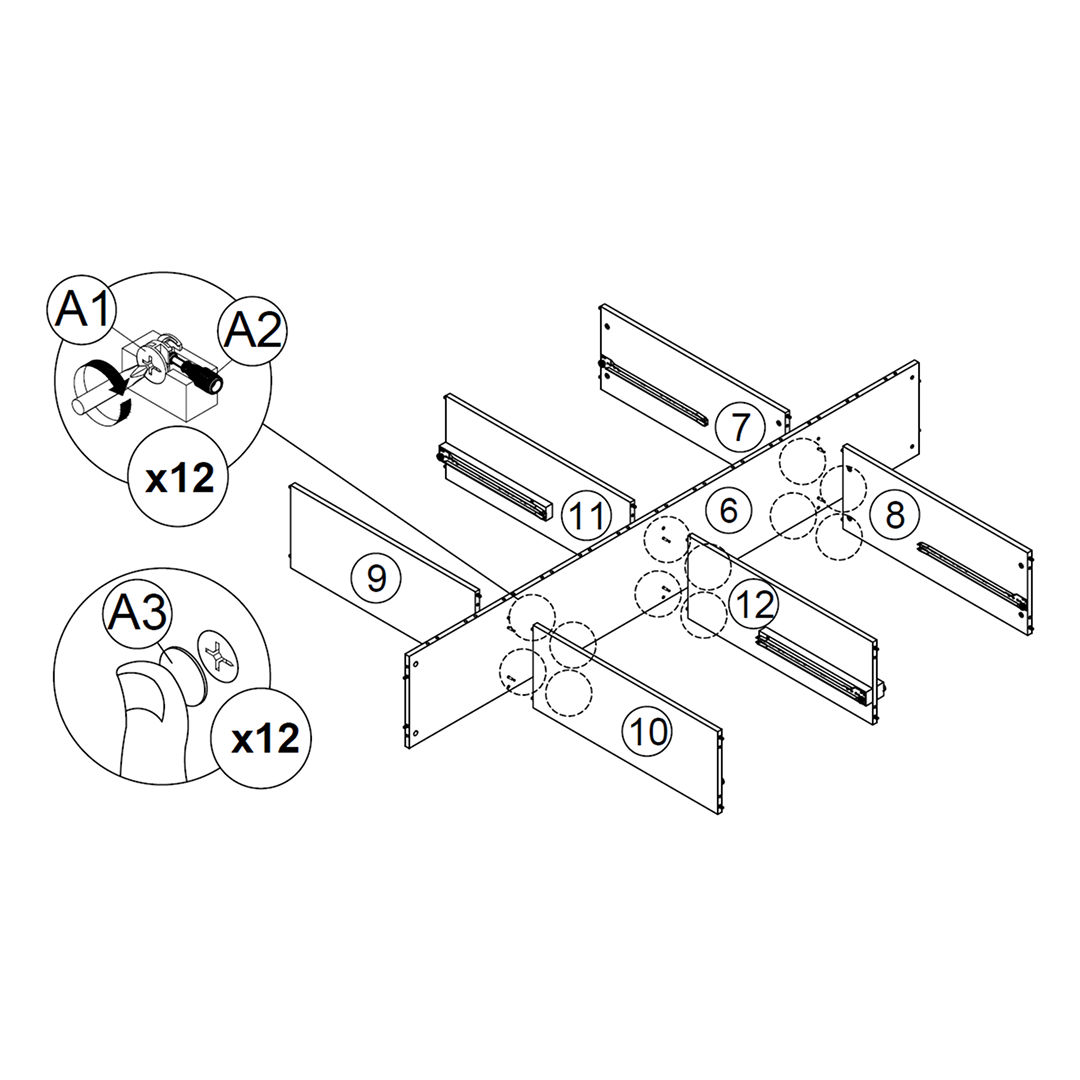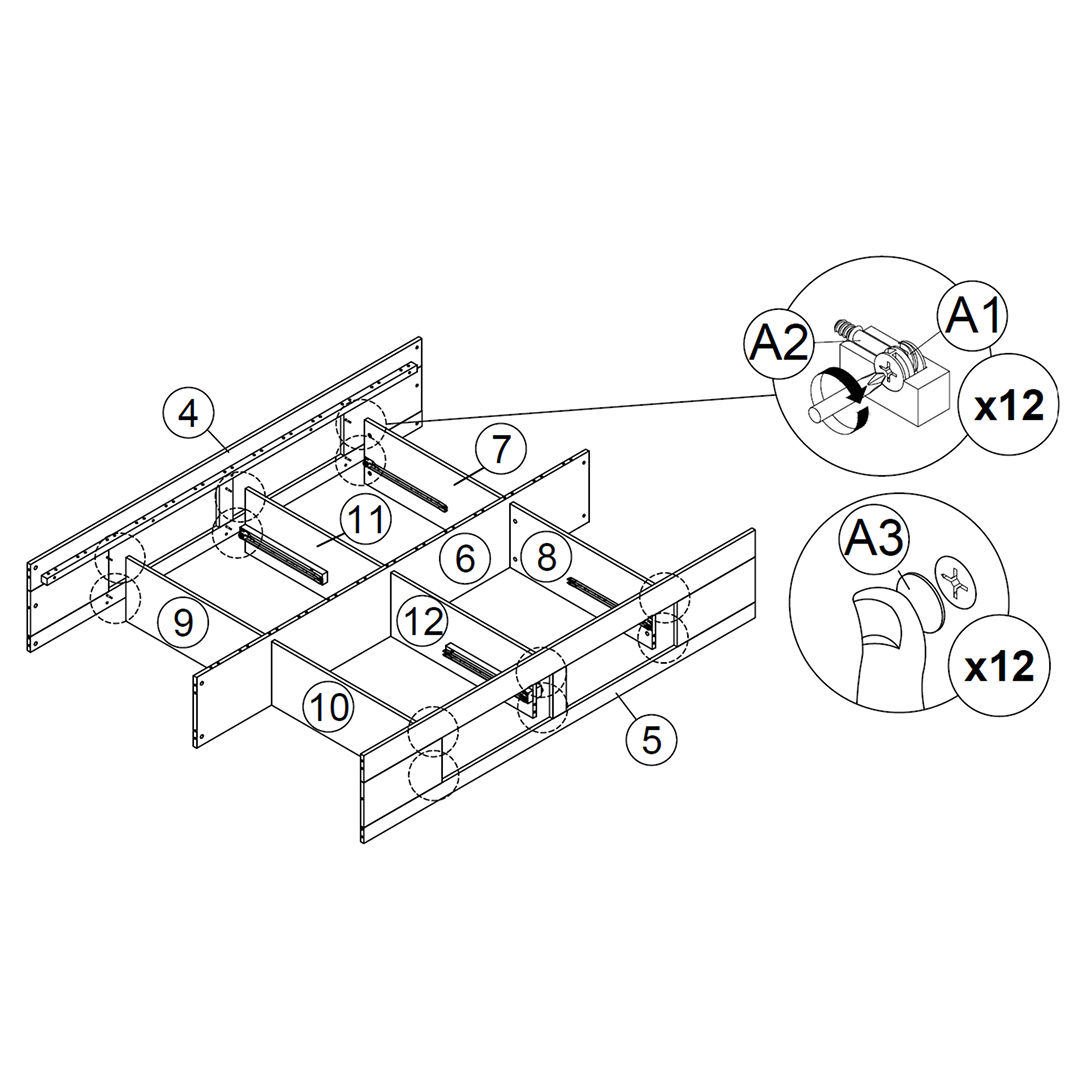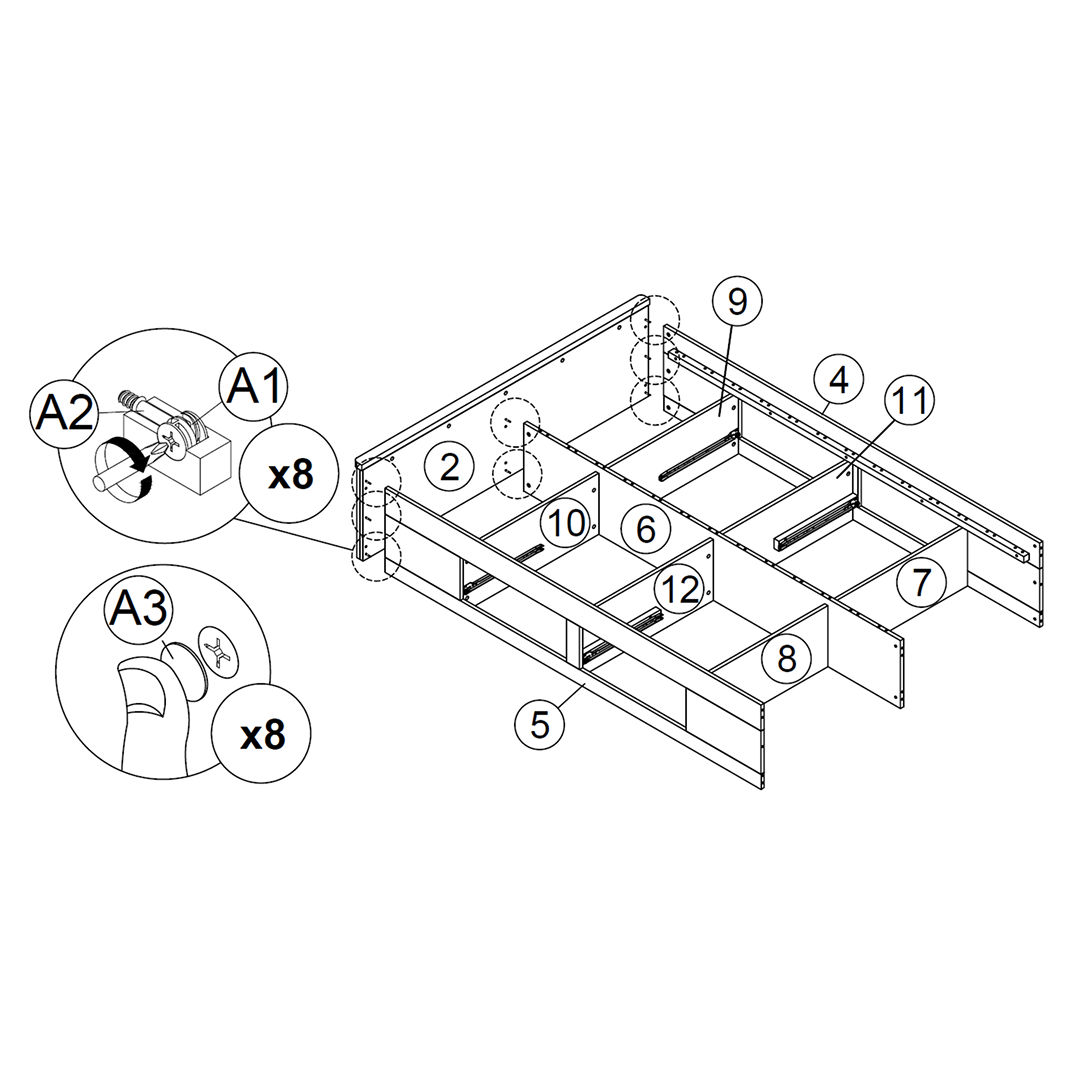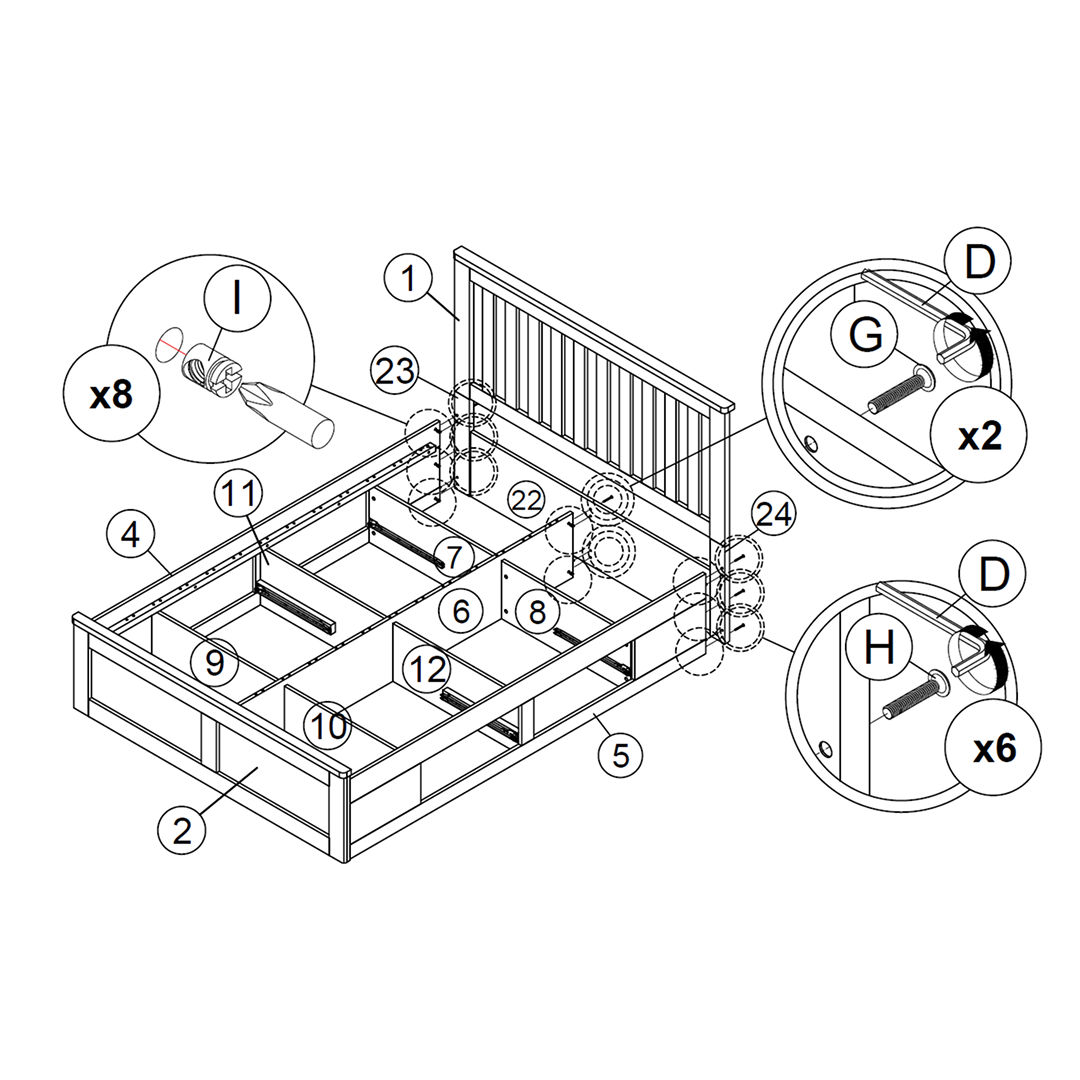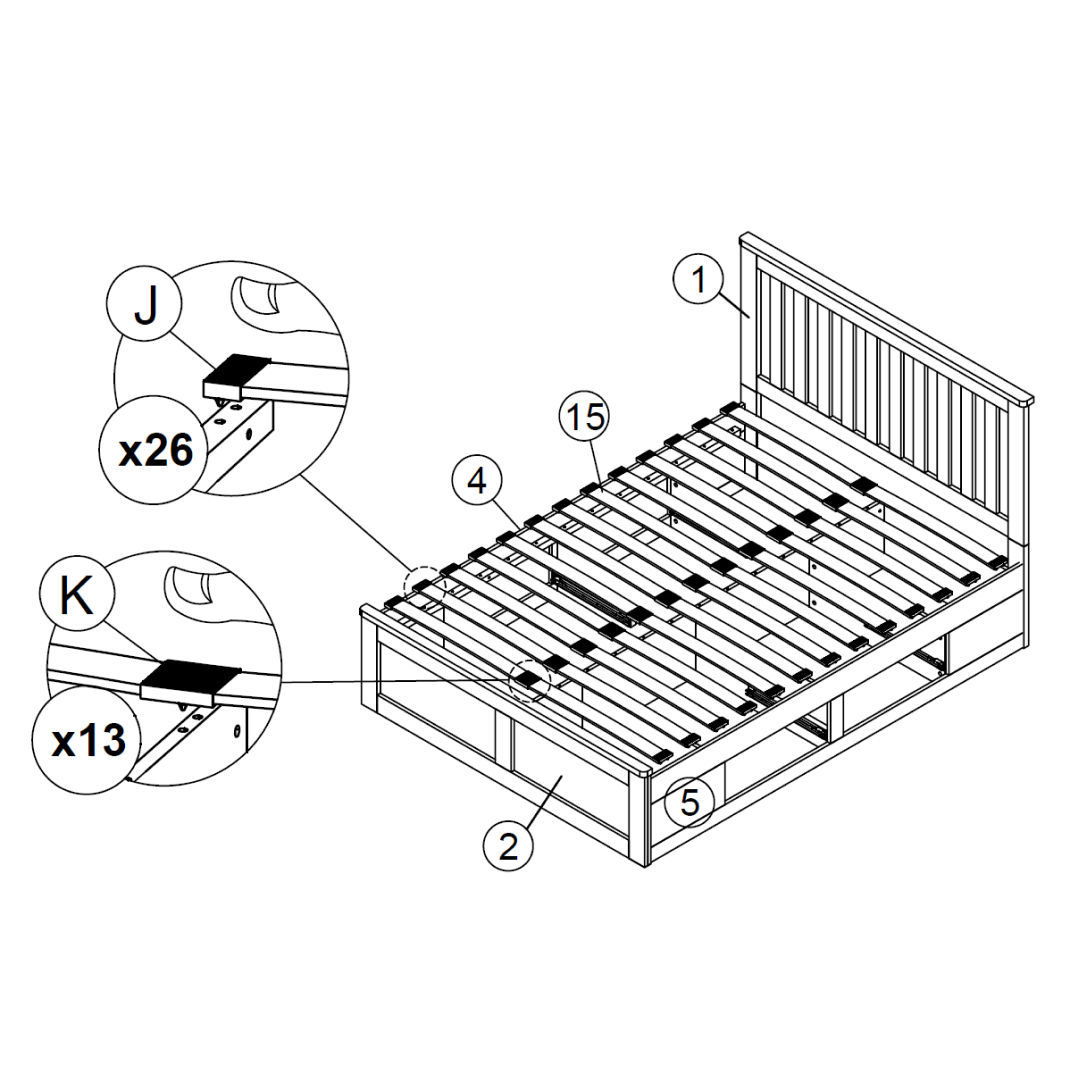


1. Assemble the Headboard Panel
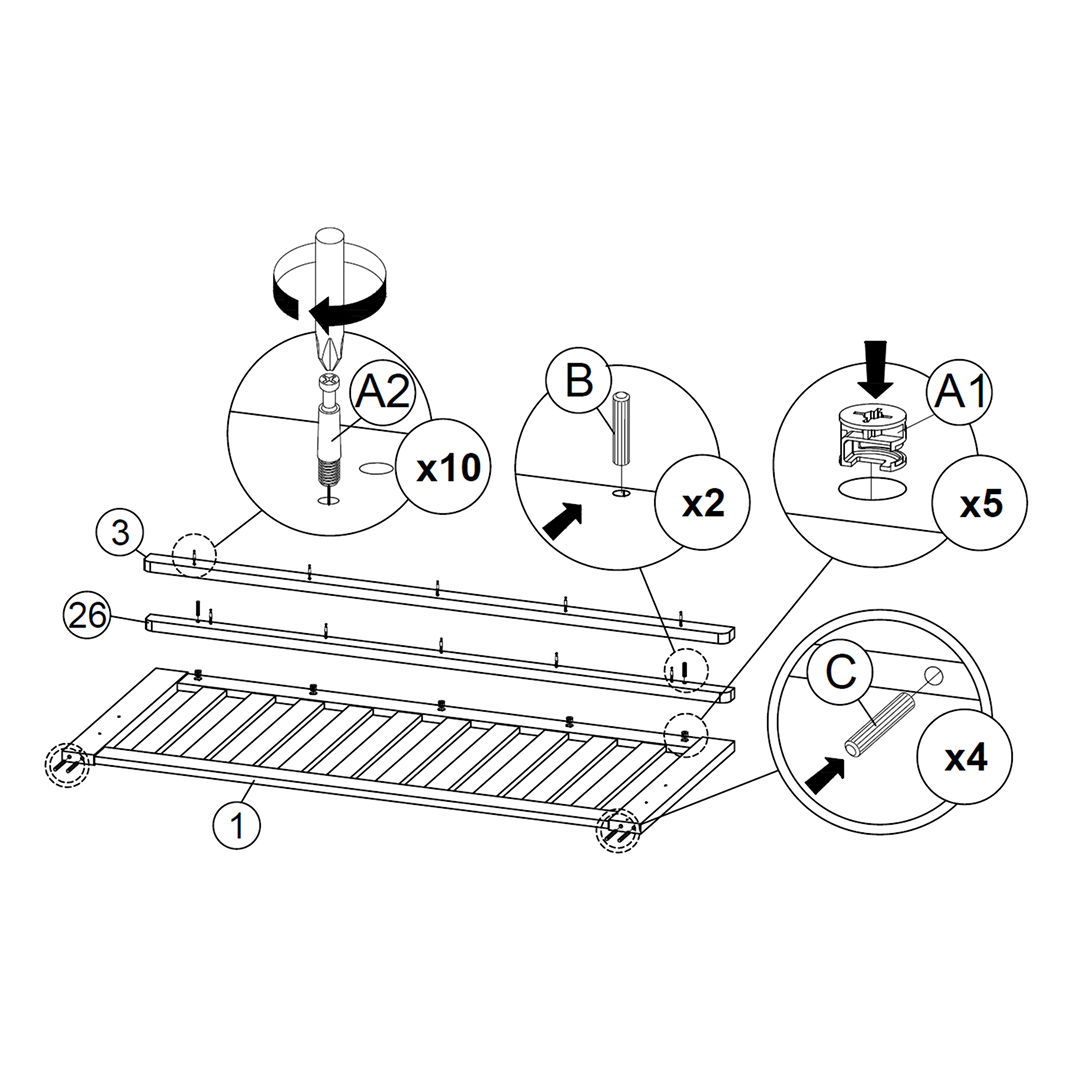
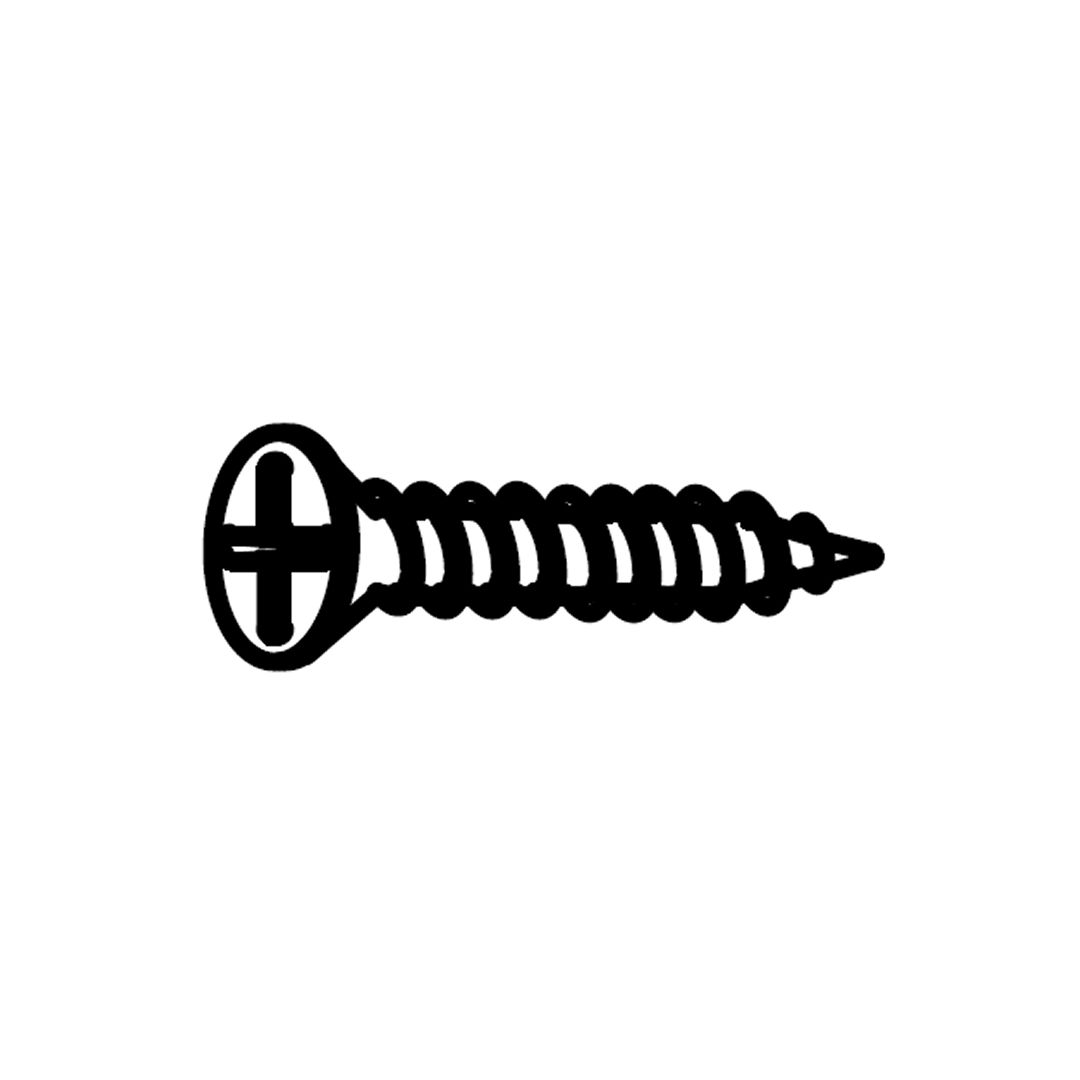
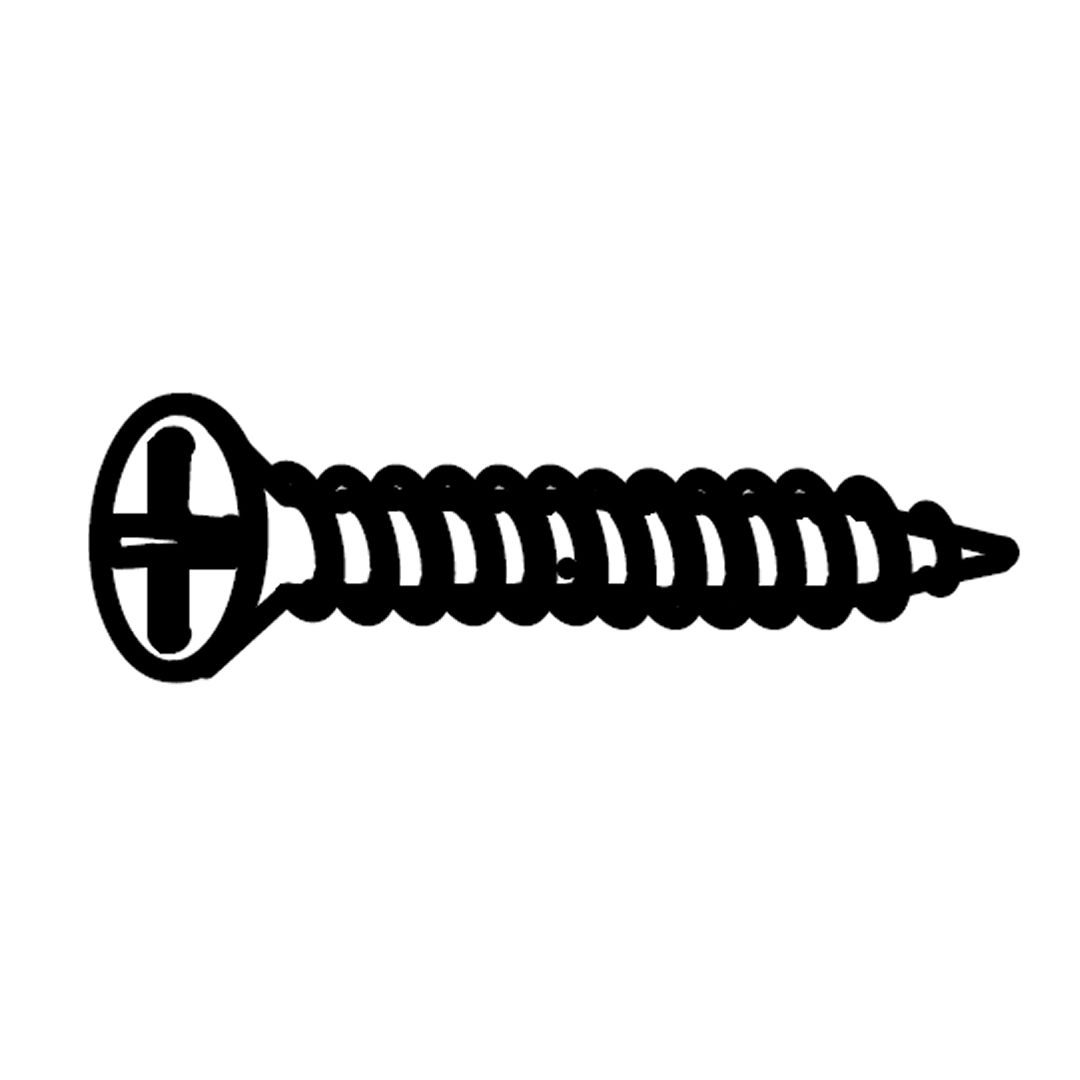
1. Insert Mini Fix Screws (A2) into the Headboard Panel (1) in the marked holes along the top edge.
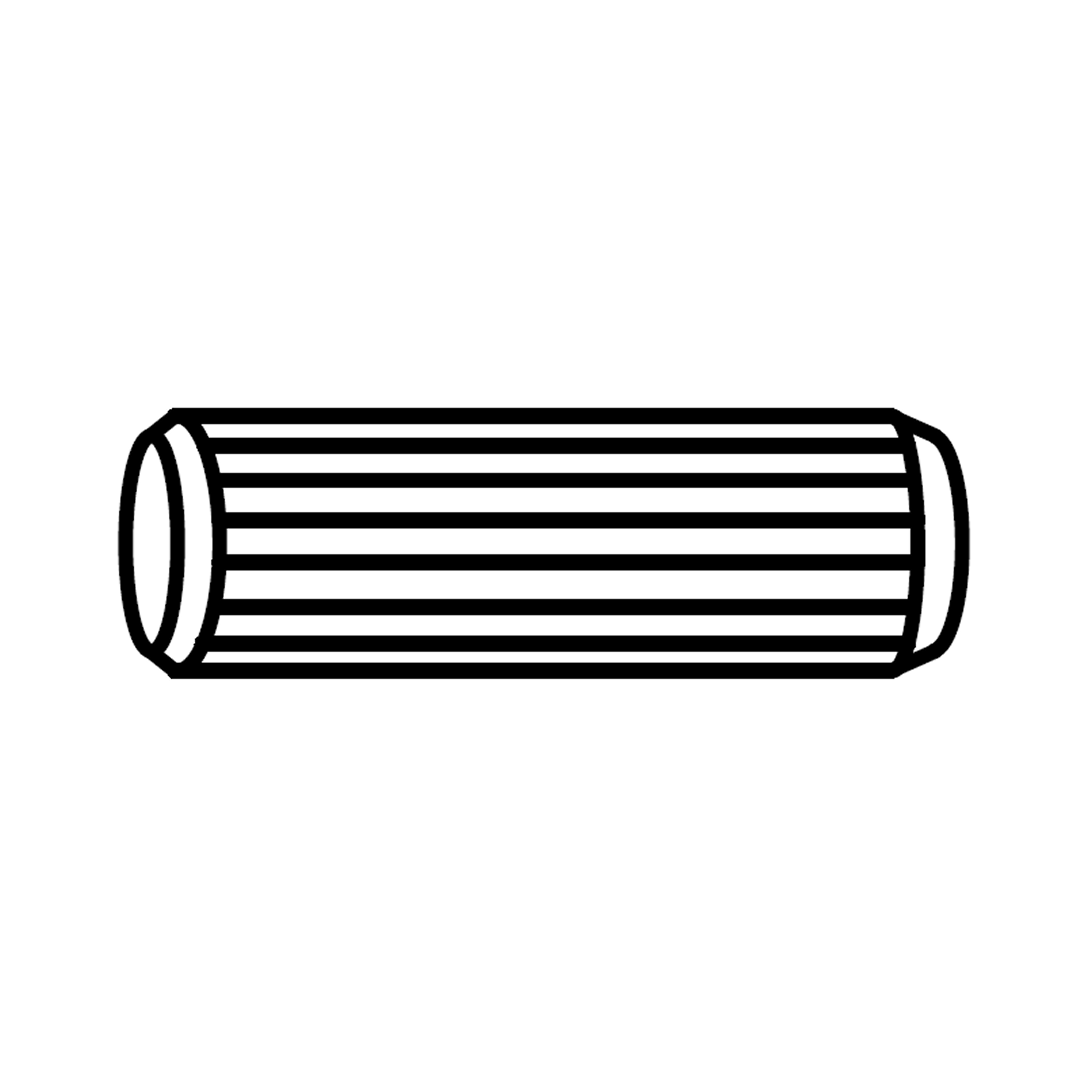
2. Insert Wood Dowels (B) into each end of the Footboard Top Rail (3), and Wood Dowels (C) into both ends of the Footboard Panel Backing Strip (26).
3. Align the Top Rail (3) and the Backing Strip (26) with the Headboard Panel (1), inserting the dowels and screws into the corresponding holes.
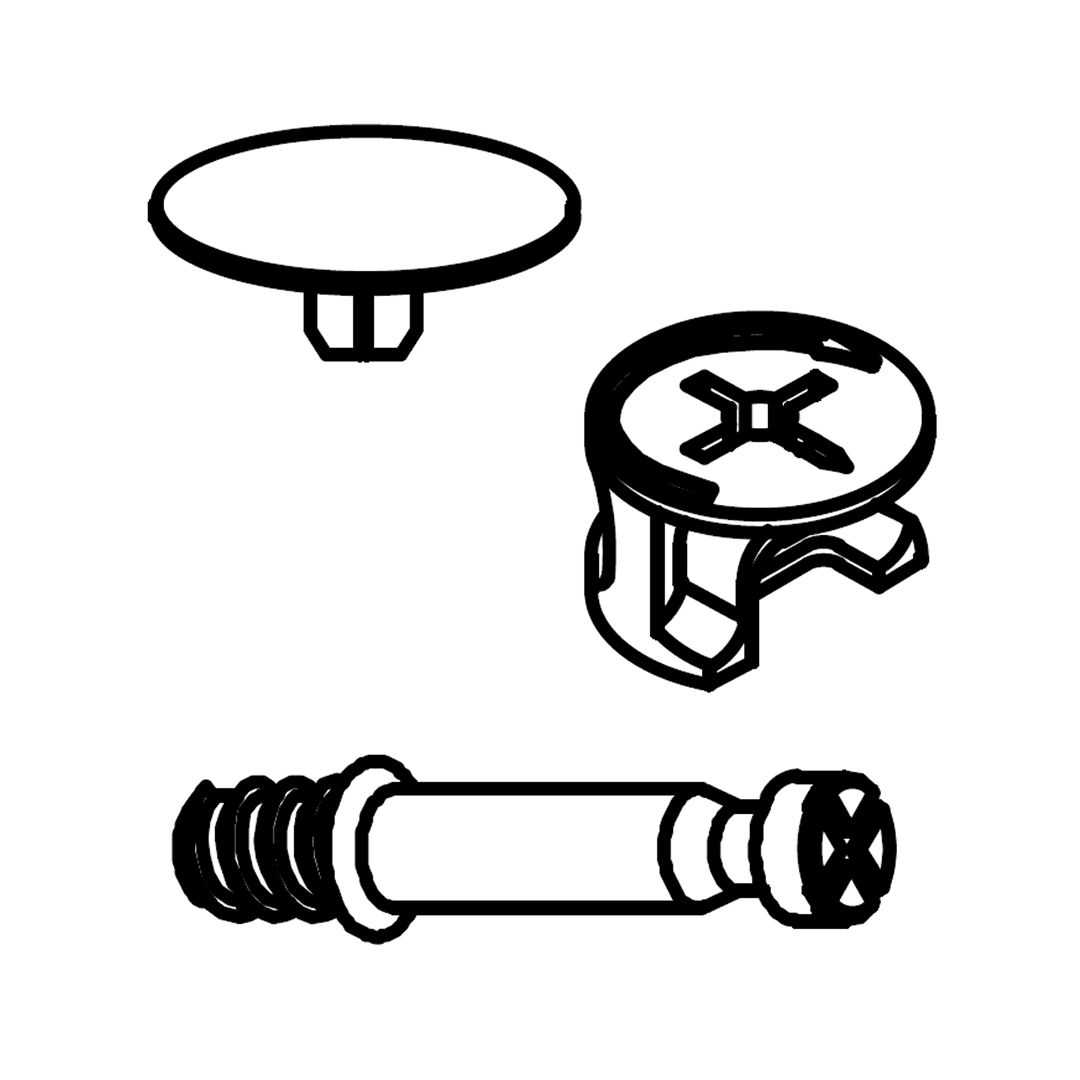
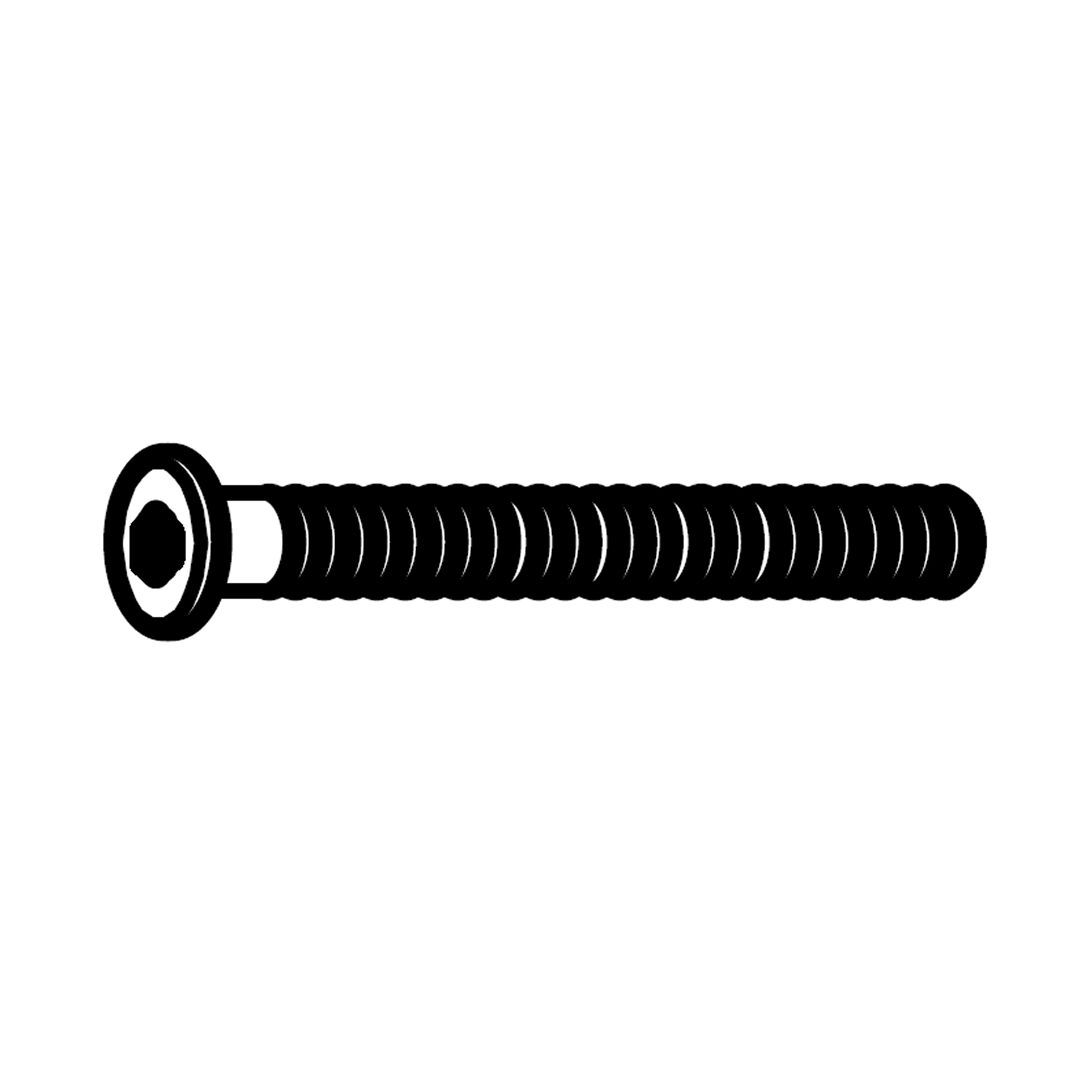
4. Lock all joints by inserting Mini Fix Cam Locks (A1) into the pre-drilled openings and turning them to secure.