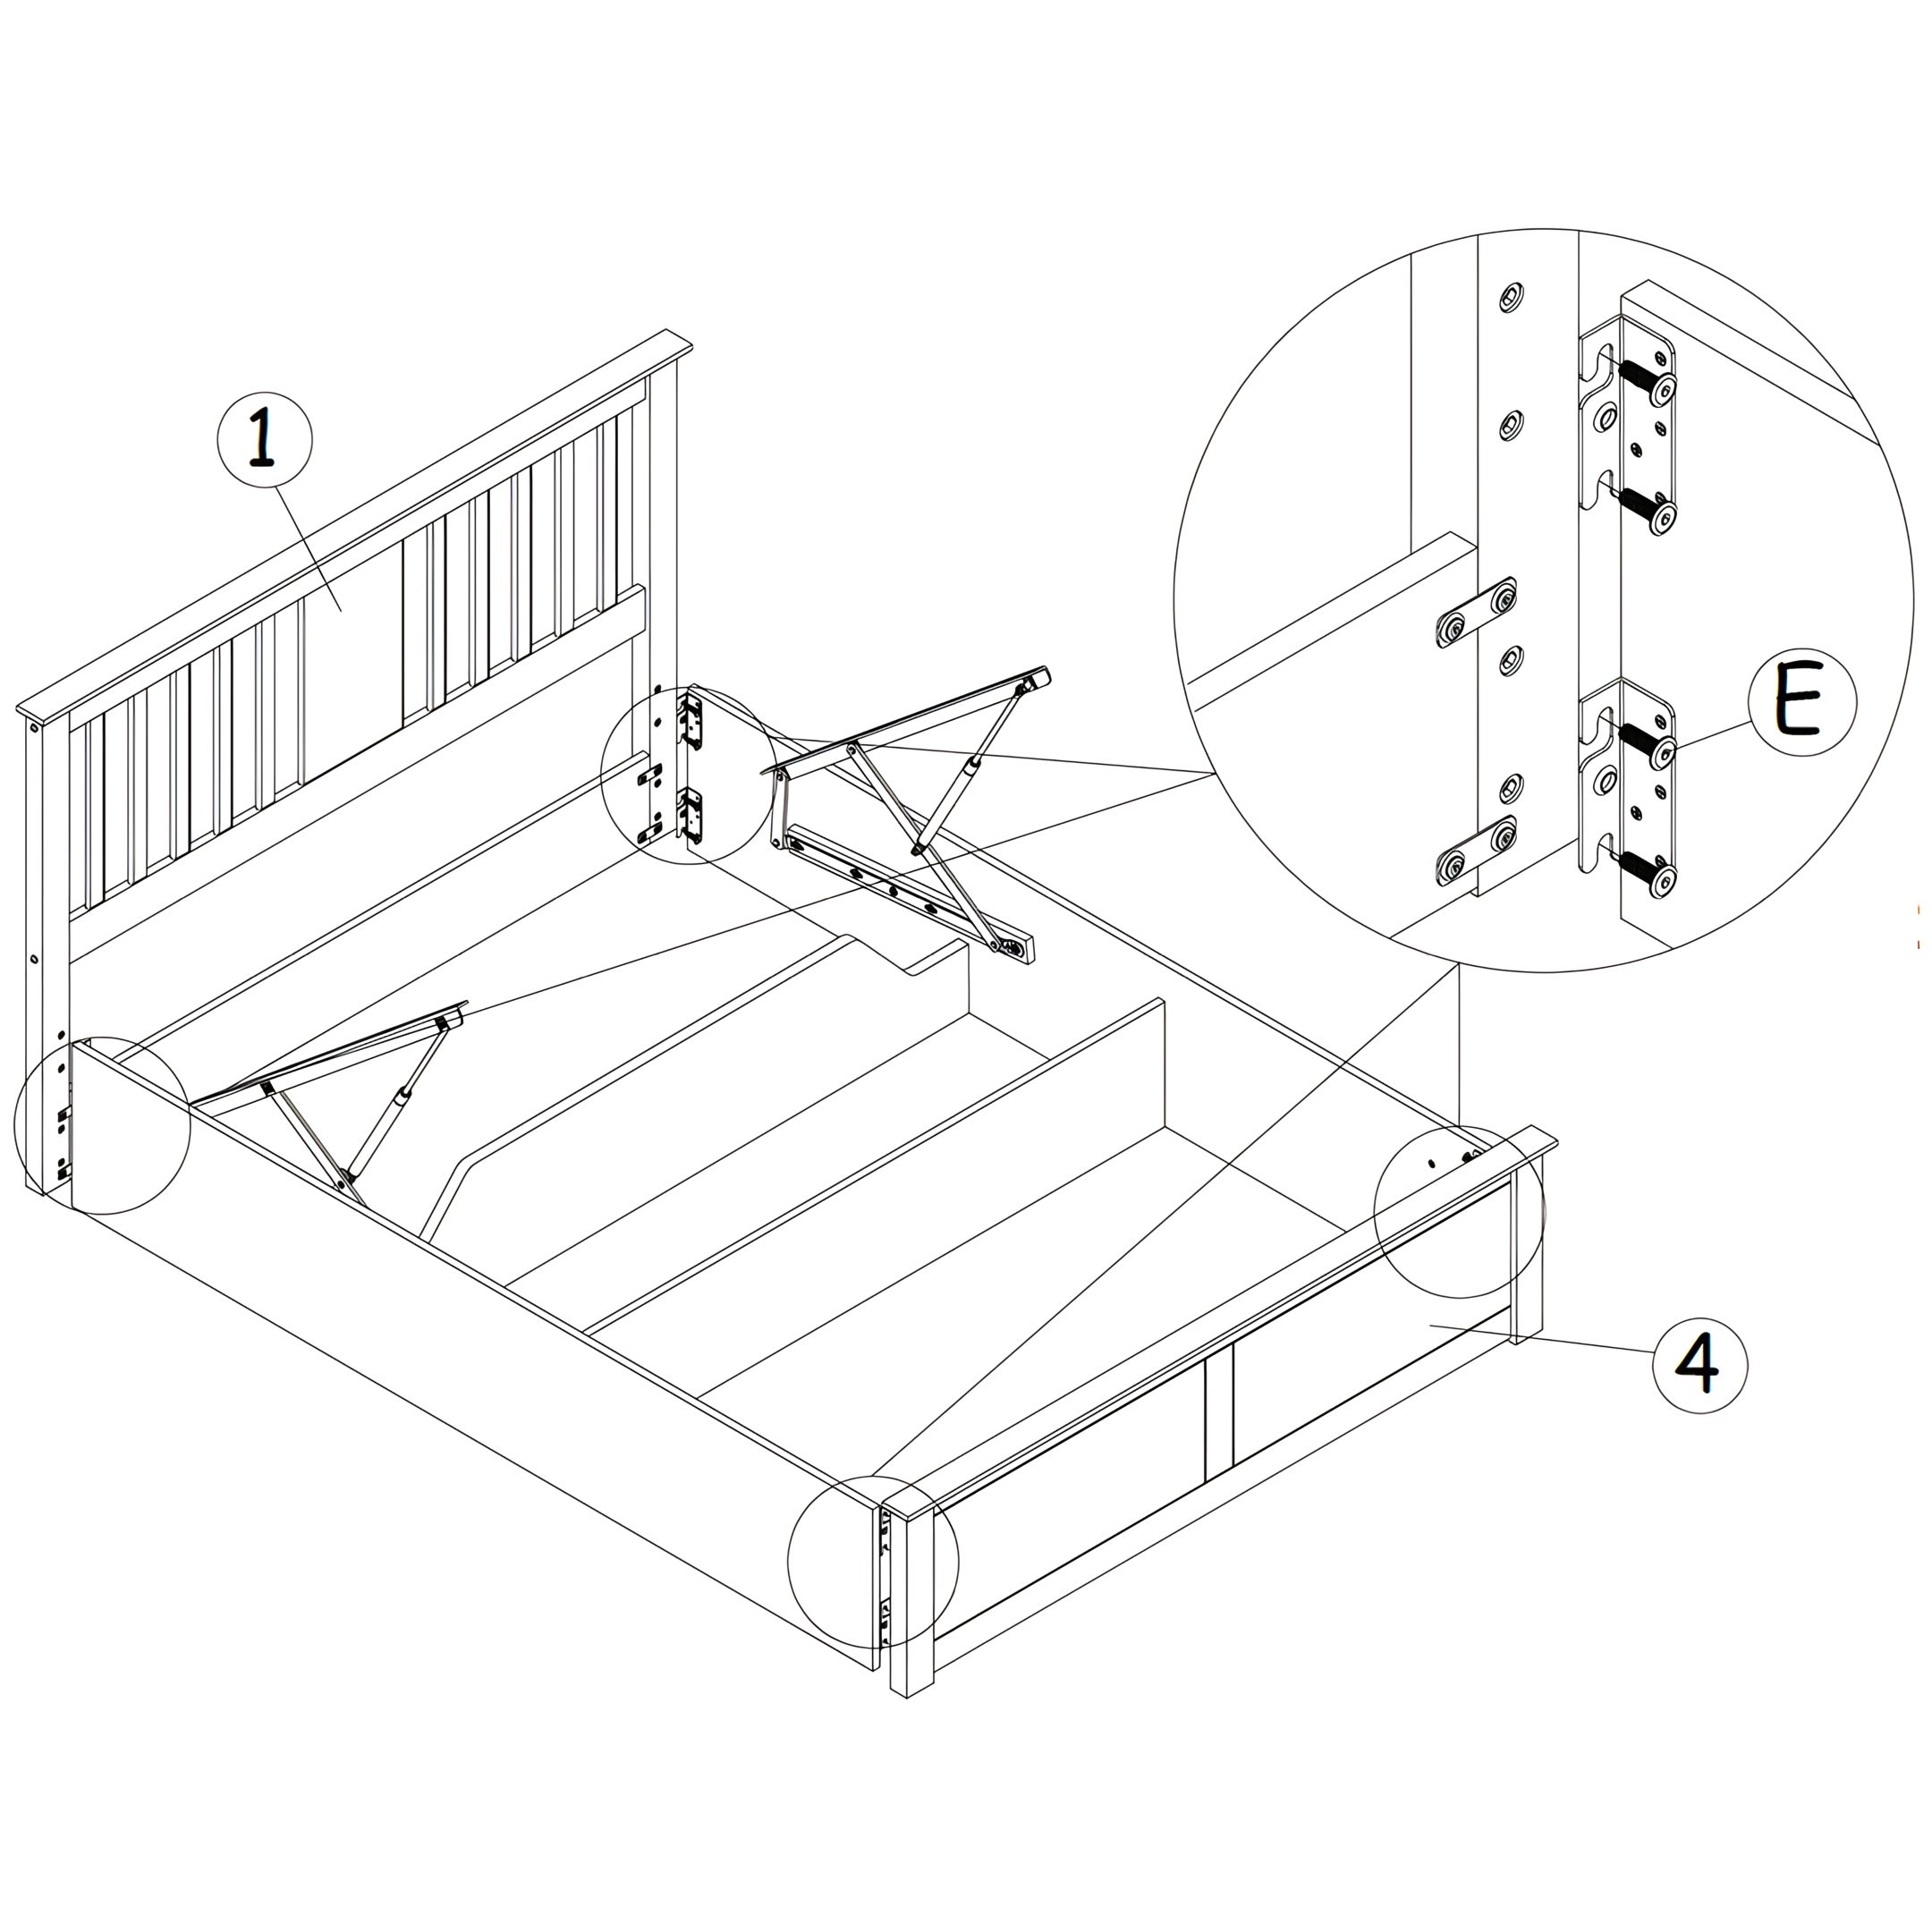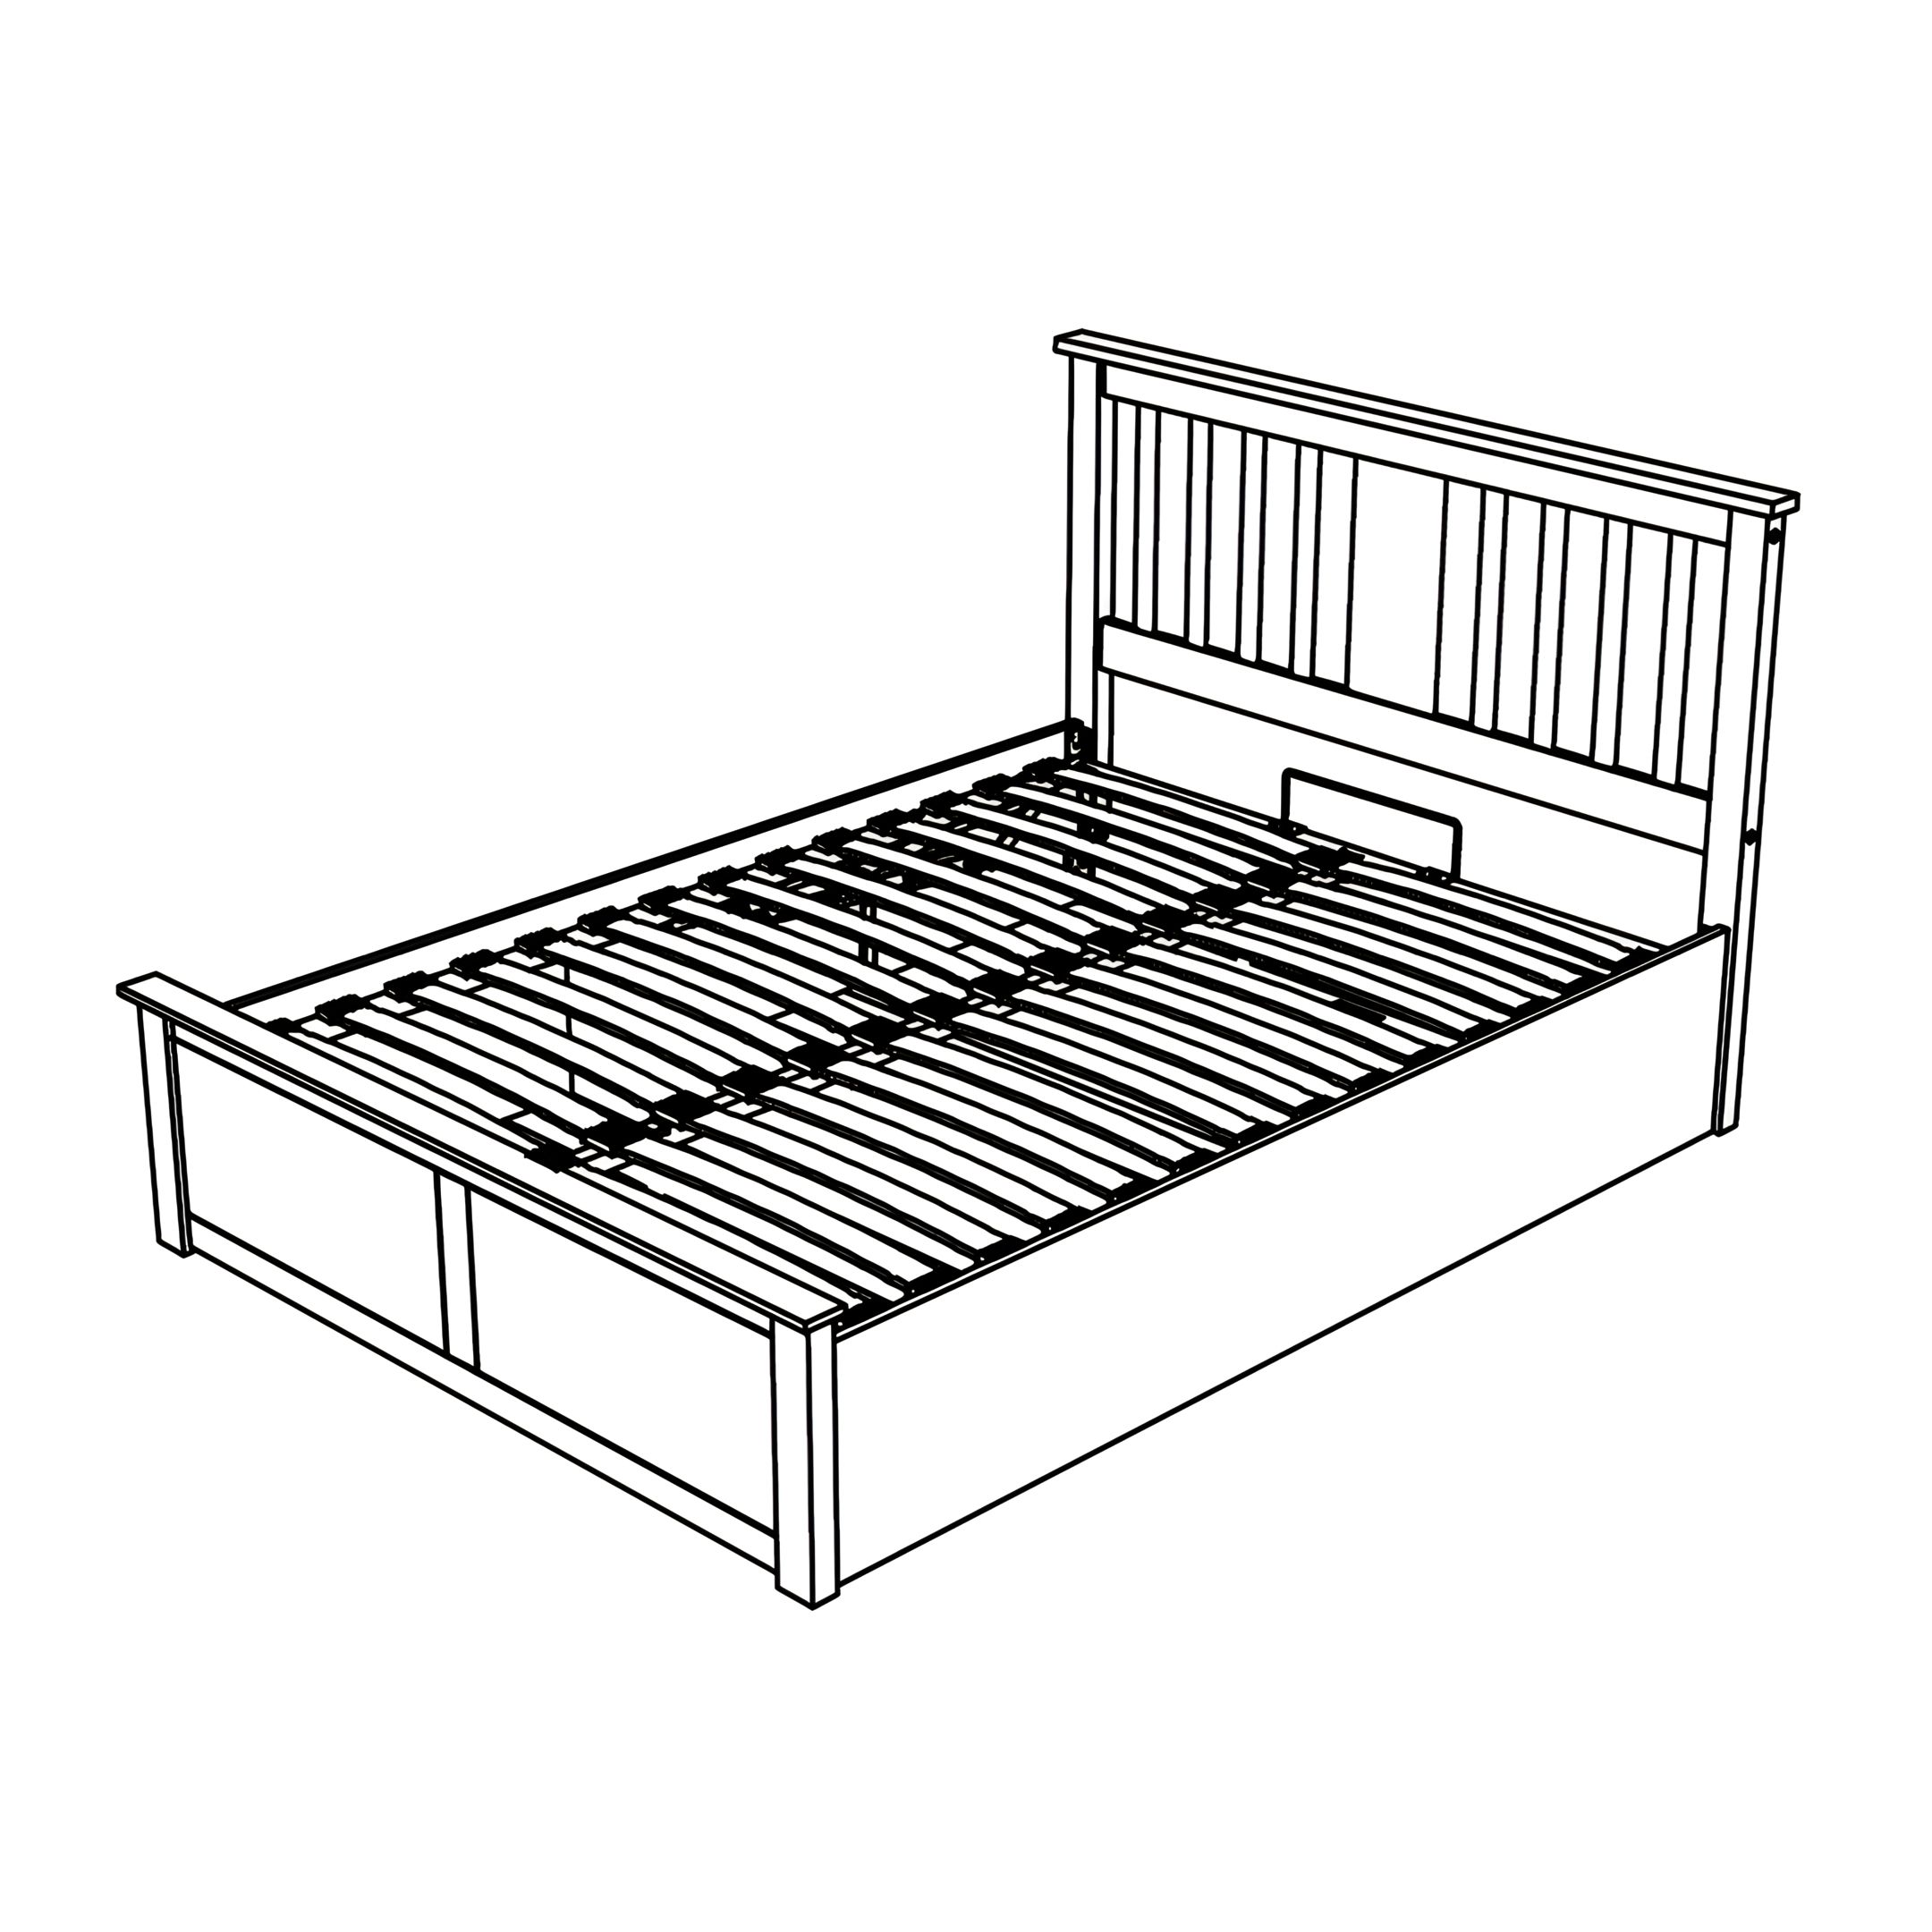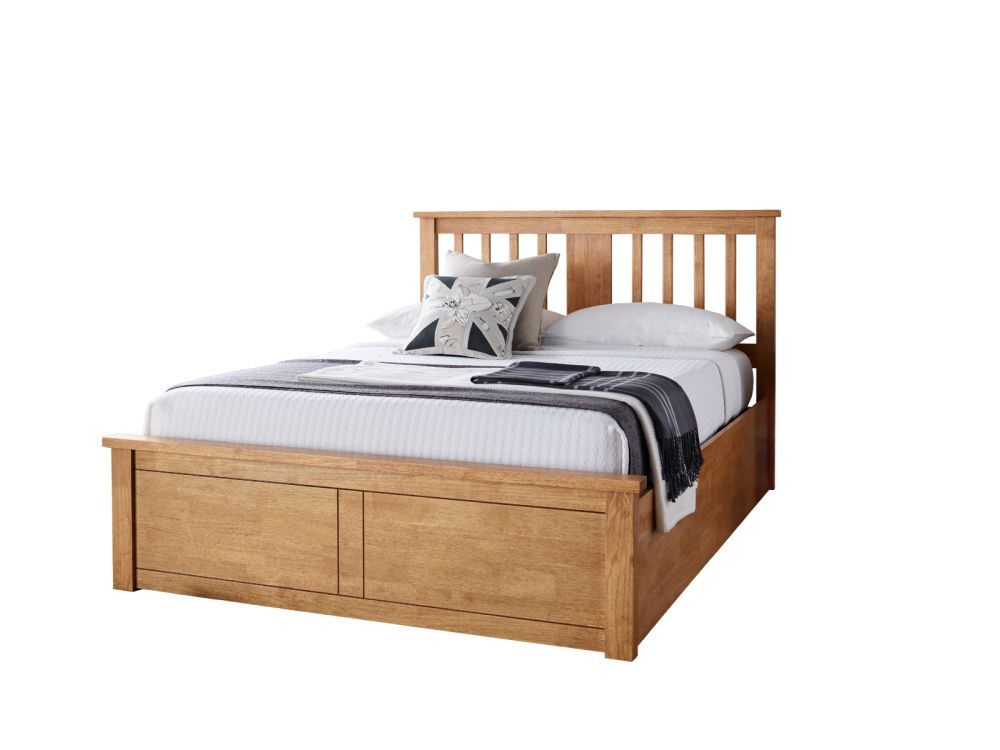


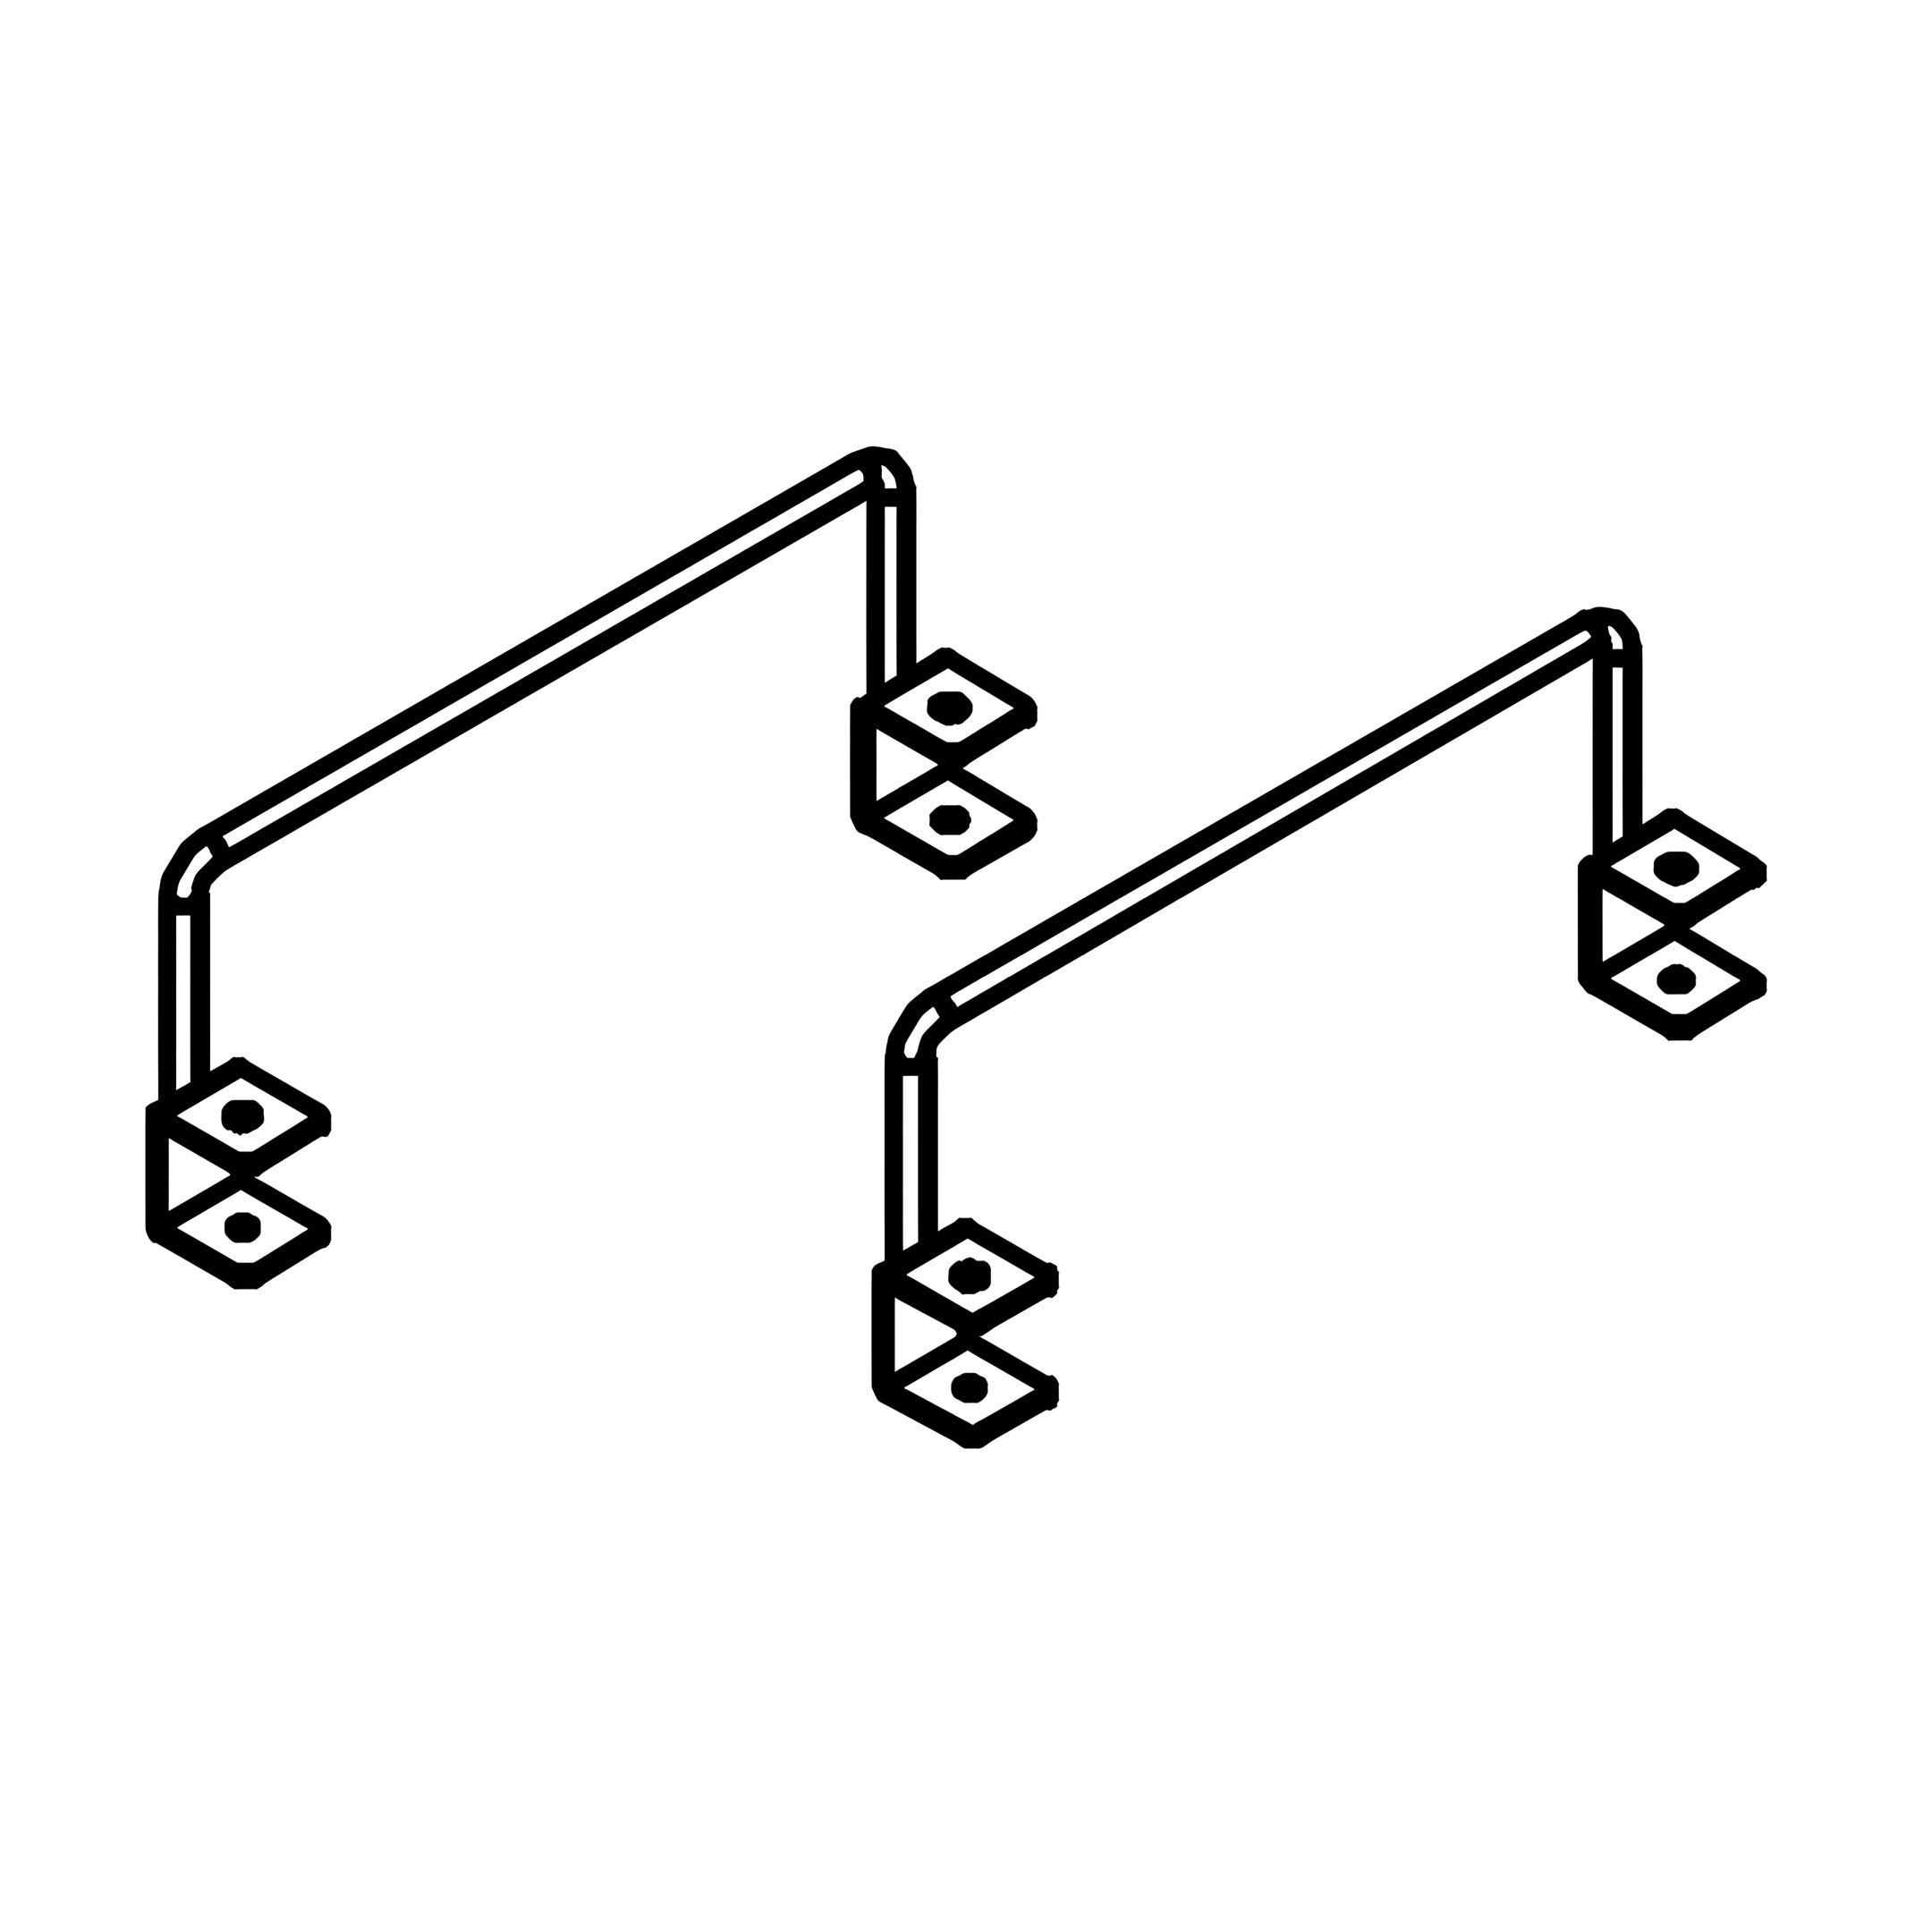


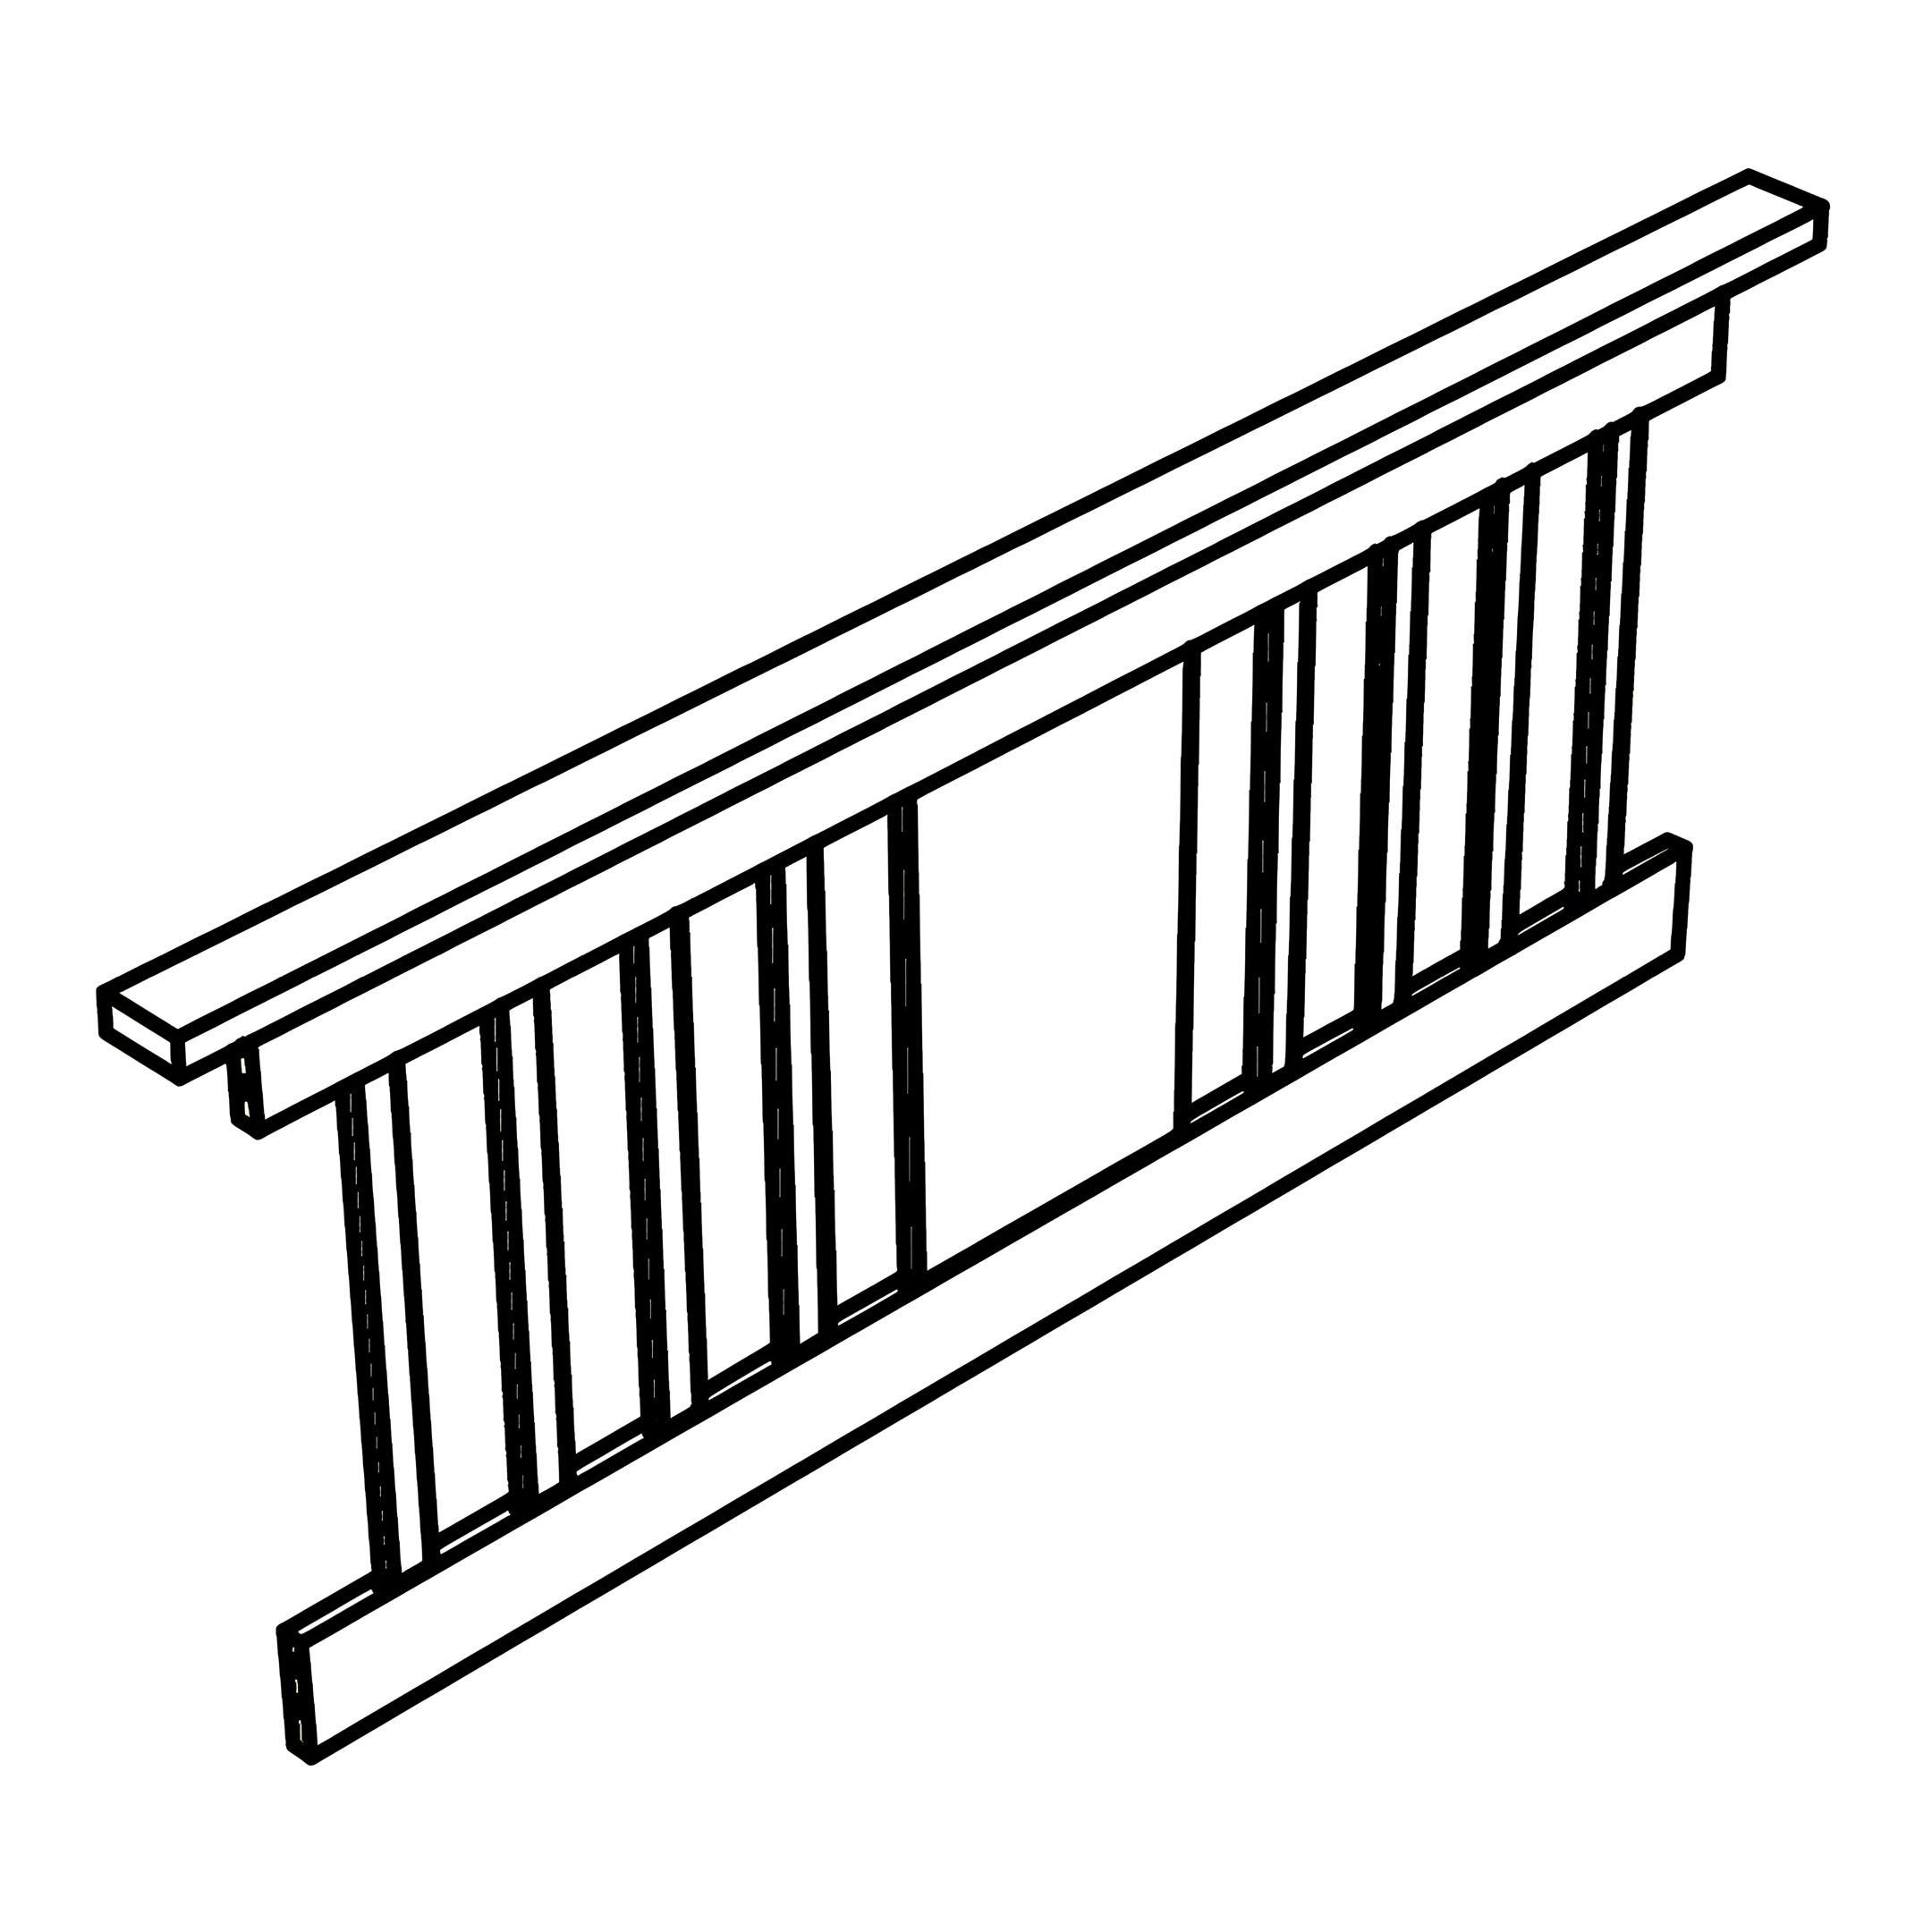
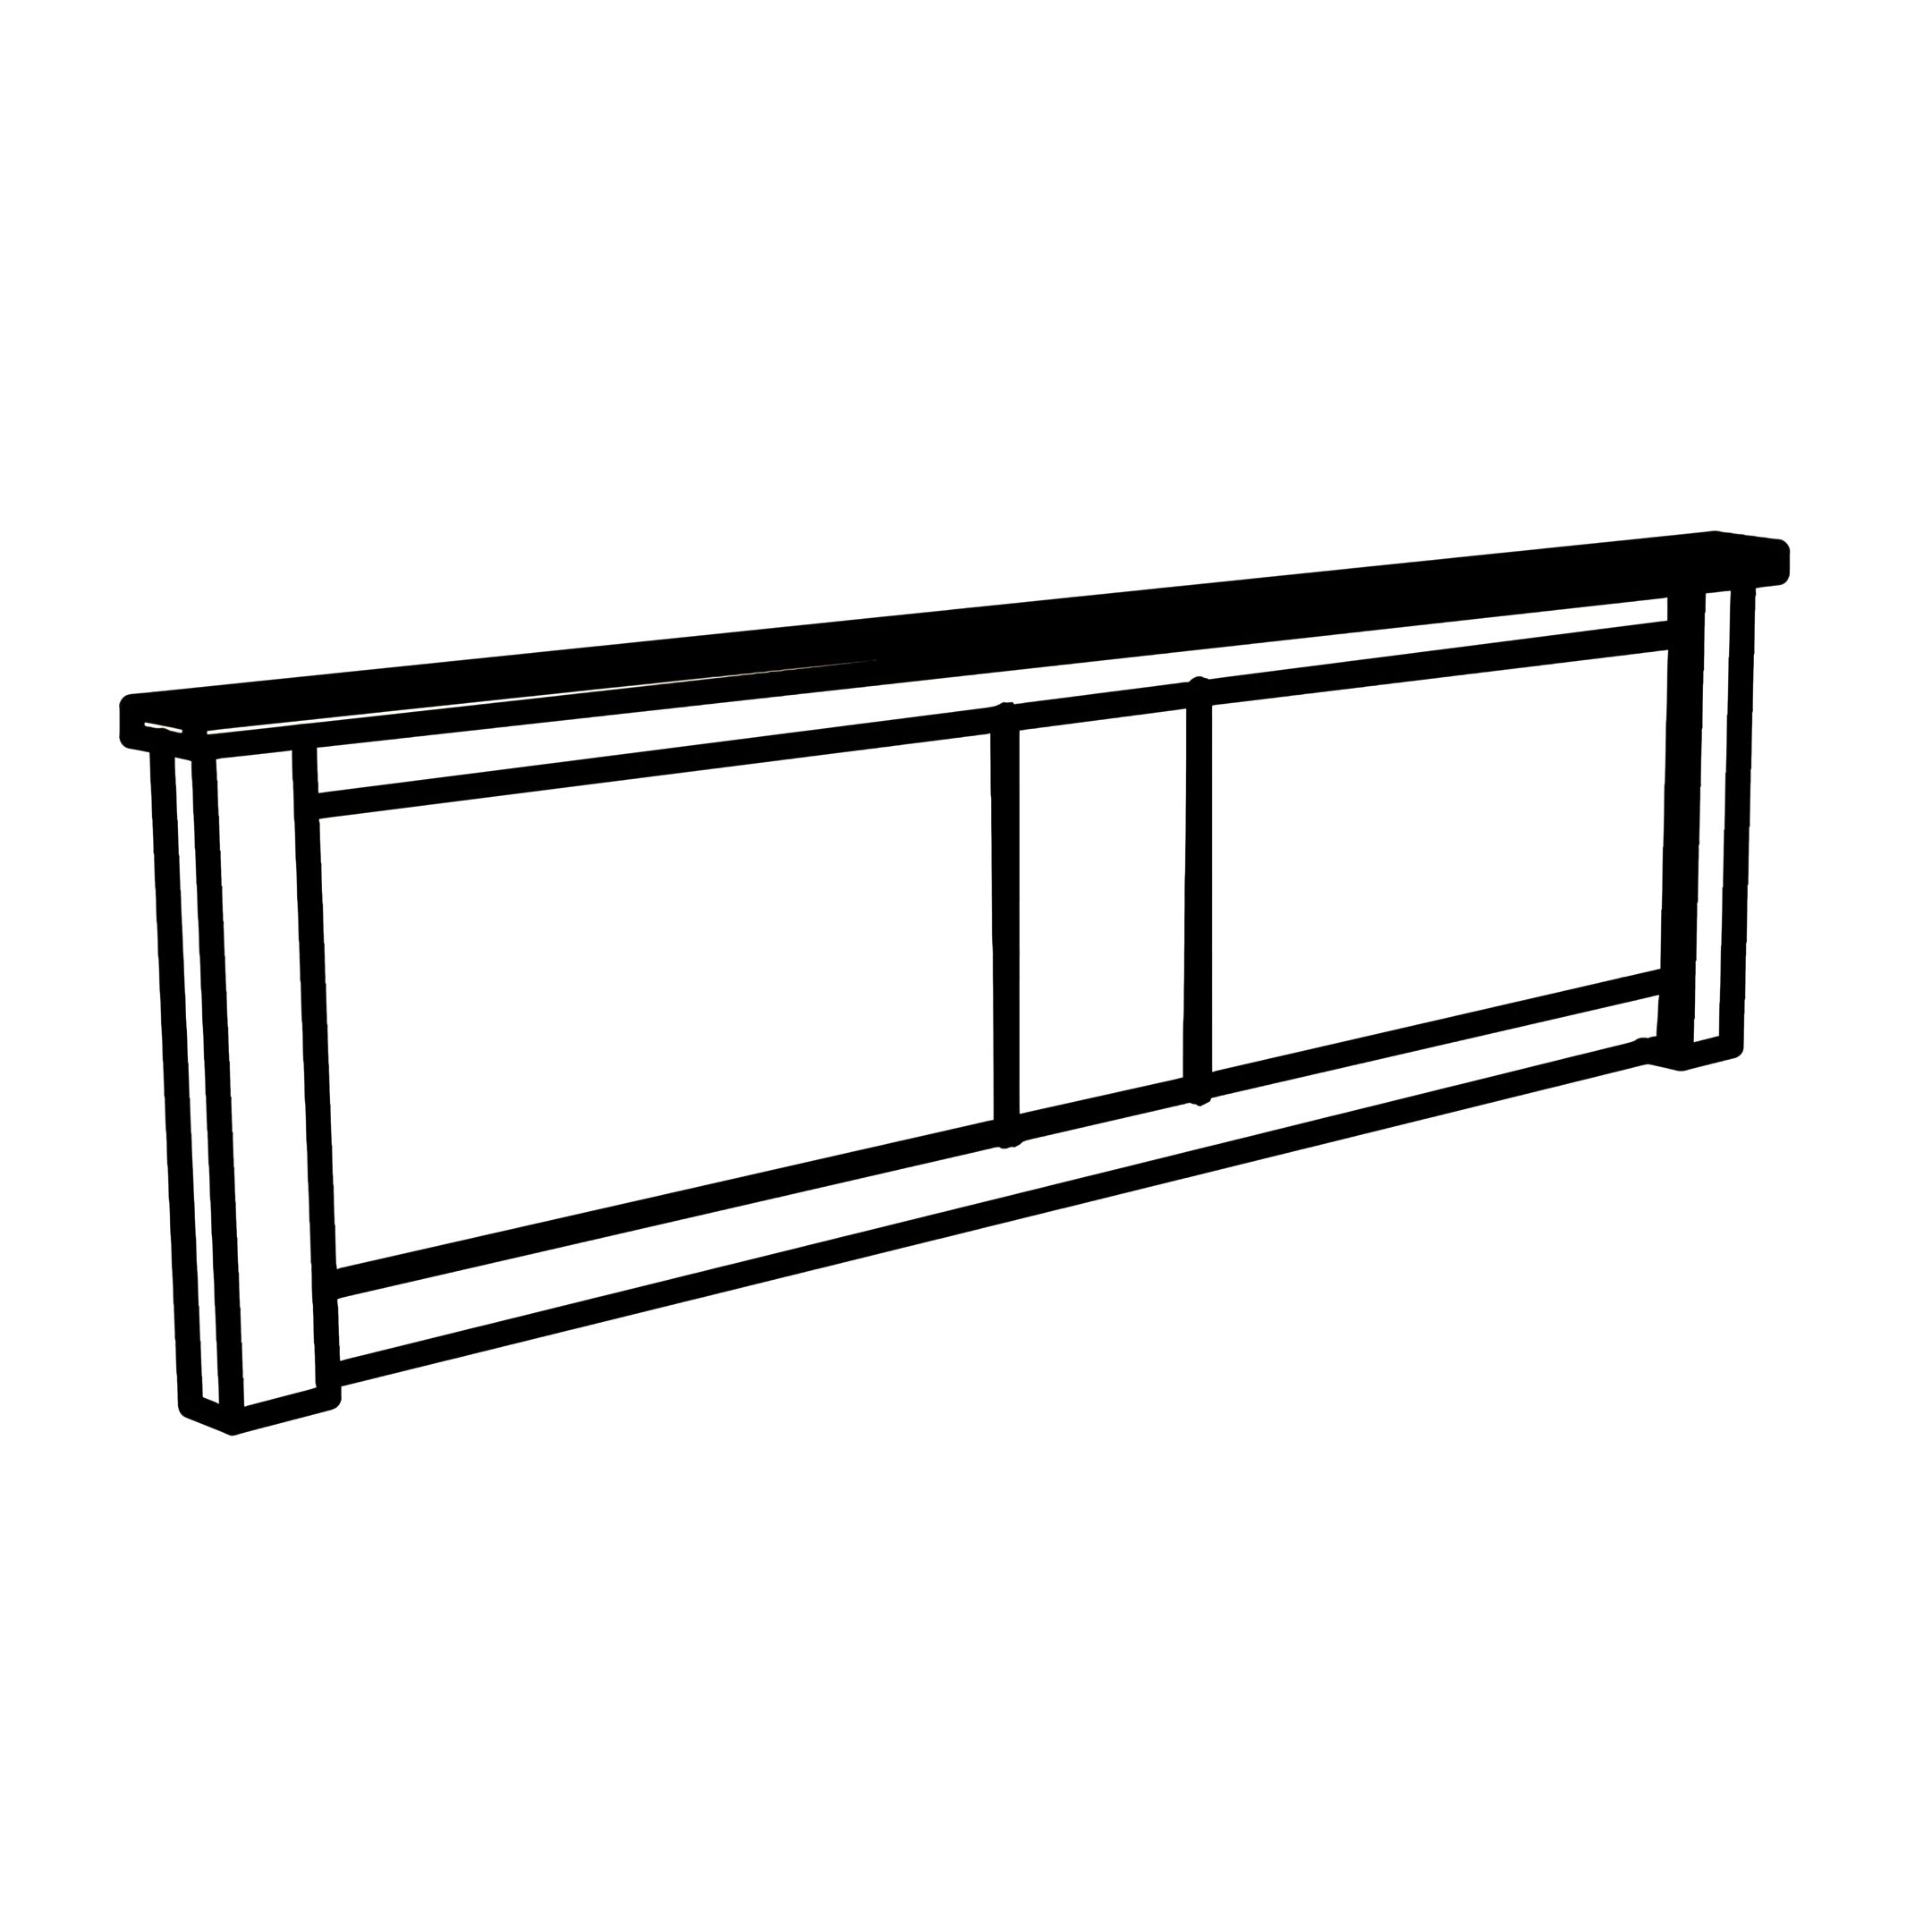
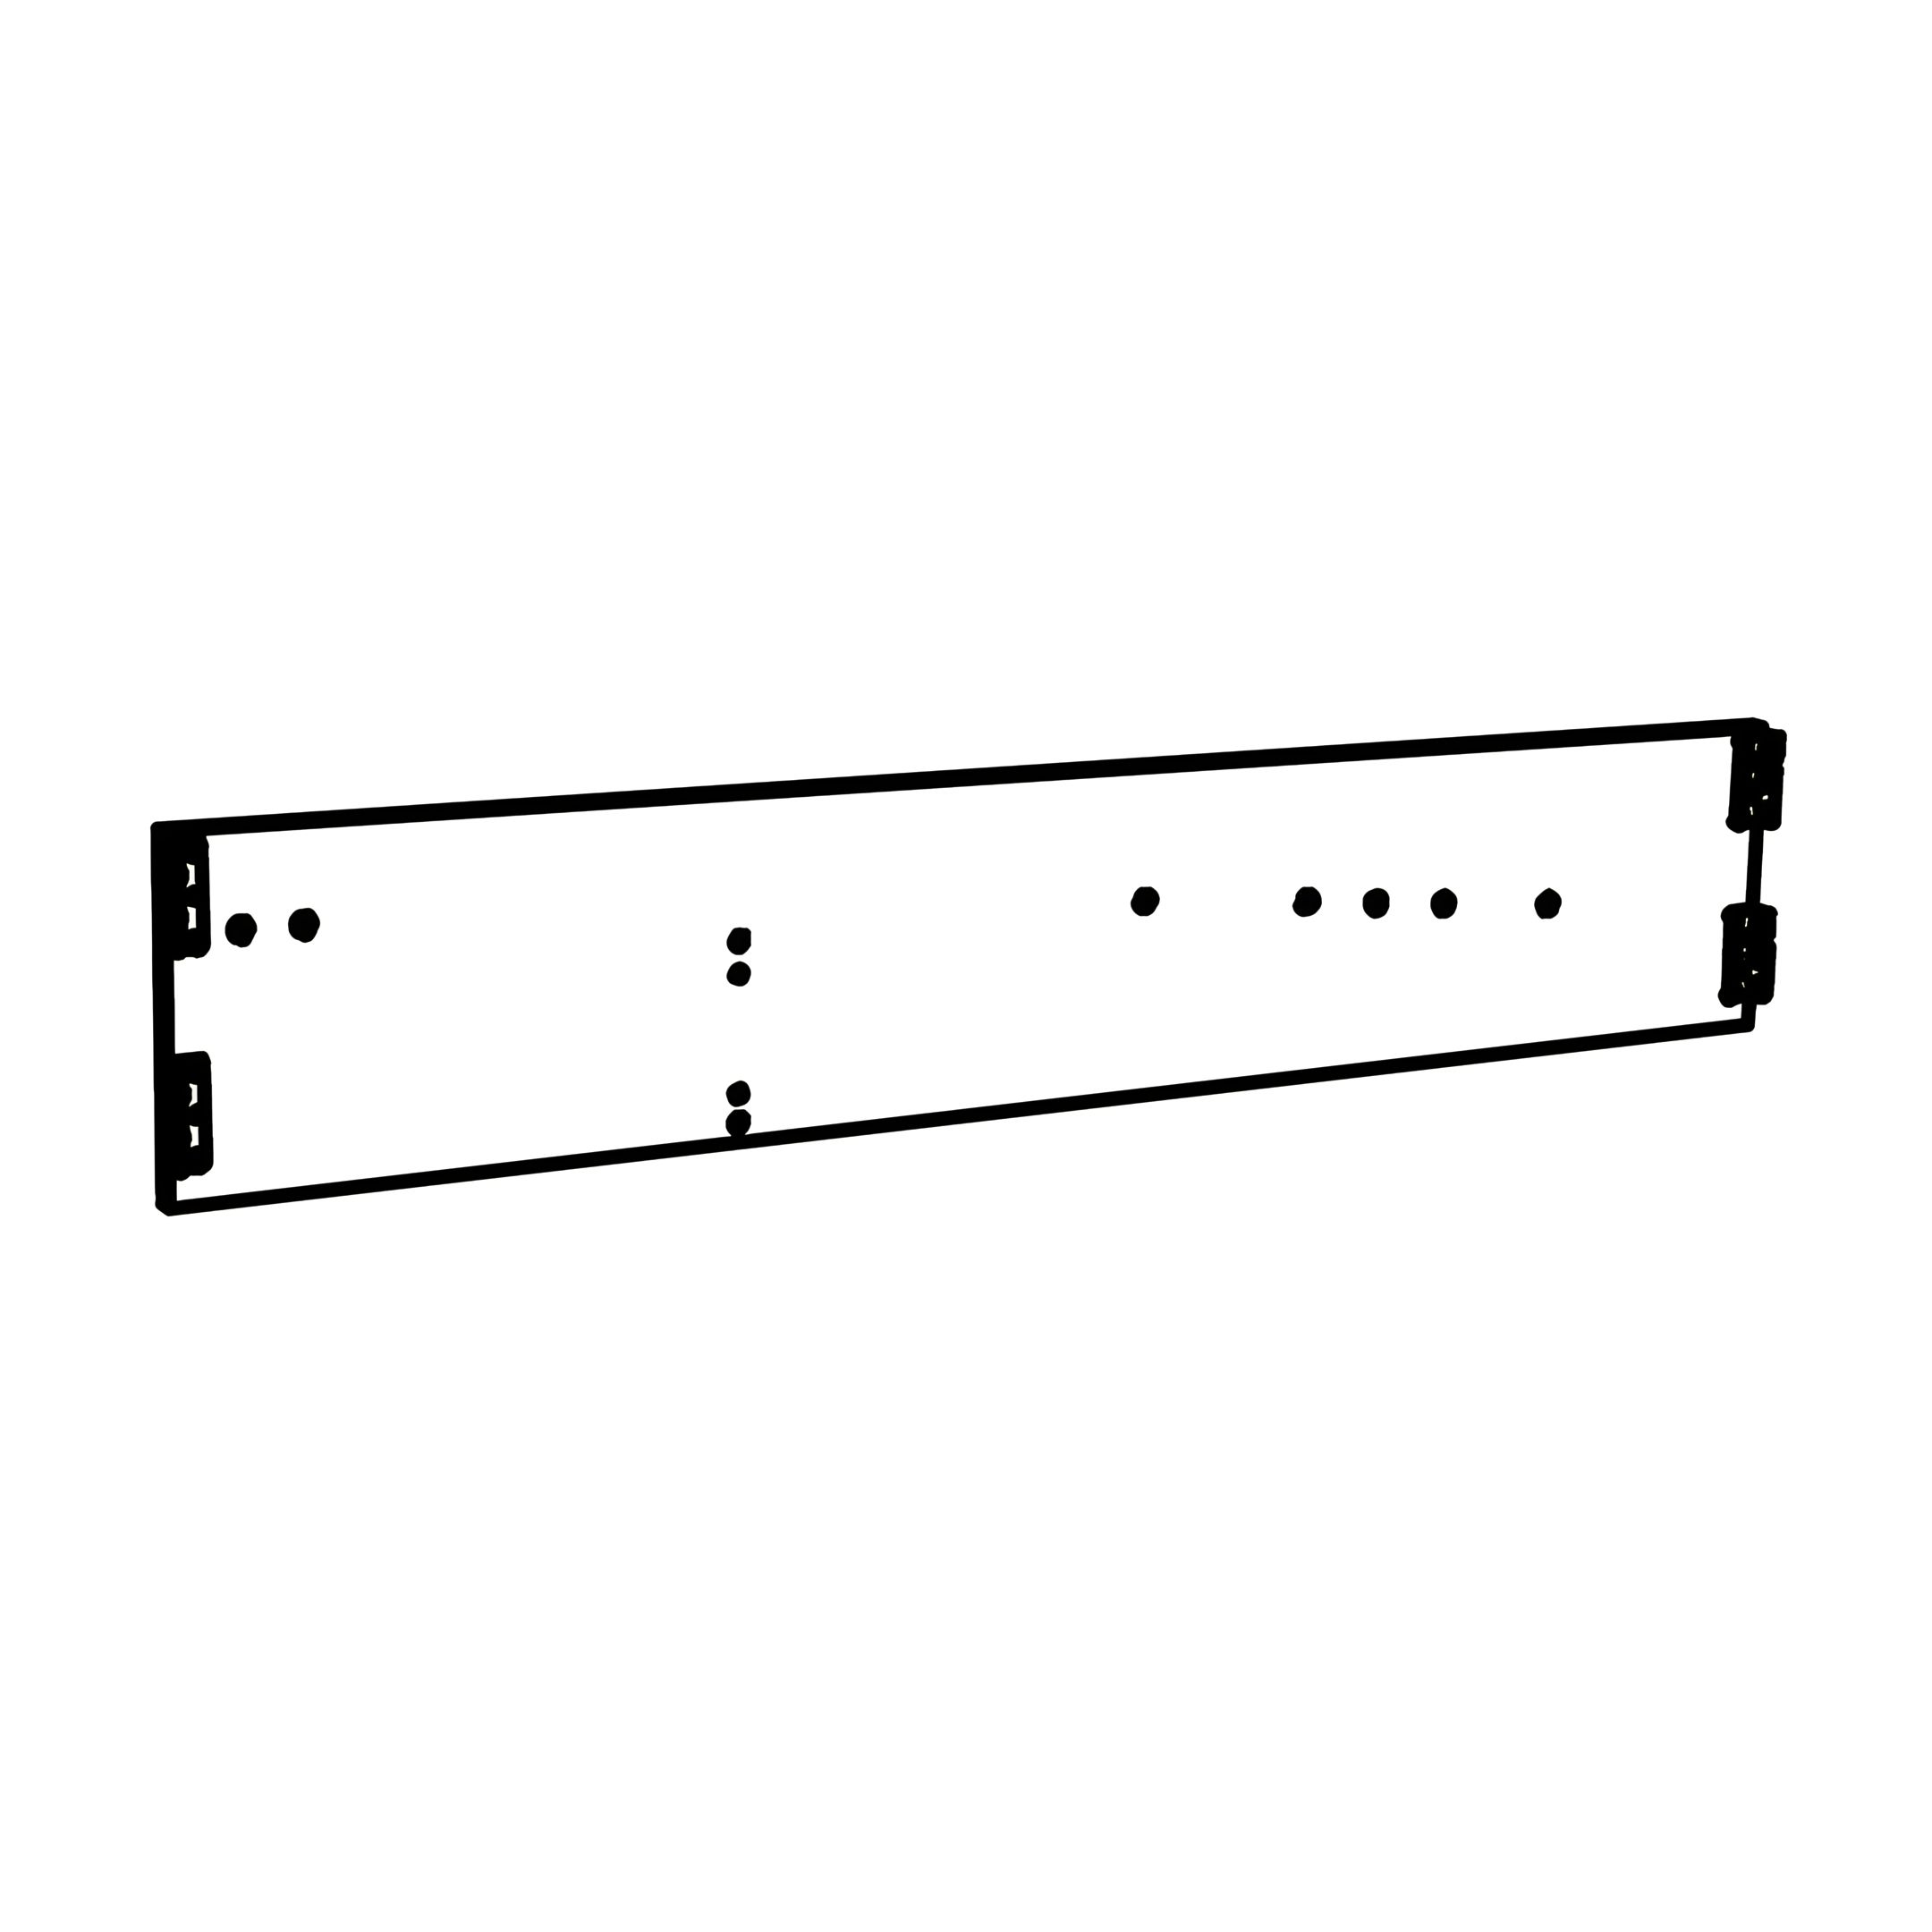
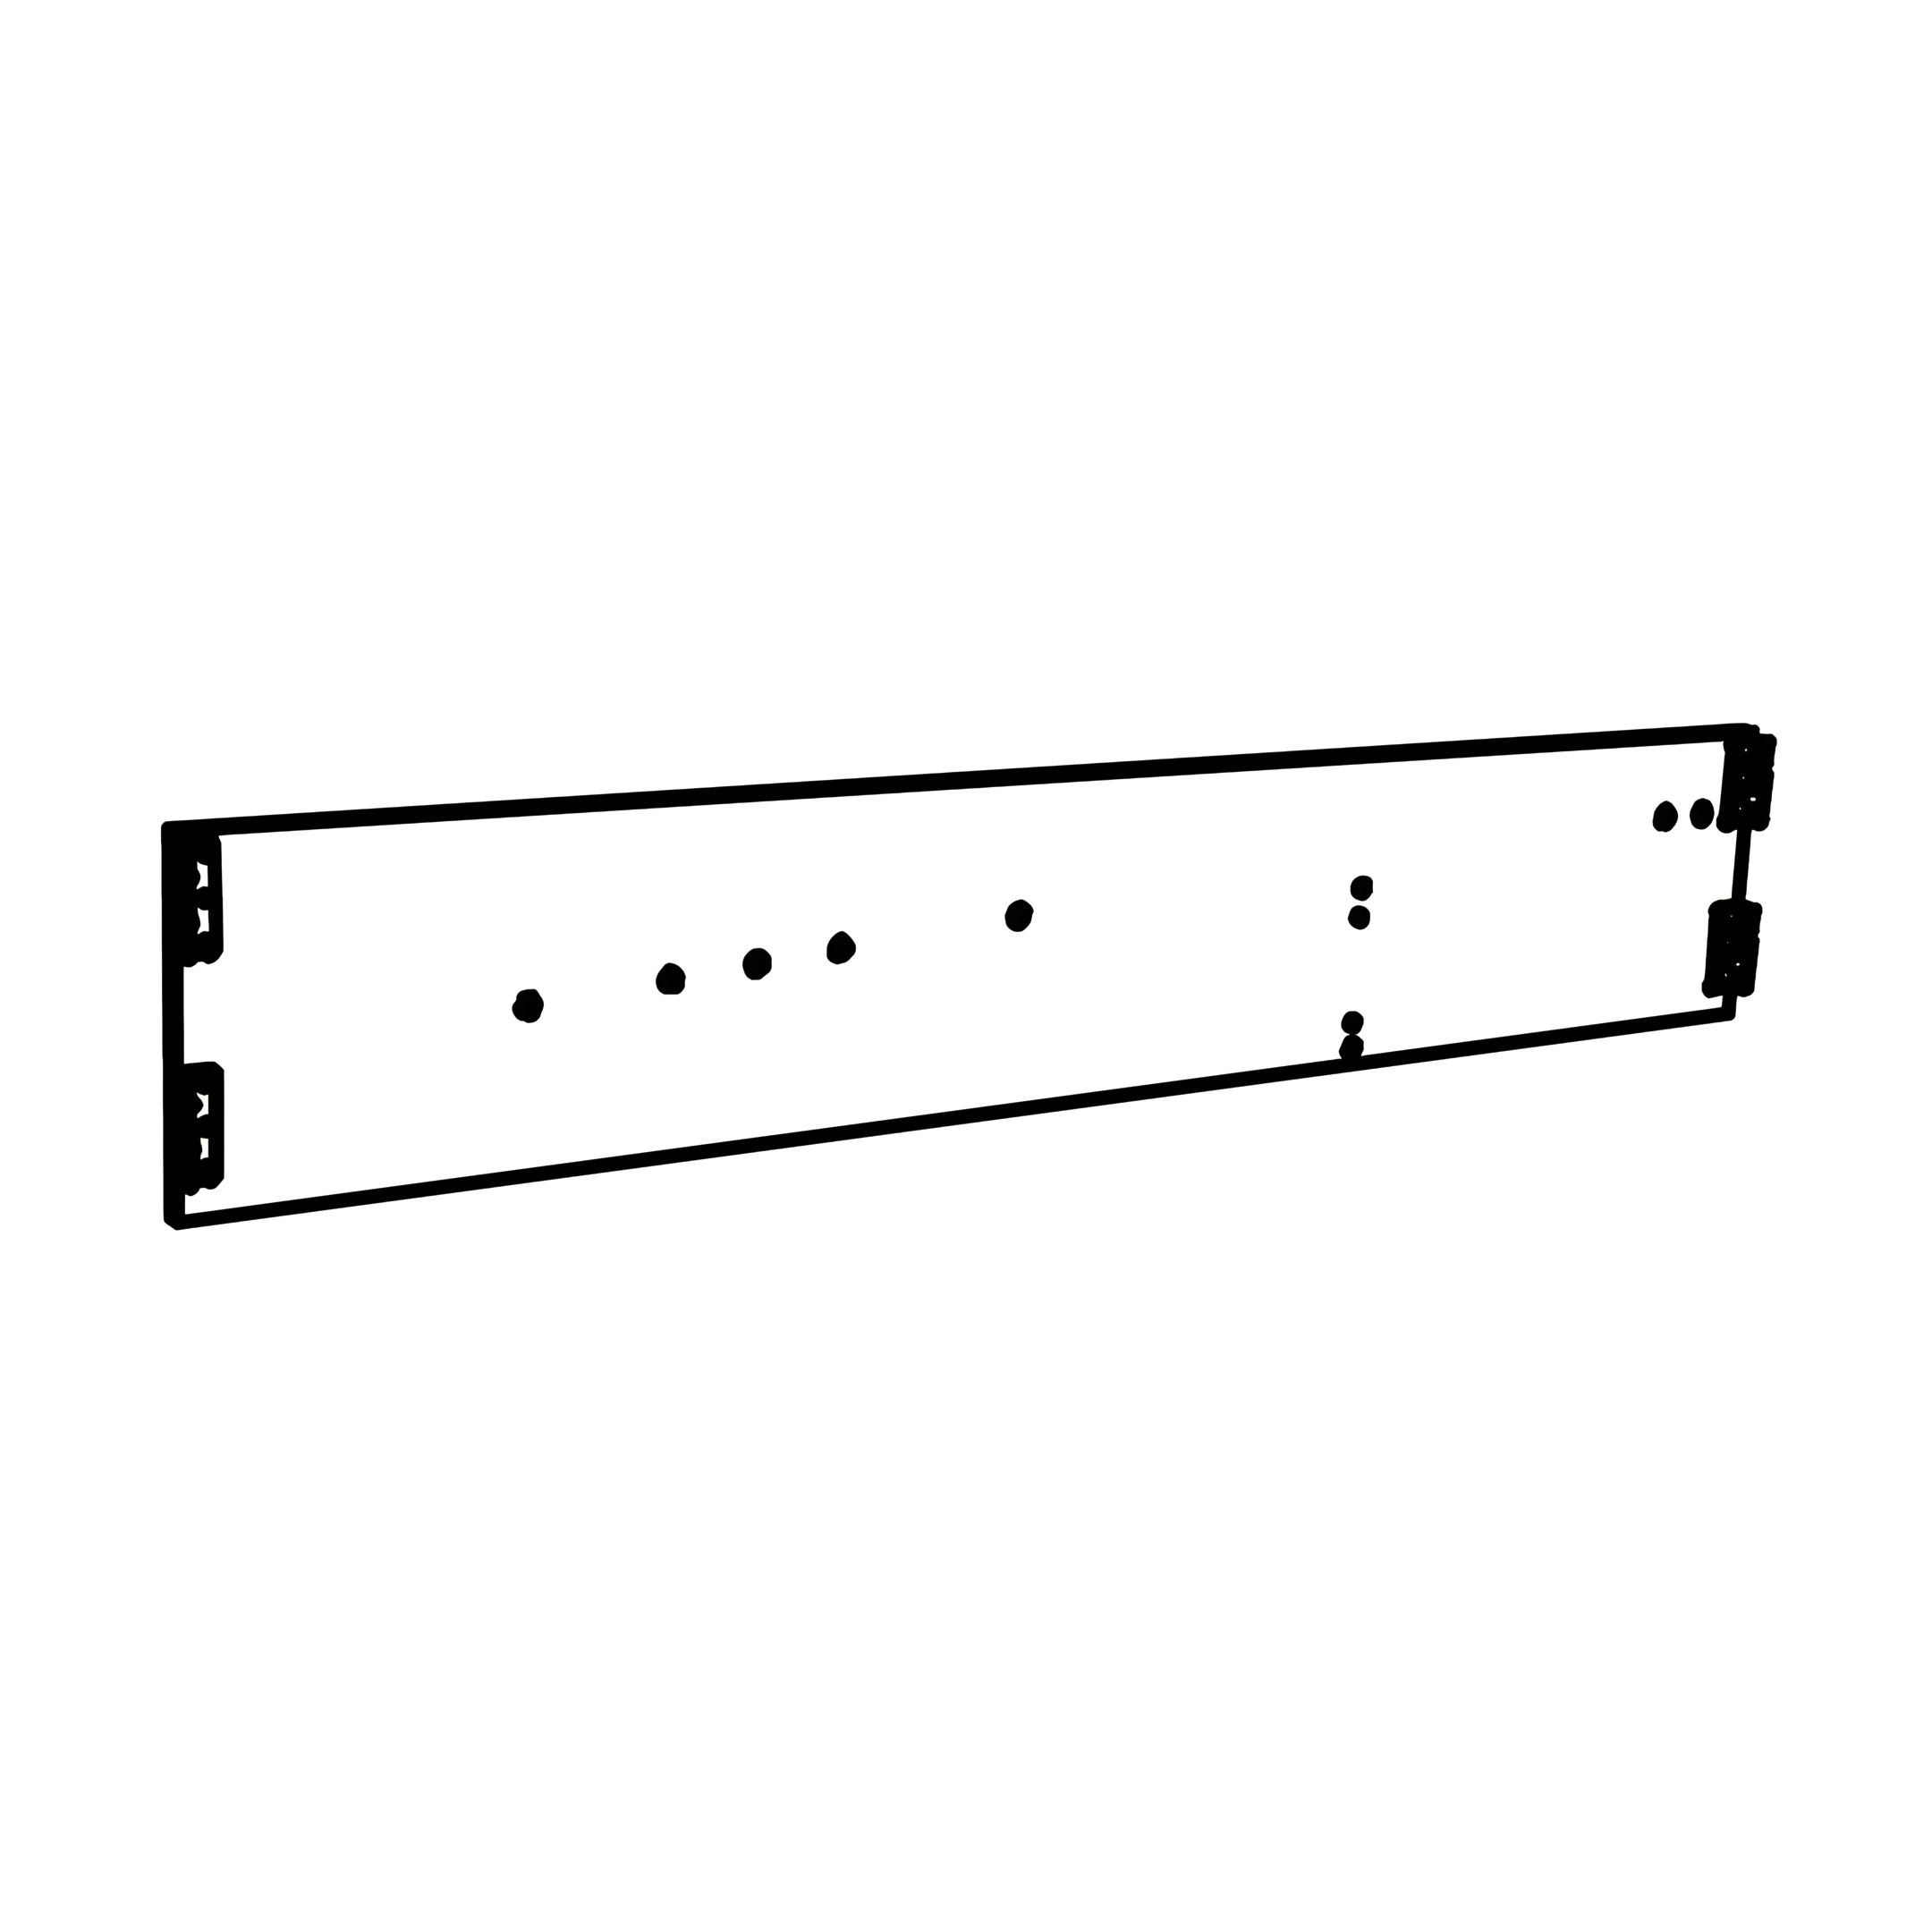
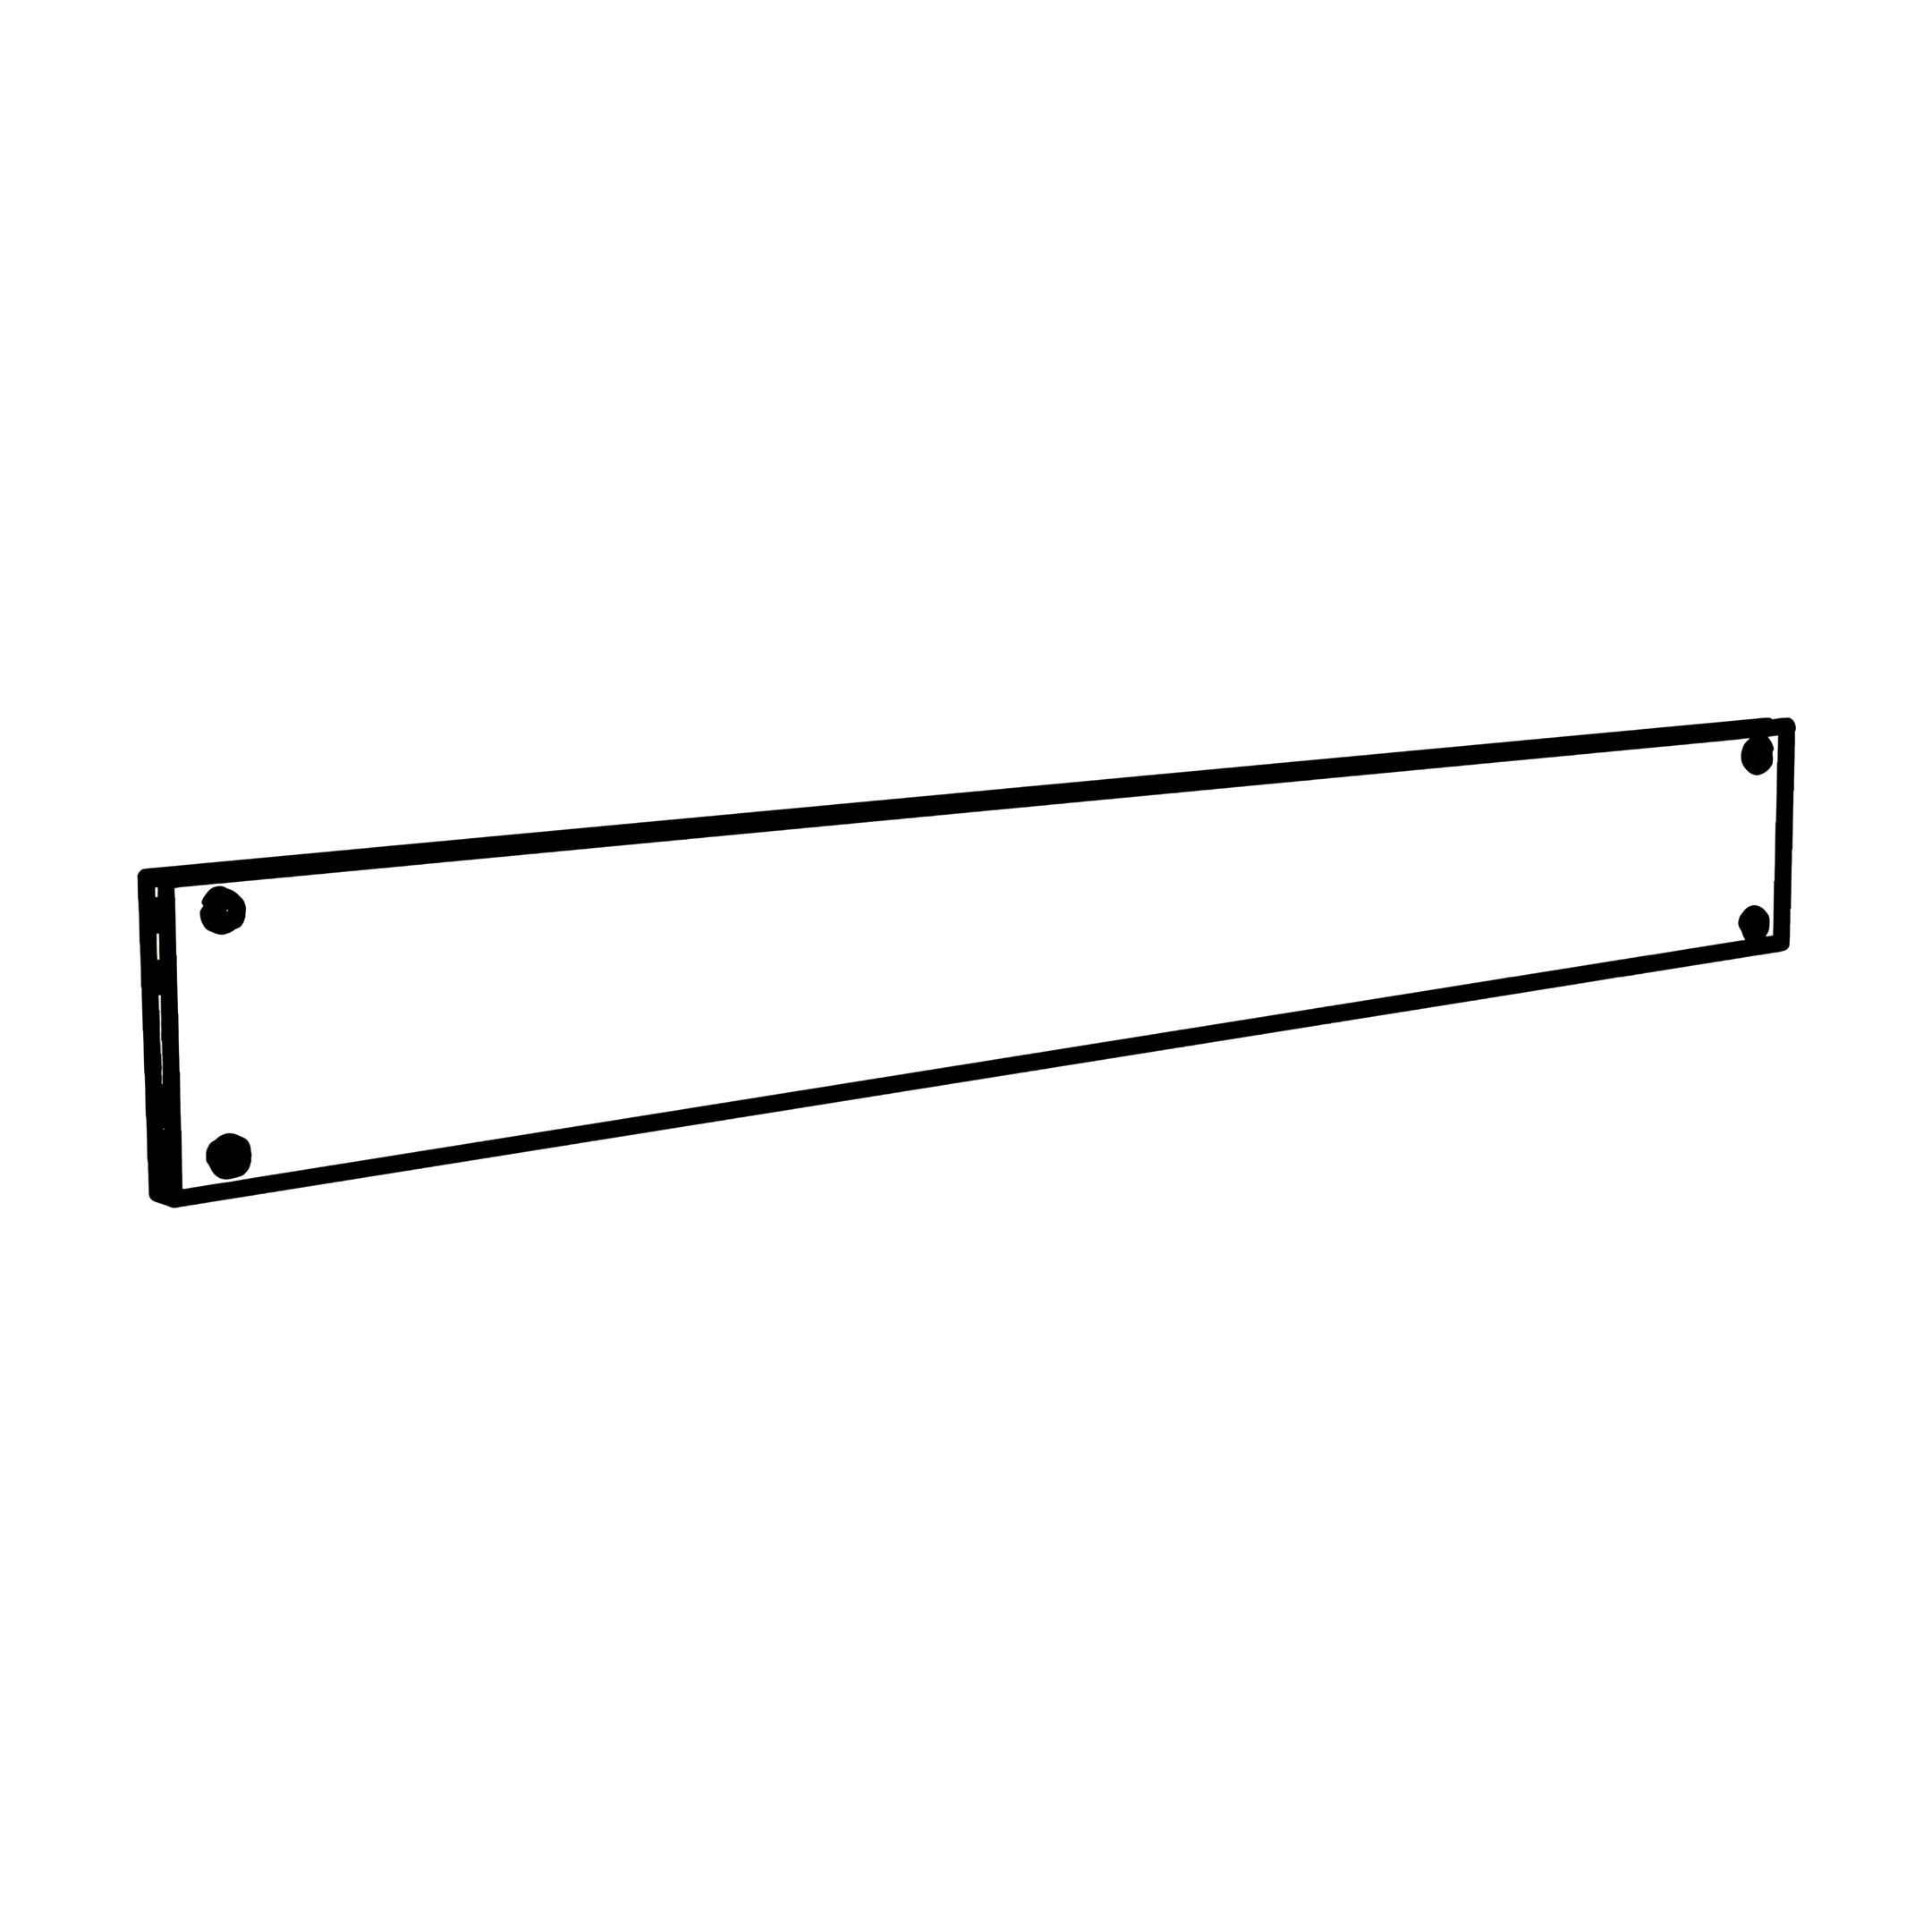
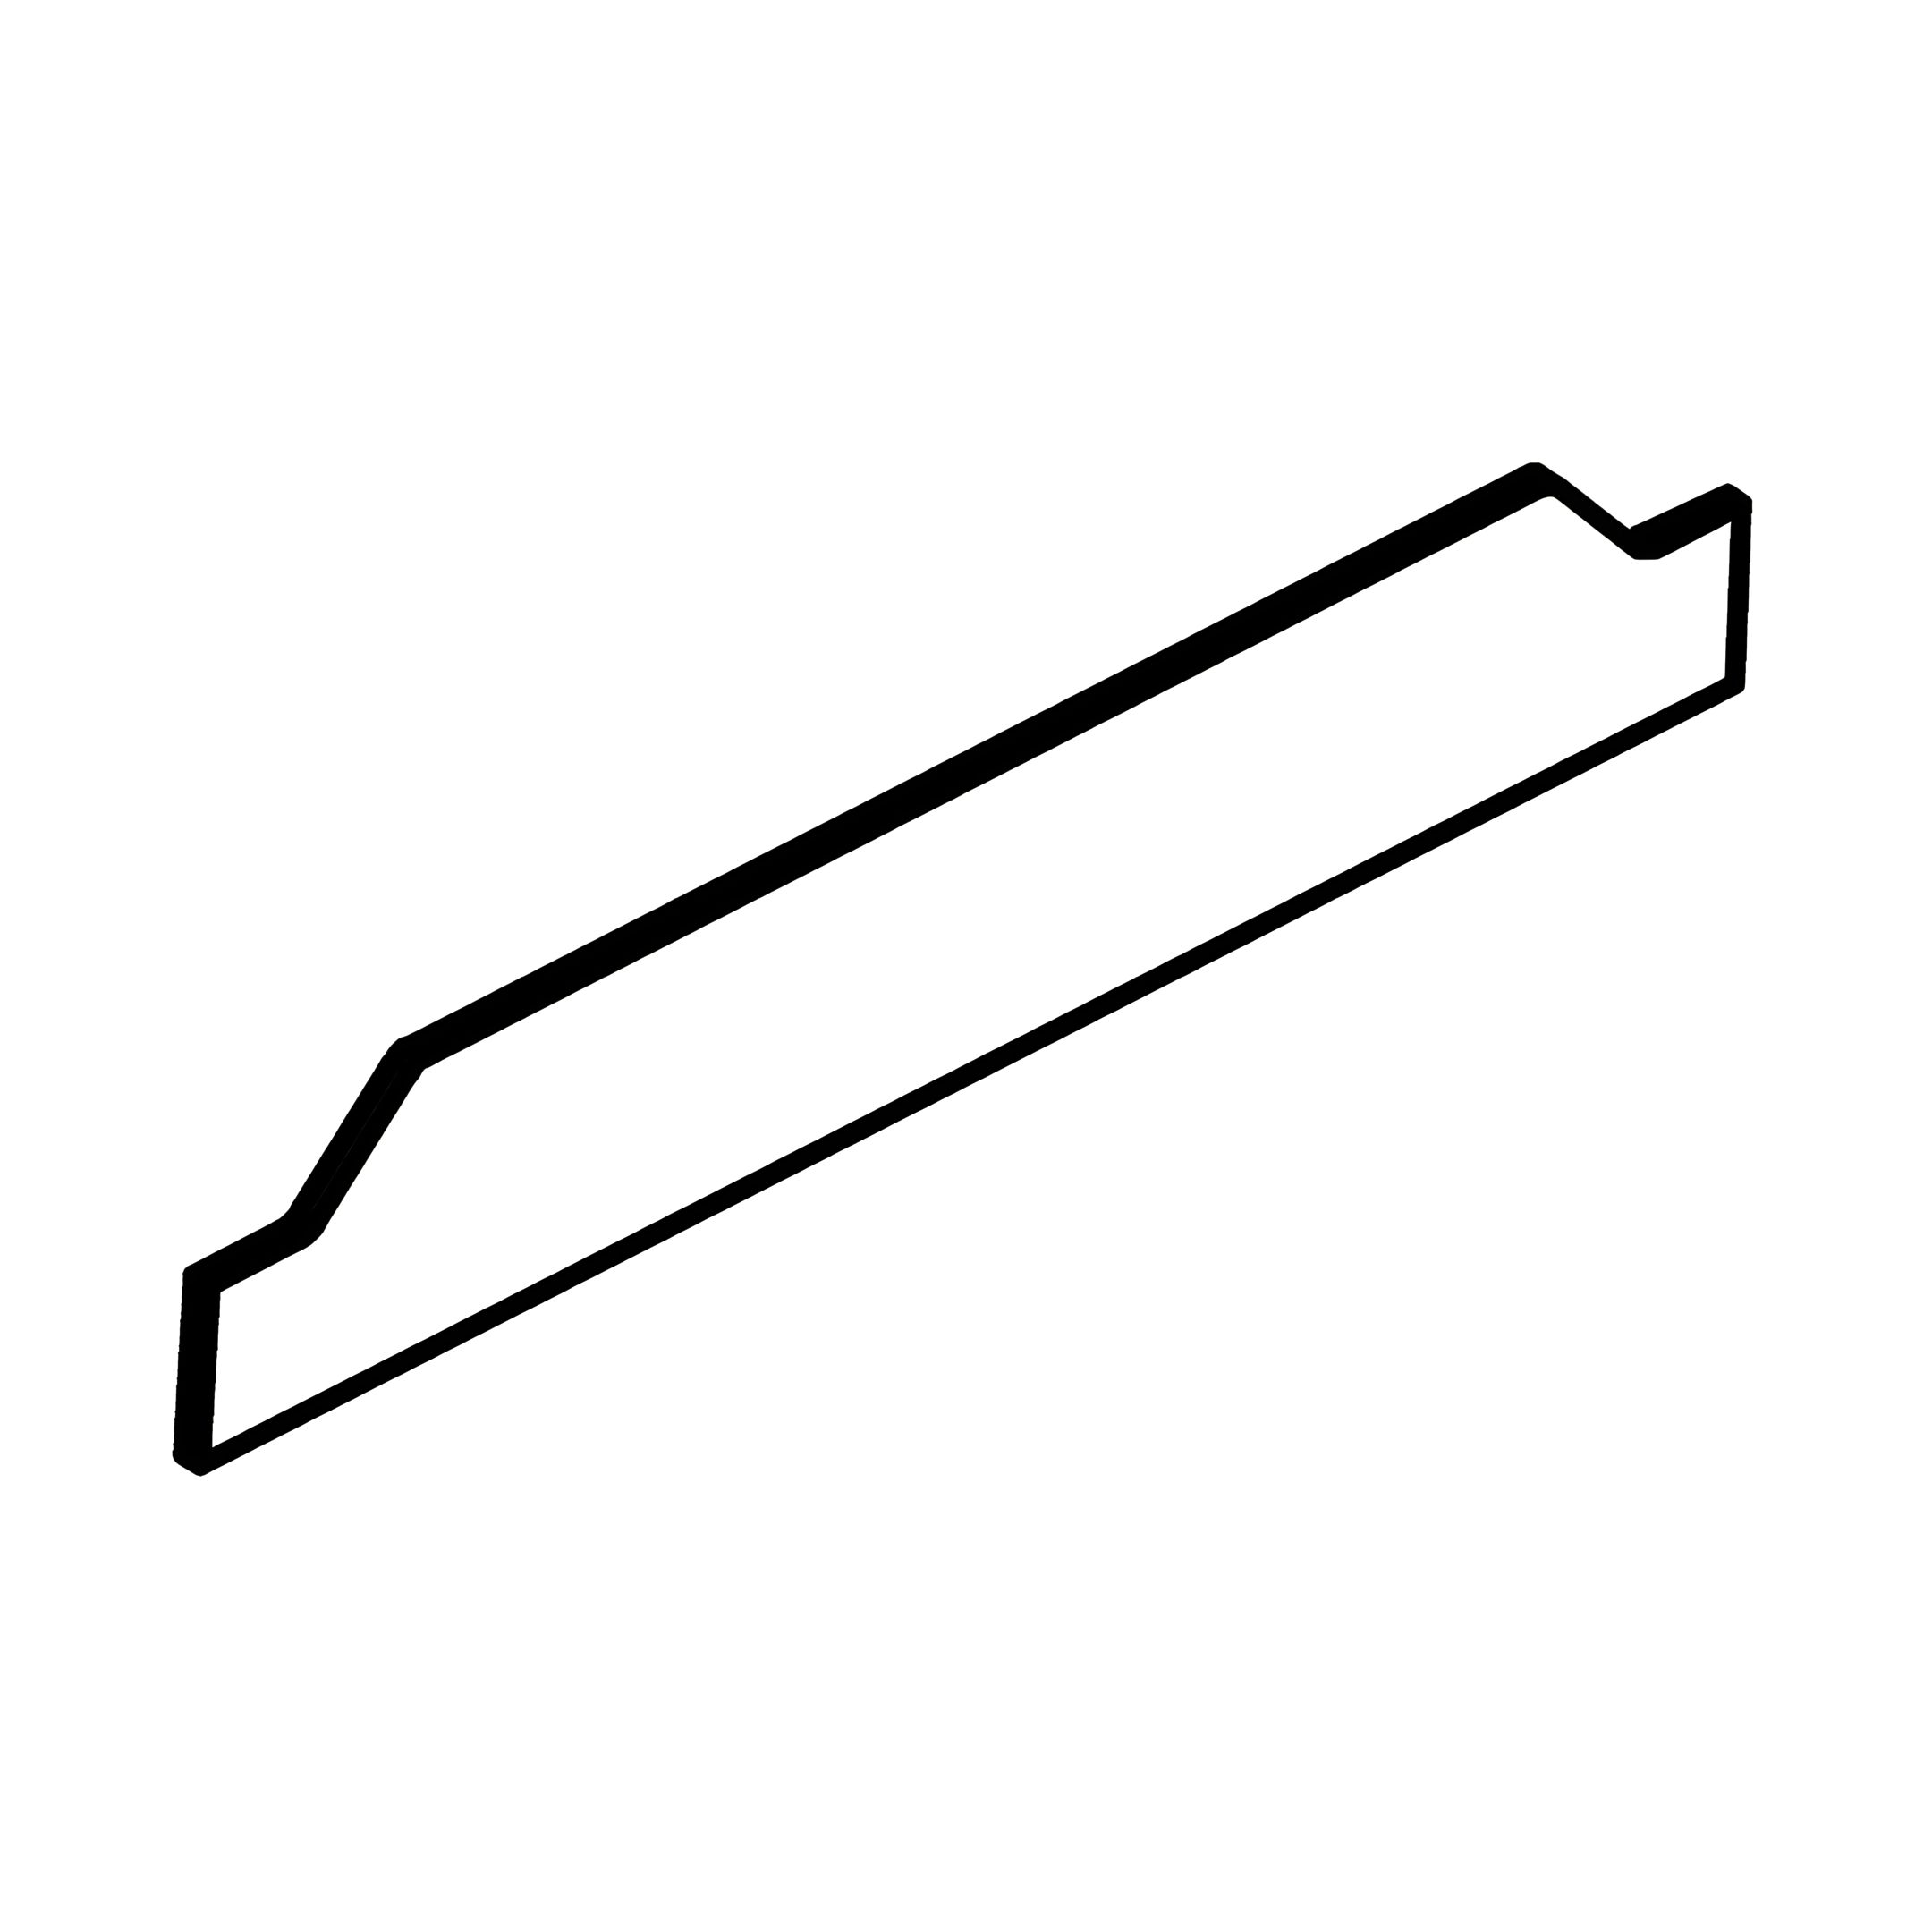

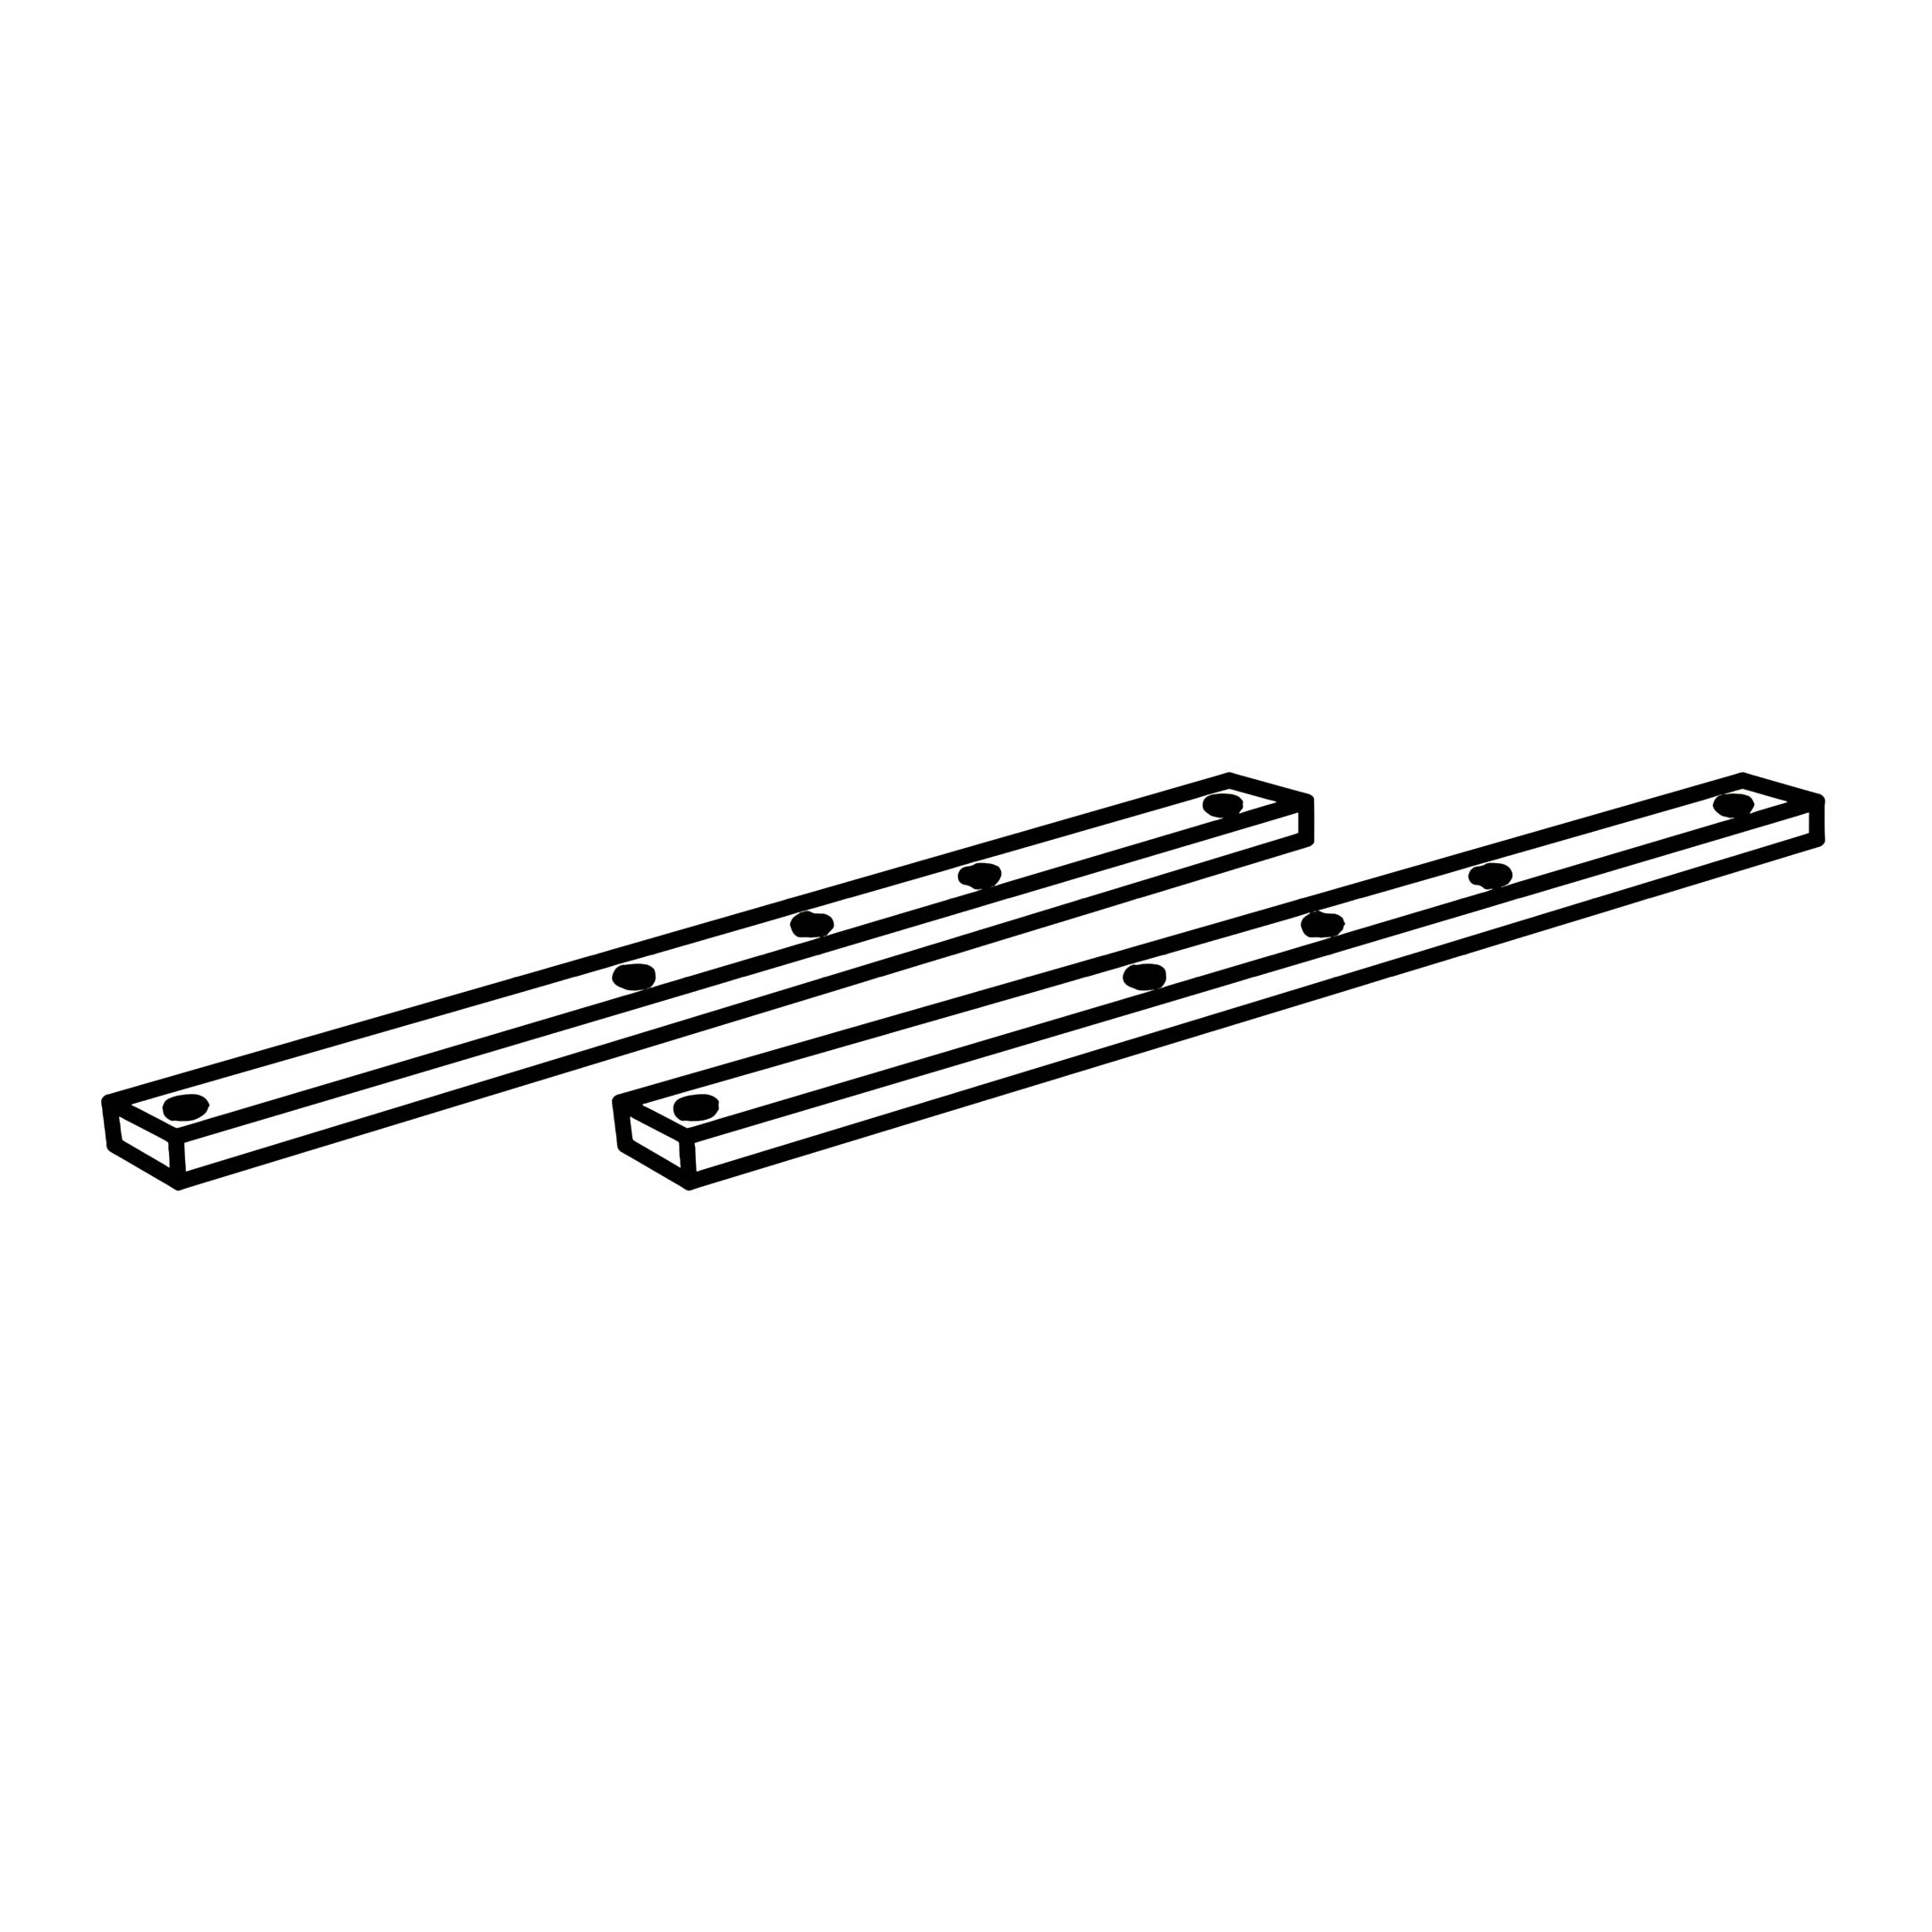

1. Assemble Headboard

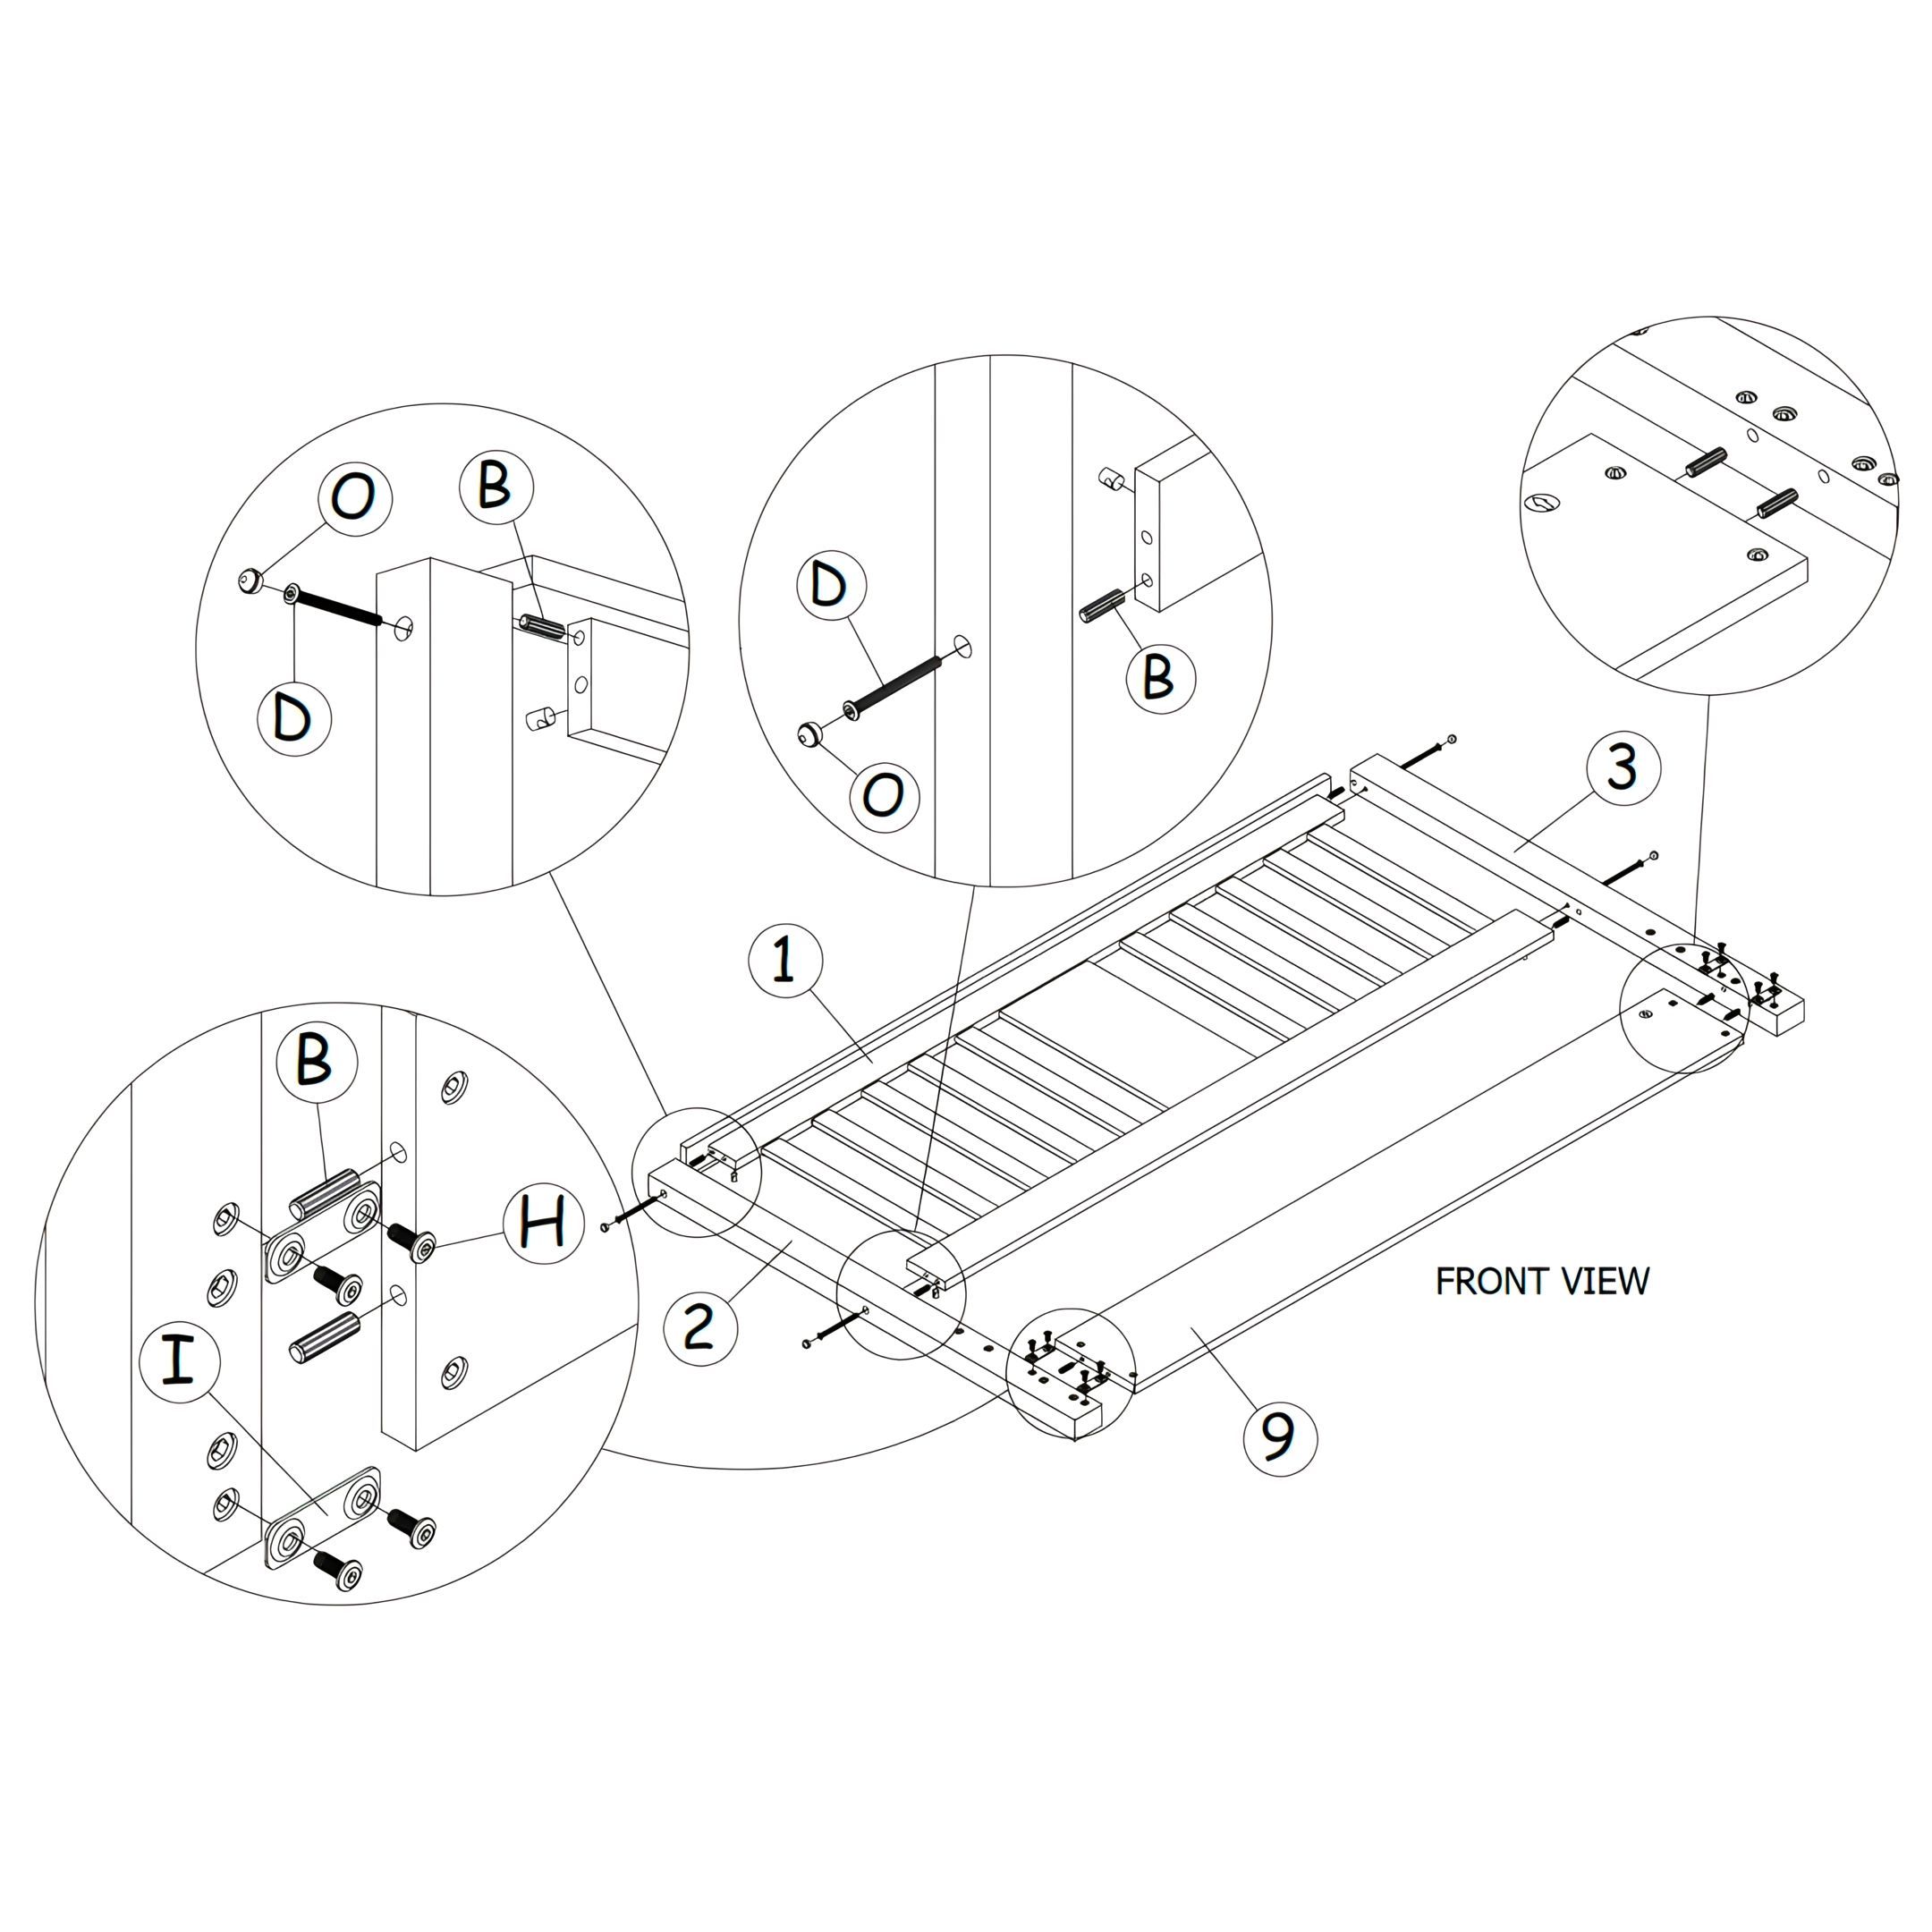
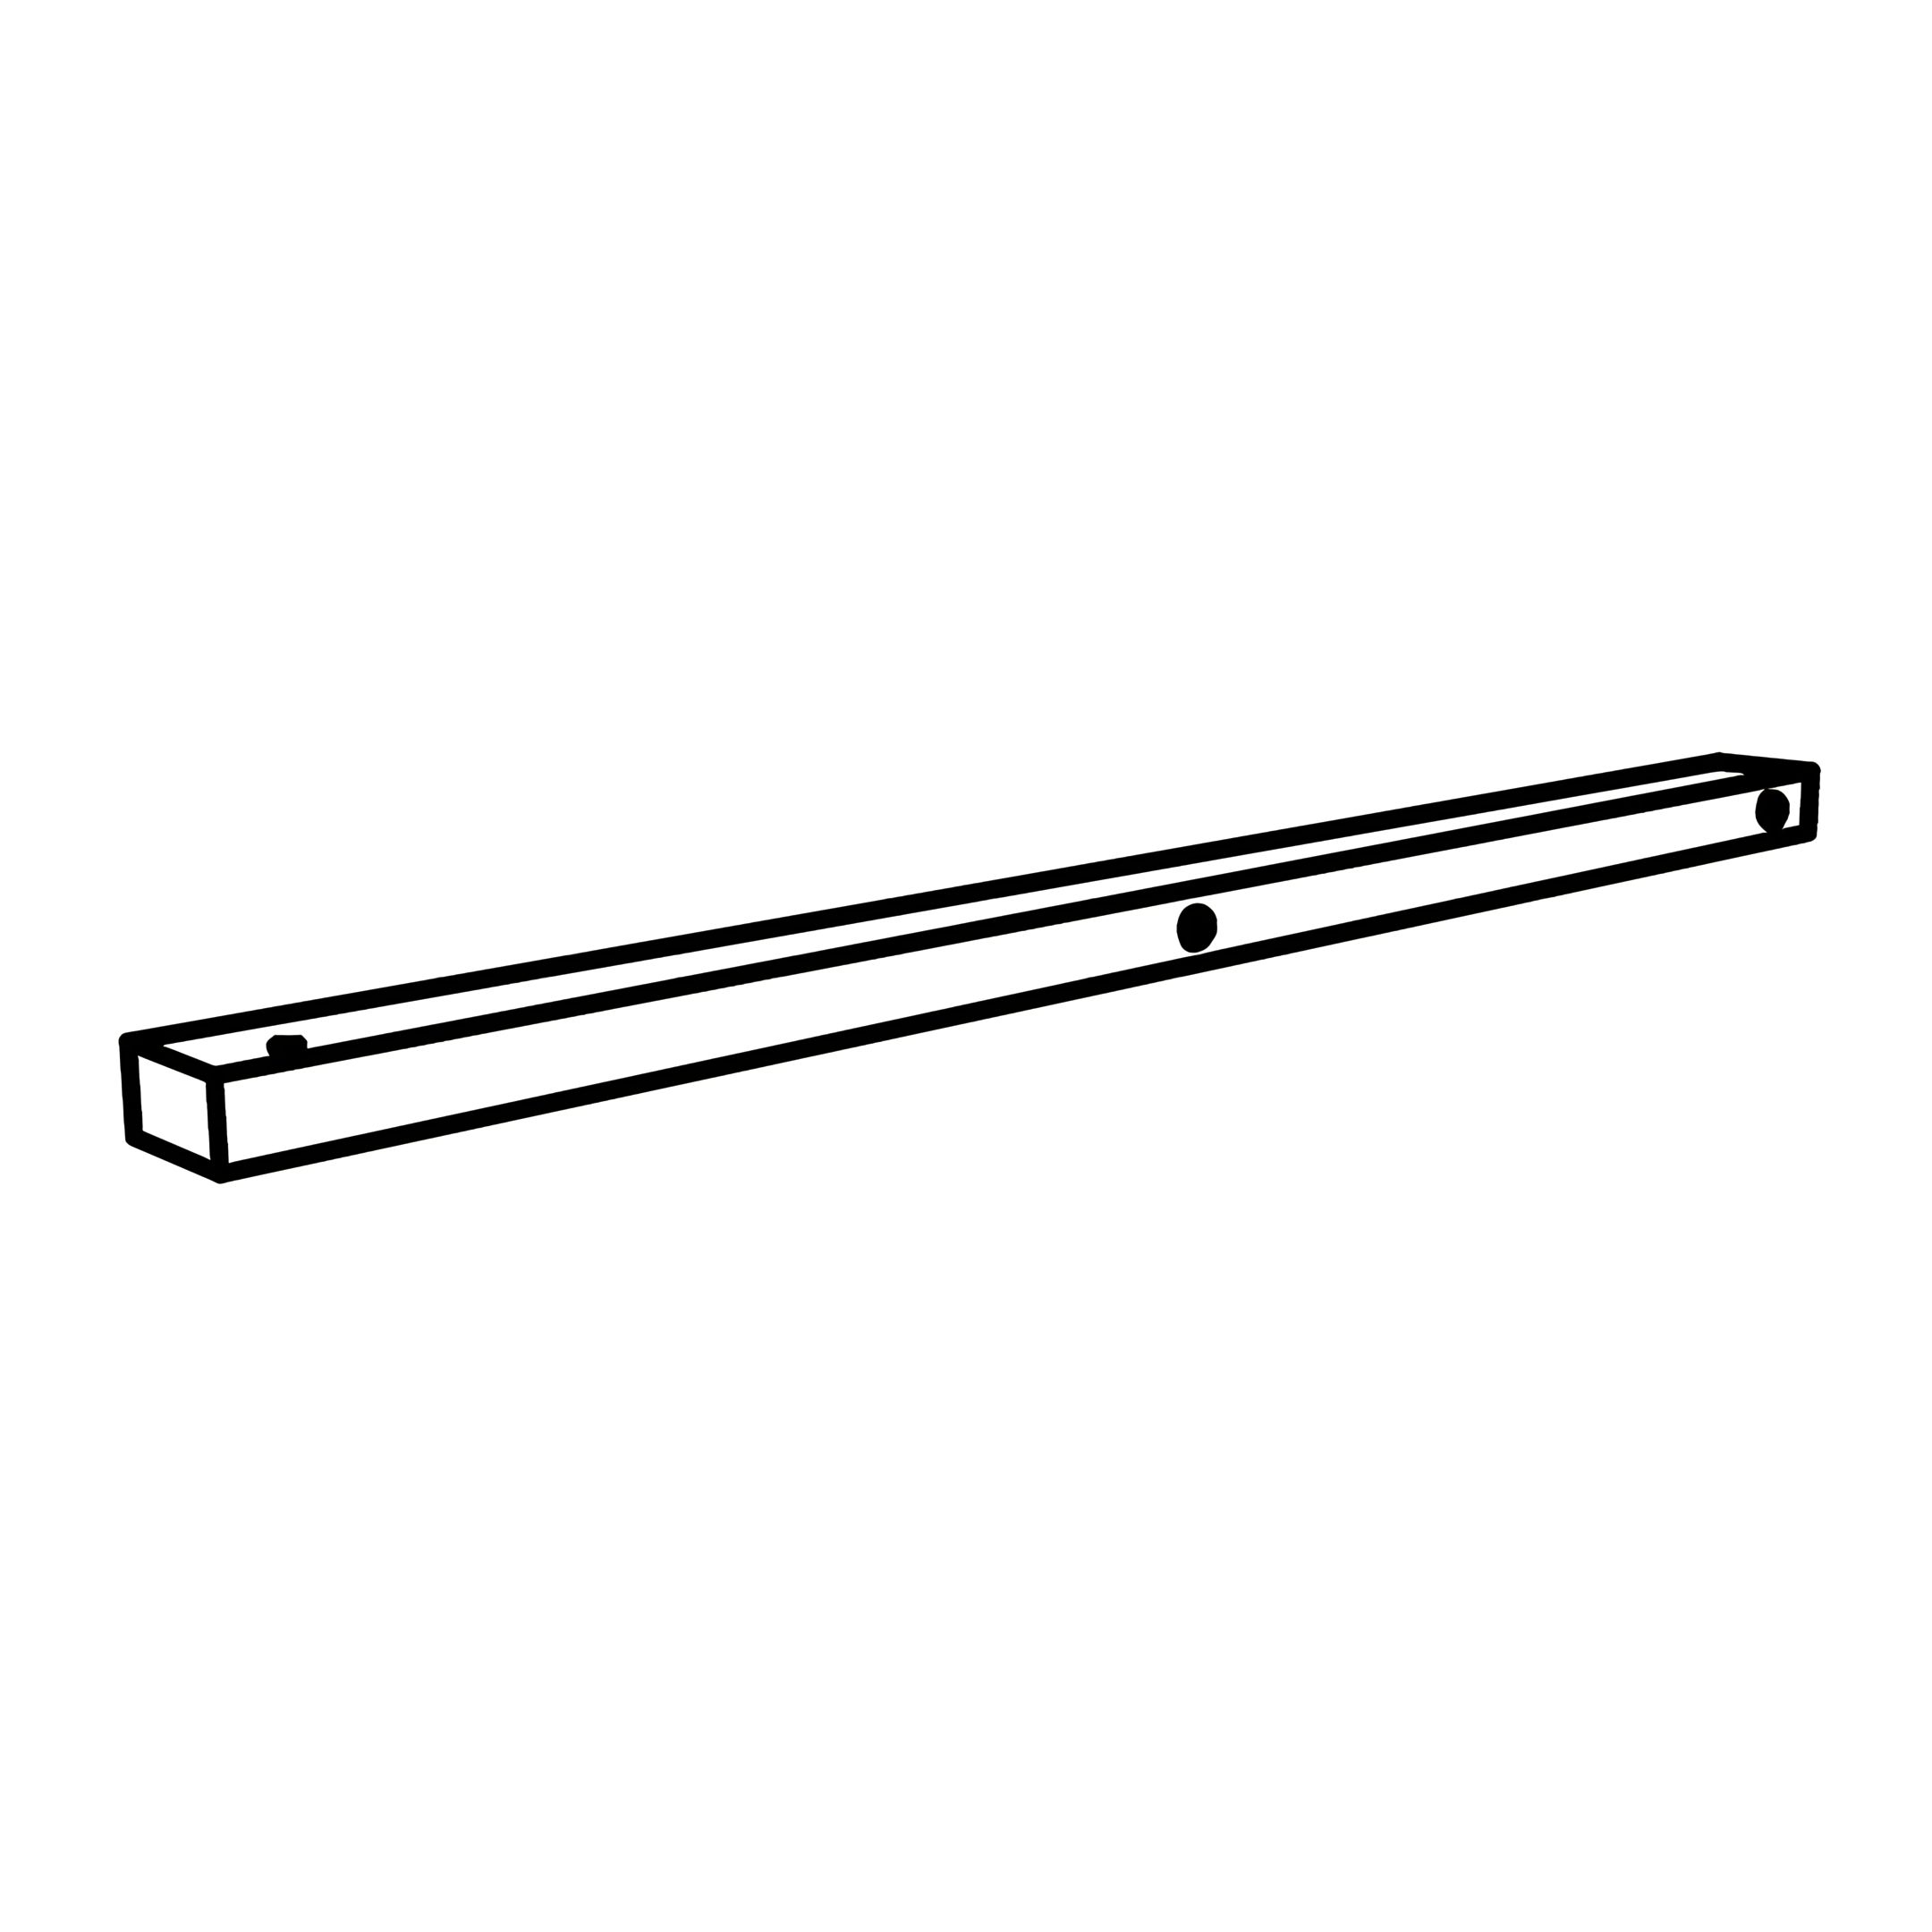
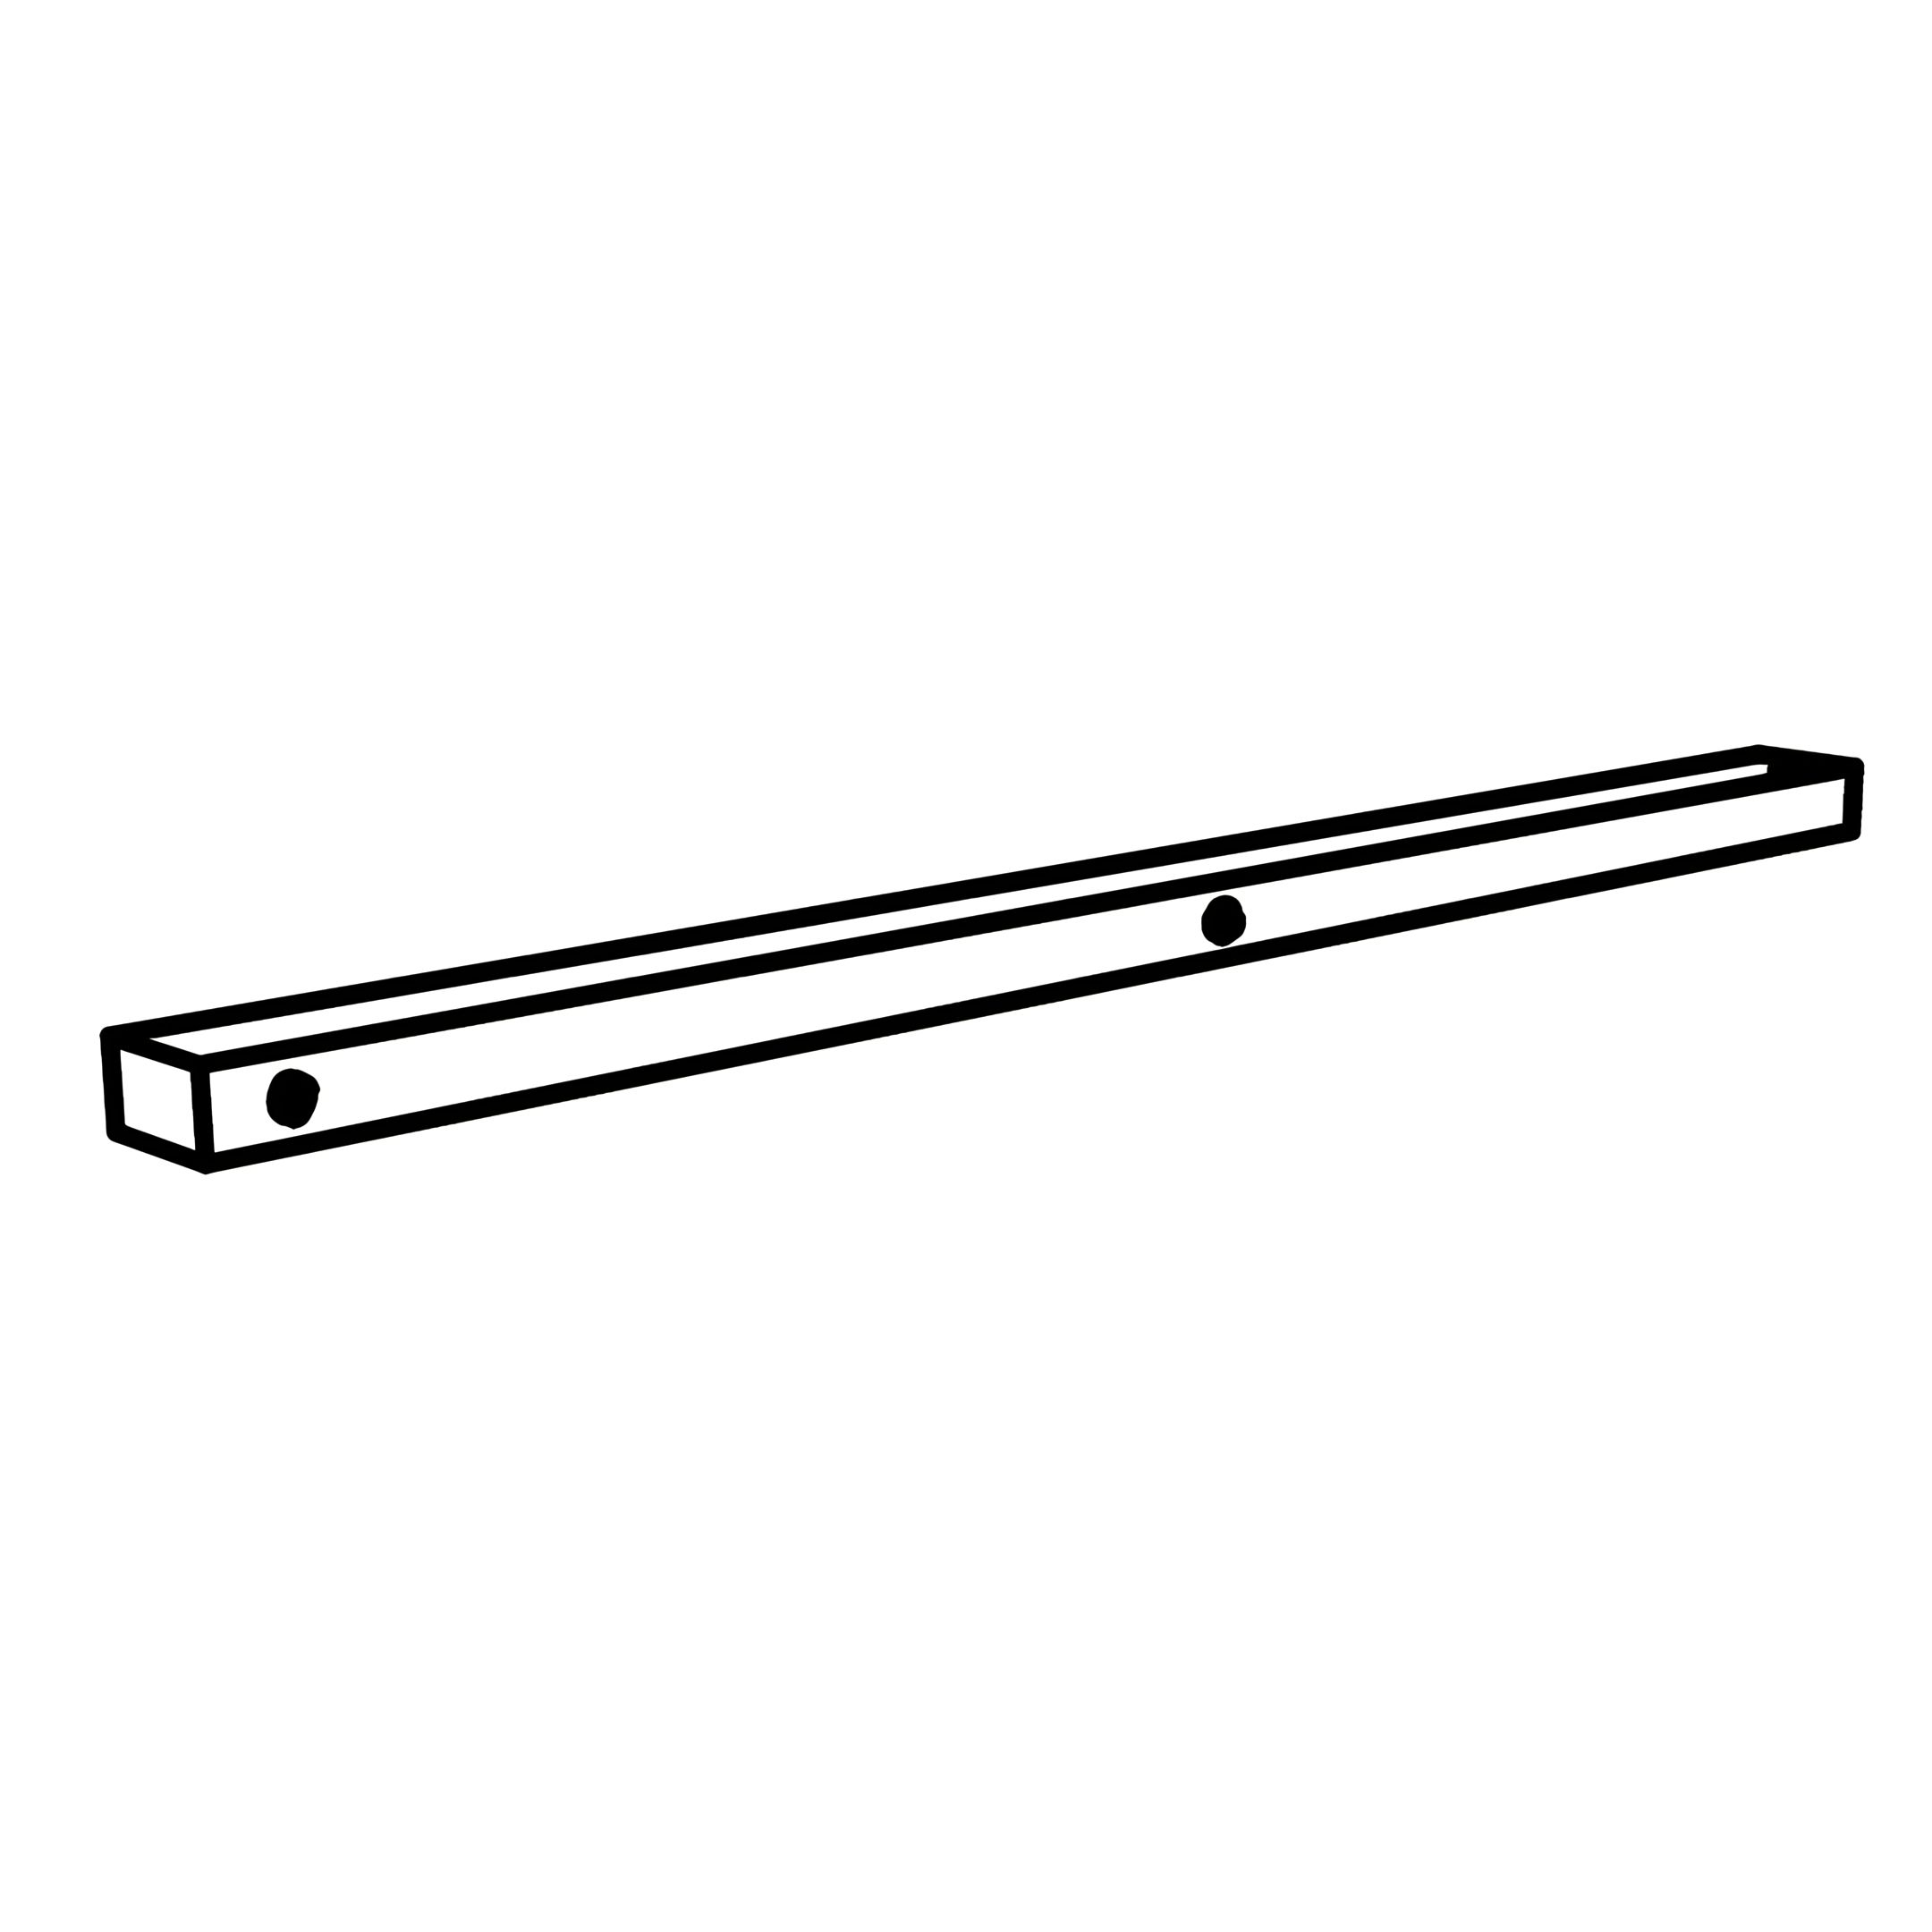
Attach the headboard frame (1) and back storage panel (9) to the left wooden post (2) and right wooden post (3).
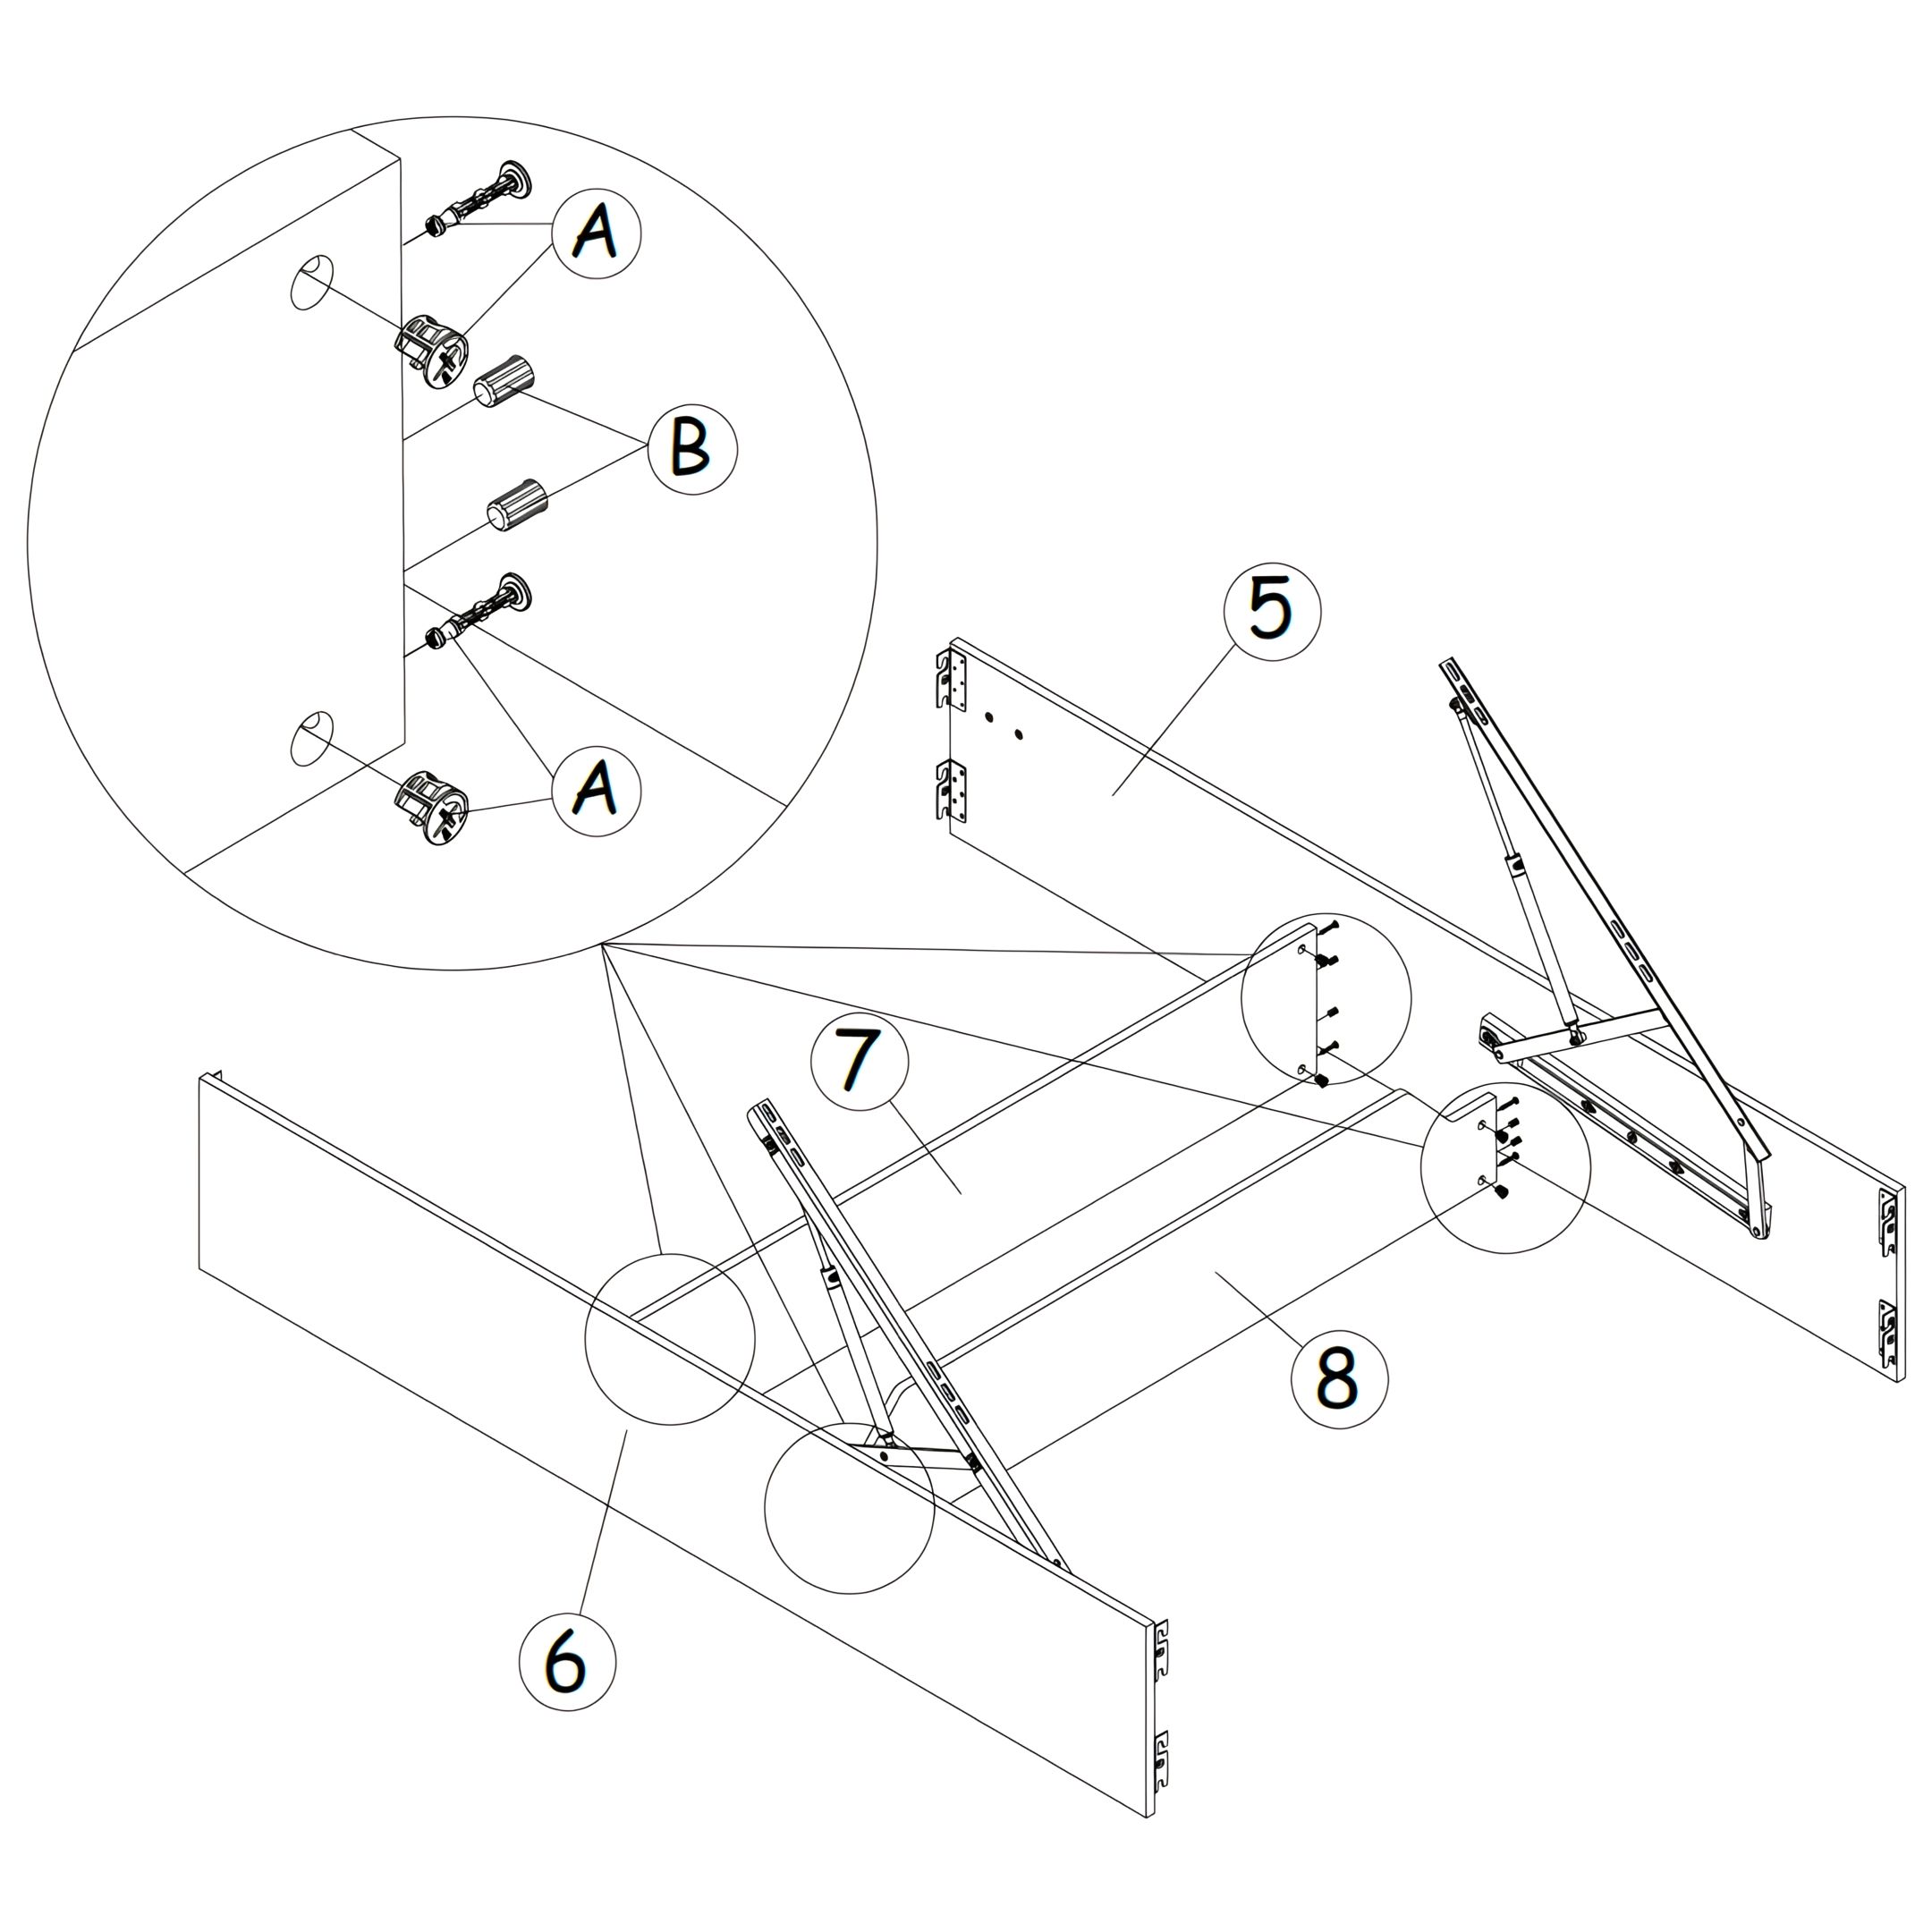
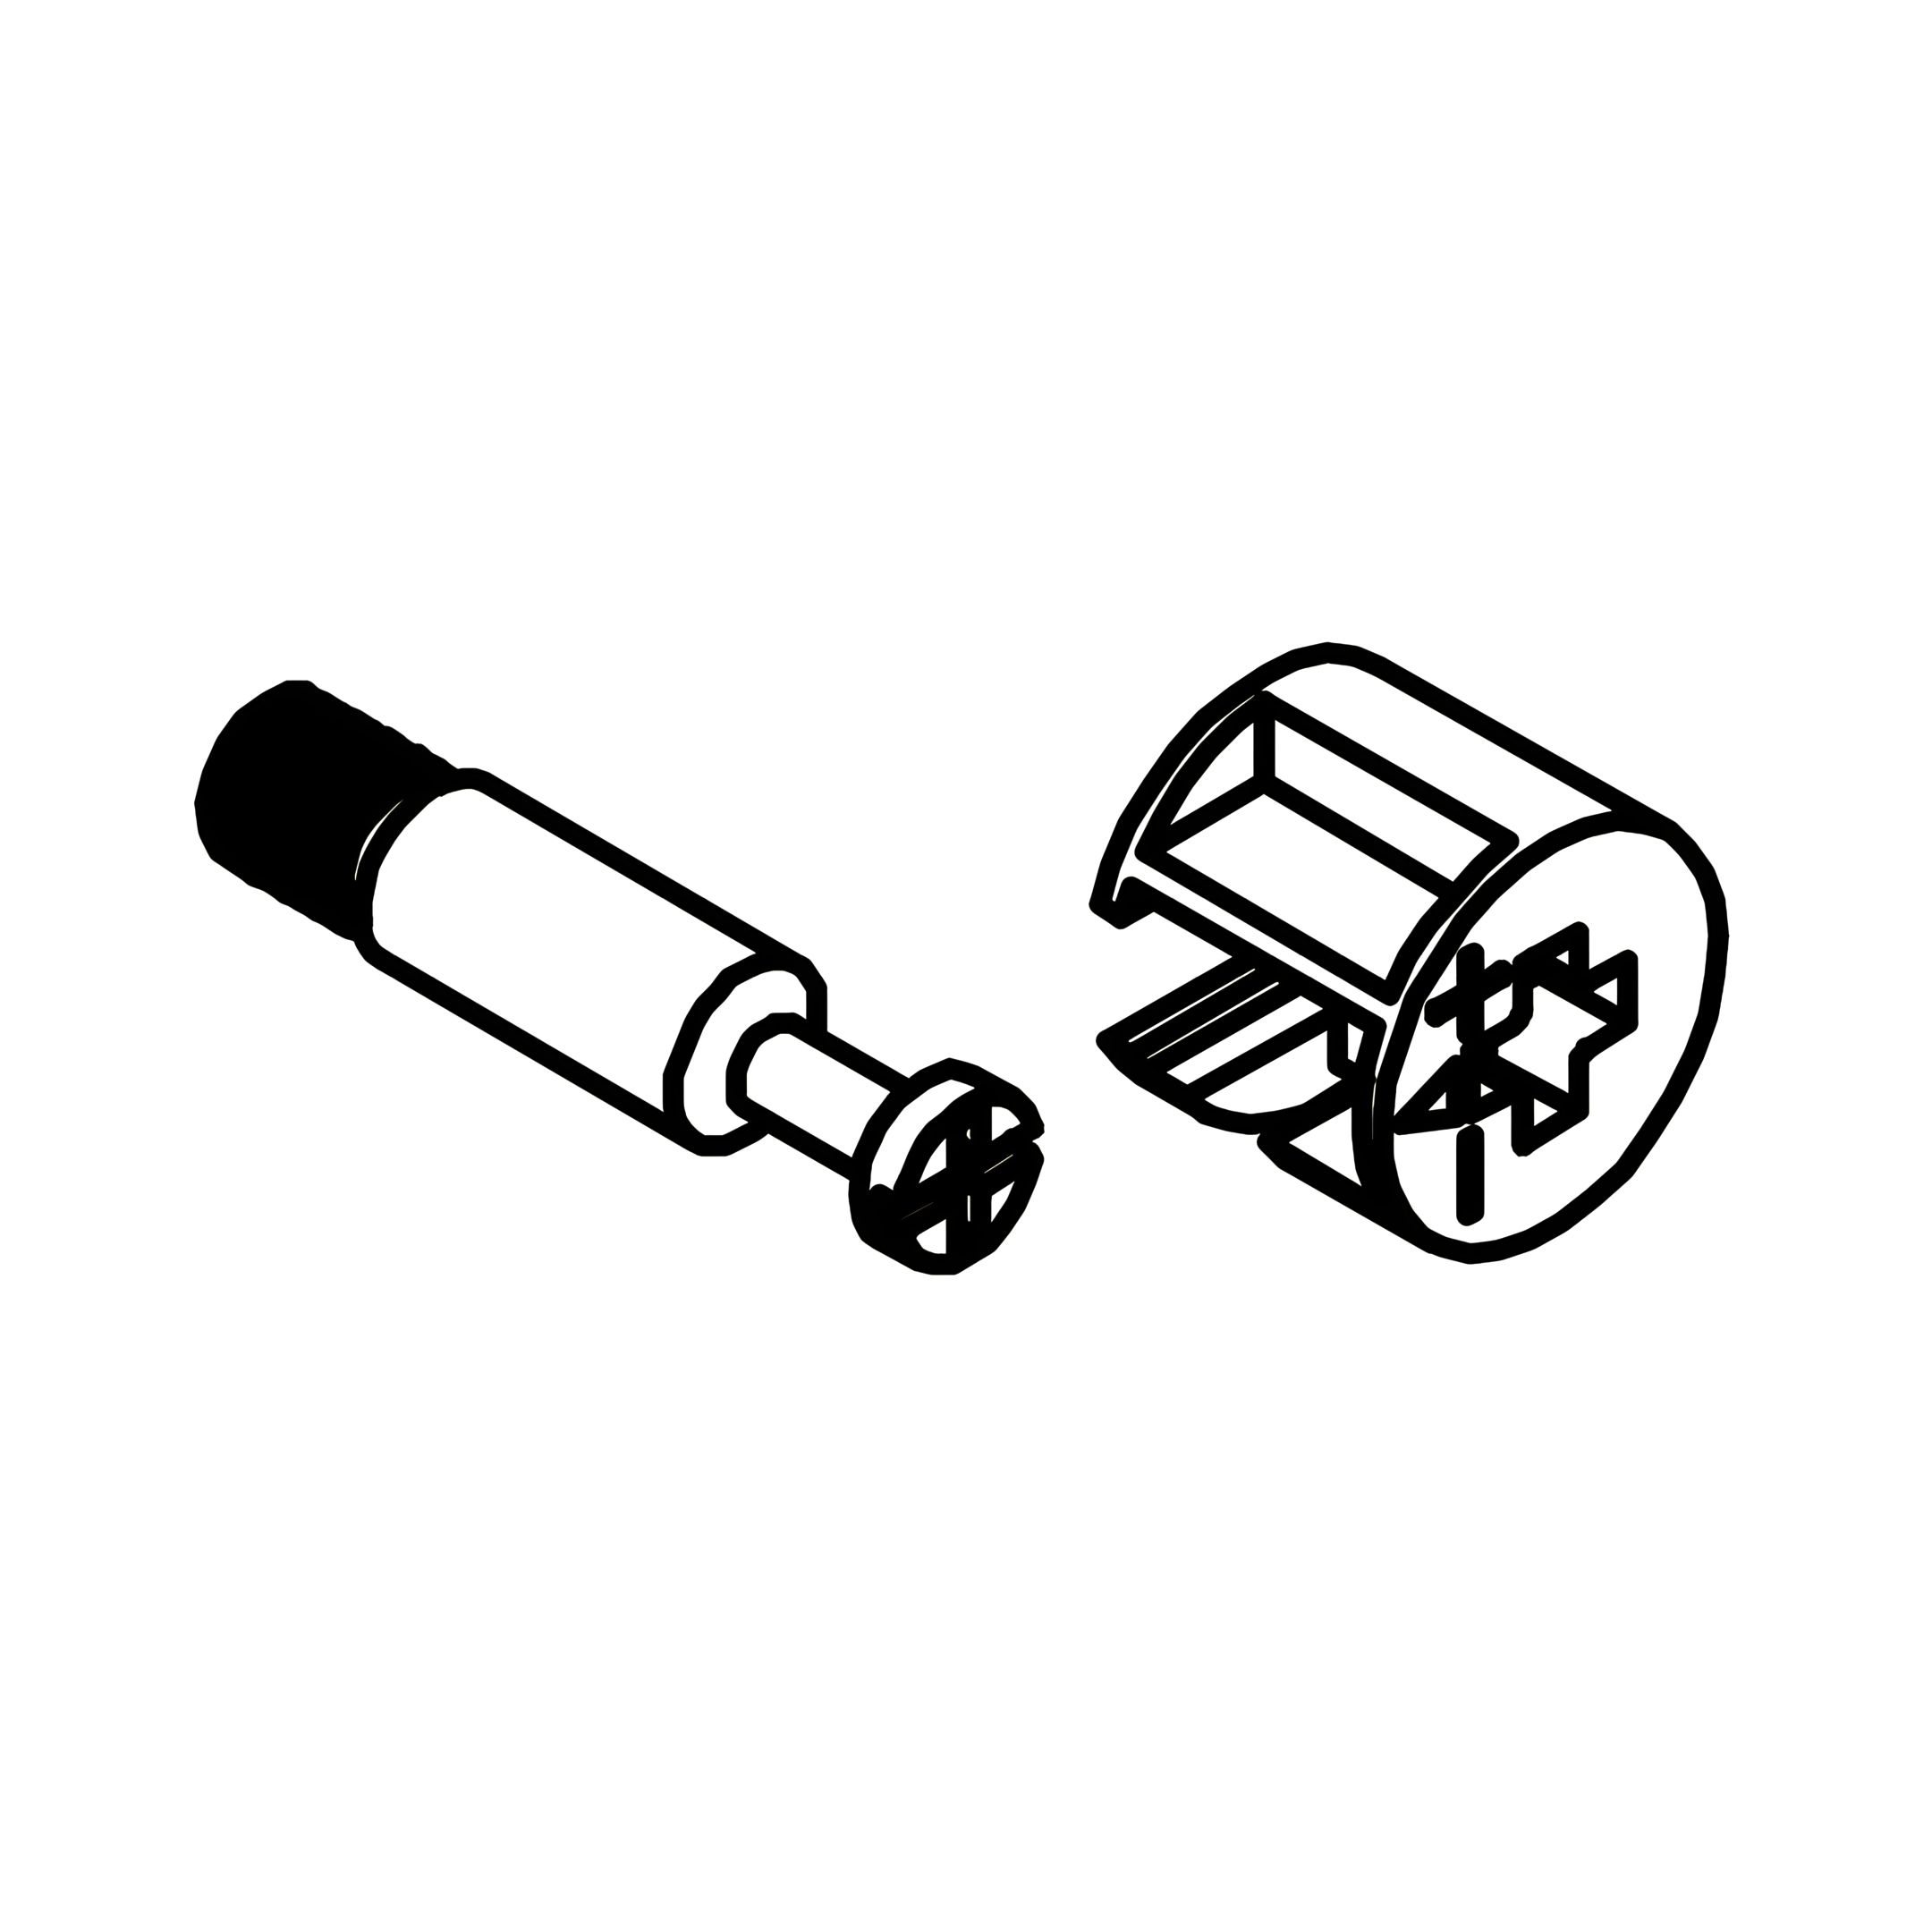
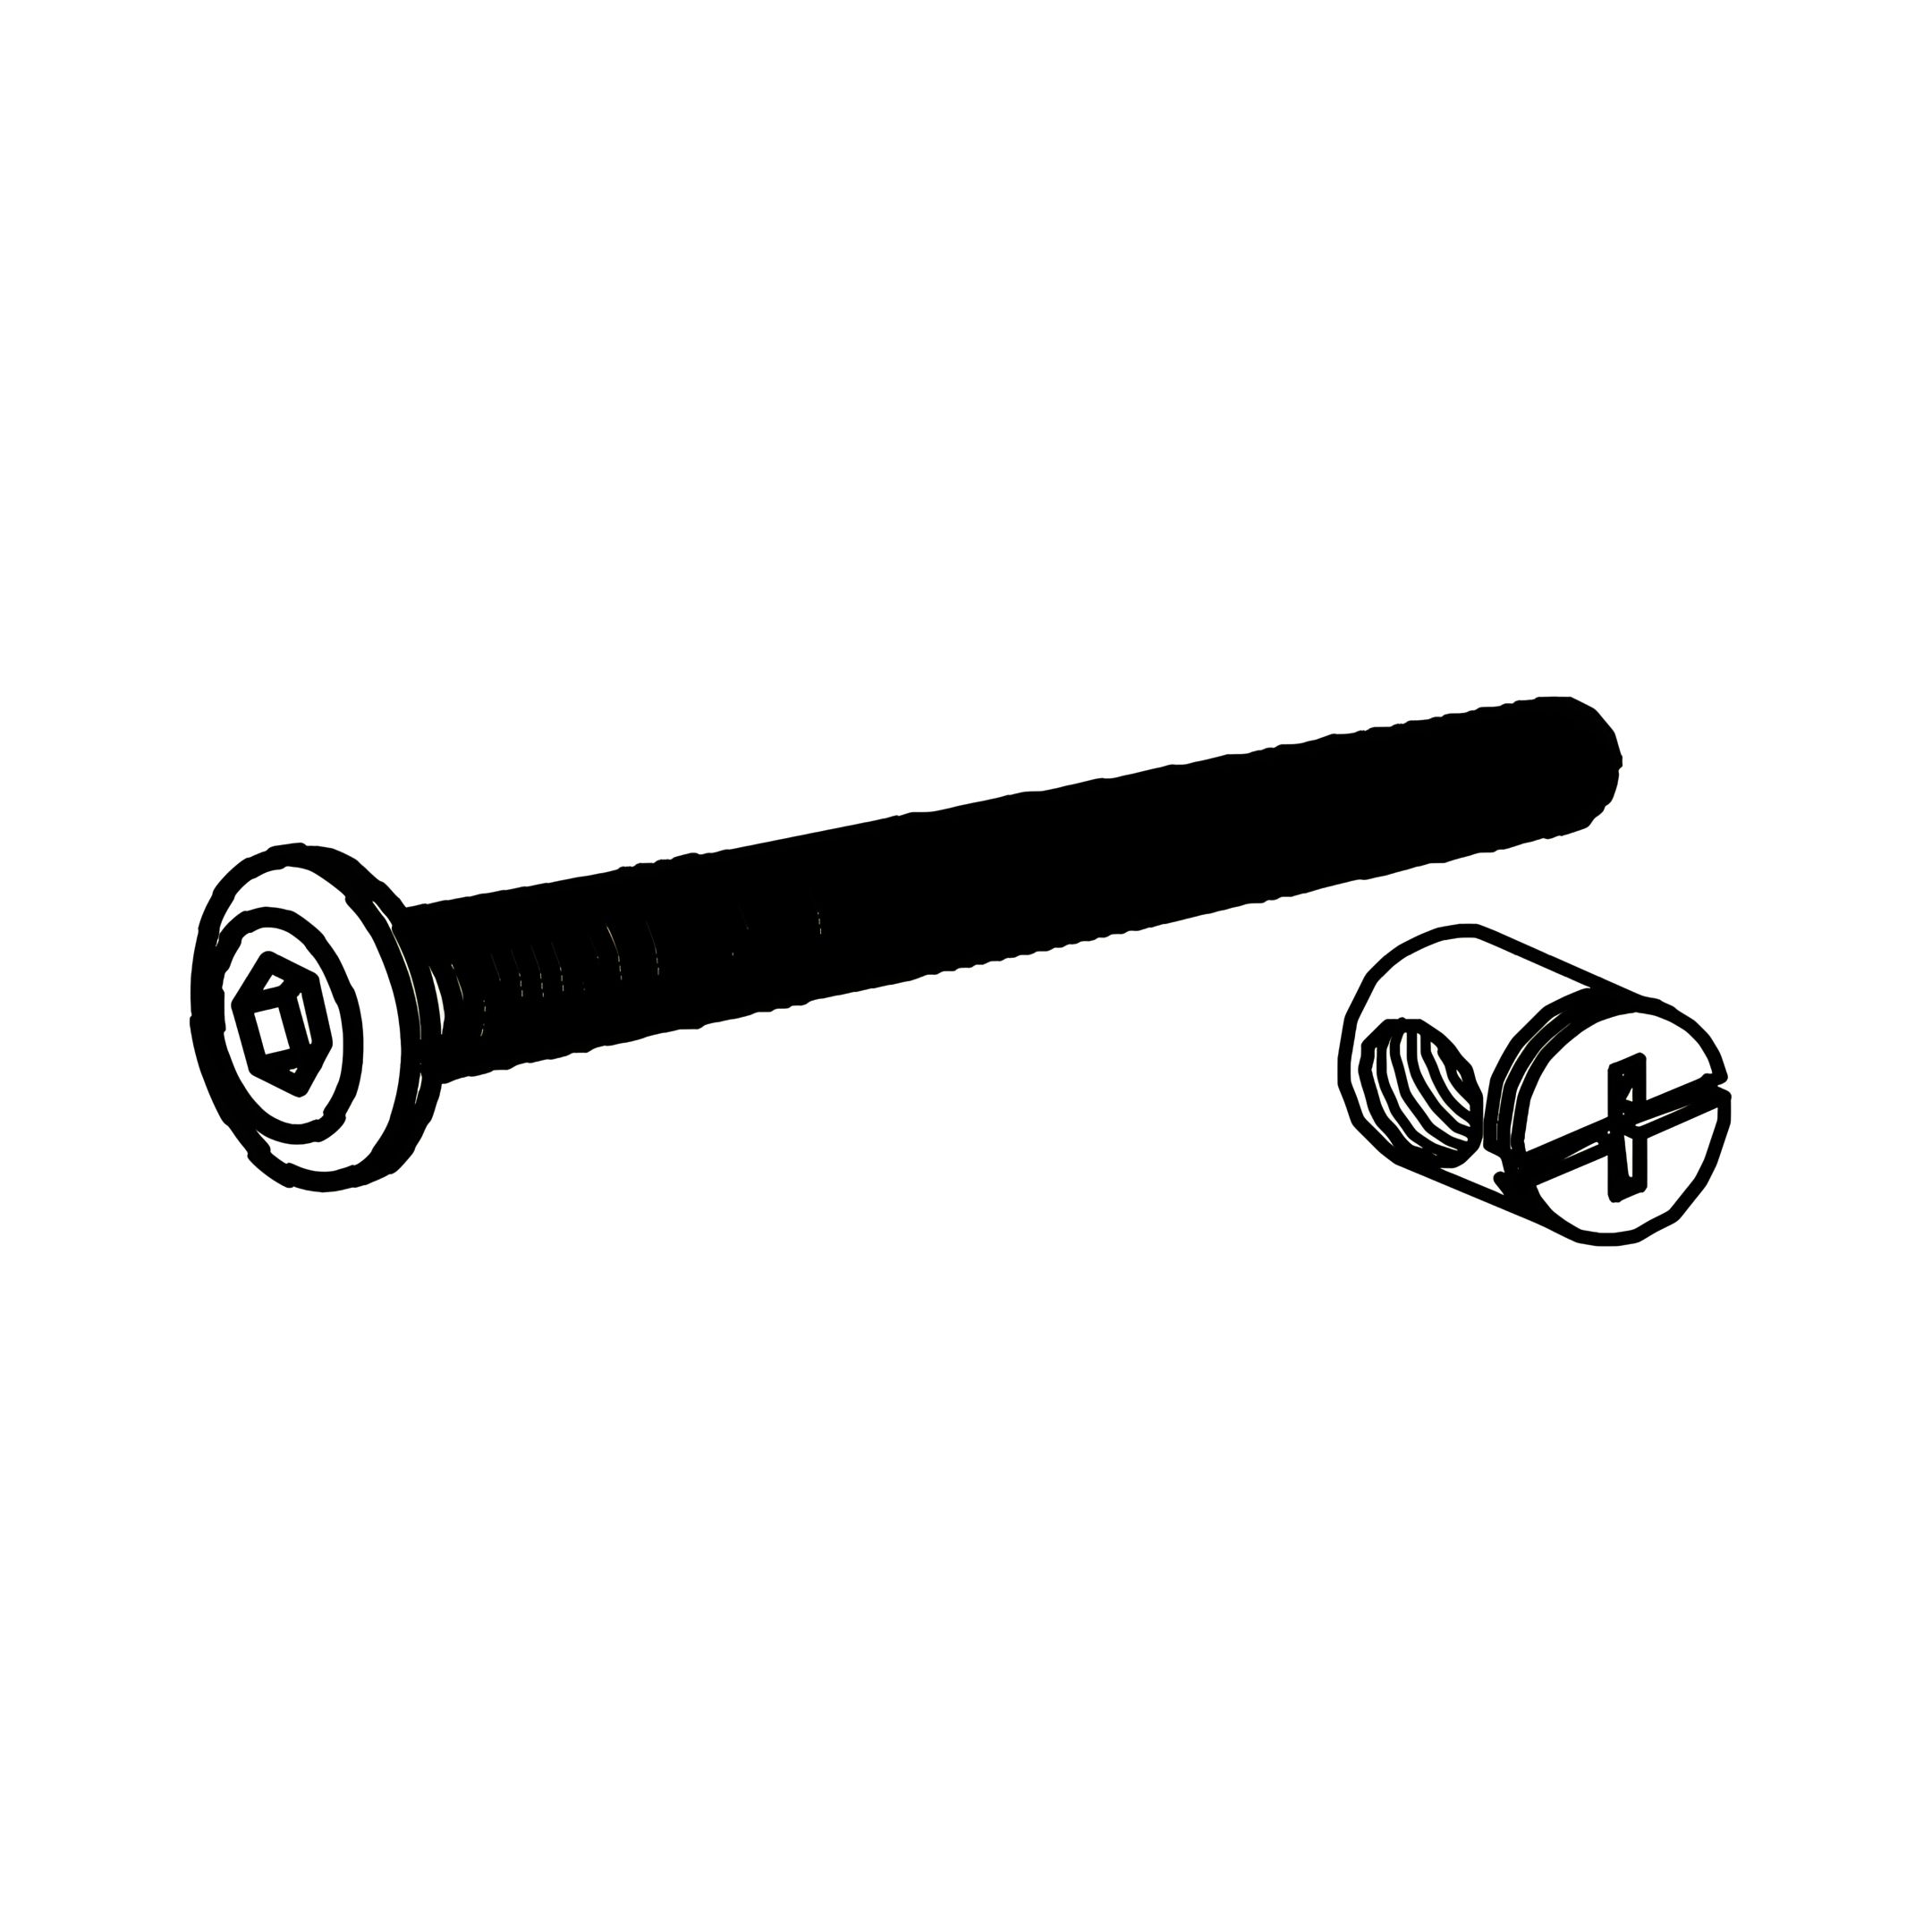
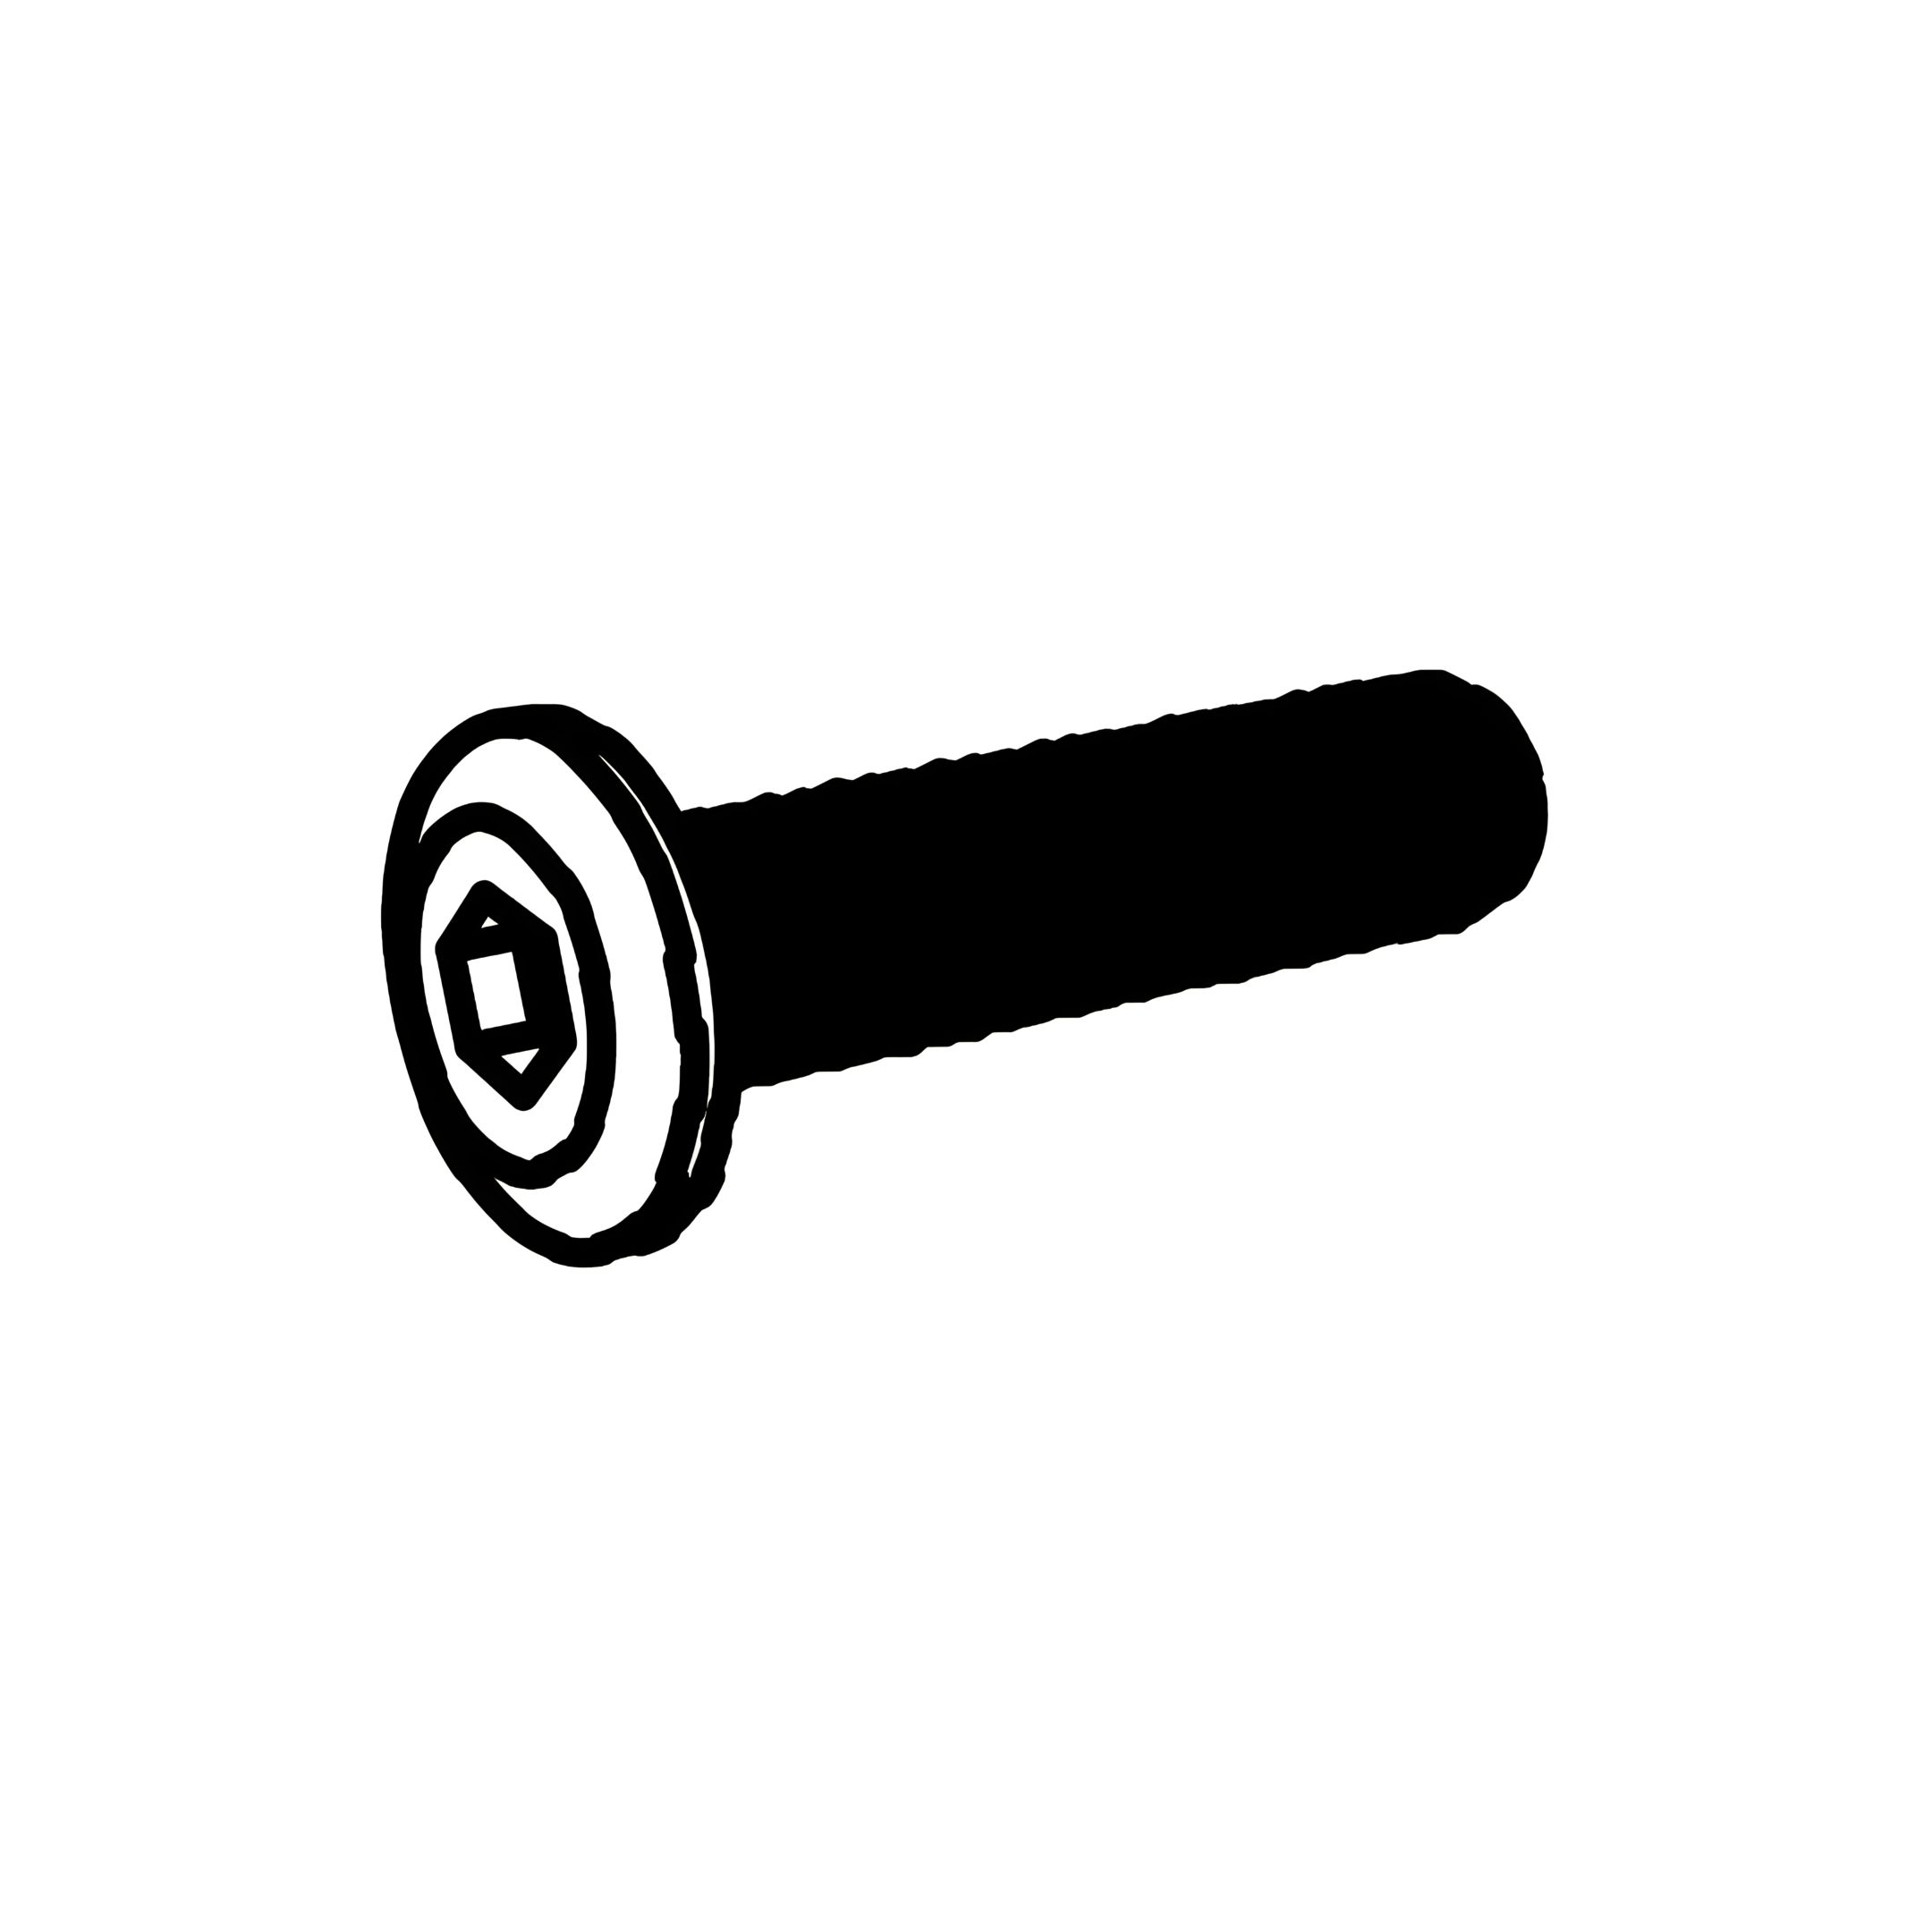
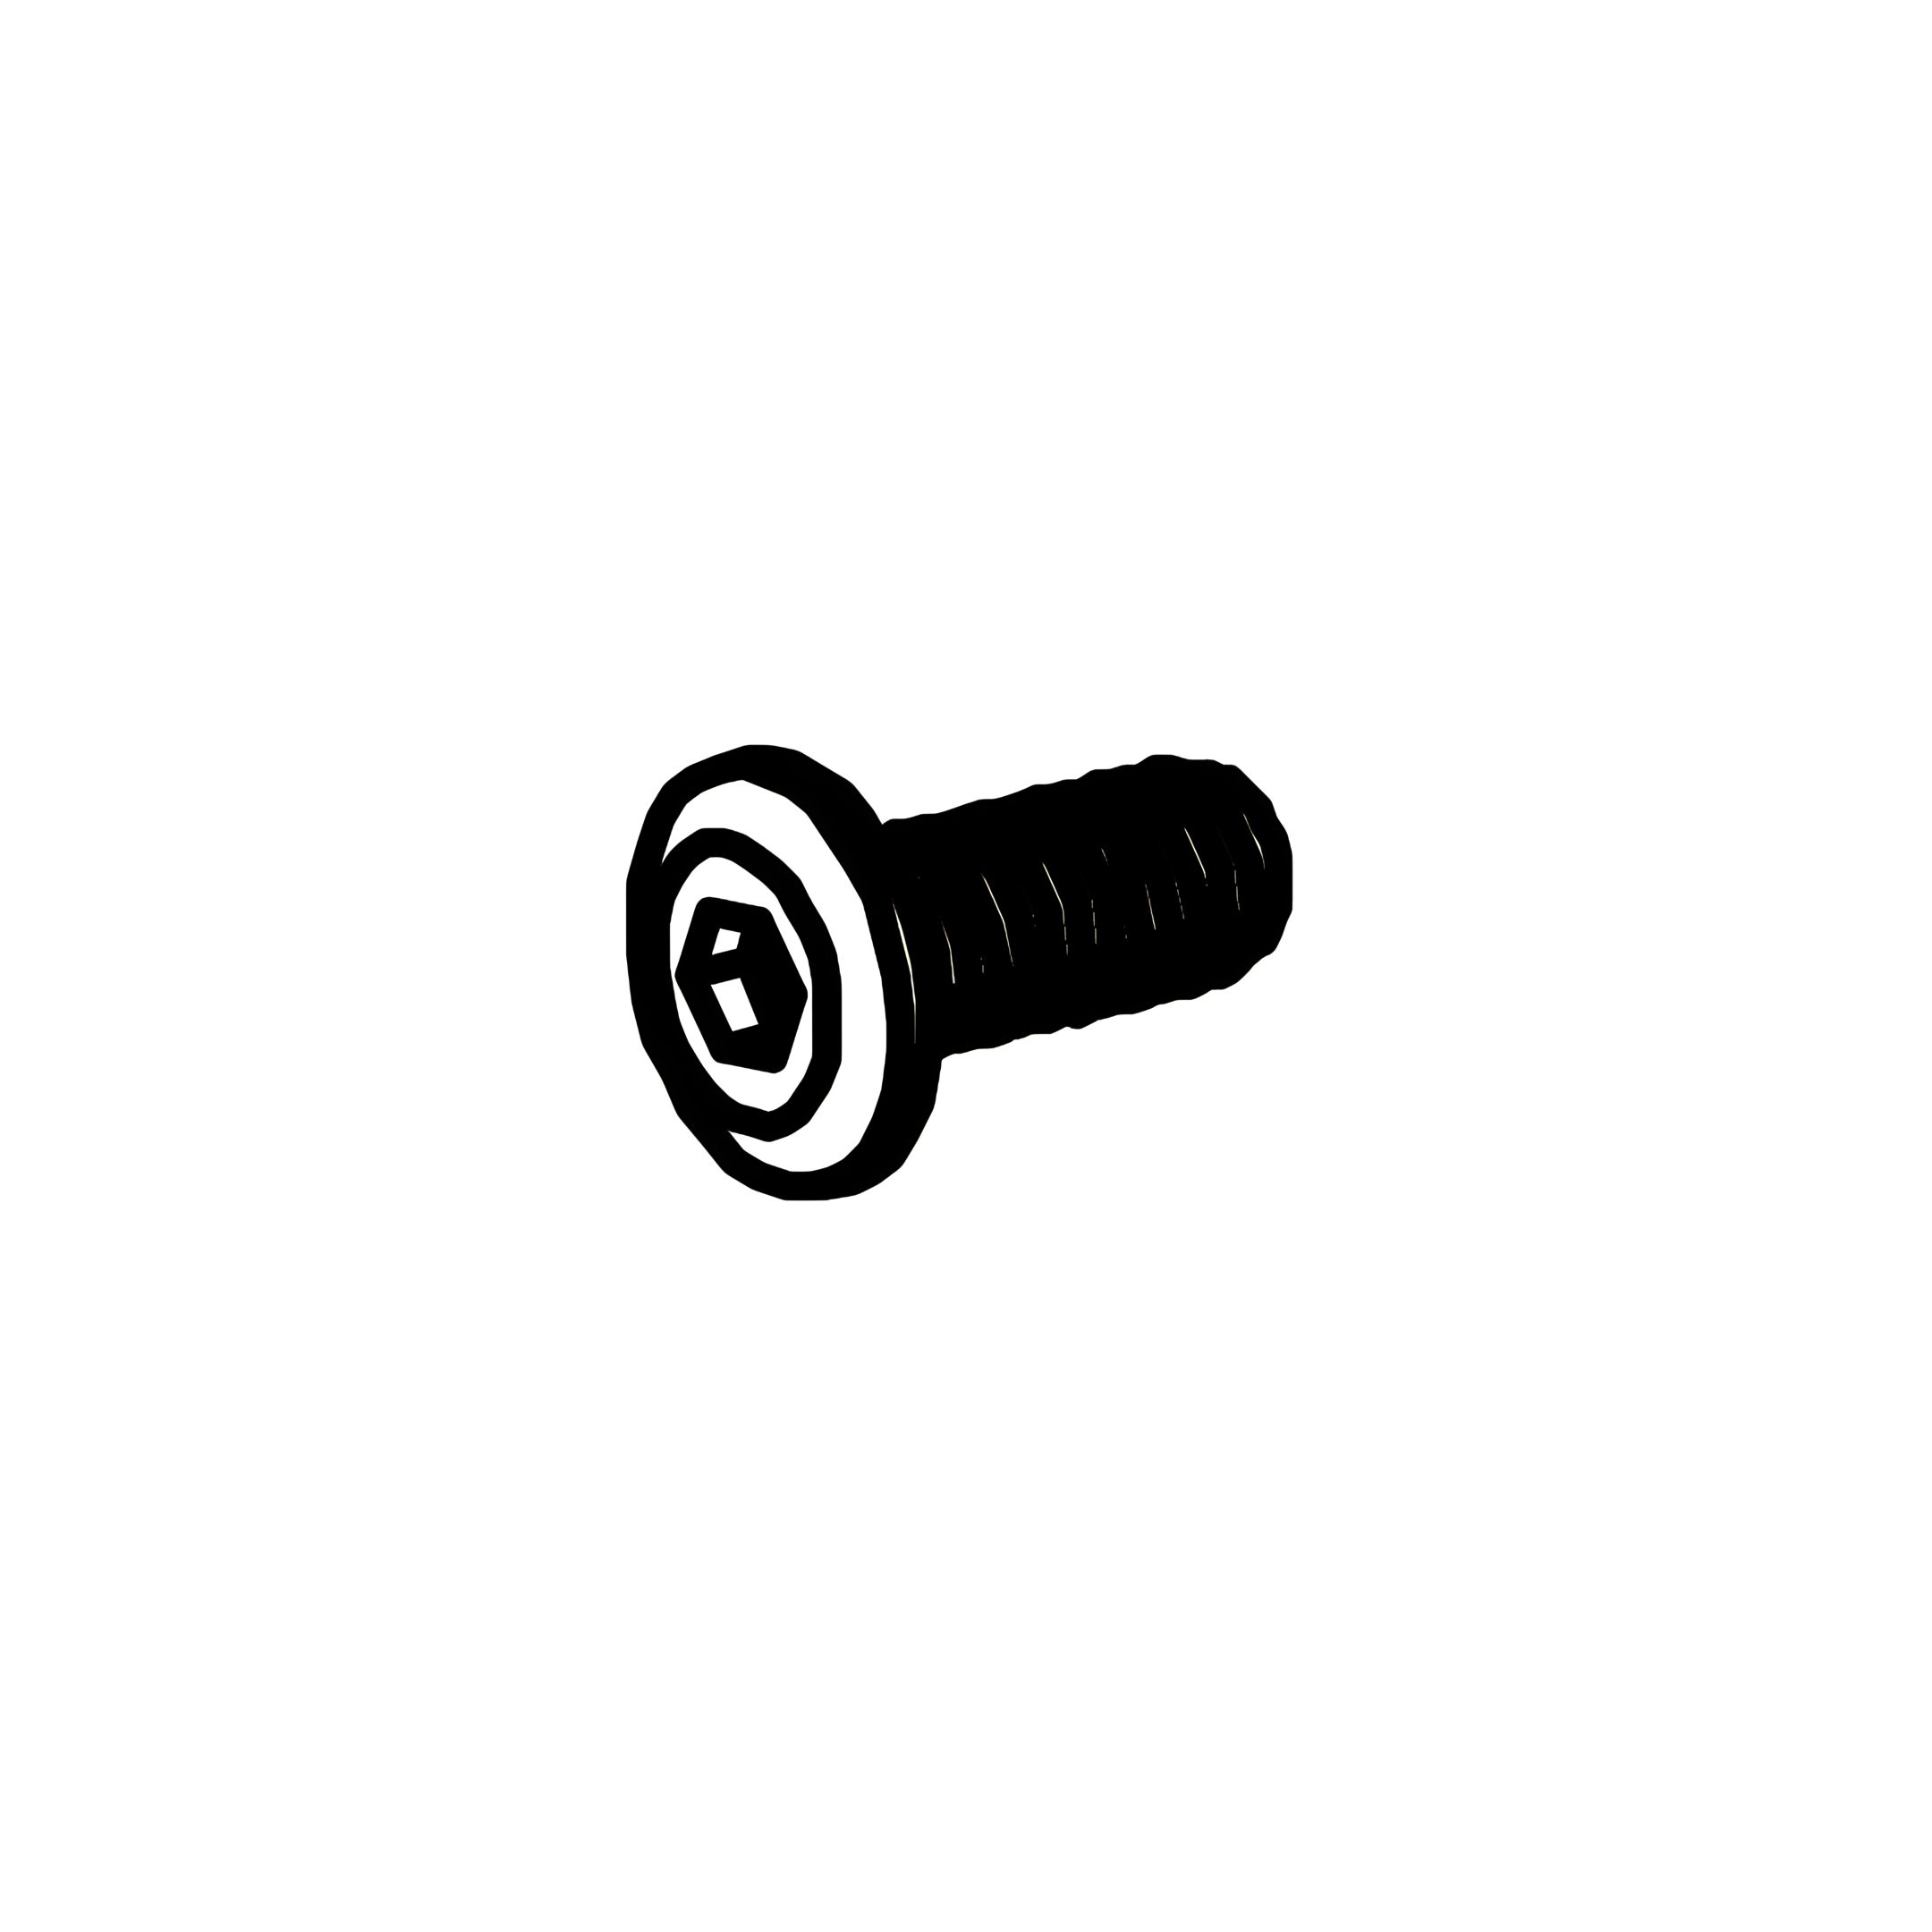
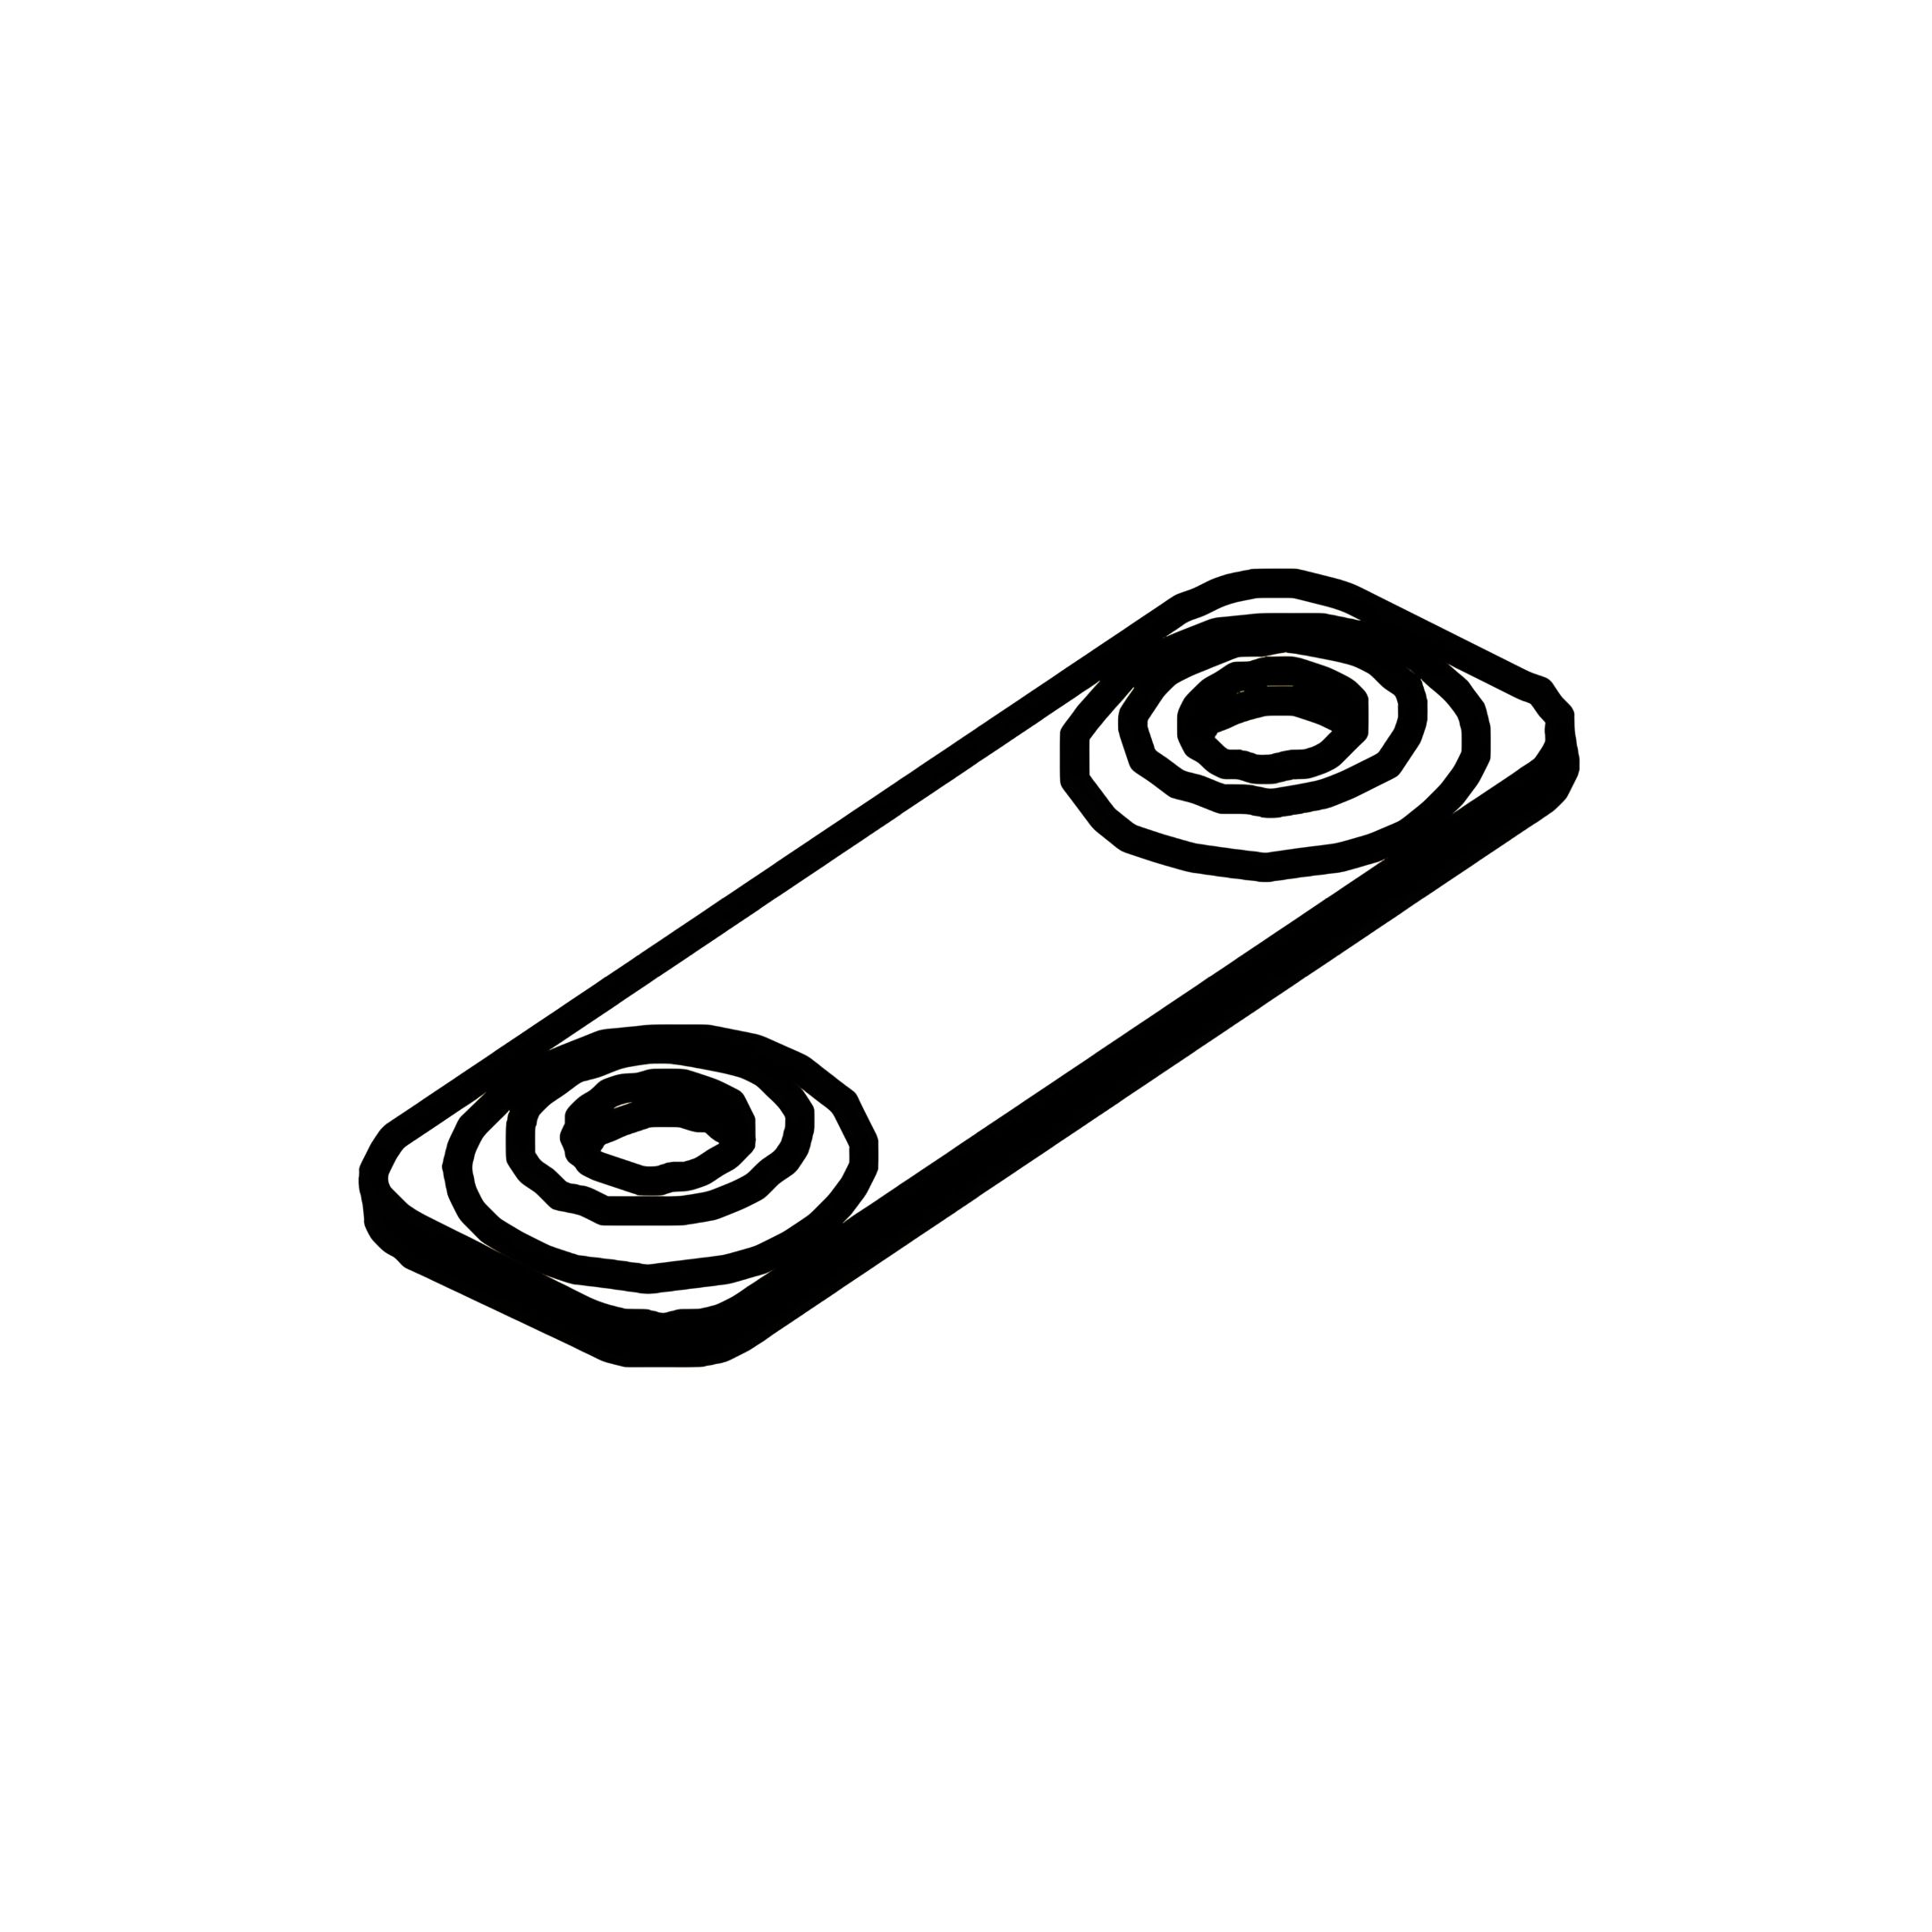
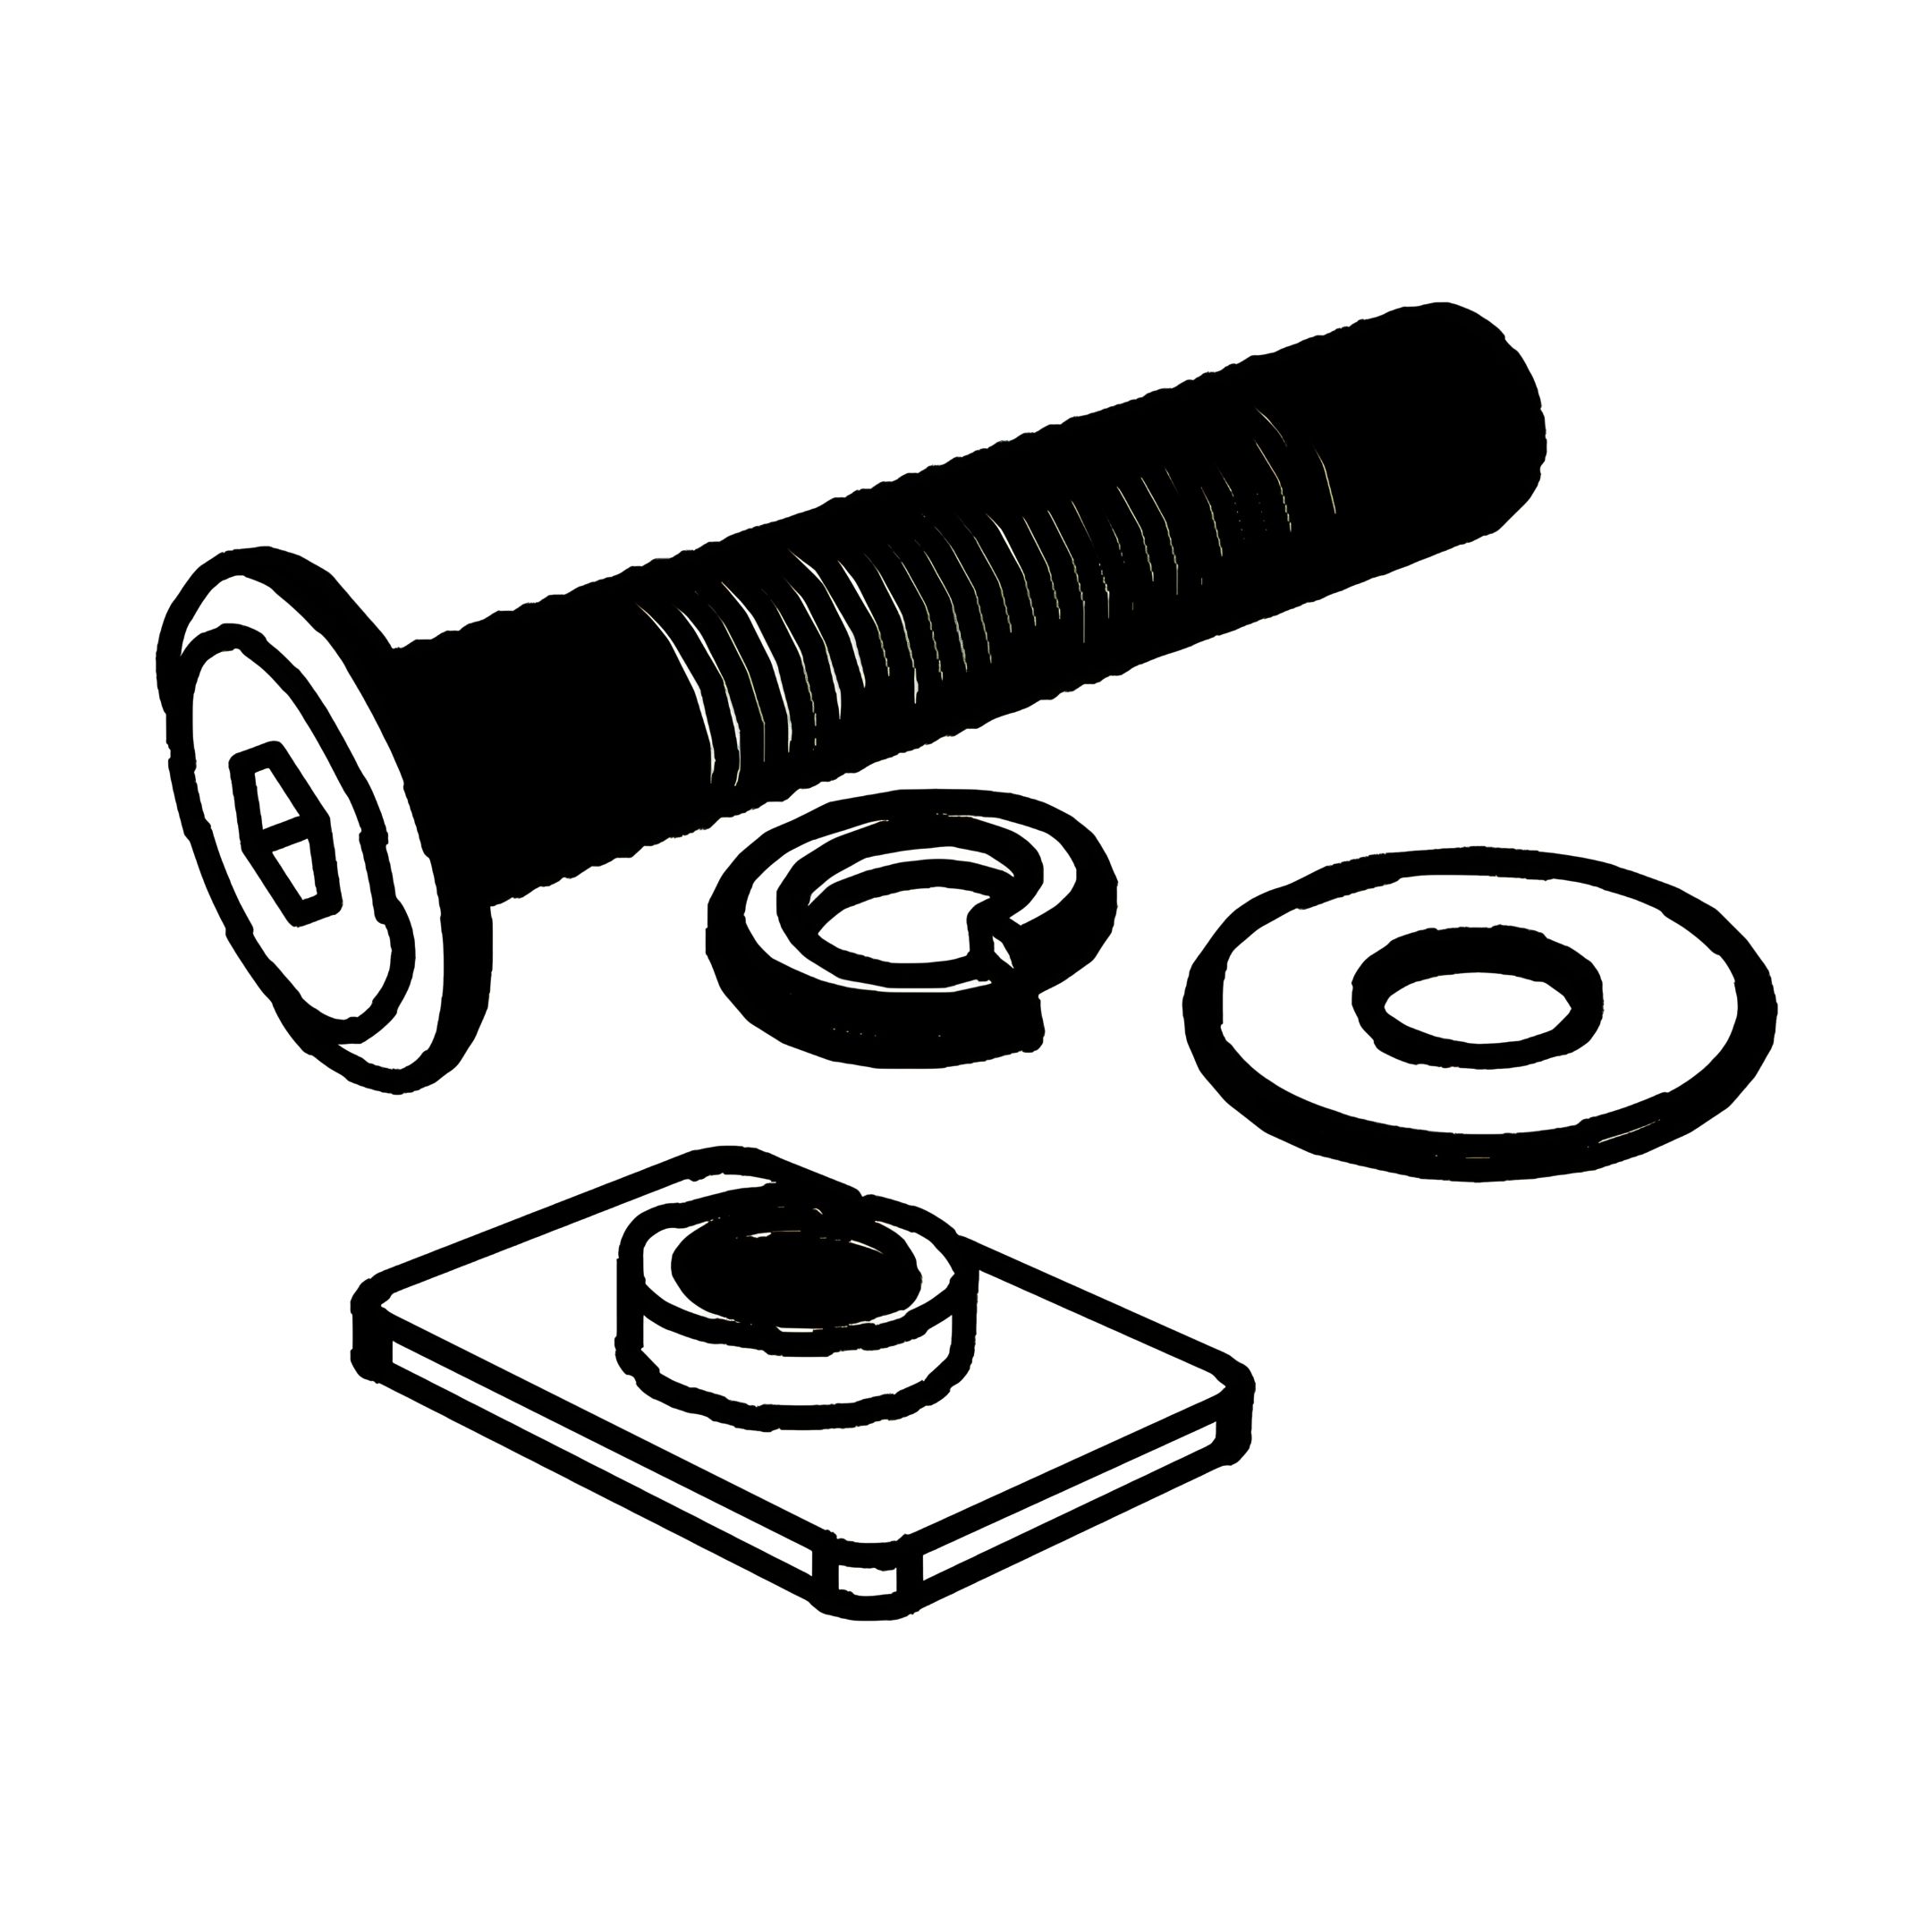
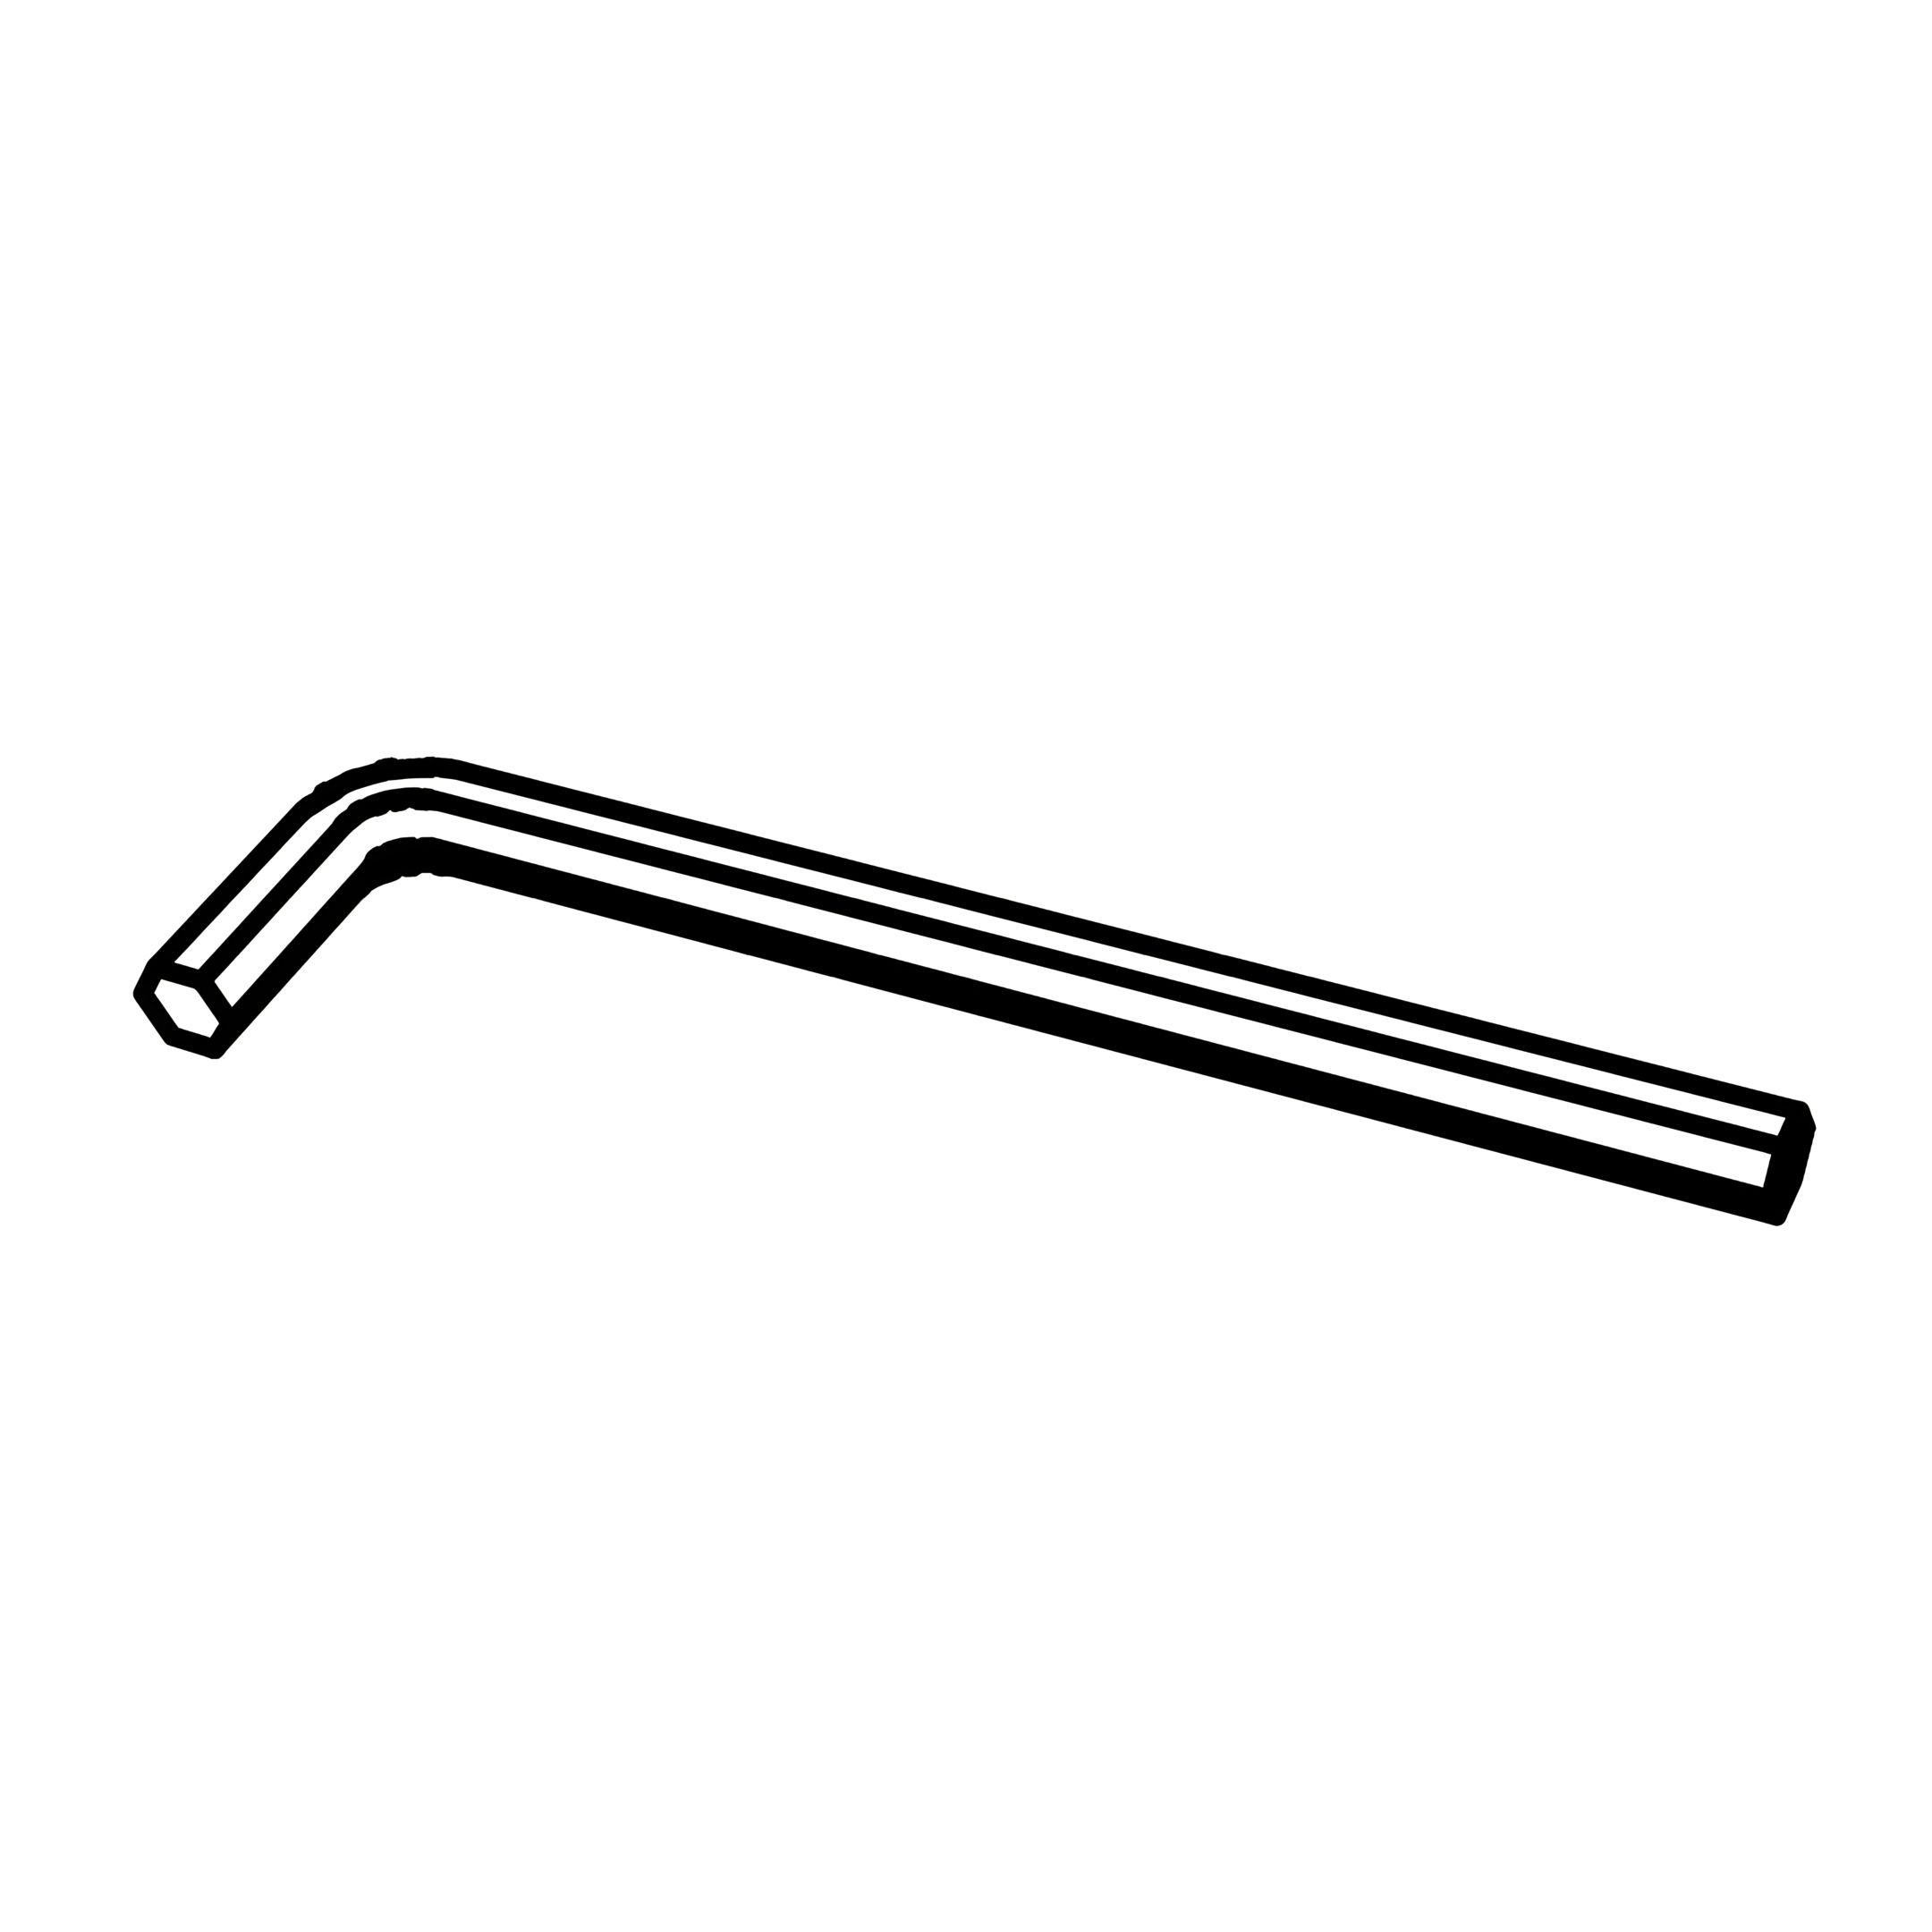
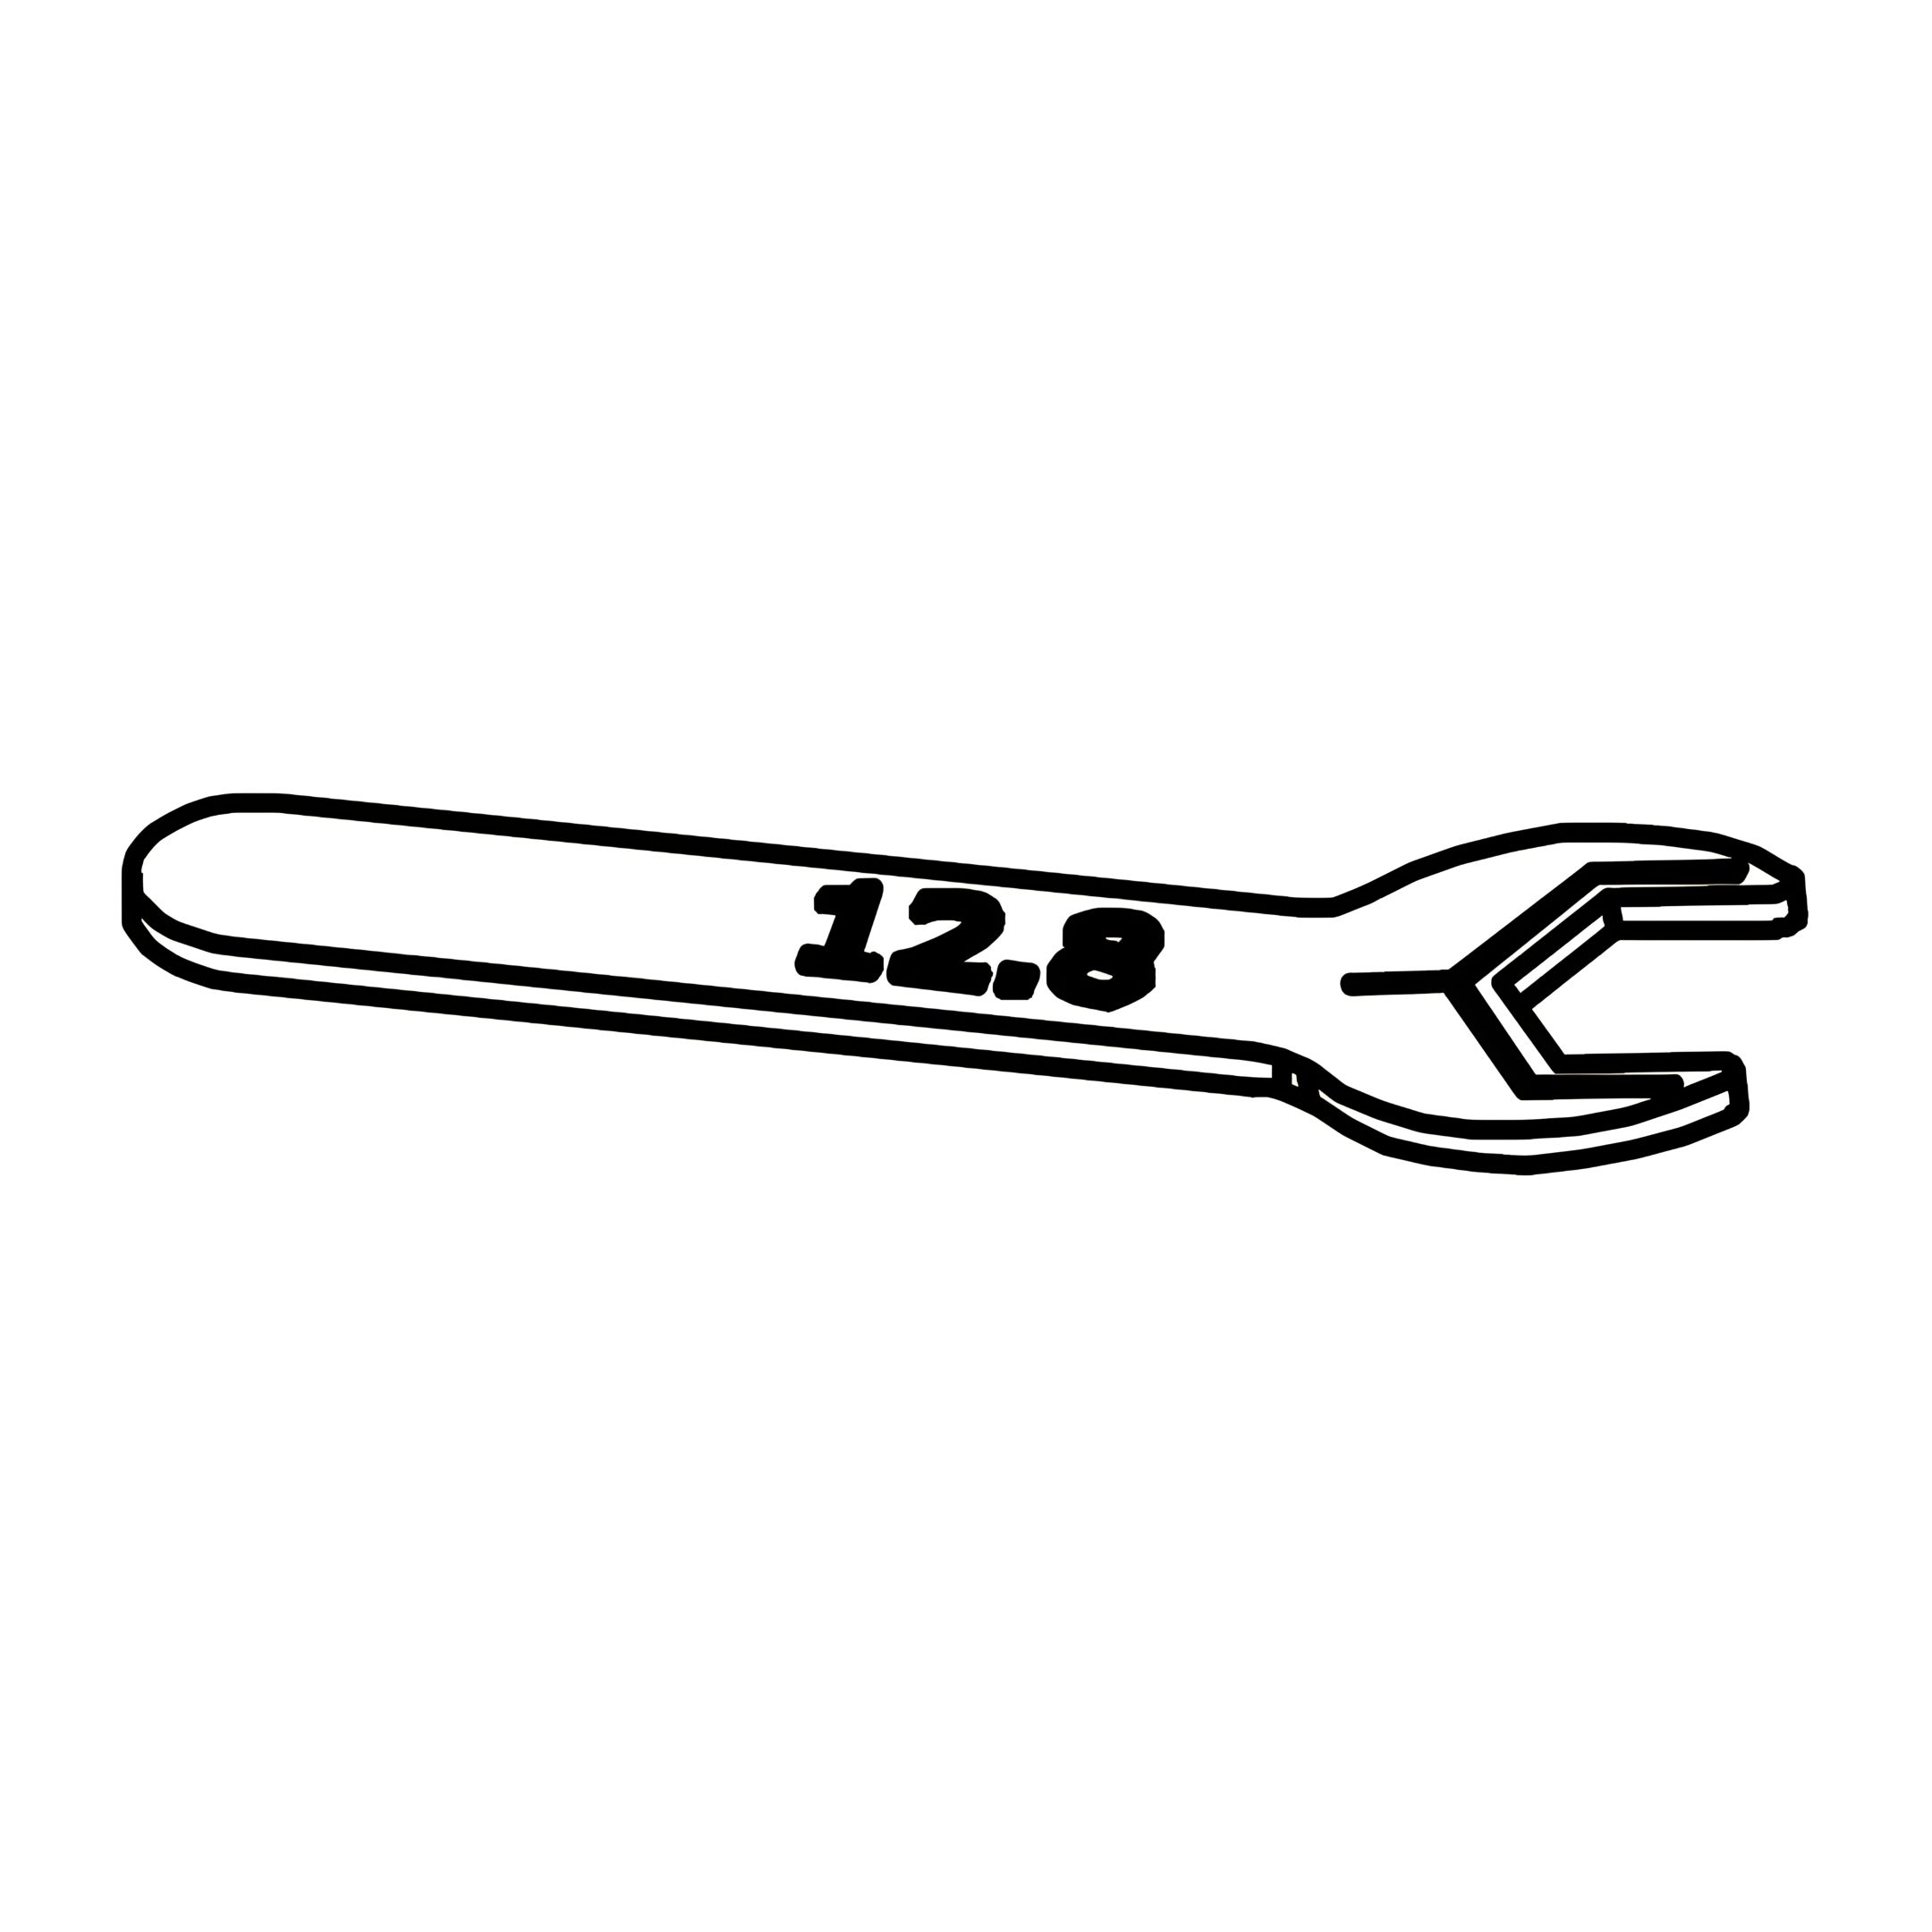
Secure the headboard frame using hardware parts B, D and O, then secure the back storage panel with hardware parts B,H and I.