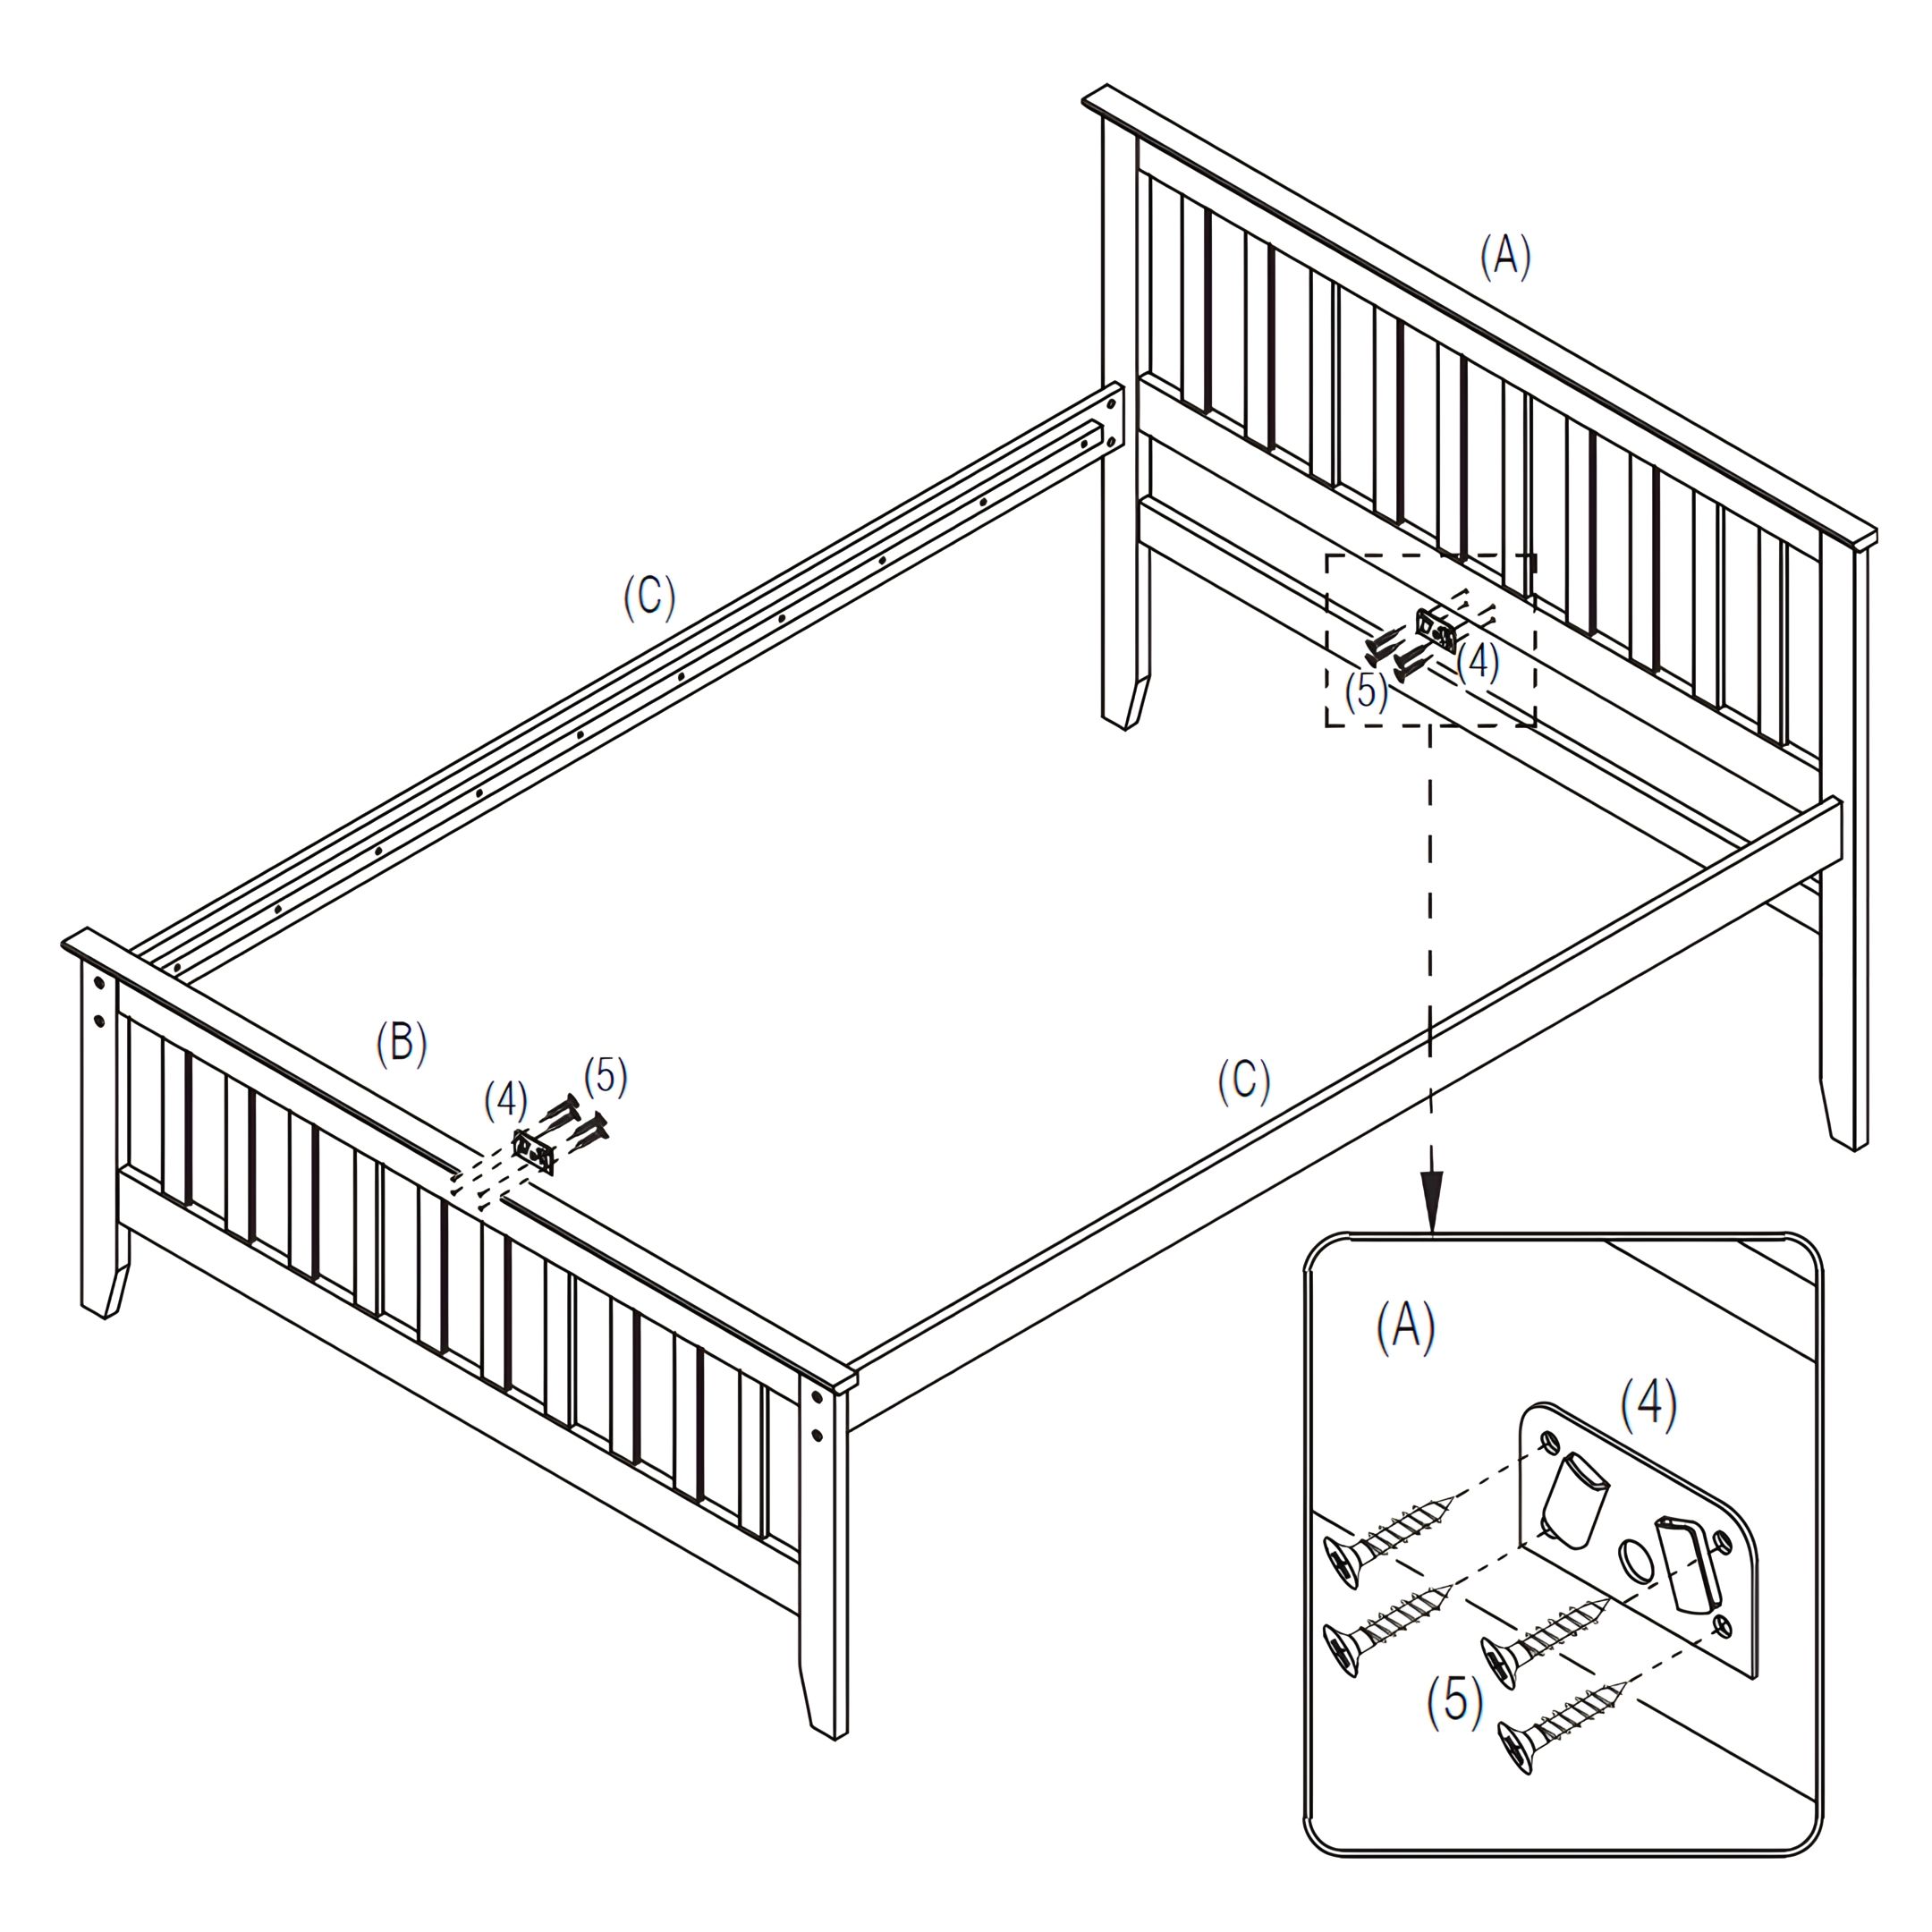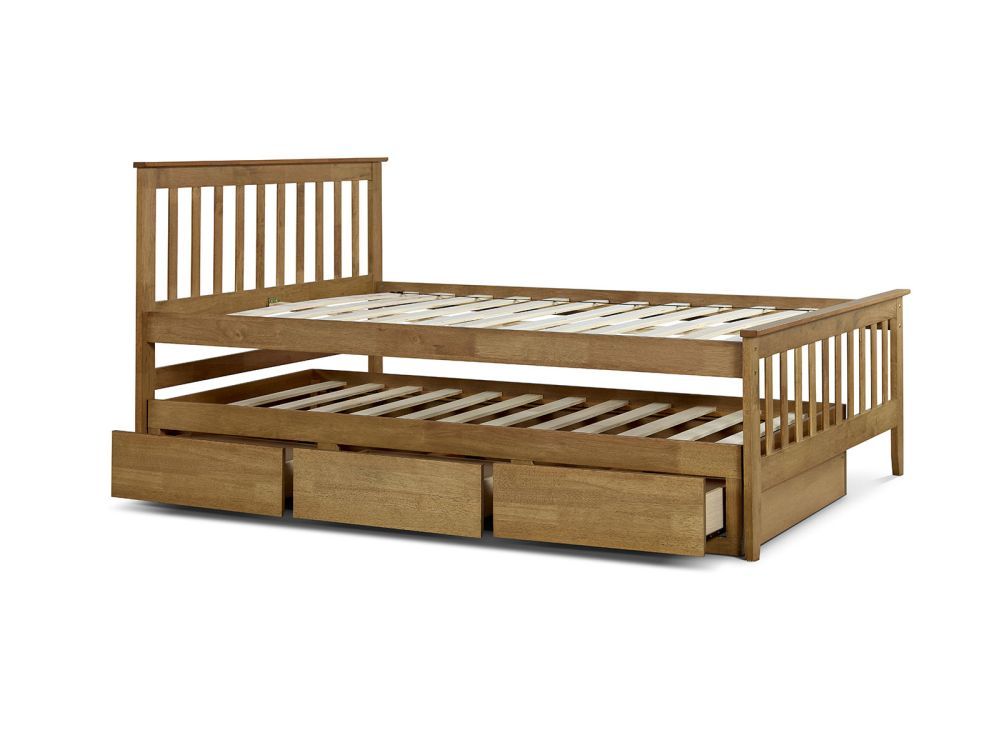


1. Assemble Bed Frame
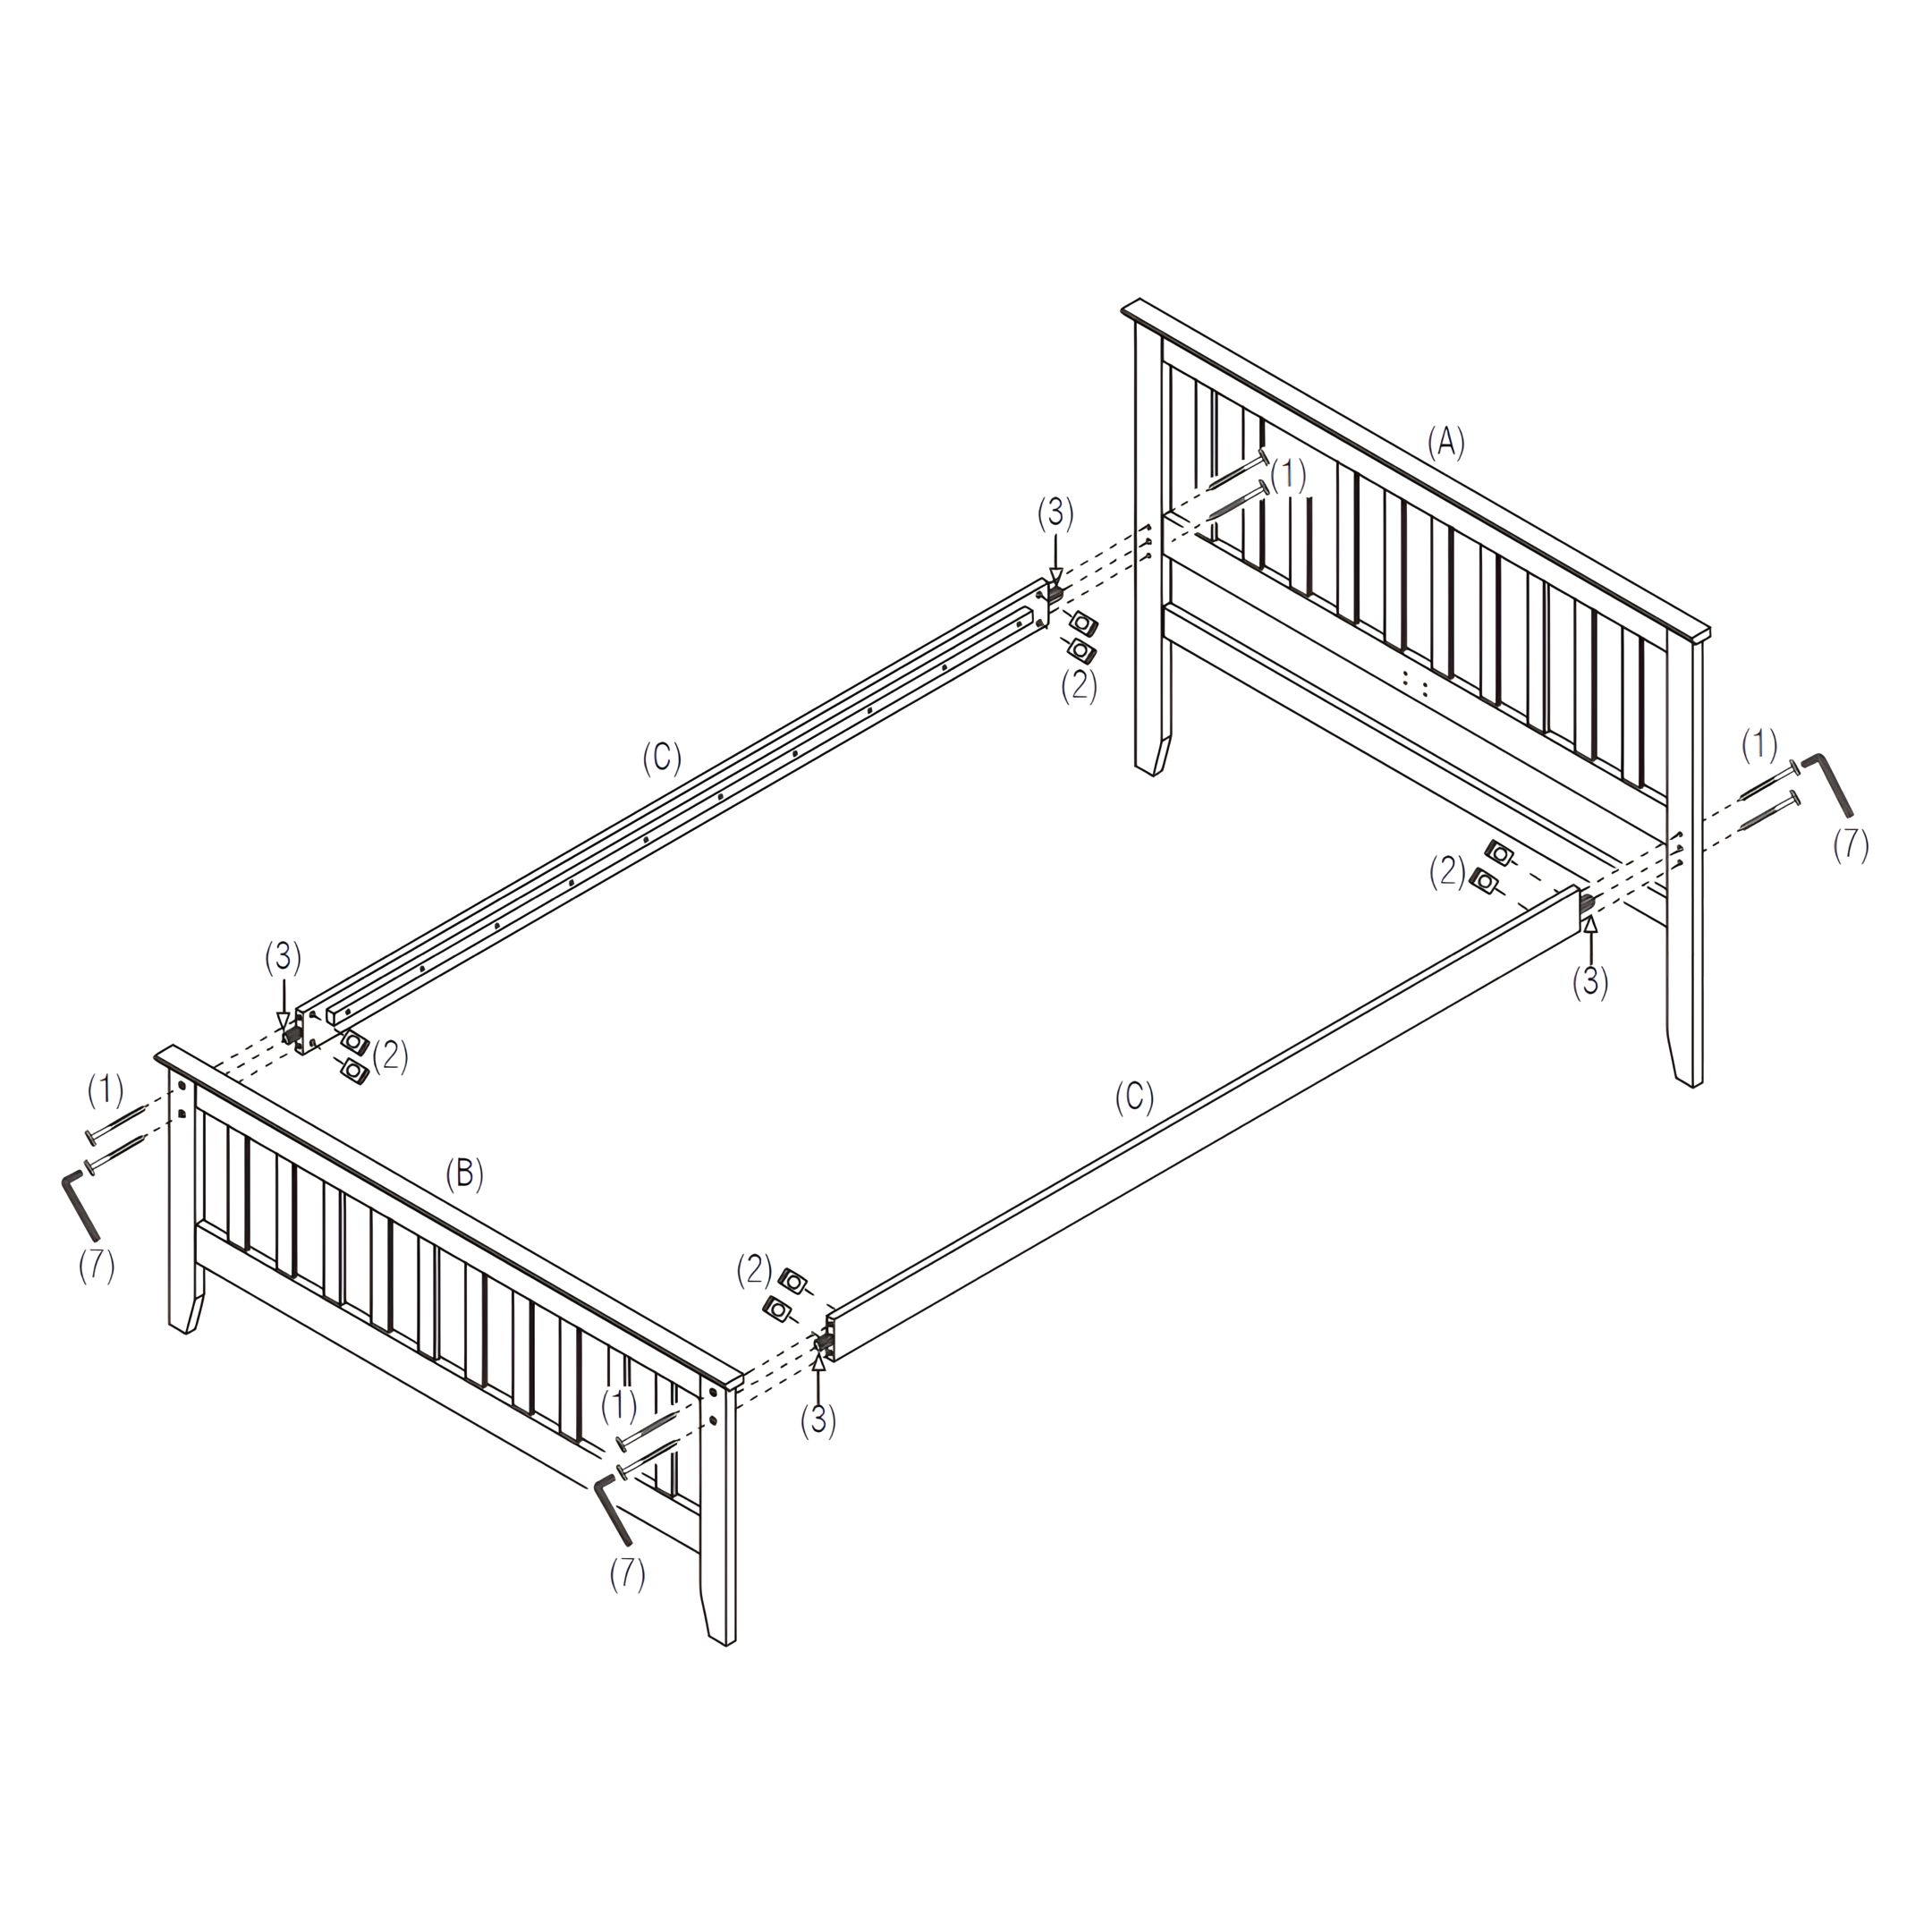
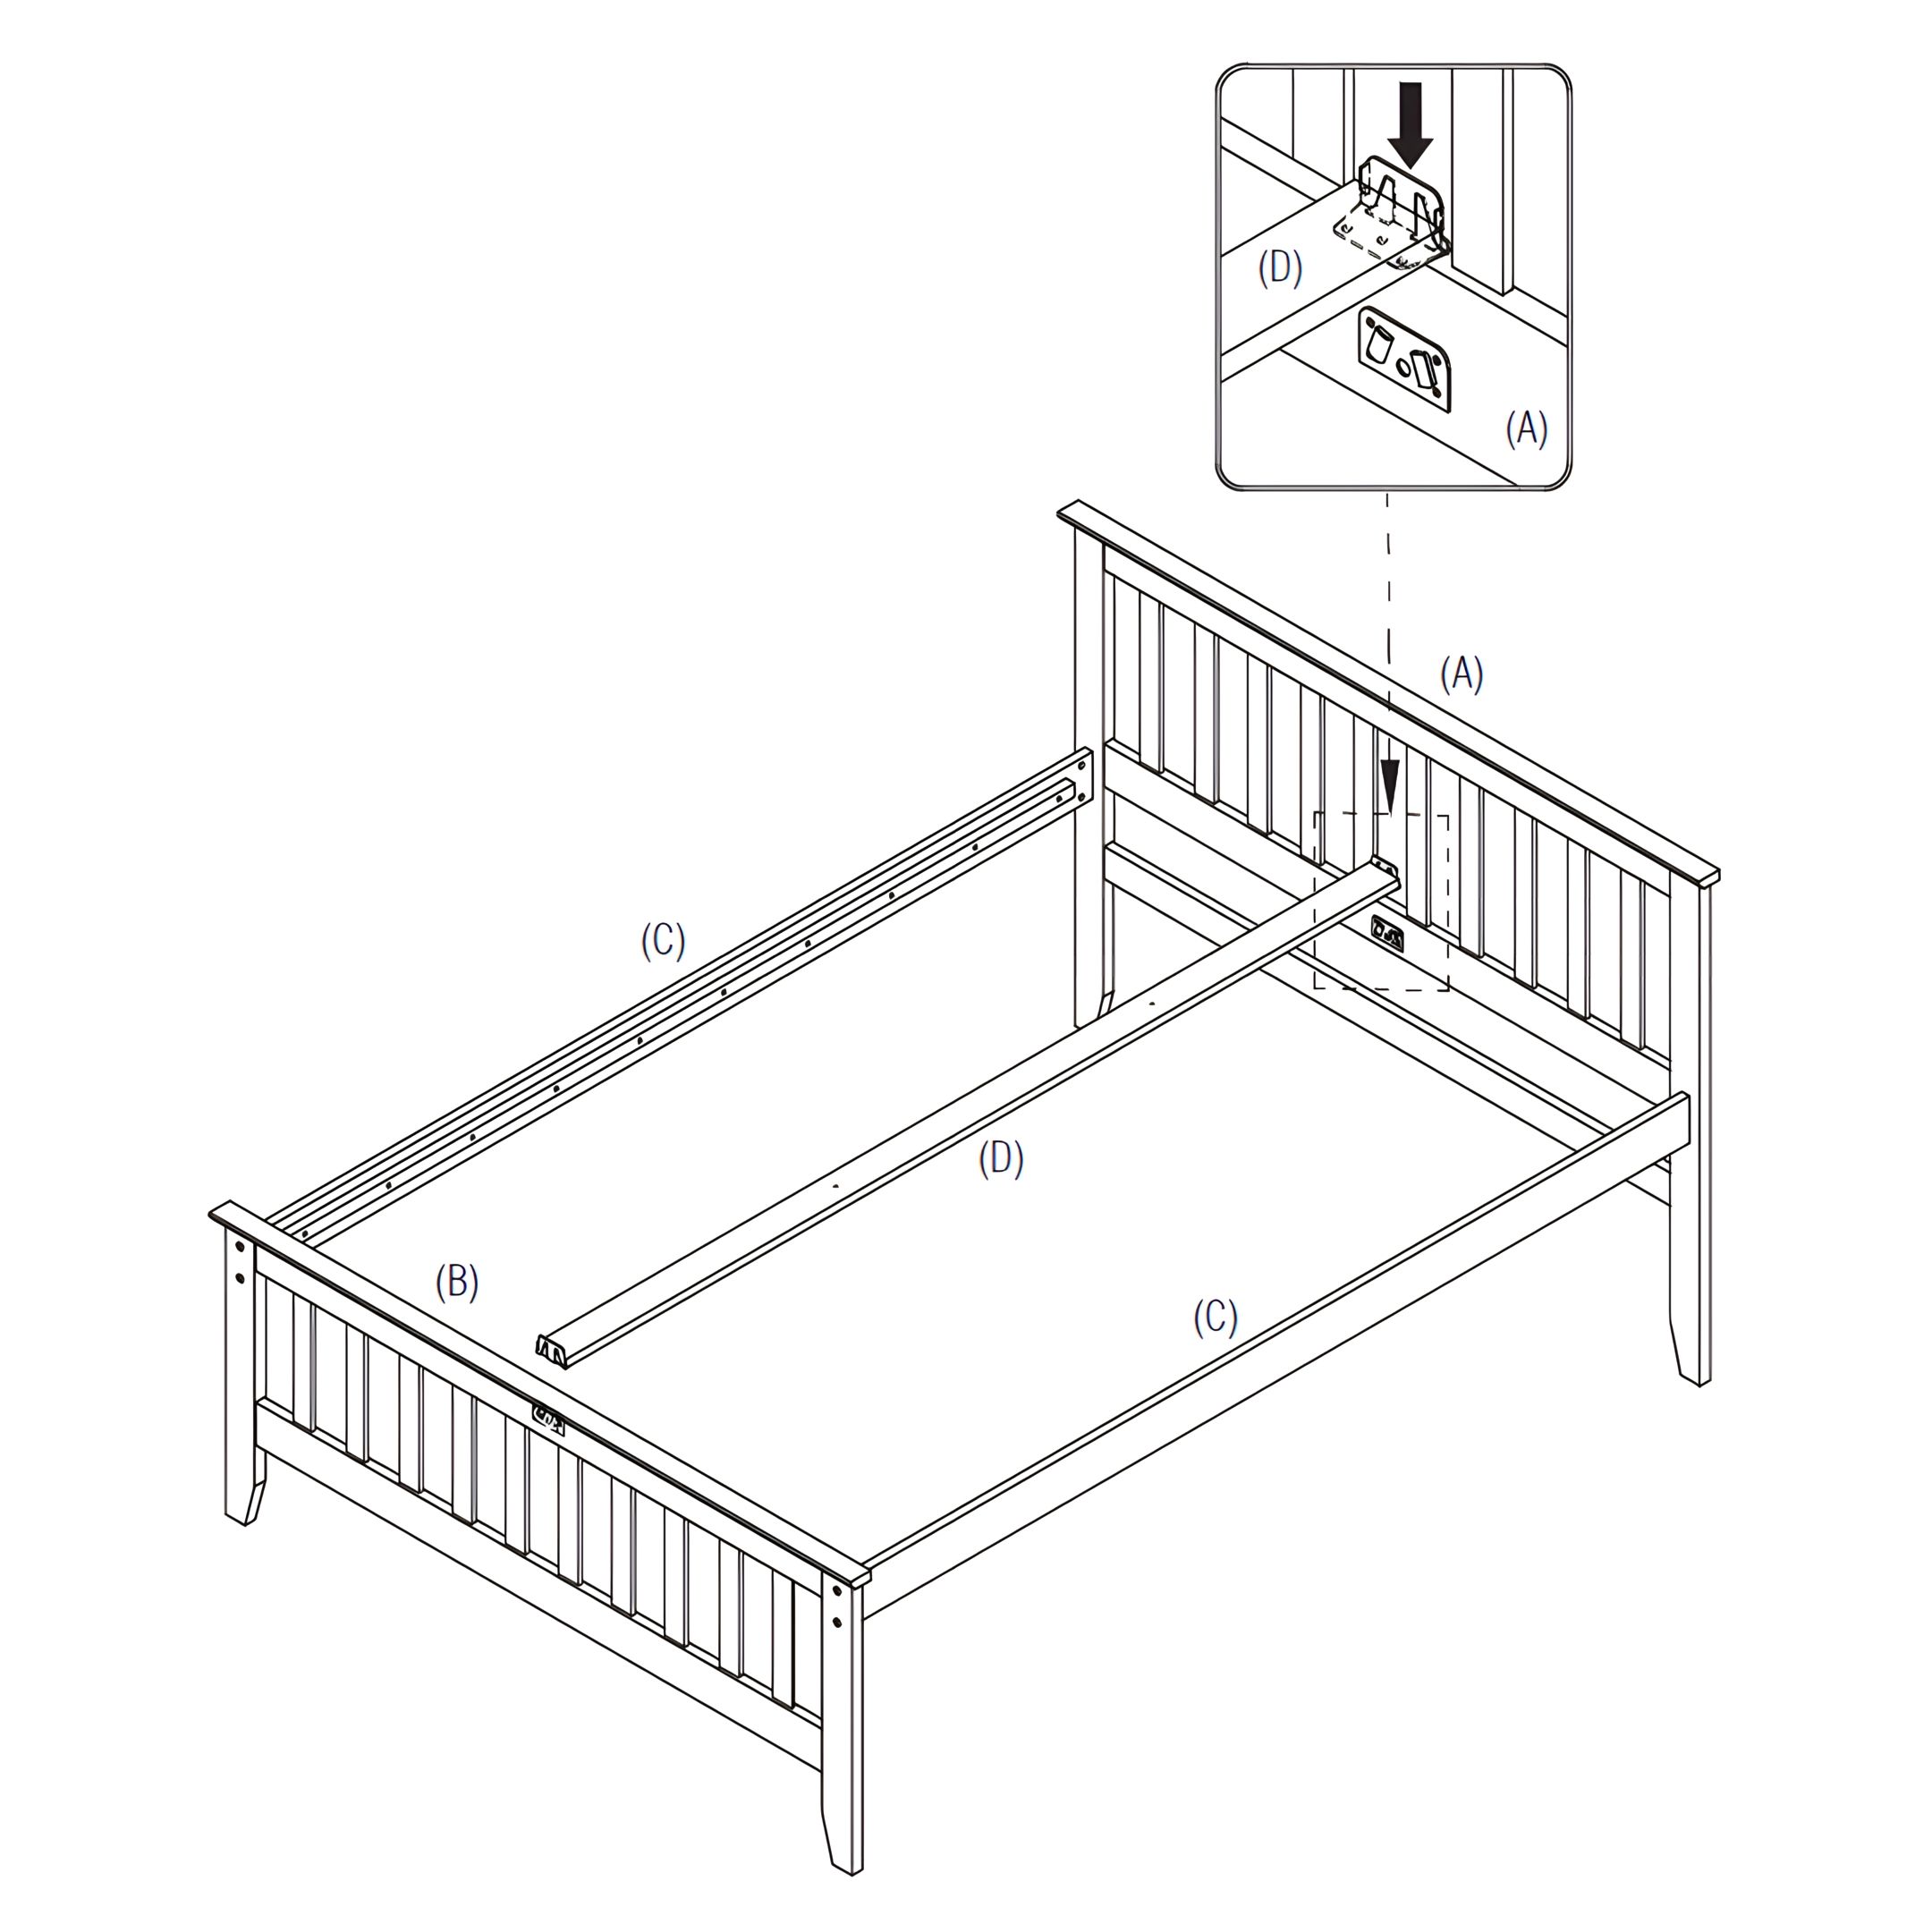
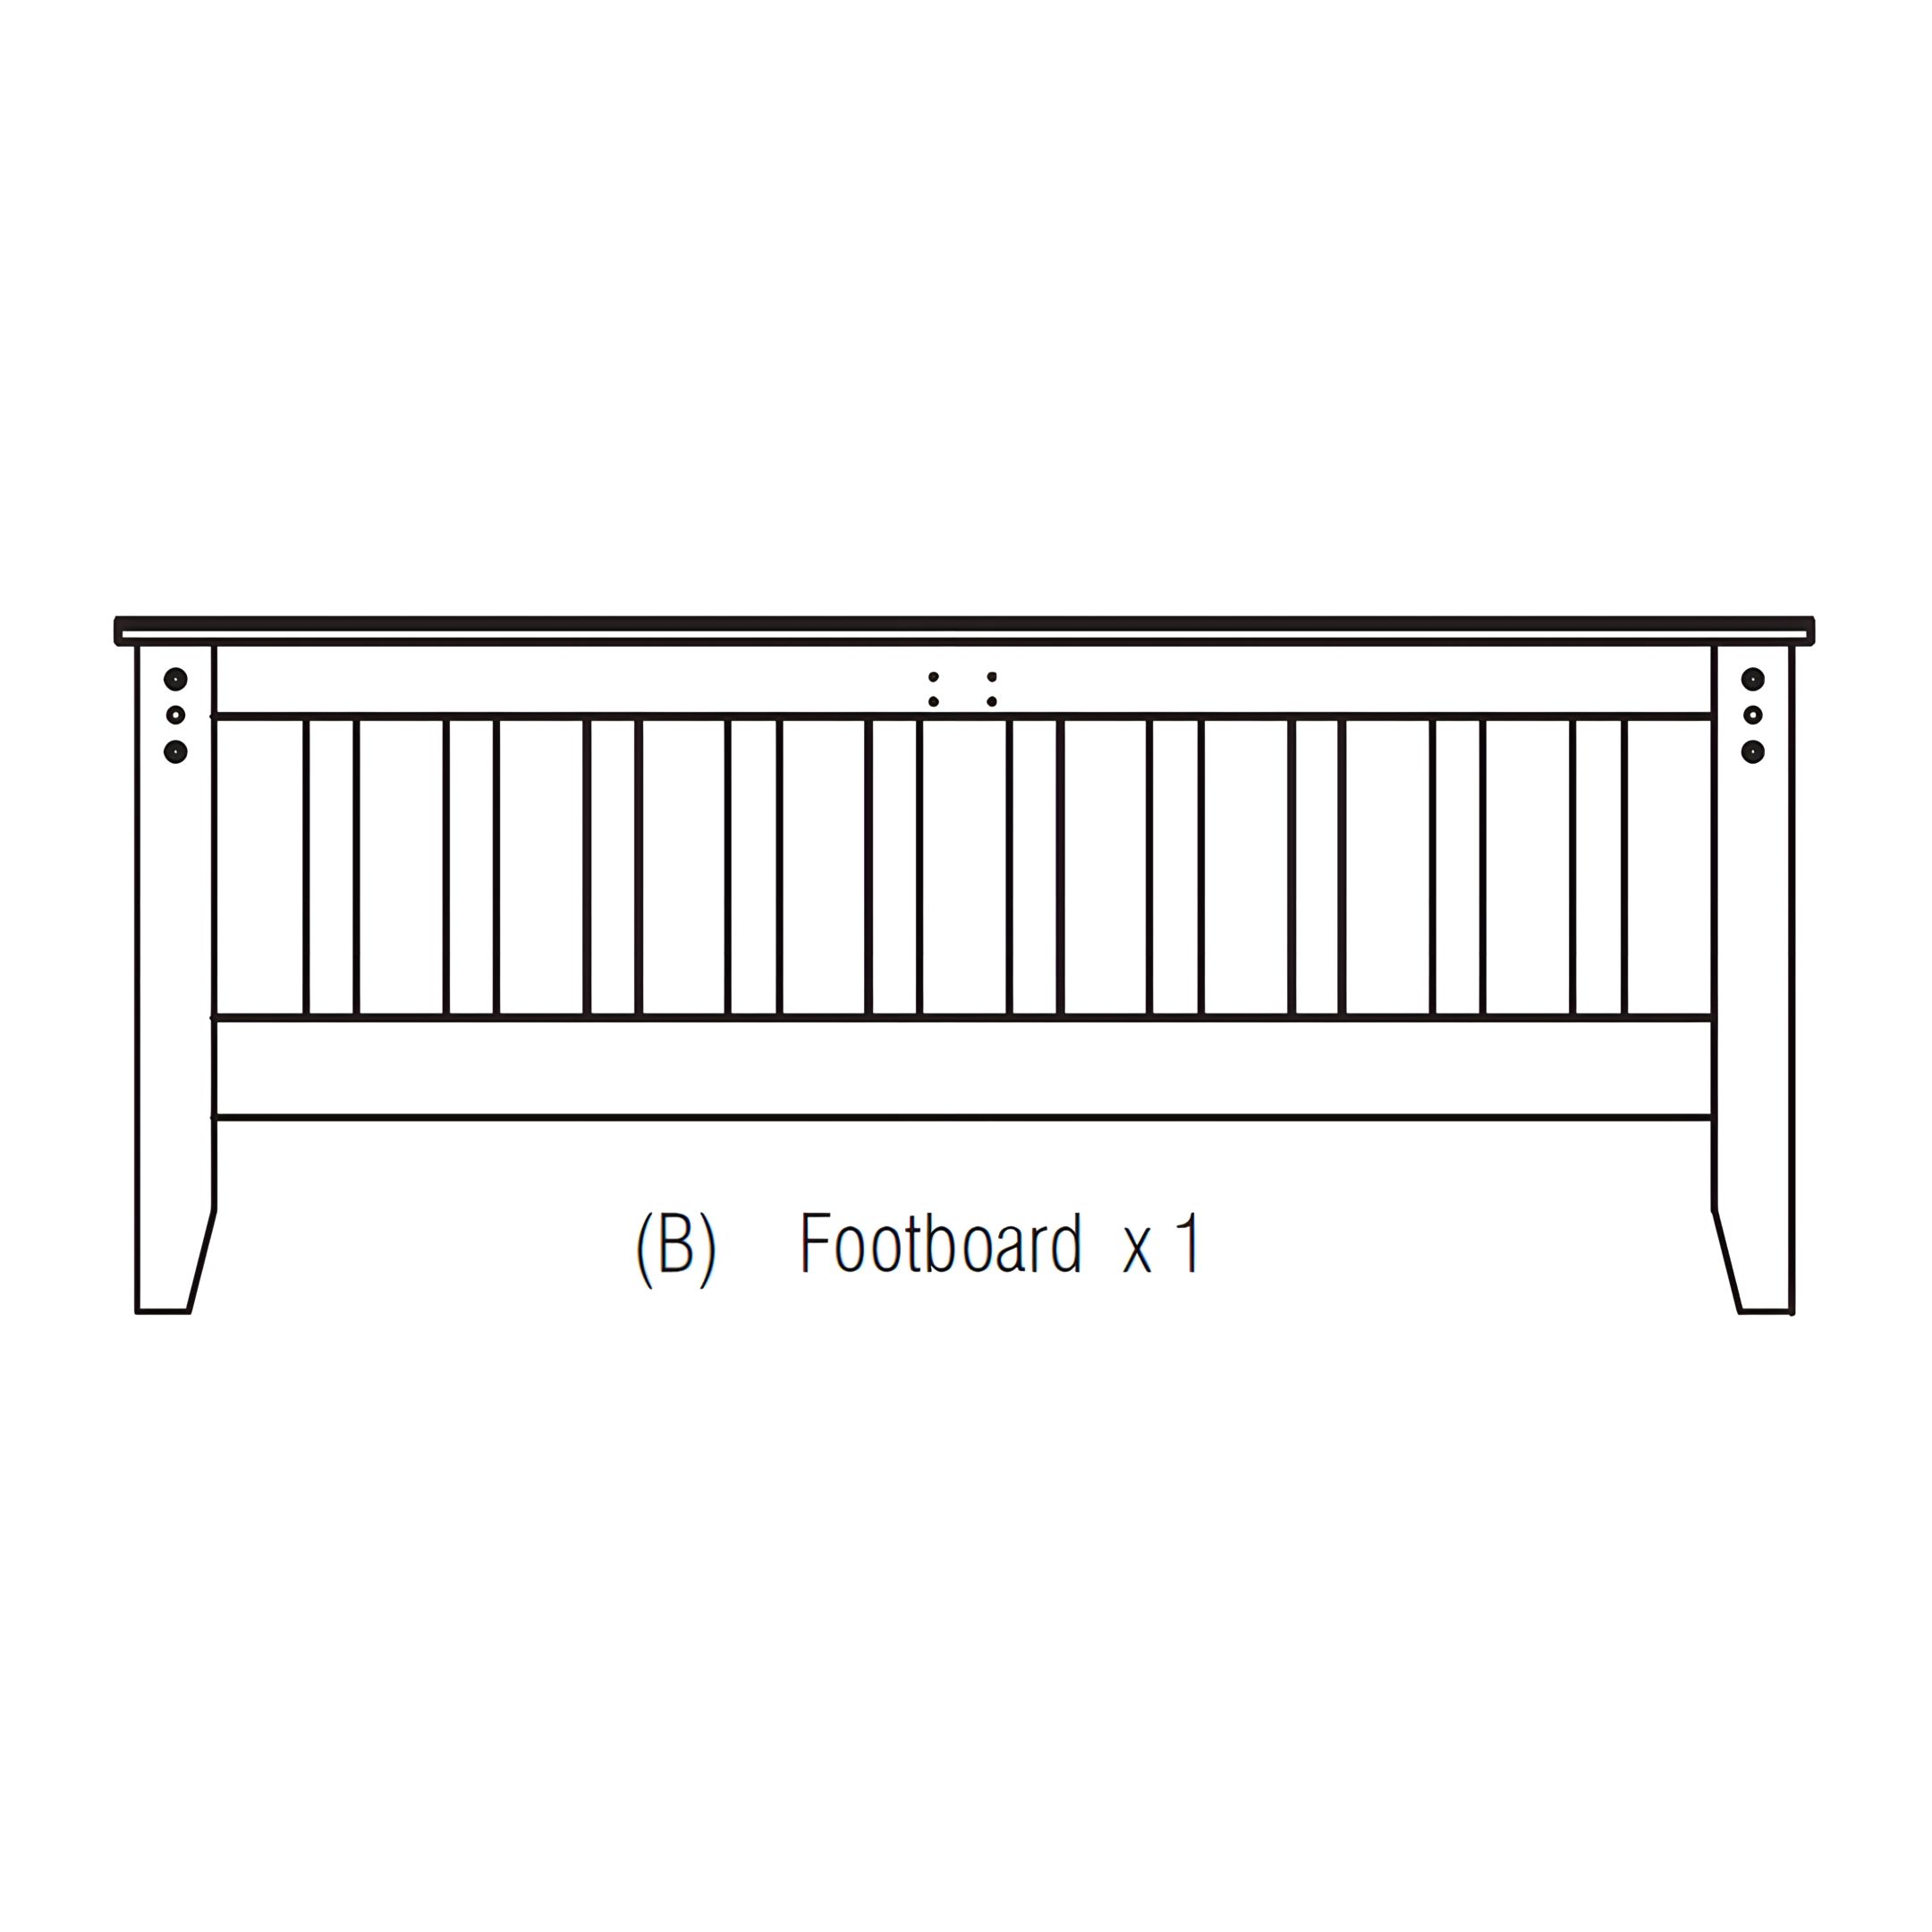
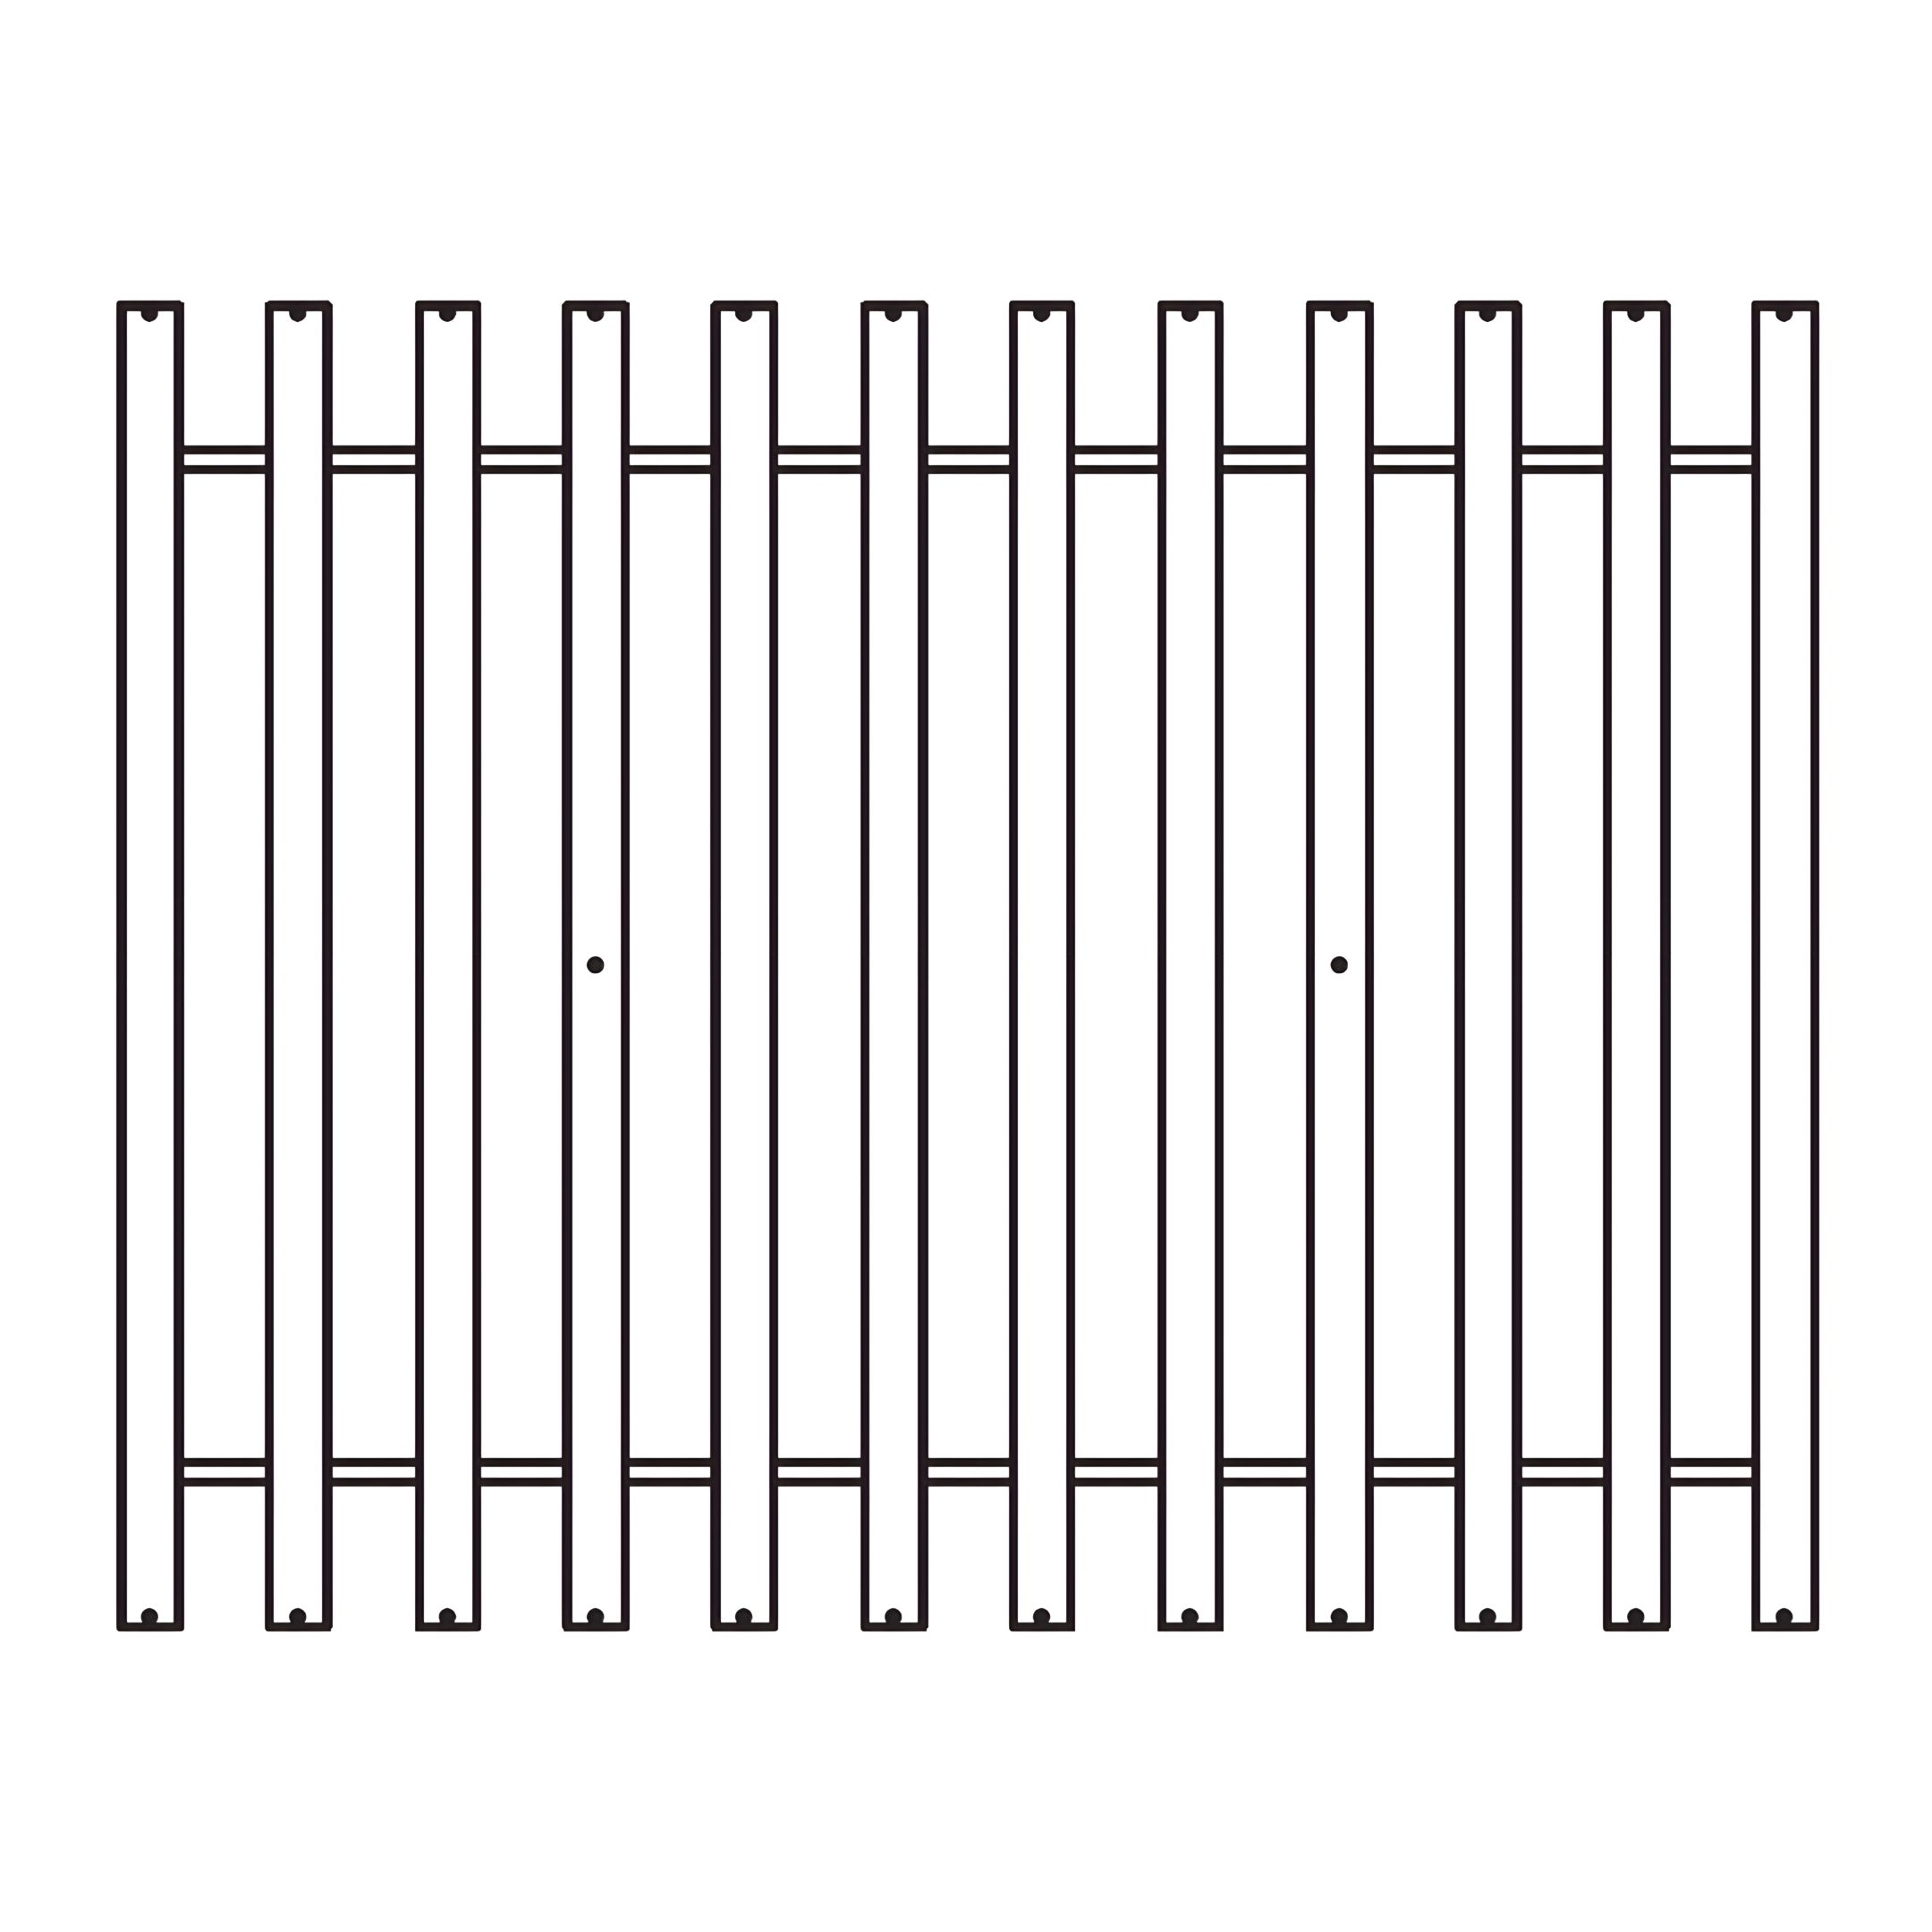
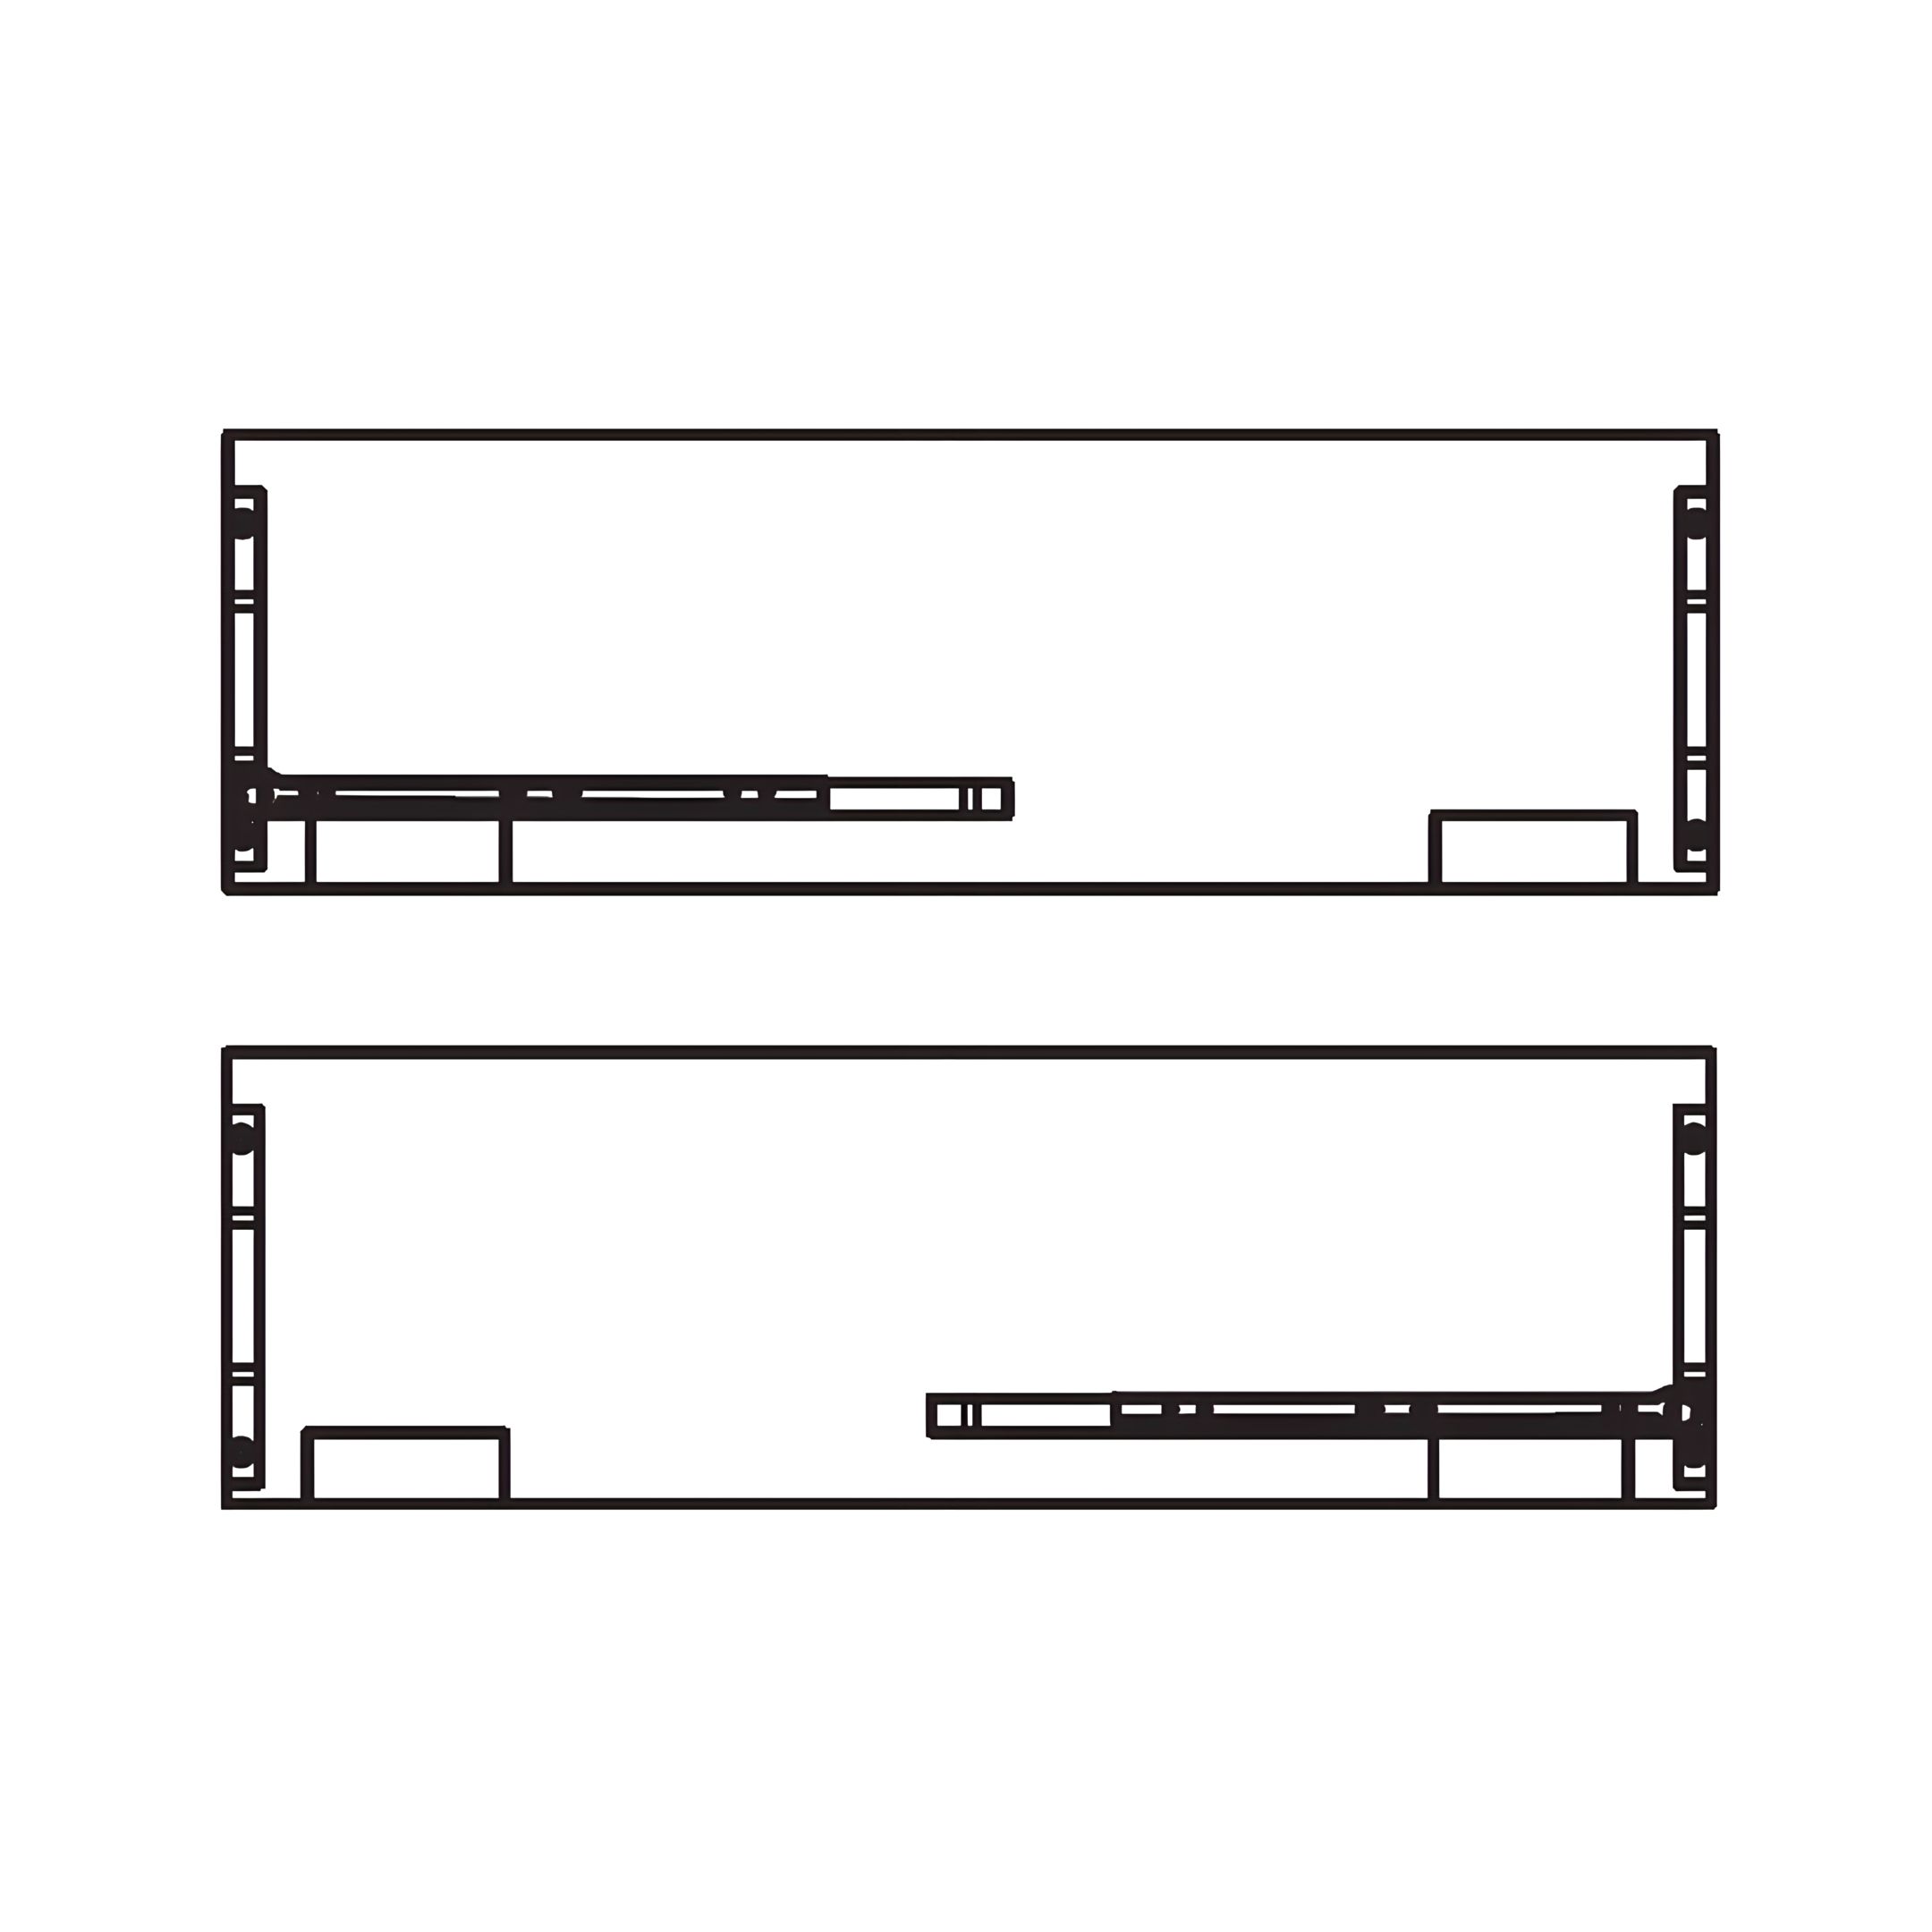
1. Position the Headboard (A) and Footboard (B) upright.
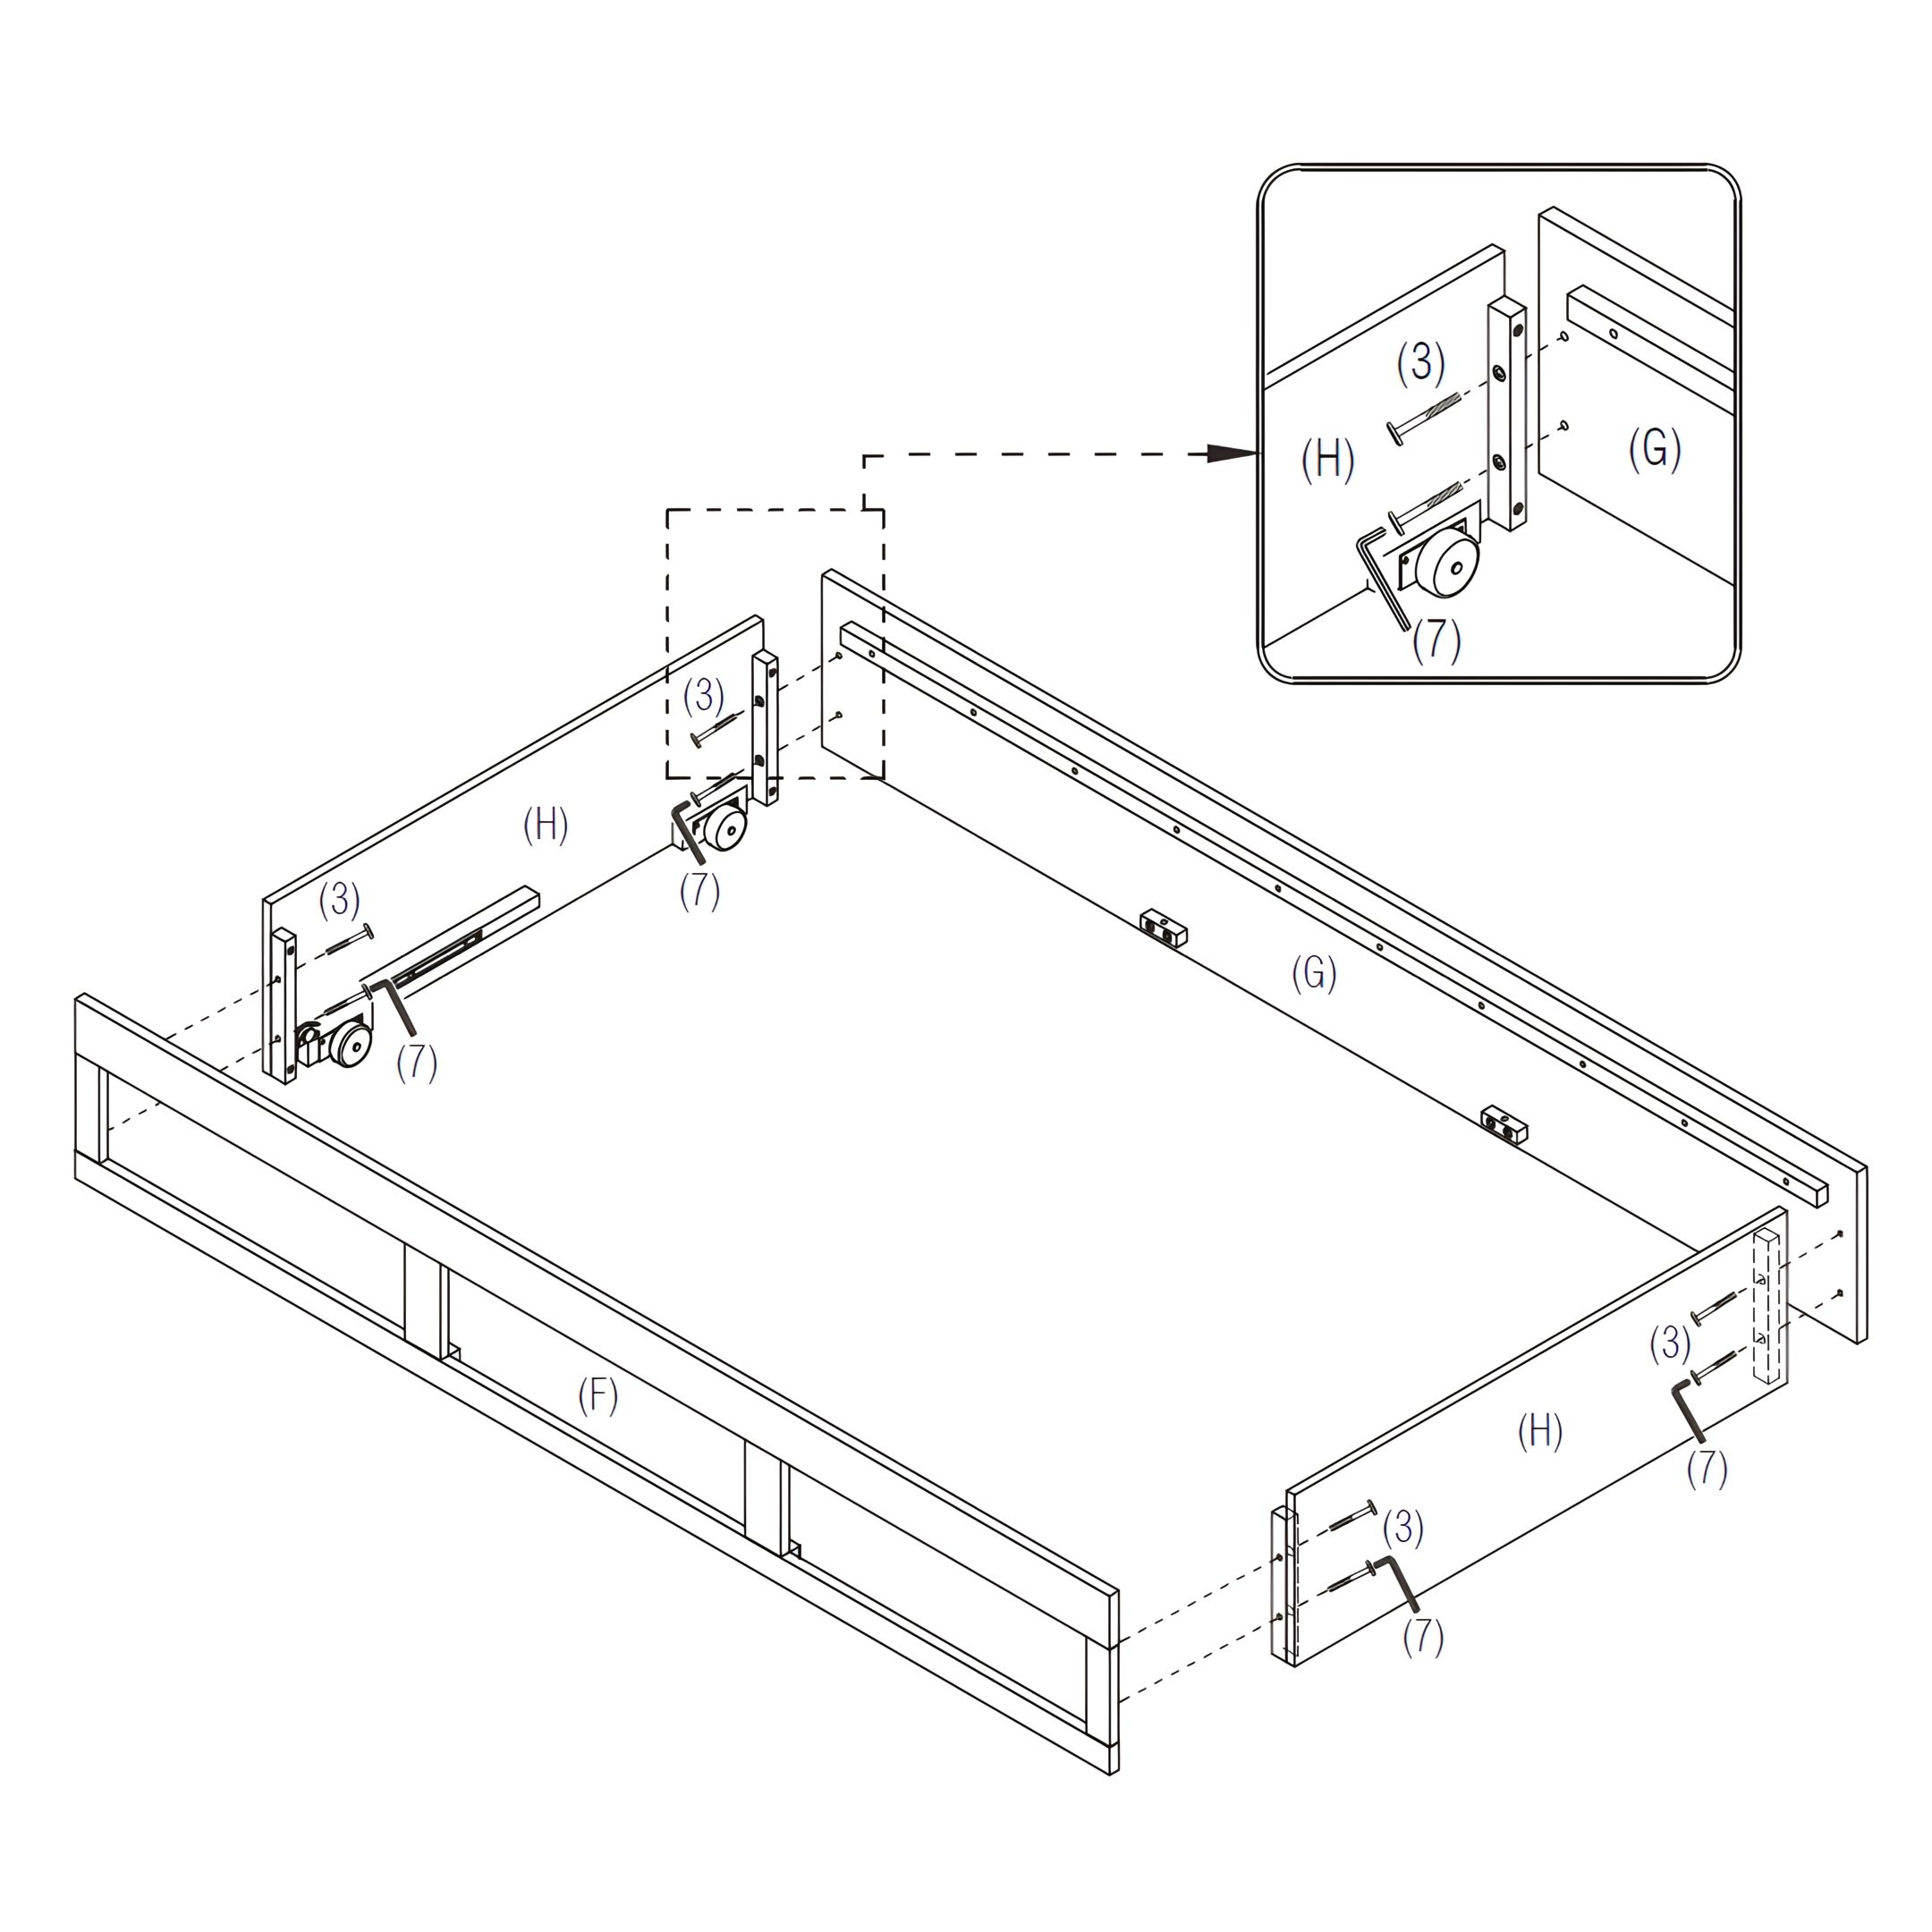
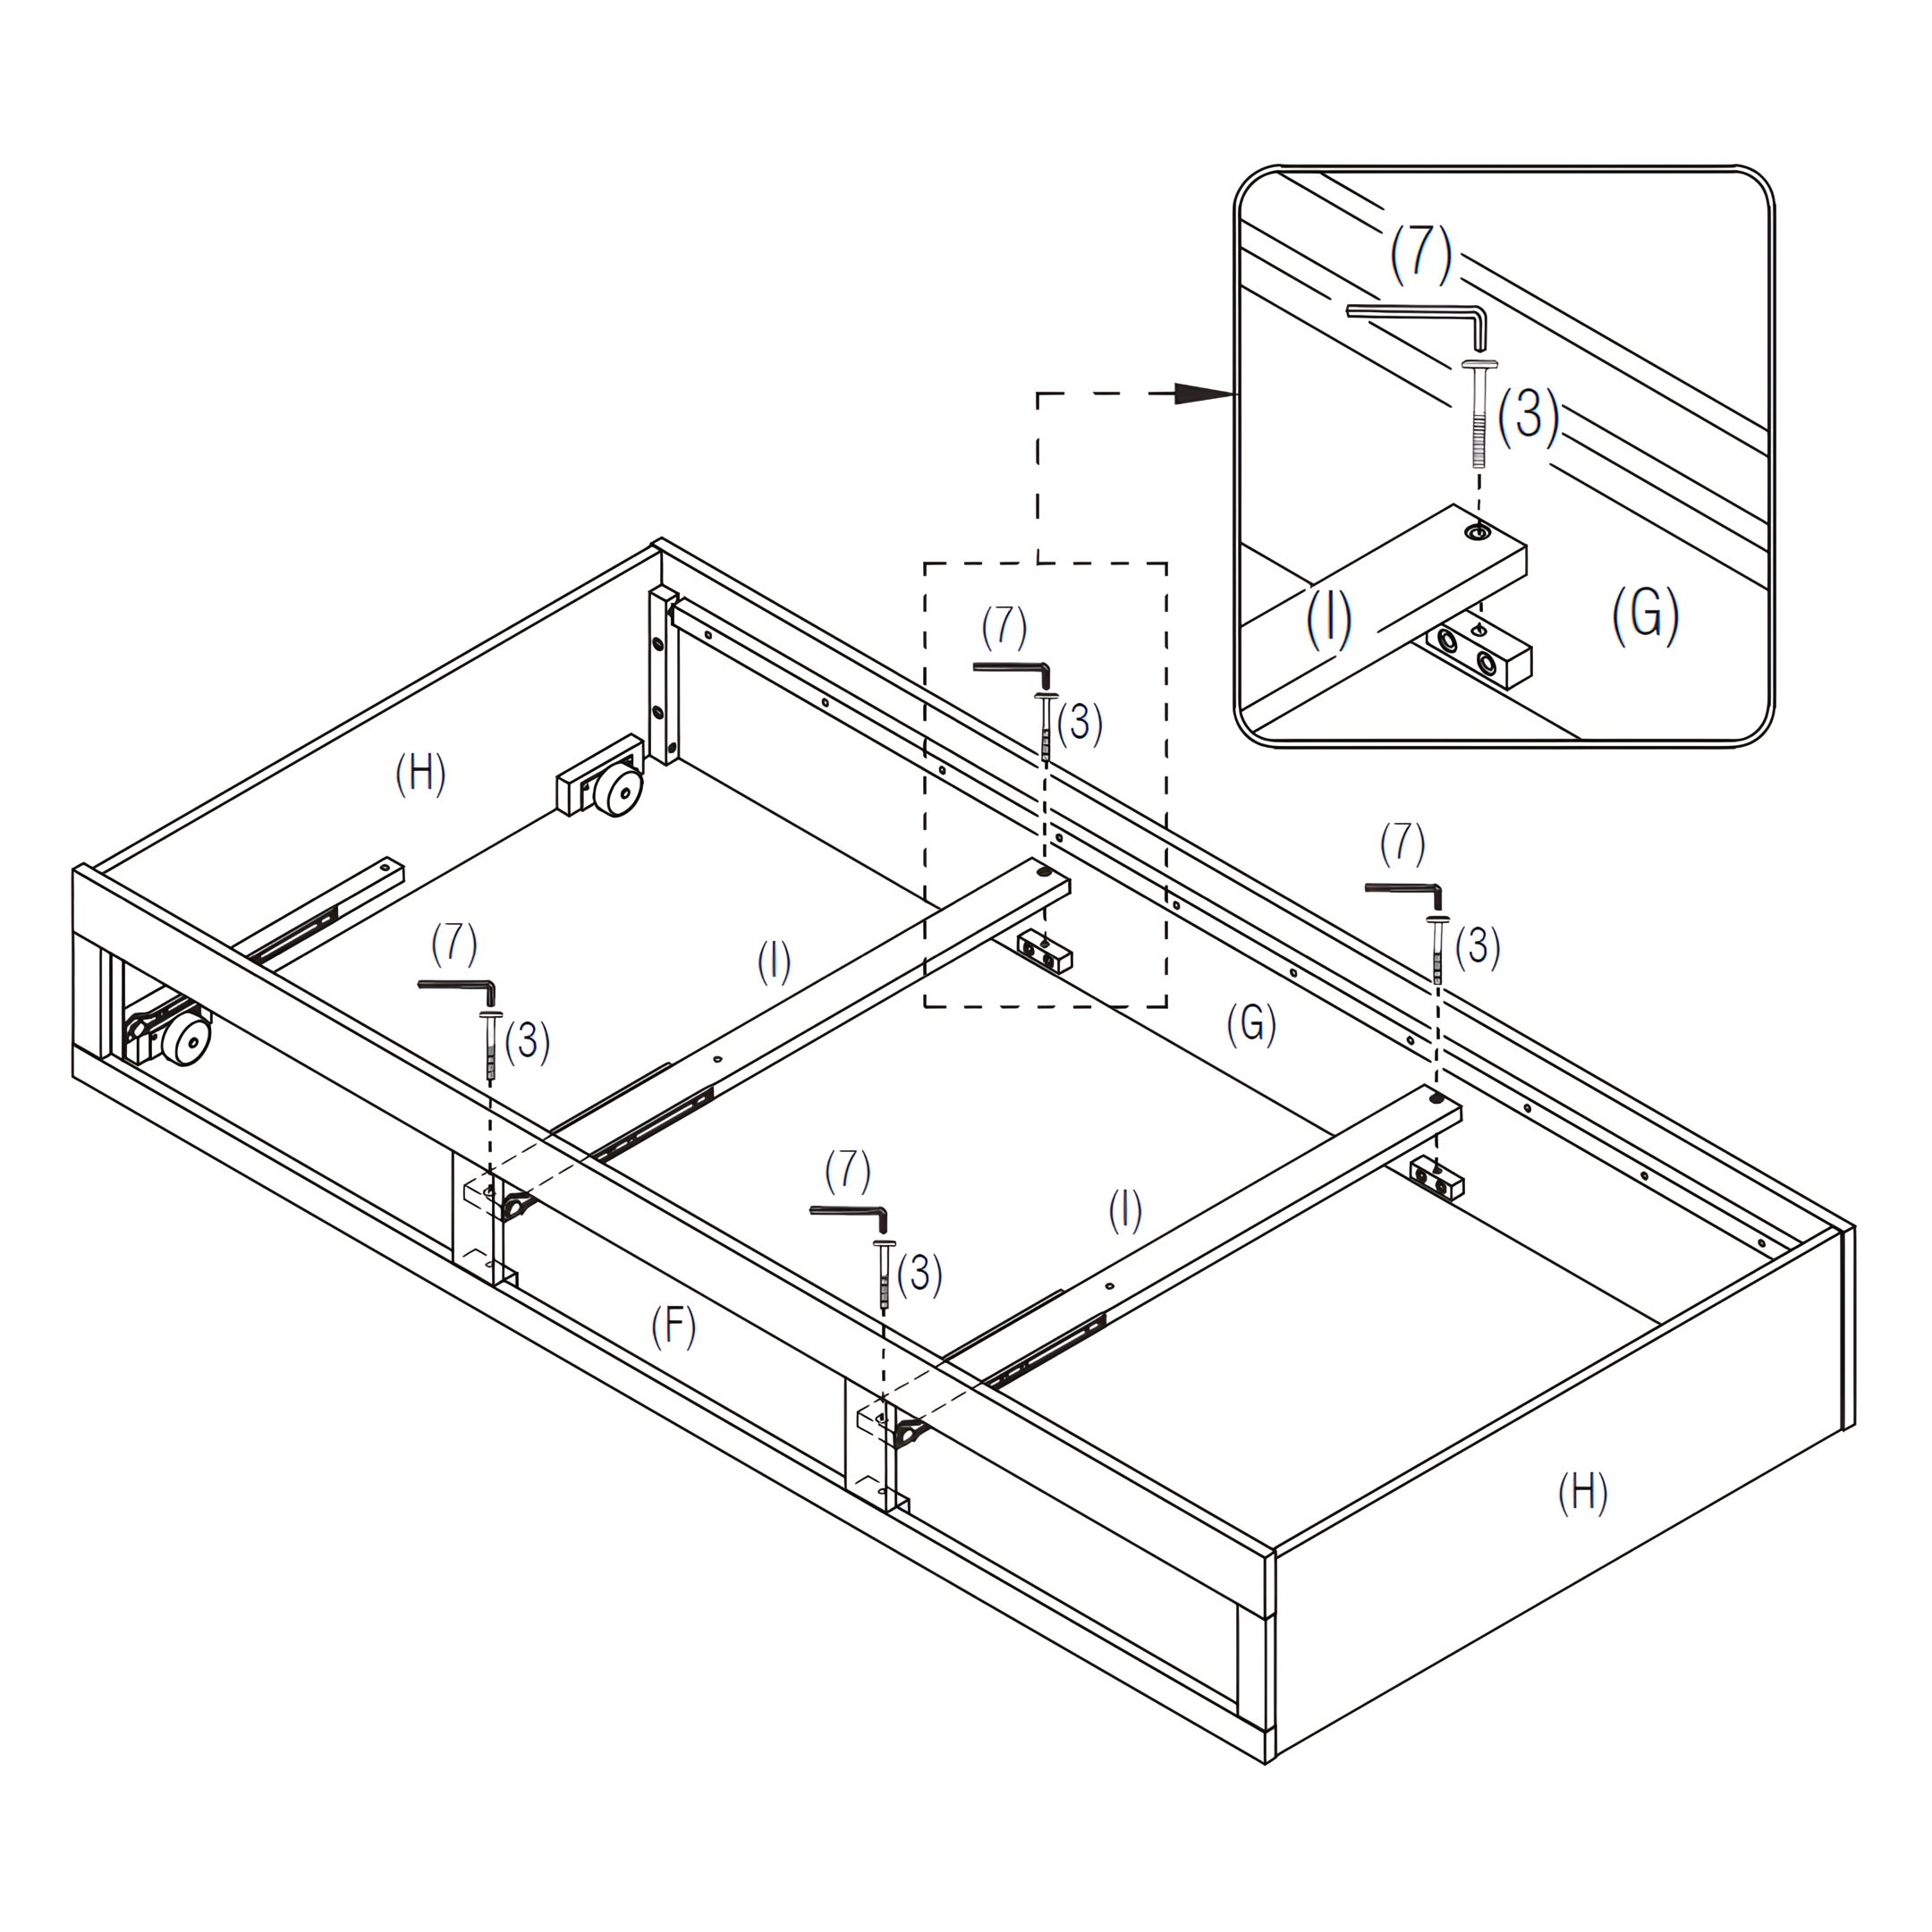
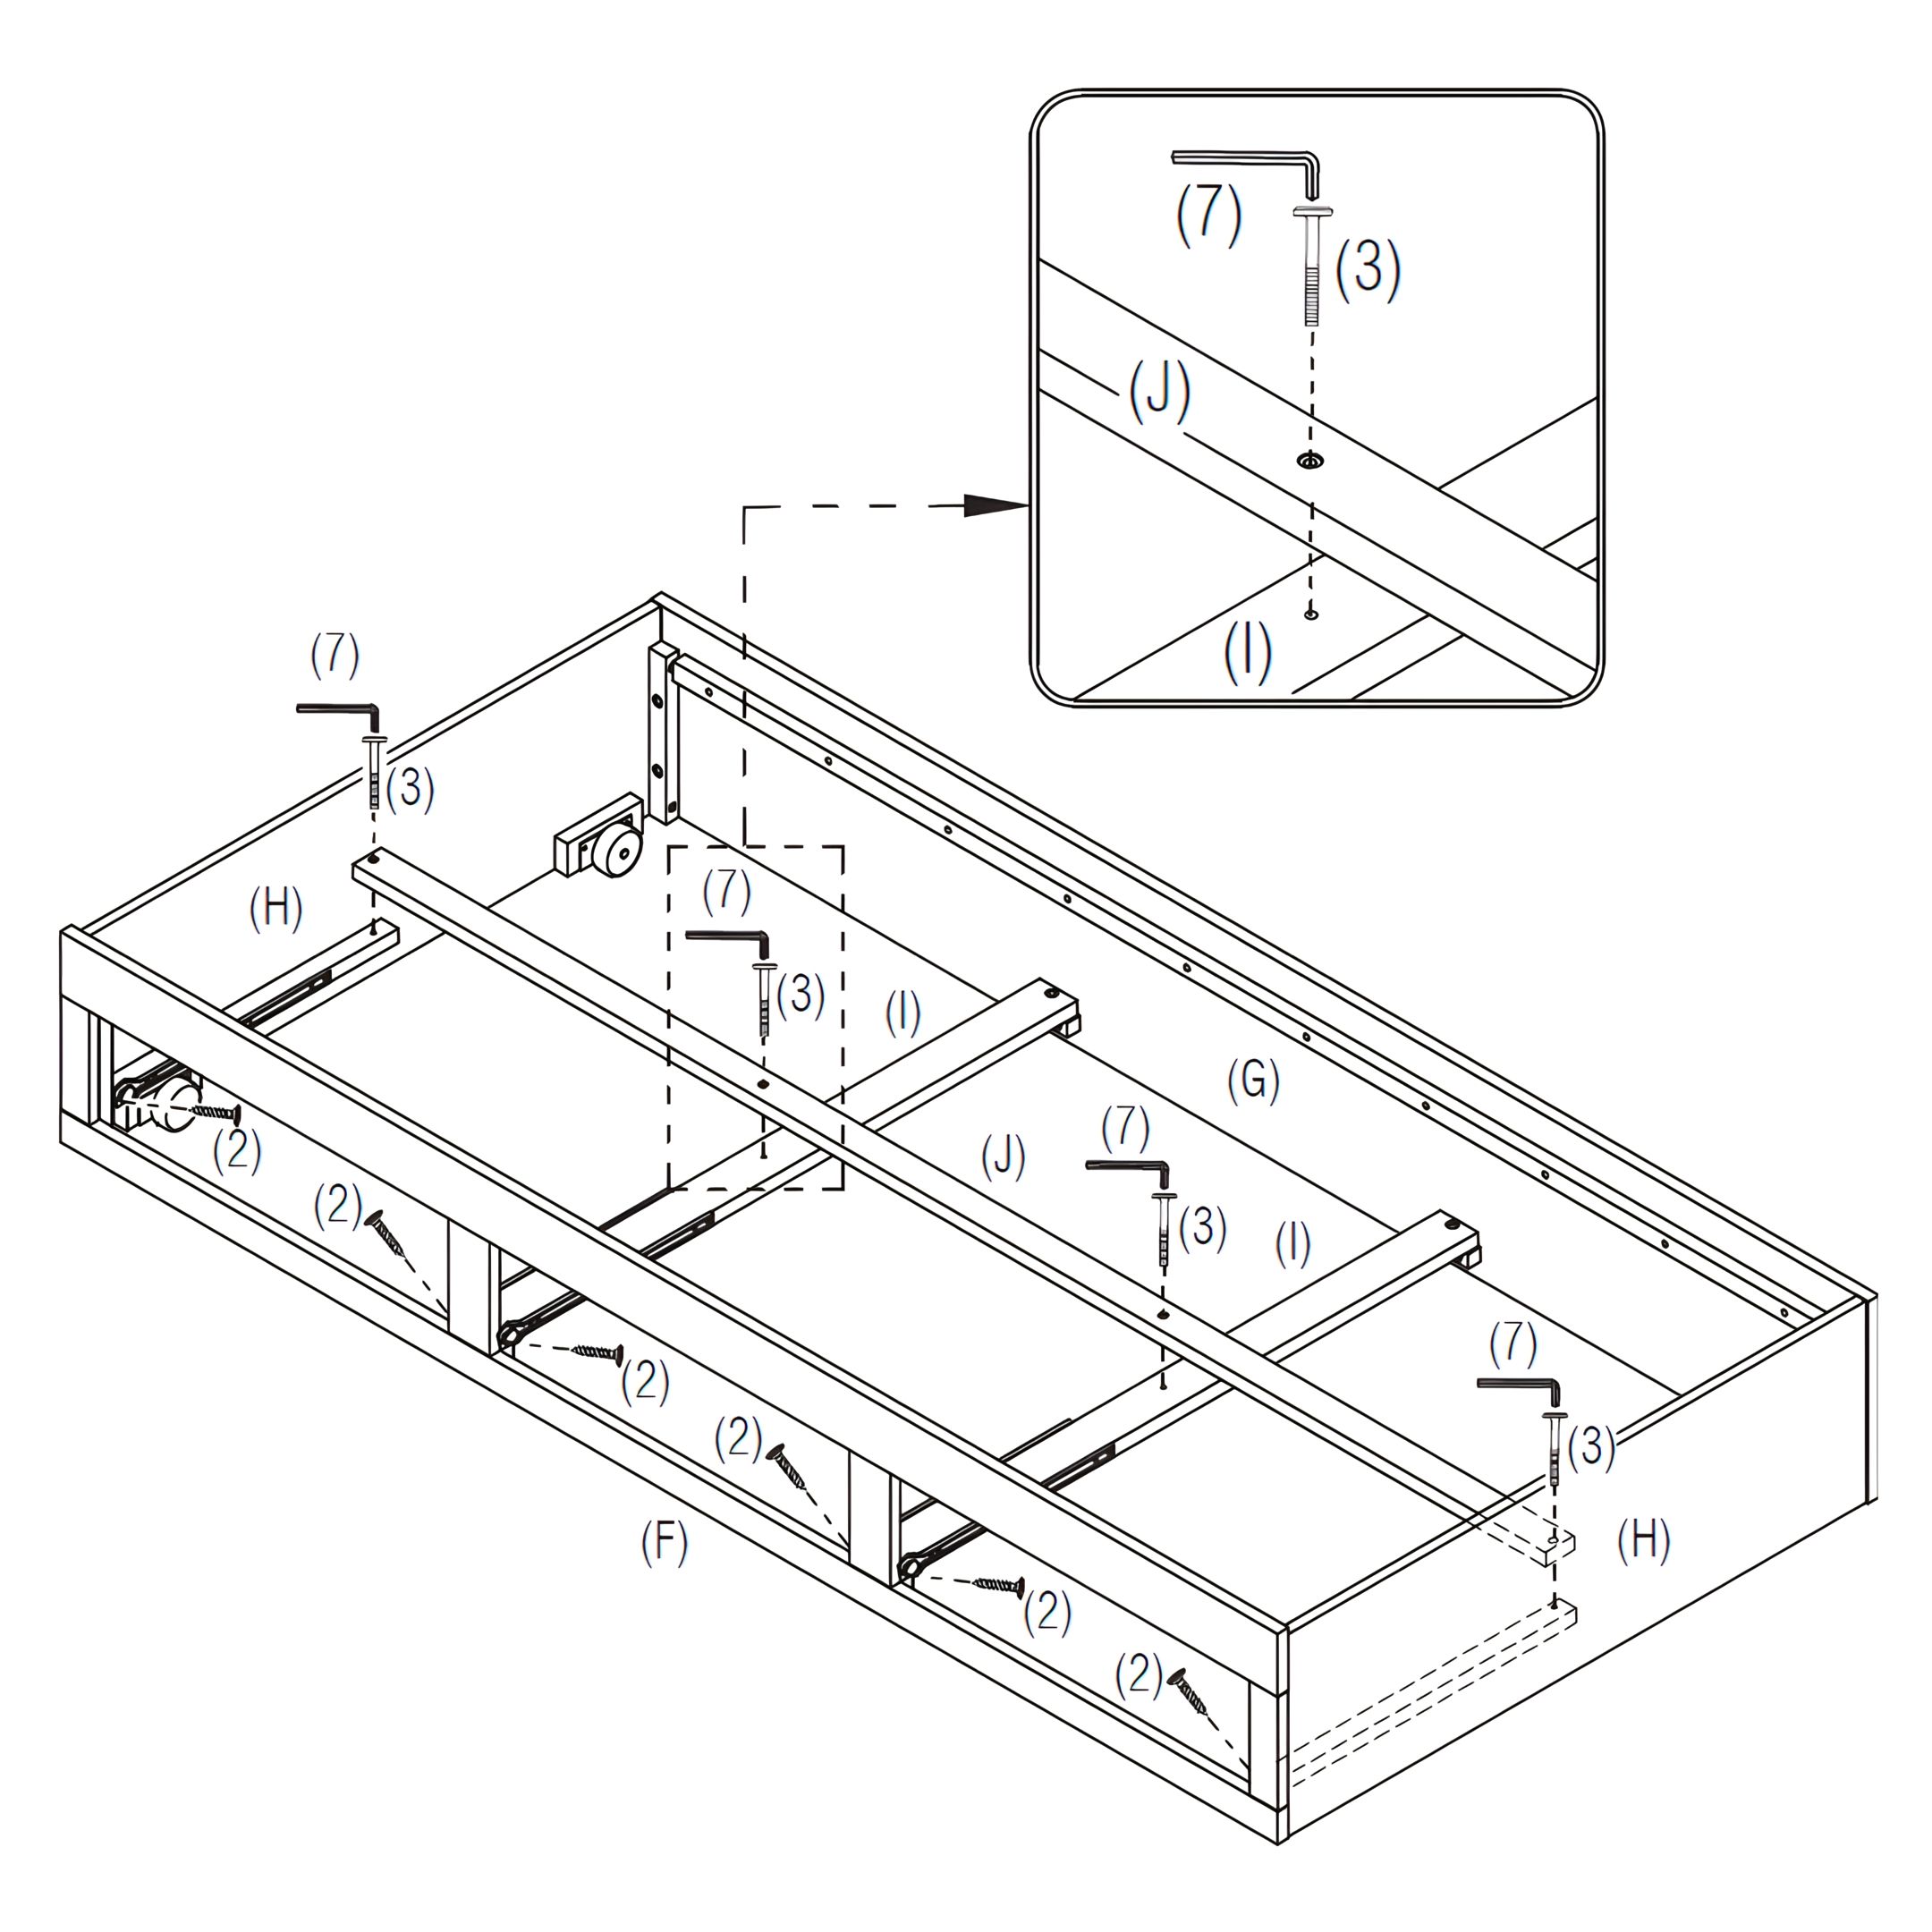
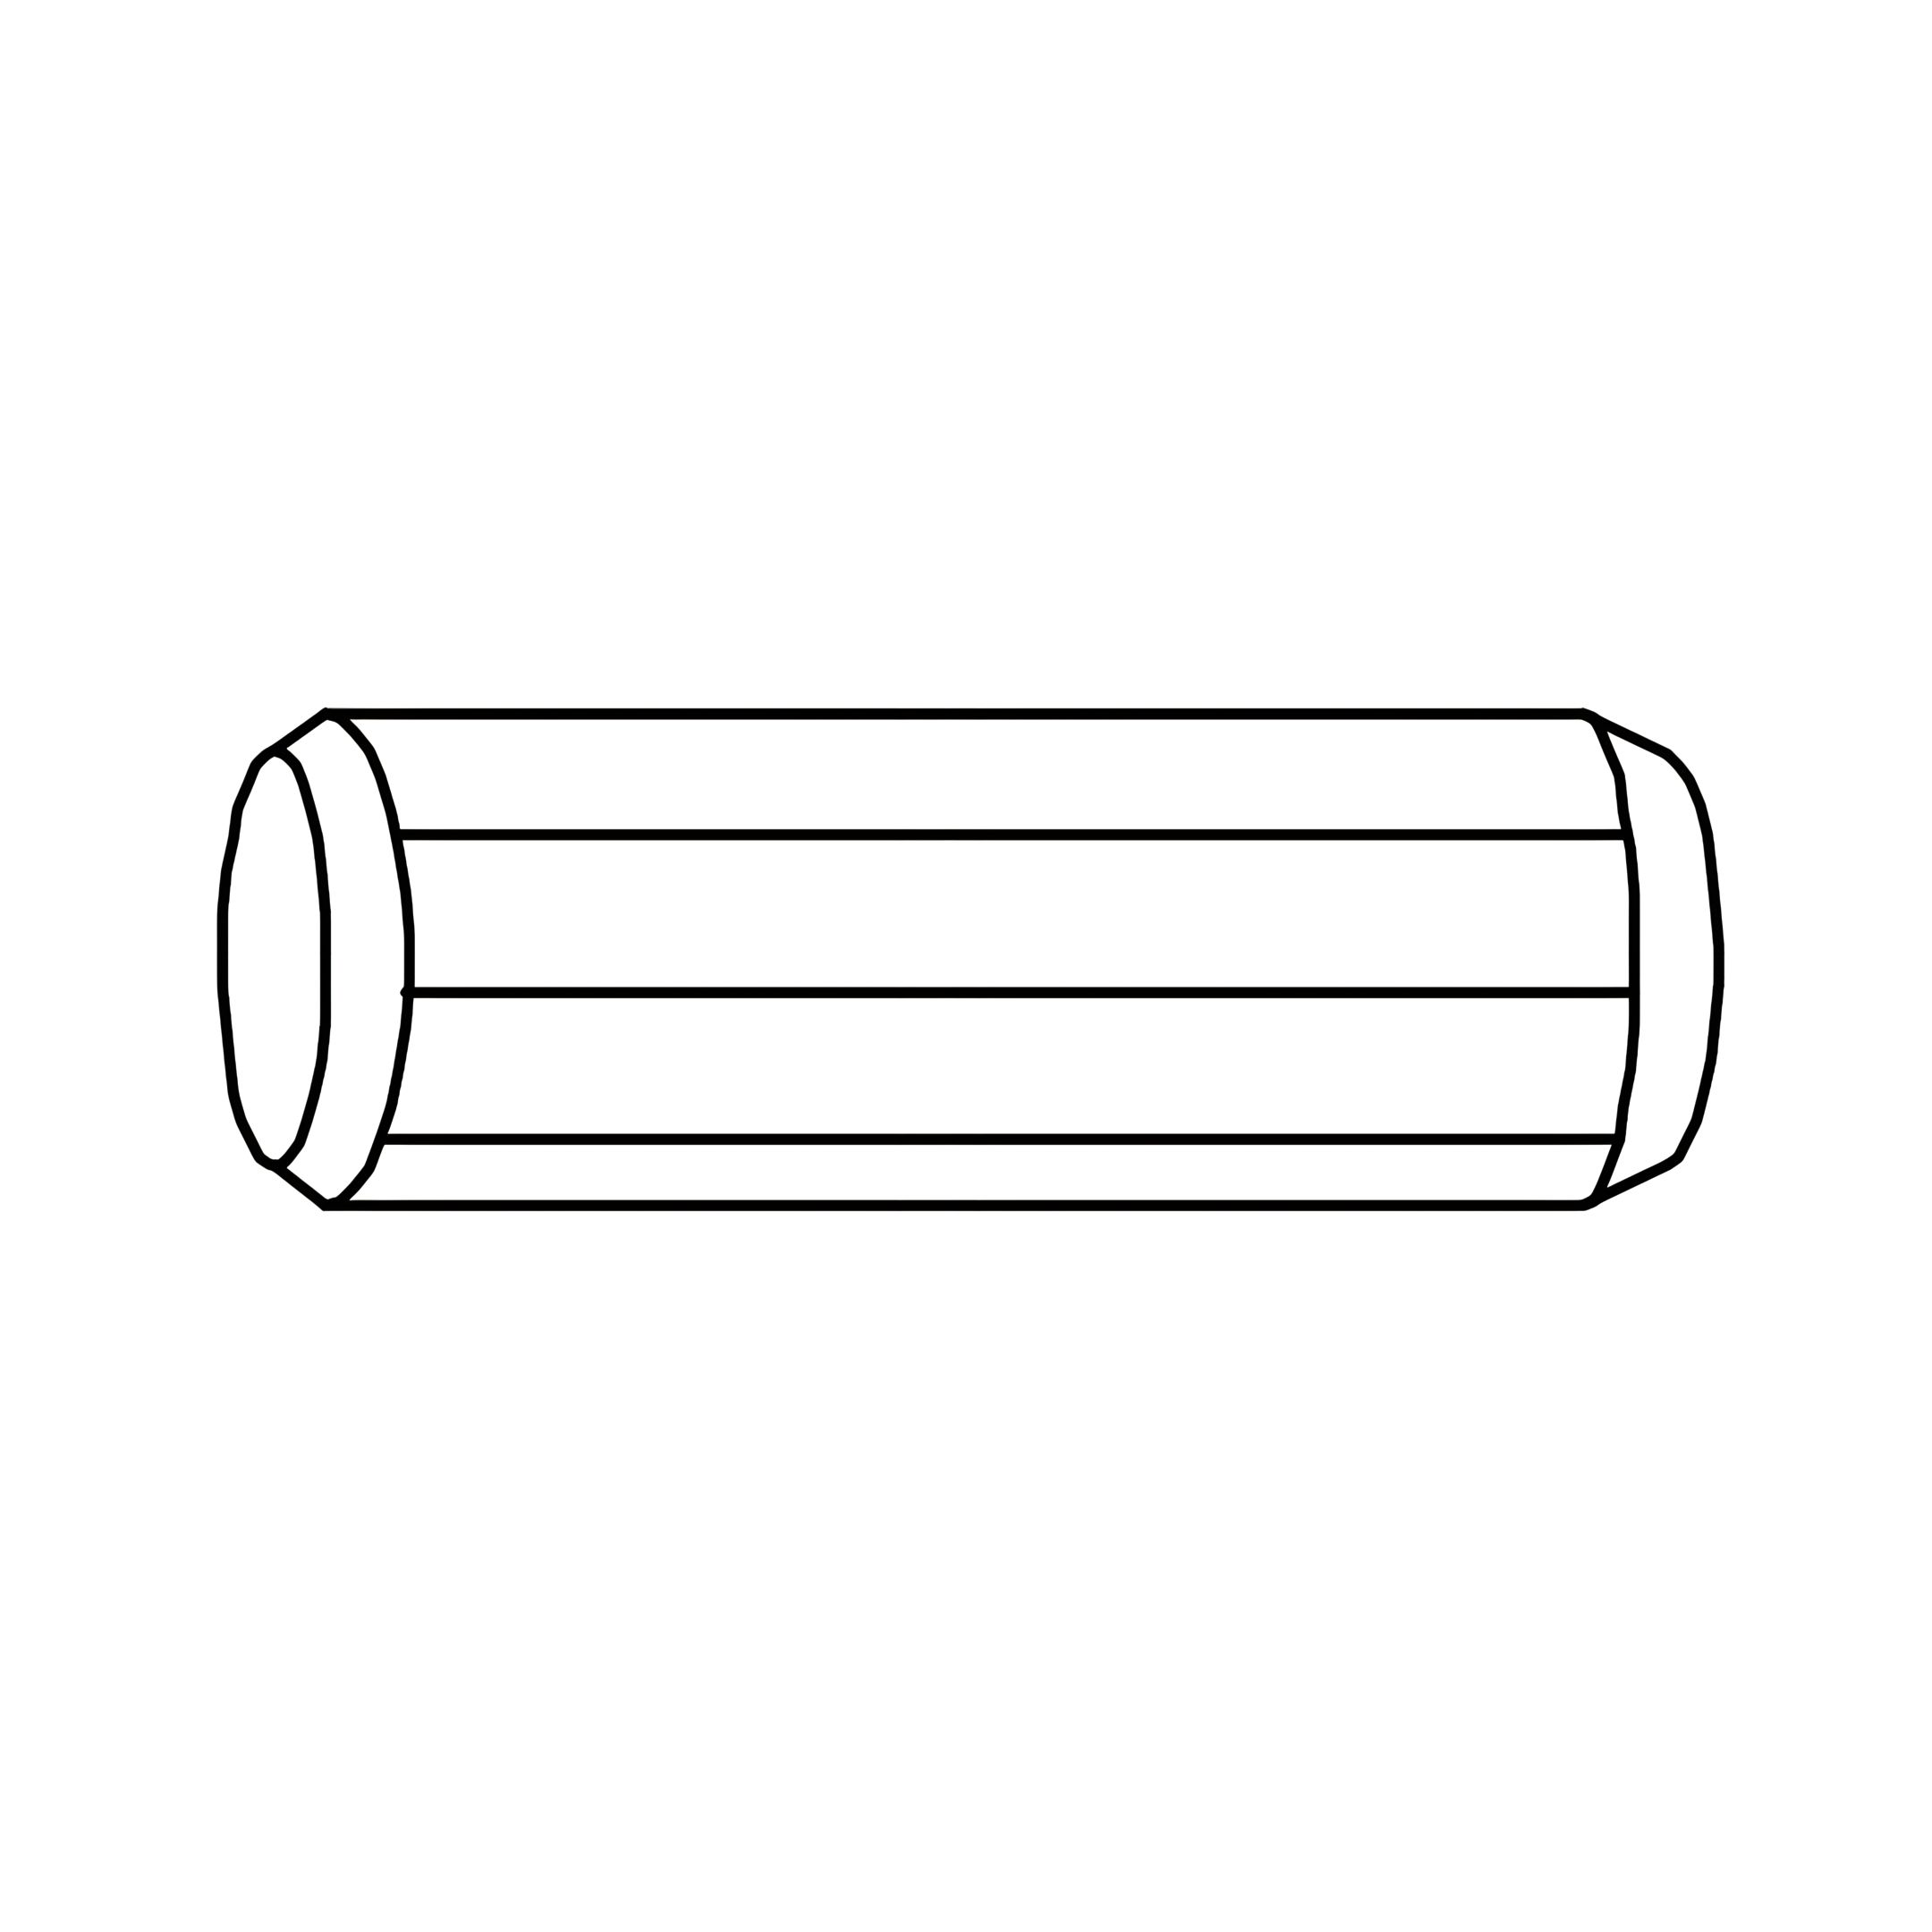
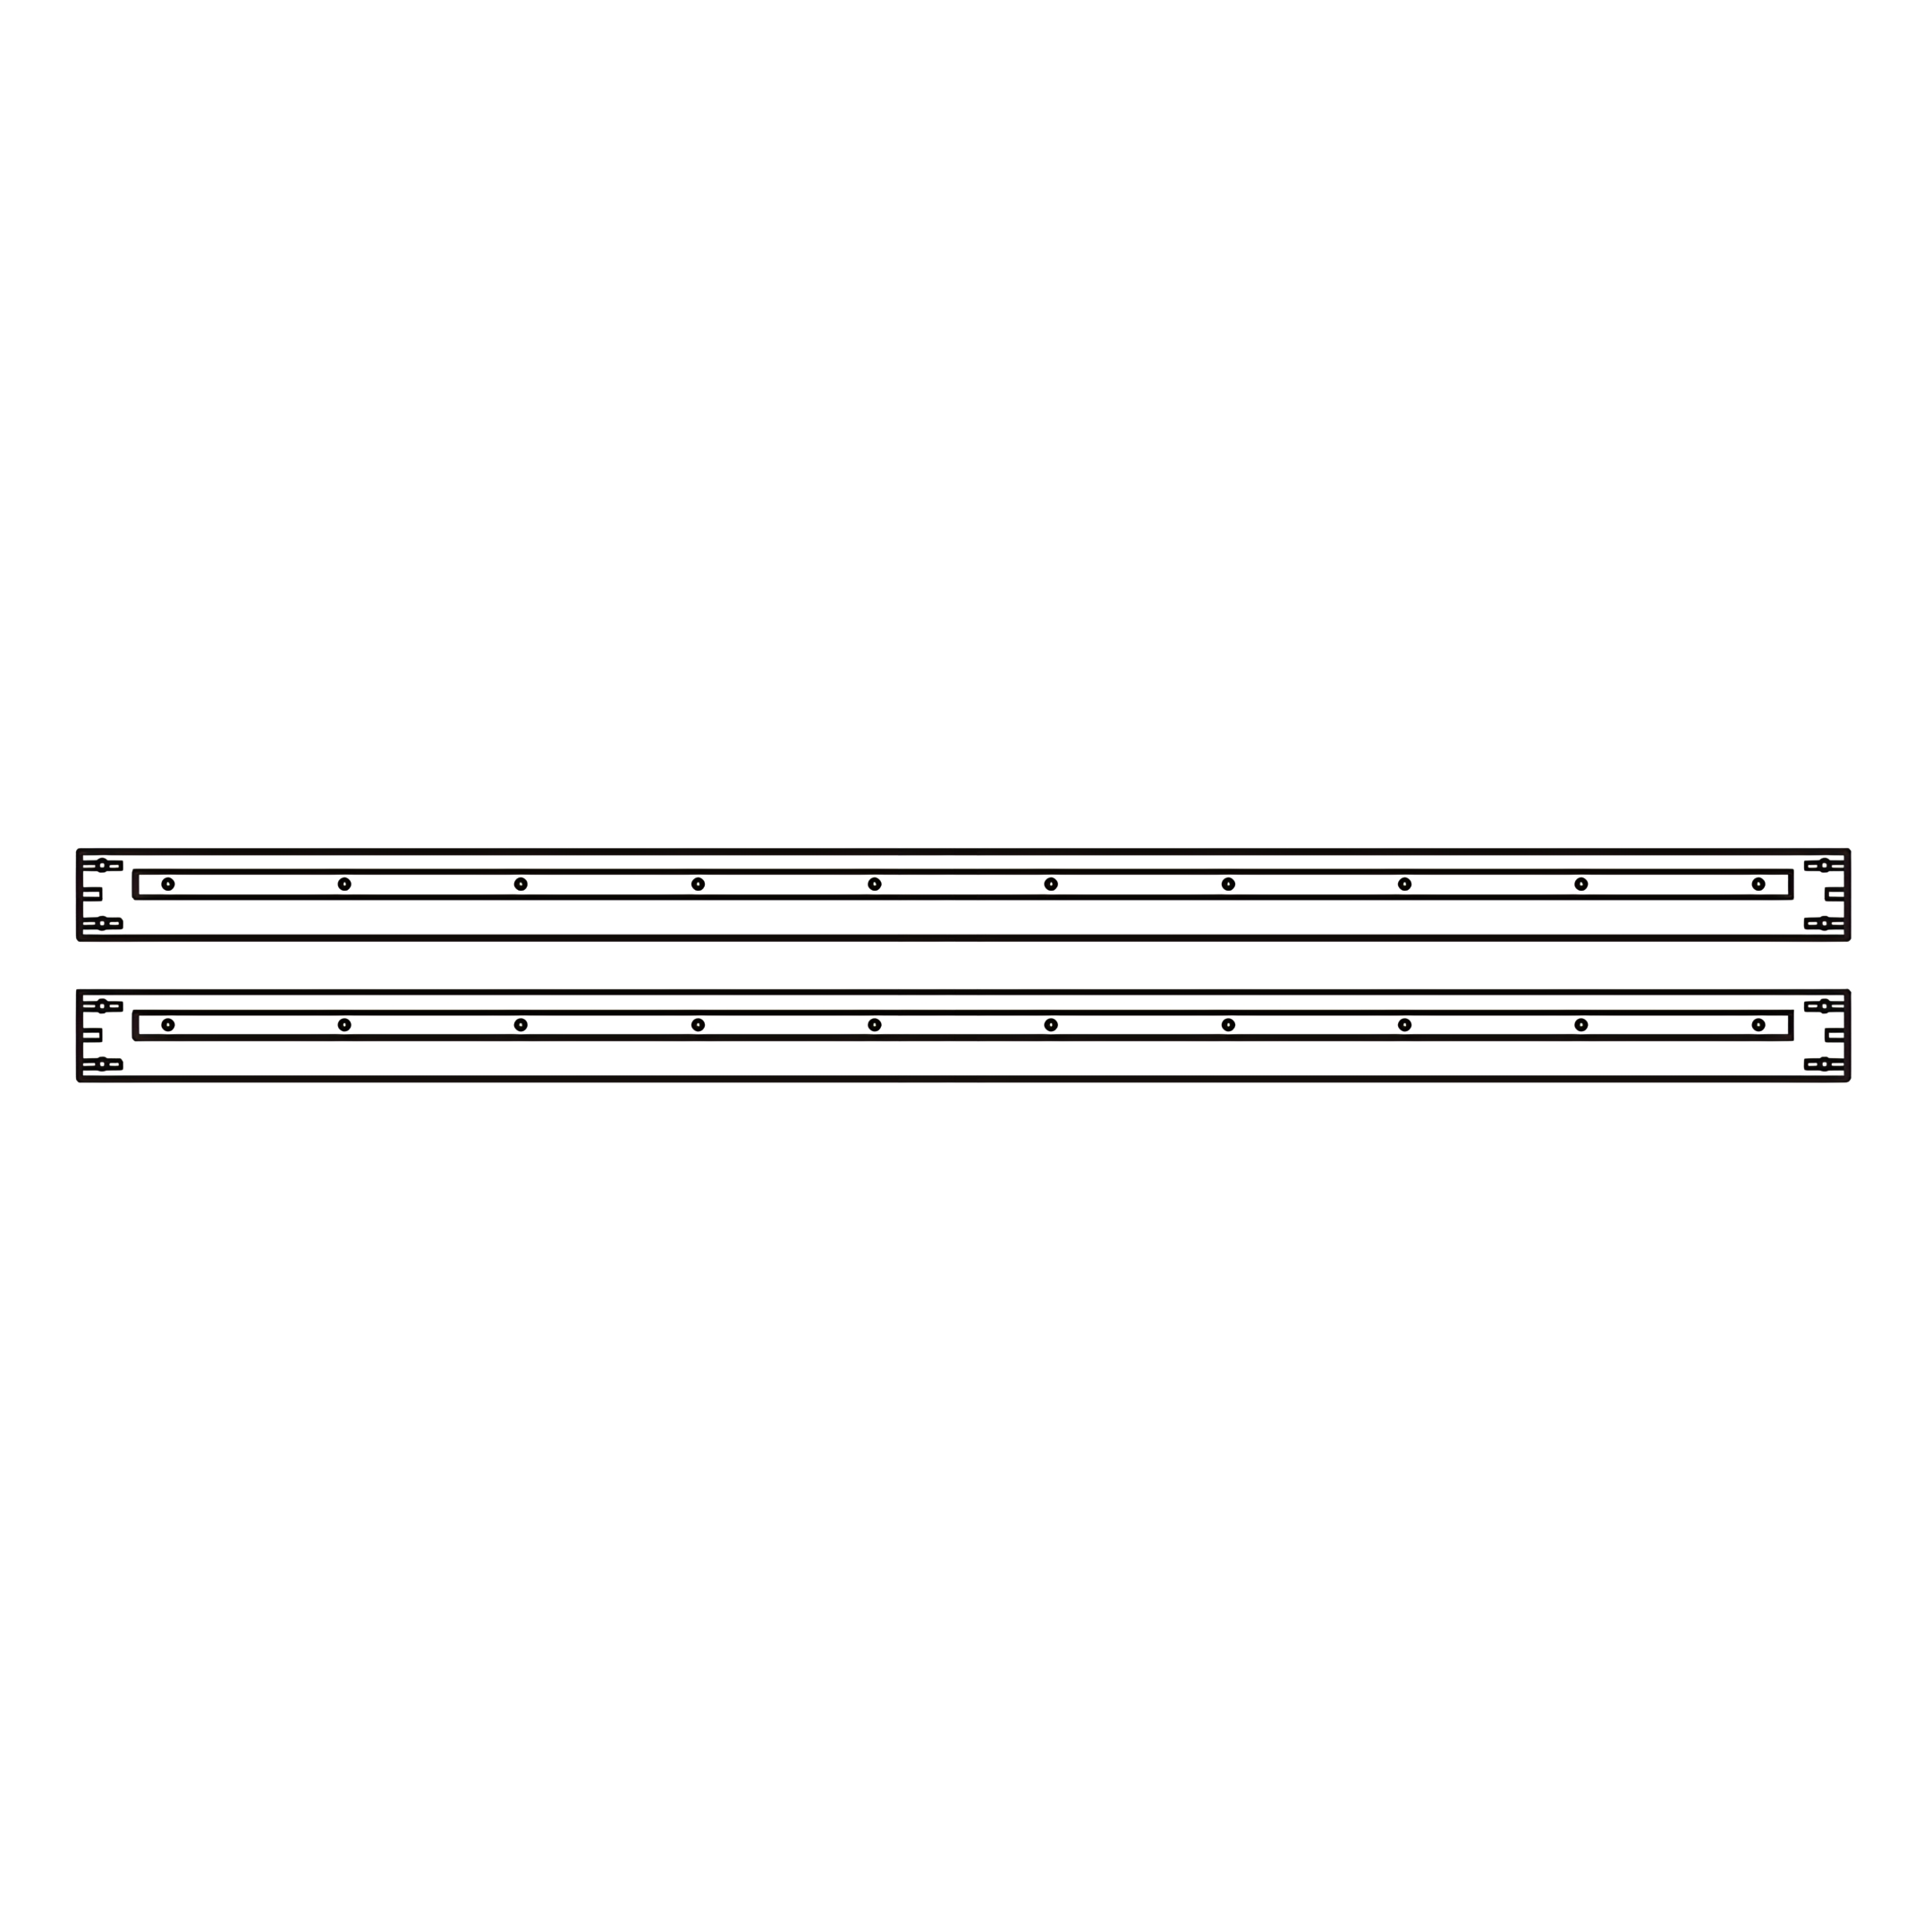
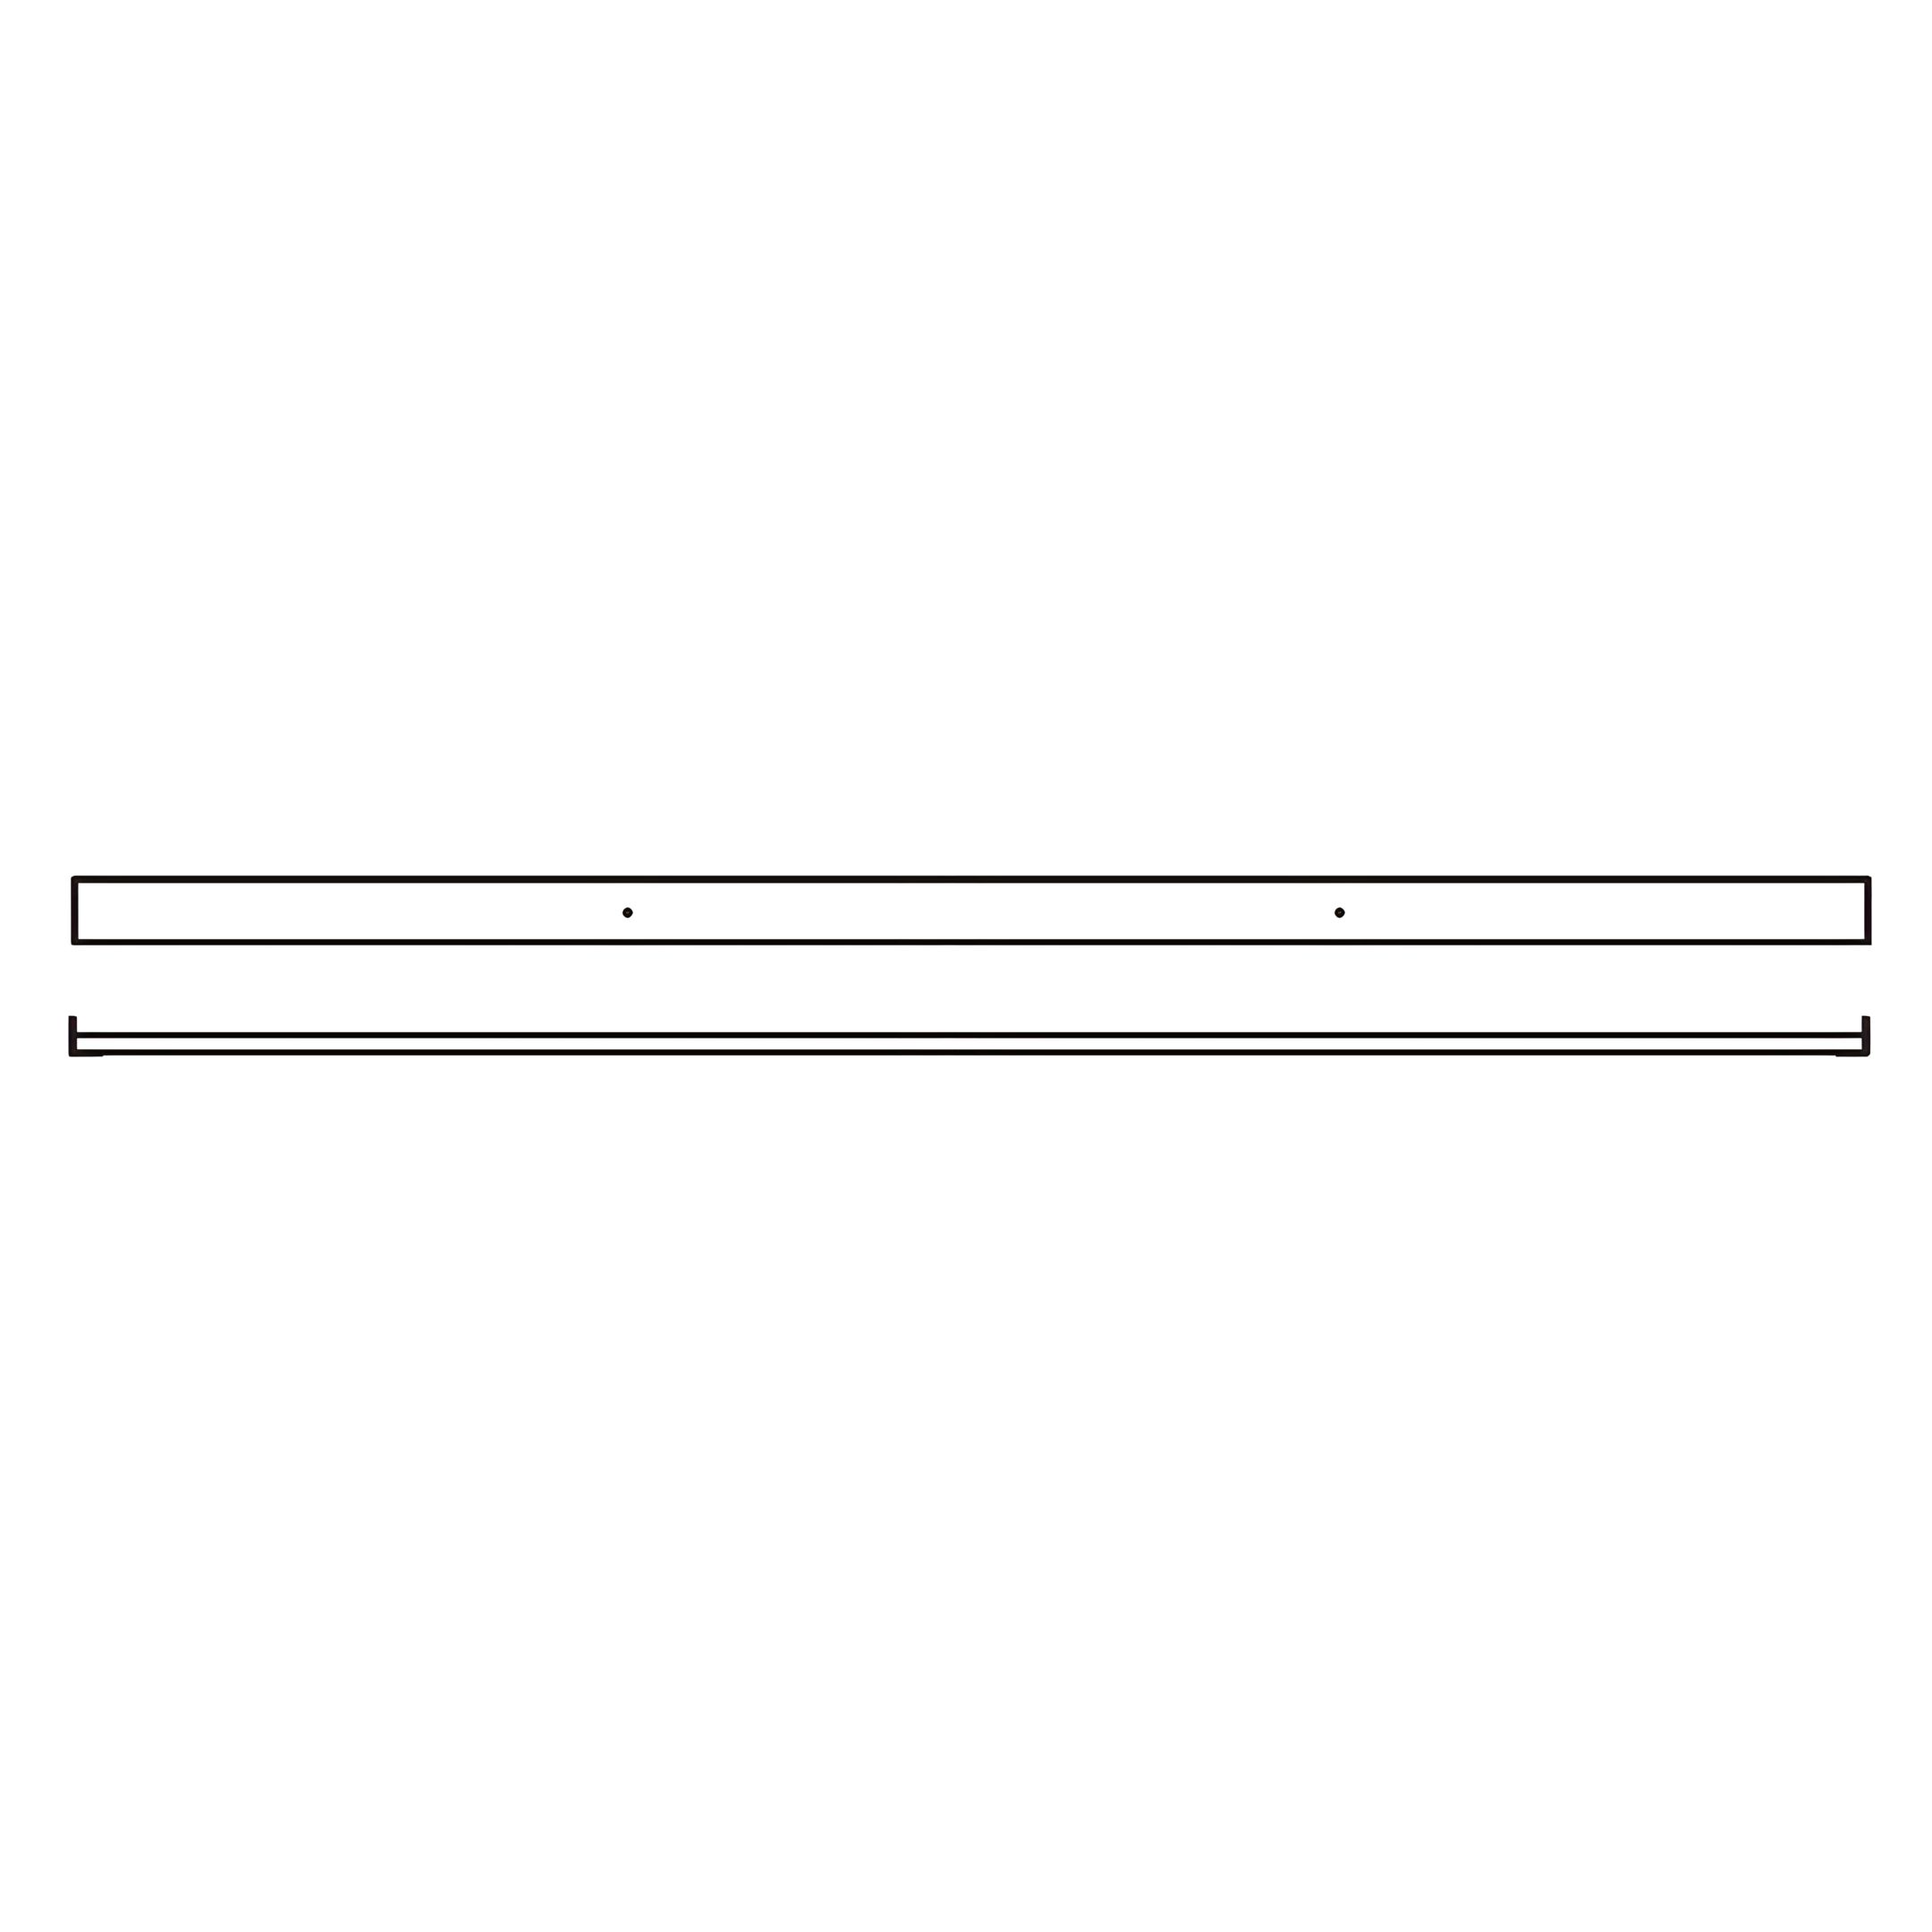
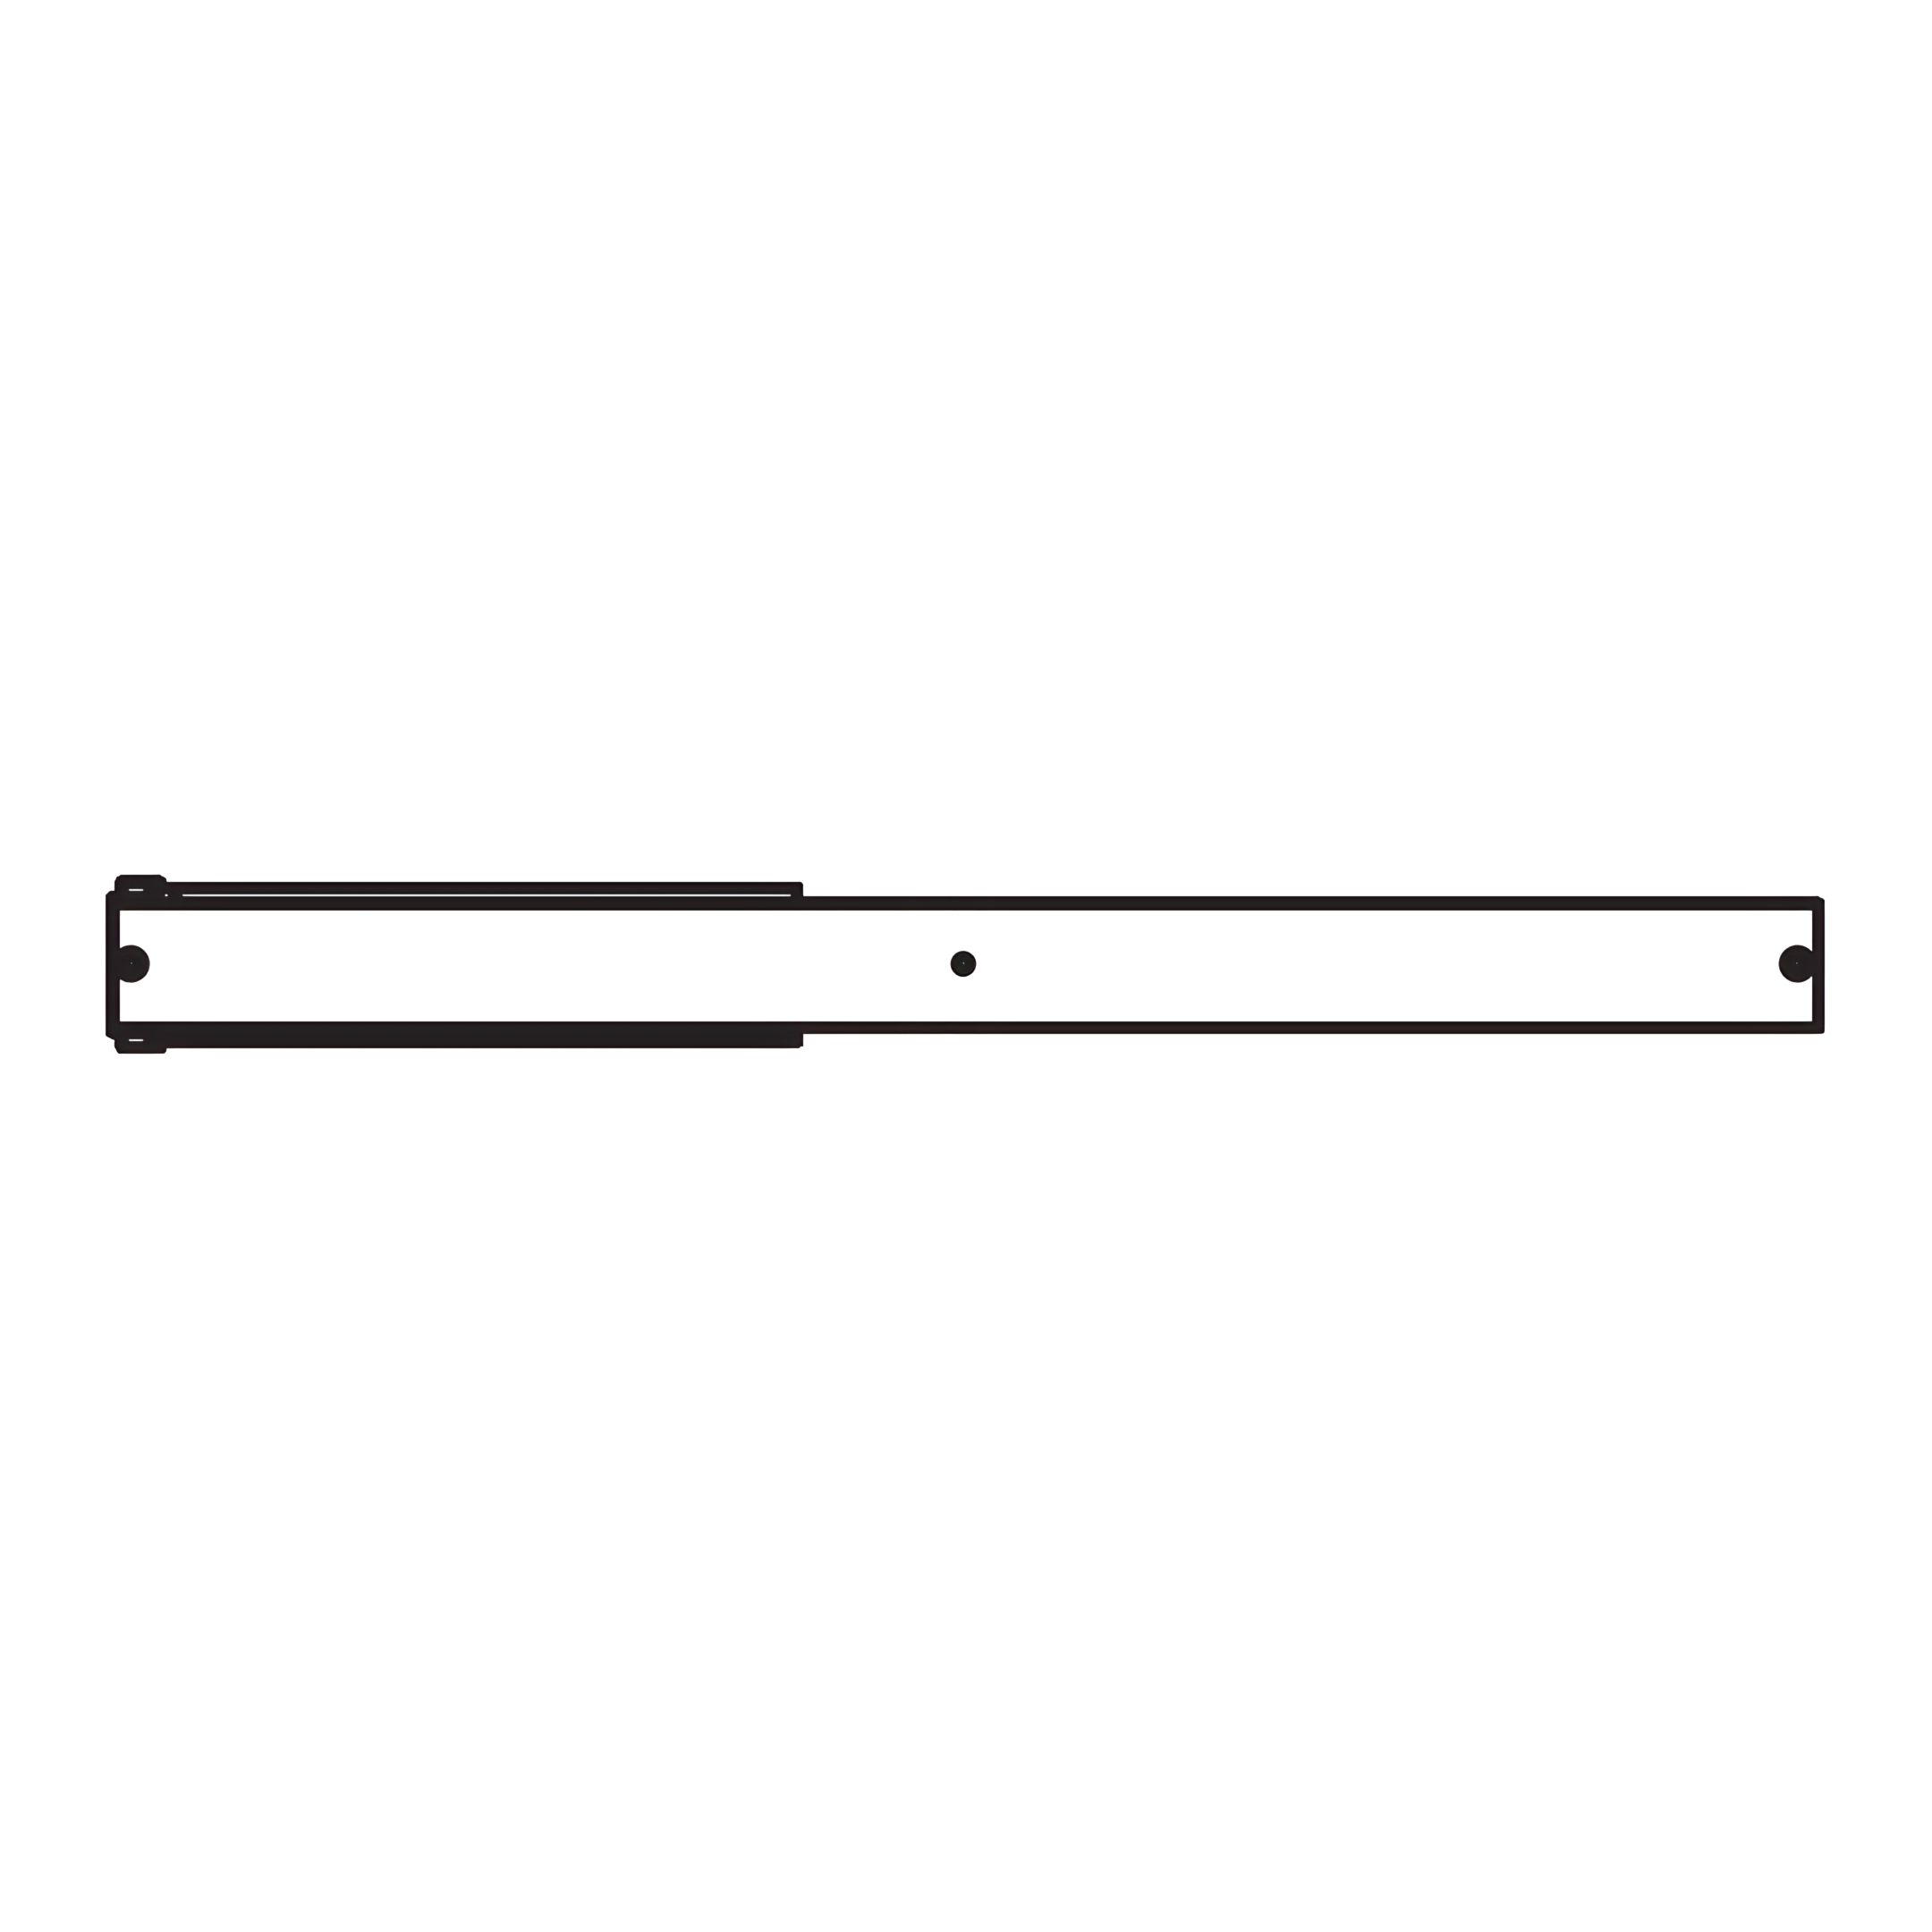
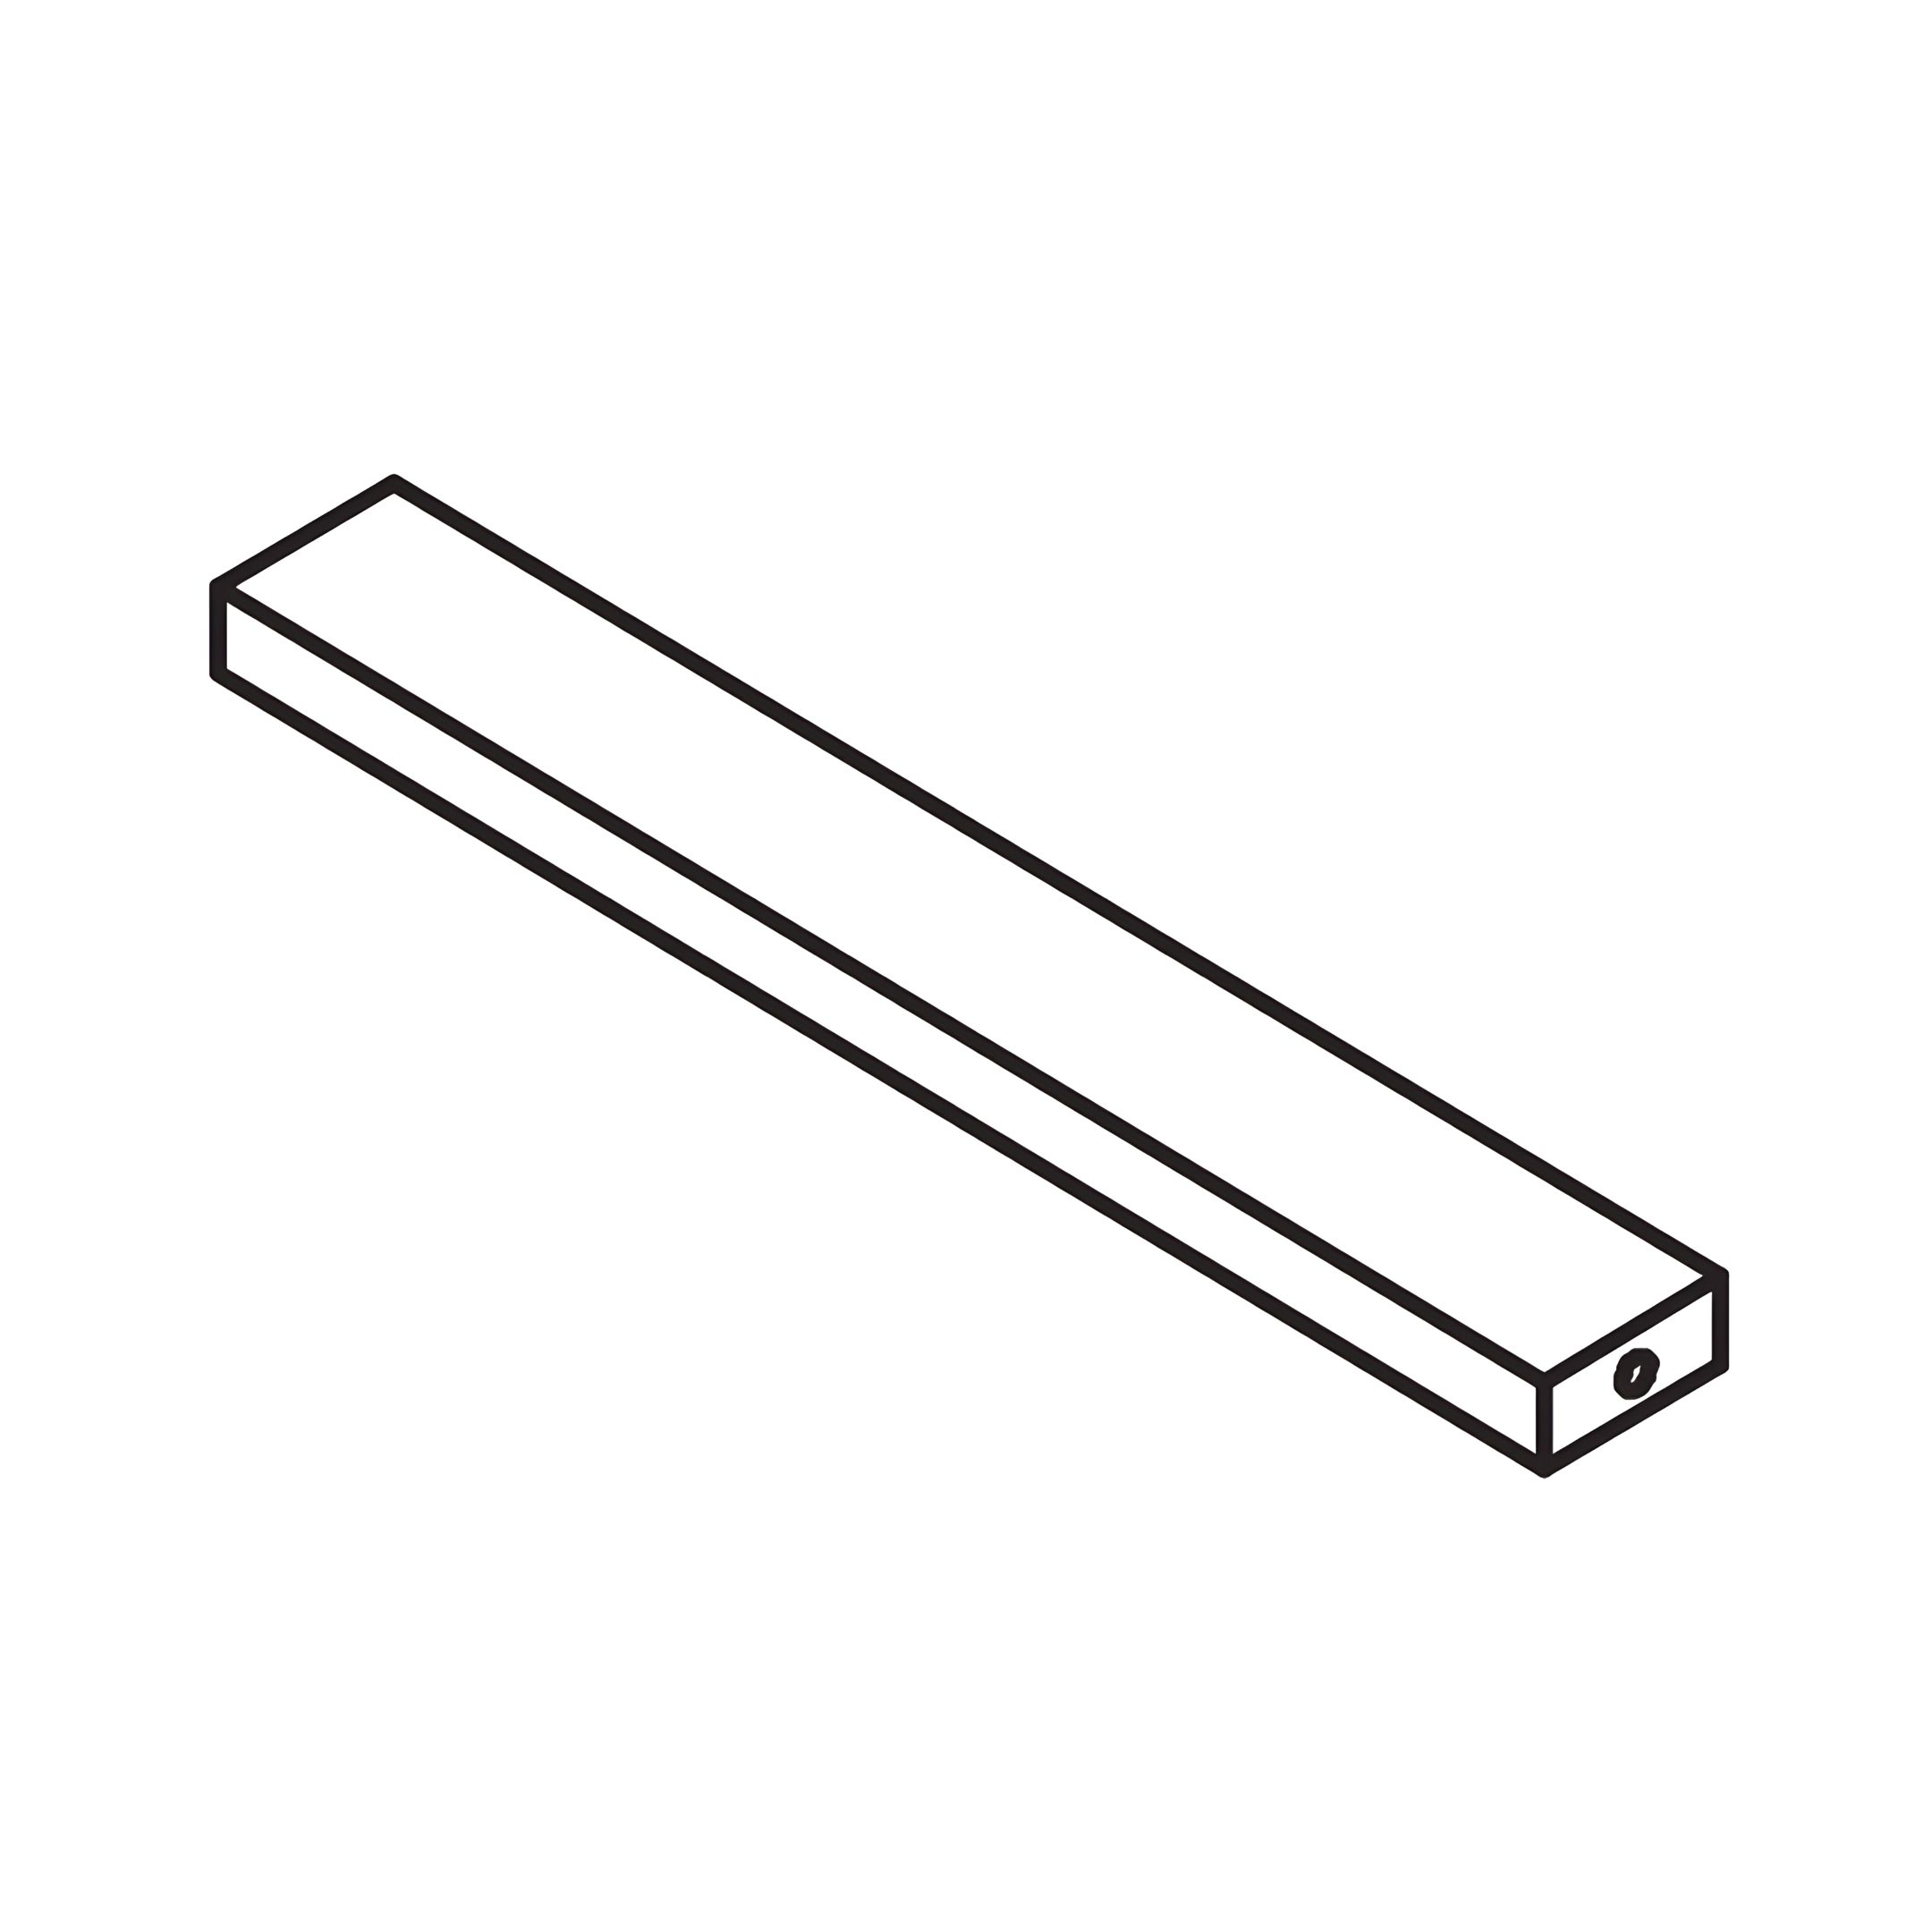
2. Insert Wood Dowels (3) to the Side Rails (C) and attach them to the headboard and footboard.
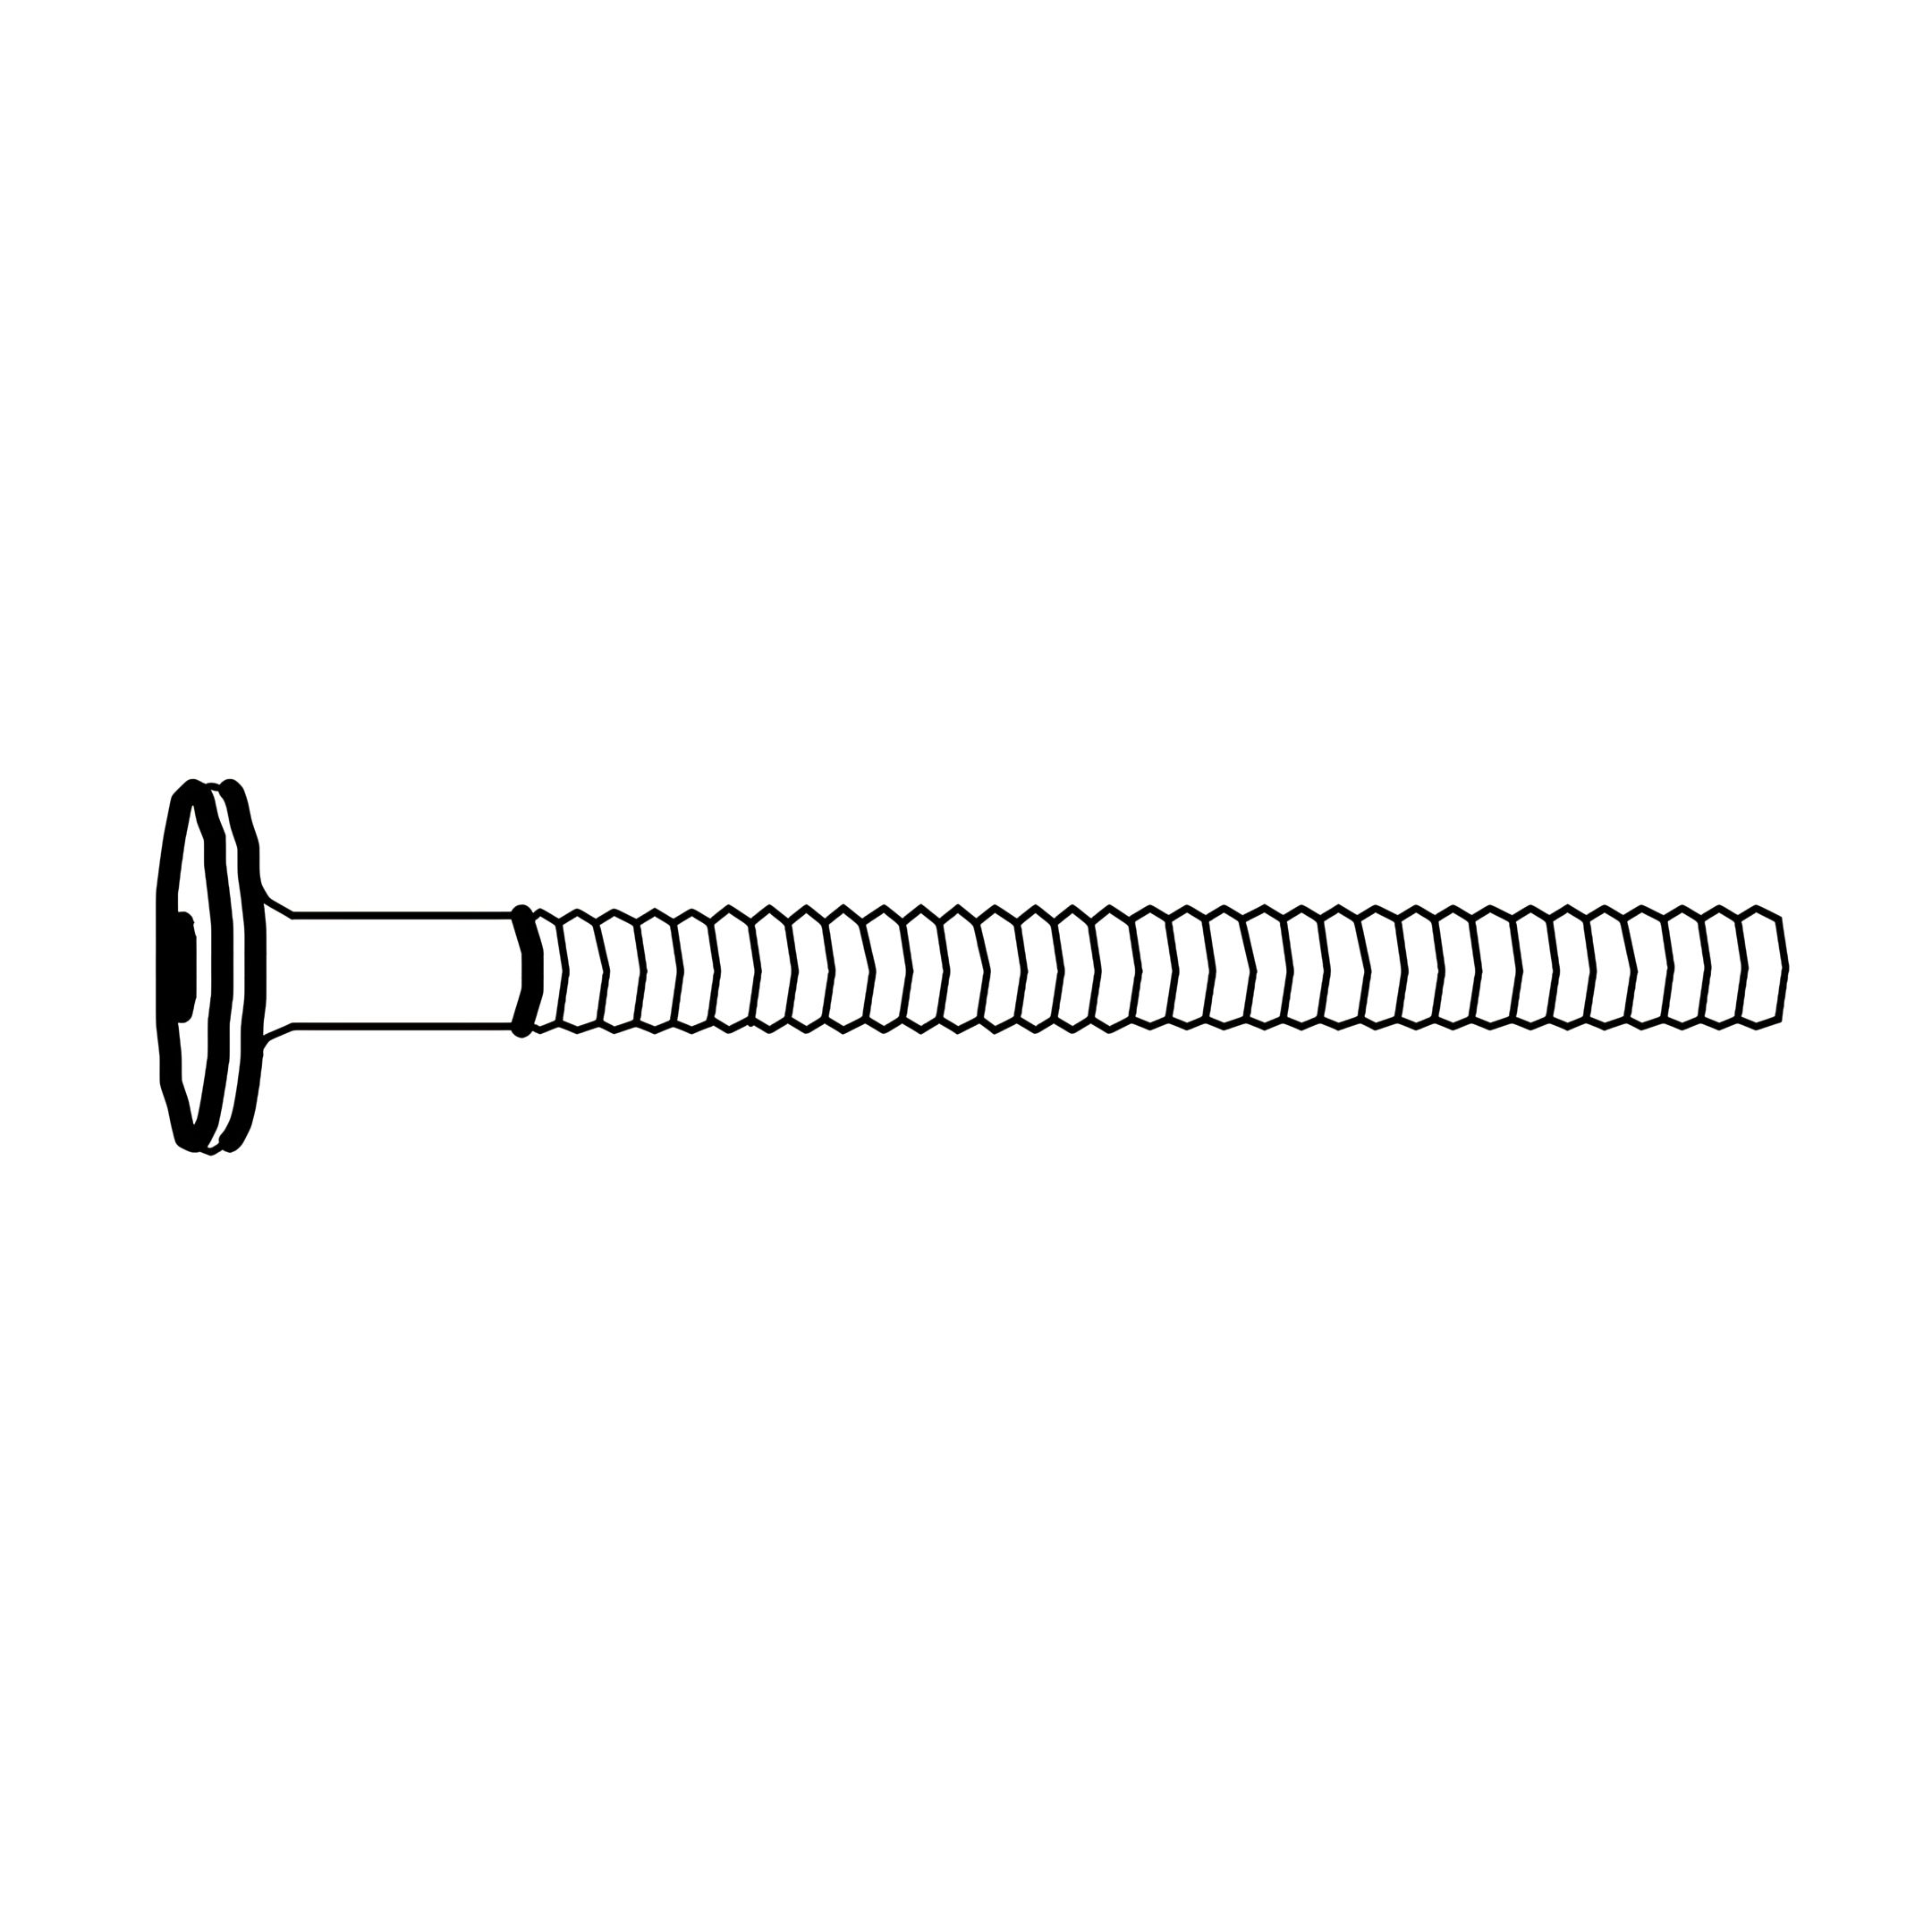
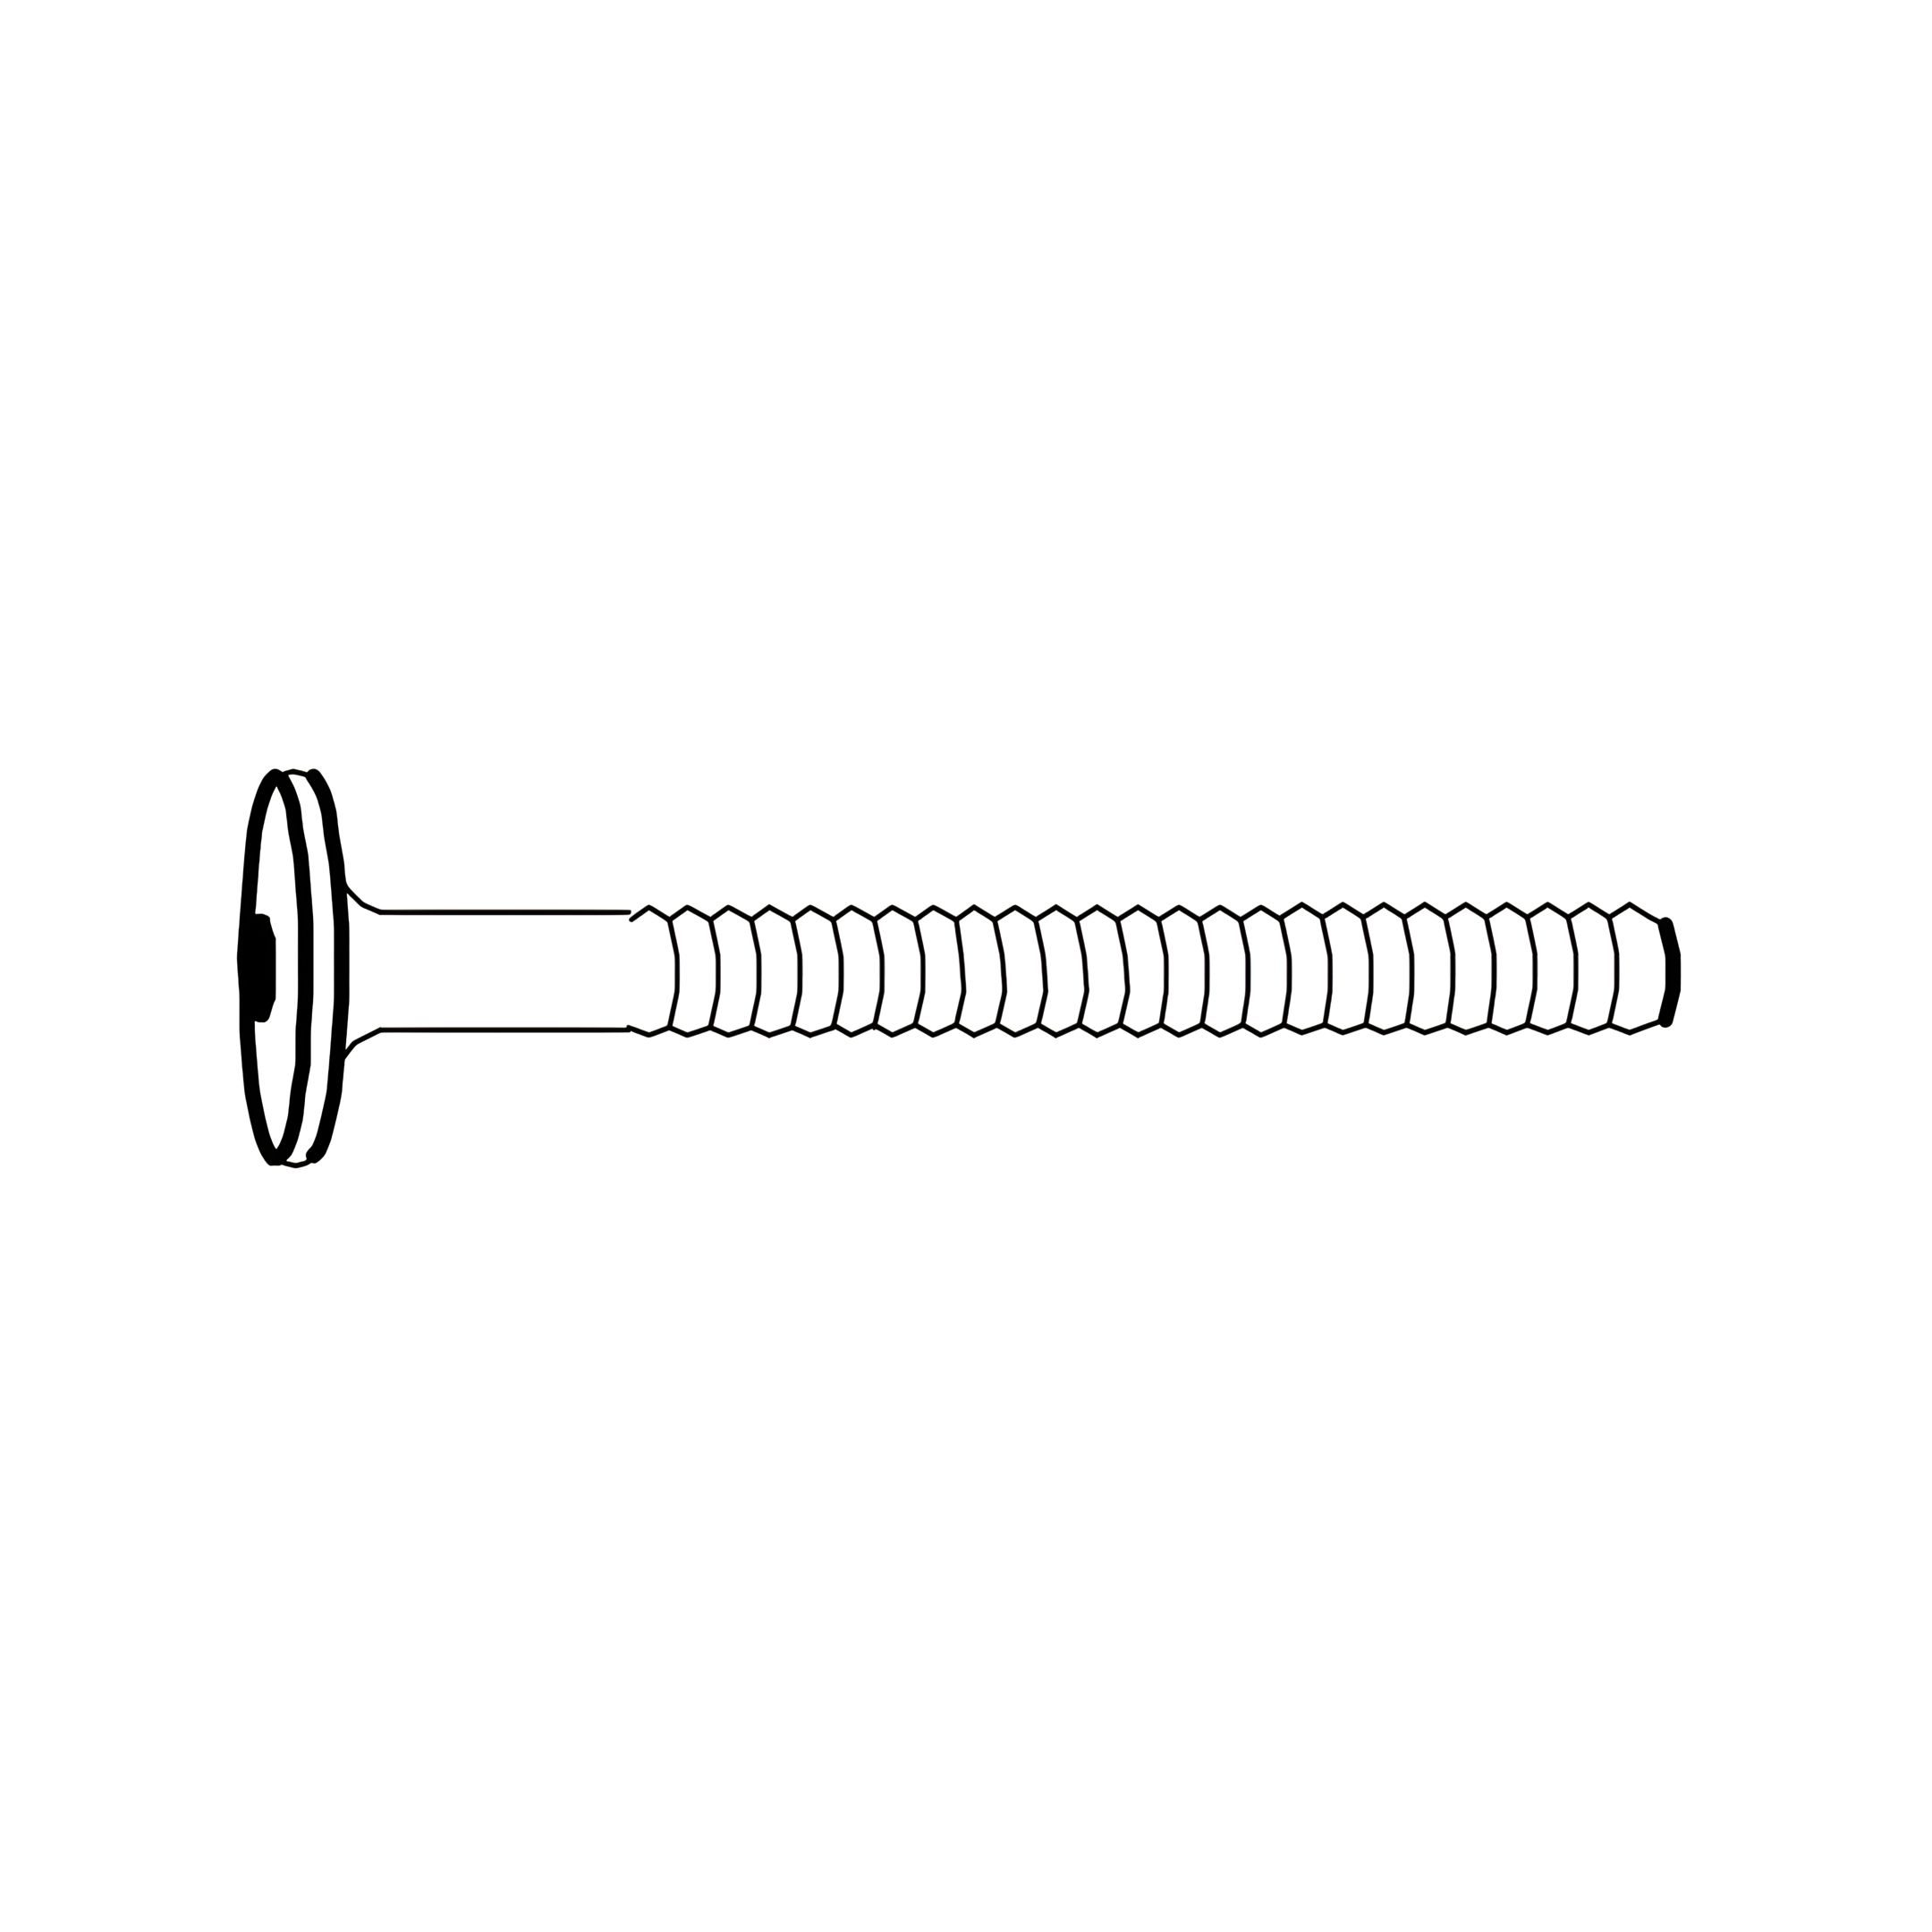
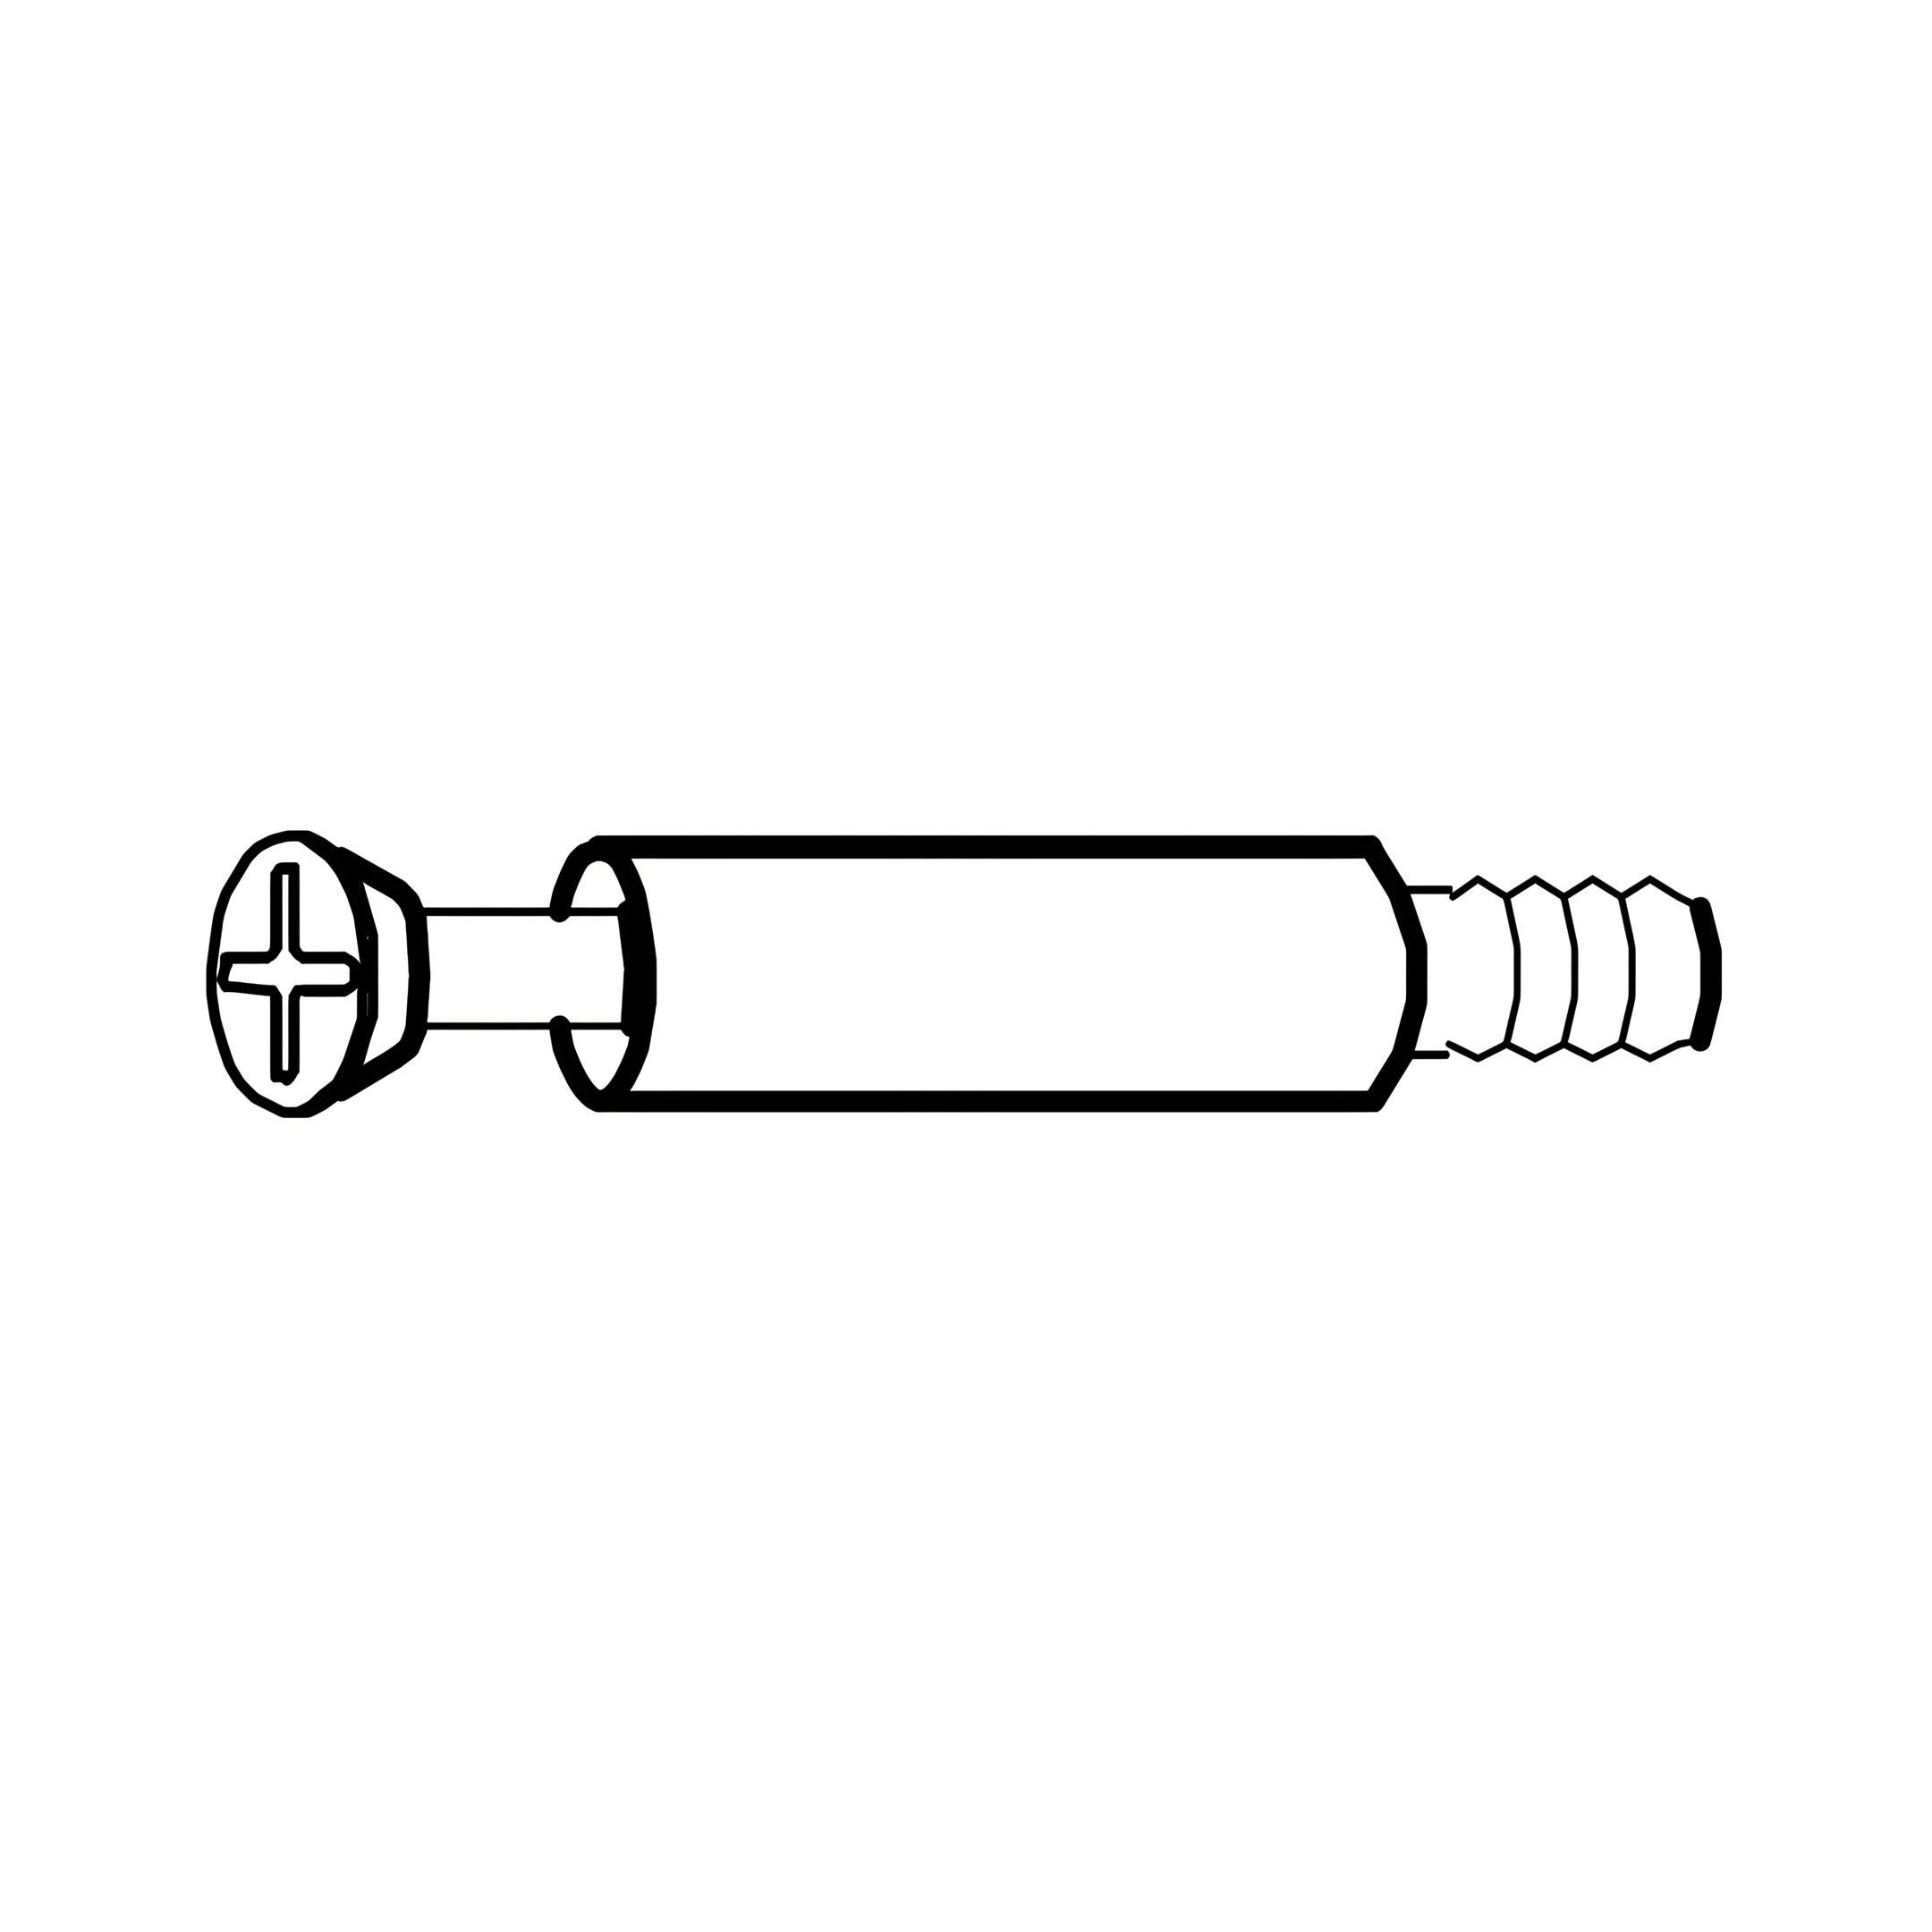
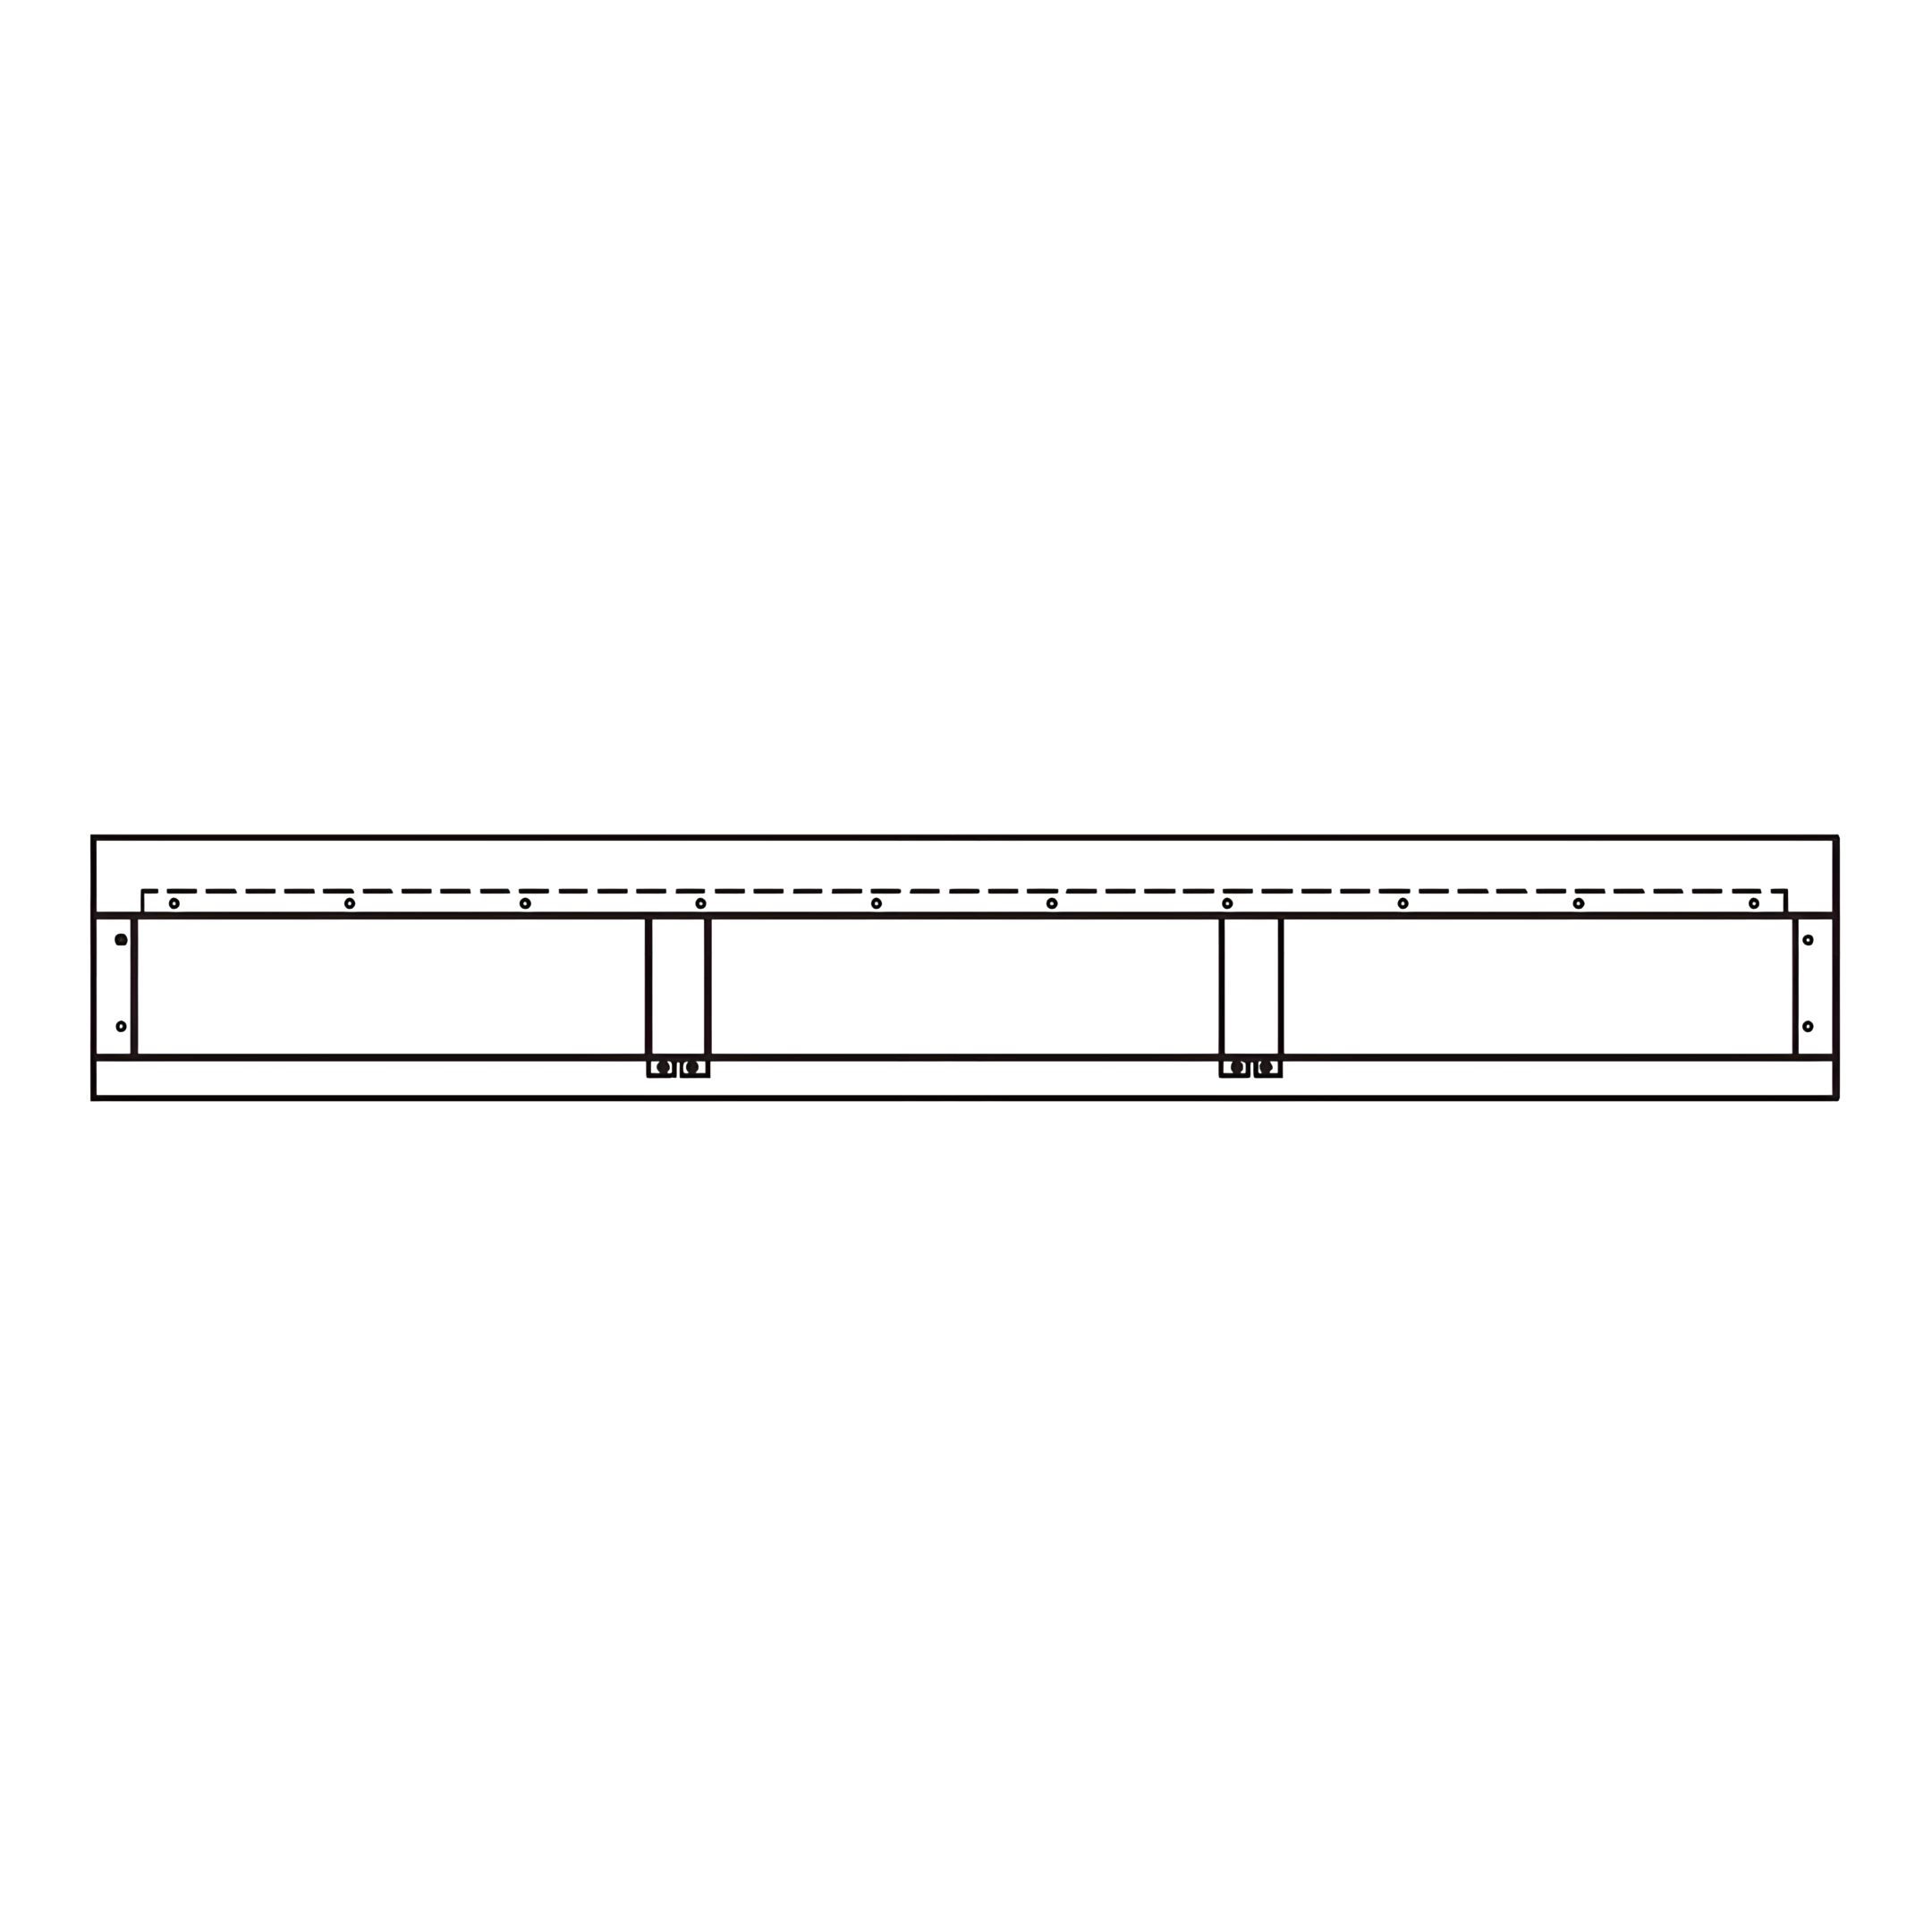
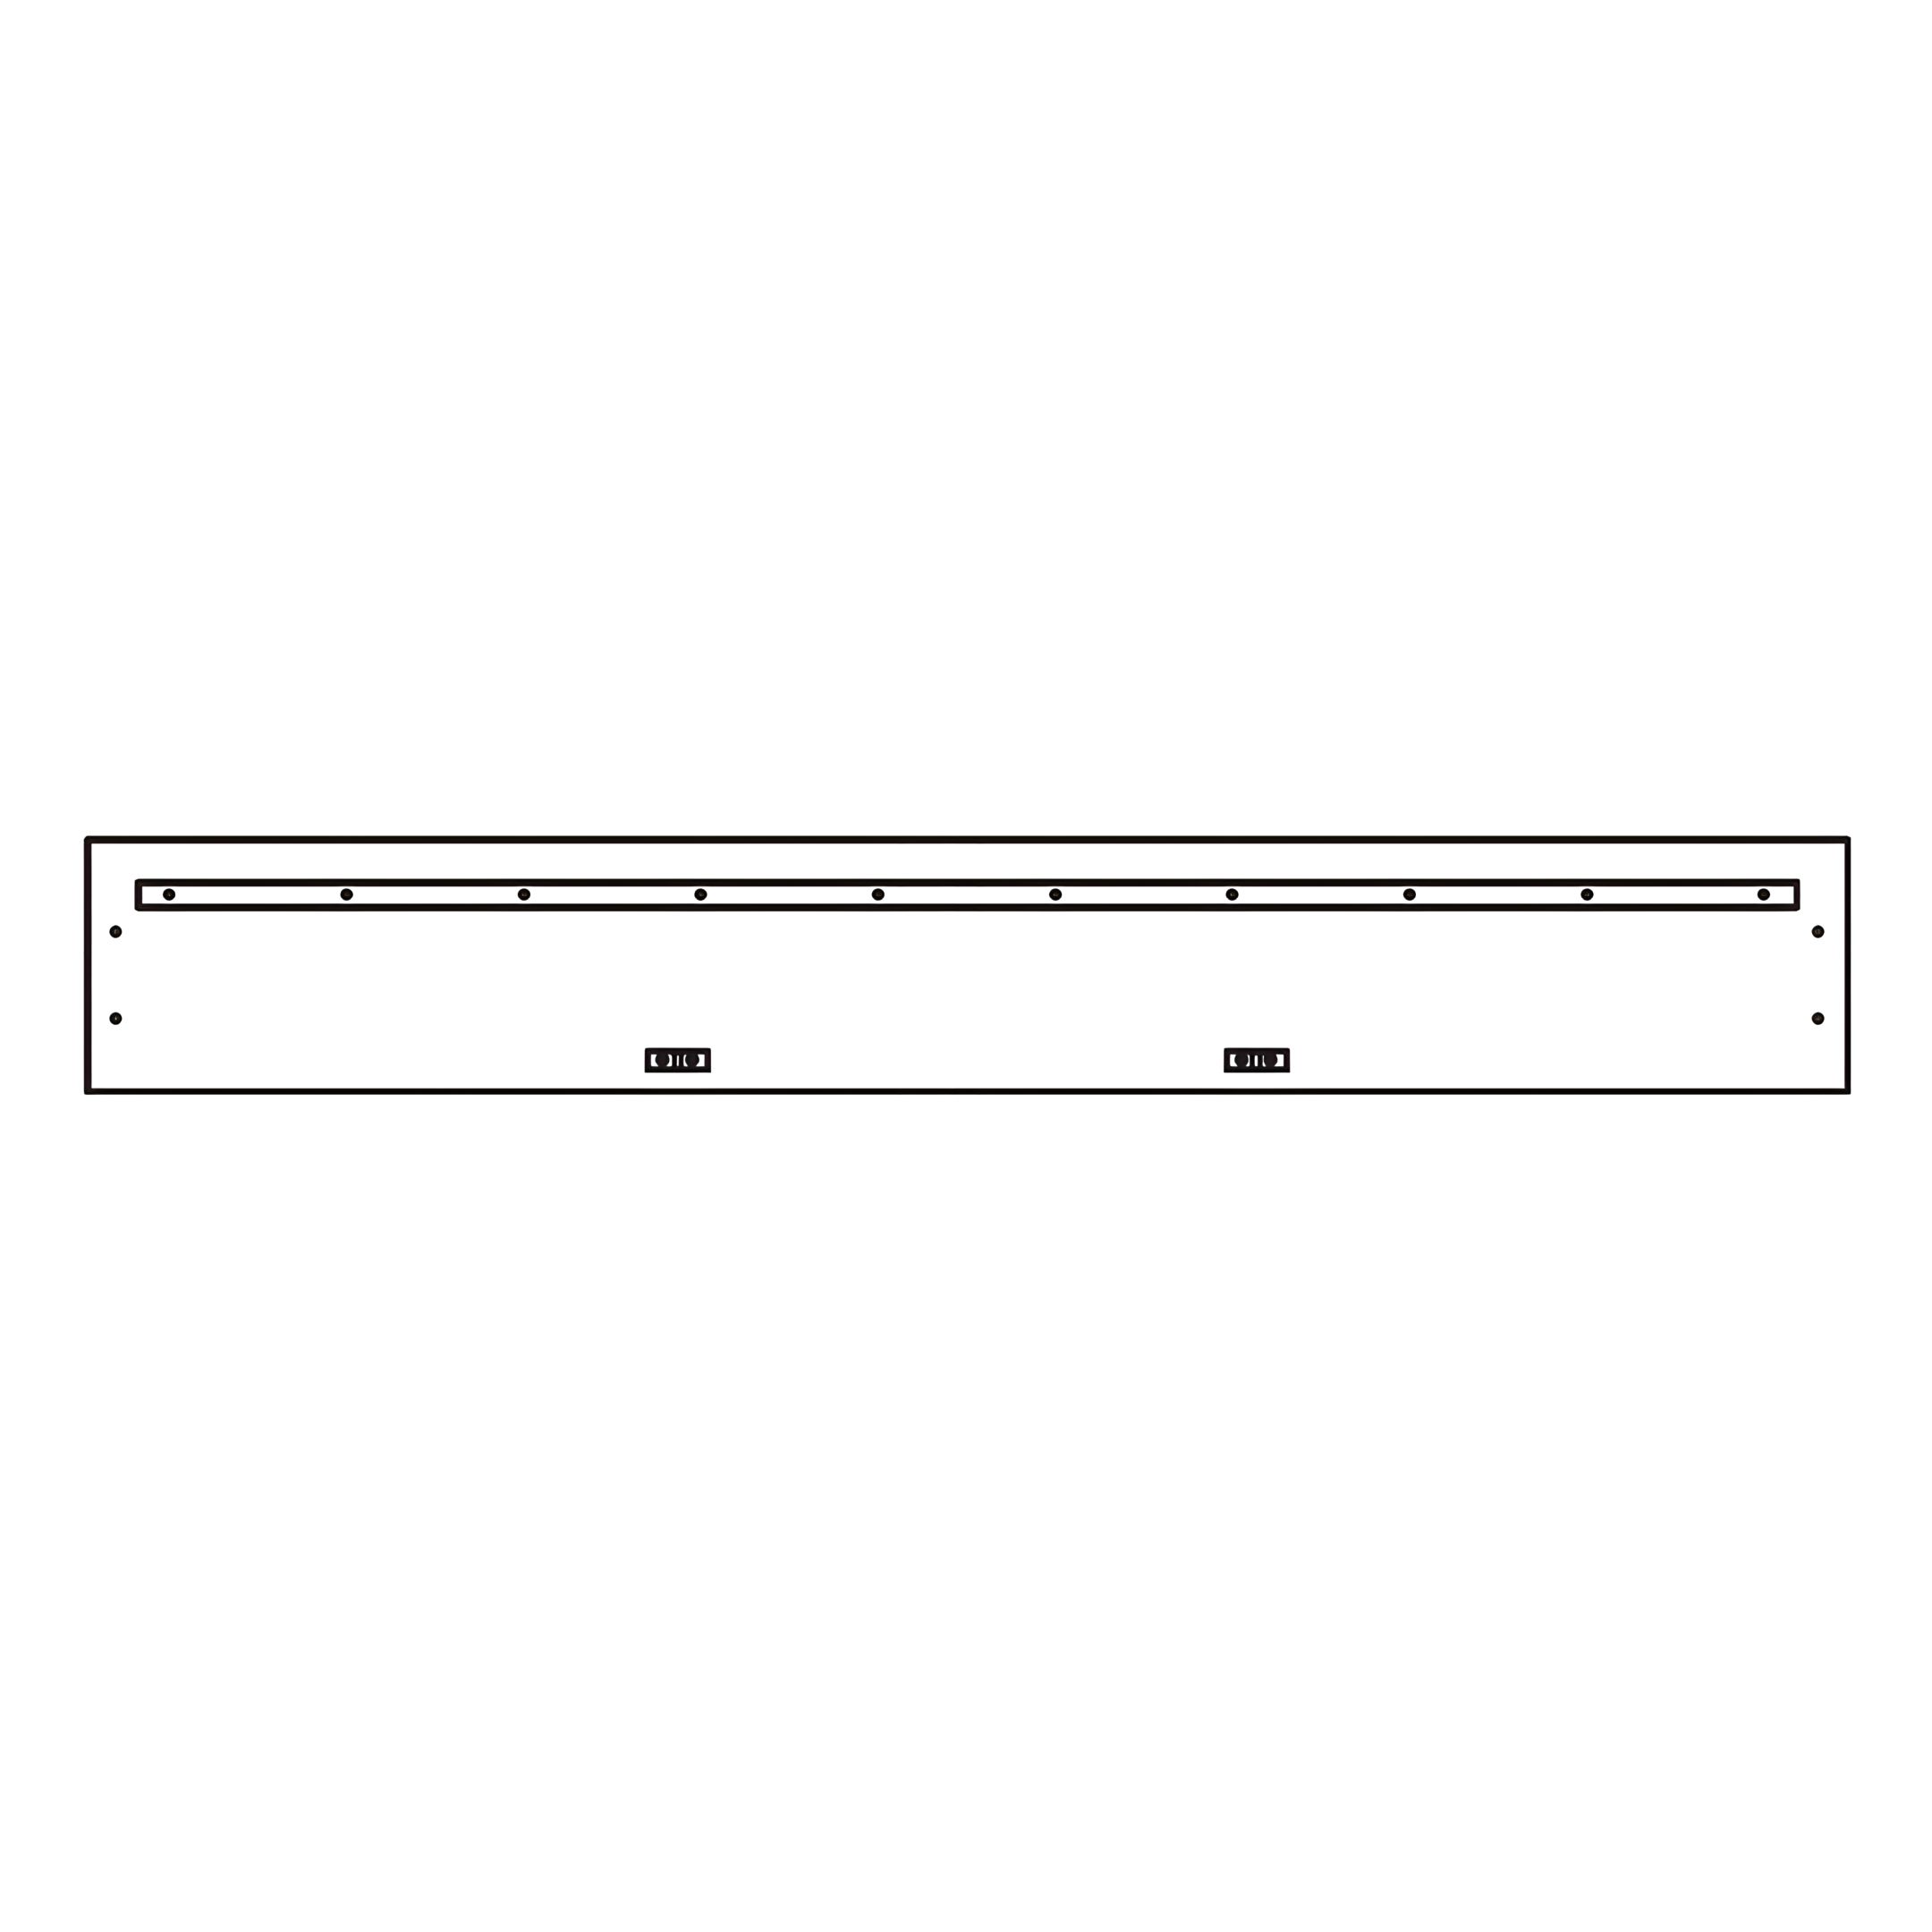
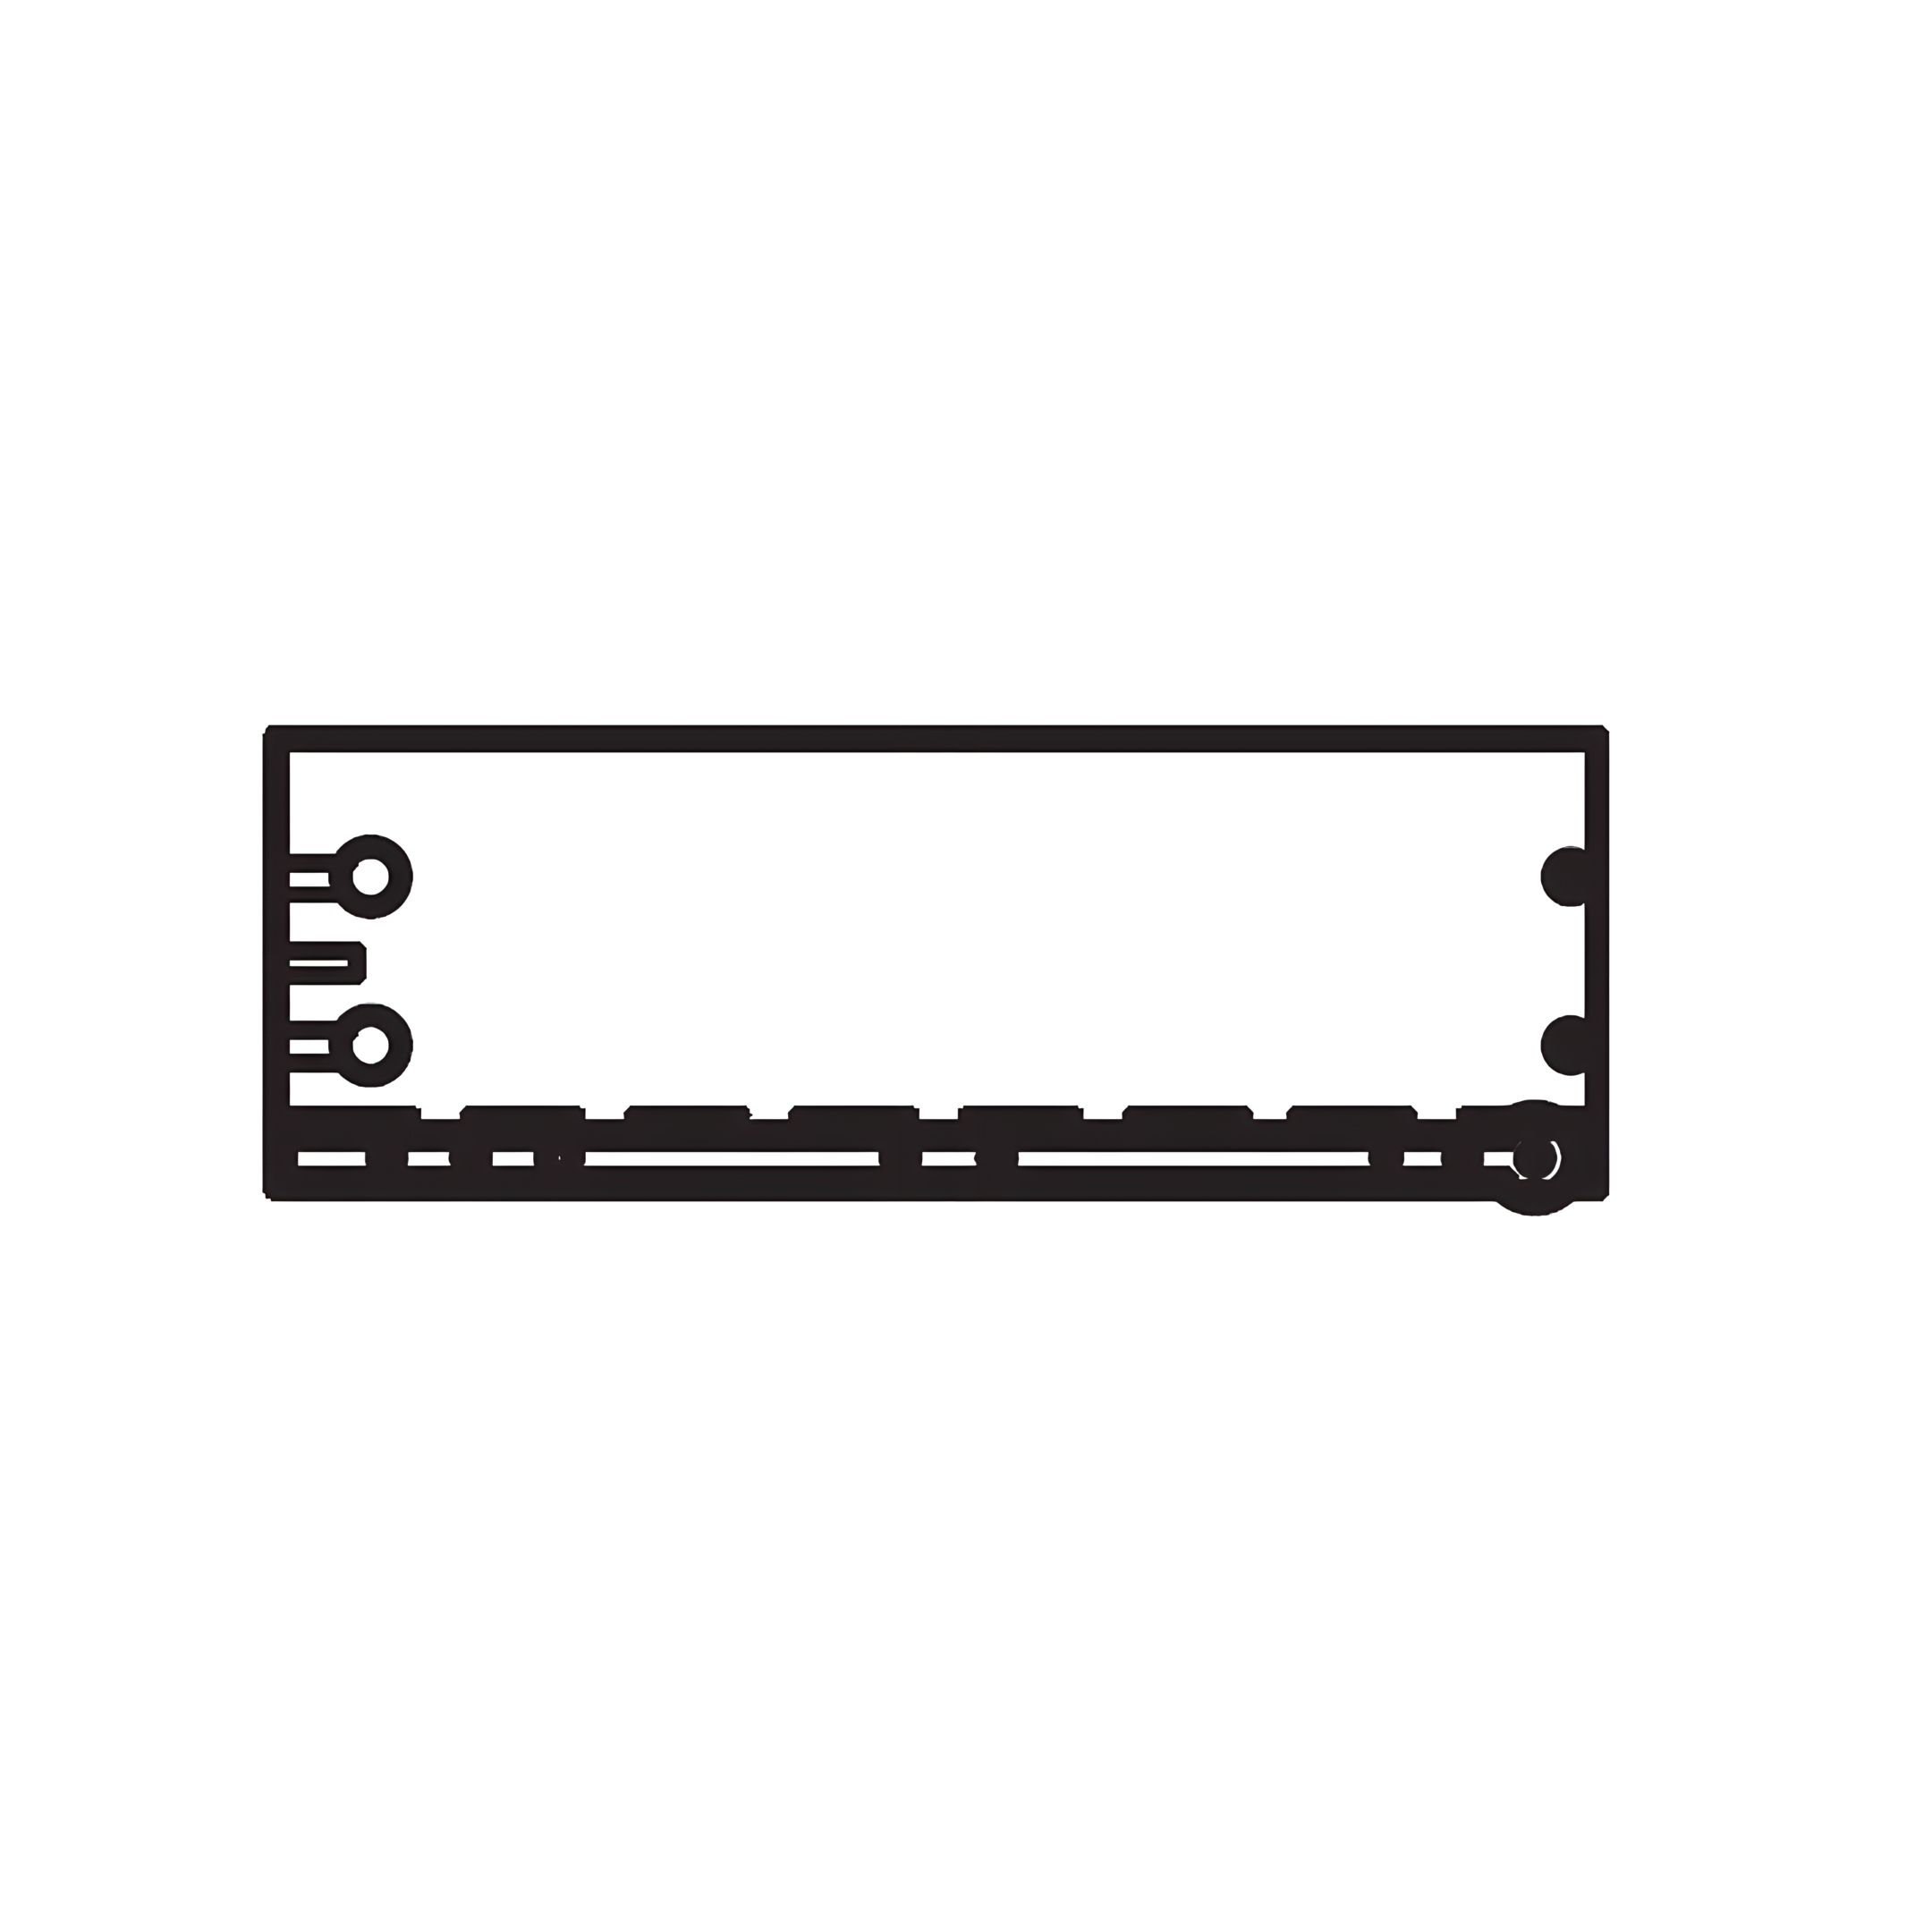
3. Insert JCBC Bolt (1) through the aligned holes as shown on the diagram.
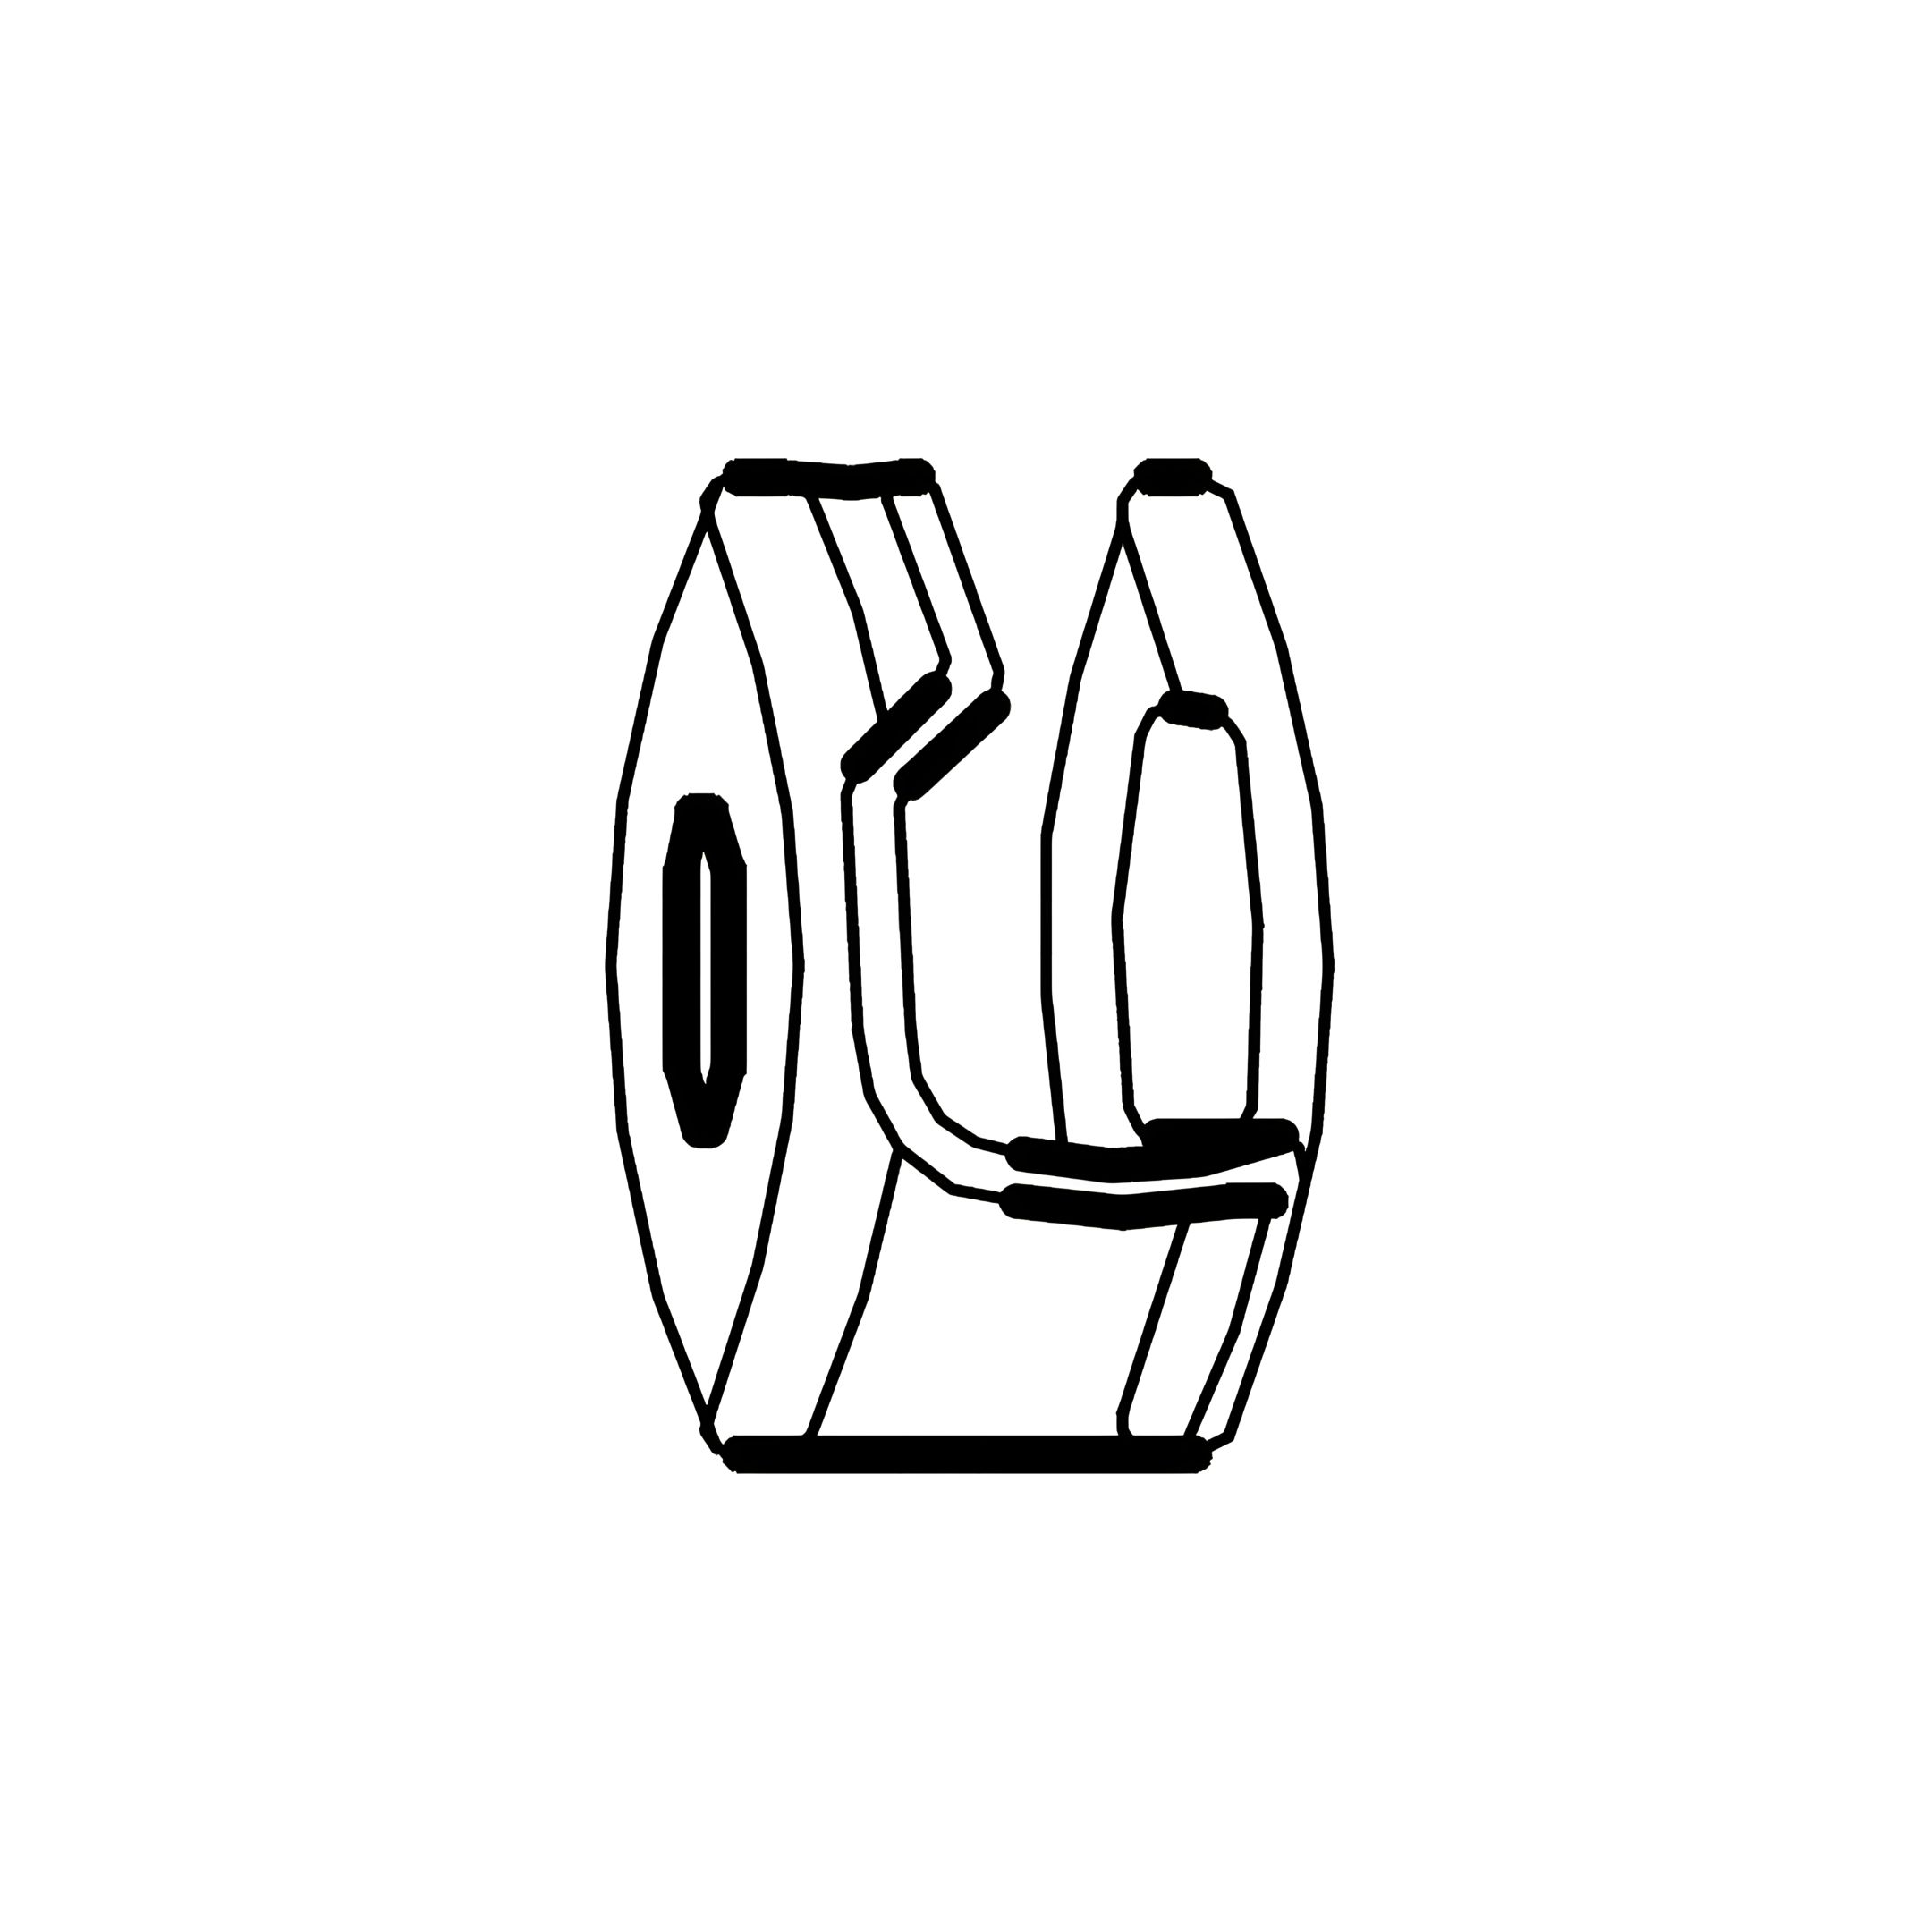
4. Fasten with a Barrel Nut (2).
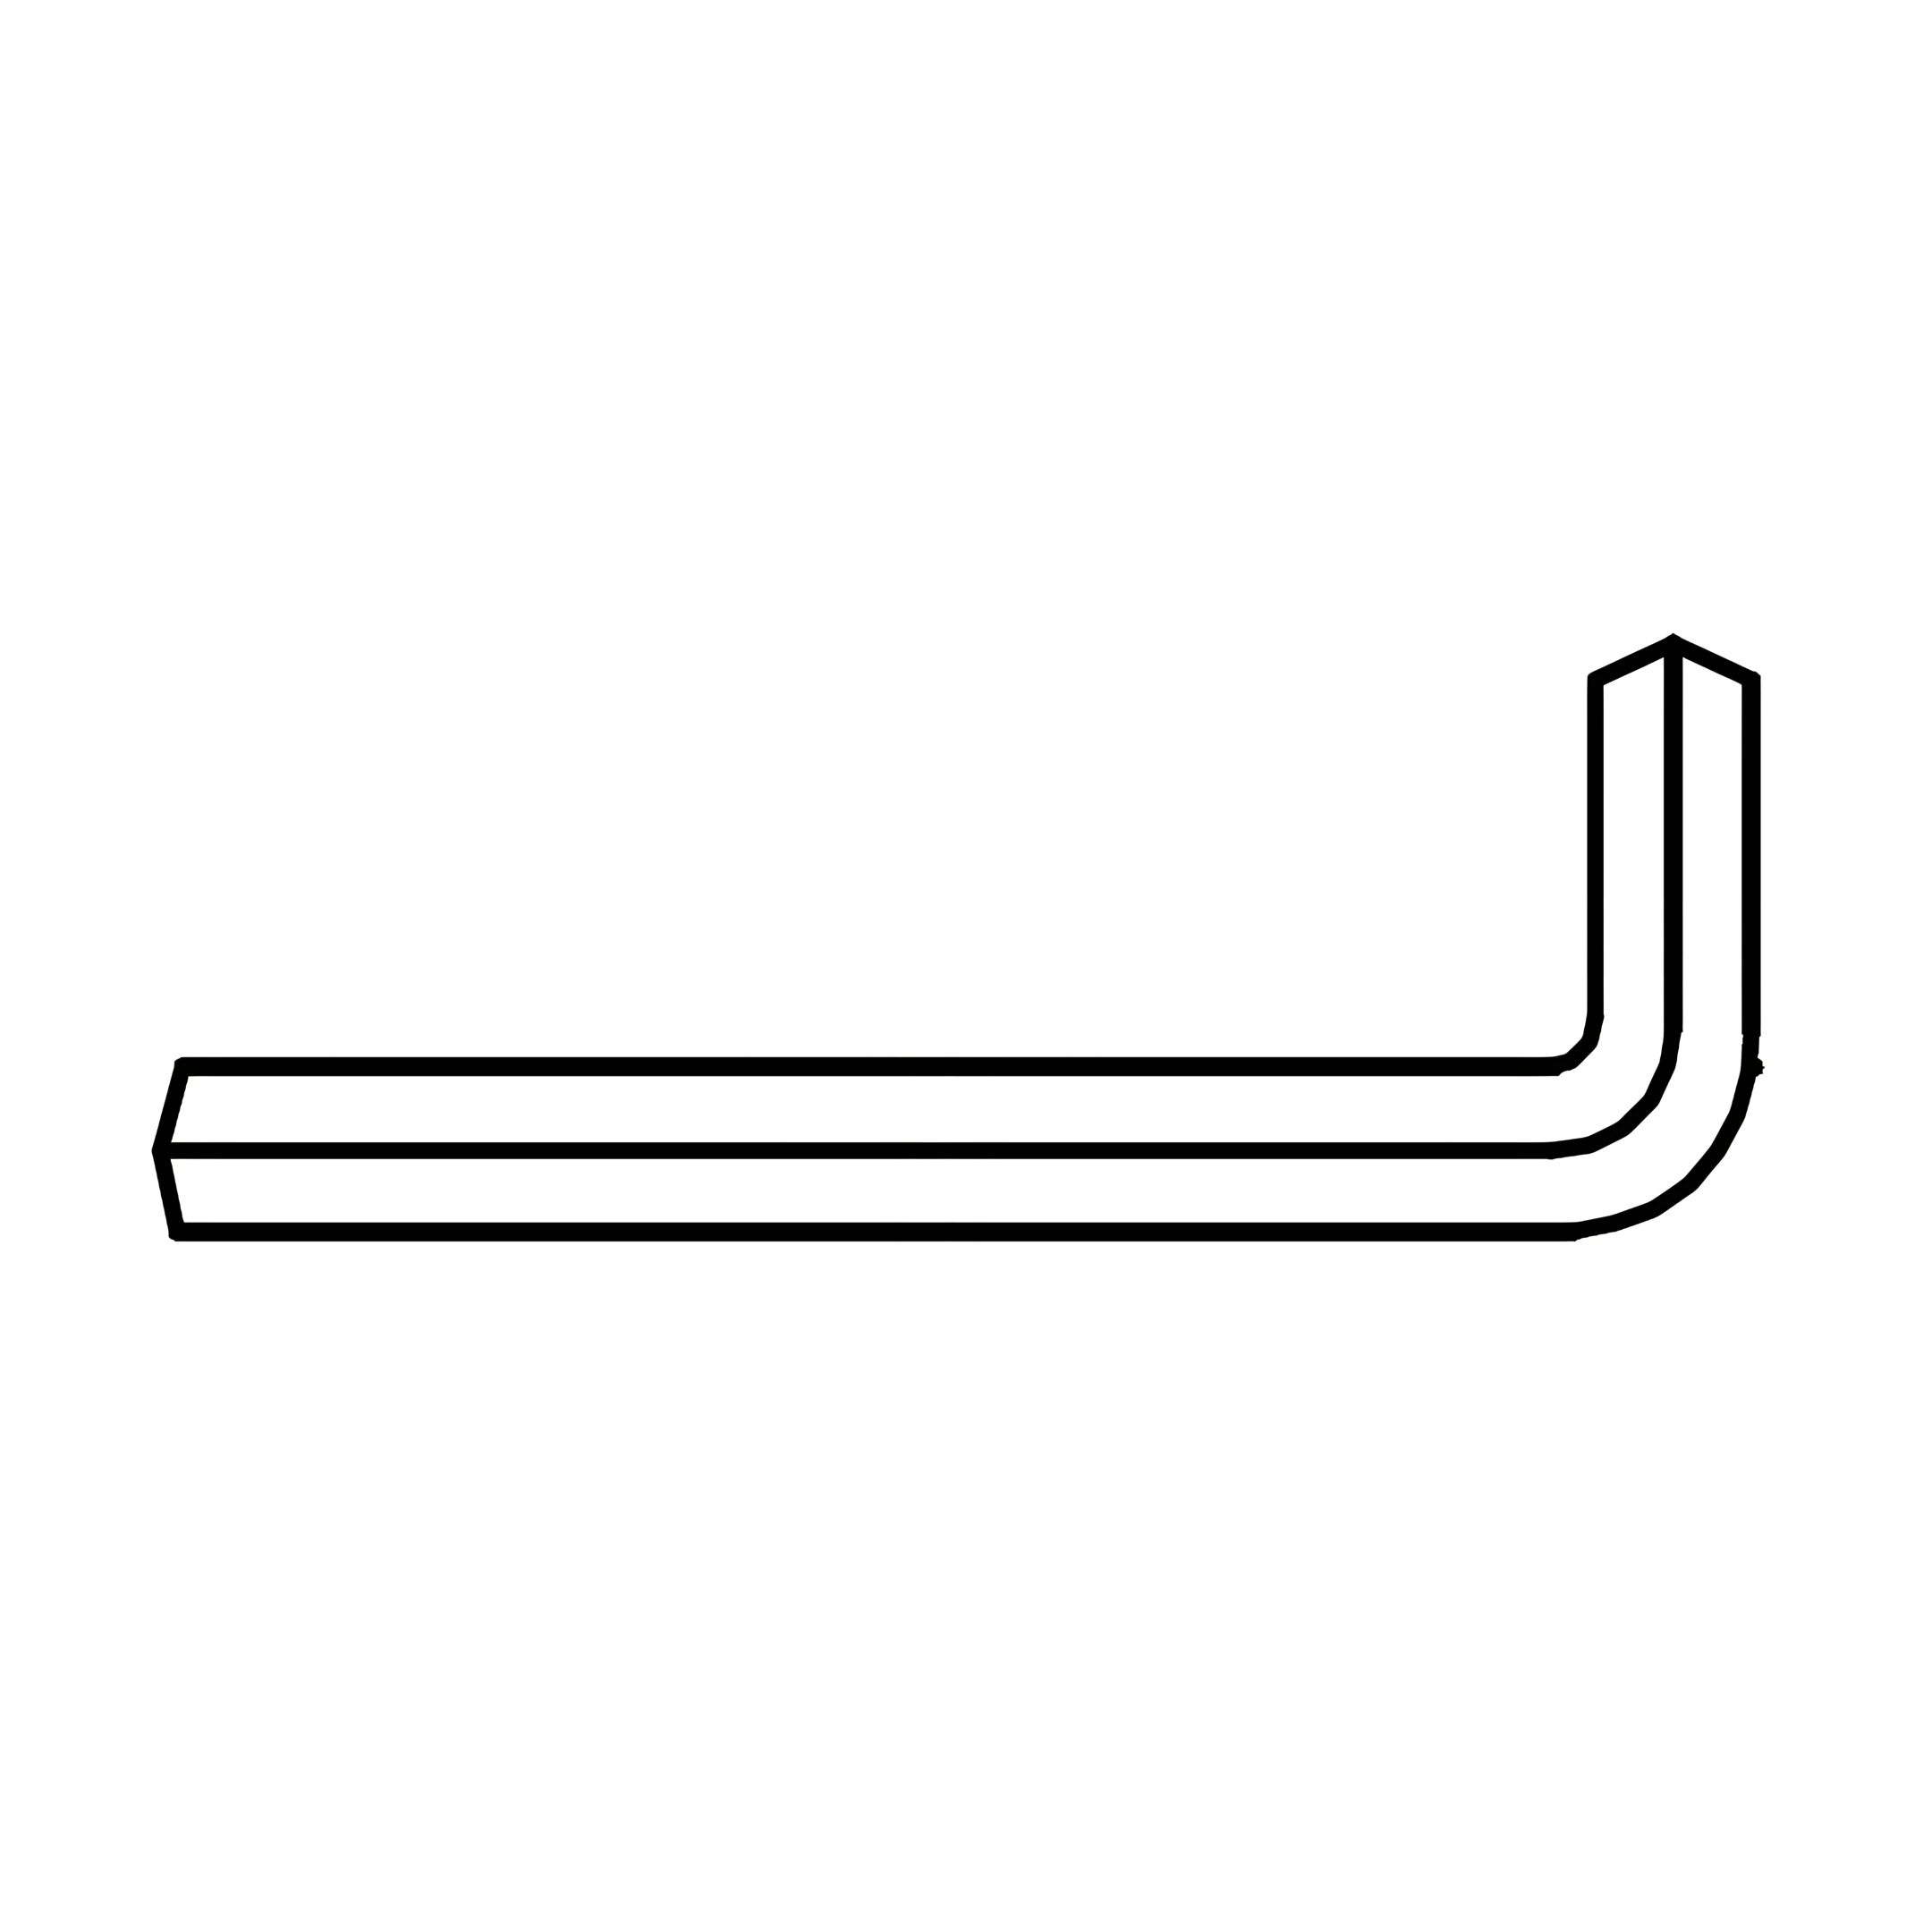
5. Use the M4 Allen Key (7) to fully tighten the bolts.