1. Remove Packing Bolts for Assembly
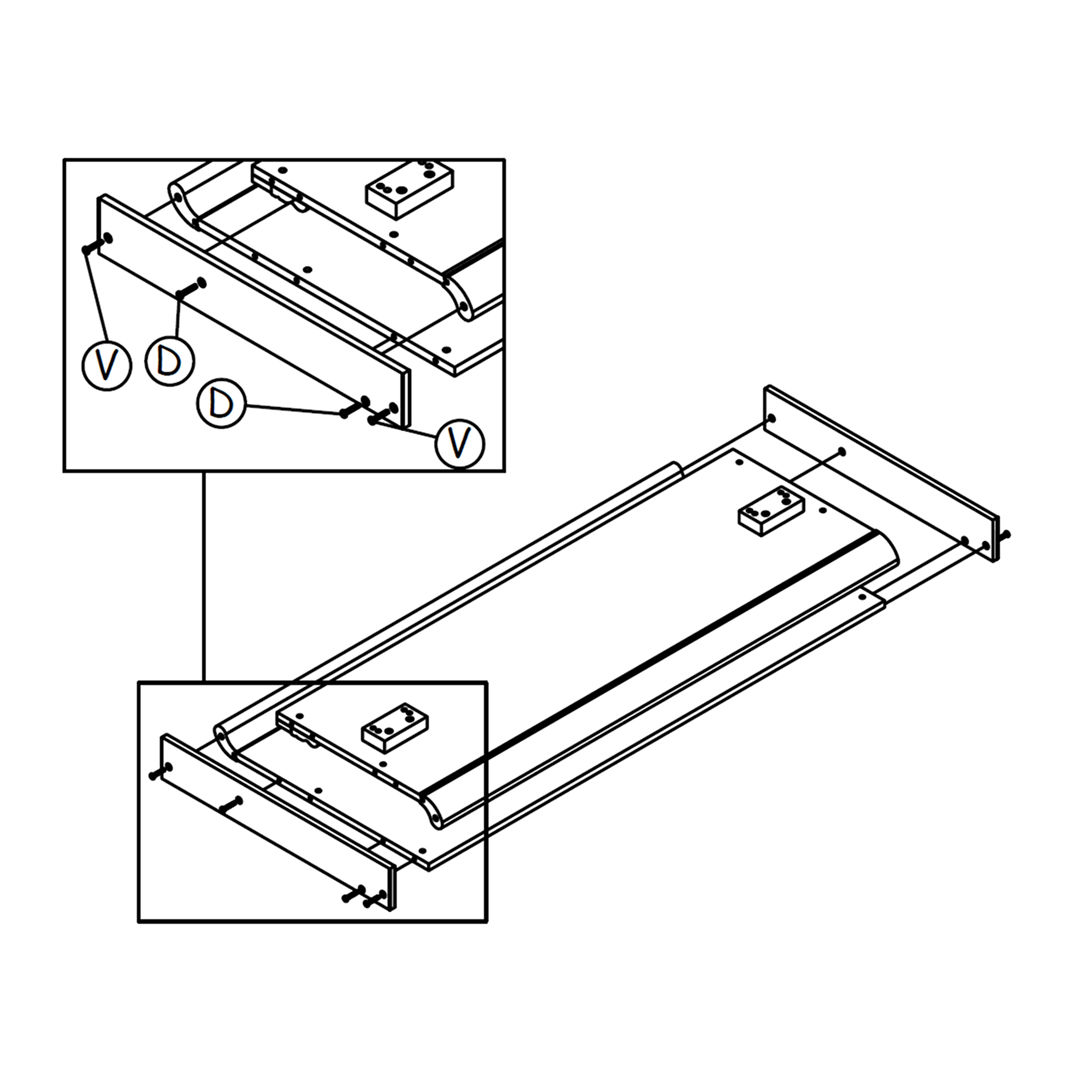
Detach the packing method using the JCBC bolt as shown. The screw will be reused for assembling the hardware parts.
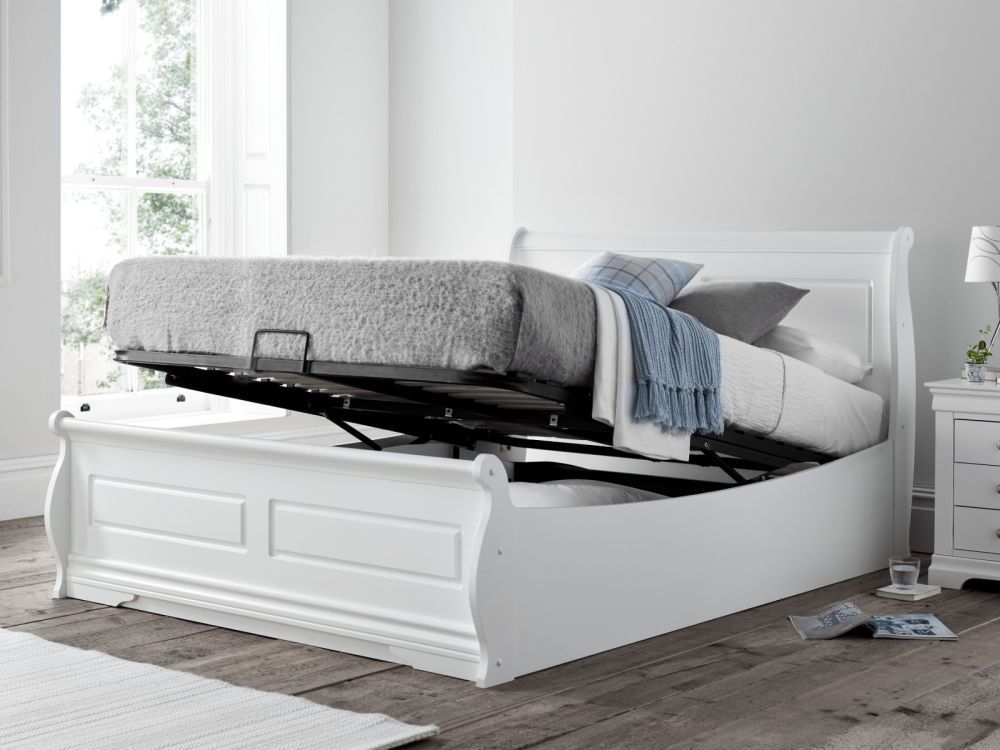 Instructions by time4sleep Marseille Wooden Ottoman Storage Bed FrameAssembly instructions for Marseille Wooden Ottoman Storage Bed Frame by Time4Sleep Product Information Marseille Wooden Ottoman Storage Bed FrameOur Marseille combines classical elegance with the versatility of ottoman storage. The sprung slatted base can be easily raised and lowered with the gas lift ottoman system to reveal a generous fully boarded high capacity storage area.
The beautiful white painted finish works equally well in either a traditional or contemporary setting.
Graceful curves and sophisticated detailing, the Marseille will bring a mood of serenity and relaxation to any room. Manufactured from rubber wood and engineered timber the bed comes with a sprung slatted base for extra comfort and support. If your looking for a complete room solution this ranges co-ordinates with our Chateaux collection of furniture, for further details please click on the furniture tab below.
The storage depth on this bed frame is 27cm approx. View product (opens in new tab)
Tools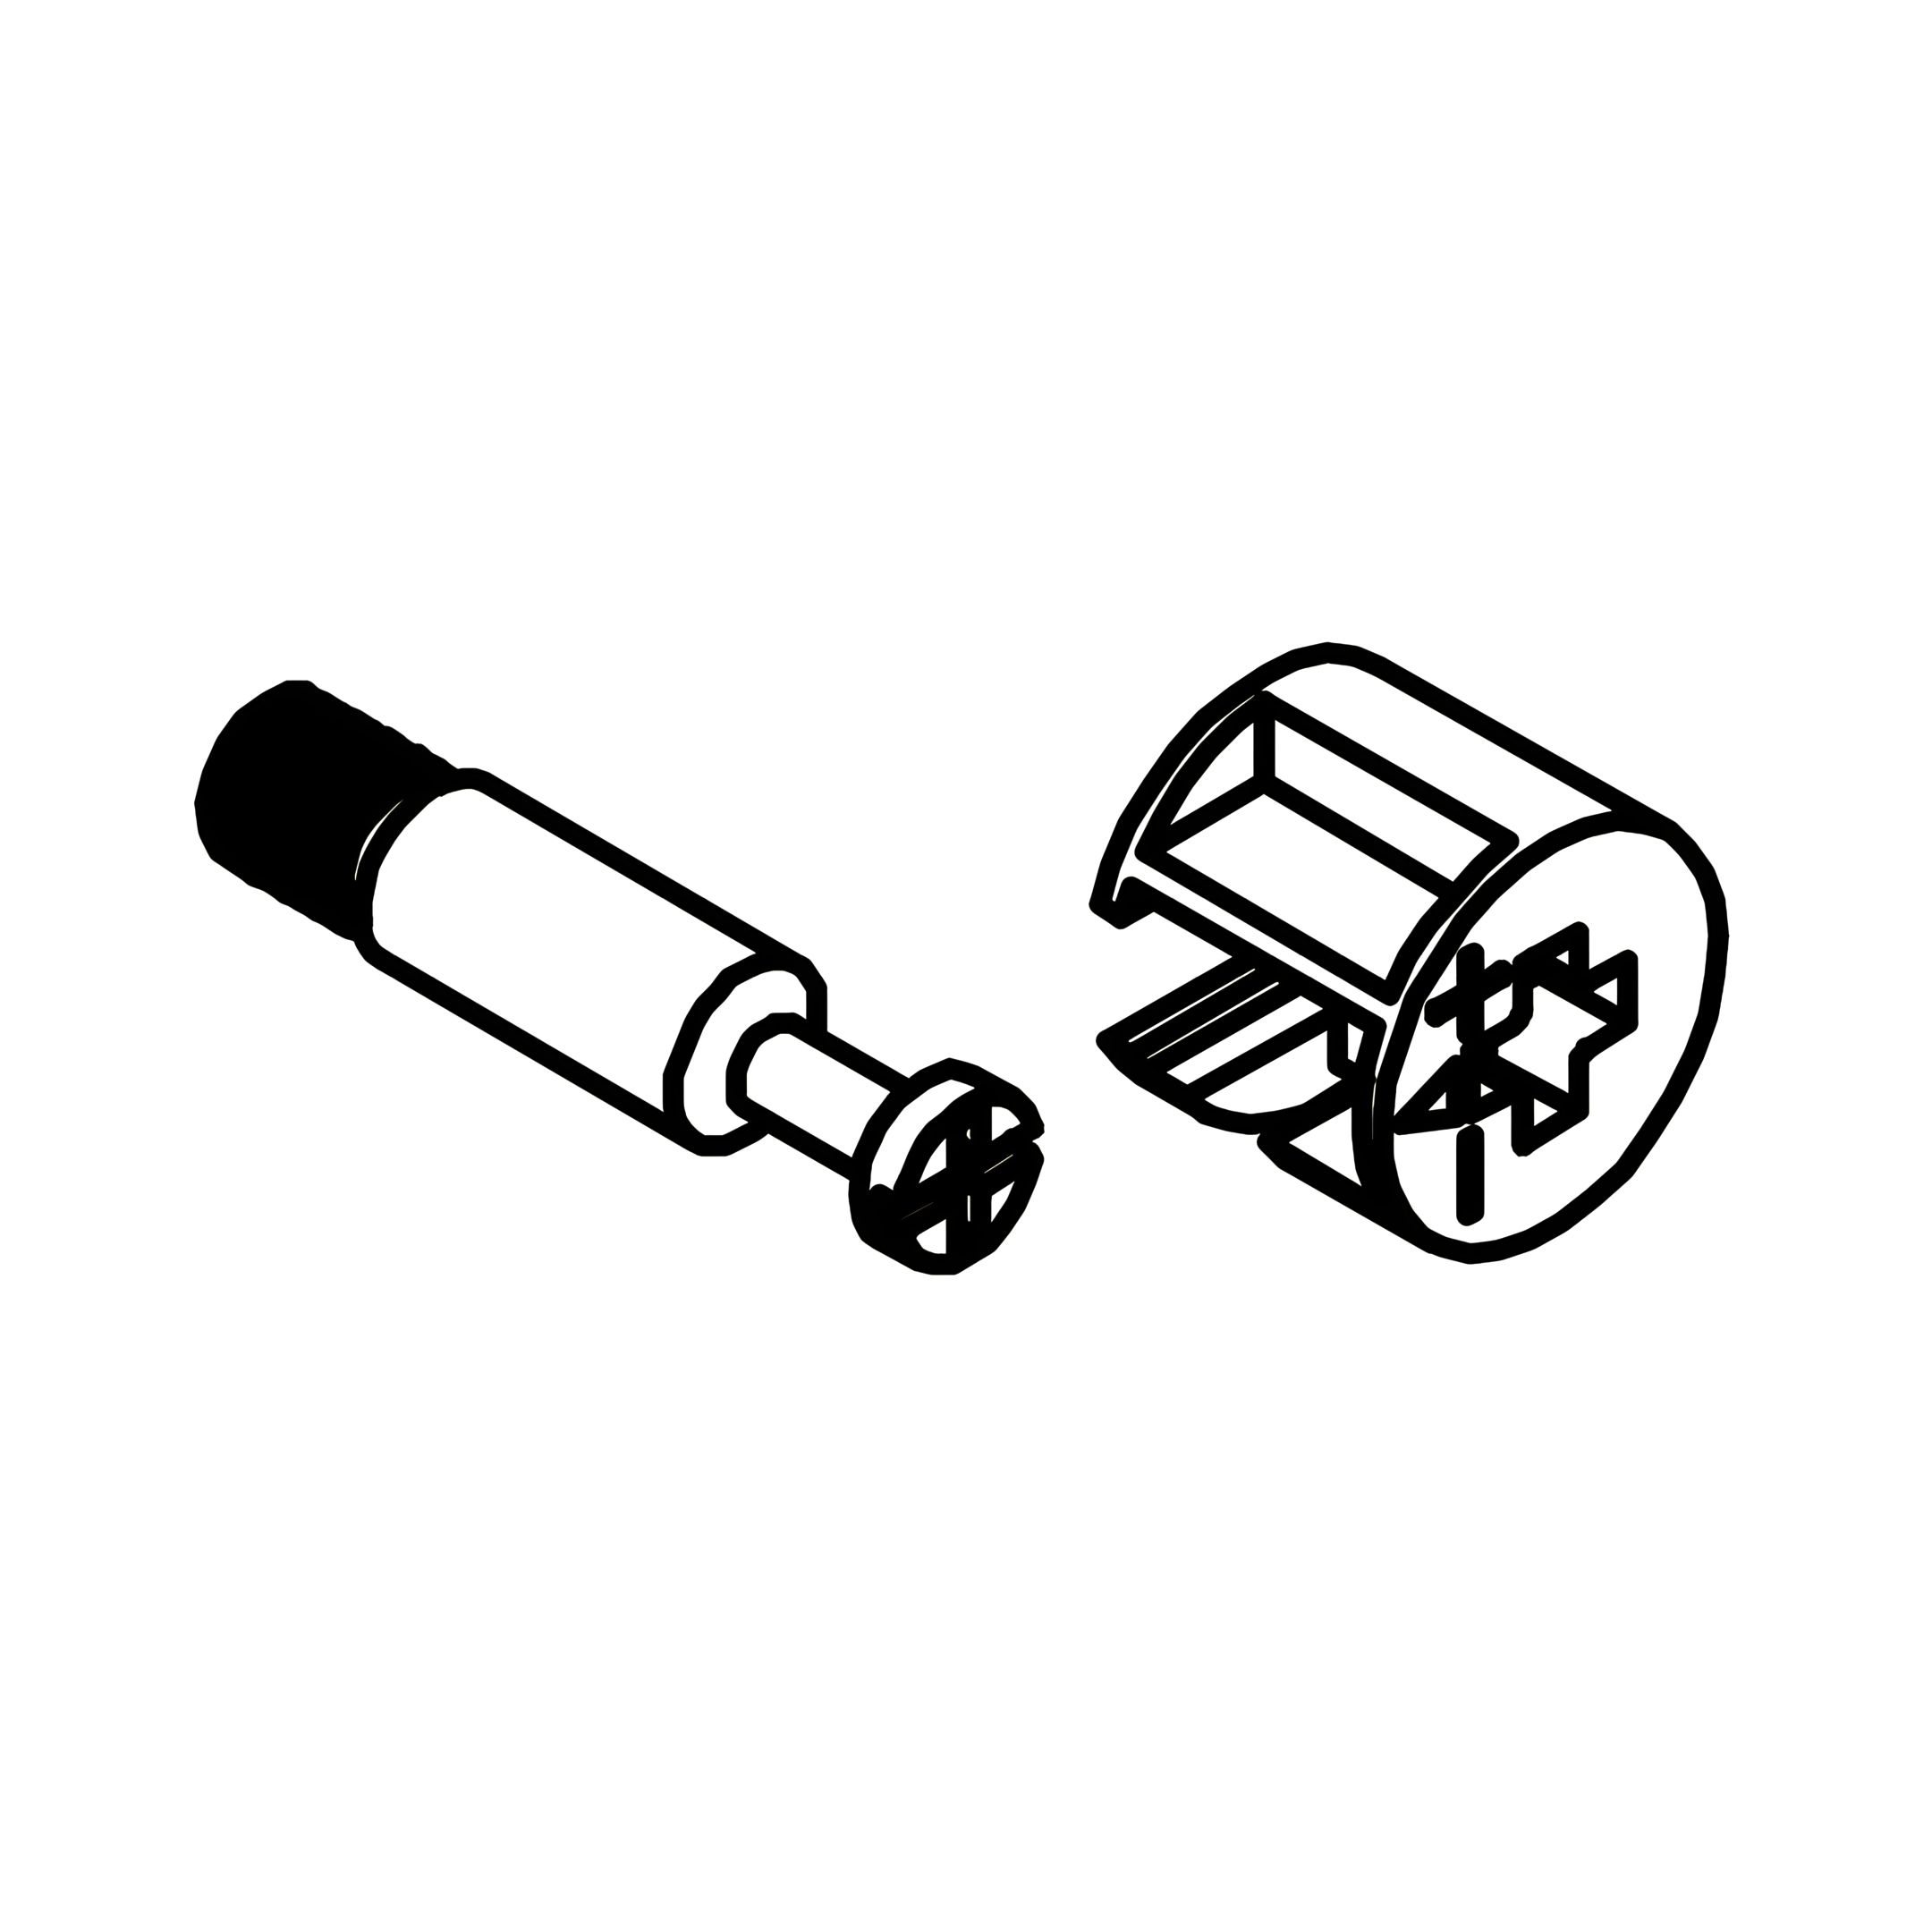 A - Mini Fix 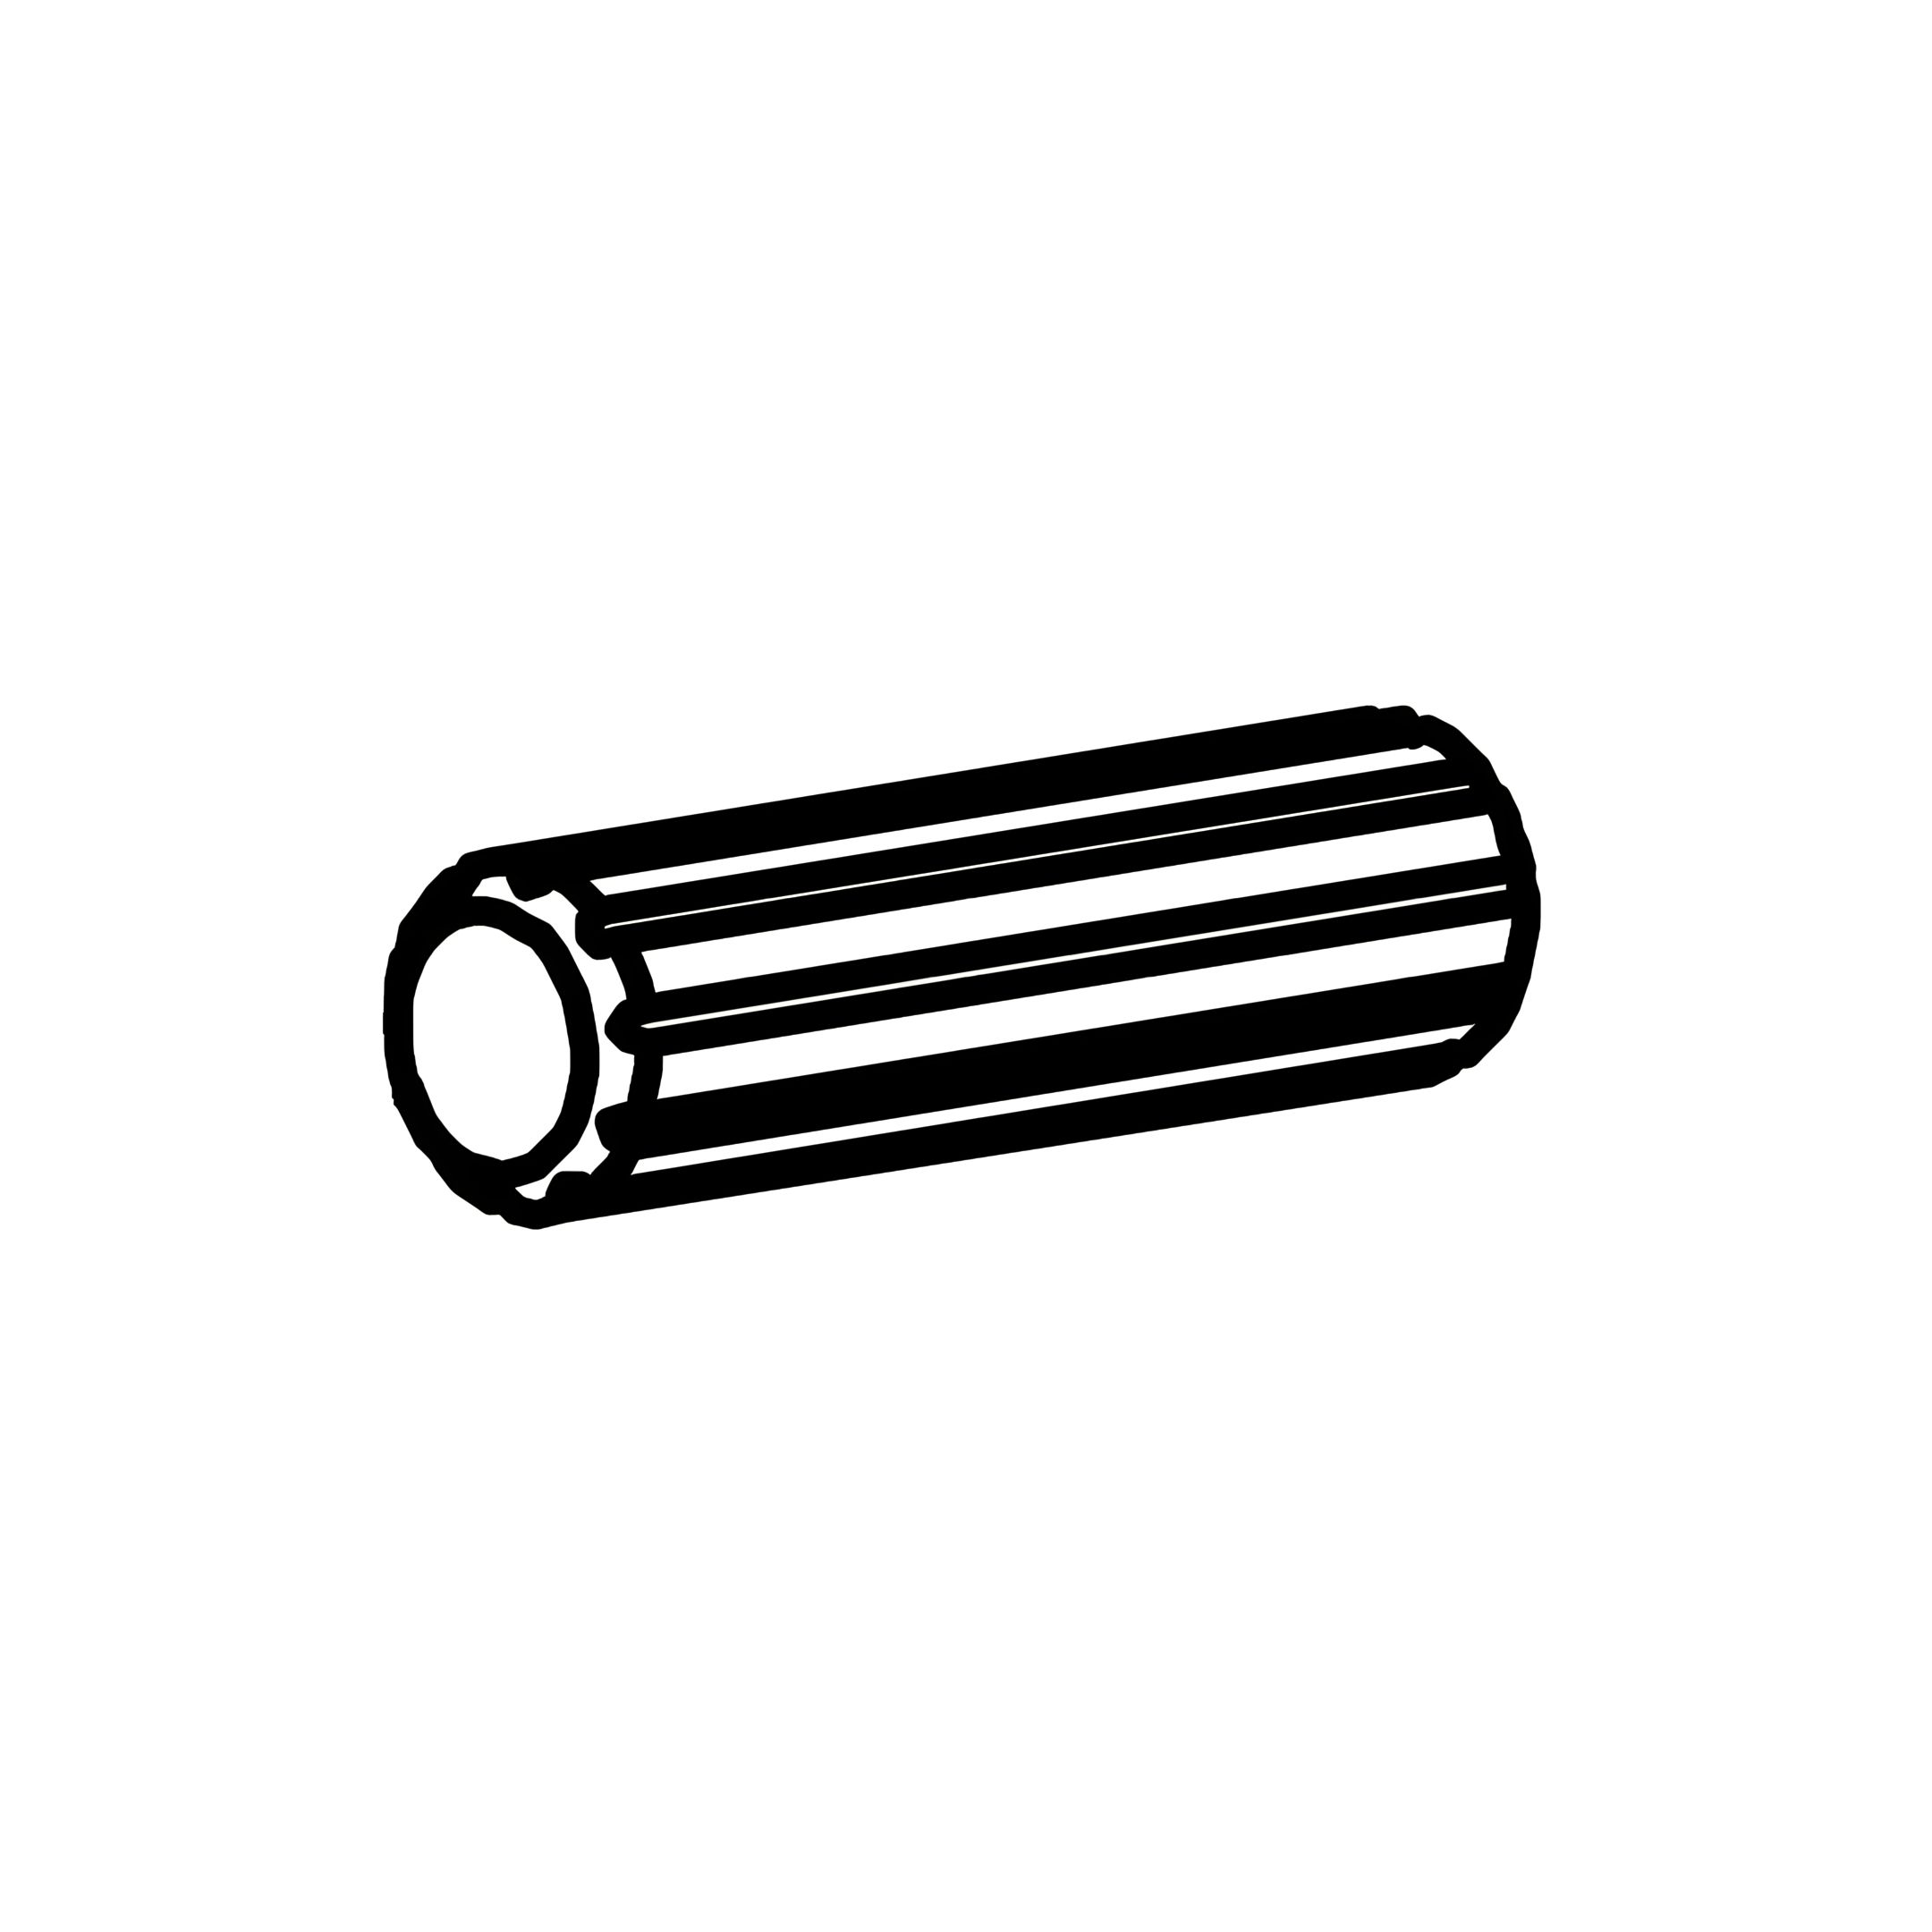 B - Wooden Dowel (8x30mm)  C - Metal Corner Block 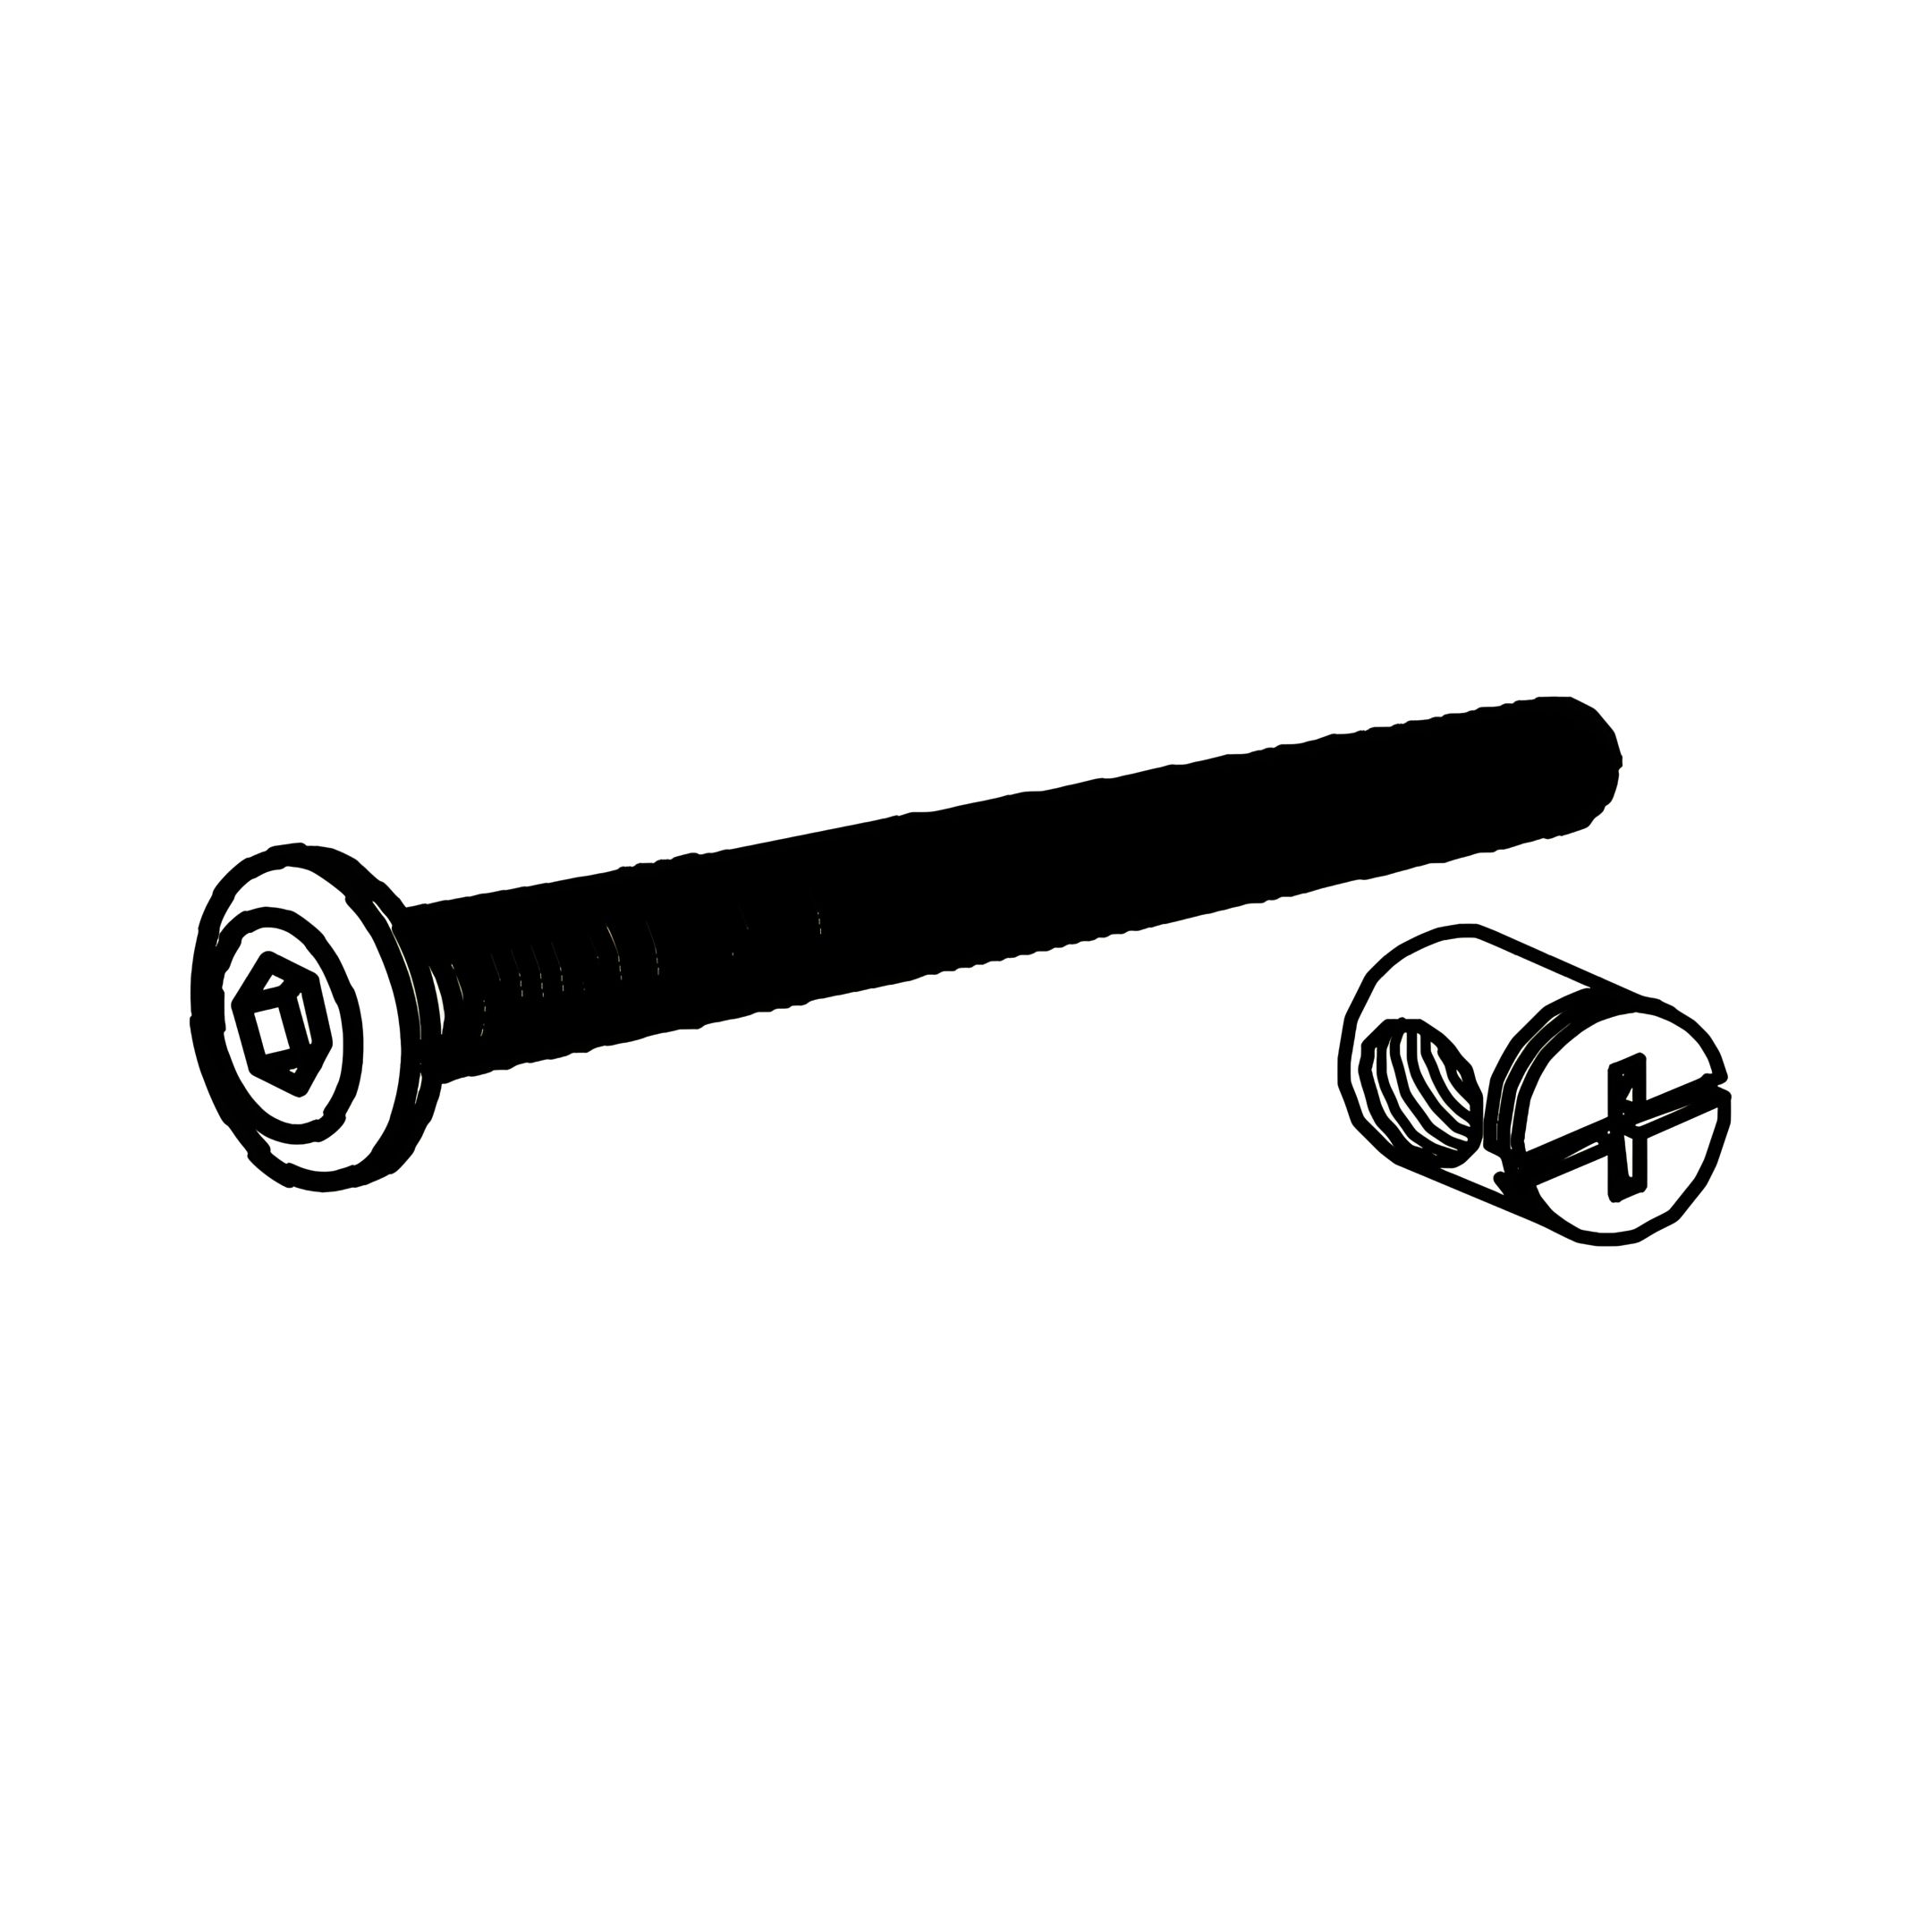 D - Barrel Nut RBW (M6 x 50mm) 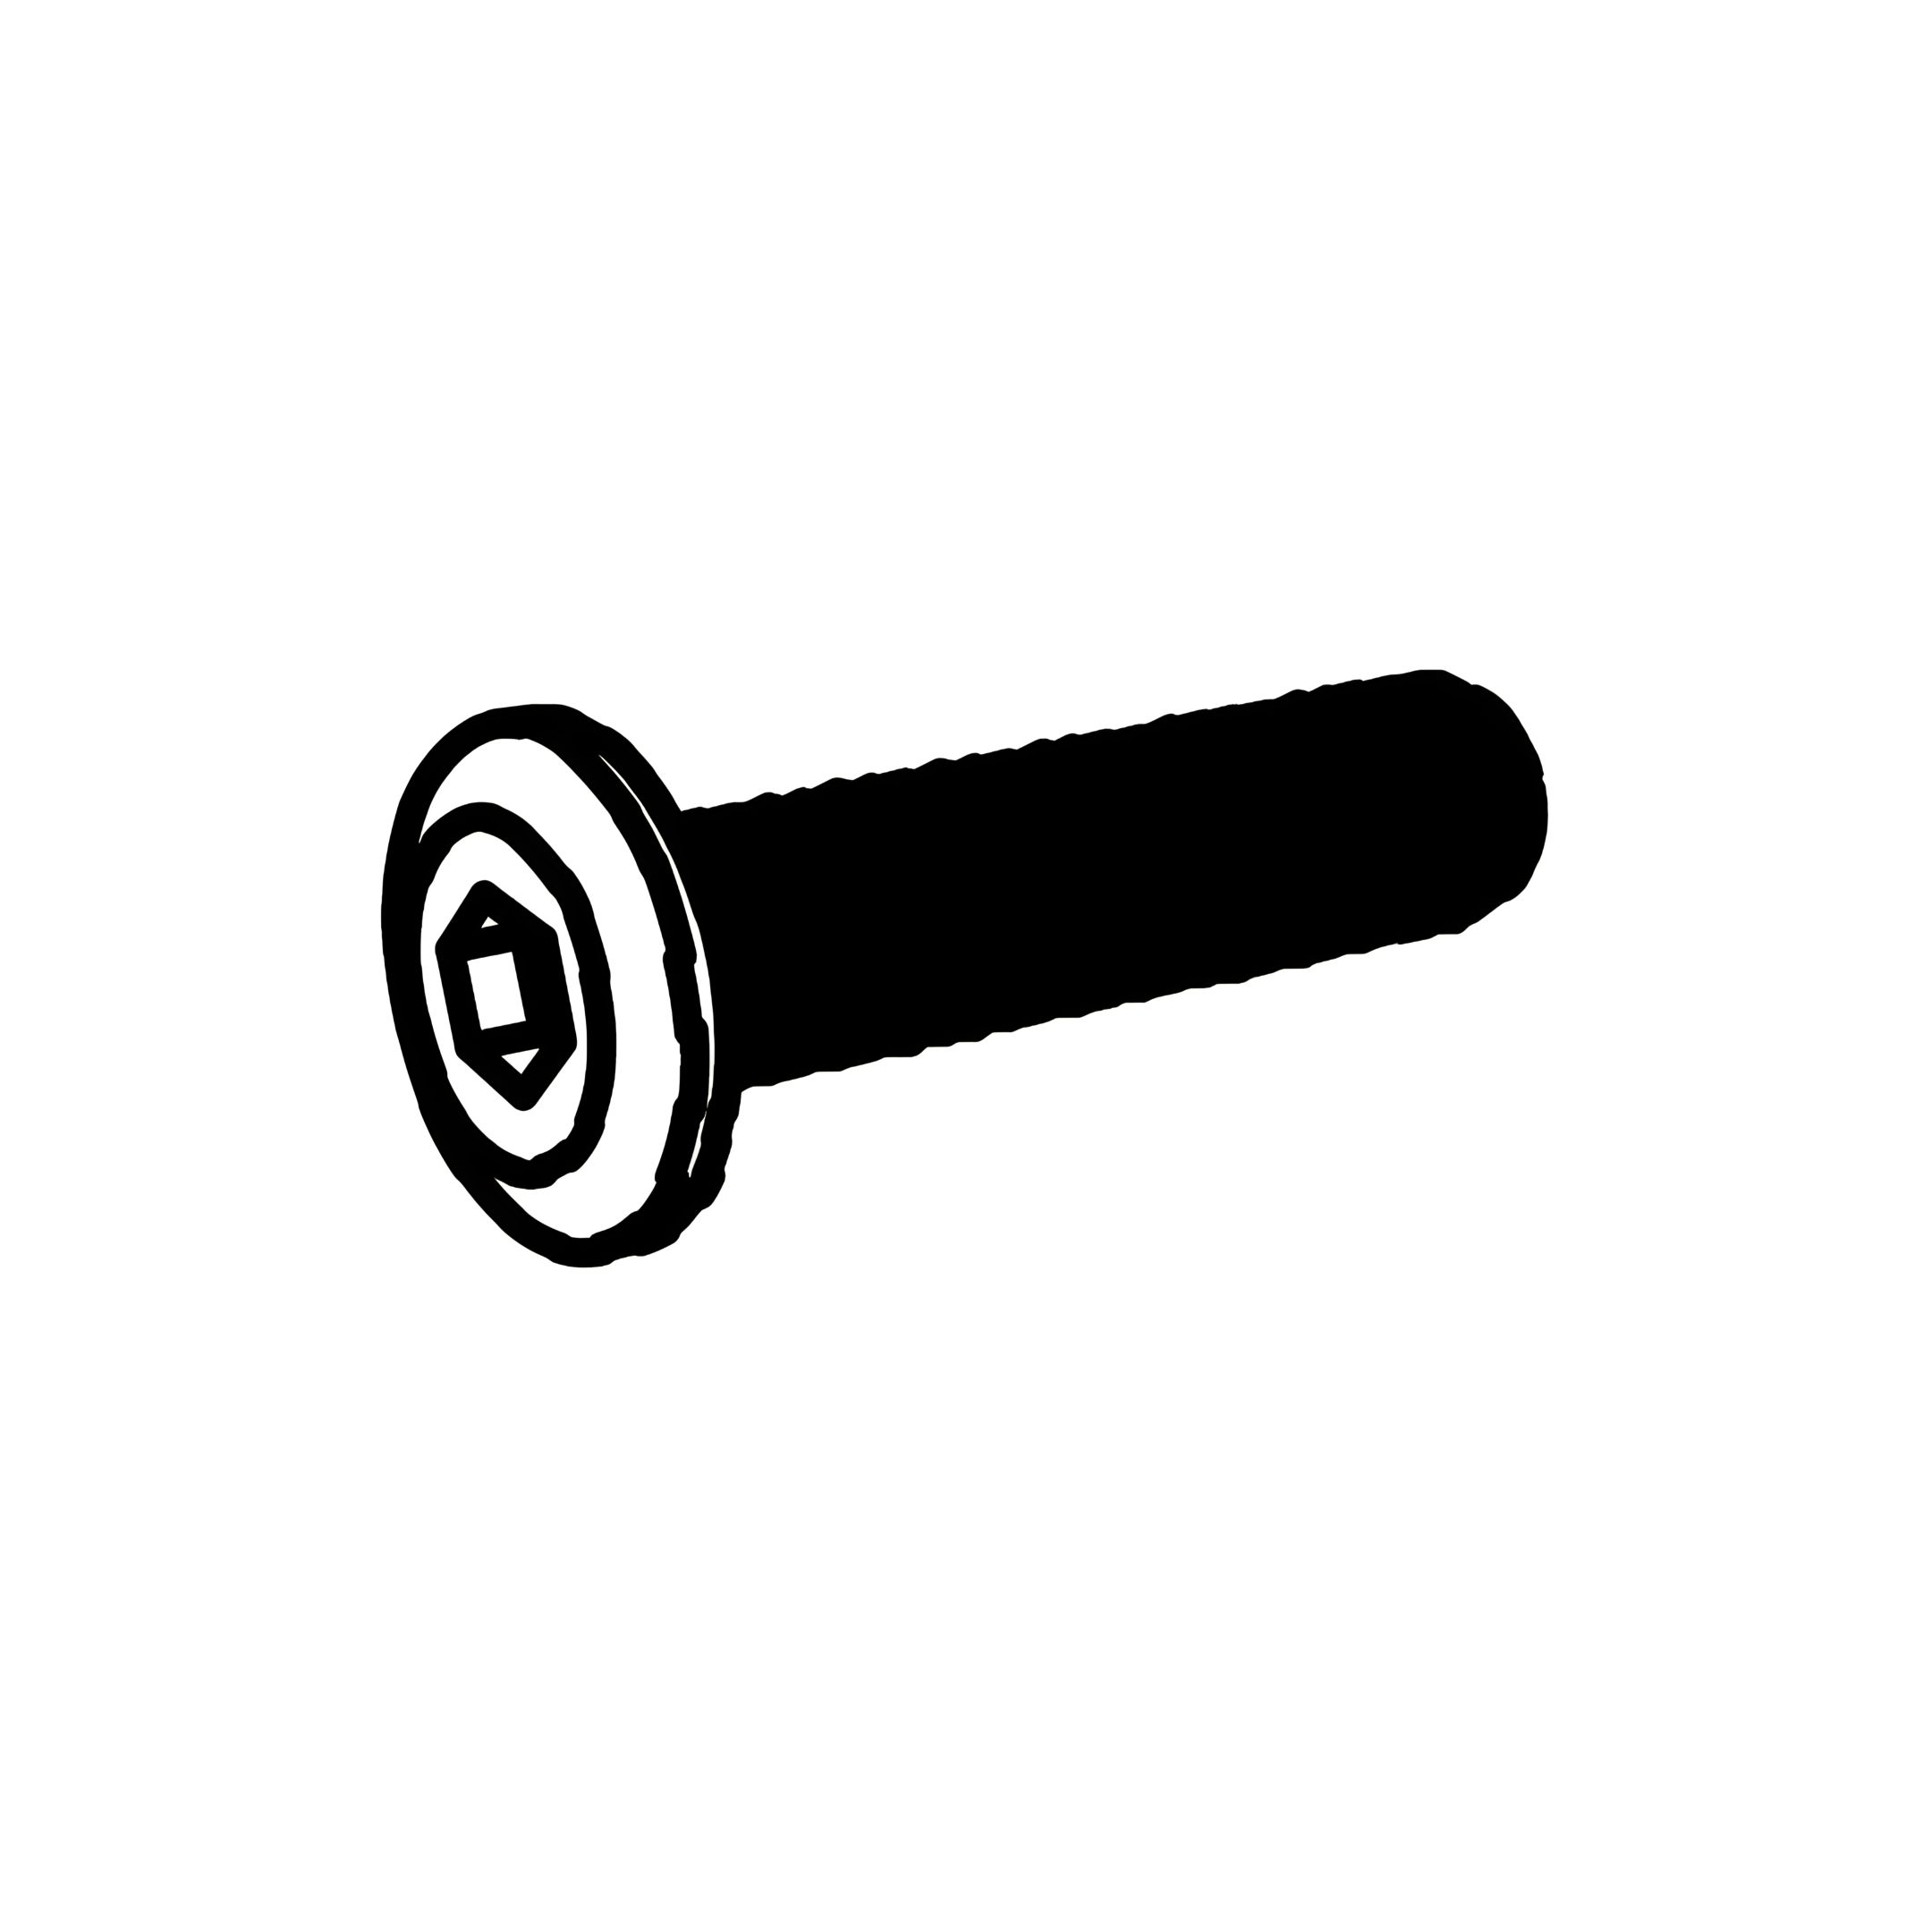 E - JCBB Bolt RBW (M8 x 20mm)  F - JCBB Bolt RBW (M8 x 15mm)  G - JCBB Bolt RBW (M8 x 35mm) 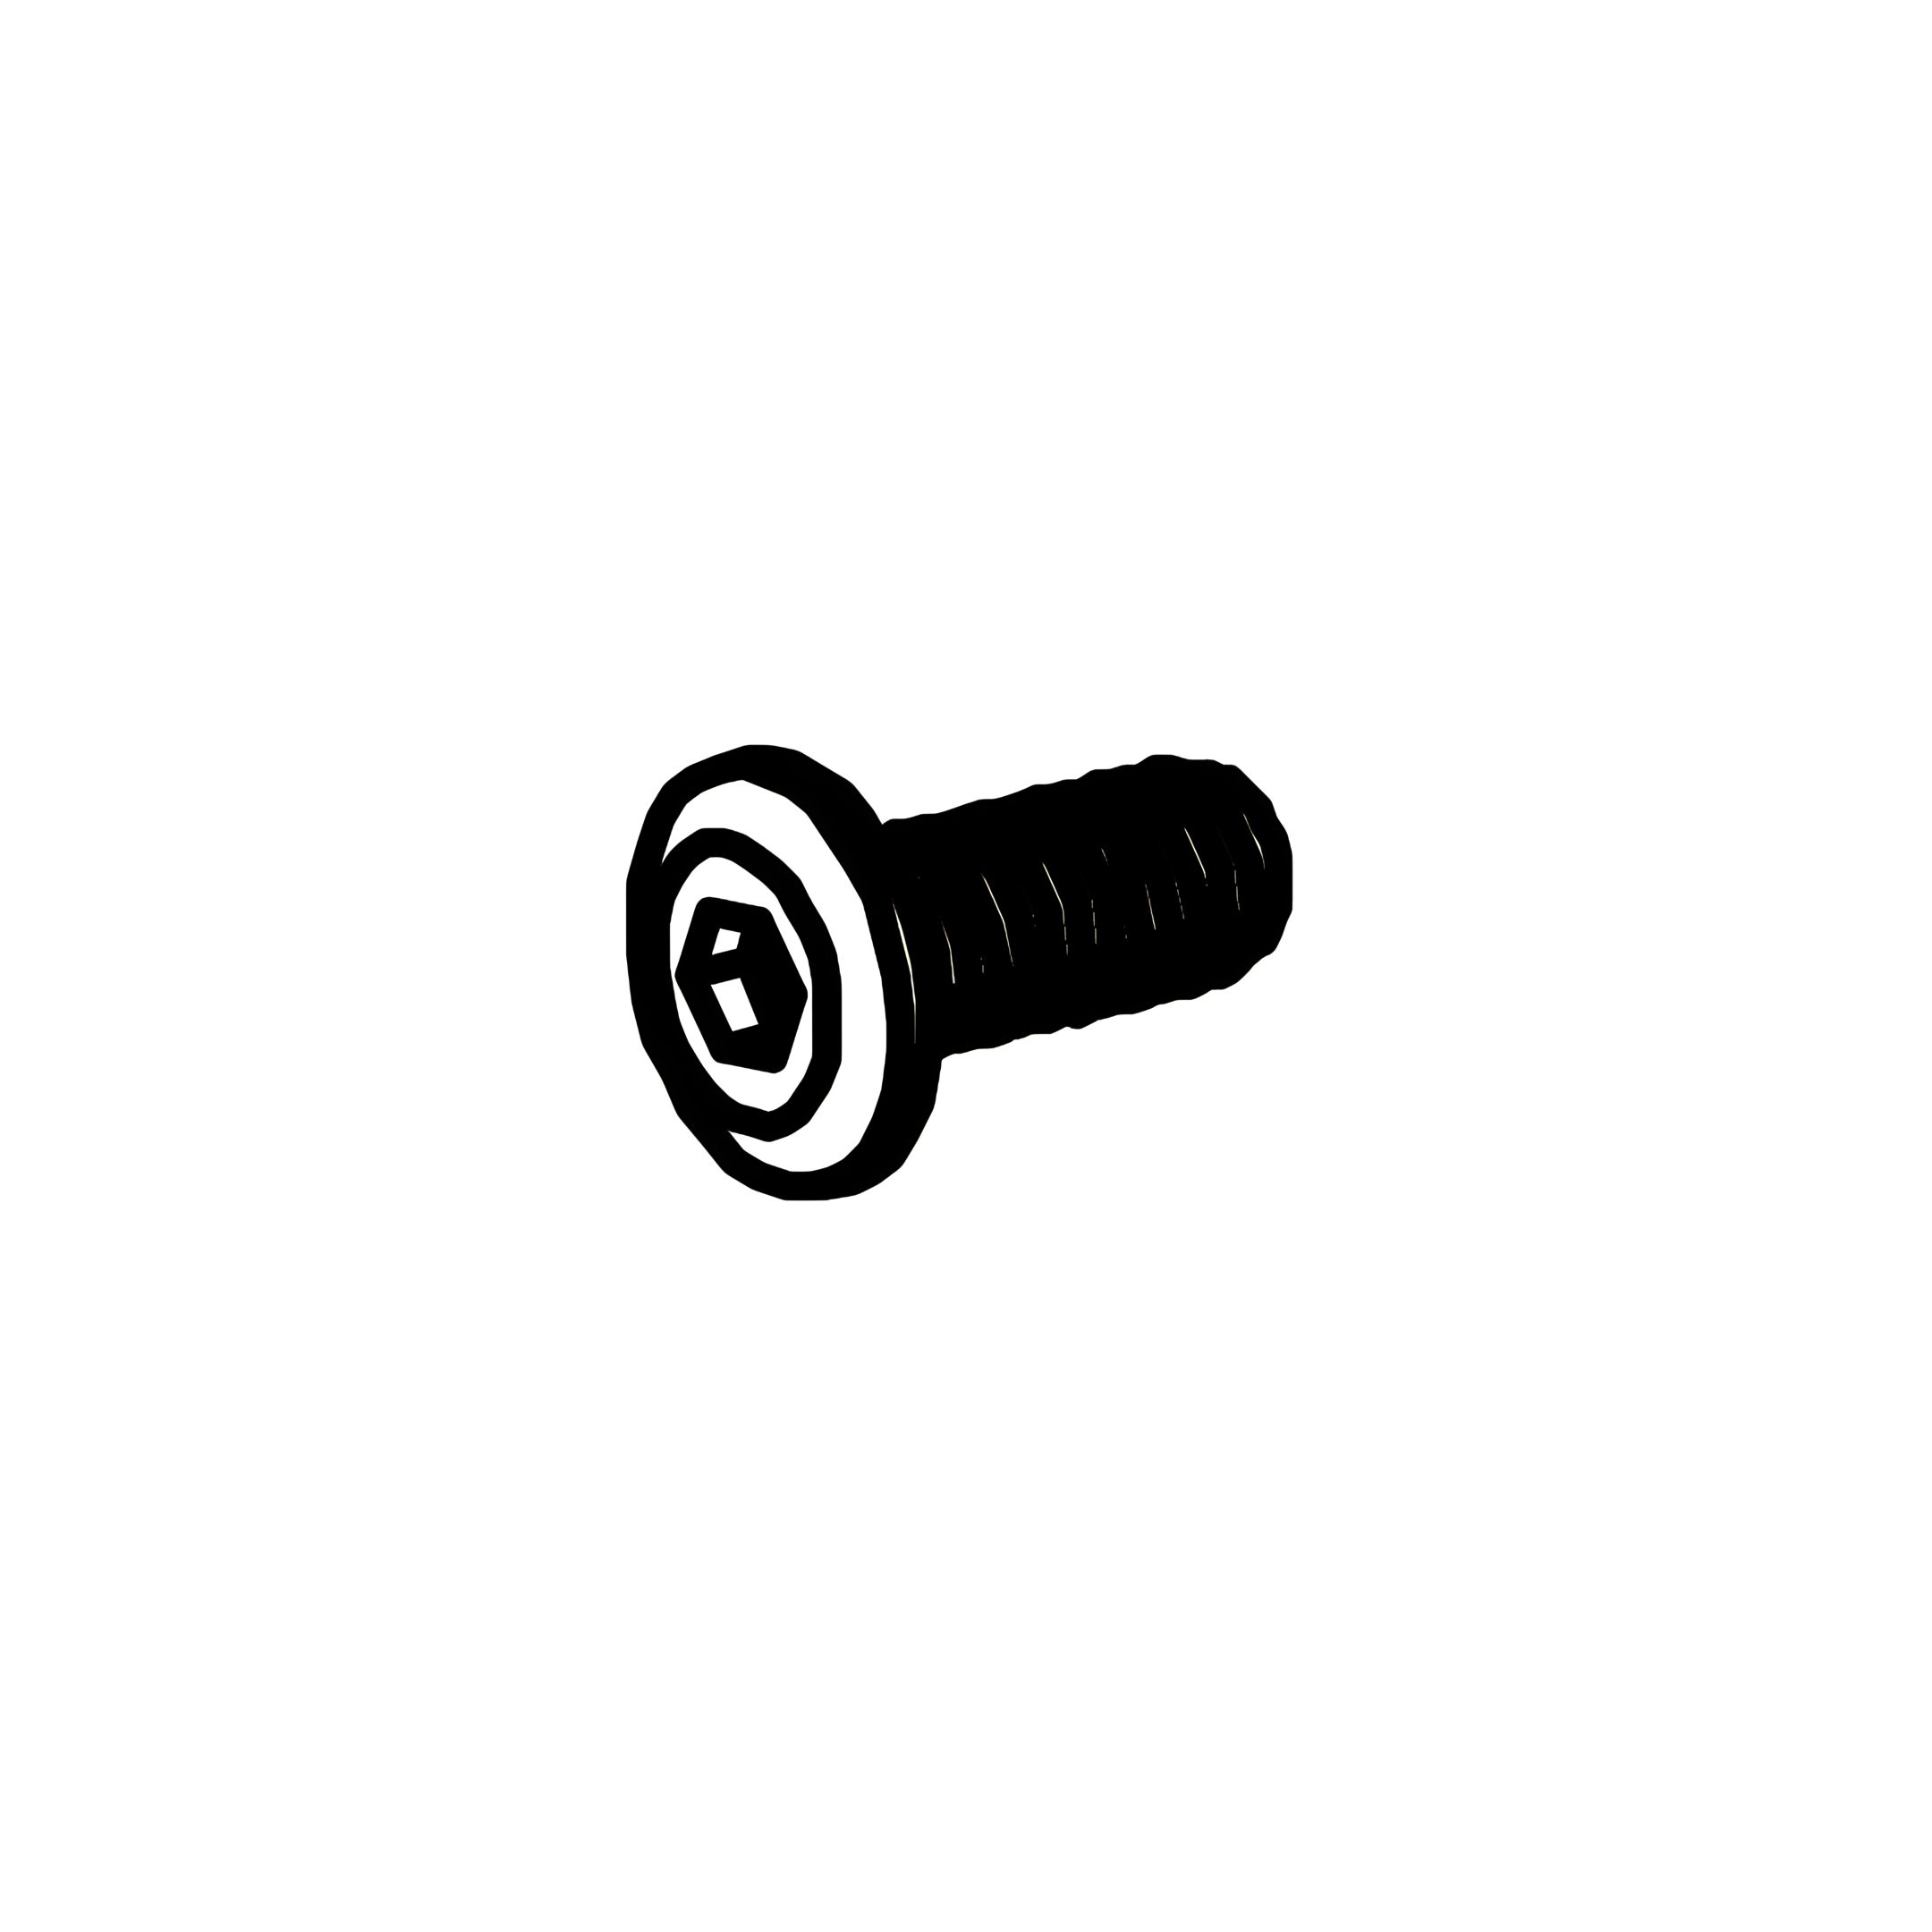 H - JCBB Bolt RBW (M6 x 15mm) 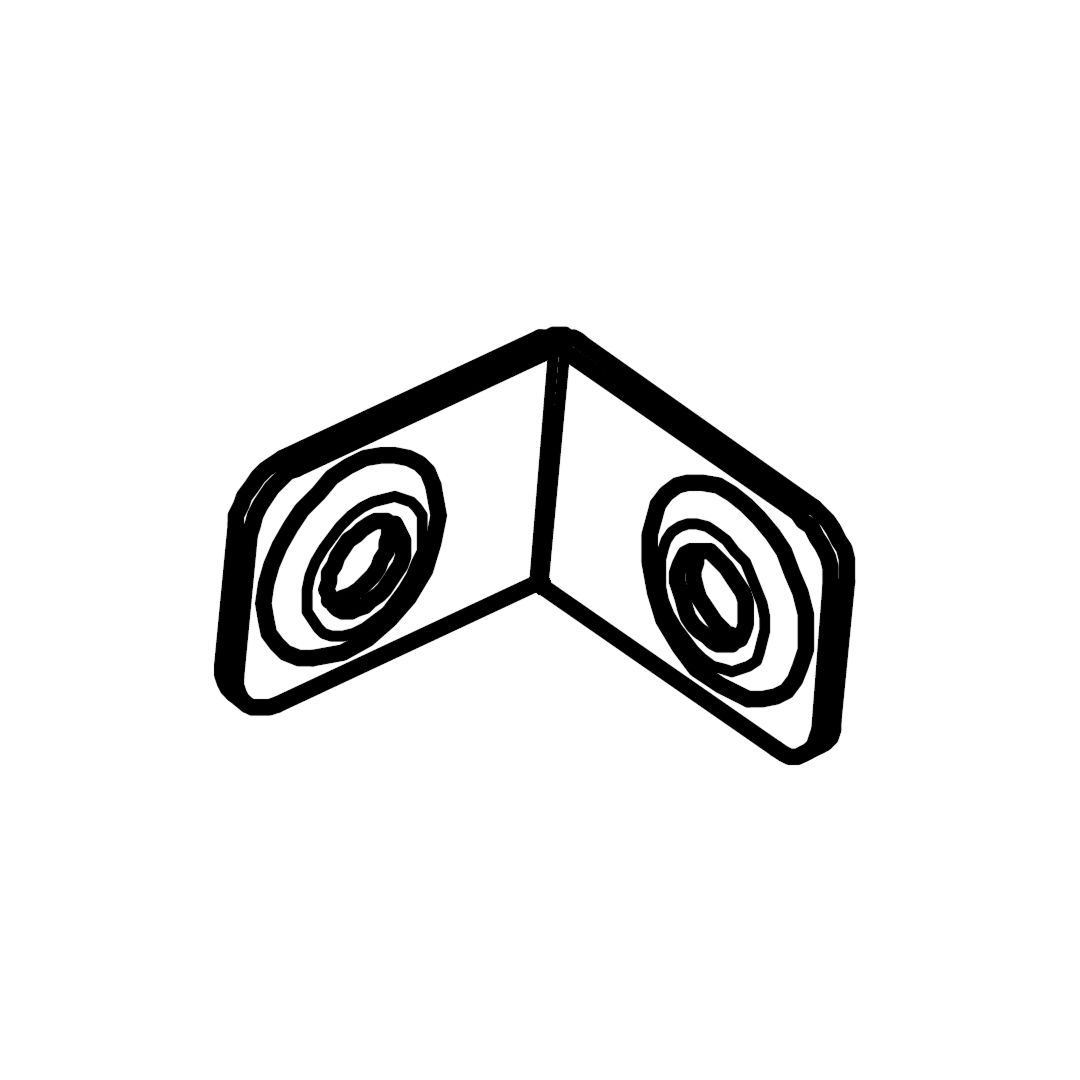 I - Bracket (30 x 30) 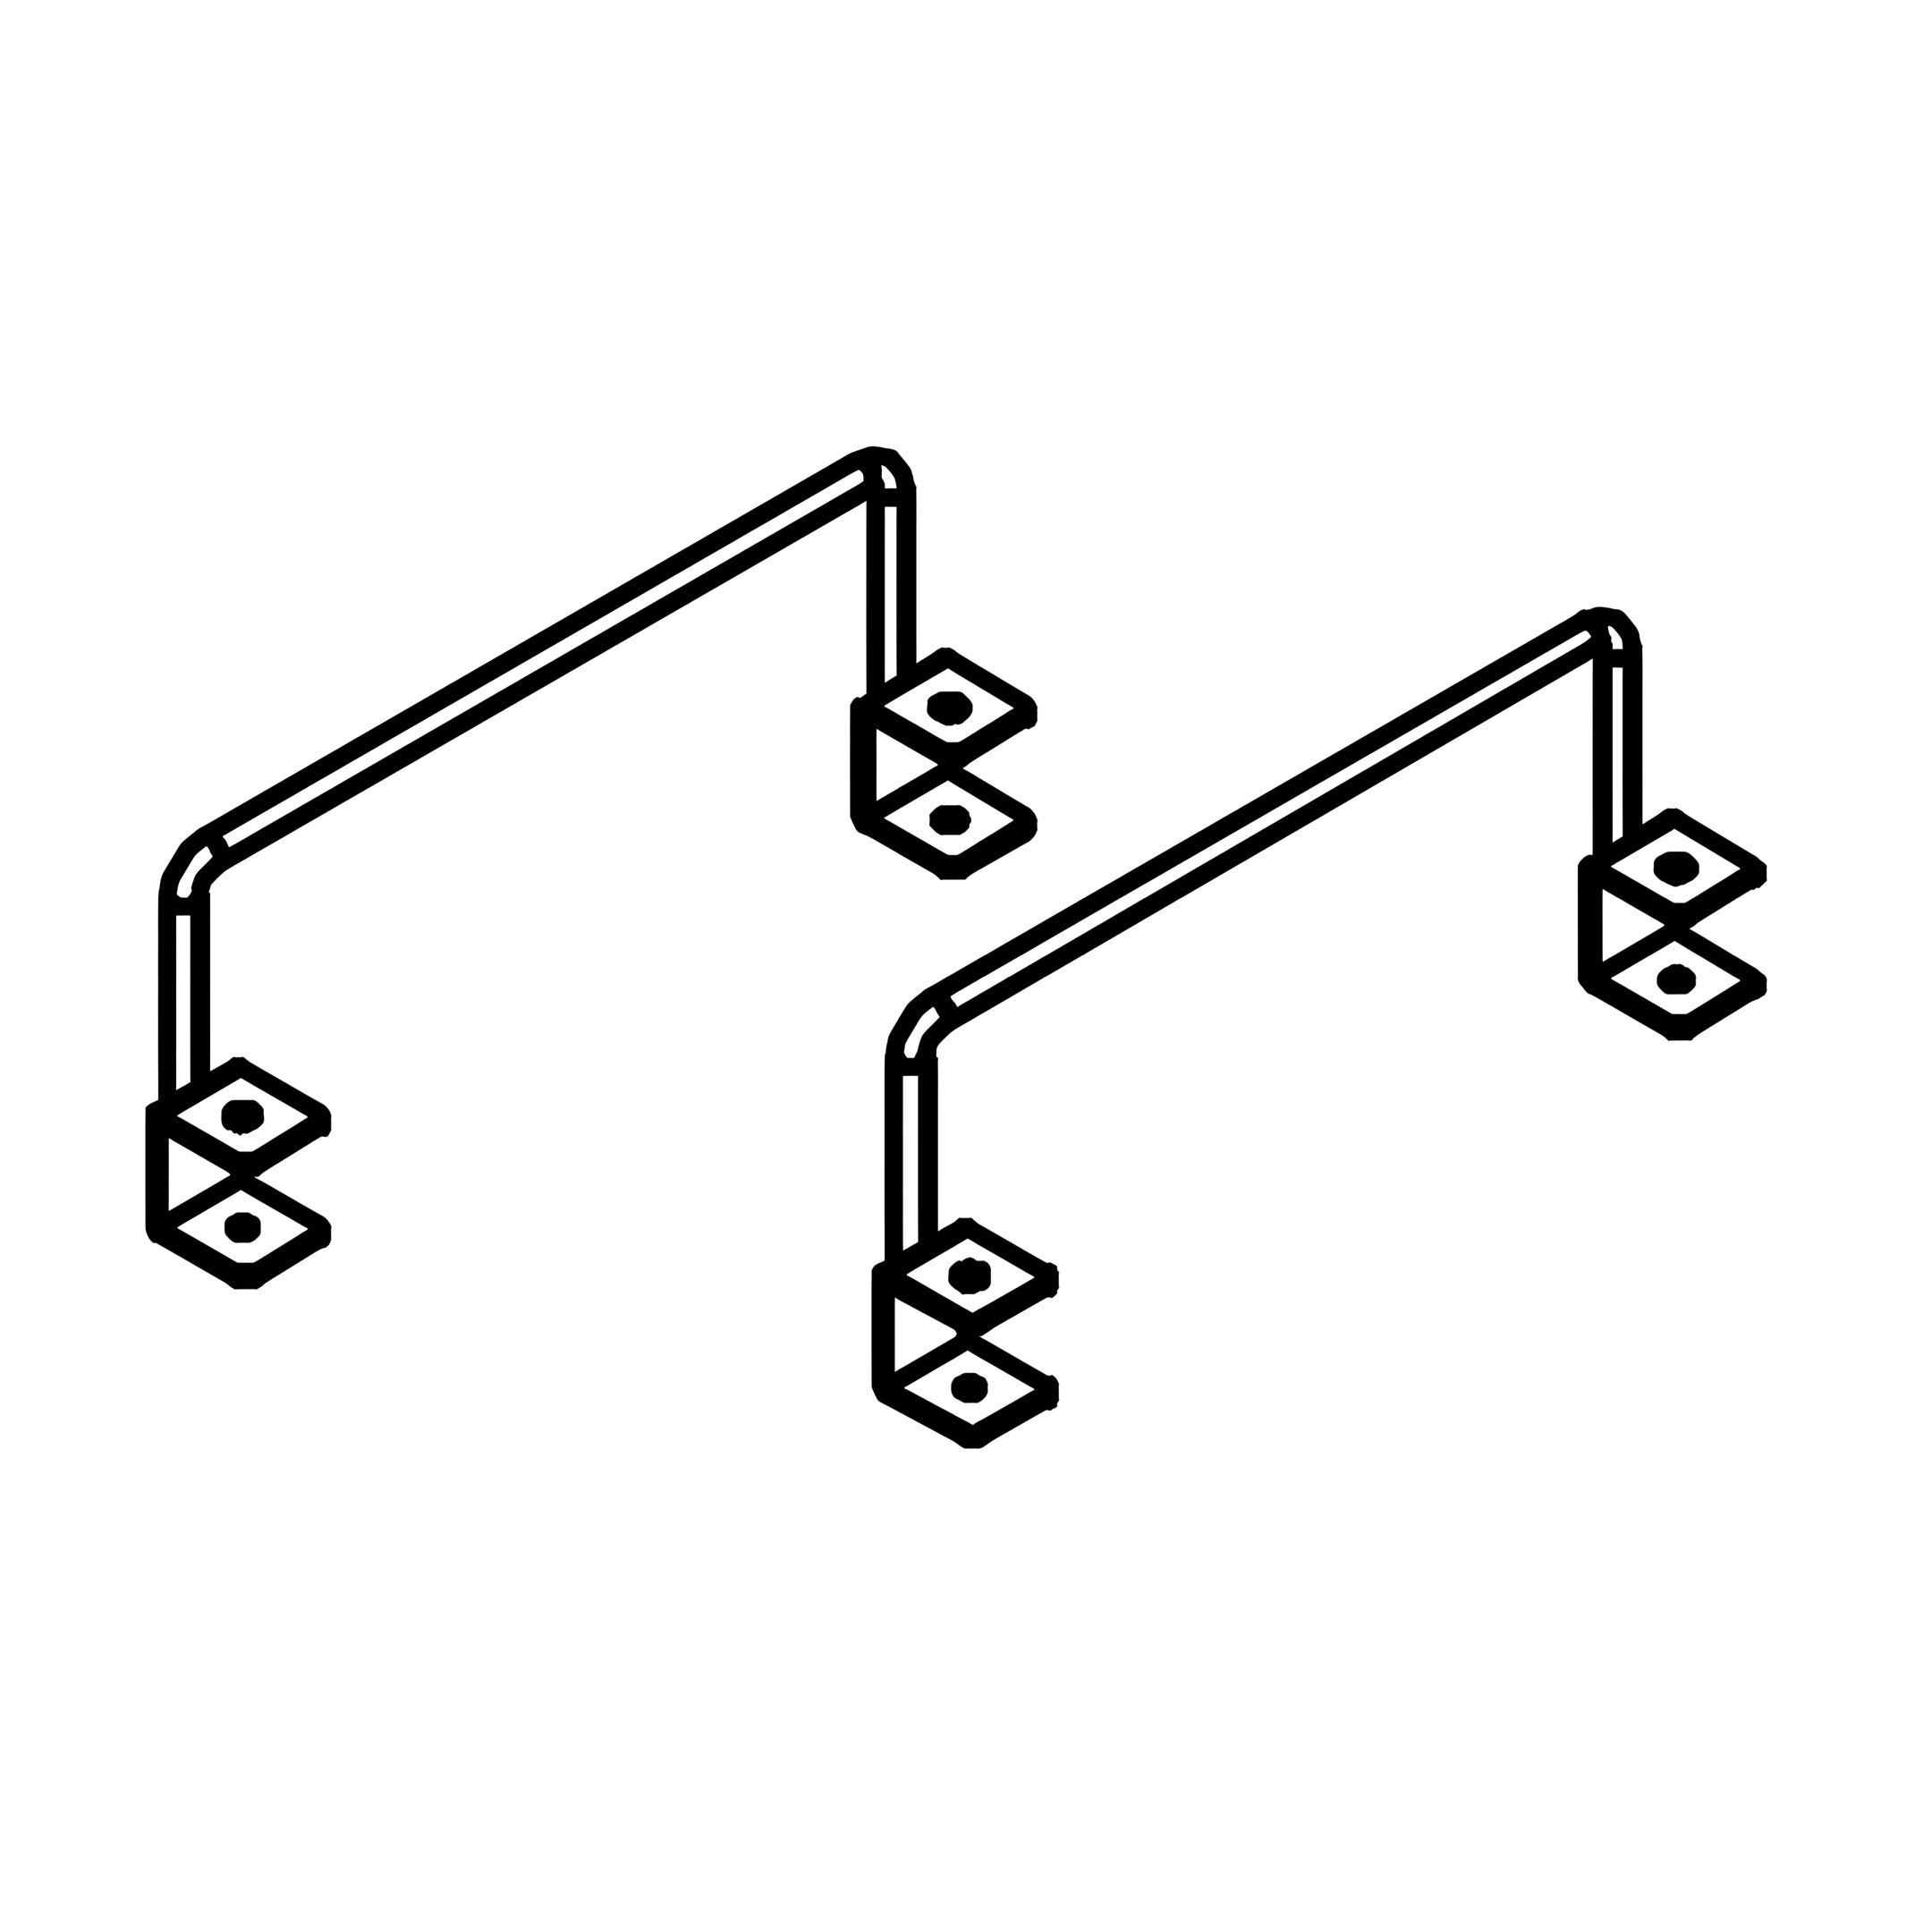 J - Base Handle  K - JCBC Bolt BLK (M6 x 40mm) 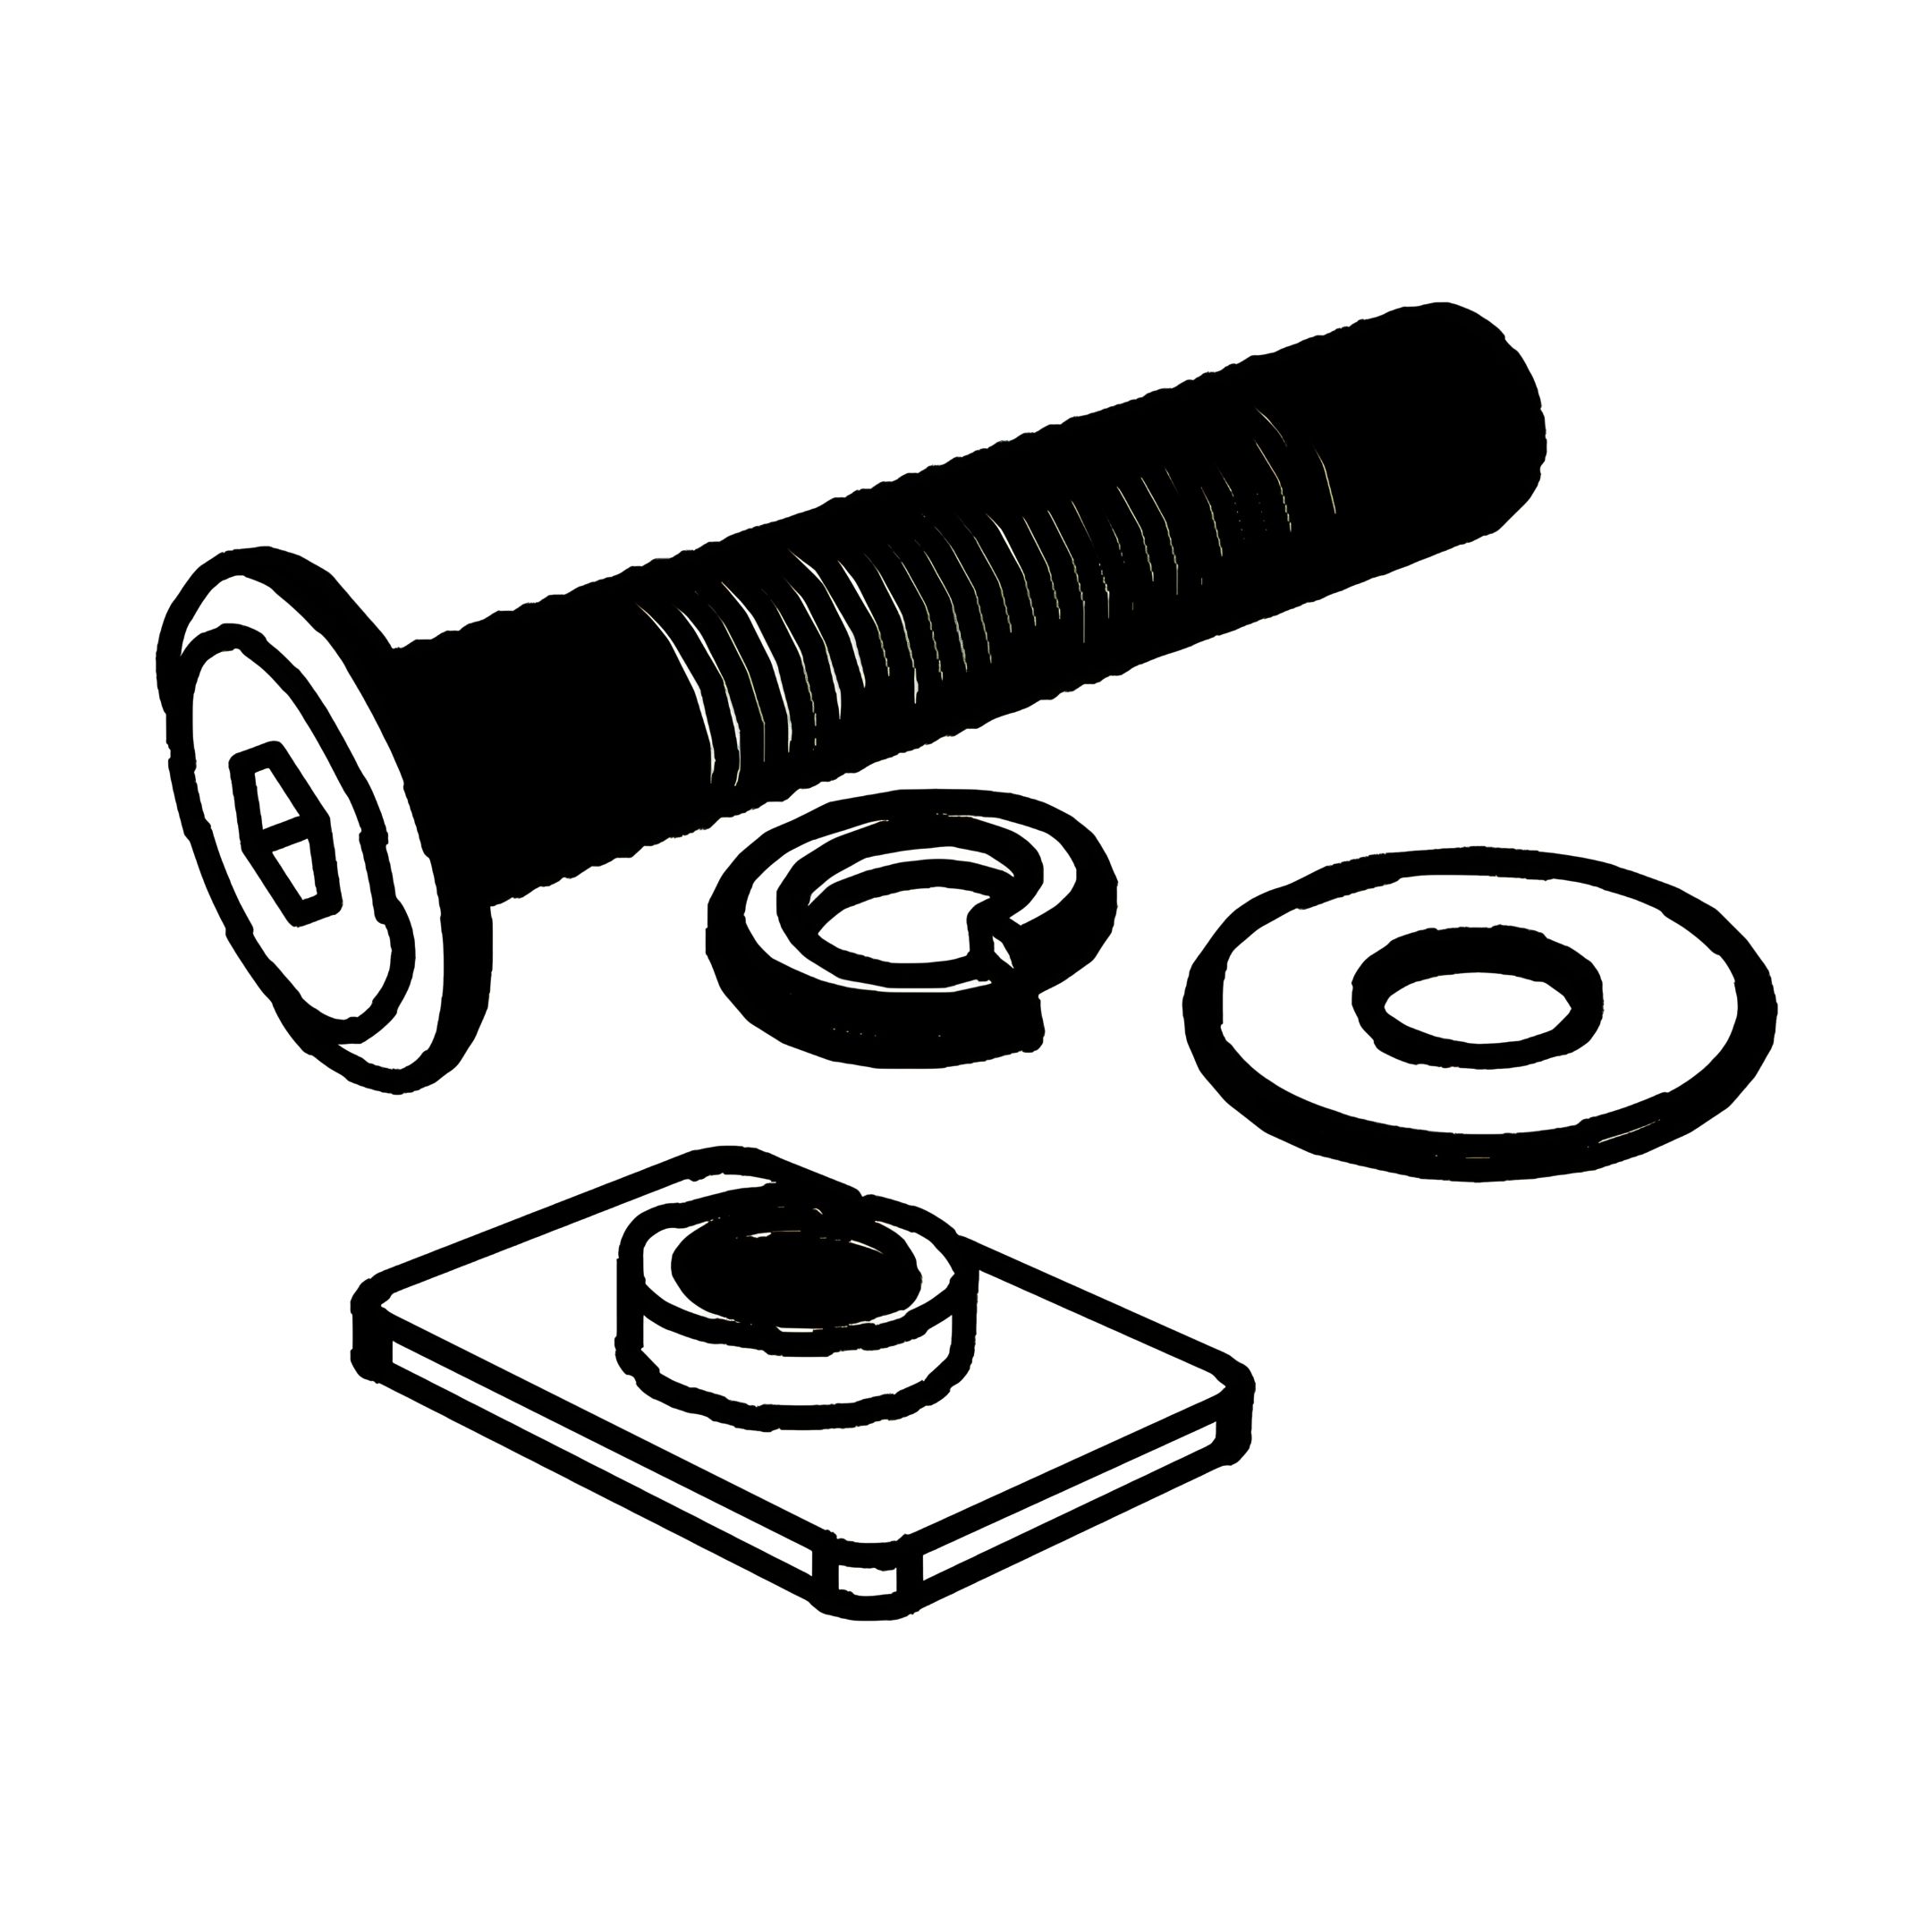 L - JCBB Bolt RBW with Nut, Bracket, Spring Washer and Flat Washer 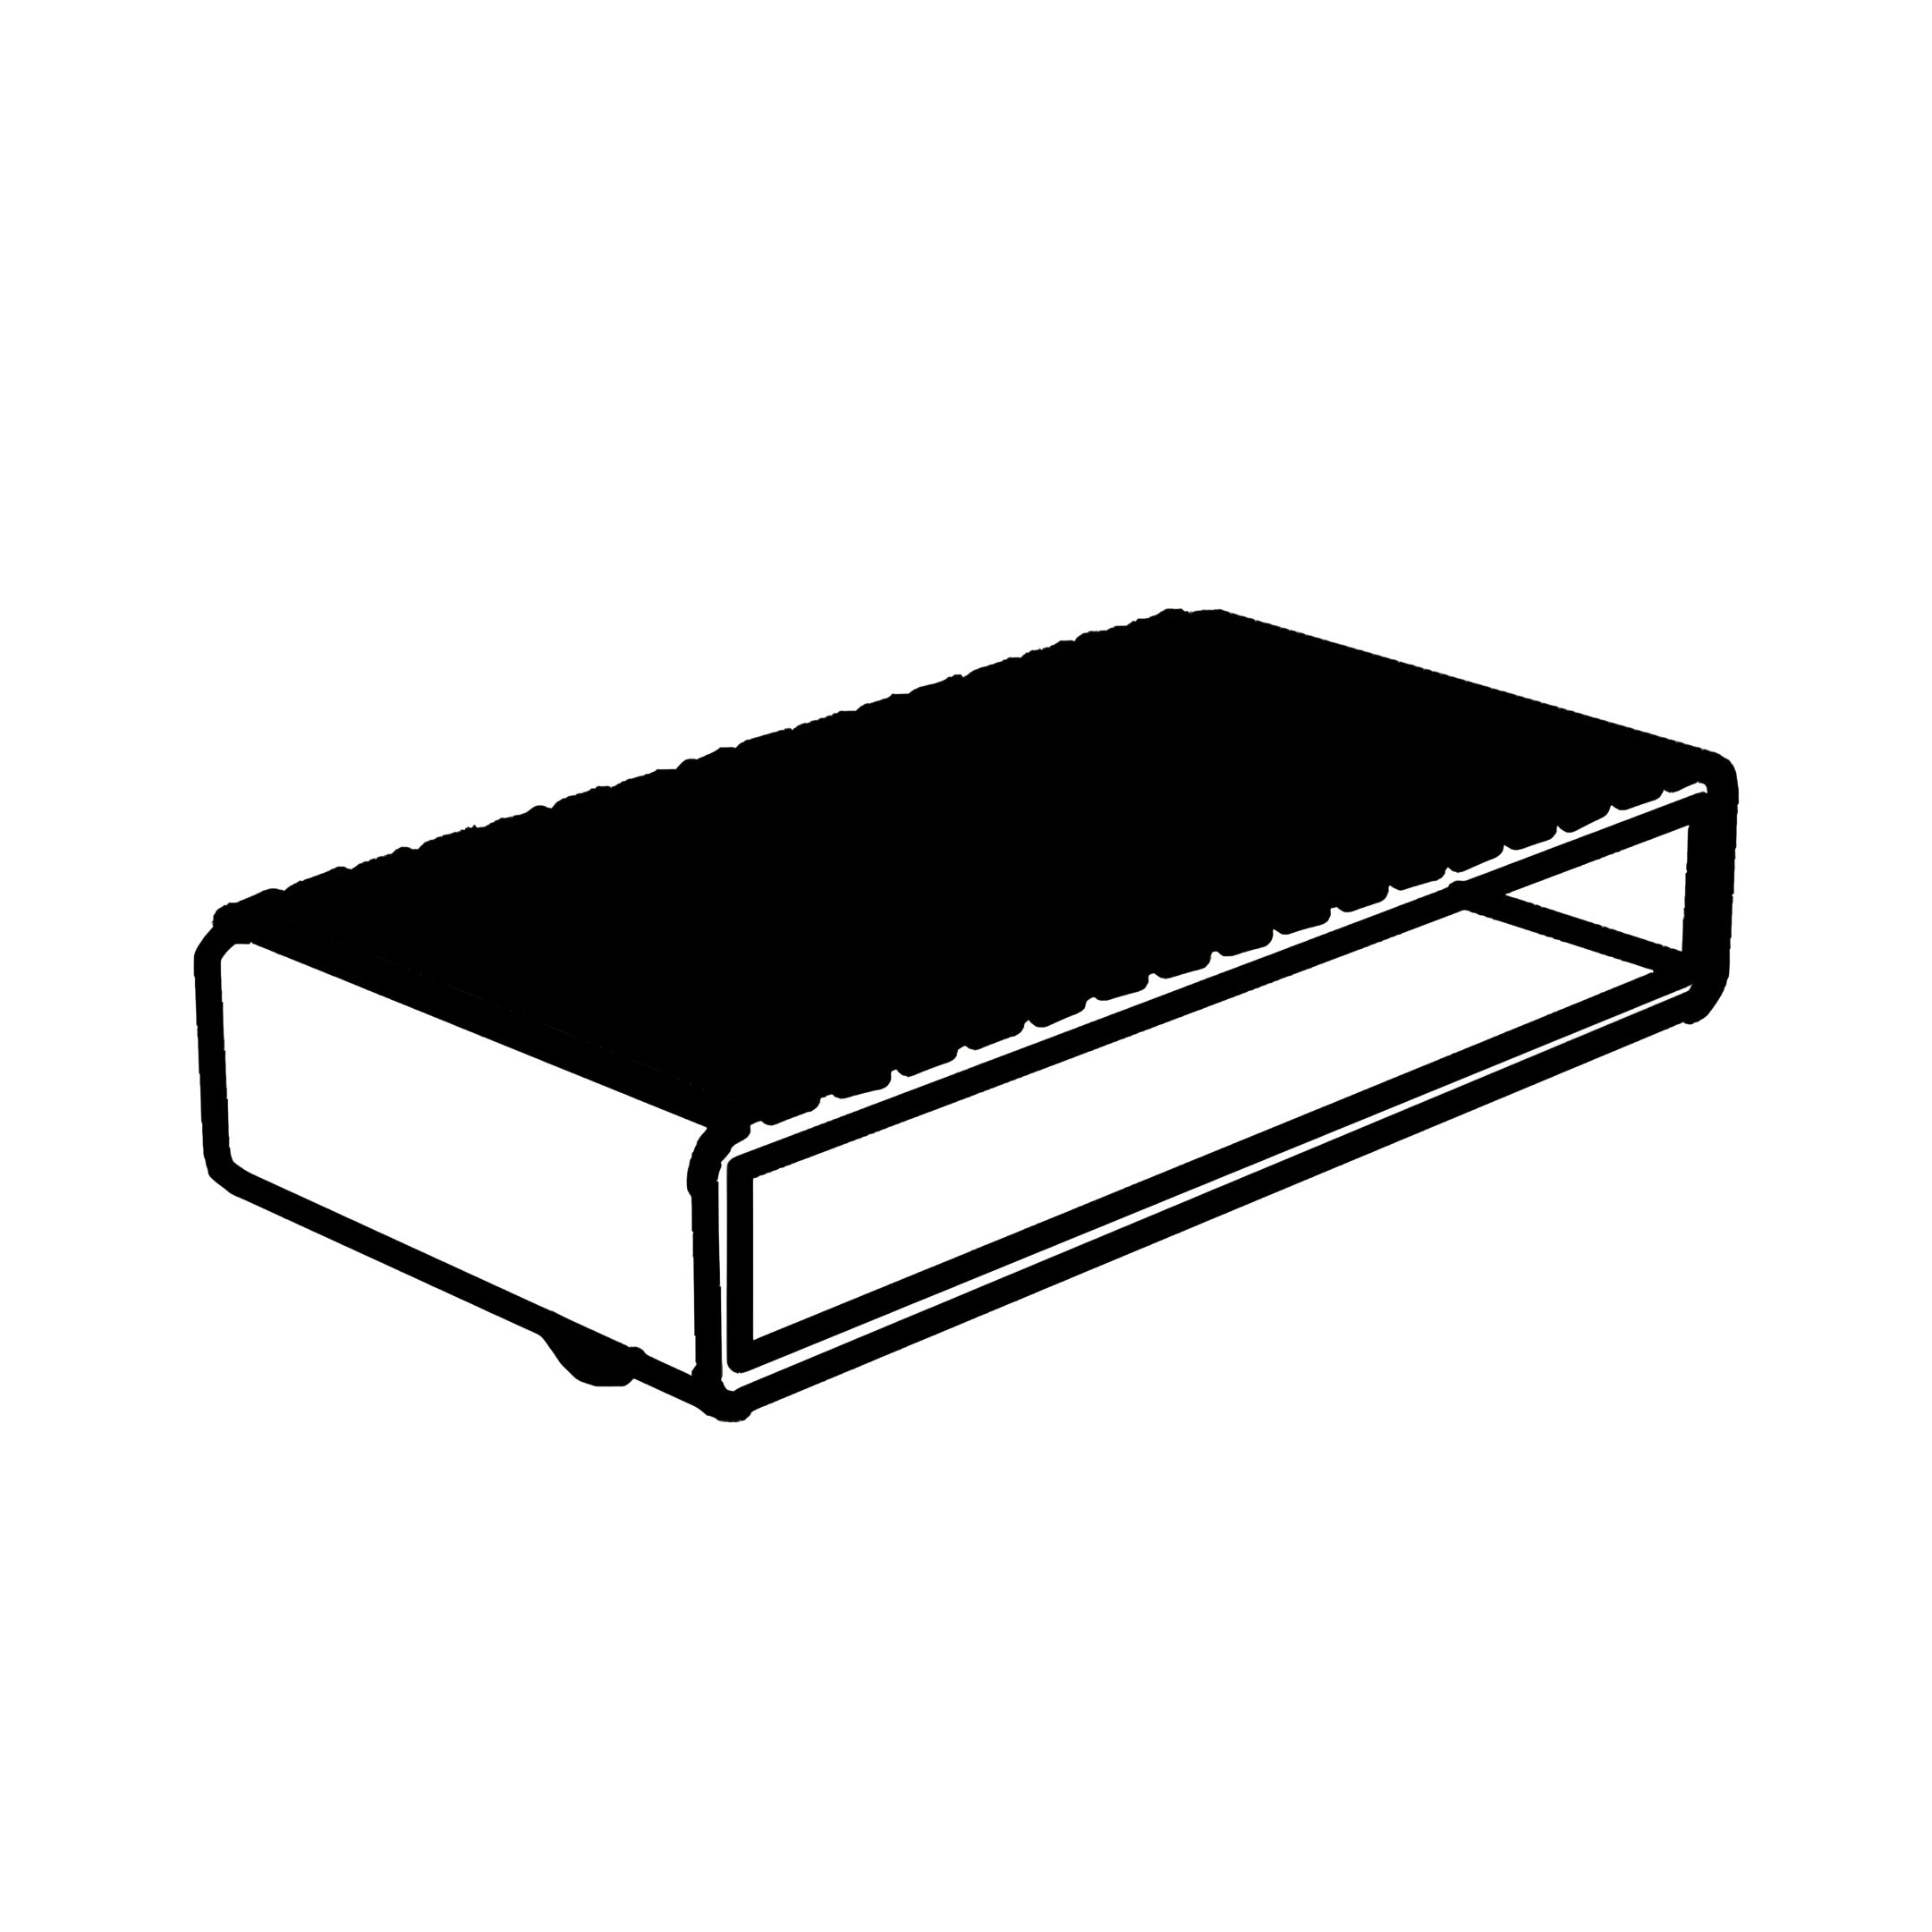 M - Single Slat Cap  N - Double Slat Cap  O - Wooden Button 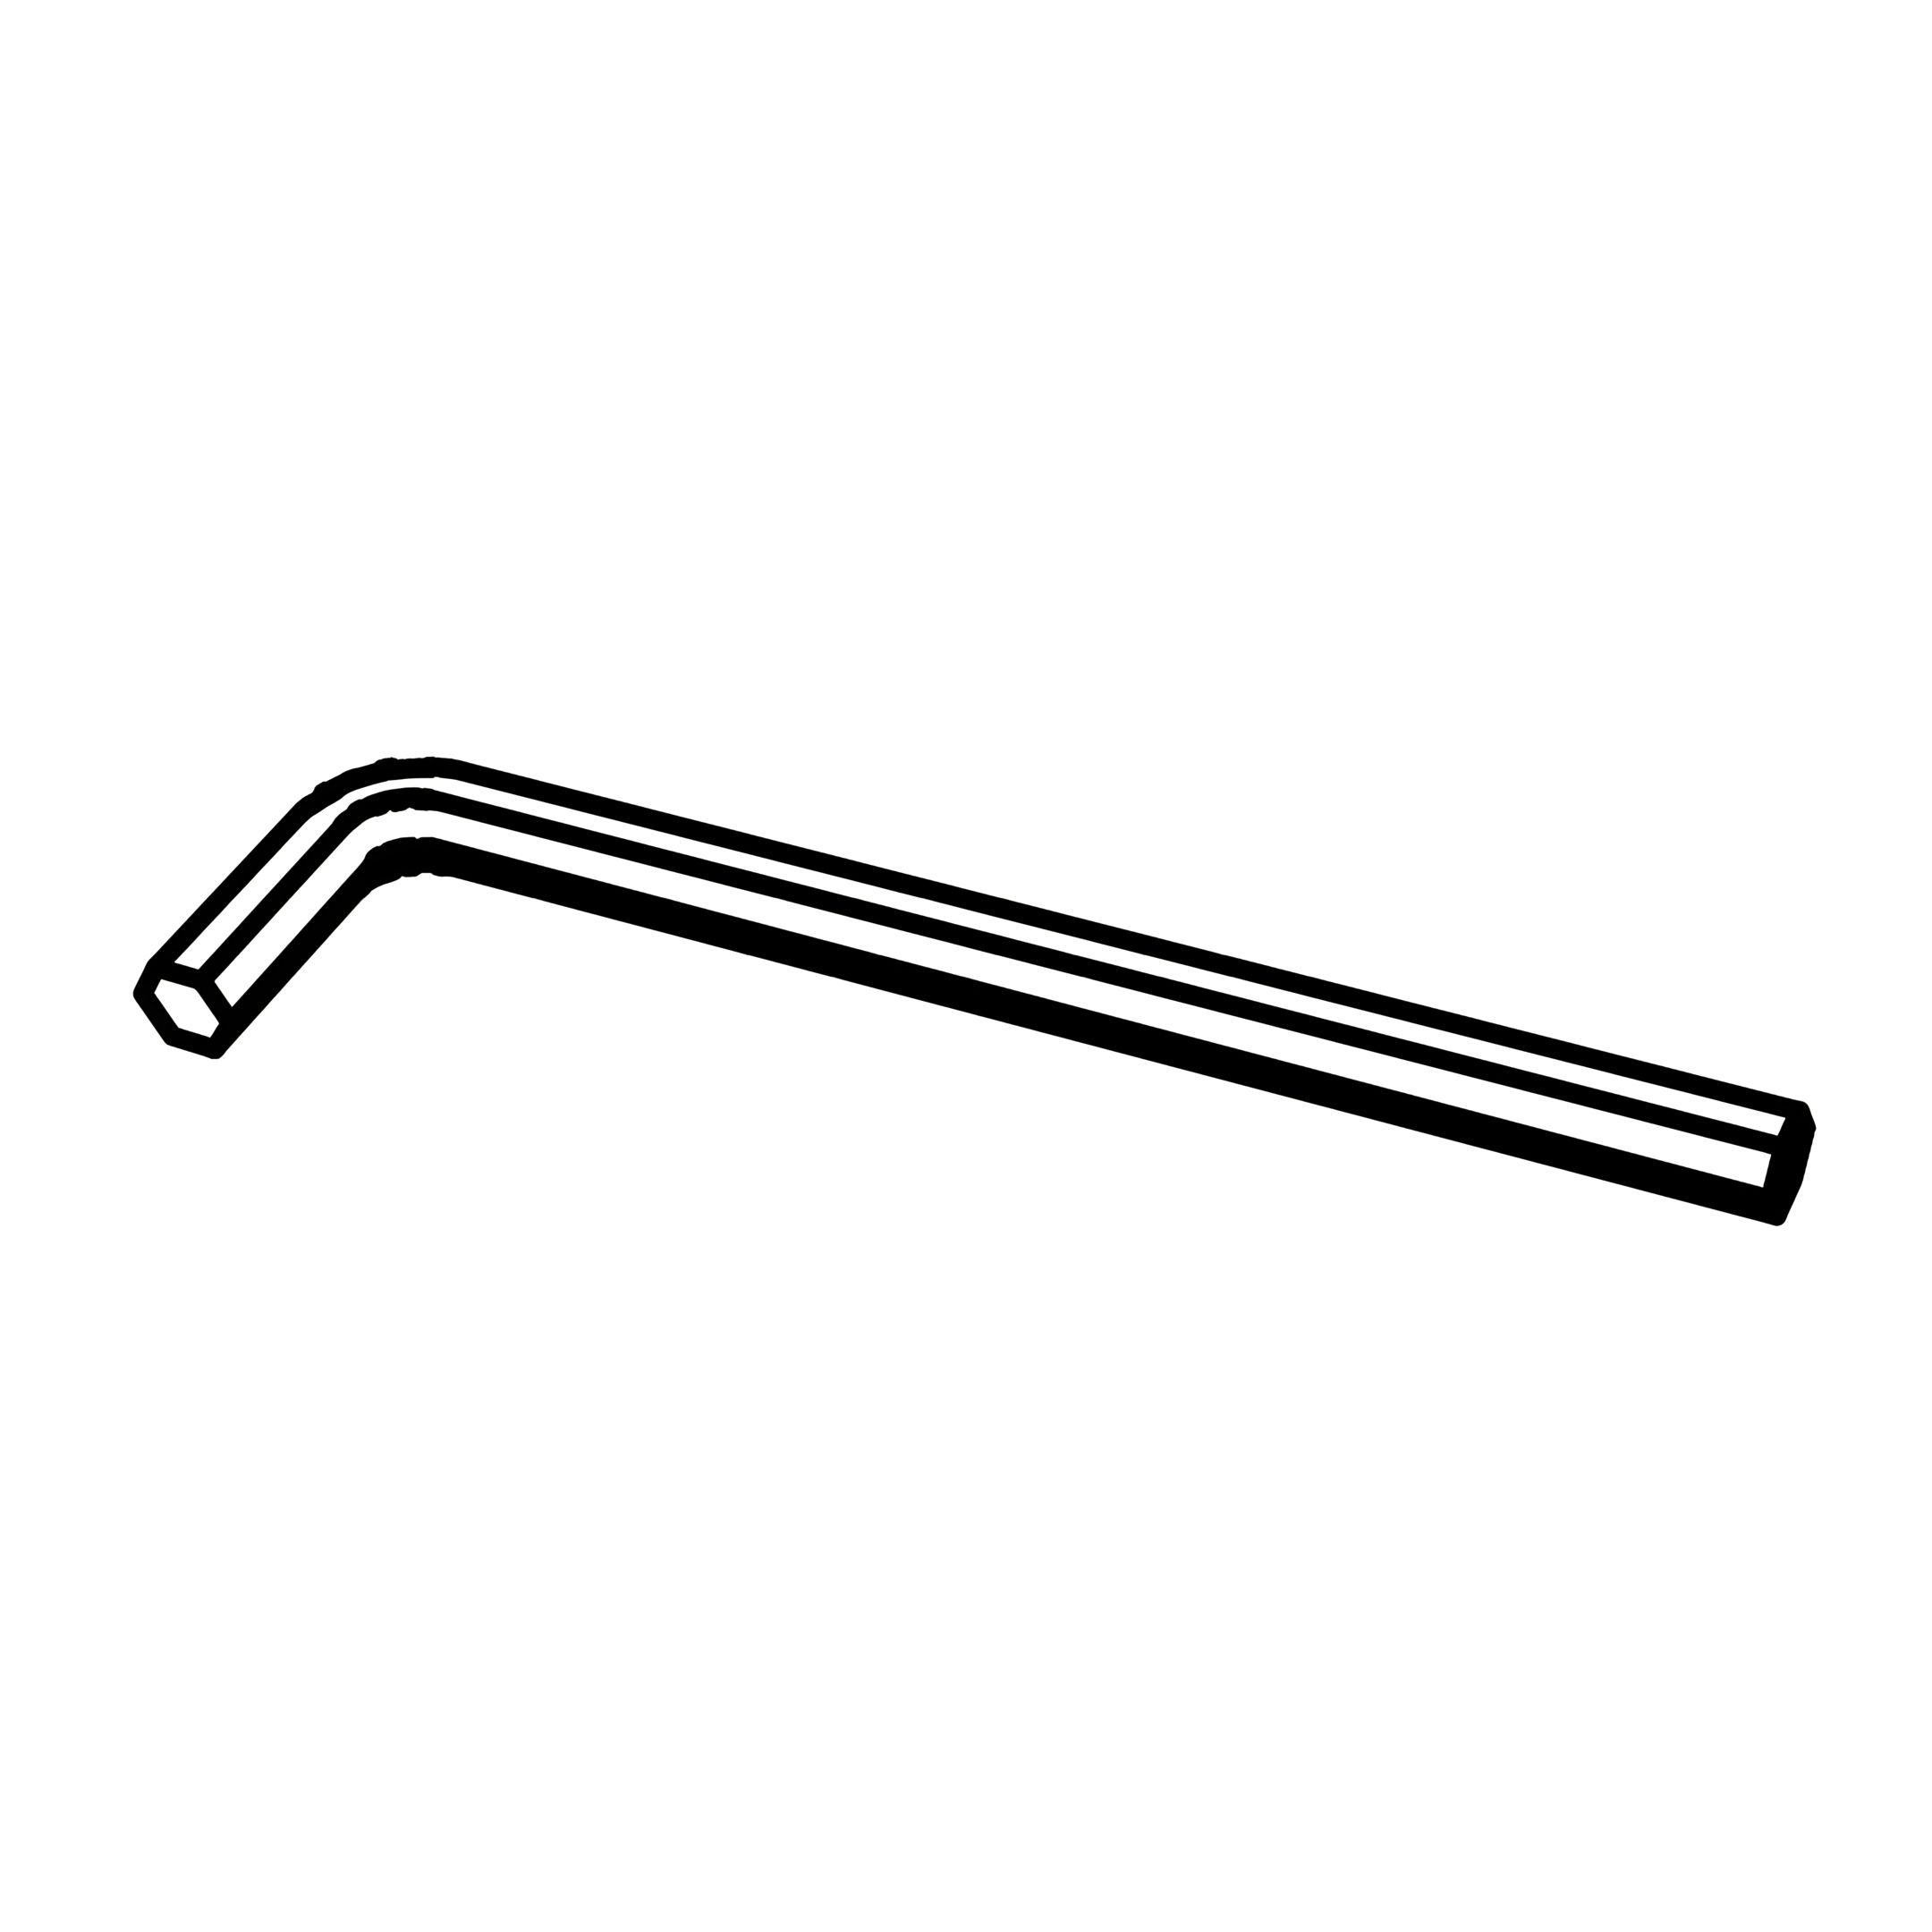 P - M4 Allen Key Q - M5 Allen Key 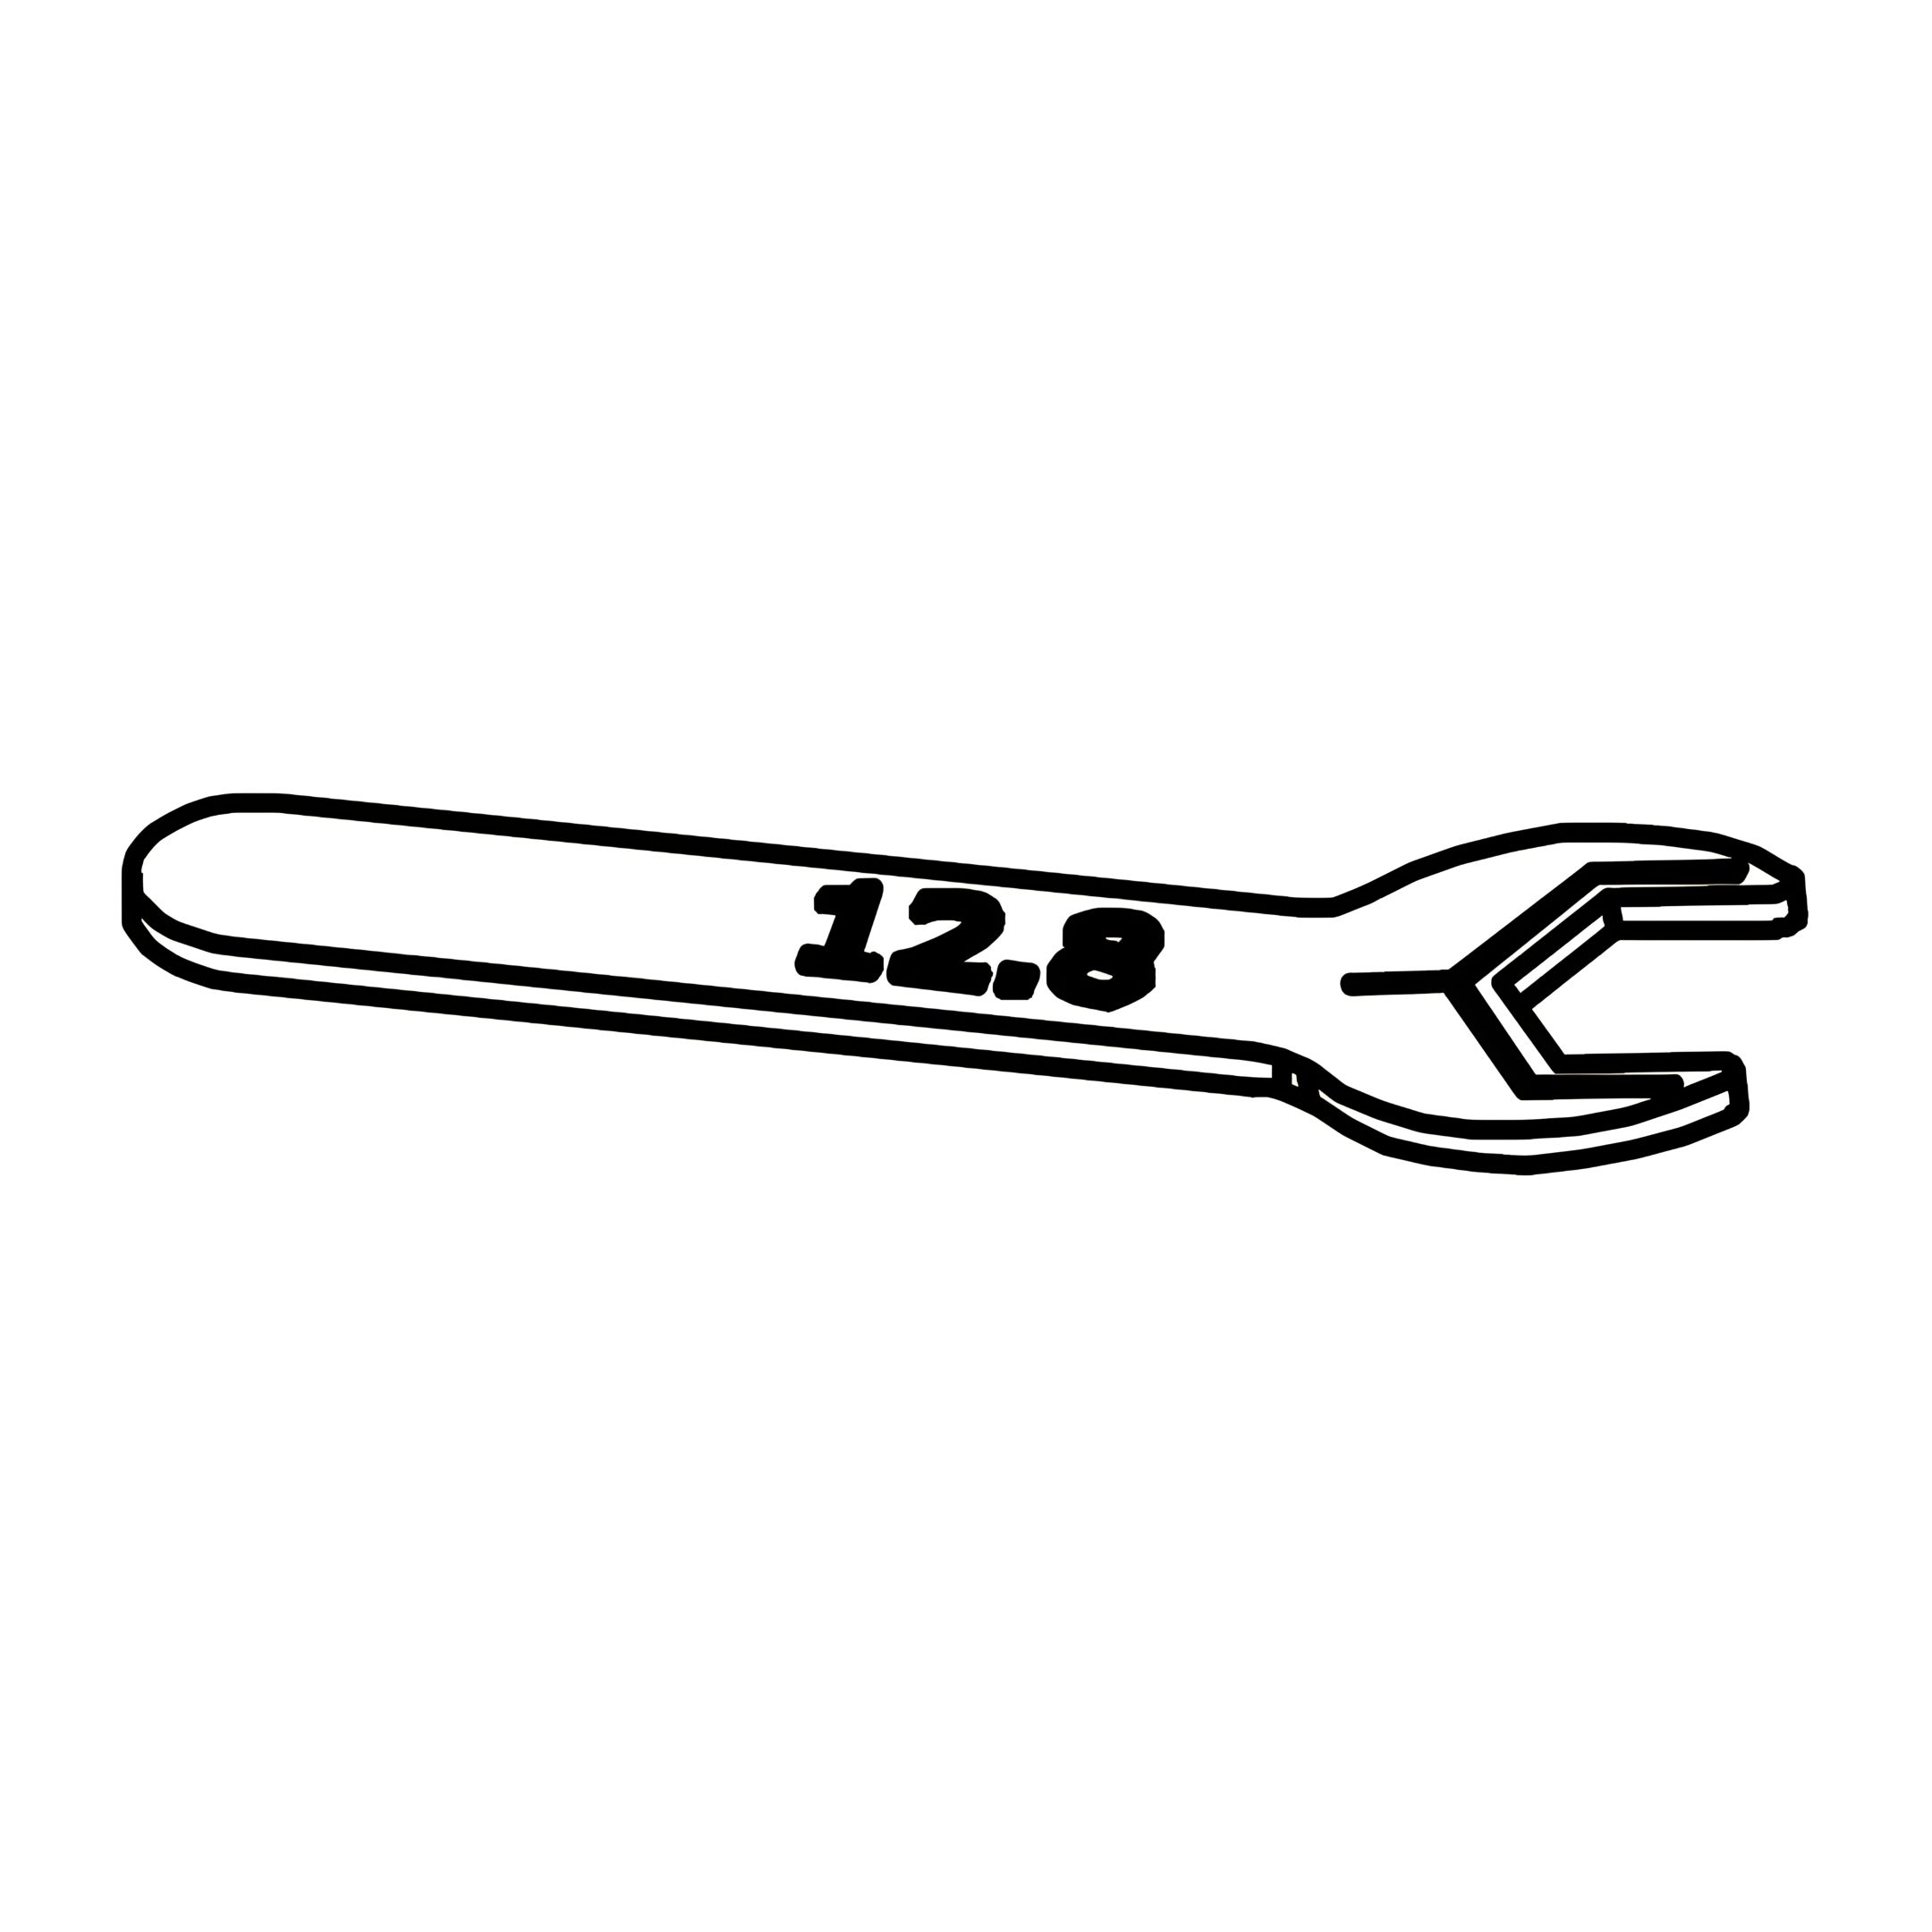 R - M 12.8 Spanner  S - Washer Bracket  T - Flat Washer BLK  U - Self Adhesive (4mm x 35mm)  V - JCBC Bolt RBW (Assembled) Mallet Phillips Head Screwdriver Parts 1 - Headboard Frame  2 - Headboard Wood Post (L/R) 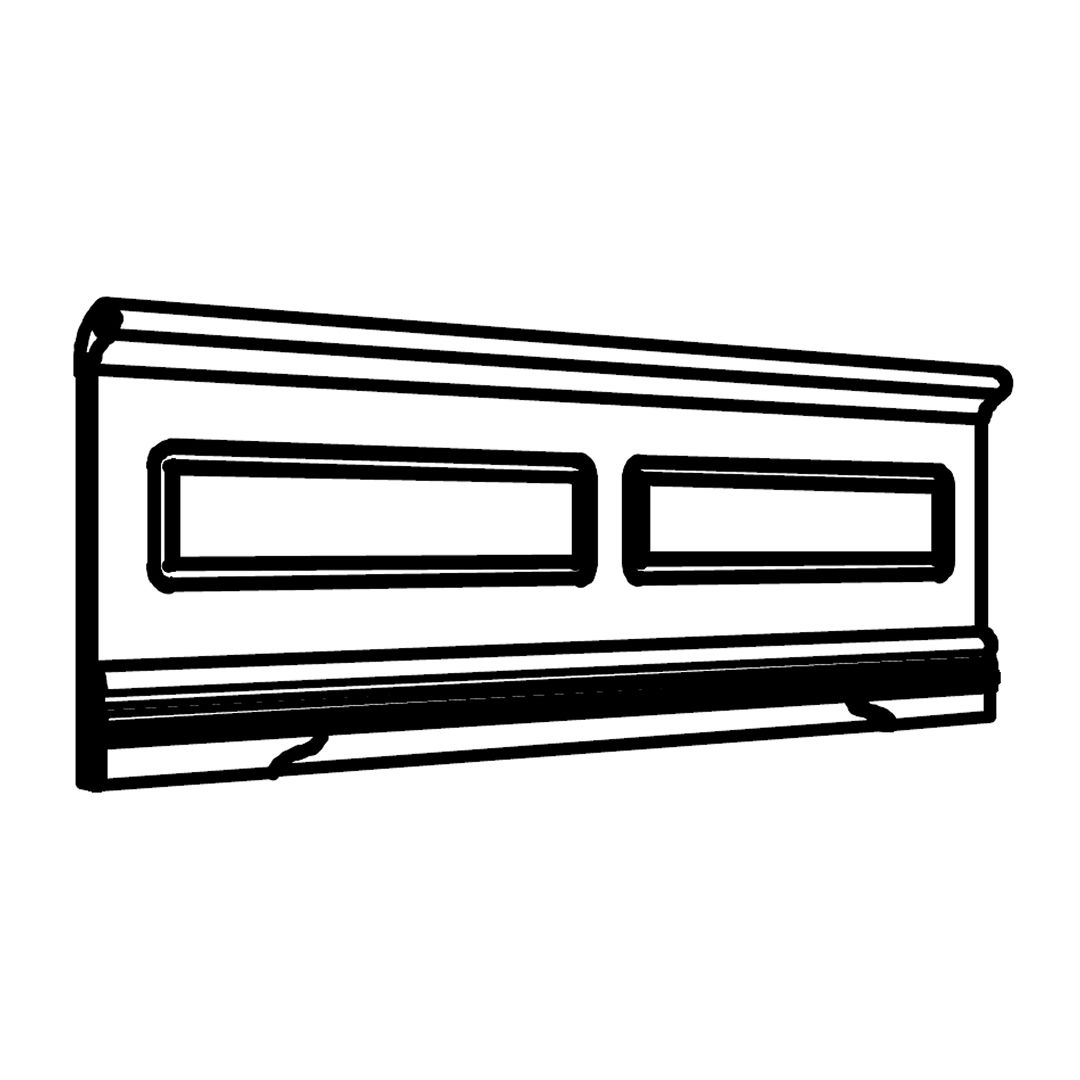 3 - Footboard Frame 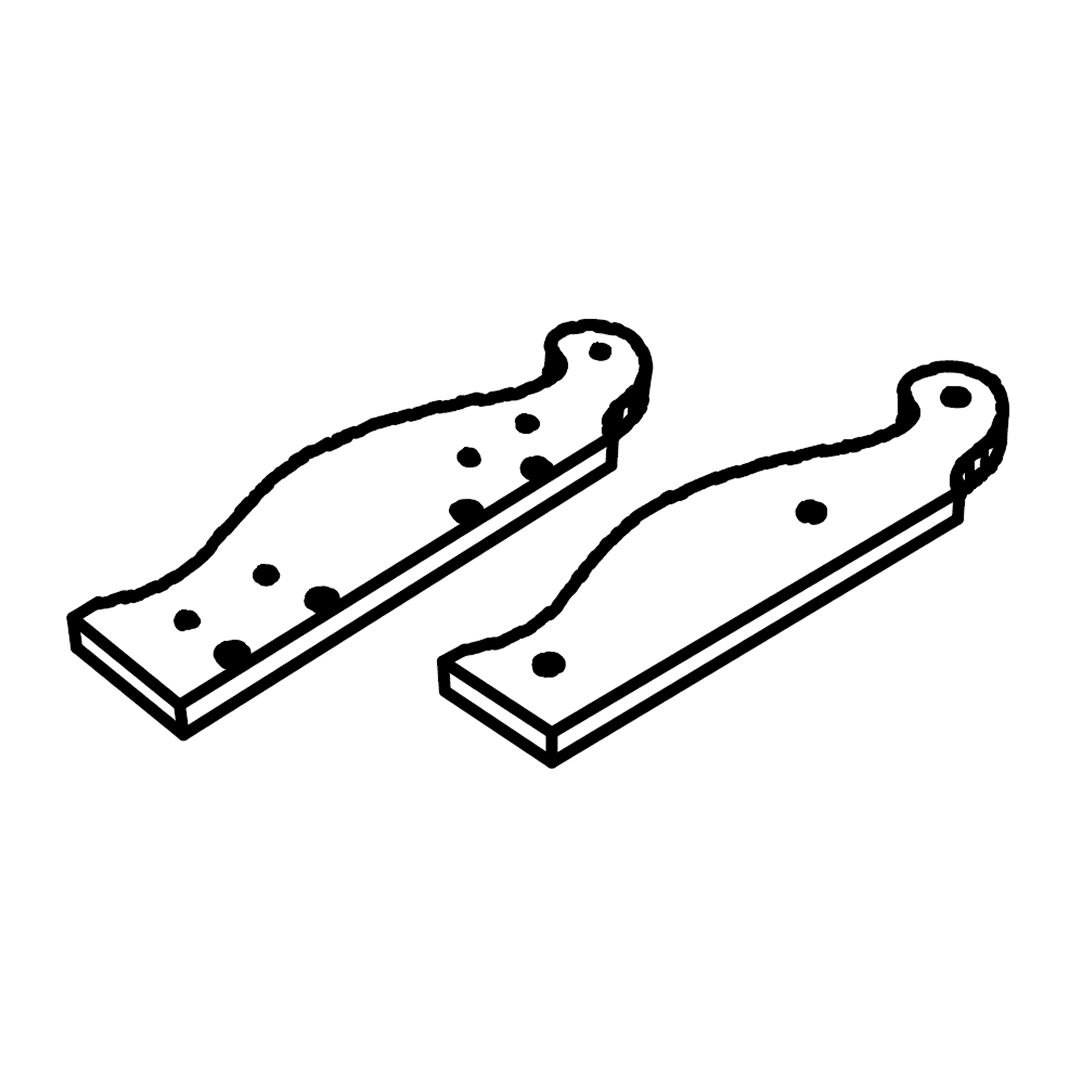 4 - Footboard Wood Post (L/R) 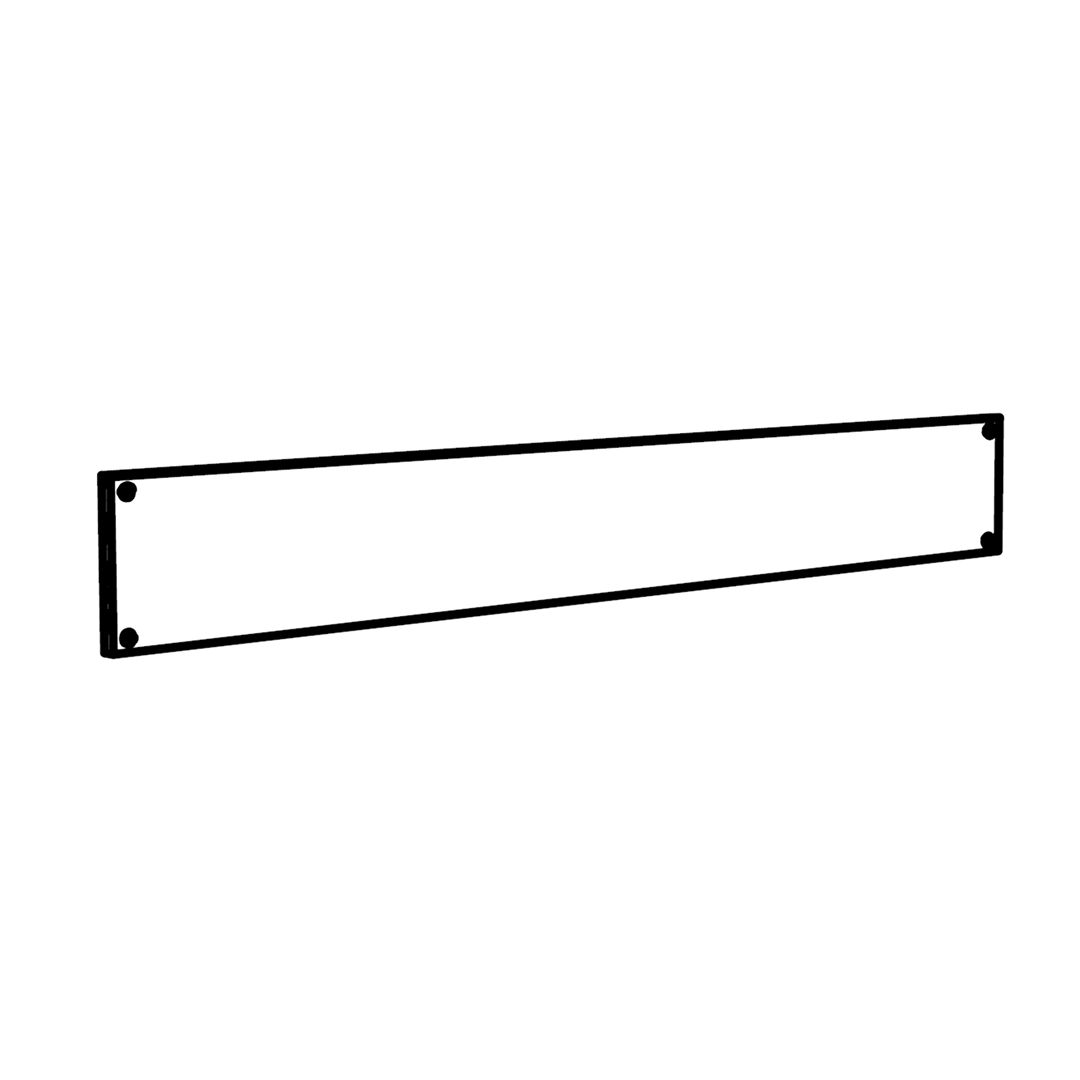 5 - Headboard Back Panel 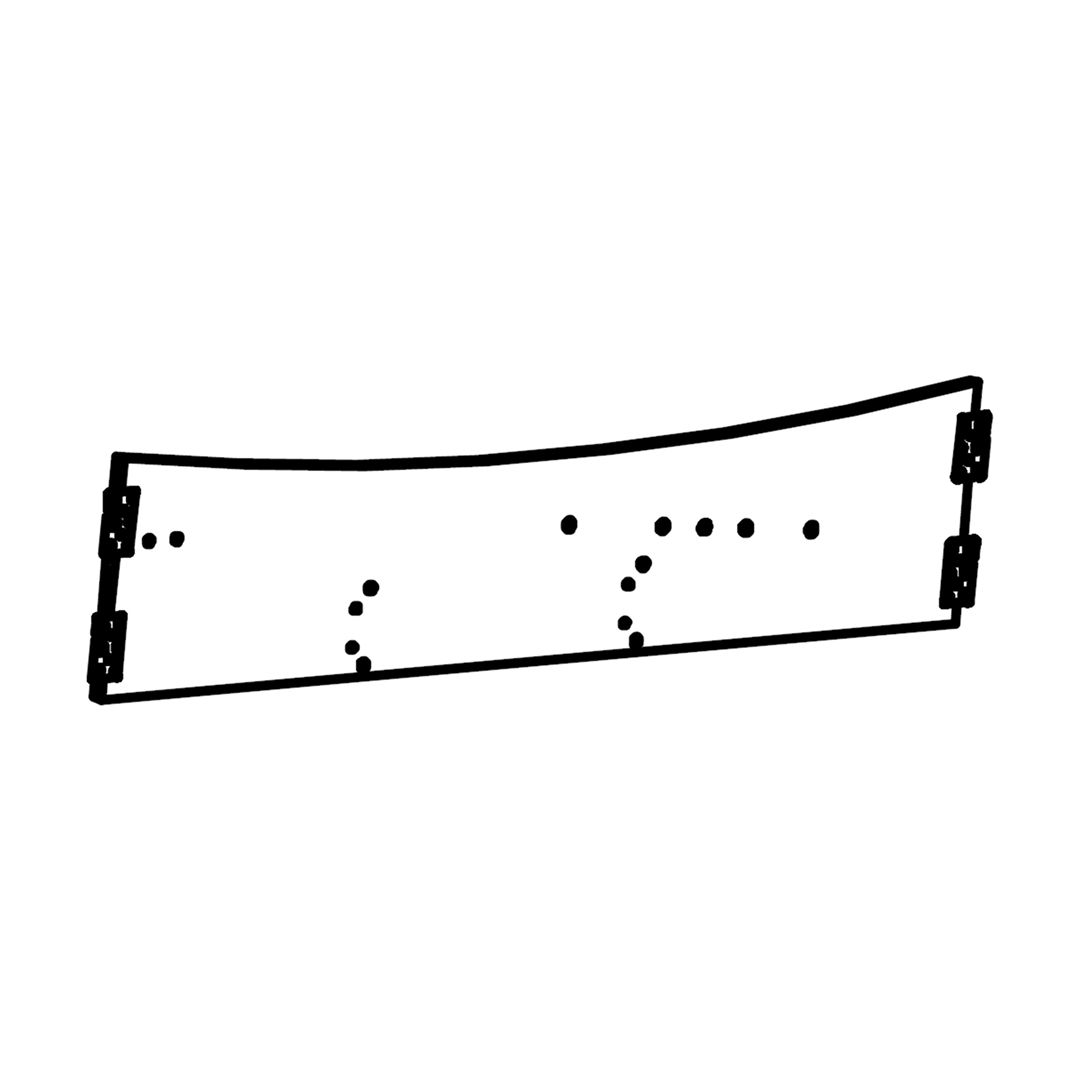 6 - Siderail (L) 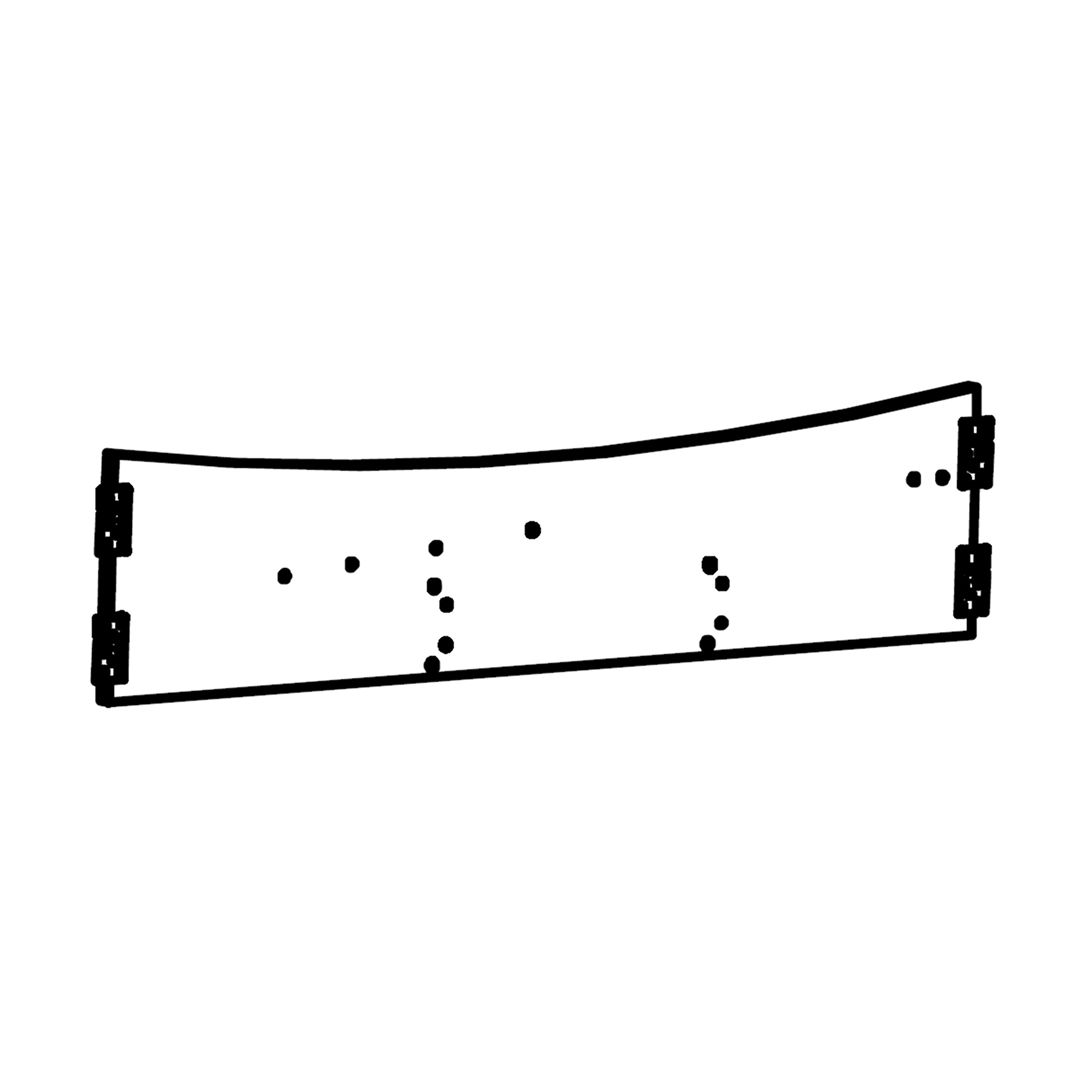 7 - Siderail (R)  8 - Centre Storage - Panel 1  9 - Centre Storage - Panel 2  10 - Bottom Base Panel - Small  11 - Bottom Base Panel - Big 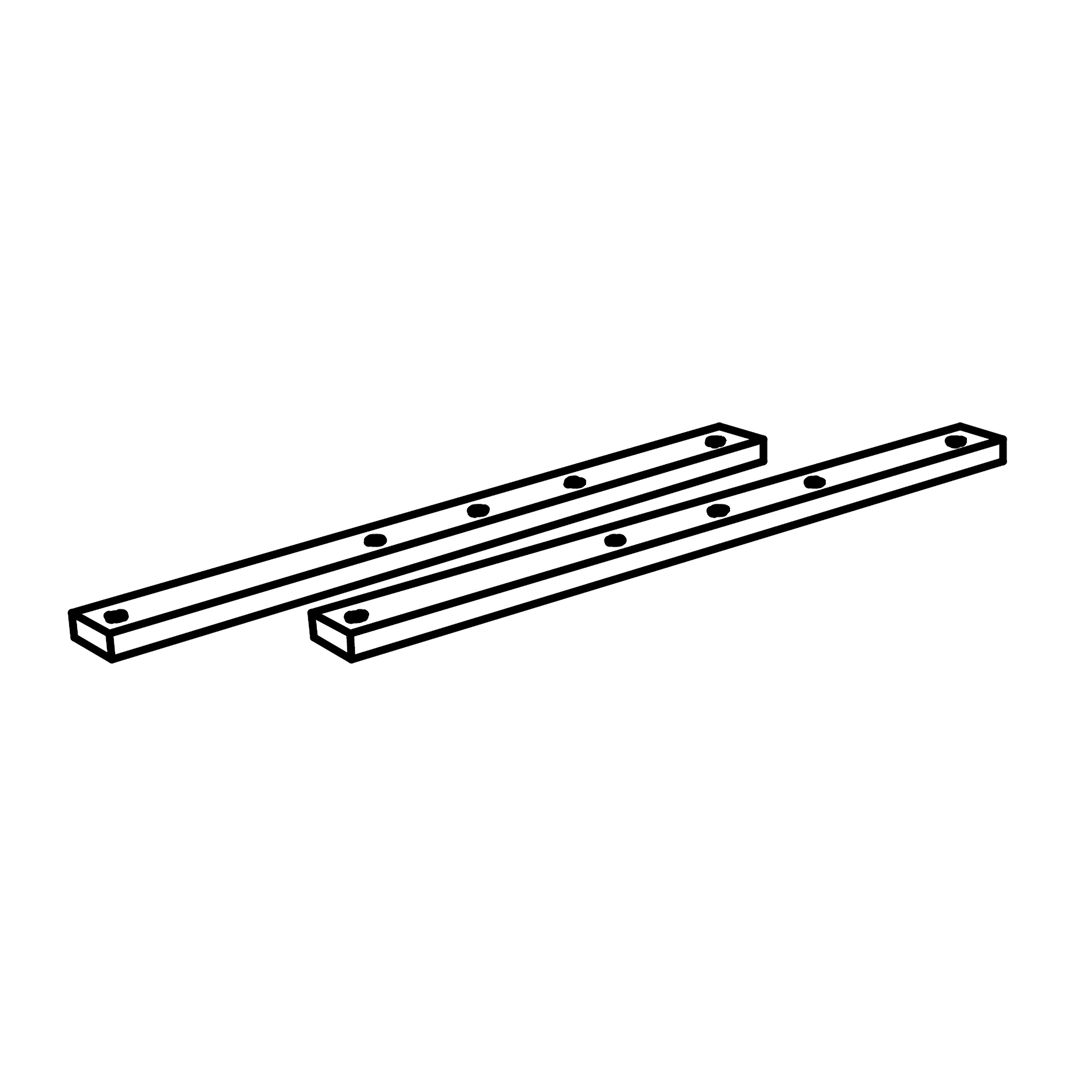 12 - Hydraulic Arm Spacer 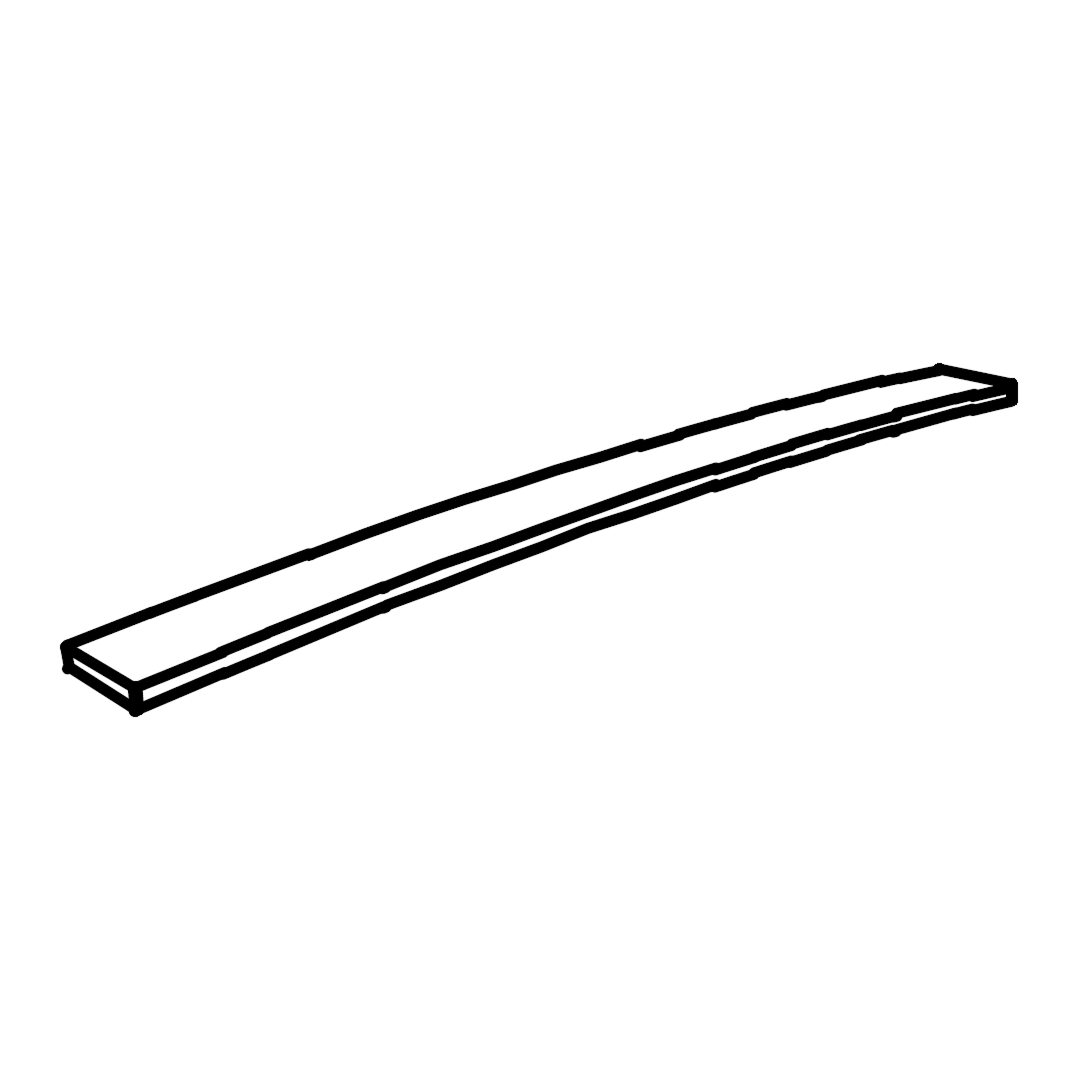 13 - Slat  14 - Left & Right Side Metal Bar 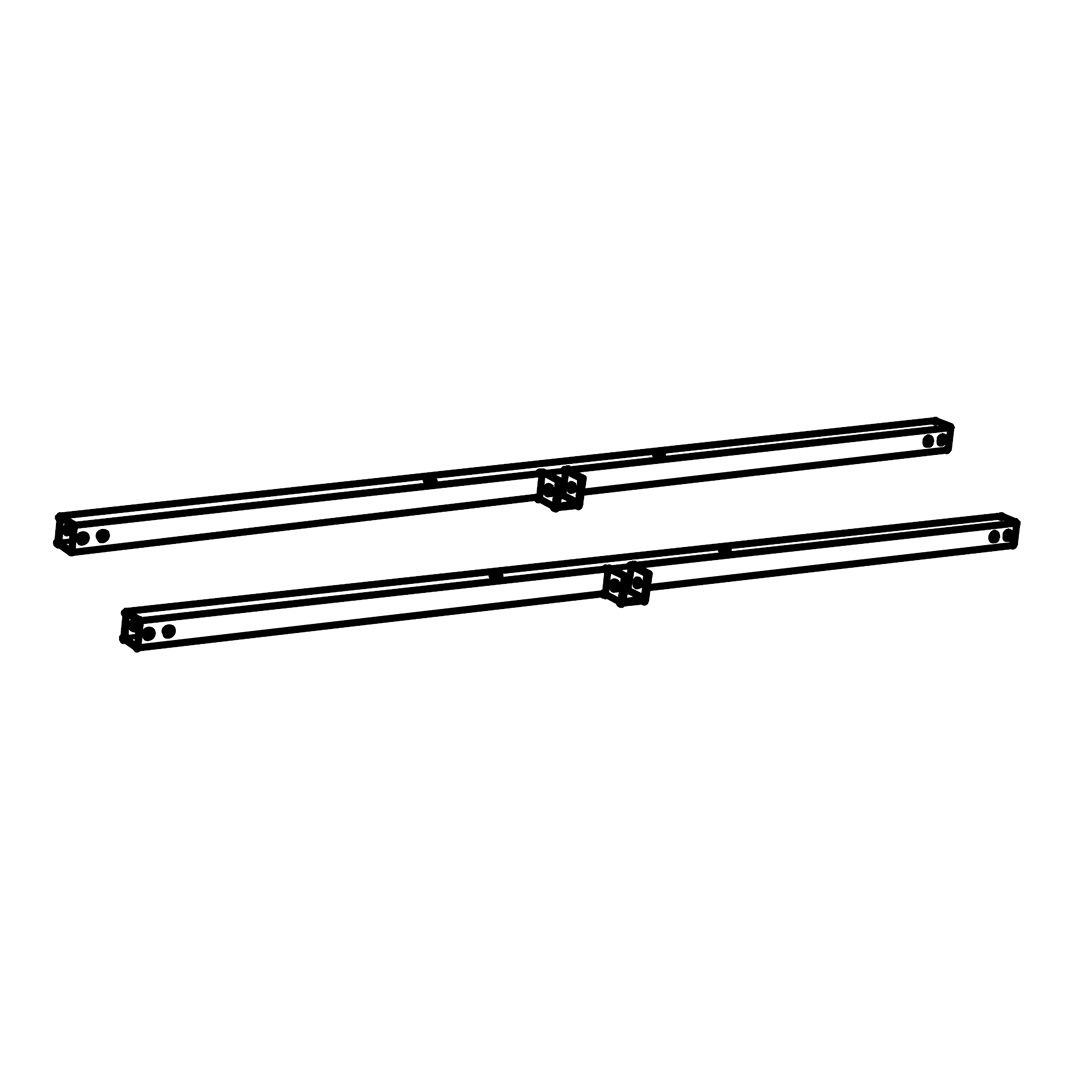 15 - Head & Foot End Metal Bar 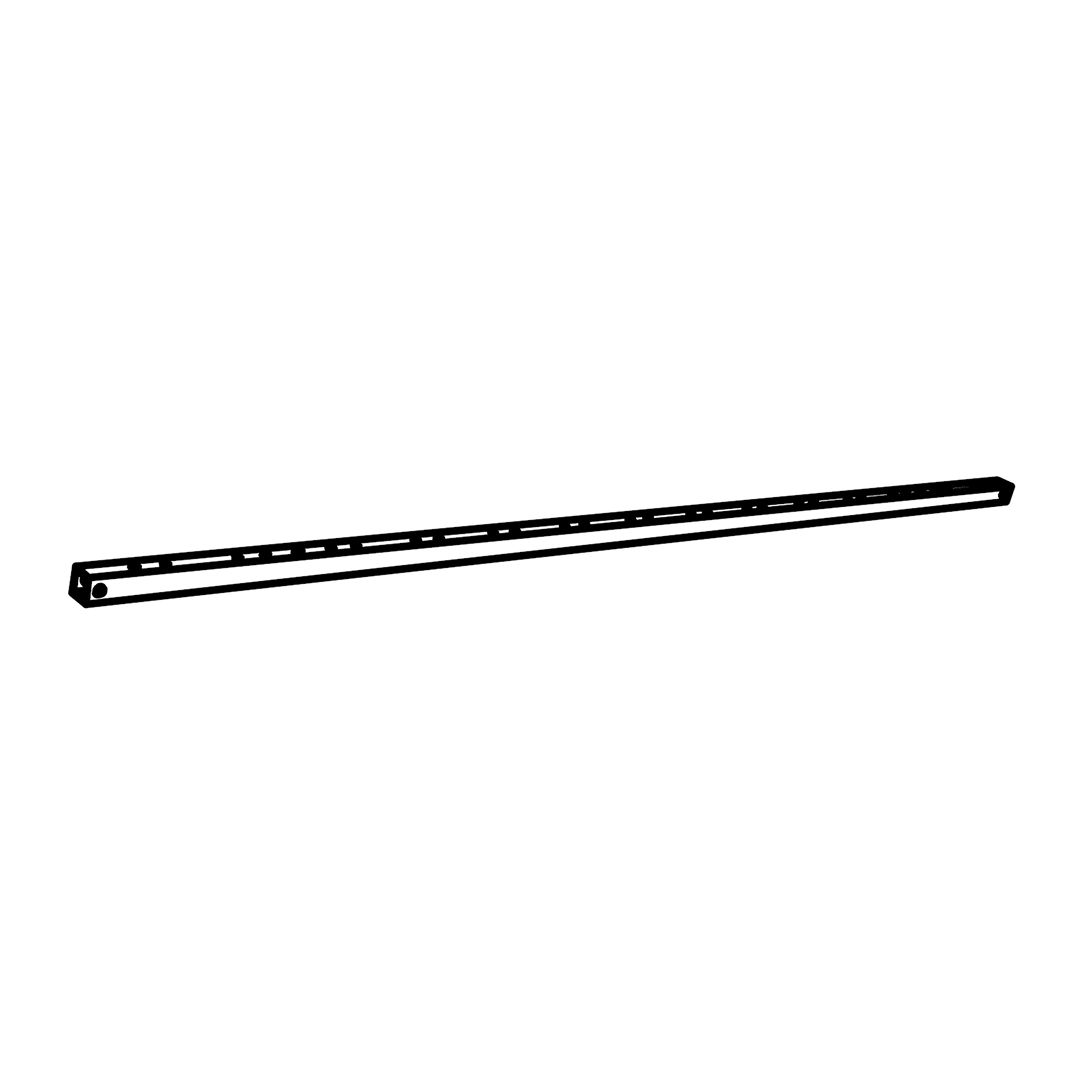 16 - Centre Metal Bar 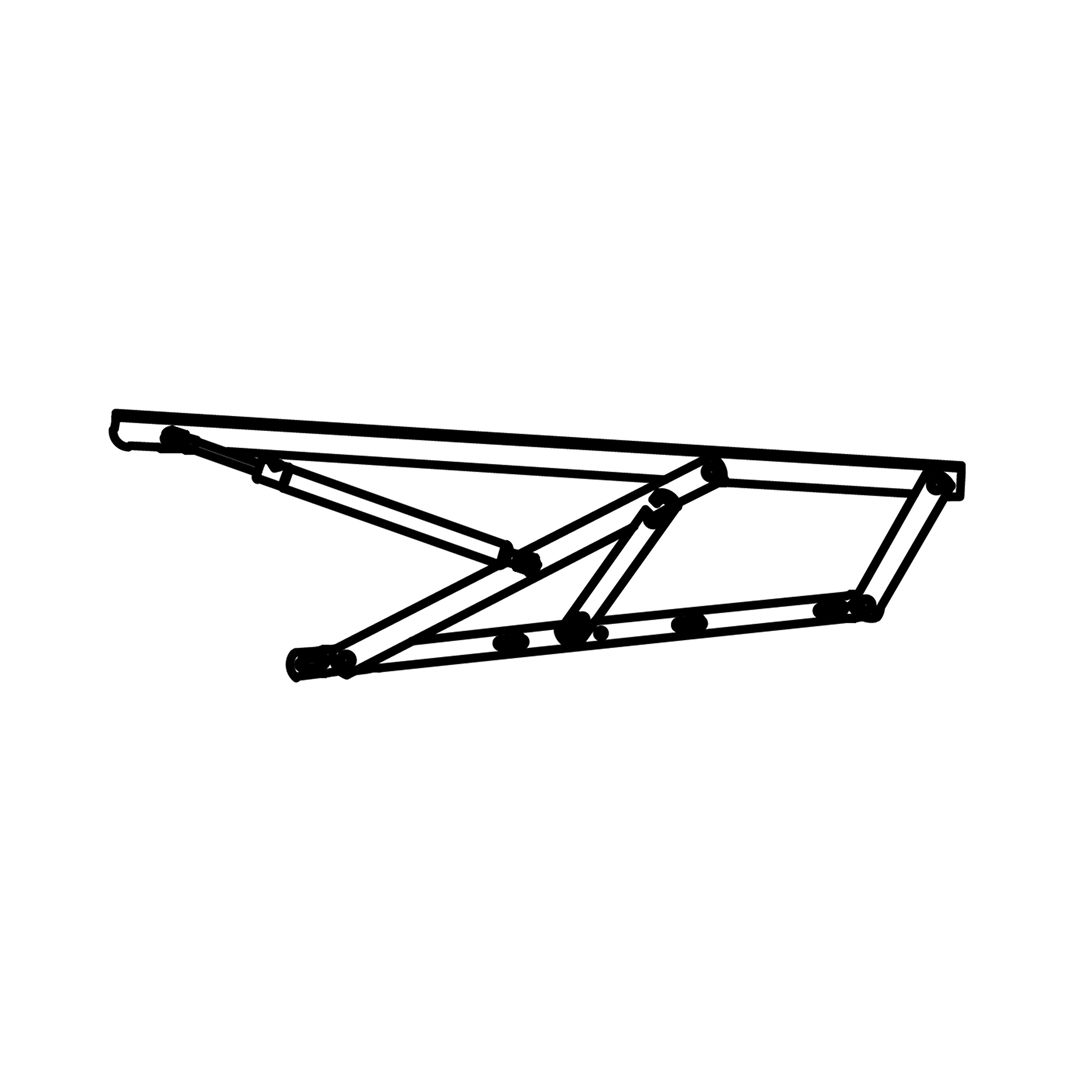 17 - Left Hydraulic Base Support c/w Pump Stopper 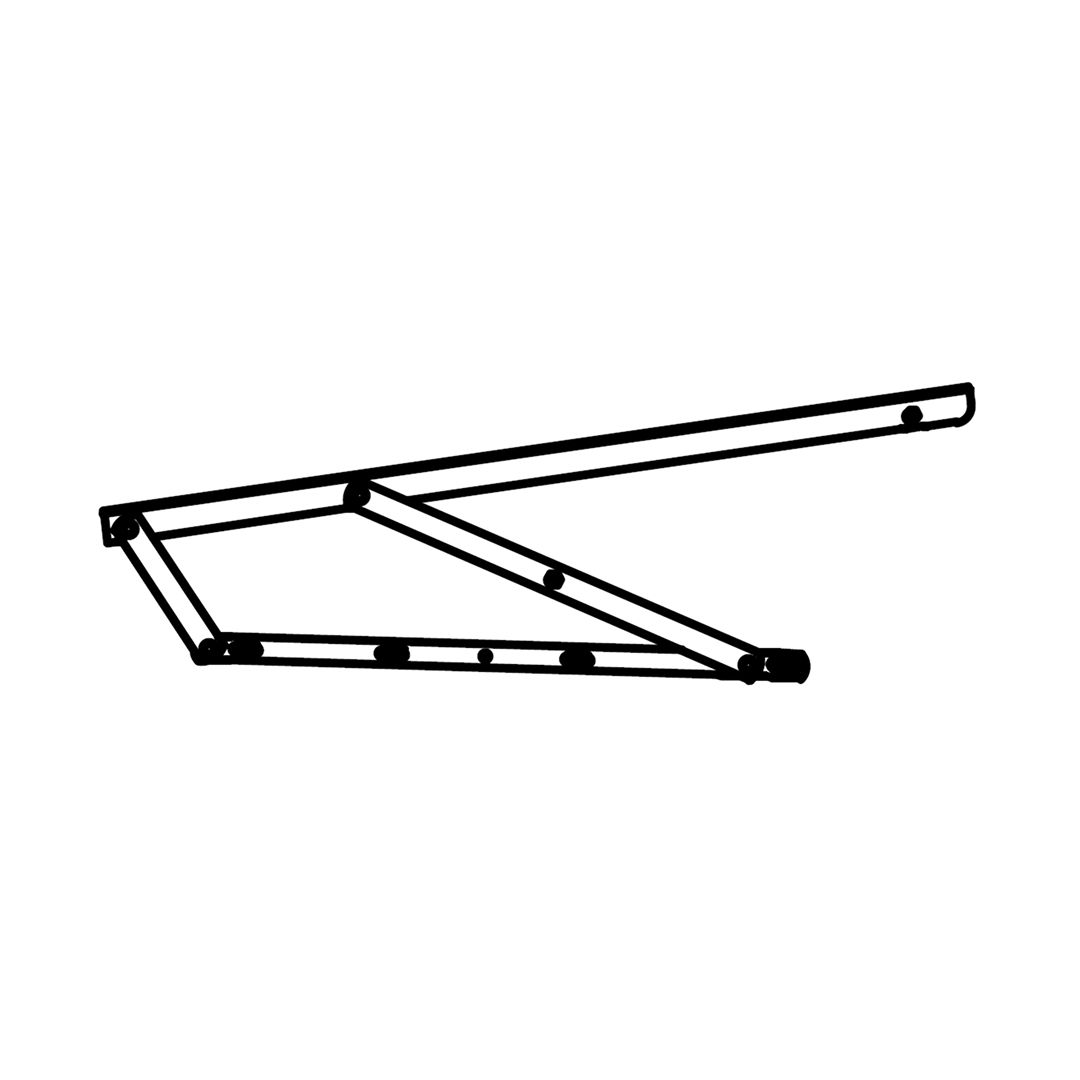 18 - Right Hydraulic Base Support c/w Pump Stopper 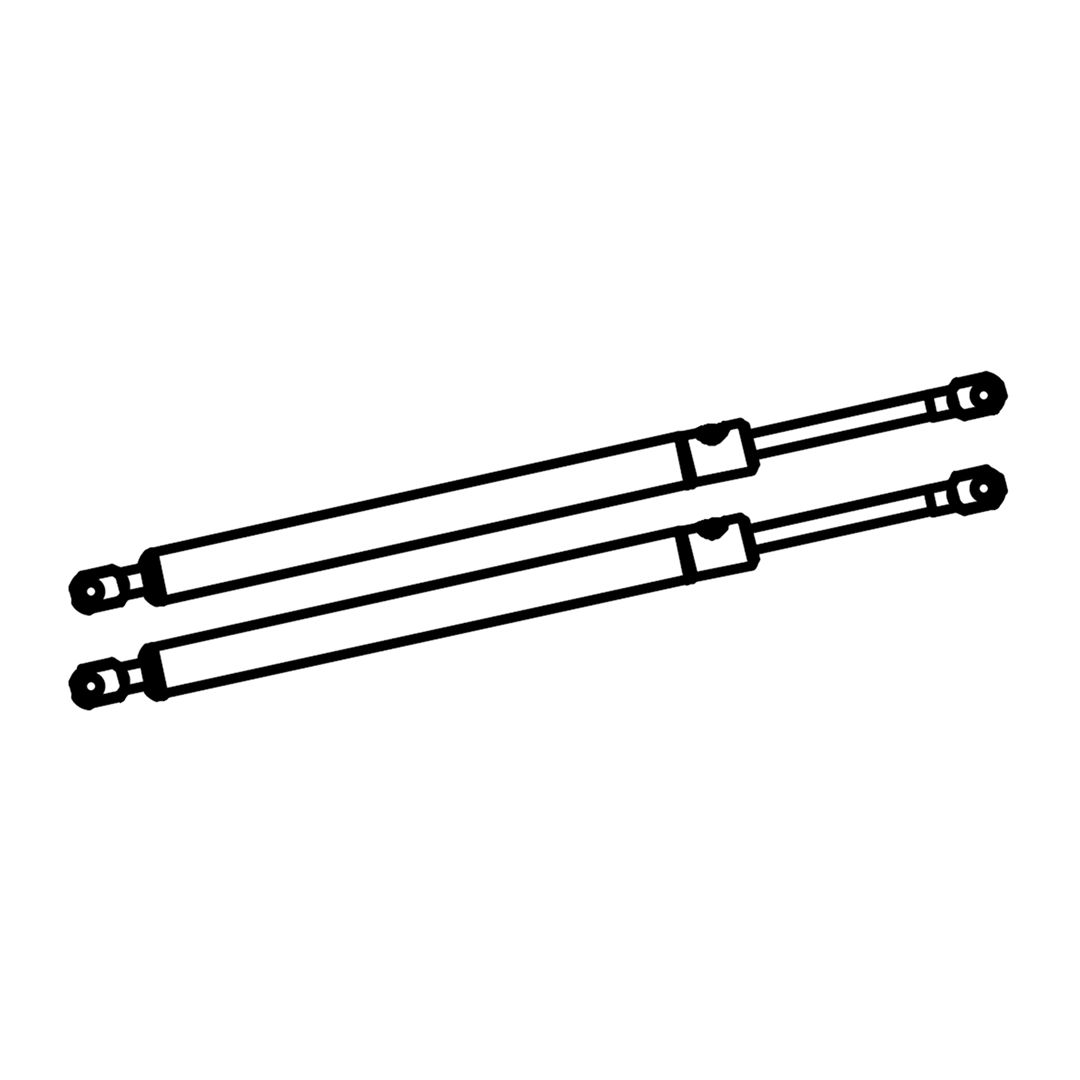 19 - Hydraulic Pump 1. Remove Packing Bolts for AssemblyDetach the packing method using the JCBC bolt as shown. The screw will be reused for assembling the hardware parts. 2. Assemble Headboard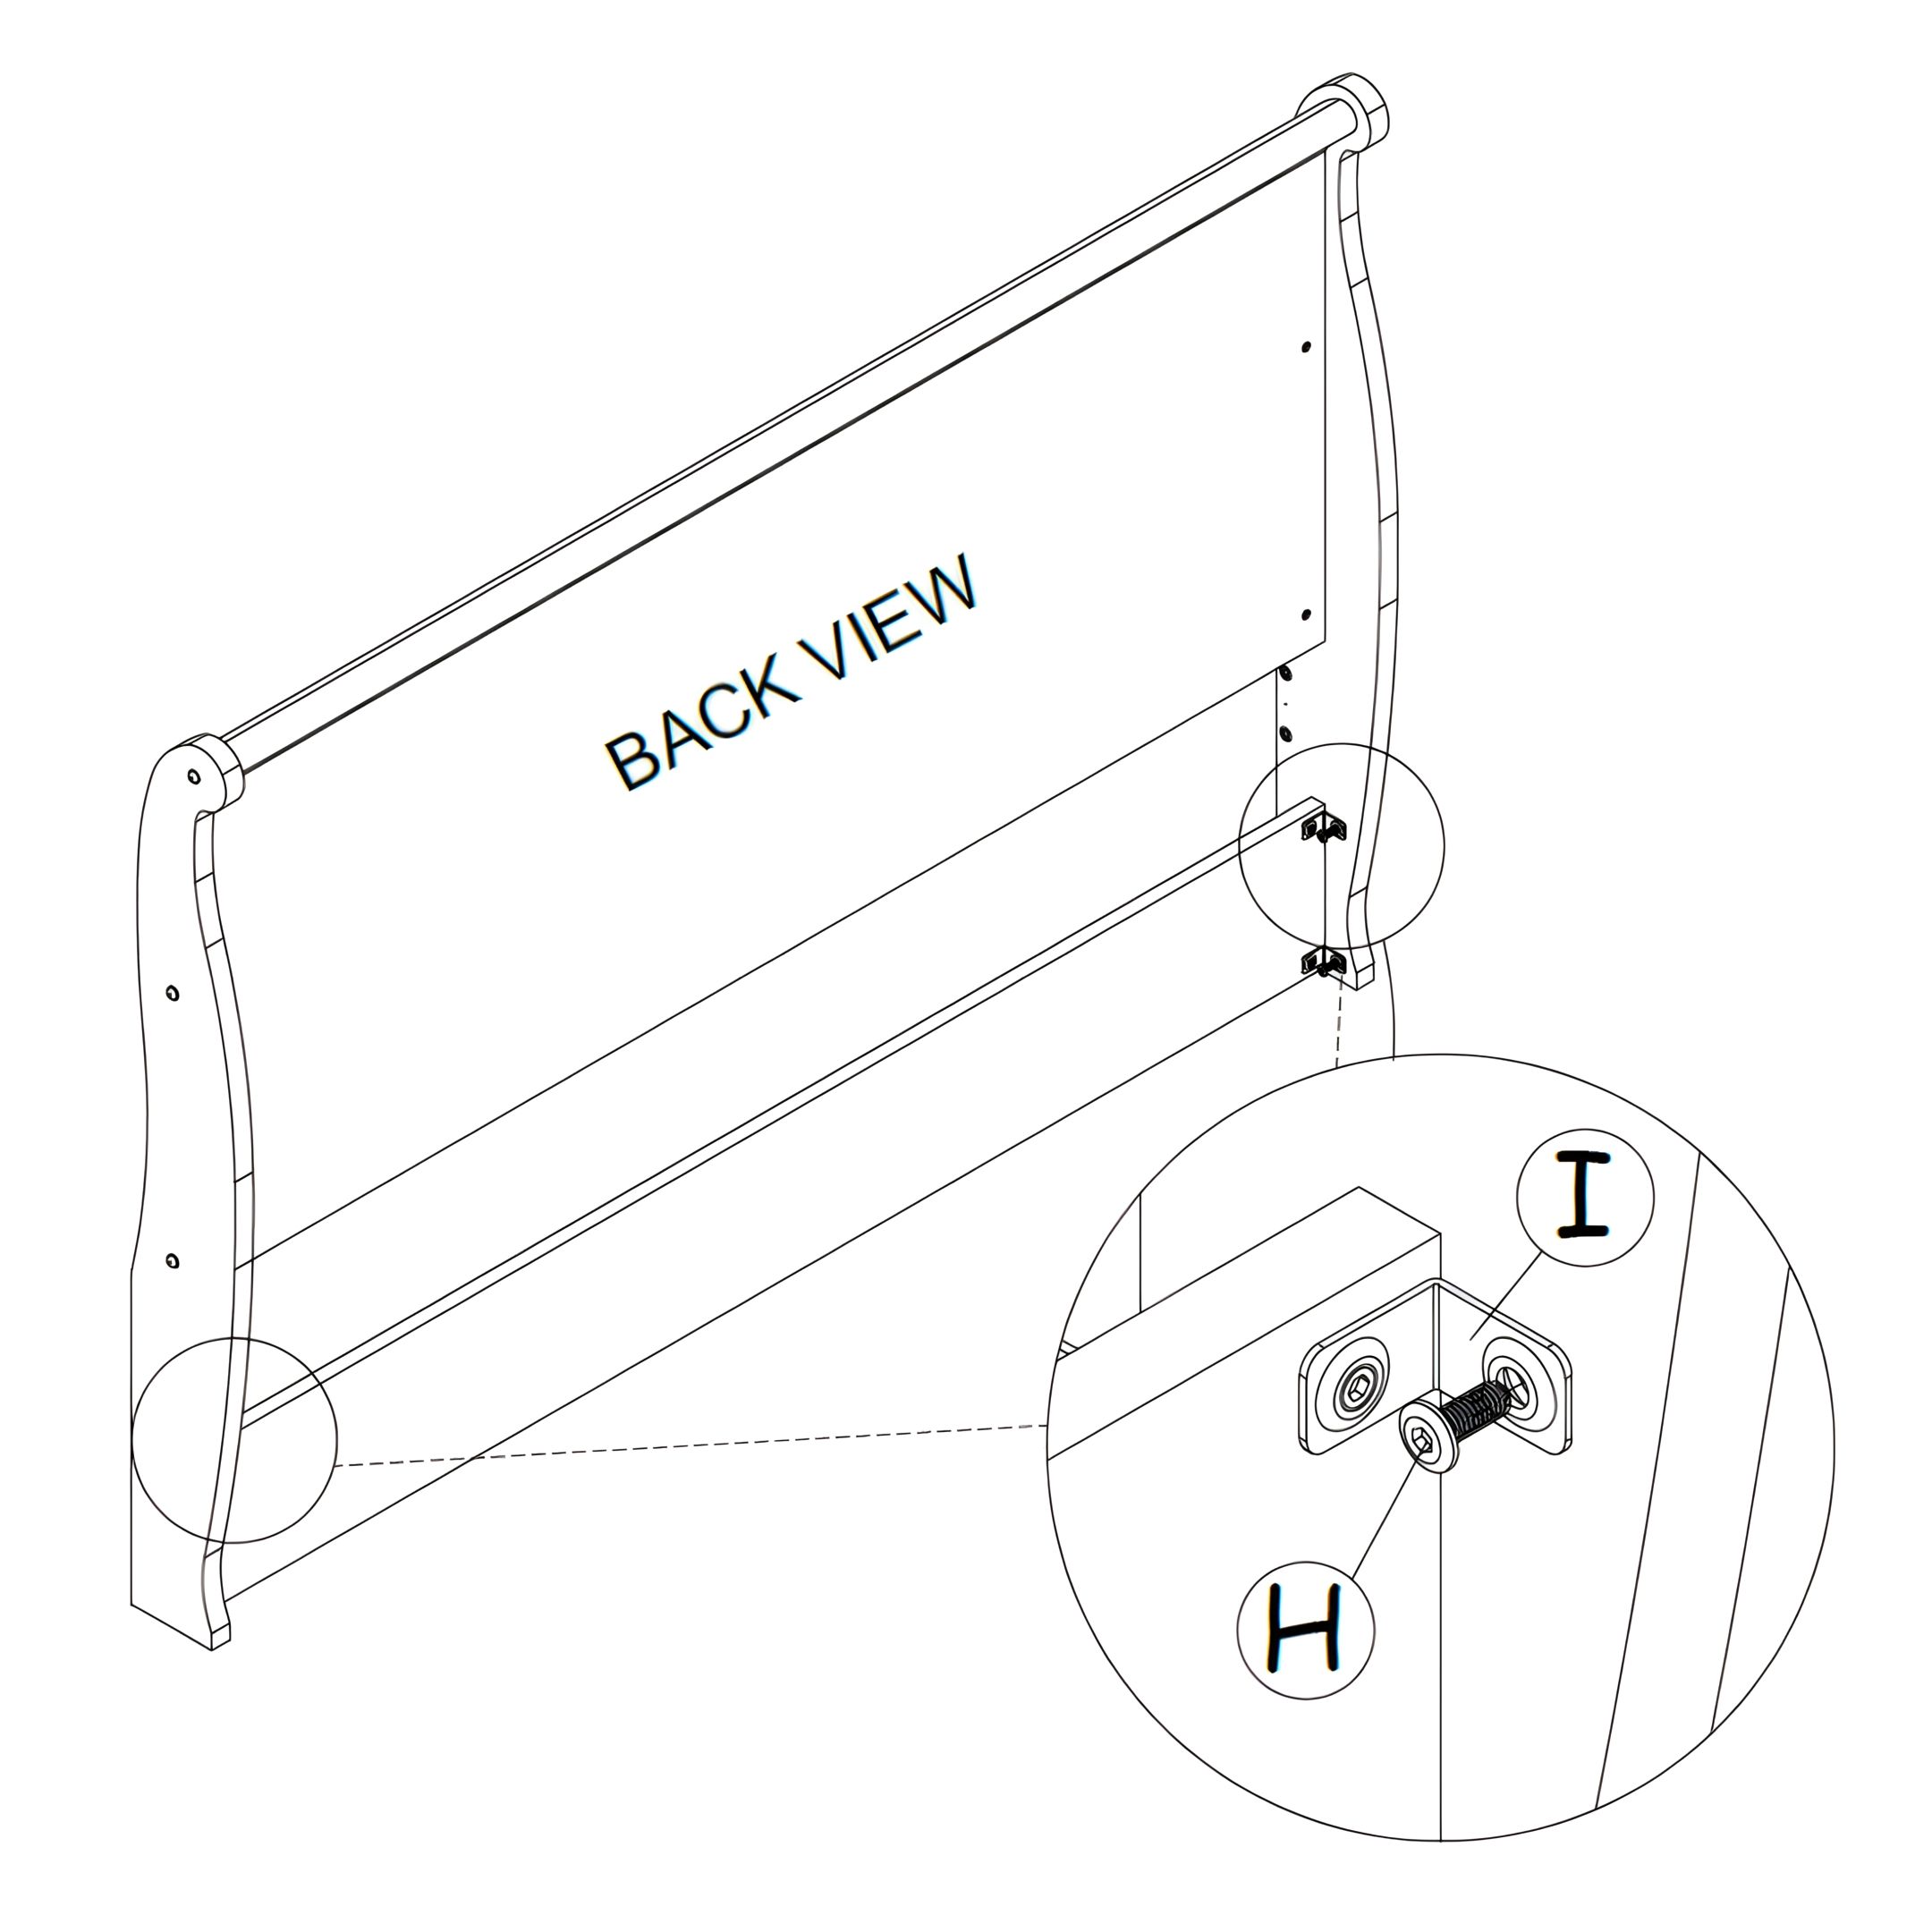 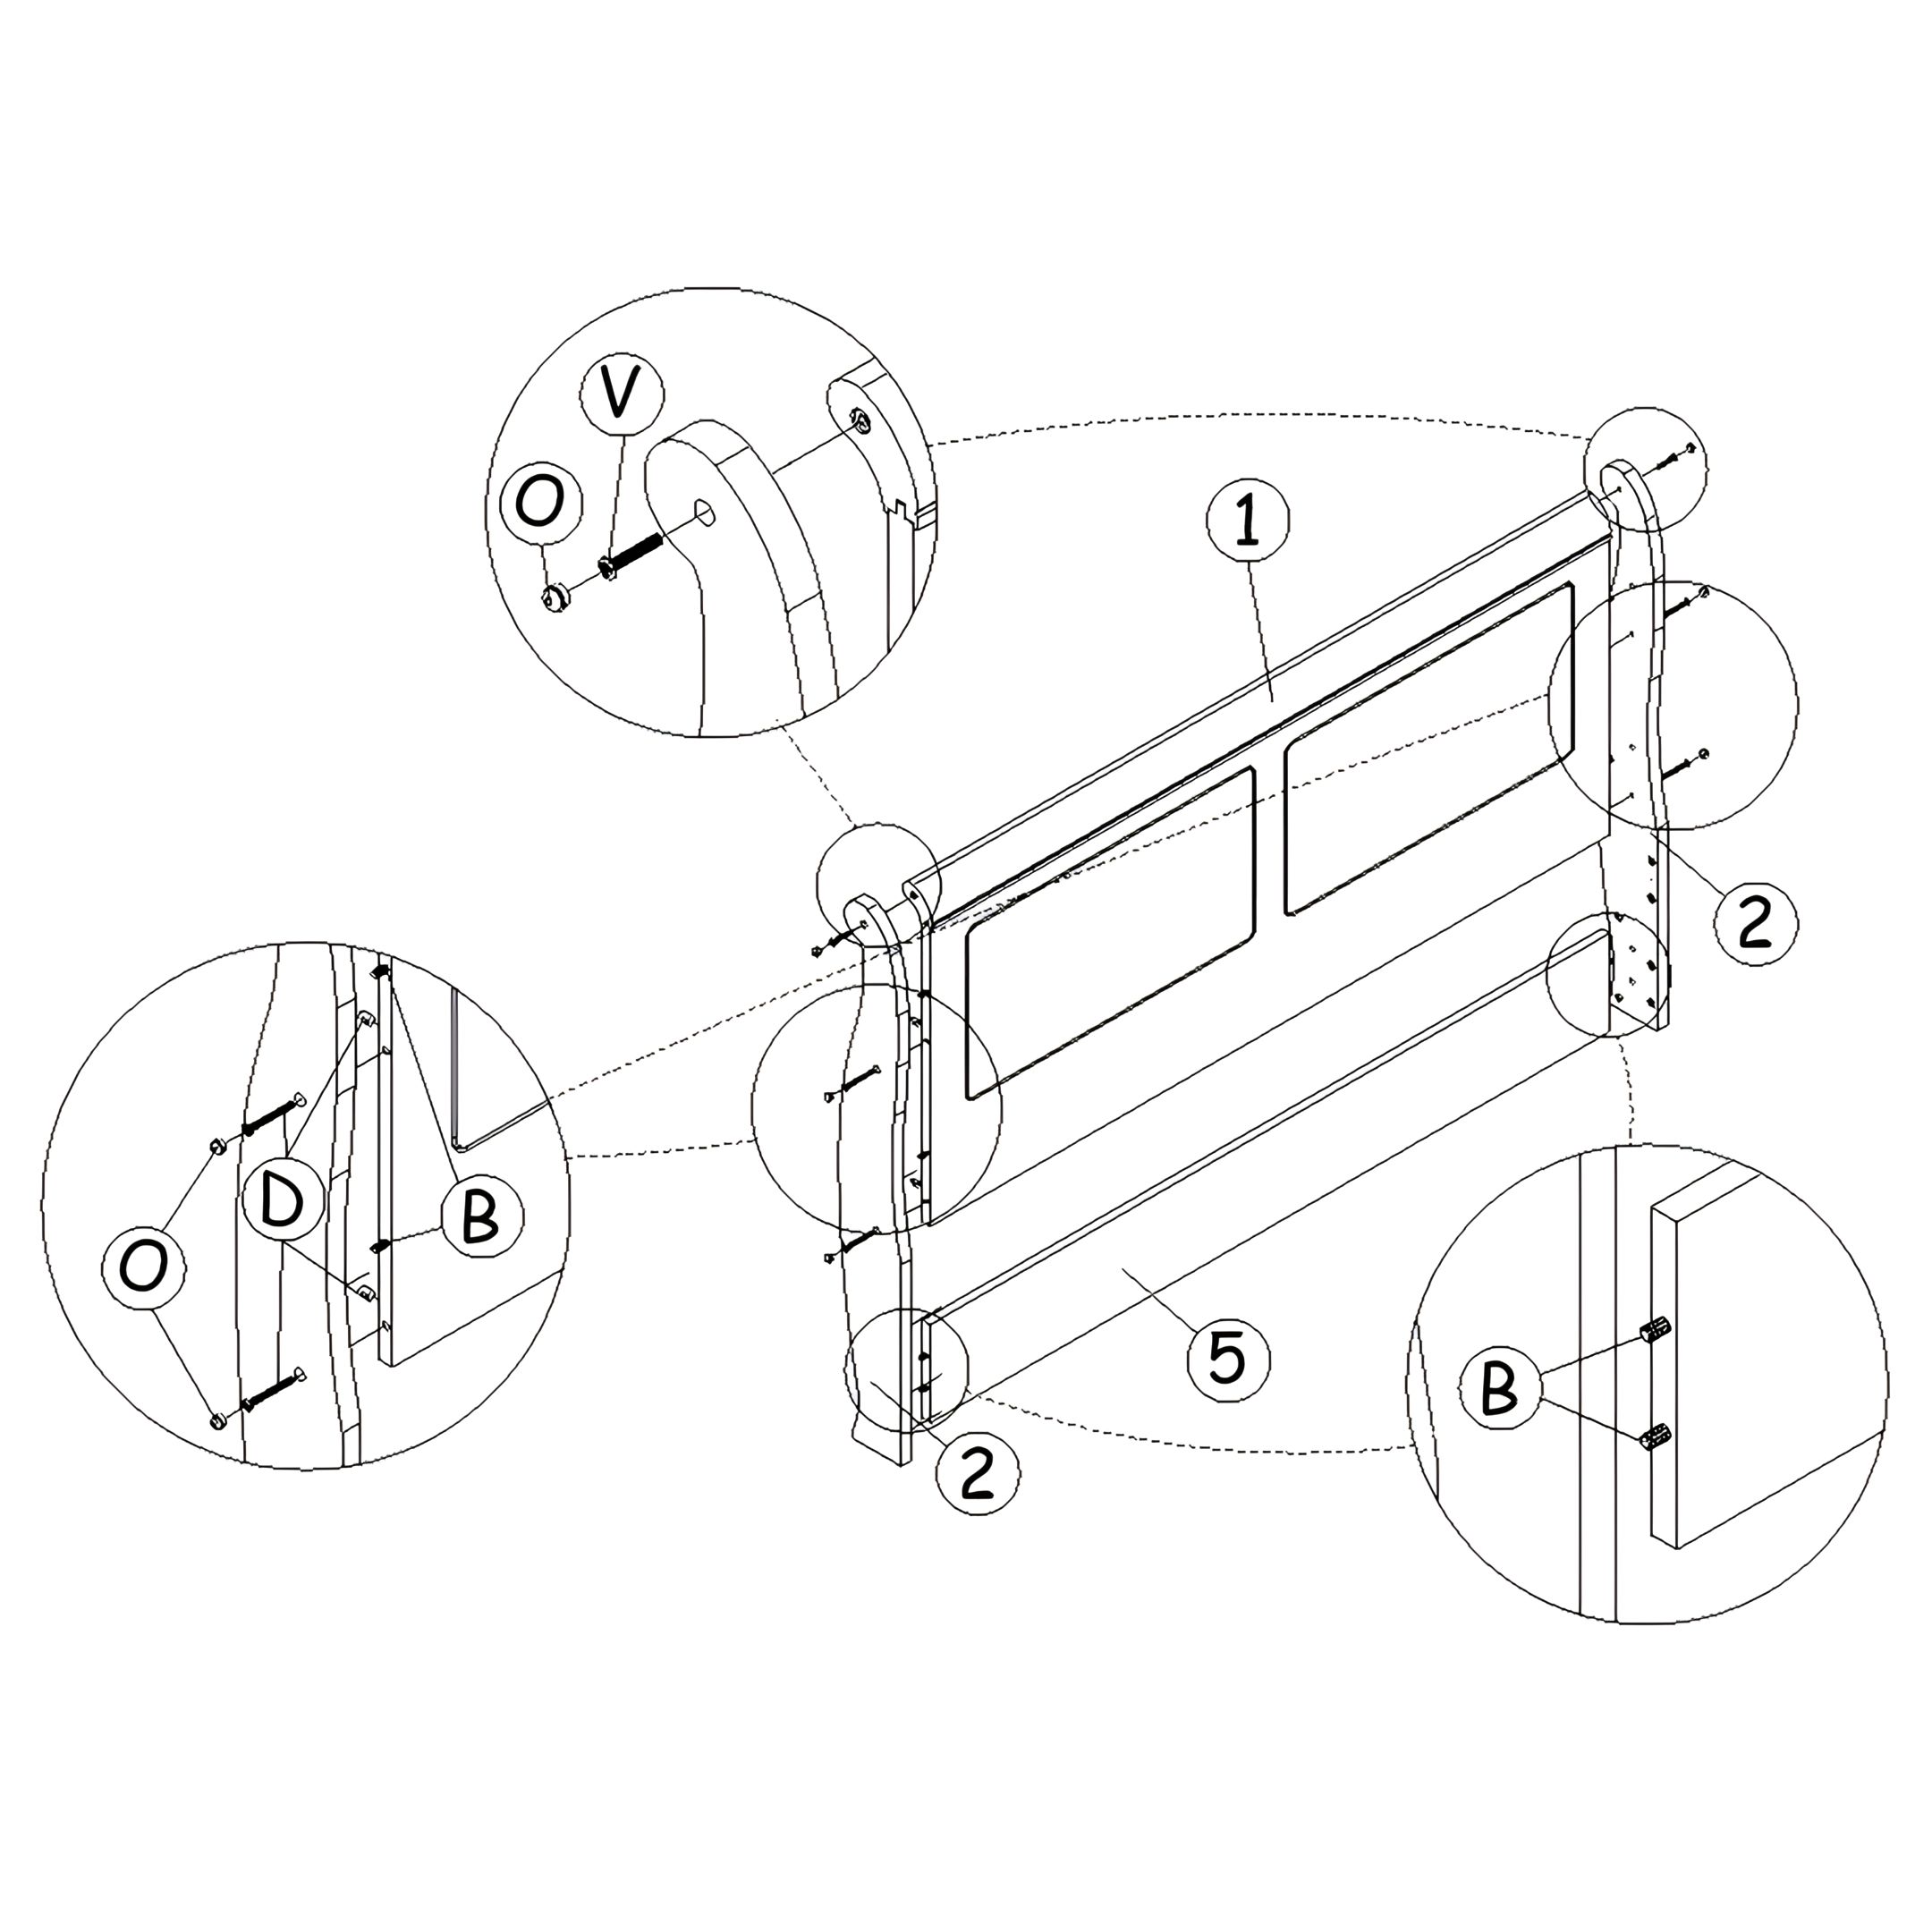 Fix the headboard frame panel (1) and headboard back panel (5) to the headboard wood post (L/R) with hardware parts as shown. 3. Assemble Footboard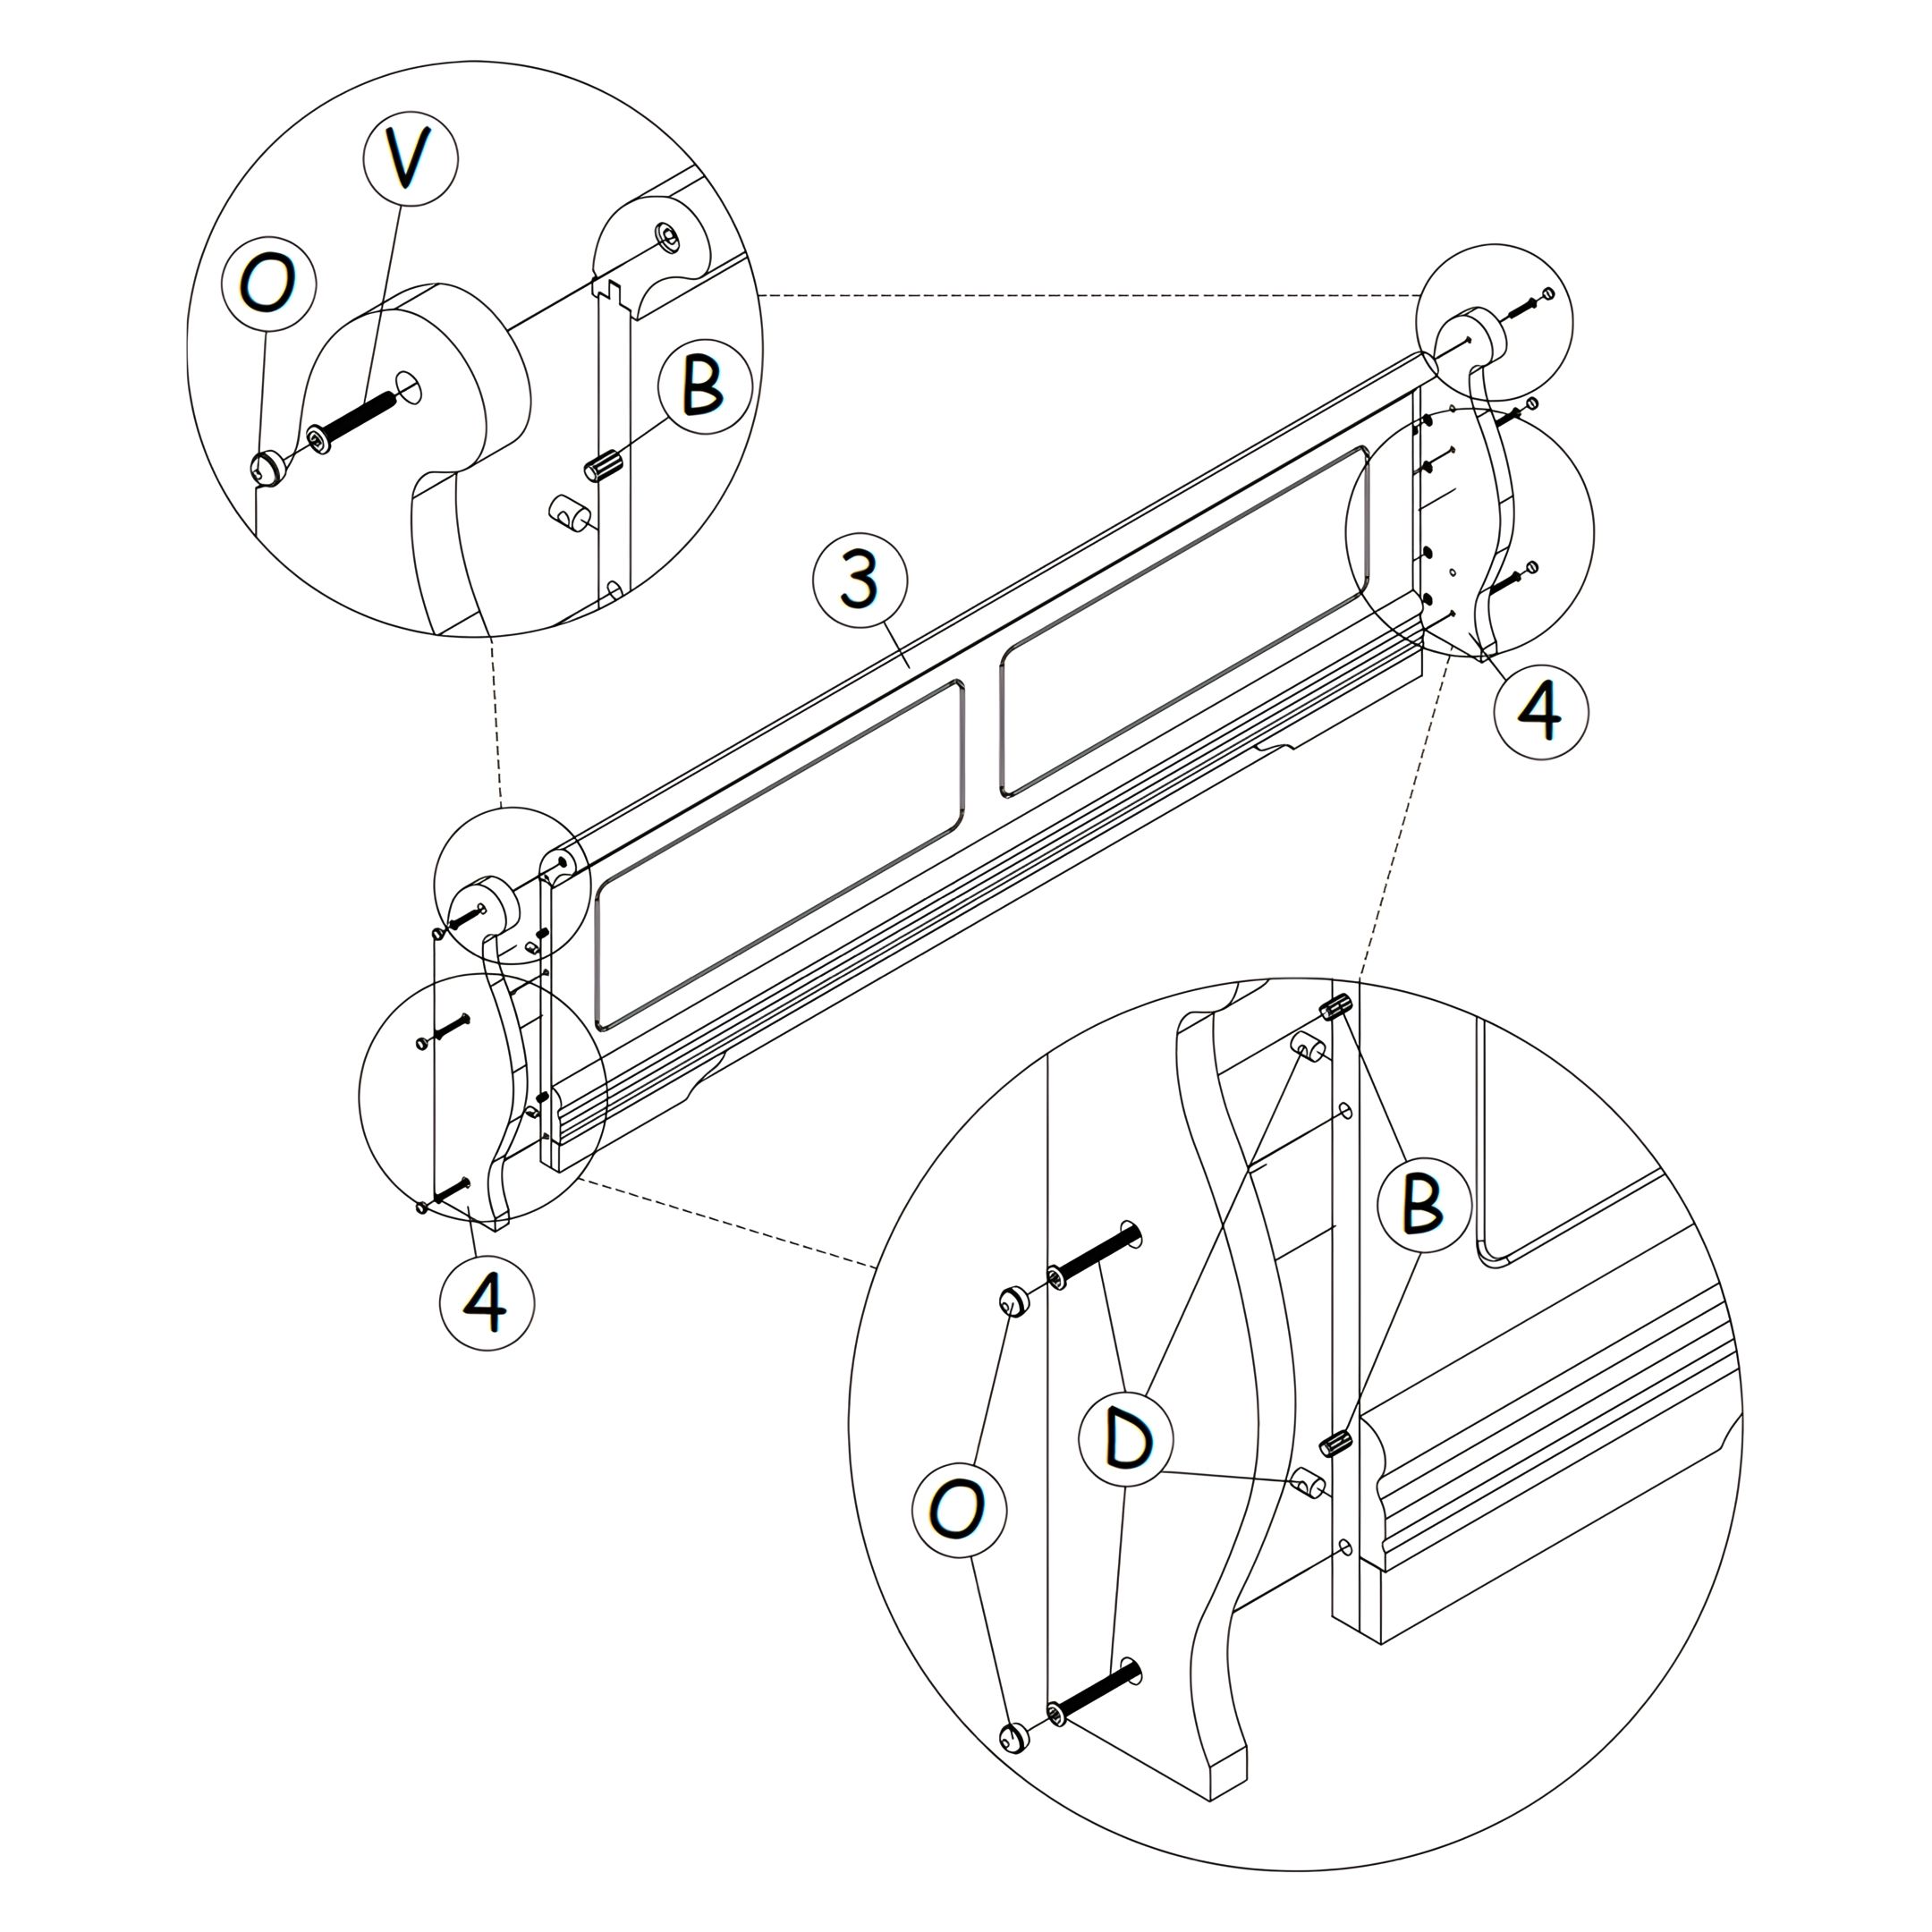 Fix the footboard frame panel (3) to the footboard wood post (L/R) (4) with hardware parts as shown. 4. Install the Hydraulic Pump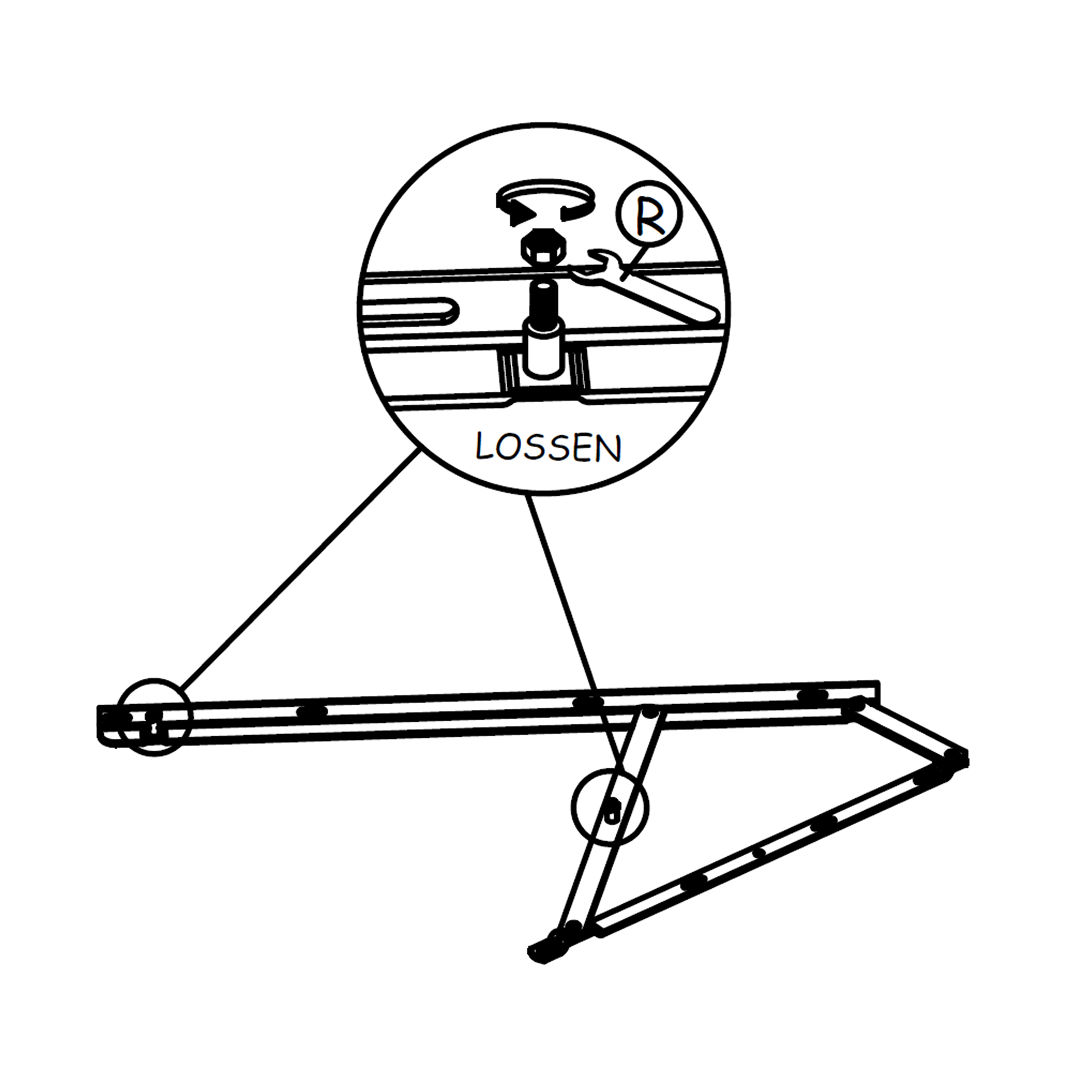 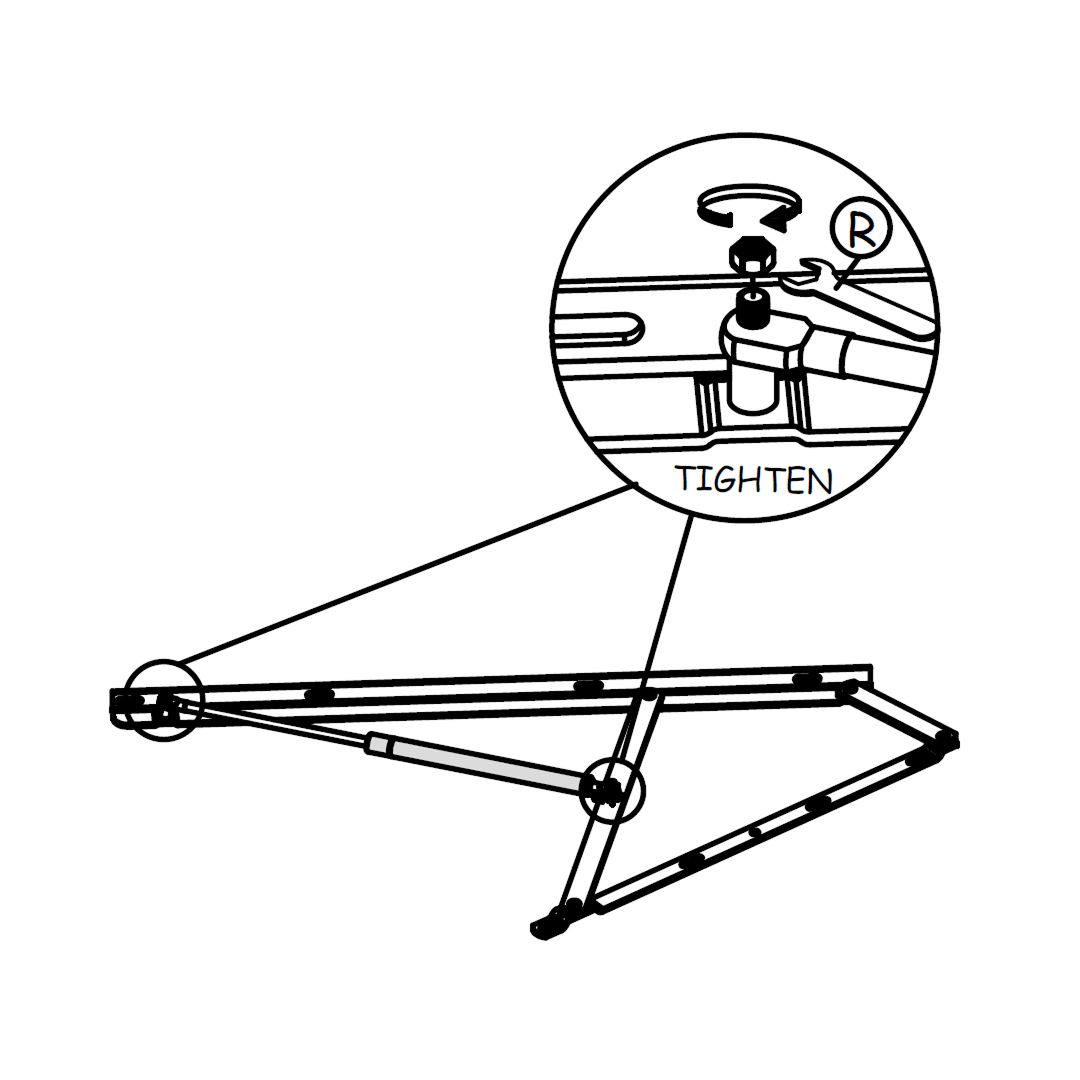 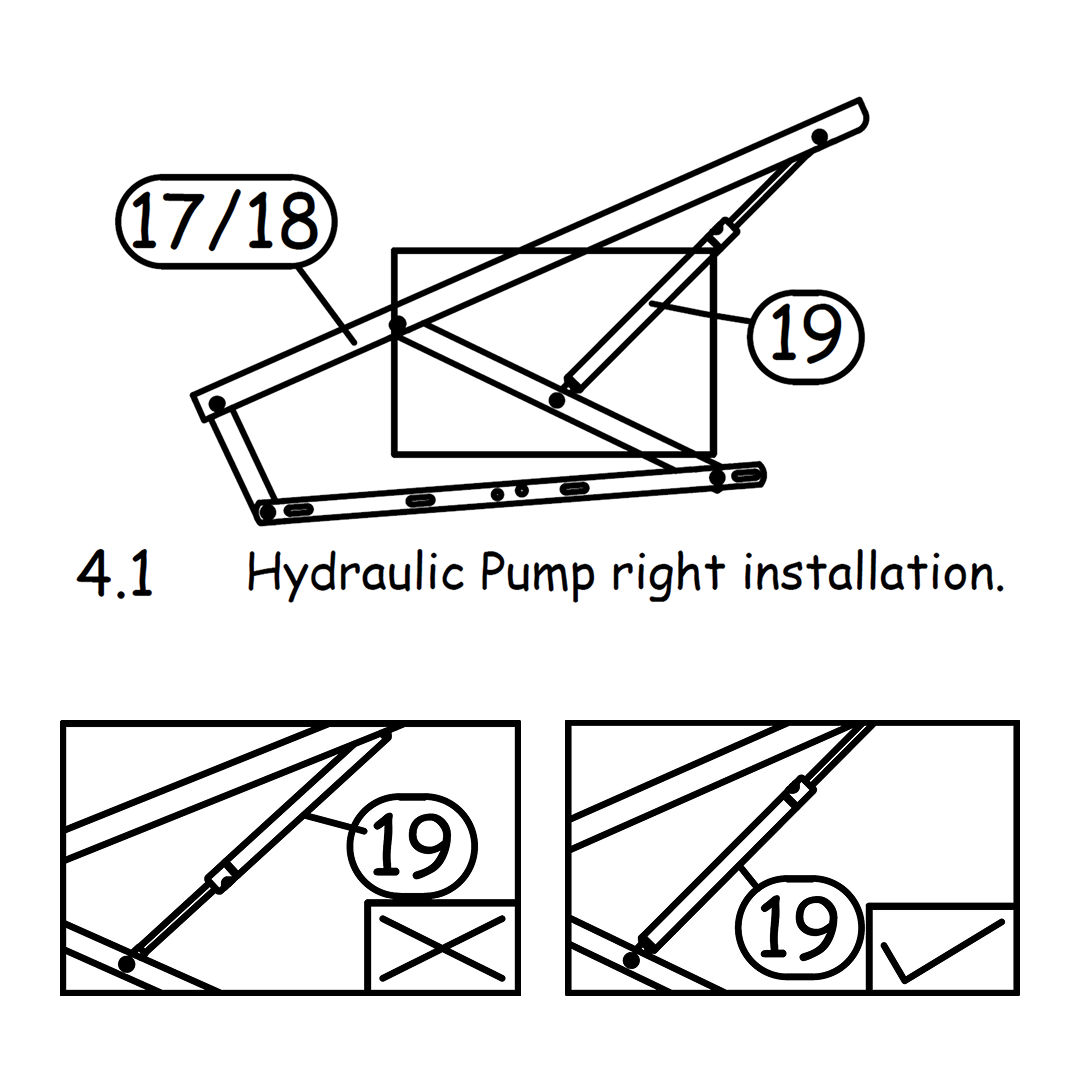 Firstly, loosen the Hex Nut from the Left & Right Hydraulic Base Support, then fix the hydraulic pump to each hydraulic base using the same Hex Nut & V. (shown in diagram 4.1) 5. Secure the Hydraulic Spacer and Base Supporter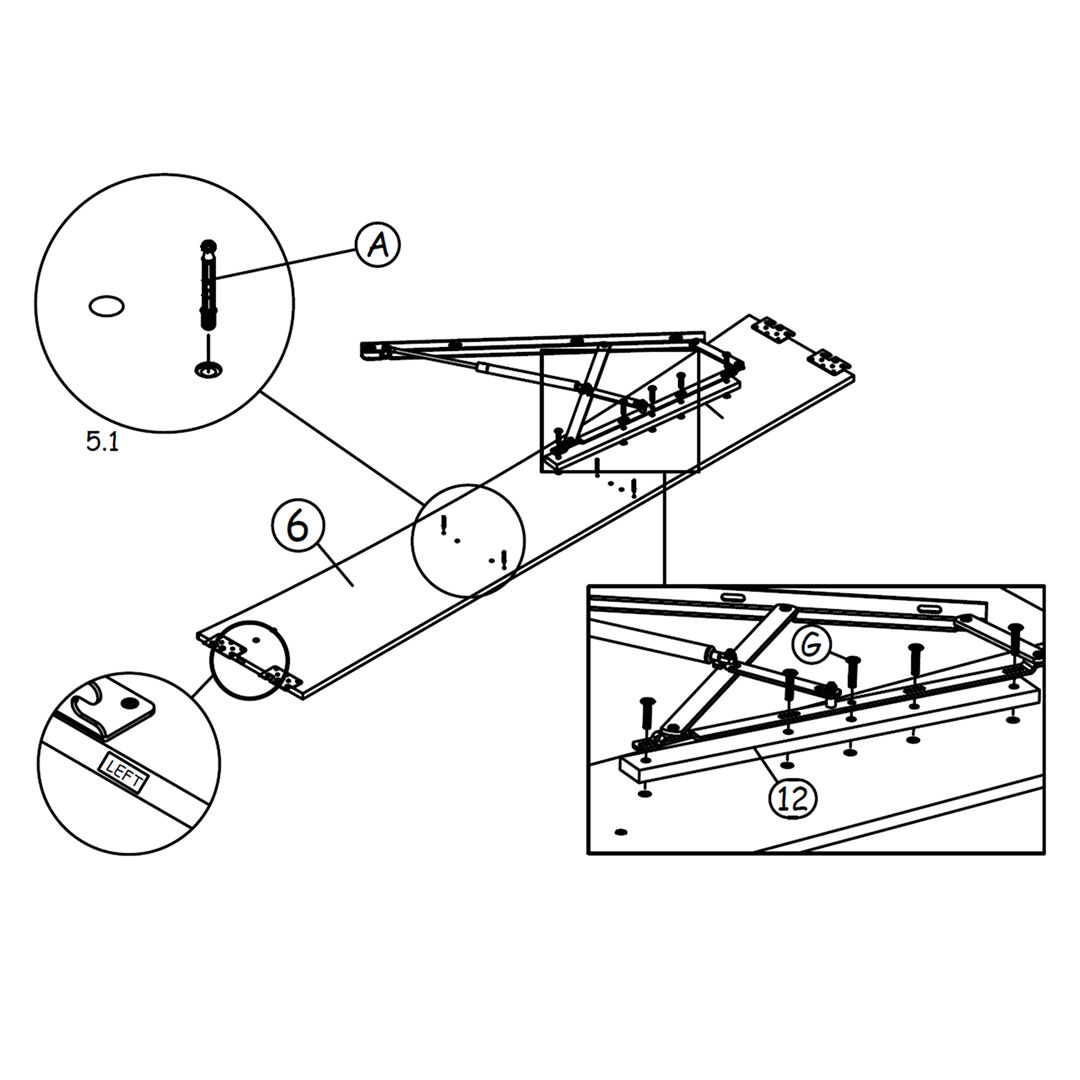 Fix the left & right hydraulic spacer together with hydraulic base supporter to the both side rails using bolts G and than screw the minifix part A to the both side rails as shown in diagram 5.1. 6. Attach Side Rails and Storage Panels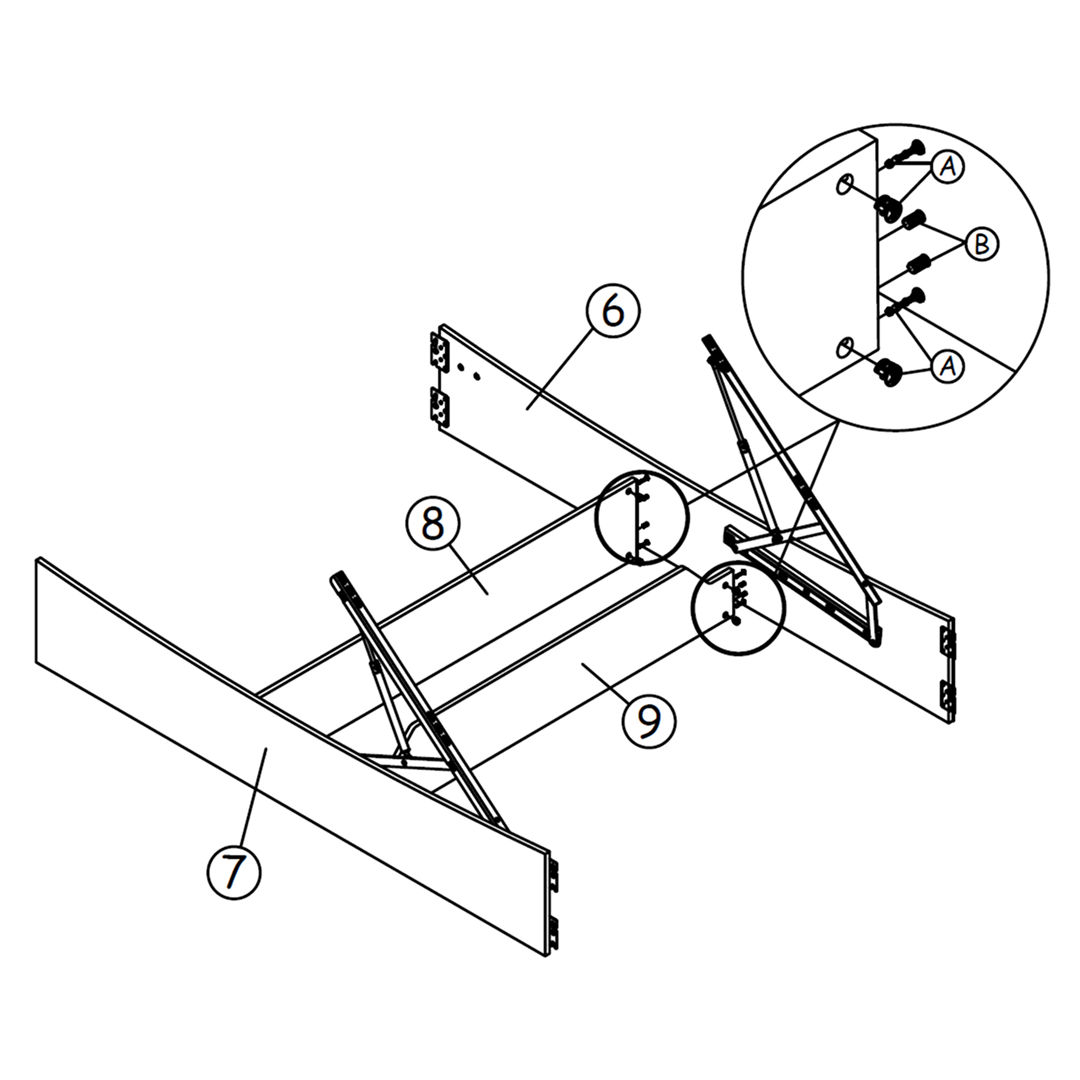 Join together the left side rail (6) and right side rail (7) with the centre storage panels (8)(Panel 1) and centre storage panels (9)(Panel 2) by using hardware parts A and B. Do not use any power tools as this may damage the frame and will invalidate any claim. 7. Secure the Headboard and Footboard Attach the headboard frame (1) and footboard (4) using hardware part E than tighten up. Do not use any power tools as this may damage the frame and will invalidate any claim 8. Insert Base Panels Insert the large base panel (11) and small base panel (10). Do not use any power tools as this may damage the frame and will invalidate any claim. 9. Secure the Metal Corner Blocks Fix metal corner block C to the edge of footboard and side rails with bolt F as shown. Do not use any power tools as this may damage the frame and will invalidate any claim 10. Assemble the Bed Base Join together all the bed base parts (14),(15), and (16) by using hardware parts K,S,T. Important note: Please assemble follow arrow direction. Do not use any power tools as this may damage the frame and will invalidate any claim 11. Attach Base Handles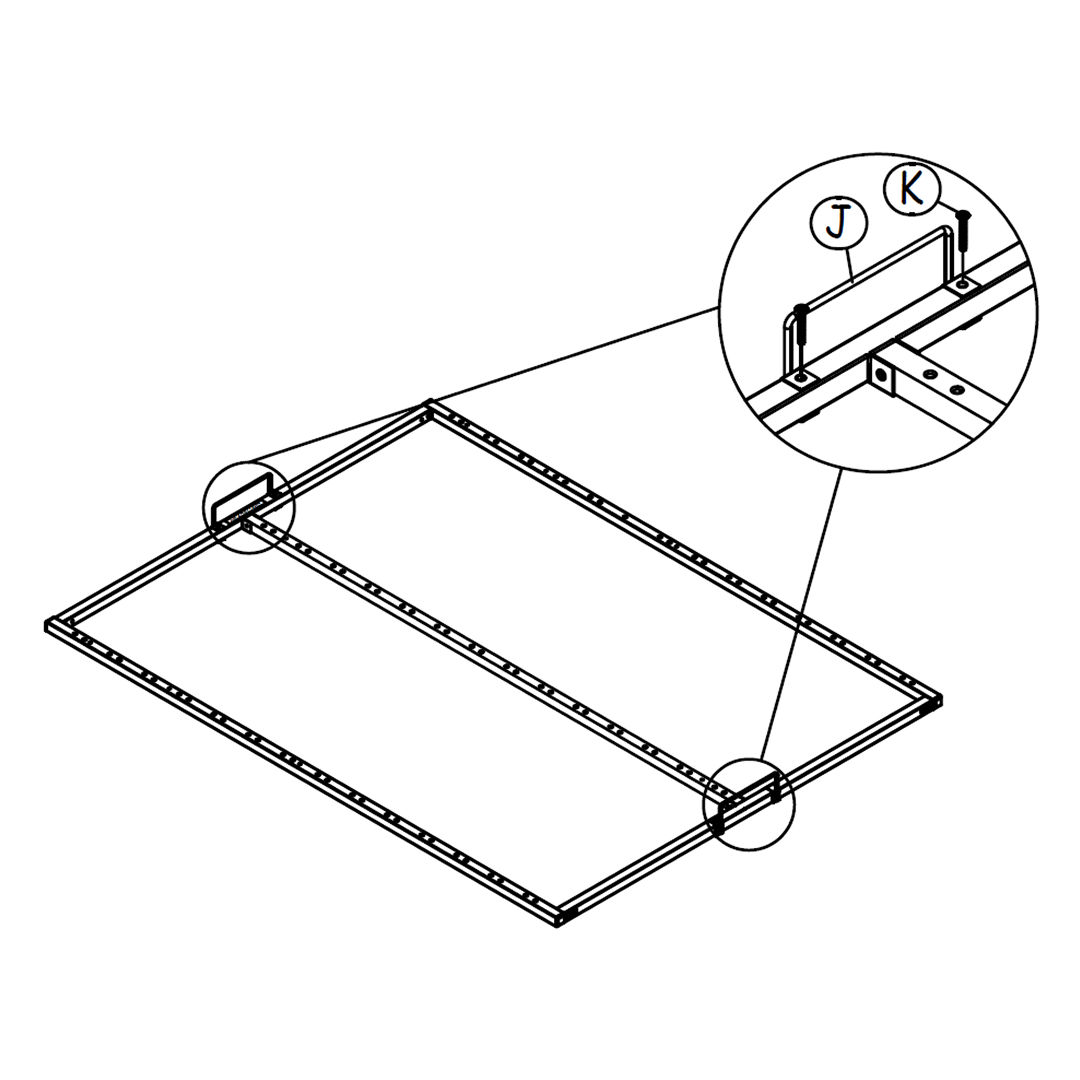 Attach hardware parts J using hardware part K. Important note: Please assemble follow arrow direction. Do not use any power tools as this may damage the frame and willinvalidate any claim. 12. Install the Slats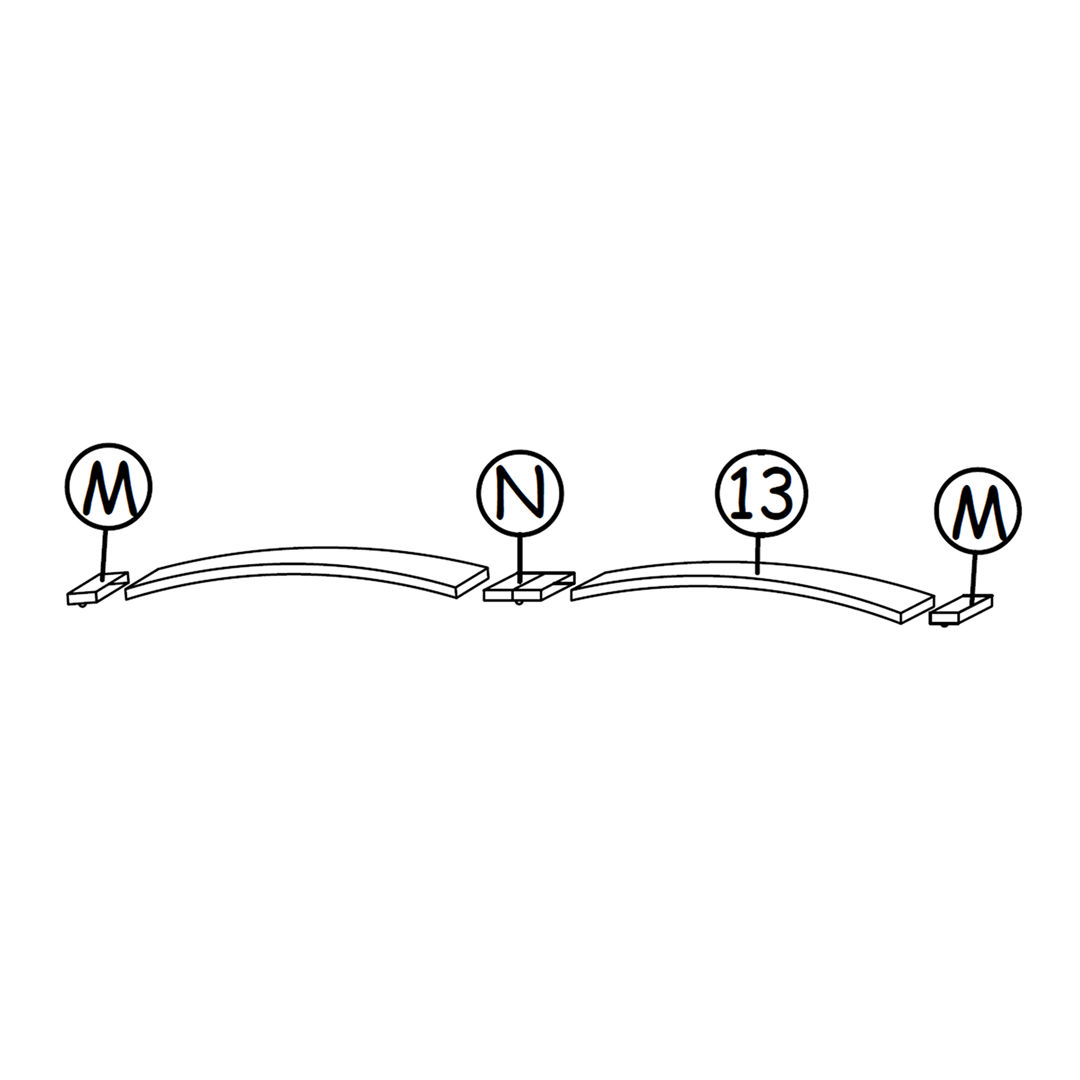 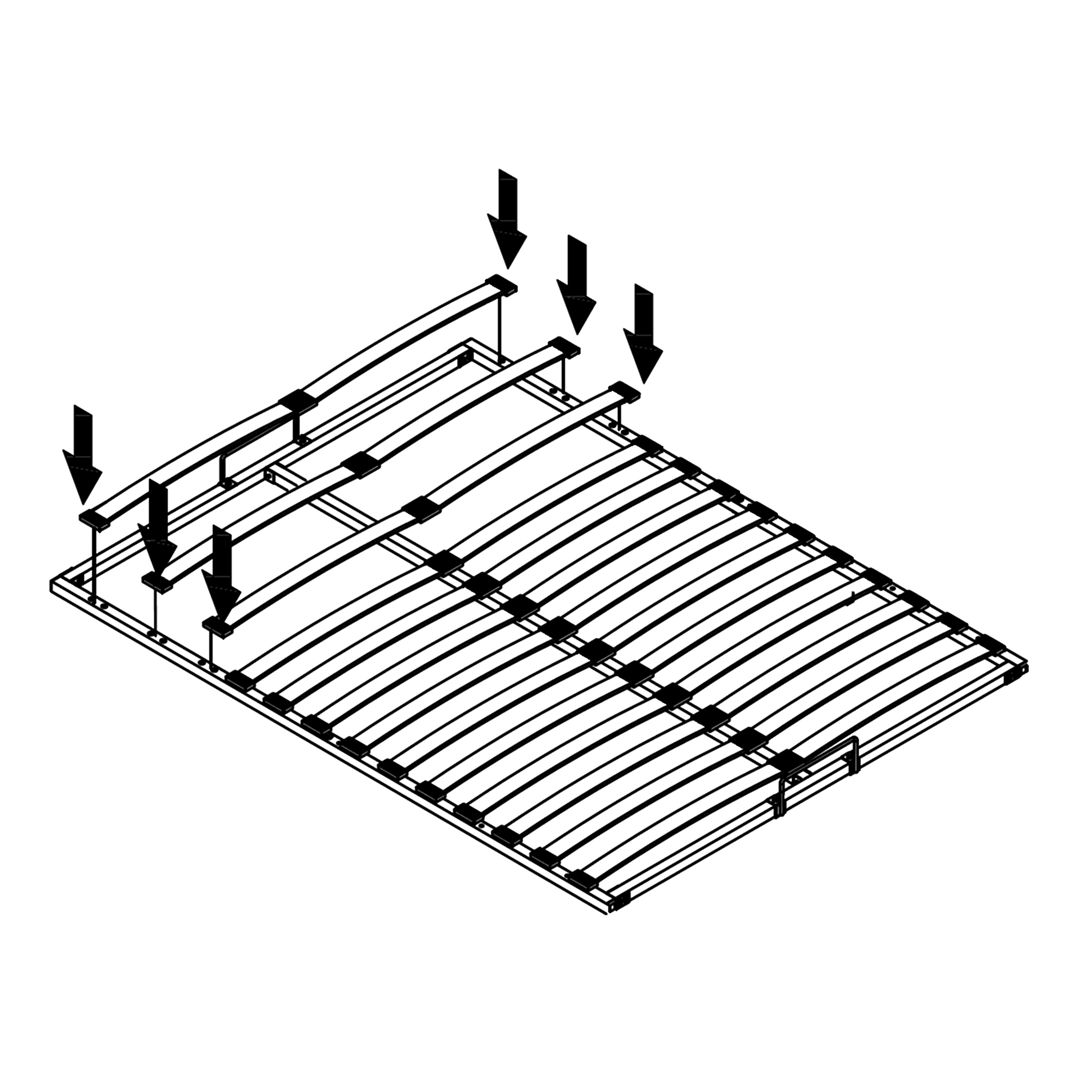 Each wood slat must be inserted with a single end plastic cap and a double end plastic cap as shown on the picture. Insert the slats (13) to hardware parts M and N then press into the base making sure they are secure. 13. Attach the Bed Base to the Hydraulic Frame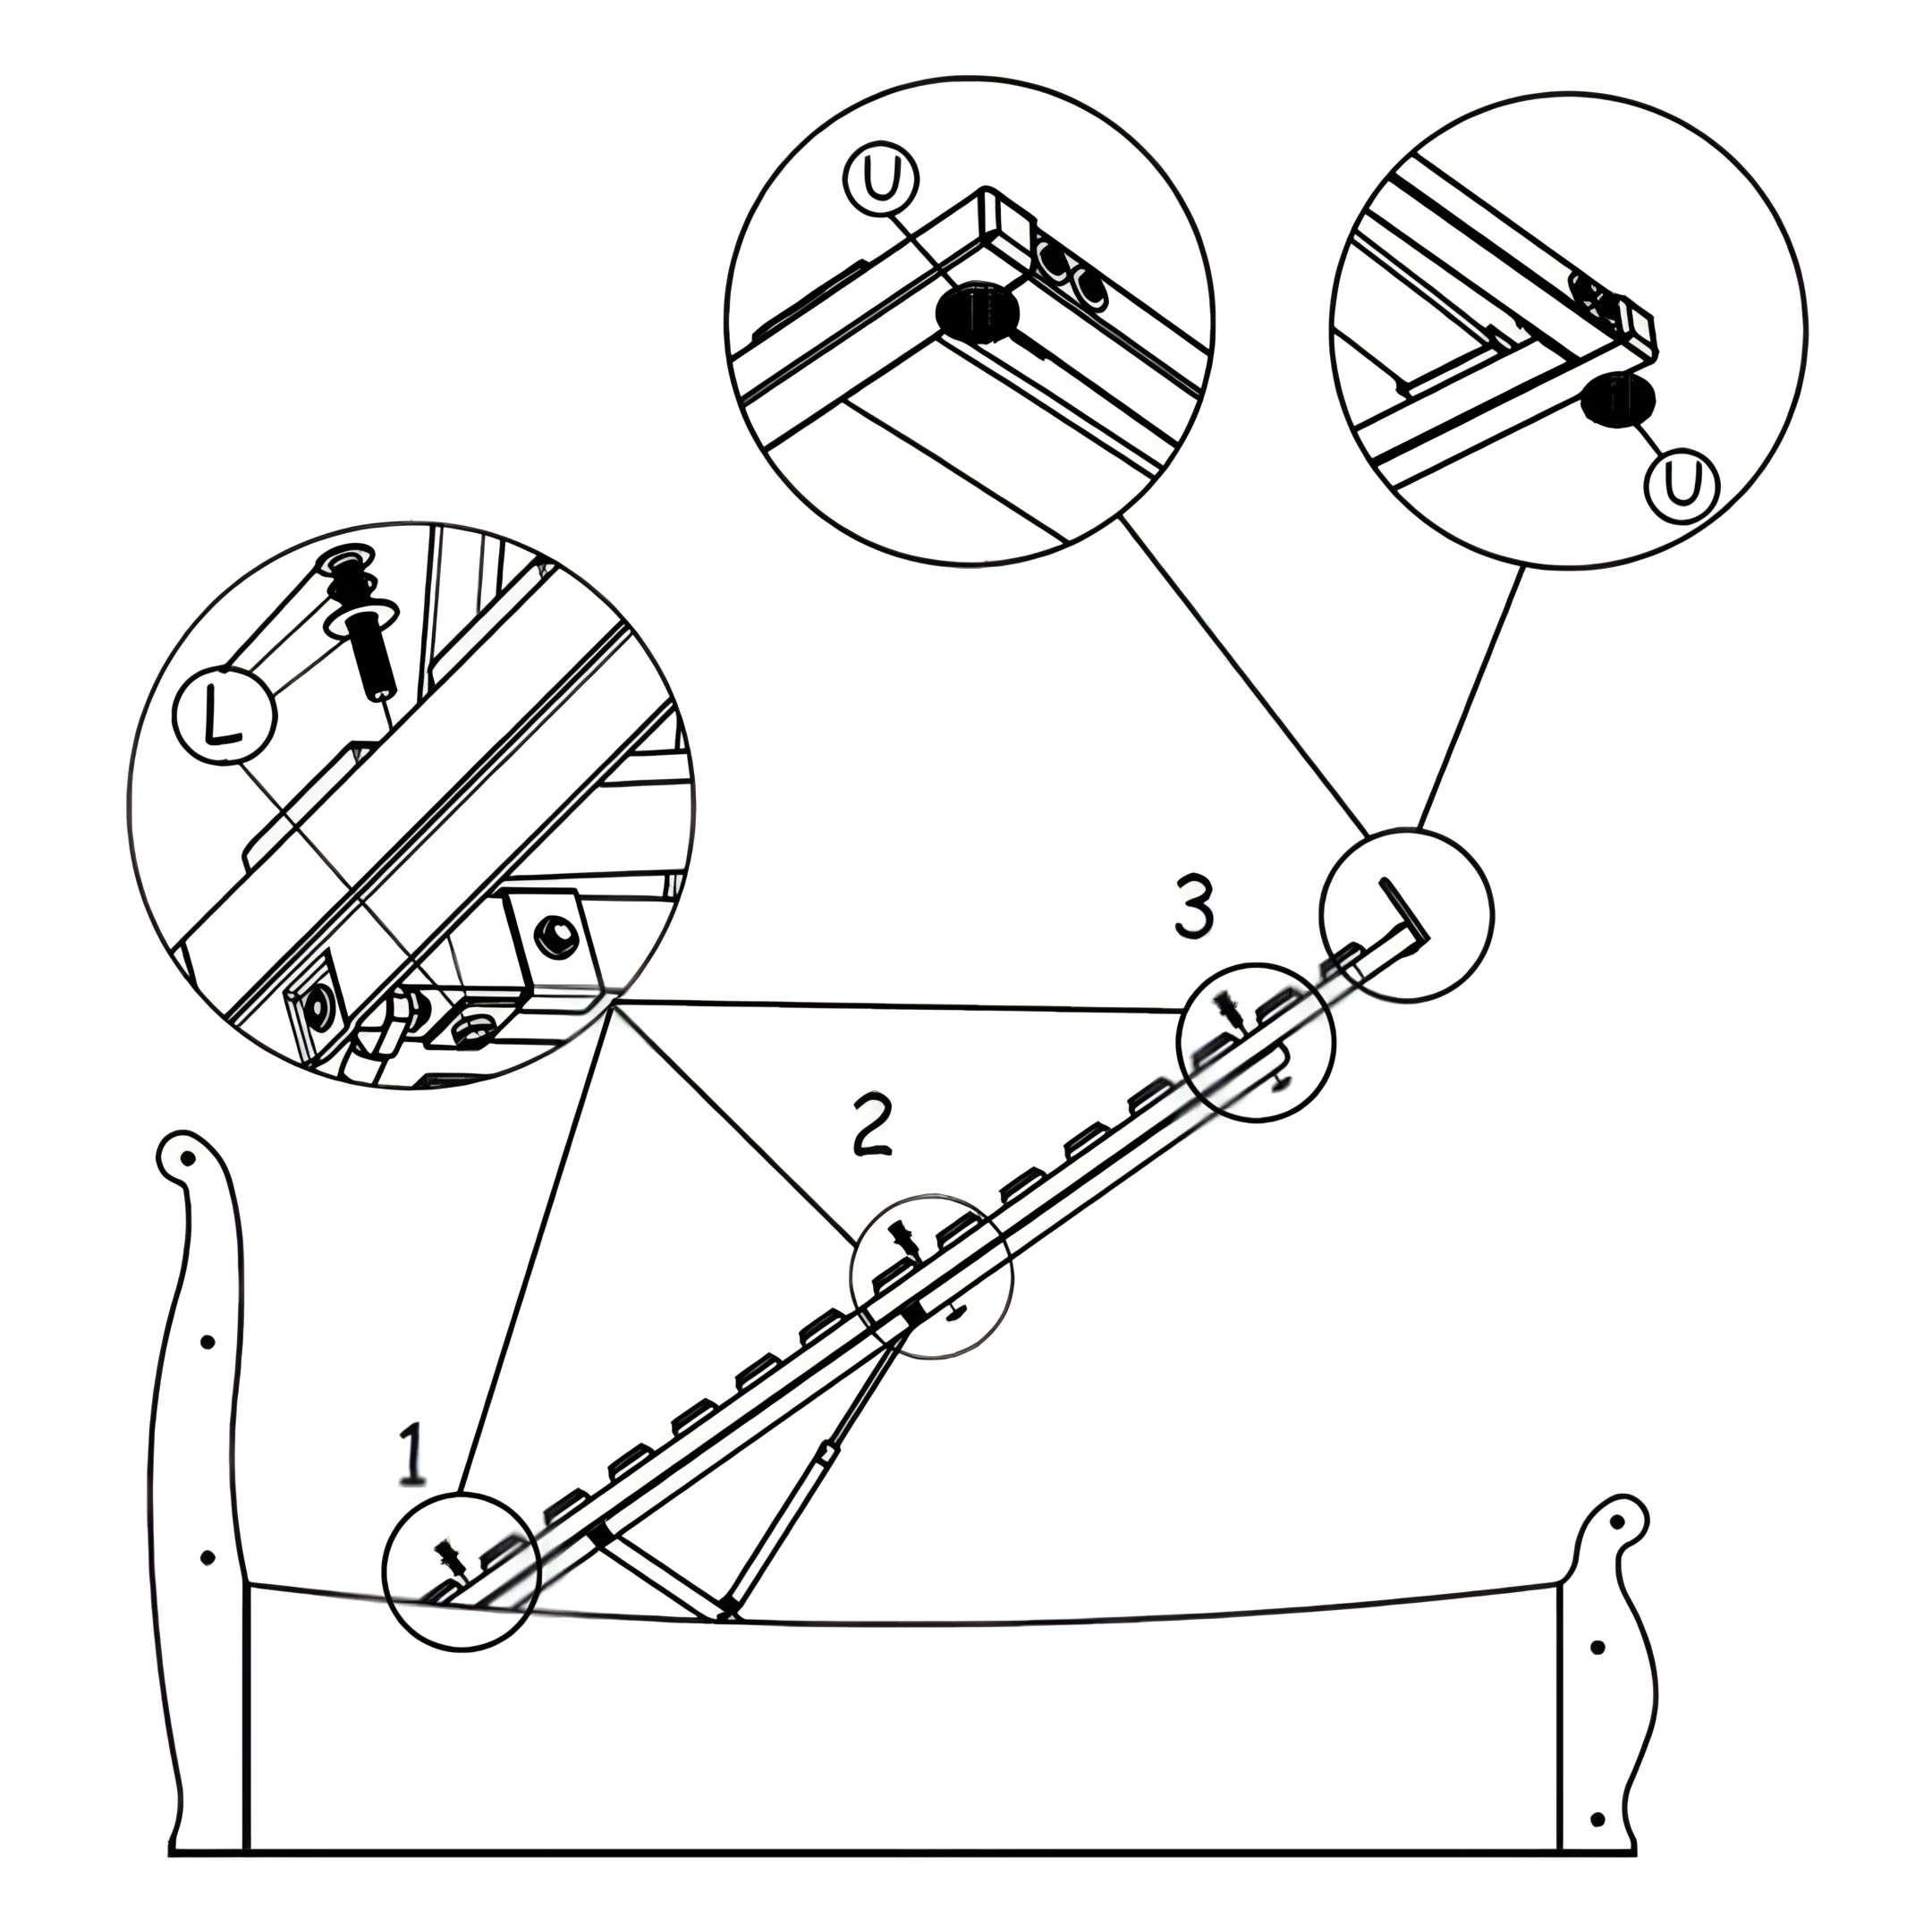 Assemble the bed base on the right & left hydraulic frame and fix bolts L starting from ' 1 ' to ' 3 ' as shown and than stick it the self adhesive U as shown. Important note: Do not tighten the bolts yet! 14. Final Check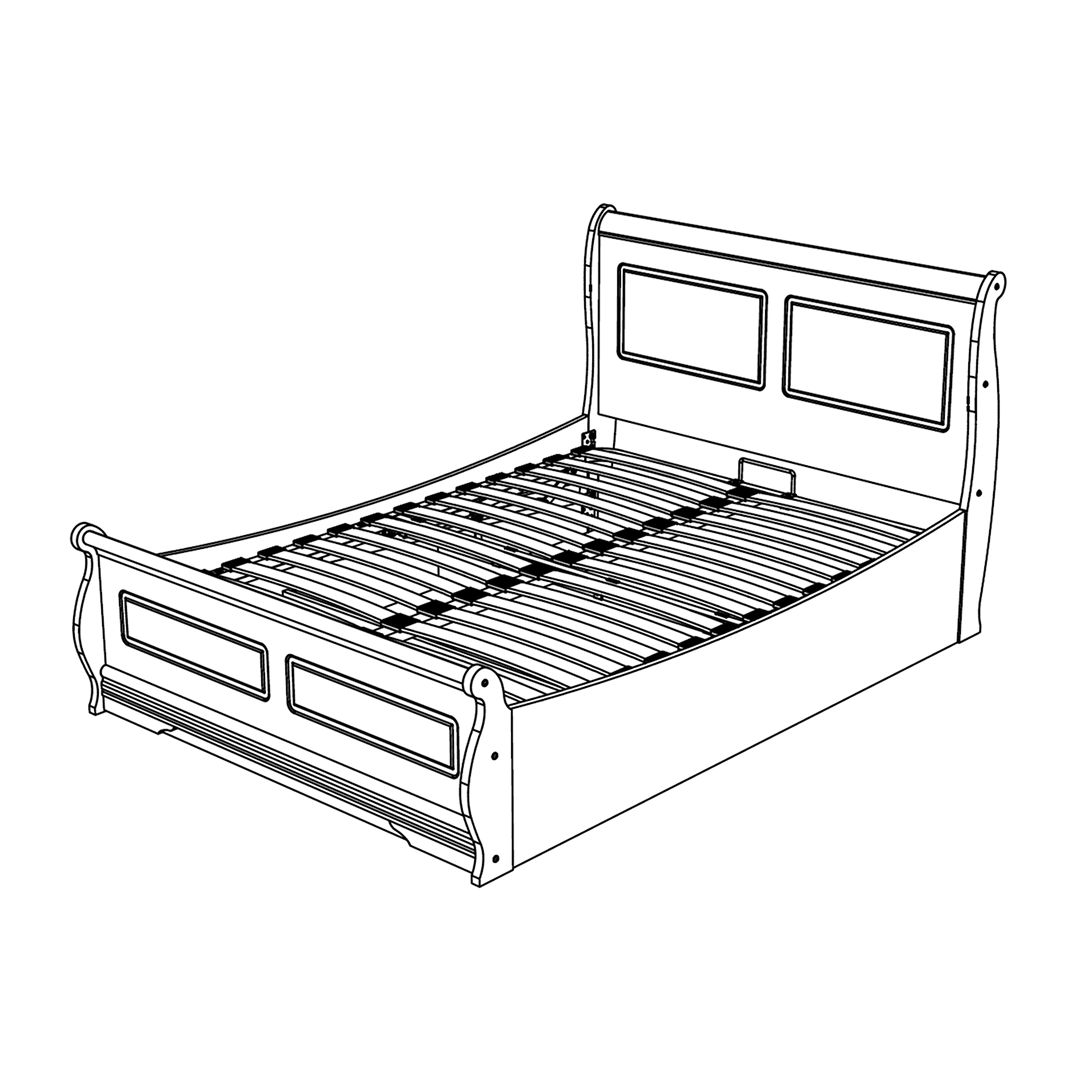 The bed has been fully assembled Verify that all slats are securely fastened and evenly spaced. Check for any loose connections and tighten the screws if necessary. |