1. Feet Installation
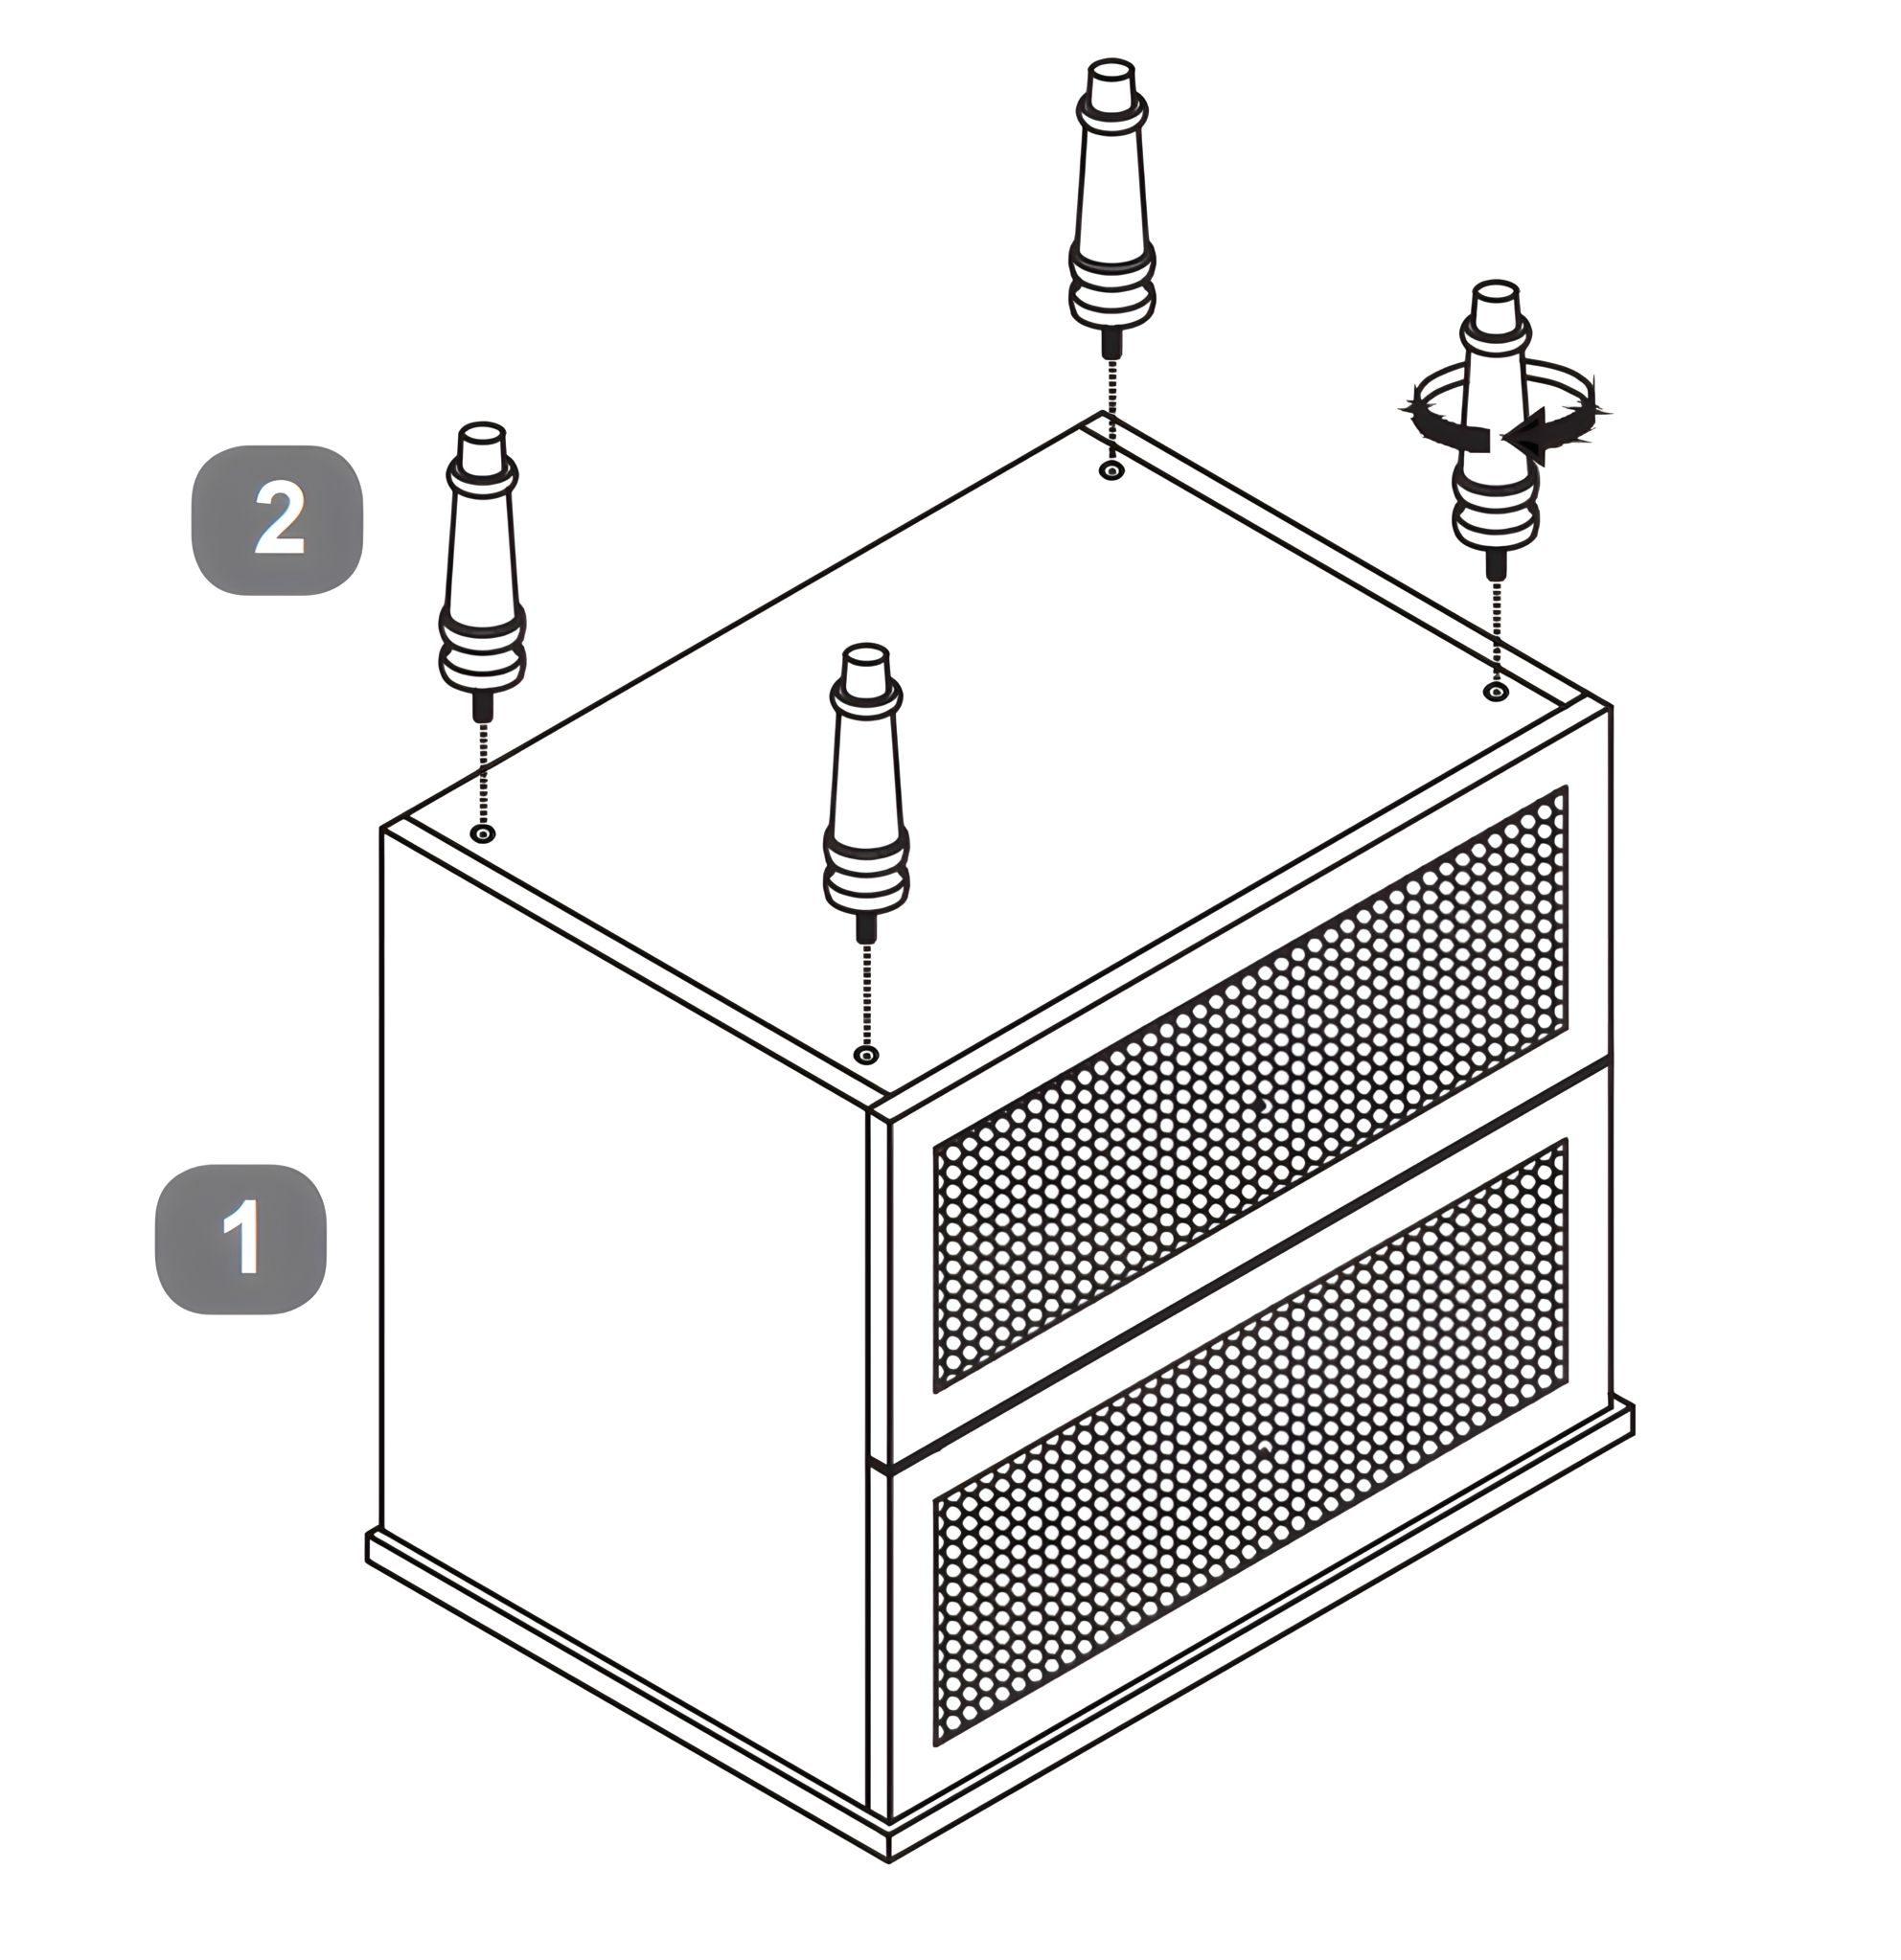
- Insert the four feet into the pre-drilled holes on the bottom of the bedside cabinet.
- Secure each foot by turning it clockwise until tight.
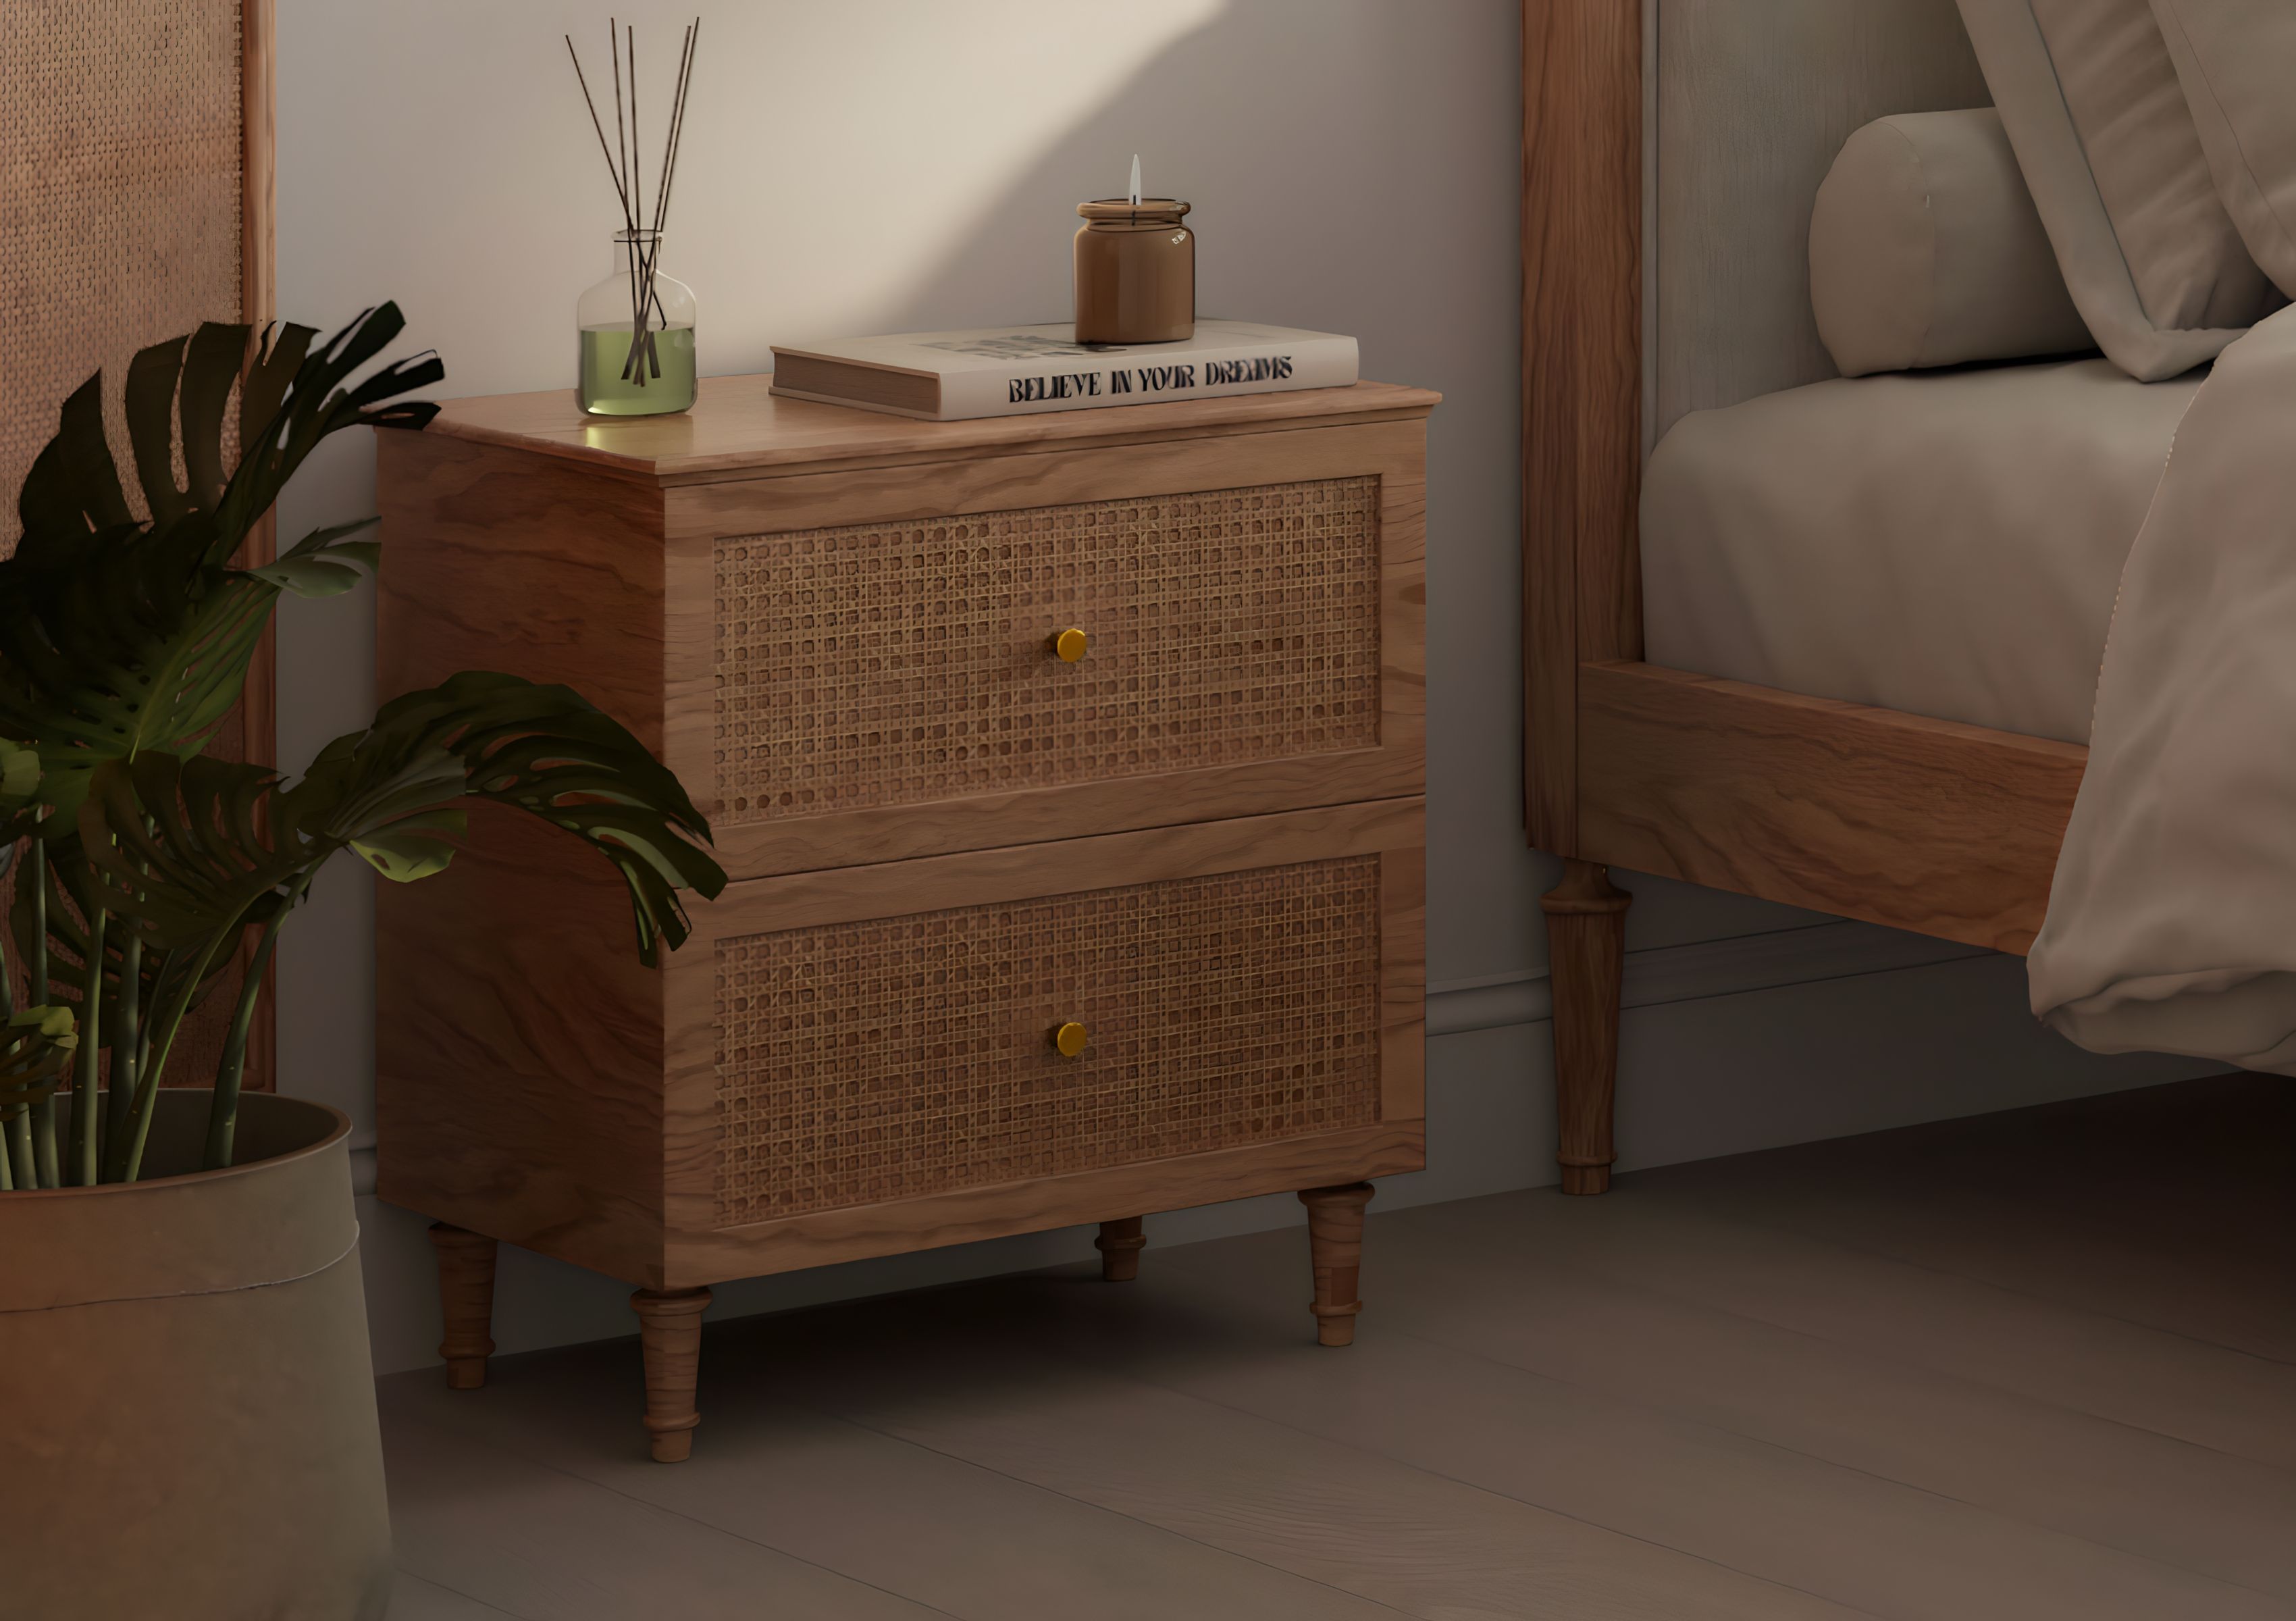 Instructions by time4sleep Matilda Rattan BedsideAssembly instructions for Matilda Rattan Oak Bedside by Time4Sleep Product Information Matilda Rattan Oak BedsideWith it’s rattan detail and wood finish, the Matilda 2 drawer bedside table will create a relaxed and stylish feel for your home. With 2 drawers with durable metal drawer runners, the Matilda bedside table is contemporary yet elegant, and is the ideal place to keep your essentials to hand. View product (opens in new tab)
Tools A - Handle (Ø19mm) 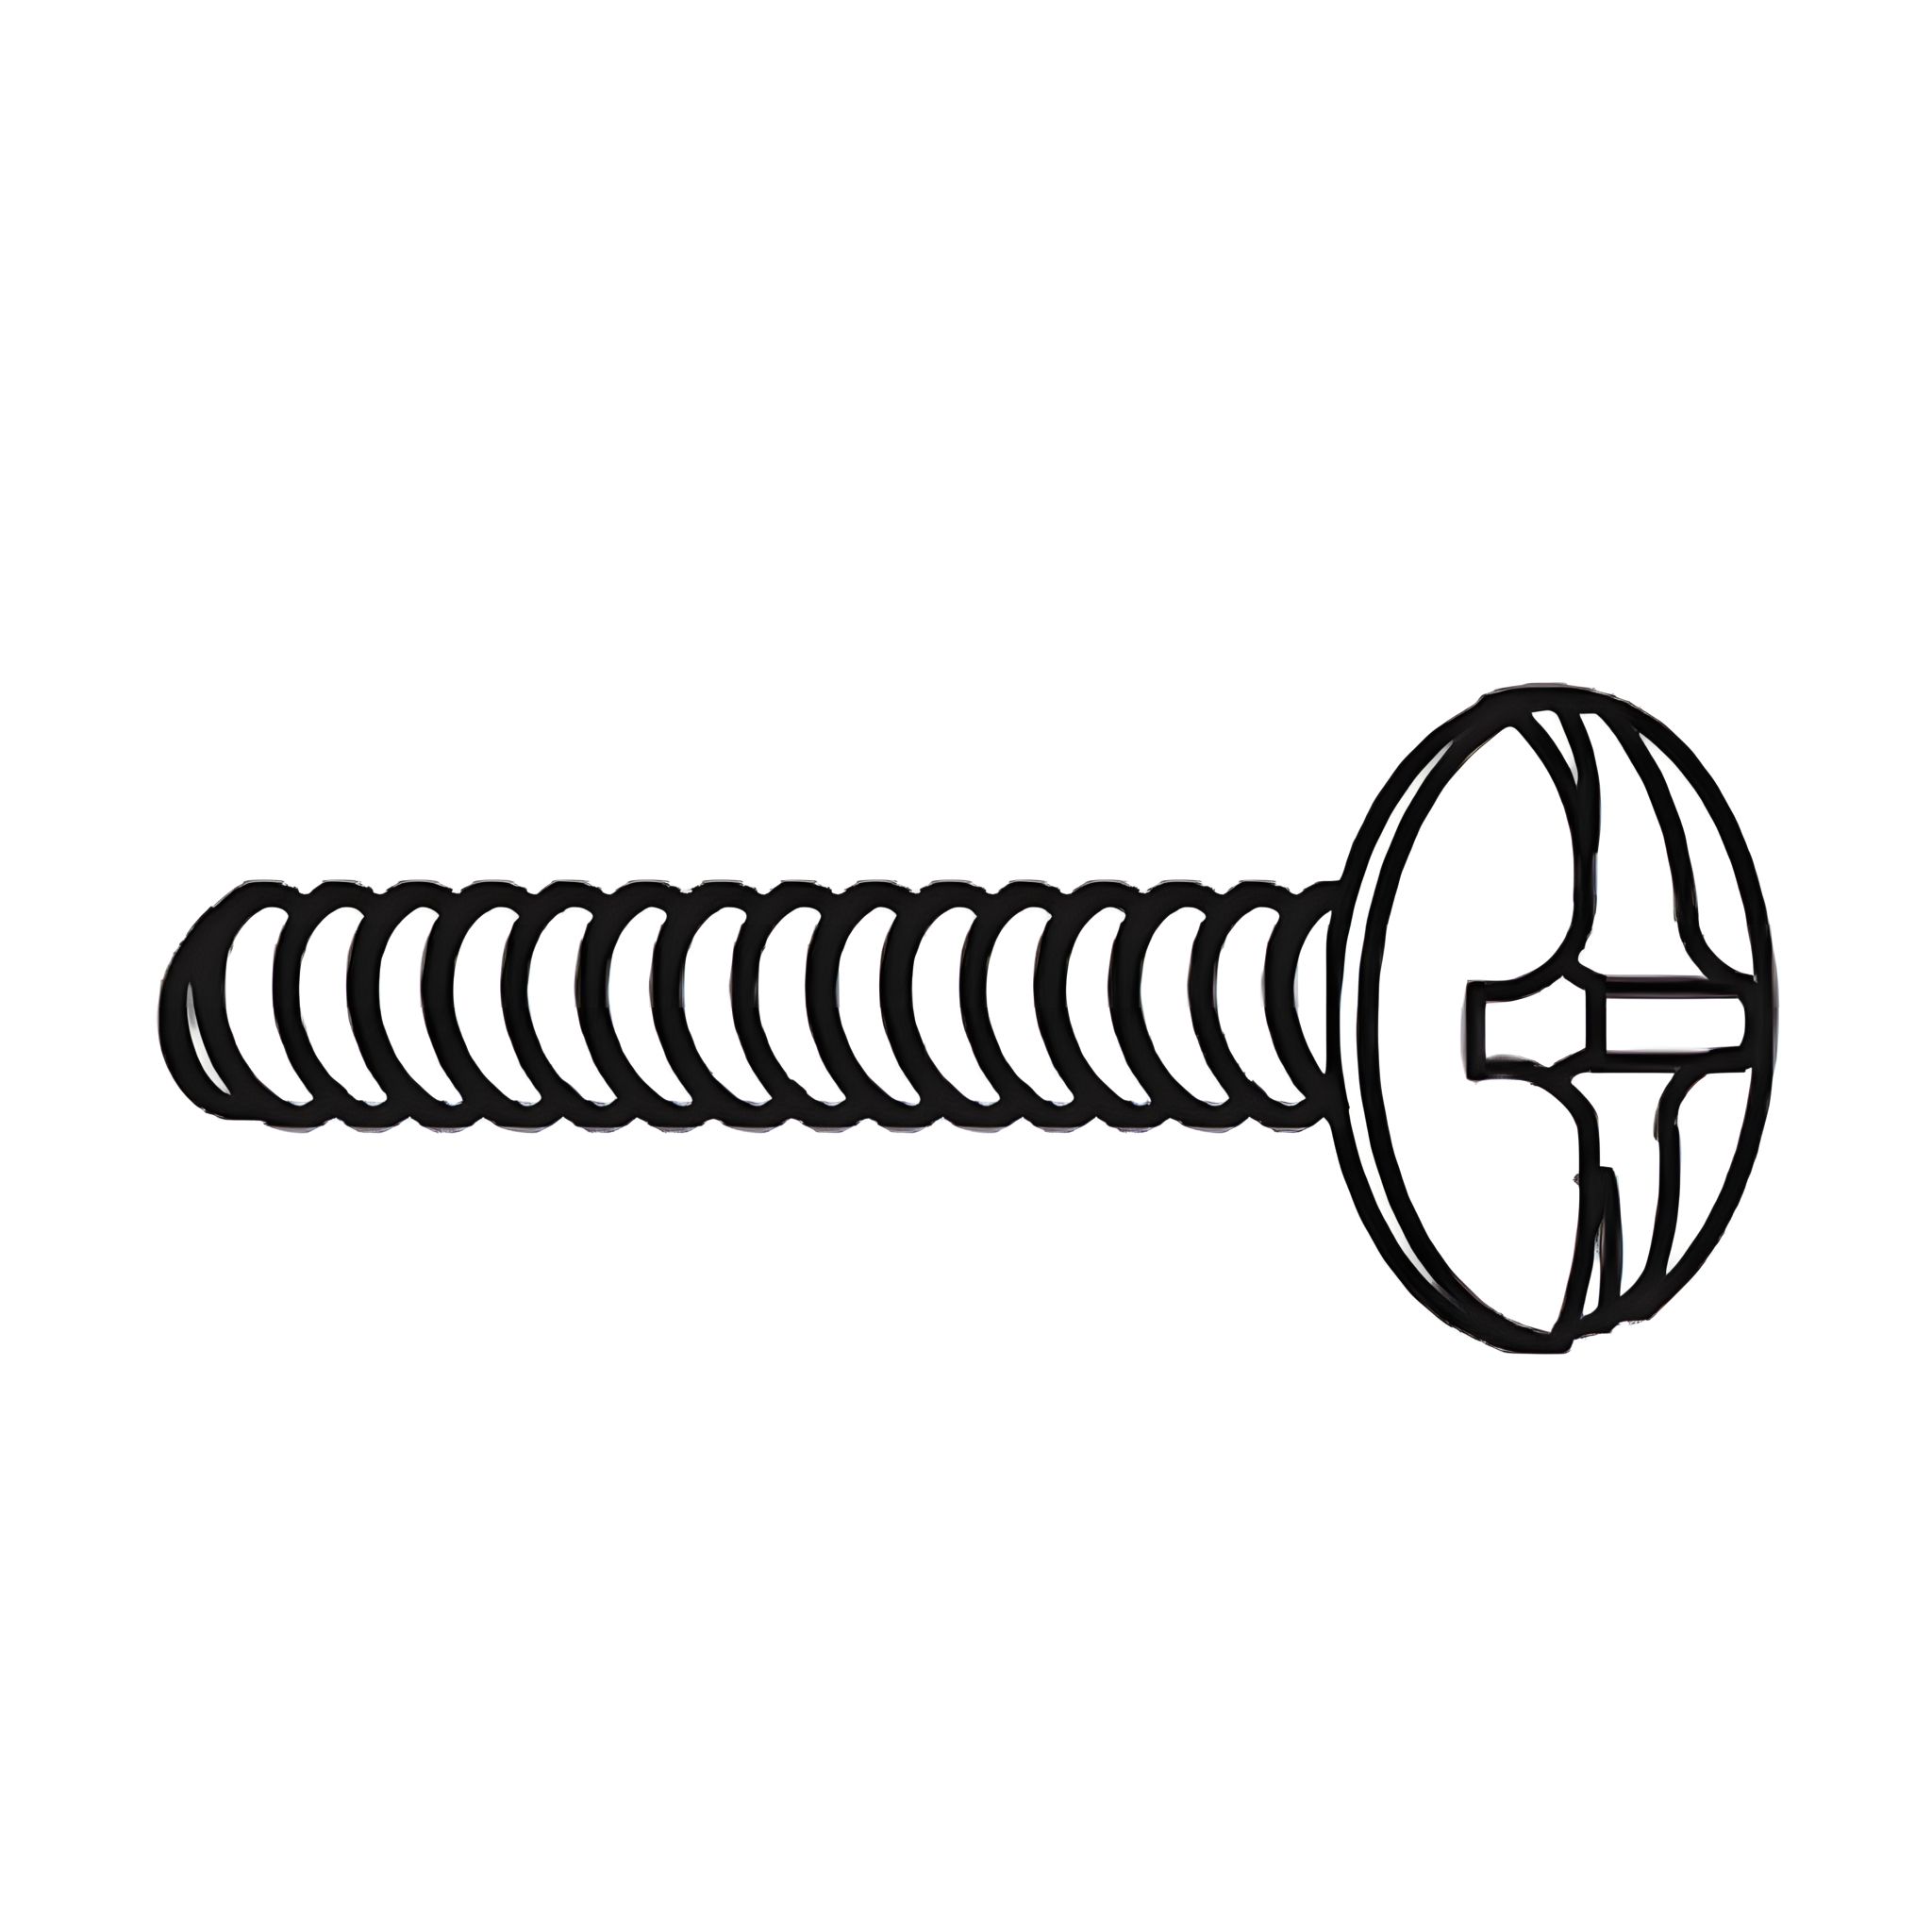 B - Screw (M4 x18mm) 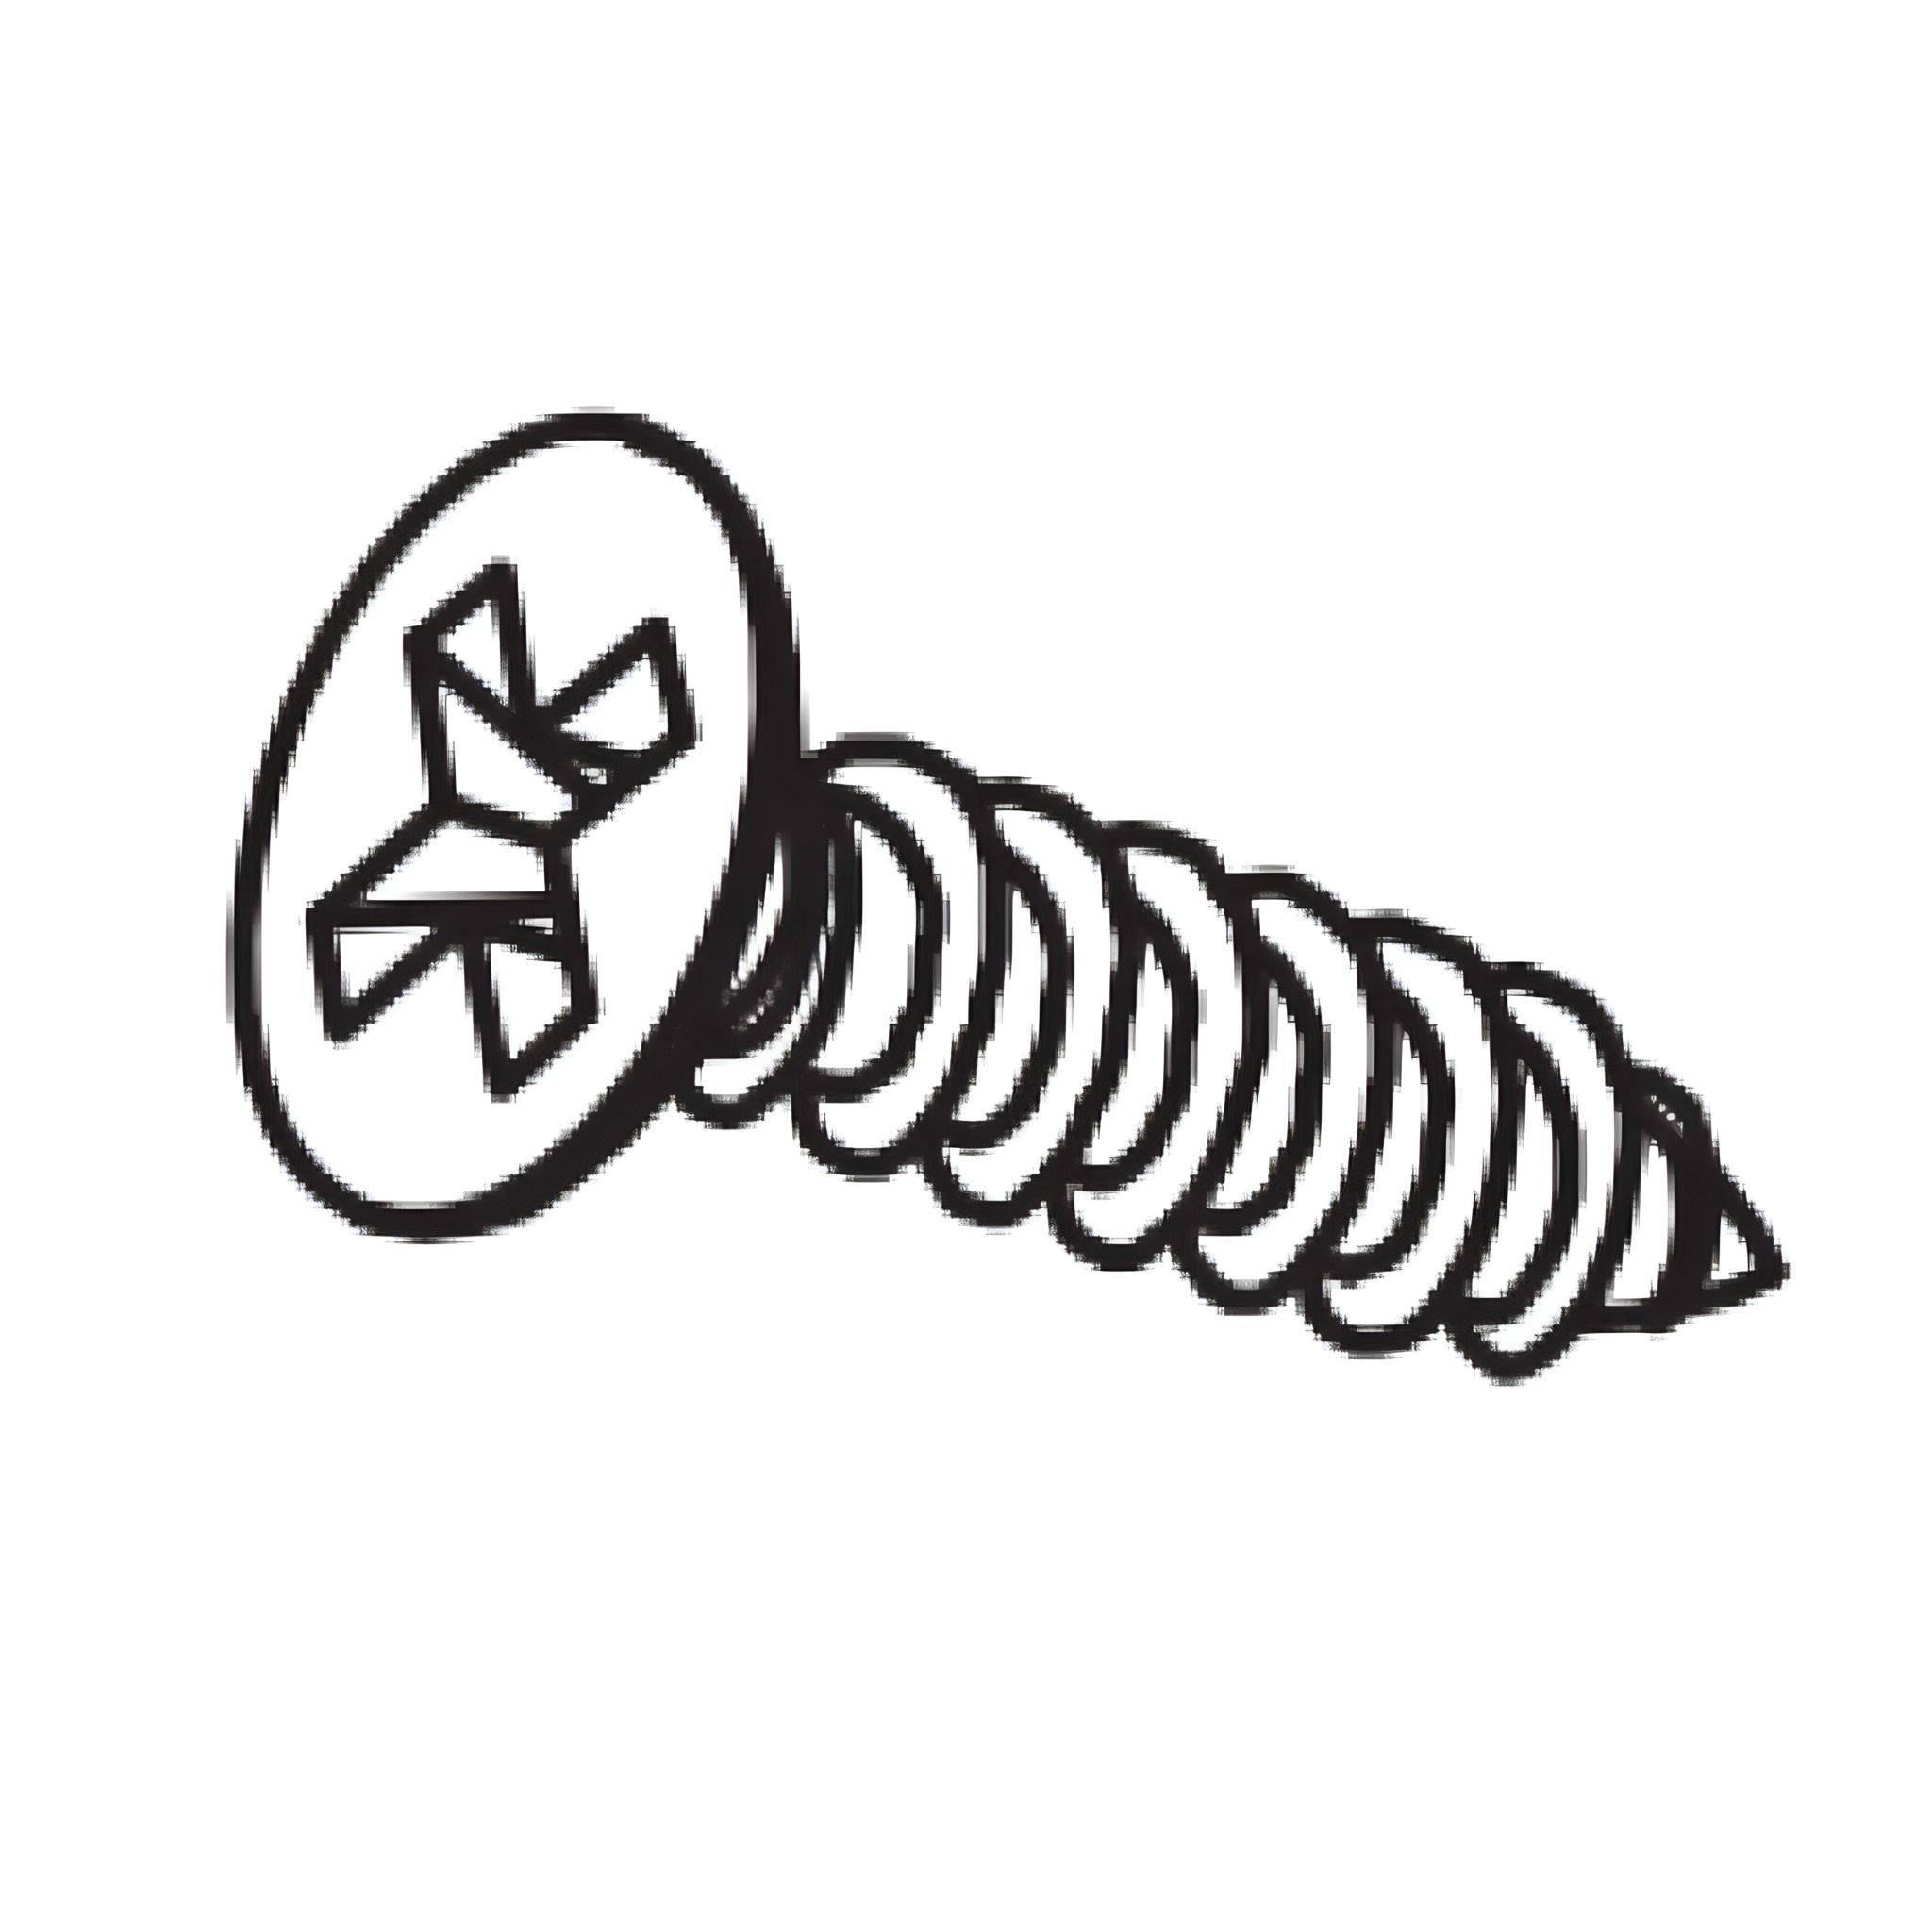 C - Screw (Ø4 x16mm) 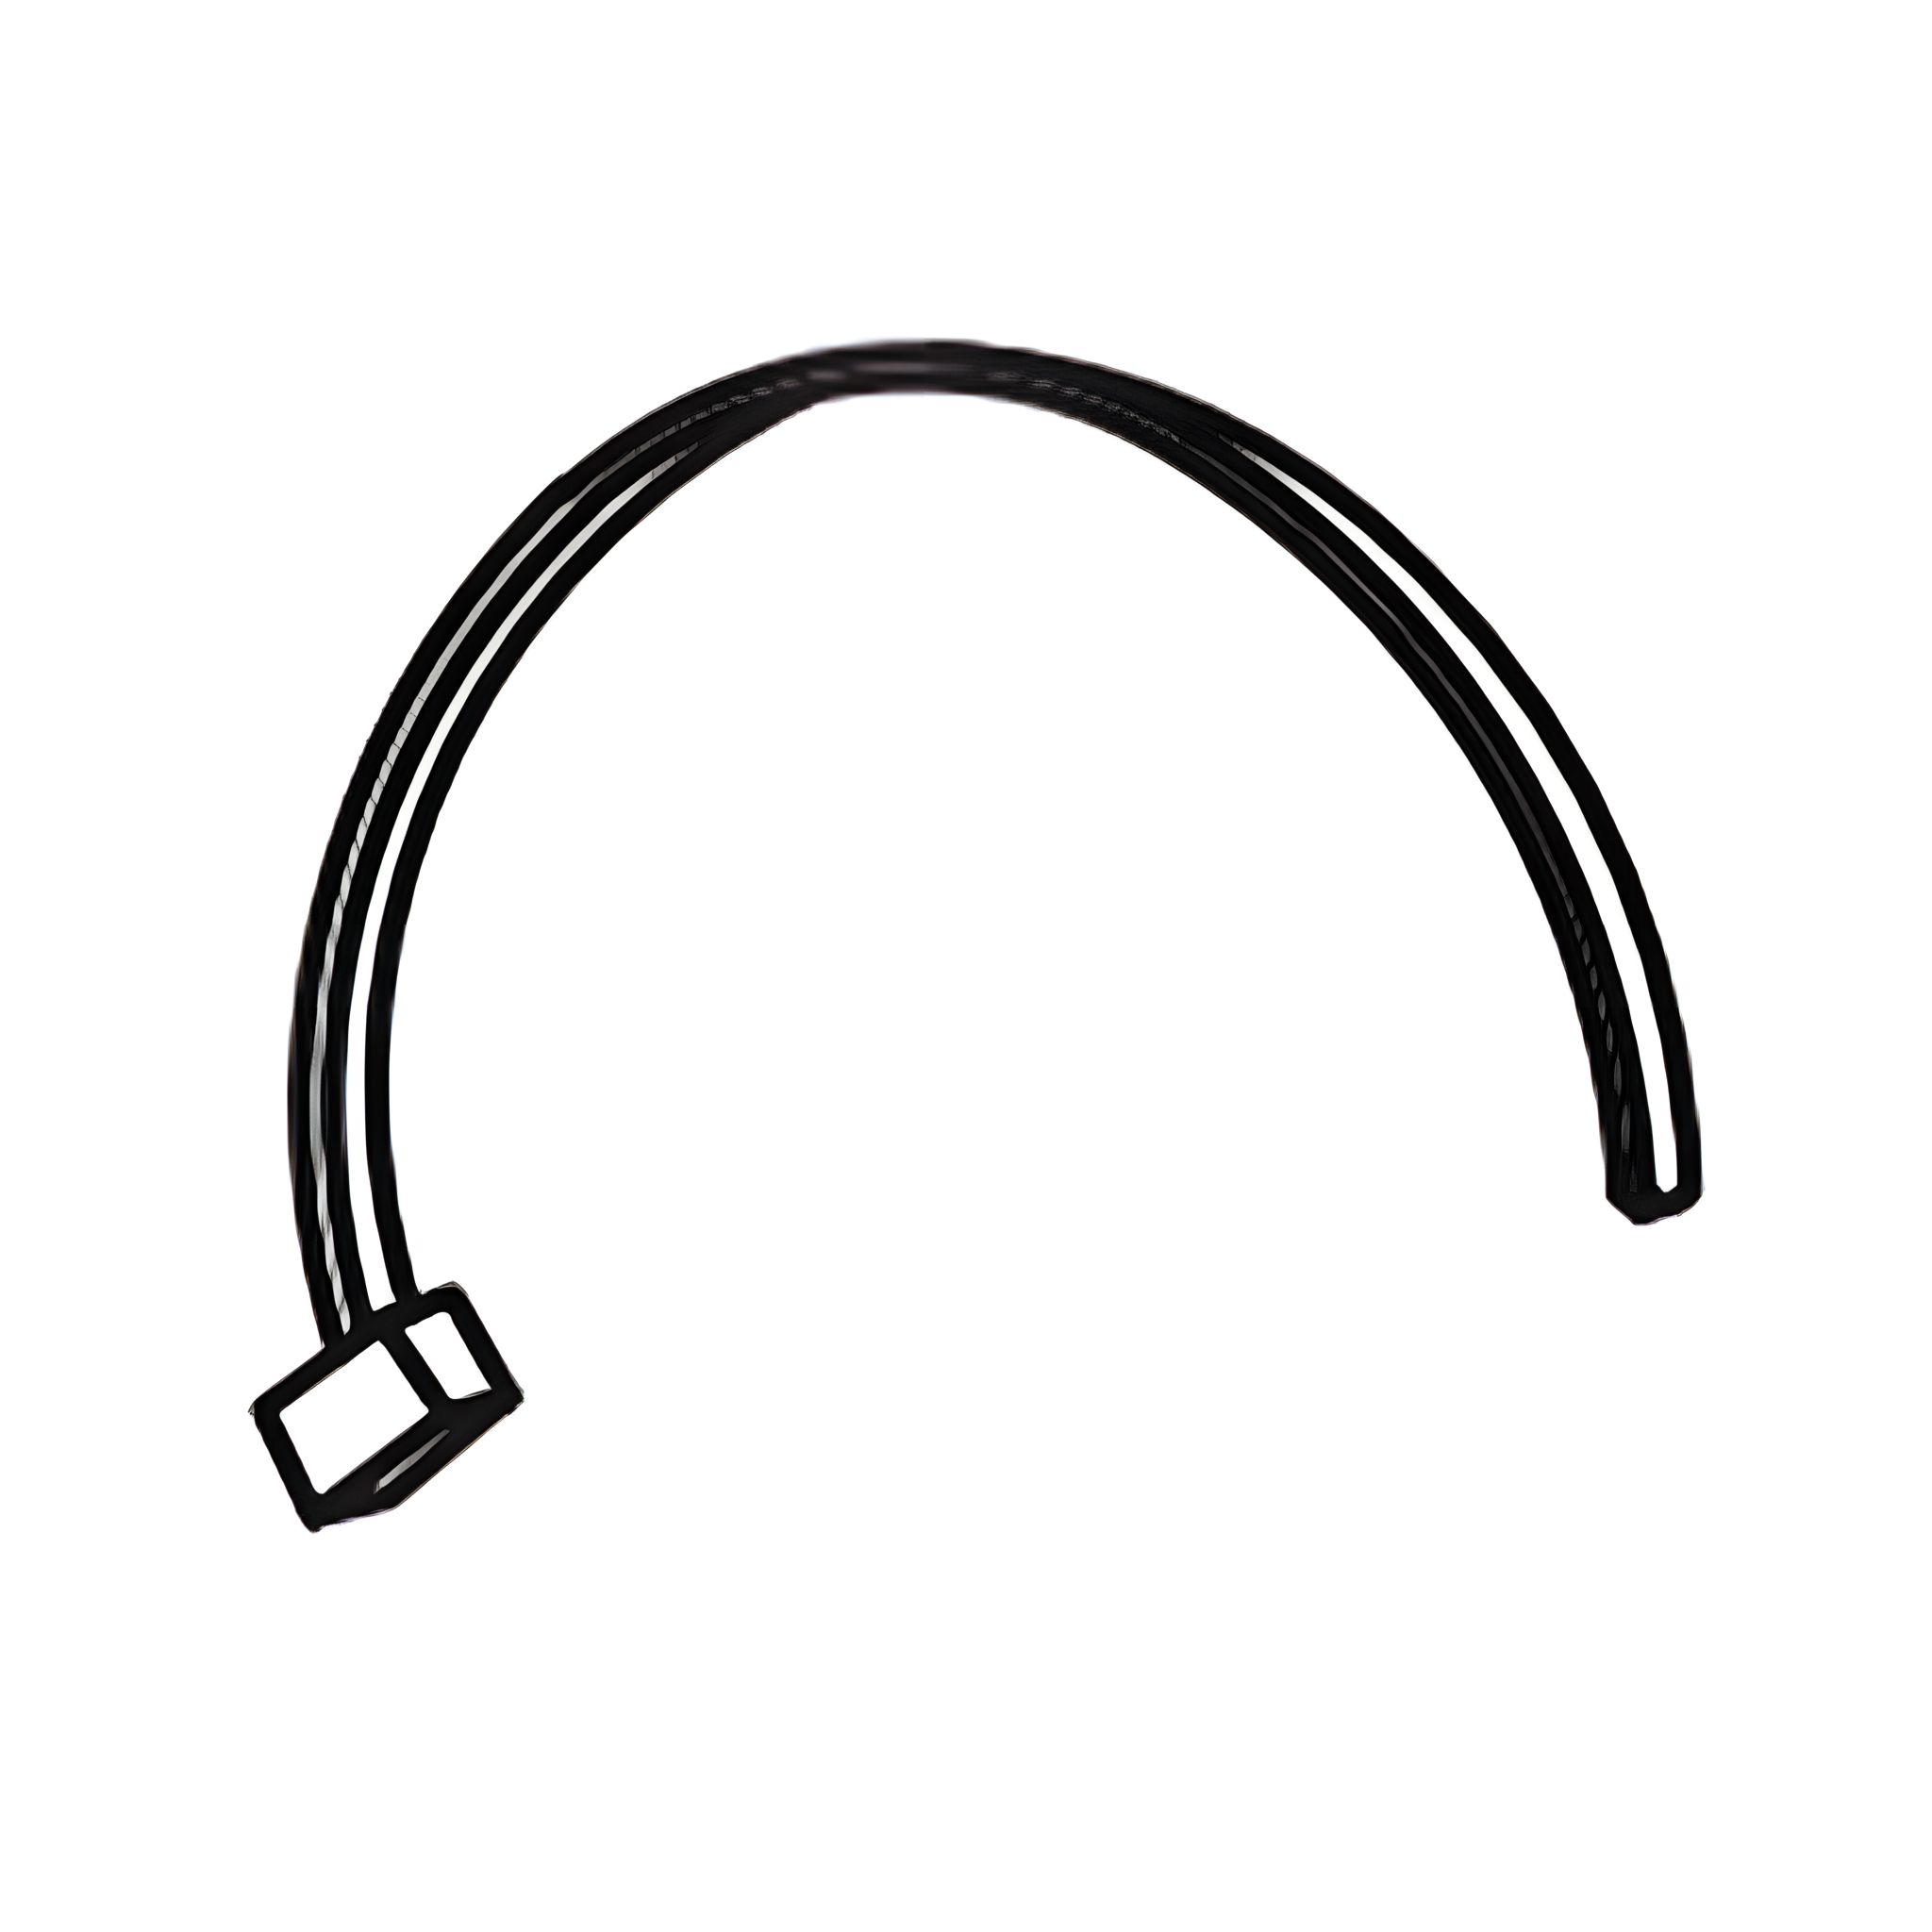 D - Tie for anti-tilt bracke 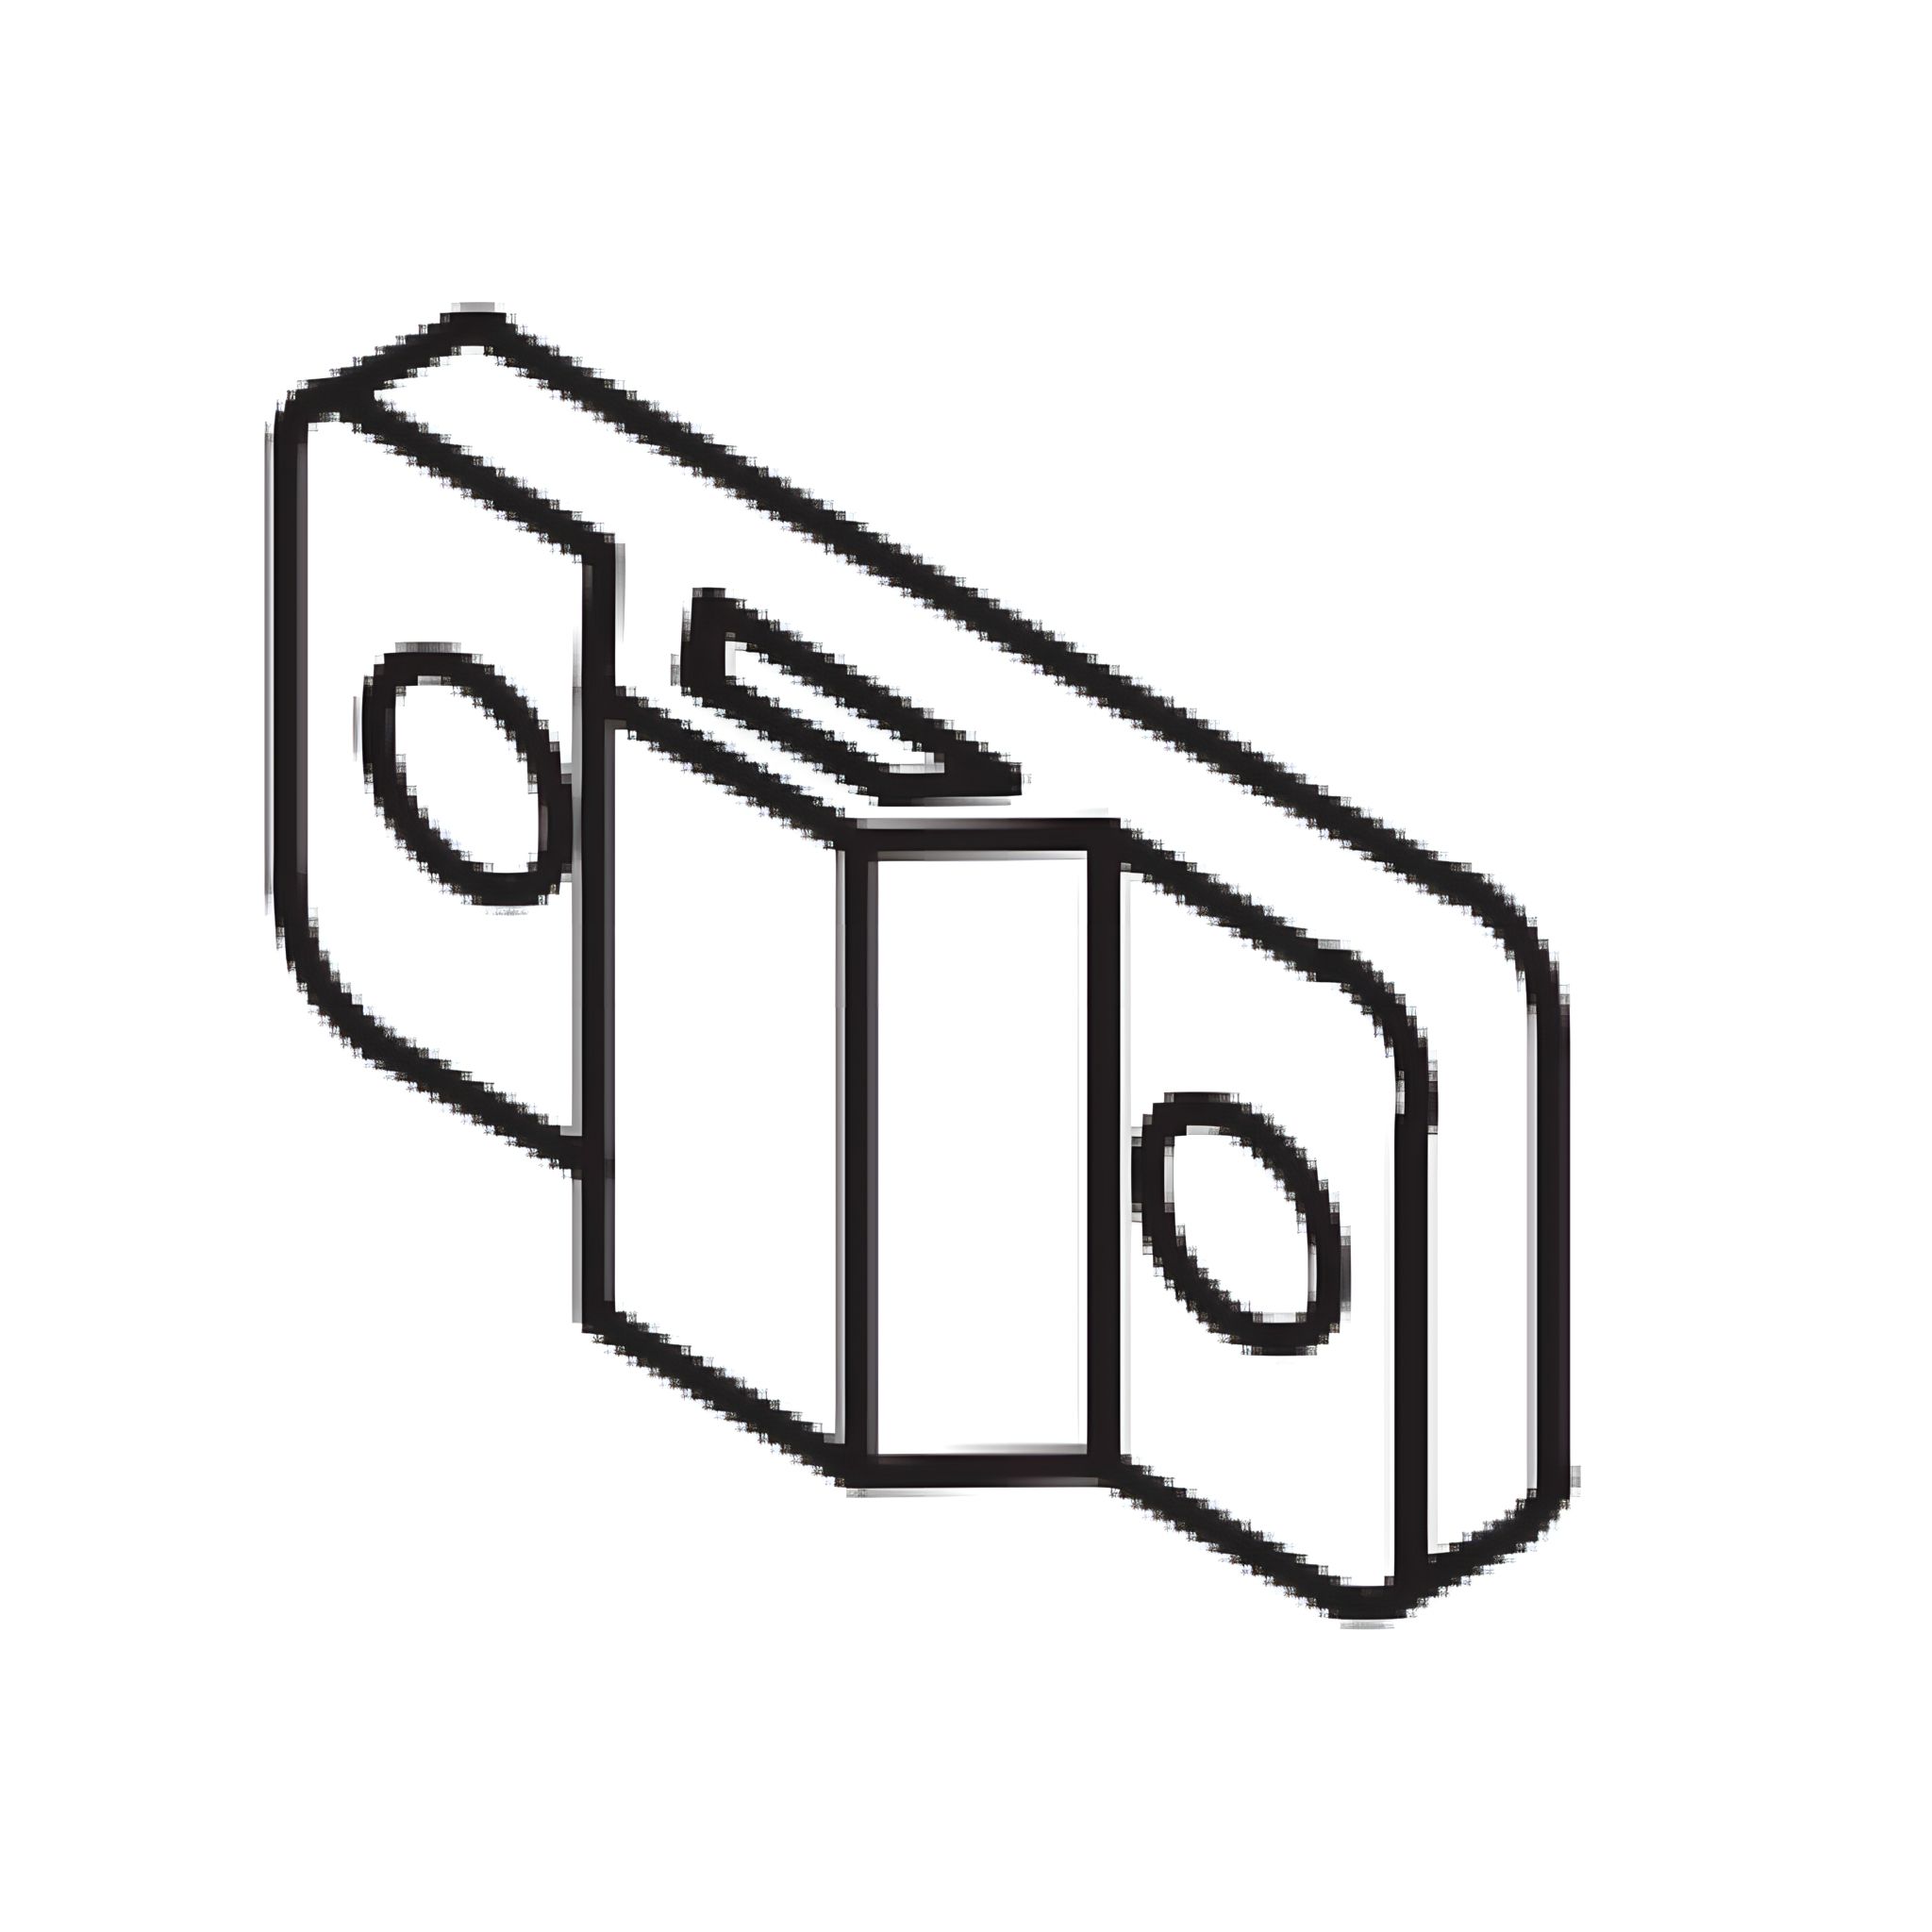 E - Anti-tilt bracket 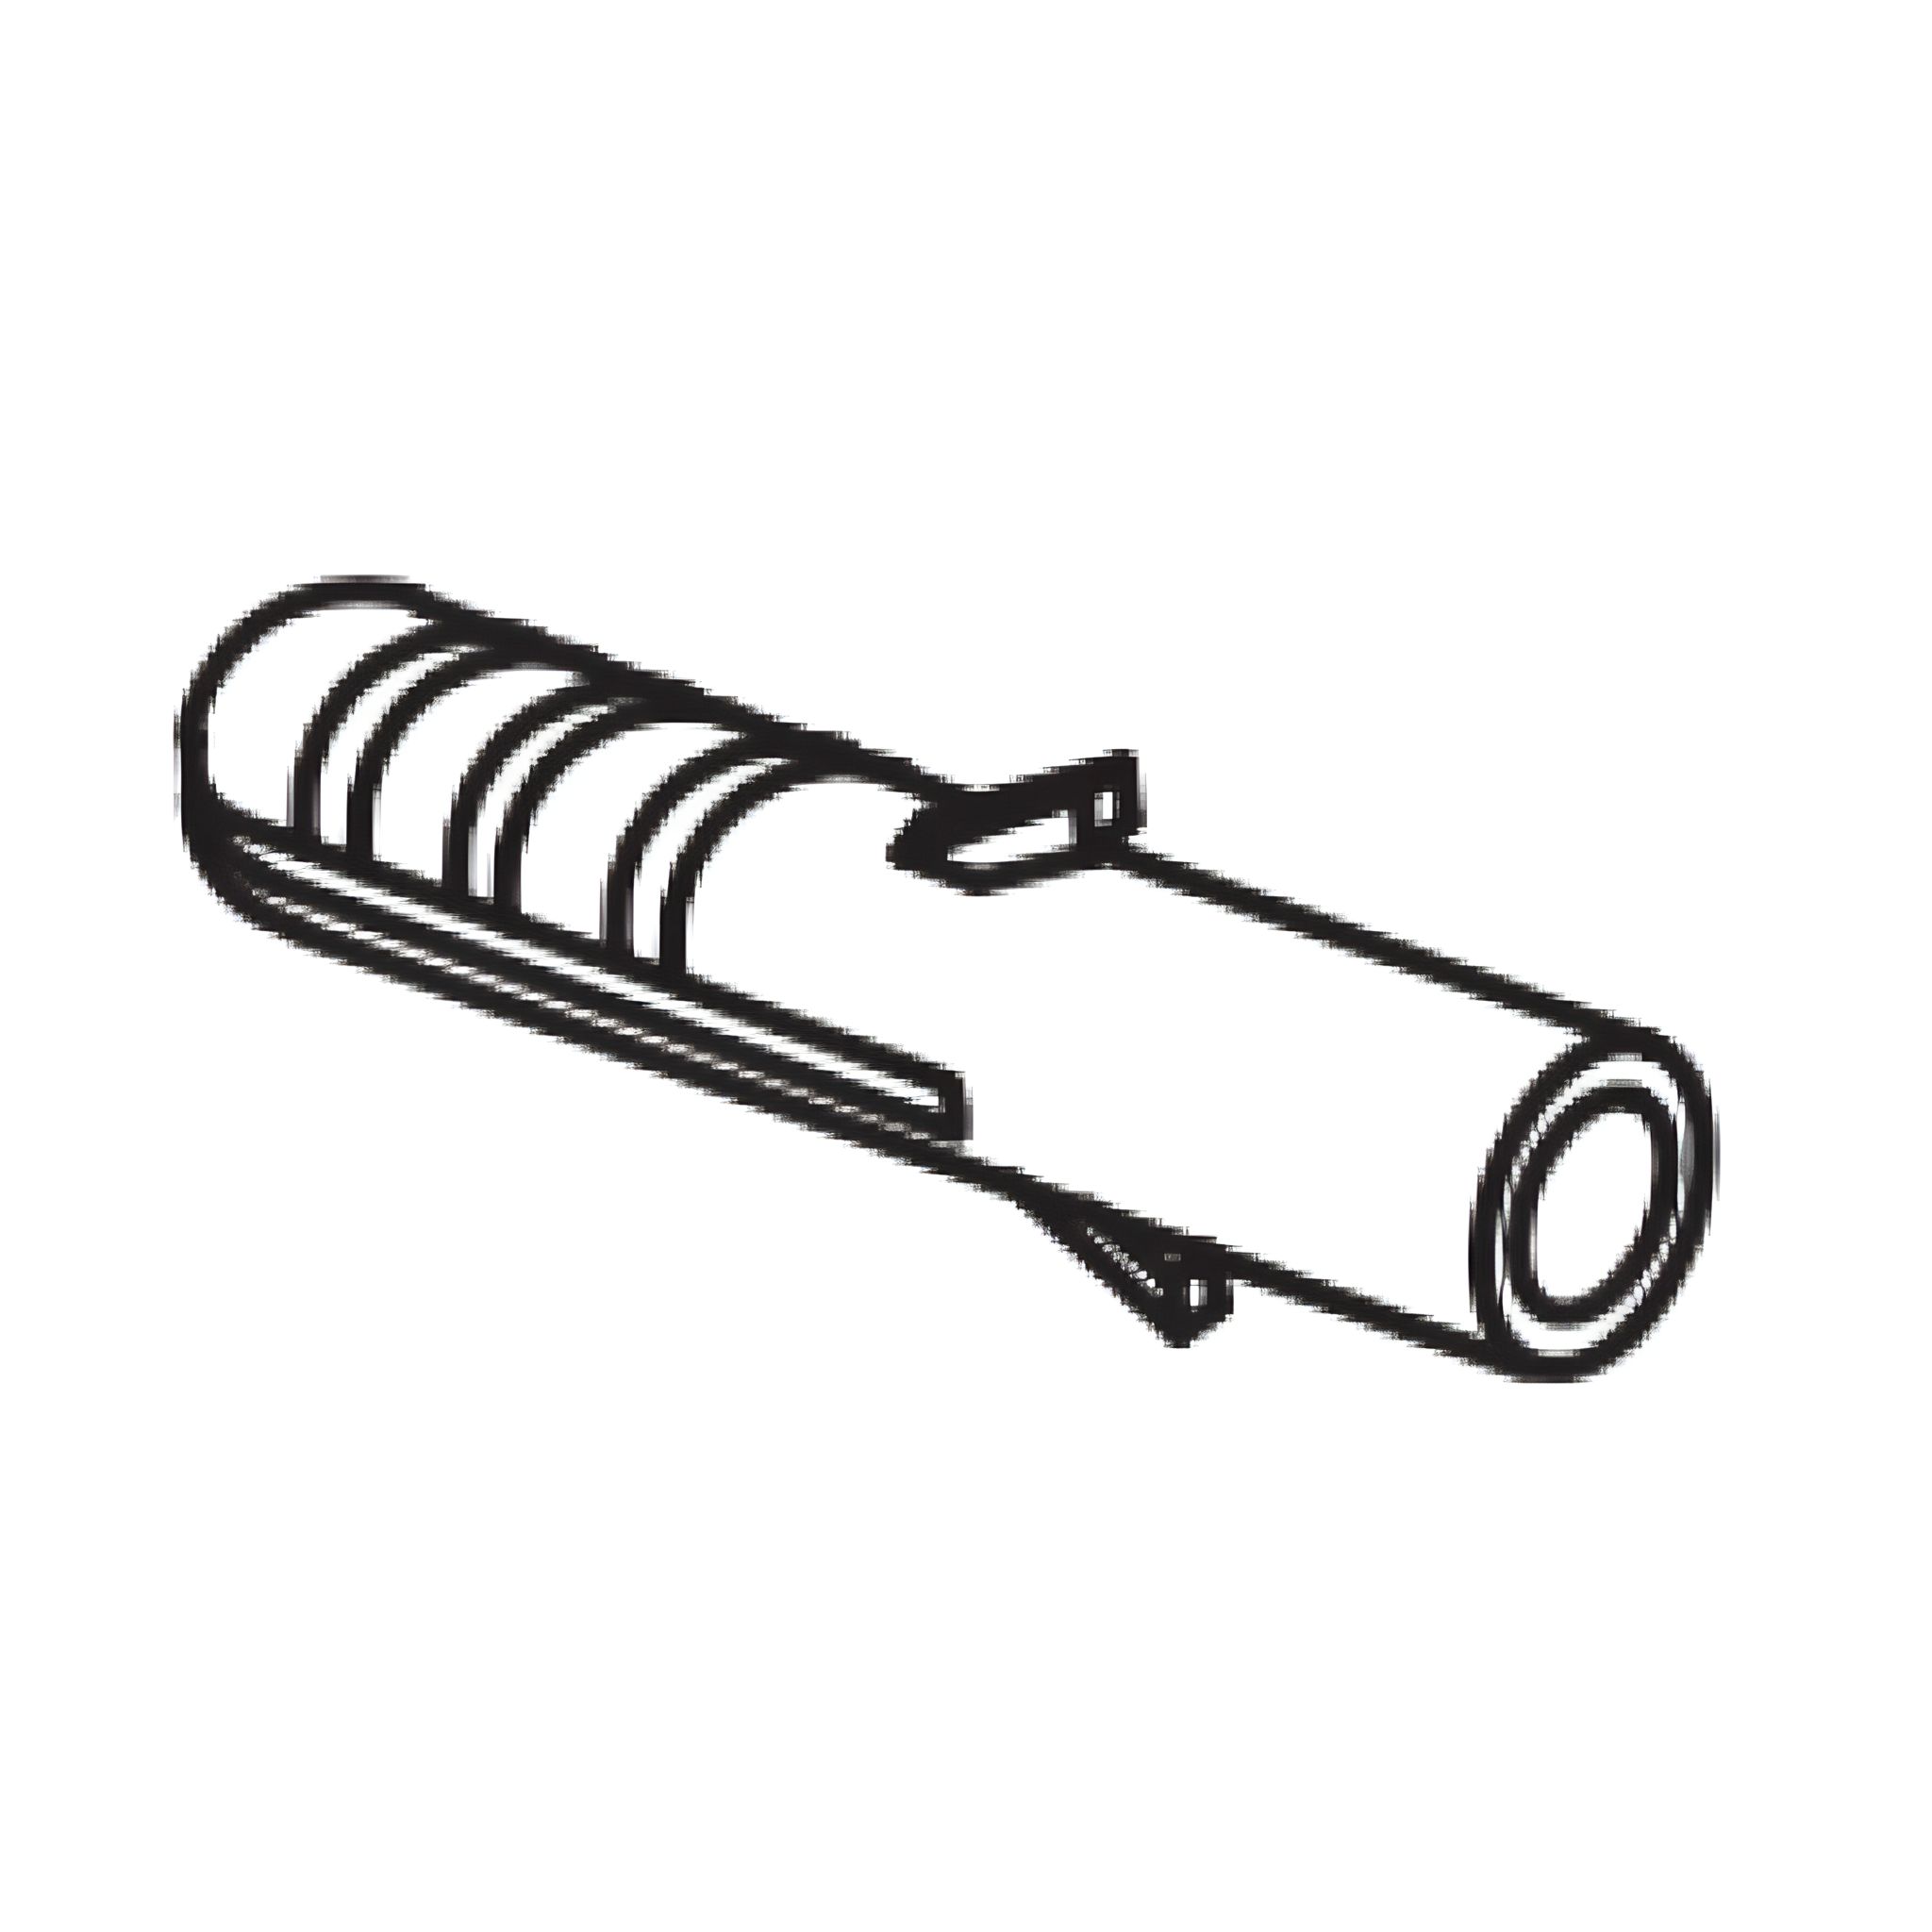 F - Wall-plug 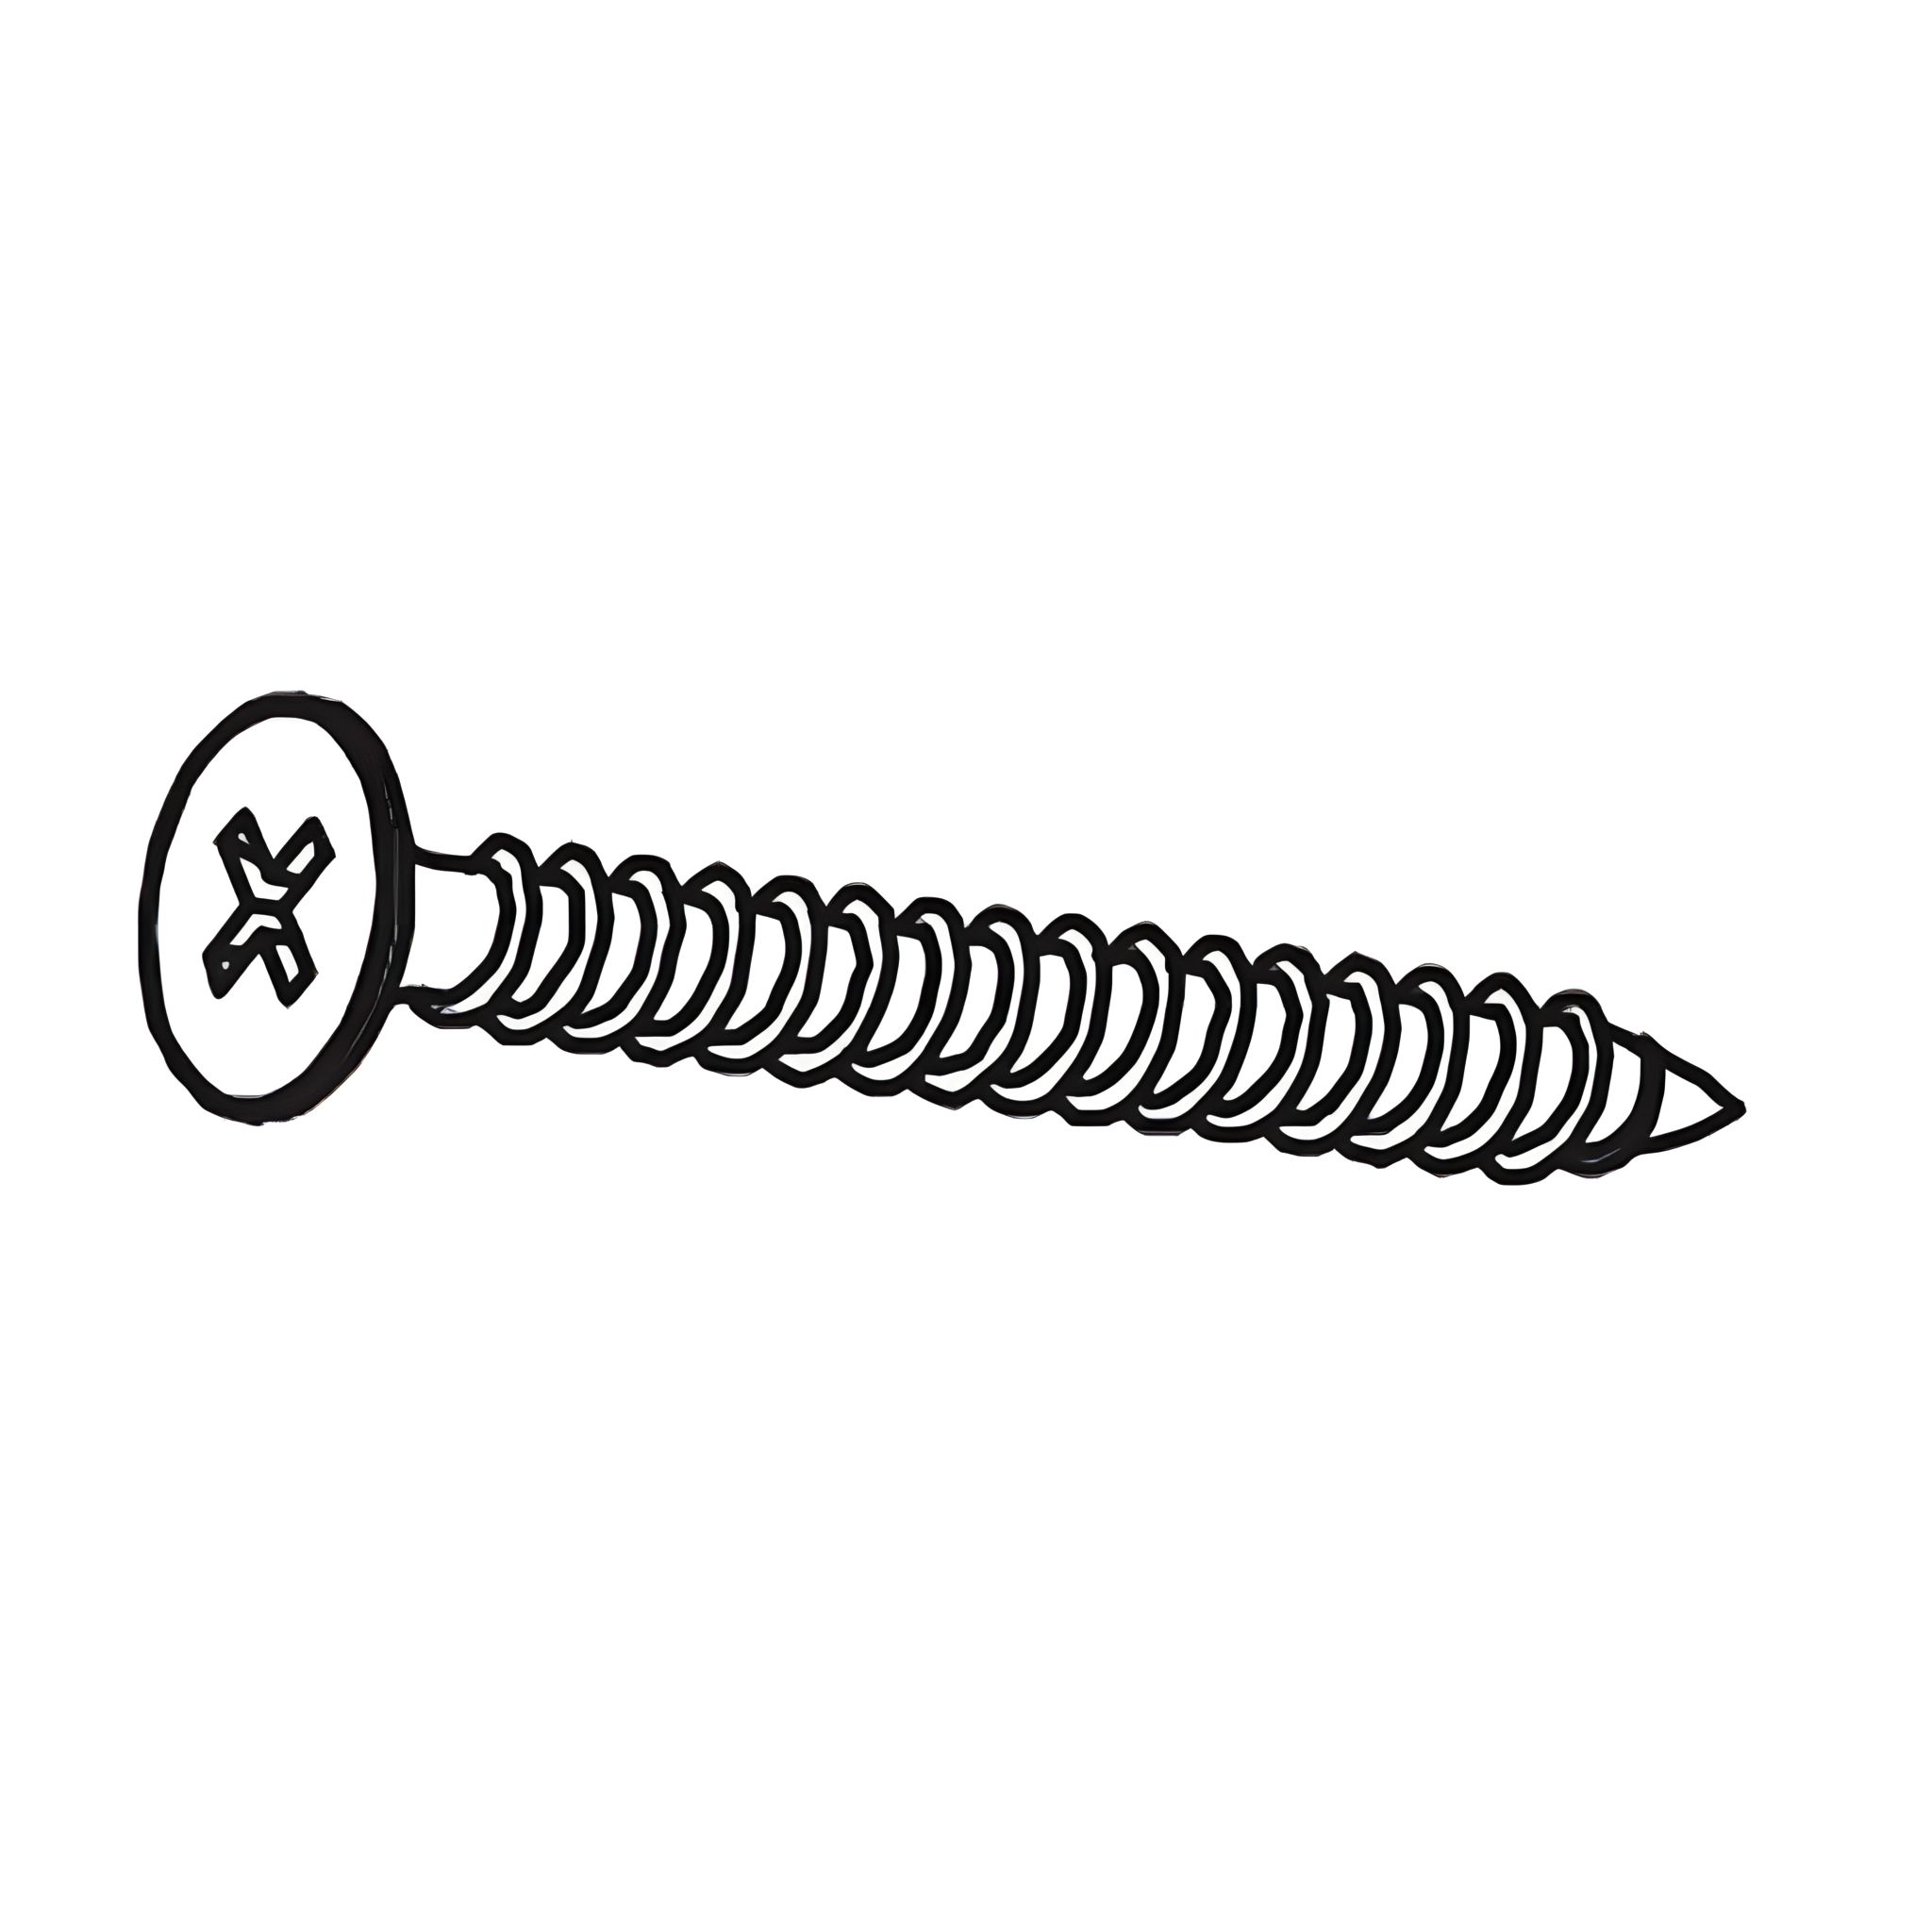 G - Screw (Ø4 x30mm) 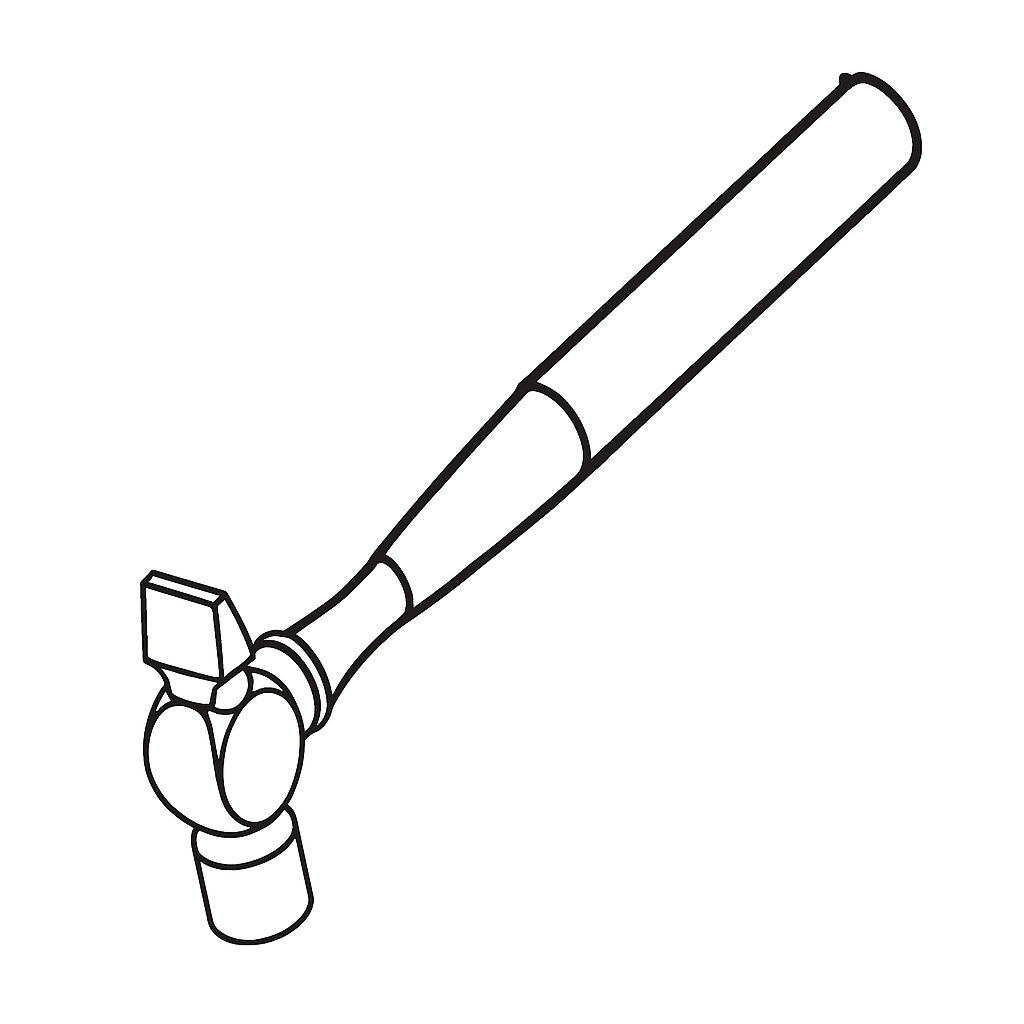 H - Hammer  I - Handheld electric drill 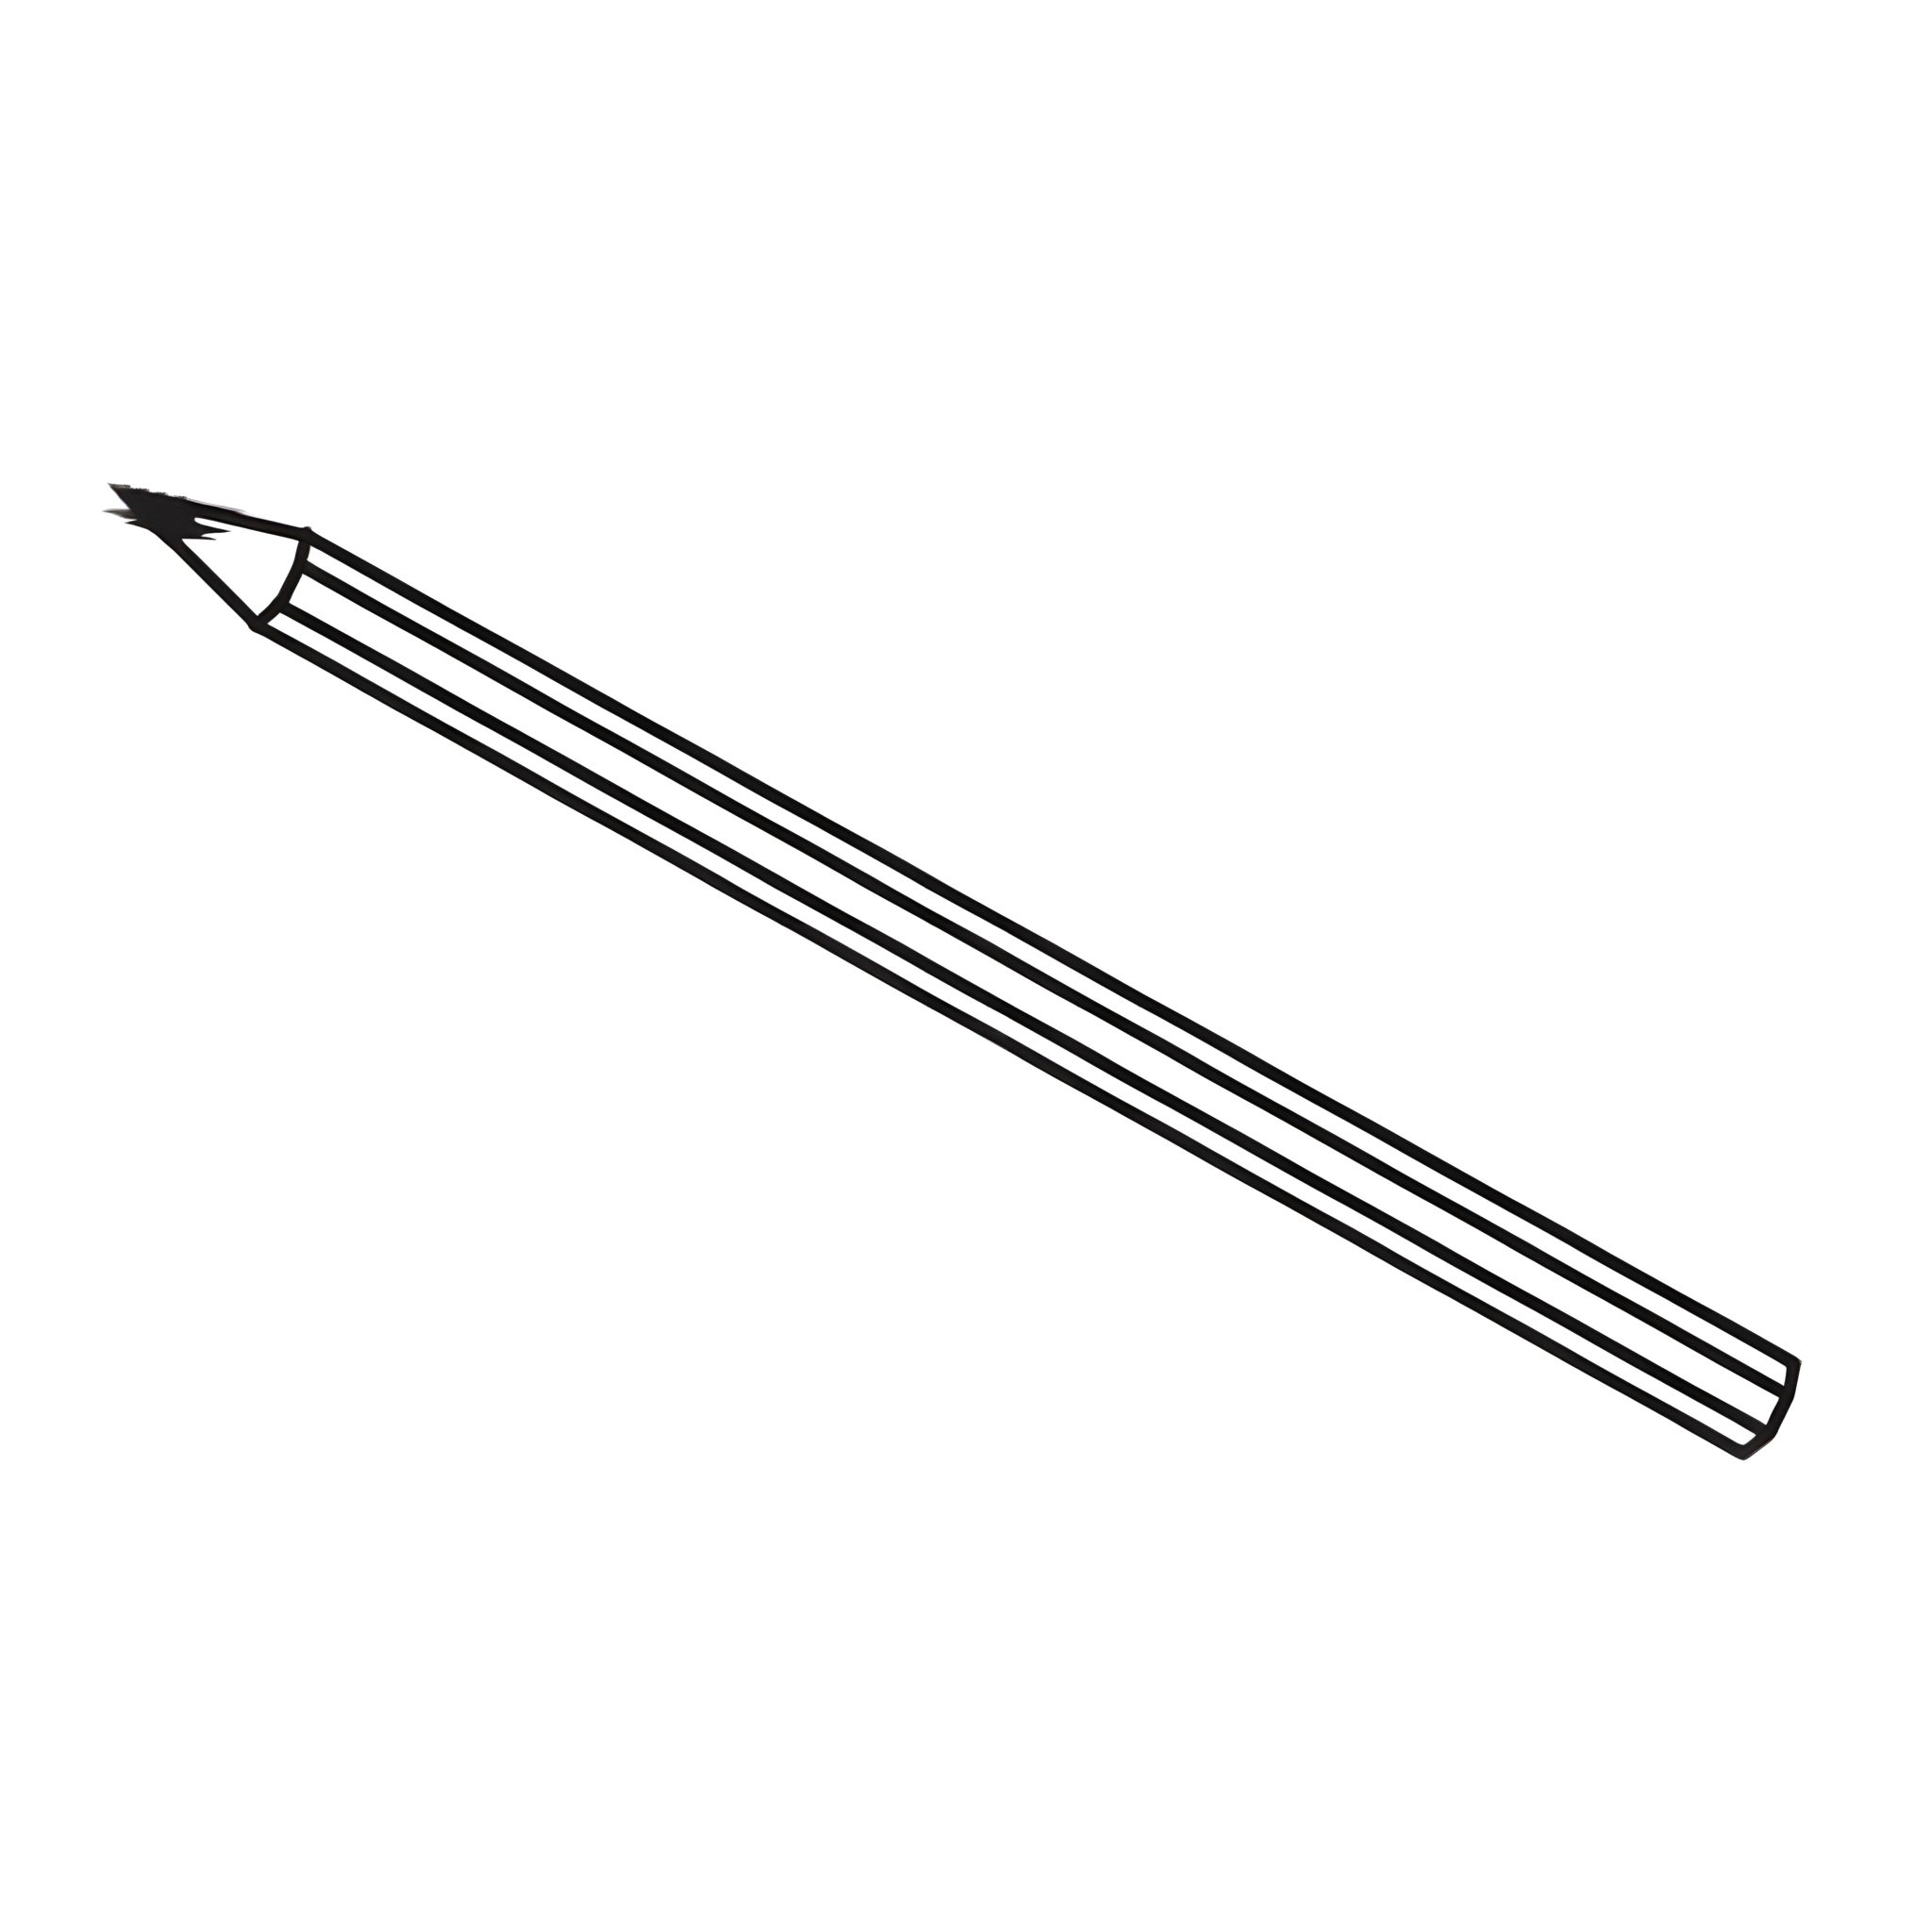 J - Pencil  K - Phillips screwdriver Parts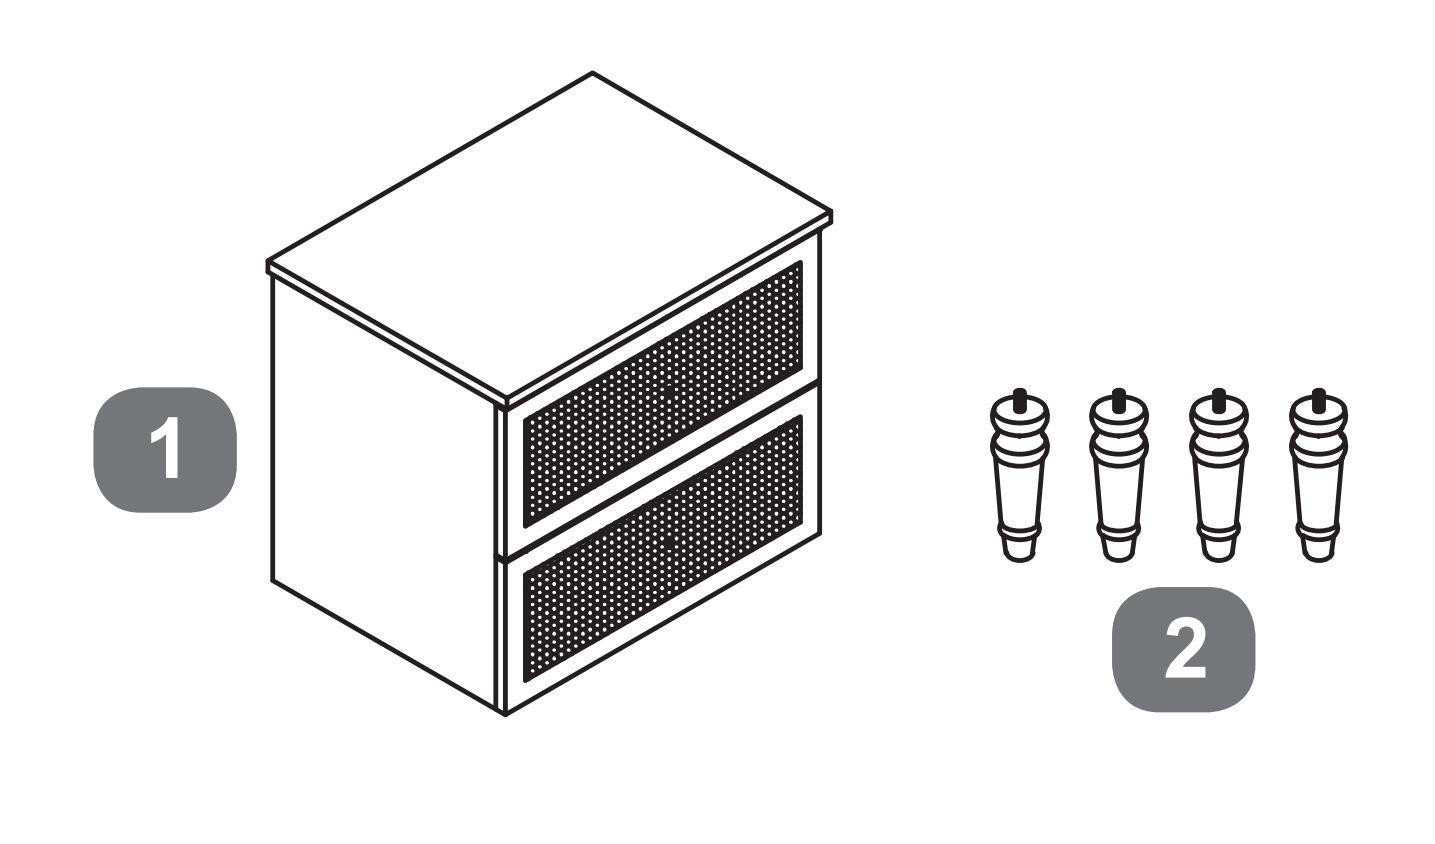 1Bedside cabinet 2Foot 1. Feet Installation
2. Bracket Installation and Alignment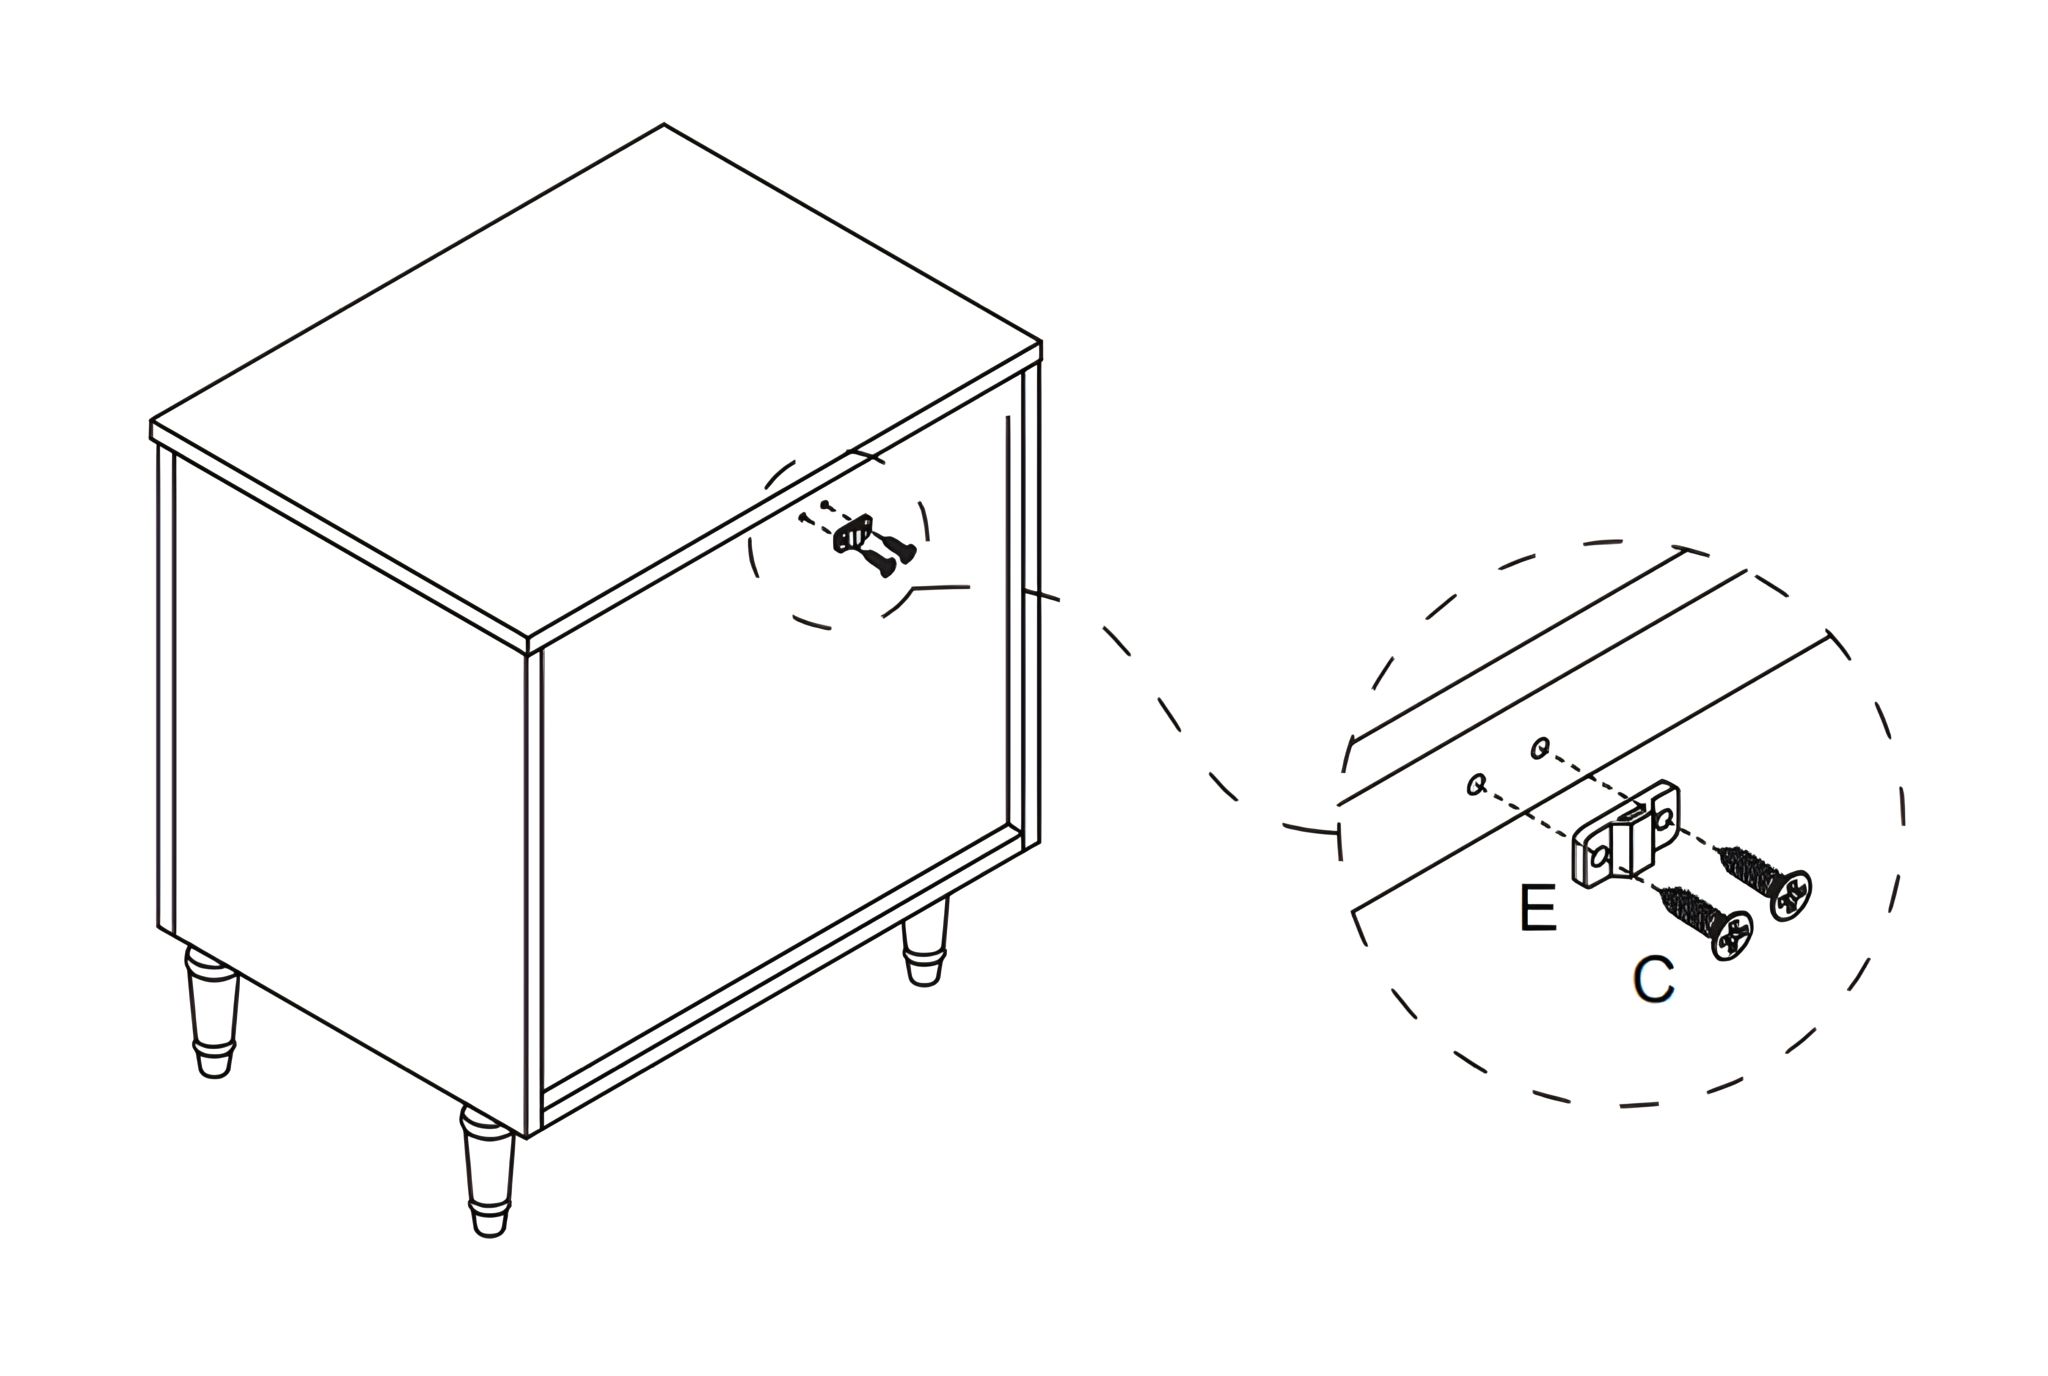 1. Attach the anti-tilt bracket (E) to the back of the bedside cabinet using two screws (C). 3. Position Marking for Wall Plug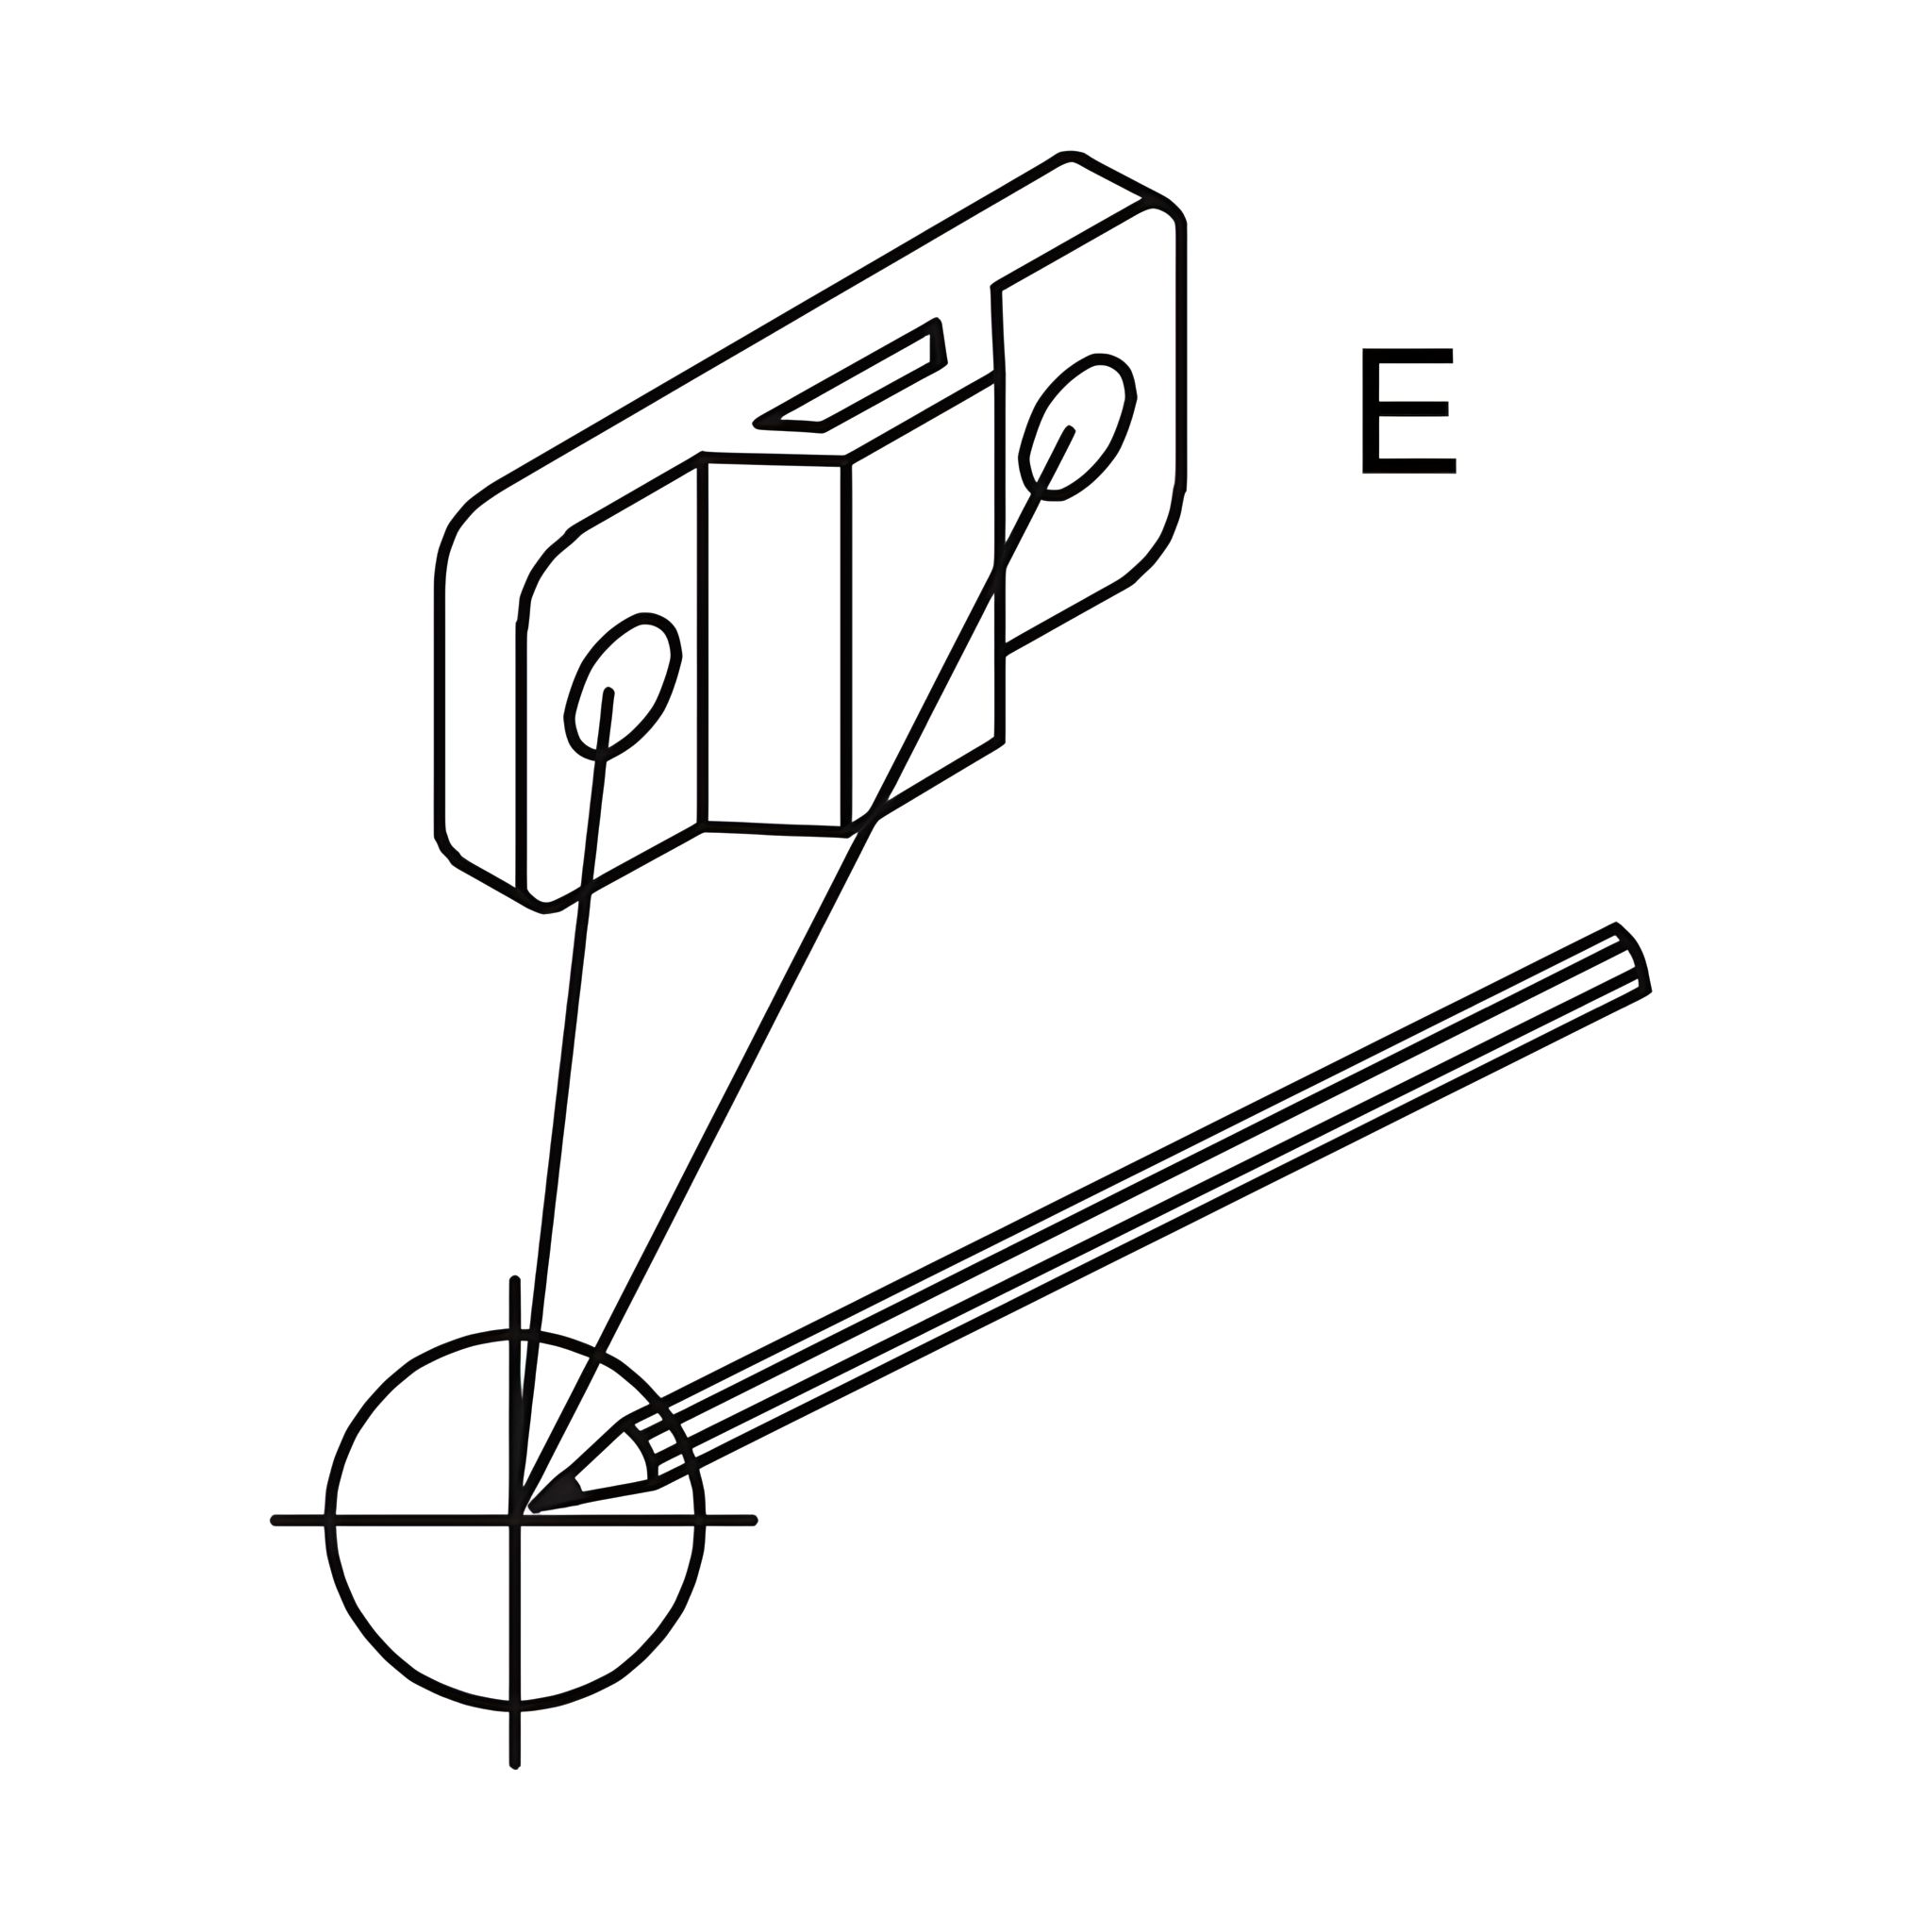 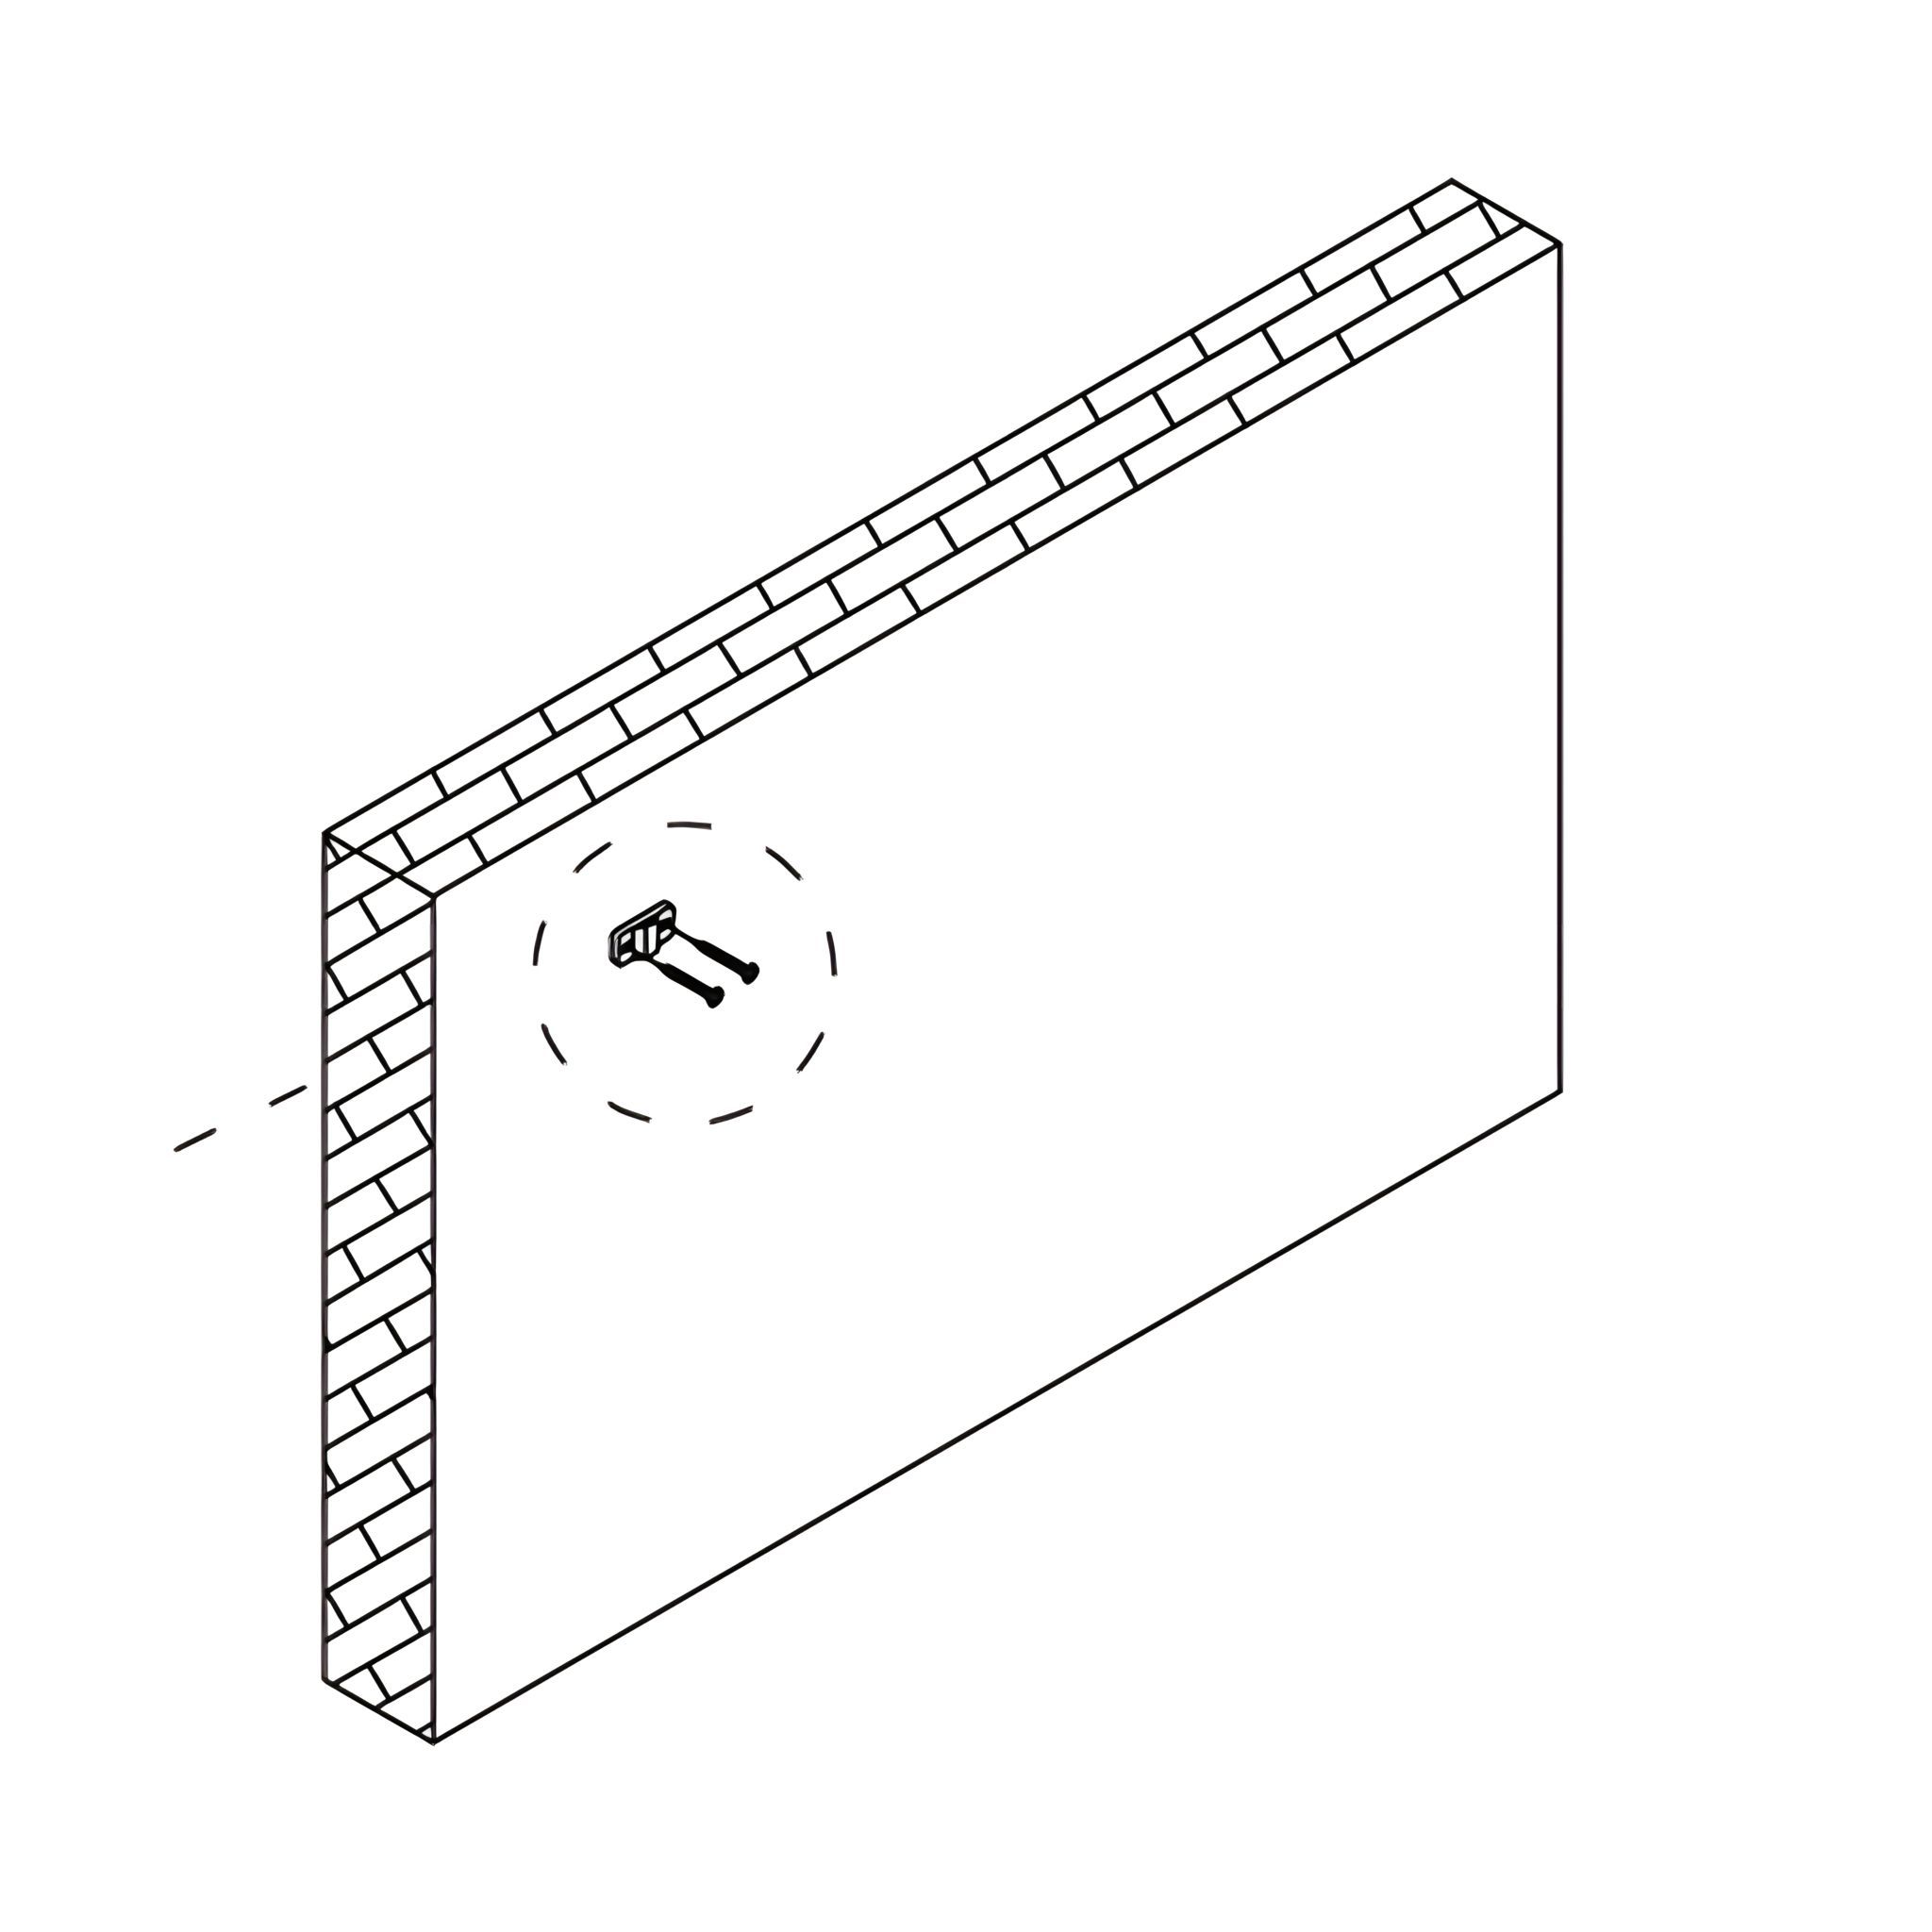 1. Use a pencil (J) to mark the position for the wall-plug (F) on the wall, aligning it with the anti-tilt bracket (E) already attached to the cabinet. 4. Wall Hole Drilling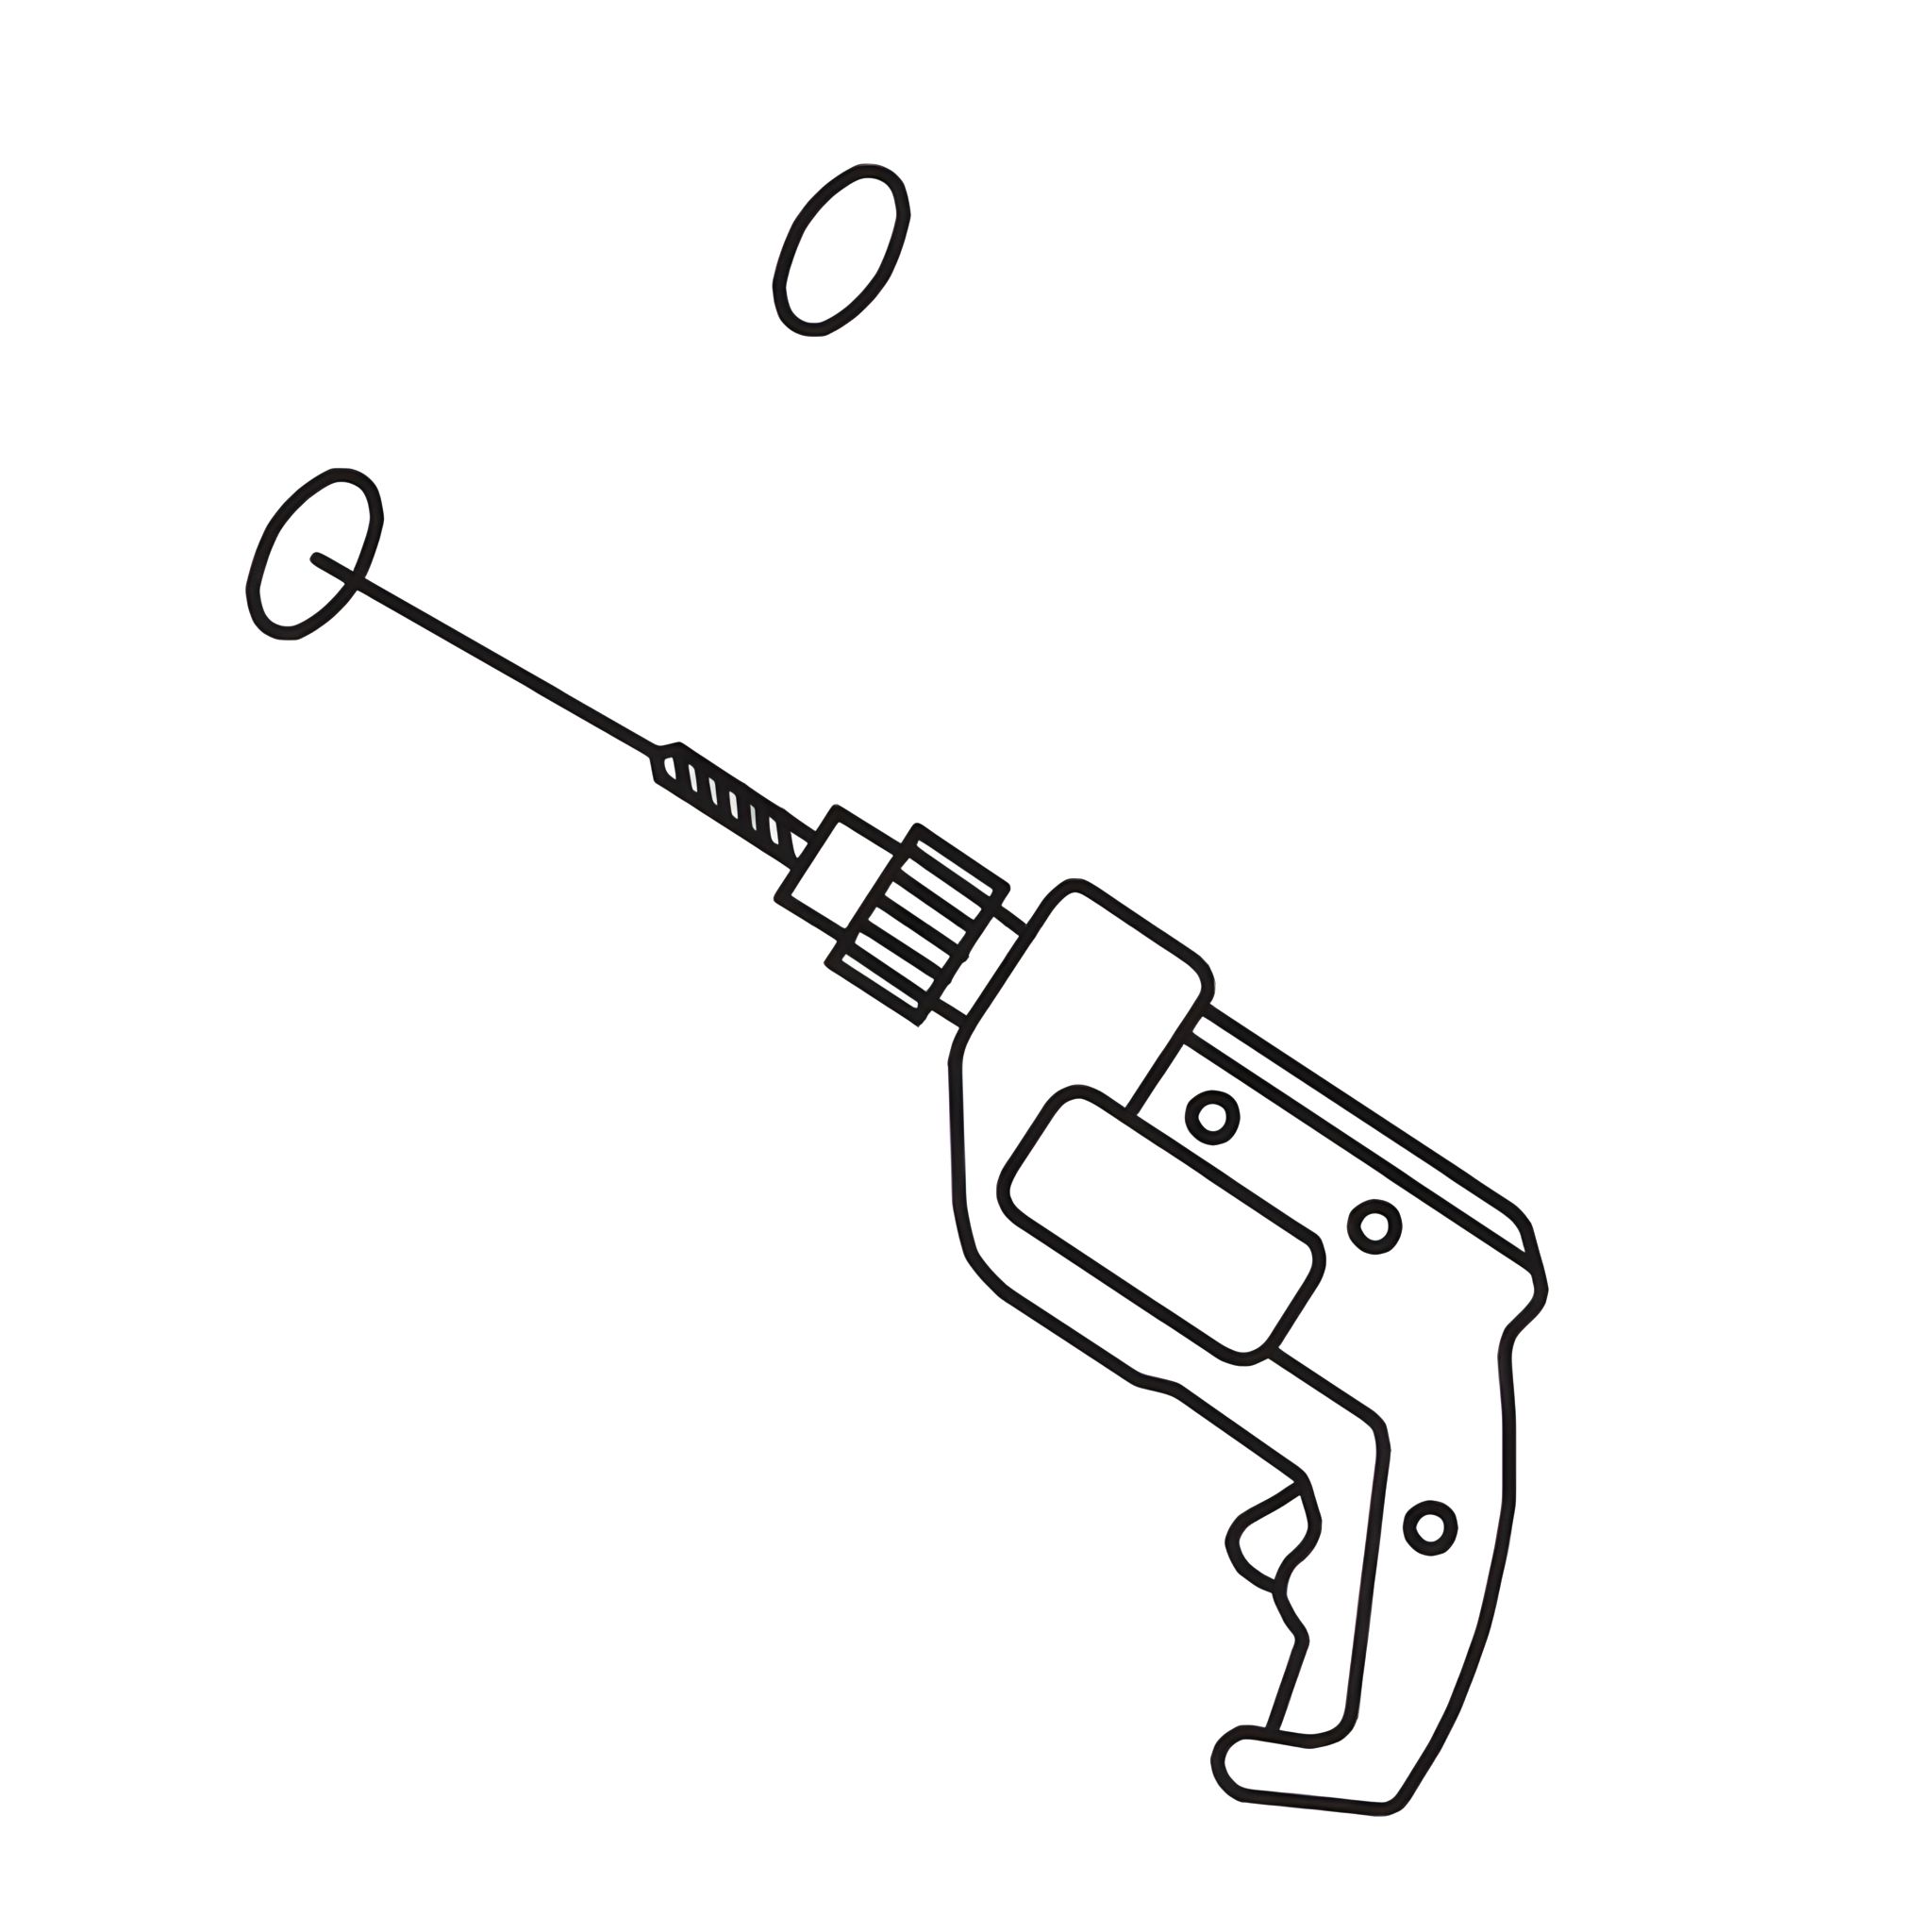 1. Using the handheld electric drill (I), carefully drill a hole into the wall at the marked position for the wall-plug (F). Note: Be careful and please make sure there are no pipes or electric cables in the area being drilled. 5. Wall Plug Insertion and Securing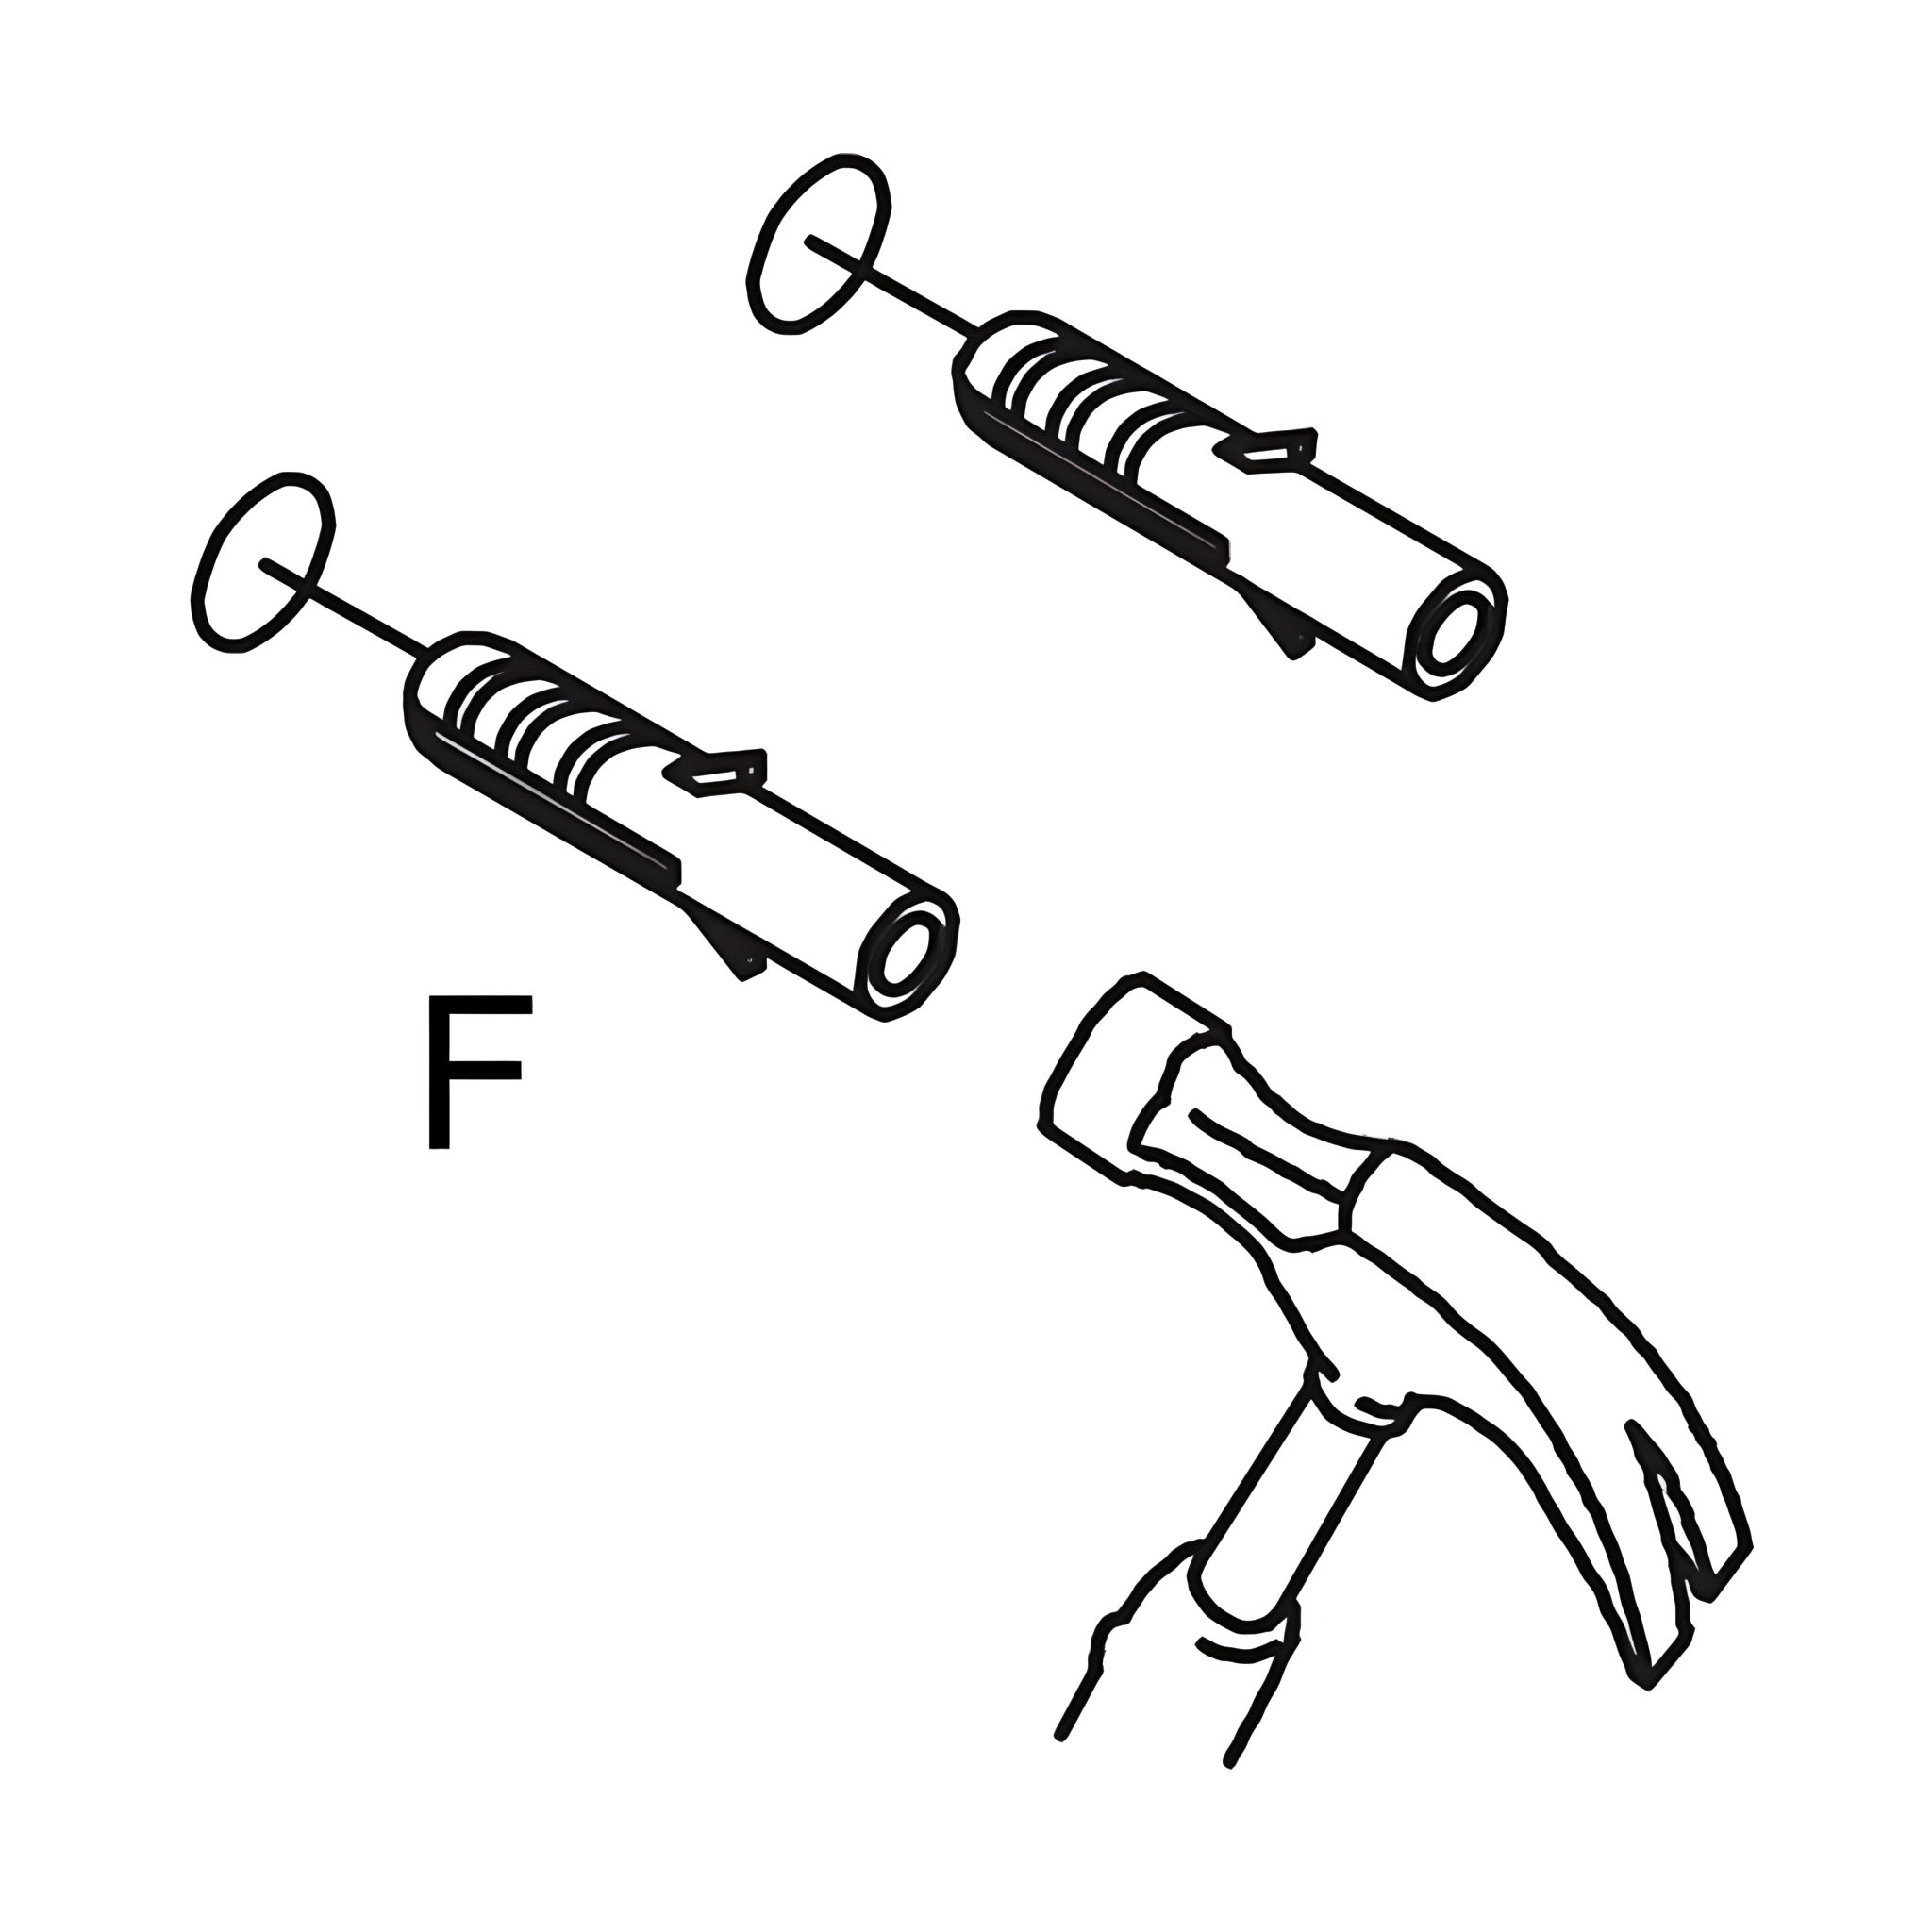 1. Insert the wall-plug (F) into the drilled hole in the wall. 6. Bracket Wall Attachment 1. Attach the anti-tilt bracket (E) to the wall by aligning it with the wall-plug (F) and securing it using two screws (G). 7. Cabinet Wall Stabilization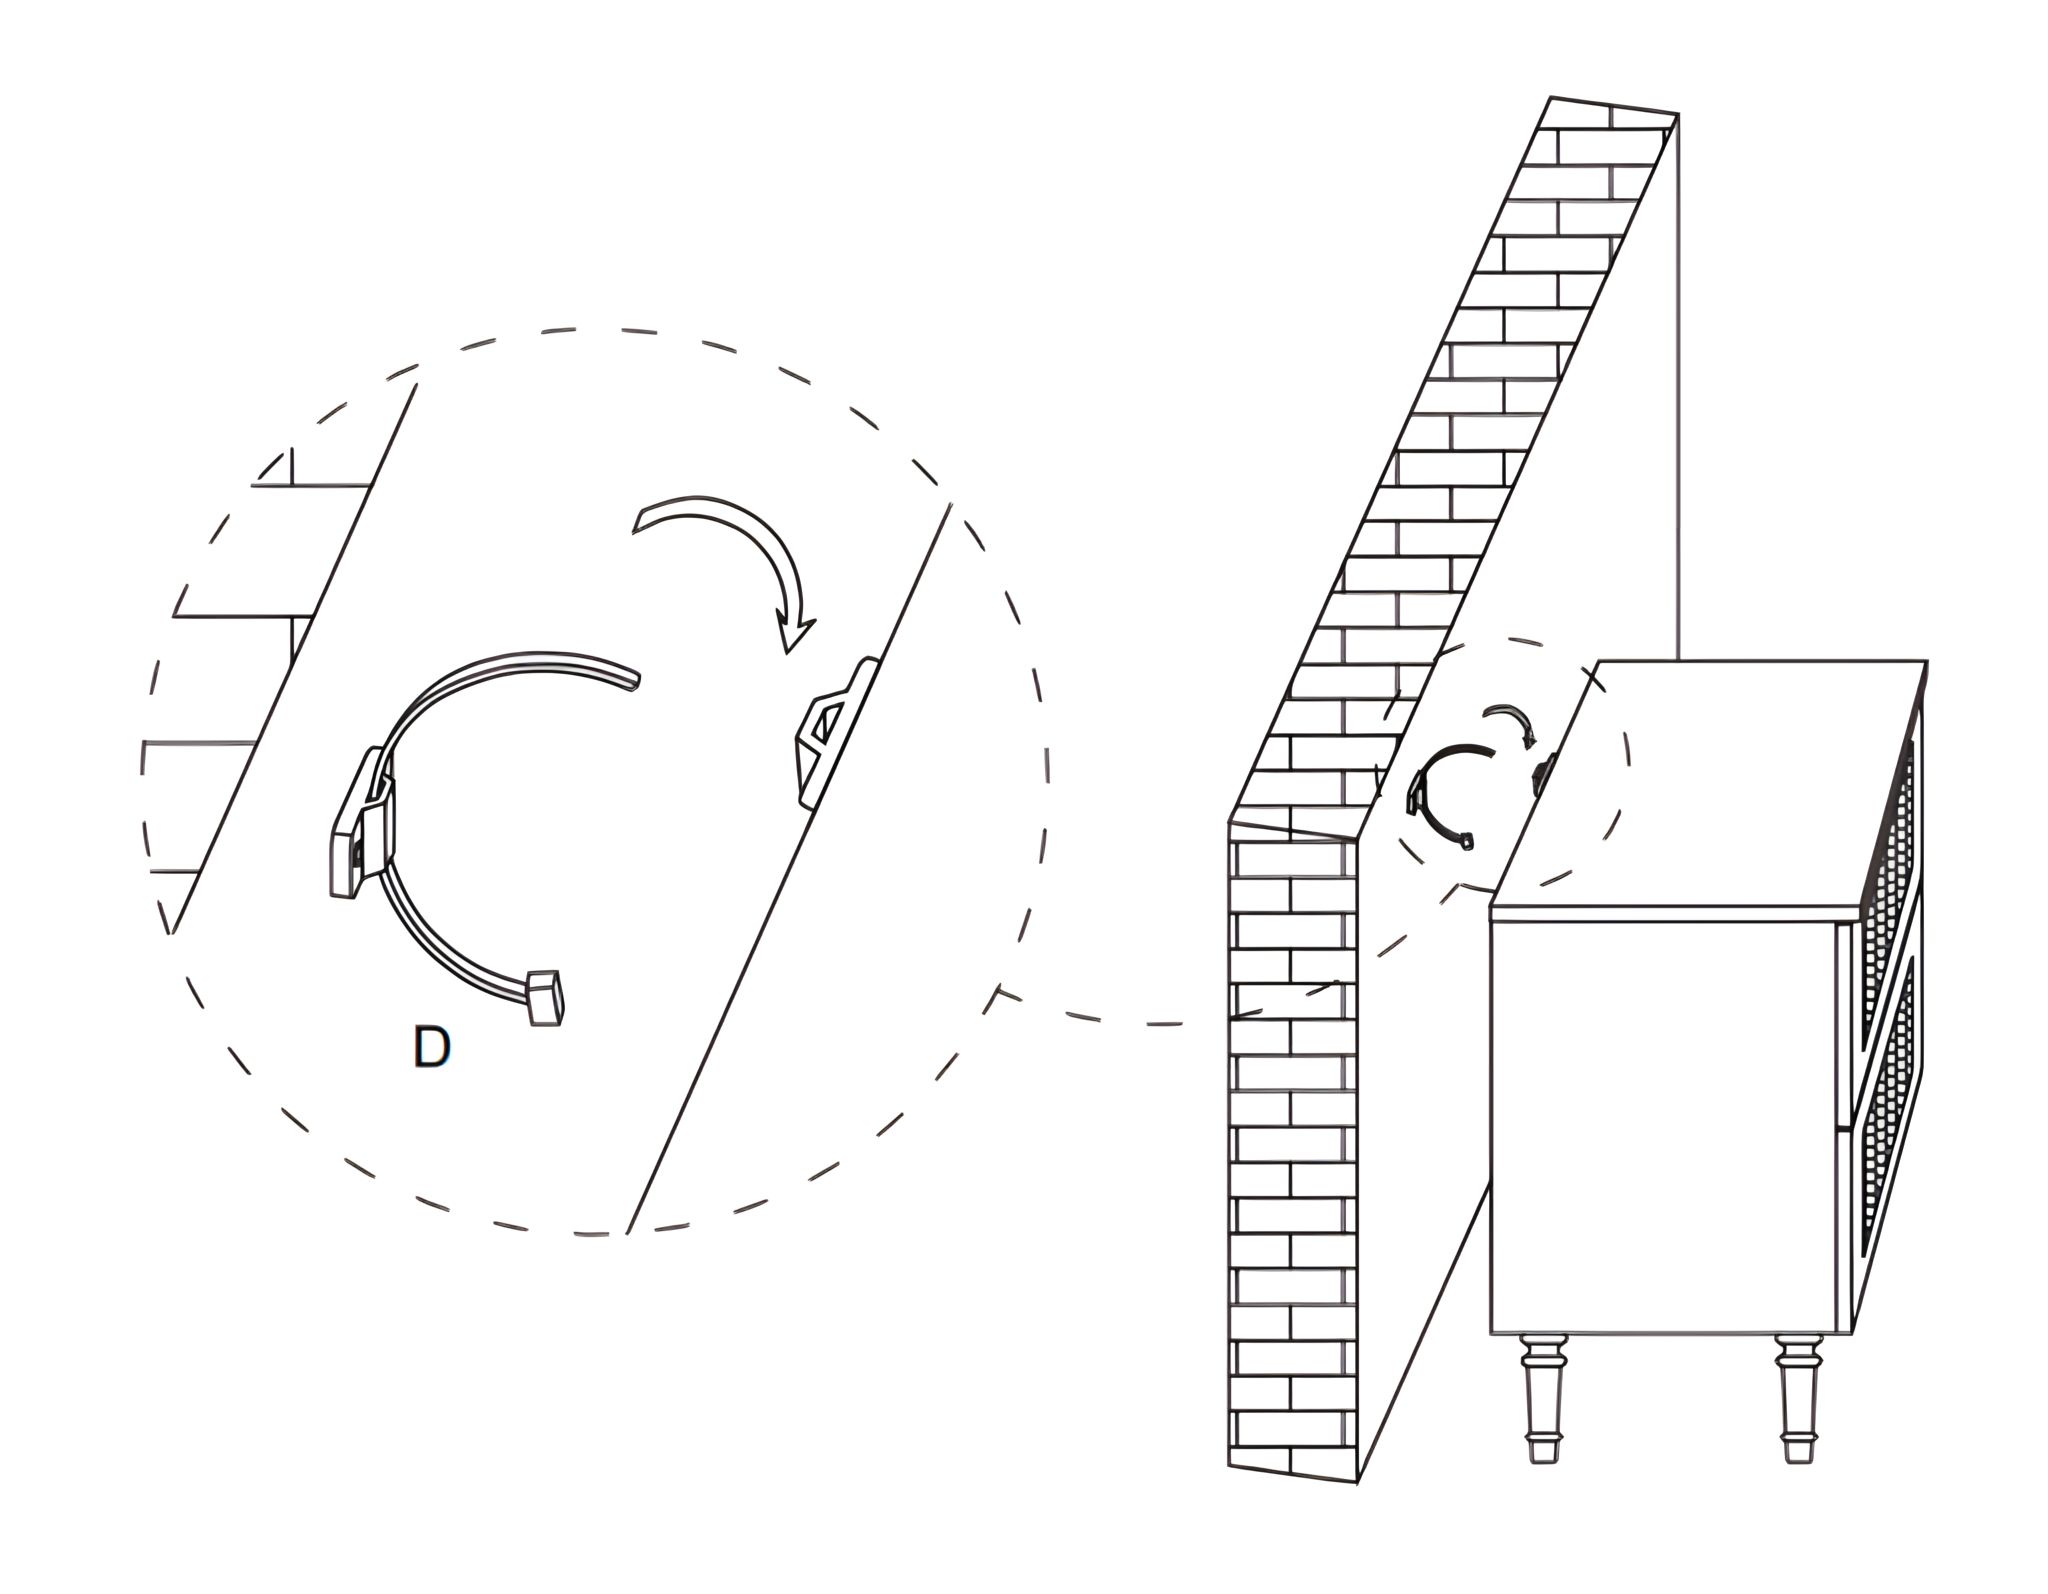 Secure the cabinet to the wall by attaching the tie for the anti-tilt bracket (D) to the bracket on the wall. 8. Cabinet Stabilization and Securing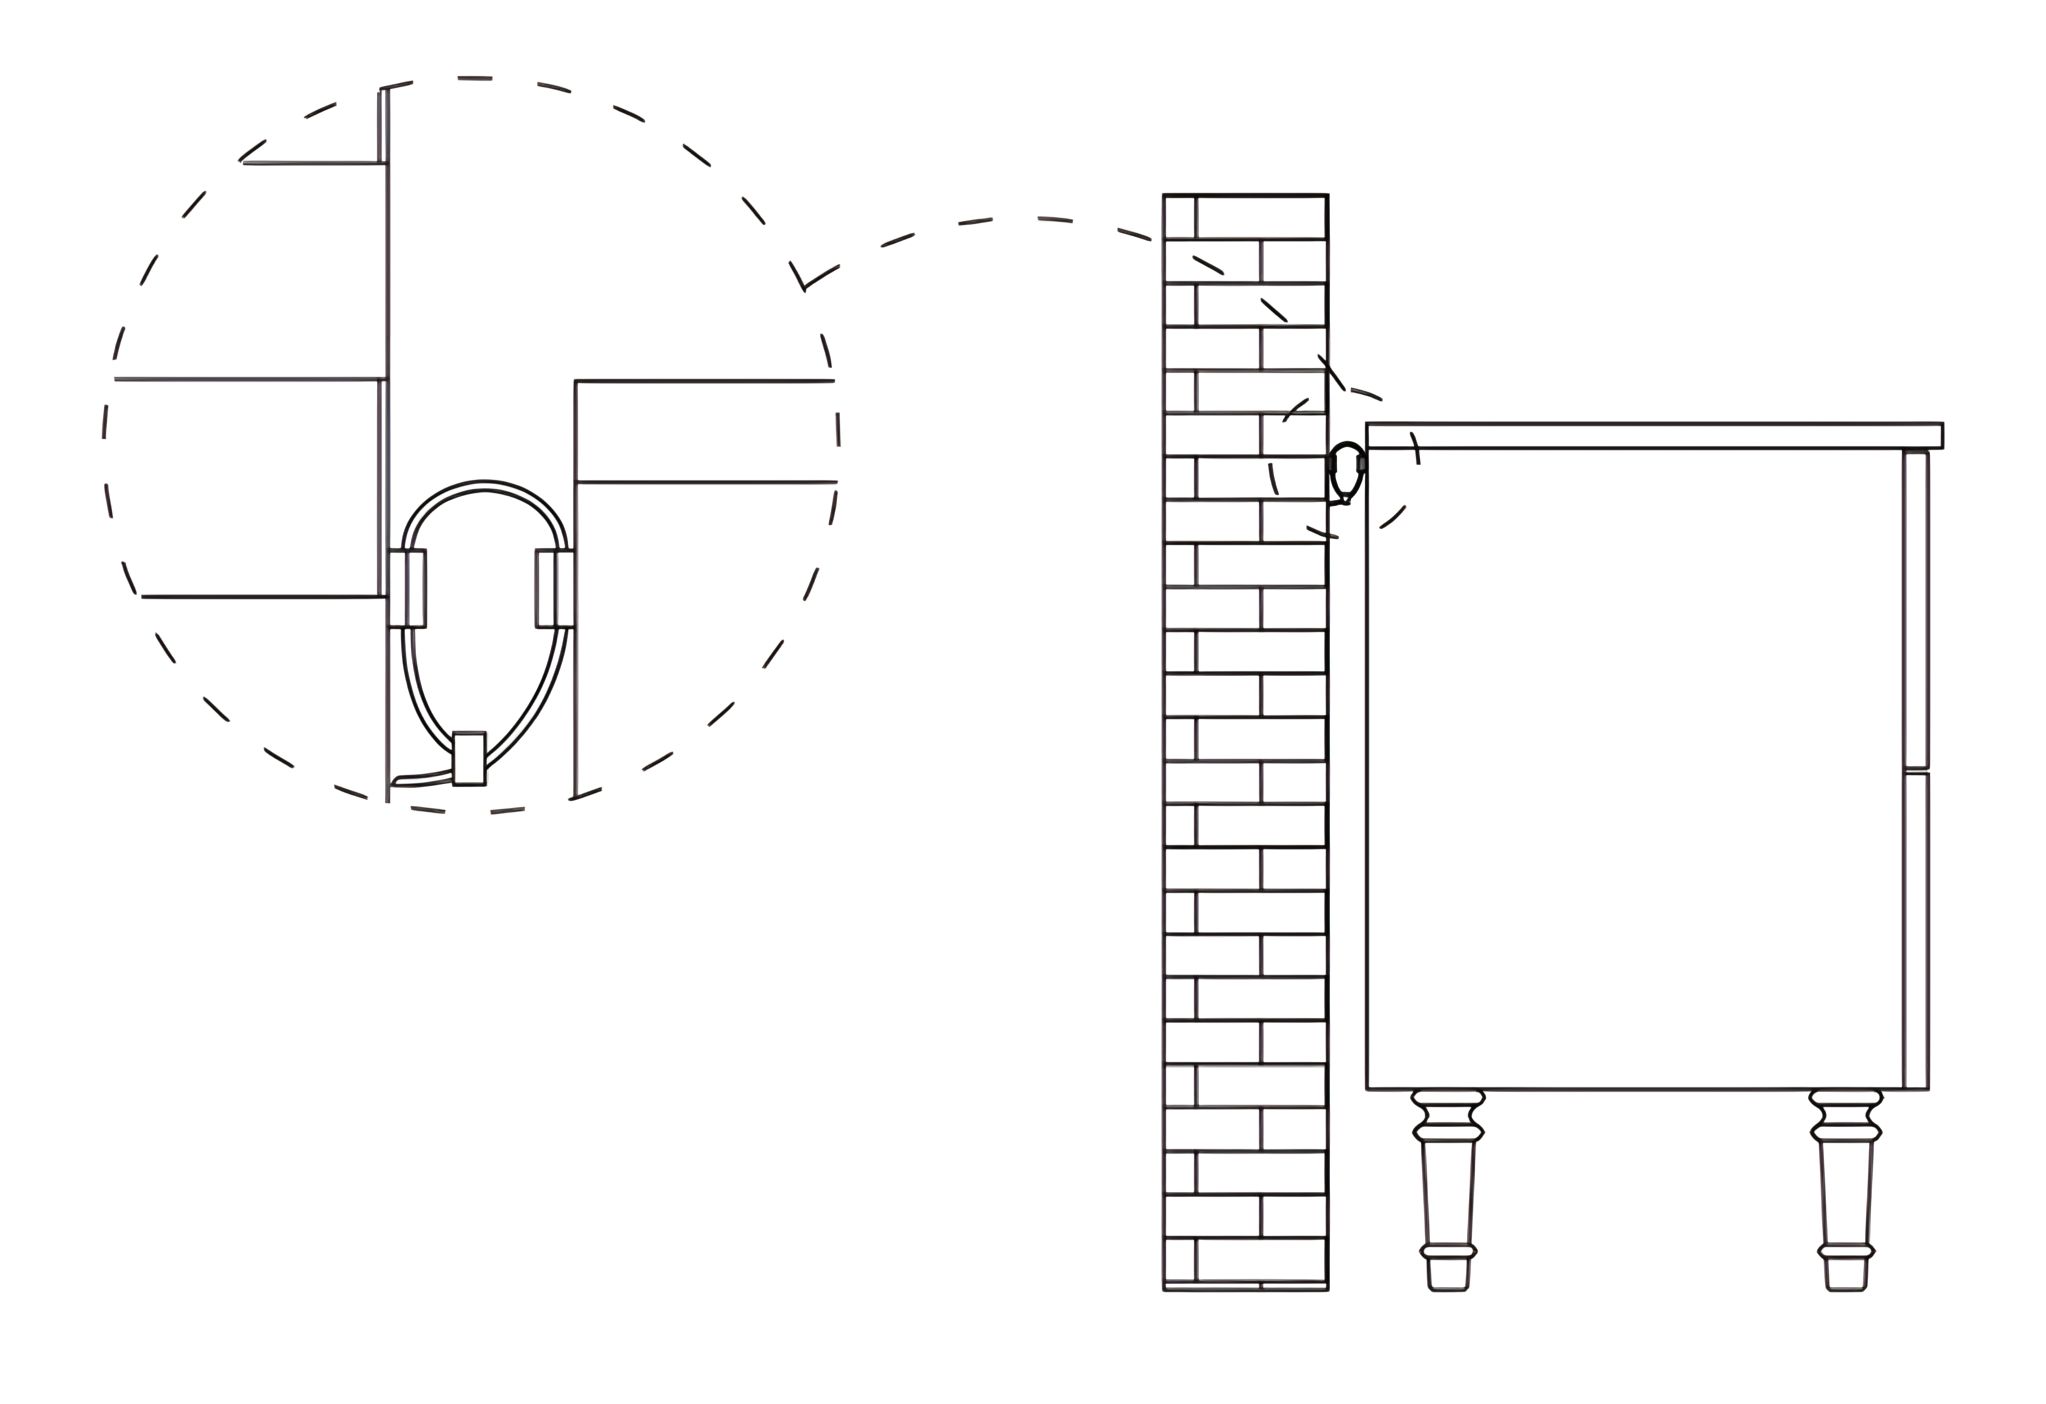 Ensure the tie for the anti-tilt bracket (D) is securely fastened to both the cabinet and the wall bracket. This will stabilize the cabinet and prevent it from tipping over. 9. Handle Attachment and Securing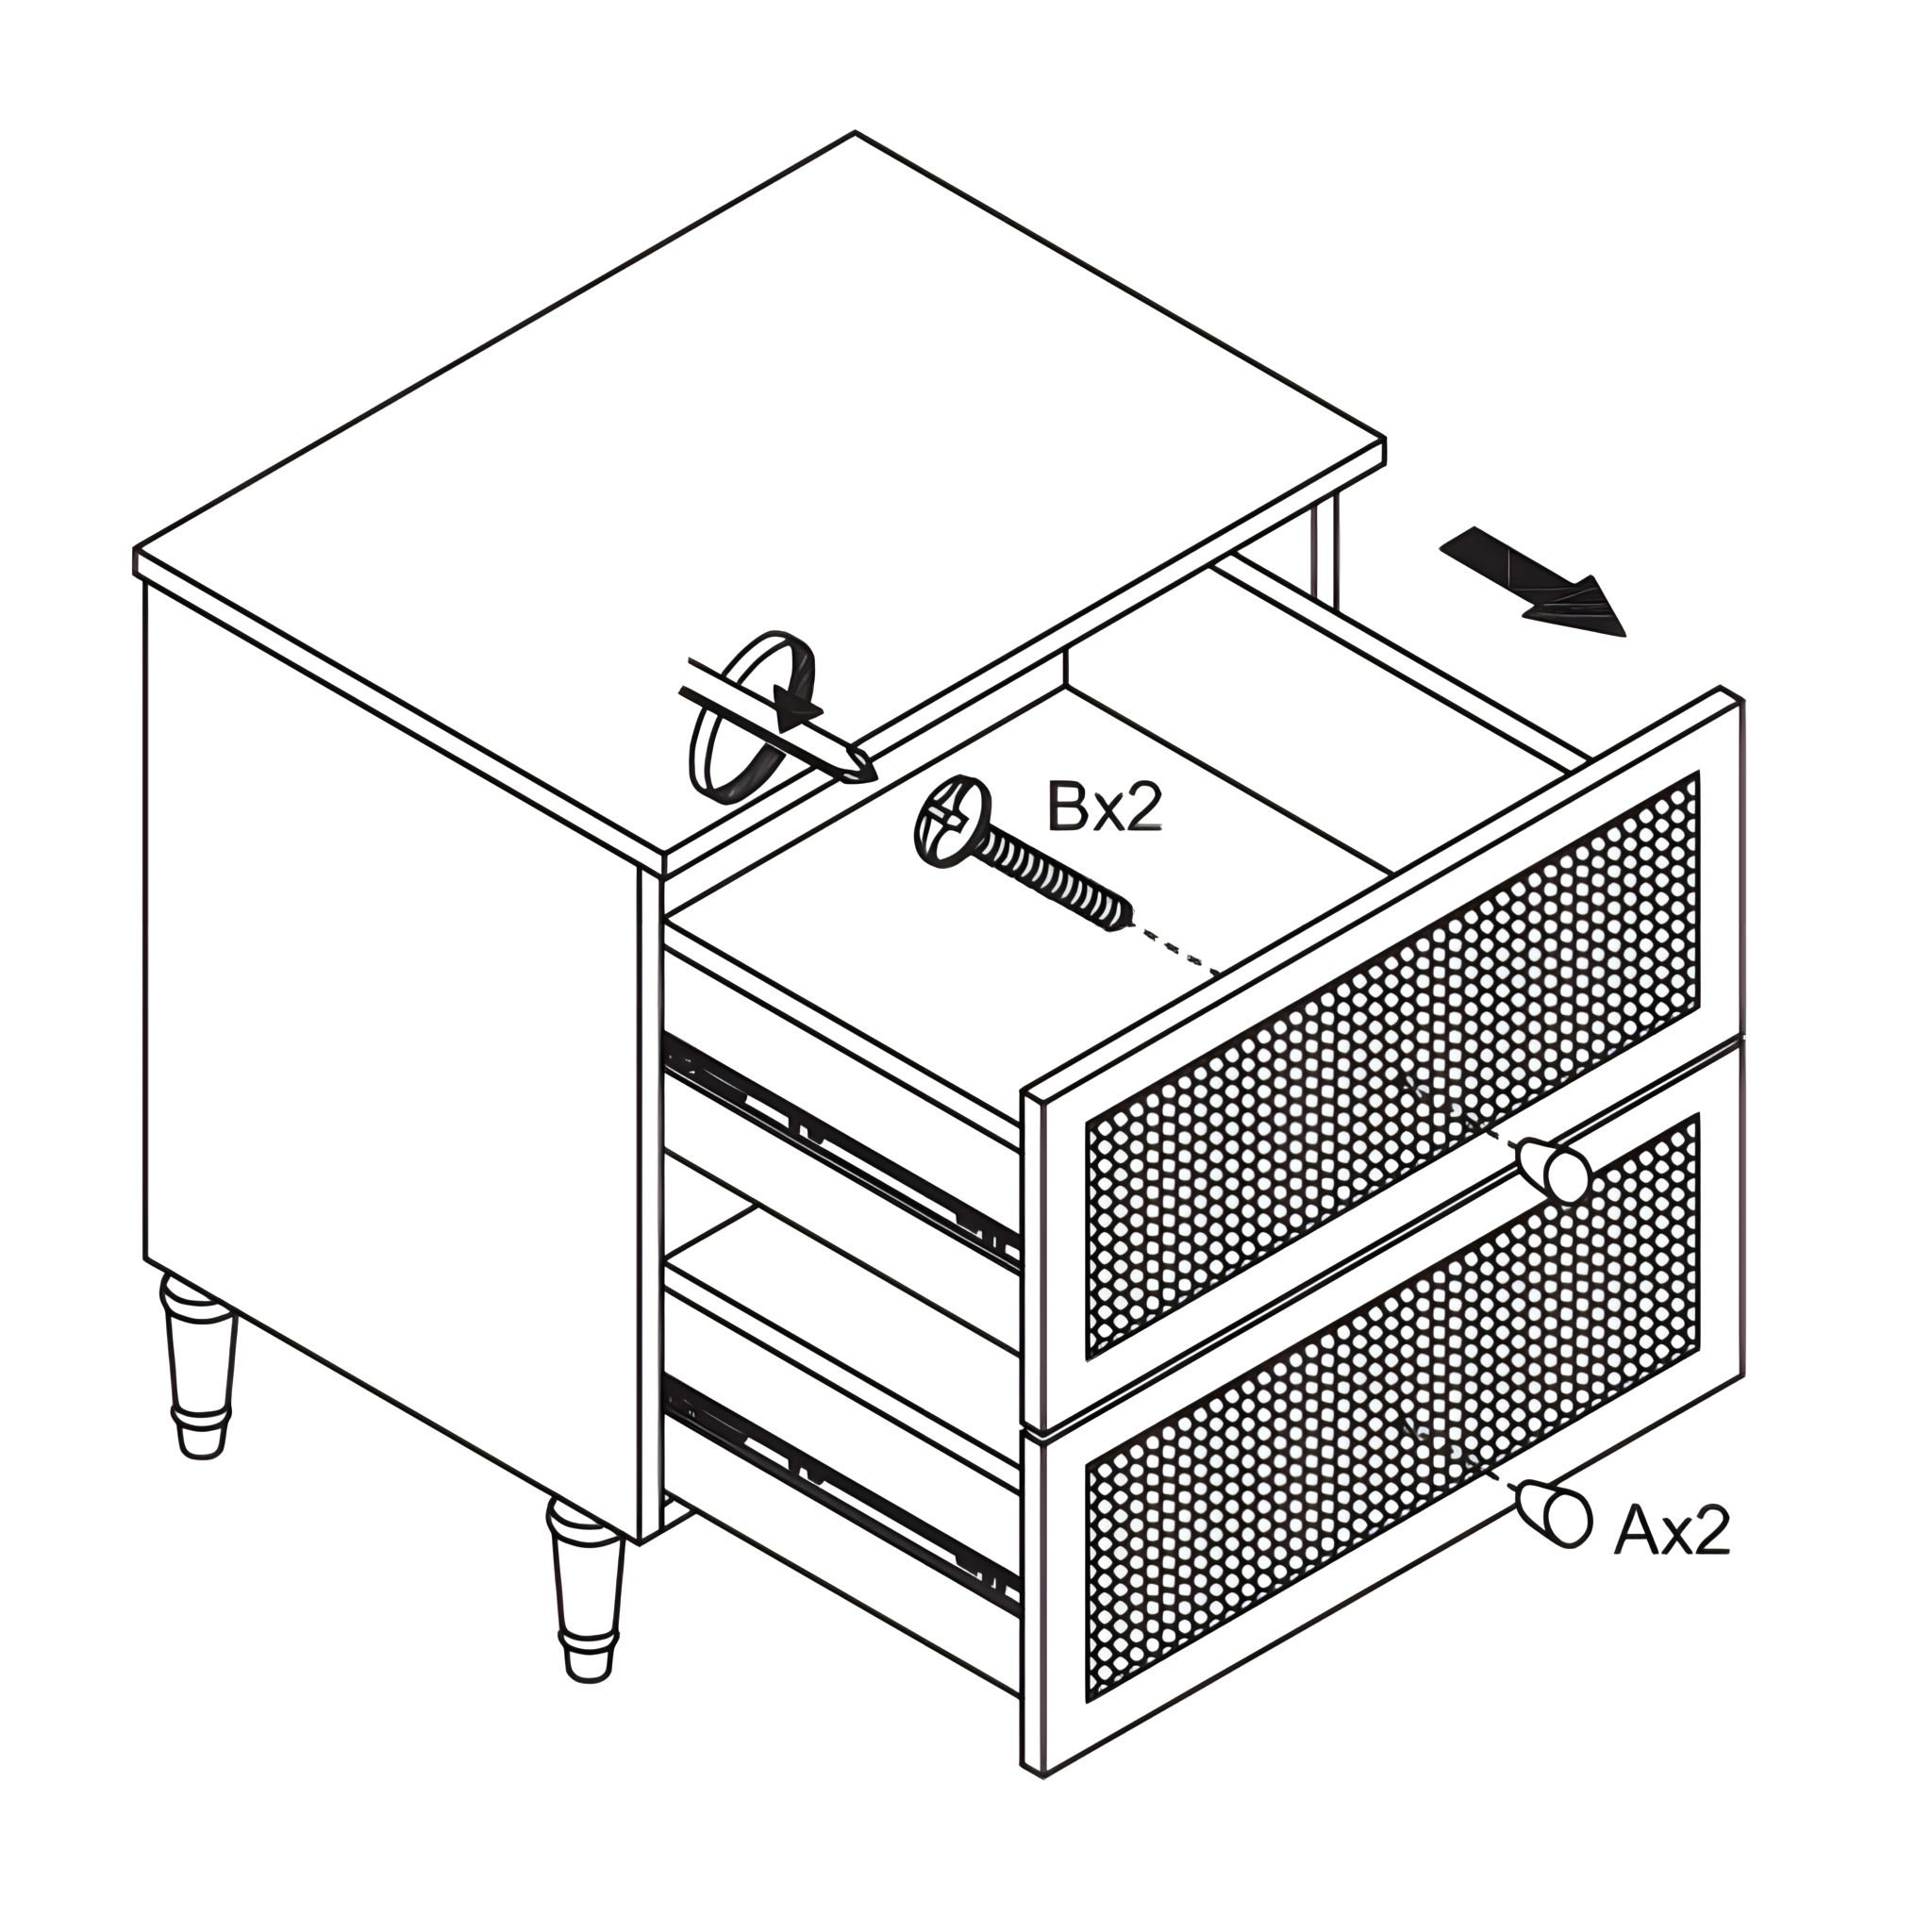 1. Attach the handles (A) to the front of each drawer by aligning them with the pre-drilled holes. |