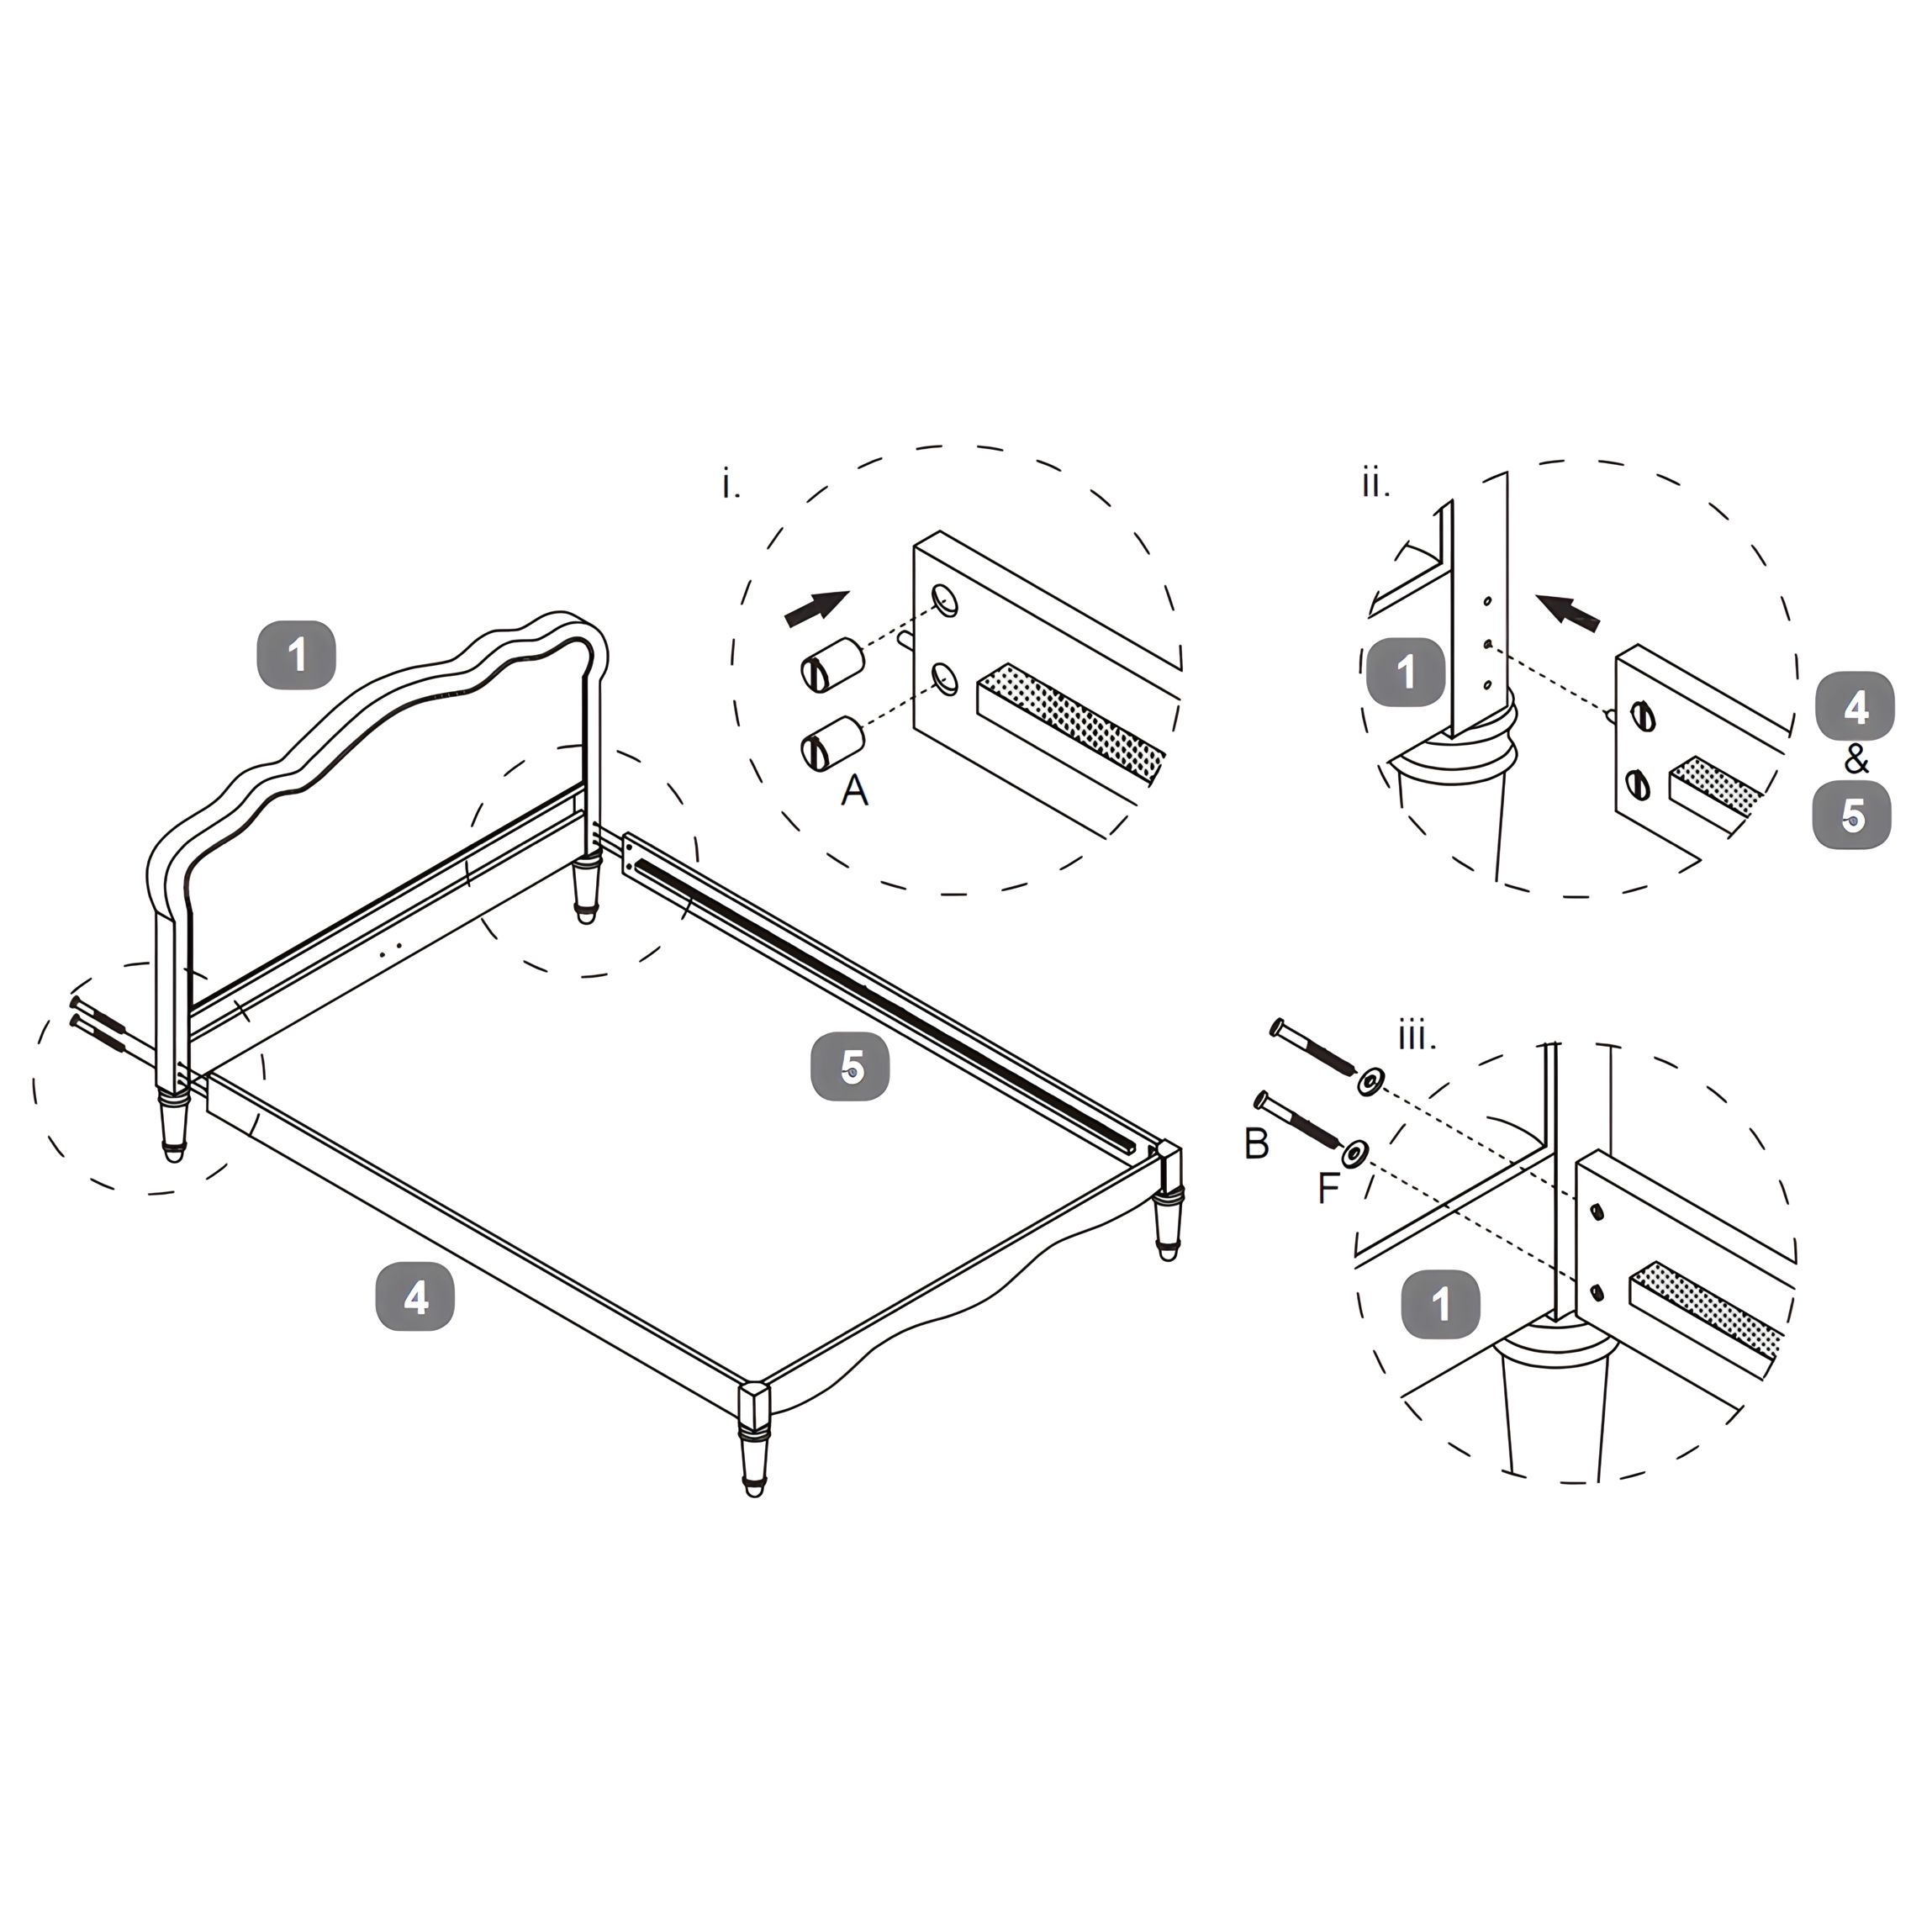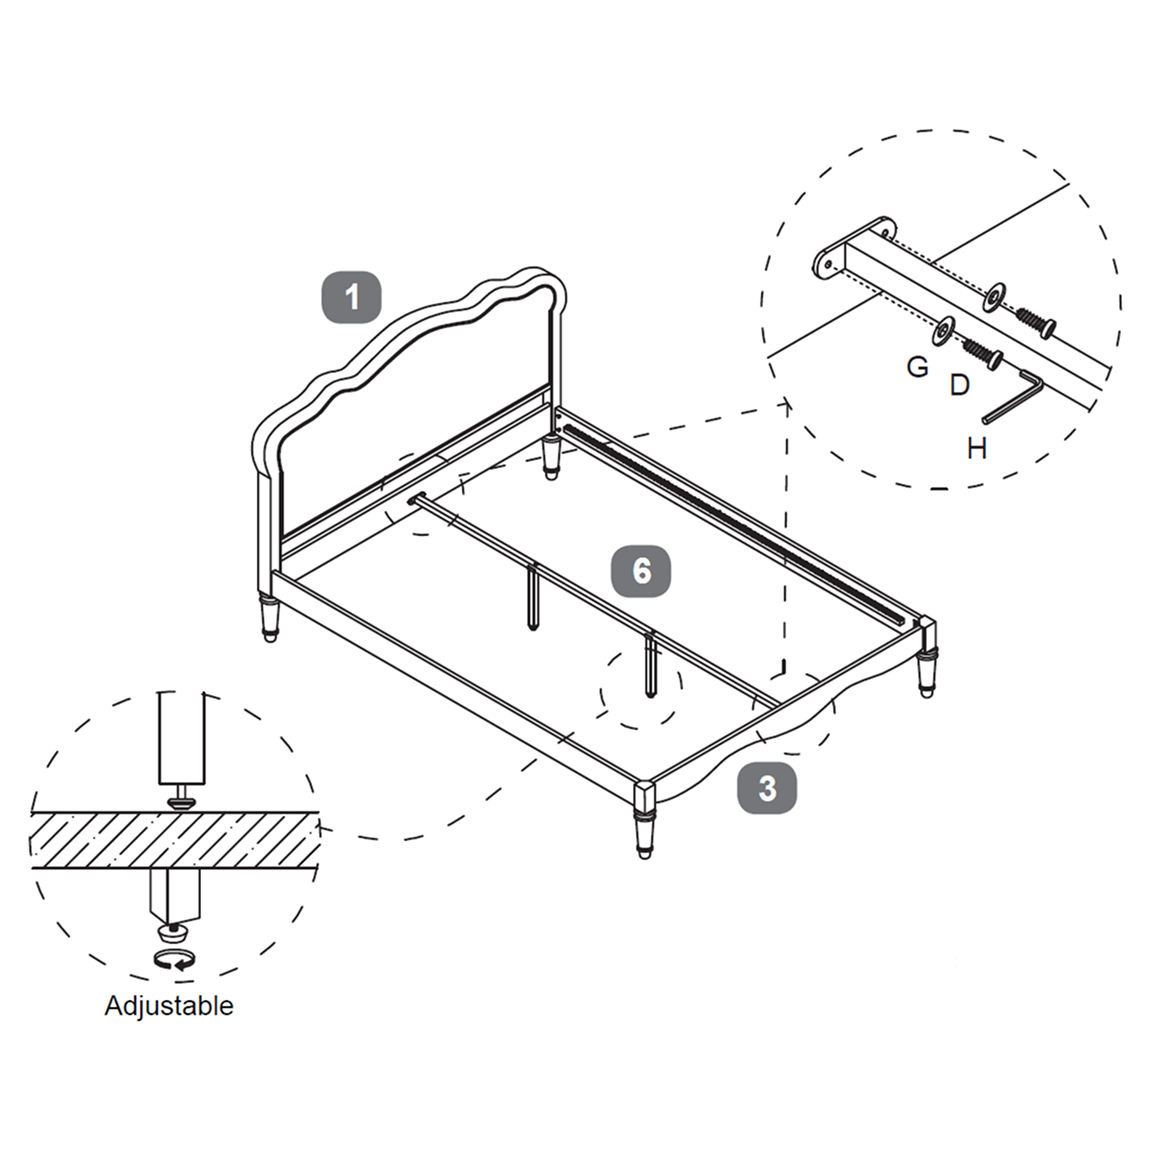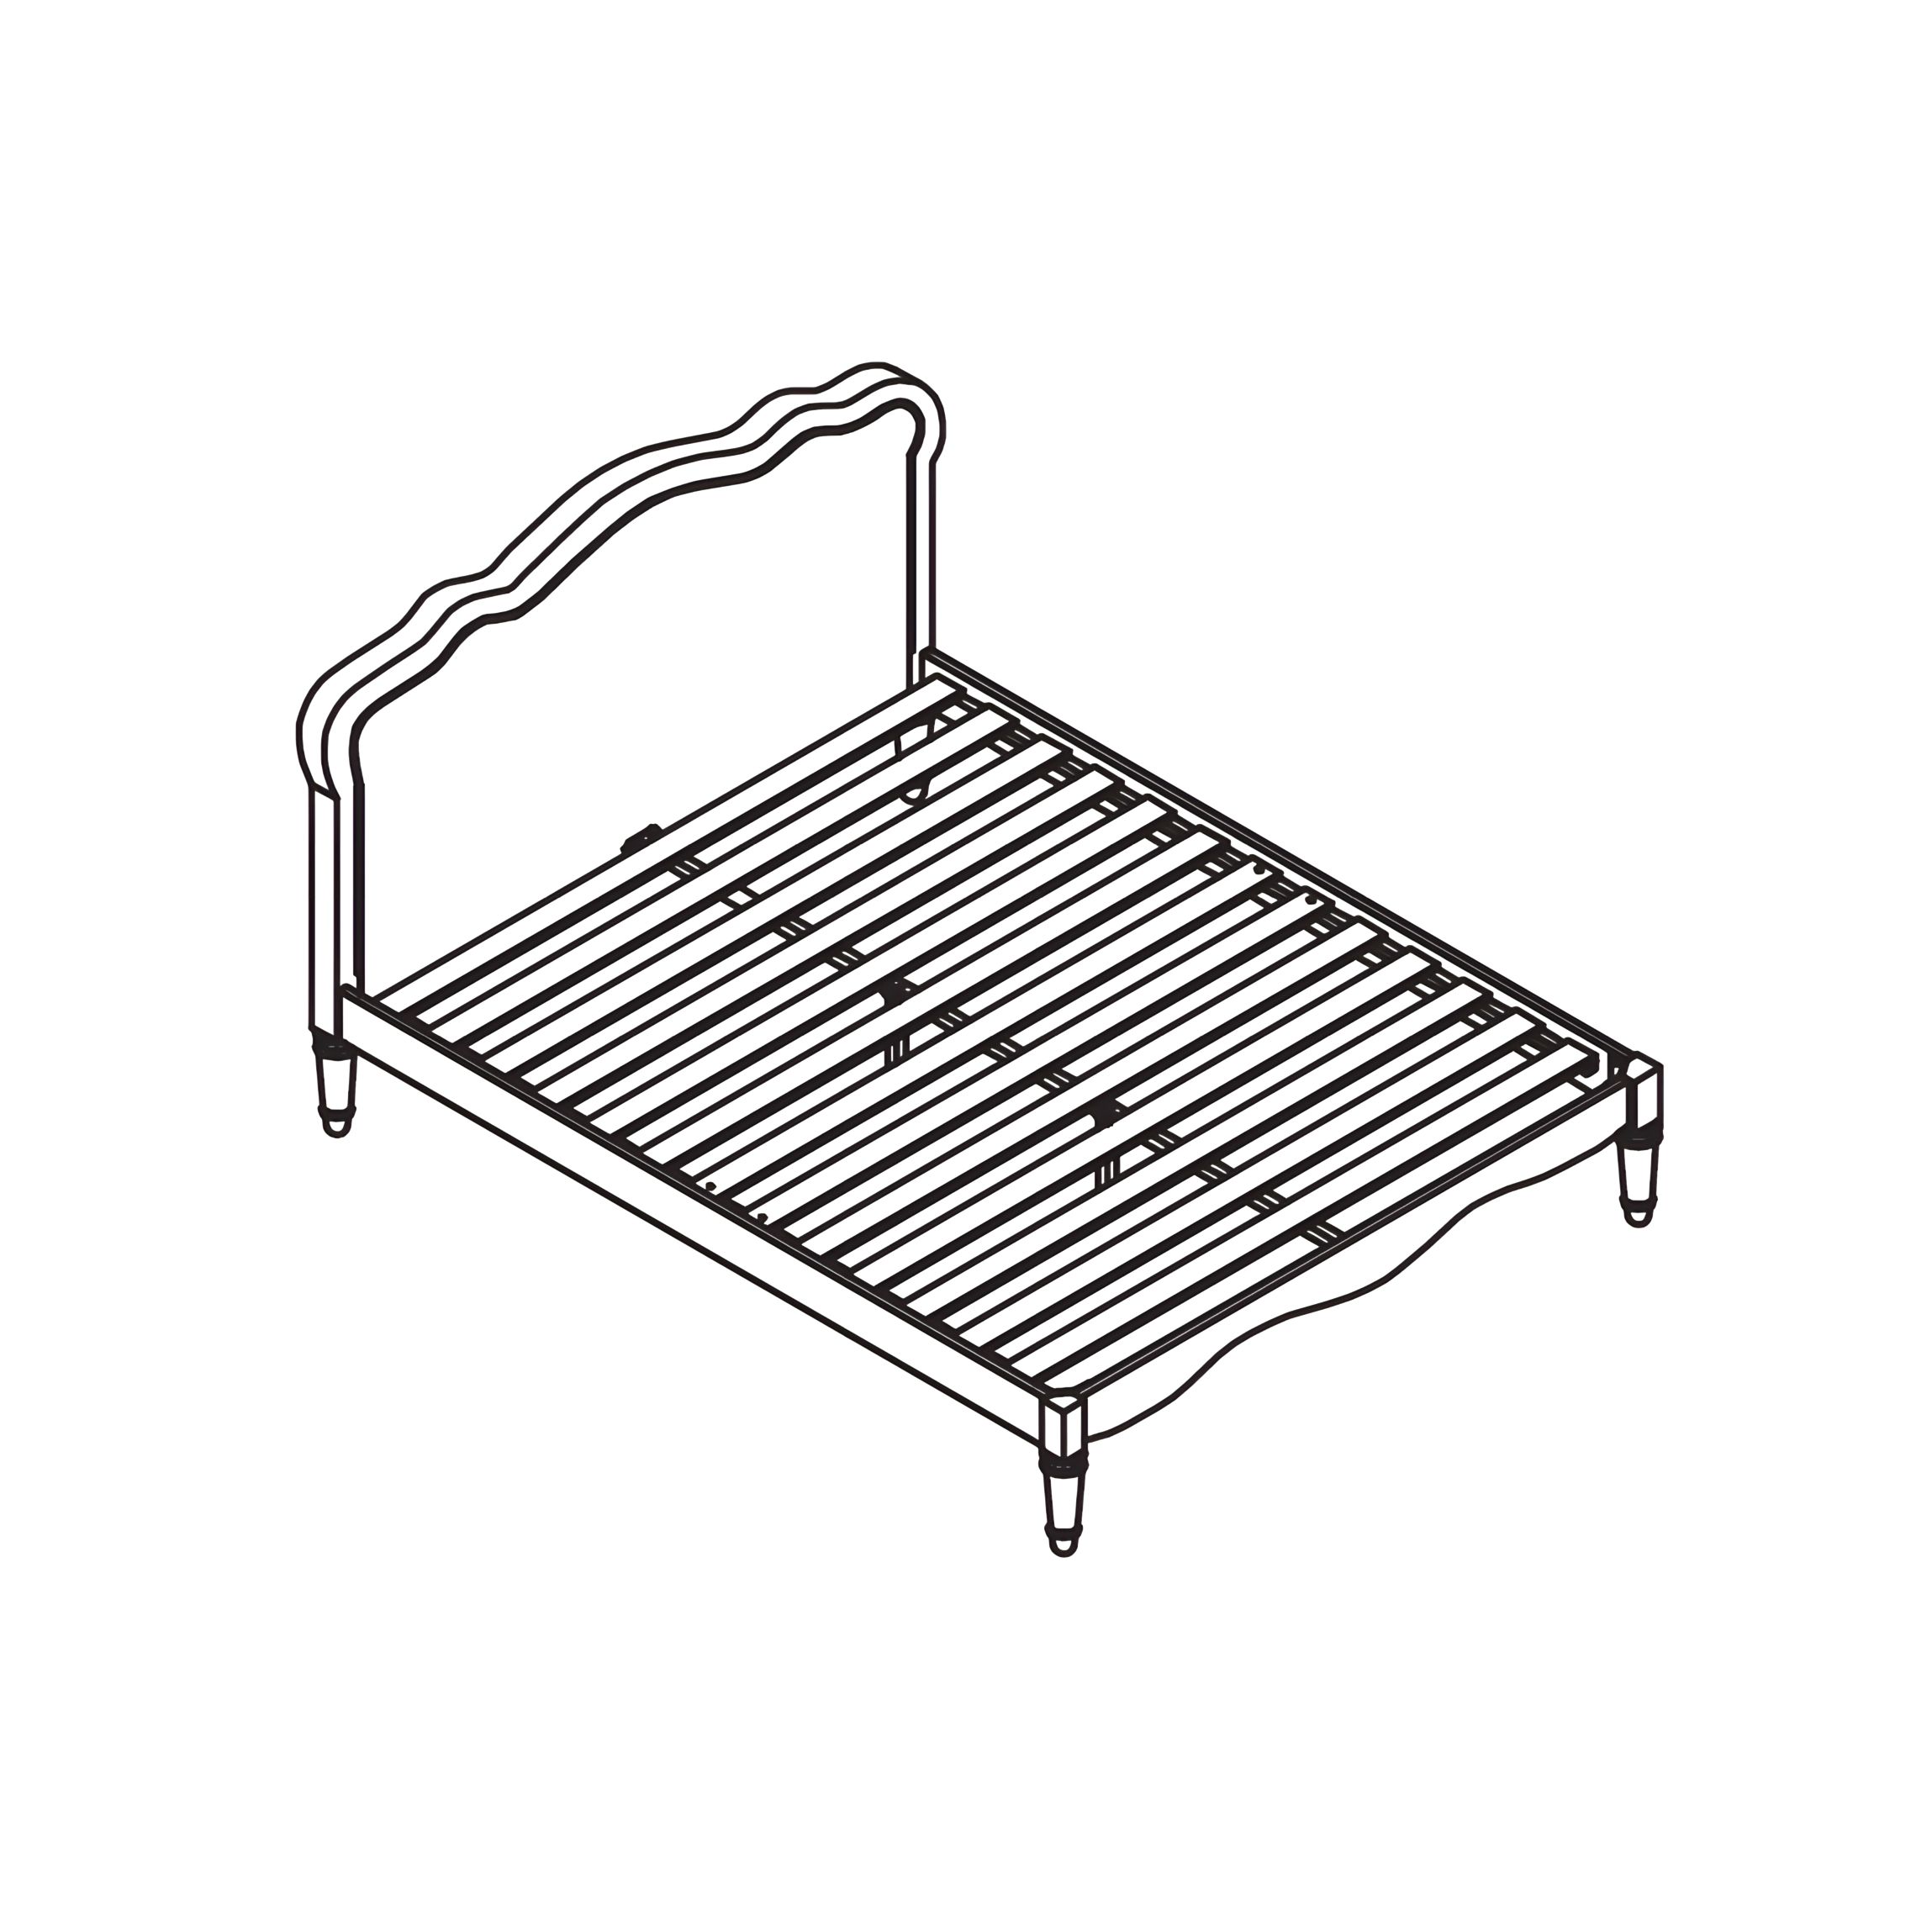


1. Attach Side Rails to Footboard
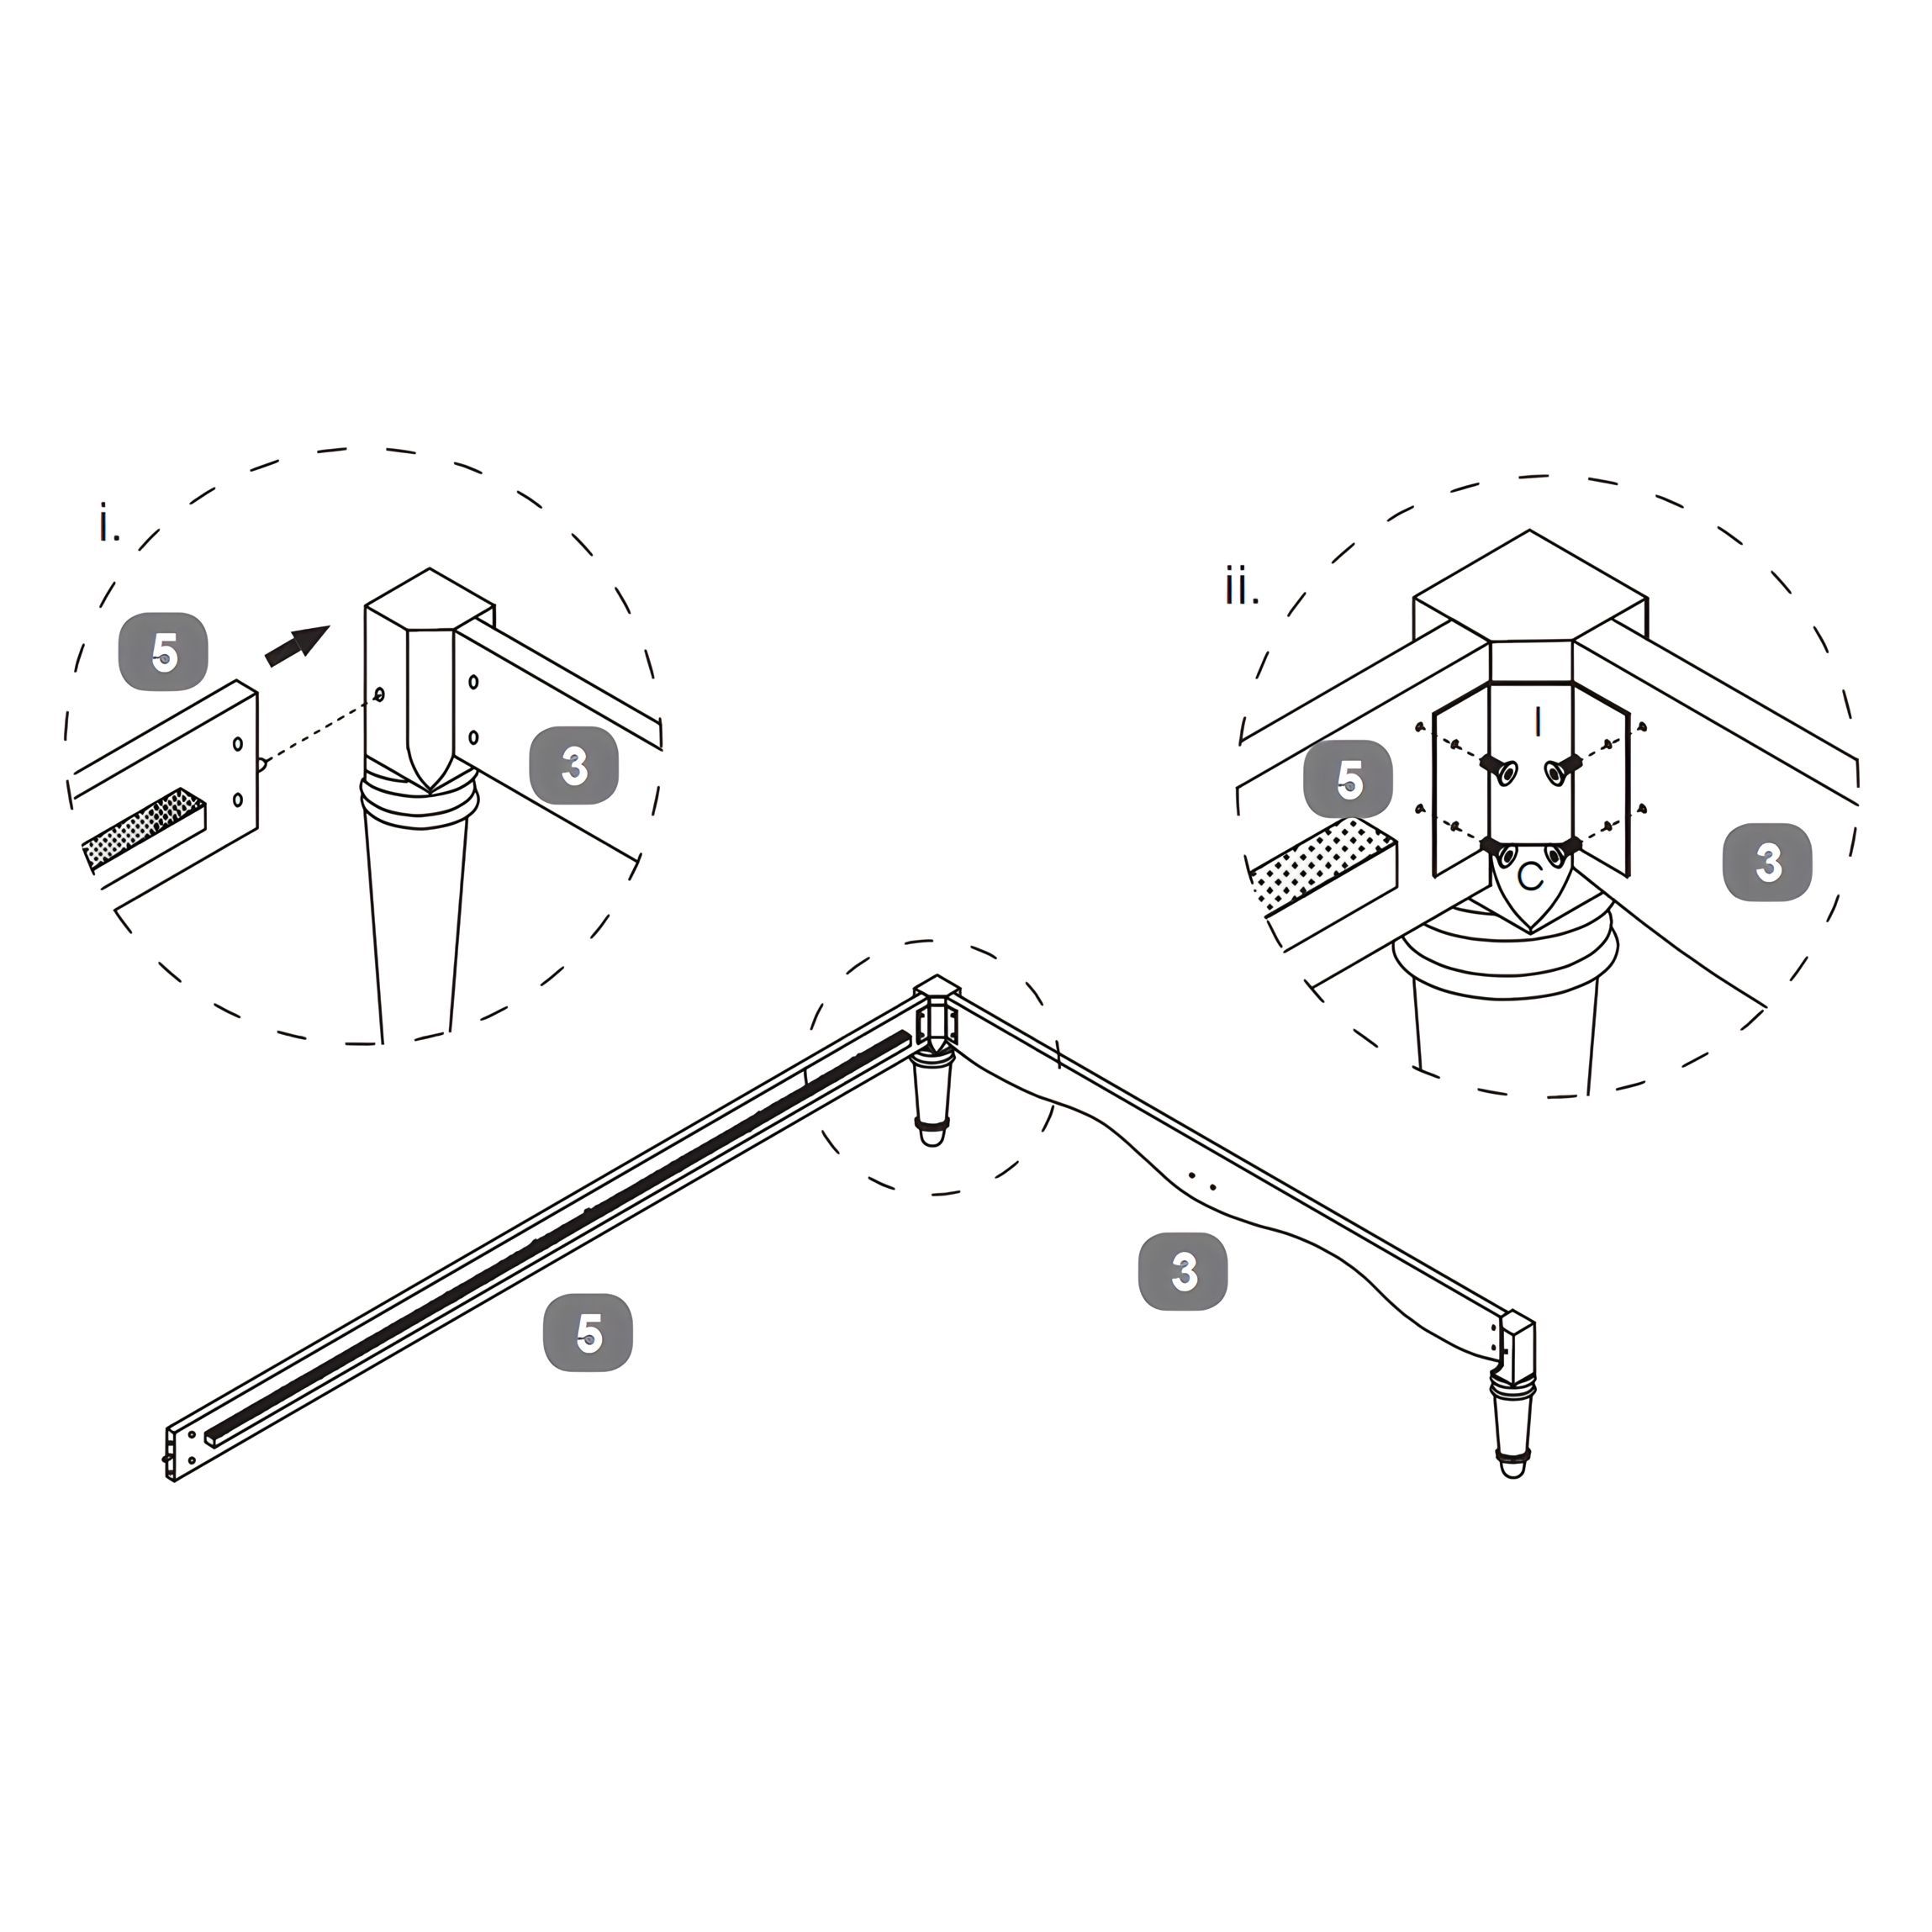
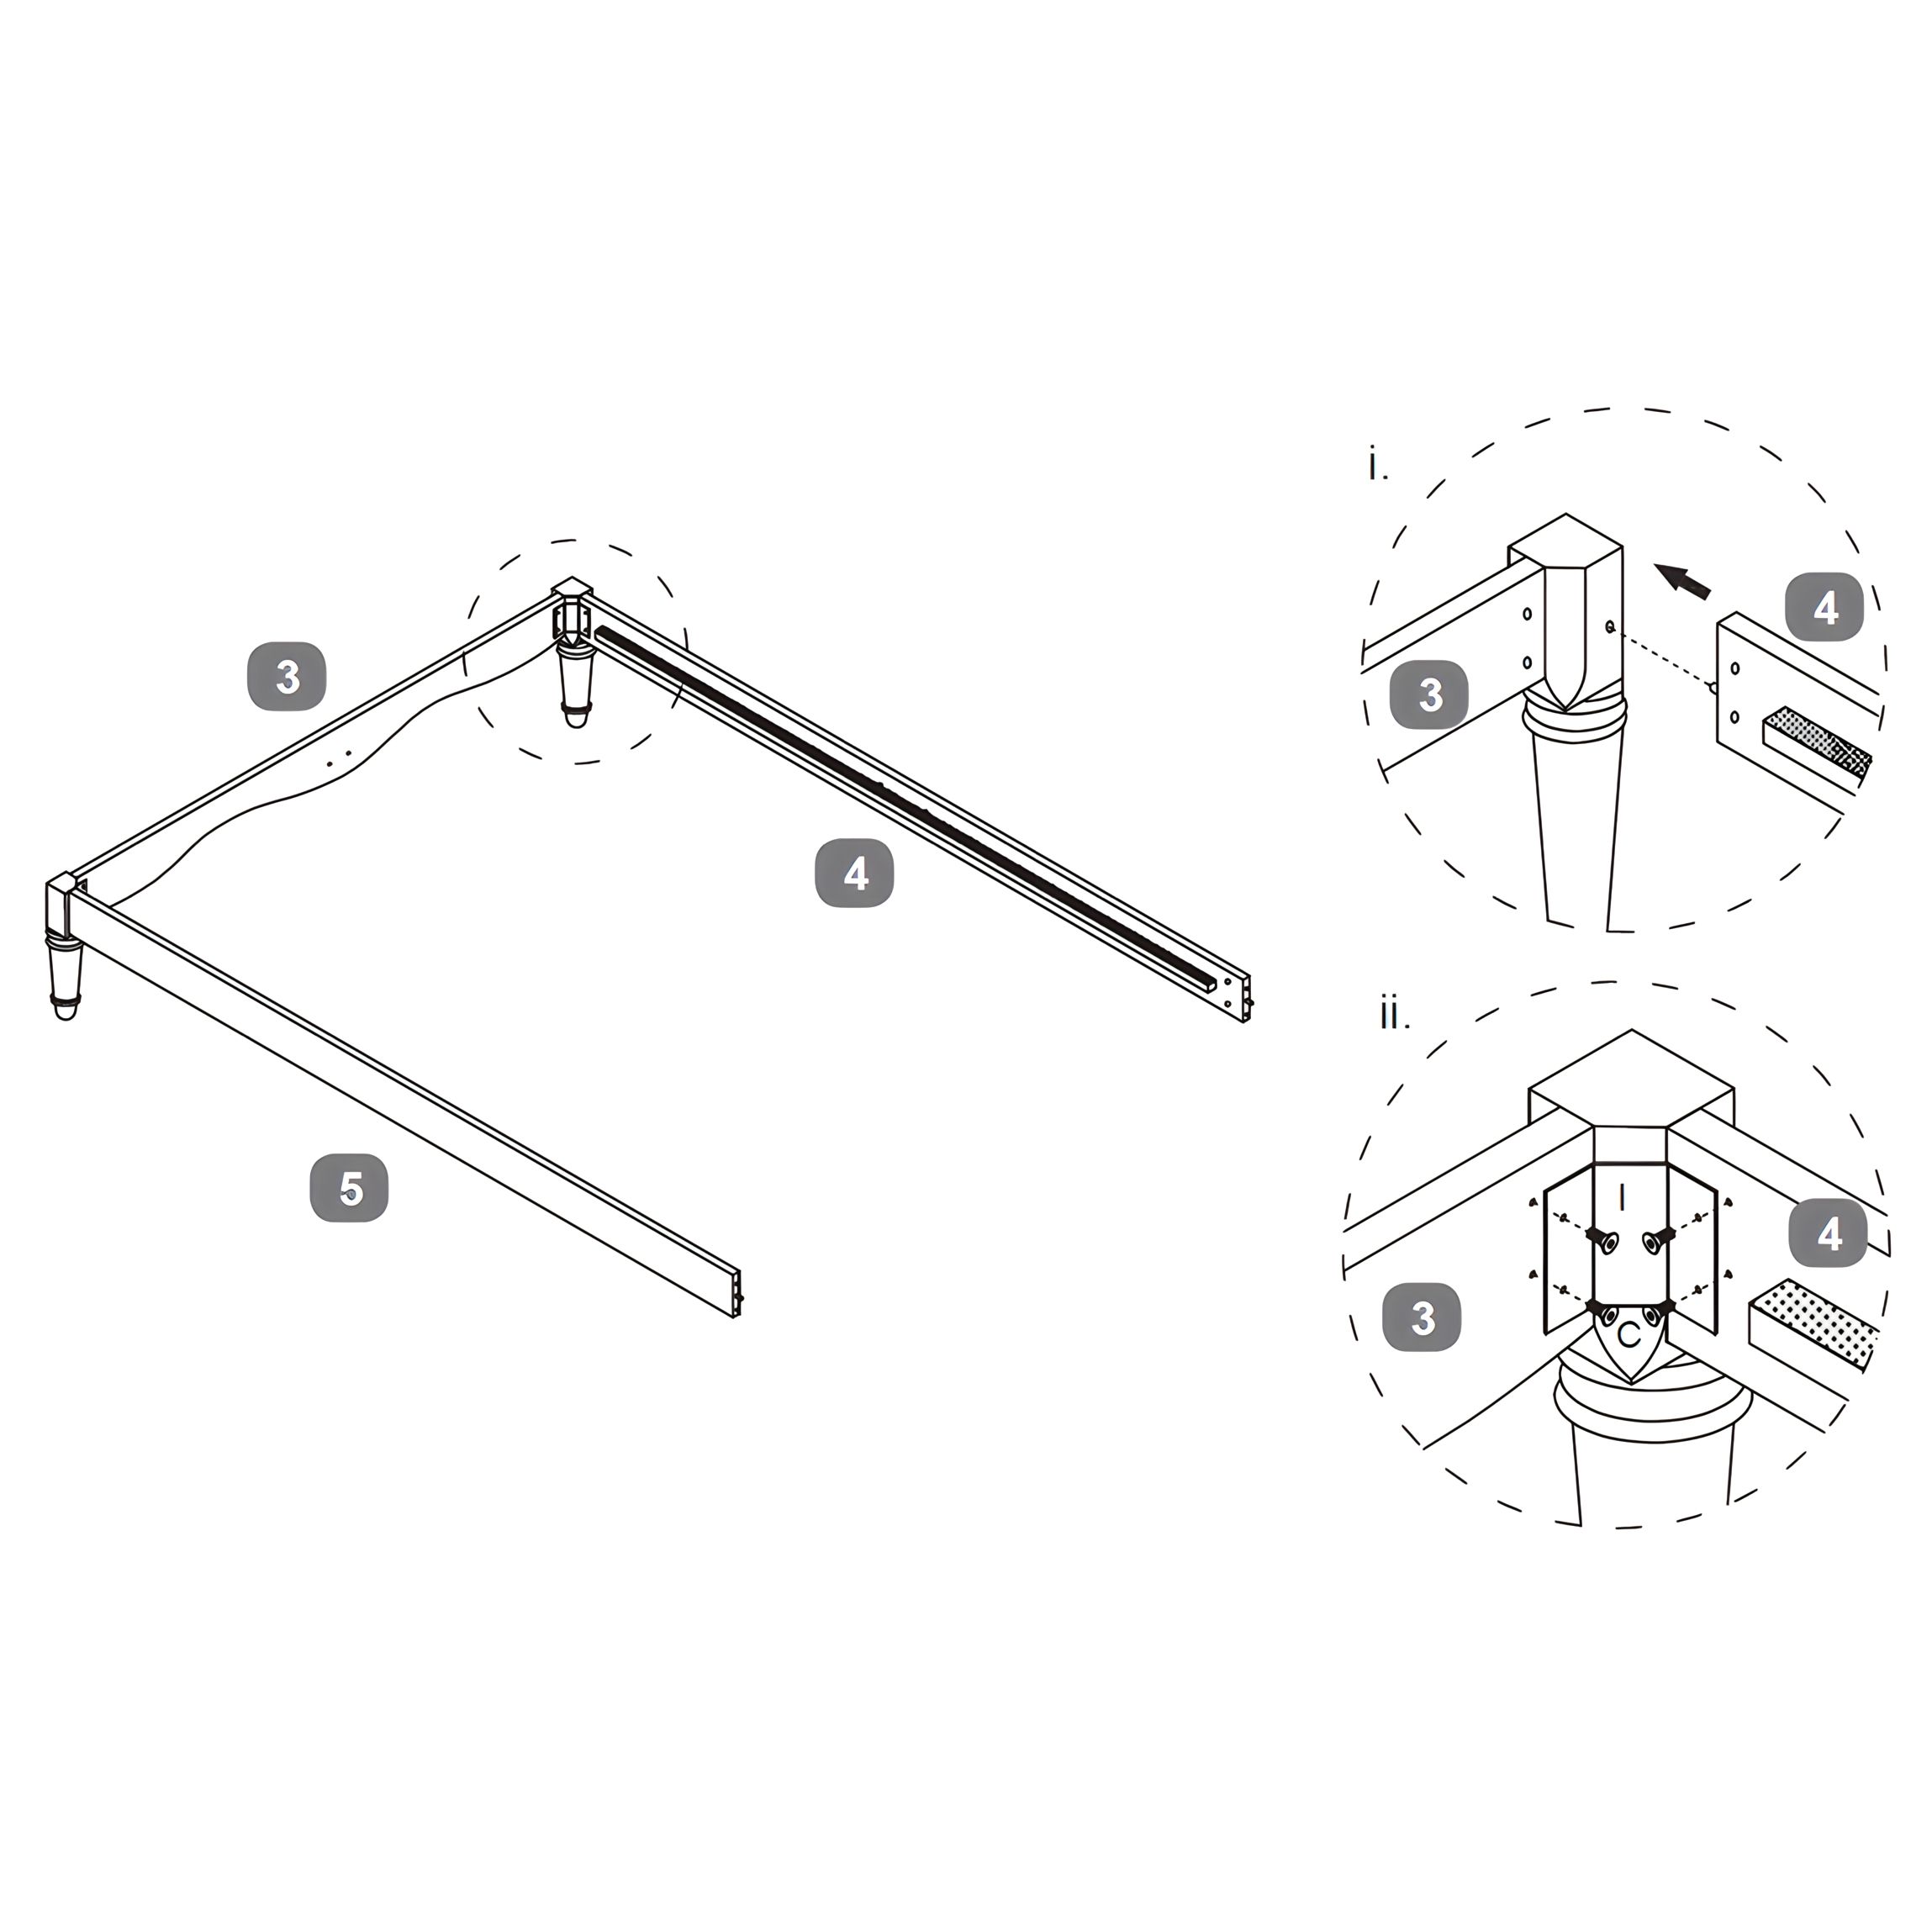
1. Align the Side Rail – RH (5) with the Footboard (3) as shown in the diagram.
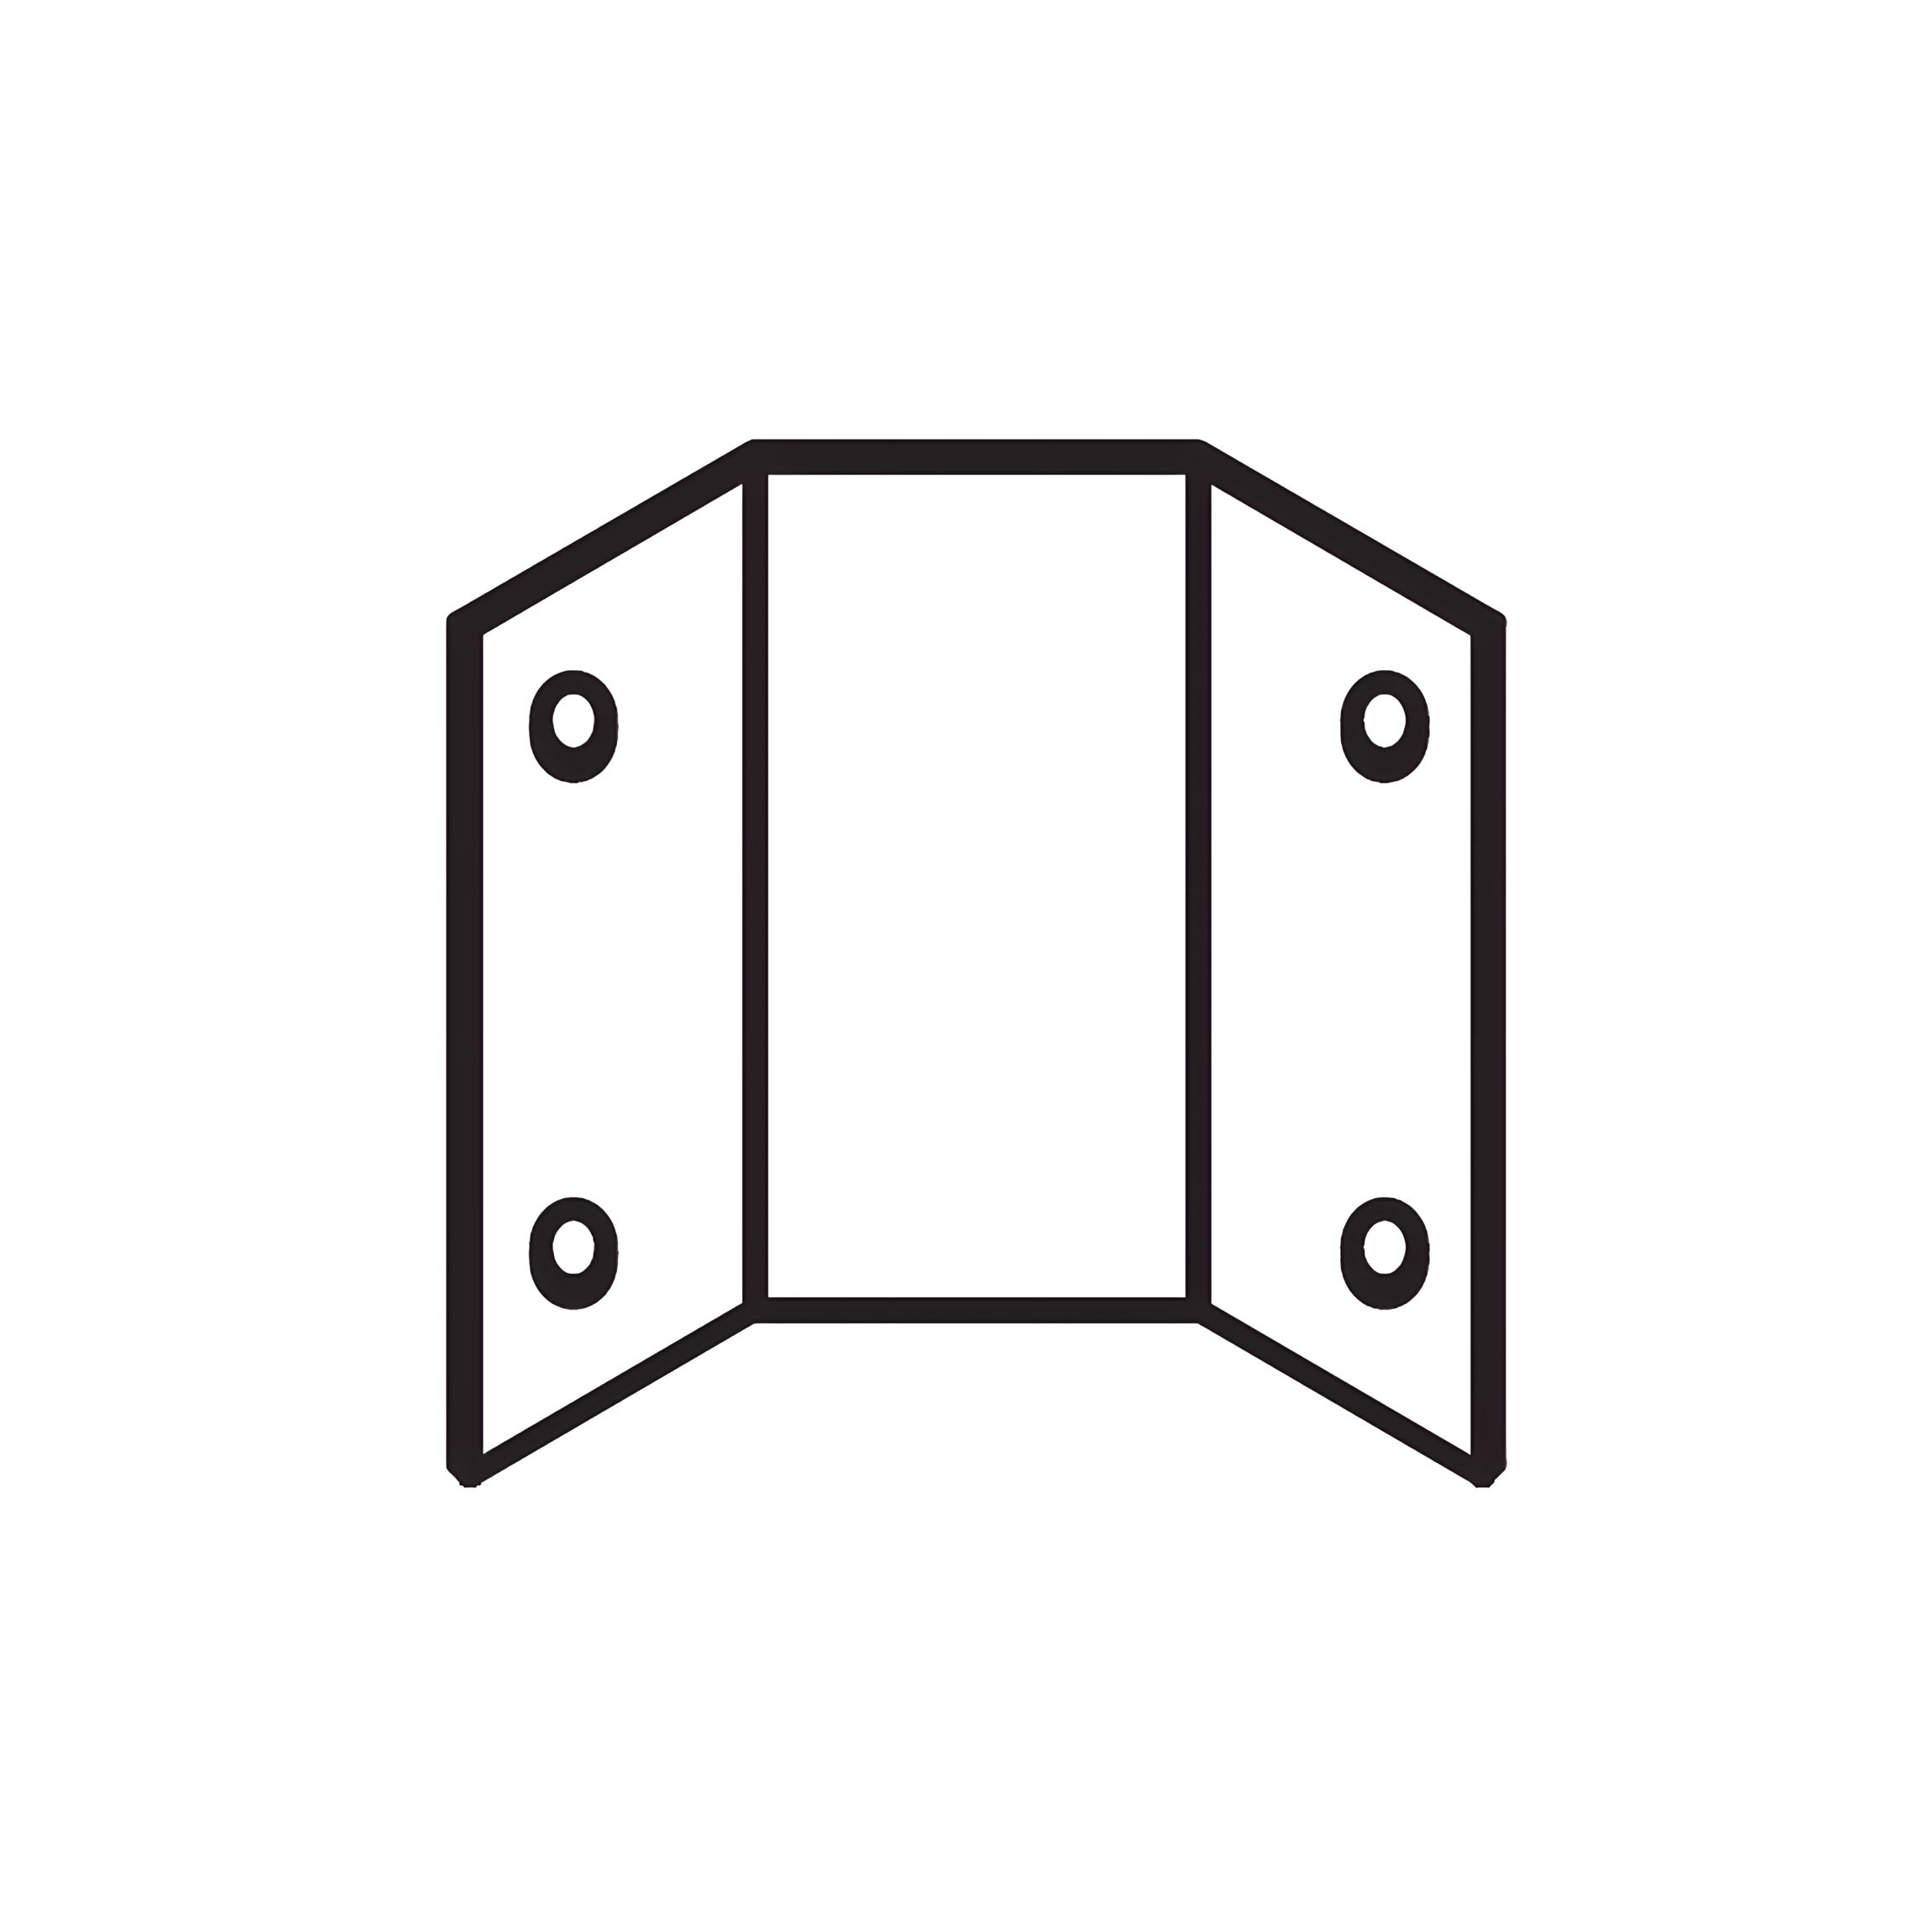
2. Place the bracket on the corner of the Side Rail – RH (5) and the Footboard (3).
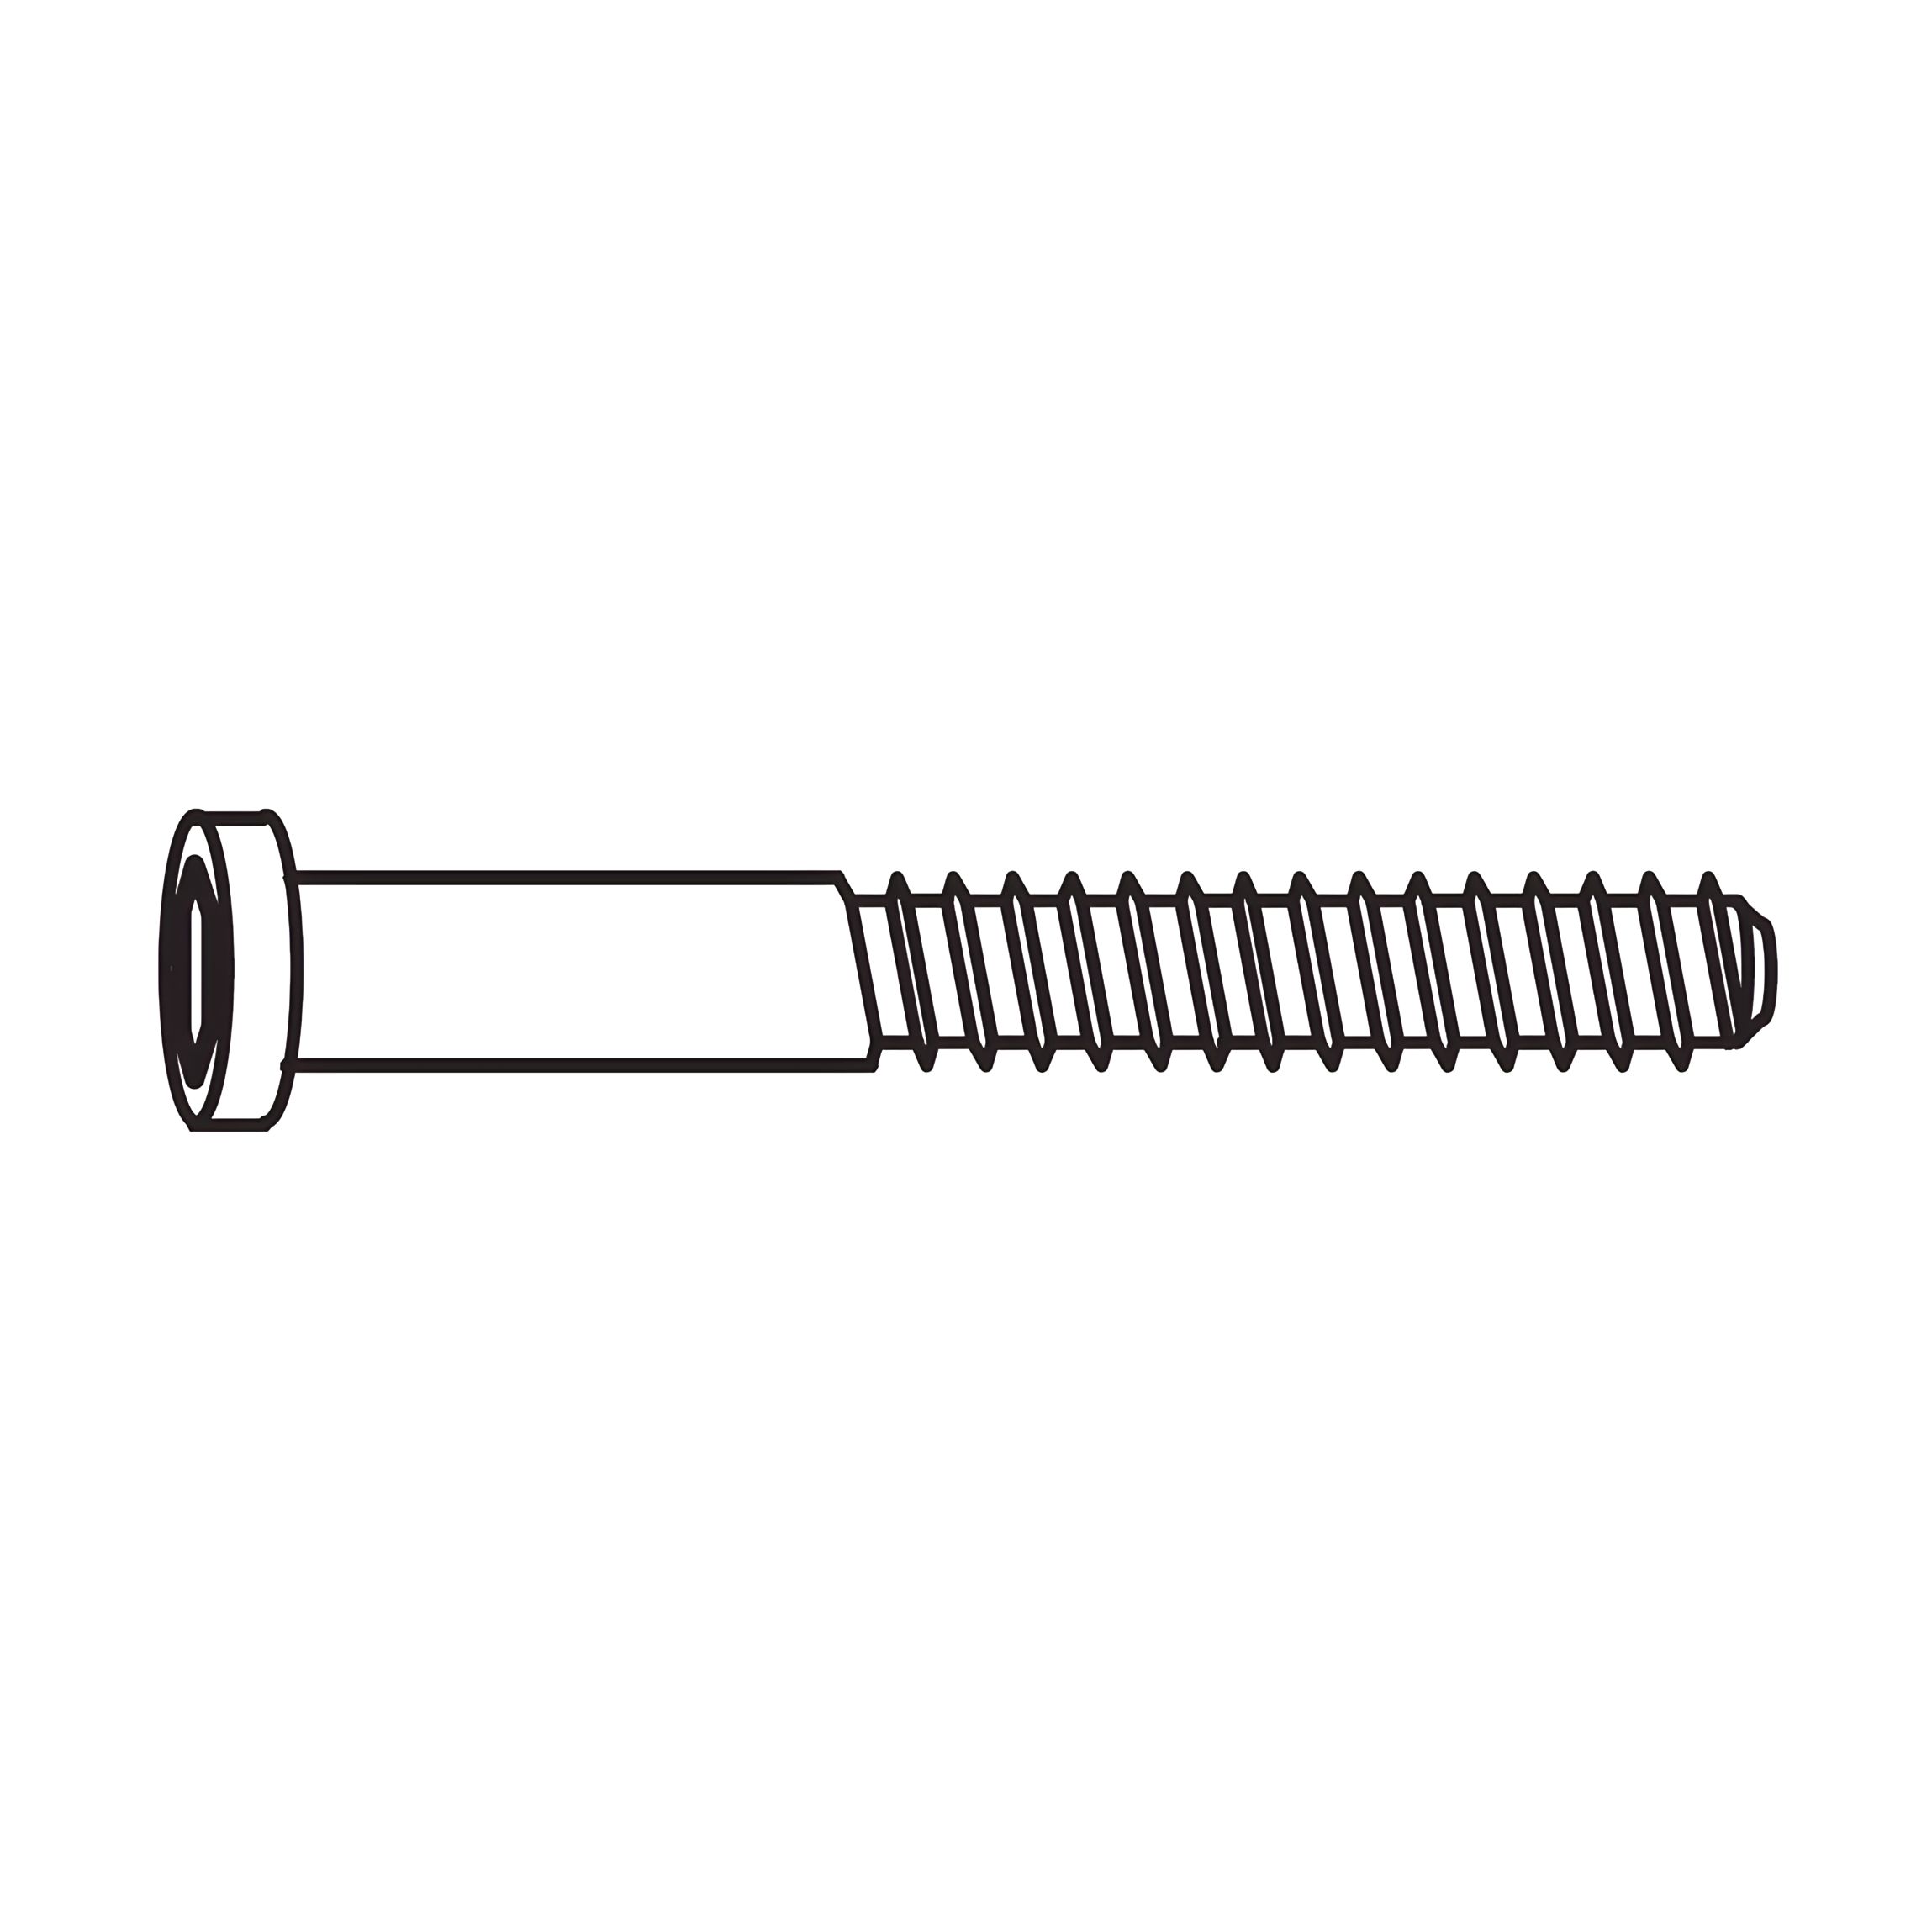
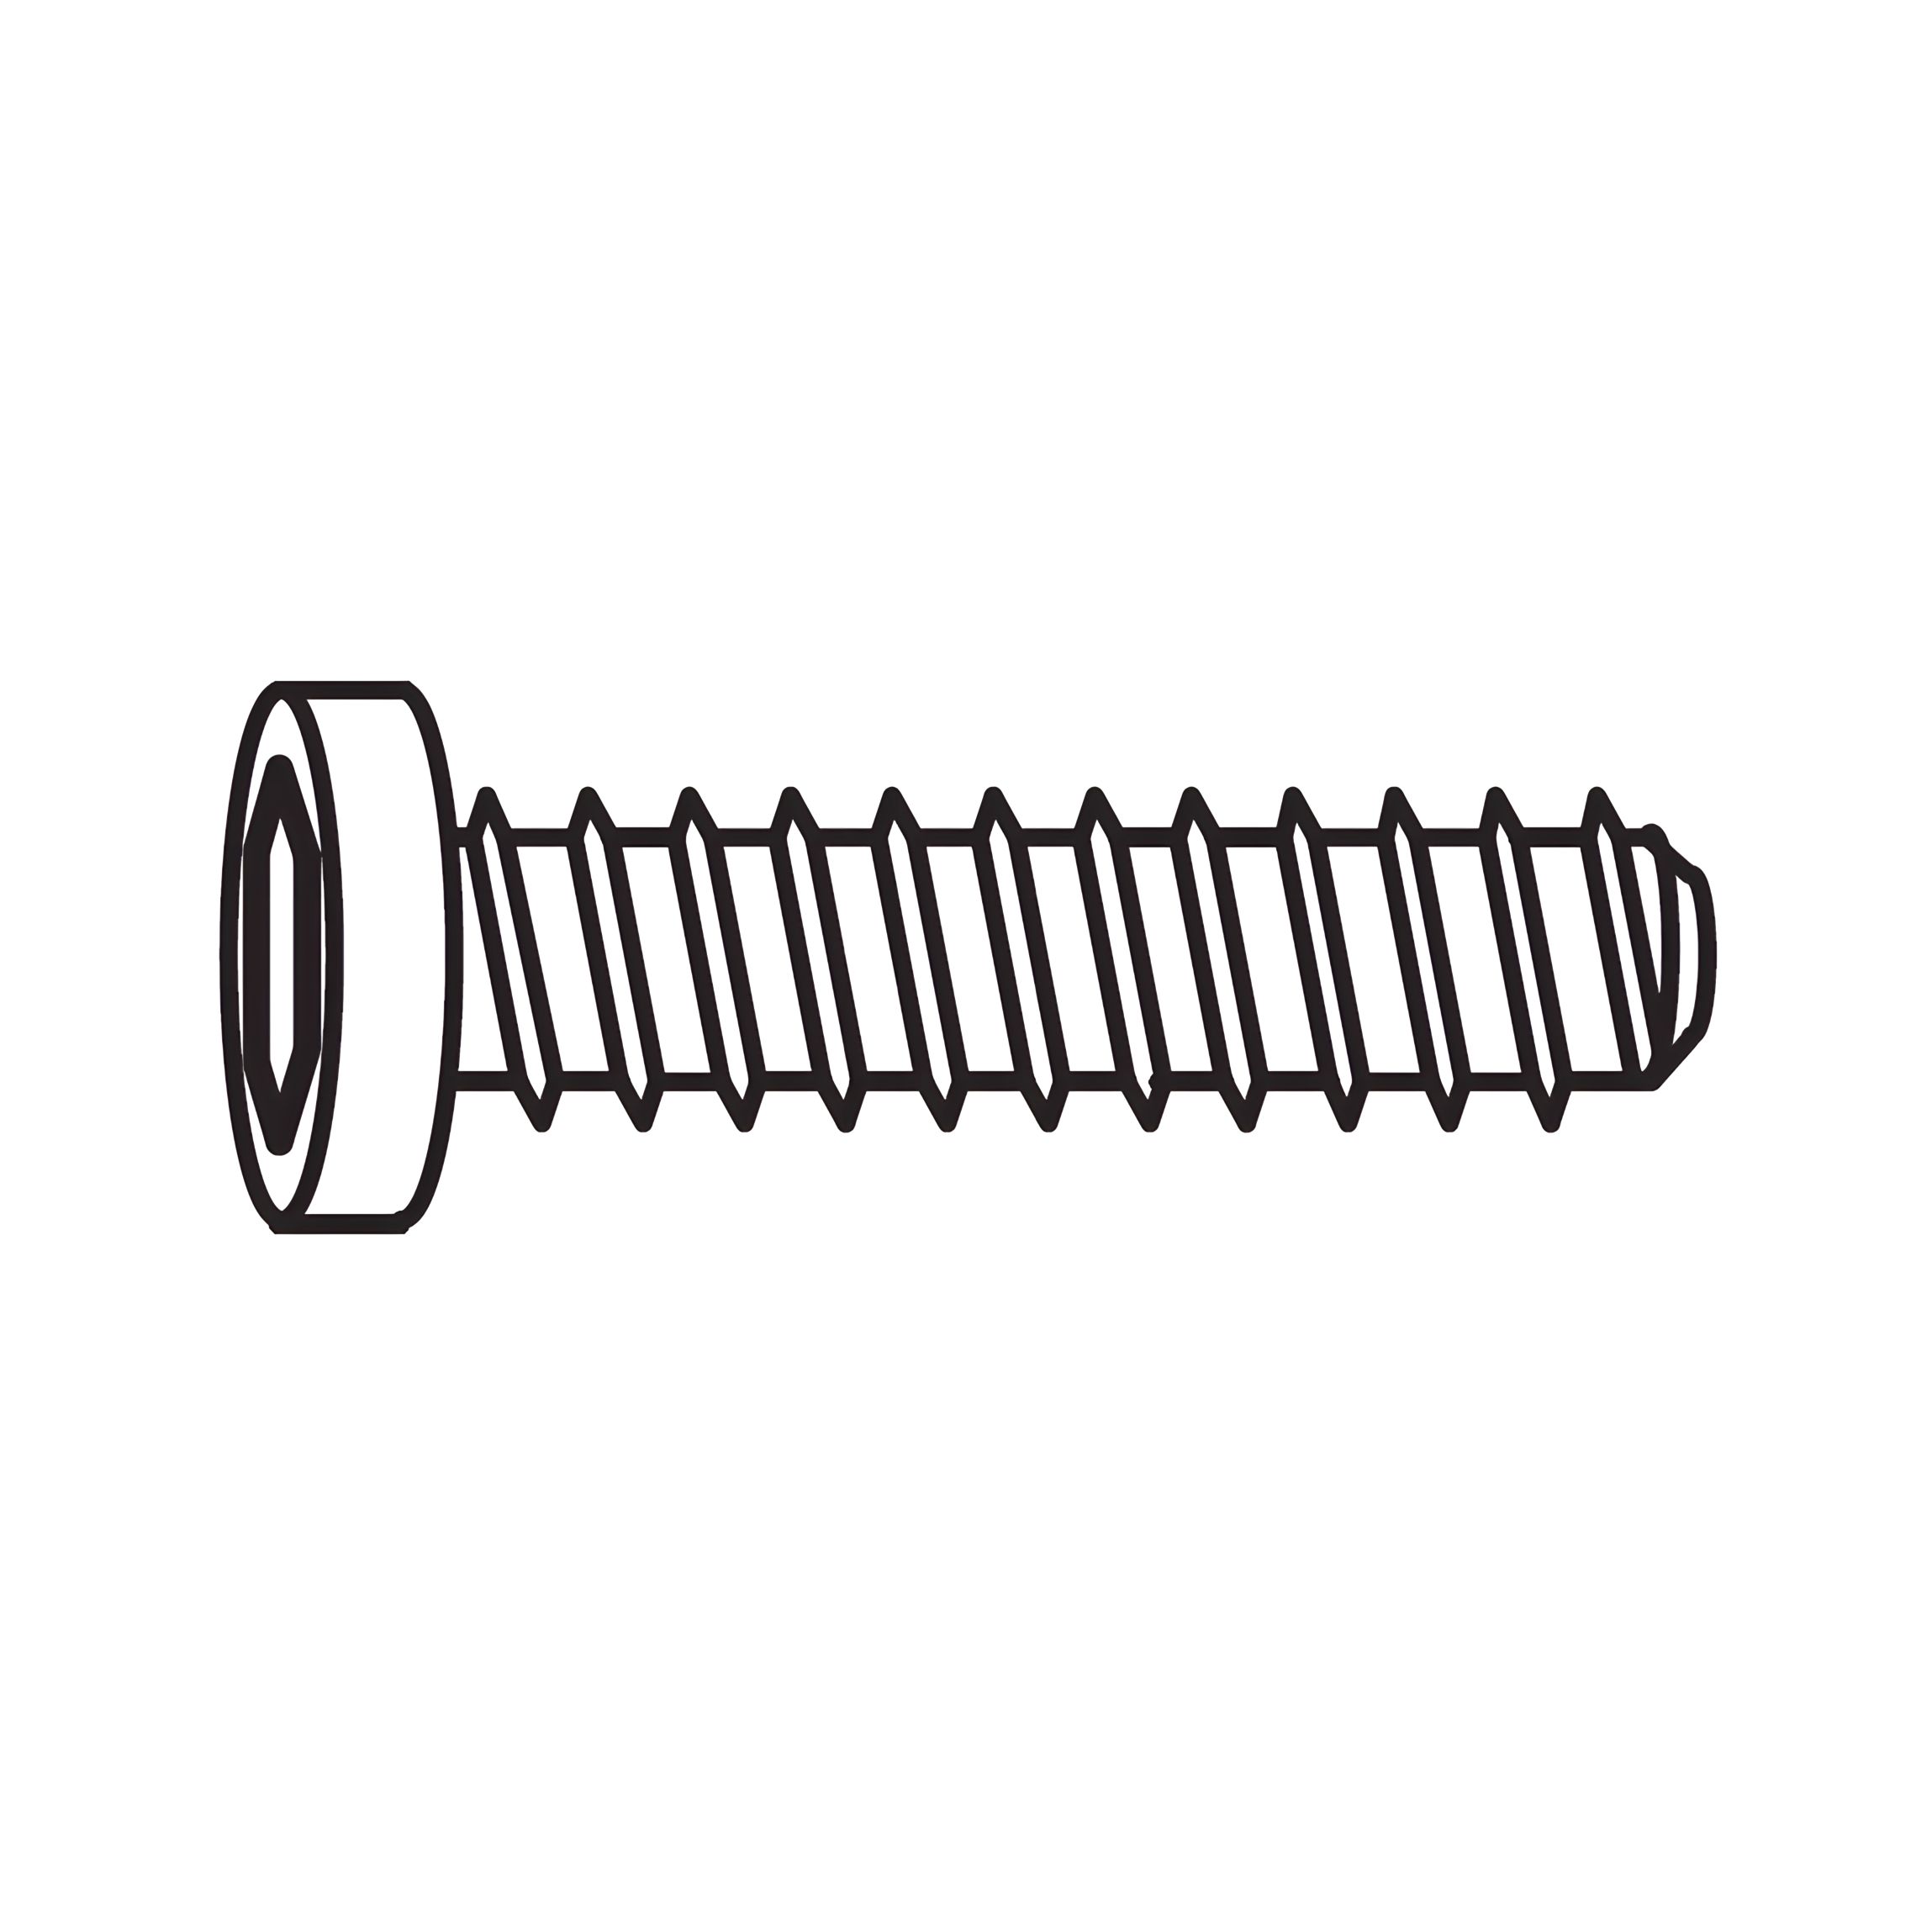
3. Secure the connection by inserting Bolt (C) through the bracket holes and into the Side Rail – RH (5) and Footboard (3).
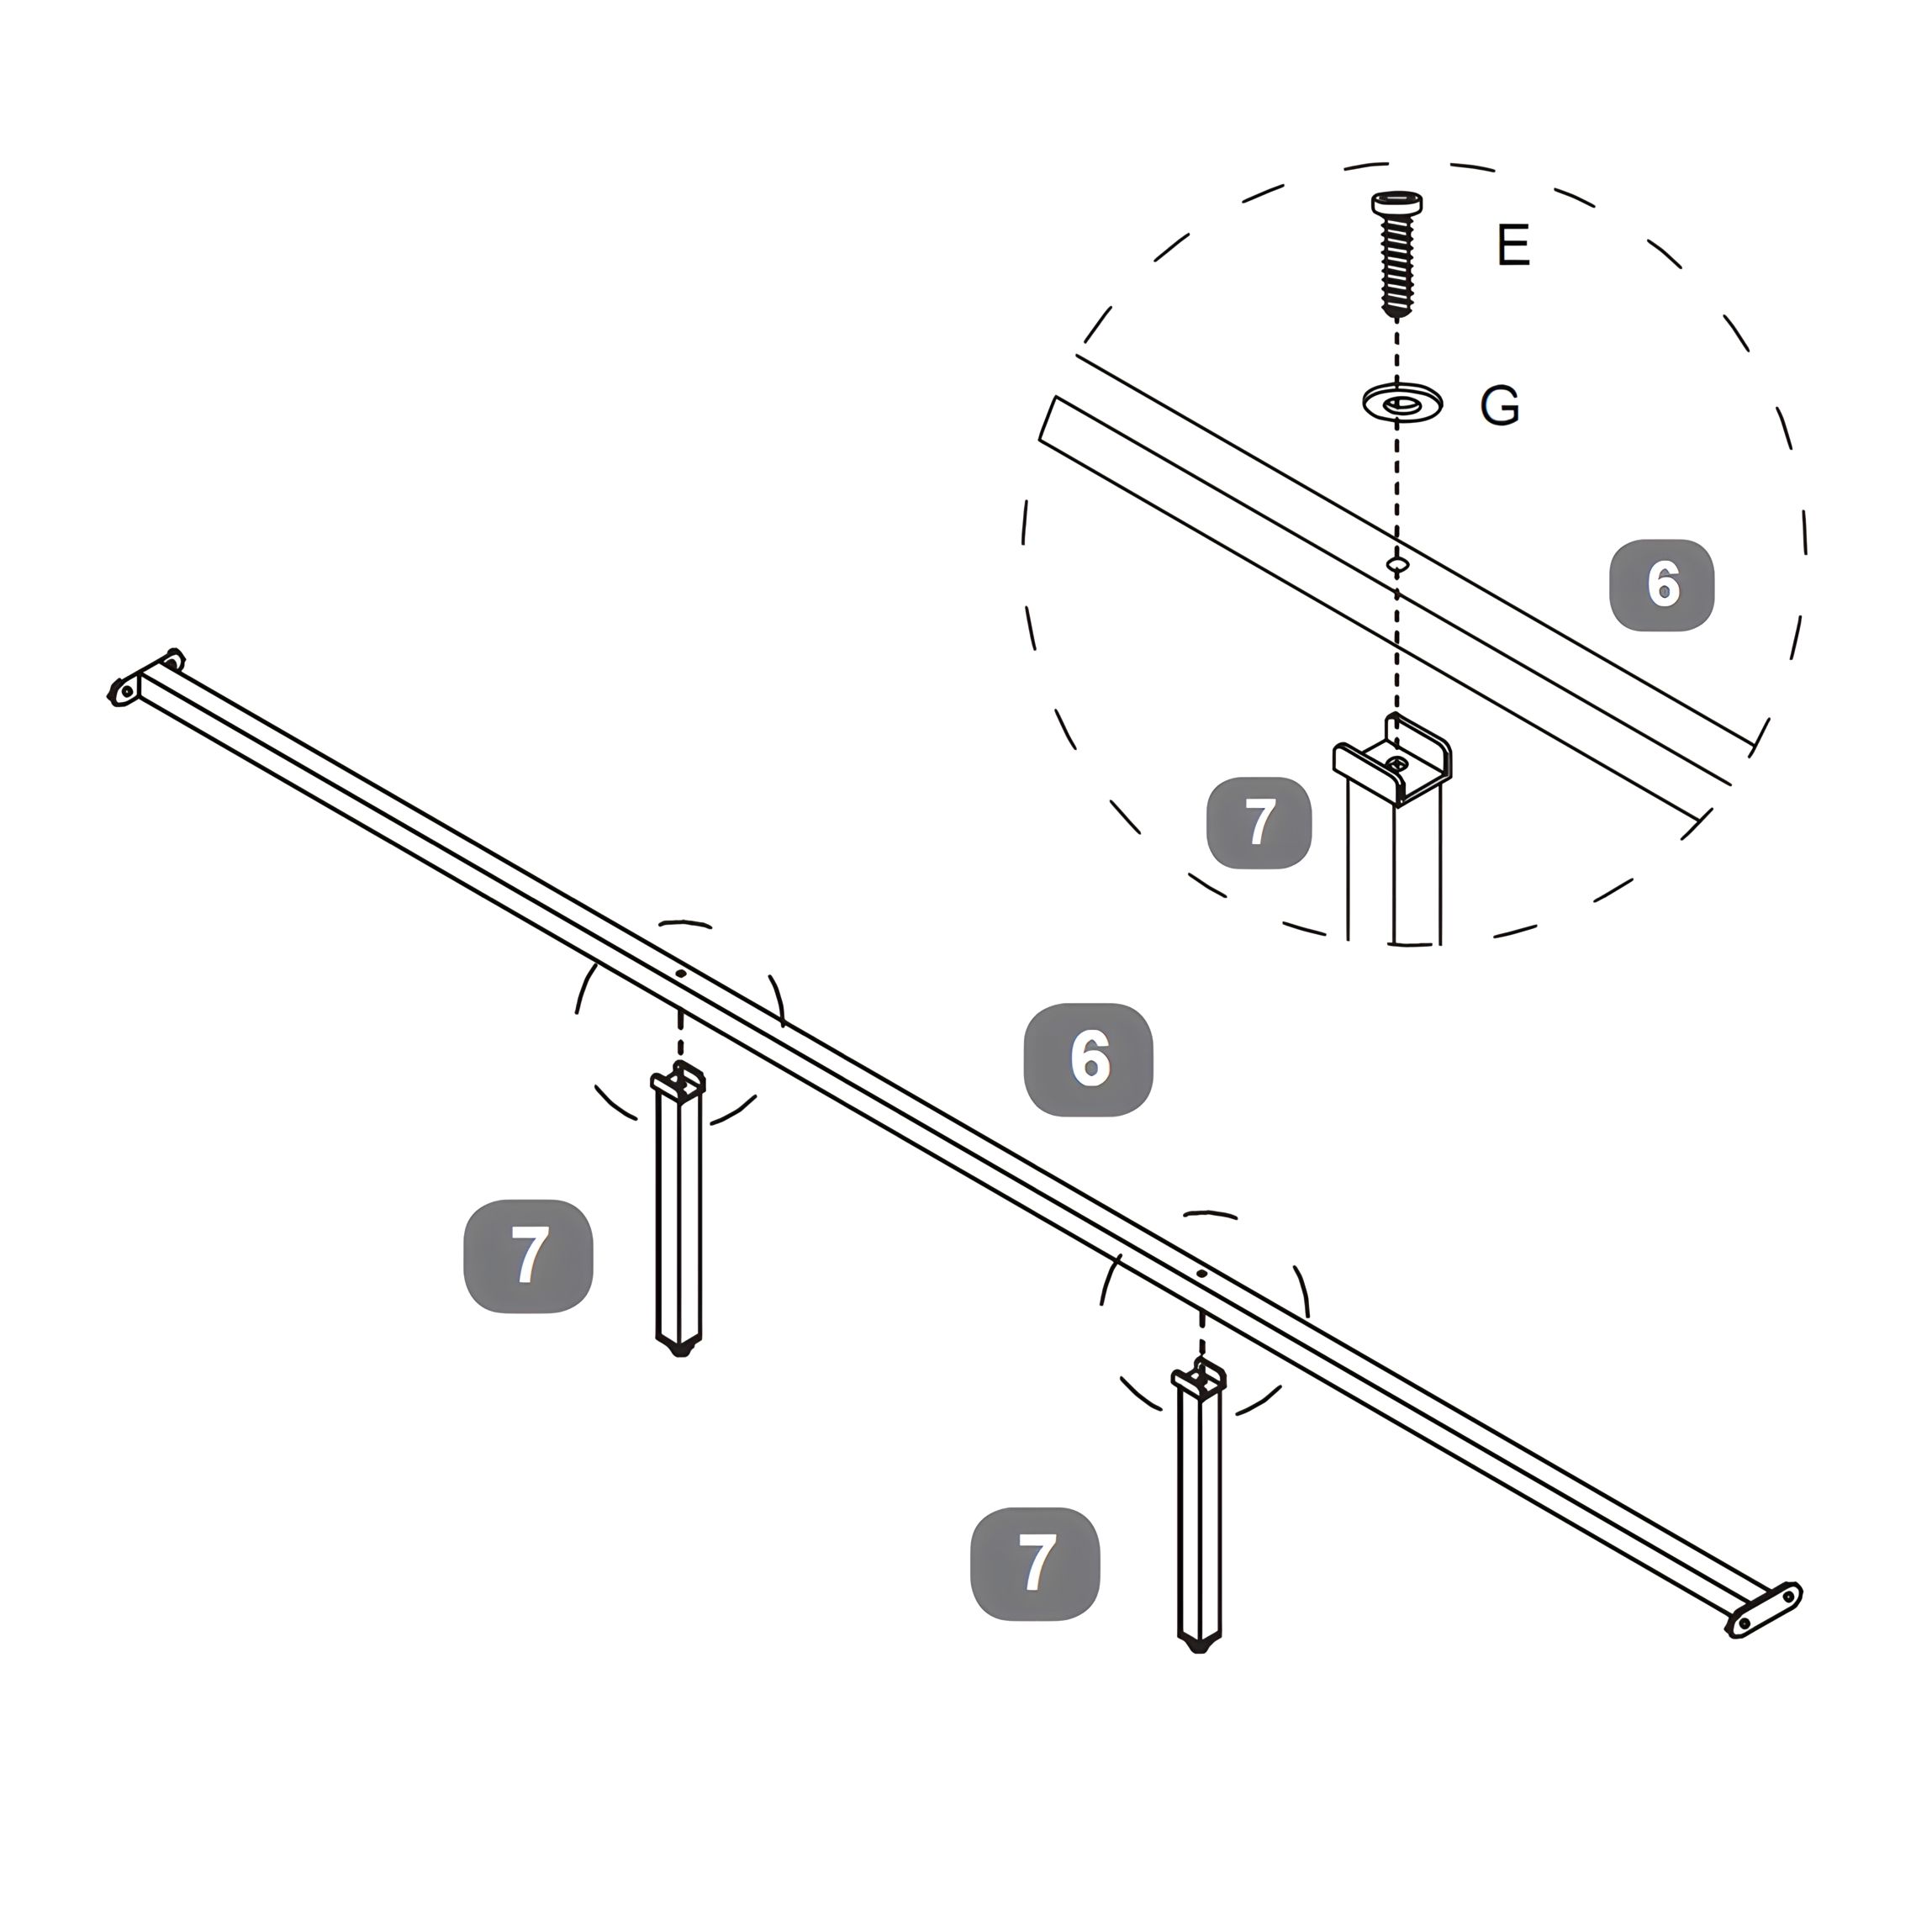
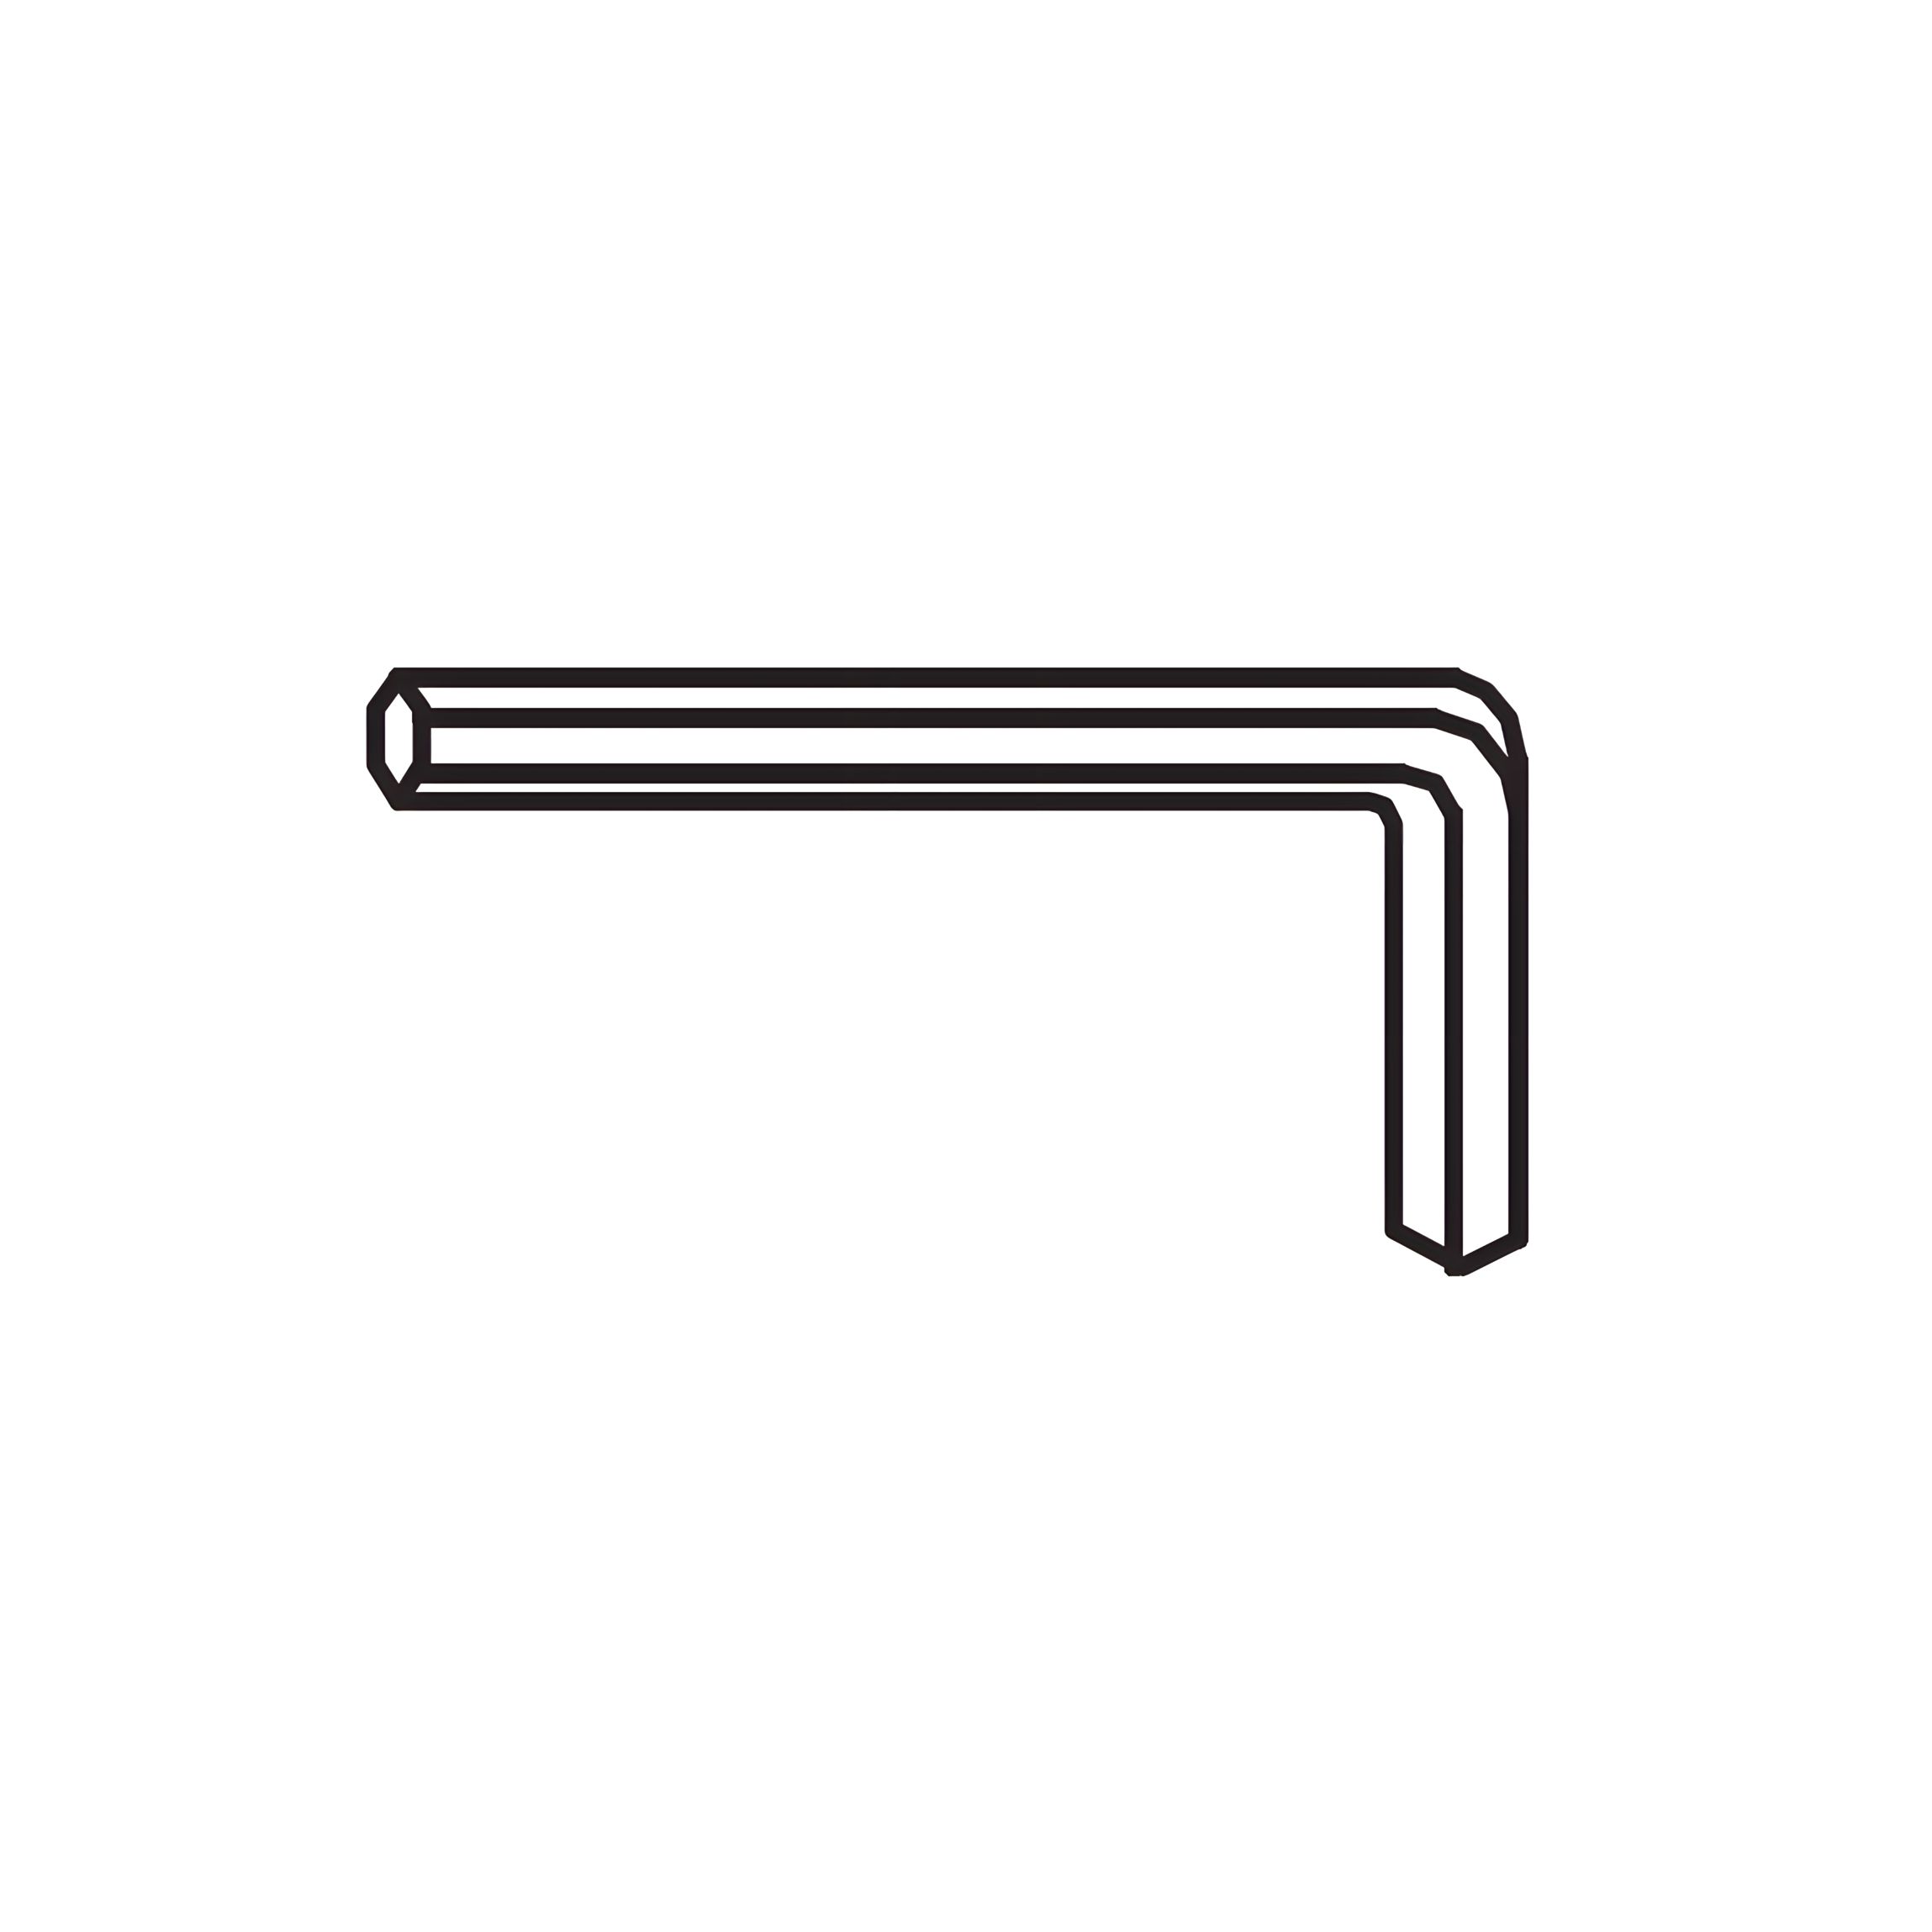
4. Tighten the bolt using the Allen Wrench (G) to ensure a firm connection.