Maya Winged Ottoman Bed (02 Feb. 2026, 10:04:07.216)
Assembly instructions for Maya Winged Ottoman Bed by Time4Sleep.
Product Information
Maya Winged Ottoman Natural - Bed Frame Only
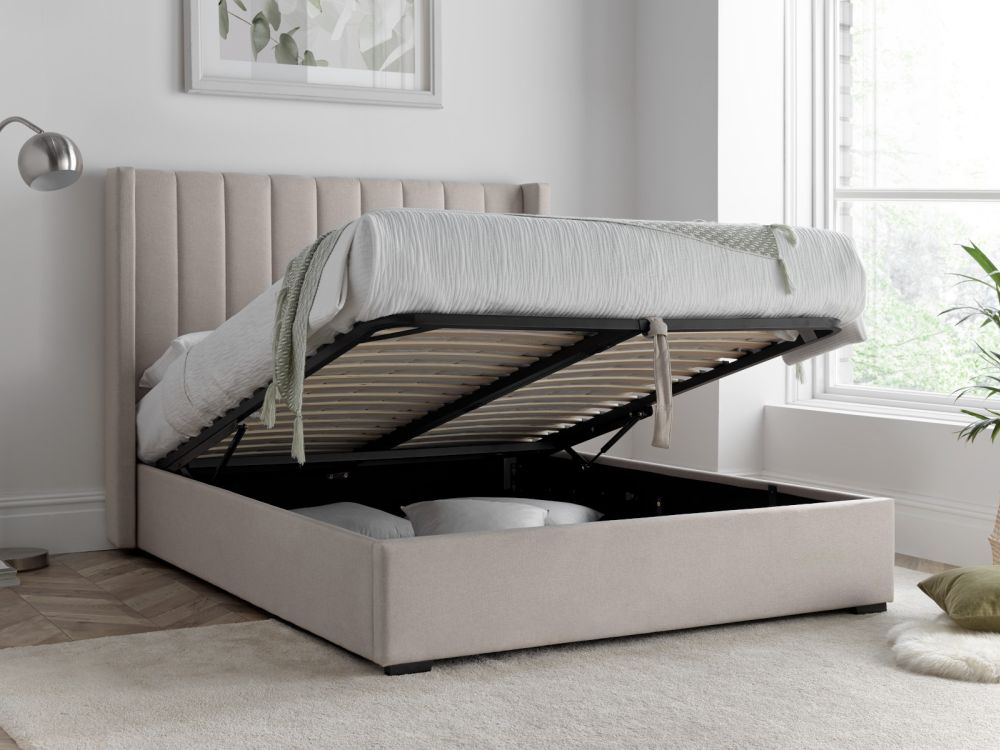
Embrace tranquillity and functionality with the Maya Winged Ottoman Bed in Natural. This luxurious bed features a plush, upholstered headboard in a calming natural hue, accented with a stylish line design that adds a touch of modern flair to your bedroom. The winged sides provide a sense of enclosure and create a cosy sleeping haven. But the Maya's true magic lies beneath. Lift the ottoman base with its easy-access gas lift mechanism to reveal a generous 25cm deep storage compartment, ideal for stowing away bulky blankets, off-season clothes, or anything else you need to keep out of sight. With ample under-bed clearance of approximately 15cm, the Maya Winged Ottoman Bed in Natural is a dream come true for those seeking both a serene aesthetic and practical storage solutions.
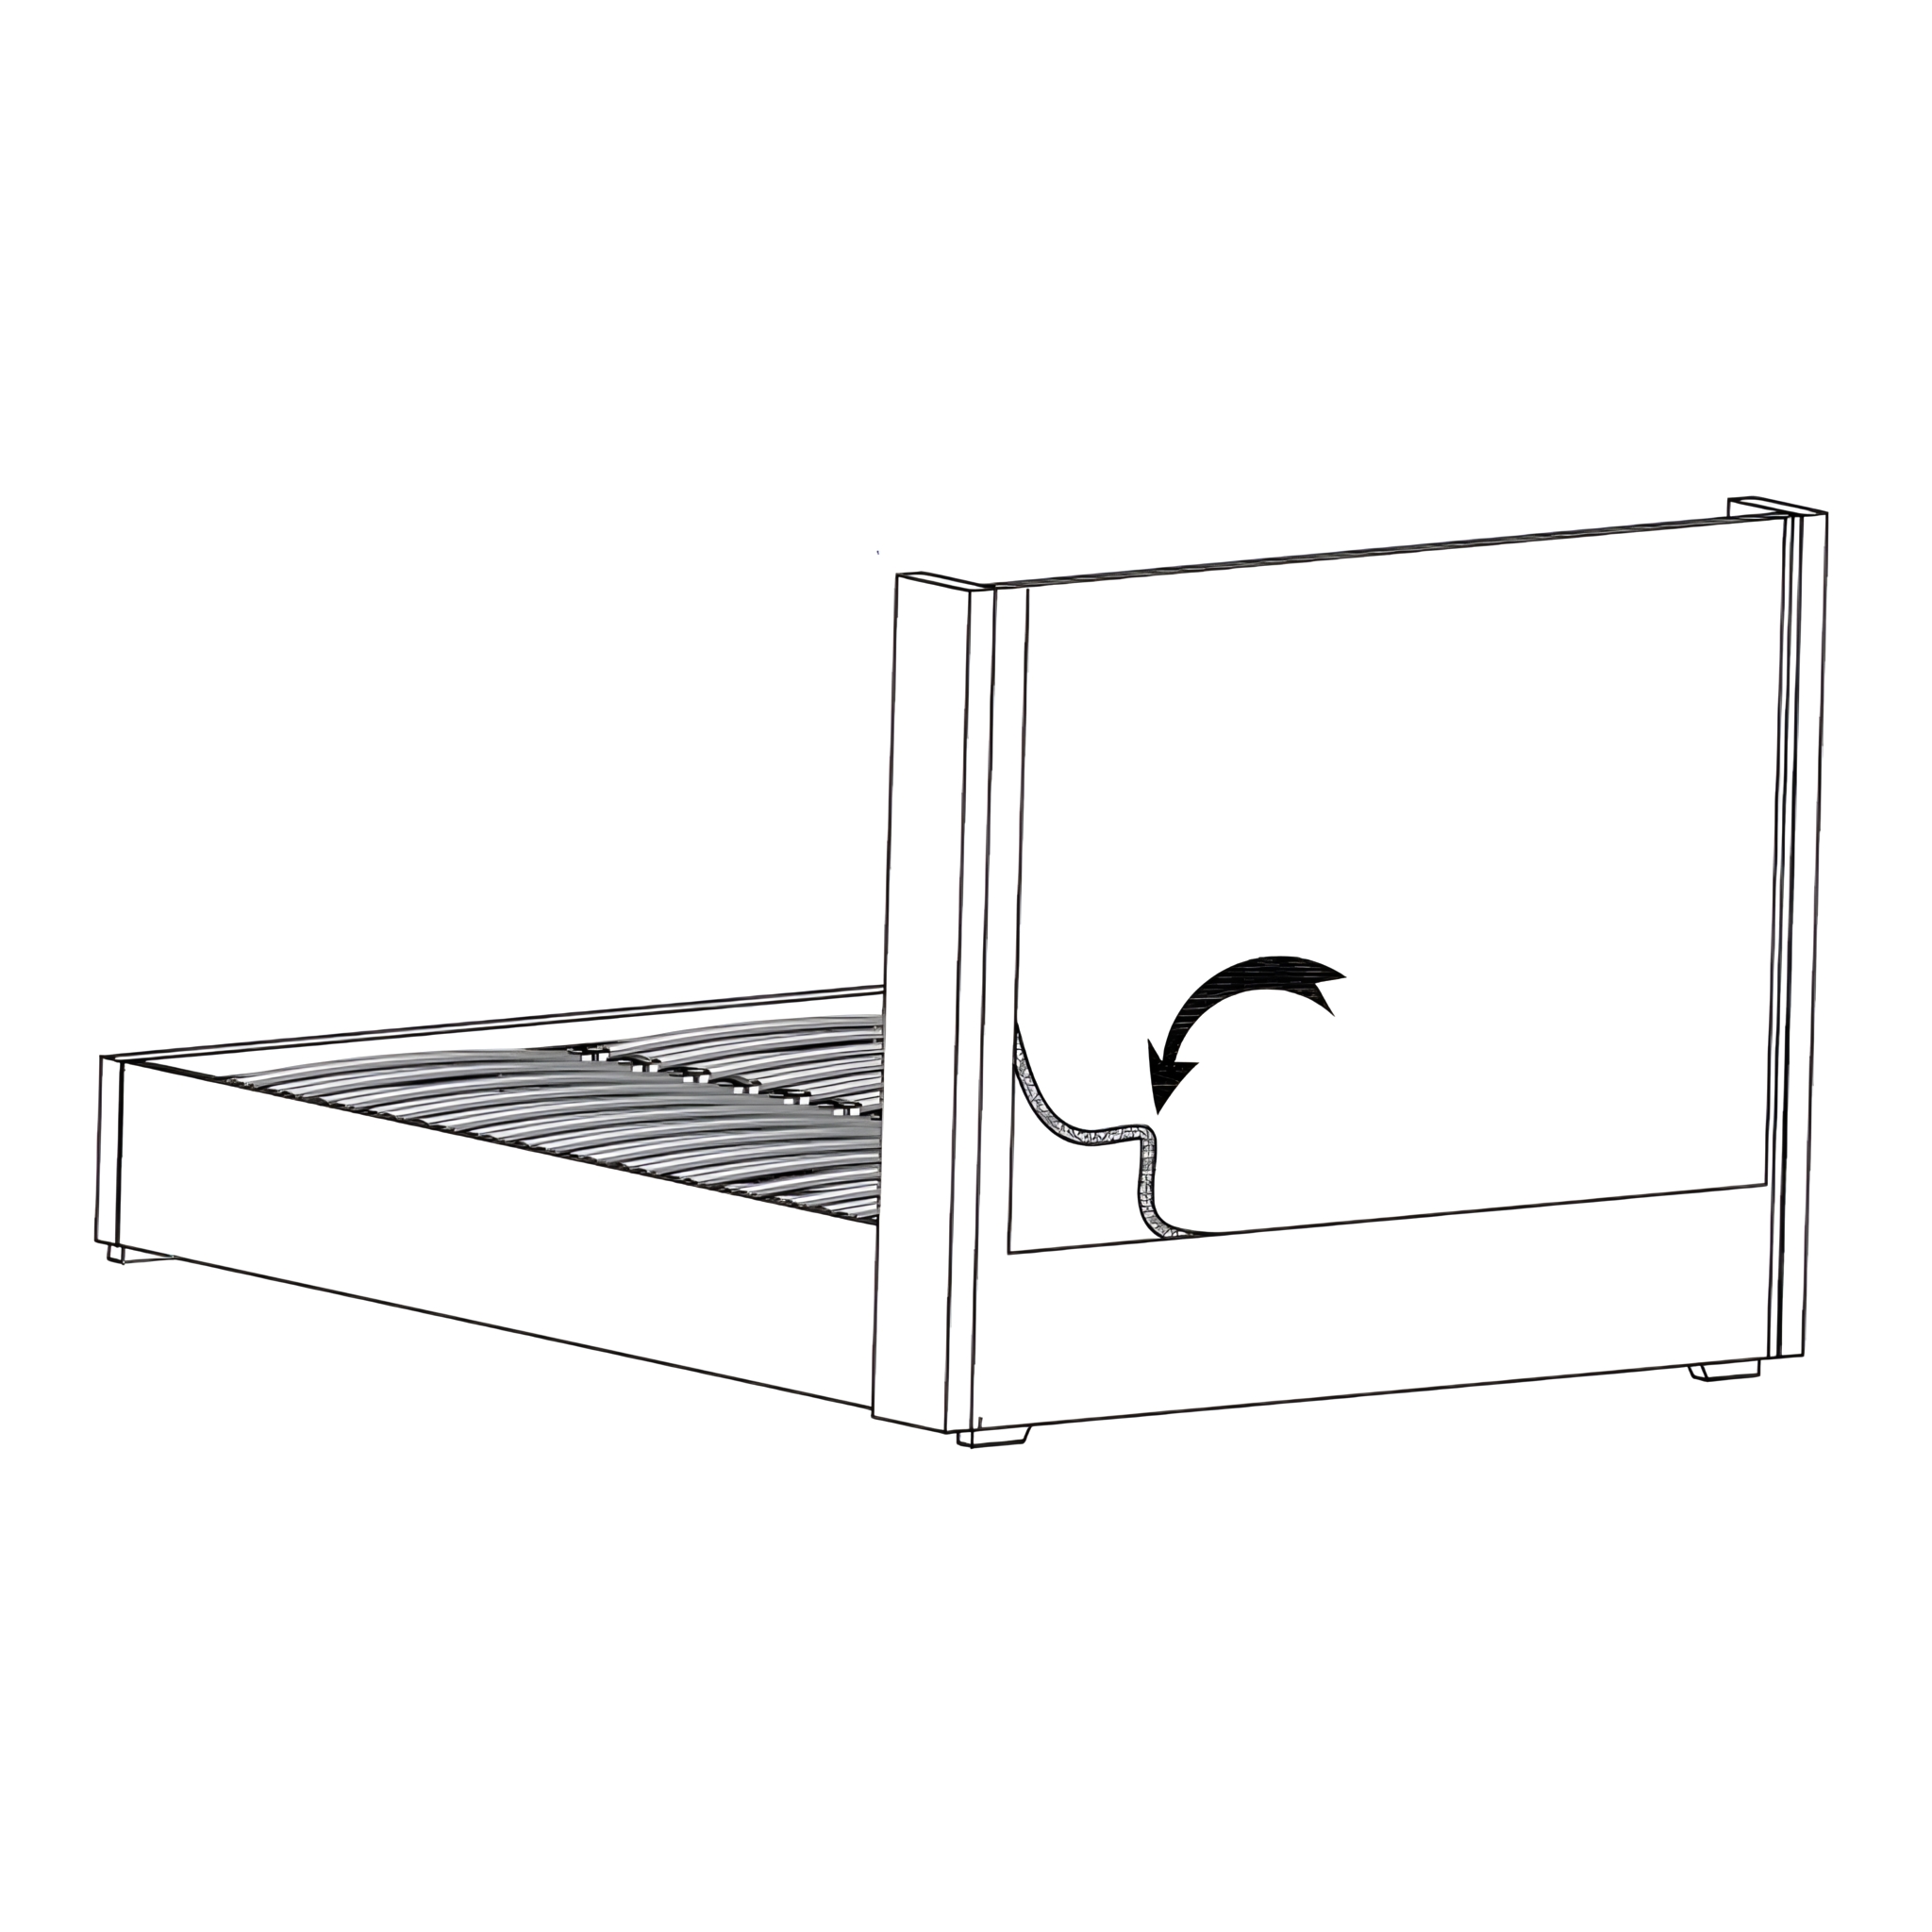
Before beginning the assembly of the bed, please open the compartment located at the rear of the headboard.
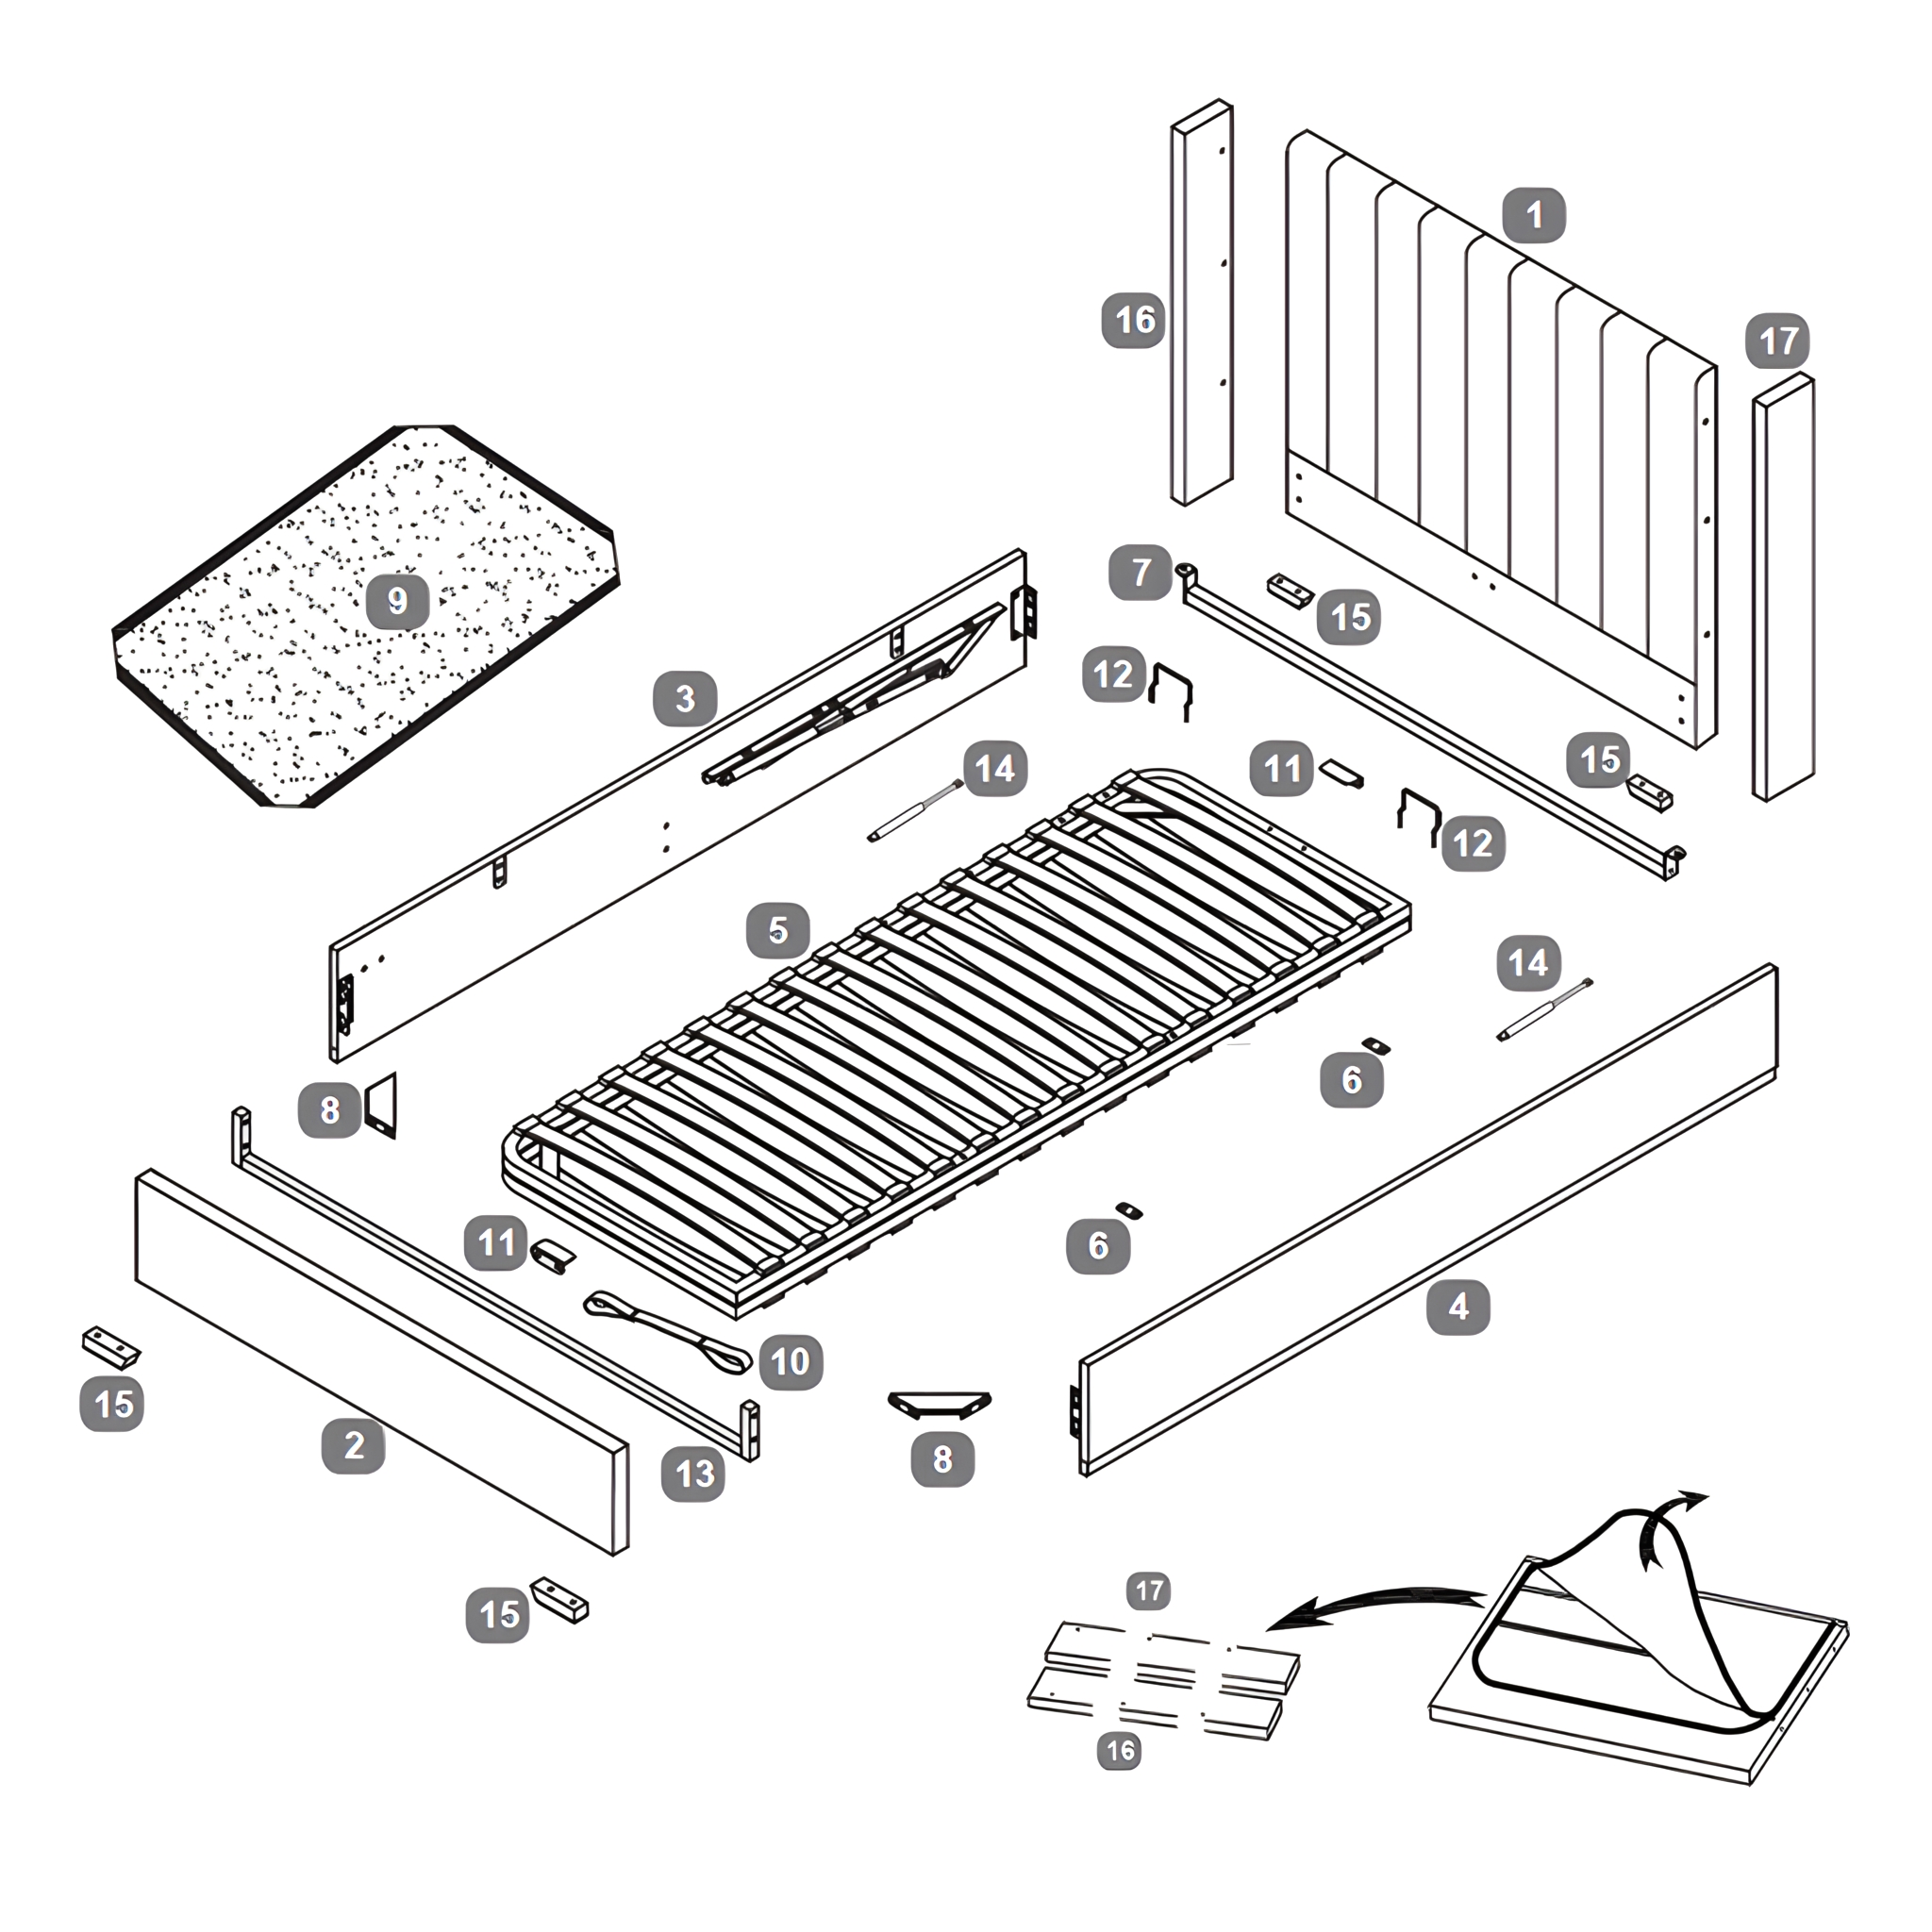
Ensure you have located the following parts necessary for assembly: Both wings, labeled as 16 and 17.
Confirm all parts are present to proceed with the assembly smoothly.
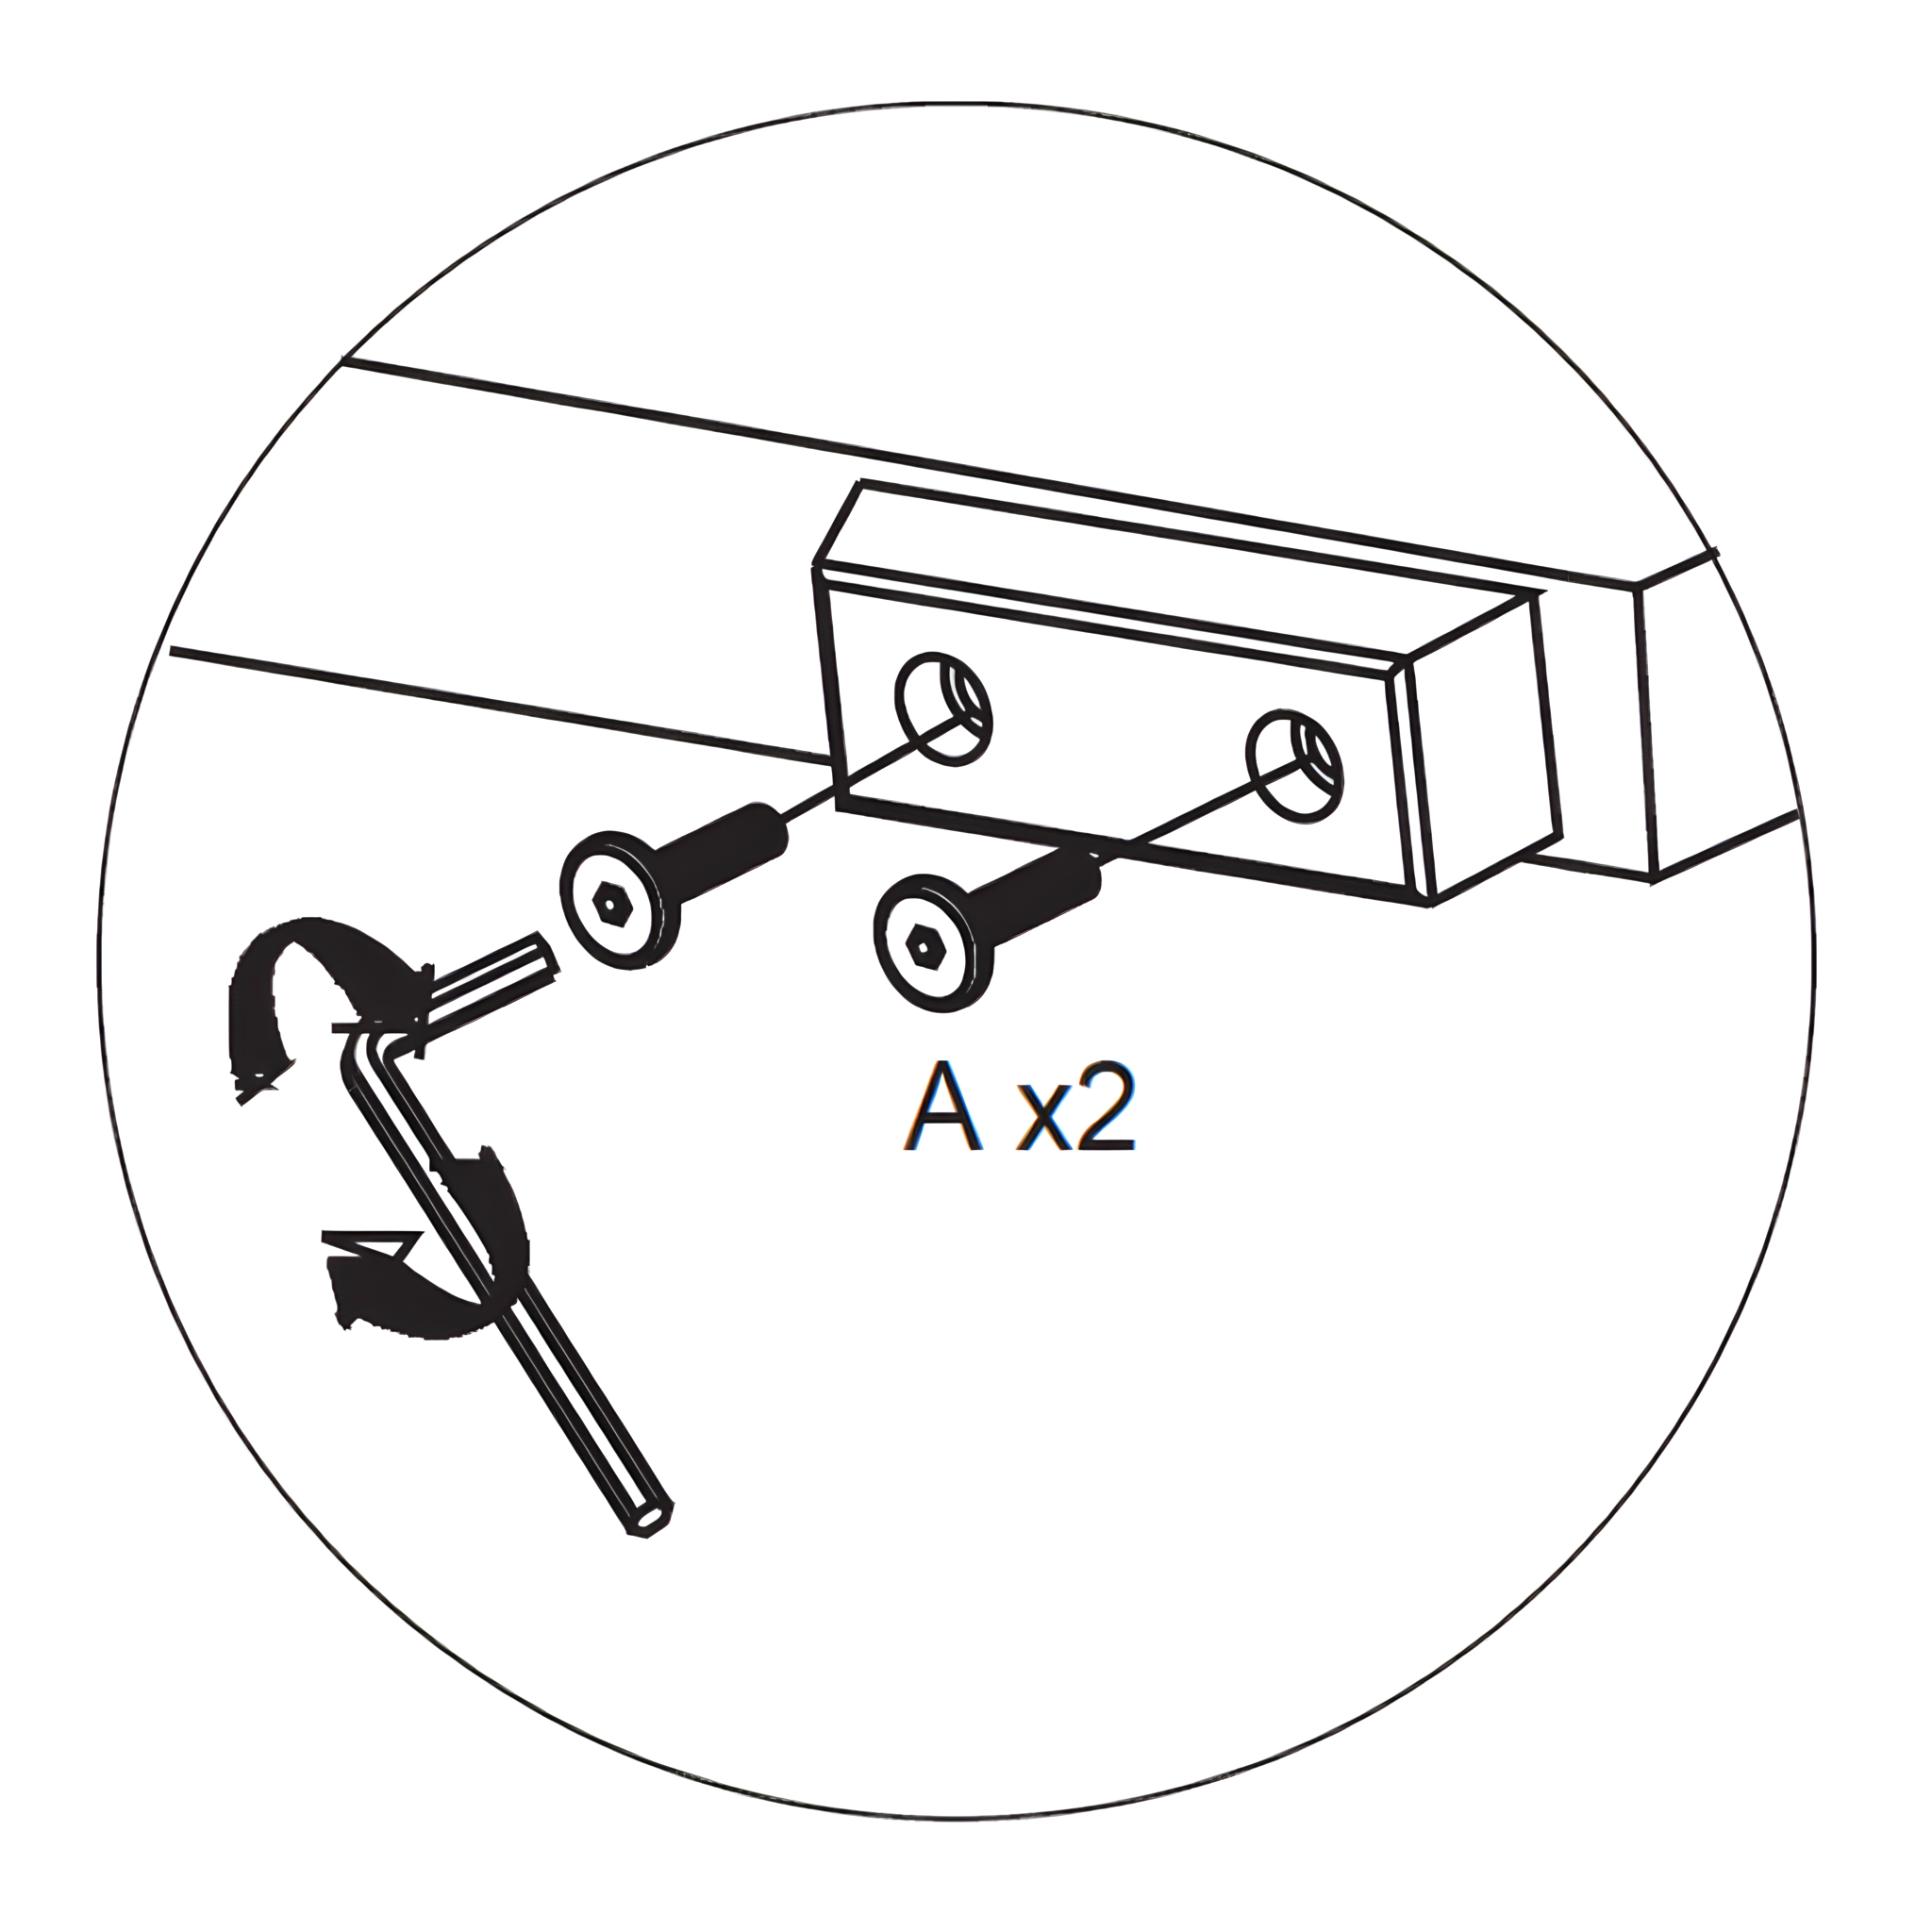
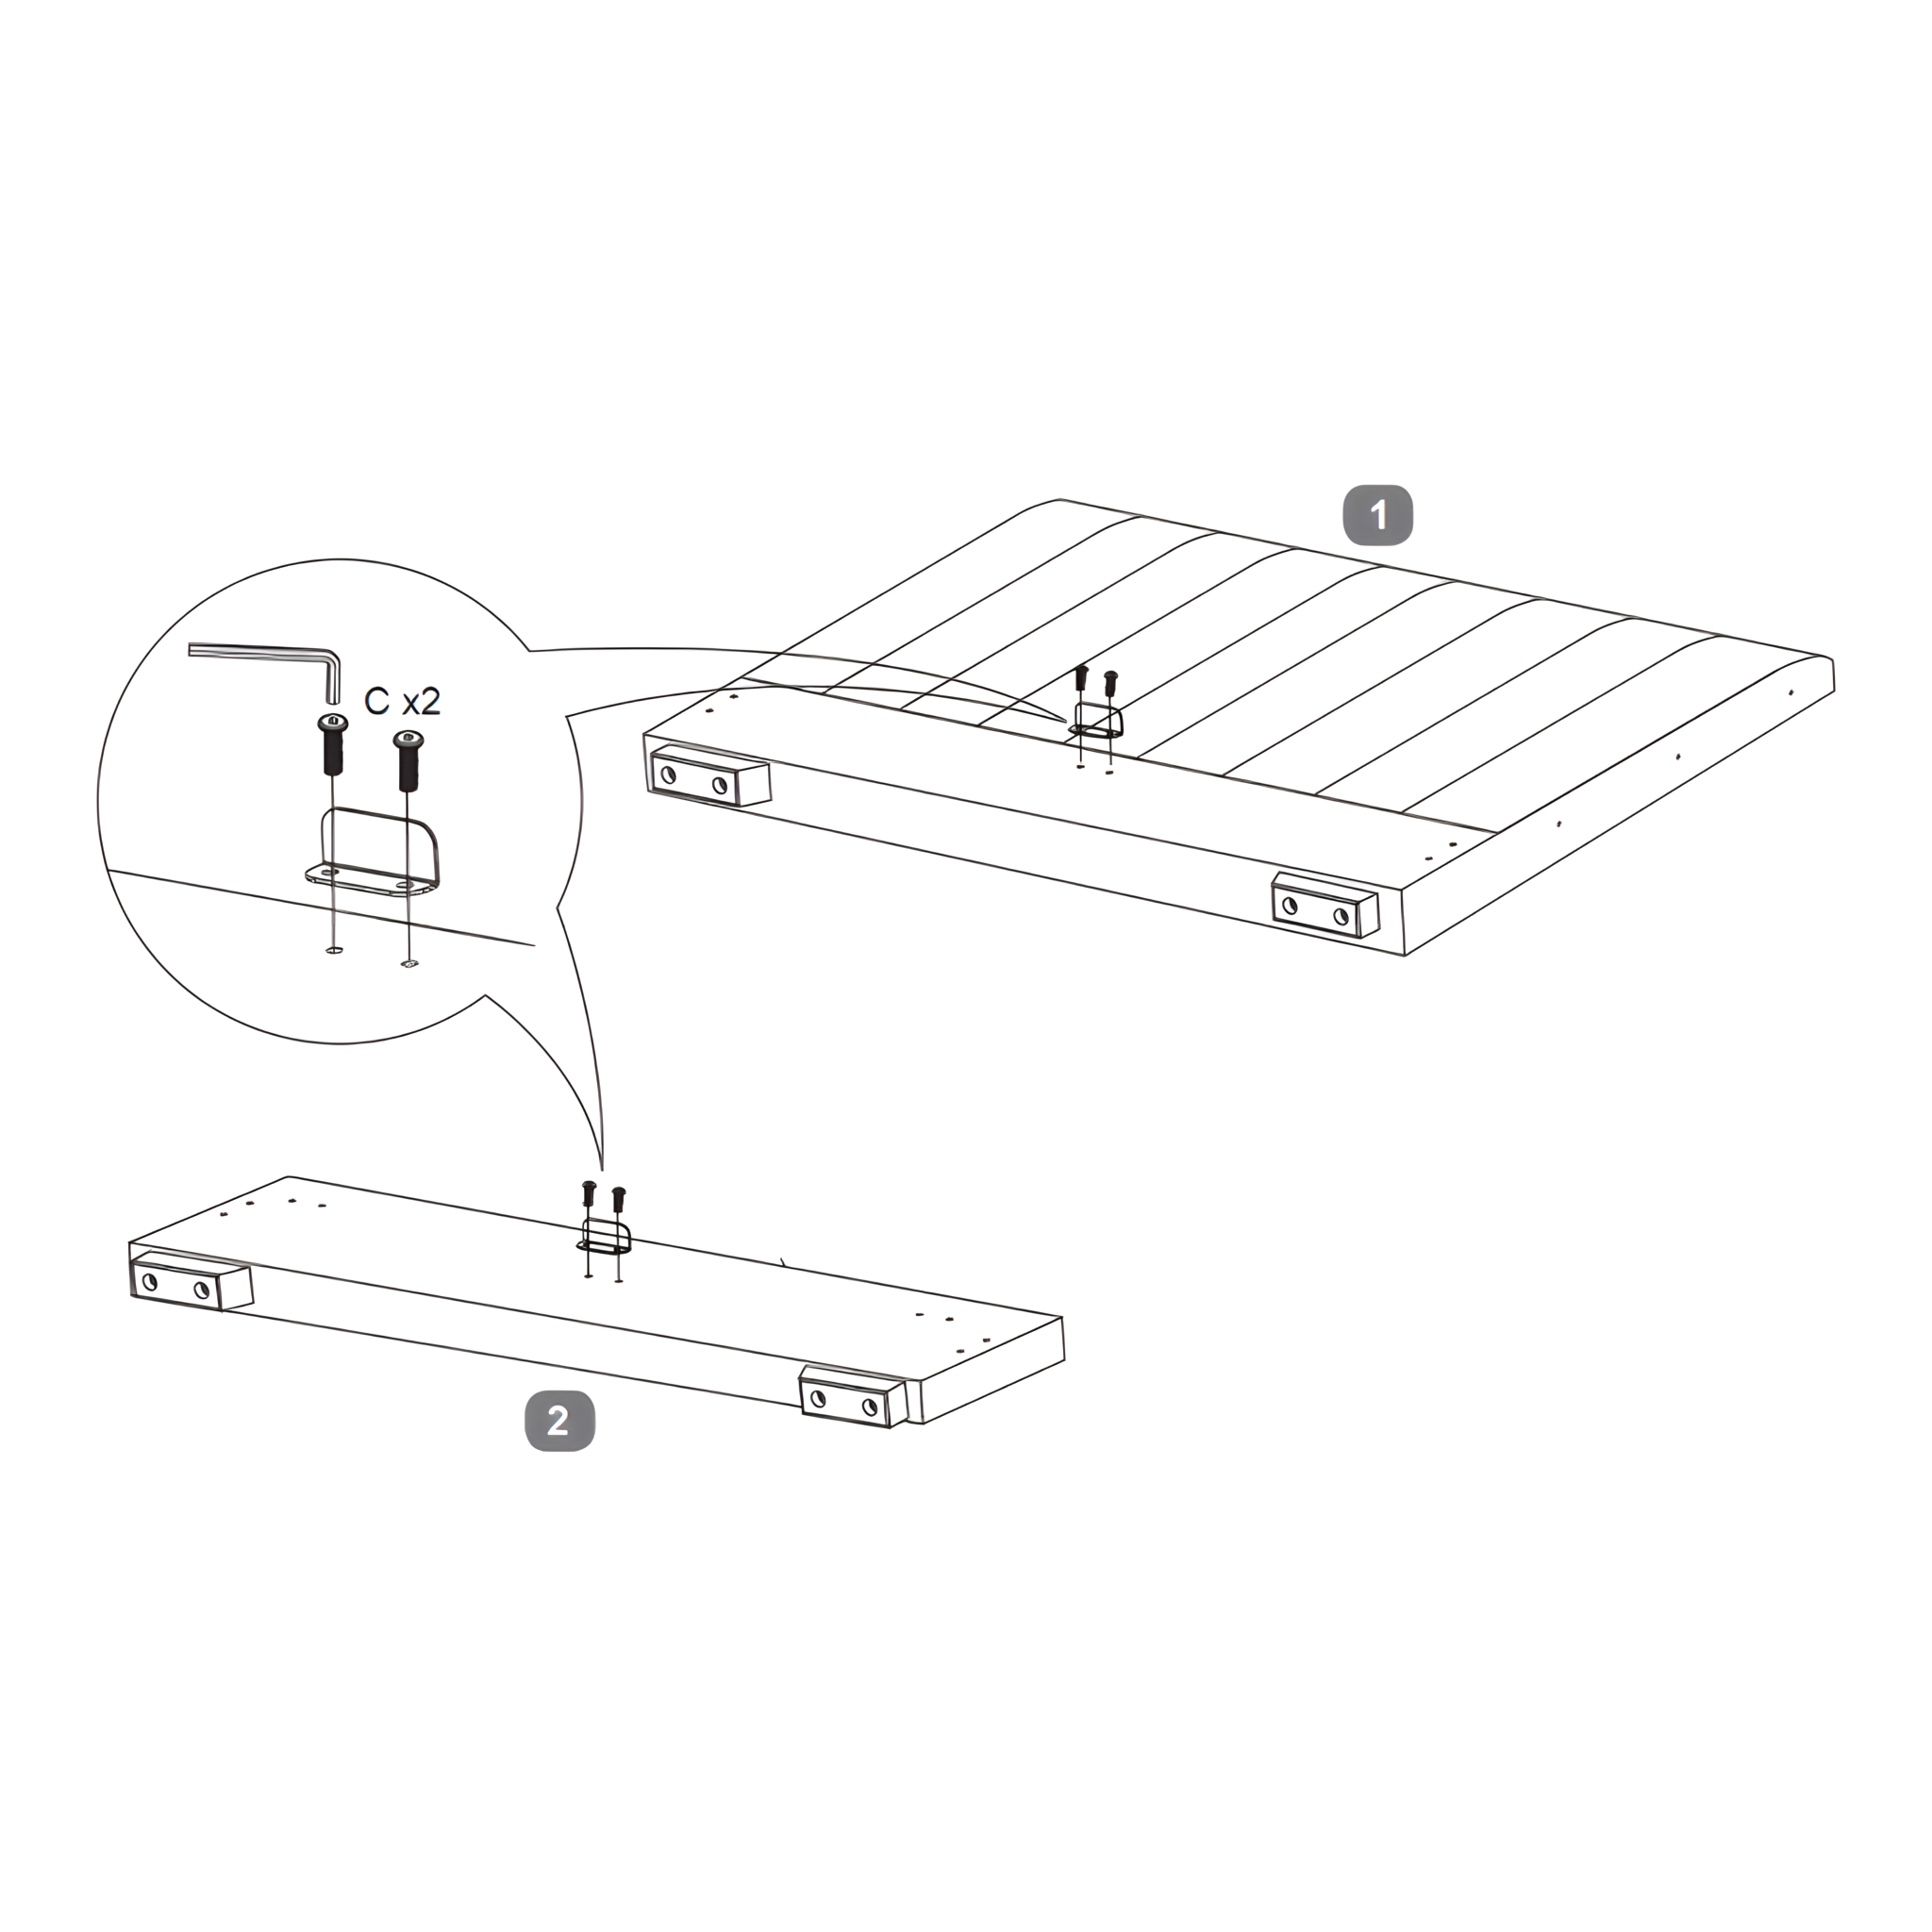
2. Attach the Frame Support Brackets and Feet
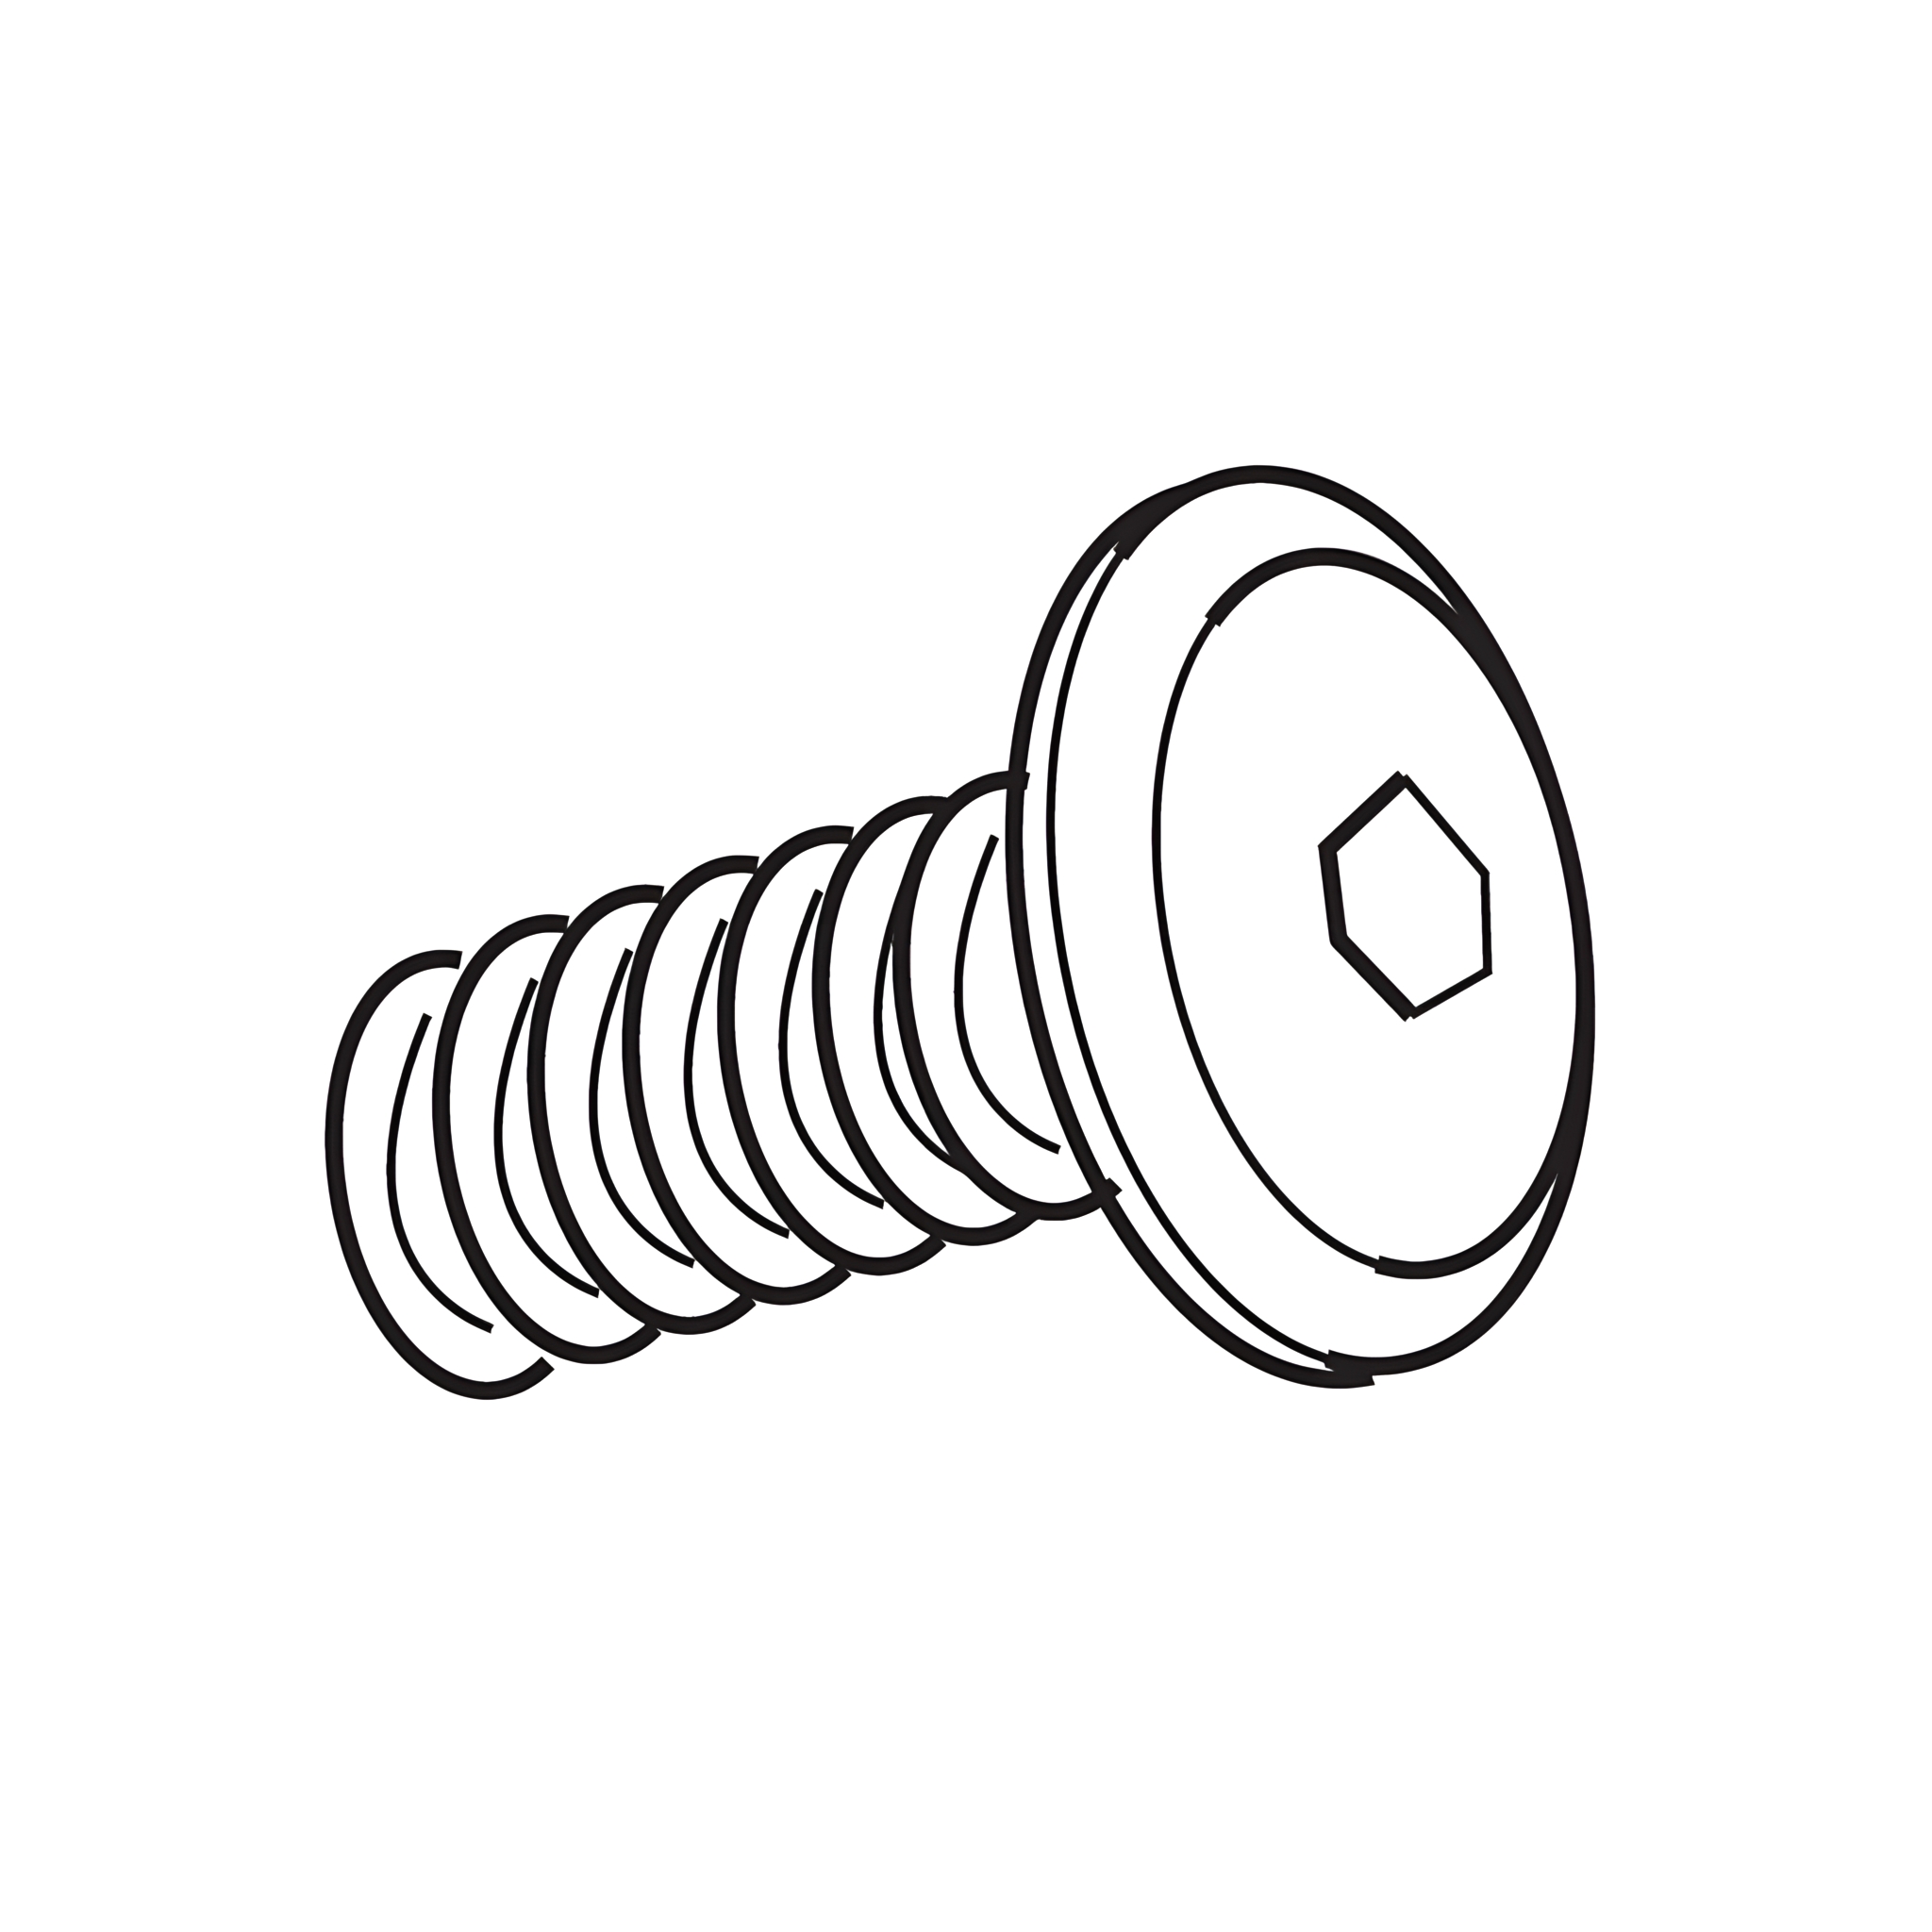
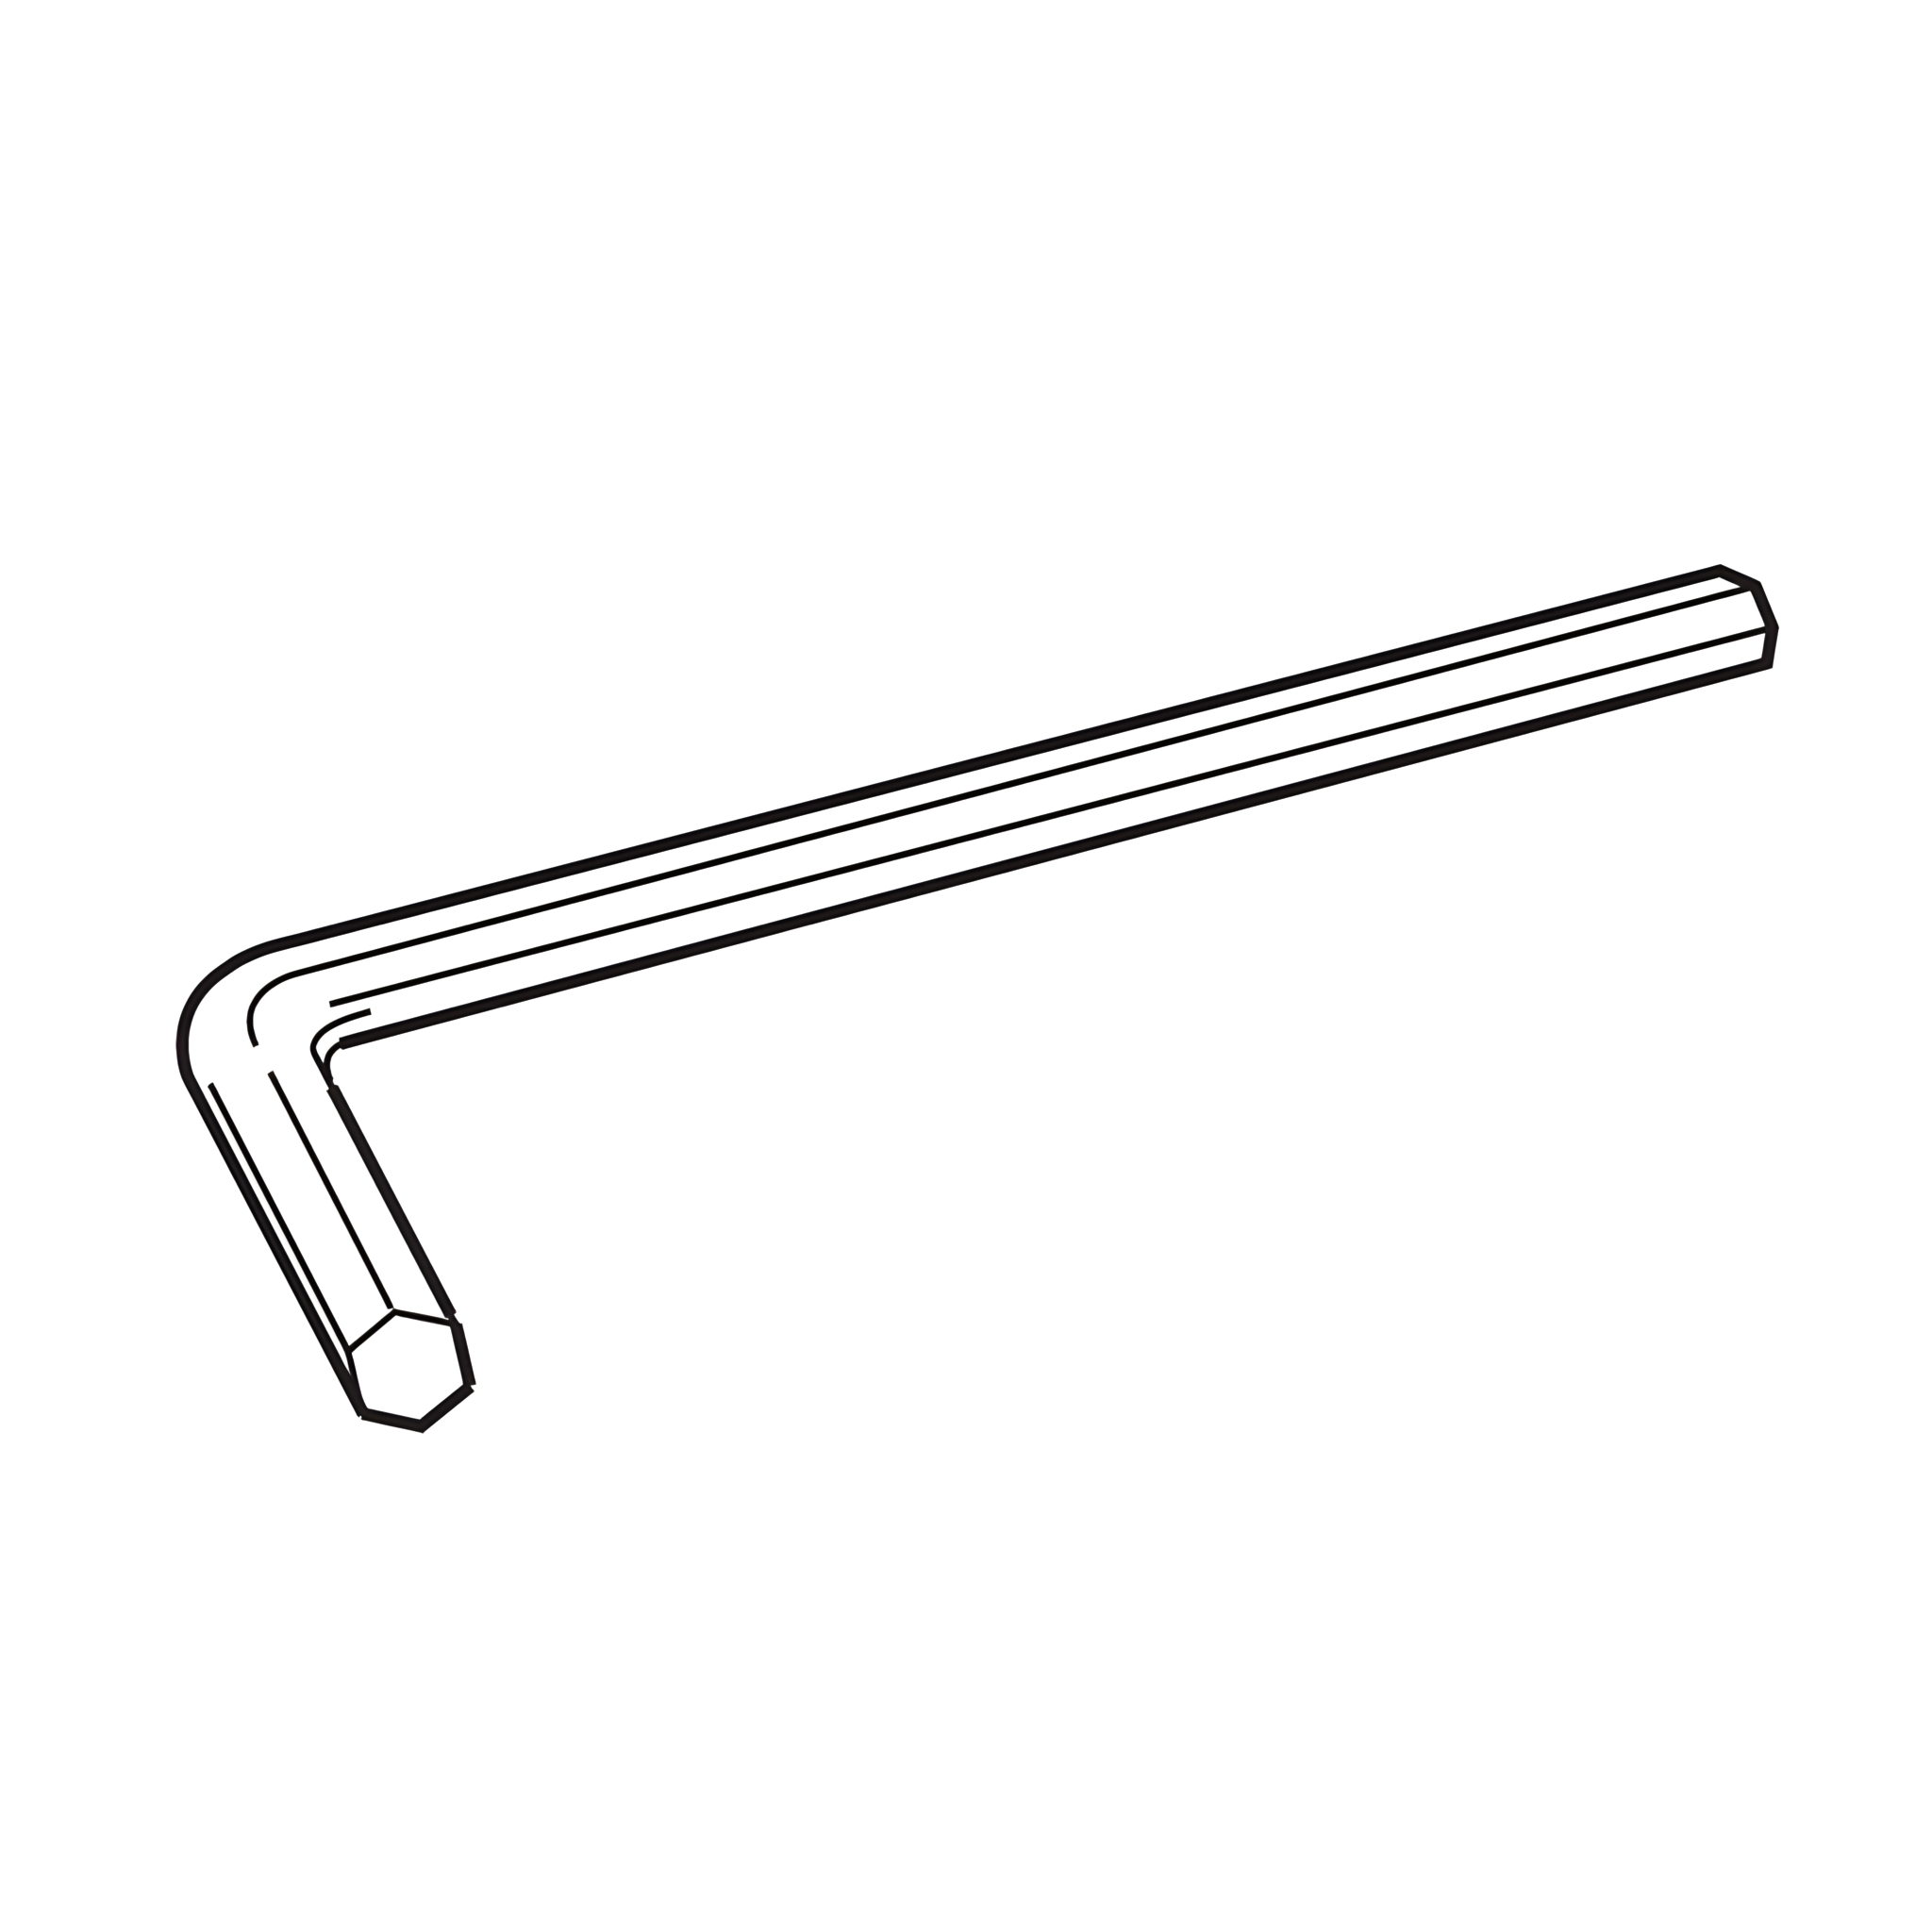
1. Align the Frame Support Brackets (11) with the mounting holes on the Headboard (1) and the Footboard (2), and secure them using M8 Bolts (C) with the Allen Key (E). 2. Similarly, attach the Feet (15) at the bottom of both the Headboard and the Footboard using M8 Bolts (A) and tighten with the Allen Key (E).
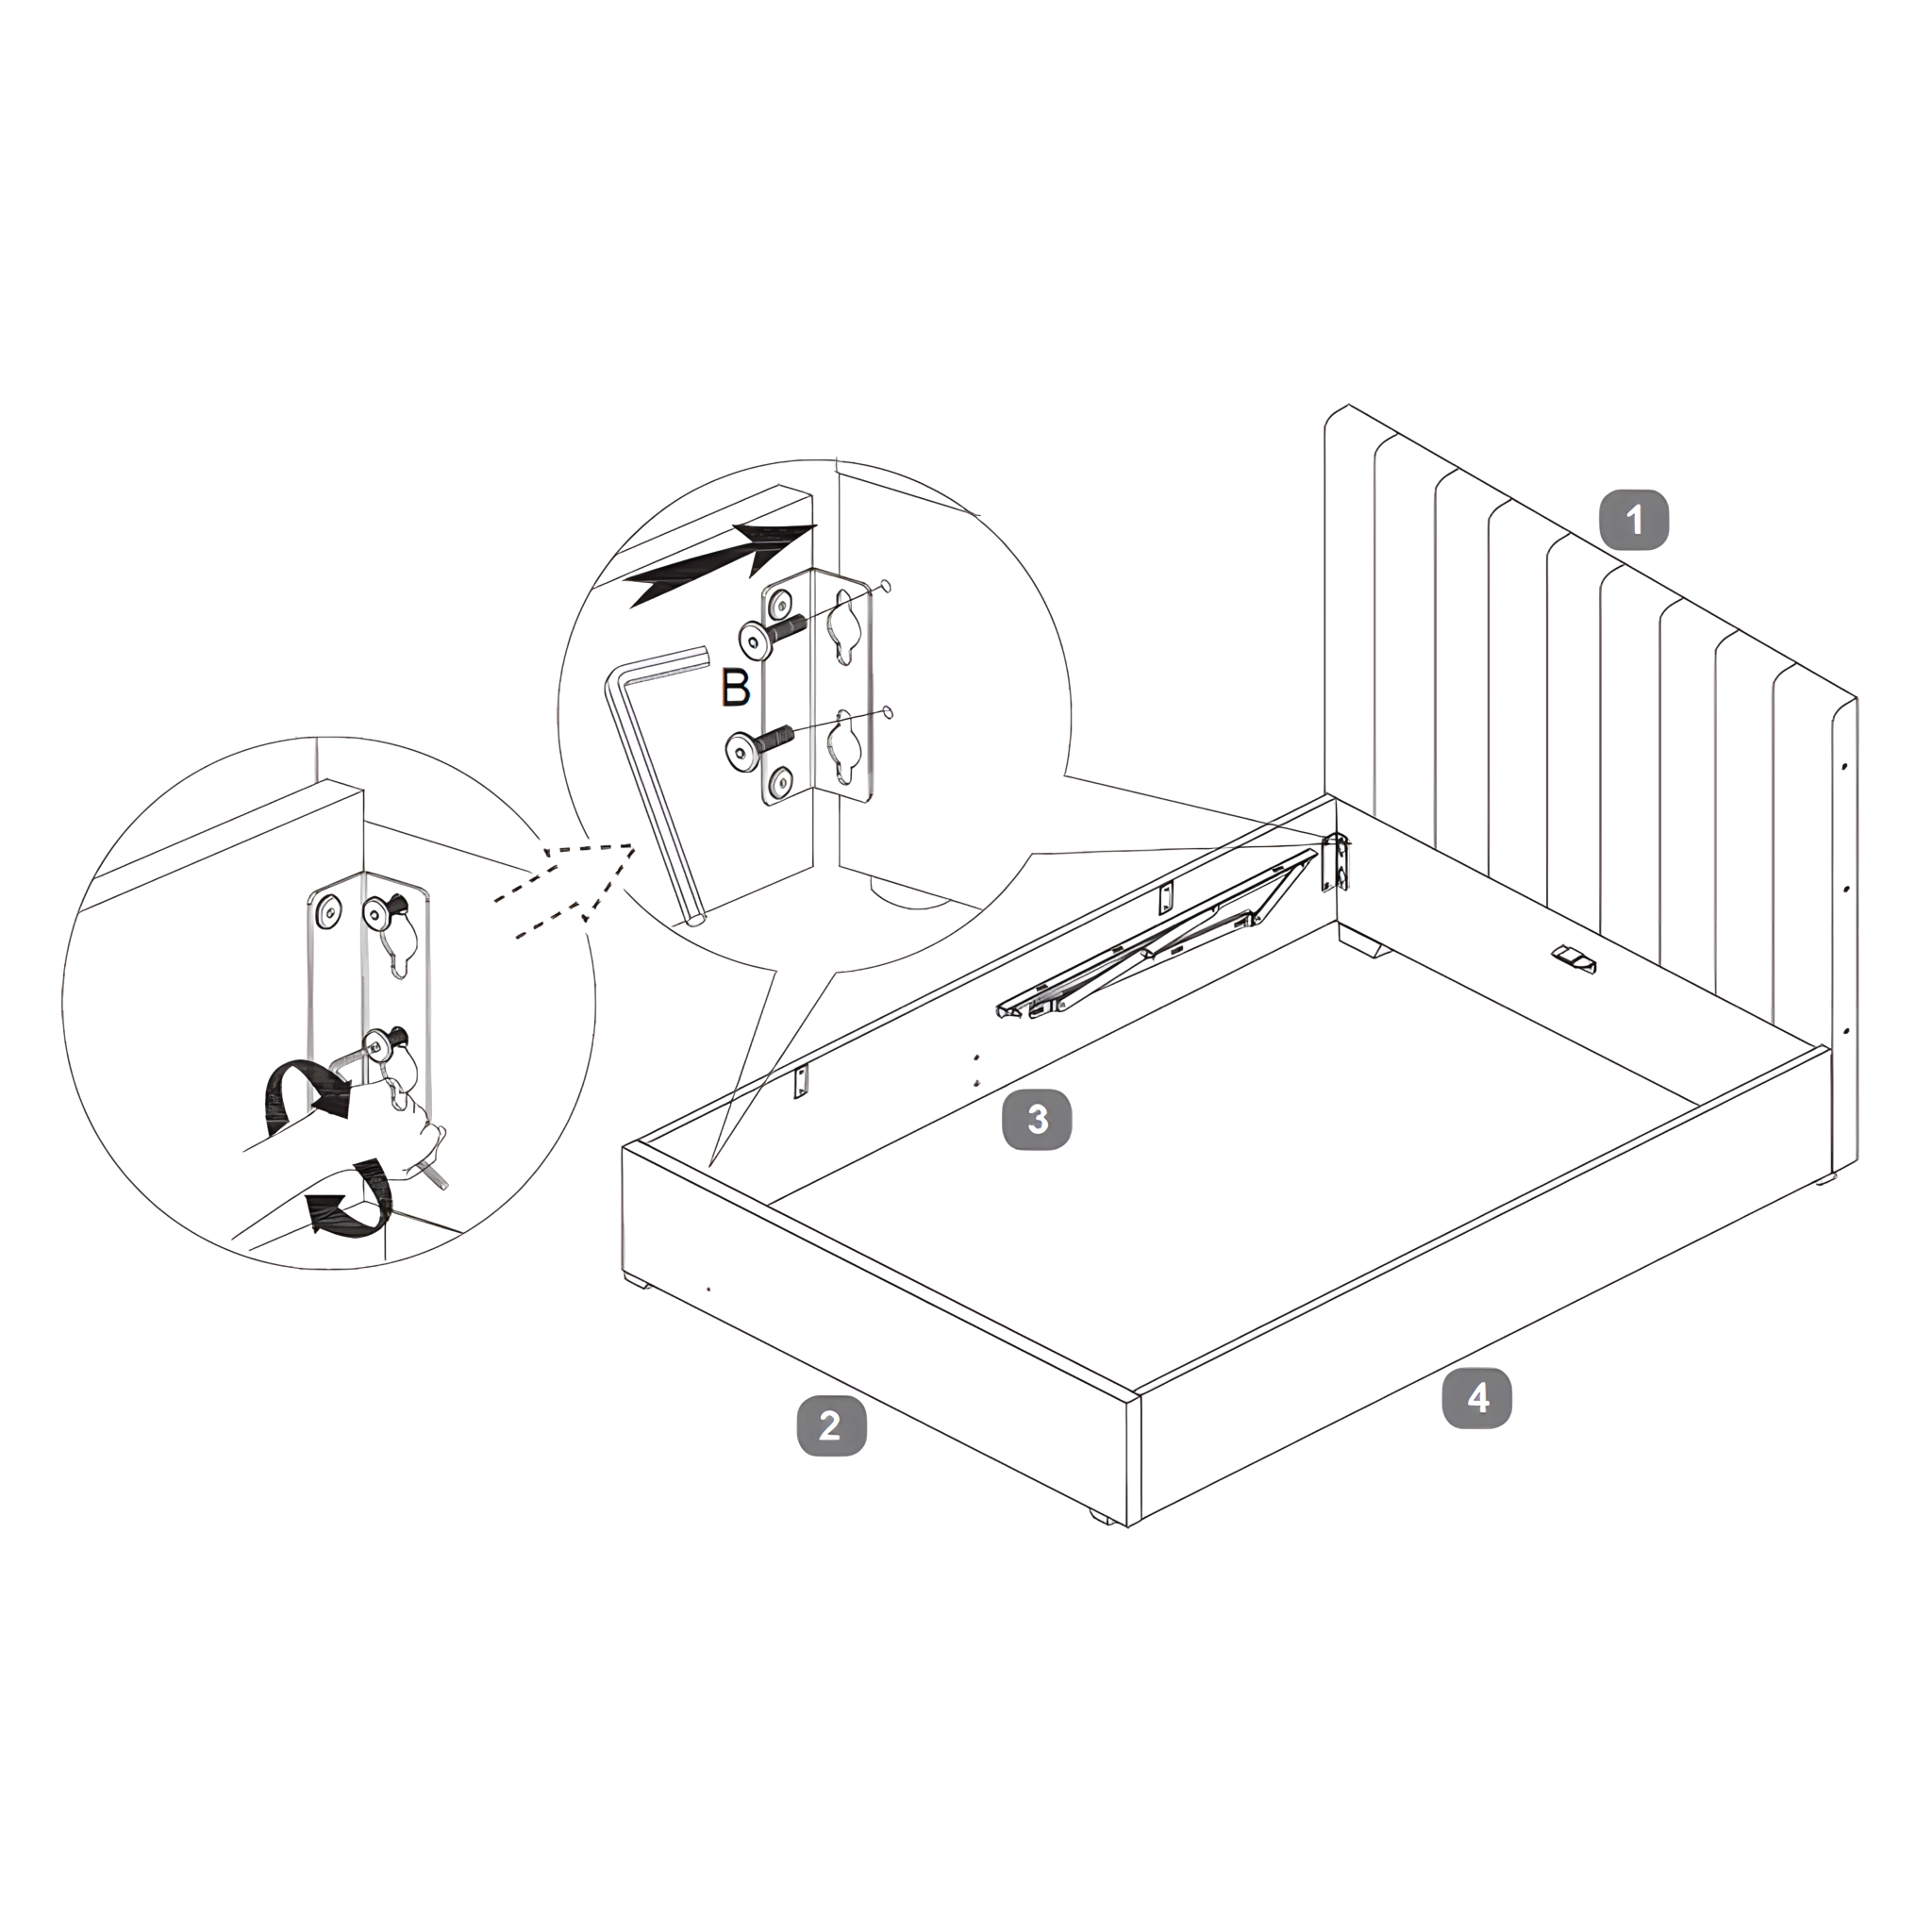
3. Attach the Side Rails
1. Secure the Side Rail LH (3) to the Headboard and Footboard using four M8 Bolts (B) and tighten with the Allen Key (E). 2. Repeat the process with the Side Rail RH (4) using another four M8 Bolts (B). 3. Ensure both side rails are firmly attached and the assembly is stable.
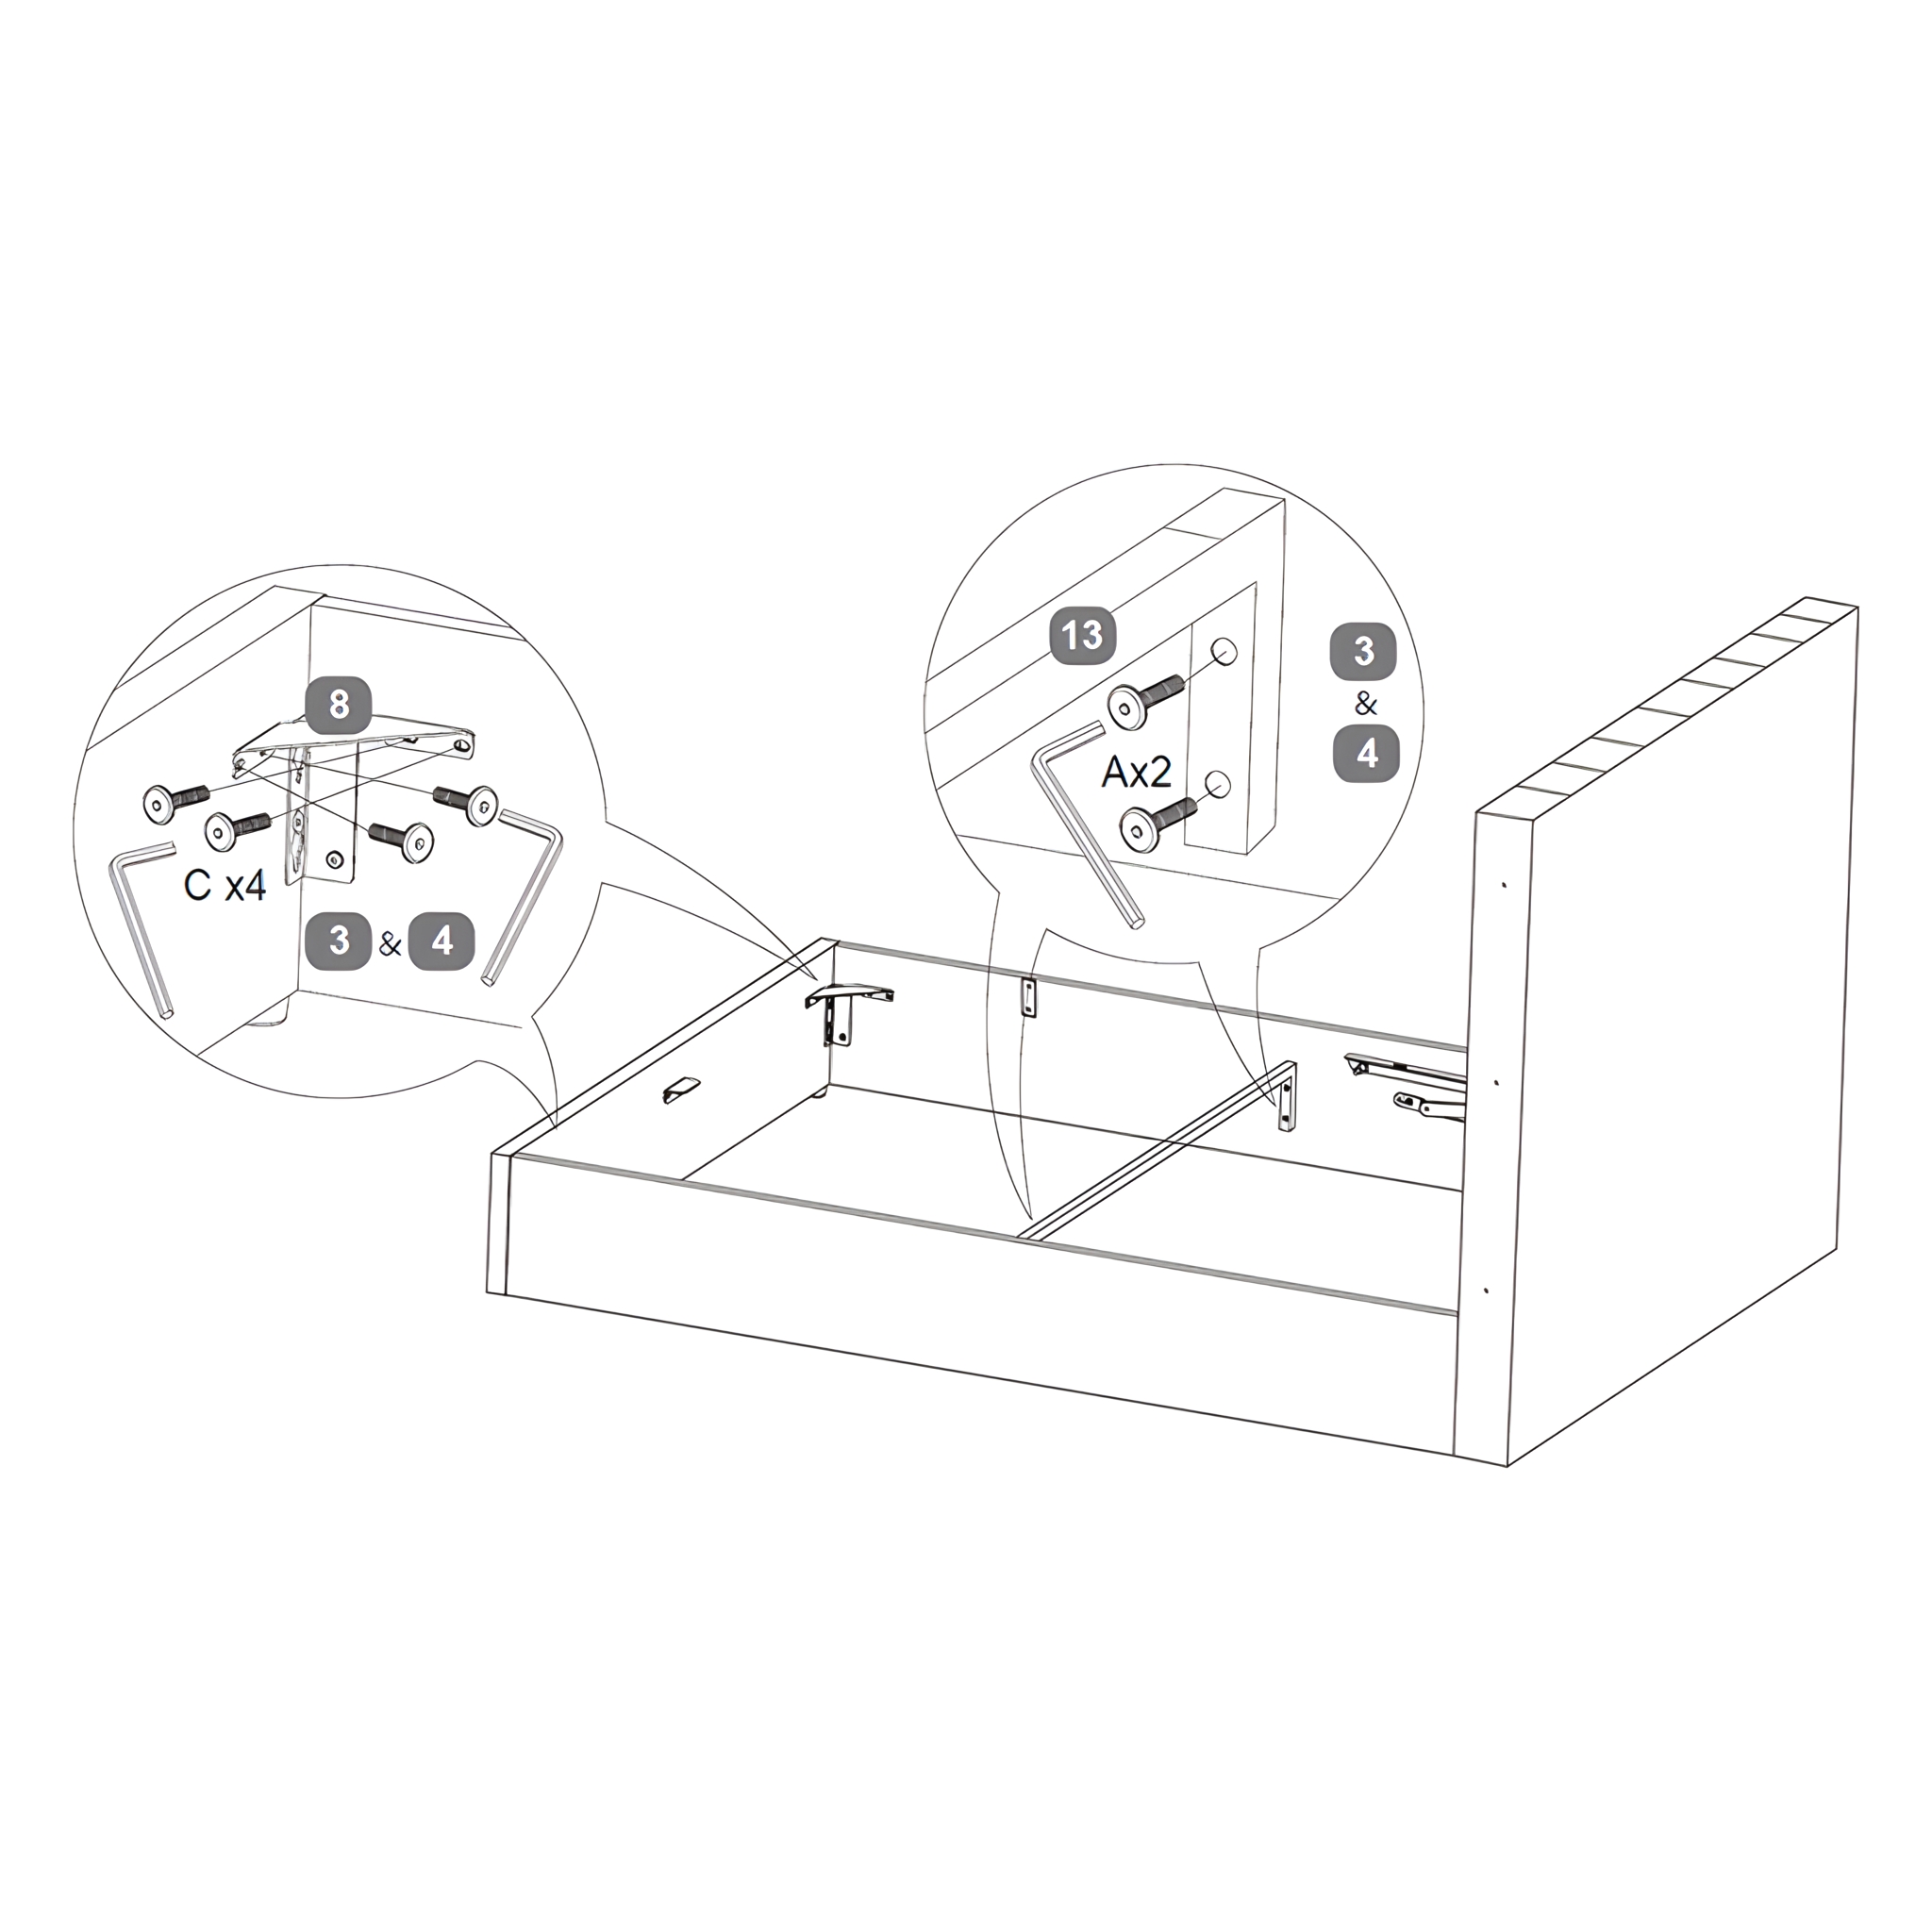
4. Securing the Frame's Support Structure
1. Align and secure the Angled Corner Brackets (8) to the Side Rails (3 & 4) and the Footboard (2) using M8 Bolts (C) and tighten with the Allen Key provided. 2. Attach the "U" Shape Cross Bar (13) to the Side Rails using M8 Bolts (A) and tighten with the Allen Key. 3. Ensure that the parts are aligned precisely as shown in the diagram, with the components fitting together perfectly to avoid incorrect assembly.
5. Attach the Fabric Base Cover
1. With assistance, carefully lift the bed and turn it on its side. Ensure both the headboard and footboard are lifted simultaneously to prevent twisting. 2. While one person holds the bed upright for safety, attach the Fabric Base Cover (9) to the bottom of the side rails, headboard, and footboard using the Velcro tape. Ensure the fabric is evenly fixed all around.
Warning: Lift the headboard and footboard together carefully. Avoid letting the bed twist.
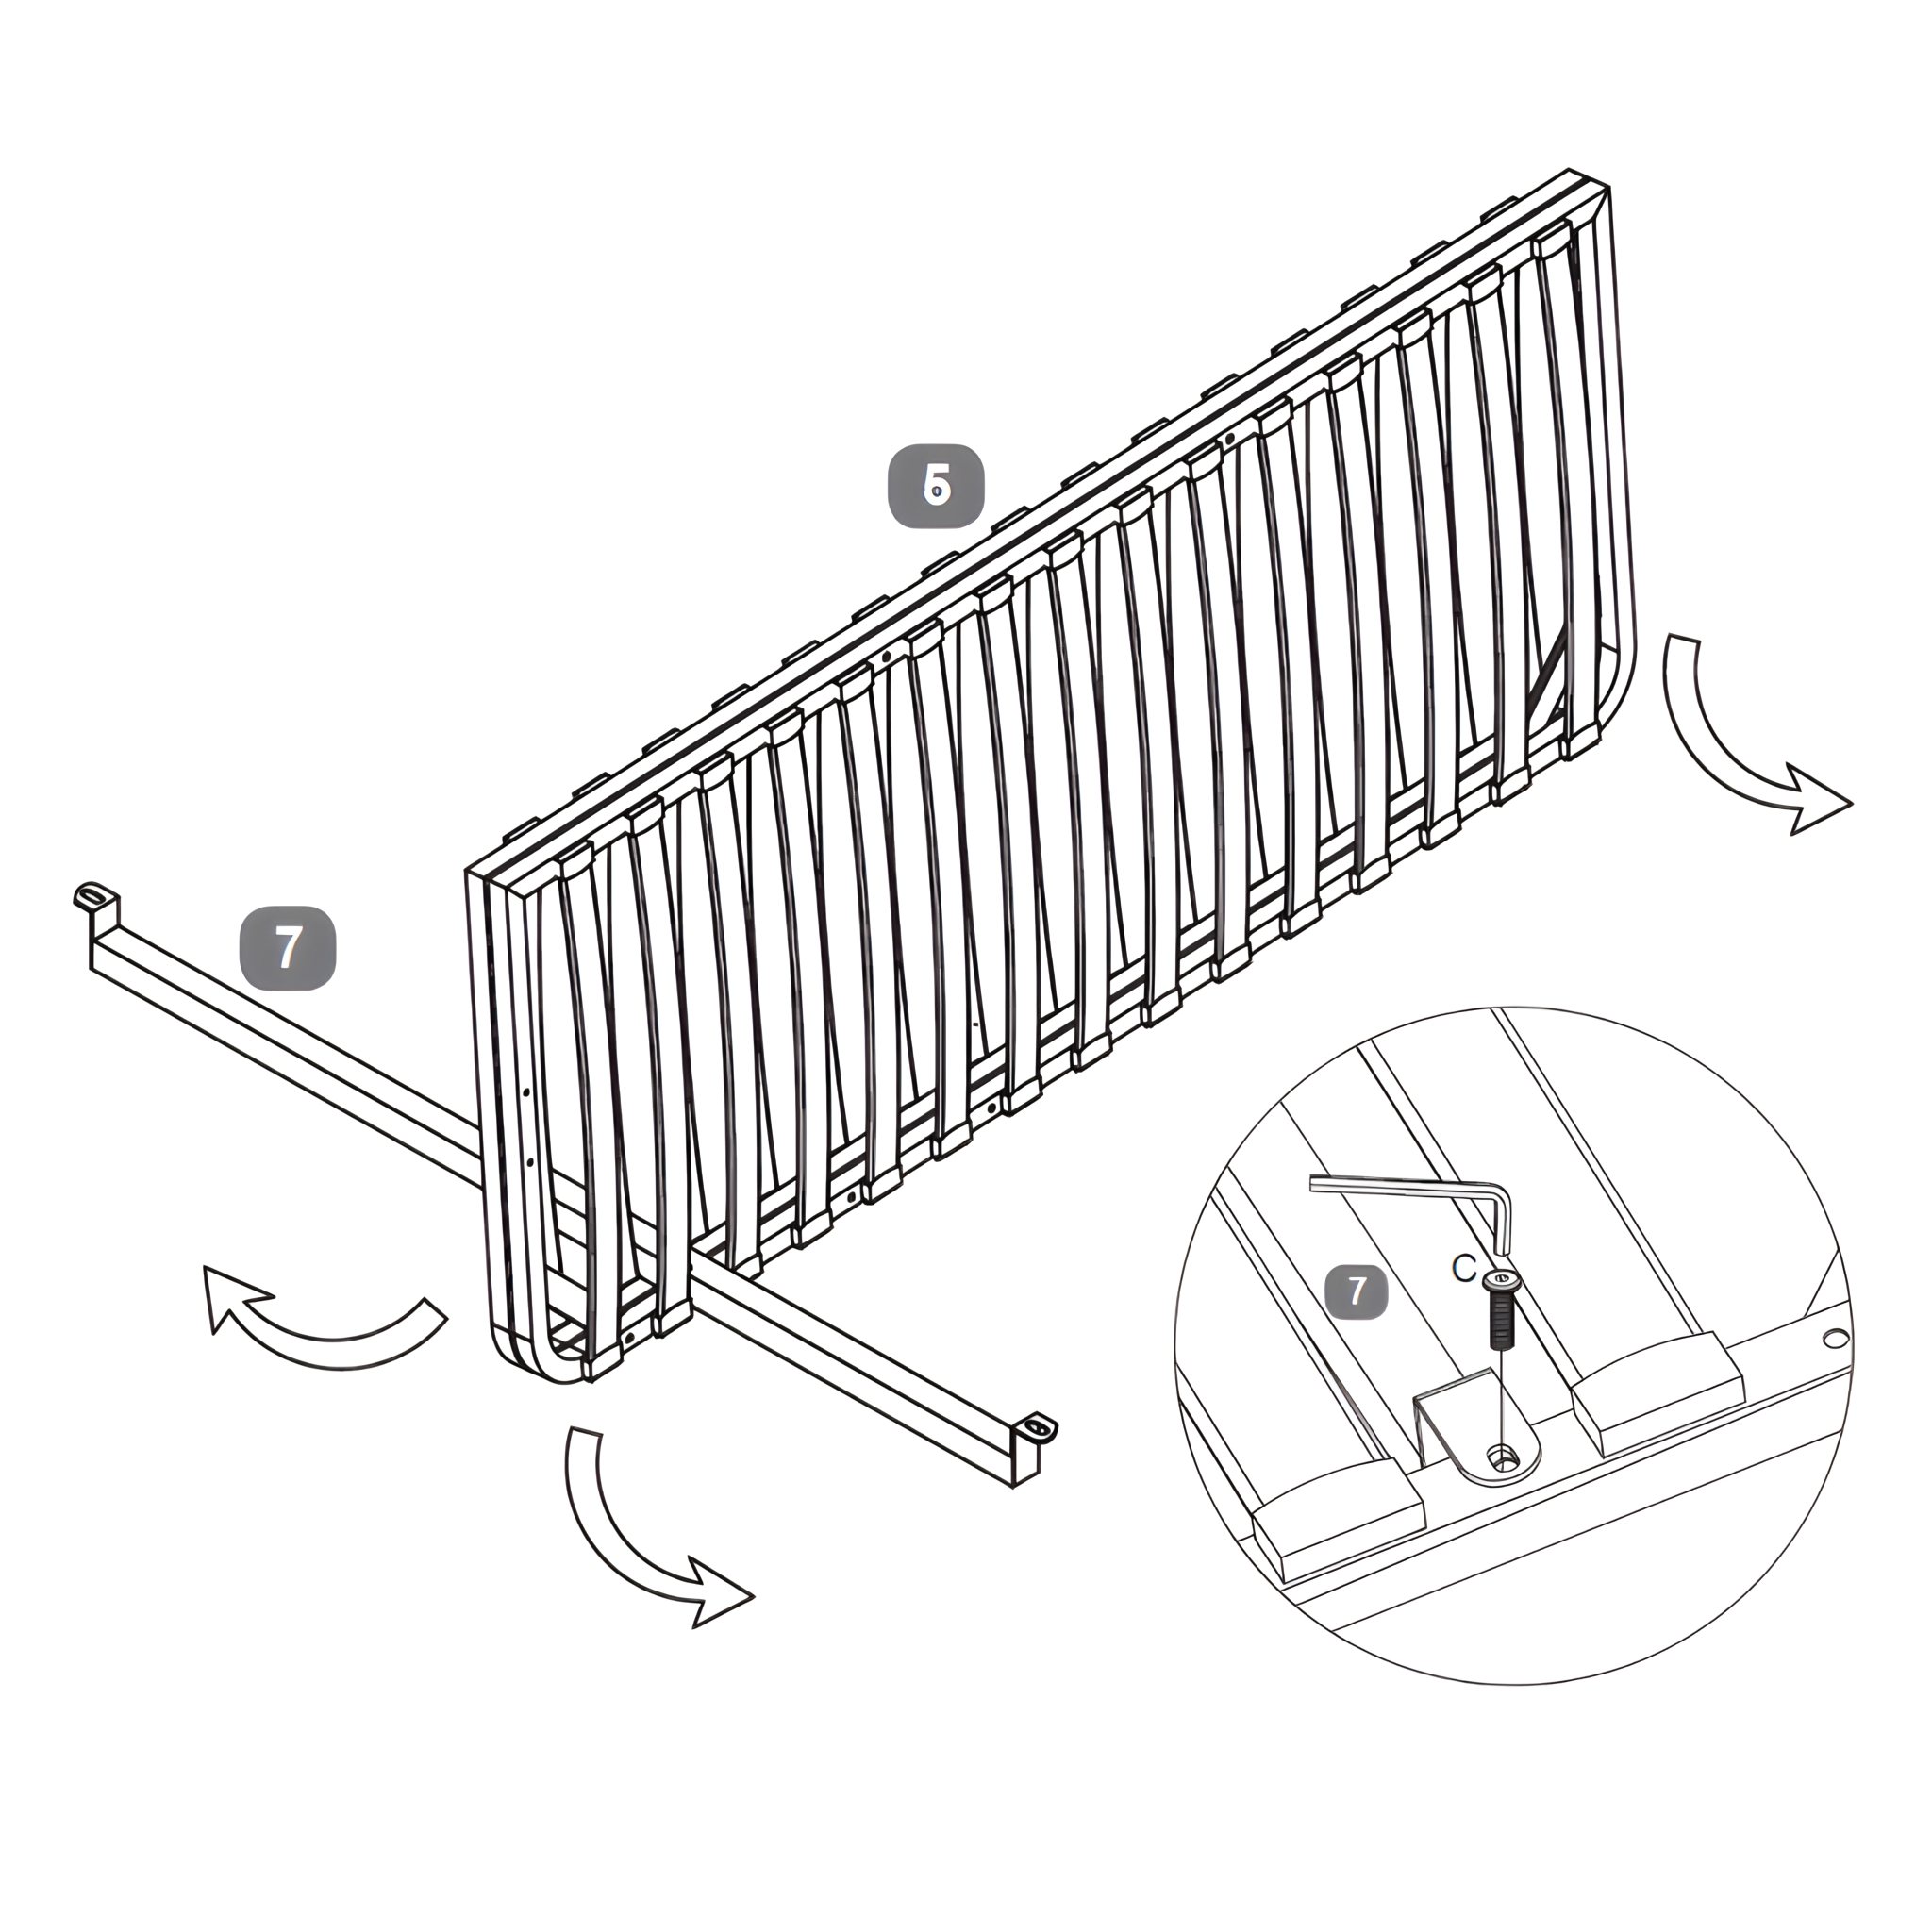
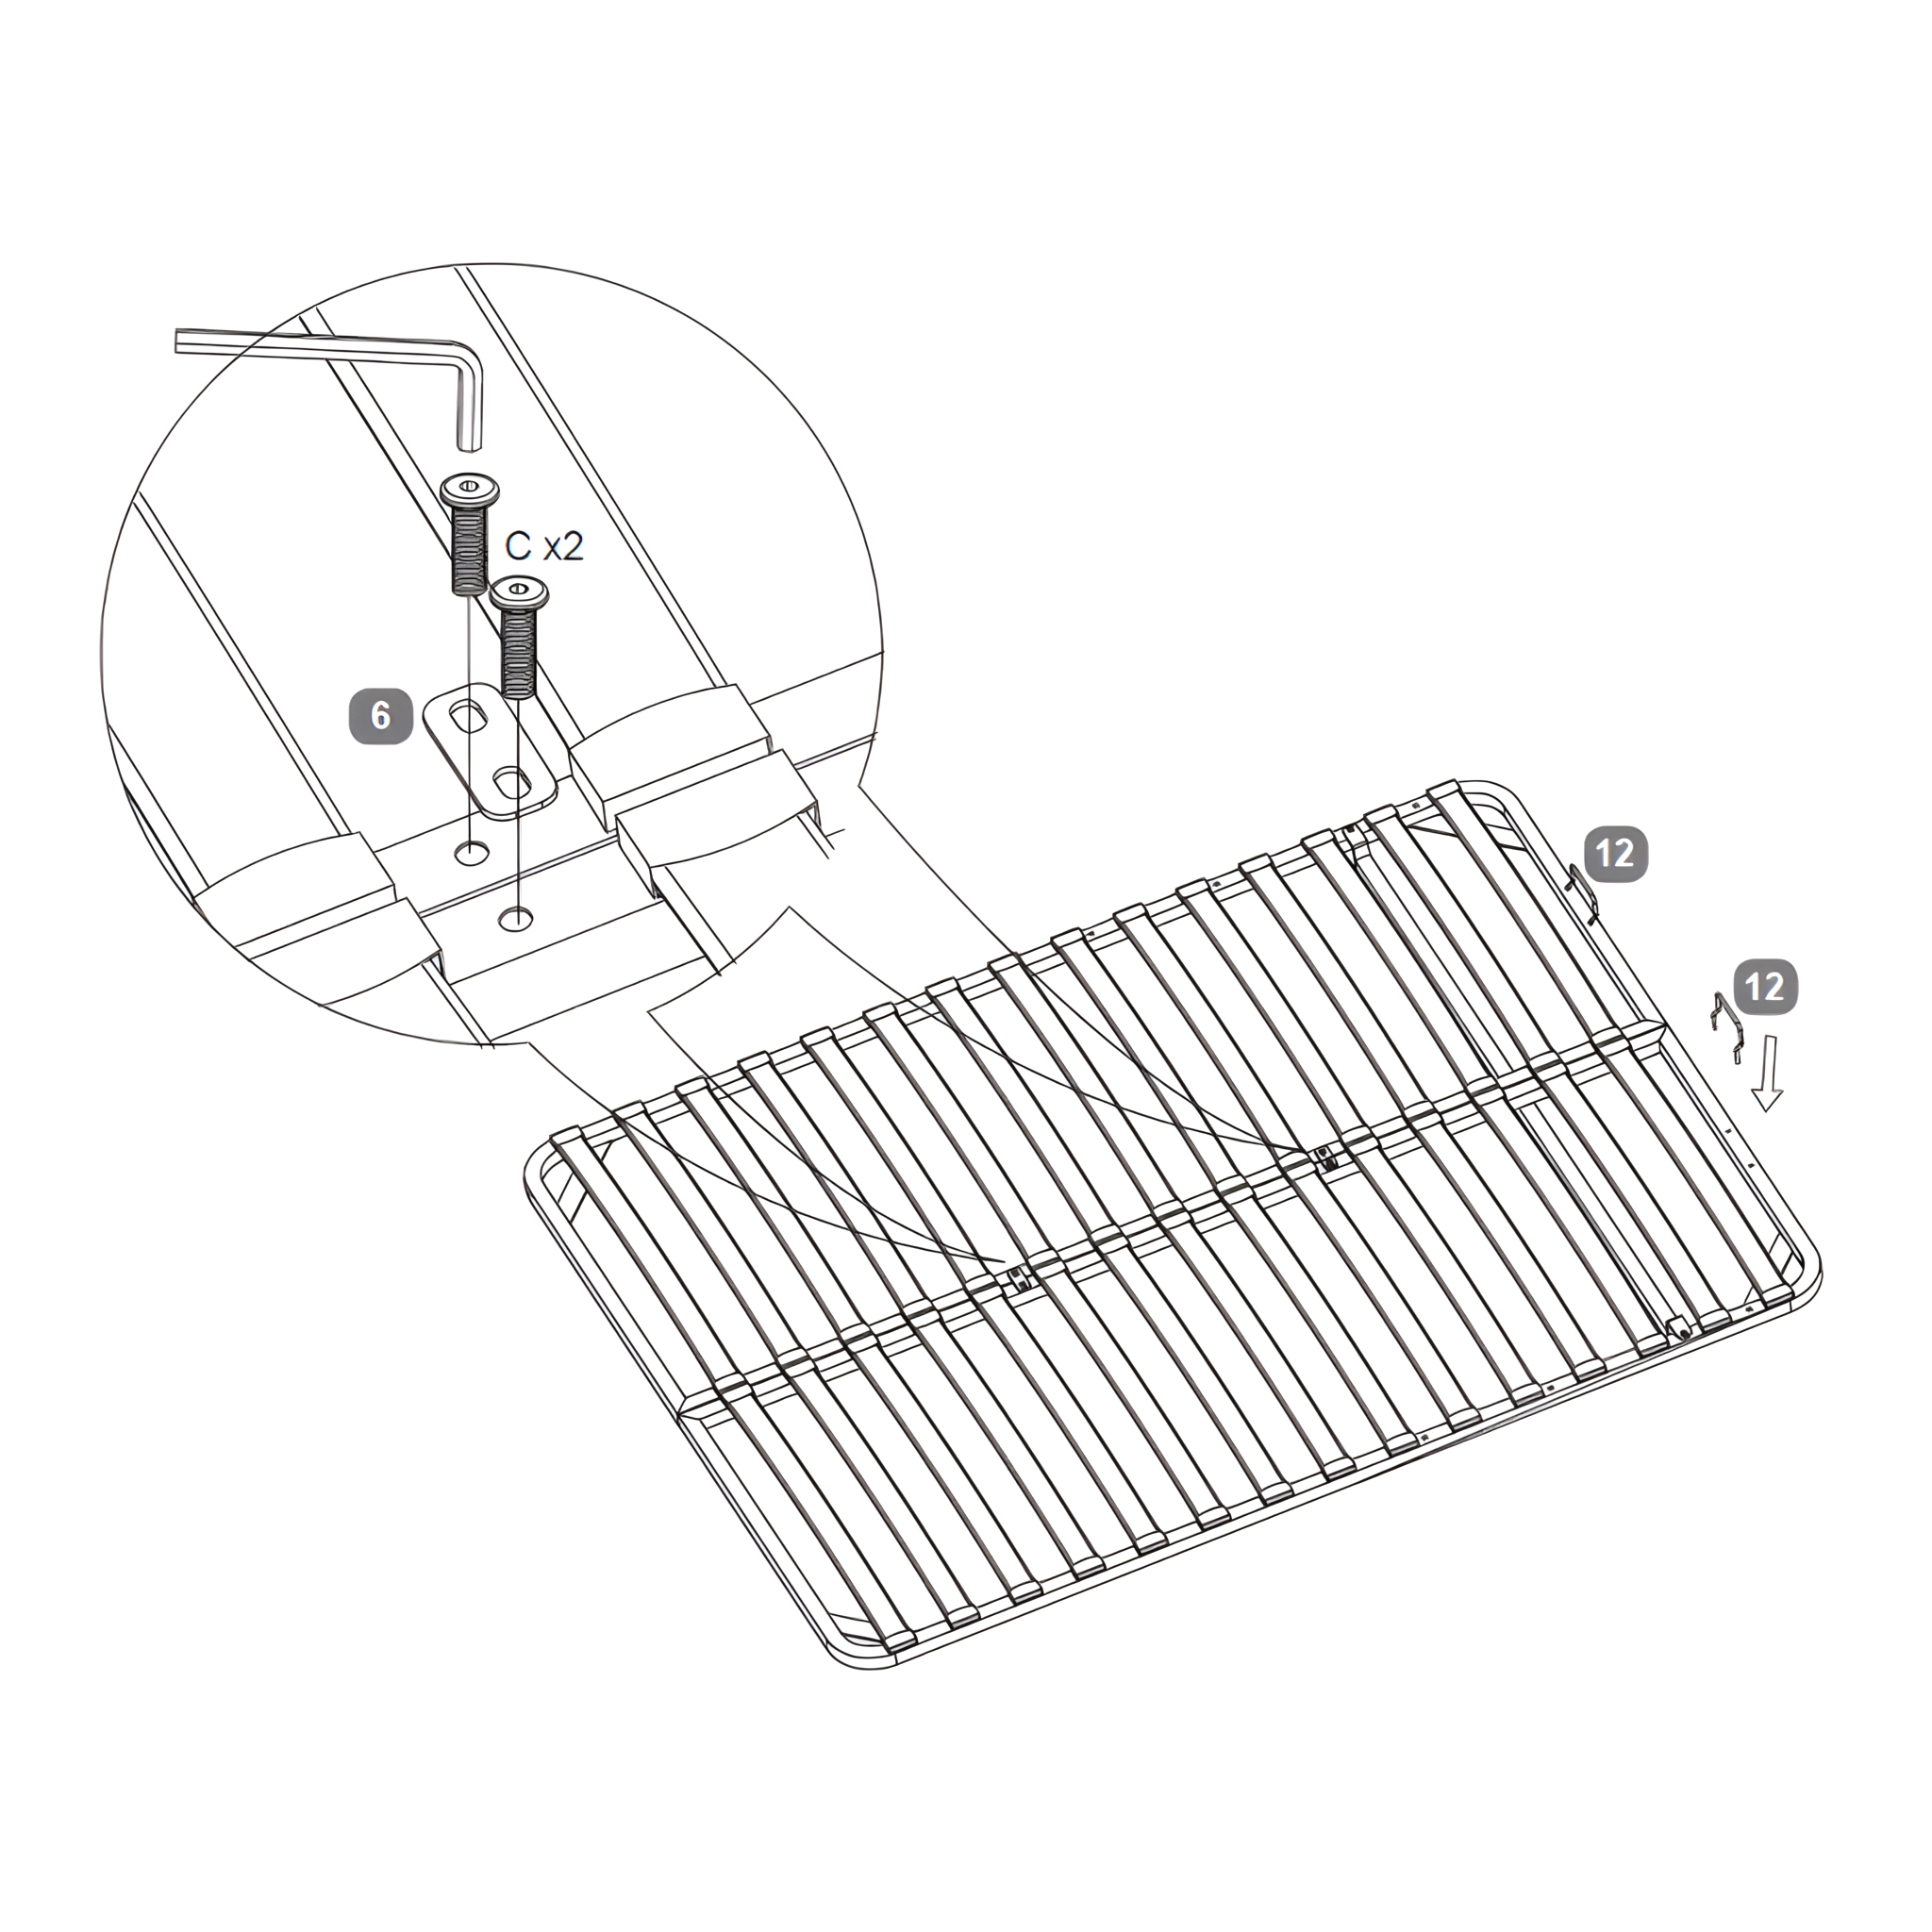
6. Install the Slat-Frame Cross Bar
Locate the fitting position for the slat-frame cross bar (7), which is clearly labeled. At the end of the slat frame (5), thread the bar through the gap between the second and third slat. Carefully open the frame to facilitate this.
7. Install the Connection Plates
1. On the top of the slat frame, place two connection plates (6). Secure them with four bolts (C) by screwing into the threaded inserts on the top of the frame. Do not fully tighten the bolts yet. 2. Position the cross bar fixing plates on top of each side of the slat frame (5), aligning them with the round labels. 3. Ensure the plates align with the threaded holes, and loosely fix them using two bolts (C). 4. Using the Allen key (E), tighten all six bolts to 100% to ensure the structure is firmly secured.
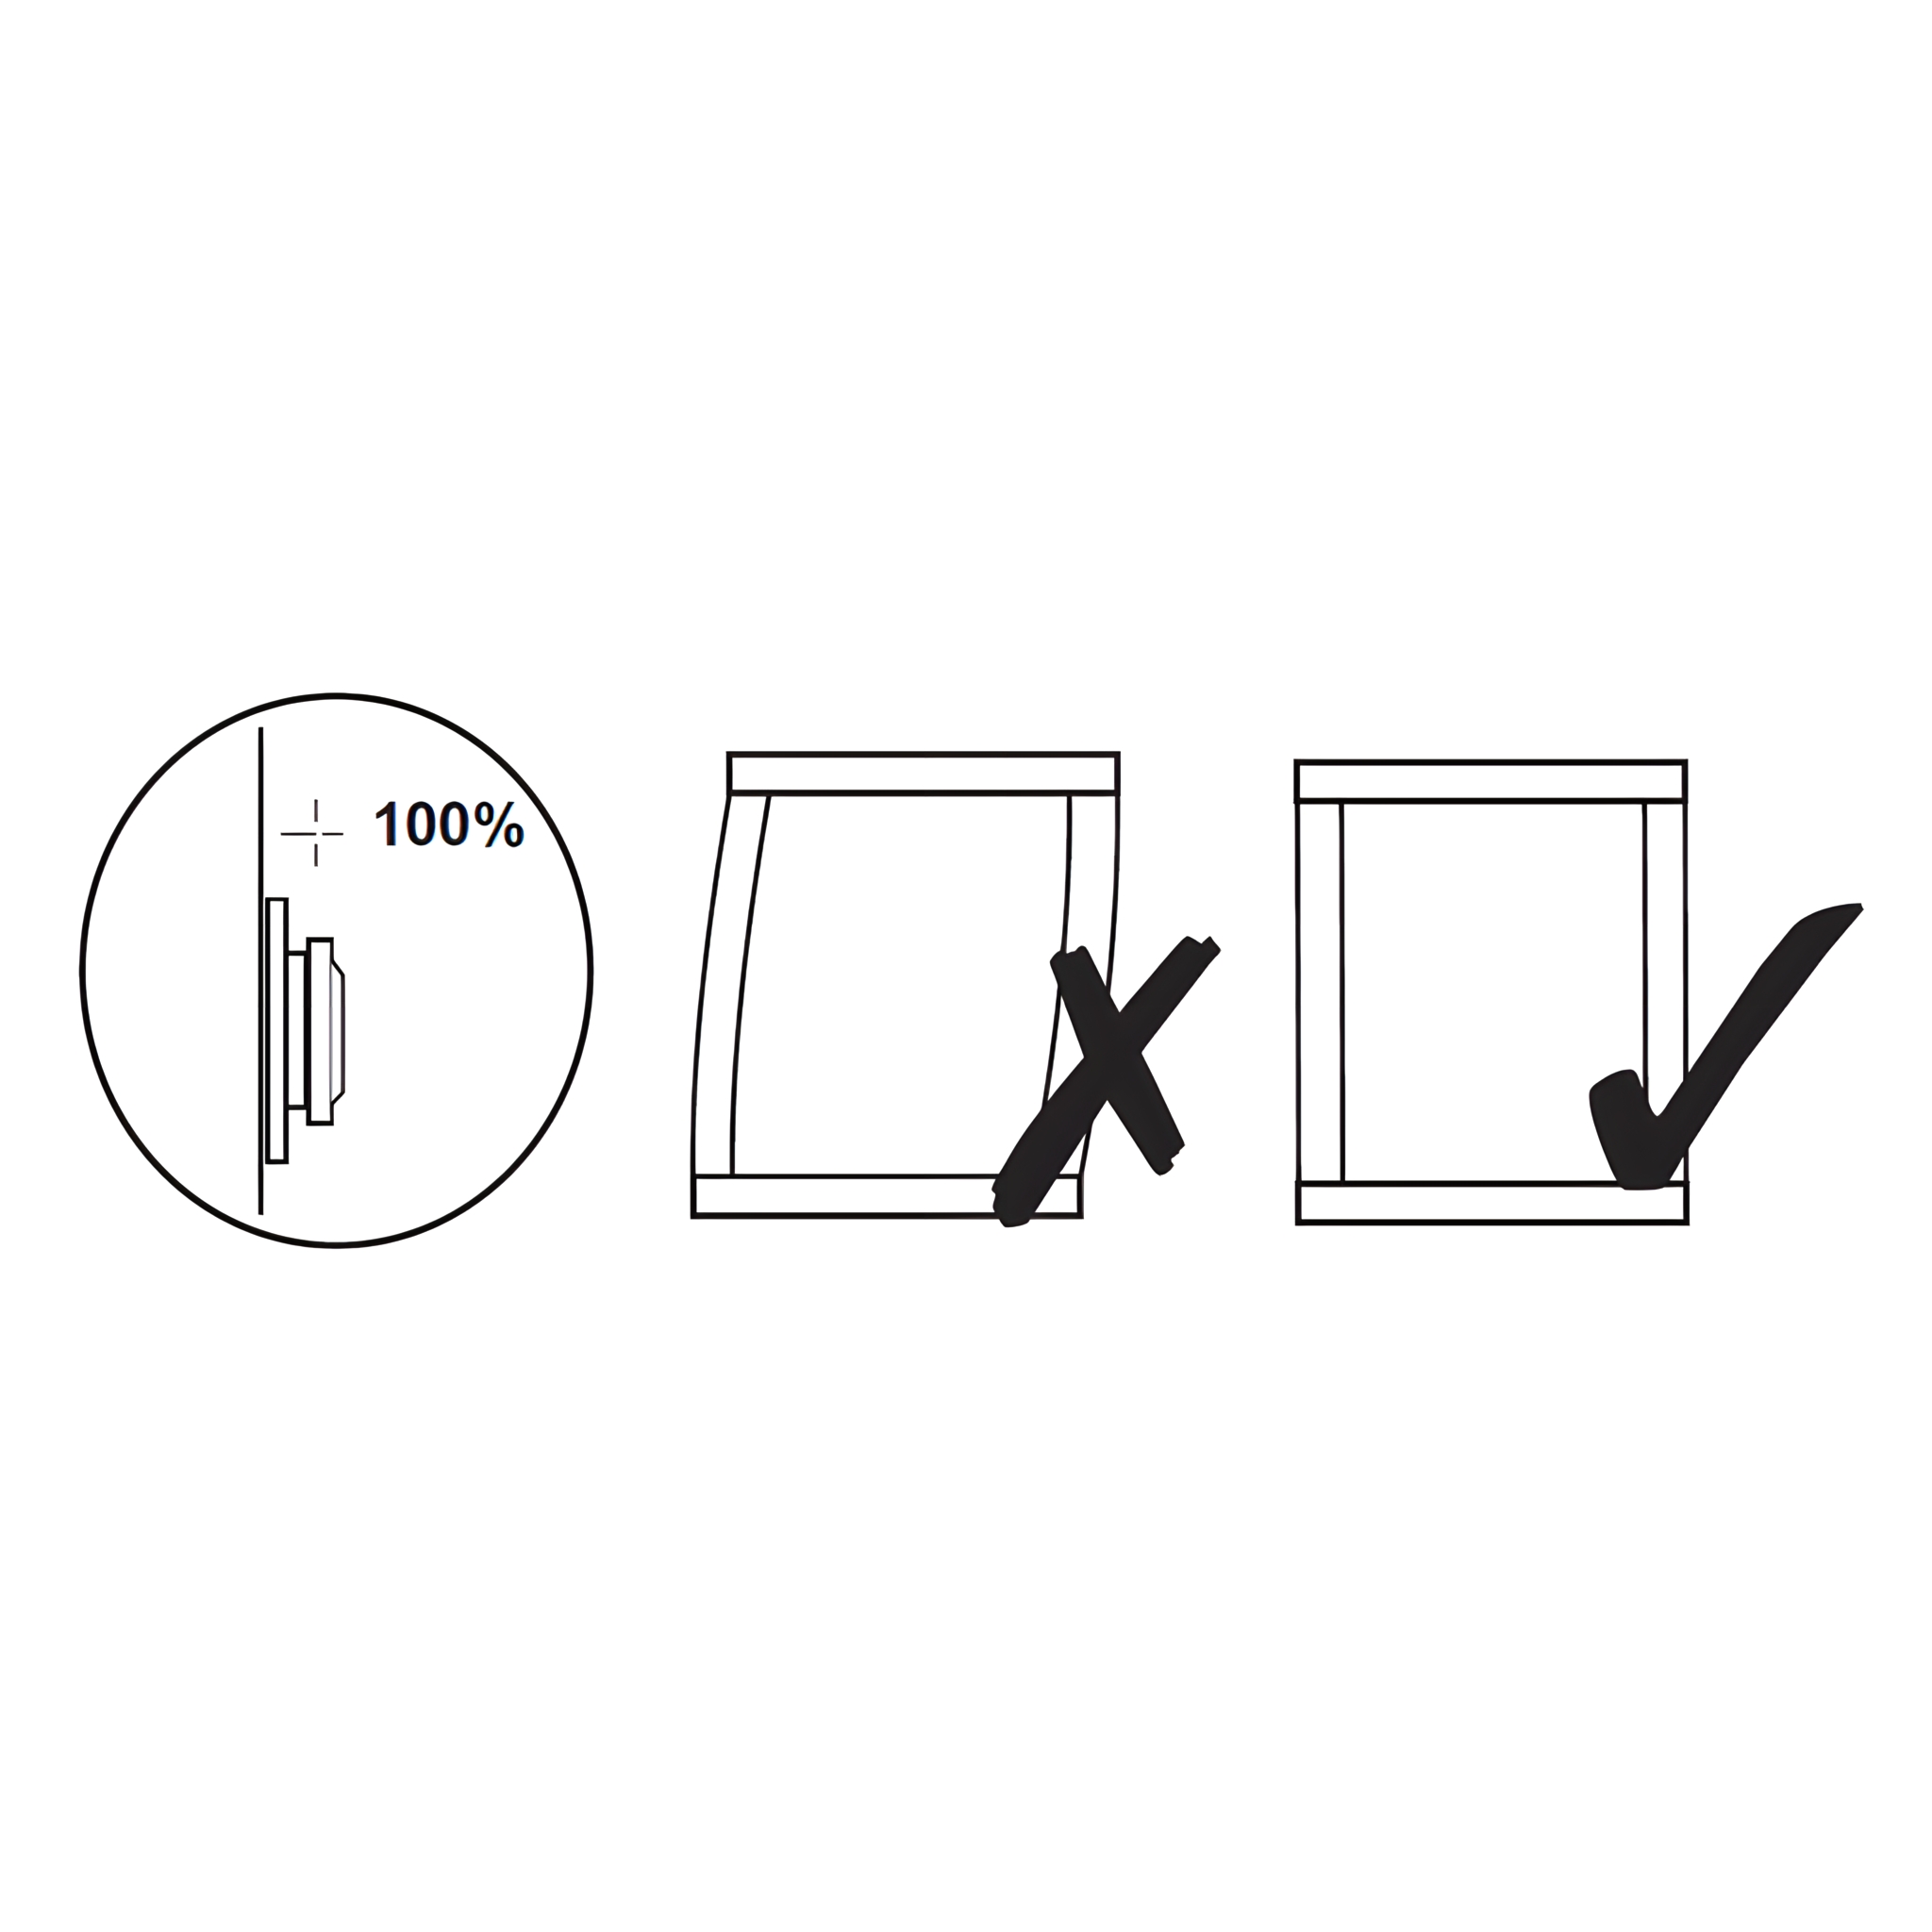
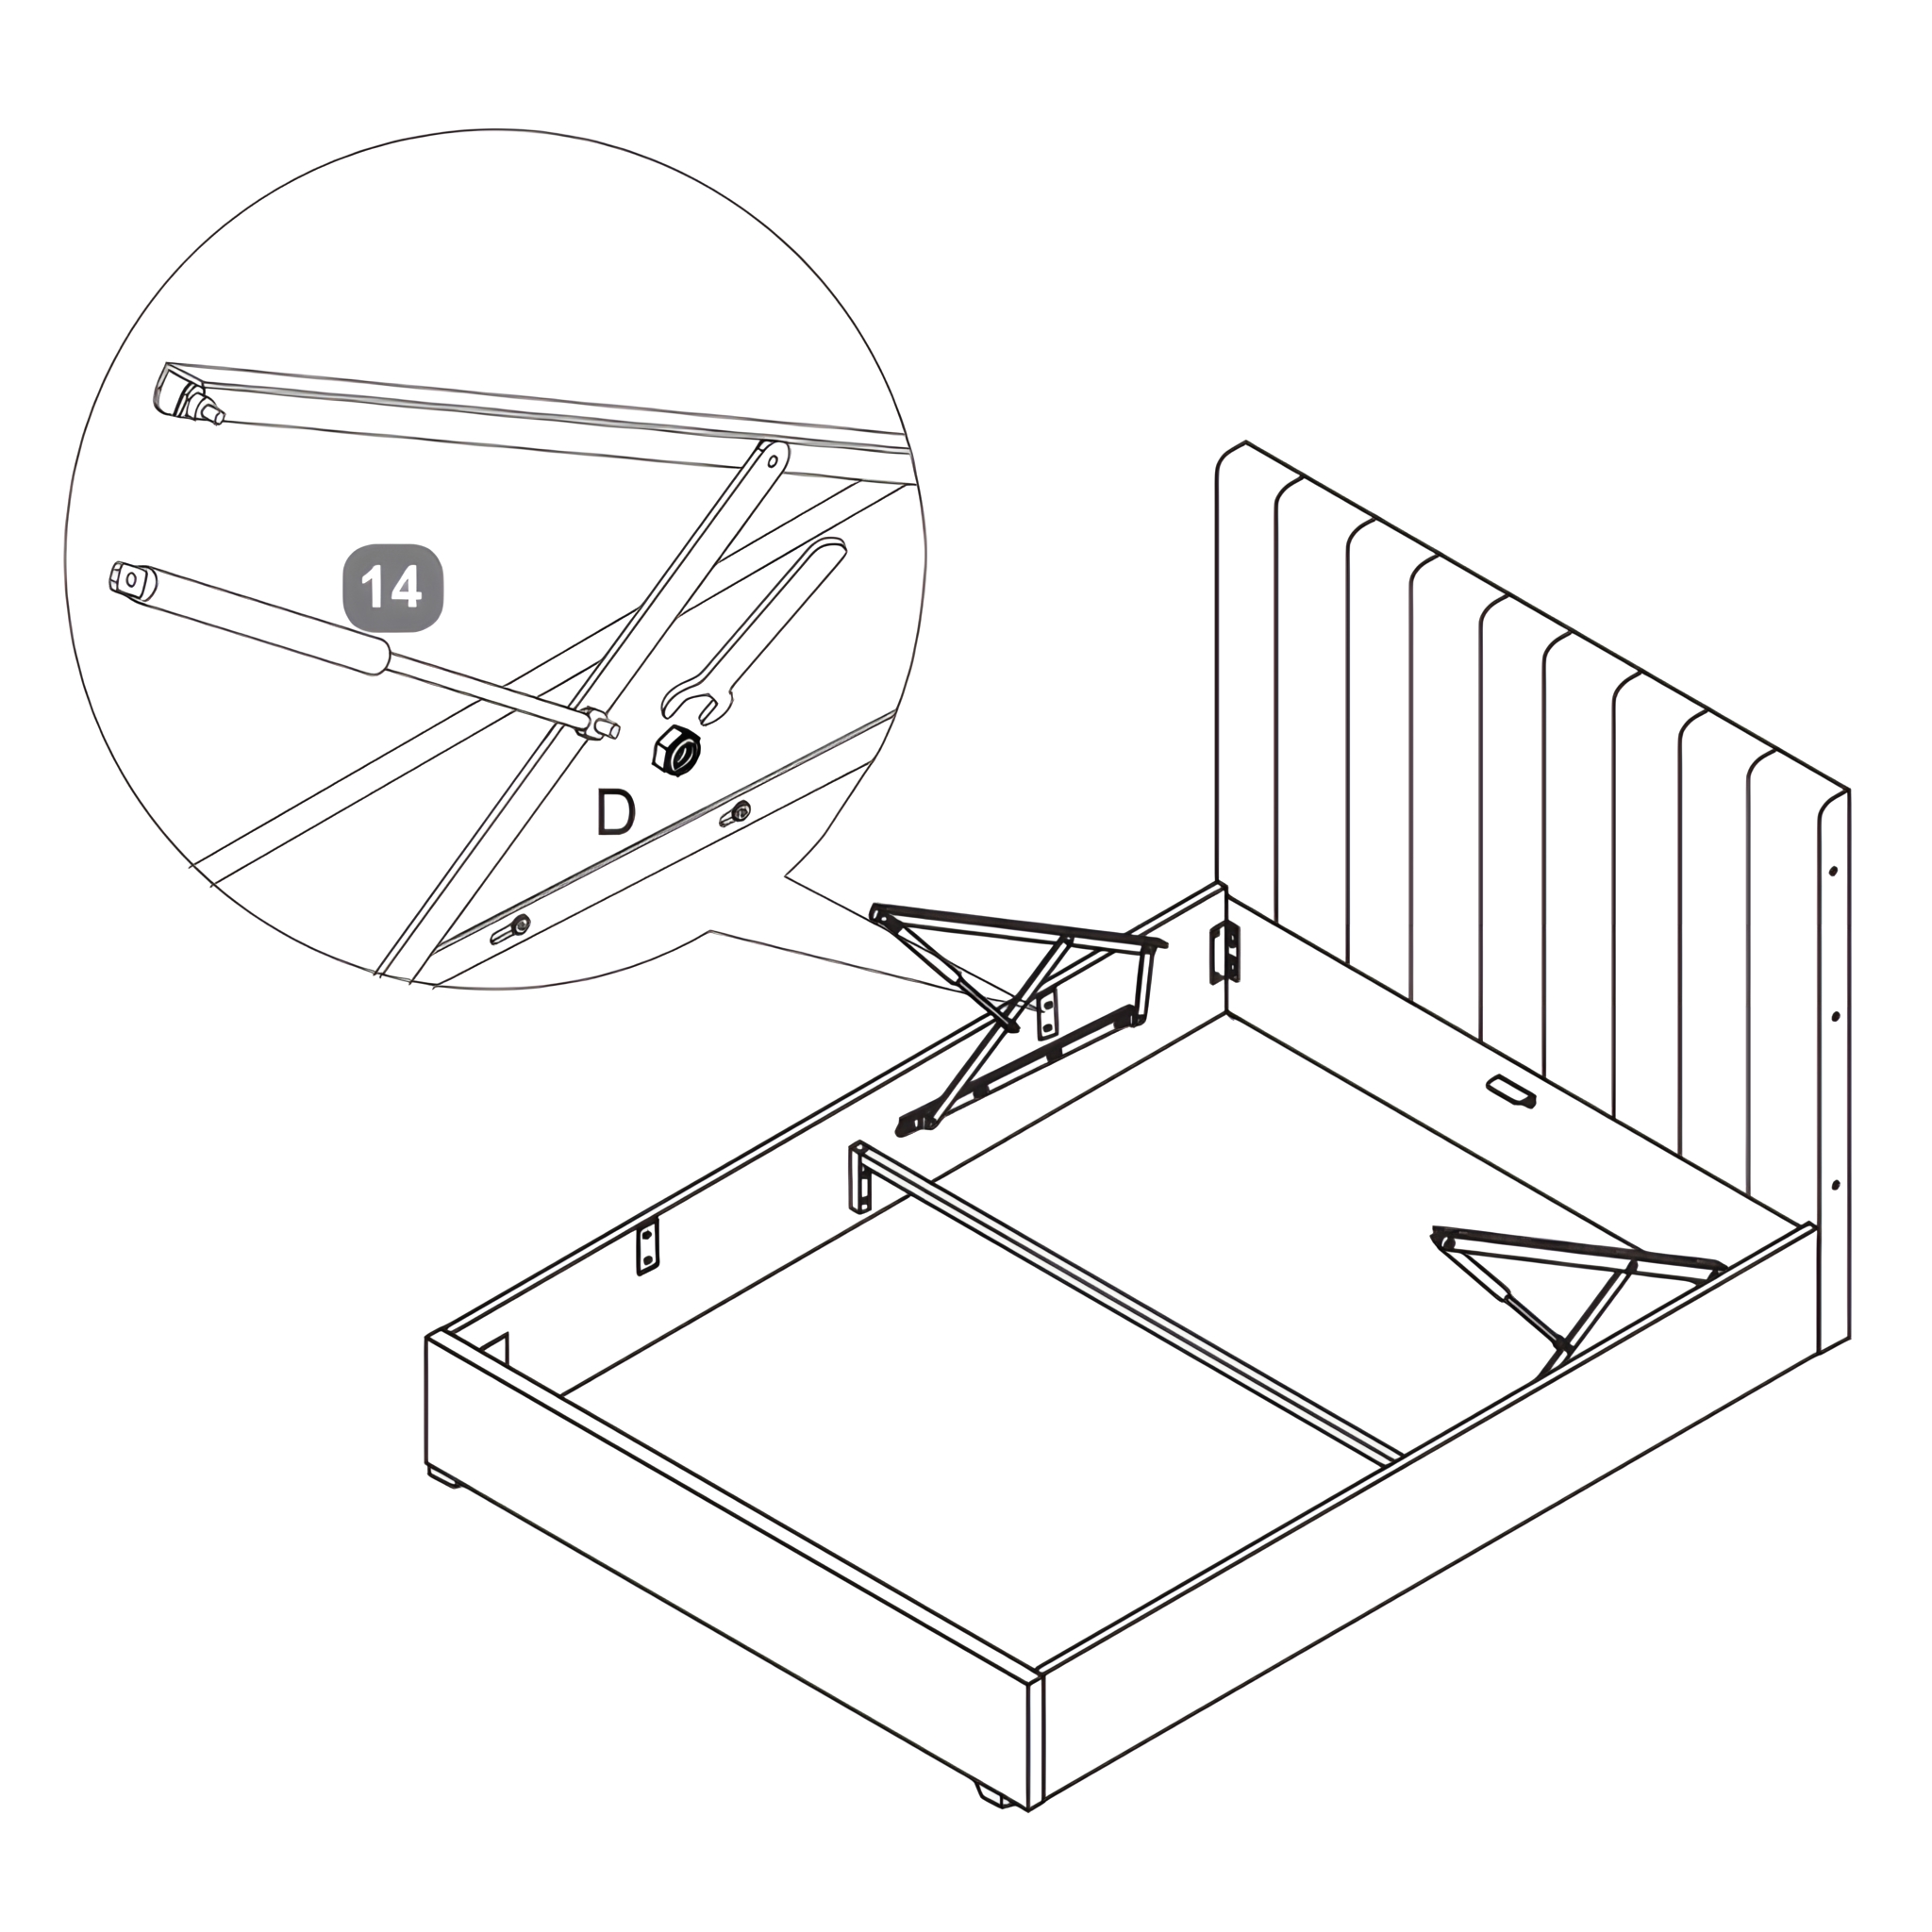
8. Install the Gas-Lift Piston Stem
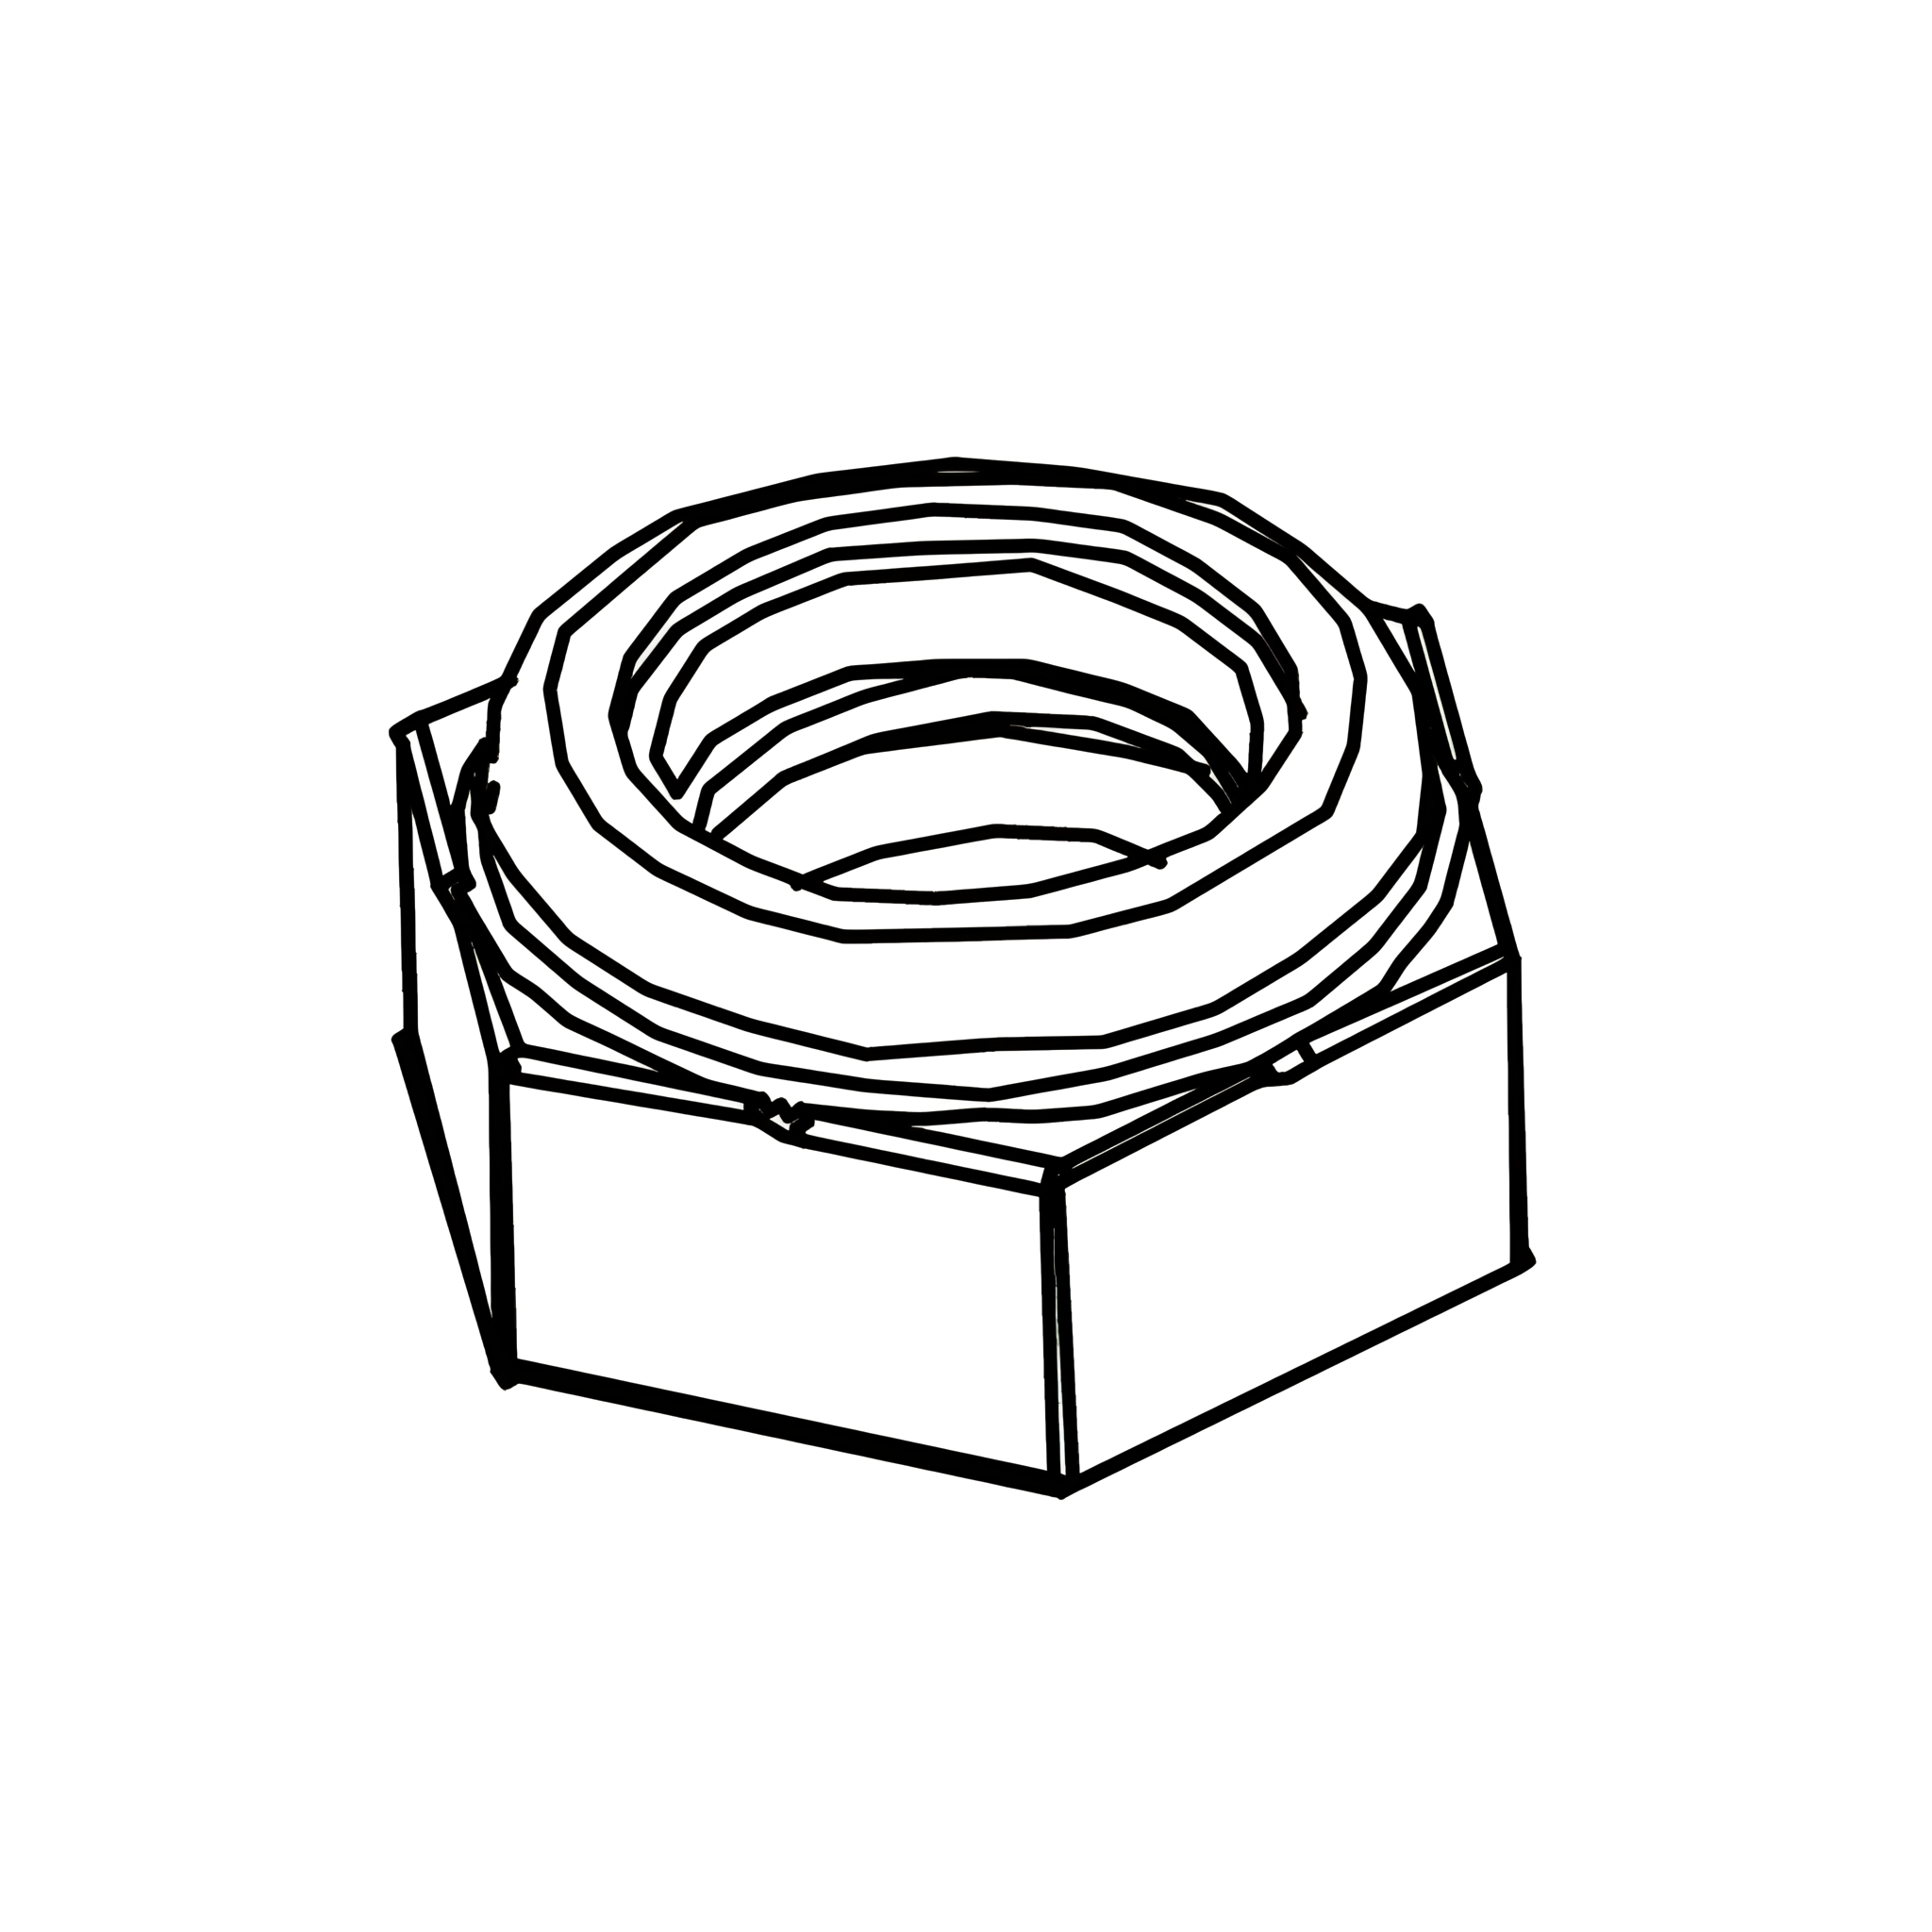
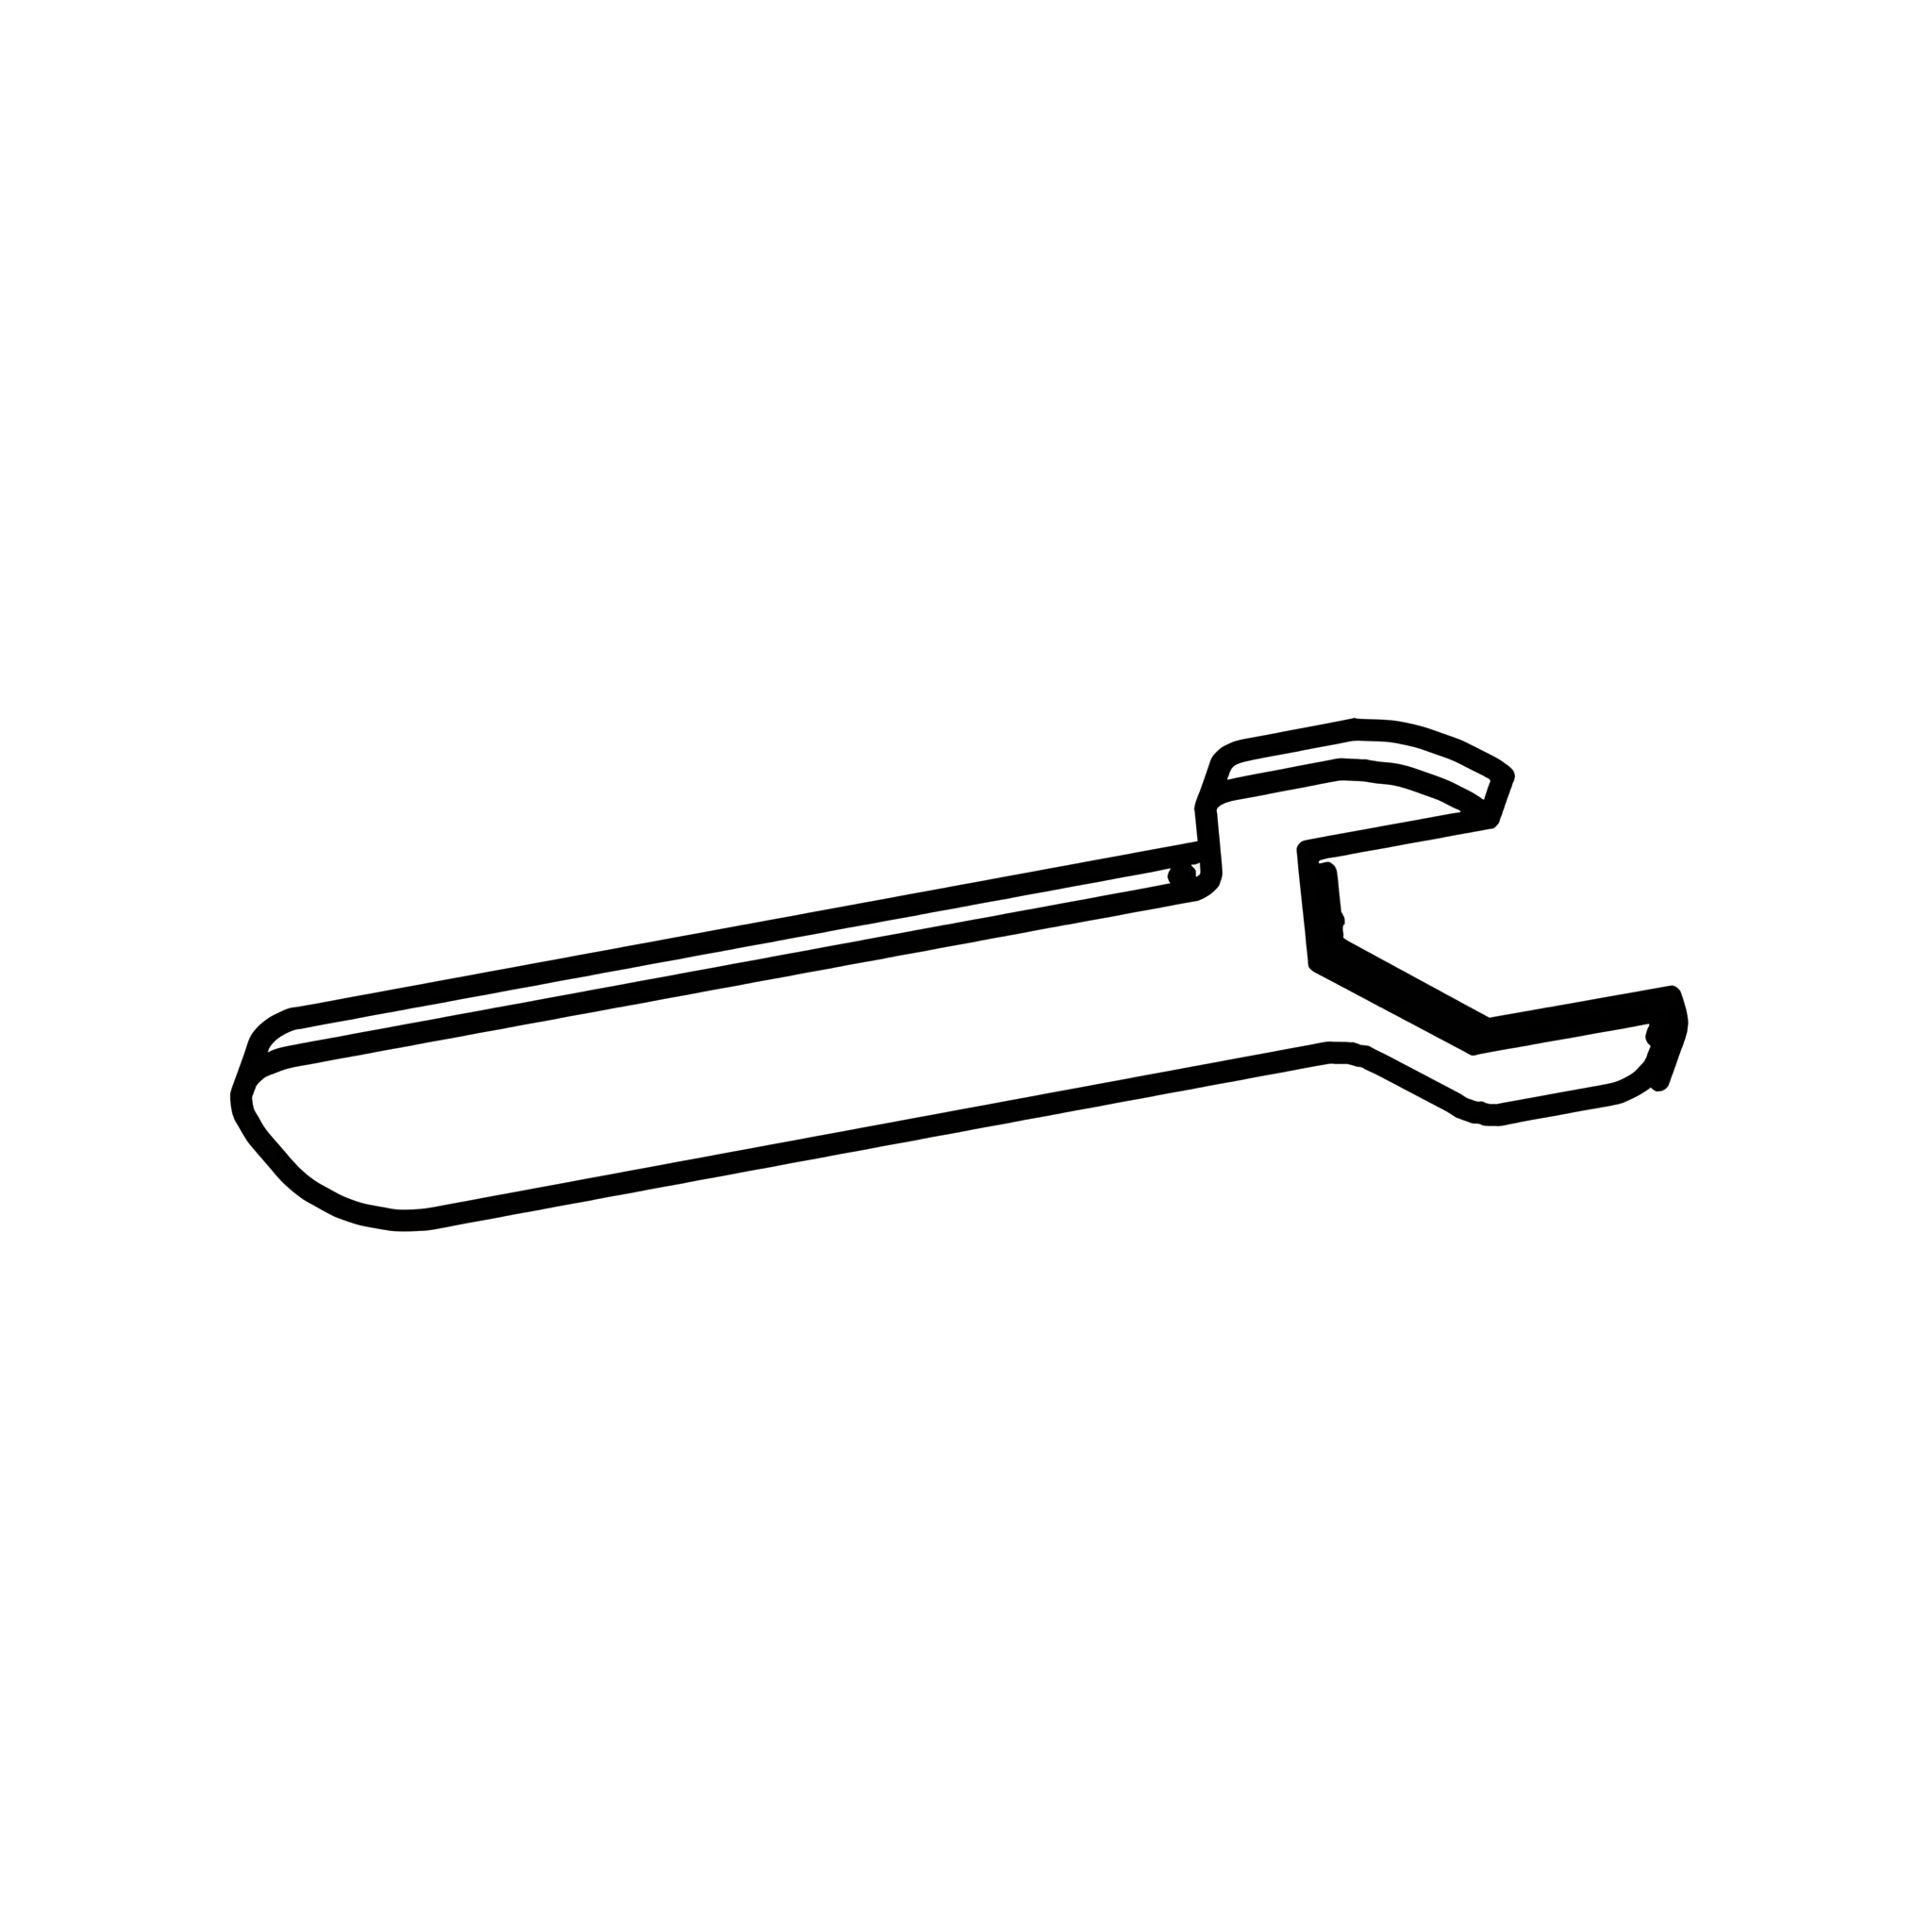
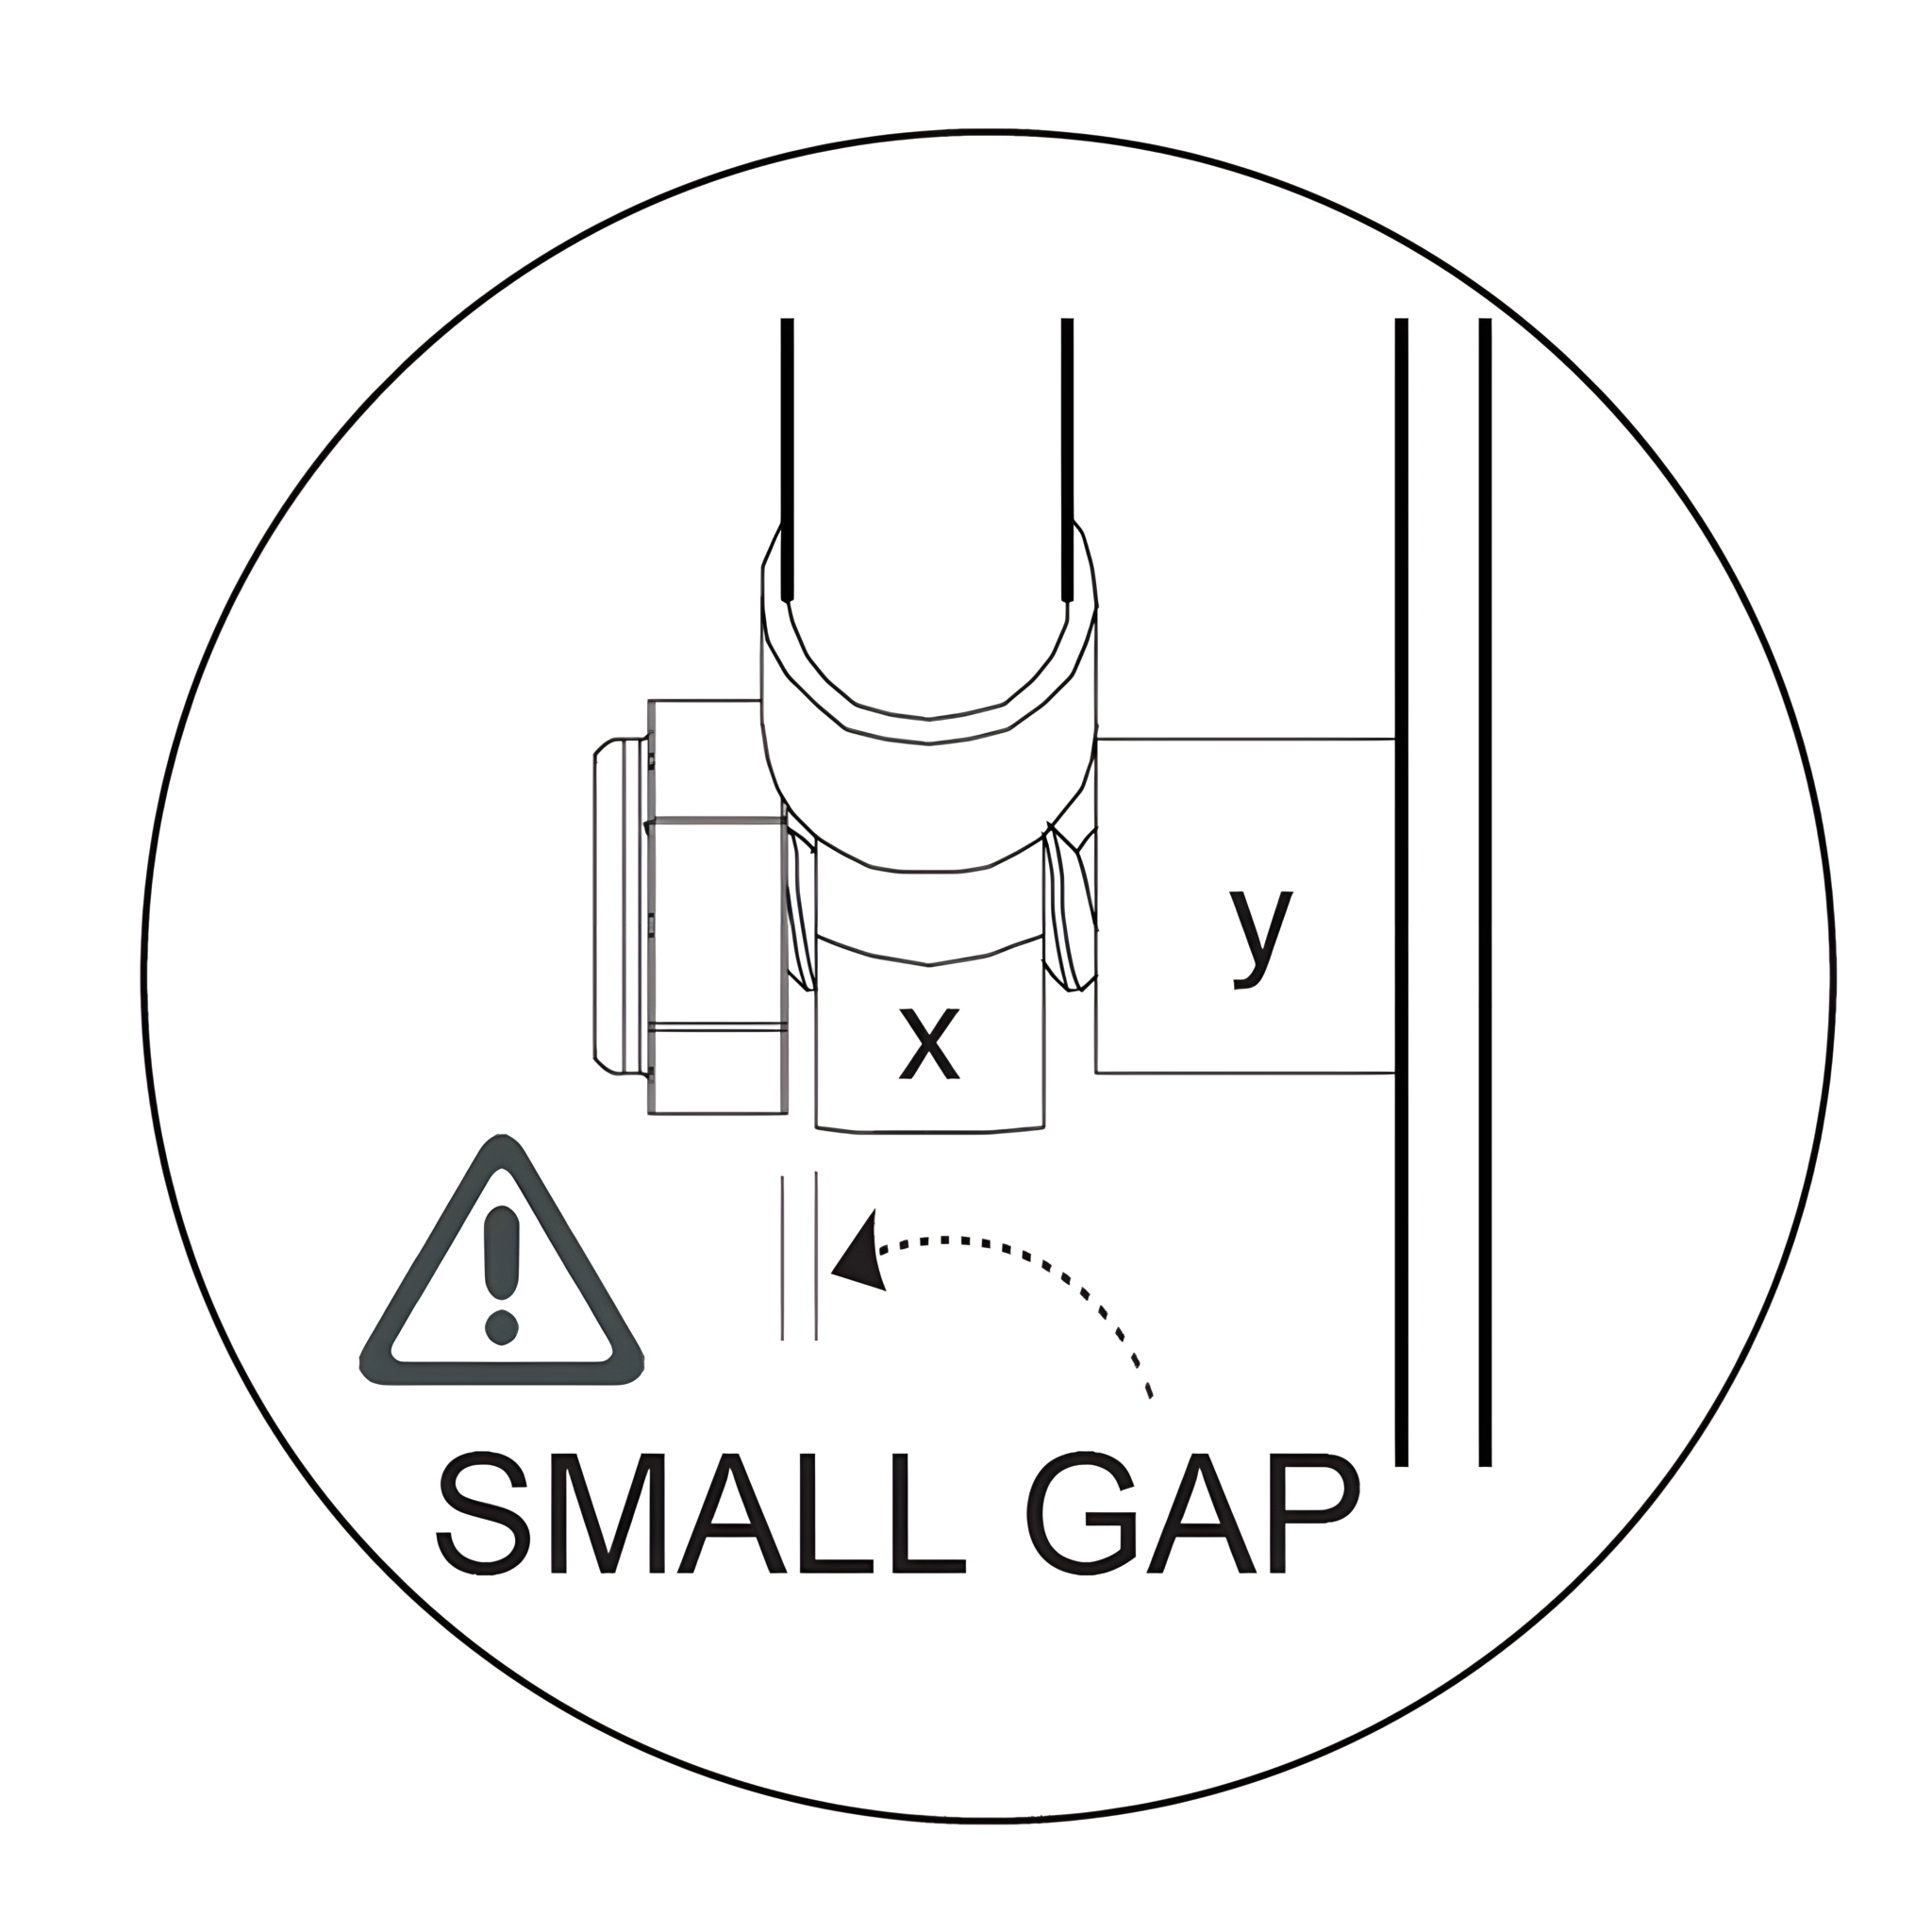
1. Slide the gas-lift piston stem (x) onto the axle (y) and attach the flange lock-nut (D). 2. Using the spanner (F), tighten the nut, ensuring not to over-tighten.
A small gap should remain to allow the stem to move freely, this is normal and necessary for proper operation, as illustrated in the sketch.
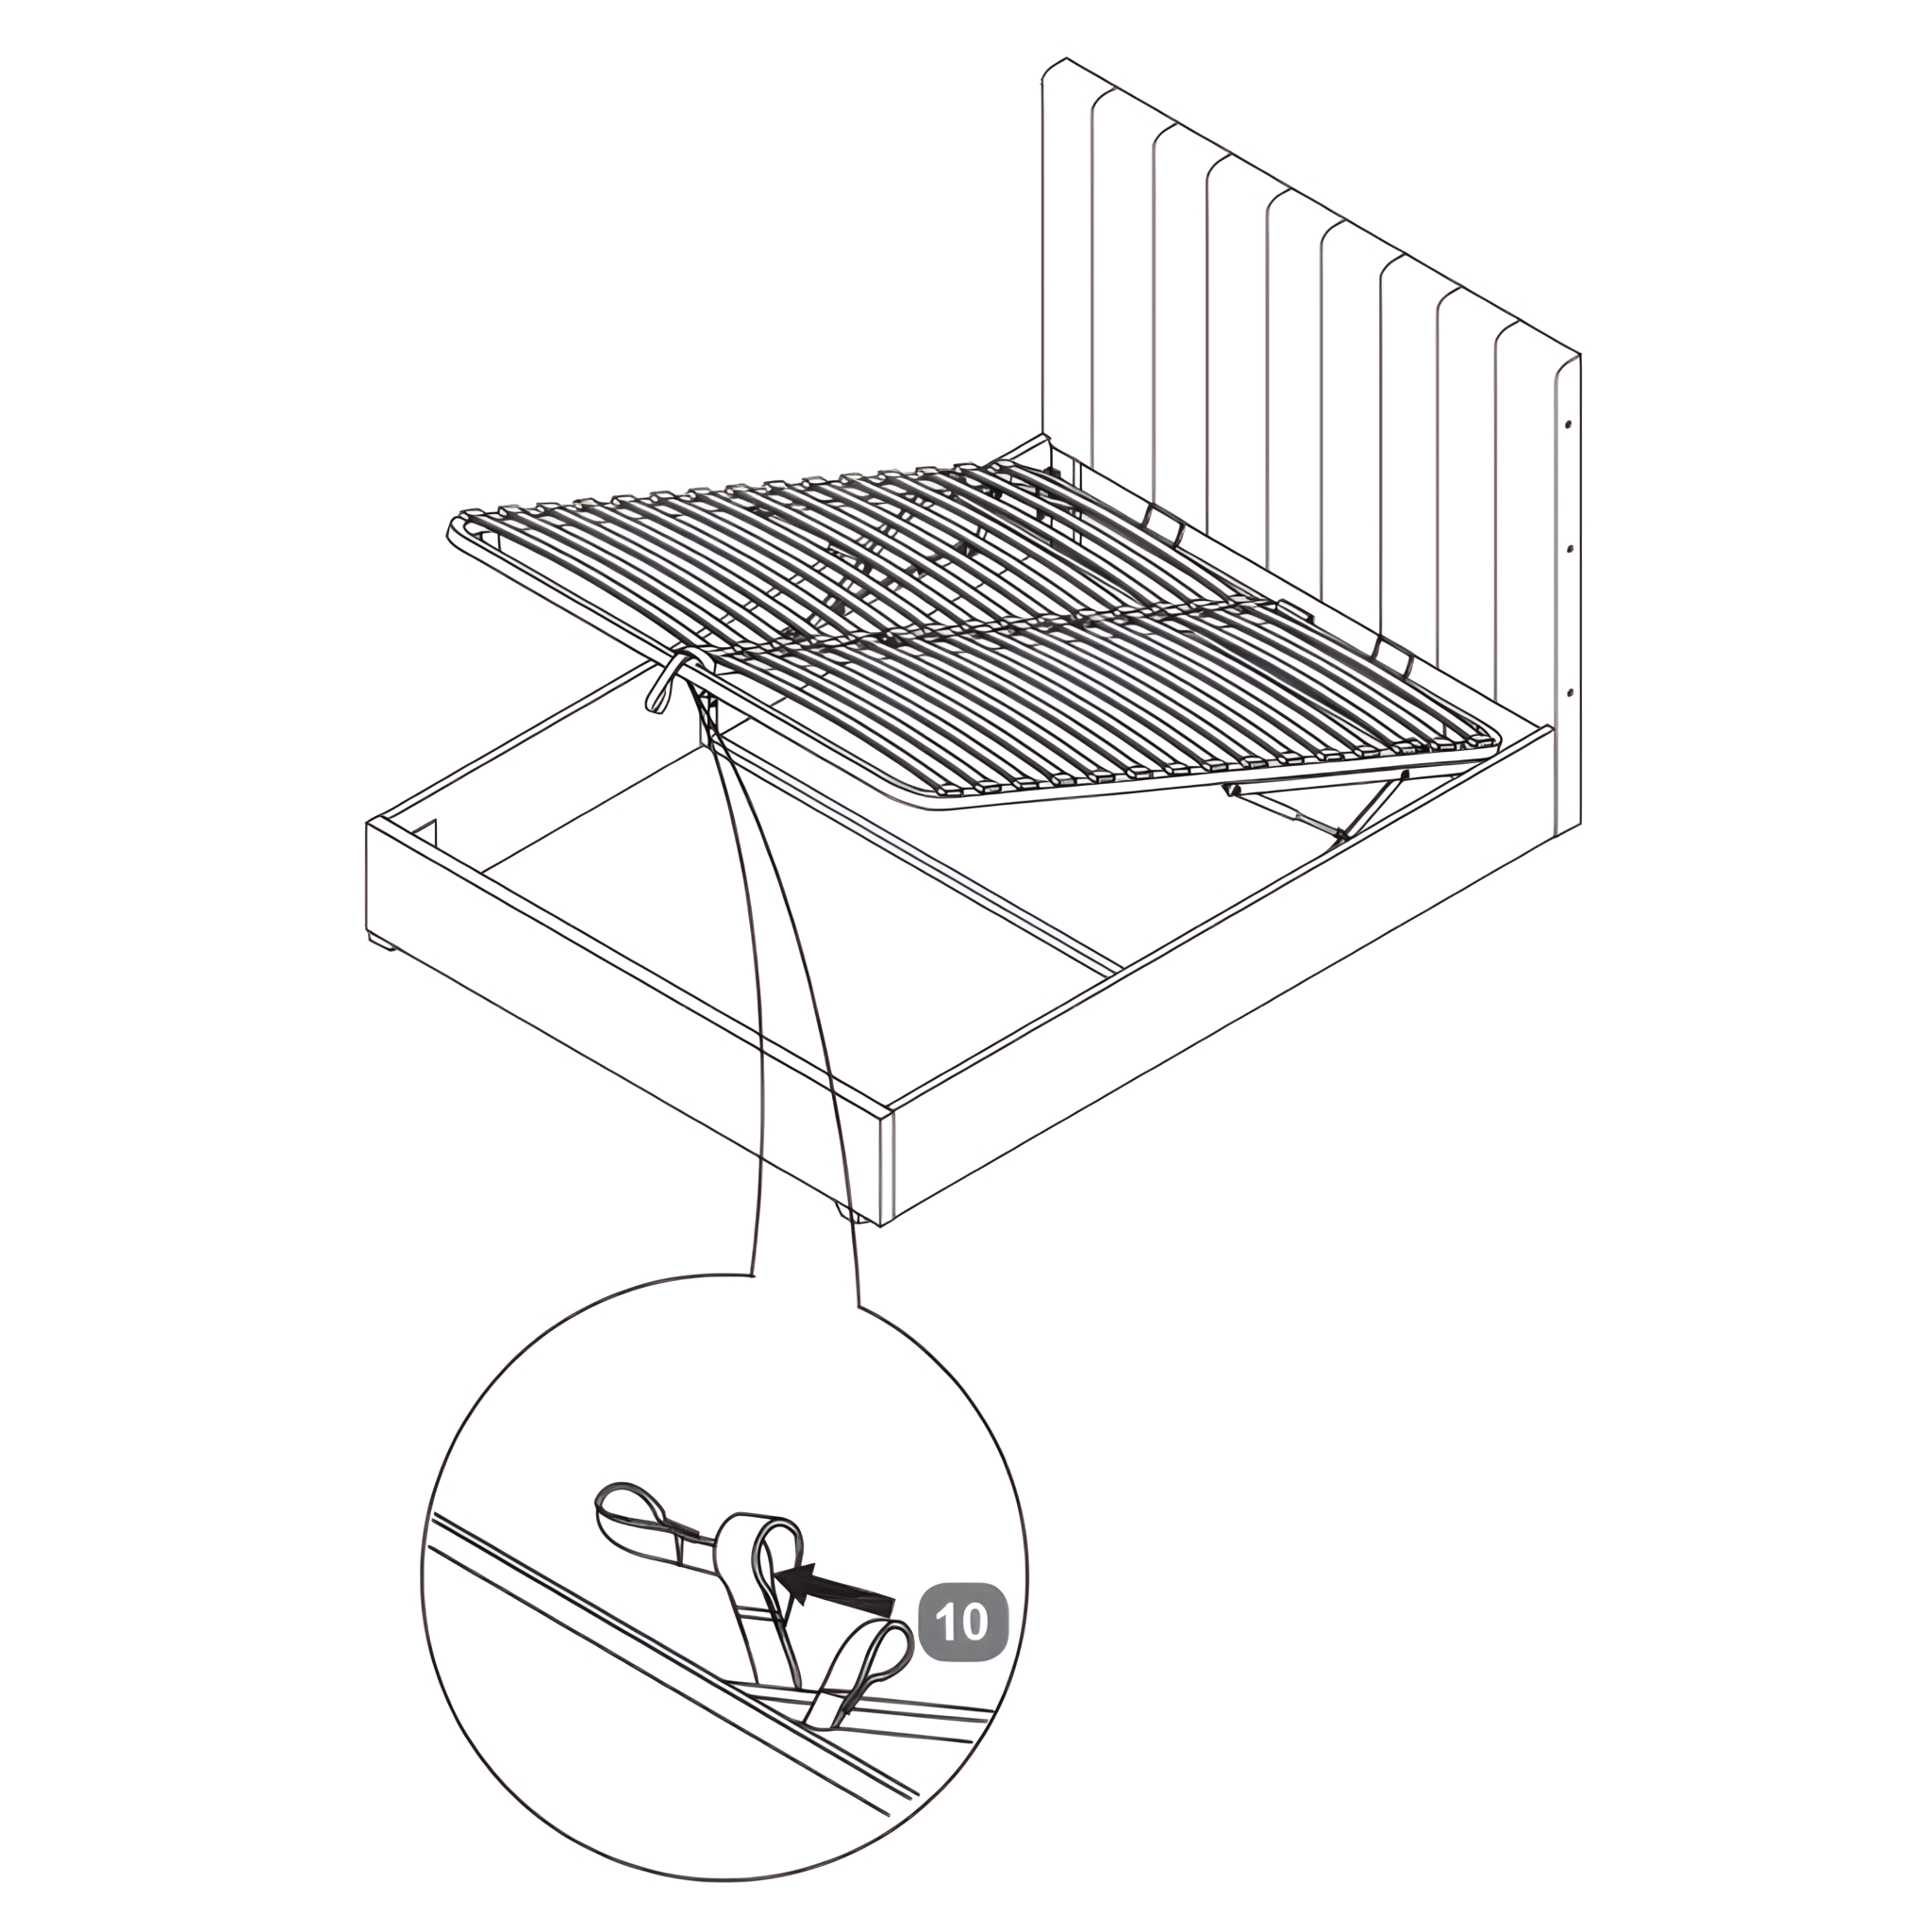
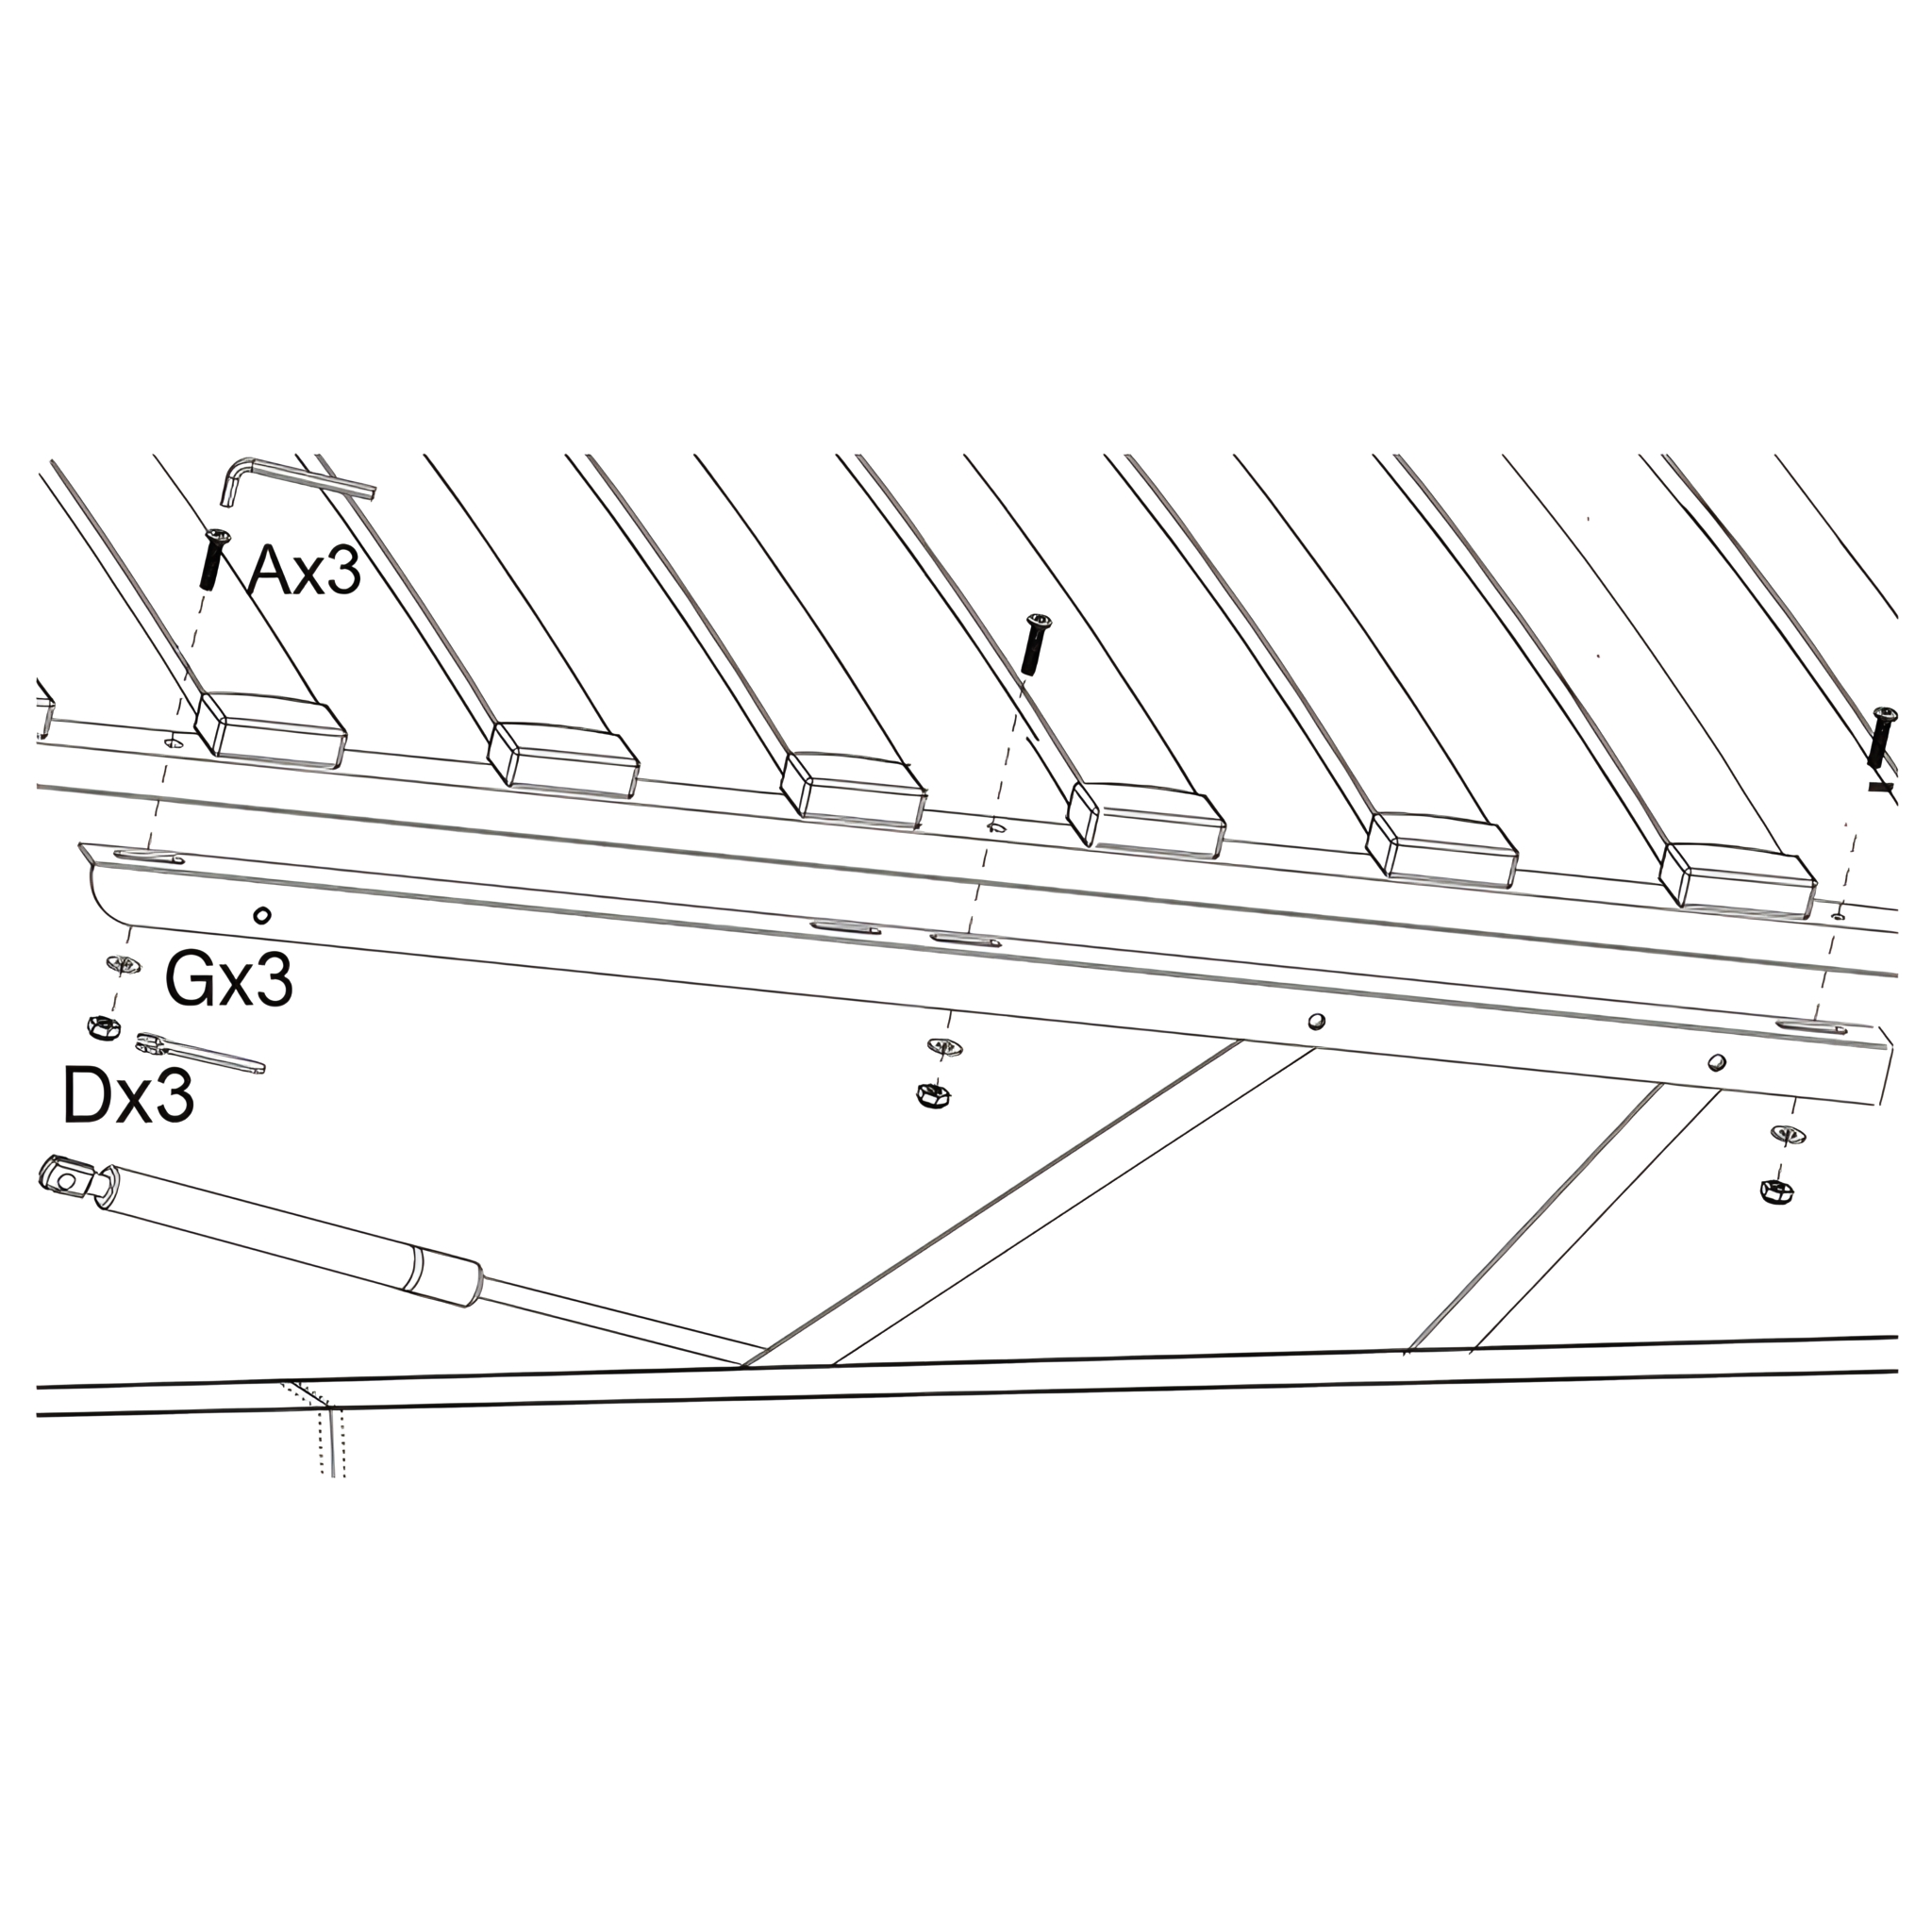
9. Secure the Slat Frame
1. Loosely fit three bolt sets on each side (A), (D), and (G). Carefully hold the frame down and align it to ensure even gaps on each side. 2. Once aligned, tighten all bolts to 100% to secure the frame firmly in place. 3. Tie the Frabric Strap Handle (10)
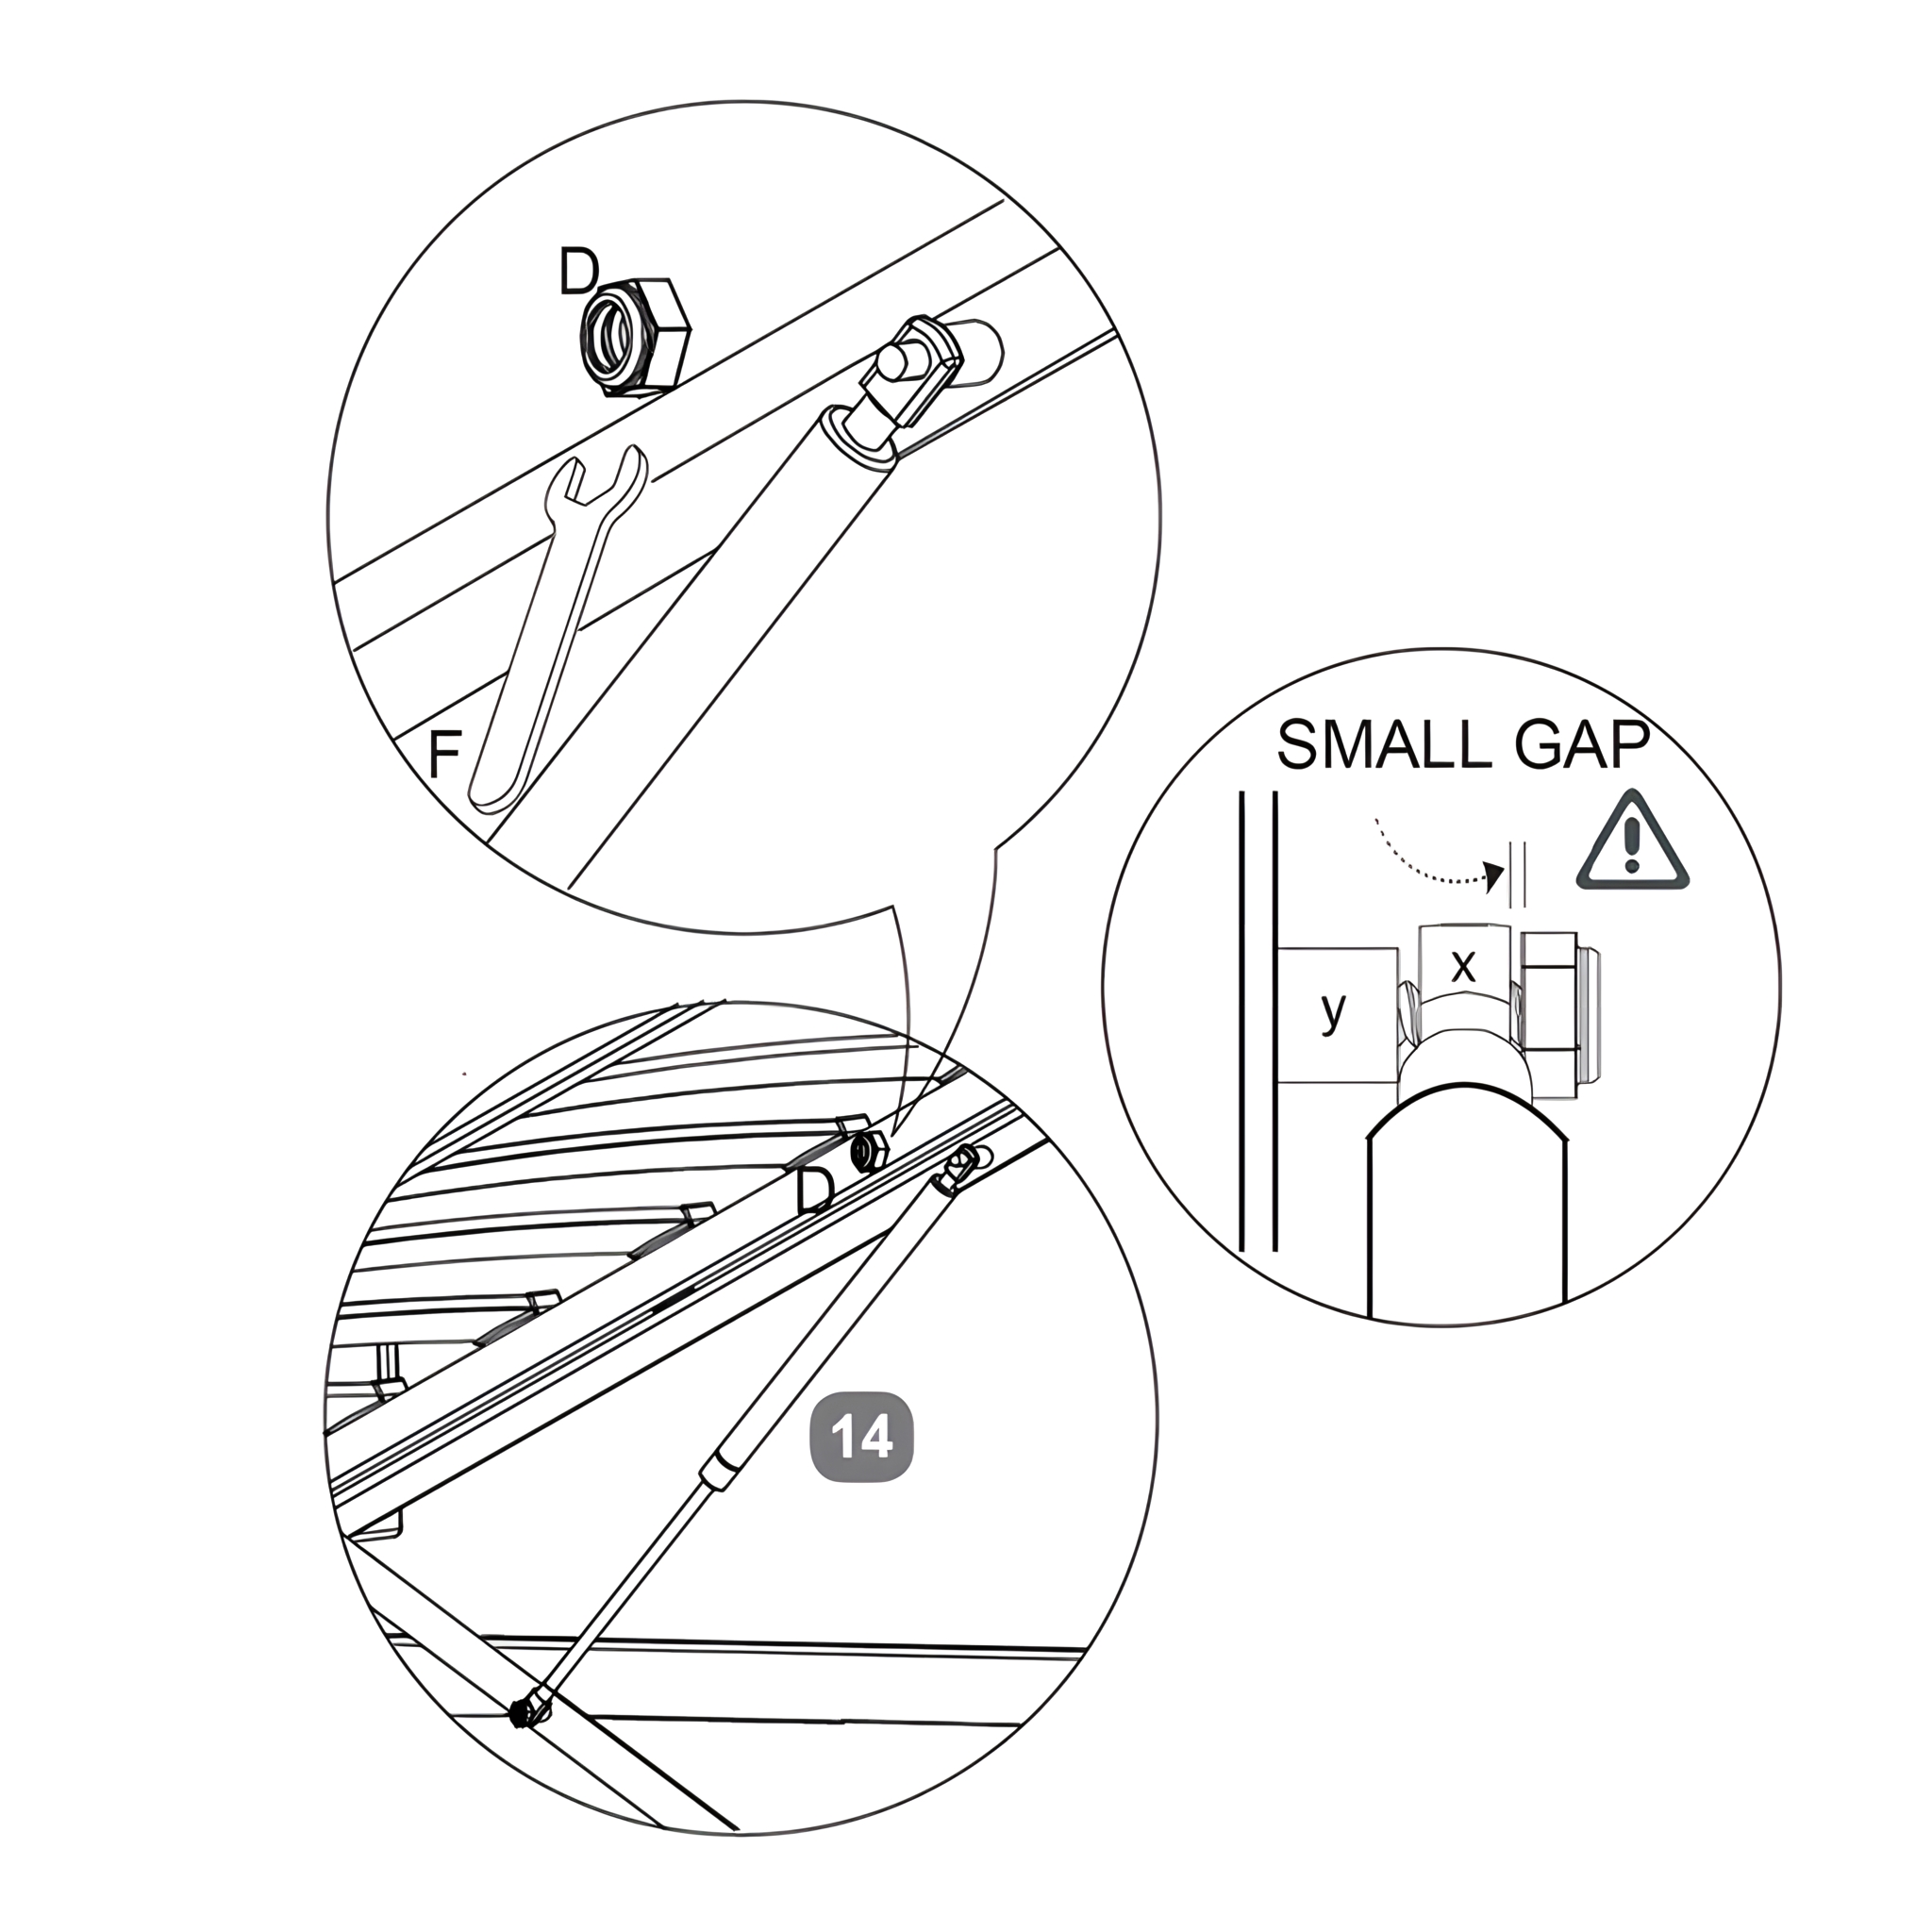
10. Install the Gas-Lift Piston Stem
1. Slide the gas-lift piston stem (x) onto the axle (y) and then secure it with the flange lock-nut (D). 2. Use the spanner (F) to tighten the nut, but be careful not to over-tighten.
Ensure a small gap remains to allow the stem to move freely; this is a normal requirement for operation, as depicted in the sketch above.
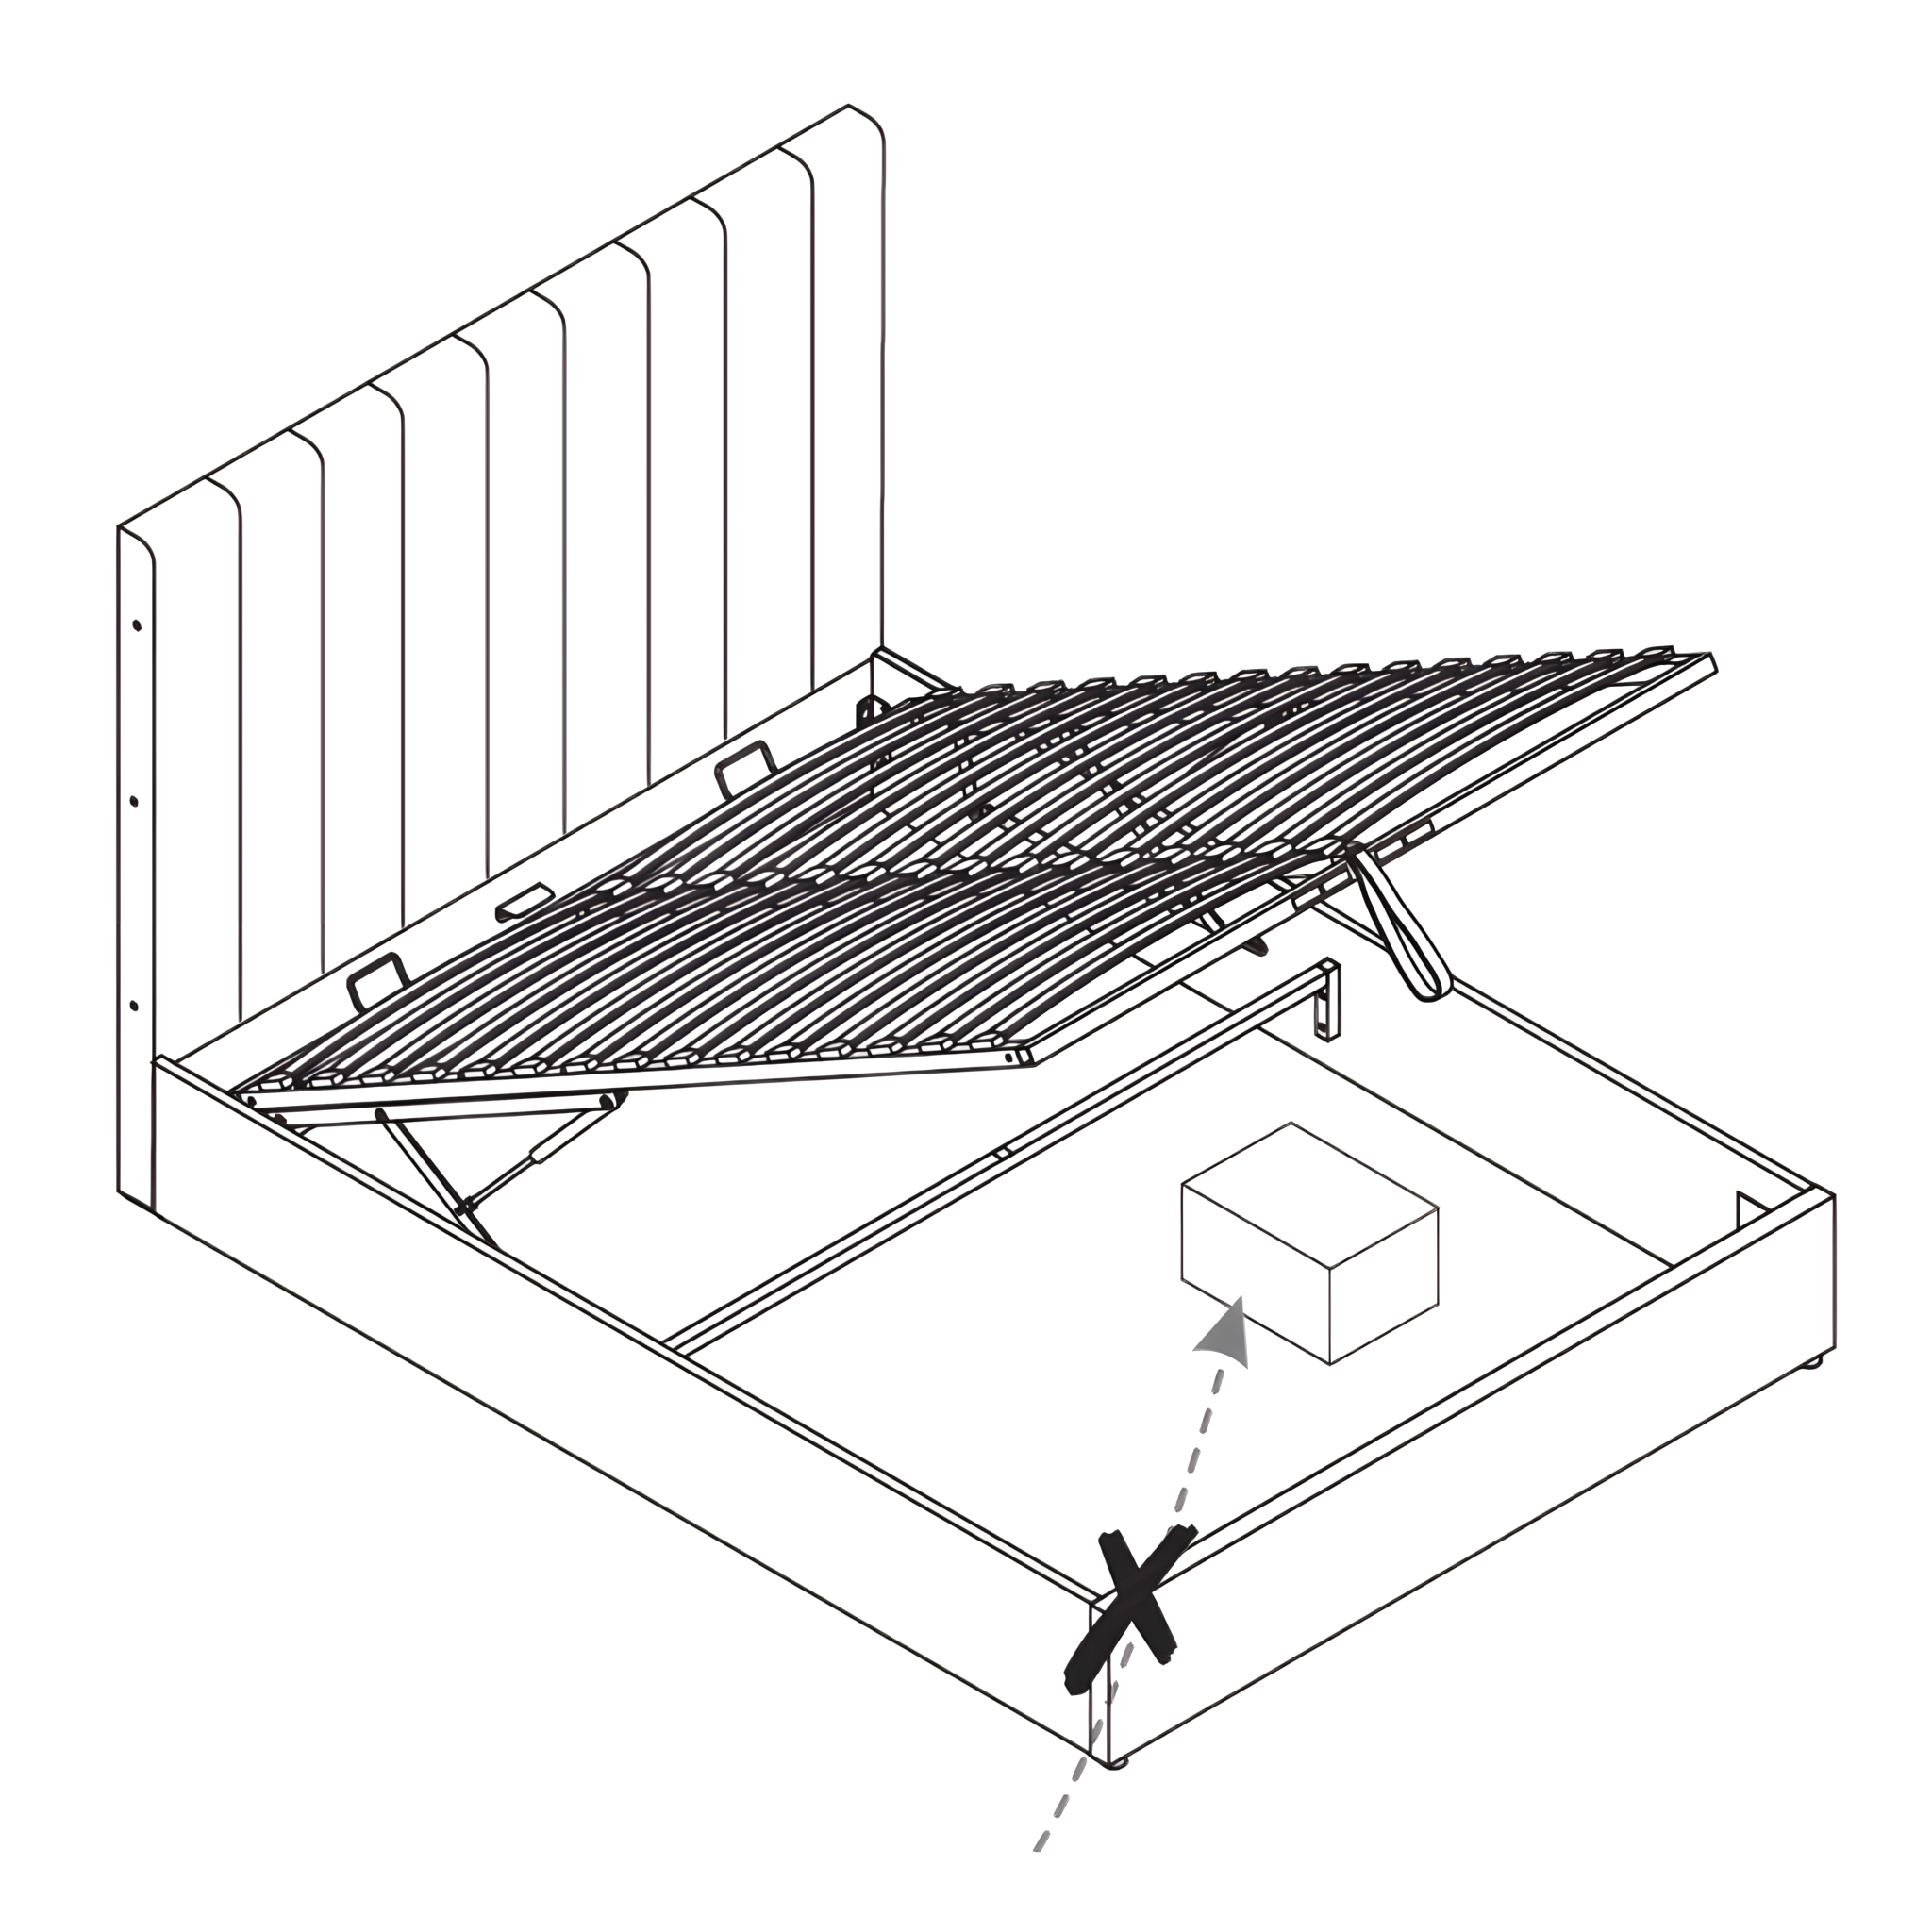
Note: Be careful what you store under the bed - the top of an item, like a suitcase or a box , must not touch the slats or they may be damaged. Maximum storage height is 25cm.
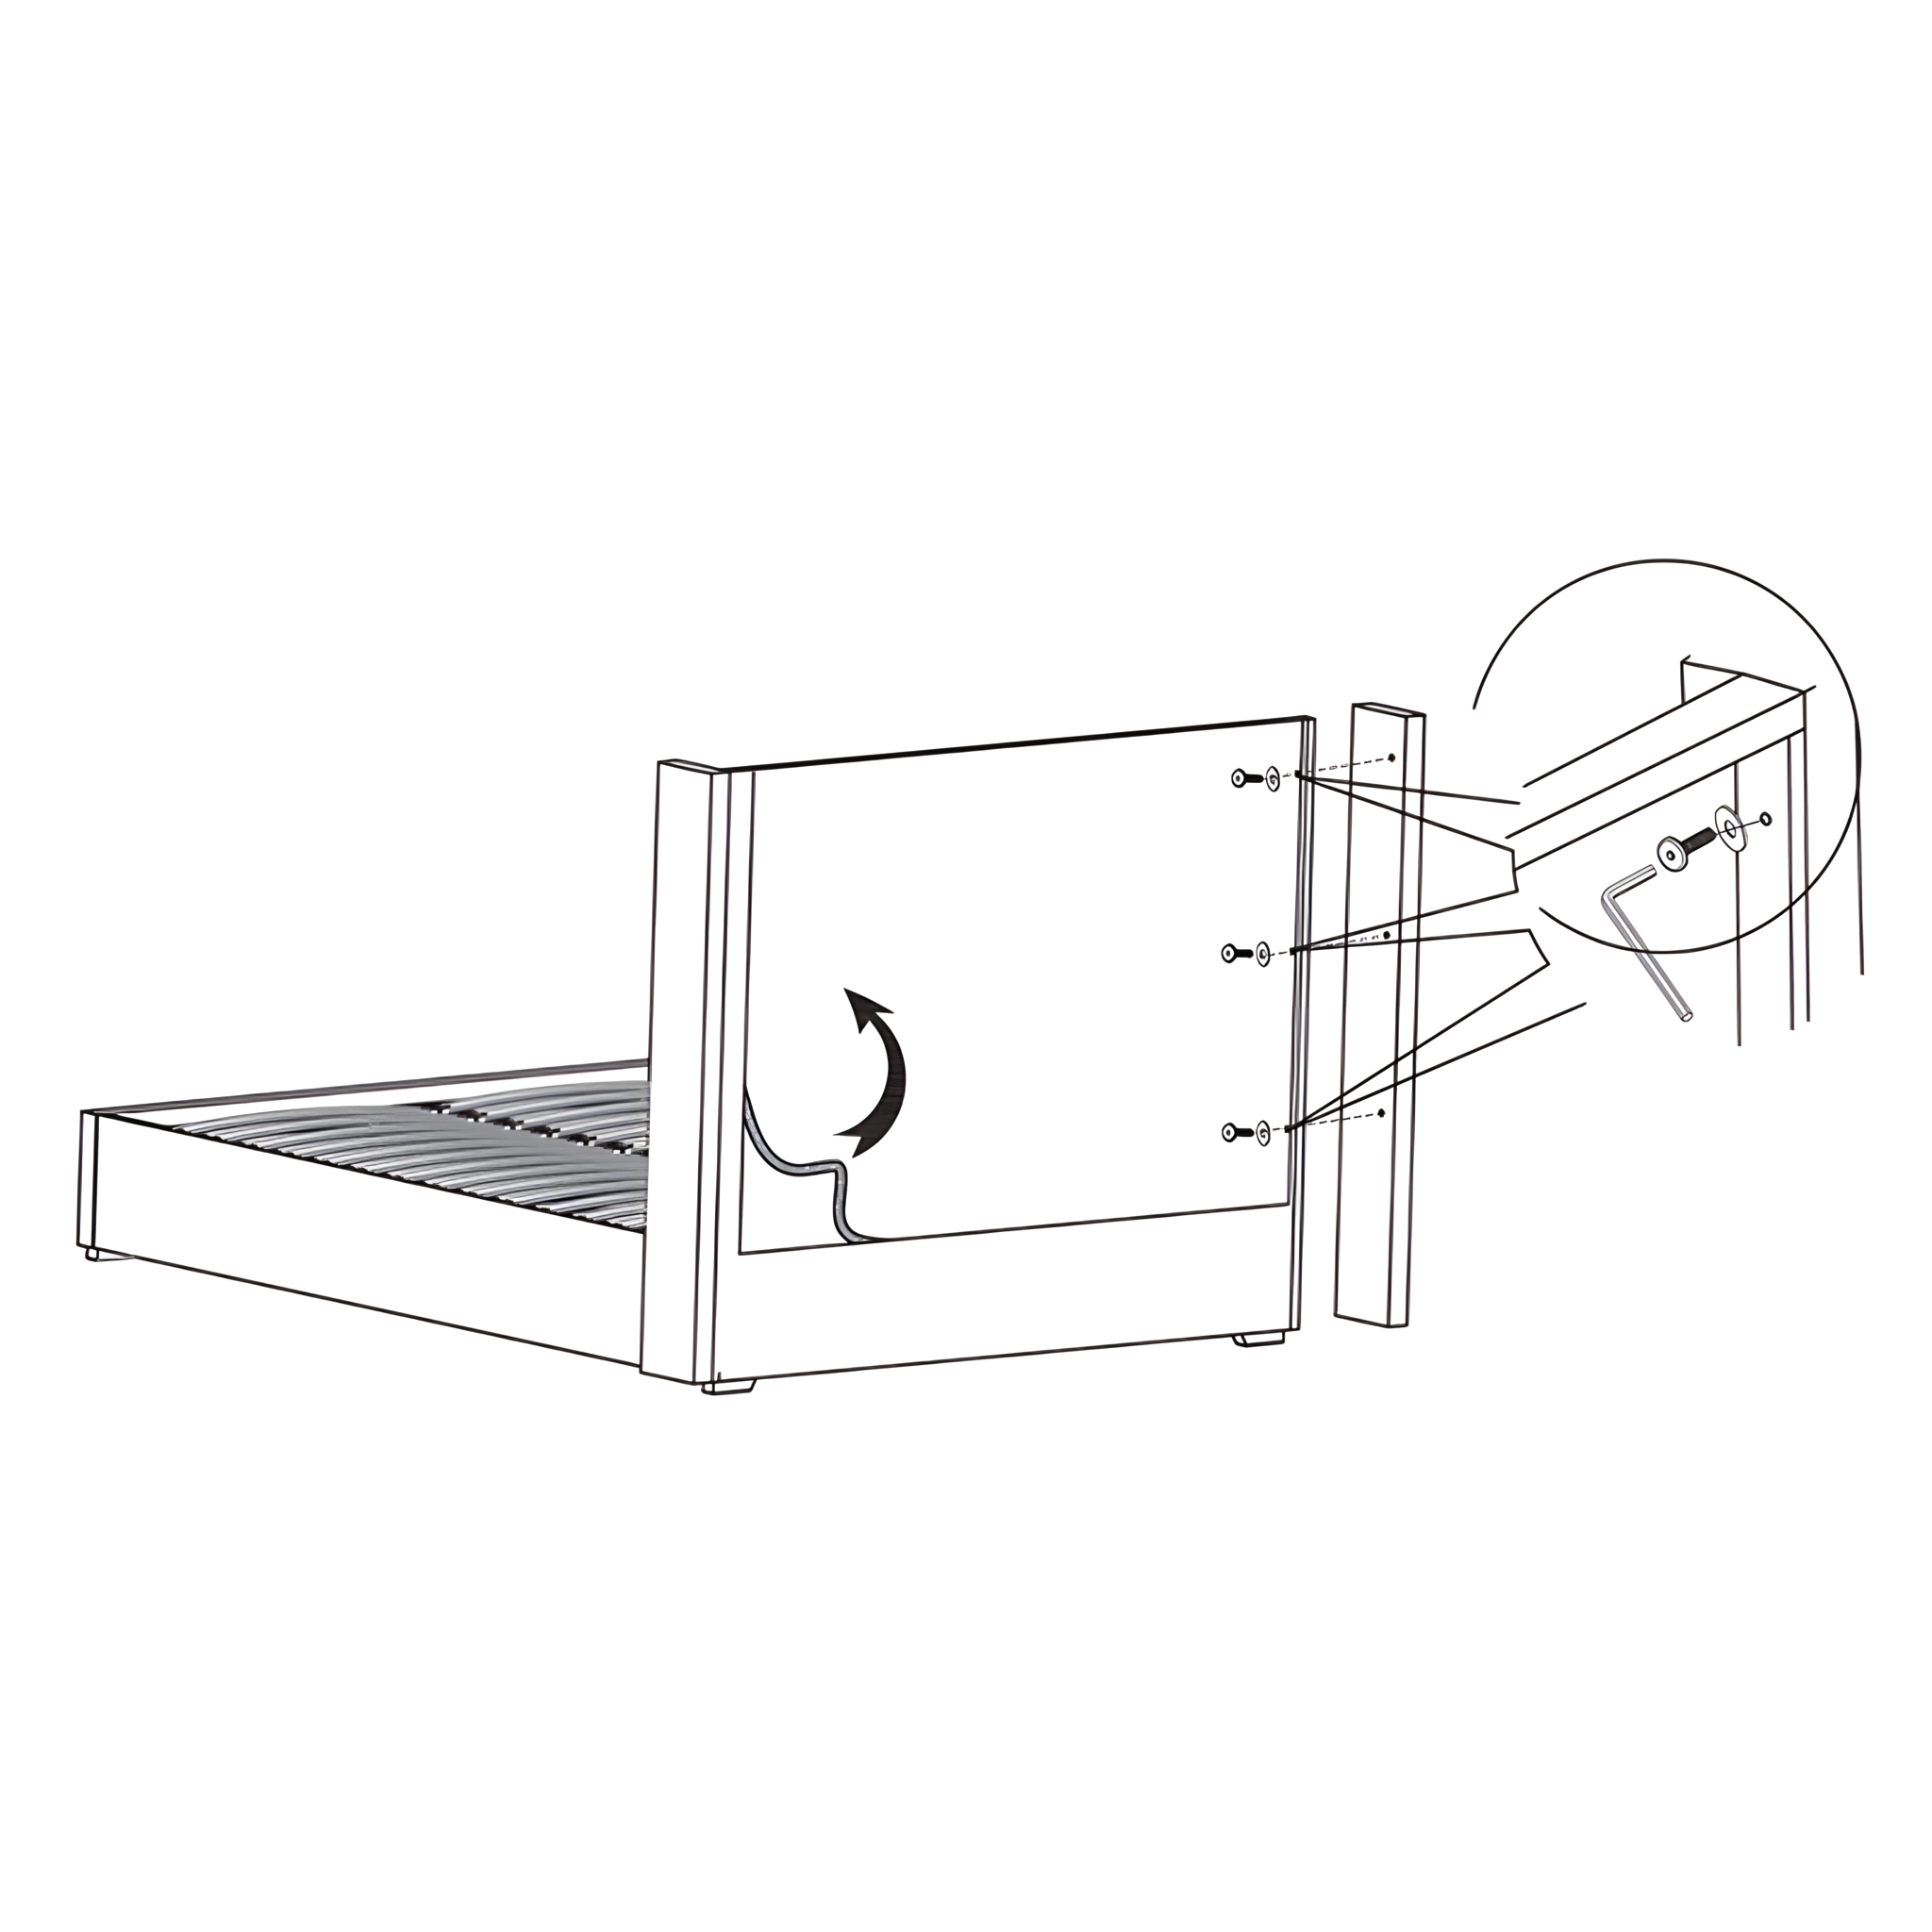
11. Attach the Headboard Wings
1. Open the back fabric cover of the headboard, then to fix the both wings. 2. Align the Headboard Wings (16 & 17) with the Headboard. 3. Use the provided M8 Bolts (A), Flat Washers (G) and the Allen Key (E) to secure the wings to the headboard. Ensure all bolts are tightened properly.
12. Finish and Final Check
Close the back fabric cover of the headboard
Verify that all slats are securely fastened and evenly spaced.
Check for any loose connections and tighten the screws if necessary.