Assembly instructions for Maya Winged Ottoman Bed by Time4Sleep.
Product Information
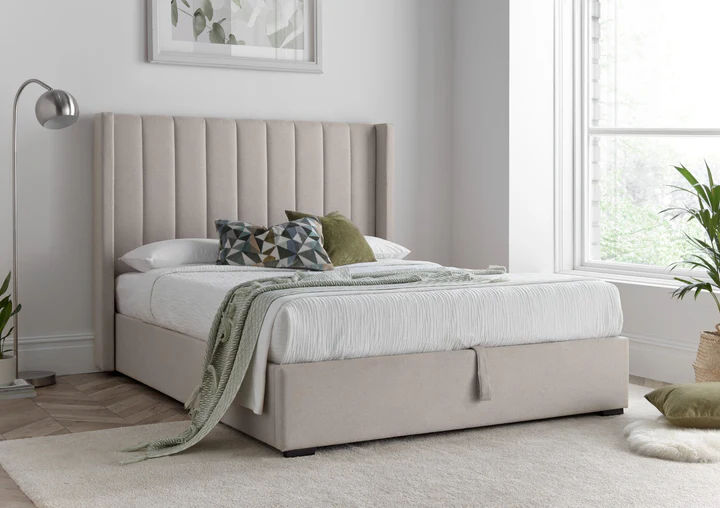
Maya Winged Ottoman Natural - Bed Frame Only
Embrace tranquillity and functionality with the Maya Winged Ottoman Bed in Natural. This luxurious bed features a plush, upholstered headboard in a calming natural hue, accented with a stylish line design that adds a touch of modern flair to your bedroom. The winged sides provide a sense of enclosure and create a cosy sleeping haven. But the Maya's true magic lies beneath. Lift the ottoman base with its easy-access gas lift mechanism to reveal a generous 25cm deep storage compartment, ideal for stowing away bulky blankets, off-season clothes, or anything else you need to keep out of sight. With ample under-bed clearance of approximately 15cm, the Maya Winged Ottoman Bed in Natural is a dream come true for those seeking both a serene aesthetic and practical storage solutions.
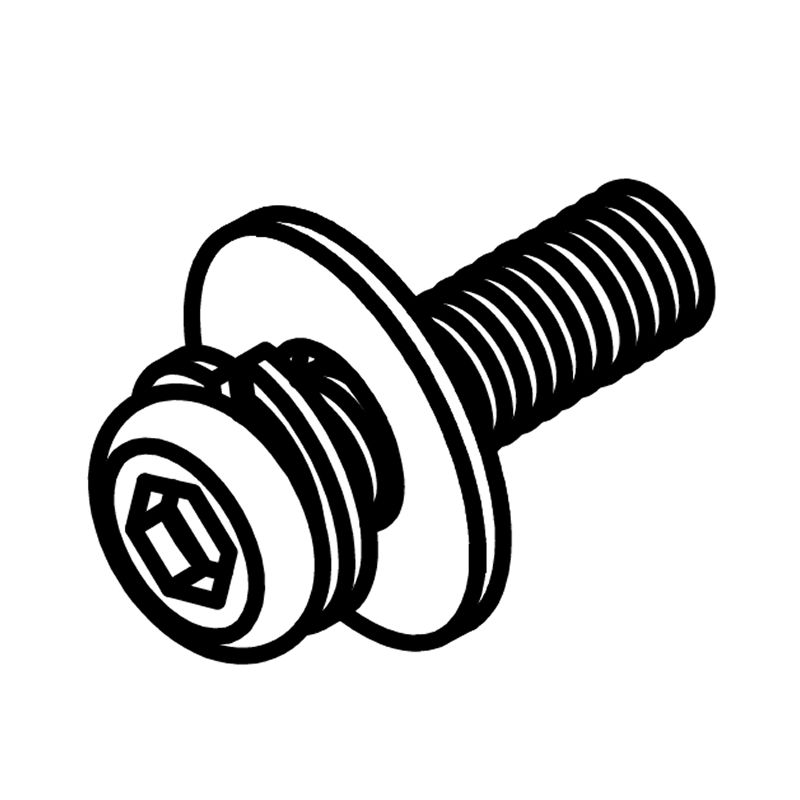
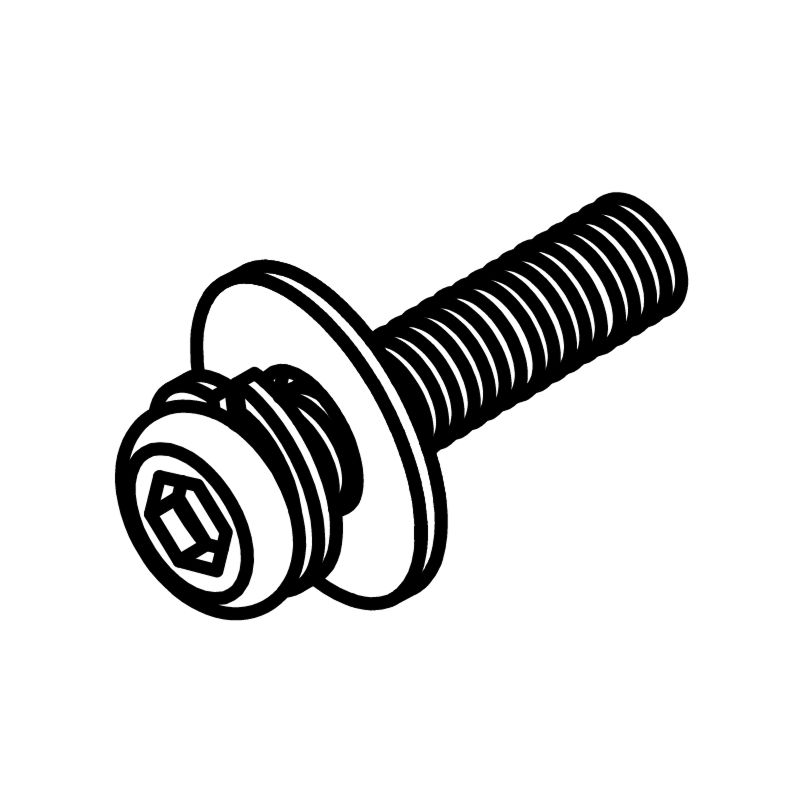
A - Bolts (M8 x 25 mm)(44 for Double and King, 48 for Super King)
B - Bolts (M8 x 35mm)
C - Bolts (M8 x 50mm)
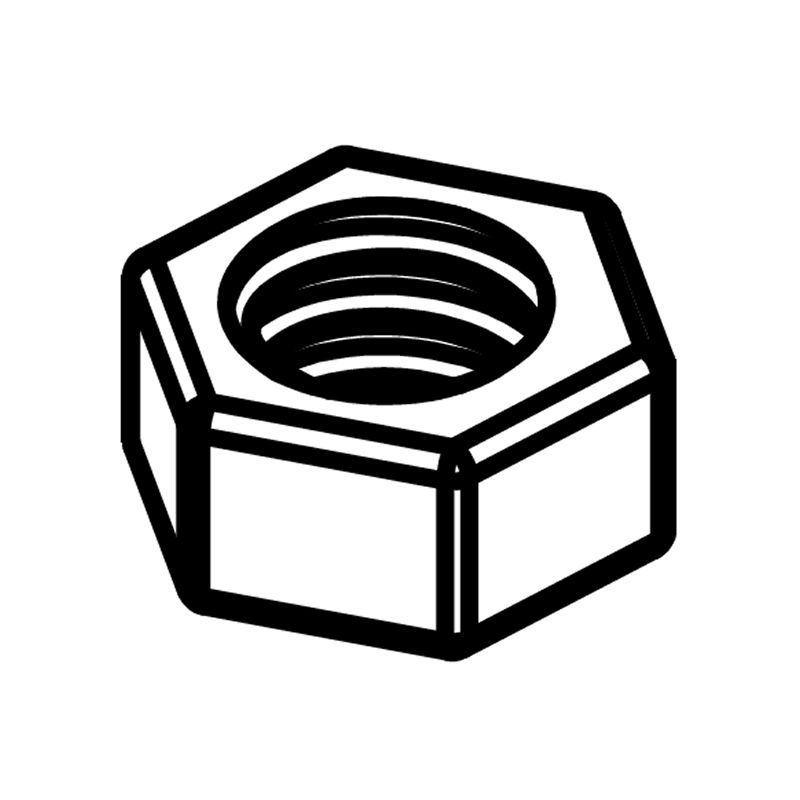
D - Nuts for M8 bolts
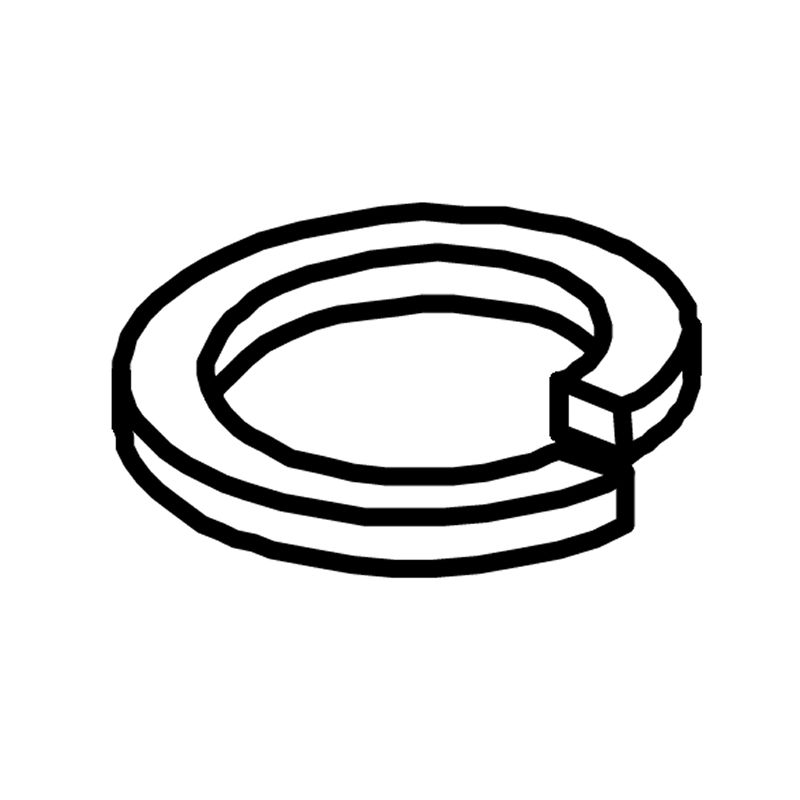
E - Spring Washer for M8 Bolts
F - Flat Washer for M8 Bolts
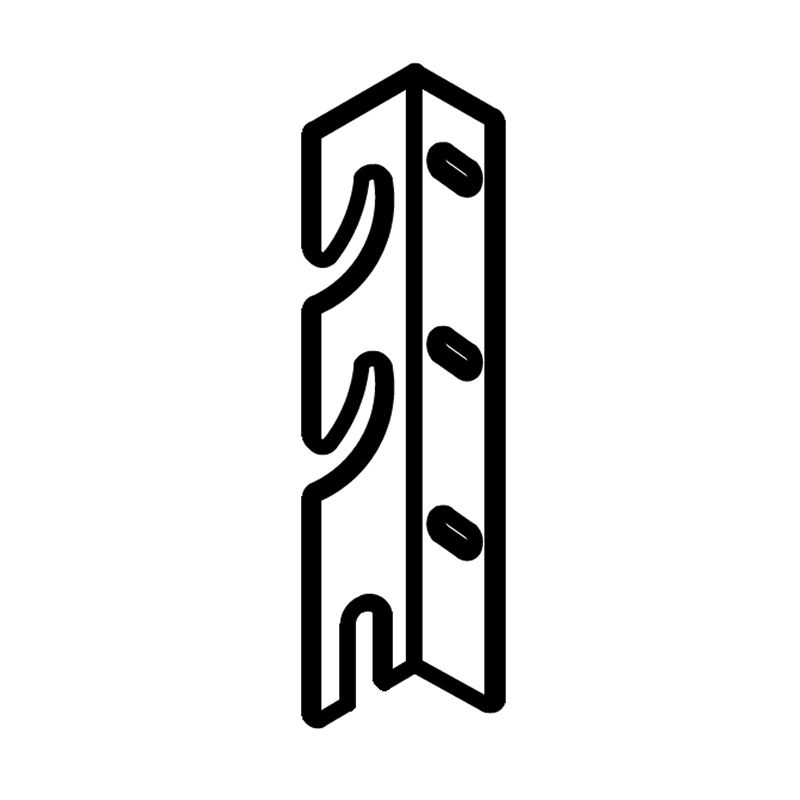
G - Corner Hook - Left
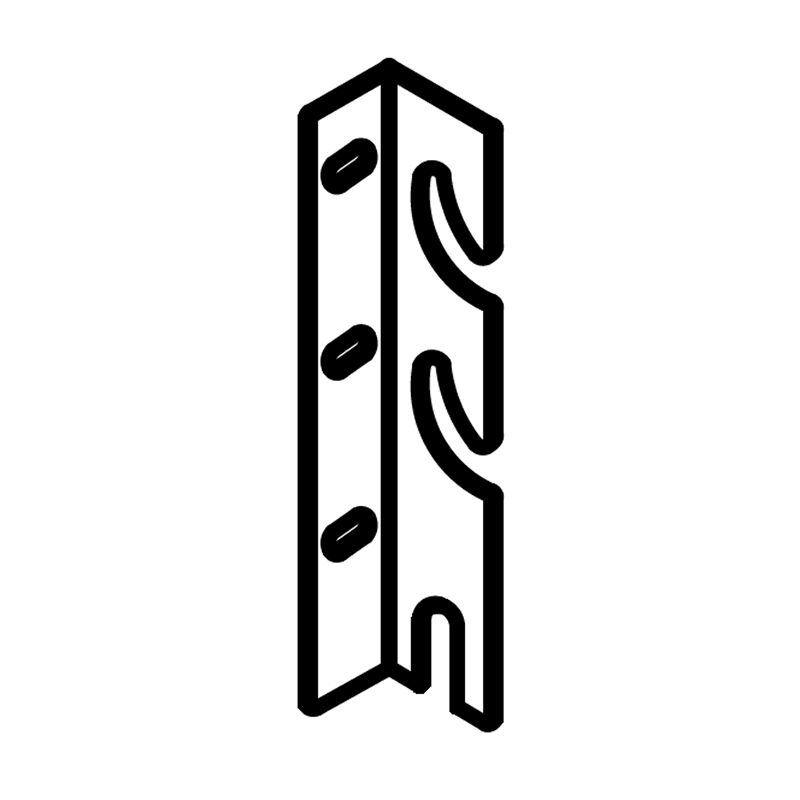
H - Corner Hook - Right
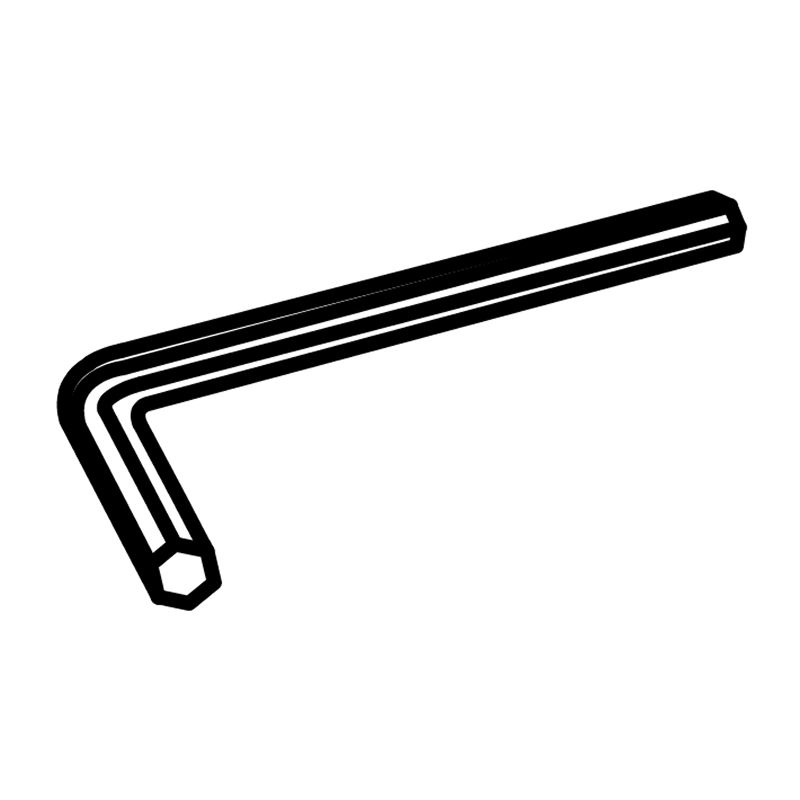
Allen Key for M8 Bolts
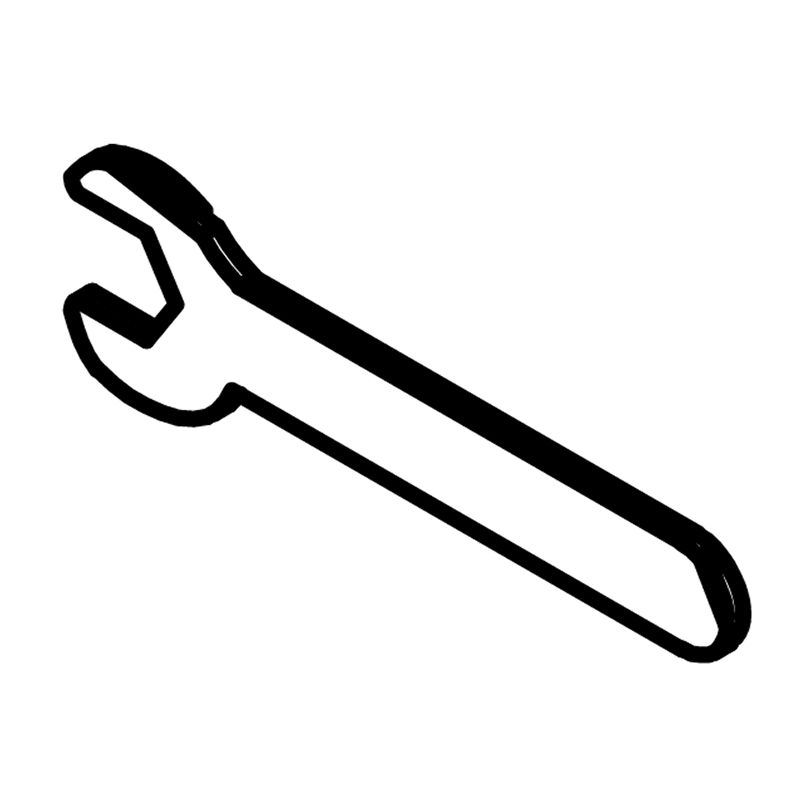
J - Spanner for M8 Nuts
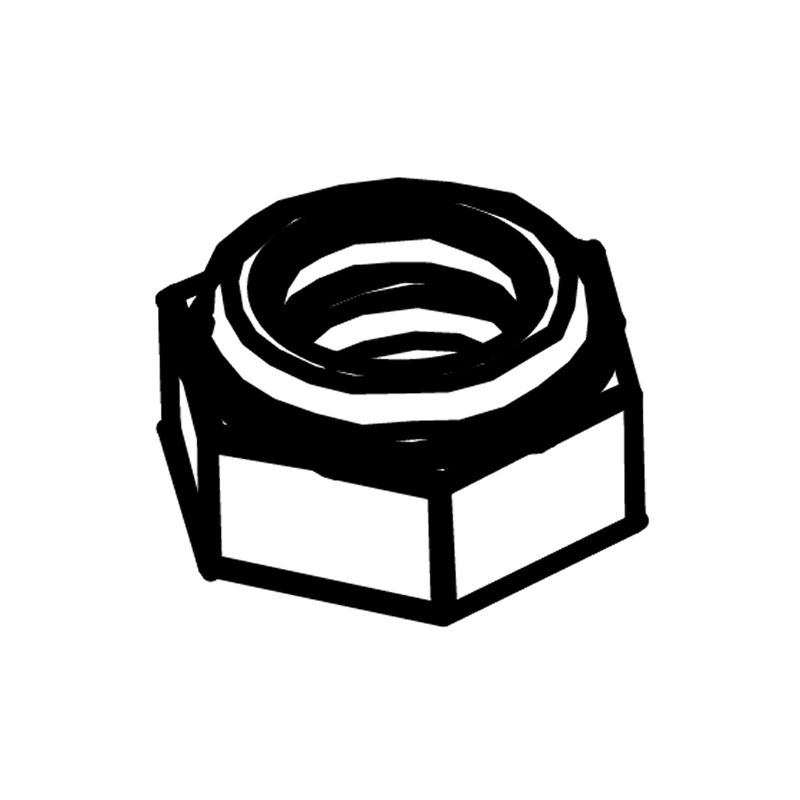
K - Flanged Lock-Nut M8
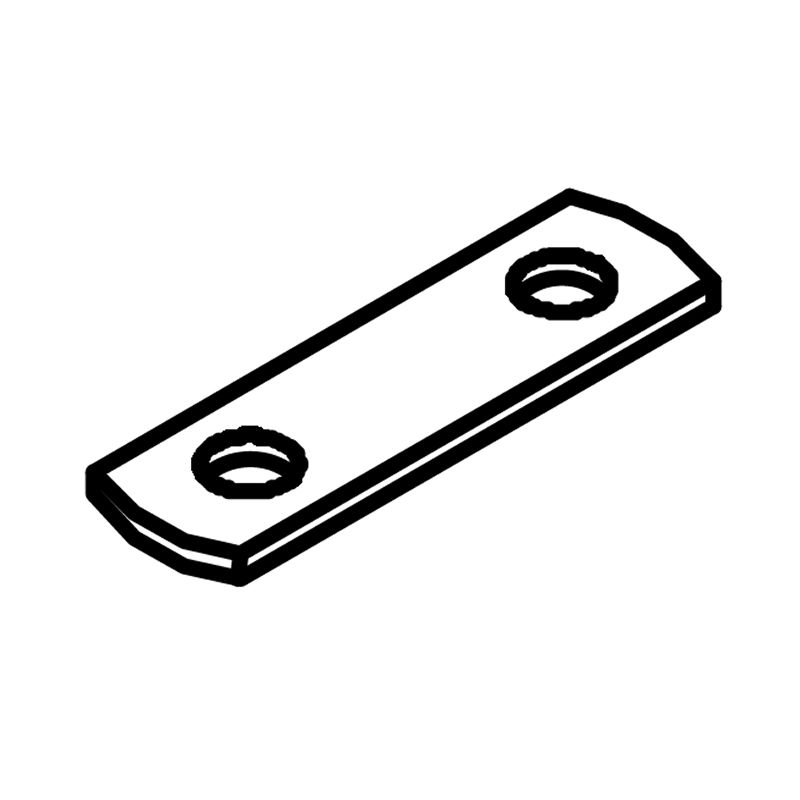
L - Metal Connection Plates for Slat Frame
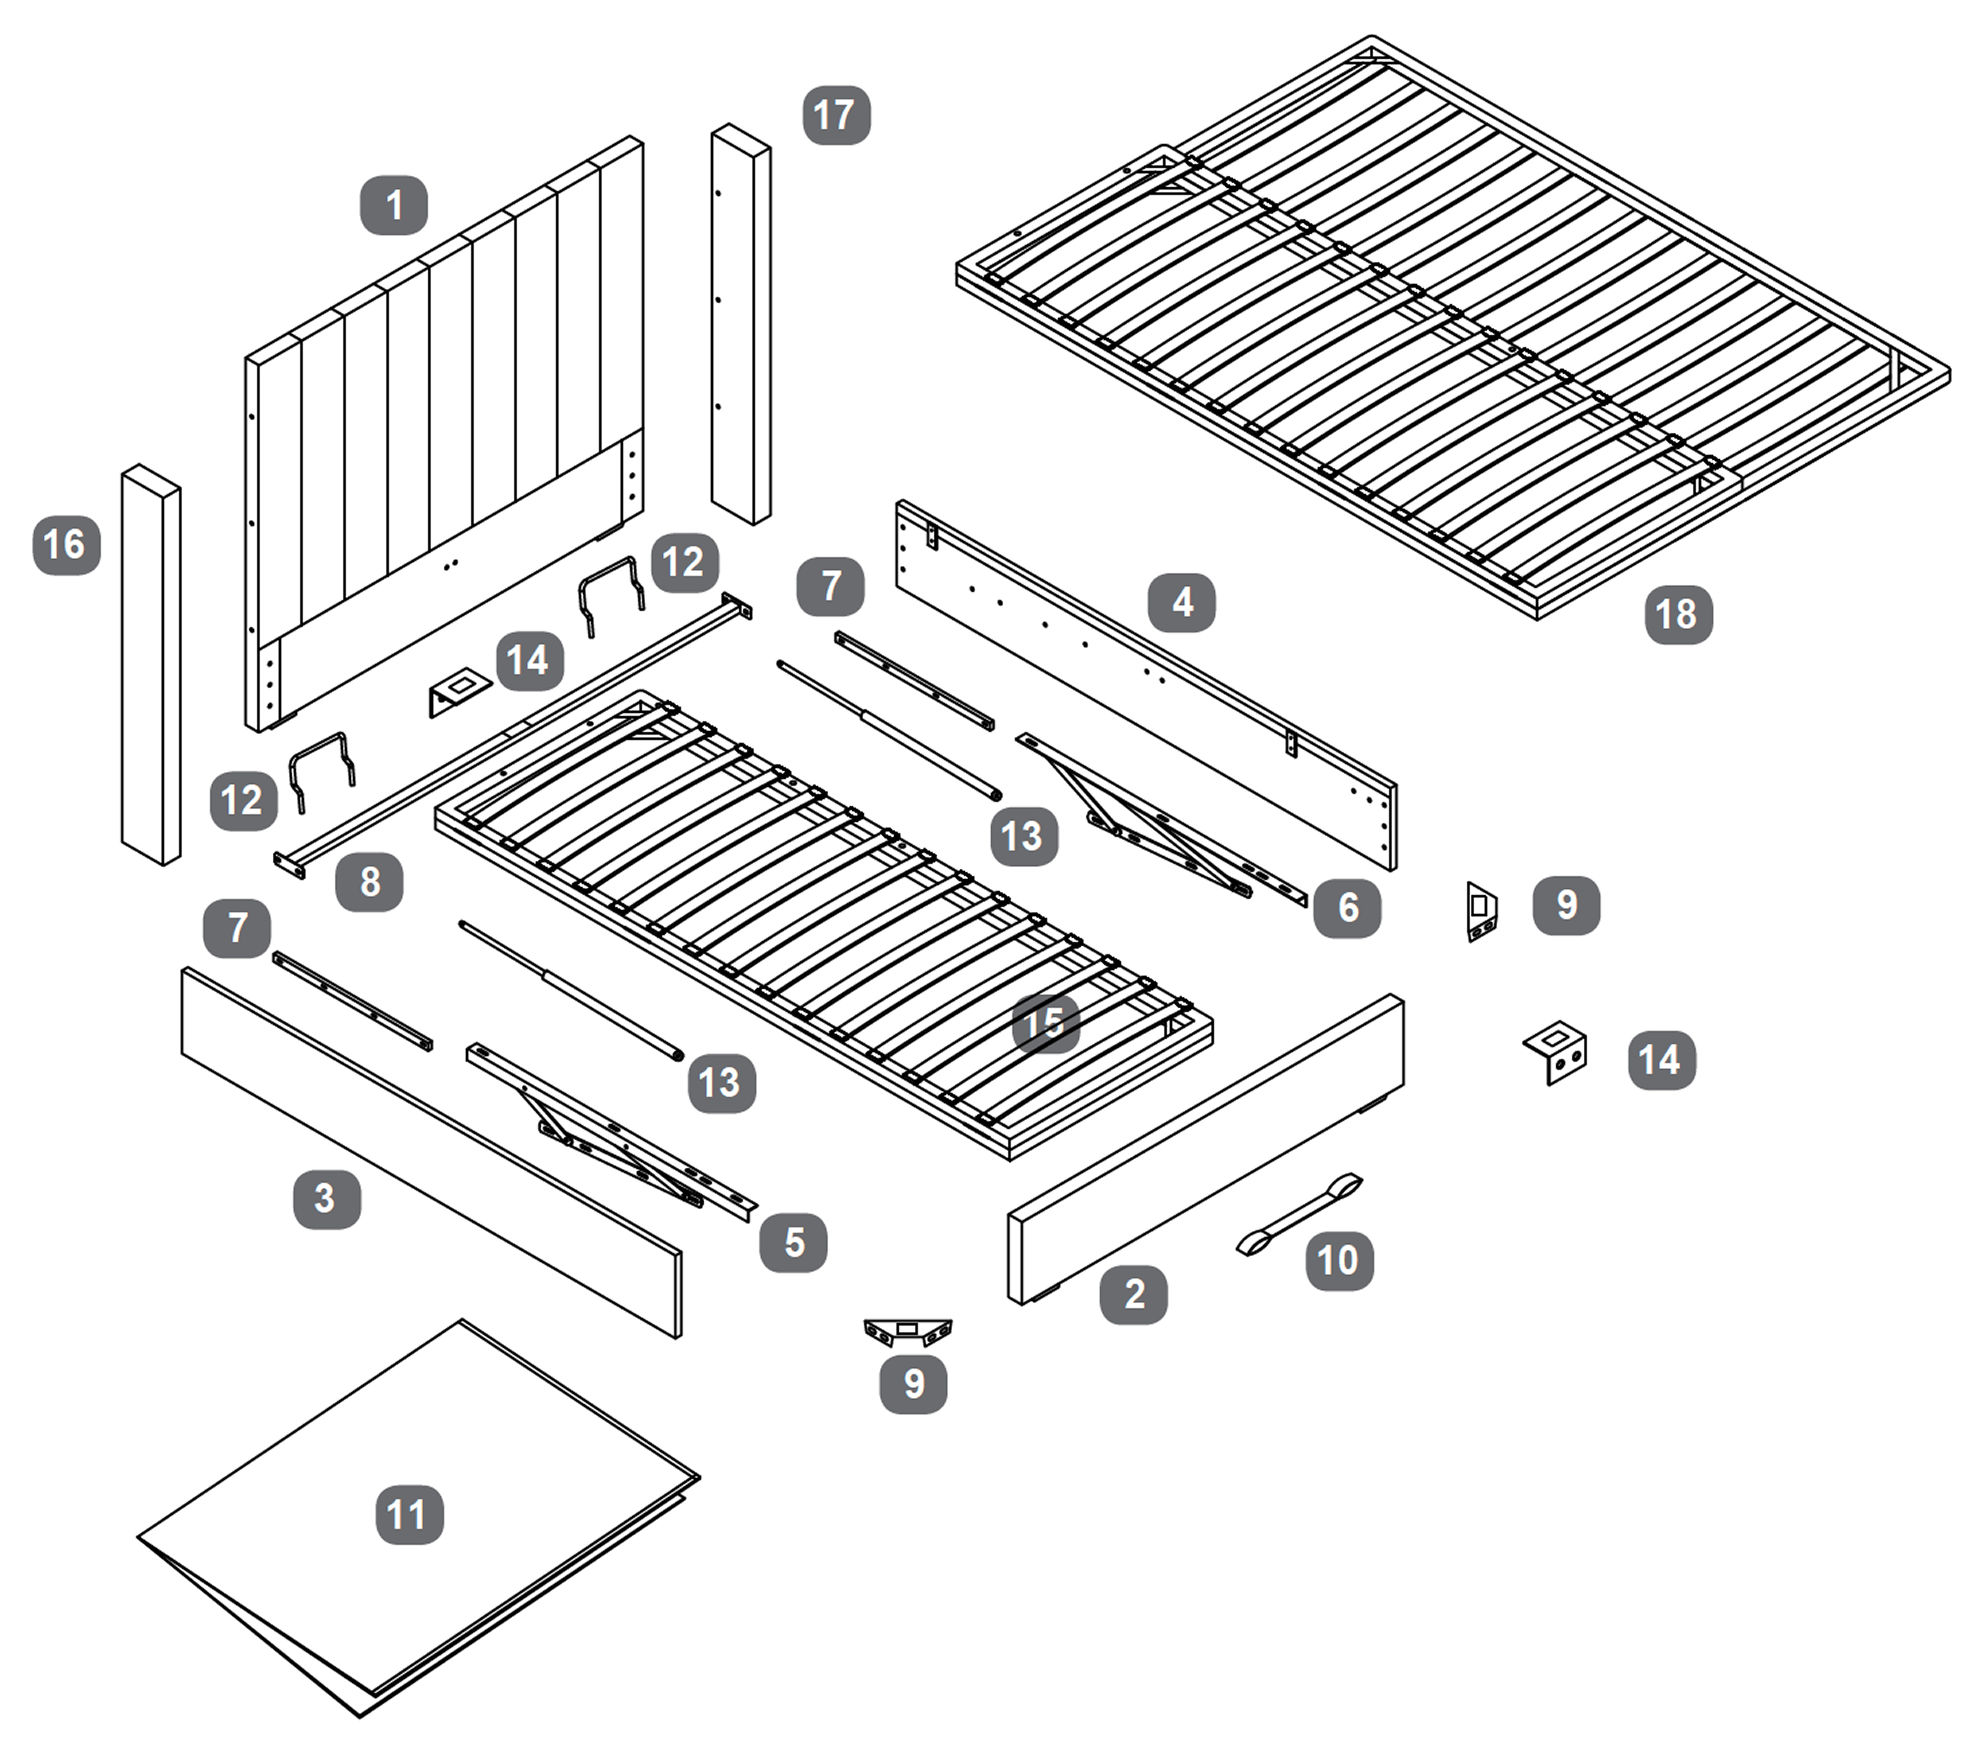
Parts
1Headboard
2Footboard
3Side Rail Left
4Side Rail Right
5Gas-Lift Mechanism Left
6Gas-Lift Mechanism Right
7Spacer Rail For Gas Lift Mechanism
8Side Rail Cross Bar
9Angled Corner Bracket
10Fabric Strap Handle
11Fabric Base Cover
12Mattress Stoppers
13Gas-Lift Piston
14'L' Shape Bracket (2 for Double and King, 4 for Super King)
15Metal Slat Frame
16Wing-Left
17Wing-Right
18Metal Slat Frame (for Super King)
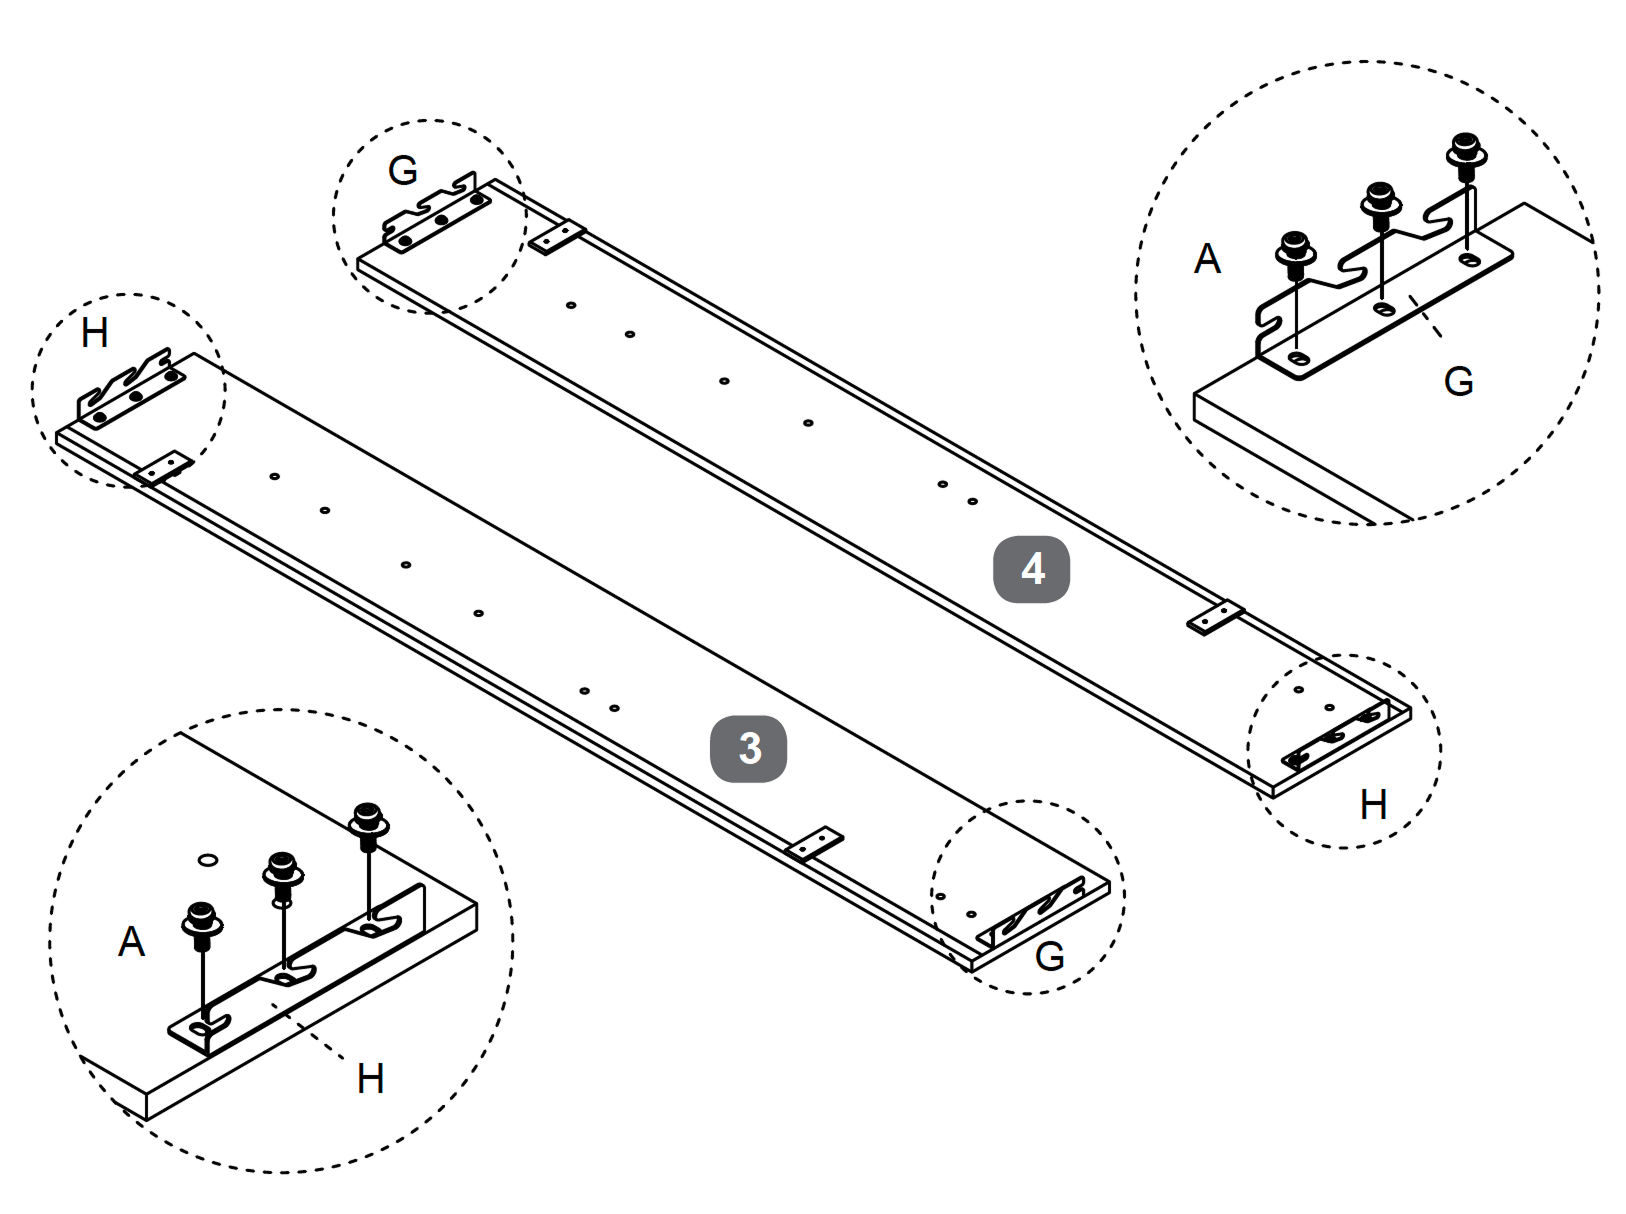
1. Attach the Corner Hooks to the Side Rails
1. Place the Side Rail Left (3) and Side Rail Right (4) on the floor with the fixing holes facing upward. 2. Position the Corner Hook Left (G) and the Corner Hook Right (H) on the inner end of the Side Rails (3 and 4) as shown in the image. 3. Align the holes in each corner hook with the pre drilled holes in the side rails. 4. Secure each corner hook using Bolt M8 × 25 mm (A) and tighten with the Allen Key (I).
Tip: Make sure the hooks are pointing upward and toward the inside of the bed frame so they can correctly connect to the headboard and footboard in the next steps.
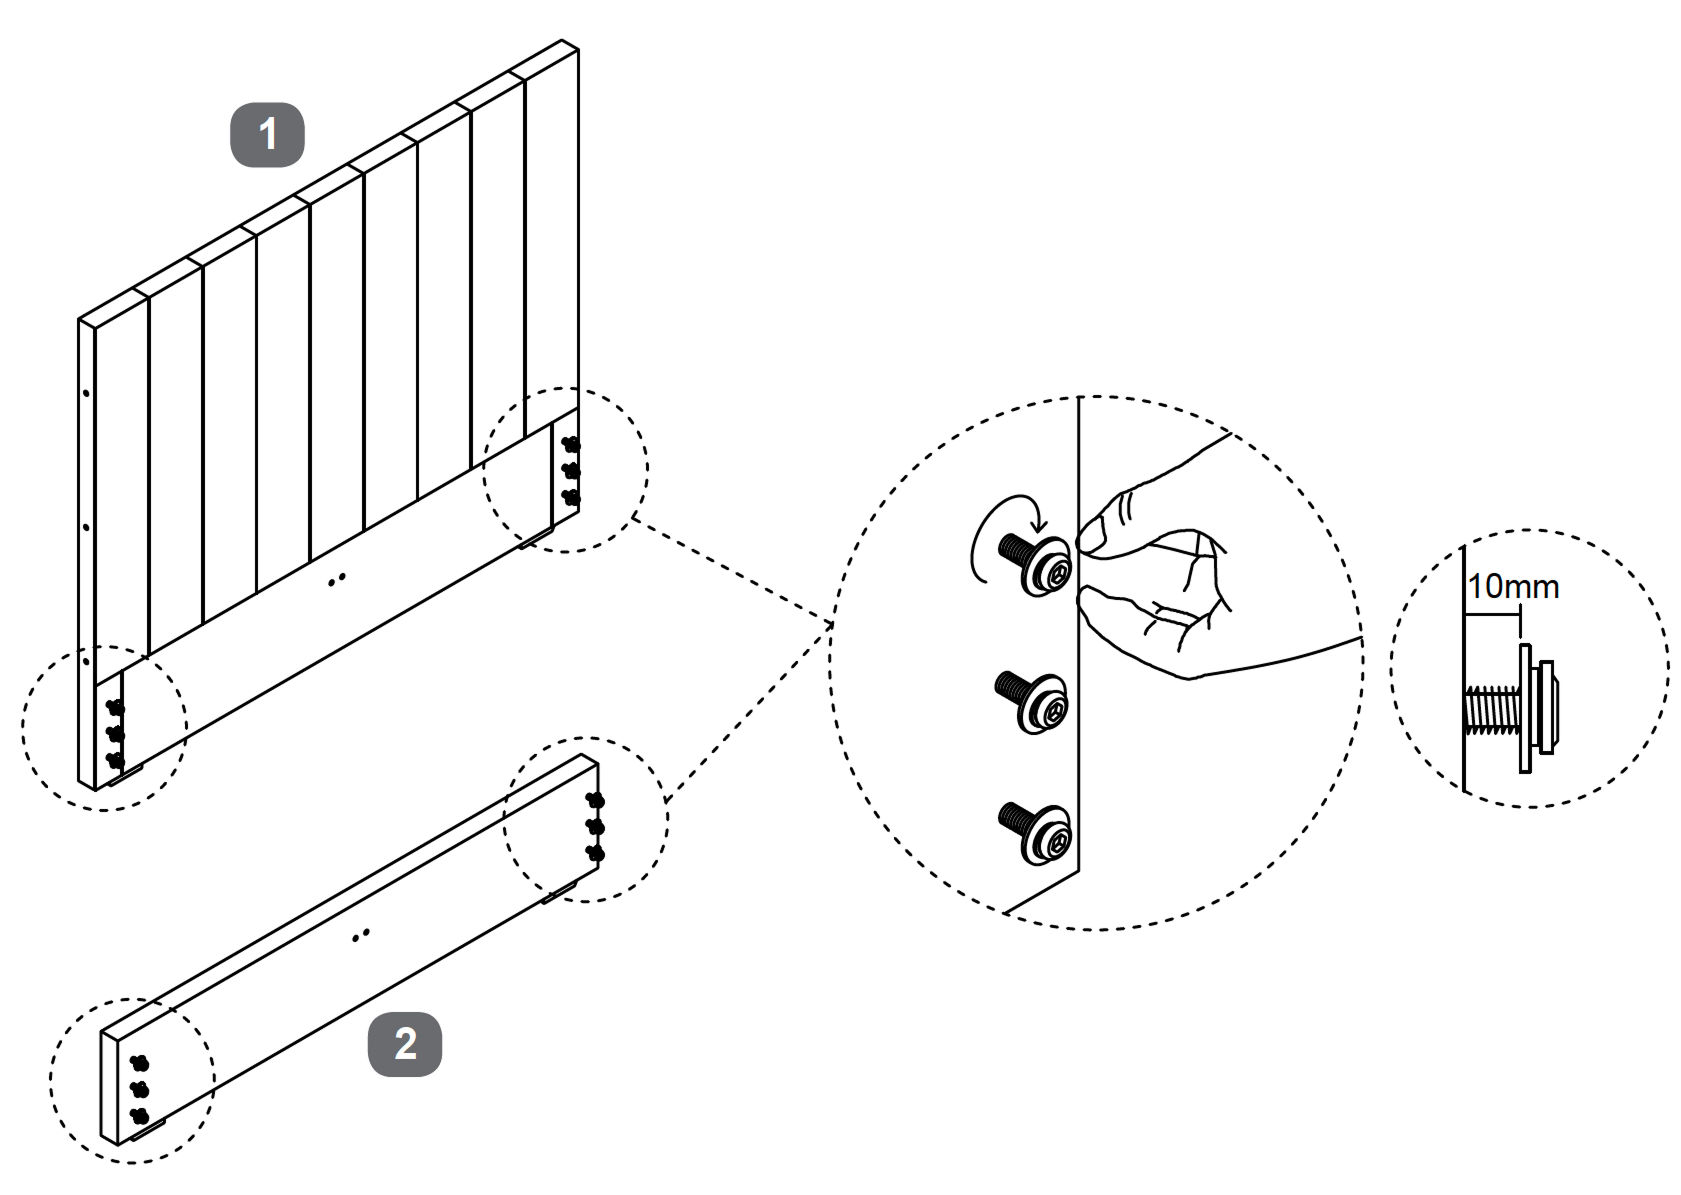
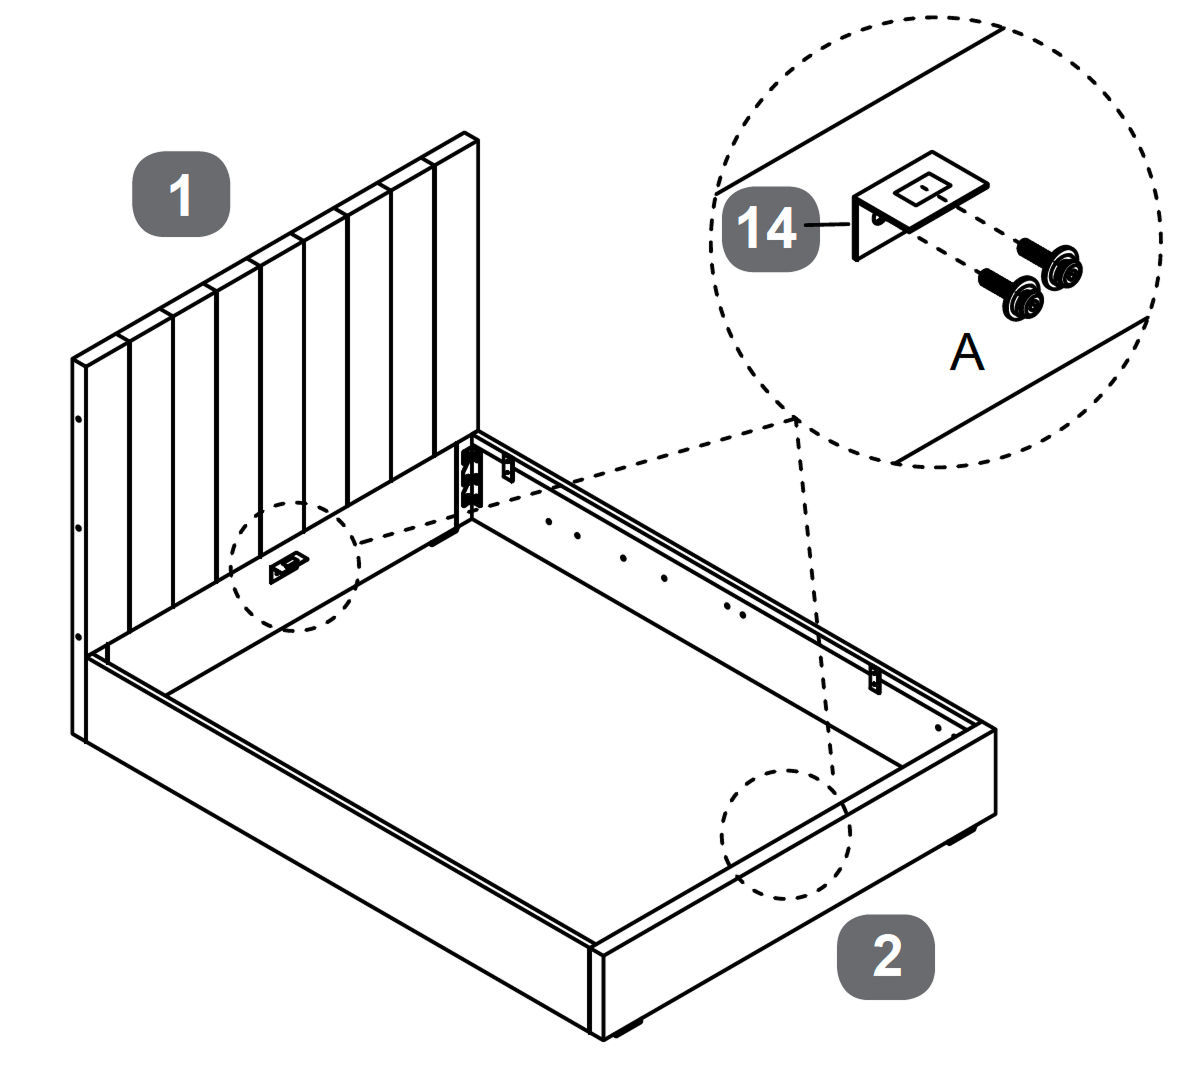
2. Attach the Headboard Fixing Bolts
1. Locate the Headboard (1) and Footboard (2) and place them upright with the fixing holes facing inward. 2. Insert Bolt M8 × 25 mm (A) into each of the pre fitted threaded inserts on both ends of the headboard and footboard. 3. Screw each bolt in by hand, leaving approximately 10 mm of the bolt shaft exposed.
3. Connect the Side Rails to the Headboard and Footboard
1. Position the Side Rail Left (3) and Side Rail Right (4) between the Headboard (1) and the Footboard (2). 2. Lift each side rail so the corner hooks slide down onto the bolts previously installed on the headboard and footboard. 3. Ensure the hooks fully engage with the bolts on both ends of each side rail. 4. Once all four corners are connected, tighten the bolts using the Allen Key (I) until they are approximately 90 percent tight.
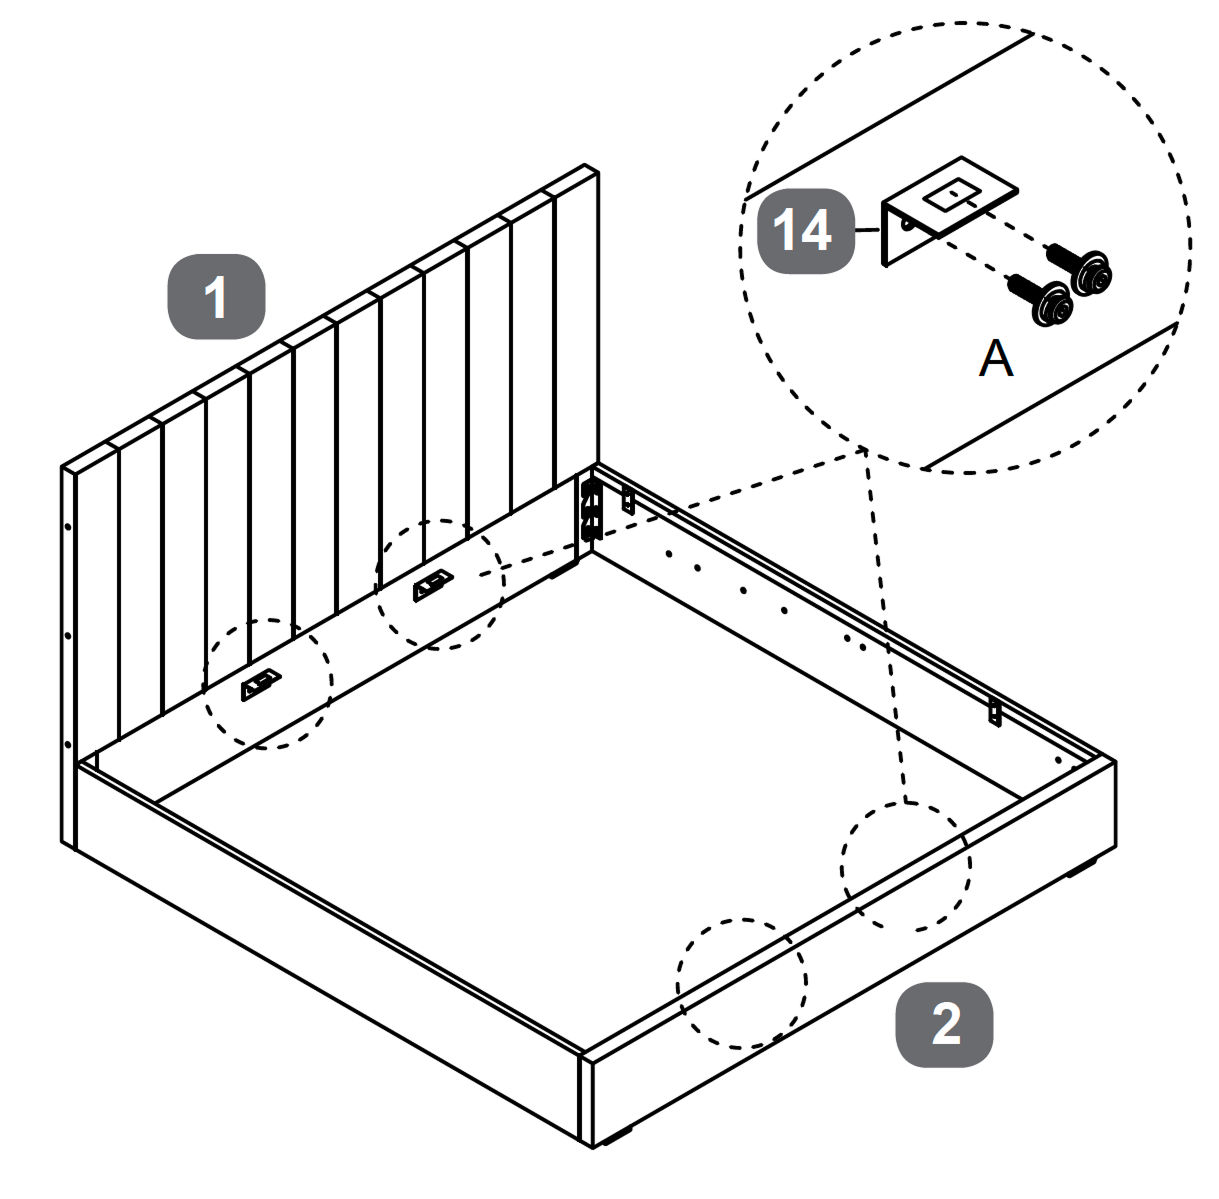
4. Install the L Shape Brackets
1. Locate the fixing points on the inside of the Headboard (1) and Footboard (2). 2. Position the L Shape Brackets (14) onto the pre drilled mounting holes. 3. Secure each bracket using Bolt M8 × 25 mm (A) and tighten with the Allen Key (I).
Note:
For Double or King size, use 2 L Shape Brackets (14) and 4 bolts (A).
For Super King size, use 4 L Shape Brackets (14) and 8 bolts (A).
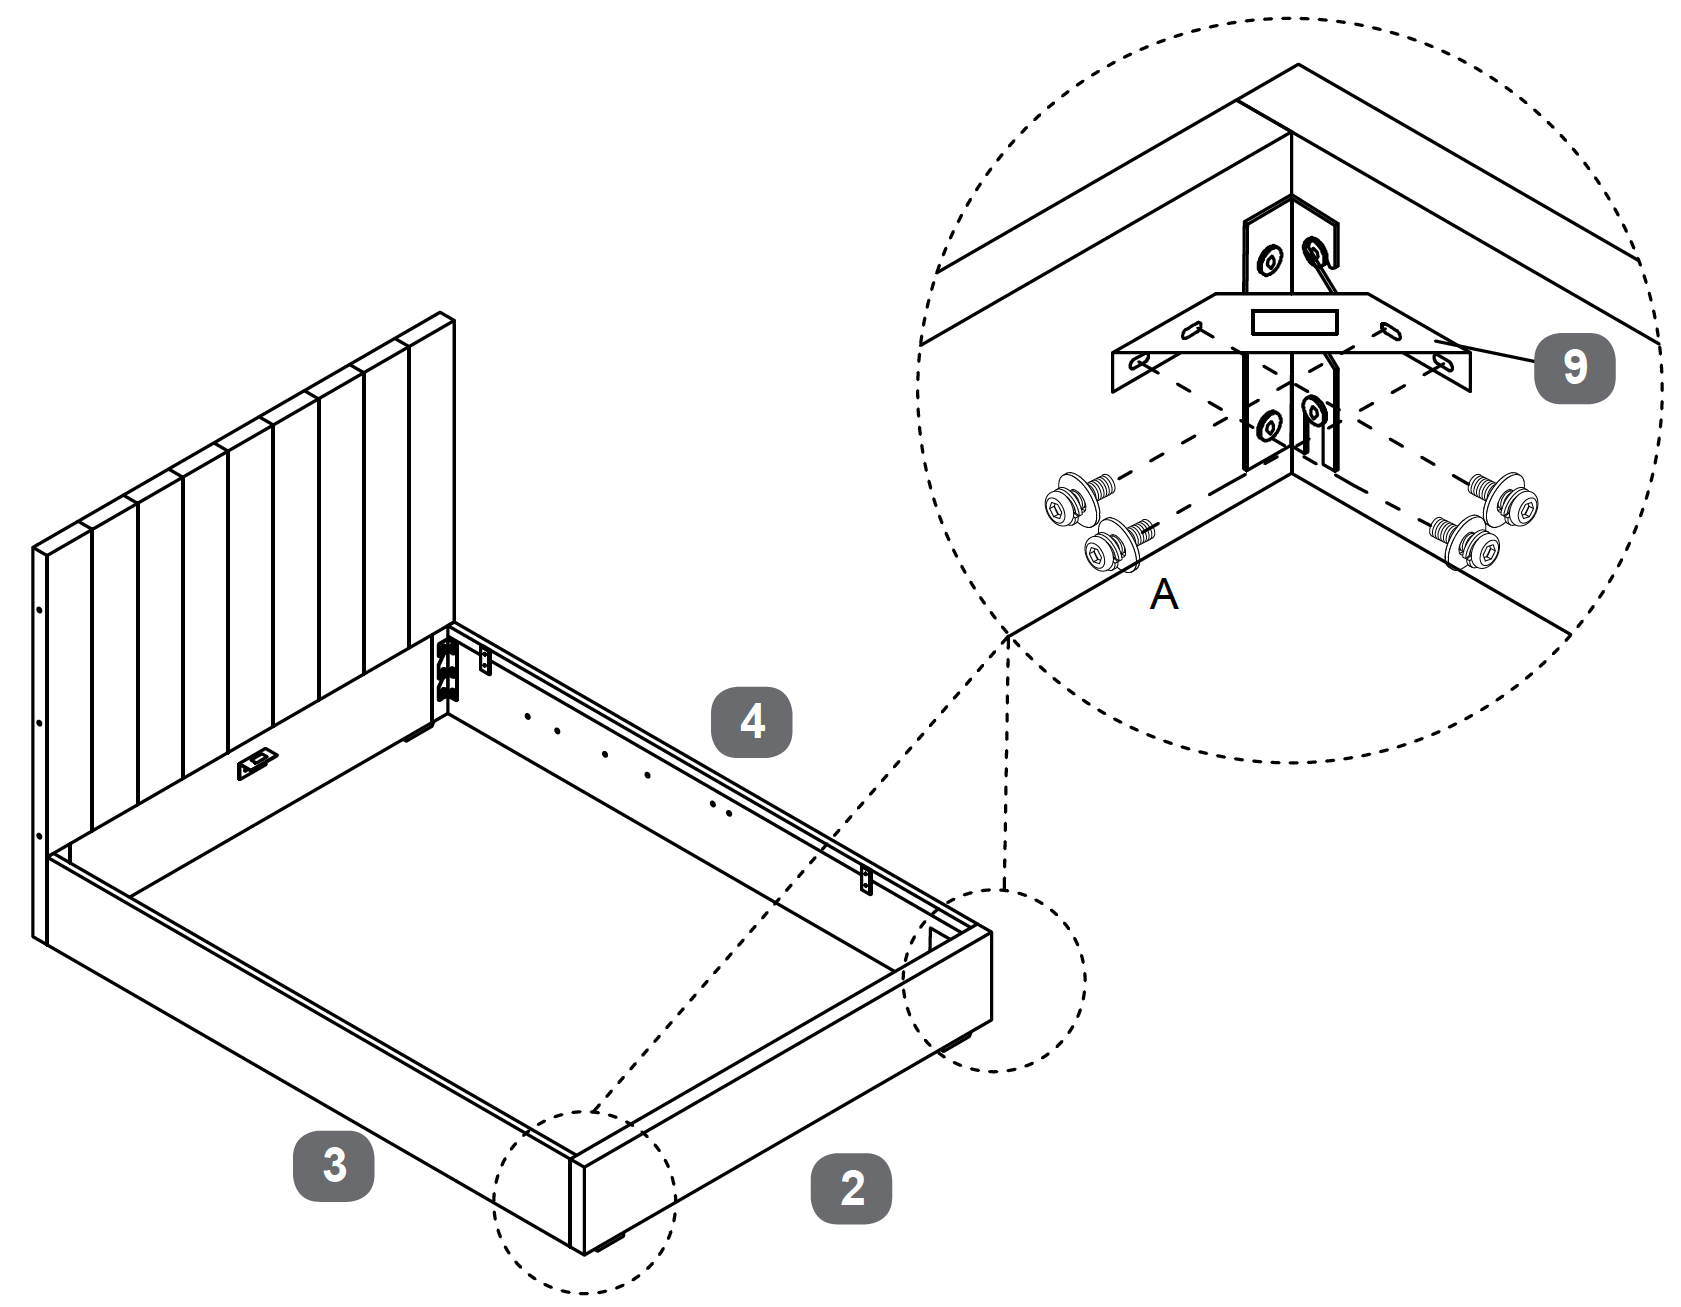
5. Secure the Frame Corners with Angled Corner Brackets
1. Move to each inside corner where the Side Rails (3 and 4) meet the Headboard (1) and Footboard (2). 2. Position an Angled Corner Bracket (9) inside each corner of the frame. 3. Align the holes in the bracket with the pre drilled holes in the side rails and bed ends. 4. Secure each bracket using Bolt M8 × 25 mm (A) and tighten with the Allen Key (I).
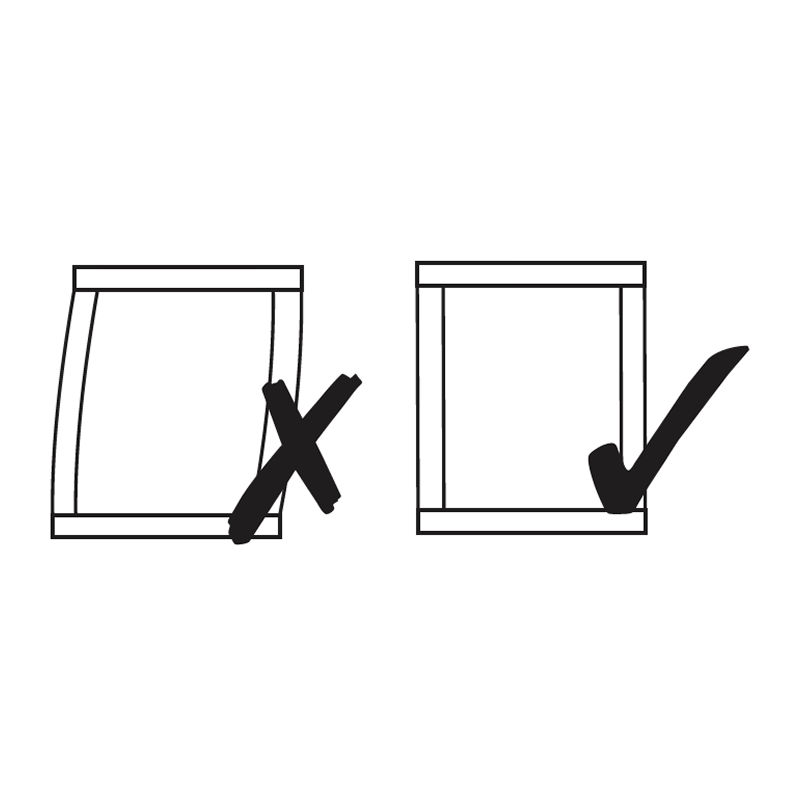
Important:
Before fully tightening the bolts, make sure the bed frame is perfectly squared so all corners form right angles. Once the frame is correctly aligned, tighten all bed assembly bolts to 100 percent to lock the structure in place.
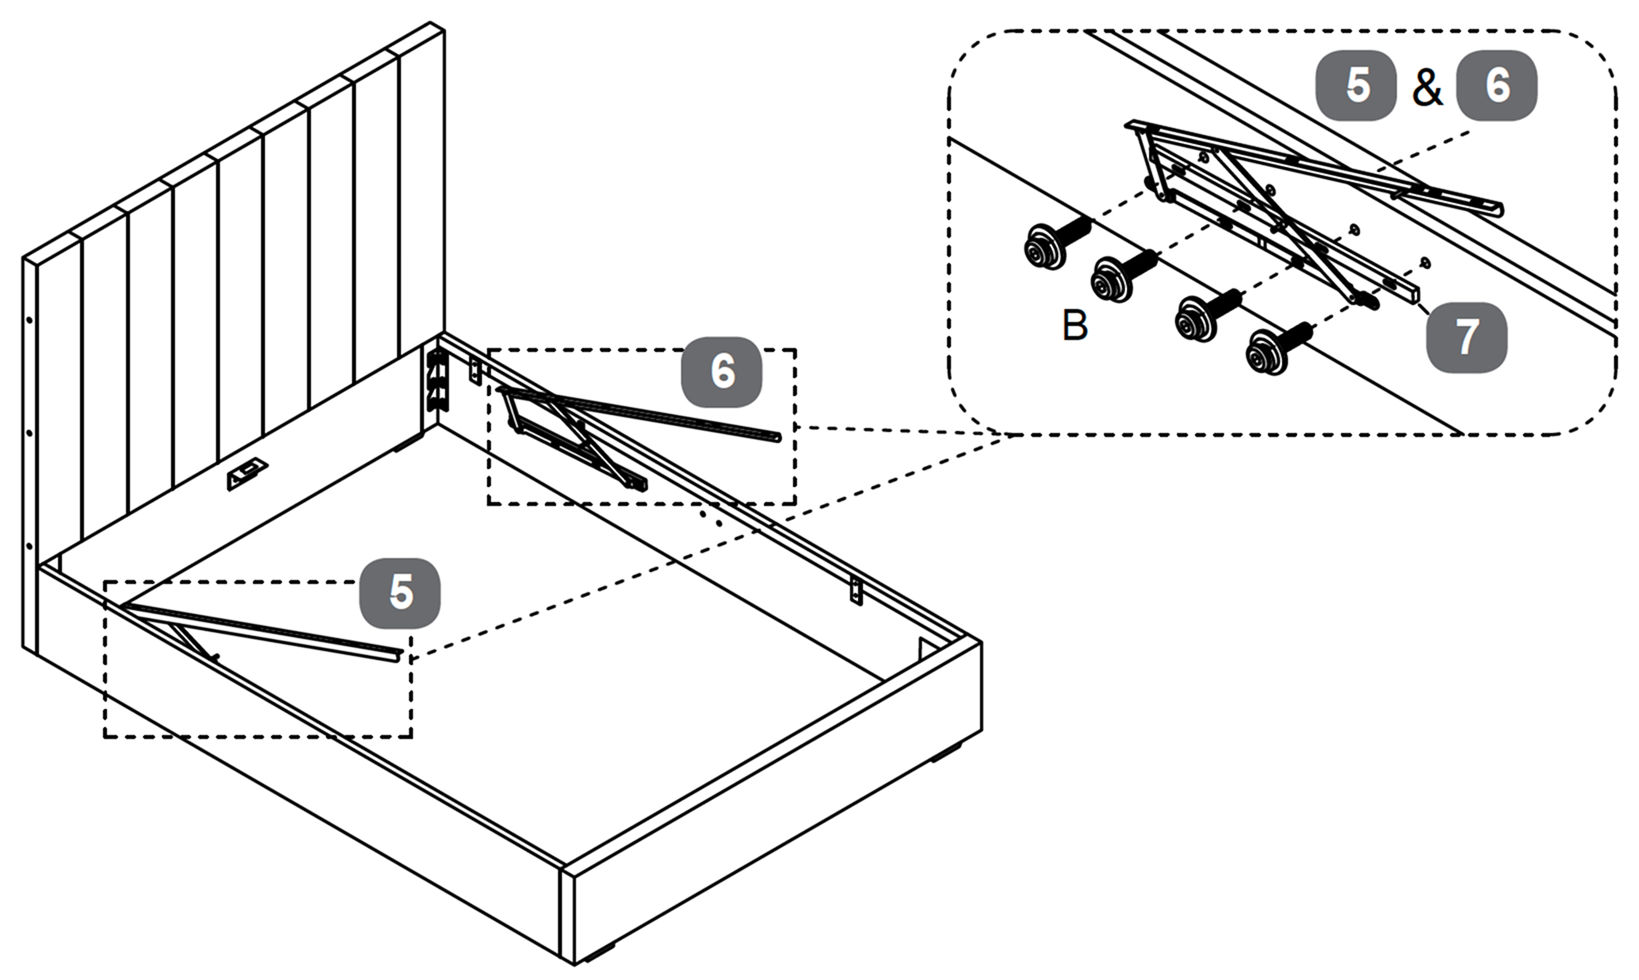
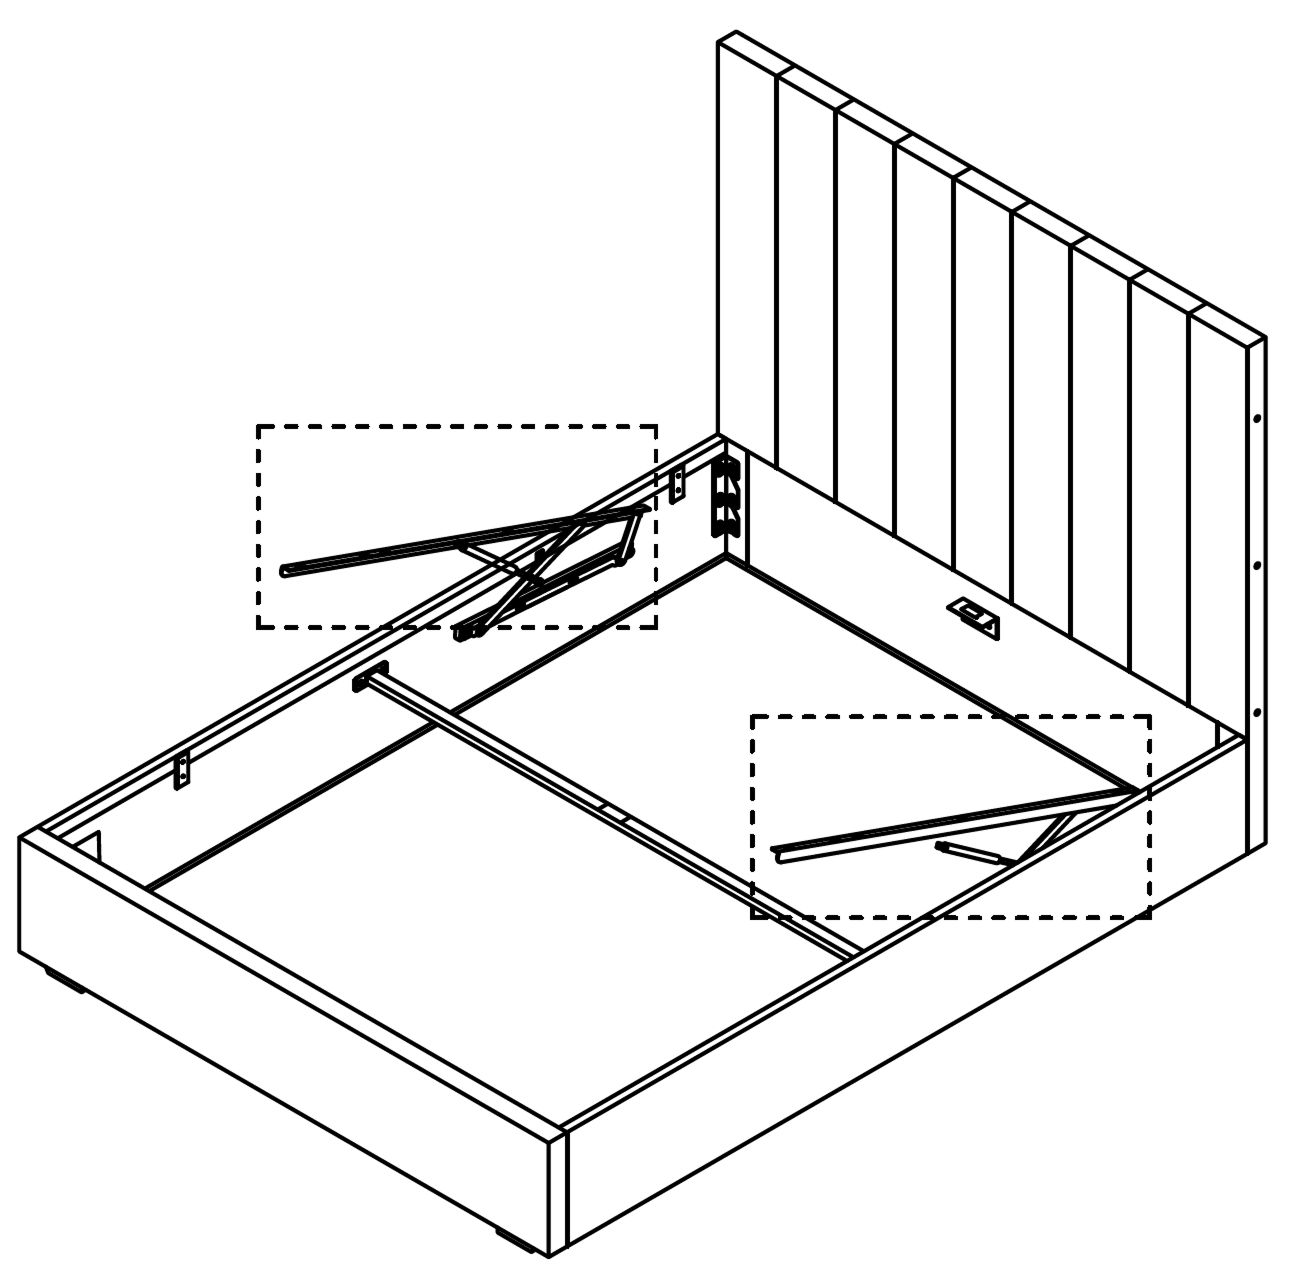
6. Install the Gas Lift Mechanisms
1. Position the Gas Lift Mechanism Left (5) and Gas Lift Mechanism Right (6) inside the bed frame along the side rails. 2. Align each gas lift mechanism with the pre drilled holes on the Spacer Rails for Gas Lift Mechanism (7). 3. Insert Bolt M8 × 35 mm (B) through the gas lift mechanisms and into the spacer rails. 4. Tighten all bolts using the Allen Key (I) until both mechanisms are securely fixed and move freely.
Tip: Make sure the mechanisms are mirrored correctly, with the lifting arms facing inward toward the centre of the bed frame.
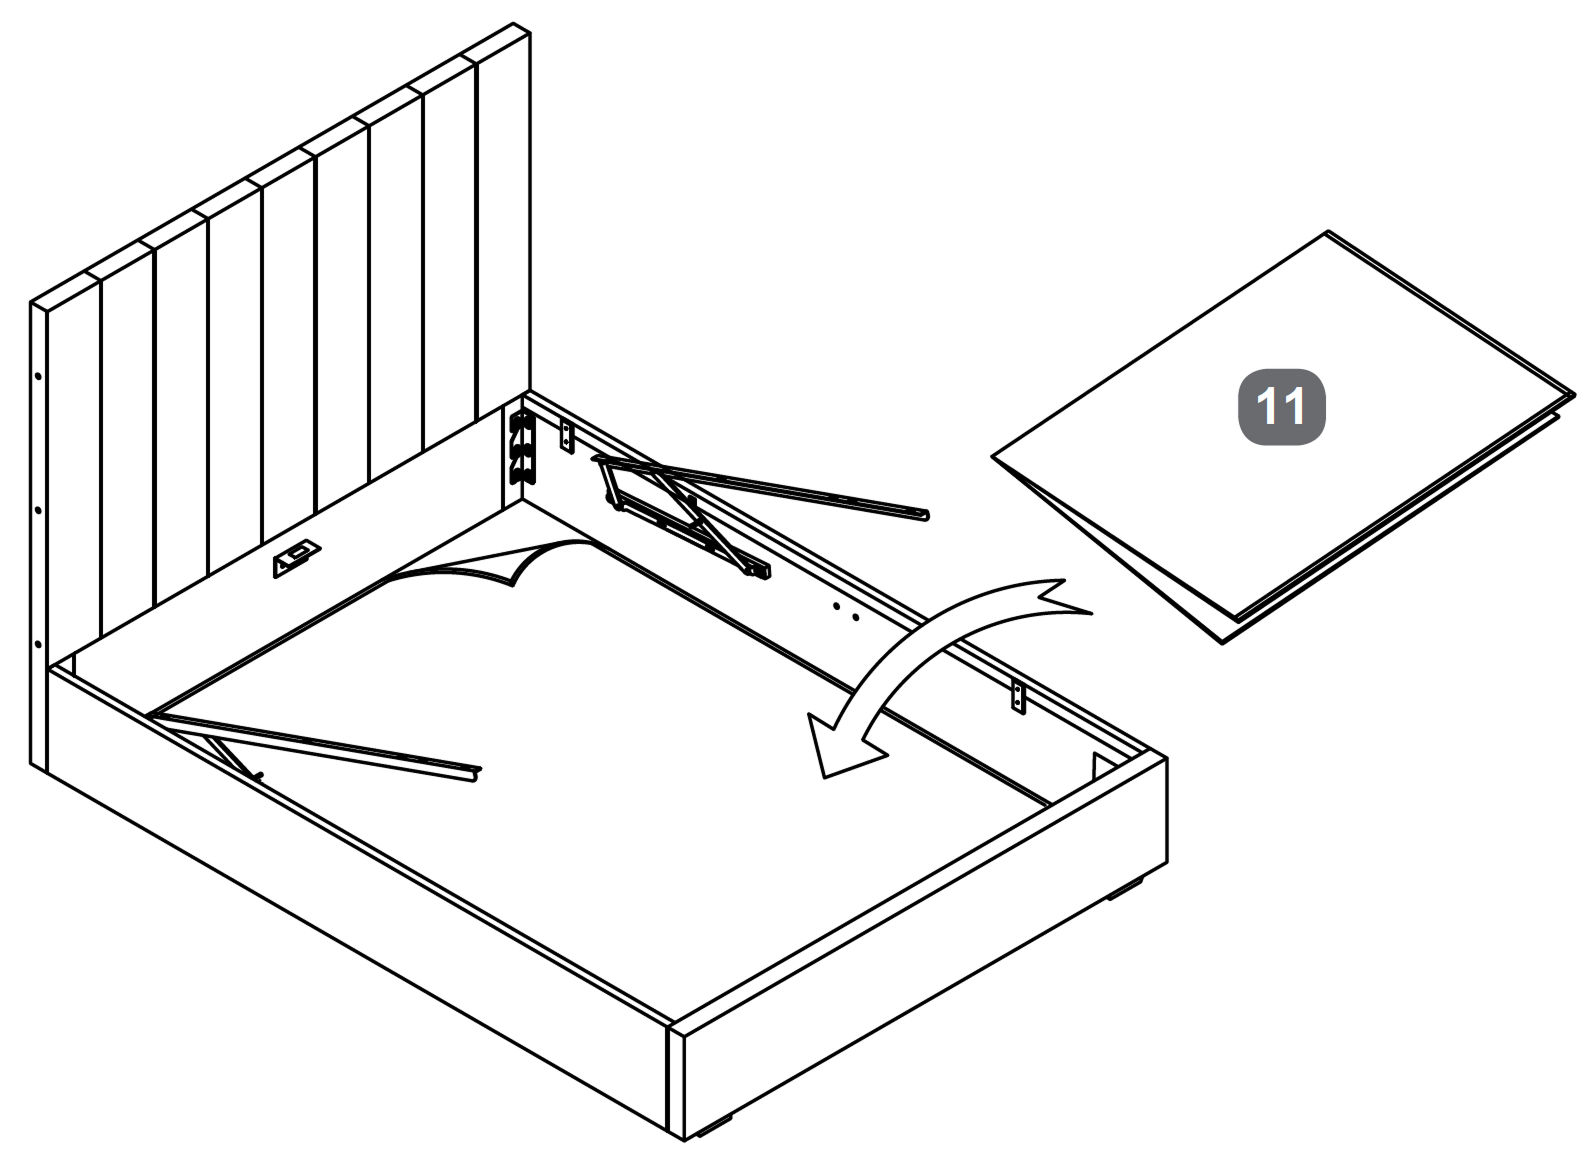
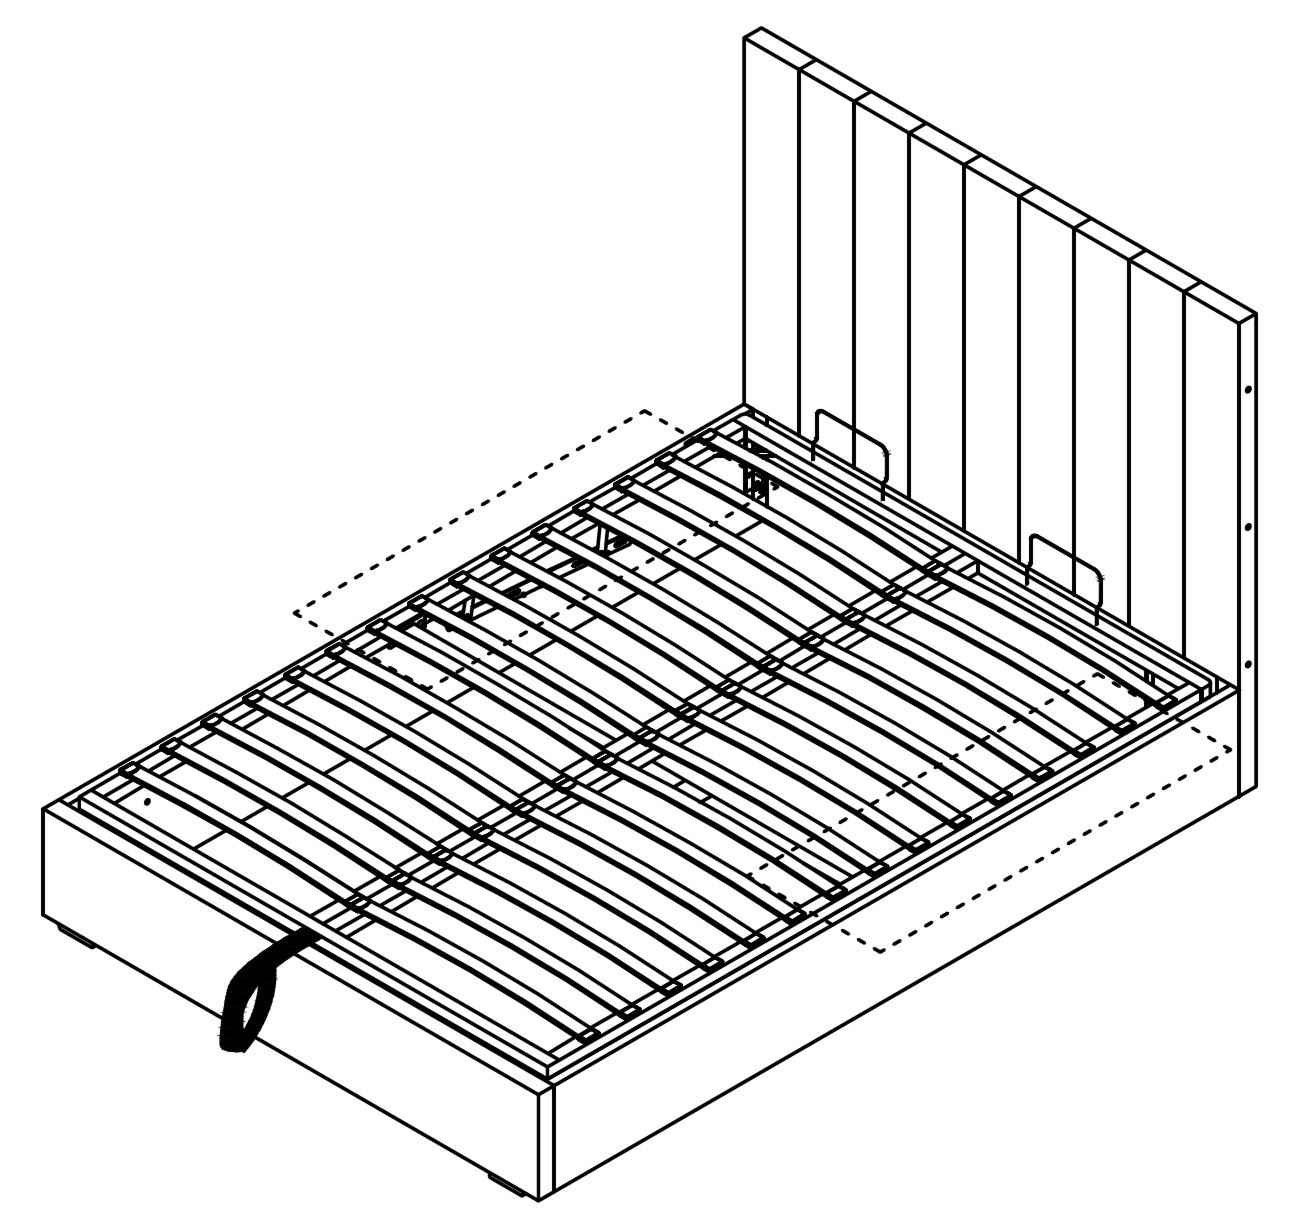
7. Fit the Fabric Base Cover
1. Lift the gas lift arms slightly to create space inside the bed frame. 2. Place the Fabric Base Cover (11) flat inside the bed frame, making sure it sits evenly on the bottom of the storage area. 3. Adjust the cover so it fits neatly into all corners and lies flat against the base.
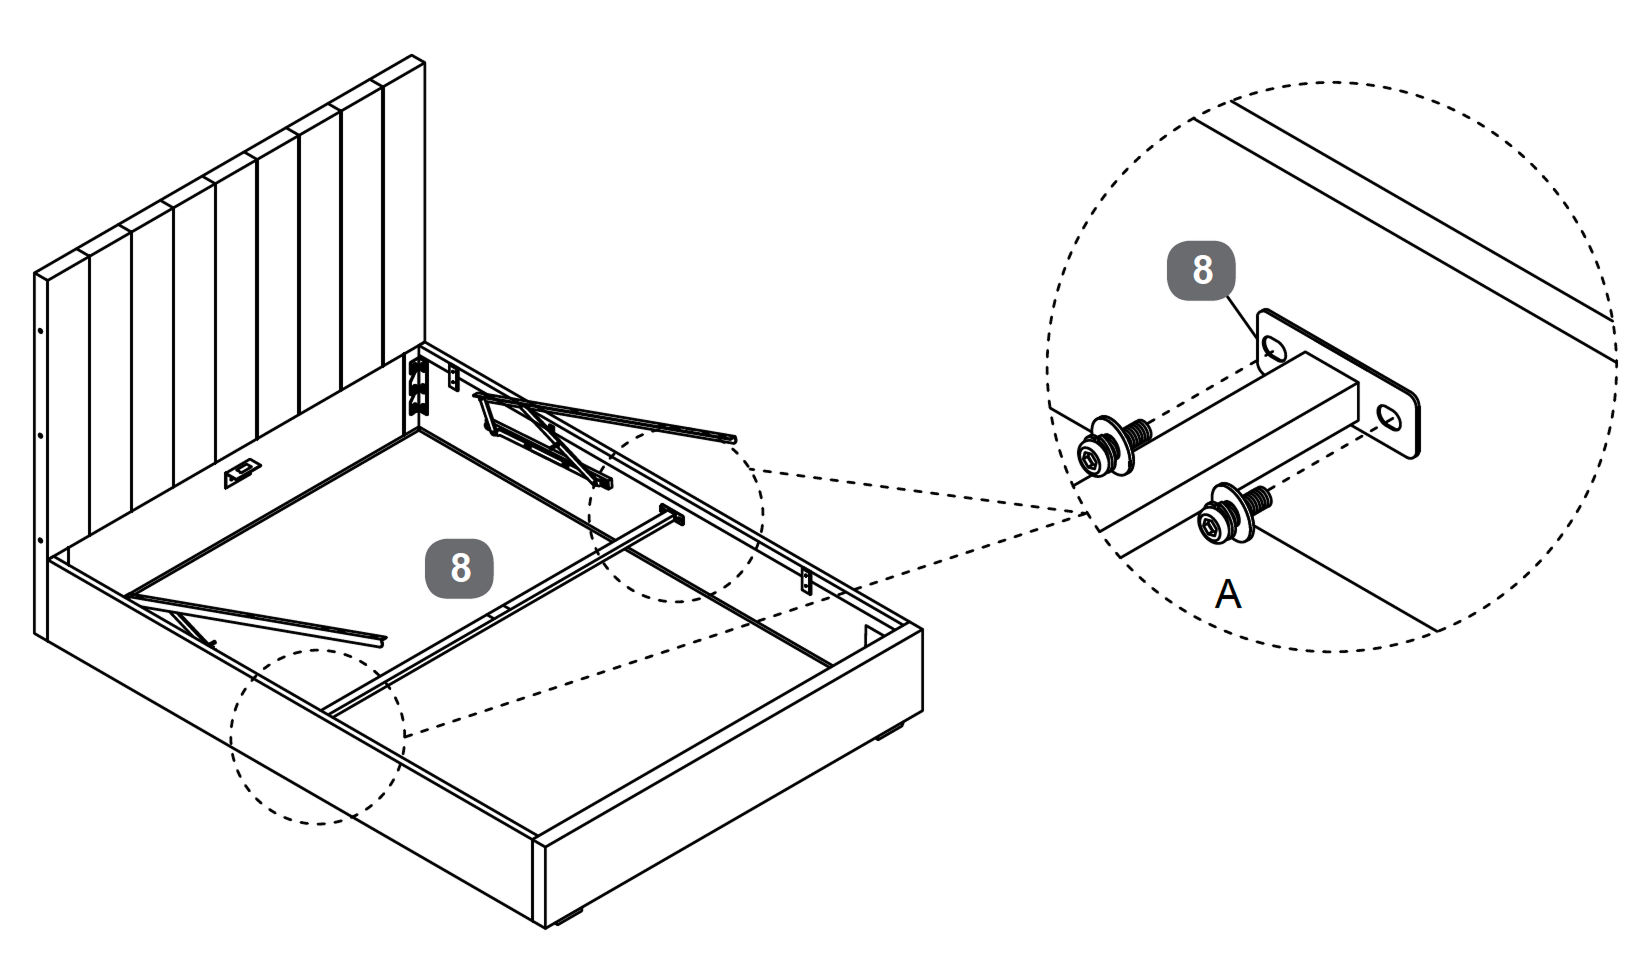
8. Install the Side Rail Cross Bar
1. Position the Side Rail Cross Bar (8) across the middle of the bed frame so it spans between the Side Rail Left (3) and Side Rail Right (4). 2. Align the holes in the cross bar with the pre drilled holes in the side rails. 3. Secure each end of the cross bar using Bolt M8 × 25 mm (A). 4. Tighten all bolts using the Allen Key (I) until the cross bar is firmly fixed in place.
Tip: Make sure the cross bar is centred and level, as it helps keep the frame rigid and correctly aligned.
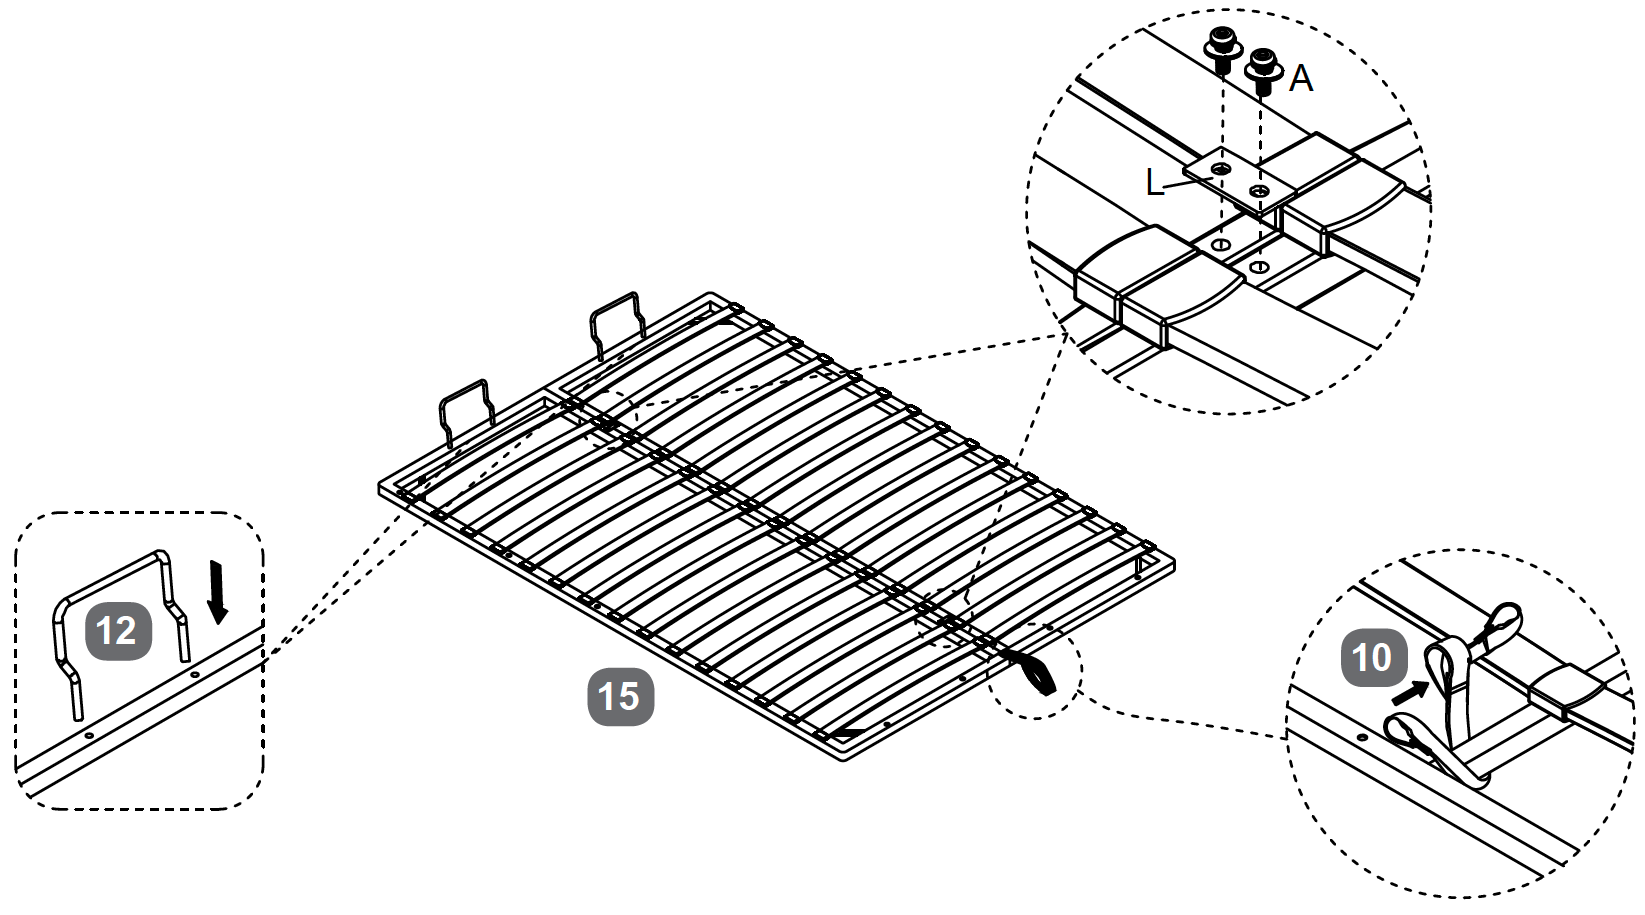
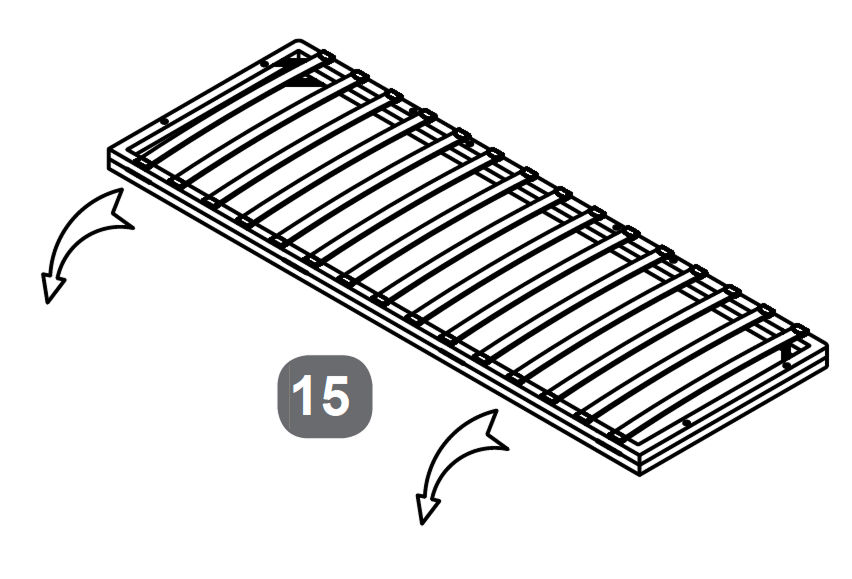
9. Assemble the Metal Slat Frame (Double and King)
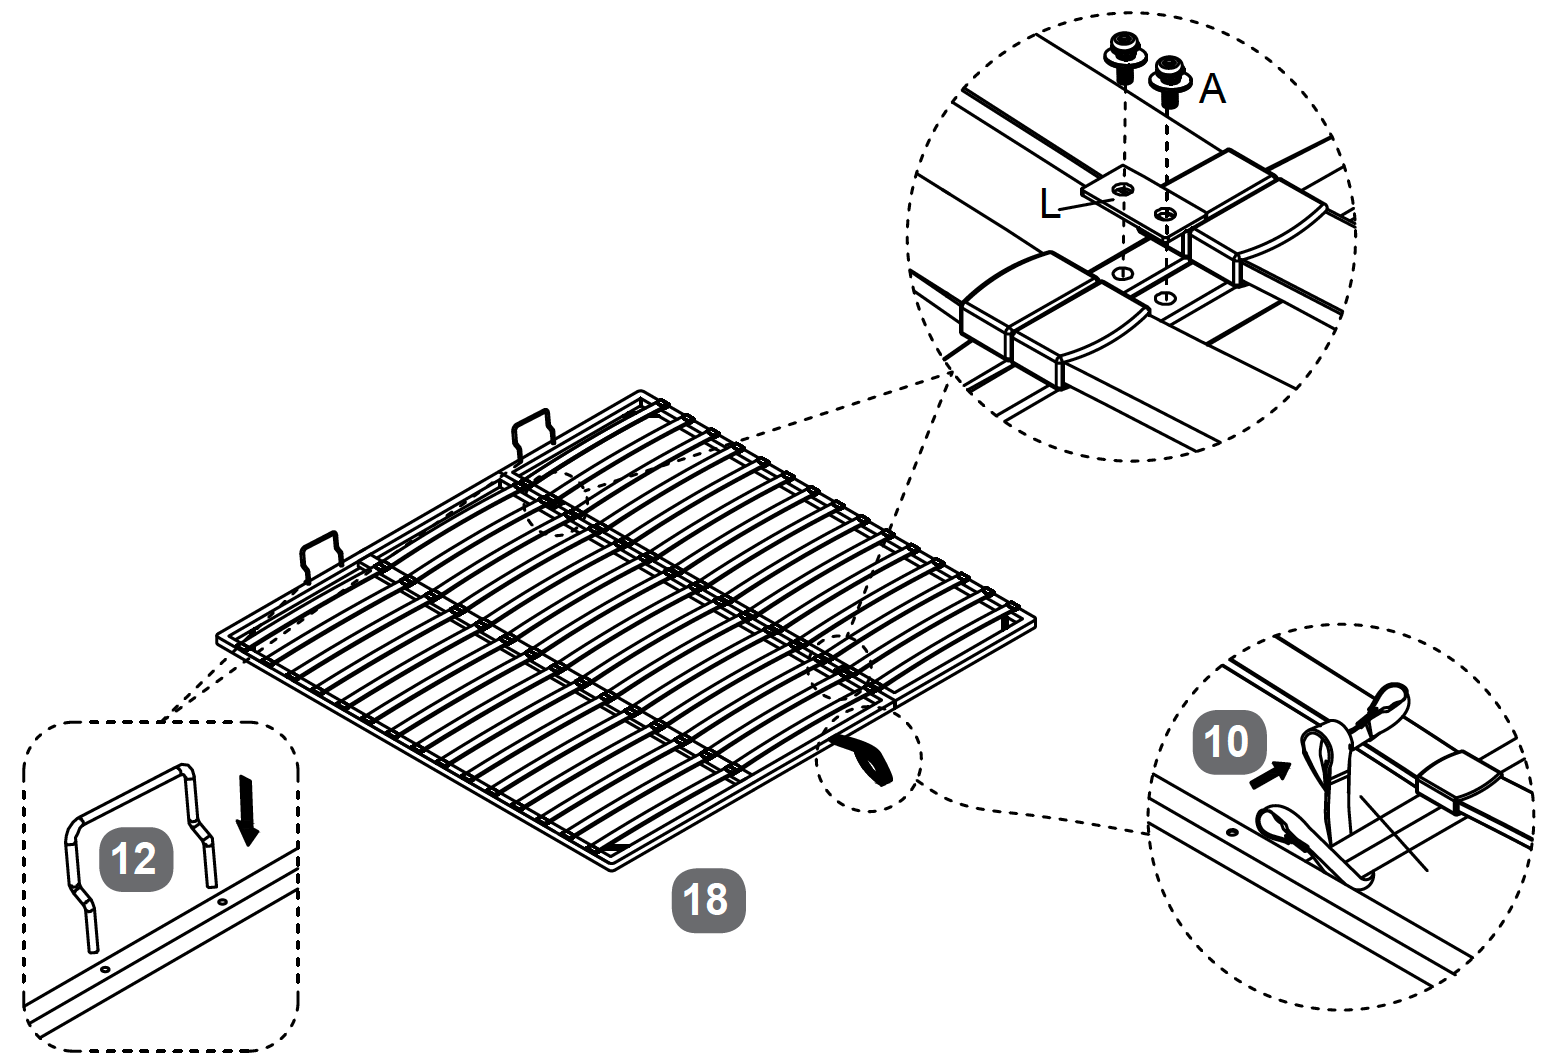
1. Place the two halves of the Metal Slat Frame (15) on the floor and unfold them so they form one complete frame. 2. Join the two halves together using the Metal Connection Plates (L) and secure them with Bolt M8 × 25 mm (A). 3. Attach the Mattress Stoppers (12) to the head end of the slat frame. 4. Fix the Fabric Handle (10) to the foot end of the slat frame.
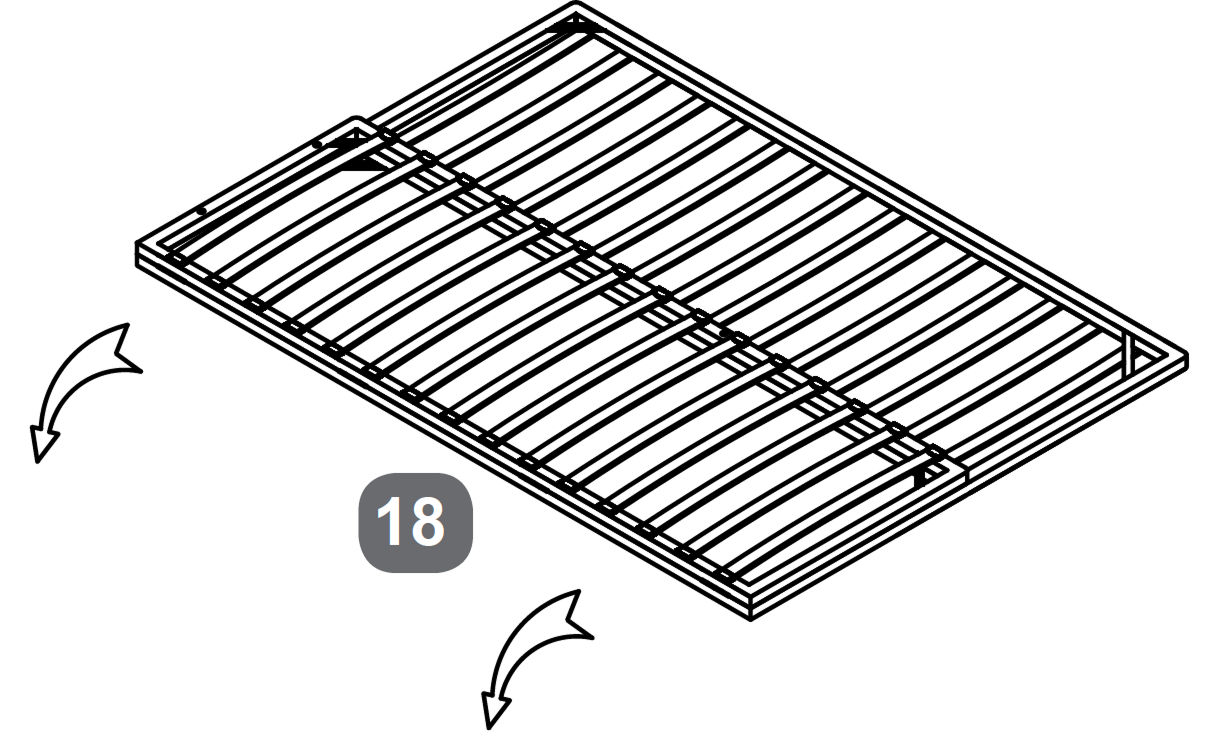
10. Assemble the Metal Slat Frame (Super King)
1. Place the two halves of the Metal Slat Frame Super King (18) on the floor and unfold them into one complete frame. 2. Join the two sections together using the Metal Connection Plates (L) and secure them with Bolt M8 × 25 mm (A). 3. Fit the Mattress Stoppers (12) at the head end of the slat frame. 4. Attach the Fabric Handle (10) at the foot end of the slat frame
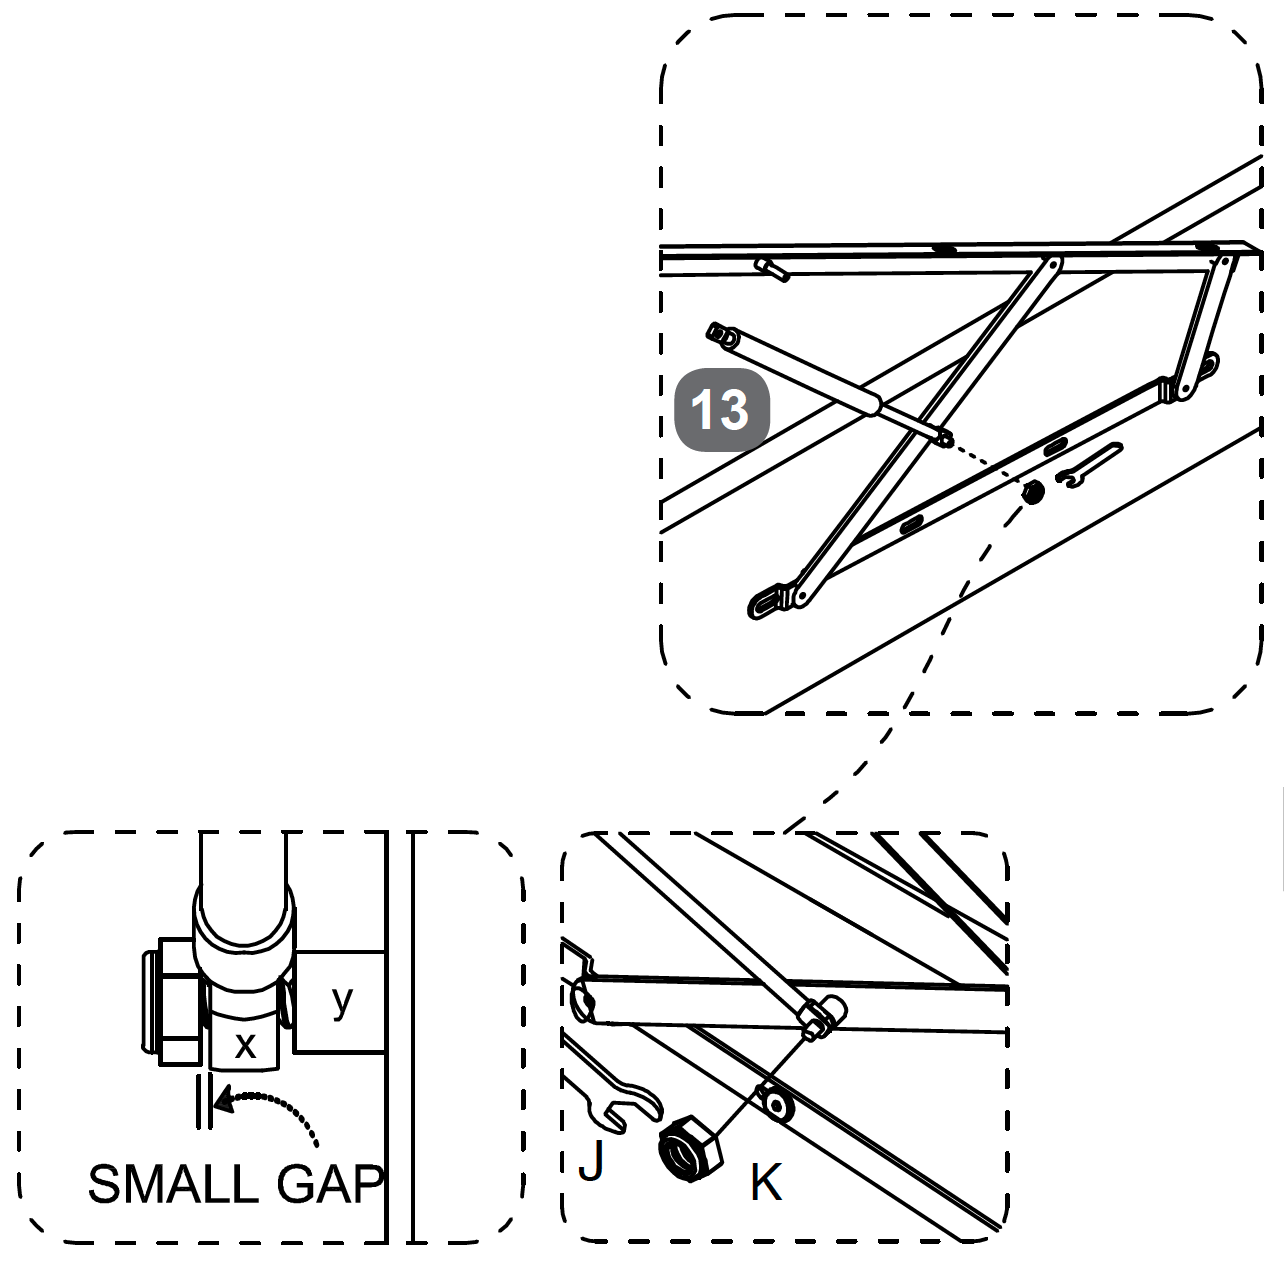
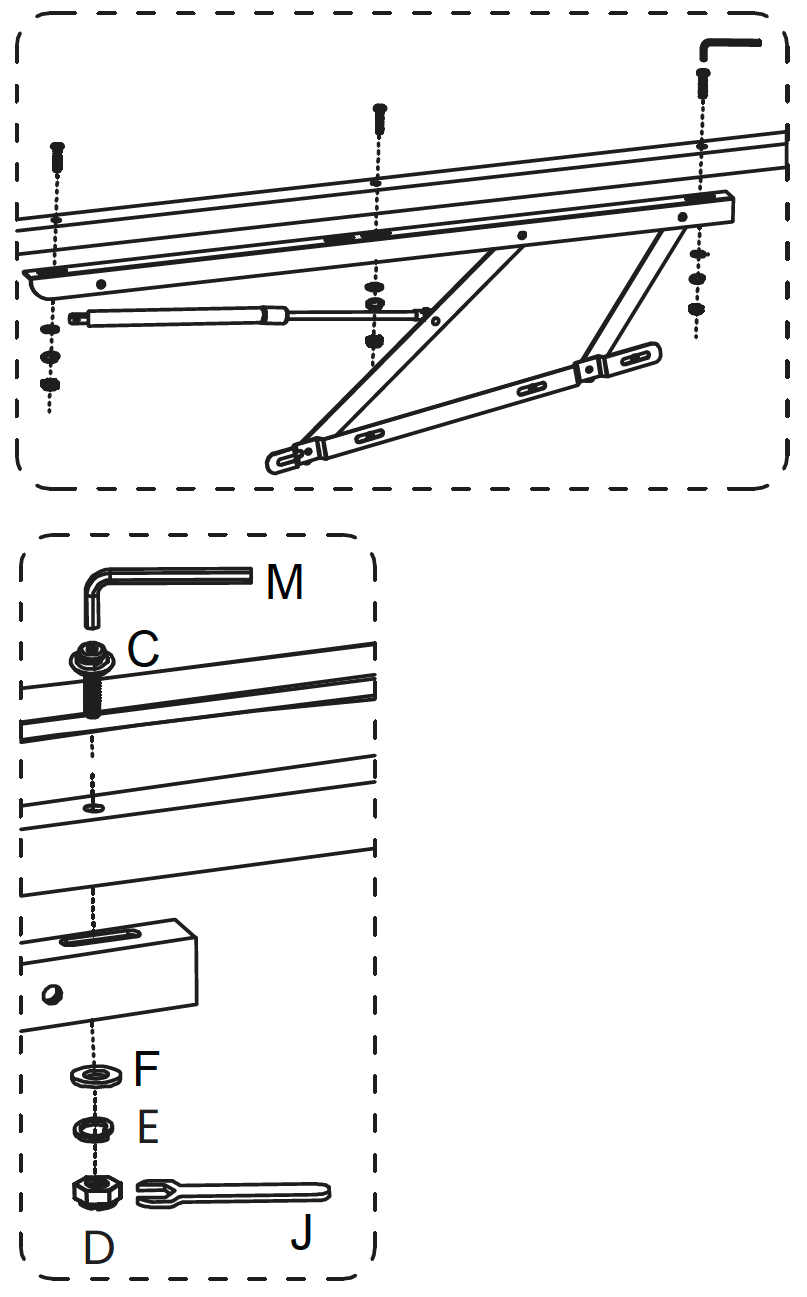
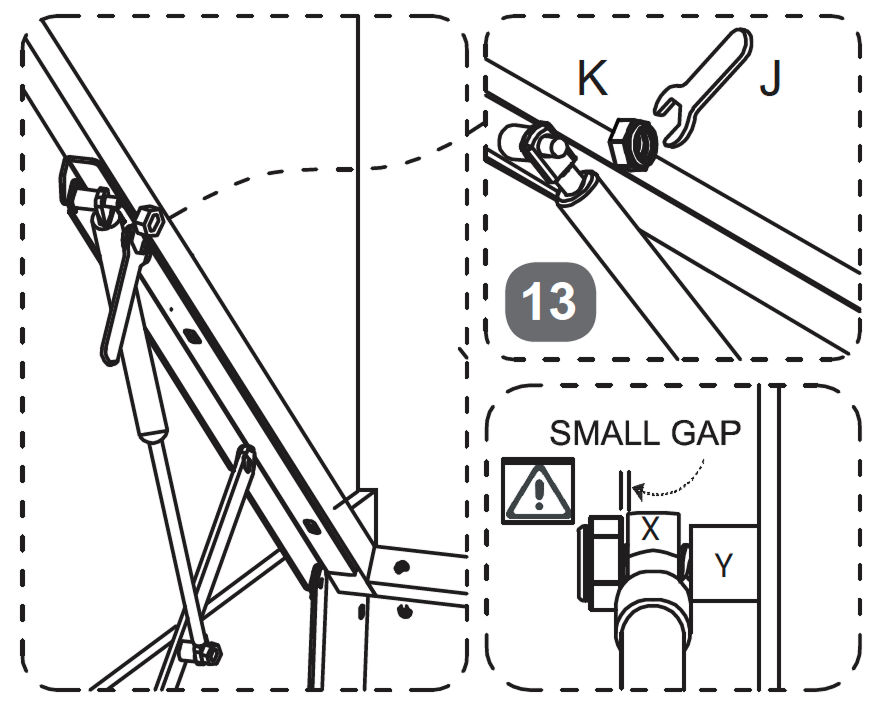
11. Install the Gas Lift Pistons
1. Locate the Gas Lift Pistons (13) and the axle points on the gas lift mechanisms. 2. Slide the piston stem onto the axle on each mechanism. 3. Fit a Flanged Lock Nut M8 (K) onto each axle and tighten using the Spanner (J). 4. Leave a small gap between the nut and the piston stem so the joint can move freely.
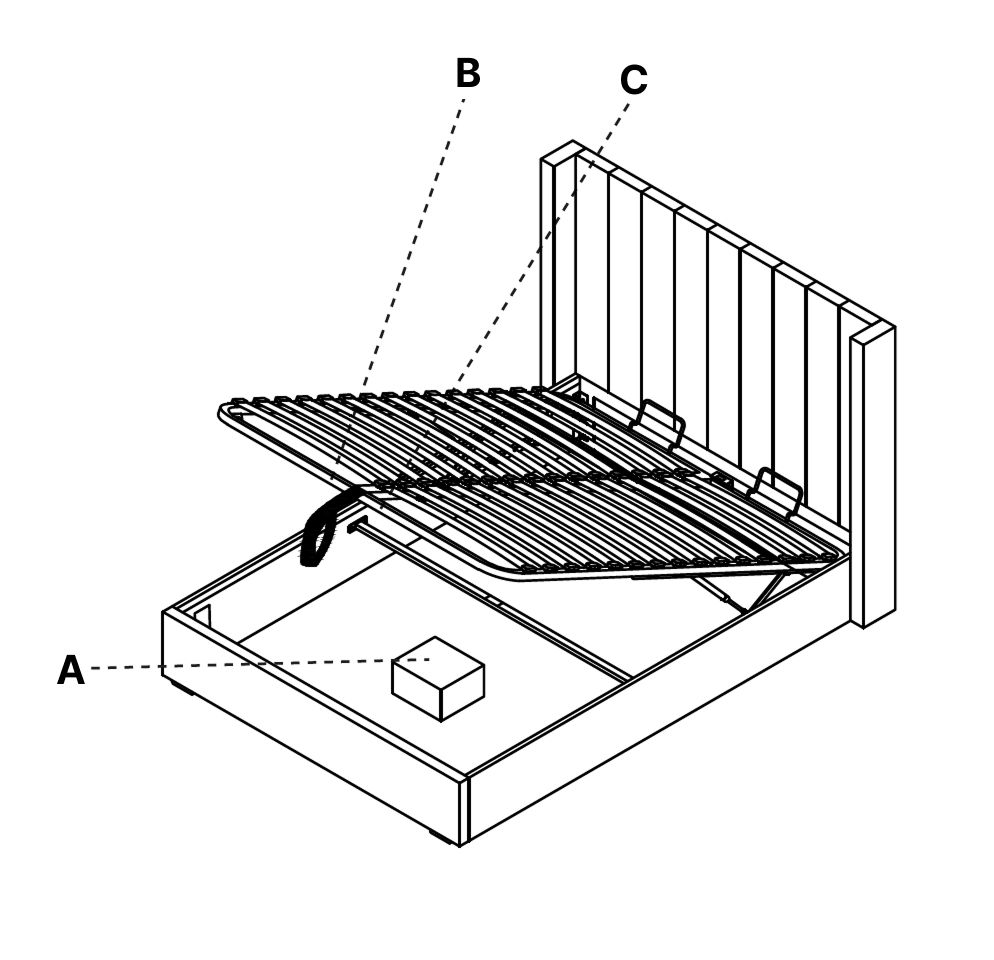
12. Attach the Slat Frame to the Gas Lift Mechanisms
1. Lower the assembled Metal Slat Frame (15 or 18) into the bed frame so it rests on the gas lift mechanisms. 2. Align the fixing holes on the slat frame with the holes on the lifting arms of the gas lift mechanisms. 3. For each fixing point, insert Bolt M8 × 50 mm (C) from the top, then fit a Flat Washer (F), a Spring Washer (E) and a Nut for M8 Bolts (D) underneath. 4. Lightly tighten the three bolt sets on each side using the Allen Key (I) and Spanner (J). 5. Hold the slat frame down and adjust it so the gaps on both sides of the frame are even. 6. Once aligned, fully tighten all bolts to 100 percent.
Important: Do not fully tighten the bolts until the slat frame is centred in the bed frame. Even spacing on both sides is essential for smooth and balanced lifting.
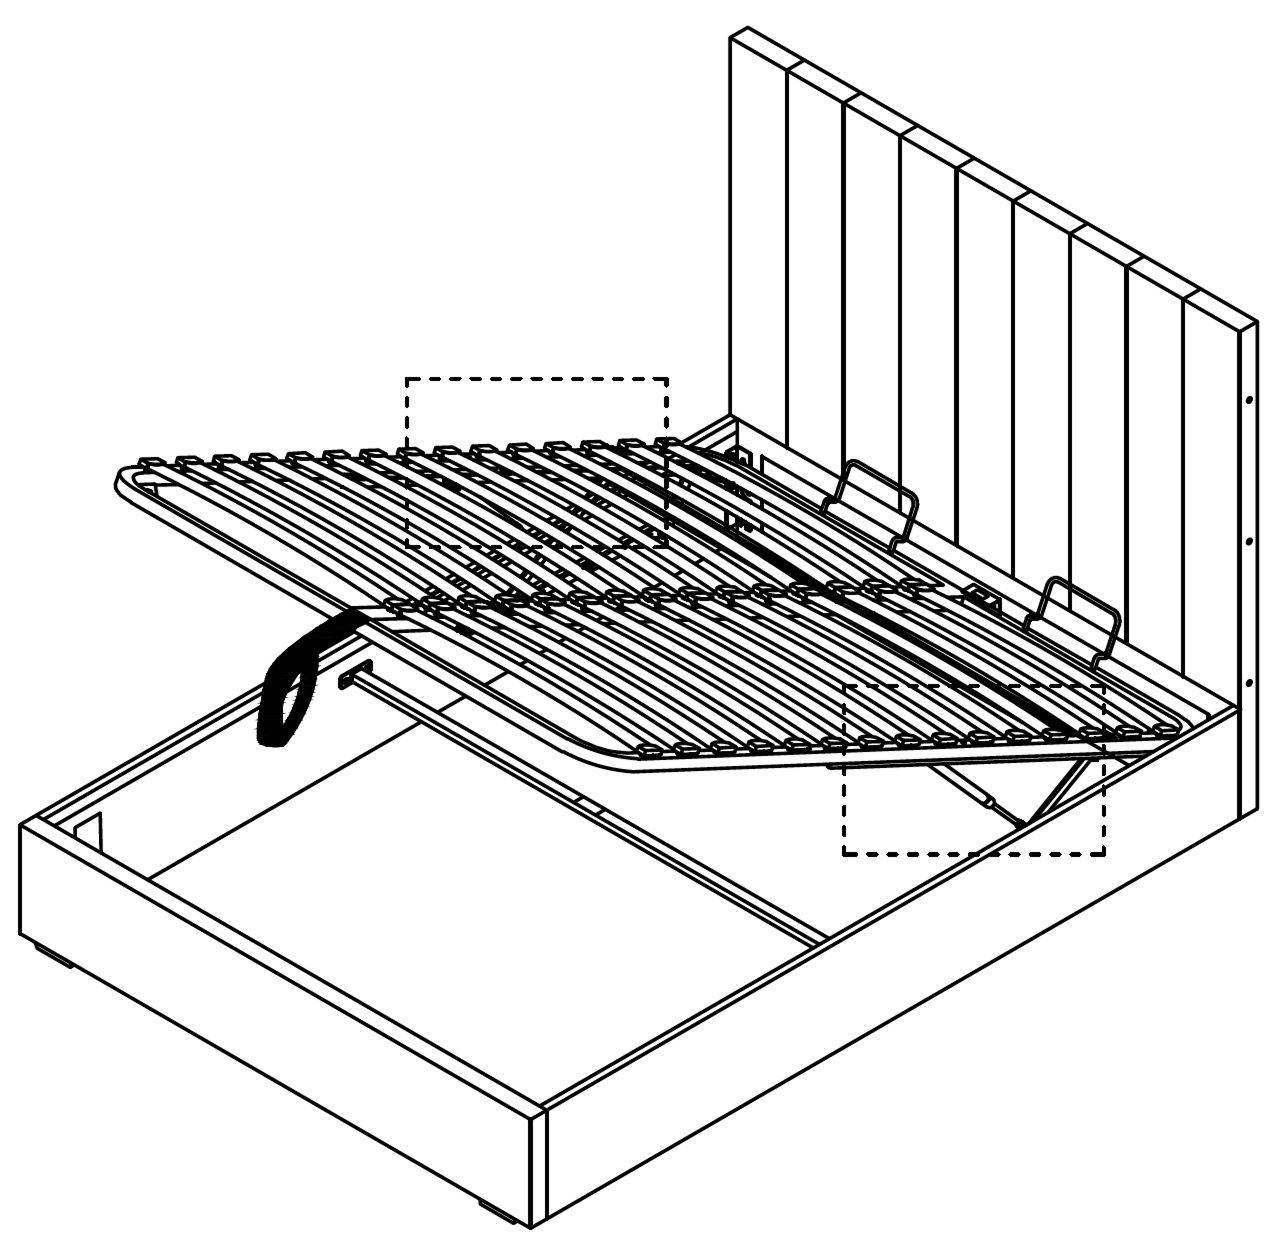
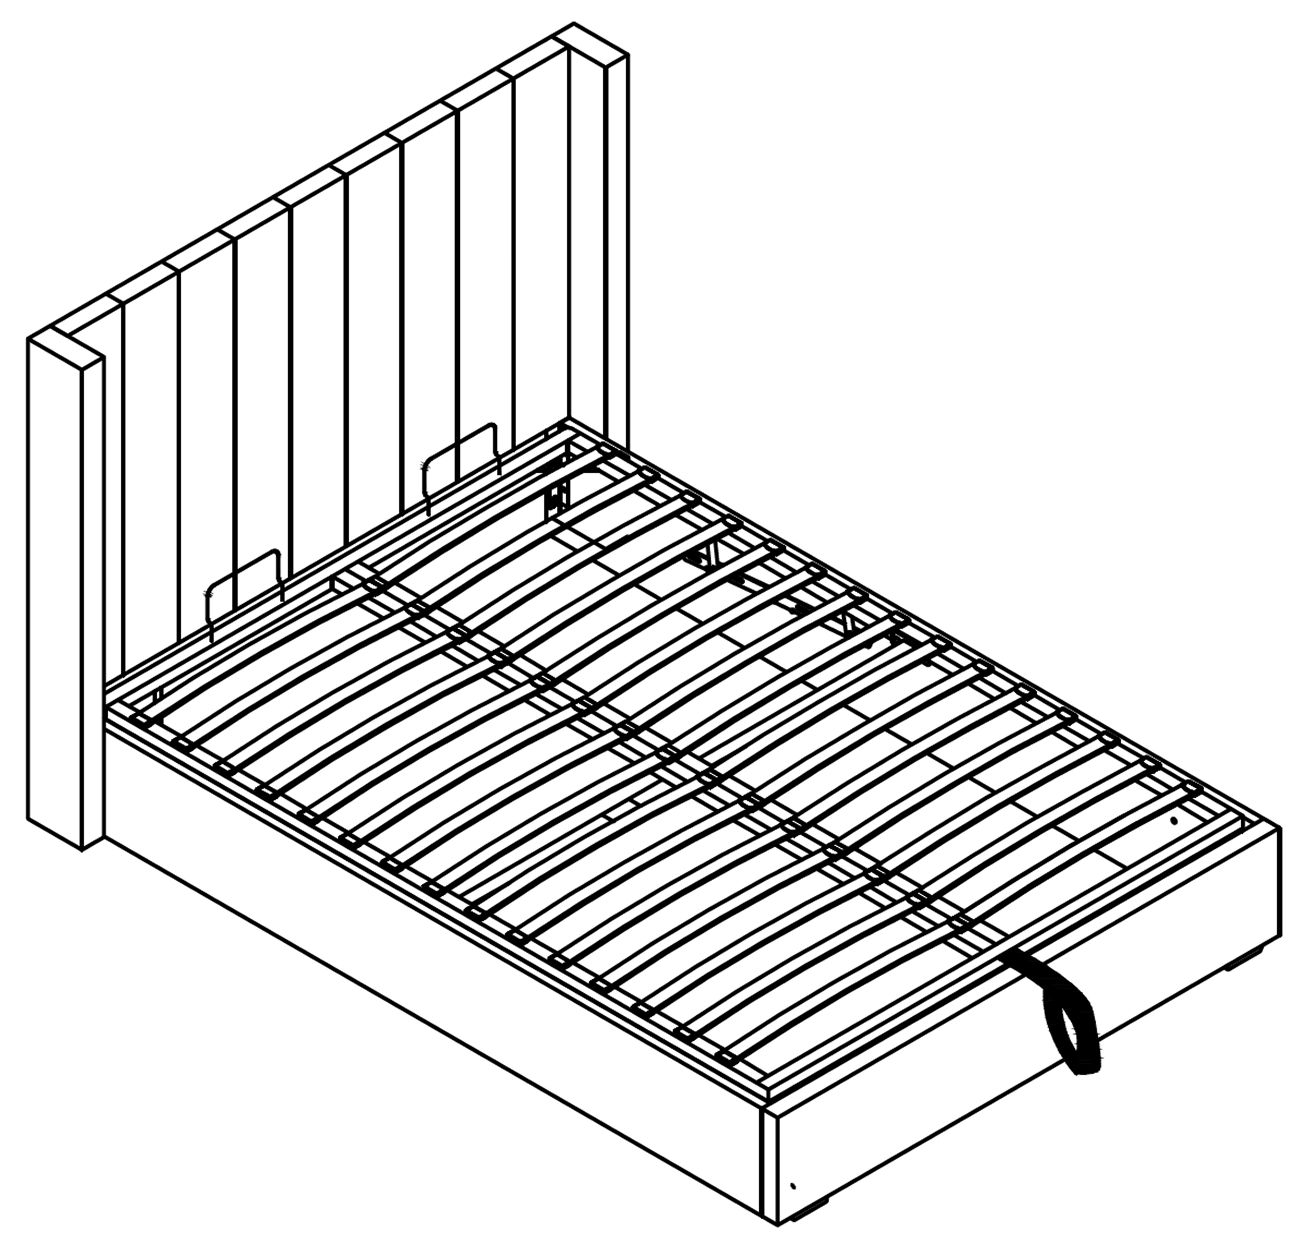
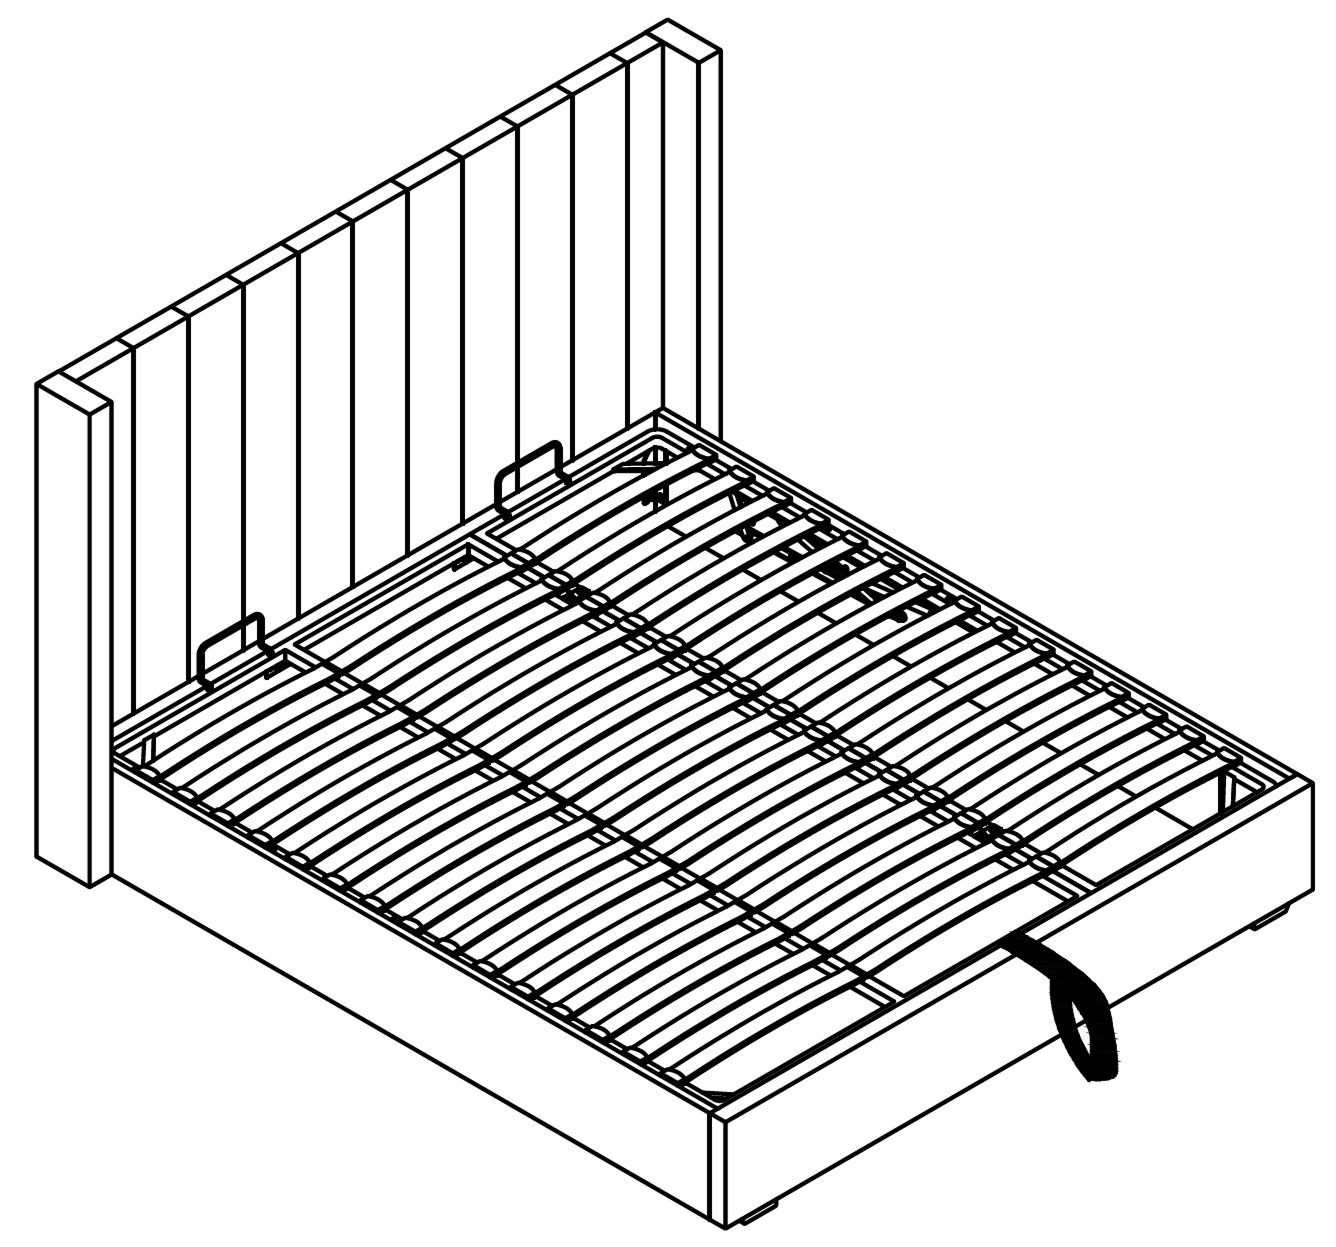
13. Check the Gas Lift Operation
1. Using the Fabric Handle (10), carefully lift the Metal Slat Frame (15 or 18) to raise the ottoman base. 2. Lower the slat frame back down slowly to confirm the gas lift mechanisms operate smoothly. 3. Check both sides to make sure the pistons move freely and remain securely attached.
Important:
If the slat frame does not lift or lower evenly, recheck the piston fixings from Step 11 and make sure the small clearance at the lock nuts is still present.
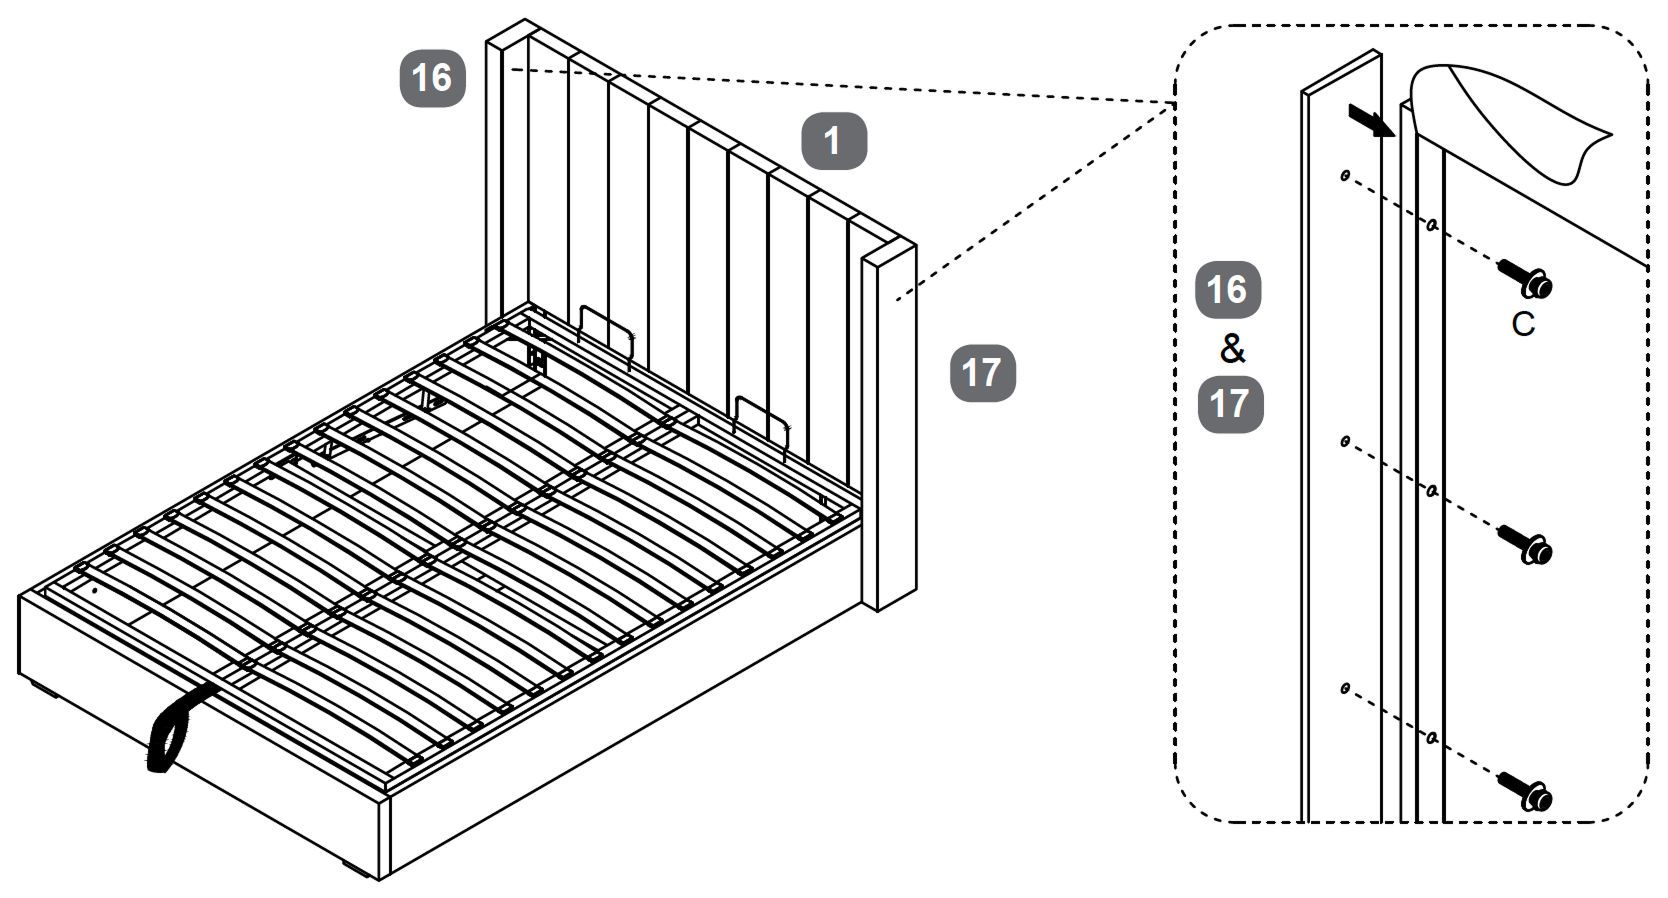
14. Attach the Wing Panels to the Headboard
1. Position the Wing Left (16) against the left side of the Headboard (1). 2. Align the pre drilled holes in the wing with the holes on the side of the headboard. 3. Secure the wing using Bolt M8 × 50 mm (C) and tighten with the Allen Key (I). 4. Repeat the process to attach the Wing Right (17) to the opposite side of the headboard.
15. Safety and Storage Guidelines
A. Storage Height and Load Limits: Be careful what you store under the bed. Items such as suitcases or boxes must not touch the slats, as this may cause damage. The maximum storage height is 260 mm. Only store items that fit safely within this limit to ensure the bed operates correctly and safely.
B. Using the Storage Area Safely: Always ensure the ottoman base is fully open before accessing the storage area. Do not reach into the storage space through the hinge or lifting mechanism. Keep children and pets away from the bed when it is open, and never stand or sit inside the internal storage area. Regularly inspect the bed to ensure it is functioning correctly.
C. Adult Use and Safe Operation: This ottoman bed is designed for adult use only and is not recommended for children under 12 years of age. The ease of lifting and lowering the bed depends on the user’s height and strength. Always operate the bed using the fabric handle with the mattress in place, and keep hands and body parts clear of the moving mechanism to avoid entrapment.
16. Final Check
Verify that all slats are securely fastened and evenly spaced.
Check for any loose connections and tighten the screws if necessary