1. Secure Footboard Assembly
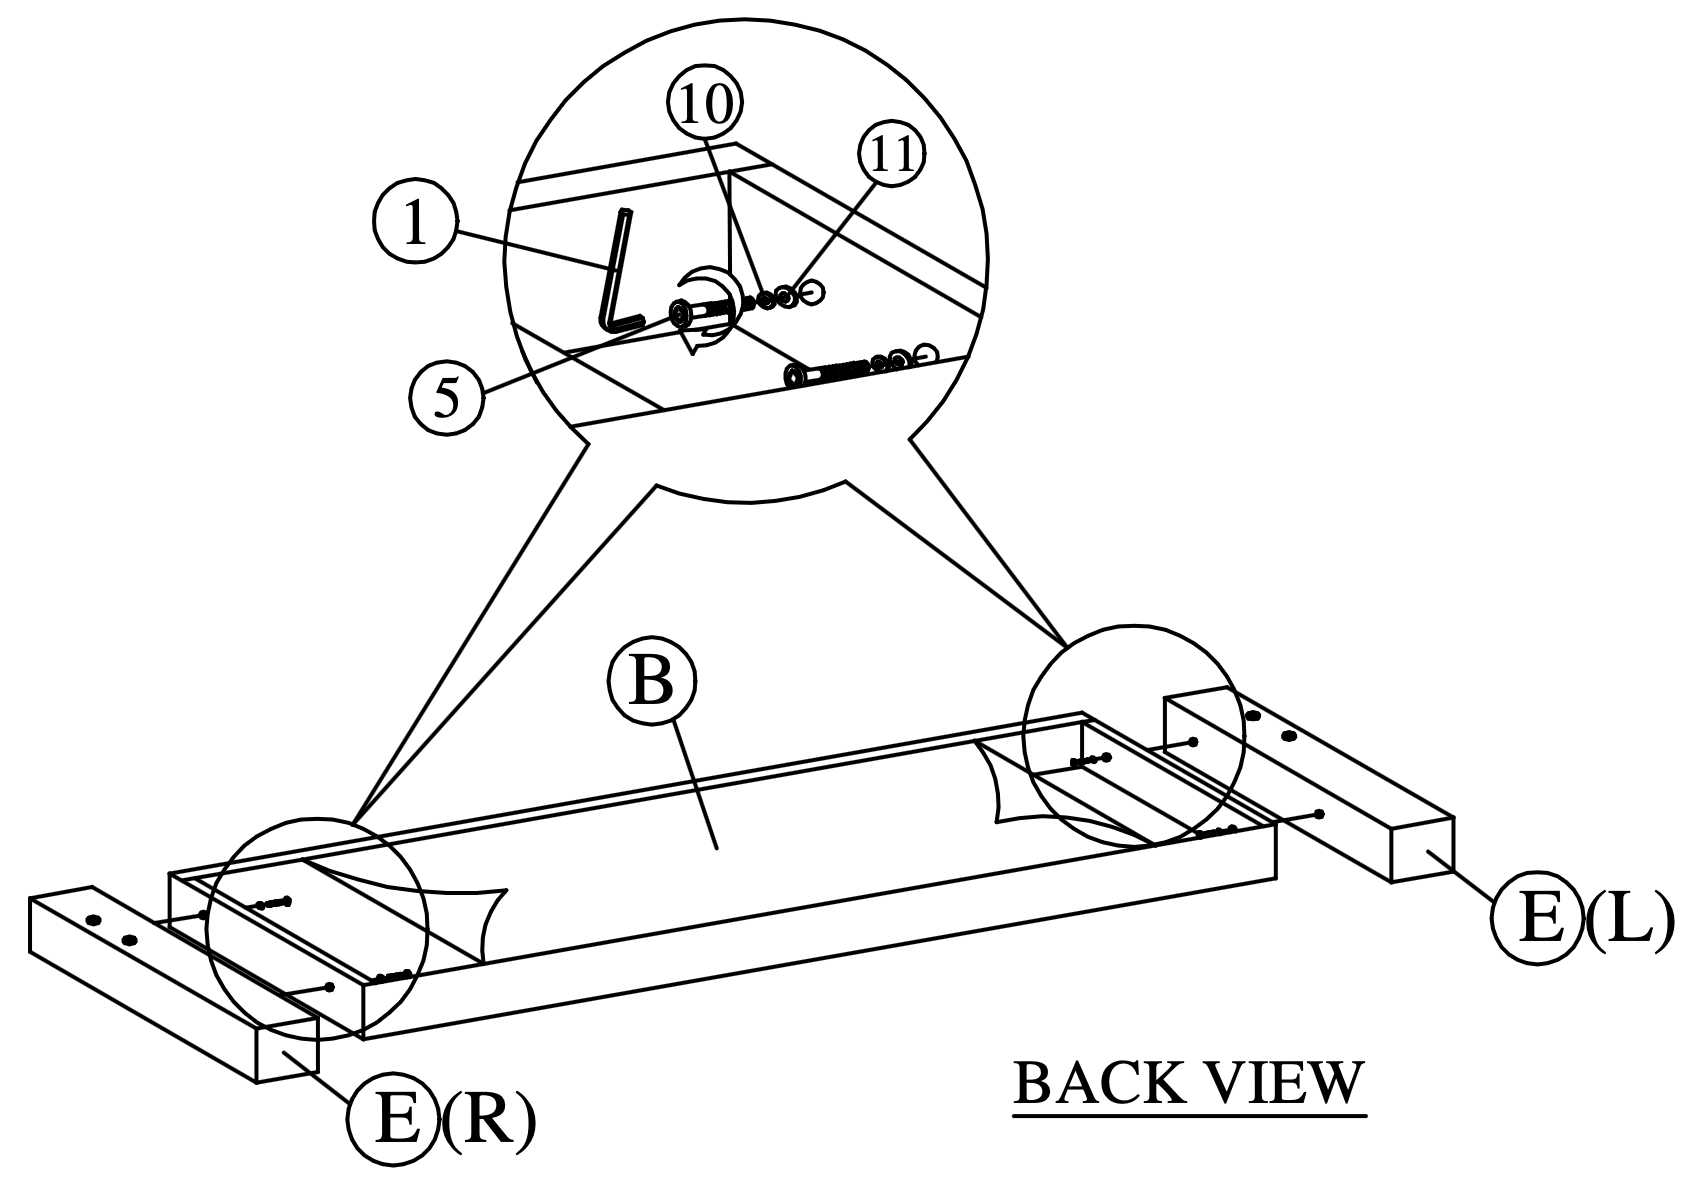
- Secure the footboard (B) to the footboard legs (E) using JCBC M6 x 50 bolts (5), spring washers (10), and flat washers (11).
- Tighten the bolts with the Allen Key 65mm (1).
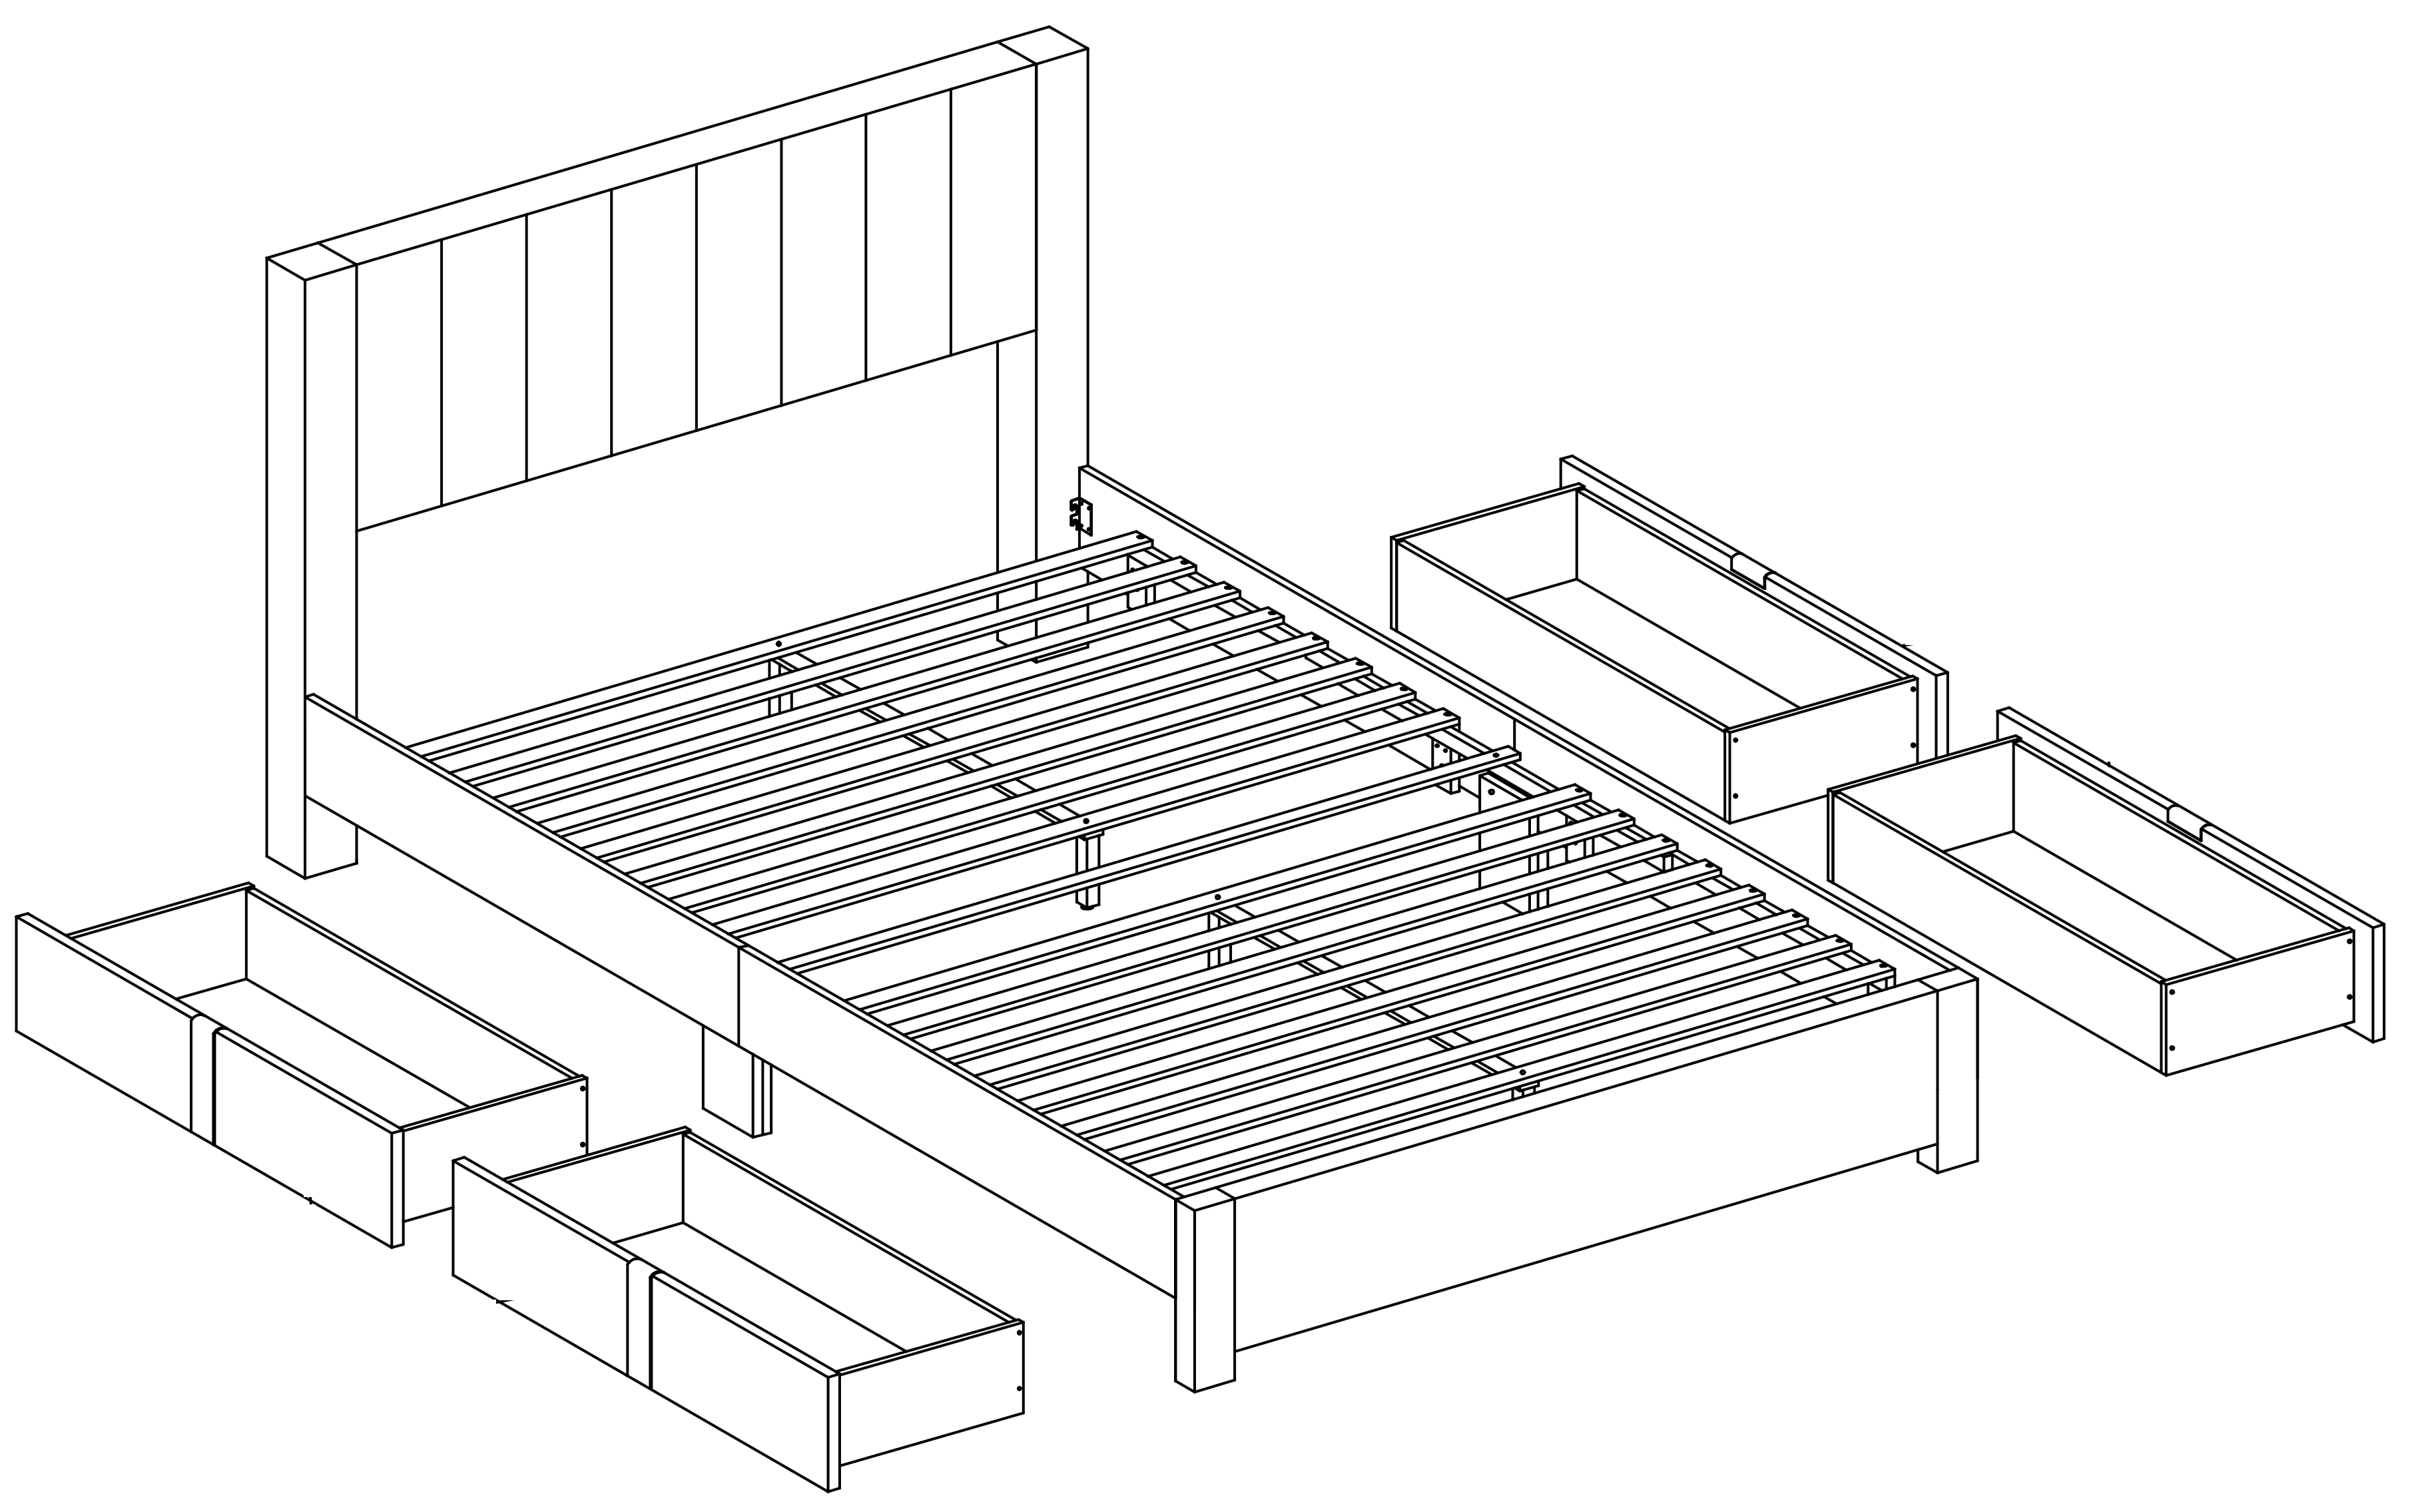 Instructions by time4sleep Mayfair 4 Drawer Upholstered Bed FrameAssembly instructions for Mayfair 4 Drawer Upholstered Bed Frame Product InformationMayfair 4 Drawer Upholstered Bed FrameUpgrade your bedroom with our Mayfair 4 Drawer Upholstered Bed Frame bed, designed to combine comfort and practicality.
Featuring a floor-standing strutted headboard with a modern panelled effect, it creates a bold focal point while offering excellent support. The soft fabric finish adds a touch of luxury, perfect for relaxing evenings.
Built with convenience in mind, the bed includes four spacious drawers seamlessly integrated into the base, providing ample storage for bedding, clothing, or everyday essentials.
Durable, elegant, and functional, this bed frame is an ideal choice for maximizing both style and space in any bedroom.
View product (opens in new tab)
Tools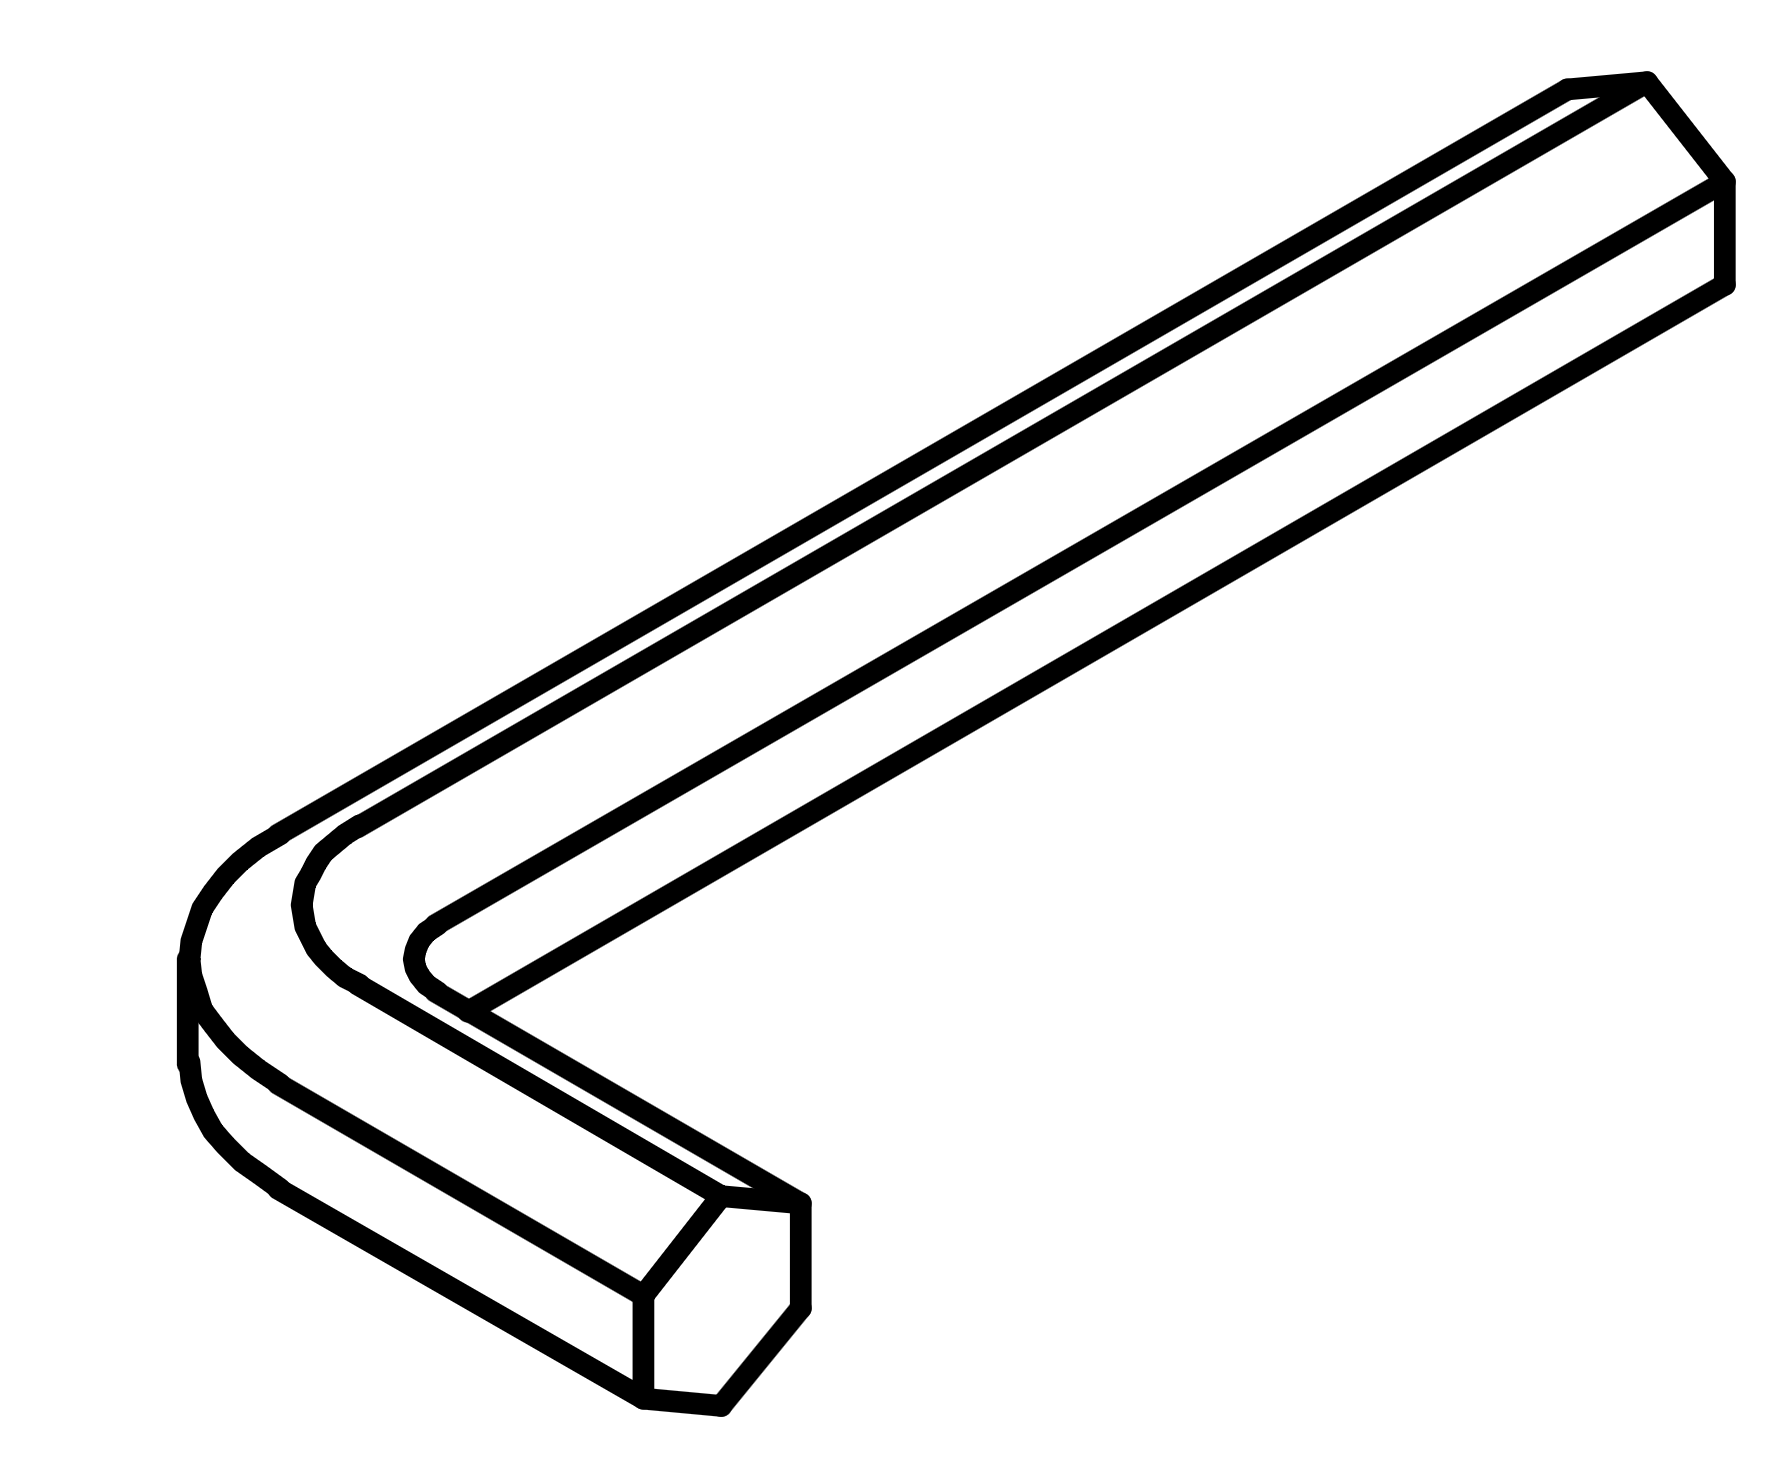 1 - Allen Key 65mm 2 - Allen Key 70mm  3 -JCBB M8 x 20 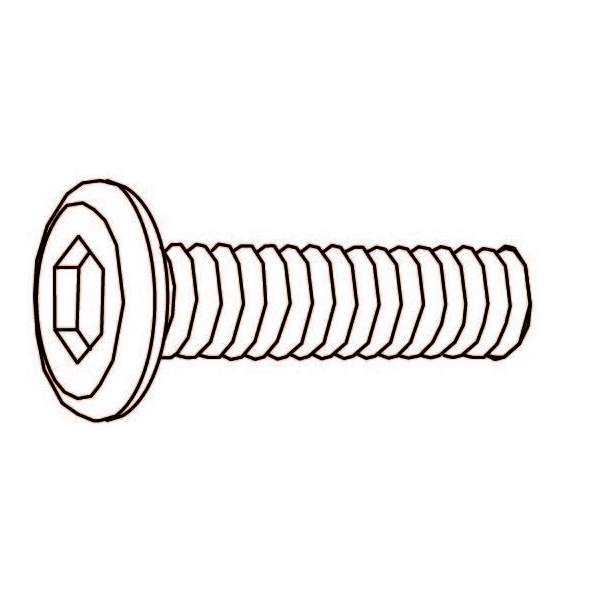 4 - JCBC M6 x 30 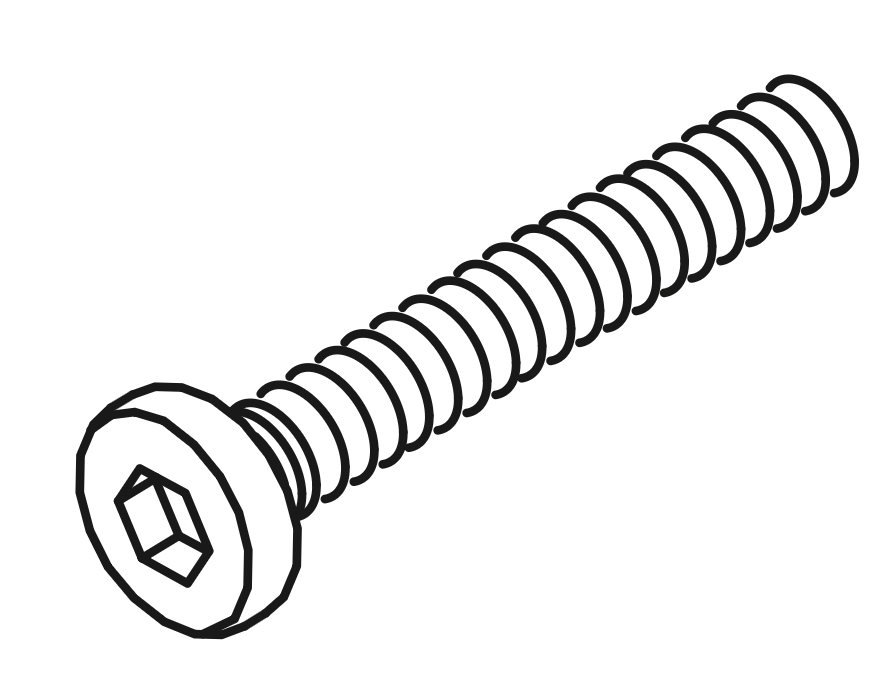 5 - JCBC M6 x 50 6 -JCBC M6 x 60  7 - CSK Screw 16mm 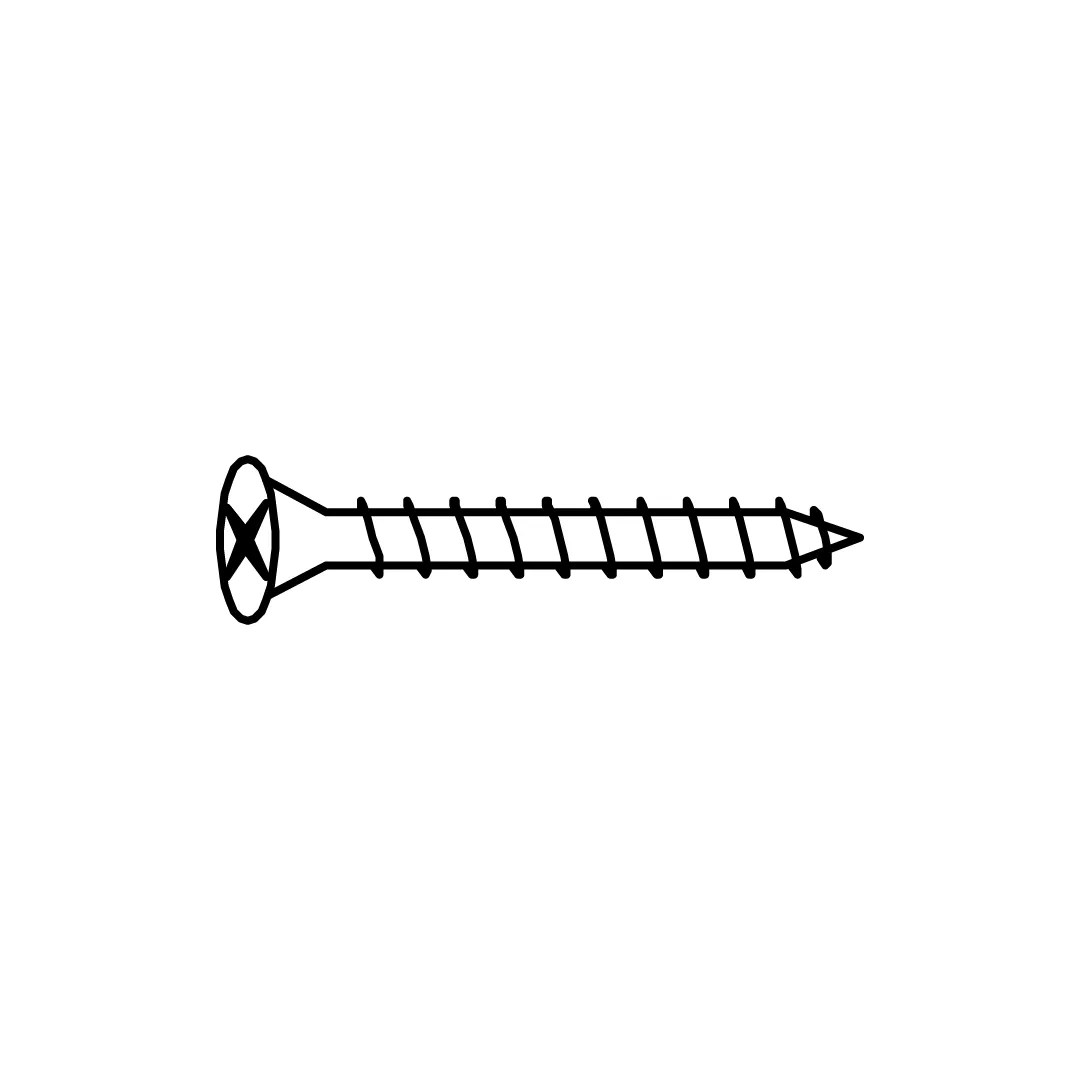 8 - CSK Screw 32mm 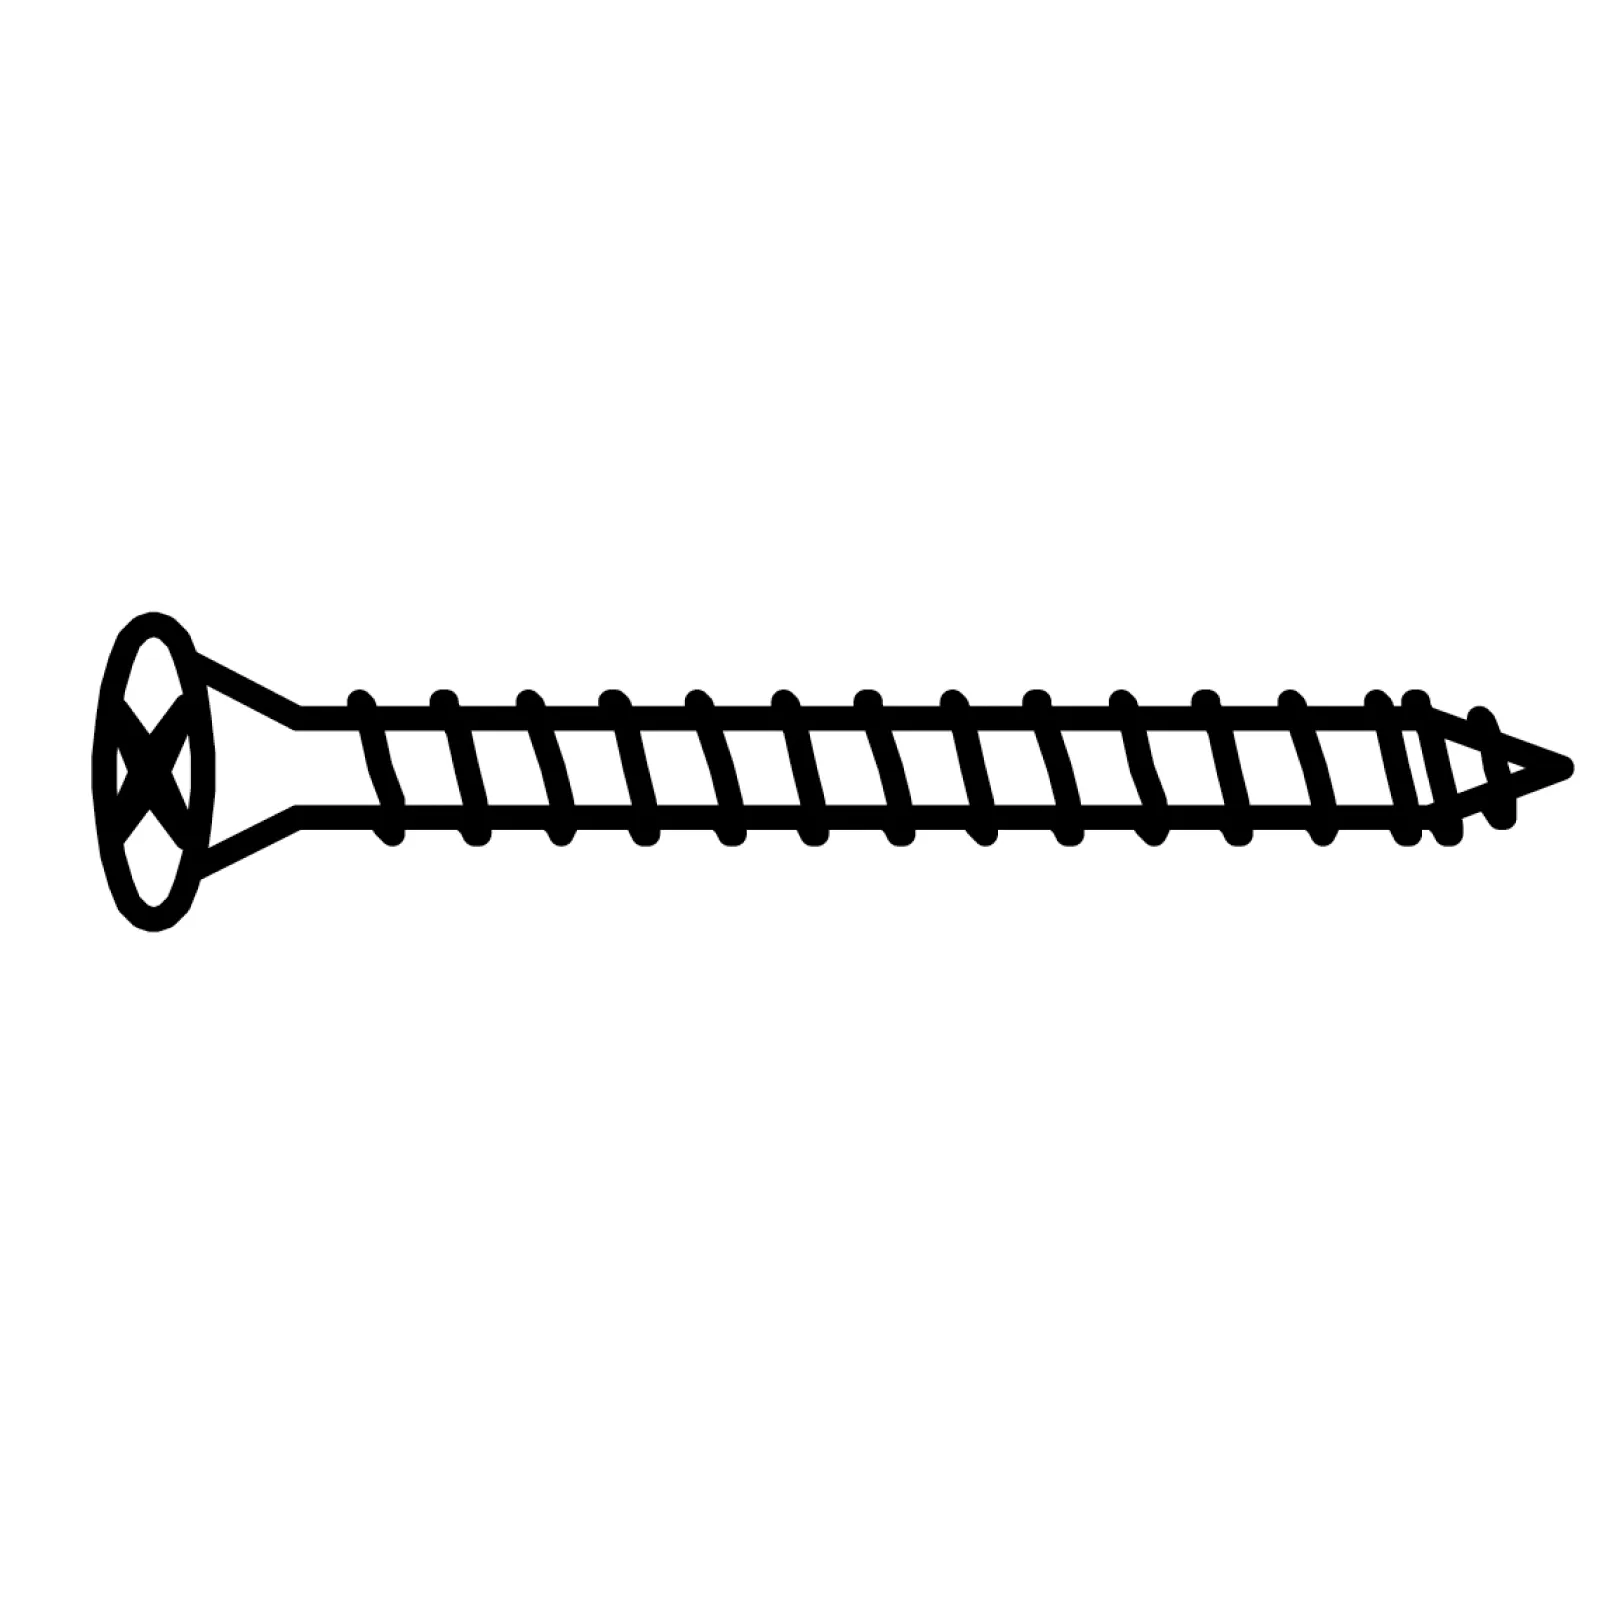 9 - CSK Screw 50mm  10 - Spring Washer  11 - Flat Washer  12 - Roller  13 - Power Nail 6/8 Parts A - Headboard  B - Footboard  C1 and C2 - Side Rails  D - Headboard Legs E - Footboard Legs 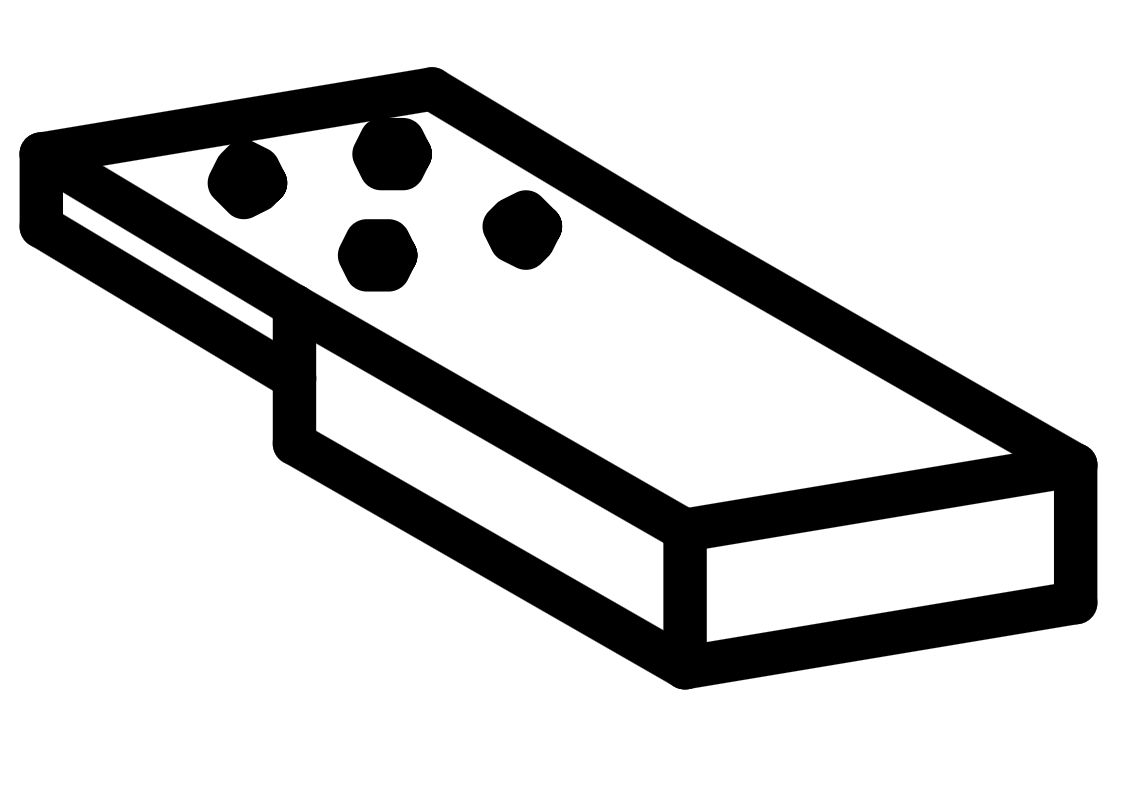 F - Siderail Legs (280 x 80 x 30mm)  G - Center Rail (800mm)  H - 16 Slats (1327mm)  I - Support Legs (30 x 30 x 300mm)  J - Drawer Front Panel  K - Drawer Back Panel  L - Drawer Bottom Panel  M - Drawer Side Panel 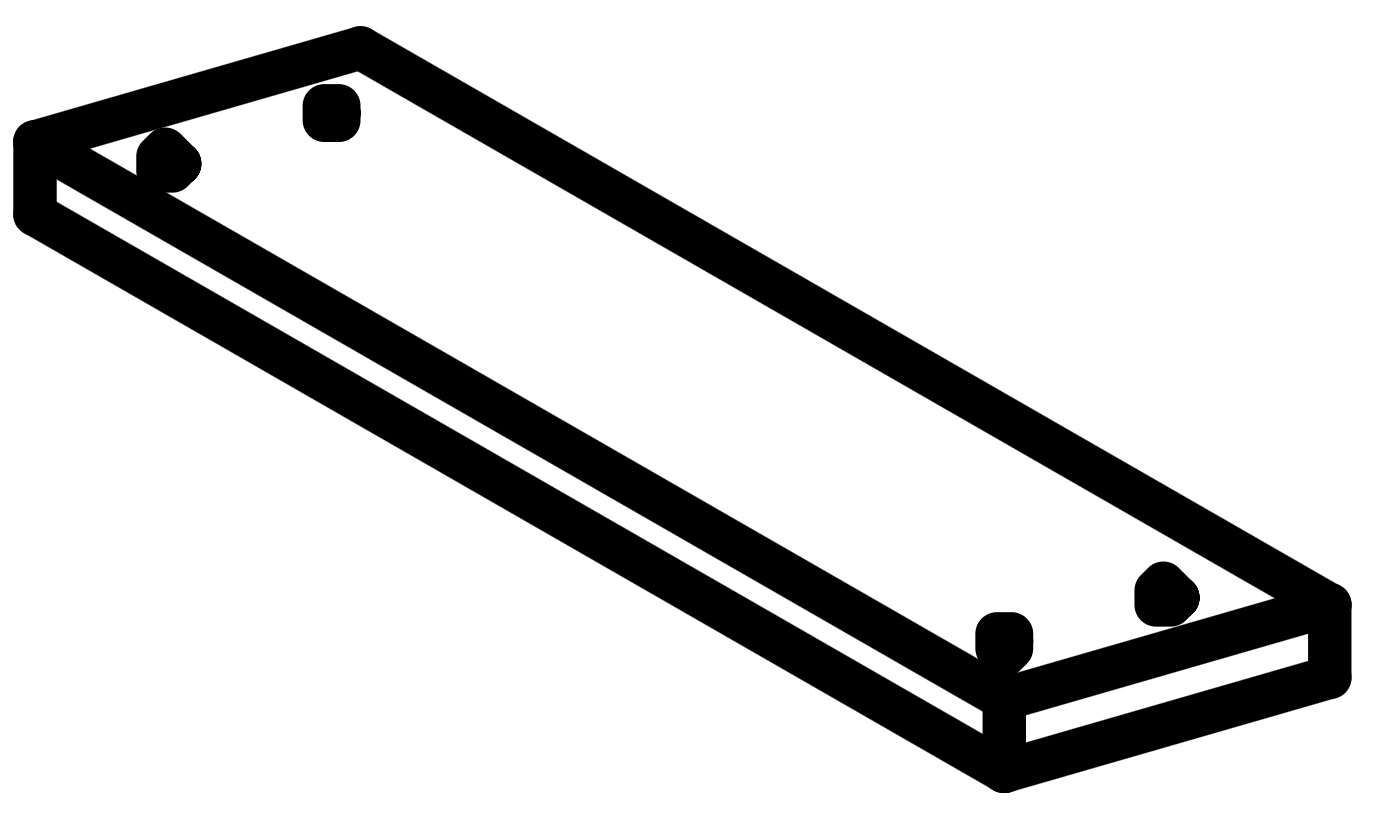 N - Bottom Panel Big Support Wood 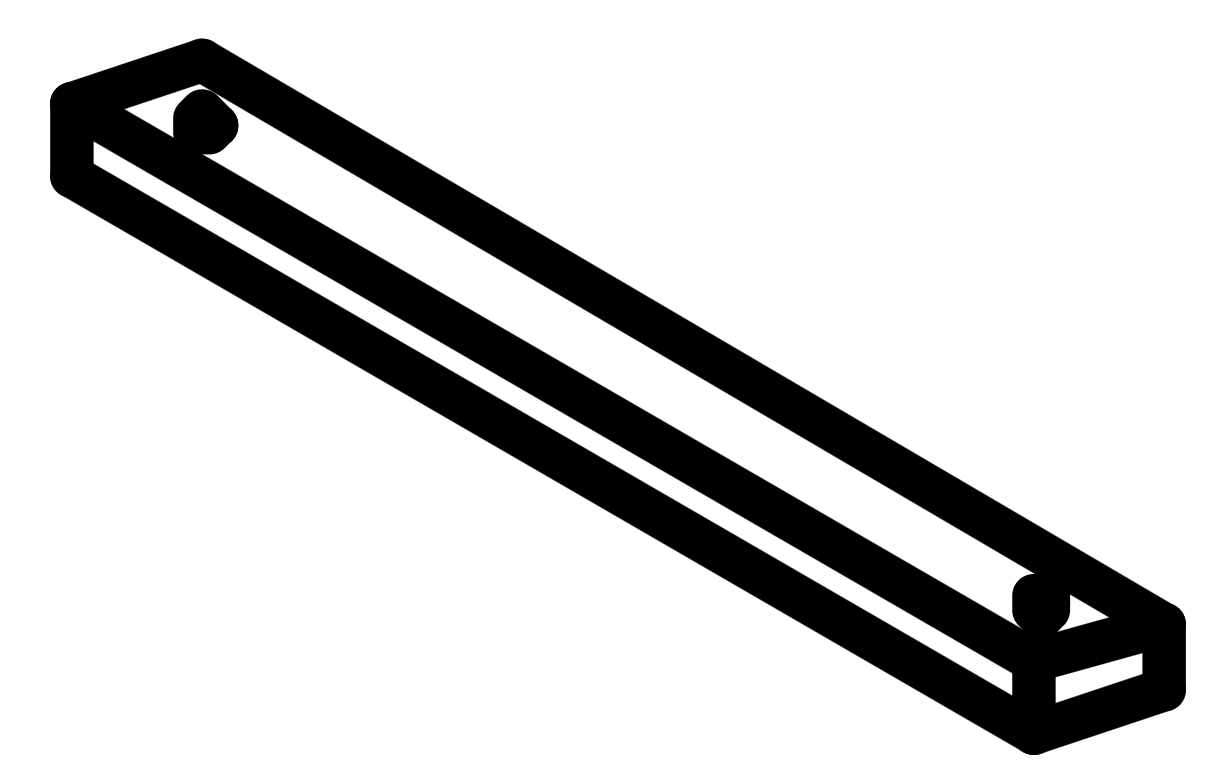 O - Bottom Panel Small Support Wood 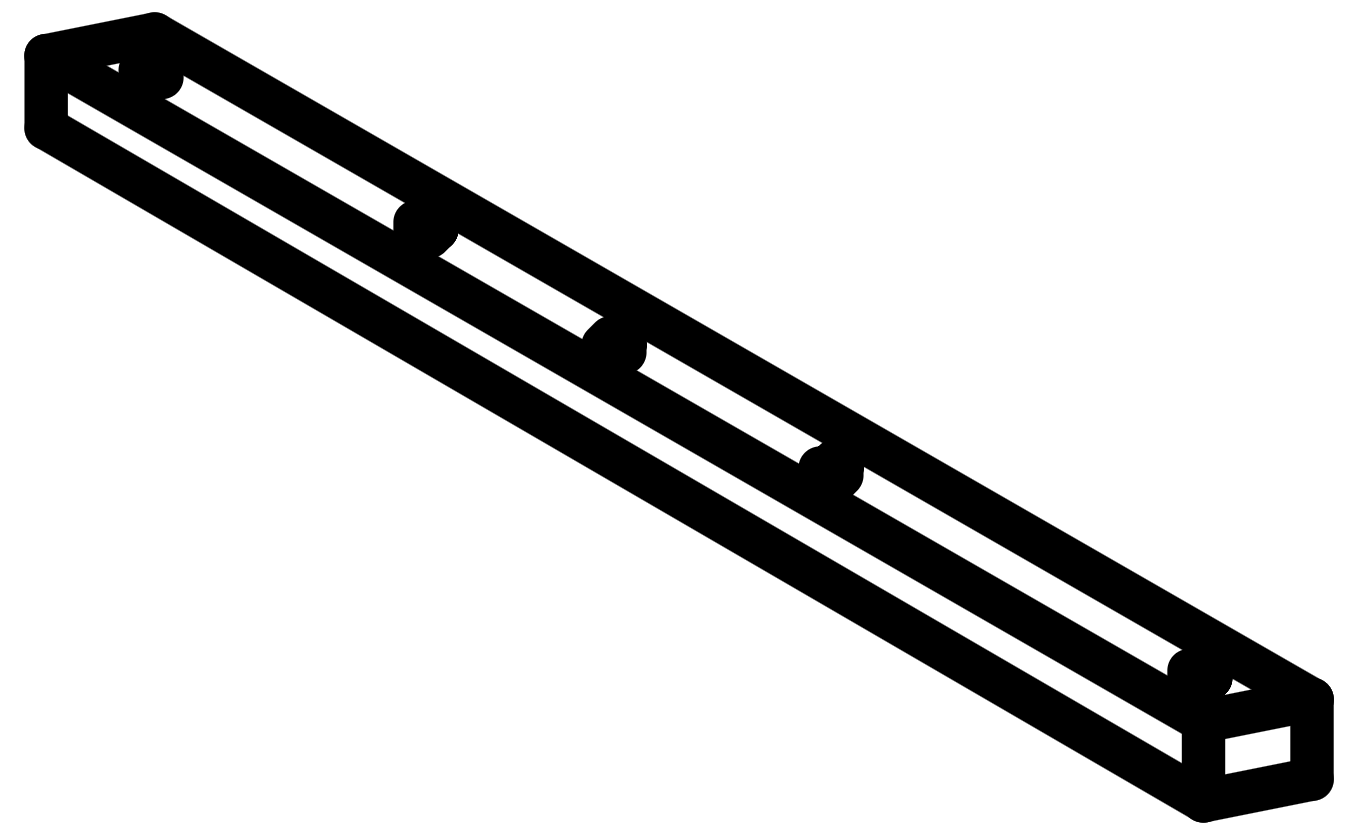 P - Side Rail Support 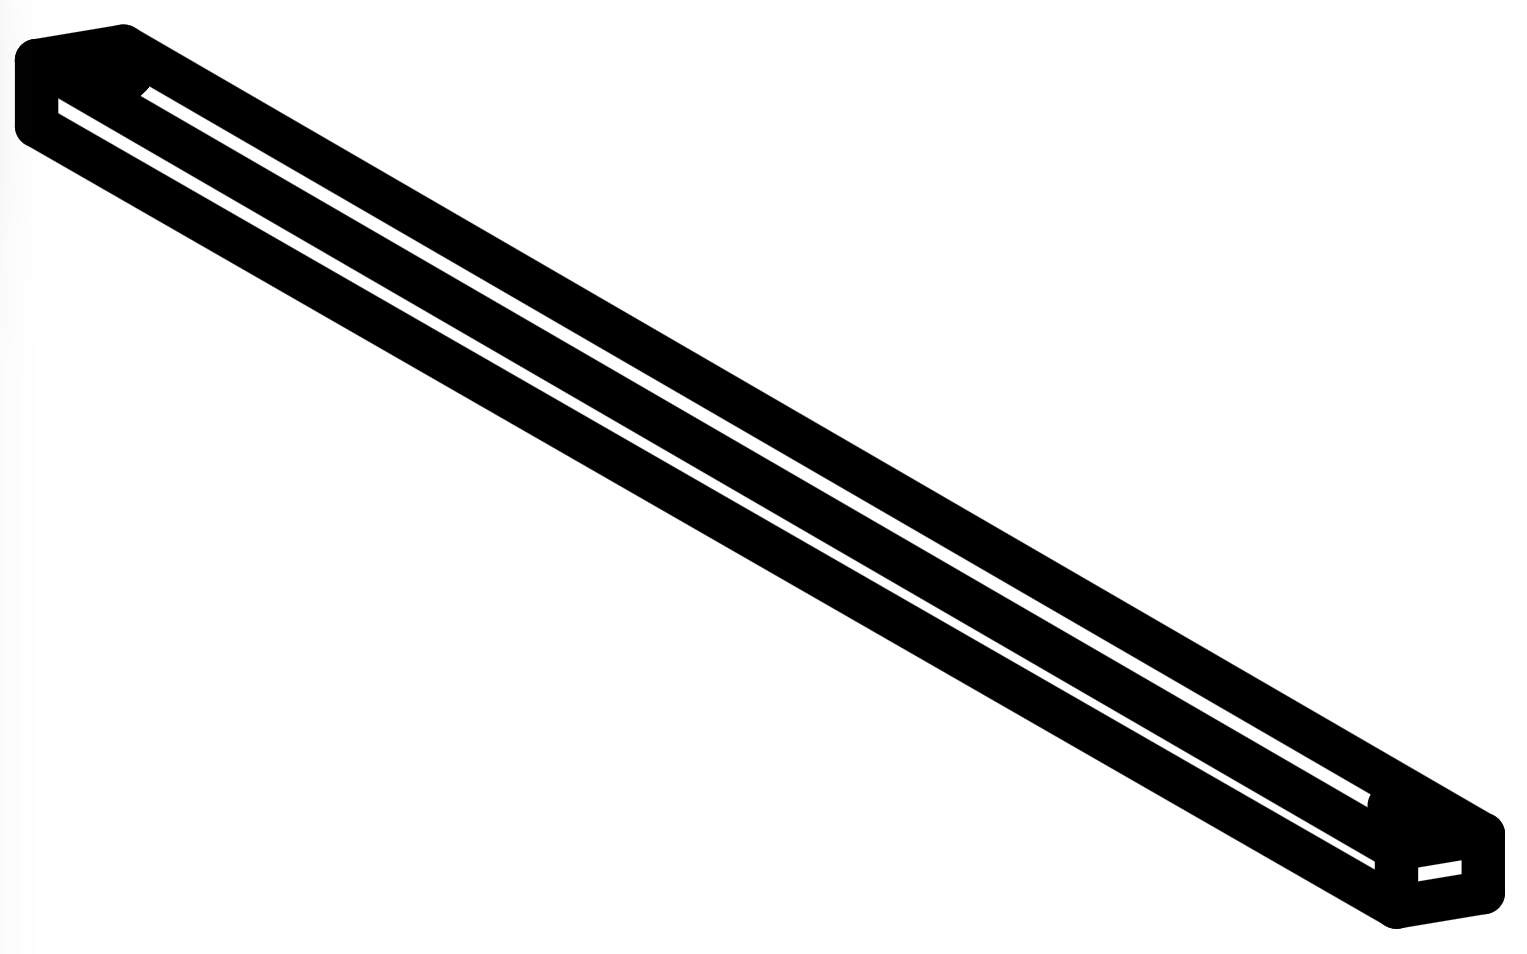 Q - Cross Bar (1327 x 20 x 25mm) 1. Secure Footboard Assembly
2. Headboard Leg Attachment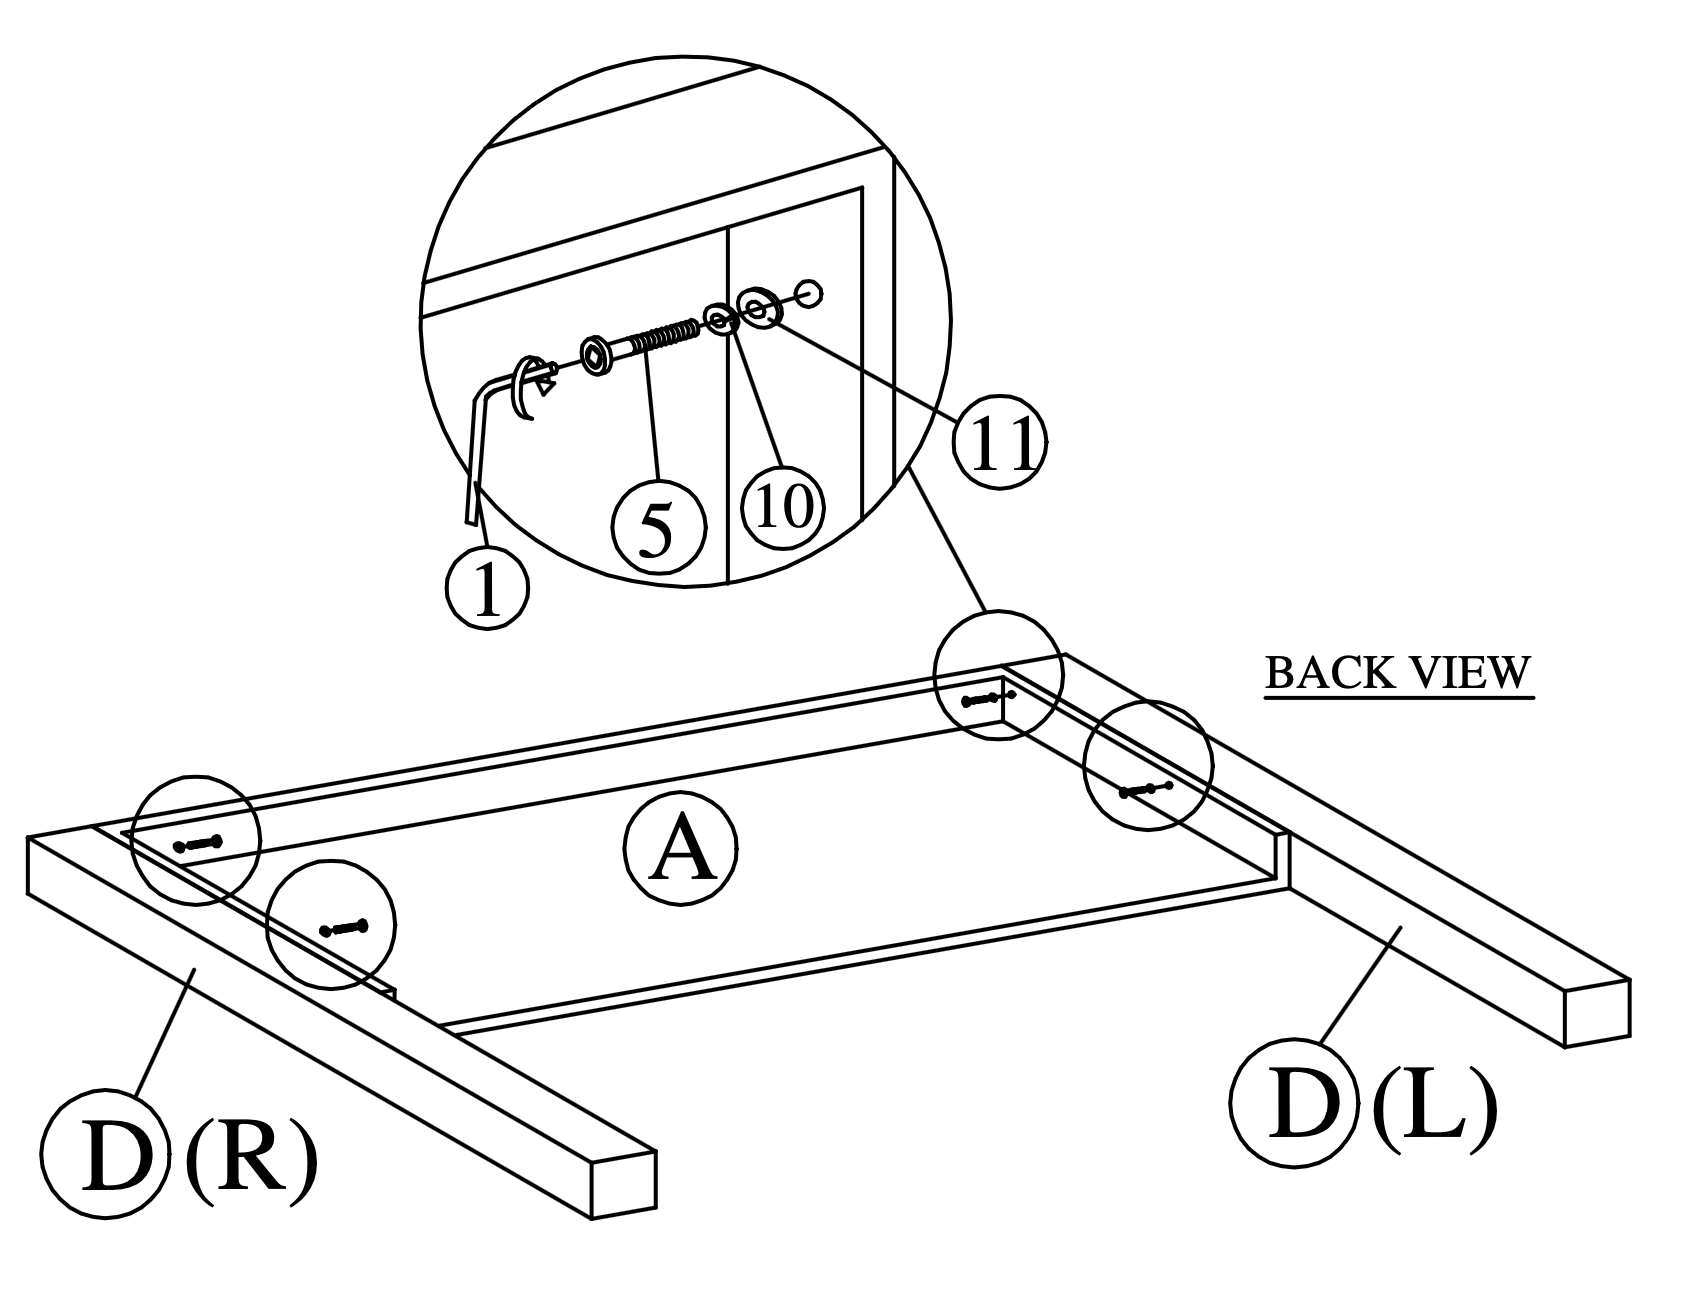
3. Connect Headboard to Footboard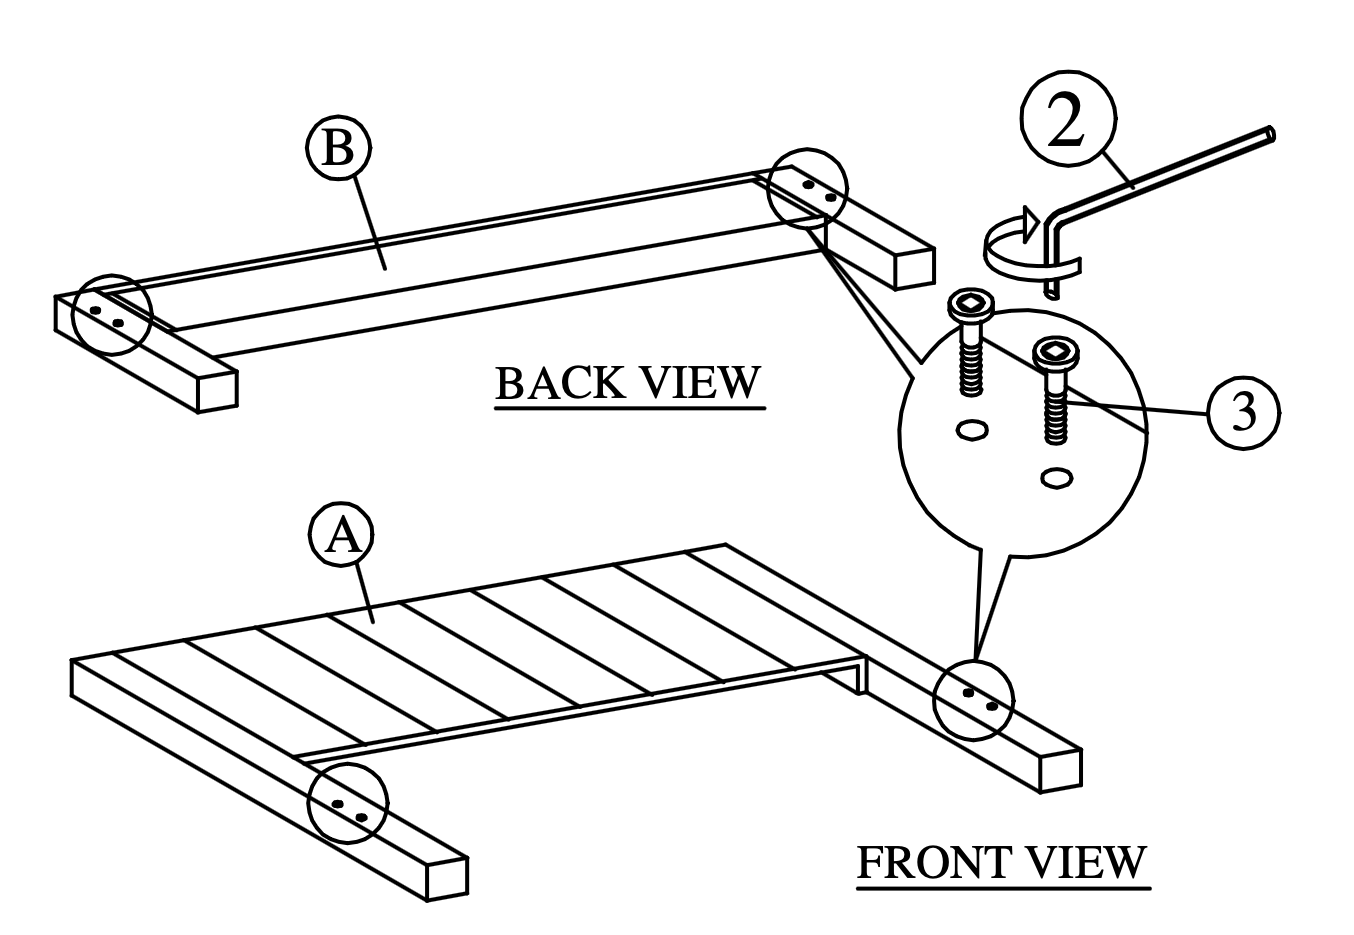
4. Attach and Secure Siderail Legs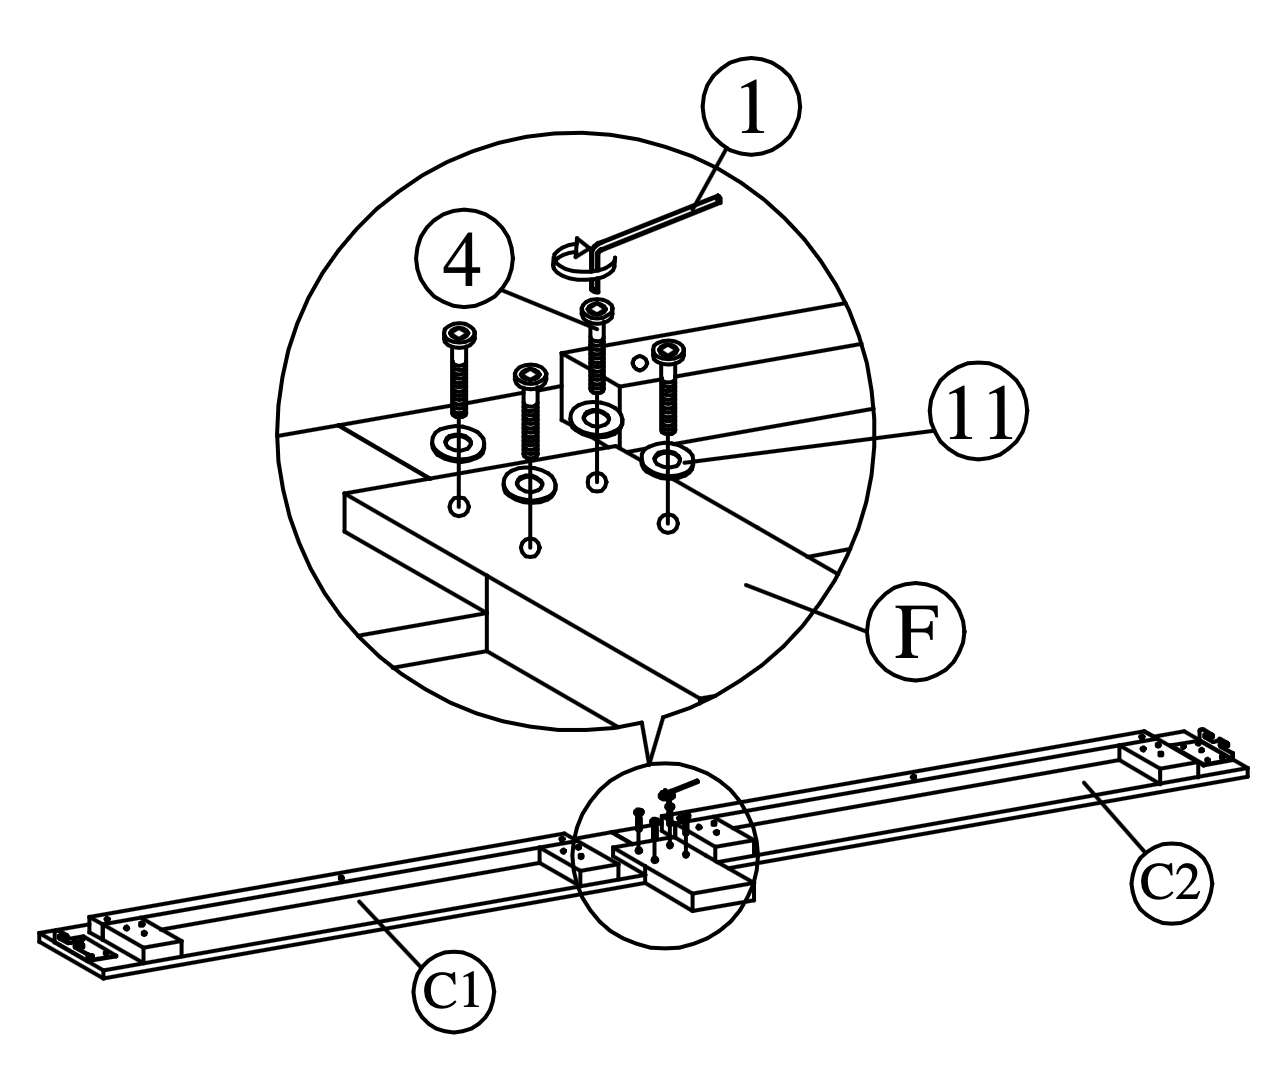
5. Align and Secure Side Rails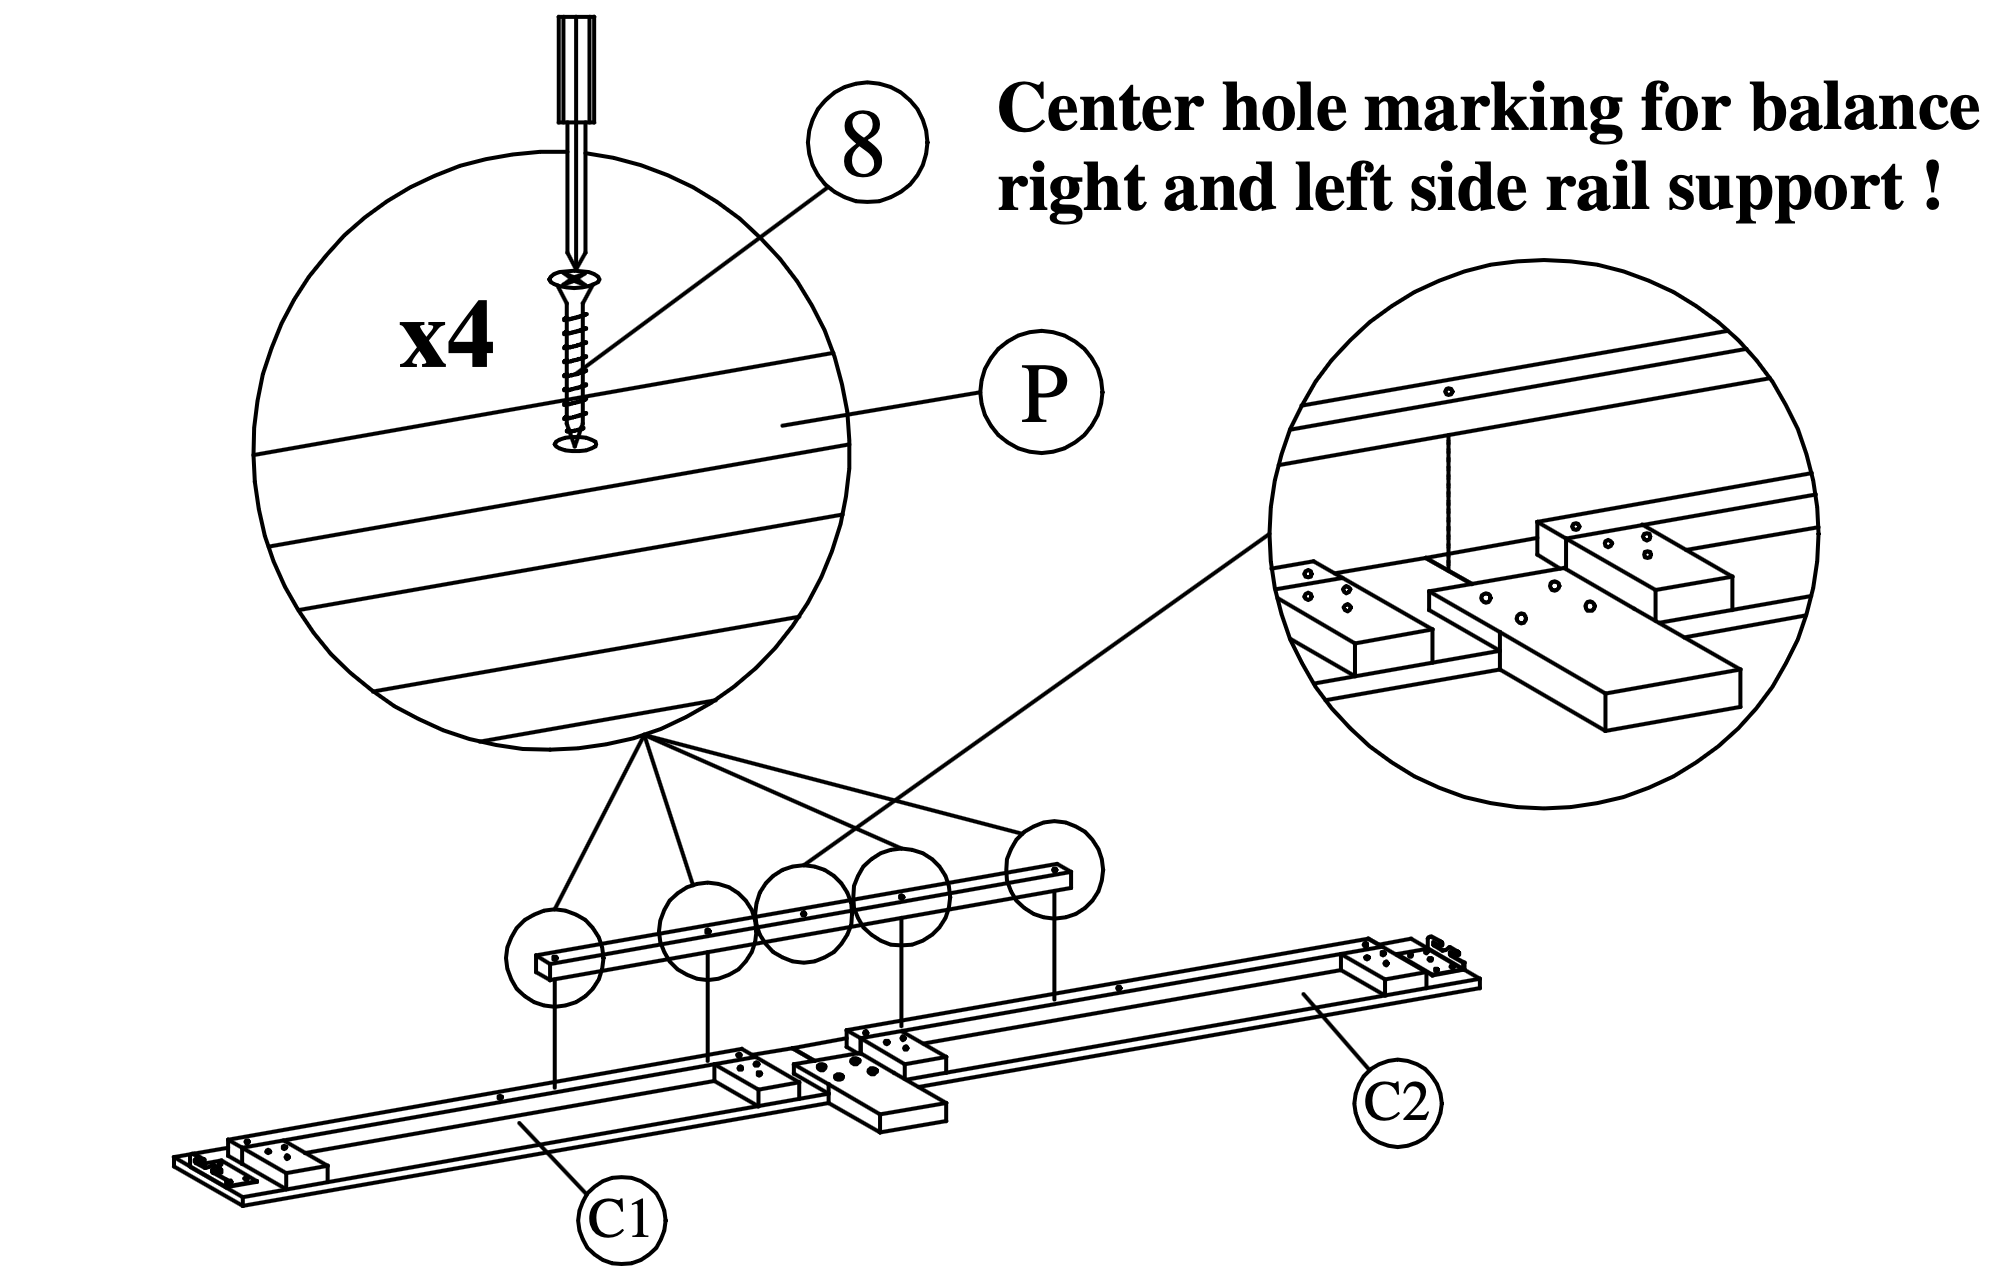
6. Center Rail Installation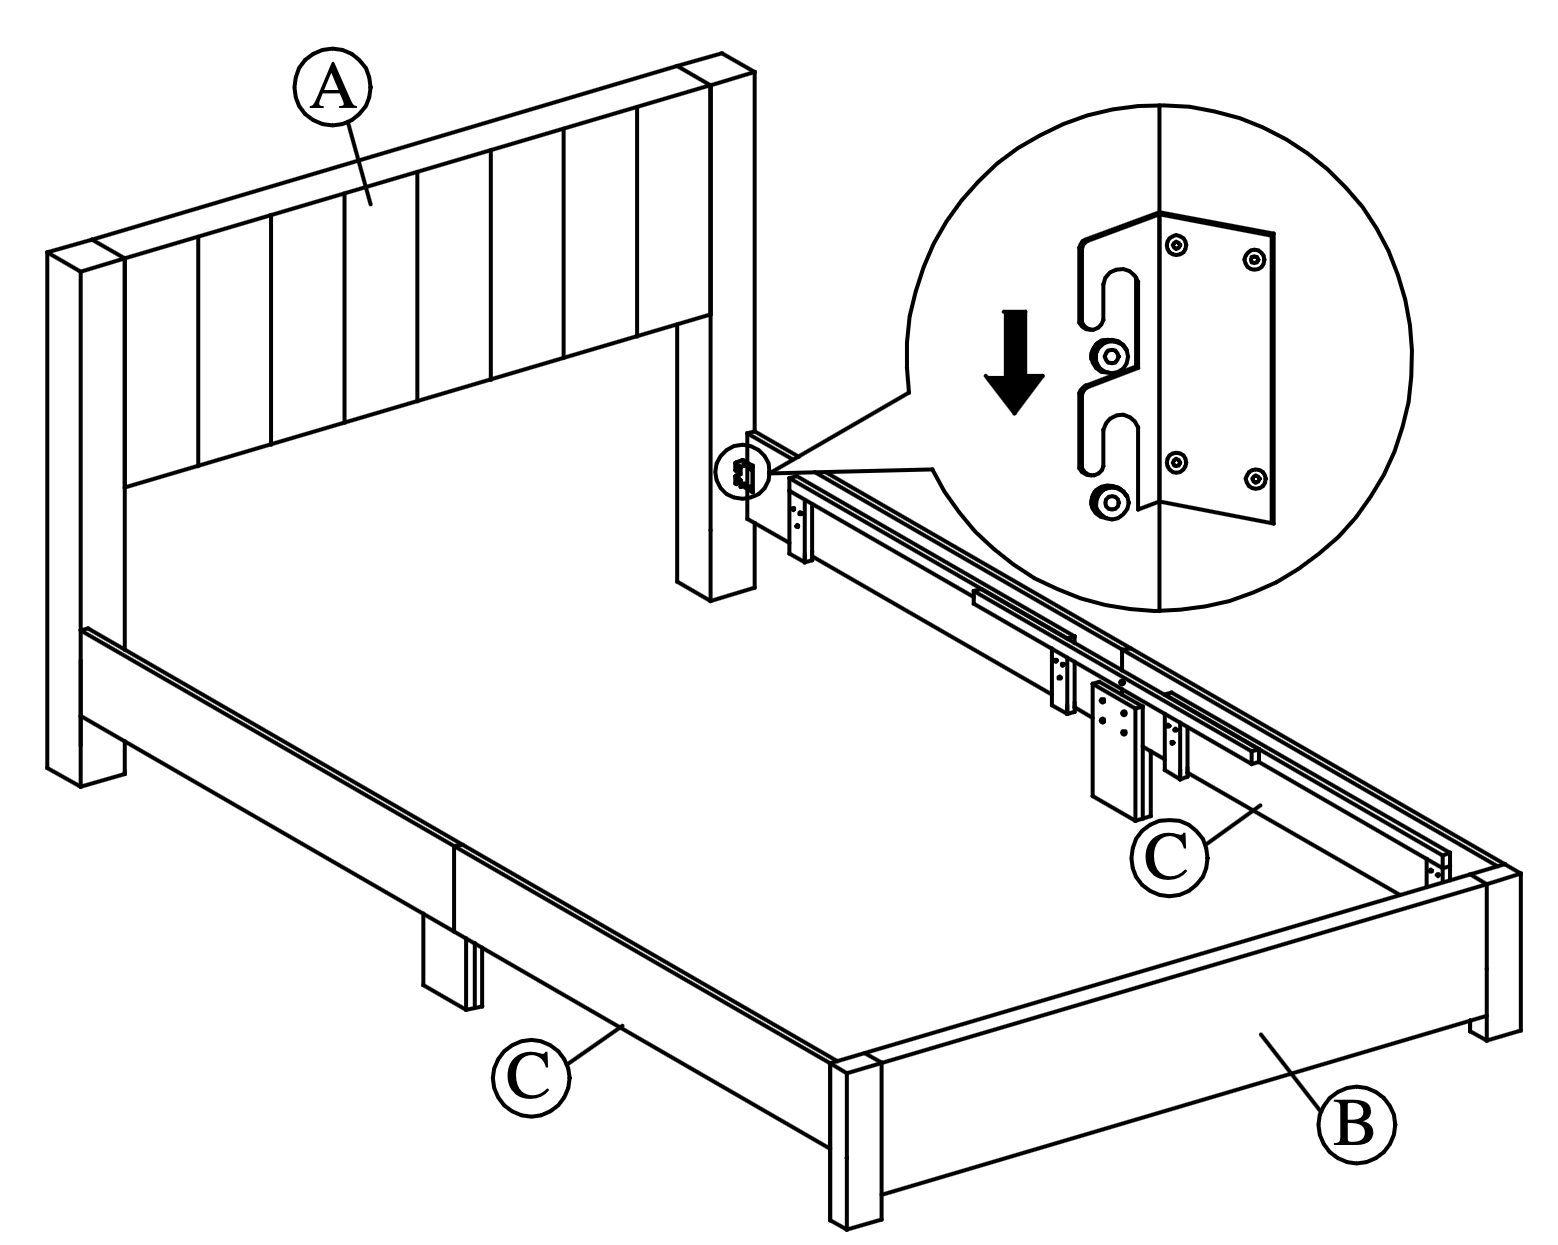
7. Slat and Leg Installation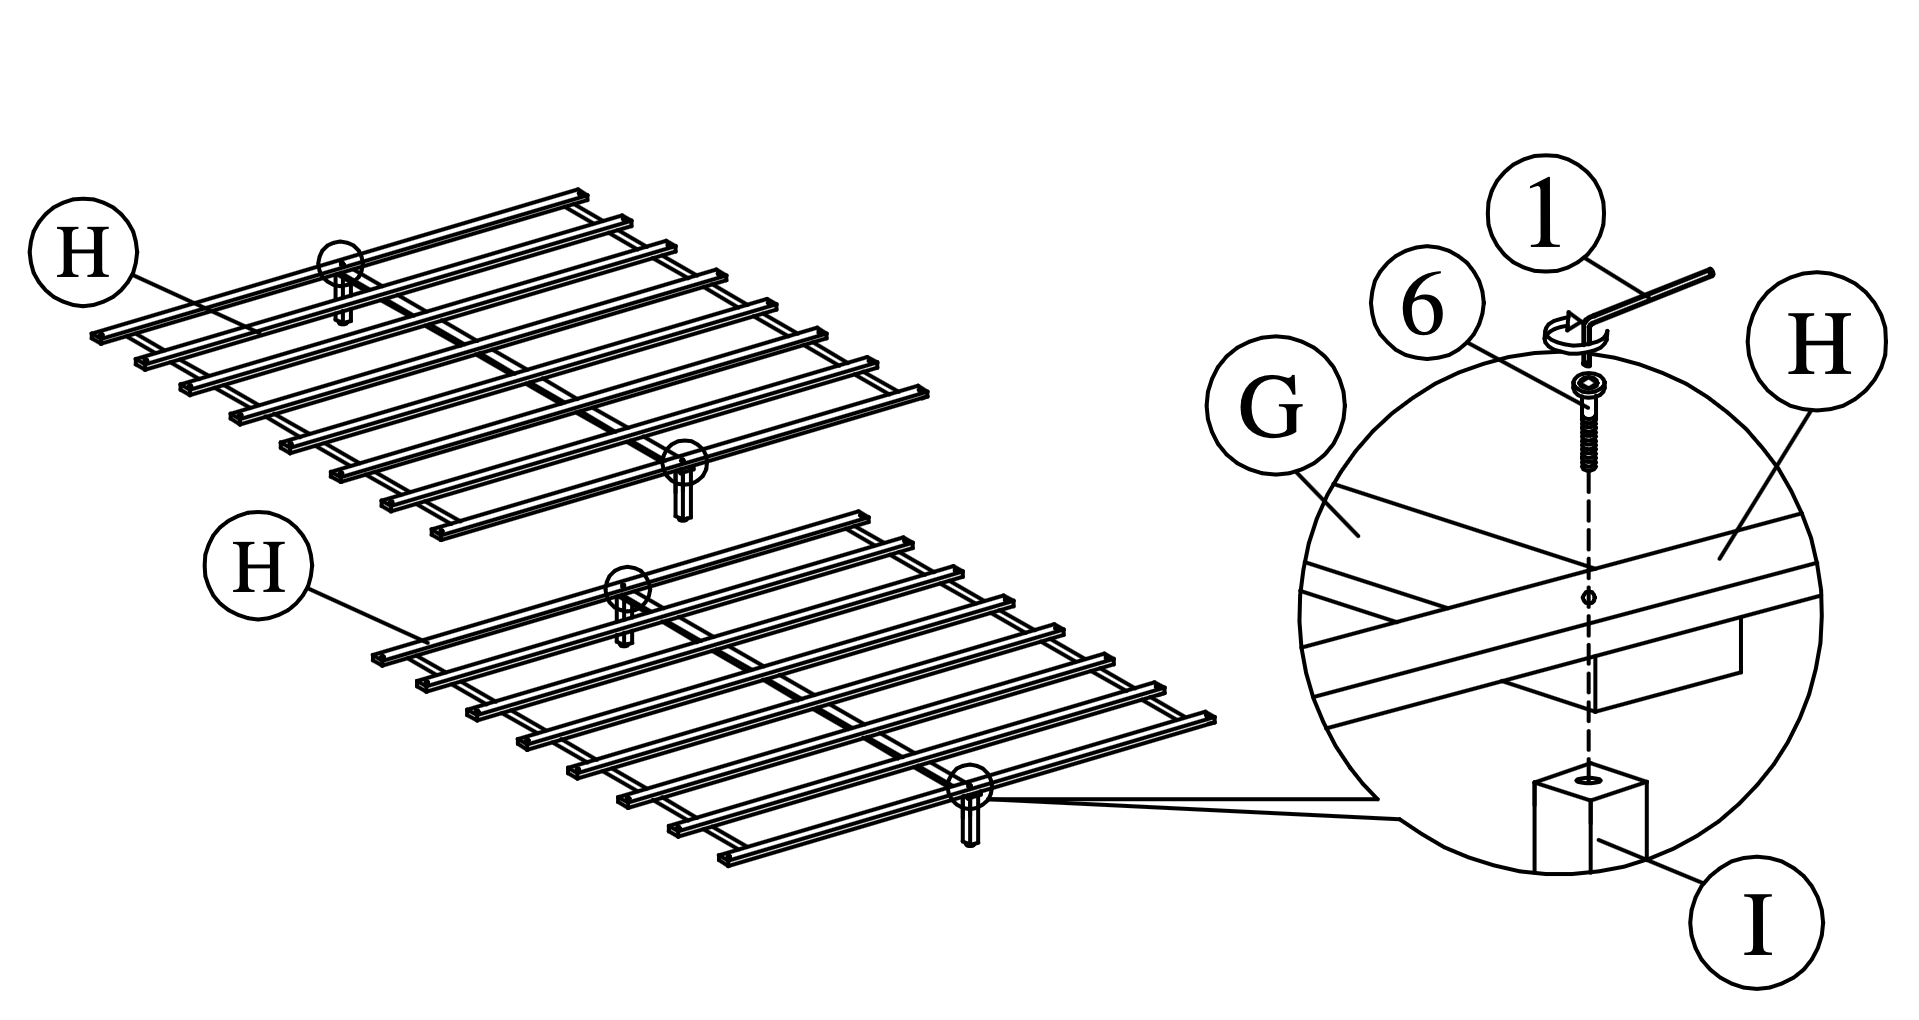
8. Cross Bar Support Installation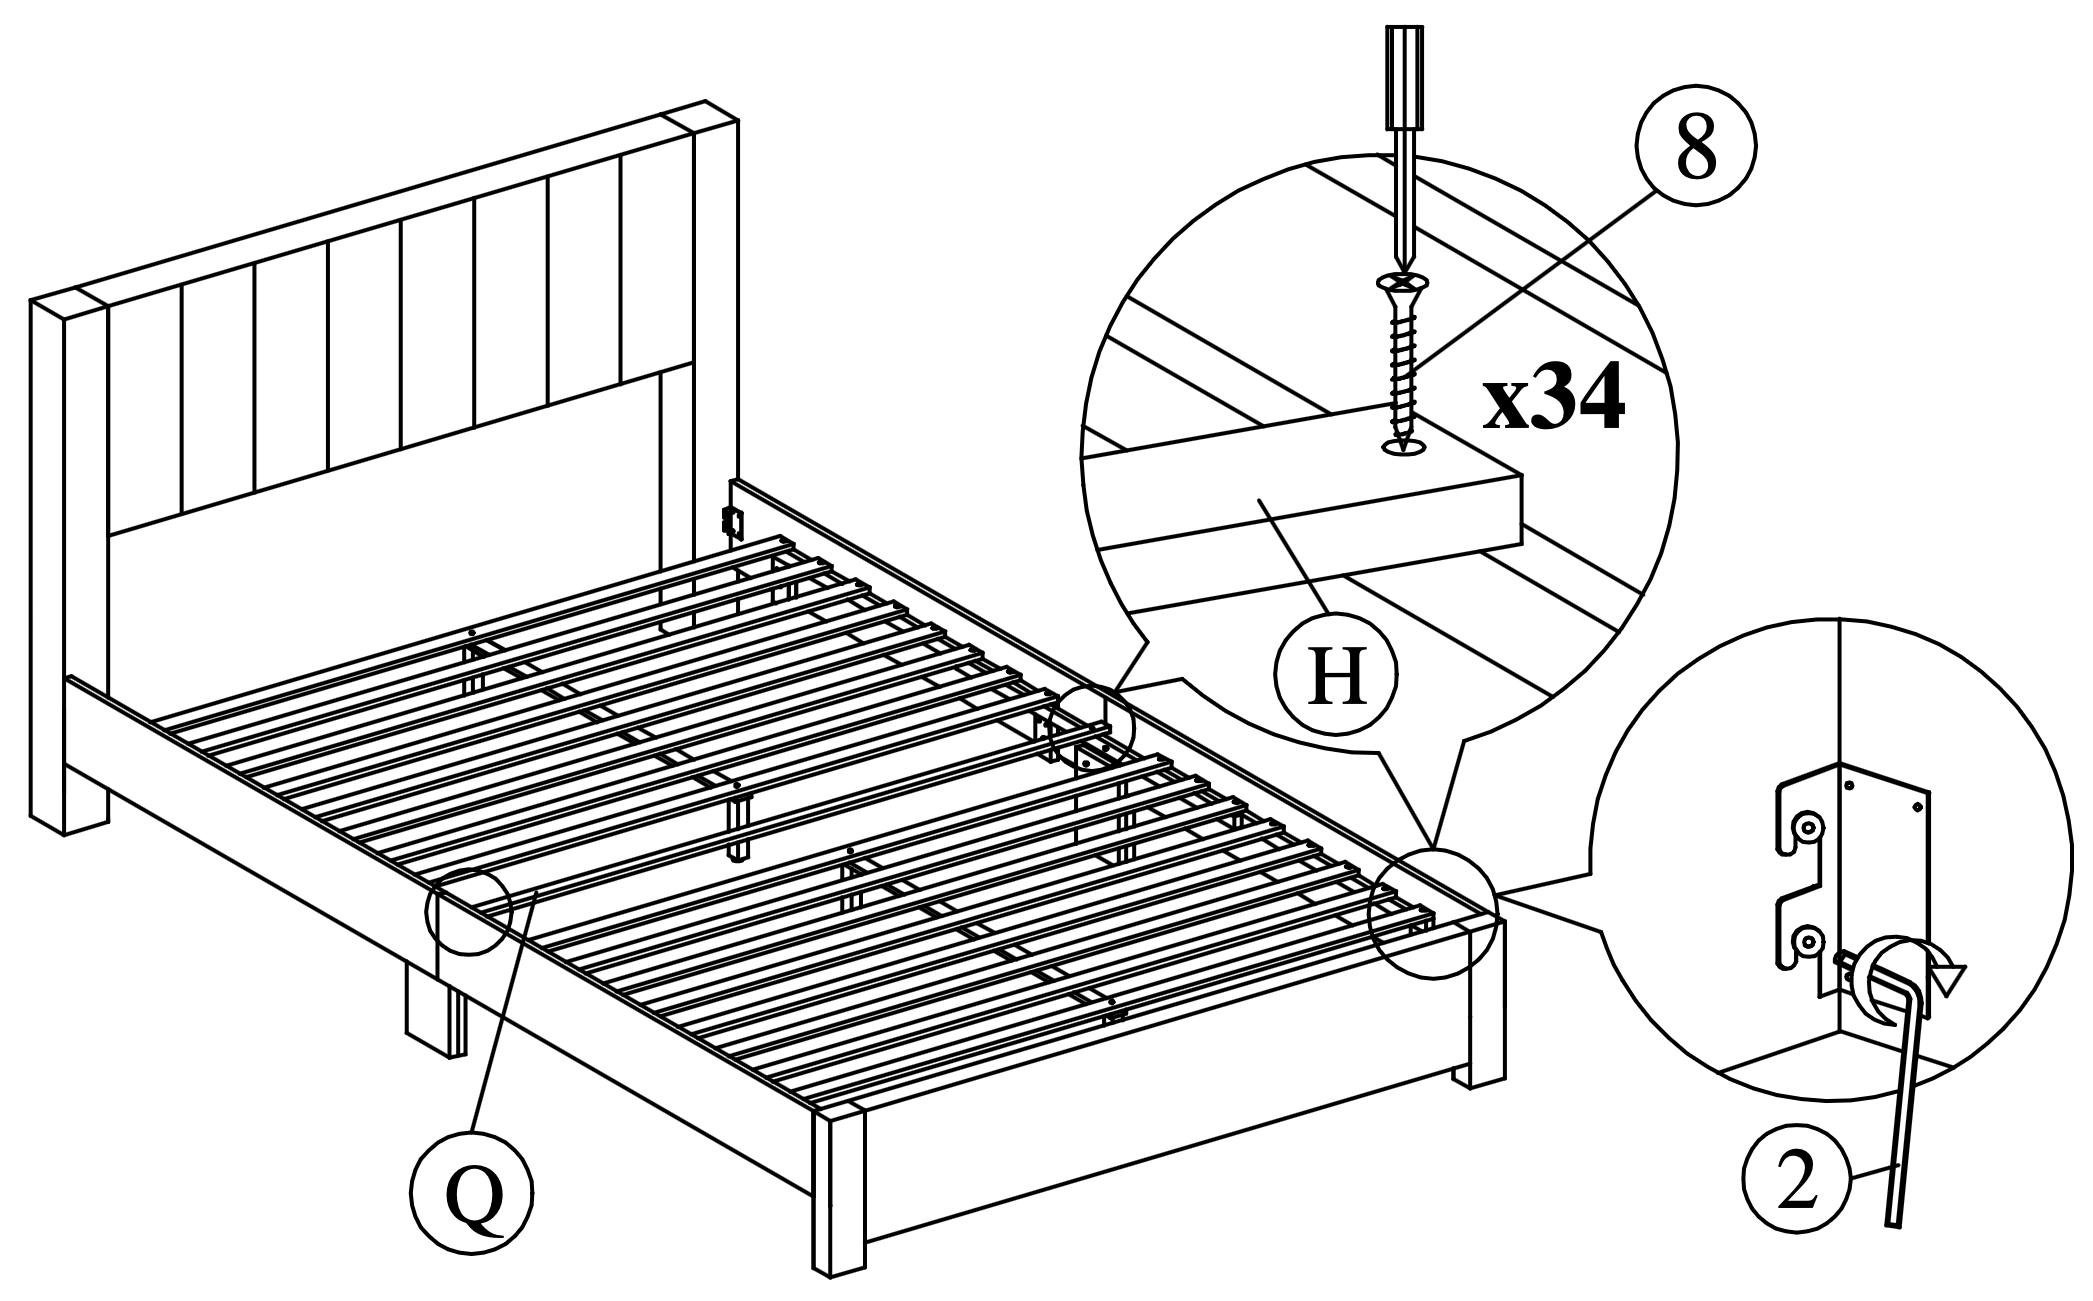
9. Drawer Structure Assembly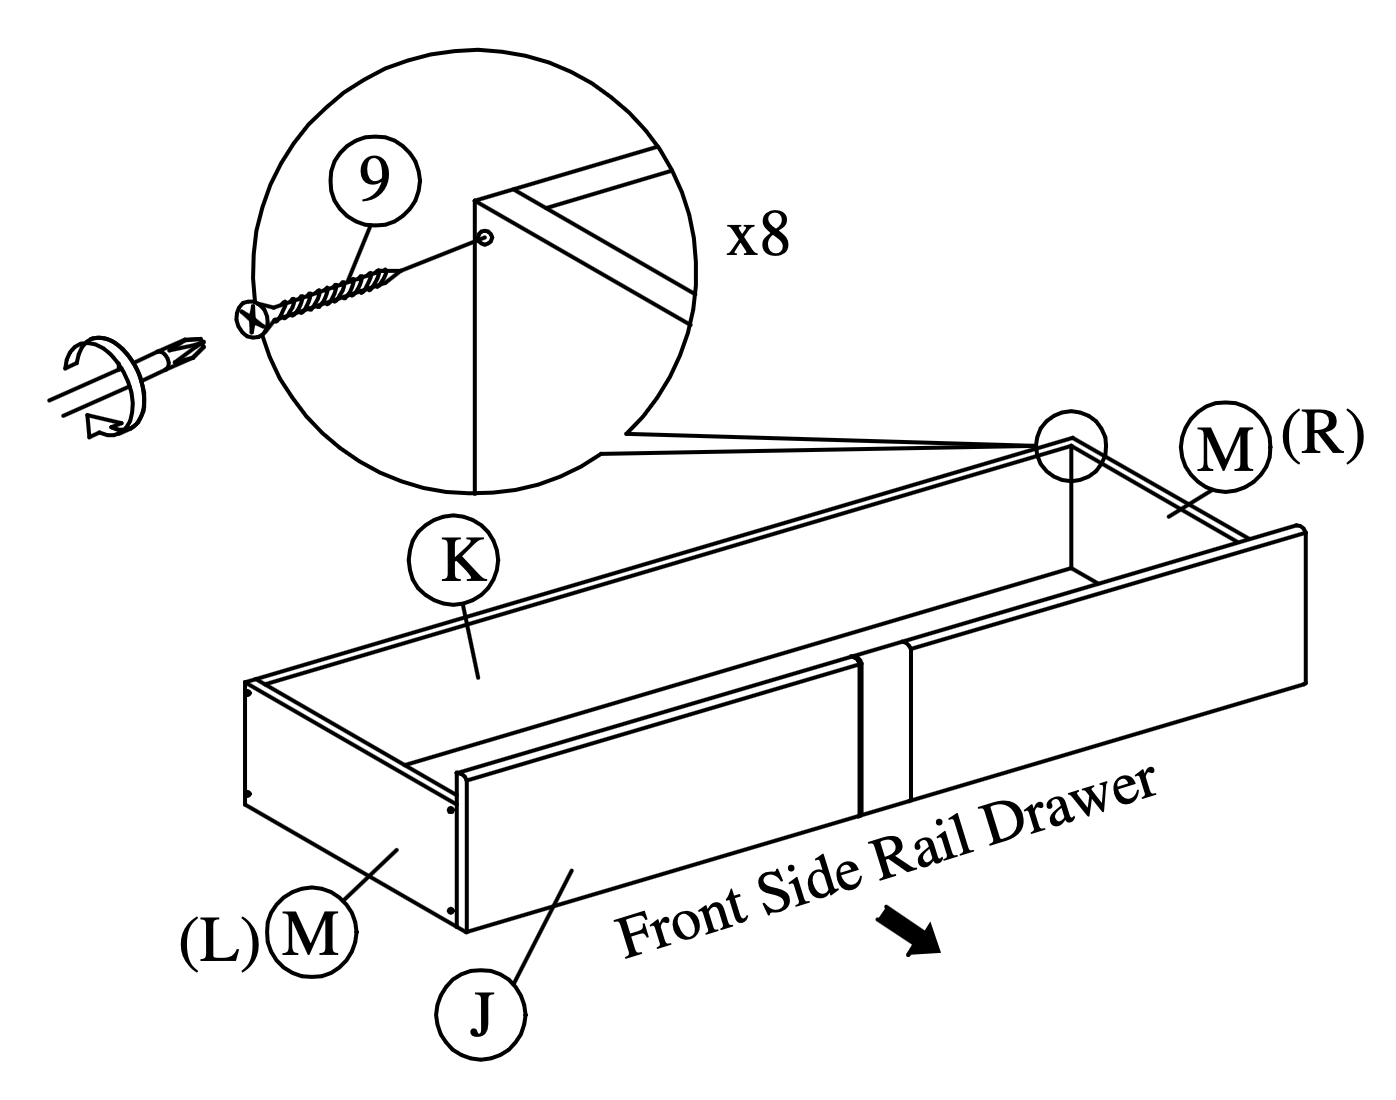
10. Drawer Bottom Panel Installation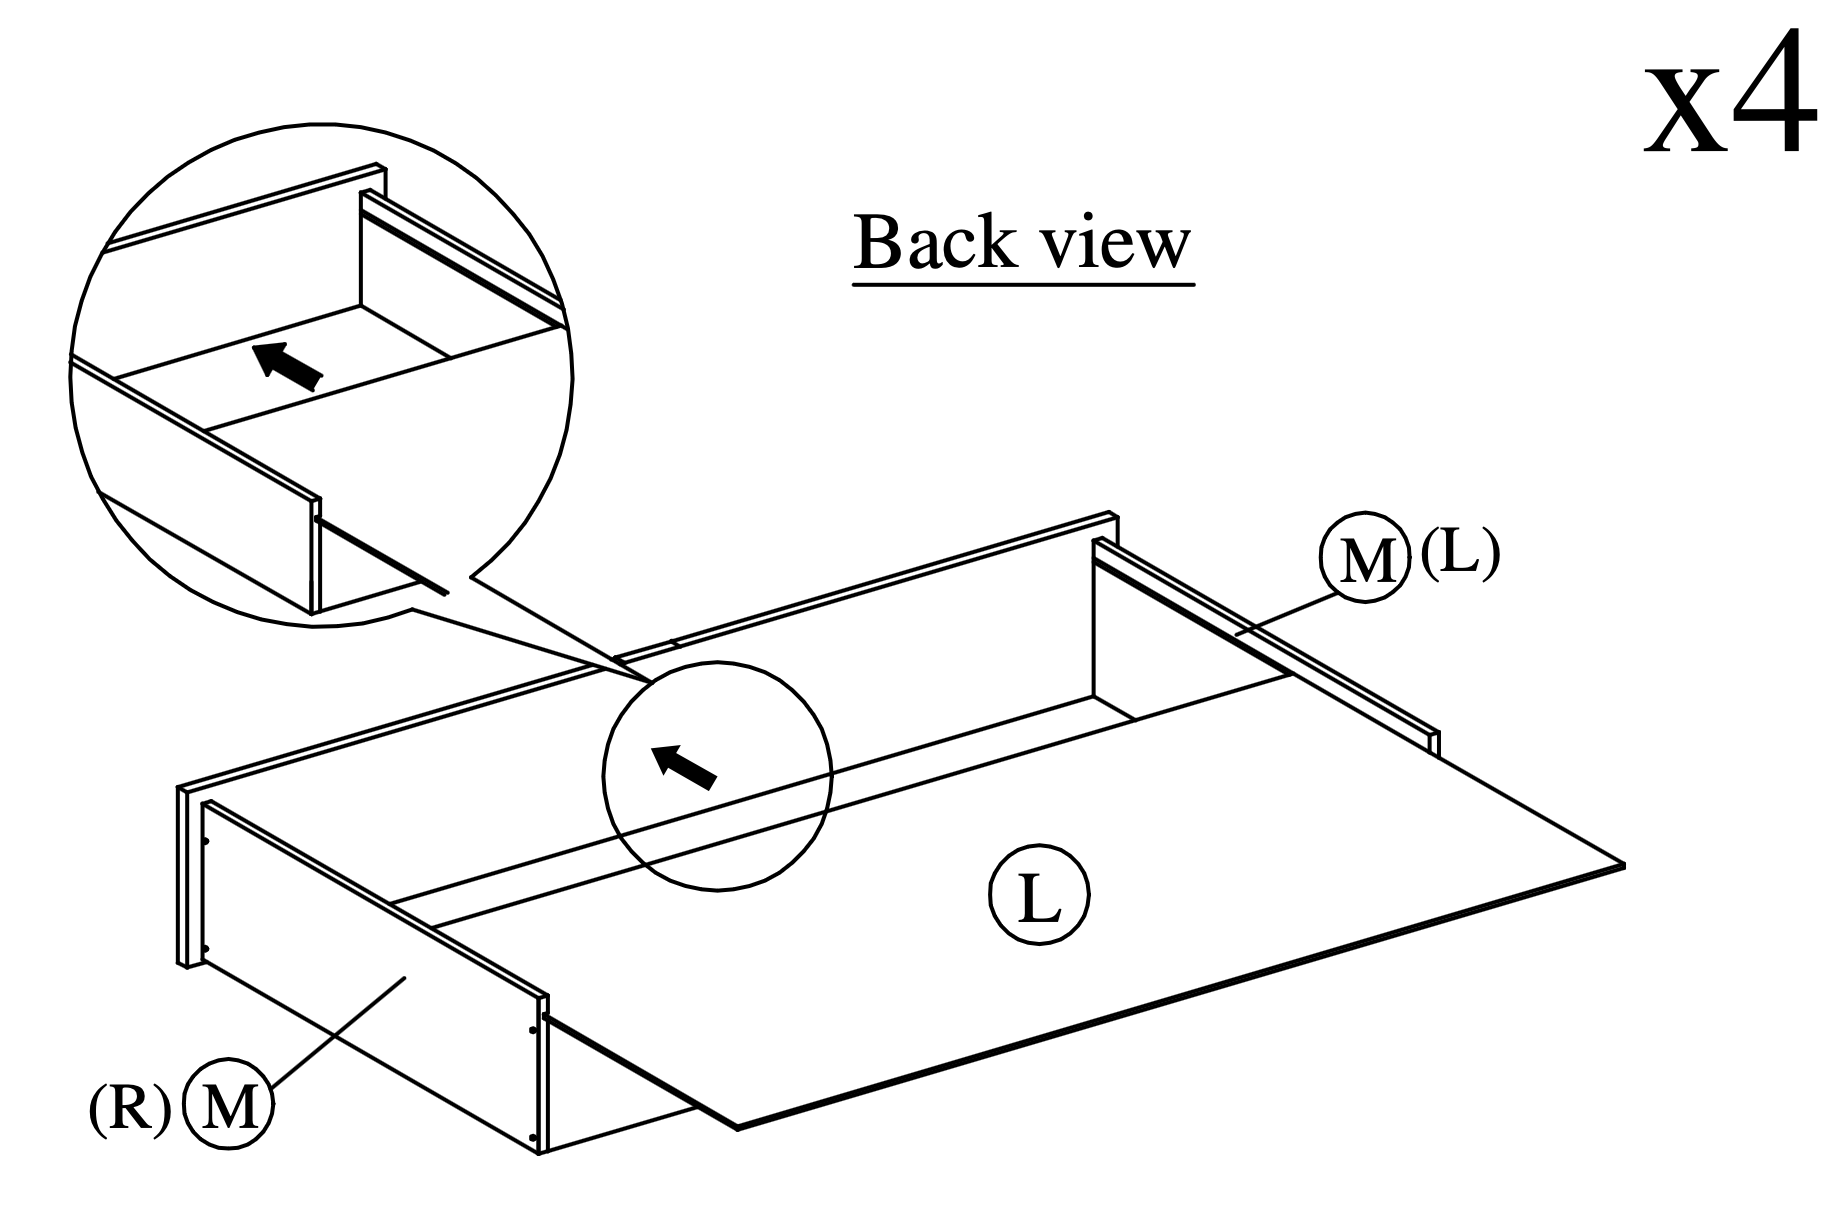
11. Support and Roller Attachment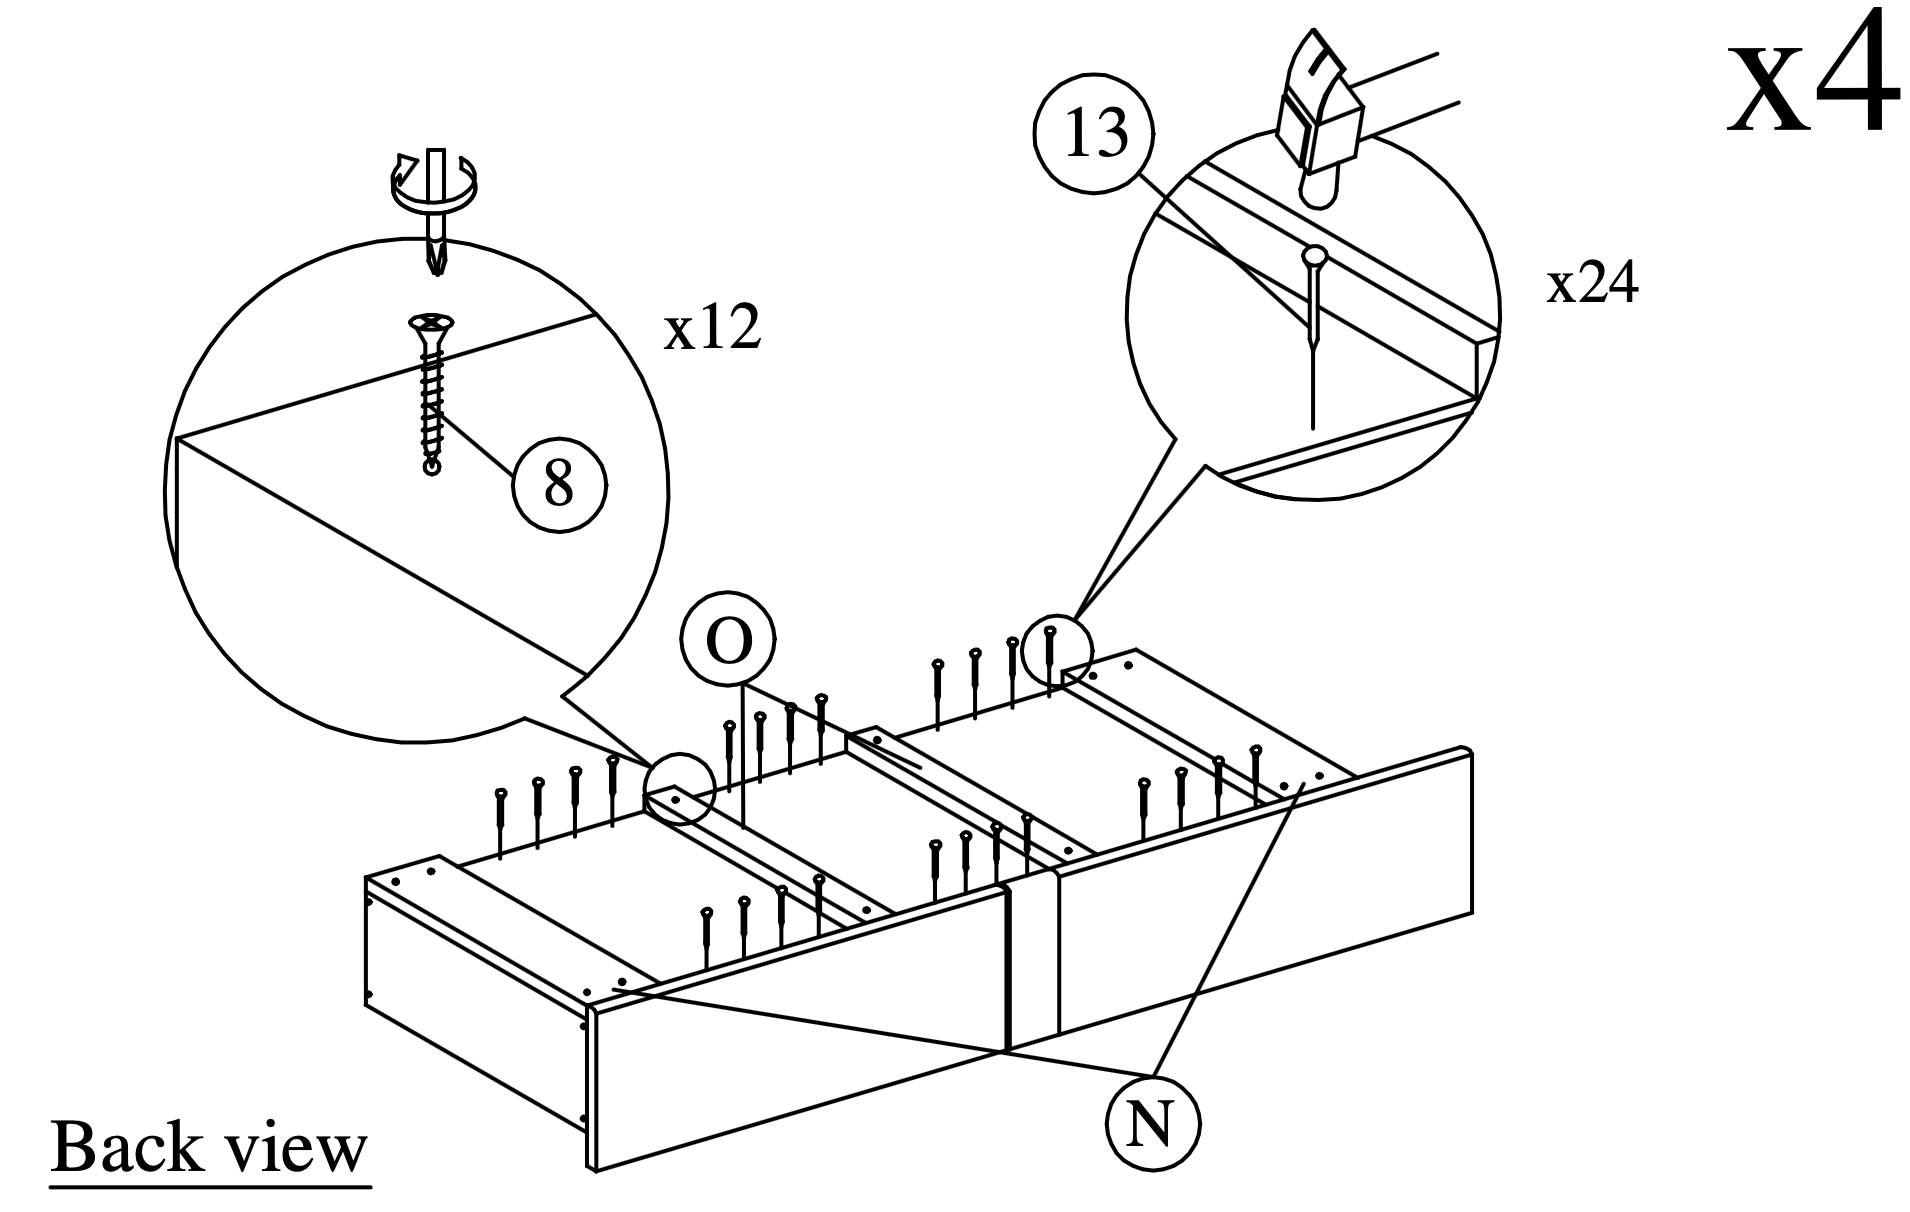
Drawer Bottom Panel (L) using 12 CSK Screws 32mm (8) for each drawer.
12. Roller Alignment and Attachment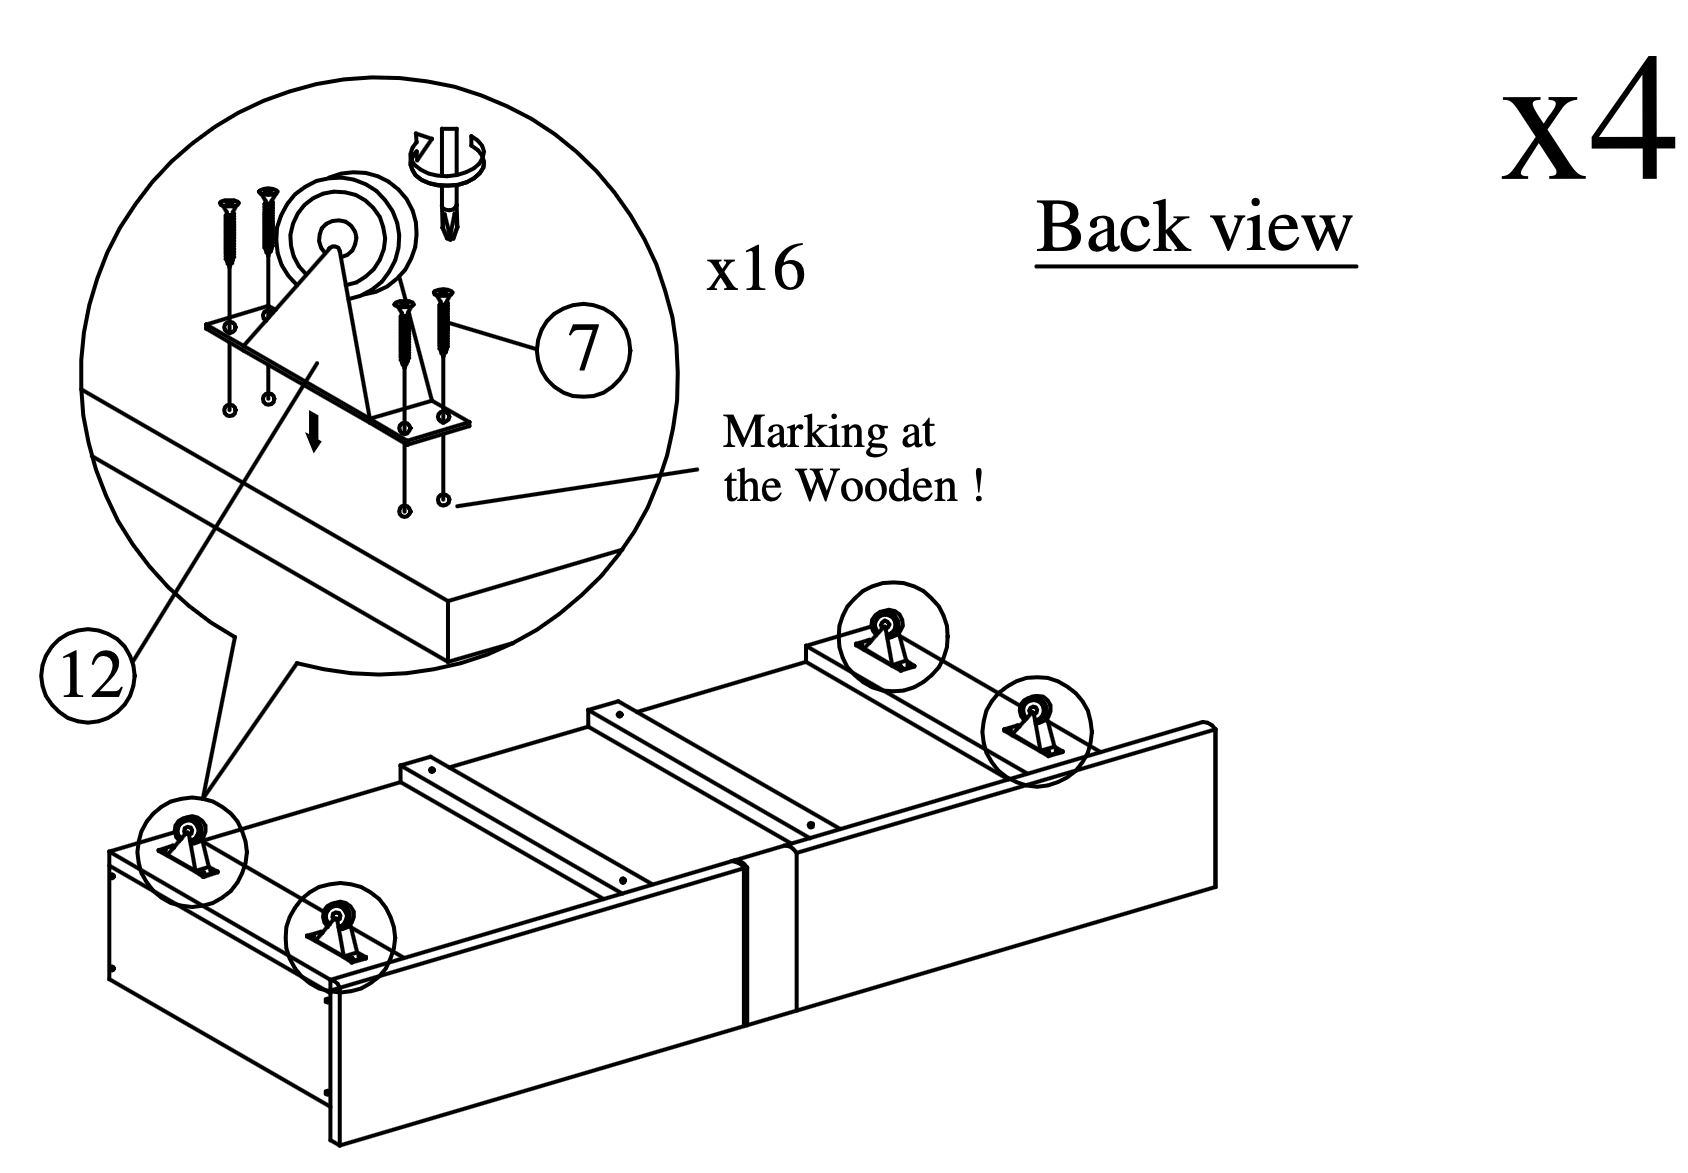
13. Drawer Installation and Alignment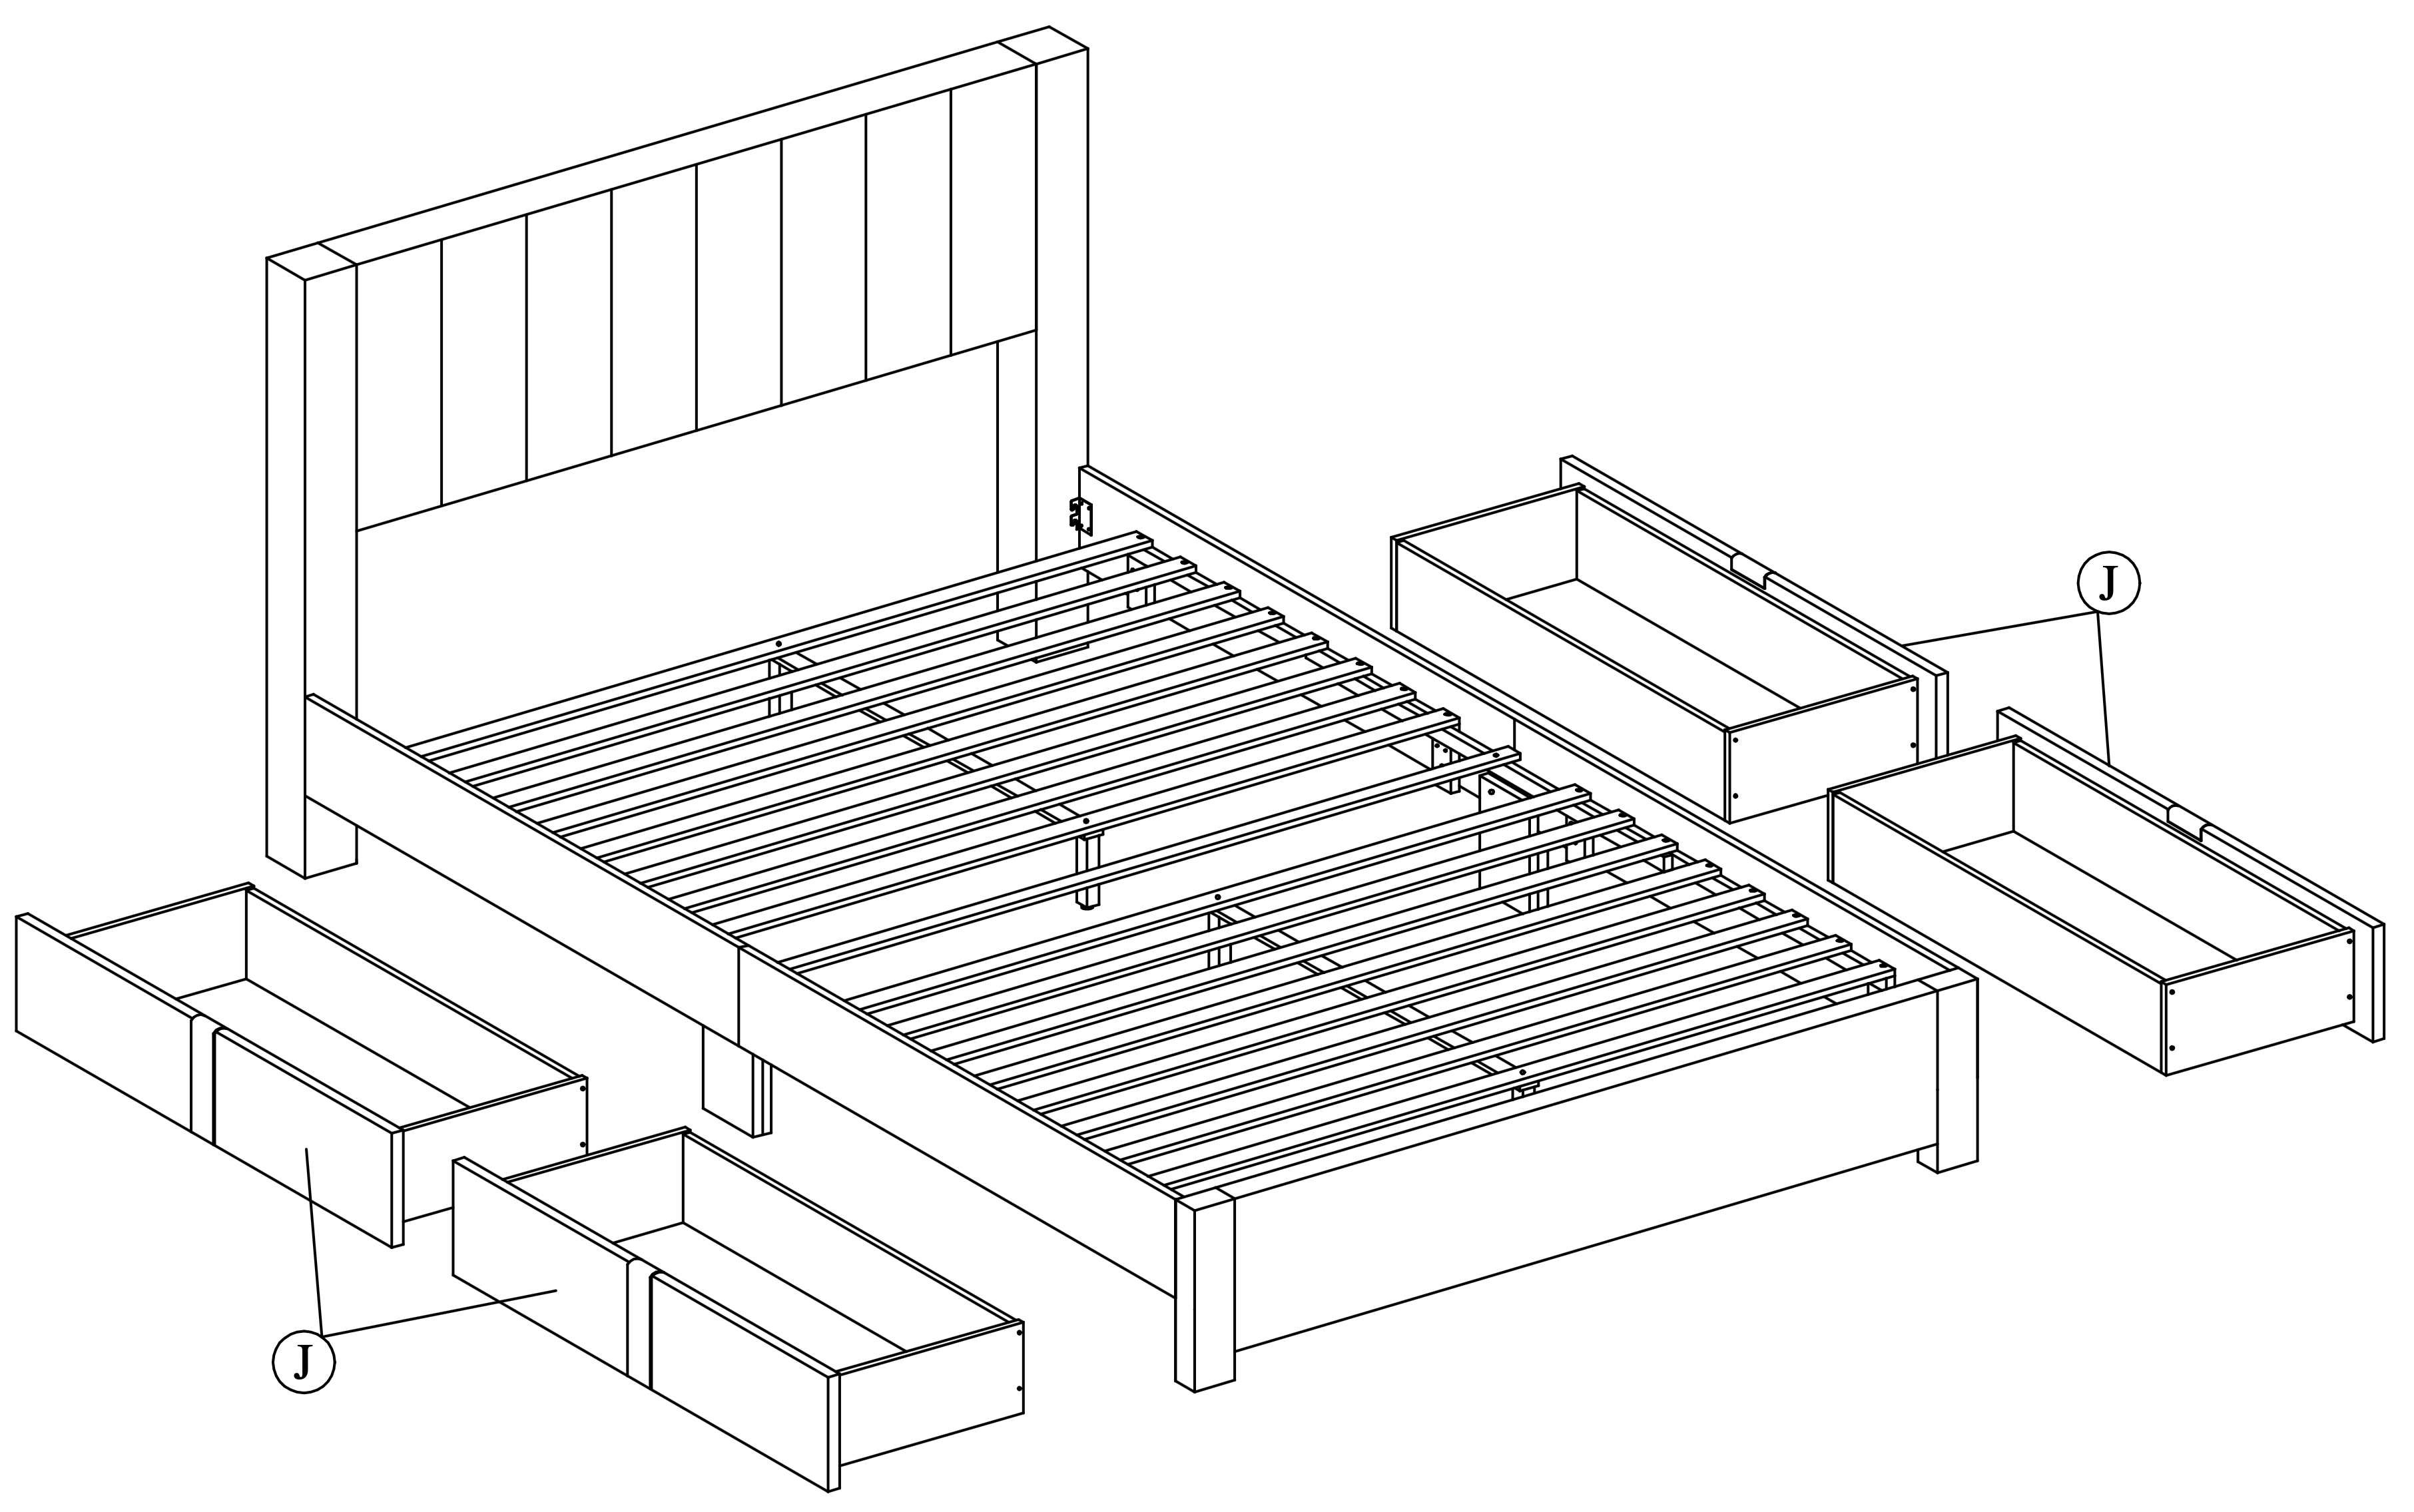
|