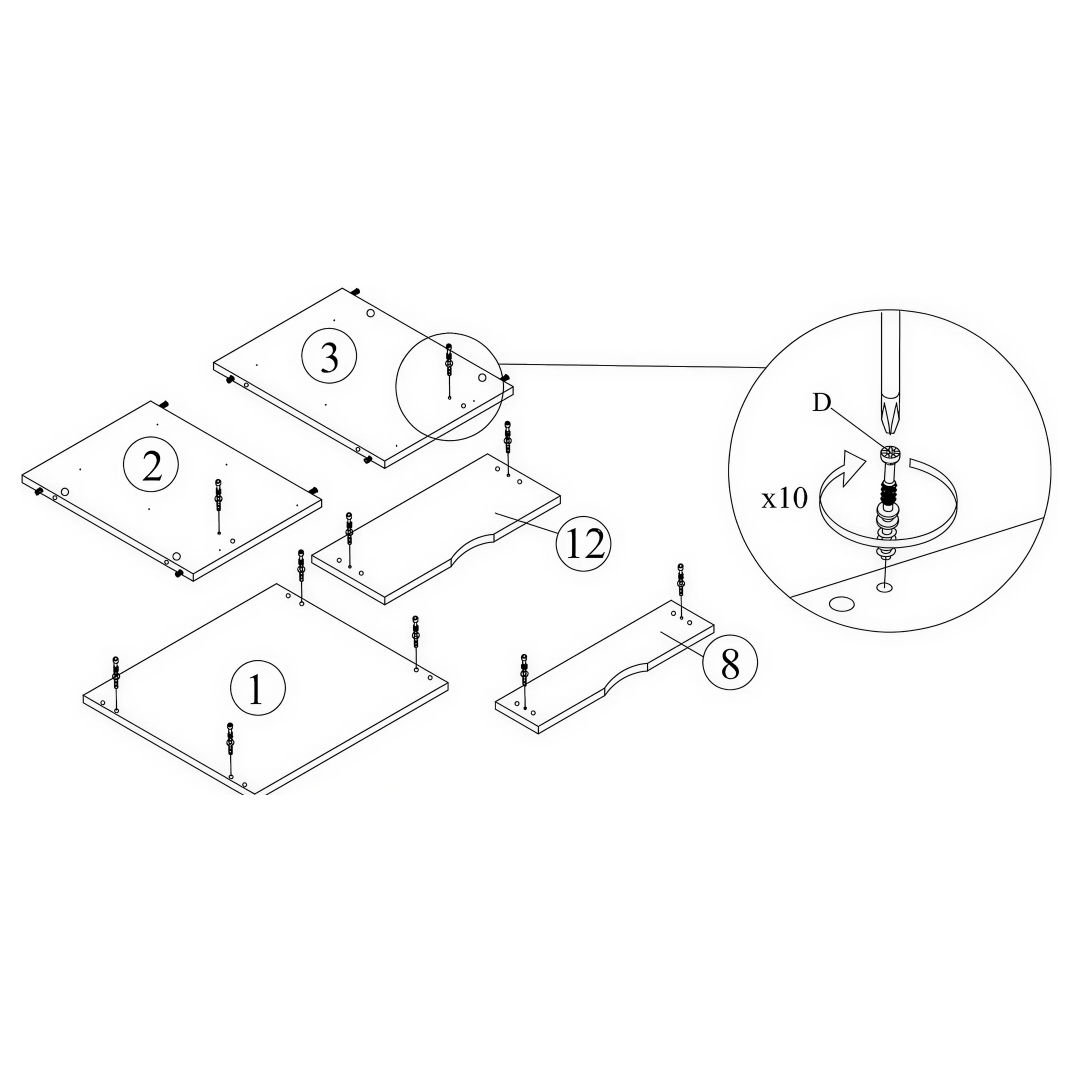
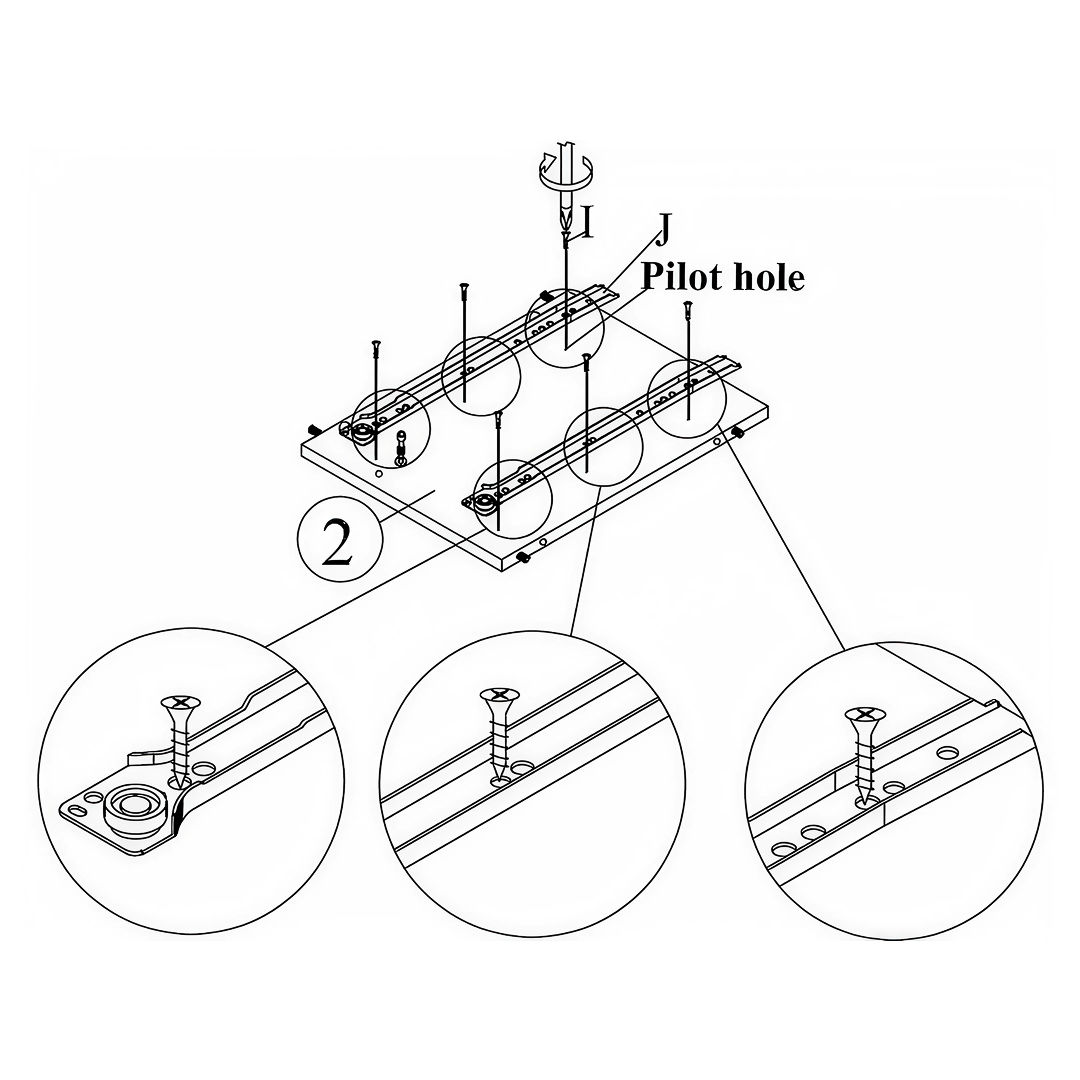
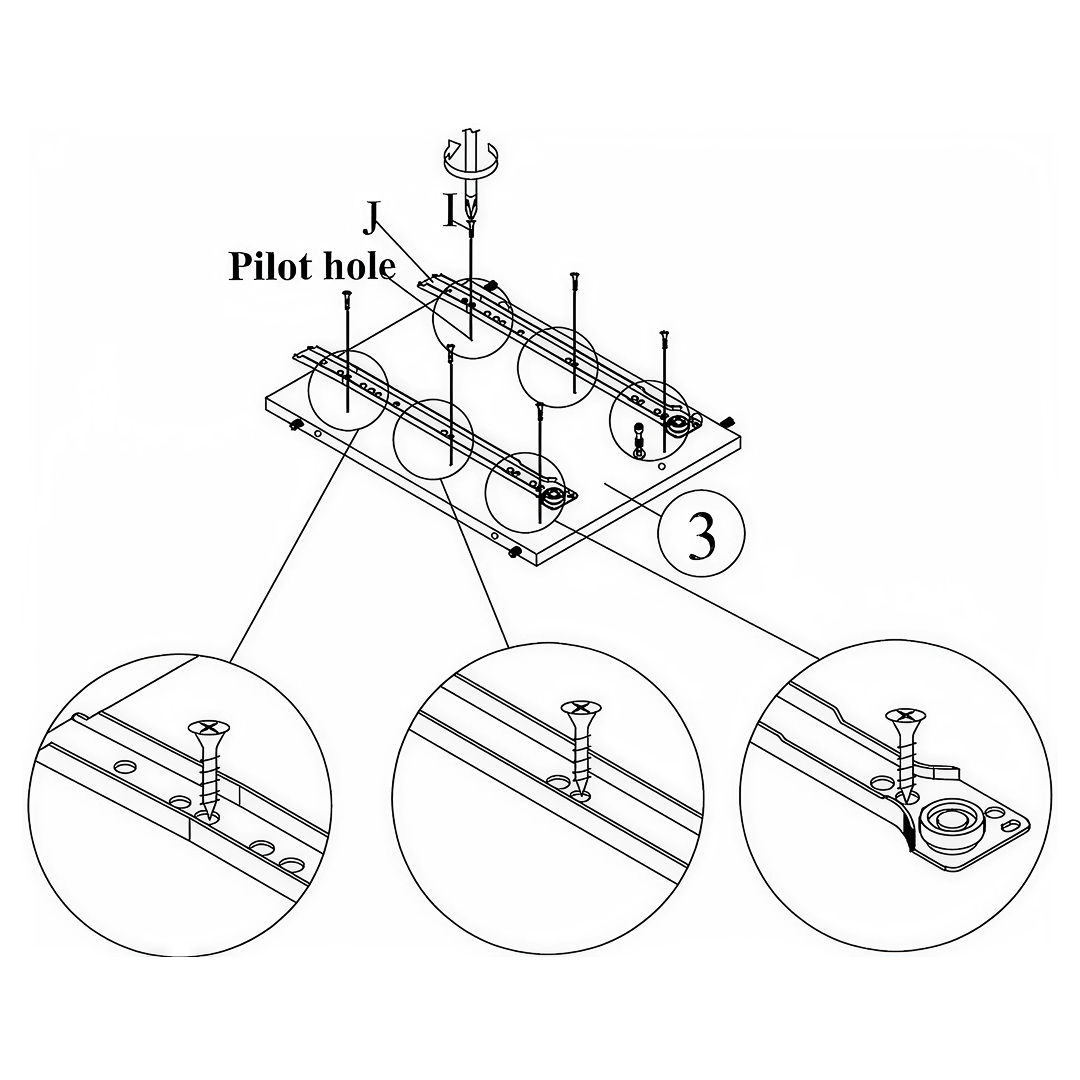
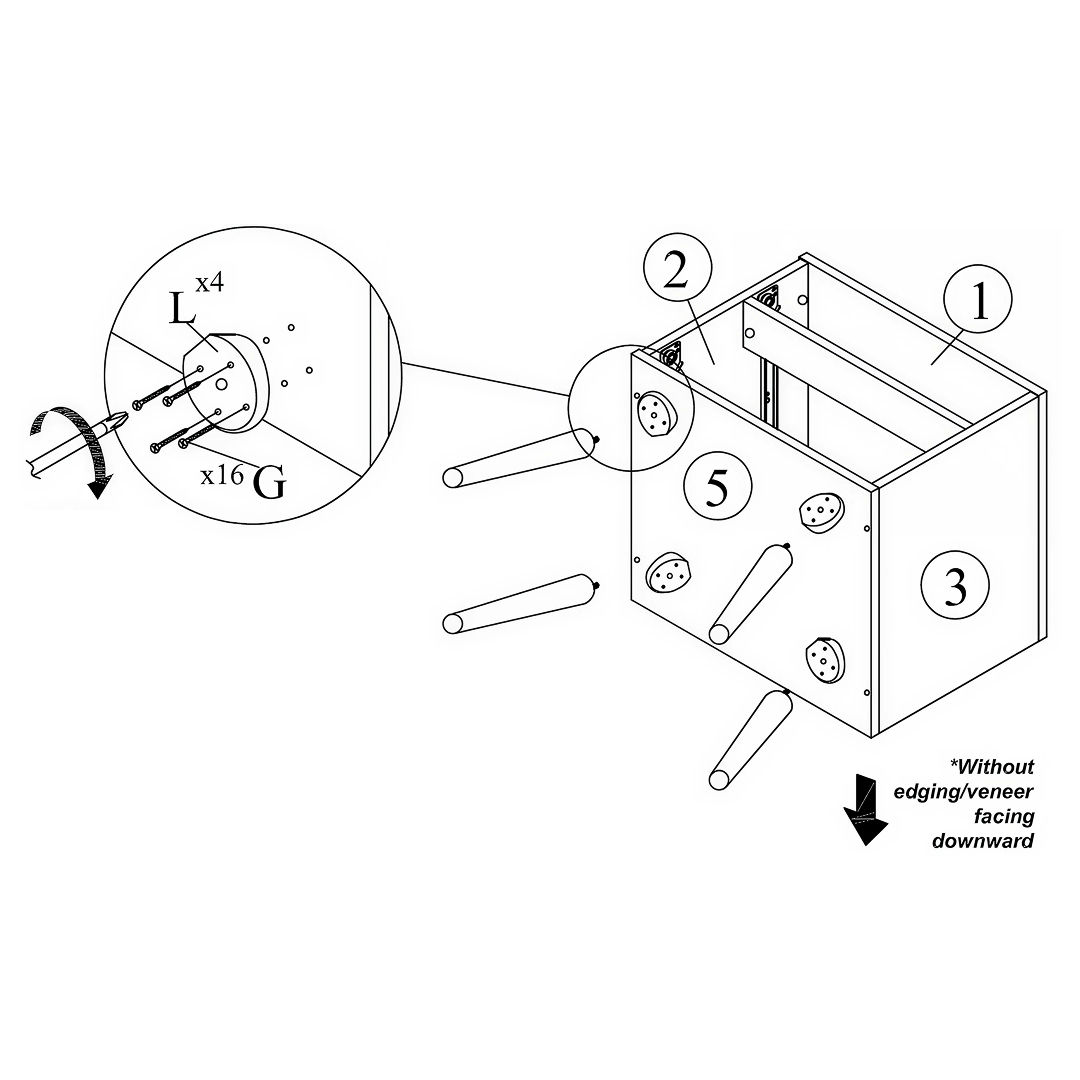
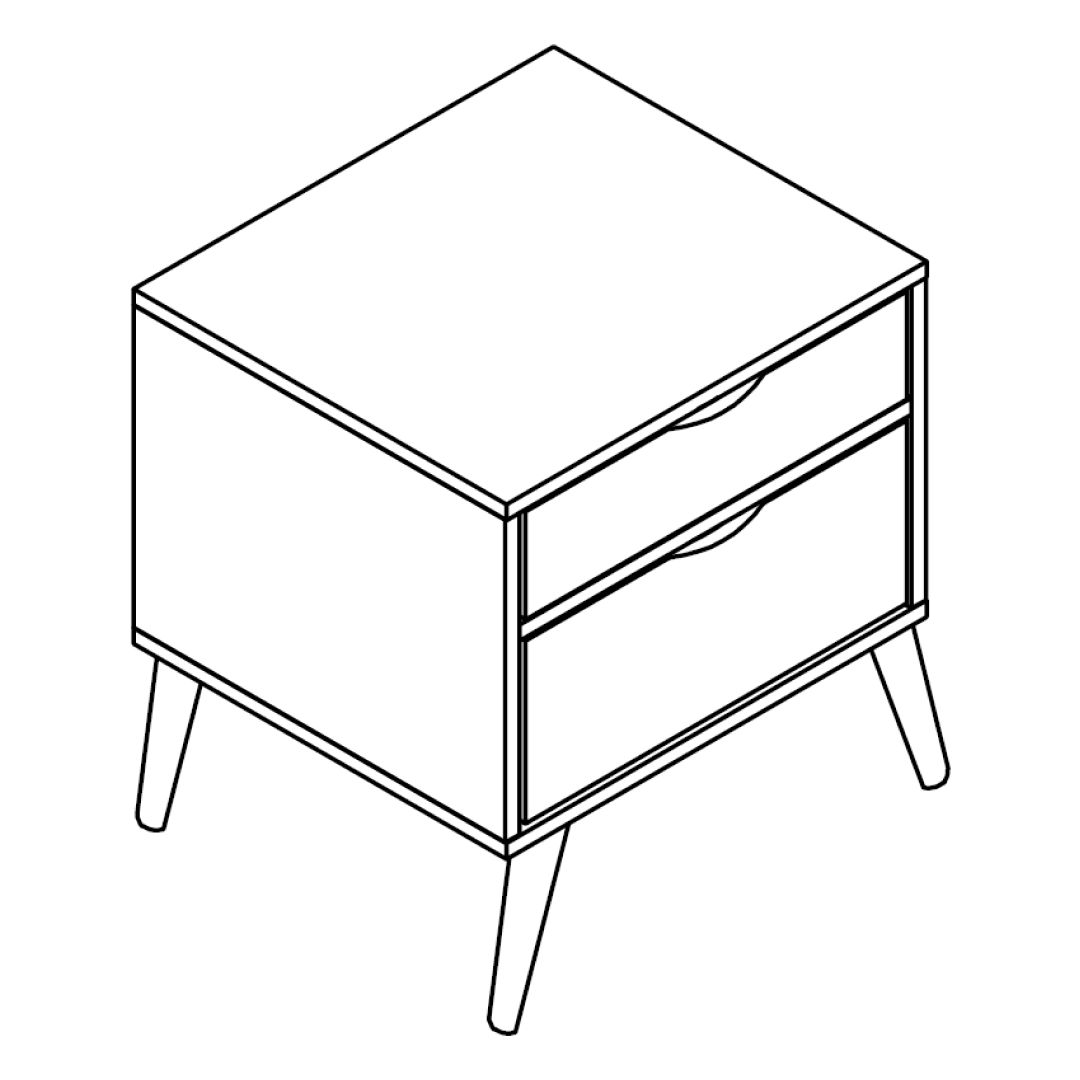
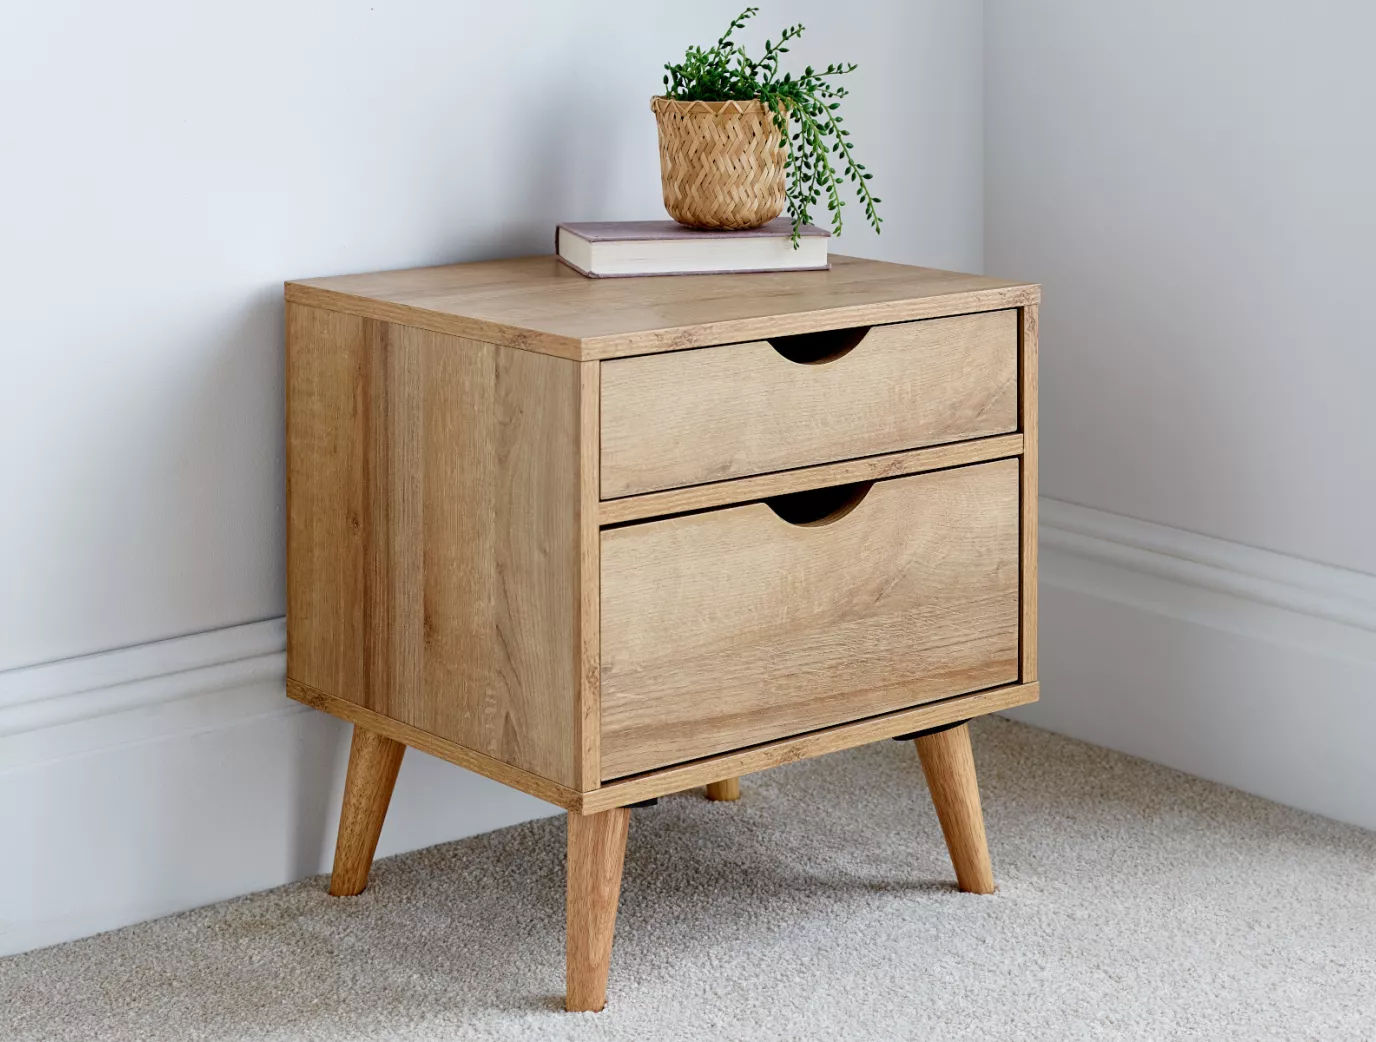
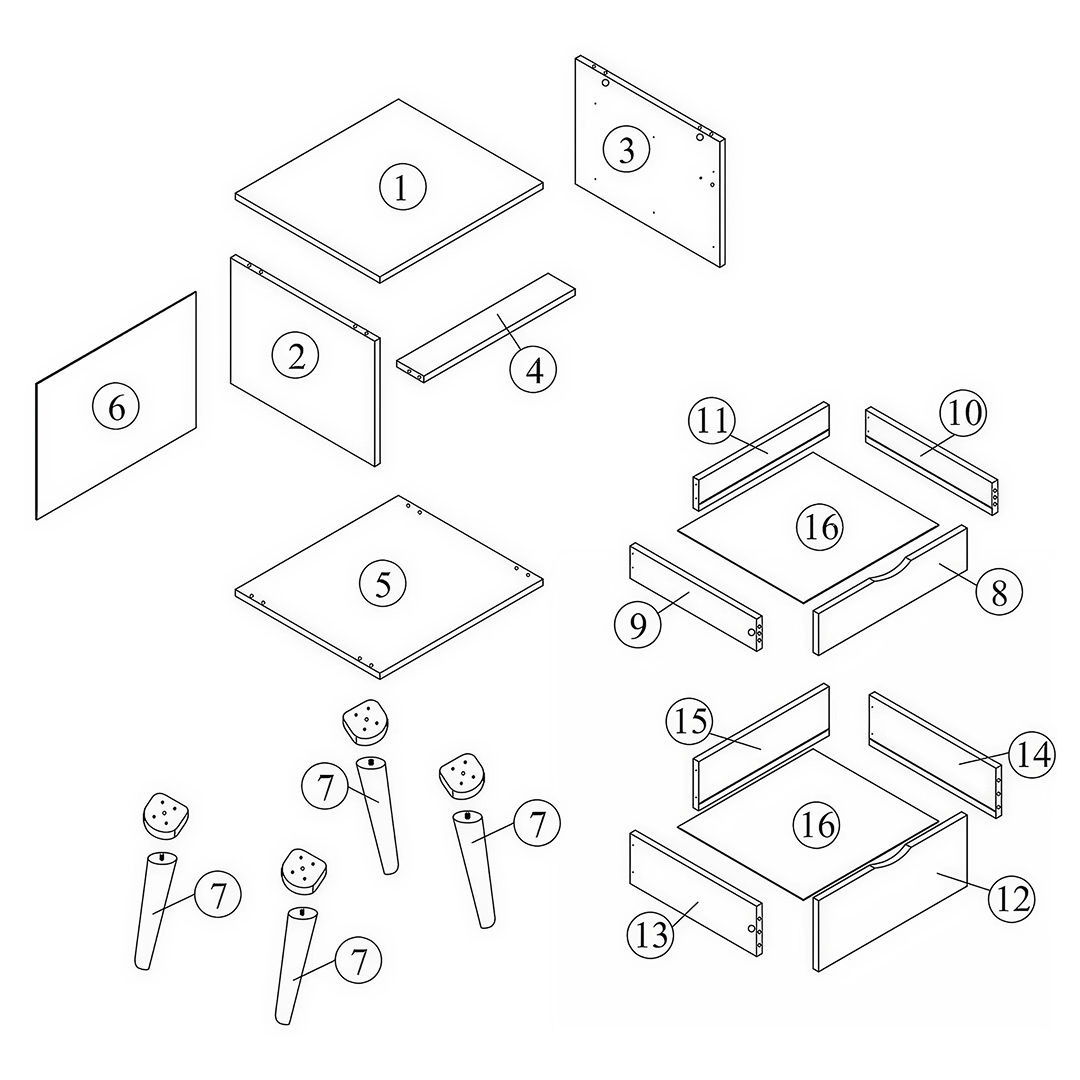
time4sleepwww.time4sleep.co.uk
Instructions by time4sleepMolle 2 Drawer Bedside
time4sleep

Molle 2 Drawer Bedside

Molle 2 Drawer BedsidePartsTools
Steps
1. Insert Dowels2. Insert Mini Fix Bolts3. Attach the Drawer Slide Rails on the Left Panel4. Install the Drawer Slides on the Right Panel5. Attach the Support Panel to the Right Panel6. Attach the Support Panel to the Left Panel7. Attach the Top Panel8. Attach the Back Panel9. Attach the Legs10. Attach the Back Panel11. Assemble the Drawer Frame12. Attach the Drawer Back Panel13. Insert the Drawer Back Panel and Side Panels14. Attach Back Panel and Drawer Slides15. Insert the Drawers16. Final Check

No results

time4sleep
time4sleep / Molle 2 Drawer Bedside
Molle 2 Drawer Bedside
time4sleep

Instructions by

time4sleep

Molle 2 Drawer Bedside

Assembly instructions for Molle 2 Drawer Bedside by Time4Sleep.

Product Information

Molle 2 Drawer Bedside

Molle 2 Drawer Bedside

The Molle two drawer bedside table has a beautiful oak finish and is designed to effortlessly blend Scandinavian elegance with modern functionality. This stylish piece of furniture is the perfect companion for your bedroom, providing a harmonious balance between minimalist aesthetics and practical storage. Its clean lines and sleek silhouette capture the essence of Scandinavian design, infusing your room with a sense of timeless sophistication. The two spacious drawers offer ample storage space for your bedtime essentials, allowing you to keep your personal items neatly organized and within reach. Whether it's books, reading glasses, or even a notebook, you can conveniently store them away yet still have easy access when needed this easy to co-ordinate style will complement a variety of bedroom styles, from retro to contemporary. This product is supplied flatpack for self assembly.
View product (opens in new tab)
SKU
Molle2DrwOak1,Molle2DrwWhite1
Dimensions
Width45 cm
Length40 cm
Height50 cm

Tools

allen key
A - Allen Key M4
plastic dowel
B - Plastic Dowel (M8 x 25mm)
JCBC W Screw
C - JCBC W Screw (M6 x 40mm)
mini fix bolt
D - Mini Fix Bolt
Mini Fix Housing
E - Mini Fix Housing
Mini Fix Cap
F - Mini Fix Cap
CSK Screw M4x20mm
G - CSK Screw (M4 x 20mm)
CSK Screw M4x50mm
H - CSK Screw (M4 x 50mm)
CSK Screw M3.5x16mm
I - CSK Screw (M3.5 x 16mm)
14" Drawer Slide
J - 14" Drawer Slide Sets
K - Nails
K - Nails
Mounting Legs
L - Mounting Legs

Parts

Molle Bedside parts diagram
1Top Panel
2Left Side Panel
3Right Side Panel
4Support Panel
5Bottom Panel
6Back Panel
7Legs
8Small Drawer Front Panel
9Small Drawer Side Panel (L)
10Small Drawer Side Panel (R)
11Small Drawer Back Panel
12Big Drawer Front Panel
13Big Drawer Side Panel (L)
14Big Drawer Side Panel (R)
15Big Drawer Back Panel
16Drawer Bottom Panel

1. Insert Dowels

Insert Dowels

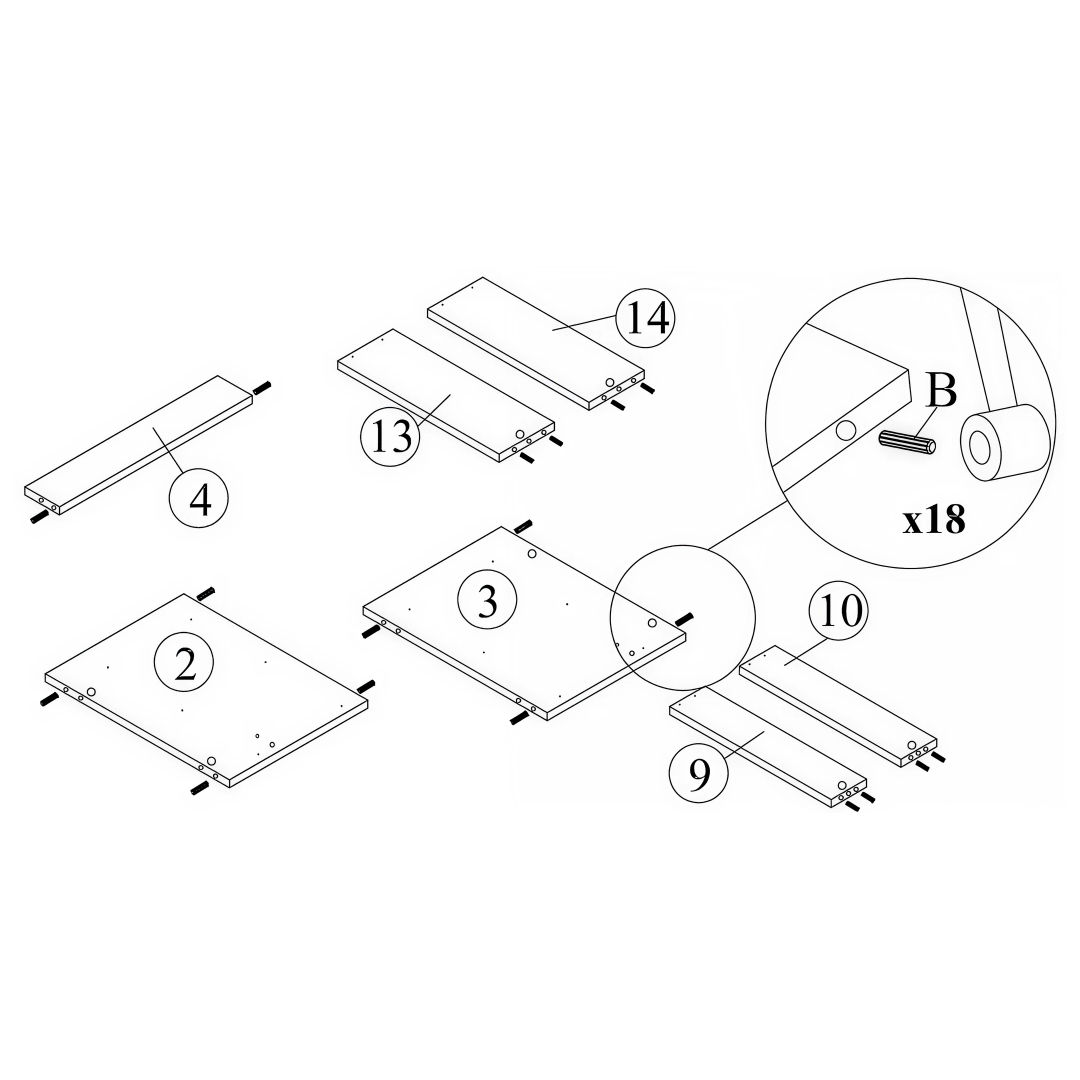
Prepare the panels for assembly by inserting dowels. Locate the following panels:

  • Left Side Panel (2)
  • Right Side Panel (3)
  • Support Panel (4)
  • Small Drawer Side Panels (9 & 10)
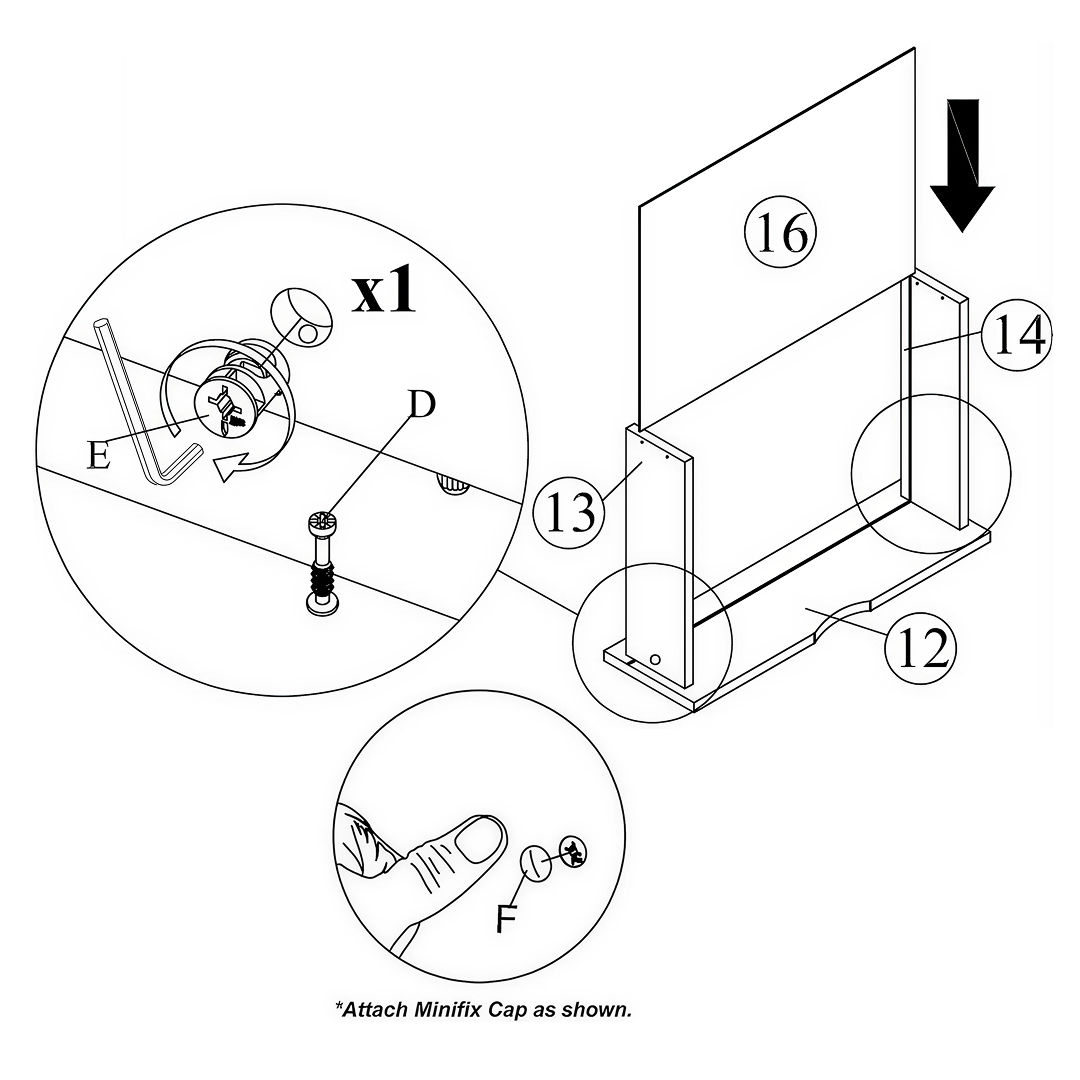
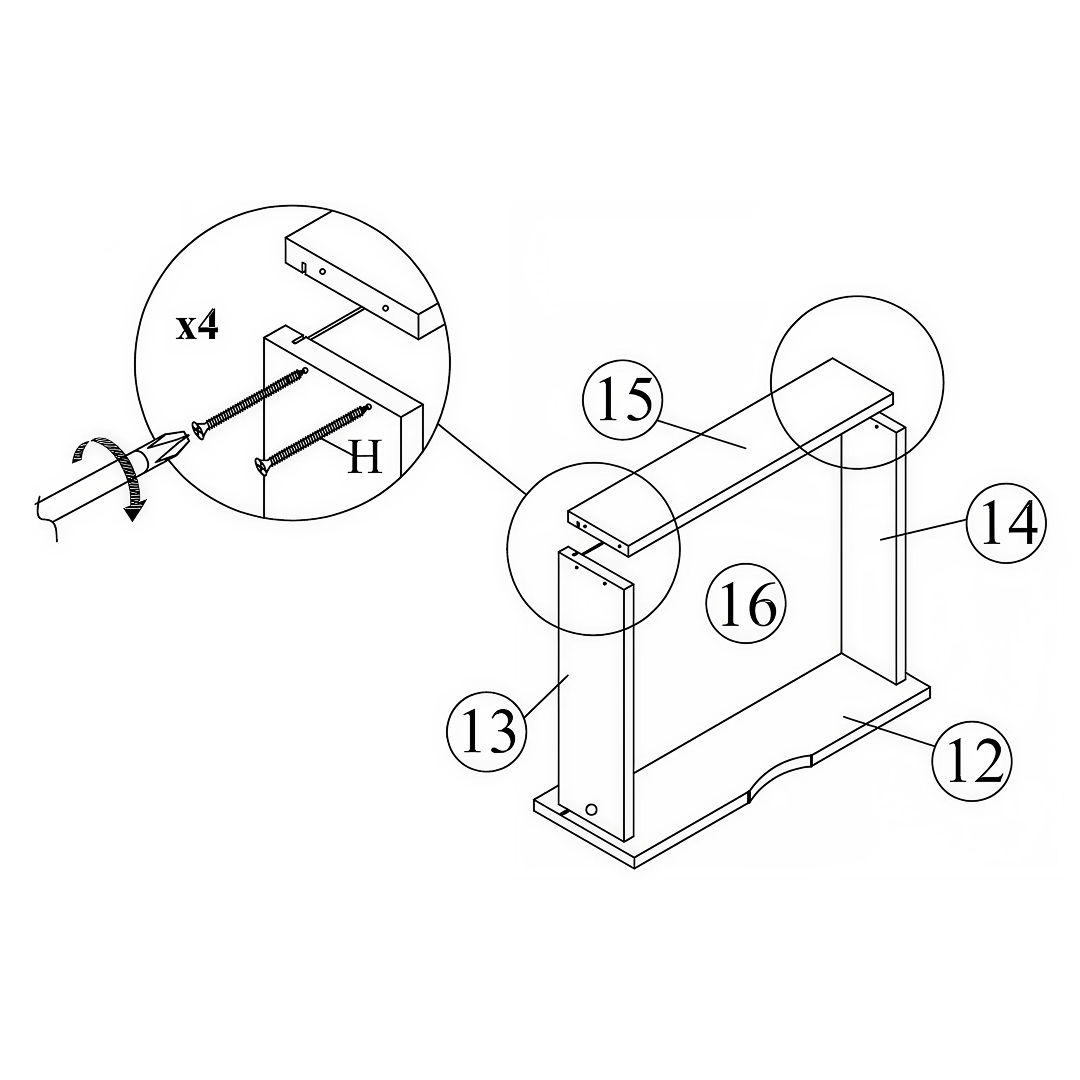
  • Big Drawer Side Panels (13 & 14)

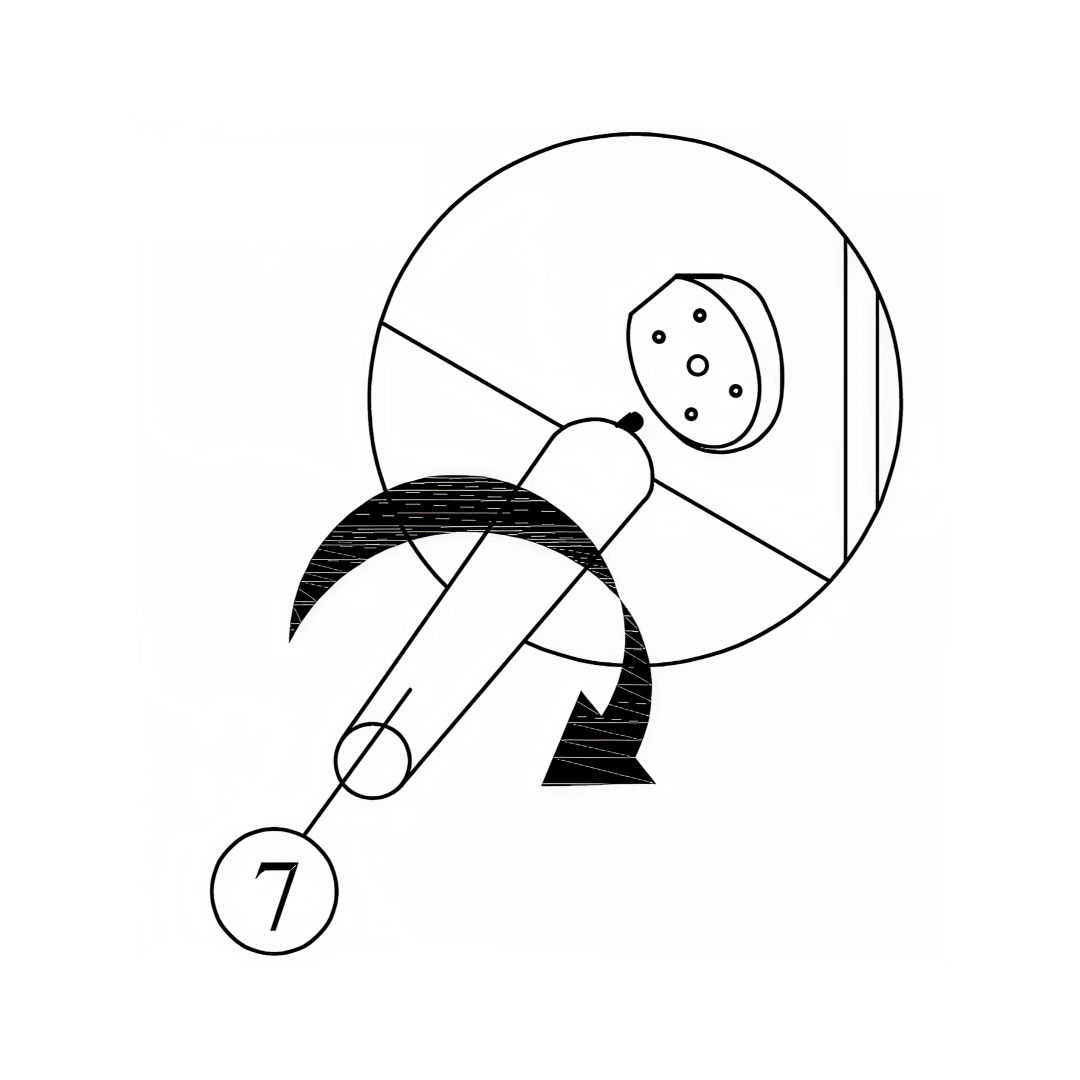
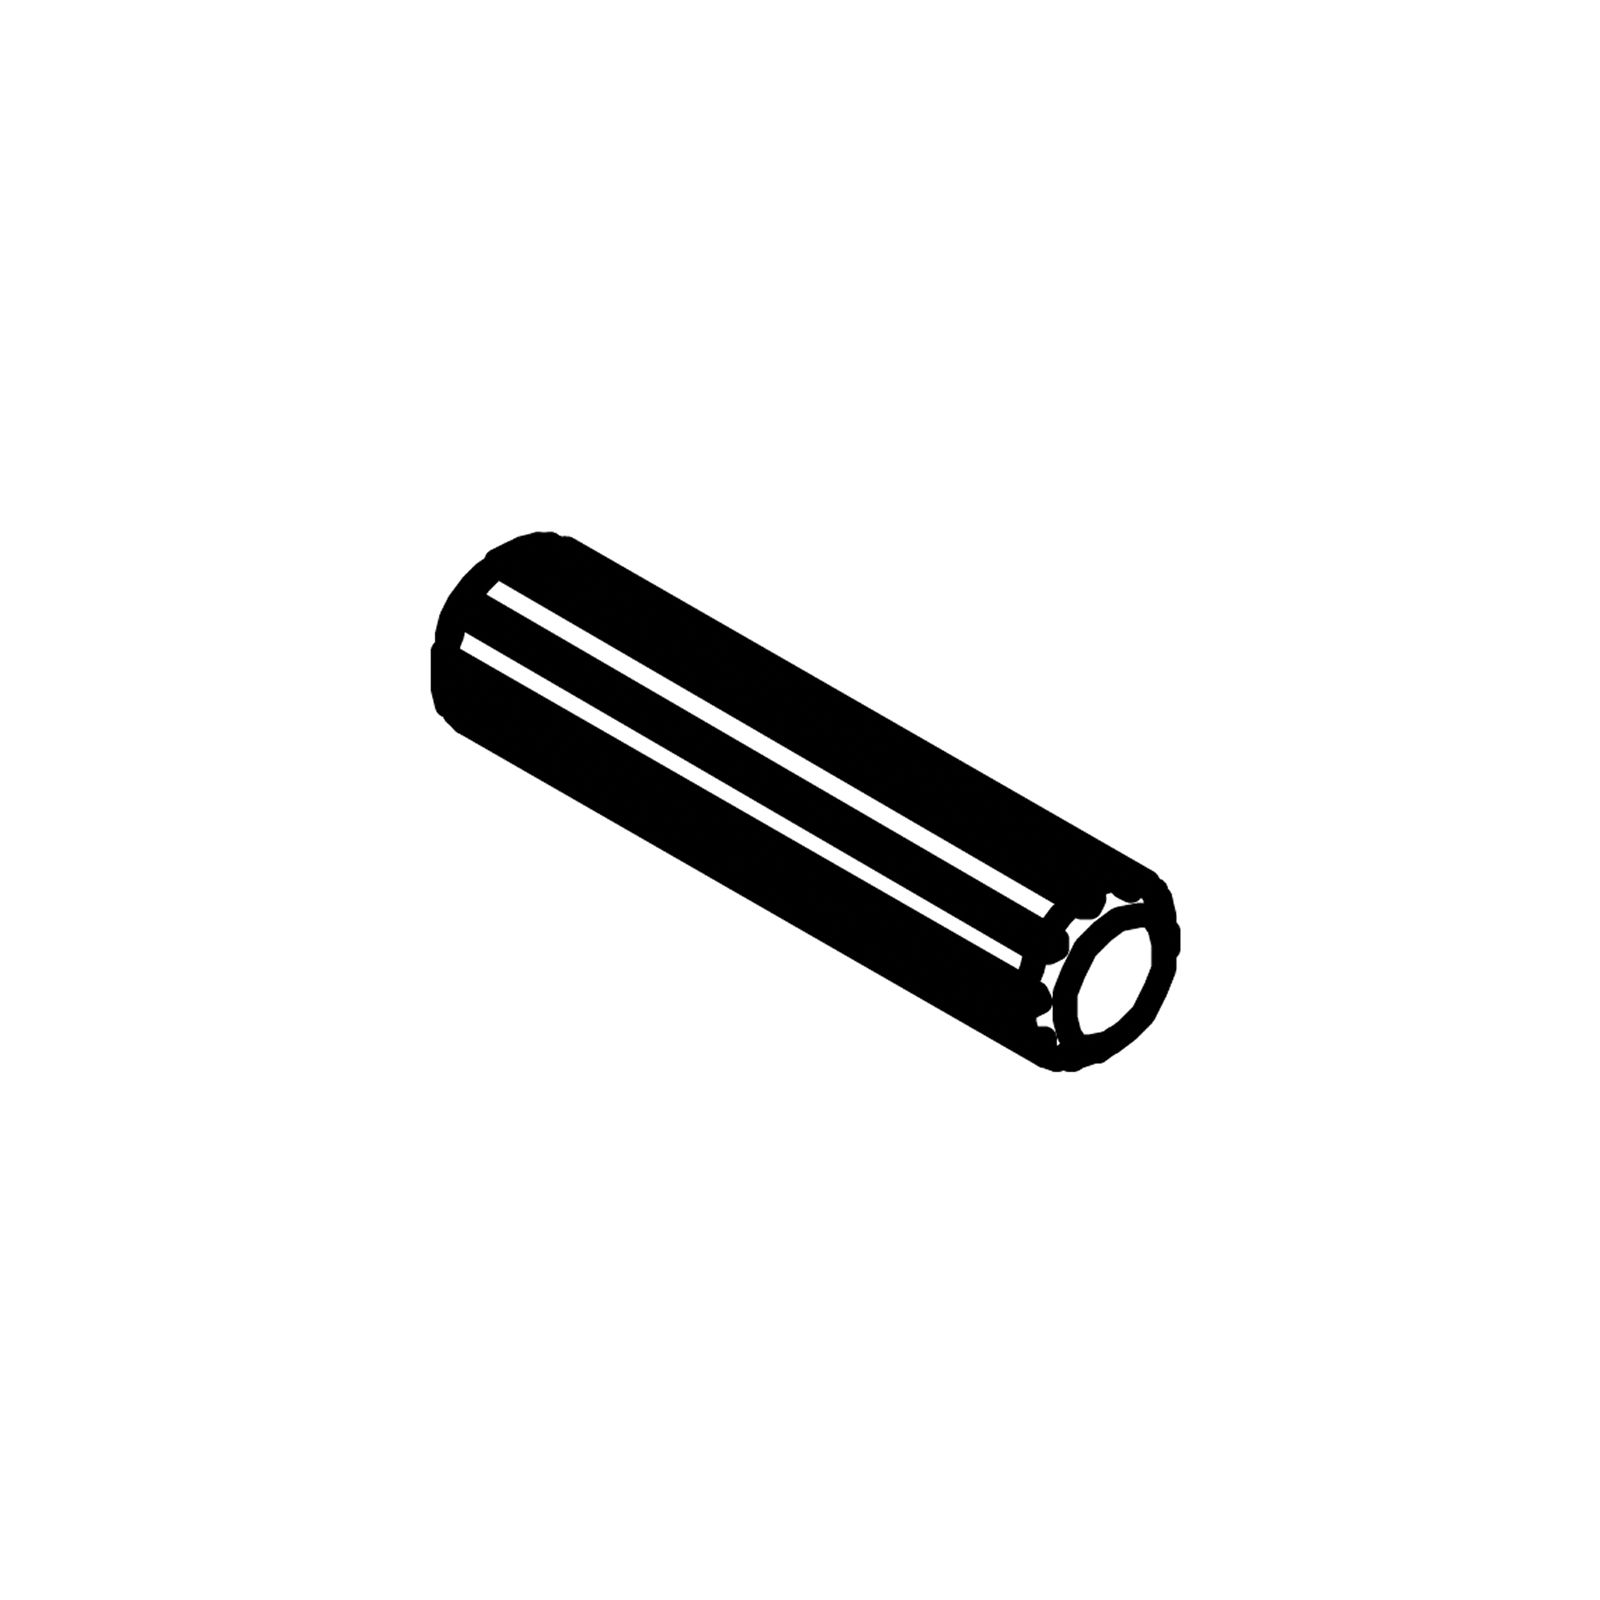
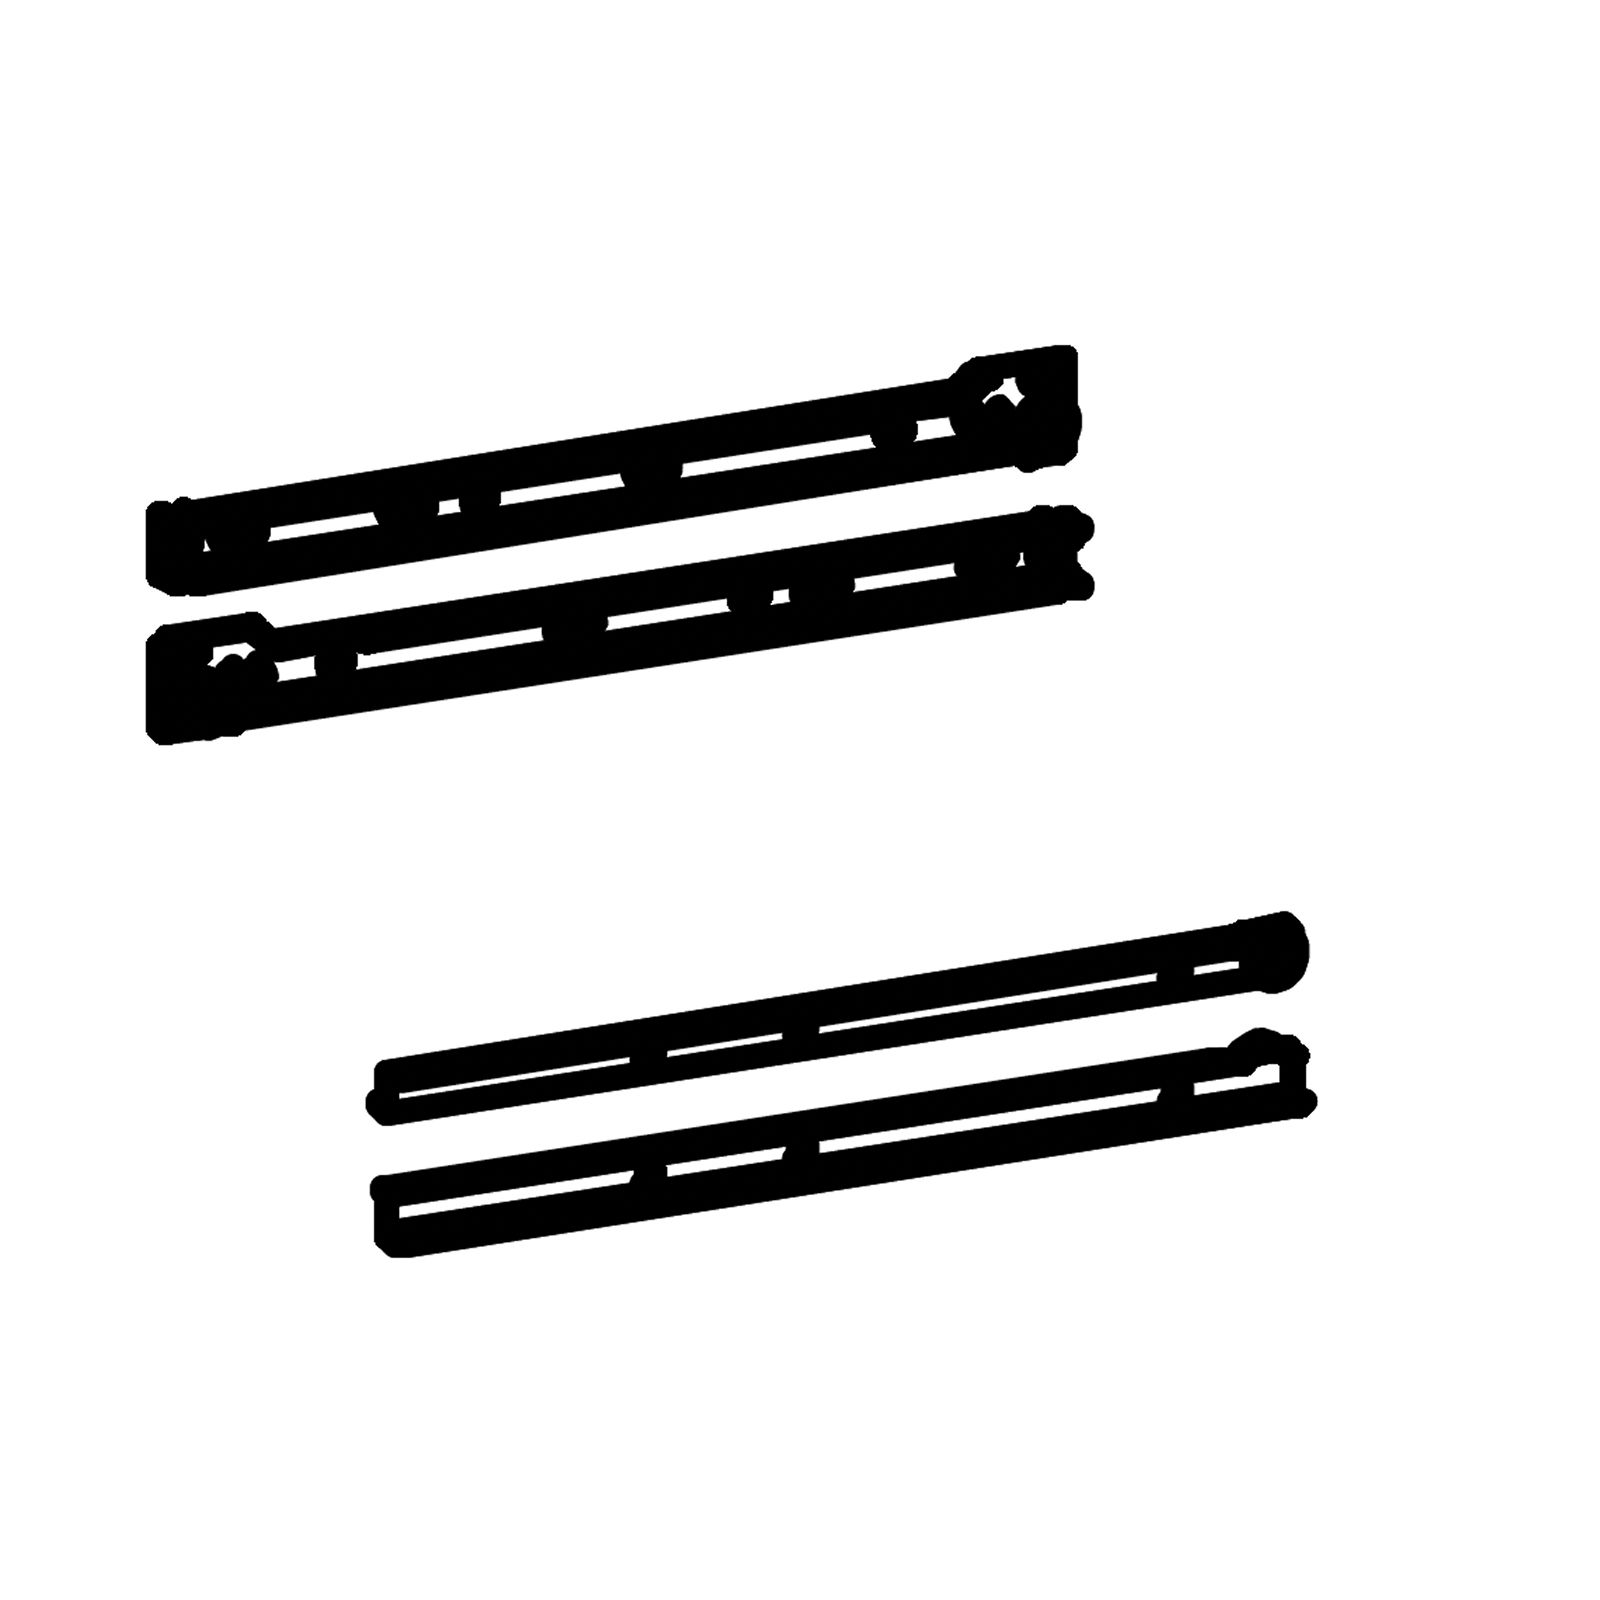
Insert Plastic Dowels (B) into the pre-drilled holes on the edges of each panel. Use a rubber mallet if needed to ensure the dowels are fully inserted.

2. Insert Mini Fix Bolts

Insert Mini Fix Bolts

Install the Mini Fix Bolts (D) to prepare for connecting panels later:

  • Top Panel (1)
  • Left Side Panel (2)
  • Right Side Panel (3)
  • Small Drawer Back Panel (8)
  • Big Drawer Back Panel (12)

Insert Mini Fix Bolts (D) into the designated holes on each panel. Tighten them securely using a Phillips screwdriver.

3. Attach the Drawer Slide Rails on the Left Panel

Attach the Drawer Slide Rails

1. Install the slide rails onto the Left Side Panel (2).
2. Align the 14" Drawer Slide (J) with the pilot holes on the inner face of the panel.
3. Secure the rails using CSK Screws M3.5x16mm (I).
4. Insert all 6 screws, ensuring the front end of the slide aligns with the front edge of the panel. Each screw is driven straight and flush to avoid misalignment.

4. Install the Drawer Slides on the Right Panel

Install the Drawer Slides on the Right Panel

1. Repeat the same process as in the previous step, this time on the Right Side Panel (3).
2. Align the 14" Drawer Slide (J) with the pilot holes.
3. Secure the rail using CSK Screws M3.5x16mm (I).
4. Use 6 screws to fix the slide in place, making sure it sits flush with the panel edge. Screws are inserted into the correct pilot holes.

5. Attach the Support Panel to the Right Panel

Attach the Support Panel to the Right PanelThis is how a mini fix works

1. Position the Support Panel (4) perpendicular to the Right Side Panel (3), ensuring the side without edging/veneer is facing downward.
2. Align the pre-inserted Mini Fix Bolt (D) with the hole in the Support Panel.
3. Insert the Mini Fix Housing (E) into the designated hole in the Support Panel and turn it clockwise with the Allen Key (A) to lock it in place.
4. Once secured, cover the housing with a Mini Fix Cap (F) for a clean finish.

This is how a mini fix works:

The head of the mini fix housing goes into the open mouth of the mini fix bolt. You then turn the mini fix housing so it tightens over the mini fix bolt.

6. Attach the Support Panel to the Left Panel

Attach the Support Panel to the Left PanelThis is how a mini fix works

1. Position the Left Side Panel (2) opposite the Right Side Panel (3) and align it with the Support Panel (4).
2. Ensure the Support Panel is oriented with the non-edged side facing downward as shown.
3. Insert the Mini Fix Housing (E) into the designated hole in the Support Panel and align it with the pre-inserted Mini Fix Bolt (D) in the Left Side Panel.
4. Turn the housing clockwise using the Allen Key (A) to lock the connection securely.
5. Cover the housing with a Mini Fix Cap (F) for a tidy finish.

Mini Fix Reminder:
The head of the mini fix housing goes into the open mouth of the mini fix bolt. You then turn the mini fix housing so it tightens over the mini fix bolt.

7. Attach the Top Panel

Attach the Top PanelThis is how a mini fix works

1. Place the Top Panel (1) over the Left Side (2), Right Side (3), and Support Panel (4), aligning all dowels and Mini Fix Bolts (D).
2. Insert Mini Fix Housings (E) into the holes in the Top Panel and turn with the Allen Key (A) to lock each connection securely.
3. Repeat for all four corners.
4. Finish by covering the housings with Mini Fix Caps (F) for a clean look.

Mini Fix Reminder:
The head of the mini fix housing goes into the open mouth of the mini fix bolt. You then turn the mini fix housing so it tightens over the mini fix bolt.

8. Attach the Back Panel

Attach the Back Panel

1. Position the Back Panel (5) onto the rear of the unit, making sure the unfinished side (without edging/veneer) is facing downward.
2. Align the panel with the pre-drilled holes on the Left (2) and Right Side Panels (3) as well as the Top Panel (1).
3. Use the JCBC W Screws M6x40mm (C) and tighten them with the Allen Key (A) to secure the panel in place.

9. Attach the Legs

Attach the LegsAttach the Legs close up

1. Position each leg at the four corners of the unit, aligning them with the pre-drilled holes on the Bottom Panel (5).
2. Use the Mounting Legs (L) and fix them with CSK Screws M4x20mm (G).
3. Insert 4 screws per leg and tighten them securely using a screwdriver.
4. Tighten the Legs, rotate each leg clockwise until it is fully tightened and firmly in place.

10. Attach the Back Panel

Attach the Back Panel

1. Place the Back Panel on top of the assembled frame, ensuring the unfinished side (without edging/veneer) is facing upward.
2. Make sure all panel edges are flush and that the circular hole in the Back Panel aligns correctly with the center.
3. Use 18 nails (K) to fix the Back Panel in place. Carefully hammer the nails along the edges of the panel to secure it to Parts 1, 2, and 5.

11. Assemble the Drawer Frame

Assemble the Drawer FrameThis is how a mini fix works

1. Attach the Left Side Panel (9) and Right Side Panel (10) to the Drawer Front Panel (8) using Mini Fix Bolts (D) and Mini Fix Housings (E).
2. Tighten the Mini Fix using the Allen Key (A) until the panels are securely locked together.
3. Place the Mini Fix Caps (F) over the housings to cover the holes for a clean look.
4. Slide the Drawer Bottom Panel down into the grooves between the side panels, ensuring it fits snugly.

Mini Fix Reminder:
The head of the mini fix housing goes into the open mouth of the mini fix bolt. You then turn the mini fix housing so it tightens over the mini fix bolt.

12. Attach the Drawer Back Panel

Attach the Drawer Back Panel
  • Position the Drawer Back Panel between the two Side Panels (9 & 10), aligning it with the top edge.
  • Use 4x CSK Screws M4x50mm (H) to fix the Drawer Back Panel (11) in place.

Tighten the screws with a screwdriver until secure.

13. Insert the Drawer Back Panel and Side Panels

Insert the Drawer Back Panel and Side PanelsThis is how a mini fix works

1. Carefully slide the panel into the grooves on Side Panels (13 & 14), making sure the panel sits securely.
2. Use 1x Mini Fix Bolt (D) and 1x Mini Fix Housing (E) to fasten the side panel to the bottom panel (12).
3. Tighten using the Allen Key (A) until snug.
4. Cover the housing with Mini Fix Cap (F) for a clean finish.

Mini Fix Reminder:
The head of the mini fix housing goes into the open mouth of the mini fix bolt. You then turn the mini fix housing so it tightens over the mini fix bolt.

14. Attach Back Panel and Drawer Slides

Attach the Drawer Back PanelSecure the Rails
  • Secure the Back Panel (15) to the Drawer Side Panels (13 & 14) using Screws (H) (x4), as shown.
  • Once the back panel is fixed, align and attach the Drawer Slides (J) to the bottom of the drawer using Screws (I) (x4).
  • Make sure the slides are correctly positioned along the pilot holes for smooth operation.

15. Insert the Drawers

Insert the Drawers

1. Carefully slide the assembled drawers into the drawer runners inside the cabinet.
2. Start with the bottom drawer (12), then insert the top drawer (8).

16. Final Check

Assembled Molle Drawers
  • Ensure all screws and fixings are securely tightened.
  • Confirm that both drawers slide smoothly and align properly.
  • Make sure the bedside unit stands evenly and feels stable.
time4sleep
time4sleep (opens in new tab)Terms (opens in new tab)Privacy (opens in new tab)