


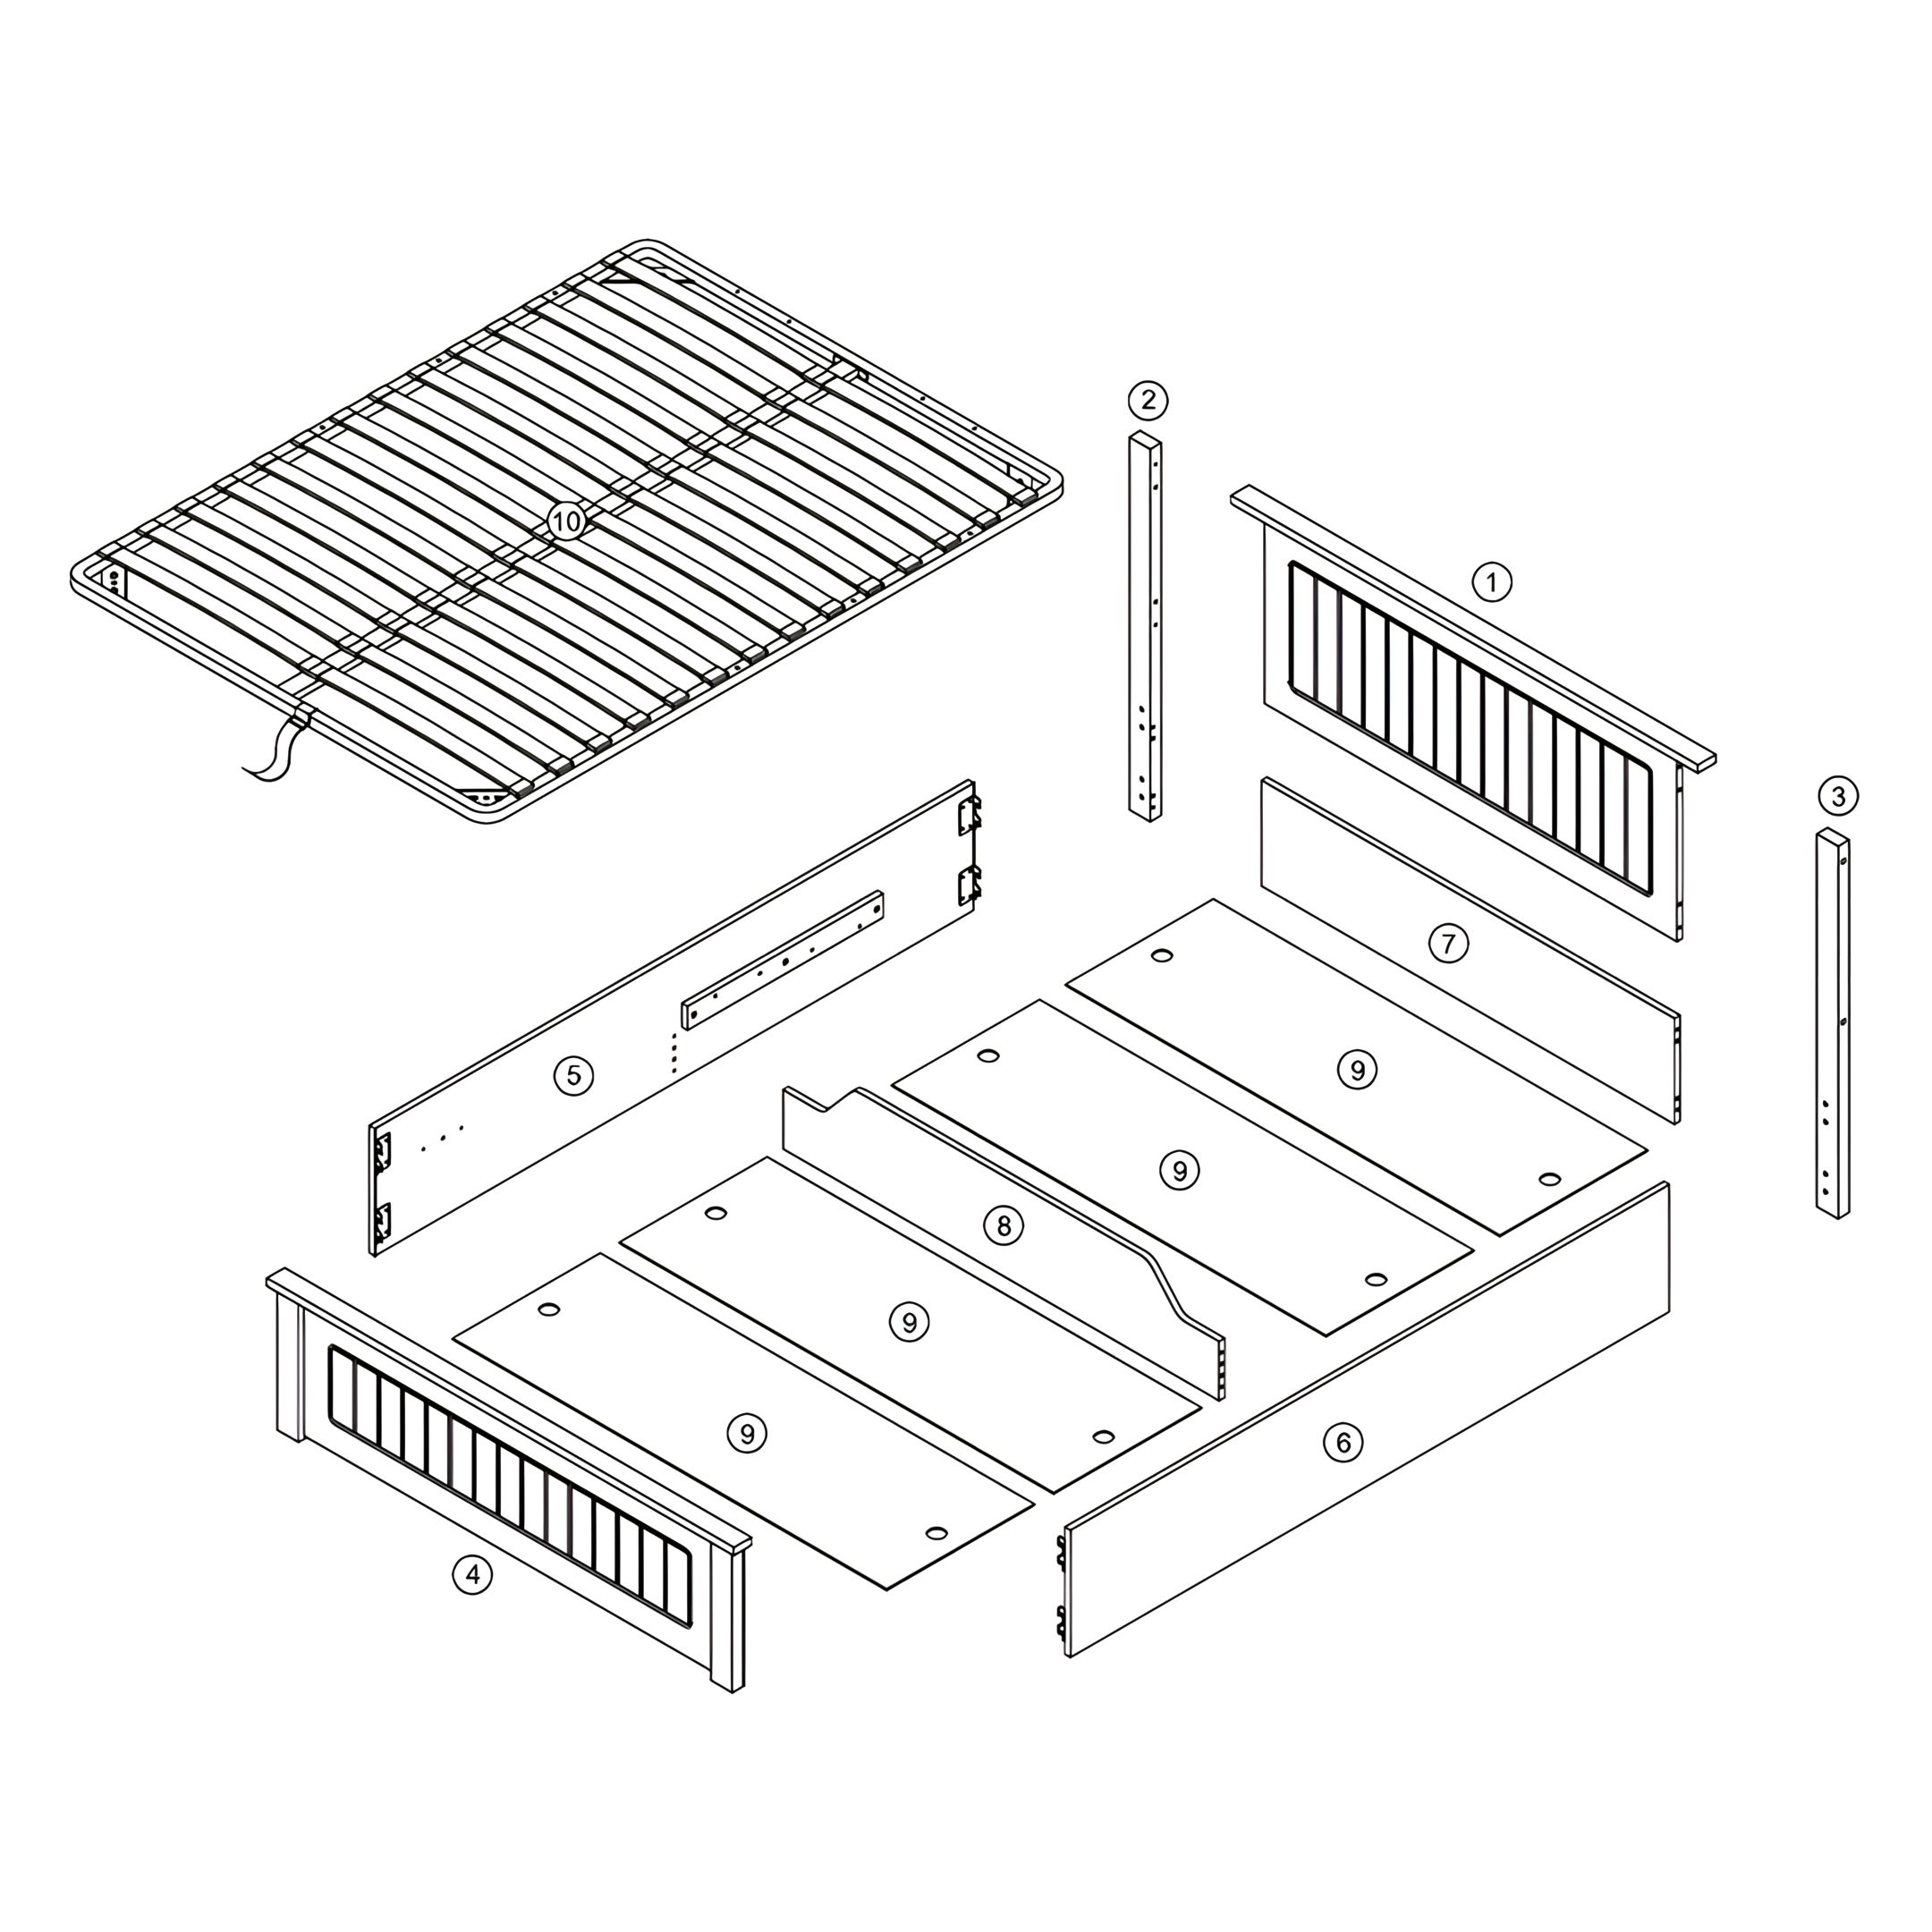
1. Assemble the Headboard
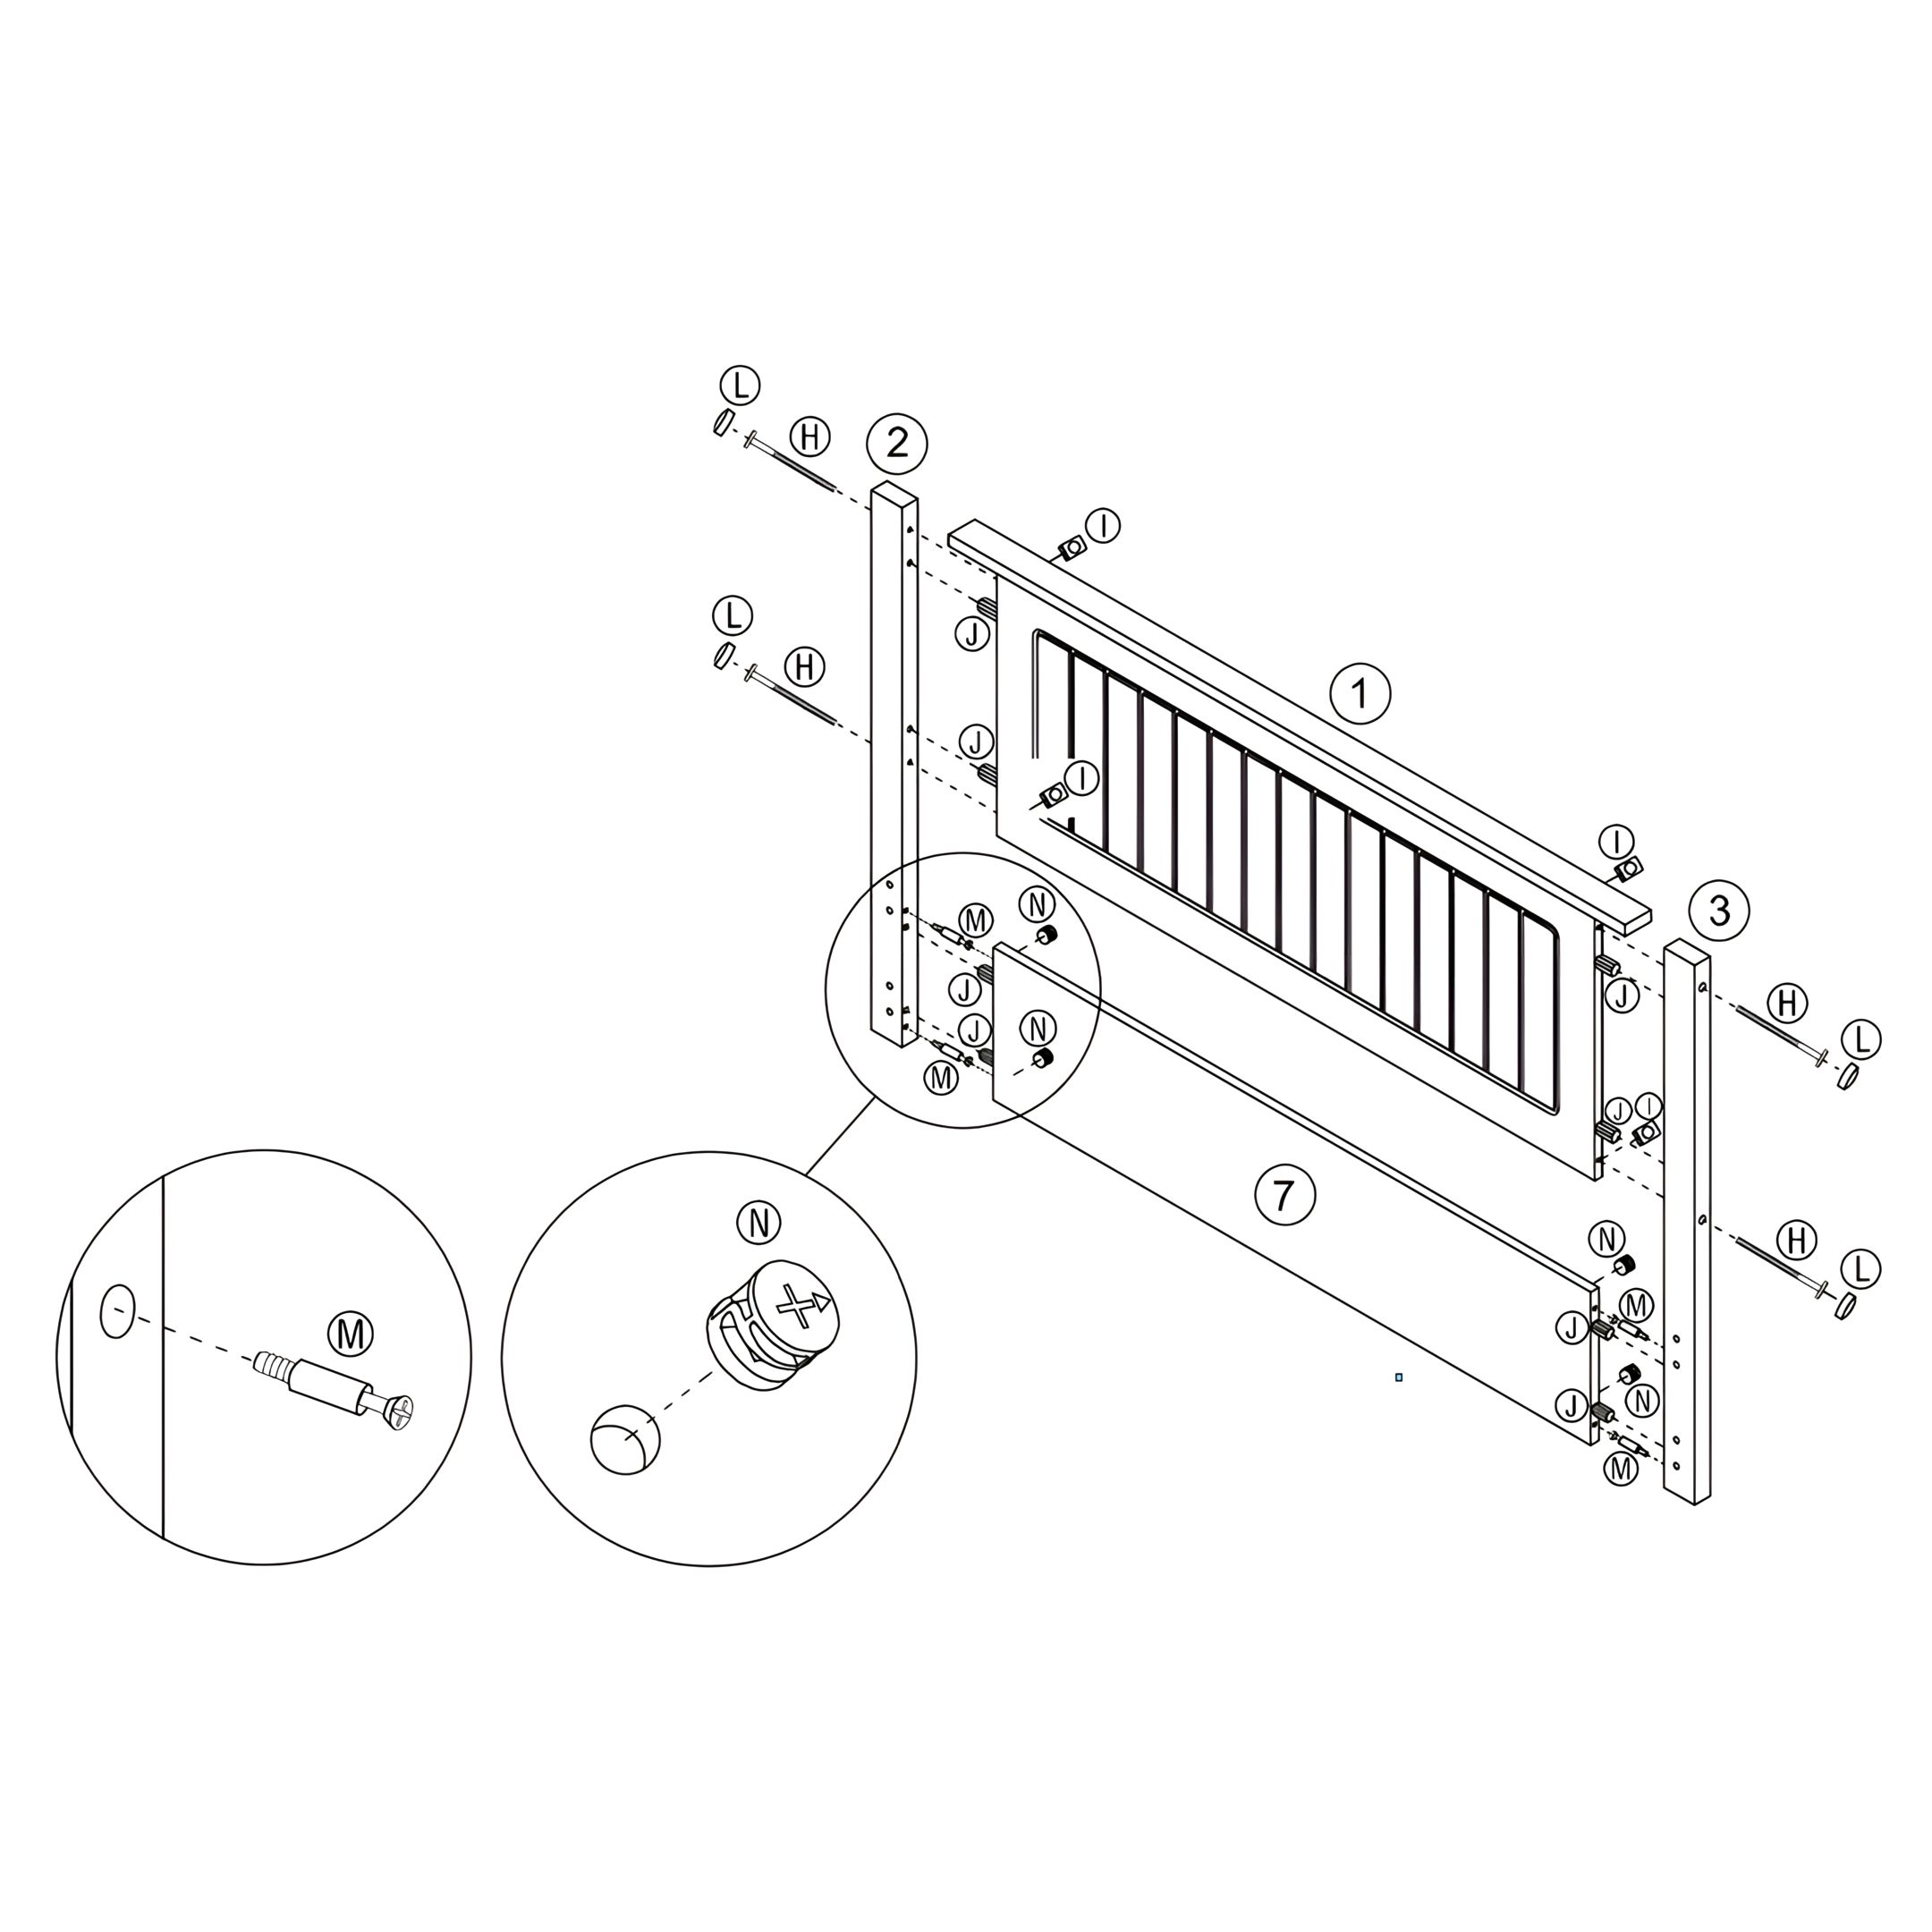
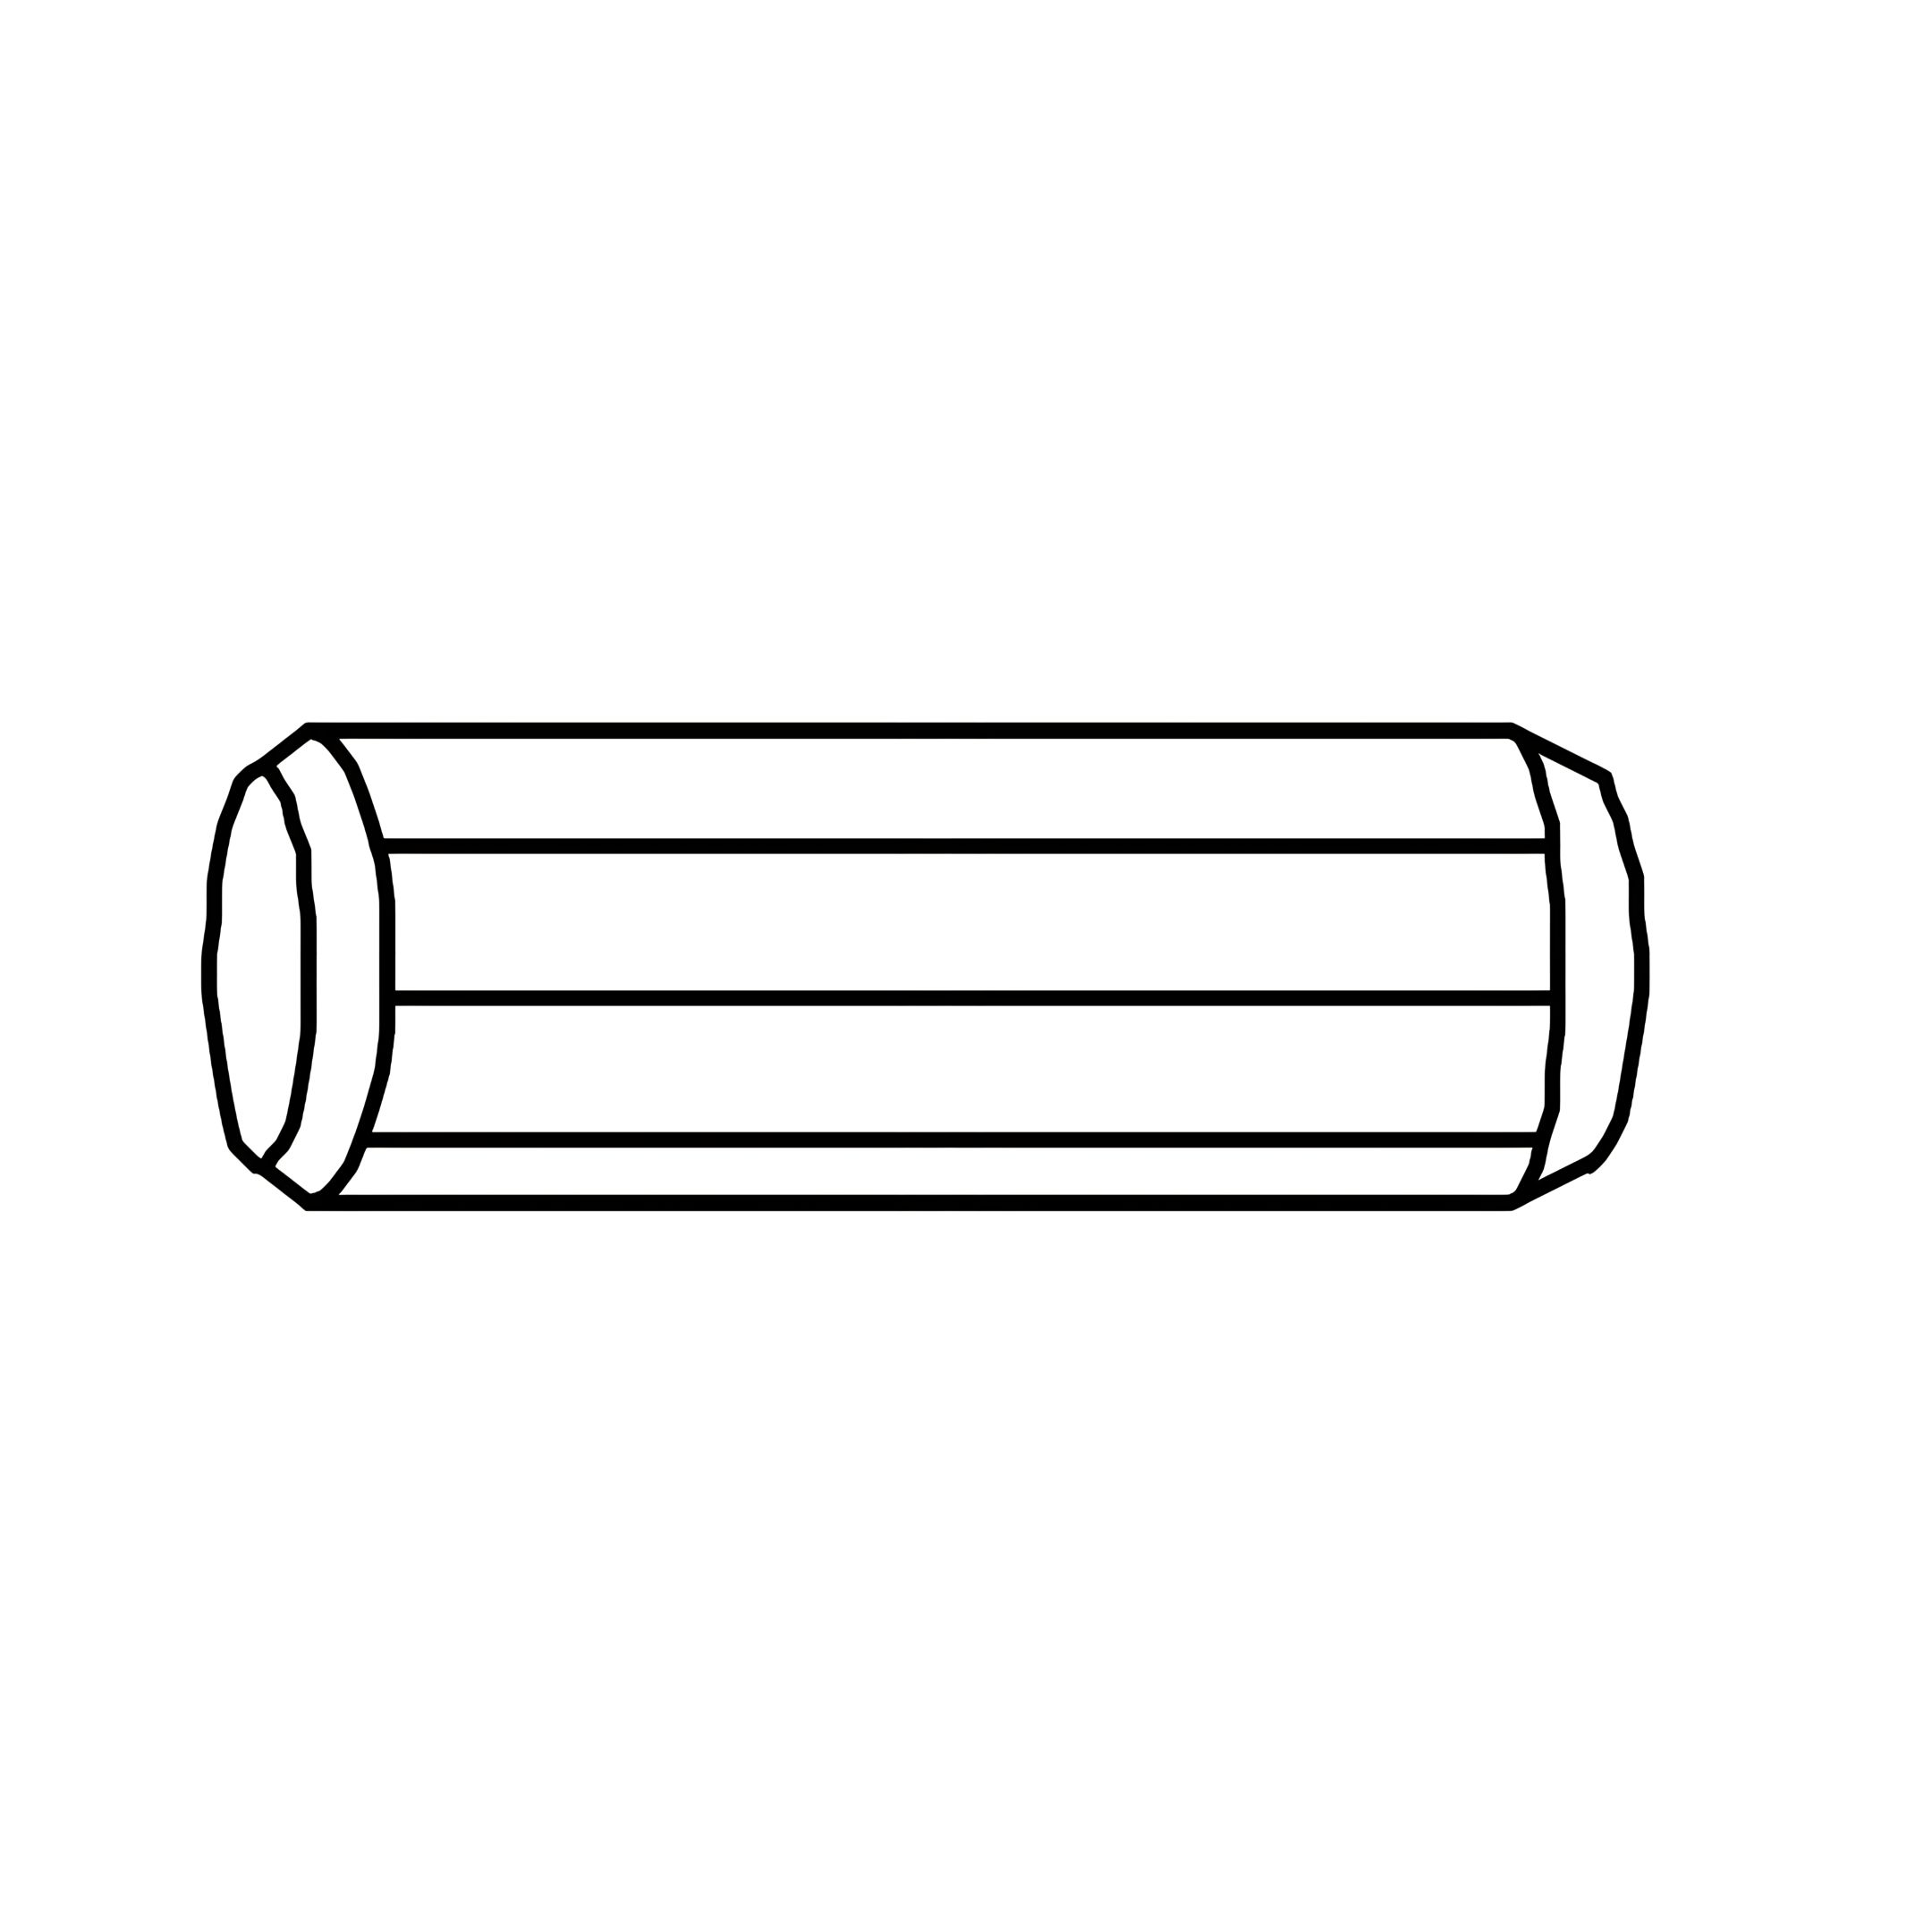
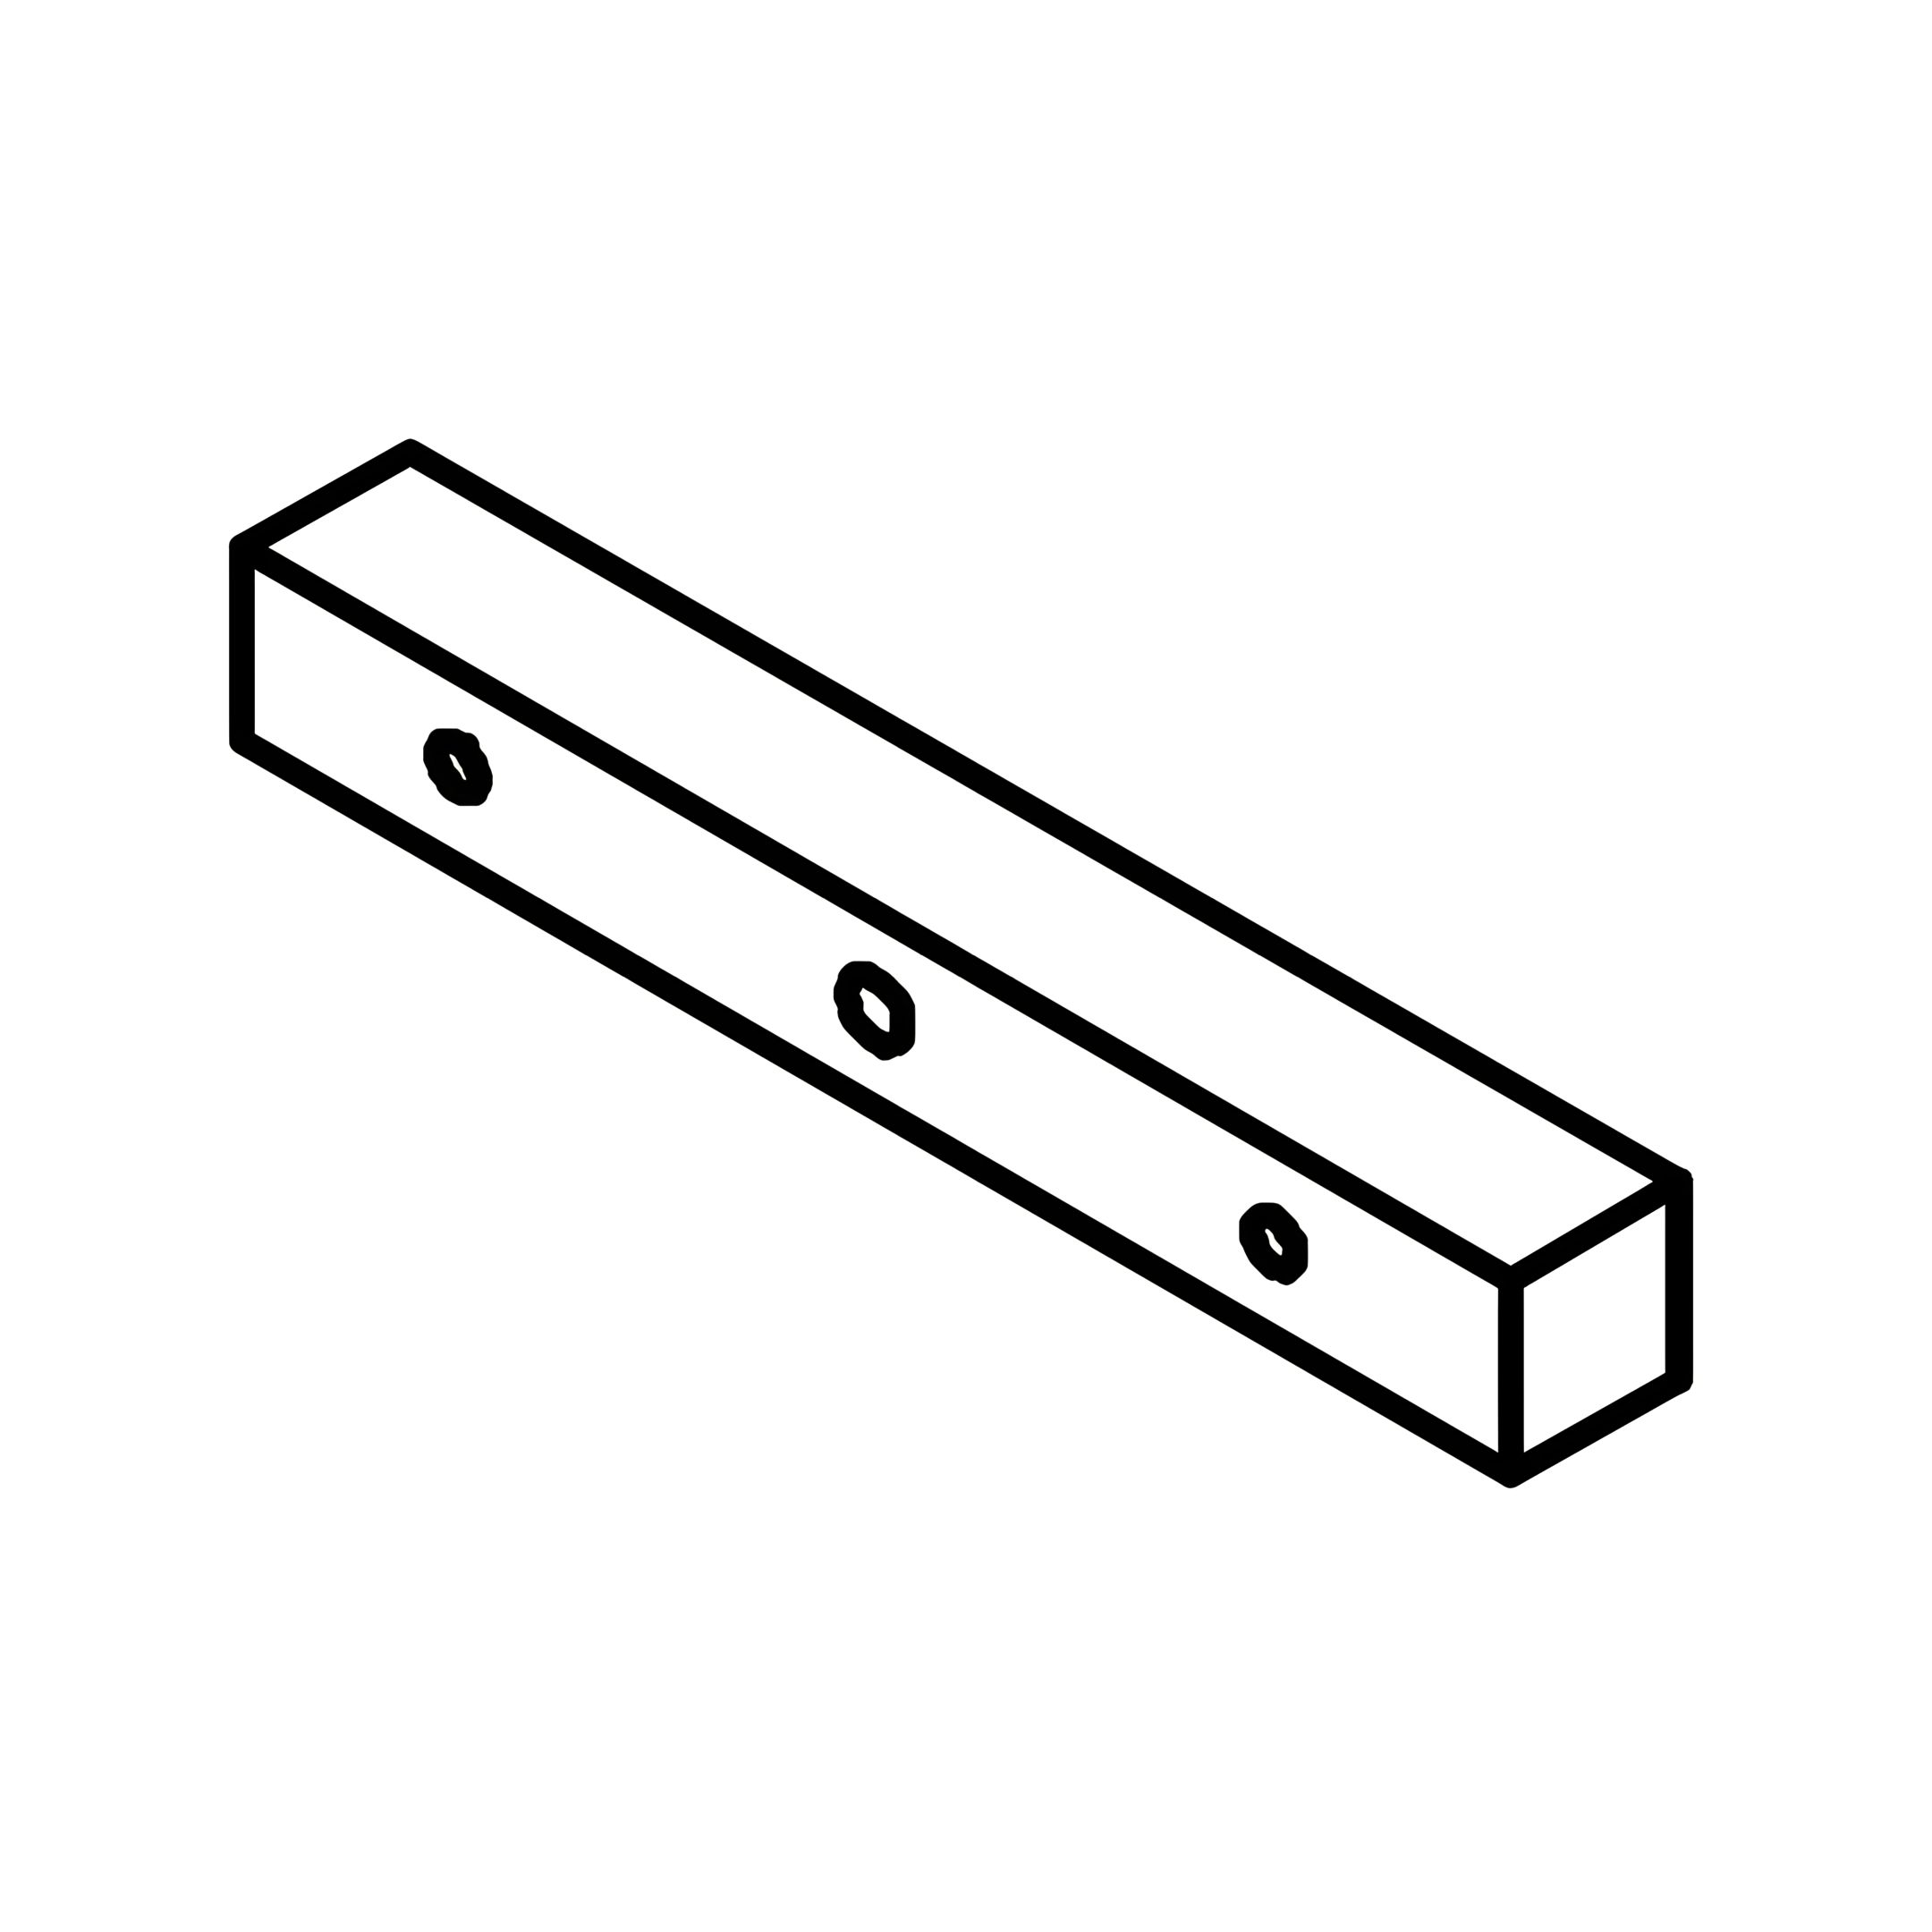
1. Insert Wood Dowels (J) into the pre-drilled holes on both HB. Posts (Left & Right) (2, 3).
2. Align the HB. Panel (1) between the HB. Posts (2, 3).
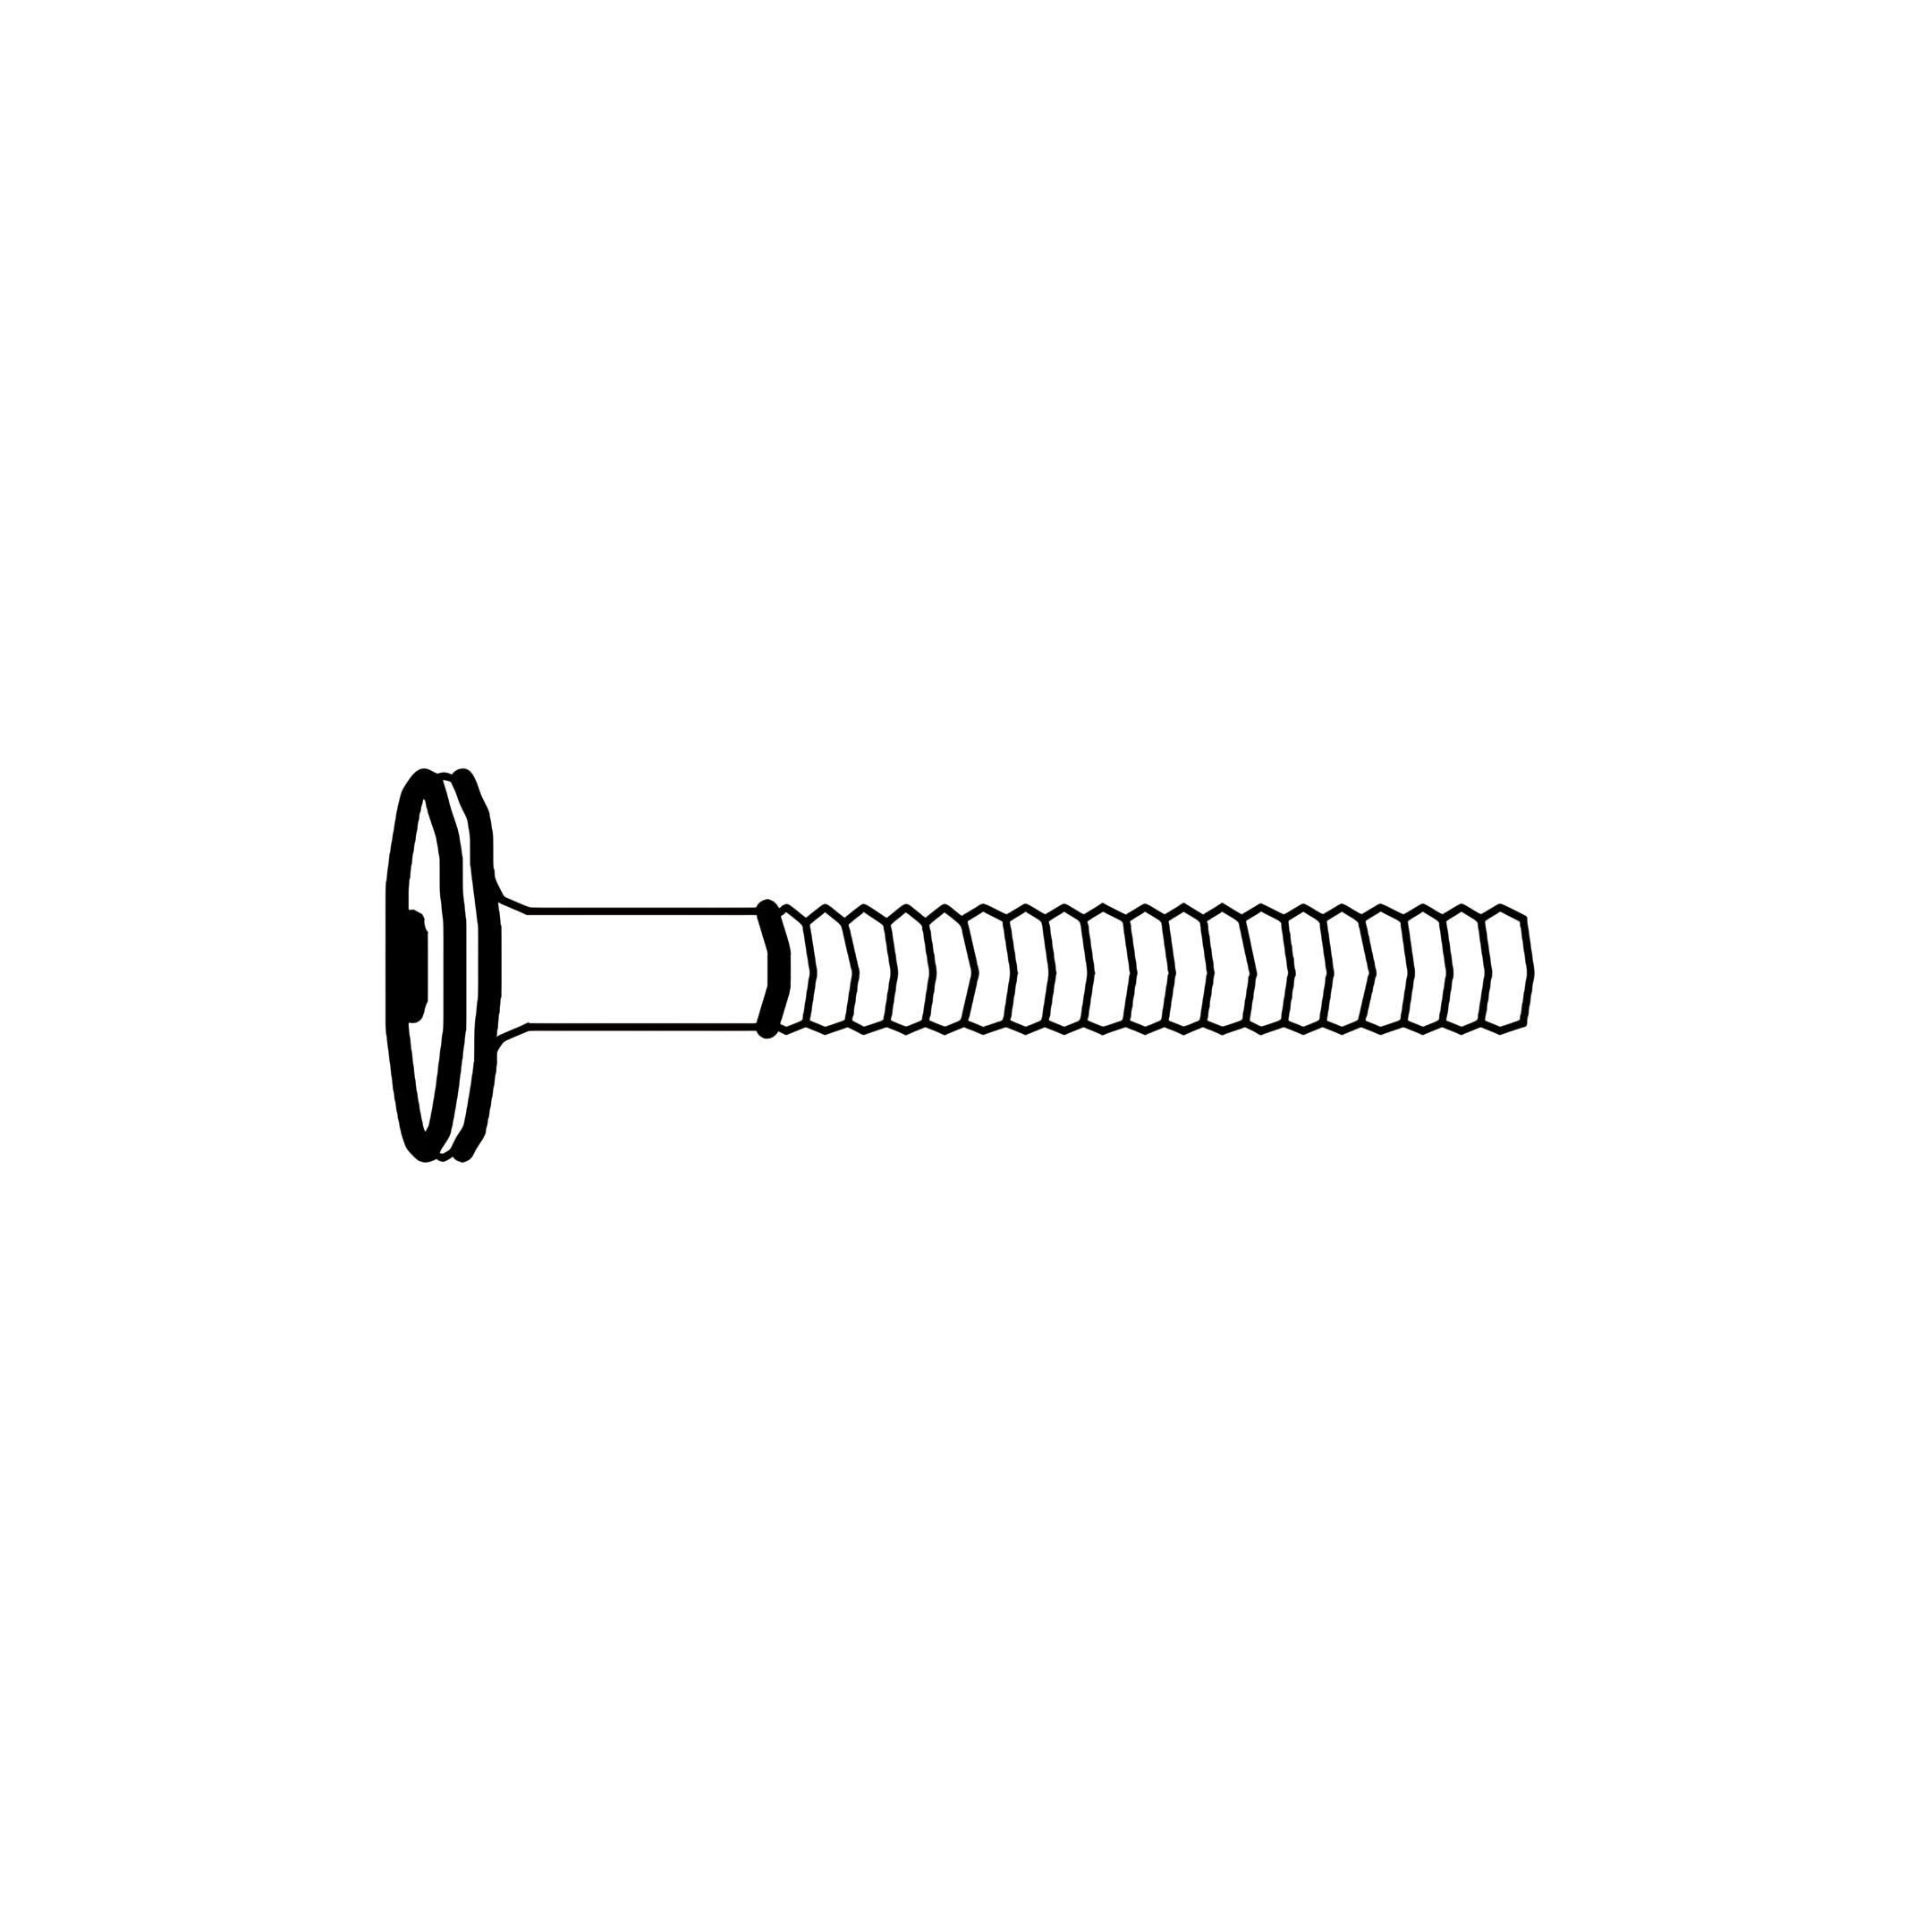
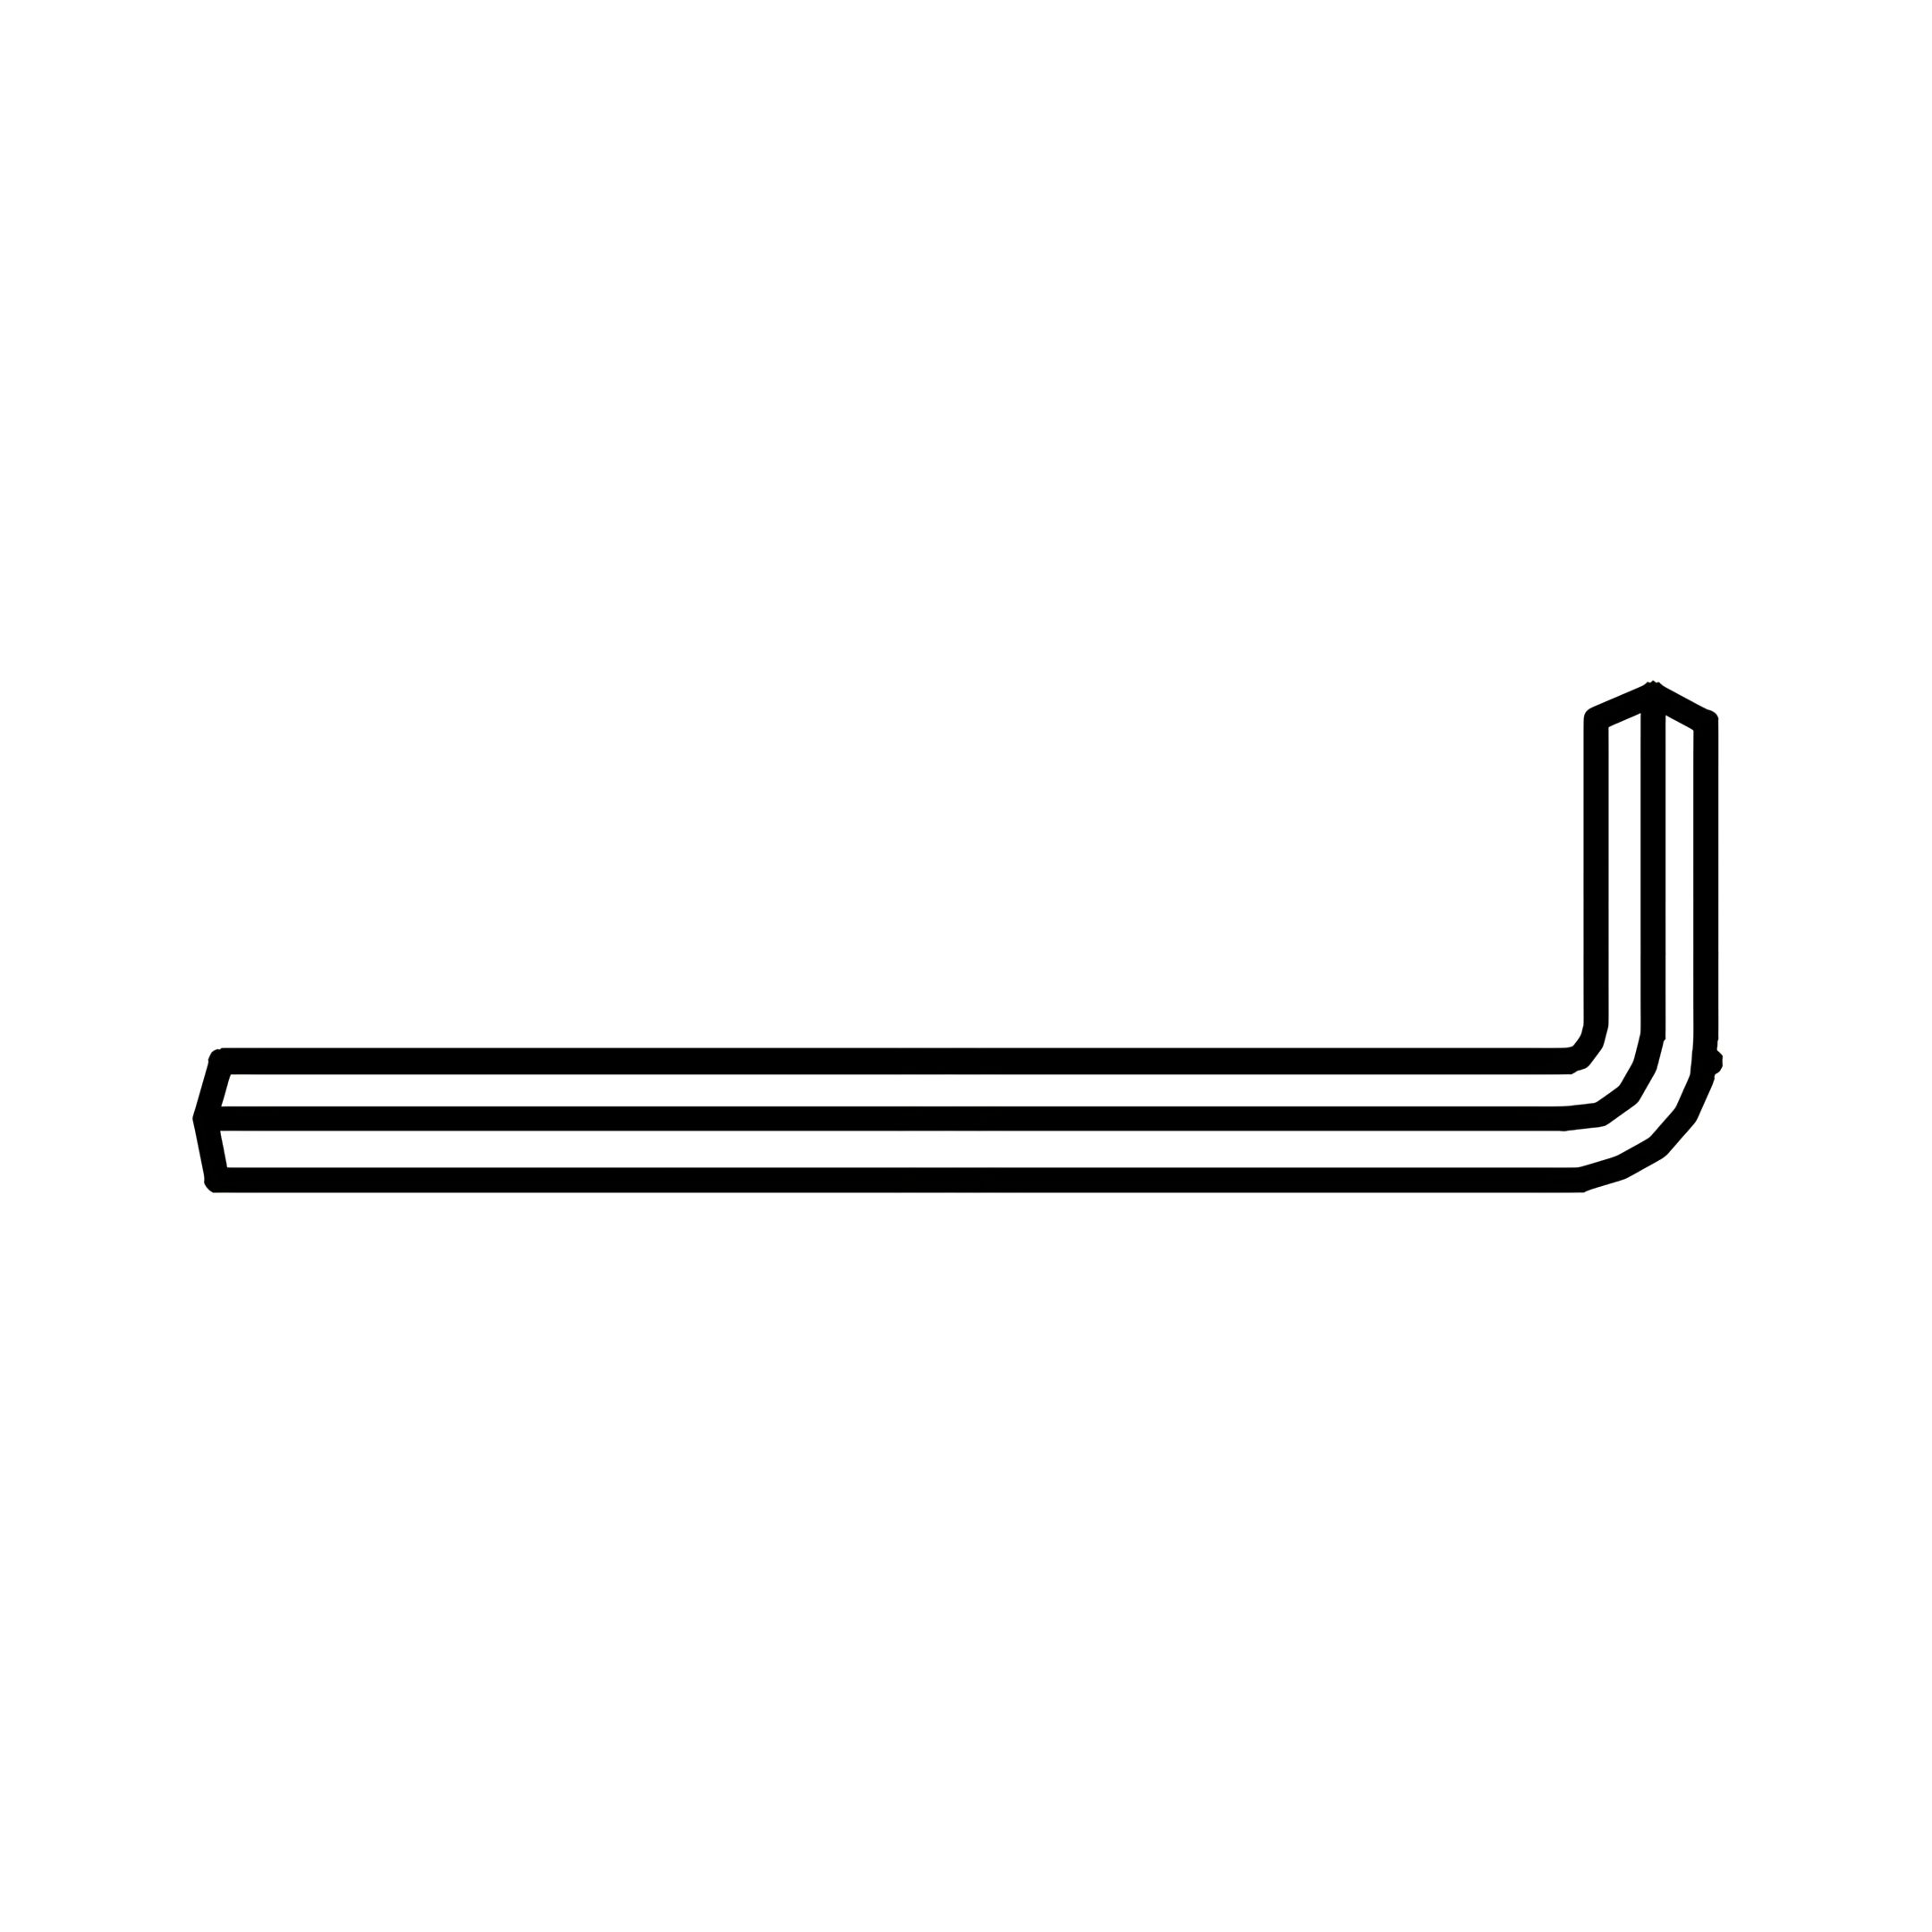
3. Secure HB. Panel (1) to HB. Posts (2, 3) using JCBC M6 × 90mm Bolts (H), tightening them with the Allen key.
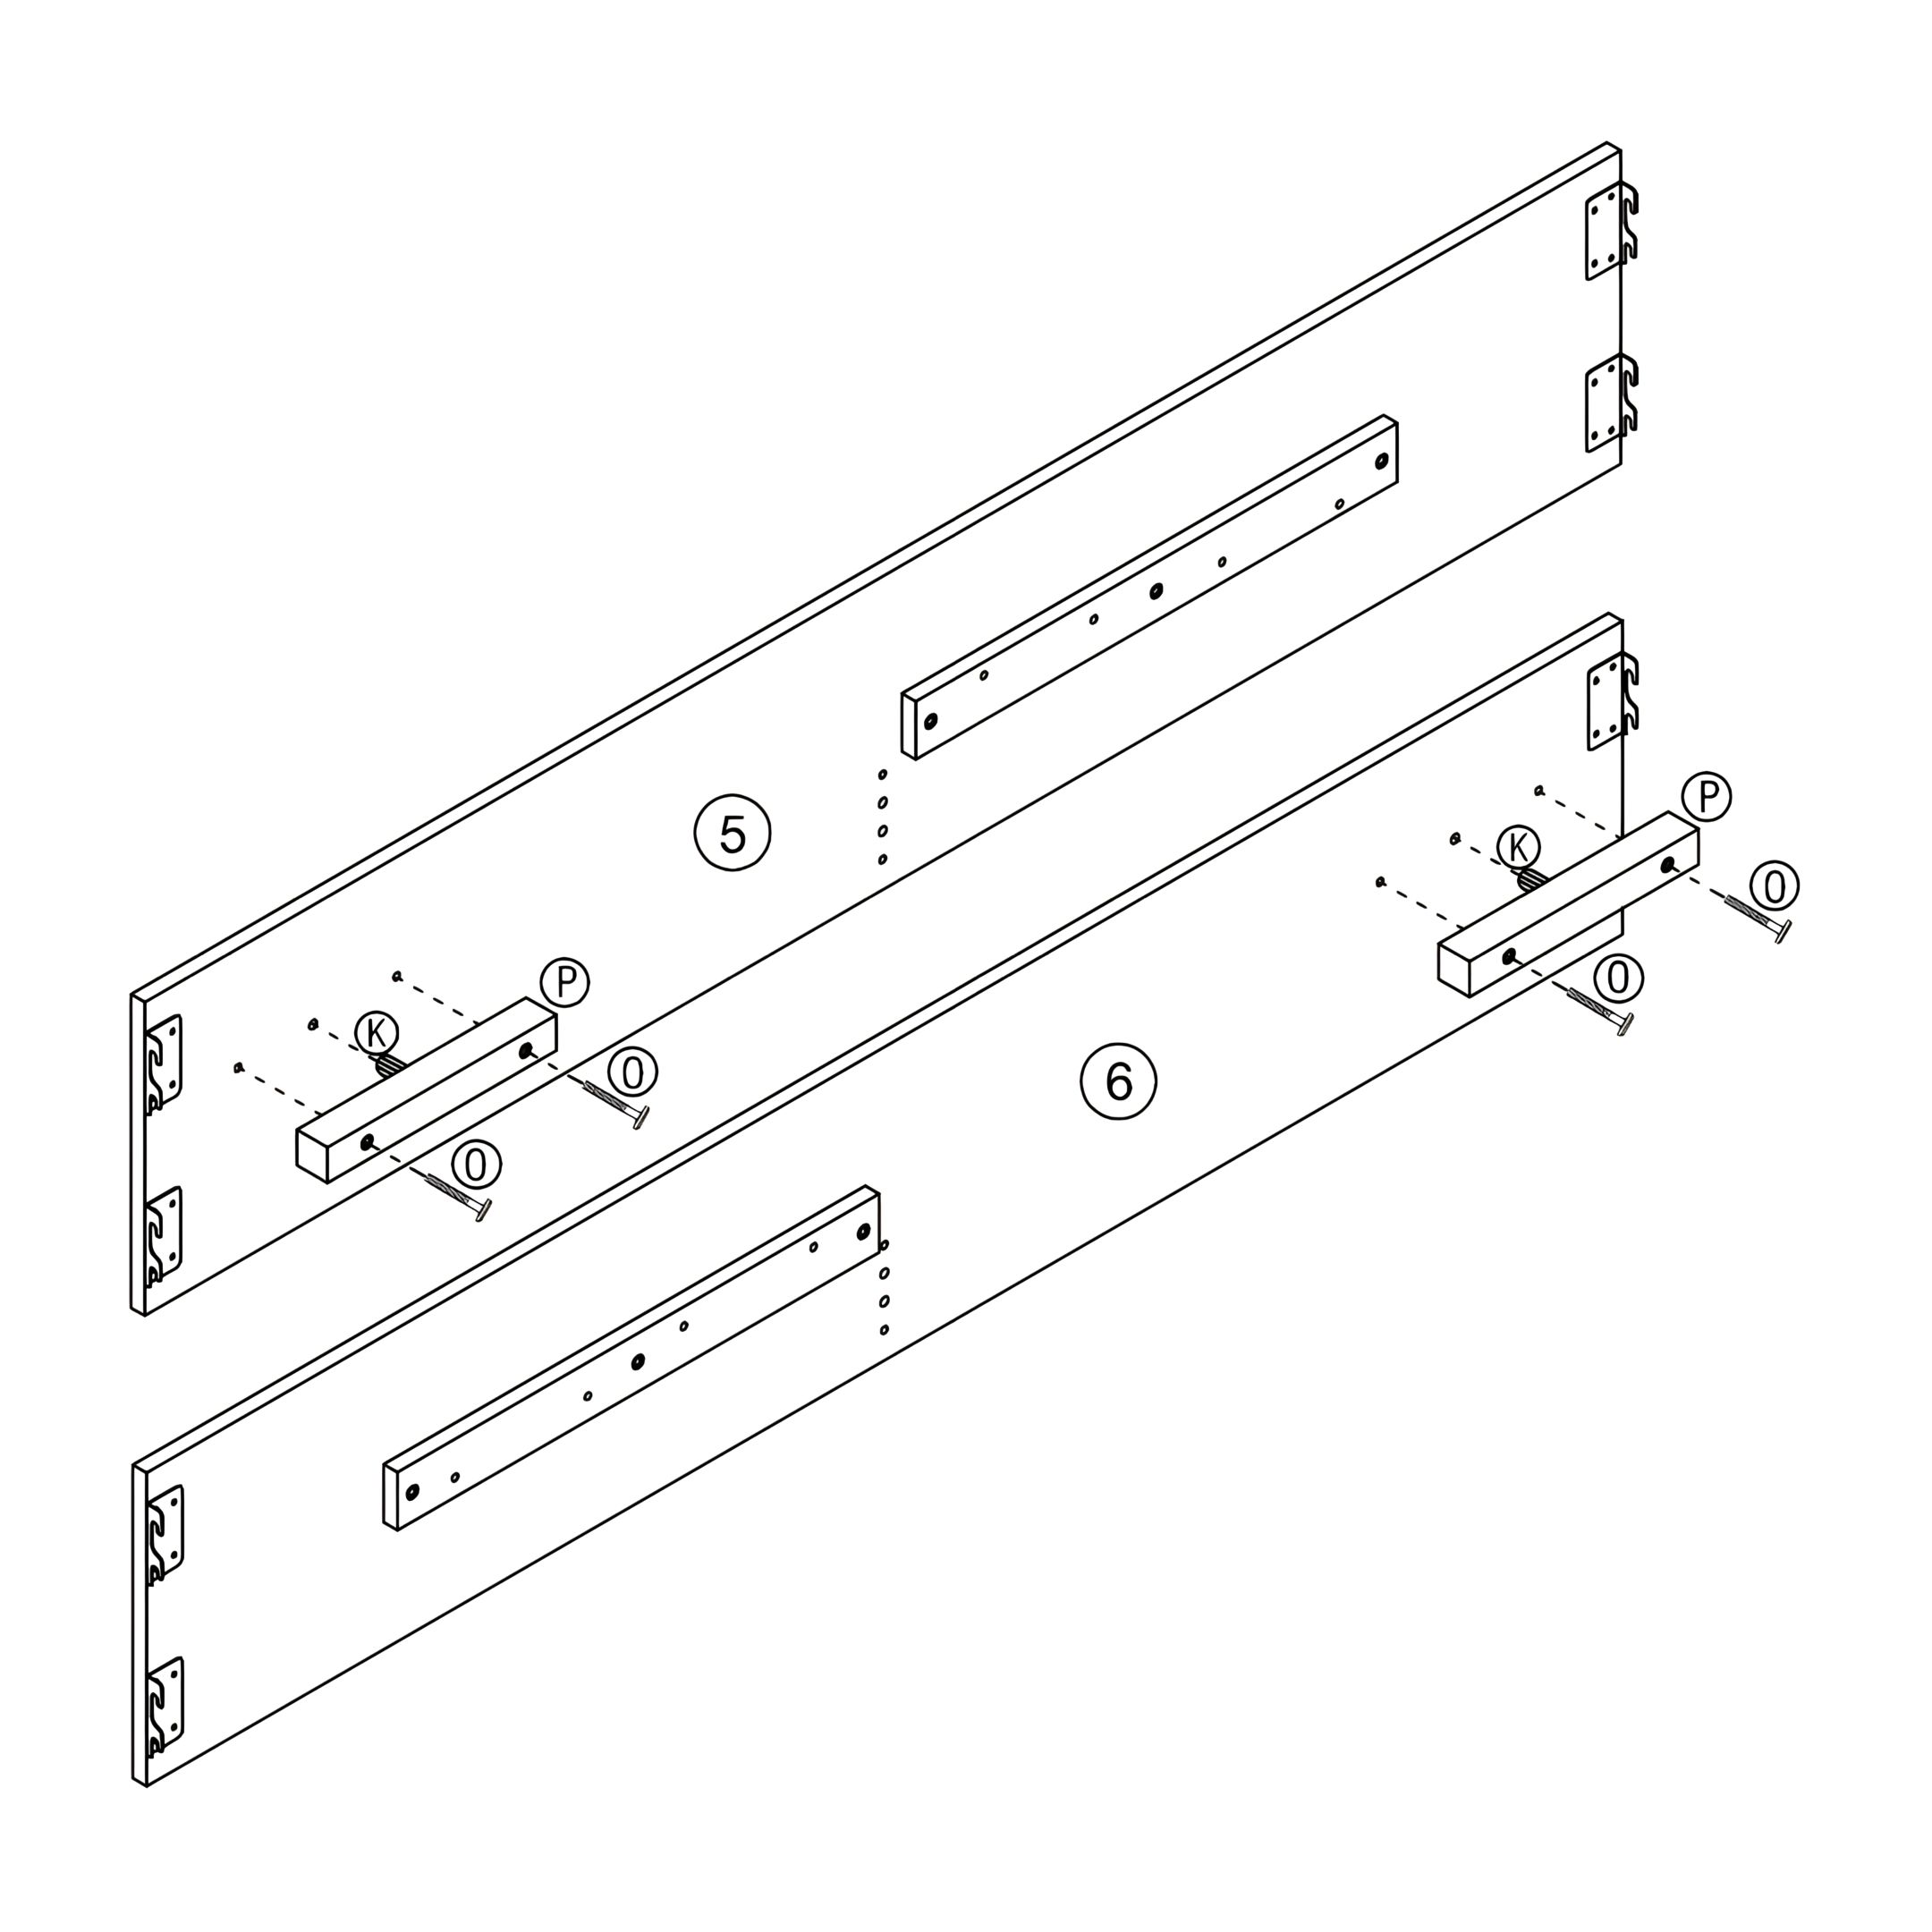
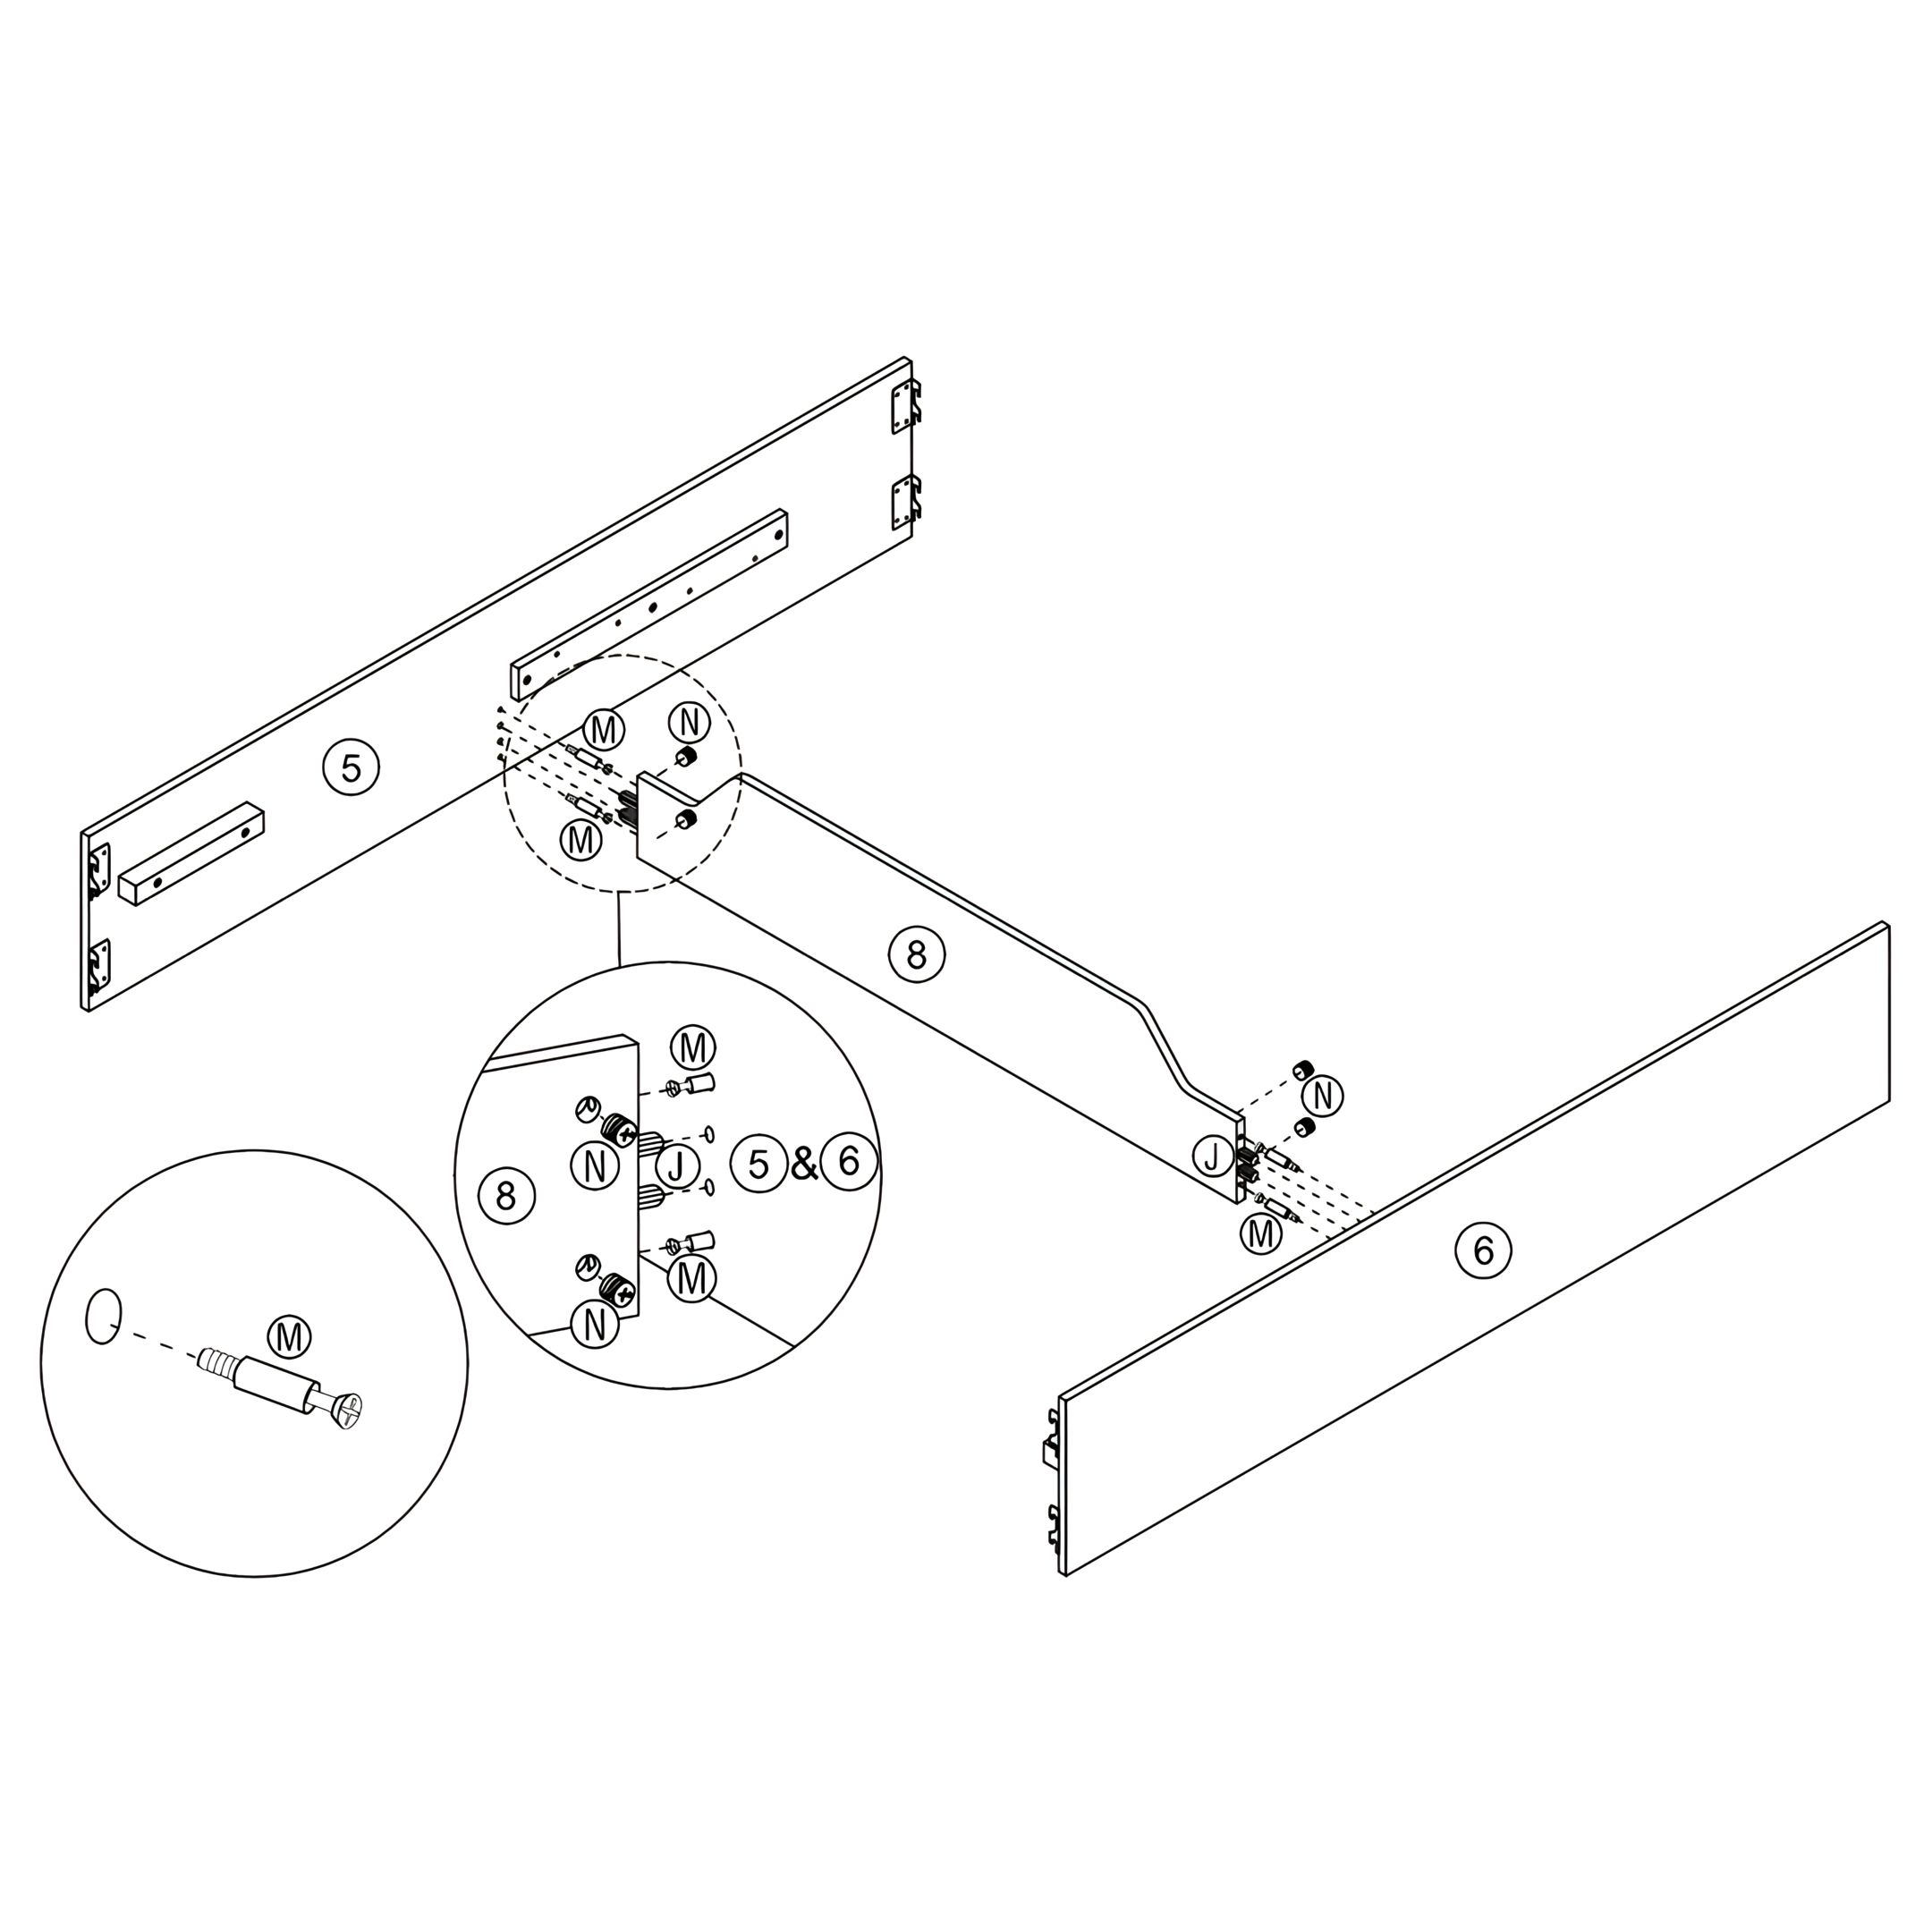
4. Position the HB. Bottom Panel (7) below the HB. Panel (1).
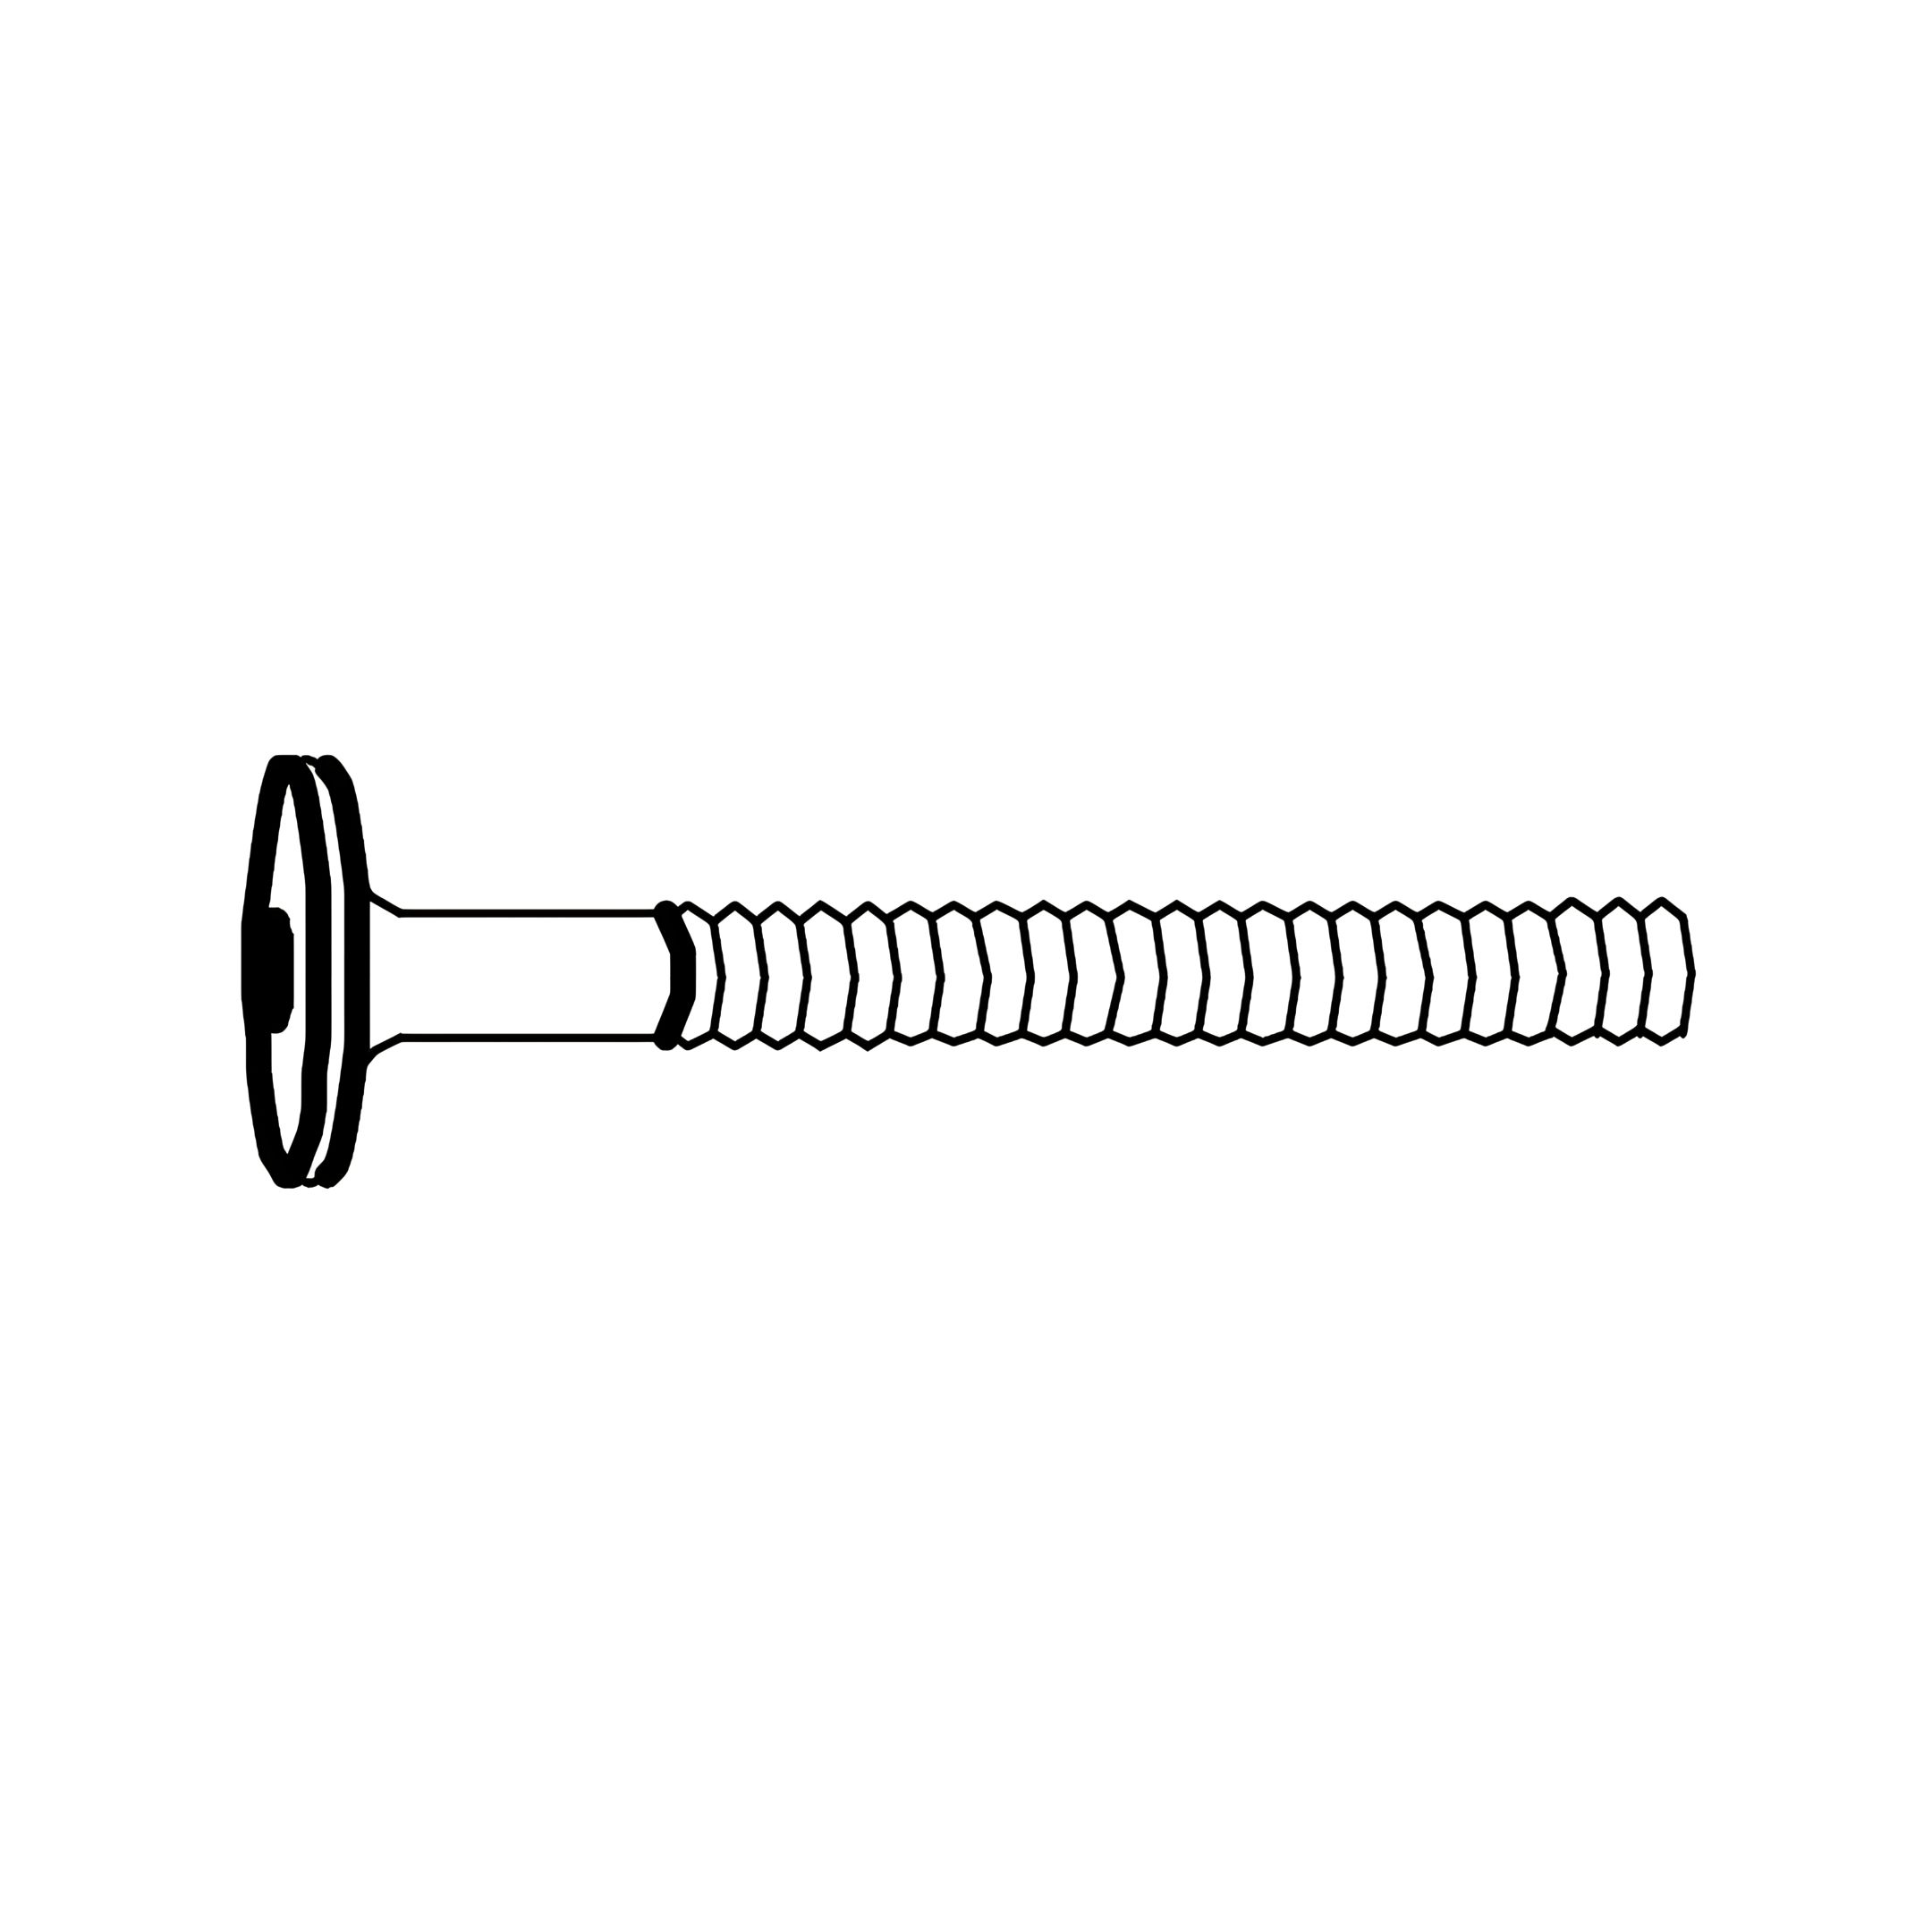
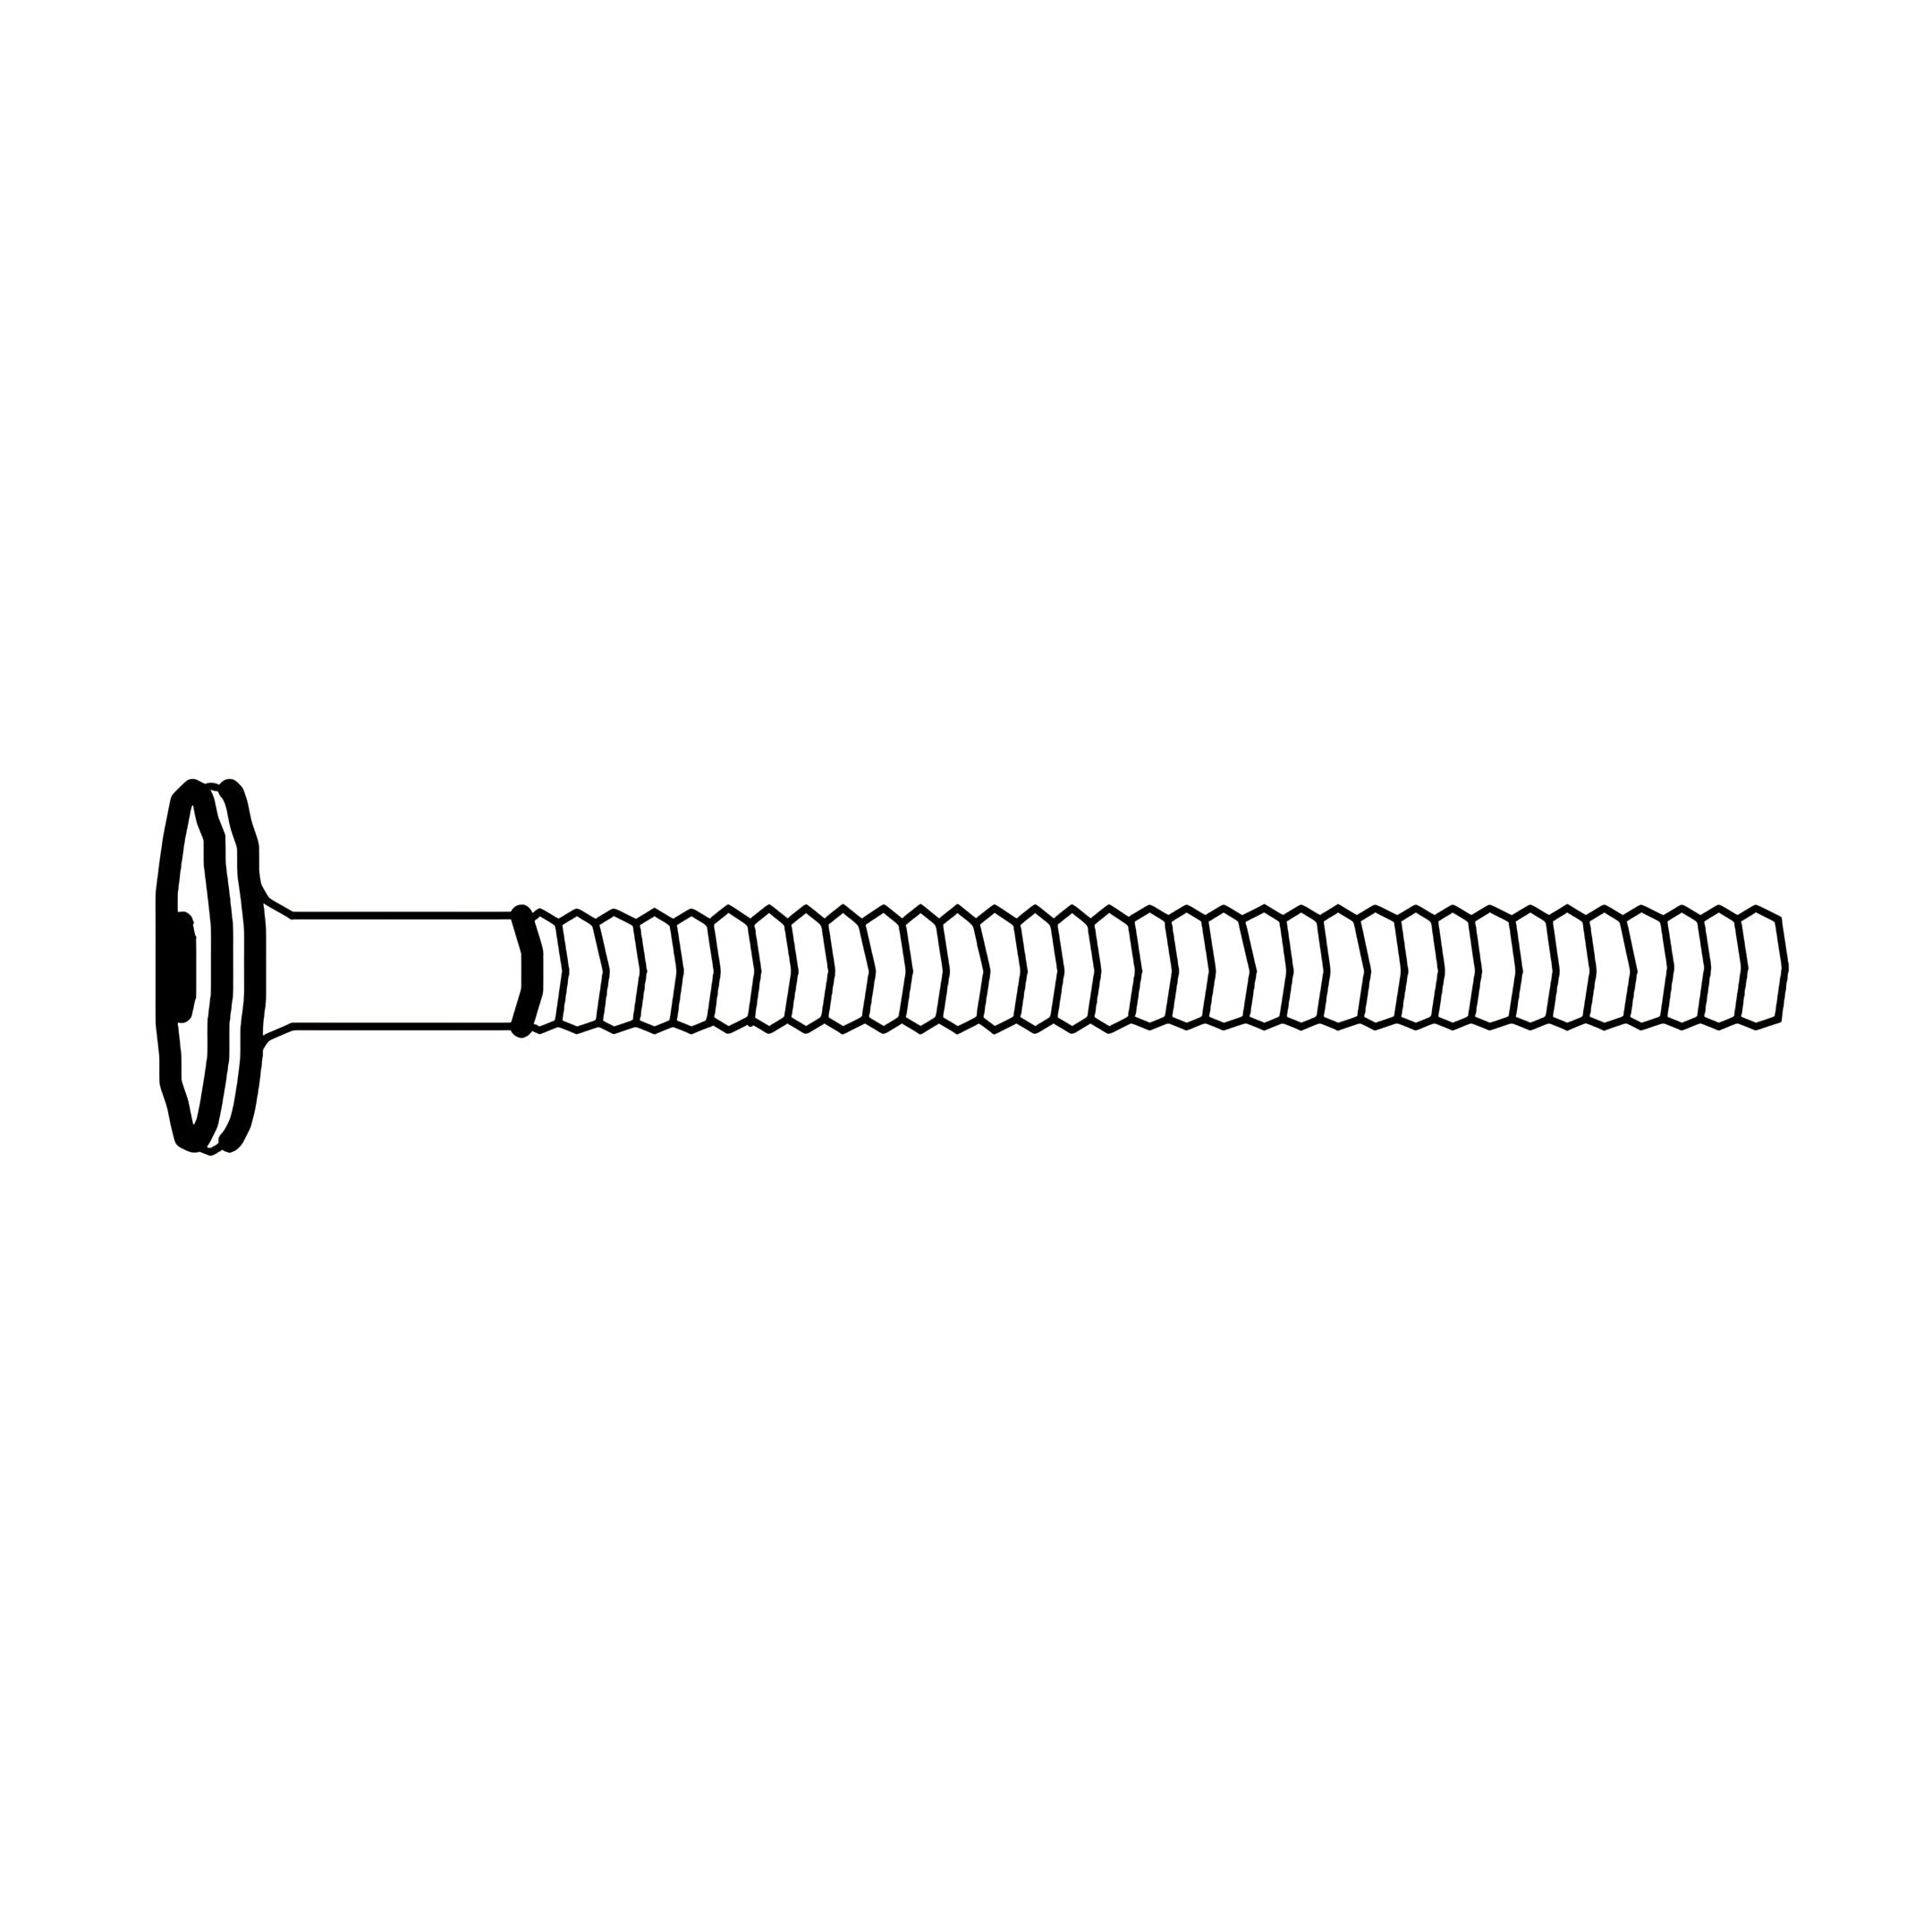
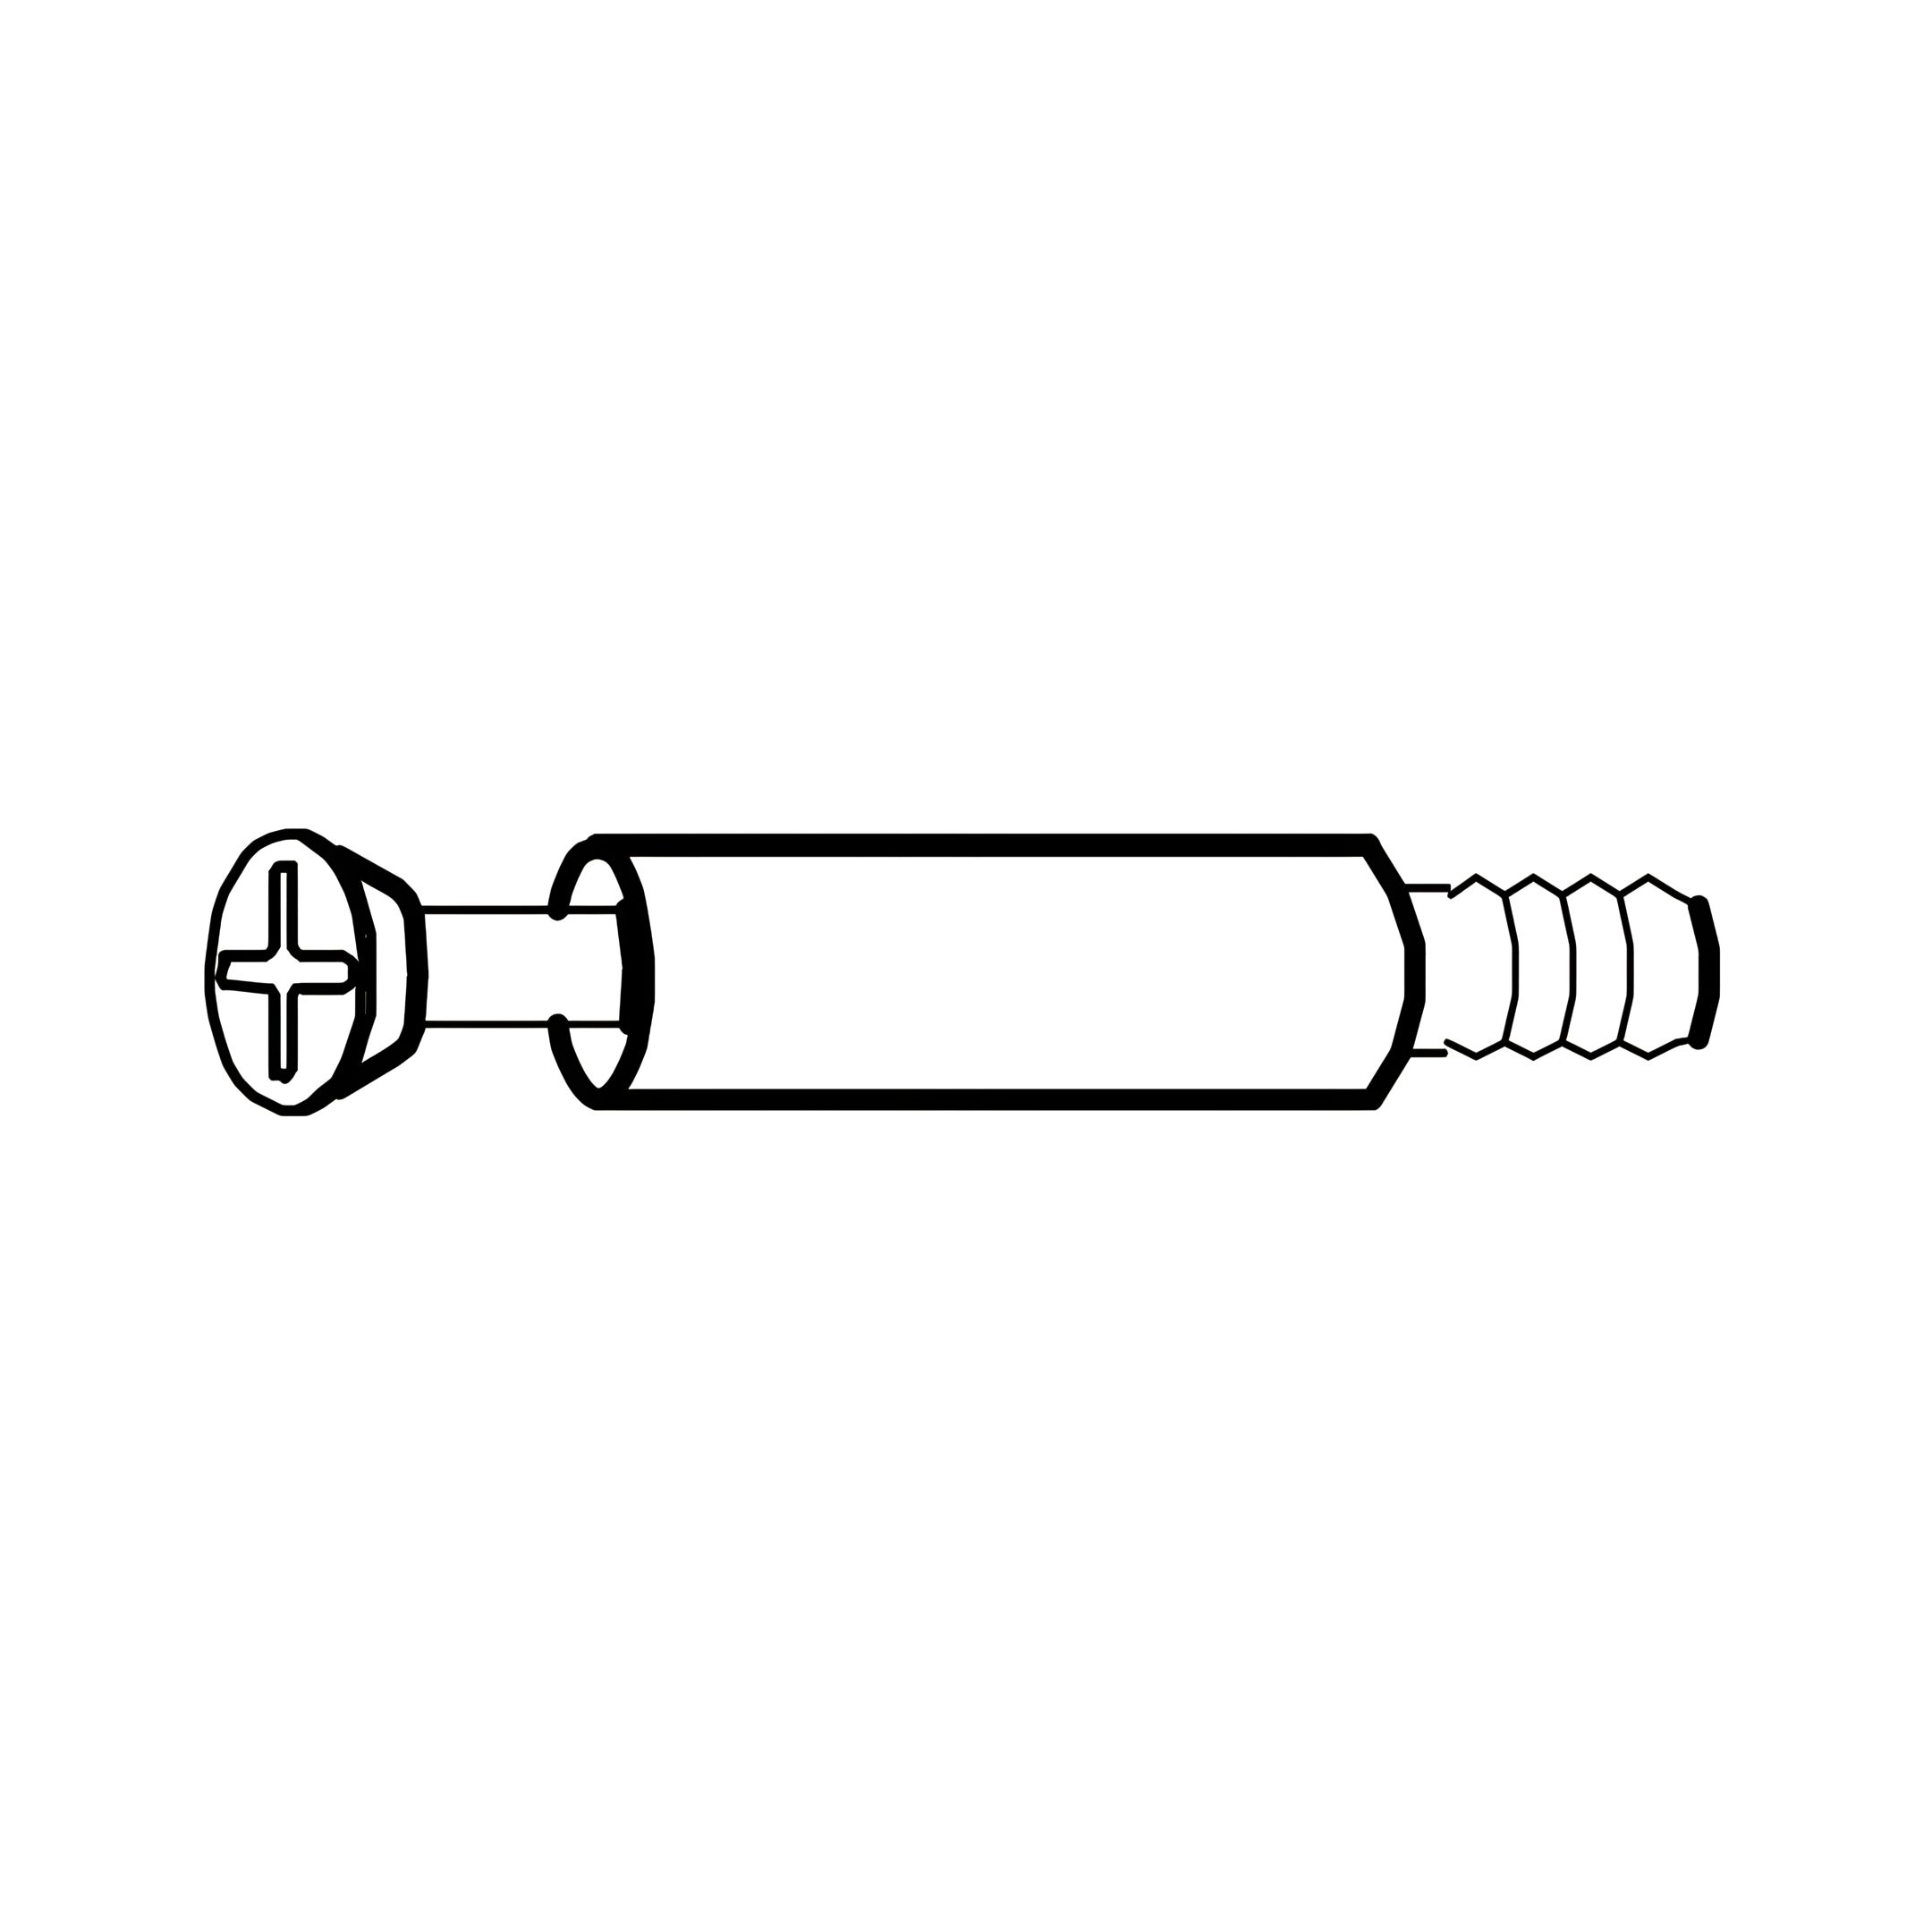
5. Insert Connecting Bolts (M) through the pre-drilled holes on HB. Bottom Panel (7) and into HB. Posts (2, 3).
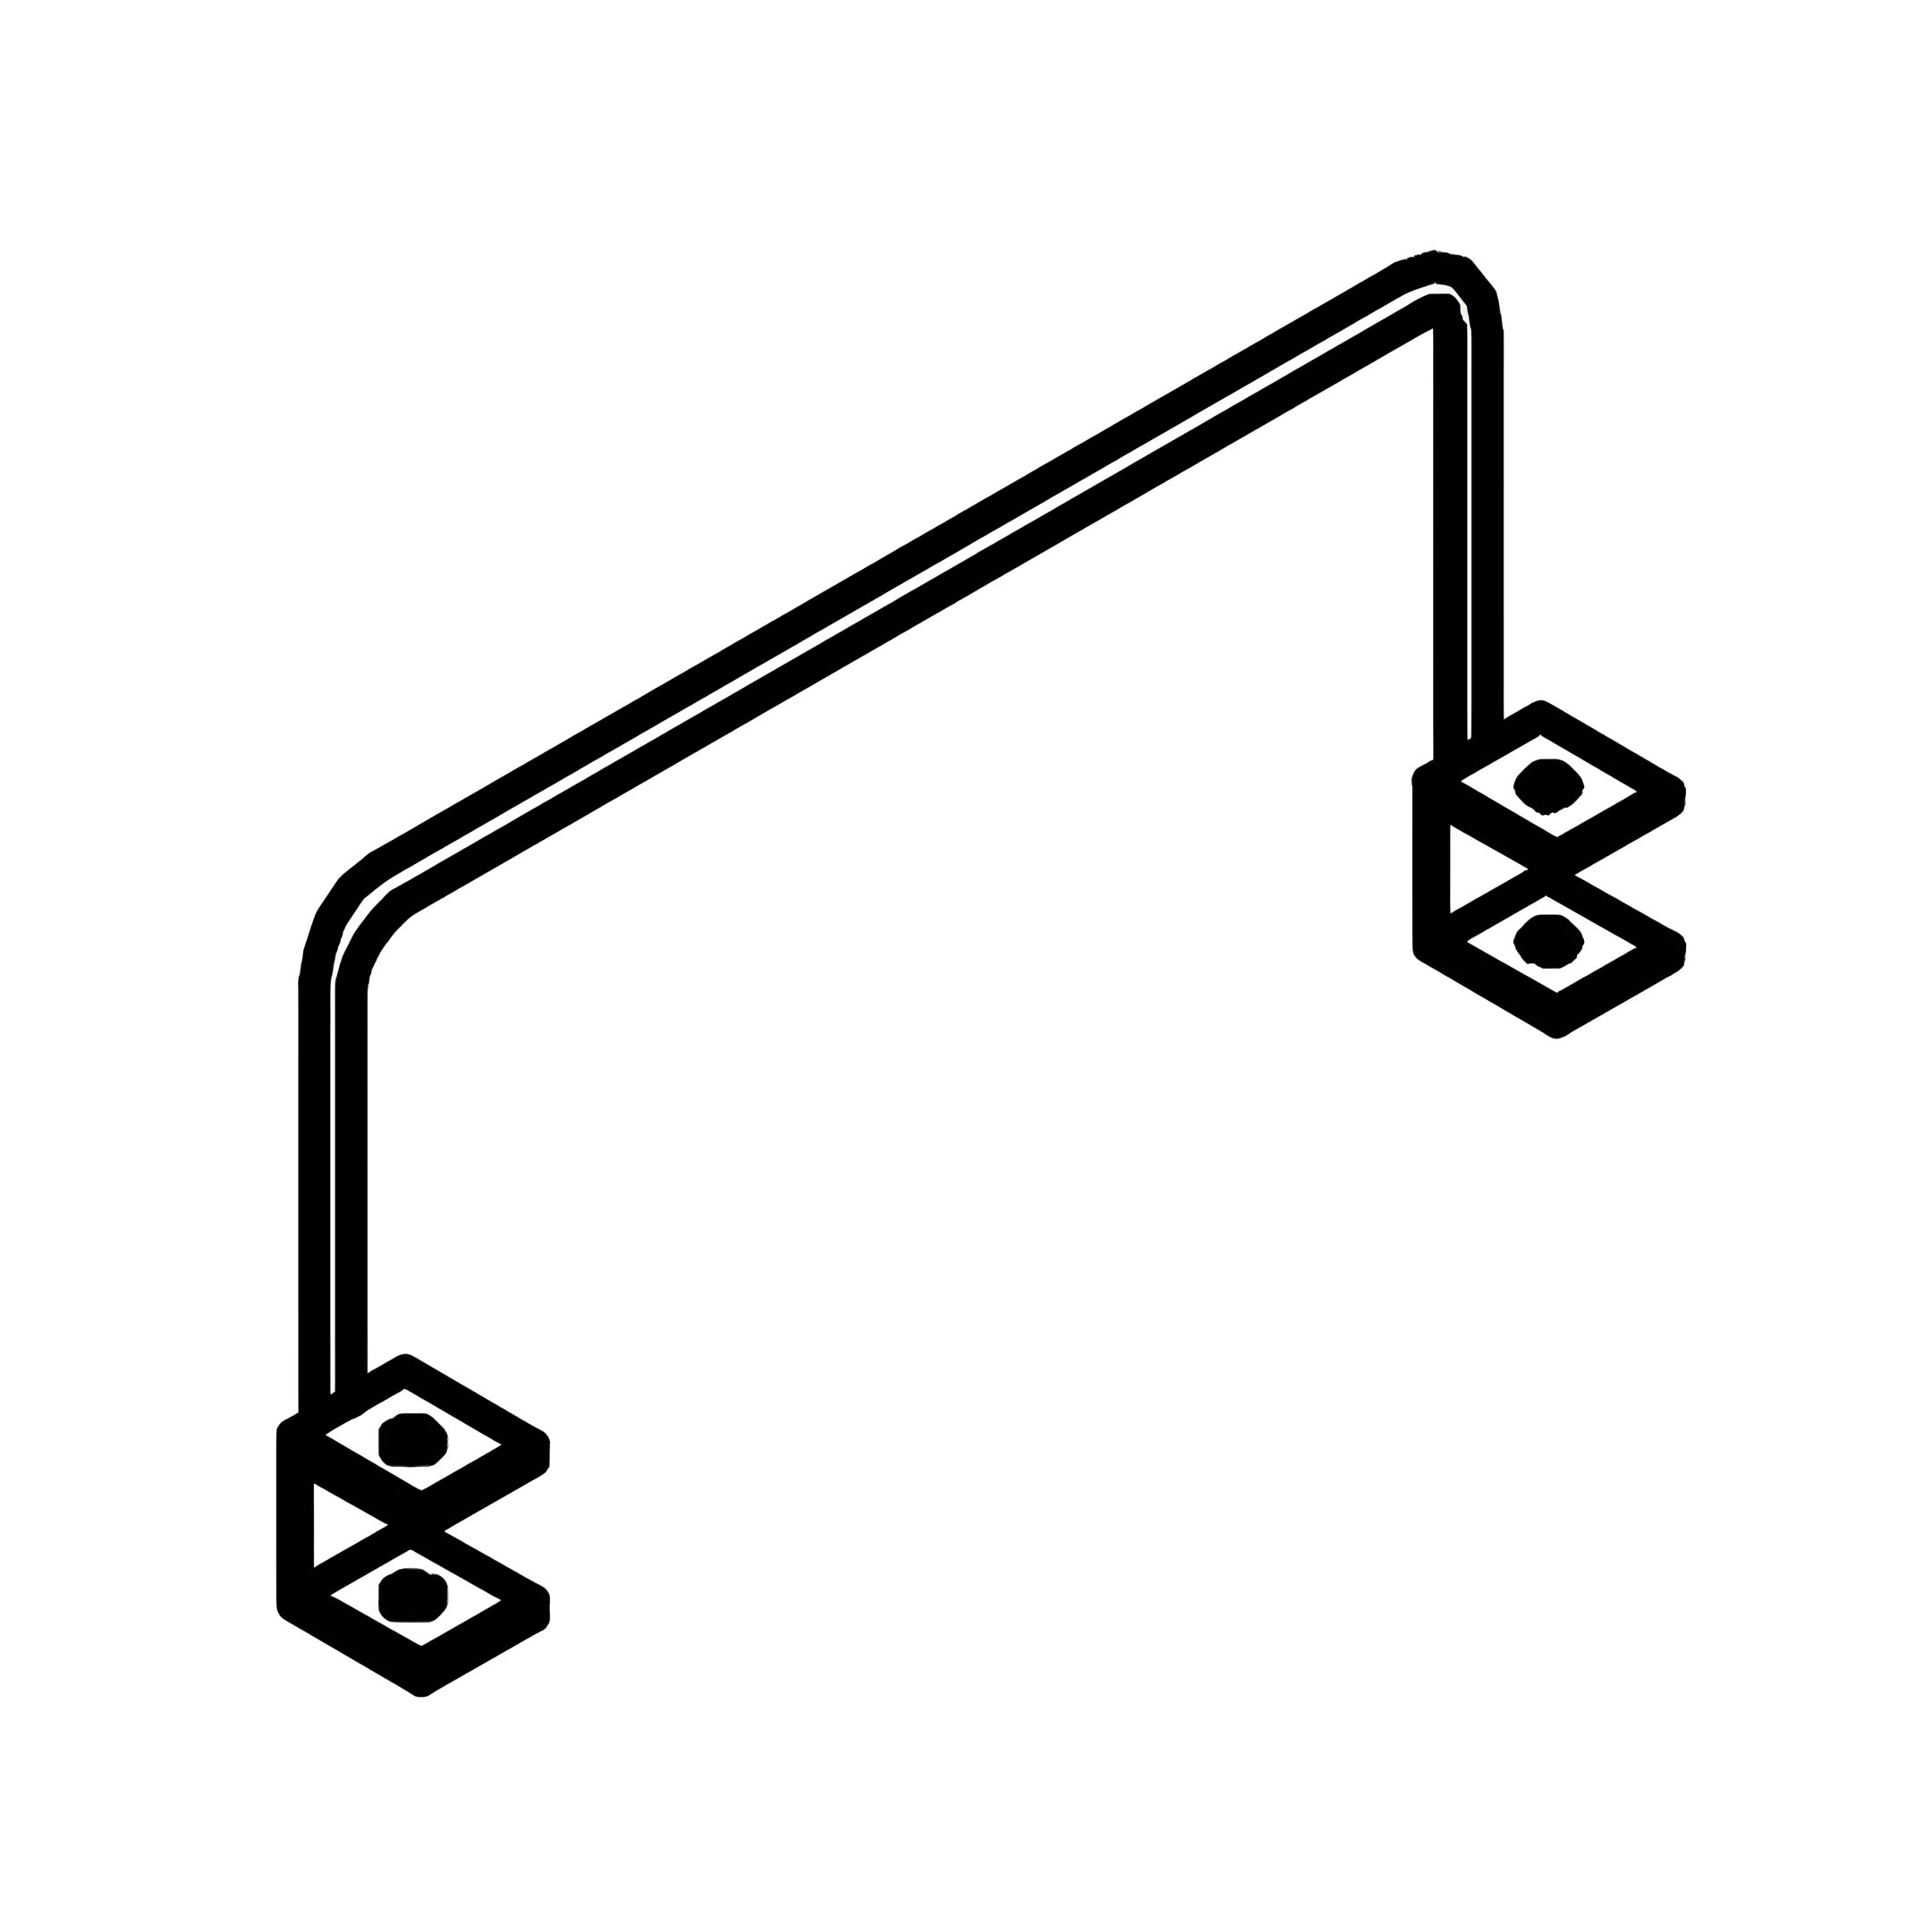
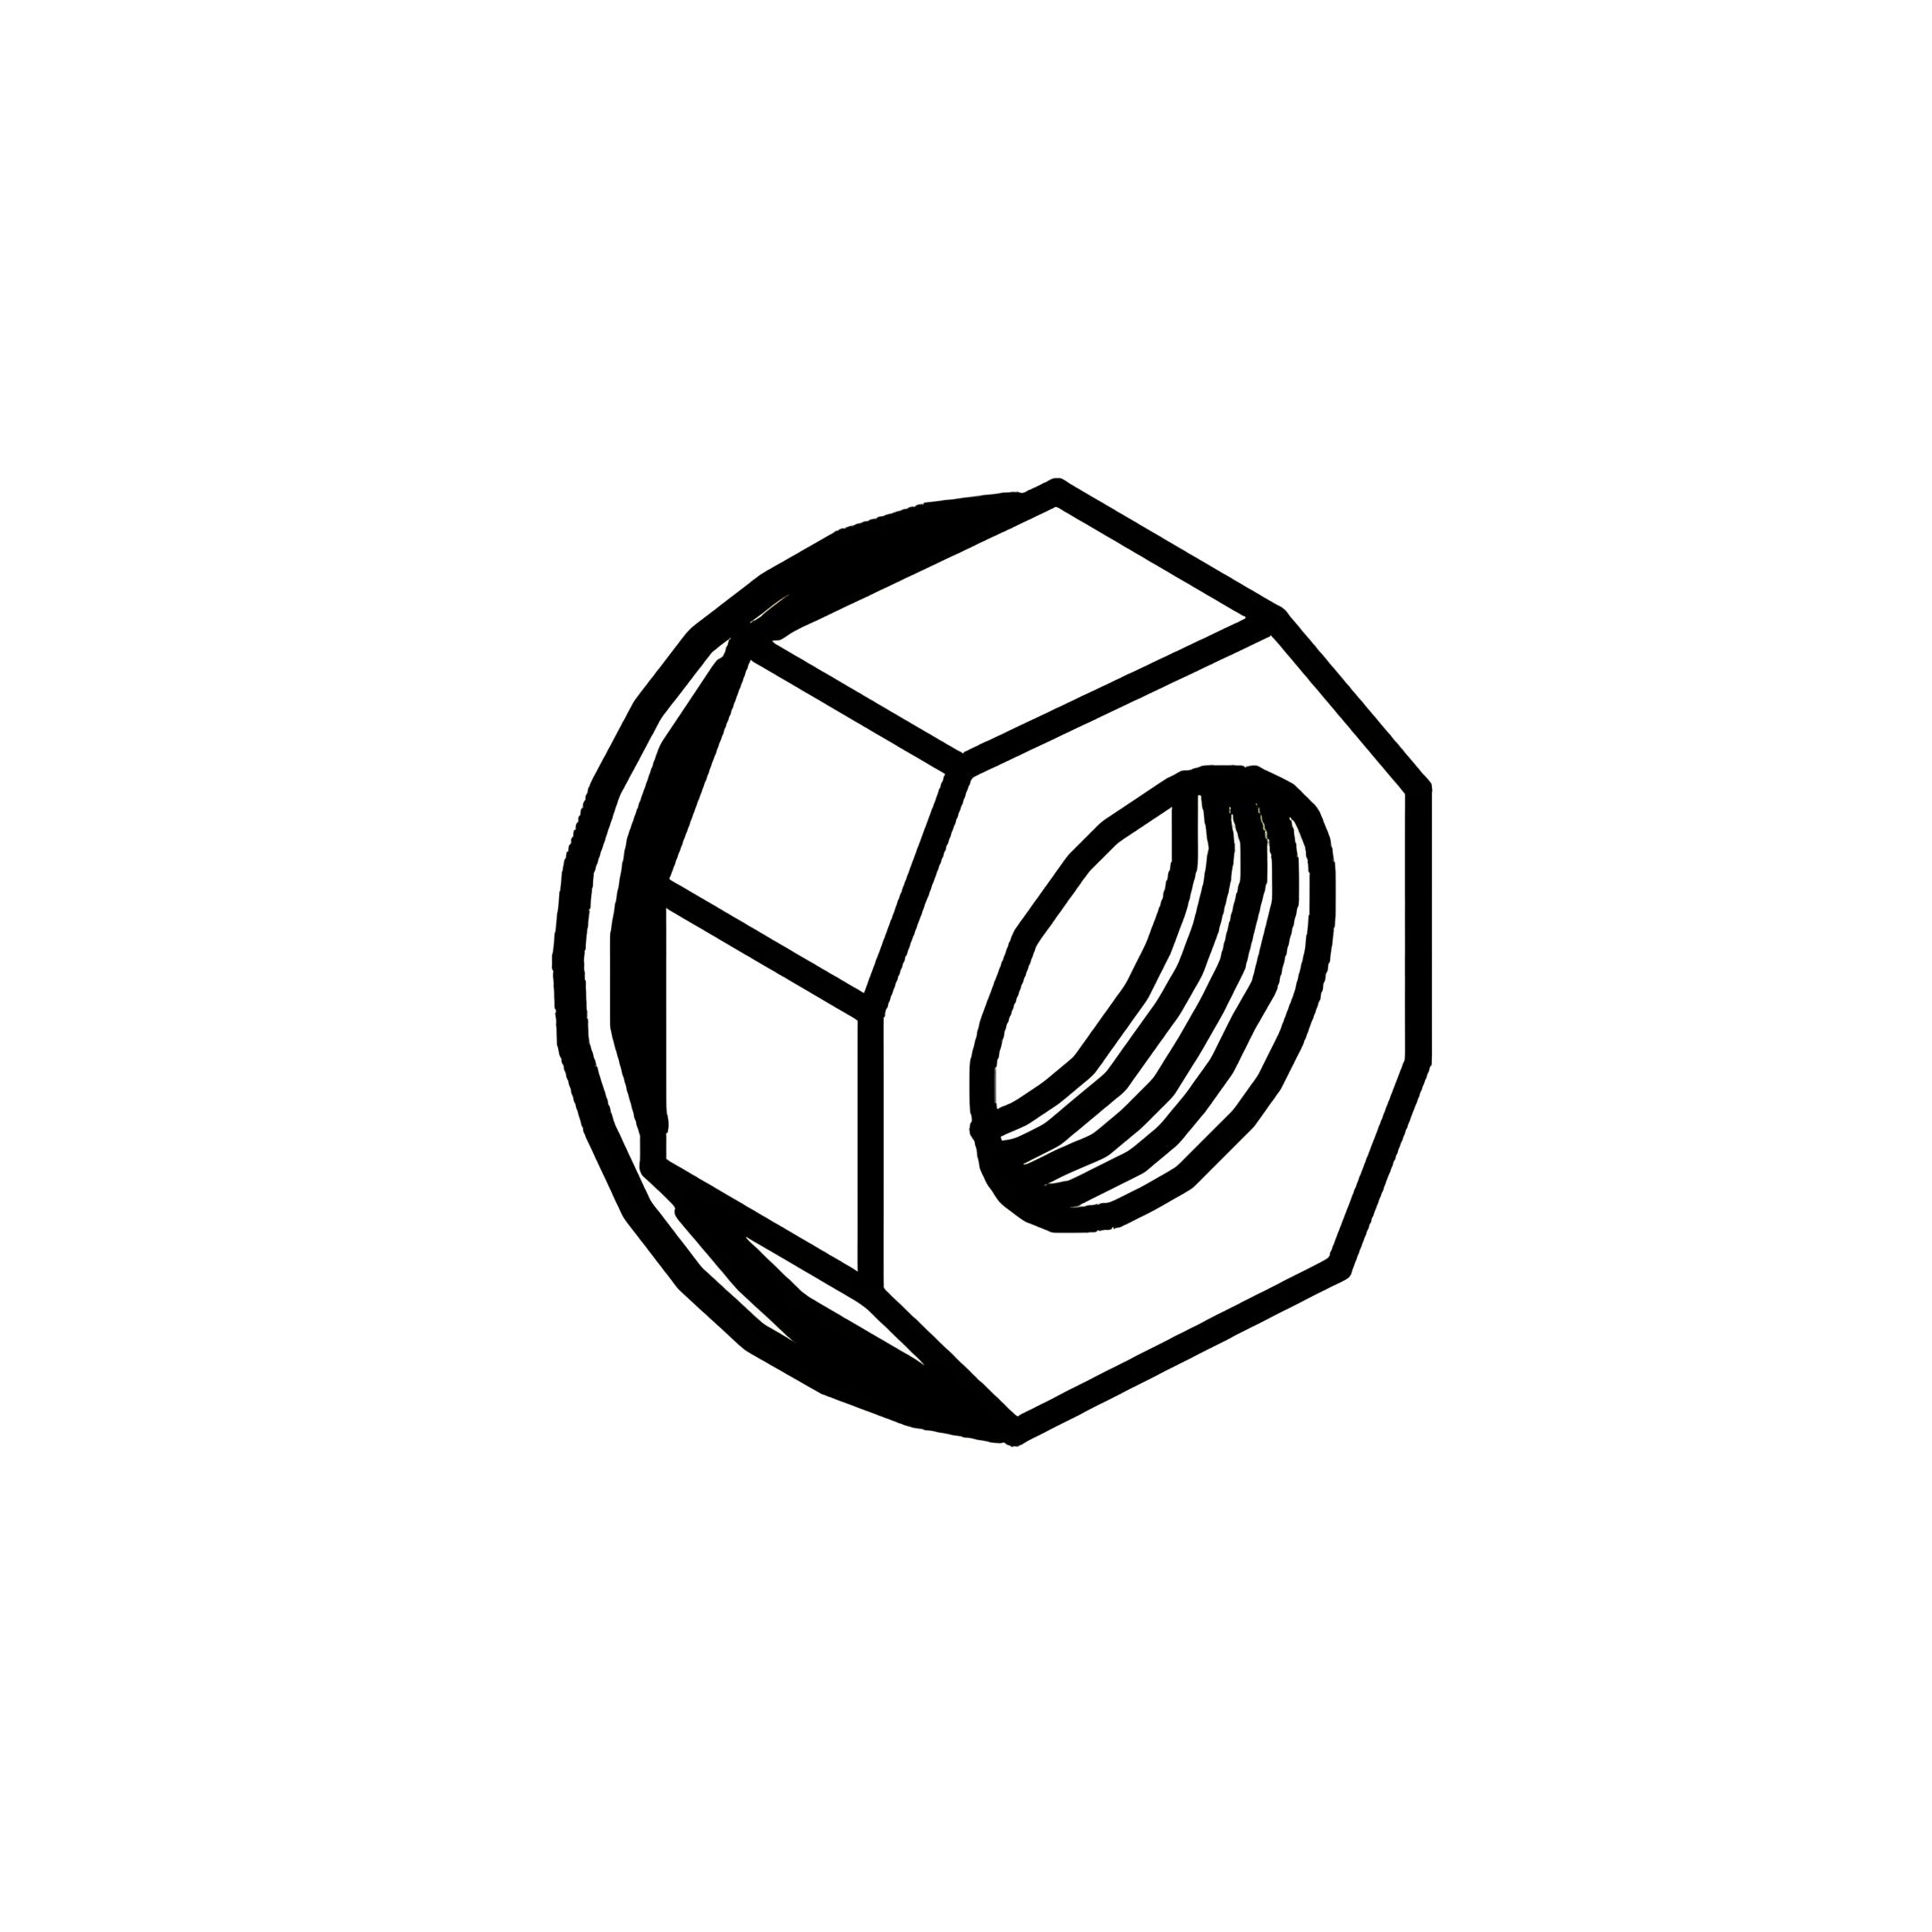
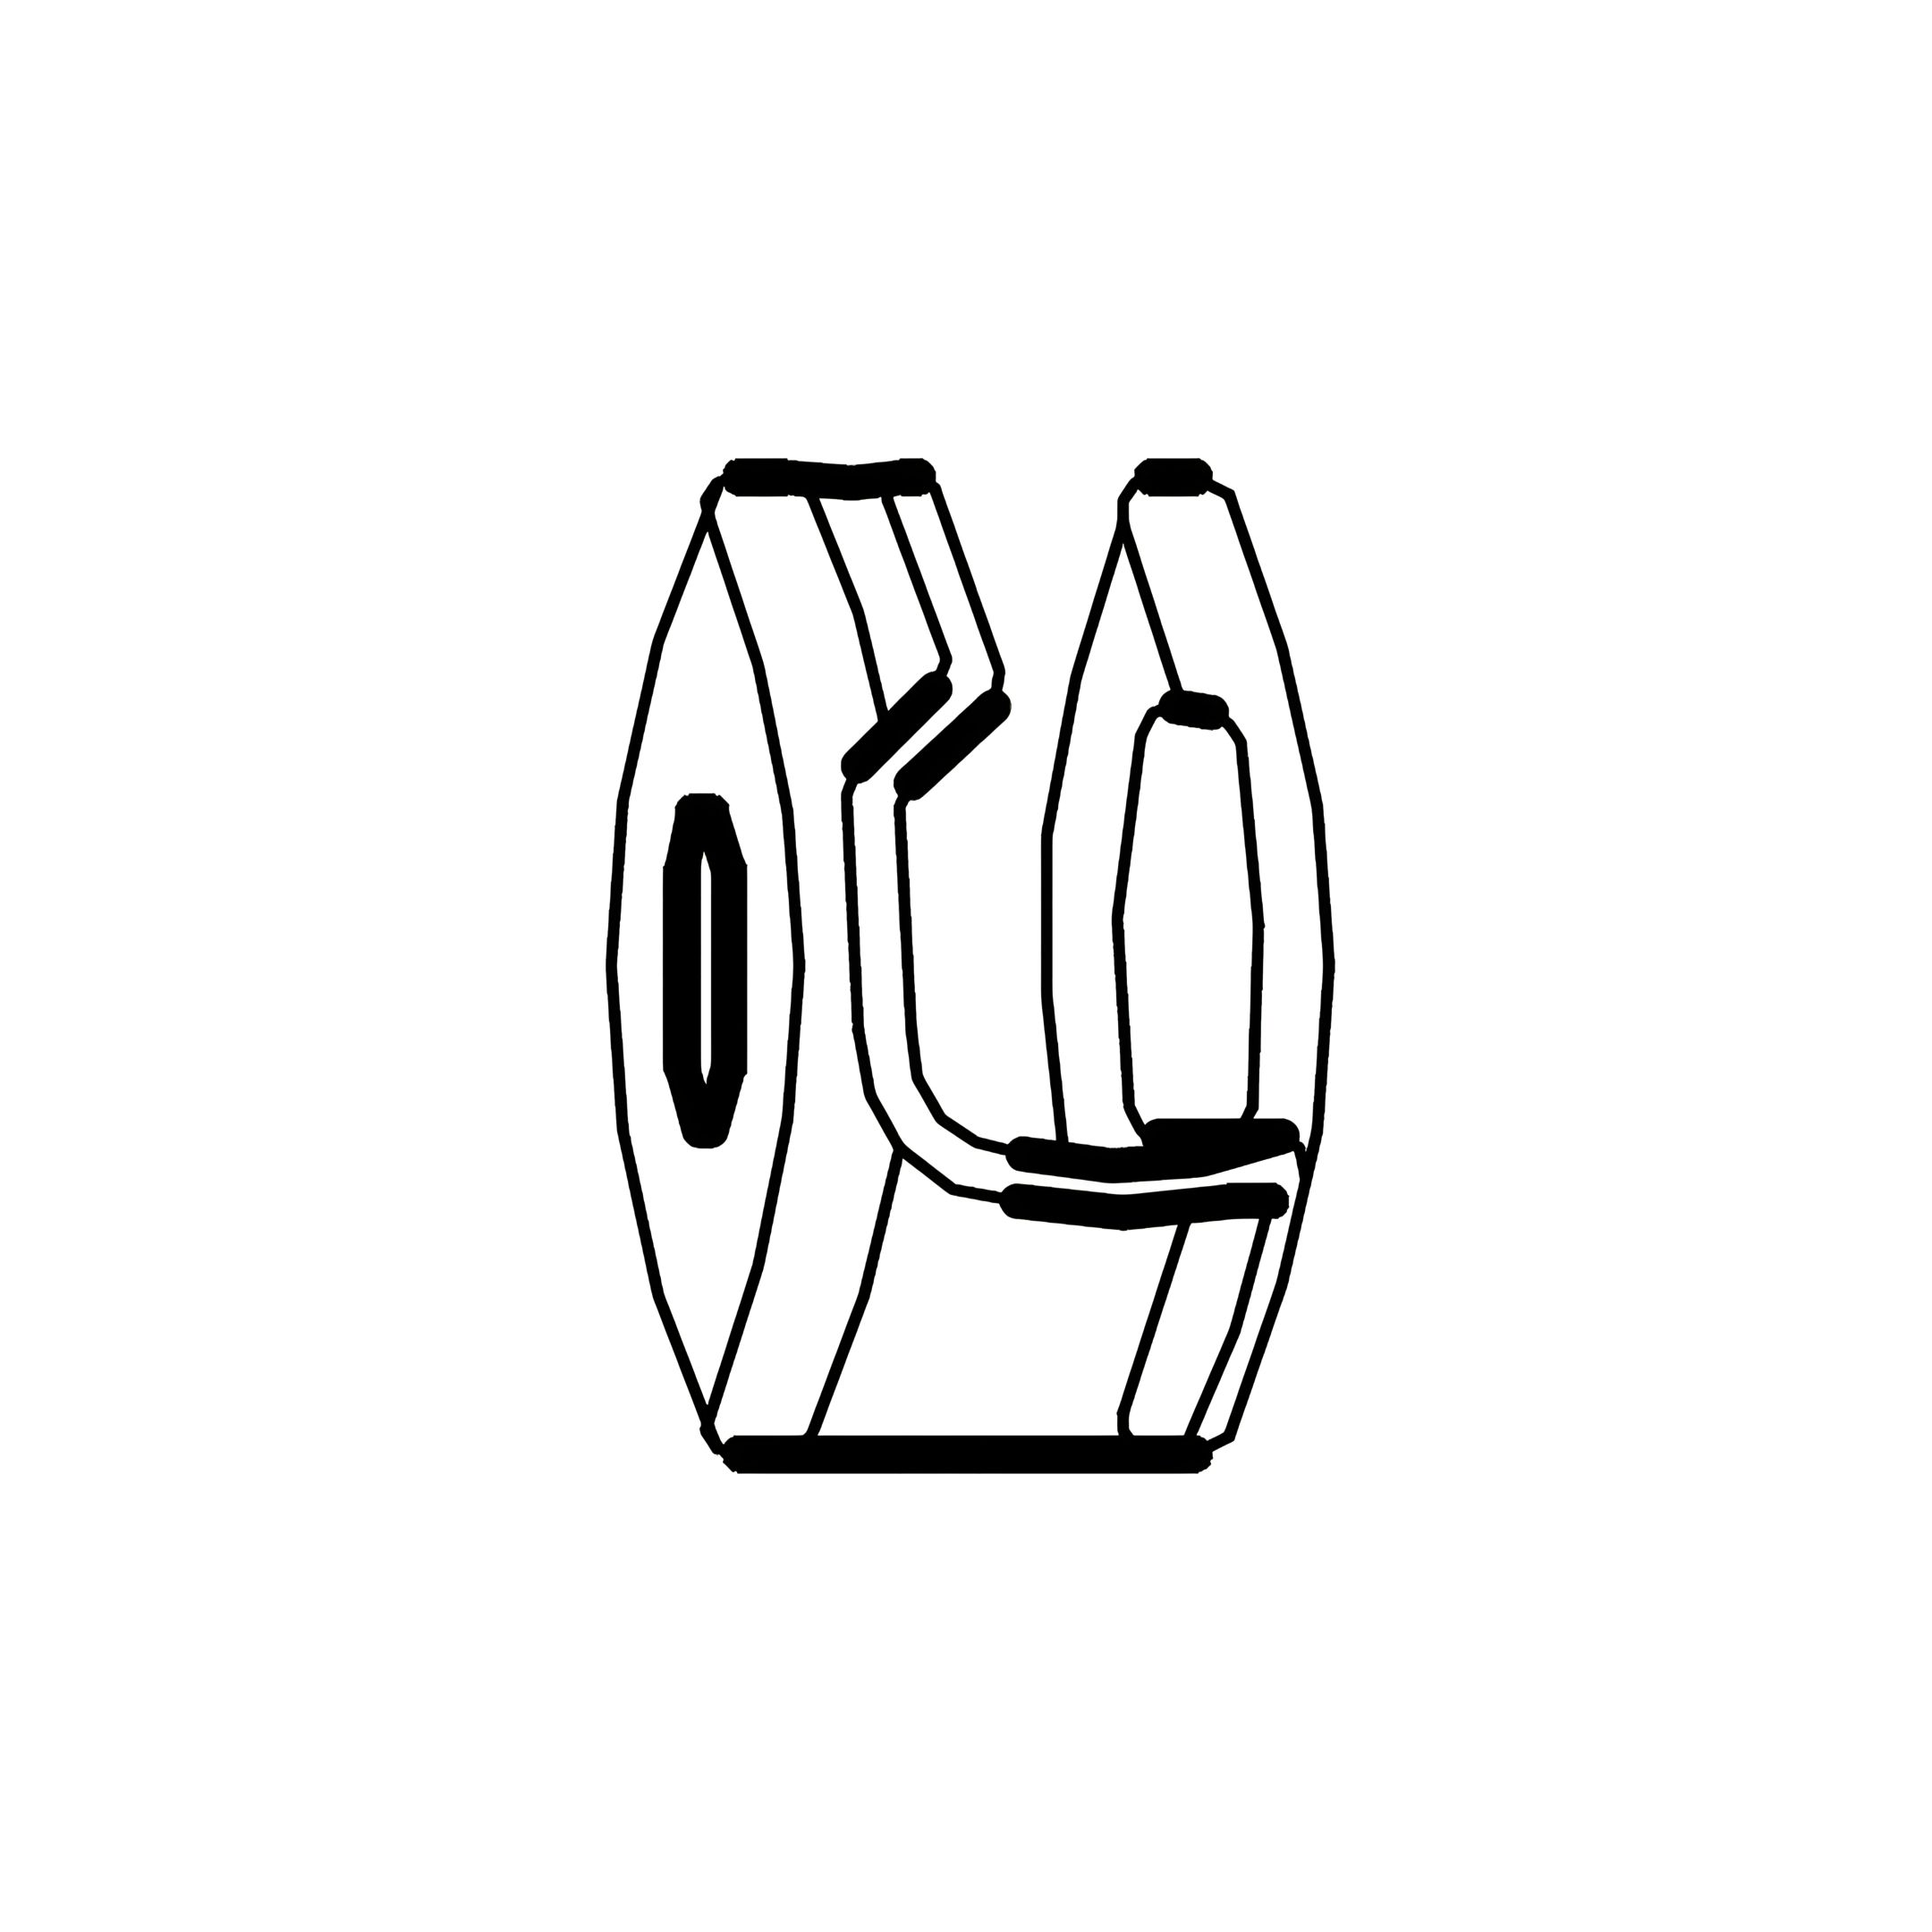
6. Insert Minifix Housings (N) into the designated slots on HB. Posts (2, 3) and rotate them to lock the Connecting Bolts (M) in place.
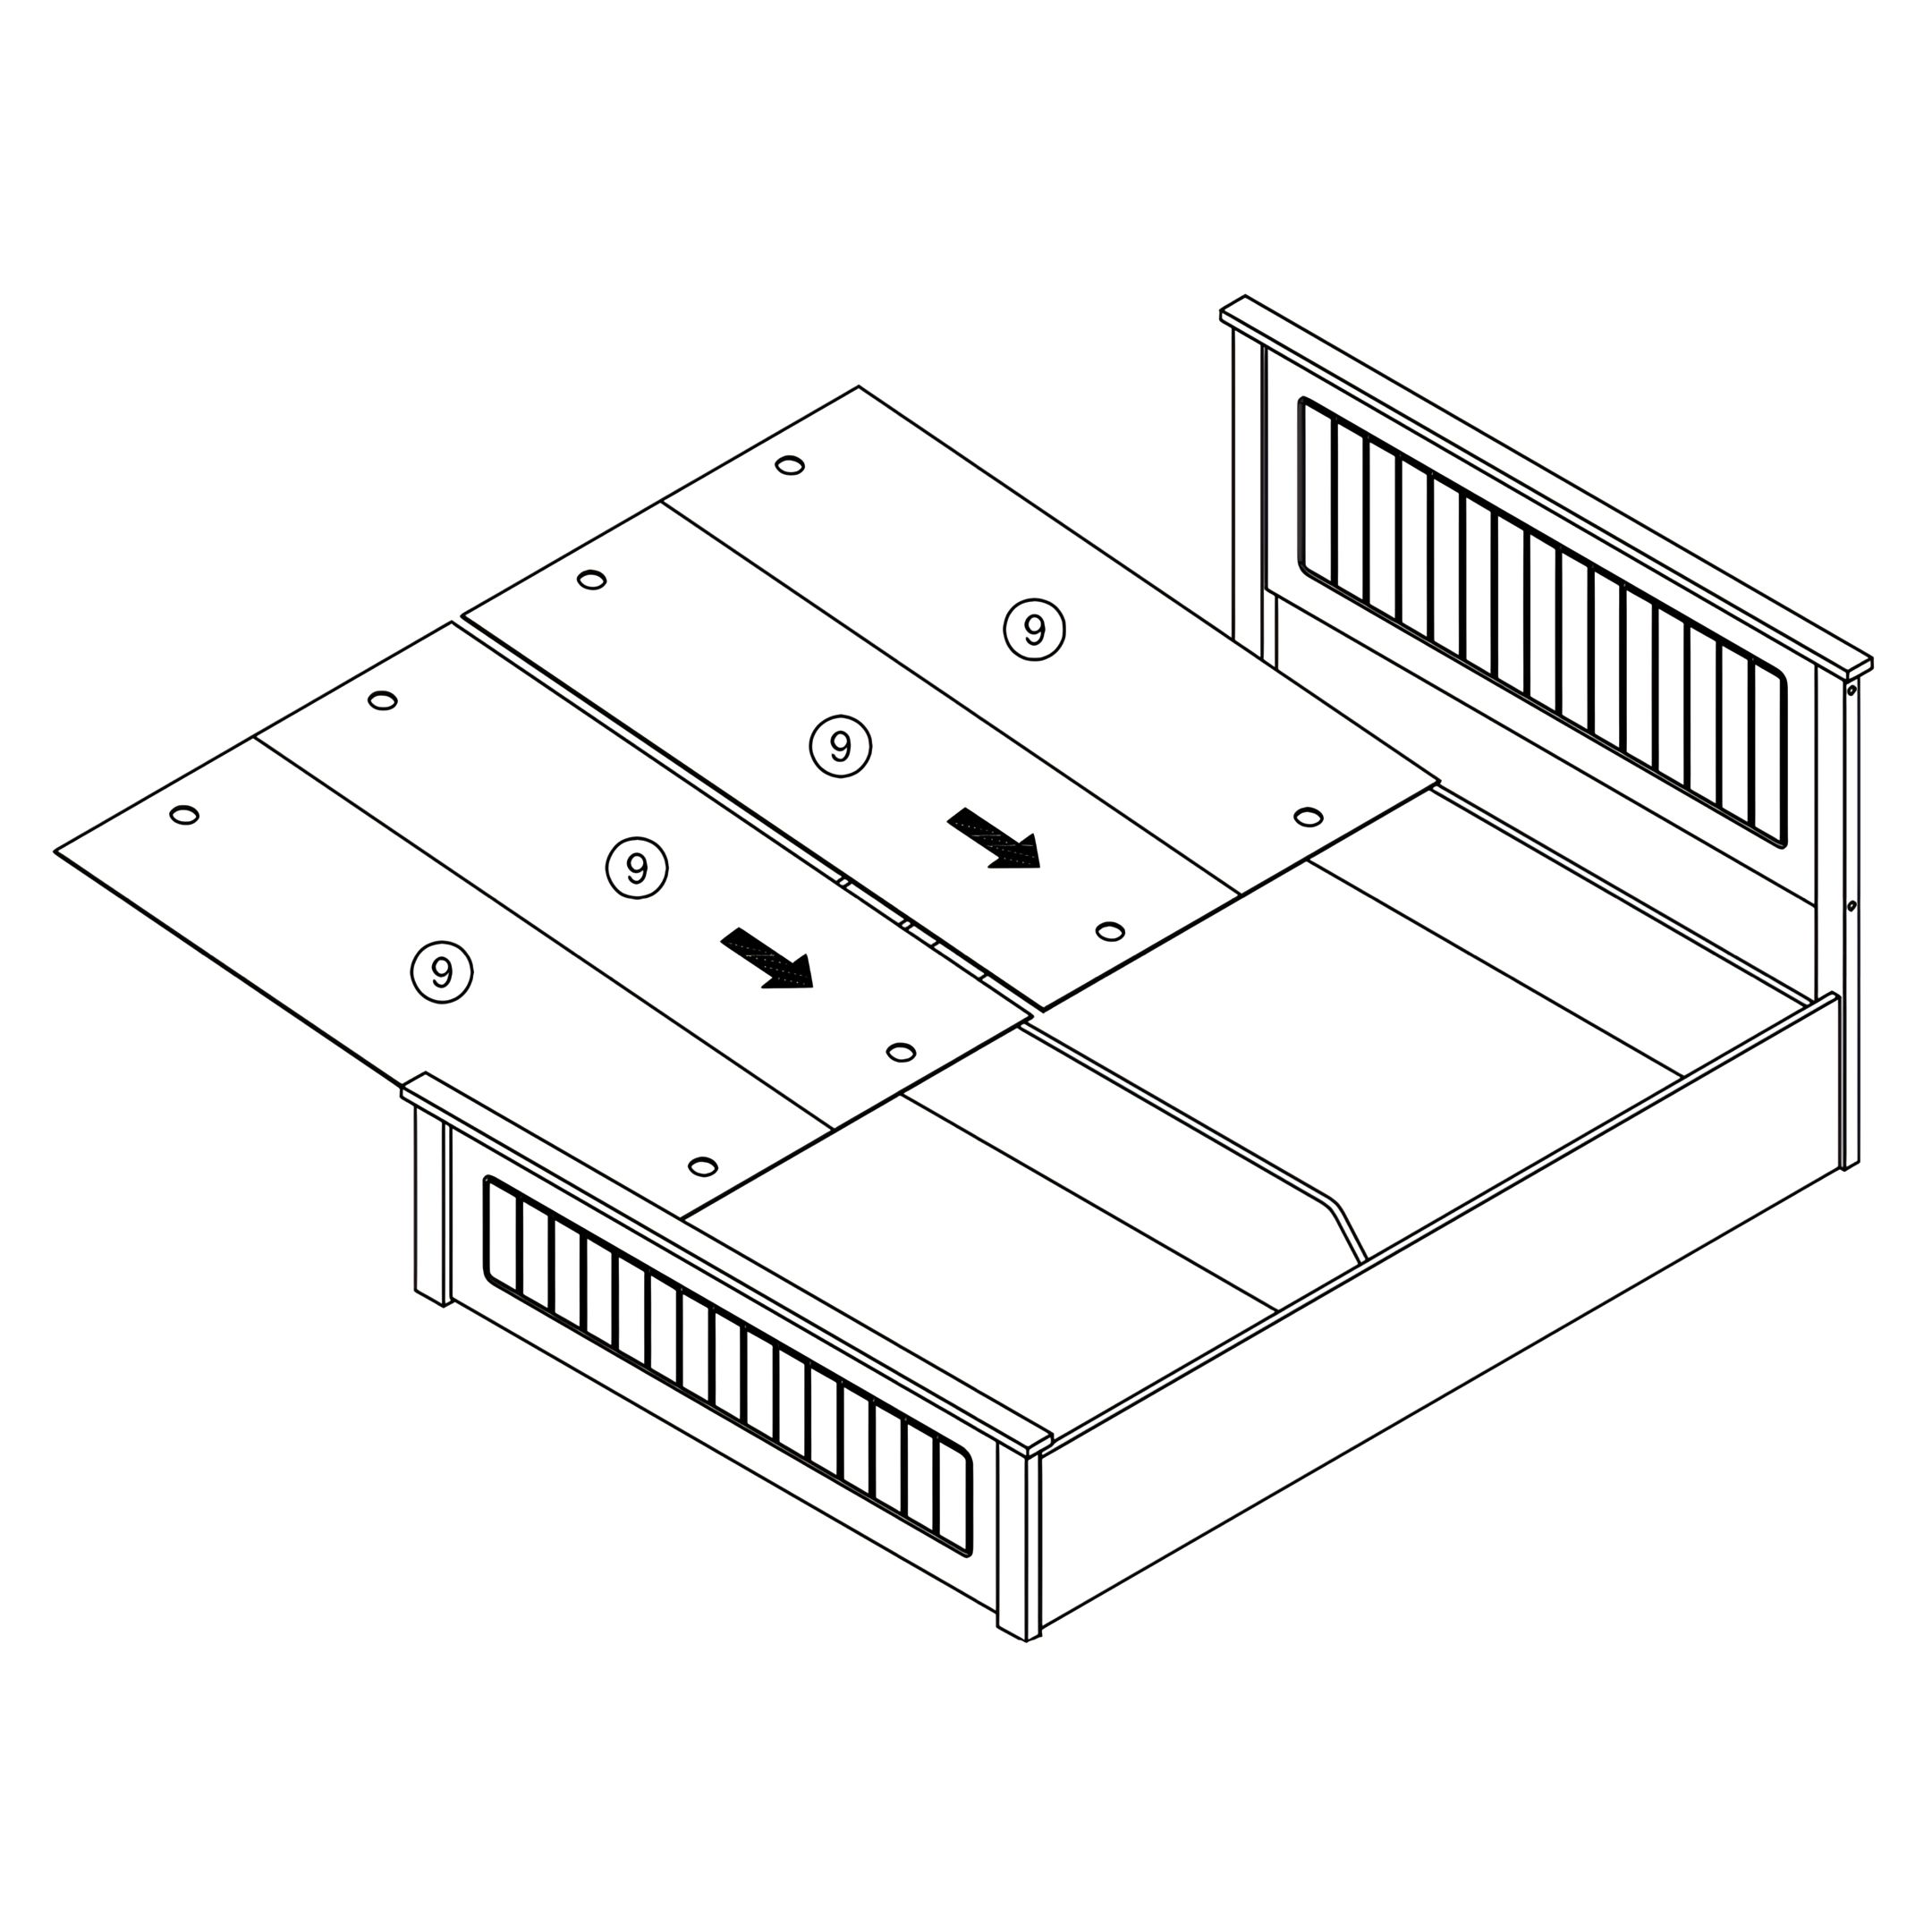
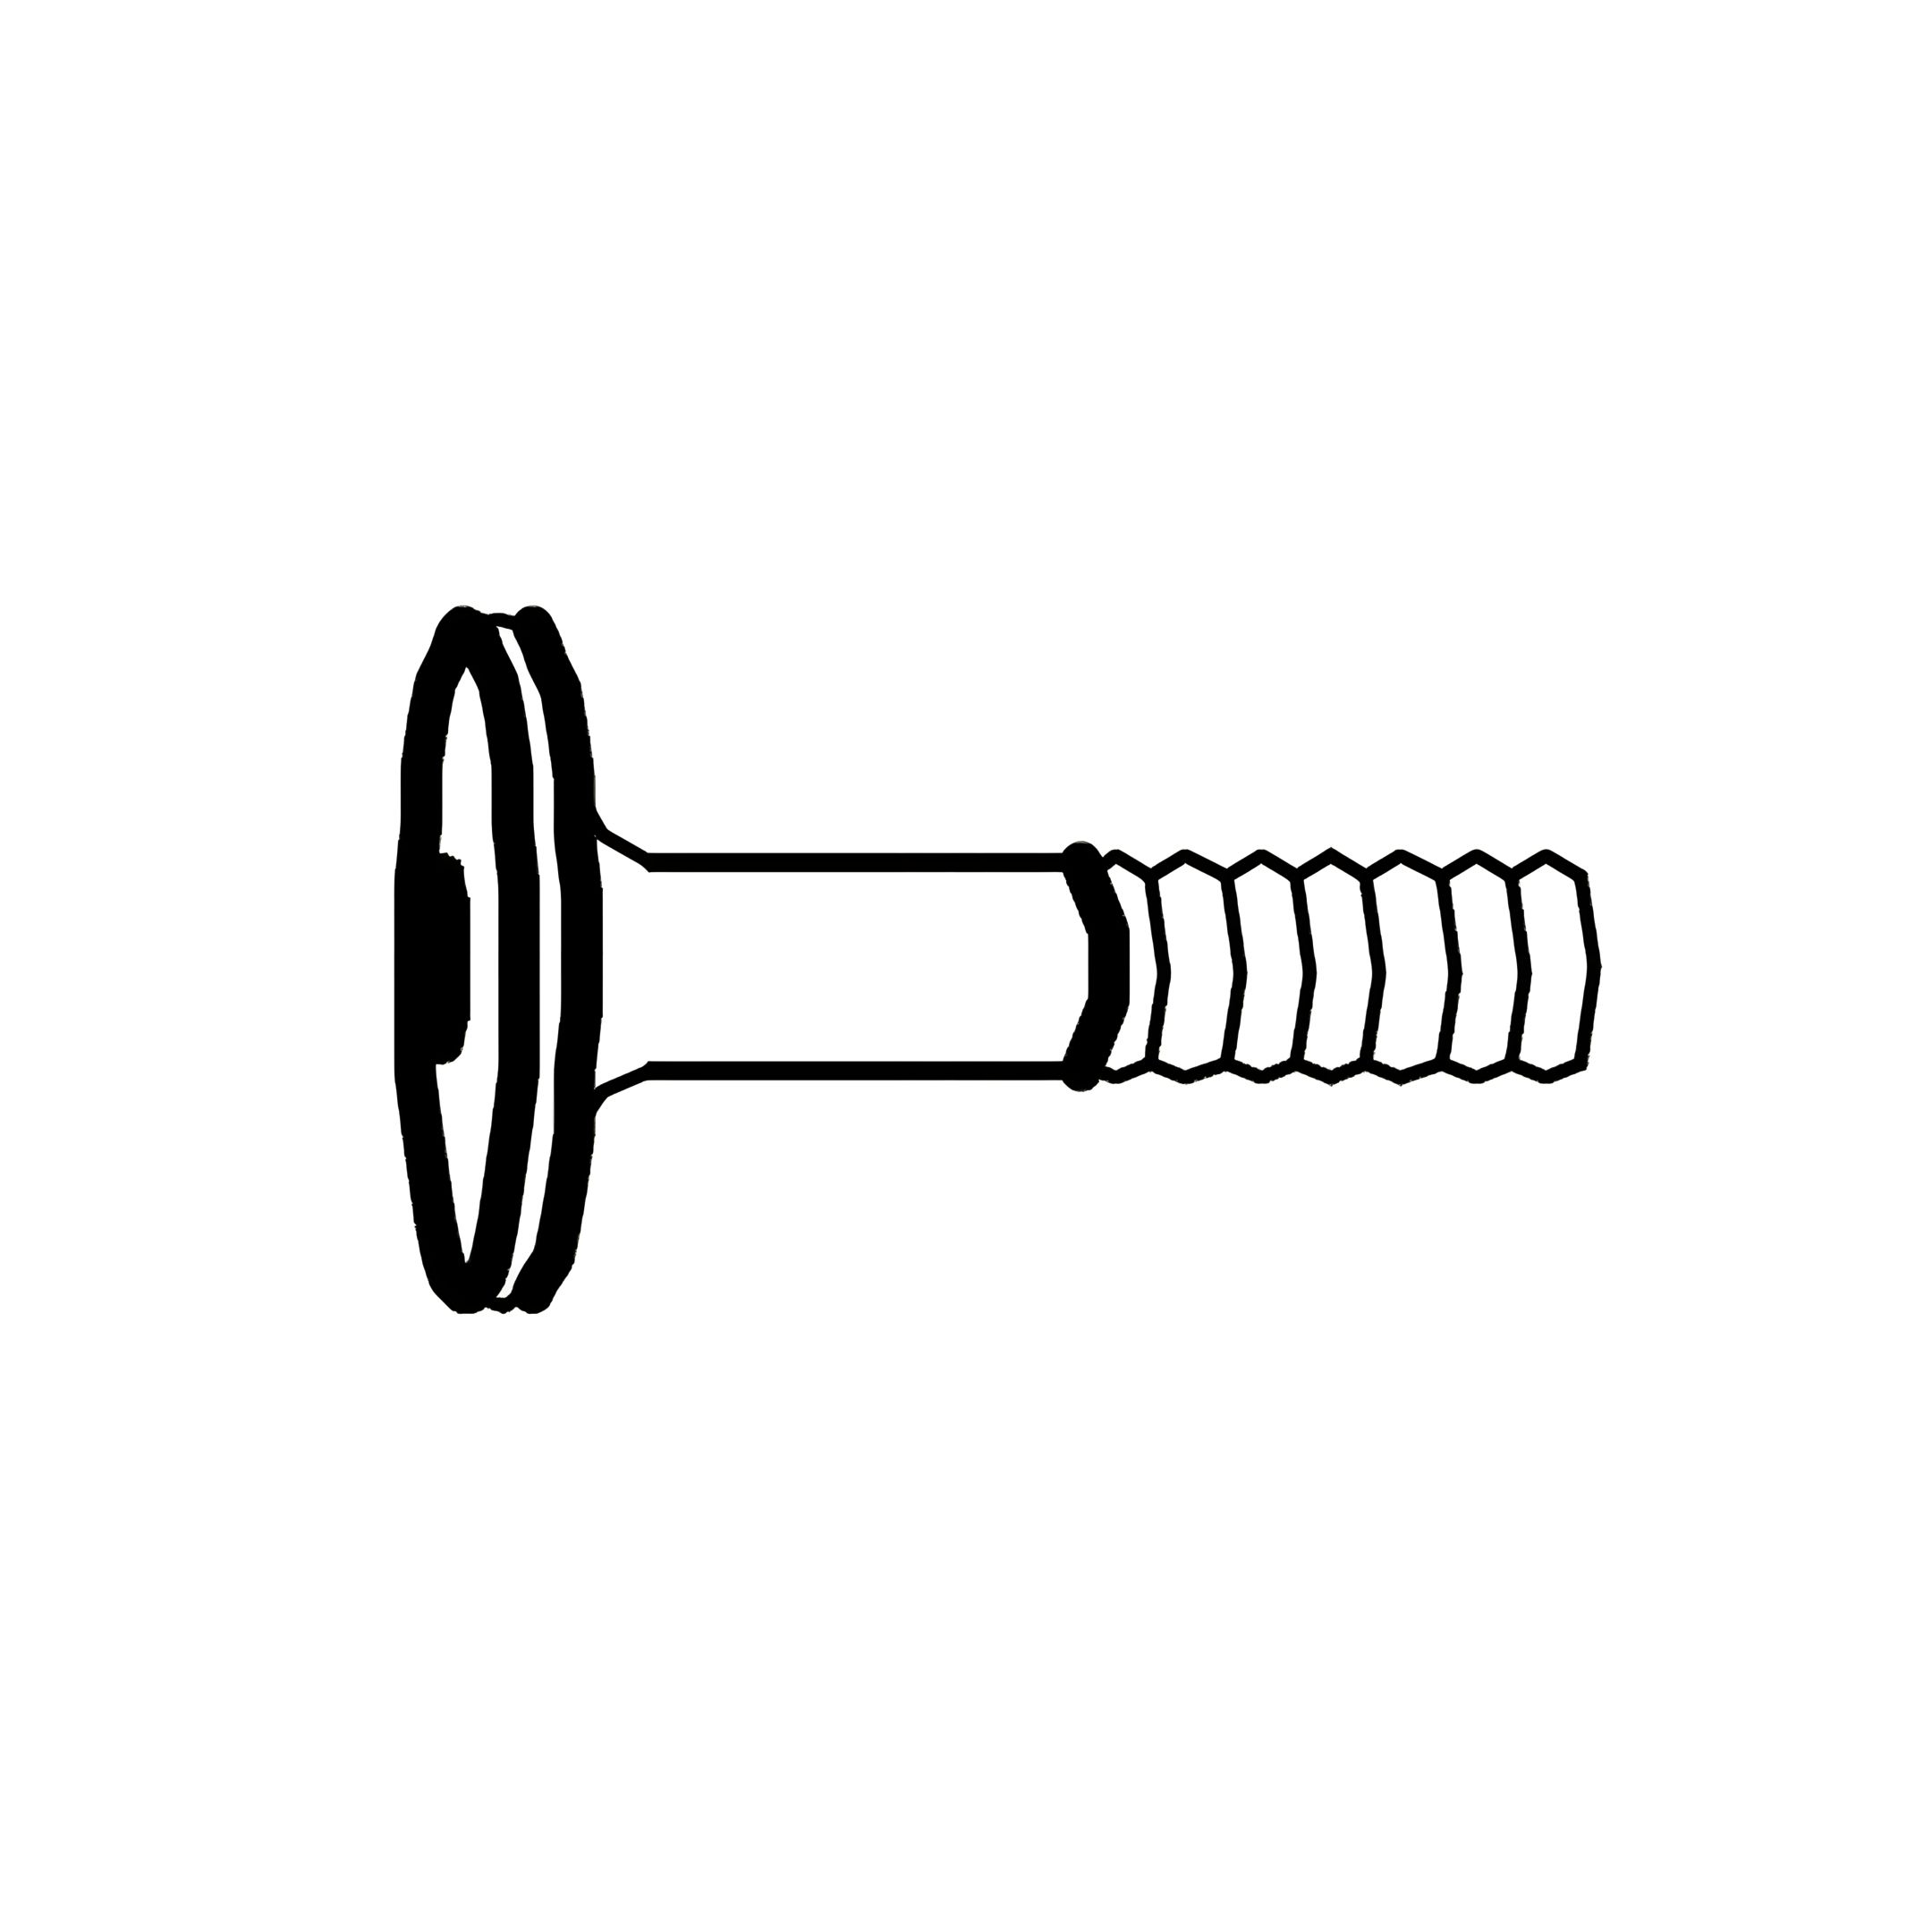
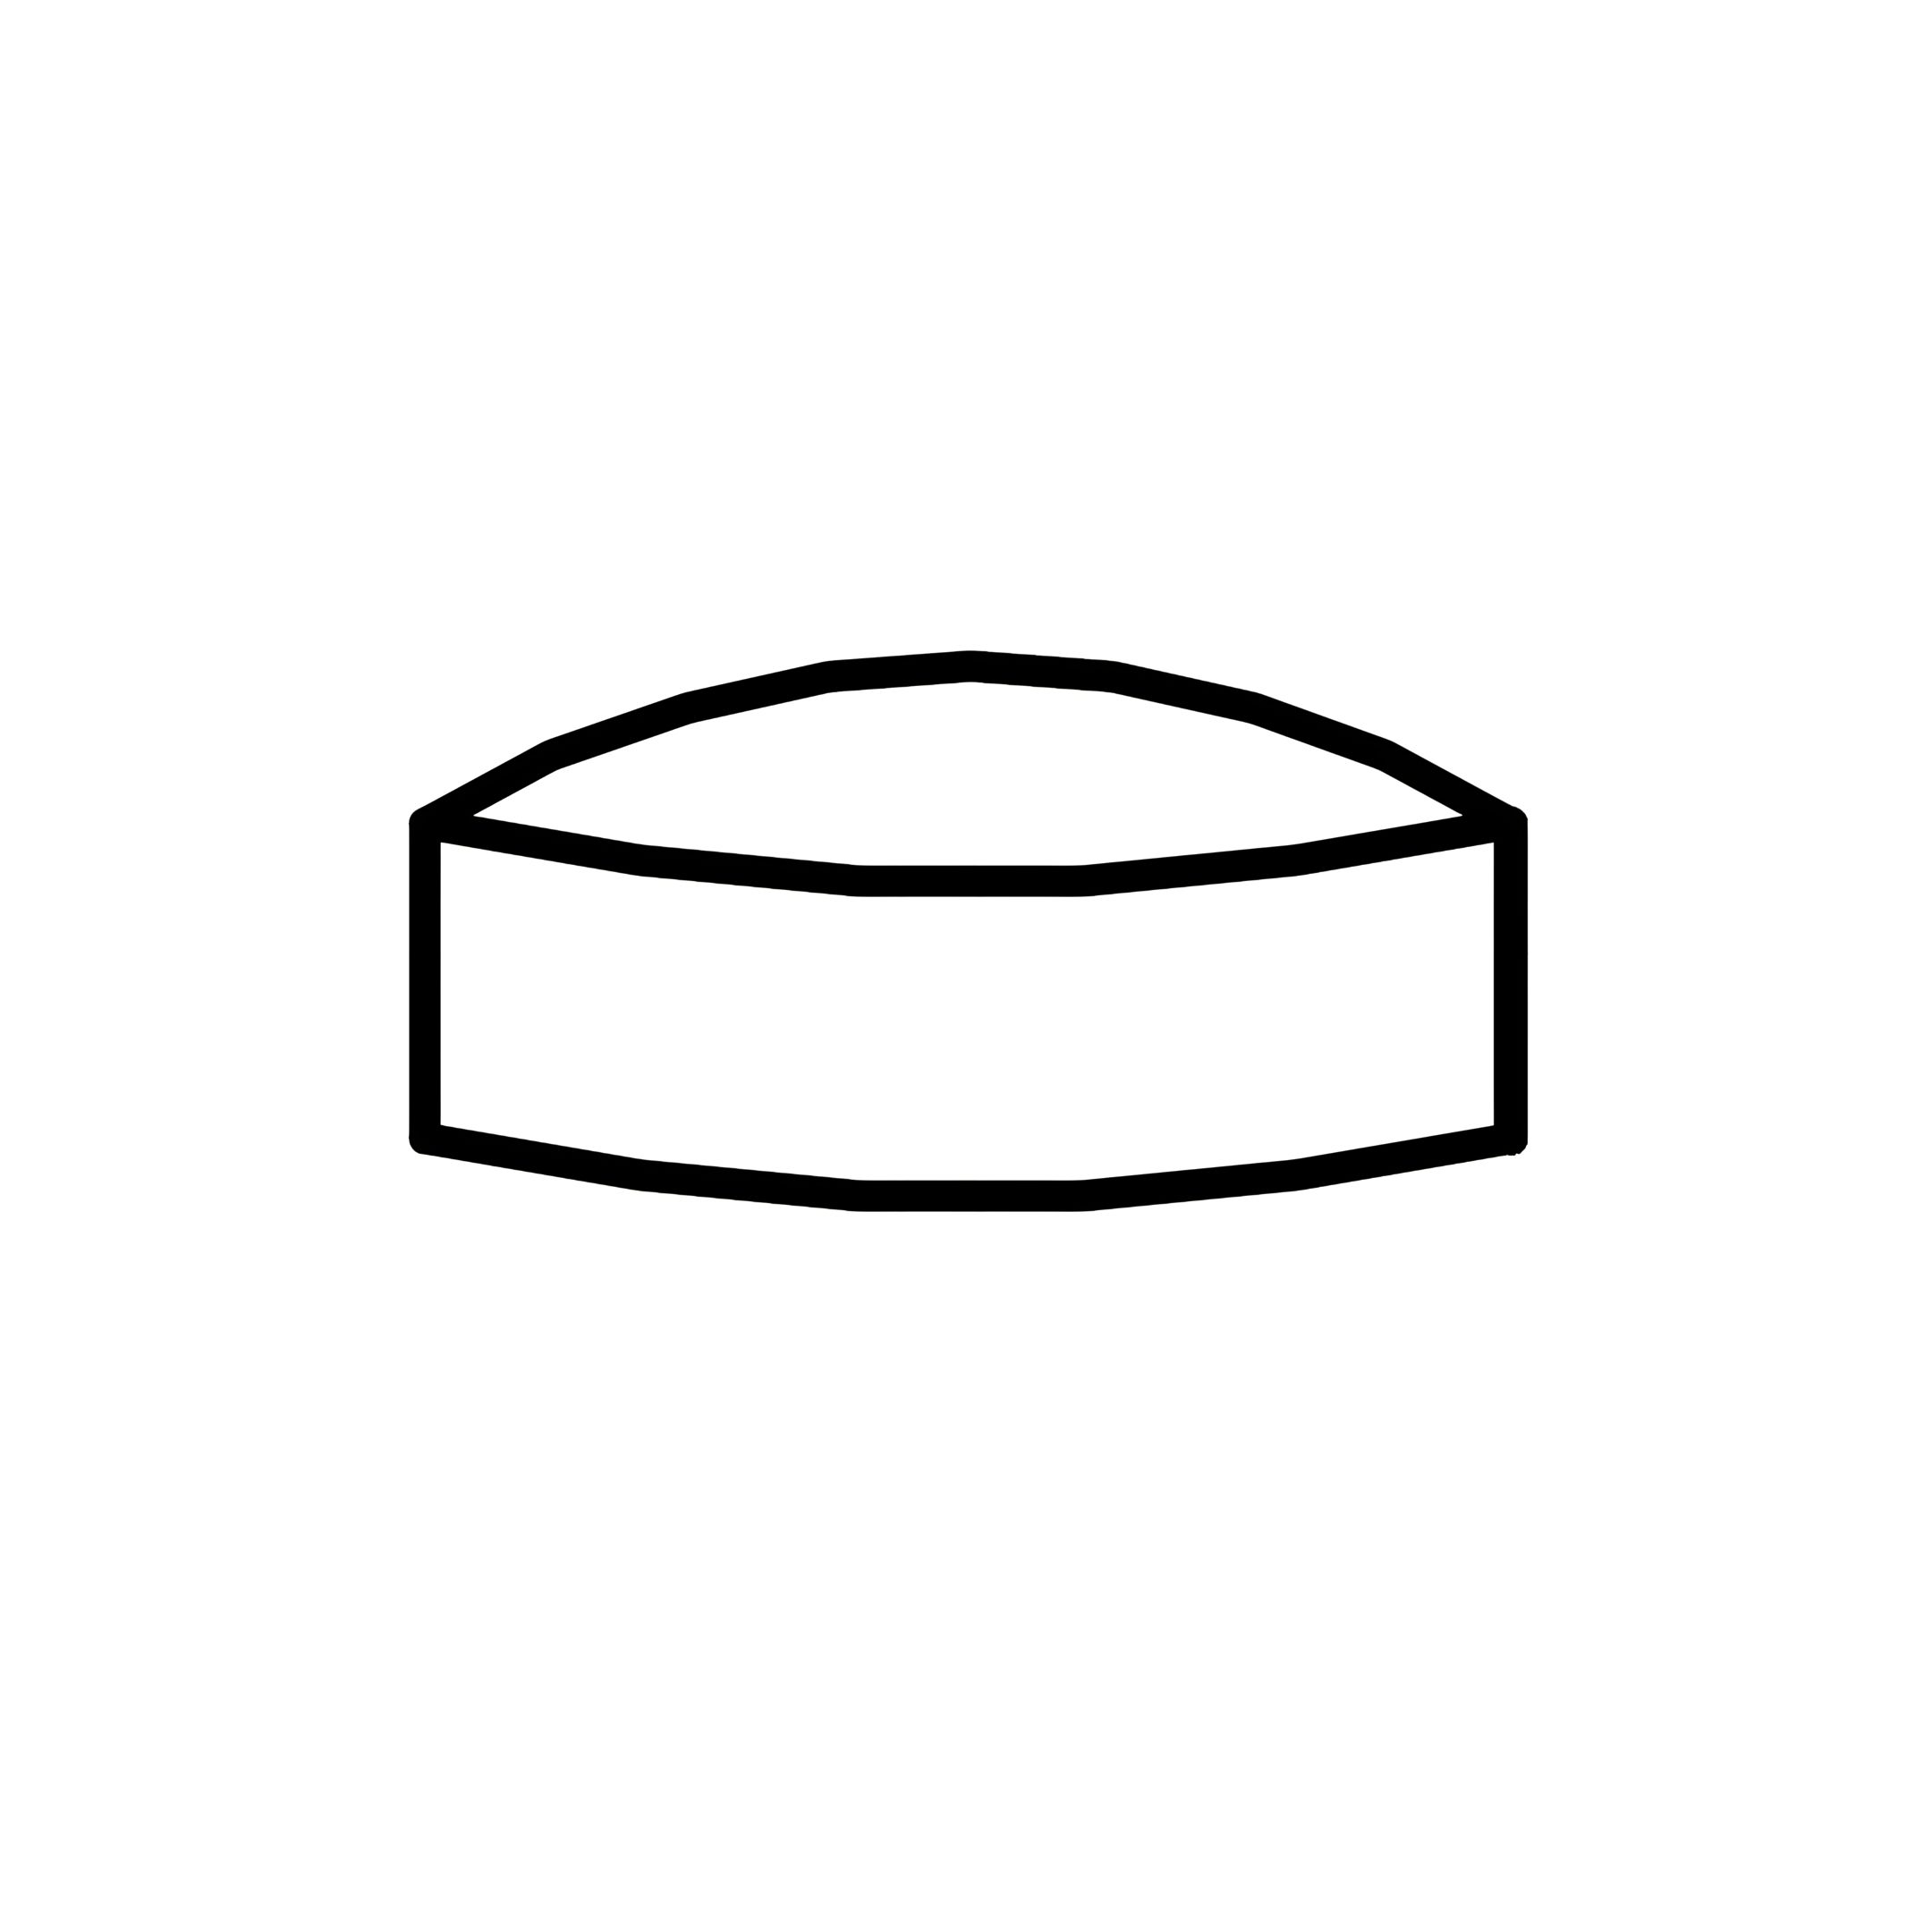
7. Cover the bolt holes with Wood Buttons (L) for a clean finish.