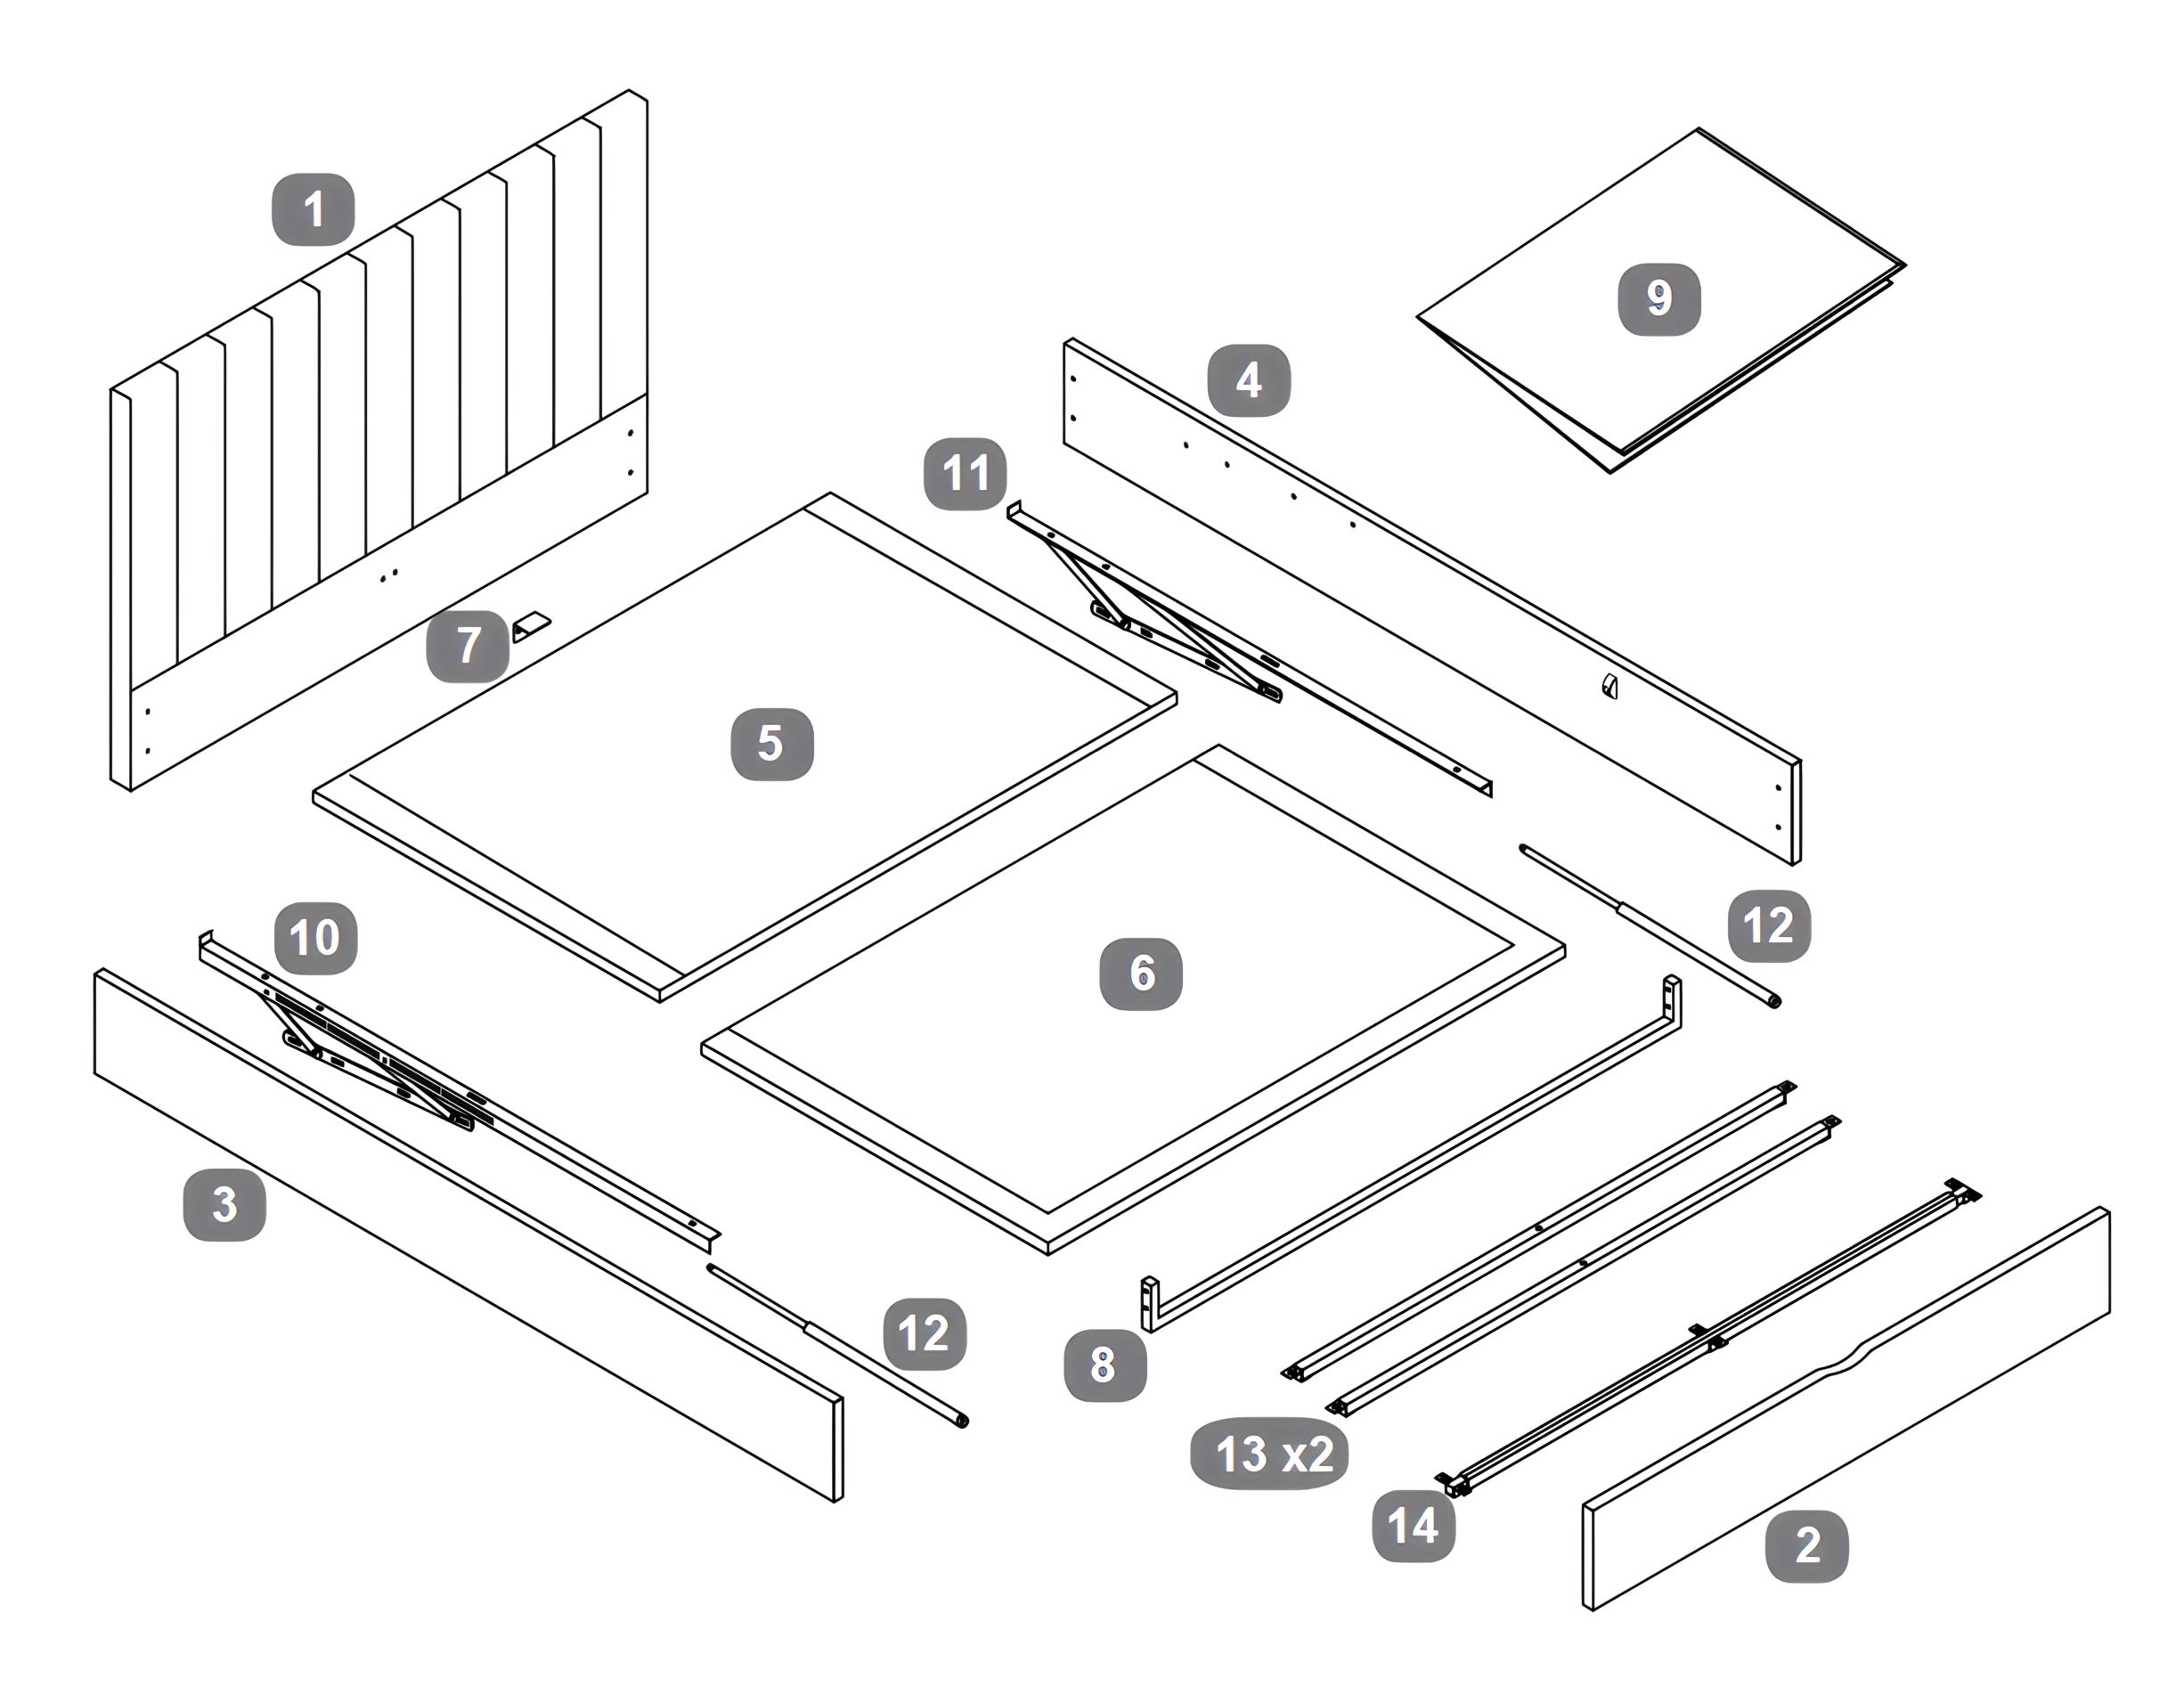
Assembly instructions for Onelife Upholstered Ottoman Bed Frame by Time4Sleep.
Product Information
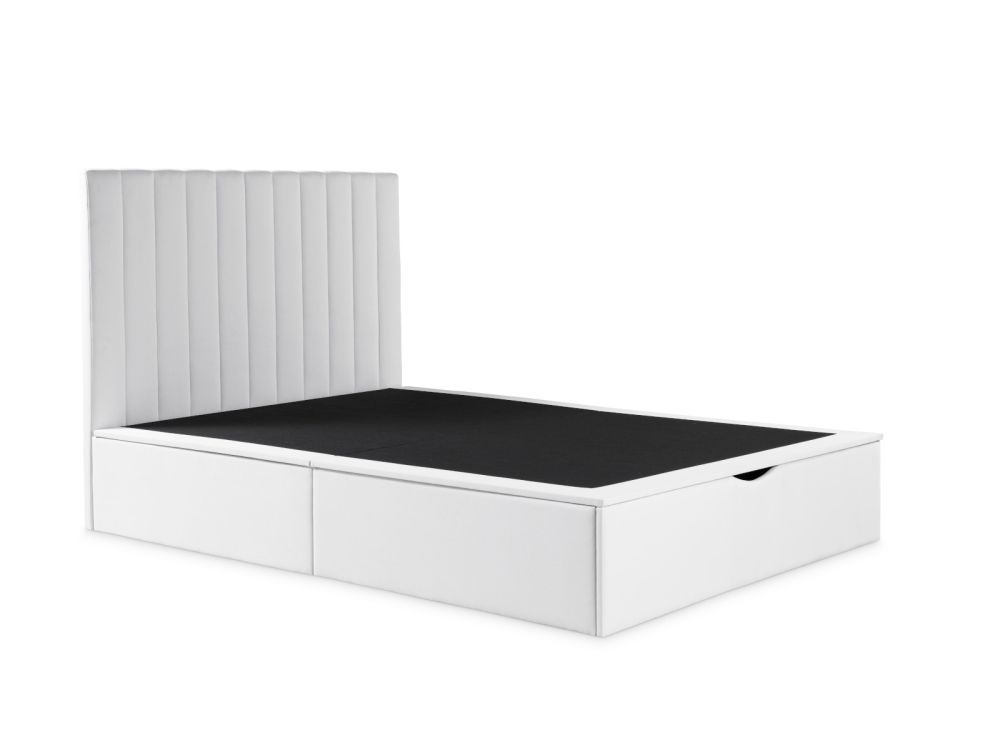
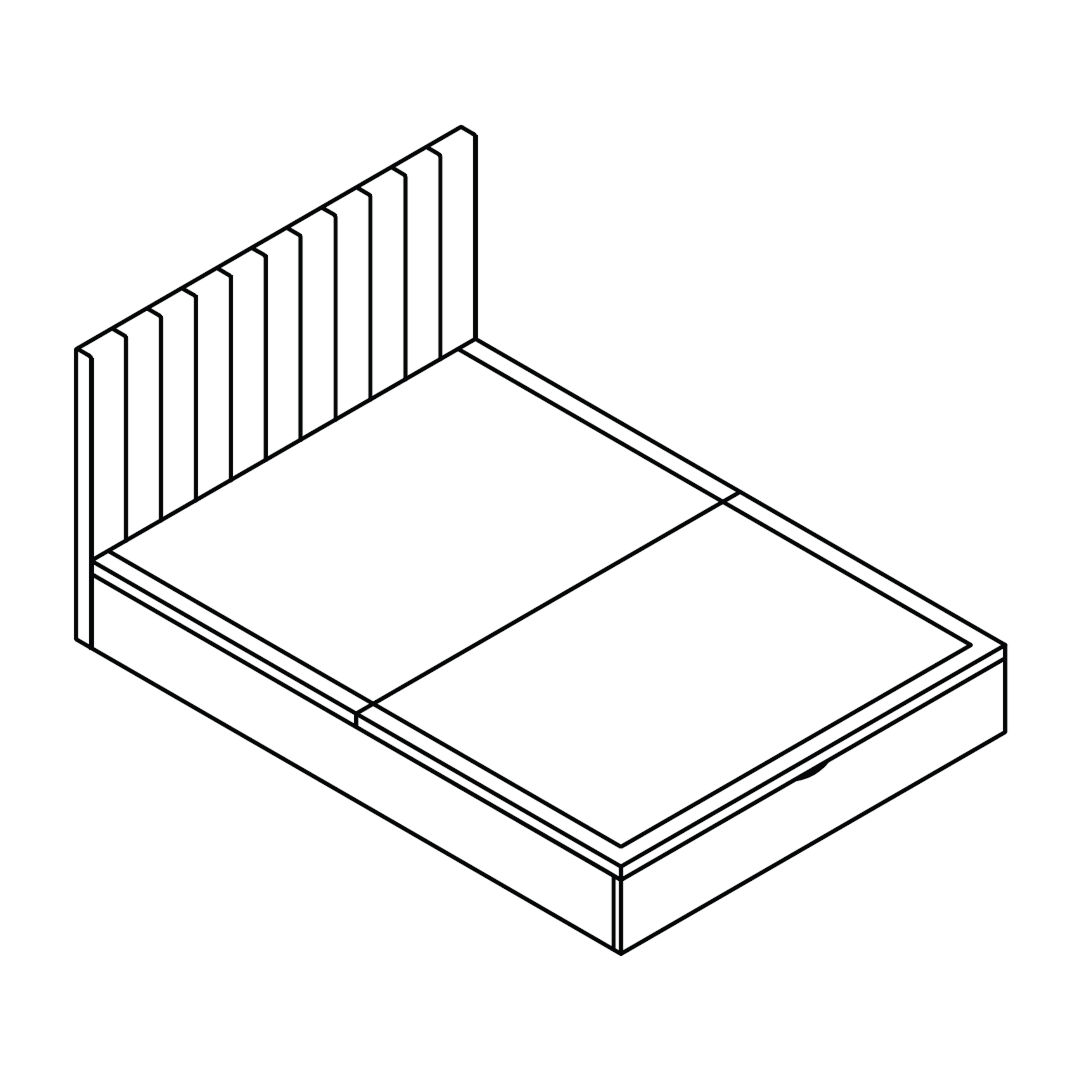
Onelife Off White Upholstered Ottoman Bed Frame
The Onelife Ottoman bed combines style and practicality, whilst minimising the impact on the environment. The platform ottoman base can be simply raised and lowered with the assistance of the gas lift mechanism to reveal a large storage area which is approximately four times greater than a typical storage divan. The space saving design means the mattress sits on top of the sleeping platform which sits on the side rails, this helps to minimise the footprint of the bed making it an ideal option for smaller rooms. You can also rest easy, knowing that the bed is upholstered using an OEKO-TEX Standard 100 approved fabric which is manufactured from recycled plastic bottles. Through class leading design it has been possible to produce this bed, so that the space taken to ship this product is 50% less than many other ottoman beds – helping to reduce the impact on the environment and deliver even better value.
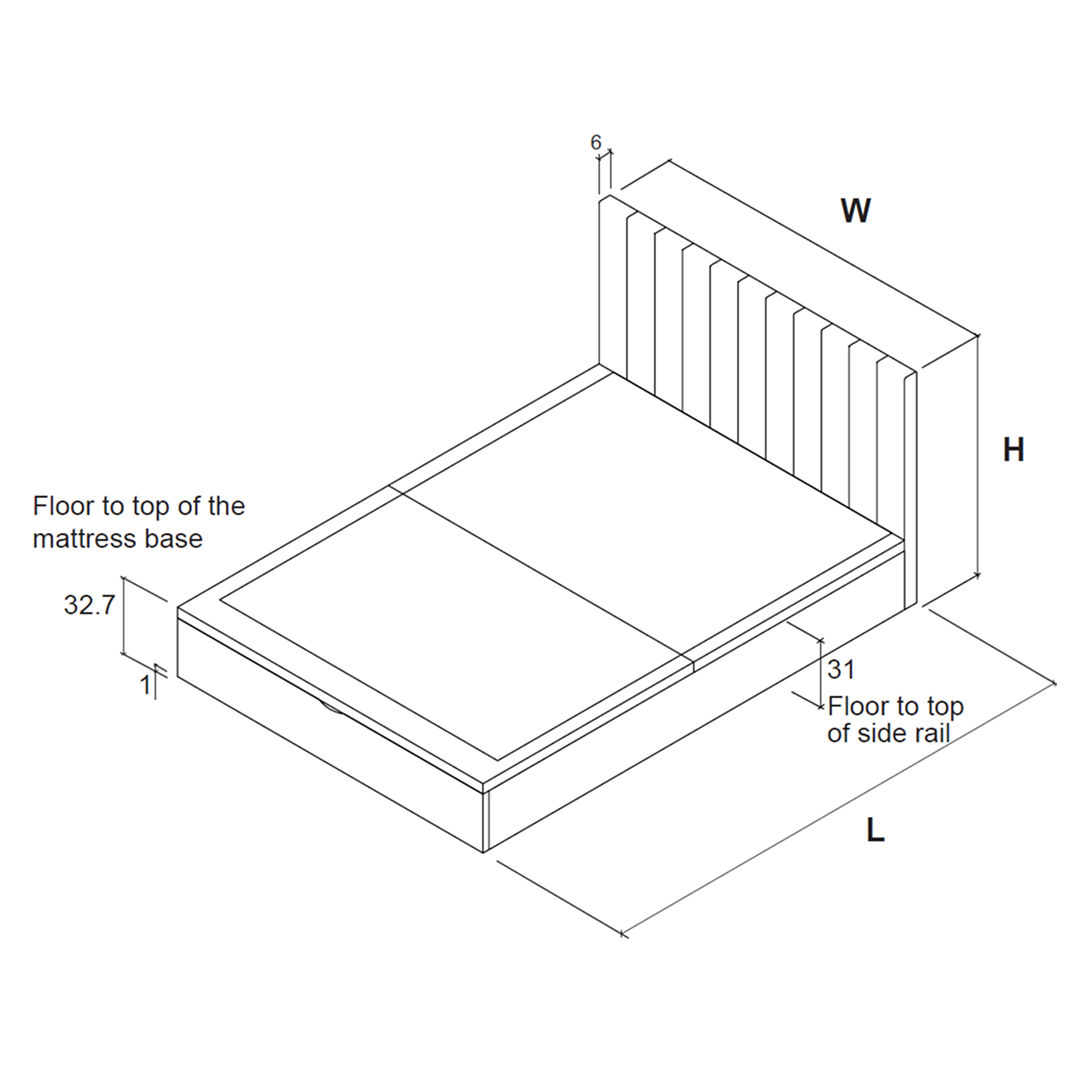
The storage depth on the bed frame is 30cm
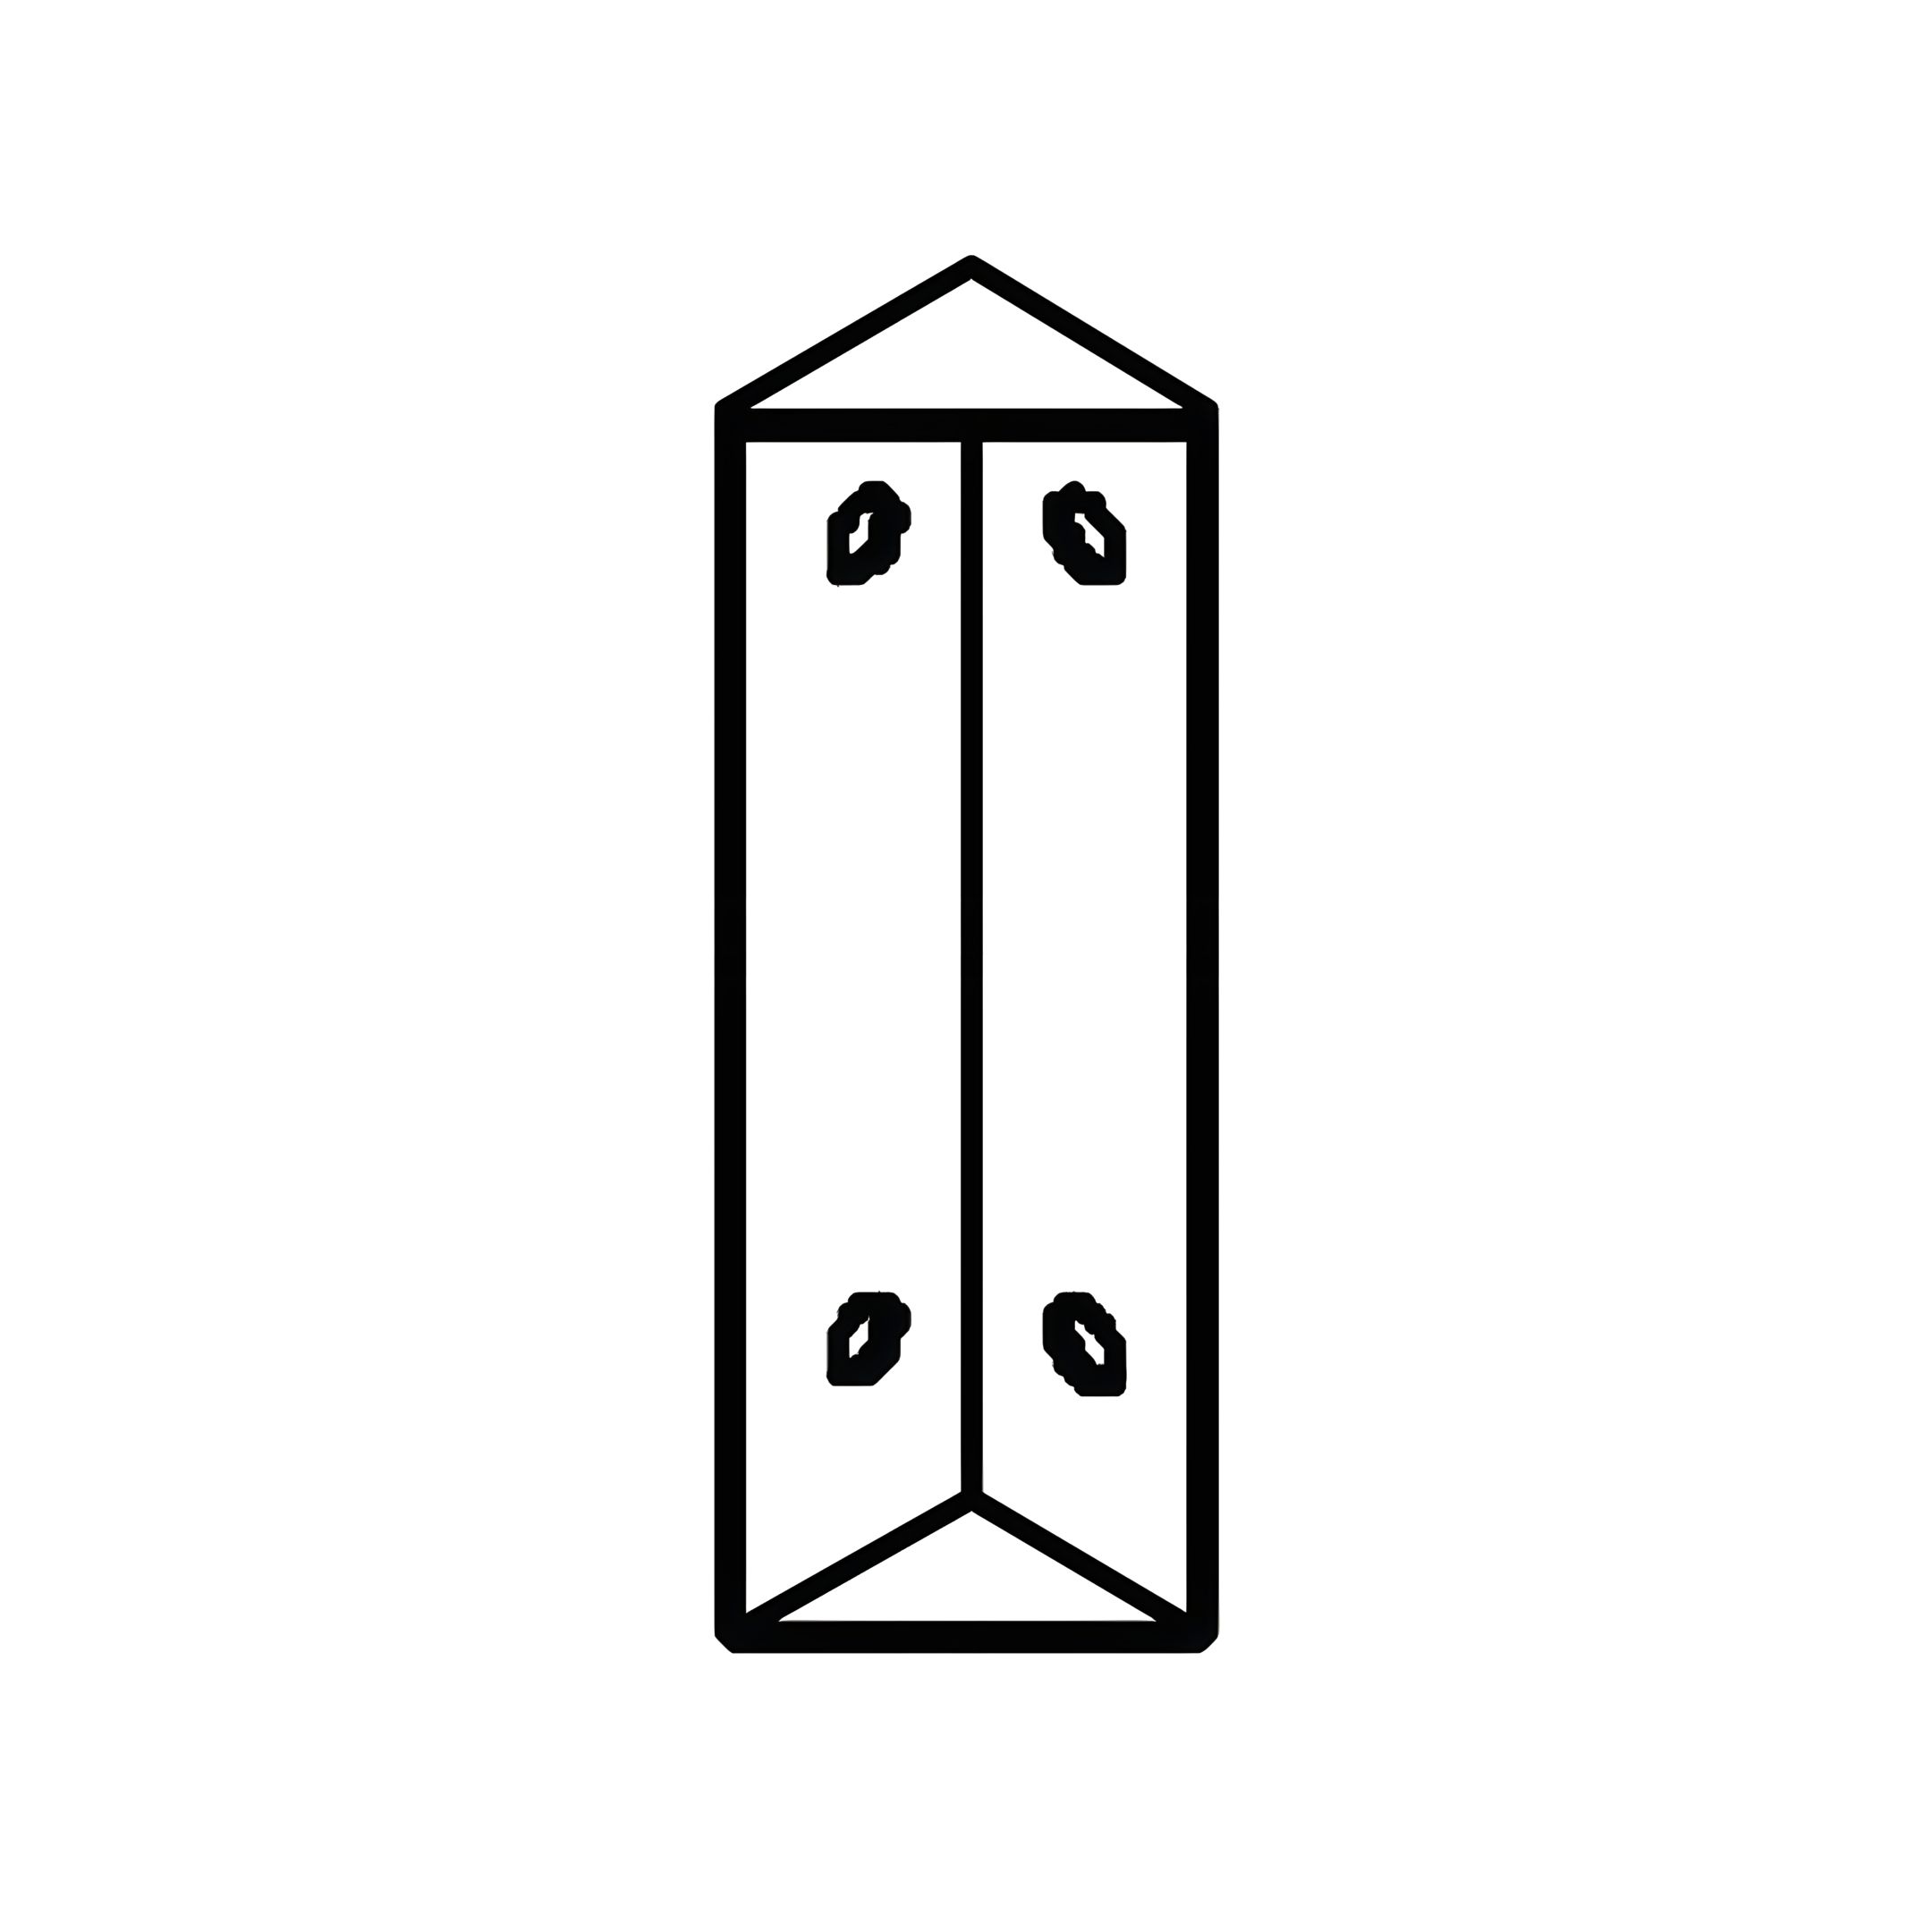
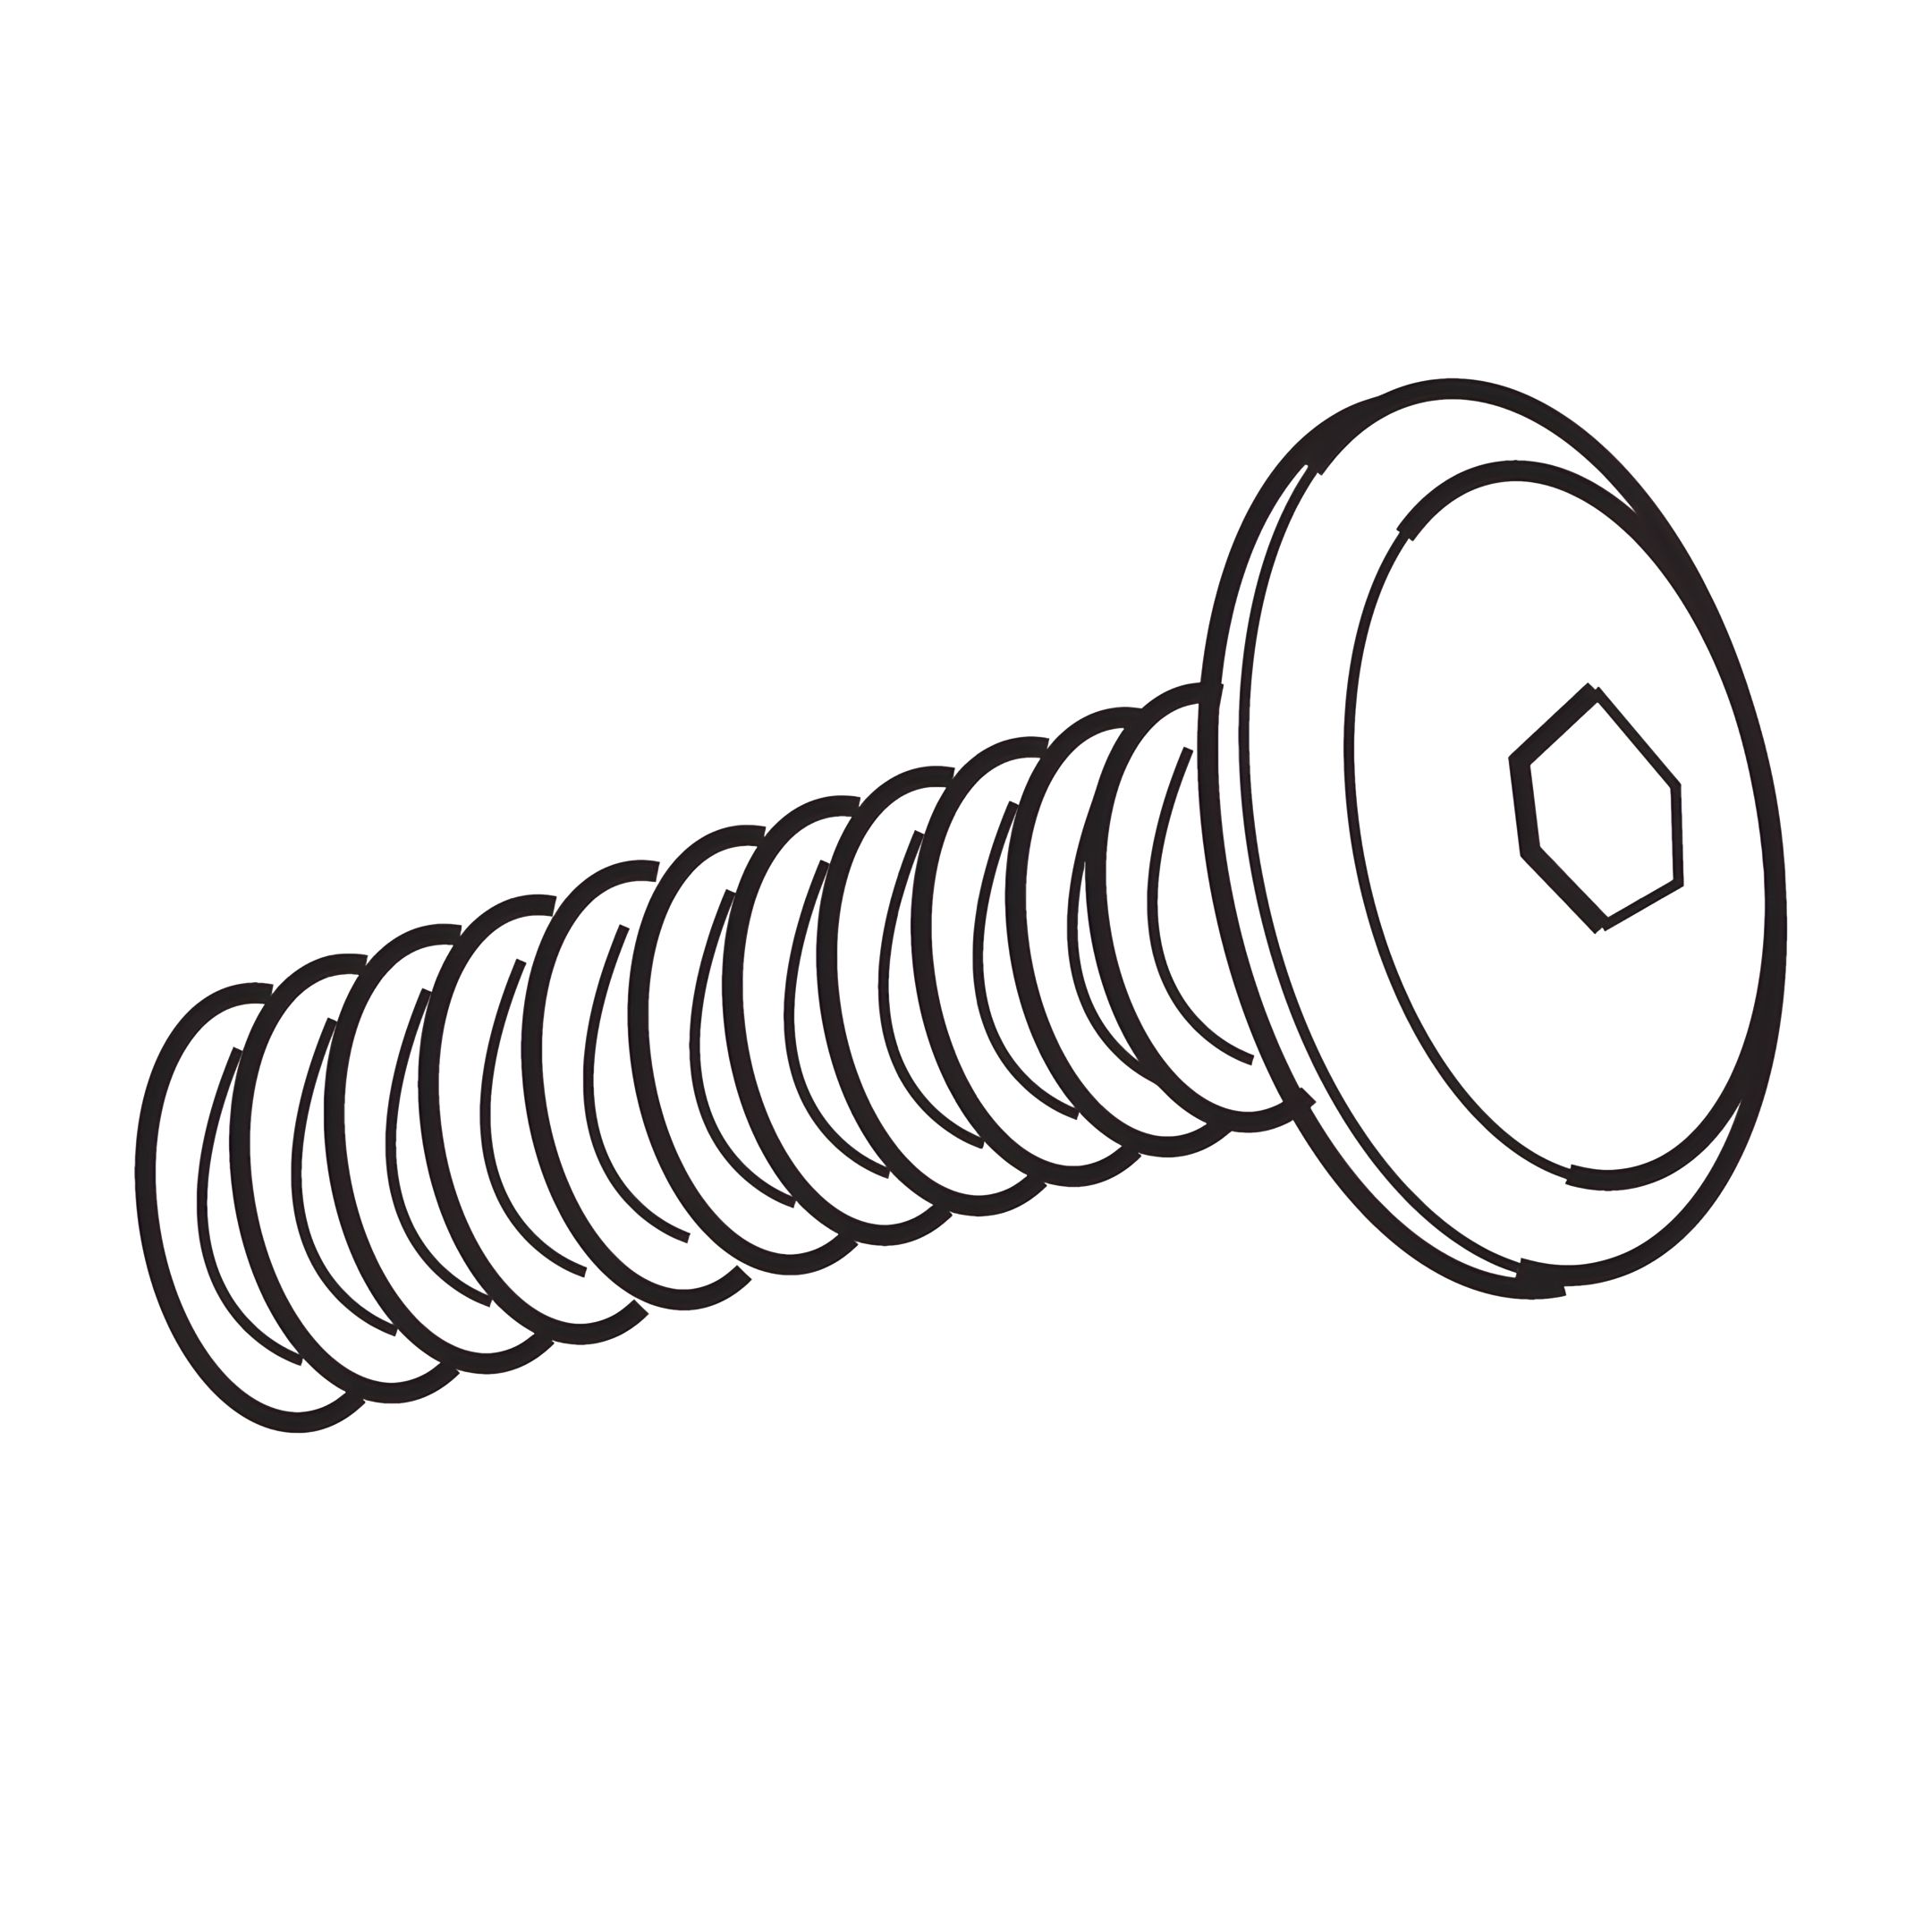
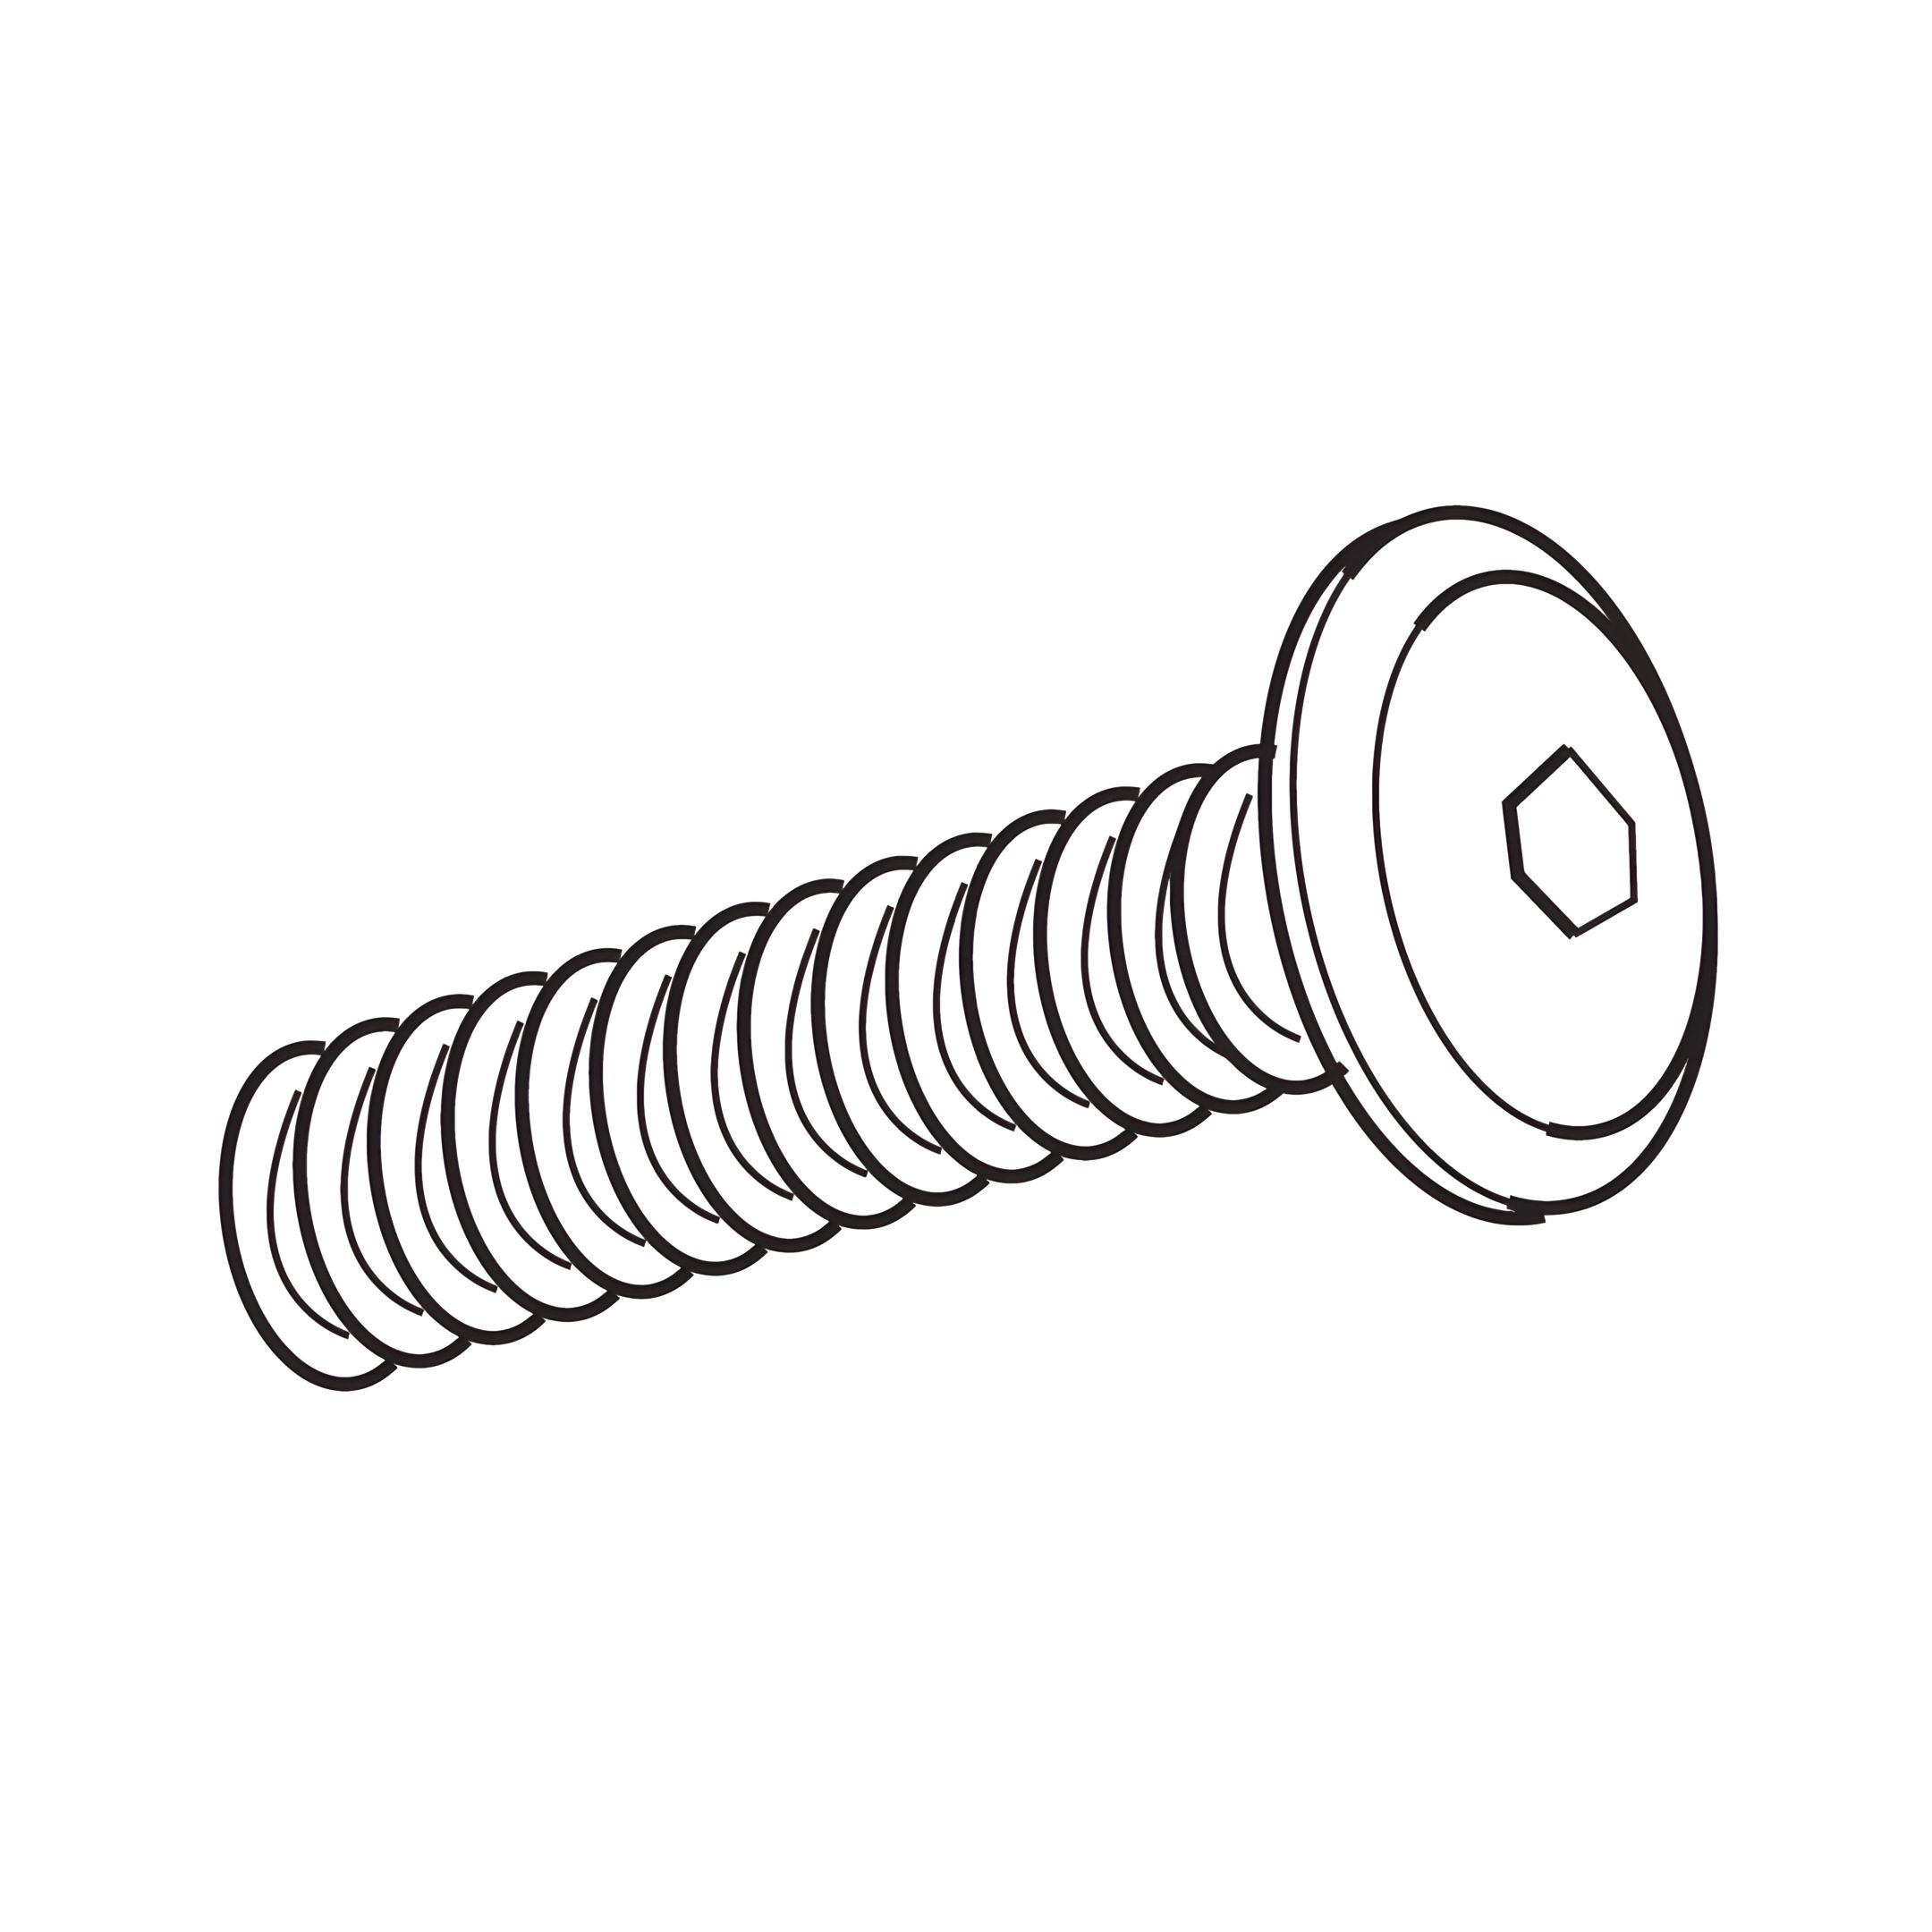
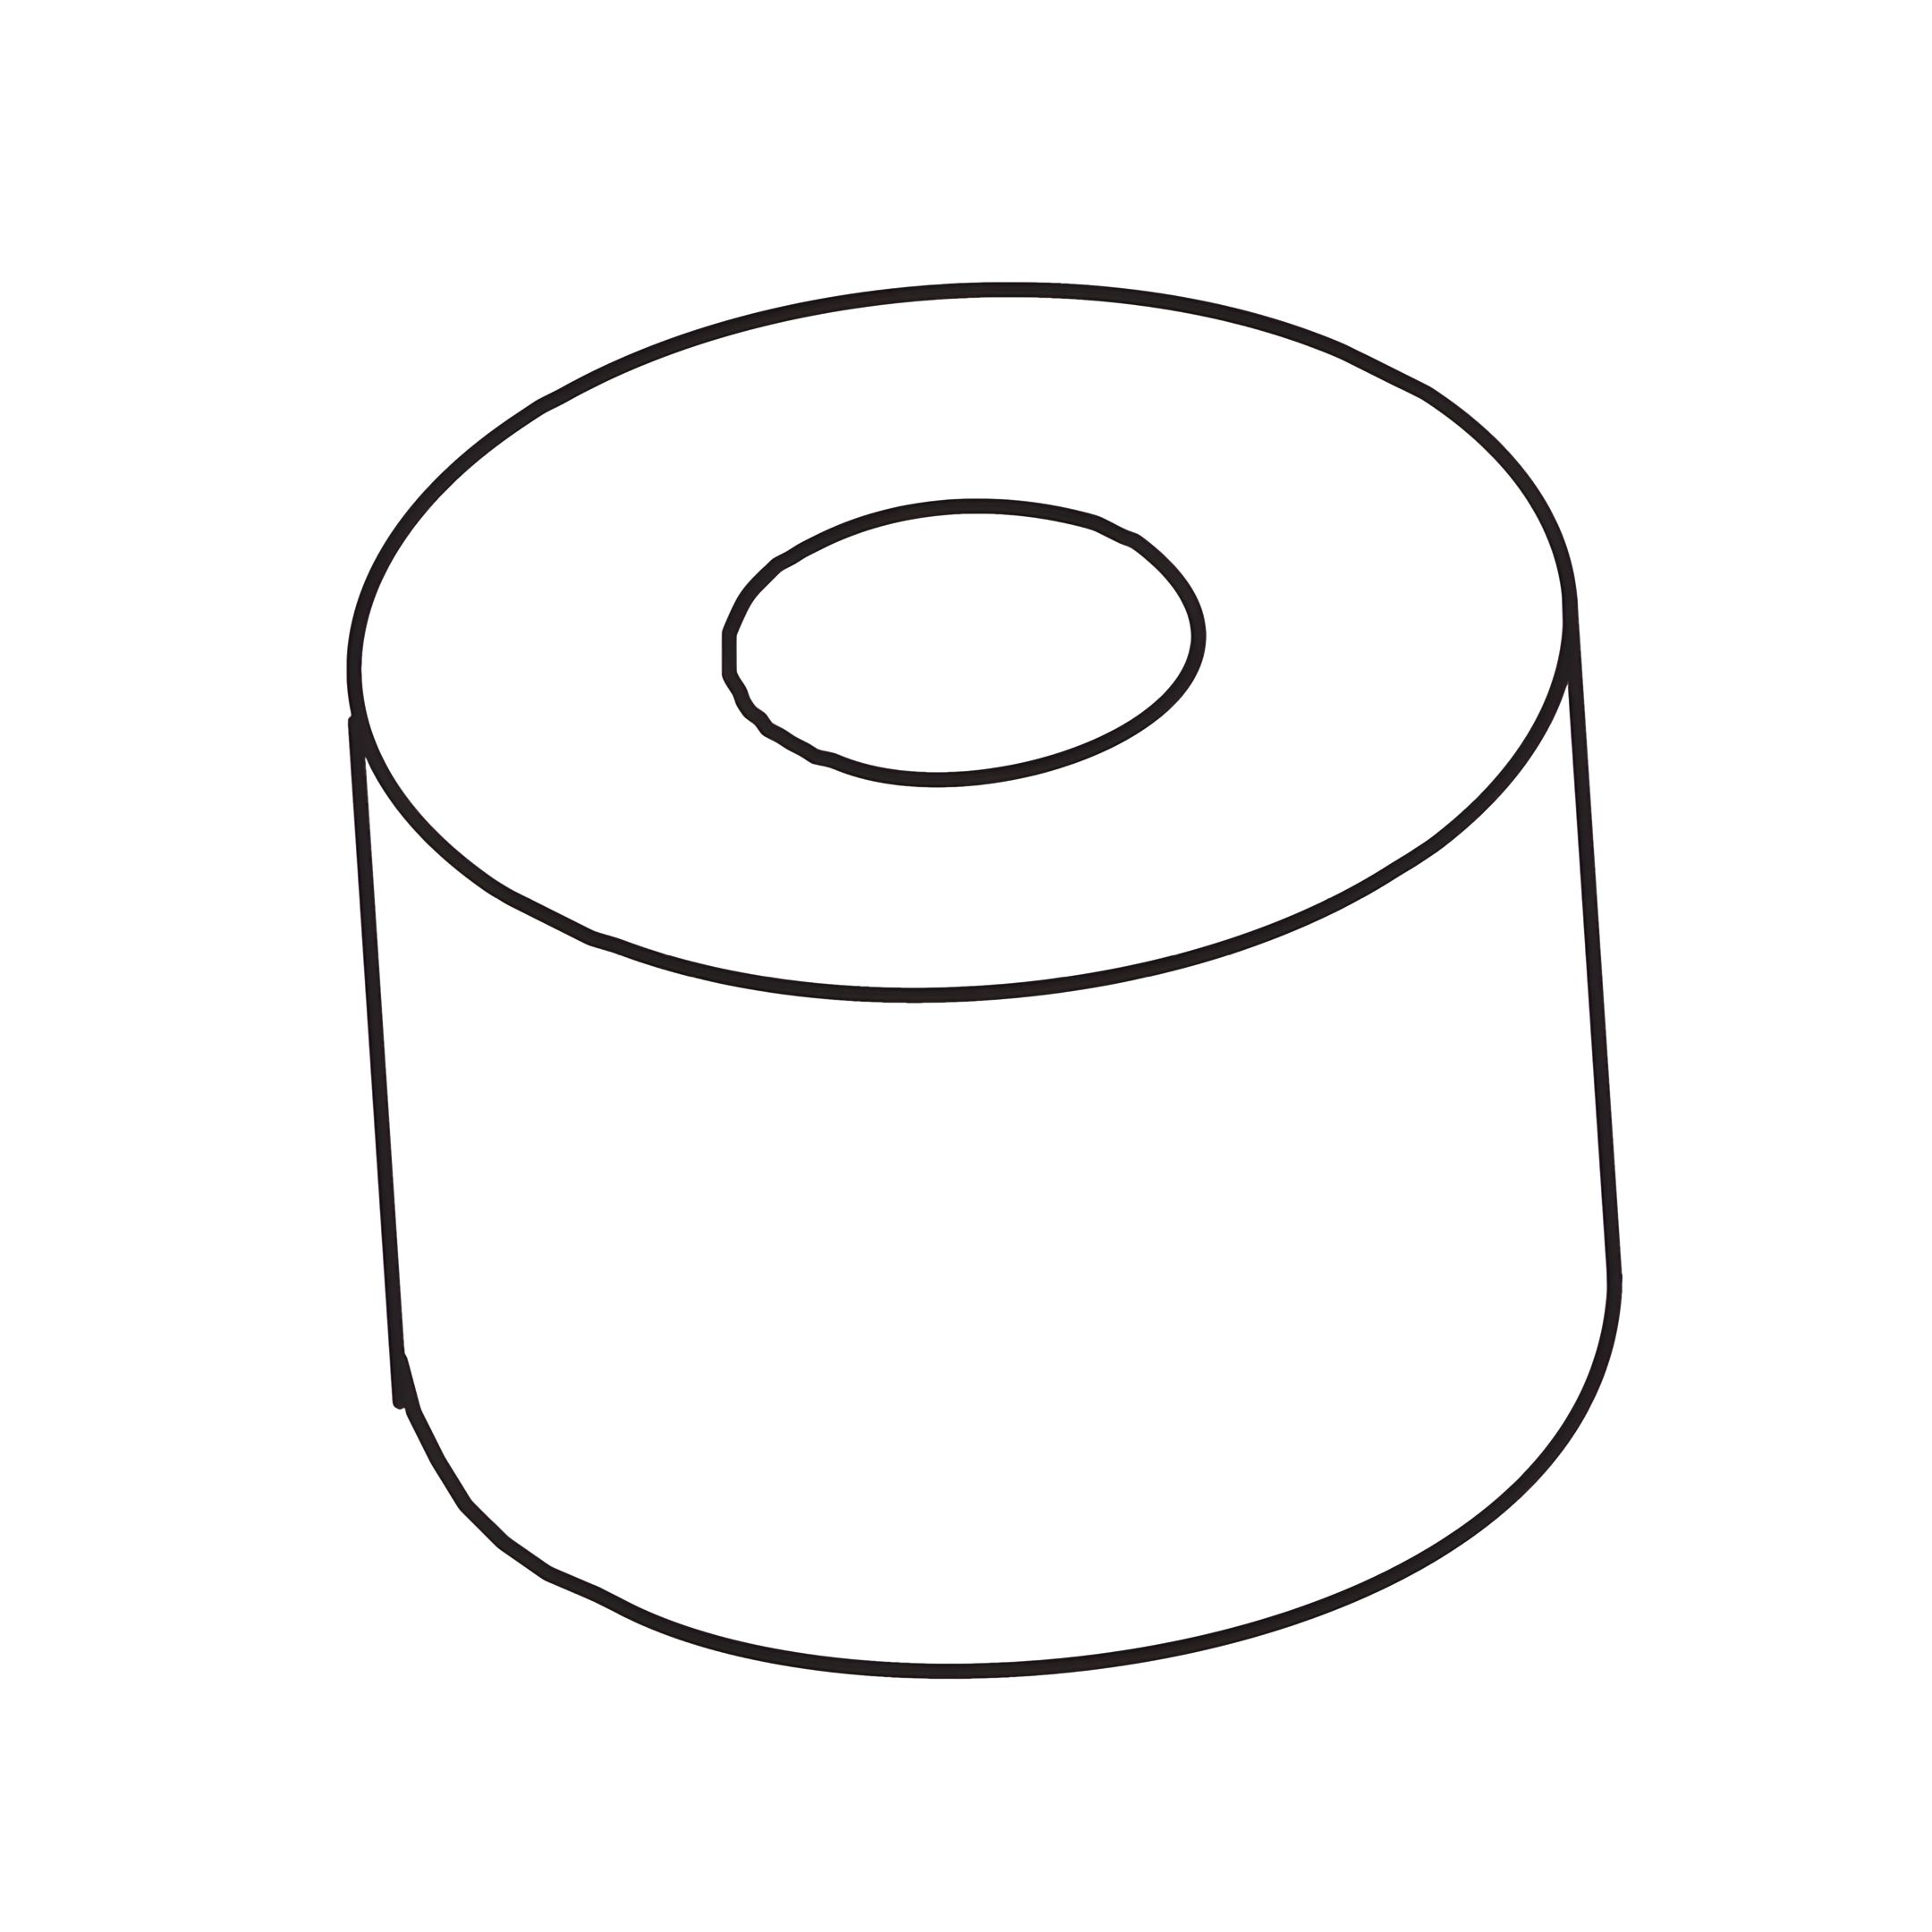
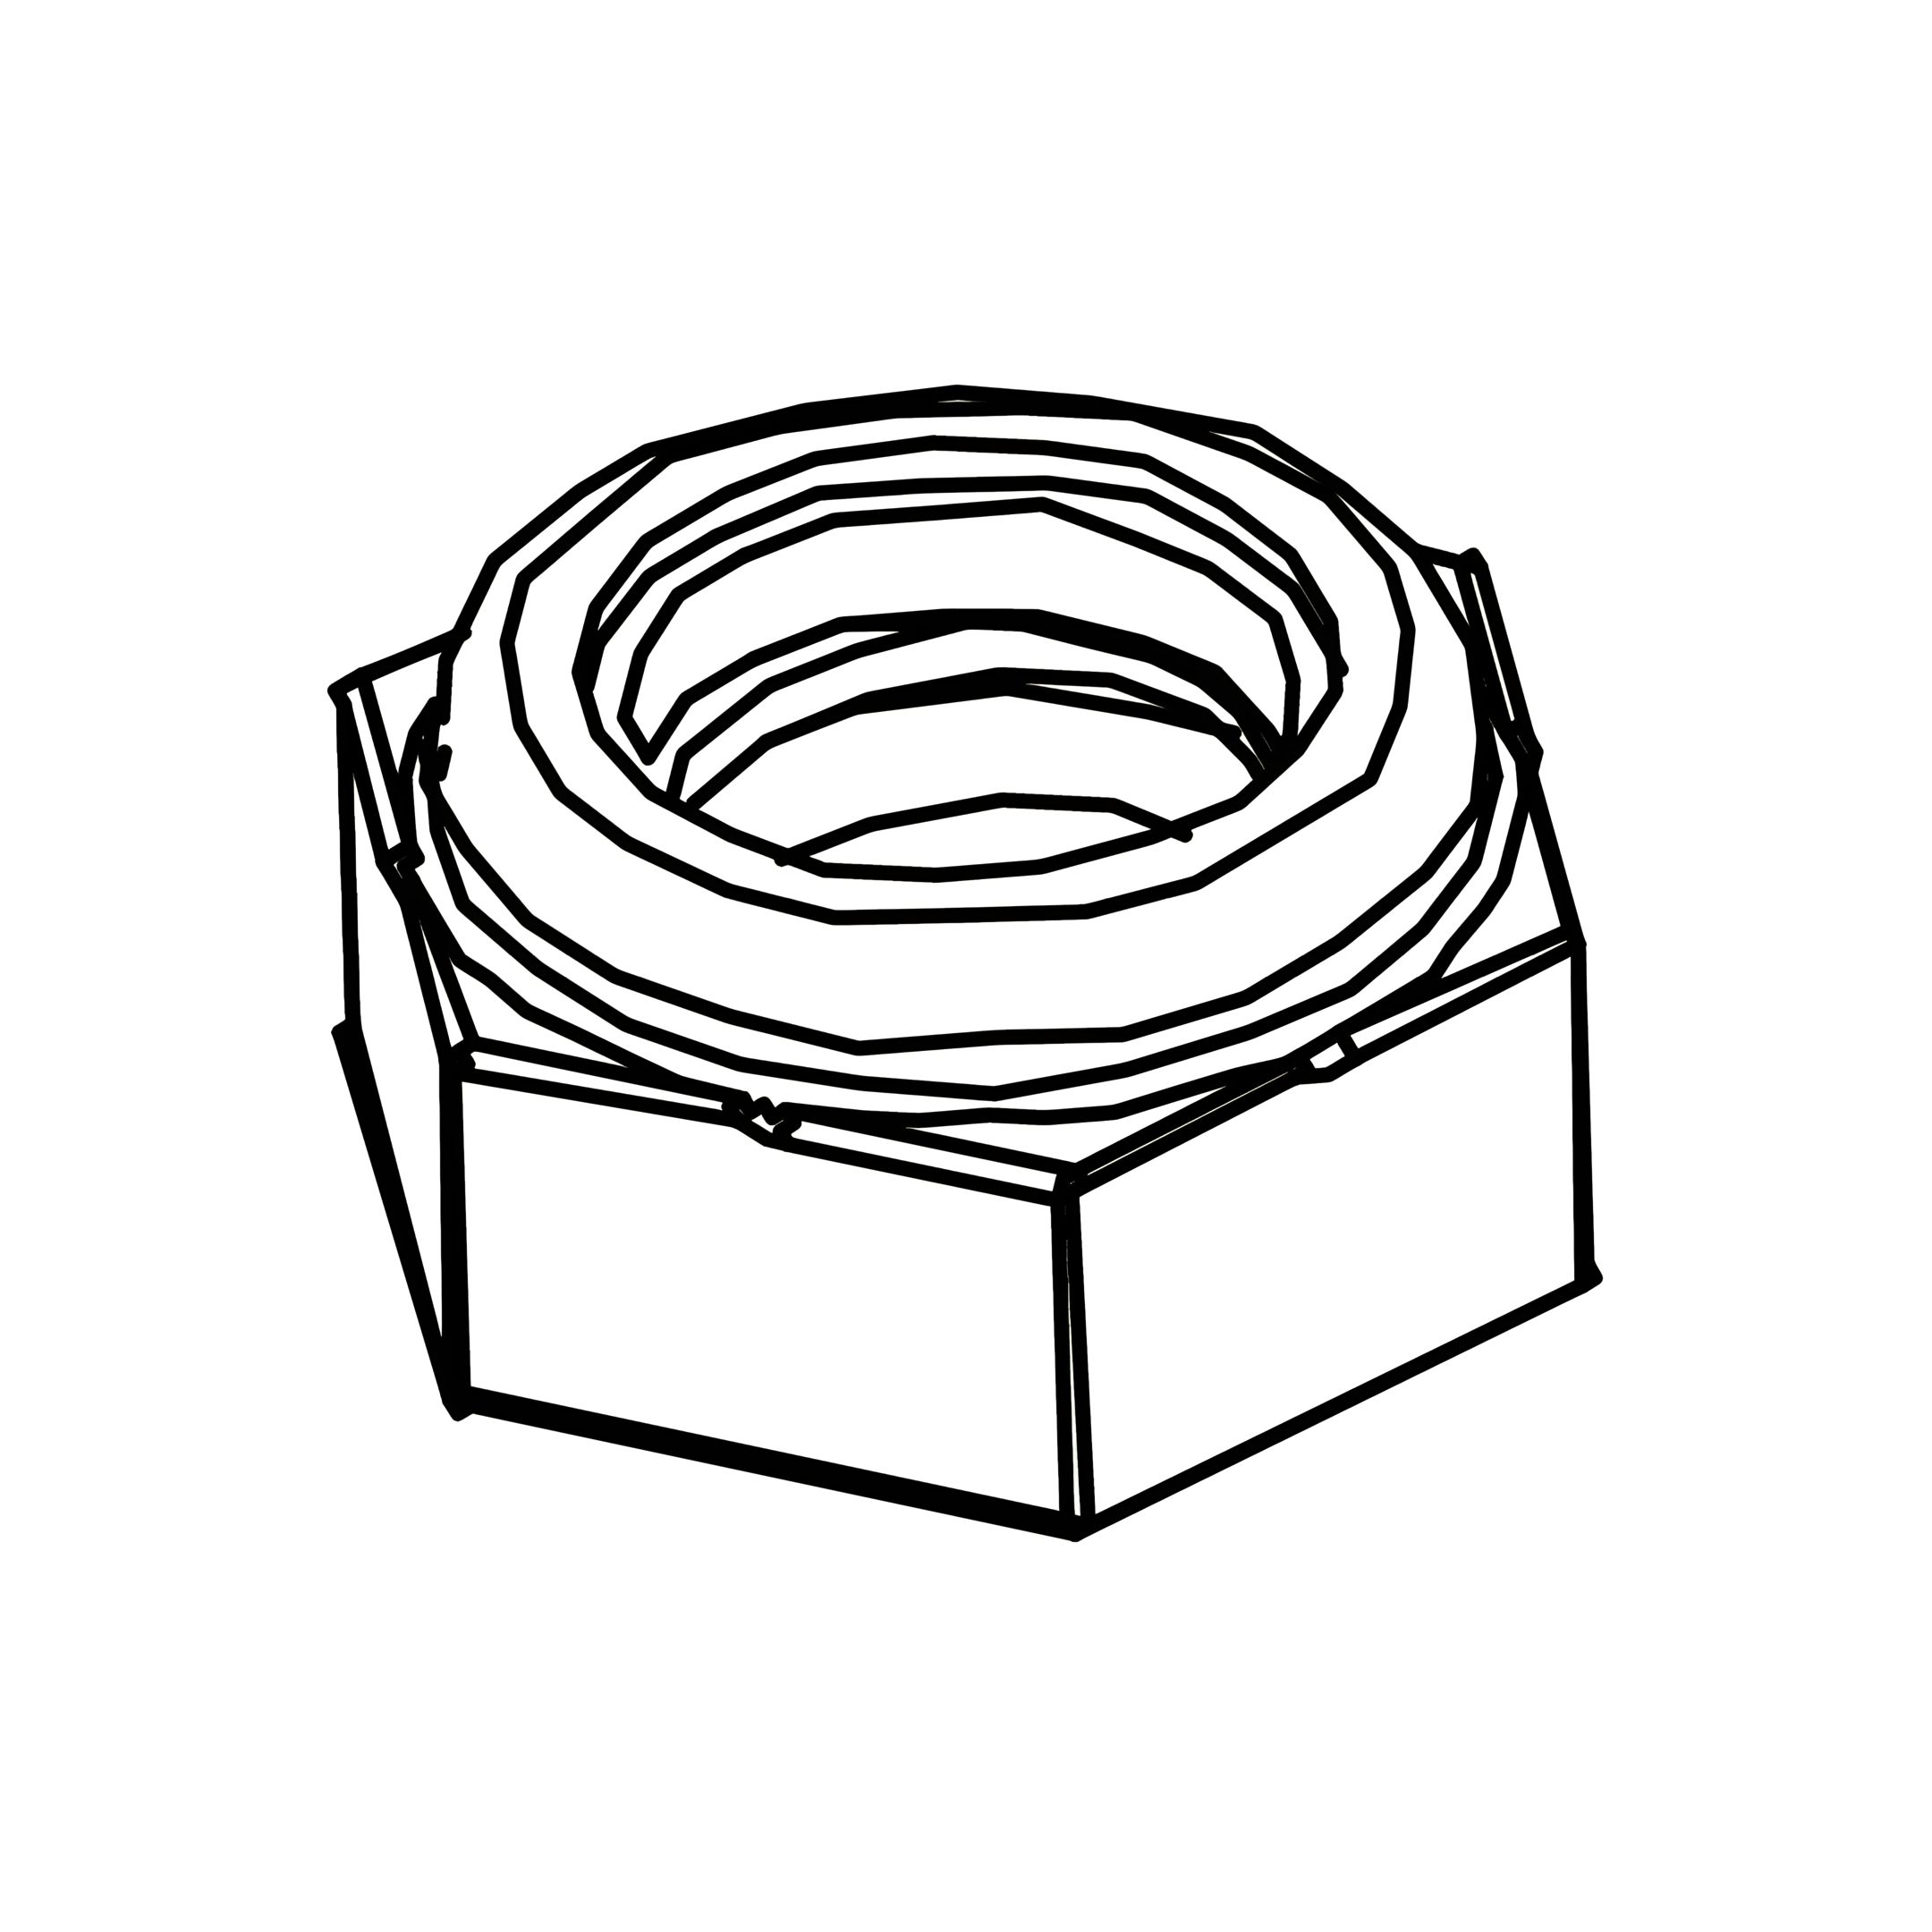
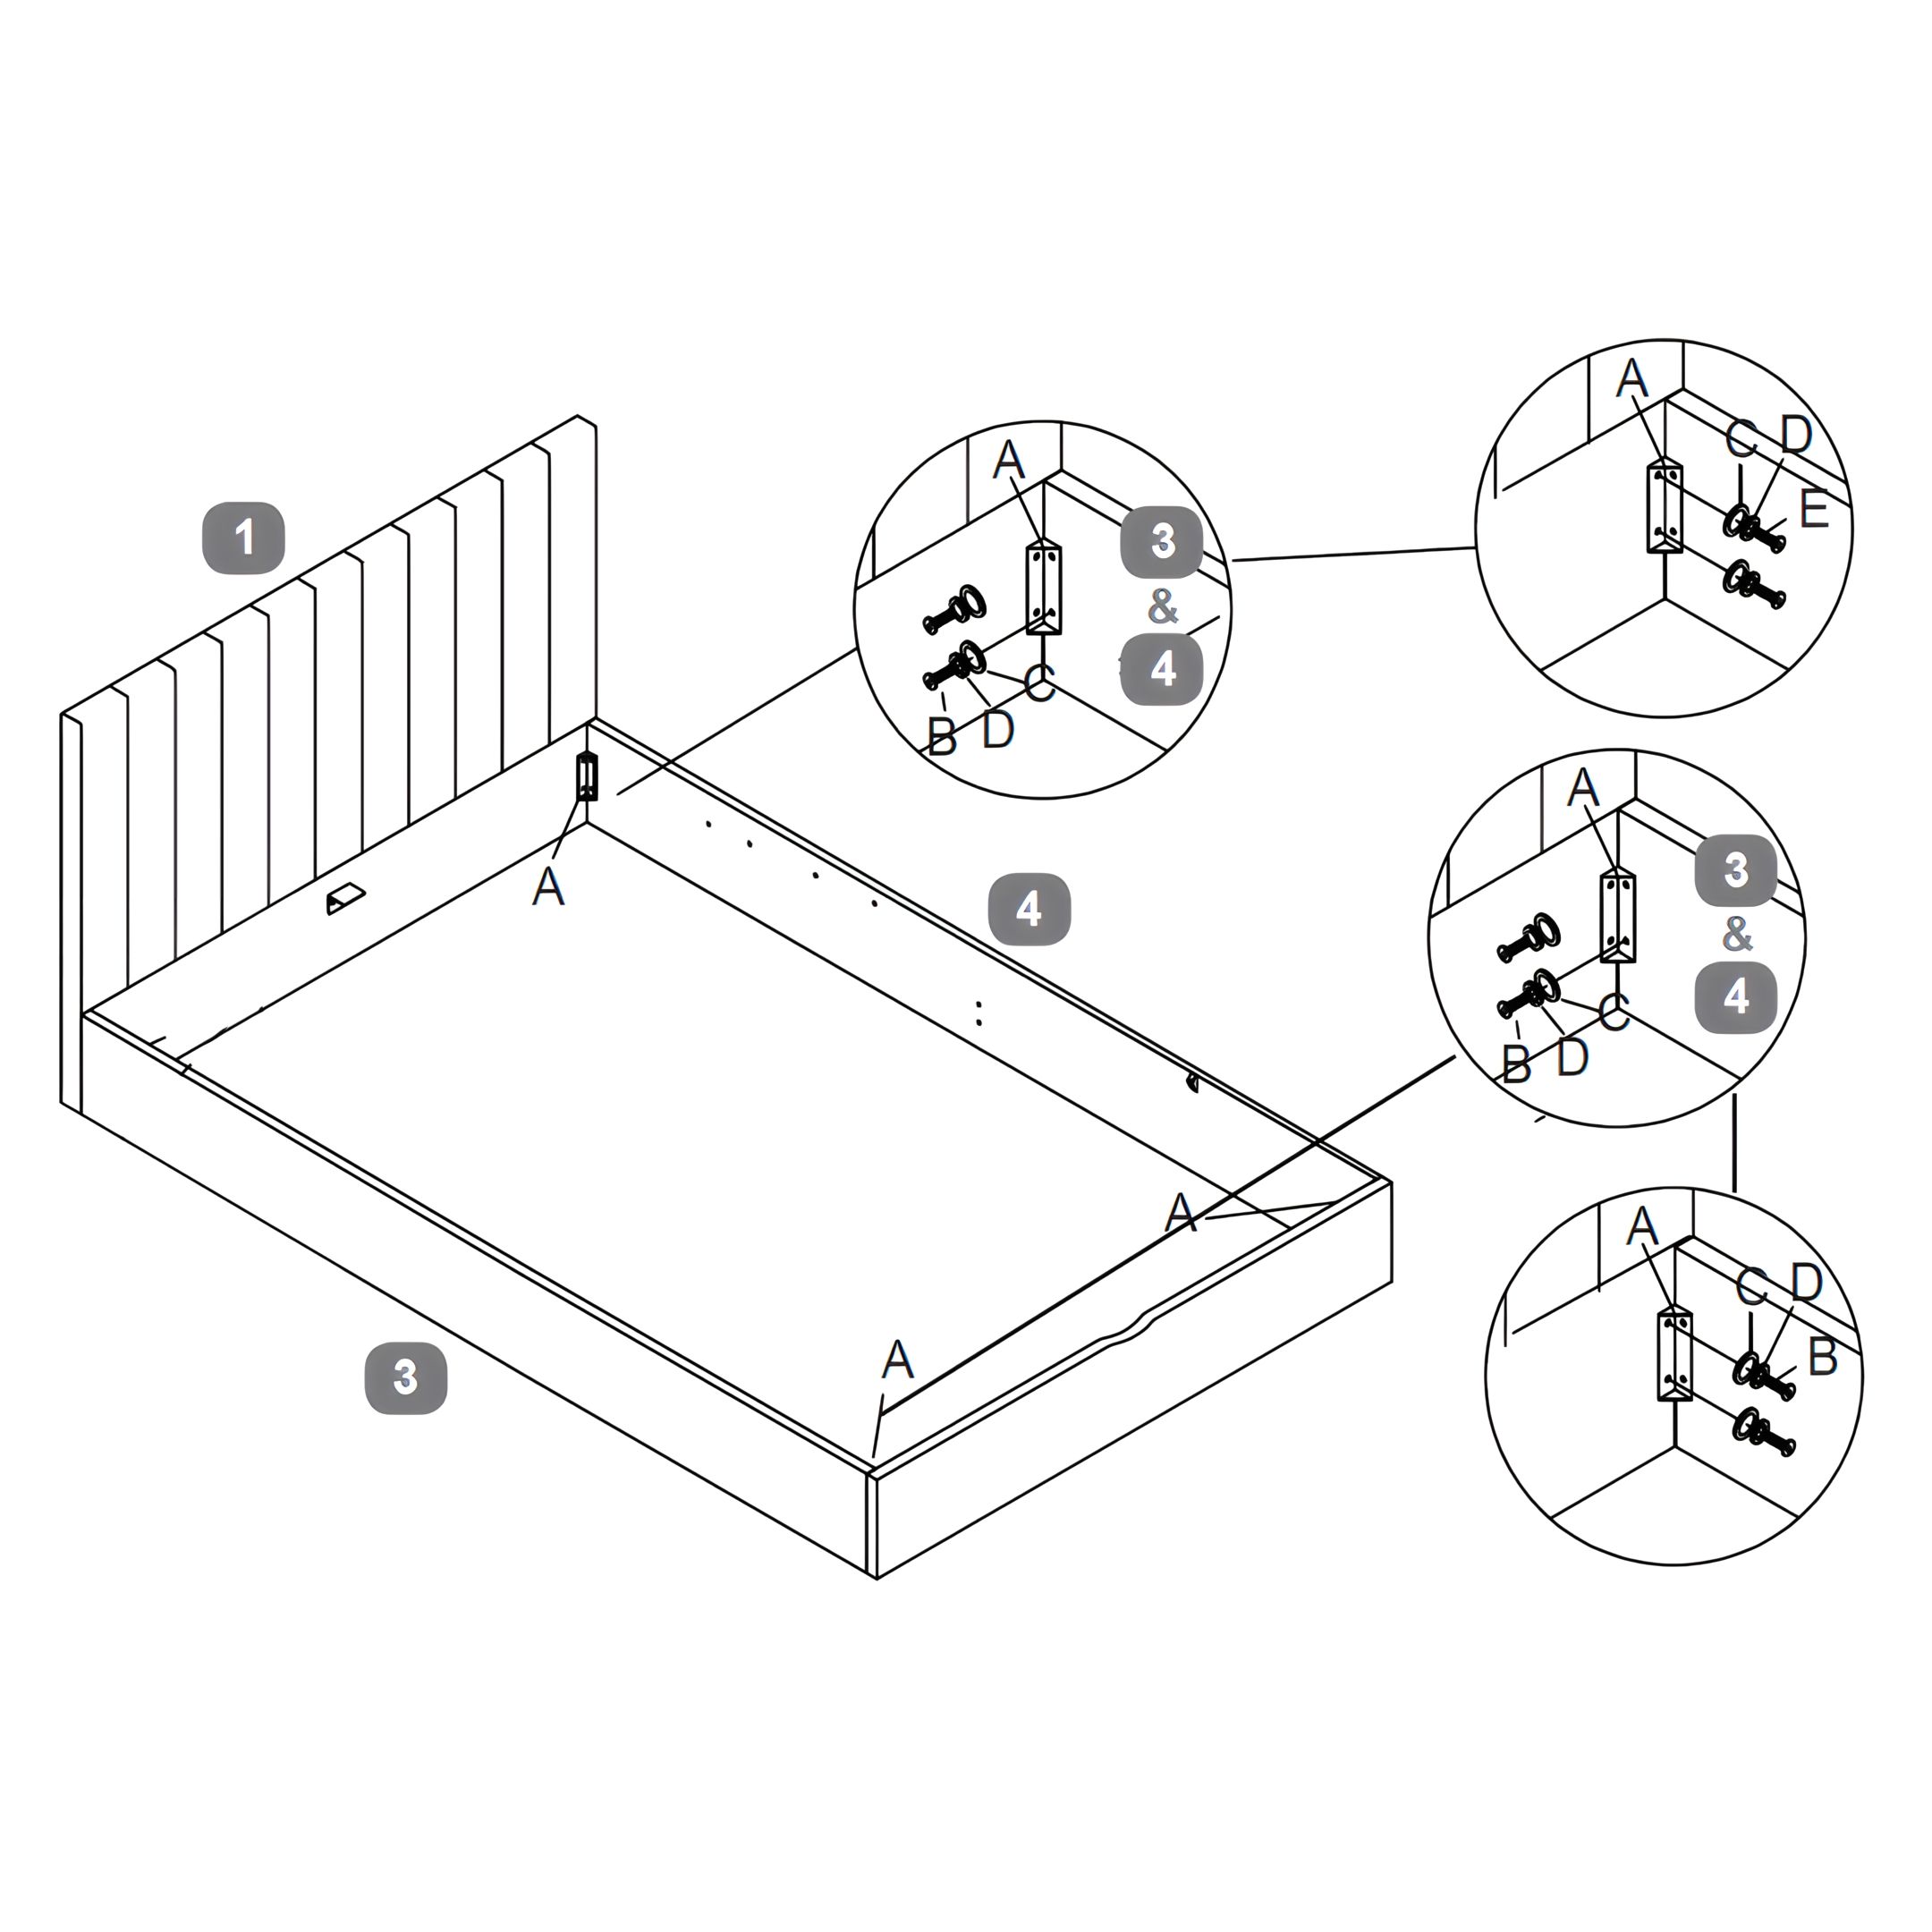
1. Align the Left Side Rail (3) and Right Side Rail (4) with the Headboard (1) and Footboard (2). 2. Secure each Side Rail to the Headboard and Footboard using Corner Brackets (A). For each bolt, first place a Flat Washer (C), then a Spring Washer (D), and finally insert and tighten the Bolt (B). 3. Attach the Angled Corner Bracket (7) in the center where the Side Rails meet the Headboard, using the same Flat Washer, Spring Washer, and Bolt. 4. Ensure all parts are properly aligned before fully tightening the bolts.
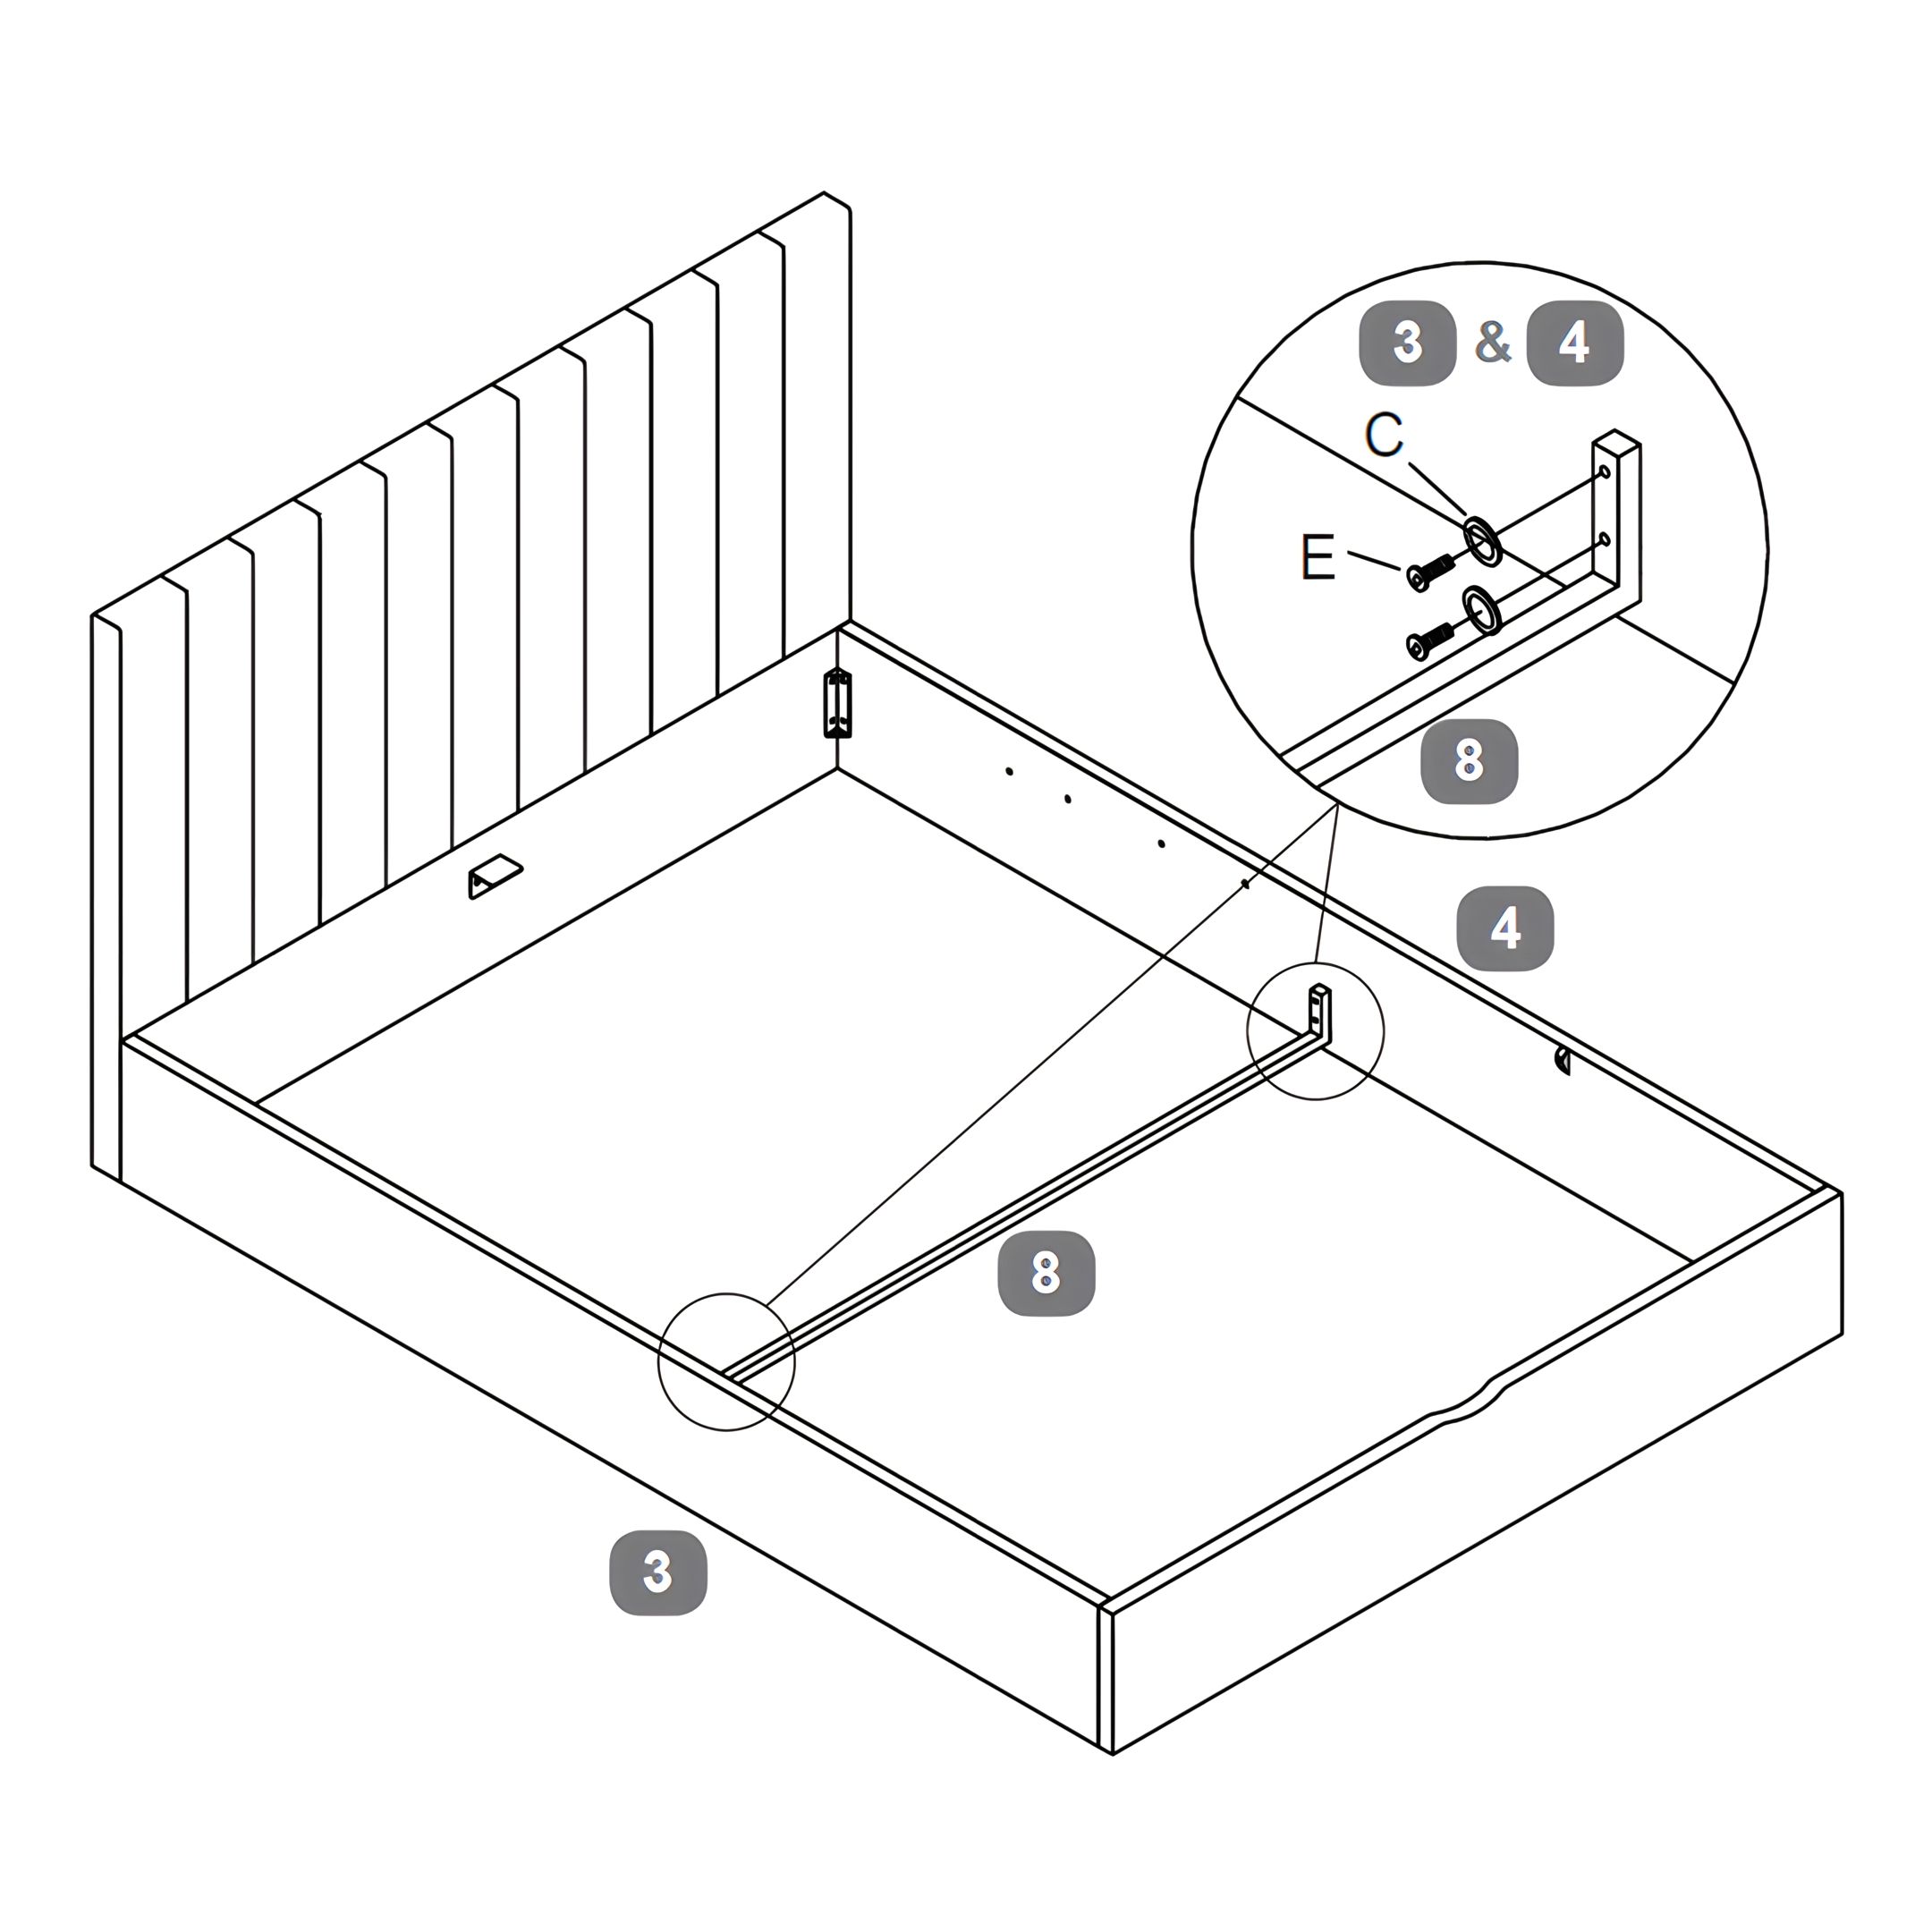
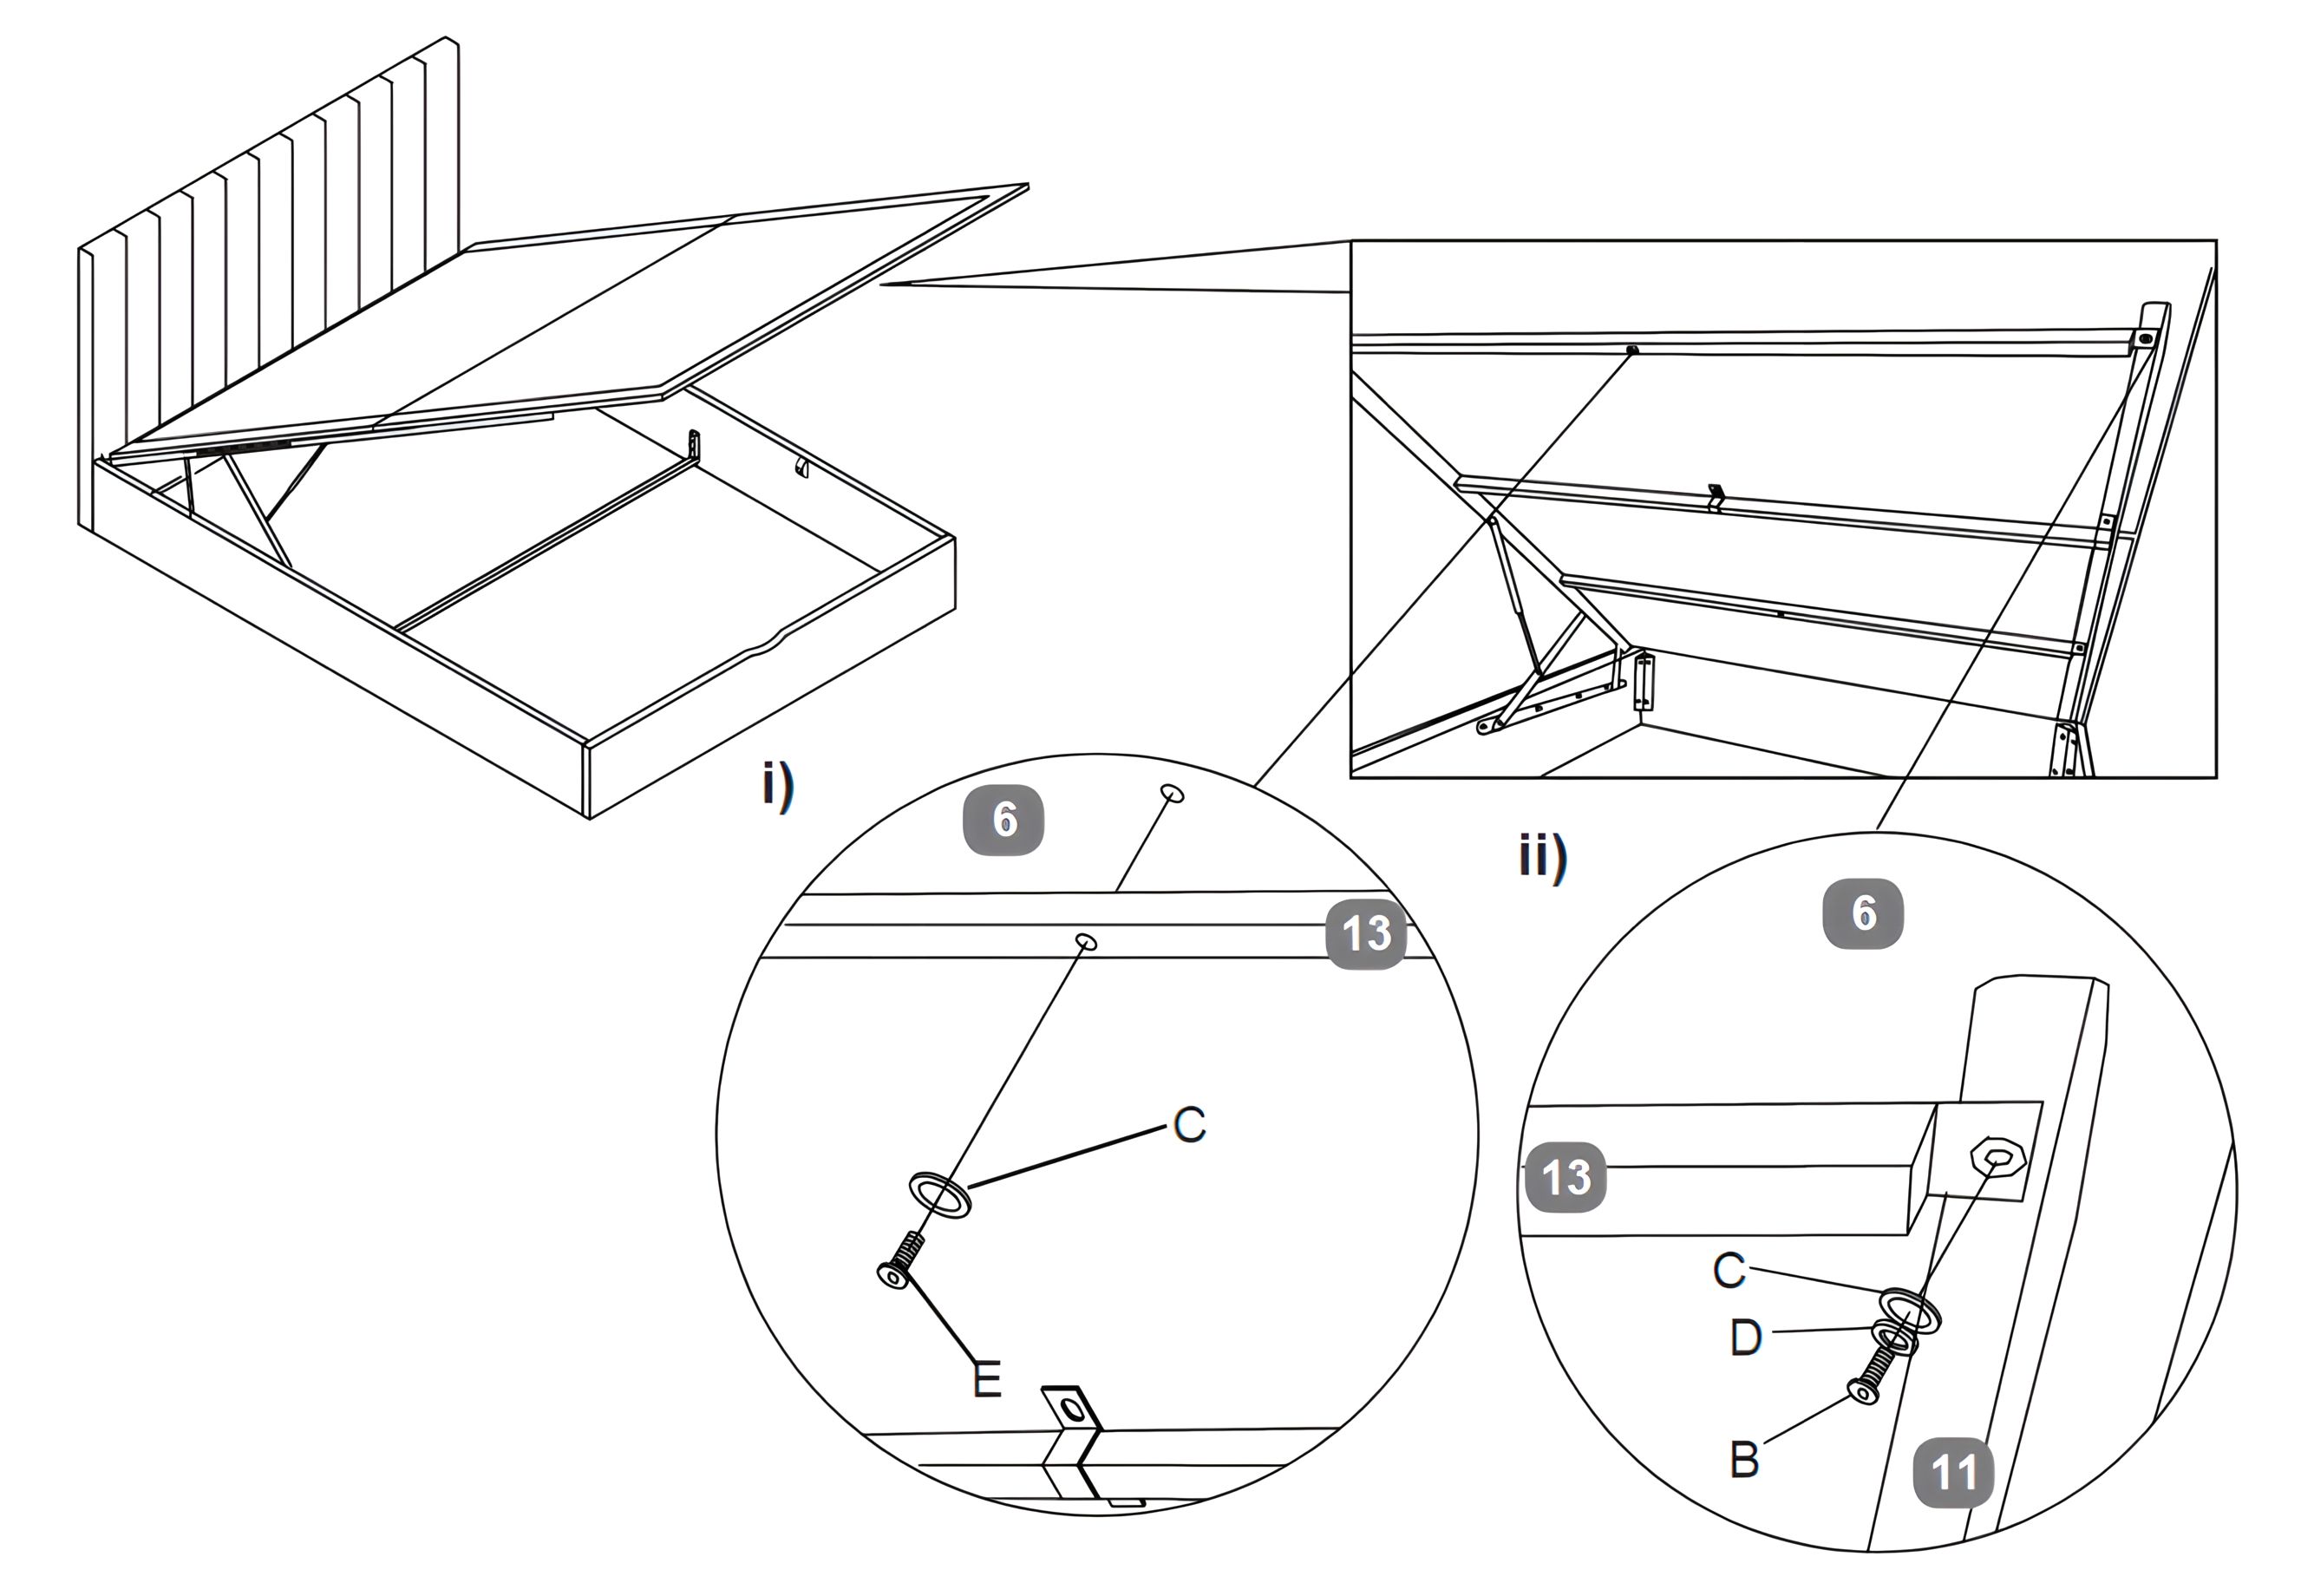
2. Attach the ‘U’ Shape Cross Bar
1. Position the ‘U’ Shape Cross Bar (8) between the Left Side Rail (3) and Right Side Rail (4). 2. Secure it using Bolts (E). For each bolt, first place a Flat Washer (C), then insert and tighten the bolt. 3. Ensure the Cross Bar is properly aligned before fully tightening the bolts.
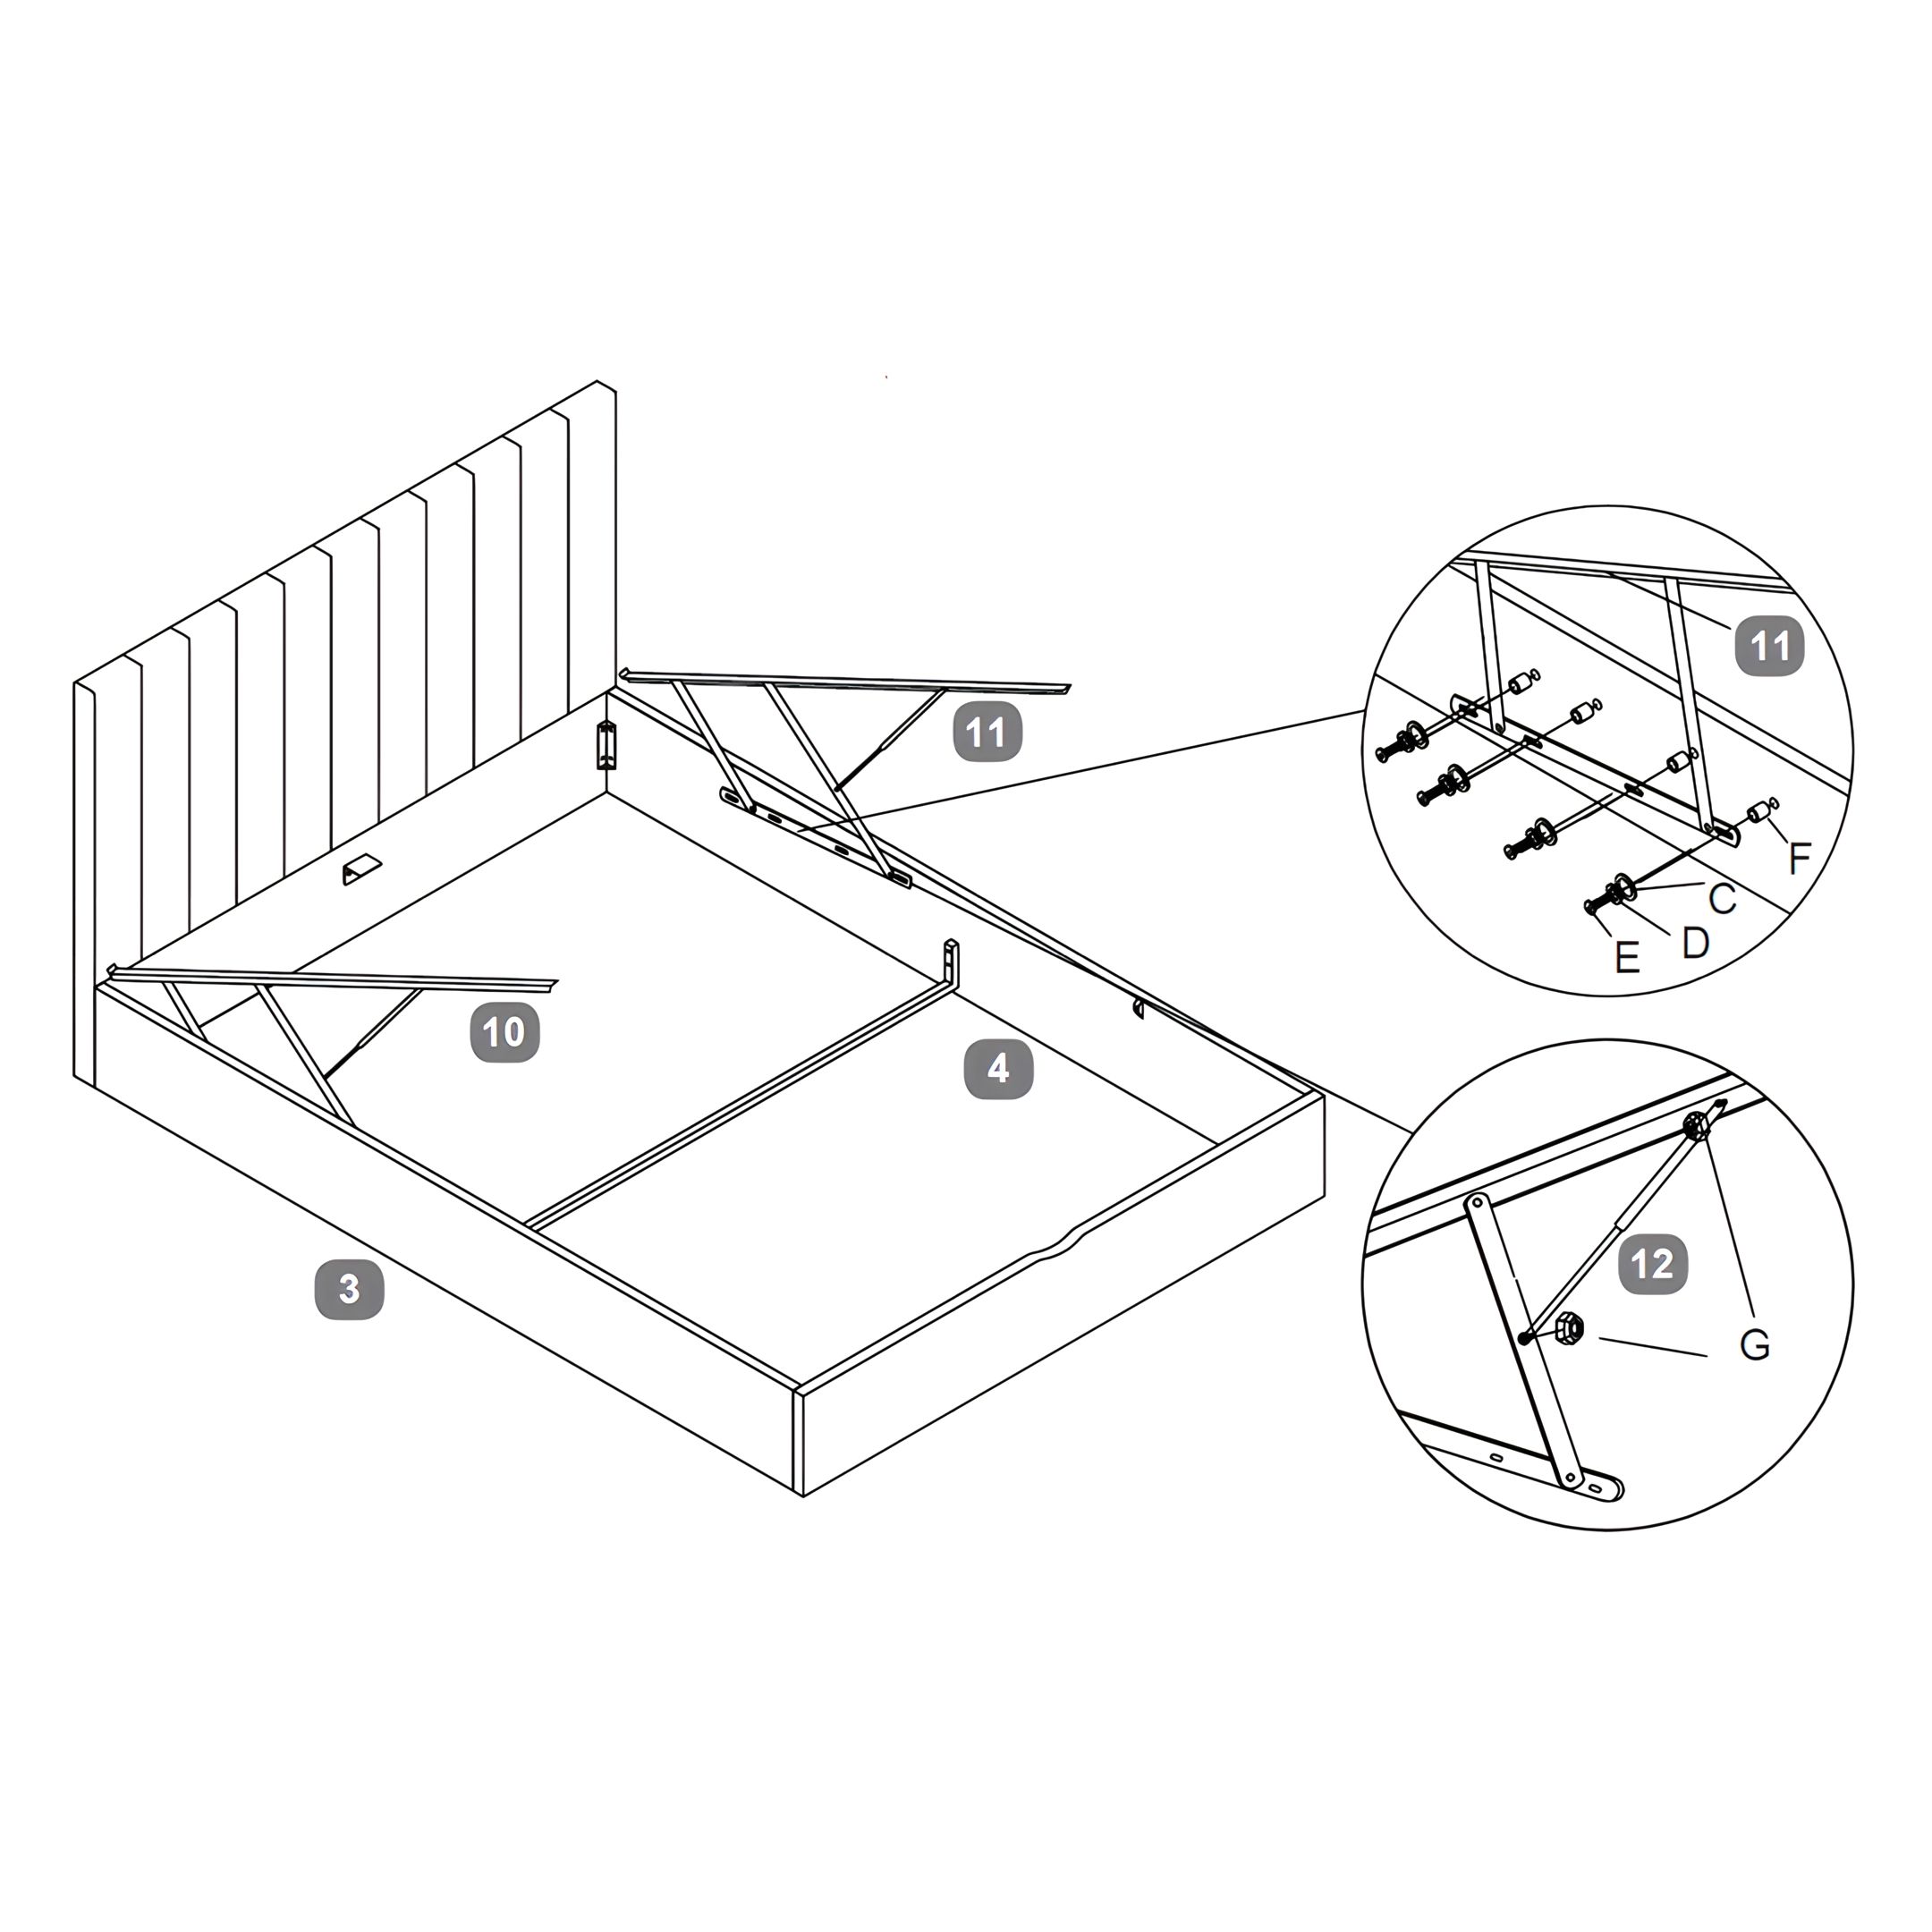
3. Attach the Gas Lift Mechanisms
1. Position the Gas Lift Mechanism - Left (10) and Gas Lift Mechanism - Right (11) onto the Left Side Rail (3) and Right Side Rail (4) respectively. 2. Secure each Gas Lift Mechanism using Bolts (E). For each bolt, first place a Spring Washer (D), then a Flat Washer (C), and insert the bolt through the mechanism. On the opposite side, place a Plastic Spacer (F) before tightening. 3. Attach the Gas Lift Pistons (12) to the mechanisms using Lock Nuts (G). 4. Ensure all components are securely fastened but do not overtighten to allow smooth movement.
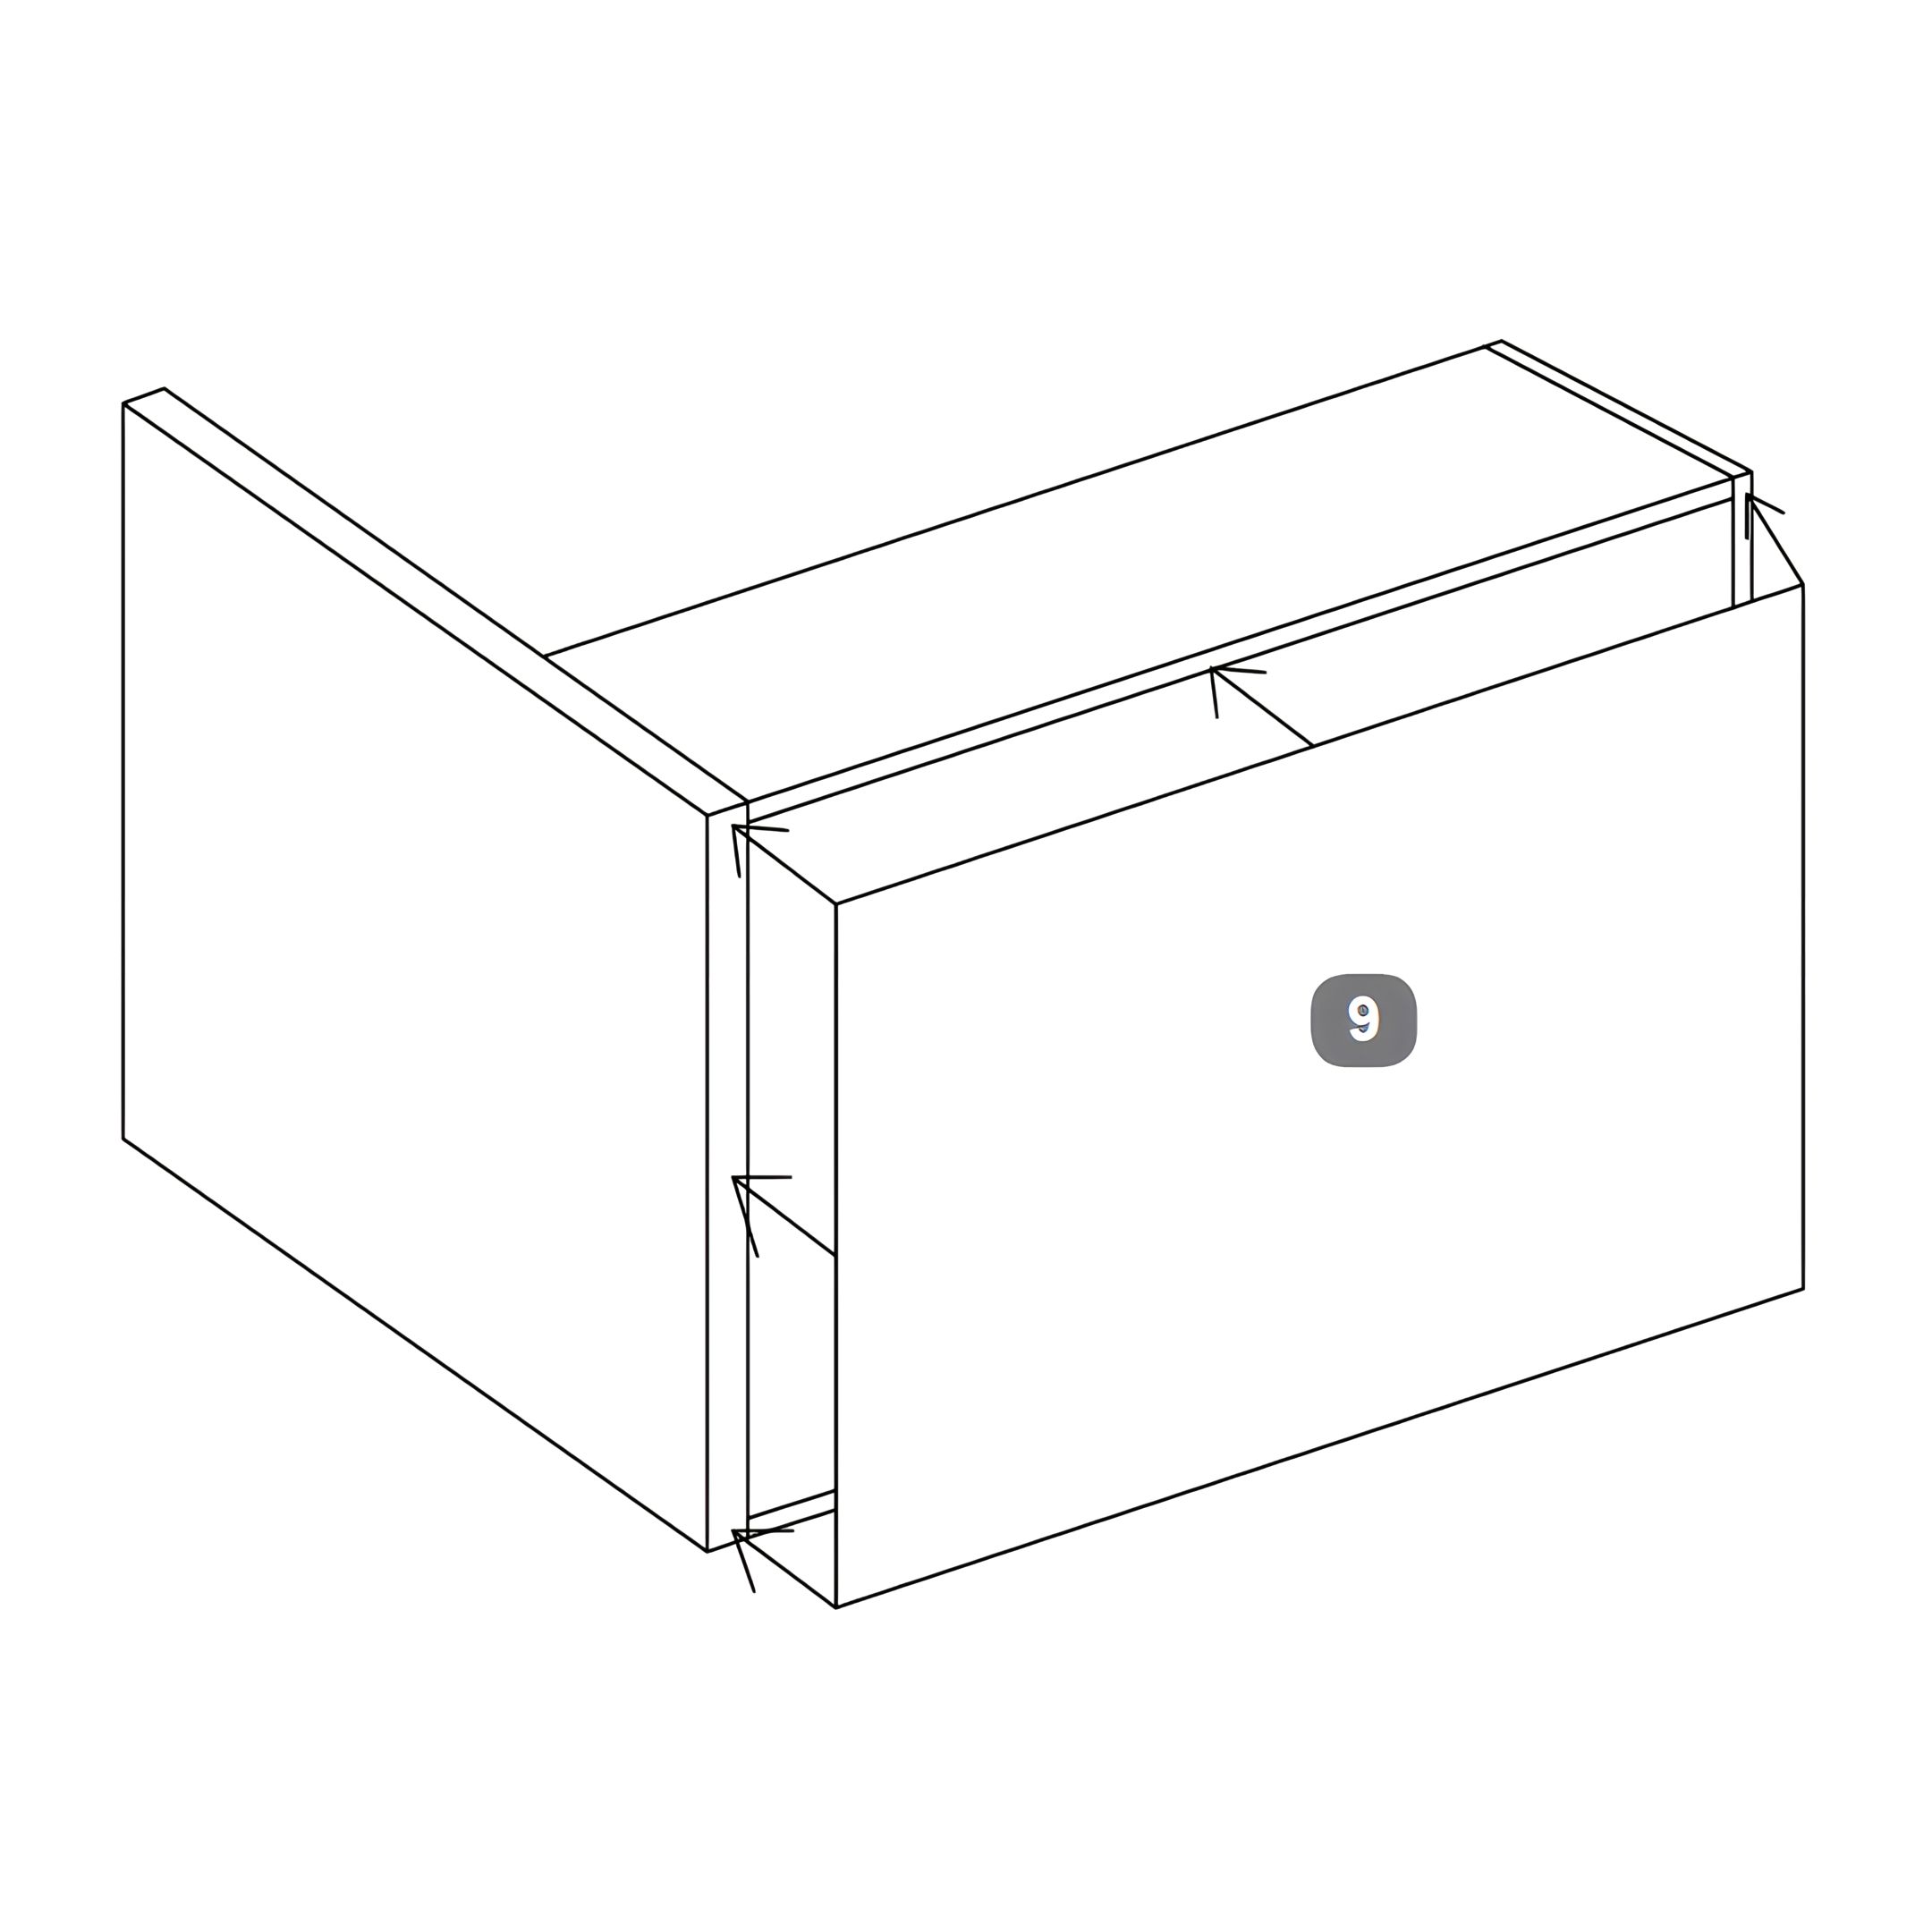
4. Attach the Fabric Base Cover
Warning: Carefully lift both the Headboard (1) and Footboard (2) at the same time. Do not let the bed twist.
1. With assistance, lift and turn the bed onto its side. Have one person hold the bed upright for safety. 2. Attach the Fabric Base Cover (9) to the bottom of the Side Rails (3 & 4), Headboard (1), and Footboard (2) using the Velcro tape. 3. Ensure the fabric is fixed evenly all around.
Warning: Carefully lower the bed back down equally, making sure not to let the bed twist as it is heavy.
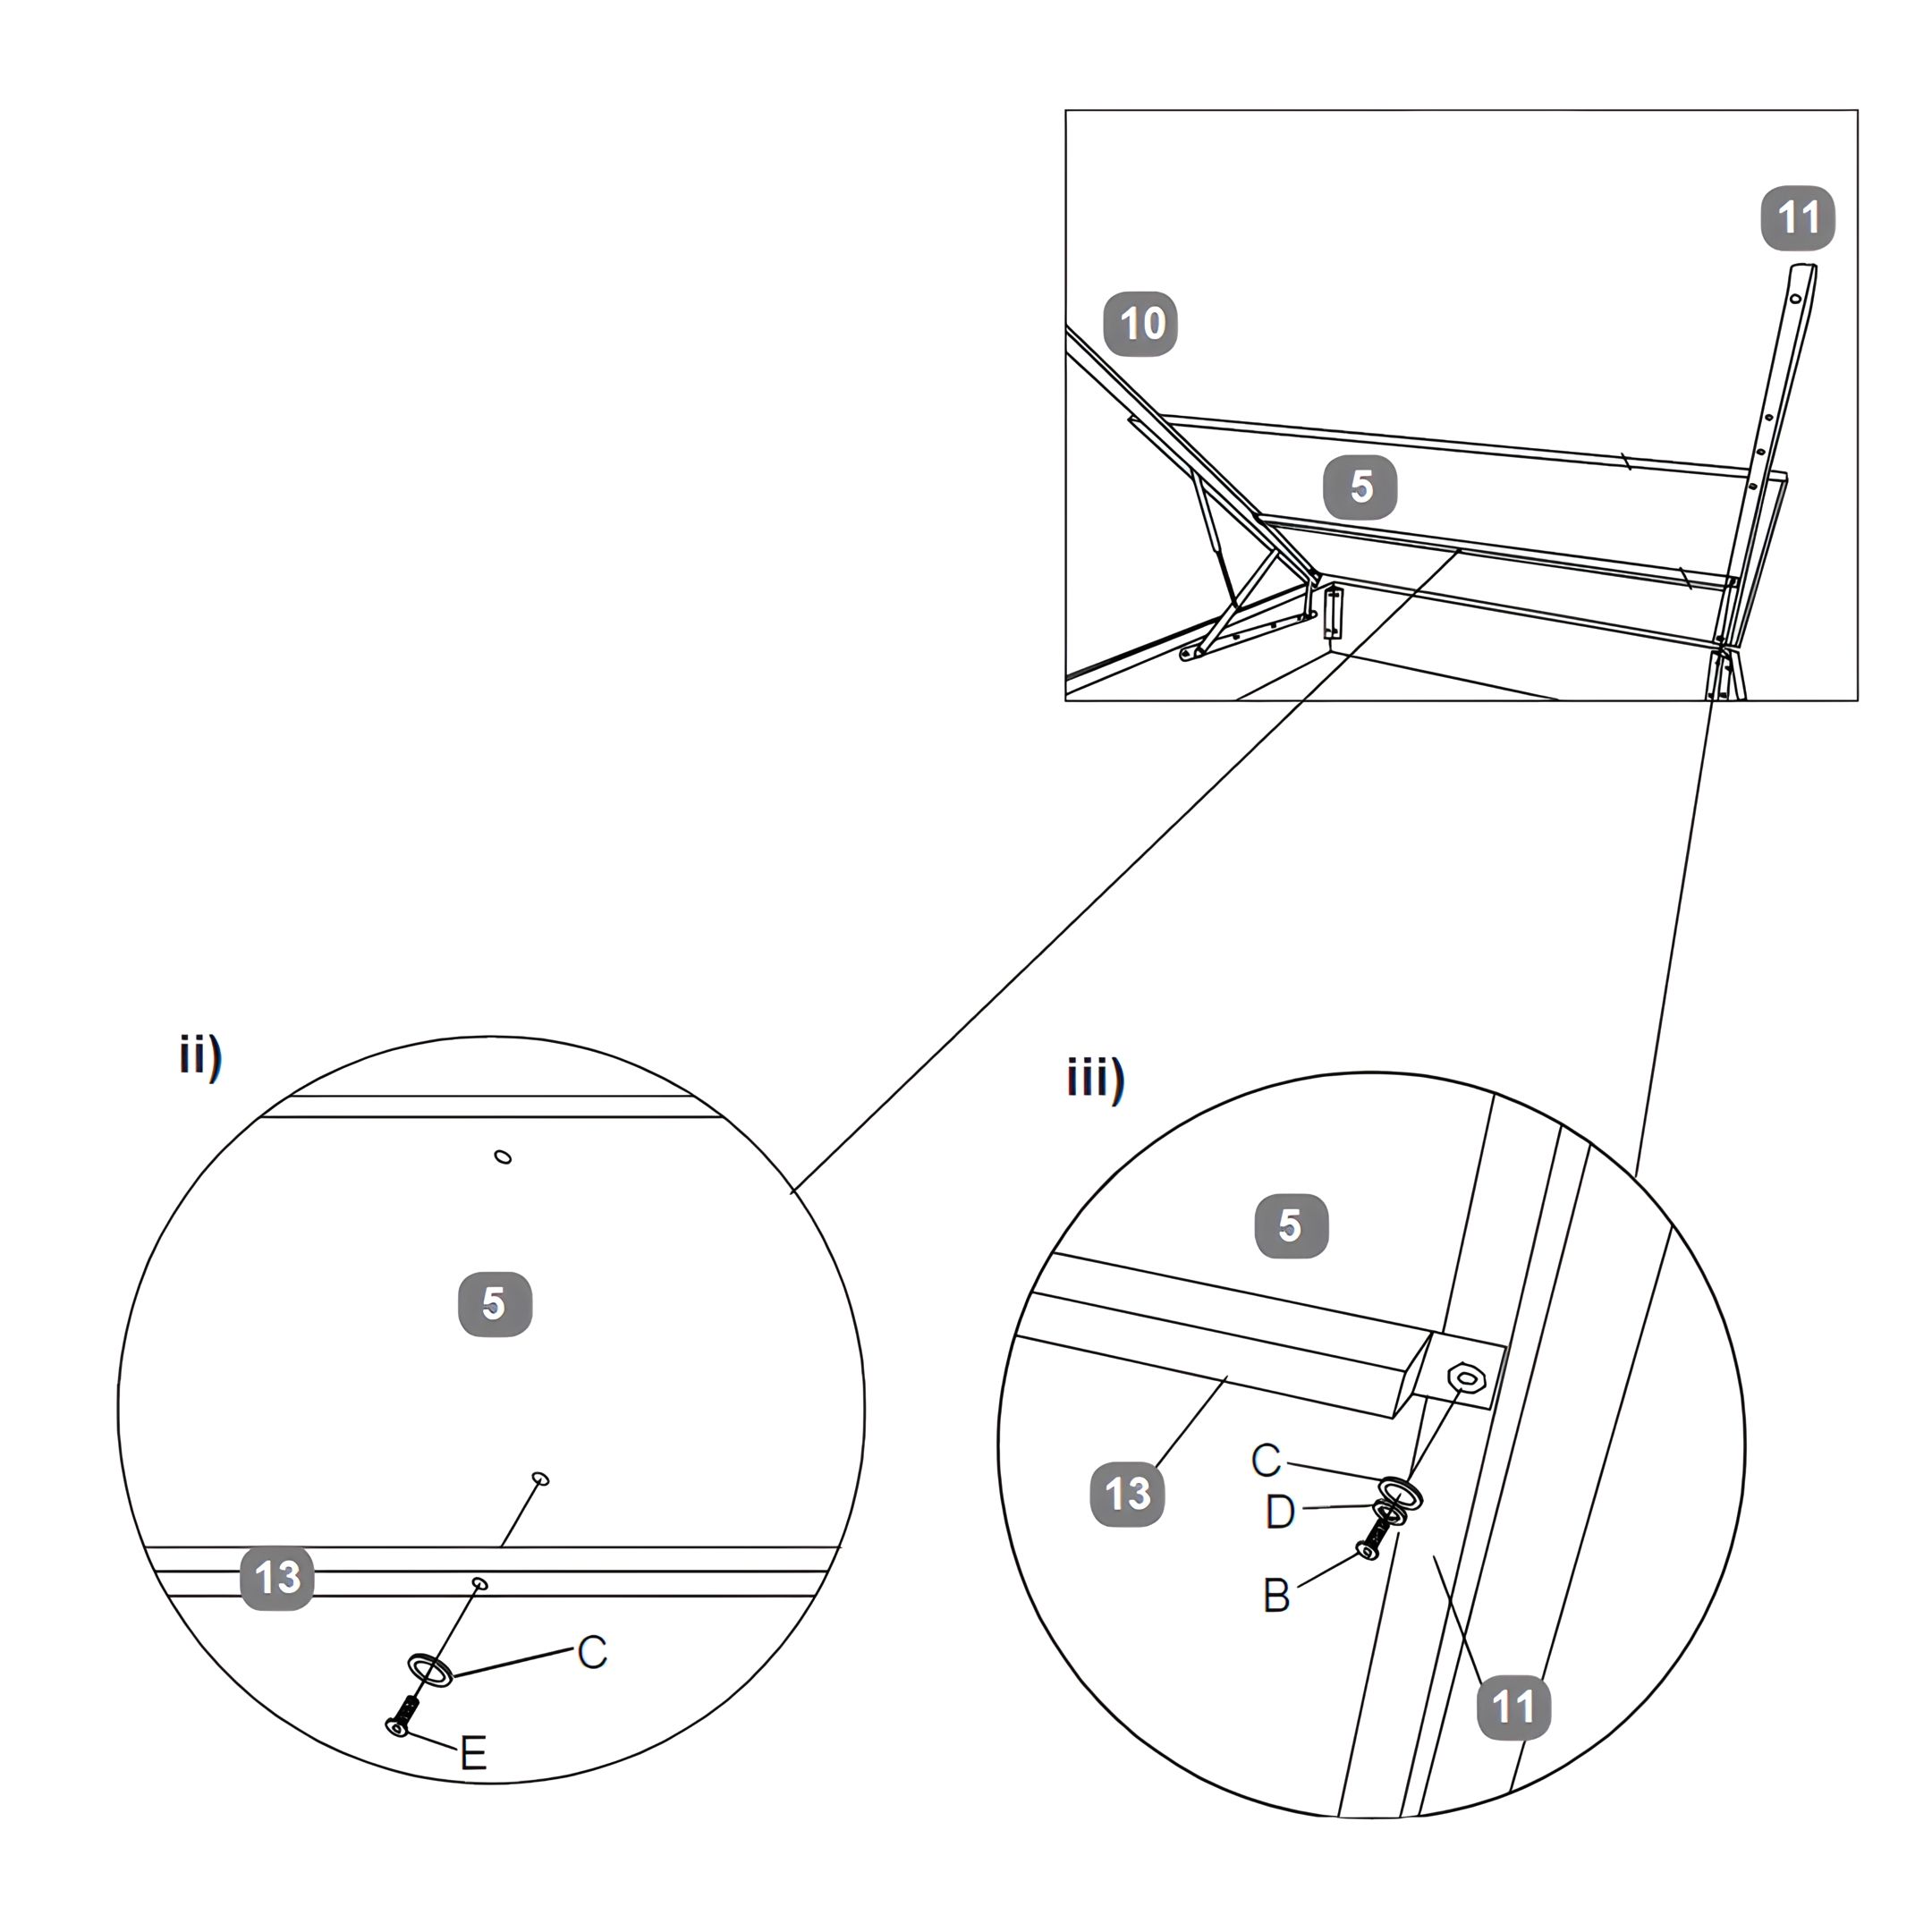
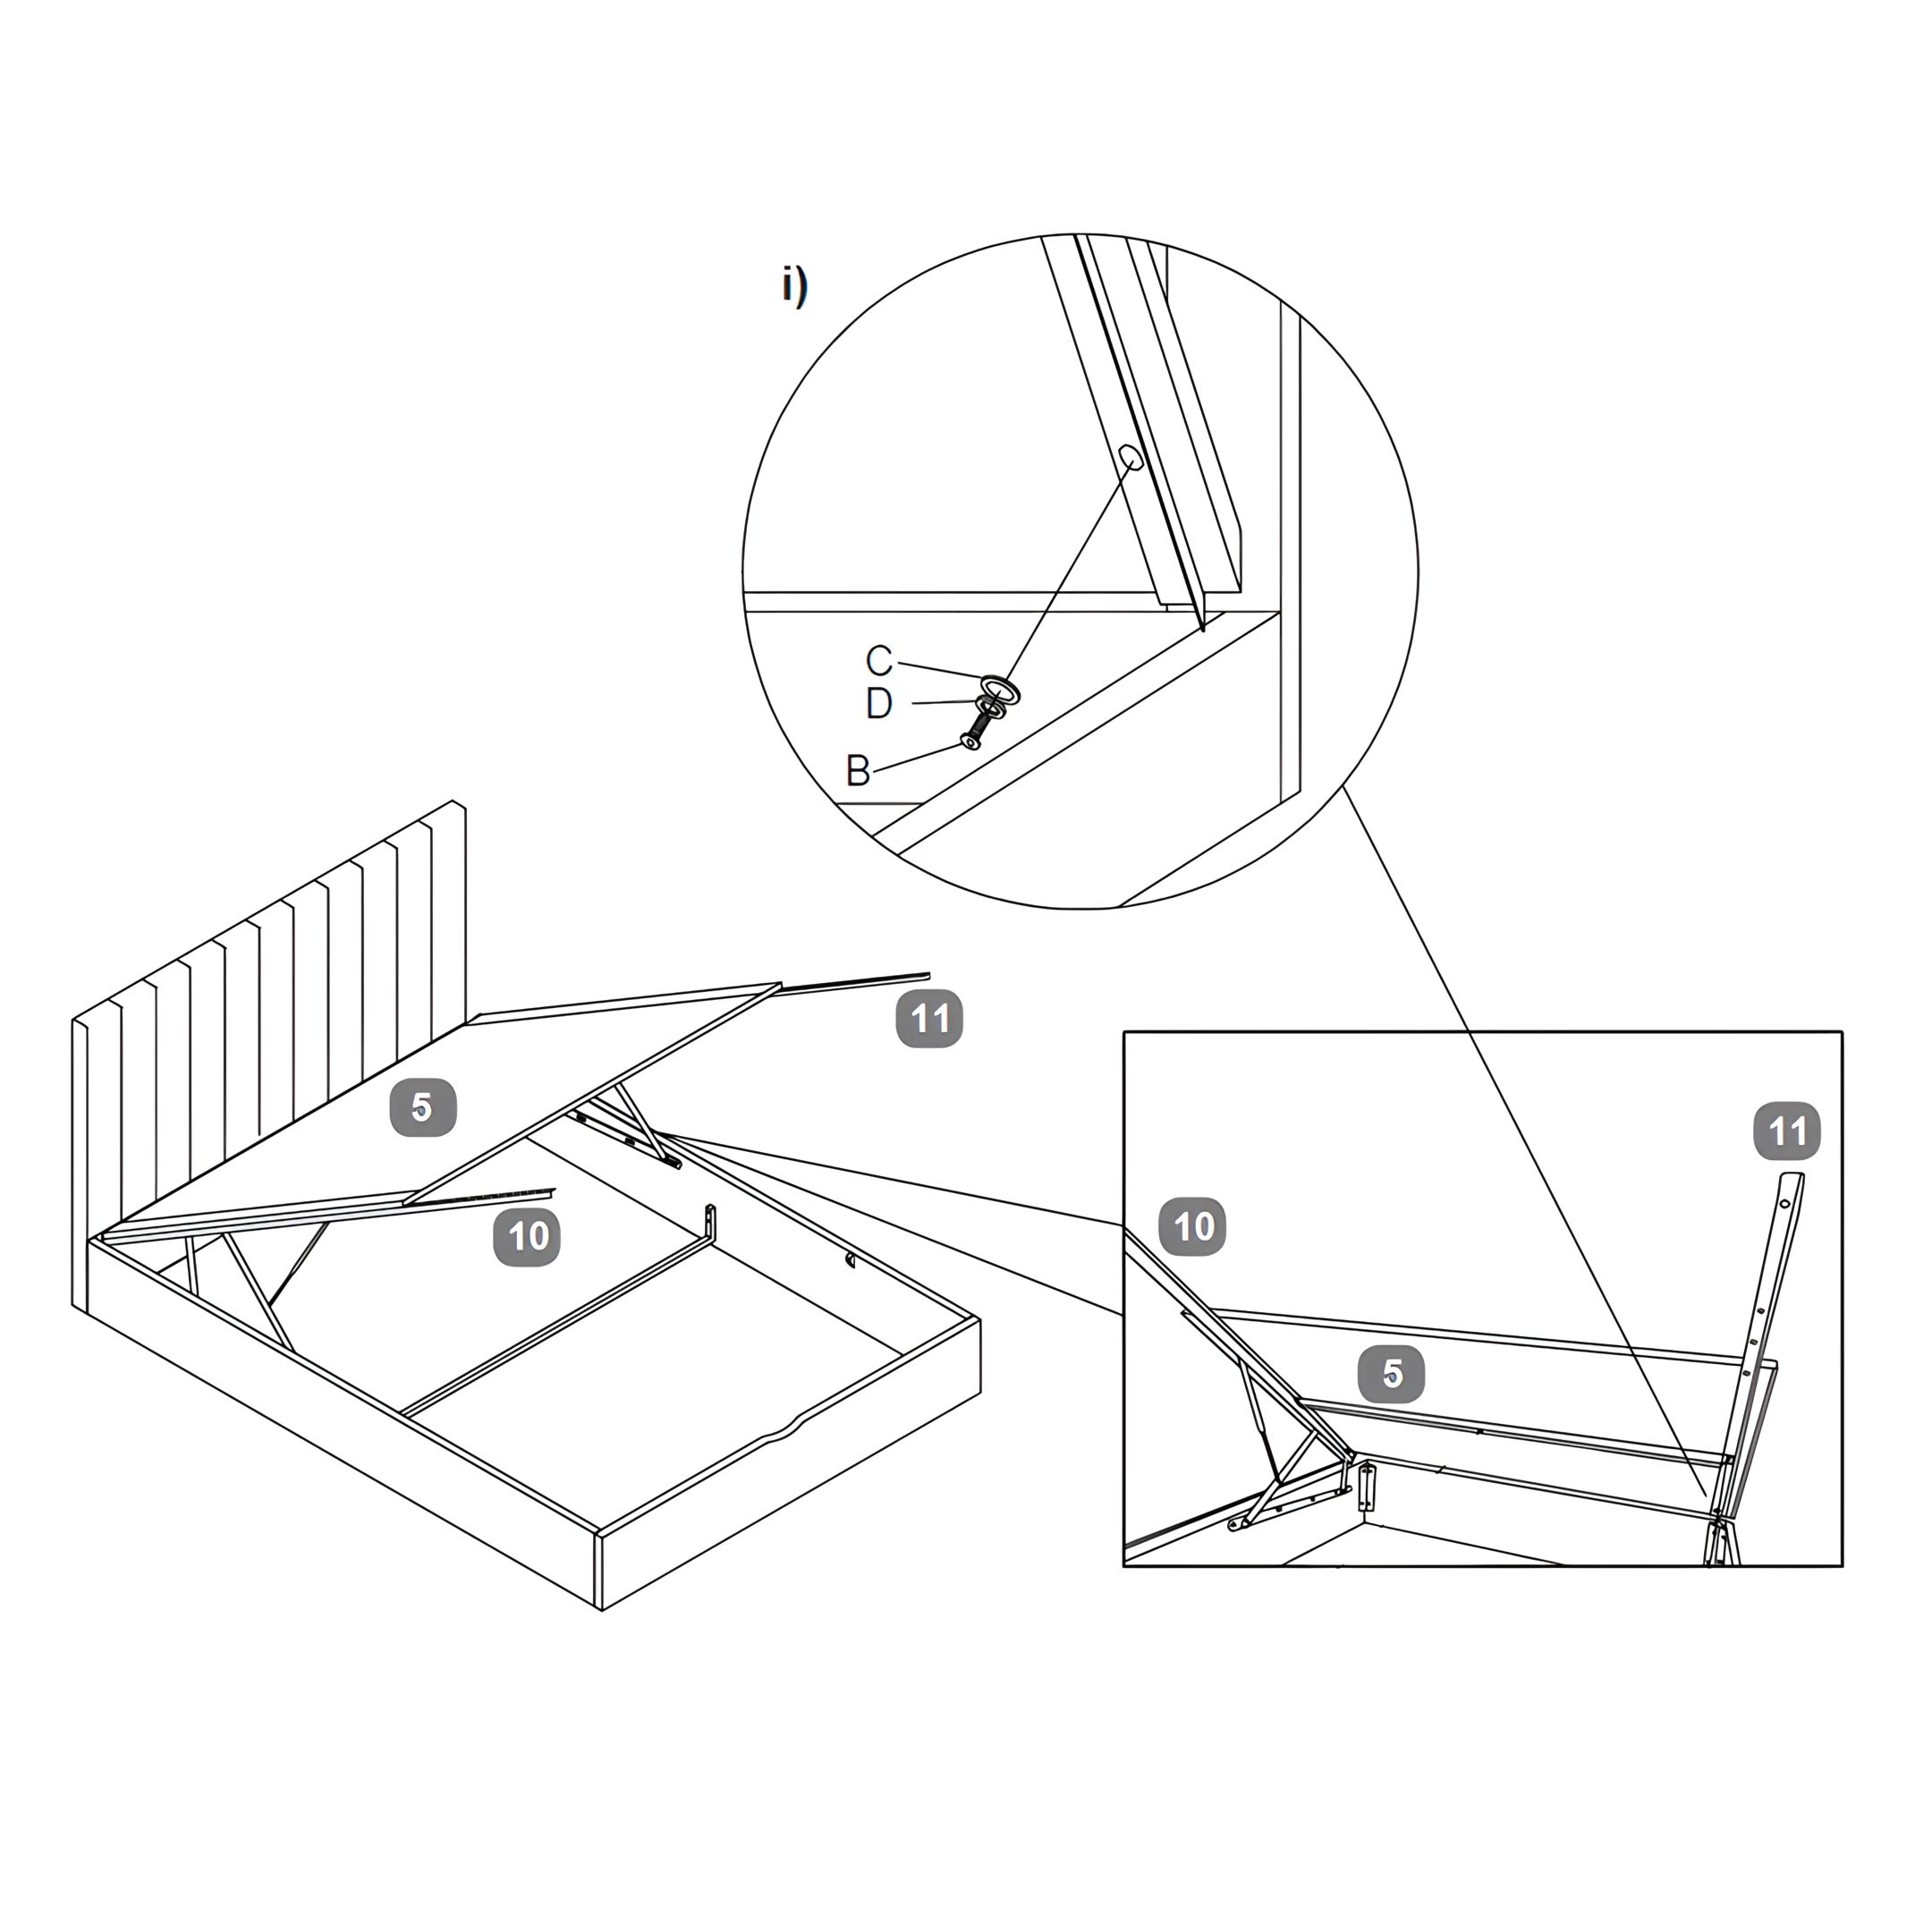
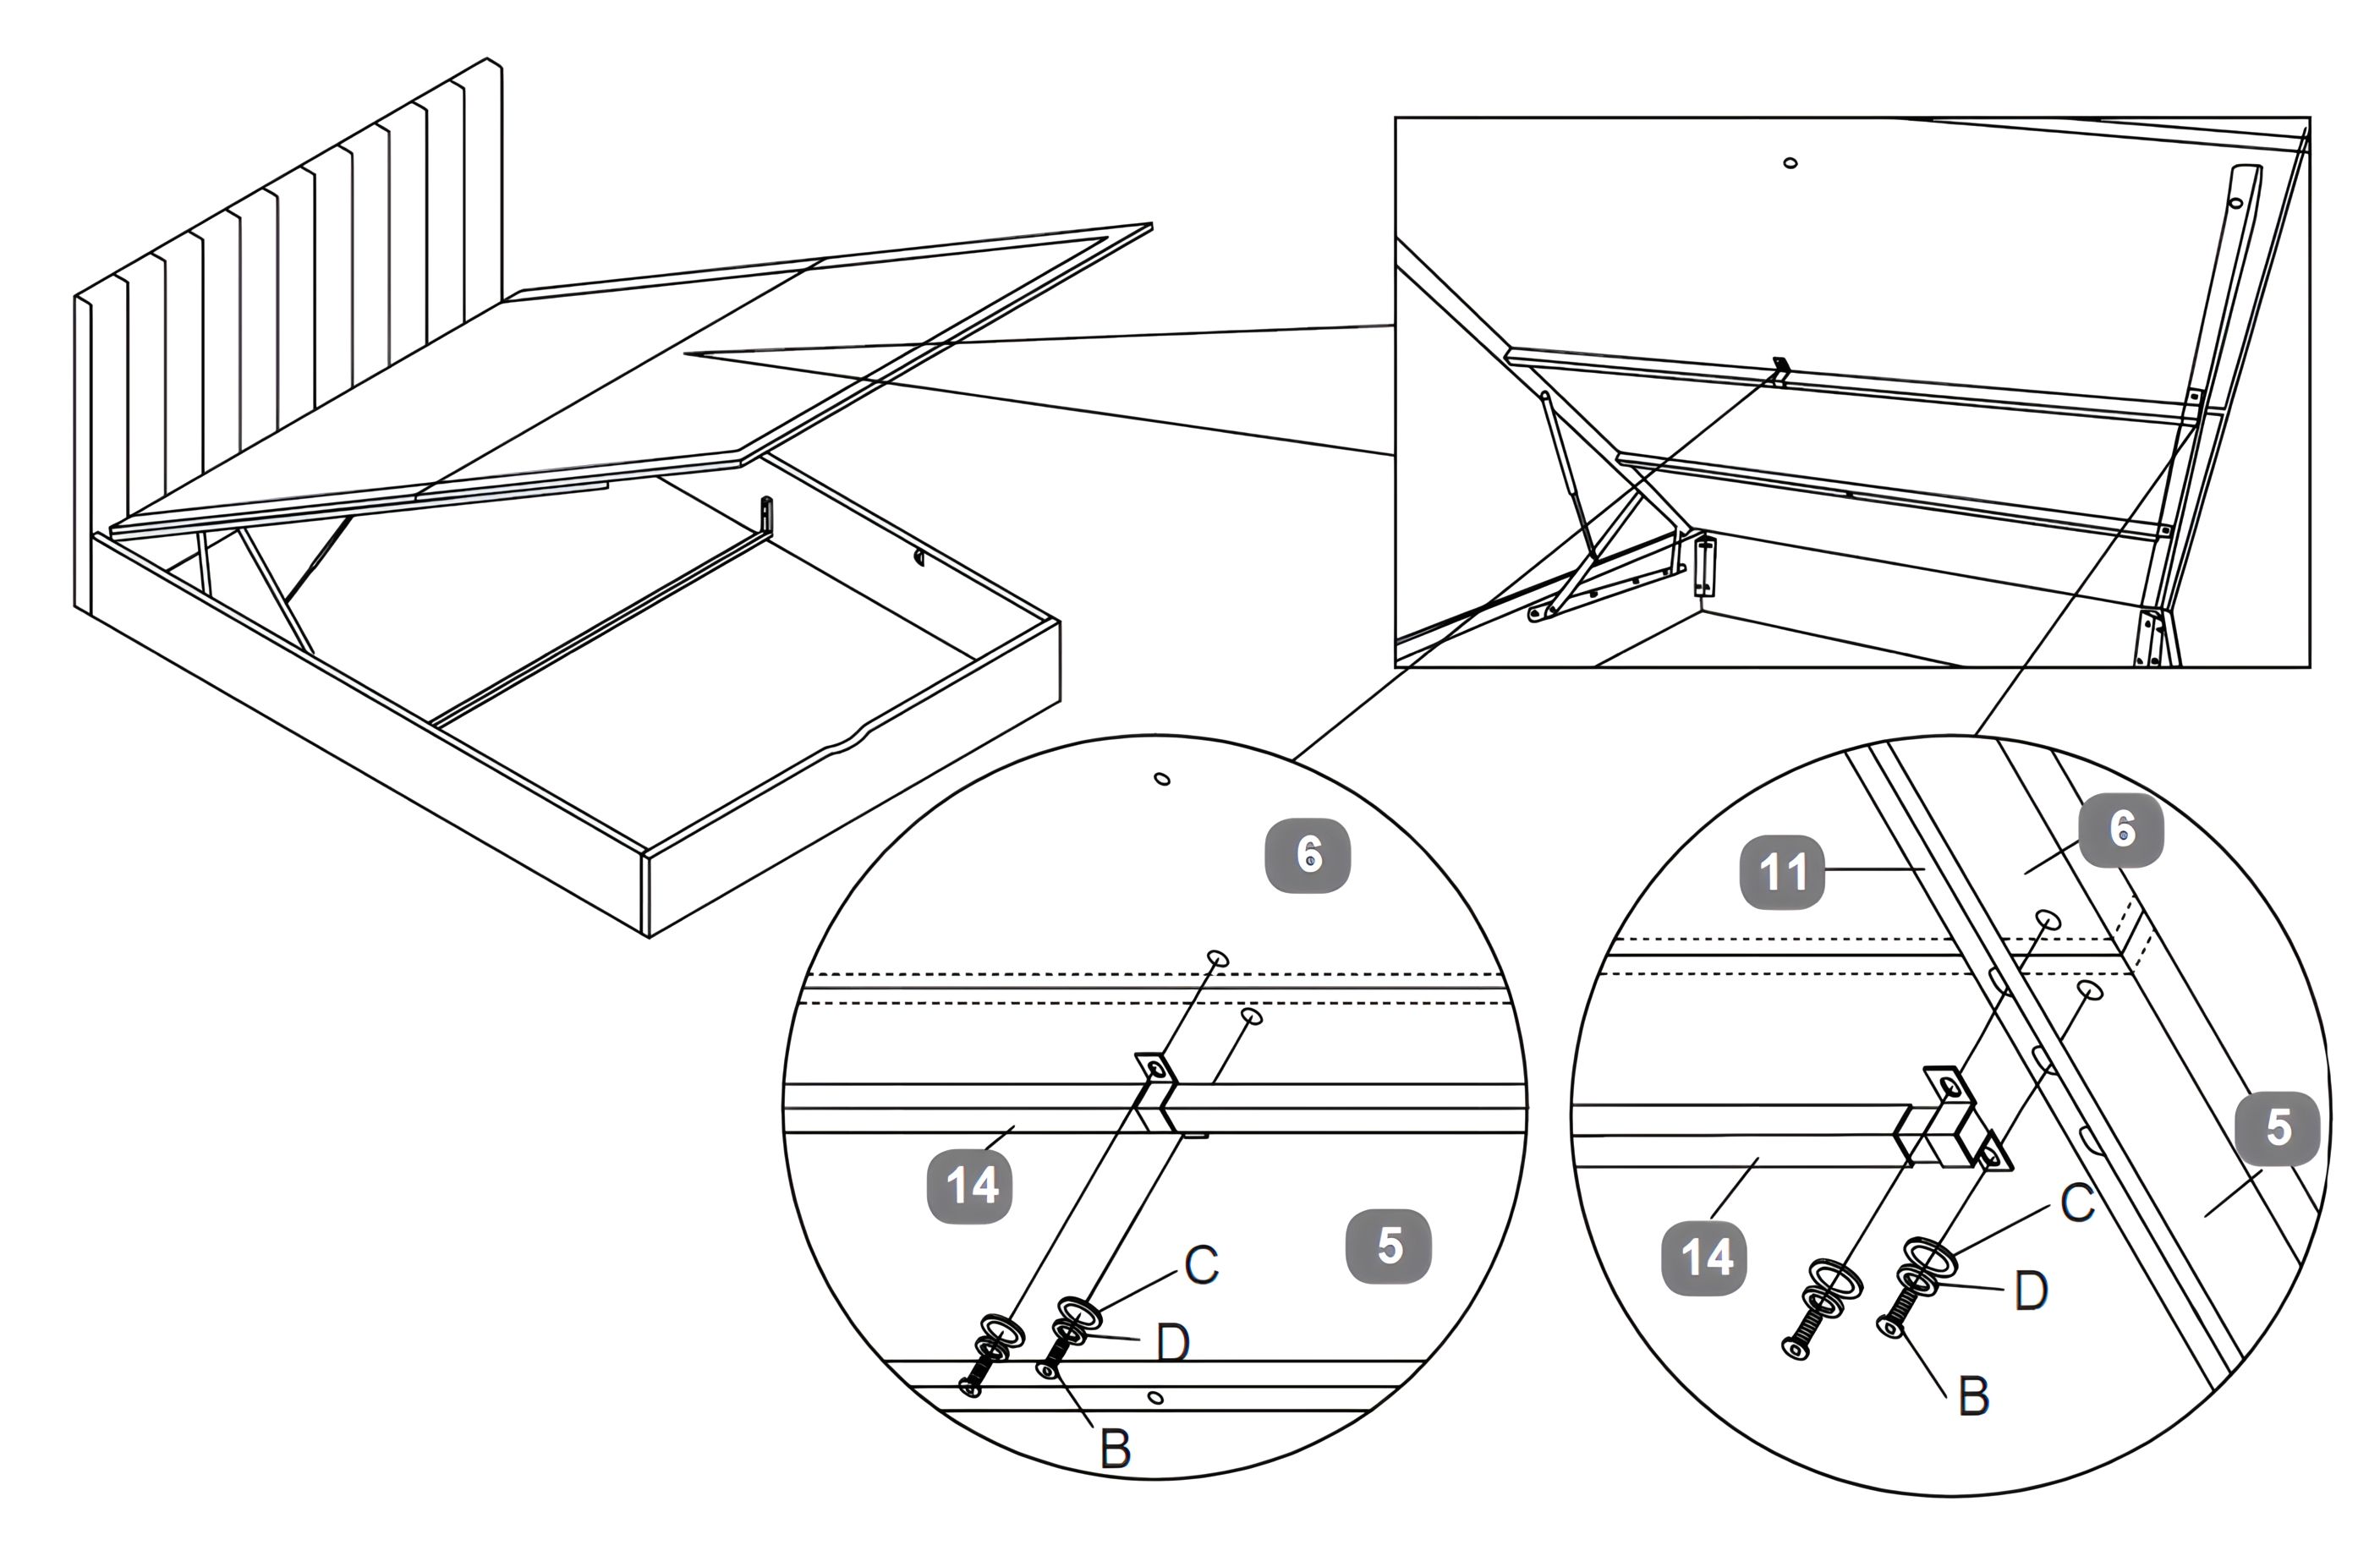
5. Attach the Mattress Base Boards and First Support Rail
1. Position the Mattress Base Boards (5) onto the Gas Lift Mechanisms (10 & 11). 2. Secure the Mattress Base Boards to the Gas Lift Mechanisms using Bolts (B). For each bolt, first place a Spring Washer (D), then a Flat Washer (C) before tightening. 3. Attach the first Support Rail for Mattress (13) to the Mattress Base Board using Bolts (E) and Flat Washers (C). 4. Secure the Support Rail for Mattress to the Gas Lift Mechanisms using Bolts, Spring Washers and then a Flat Washer then tighten.
6. Attach the Centre Support Rail for the Mattress
1. Position the Centre Support Rail for Mattress (14) in the middle of the Mattress Base Boards (5), aligning it with the pre-drilled holes. 2. Secure the Centre Support Rail to the Mattress Base Boards (5) and Support Rails for Mattress (13) using Bolts (B). For each bolt, first place a Spring Washer (D), then a Flat Washer (C) before tightening.
7. Secure the Final Support Rails for the Mattress
1. Attach the Support Rail for Mattress (13) to the Mattress Base Board (6) using Bolts (E) and Flat Washers (C). 2. Secure the Support Rail for Mattress to the Gas Lift Mechanism (11) using Bolts (B). For each bolt, first place a Spring Washer (D), then a Flat Washer (C) before tightening.
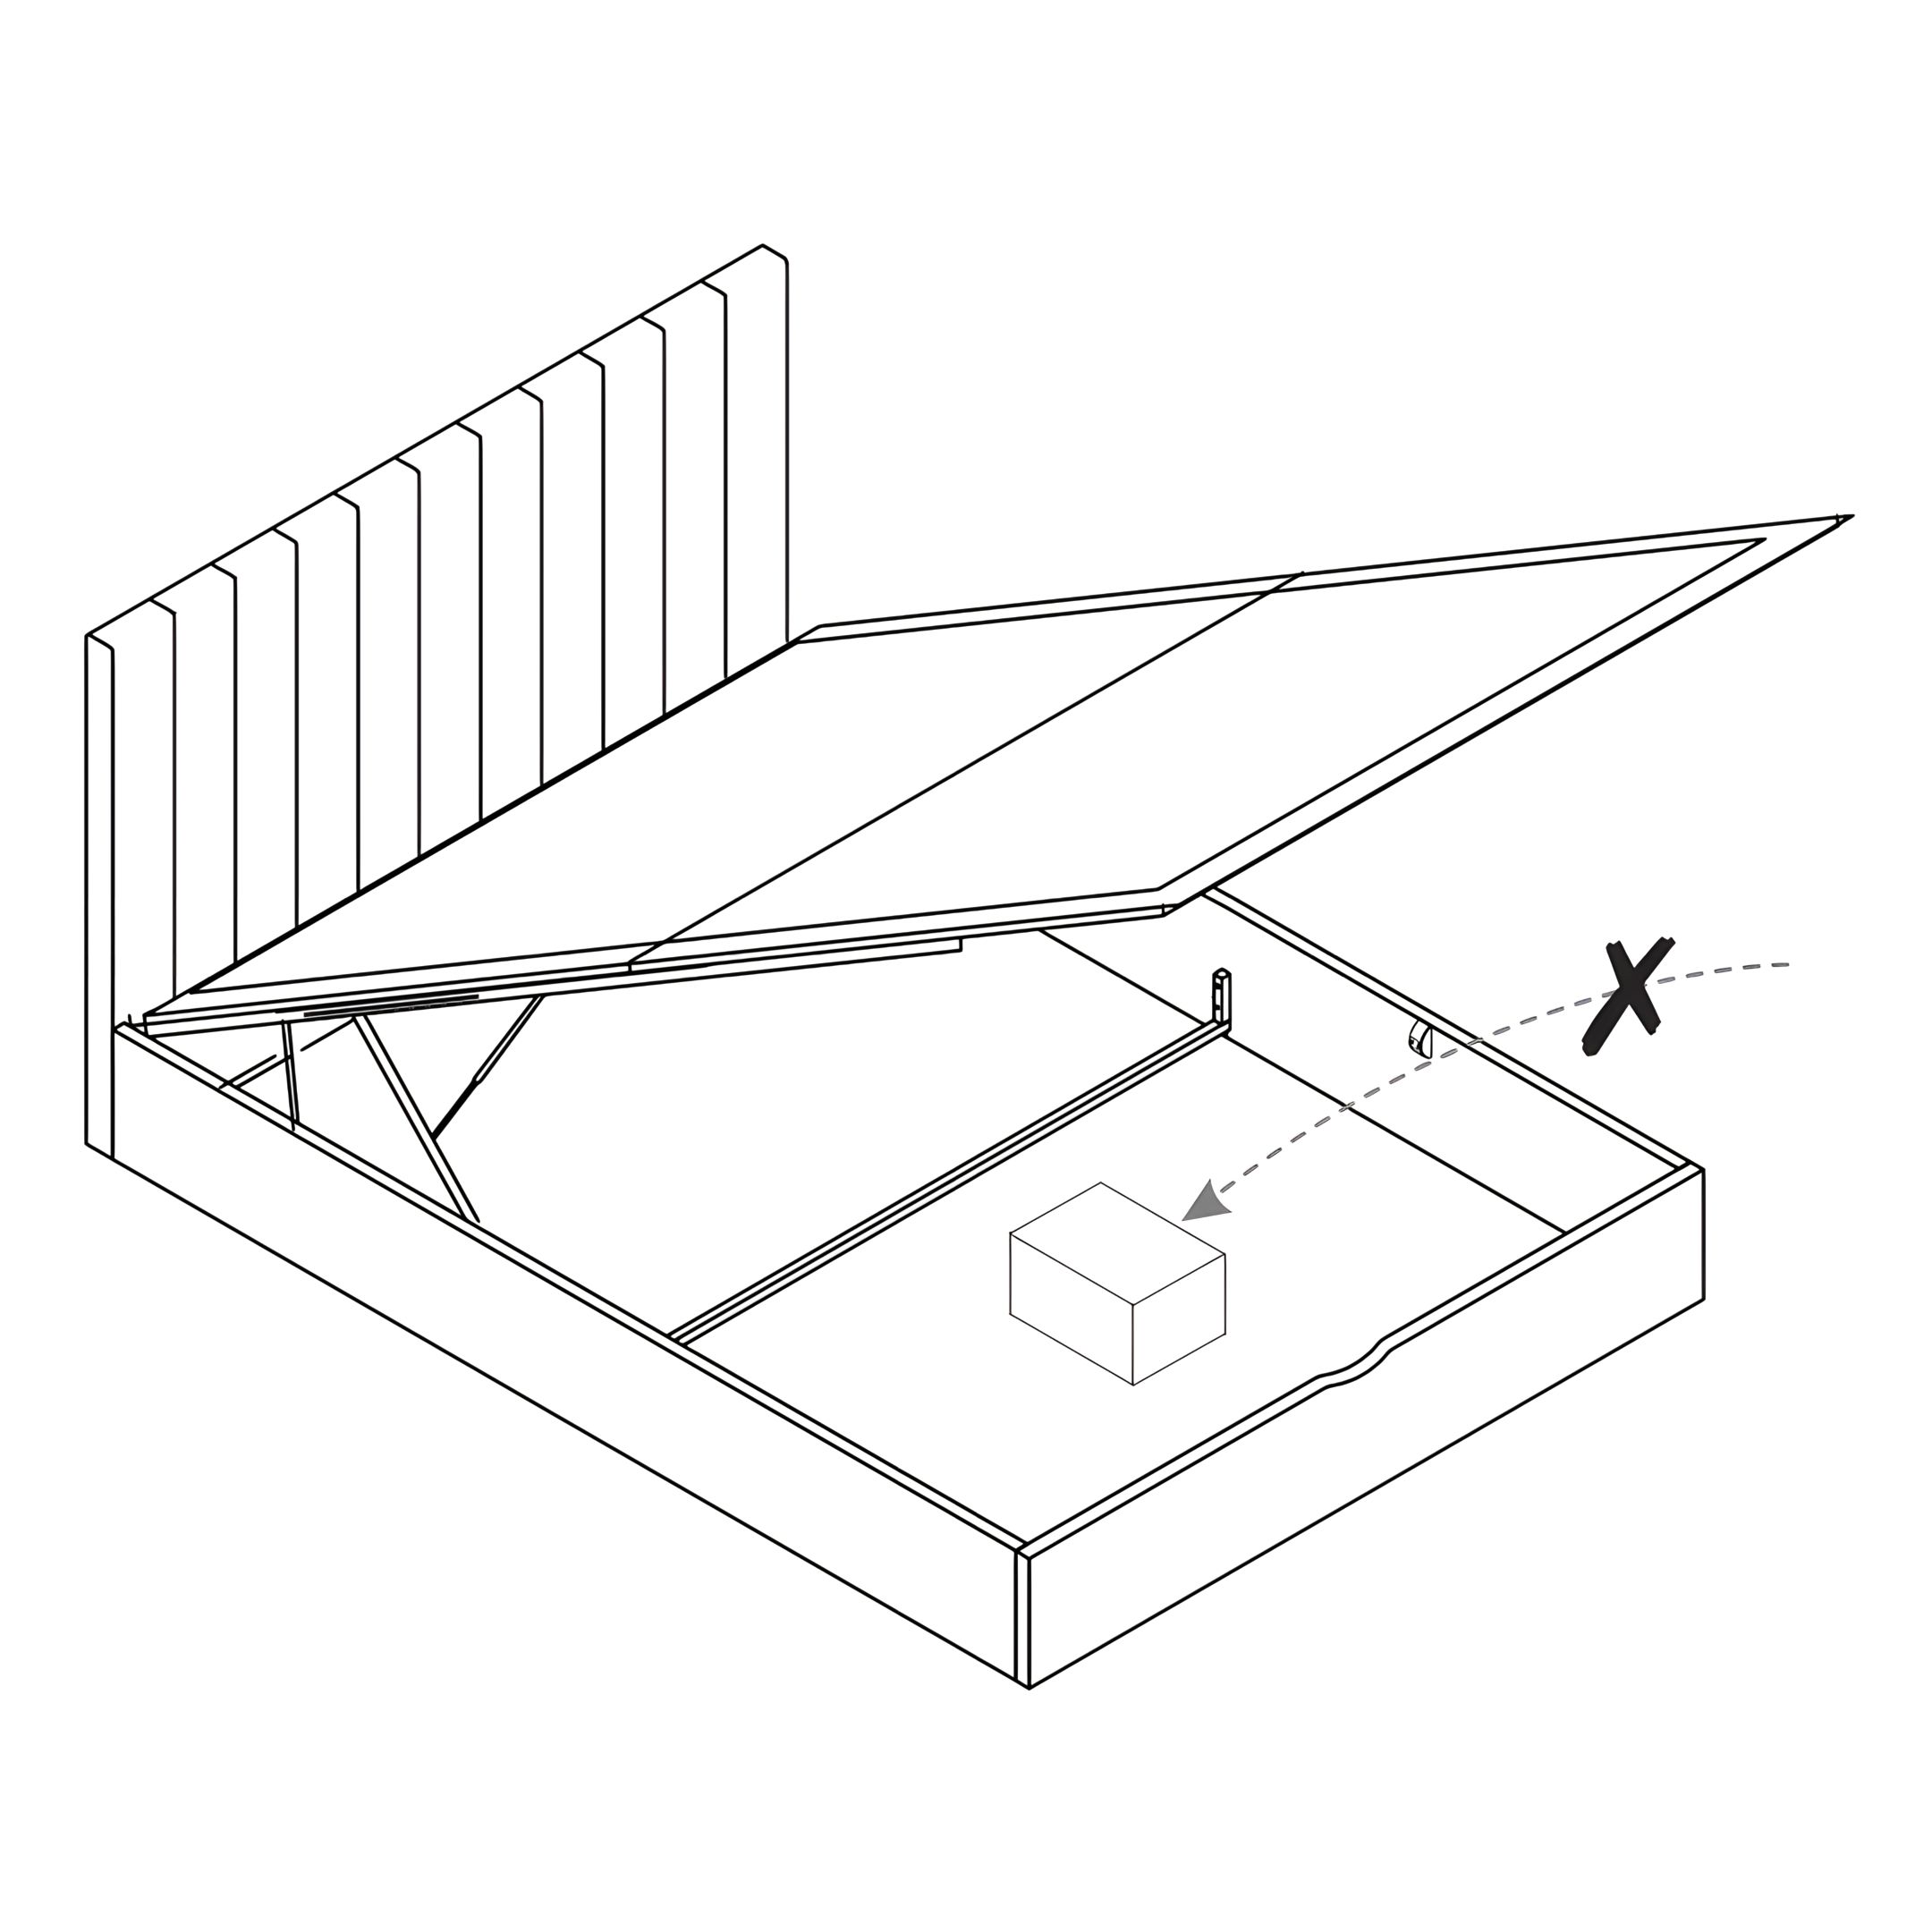
8. Storage Safety
Be very careful what you store under the bed -the top of an item, like a suitcase or a box, must not touch the slats or theymay be damaged.
Maximum storage height is 31cm.
9. Final Check
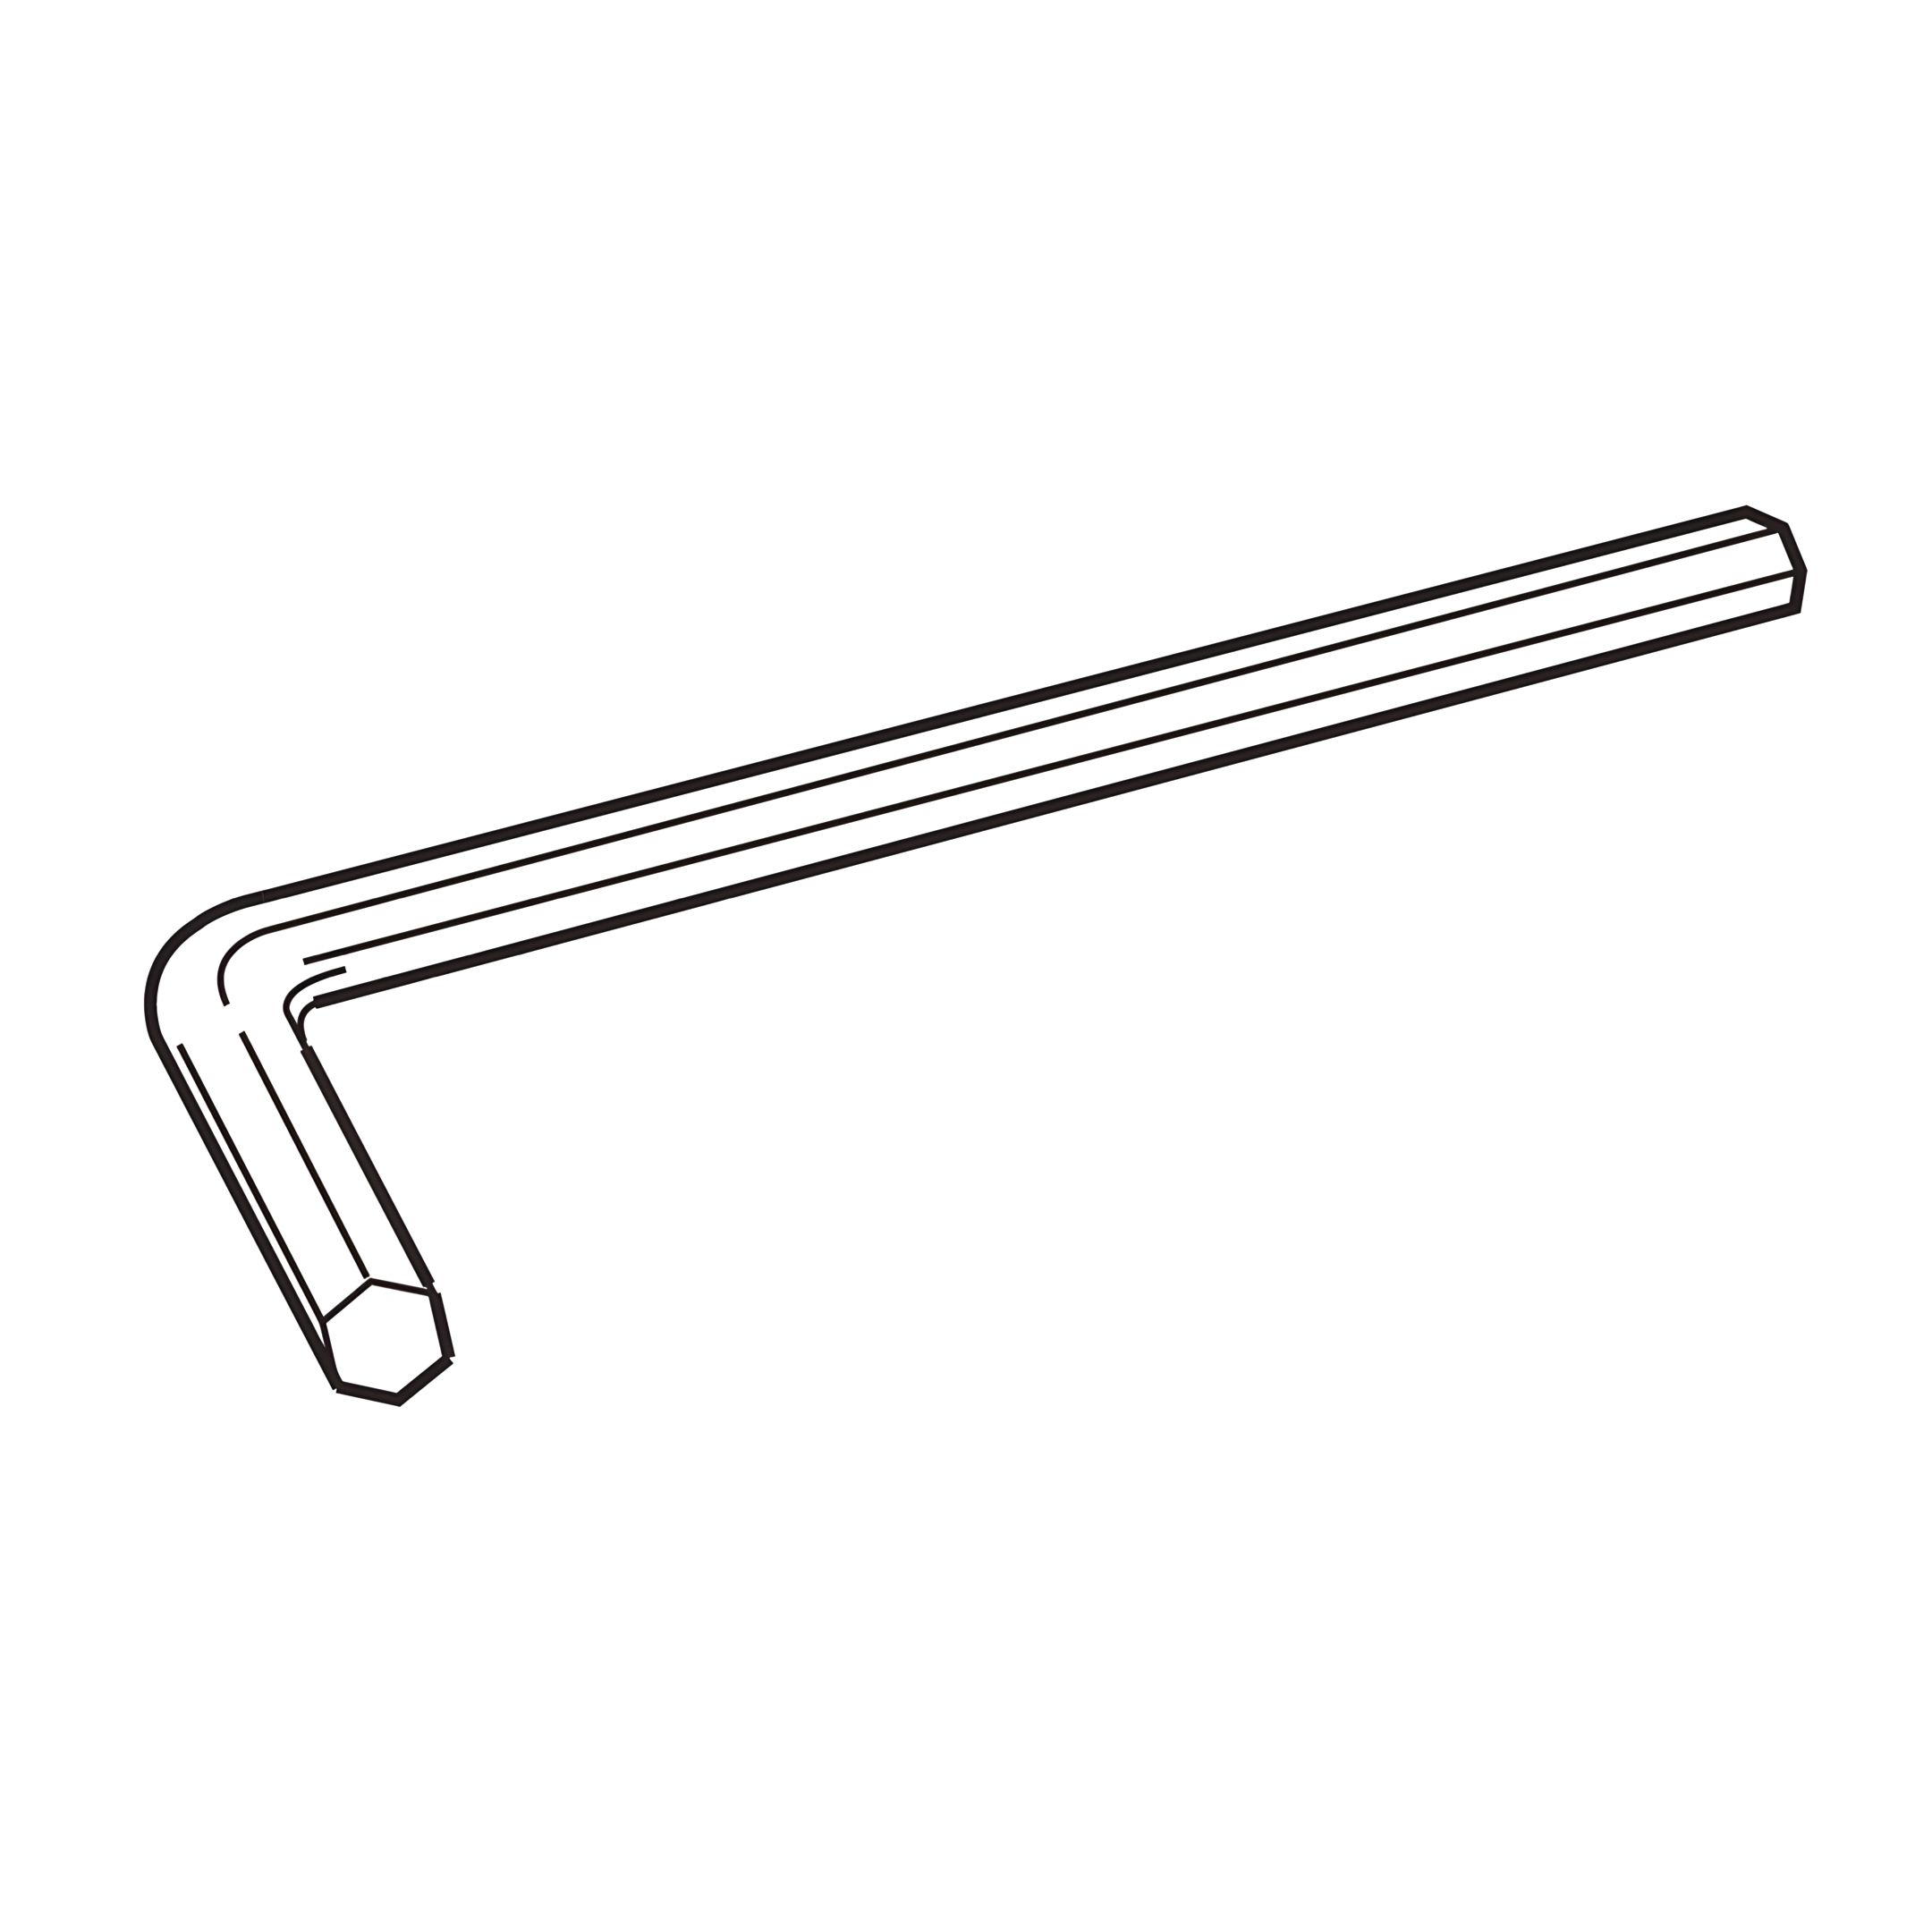
Check for any loose connections and tighten the screws if necessary.