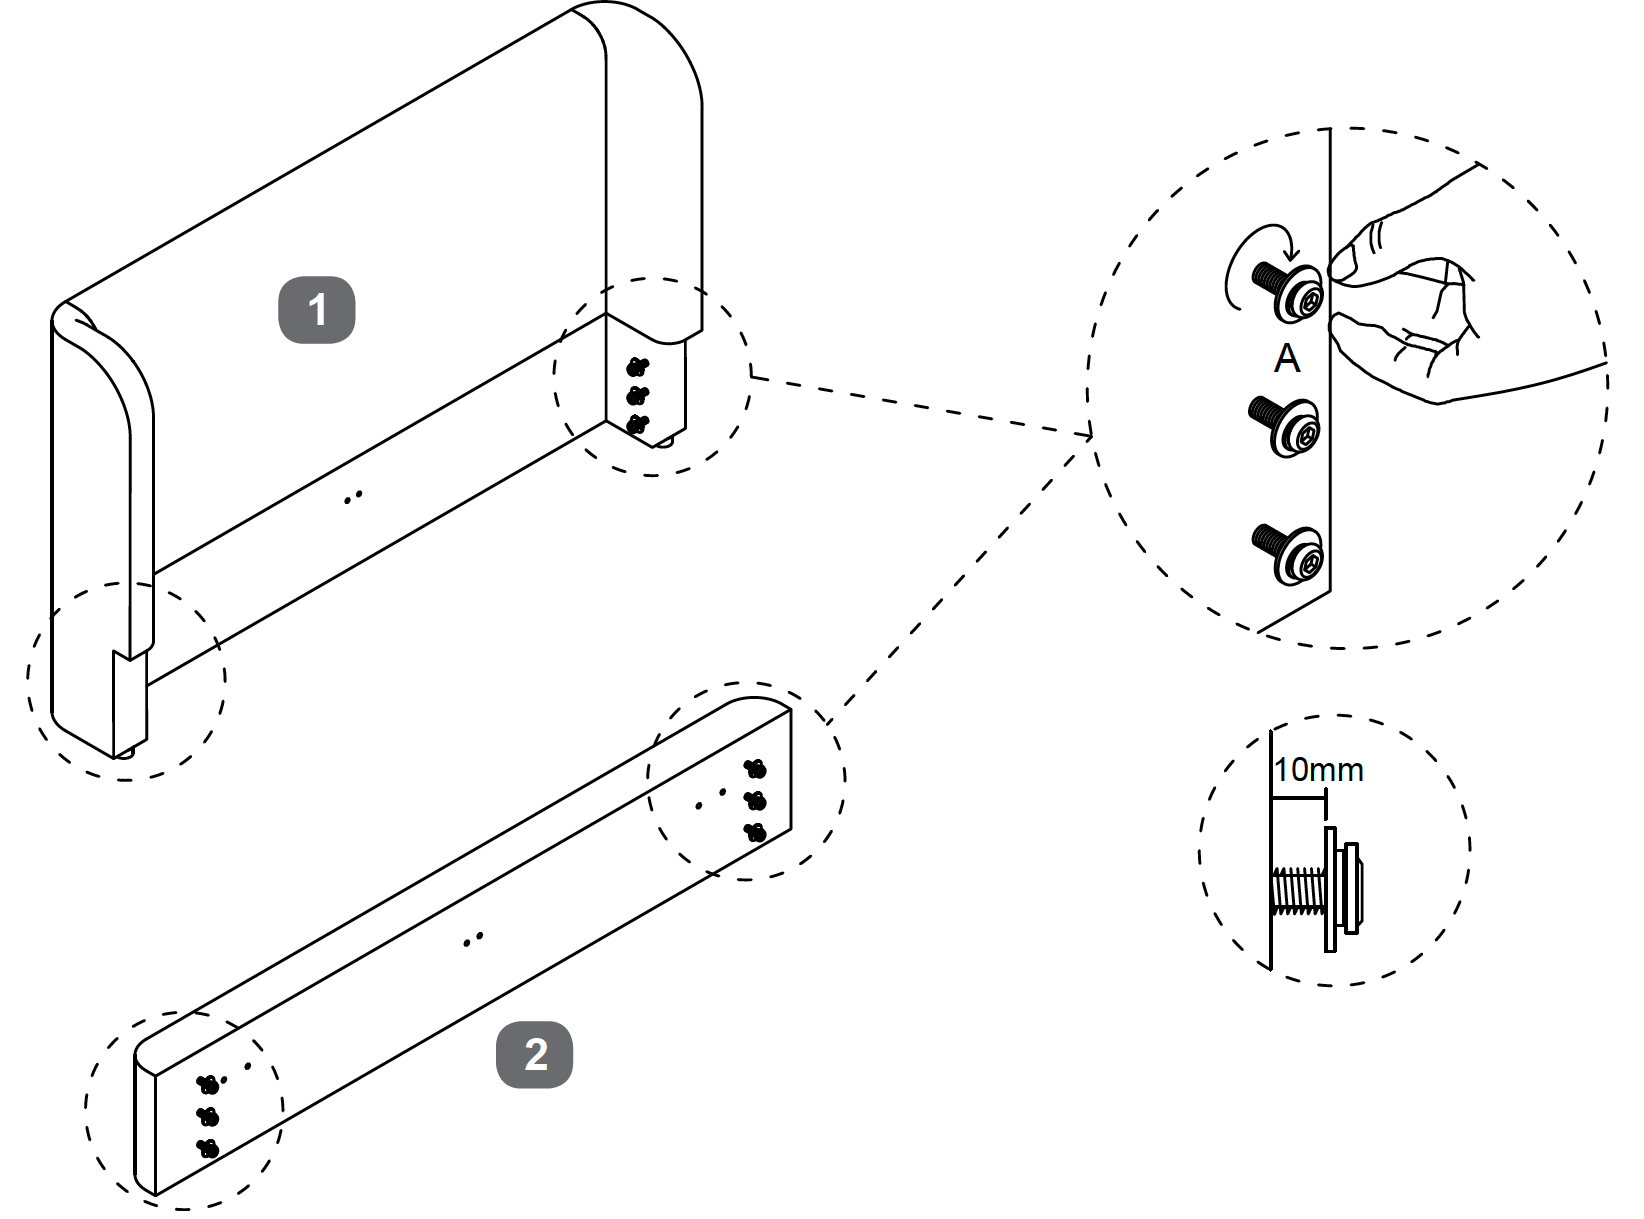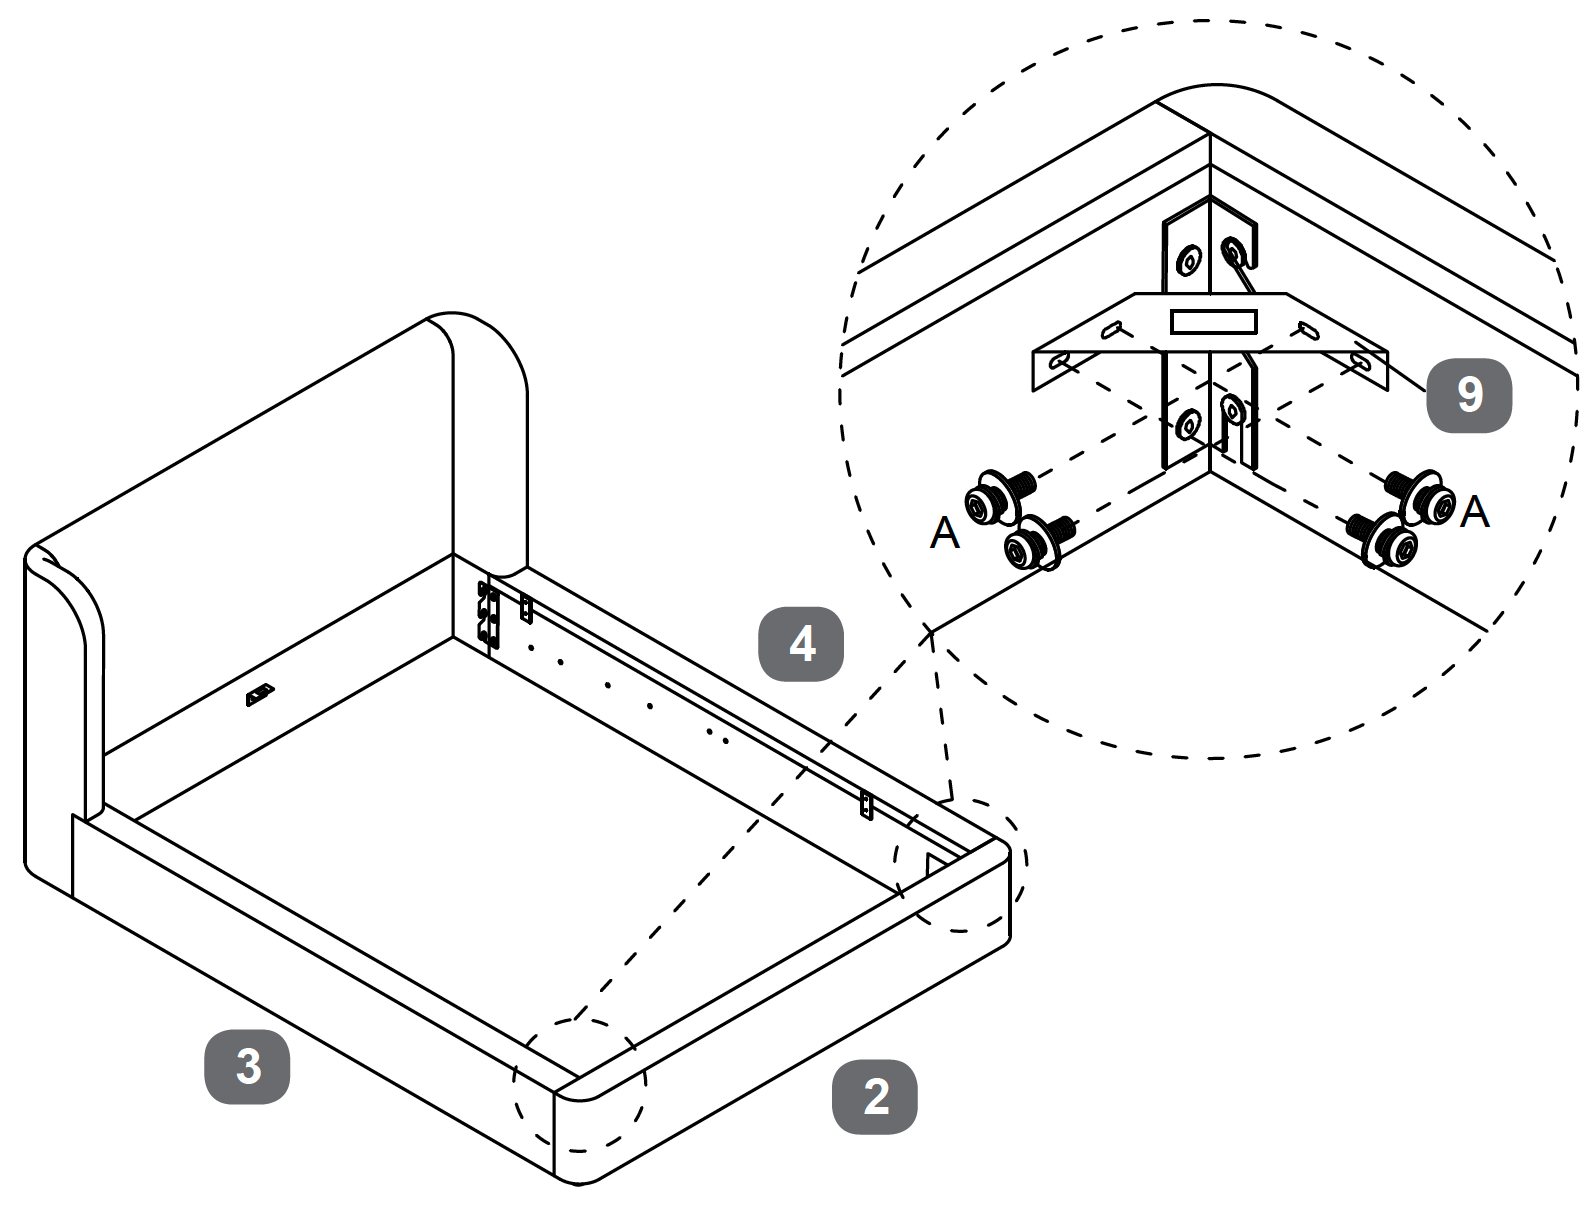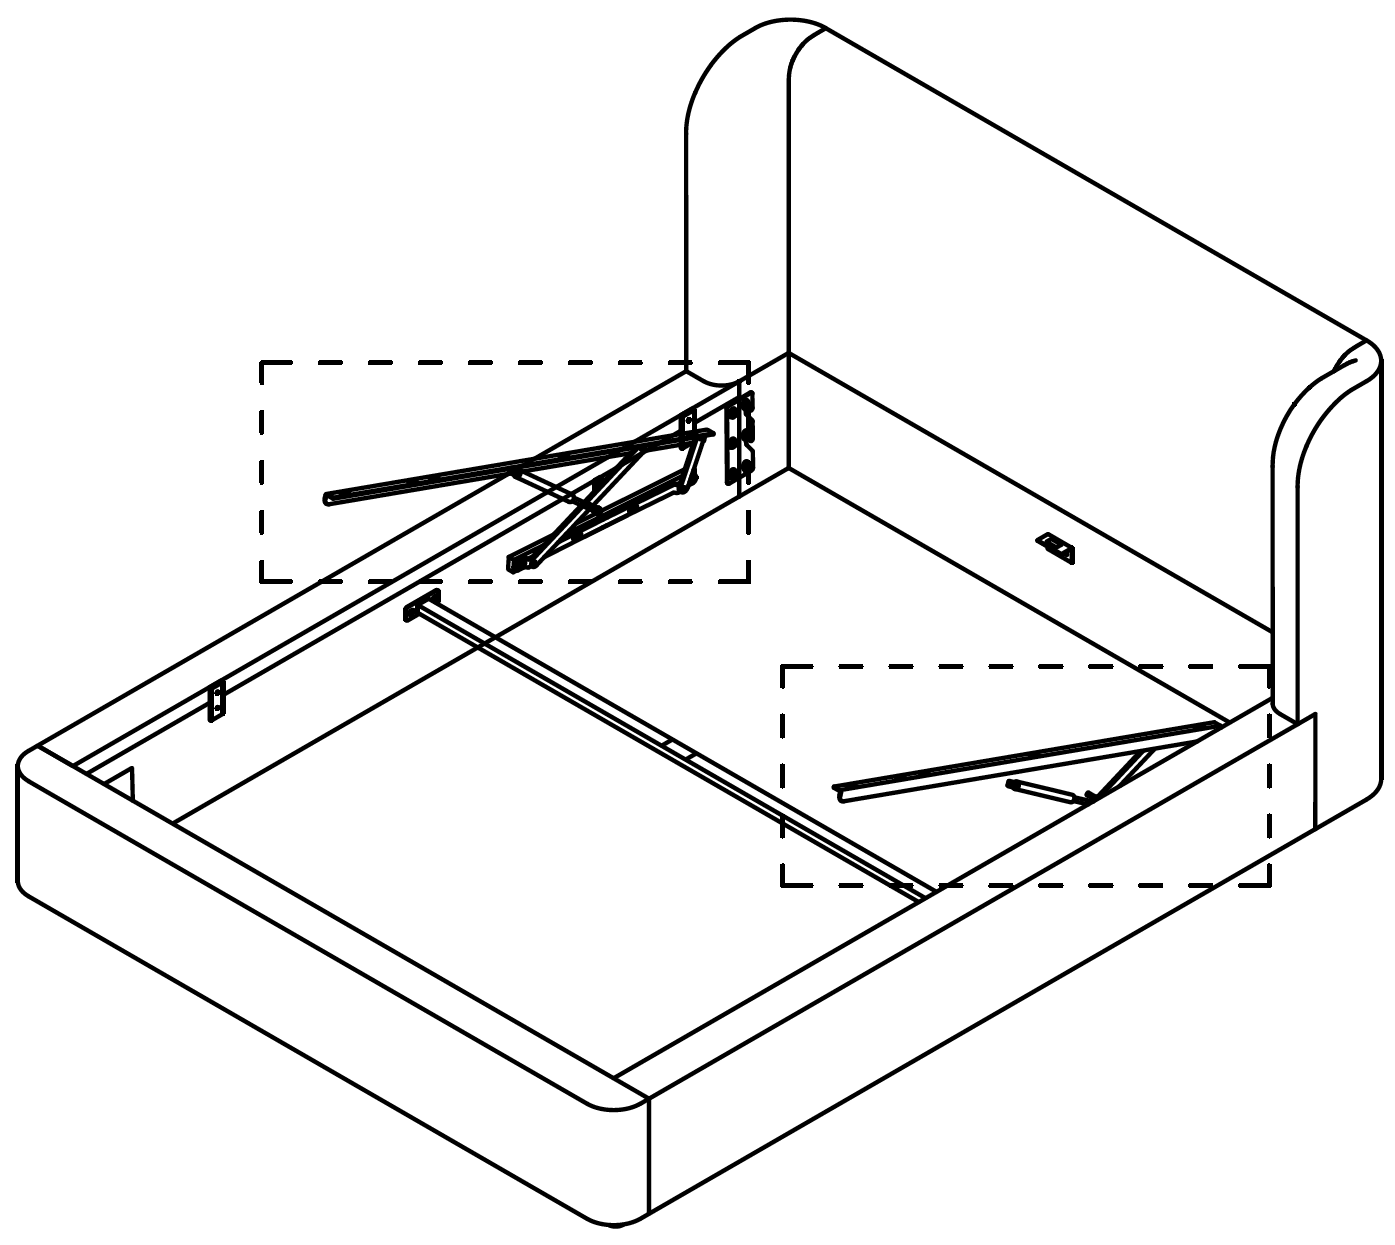


1. Attach the Corner Hooks to the Side Rails
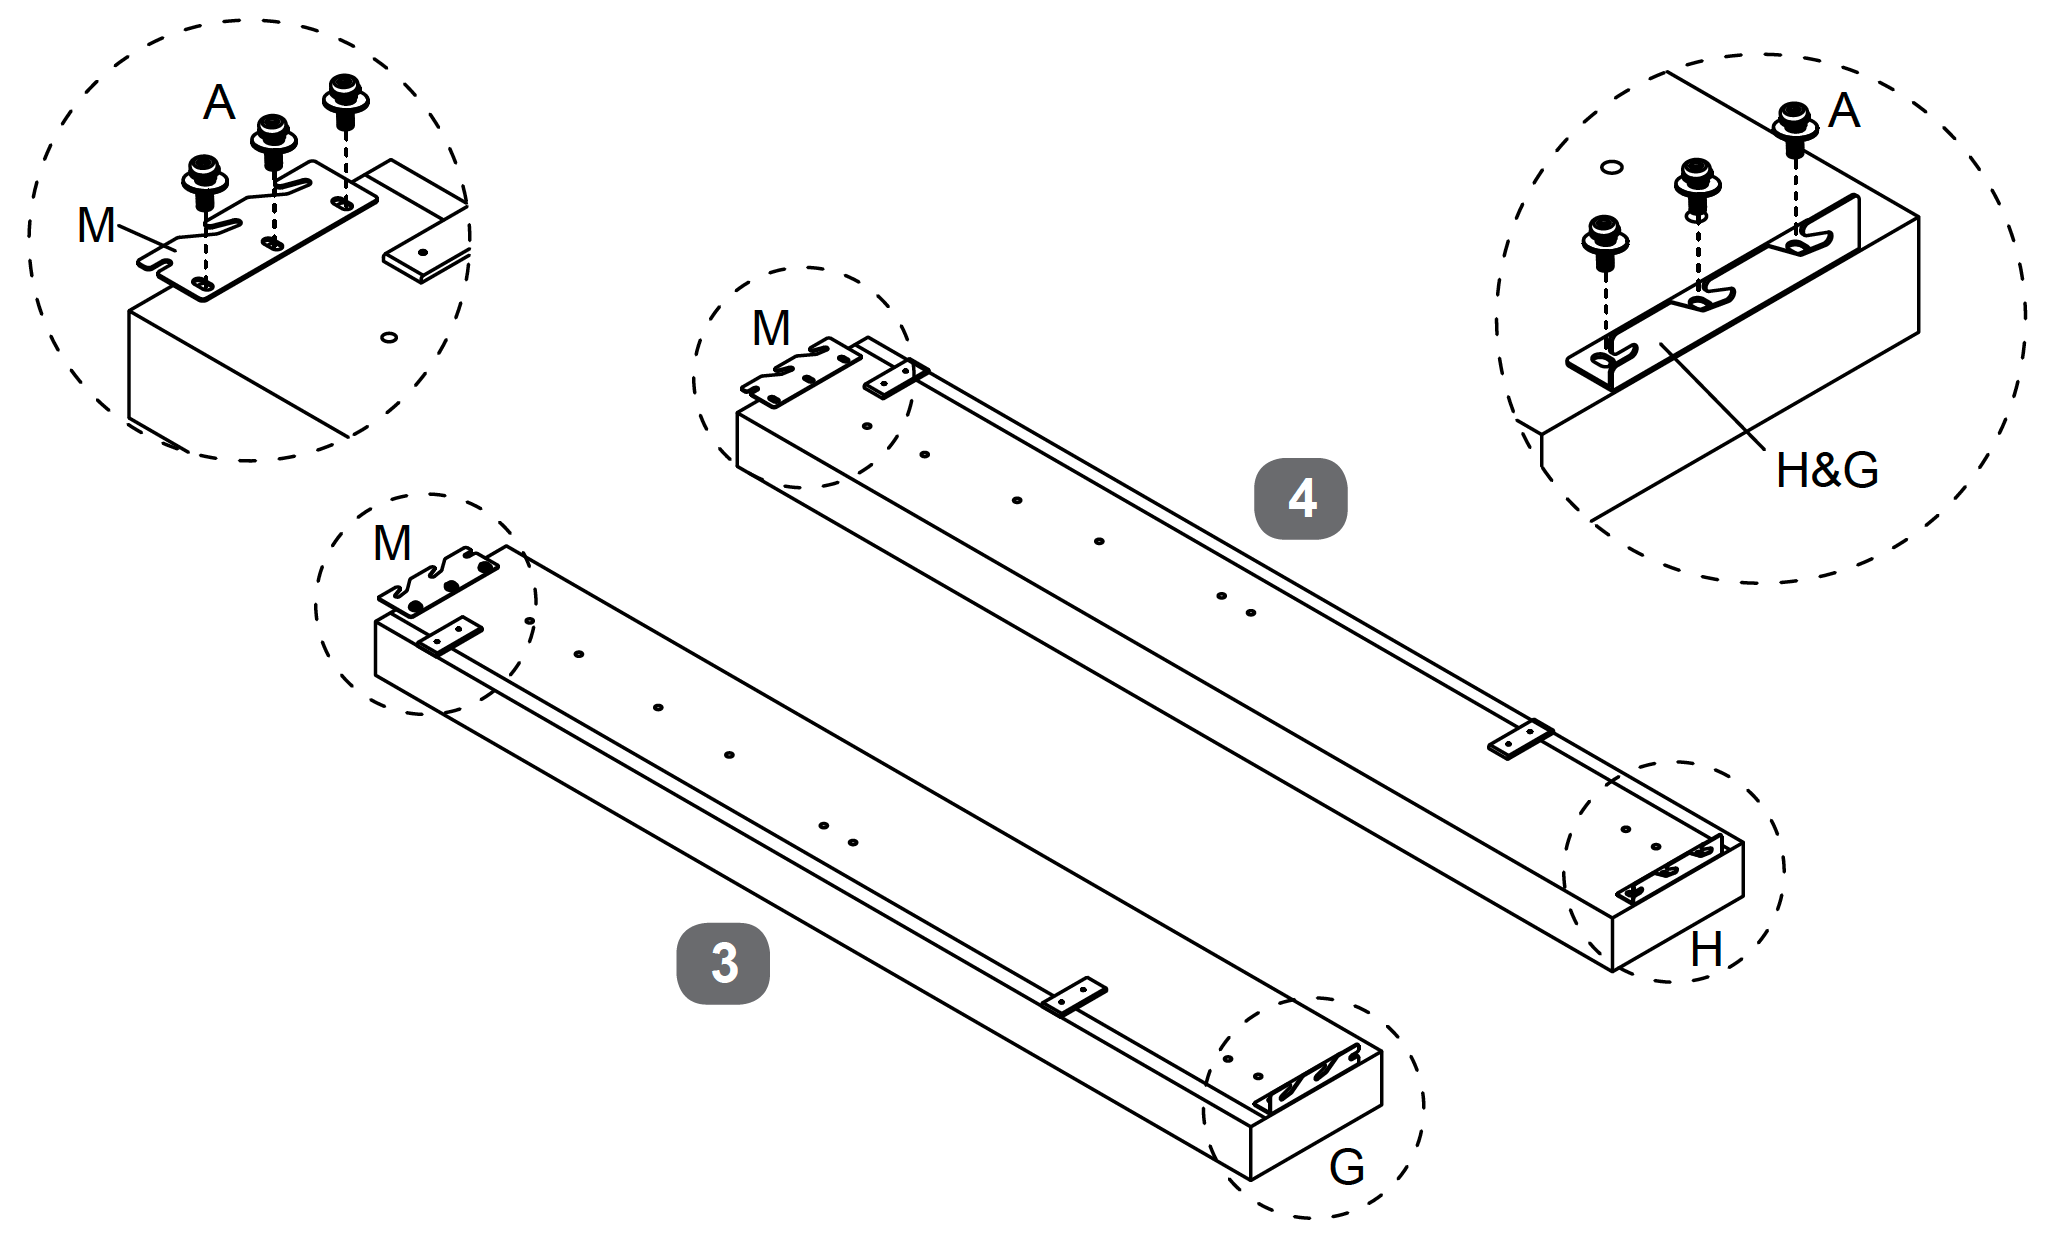
- 1. Place the Side Rail - Left (3) and Side Rail - Right (4) on the floor with the fixing holes facing upward.
- 2. Position the Hooked Corner Bracket - Left (G) and Hooked Corner Bracket - Right (H) on the inner ends of the side rails as shown.
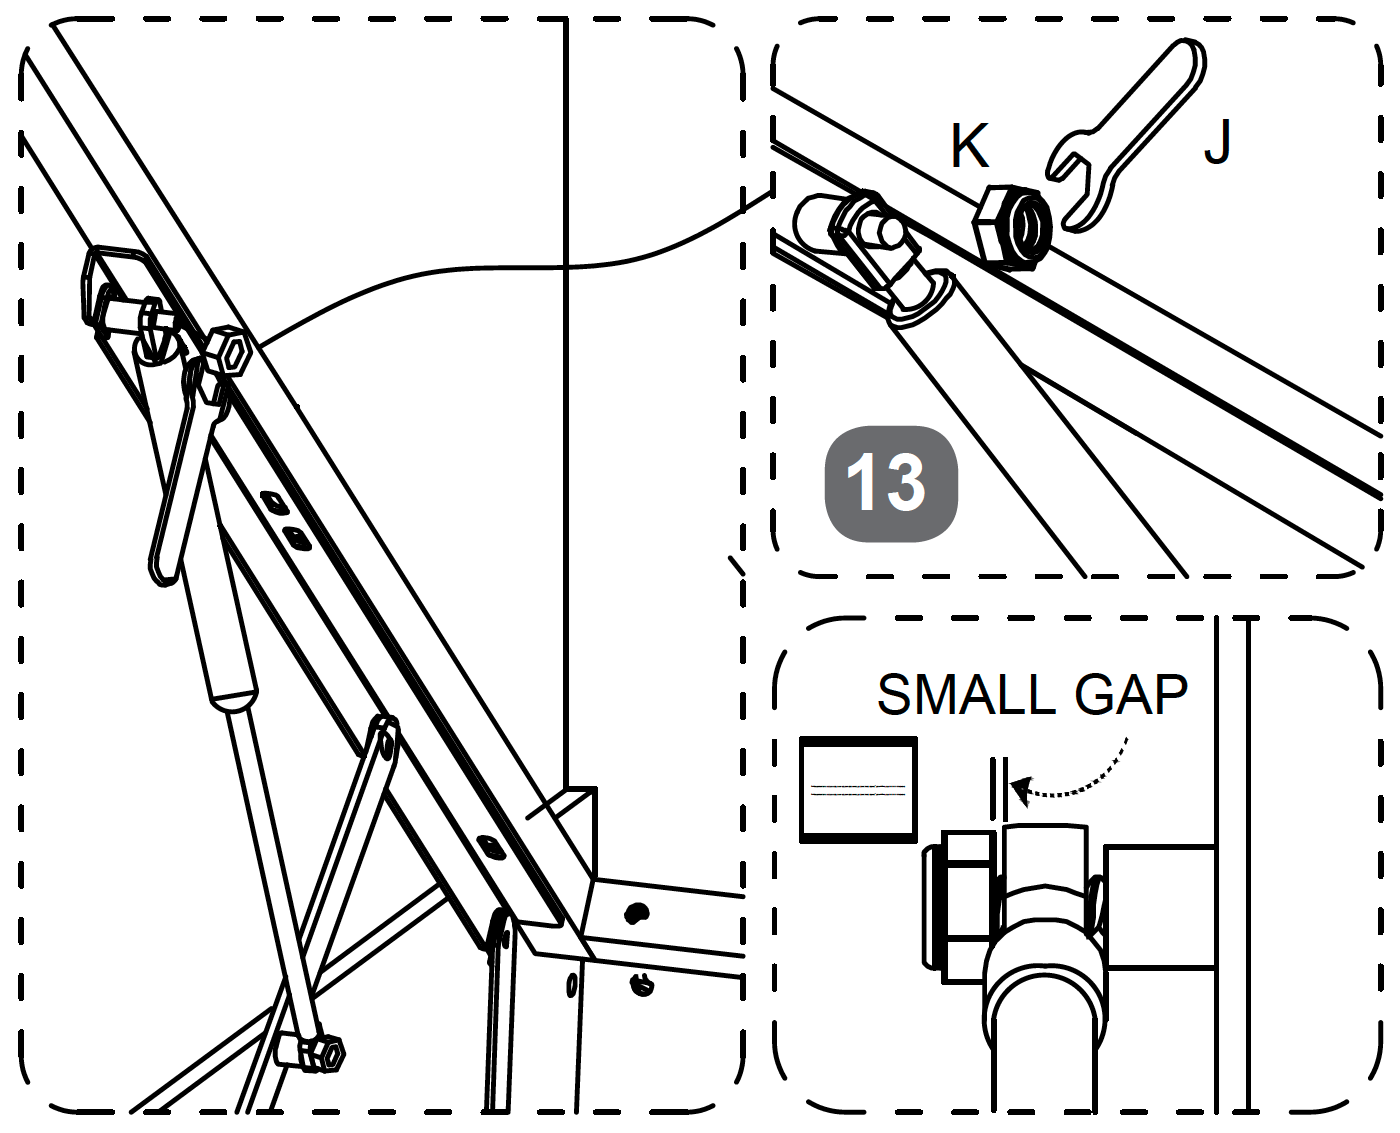
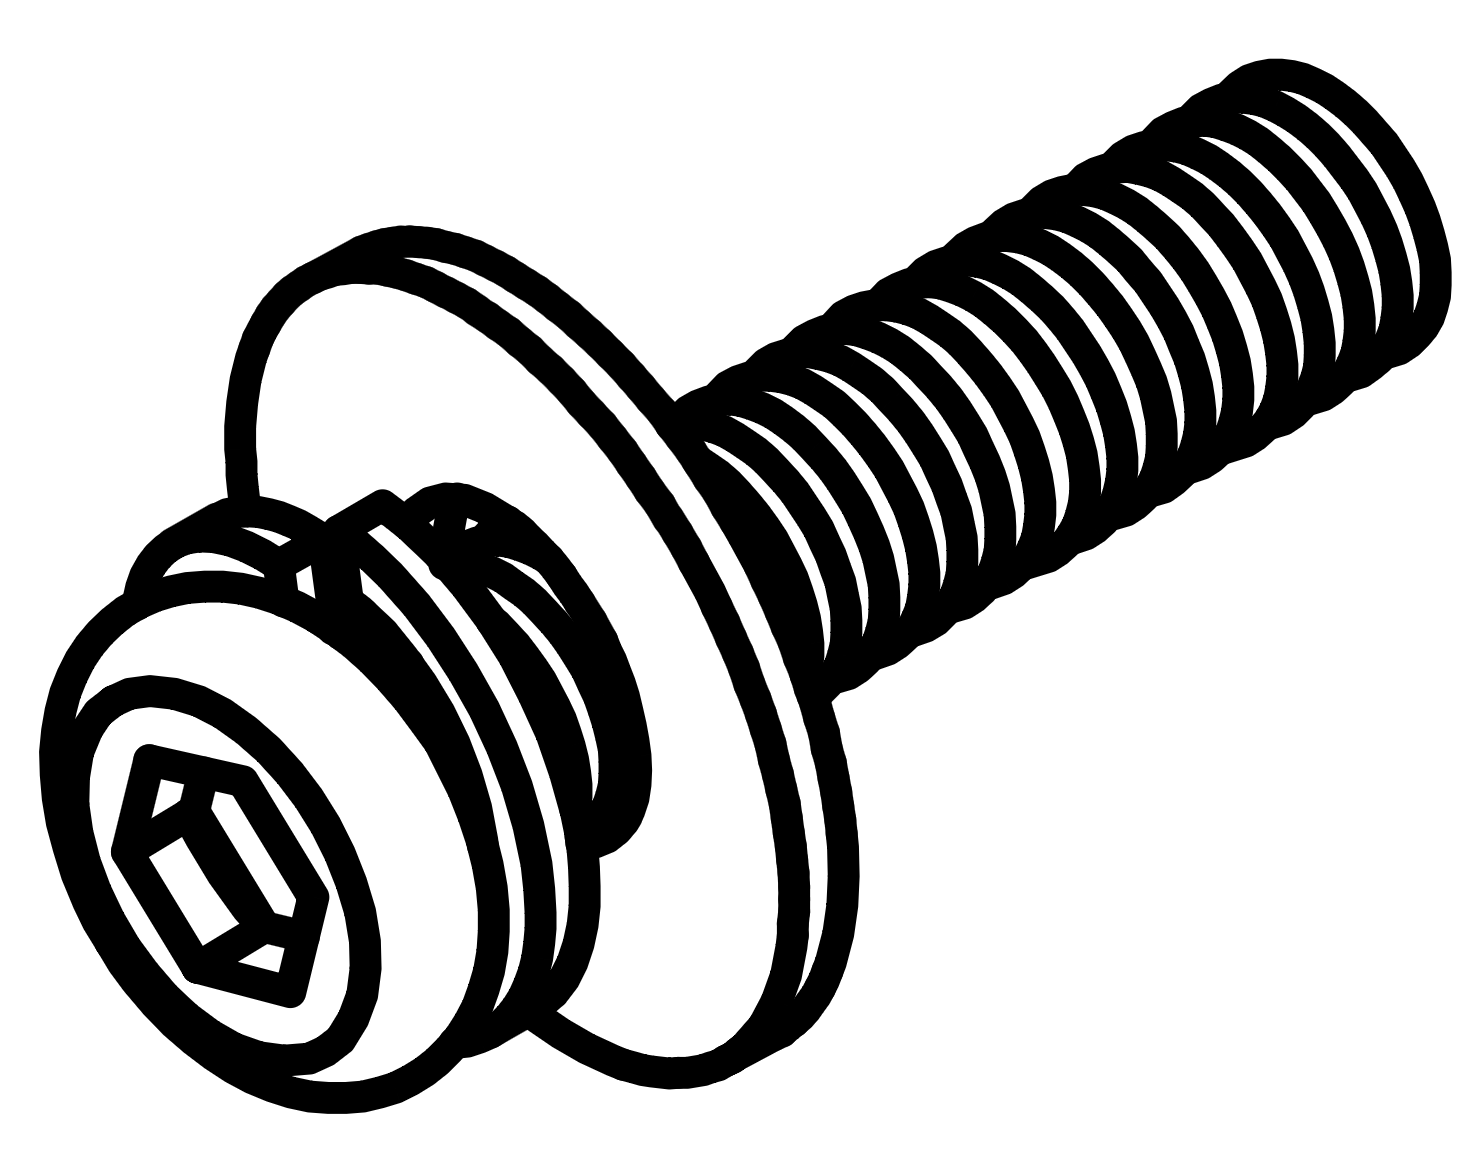
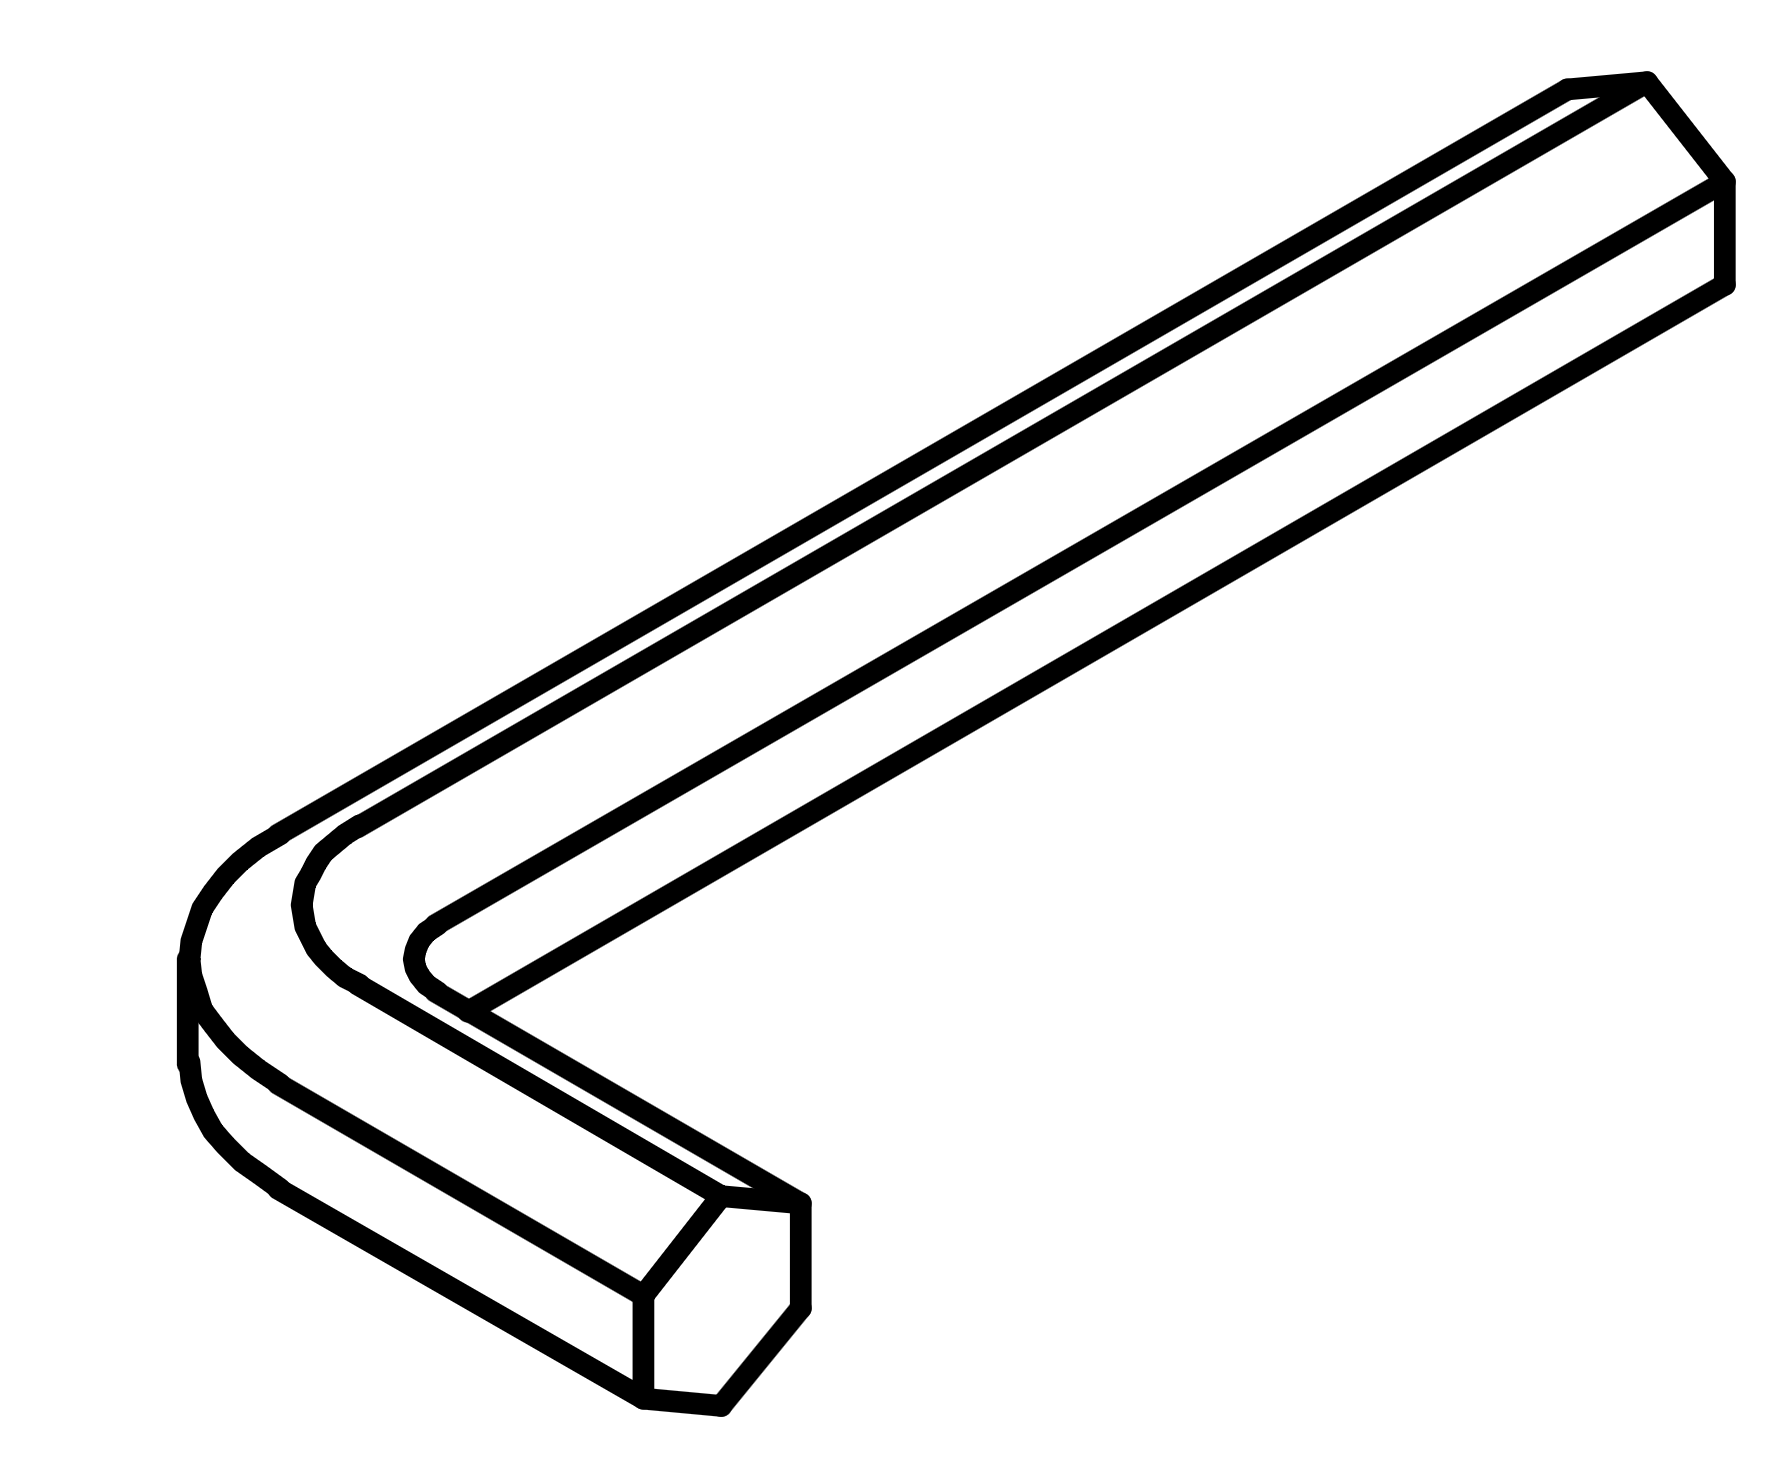
- 3. Align the holes and secure using Bolt (A), tightening with the Allen Key (I).
Tip: Make sure the hooks are facing upward and toward the inside of the bed frame.