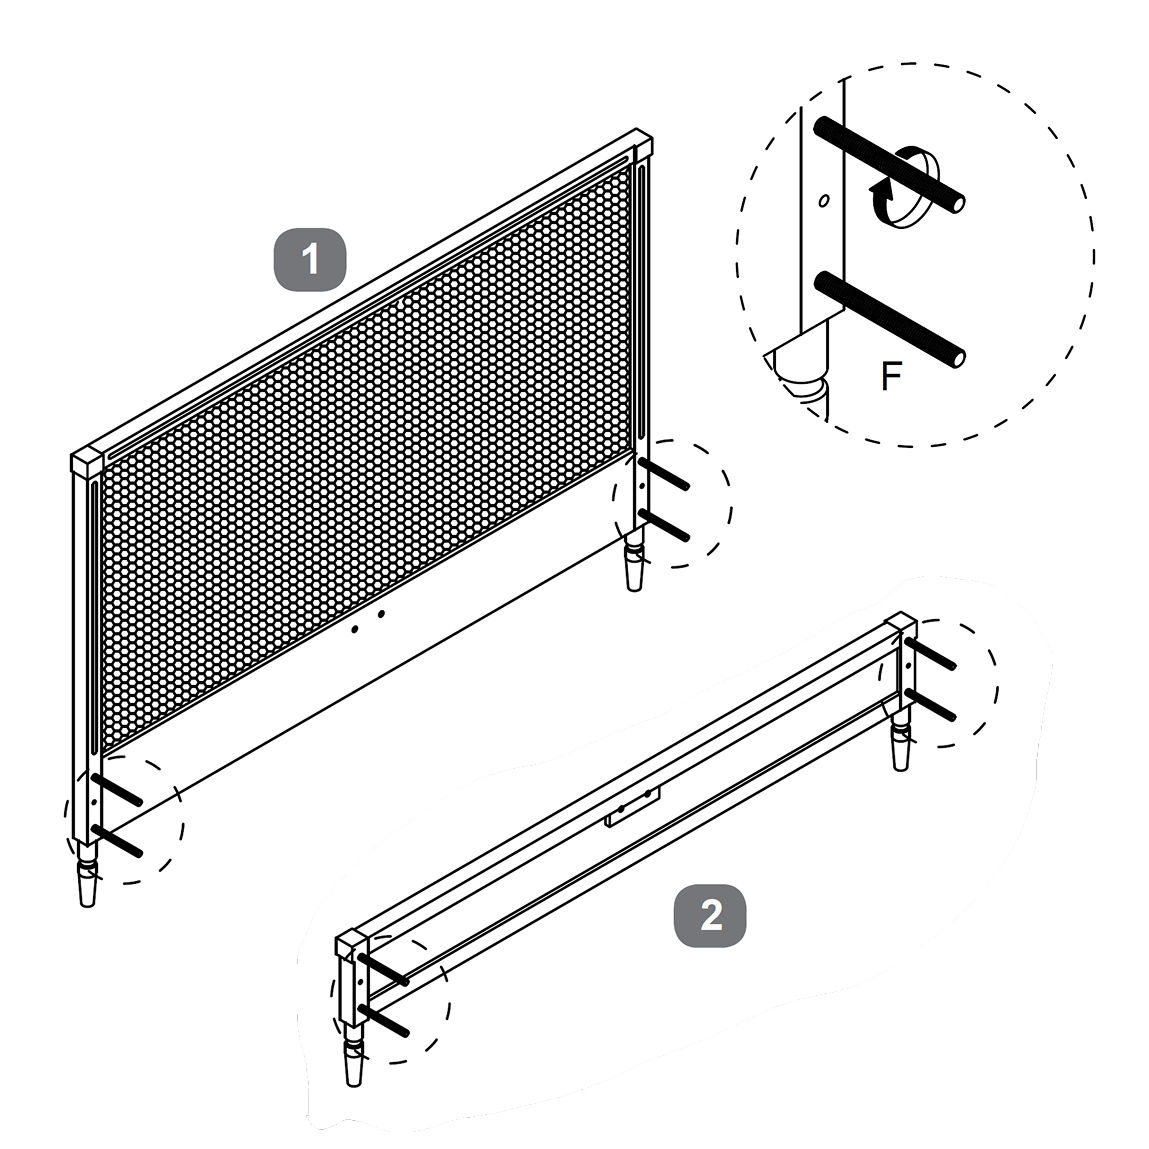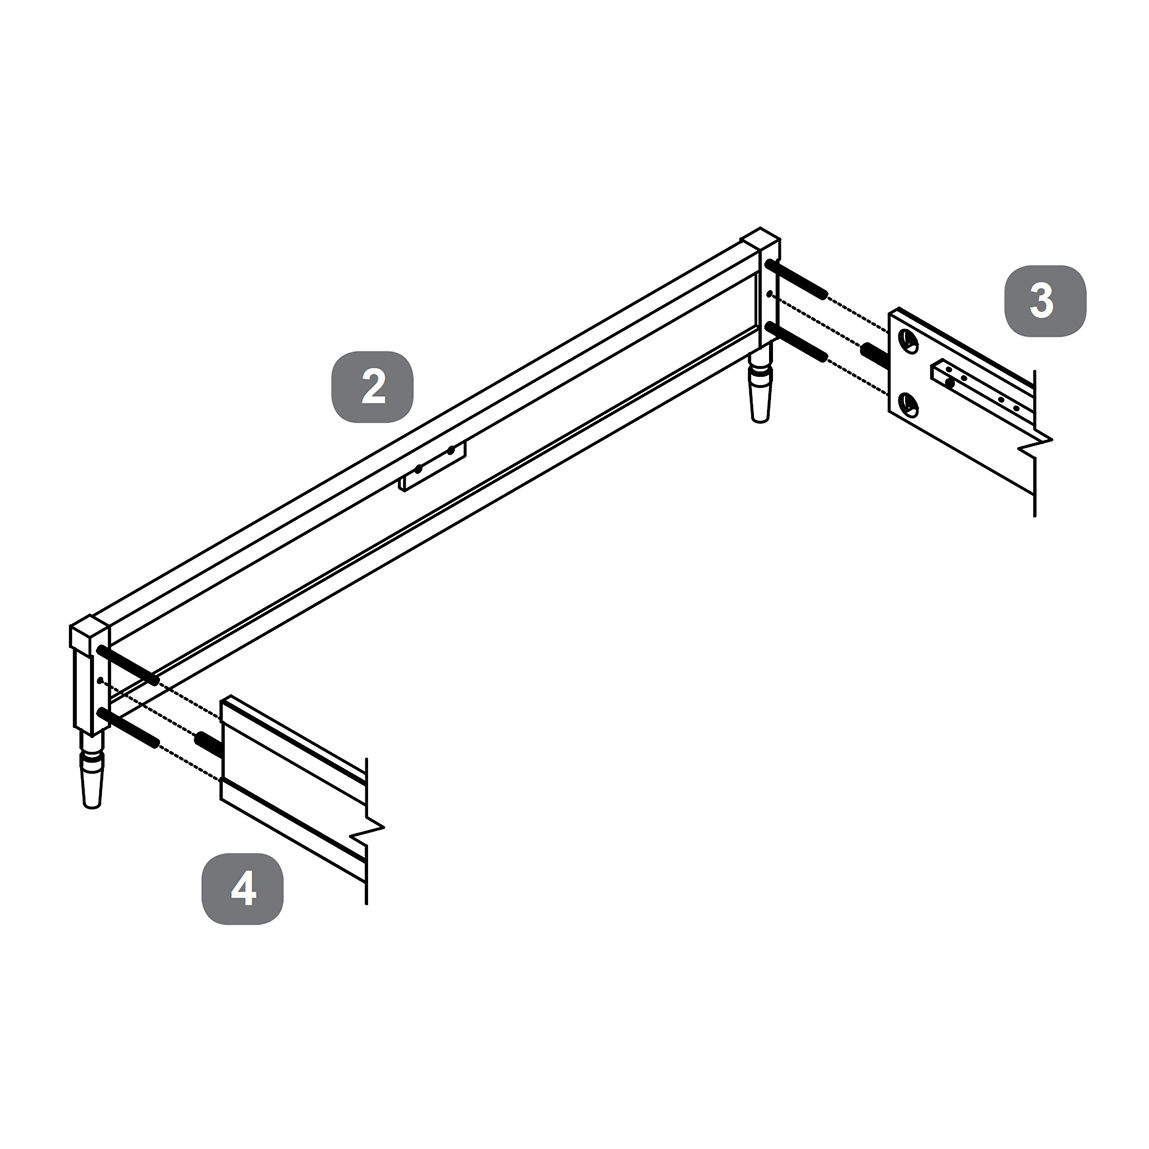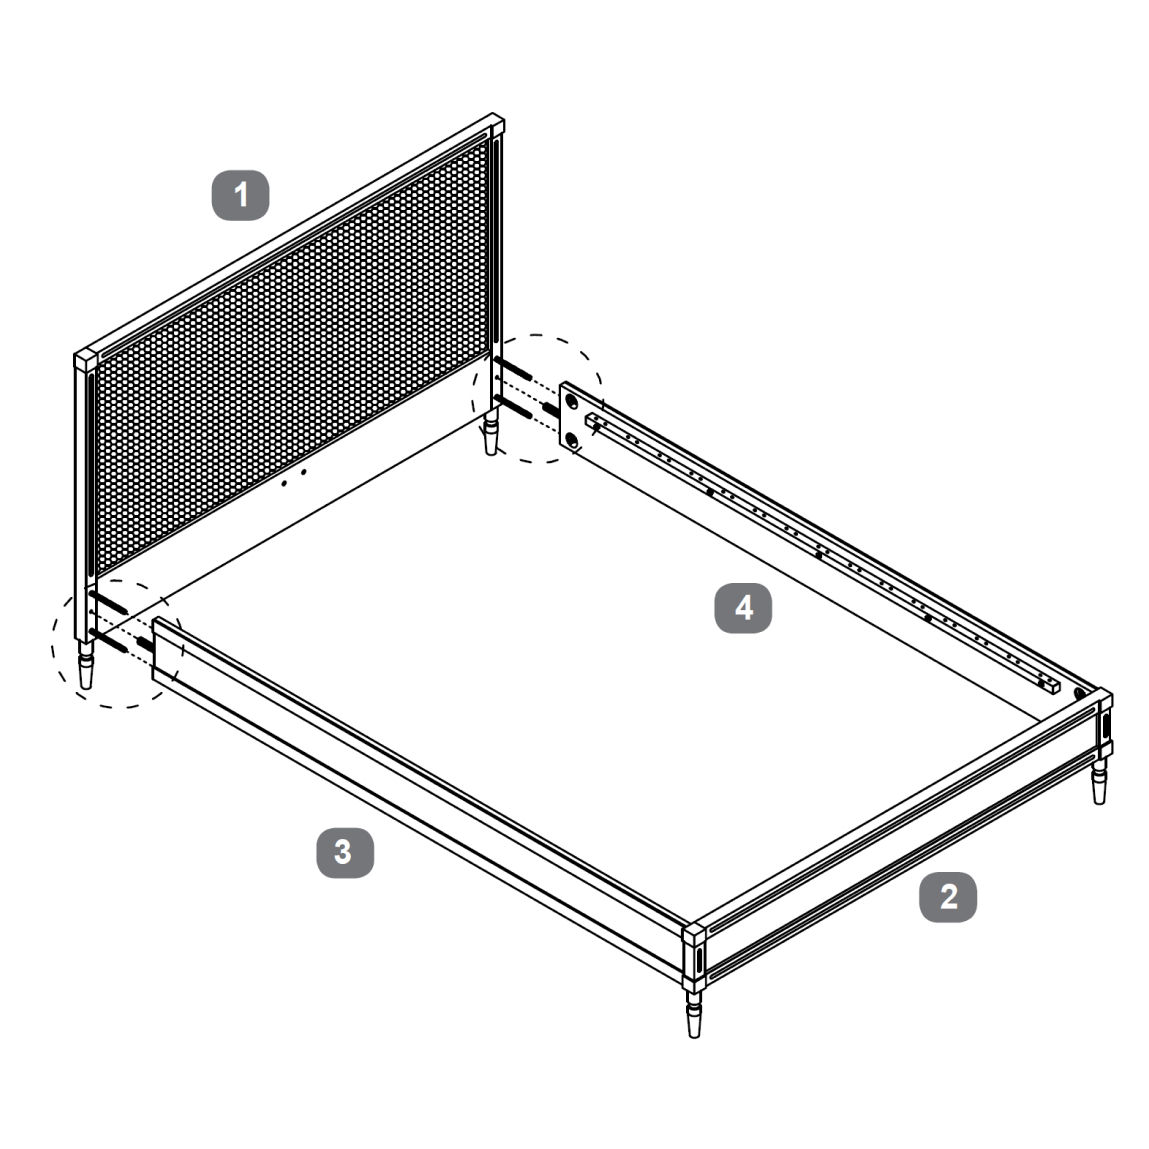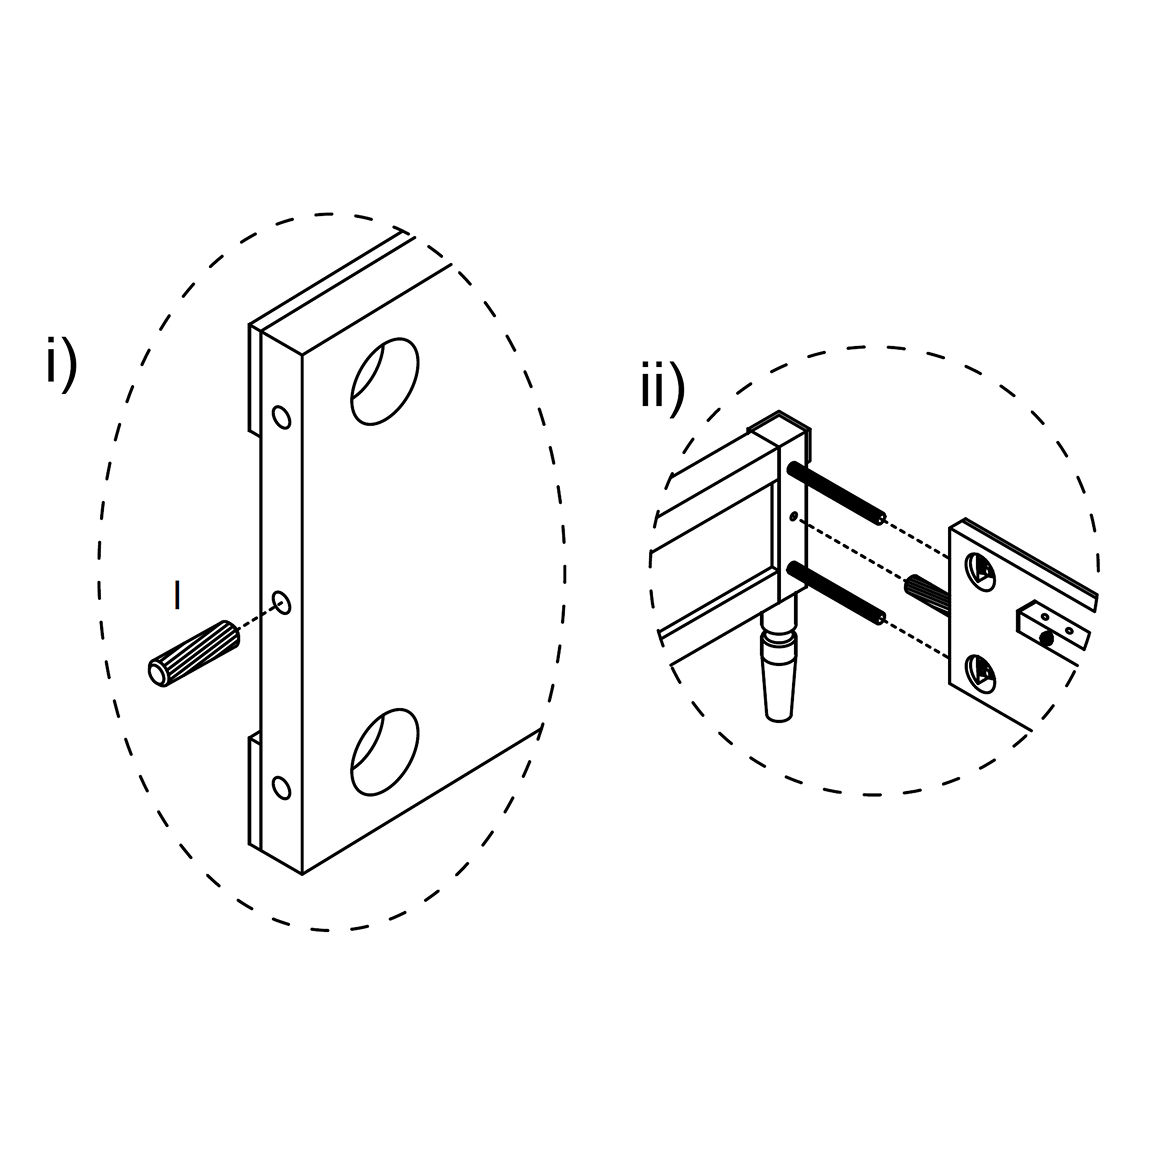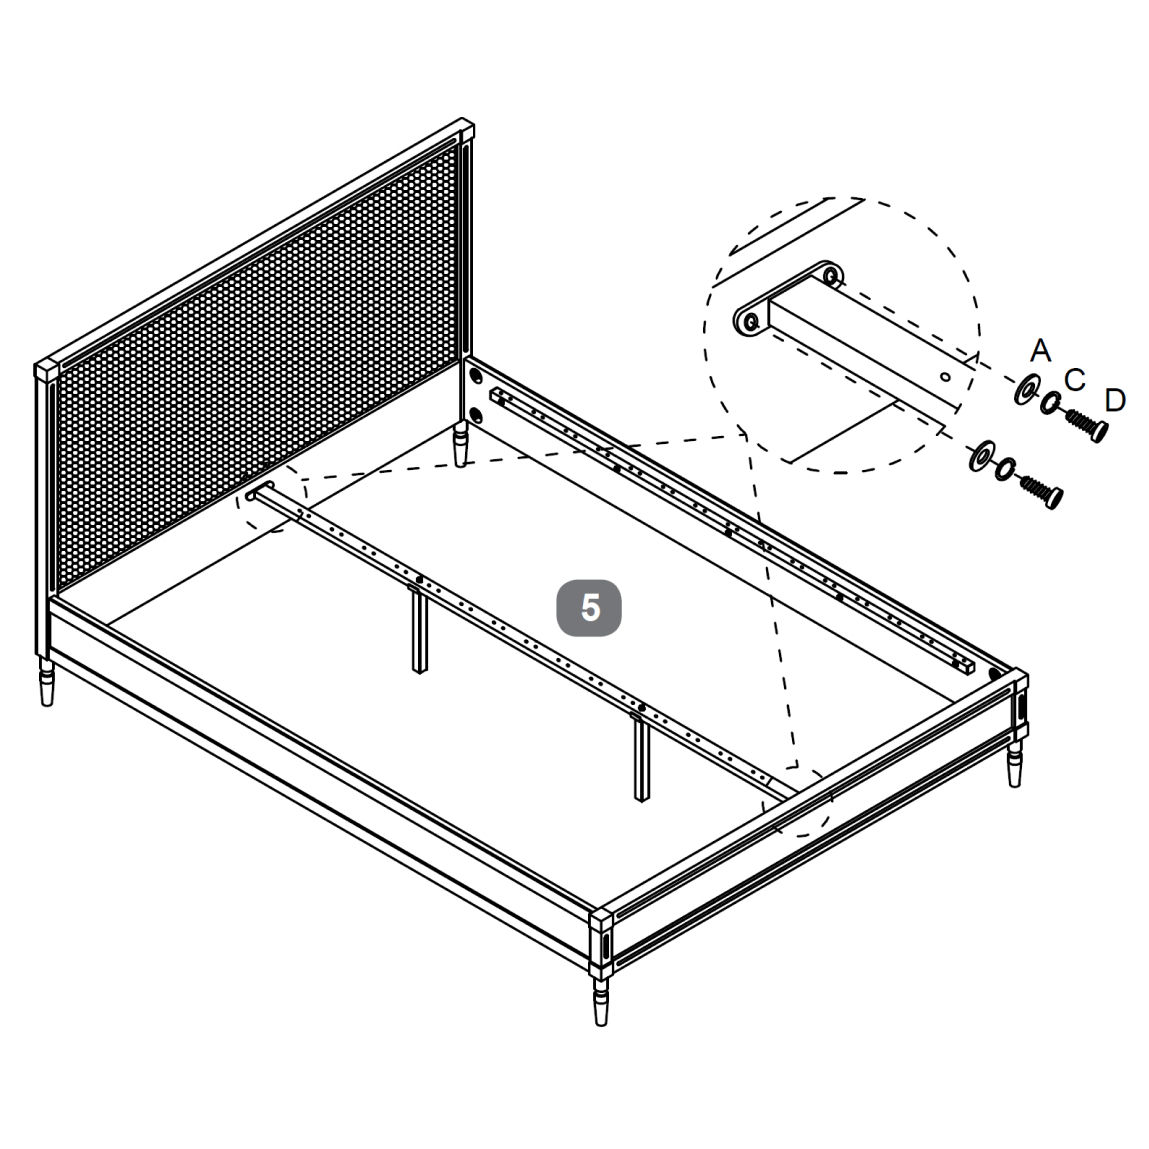


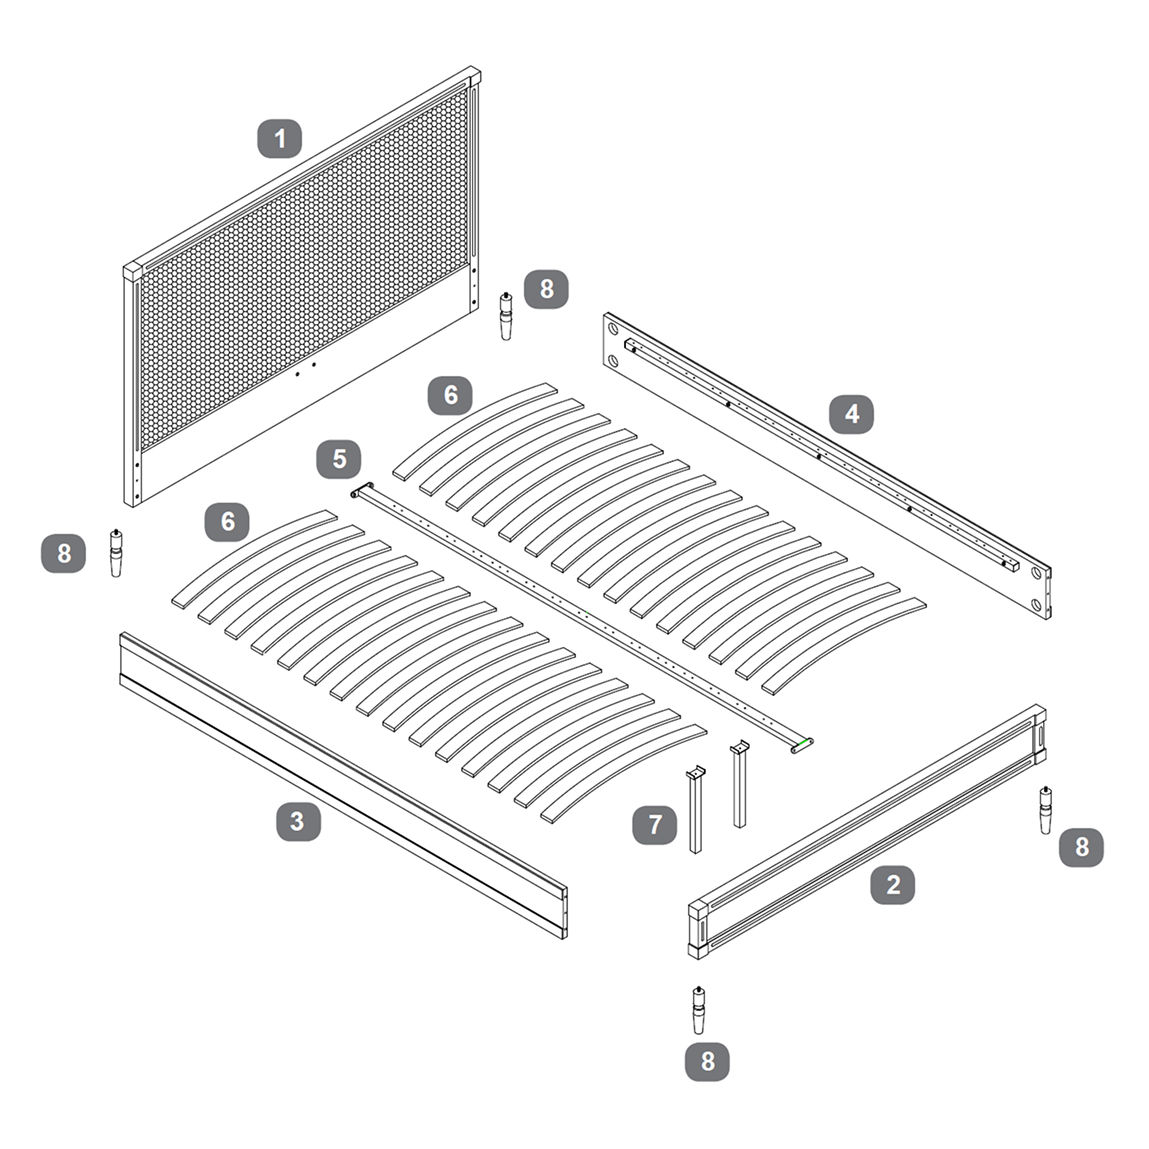
1. Attach the Bed Frame Legs to the Headboard and Footboard
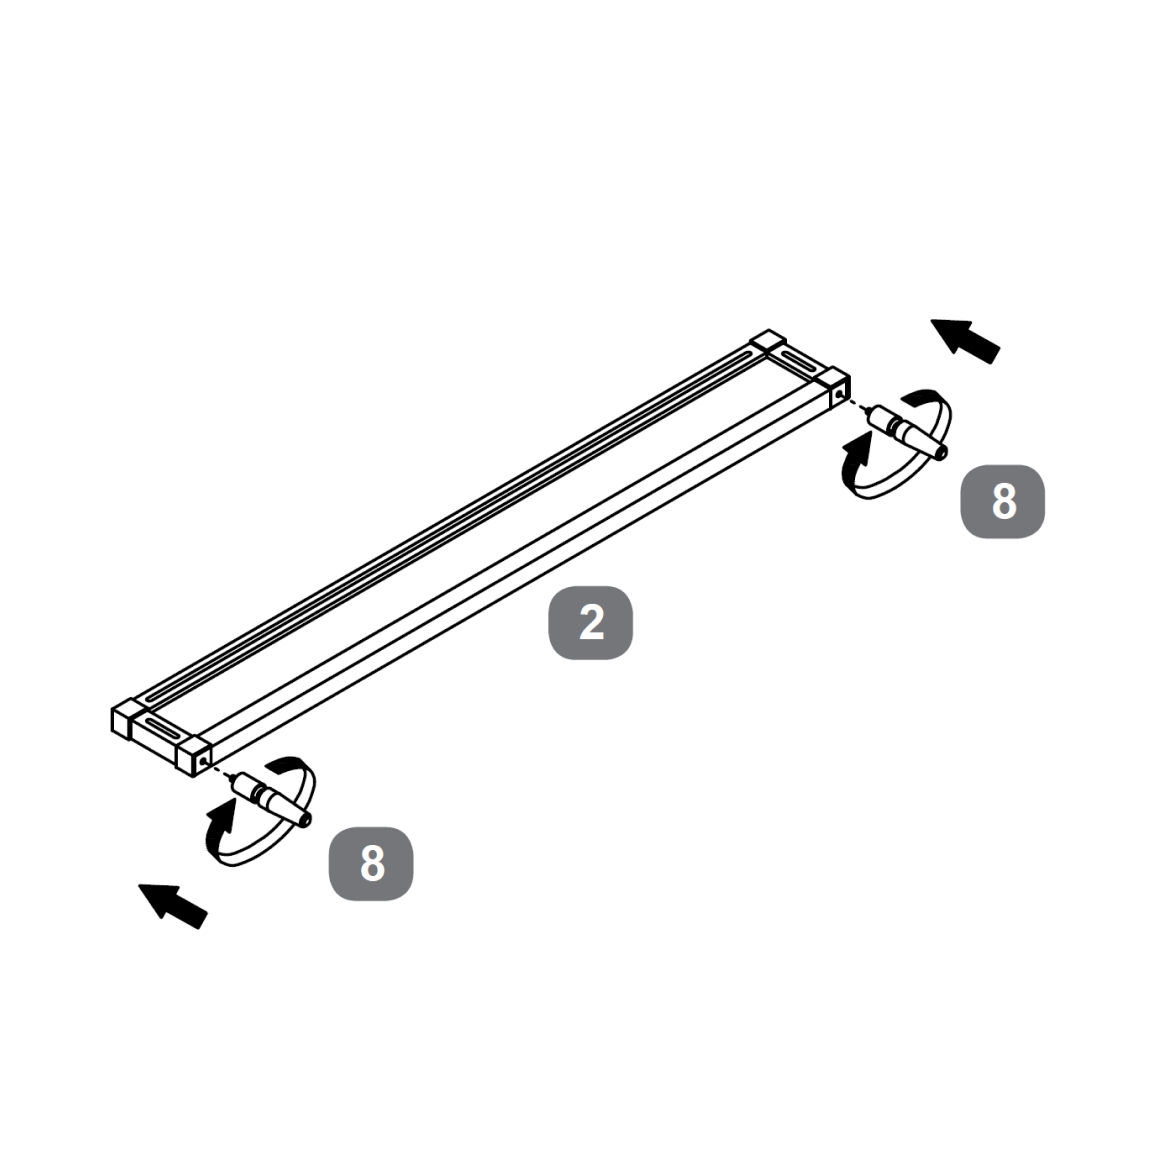
1. Lay the Headboard (1) and Footboard (2) face down on a soft surface.
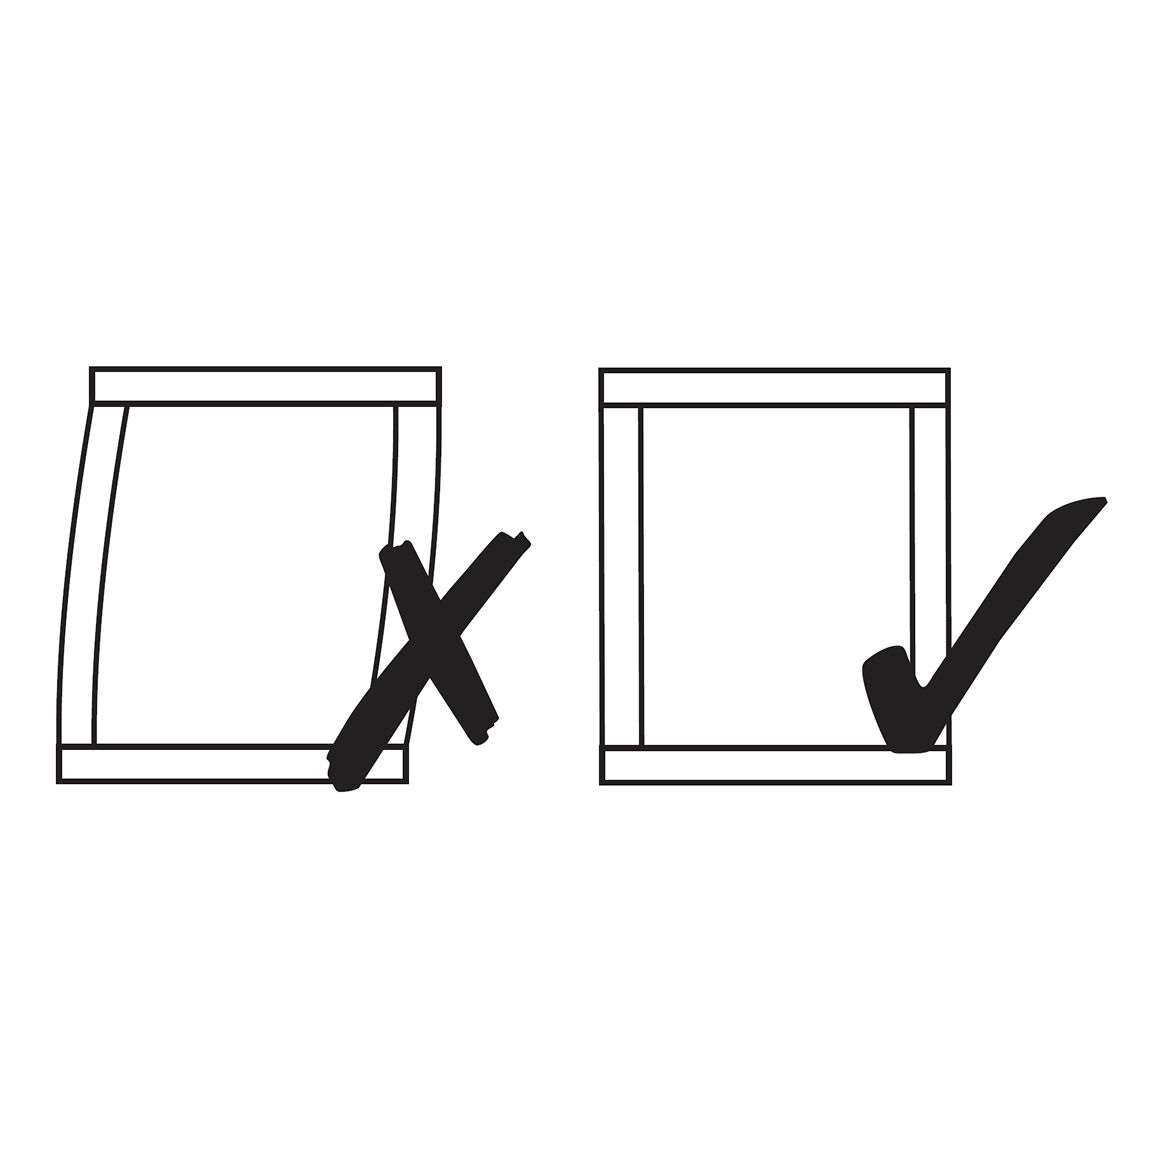
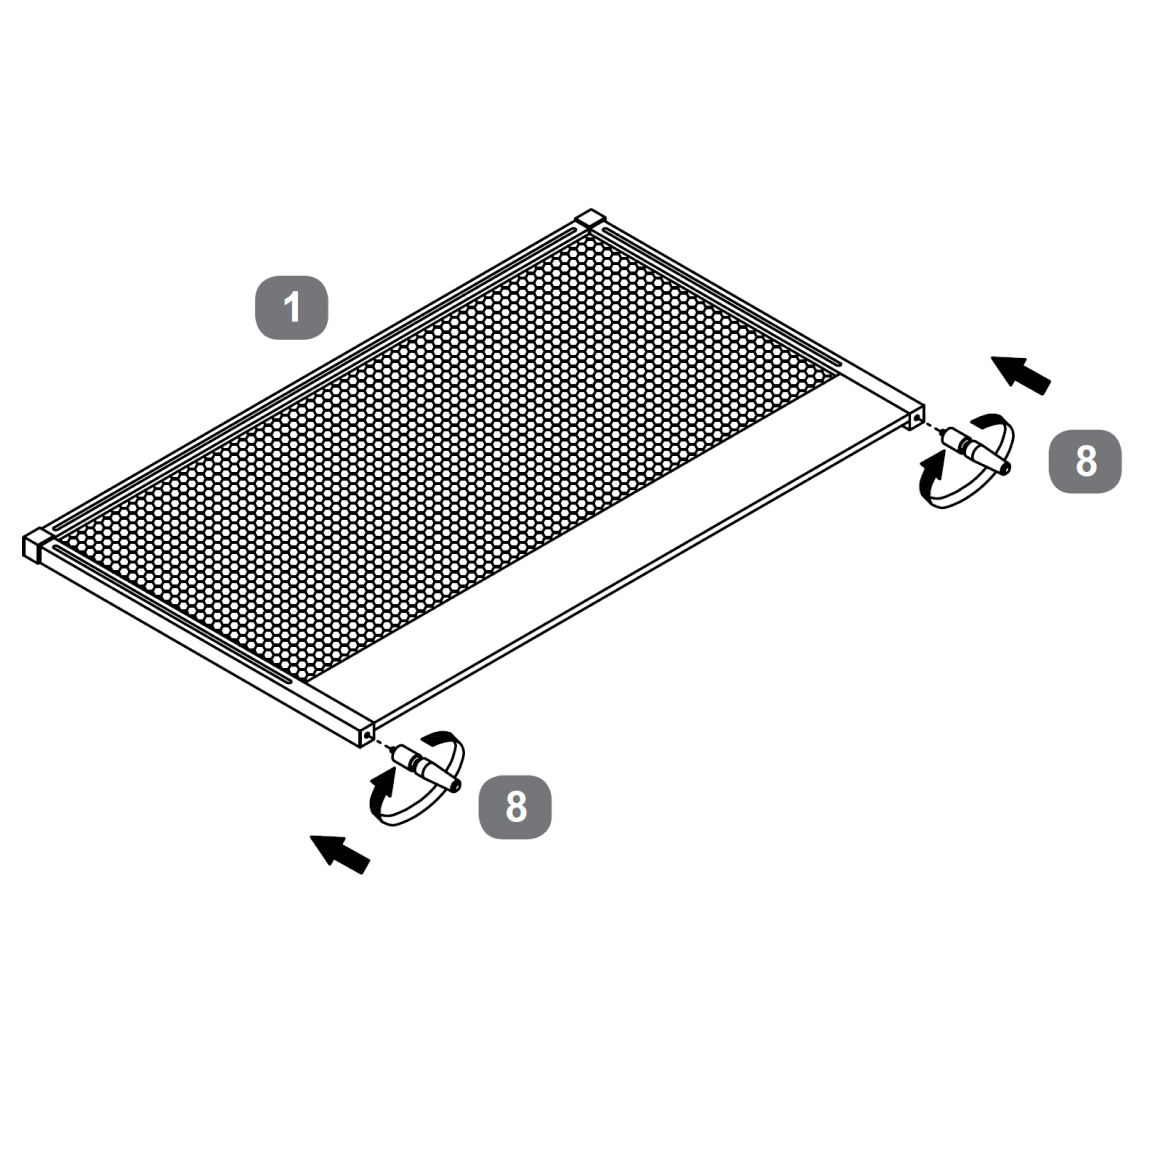
2. Align a Frame Leg (8) with the pre-drilled hole in each corner block.
3. Rotate each leg clockwise until fully tightened and secure.
4. Verify that all four legs are straight and firmly attached.