1. **Unzip the Headboard Fabric**
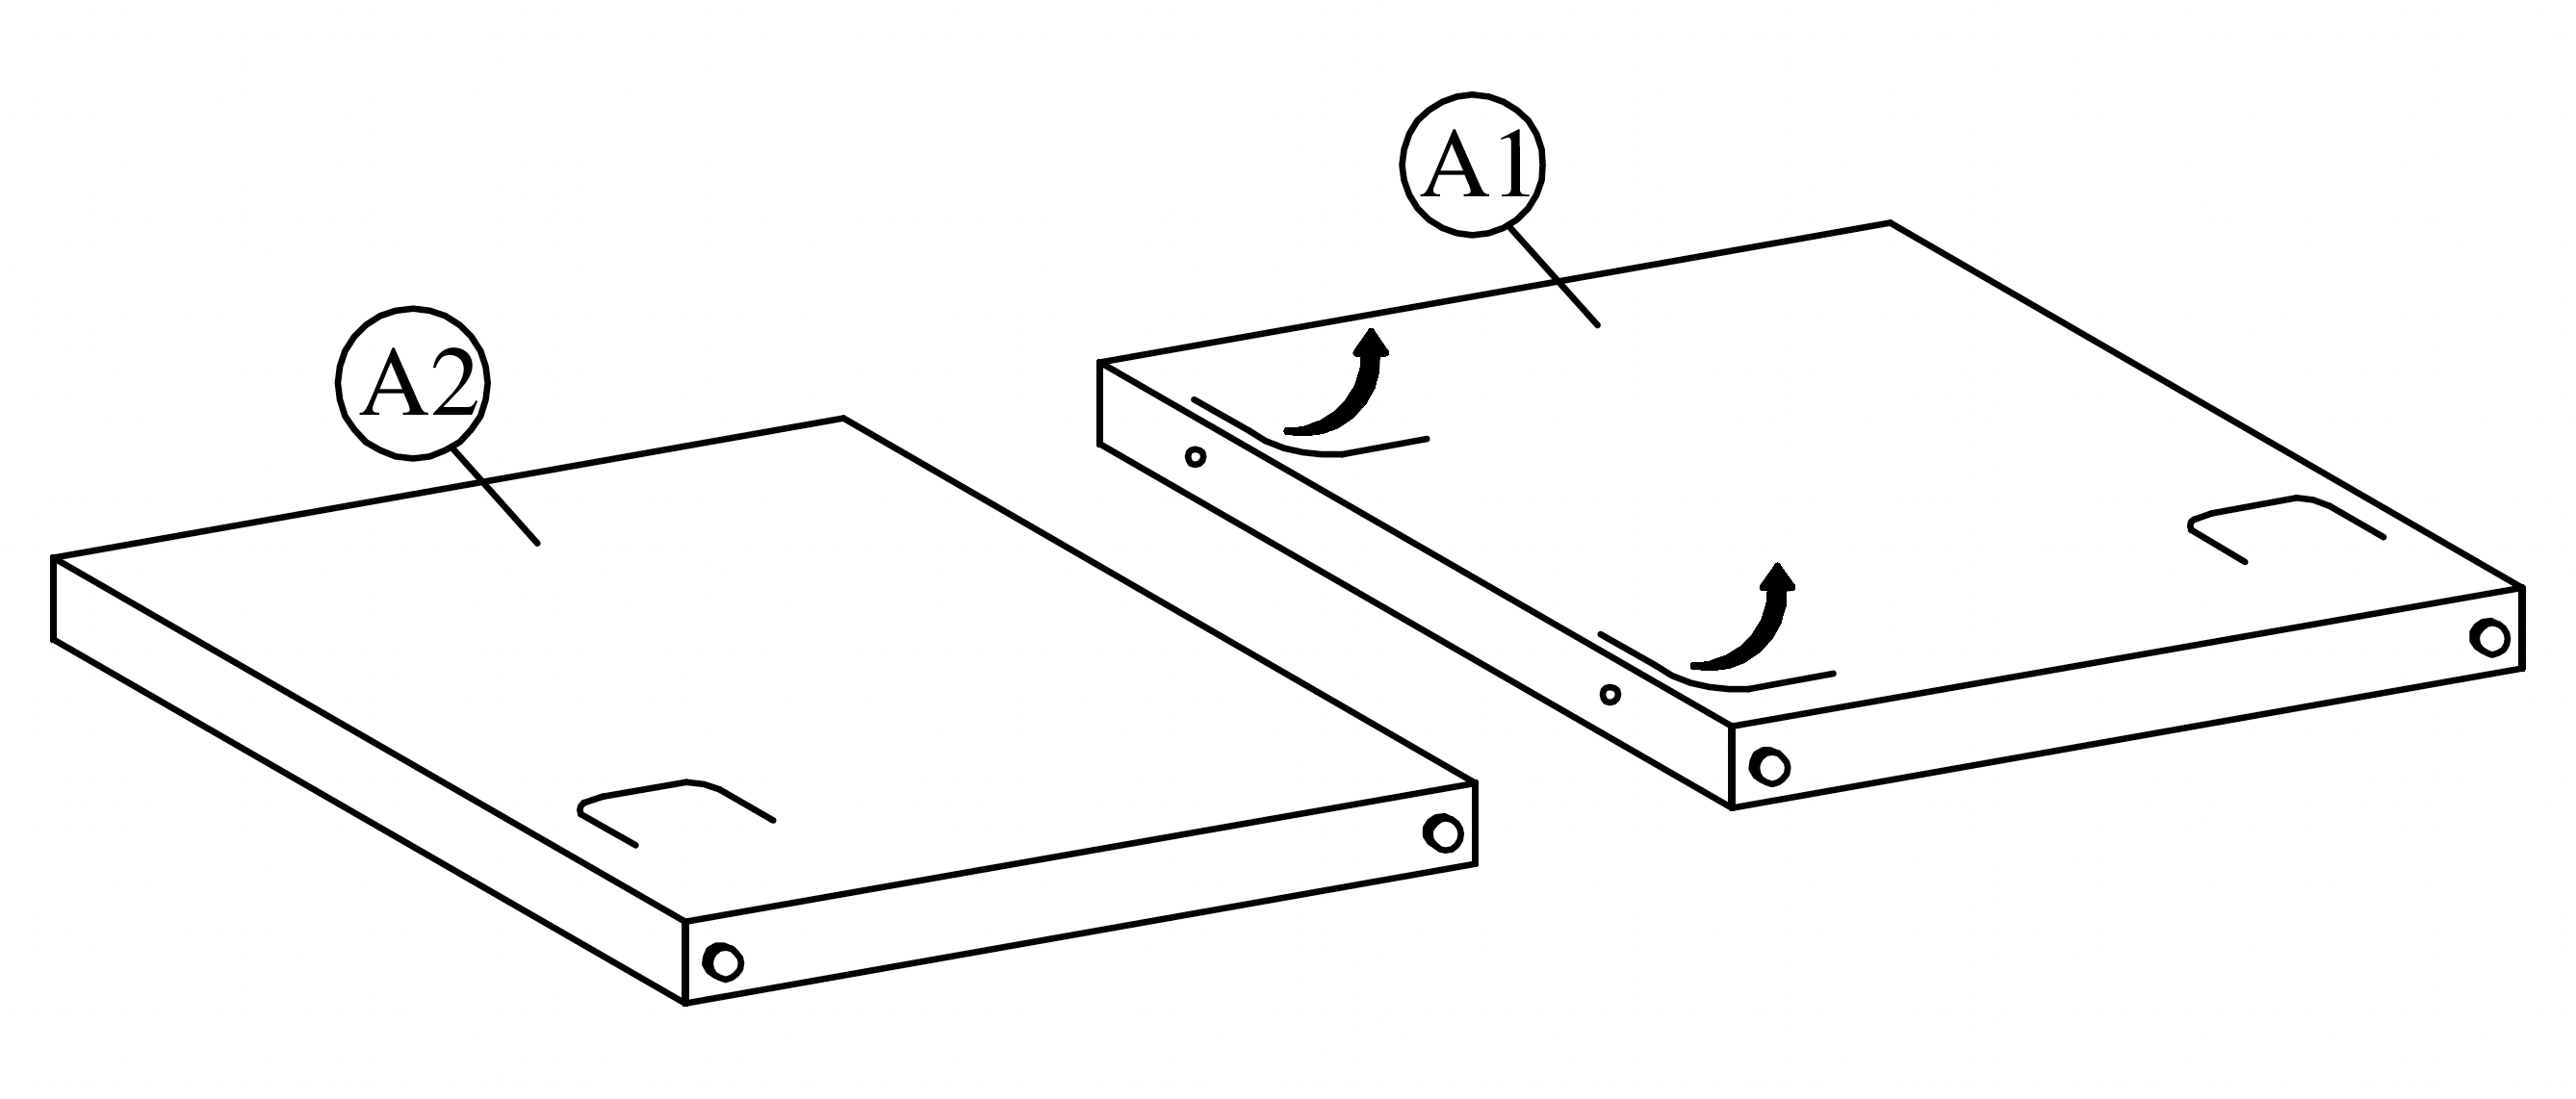
- Unzip the black non-woven fabric on the back of Headboard (A1).
- Open it fully to access the internal fittings.
 Instructions by time4sleep Portofino Upholstered Hotel Bed FrameAssembly instructions for Portofino Upholstered Hotel Bed Frame by Time4Sleep Product InformationPortofino Upholstered Hotel Bed FrameLooking to create that boutique hotel look? The Portofino Hotel bed offers a stunning look, combined with the practicality of integrated bedside shelving. Clean, elegant lines make this bed ideal for creating a modern, contemporary look. The bed comes with a spring slatted base for extra comfort and support. Get the look for less!
Materials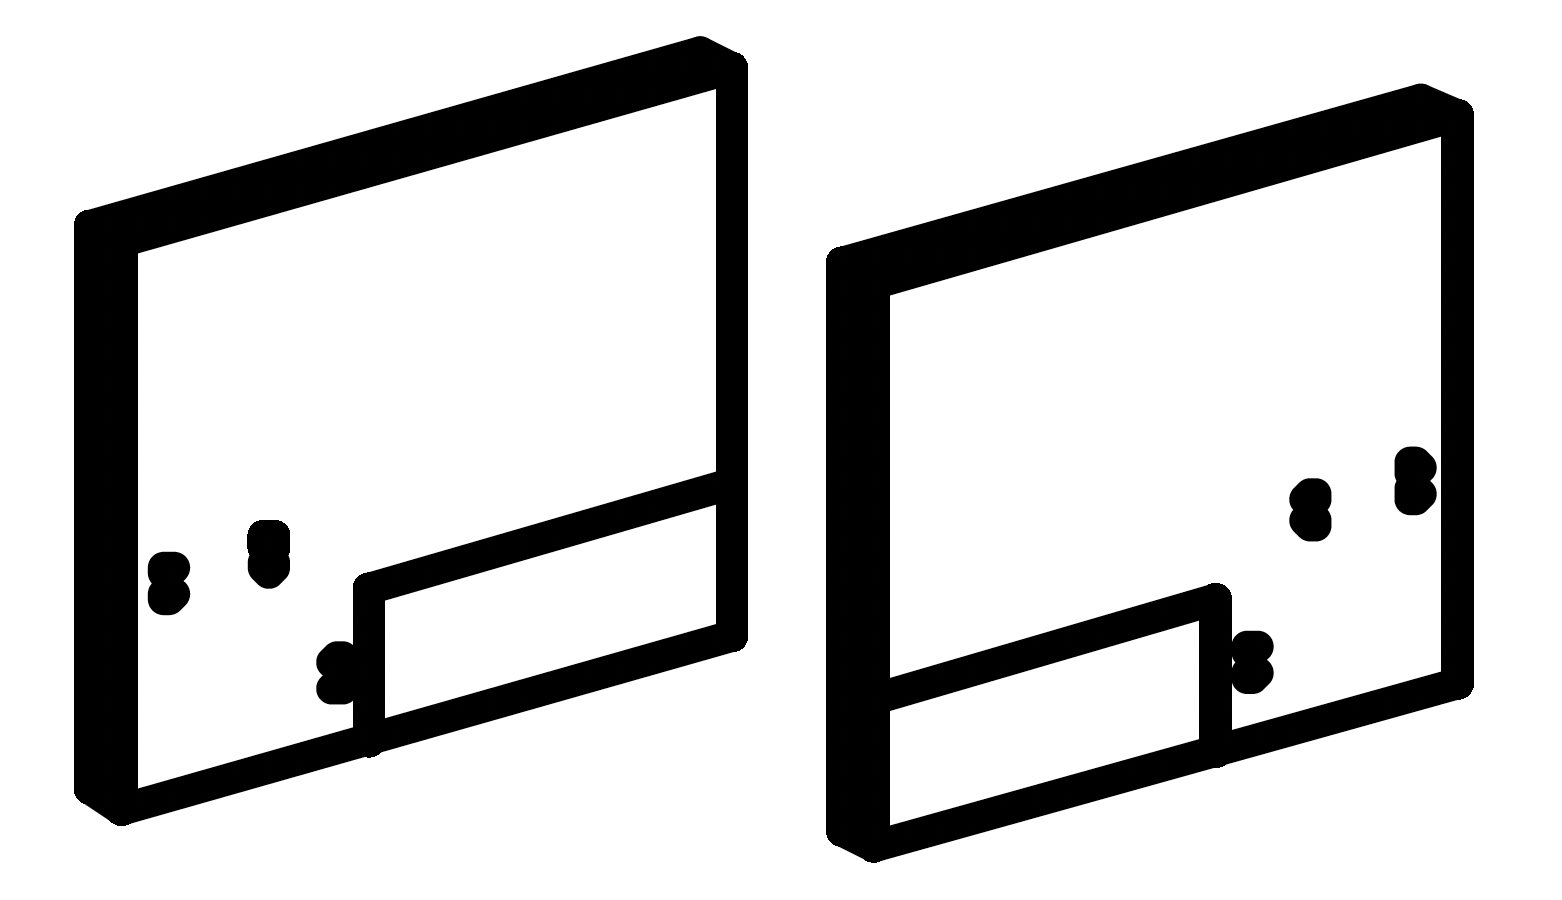 A1 and A2 - Headboard 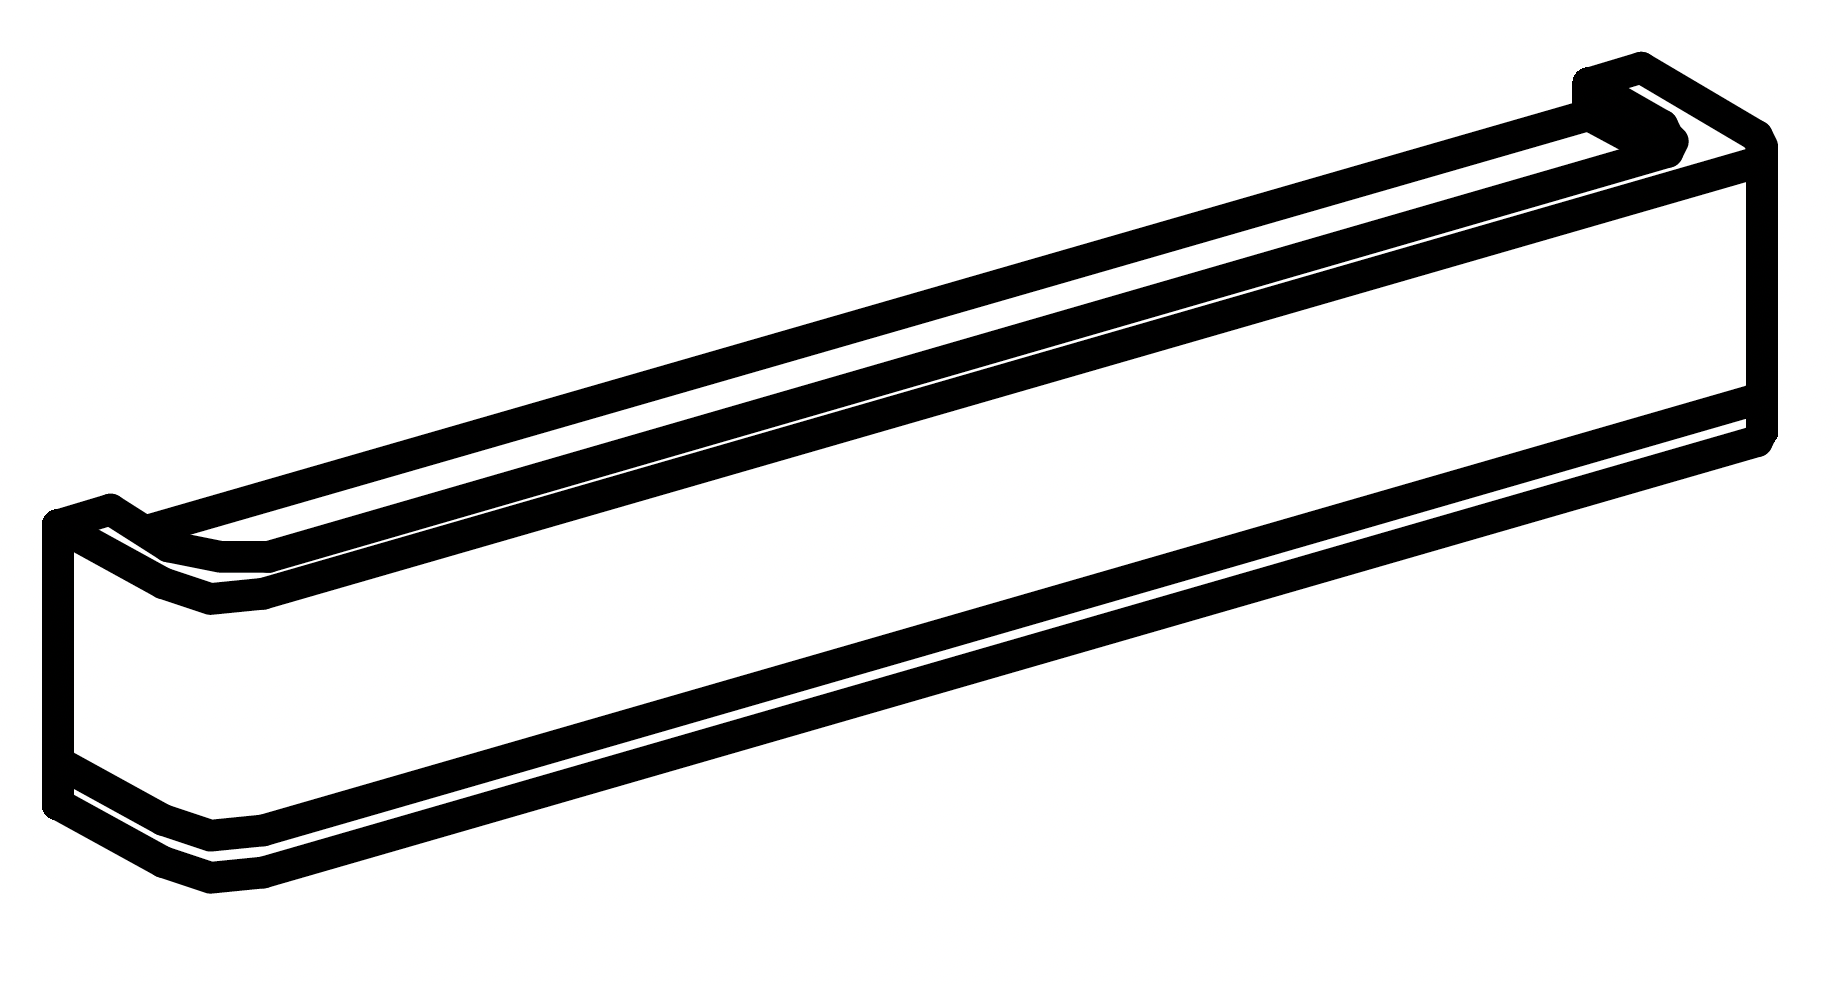 B - Footboard  C - Side Rail  D - Slat (24 for Double, 26 for King) 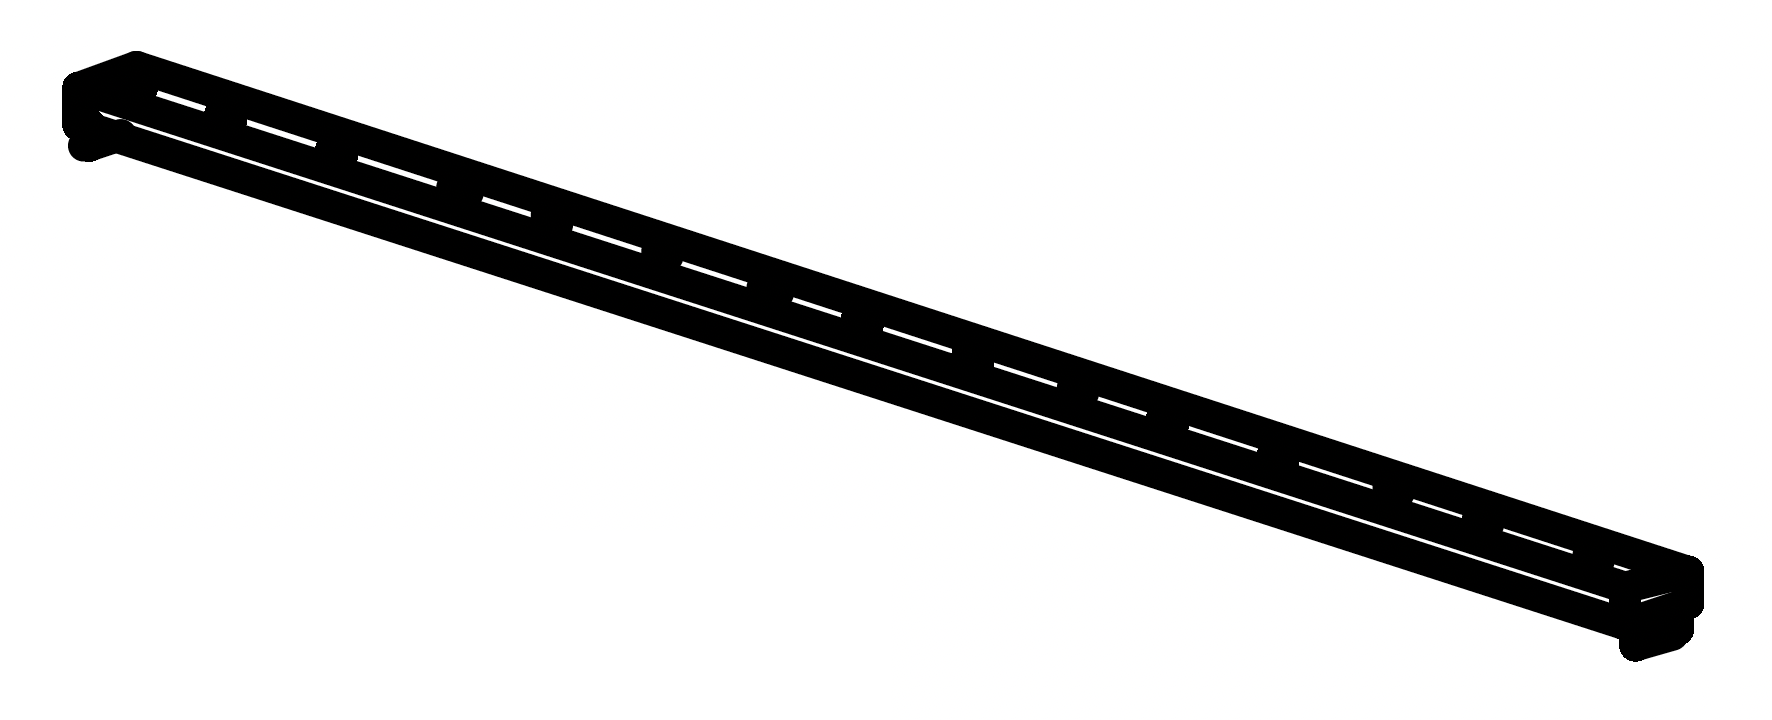 E - Center Rail  F - Support Leg  G - Bolt JCBB M8 × 30  H - Bolt JCBC M6 × 40  I - Allen Key (M5)  J - Allen Key (M4)  K - Screw CSK M4 × 25 mm L - Screw CSK M4 × 32 mm 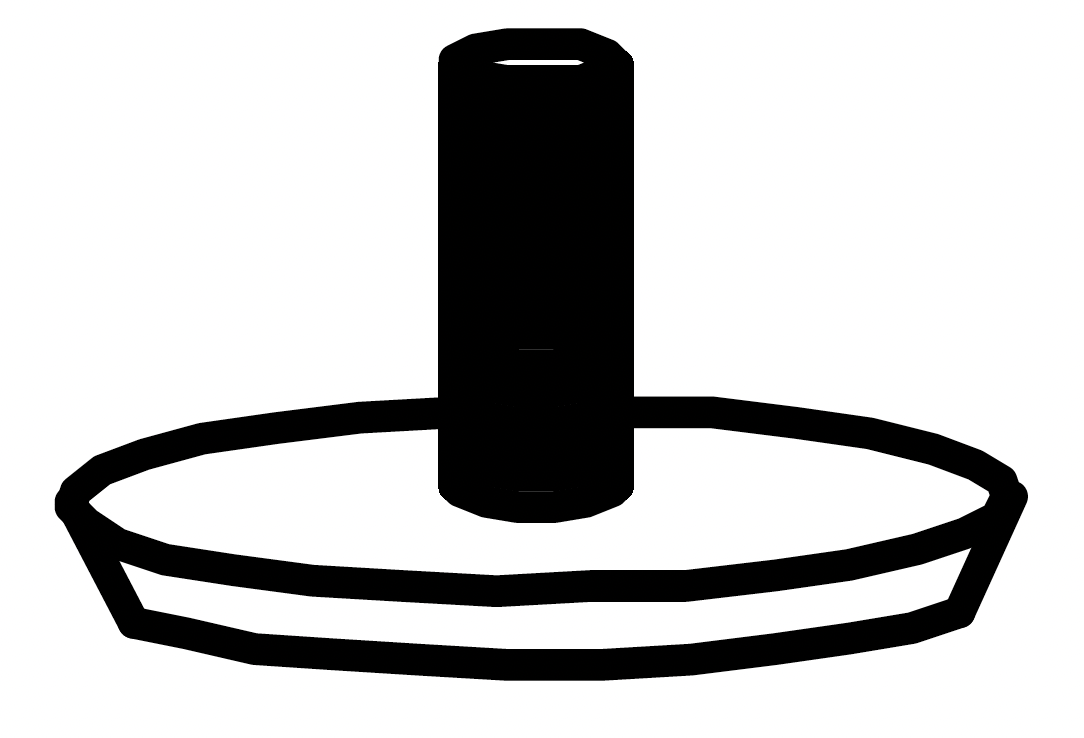 M - Small Adjuster 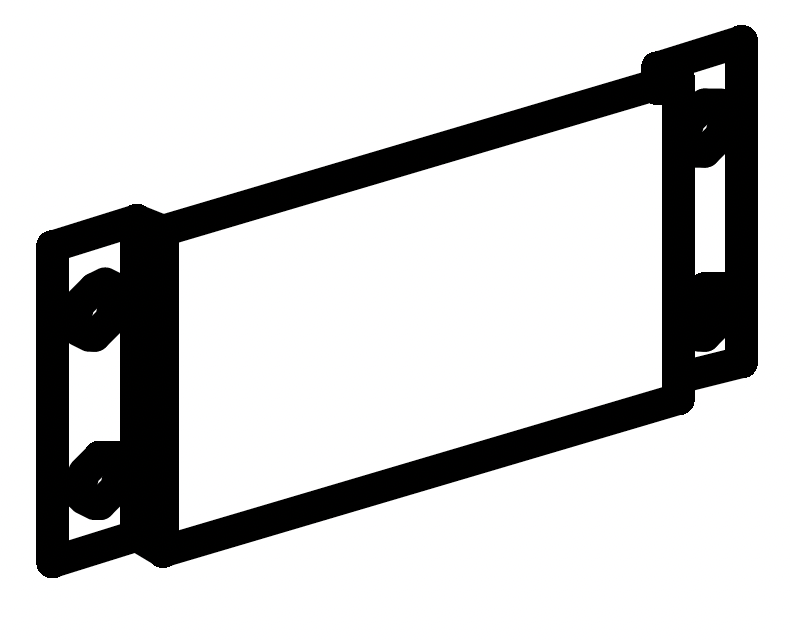 N - U Bracket  O - Spring Washer  P - Flat Washer  Q - Bolt JCBC M6 × 50  R - Night Stand  S - Screw CSK M4 × 20 mm  T - Bolt JCBC M6 × 60  U - Middle Holder (12 for Double, 13 for King)  V - End Holder (24 for Double, 26 for King) 1. **Unzip the Headboard Fabric**
2. **Join the Headboard Panels**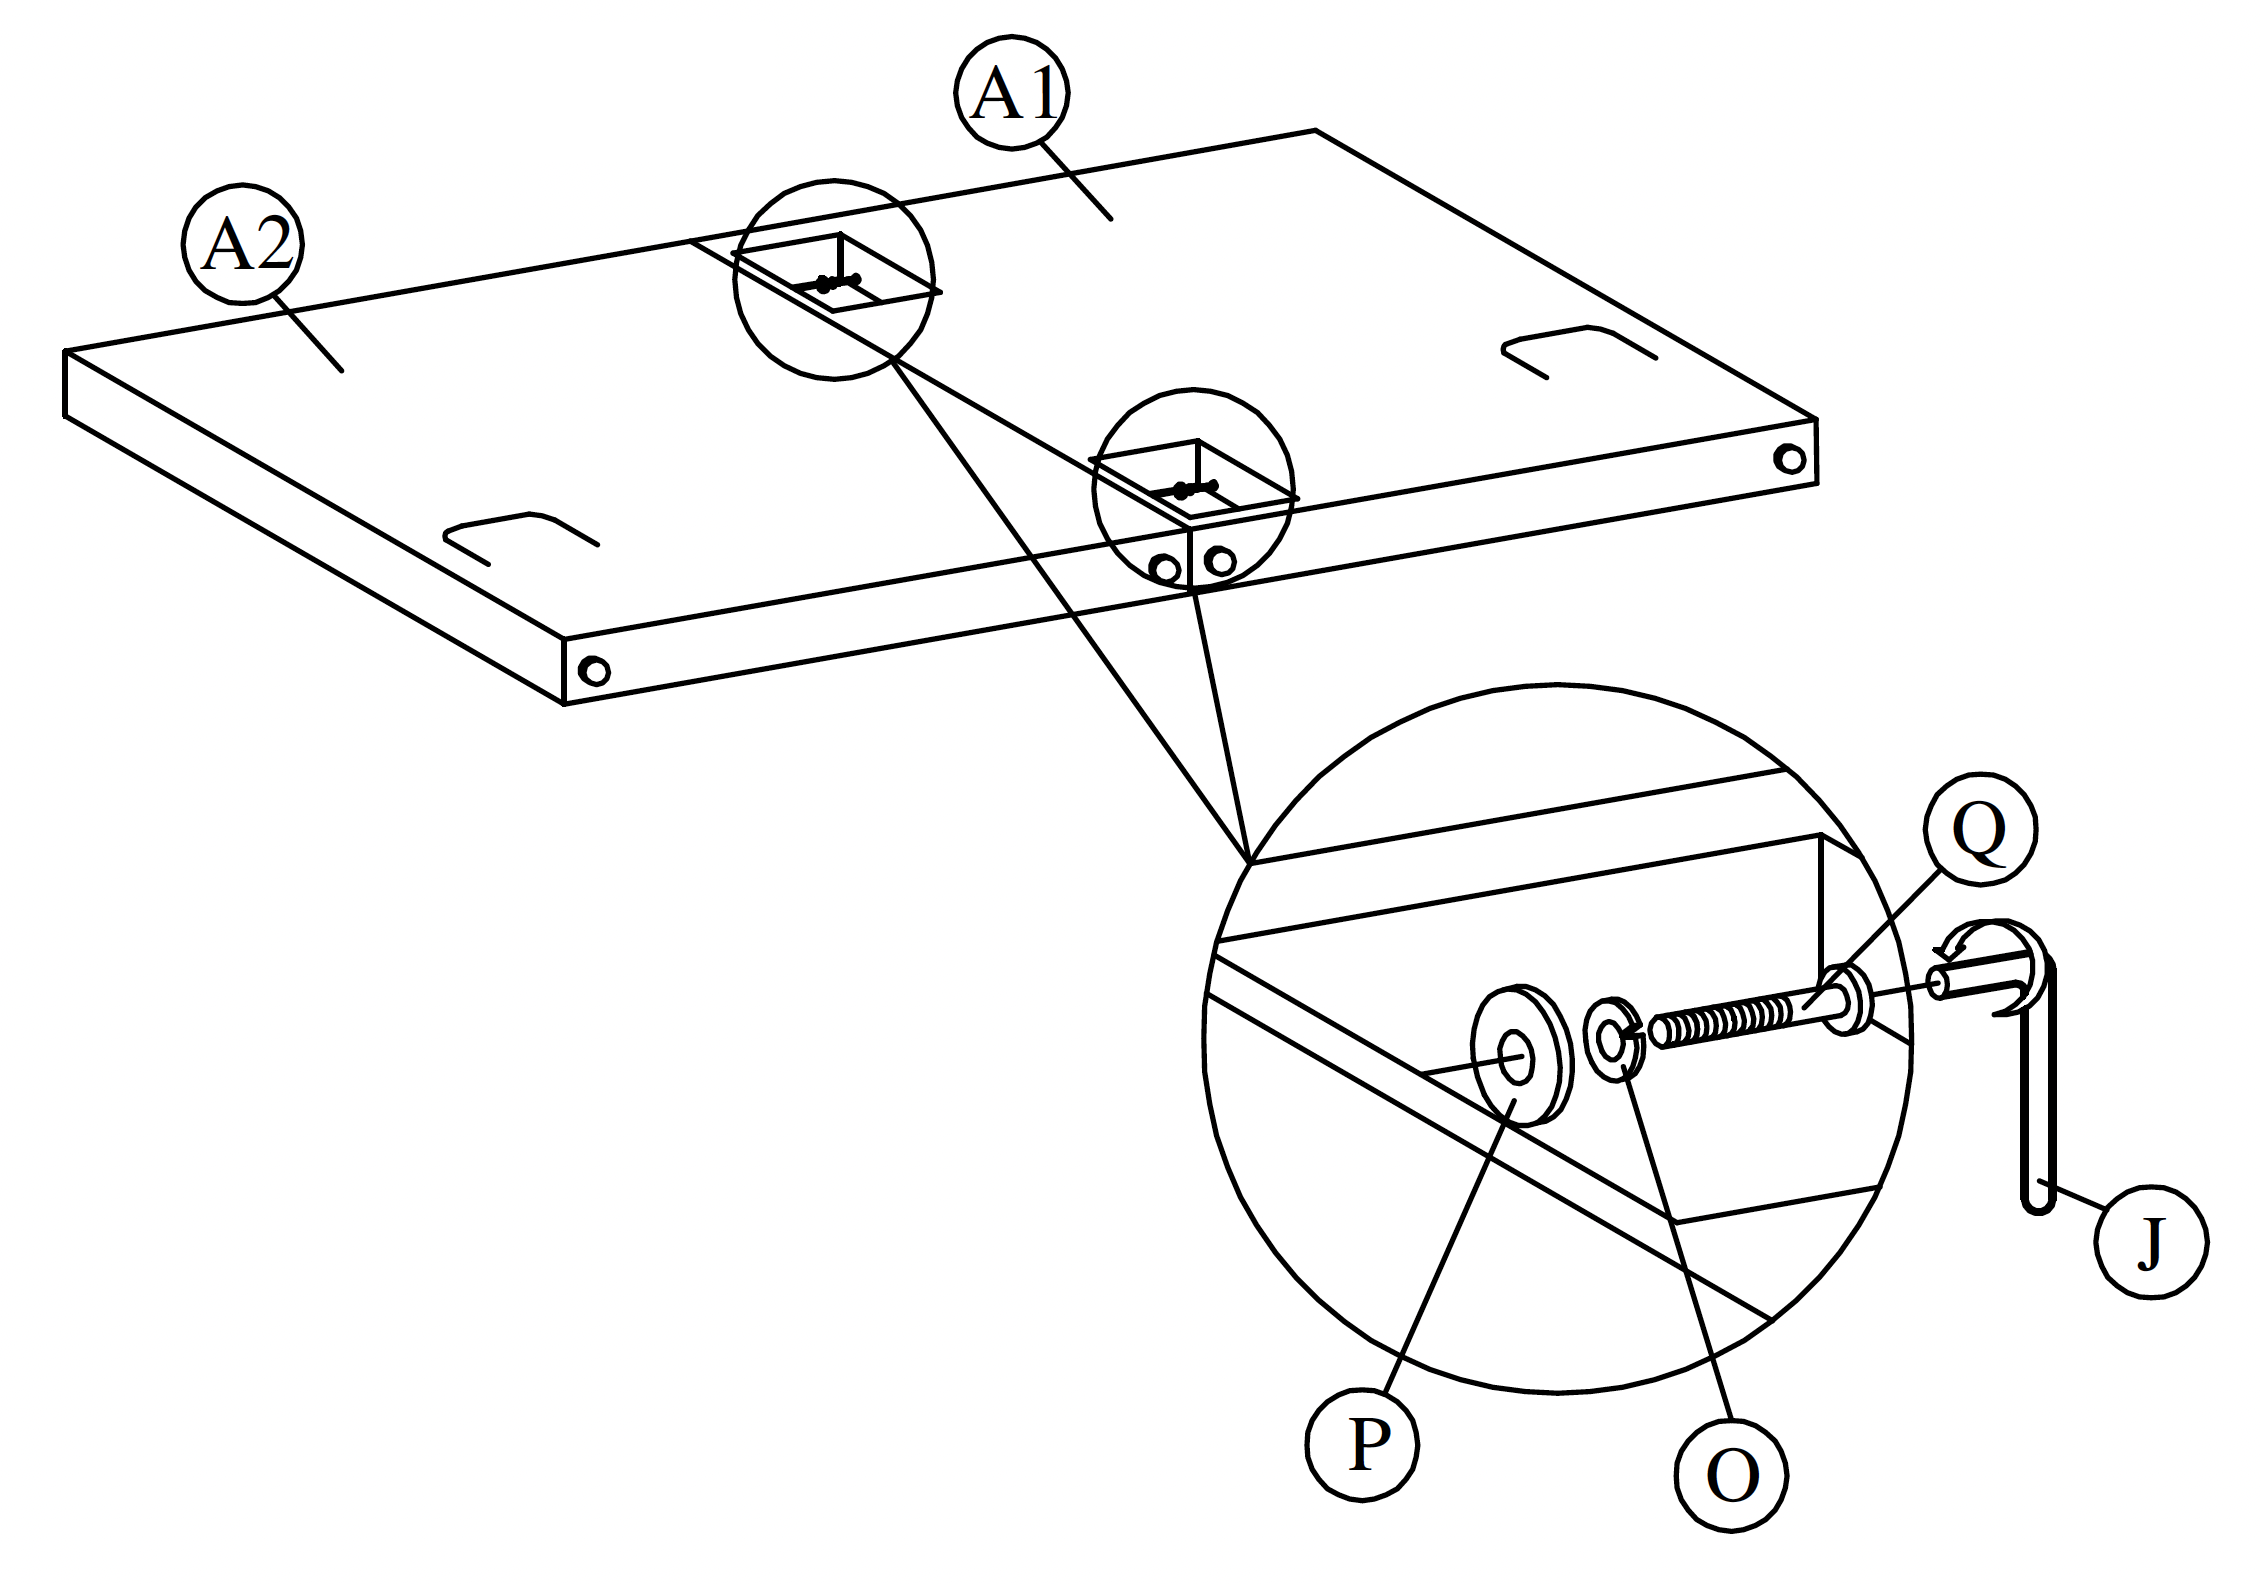
Tip: Ensure both panels are aligned before fully tightening. 3. **Attach the U Bracket**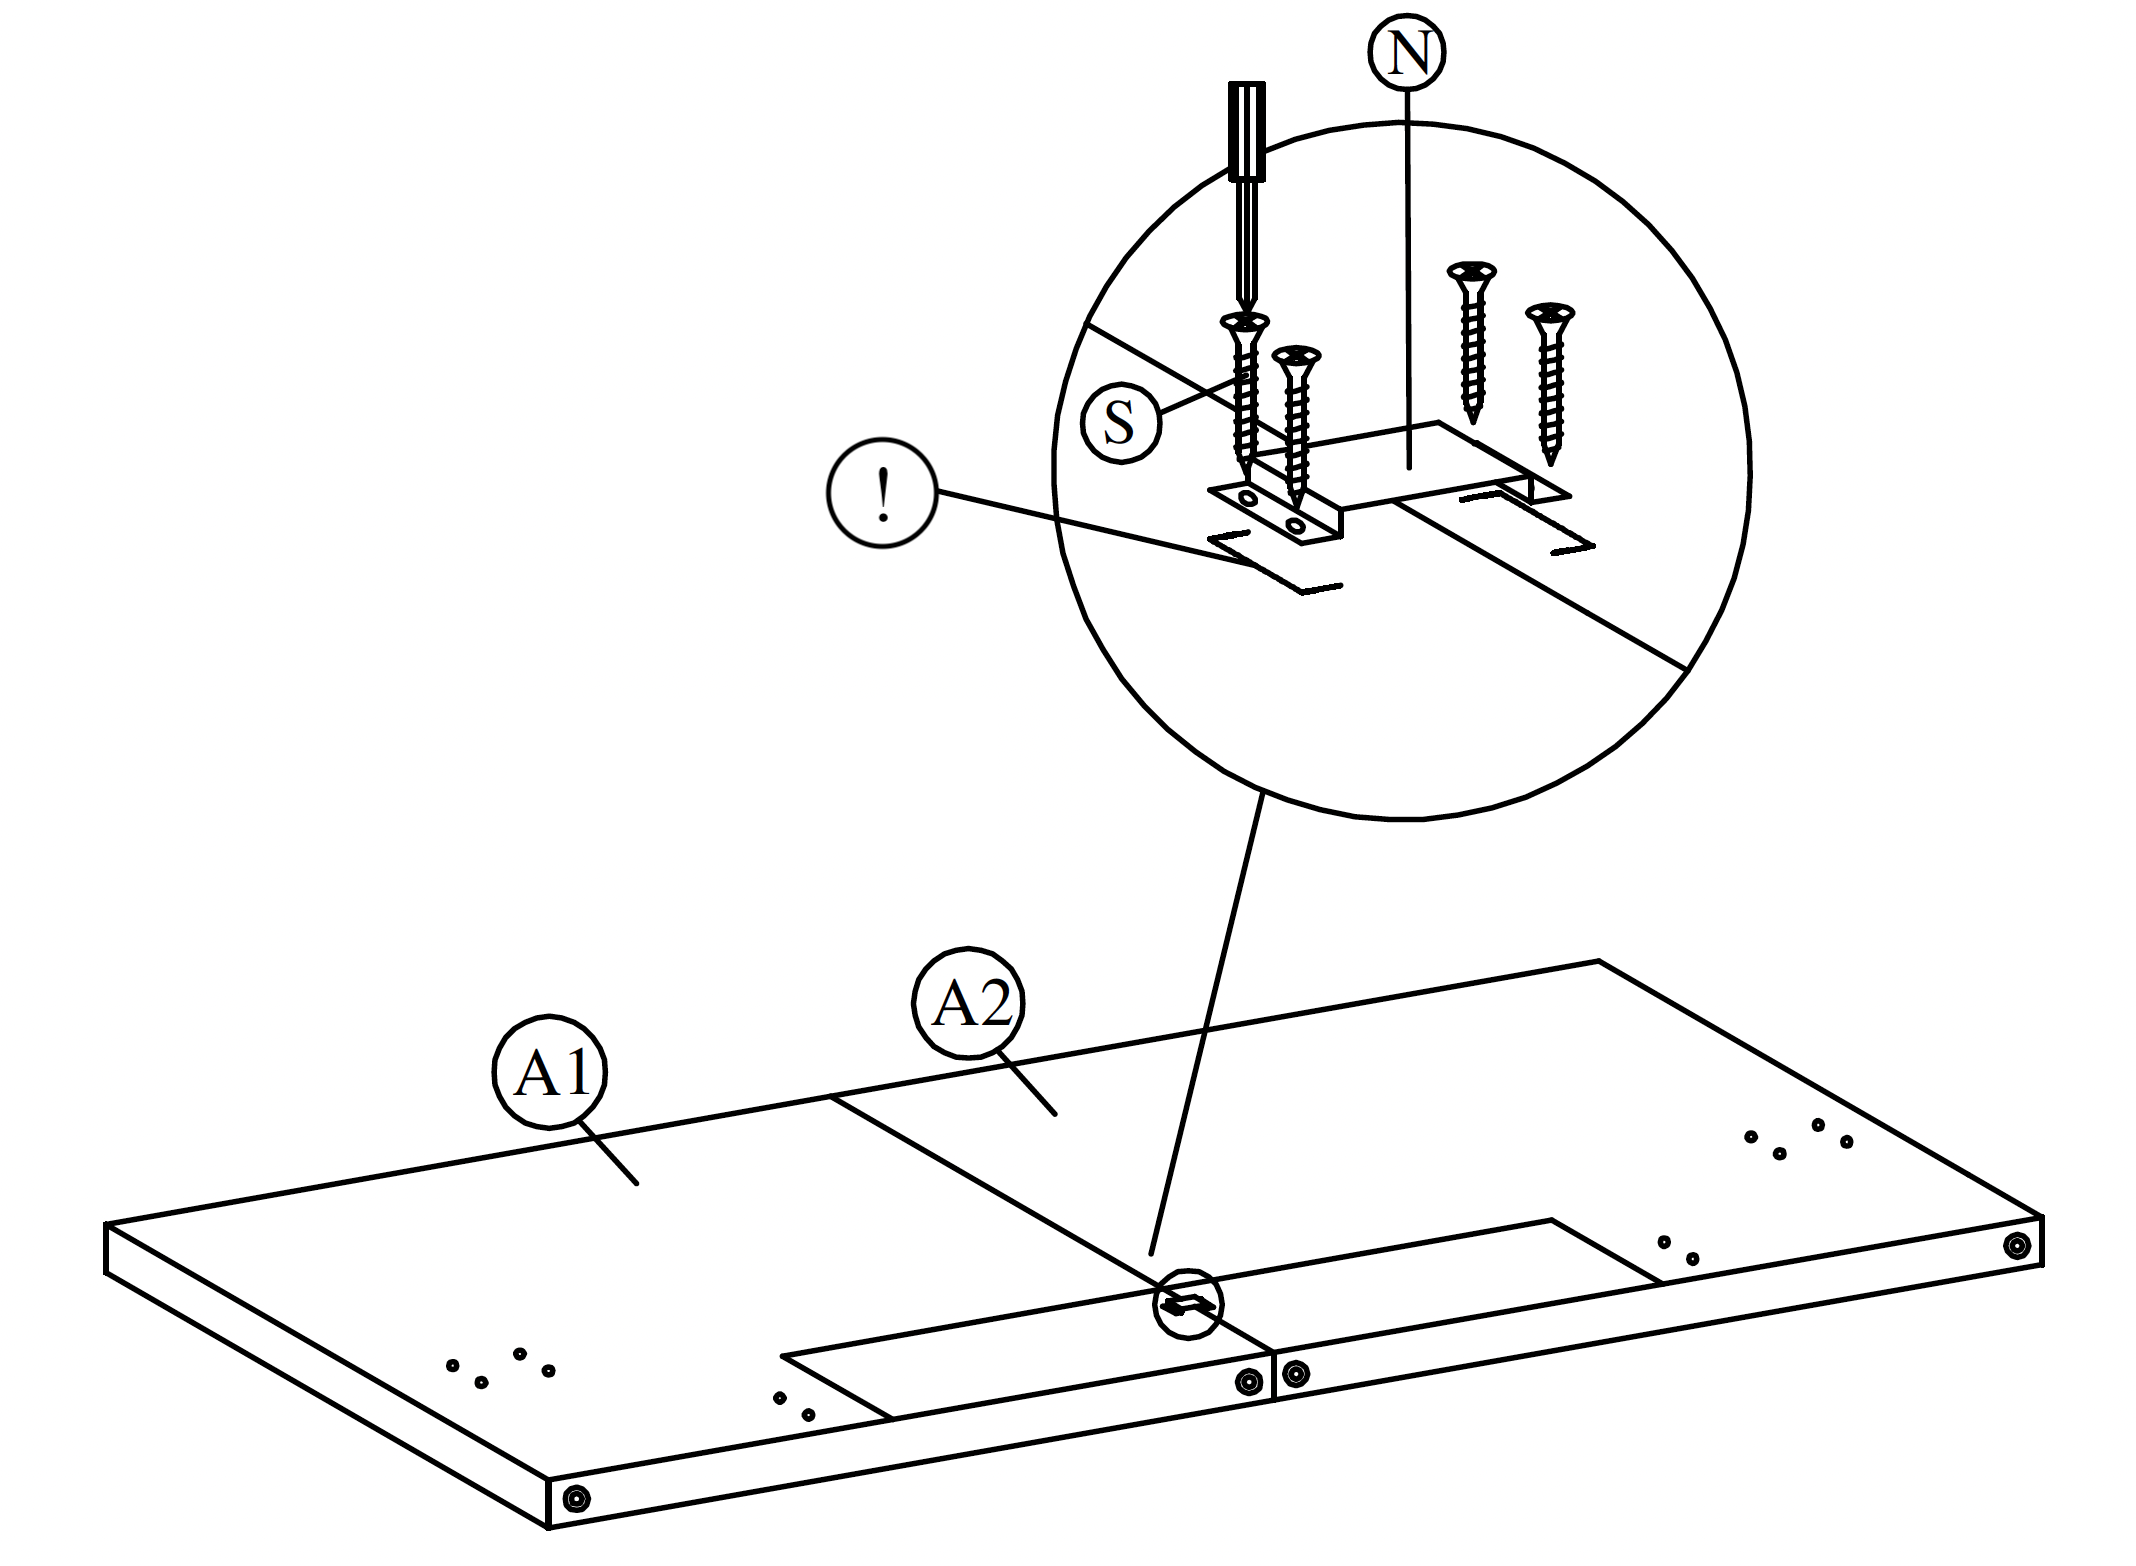
Tip: Ensure the bracket is centered and aligned with the markings before tightening. 4. **Attach the Side Rails**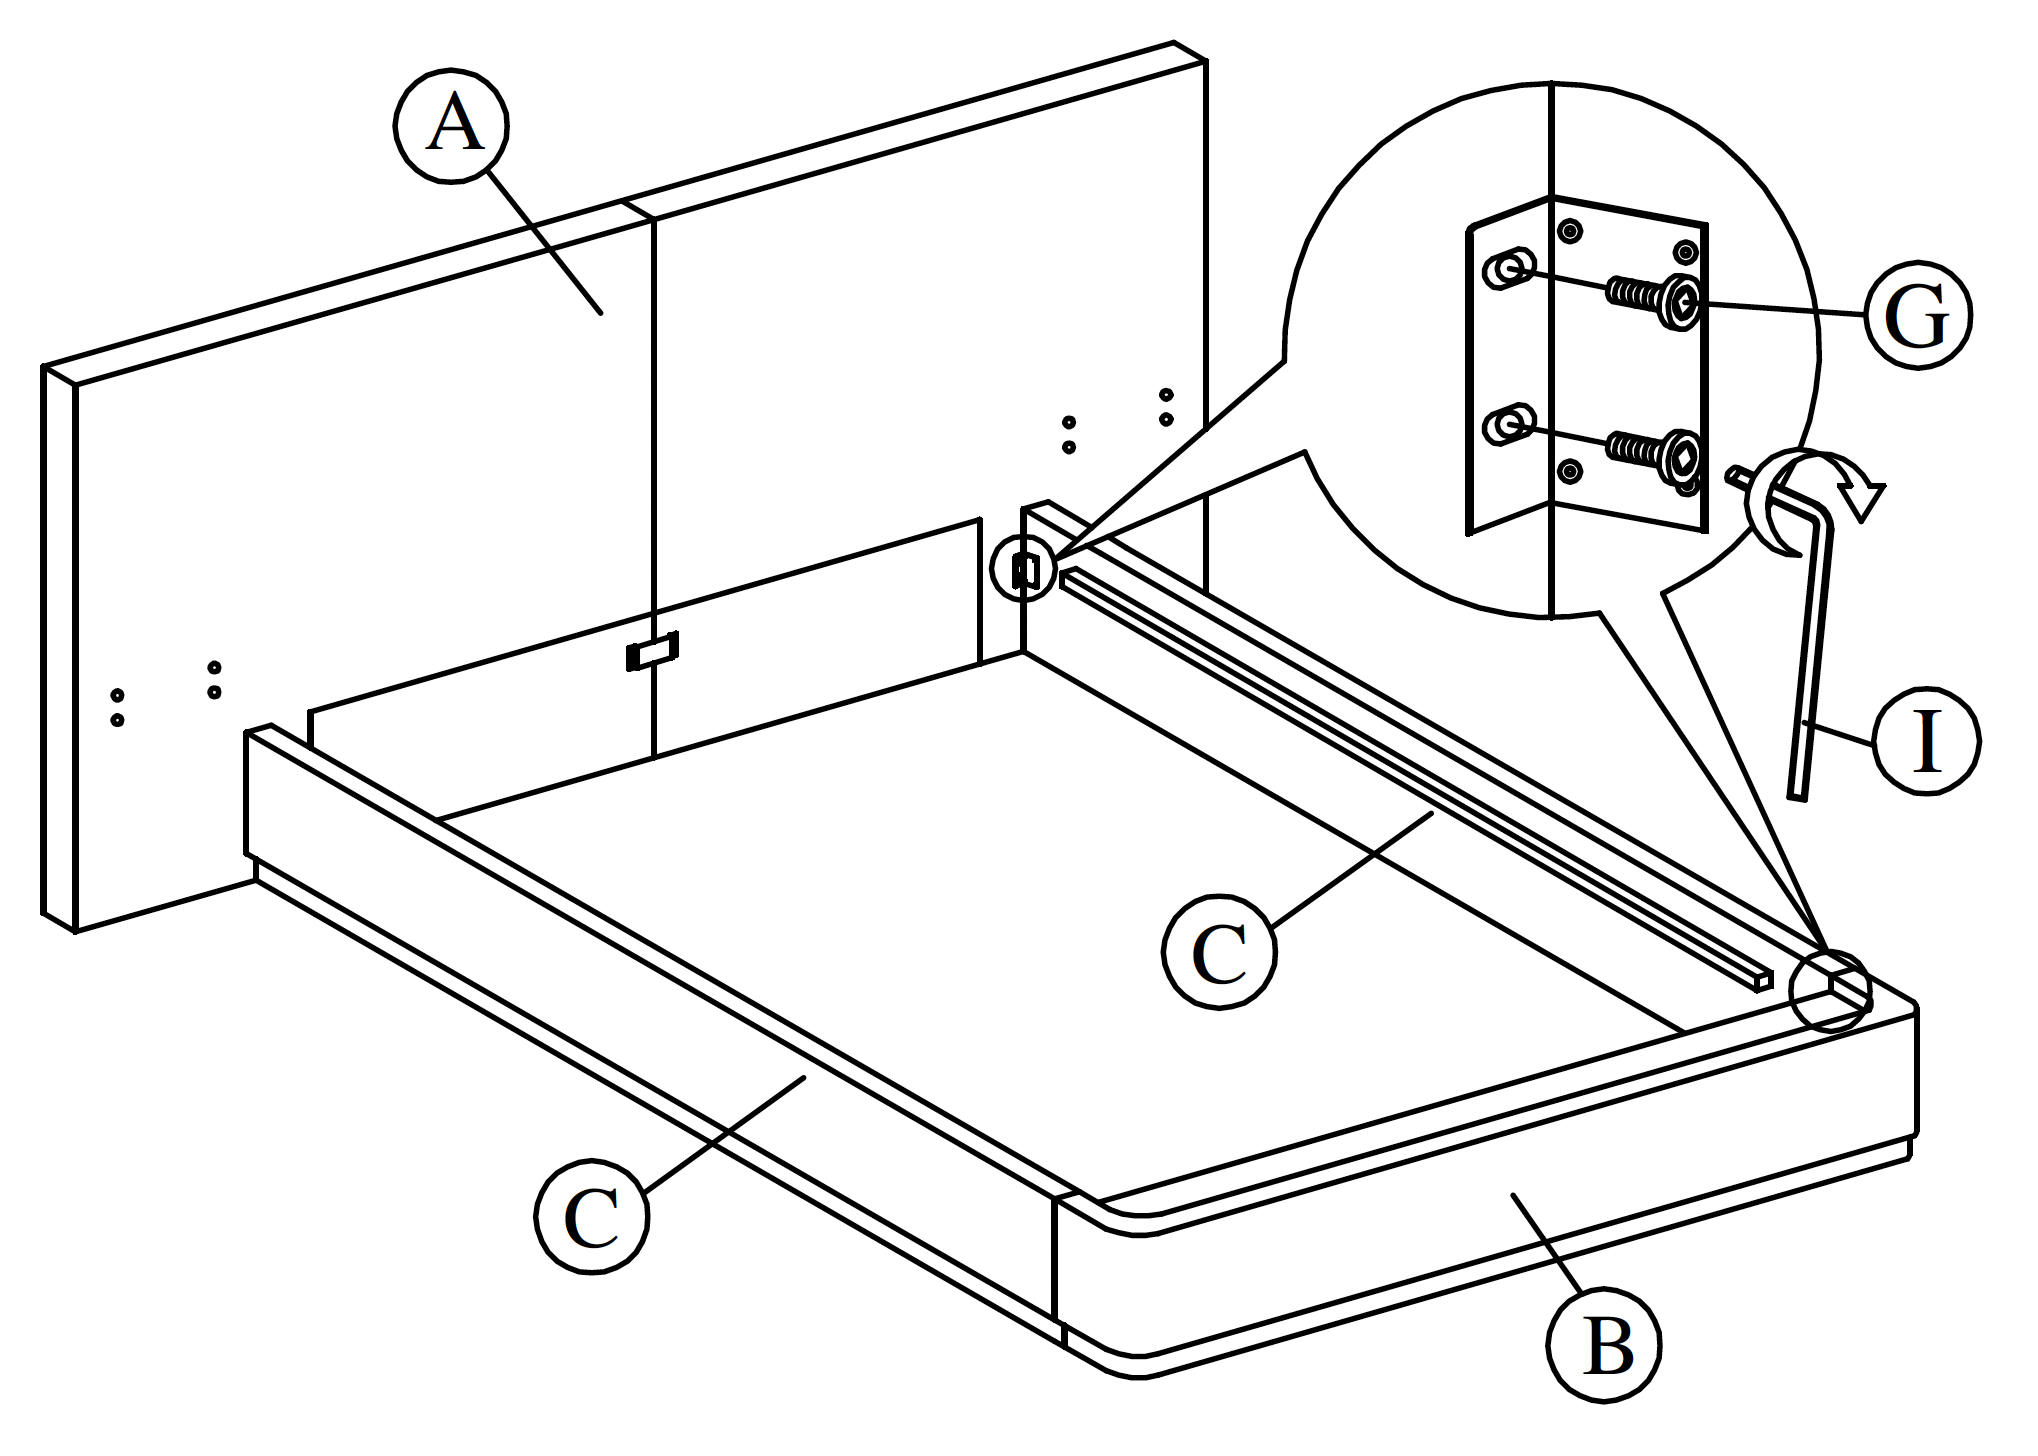
Tip: Do not fully tighten all bolts until both side rails are correctly aligned. 5. **Attach the Night Stand**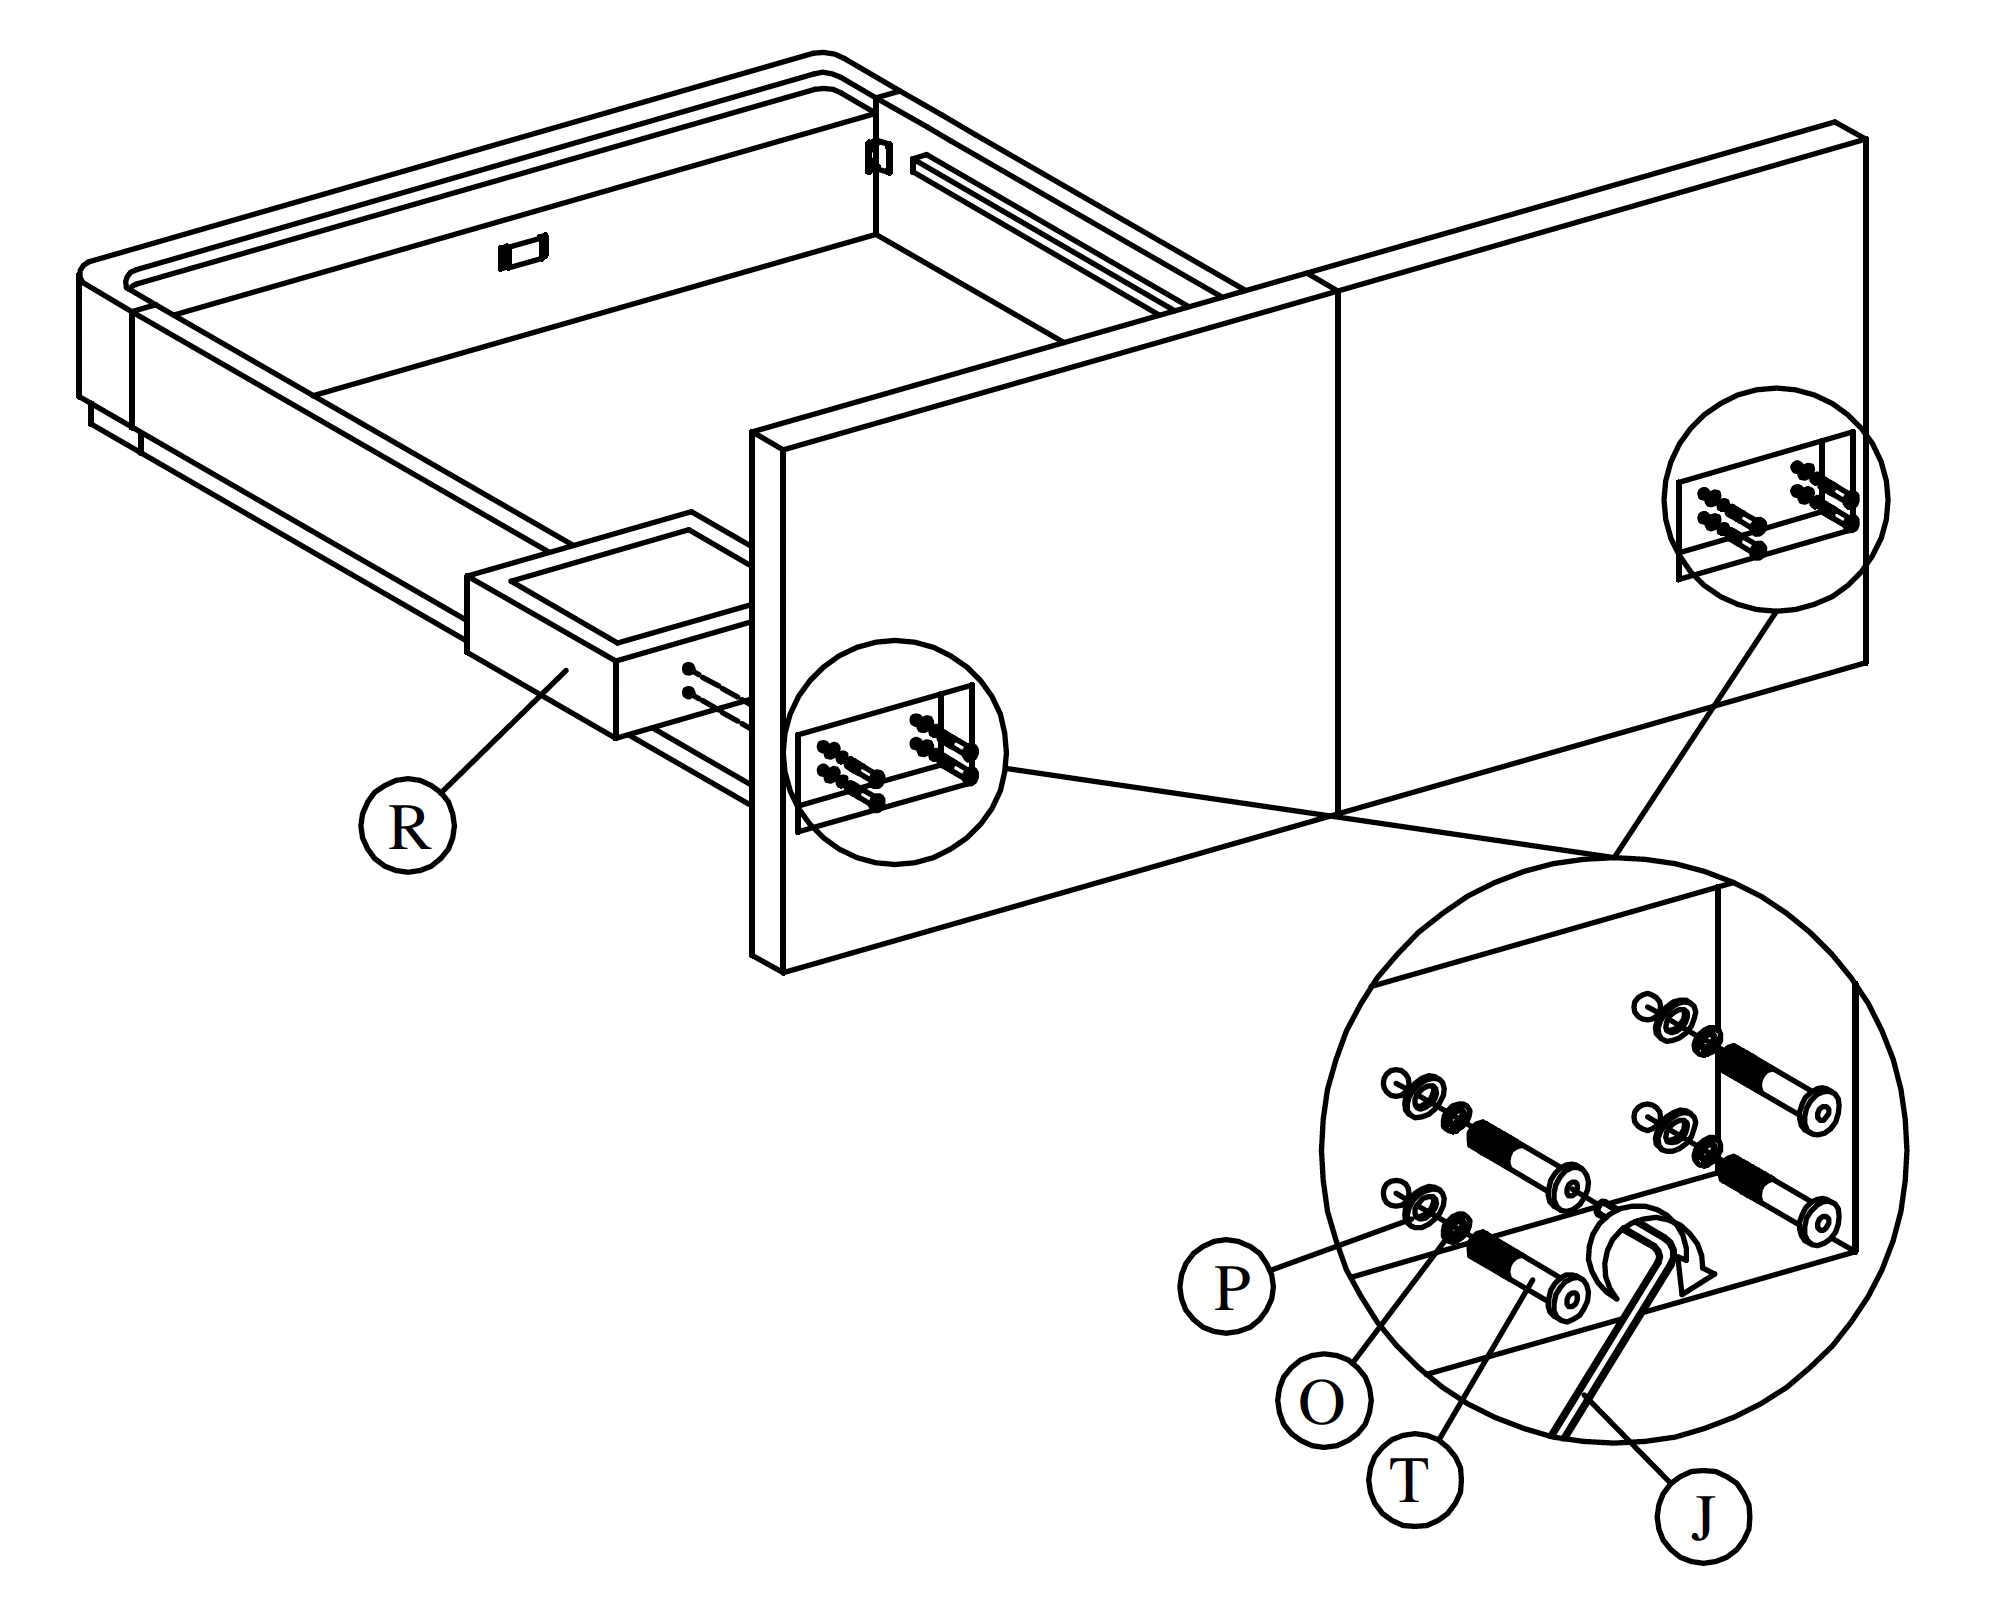
Tip: Tighten all bolts evenly to ensure the night stand is level and secure. 6. **Attach the Support Legs**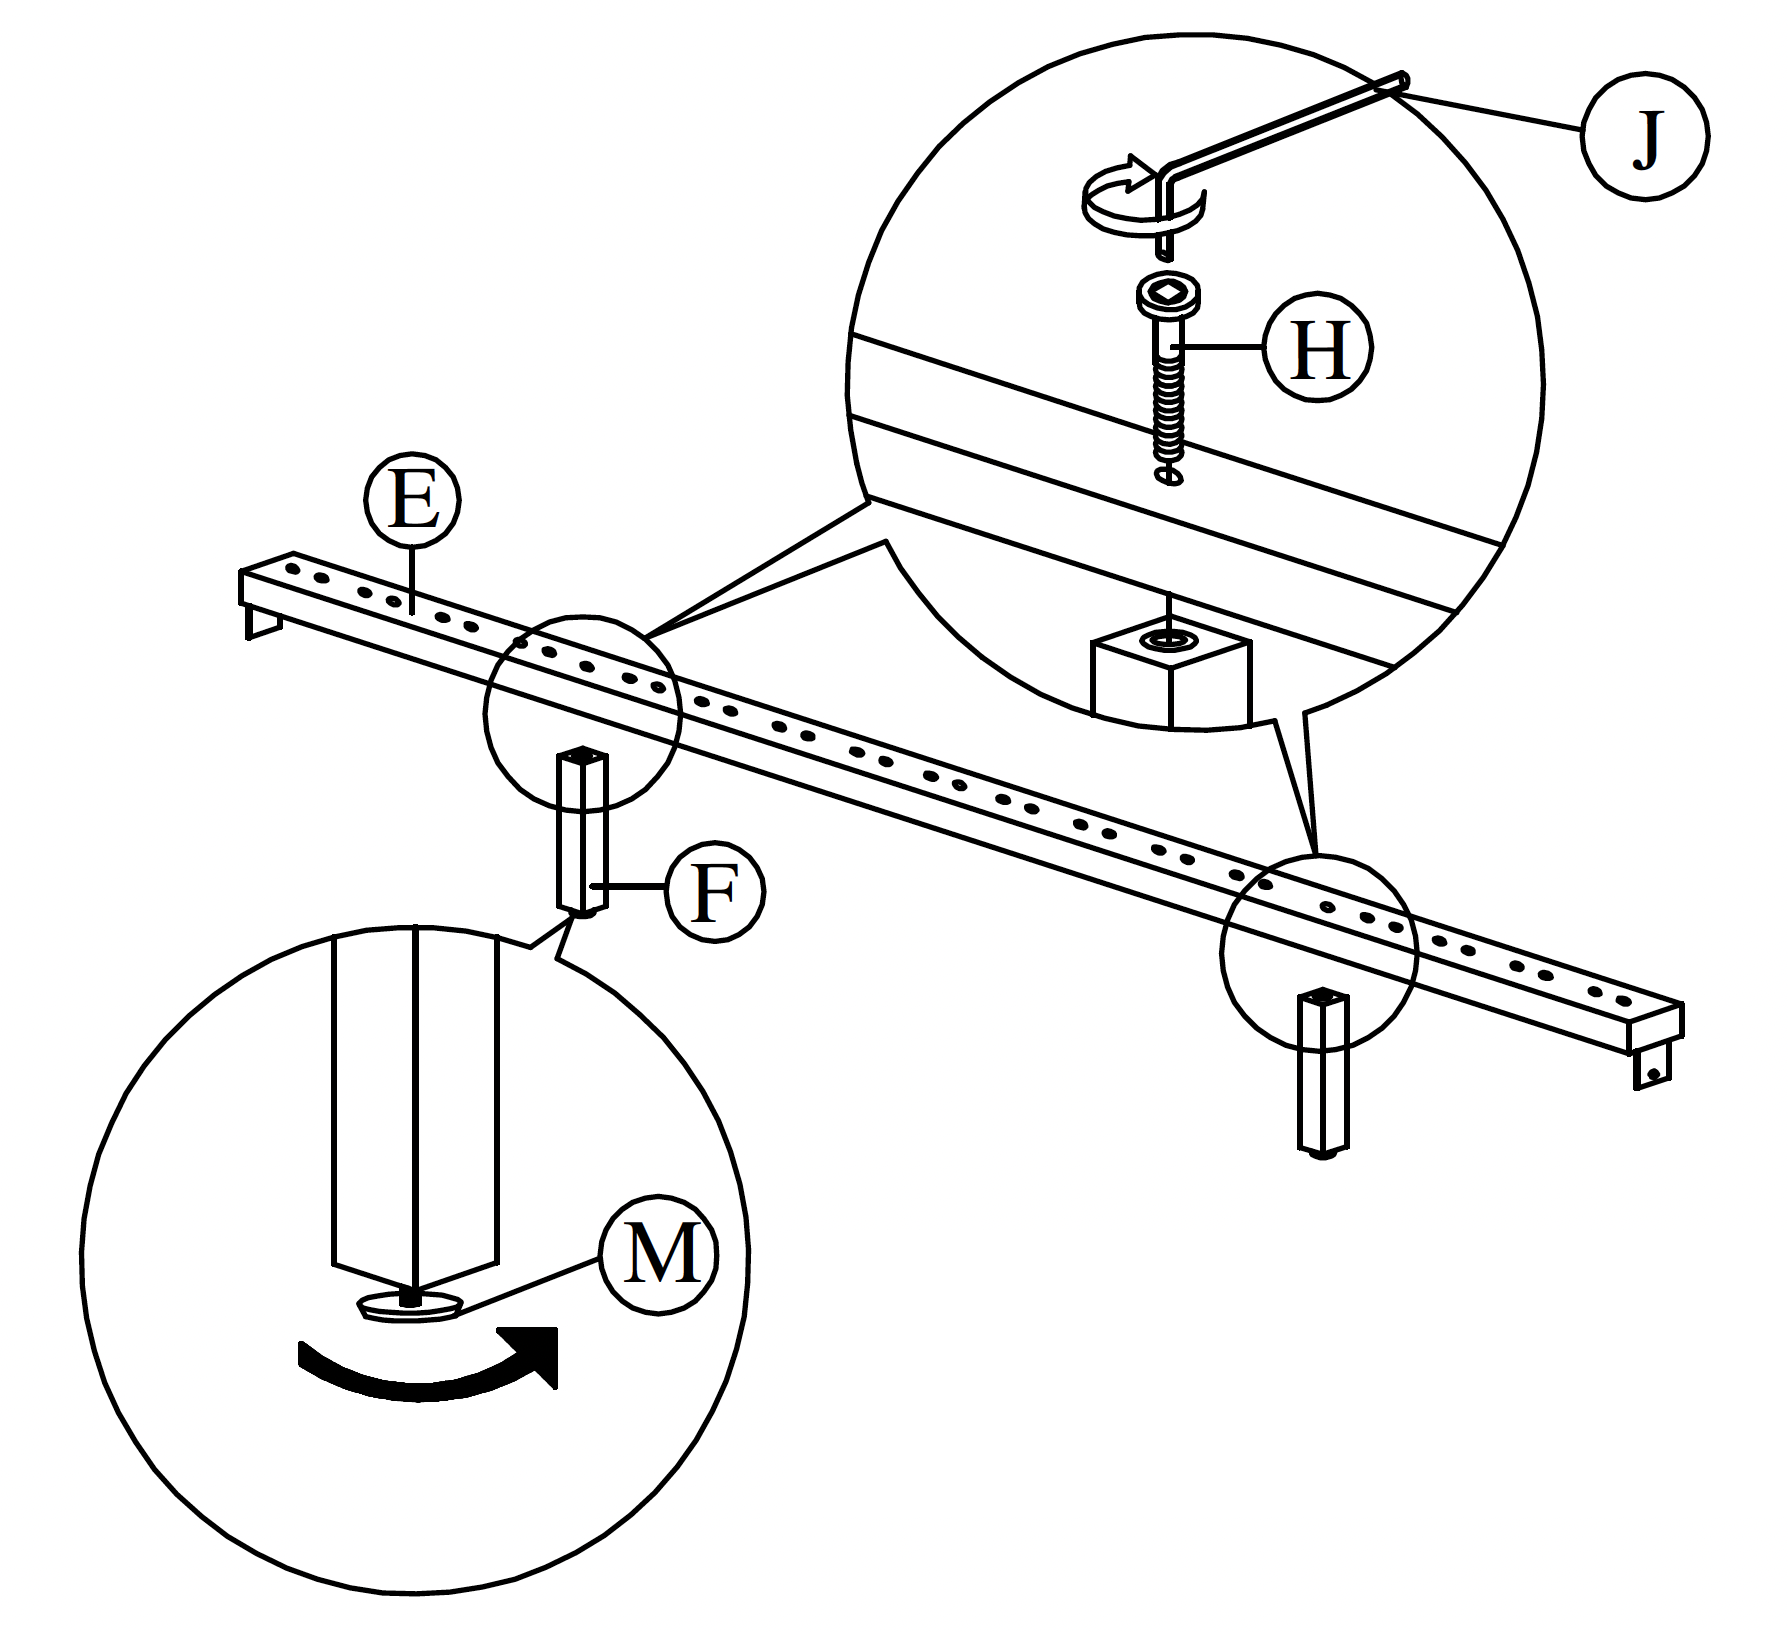
Tip: Adjust the feet so they sit approximately 5–8 mm above the floor before placing the mattress. 7. **Install the Center Rail**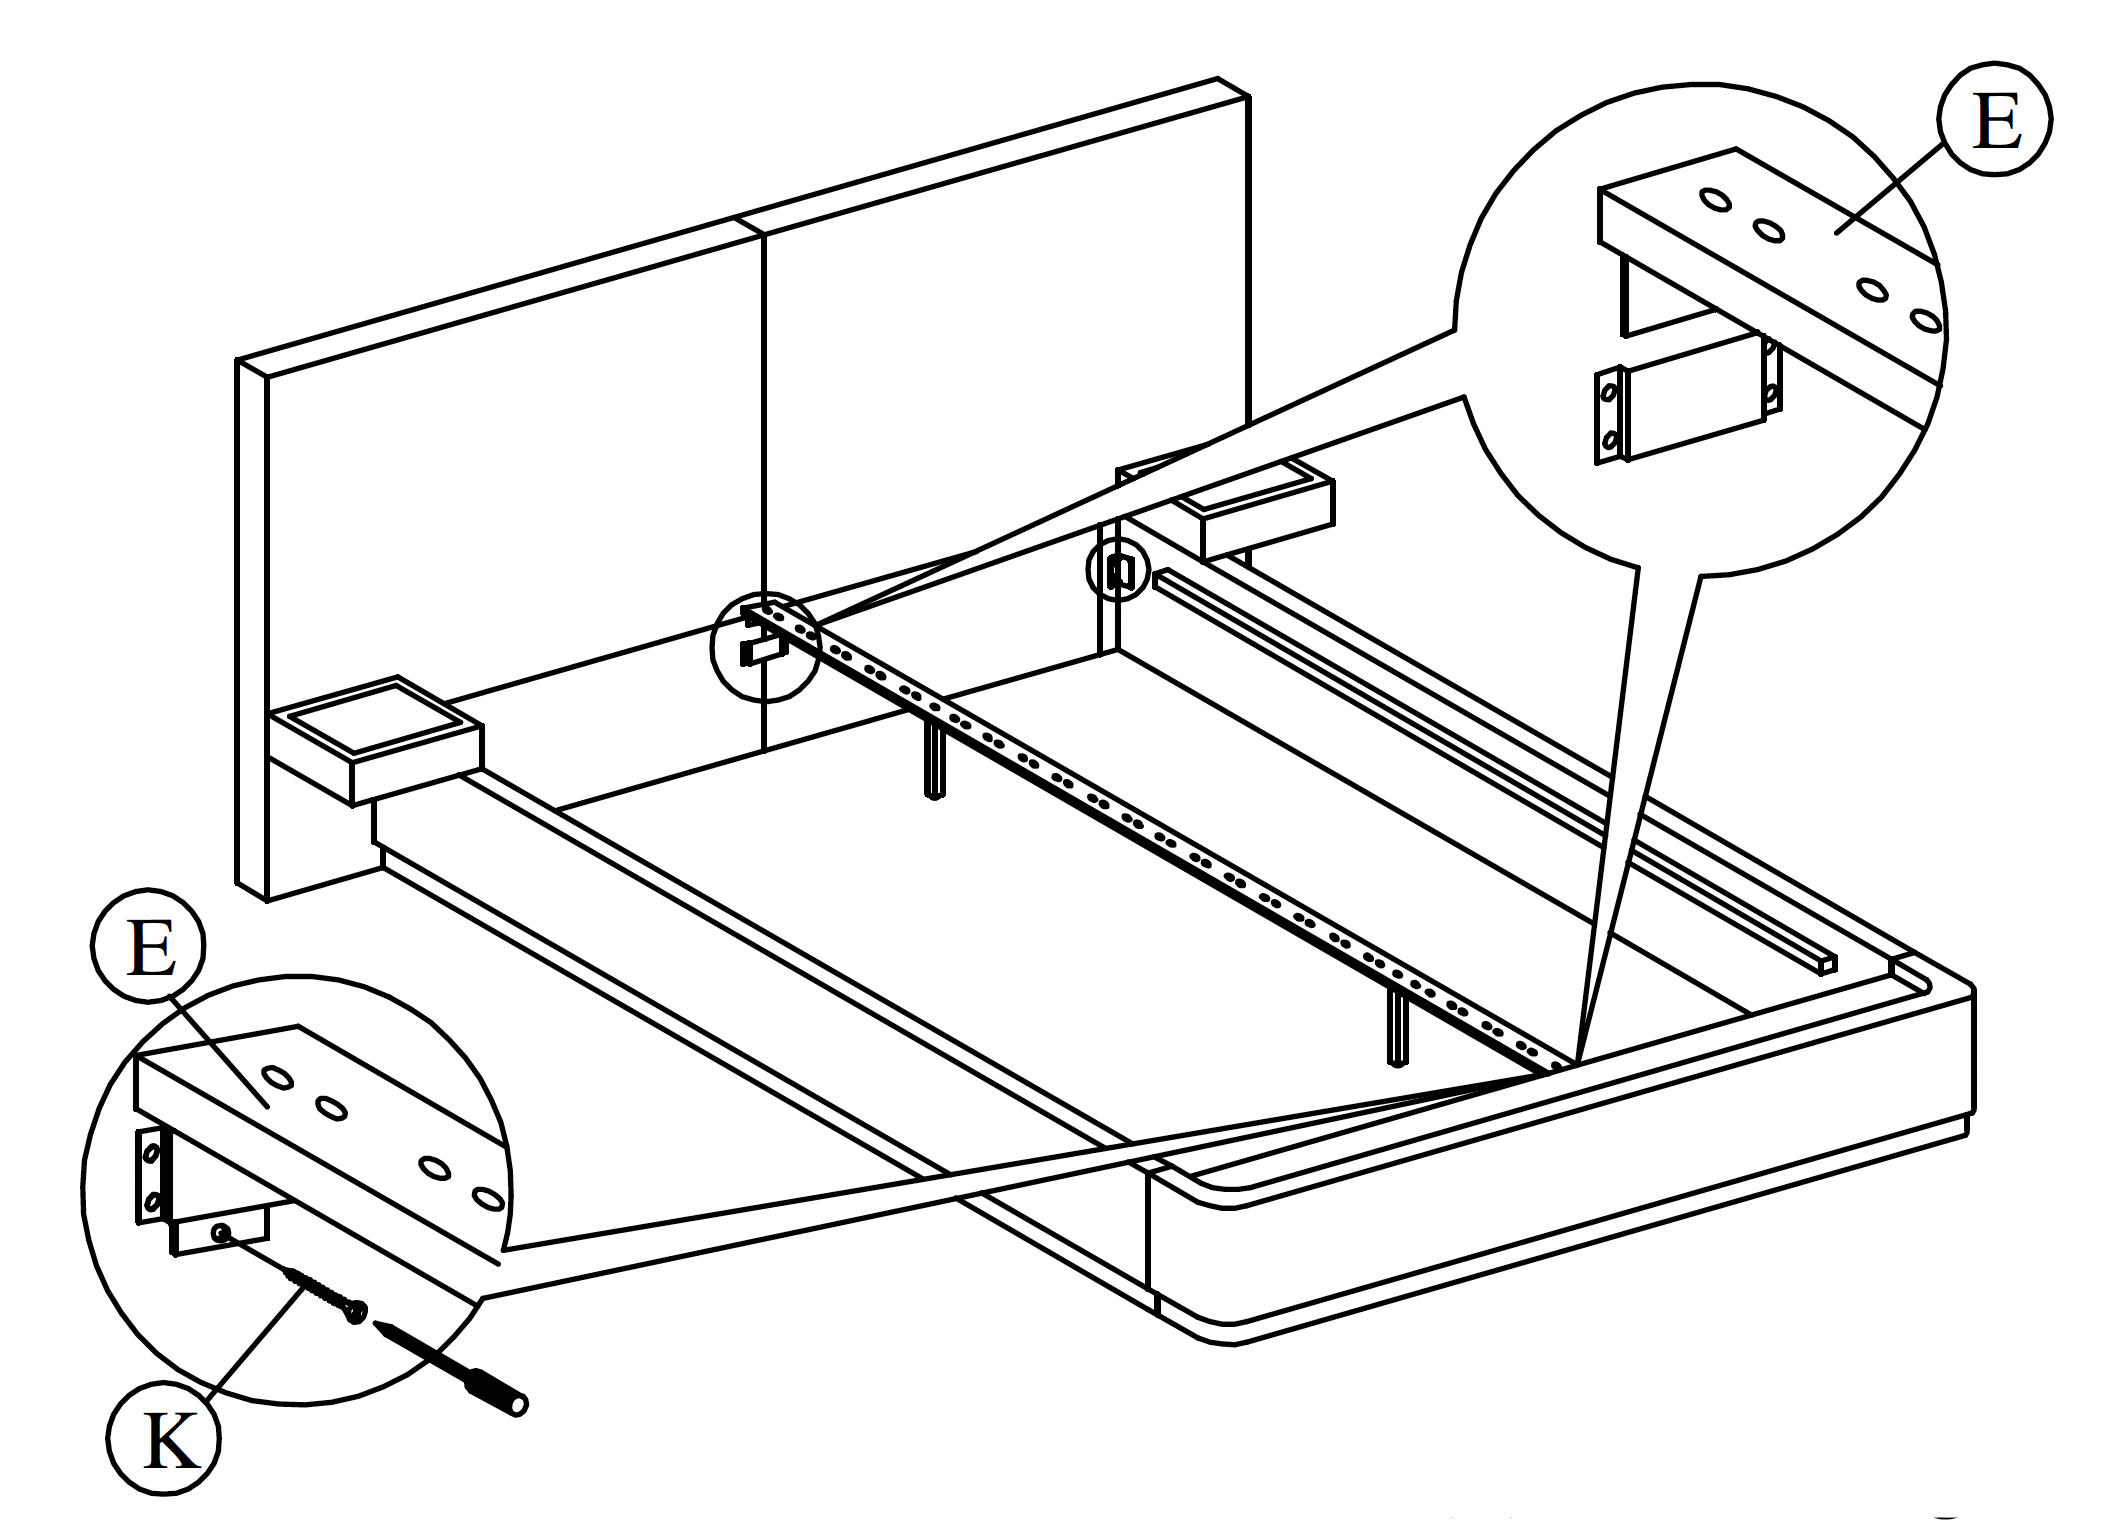
Important: Ensure Screws (K) are installed exactly as shown to prevent the base from collapsing. 8. **Tighten Corners and Install Slats**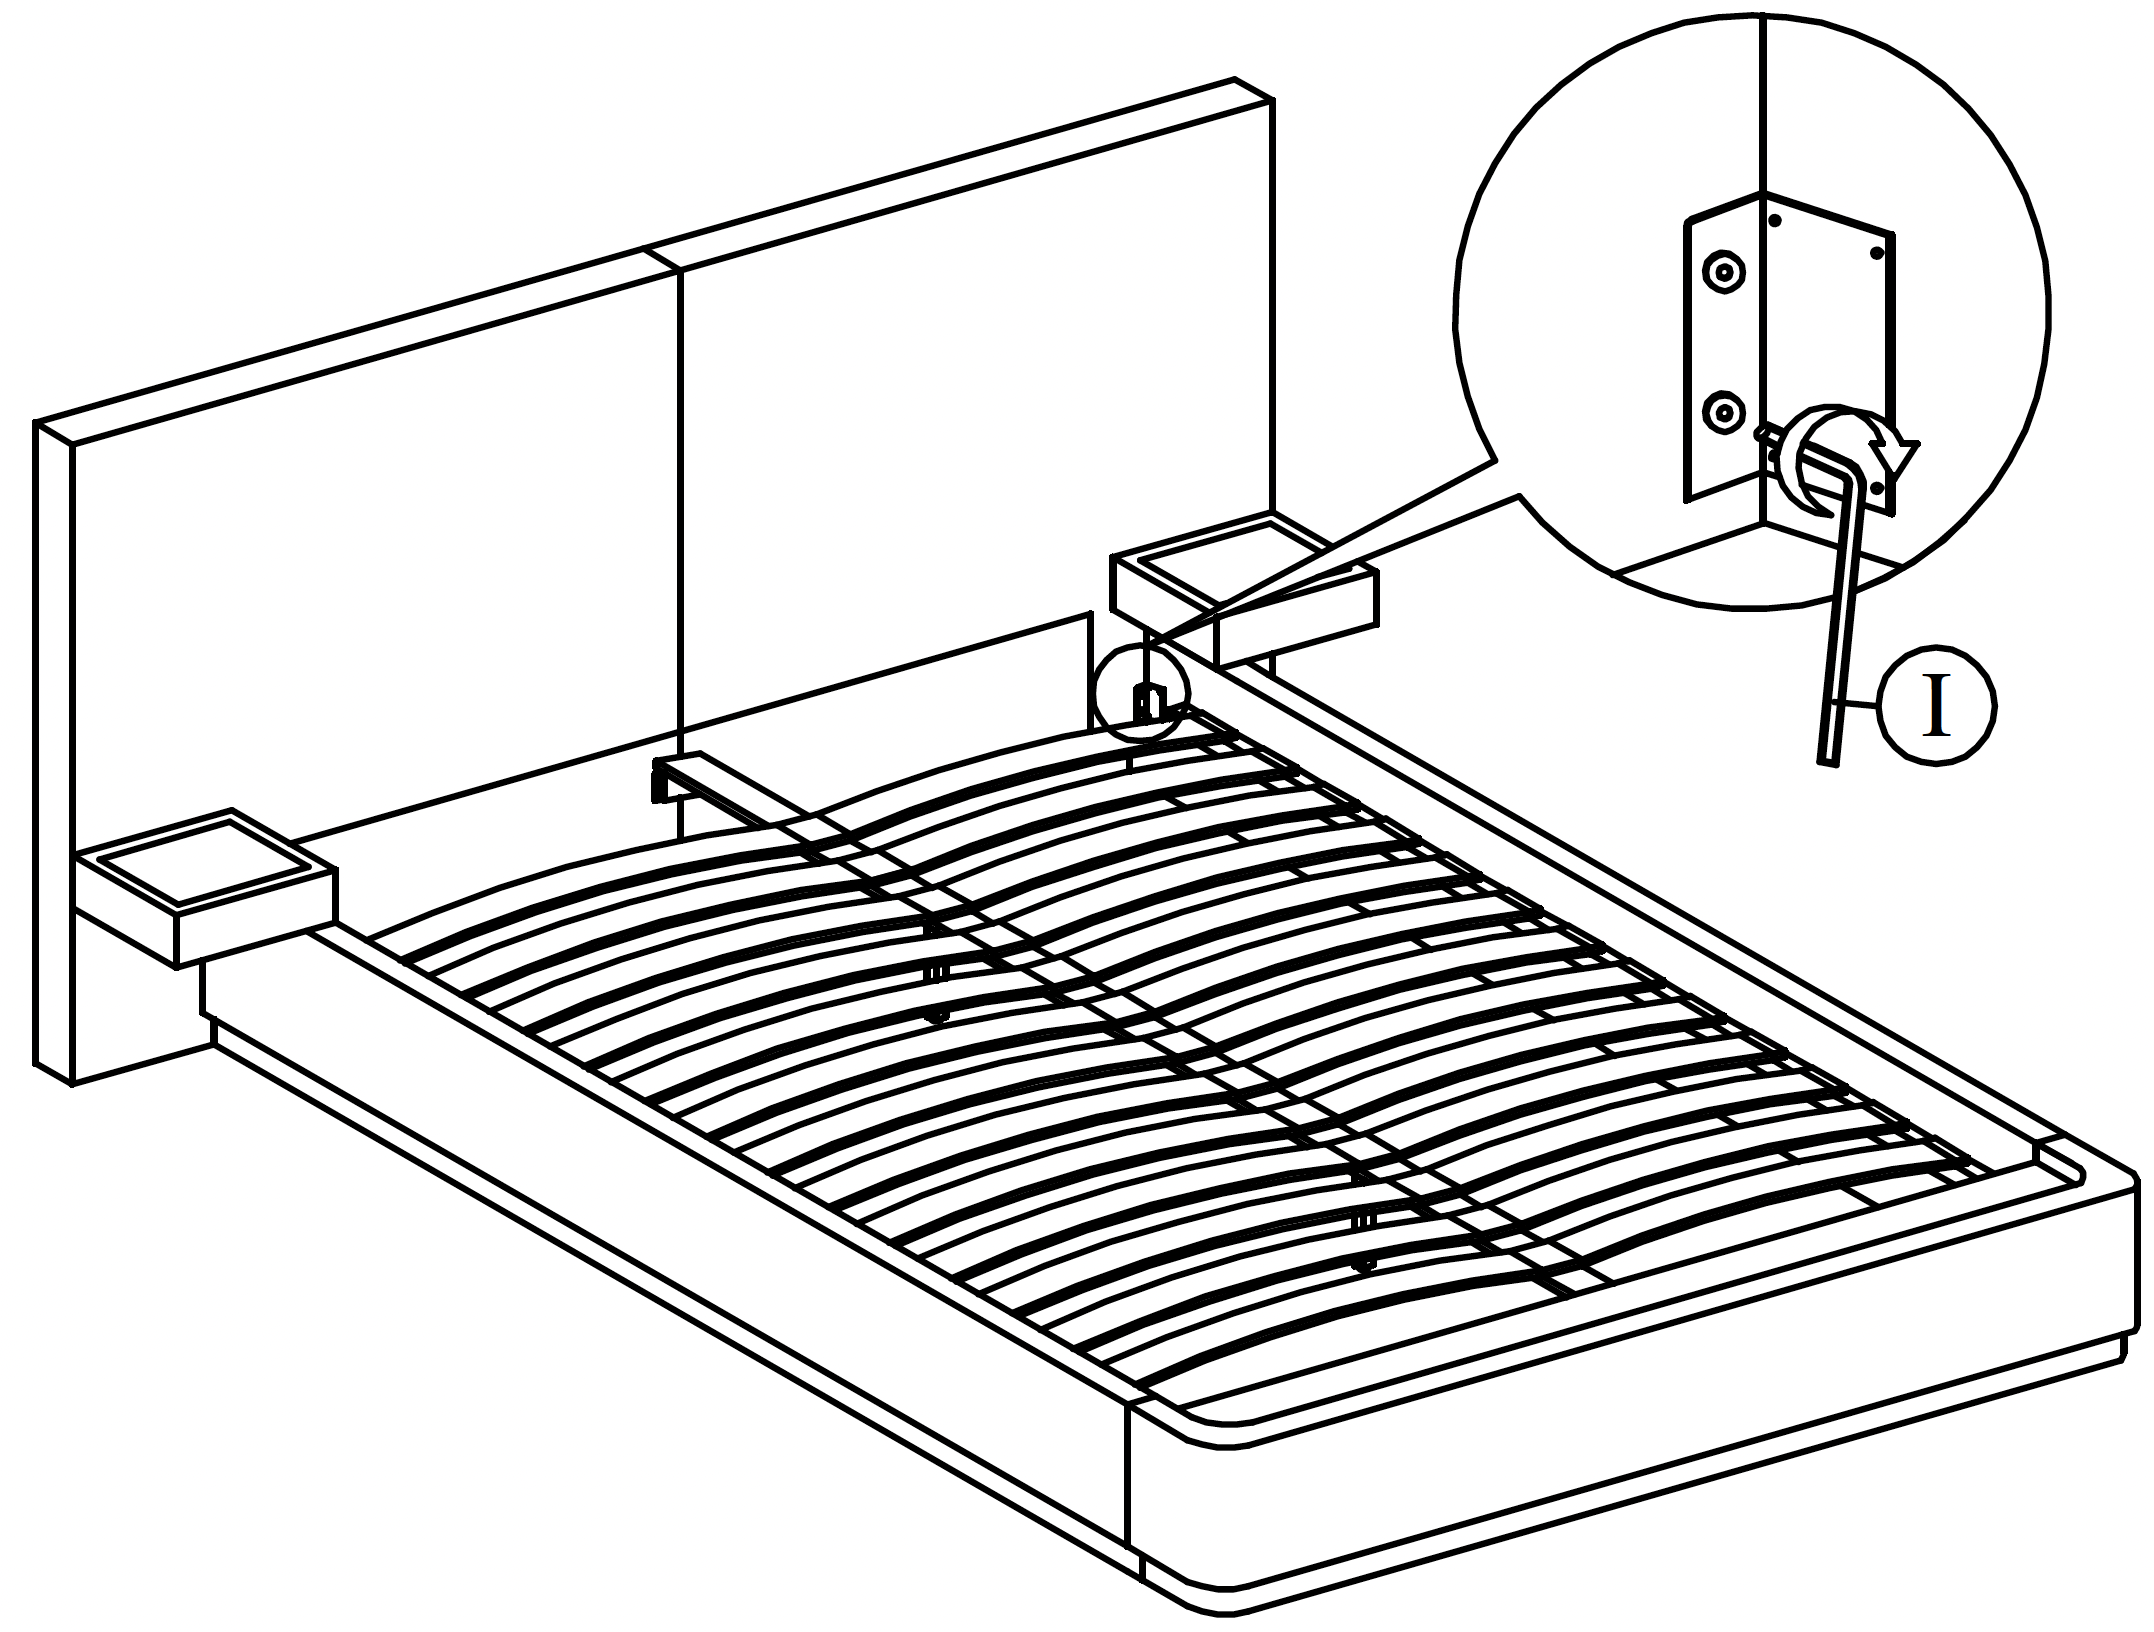 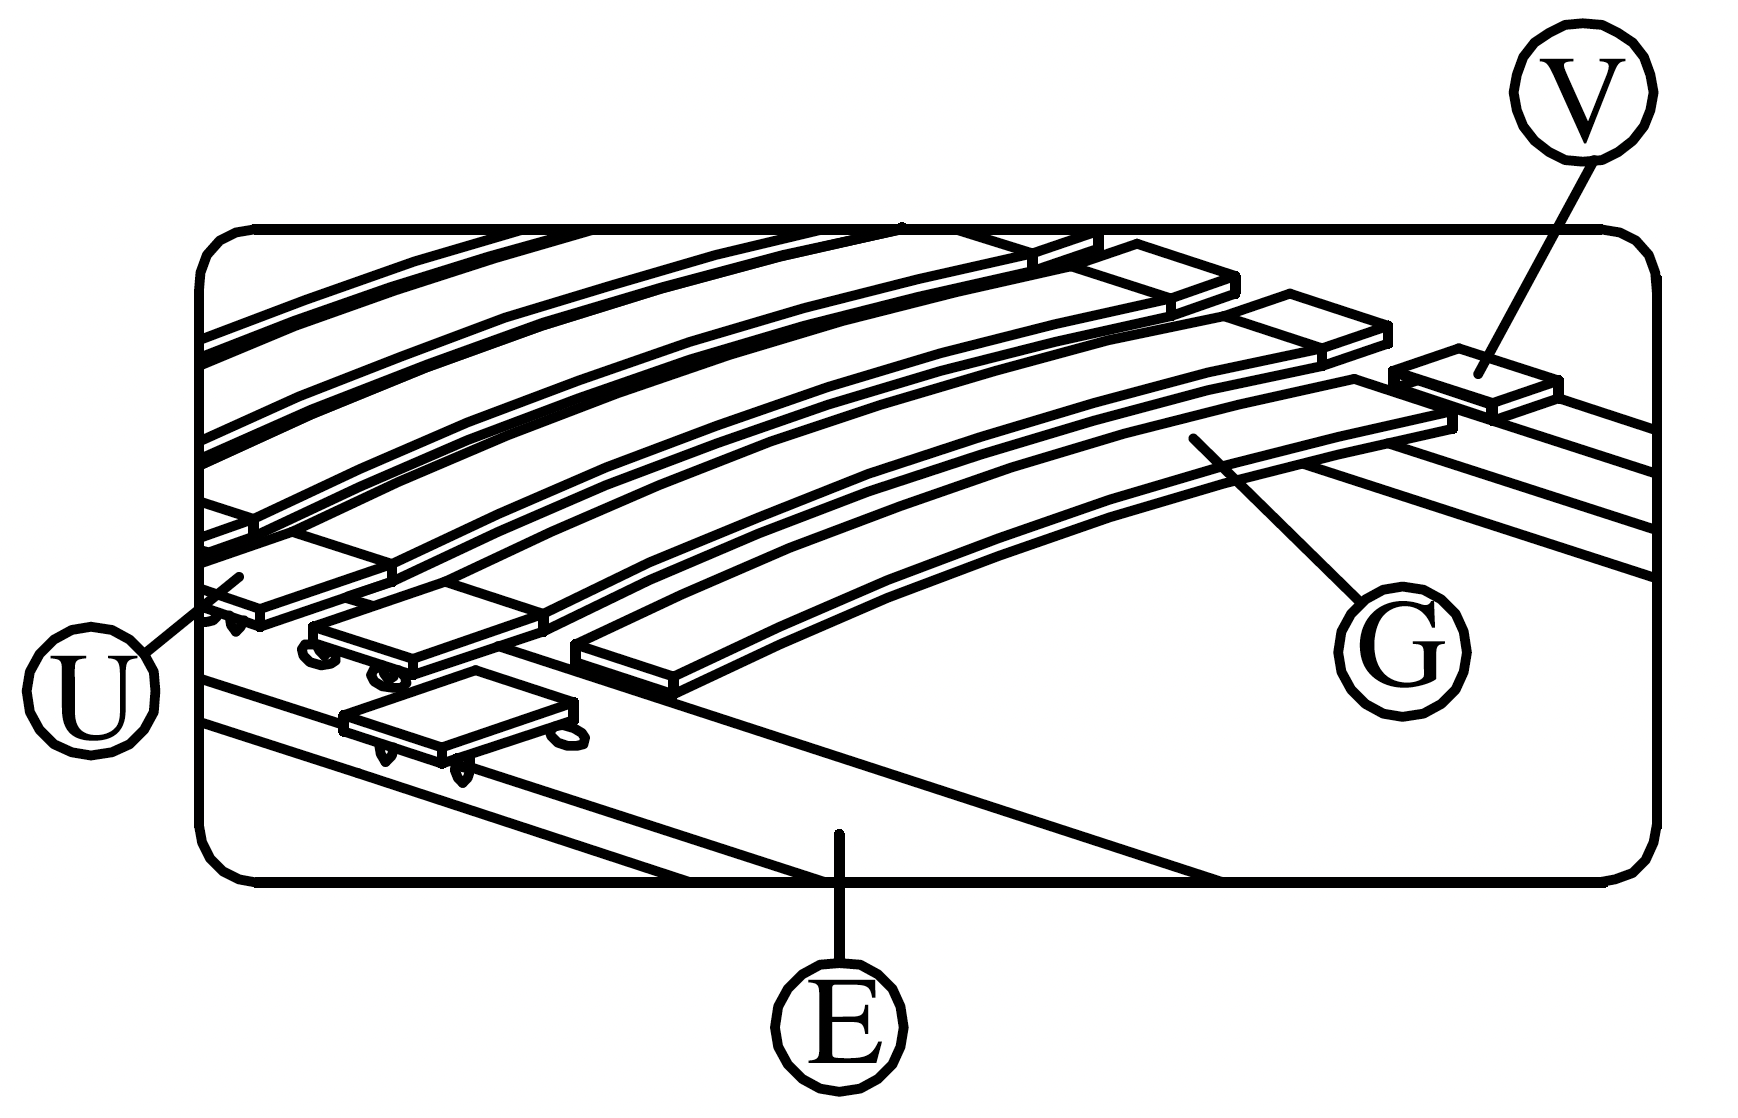
Tip: Ensure all slats are securely clipped into the holders before use. |