1. Attach Side Rails and Arms
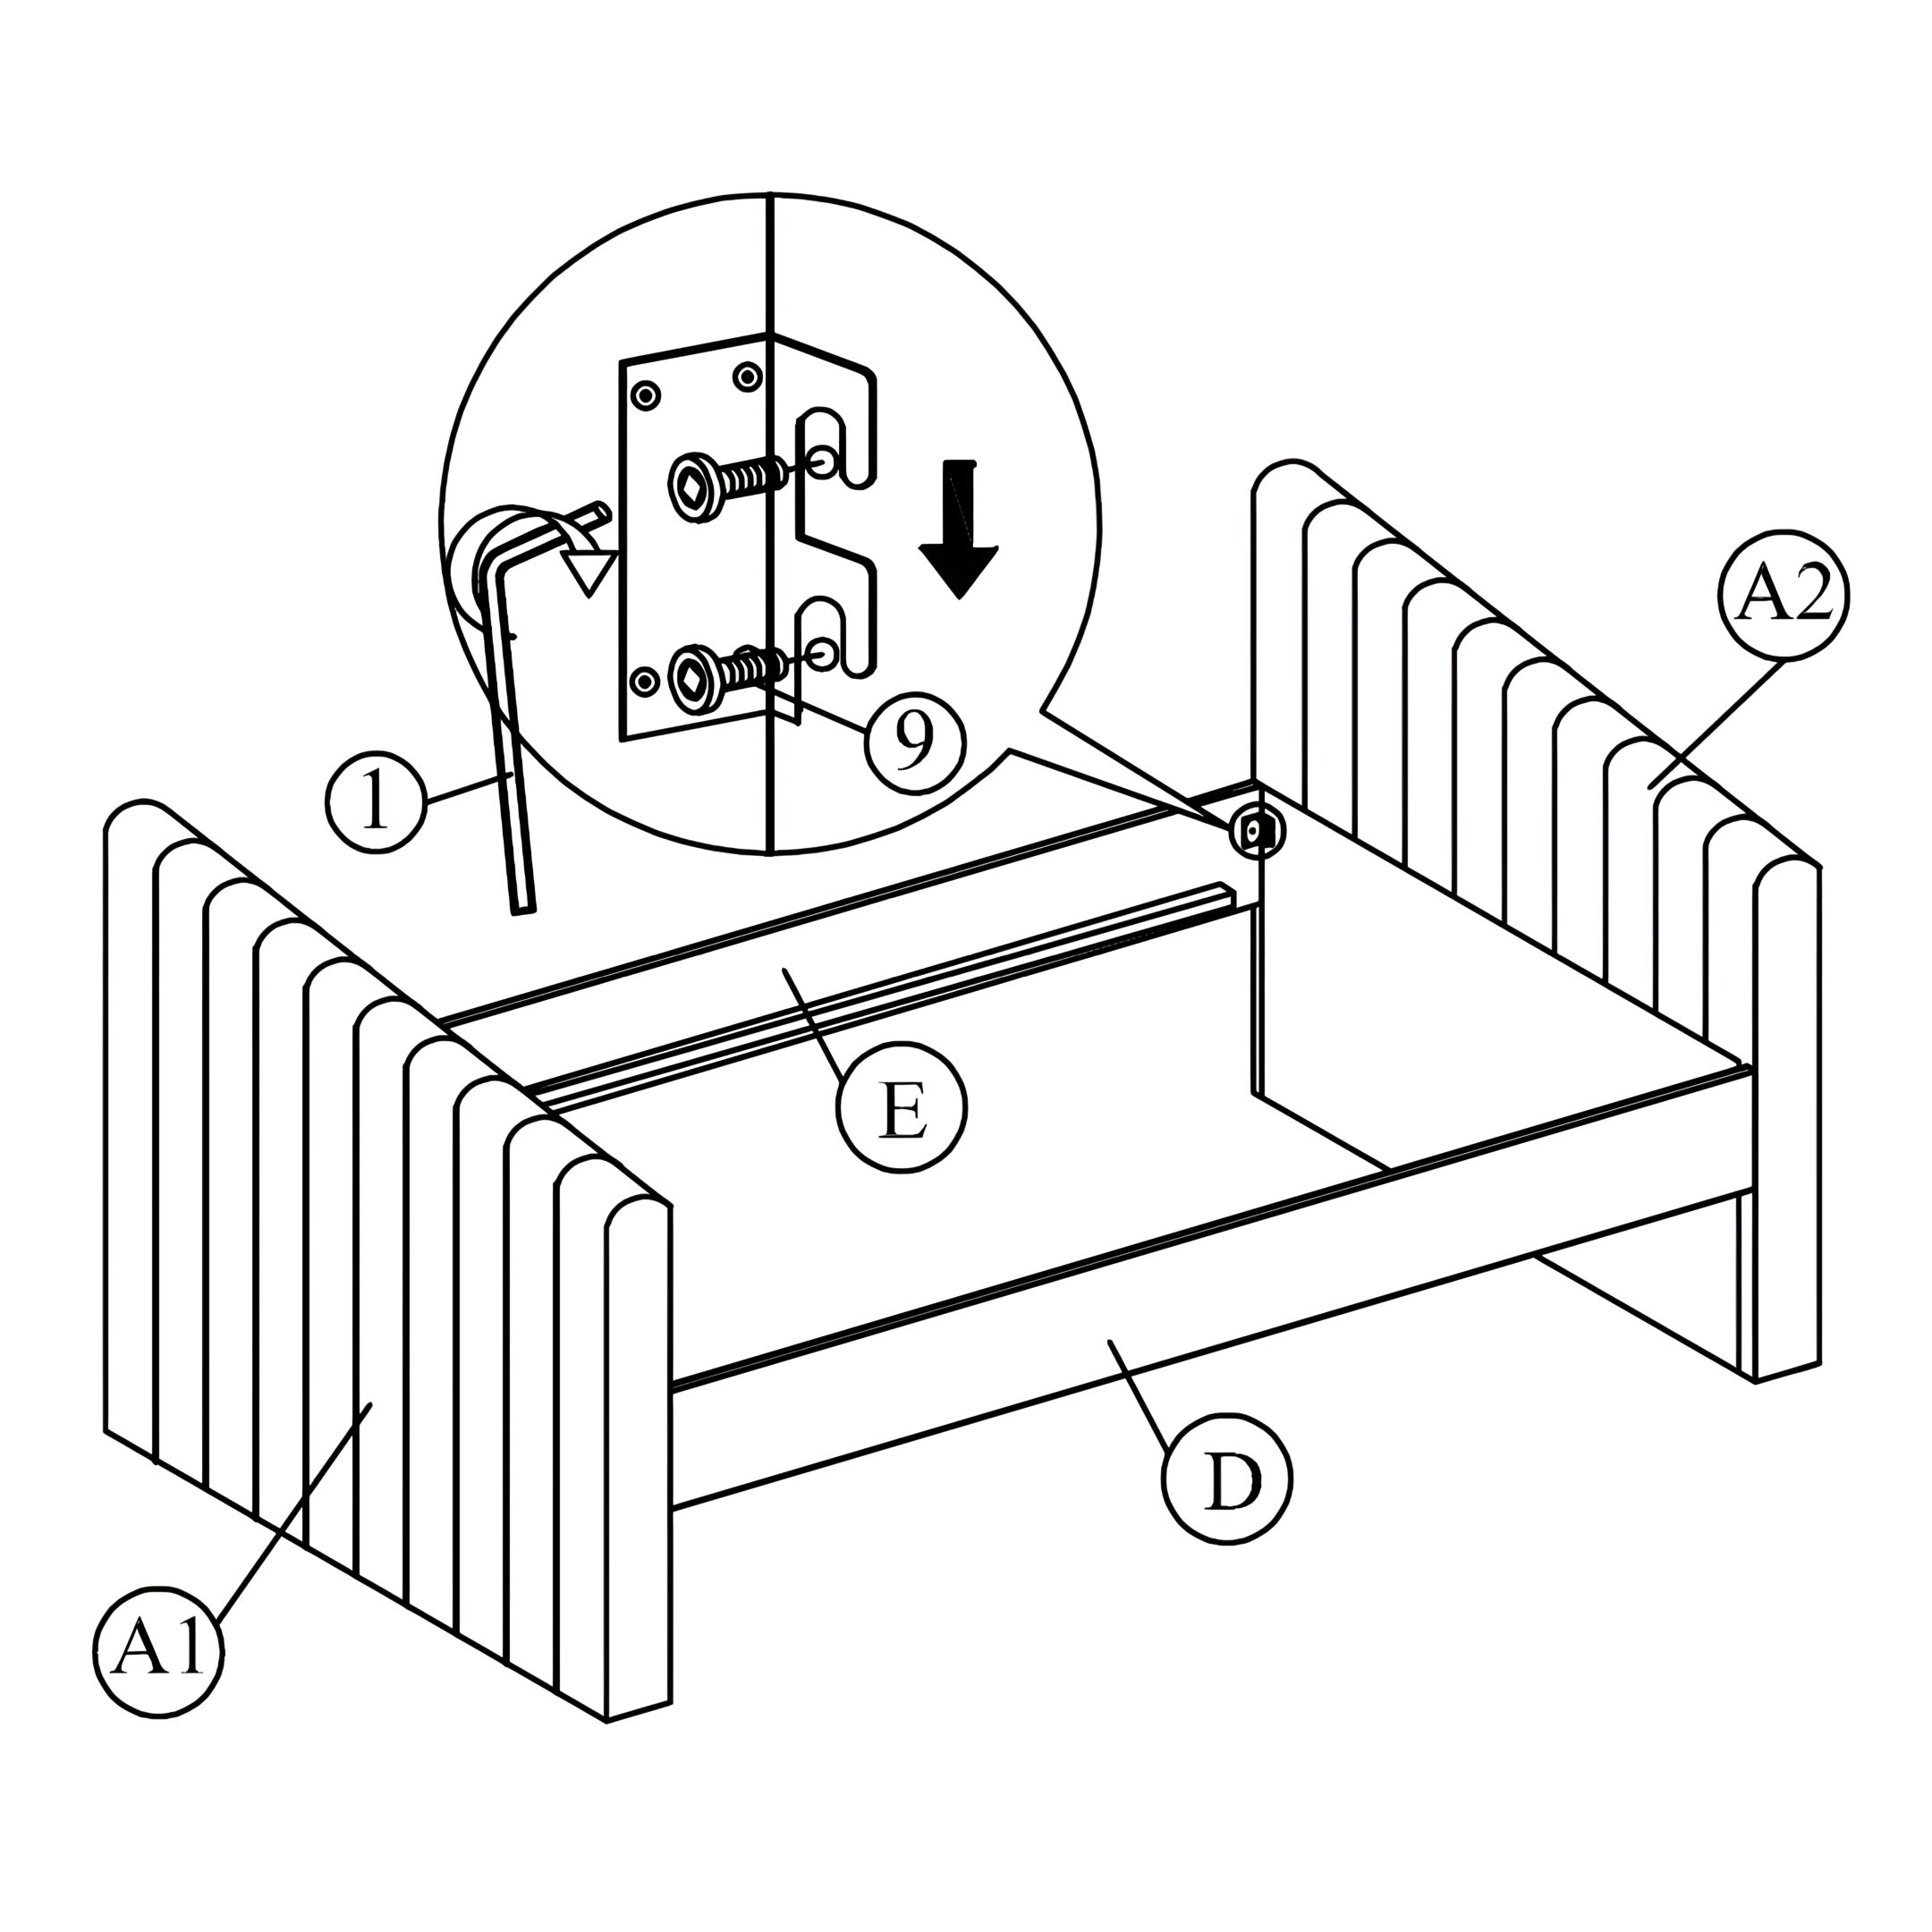
Attach side rail (D) & (E) to arms (A) by pushing the bracket down to fit it.
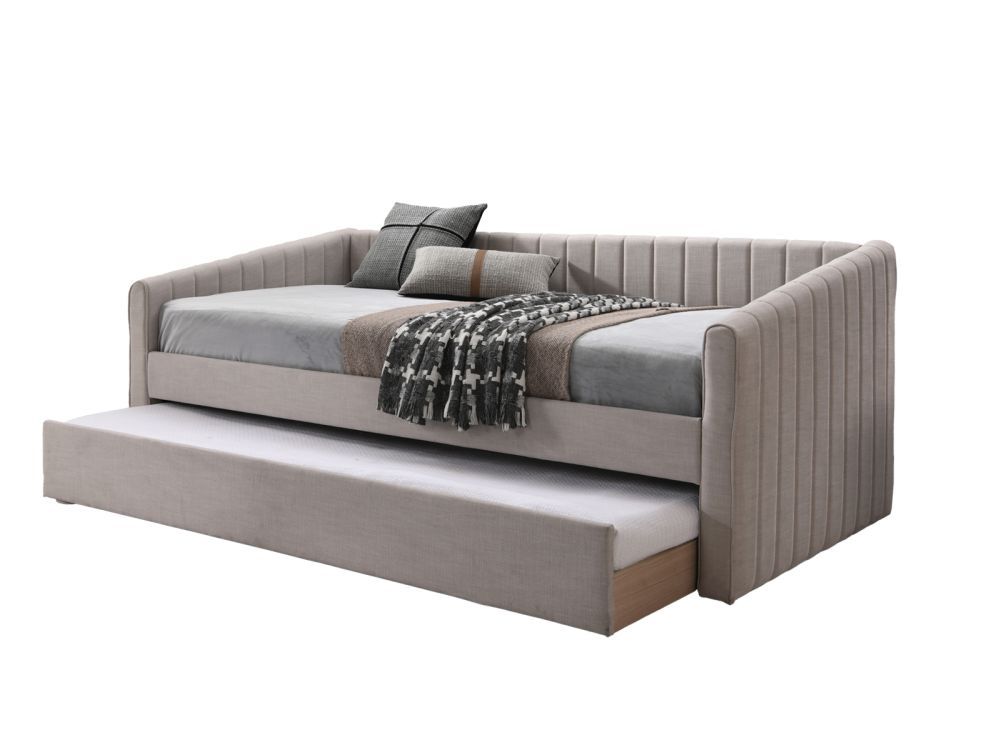 Instructions by time4sleep Sanderson Upholstered Day Bed Including Underbed FrameAssembly instructions for Sanderson Upholstered Day Bed Including Underbed Frame by Time4Sleep Product Information Sanderson Upholstered Day Bed Including Underbed FrameIf you're looking to create a multi functioning space, then our Sanderson Day bed may be a great option. The under bed can simply be rolled out to create an extra bed perfect for occasional use. Upholstered in different fabrics the day bed will work well in a number of different design schemes. Please note that the bed is designed to take a standard single mattress and that the mattress should not exceed 17cm in height. View product (opens in new tab)
Tools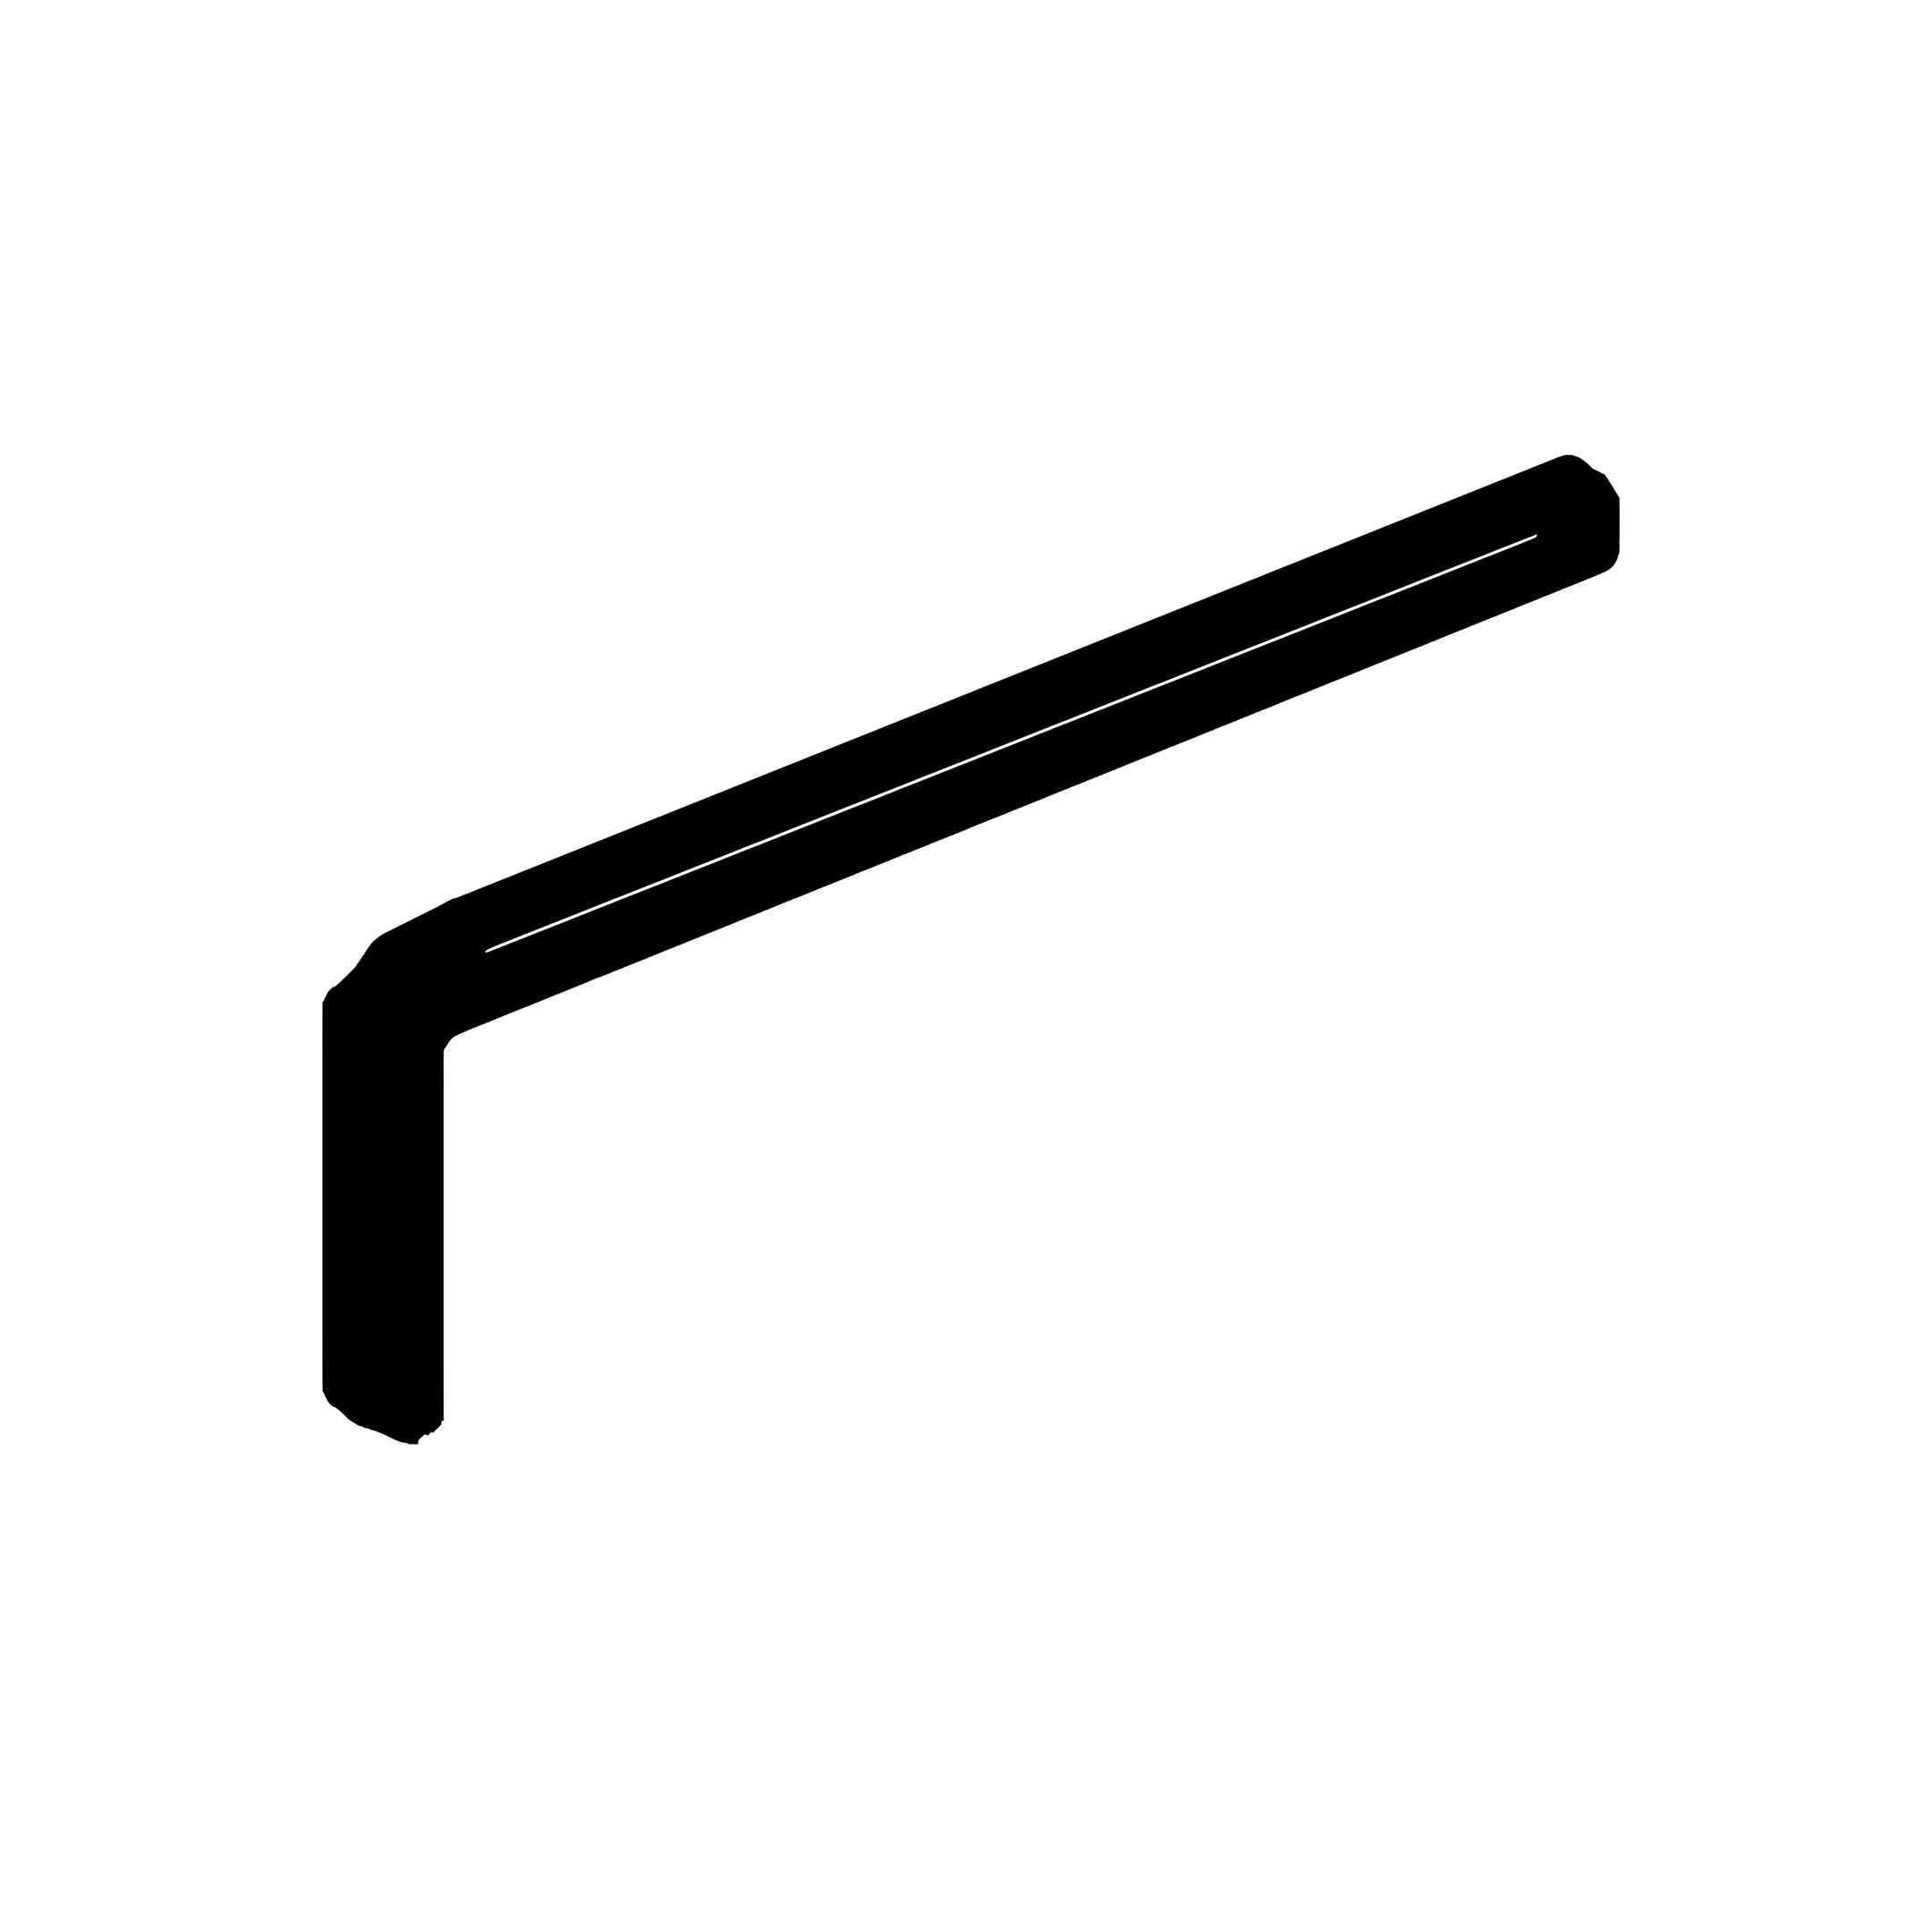 1 - Allen Key (M5 x 70mm) 2 - Allen Key (M4 x 65mm)  3 - CSK (M4 x 32mm)  4 - JCBC (M6 x 50)  5 - Spring Washer  6 - Flat Washer  7 - Roller 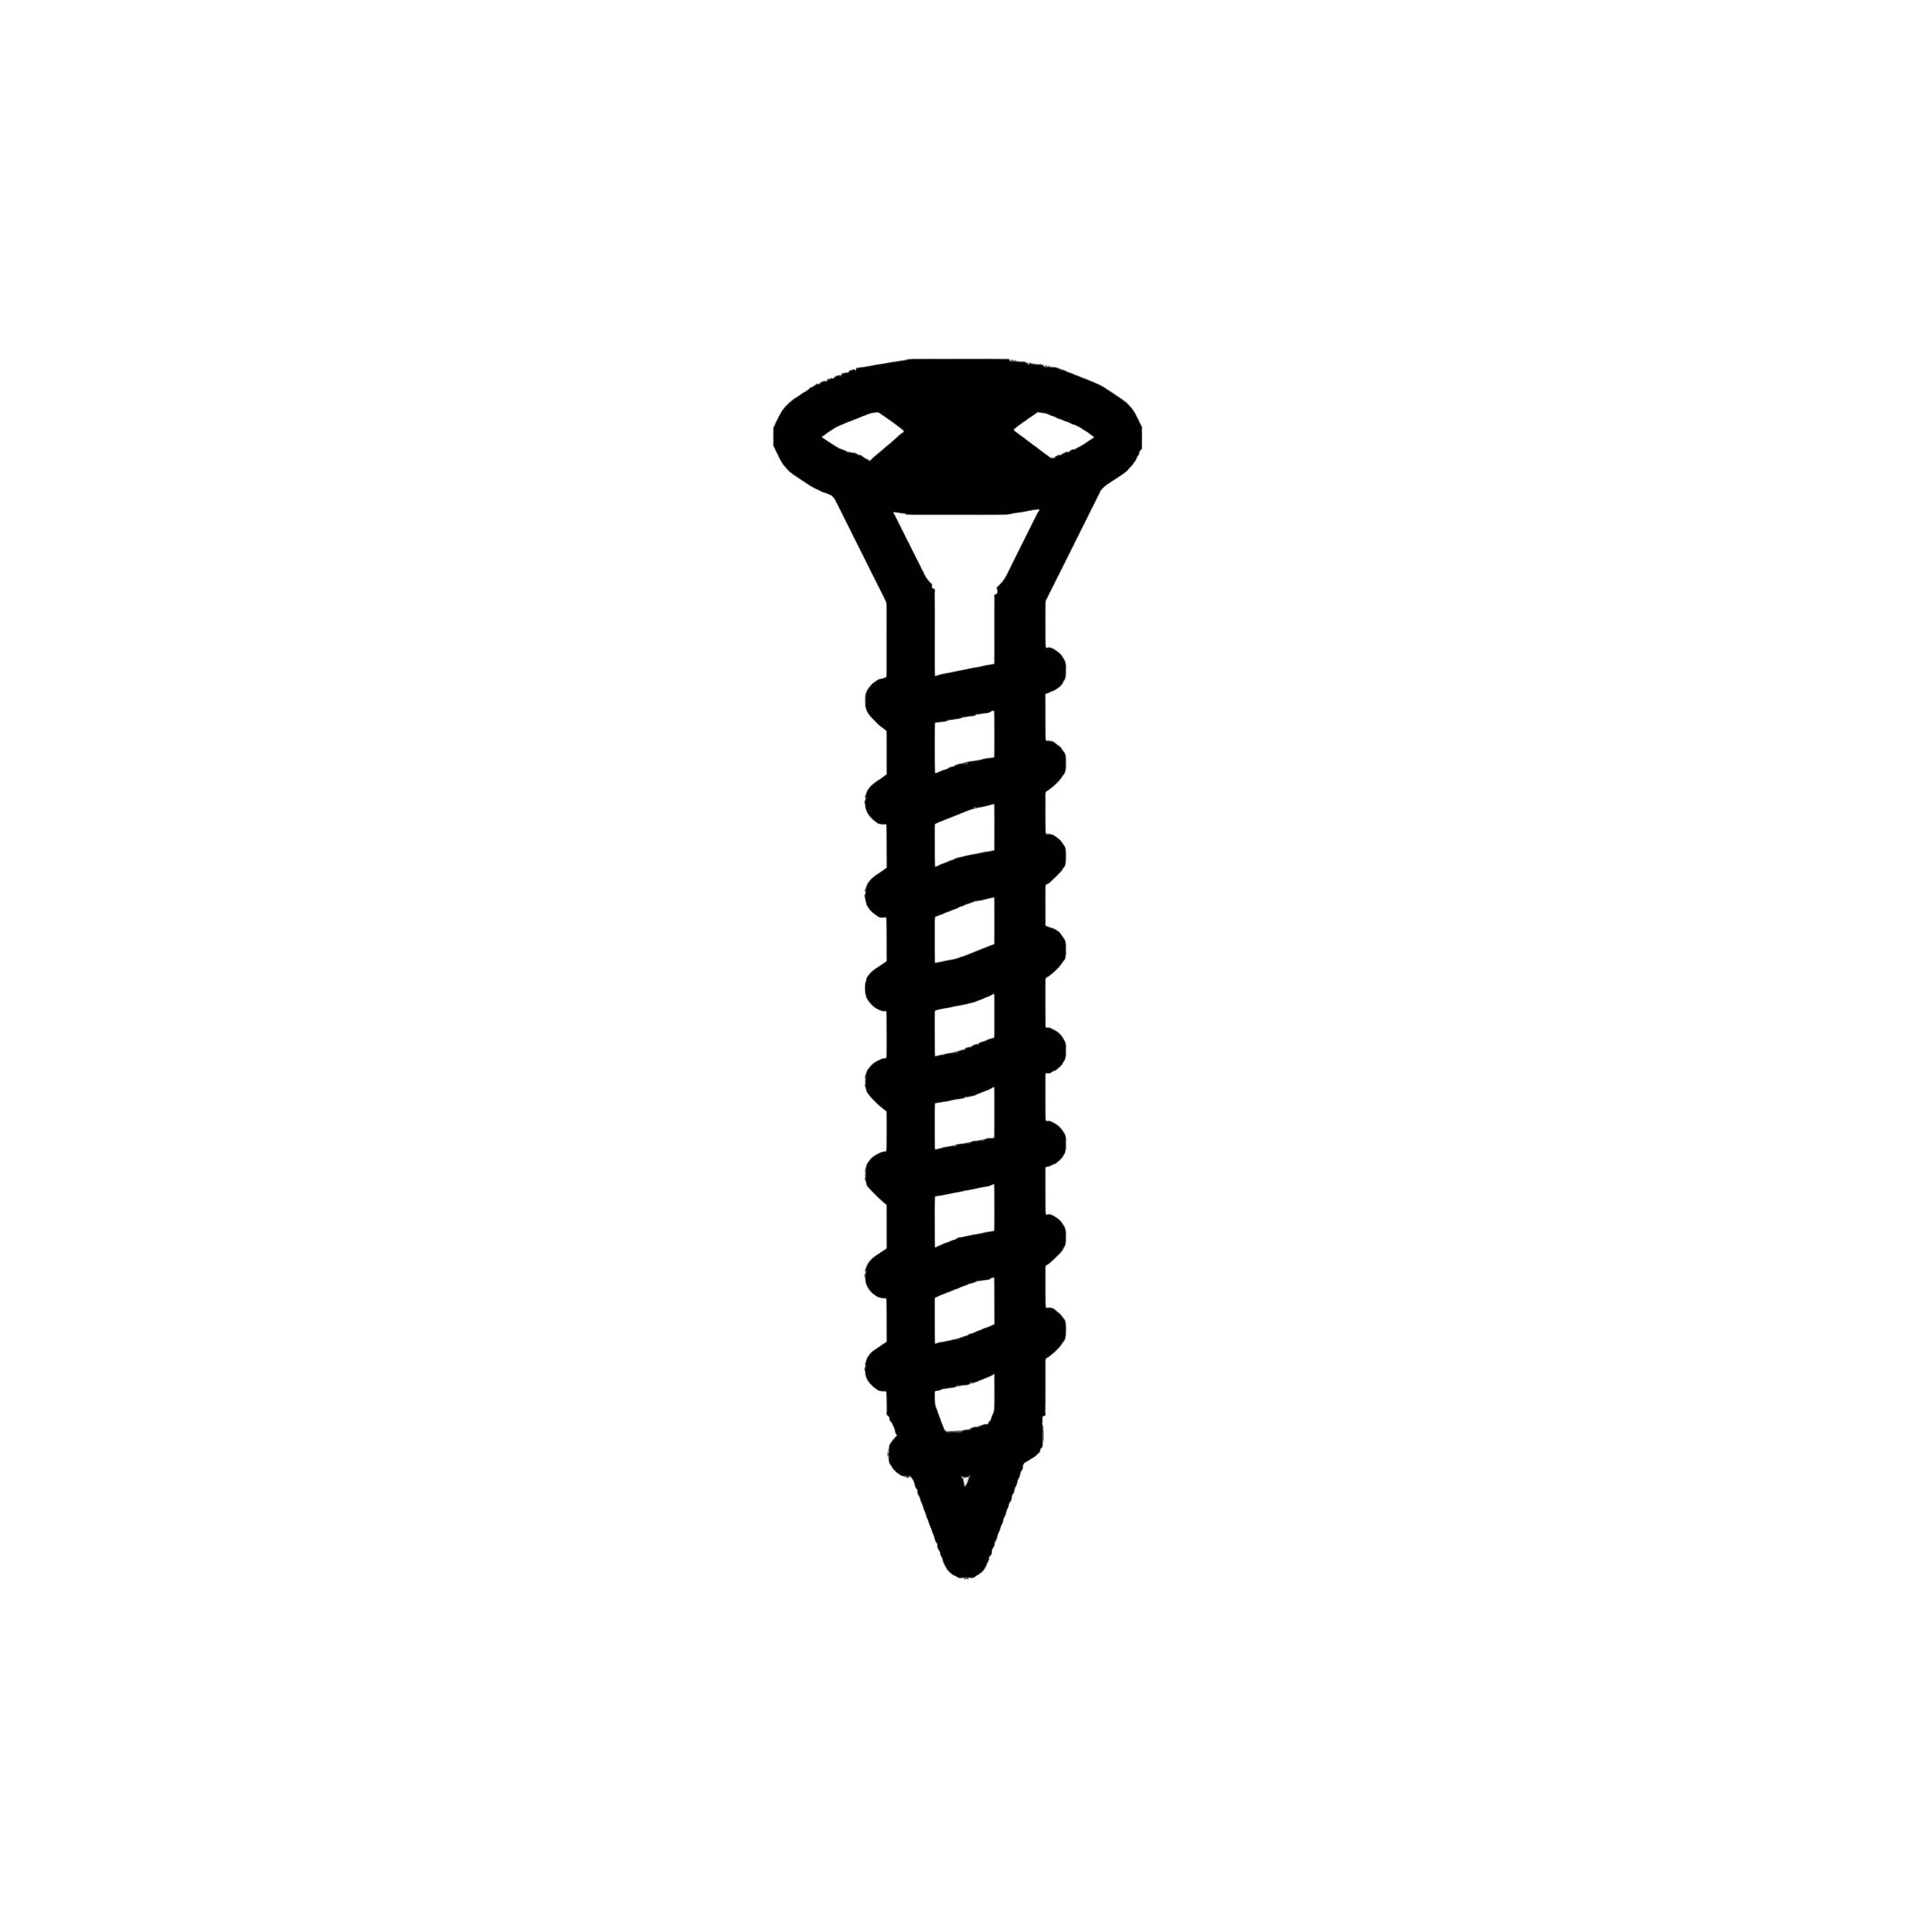 8 - CSK (M4 x 16mm)  9 - JCBB (M8 x 20) Parts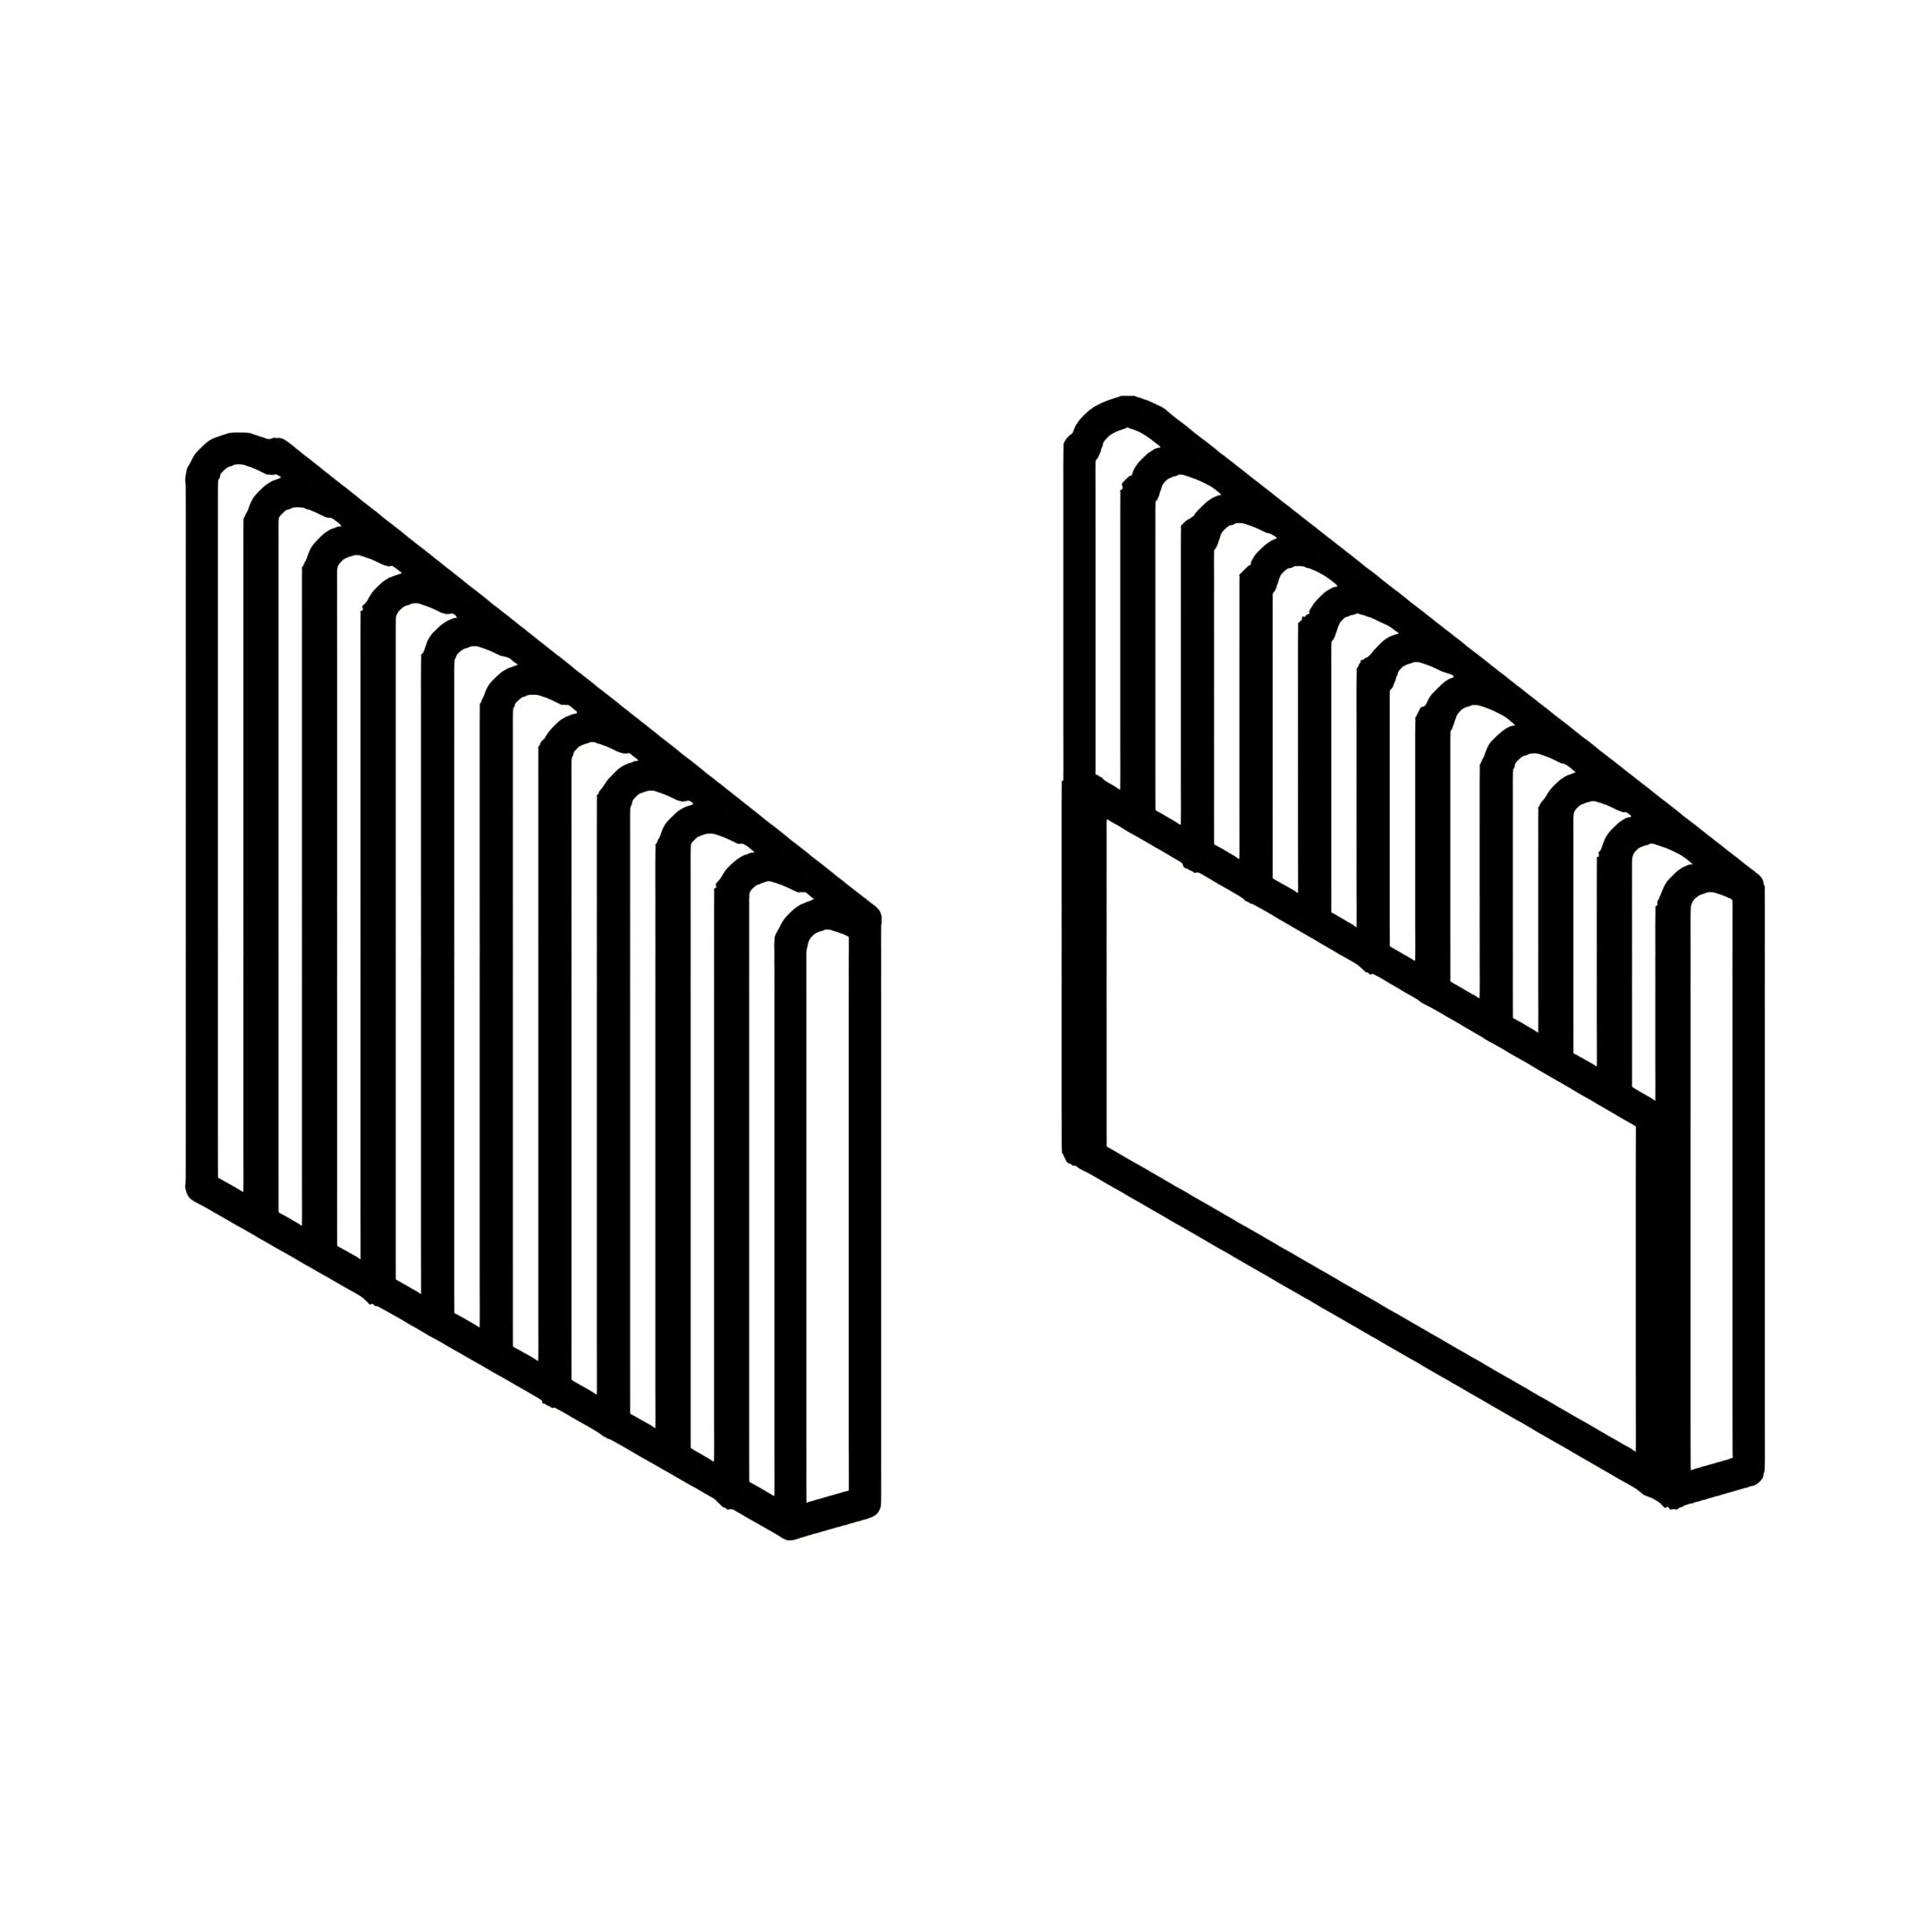 A - Arms (A1 & A2)  B - Back Panel 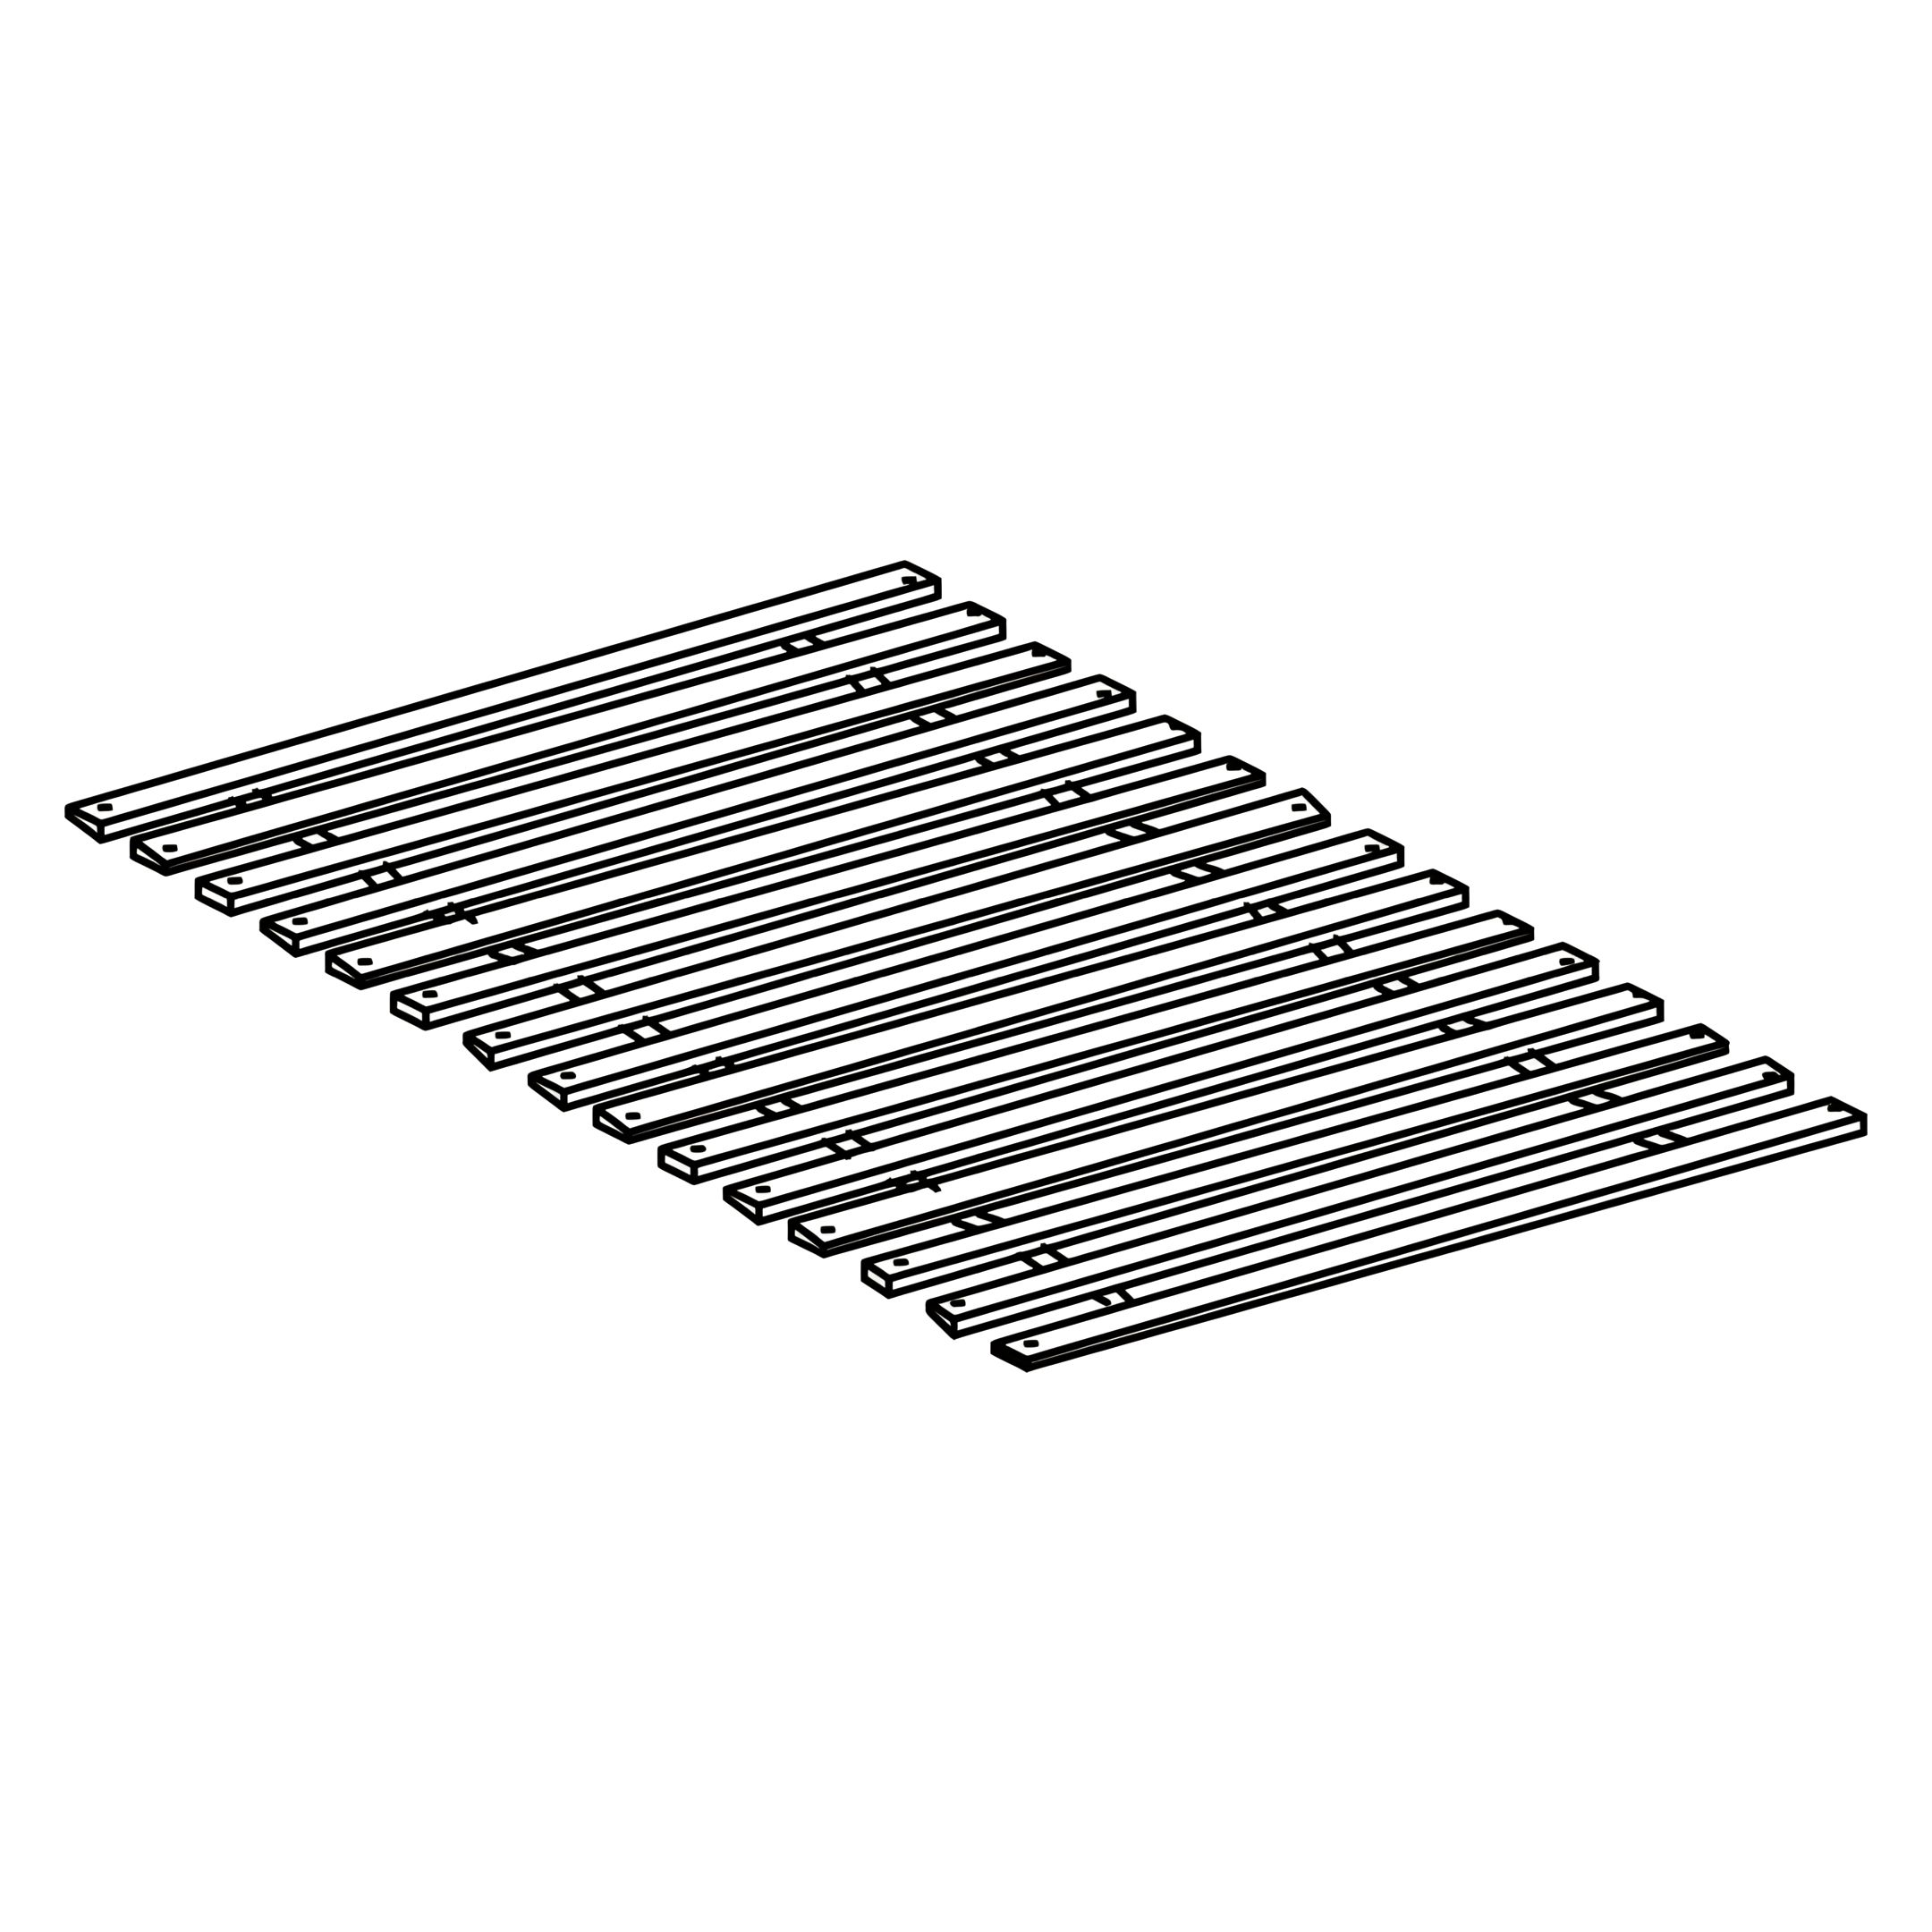 C - Slats 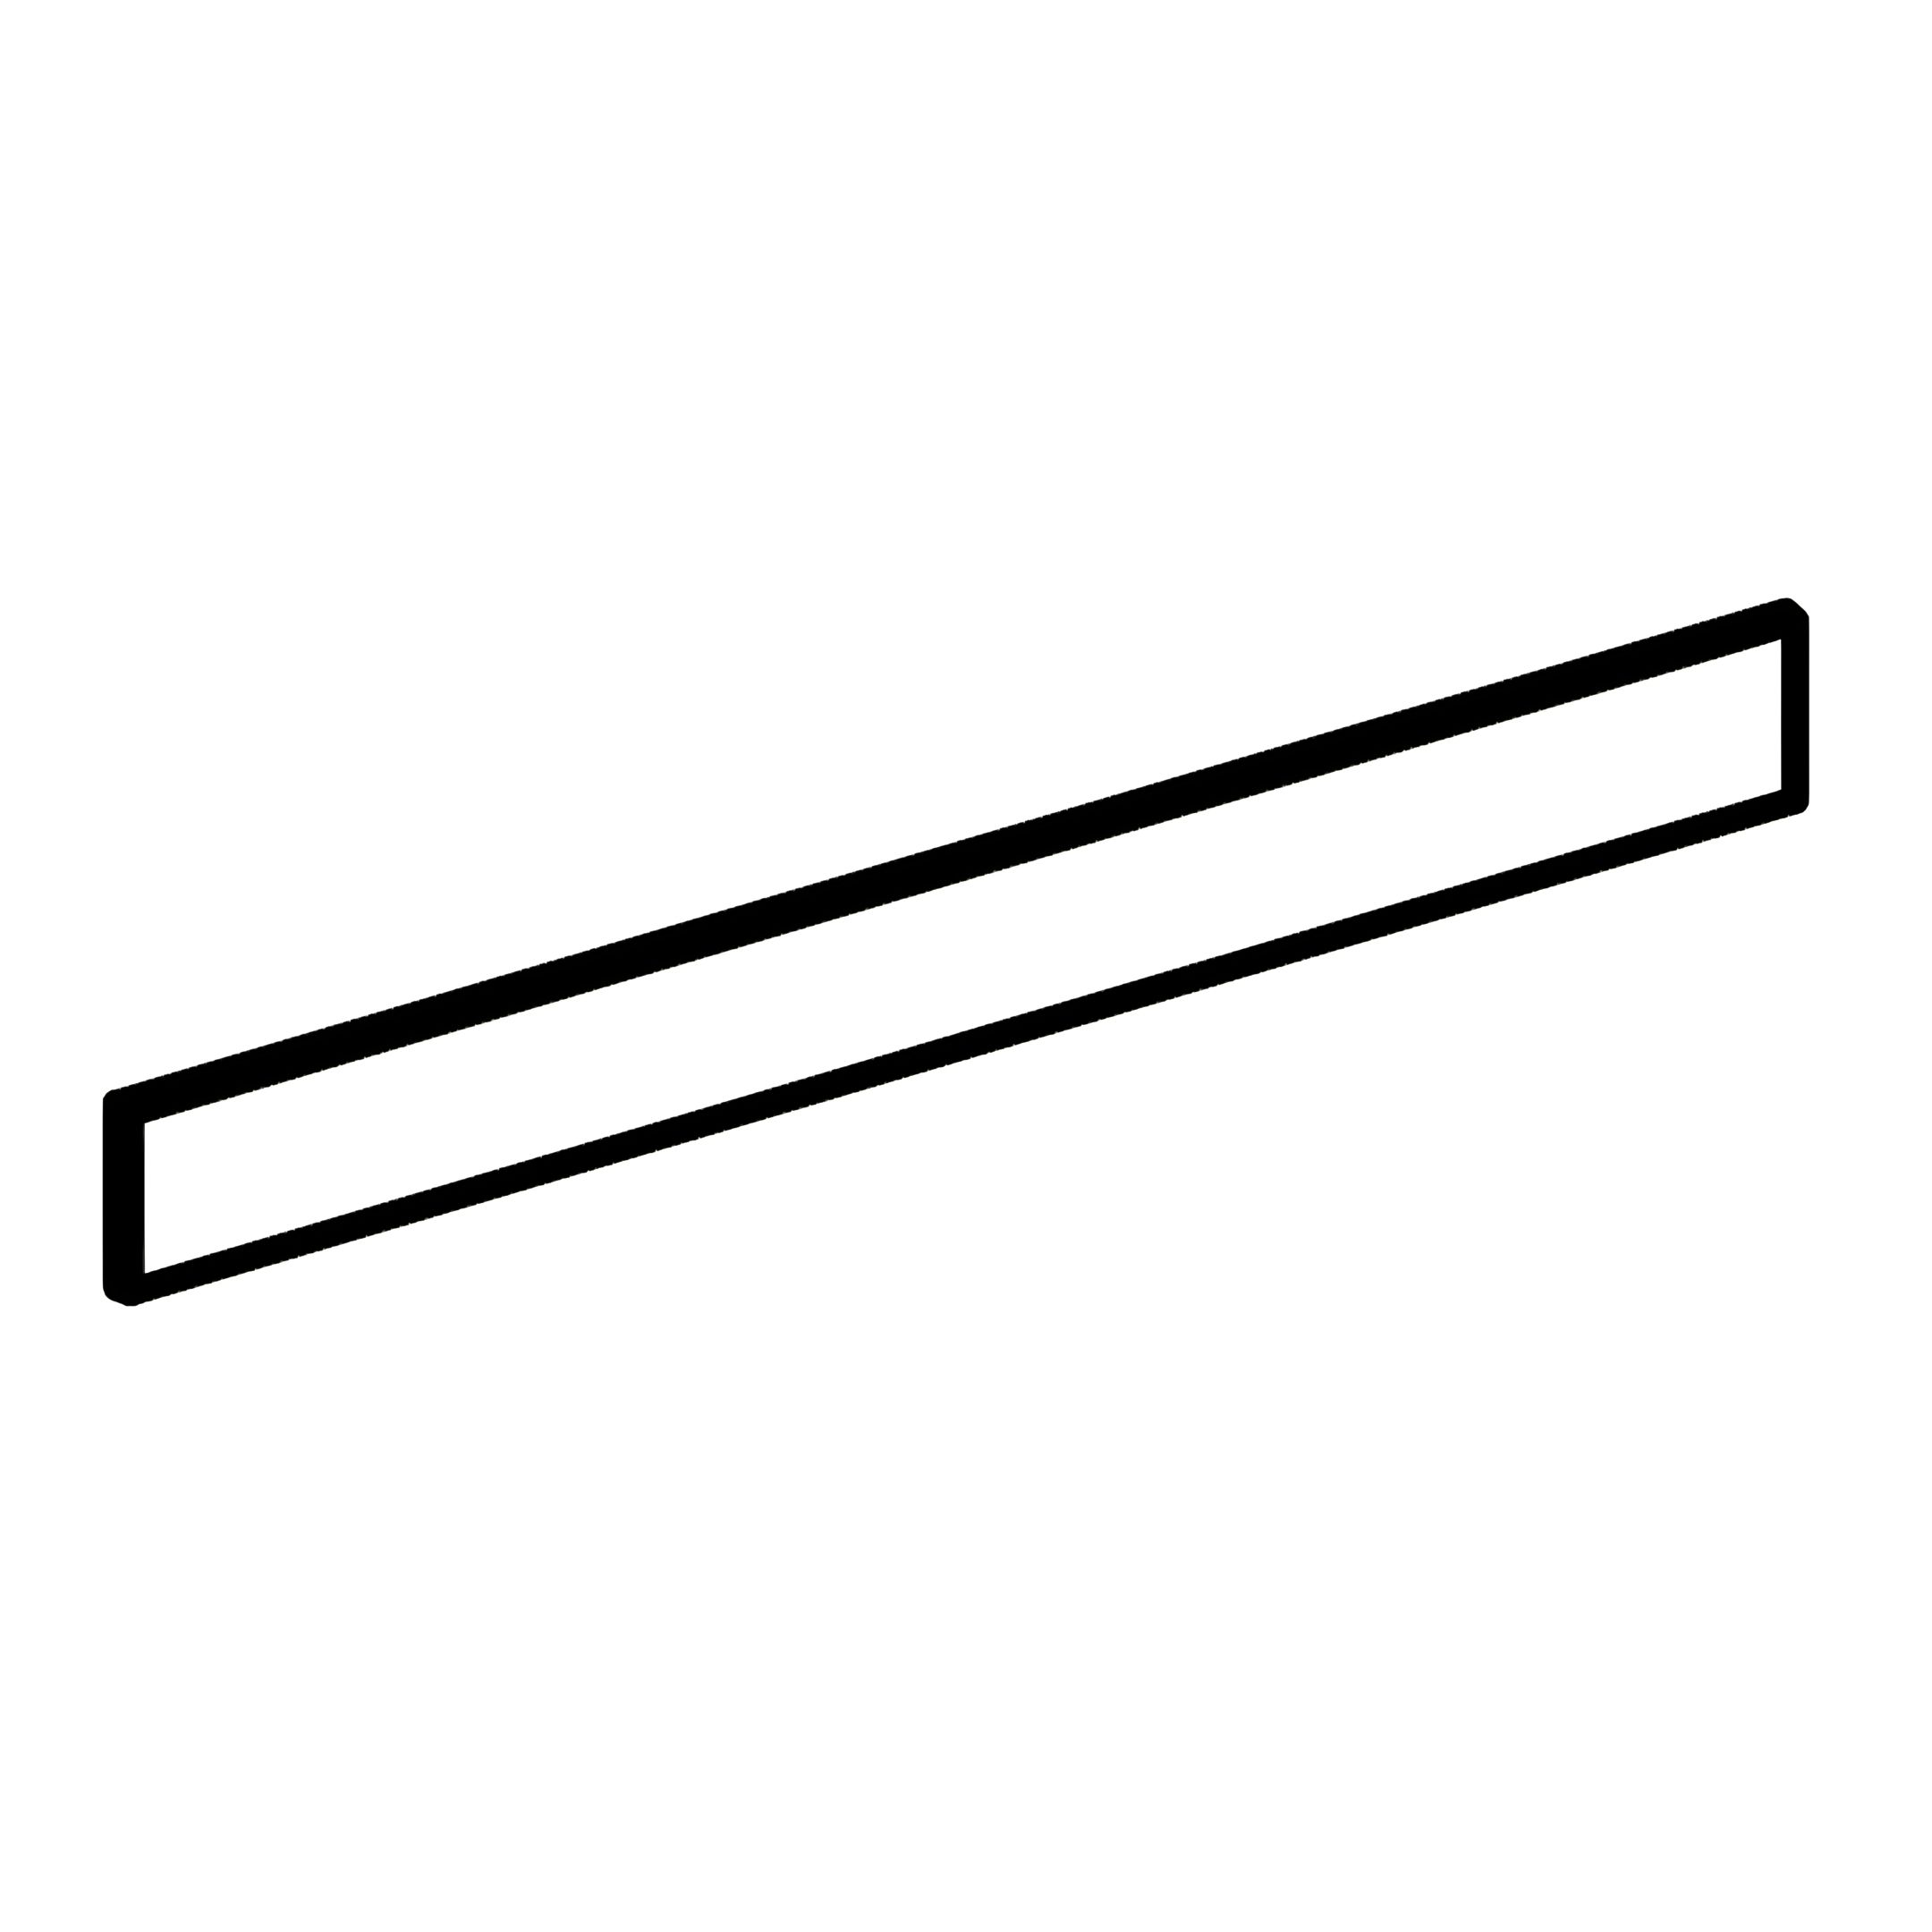 D - Front Side Rail (PU) 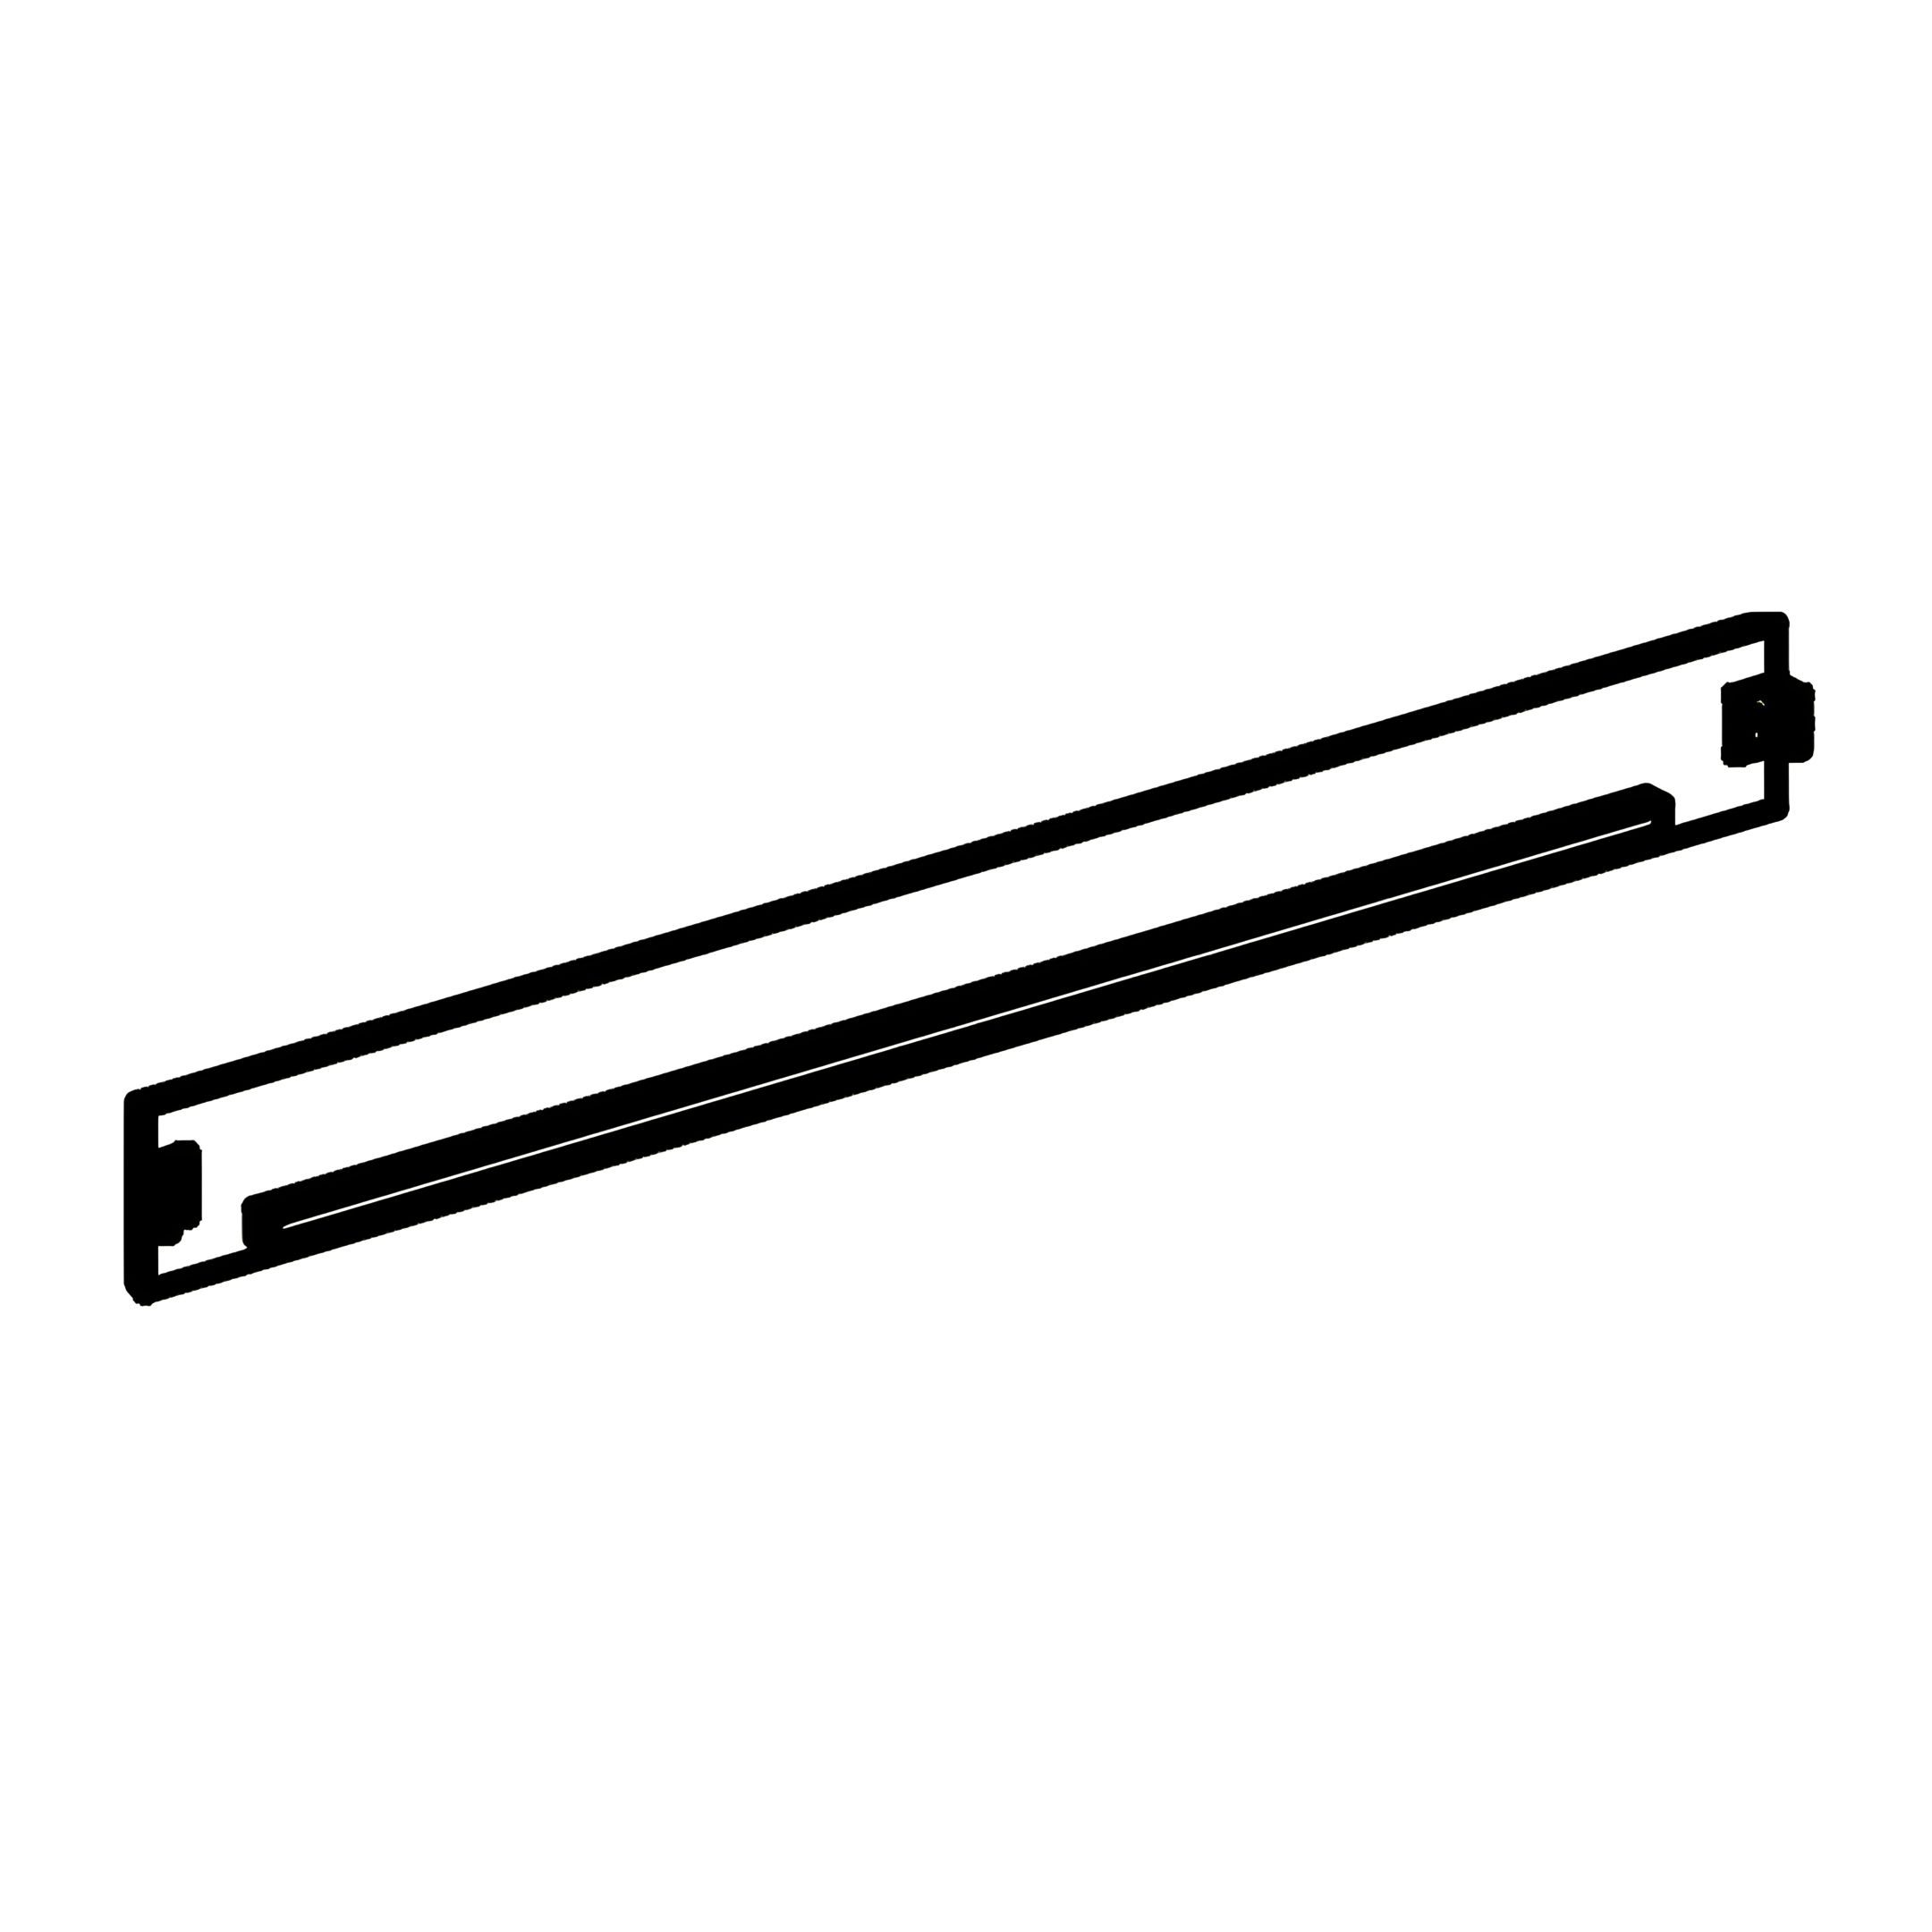 E - Back Side Rail 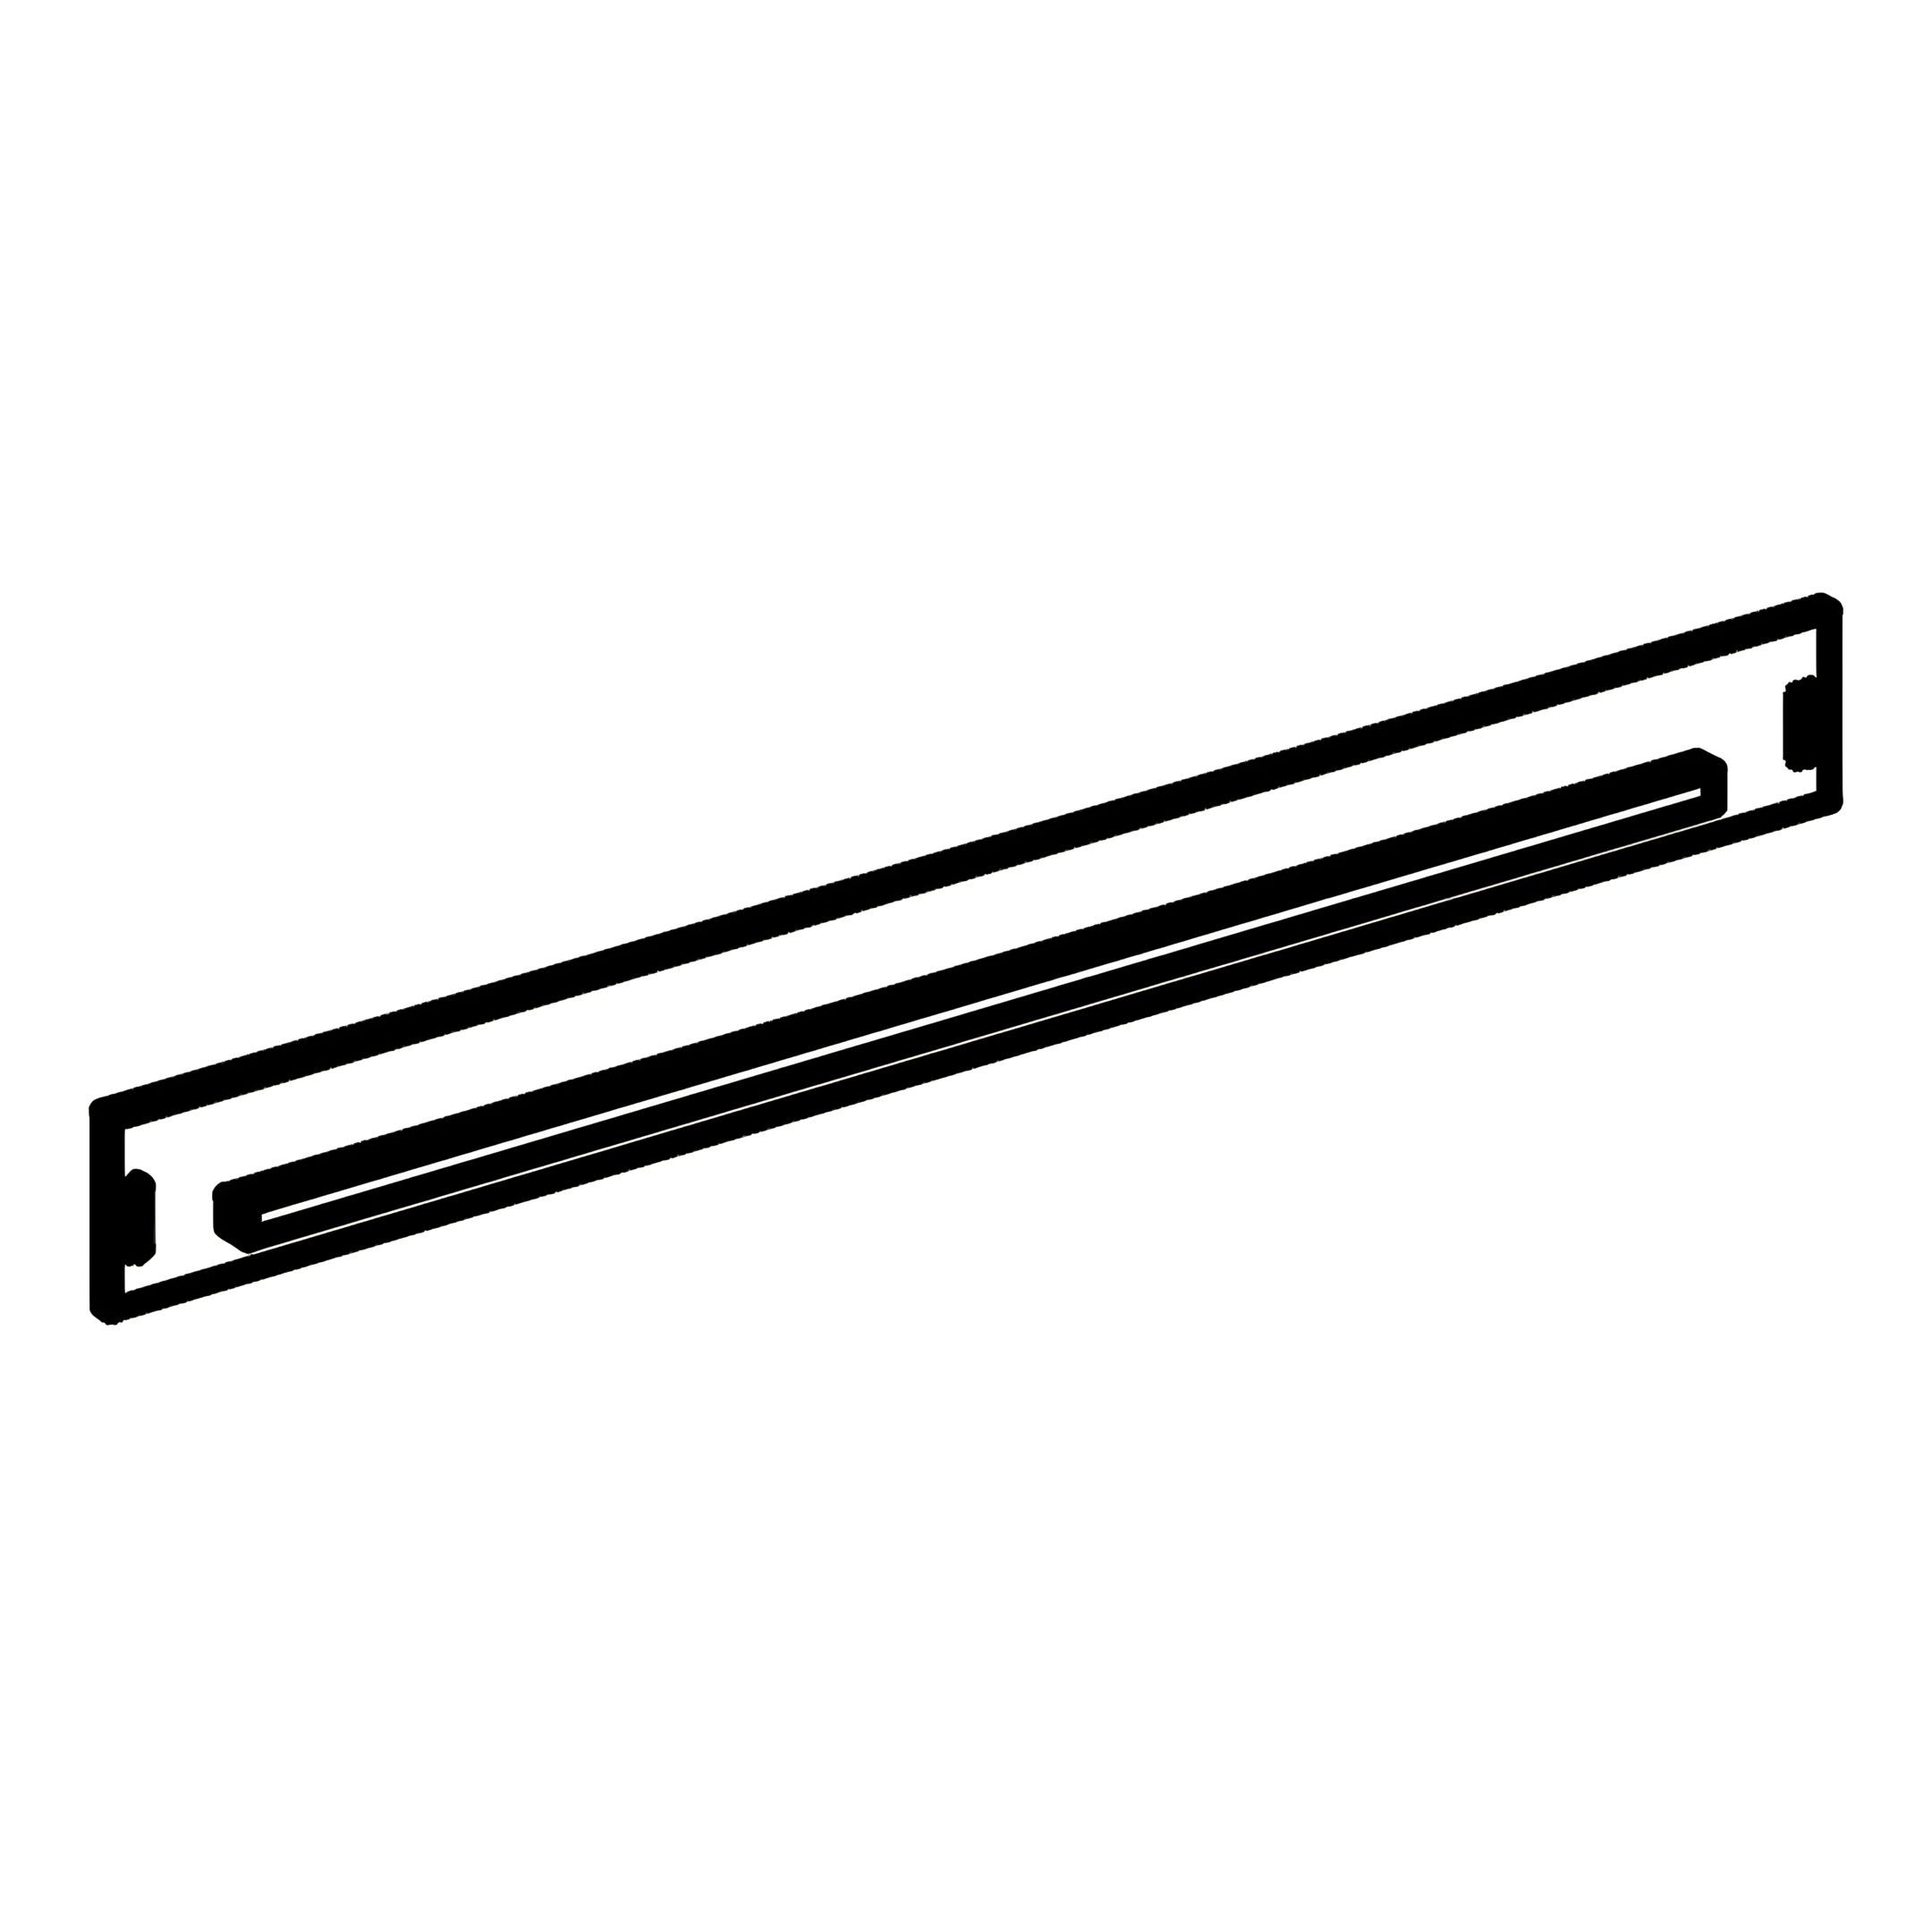 F - Trundle Front Panel (PU) G - Trundle Back Panel 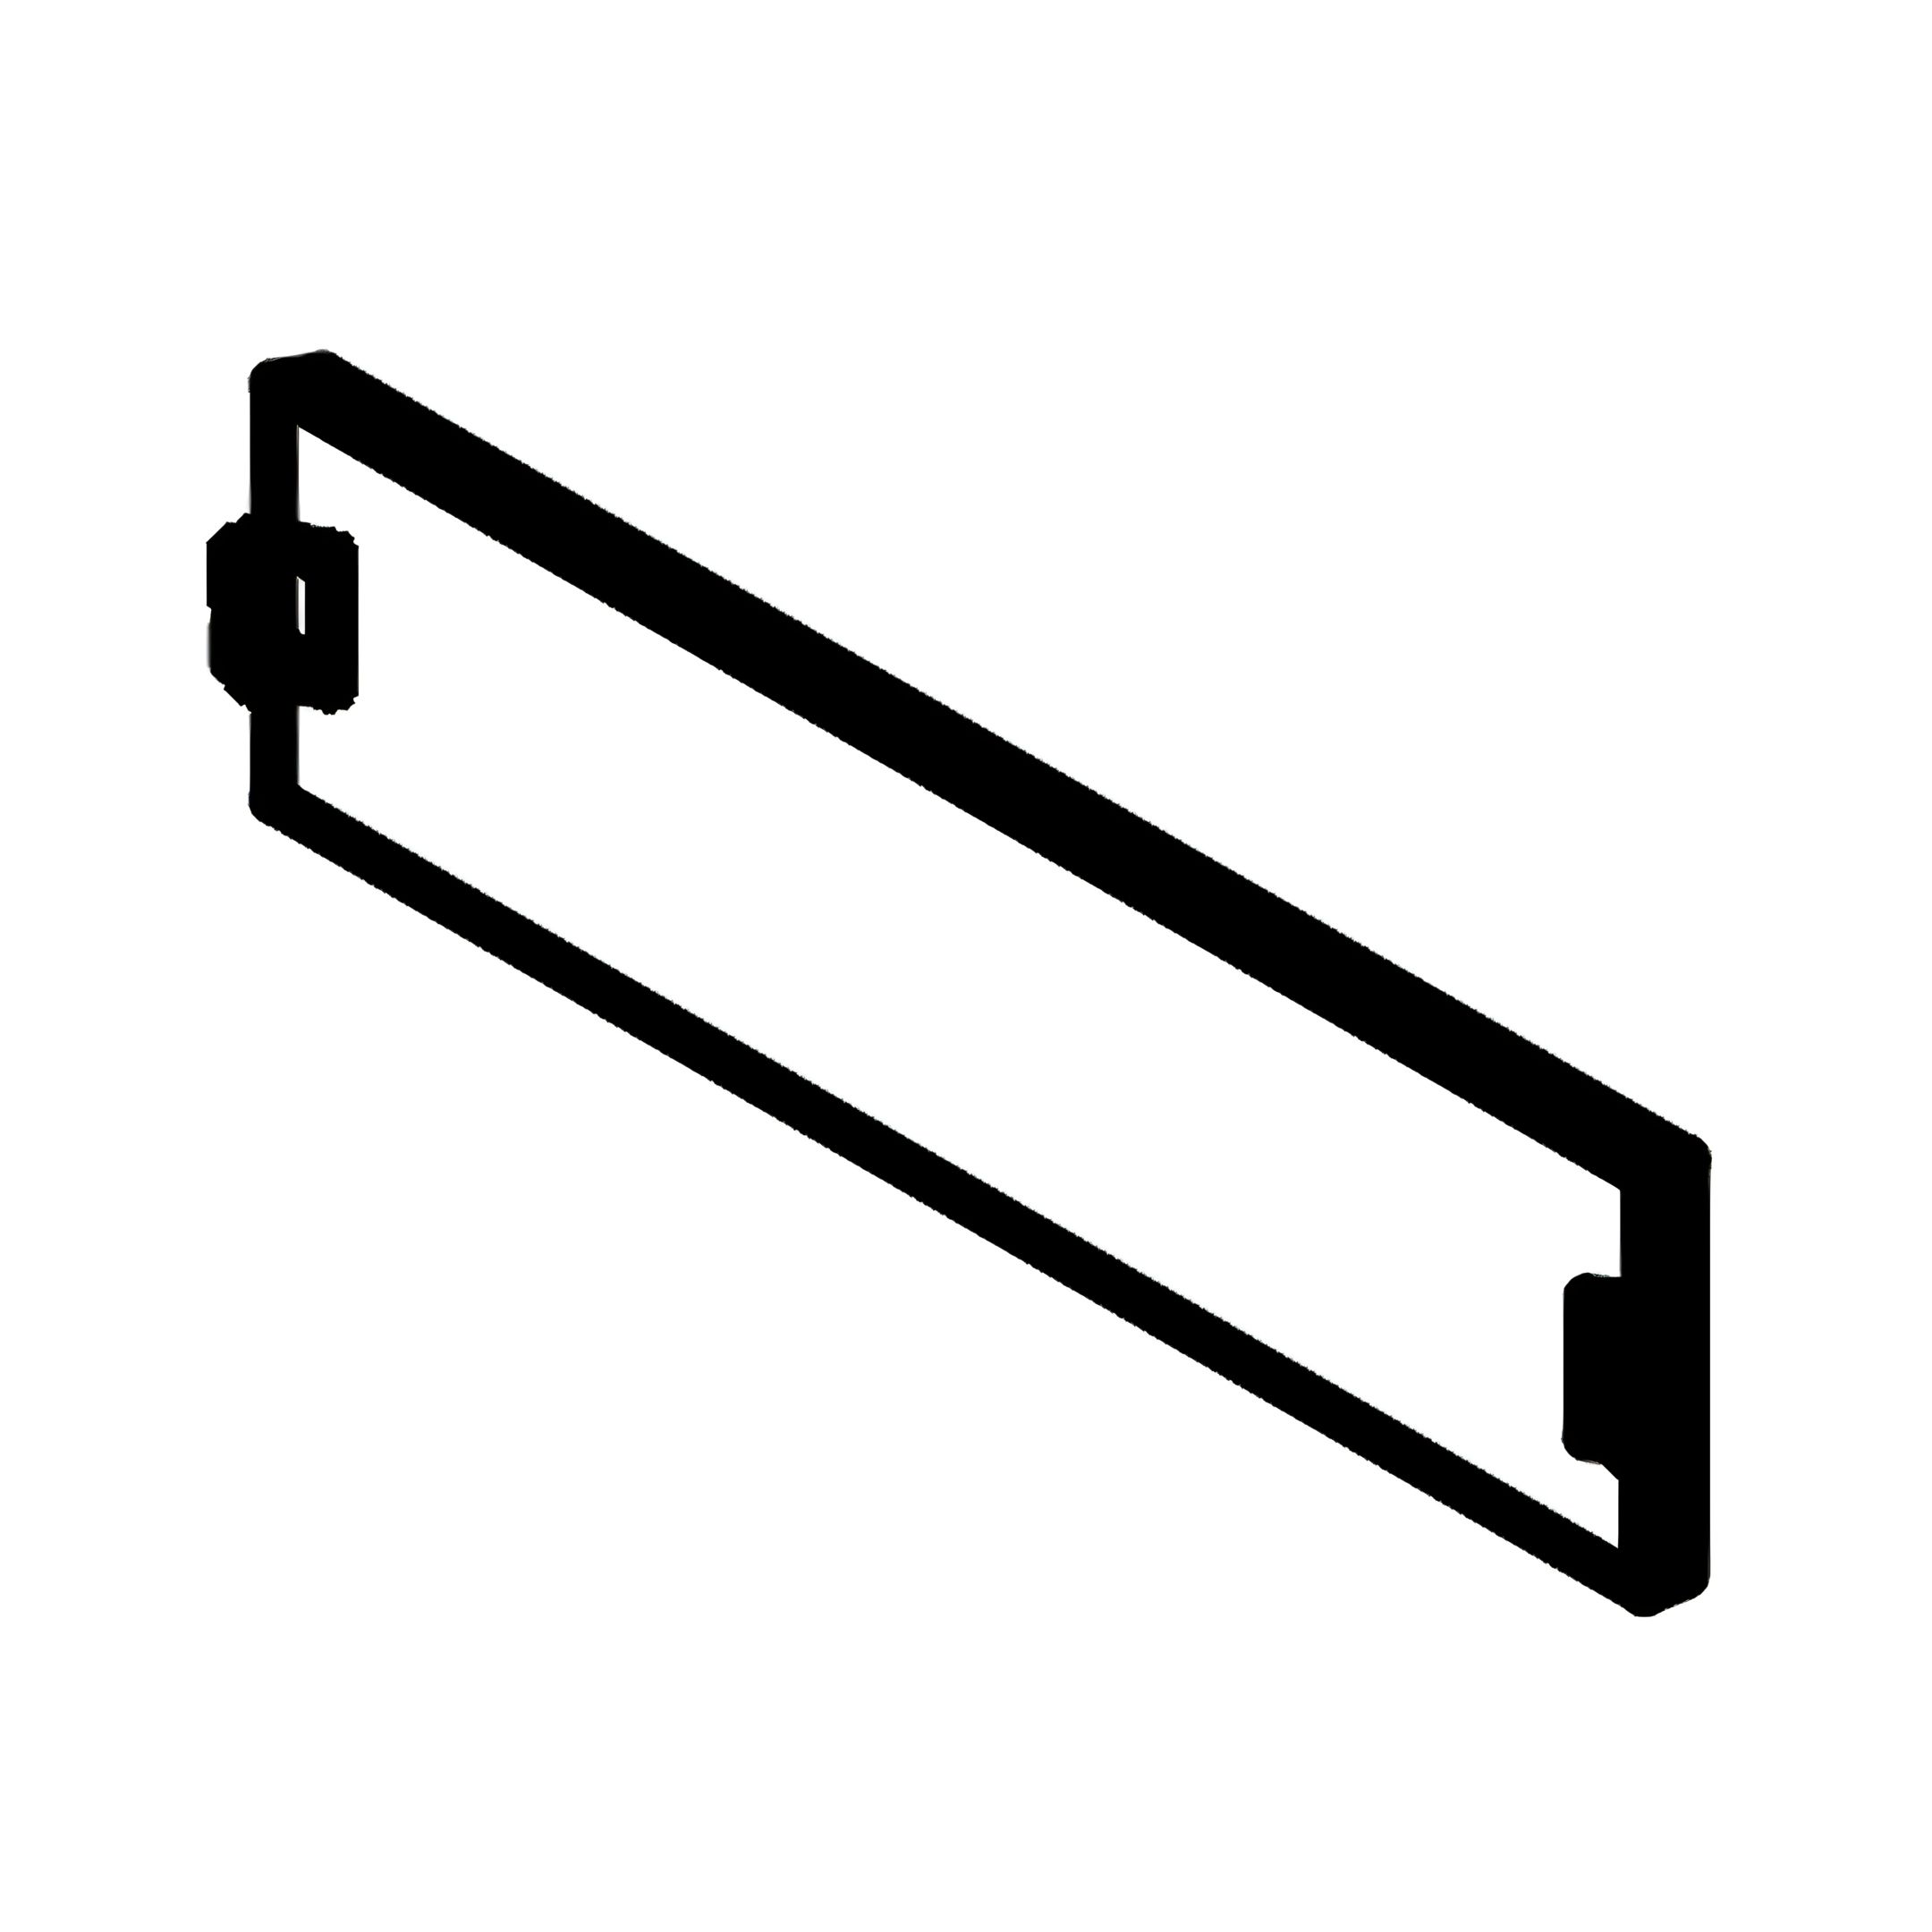 H - Trundle Side Panel 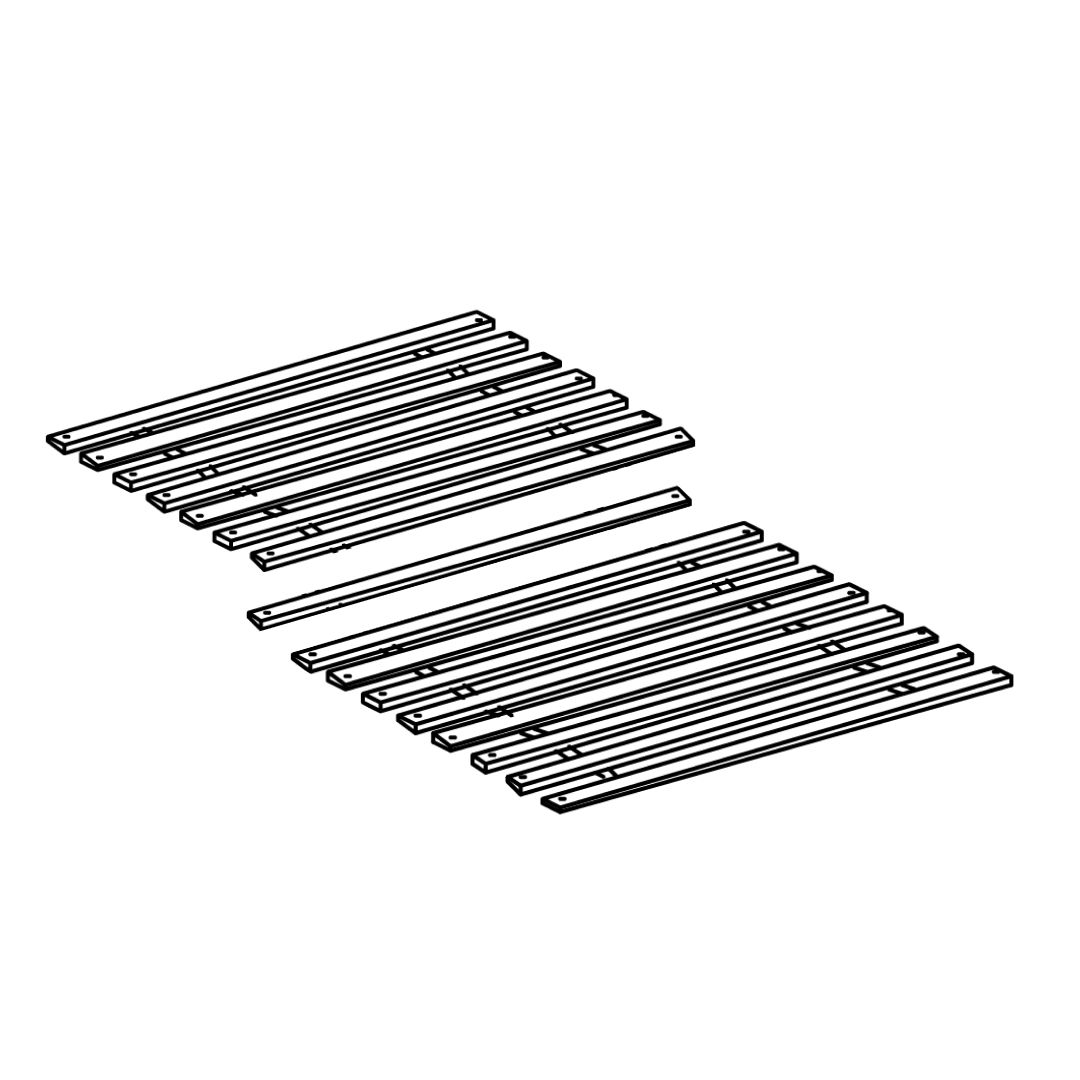 I - Trundle Slats 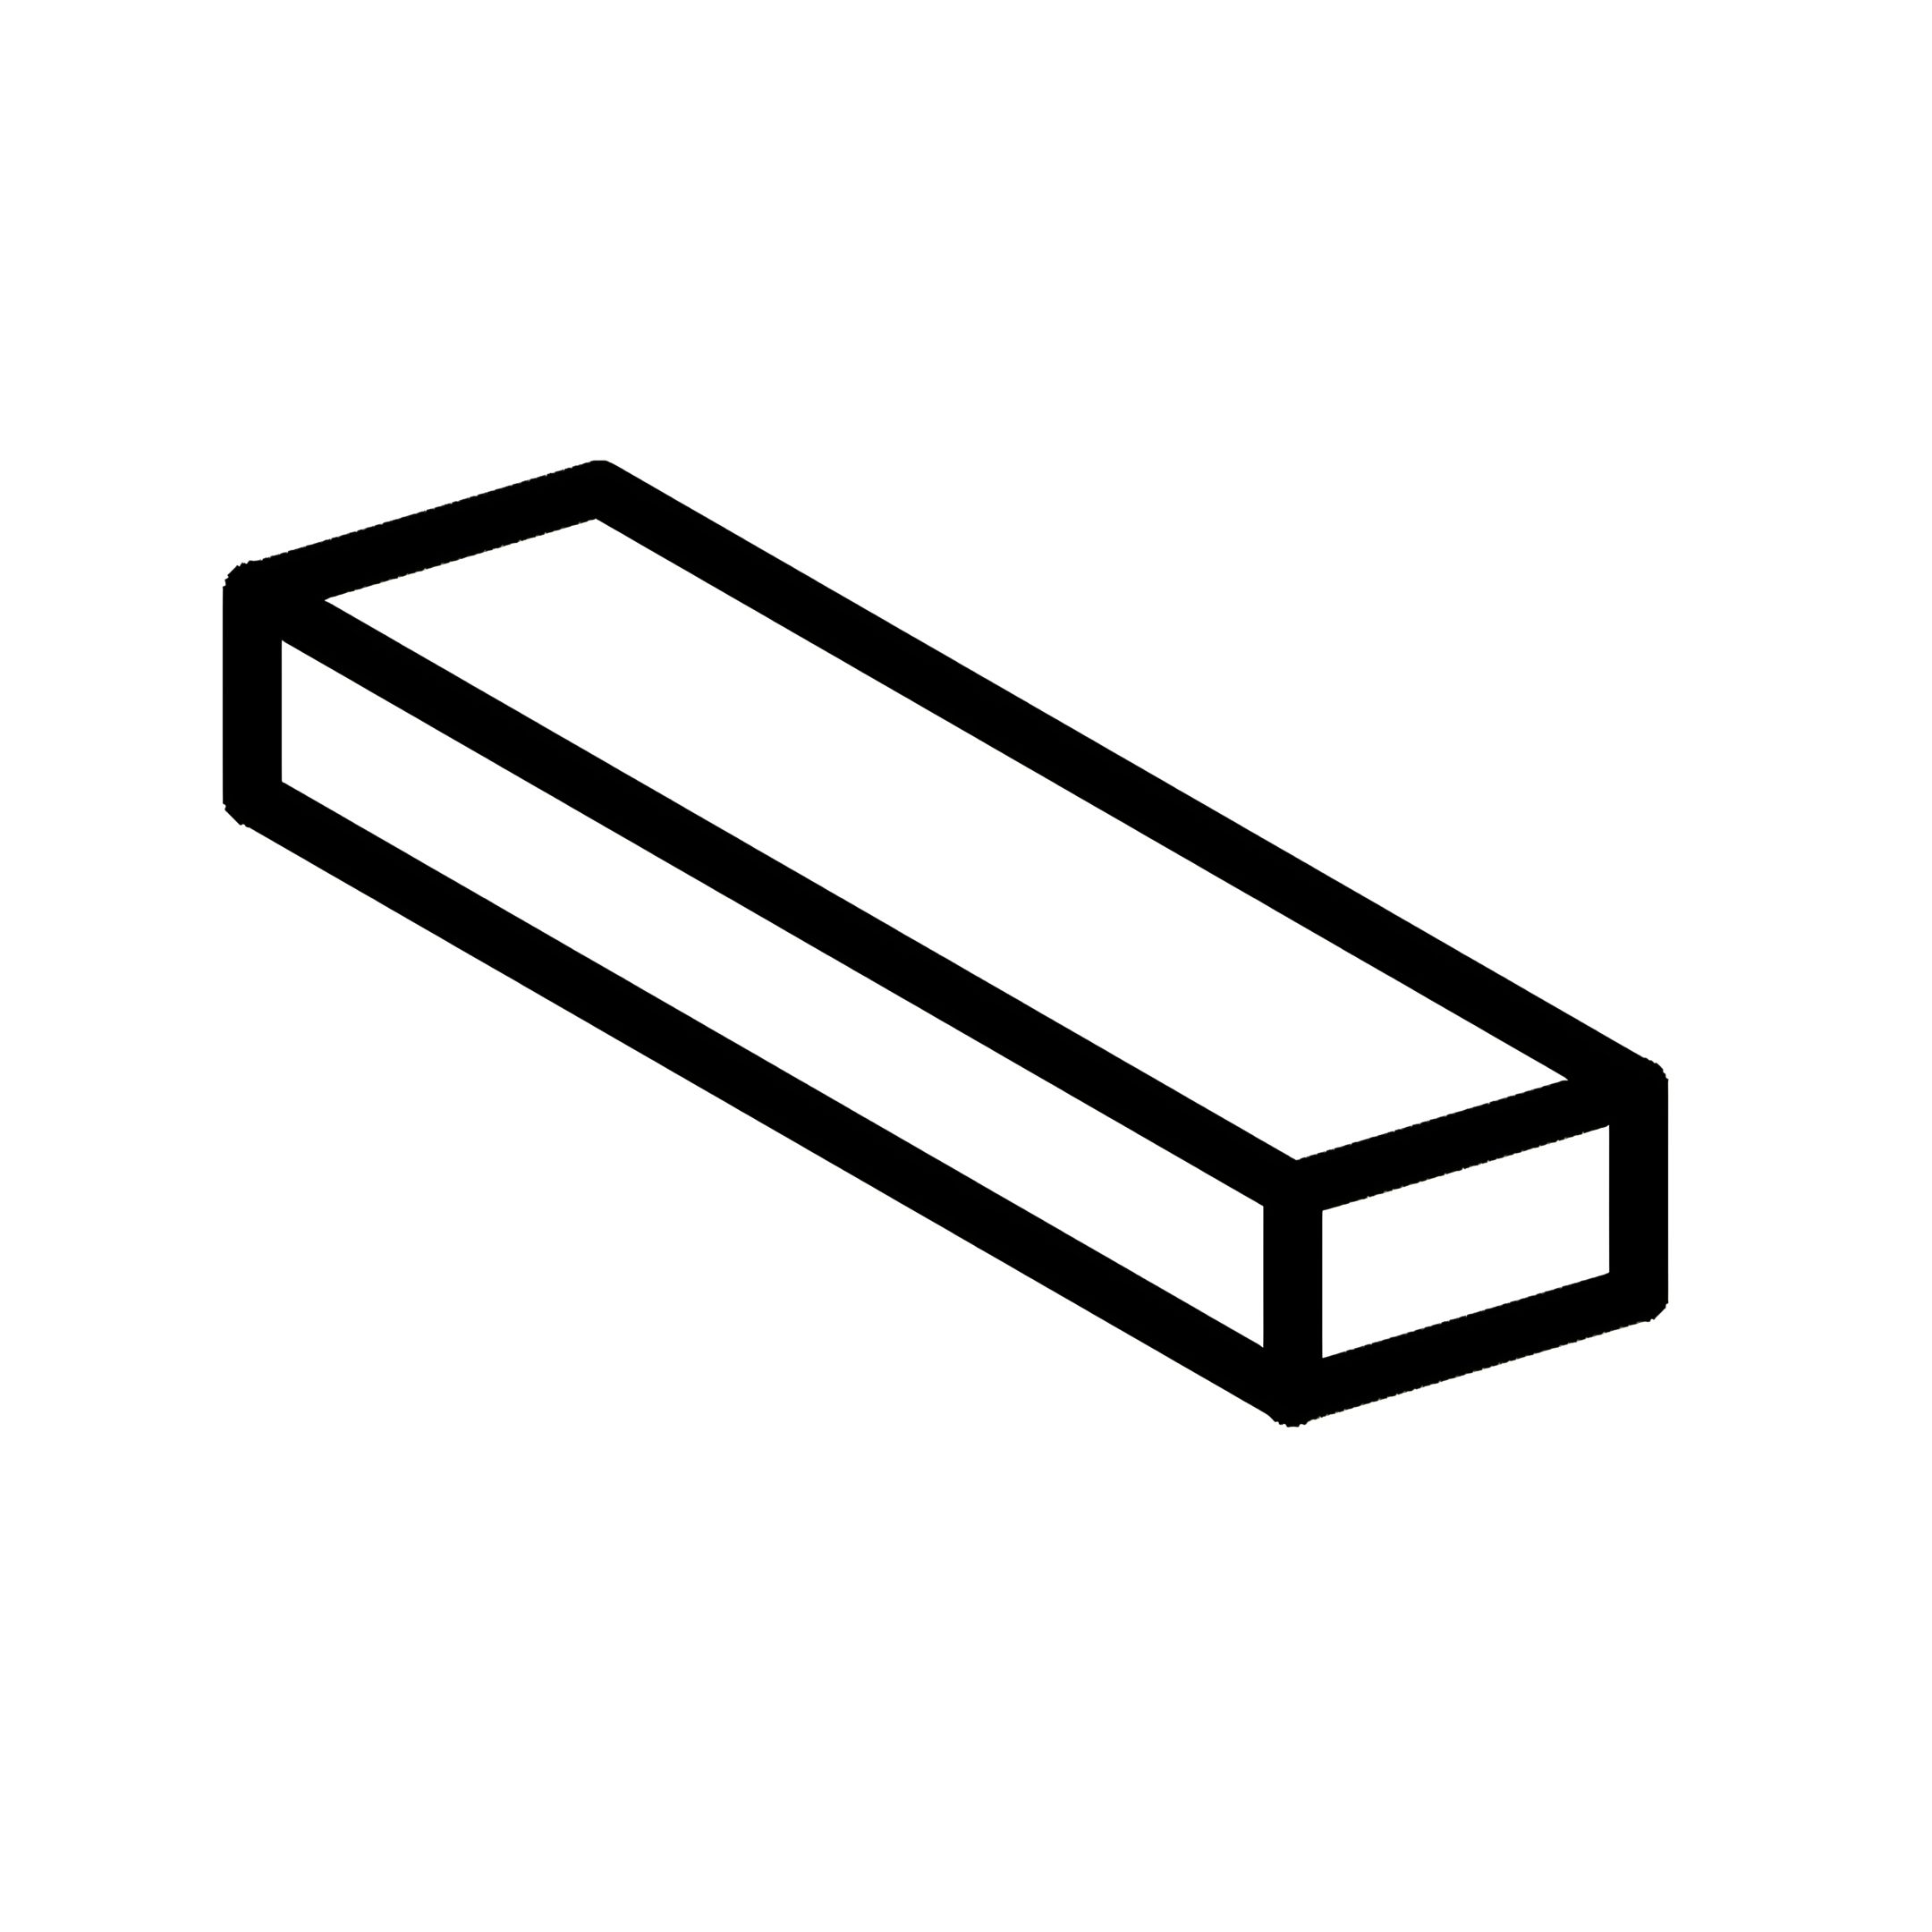 J - Wooden Block 1. Attach Side Rails and ArmsAttach side rail (D) & (E) to arms (A) by pushing the bracket down to fit it. 2. Attach Back Panel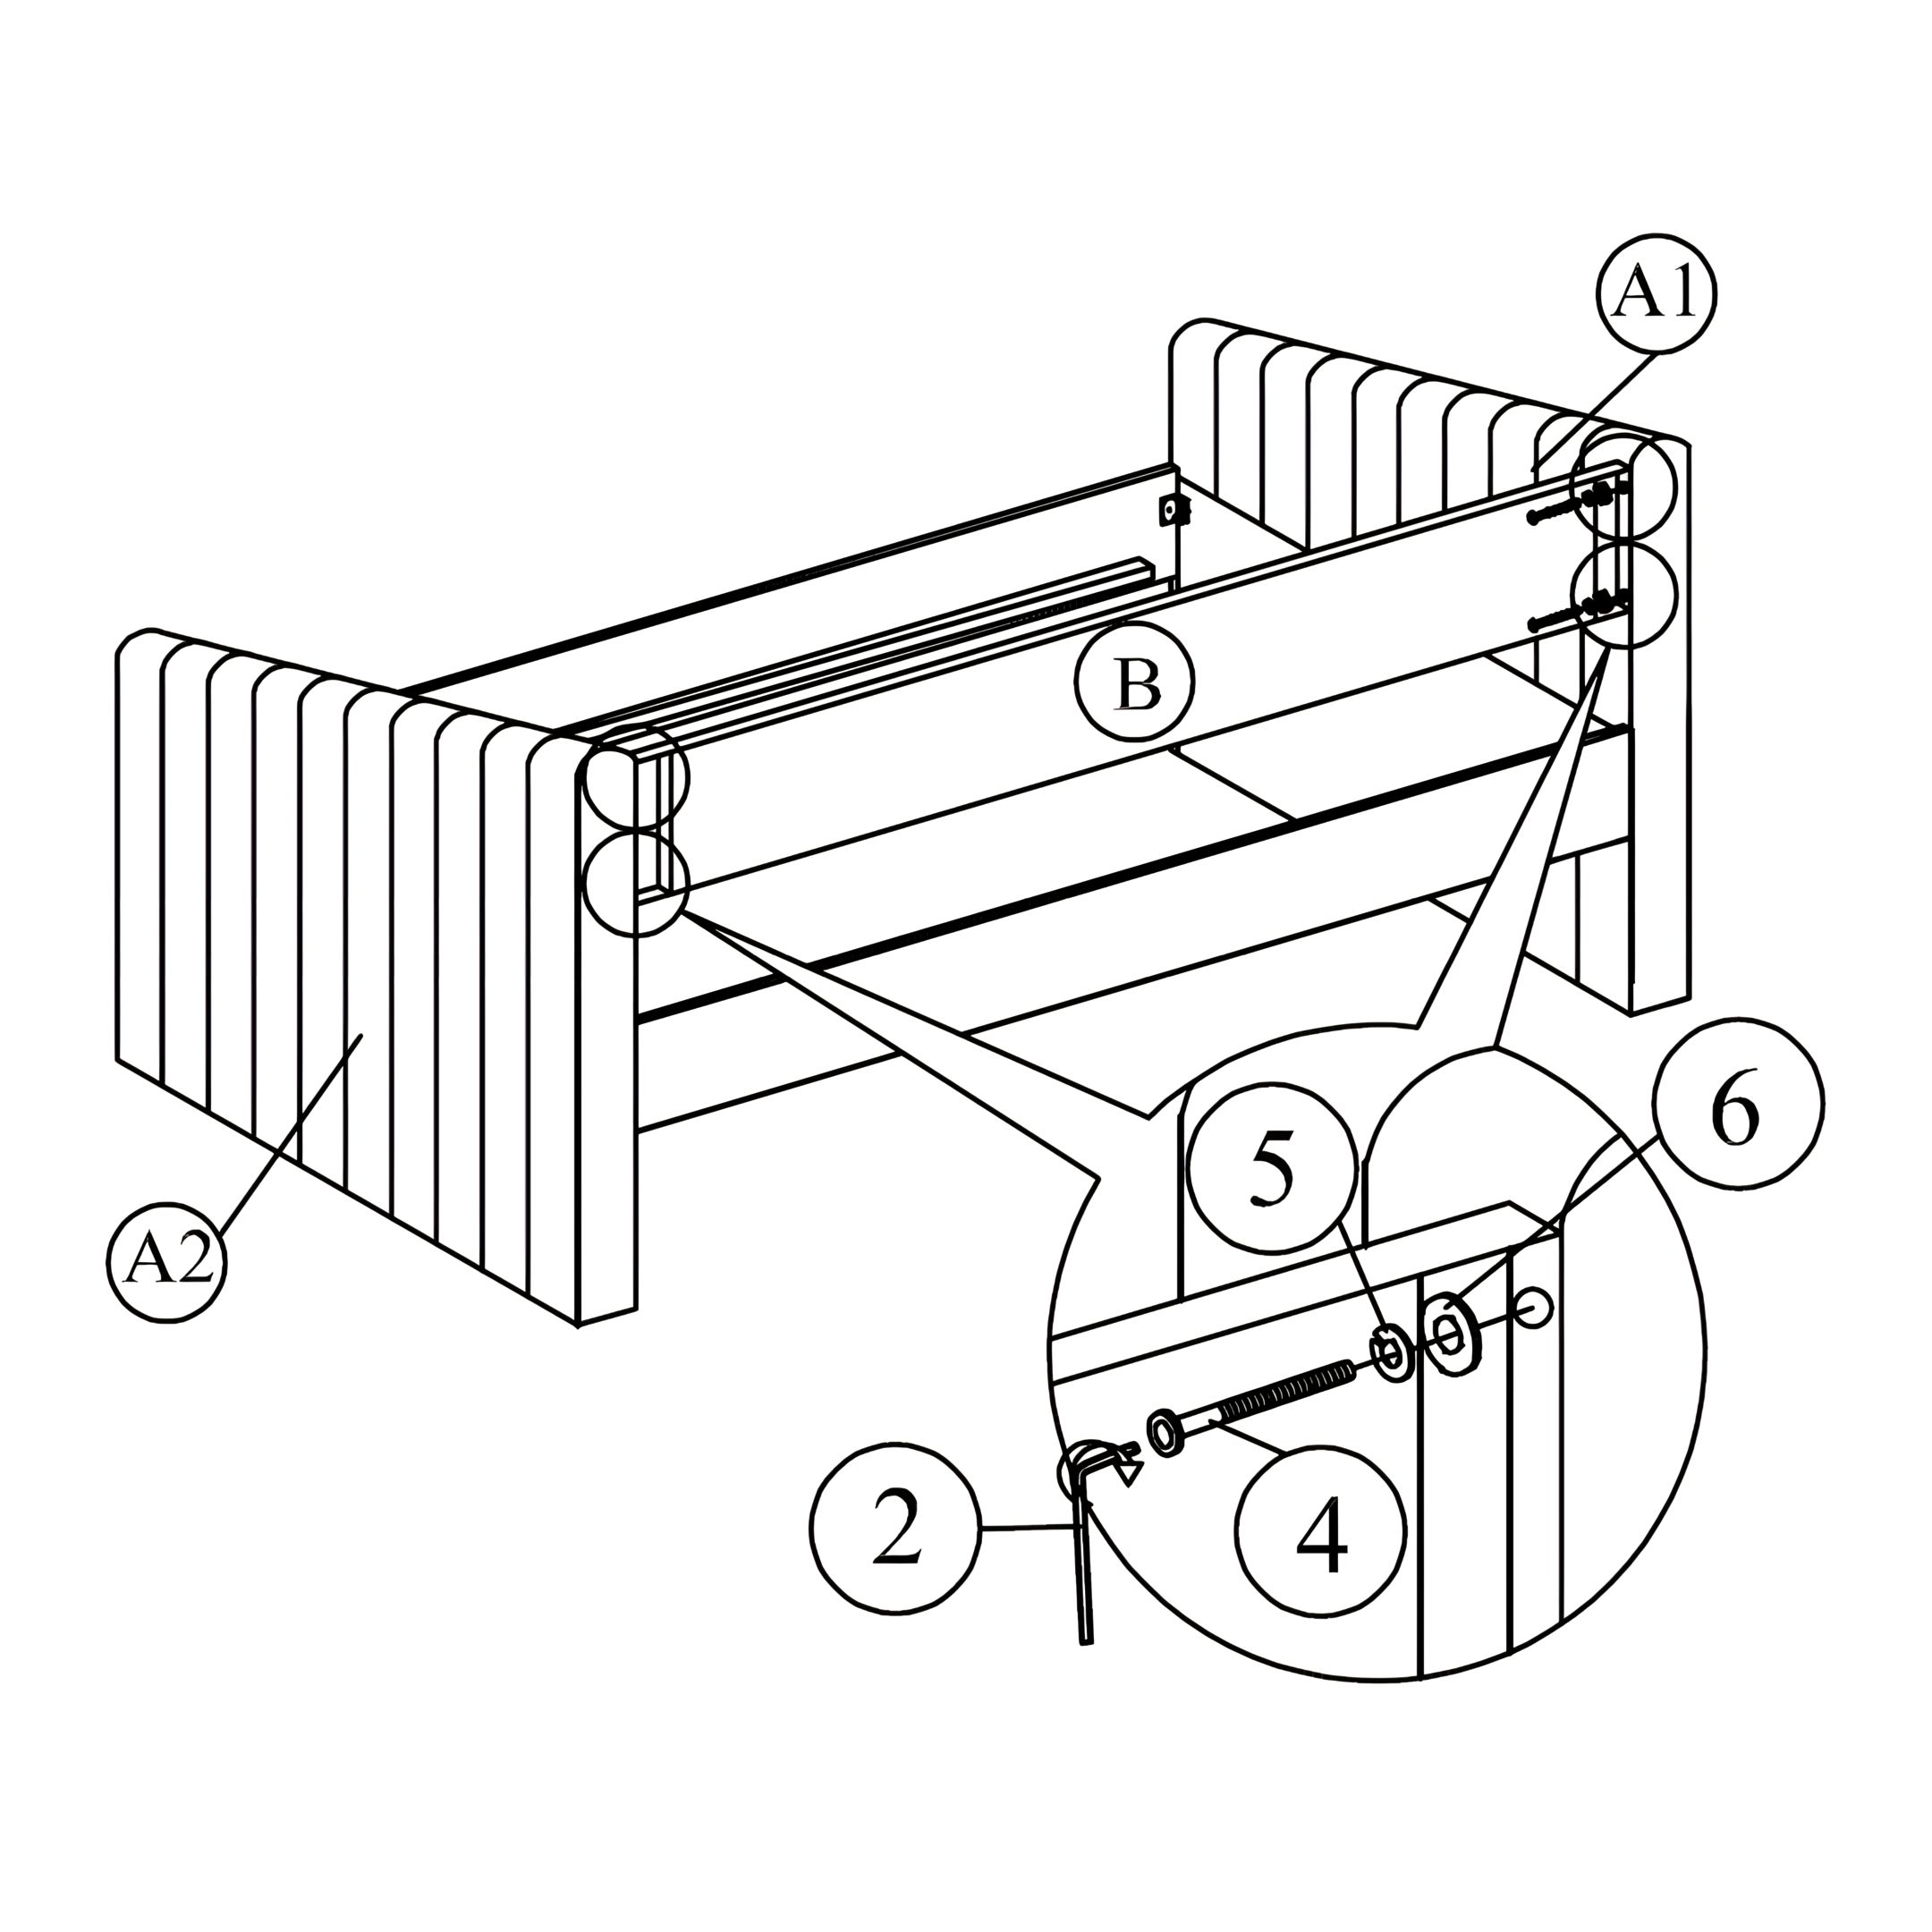 Attach the Back Panel (B) to the arm (A) as shown. 3. Install the Slats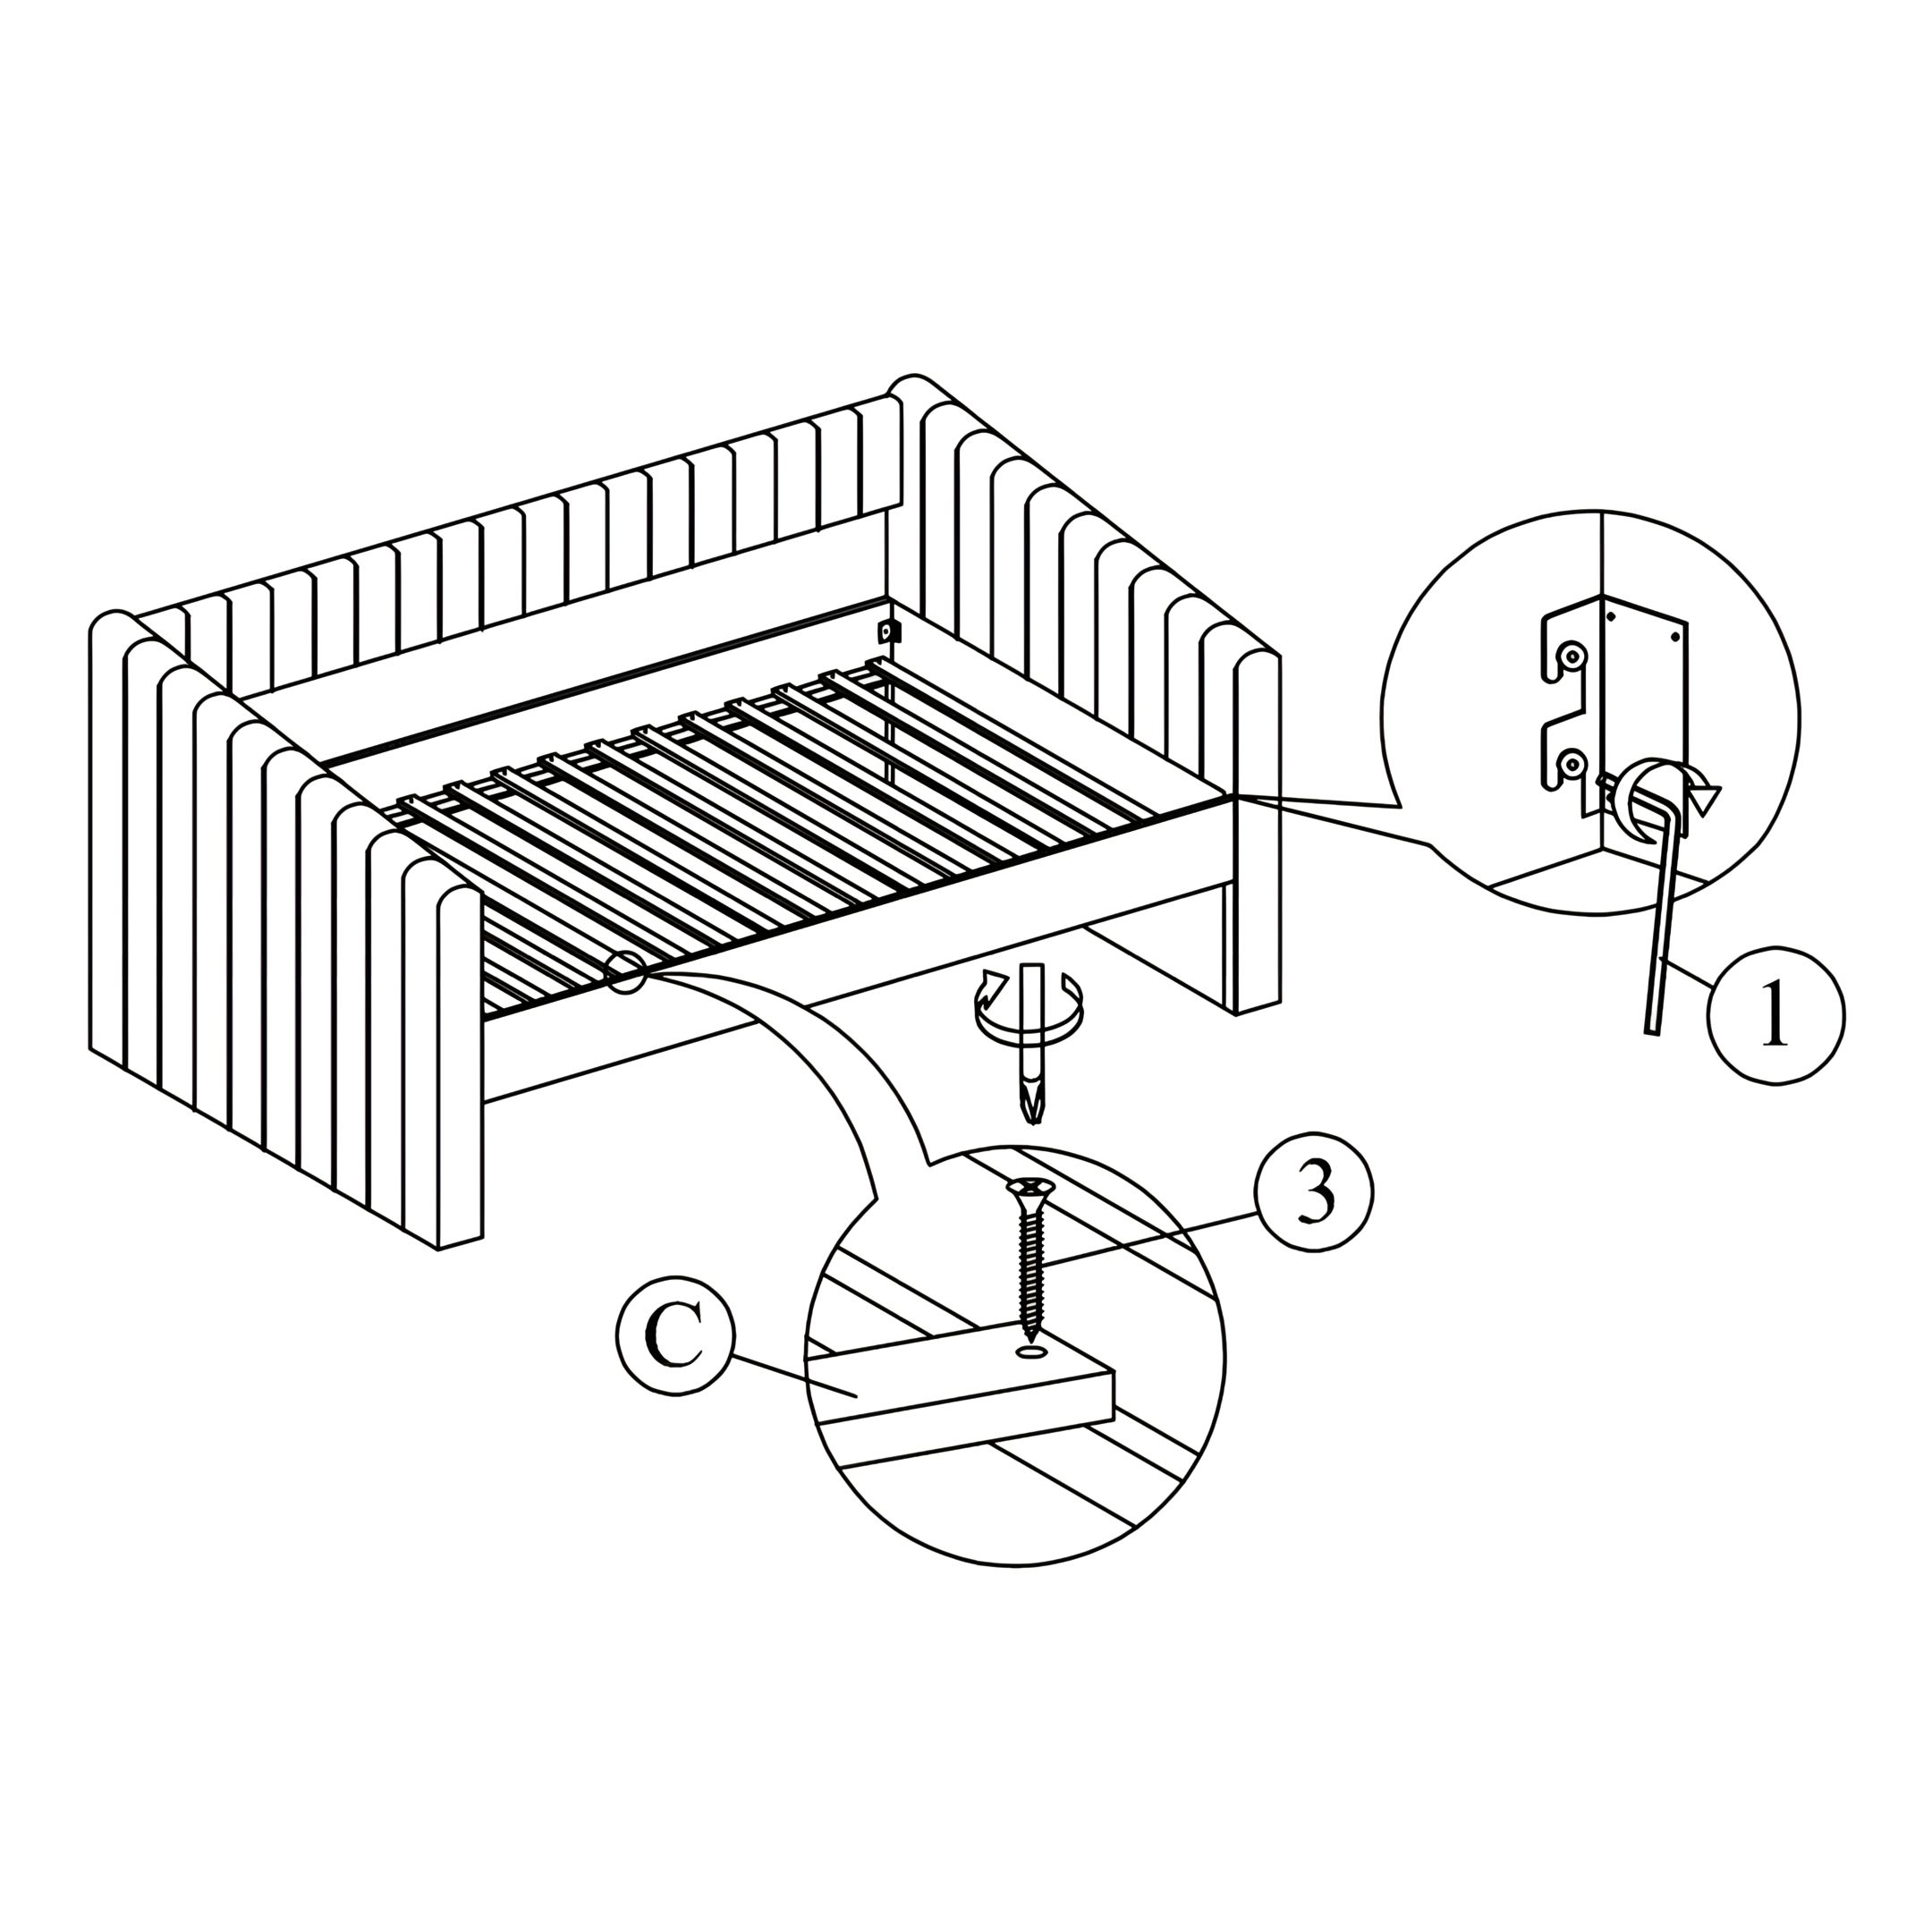 Tighten the 4 Corner with Allen Key (1). Install the slats to side rail. Tighten the slats with CSK screw (3). The distance of the slats should be sufficient to obtain desirable bed stability. 4. Assemble Trundle Panels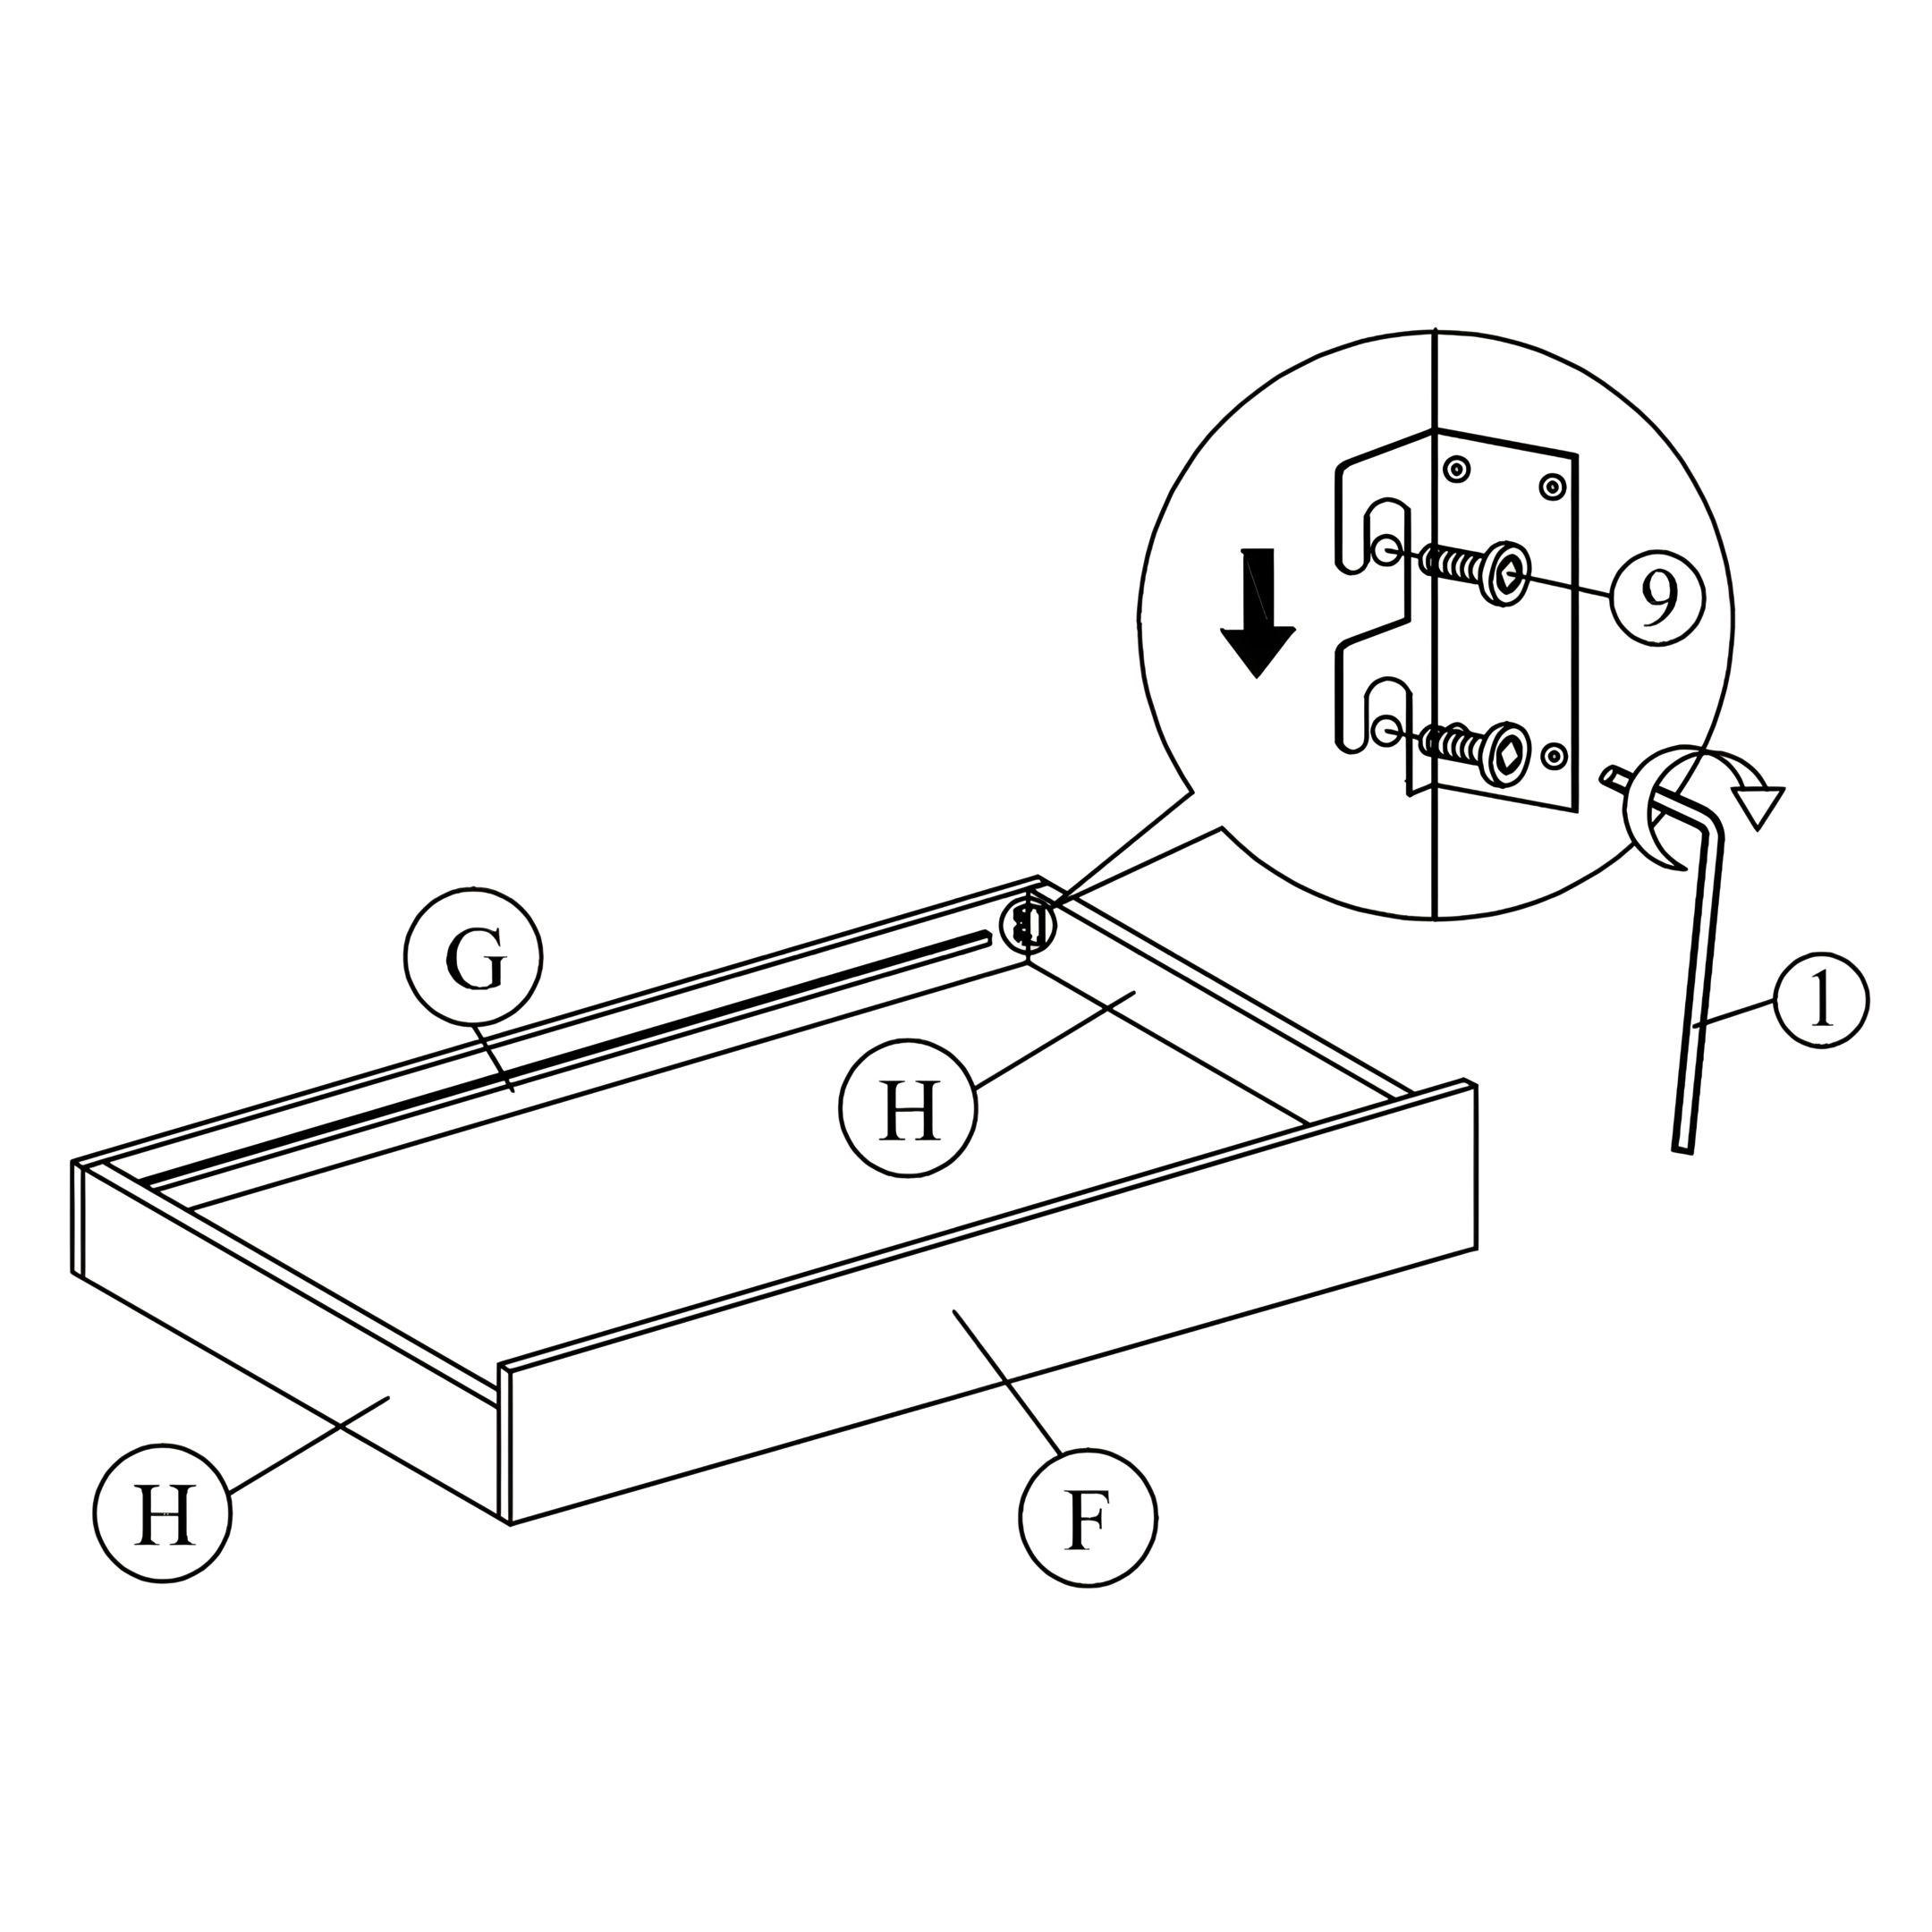 Attach trundle side panel (H) and trundle front panel (F) to trundle back panel (G) by pushing the bracket down to fit it. 5. Attach the Rollers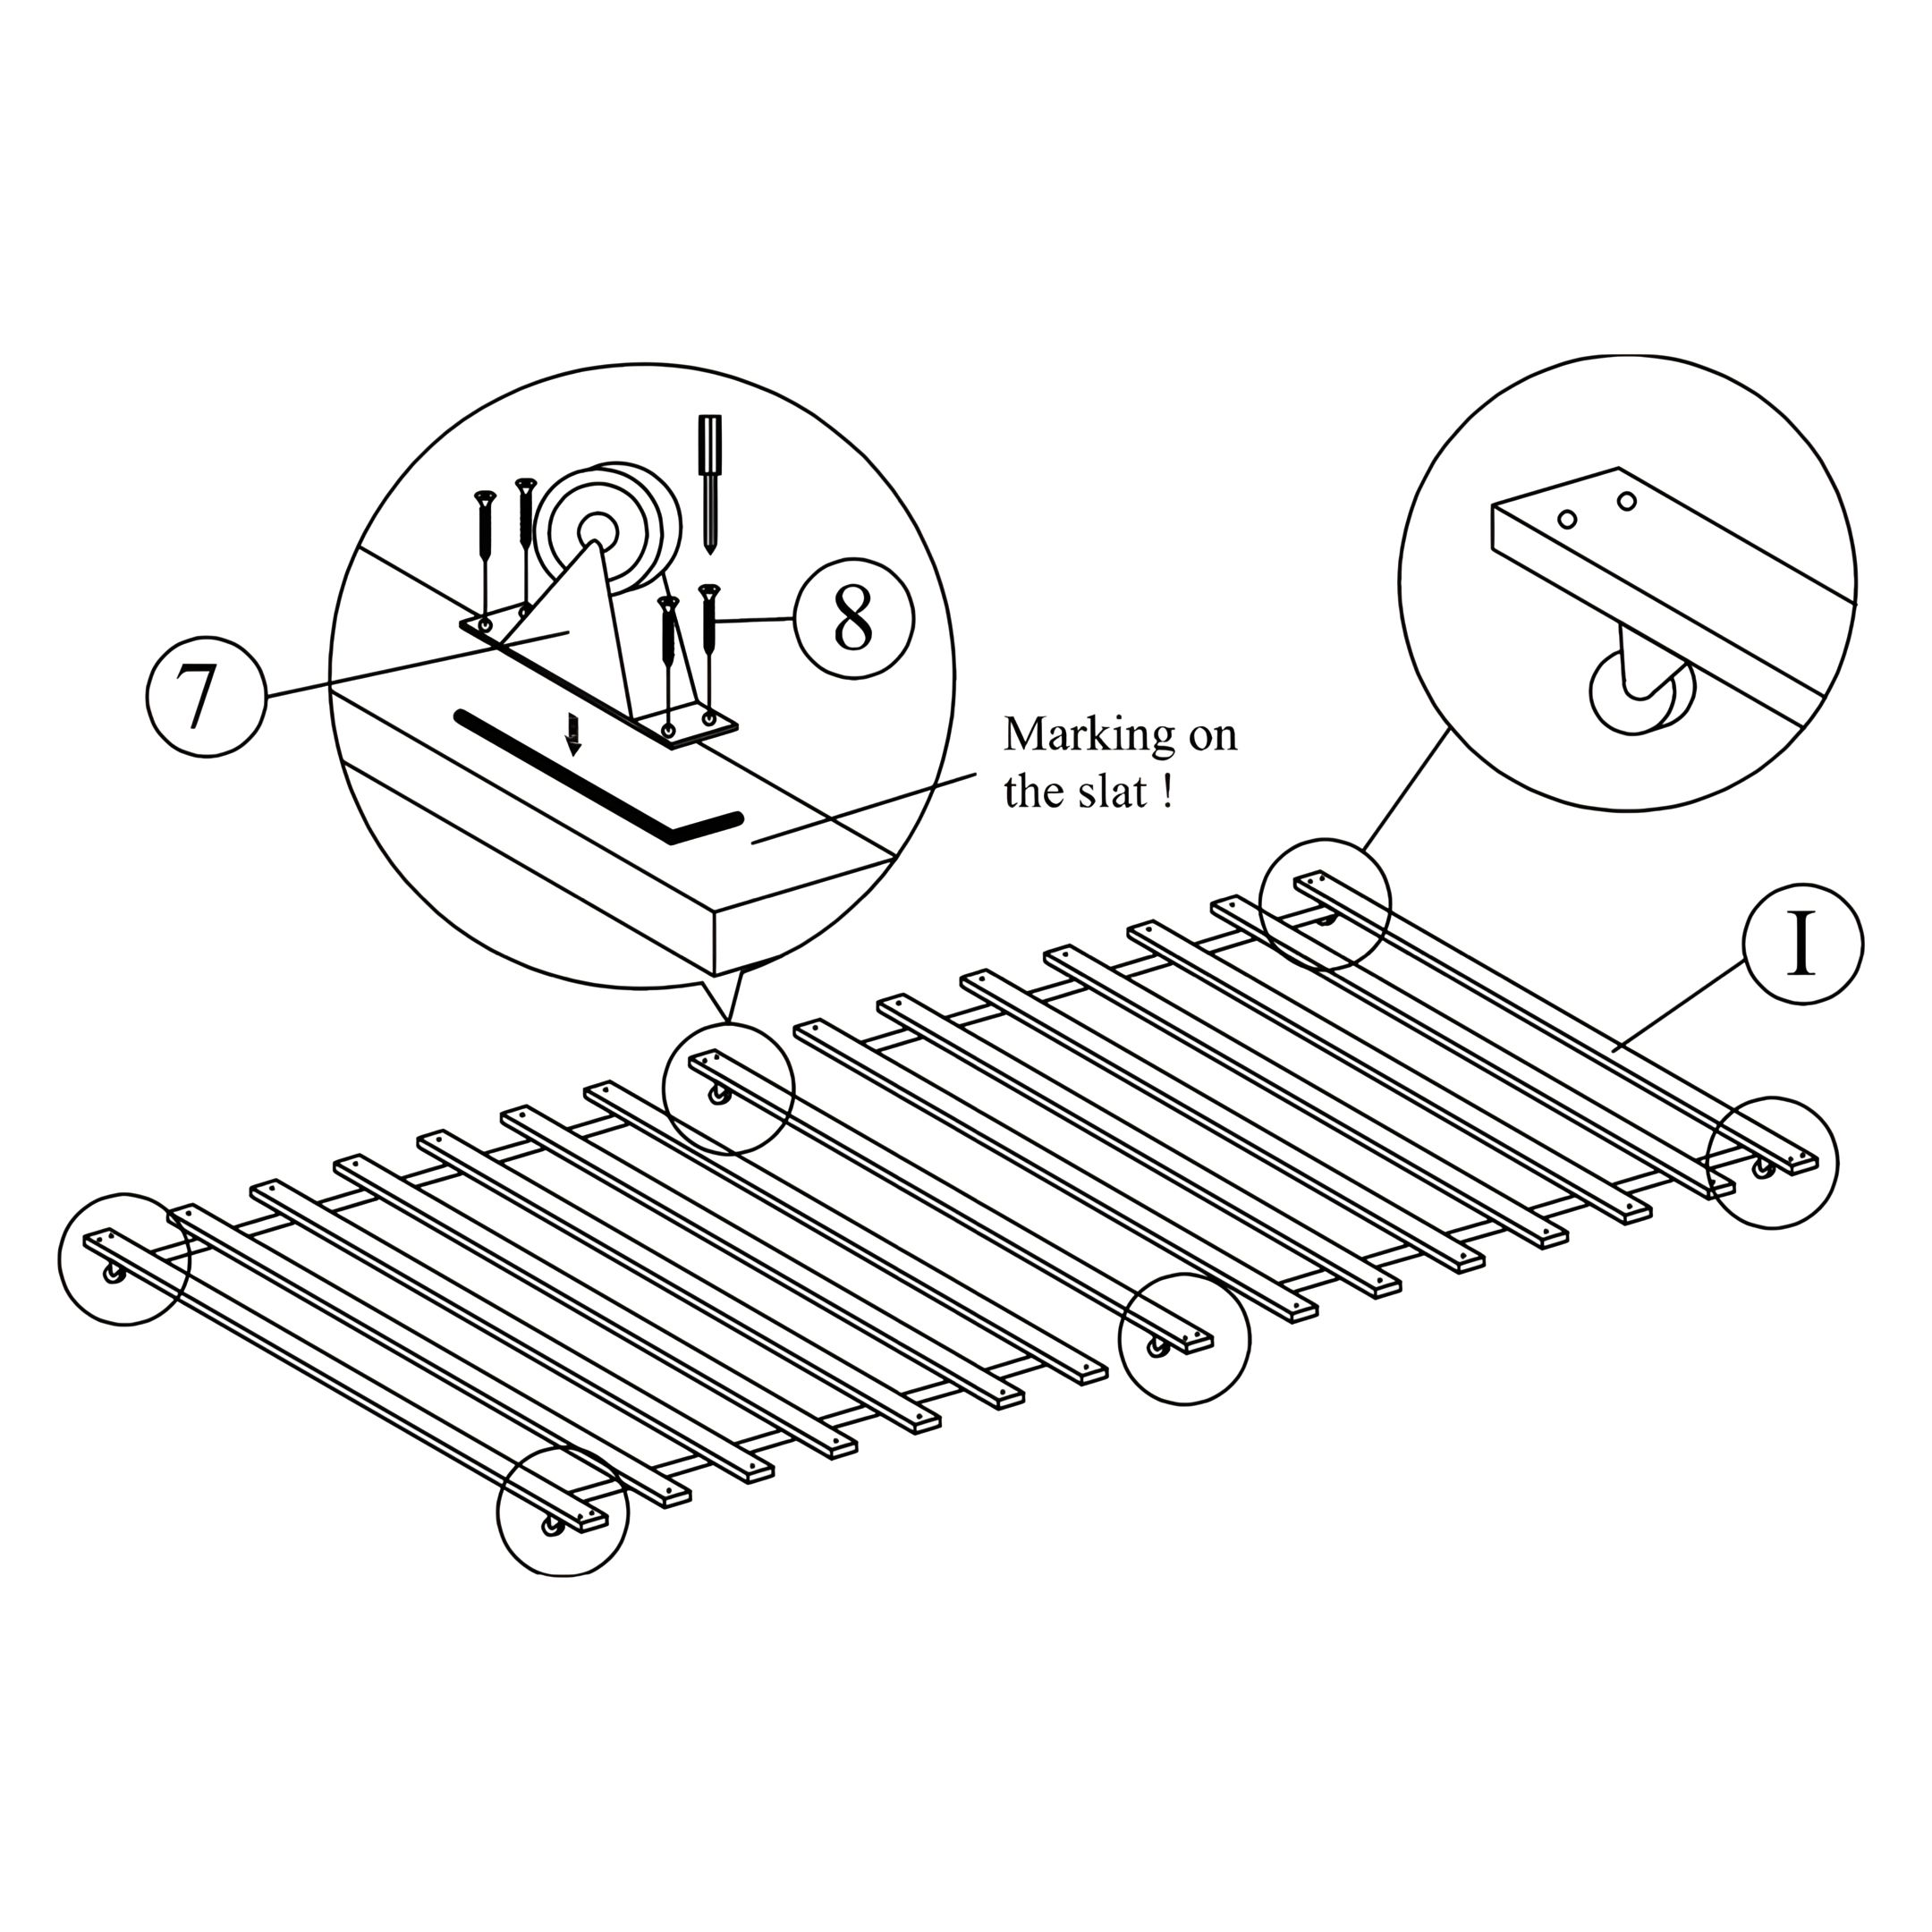 Affix the roller (7) to the slat (I) follow the marking on the slat (I). 6. Install the Trundle Bed Slats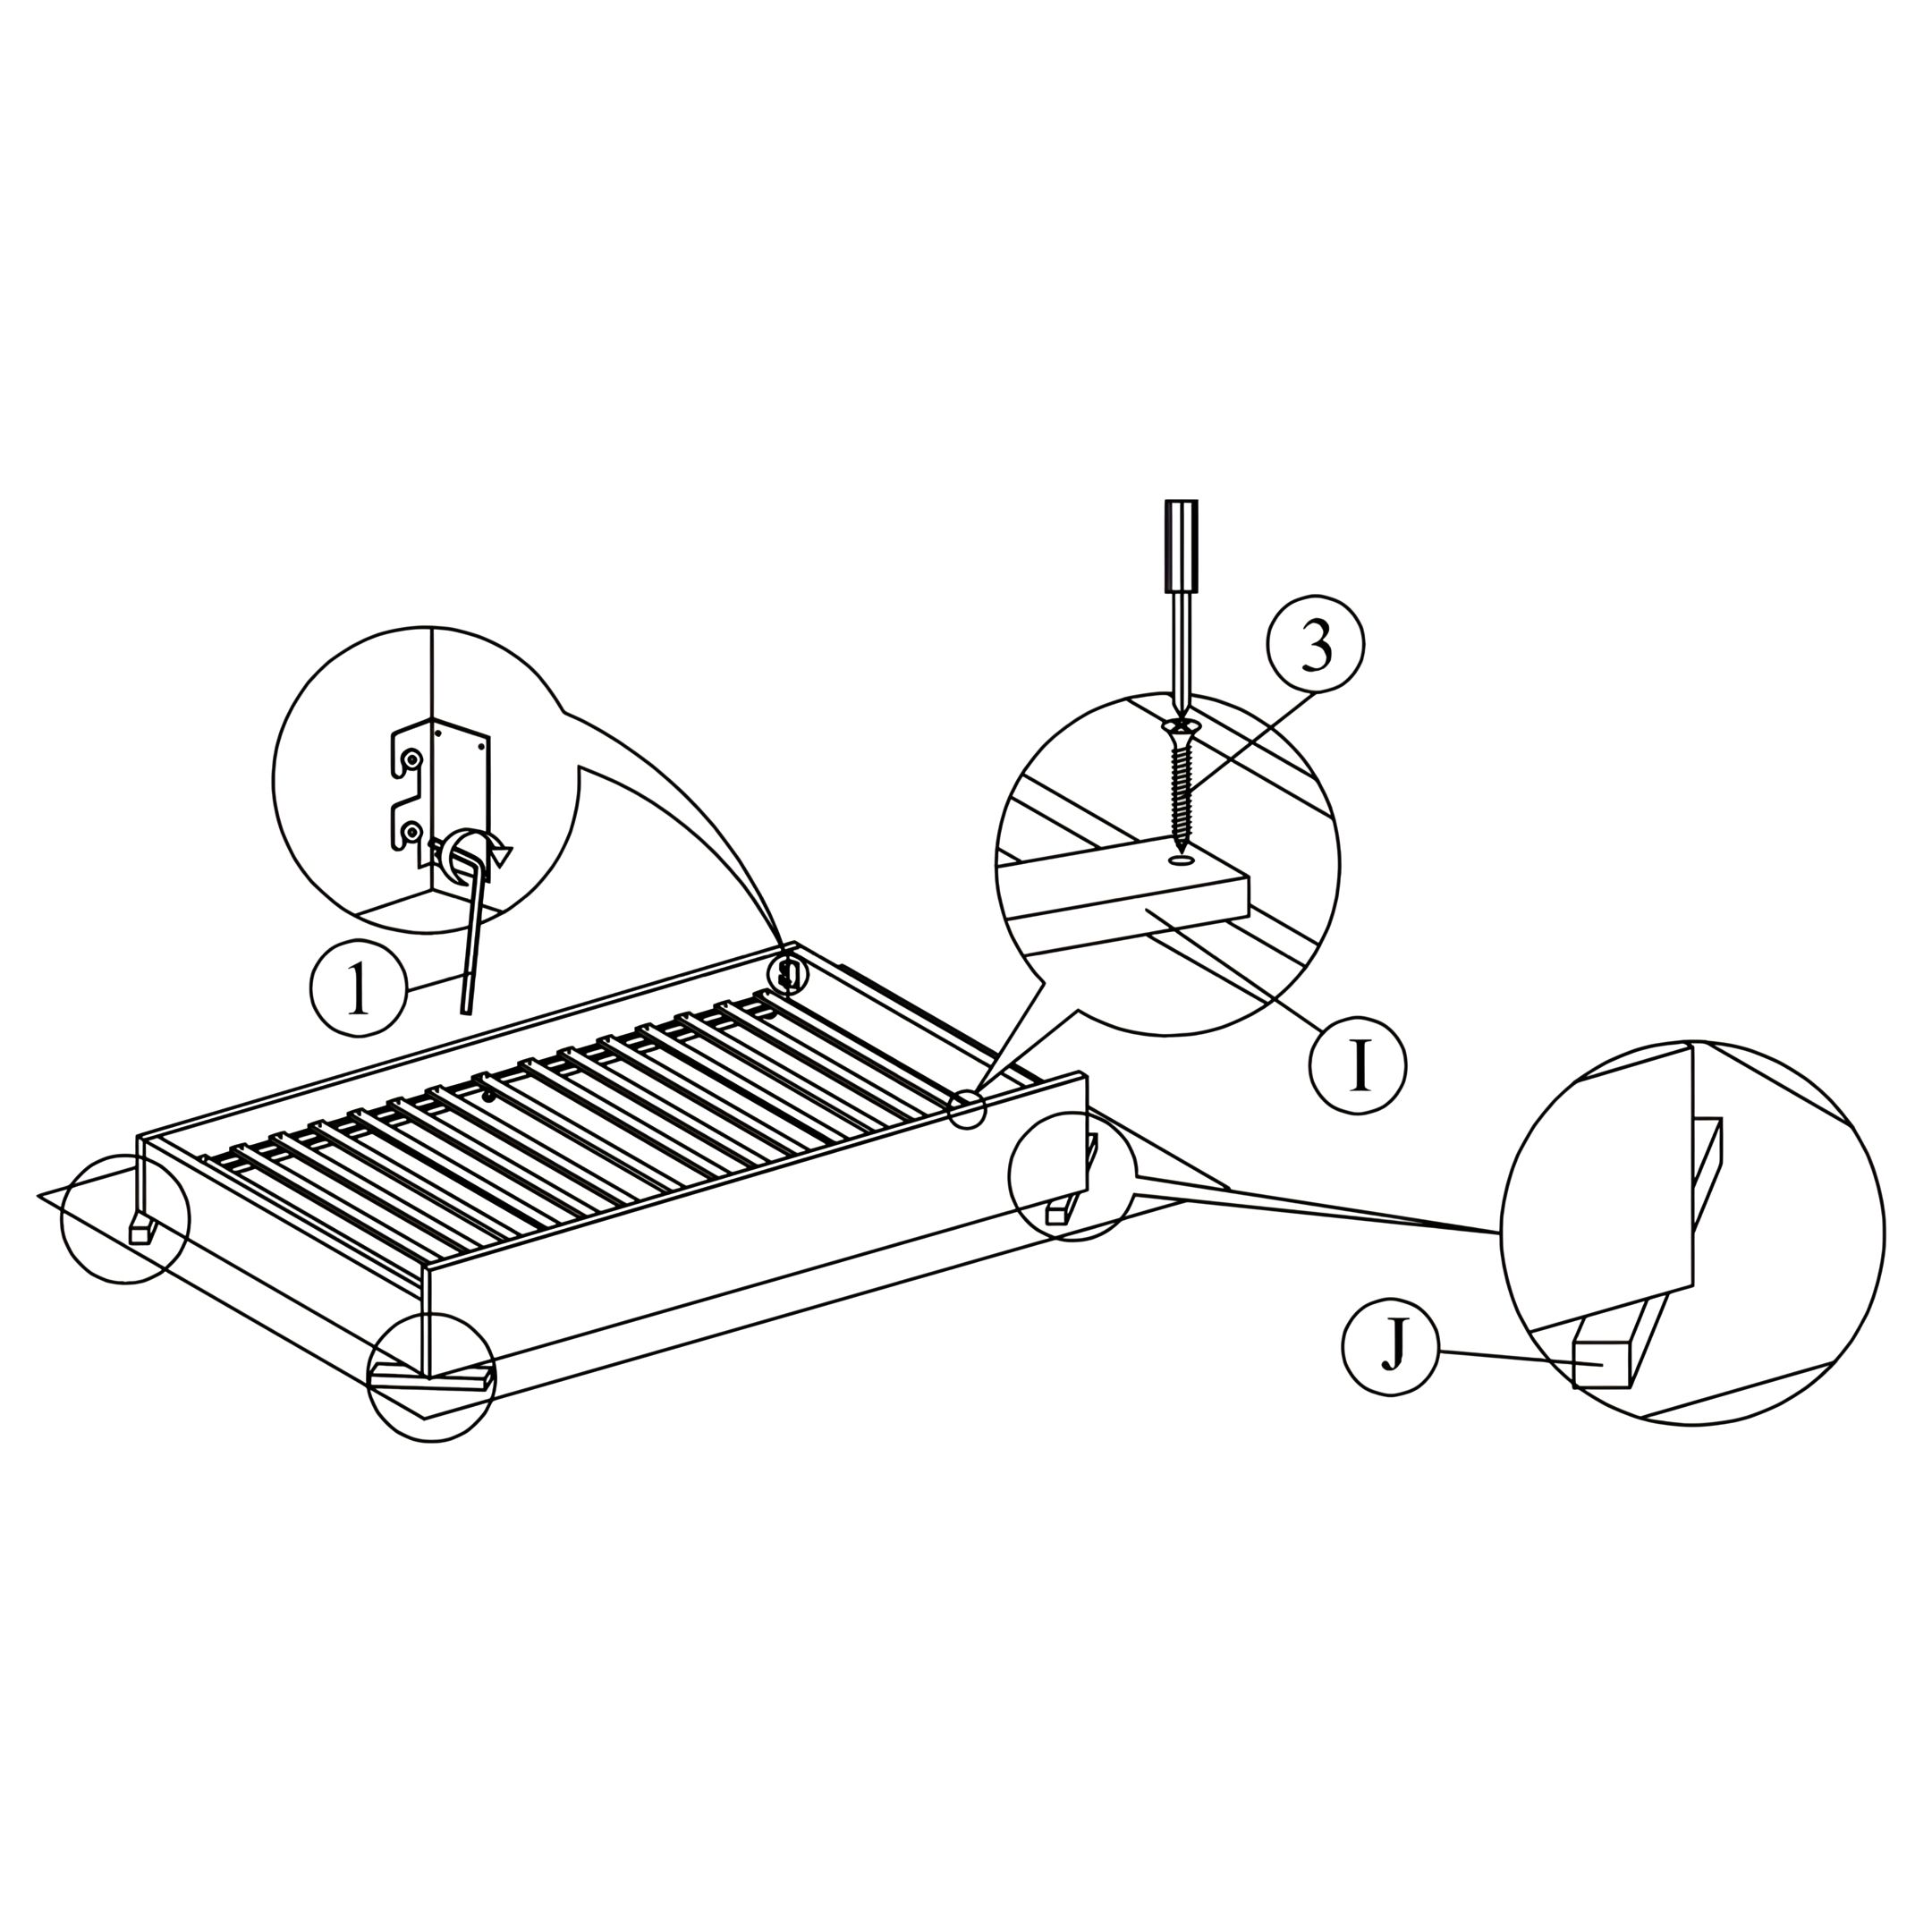 Place the wooden blocks (J) at the corner of the trundle and fix the slat (I) to the trundle at (F) & (G). 7. Insert Trundle Bed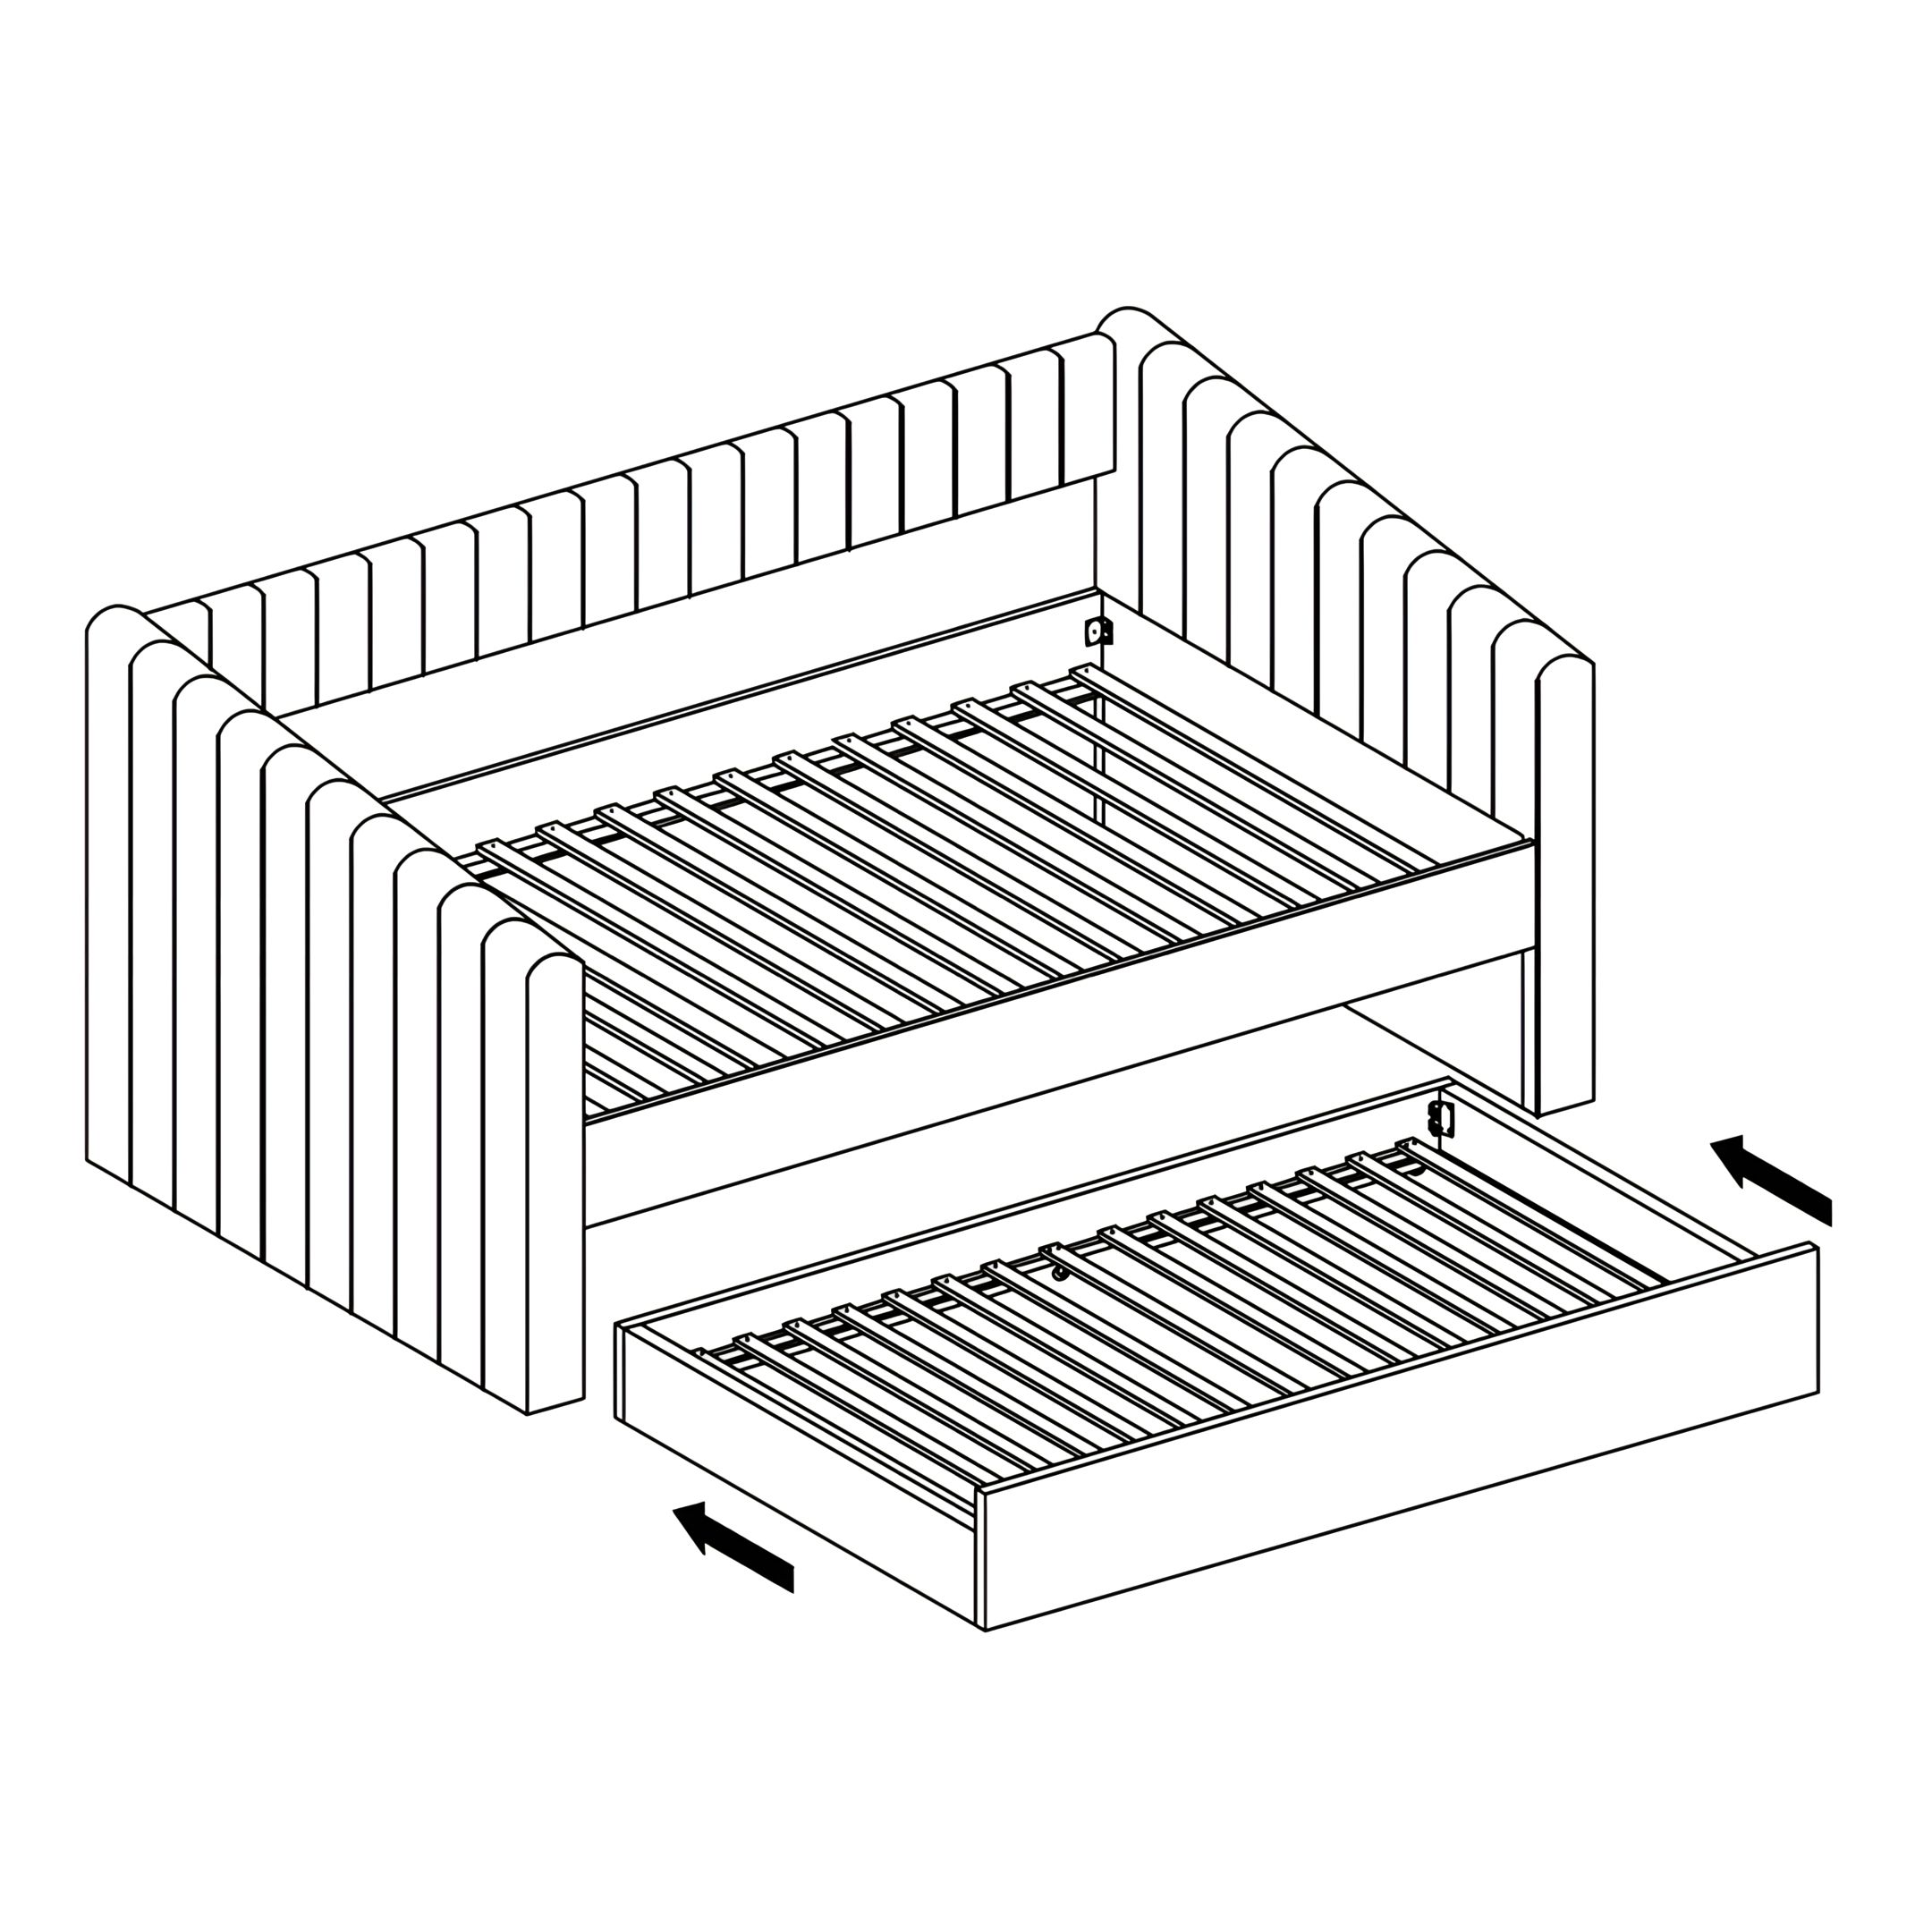 Assembly is complete |