1. Attach the Side Wings
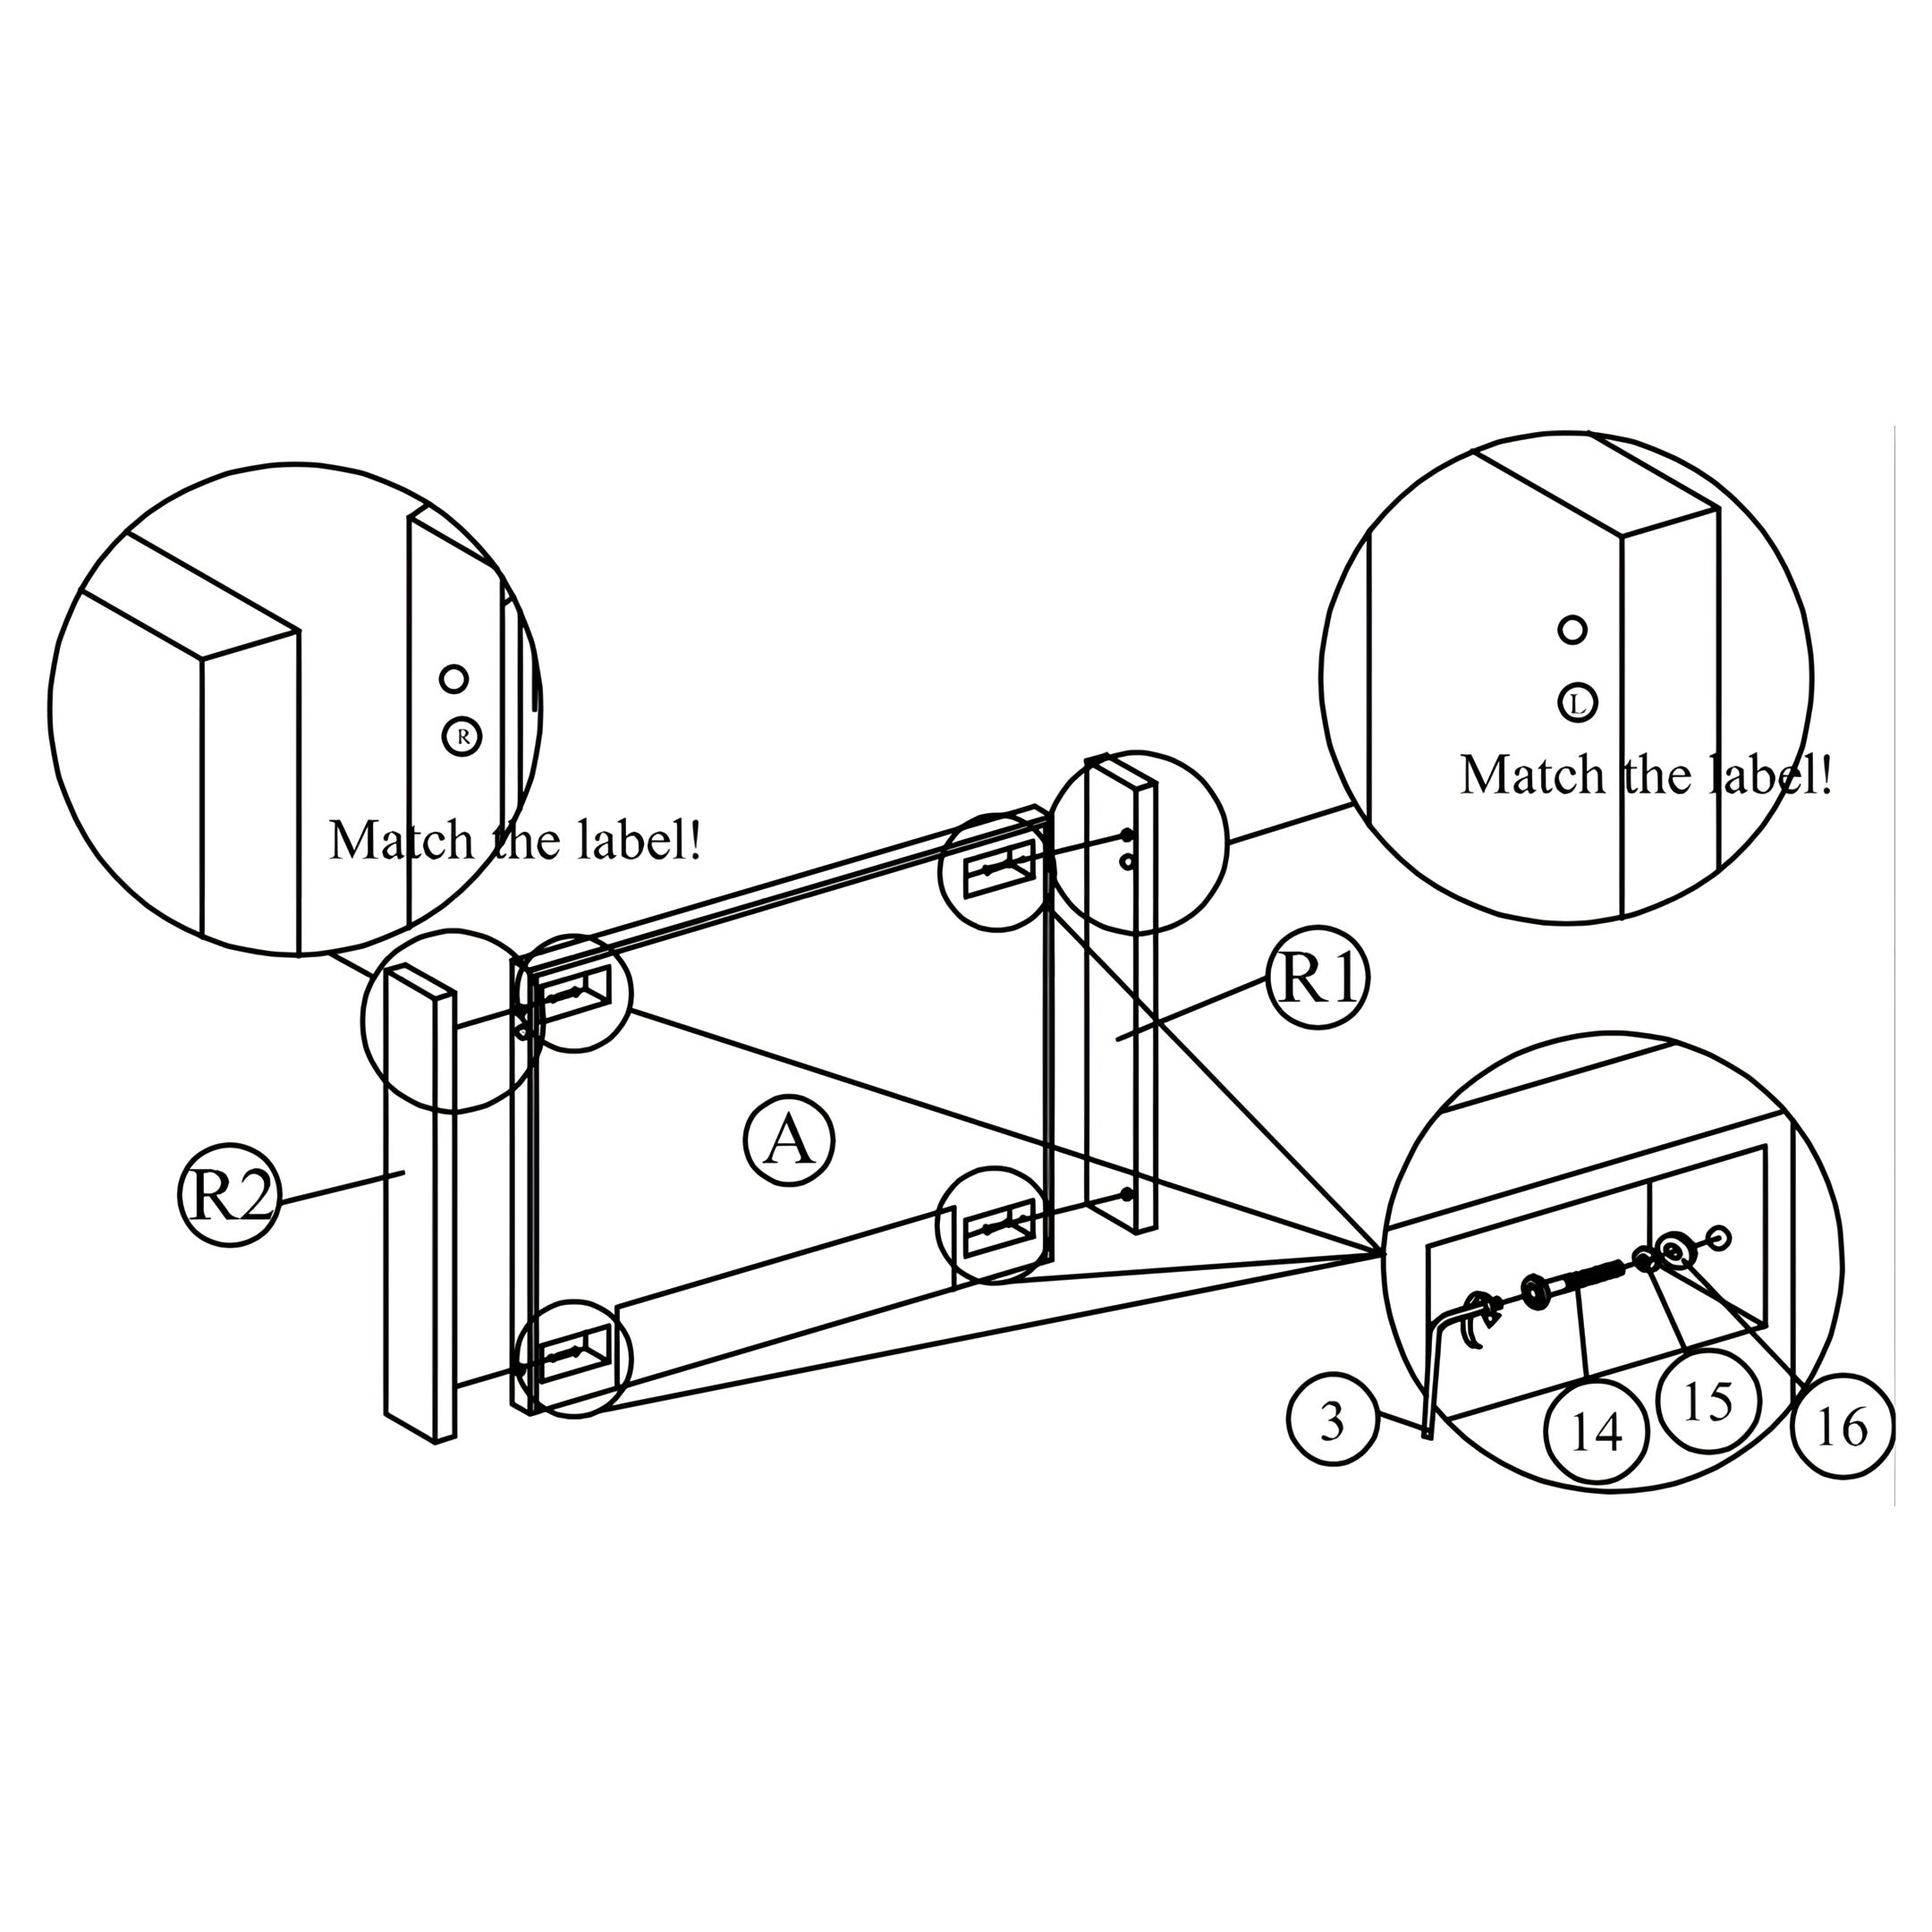
Tighten the side wings (R) to headboard (A) as shown.
 Instructions by time4sleep Savannah Upholstered Drawer Bed FrameAssembly instructions for Savannah Upholstered Drawer Bed Frame by Time4Sleep Product Information Savannah Upholstered Drawer Bed FrameThe Savannah offers a unique take on the upholstered bed with its winged headboard and clean vertical lines. The deep cushioning to the headboard will offer comfortable support. Upholstered in an easy to coordinate luxurious textured weave fabric the Savannah will be a versatile and stylish addition to any bedroom. The bed comes with a sprung slatted base and features practical spacious drawers with one large drawer to the foot and smaller drawers on each side. View product (opens in new tab)
Tools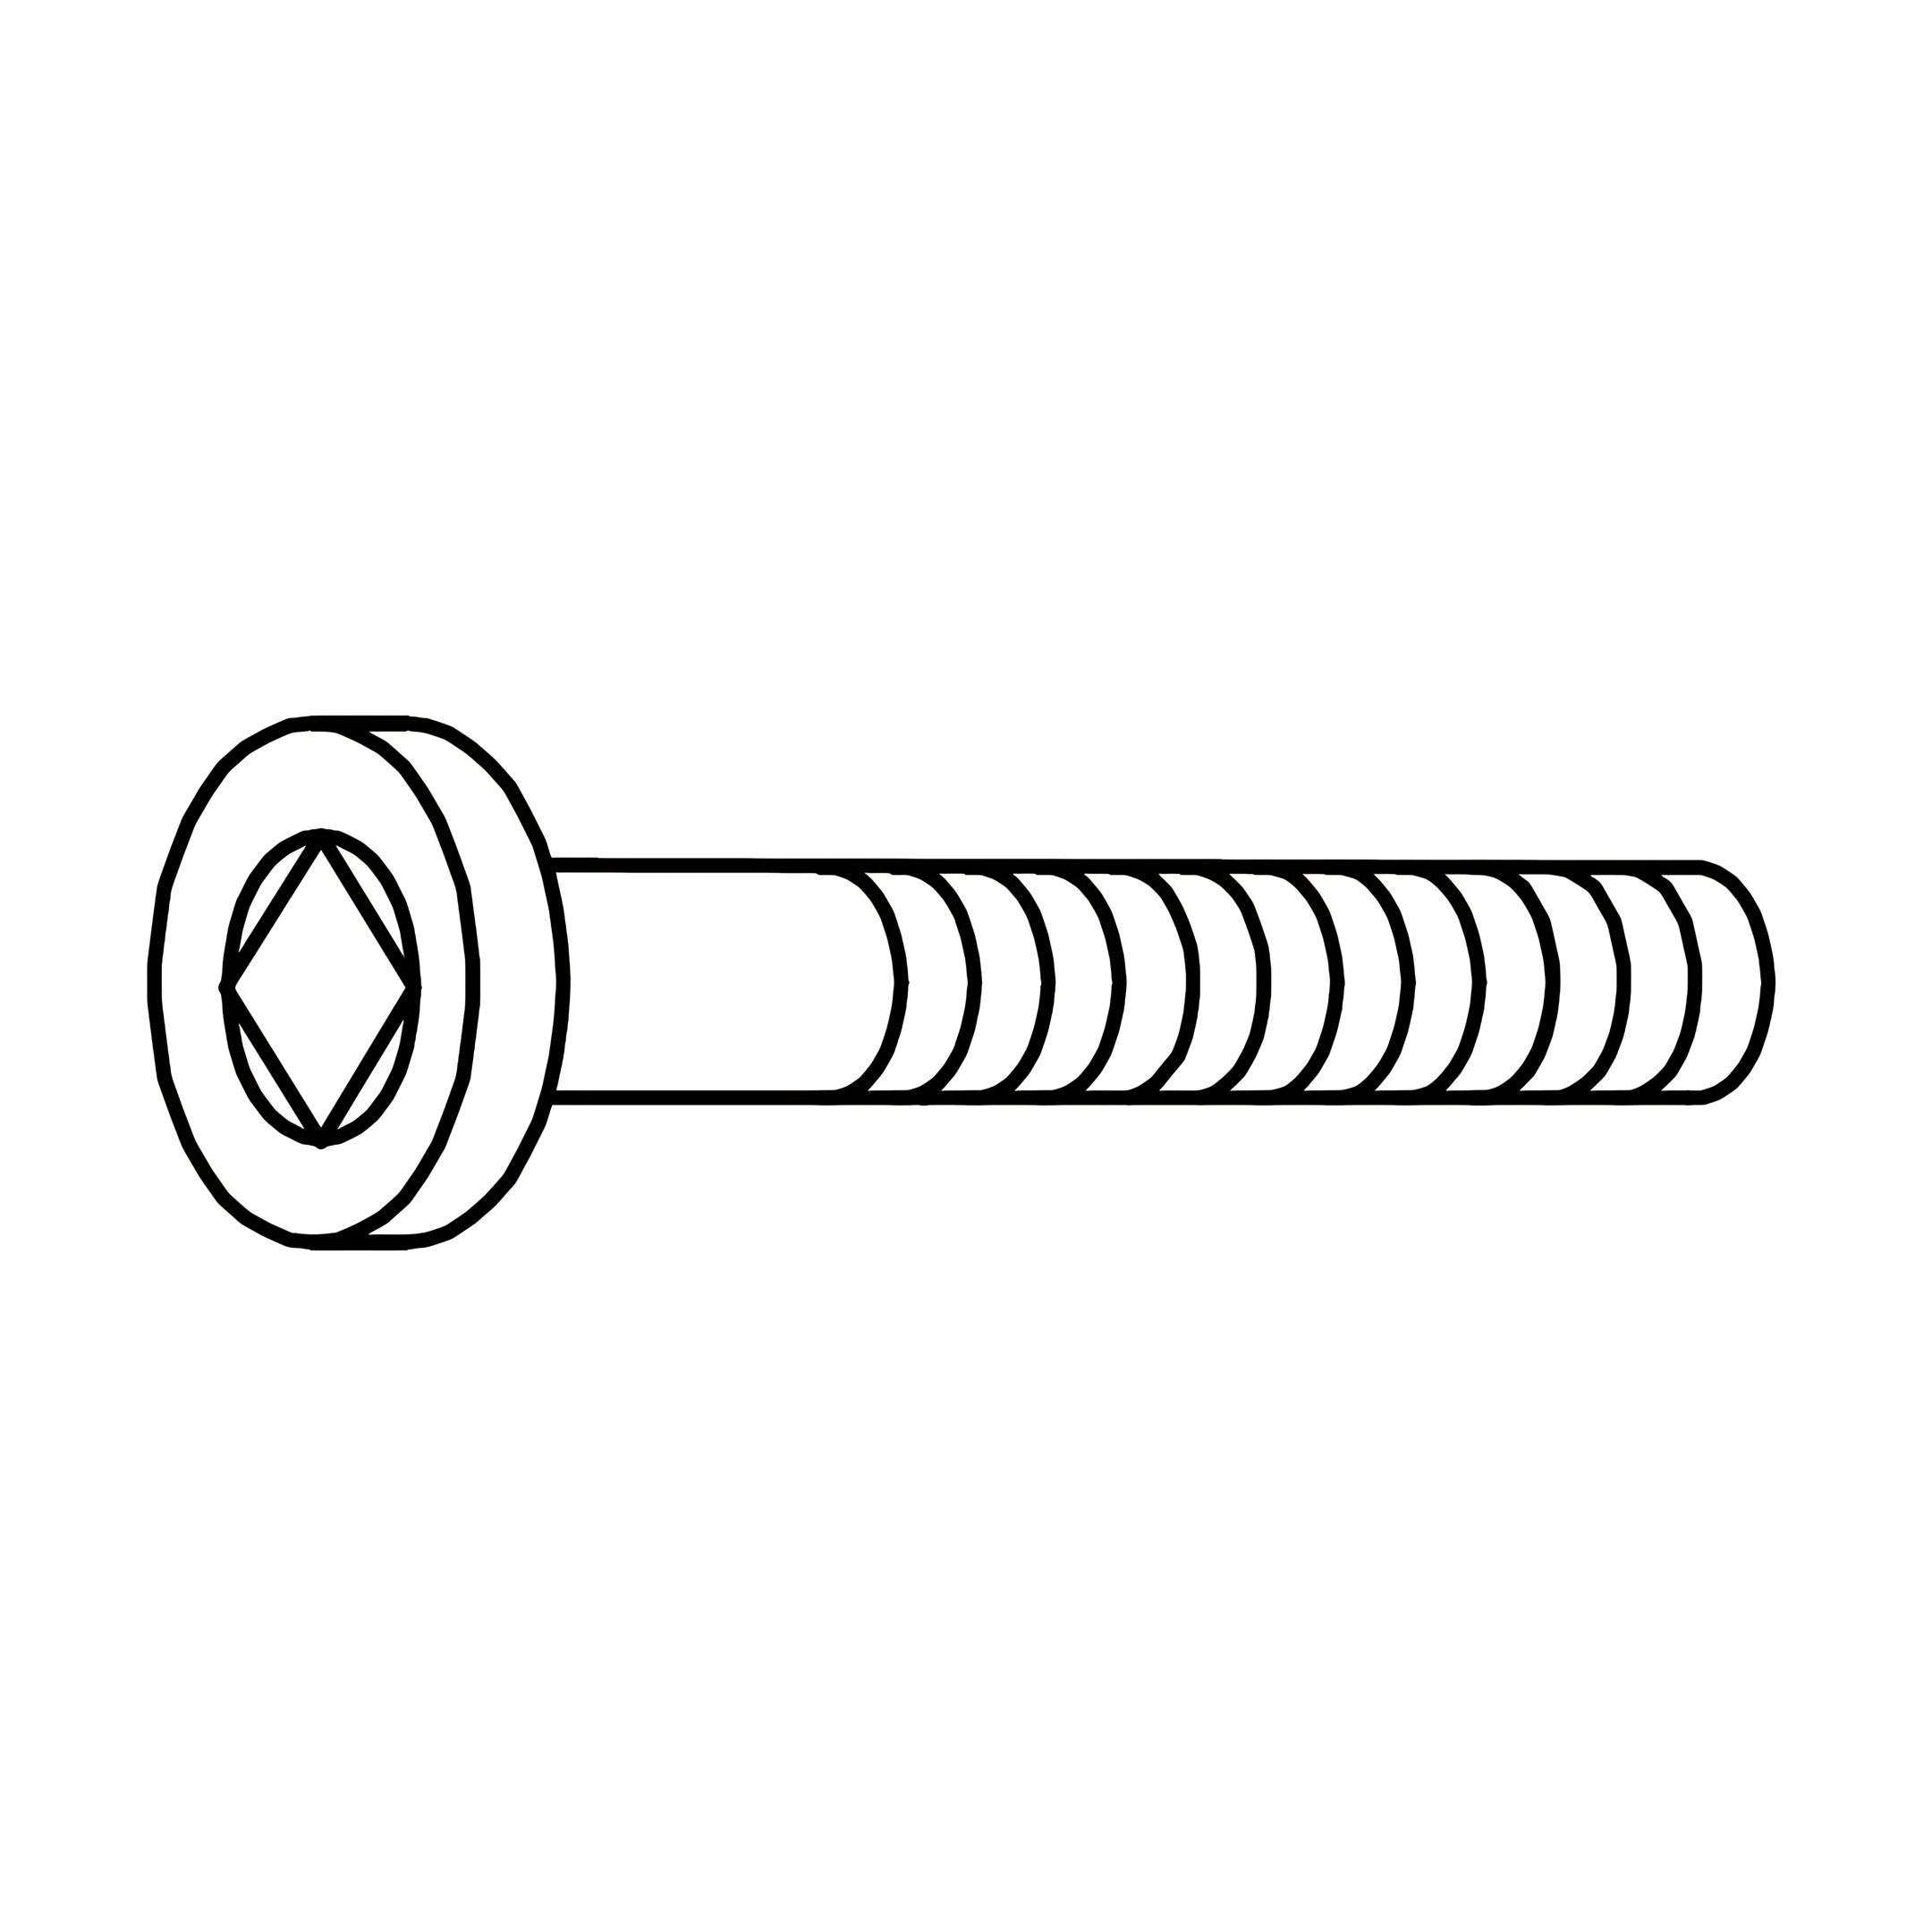 1 - JCBC (M6 x 40mm) 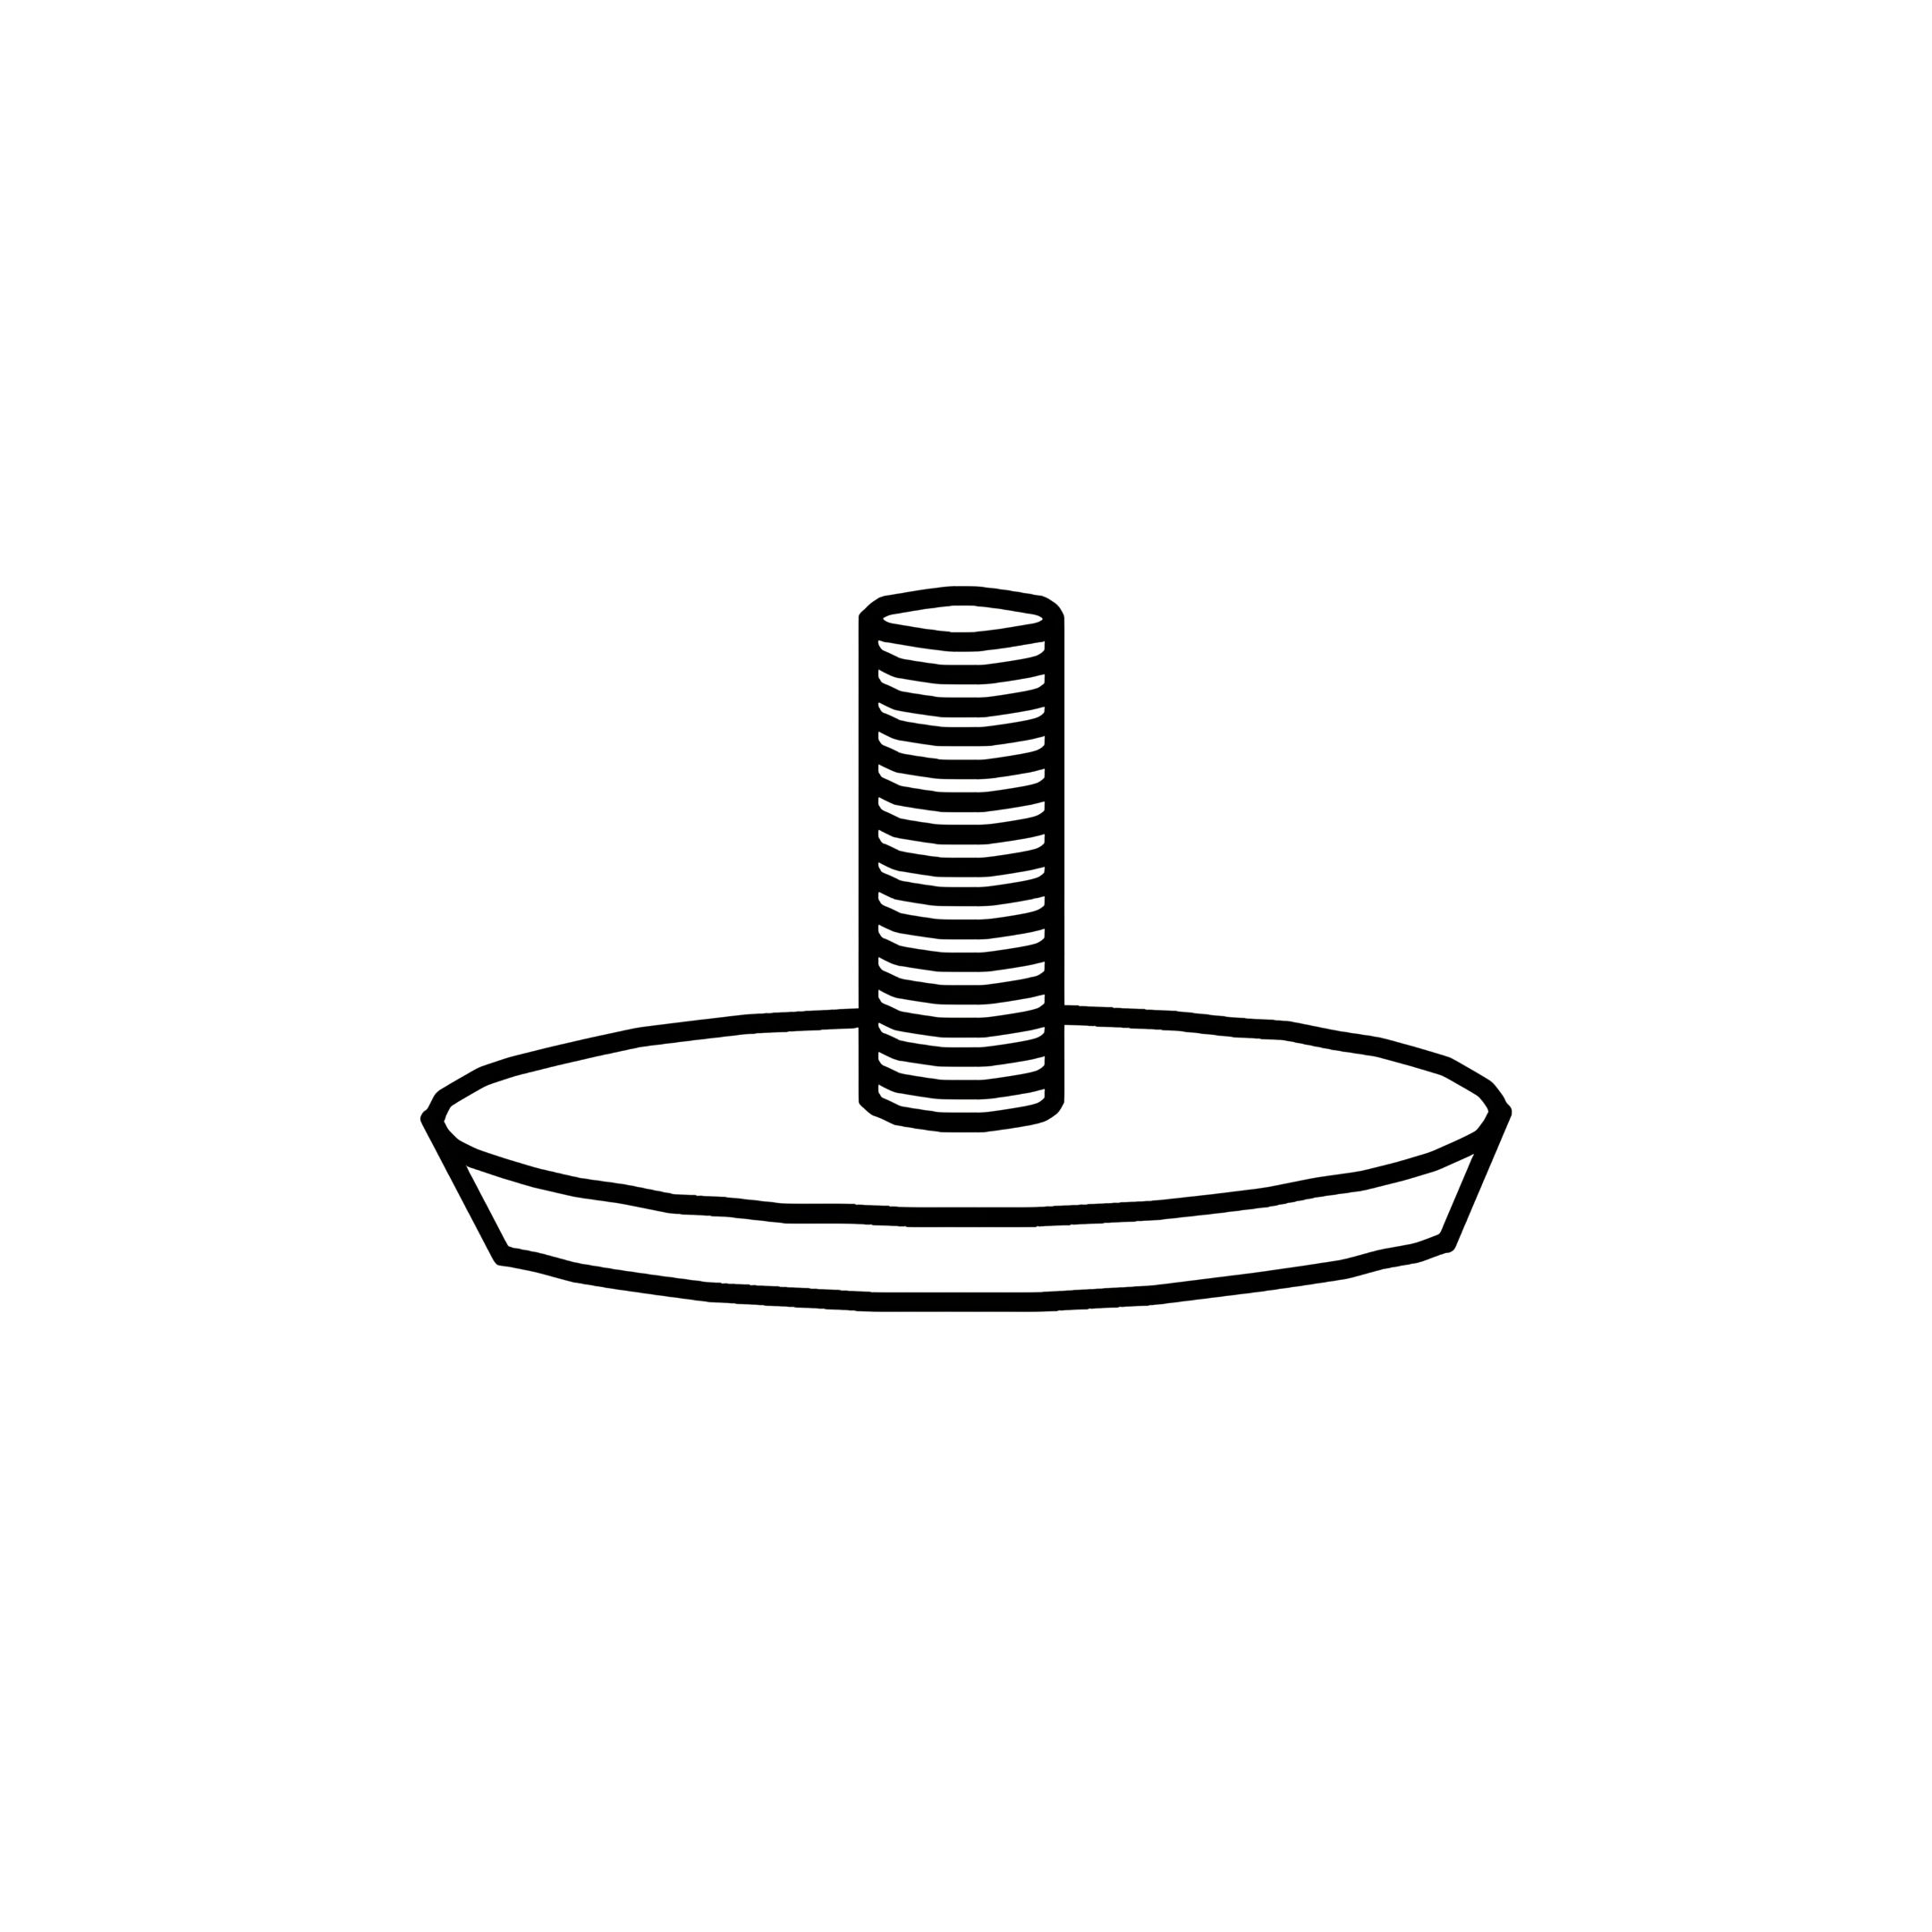 2 - Small Adjuster (35 mm)  3 - Allen Key (M4 x 65mm) 4 - Allen Key (M5 x 70mm) 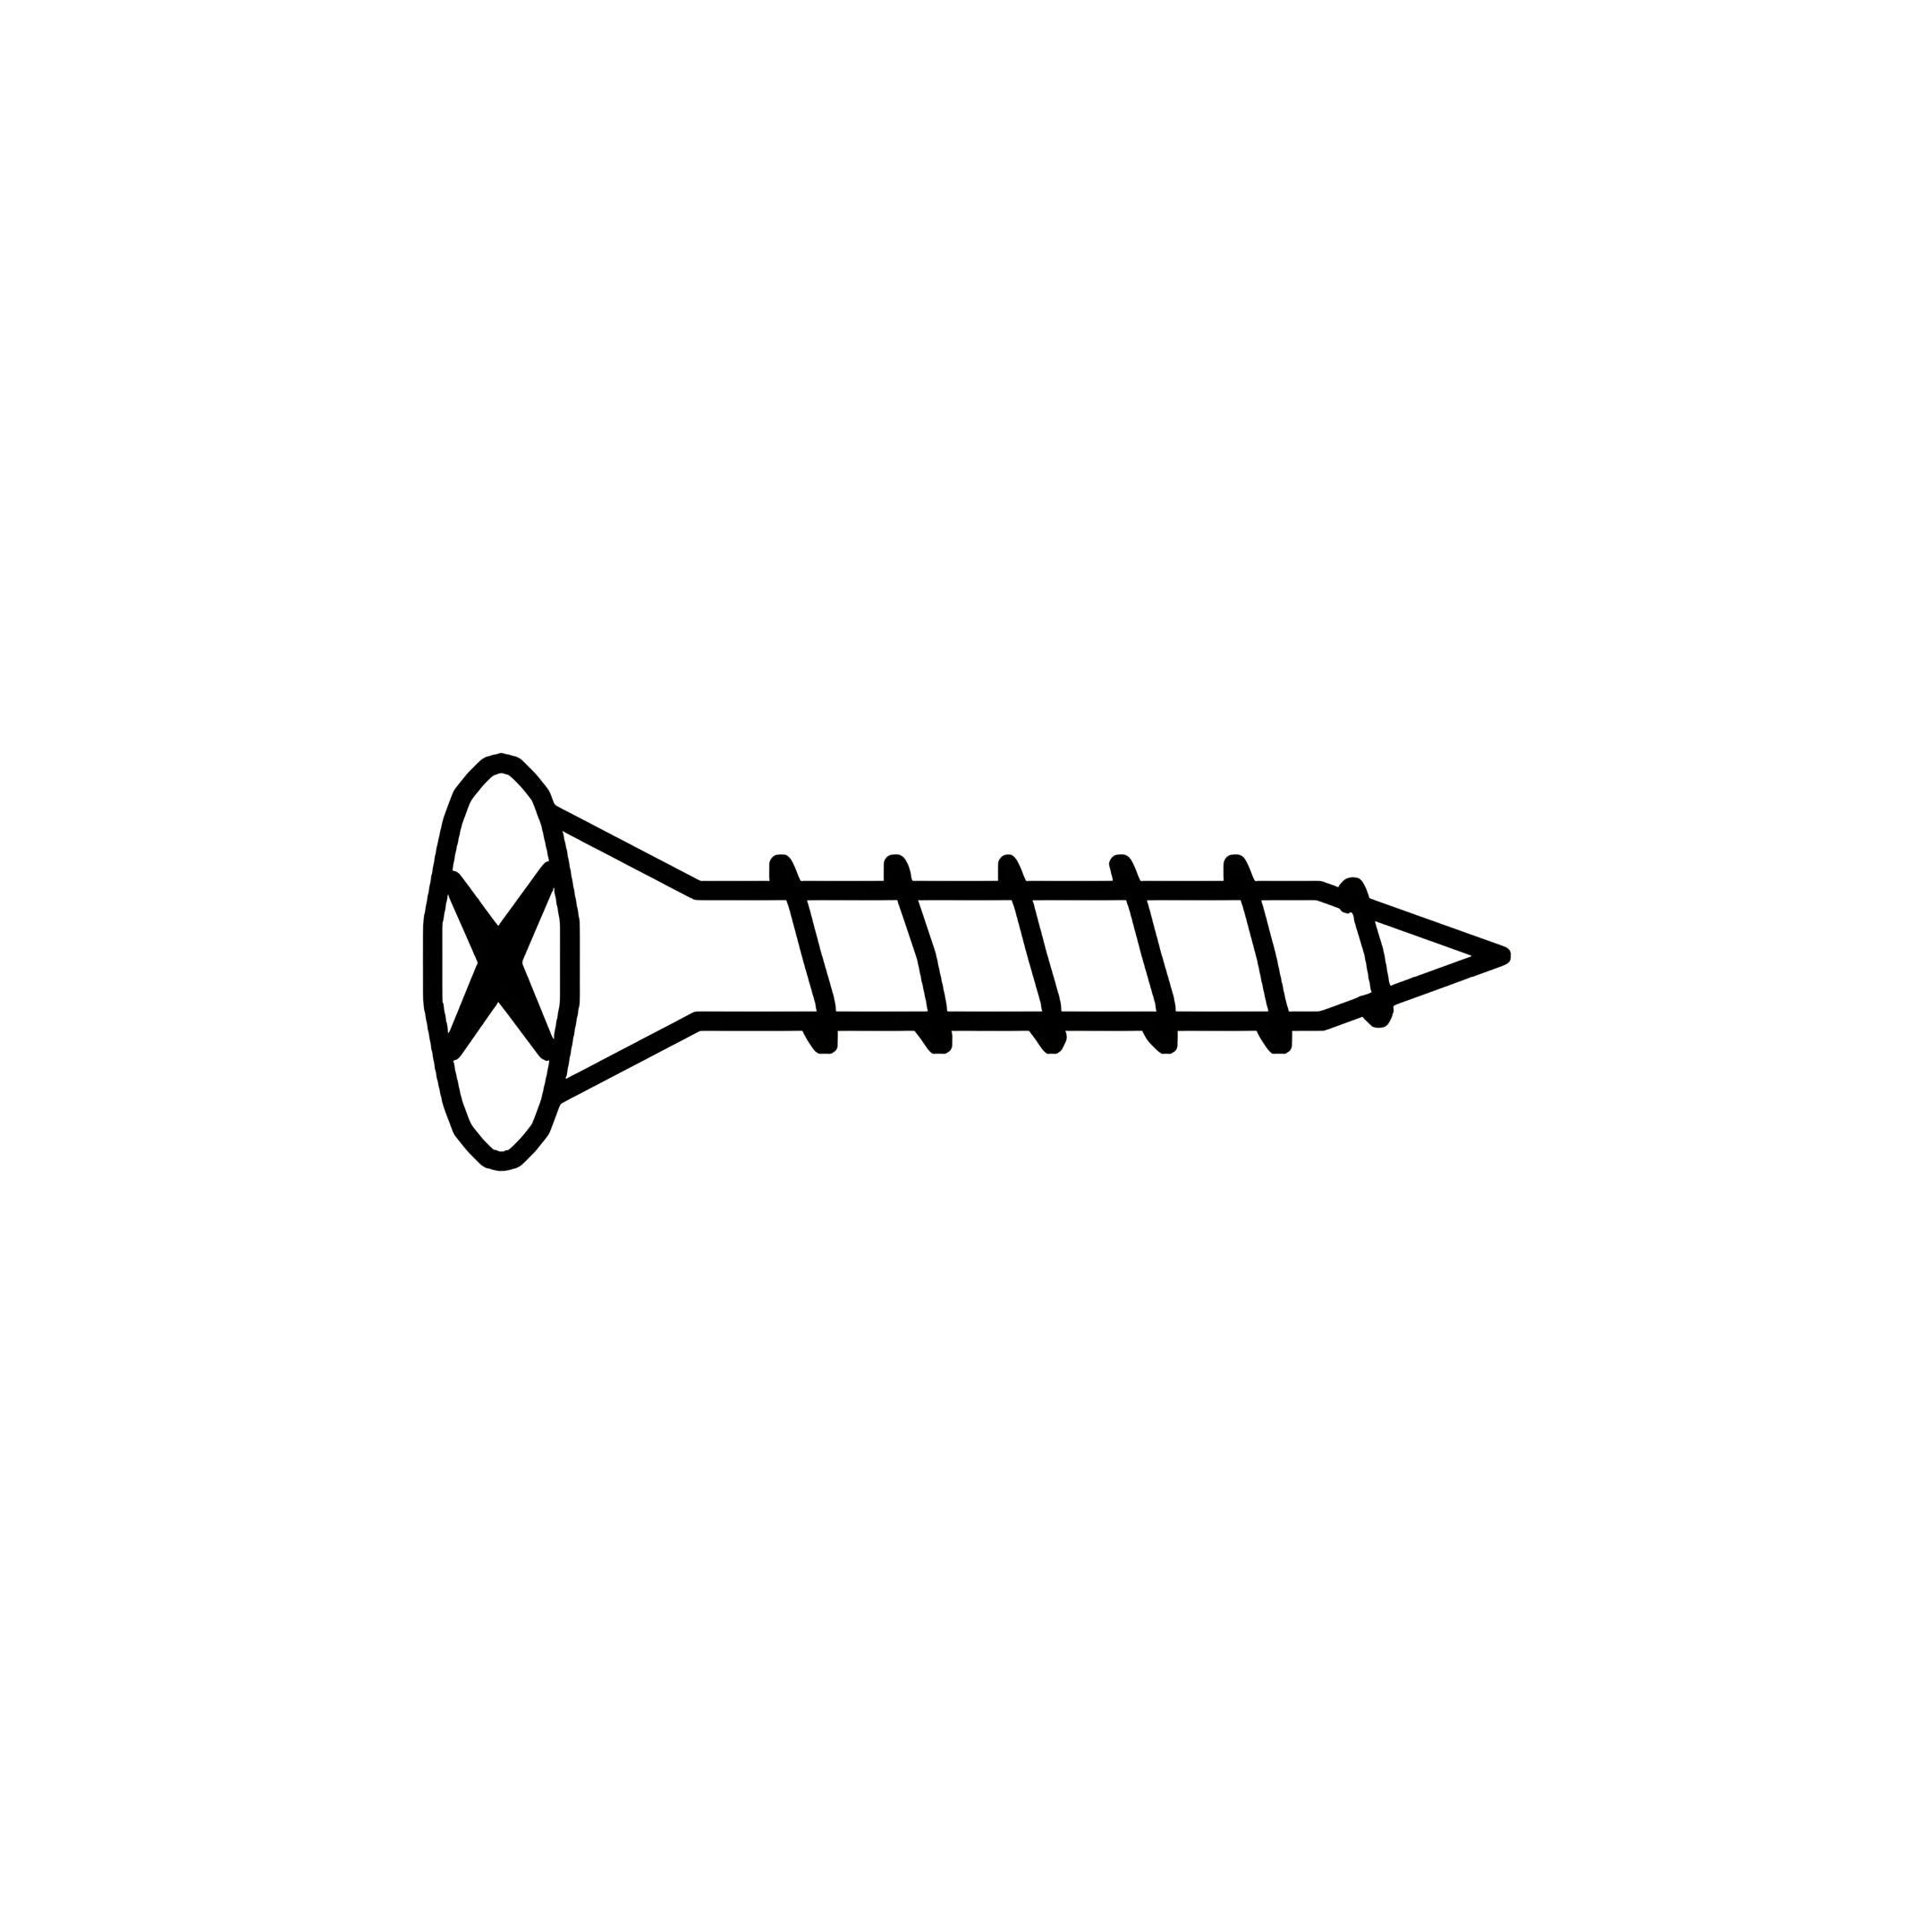 5 - CSK (M3.5 x 16mm)  6 - CSK (M4 x 28mm) 7 - CSK (M4 x 32mm)  8 - CSK (M4 x 50mm) 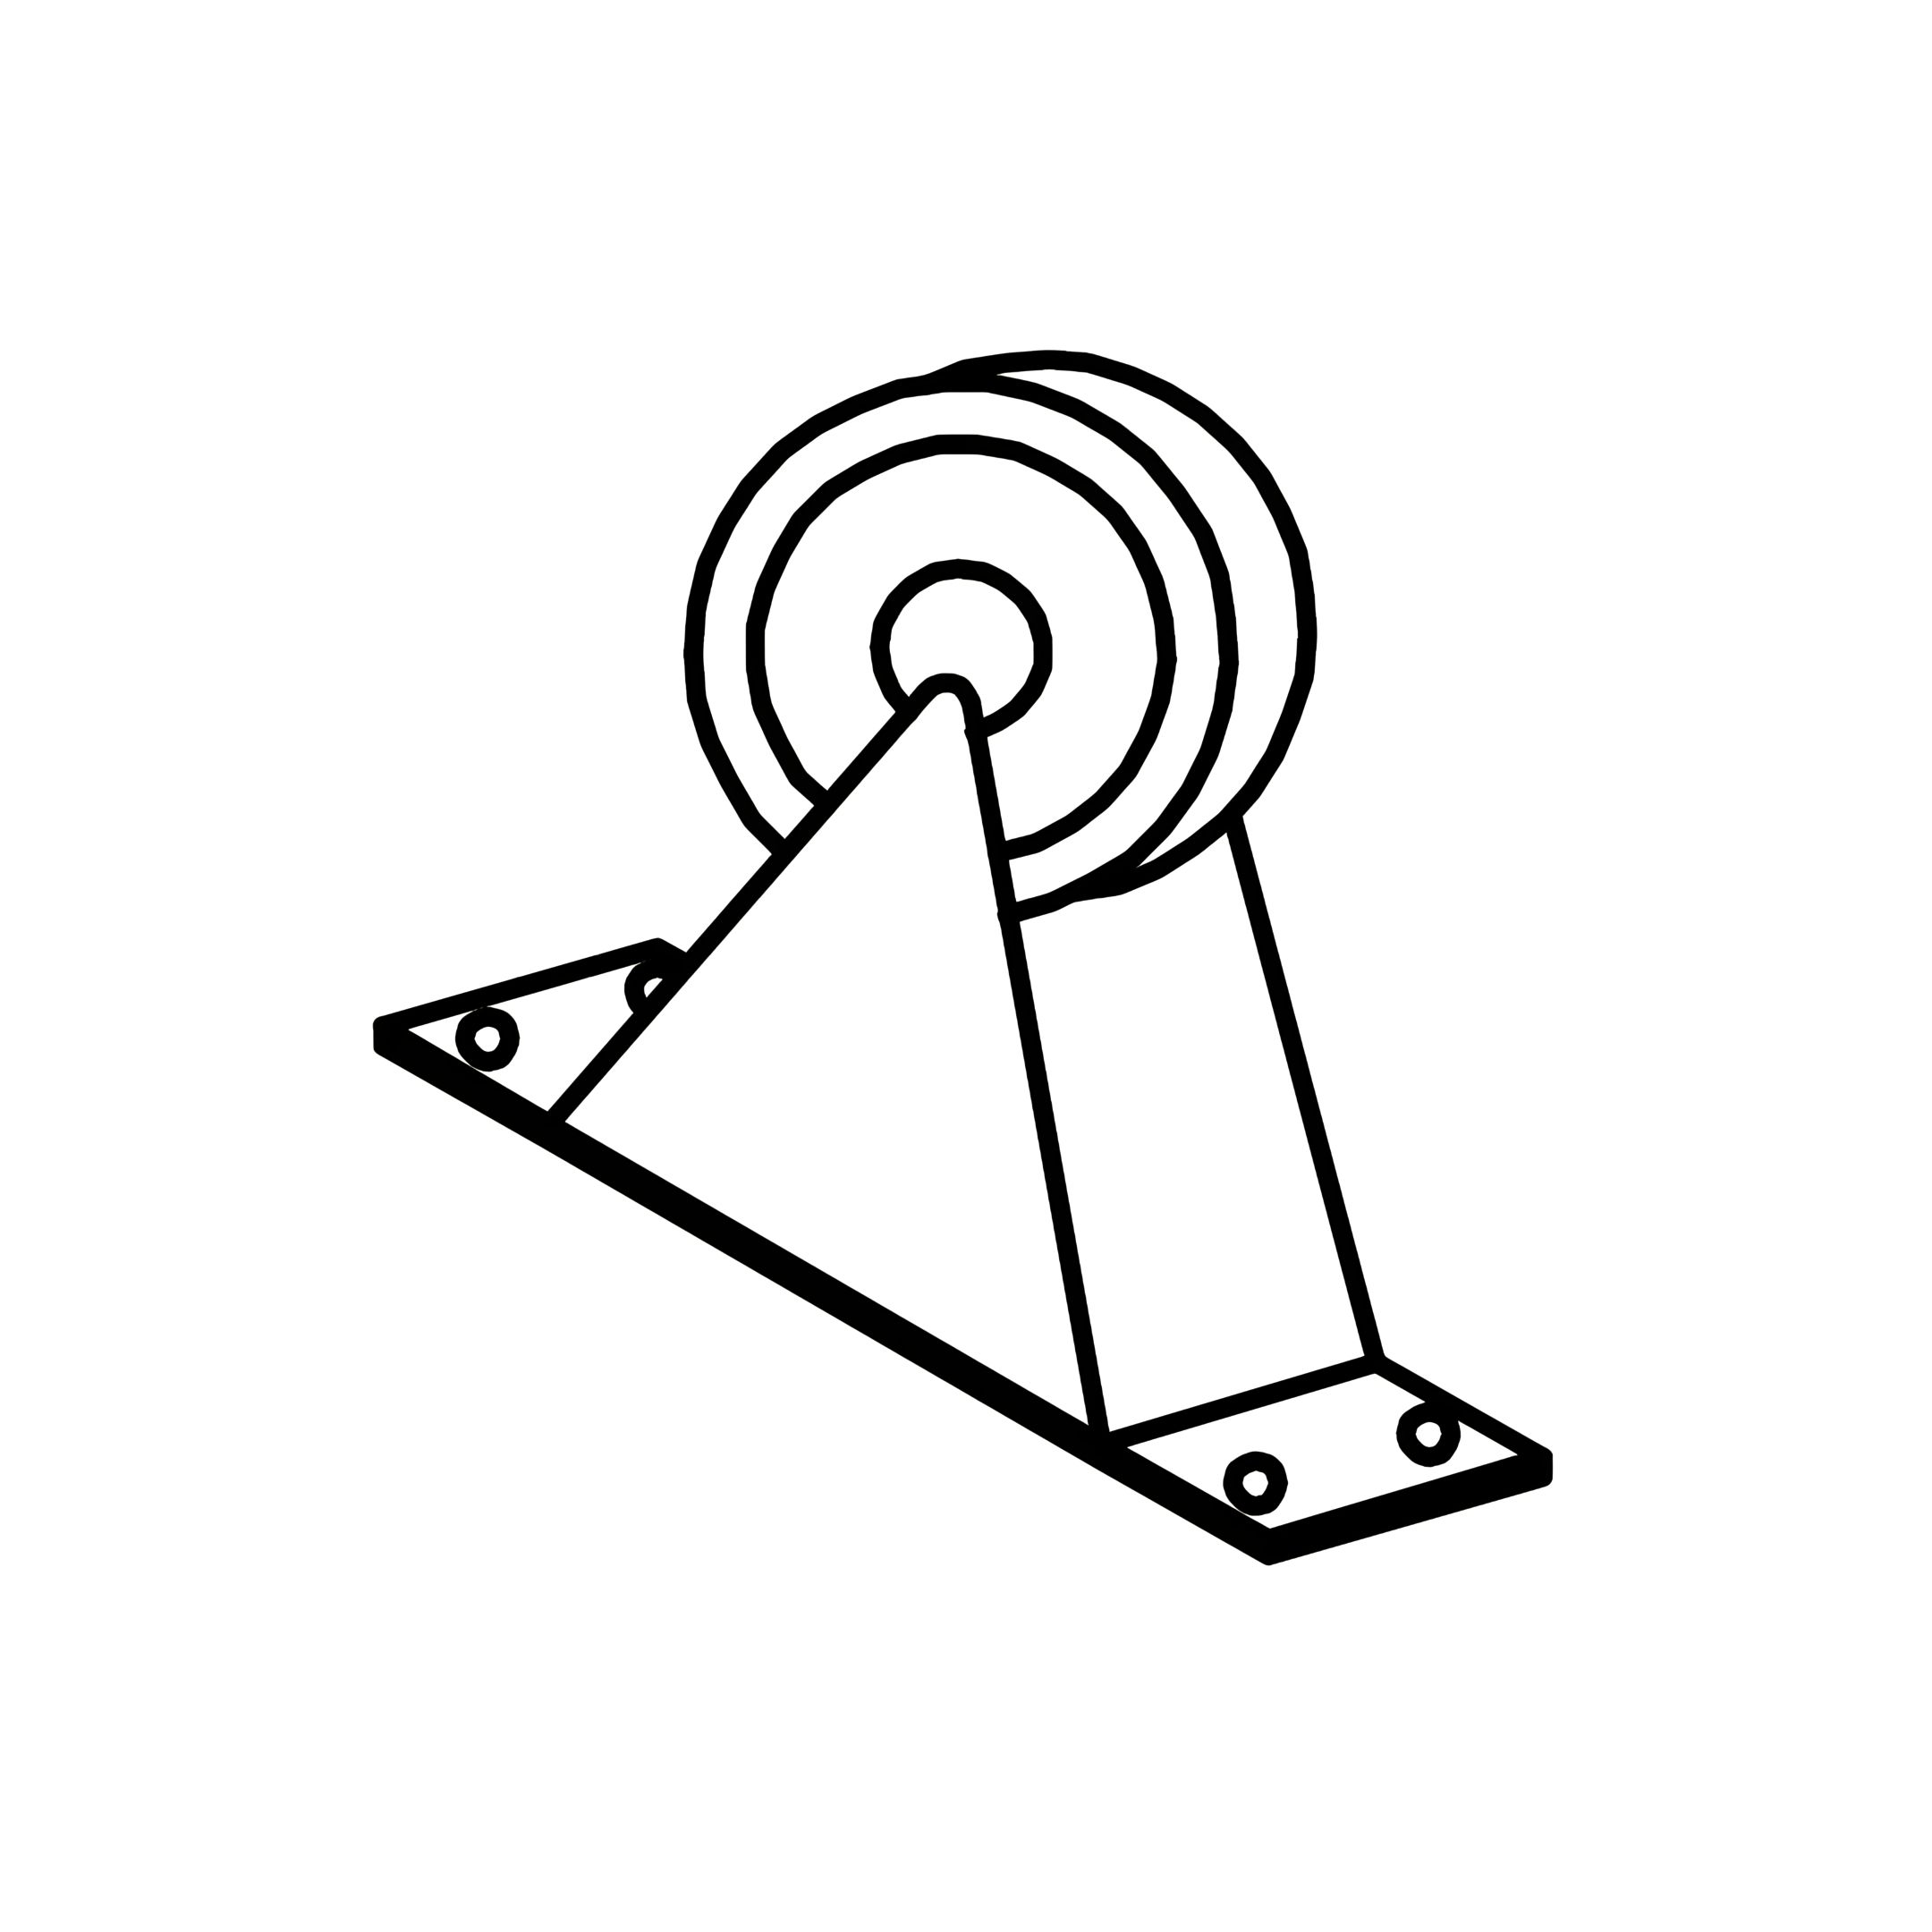 9 - Roller 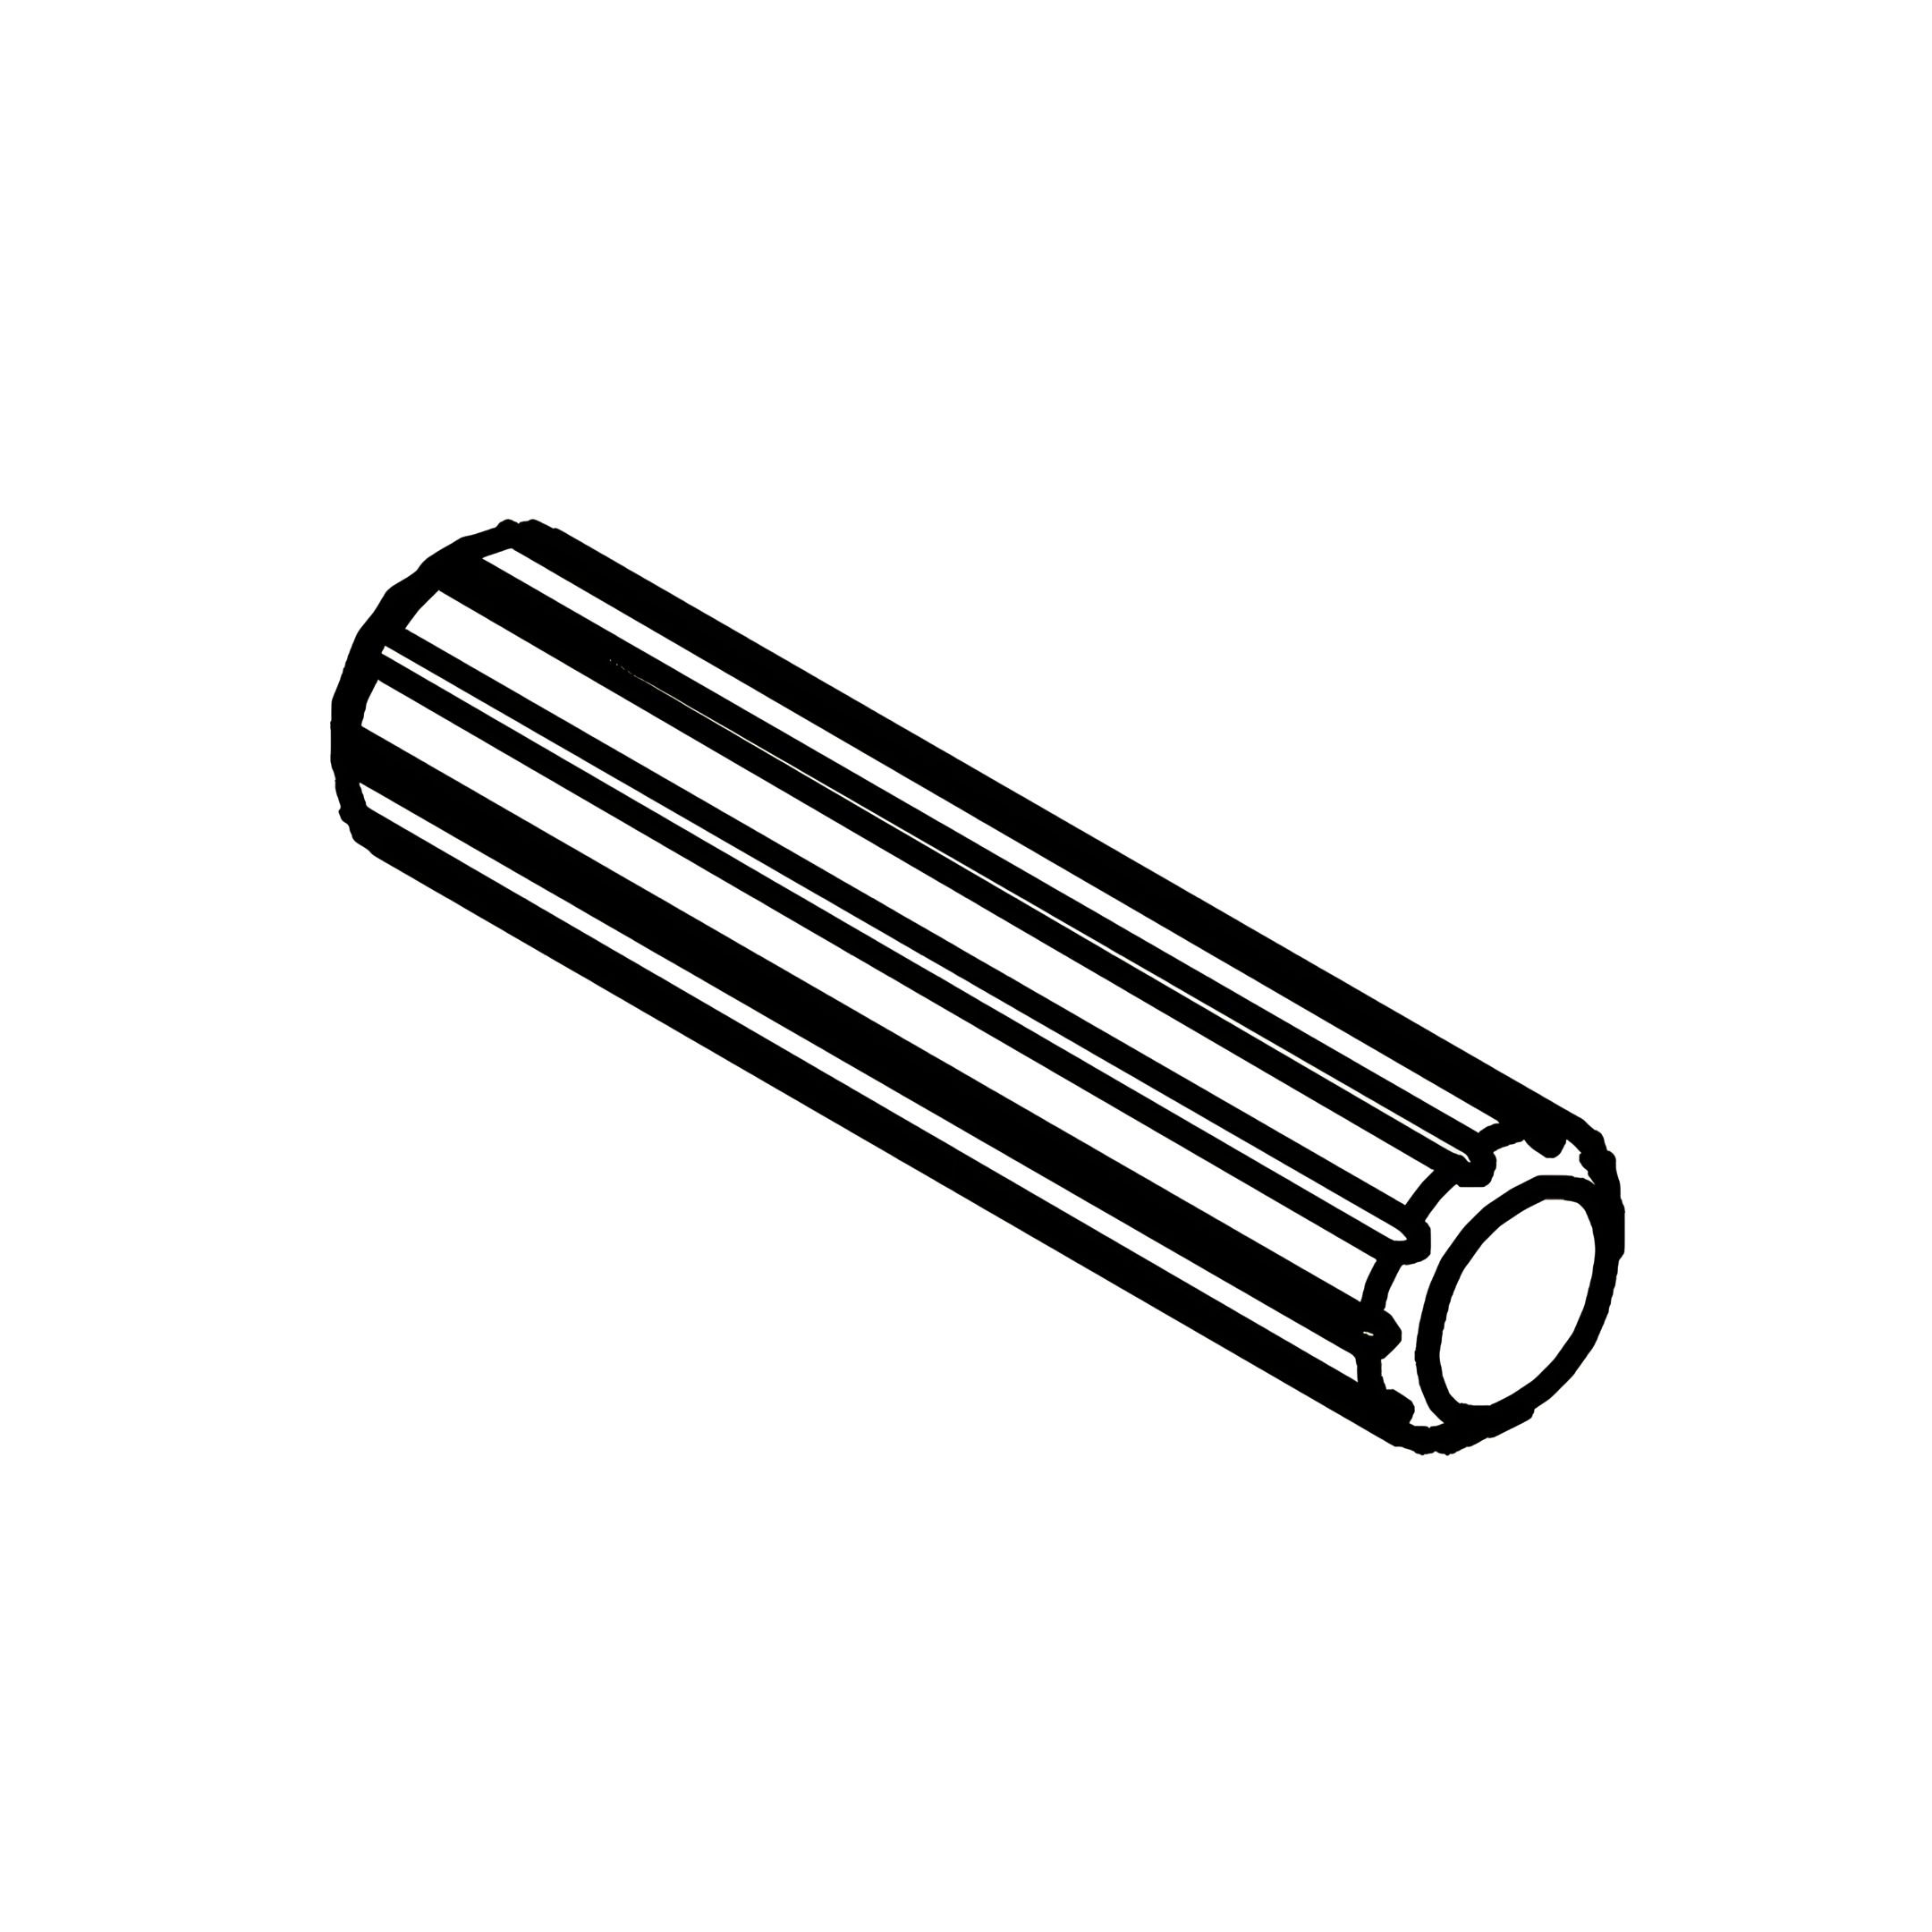 10 - Wooden Dowel (20mm) 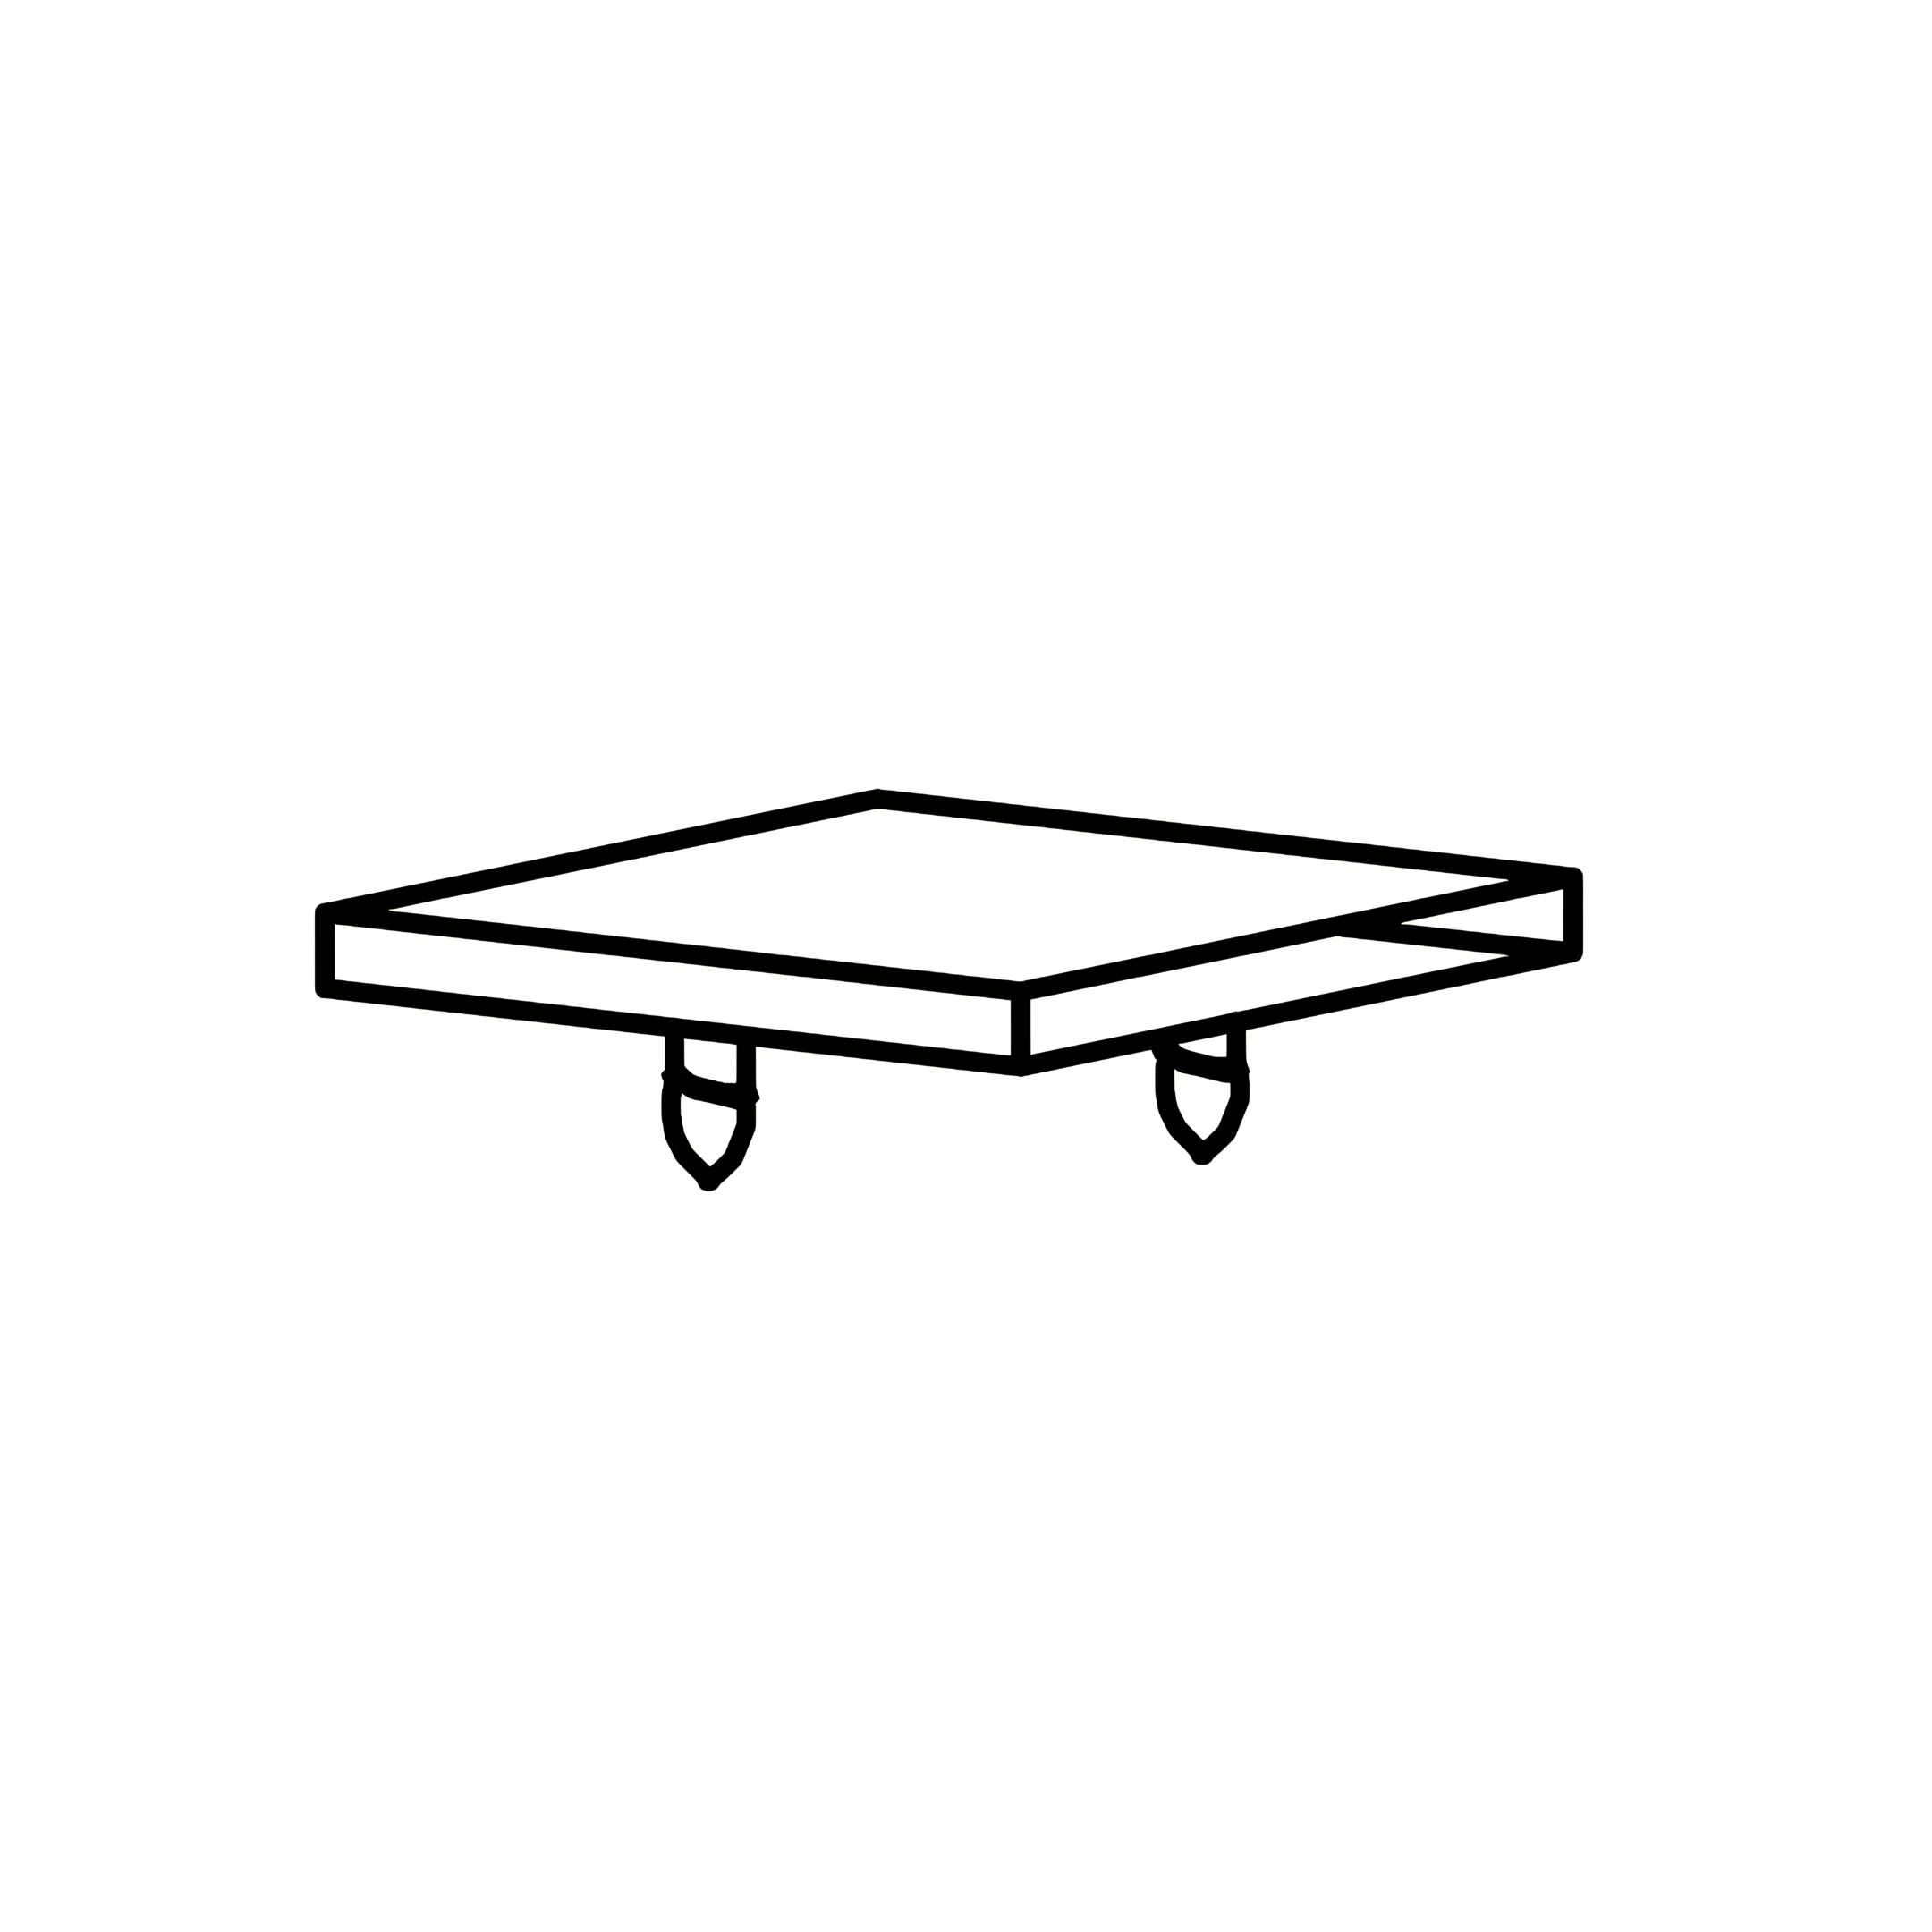 11 - Middle Holder 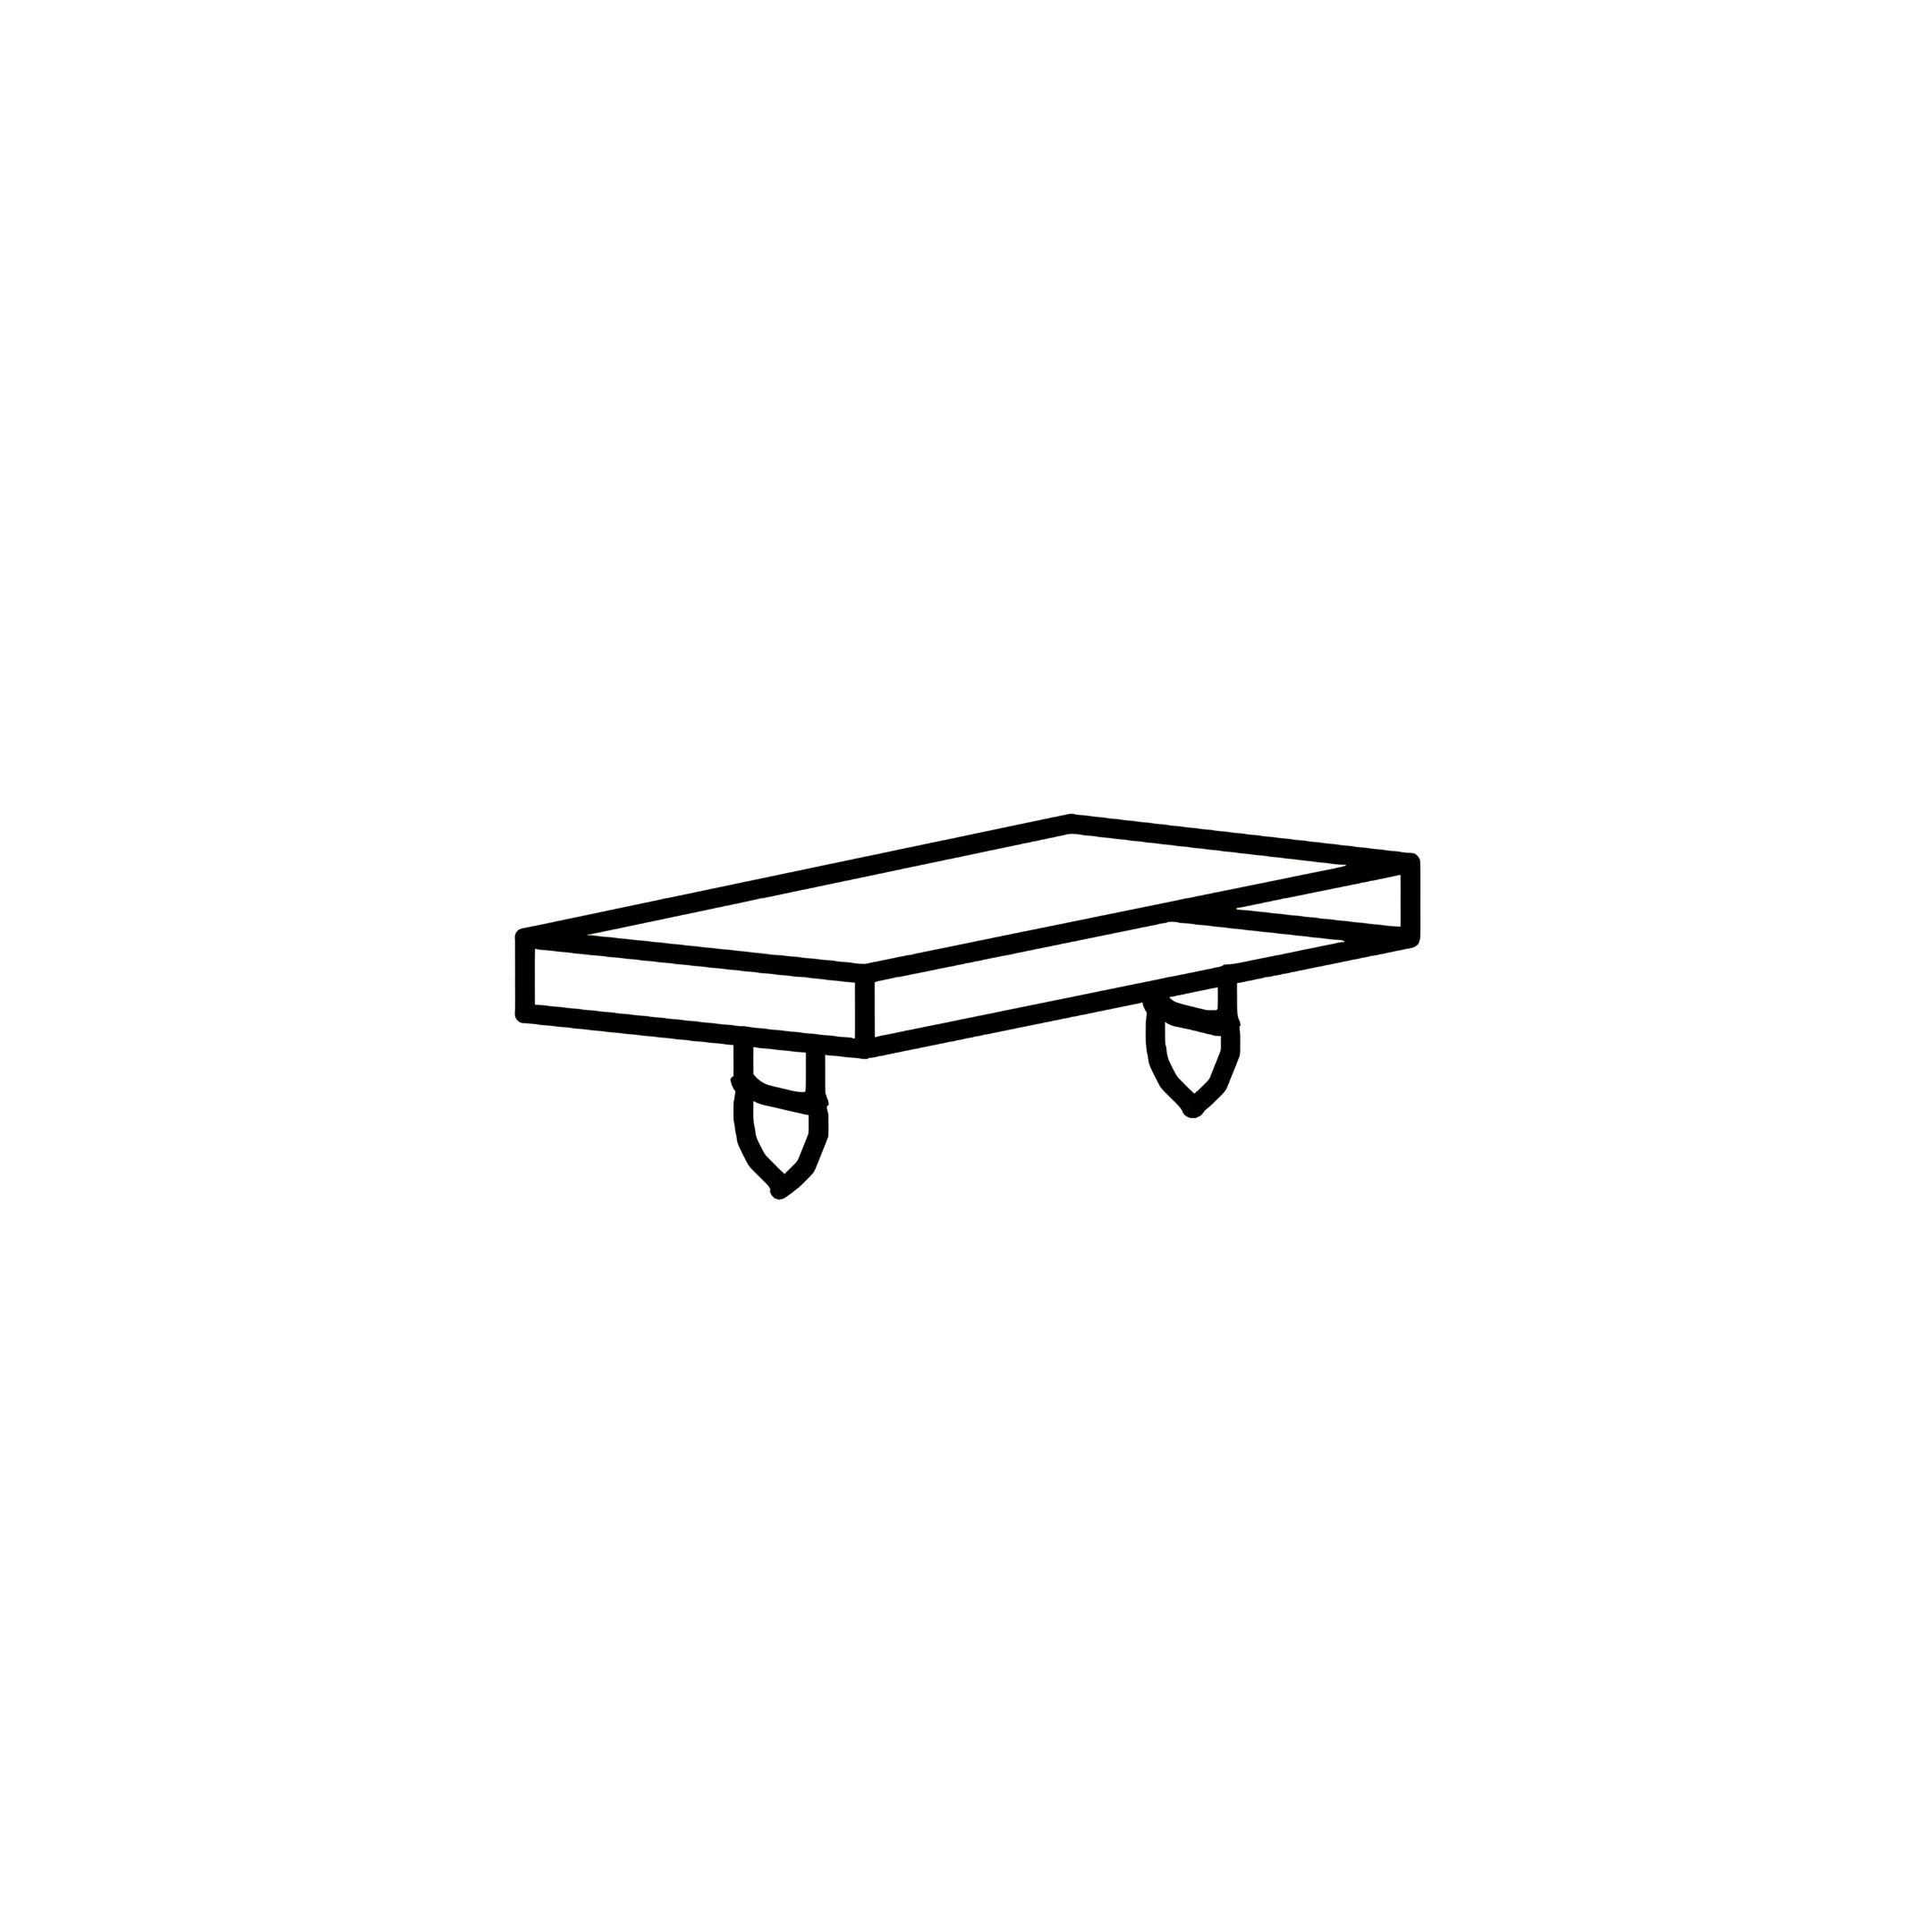 12 - End Holder 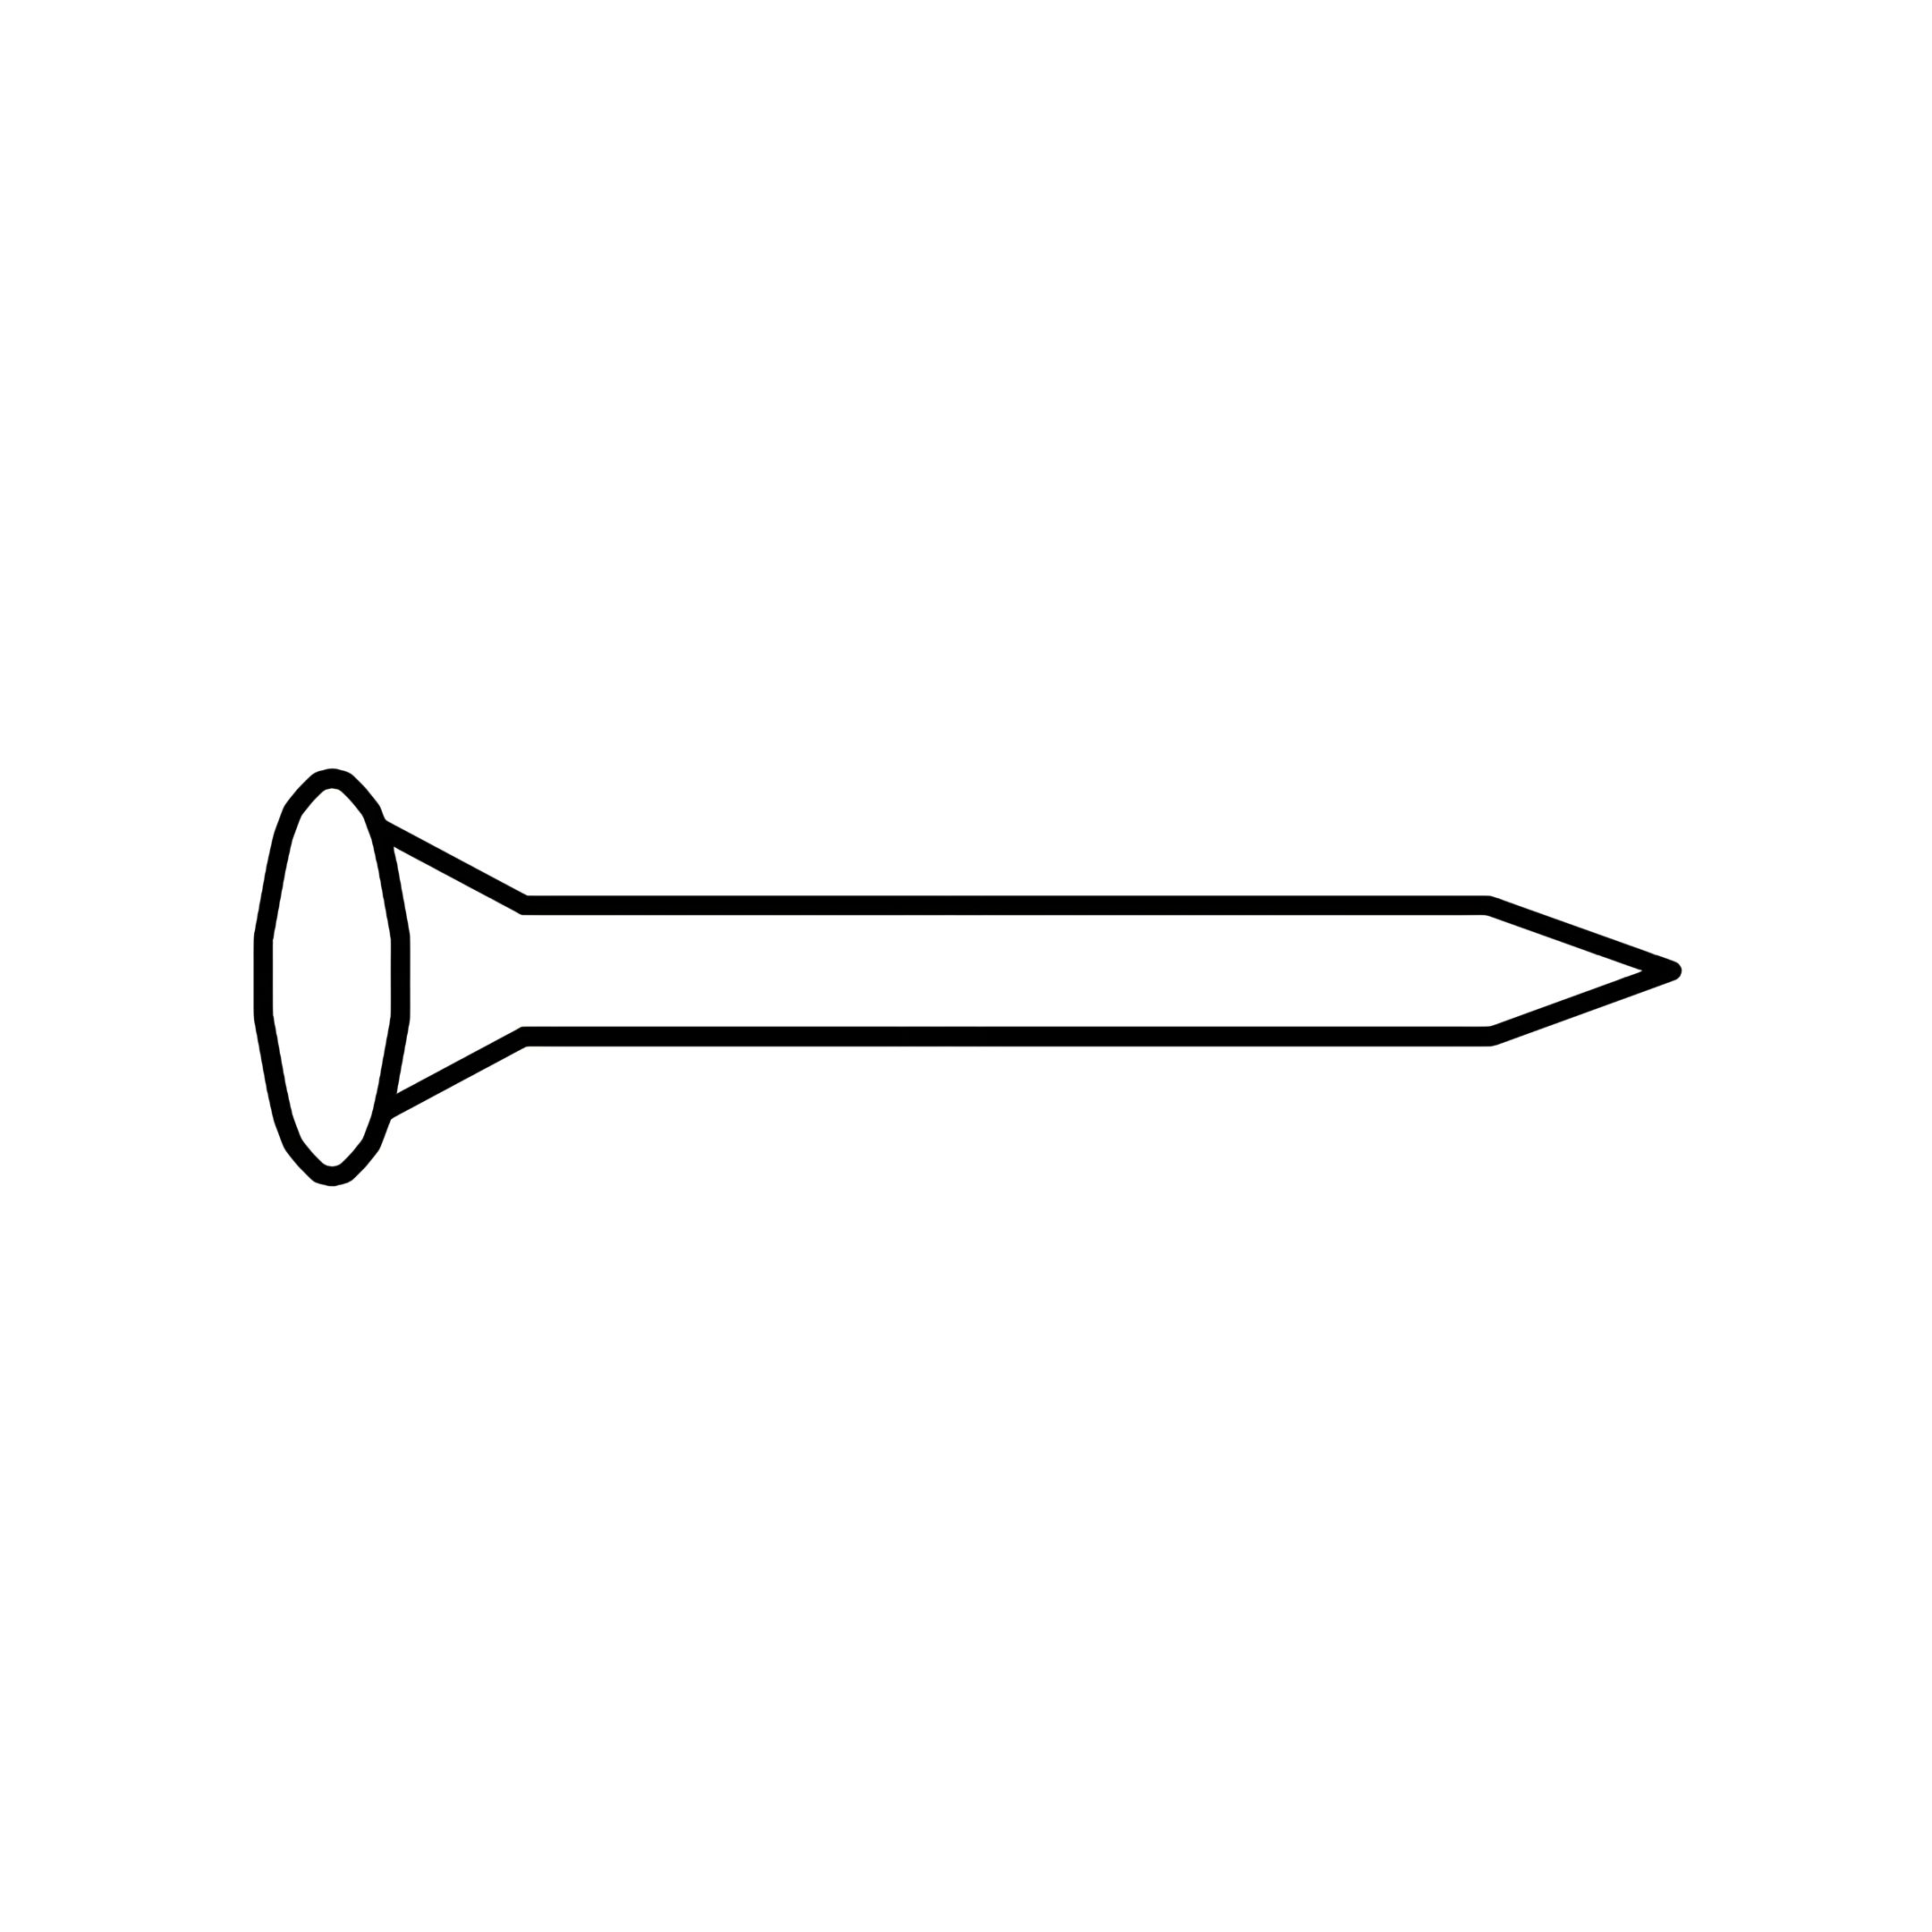 13 - Power Nail (6/8) 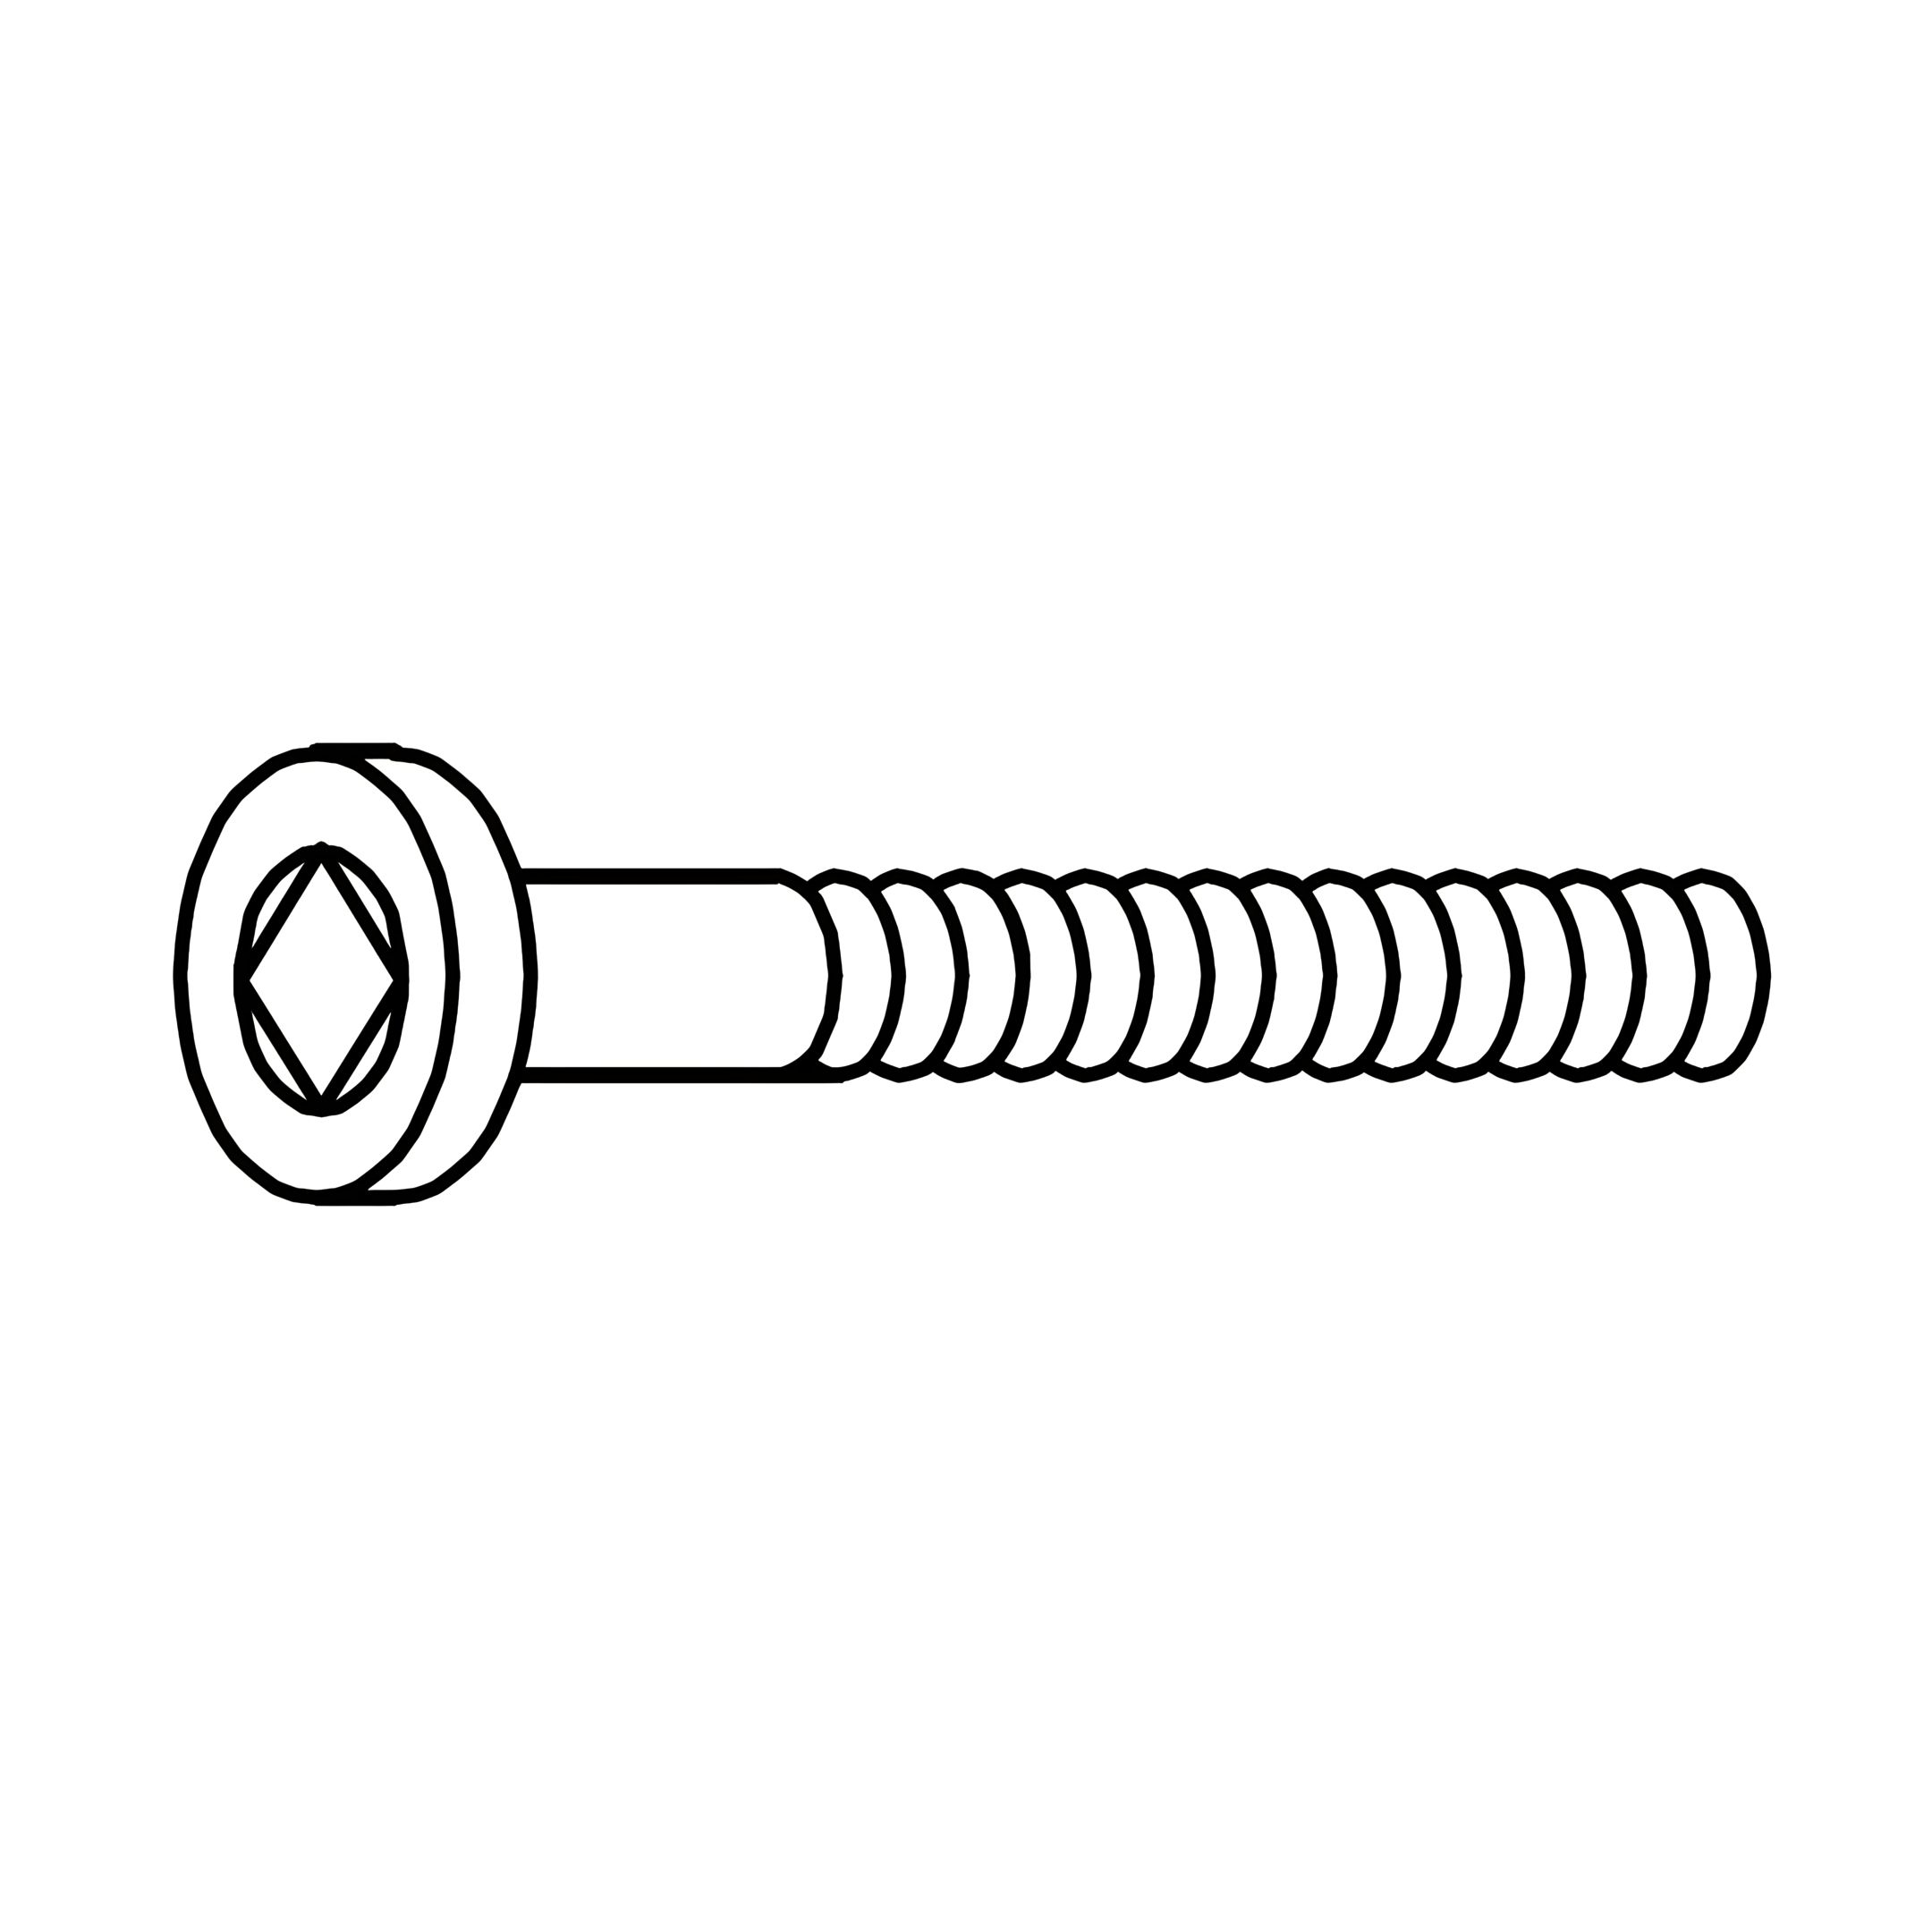 14 - JCBC (M6 x 50mm)  15 - Spring Wshers  16 - Flat Washers  17 - Metal Stopper Parts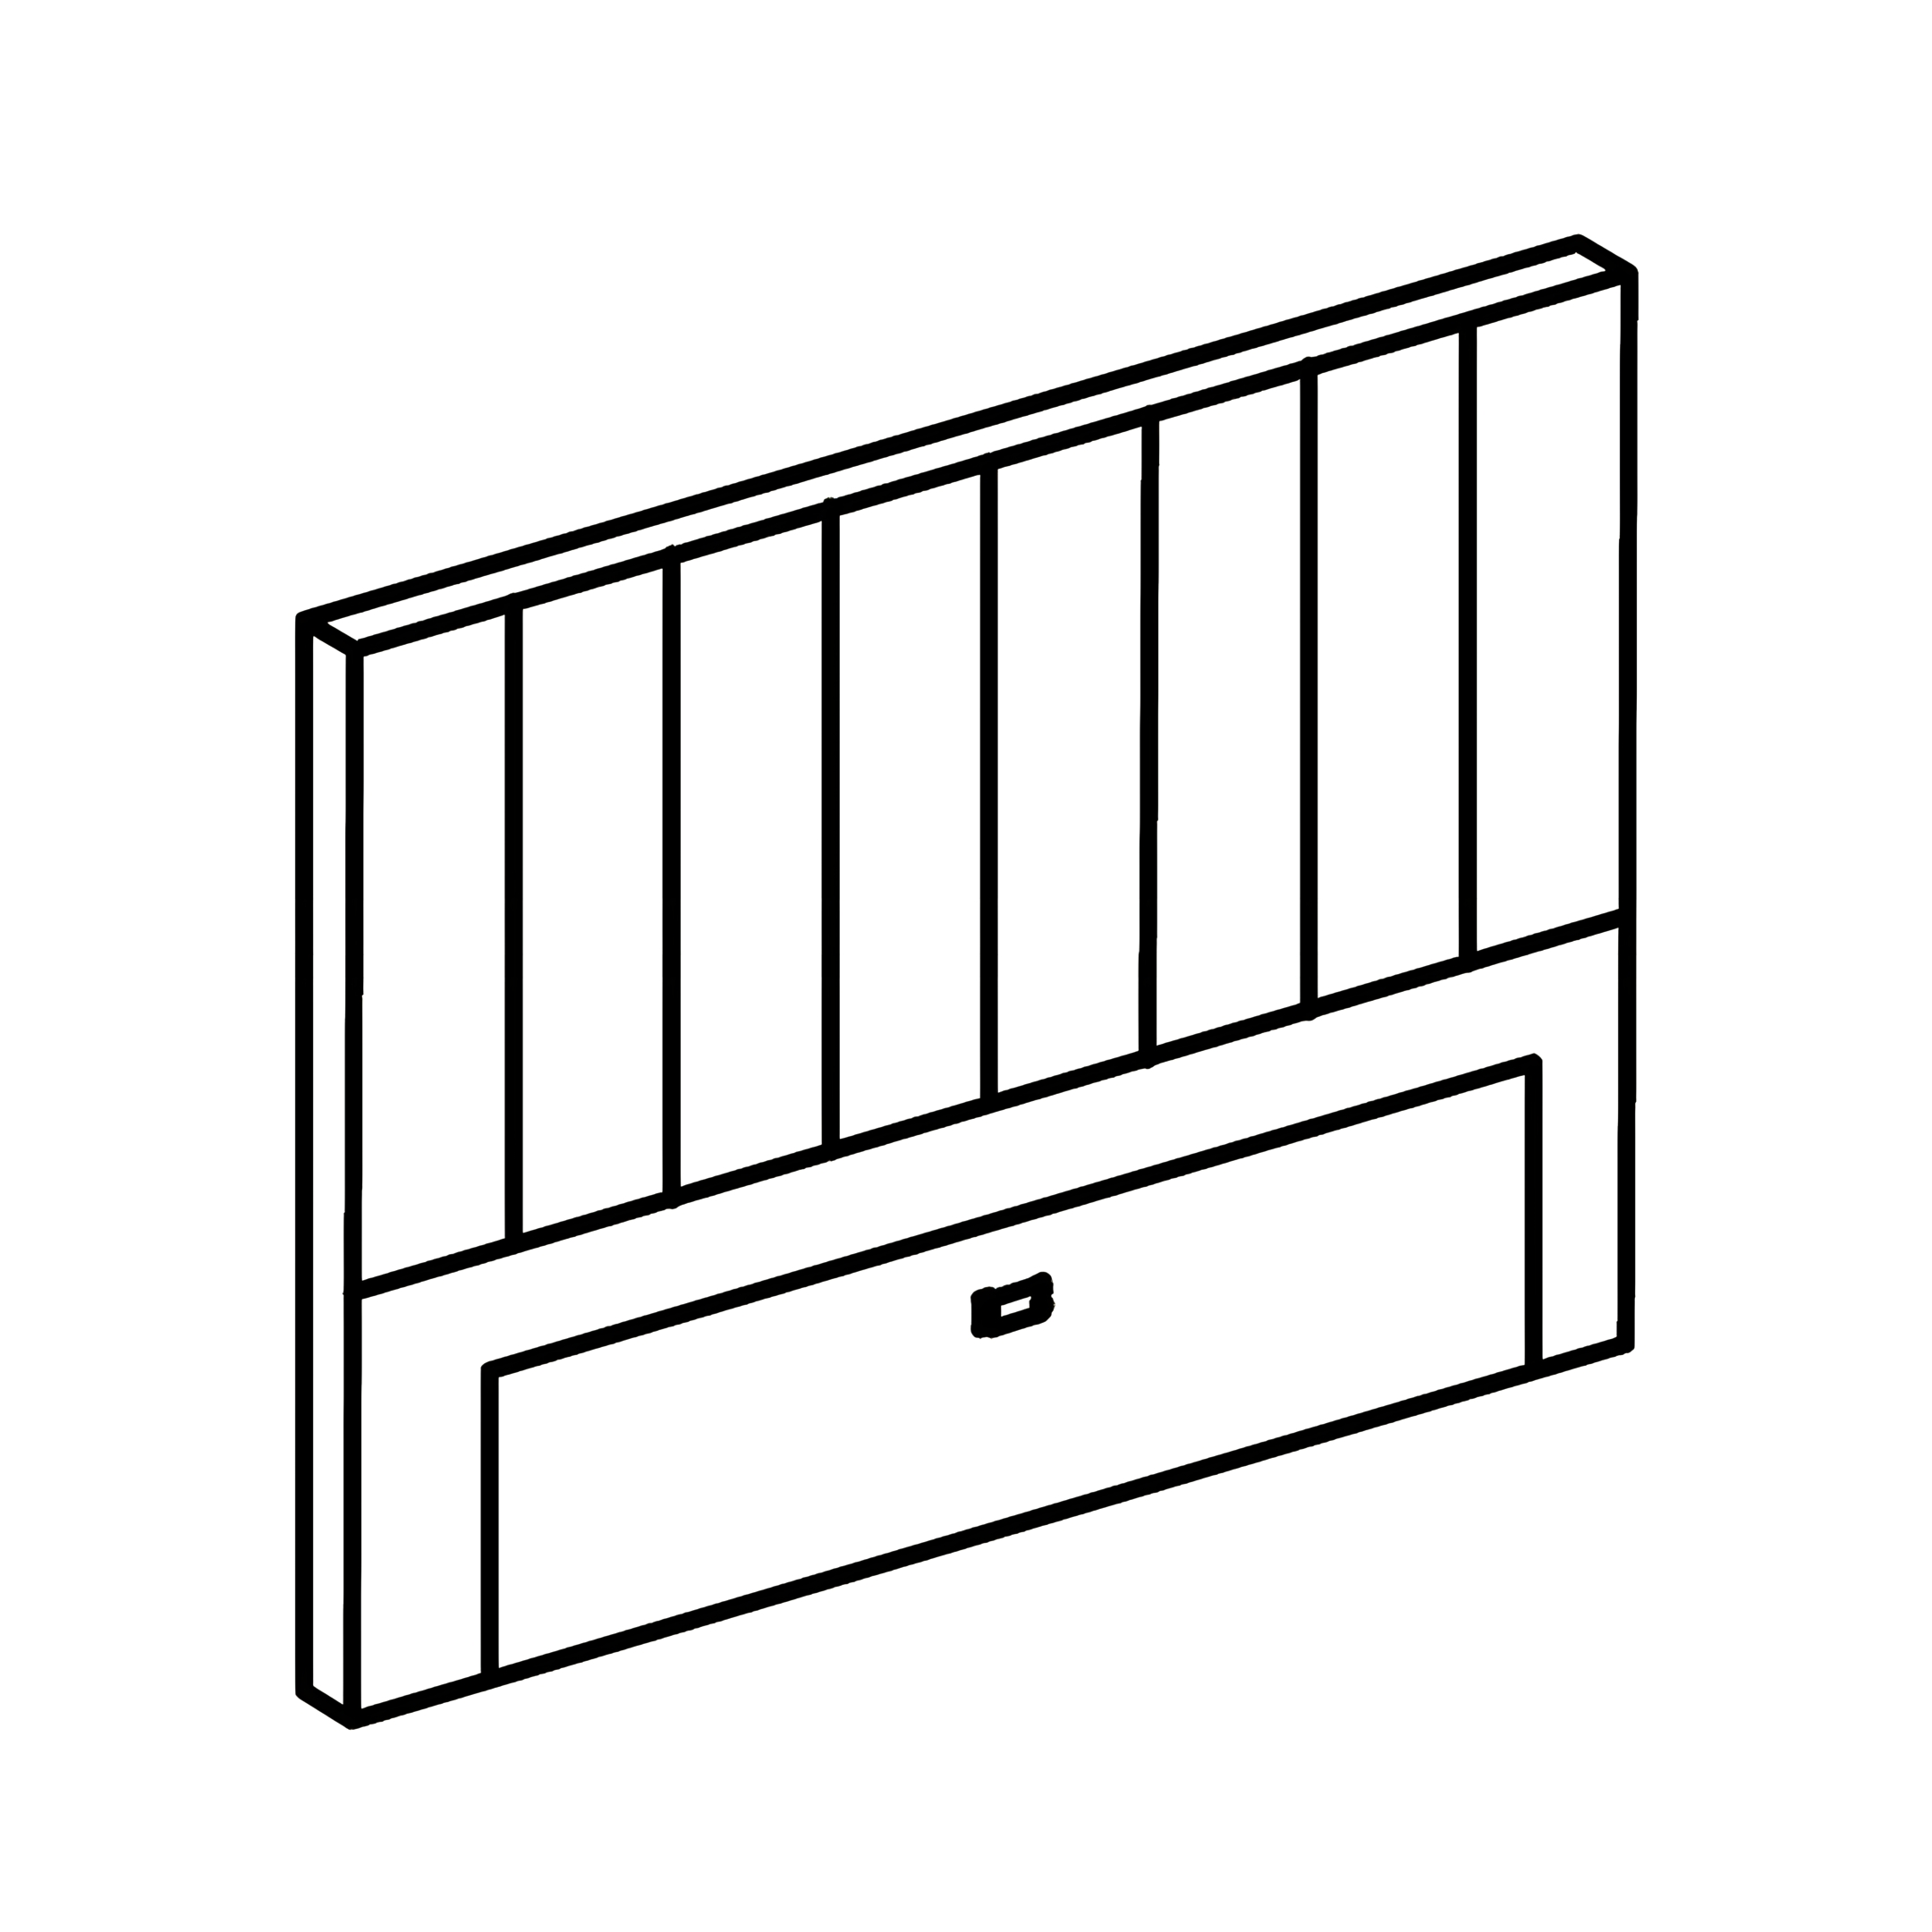 A - Headboard 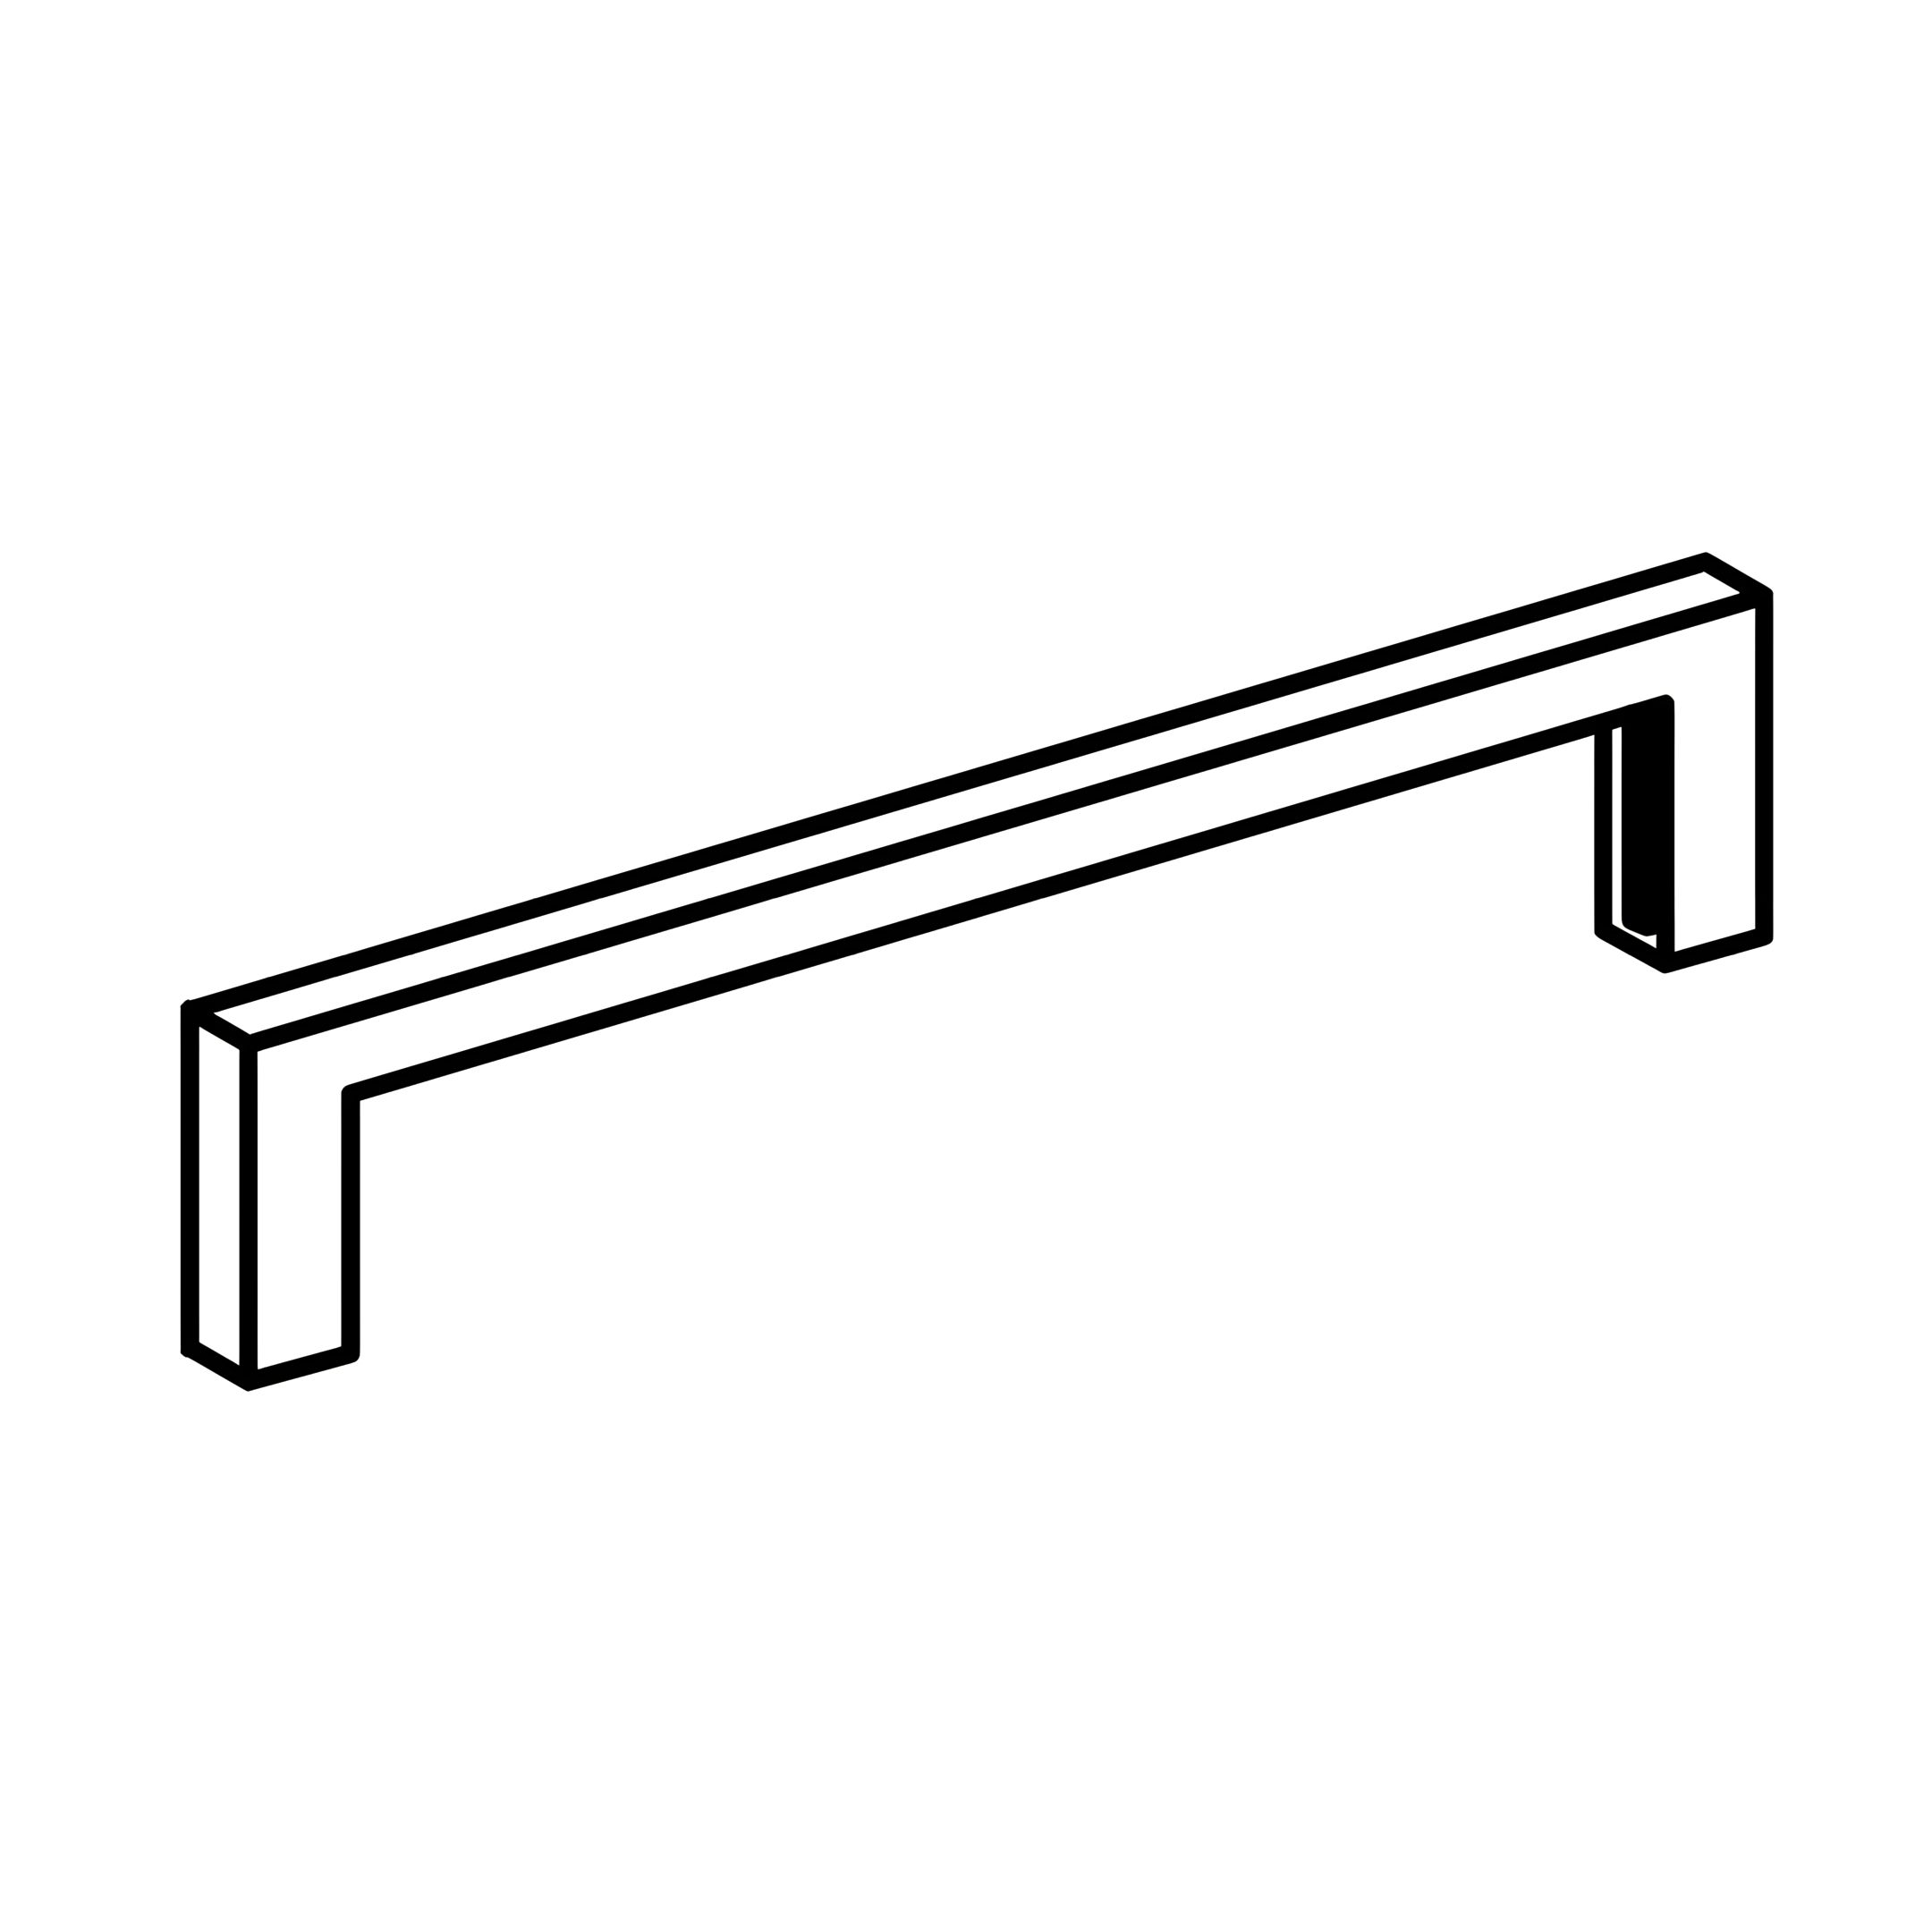 B - Footbard 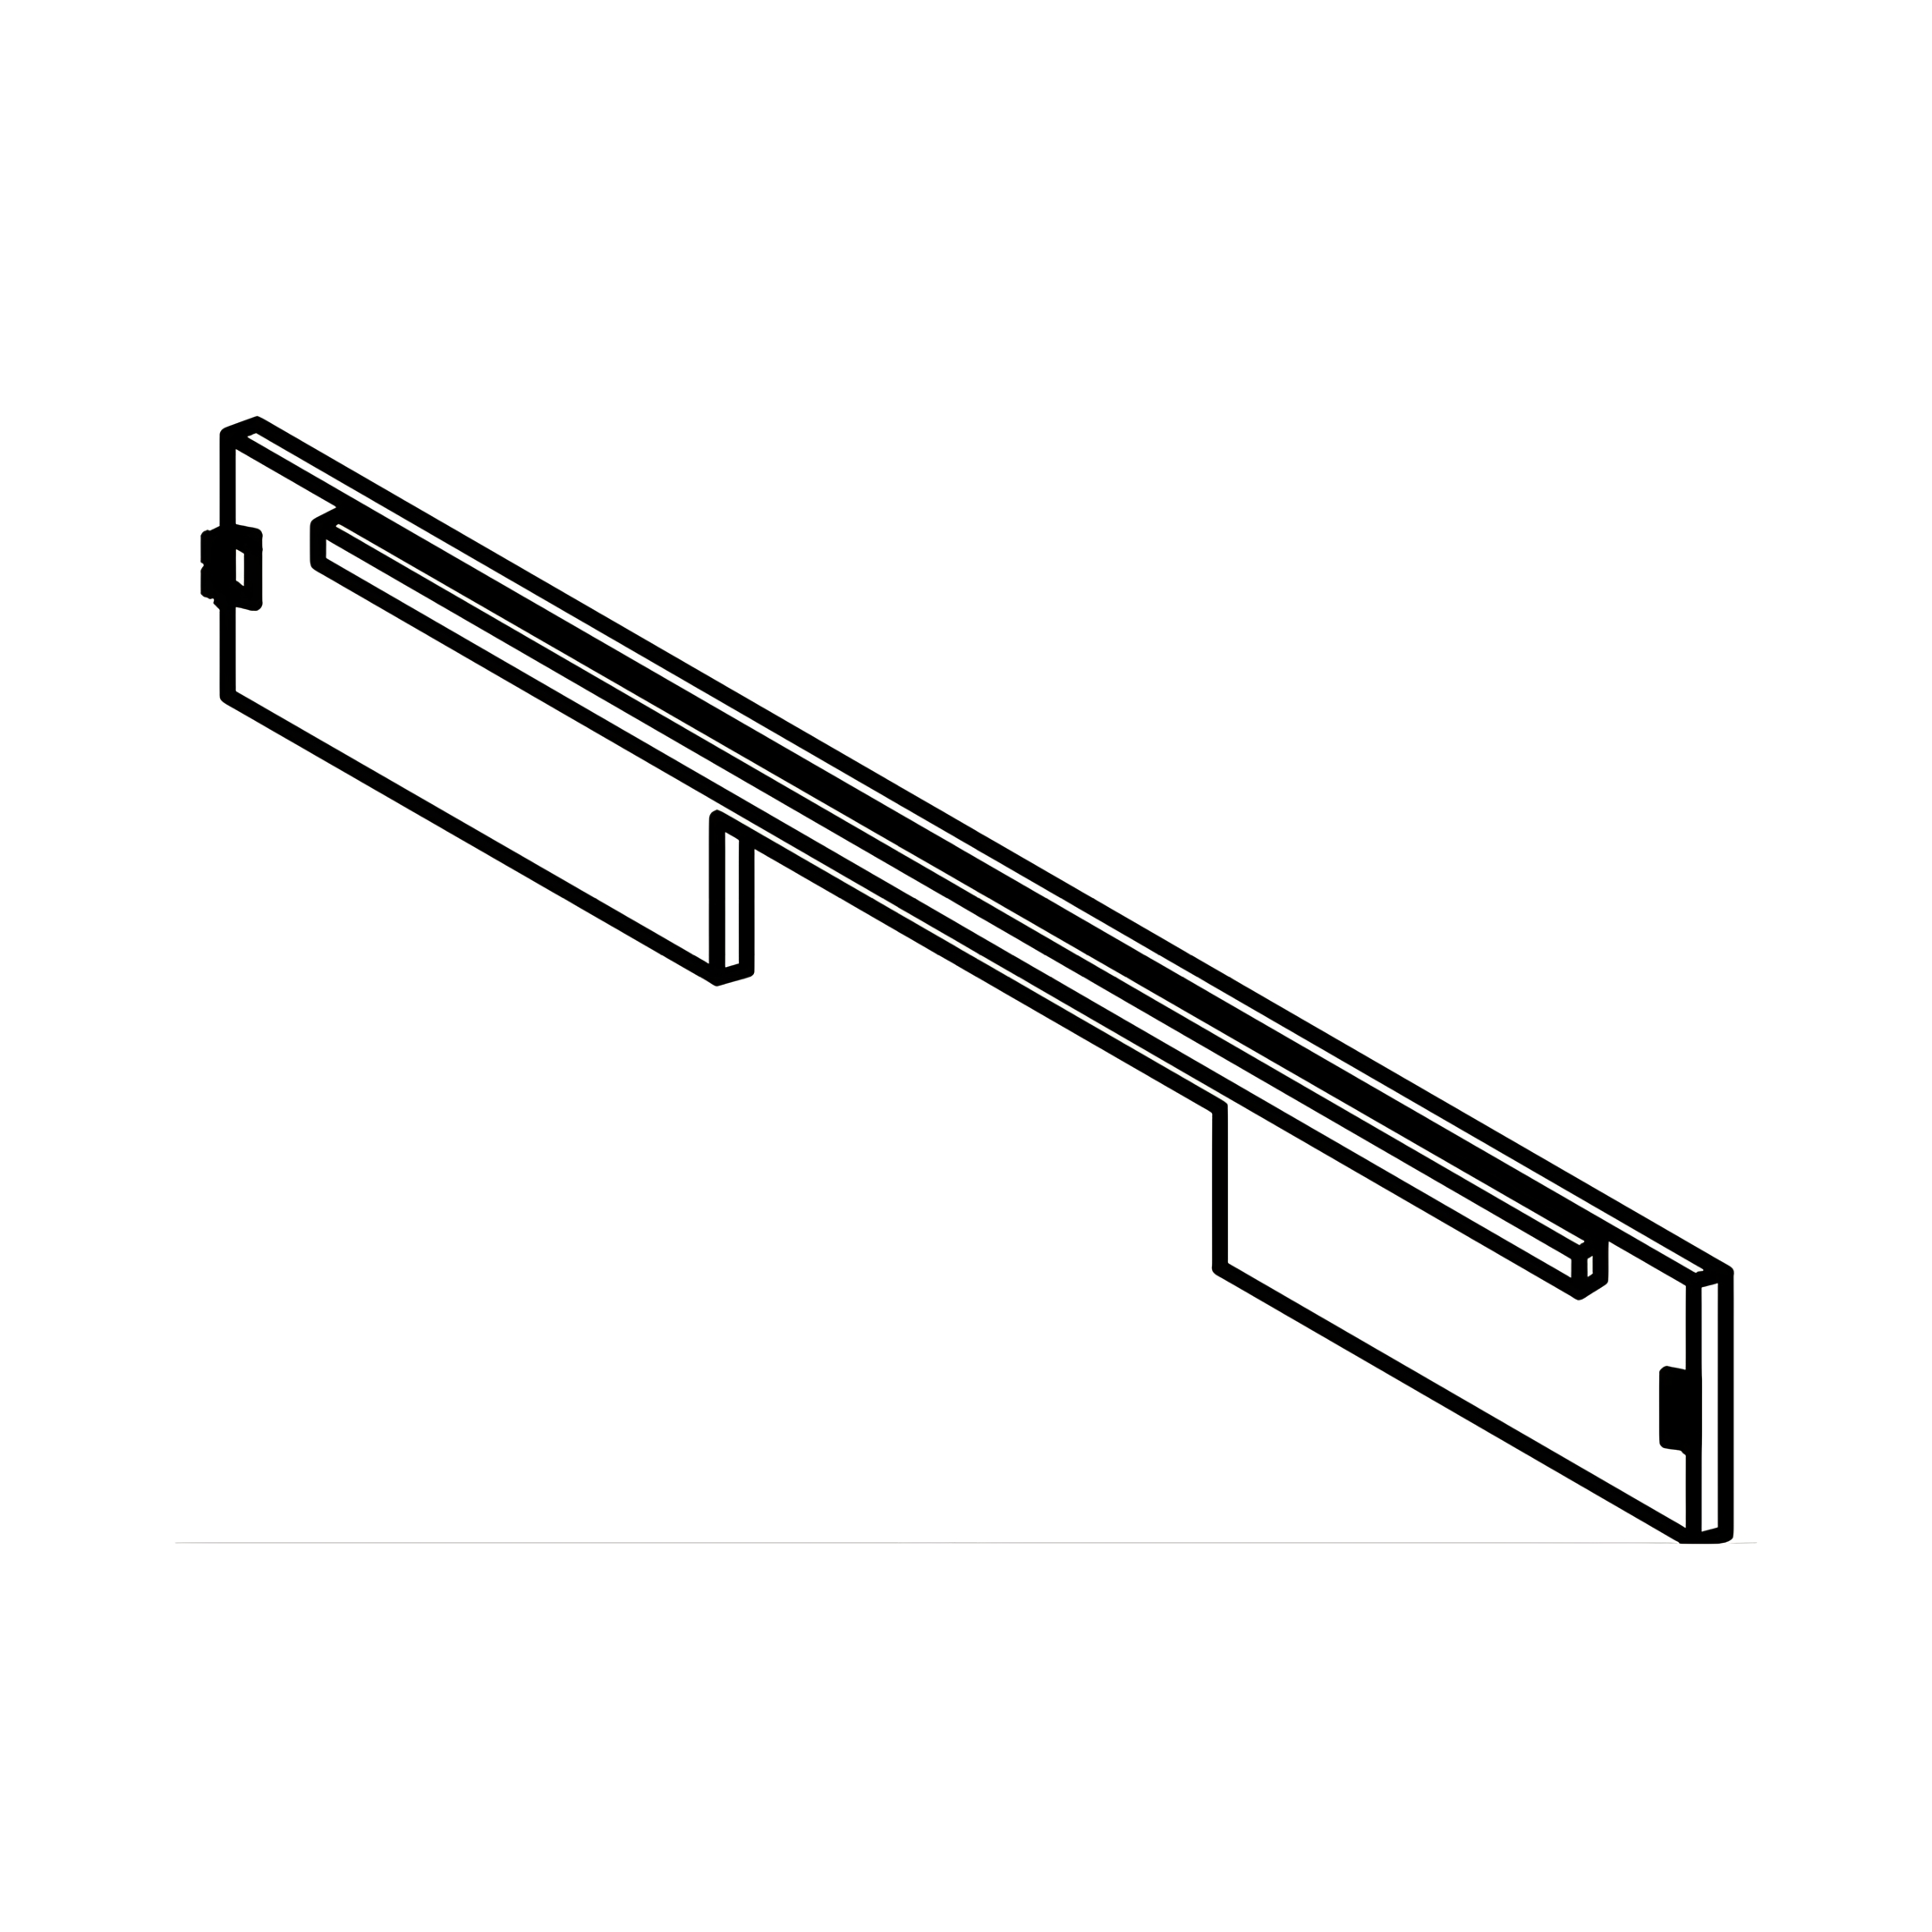 C - Side Rail 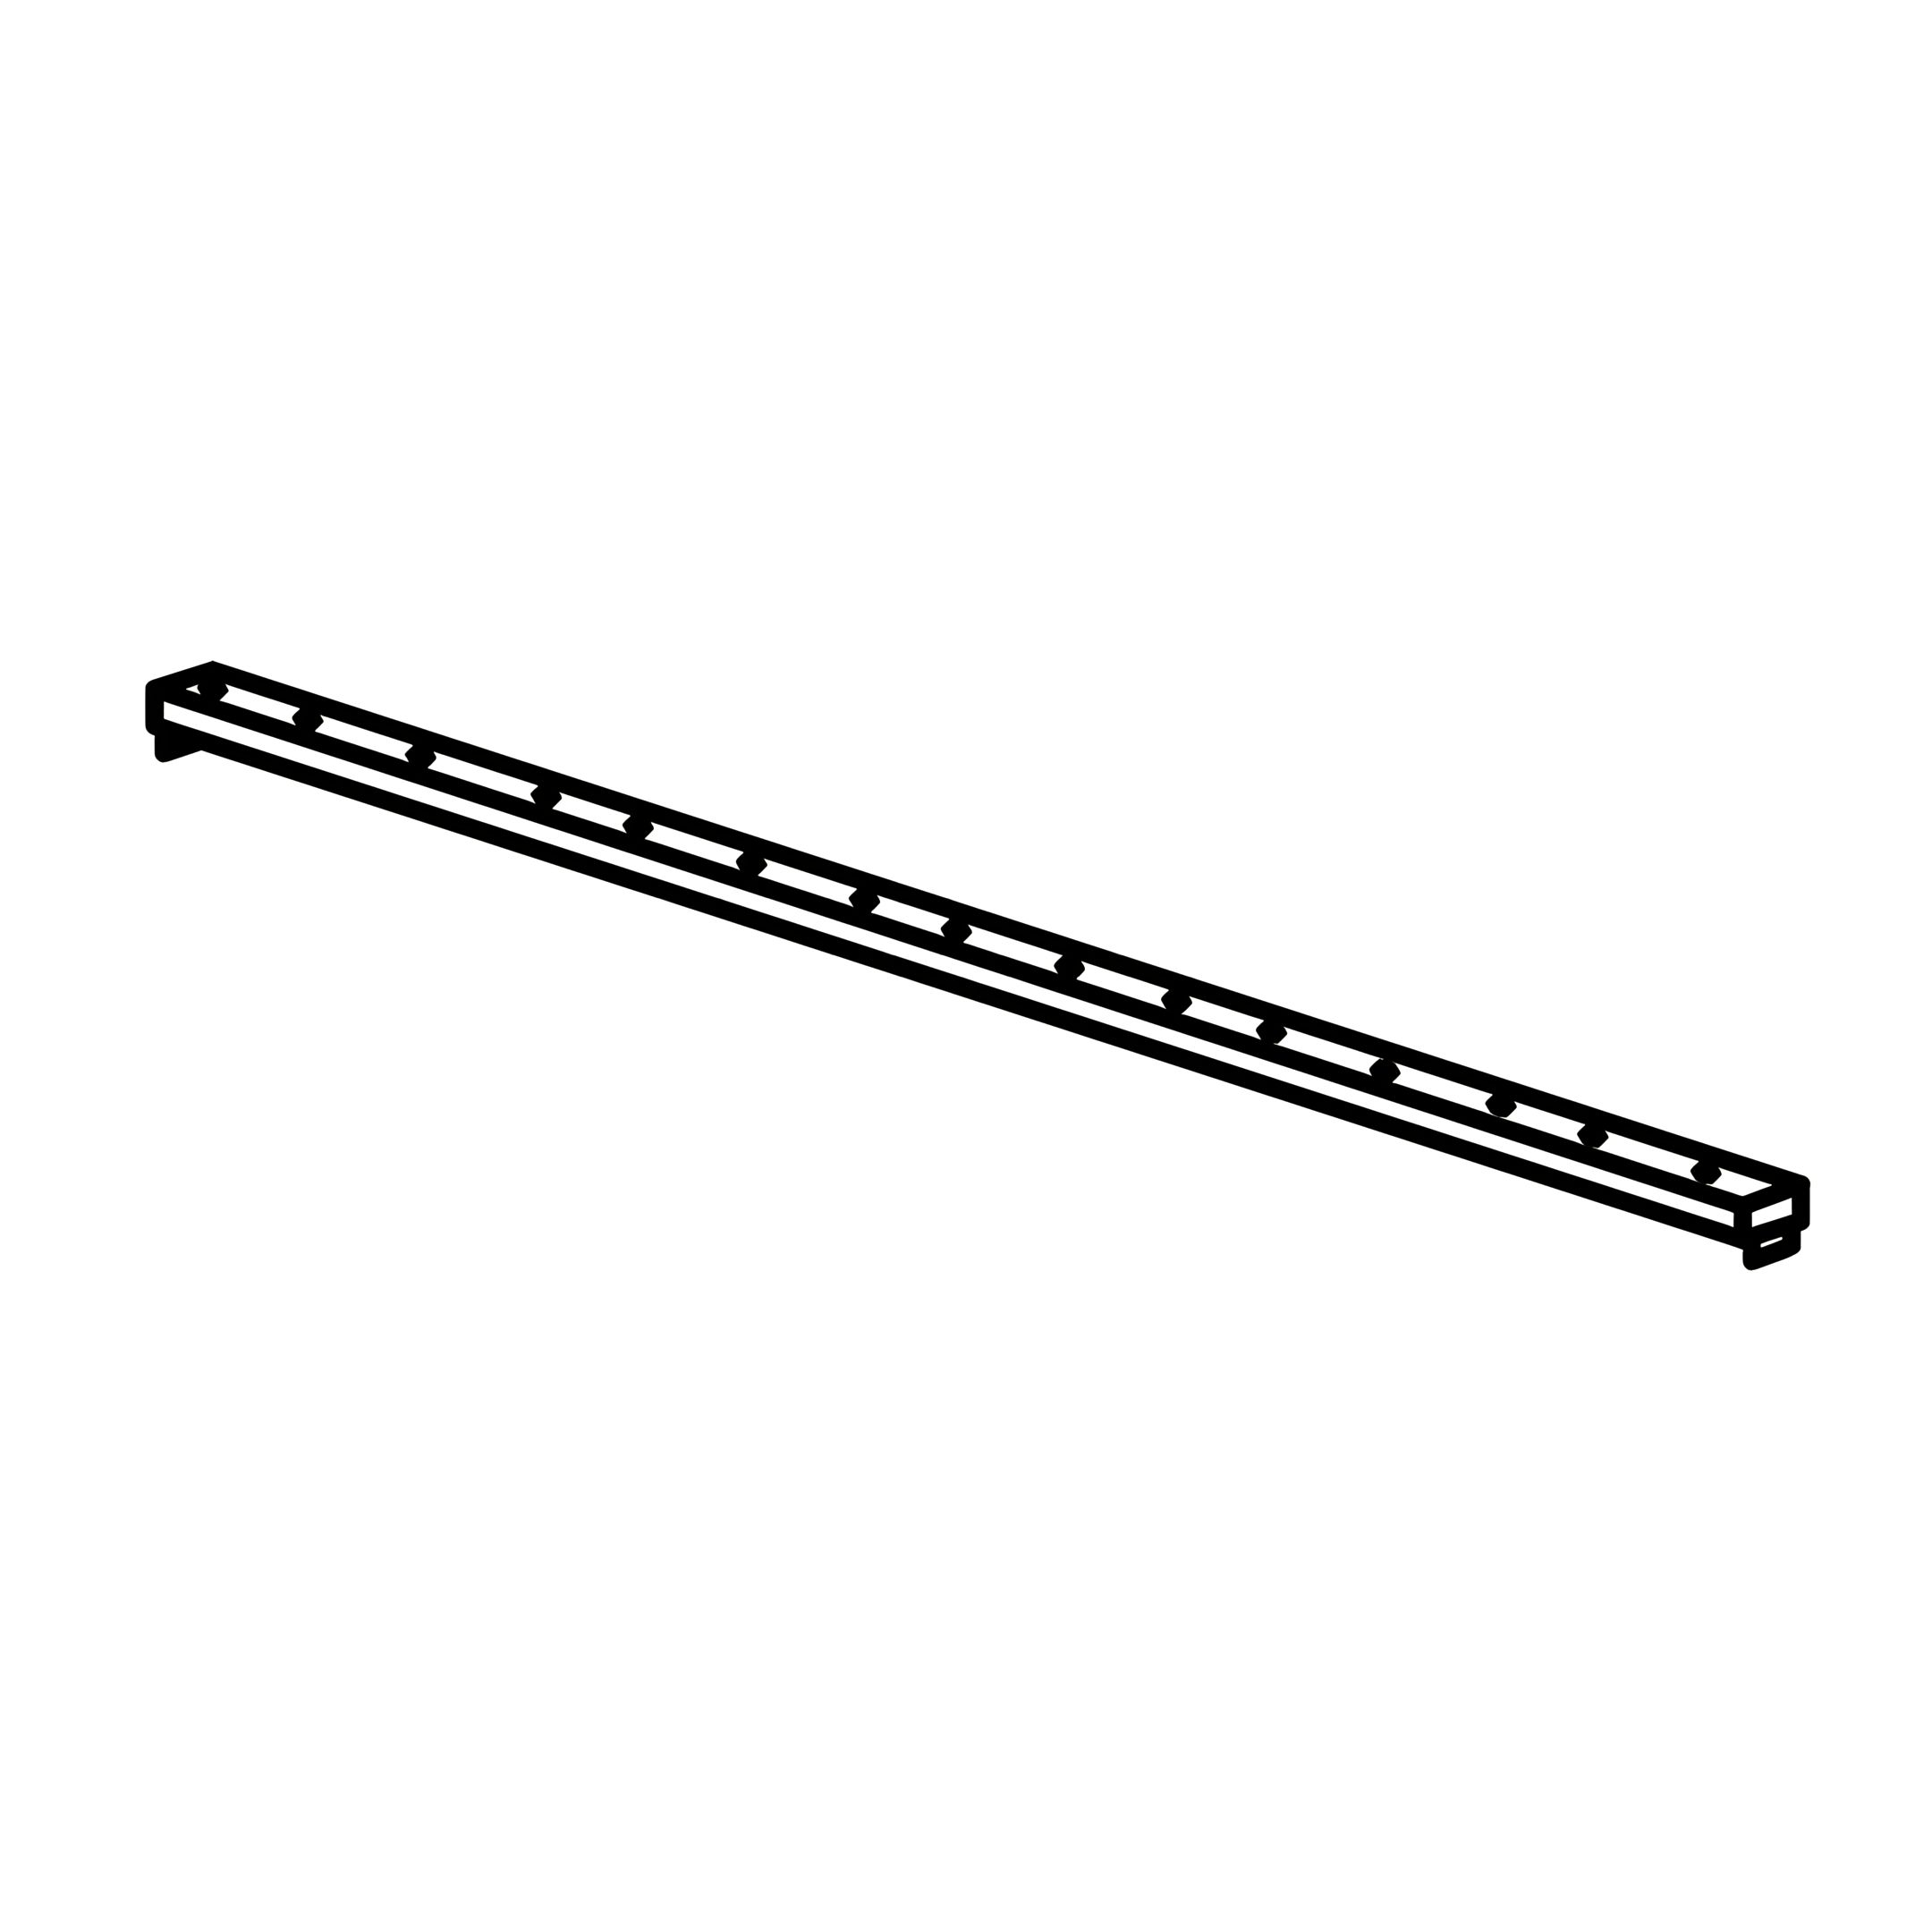 D - Centre Rail 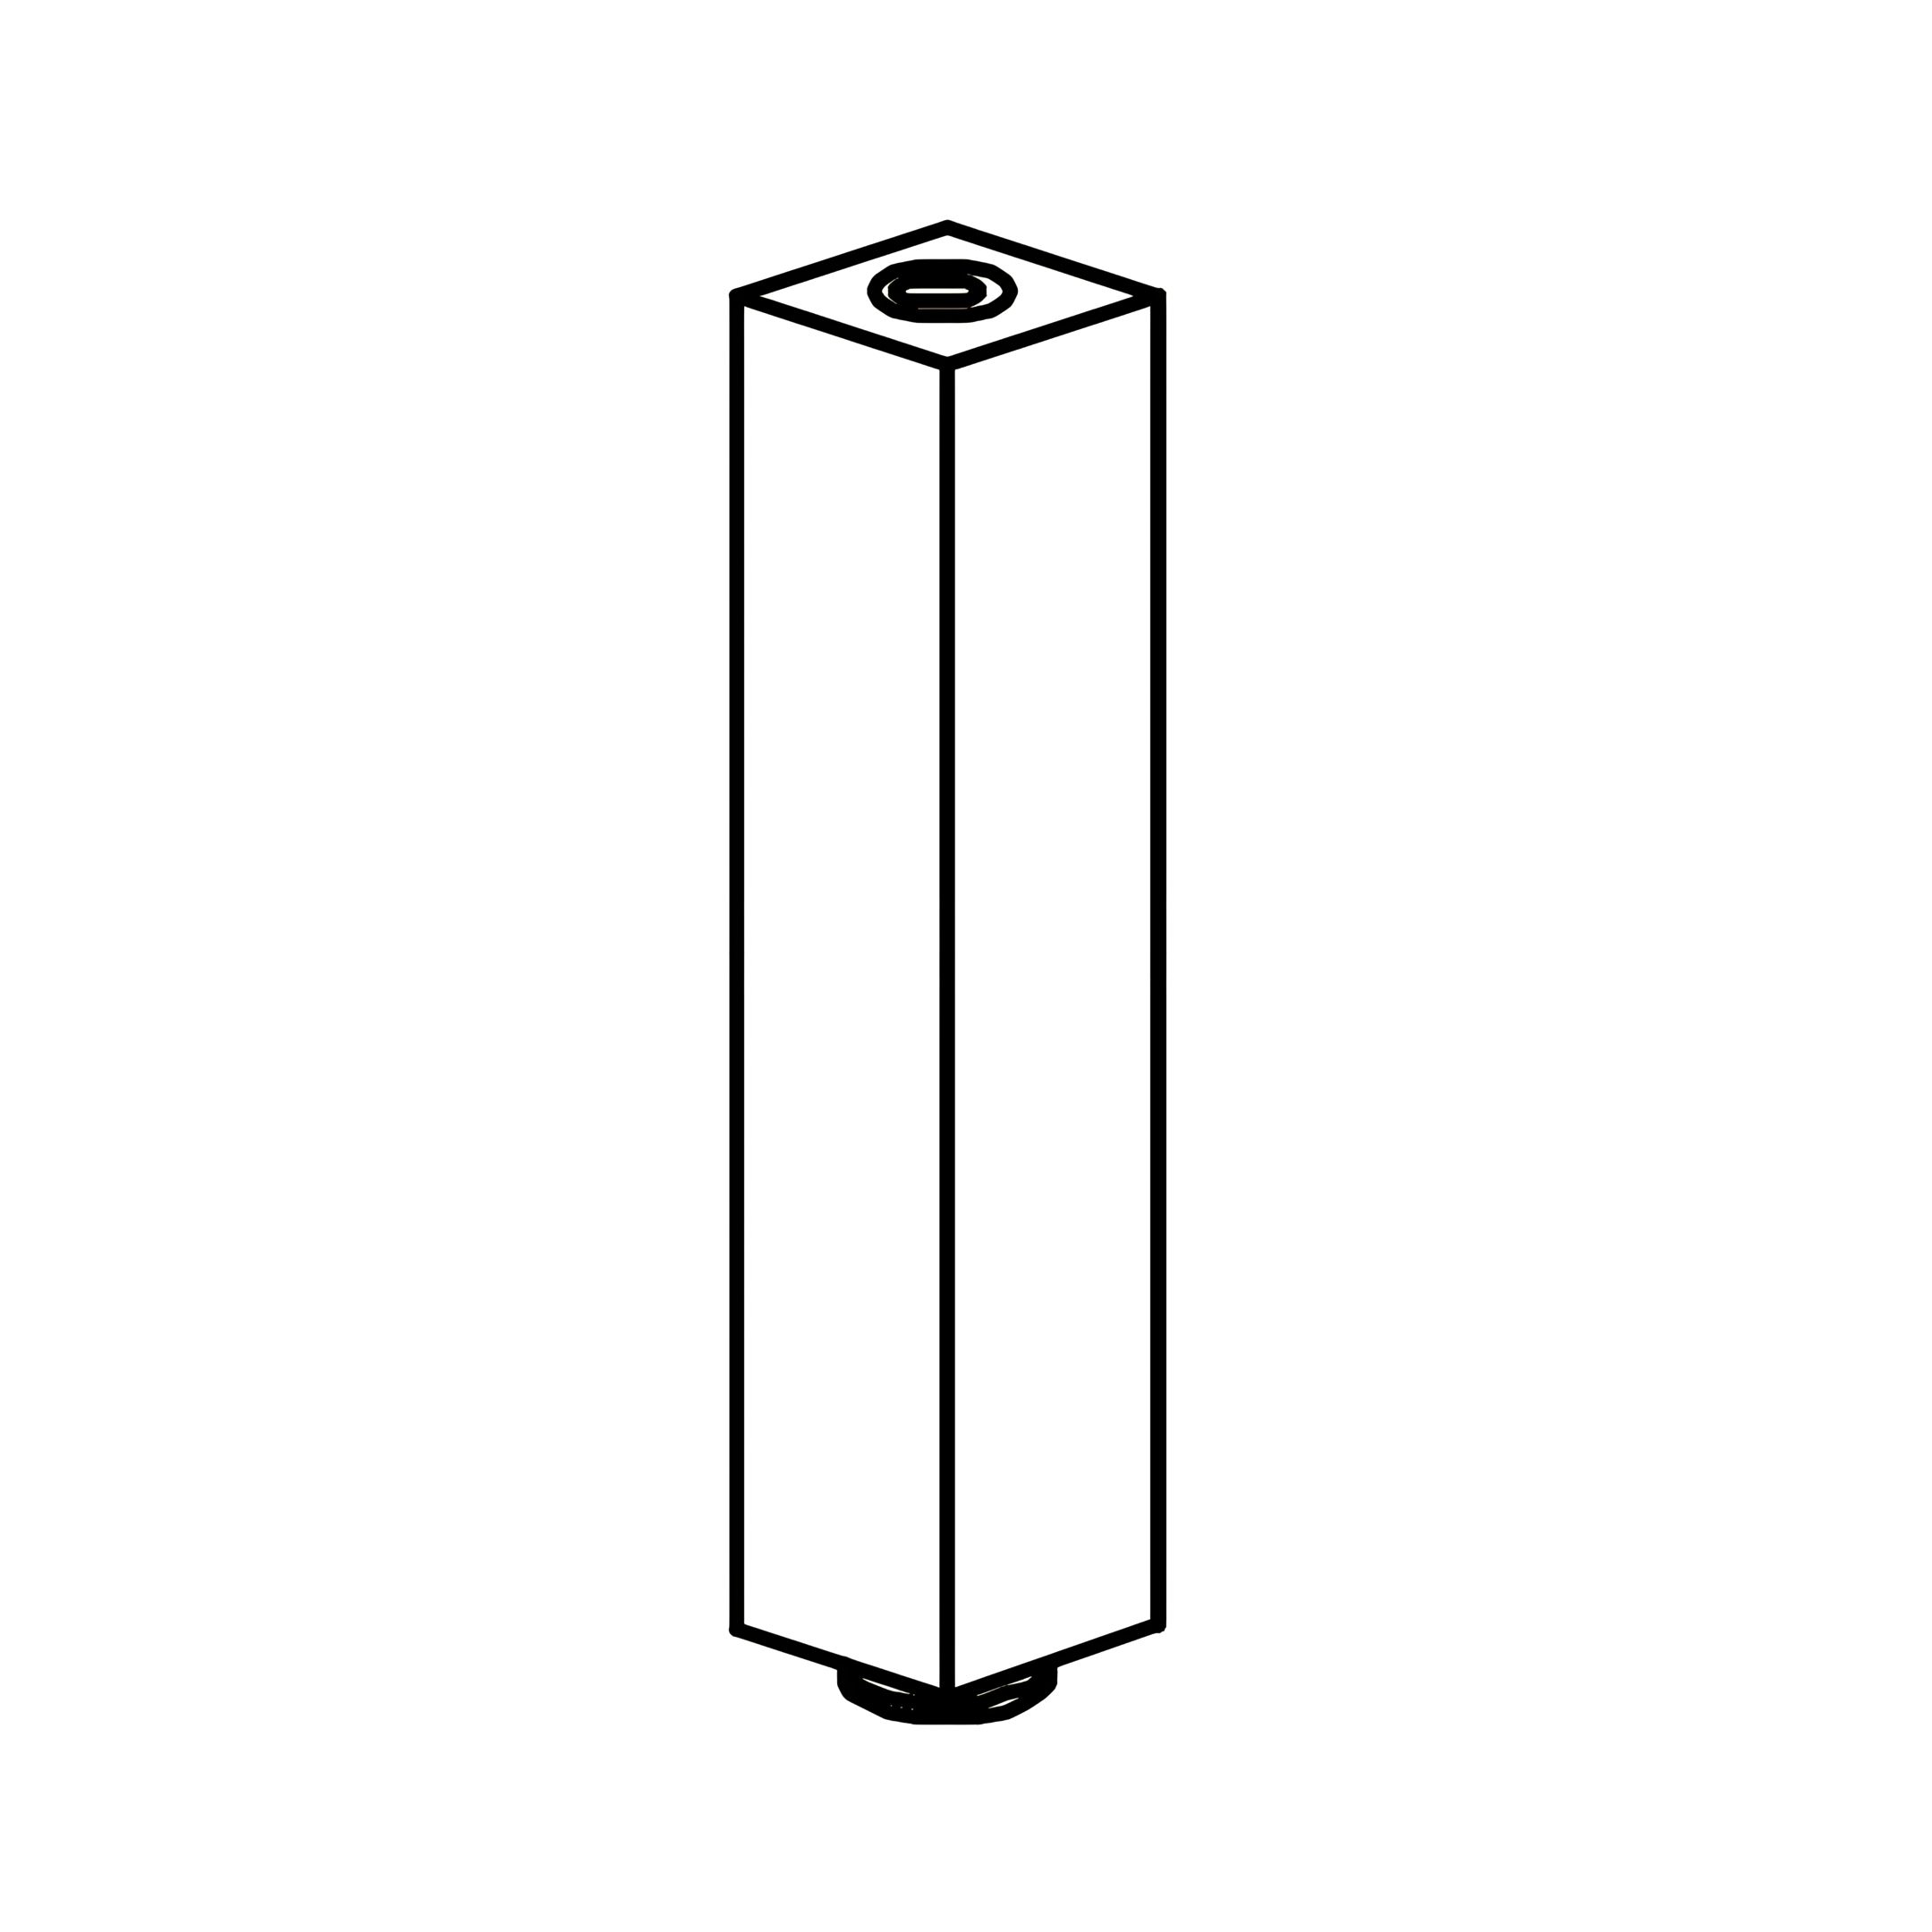 E - Support Leg 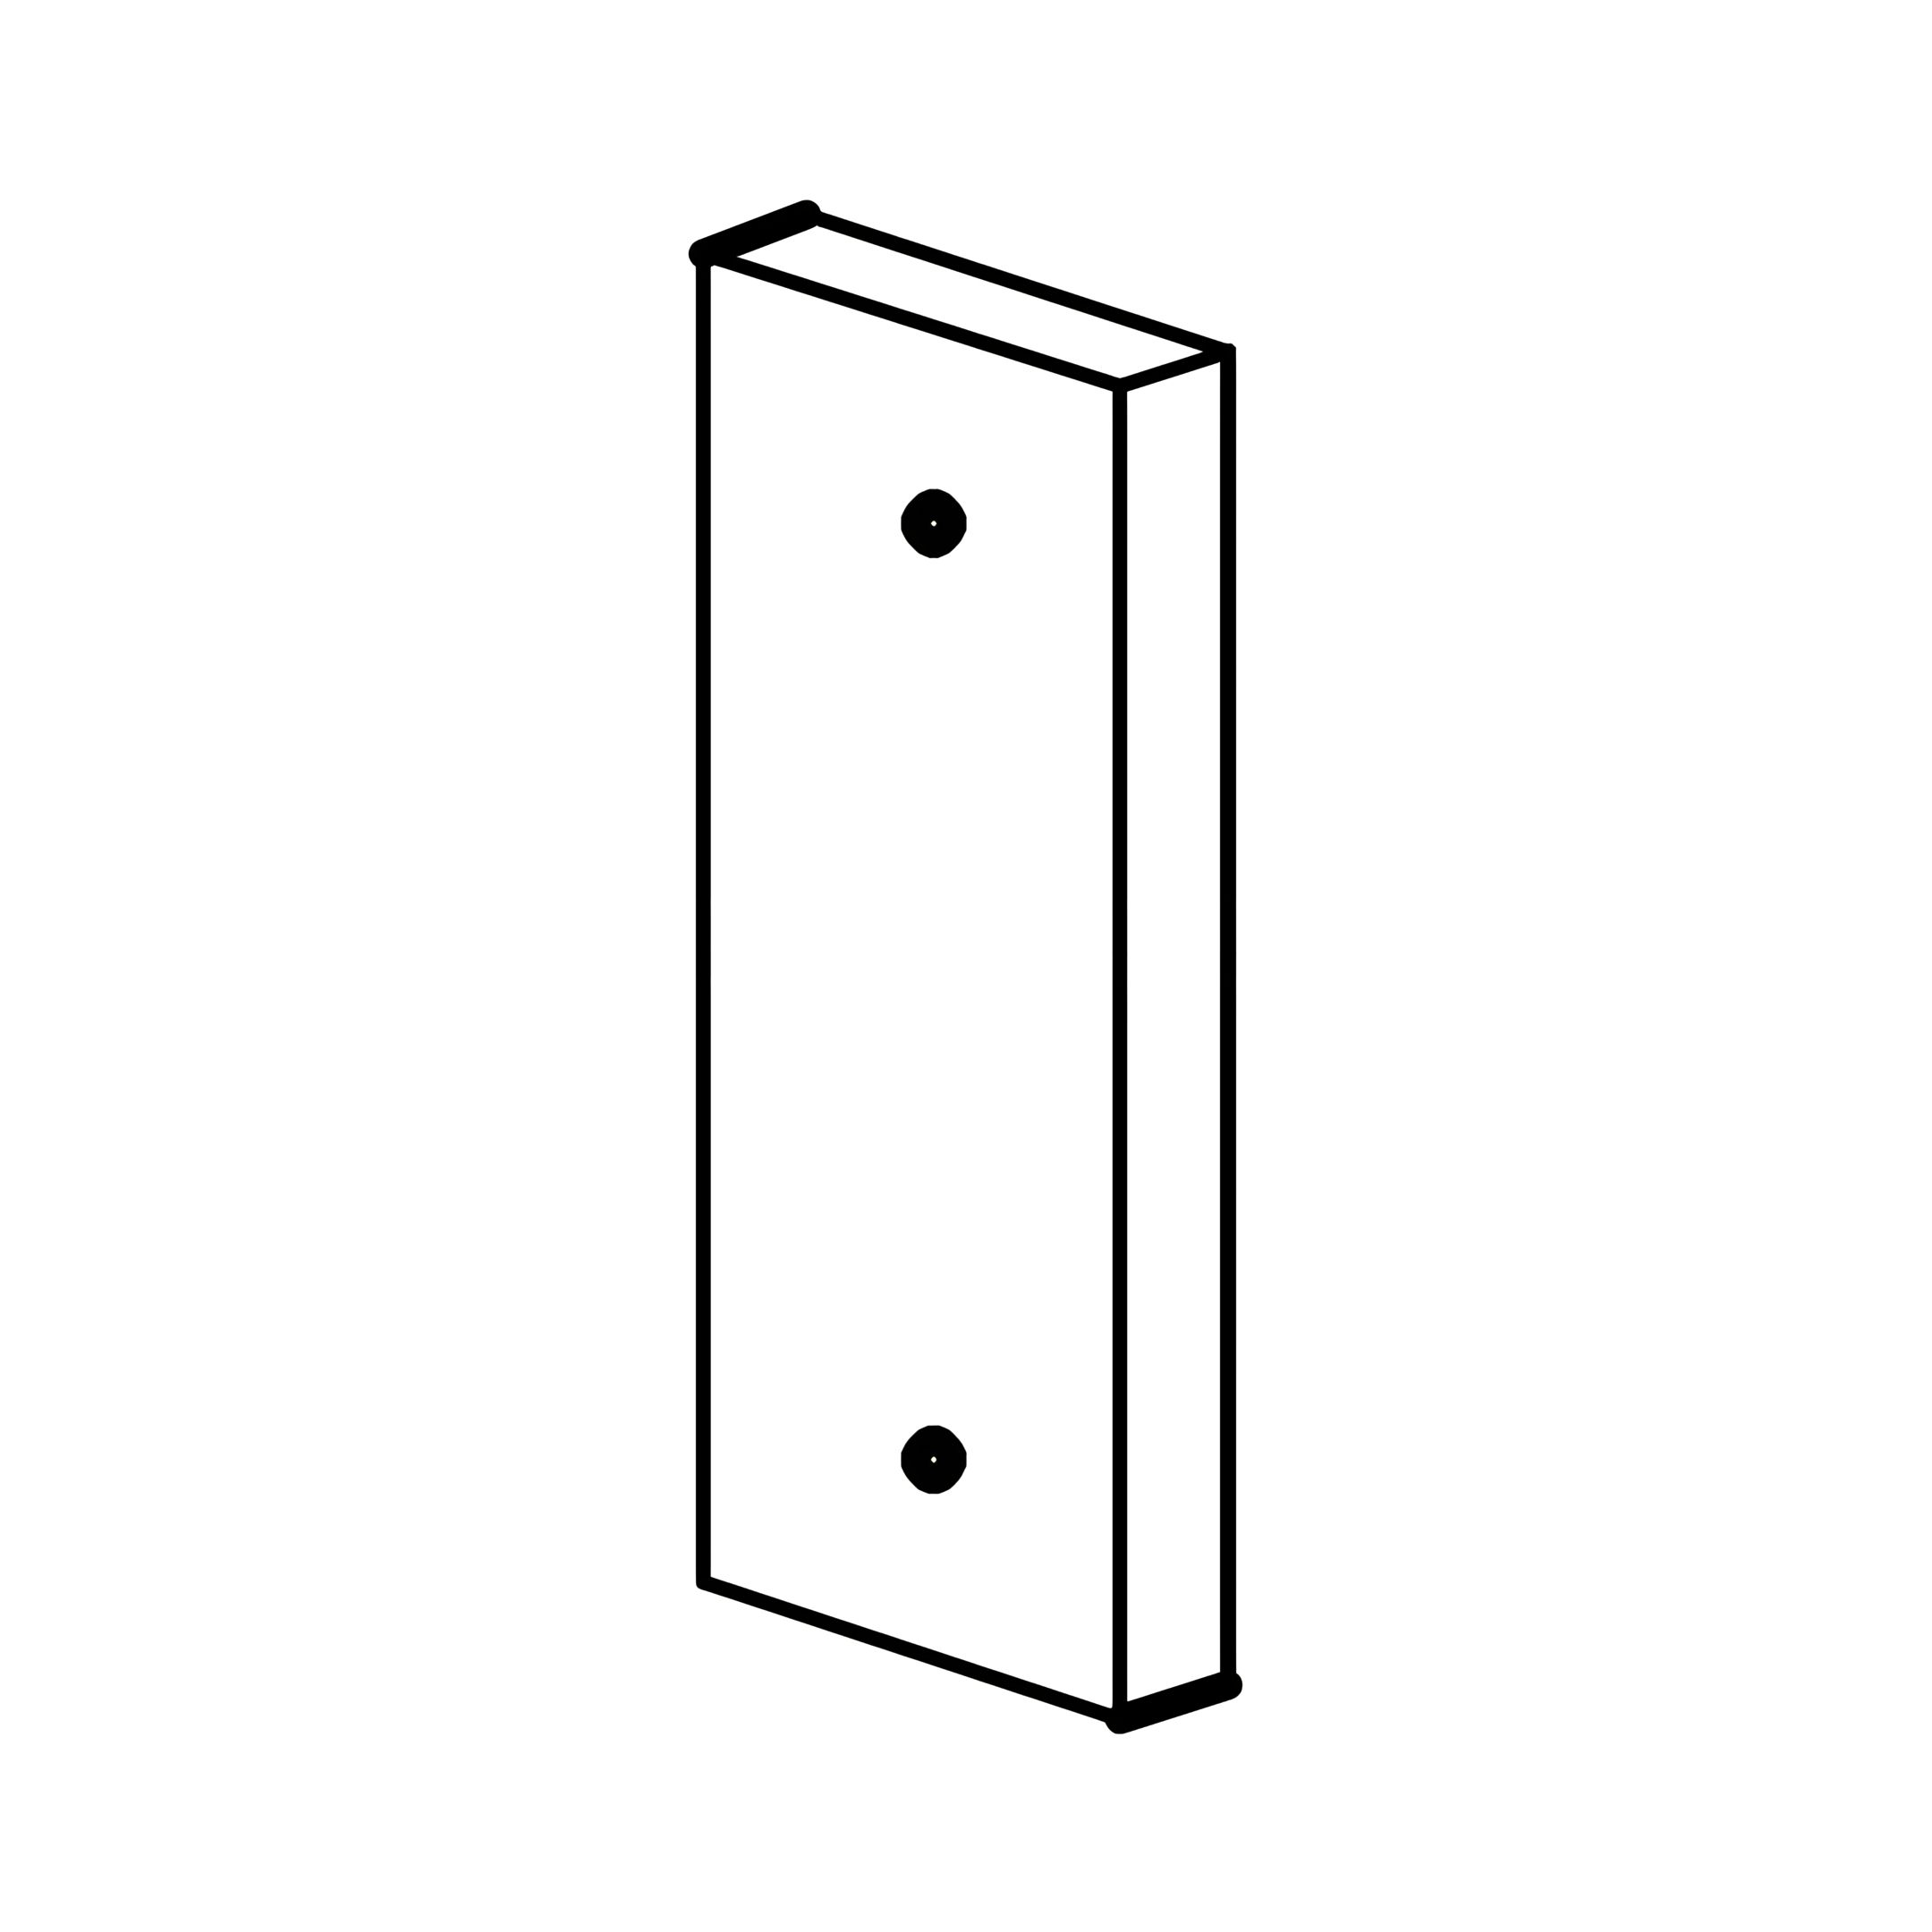 F - Side Rail Support  G - Legs 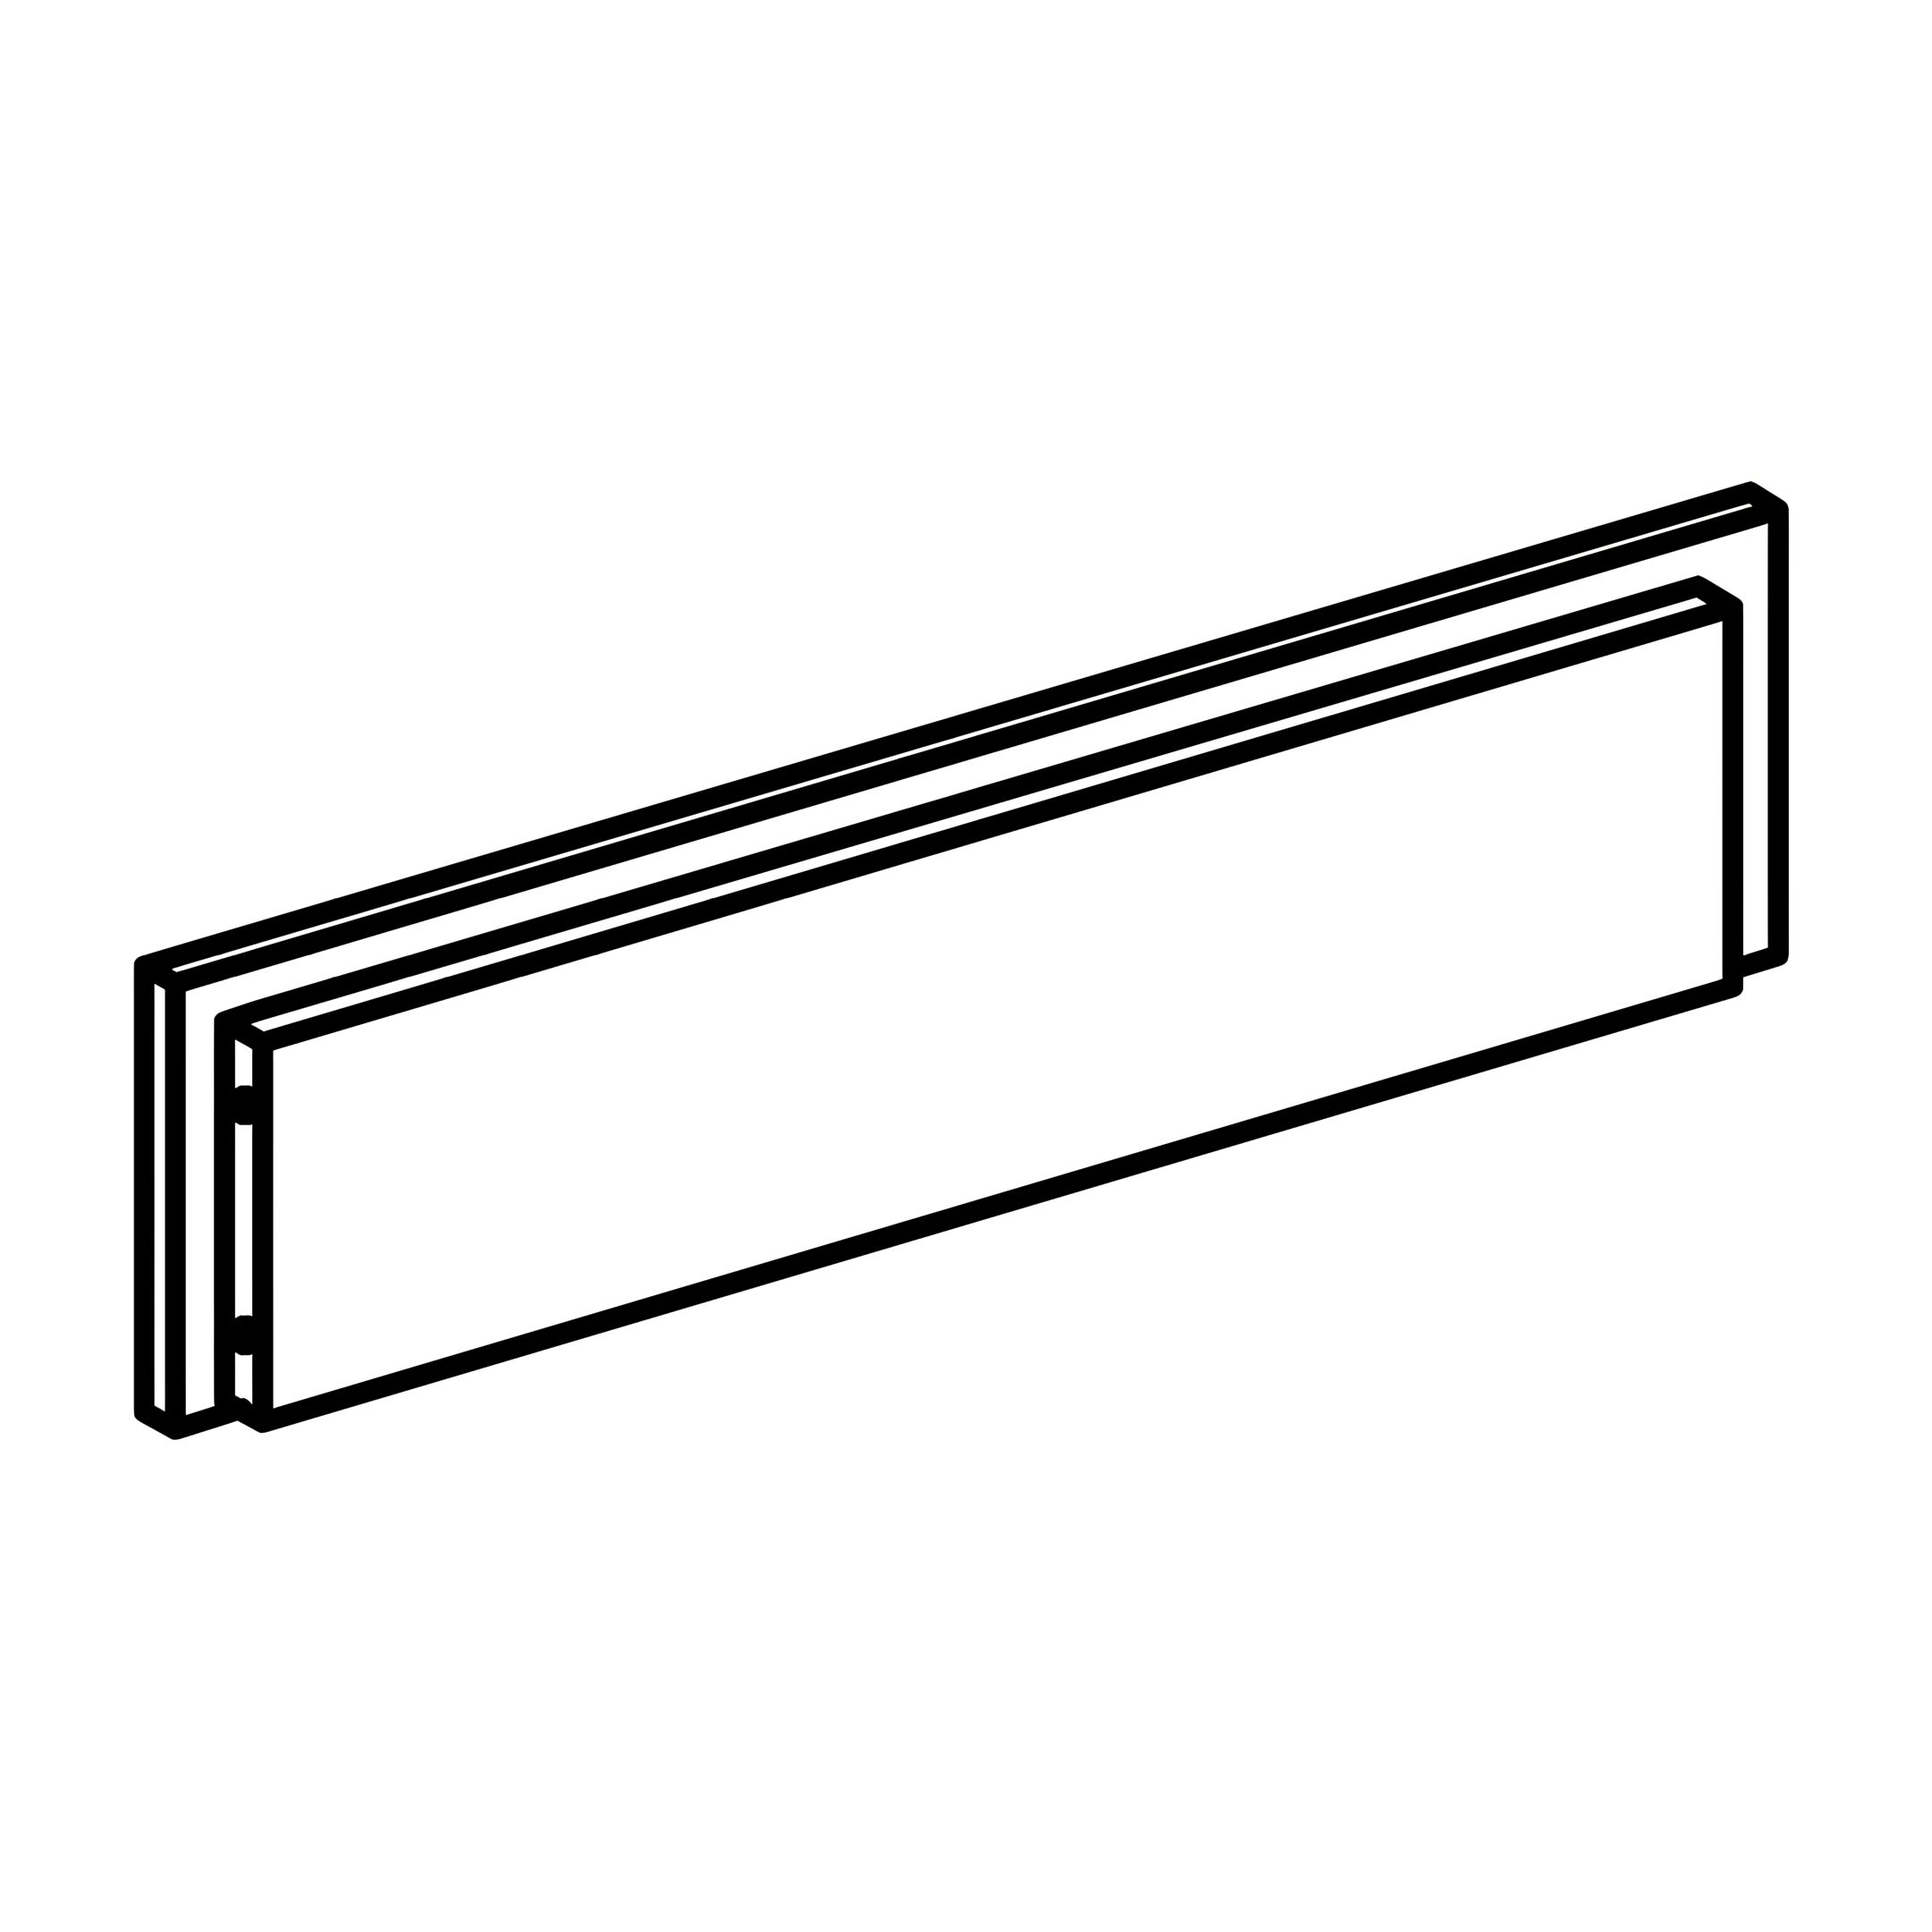 H - Footboard Front Panel (Label: 1) 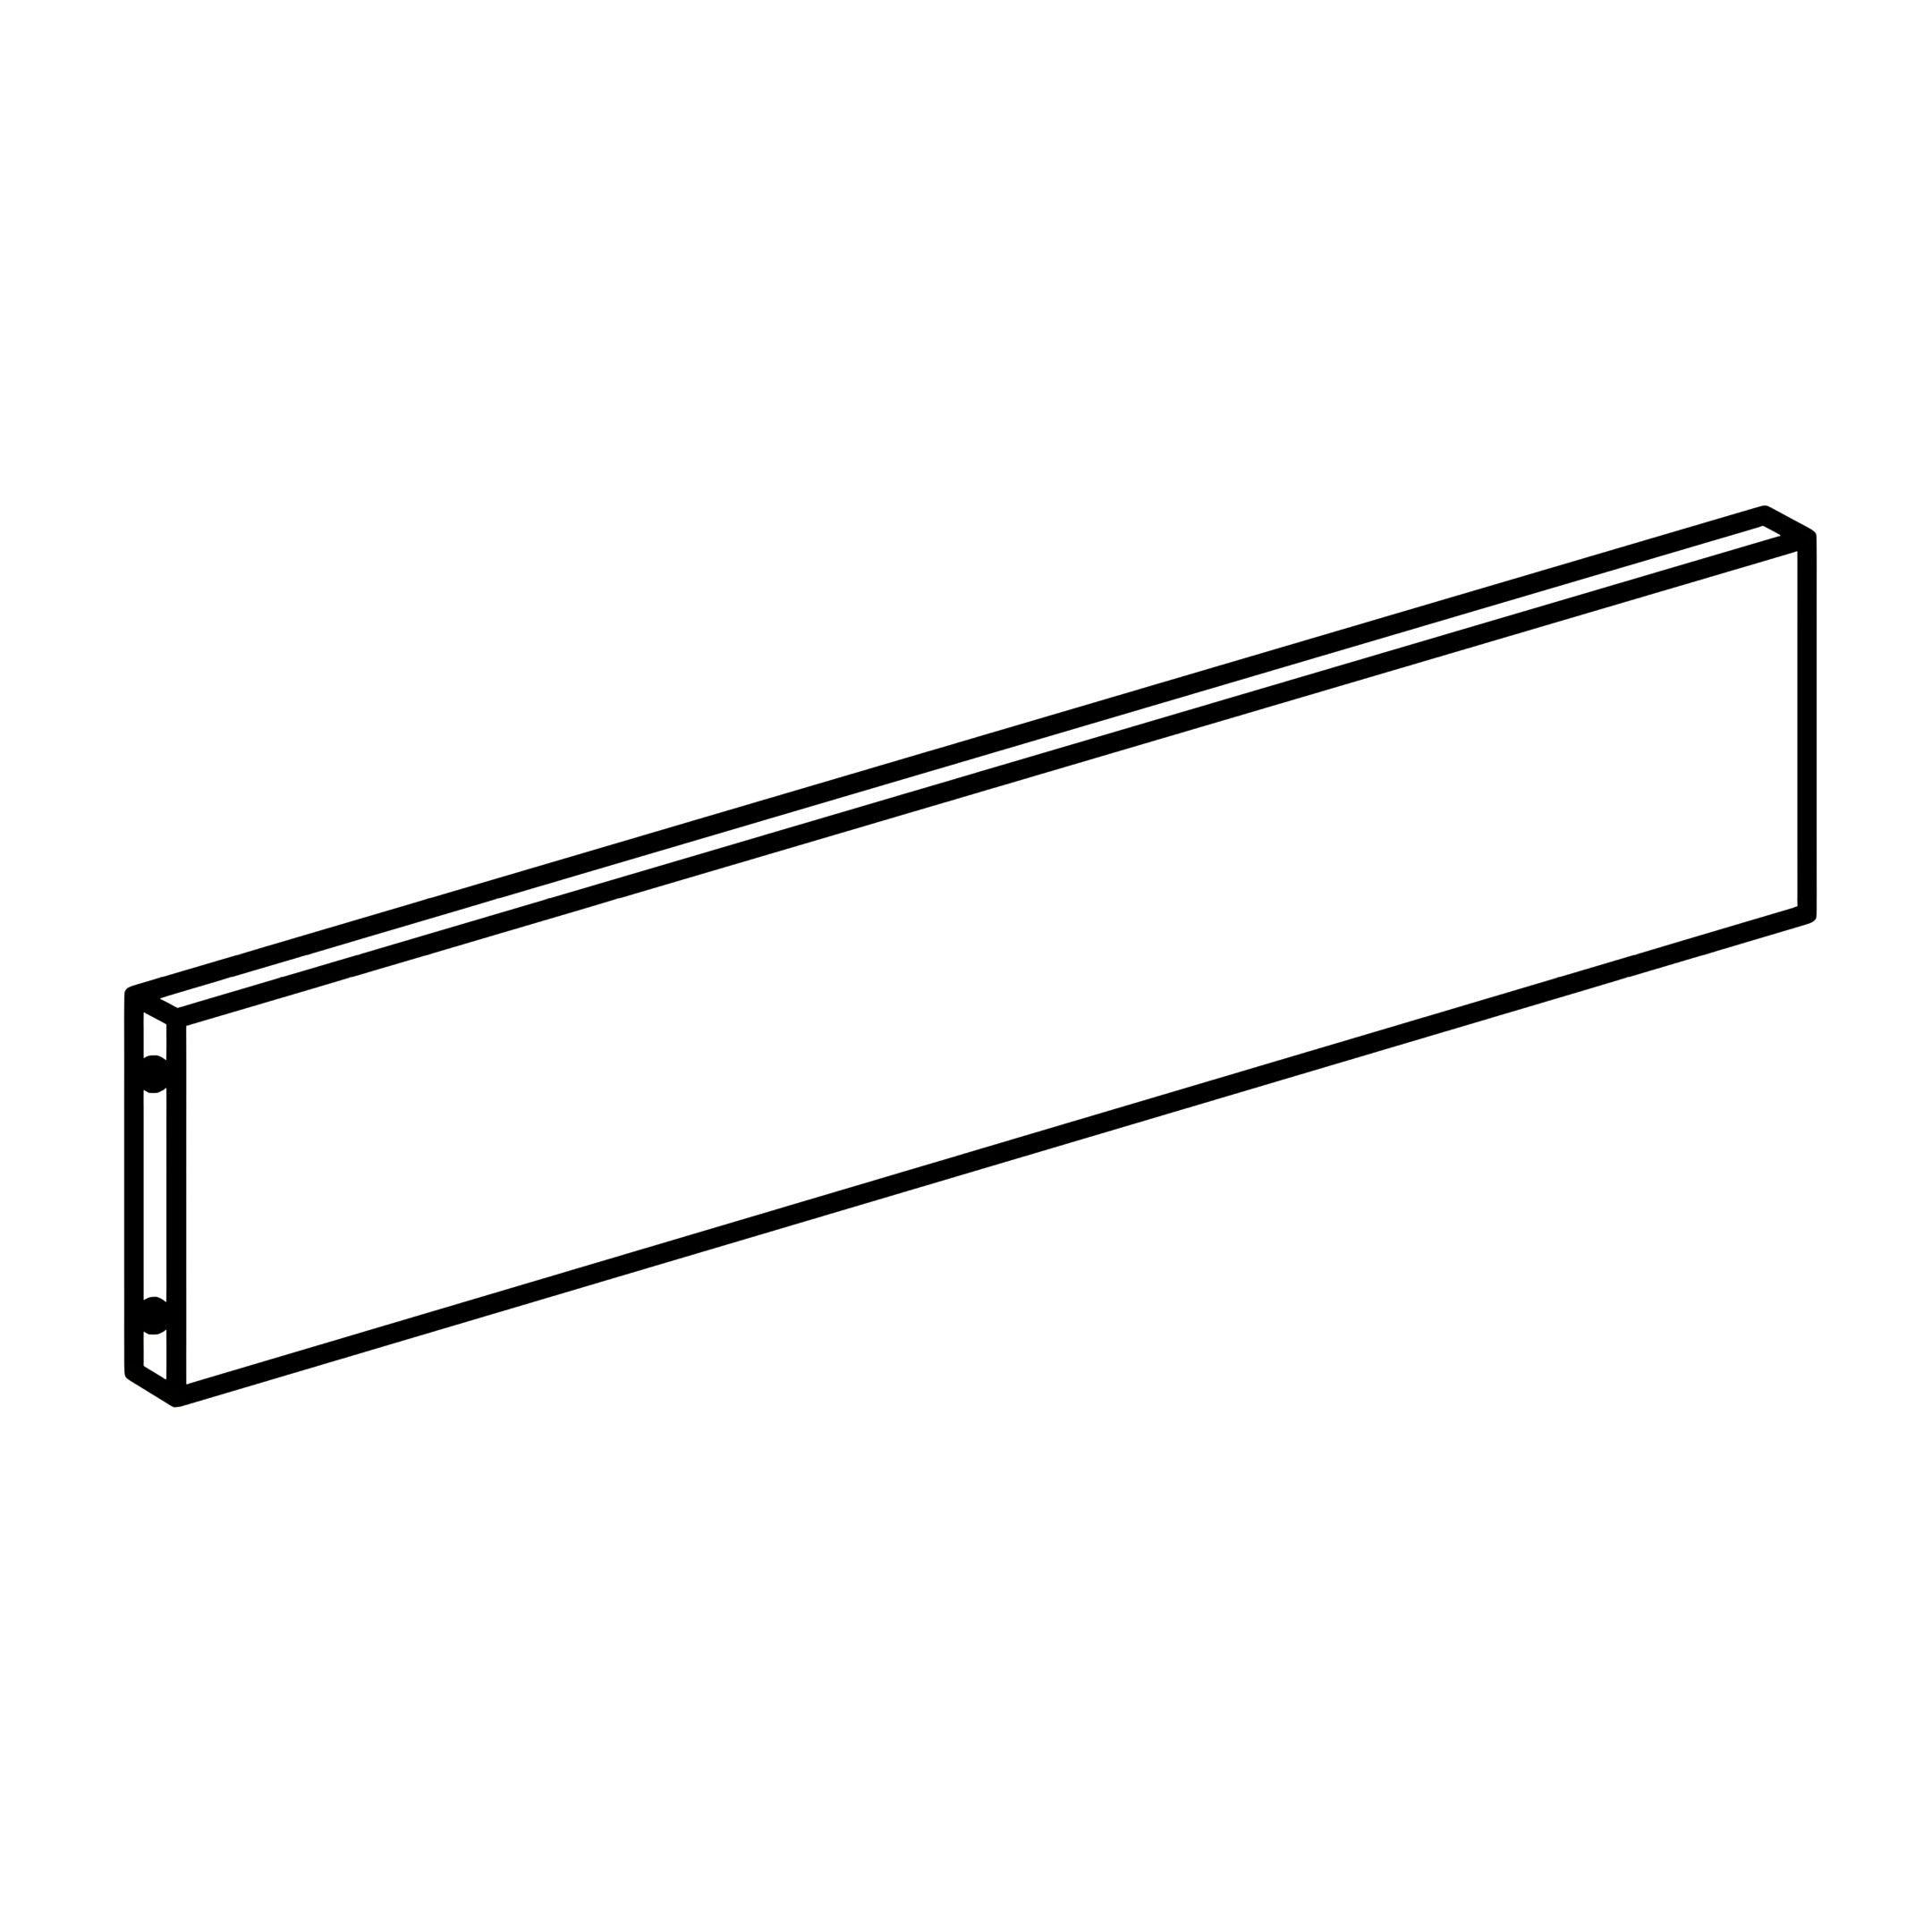 I - Footboard Back Panel (Label: 2)  J - Footboard & Side Rail Side Panel (Label: 3) K - Footboard Bottom Panel (Label: 4) 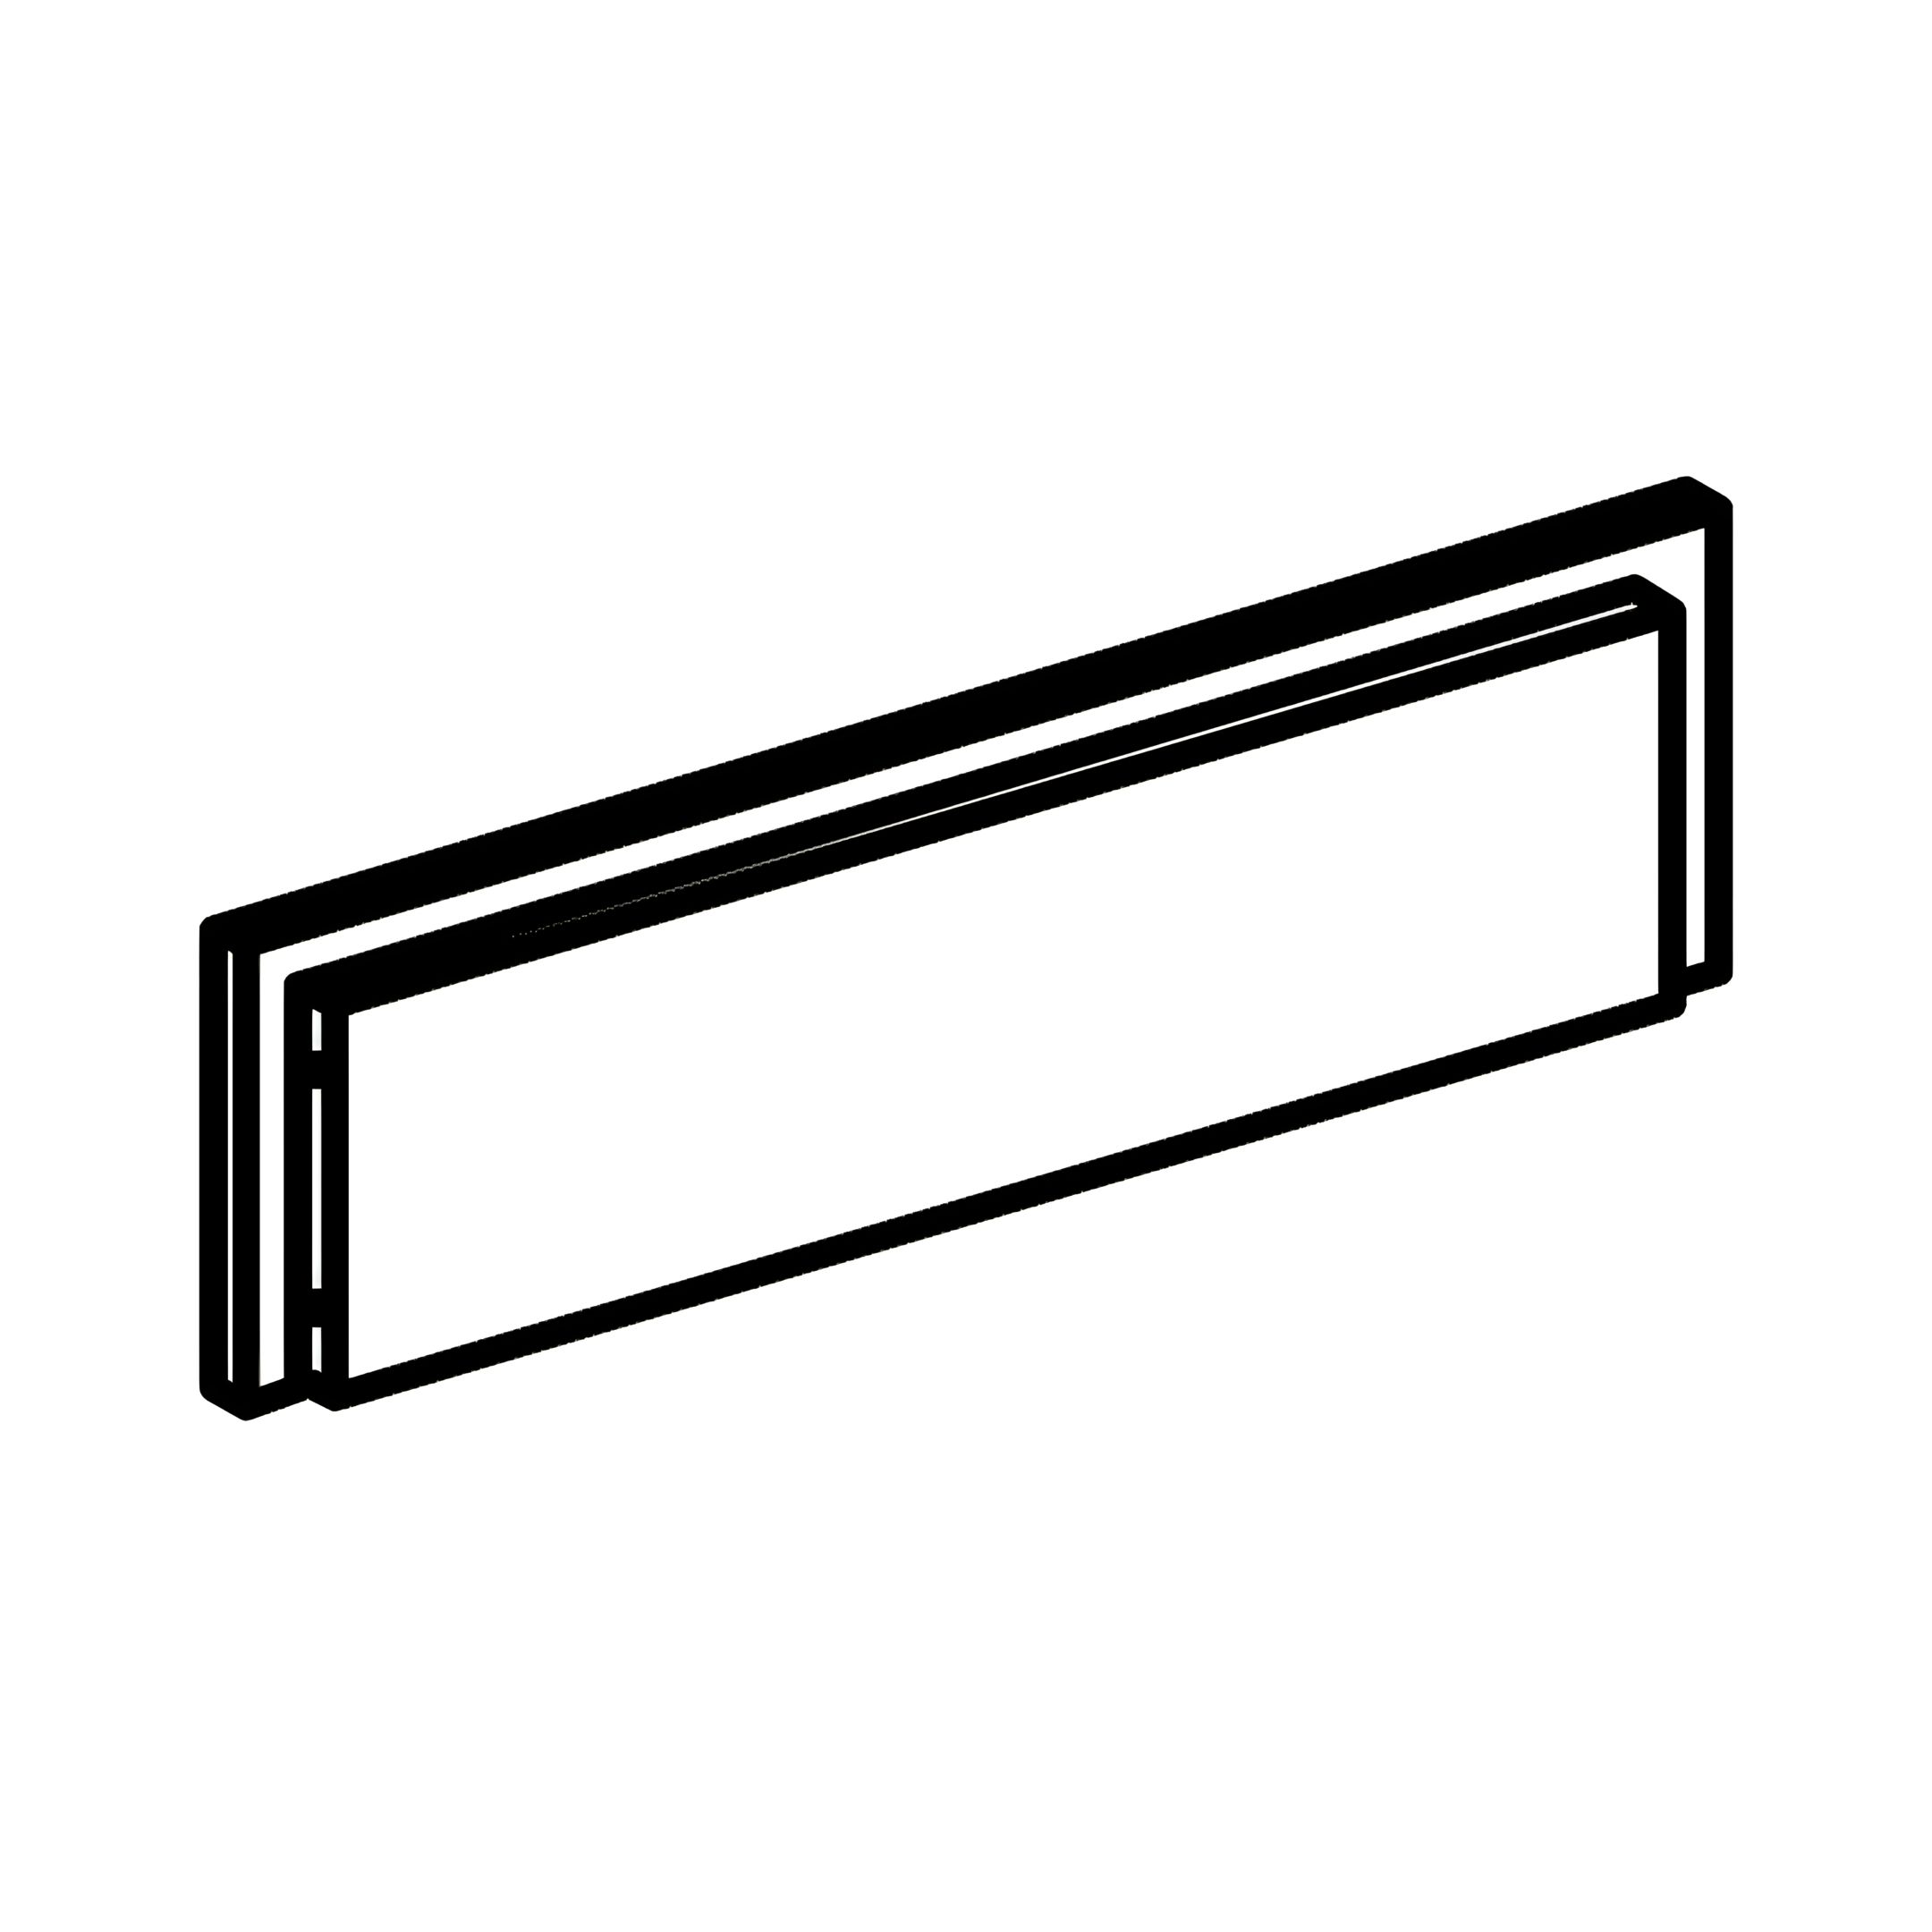 L - Side Rail Front Panel (Label: 5)  M - Side Rail Back Panel (Label: 6) 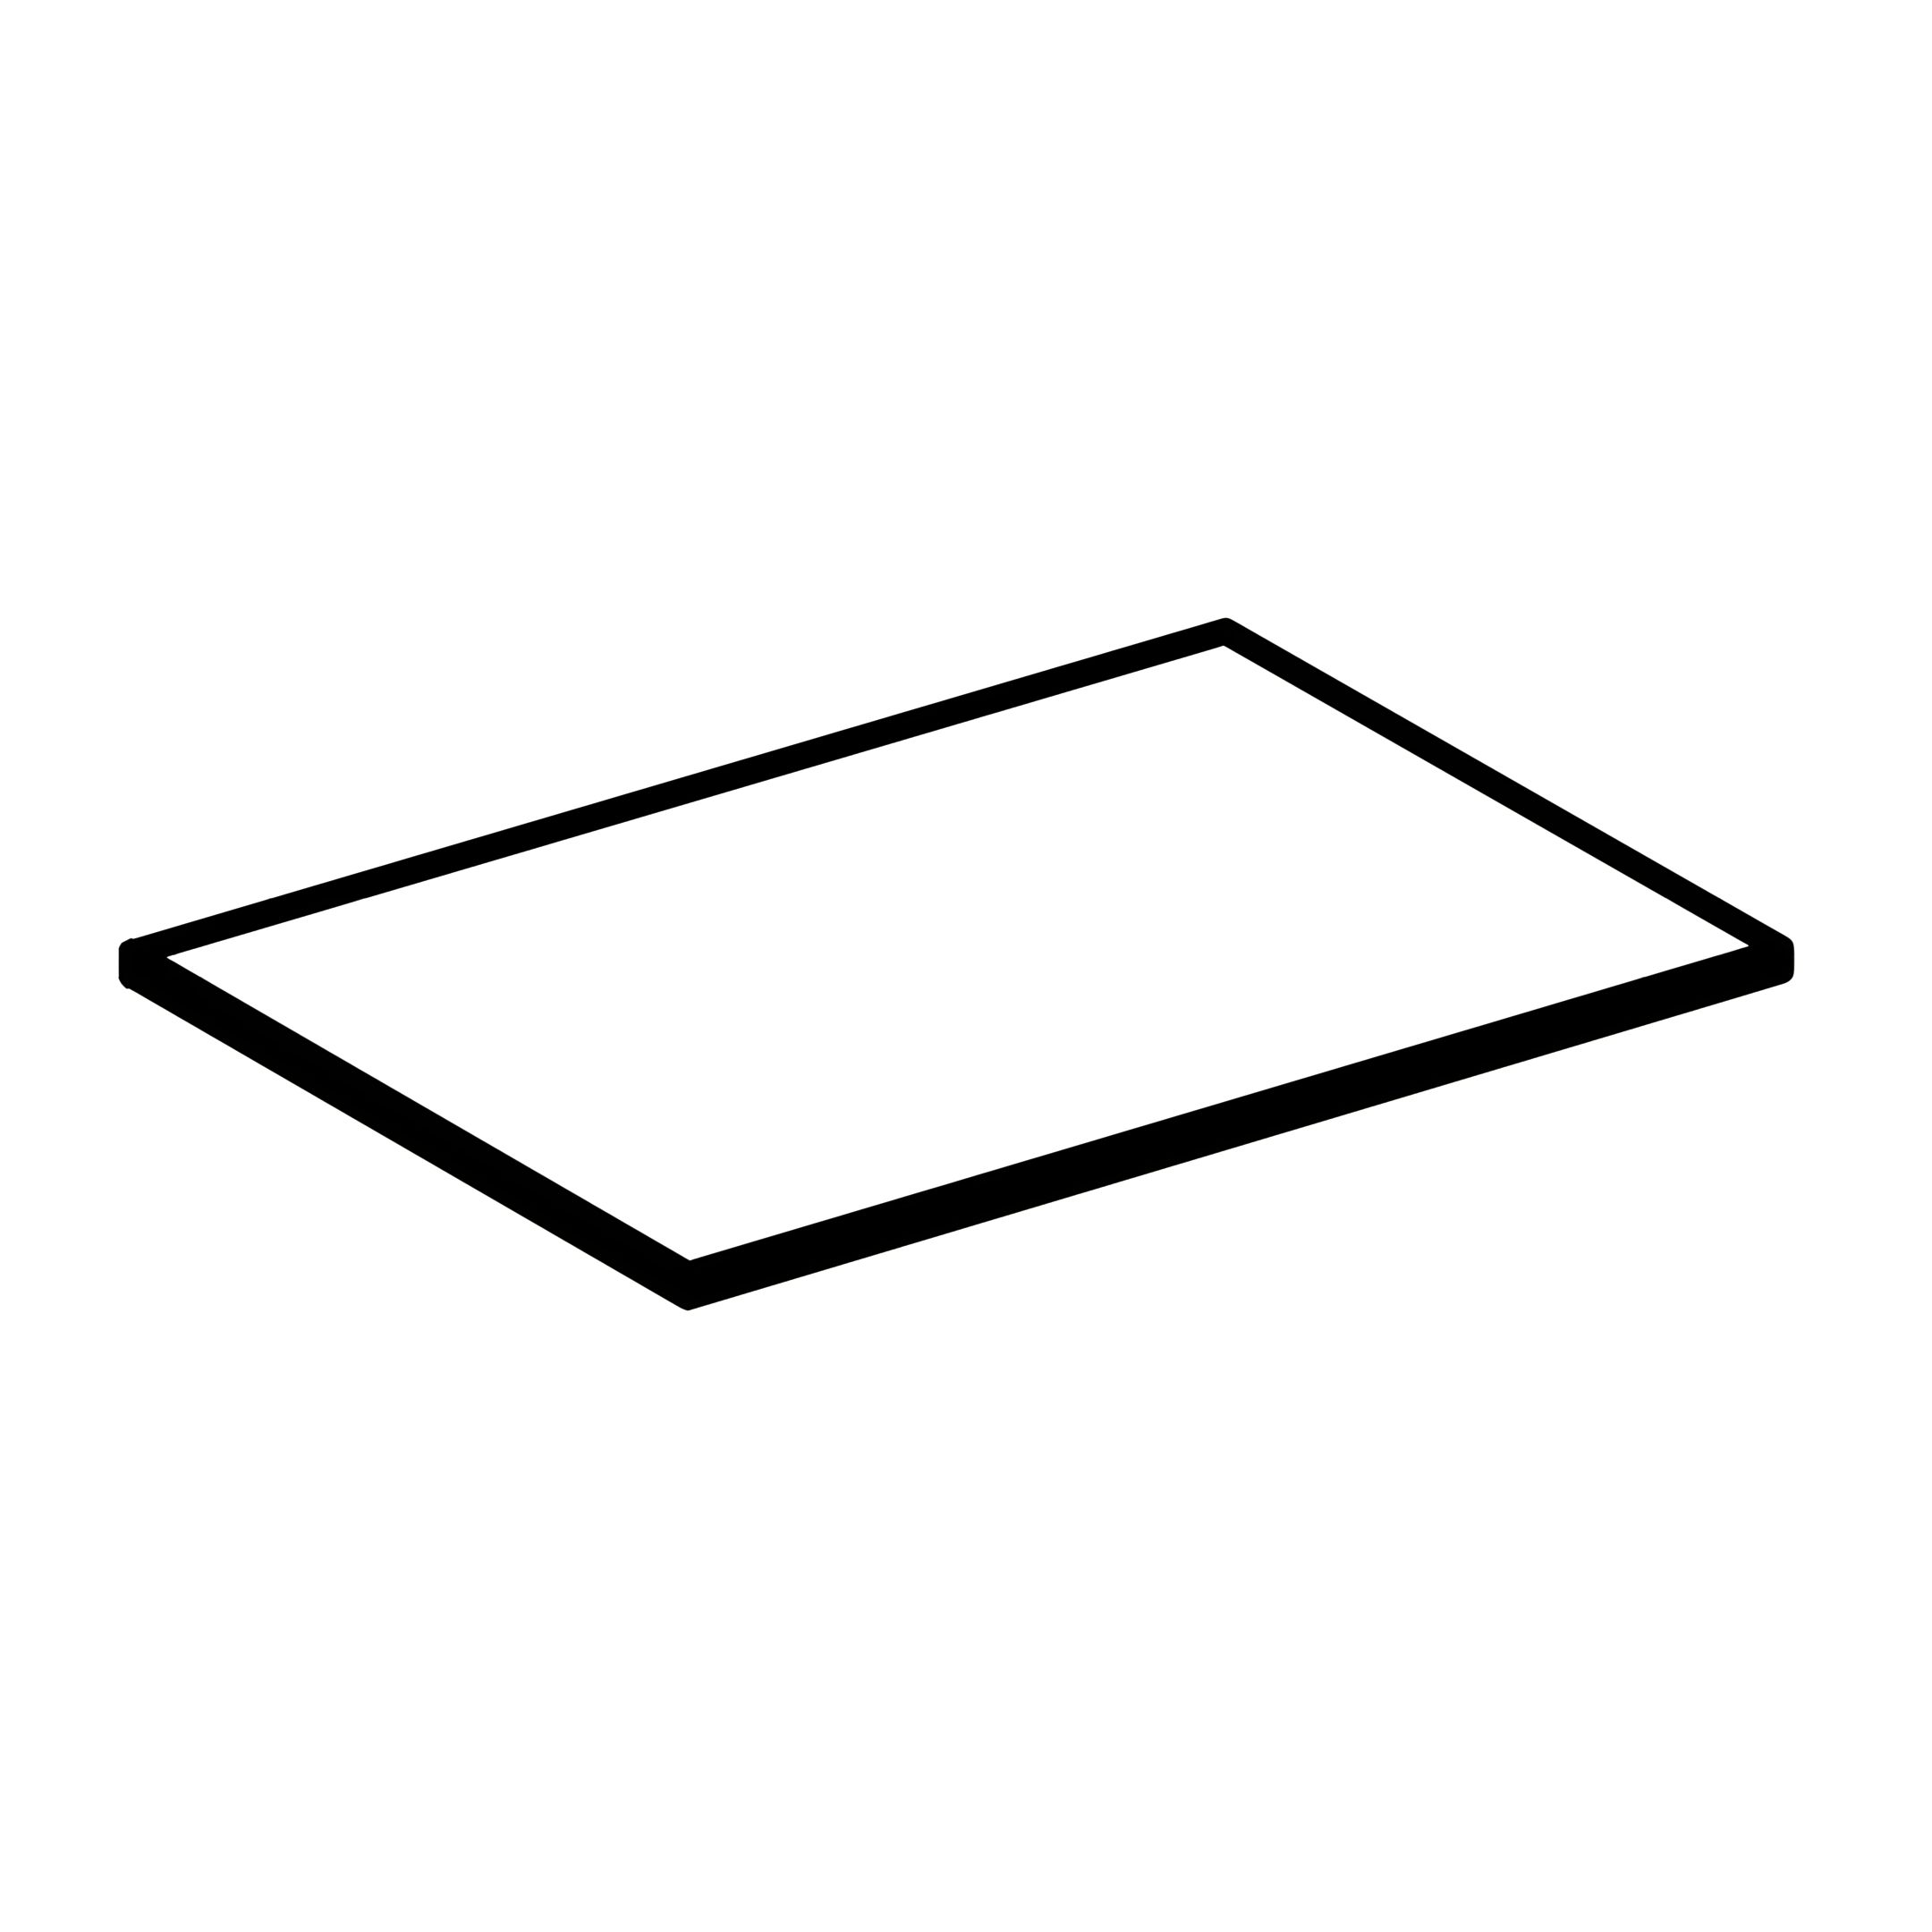 N - Side Rail Bottom Panel (Label: 7) 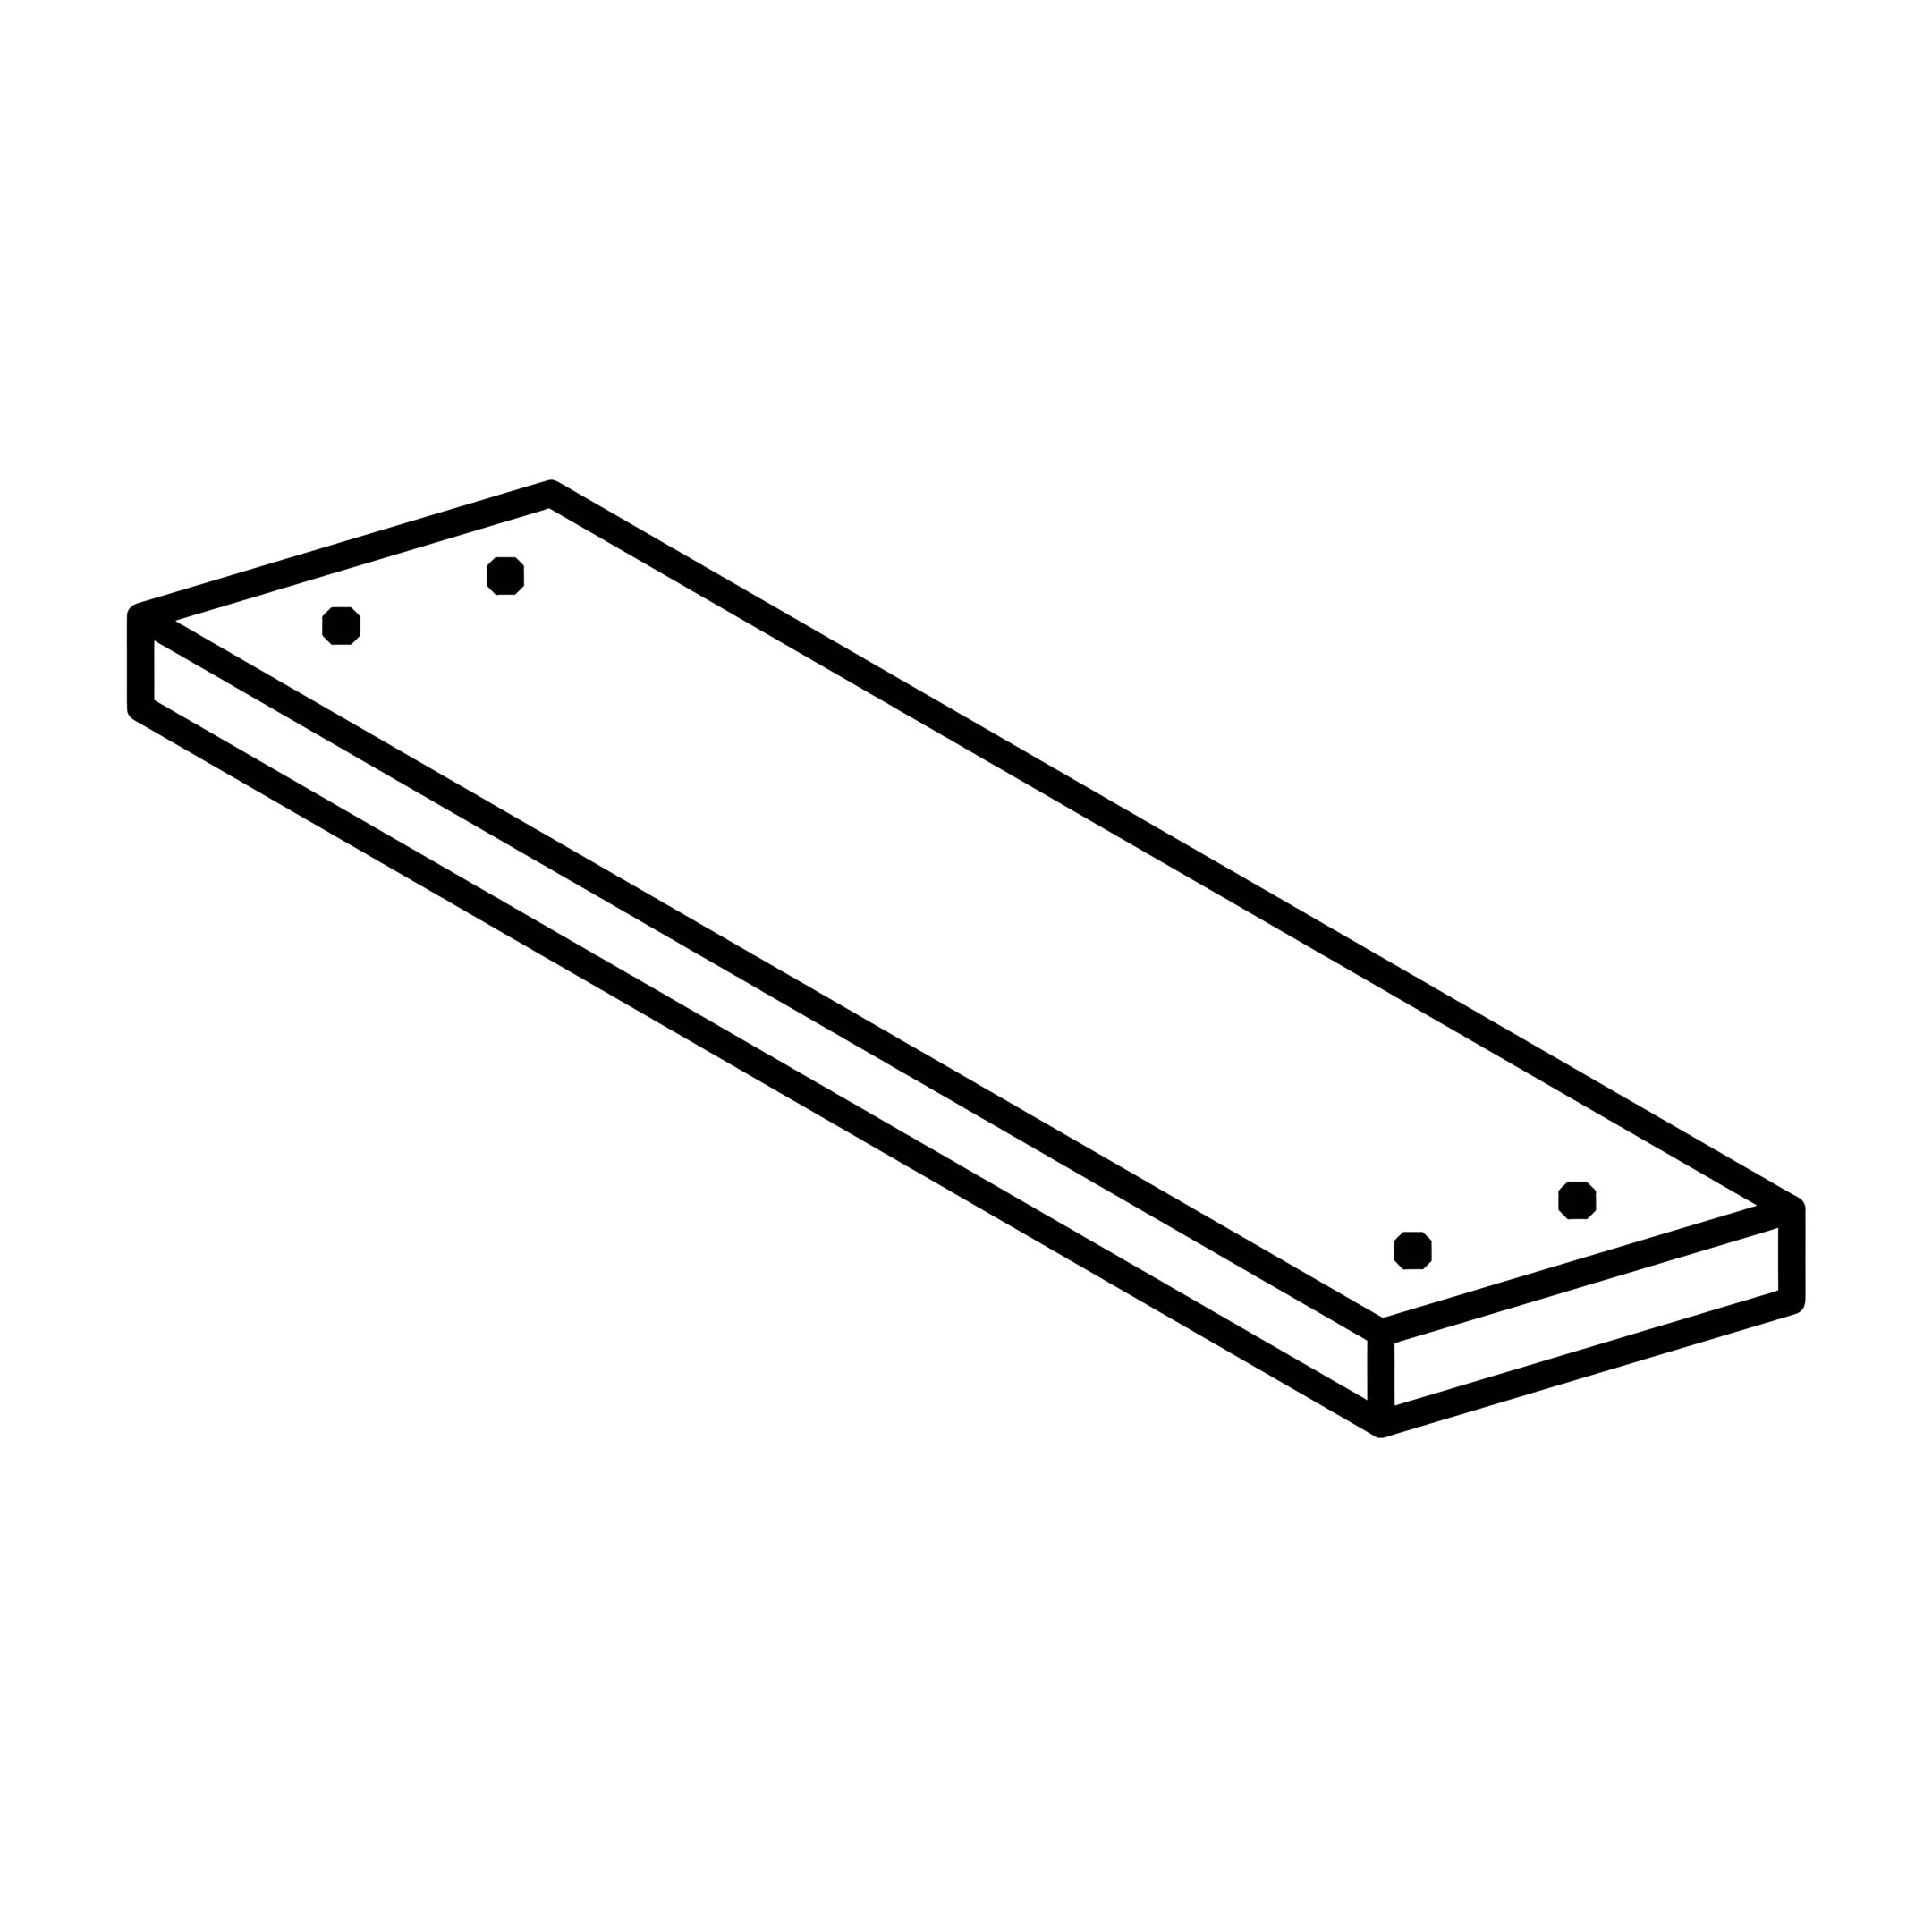 O - Bottom Panel Big Support (Label: 8) 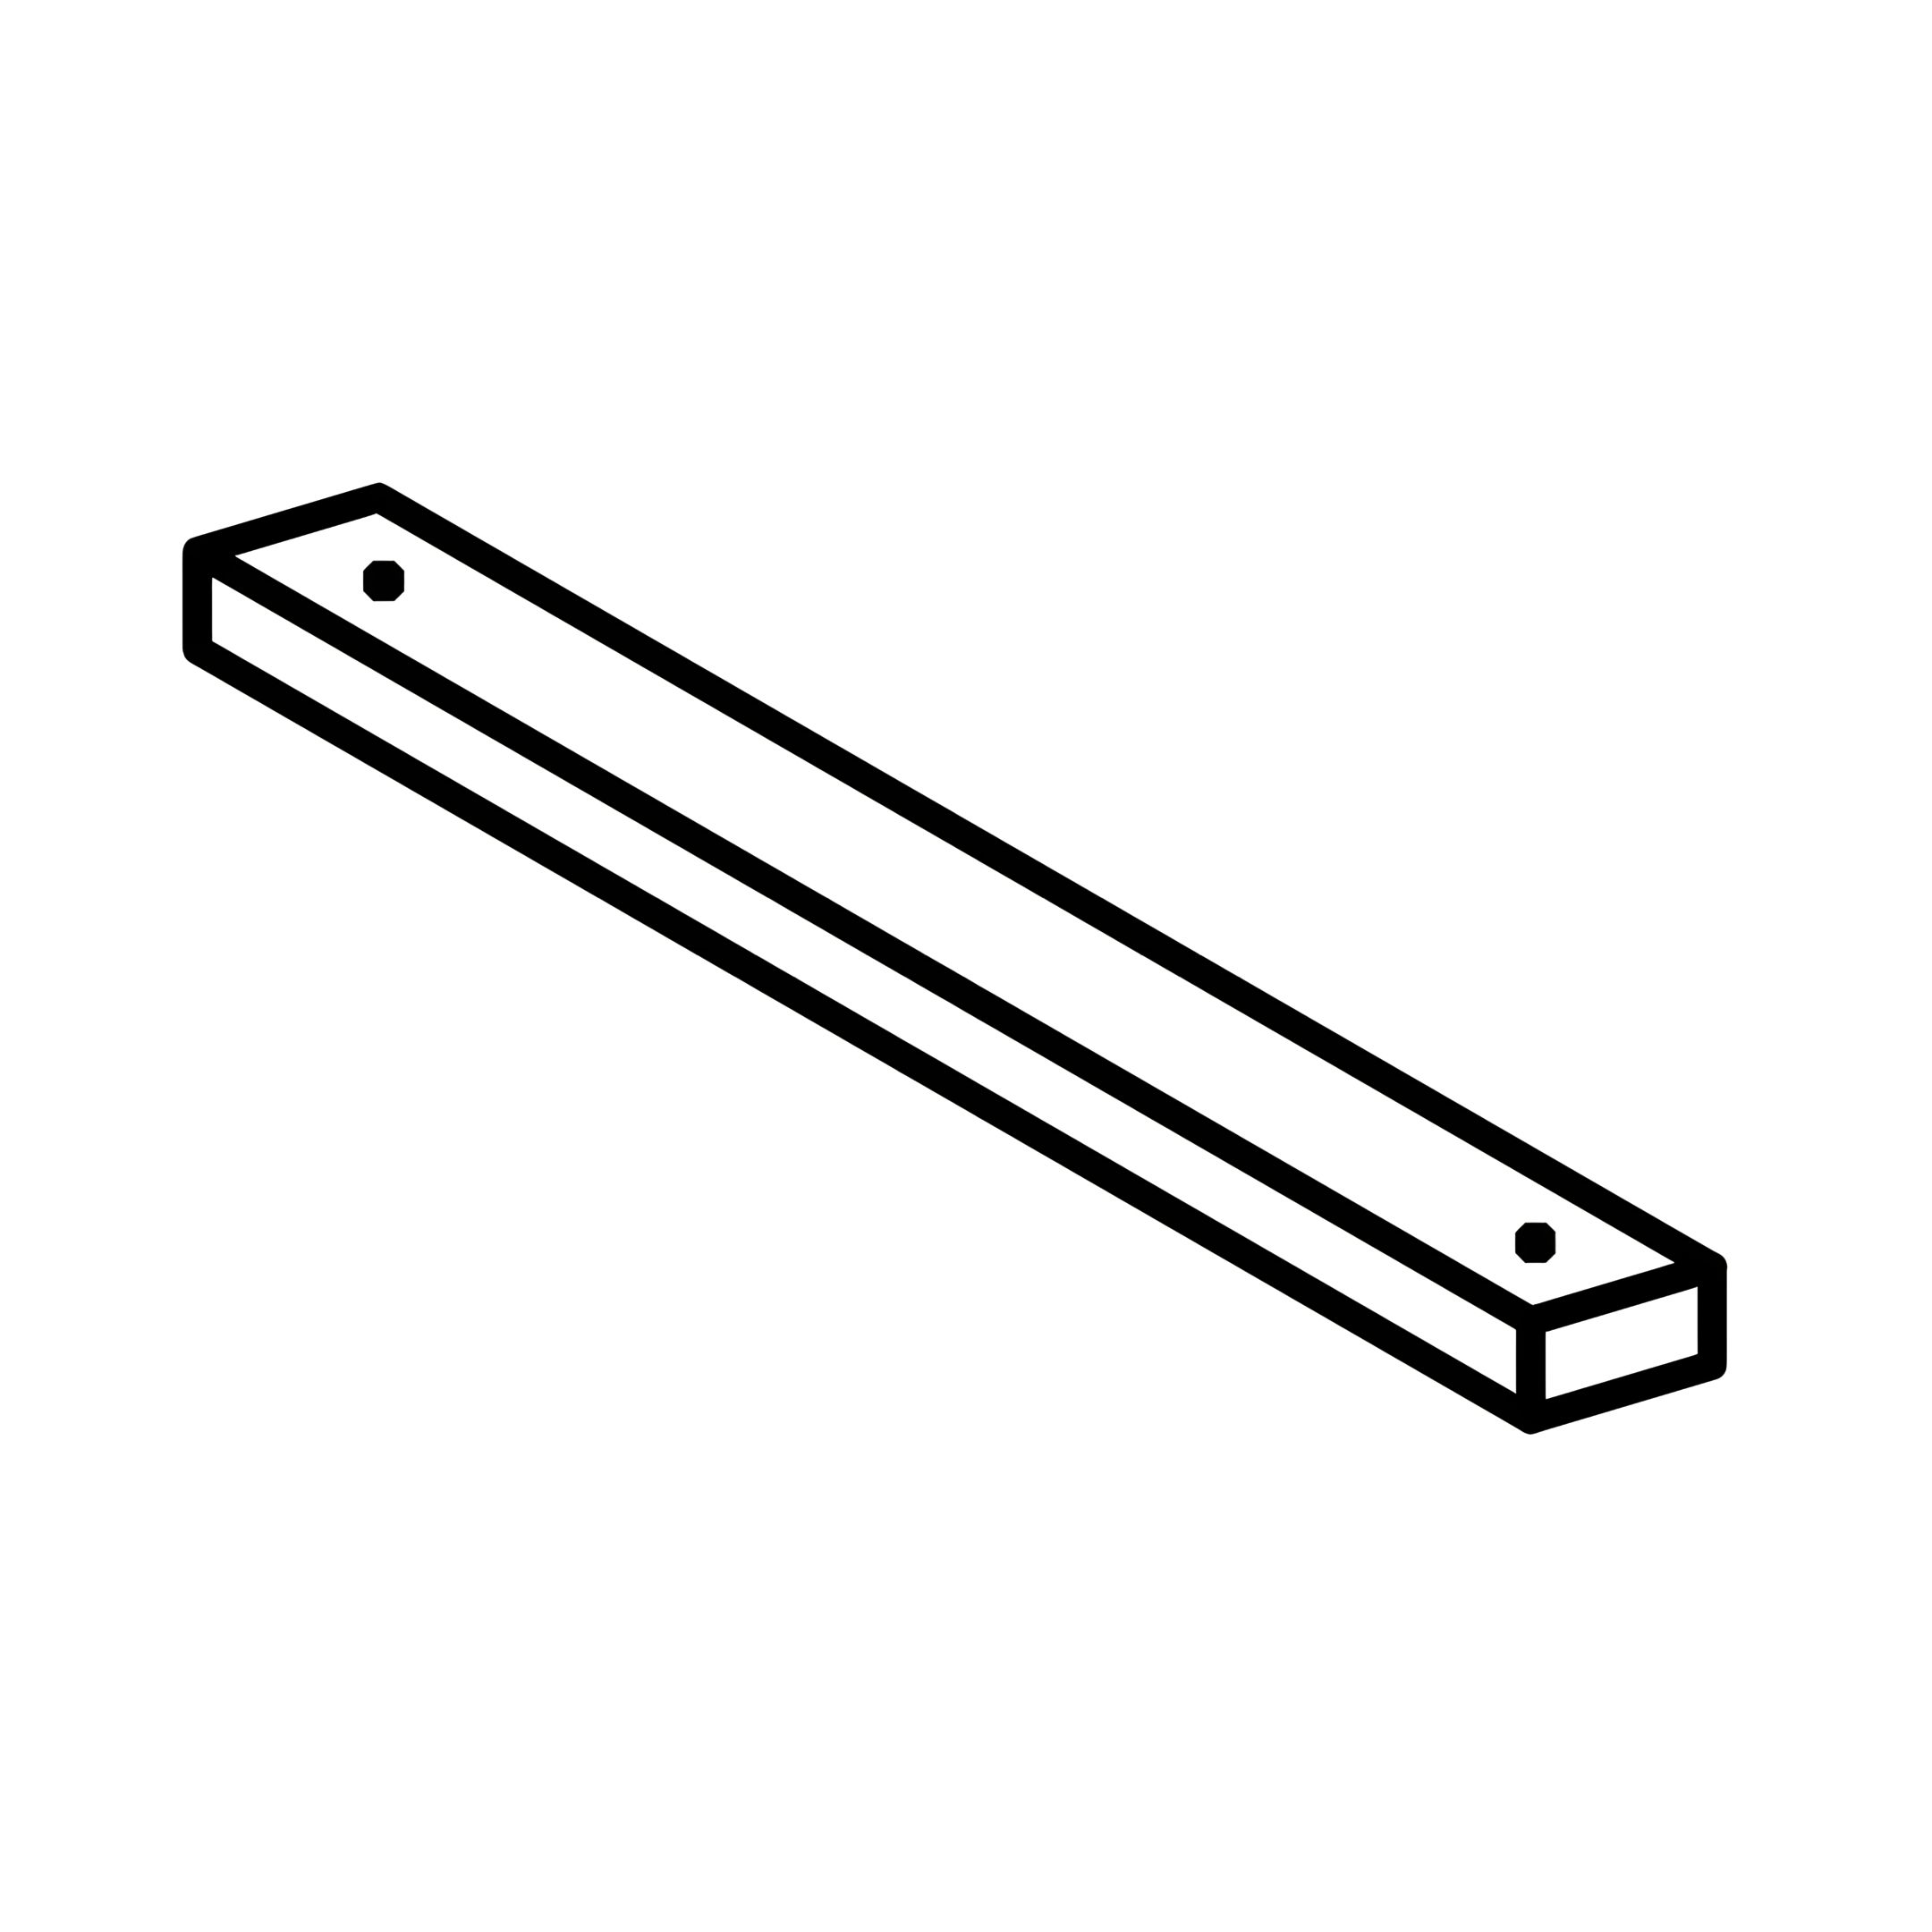 P - Bottom Panel Small Support (Label: 9) 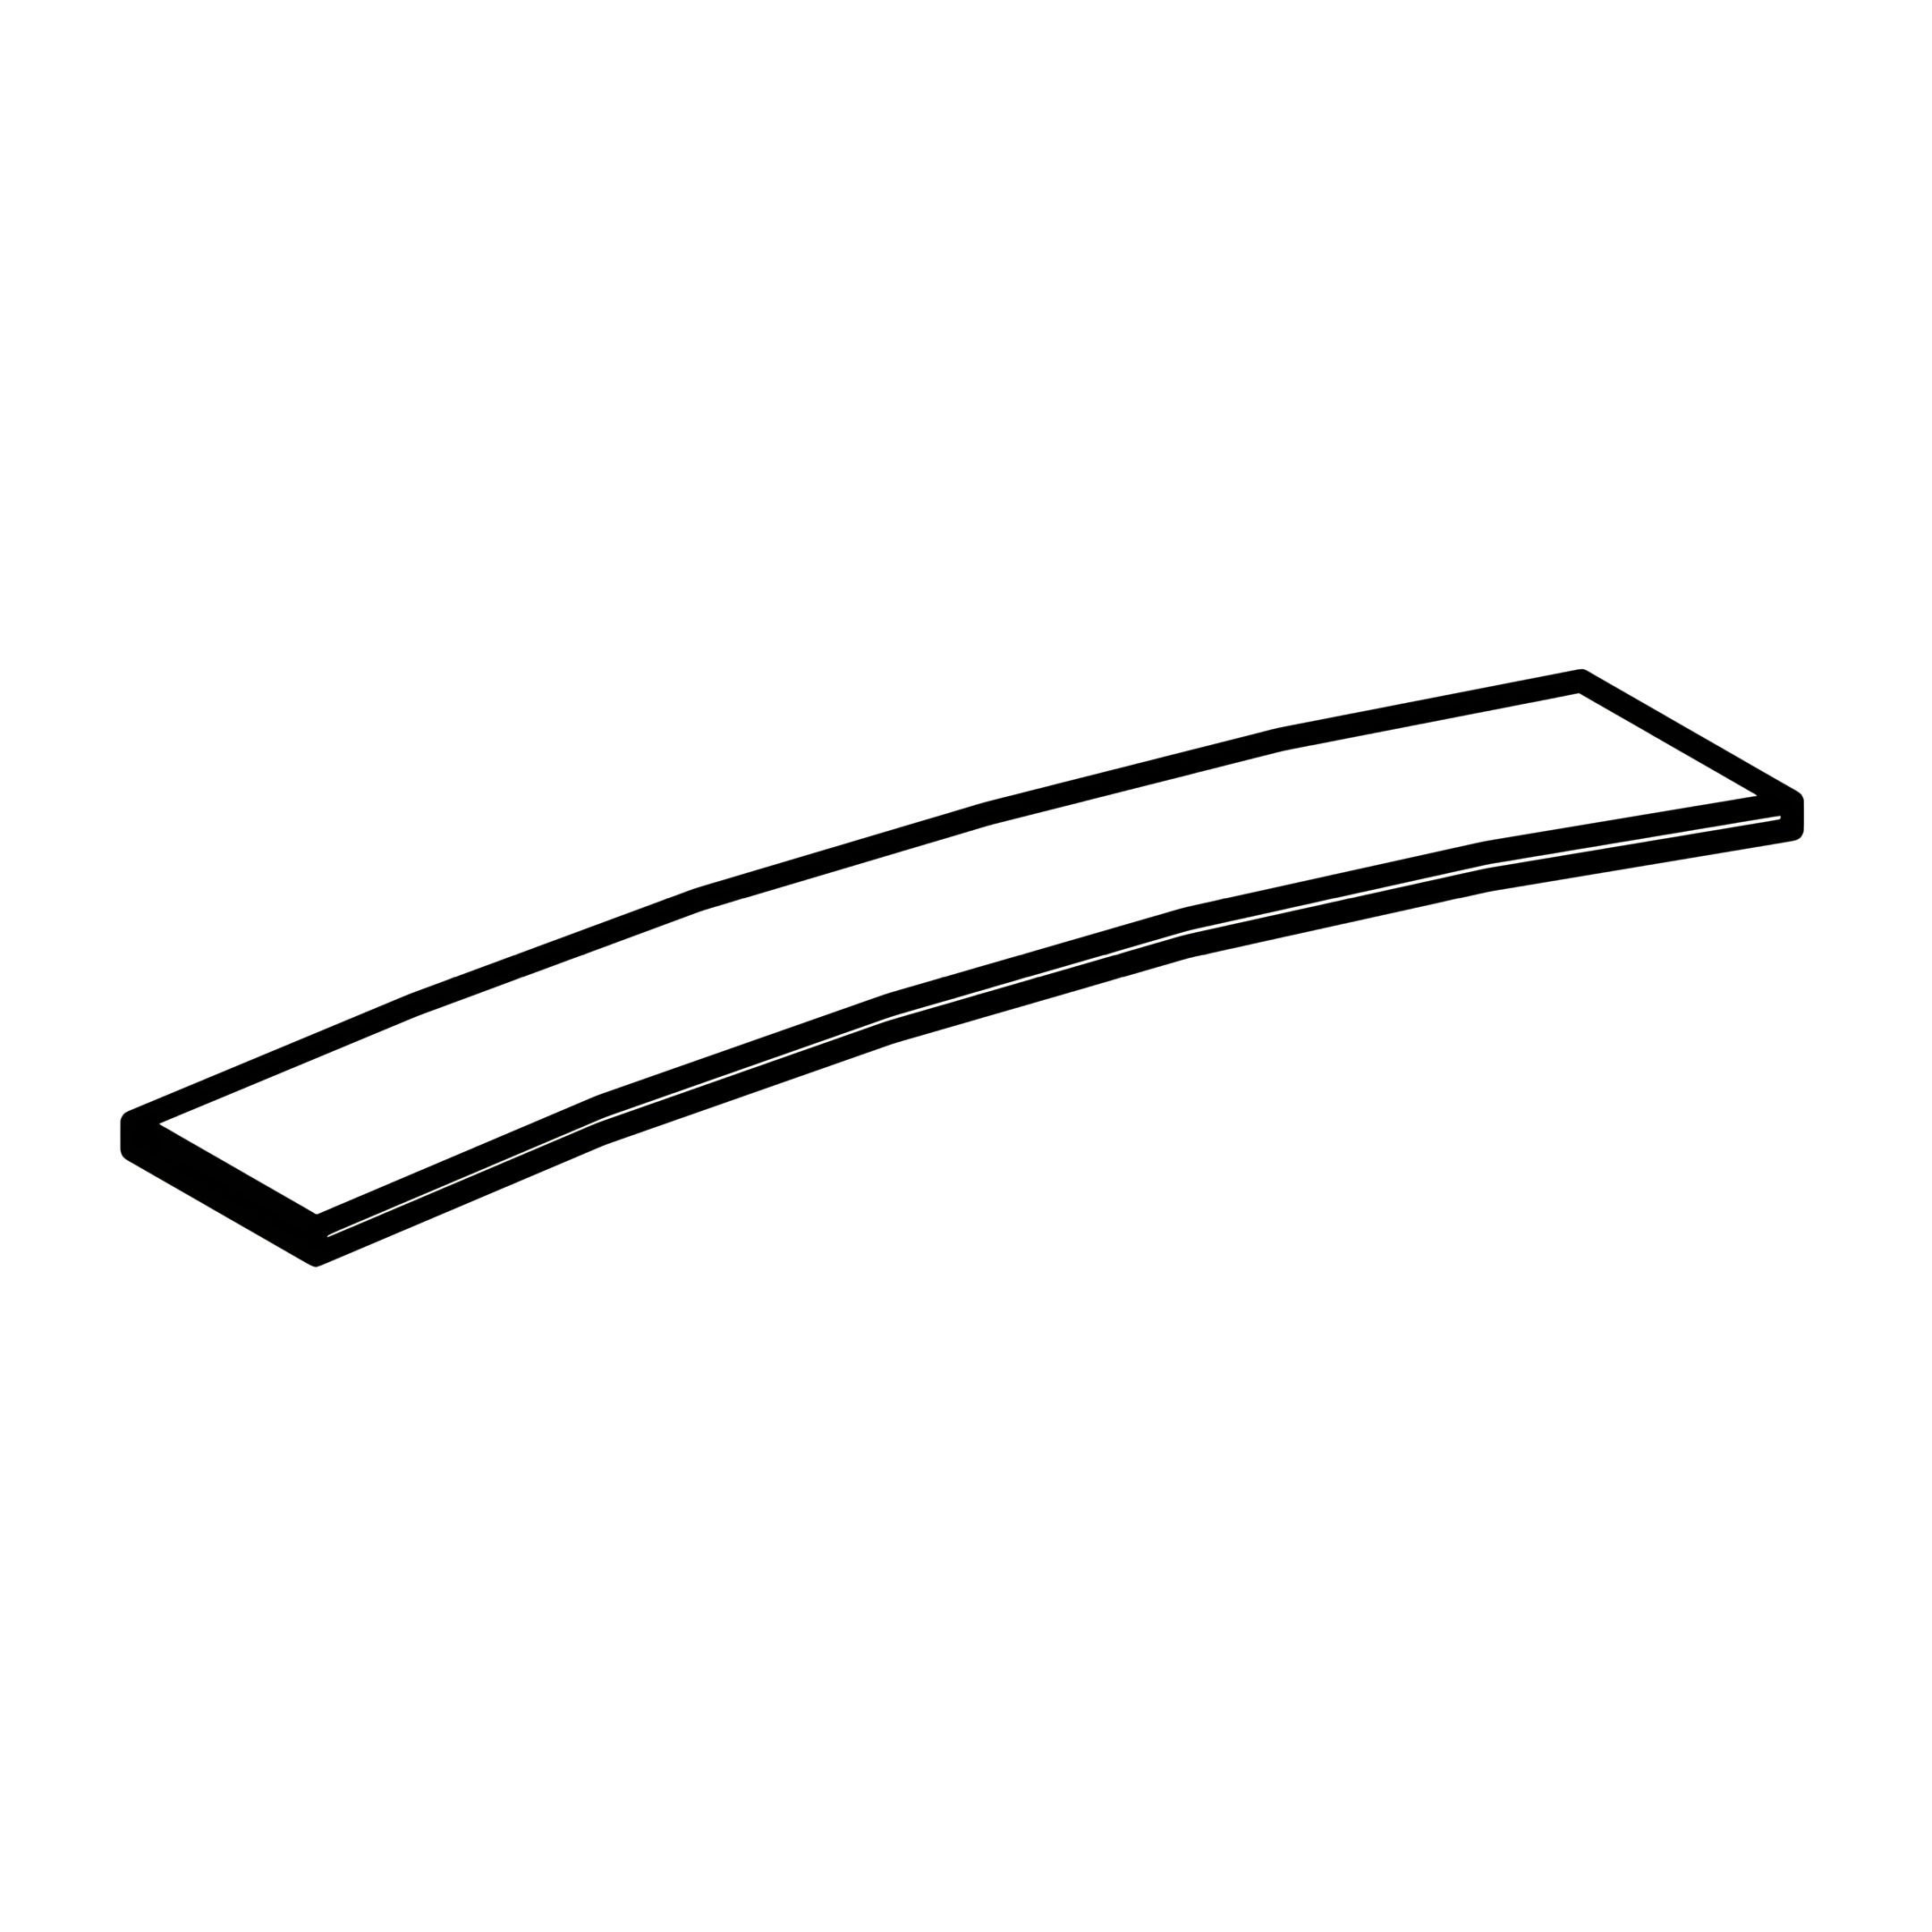 Q - LVL Slat 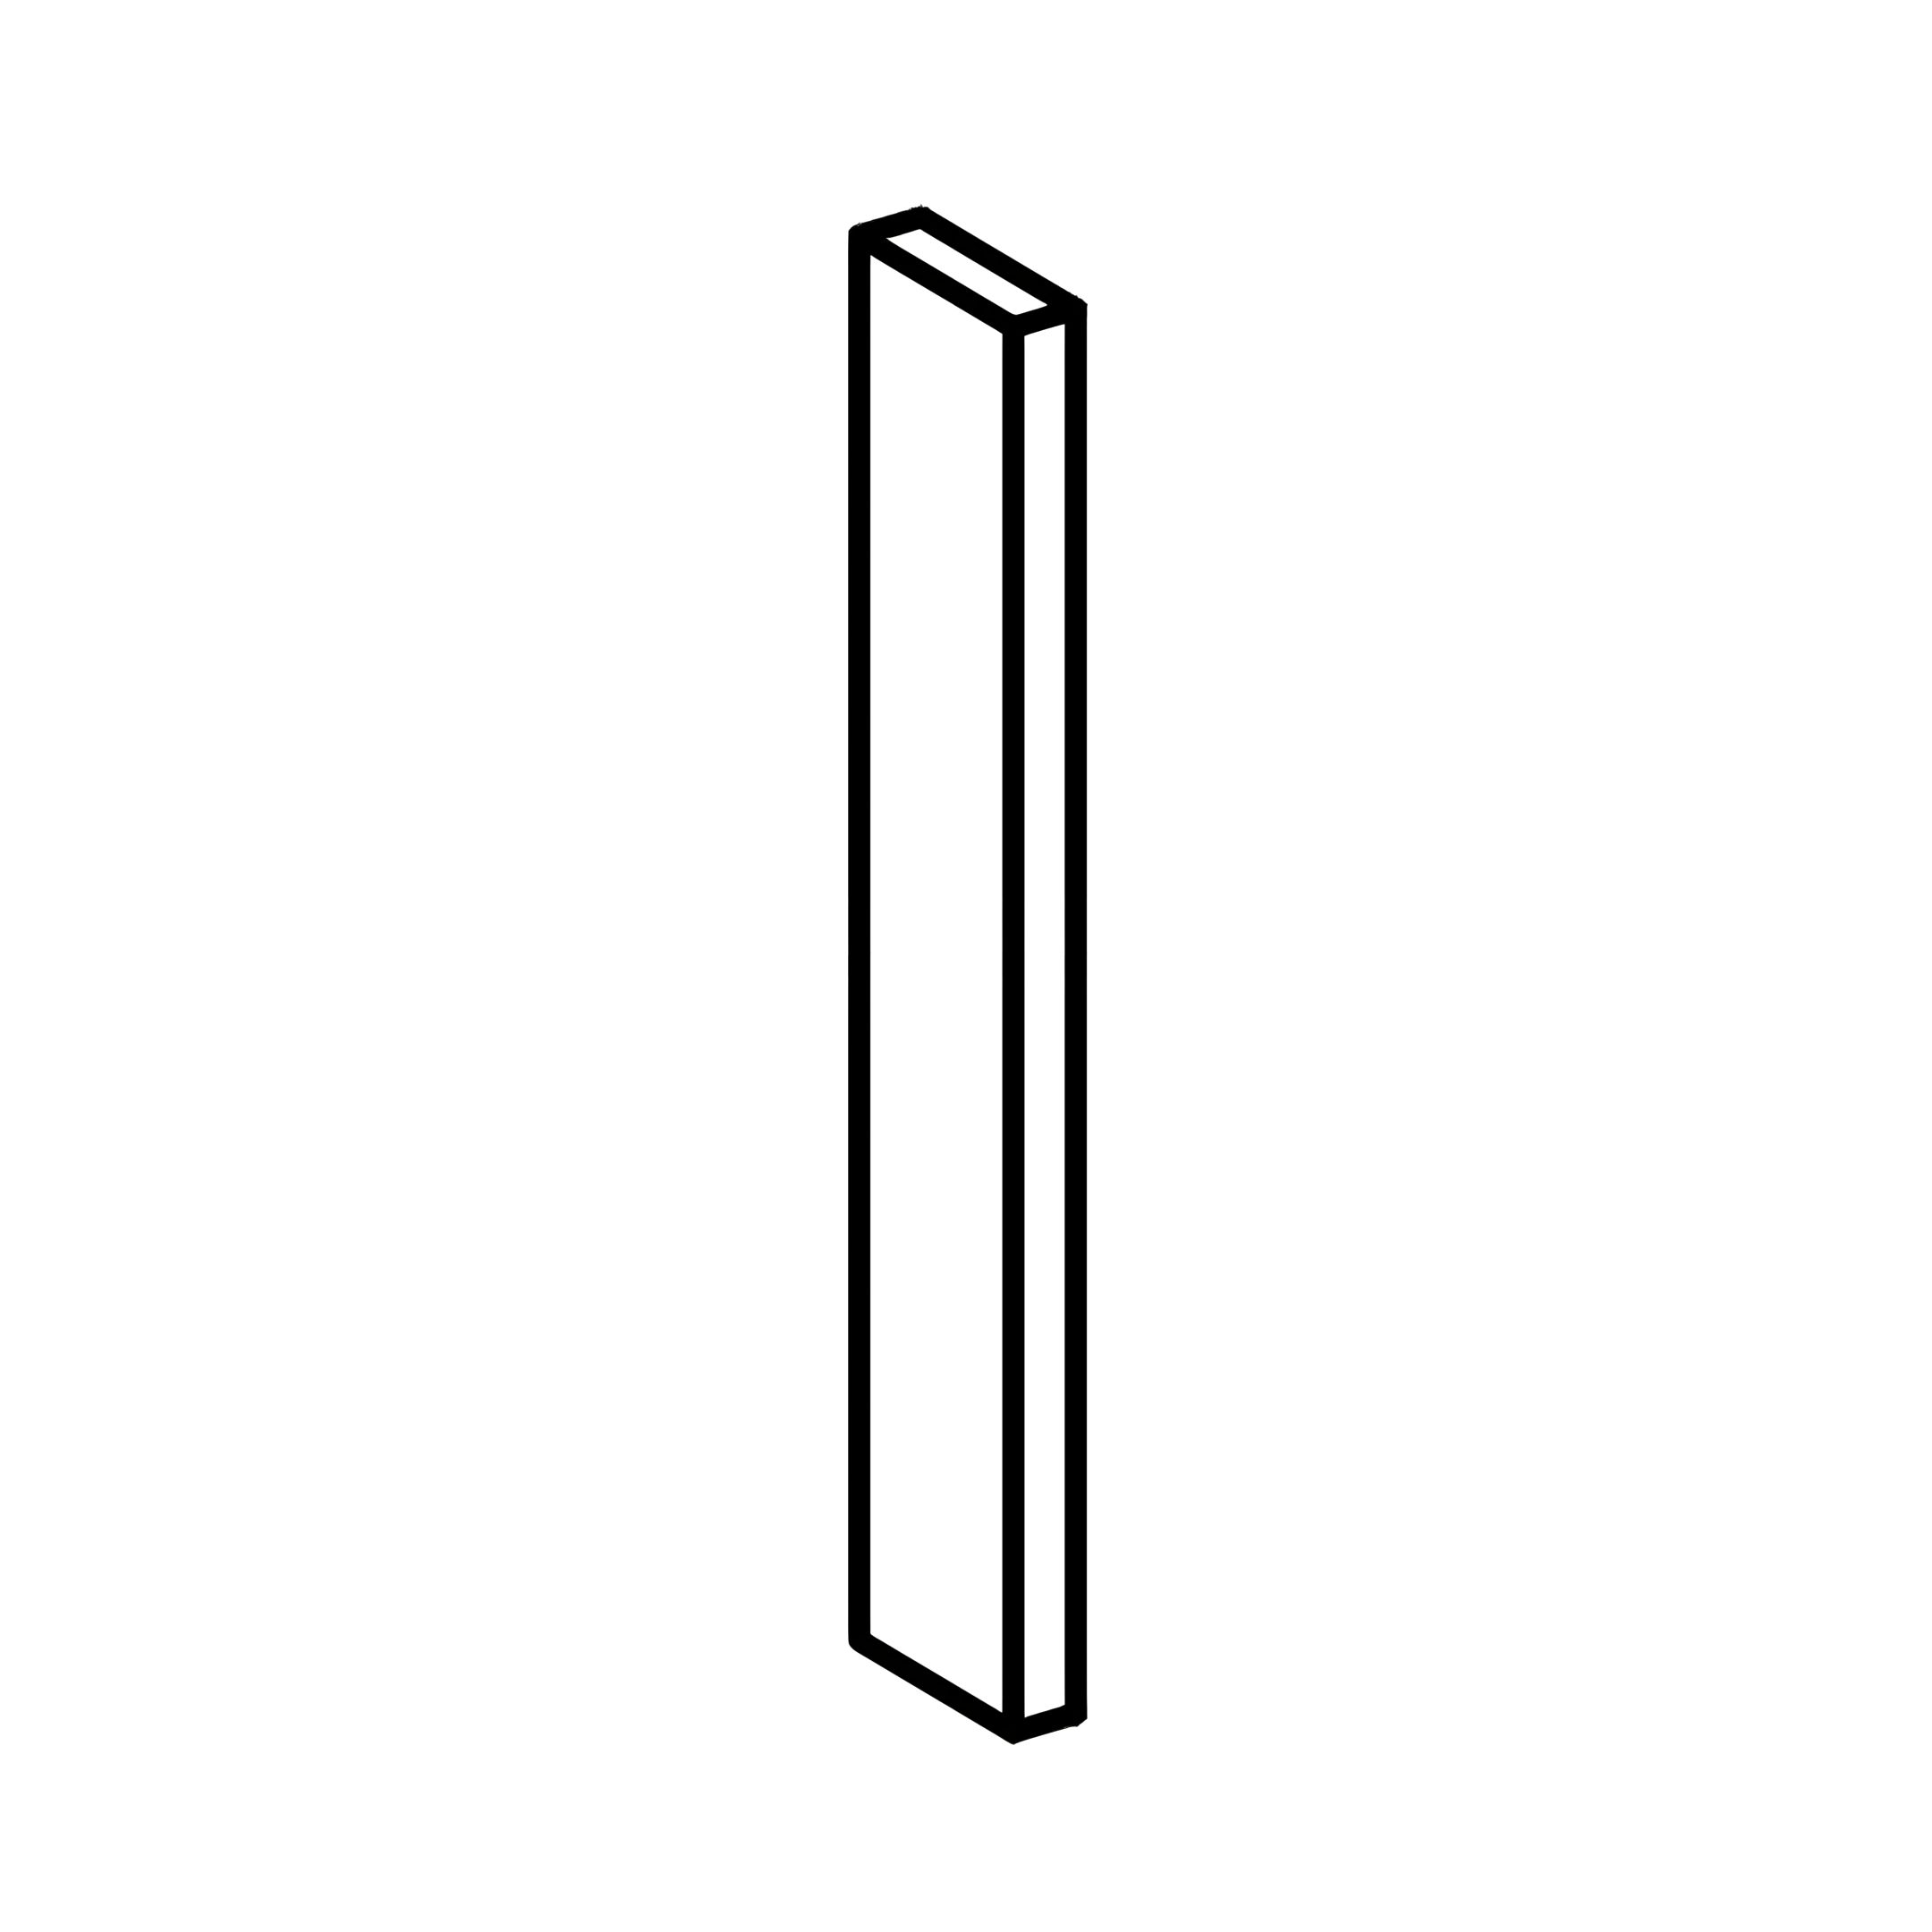 R - Side Wing 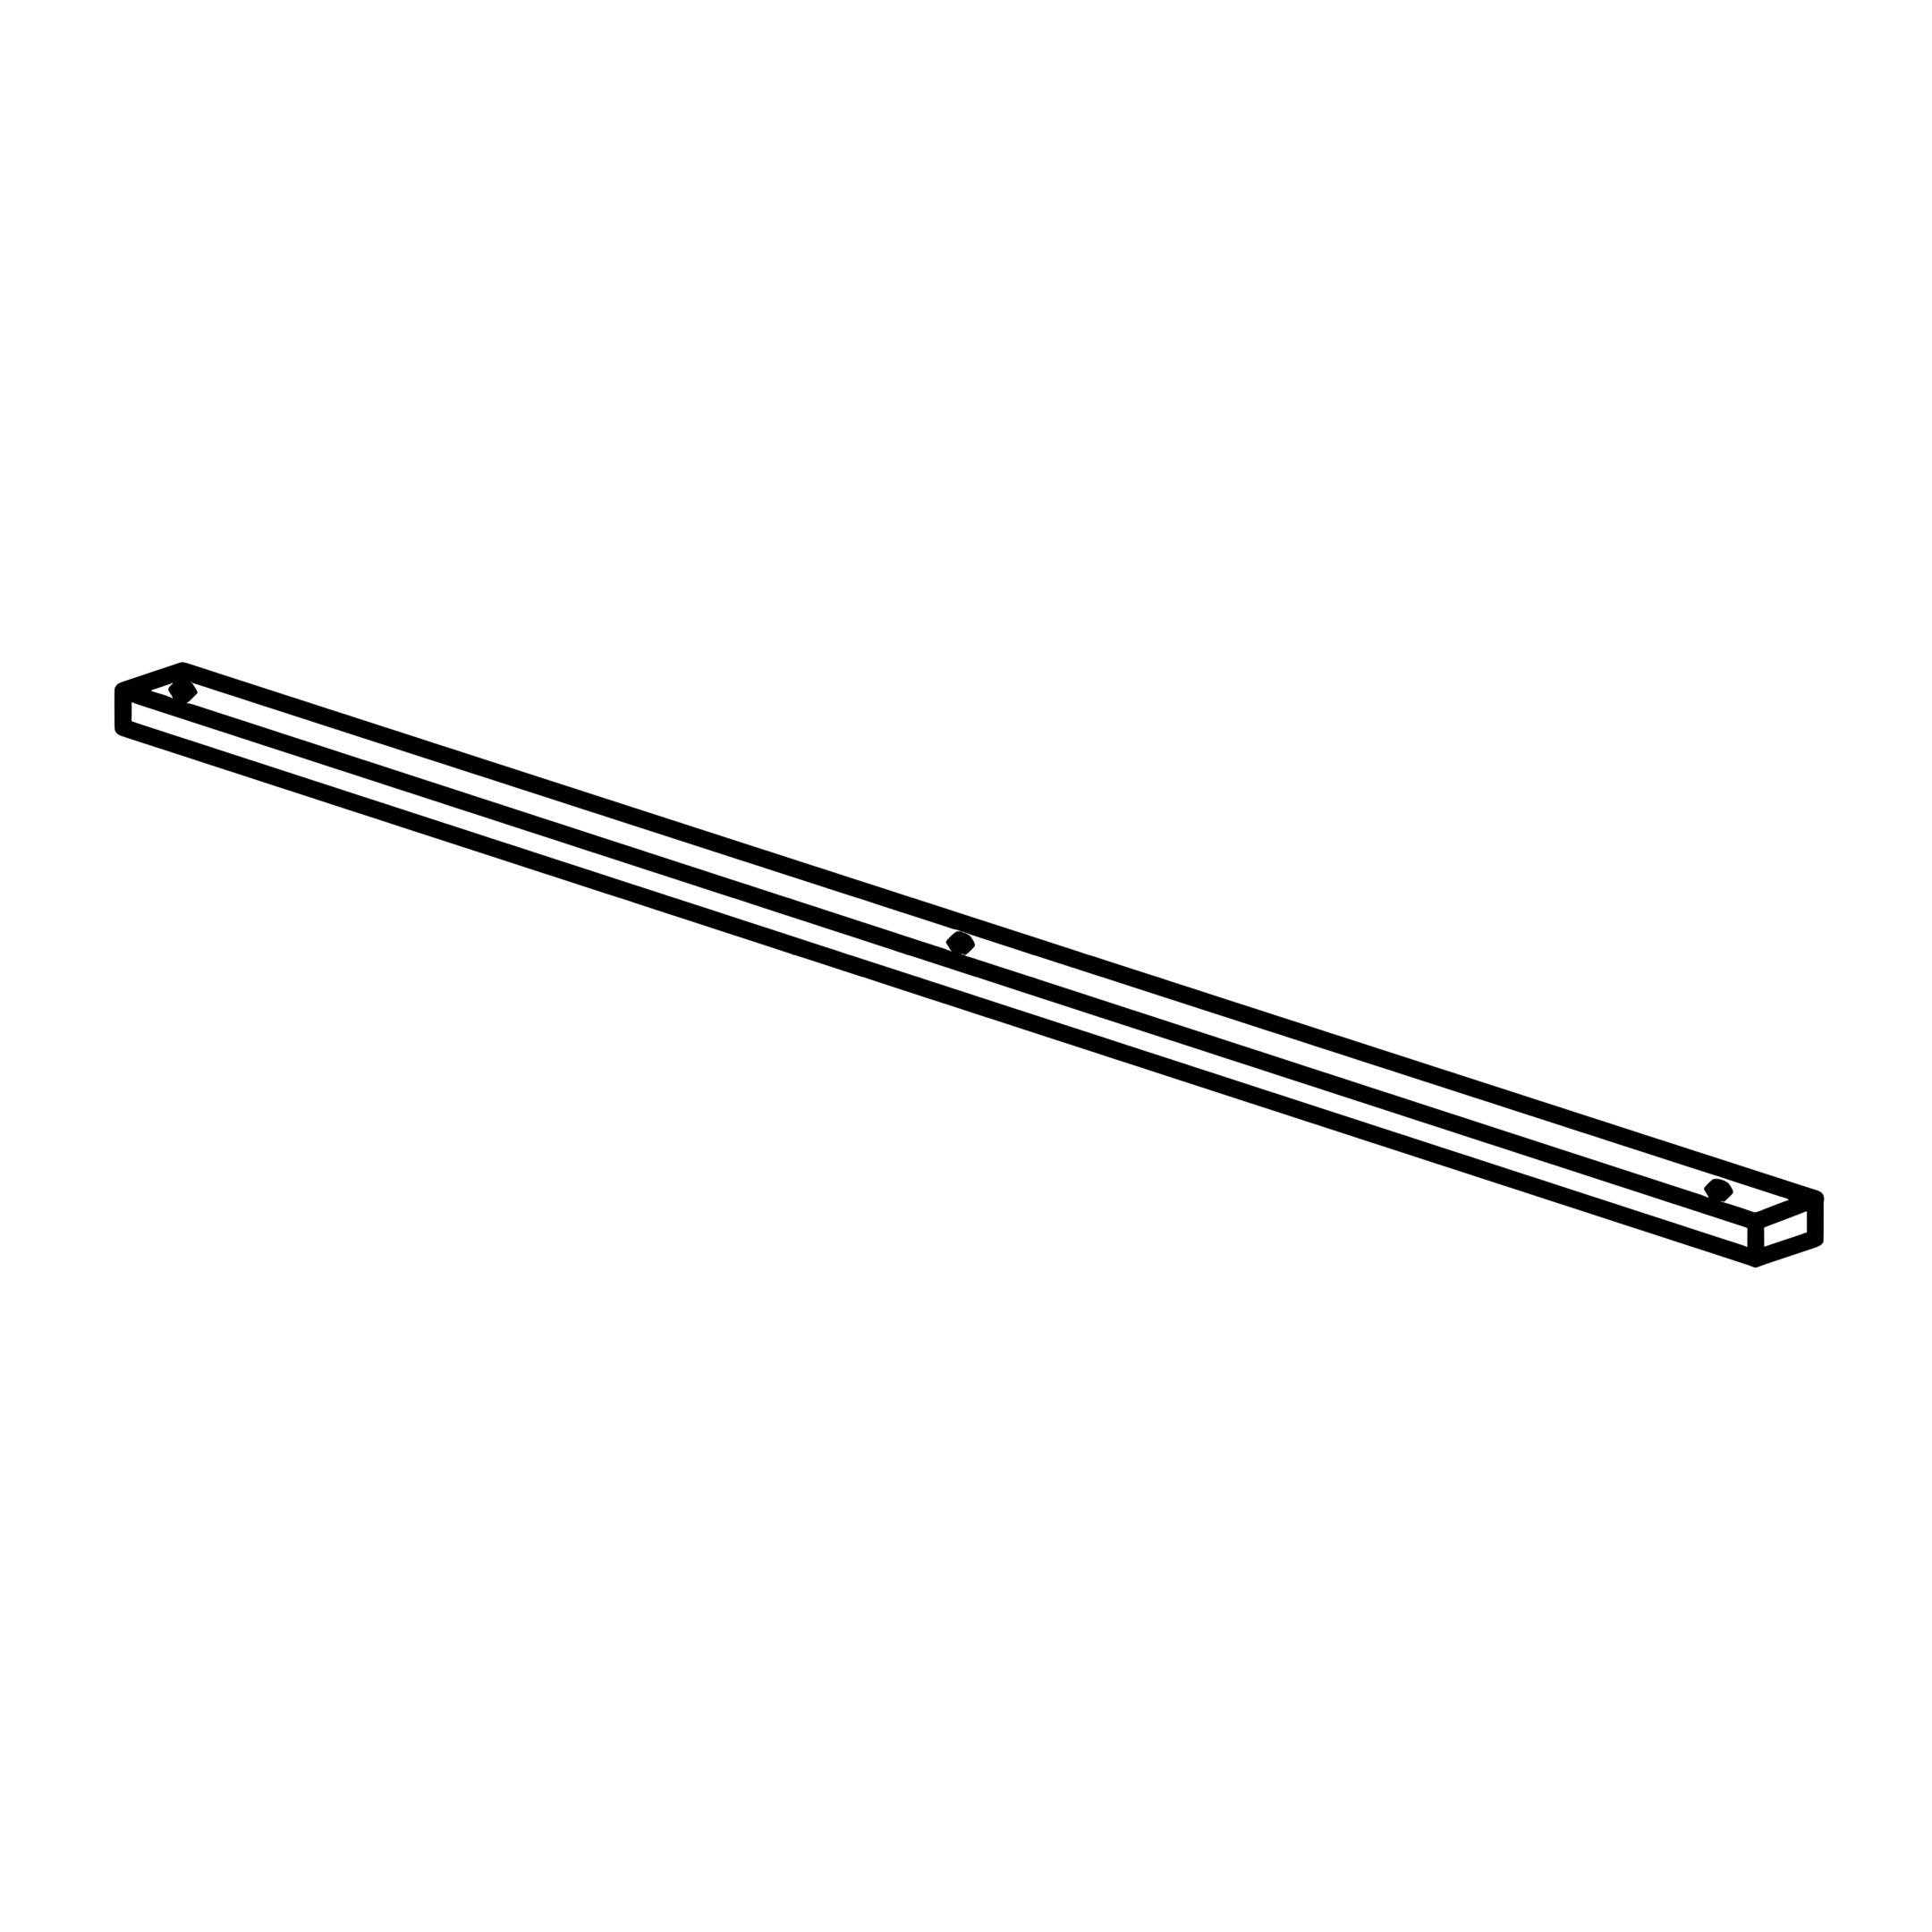 S - Stiffener Slat 1. Attach the Side WingsTighten the side wings (R) to headboard (A) as shown. 2. Attach the Legs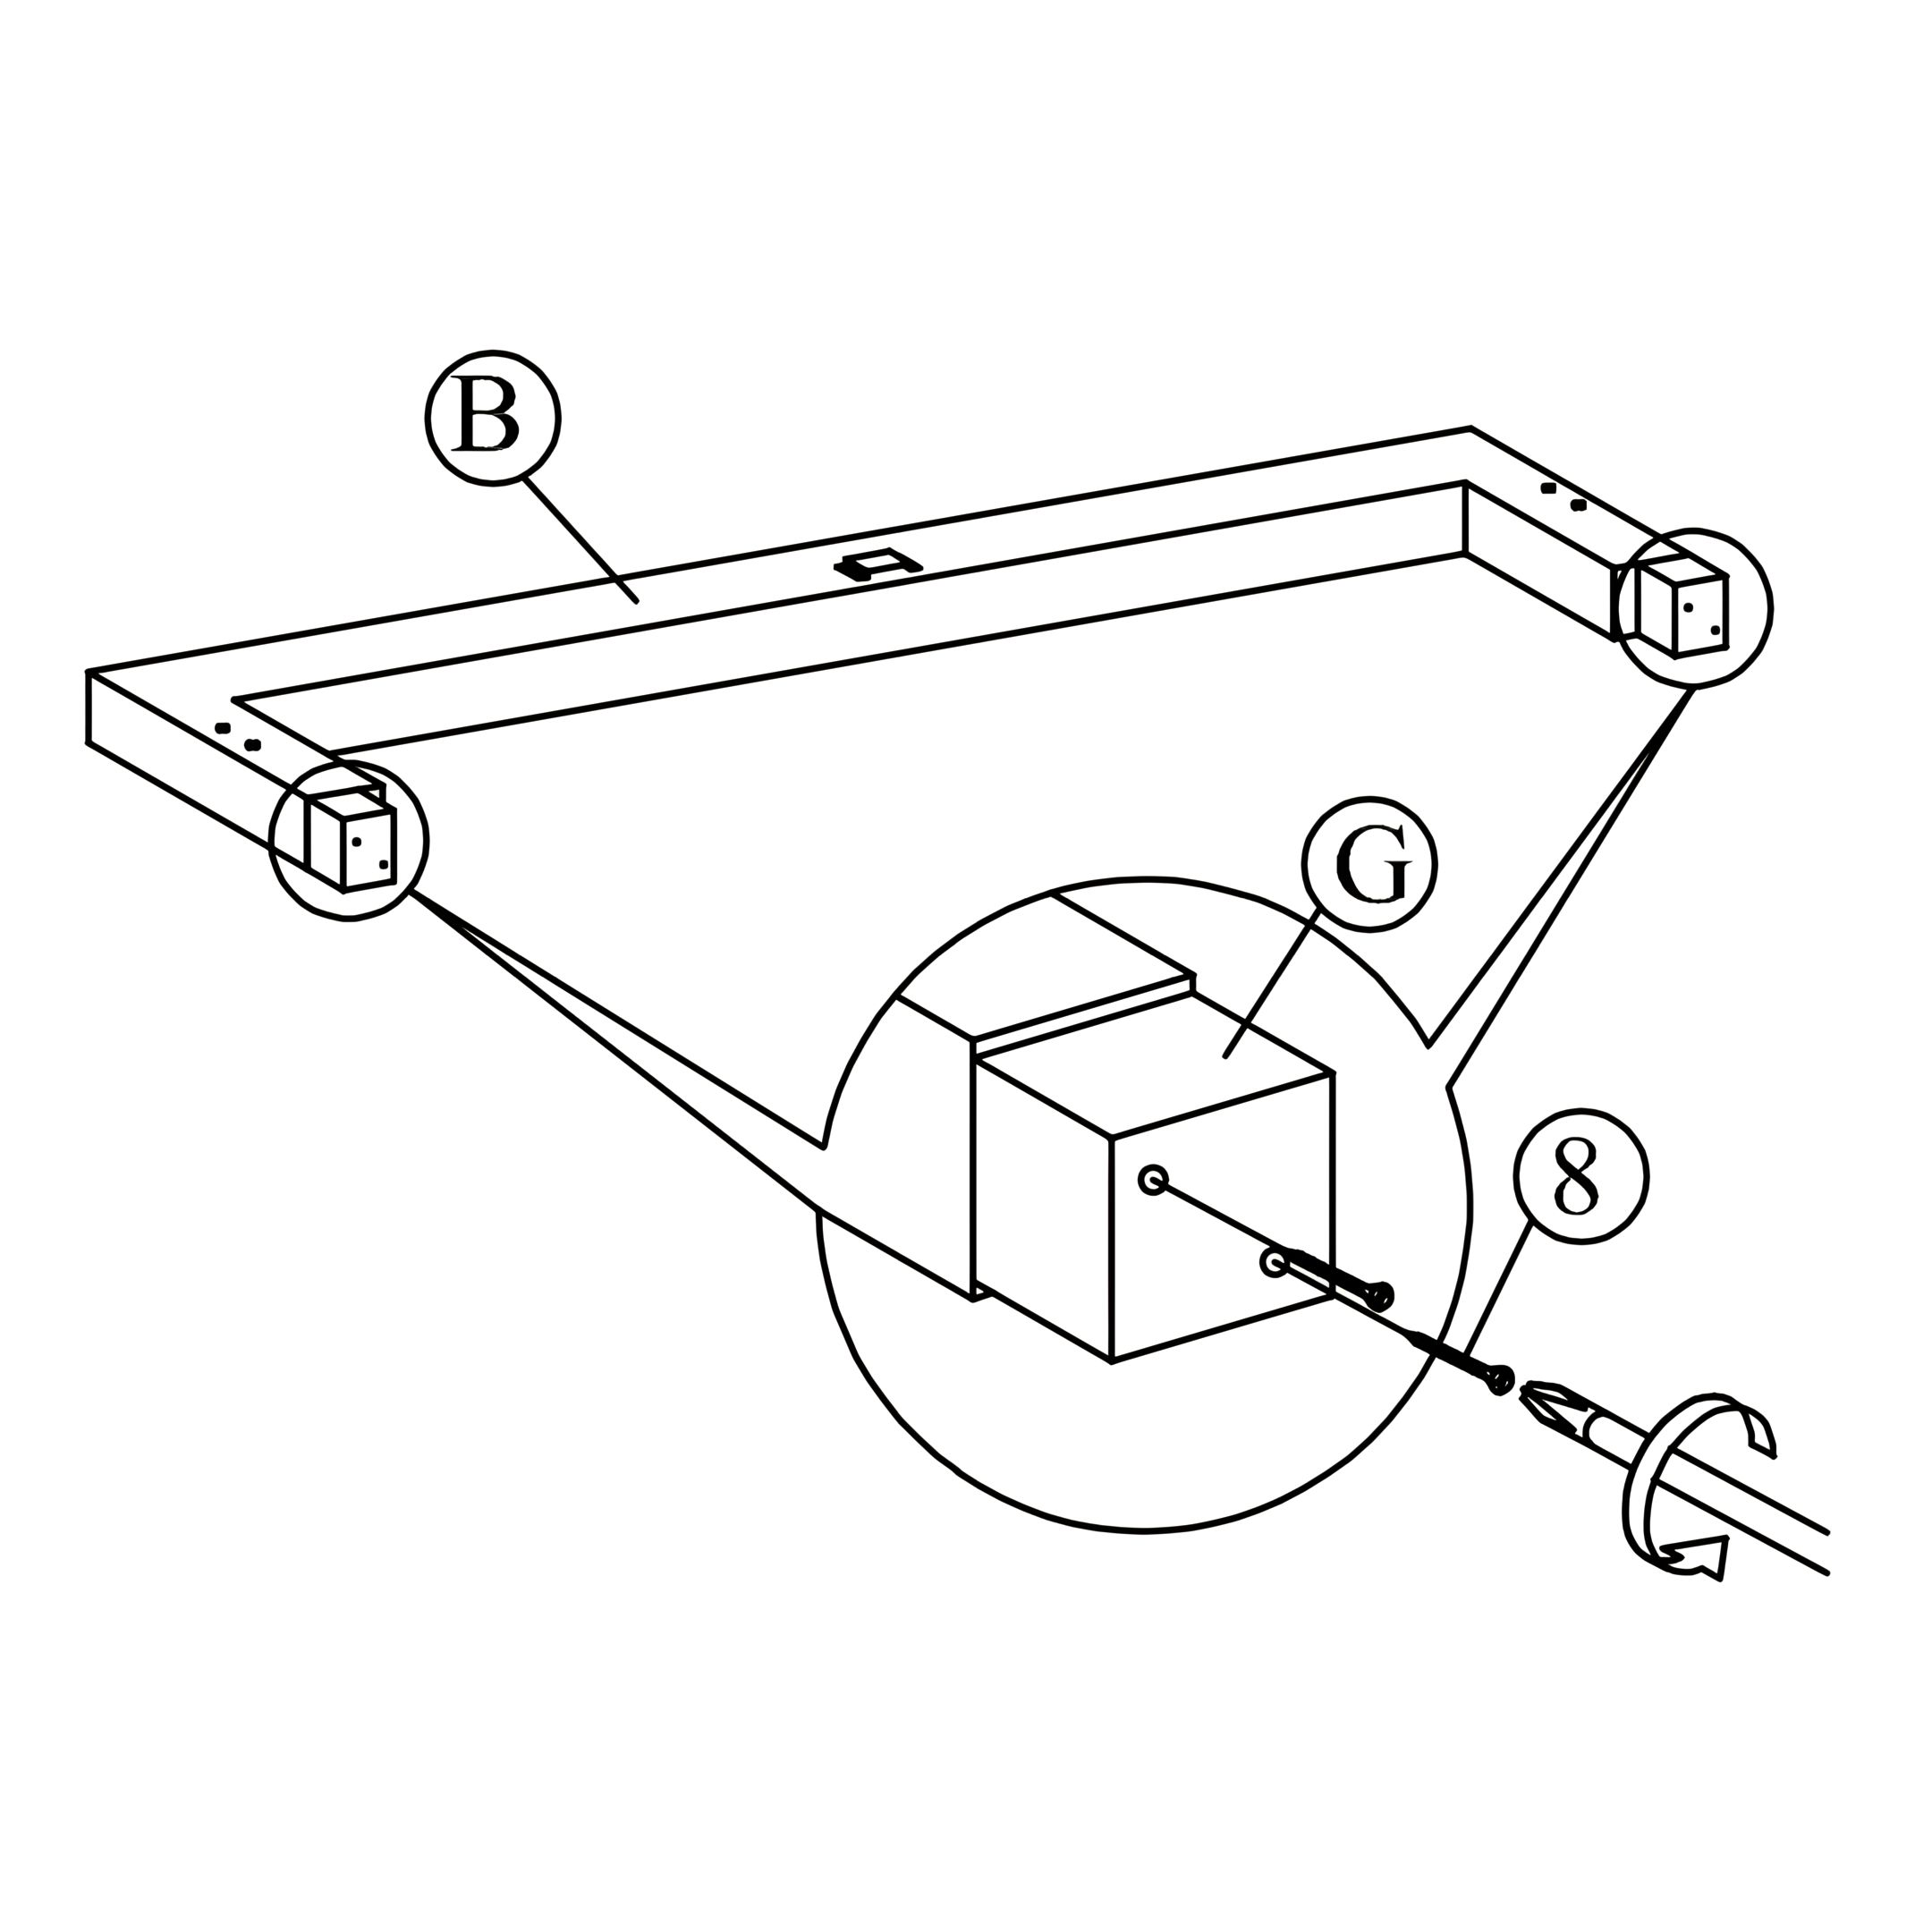 Tighten the legs (G) to both footboard (B) as shown. 3. Prepare the Side Rails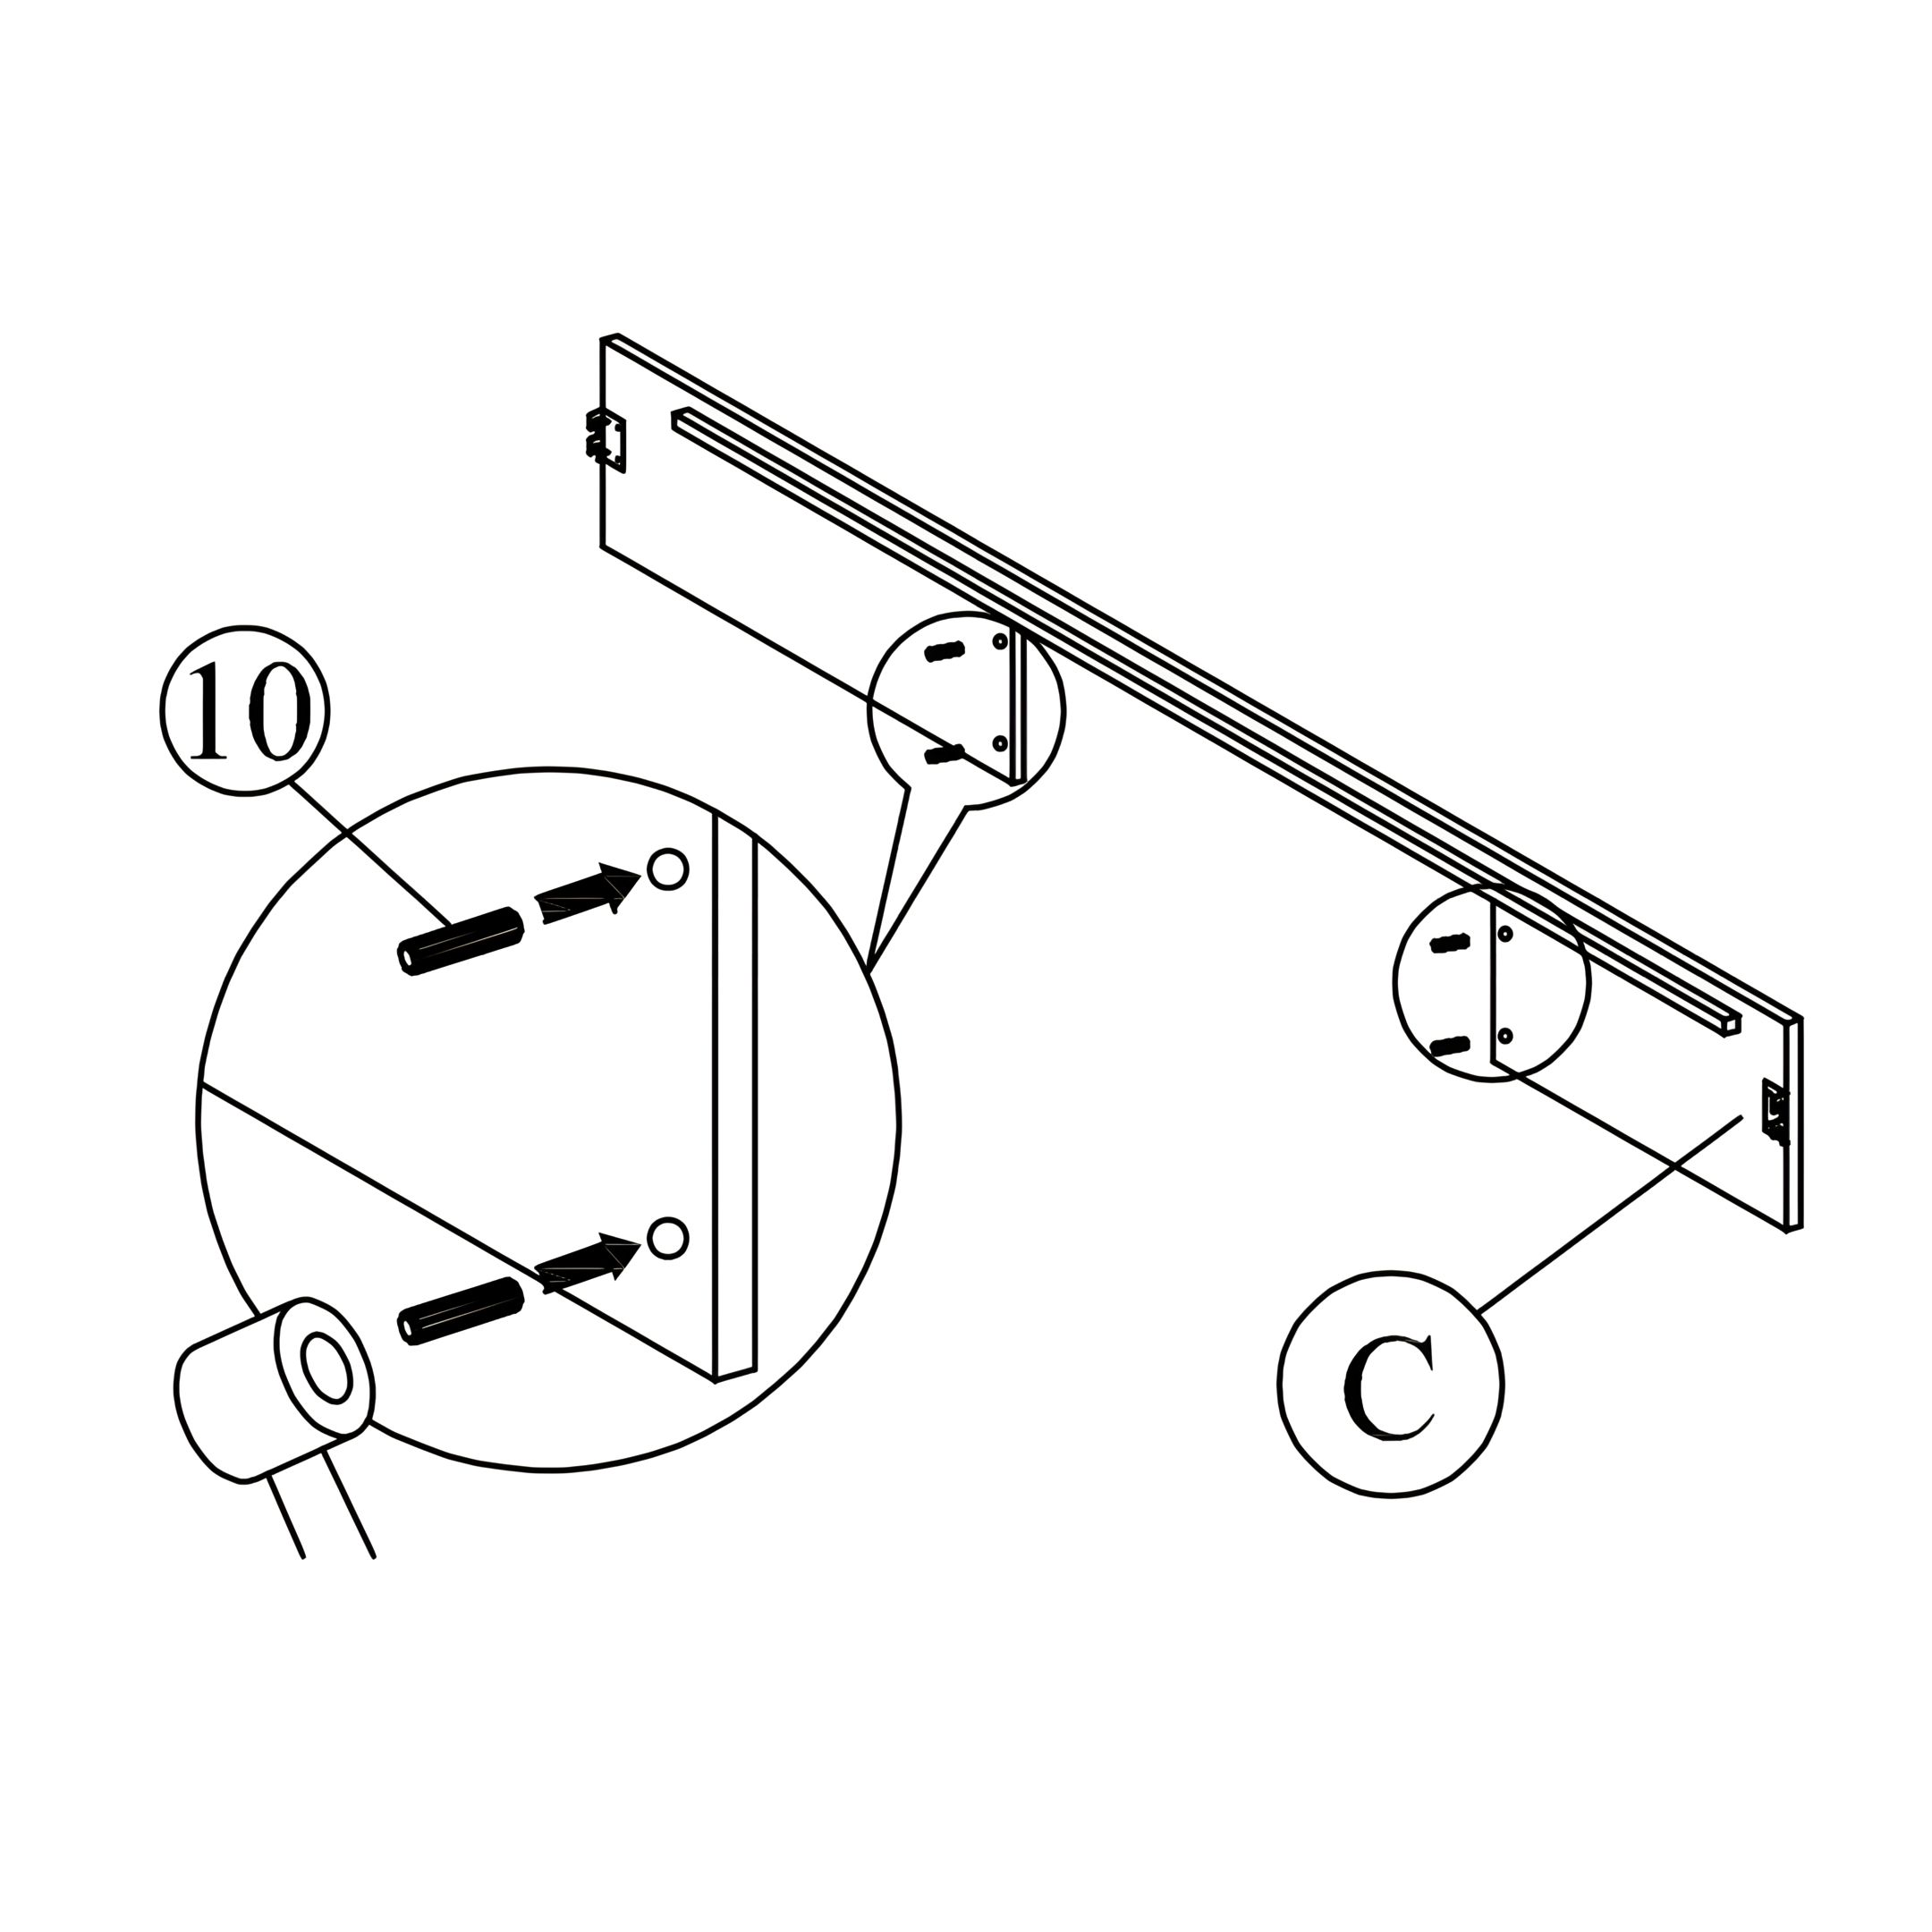 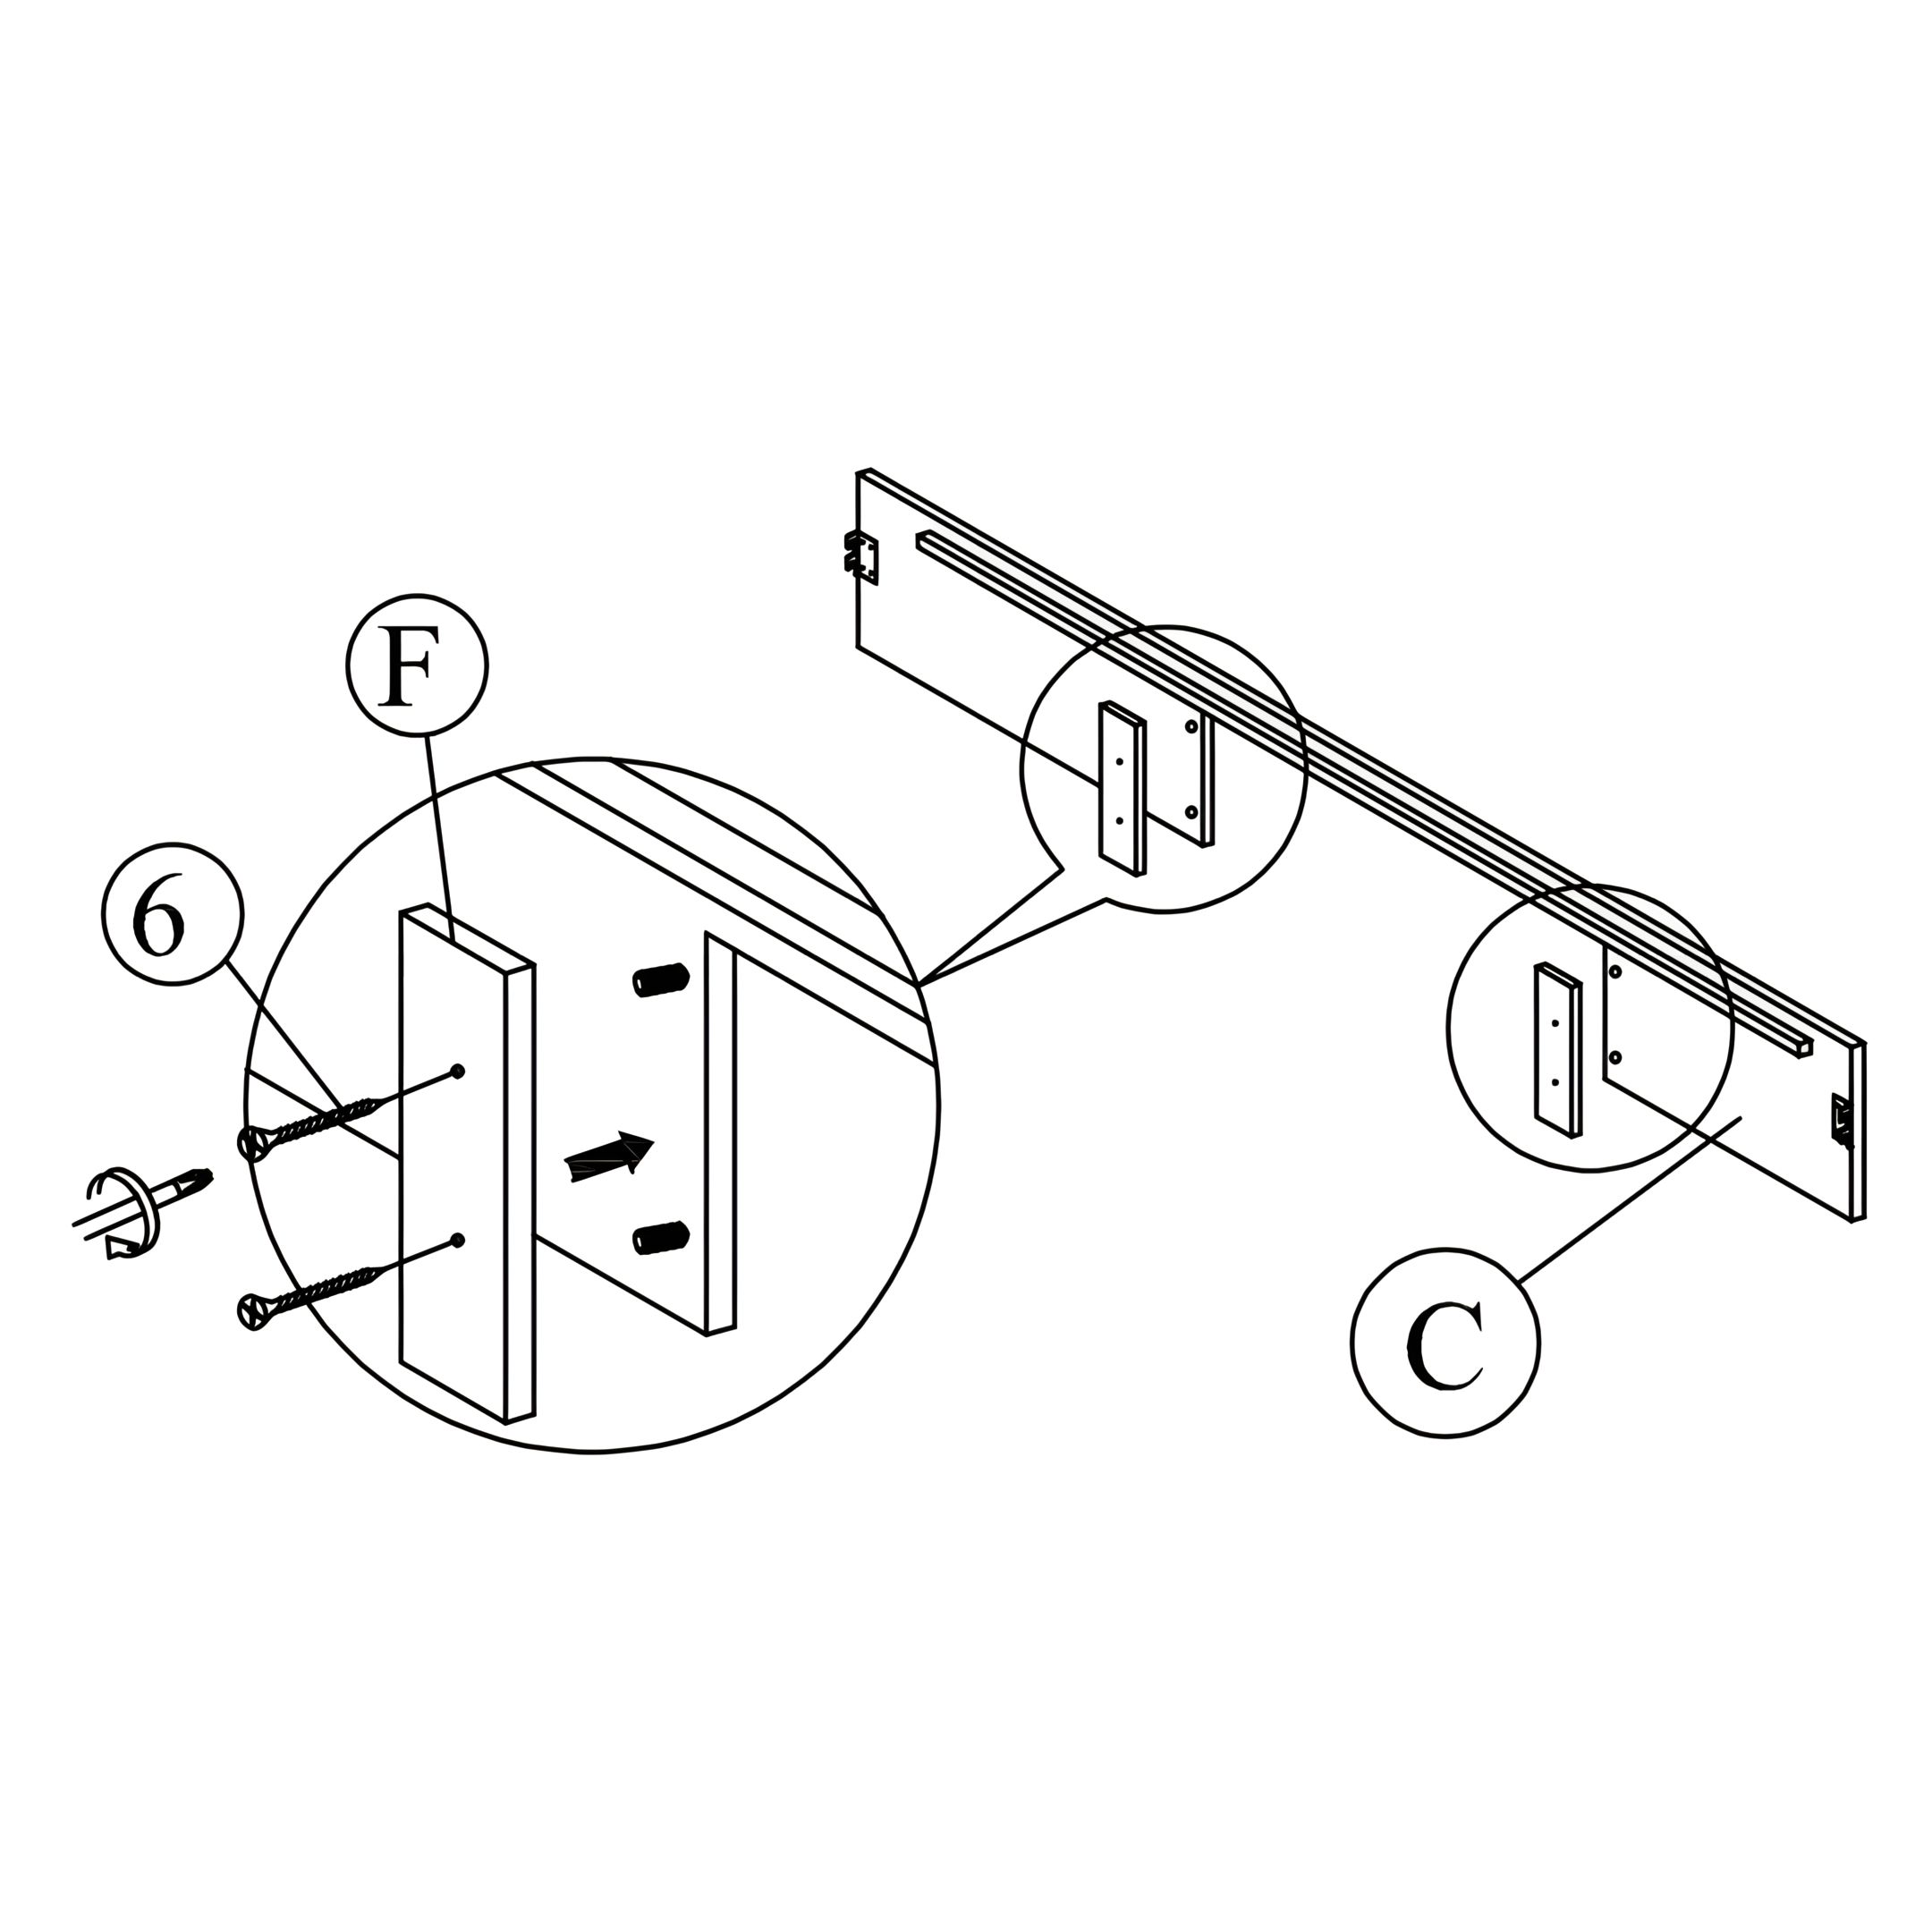 Attach wood dowel (10) to side rail (C). Tighten the side rail support (F) to the side rail (C) with screws (6) using screw driver (not included). 4. Attach Side Rails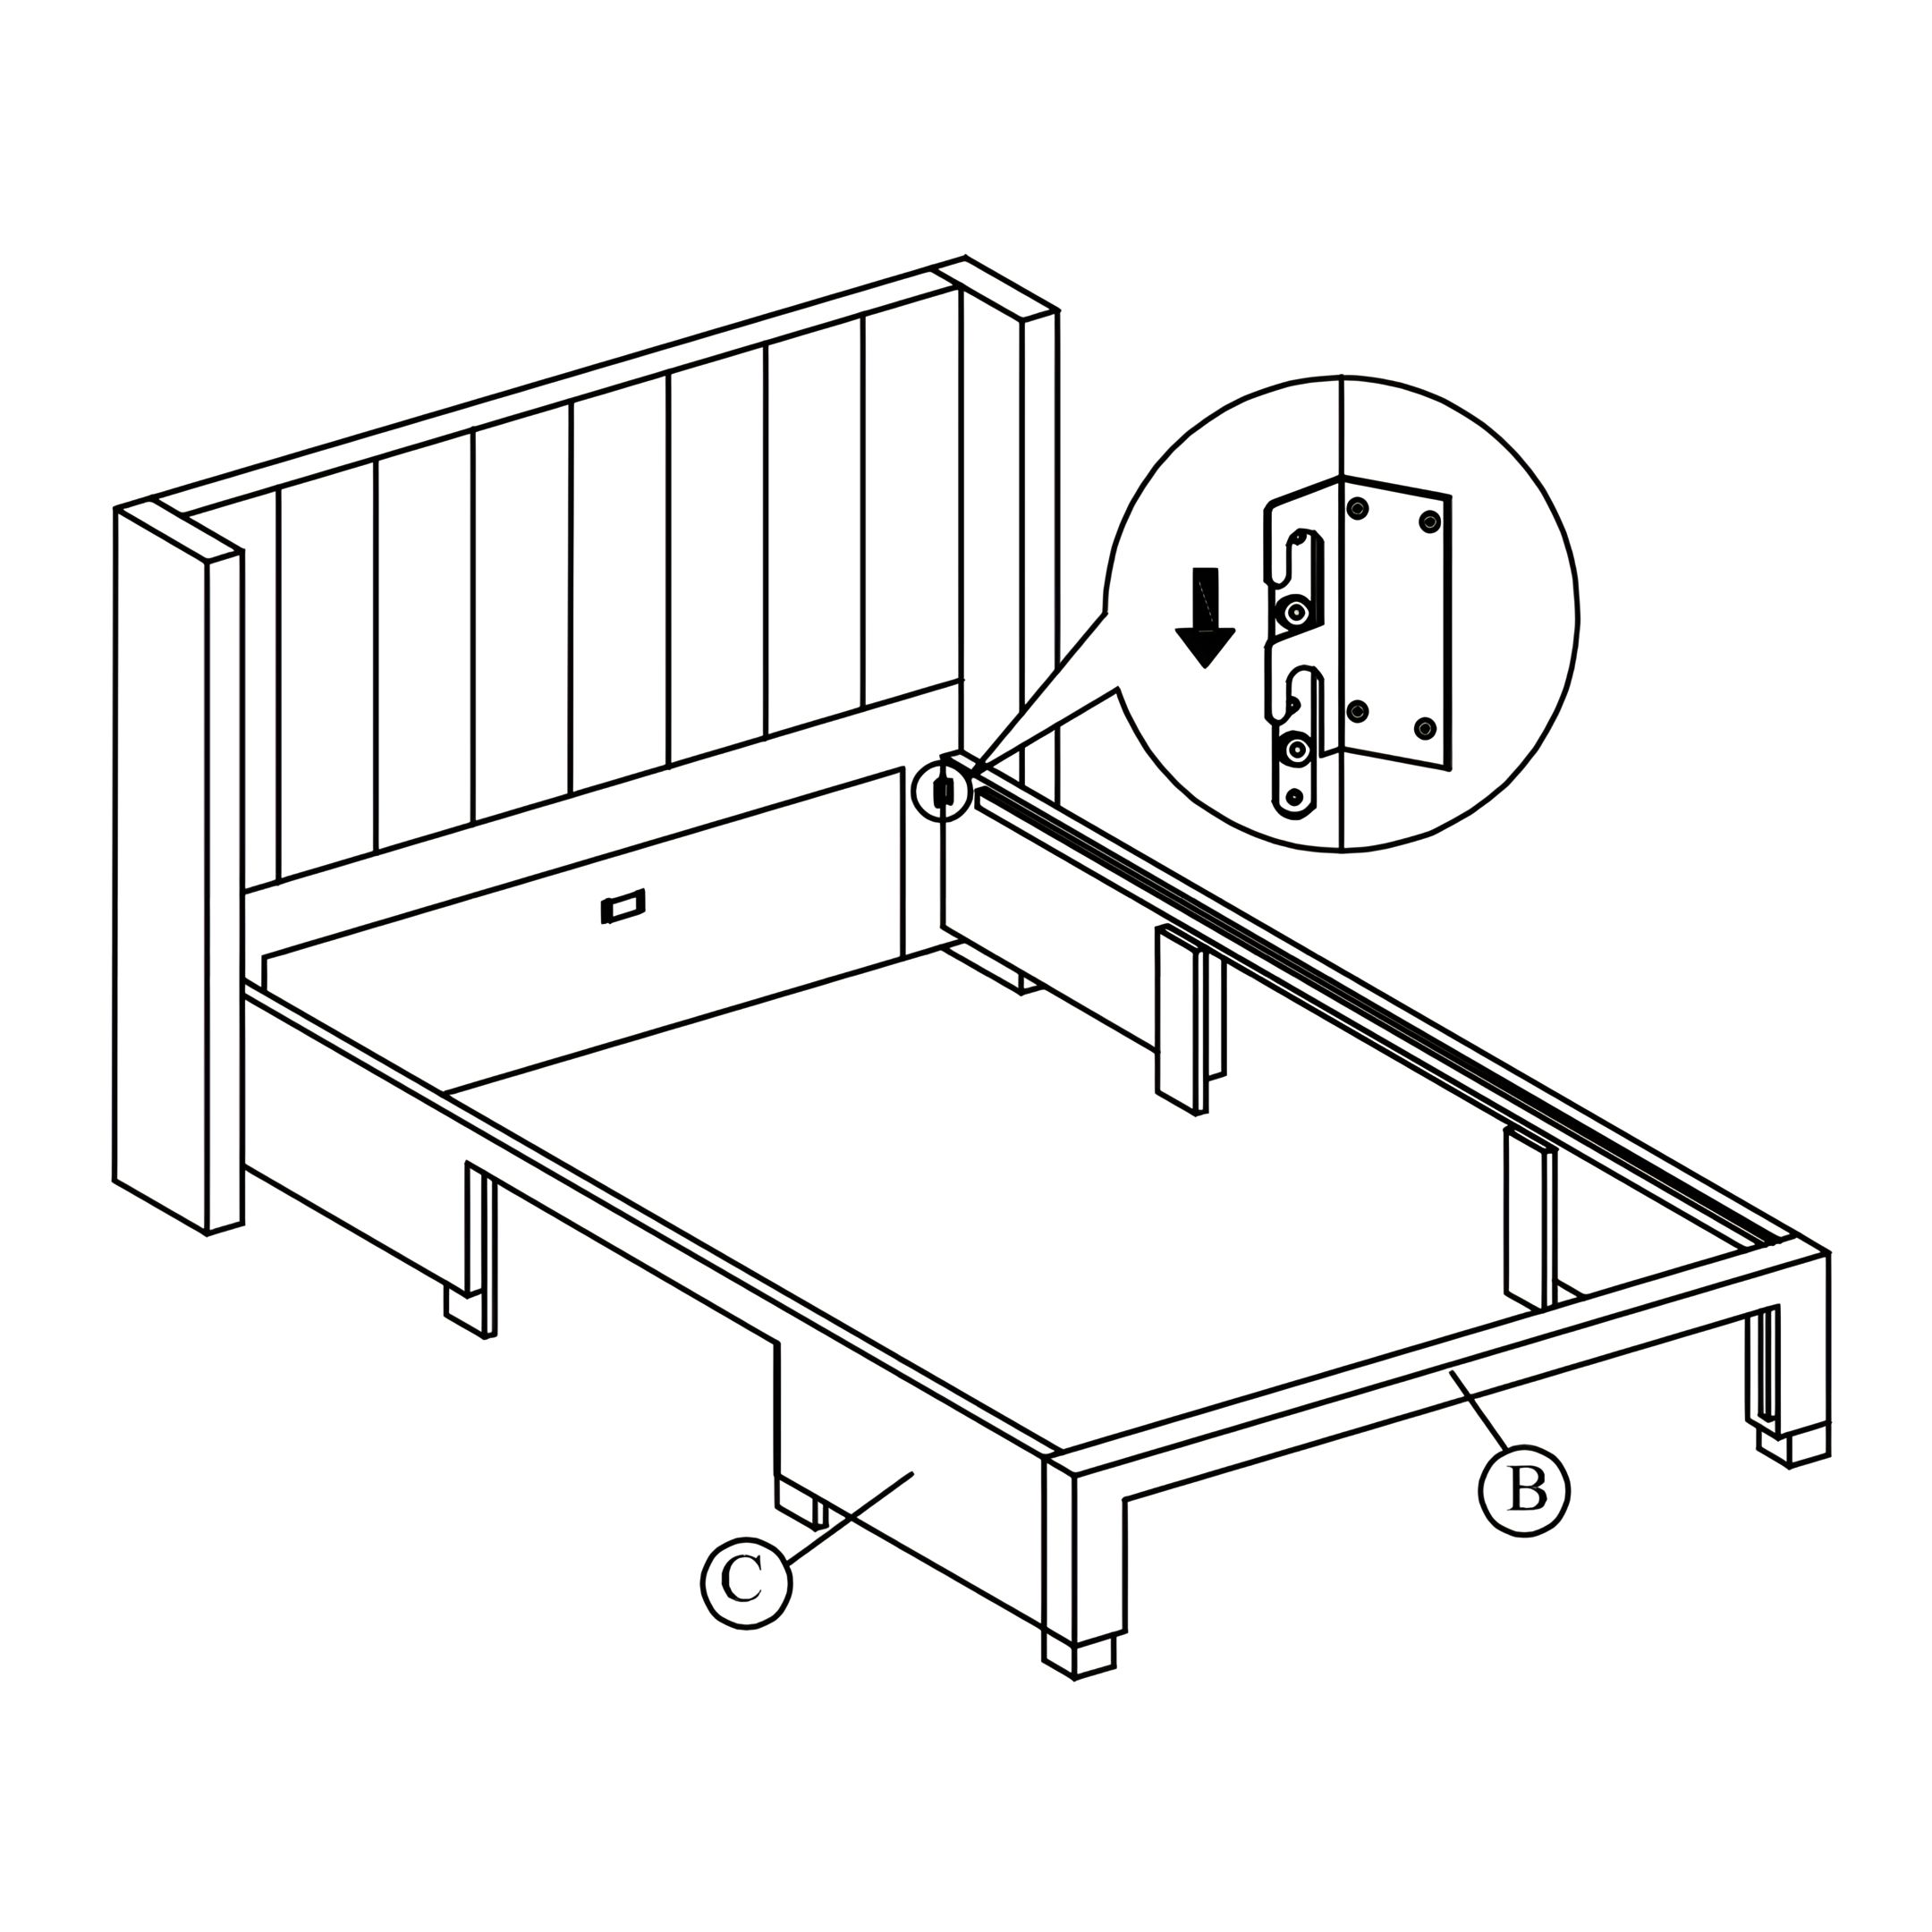 Attach side rail (C) to headboard (A) and footboard (B) by pushing the bracket down to fit it. 5. Install the Center Support Rail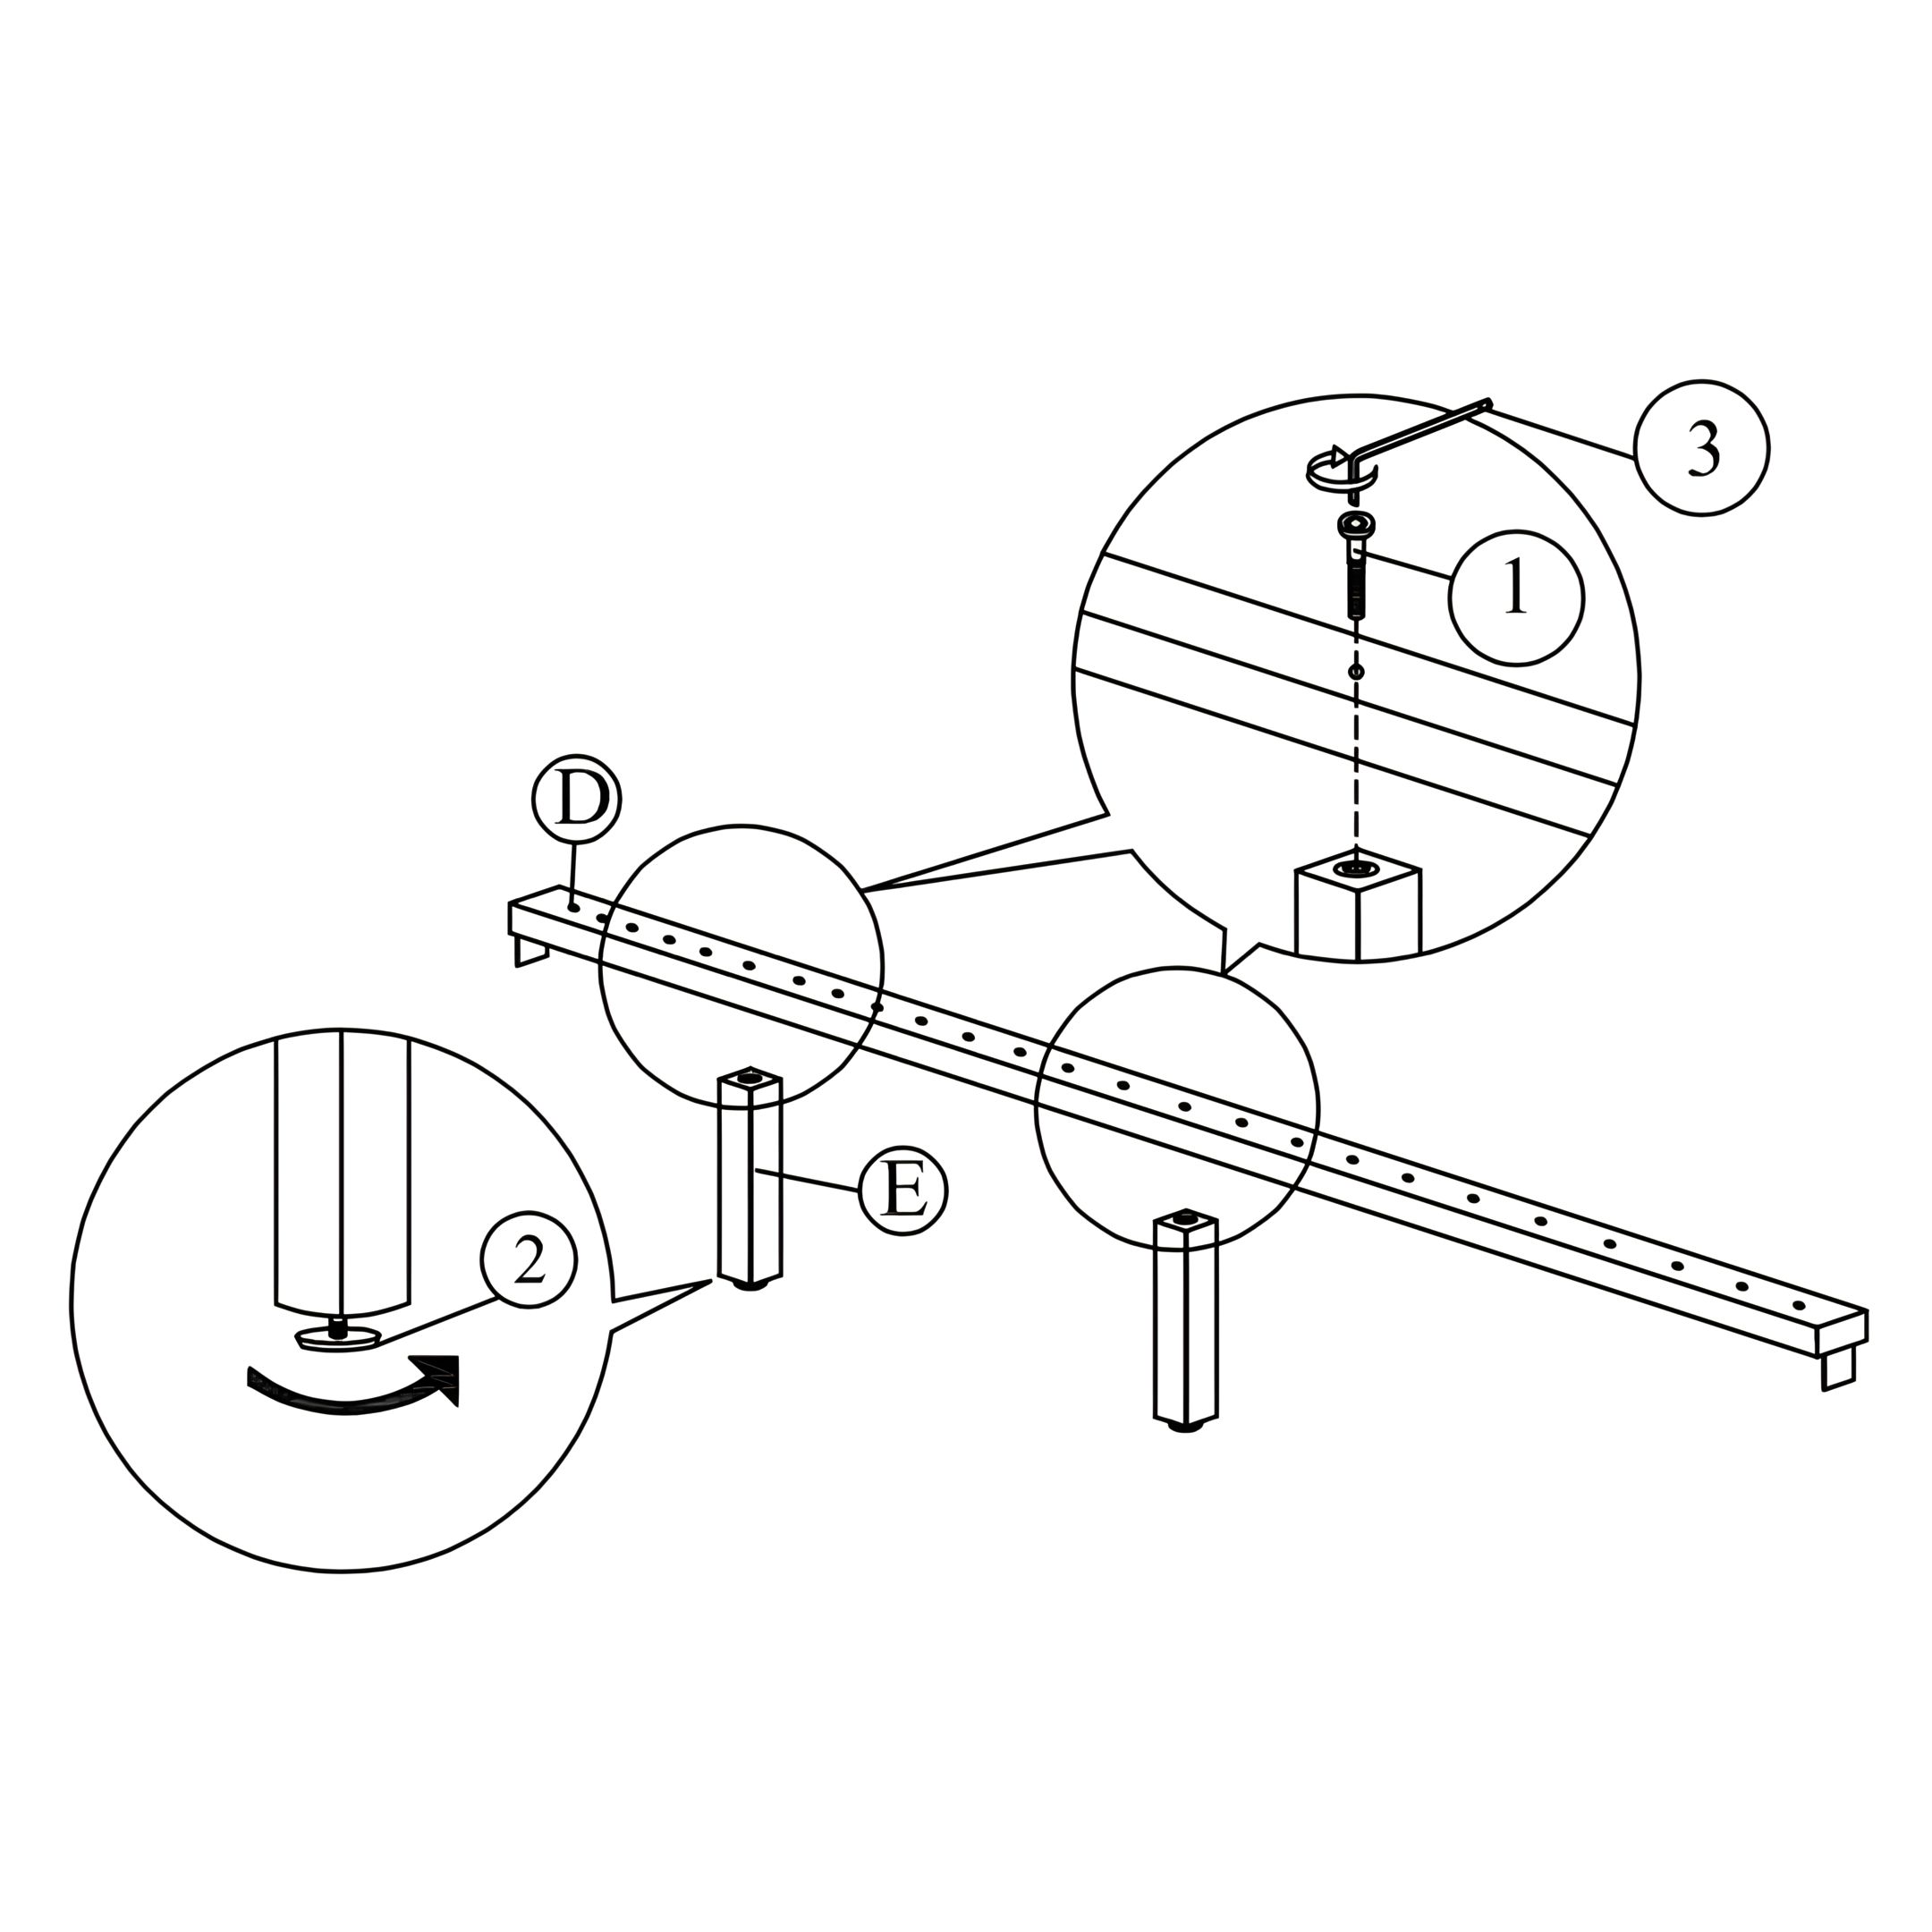  Attach the support legs (E) to the center rail (D) of the bed as shown. Slide the center rail (D) to the headboard (A) and footboard (B). ATTENTION: Please keep the adjuster around 5 to 8 mm distant away from the floor. 6. Assemble Footboard Drawer Tighten the footboard side panel (J) to the footboard front panel (H) and footboard back panel (I) with screws (8) using screw driver (not included). 7. Add Bottom Panel to Drawer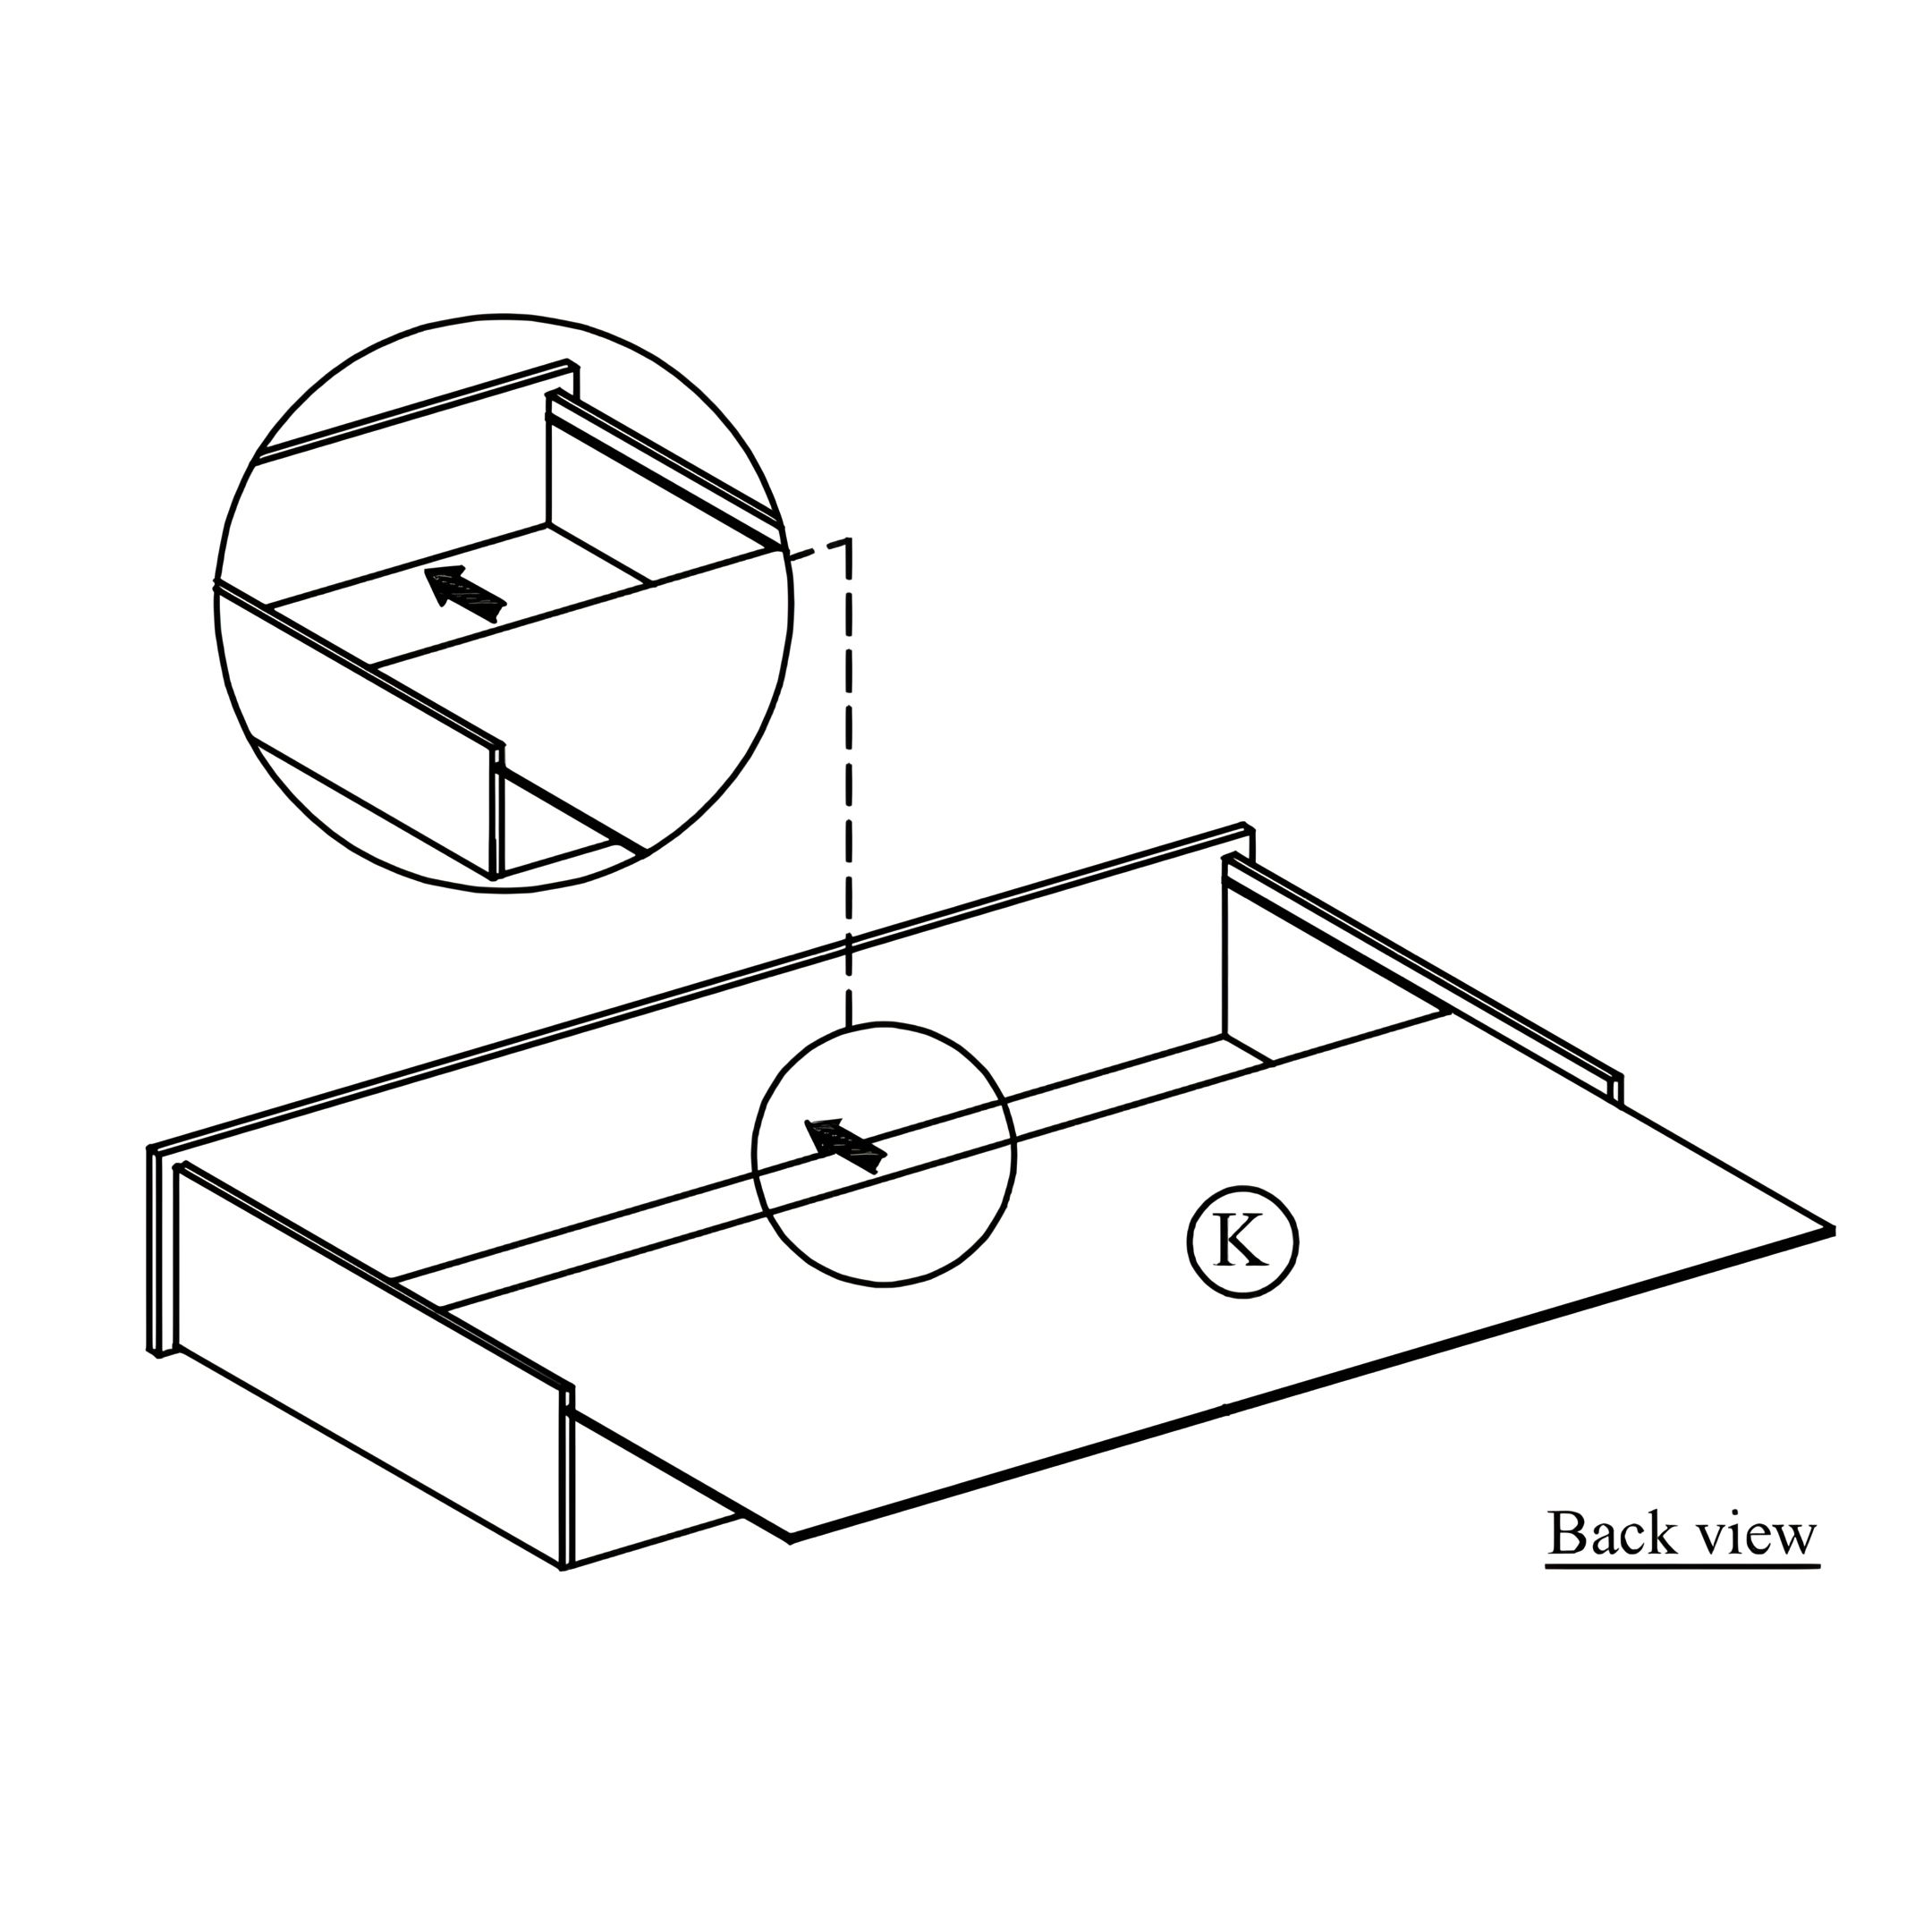 Slide the footboard bottom panel (K) to the set up drawer. 8. Finish Footboard Drawer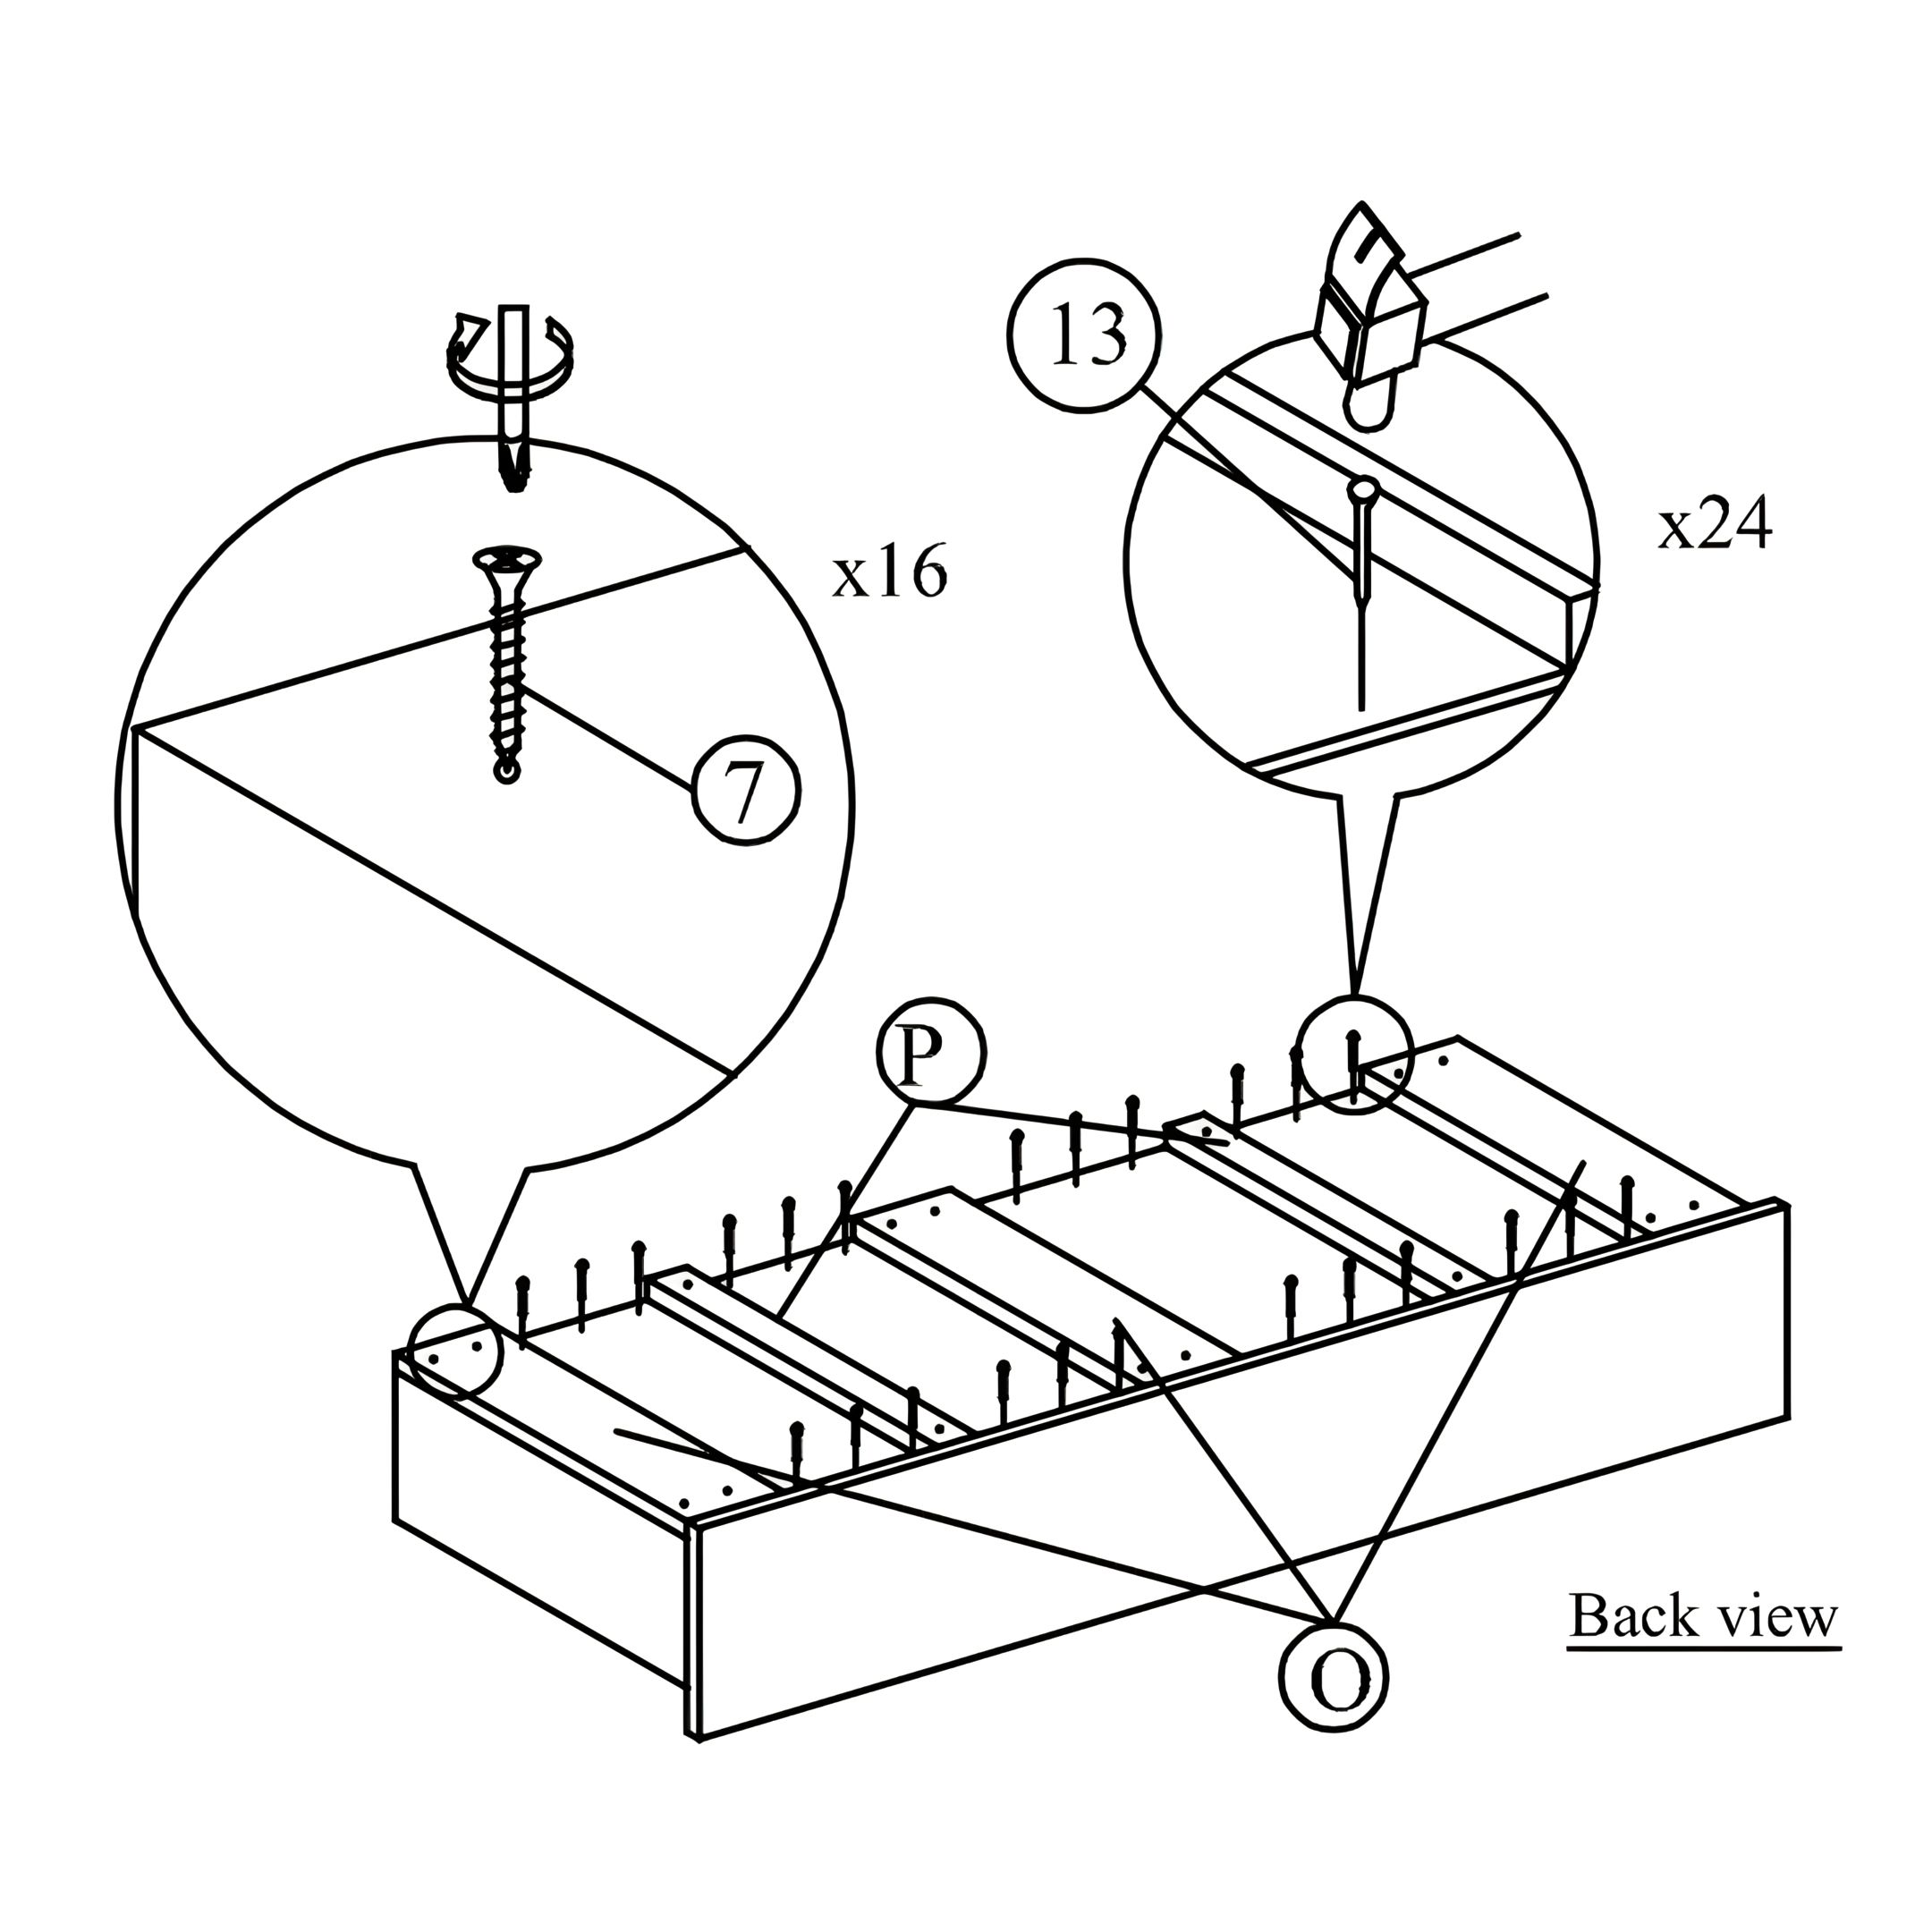 Tighten the bottom panel support (O & P) with screws (7) using screw driver (not included). Attach the bottom panel with Nail (13) using the hammer (not included). 9. Attach Rollers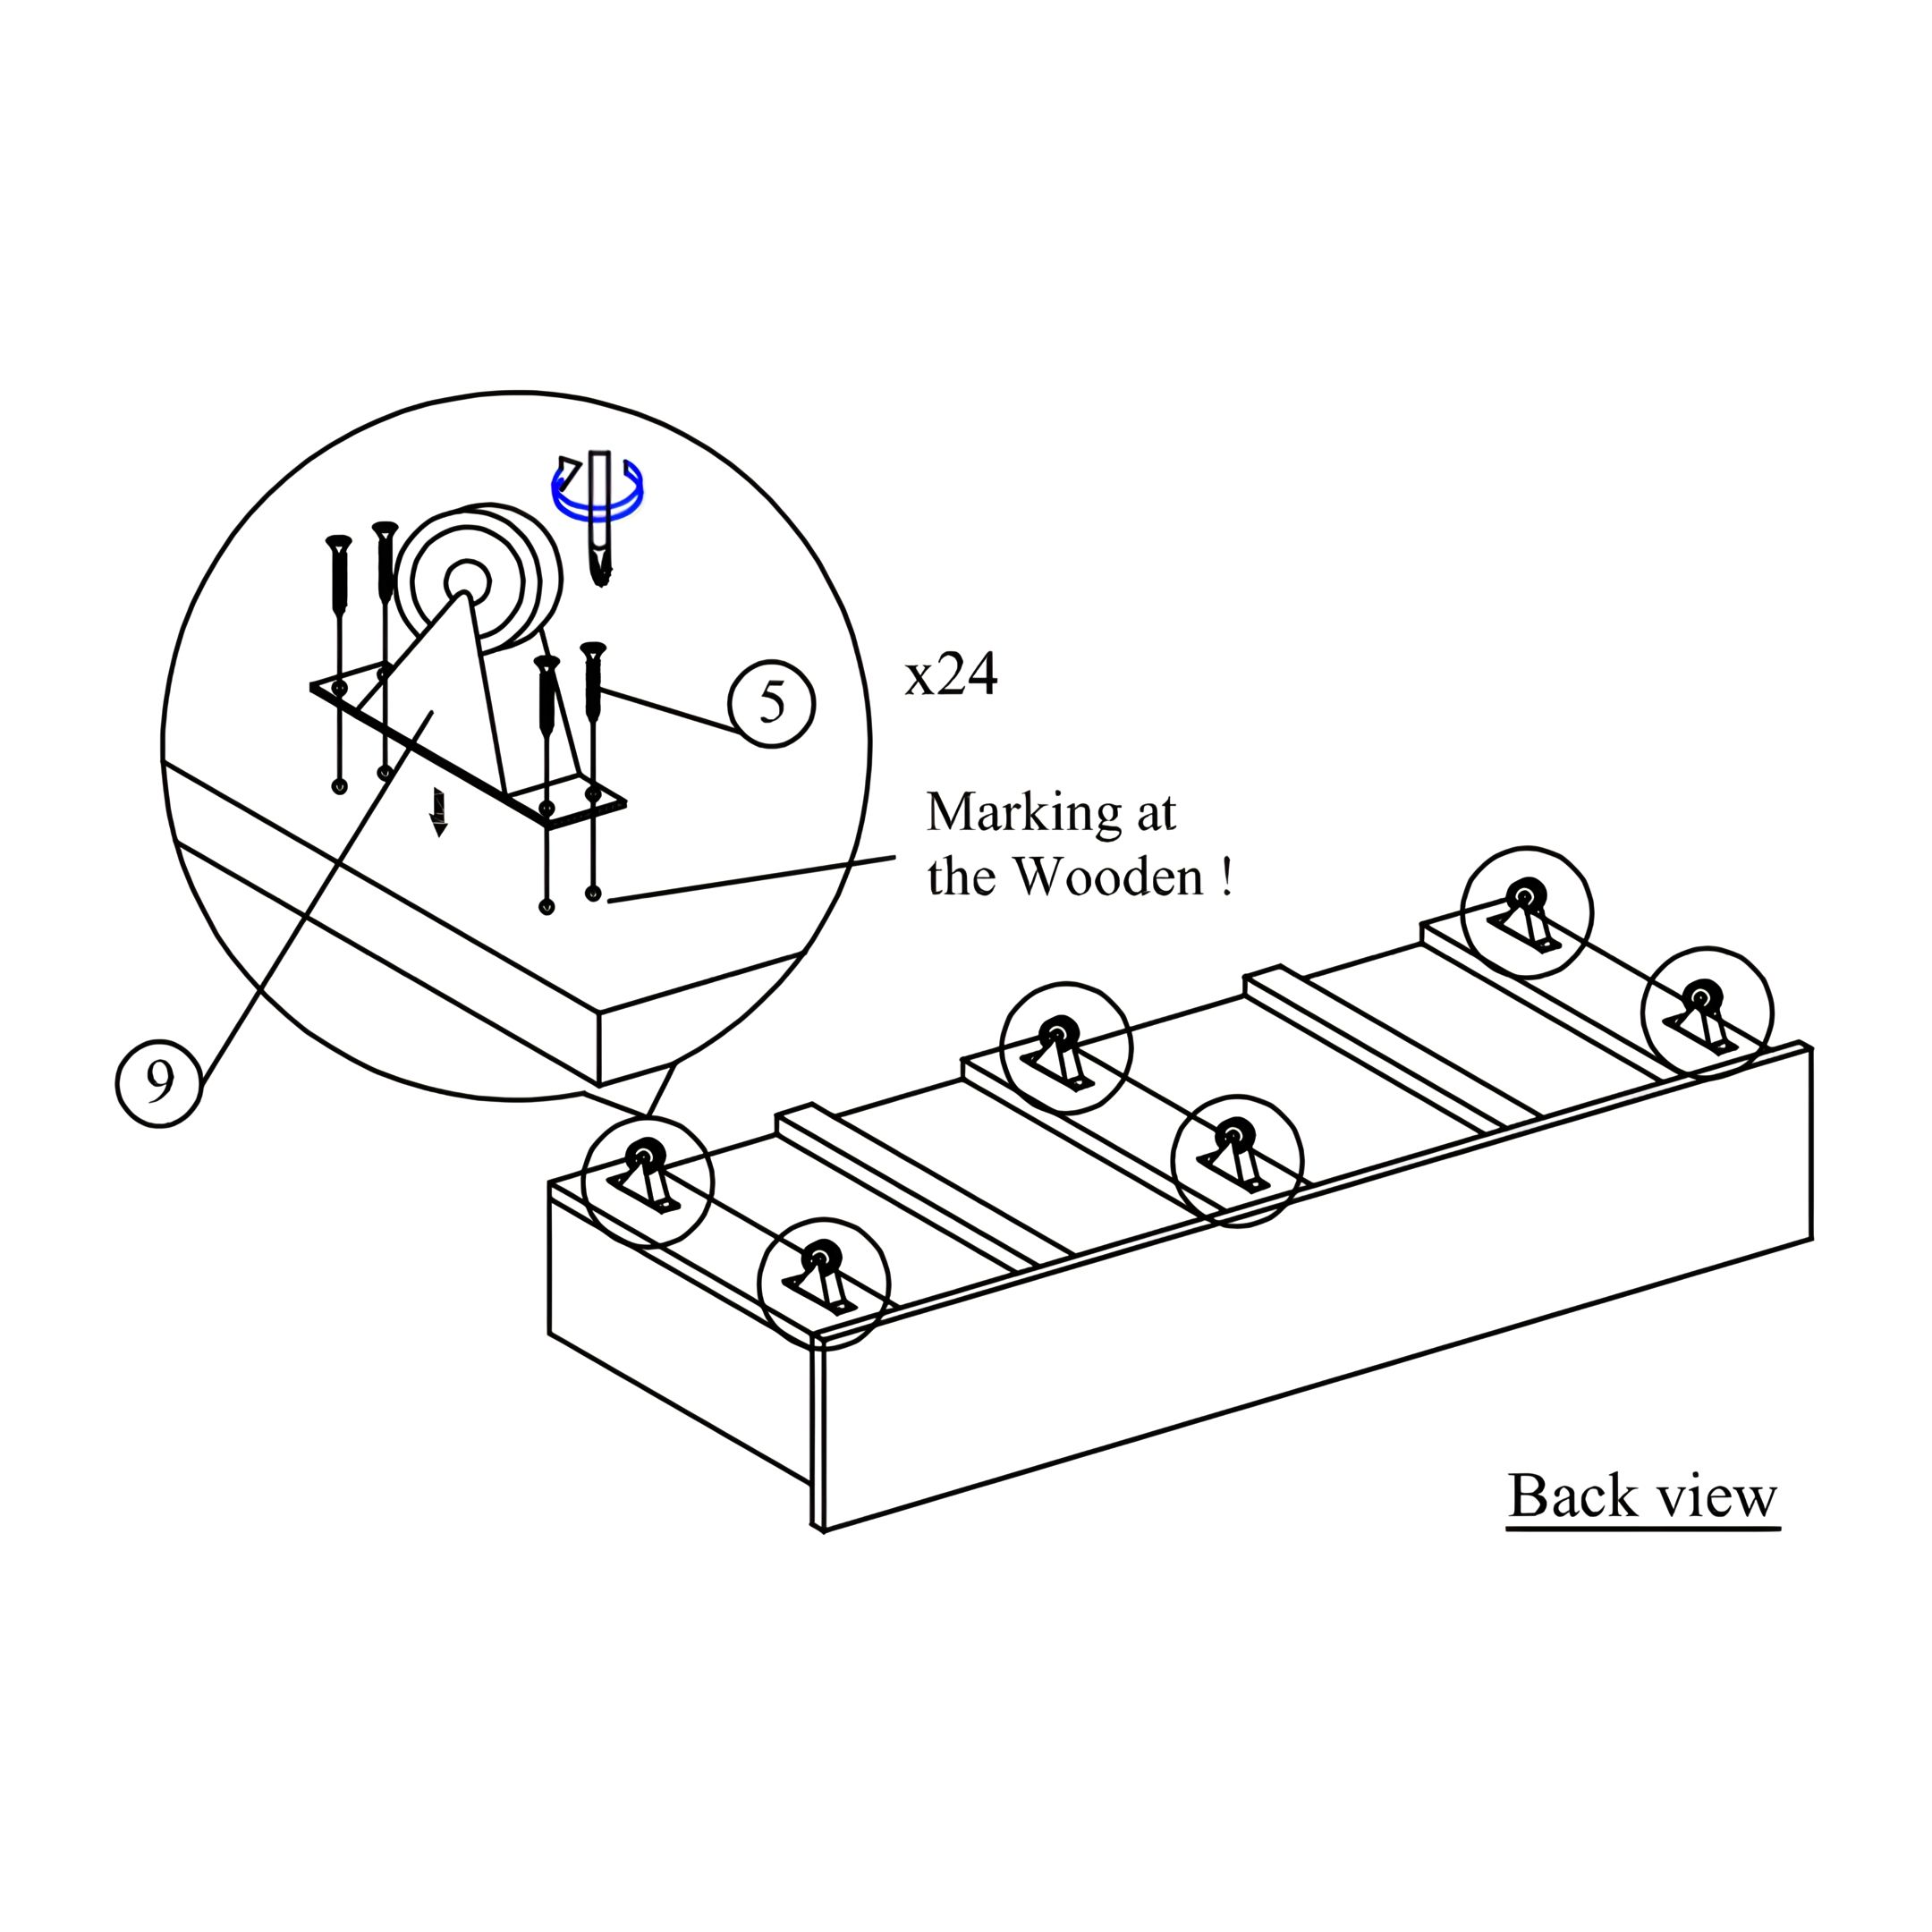 Tighten the roller (9) with screws (5) using screw driver (not included). 10. Assemble Side Rail Drawers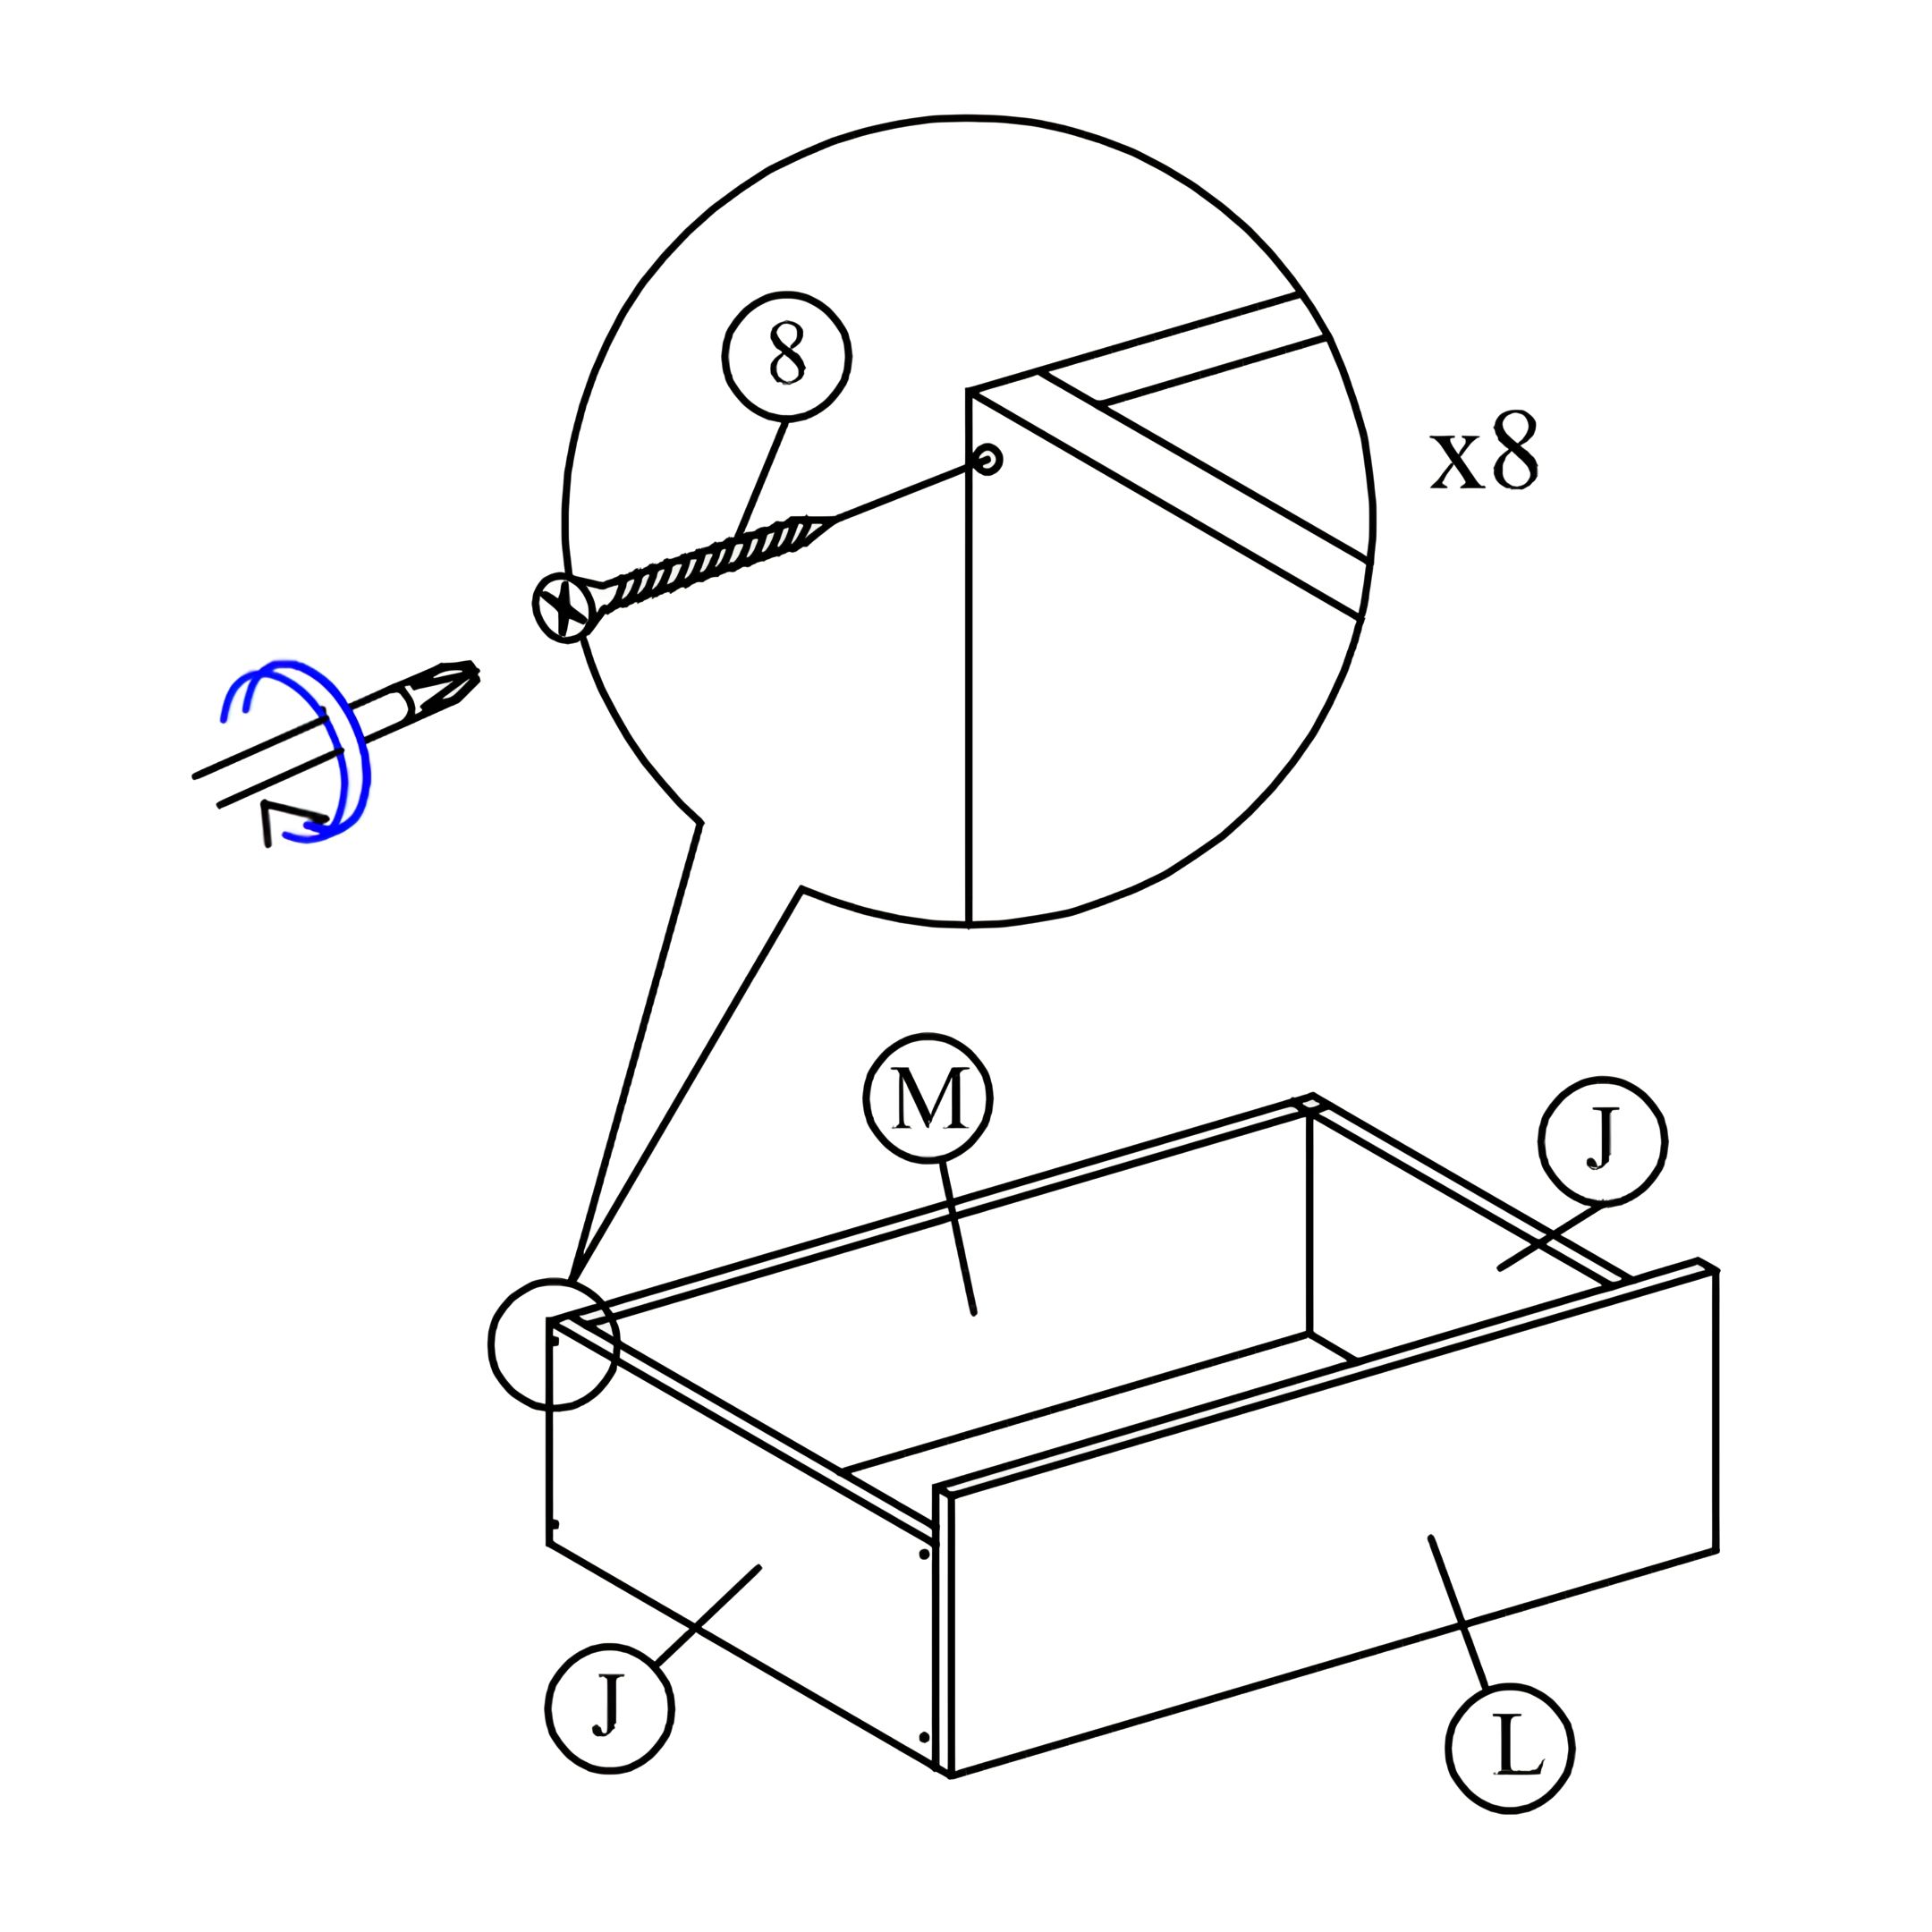 Tighten the side rail side panel (J) to the side rail front panel (L) and side rail back panel (M) with screws (8) using screw driver (not included). 11. Add Bottom Panel to Drawer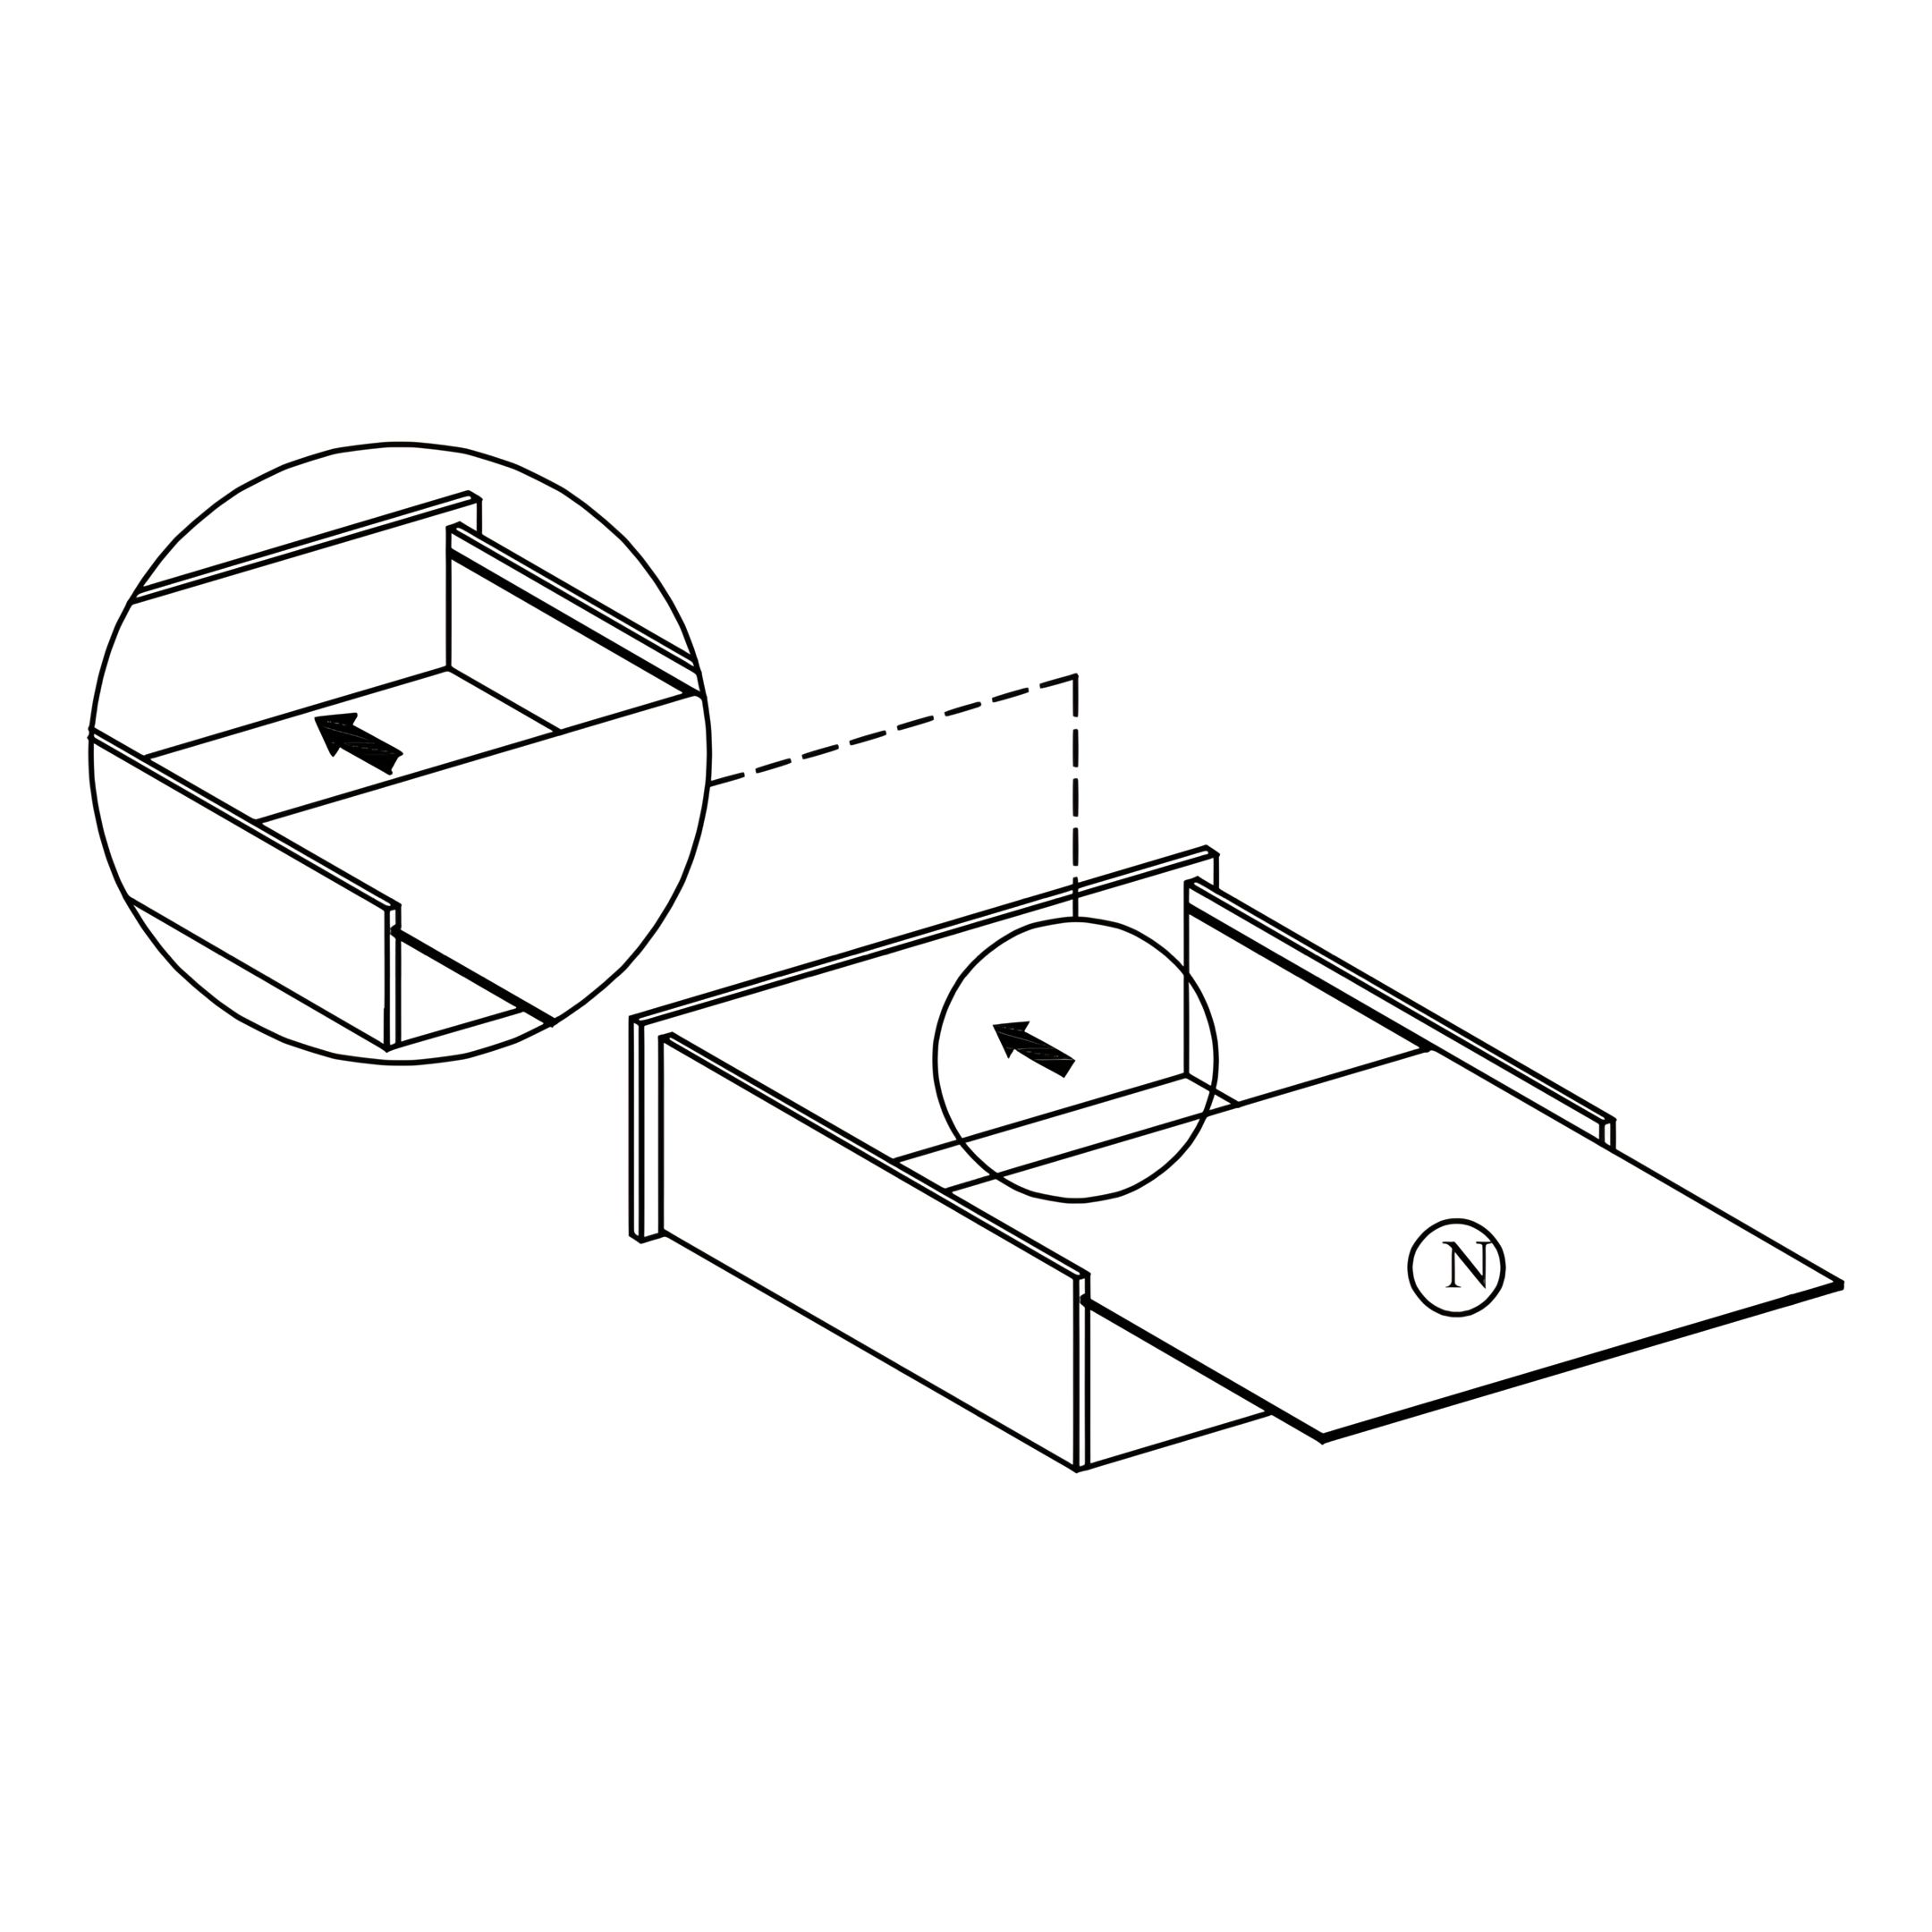 Slide the side rail bottom panel (N) to the set up drawer. 12. Finish Side Rail Drawer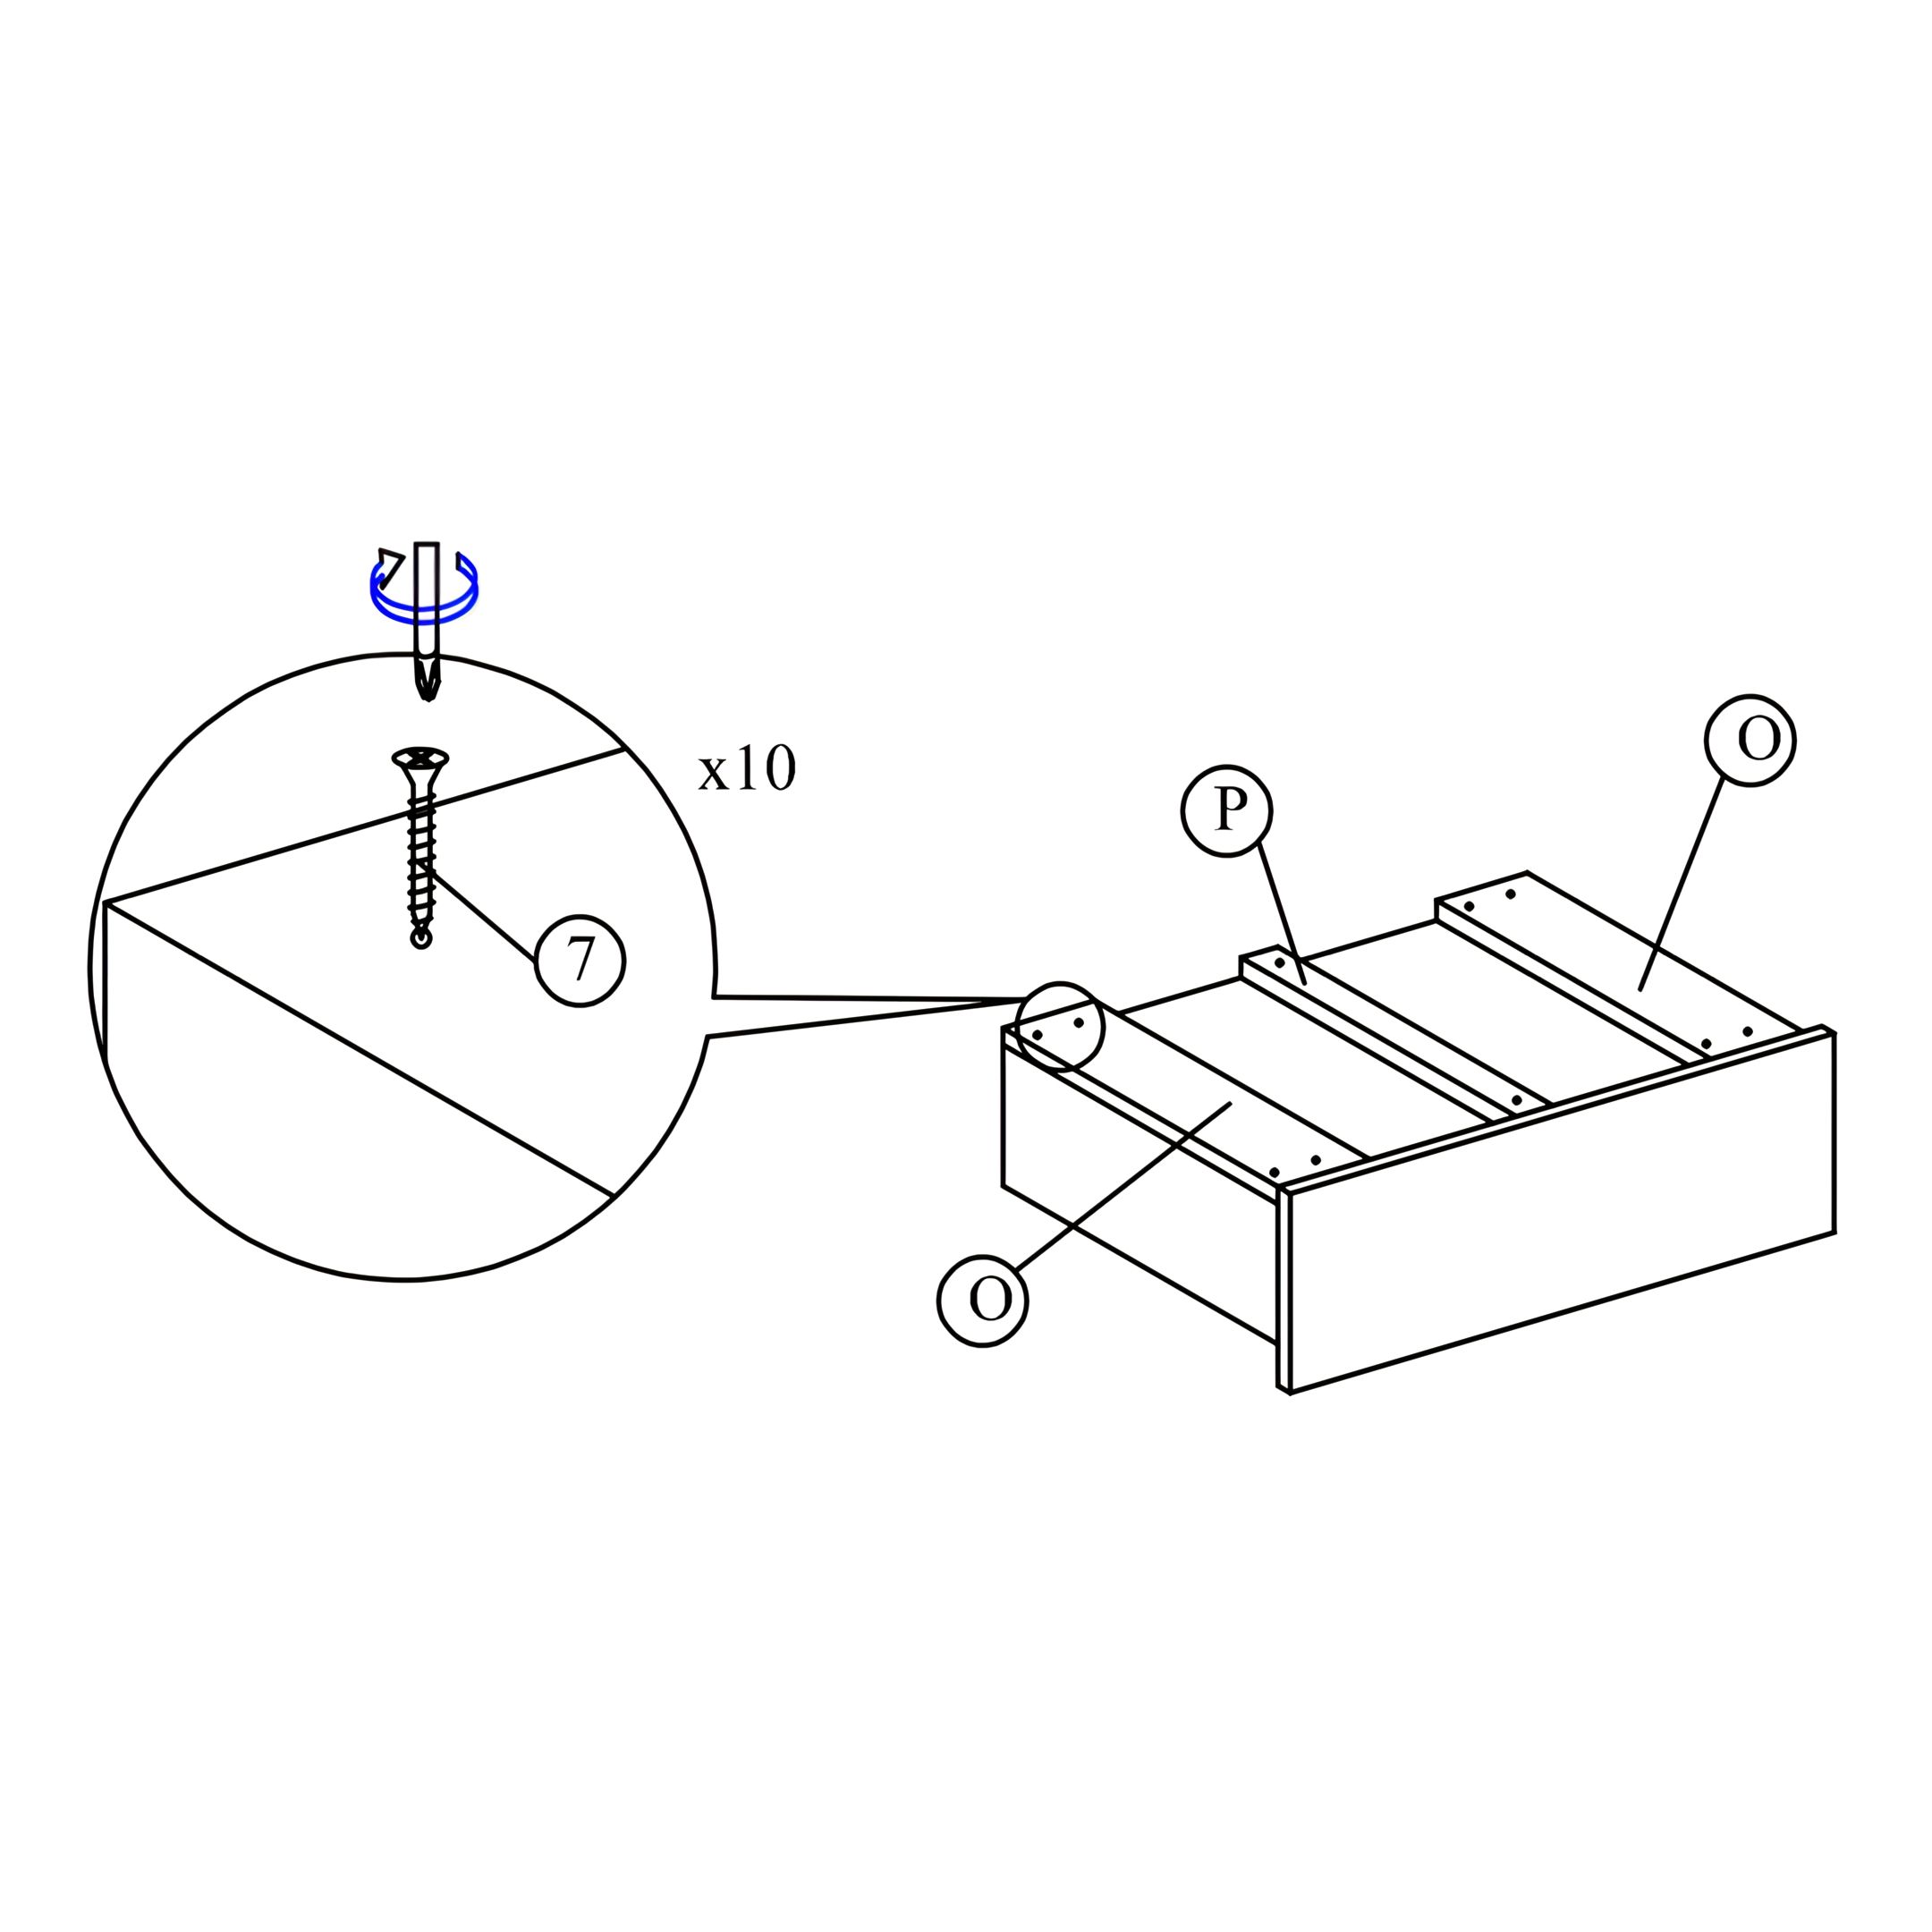 Tighten the bottom panel support (O & P) with screws (7) using screw driver (not included). 13. Attach Rollers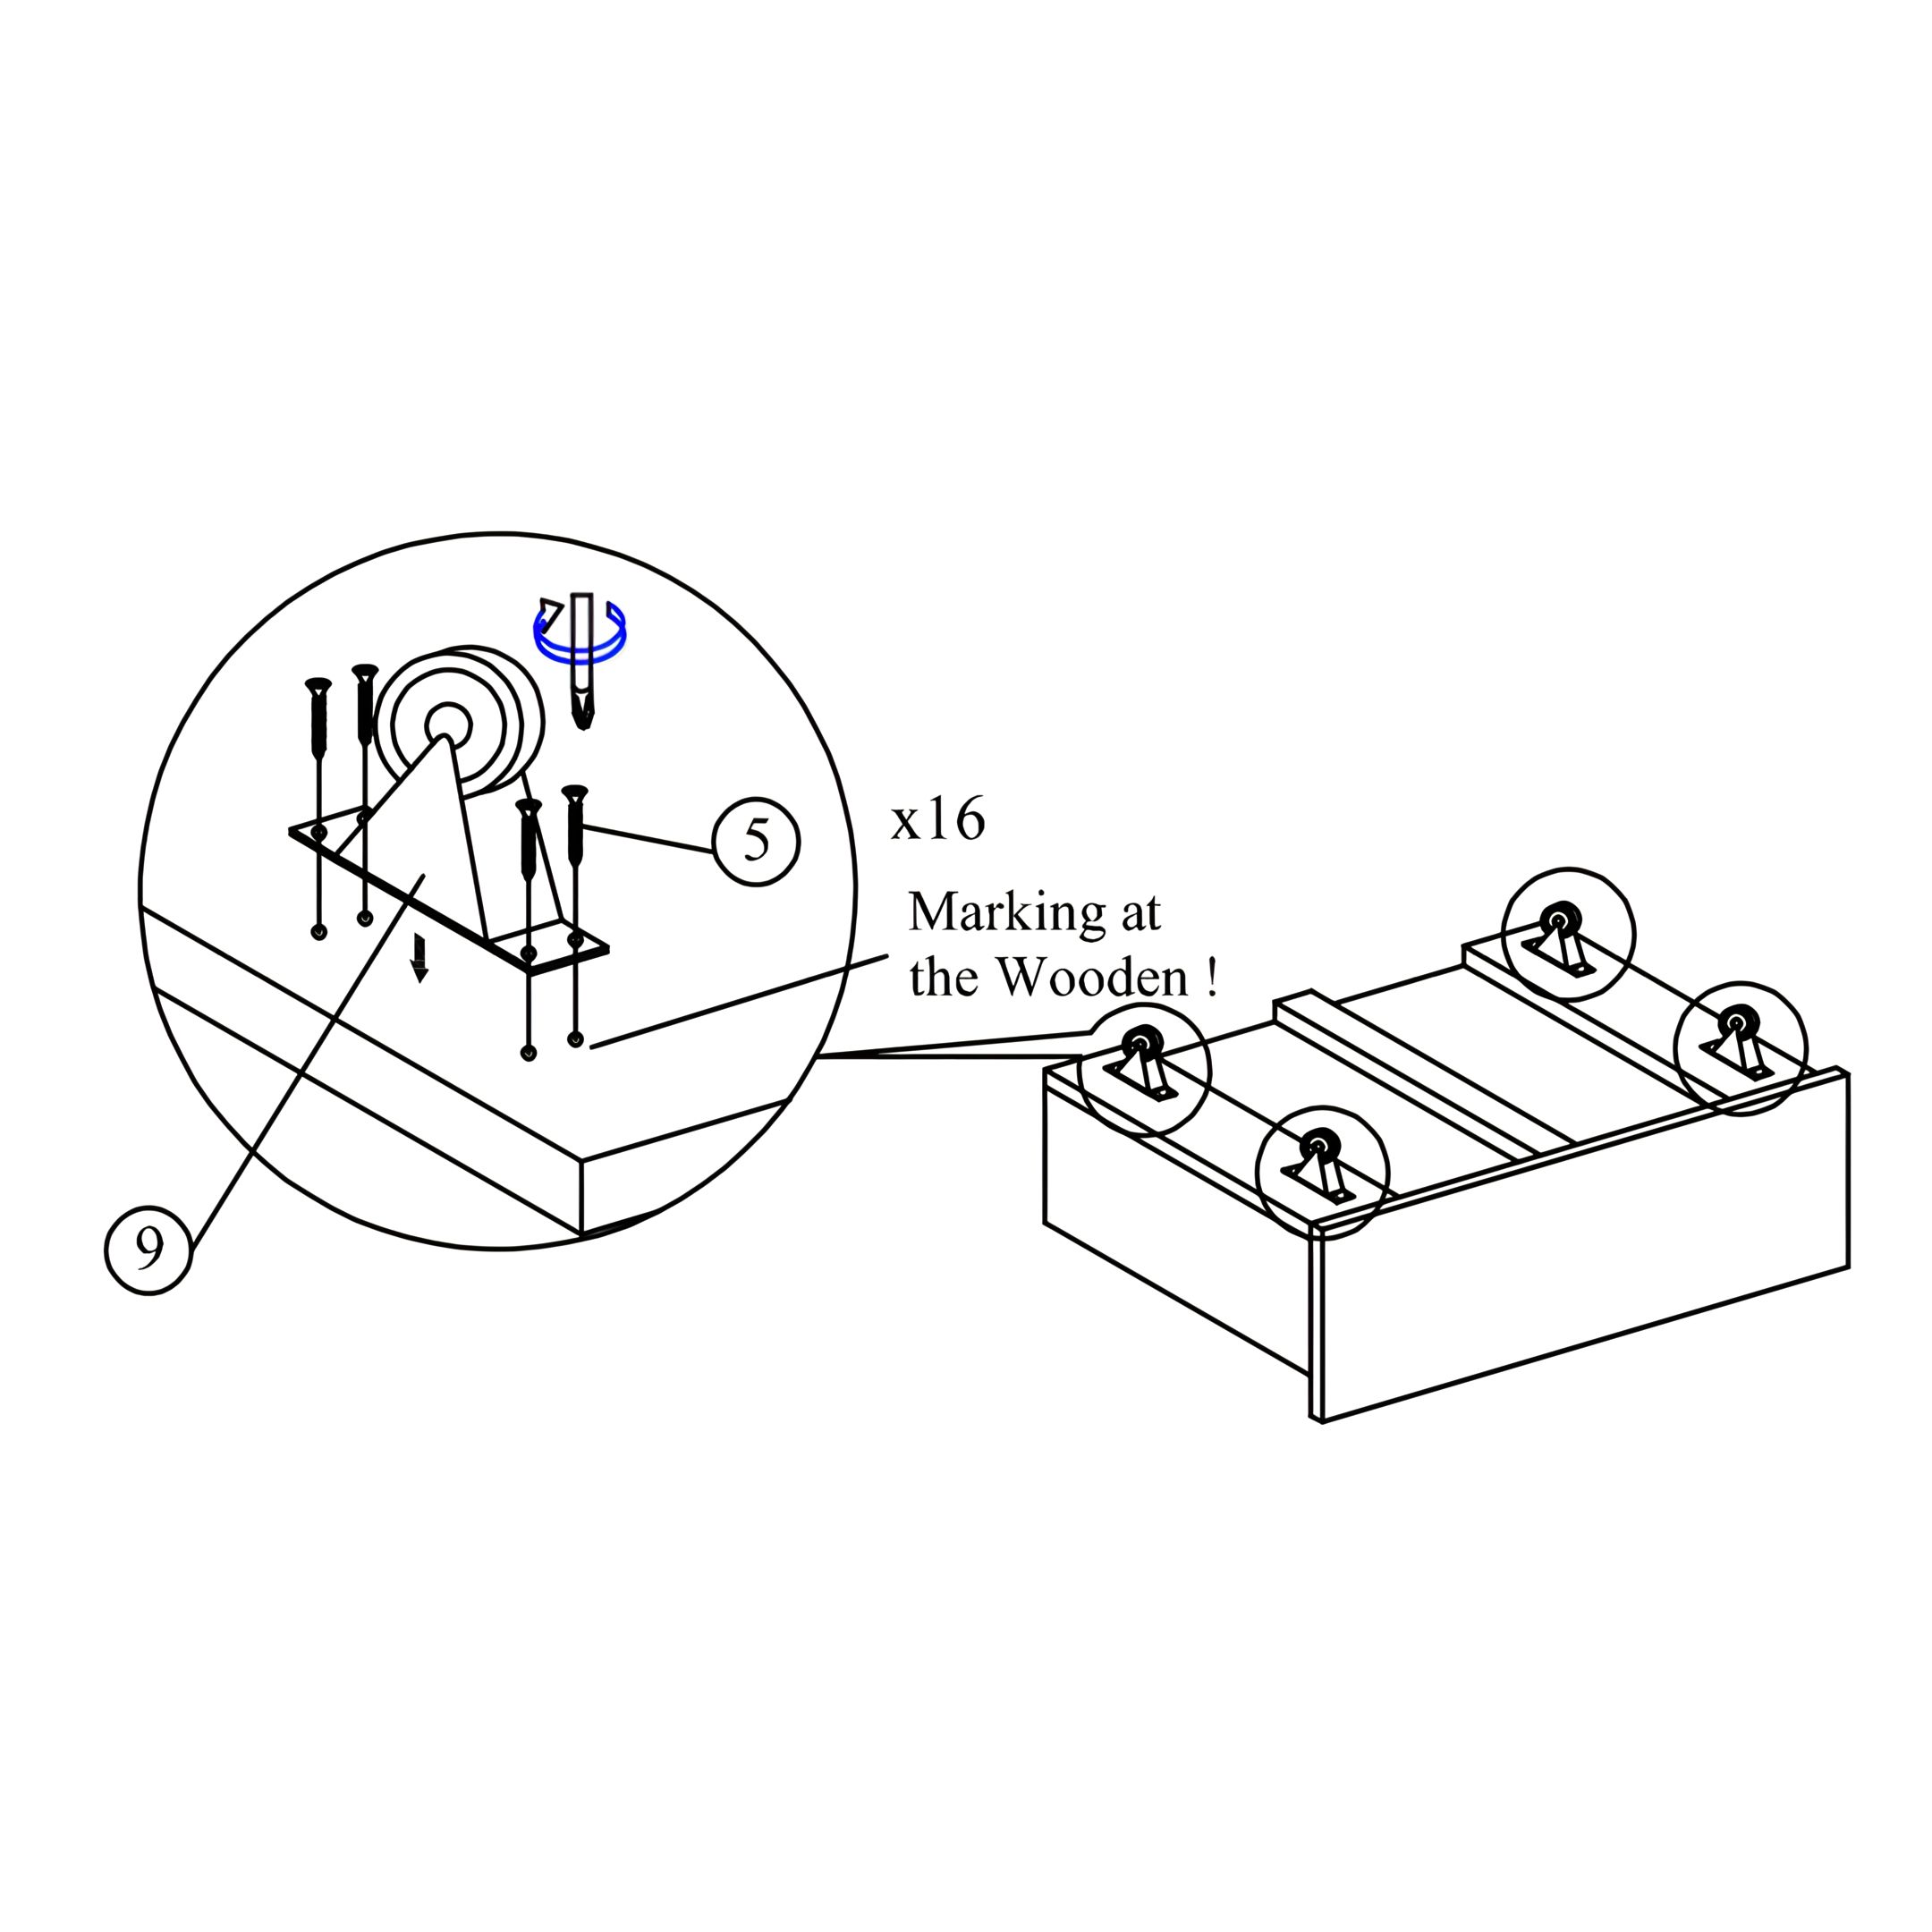 Tighten the roller (9) with screws (5) using screw driver (not included). 14. Install the Slats and Drawers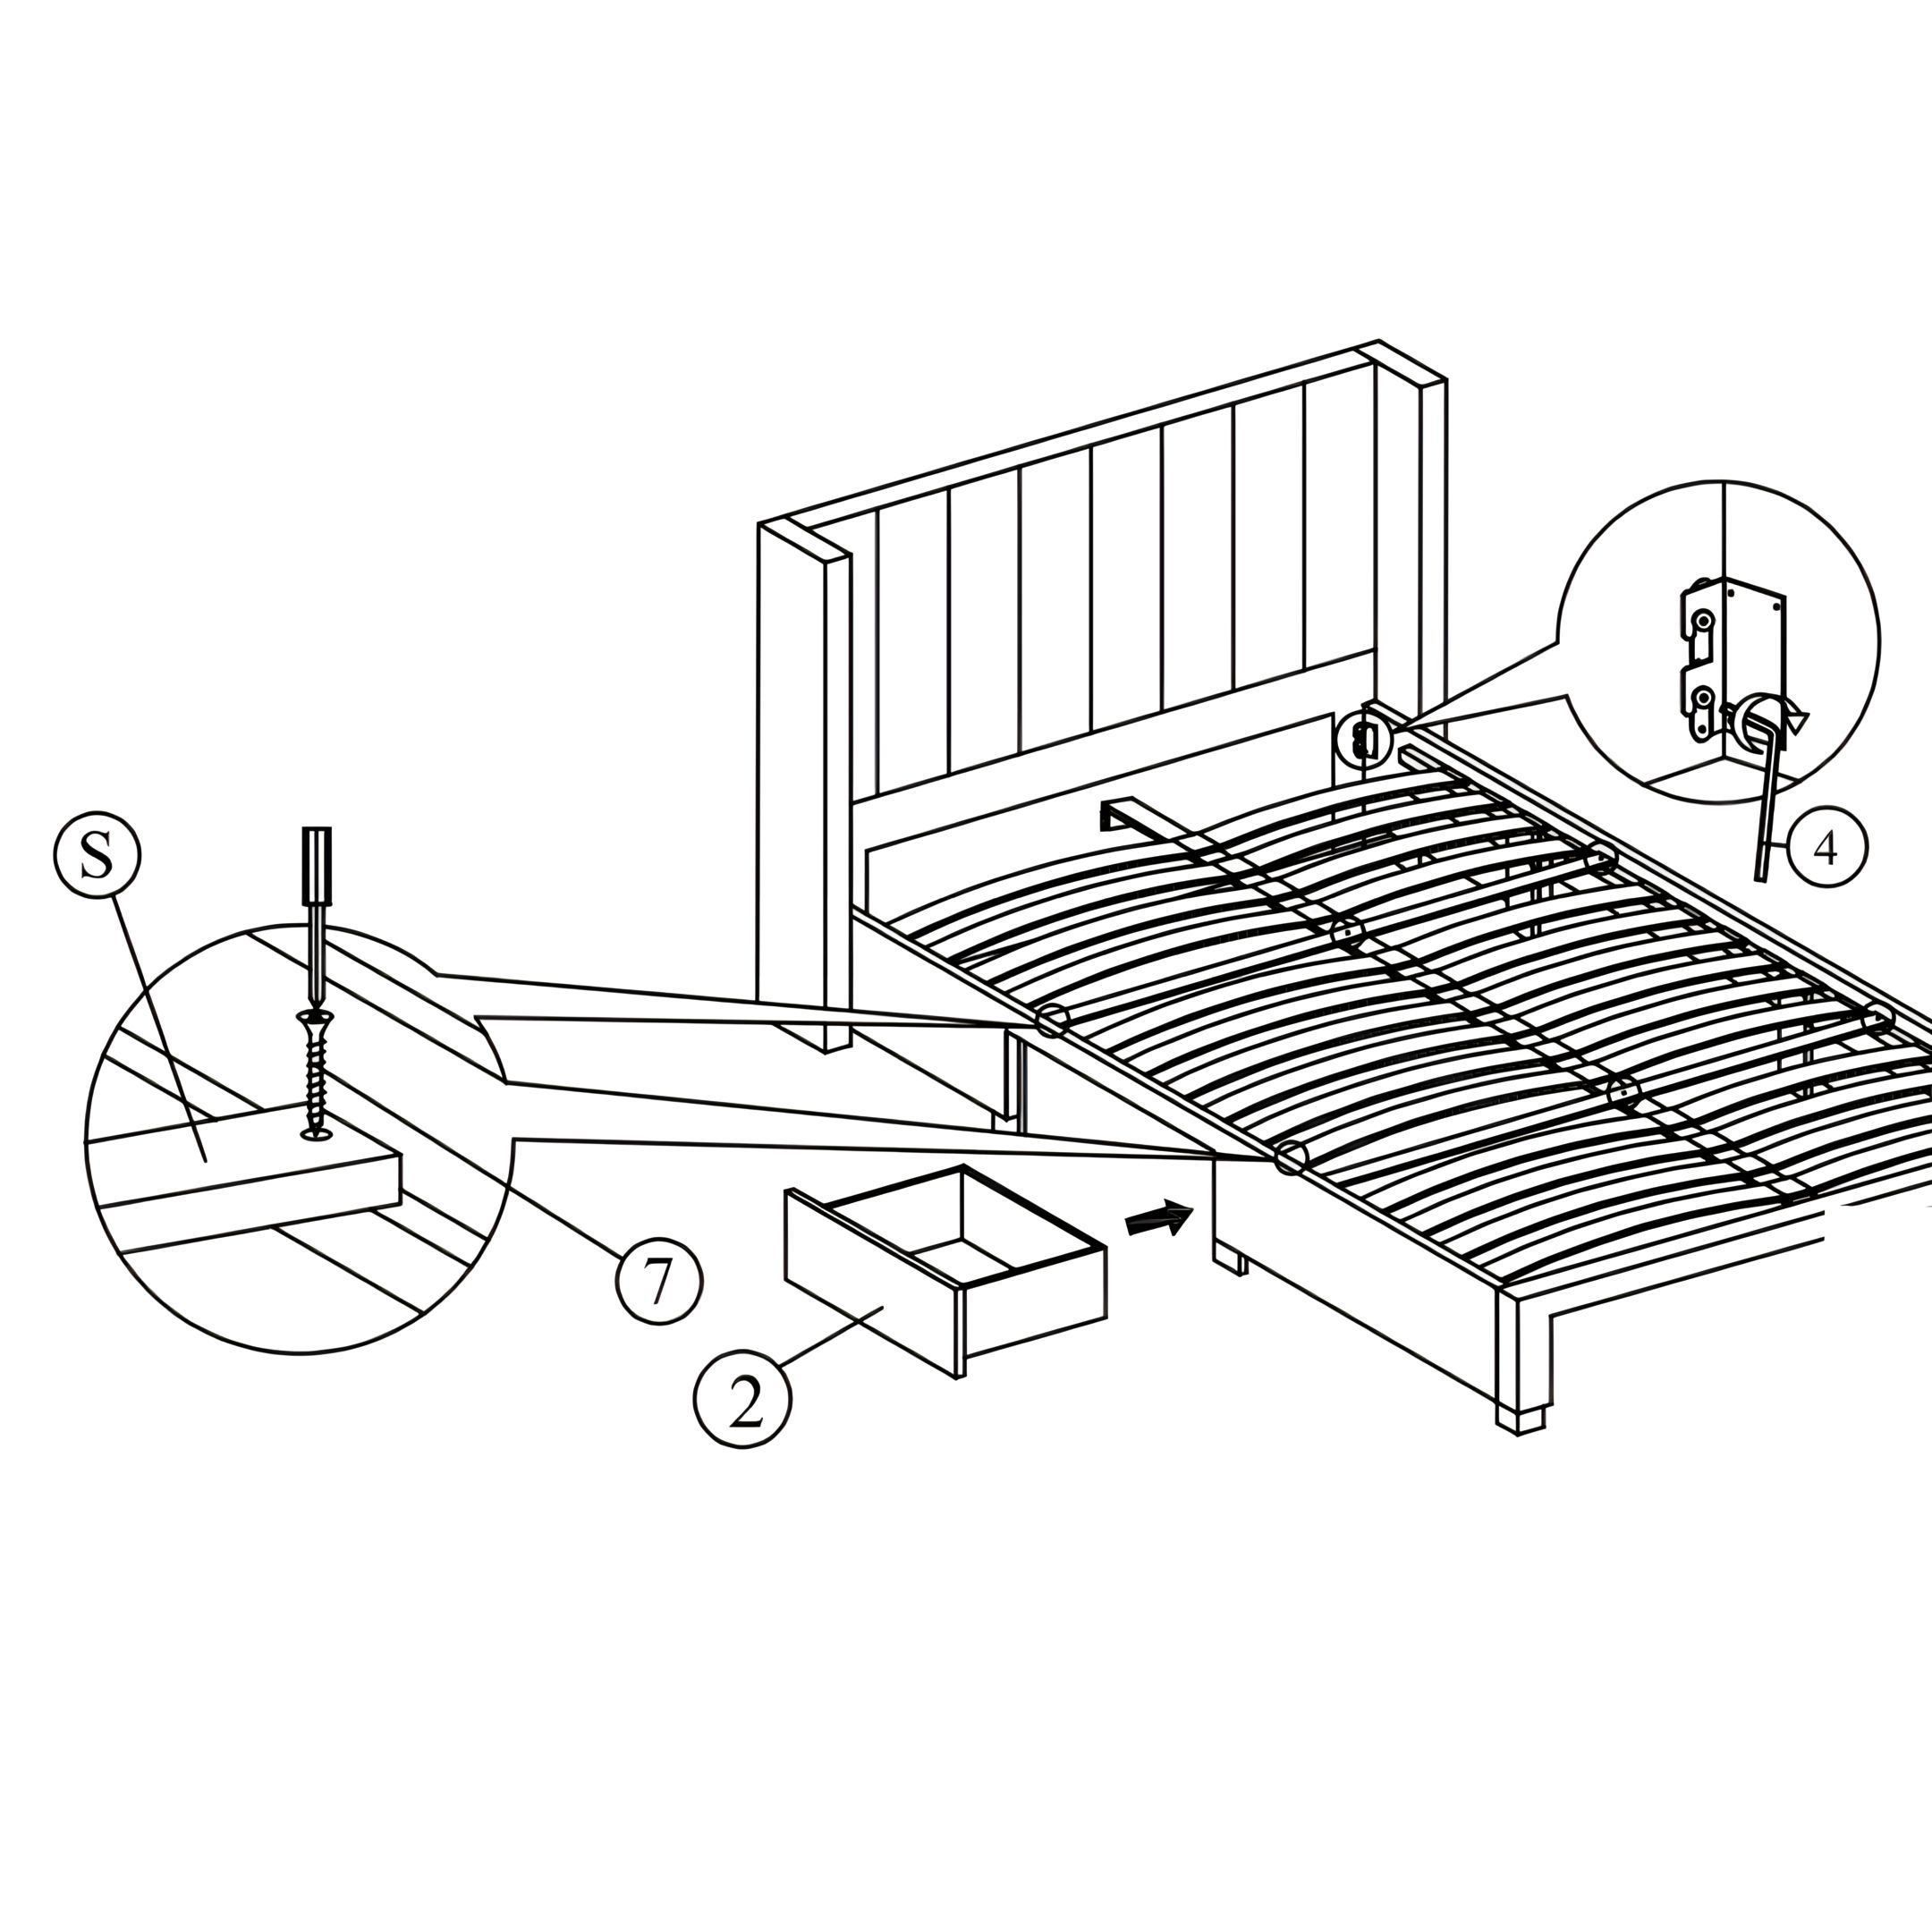 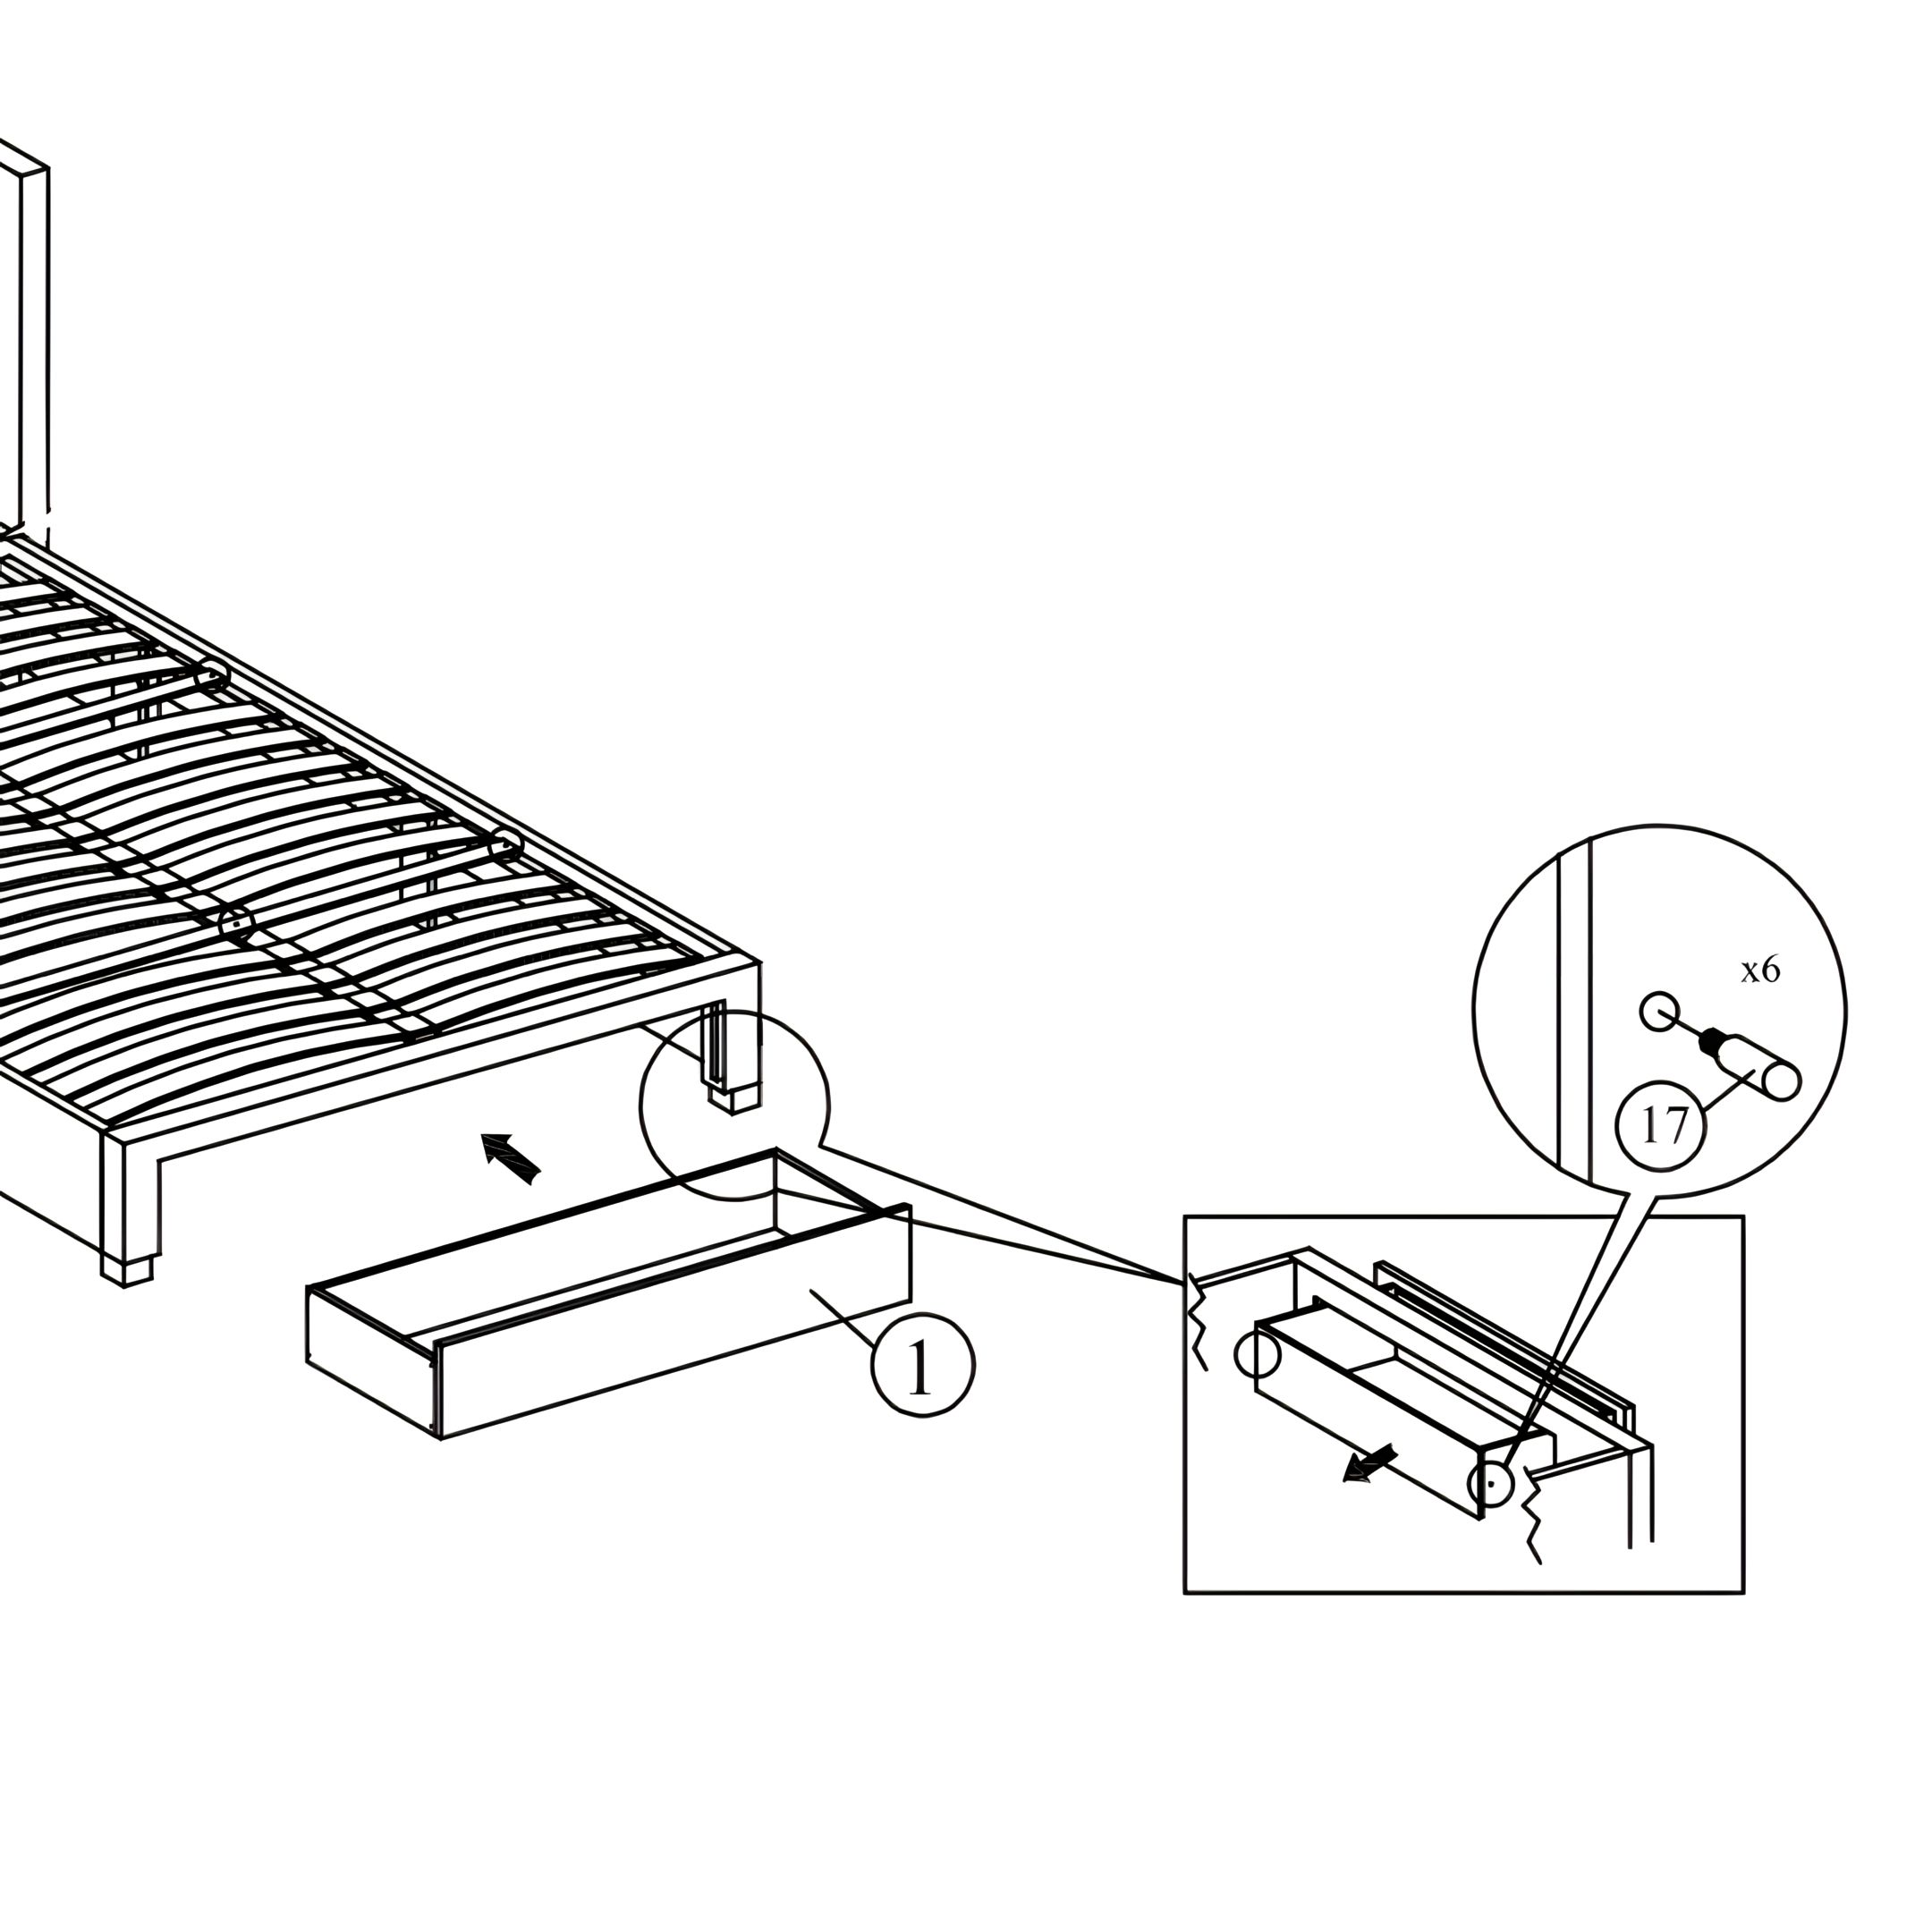  Affix the Stiffener Slat (S) to the side rail support wood and the center rail (D). Tighten all the 4 corner, follow by assembly of the slat holders with LVL slats as shown. ATTENTION: Prevent the drawer from being pulled out too far and drop. It is optional to choose attach the drawer stopper. |