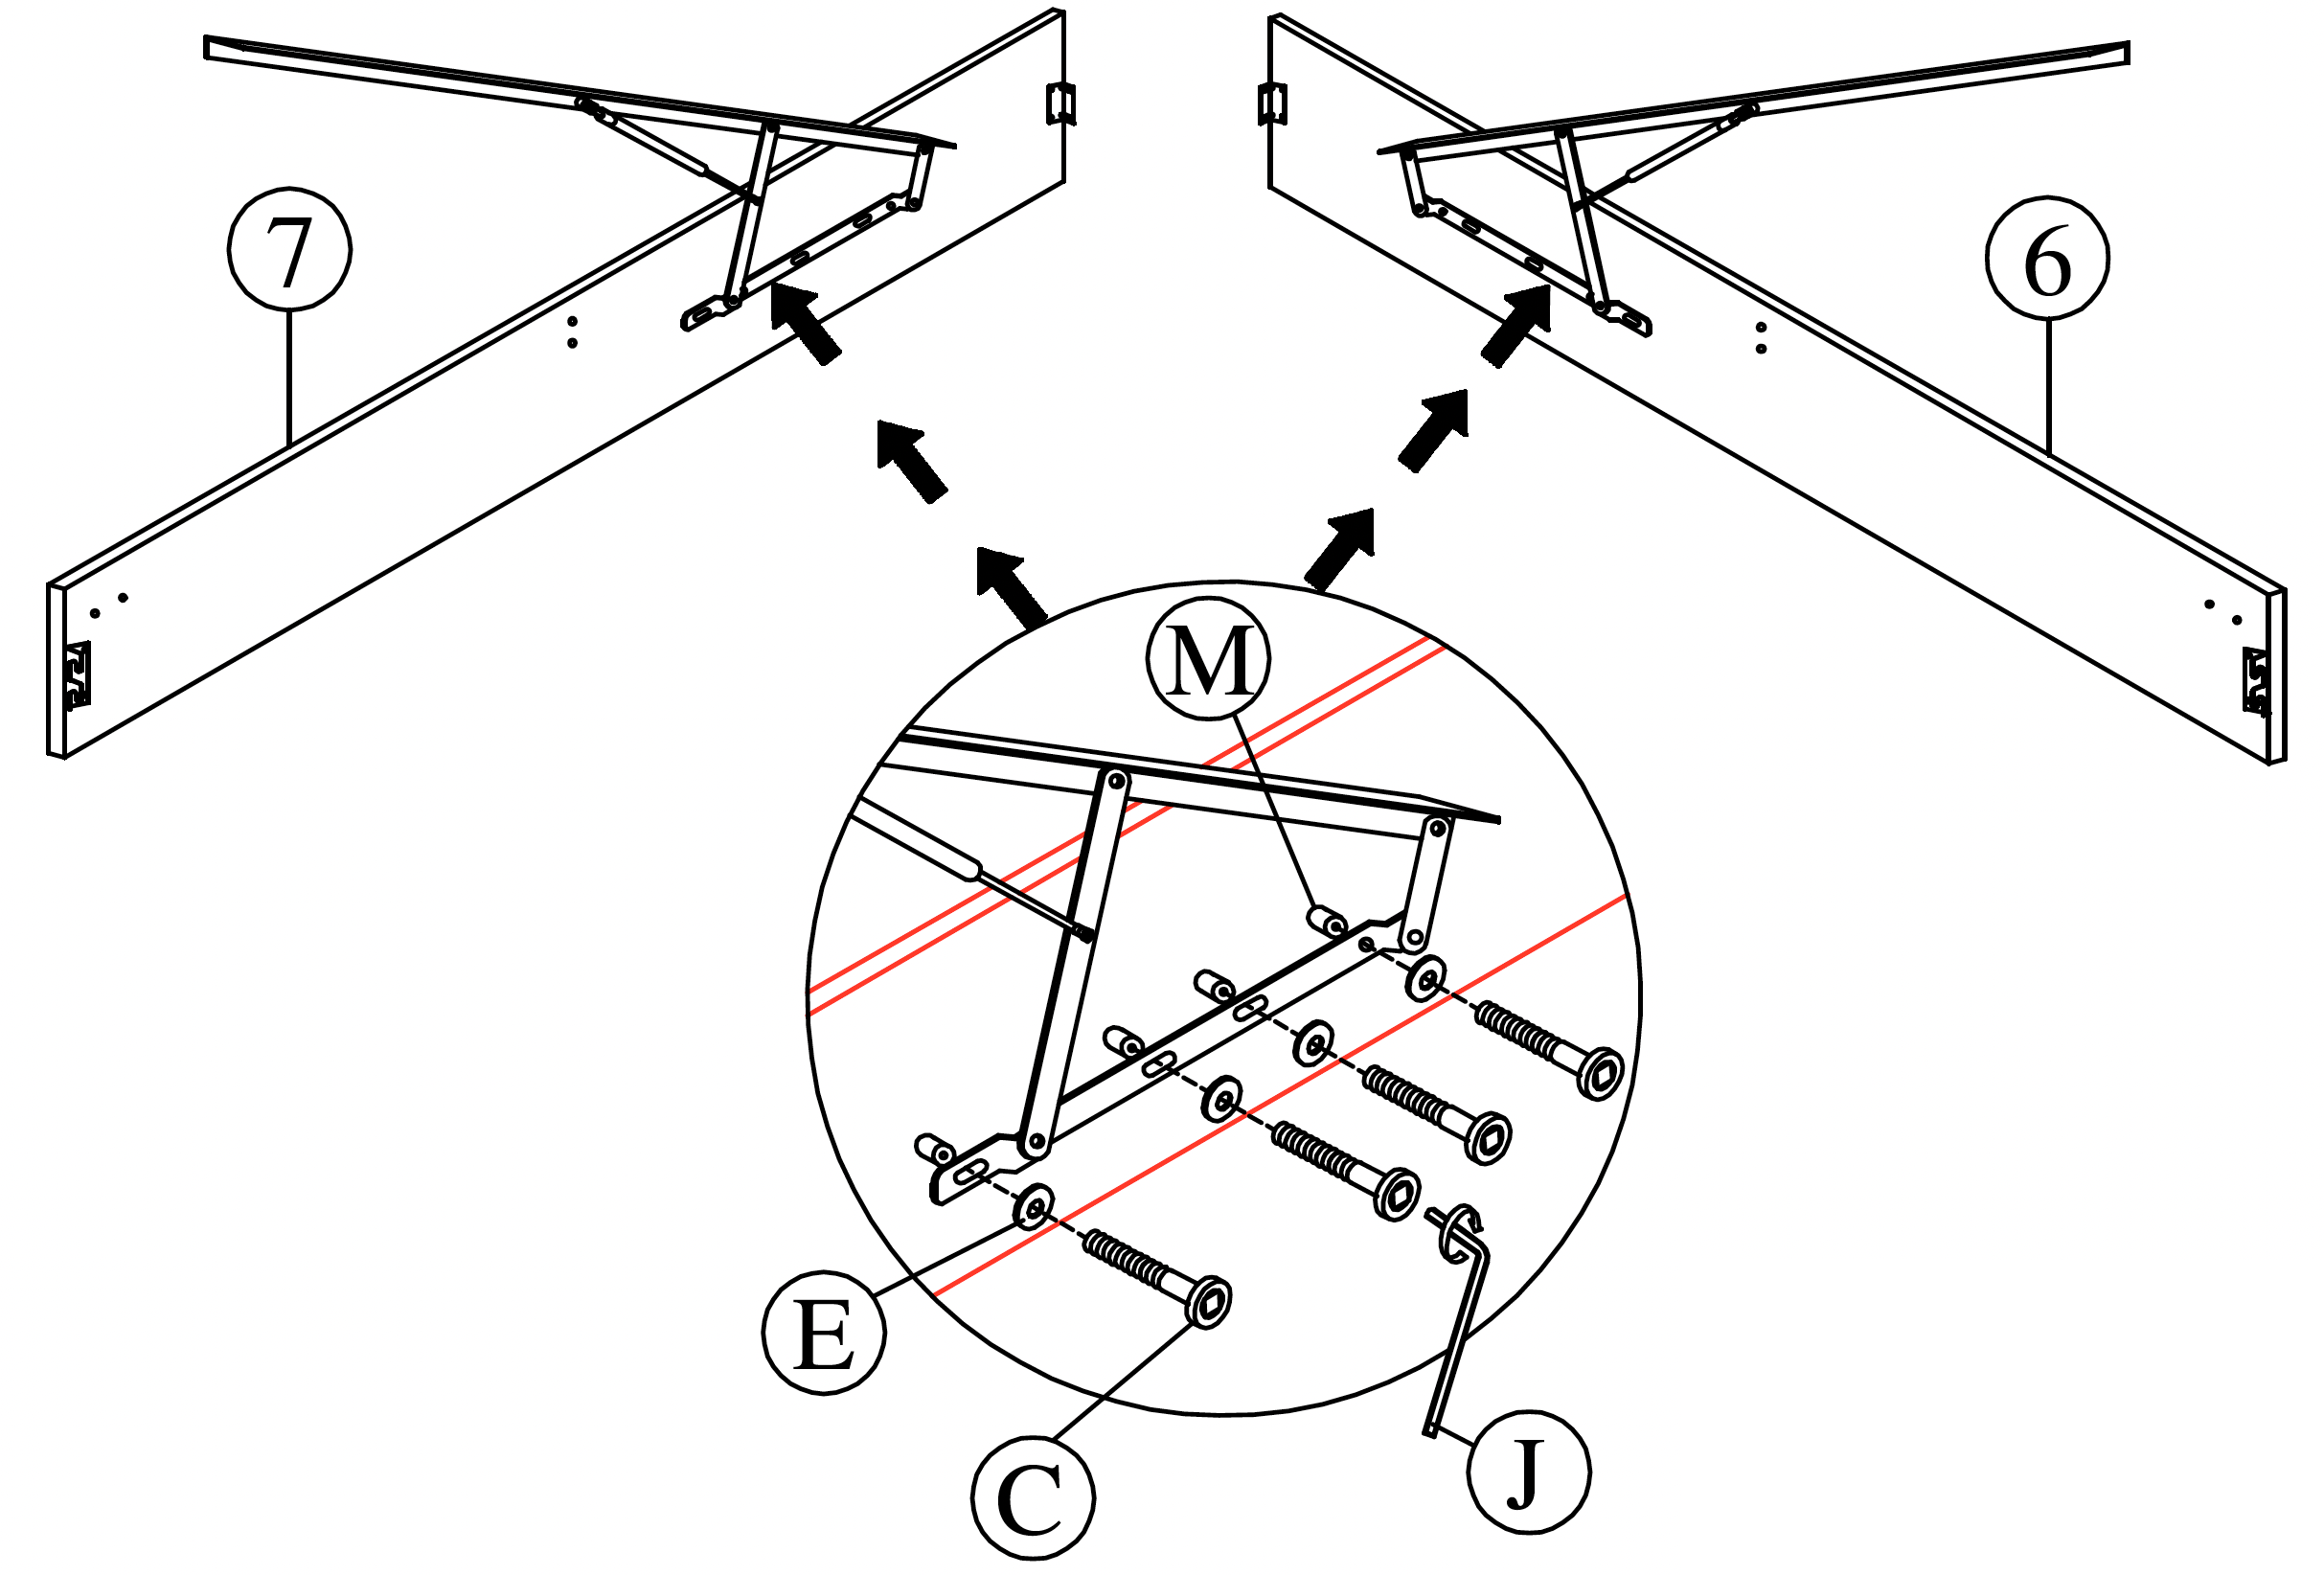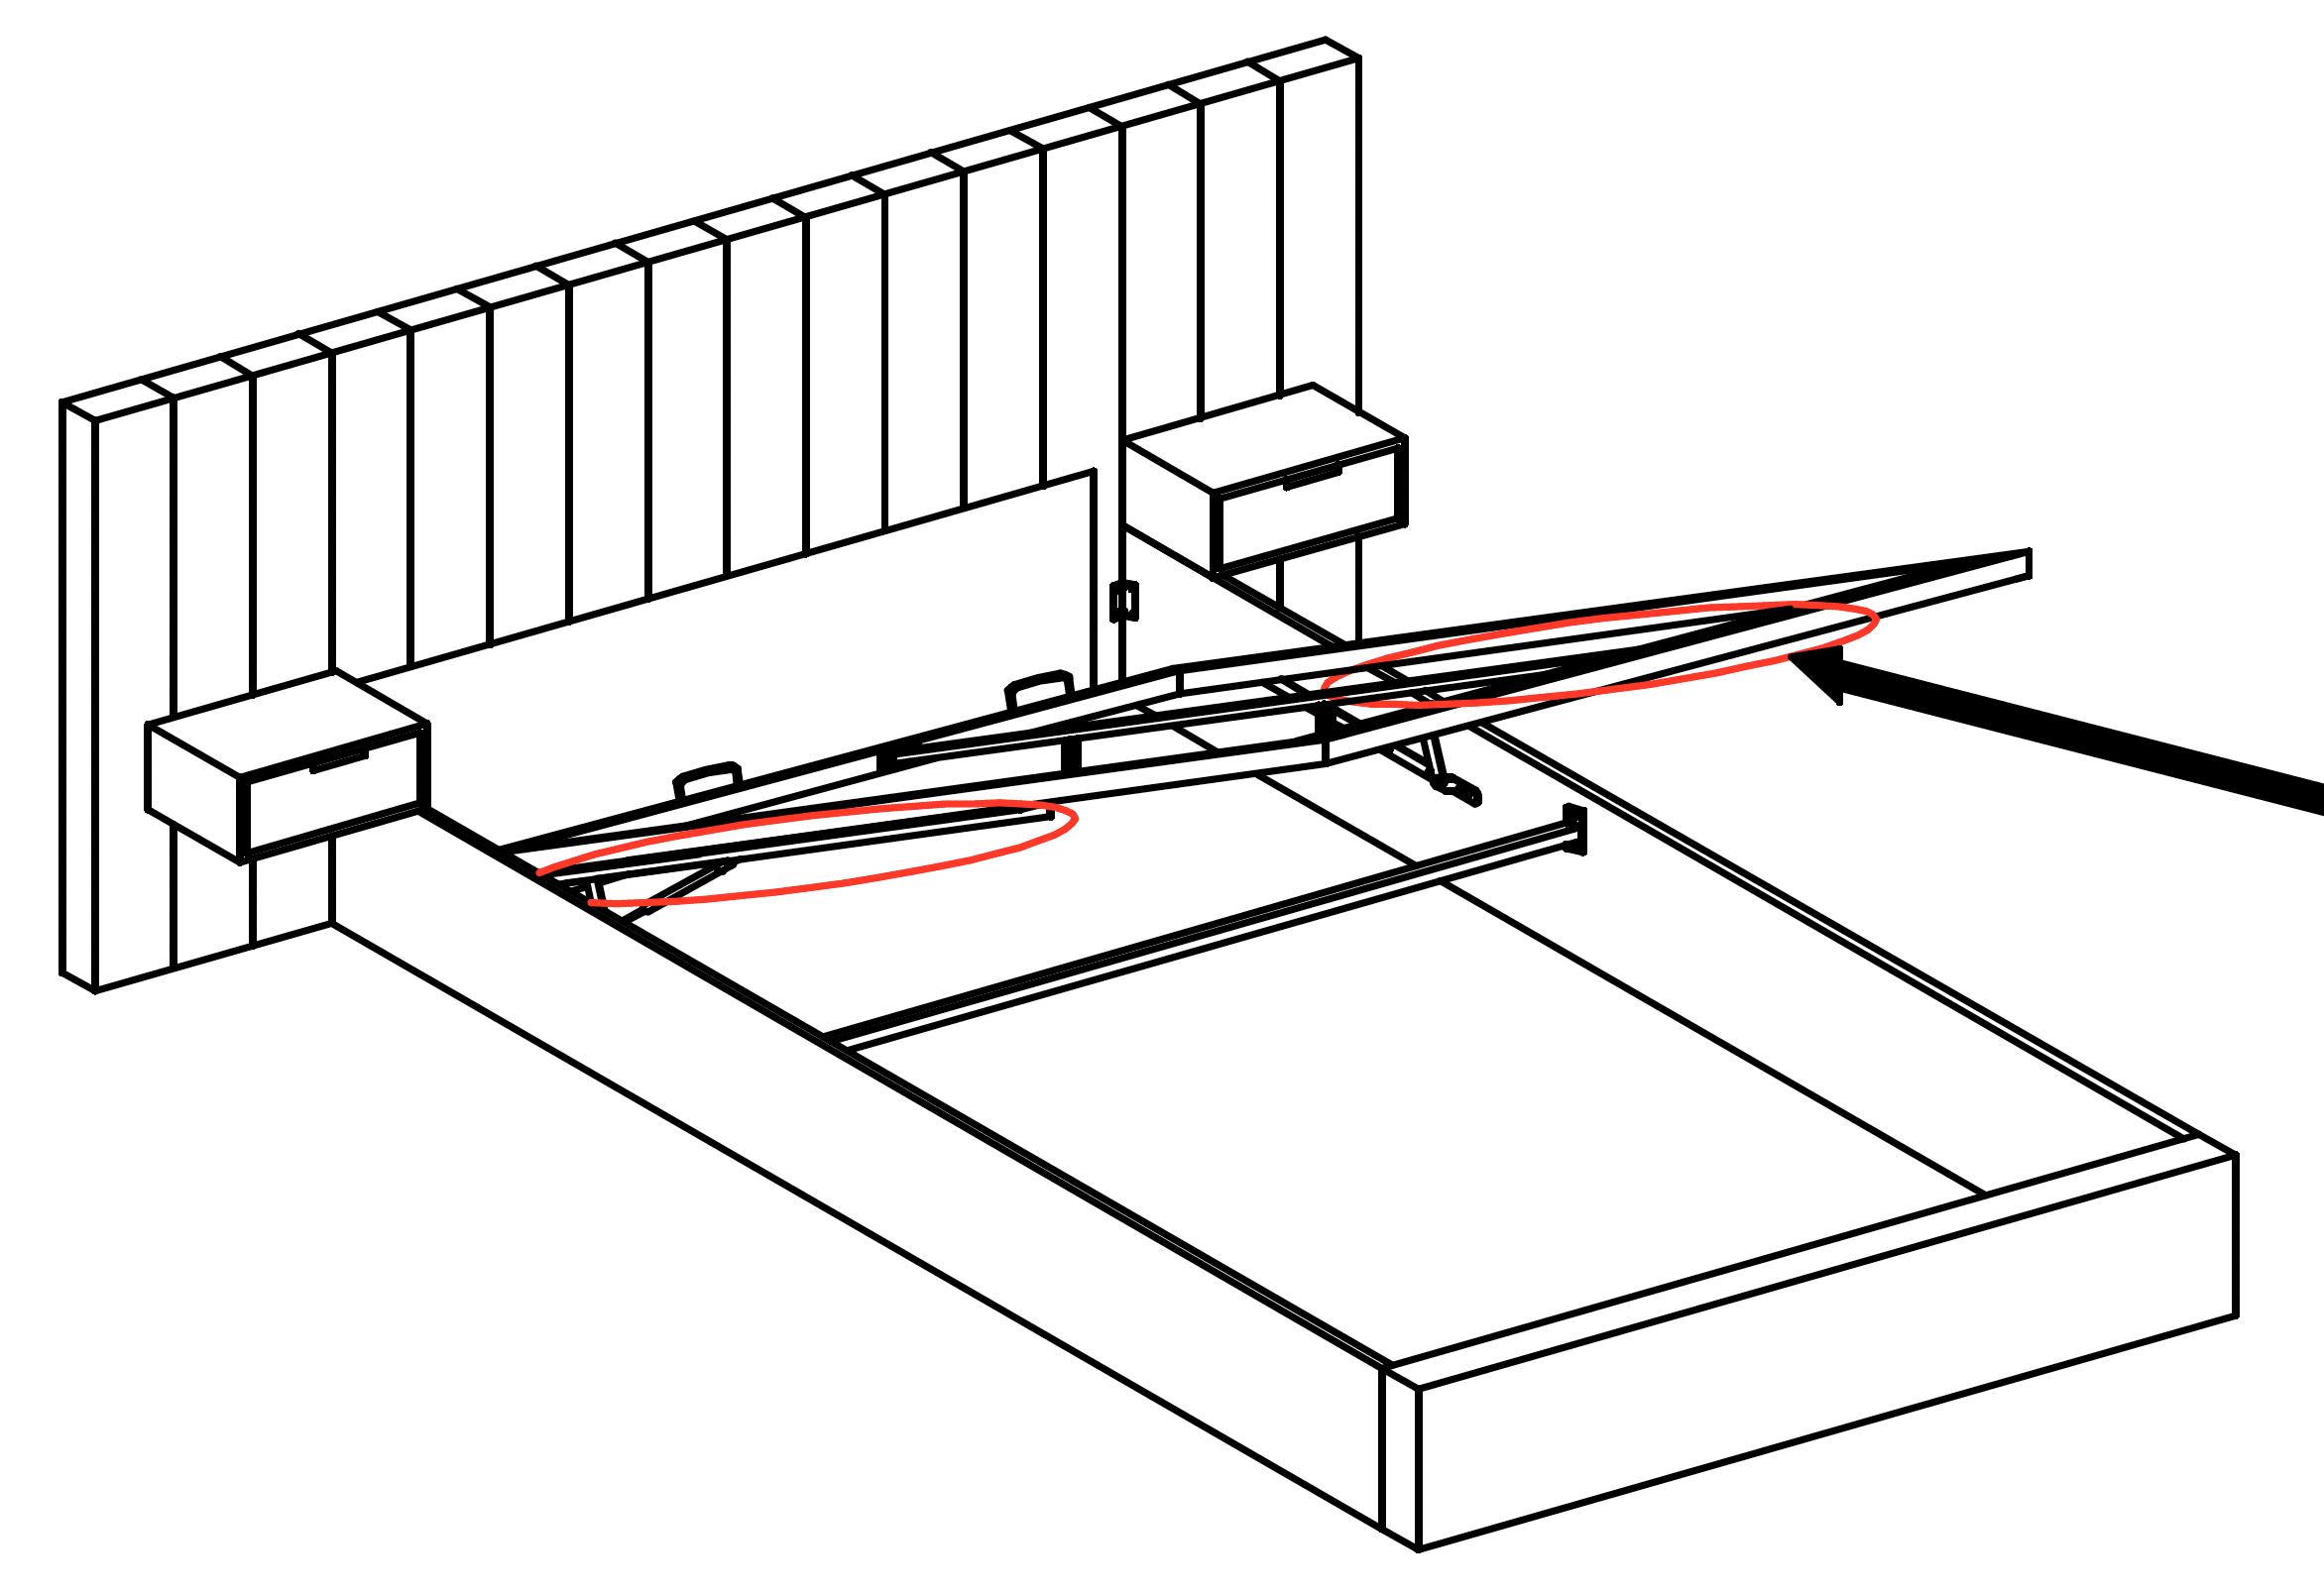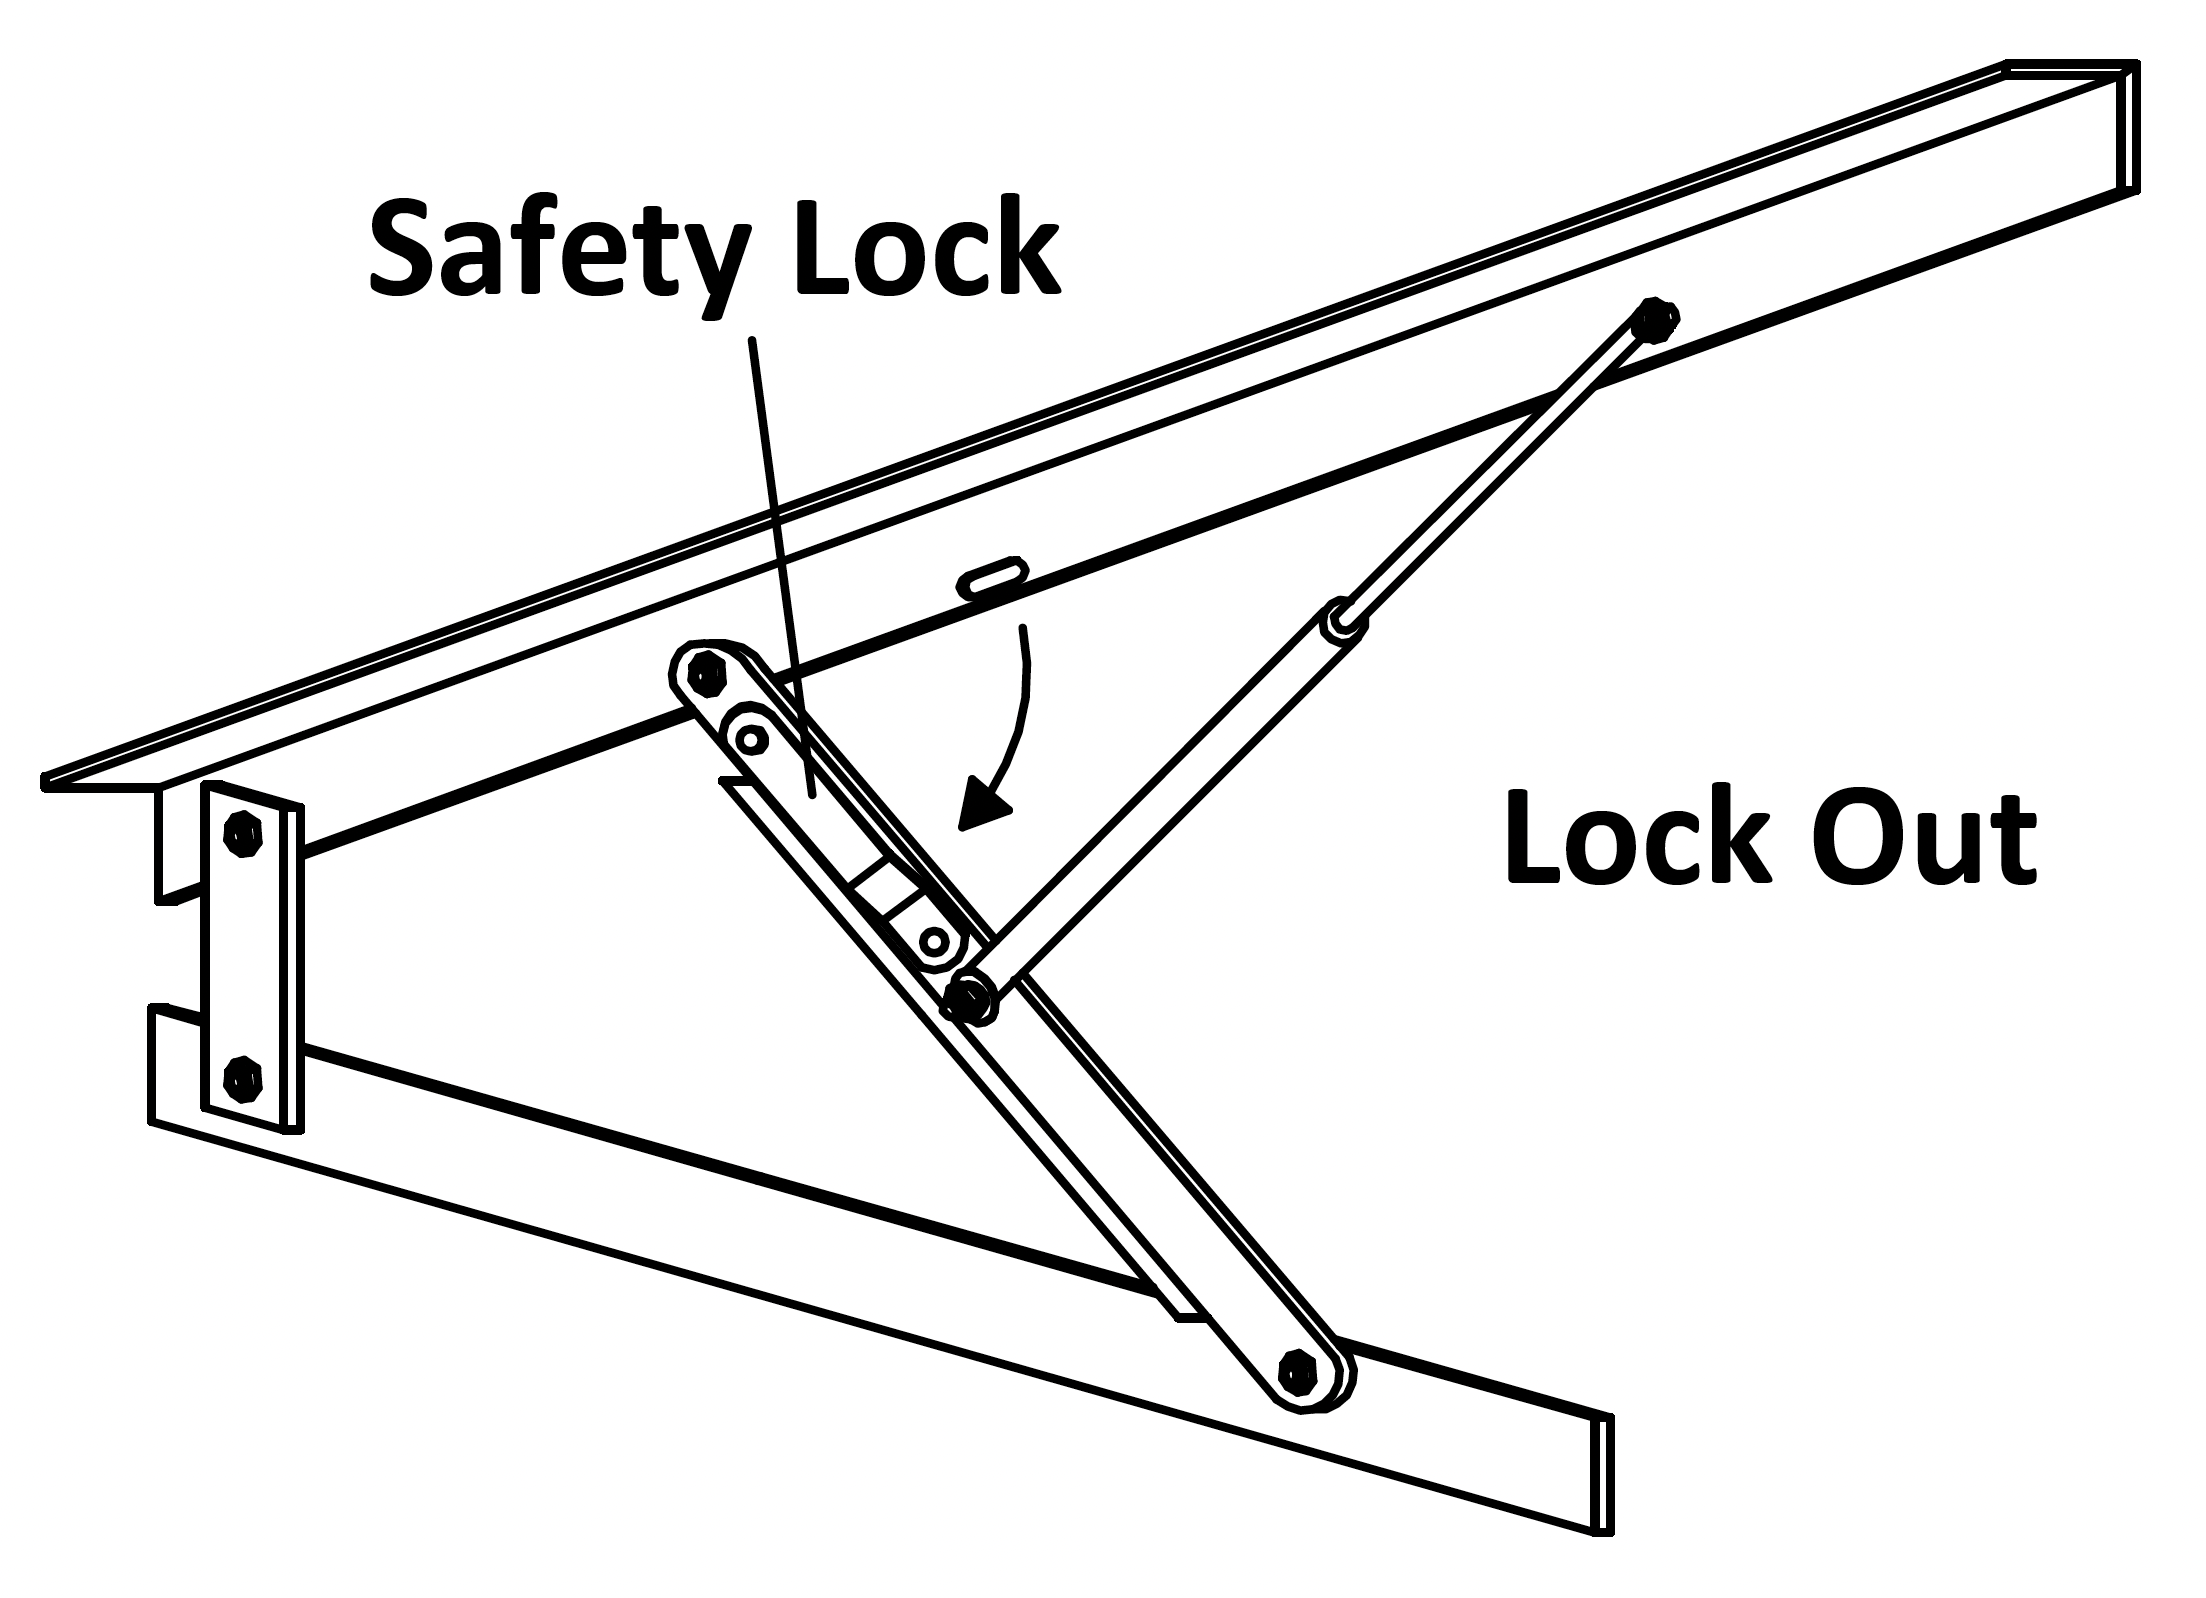


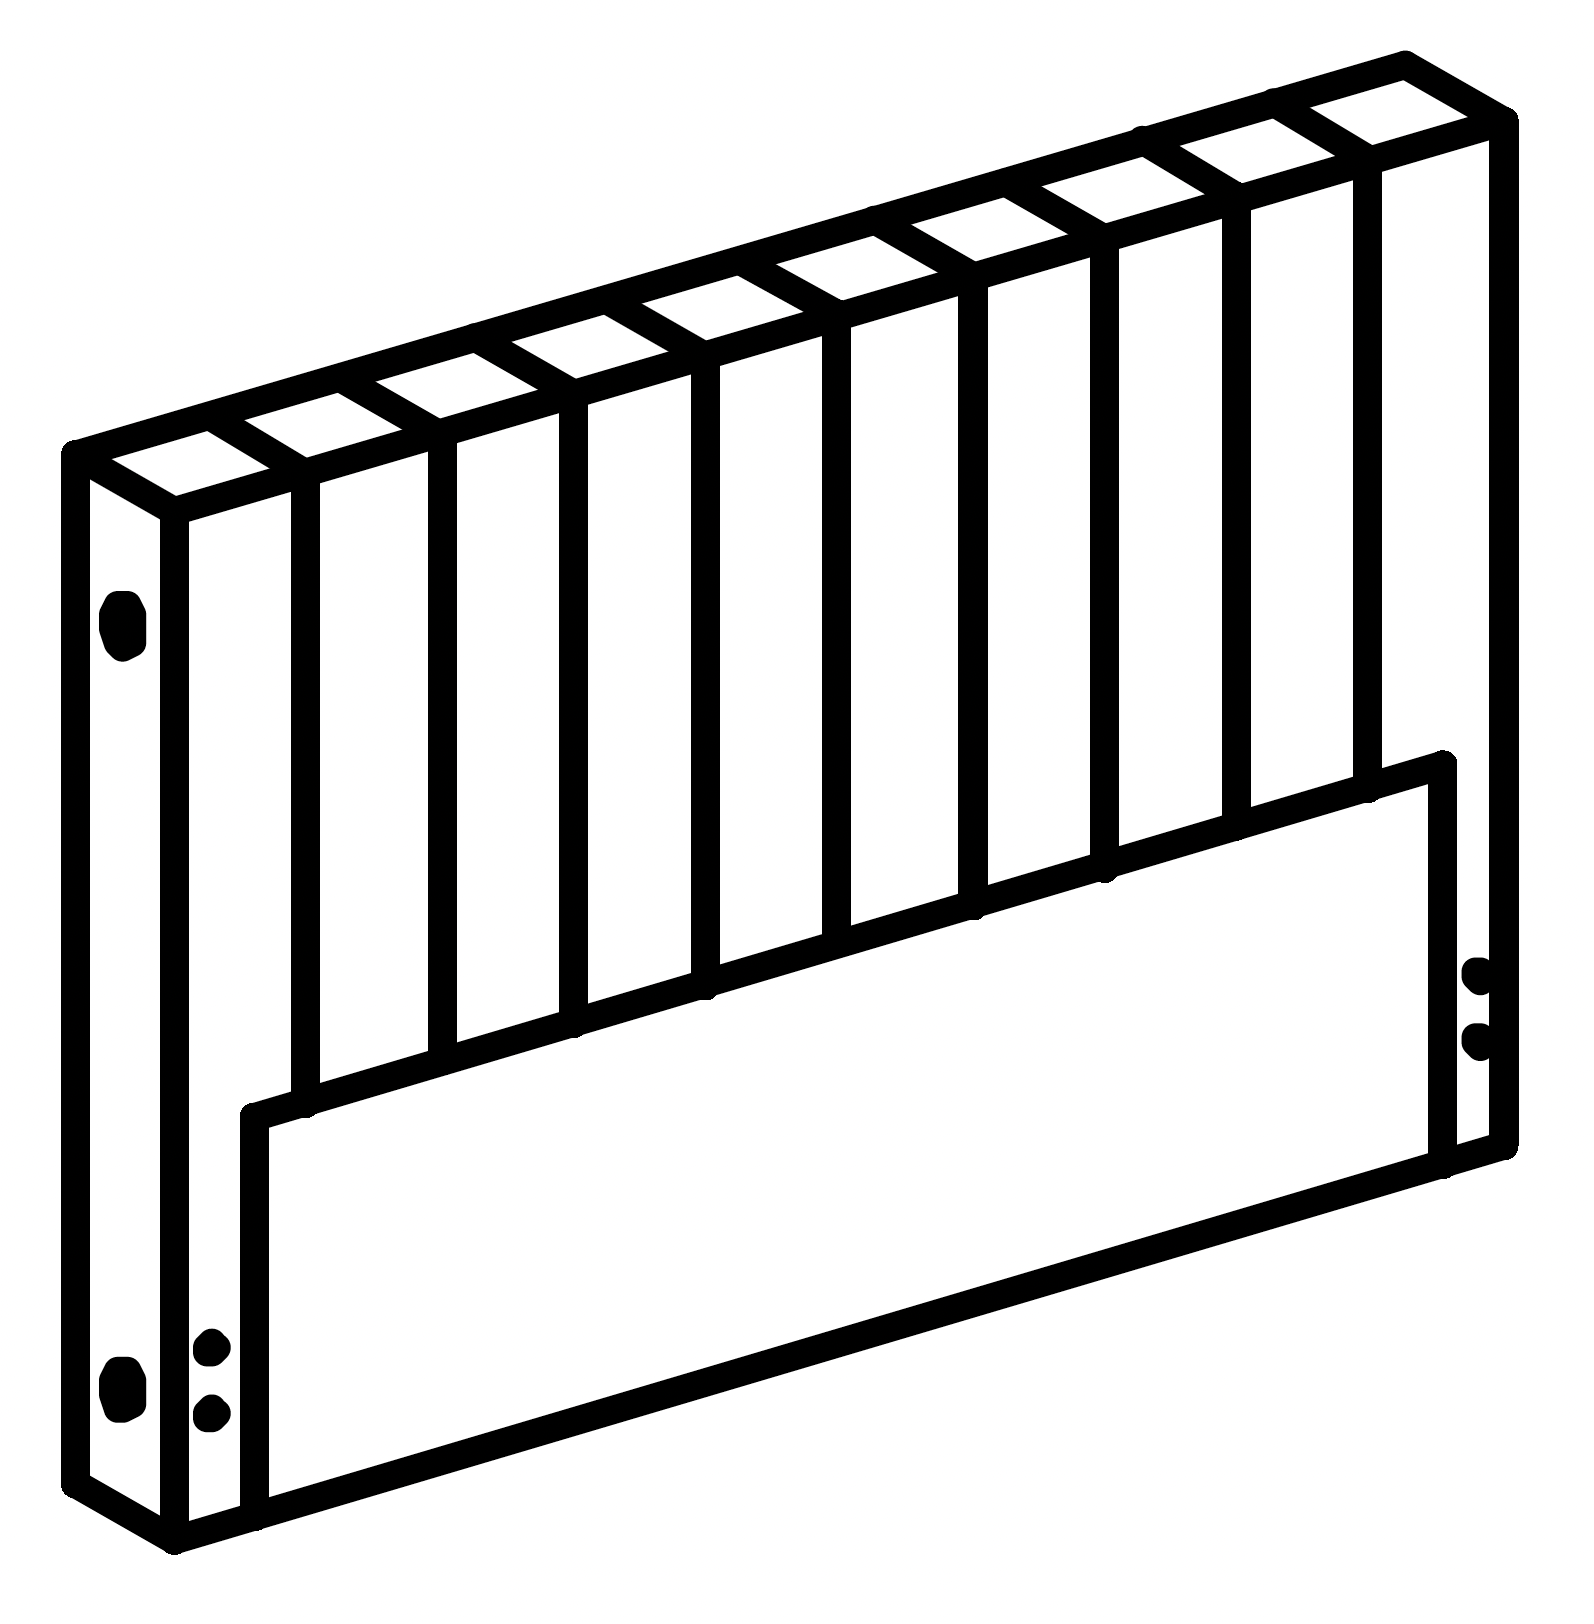
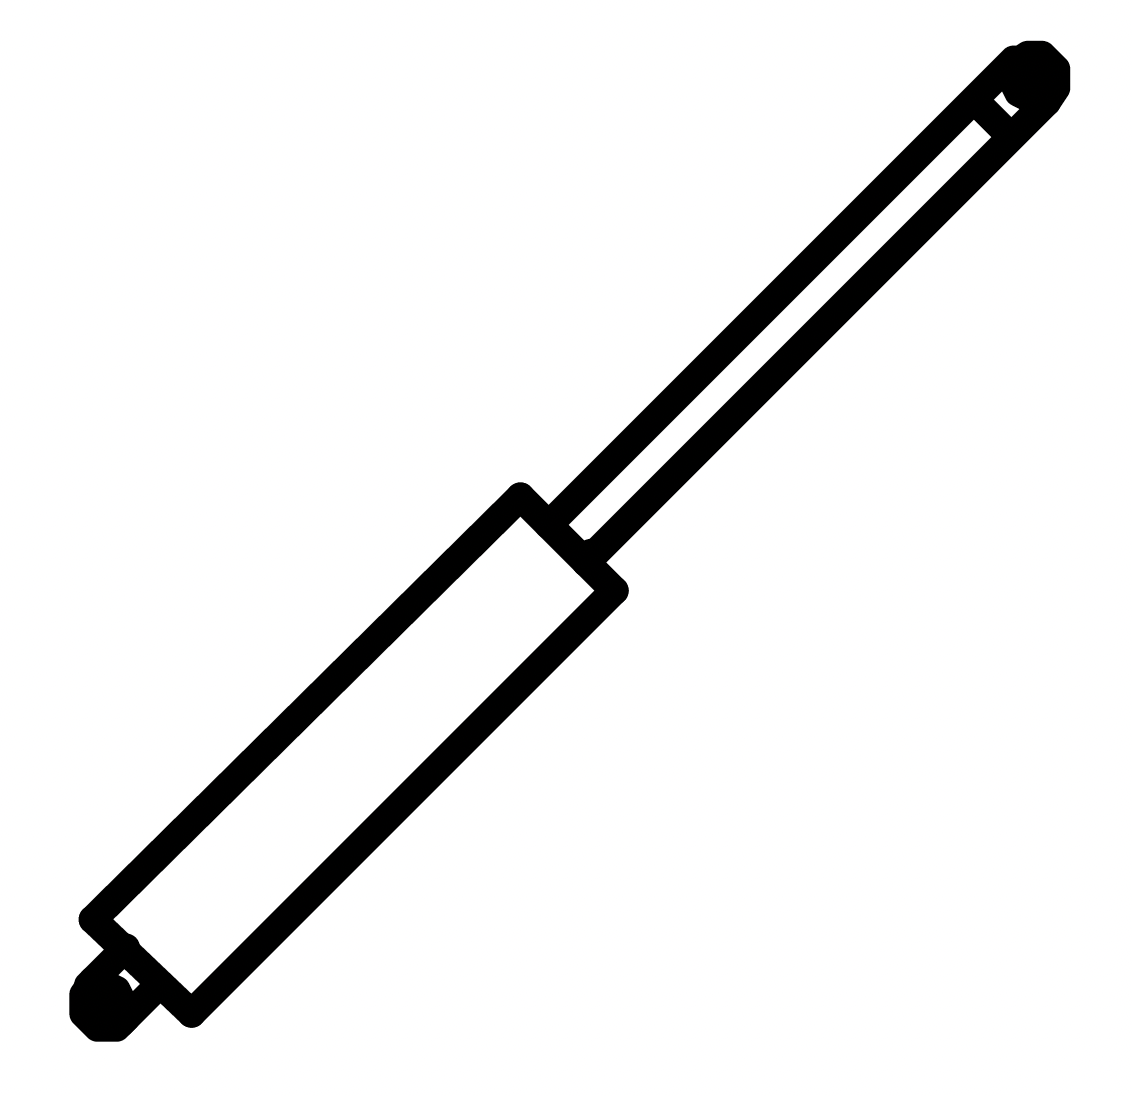
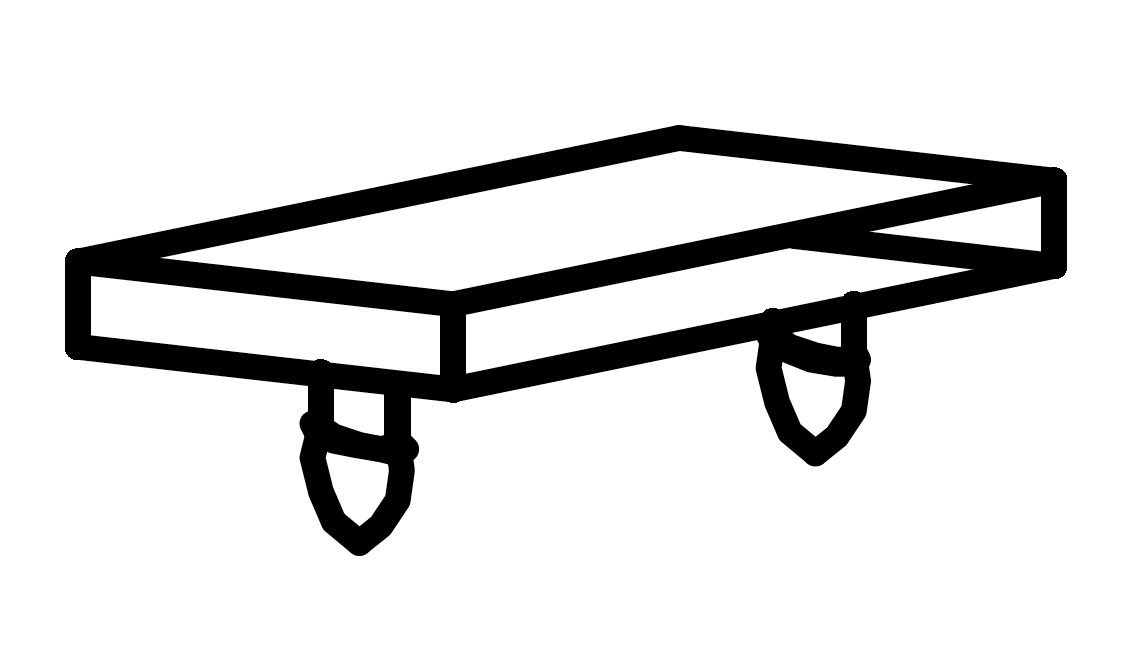


1. **Attach the Gas Lift Machines**
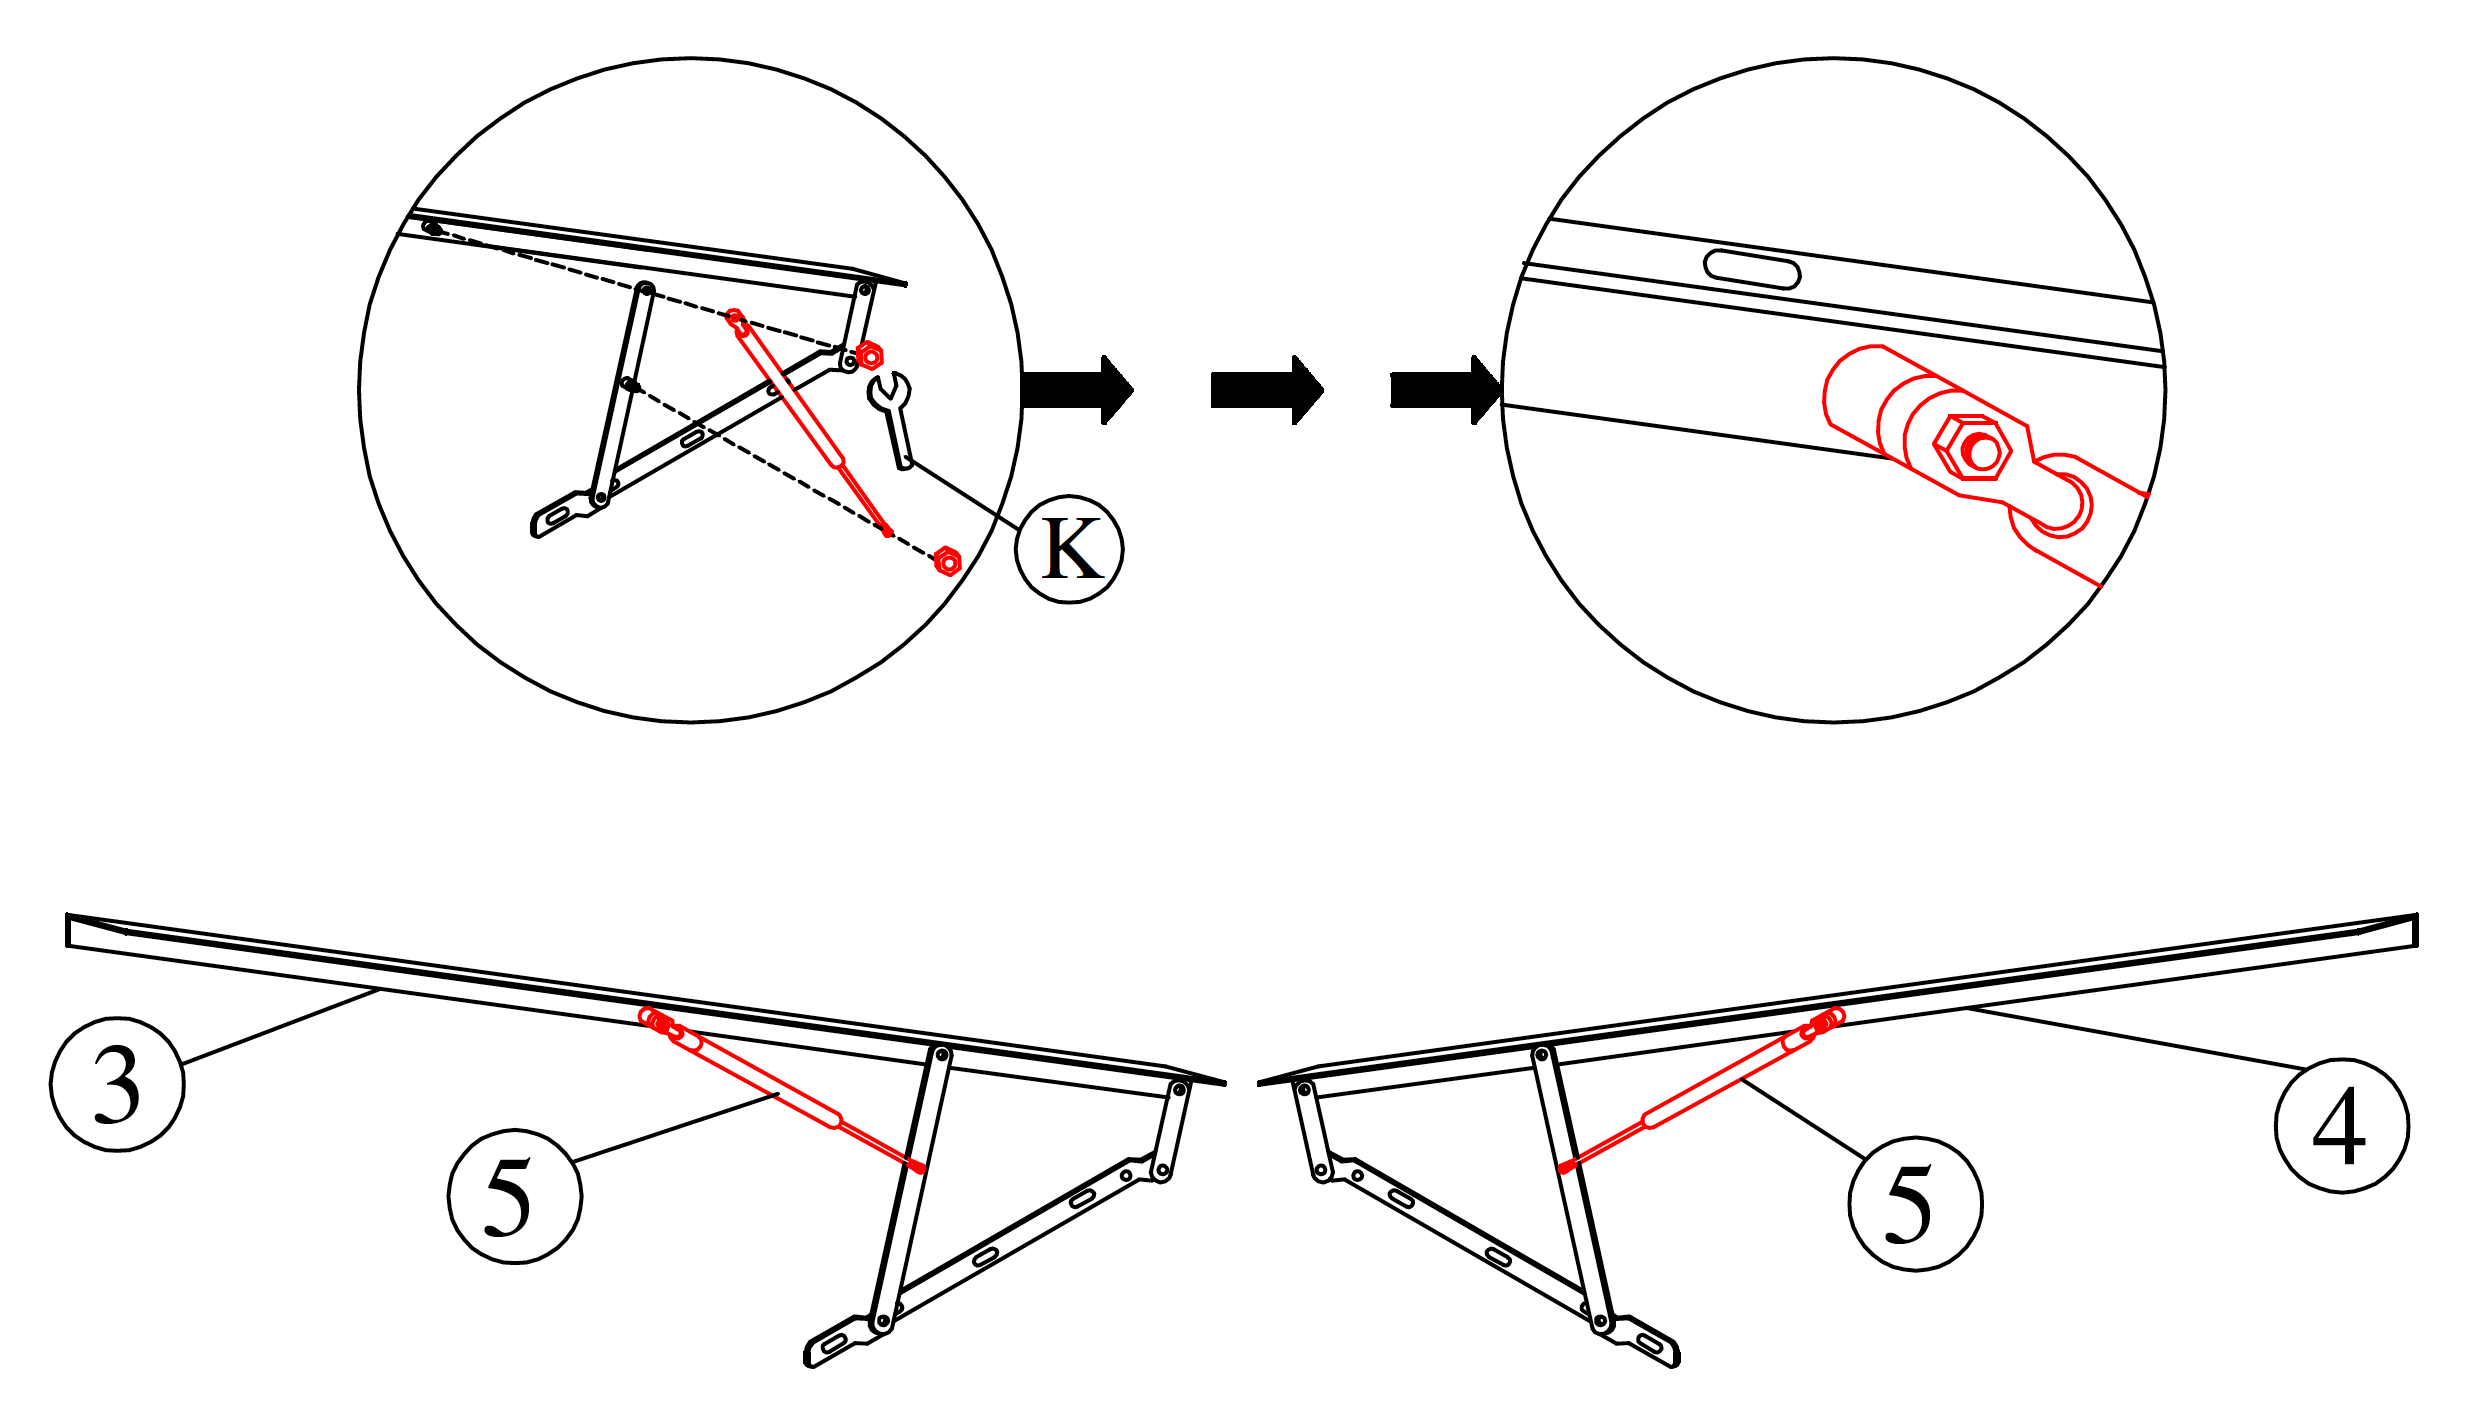
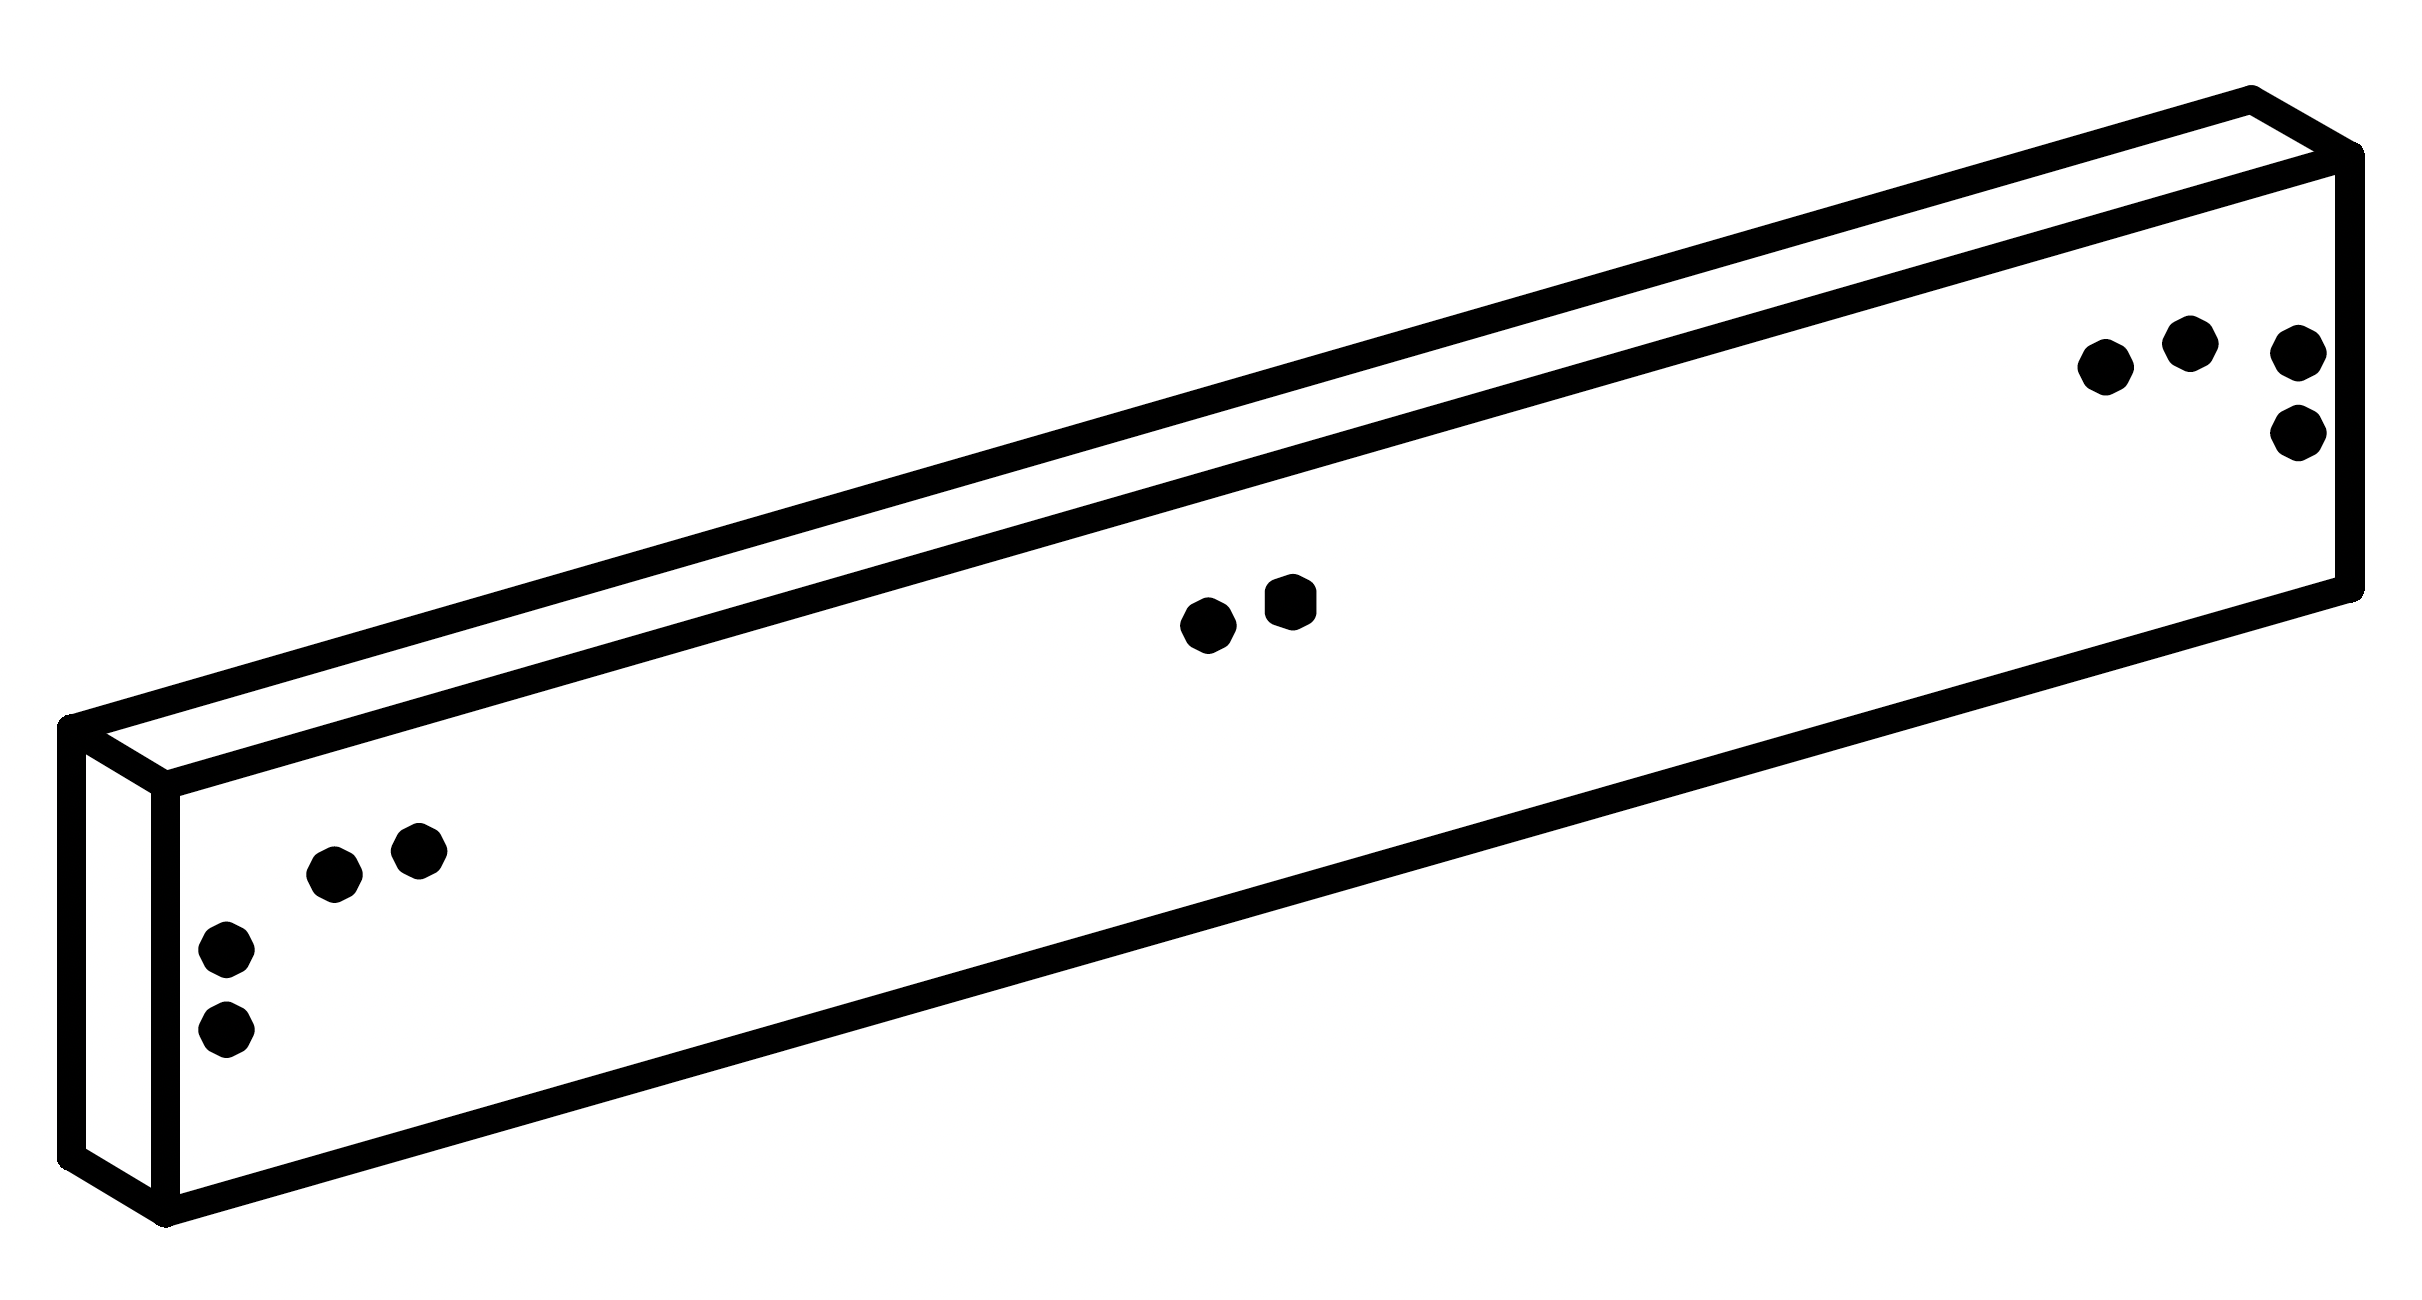
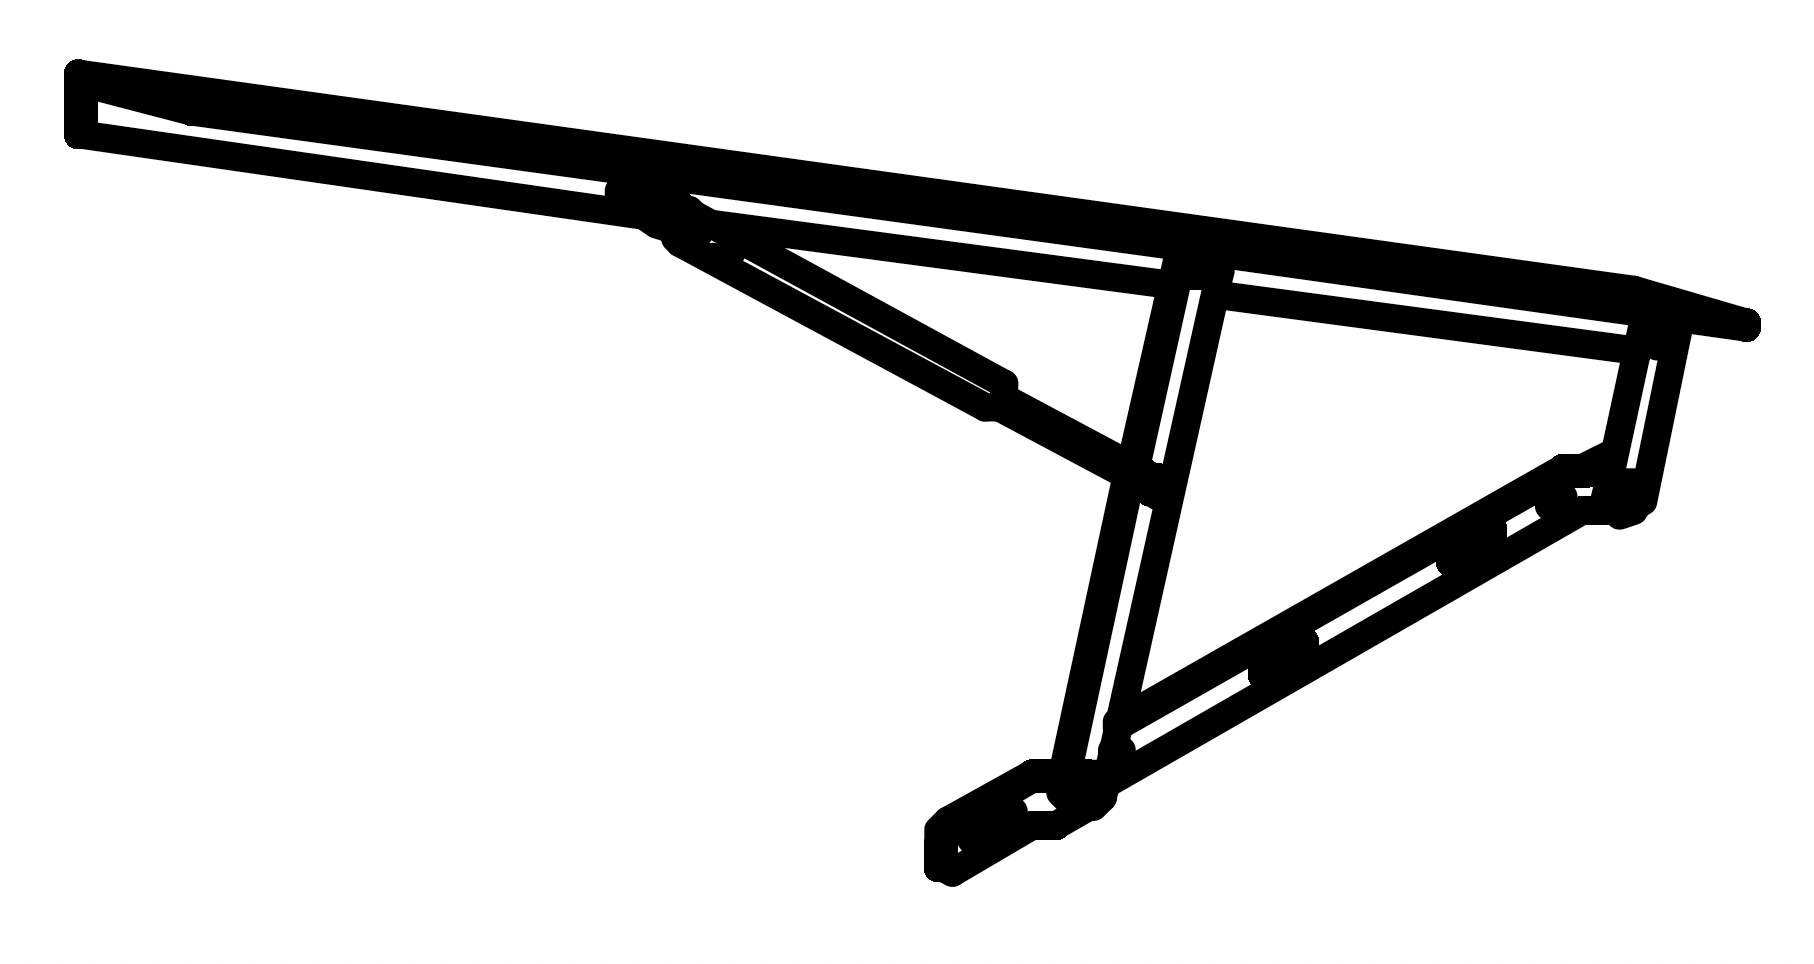
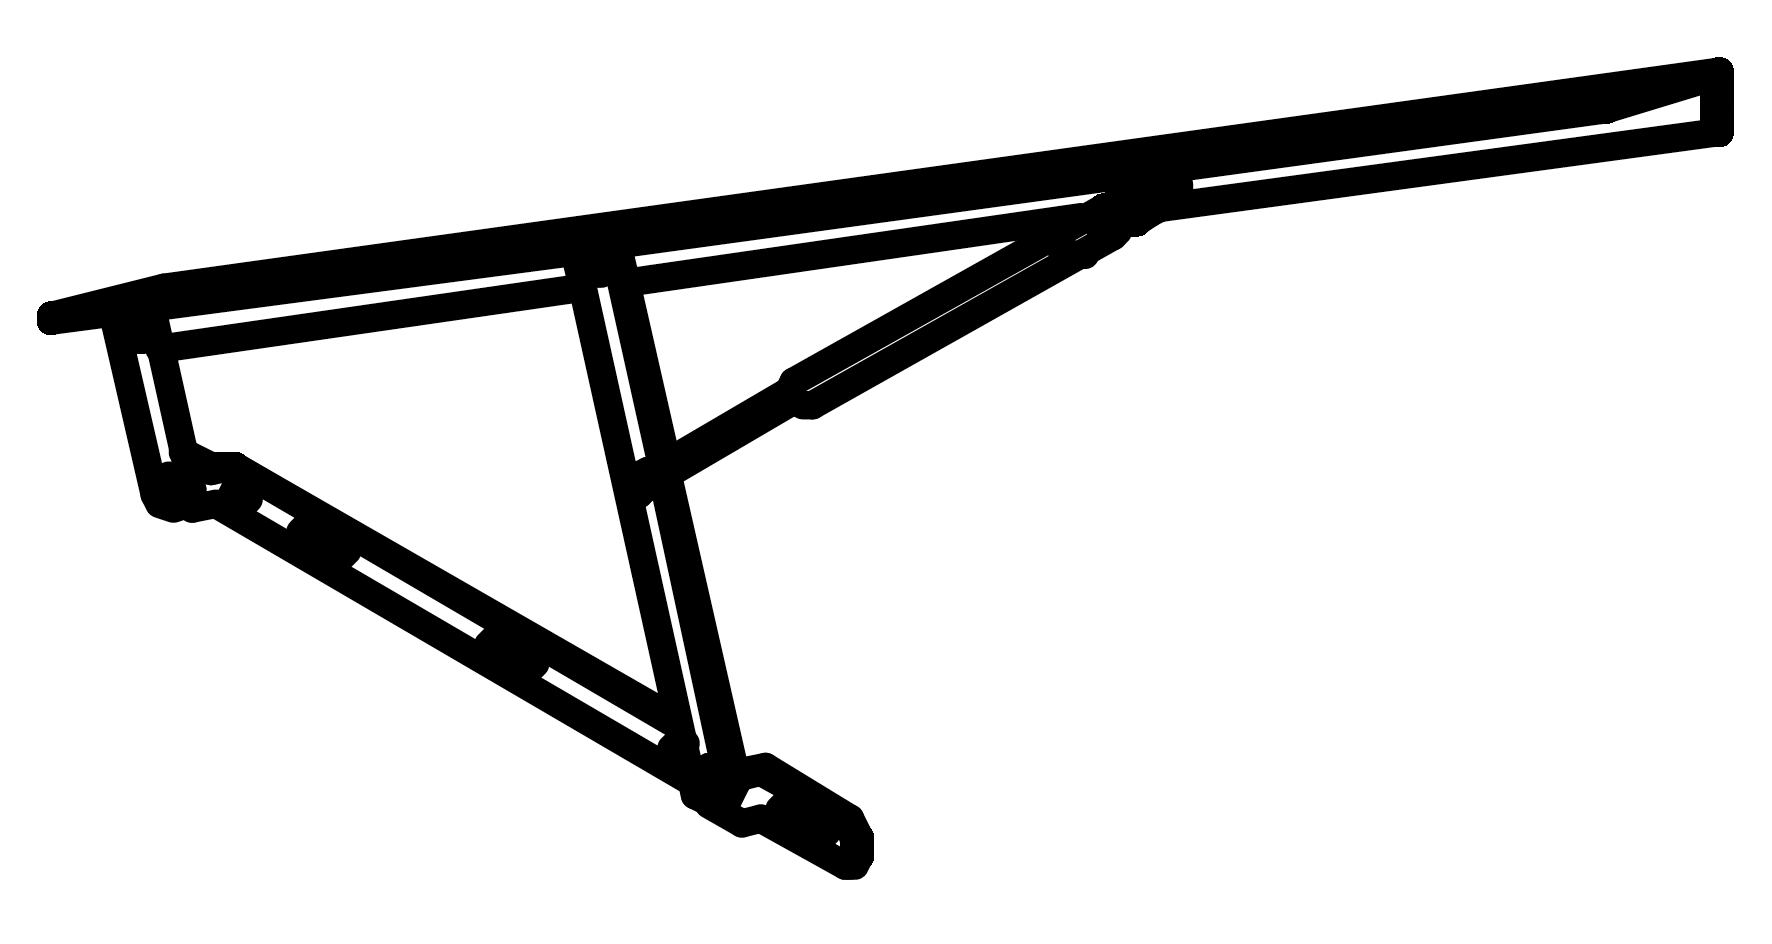
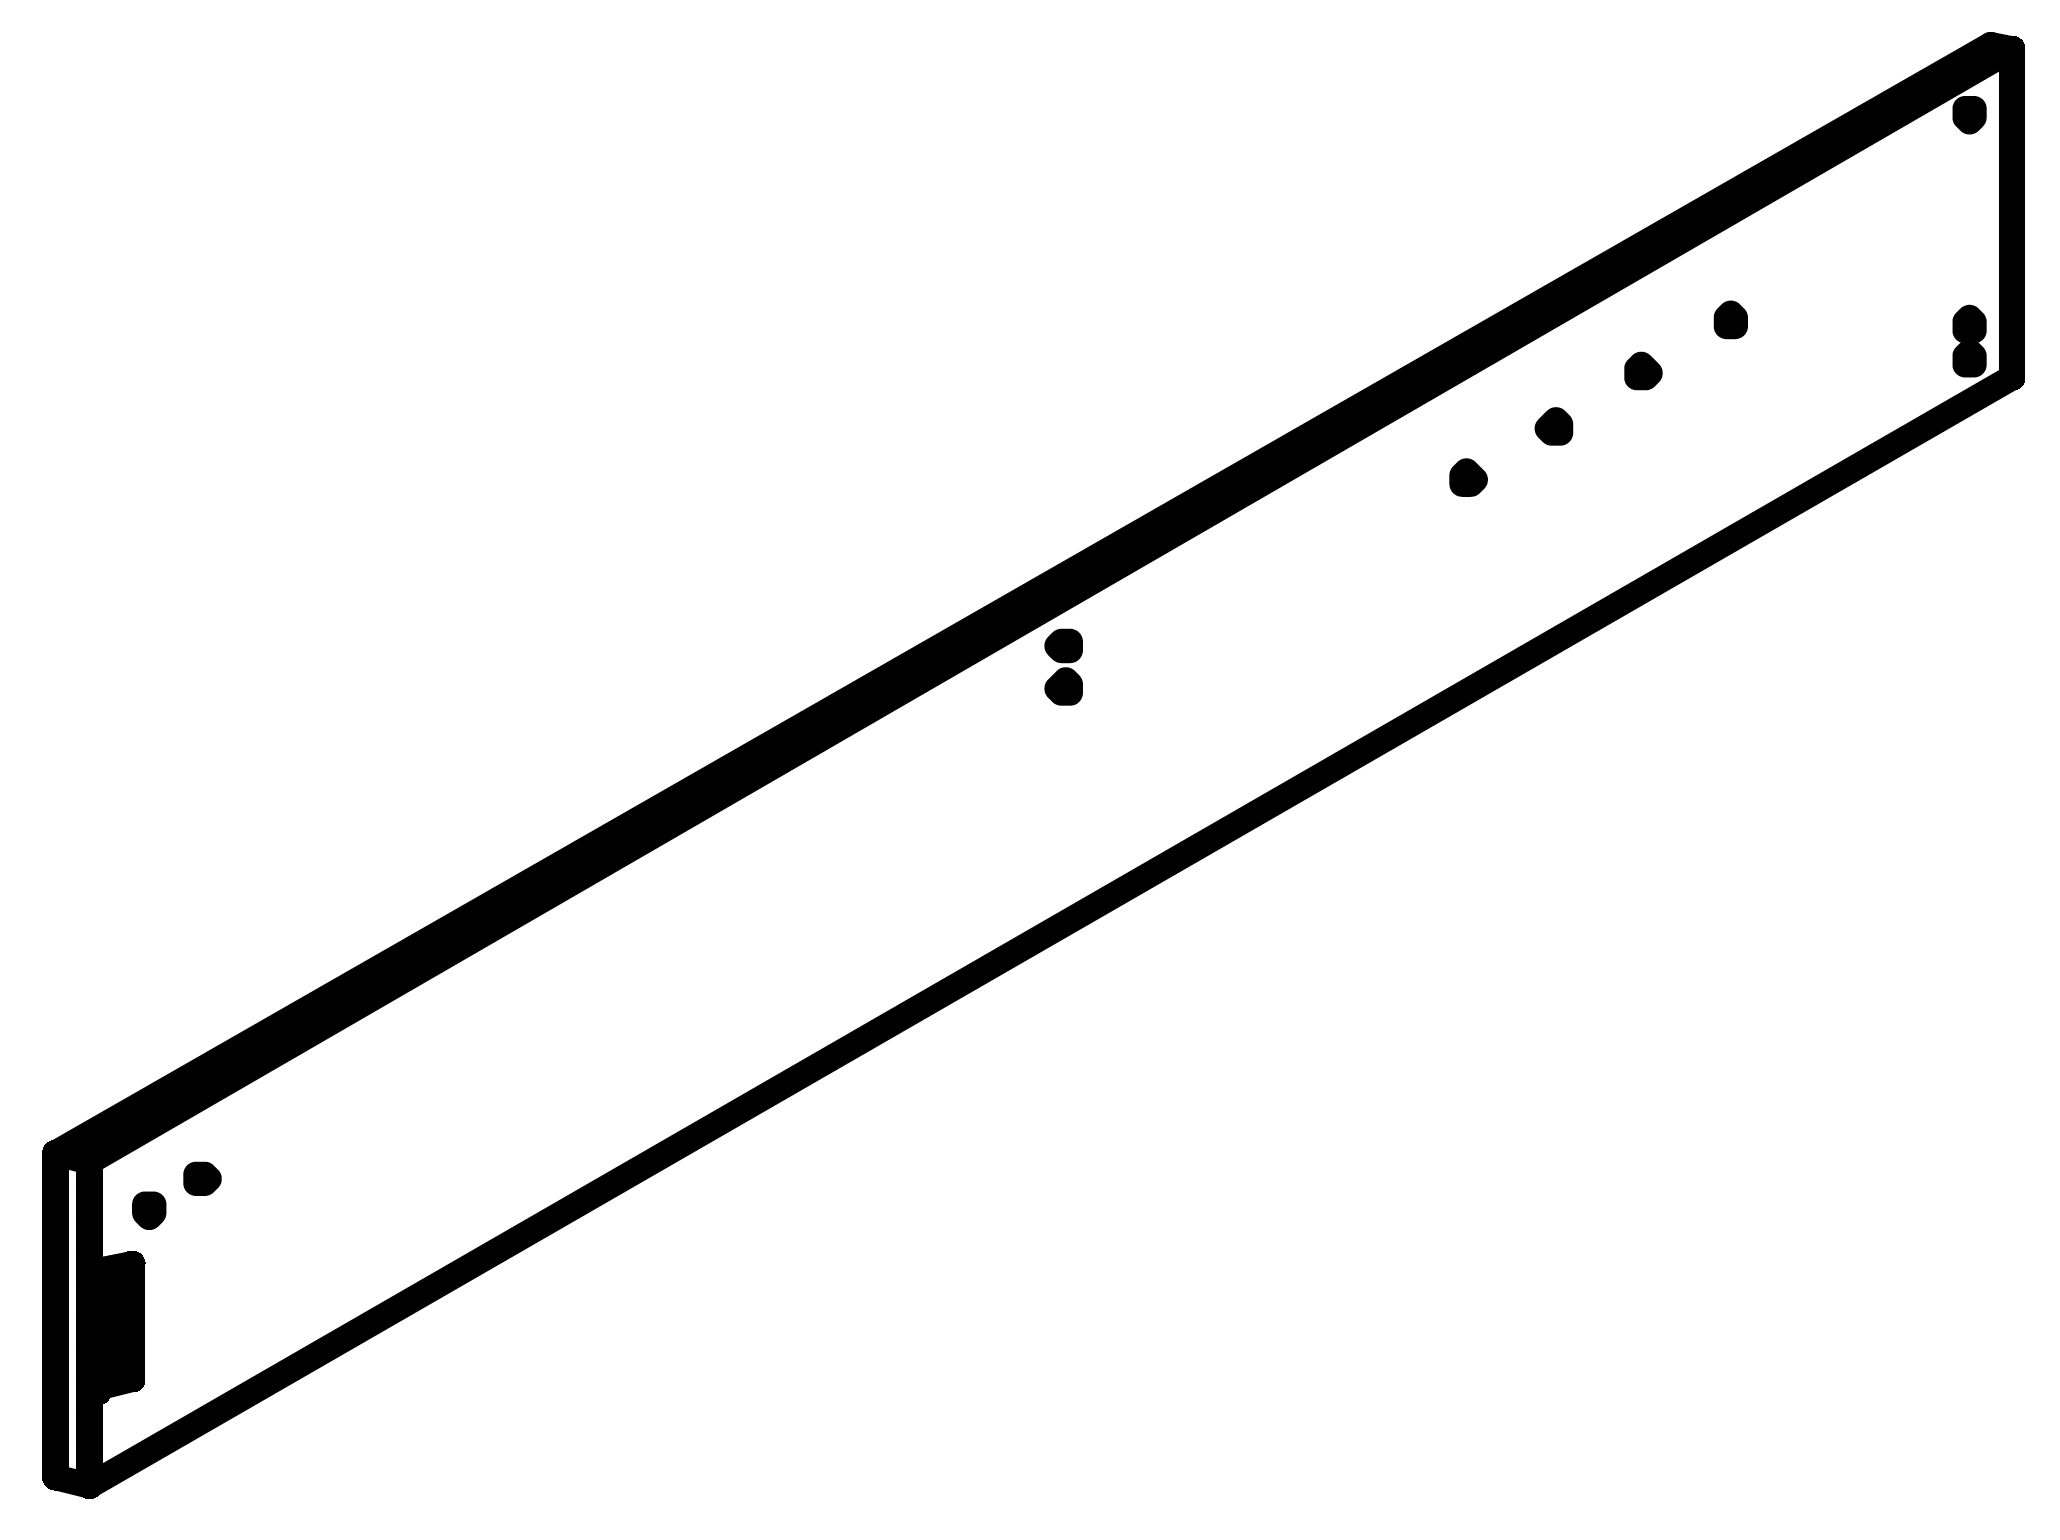
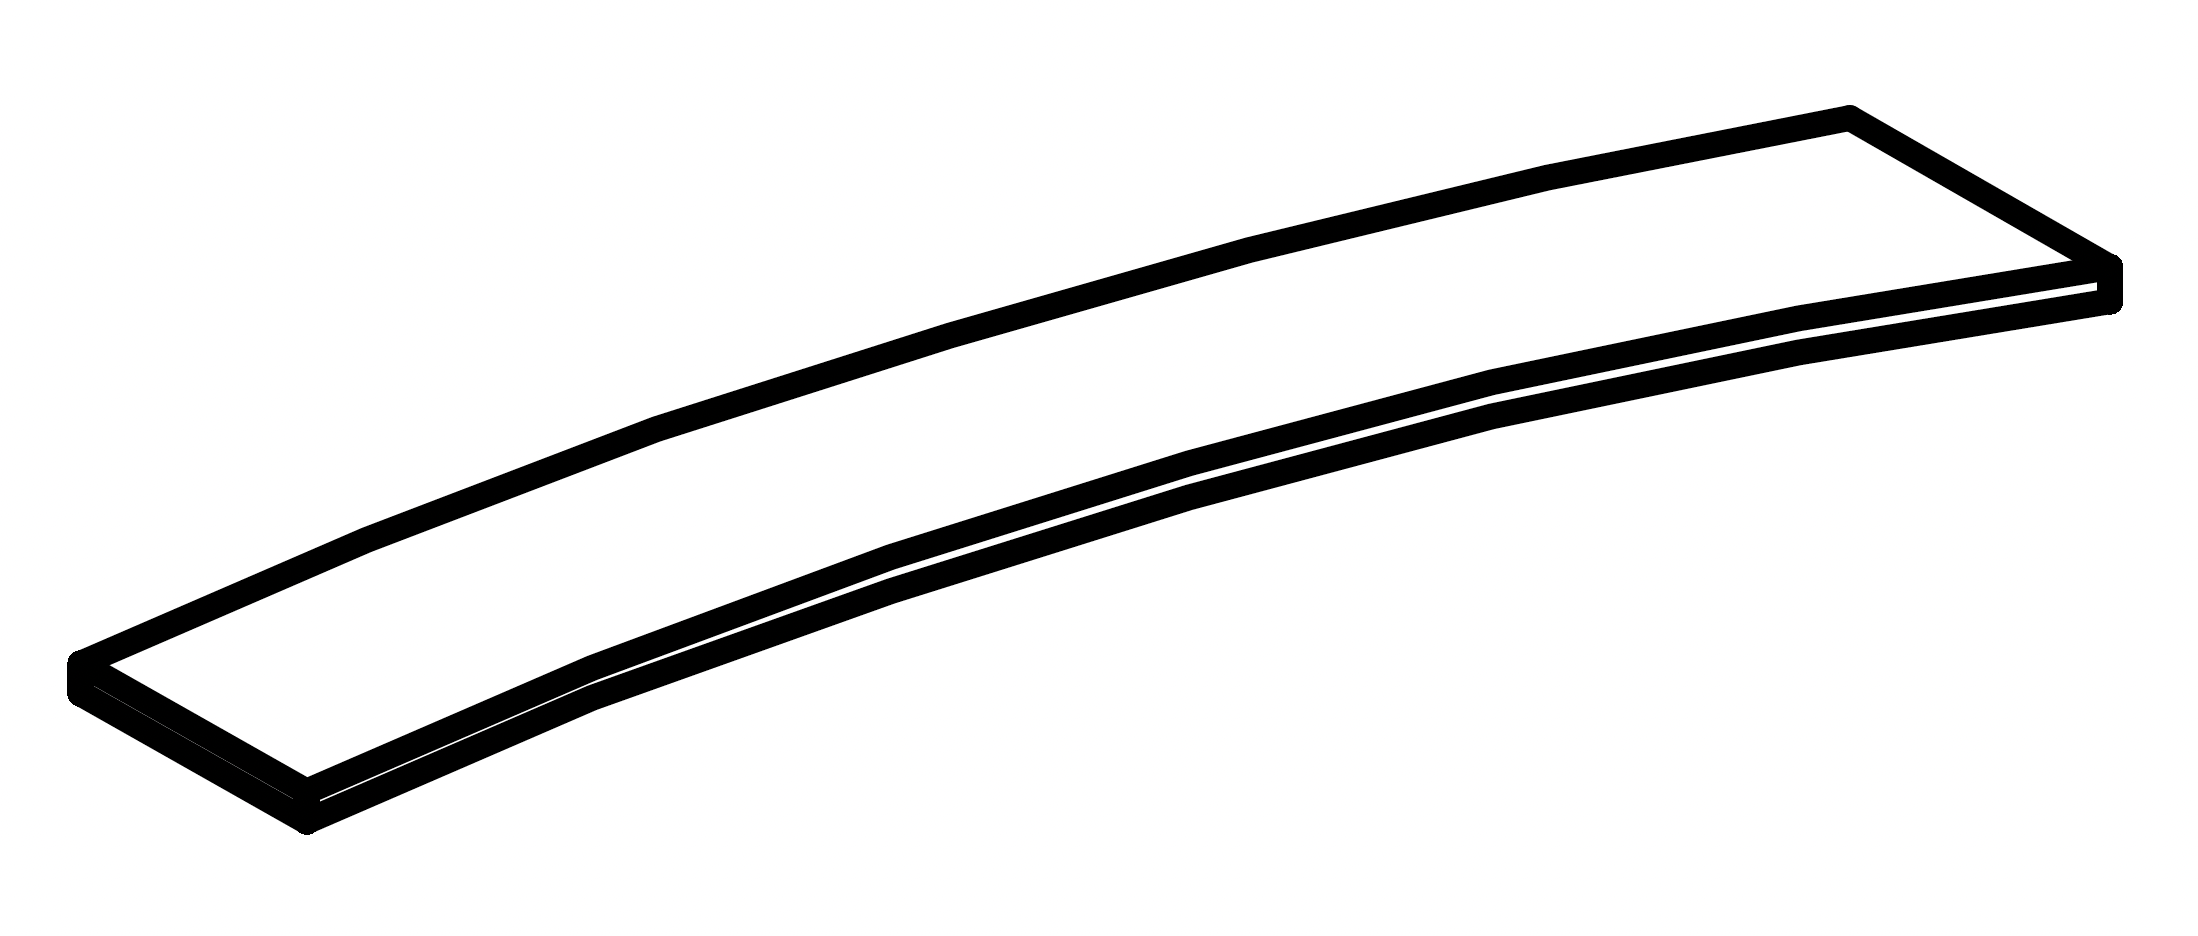
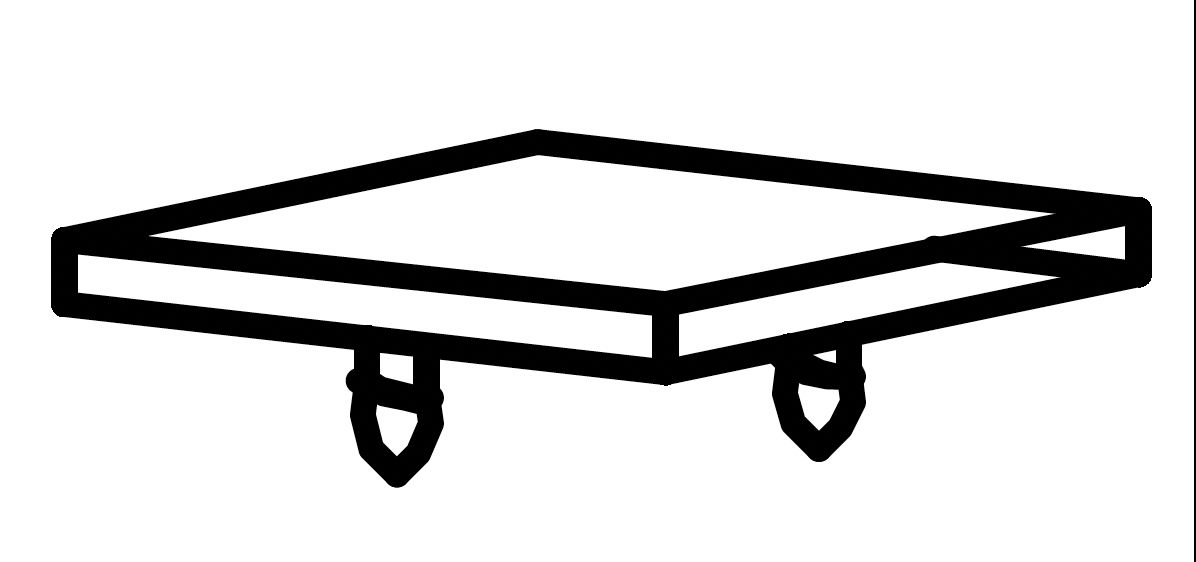
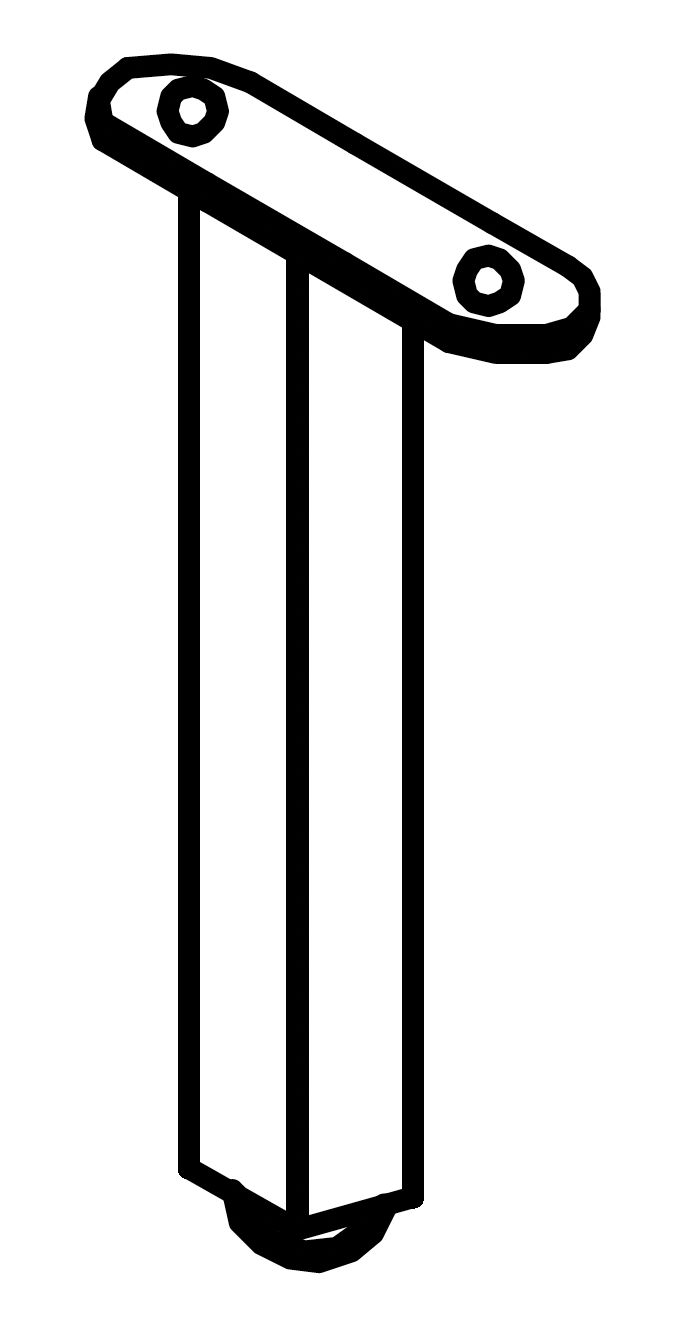
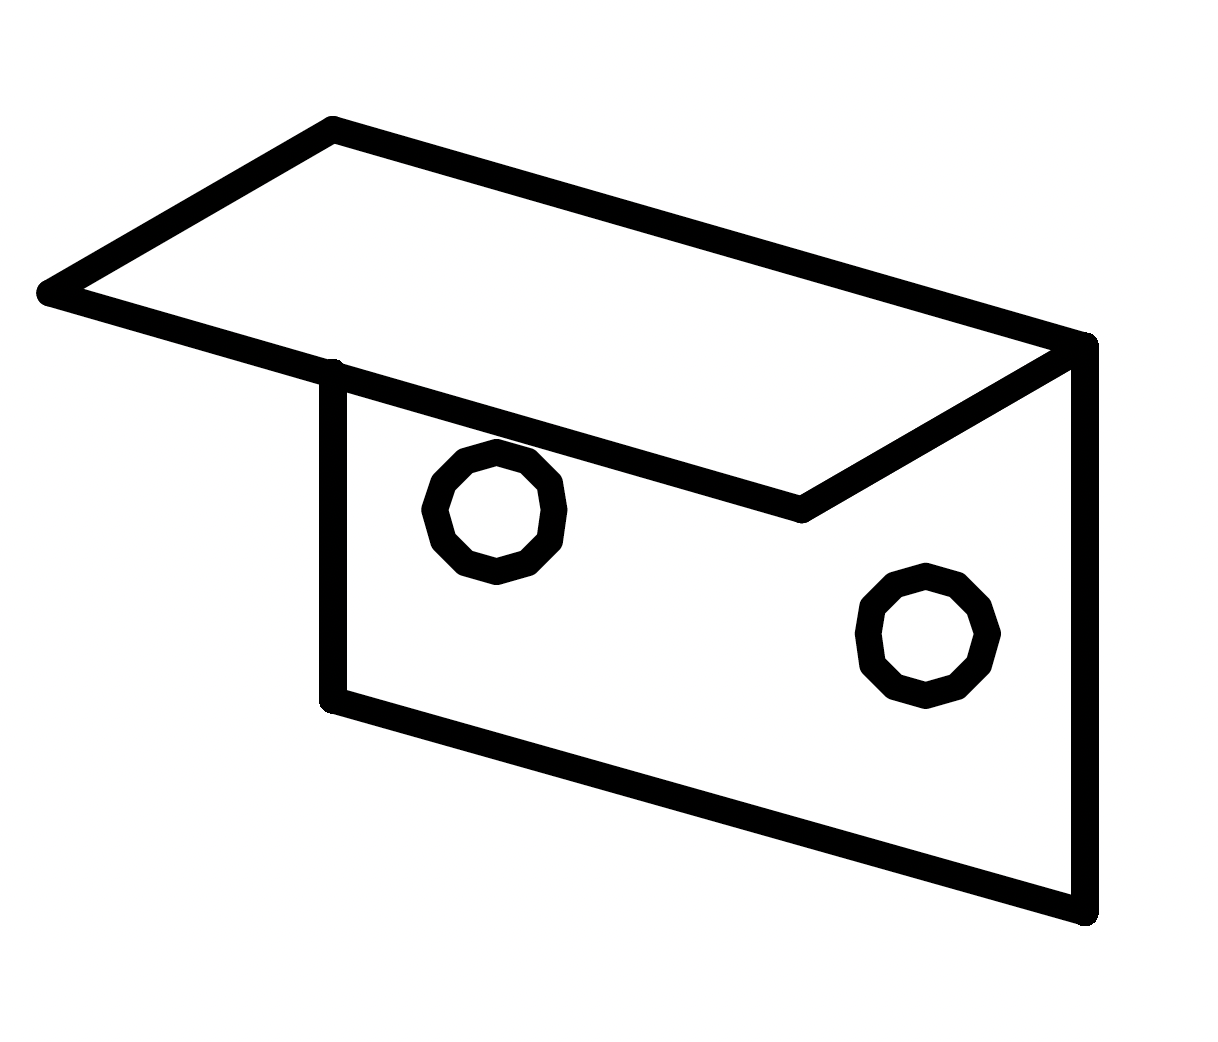
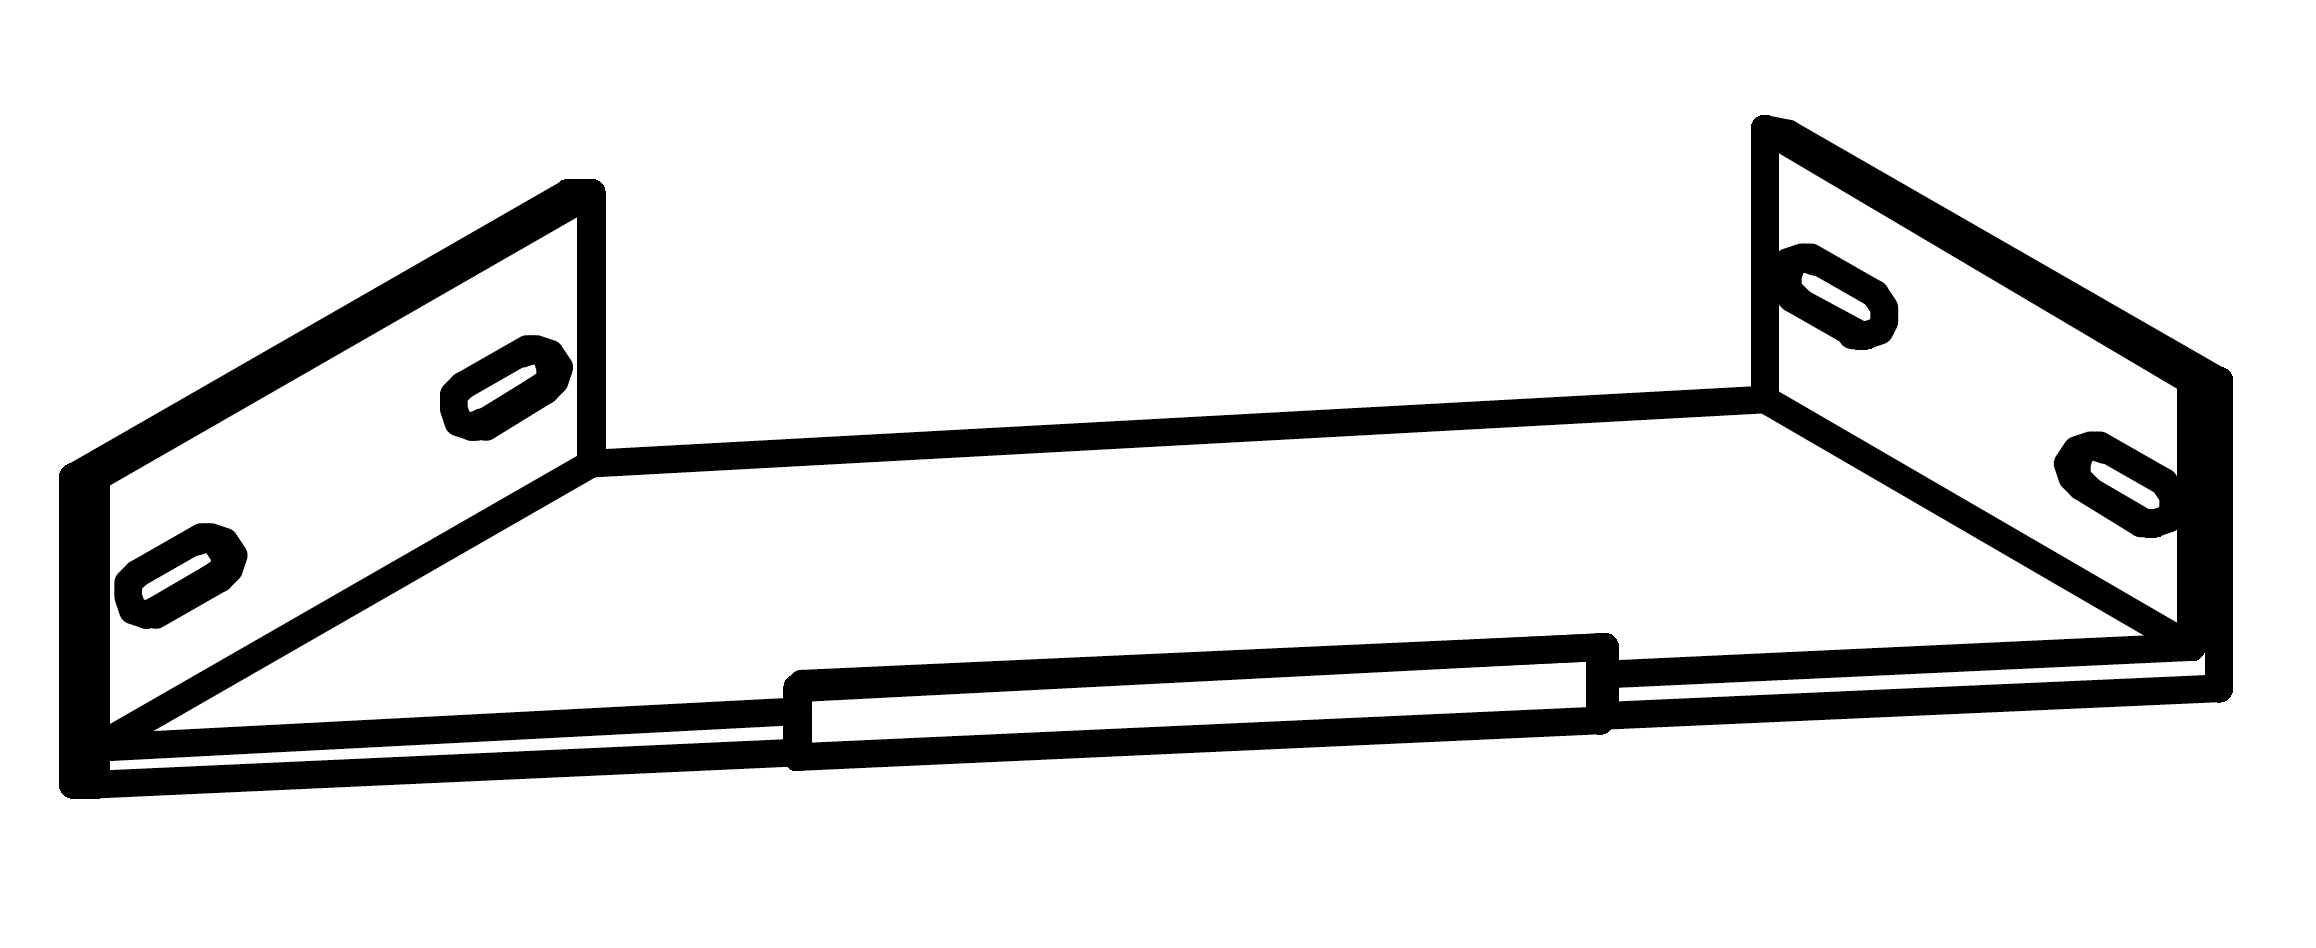
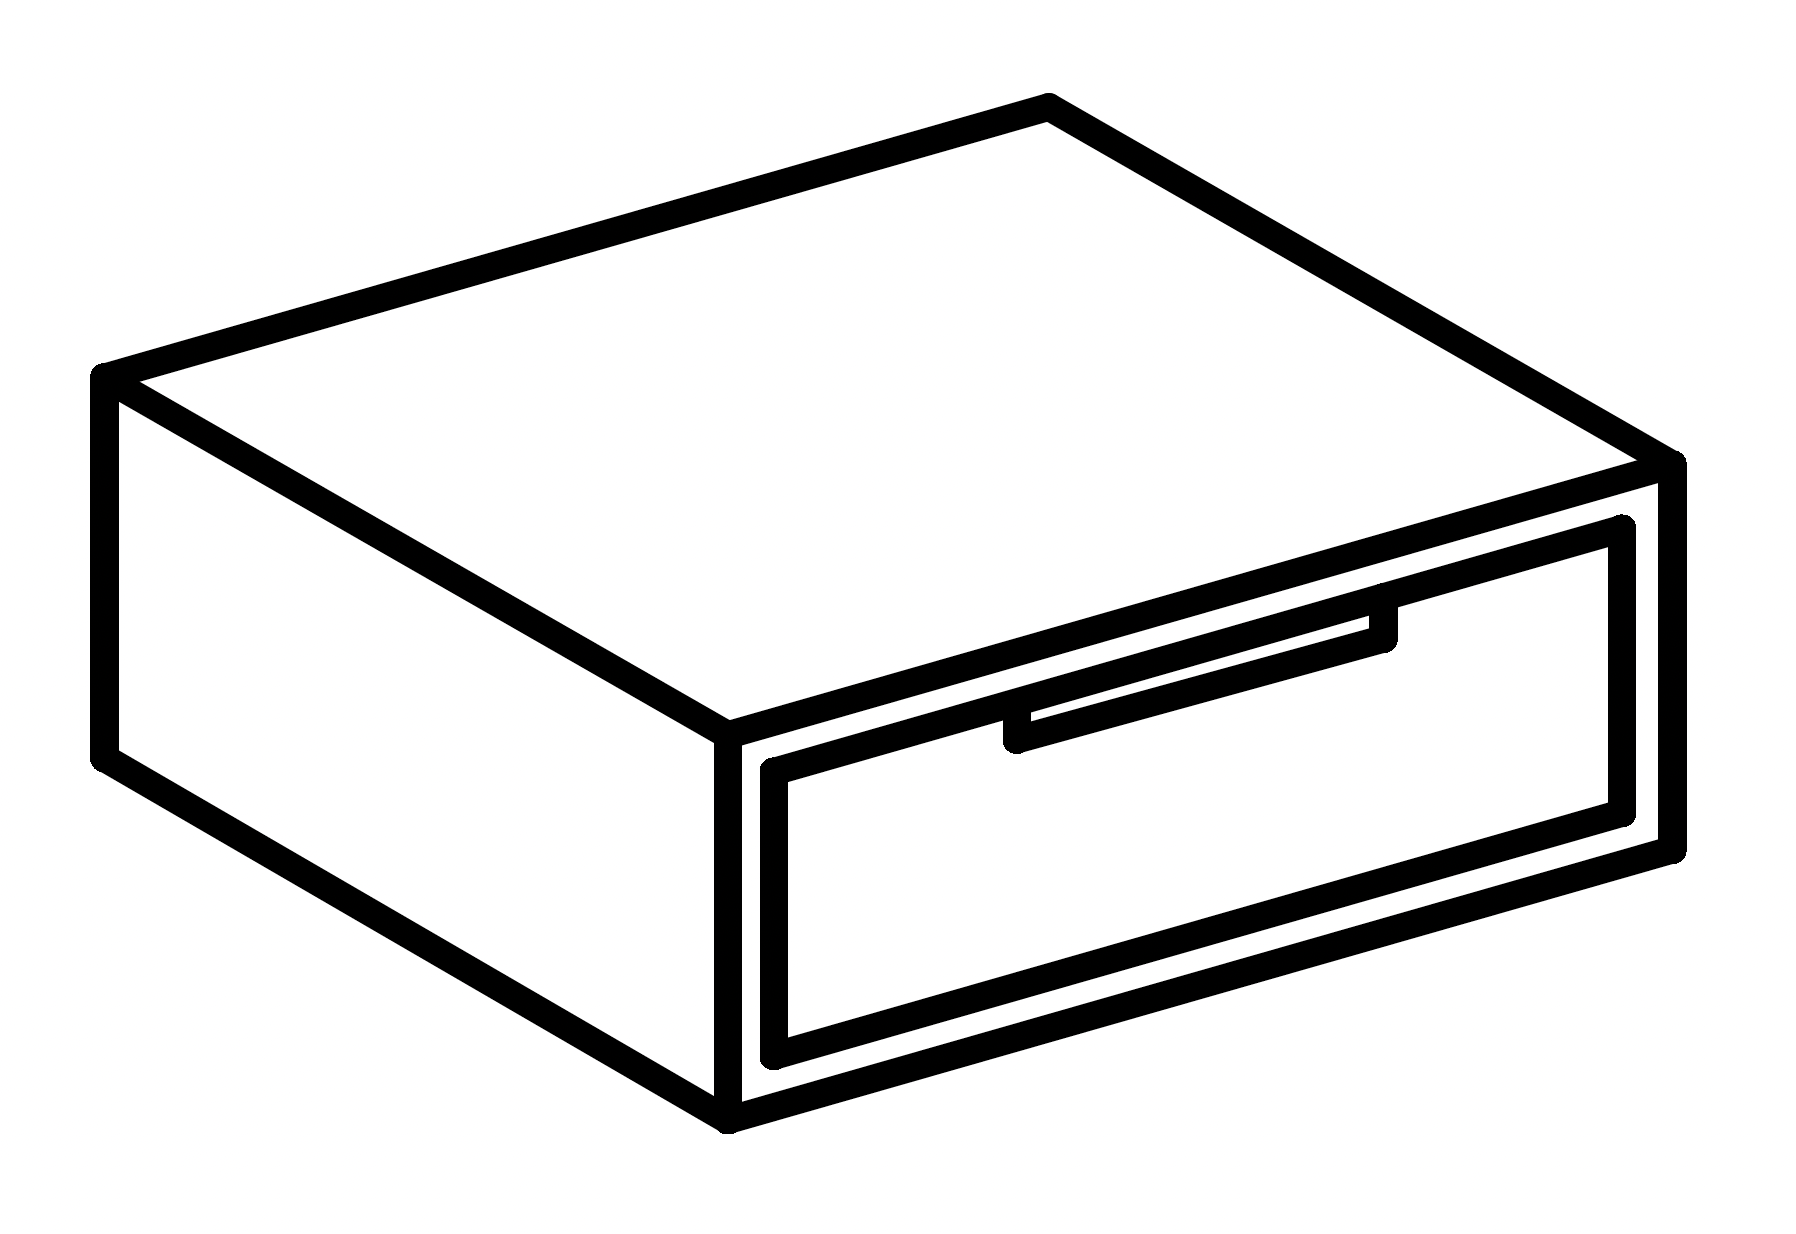
- Position the Gas Lift Machine (05) onto the Left Gas Lift Frame (03) and Right Gas Lift Frame (04).
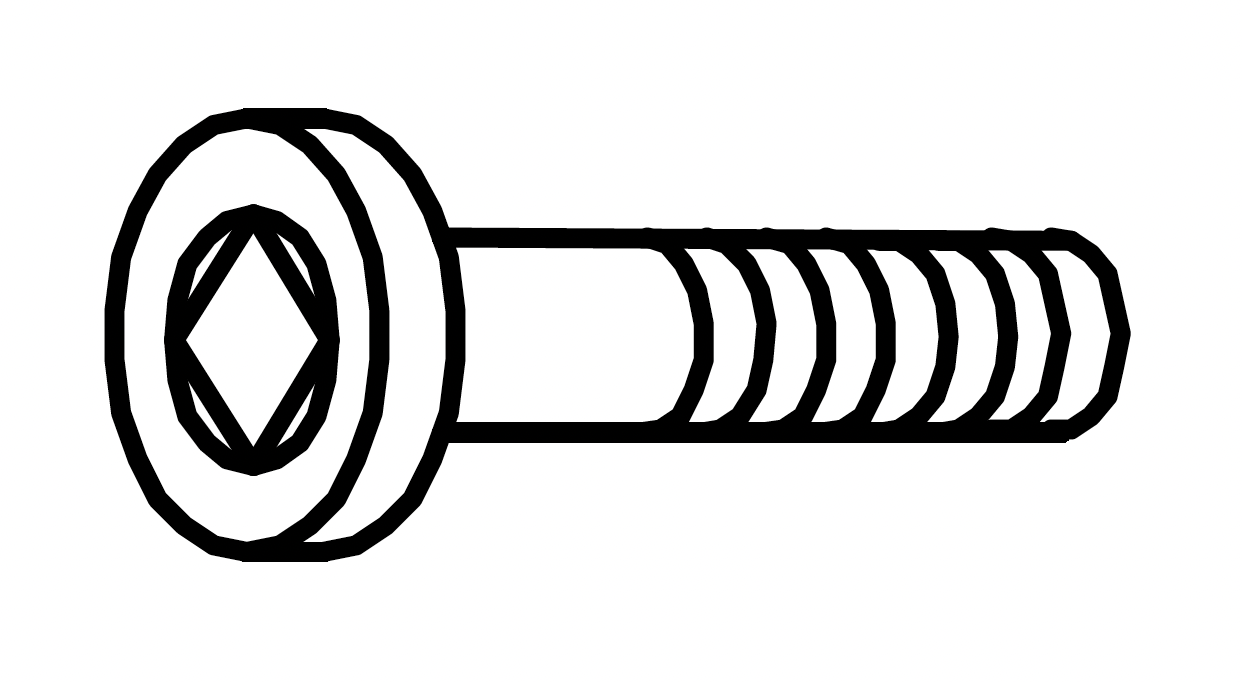
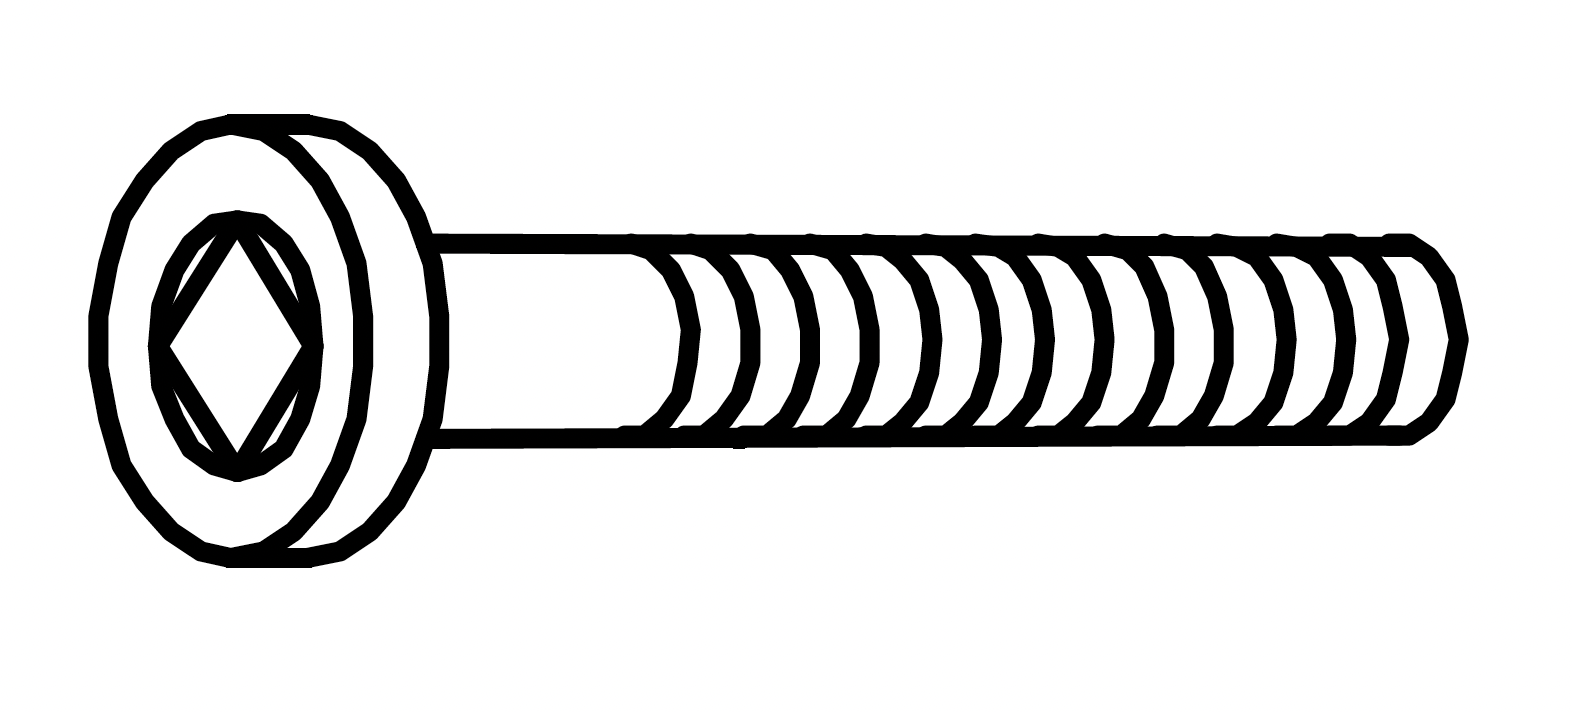
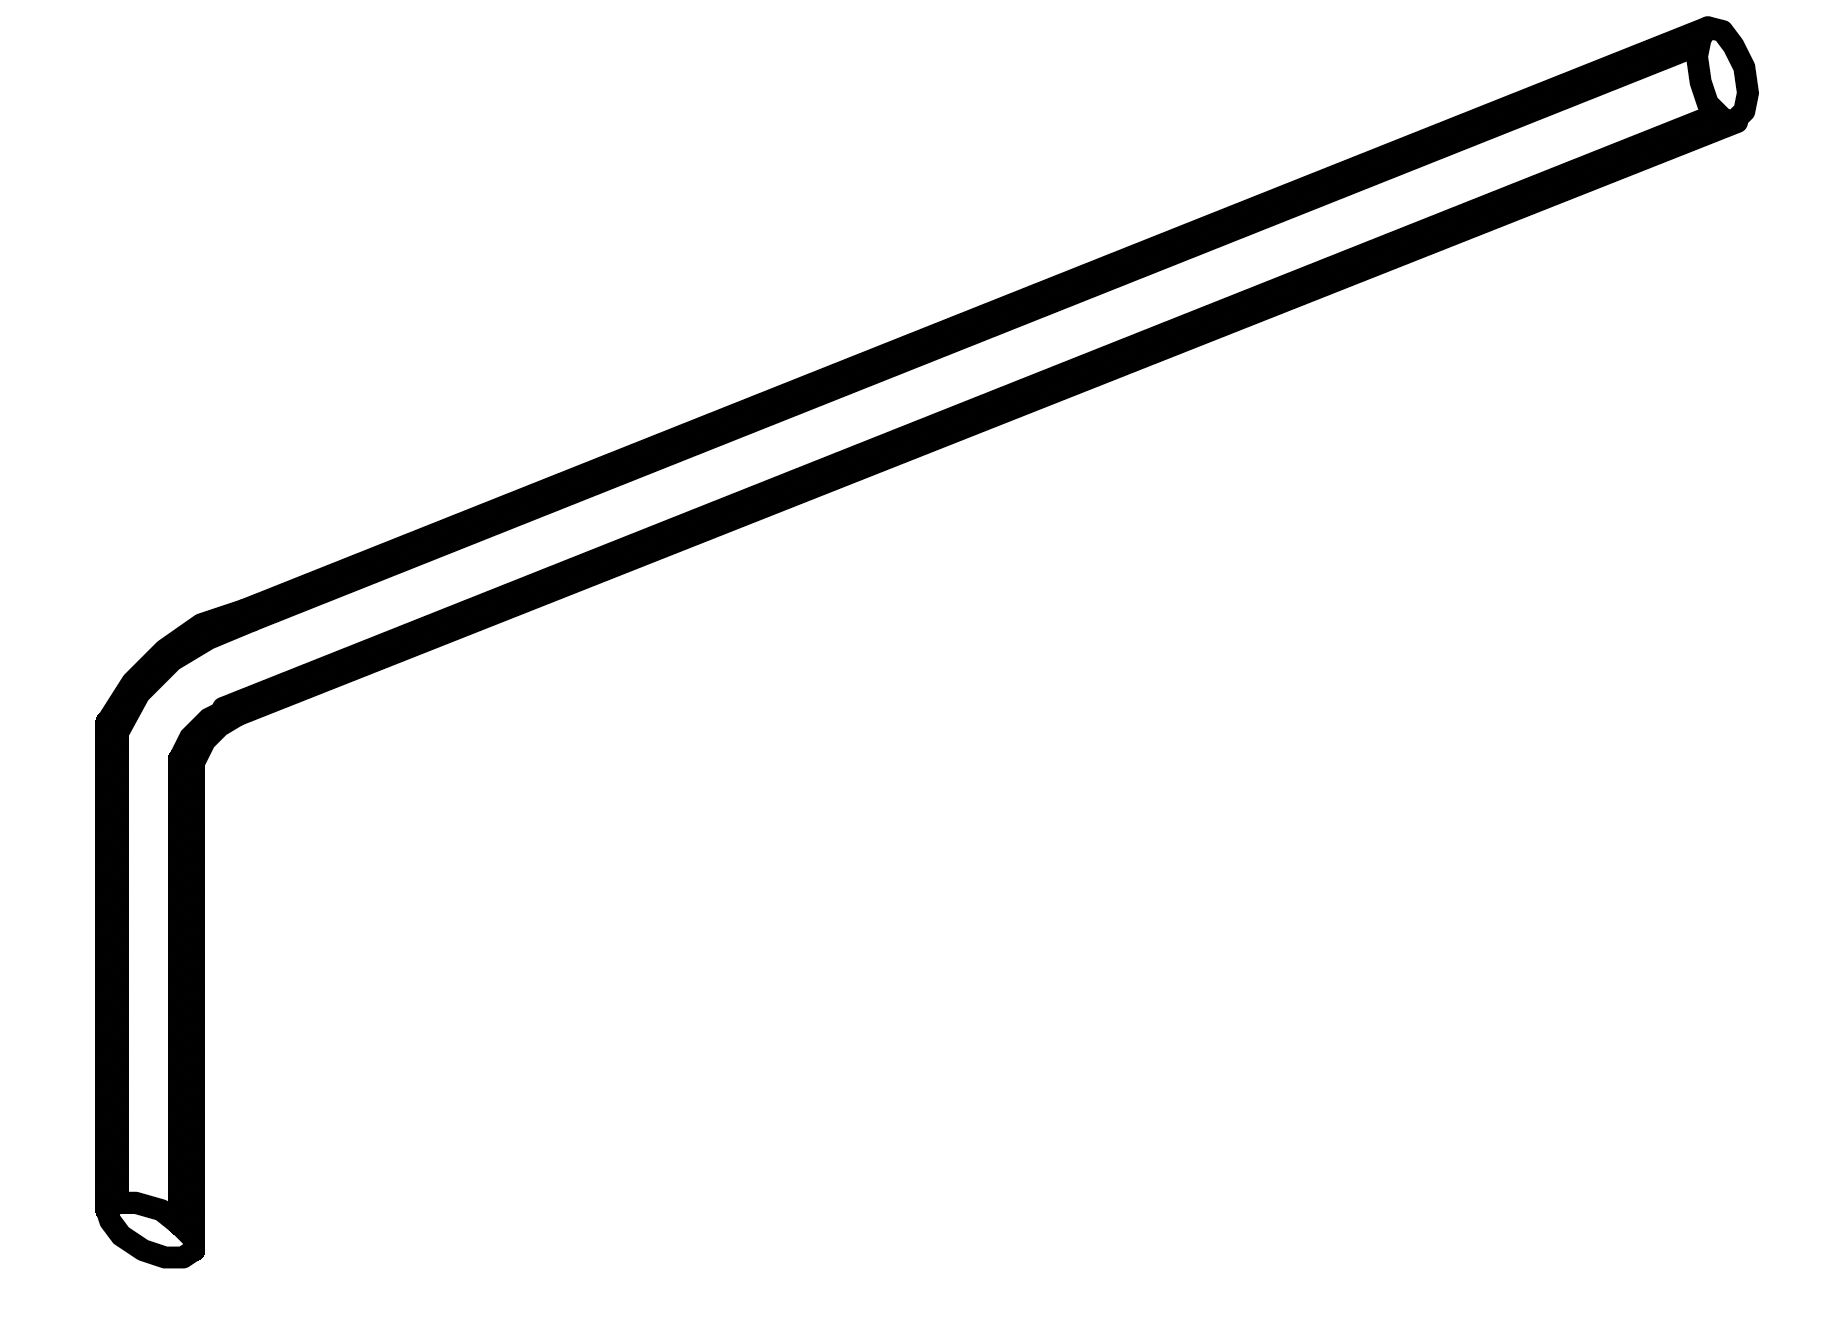
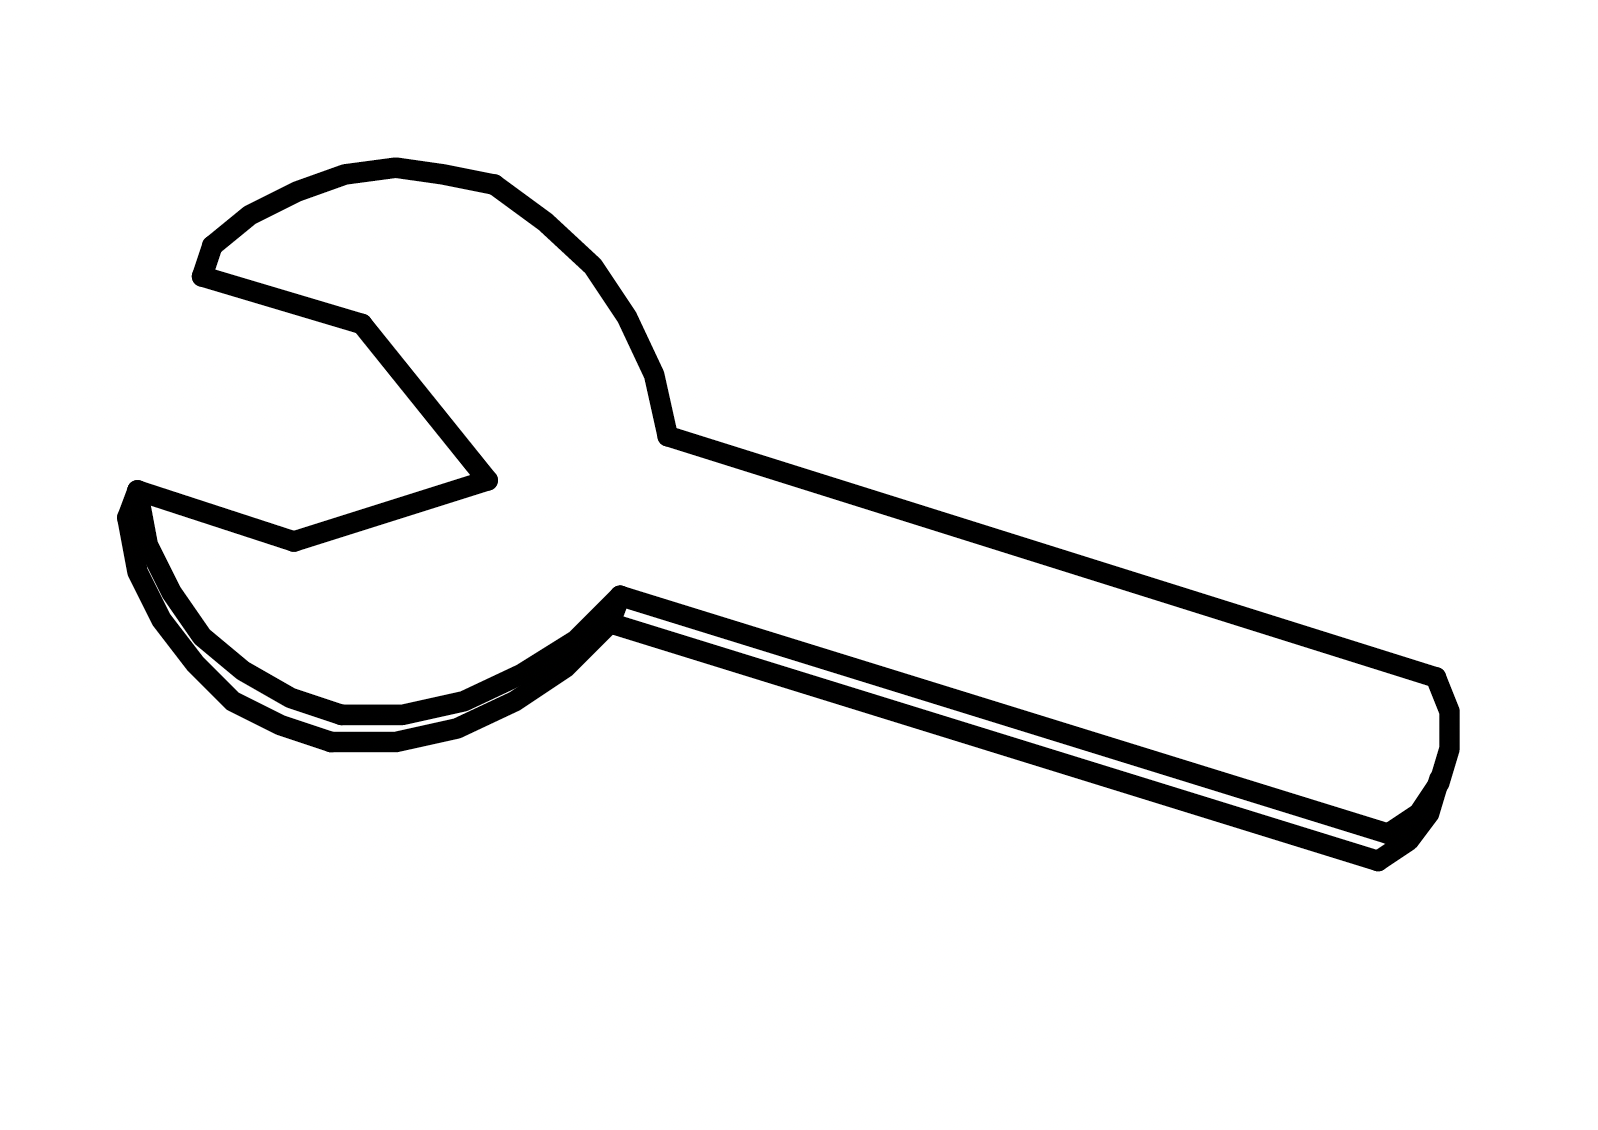
- Align the connection points and secure each end using the pre-installed bolts. Tighten firmly using the Spanner (K).
Check: Both gas lift machines should be securely attached and aligned symmetrically on each frame.