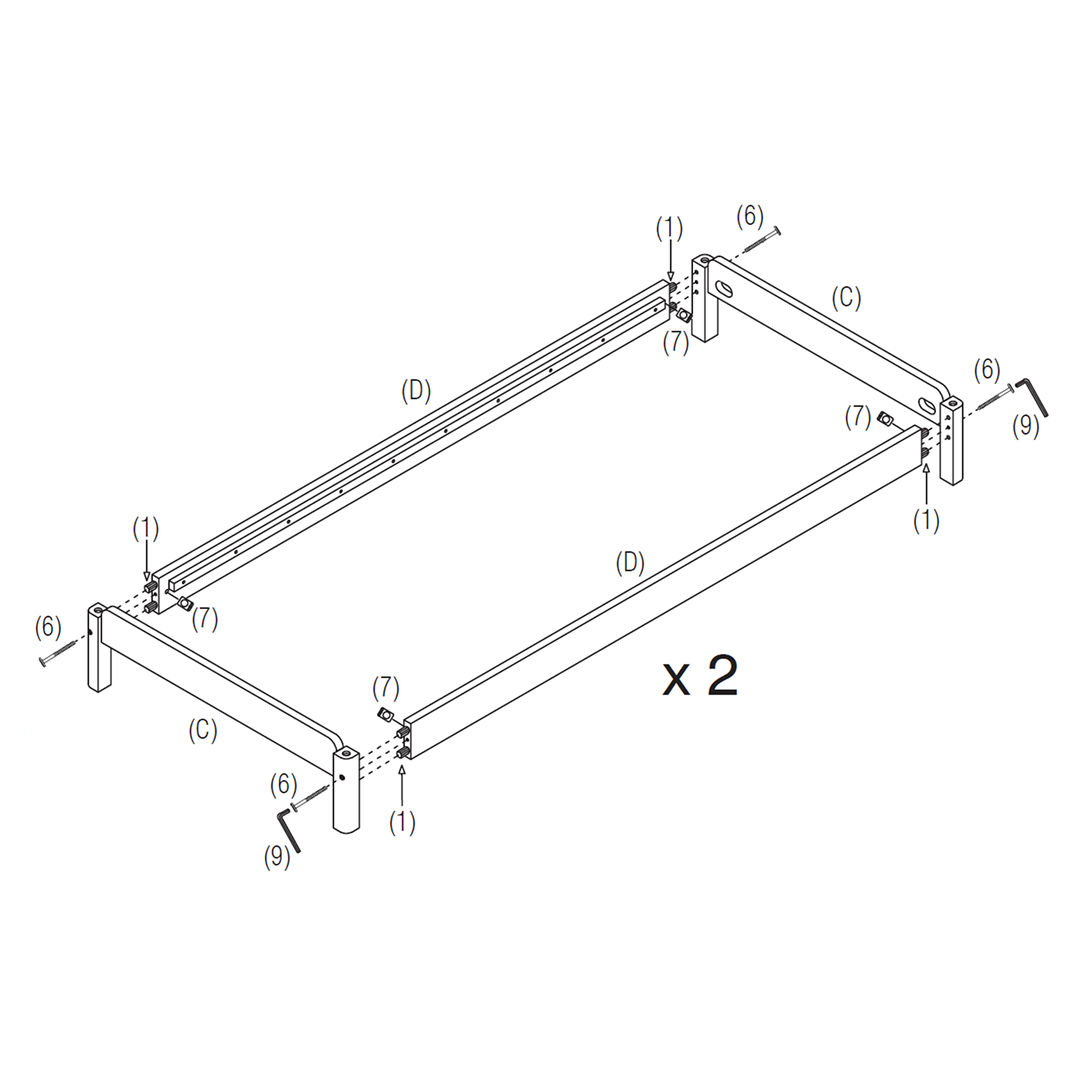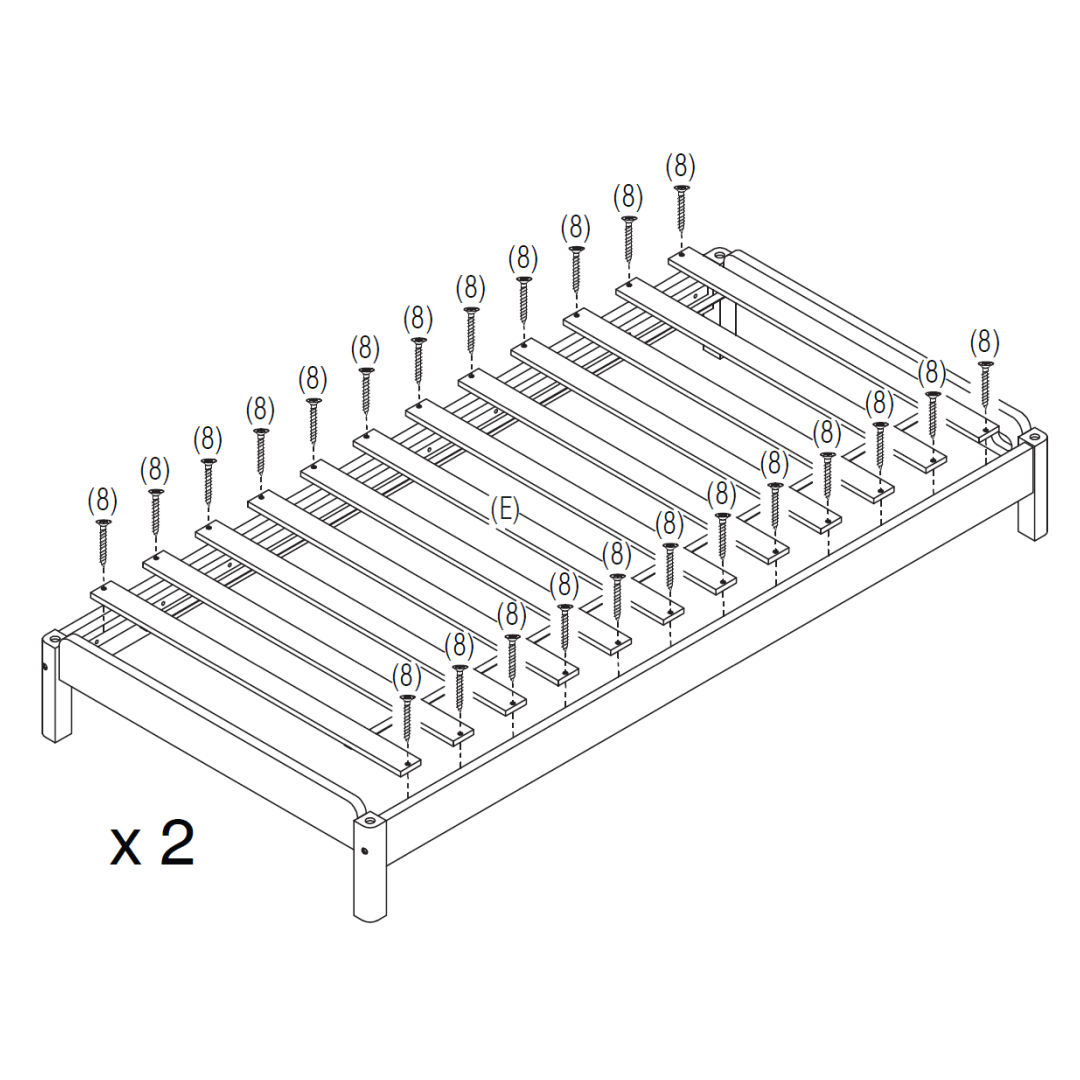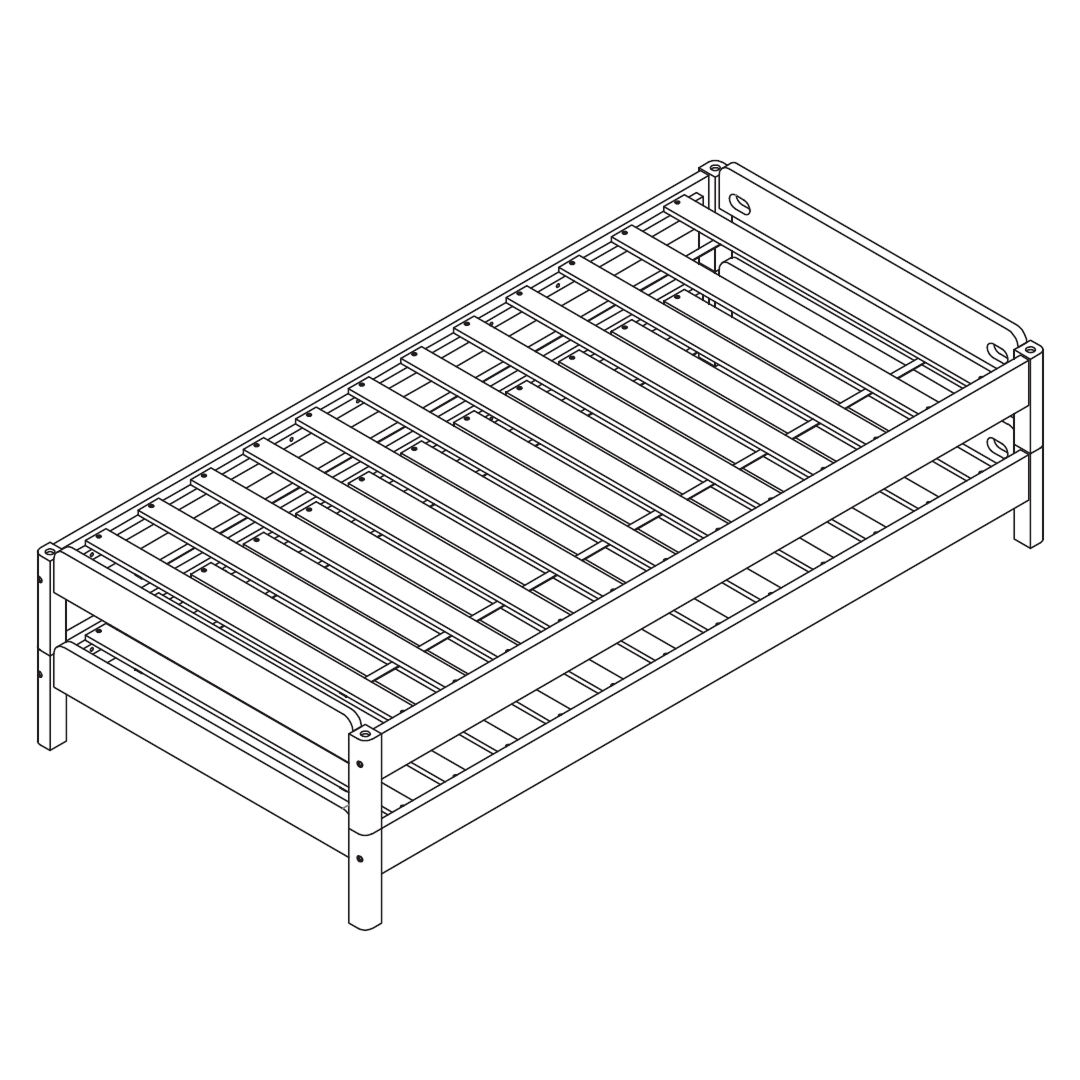


1. Assemble Headboards and Footboards
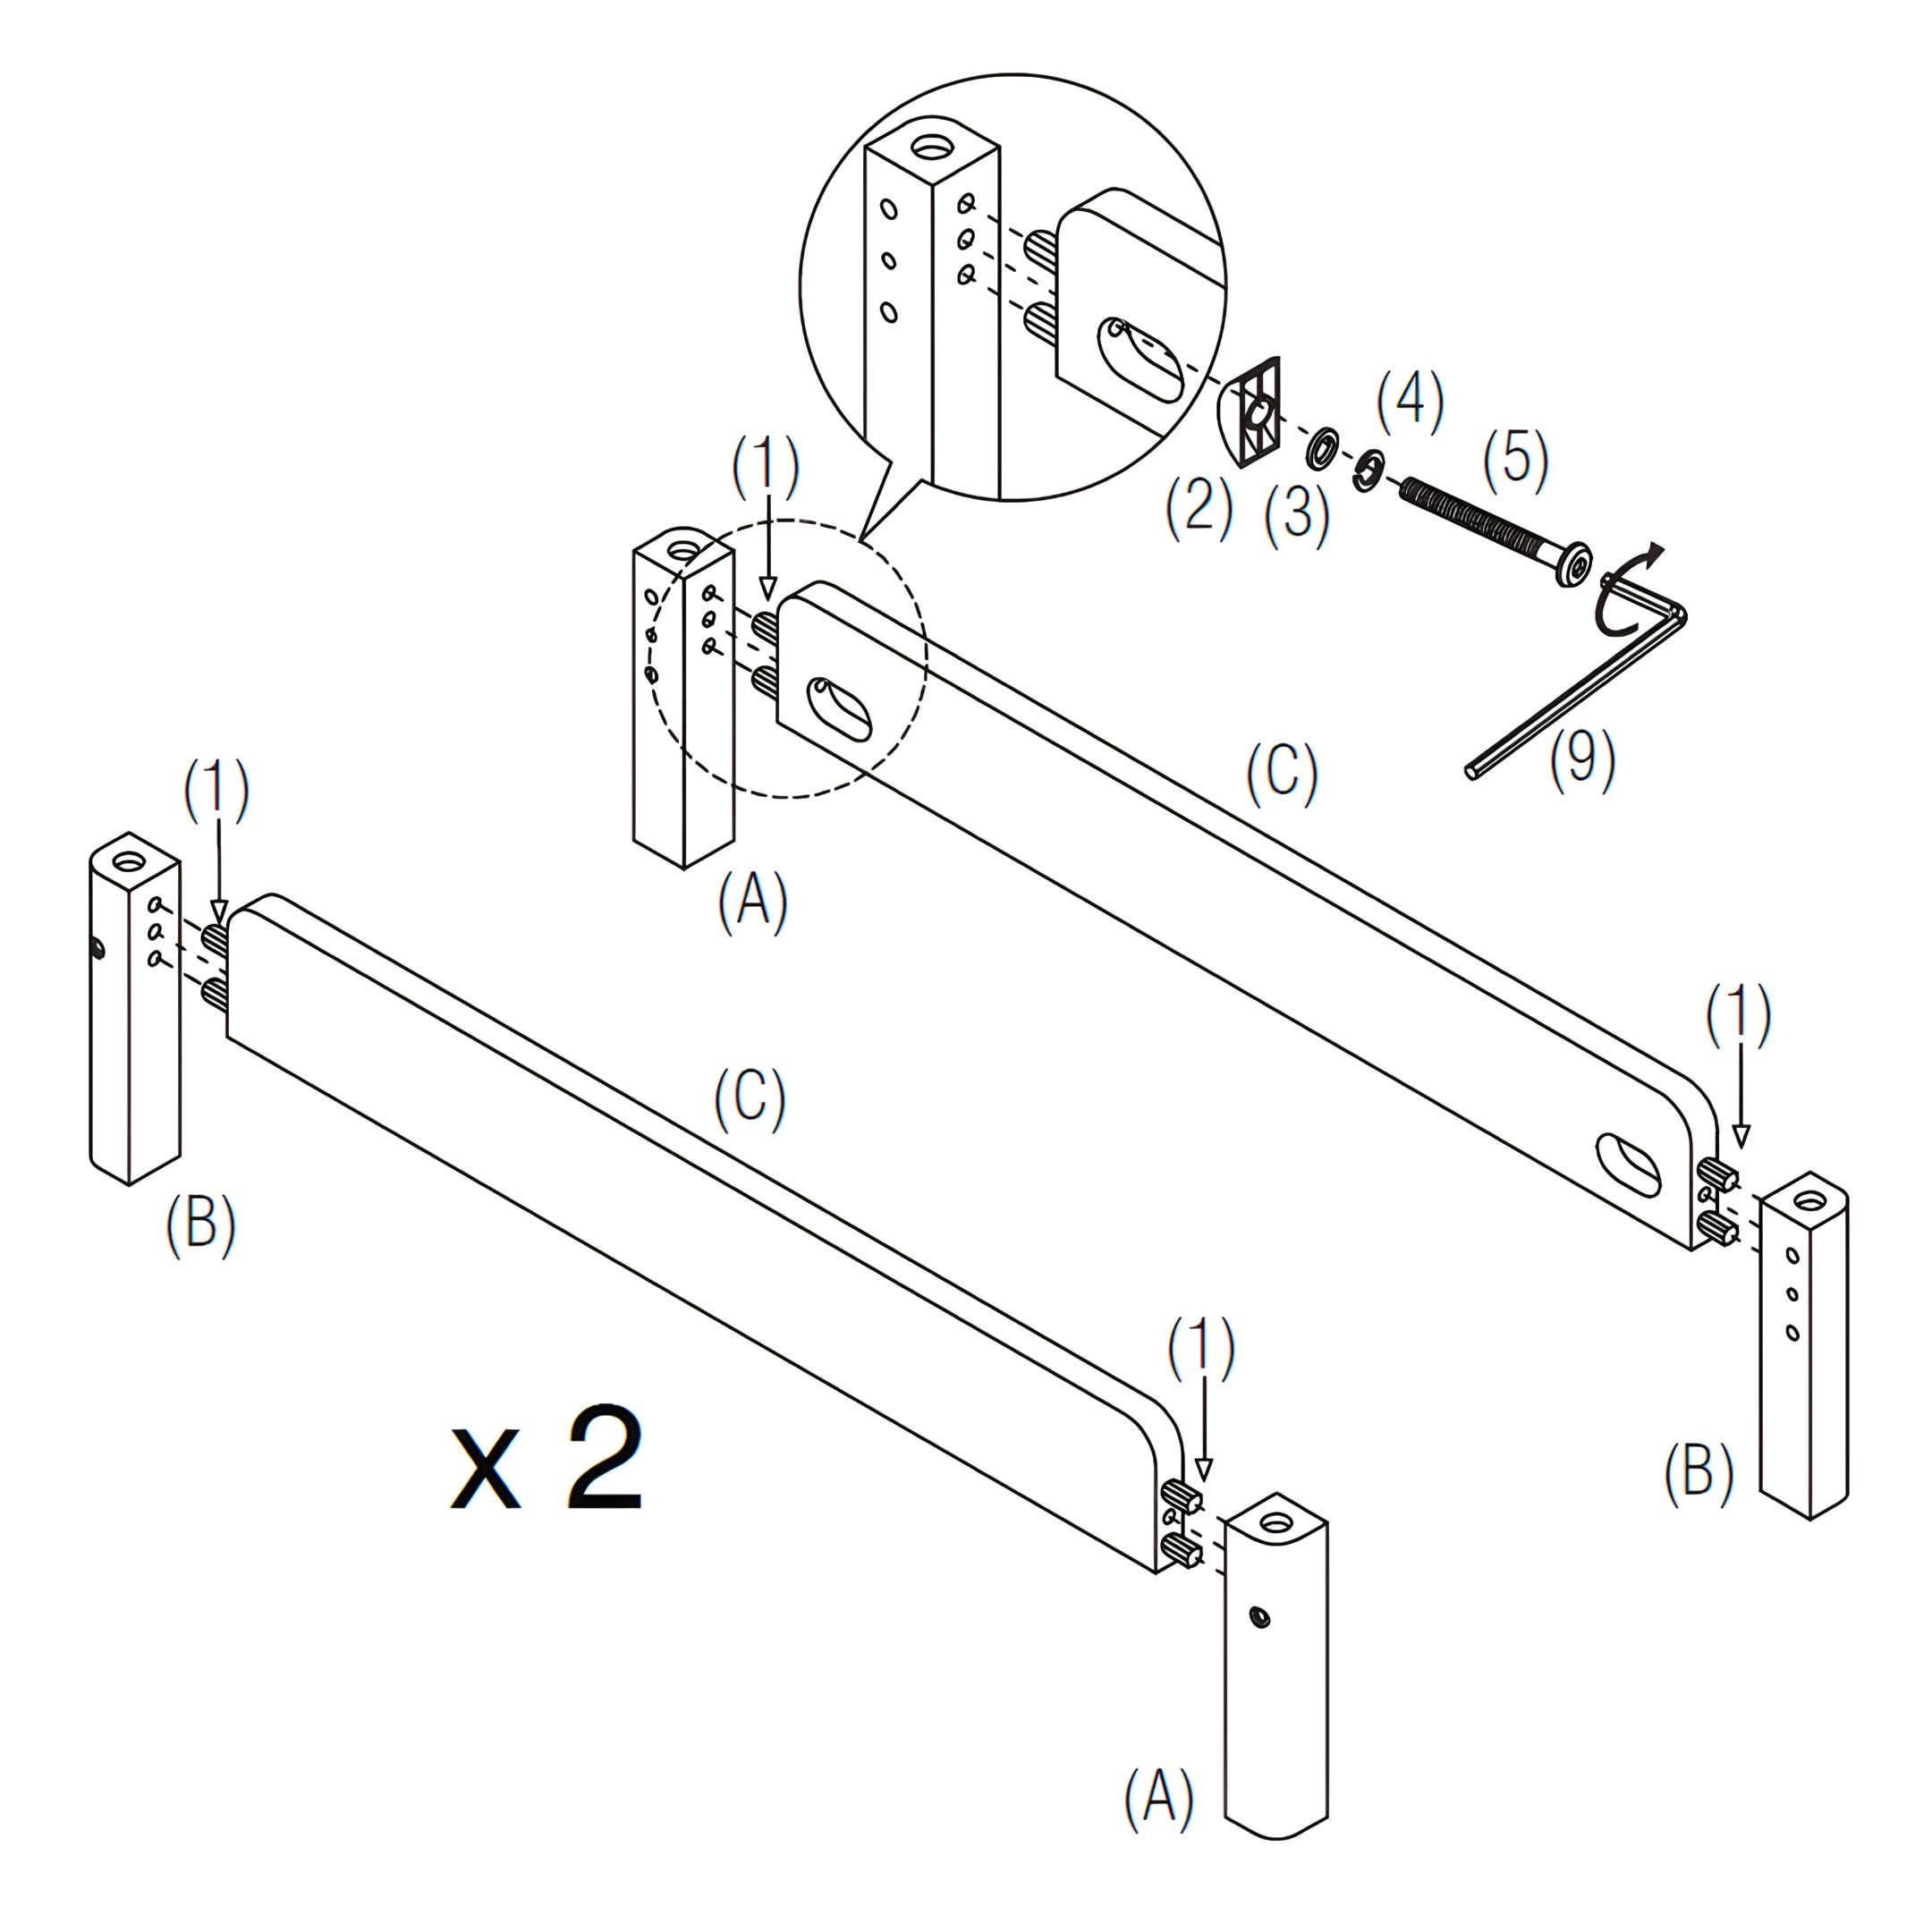
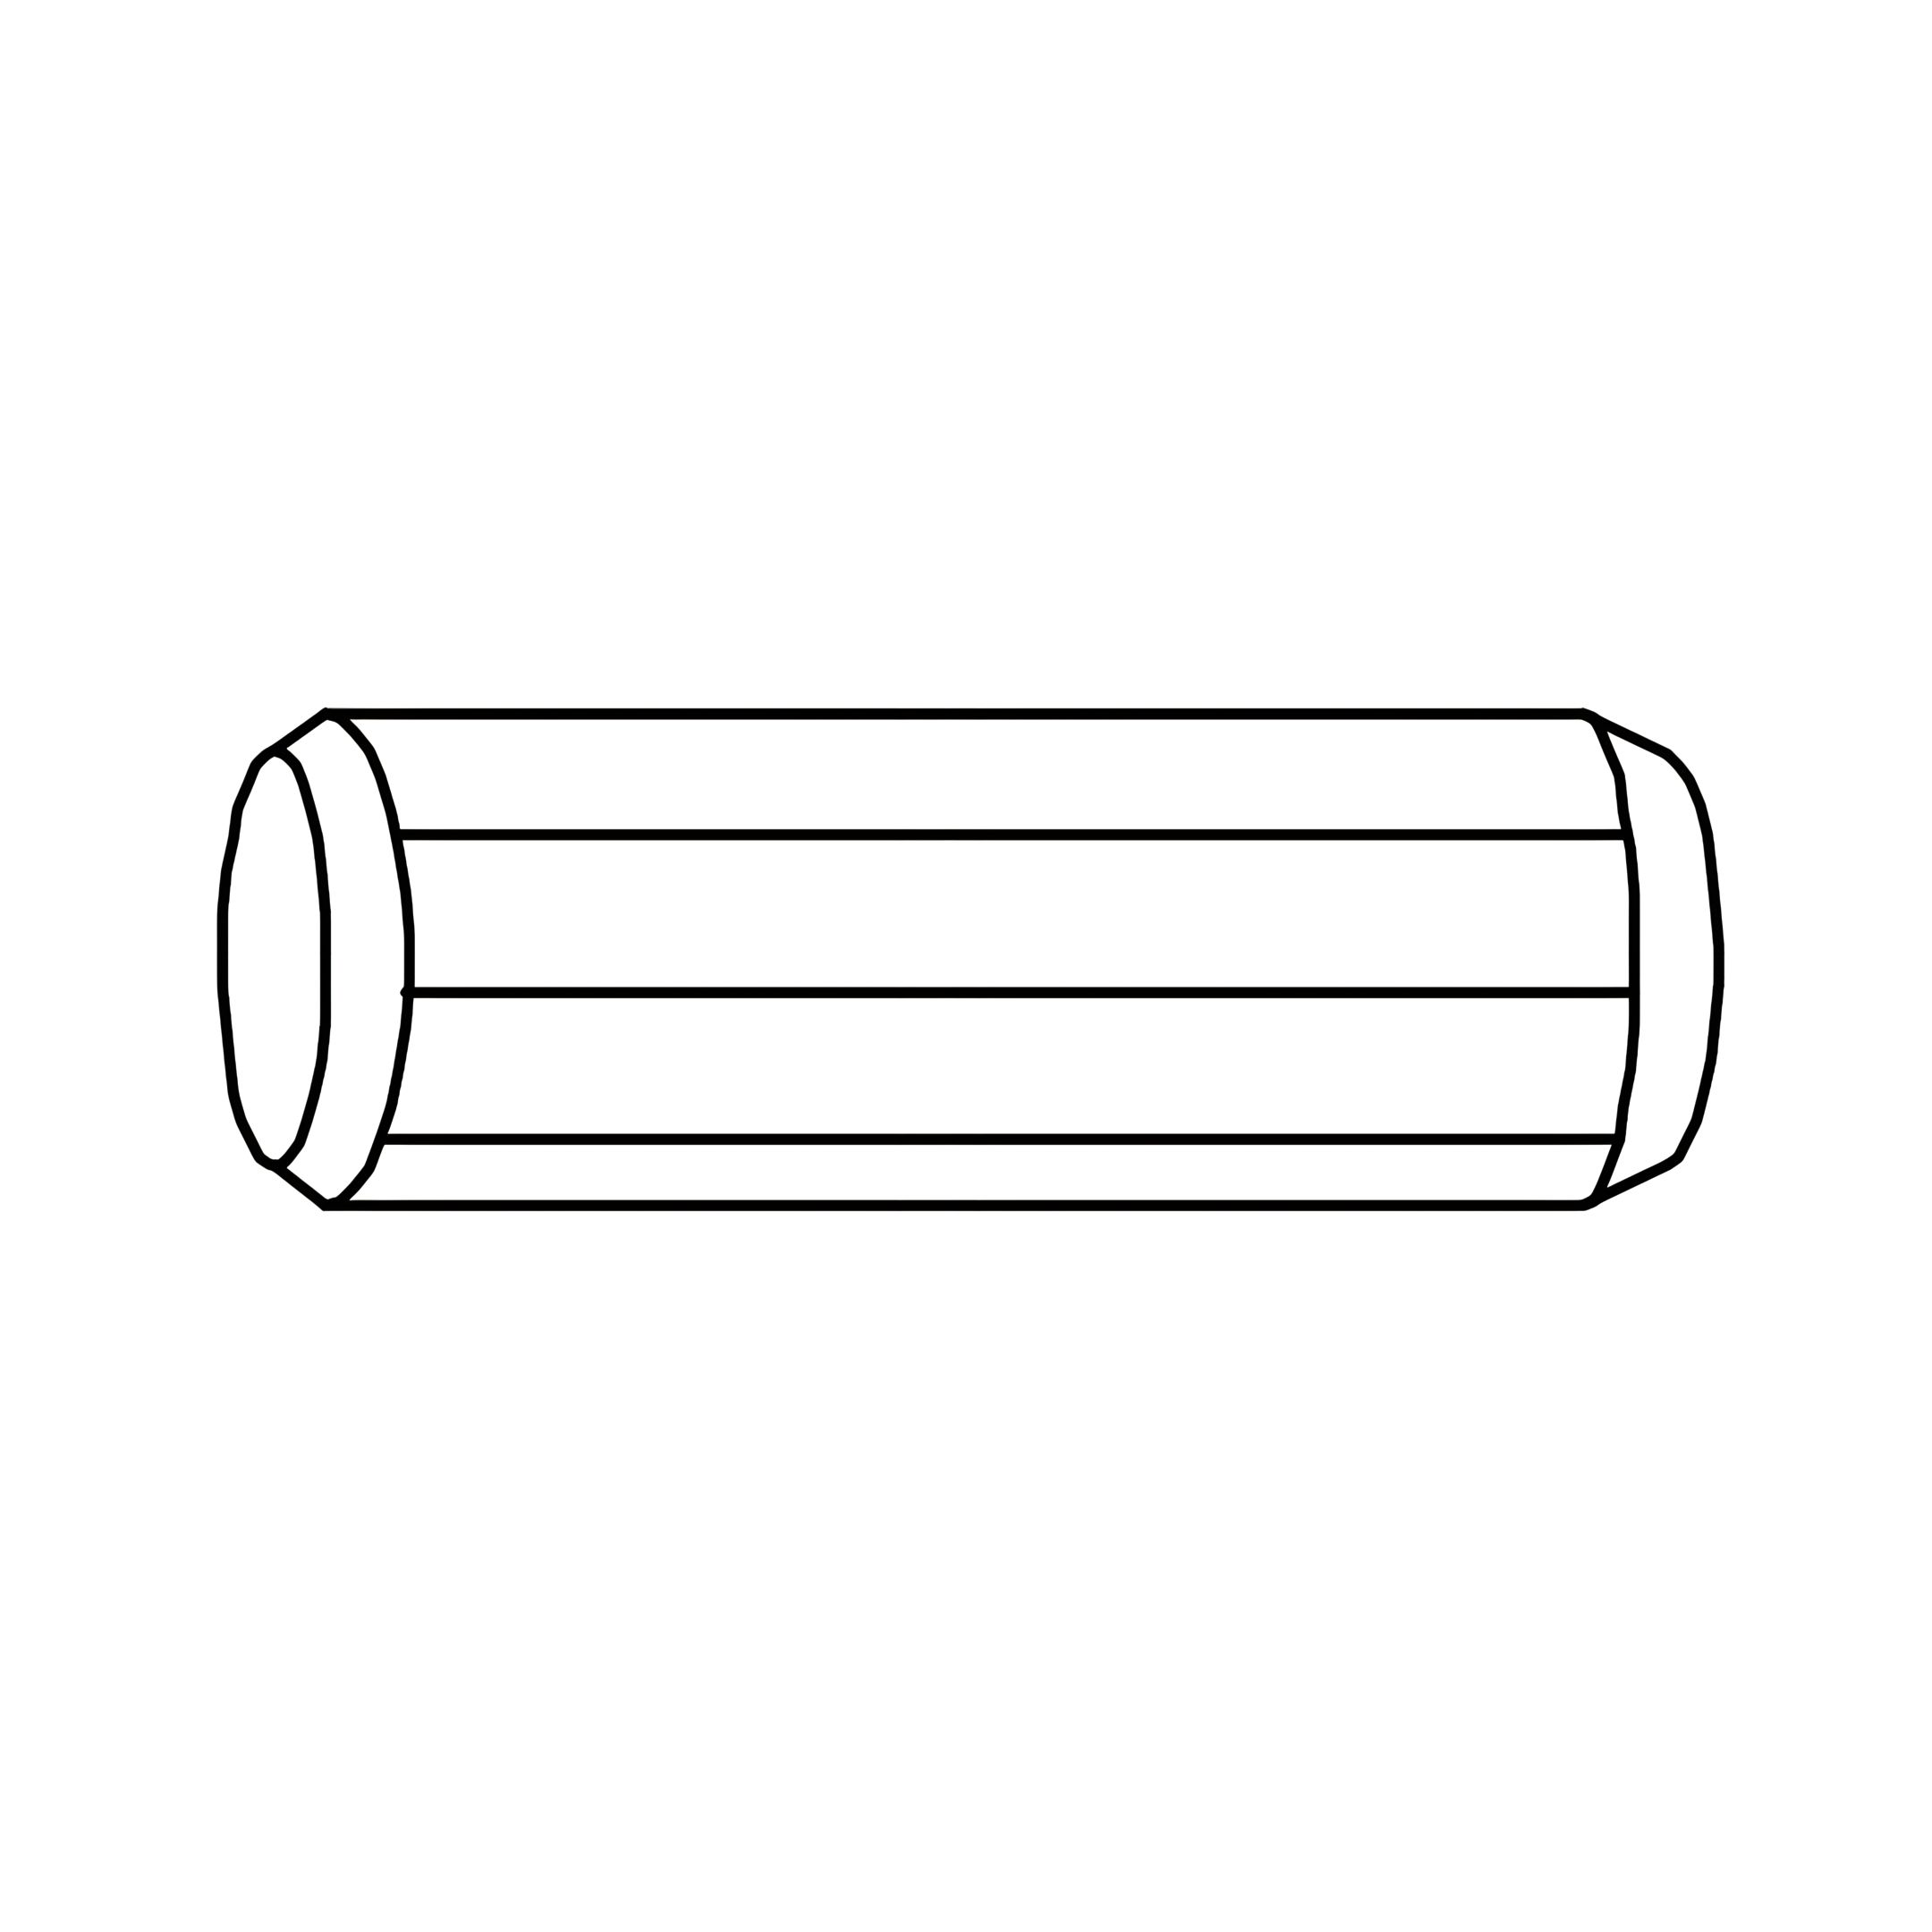
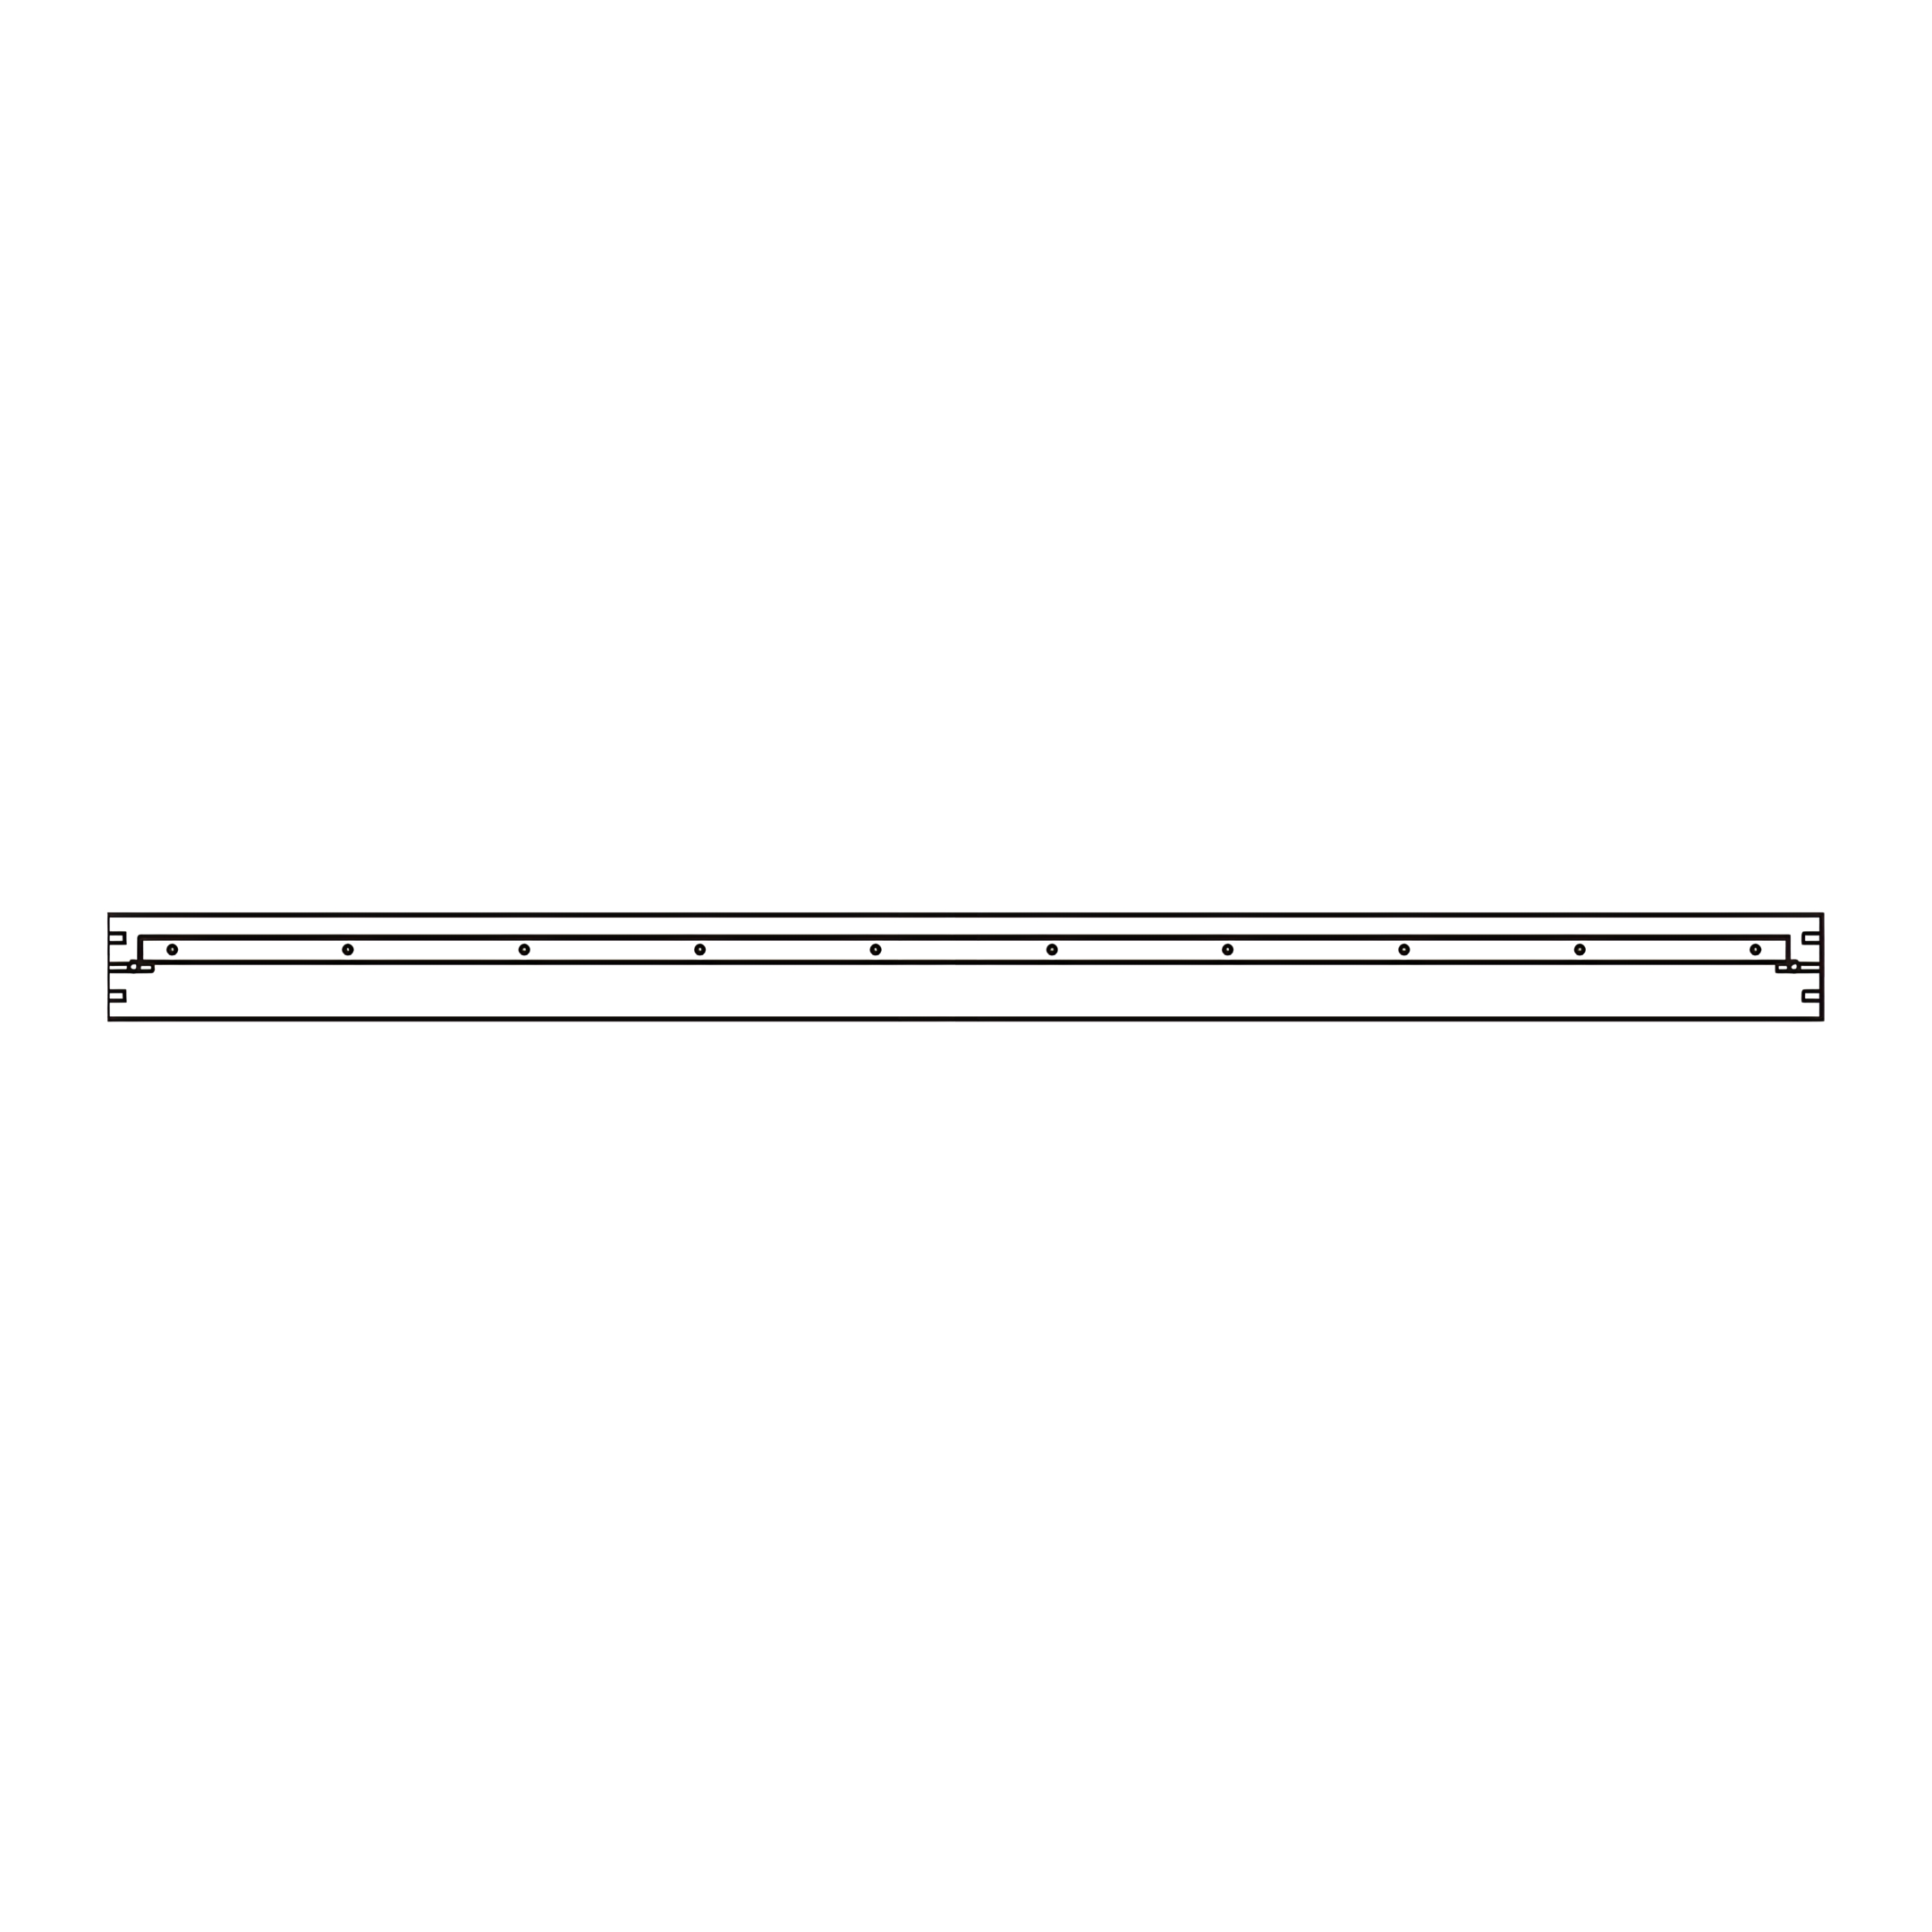
1. Insert Wood Dowels (1) into the designated holes on the Headboard and Footboard Panels (C).
2. Attach the Headboard and Footboard Panels (C) with the Foot Posts (A and B). Ensure the dowels fit into the corresponding holes.
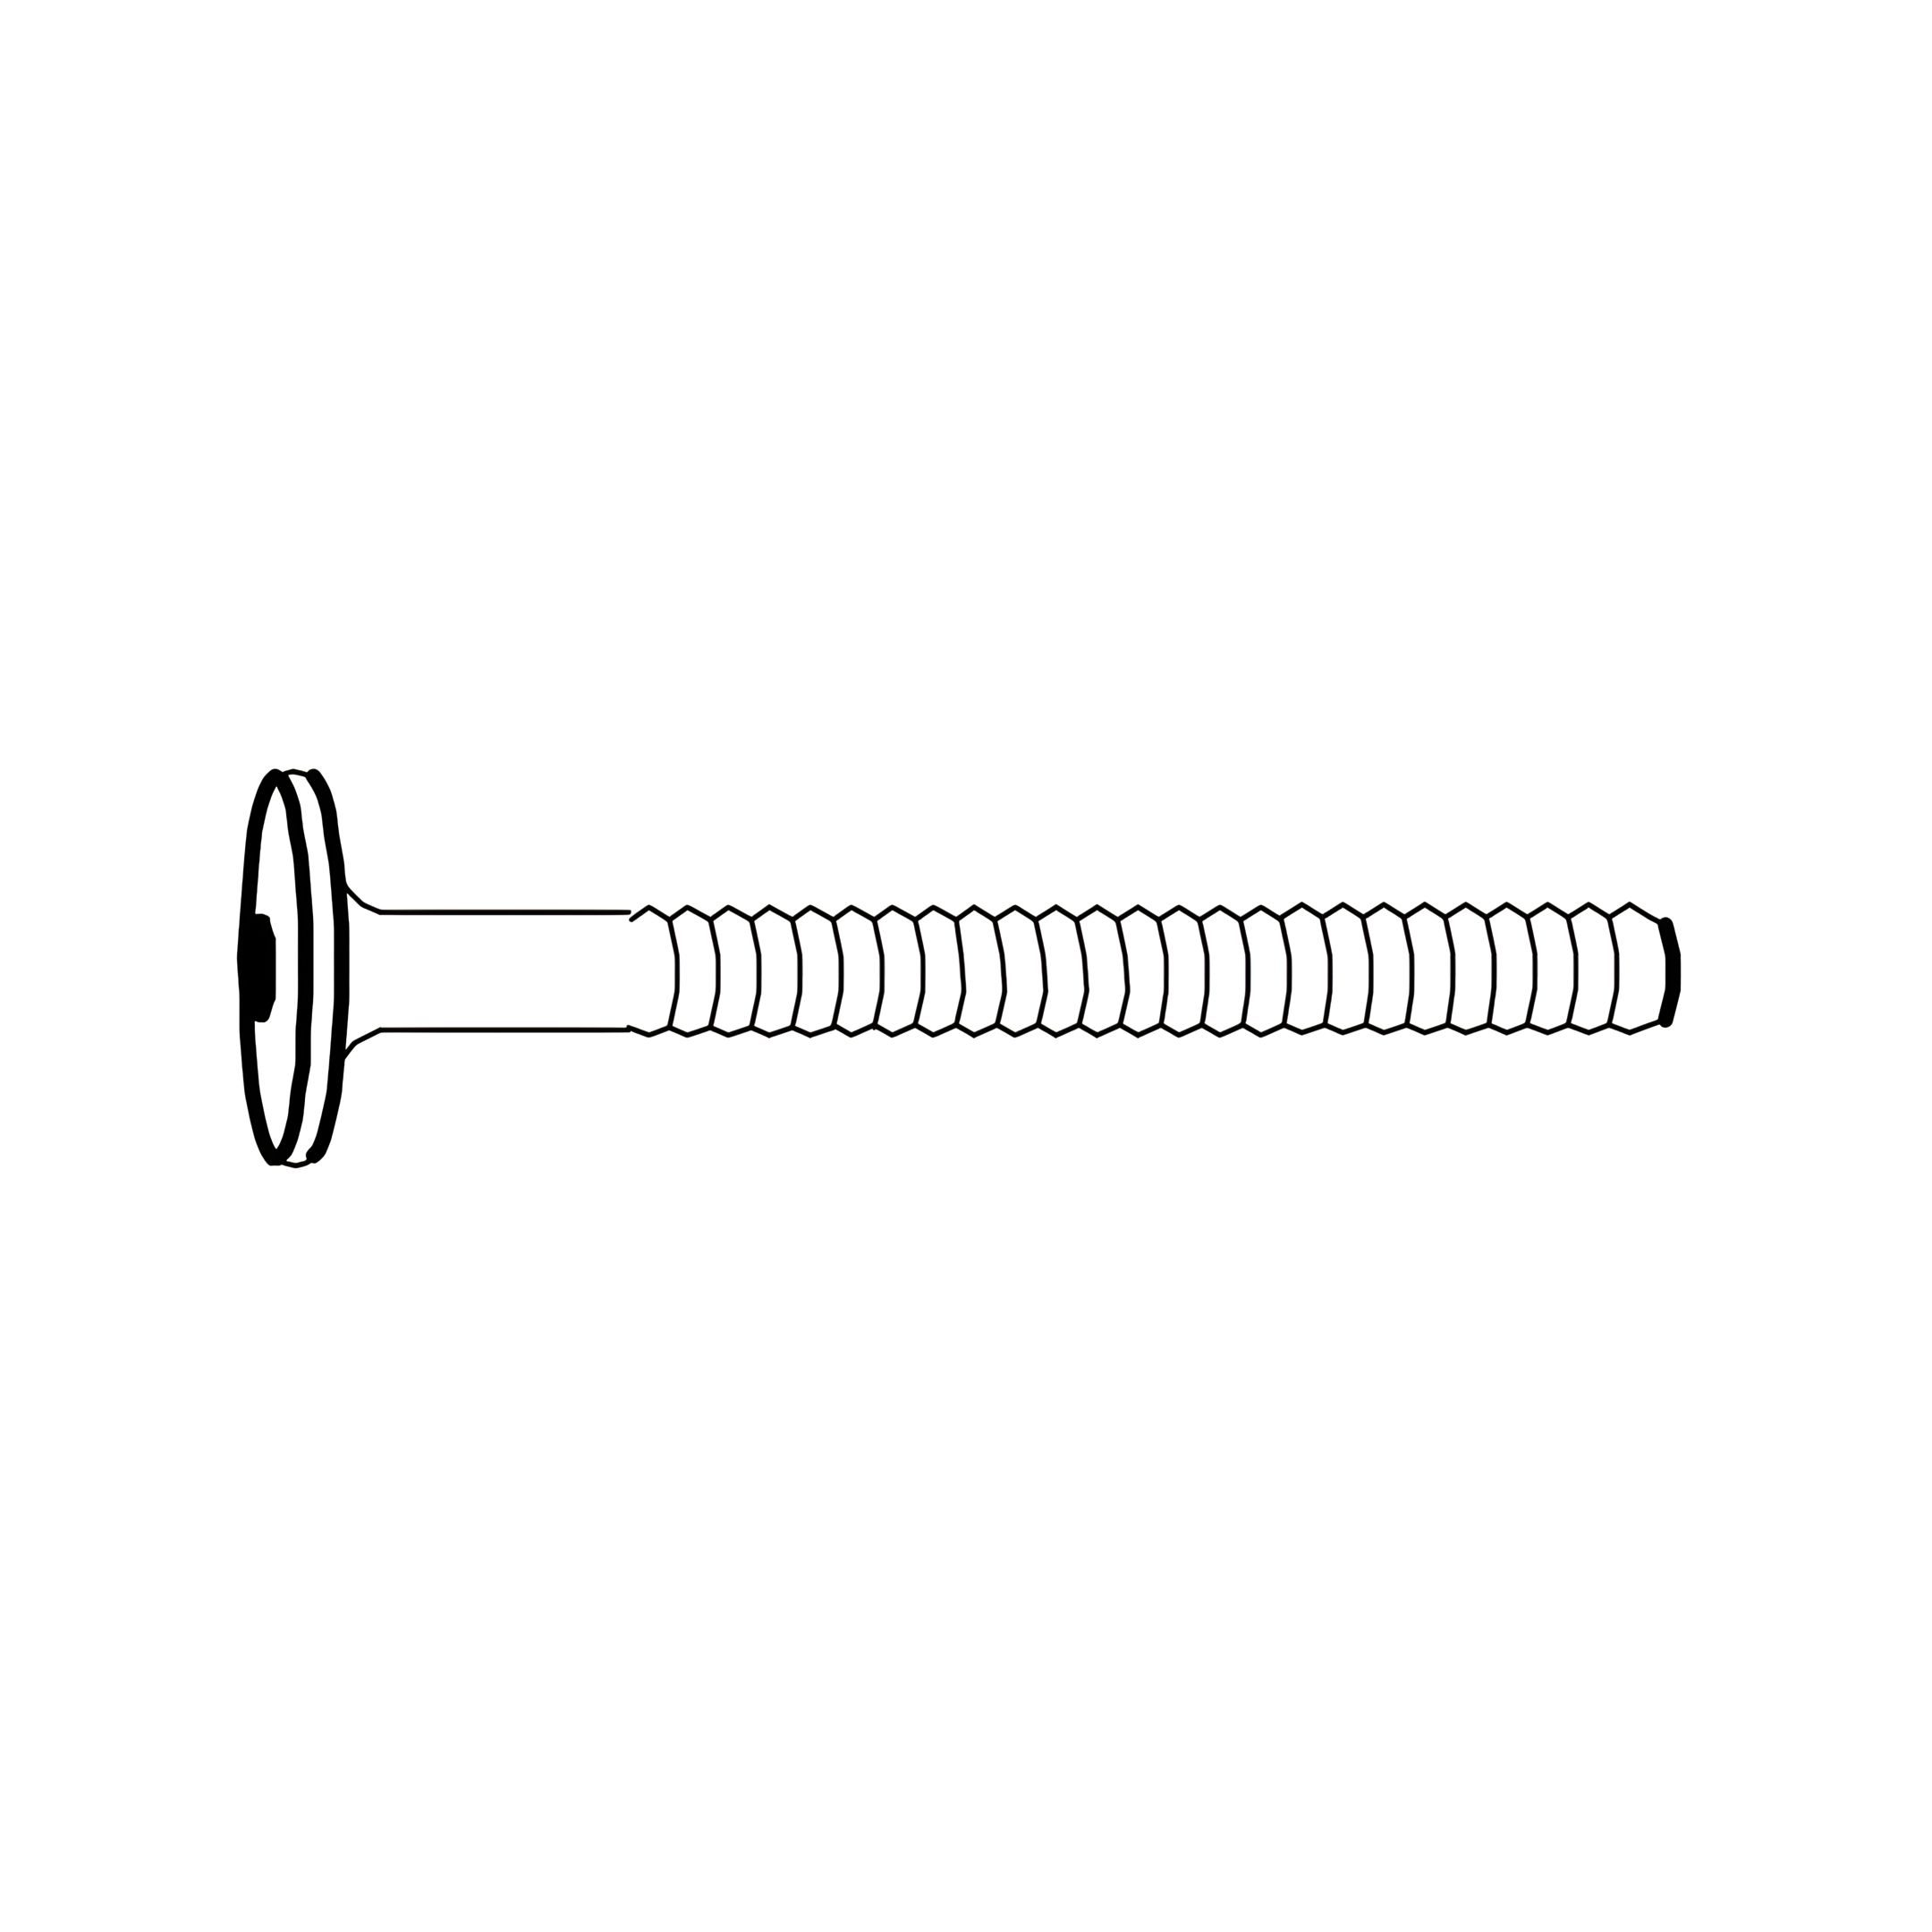
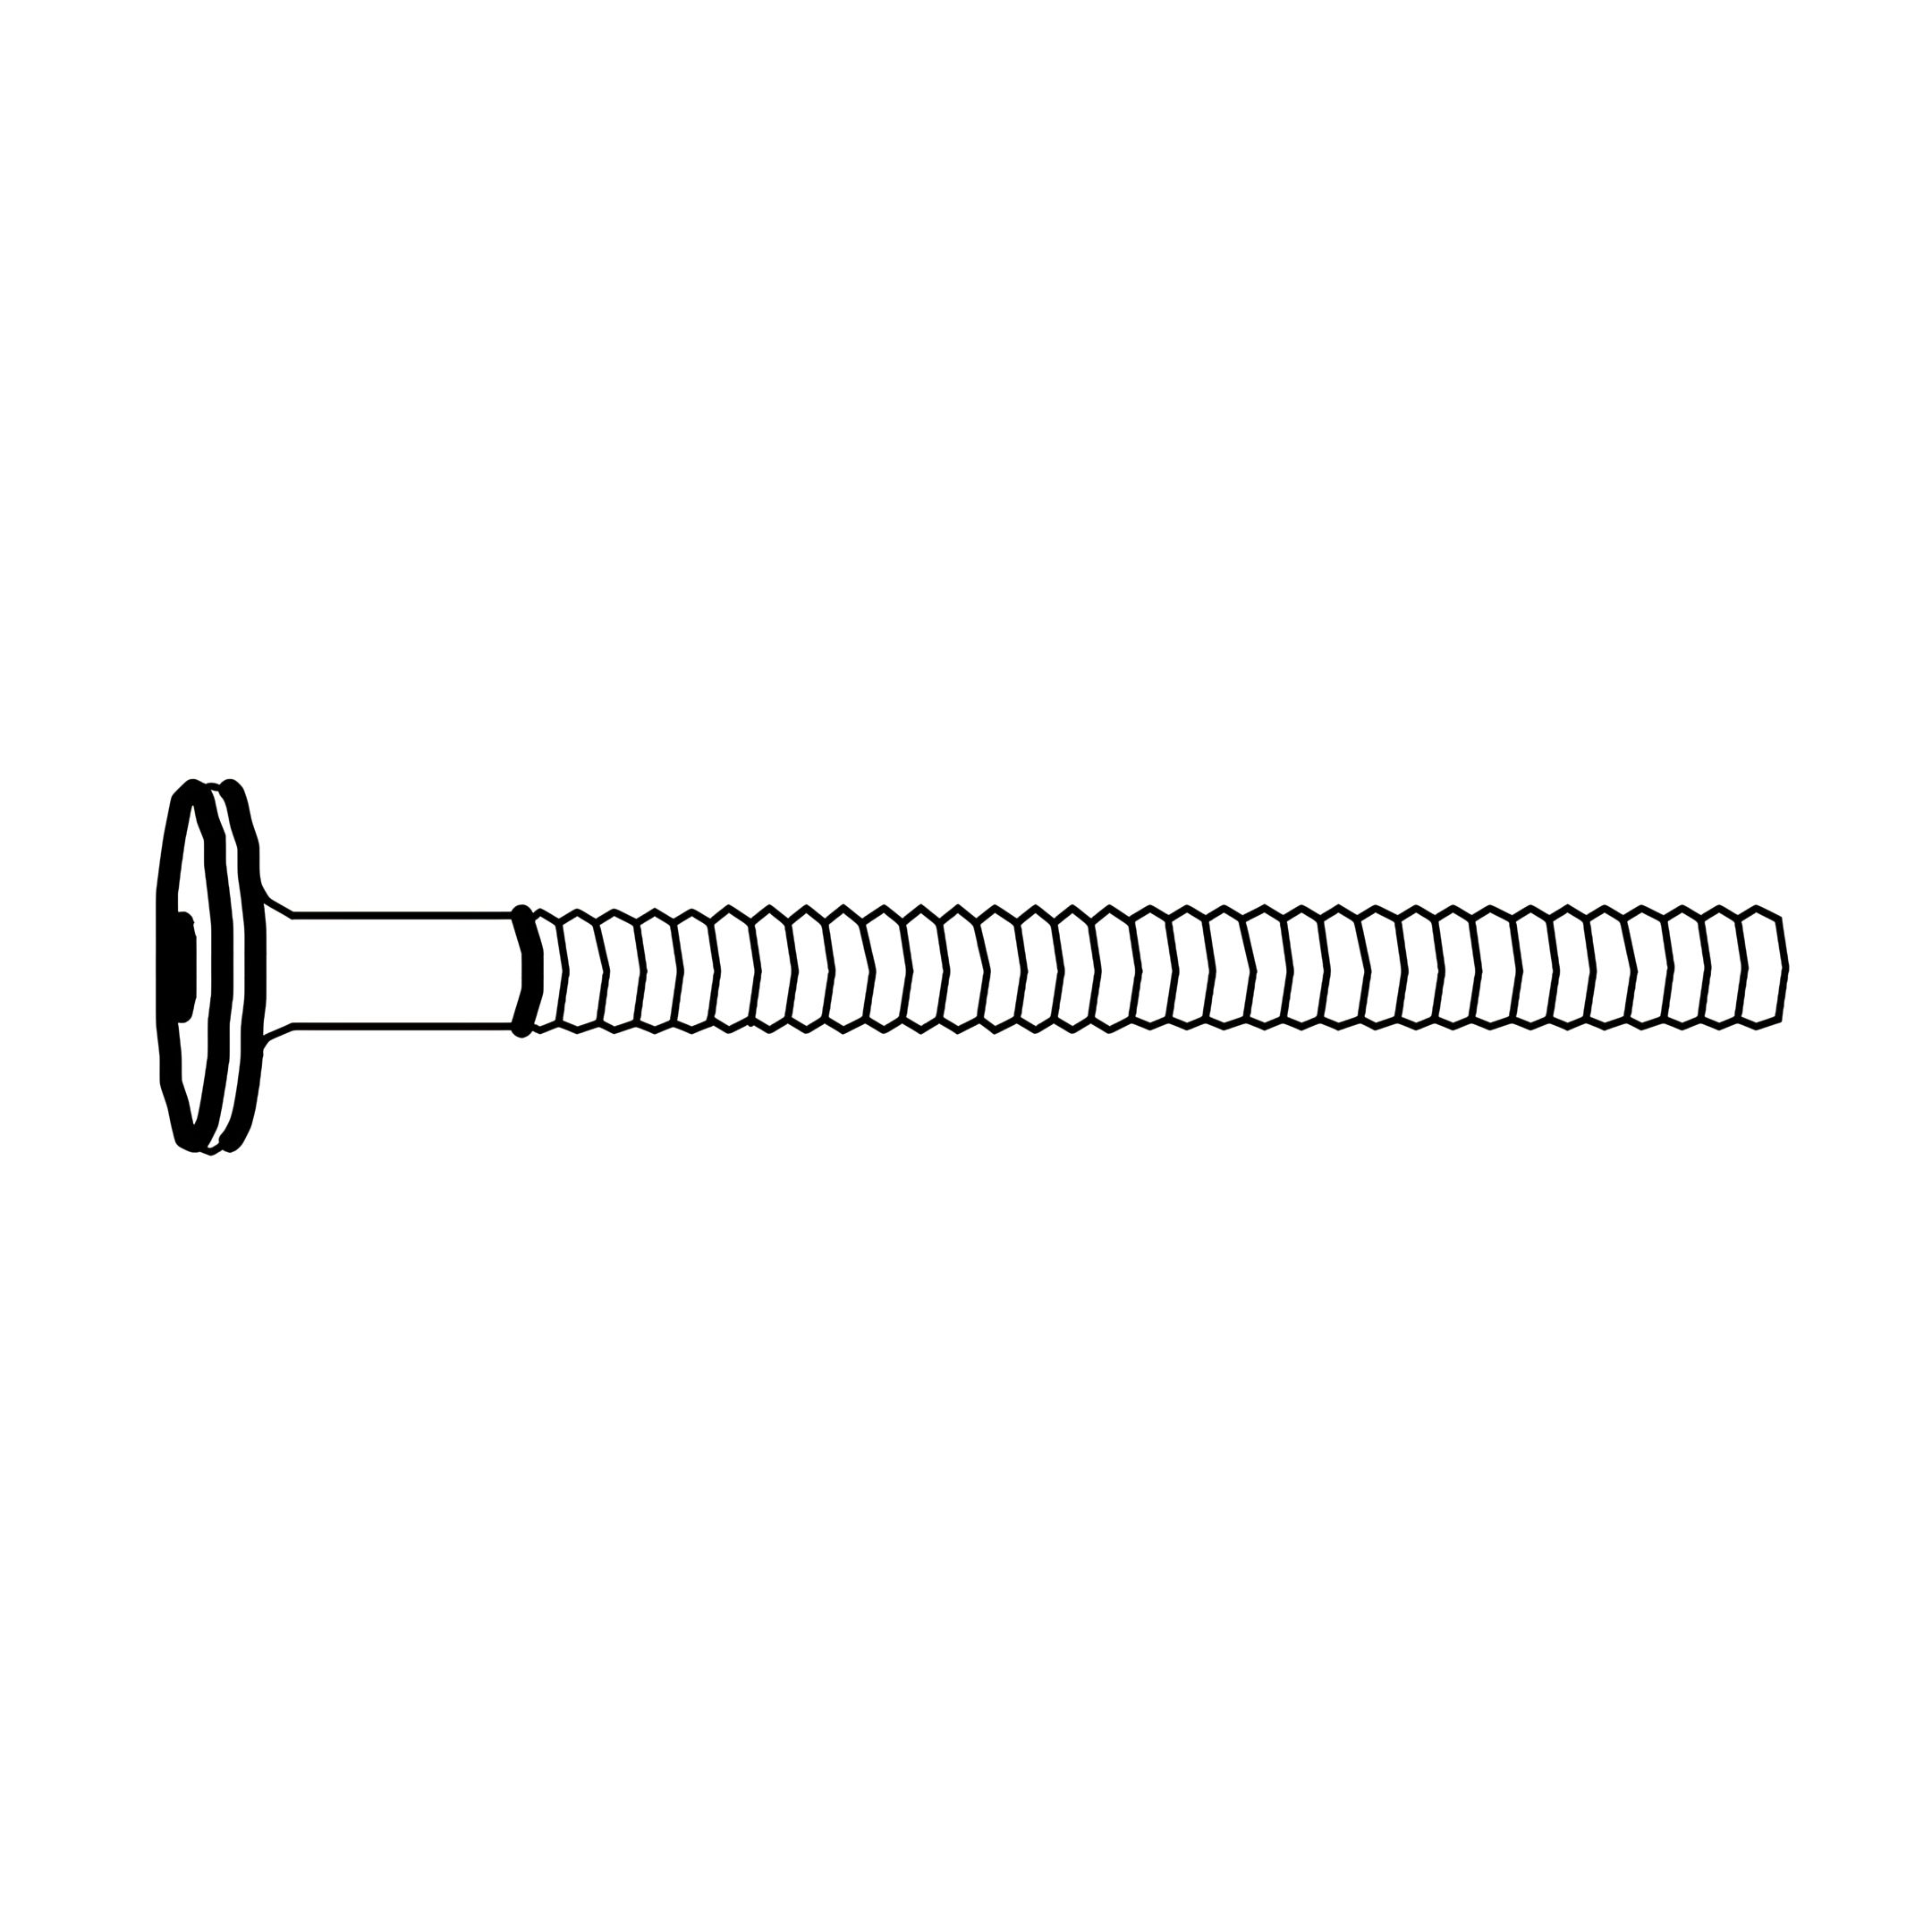
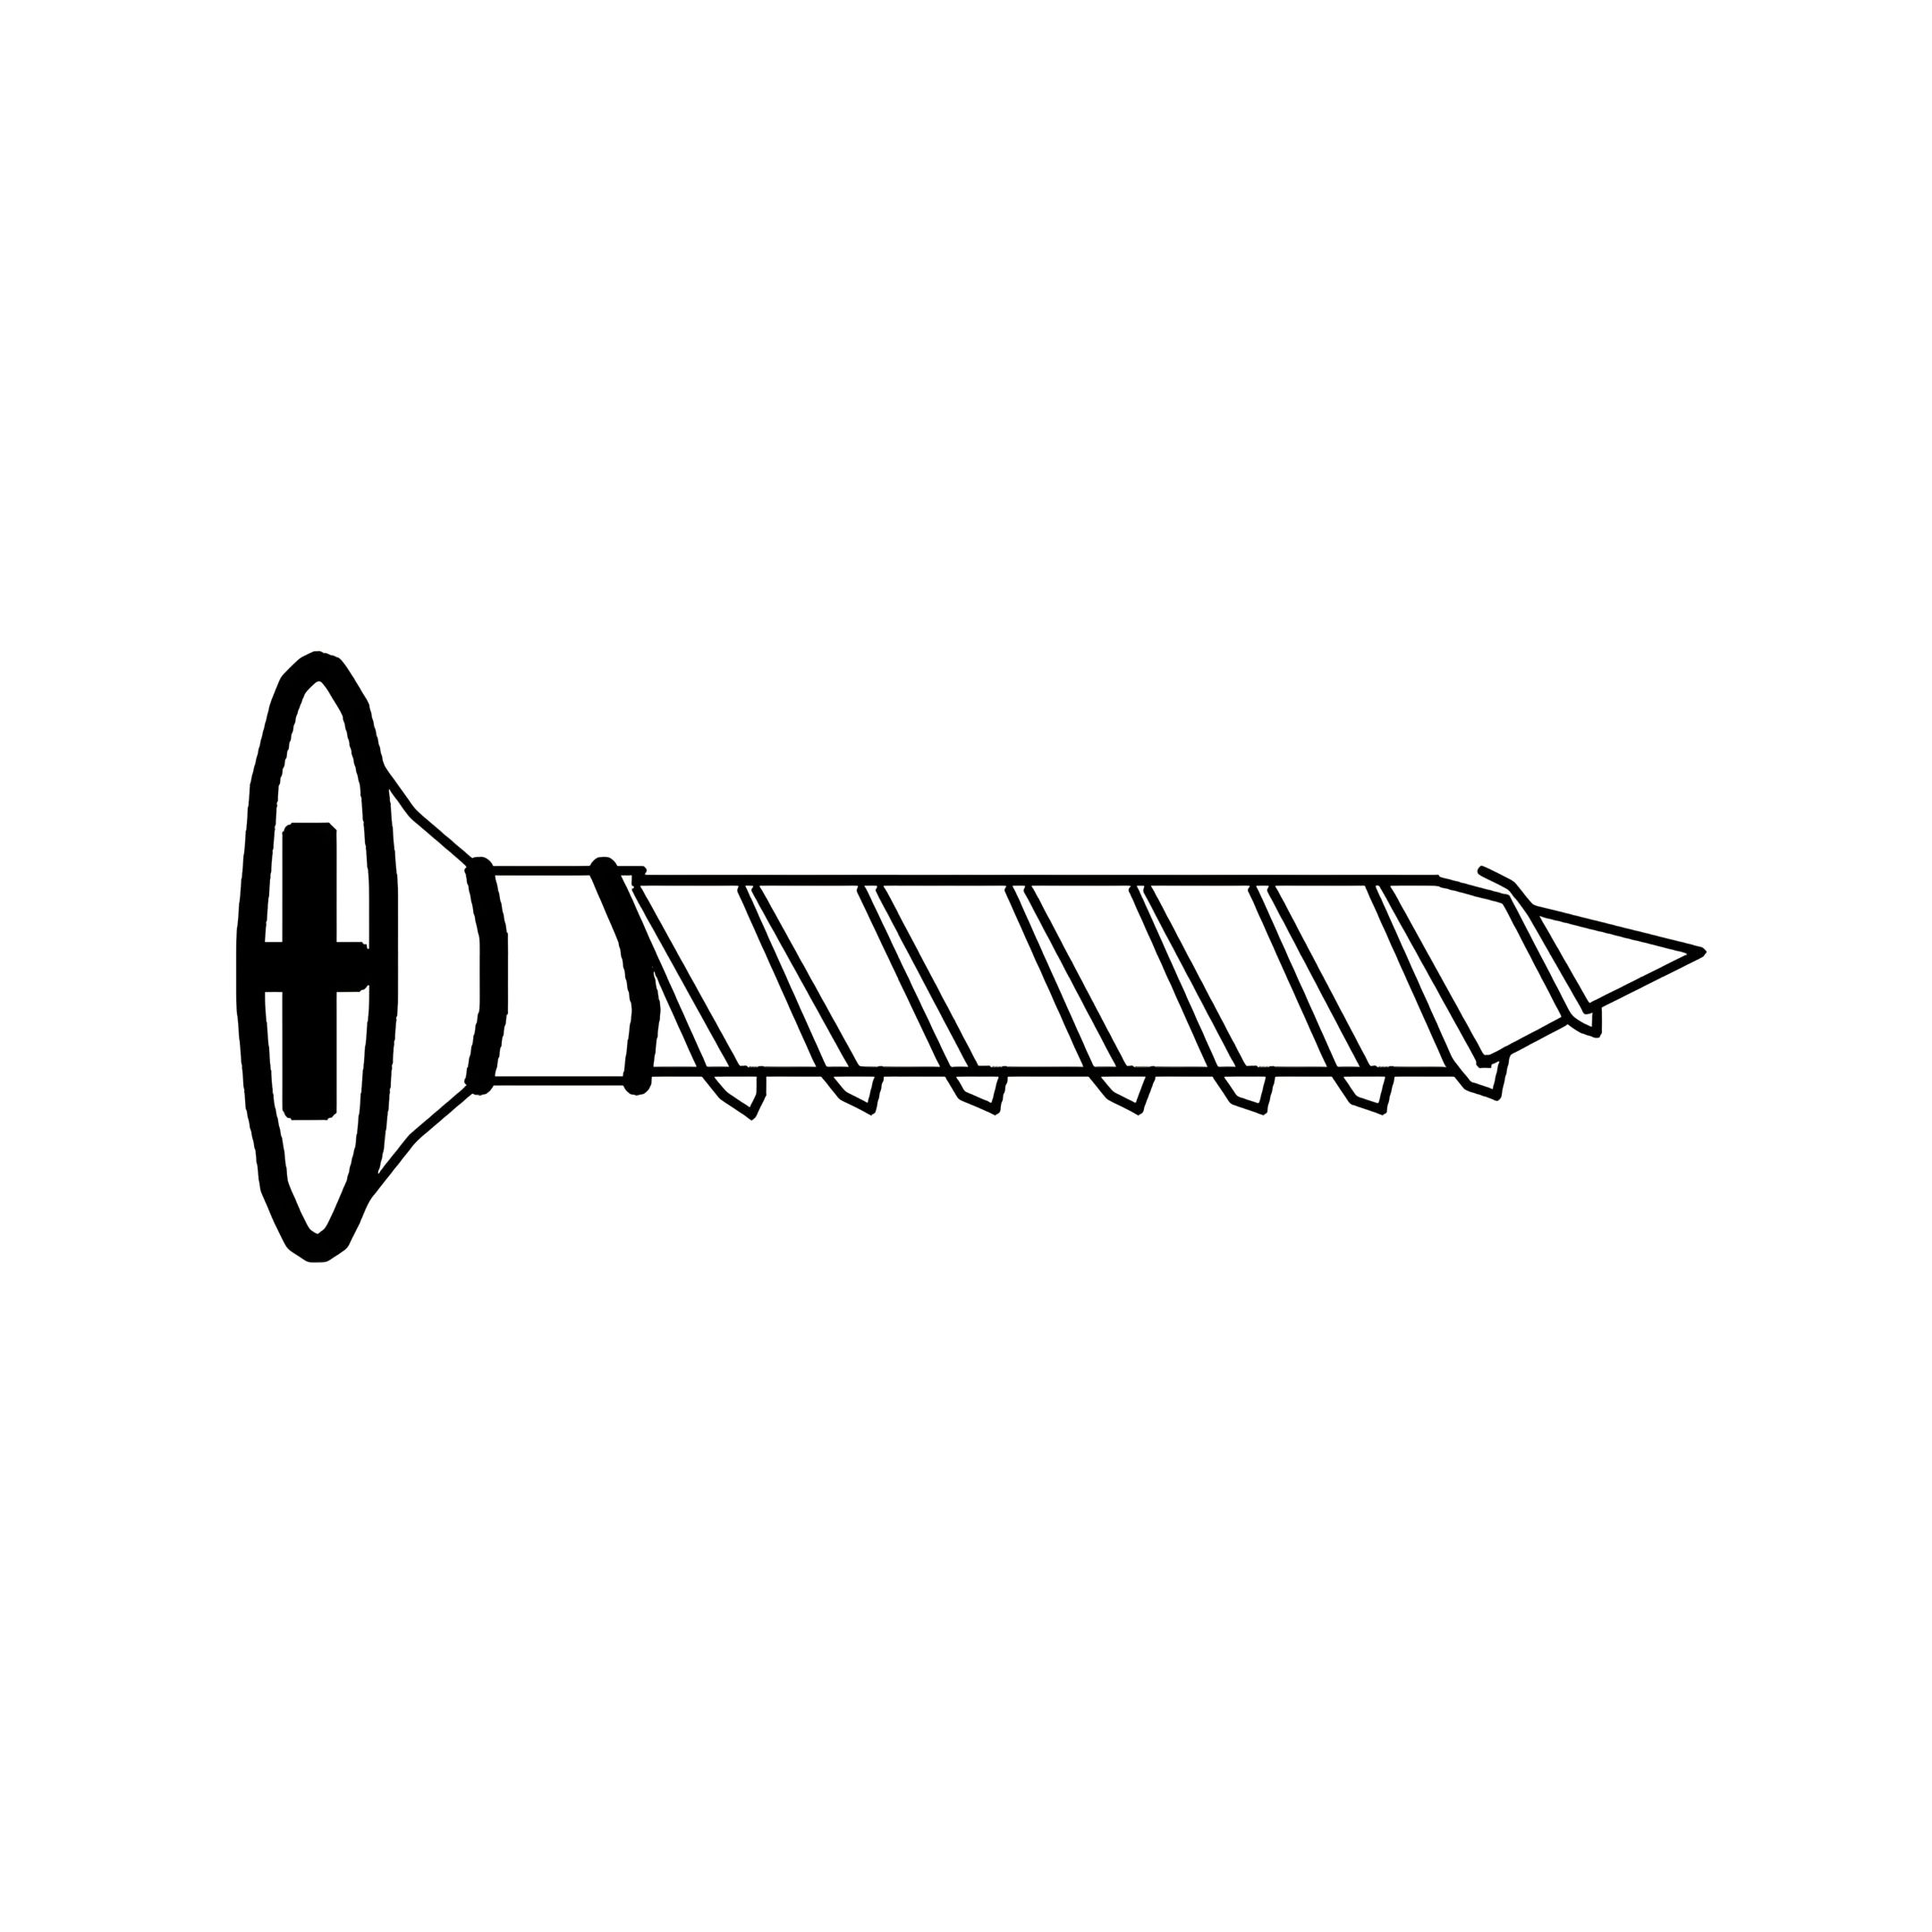
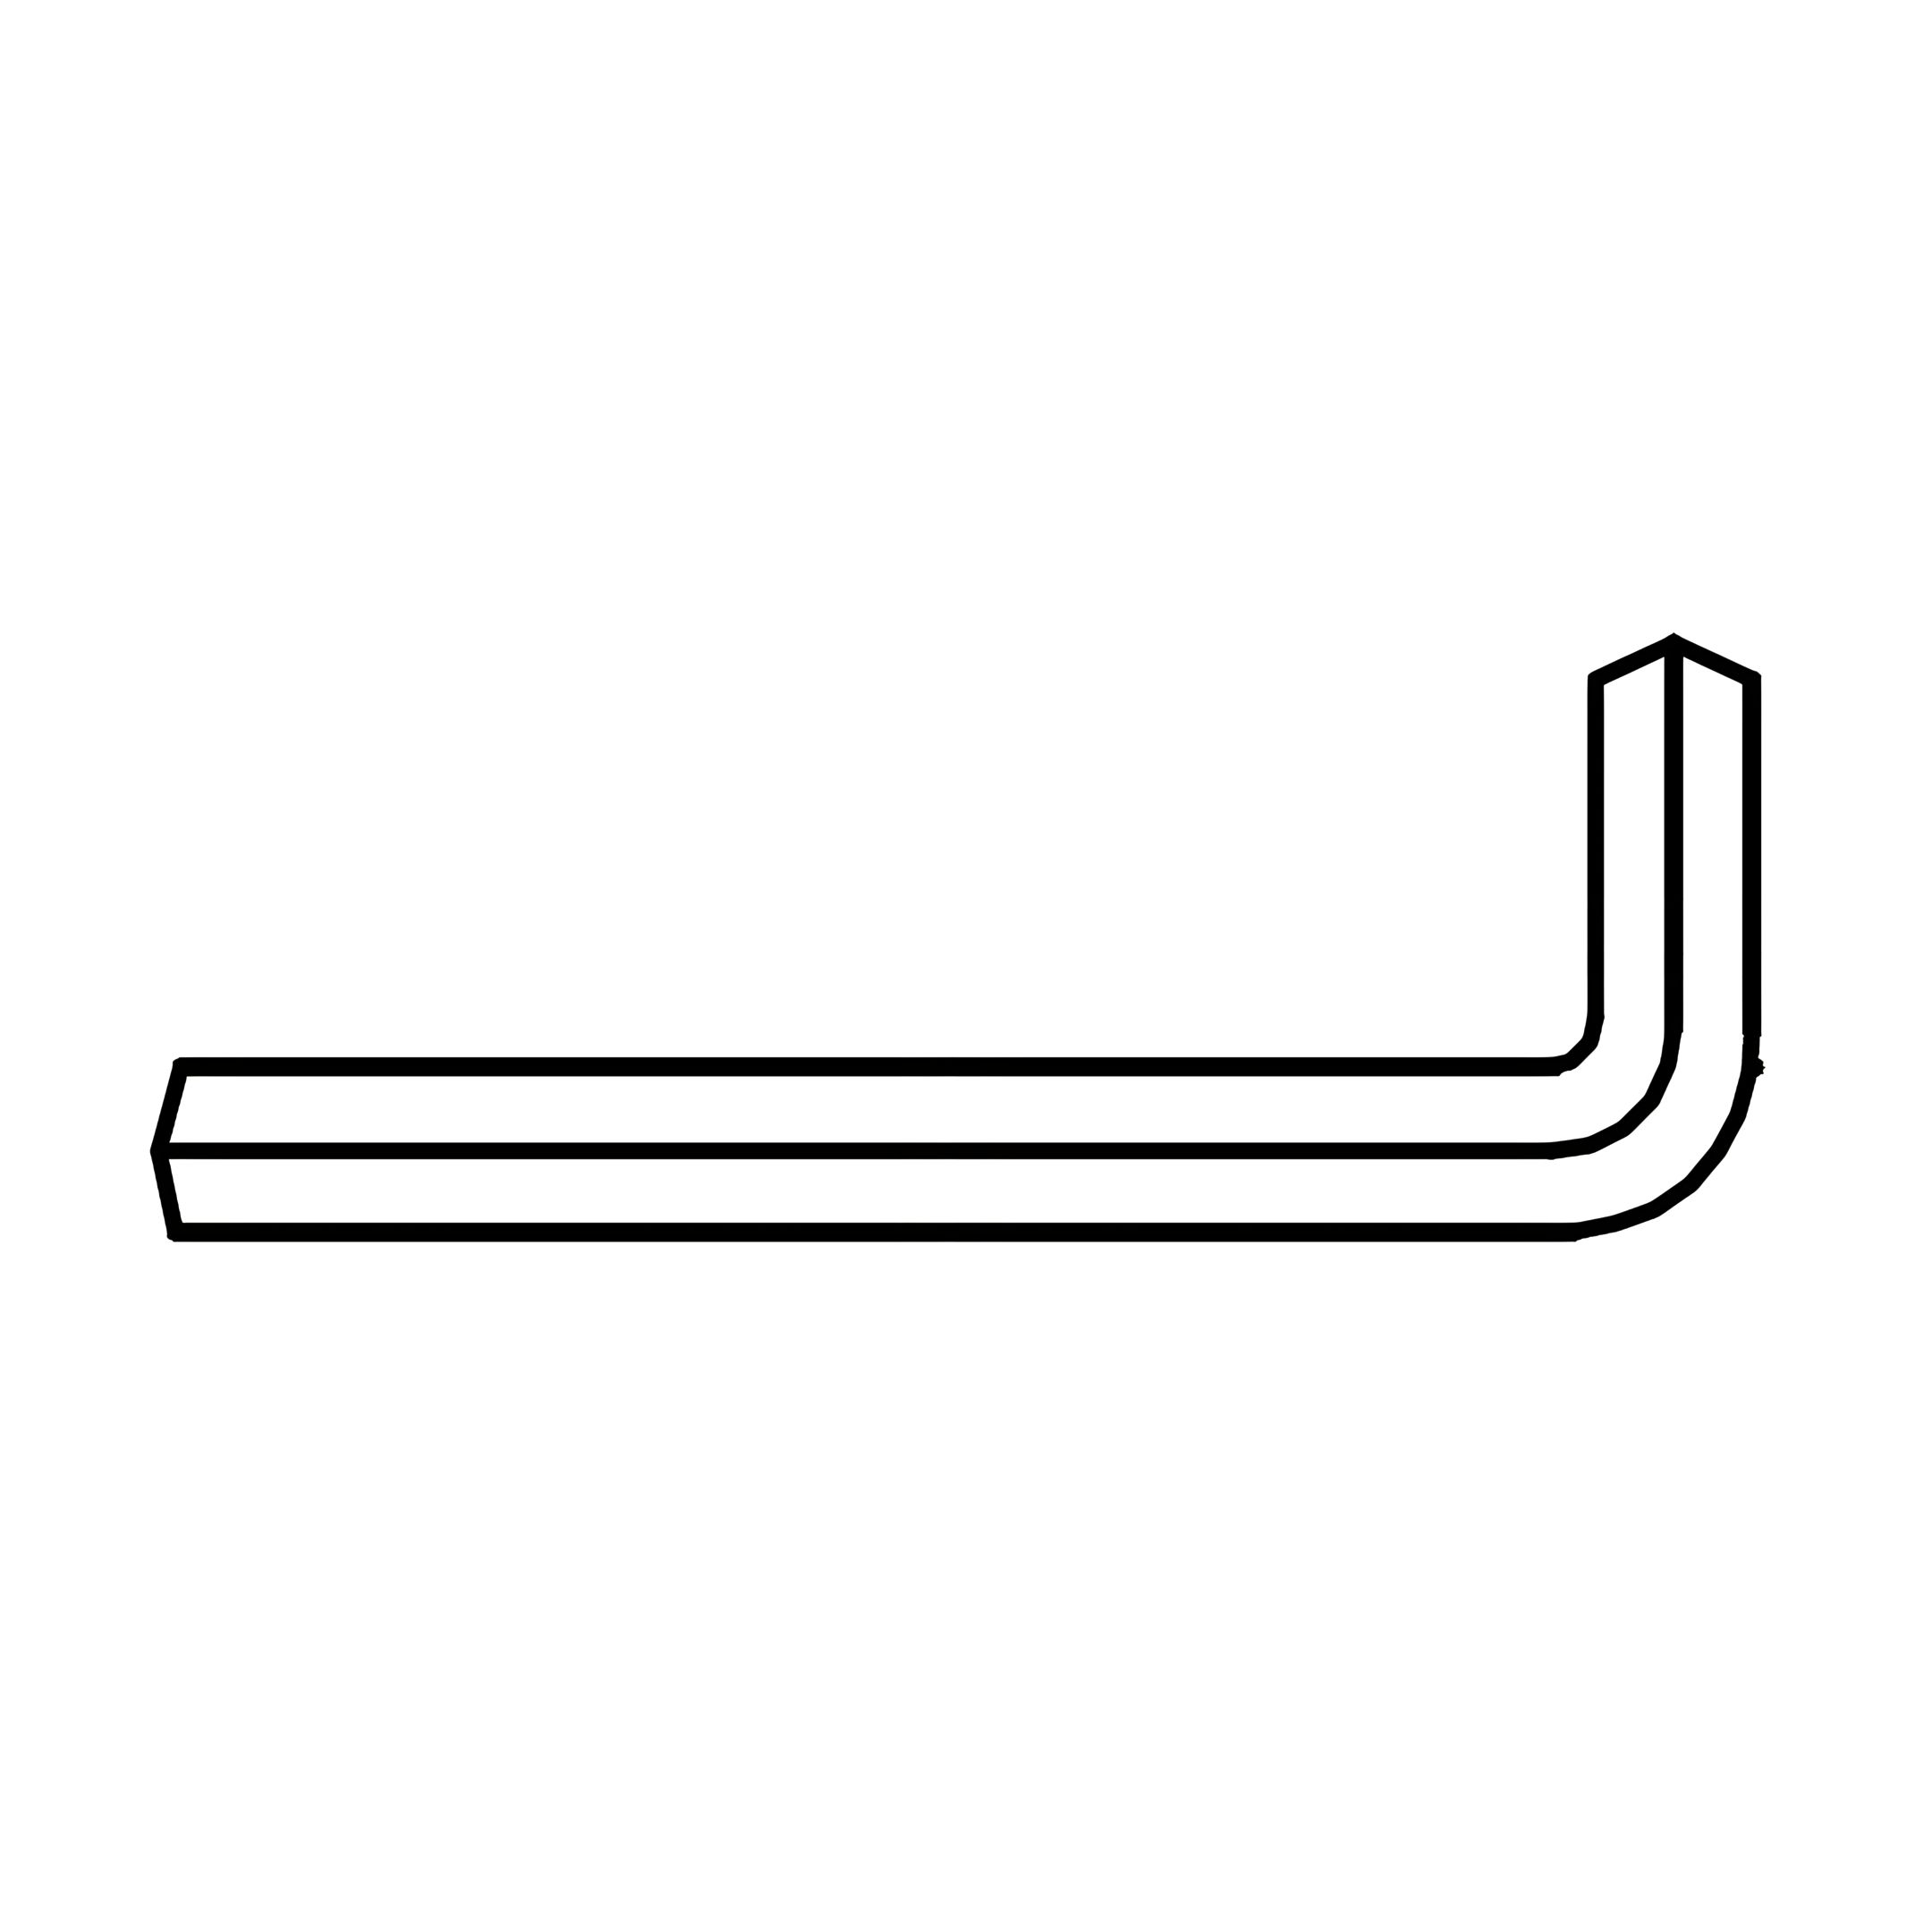
3. Secure with hardware in the corresponding spaces. Insert a Half Moon Nut (2), a Flat Washer (3), a Split Lock Washer (4) and a JCBC Screw (5) as shown in the diagram. Tighten everything with a M4 Allen Key (9).
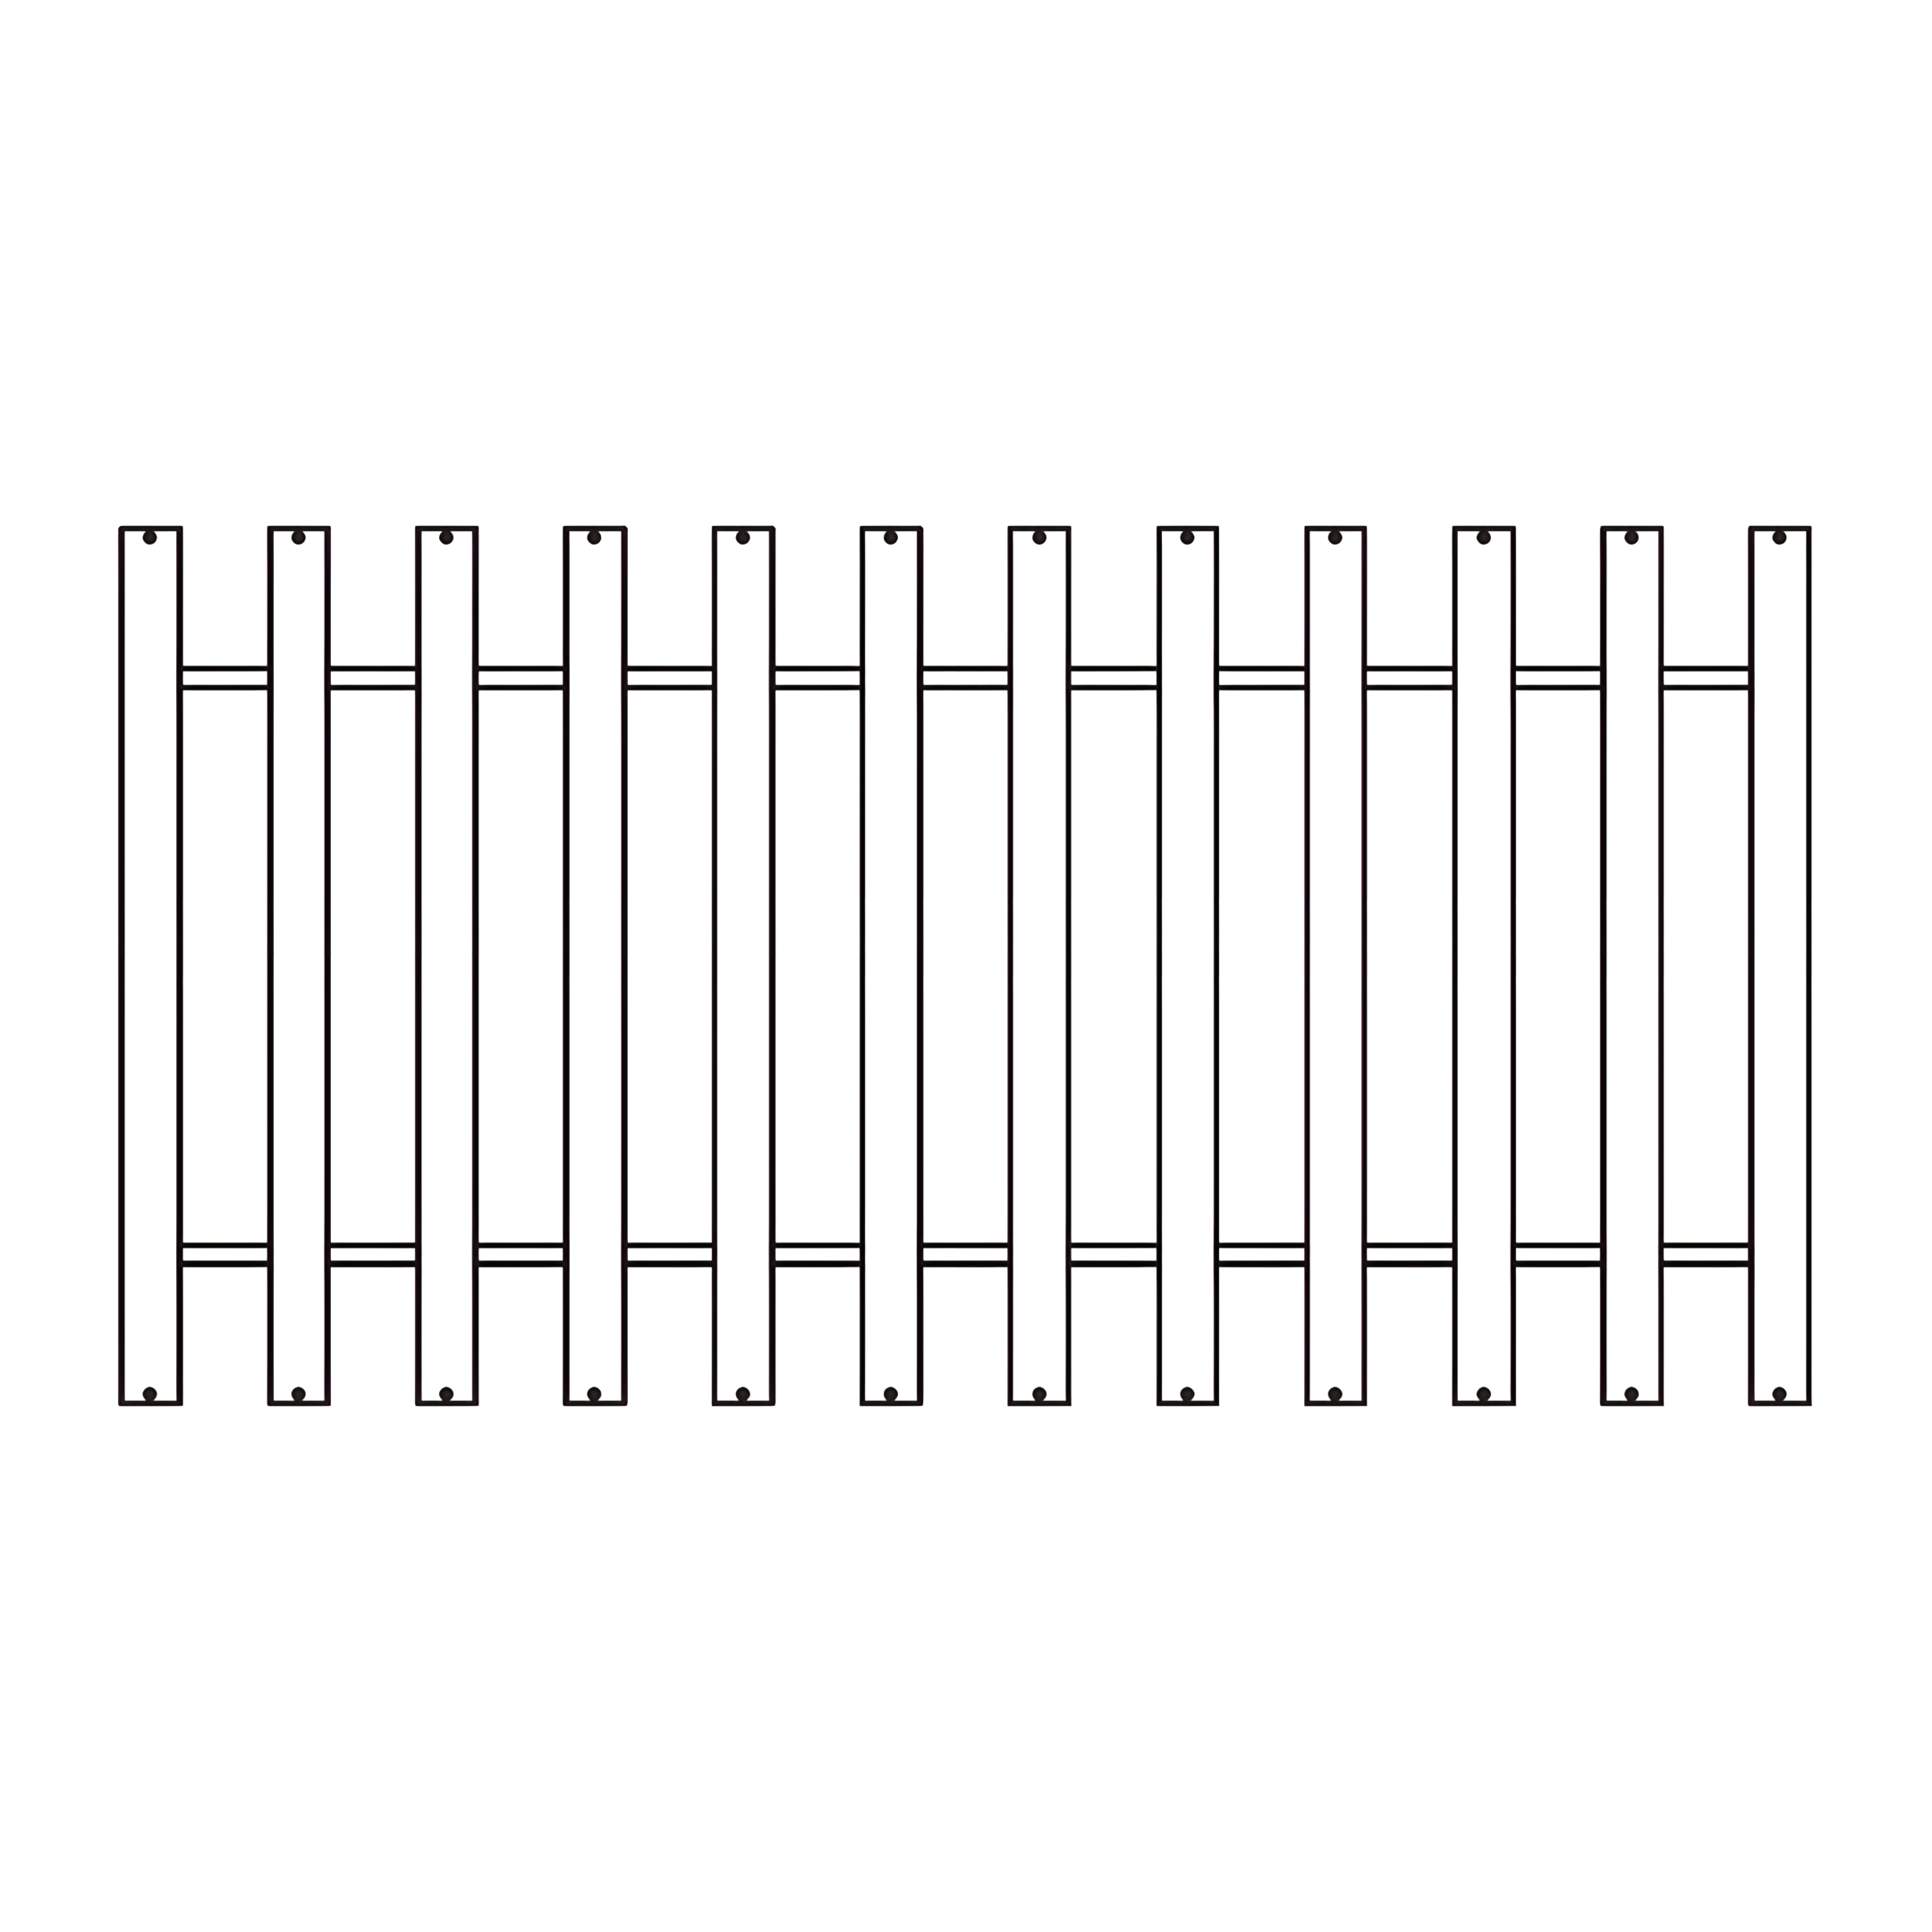
Follow the same steps to assemble all Headboards and Footboards.