time4sleepwww.time4sleep.co.uk
Instructions by time4sleepToulon Wooden Sleigh Bed
time4sleep

Toulon Wooden Sleigh Bed

Toulon Wooden Sleigh Bed
Before you start
Before you startCare & MaintenanceGeneral Hints & TipsPartsTools
Steps
1. Assemble the Centre Rail2. Attach the Feet to the Legs3. Attach the Side Rails4. Secure the Legs5. Attach the Headboard and Footboard6. Attach the Centre Rails and Slat Support Rails7. Install the Slats8. Final Check

No results

time4sleep
time4sleep / Toulon Wooden Sleigh Bed
Toulon Wooden Sleigh Bed - Oak Finish - Bed Frame Only
time4sleep

Instructions by

time4sleep

Toulon Wooden Sleigh Bed

Assembly instructions for Toulon Wooden Sleigh Bed by Time4Sleep.

Product Information

Toulon Wooden Sleigh Bed

Toulon Wooden Sleigh Bed

Our classic and much loved Toulon Sleigh Bed is now also available in an Oak Finish! Inspired by 18th century France this bed frame has been popular with all of our customer since day one. The timeless design allows this bed to match with any bedroom decor, as well as last the test of time. The Toulon bed is both versatile and luxurious in design, heralding graceful curves and sophisticated detail. Crafted from hardwood, the bed is finished in a beautiful Oak stain which helps to bring a fresh and vibrant atmosphere to the bedroom. The bed comes with a sprung slatted base.
View product (opens in new tab)
SKU
Toulon46WD, Toulon50WD, Toulon60WD, Toulon46Mahogany, Toulon50Mahogany, Toulon46White, Toulon50White
Double
Width145 cm
Length211 cm
Head End Height104 cm
Foot End Height65 cm

Before you start

  • Please read this sheet prior to assembly to familiarise yourself with the various stages of construction.
  • Carefully open the pack supplied and check the contents against the parts and fittings check list. Do not destroy any of the packaging until you are certain that you have all the necessary parts for the assembly.
  • Please ensure that the packaging is disposed of in a safe environmentally friendly way.
  • Caution: There are small components used in the construction of this unit. These loose items should be kept away from young children during assembly, to avoid danger of choking.

Care & Maintenance

  • In the unlikely event of missing or damaged parts, please contact your retailer.
  • Please have this guide at hand quoting the part code reference numbers shown when requesting spare or replacement parts.

General Hints & Tips

  • Two person assembly
  • Please retain your assembly instruction and tools provided for future use. Periodically check that all bolts are still tight.

Tools

Bolts
A - Bolts (M8x40mm)(11 for Double & King, 14 for Super King)
Bolts
B - Bolts (M8x80mm)
Nuts for M8 bolts
C - Nuts for M8 bolts
Flat washers for M8 bolts
D - Flat washers for M8 bolts
Spring washers for M8 bolts
E - Spring washers for M8 bolts
bracket
F - Bracket
Spanner for M8 bolts
G - Spanner for M8 bolts
Bolts
H - Bolts (M8x20mm)(6 for Double & King, 8 for Super King)
I - Screw (4x45mm)
I - Screw (4x45mm)
Allen Key for M8 bolt
J - Allen Key for M8 bolt
bolts
K - Bolts (M8x65mm)
Dowel
L - Dowel (10x40mm)
Wooden cover
M - Wooden cover (19.5x5mm)

Parts

Parts
1Headboard
2Headboard Leg - LH
3Headboard Leg - RH
4Headboard Feet
5Footboard
6Footboard Leg - LH
7Footboard Leg - RH
8Footboard Foot - LH
9Footboard Foot - RH
10Side Rail - LH
11Side Rail - RH
12Slat Support Rail
13Centre Rail (1 for Double & King, 2 for Super King)
14Centre Rail Support Legs (3 for Double & King, 6 for Super King)
15Bentwood Slats (24 for Double, 26 for King, 39 for Super King)
16Single Plastic Caps (24 for Double and King, 26 for Super King)
17Double Plastic Caps (12 for Double, 13 for King, 26 for Super King)

1. Assemble the Centre Rail

Assemble the Centre Rail

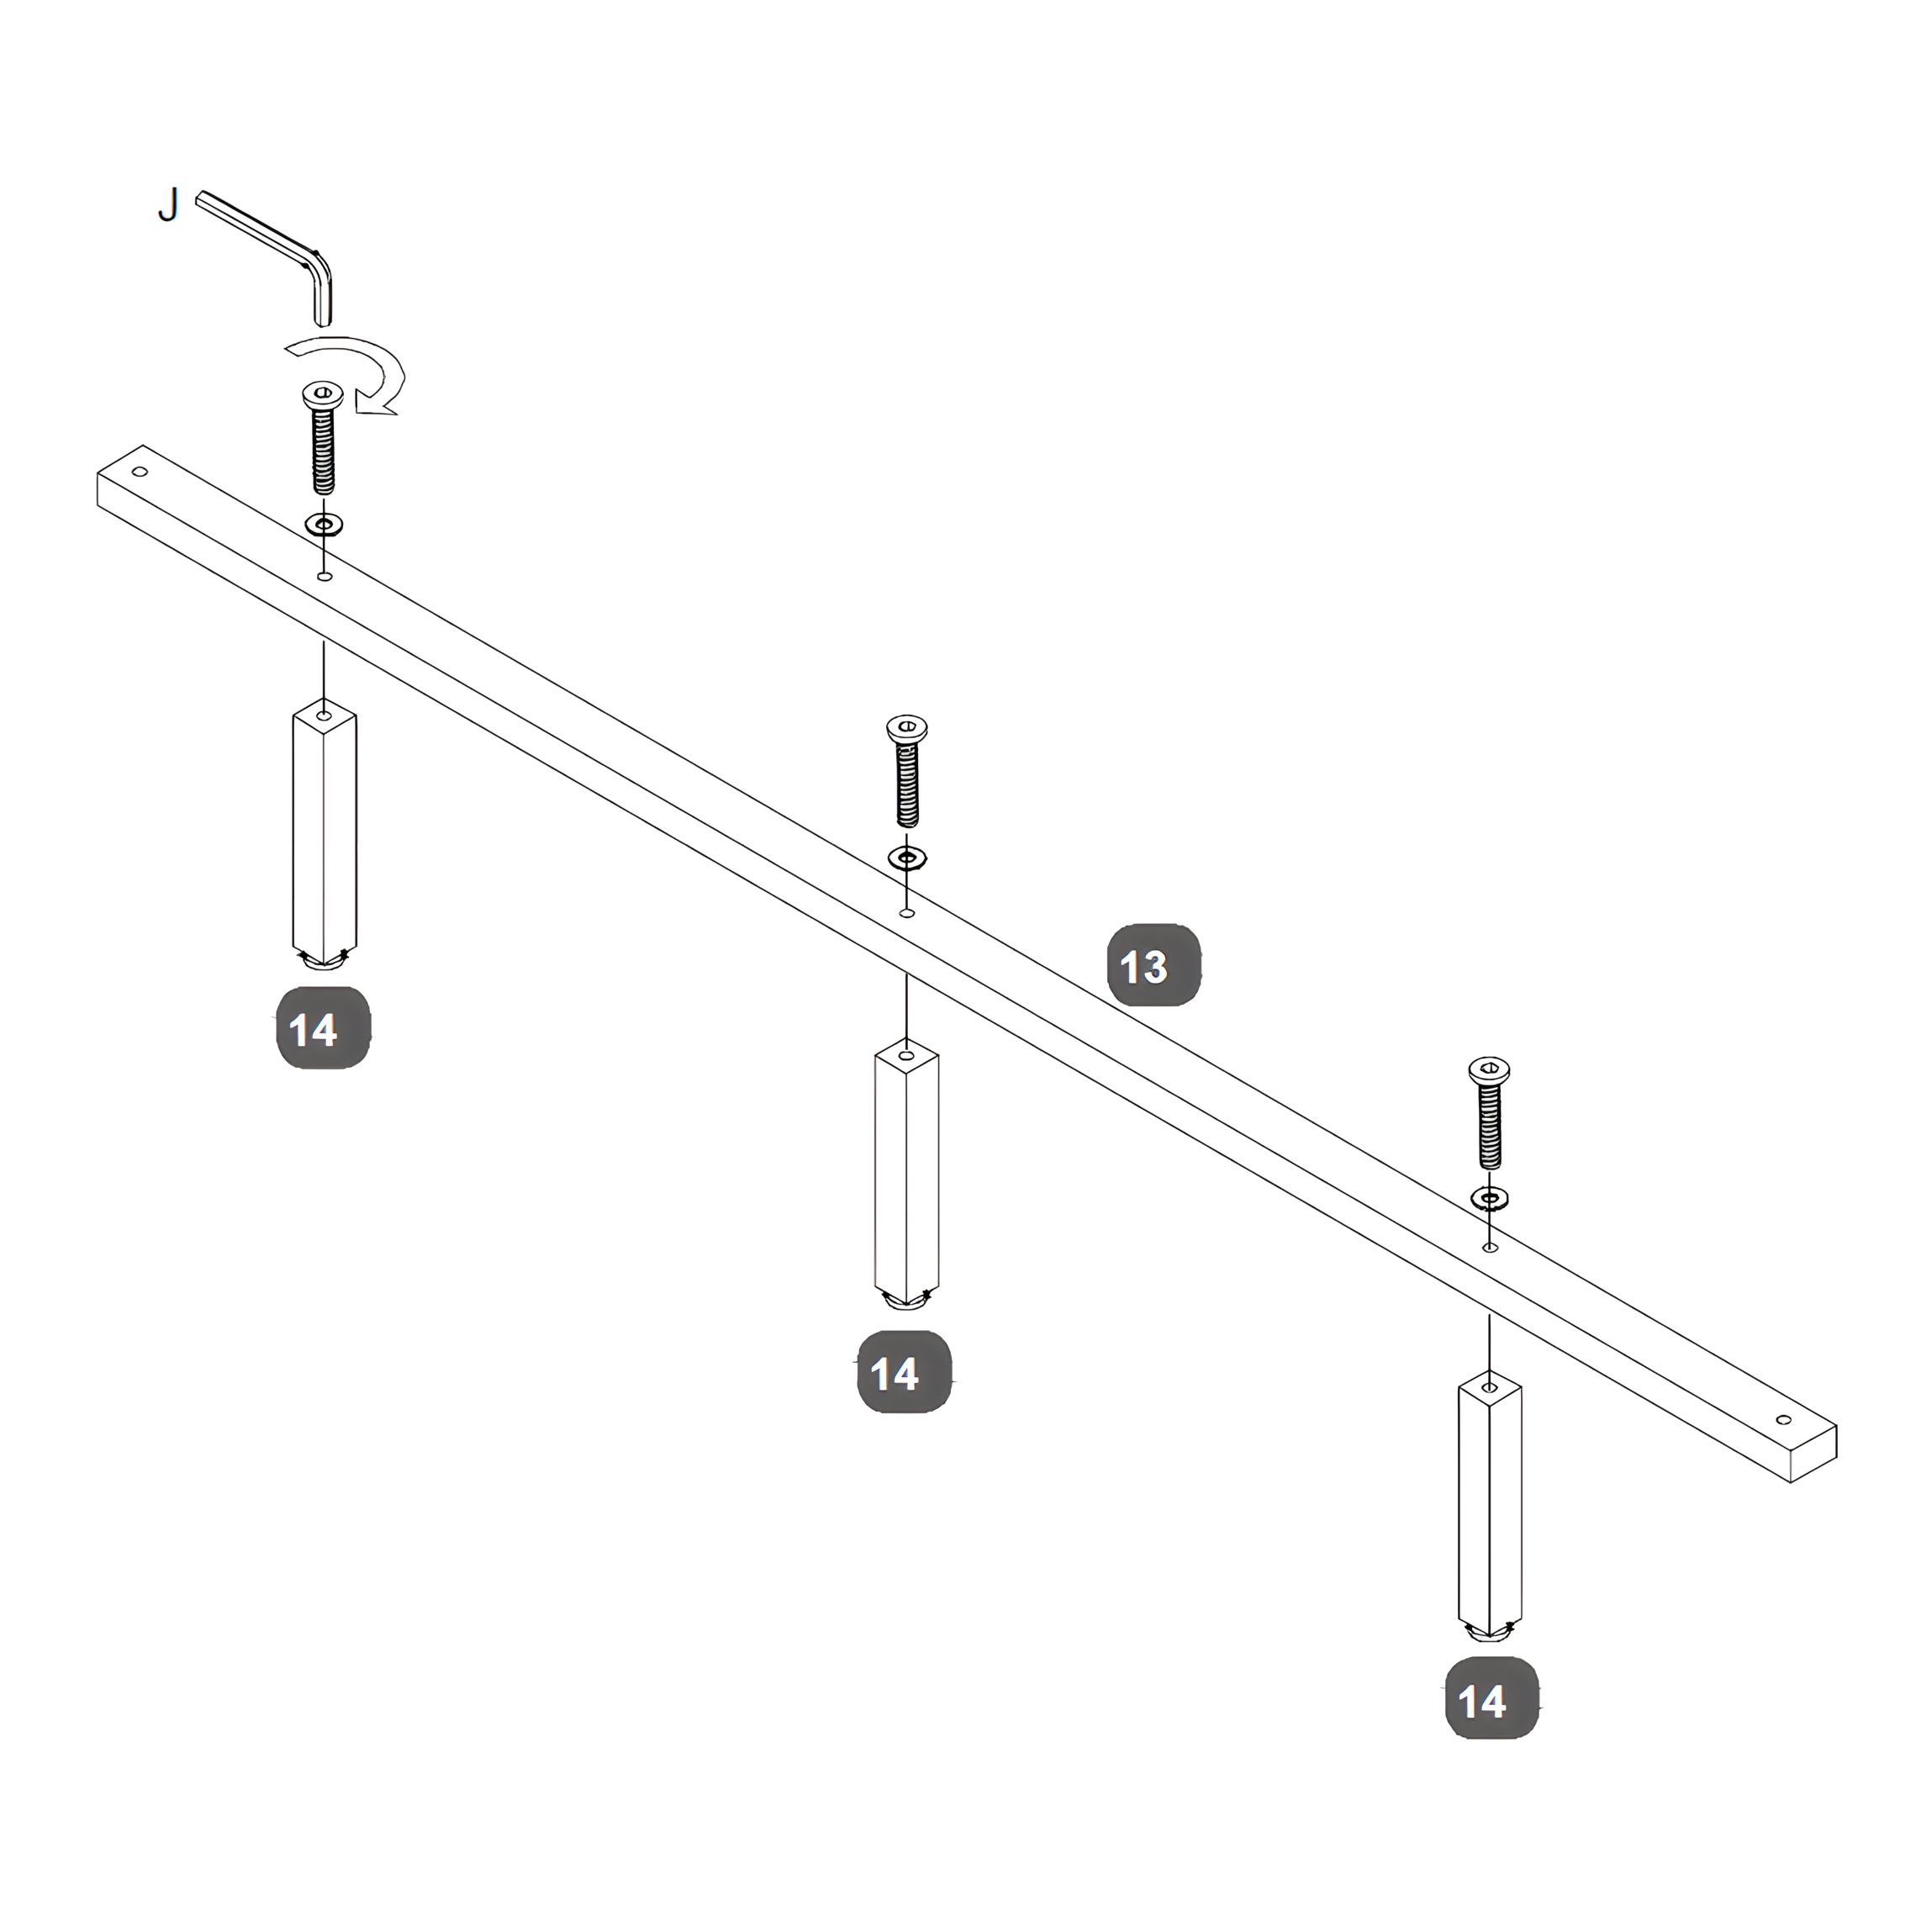
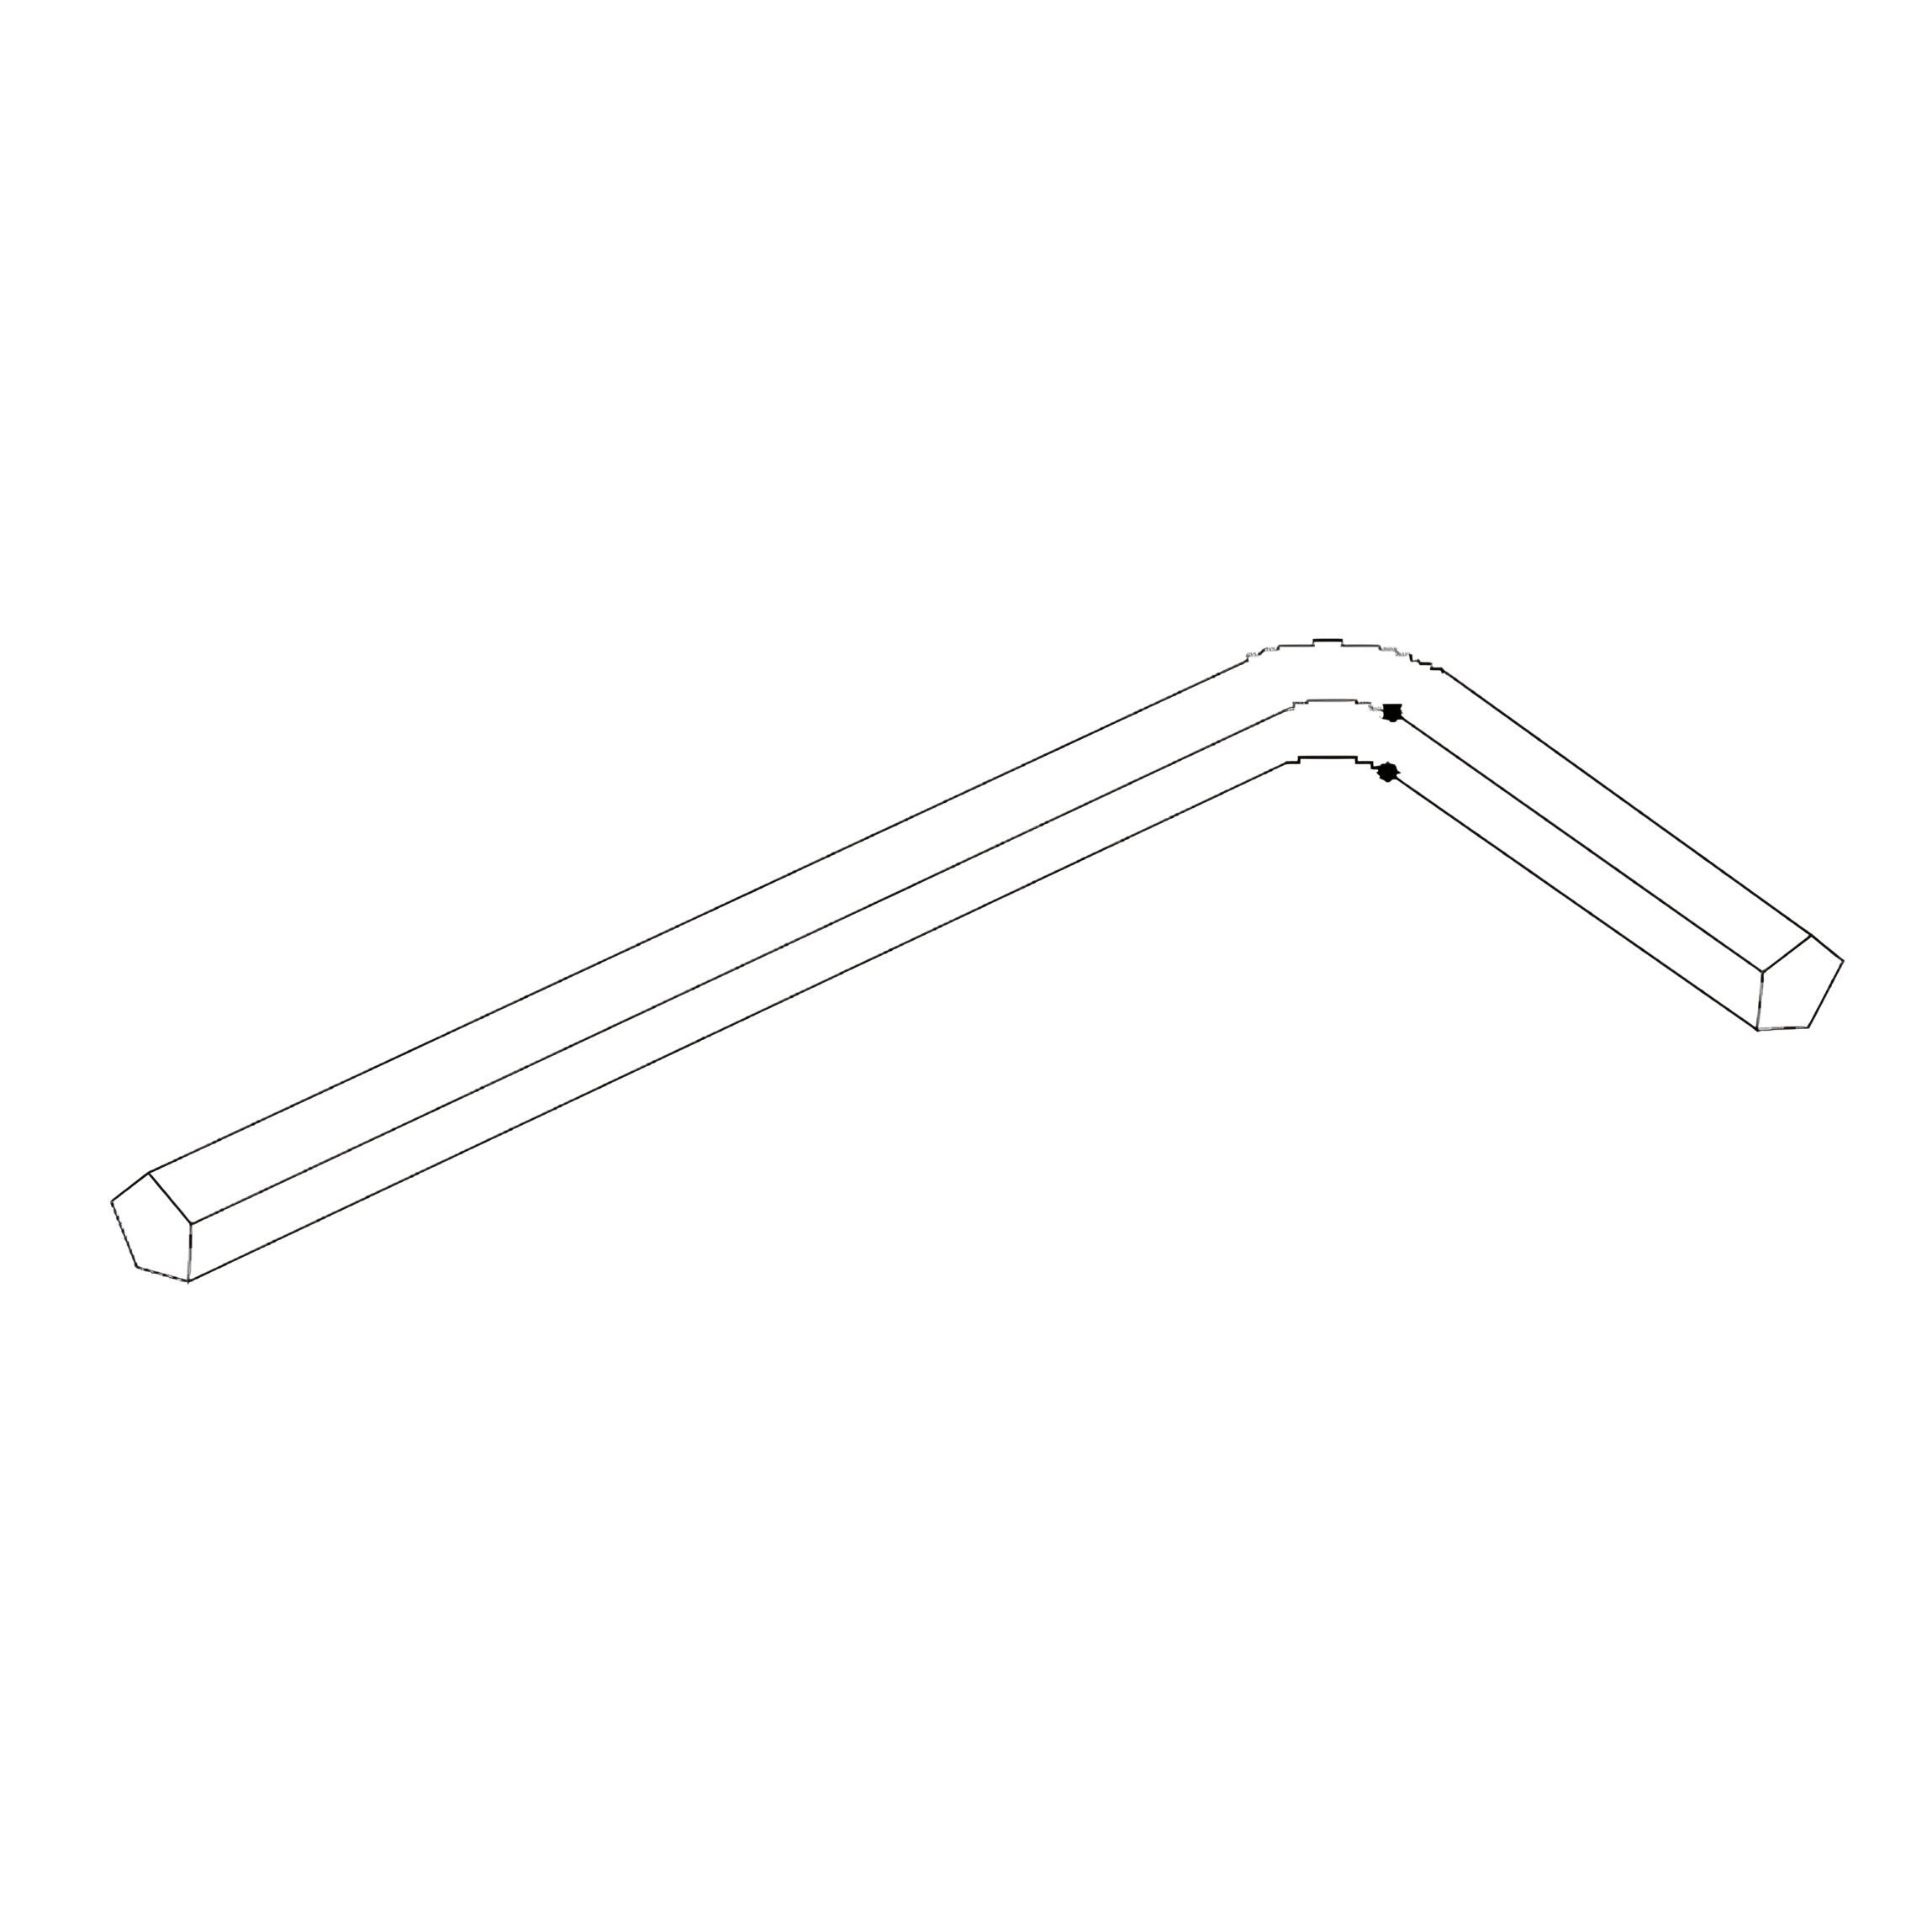
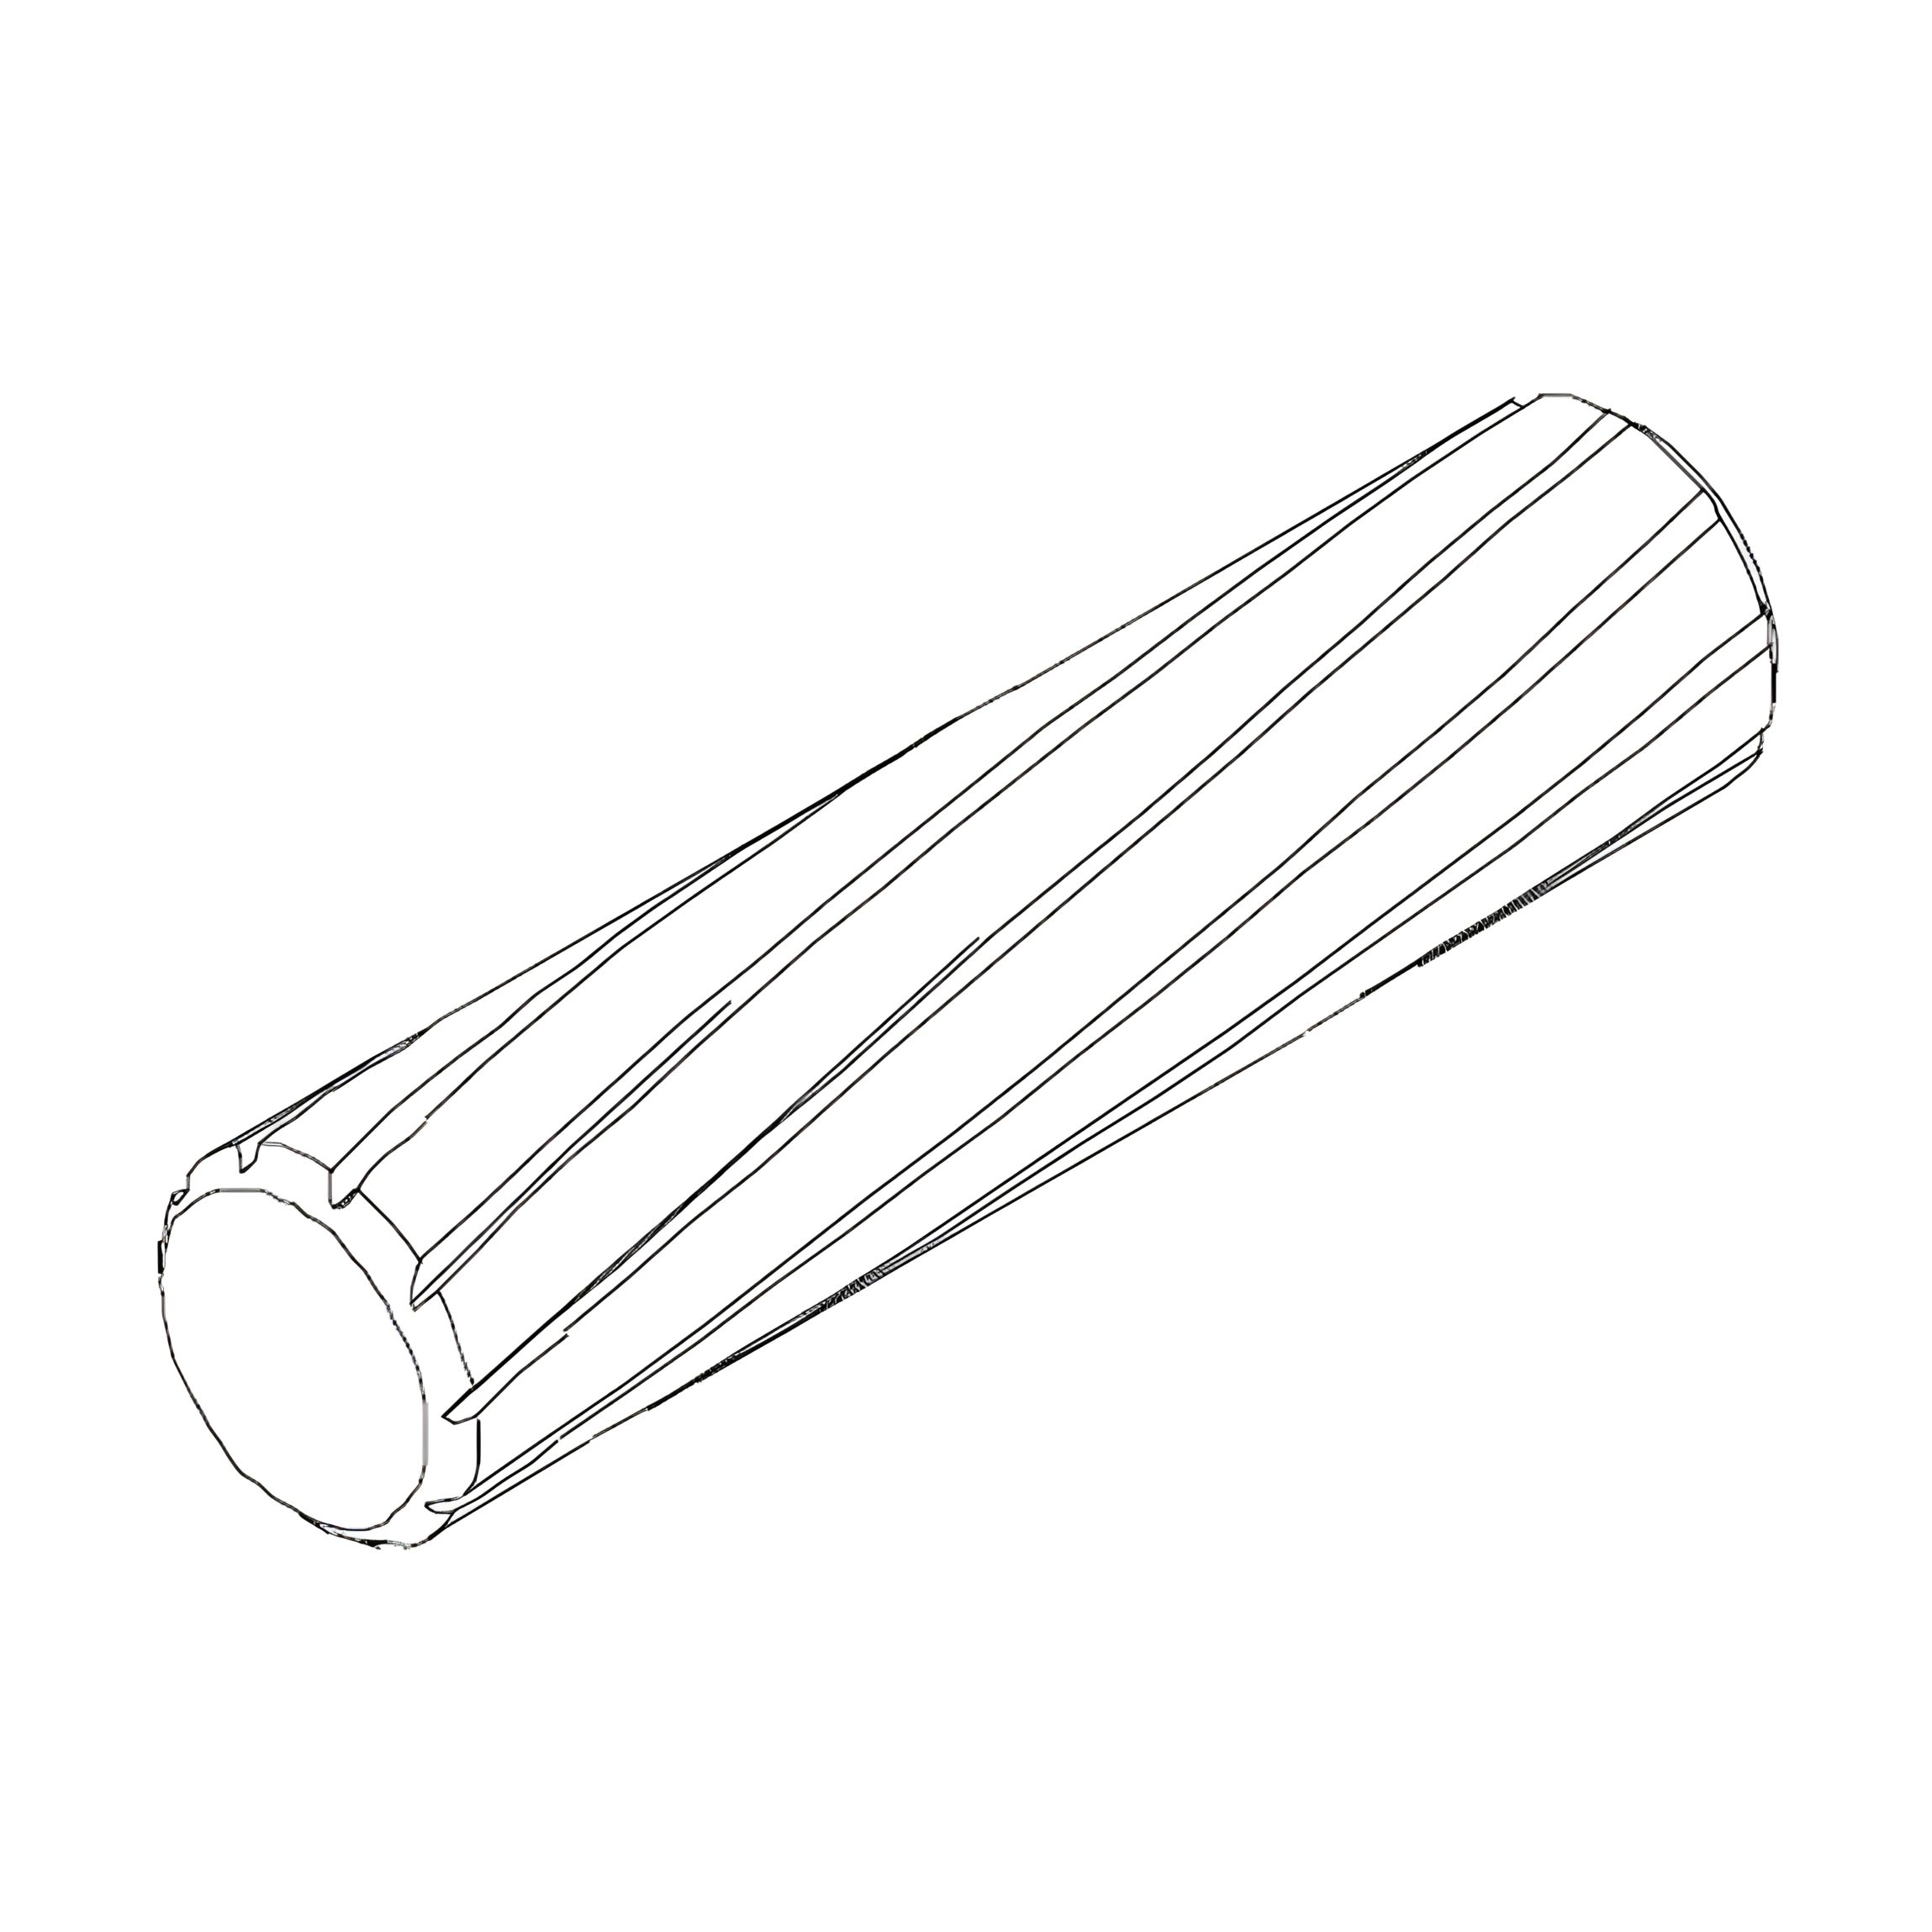
1. Place the Centre Rail (13) on a flat surface.
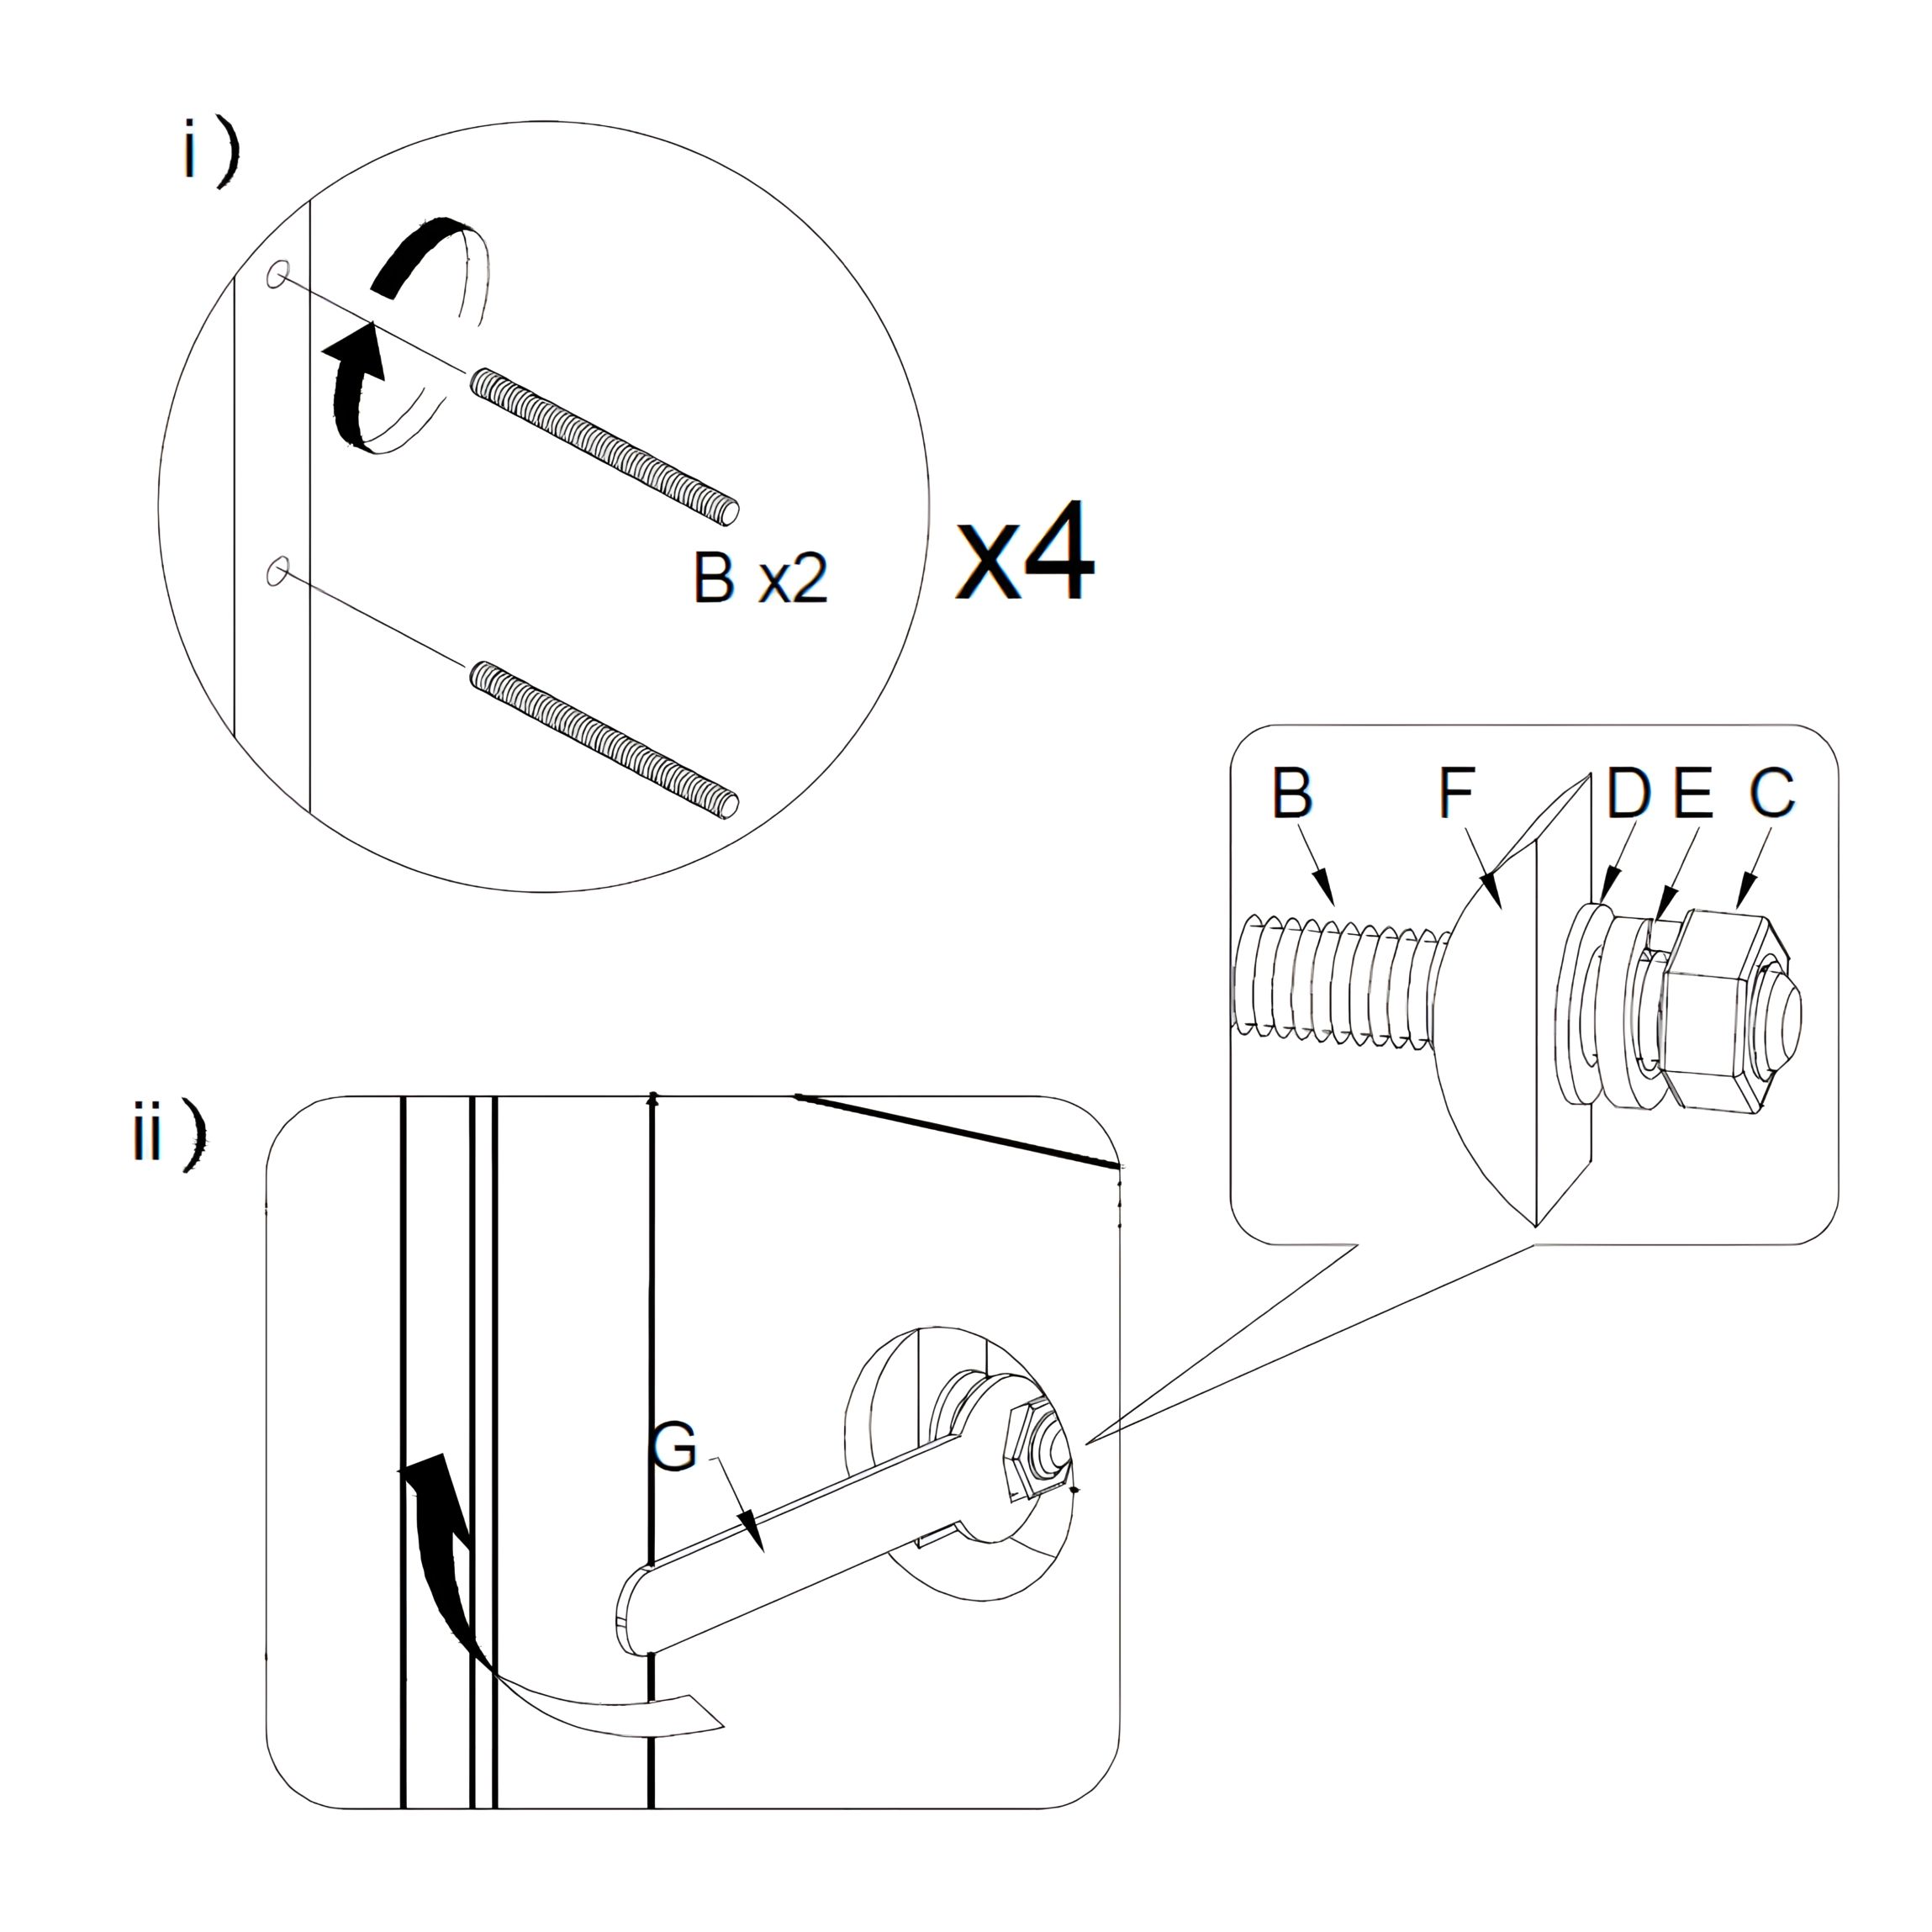
2. Align each Support Leg (14) with the pre-drilled holes underneath the rail.
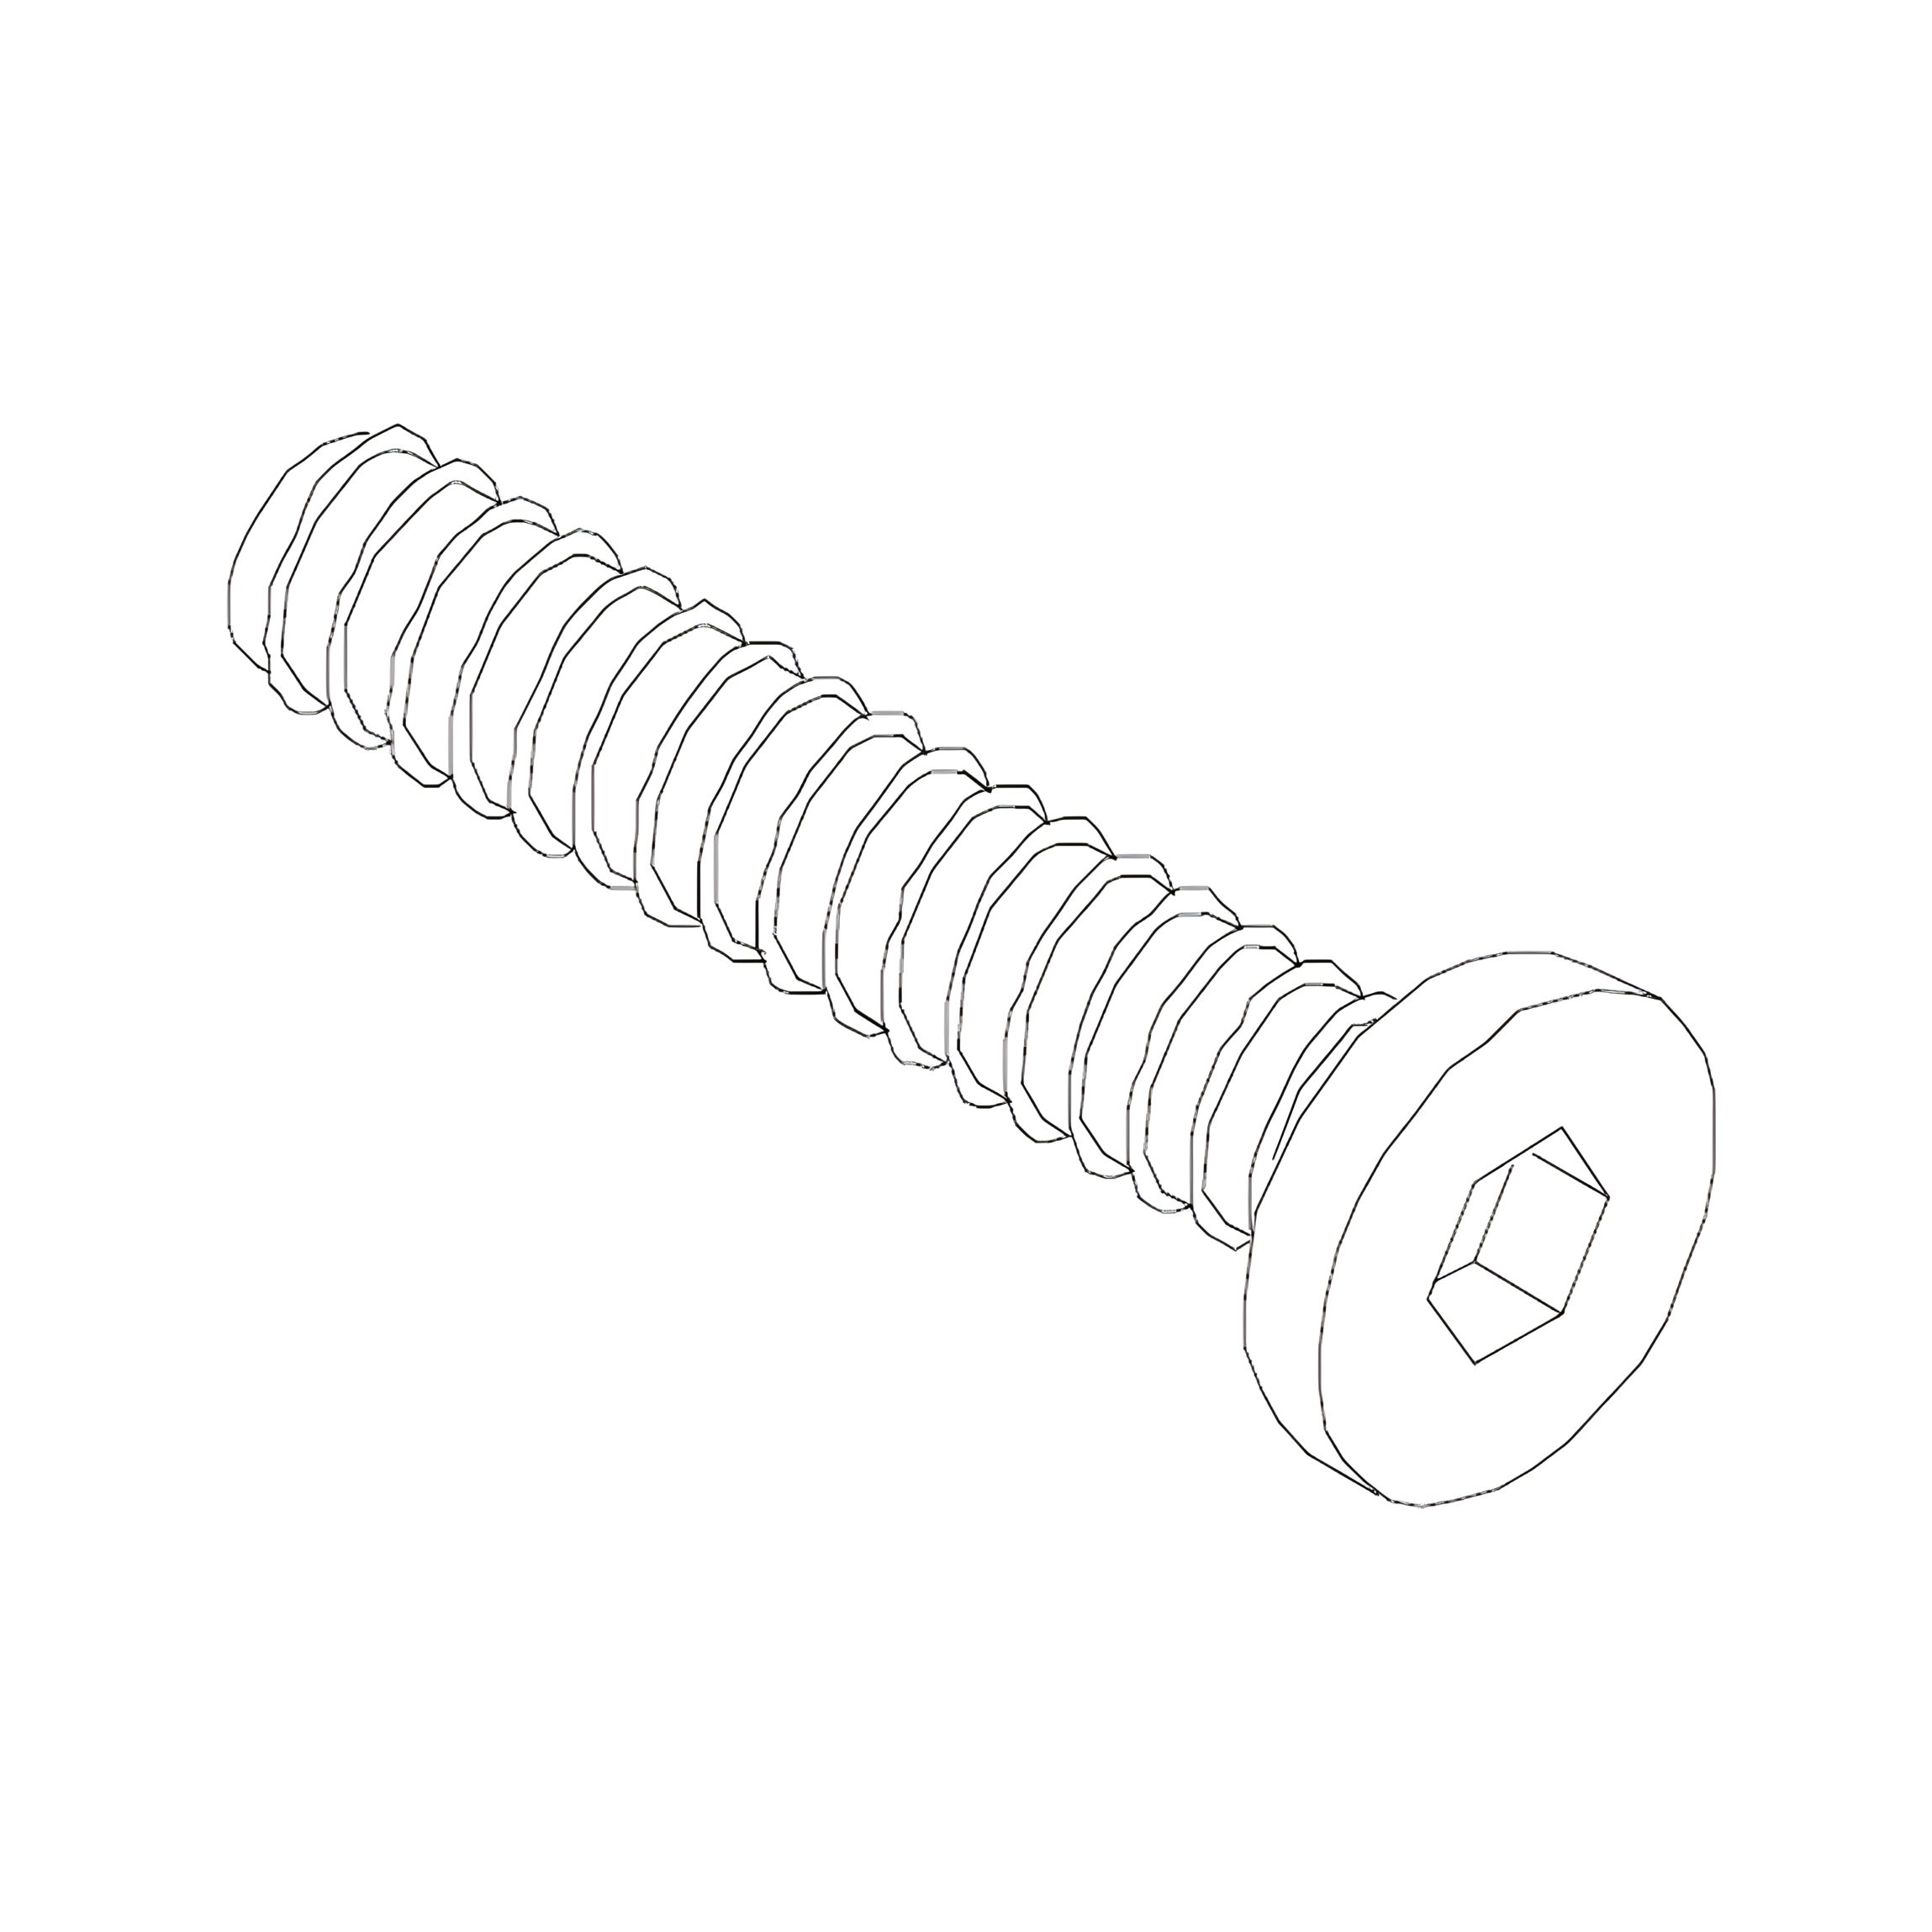
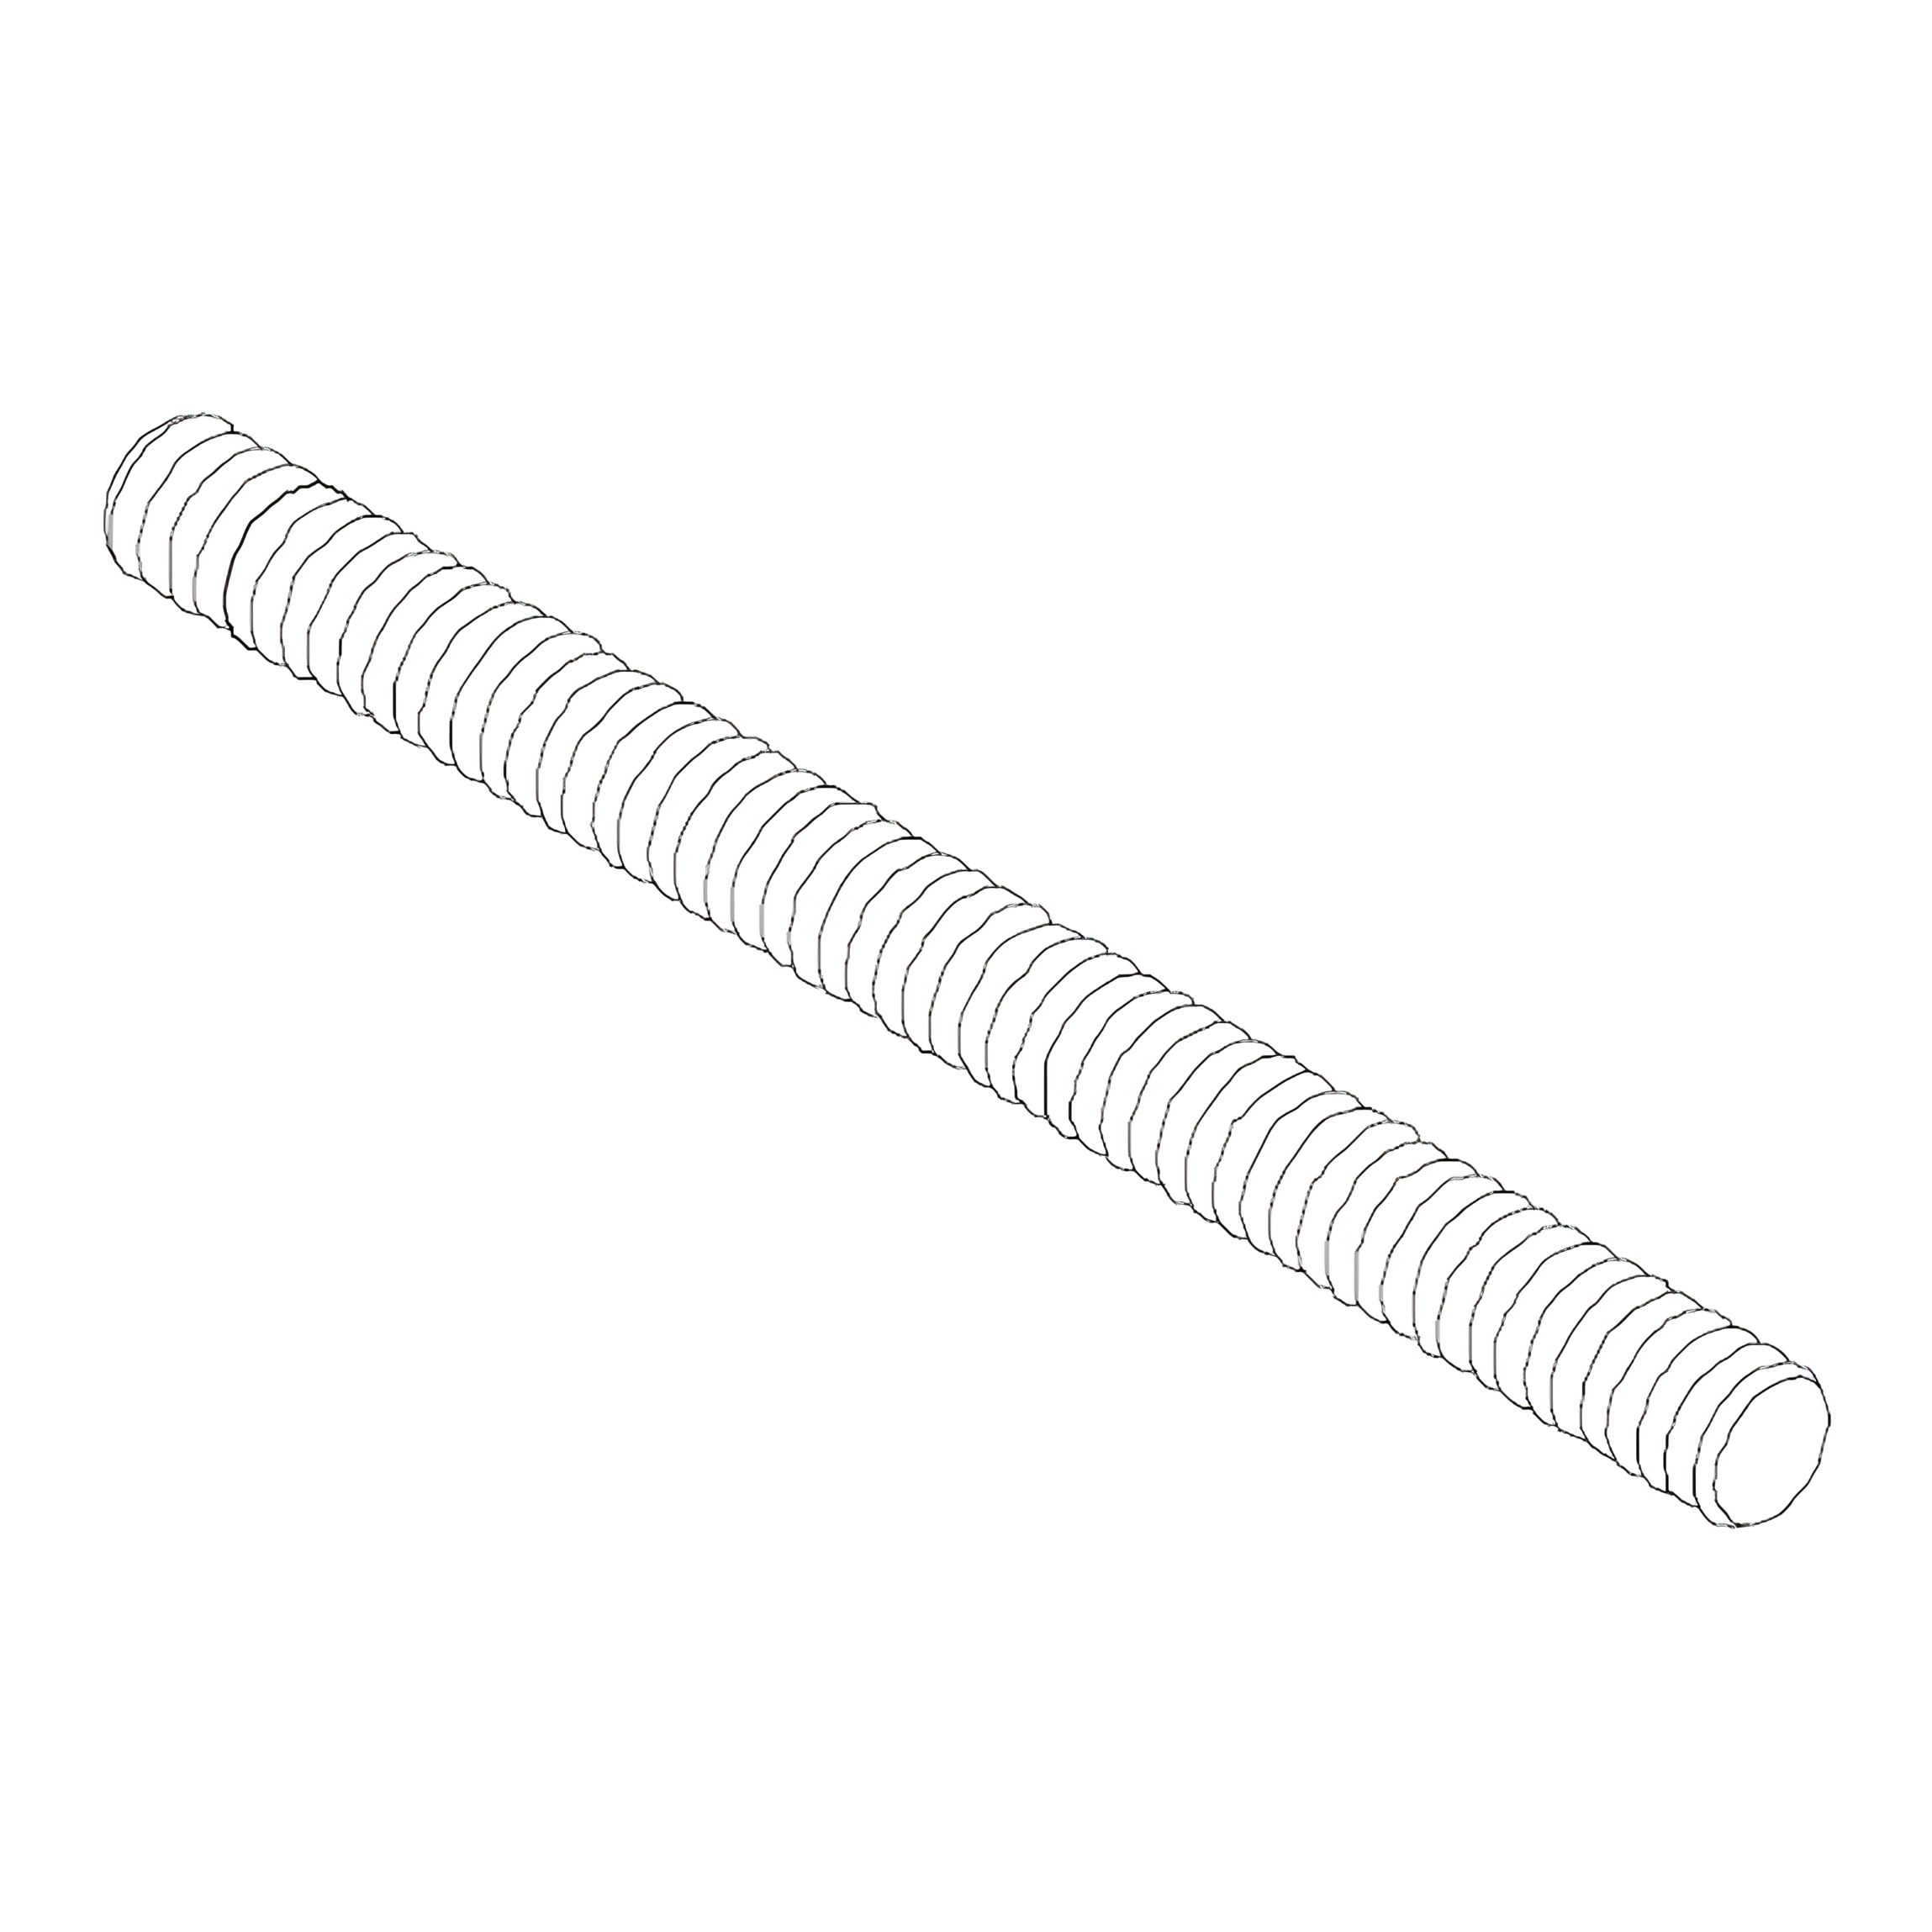
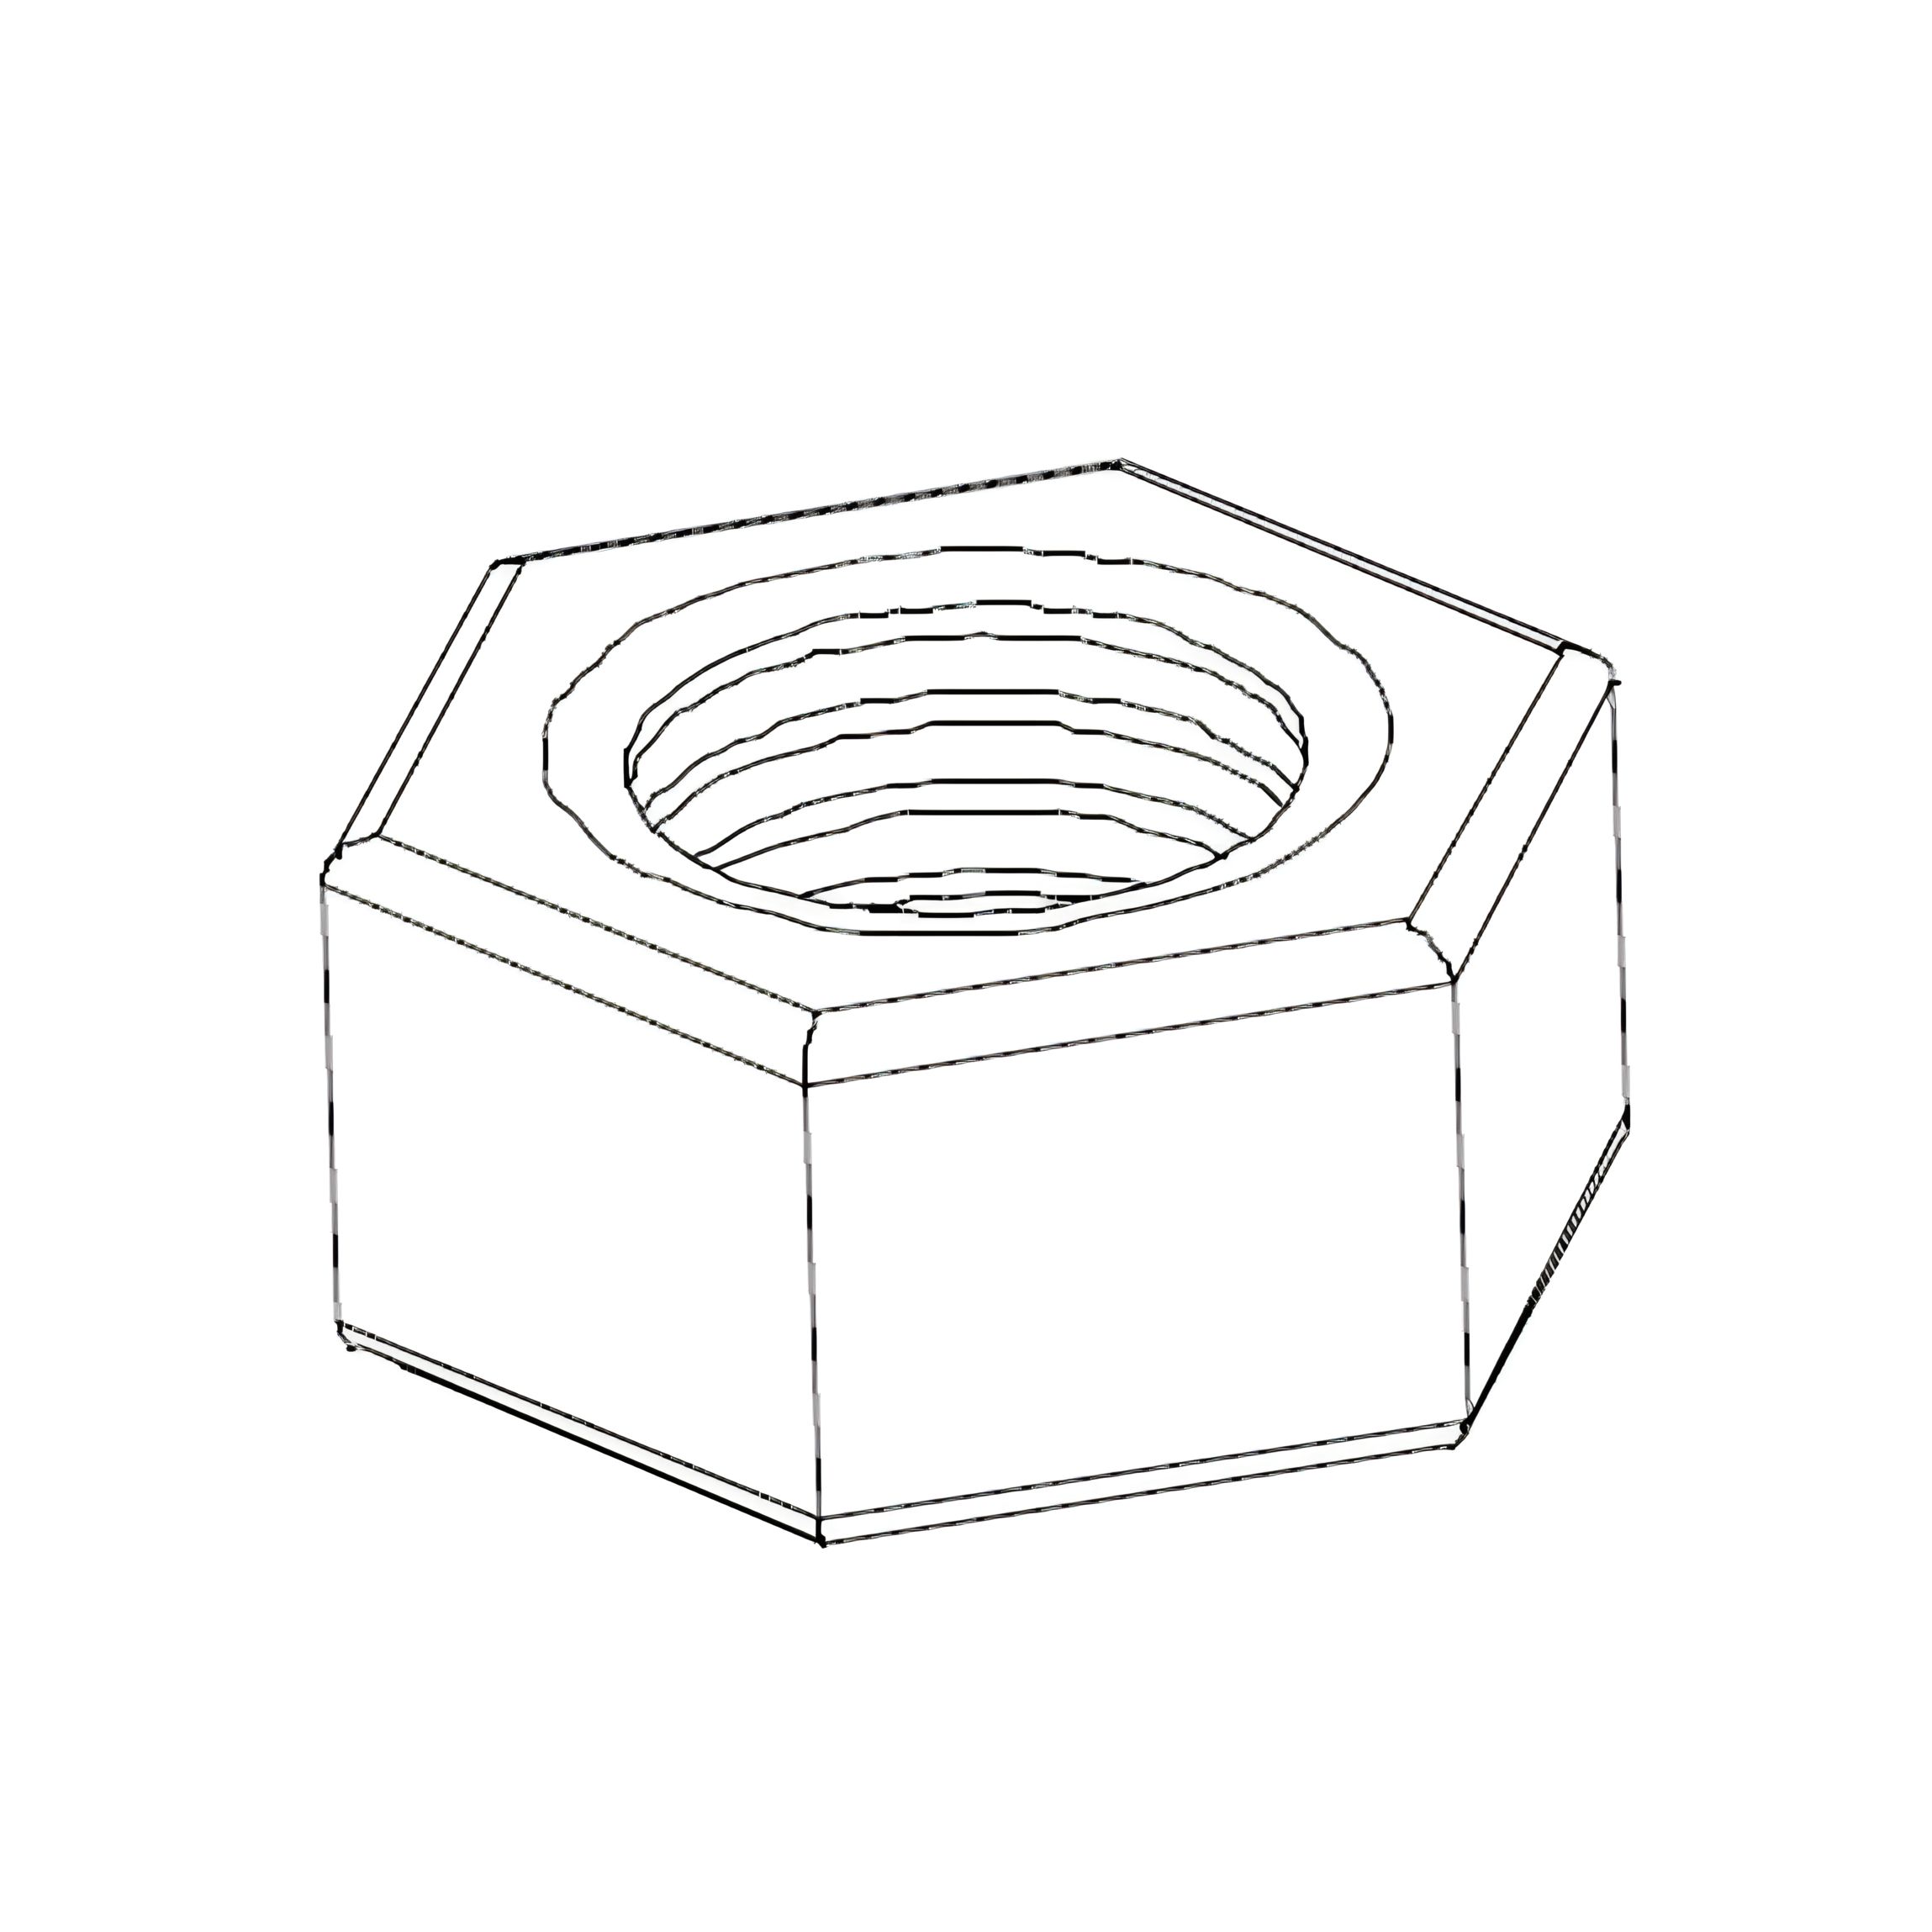
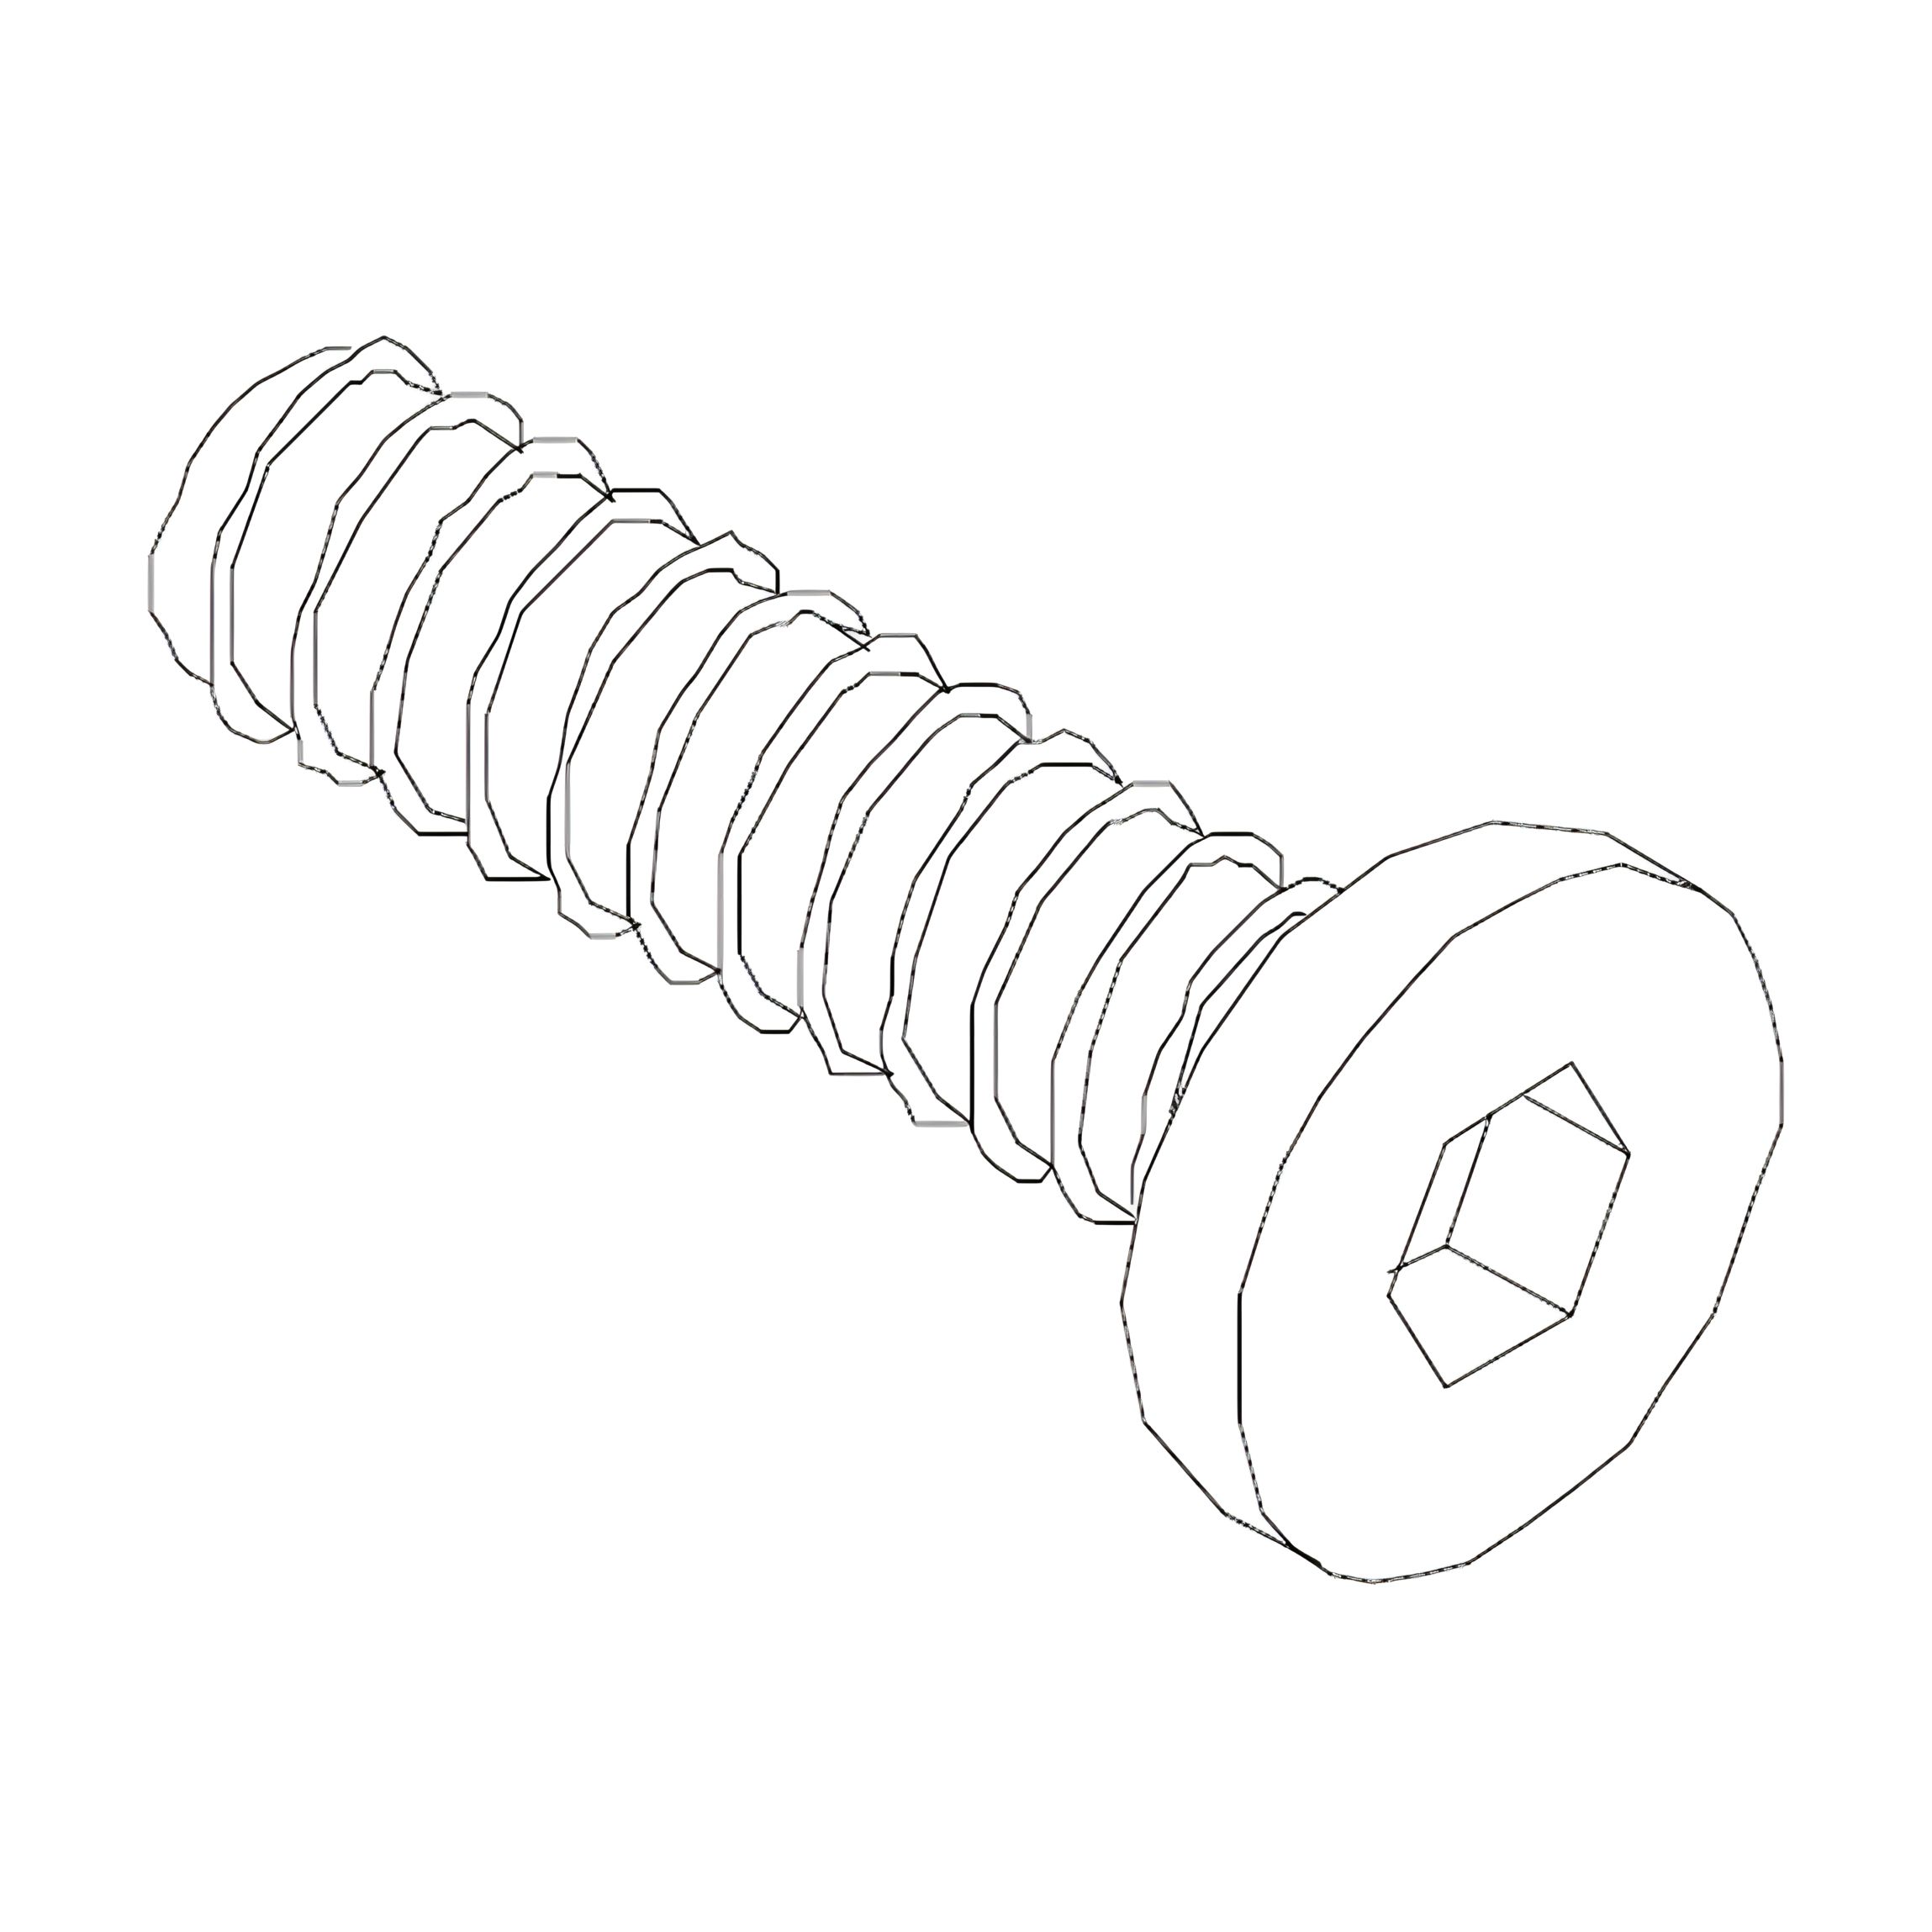
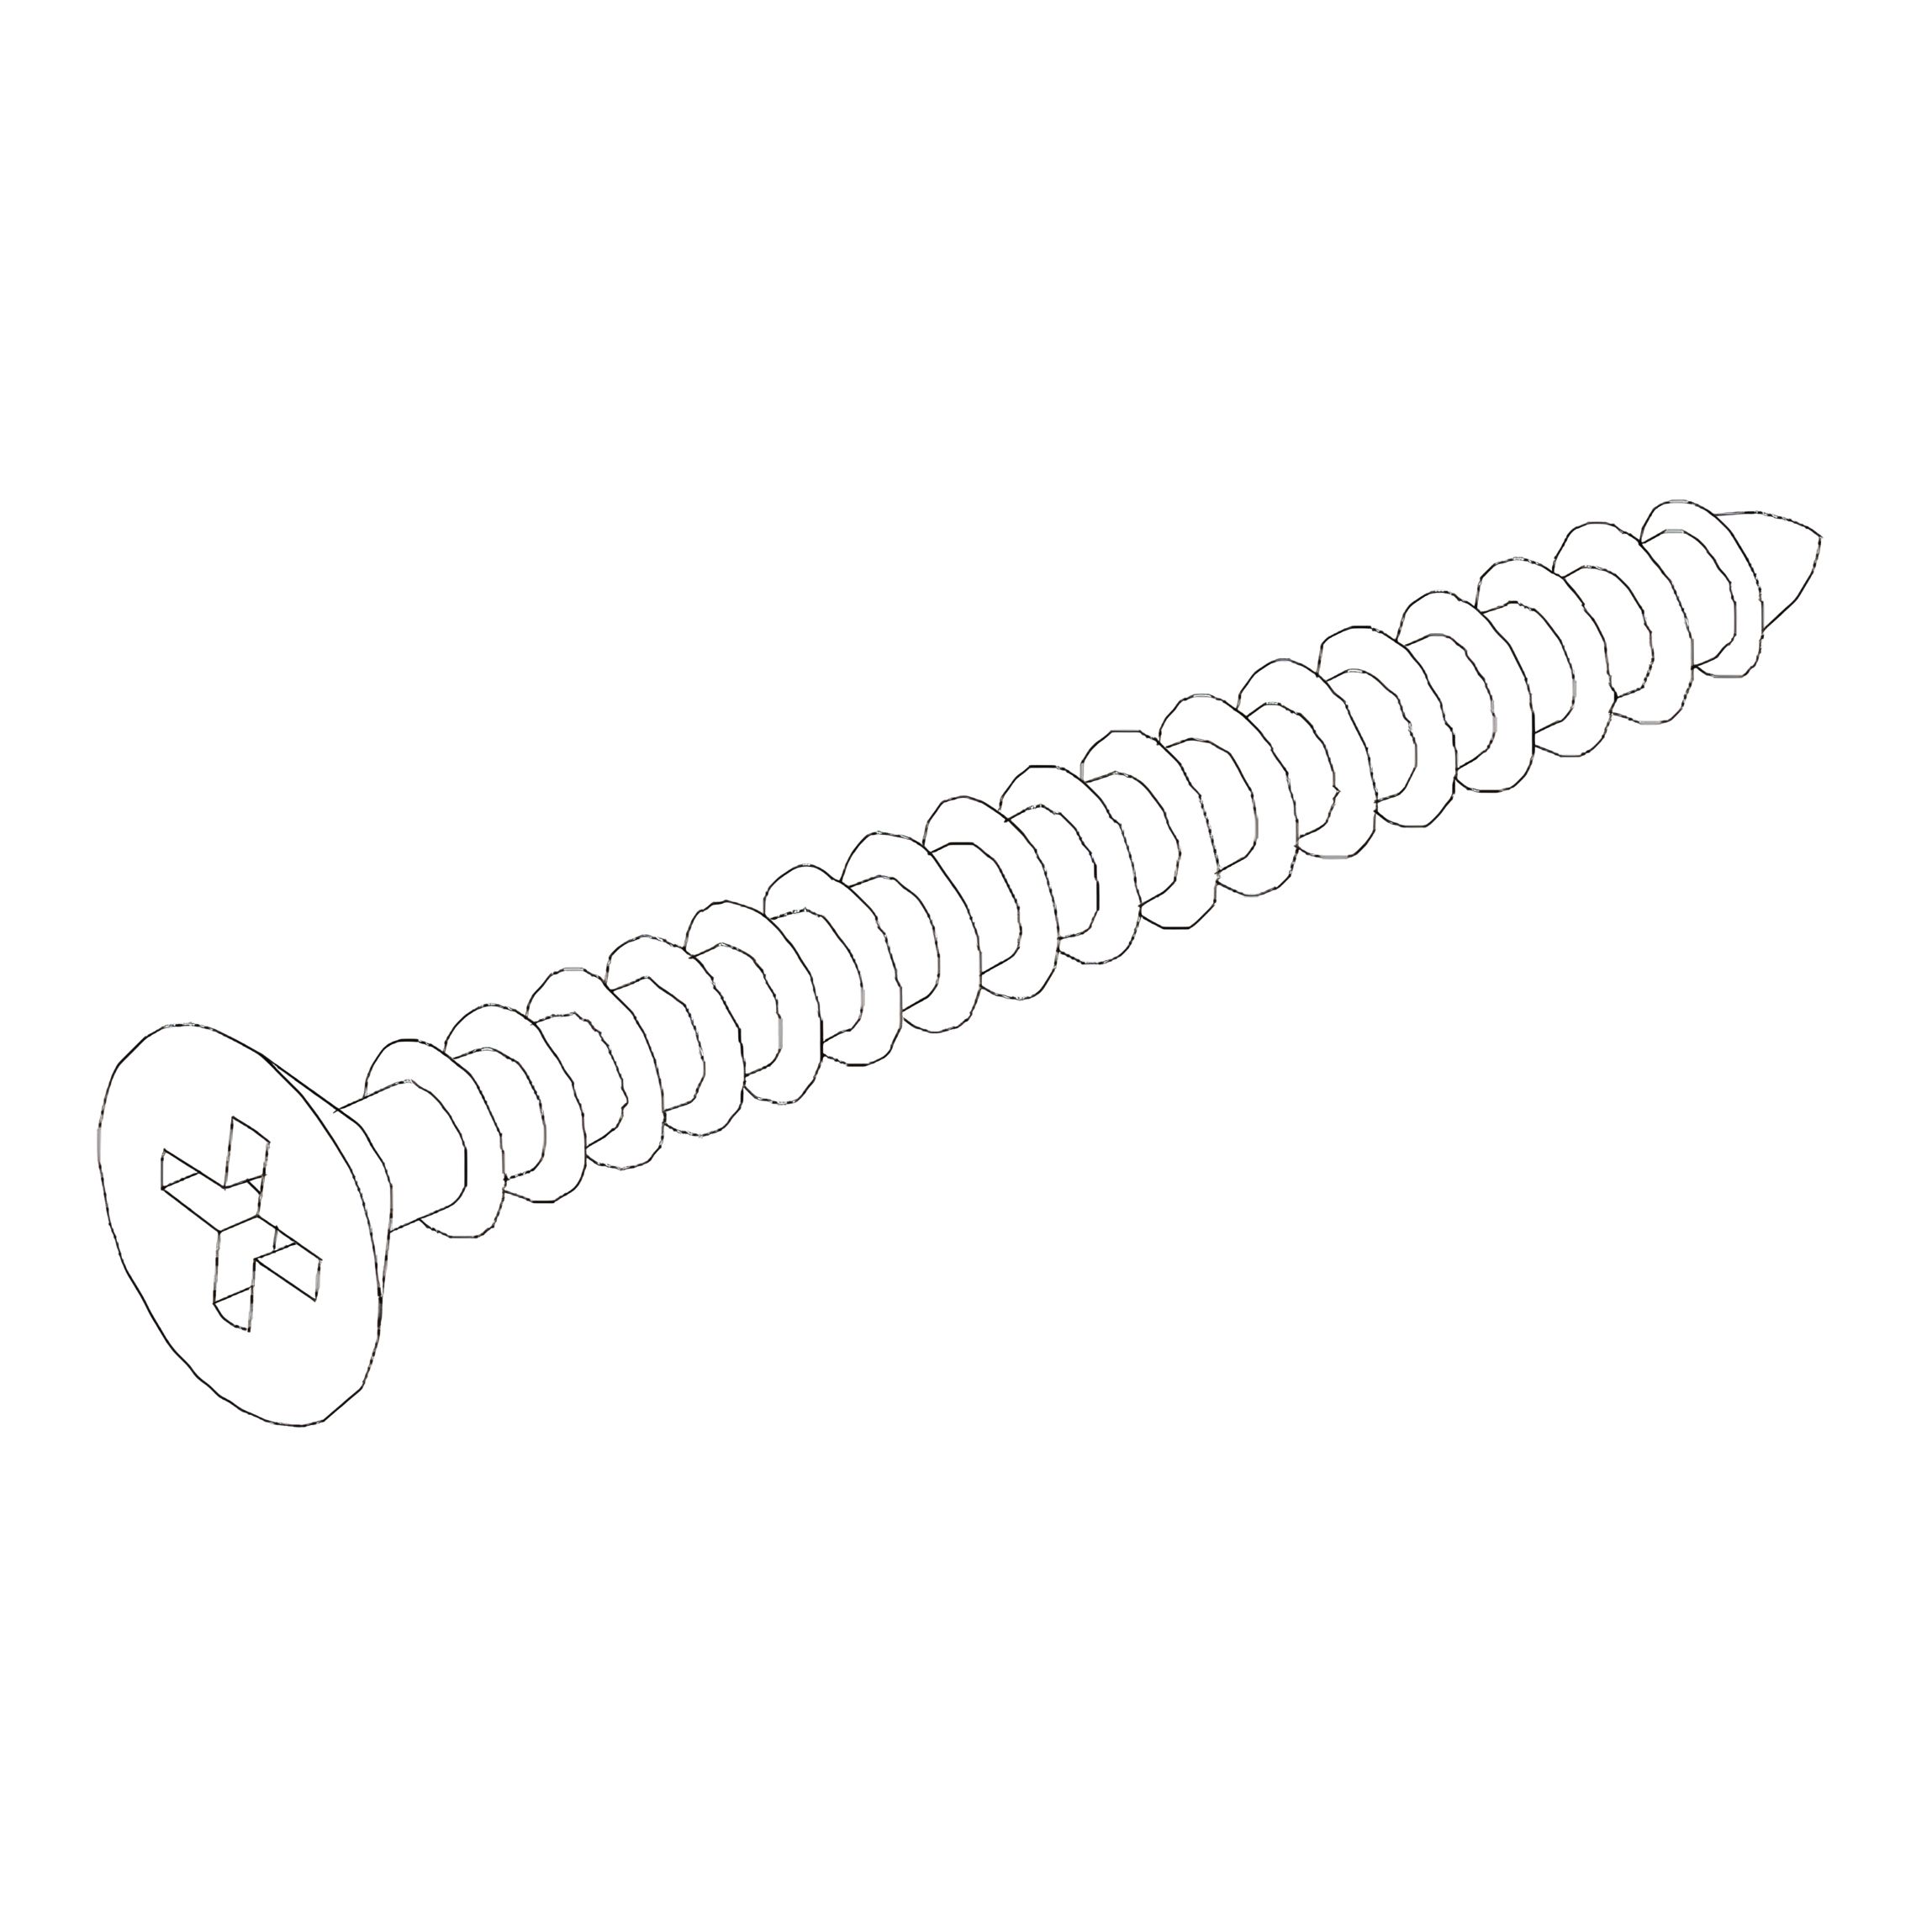
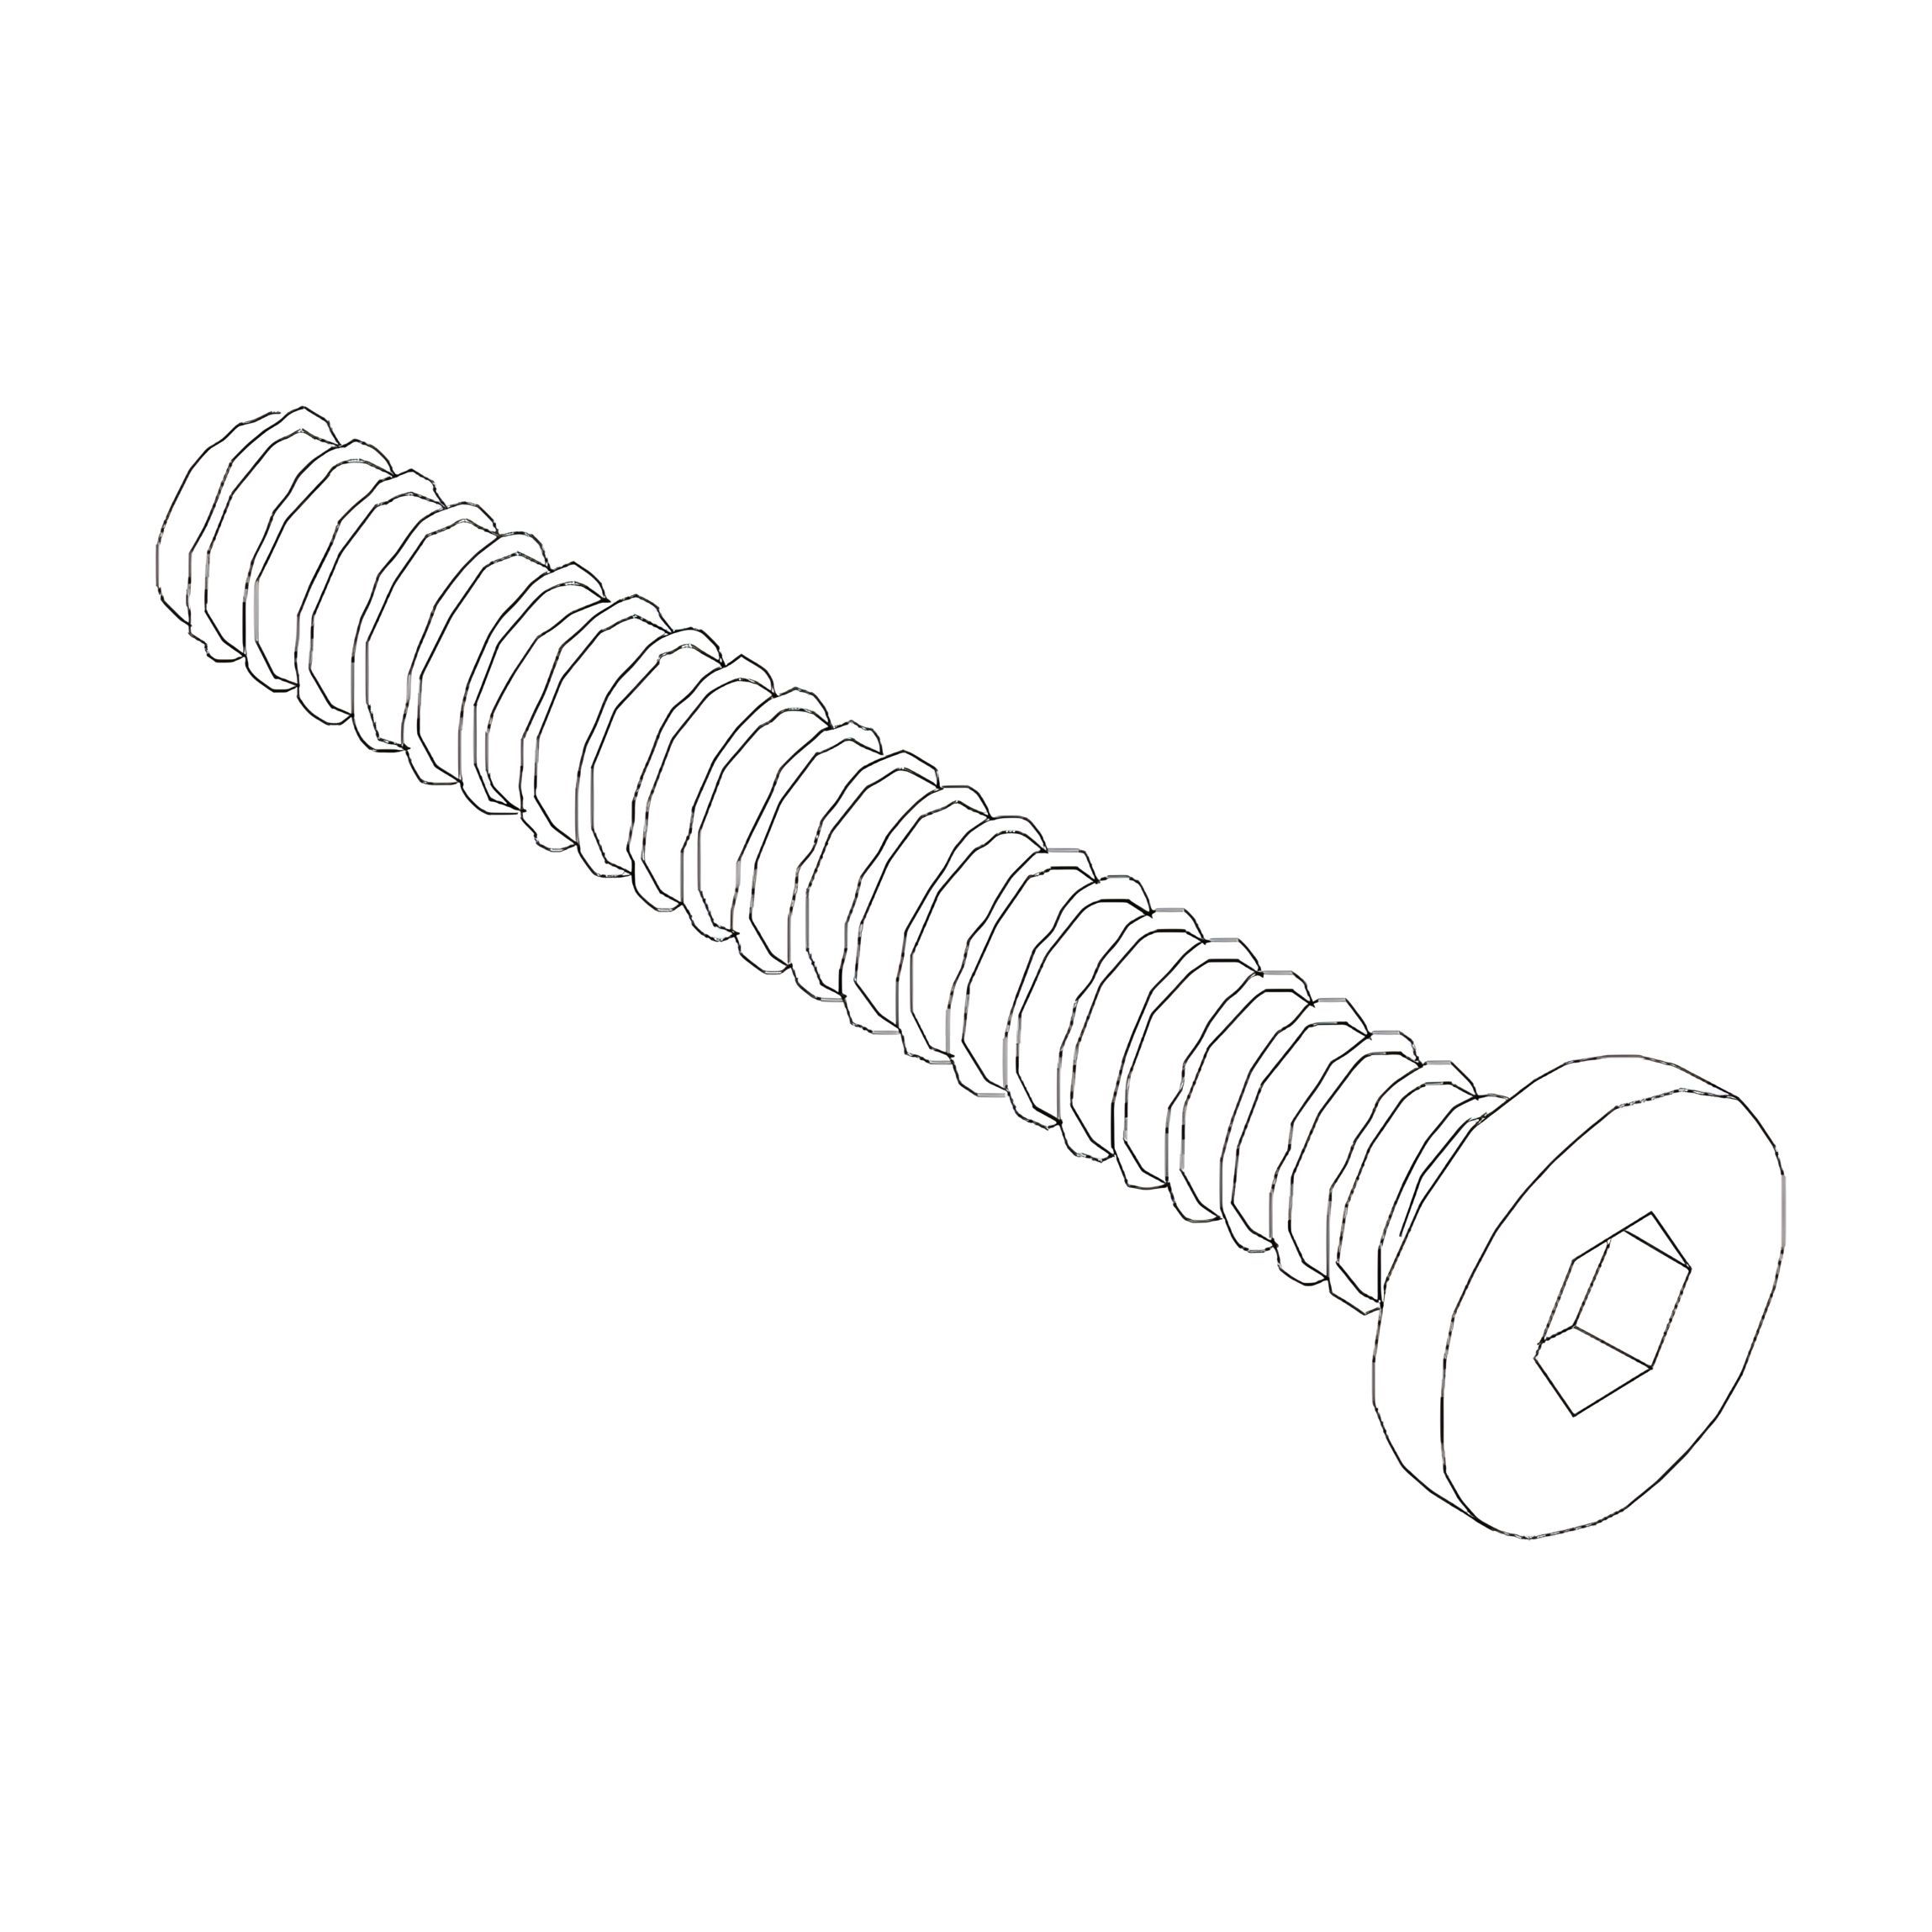
3. Insert Bolts with Flat Washers and Spring Washers through the holes into each leg.
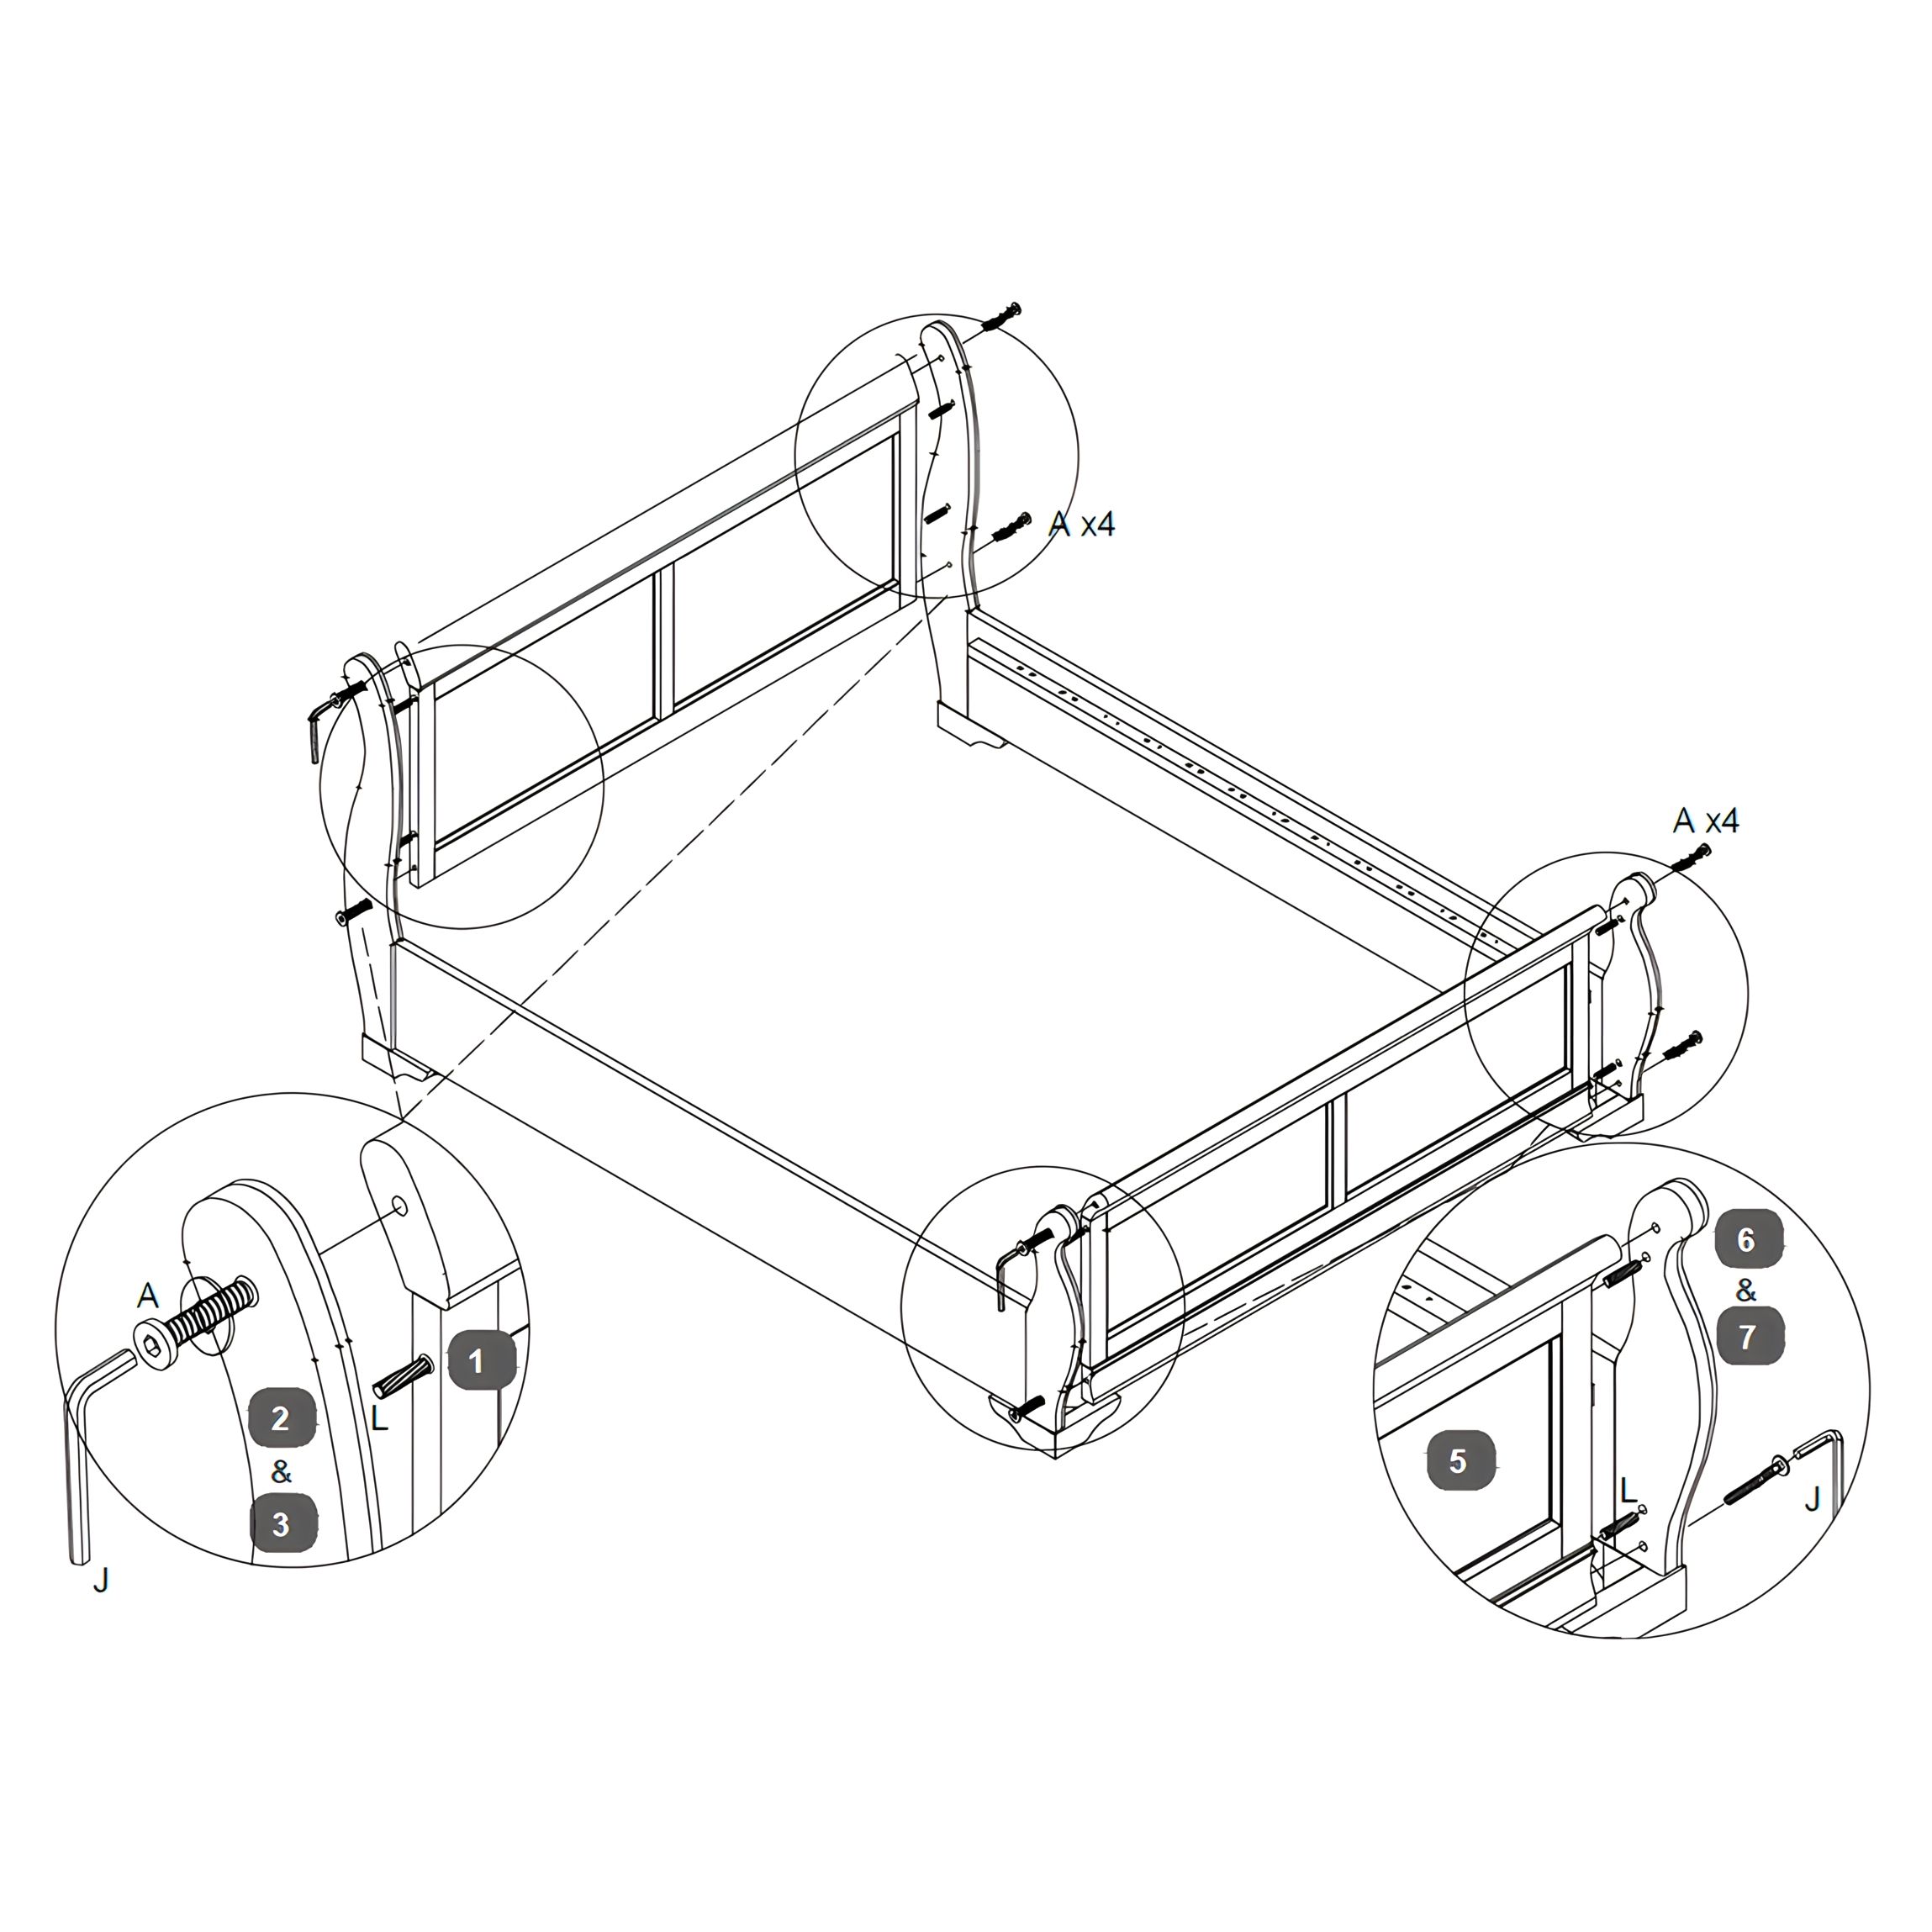
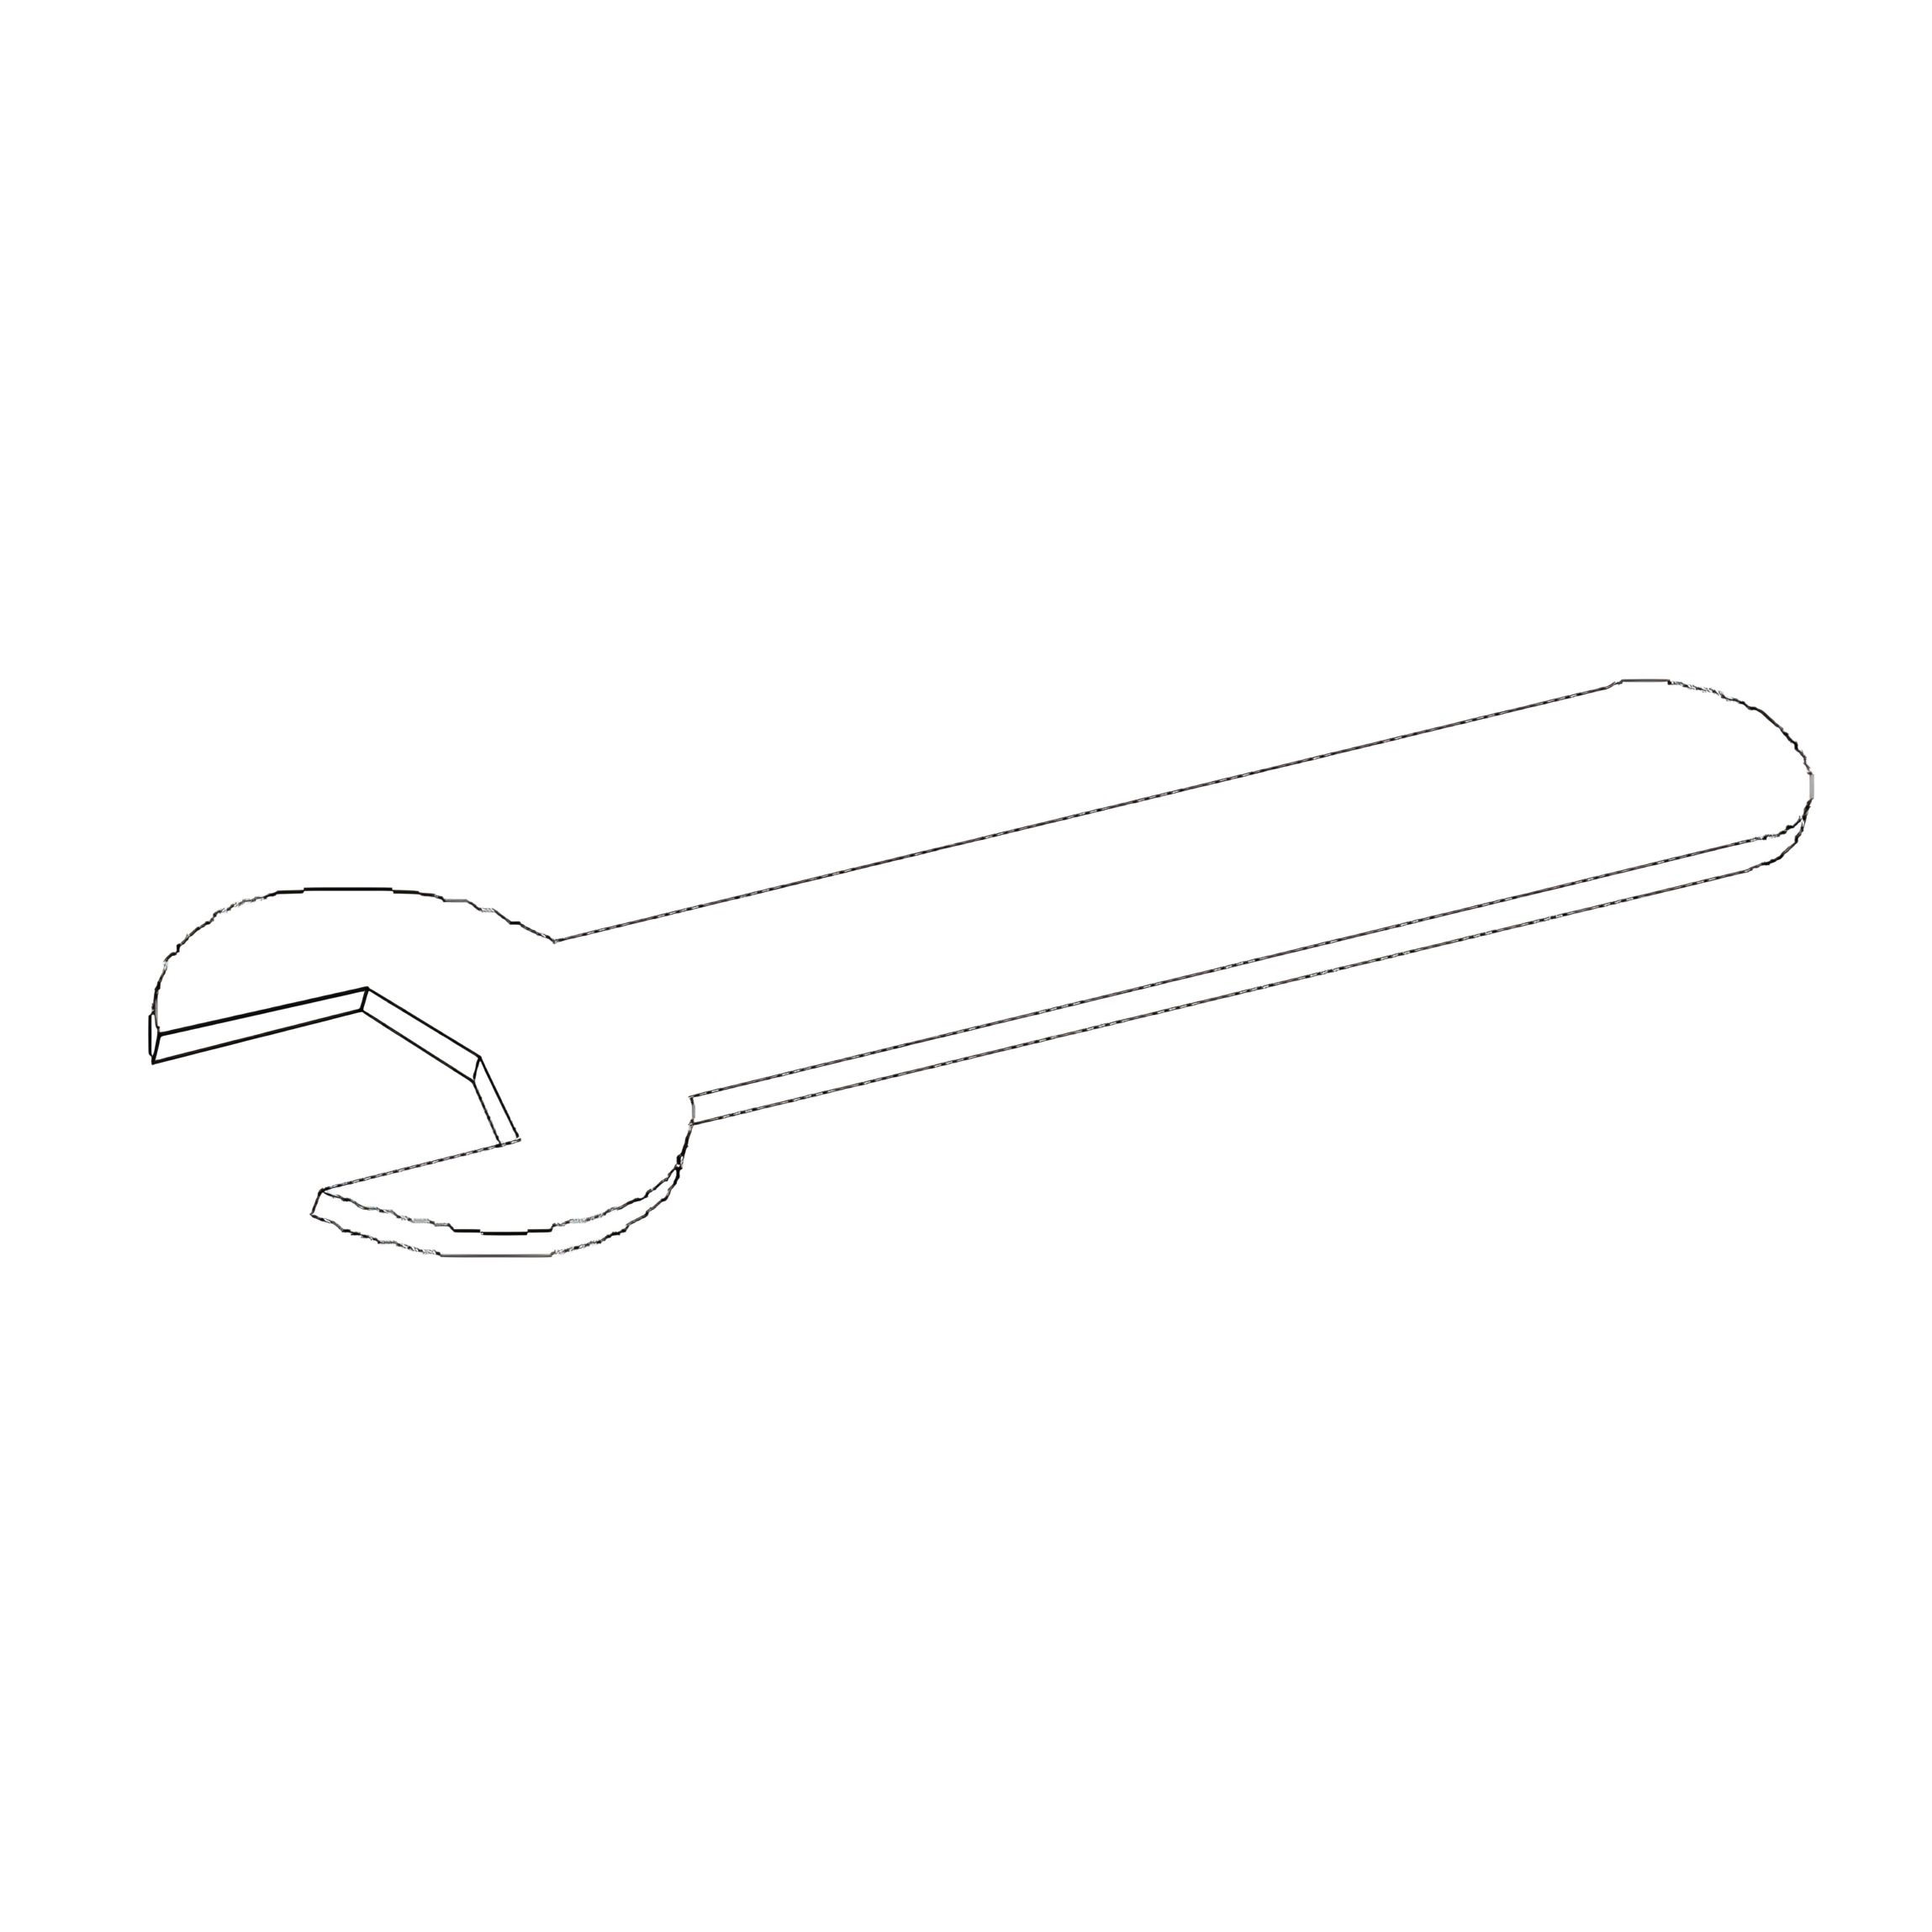
4. Tighten all bolts securely using the Allen Key (J).

Note: If assembling the Super King size, assemble two Centre Rails instead of one.

2. Attach the Feet to the Legs

Attach the Feet to the LegsAttach the Feet to the Legs

1. Attach the Footboard Leg - LH (6) to the Footboard Foot - LH (8) using two Bolts (K).
2. Attach the Footboard Leg - RH (7) to the Footboard Foot - RH (9) in the same way.
3. Then, attach the Headboard Leg - LH (2) to one Headboard Foot (4) using two Bolts (K).
4. Repeat for the Headboard Leg - RH (3) and the remaining Headboard Foot (4).

3. Attach the Side Rails

Attach the Side RailsAttach the Side Rails close up

1. Position the Headboard Legs (2, 3) and Footboard Legs (6, 7) upright.
2. Connect the Side Rails (10, 11) between the legs by aligning the bolt holes.
3. Insert two Bolts (B) through each connection point.
4. On the inside, place a Bracket (F), then a Flat Washer (D), Spring Washer (E), and Nut (C) onto each bolt.
5. Tighten all nuts using the Spanner (G) to secure the frame.

4. Secure the Legs

Secure the Legs

1. With the legs and feet already assembled, insert two Screws (I) into each leg from the inside.
2. Tighten the screws to reinforce the connection between the Legs and Feet.
3. Repeat for all four legs to ensure stability.

5. Attach the Headboard and Footboard

Attach the Headboard and Footboard

1. Position the Headboard (1) and Footboard (5) between the corresponding Side Rails.
2. Align the holes and insert Bolts (A) with the Allen Key (J) to secure each corner — 4 bolts per end.
3. Make sure the Headboard Legs (2, 3) and Footboard Legs (6, 7) are flush with the panels.
4. Insert Dowels (L) into the holes between the panels and legs for additional alignment.
5. Fully tighten all bolts using the Allen Key (J).

6. Attach the Centre Rails and Slat Support Rails

Attach the Centre Rails and Slat Support Rails

1. Position the Slat Support Rails (12) along the inside edges of the Side Rails (10, 11) and secure them using Bolts (H).
2. Place the Centre Rails (13) between the Headboard and Footboard, aligning them with the support legs.
3. Tighten all bolts with the Allen Key (J).
4. Insert Wooden Covers (M) into the visible bolt holes for a clean finish.

Note: If assembling the Super King size, repeat this step for both centre support rails.

7. Install the Slats

slat installationInstall the Slats double and kingInstall the Slats super king

1. Attach Single Plastic Caps (16) to the ends of the Bentwood Slats (15) that will connect to the Side Rails (10 & 11).
2. Attach Double Plastic Caps (17) to the slats that will connect to the Centre Rails (13).
3. Insert each end of the slats into the slots on the Side Rails and Centre Rails.
4. Press down firmly until all slats click securely into place.

Number of slats and caps per size:

  • Double: 24 Bentwood Slats / 24 Single Caps / 12 Double Caps
  • King: 26 Bentwood Slats / 26 Single Caps / 13 Double Caps
  • Super King: 39 Bentwood Slats / 26 Single Caps / 26 Double Caps

8. Final Check

Toulon Wooden Sleigh Bed Double and King BedToulon Wooden Sleigh Bed Super King Bed
  • Verify that all slats are securely fastened and evenly spaced.
  • Check for any loose connections and tighten the screws if necessary
time4sleep
time4sleep (opens in new tab)Terms (opens in new tab)Privacy (opens in new tab)