1. Assemble Bed
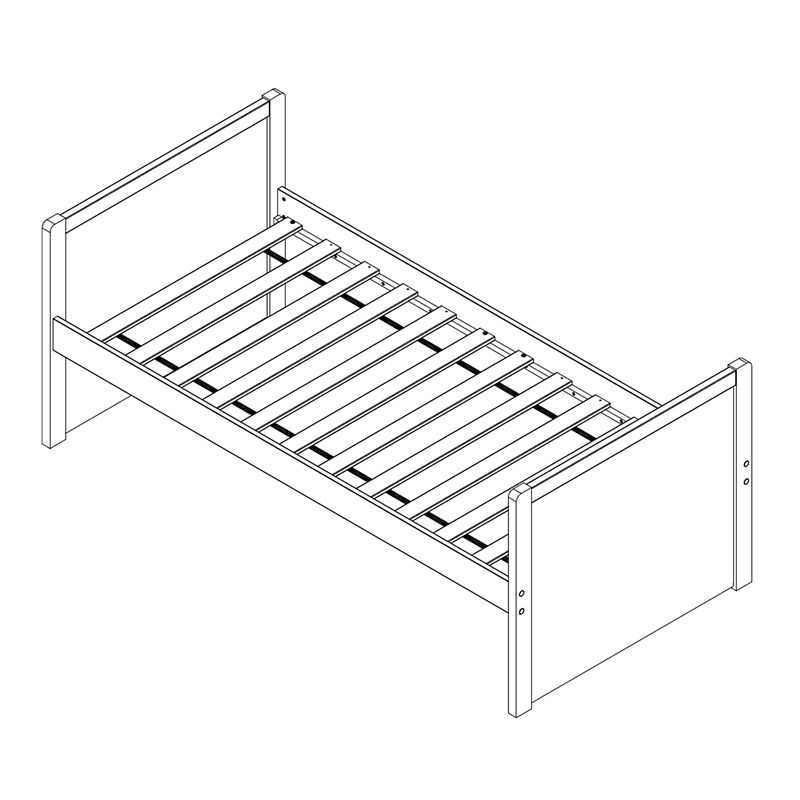
Start by assembling the bed frame
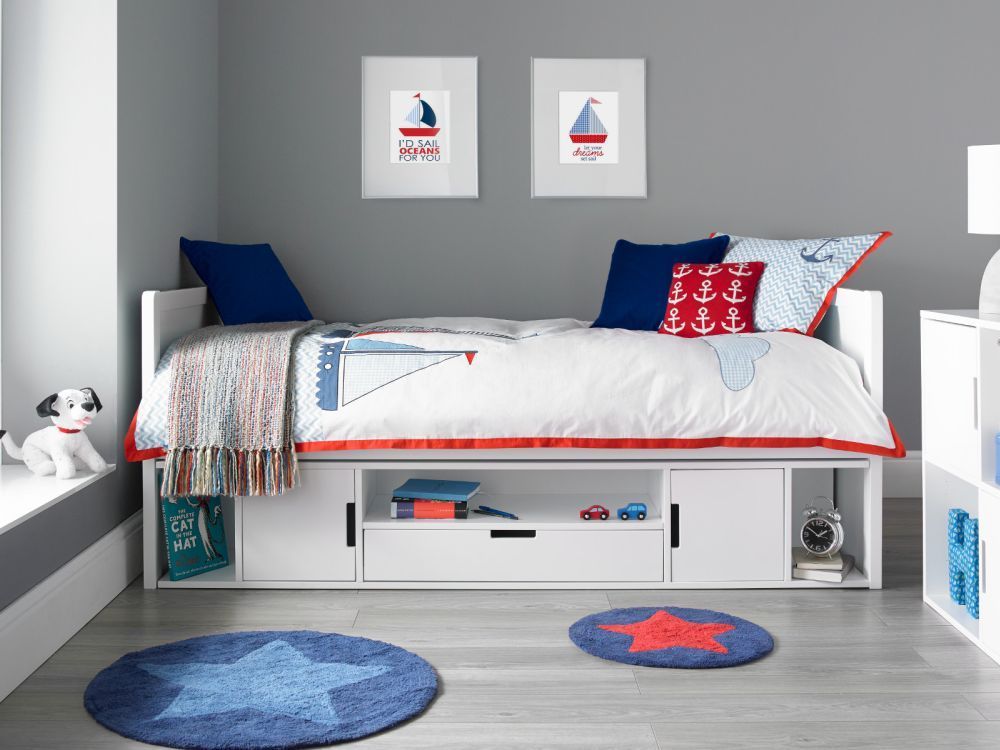 Instructions by time4sleep Vancouver Cabin BedAssembly instructions for Vancouver Cabin Bed by Time4Sleep. Product Information Vancouver Cabin BedOur Vancouver is a premium quality cabin bed (opens in new tab) finished in a soft white finish and manufactured from rubber wood which is classified as a hardwood and engineered timber. Featuring a combination of book shelves cupboard and drawer this is a practical and versatile option. Subtle details include gentle radius corners and finger pull doors.
If your looking for a well designed cabin bed with no veneering and chipboard insight then, this maybe the perfect option for you. View product (opens in new tab)
Tools A - Plastic Dowel (M10 x 35mm) (For bed) 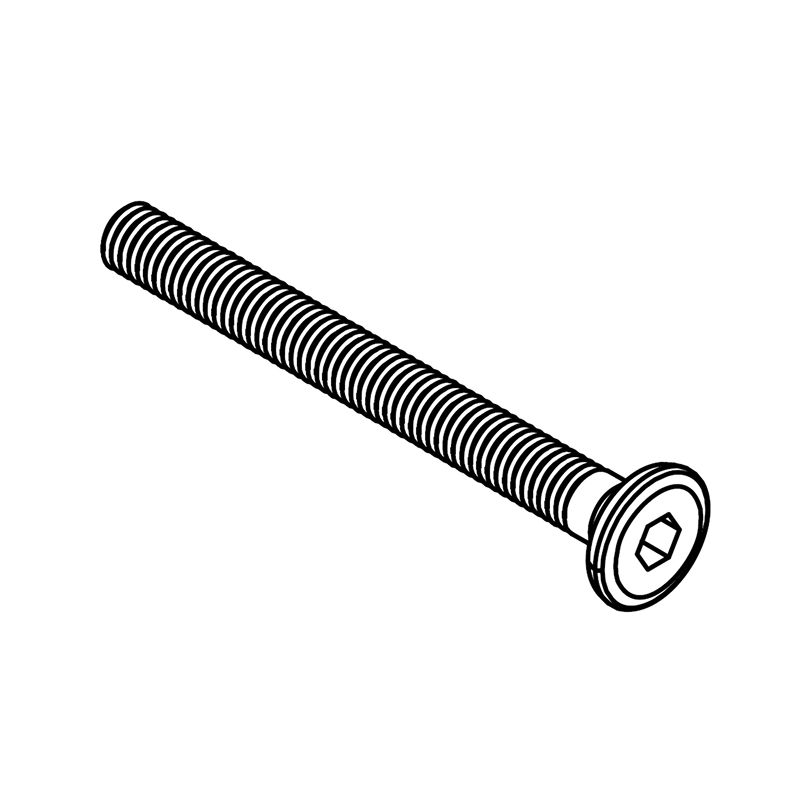 B - JCBC Bolt (M6 x 60mm) (For bed) 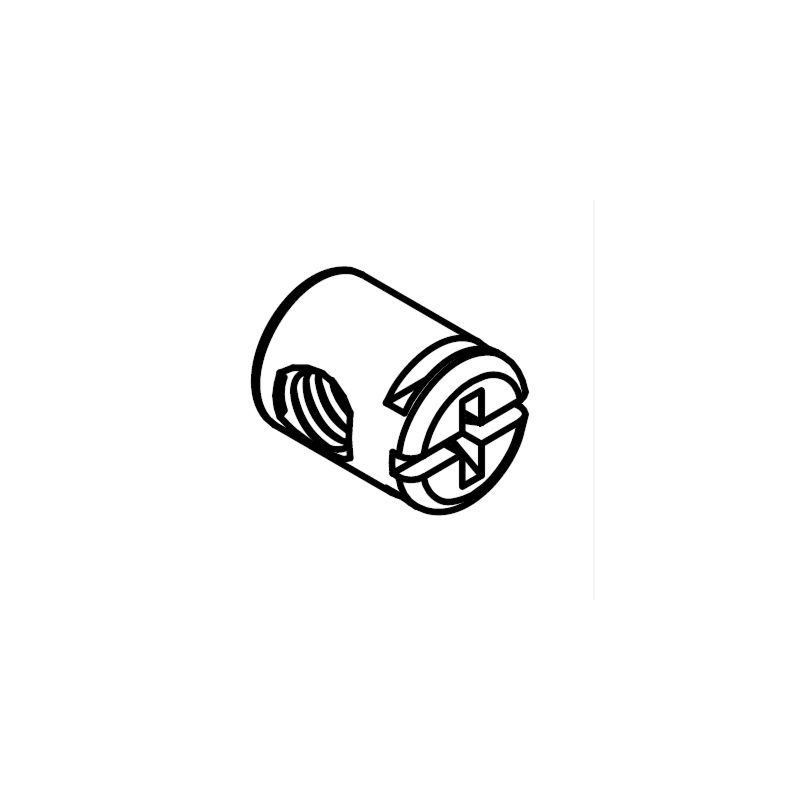 C - JRN Nut (M6 x 13mm) (For bed) 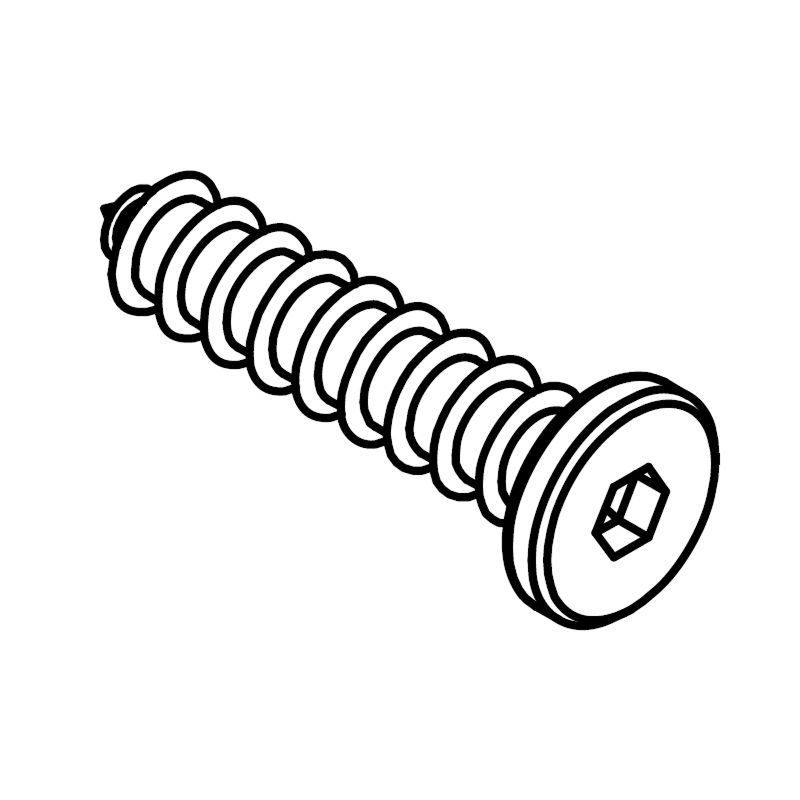 D - JCBC W Screw (M7 x 32mm) (For bed) 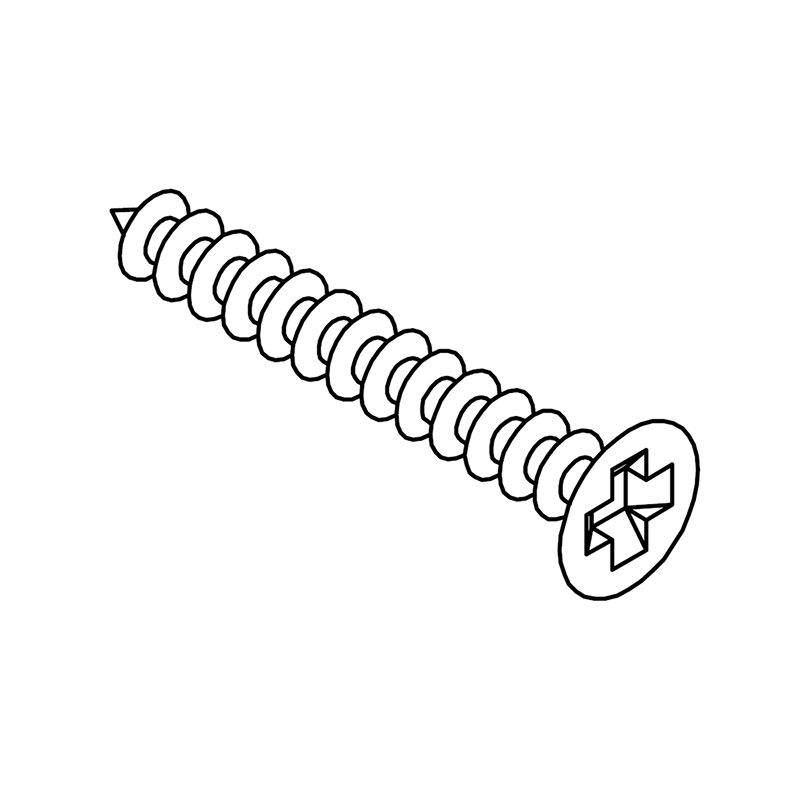 E - CSK C/B Screw (M4 x 32mm) (For bed)  F - Hole Plug (15 mm) (For bed) 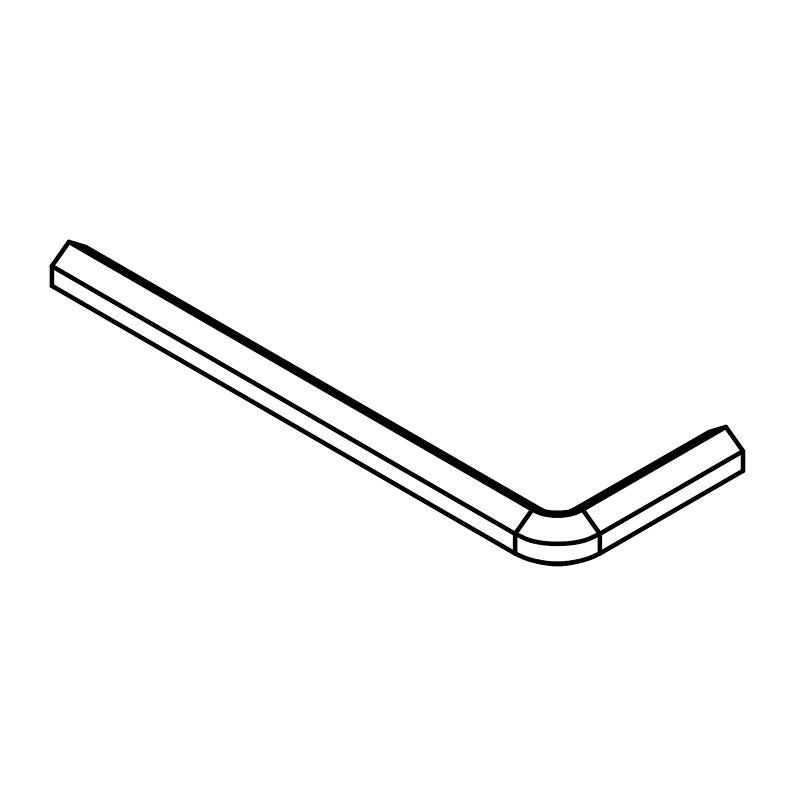 G - Allen Key (M4 x 60mm) (For bed) A - Plastic Dowel (M6 x 30mm) 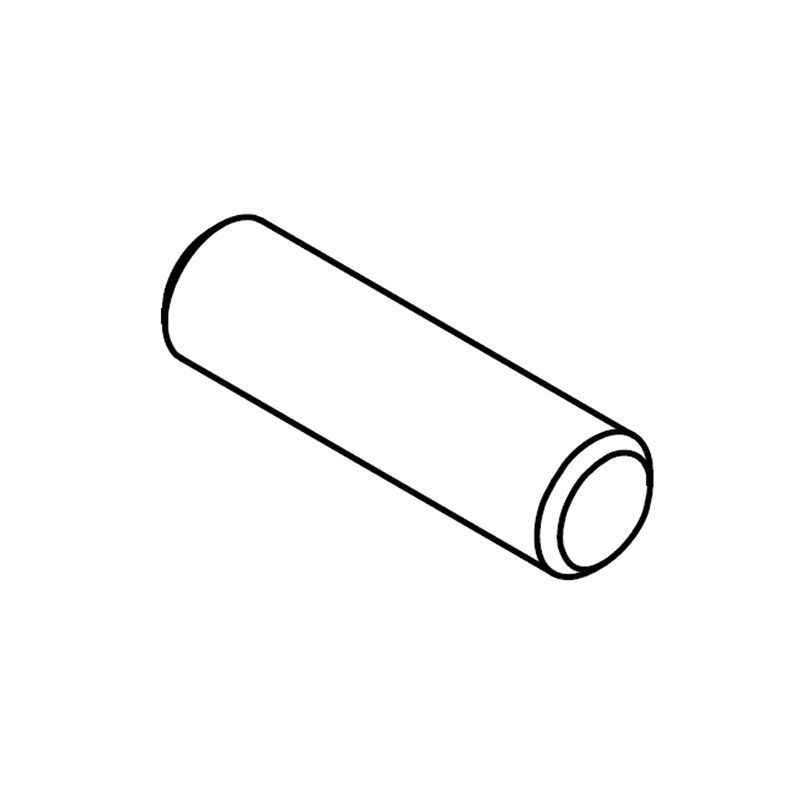 B - Plastic Dowel (M8 x 30mm) 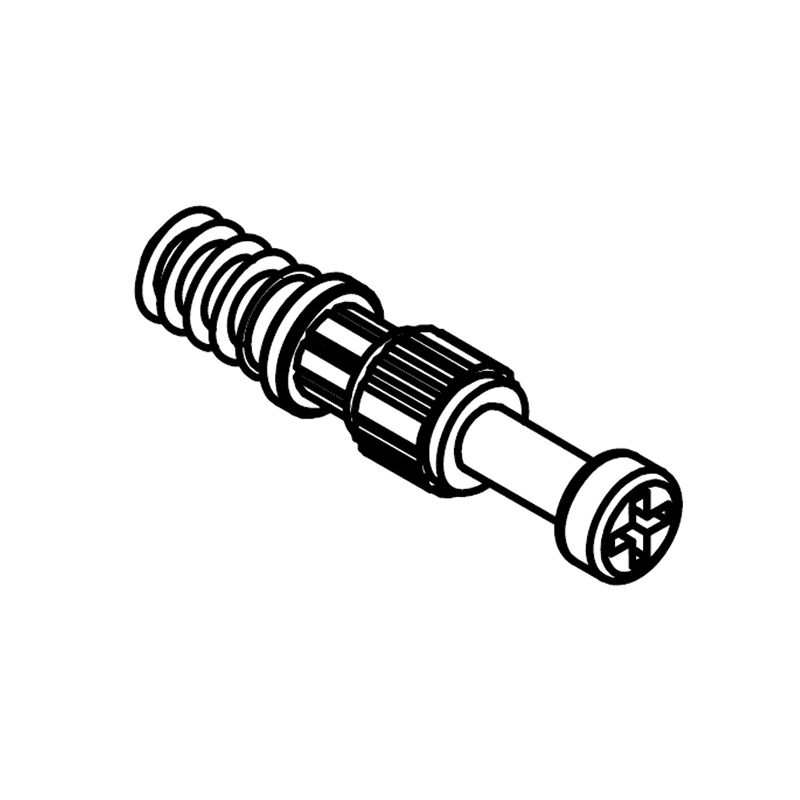 C - Connecting Bolt (24mm) 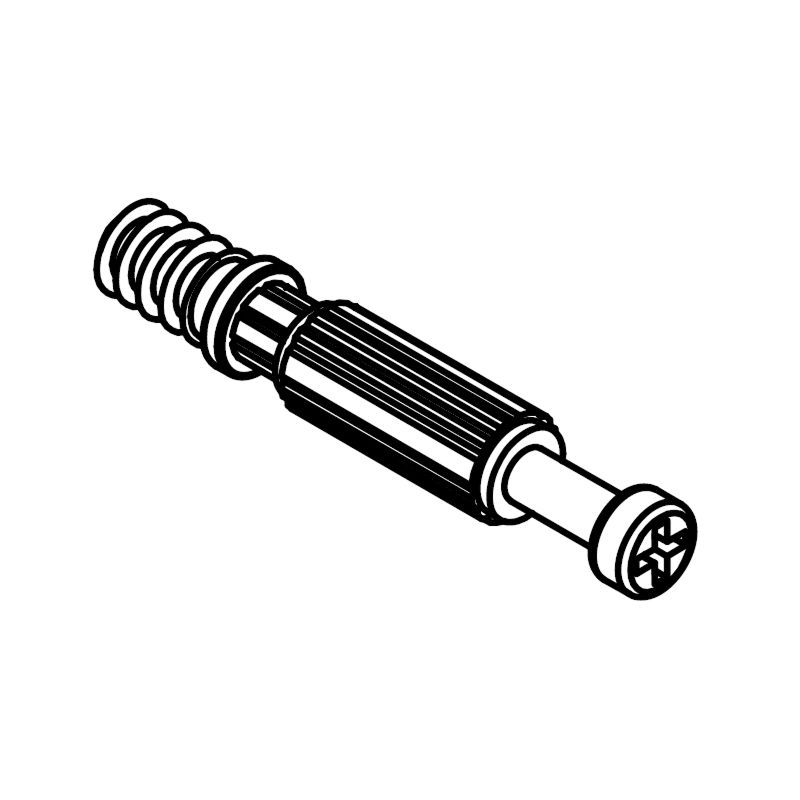 D - Connecting Bolt (34mm)  E - Minifix (9mm) 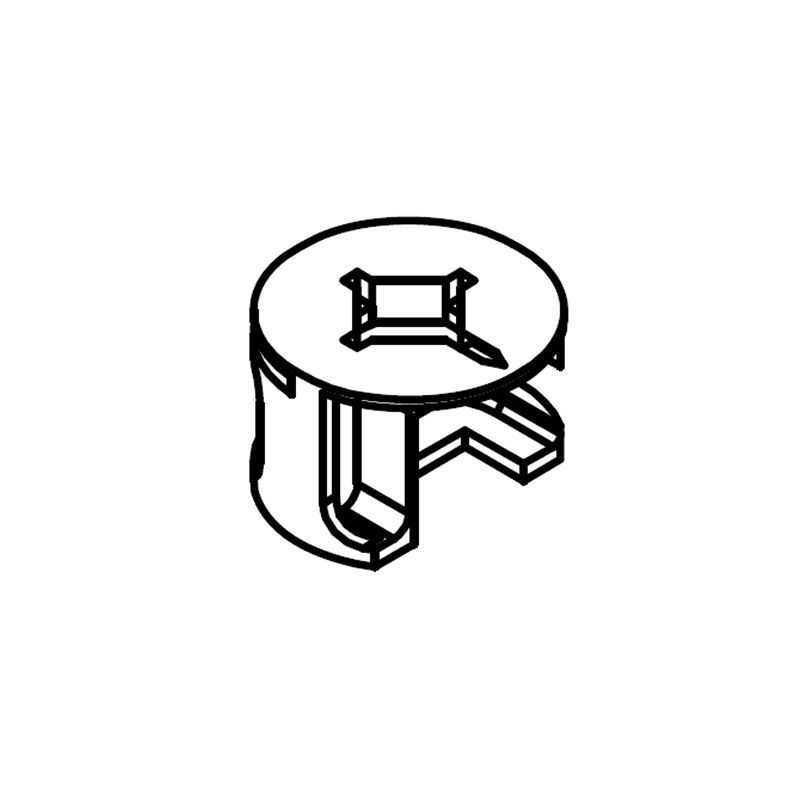 F - Minifix (12mm) 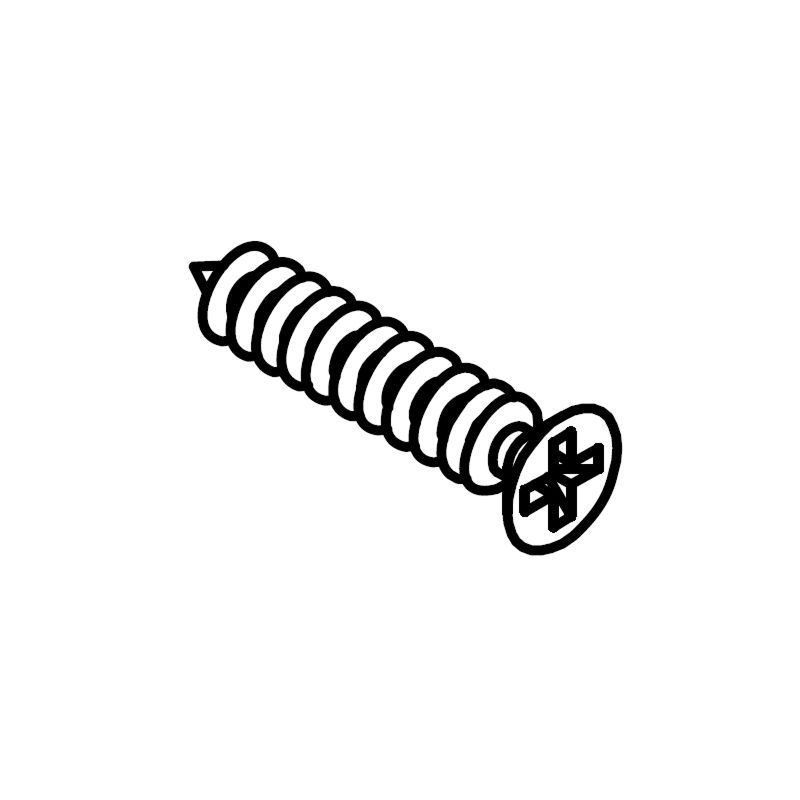 G - CSK C/B Screw (M3 x 20mm) 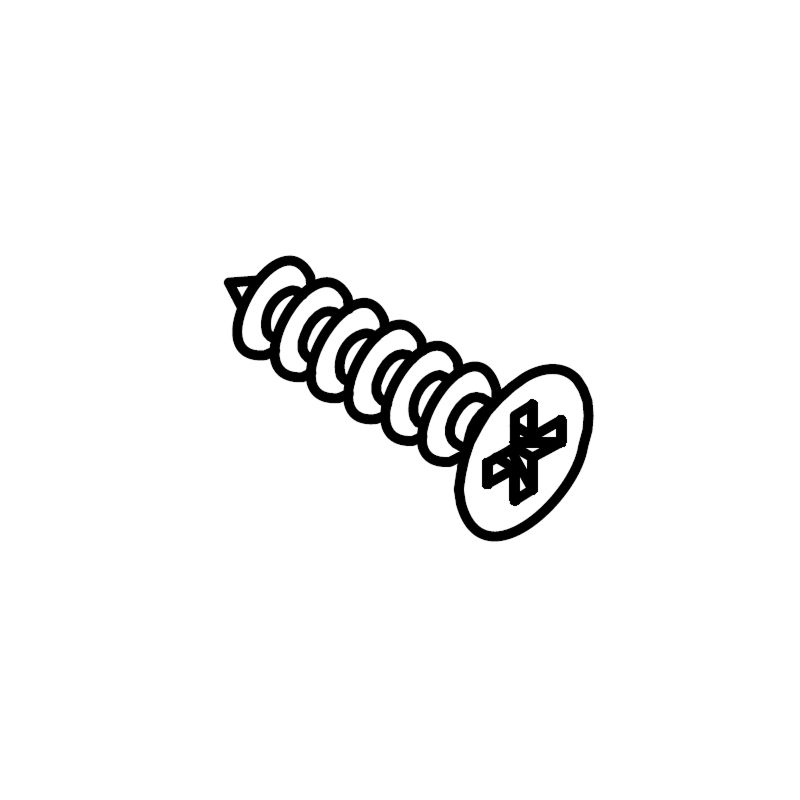 H - CSK C/B Screw (M3.5 x 16mm) 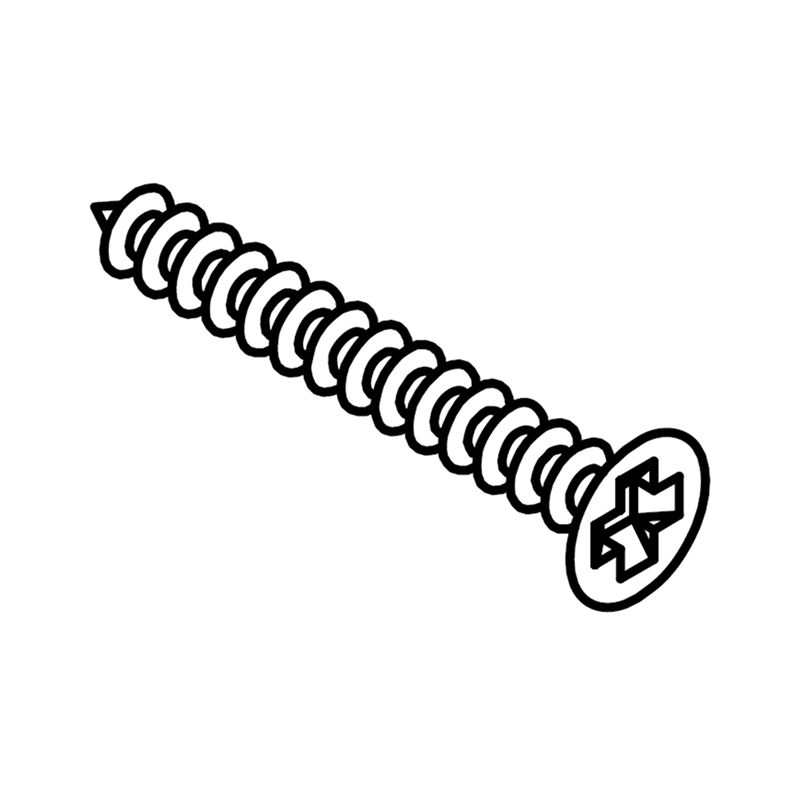 J - CSK C/B Screw (M4 x 32mm)  K - P/H C/B Screw (M3.5 x 16mm)  L - Nail Leg (5/8") 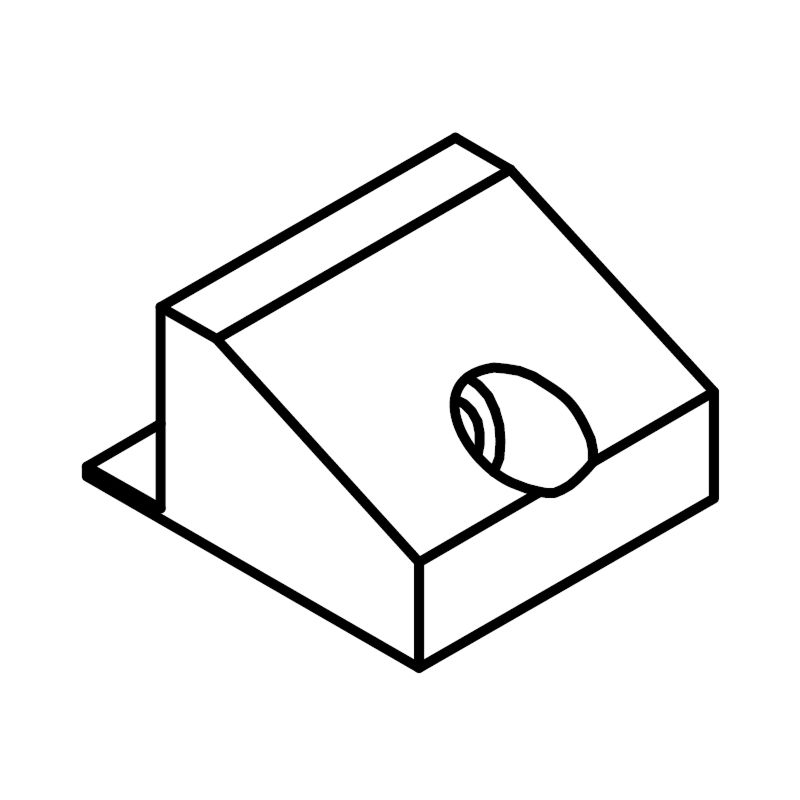 M - Plastic Corner Block (ABS) 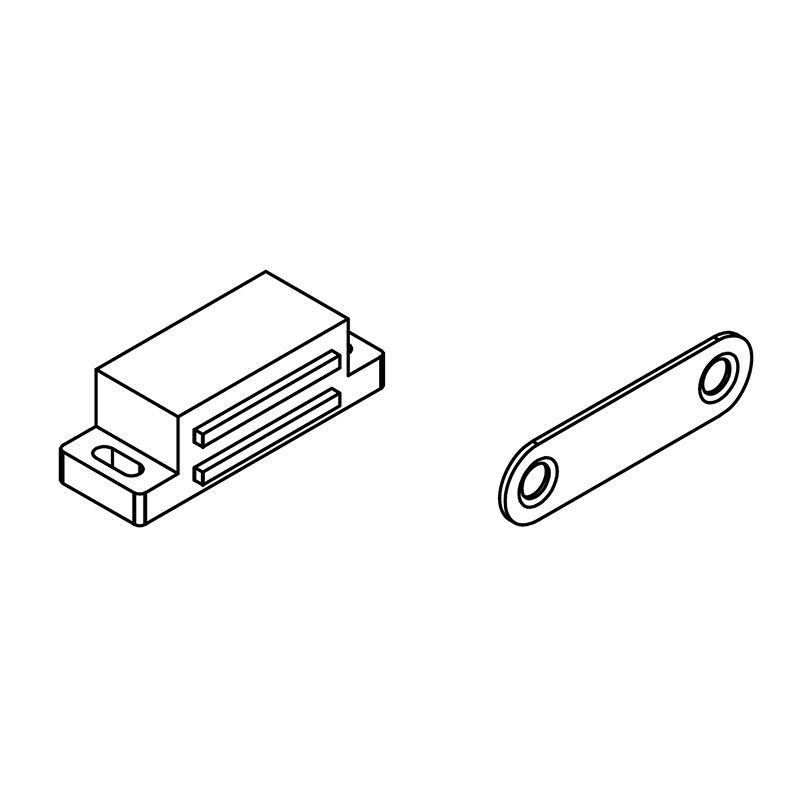 N - Magnet 3.5kg (White) 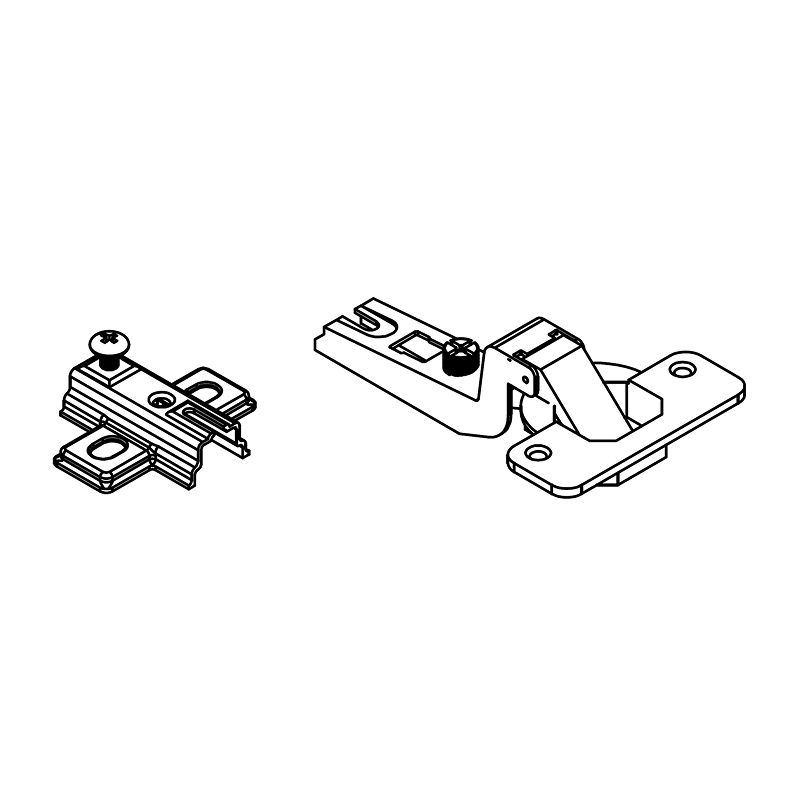 P - Concealed Hinges (B54-15 7/8") Plate H0 Crosshead Screw Driver Parts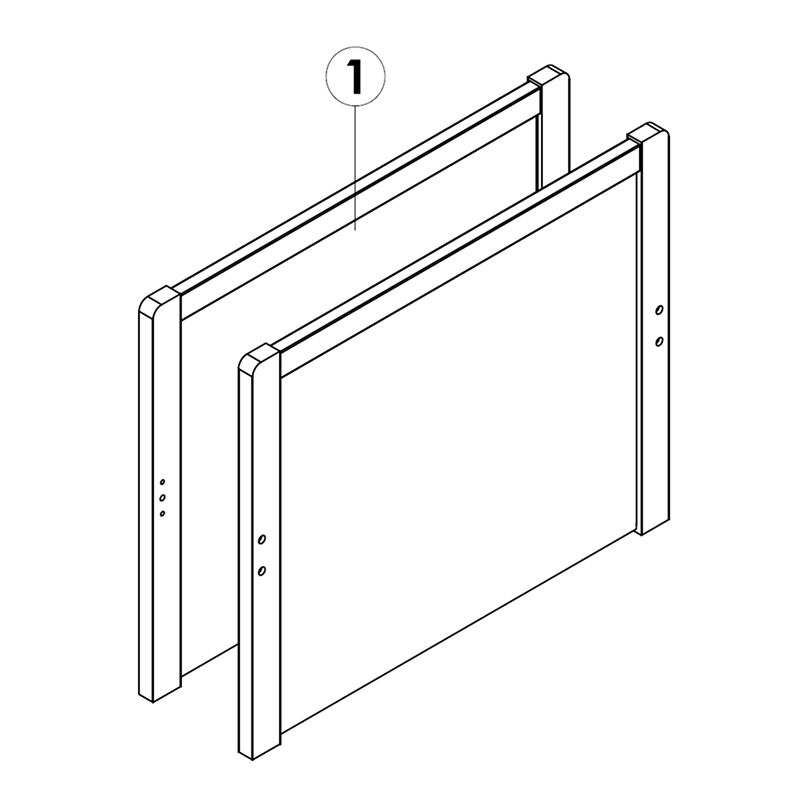 1 - Headboard (For bed) 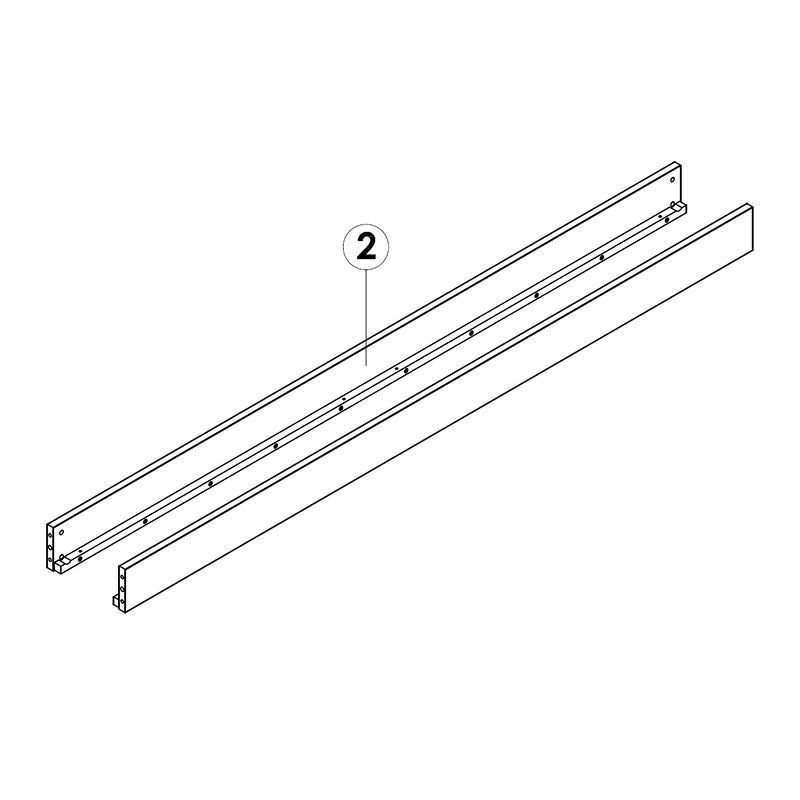 2 - Side Rail (For bed)  3 - Wooden slats (For bed) 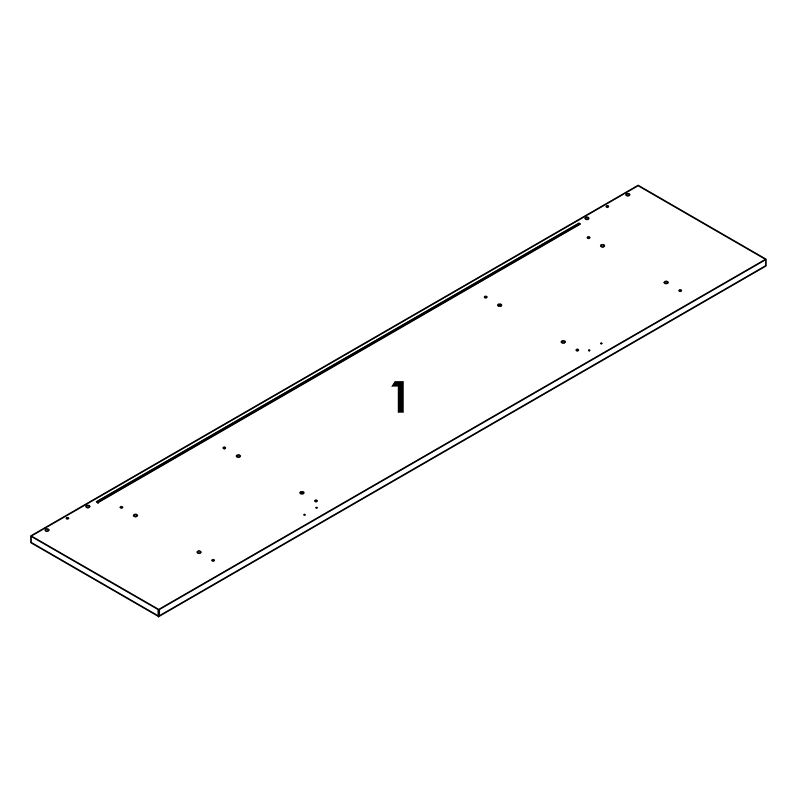 1 - Top Panel 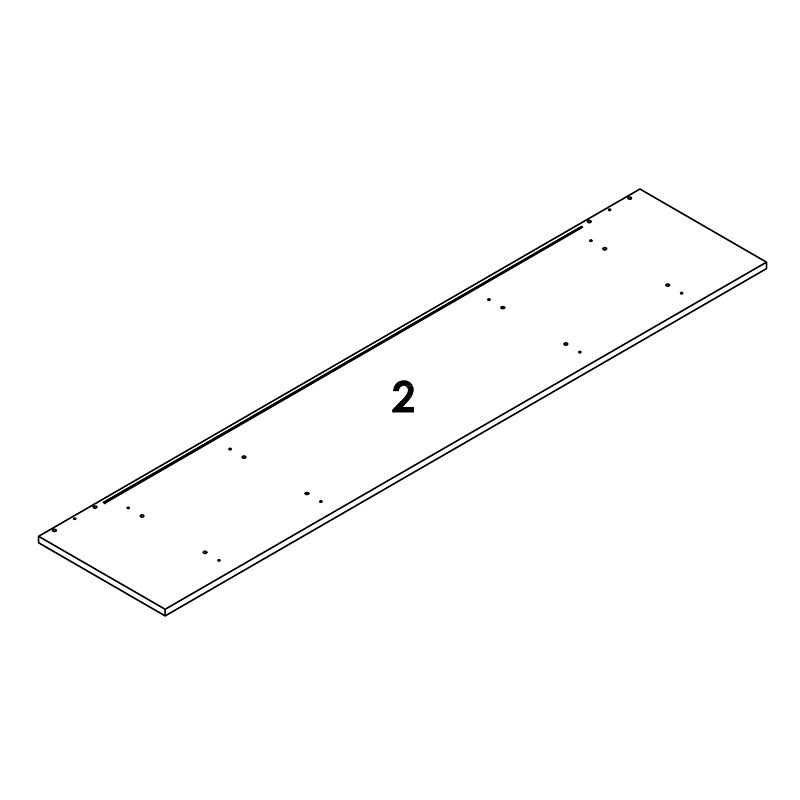 2 - Bottom Panel 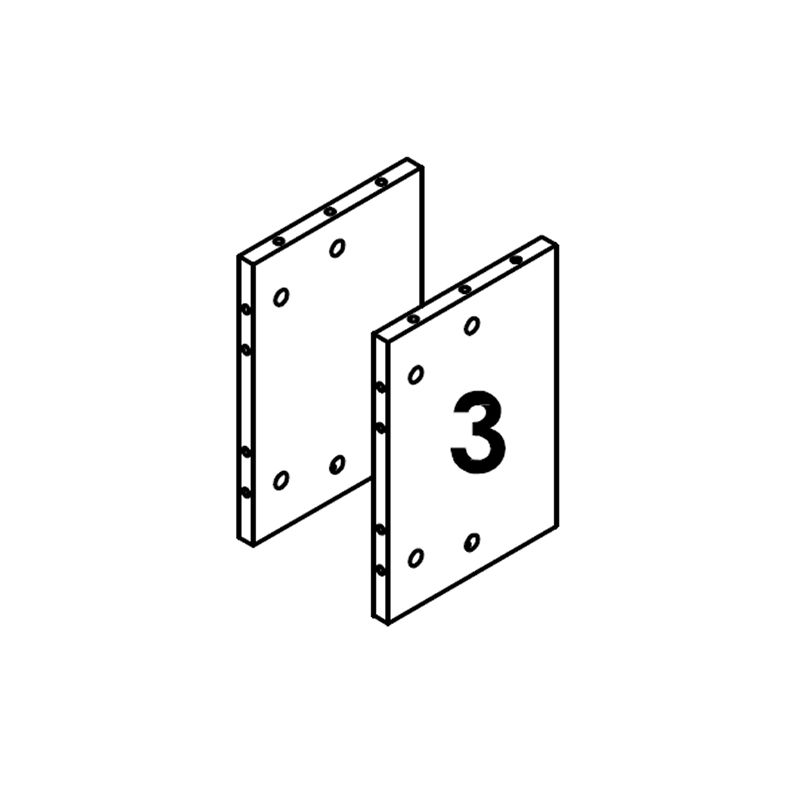 3 - Side Panel 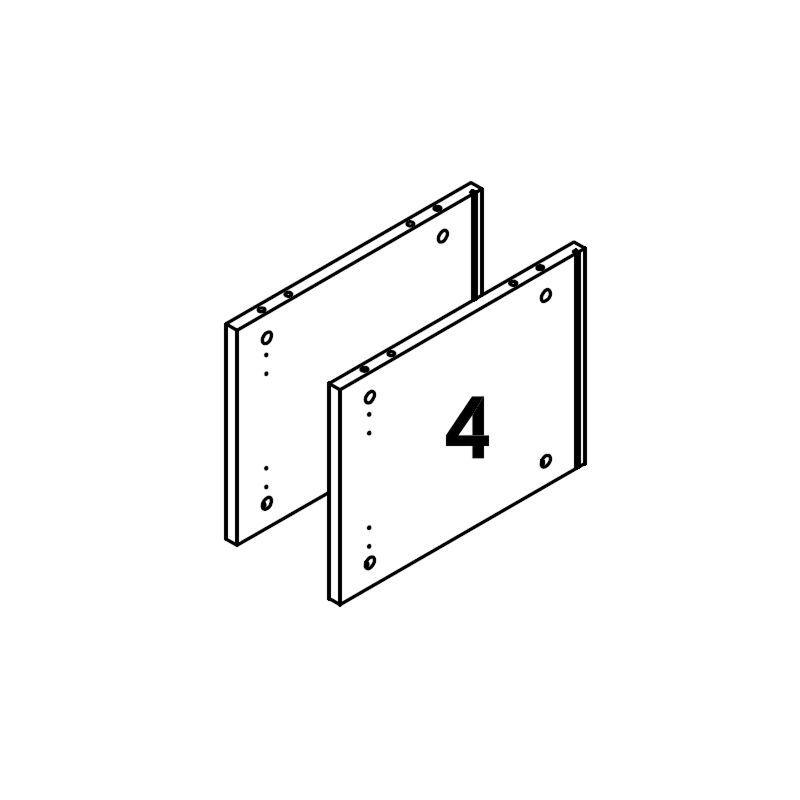 4 - Door Support Panel  5 - Drawer Support Panel (R and L) 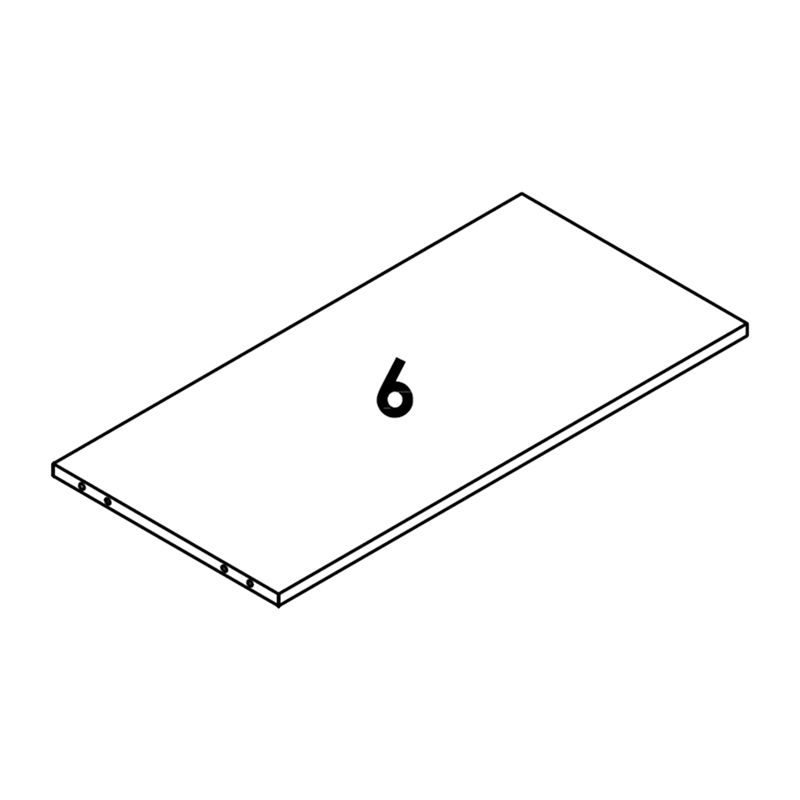 6 - Shelf Panel 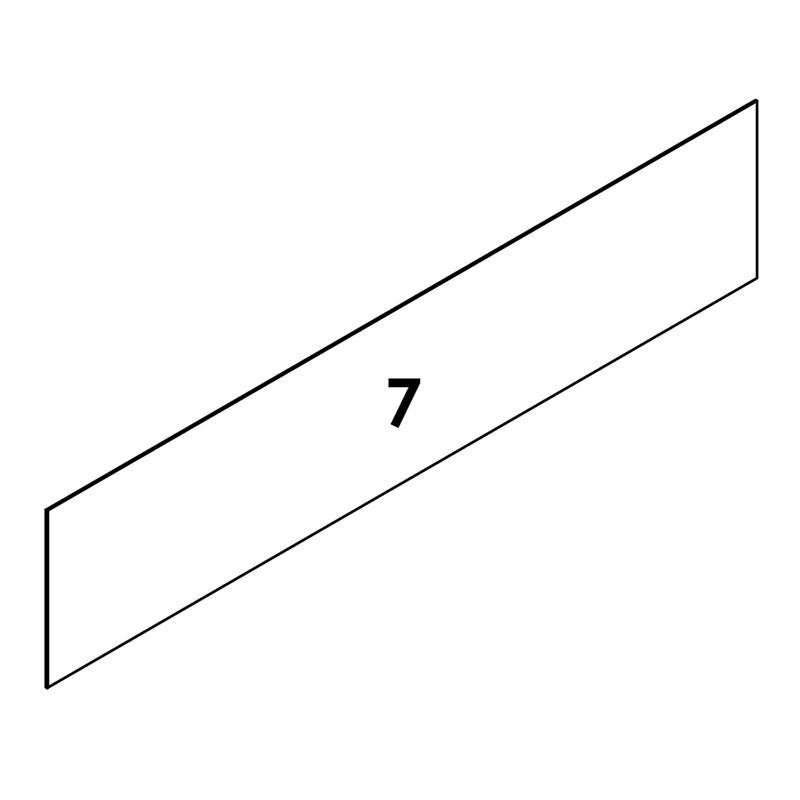 7 - Back Panel 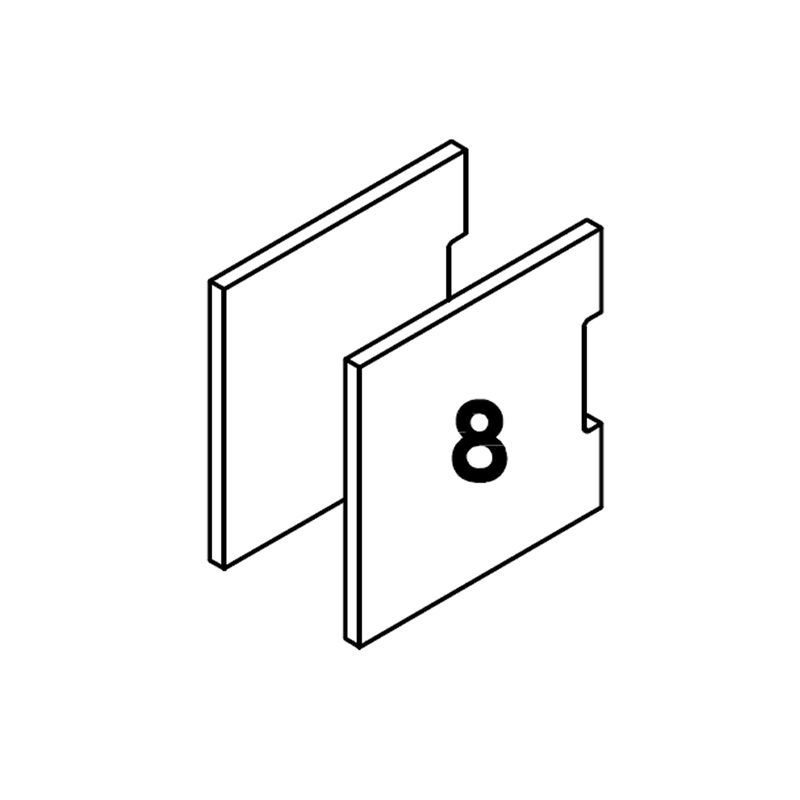 8 - Doors 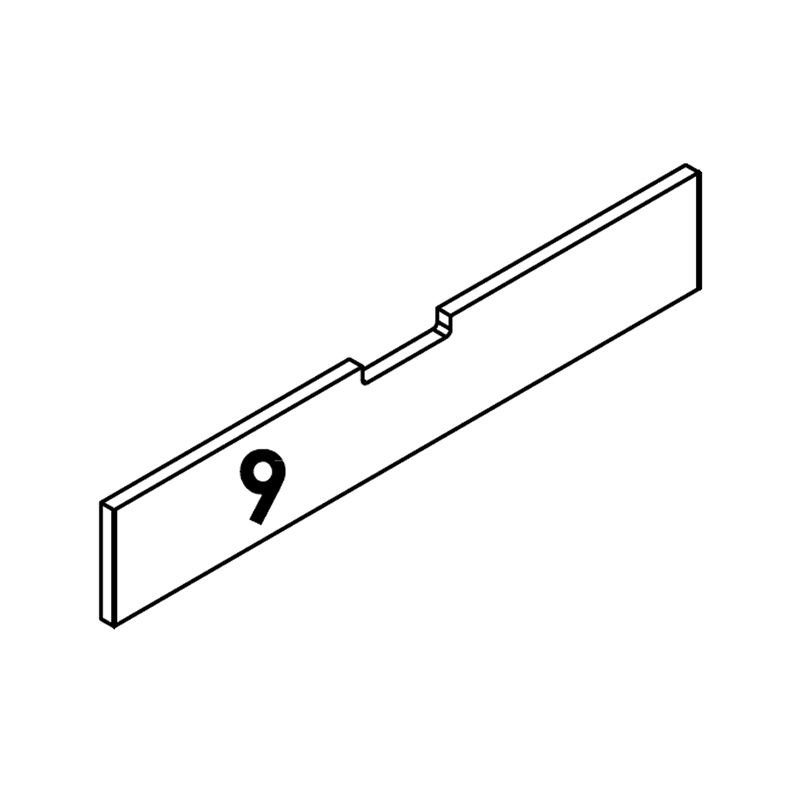 9 - Drawer Face 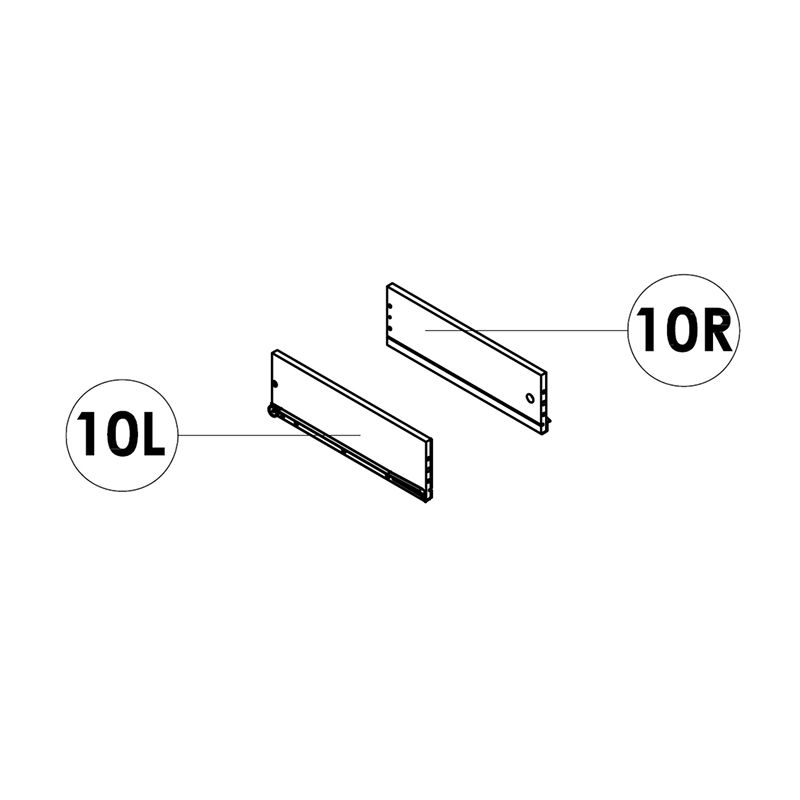 10 - Drawer Side (L and R) 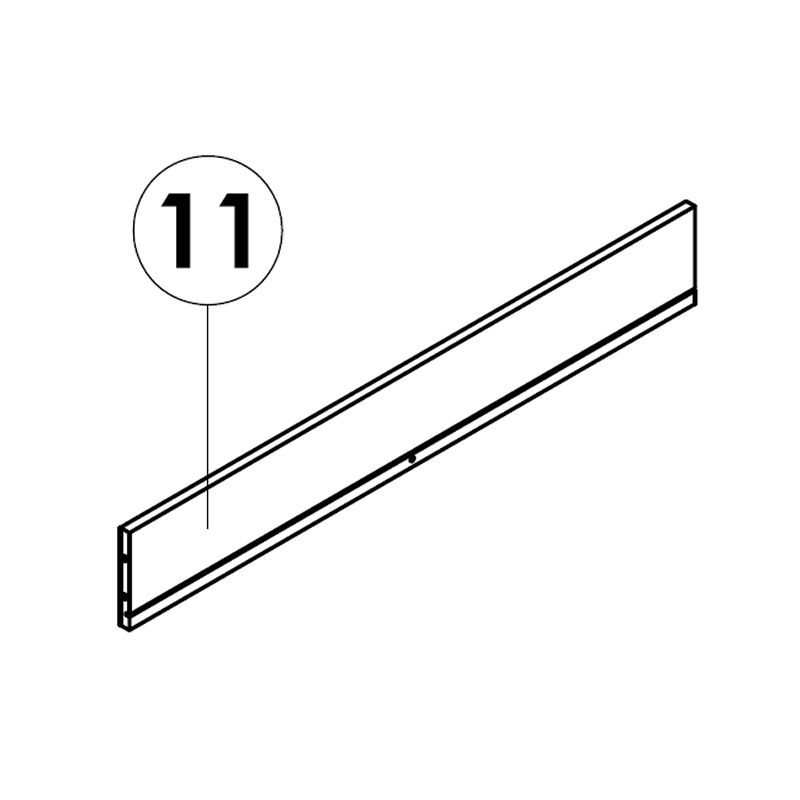 11 - Drawer Rear 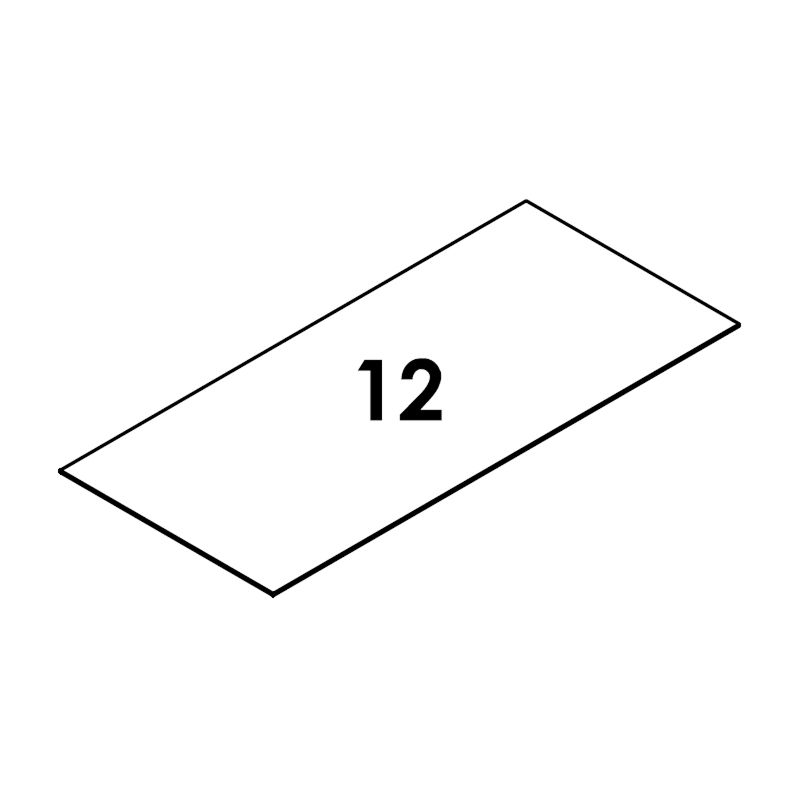 12 - Drawer Base 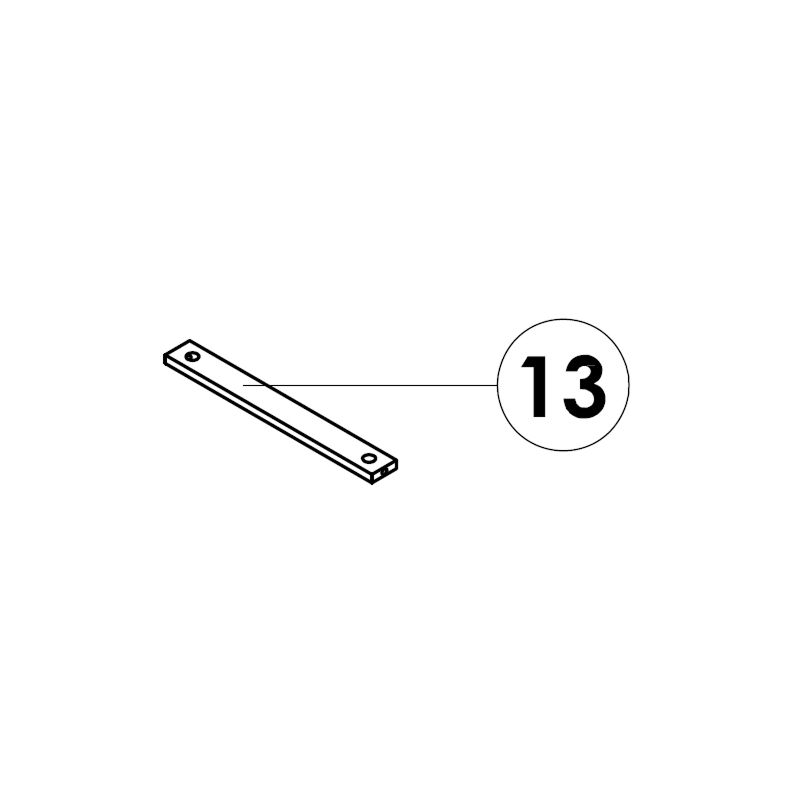 13 - Drawer Base Support 1. Assemble BedStart by assembling the bed frame 2. Insert Dowels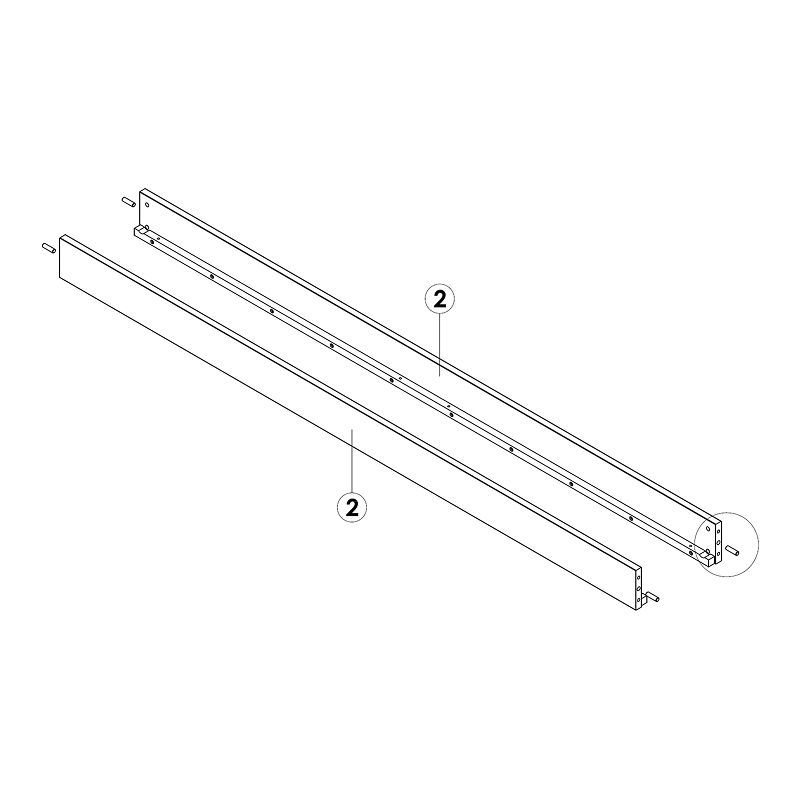 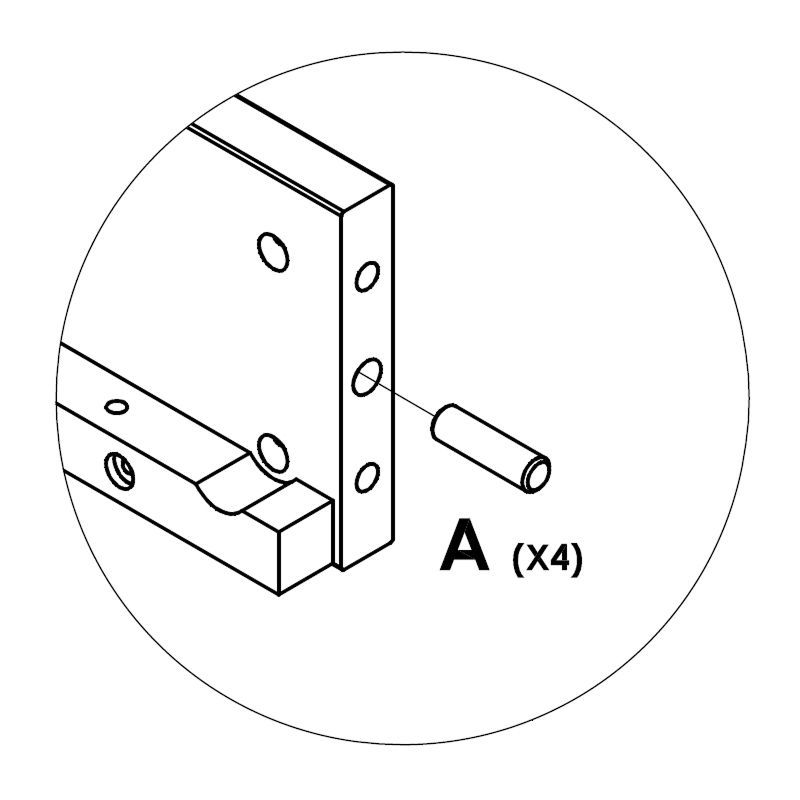 Insert (A) into Ø10MM holes of Side Rail by using a Rubber Hammer. 3. Attach Headboard and Side Rails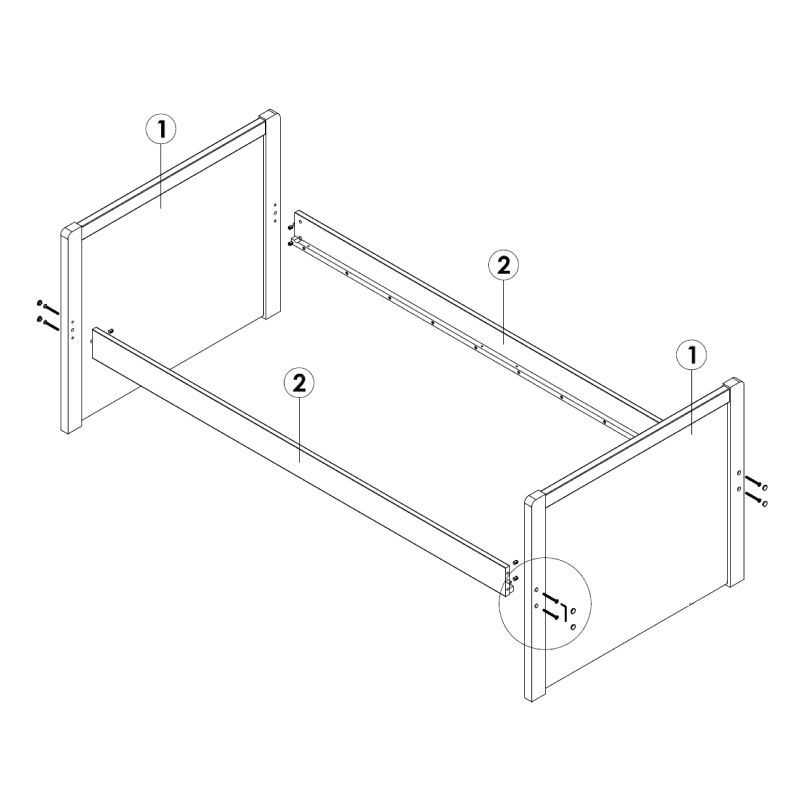 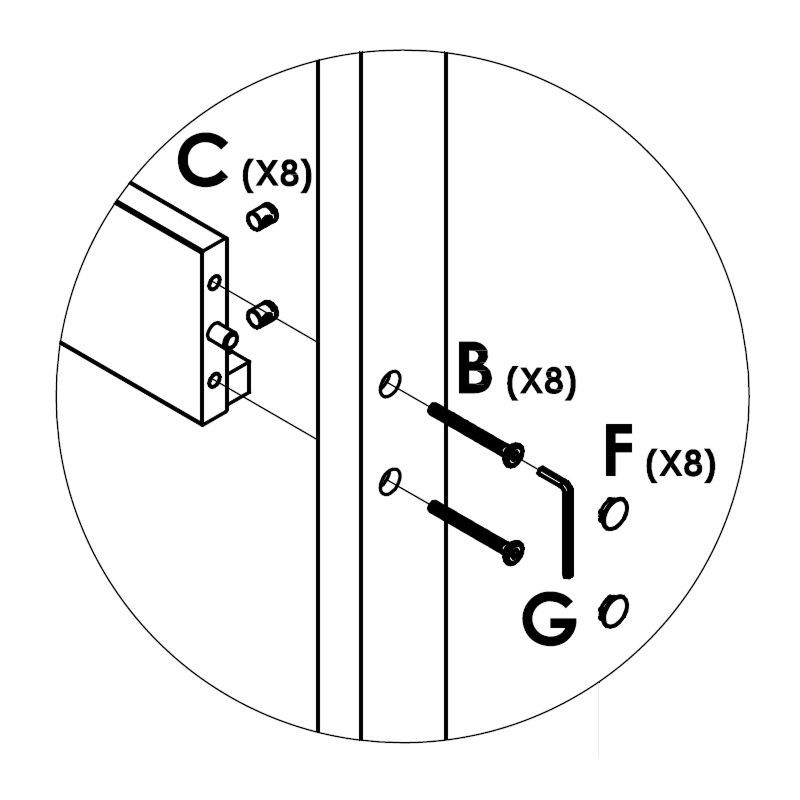 1. Attach Headboard onto Side Rail by using (B) and (C), tighten it up by using (G). 4. Position Slats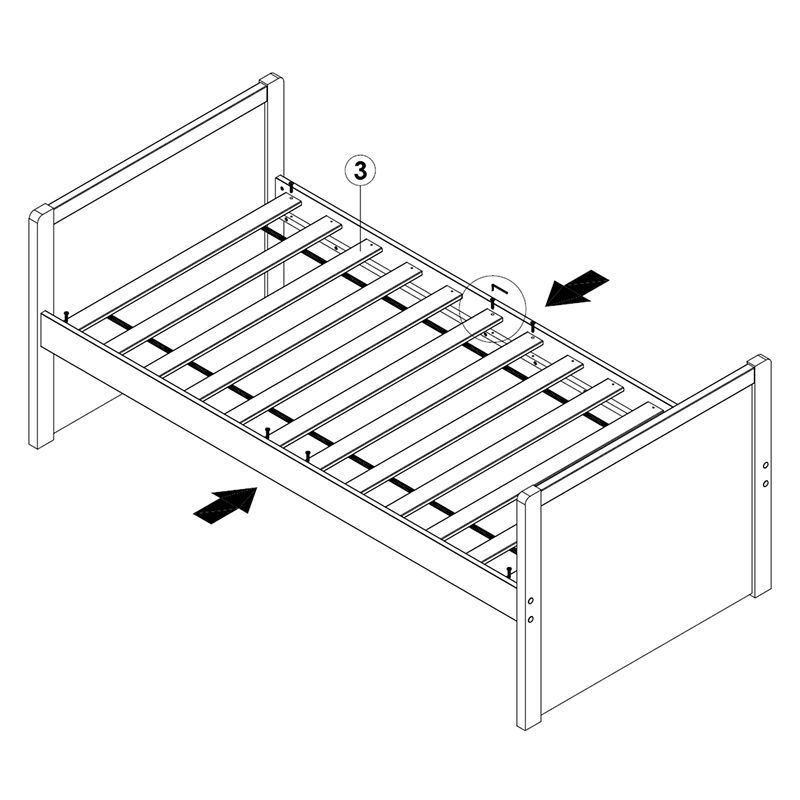 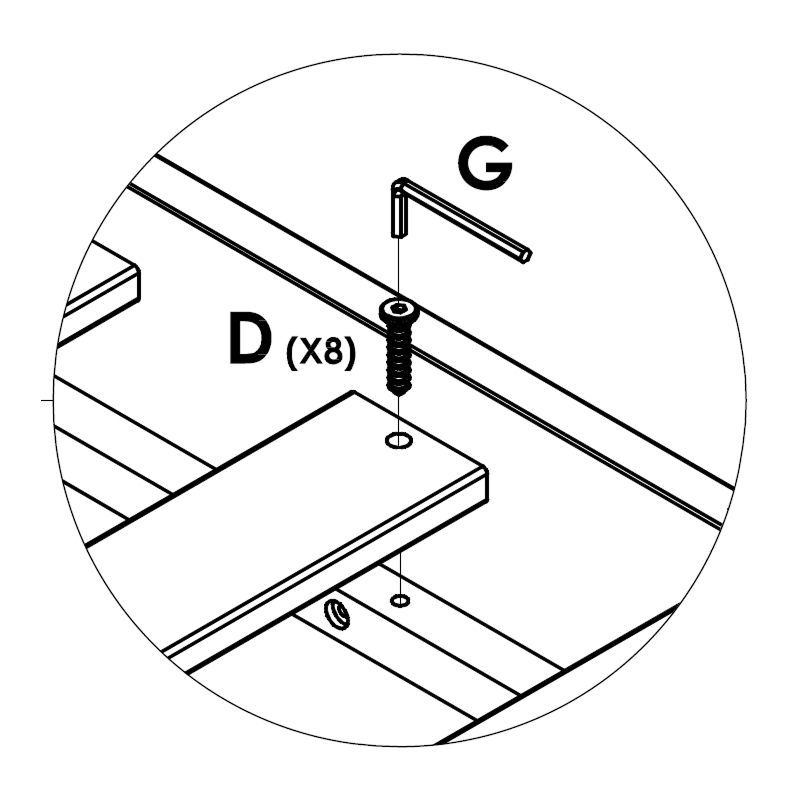 1. Attach centre Wooden Slats onto Side Rail by using (D), tighten it up by using (G). Go on to complete the assembly. Note:
5. Secure Slats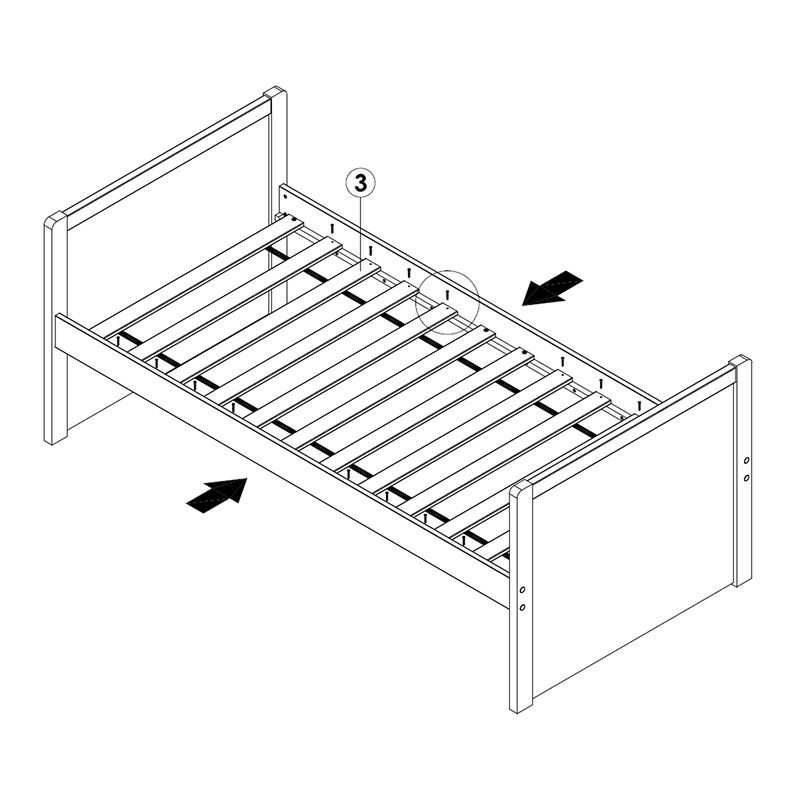 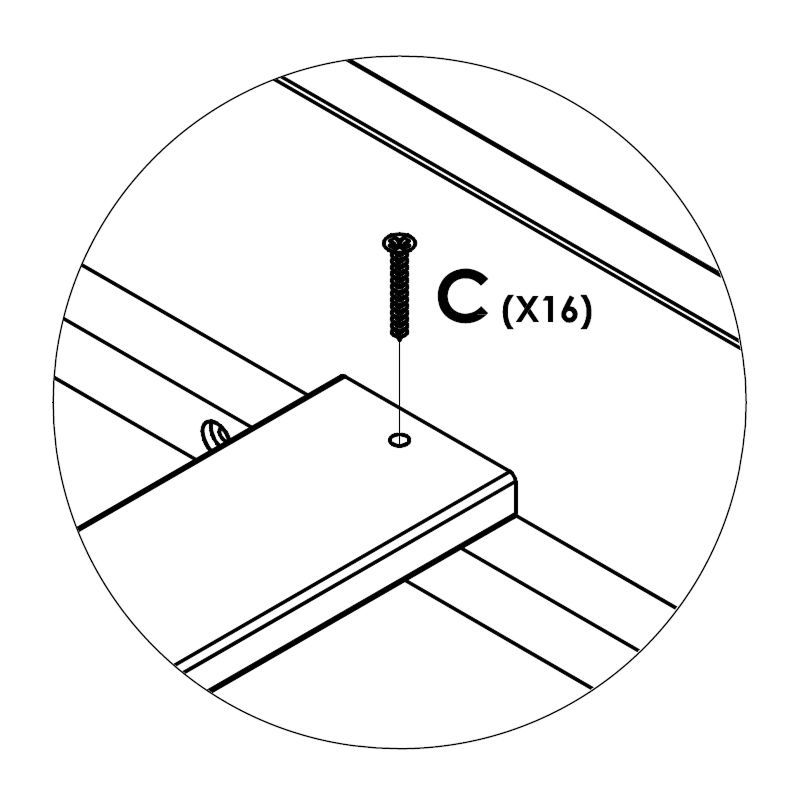 Continue to tighten it up the next of the slat by using (C) tighten it up by using a Crosshead Screw Driver. Note:
6. Assemble Storage Now assemble the storage section 7. Insert Dowels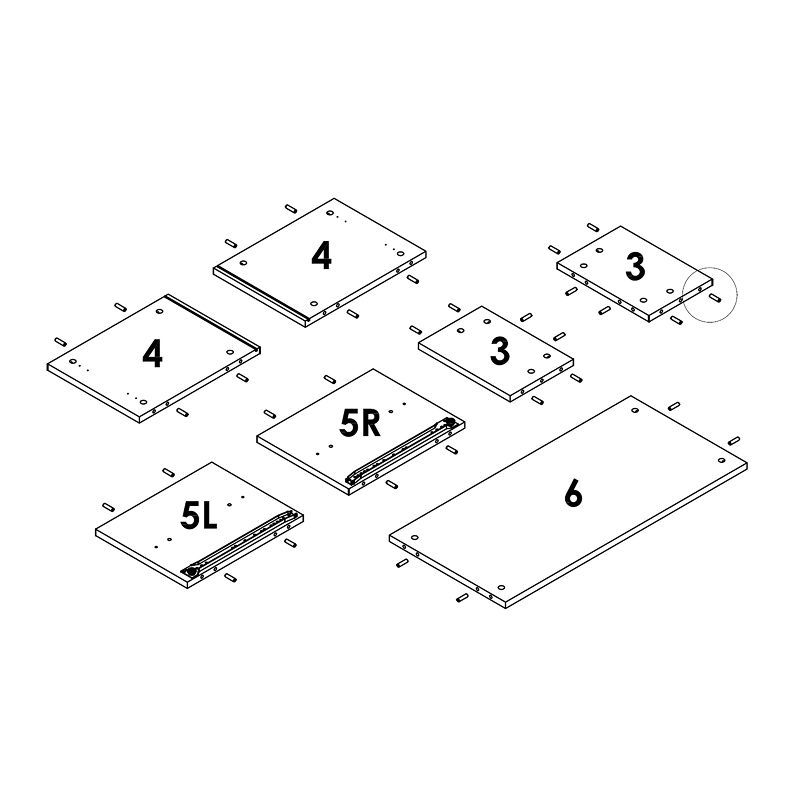 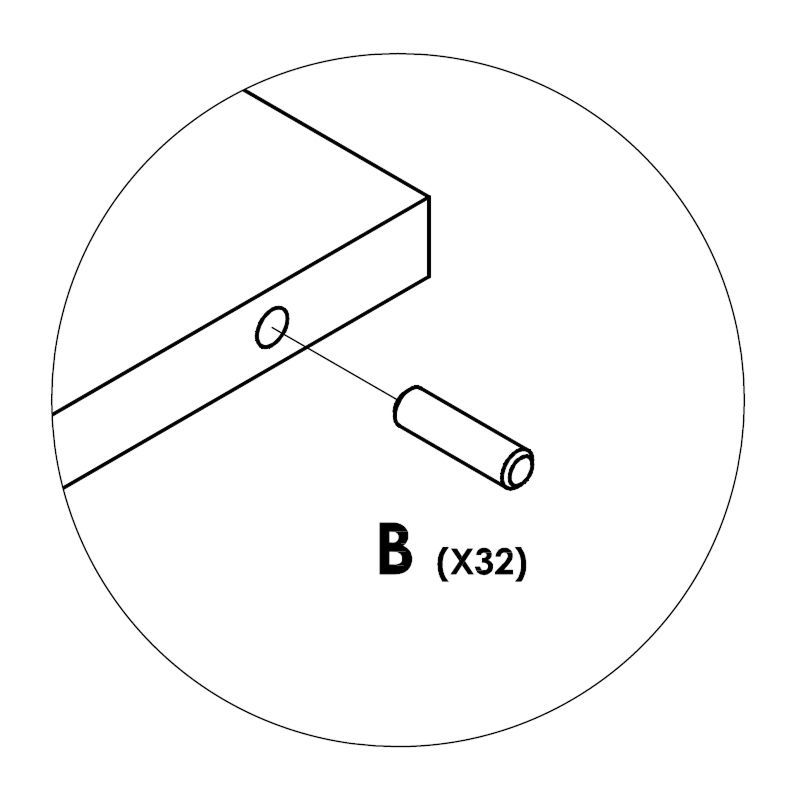 Insert (B) into Ø8MM holes of Side Panel, Door Support Panel, Drawer Support Panel & Shelf Panel by using a Rubber Hammer. 8. Attach Nail Legs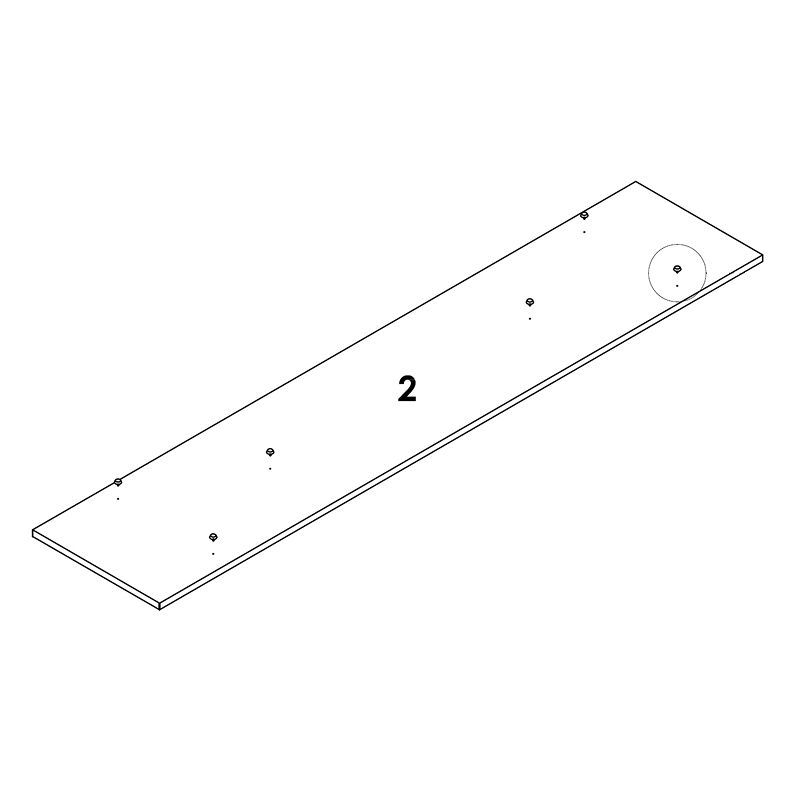 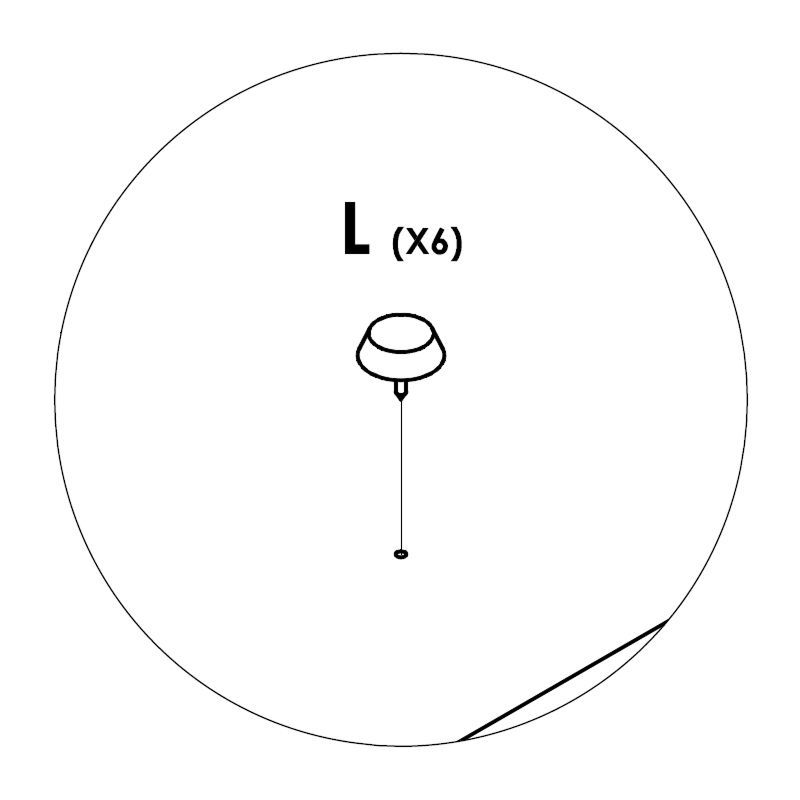 Attach (L) into Bottom Panel based on marking holes given by using a Rubber Hammer. 9. Attach Connecting Bolts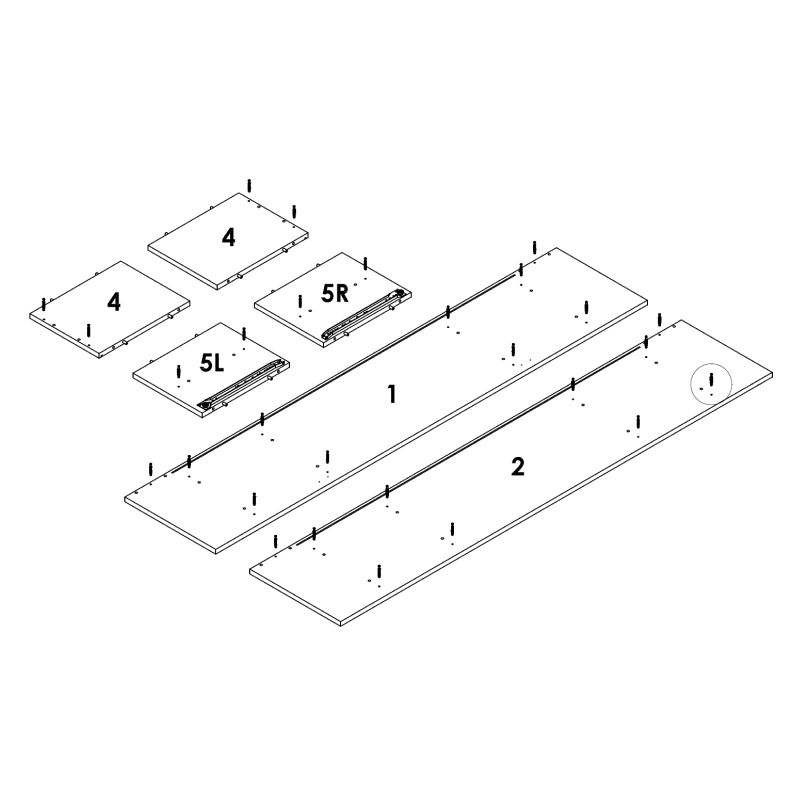 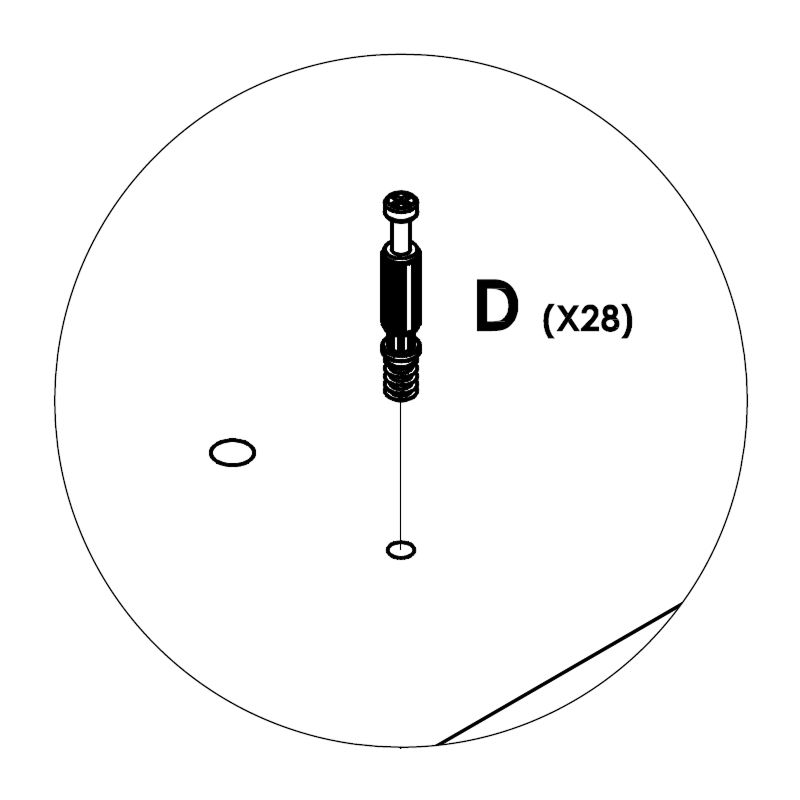 Attach (D) into specified Ø5MM holes on Top & Bottom Panel, Door Support Panel and Drawer Support Panel by using a Crosshead Screw Driver. 10. Attach Magnet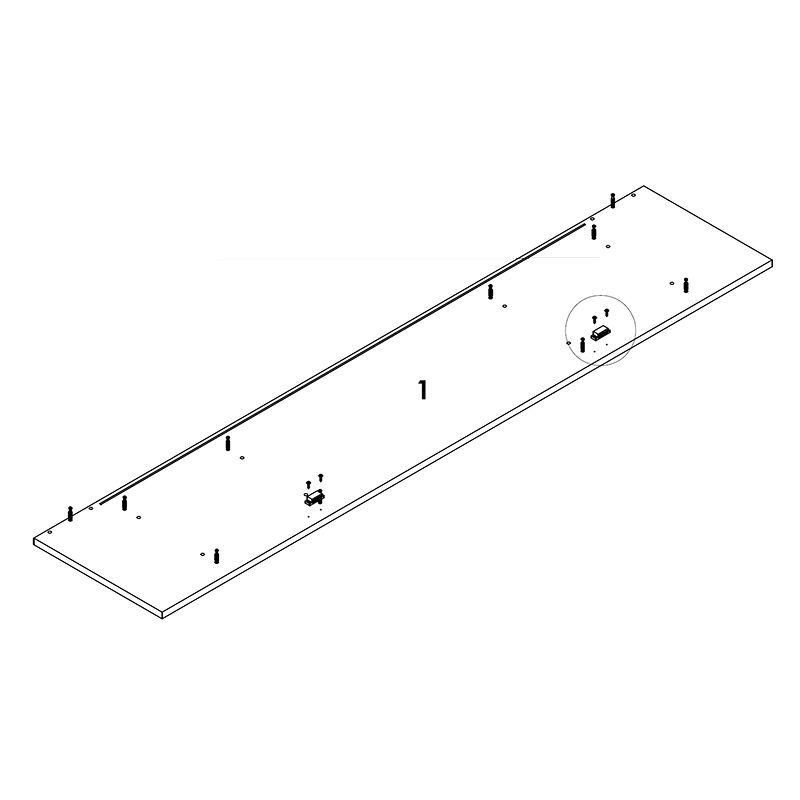 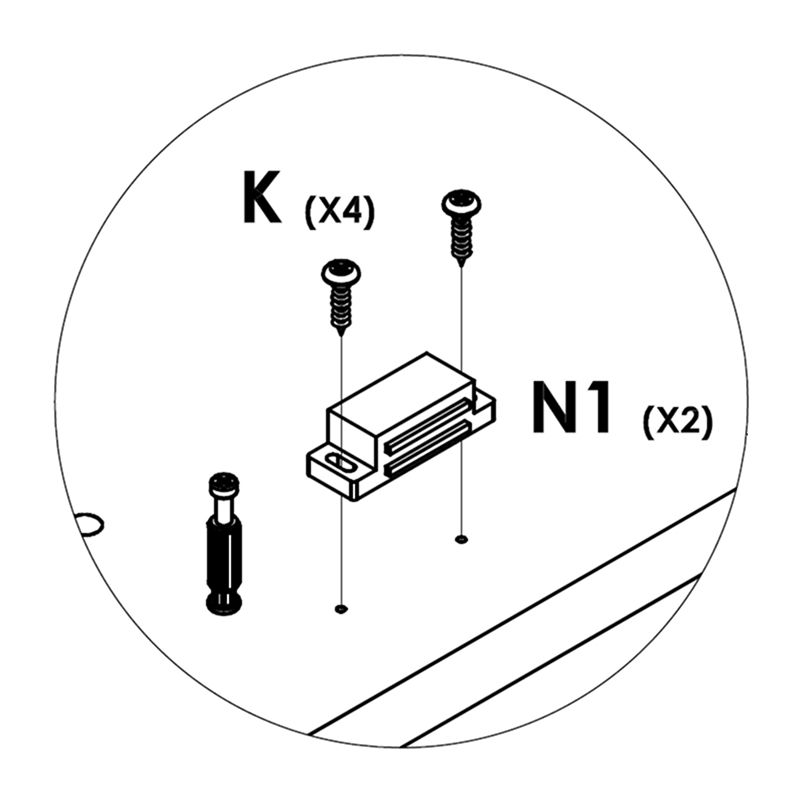 Attach (N1) onto Top Panel by using (K), tighten it up by using a Crosshead Screw Driver. 11. Attach Drawer Support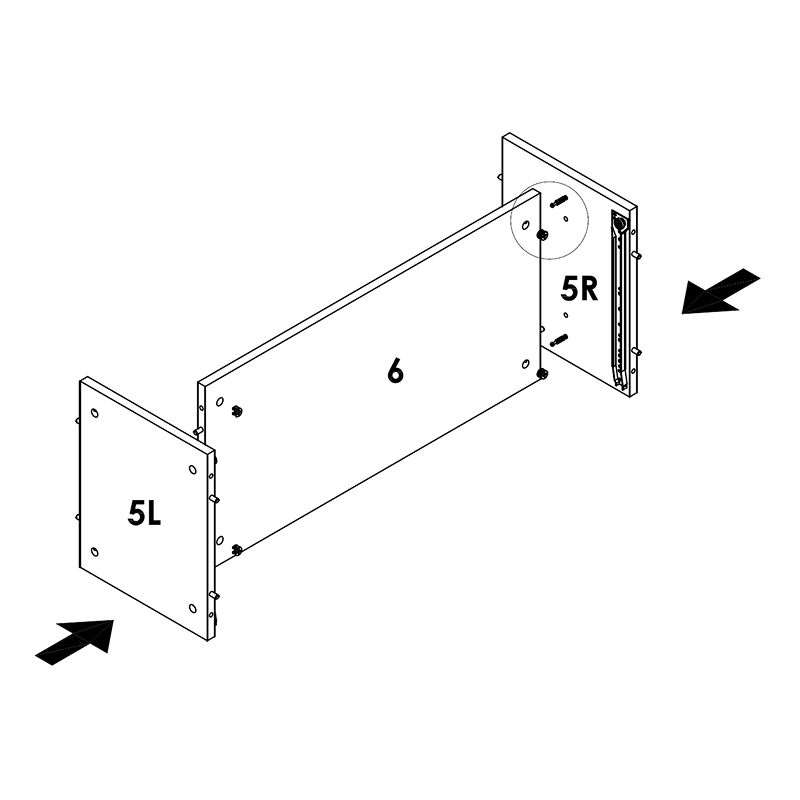 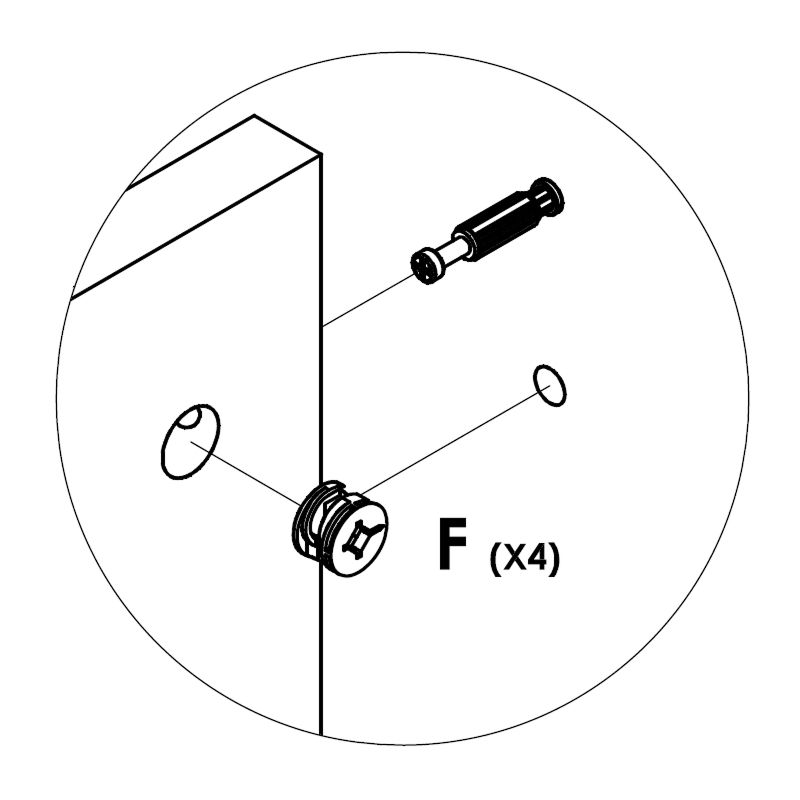 Attach and secure Drawer Support Panels onto Shelf Panel by using (F), tighten it up by using a Crosshead Screw Driver. 12. Secure Assembly to Bottom Panel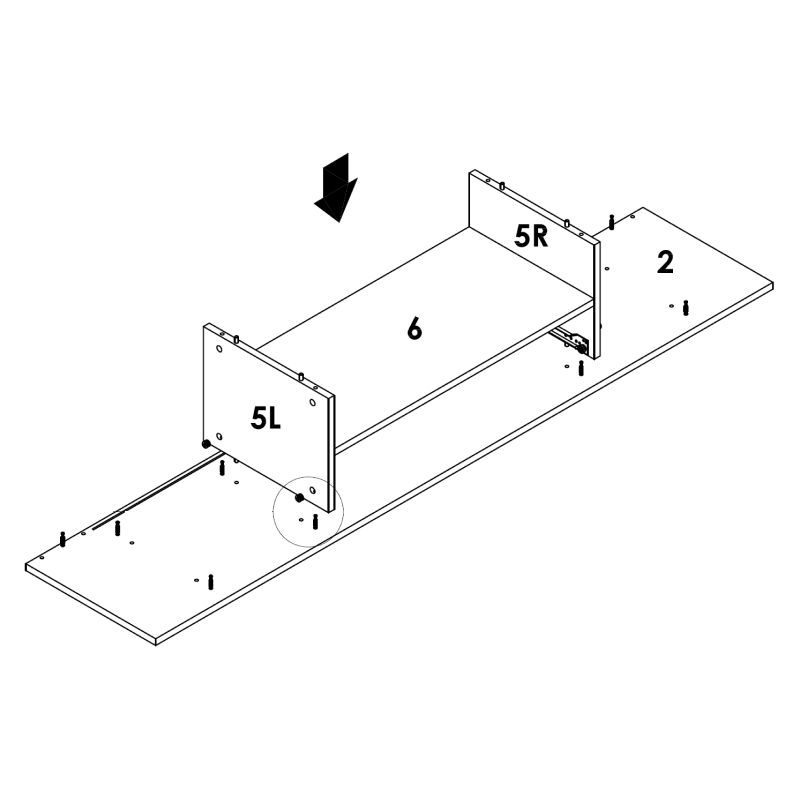 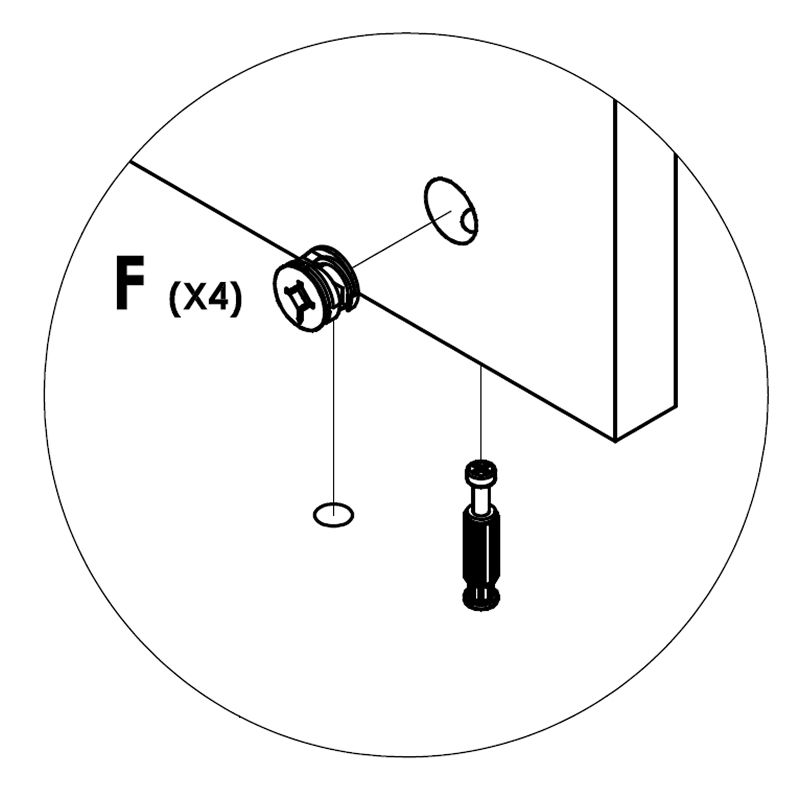 Attach and secure Previous assembly onto Bottom Panel by using (F), tighten it up by using a Crosshead Screw Driver. 13. Attach Side Panels to Door Support Panel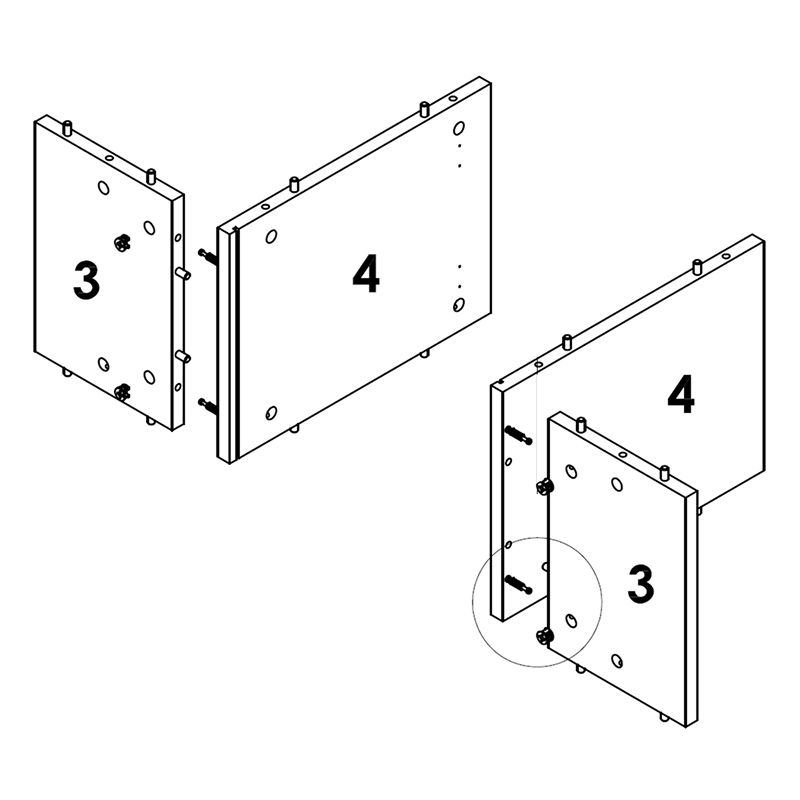 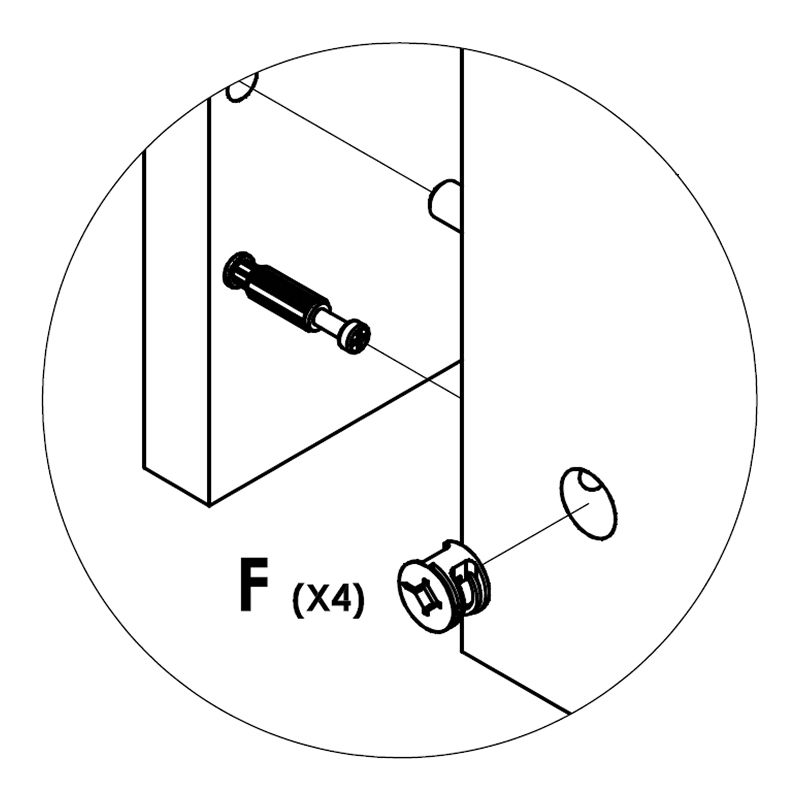 Attach and secure Side Panel onto Door Support Panel by using (F), tighten it up by using a Crosshead Screw Driver. 14. Attach Assembly to Bottom Panel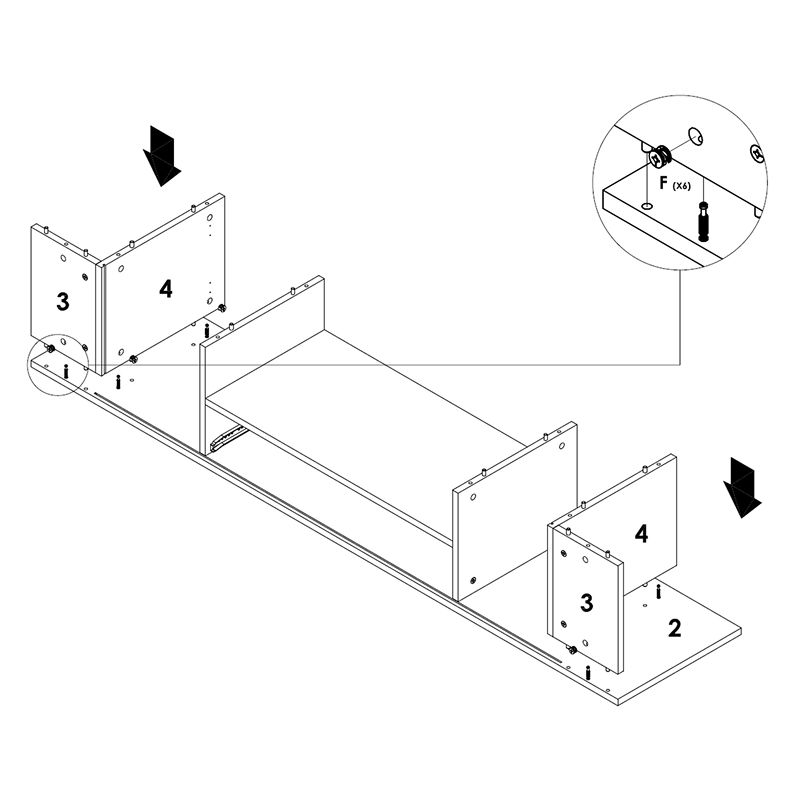 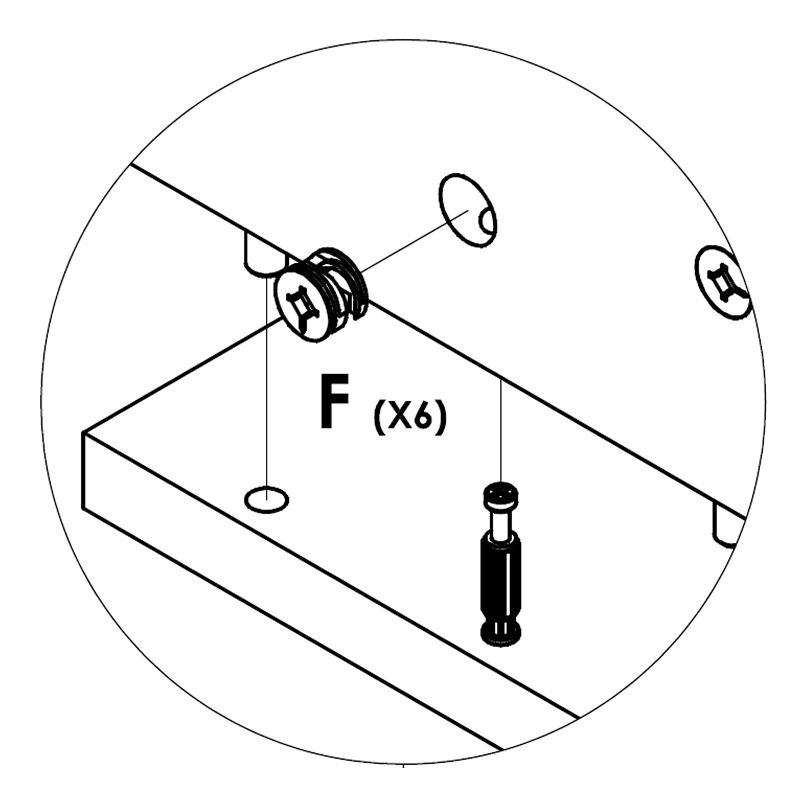 Attach and secure previous assembly onto Bottom Panel by using (F), tighten it up by using a Crosshead Screw Driver. 15. Add Back Panel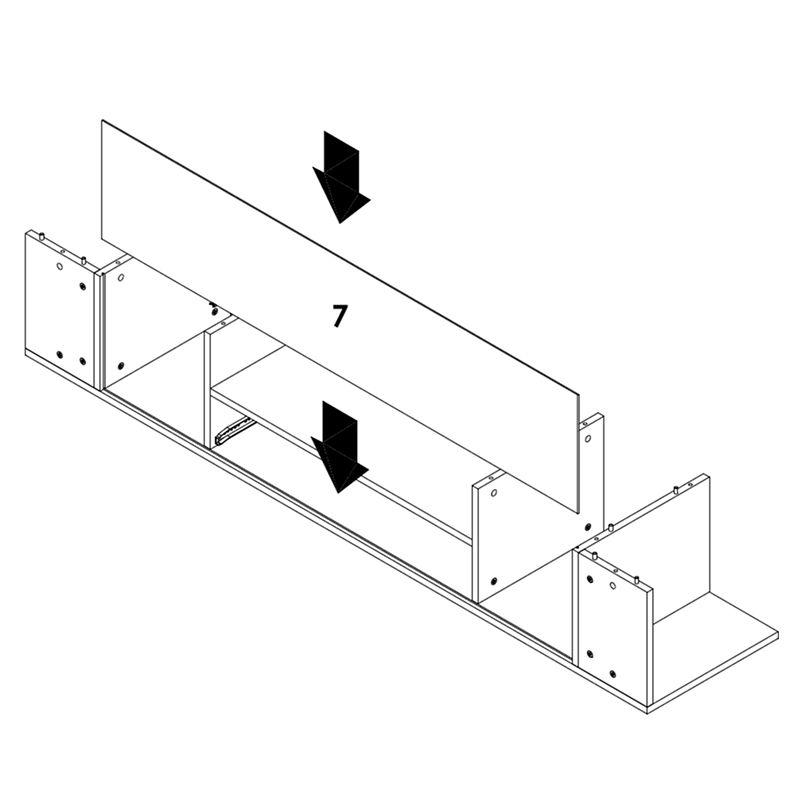 Slide down Back Panel all the way into groove lines found on assembly. 16. Attach Top Panel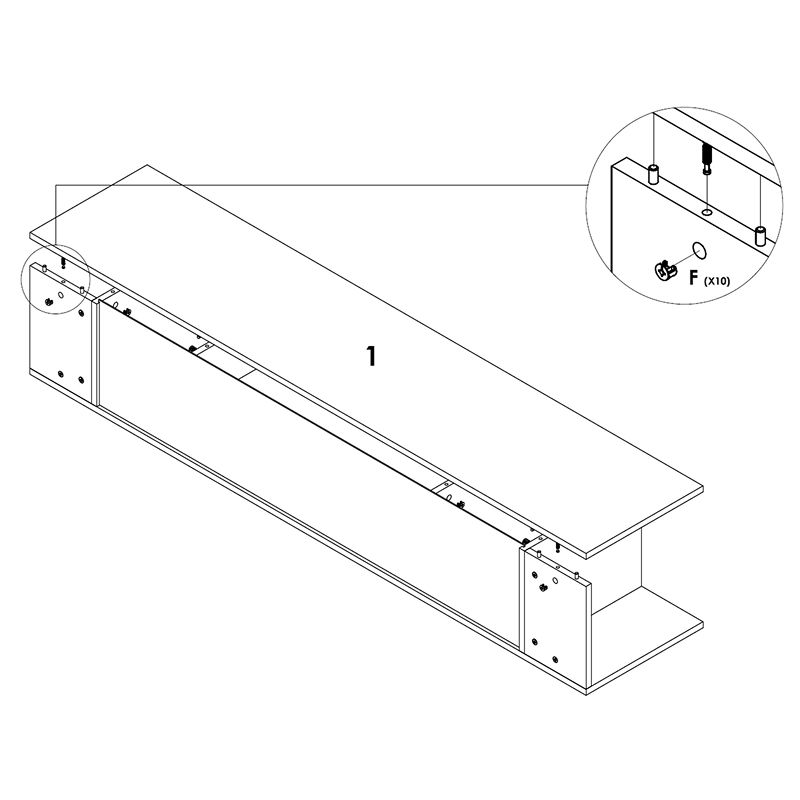 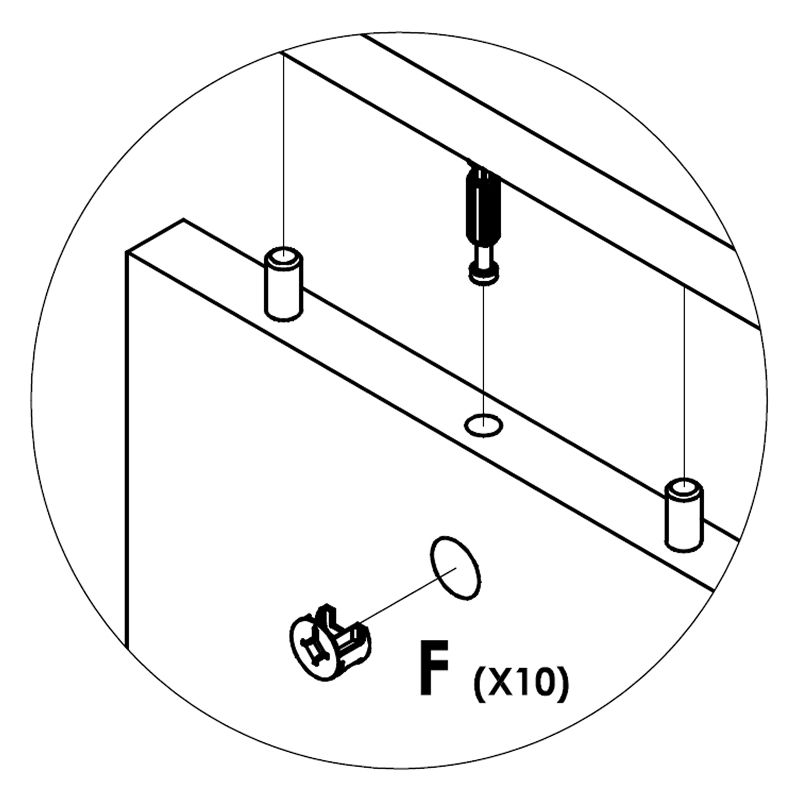 Attach and secure Top Panel onto previous assembly by using (F), tighten it up by using a Crosshead Screw Driver. 17. Secure Panels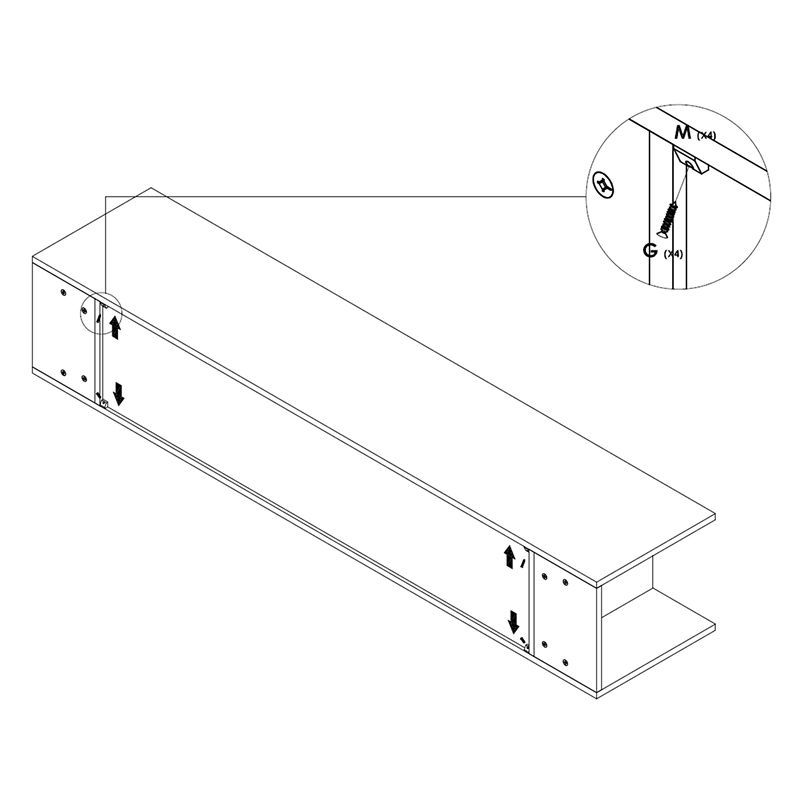 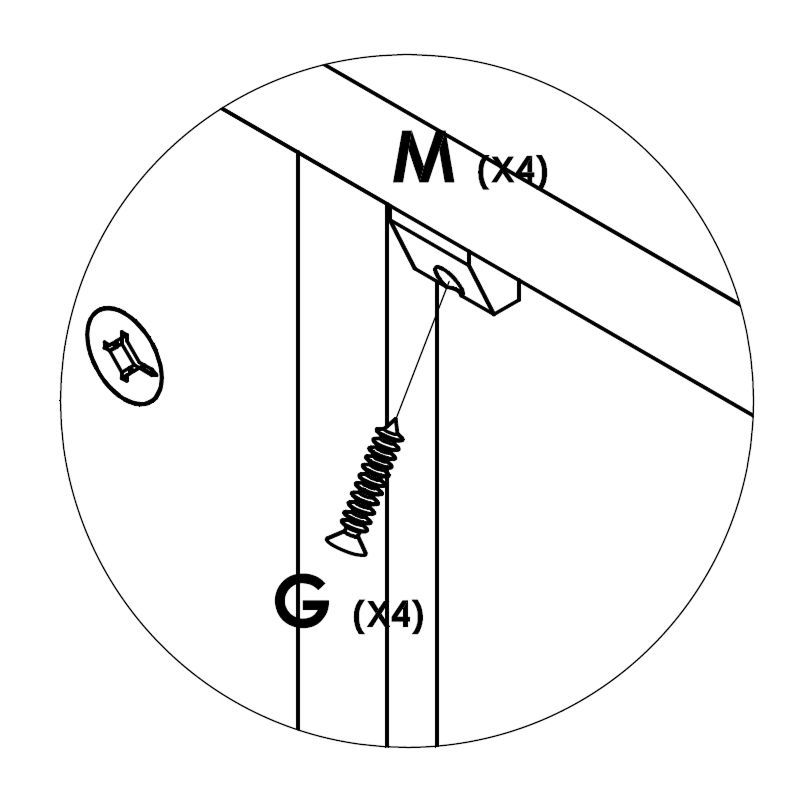 Attach and secure (M) on sides pointed by arrows on the drawing as shown by using (G), tighten it up by using a Crosshead Screw Driver. 18. Attach Hinges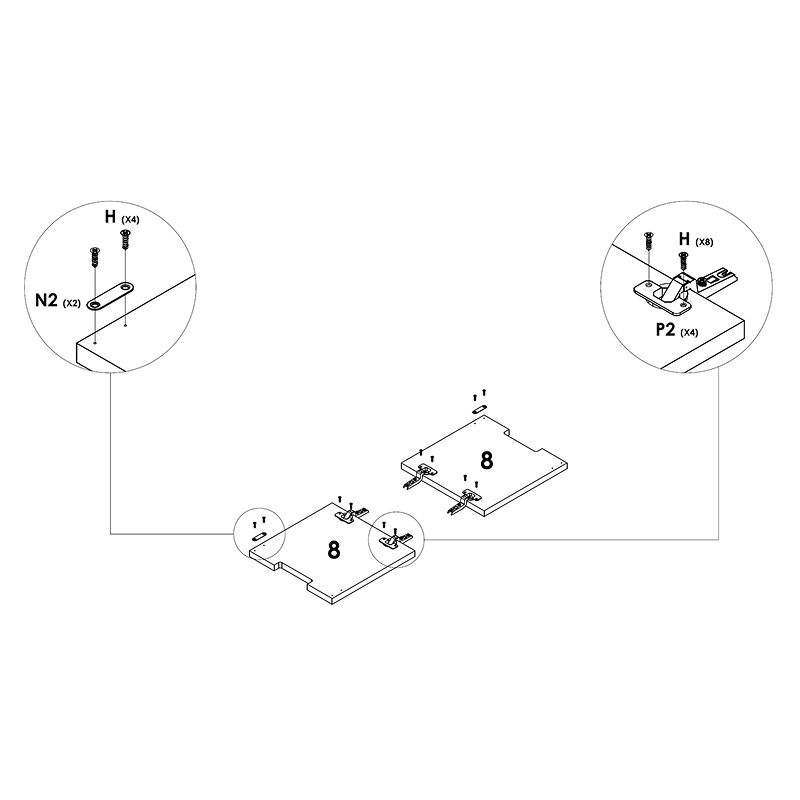  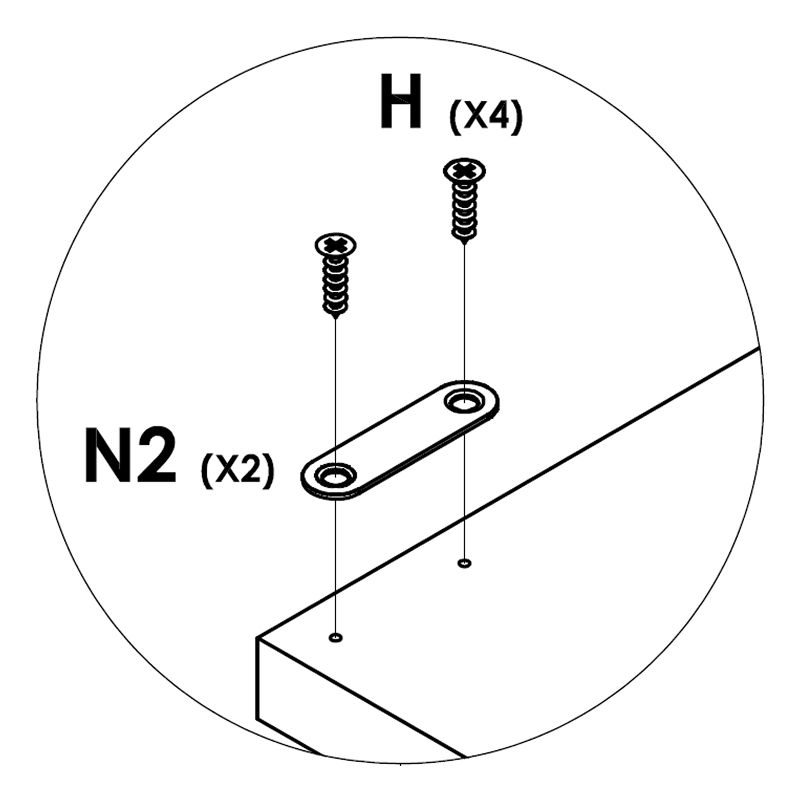 1. Attach and secure (P2) onto Doors by using (H). 19. Attach Other Part of the Hinges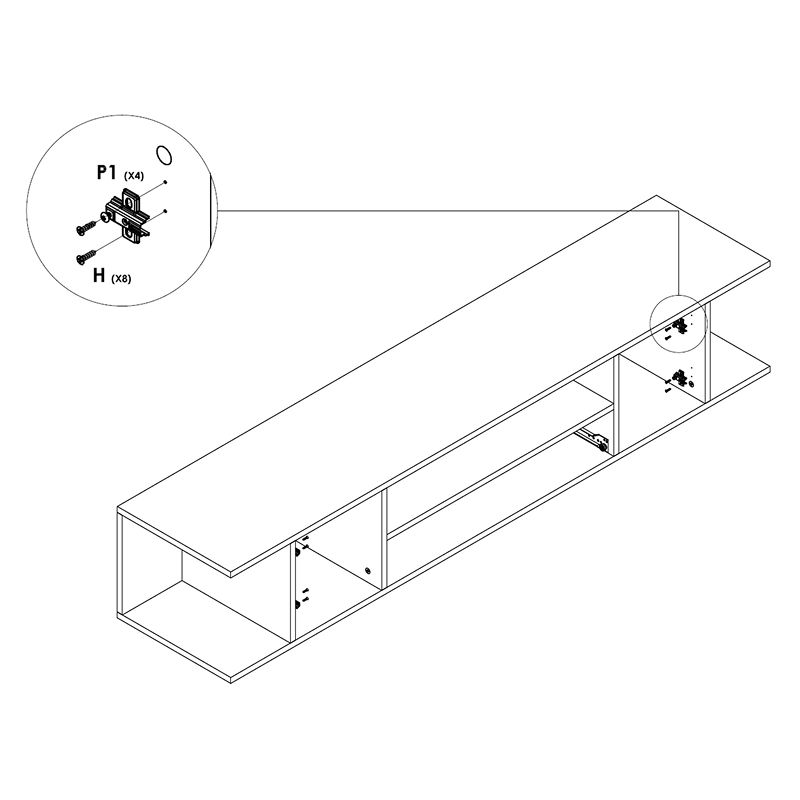 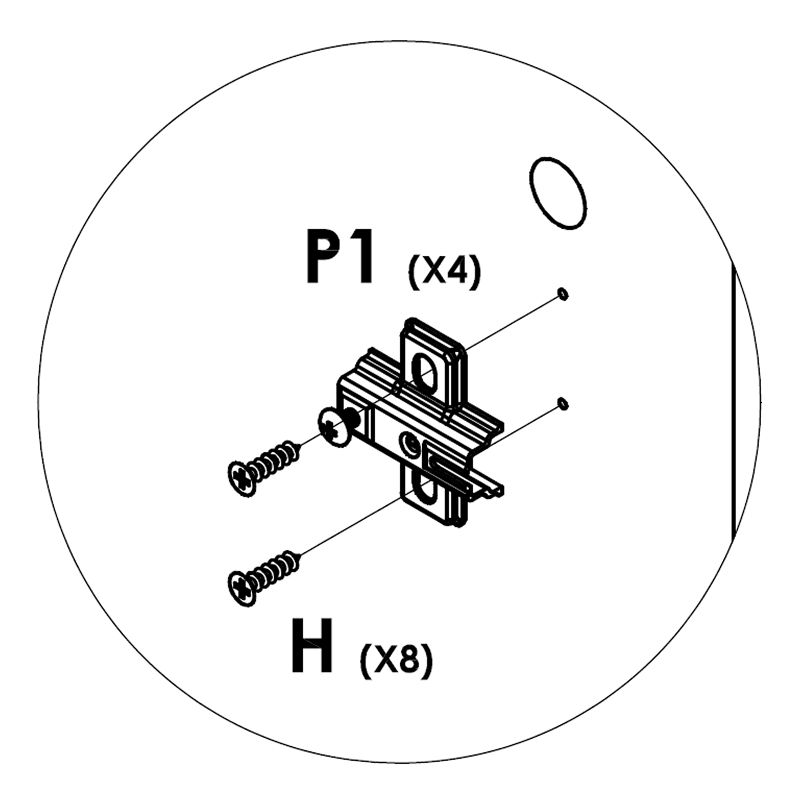 Attach and secure (P1) onto Door Support Panels based on marking holes given by using (H), tighten it up by using a Crosshead Screw Driver. 20. Finish Door Assembly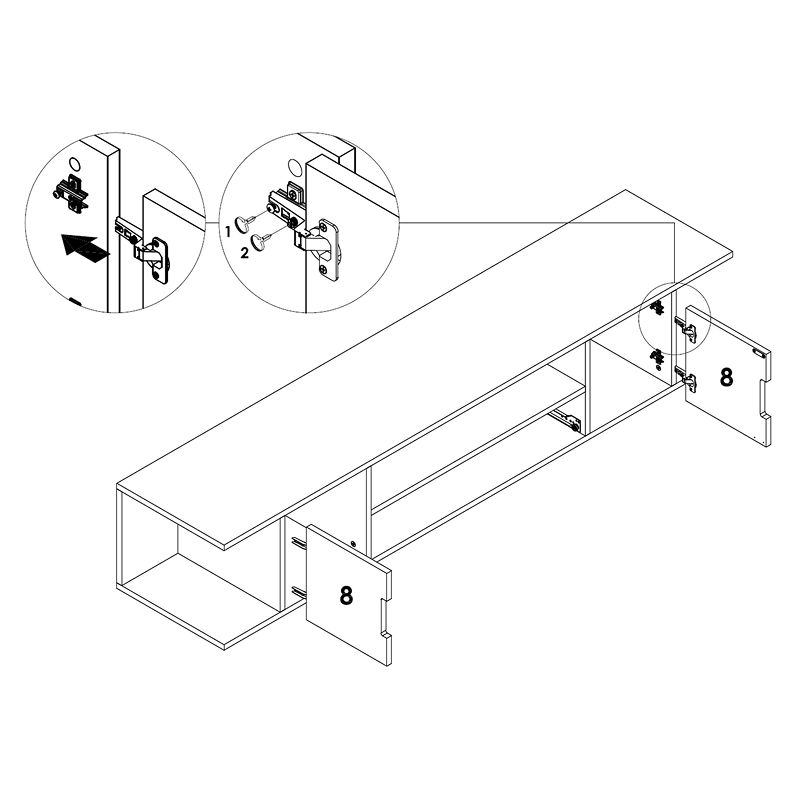  1. Attach both Doors onto assembly. Use a Crosshead Screw Driver to tighten (1) up. 21. Assemble Drawer Sides and Rear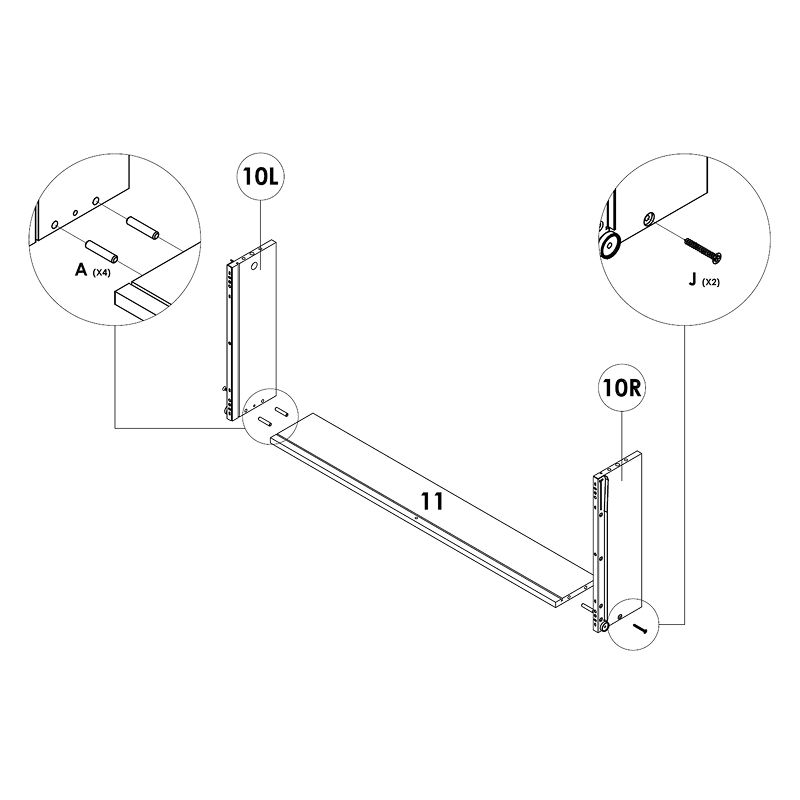 1. Attach and secure Drawer Slde (L/R) onto Drawer Rear by inserting (A) into Ø6MM holes. 22. Attach Base Support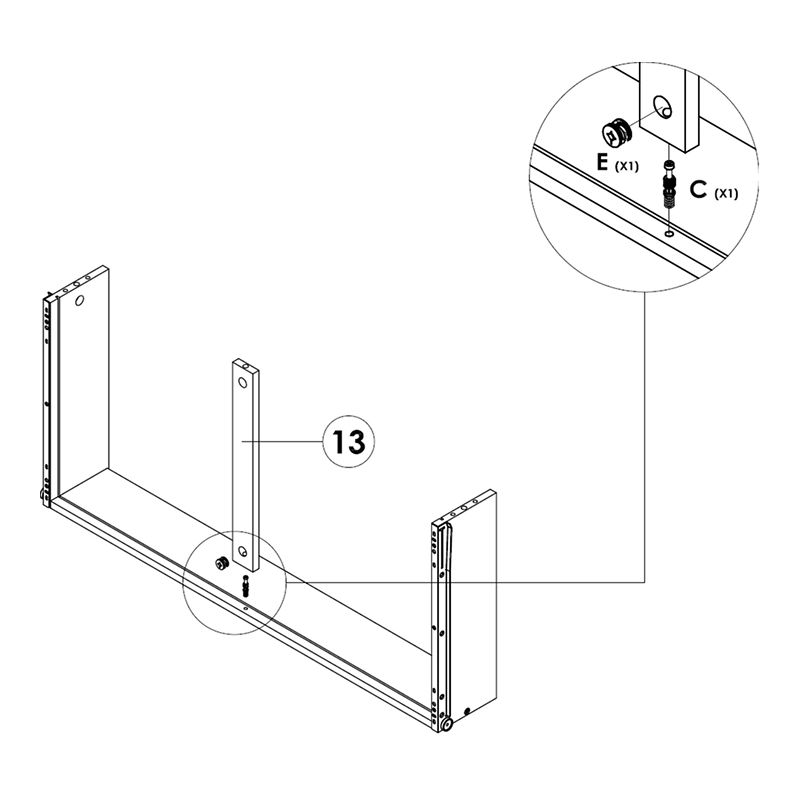 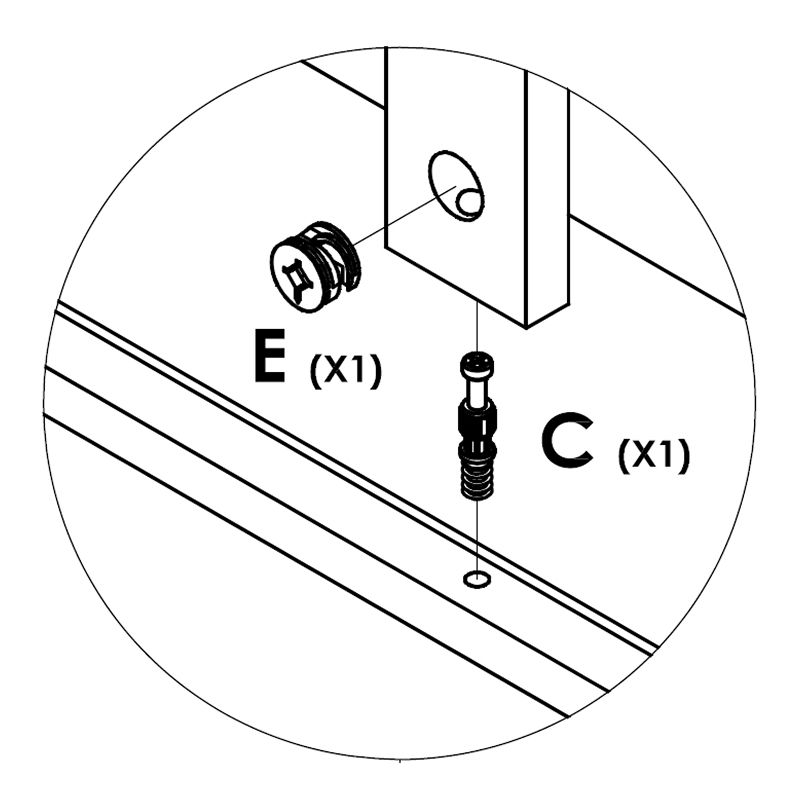 Attach and secure one side of Drawer Base Support onto Drawer Rear by using (C) and (E), tighten it up by using a Crosshead Screw Driver. 23. Assemble Drawer Base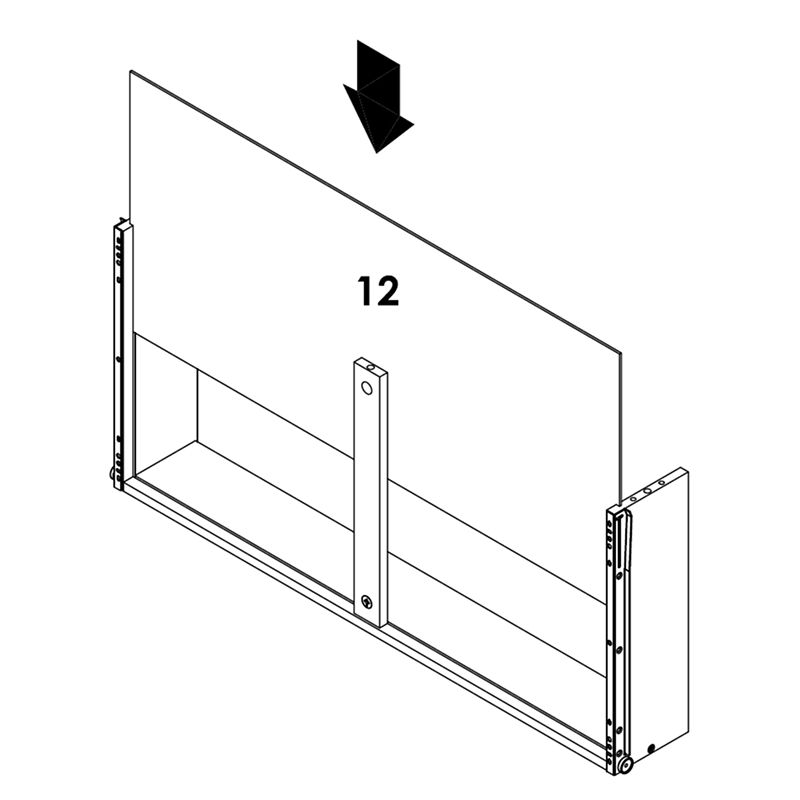 Slot Drawer Base into Drawer assembly. 24. Attach Drawer Face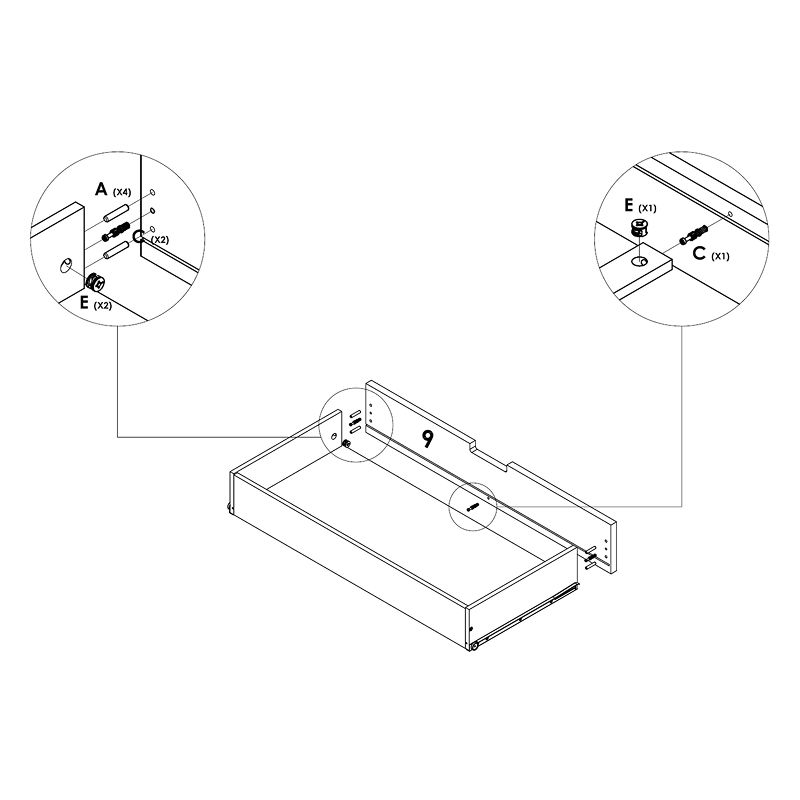 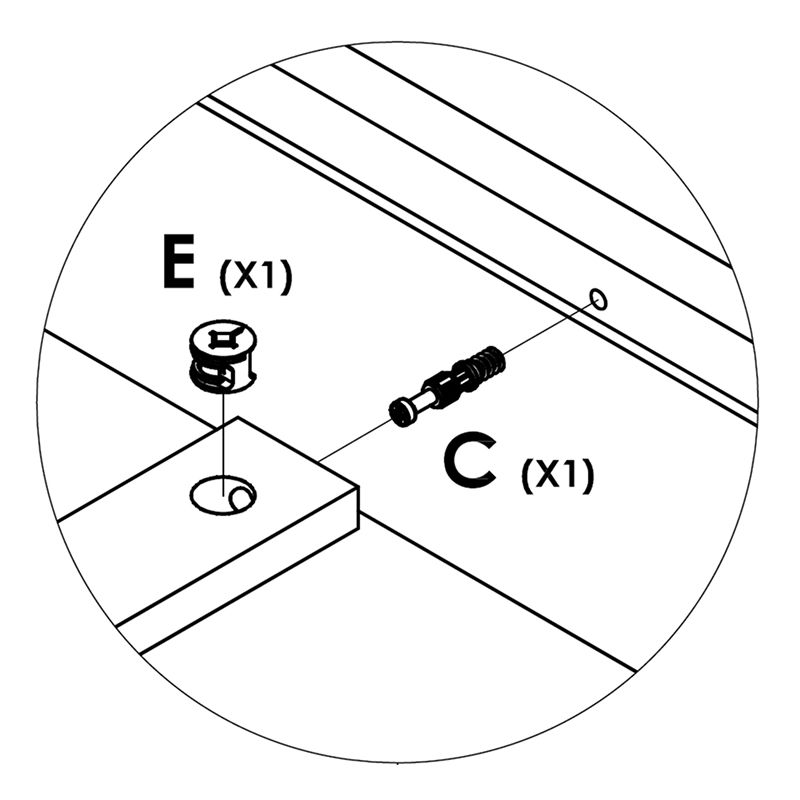 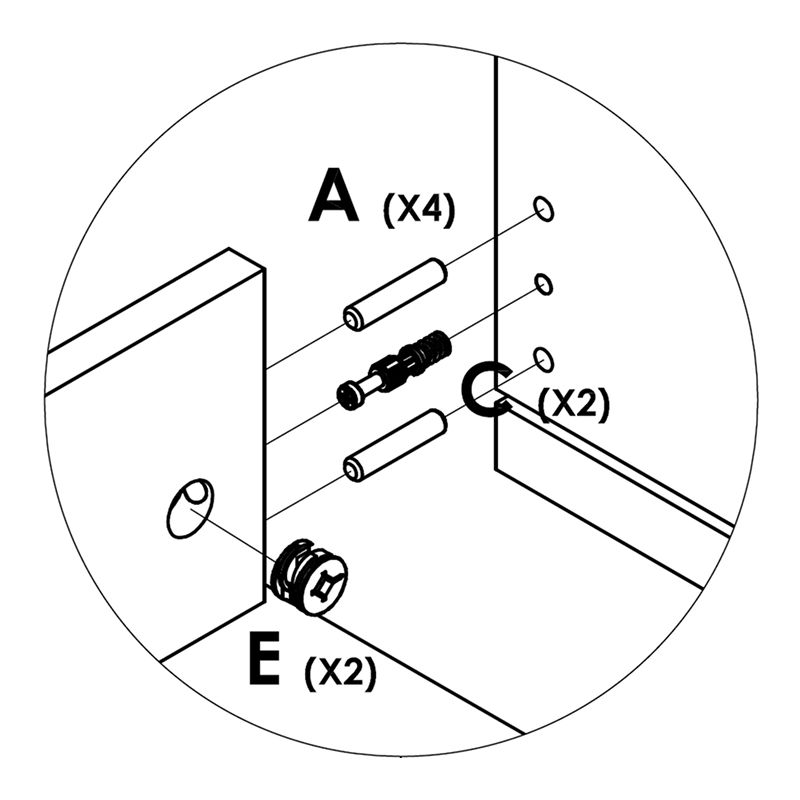 Attach and secure Drawer Face onto Drawer Side (L/R) and another side of Drawer Base Support by inserting (A) into Ø6MM holes, follow that up by using (C) and (E), tighten up all positions by using a Crosshead Screw Driver. 25. Slot Drawer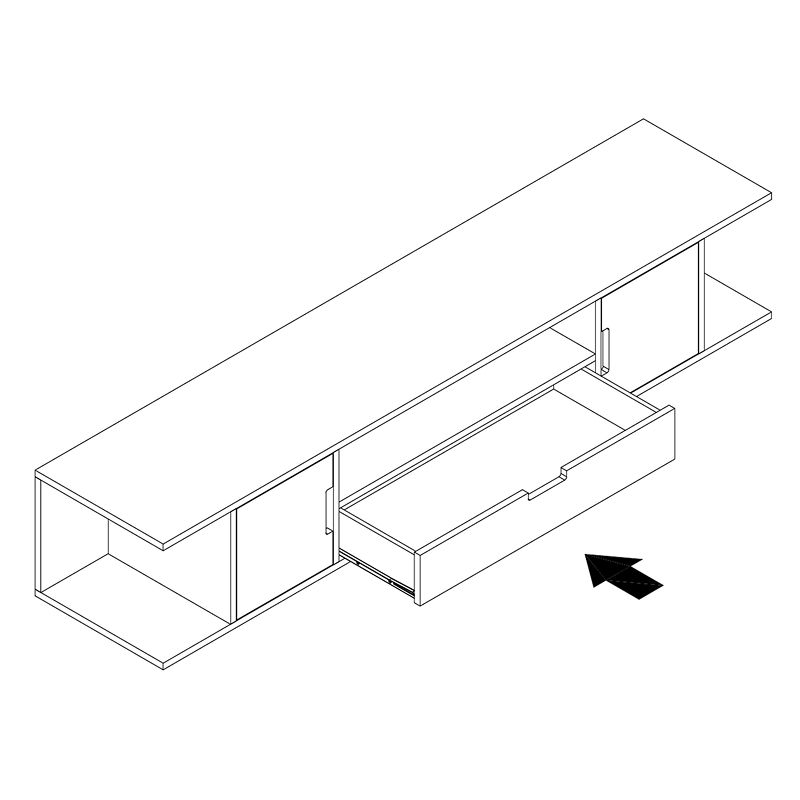 1. Slot Drawer into previous assembly. 26. Final Check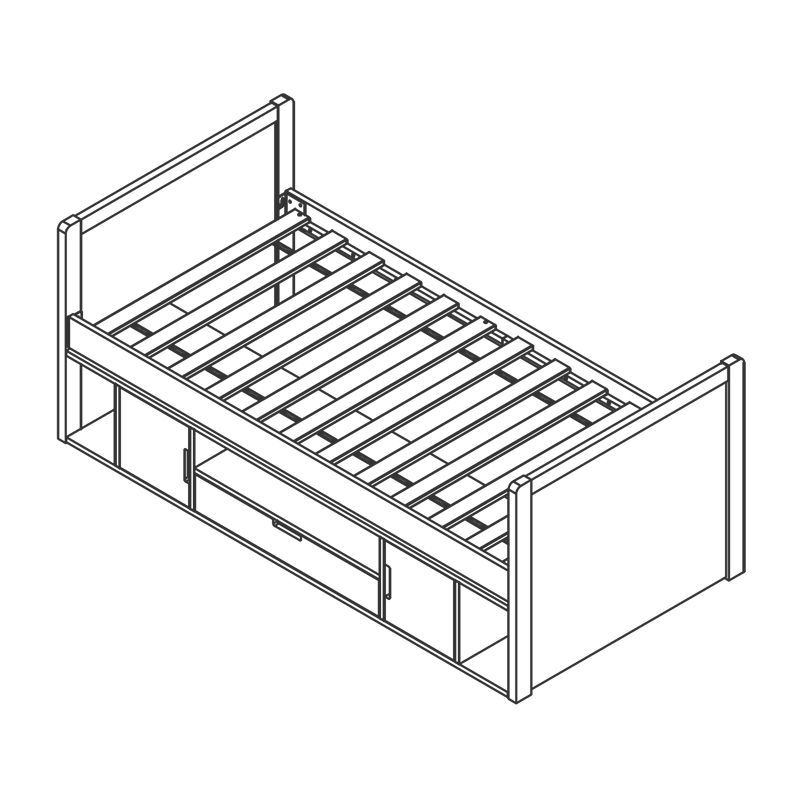
|