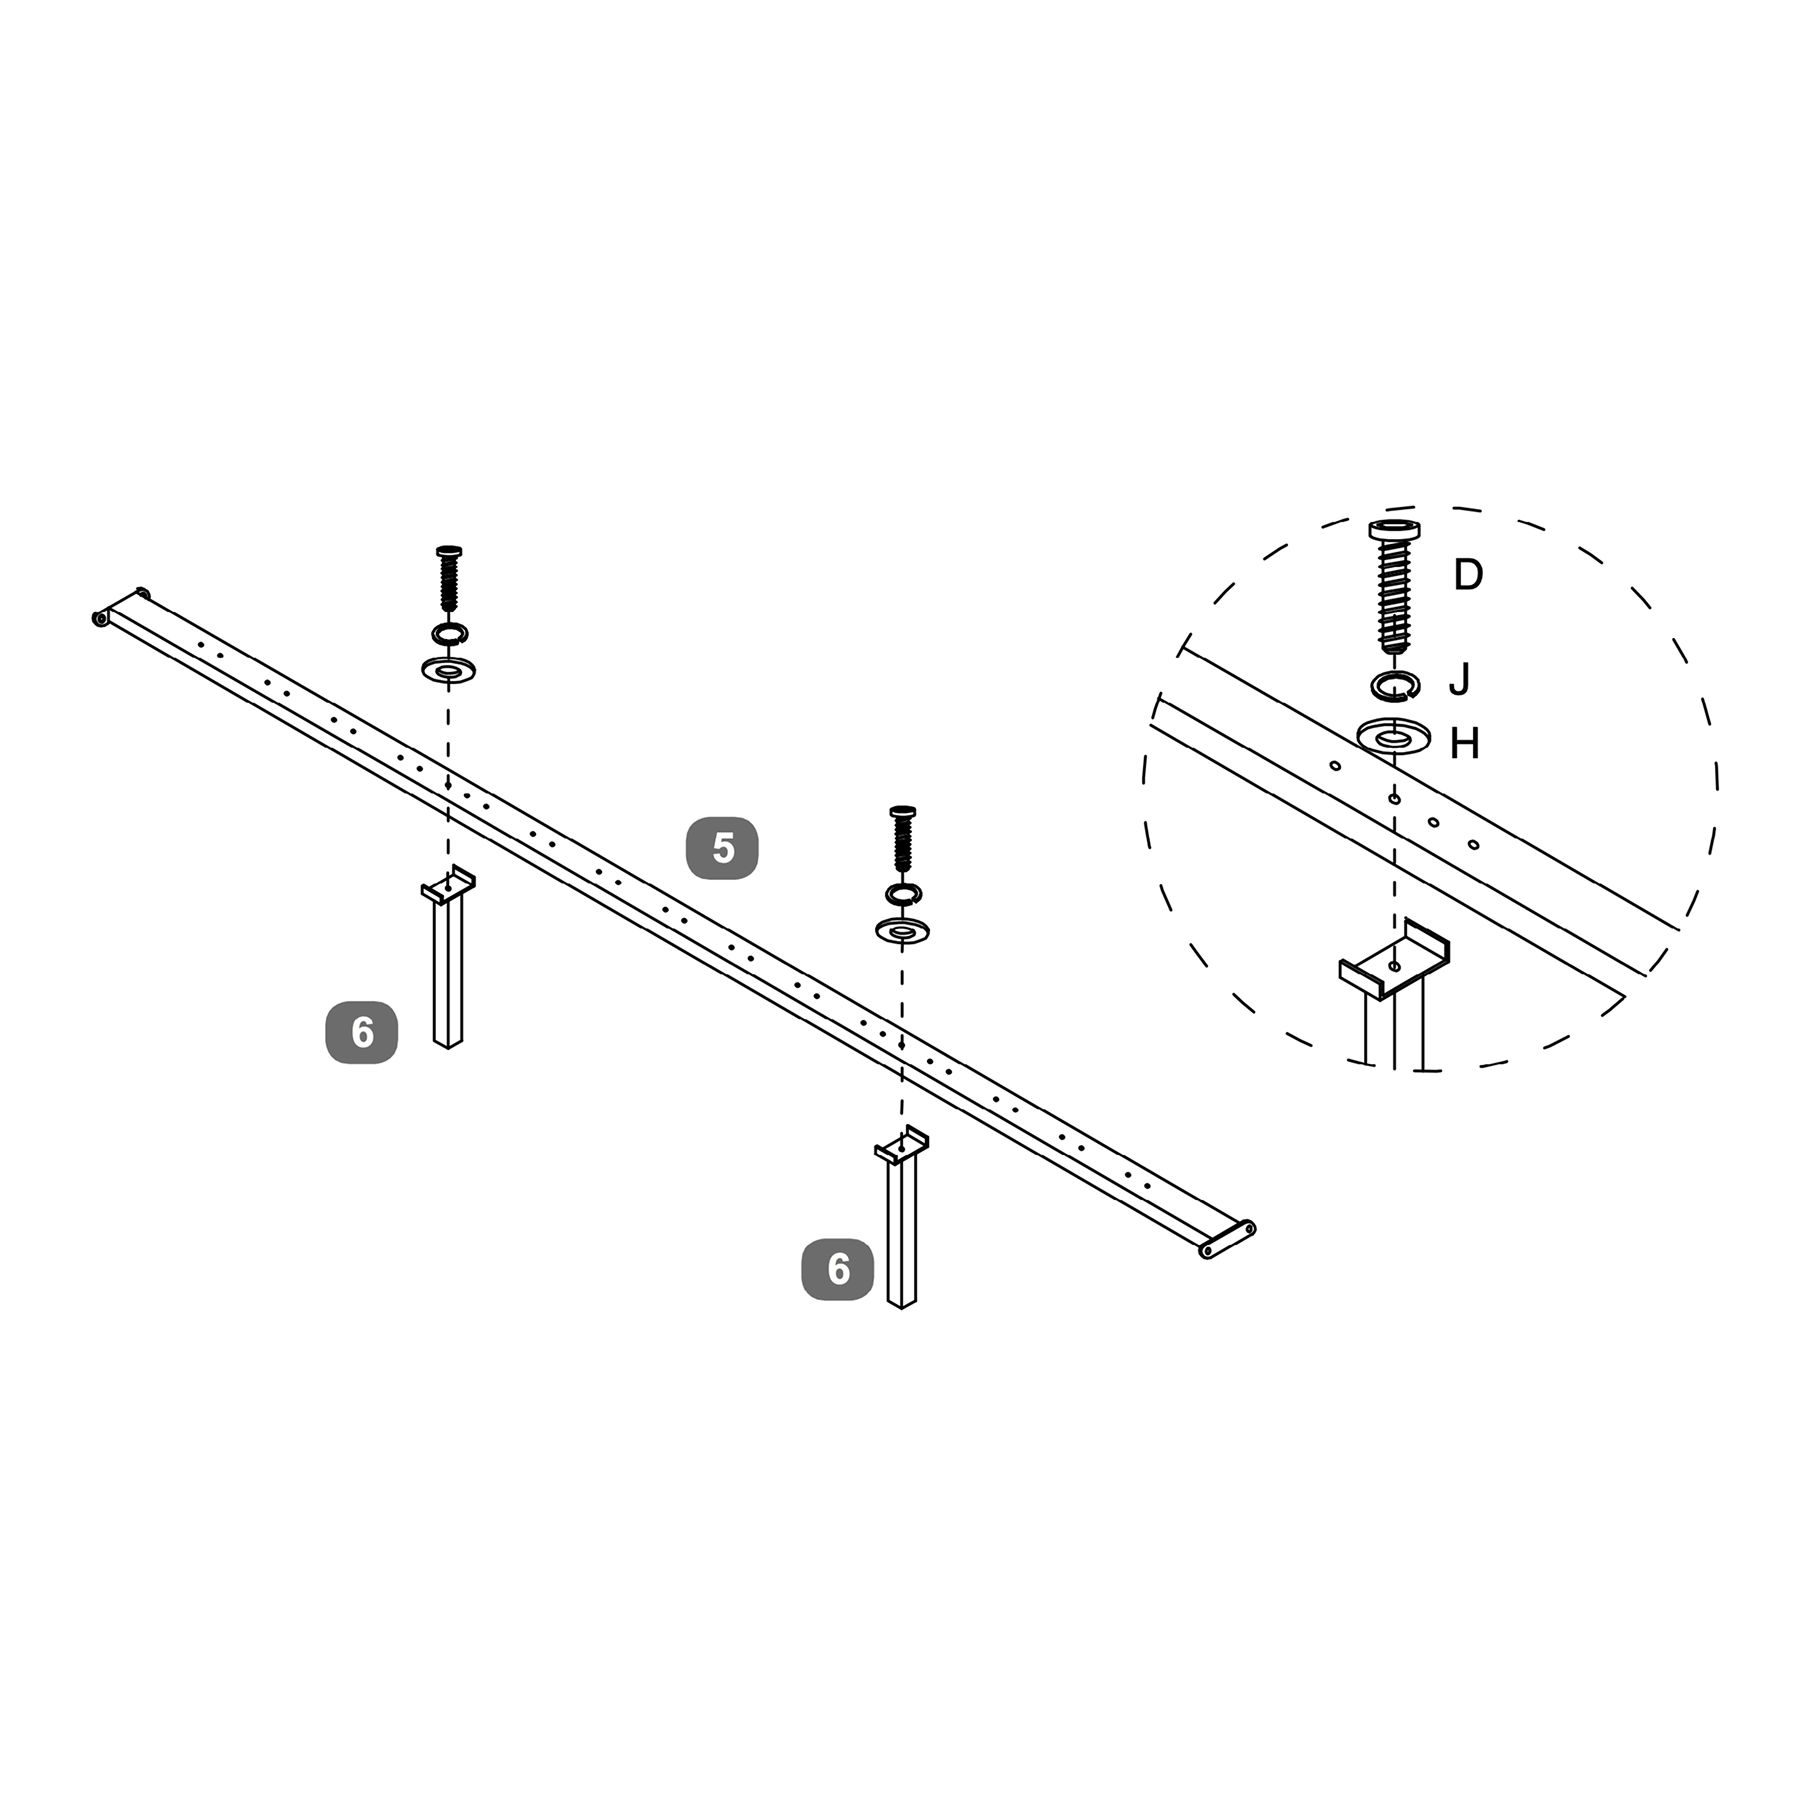


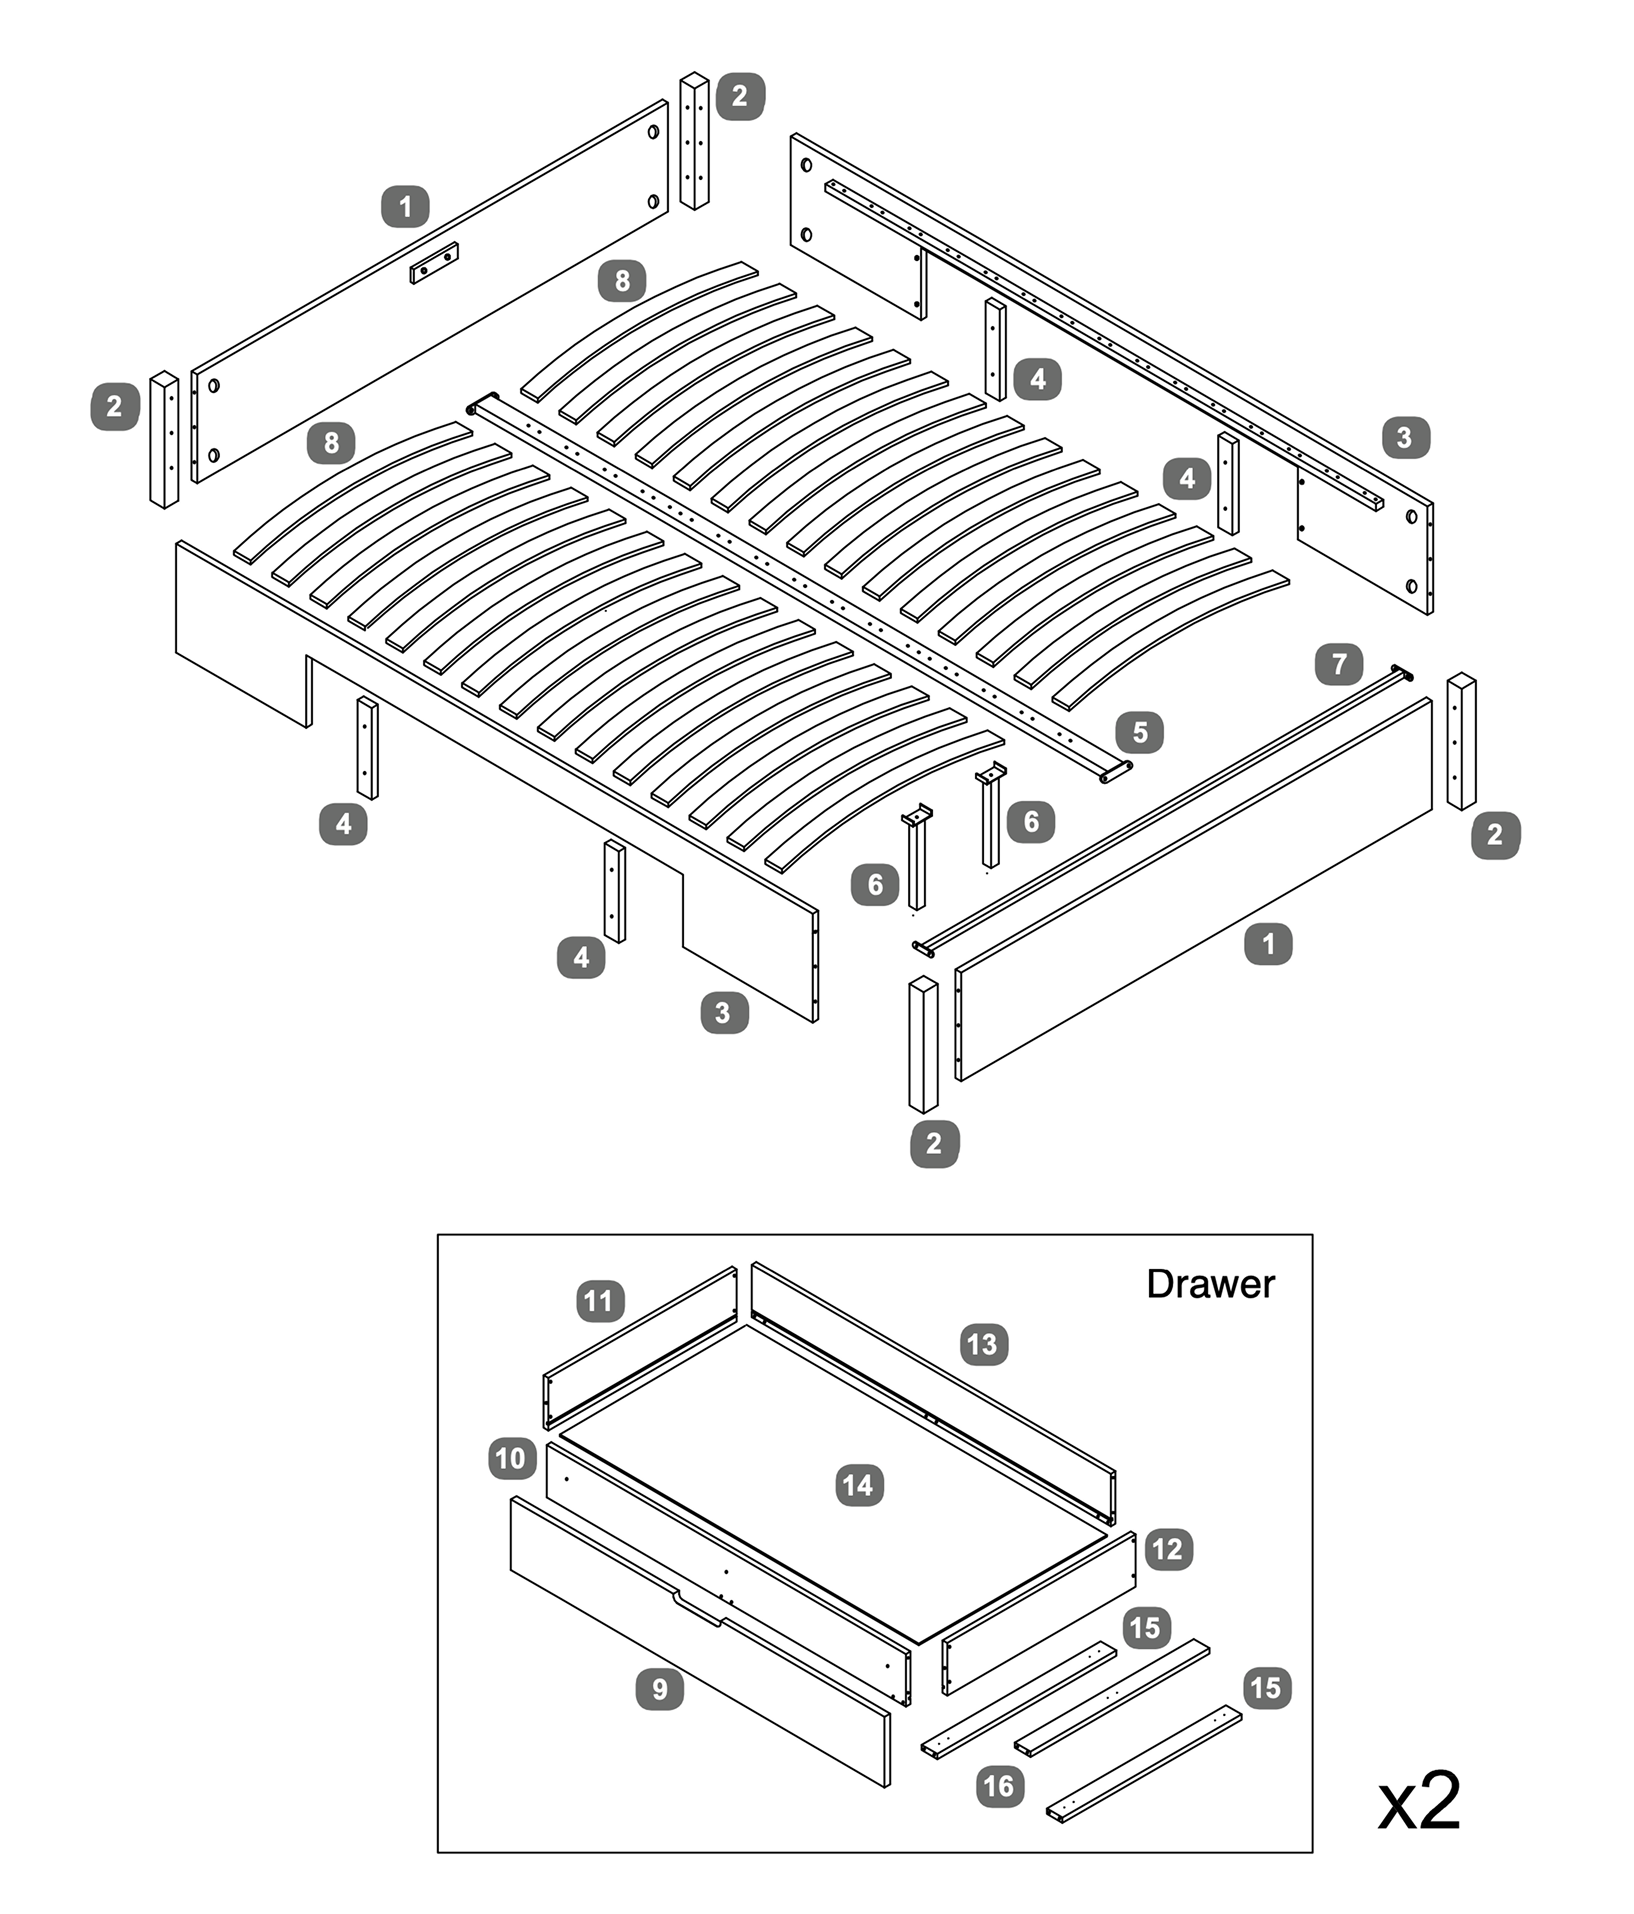
1. Prepare Side Rails with Support Legs
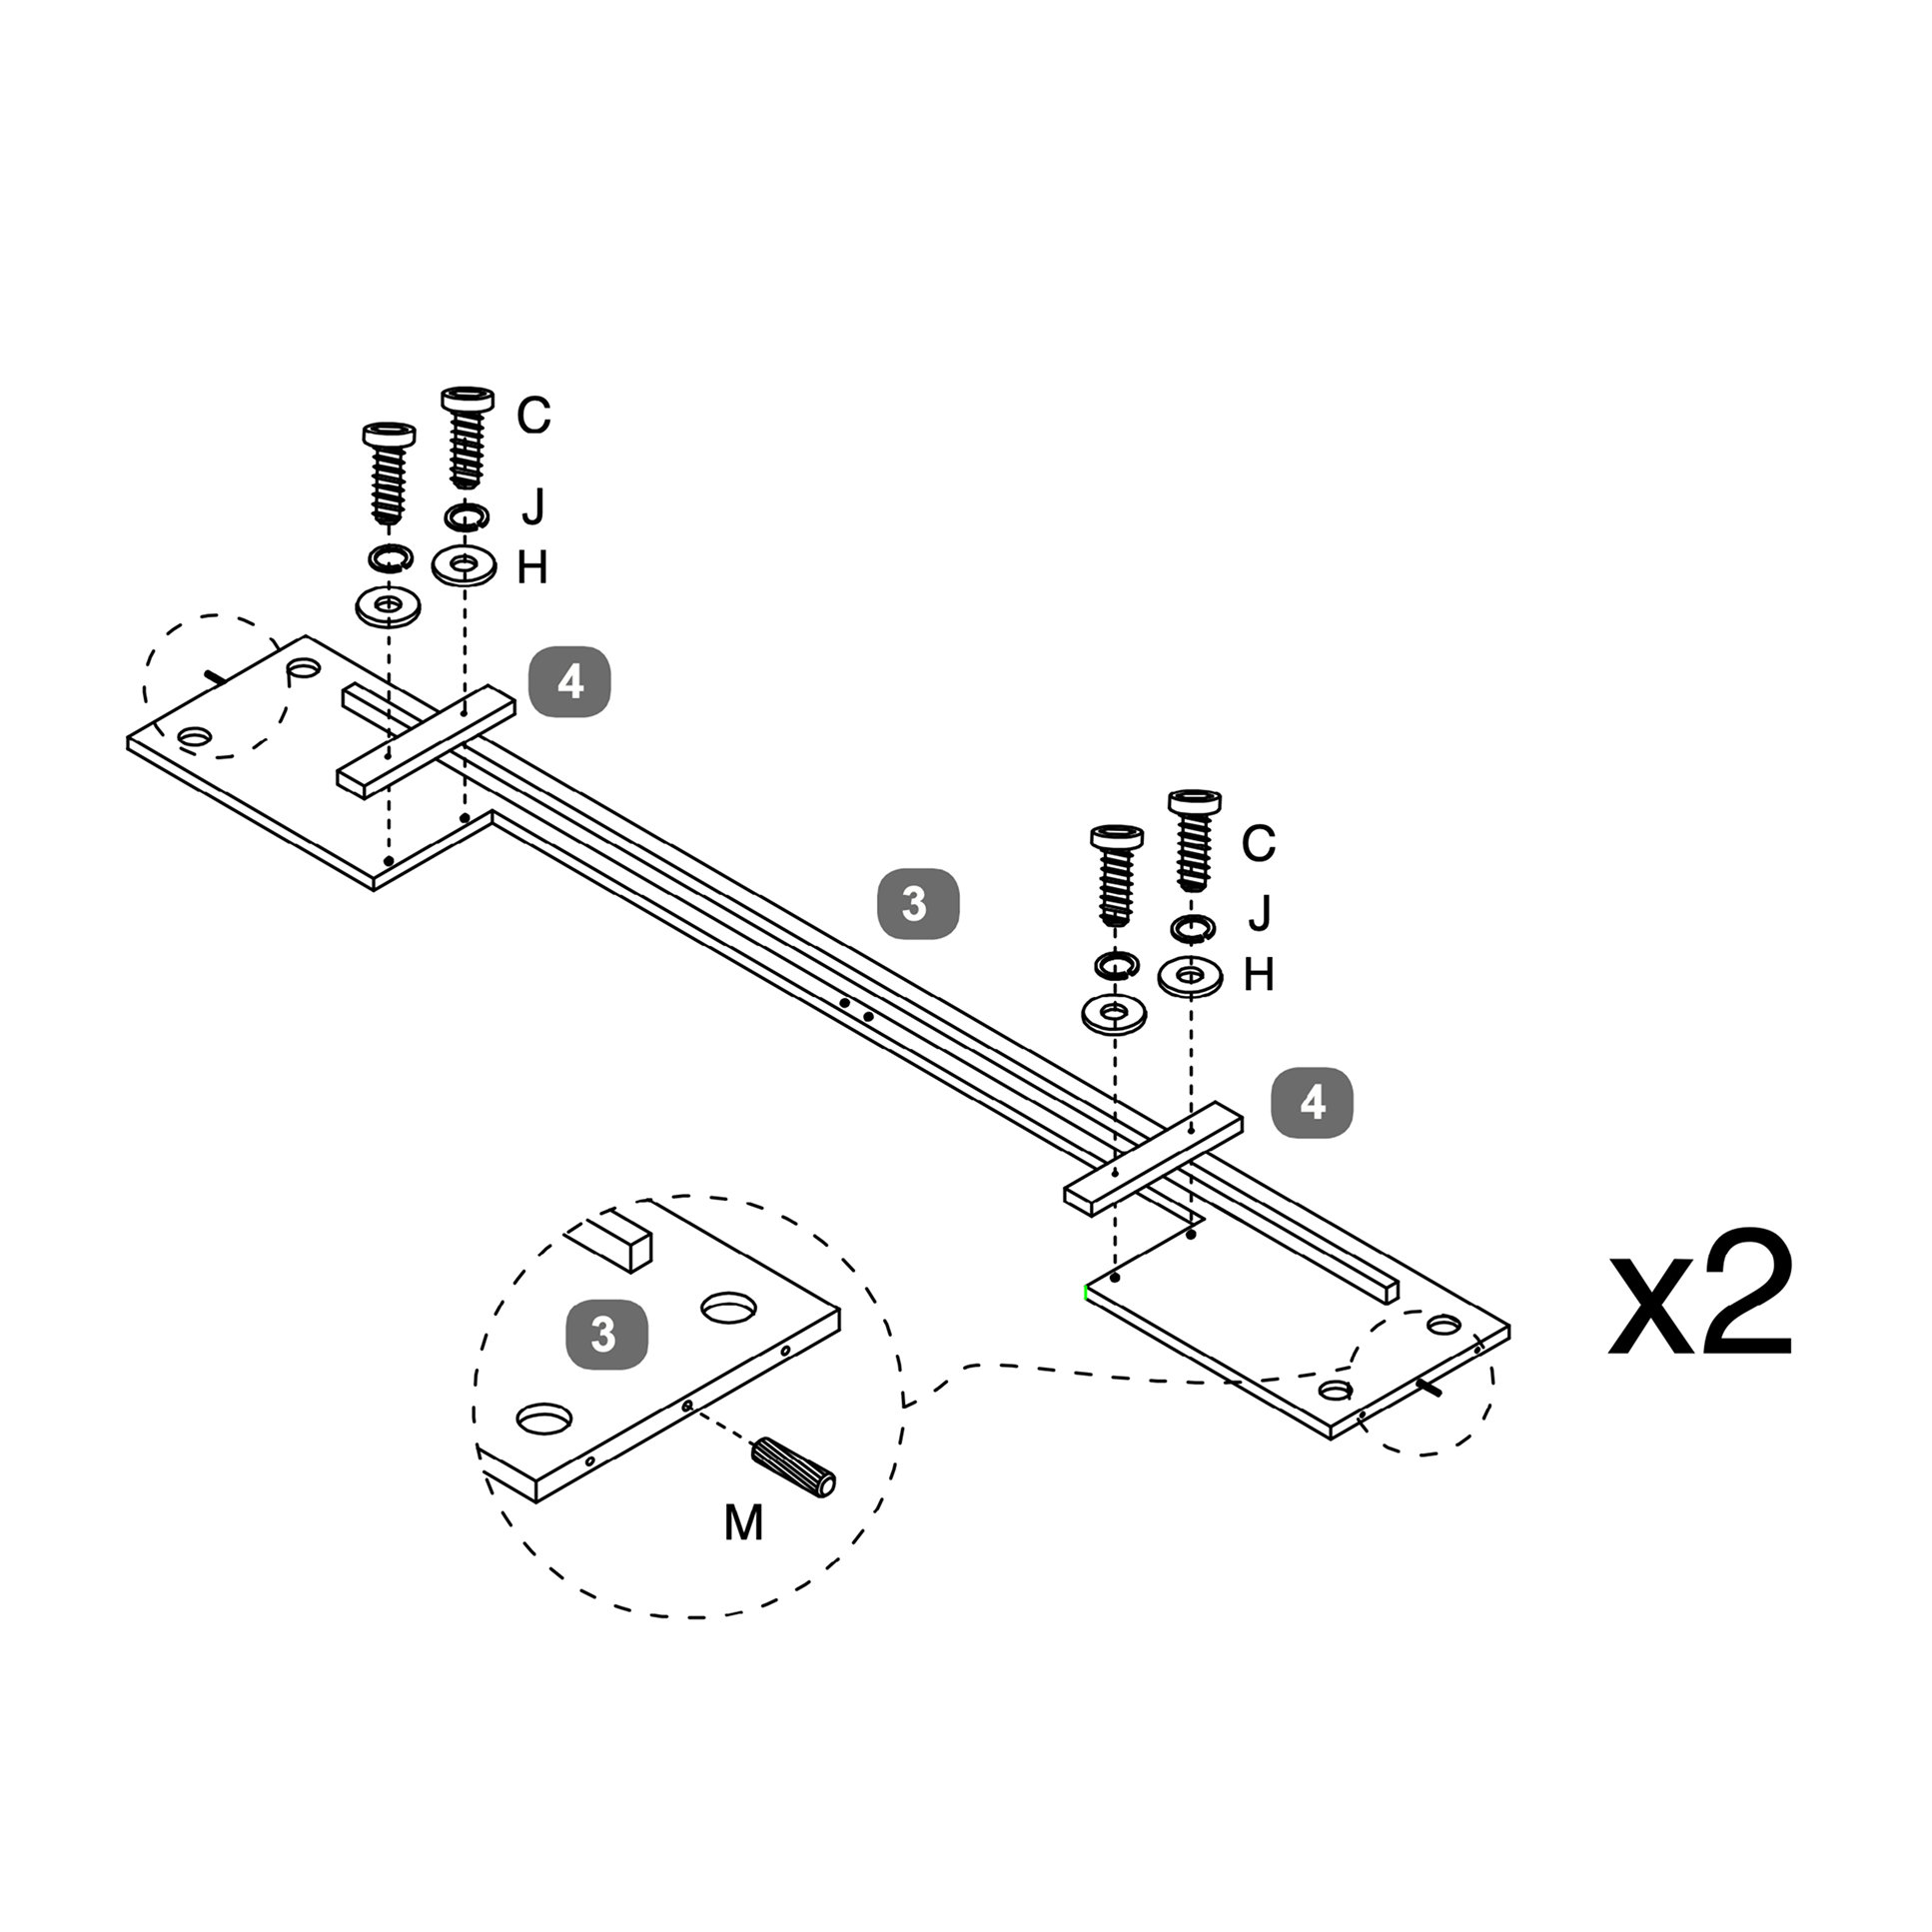
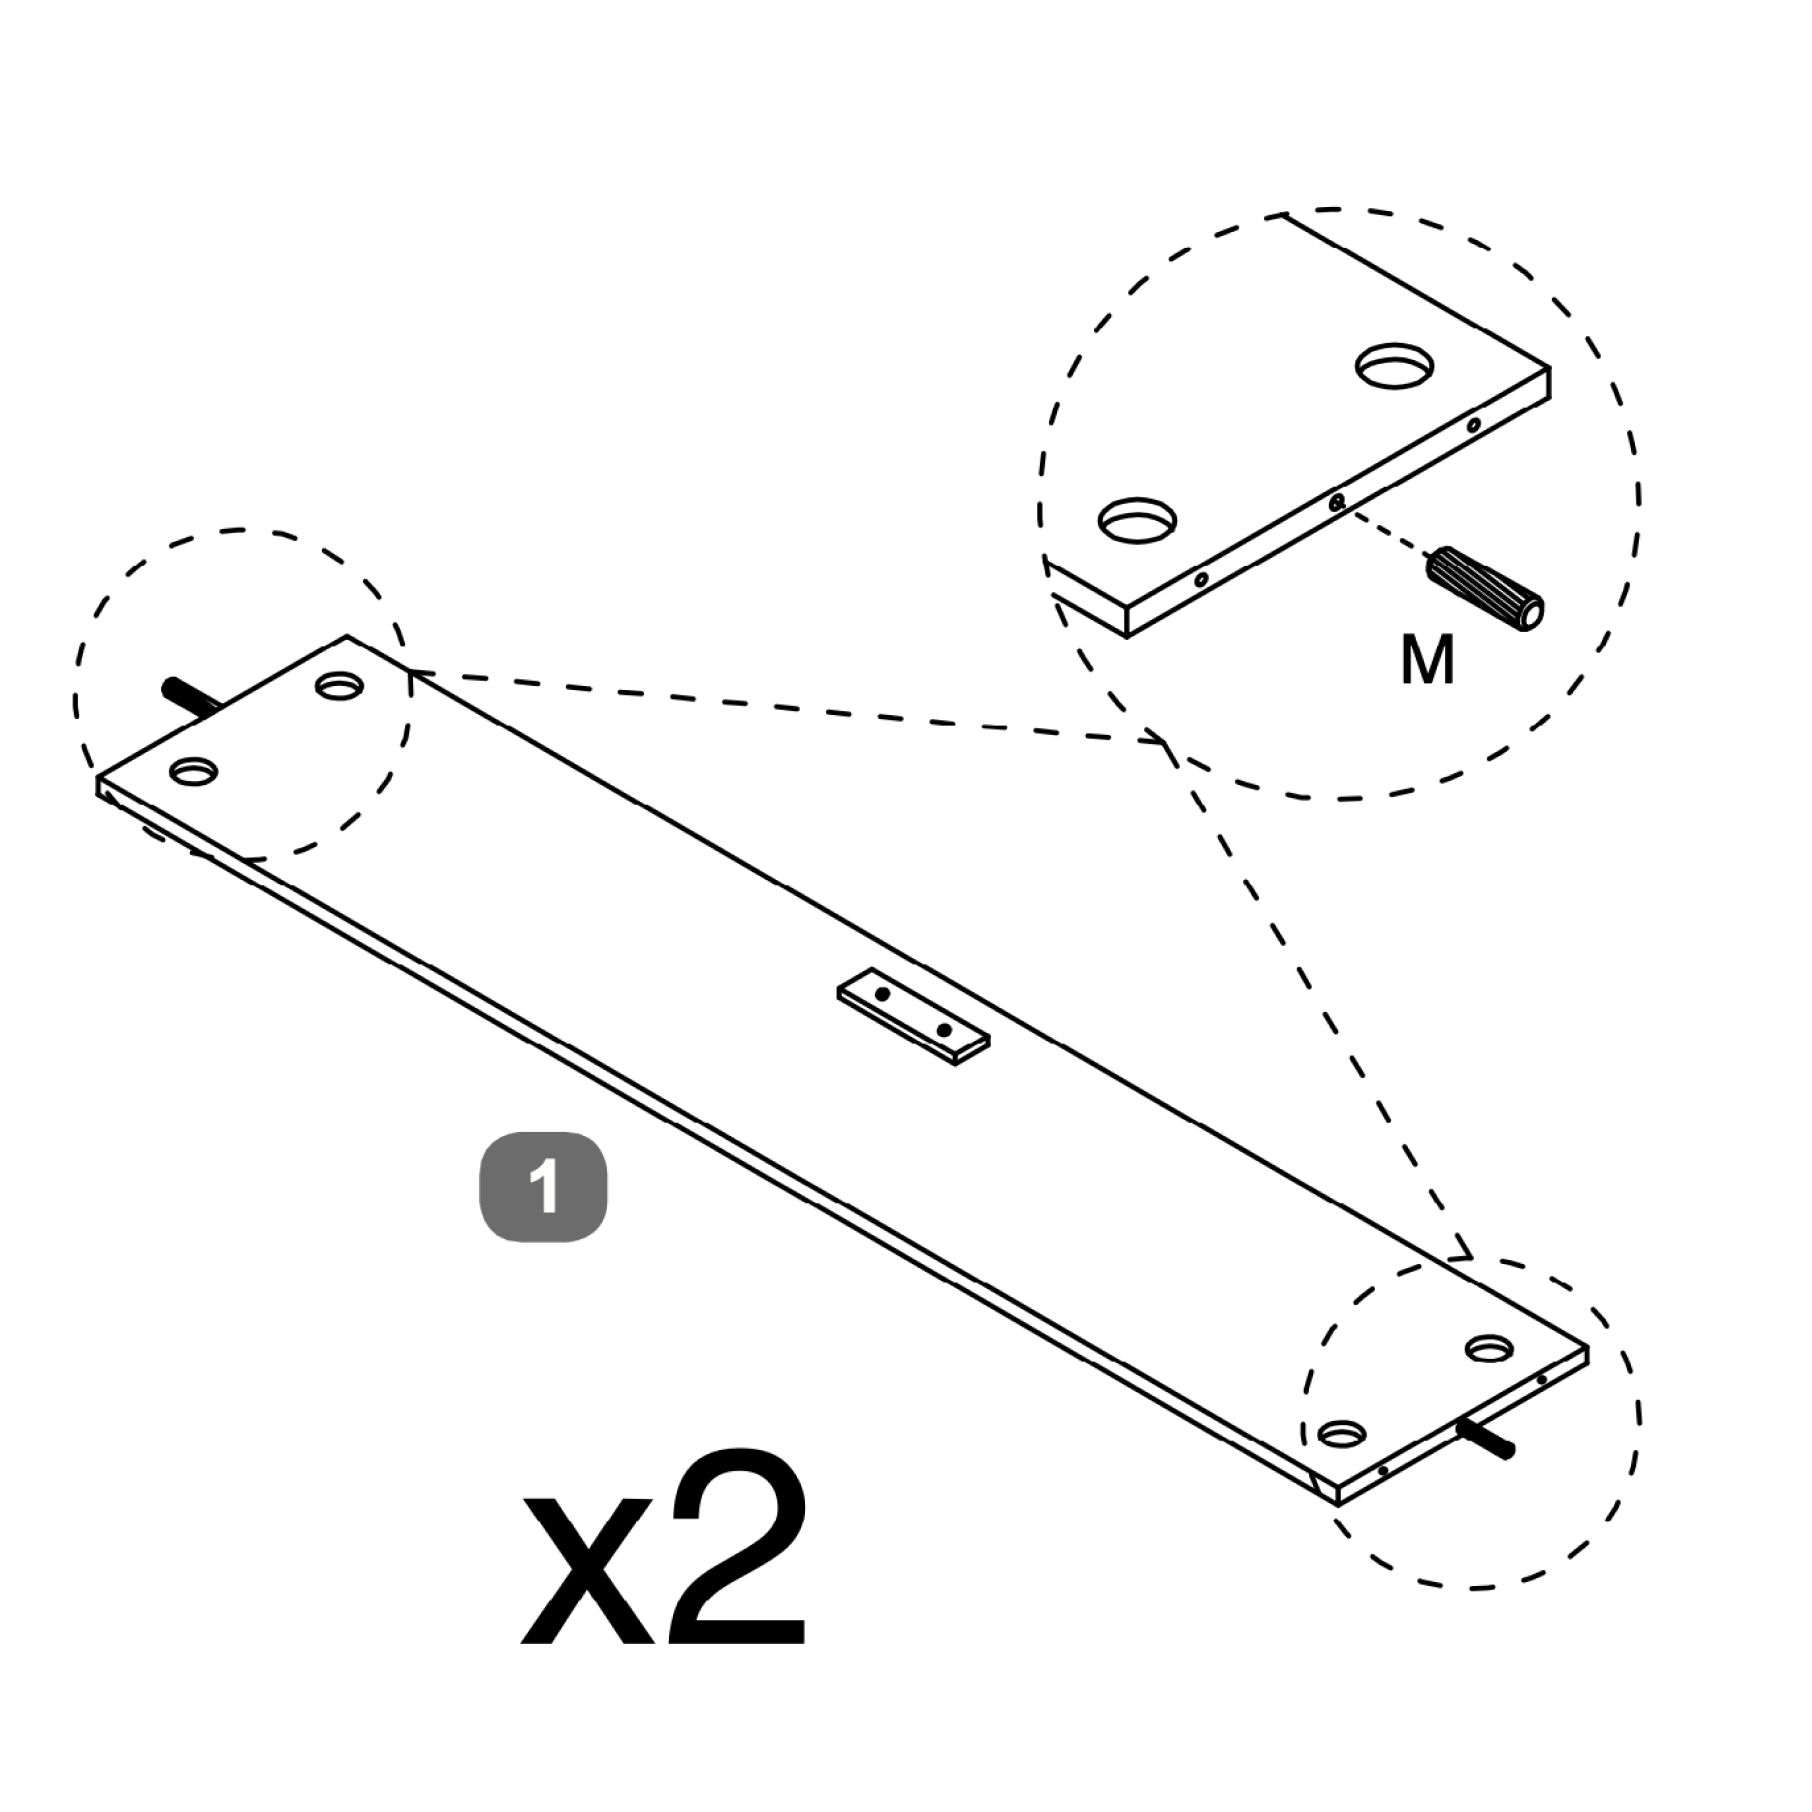
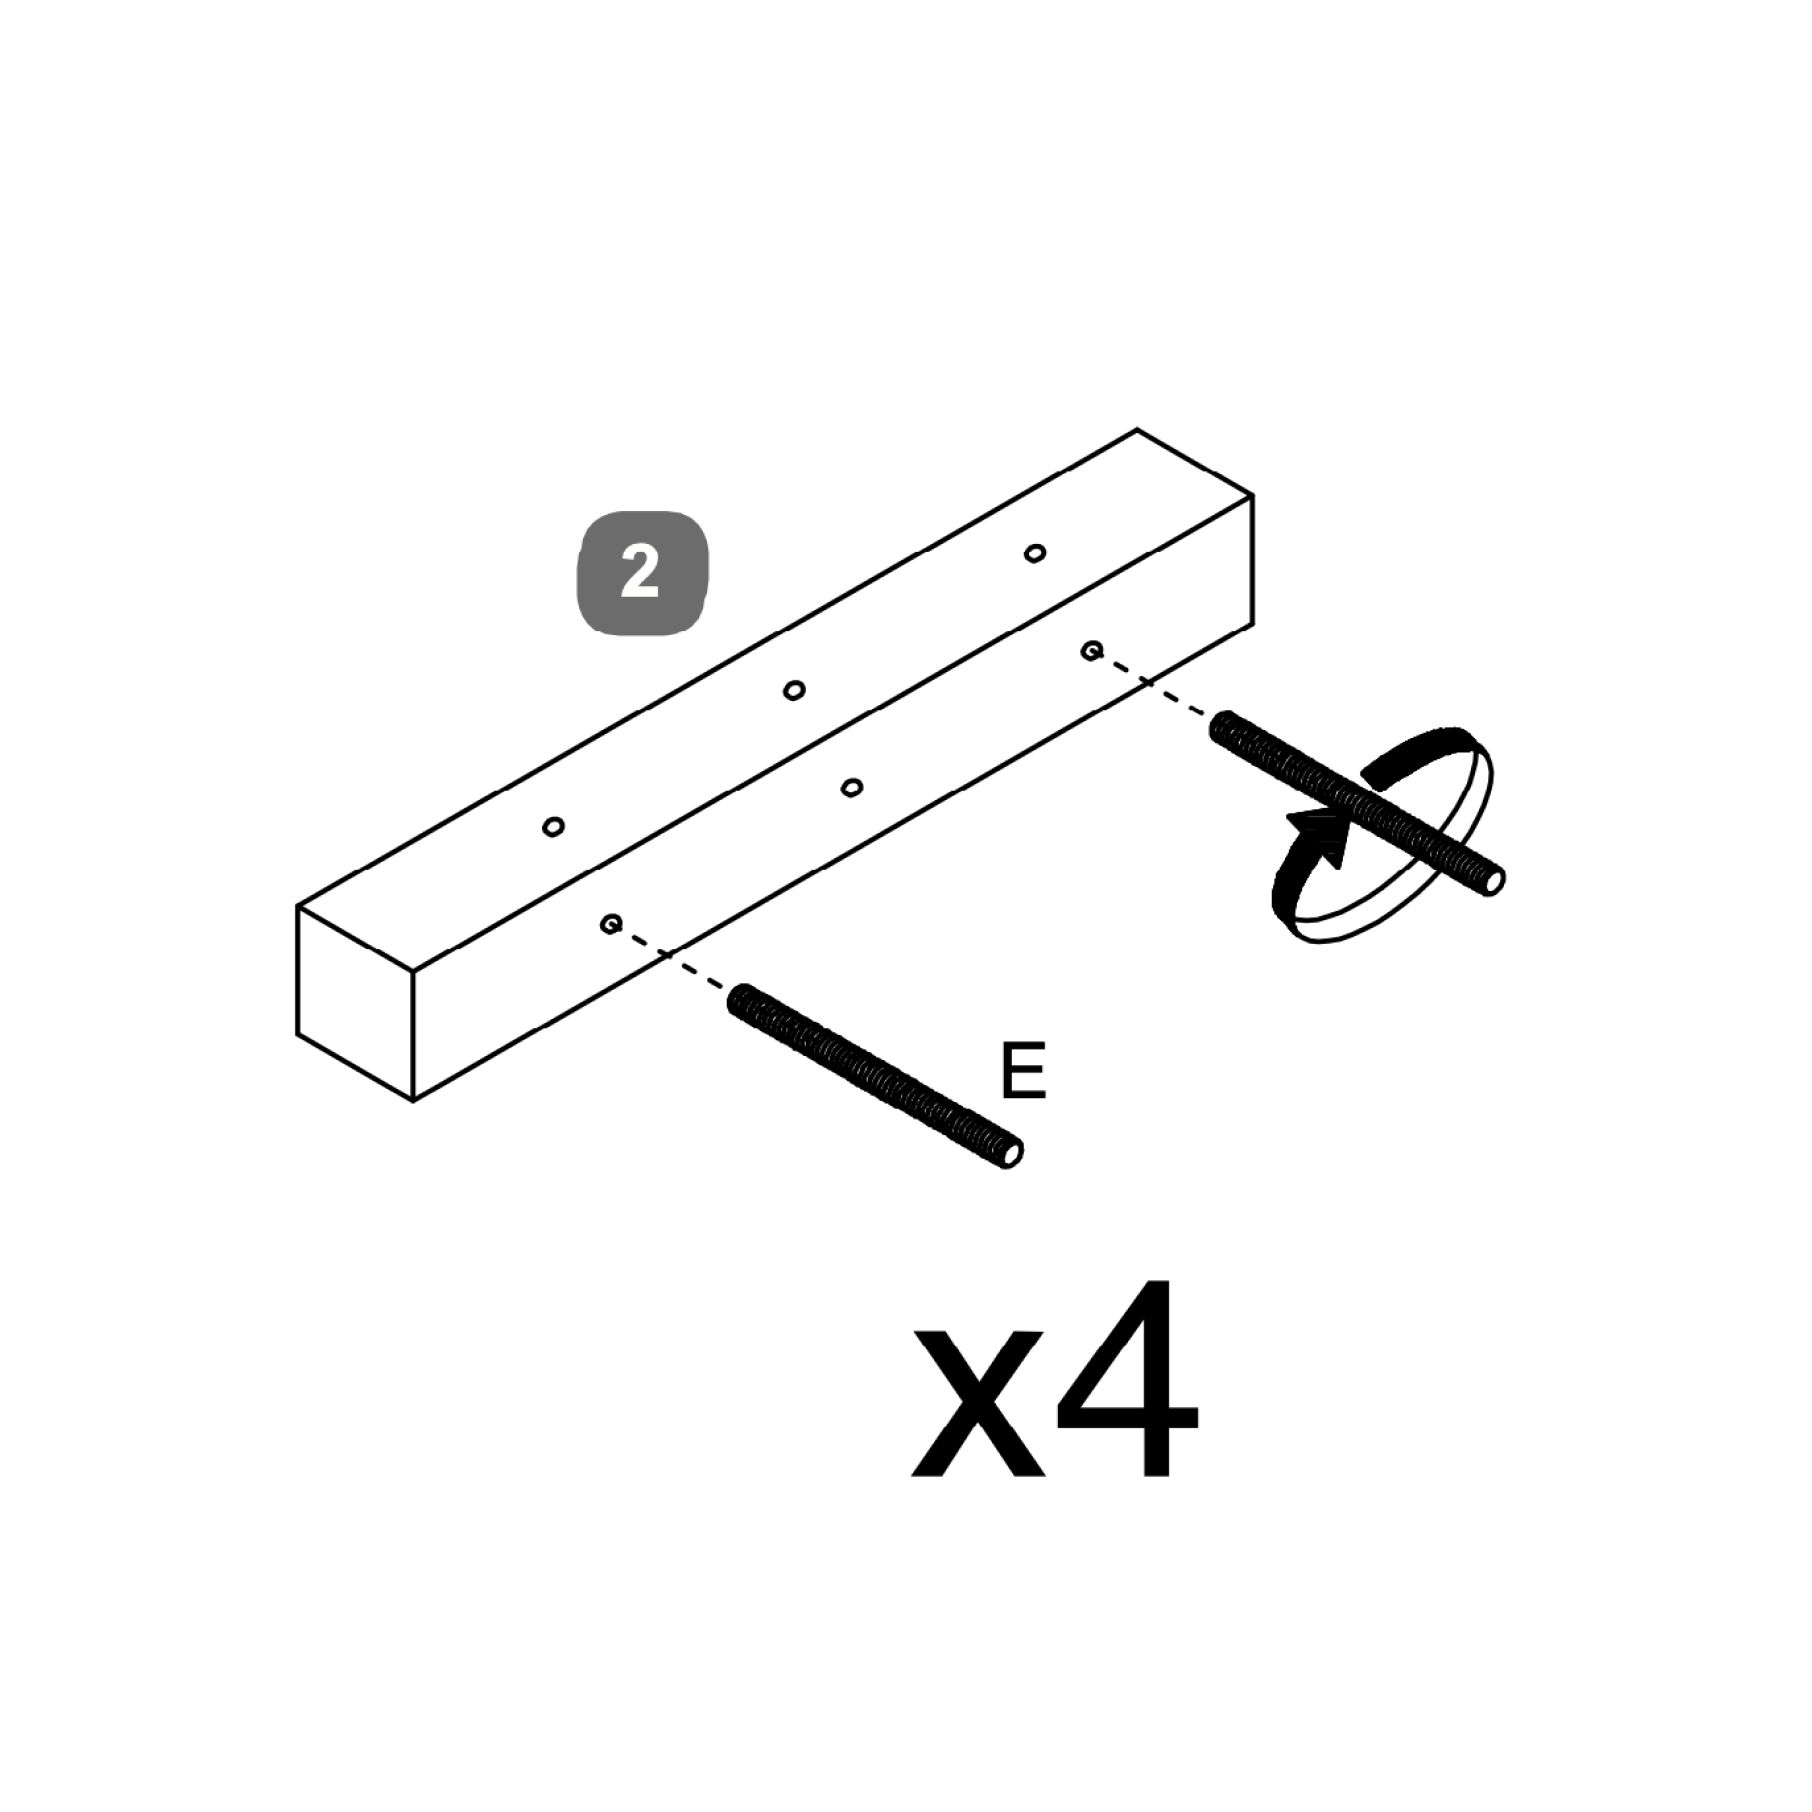
1. Take two Side Rails (3) and four Side Rail Drawer Access Support Legs (4).
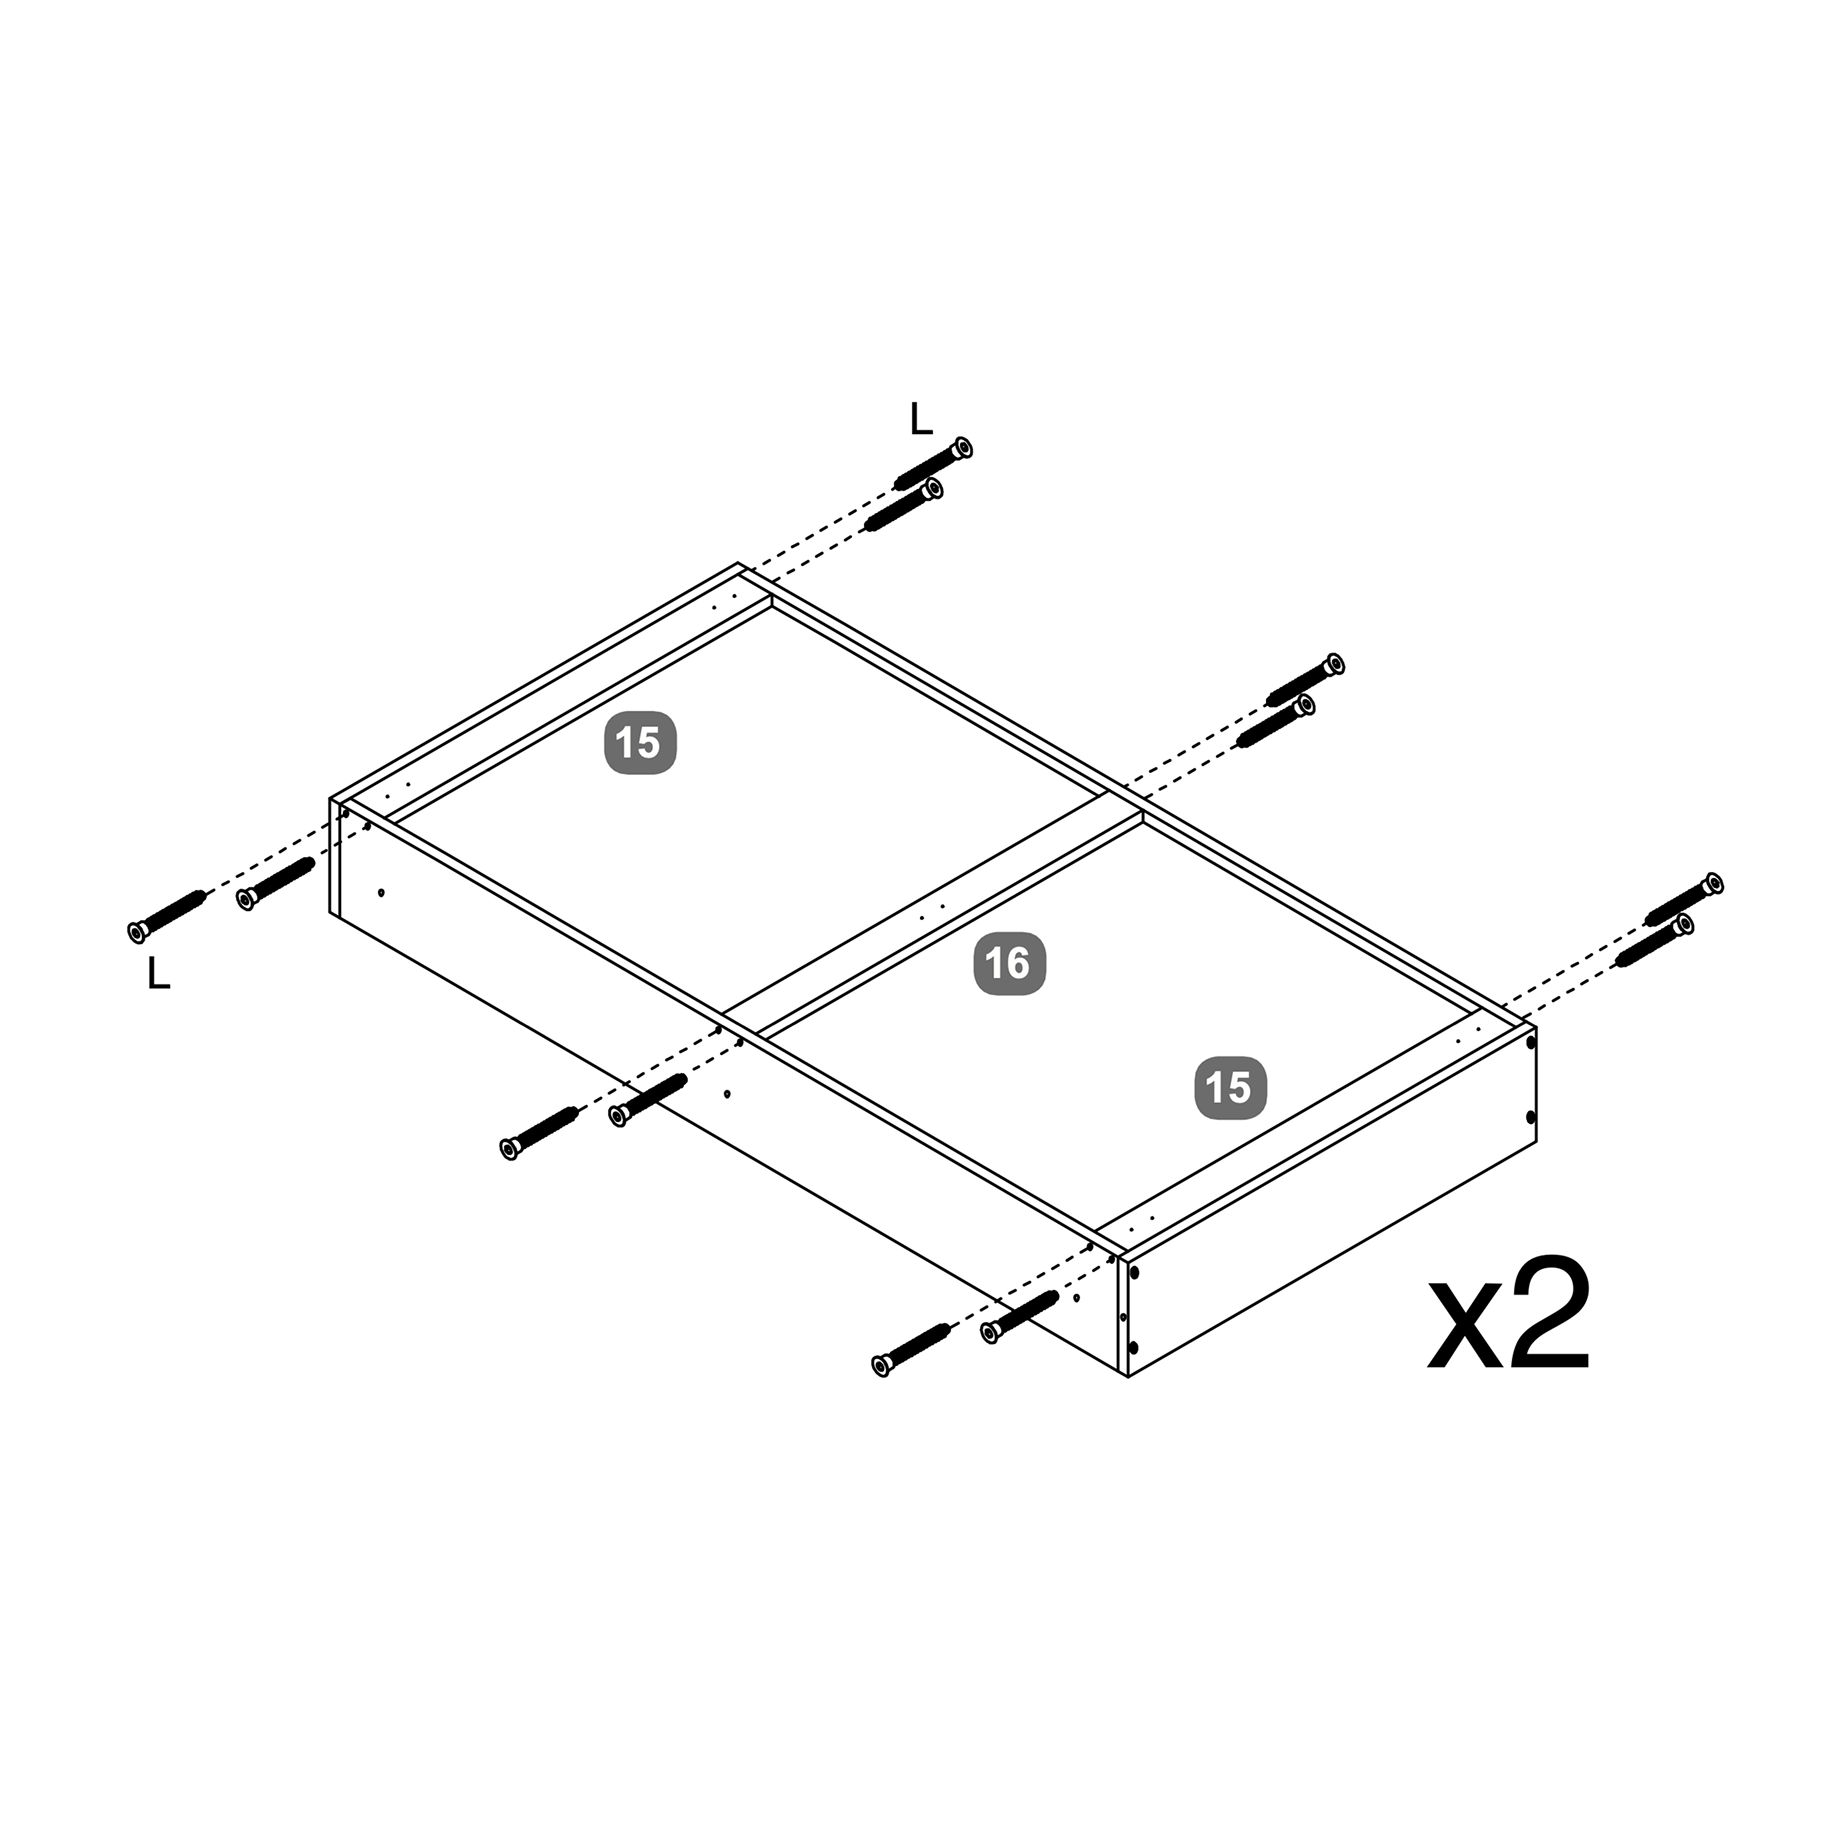
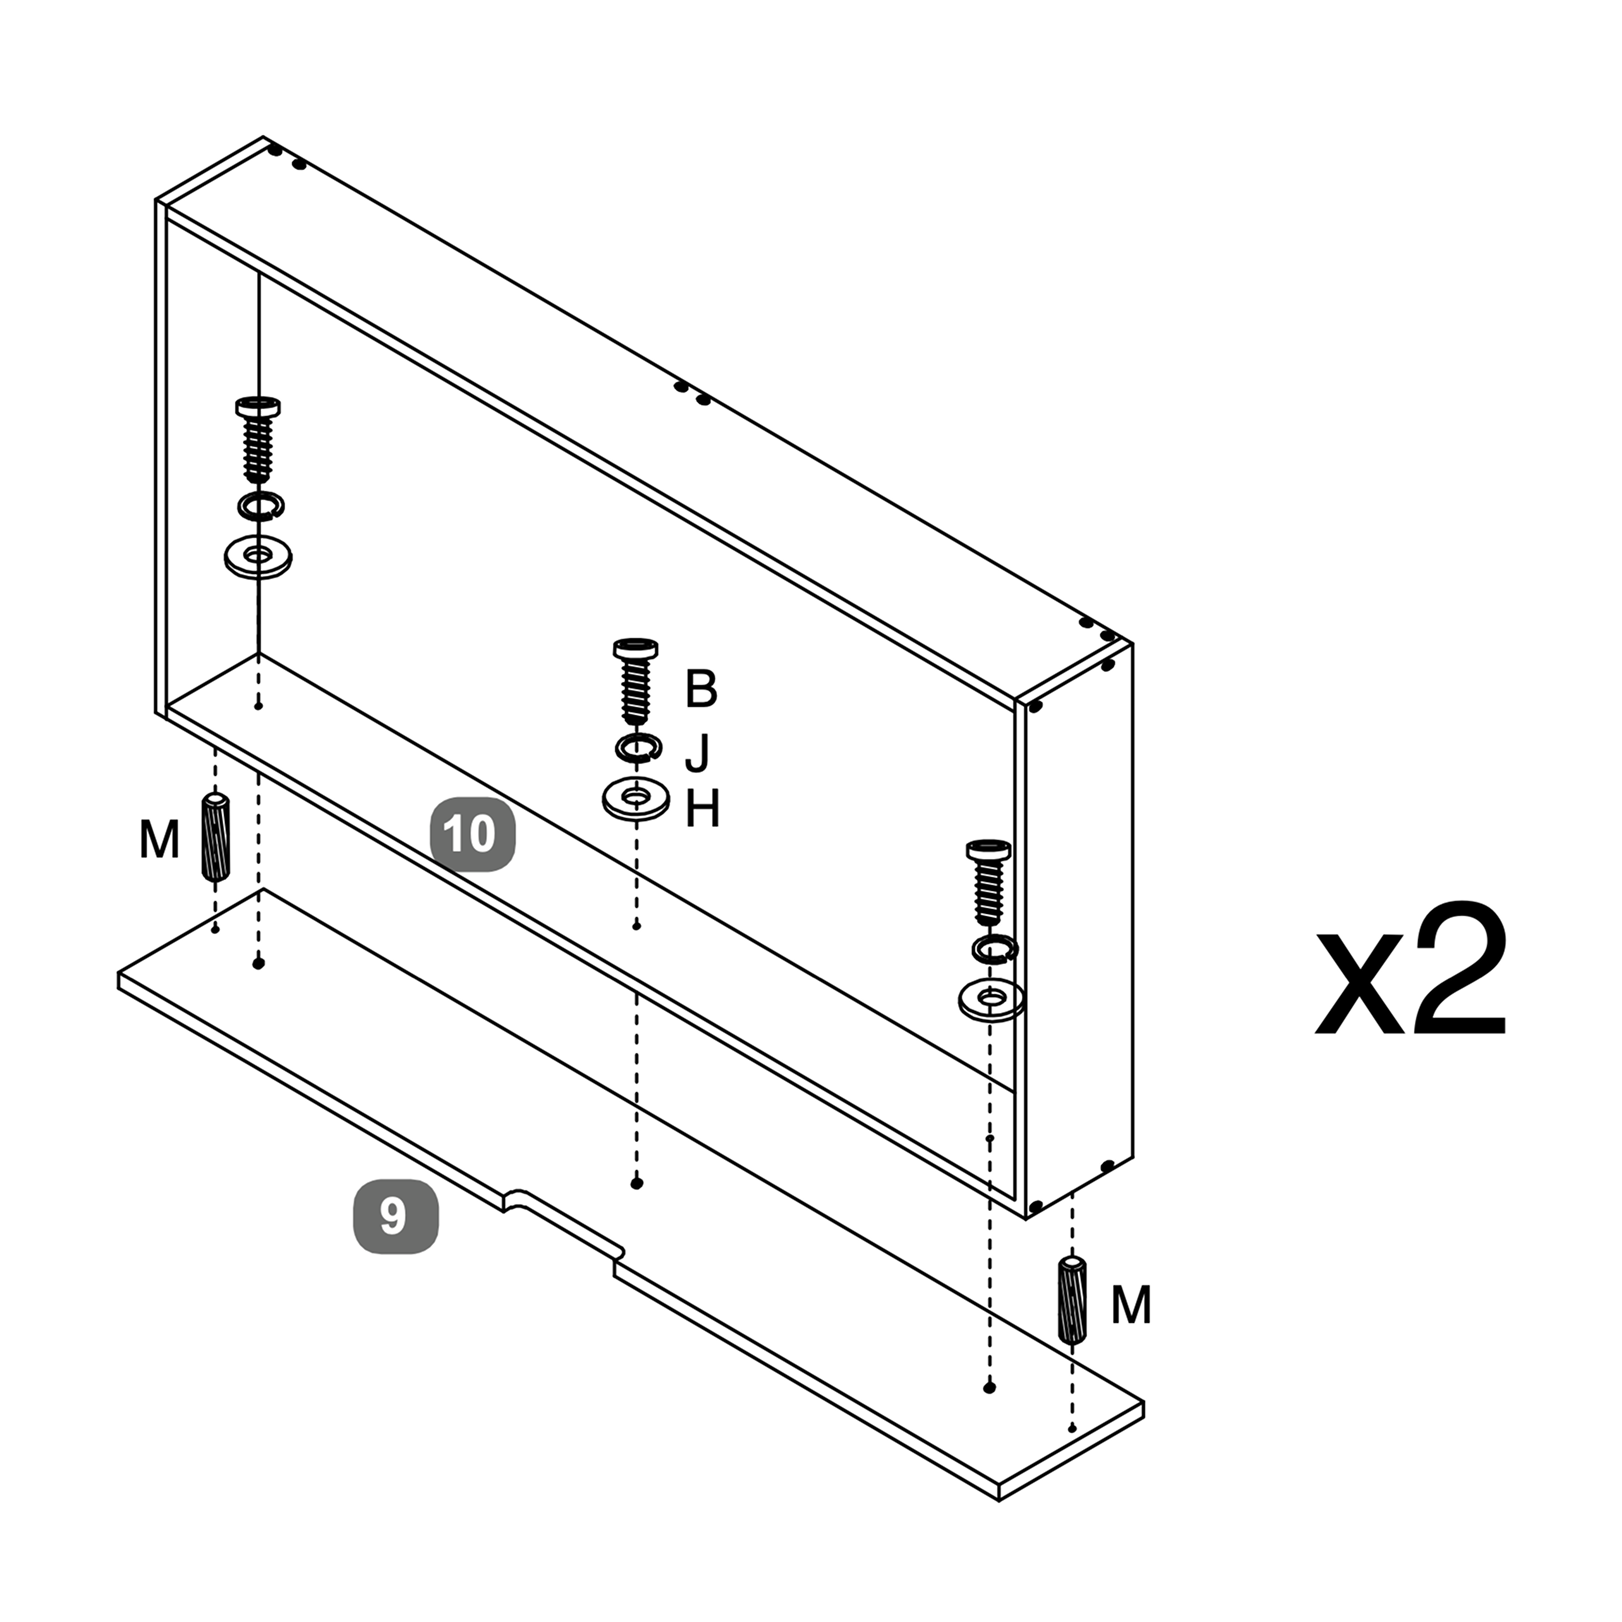
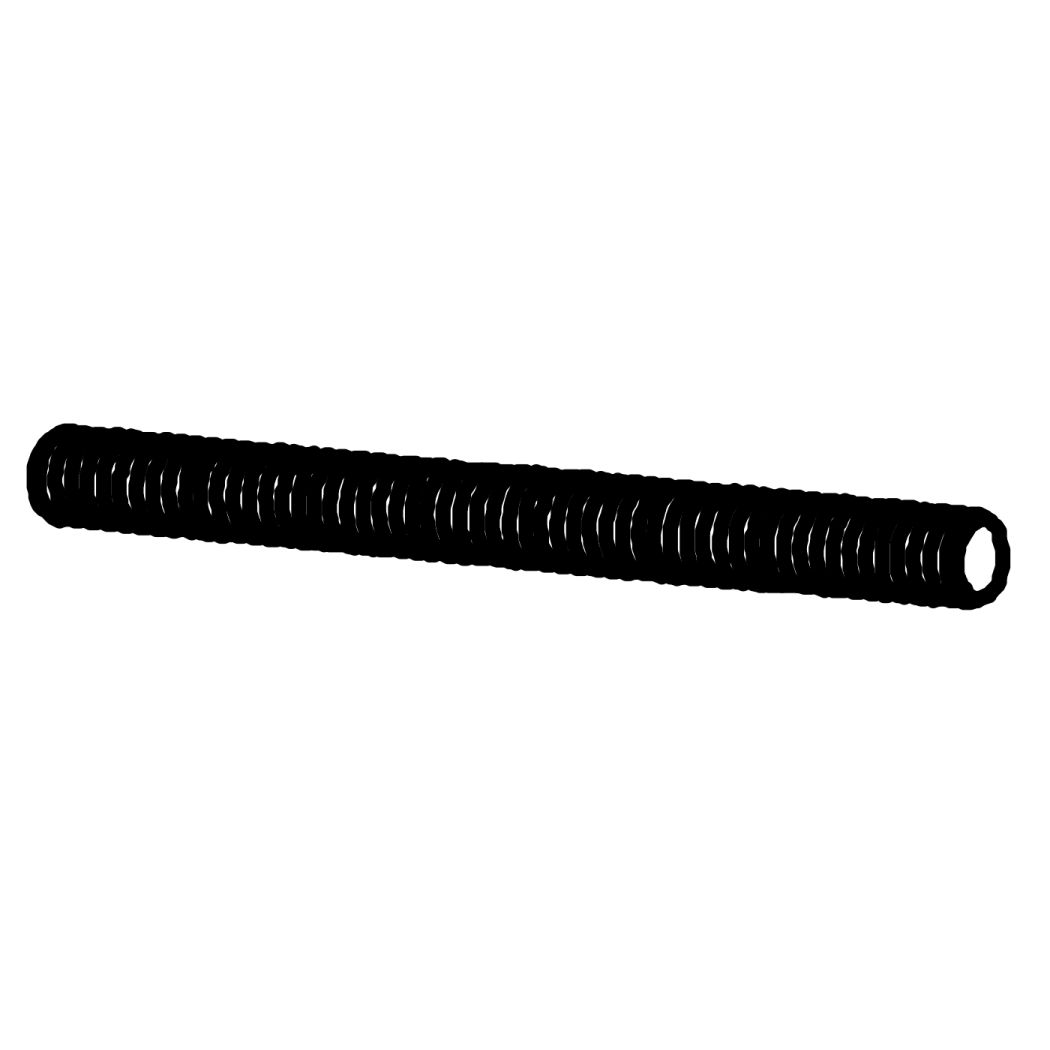
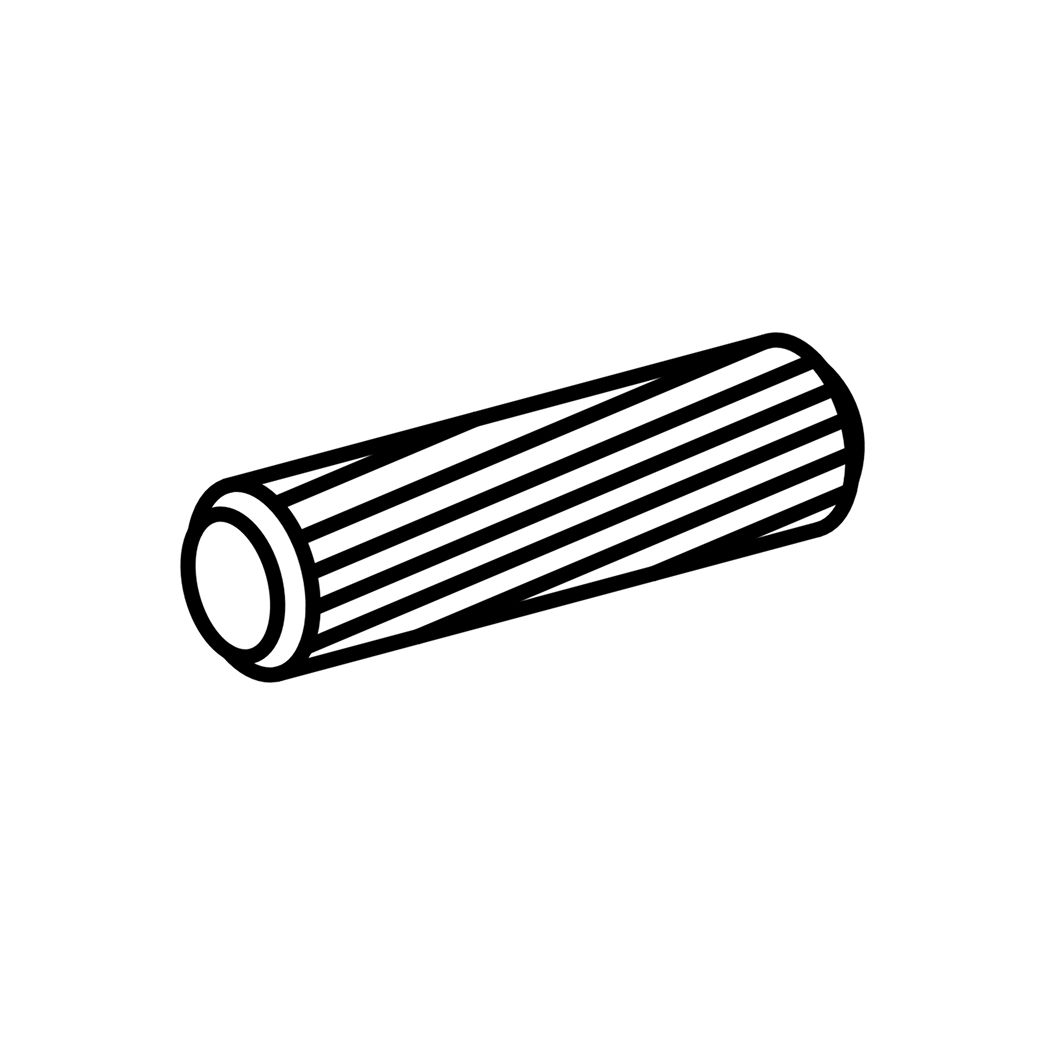
2. Insert Wood Dowels (M) into the predrilled holes on the inner ends of each Side Rail (3).
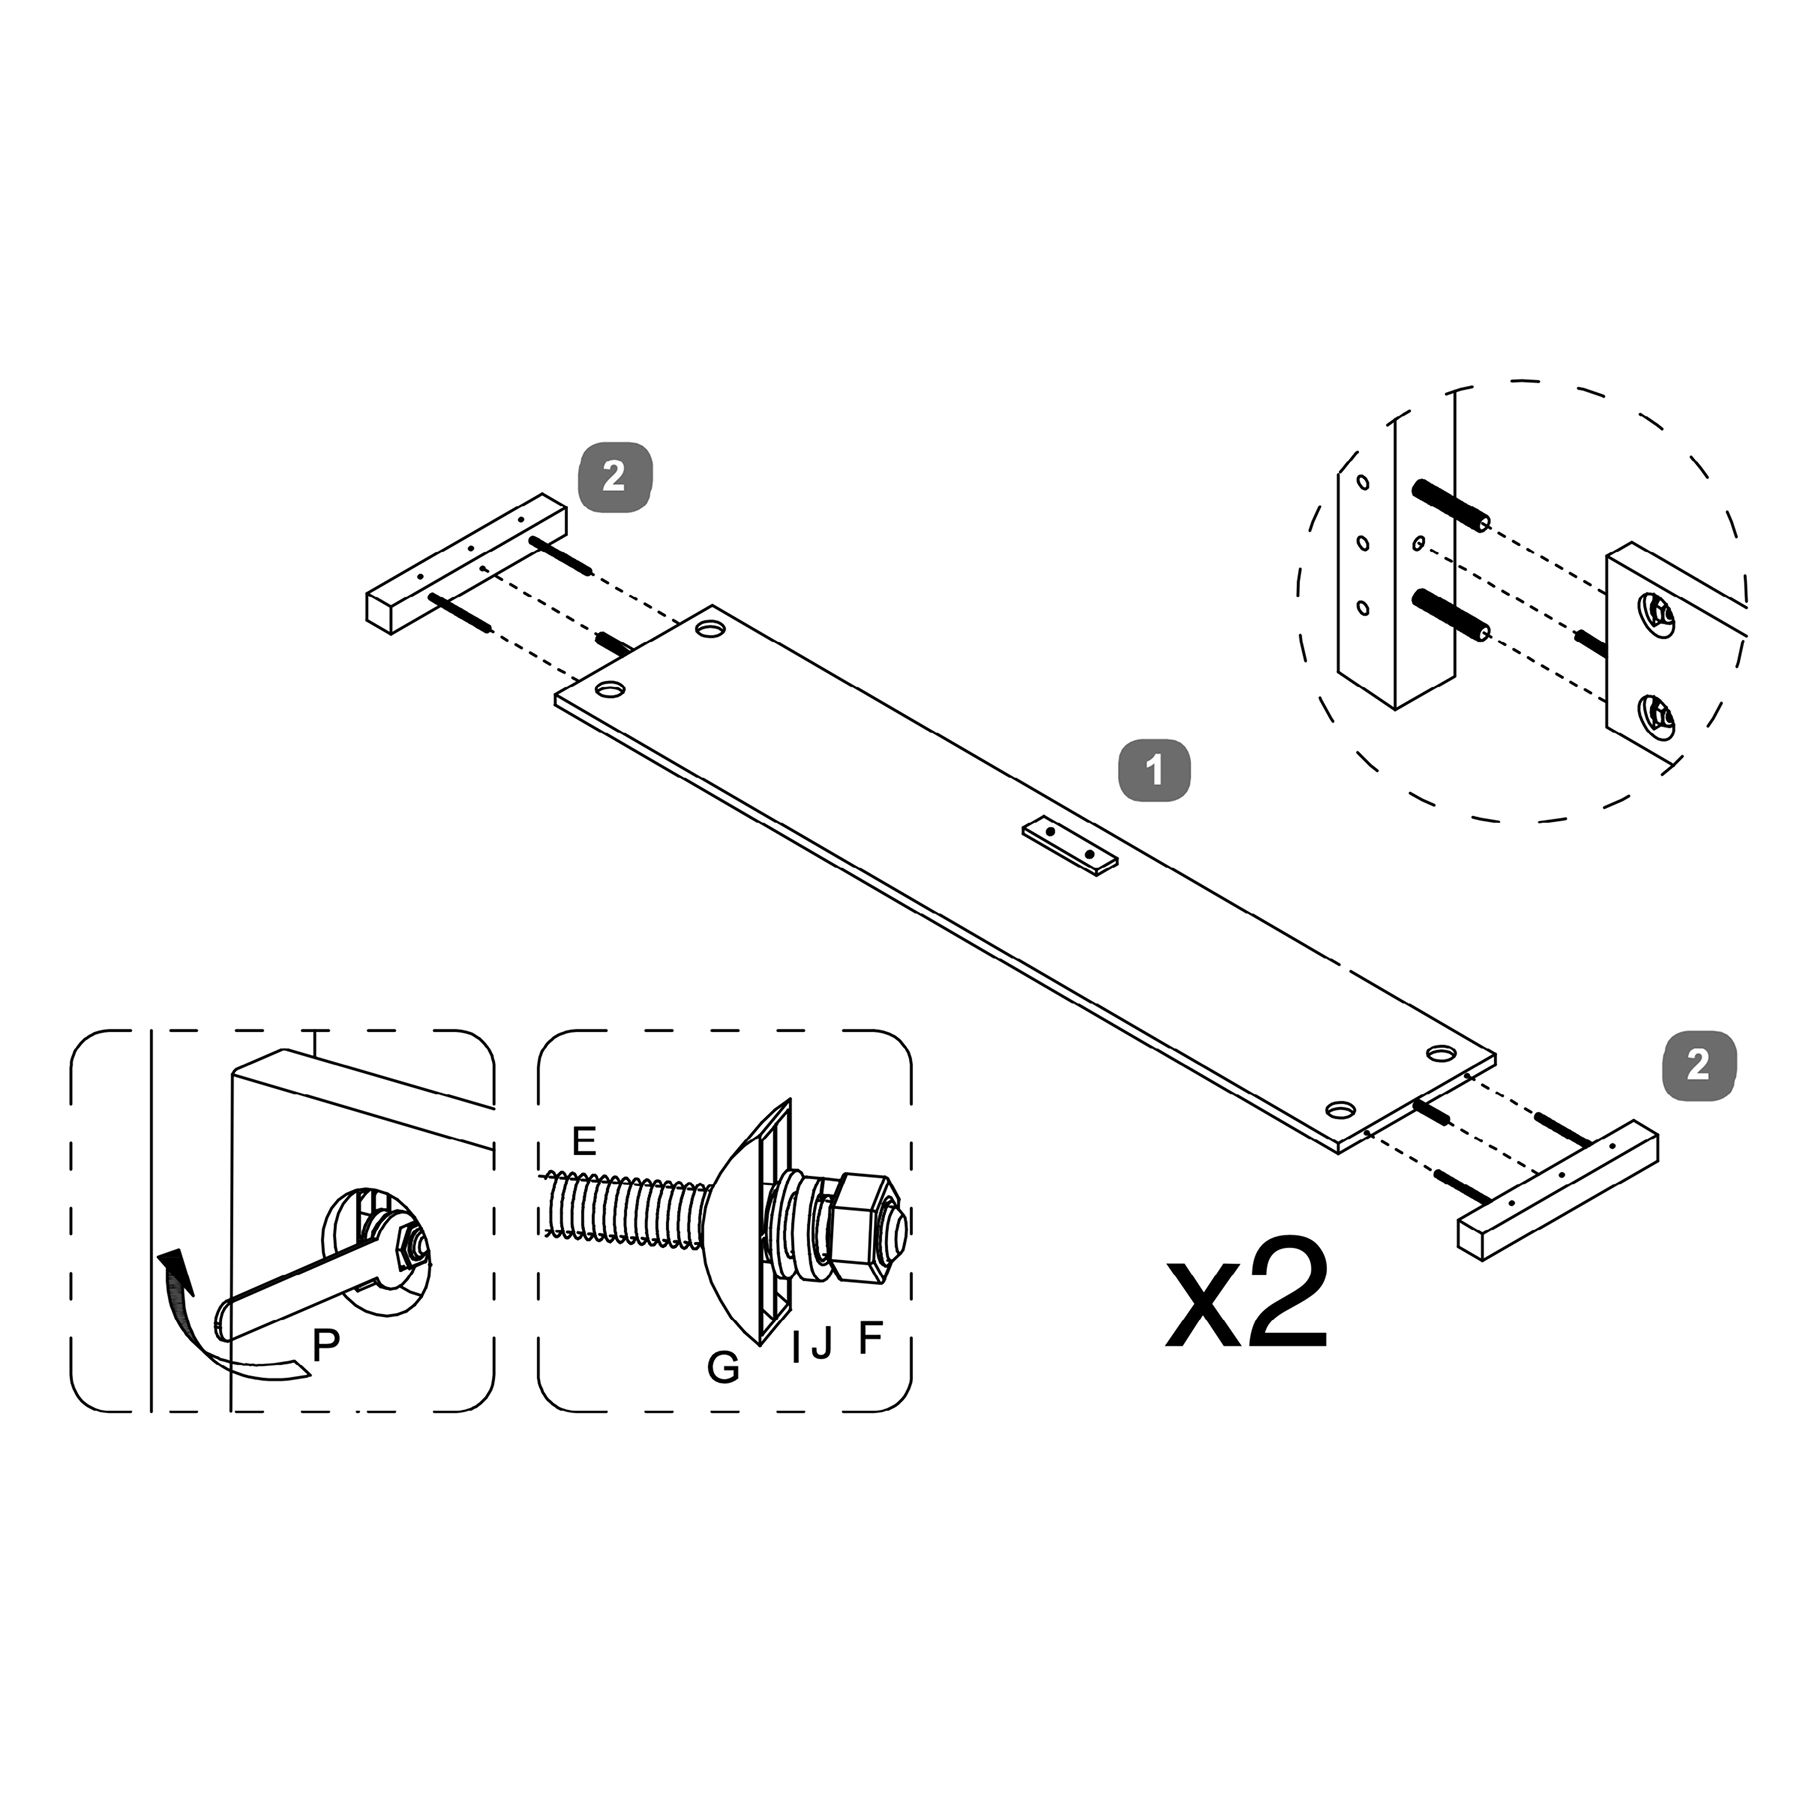
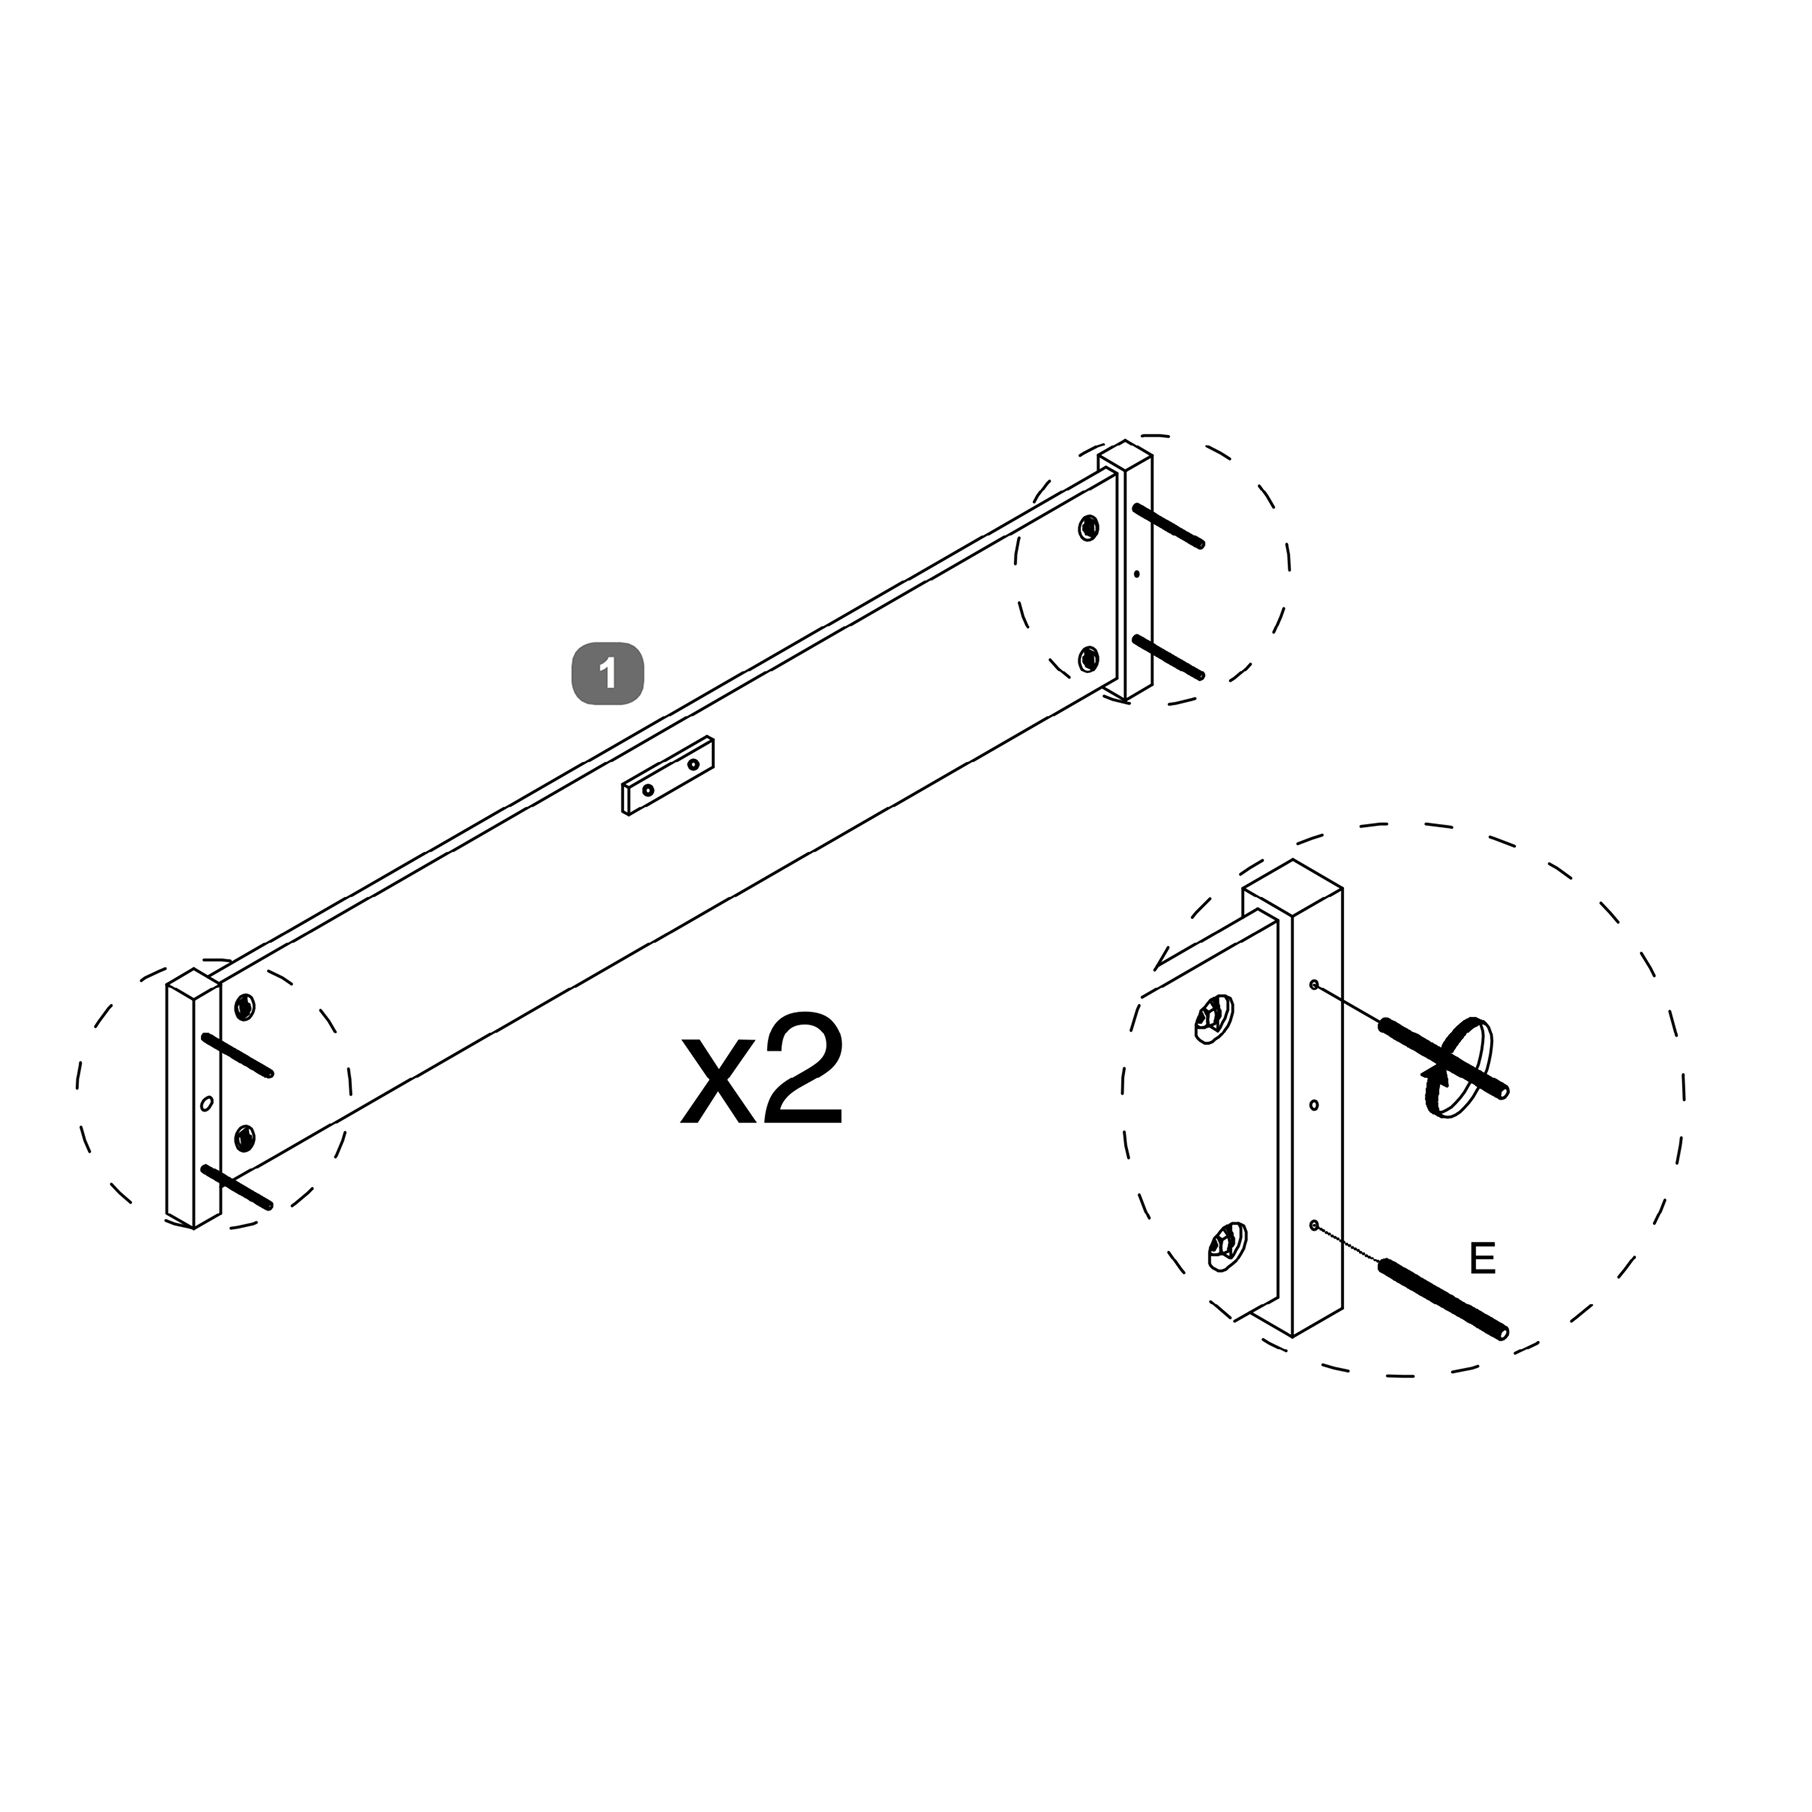
3. Position the Support Legs (4) against the Side Rails (3).
4. Secure each Support Leg using:
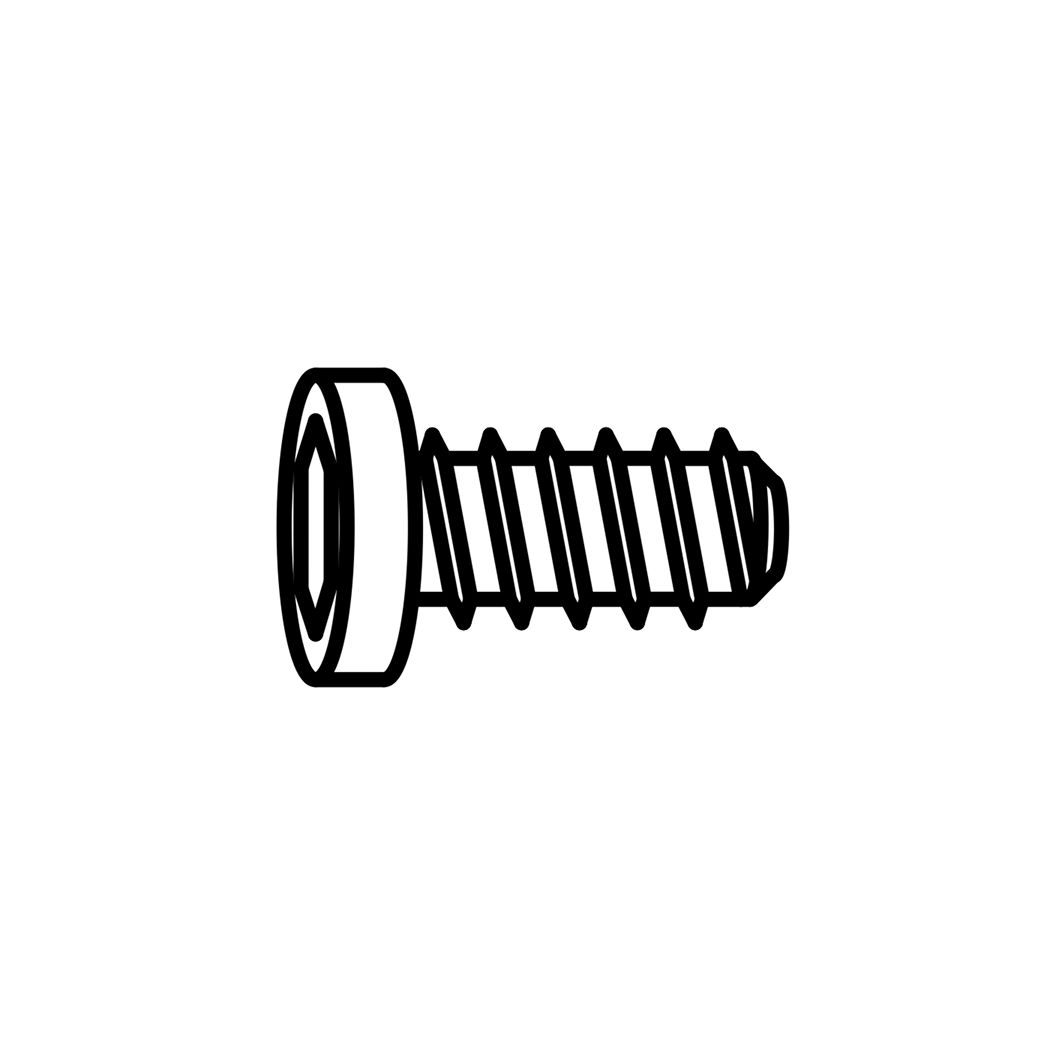
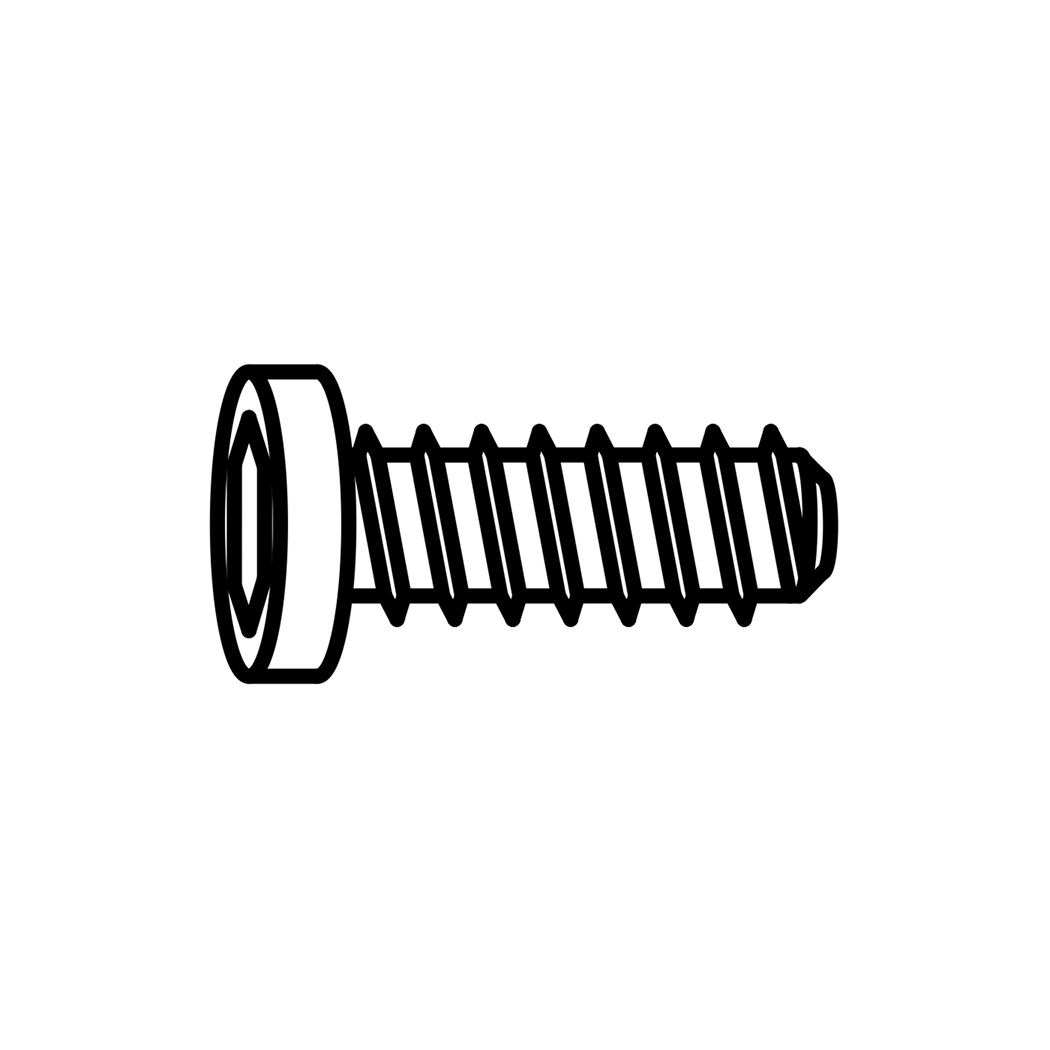
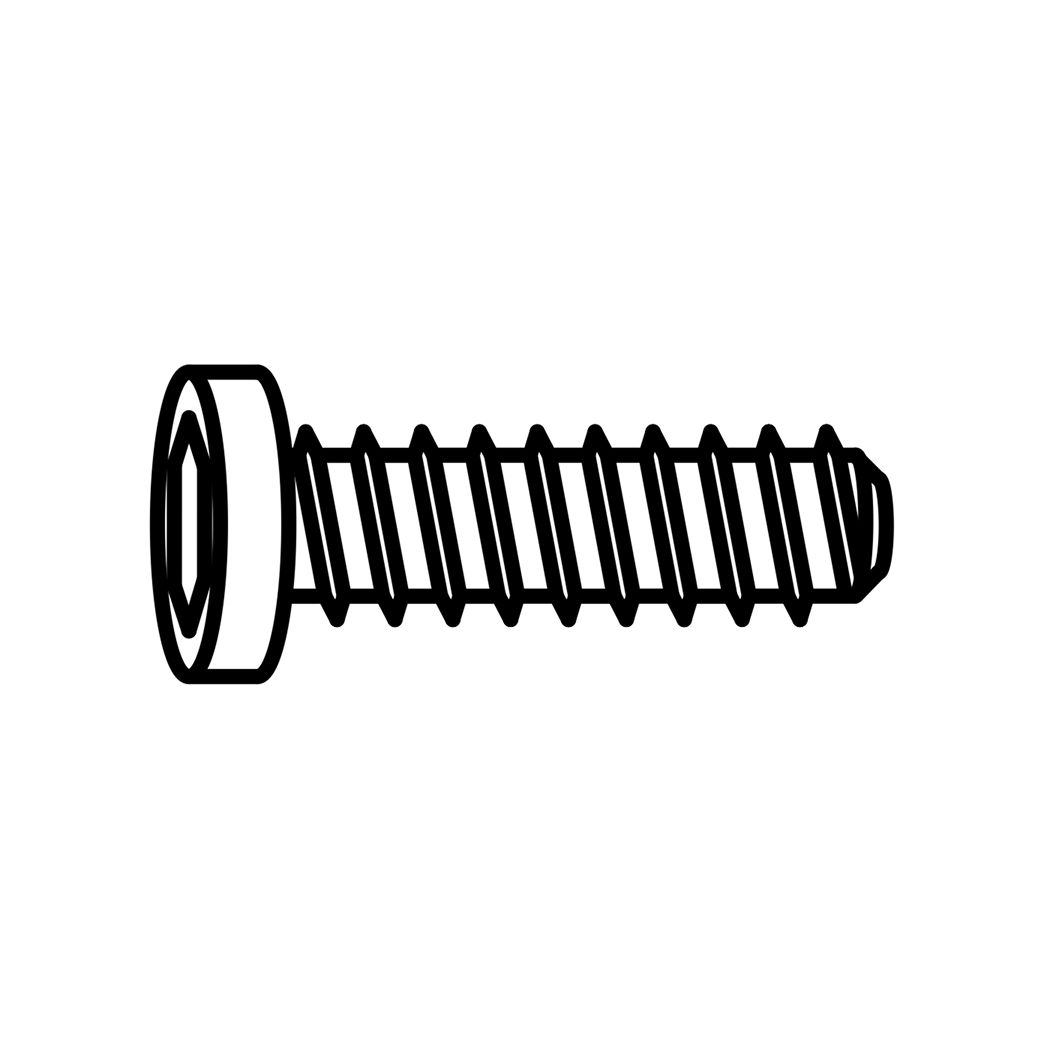
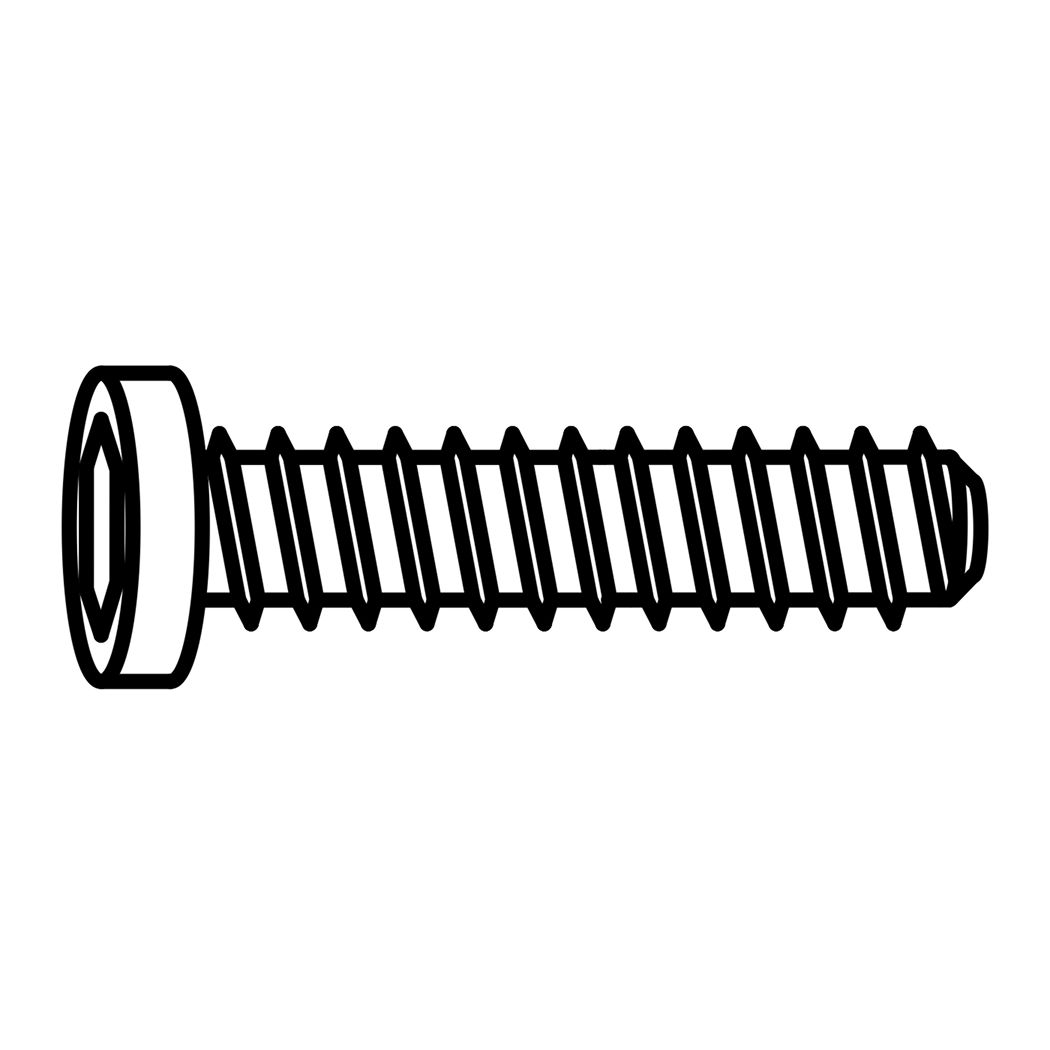
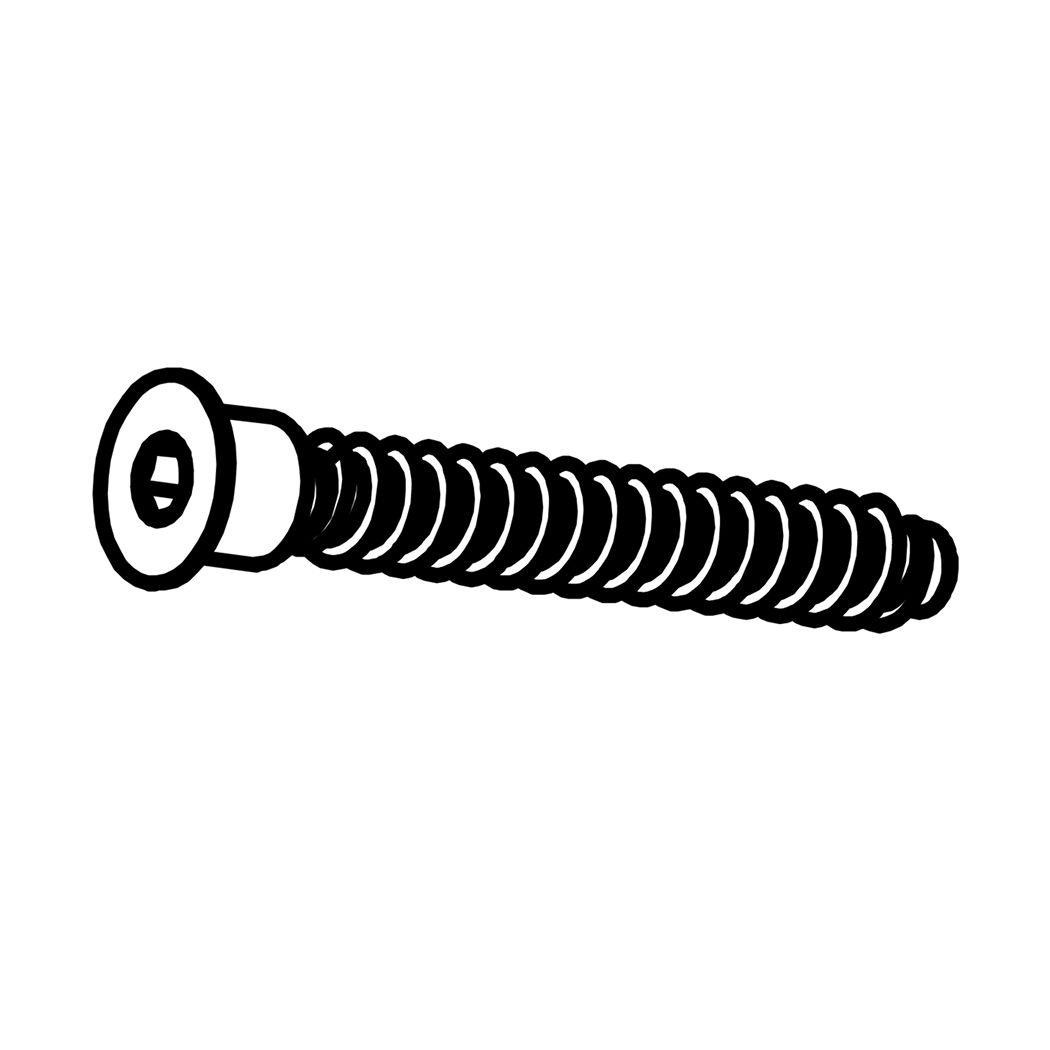
Bolt (C)
Spring Washer (J)
* Large Flat Washer (H)
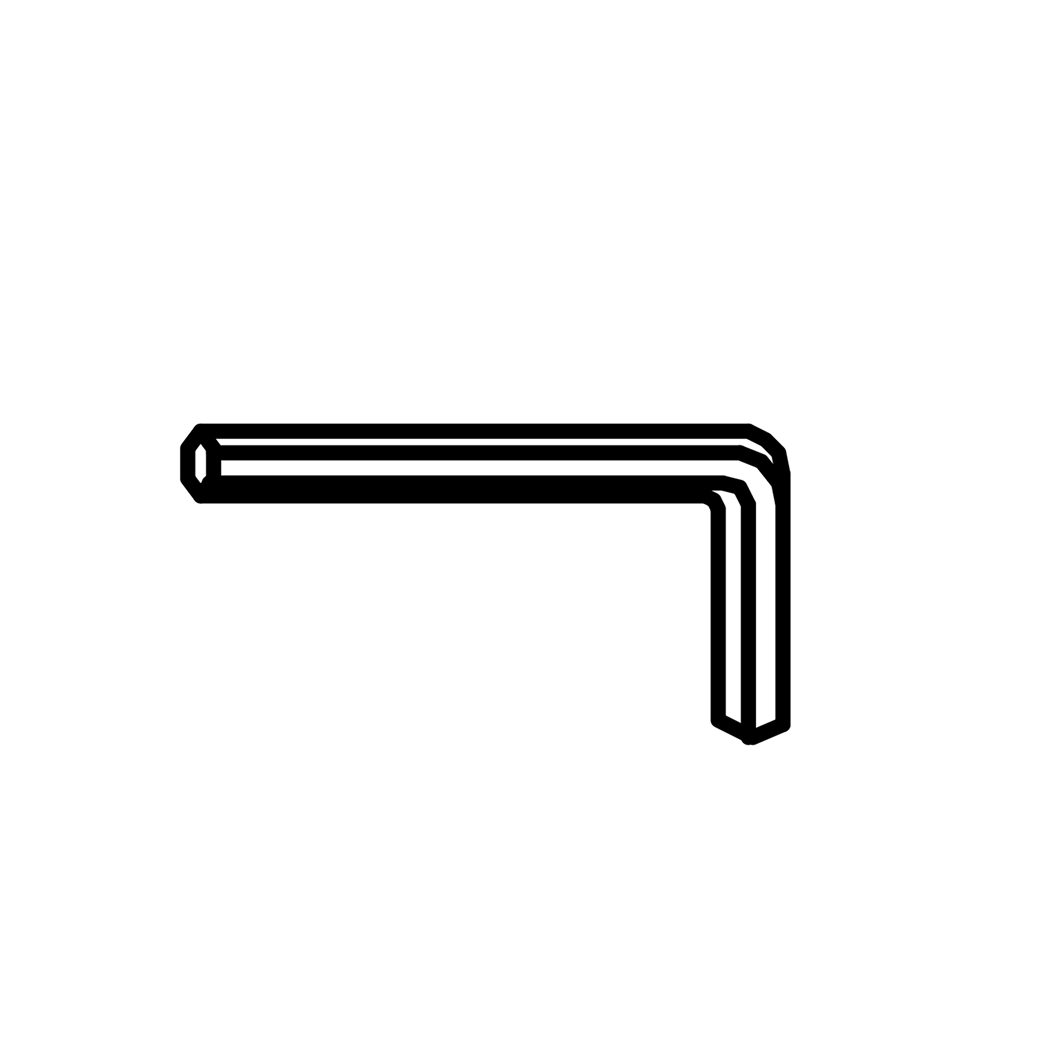
5. Tighten with the Allen Key (N).
6. Repeat for both Side Rails (2× assemblies).